Dragonhawk1066
-
Posts
3,932 -
Joined
-
Last visited
Content Type
Profiles
Forums
Events
Gallery
Everything posted by Dragonhawk1066
-

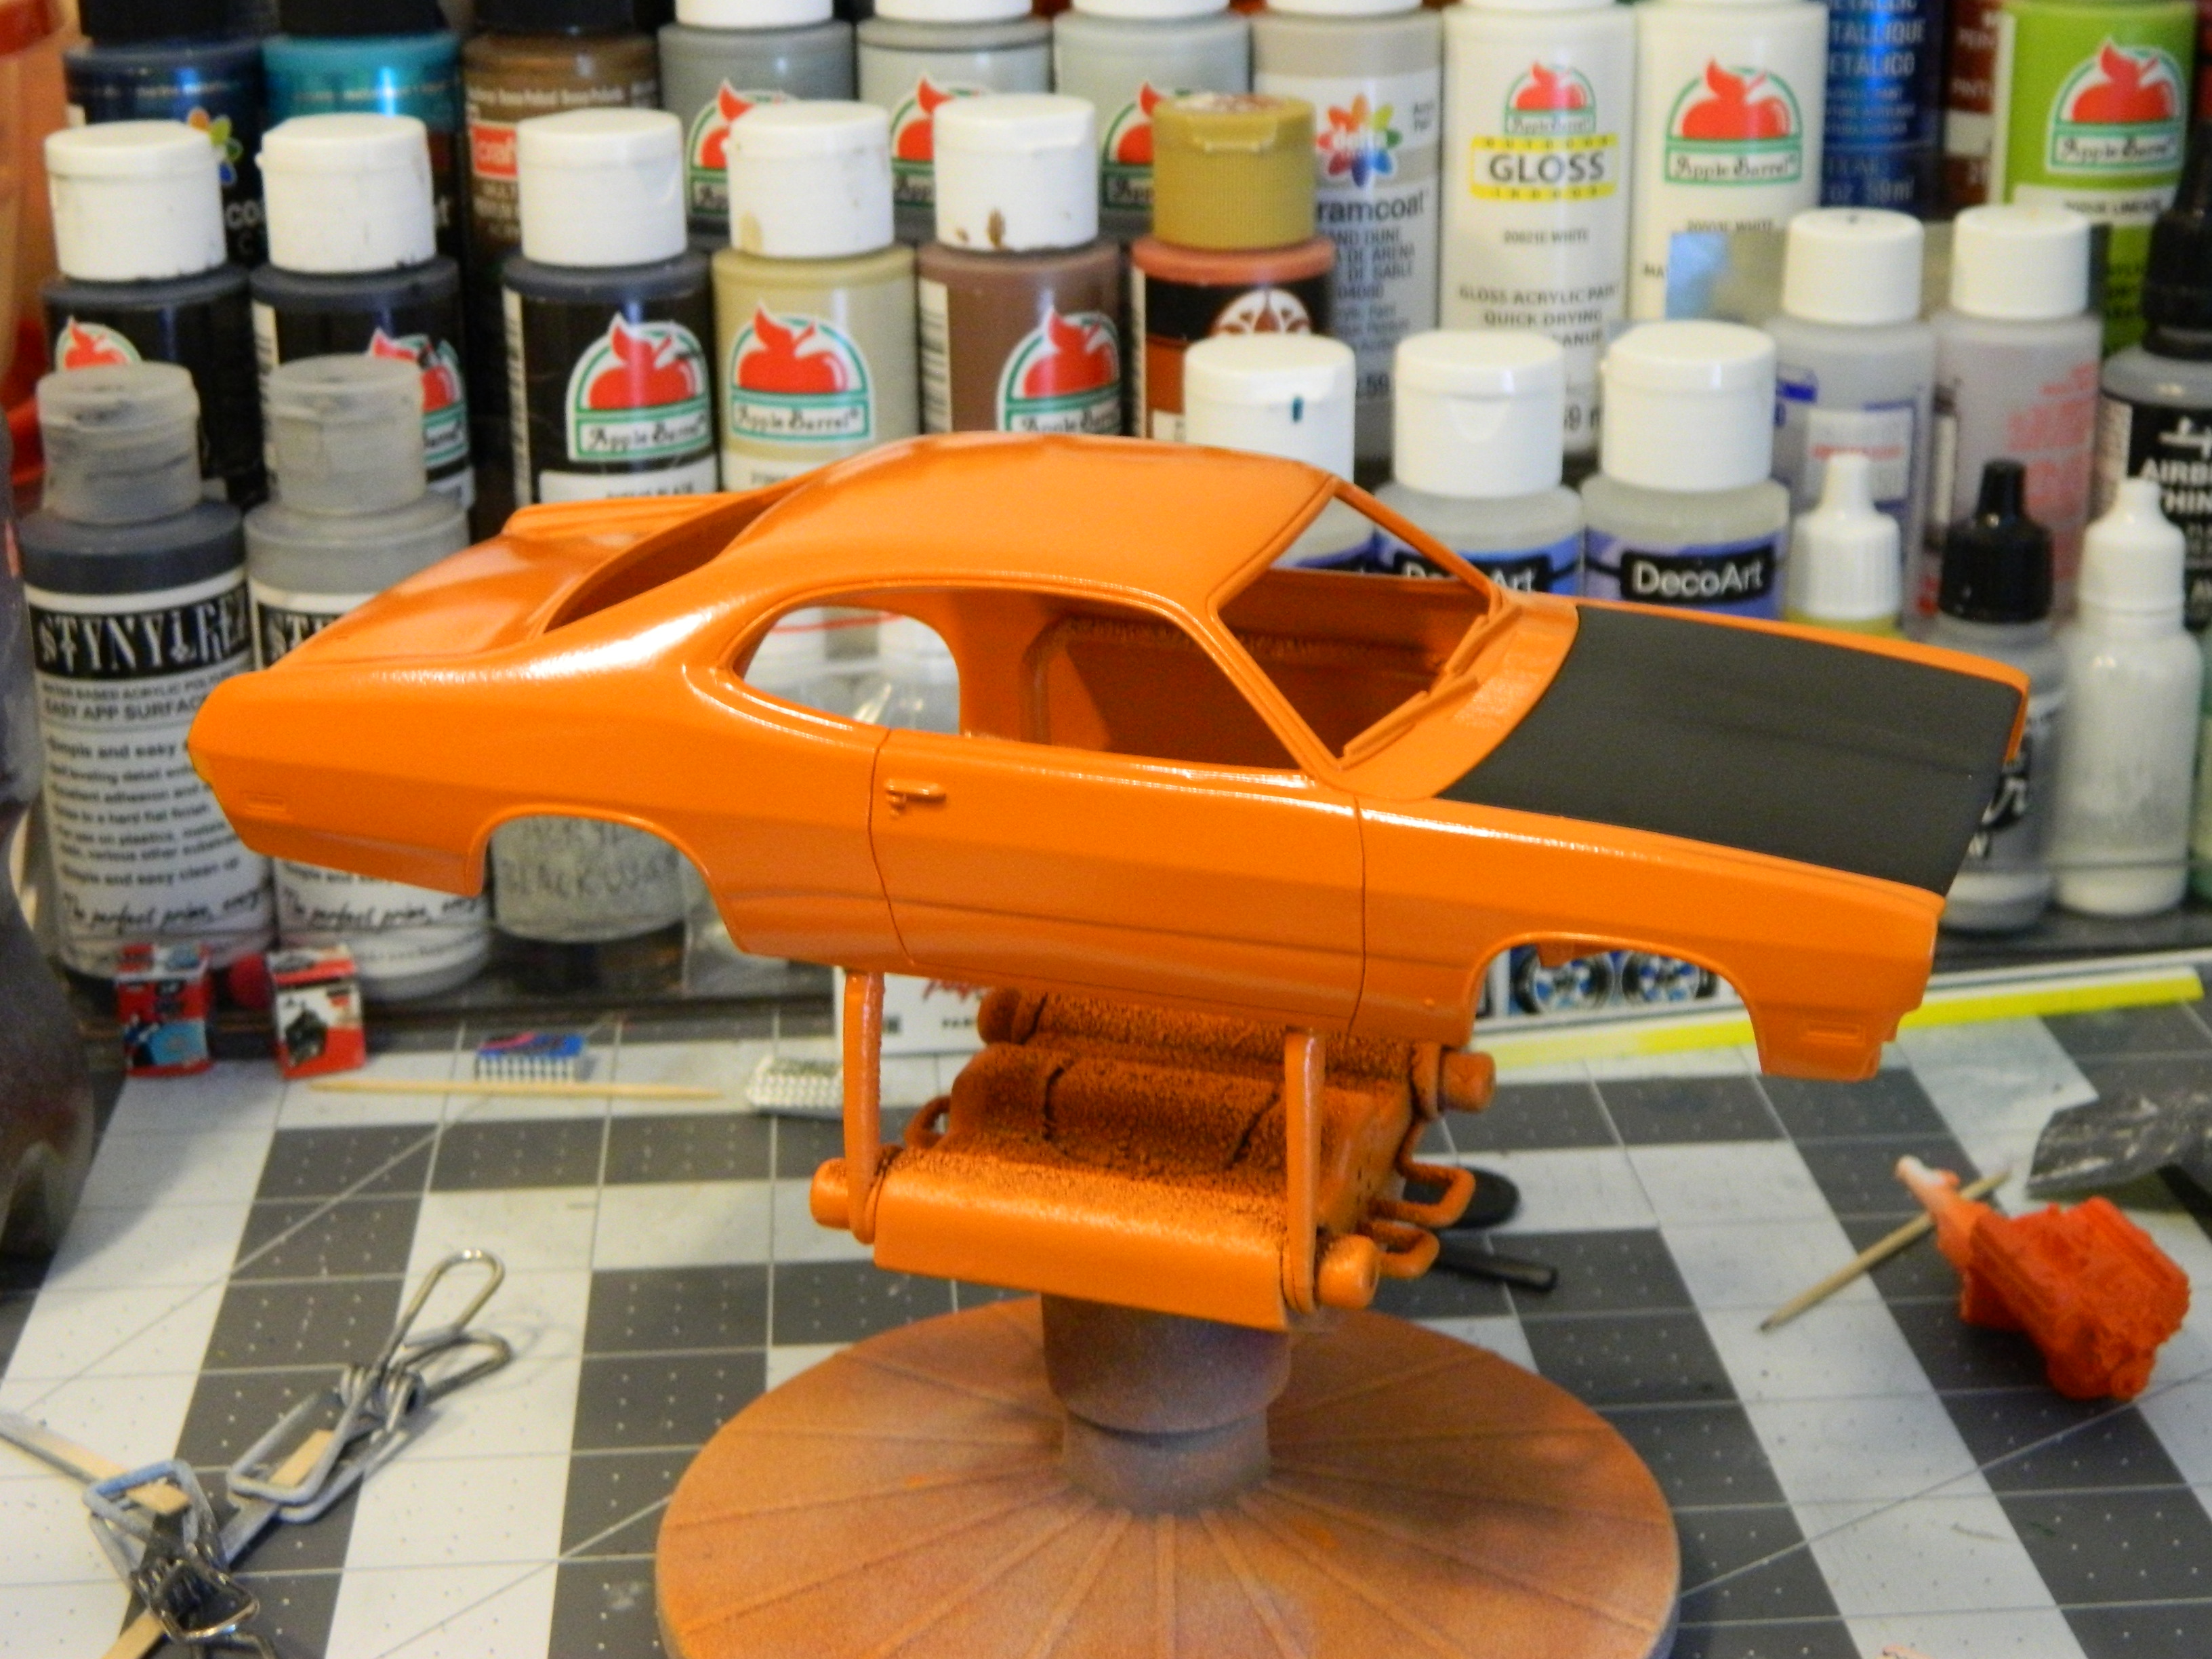
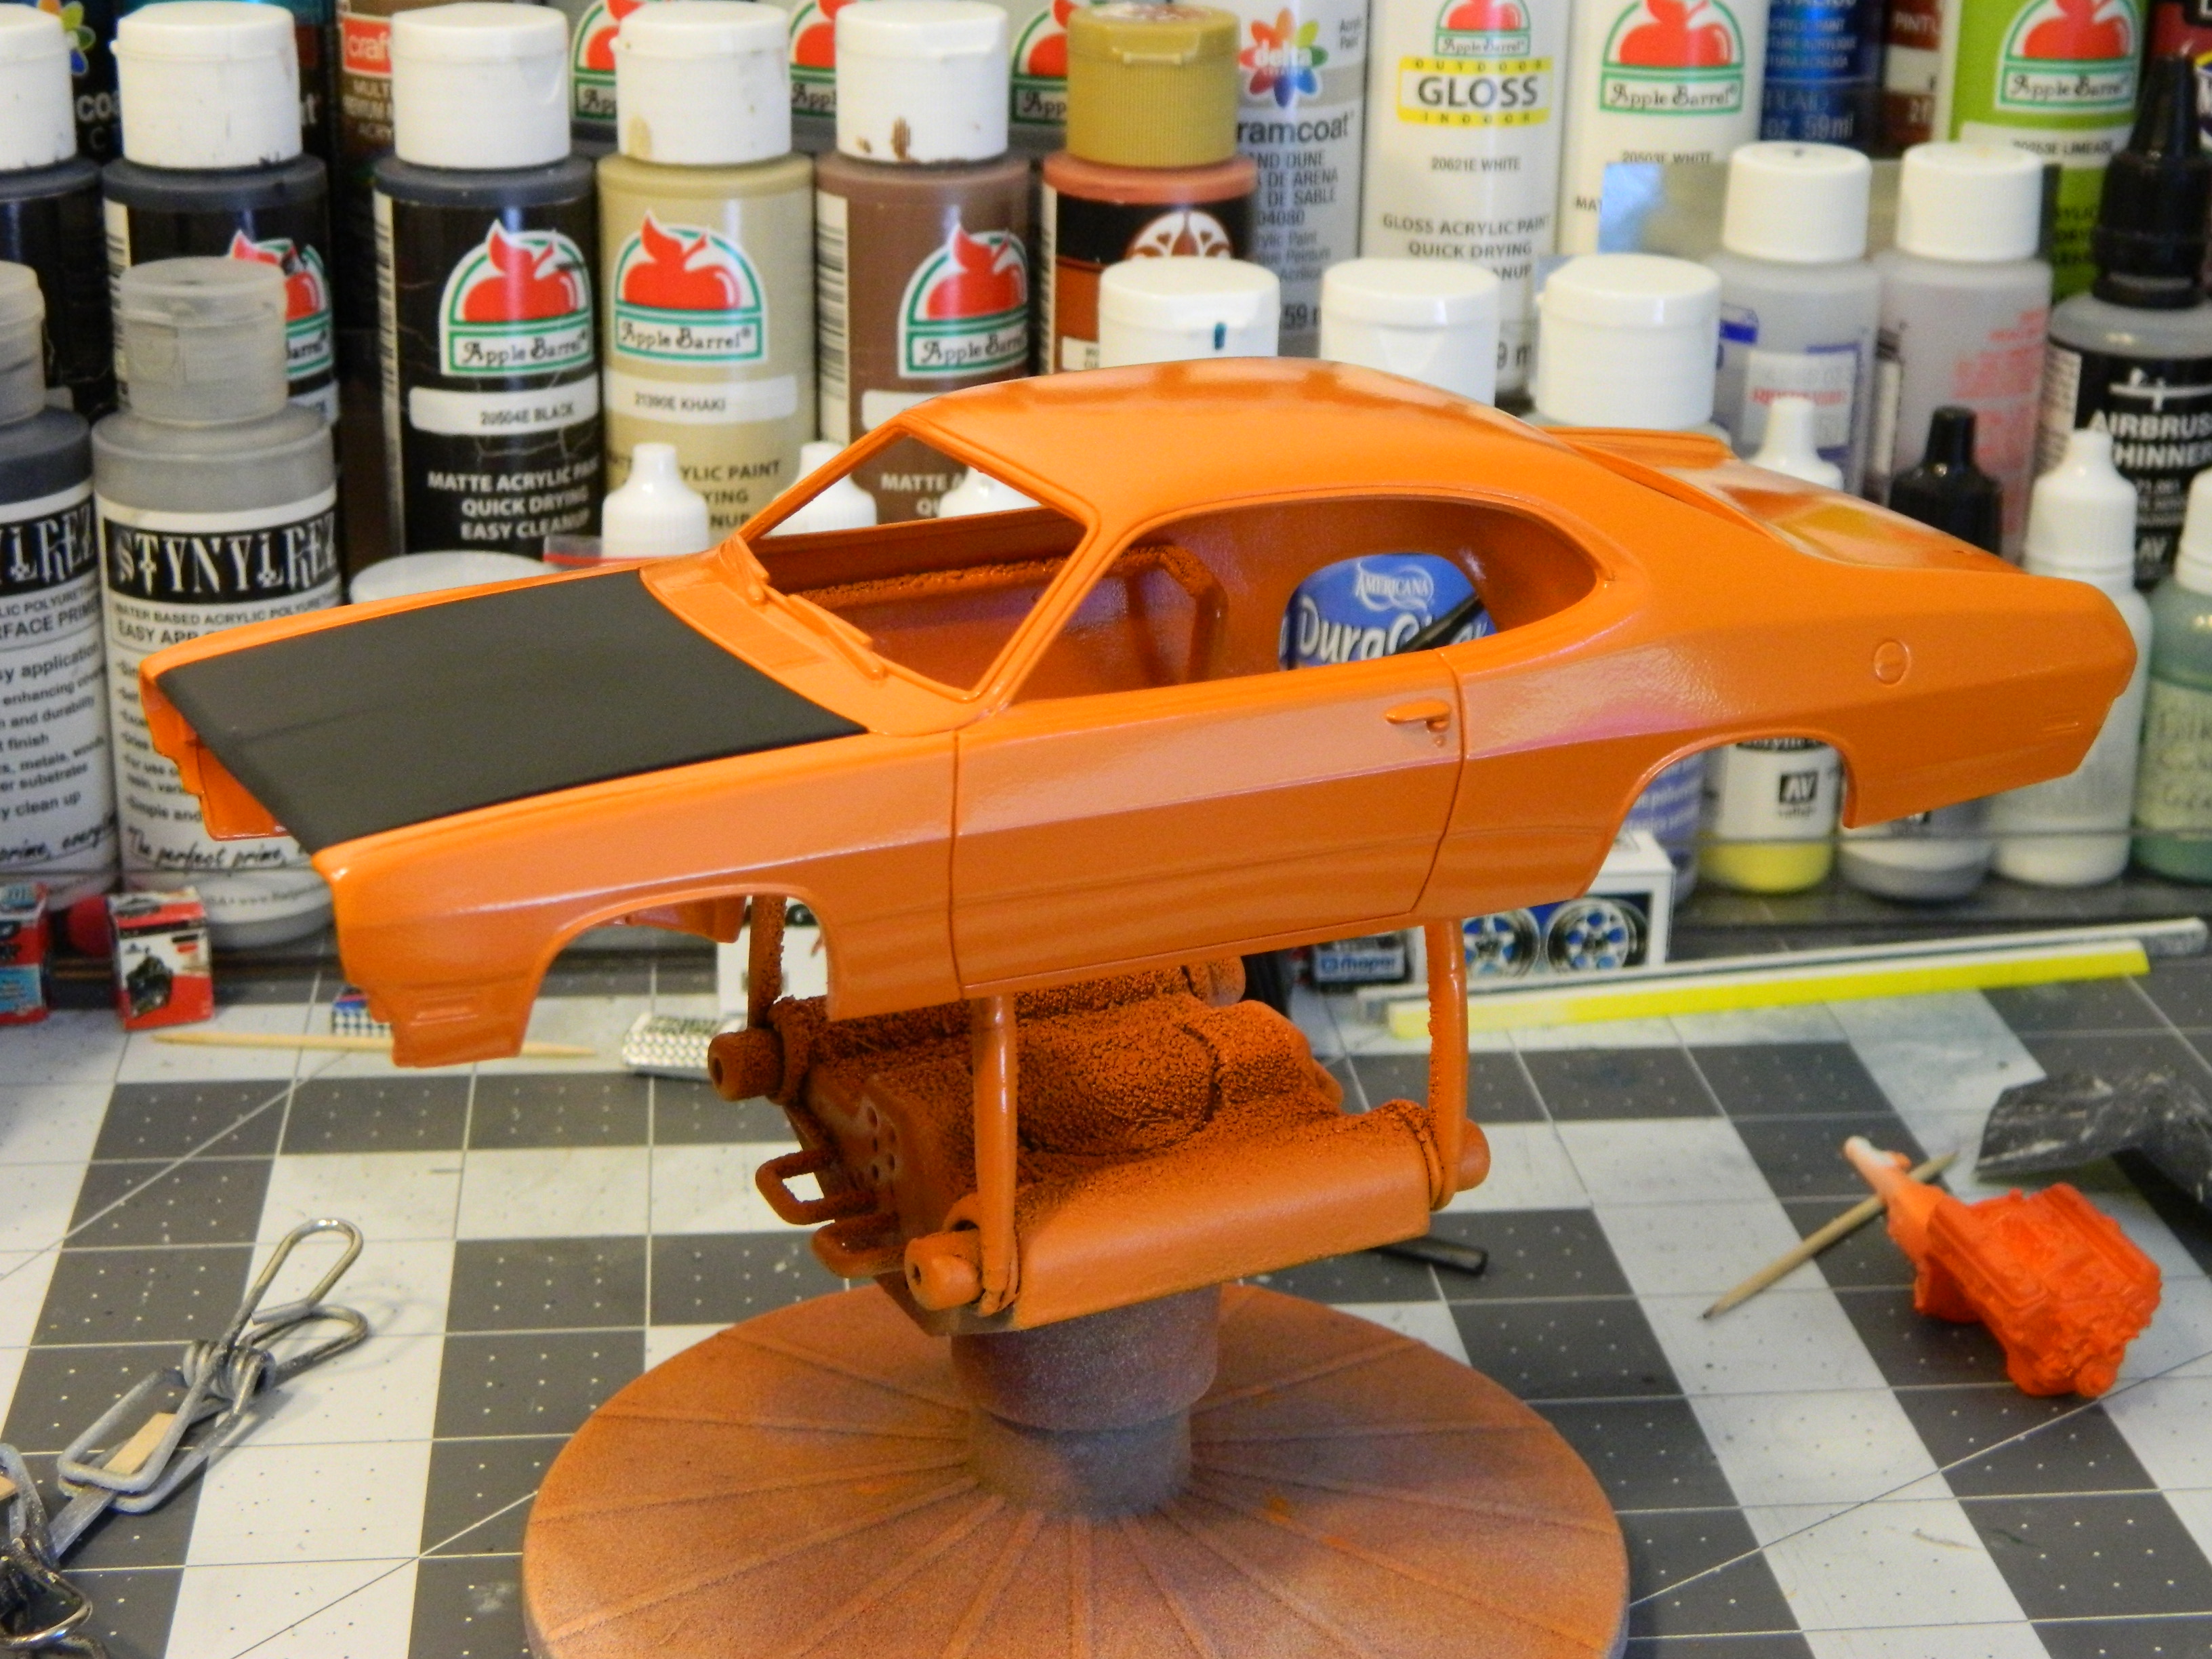
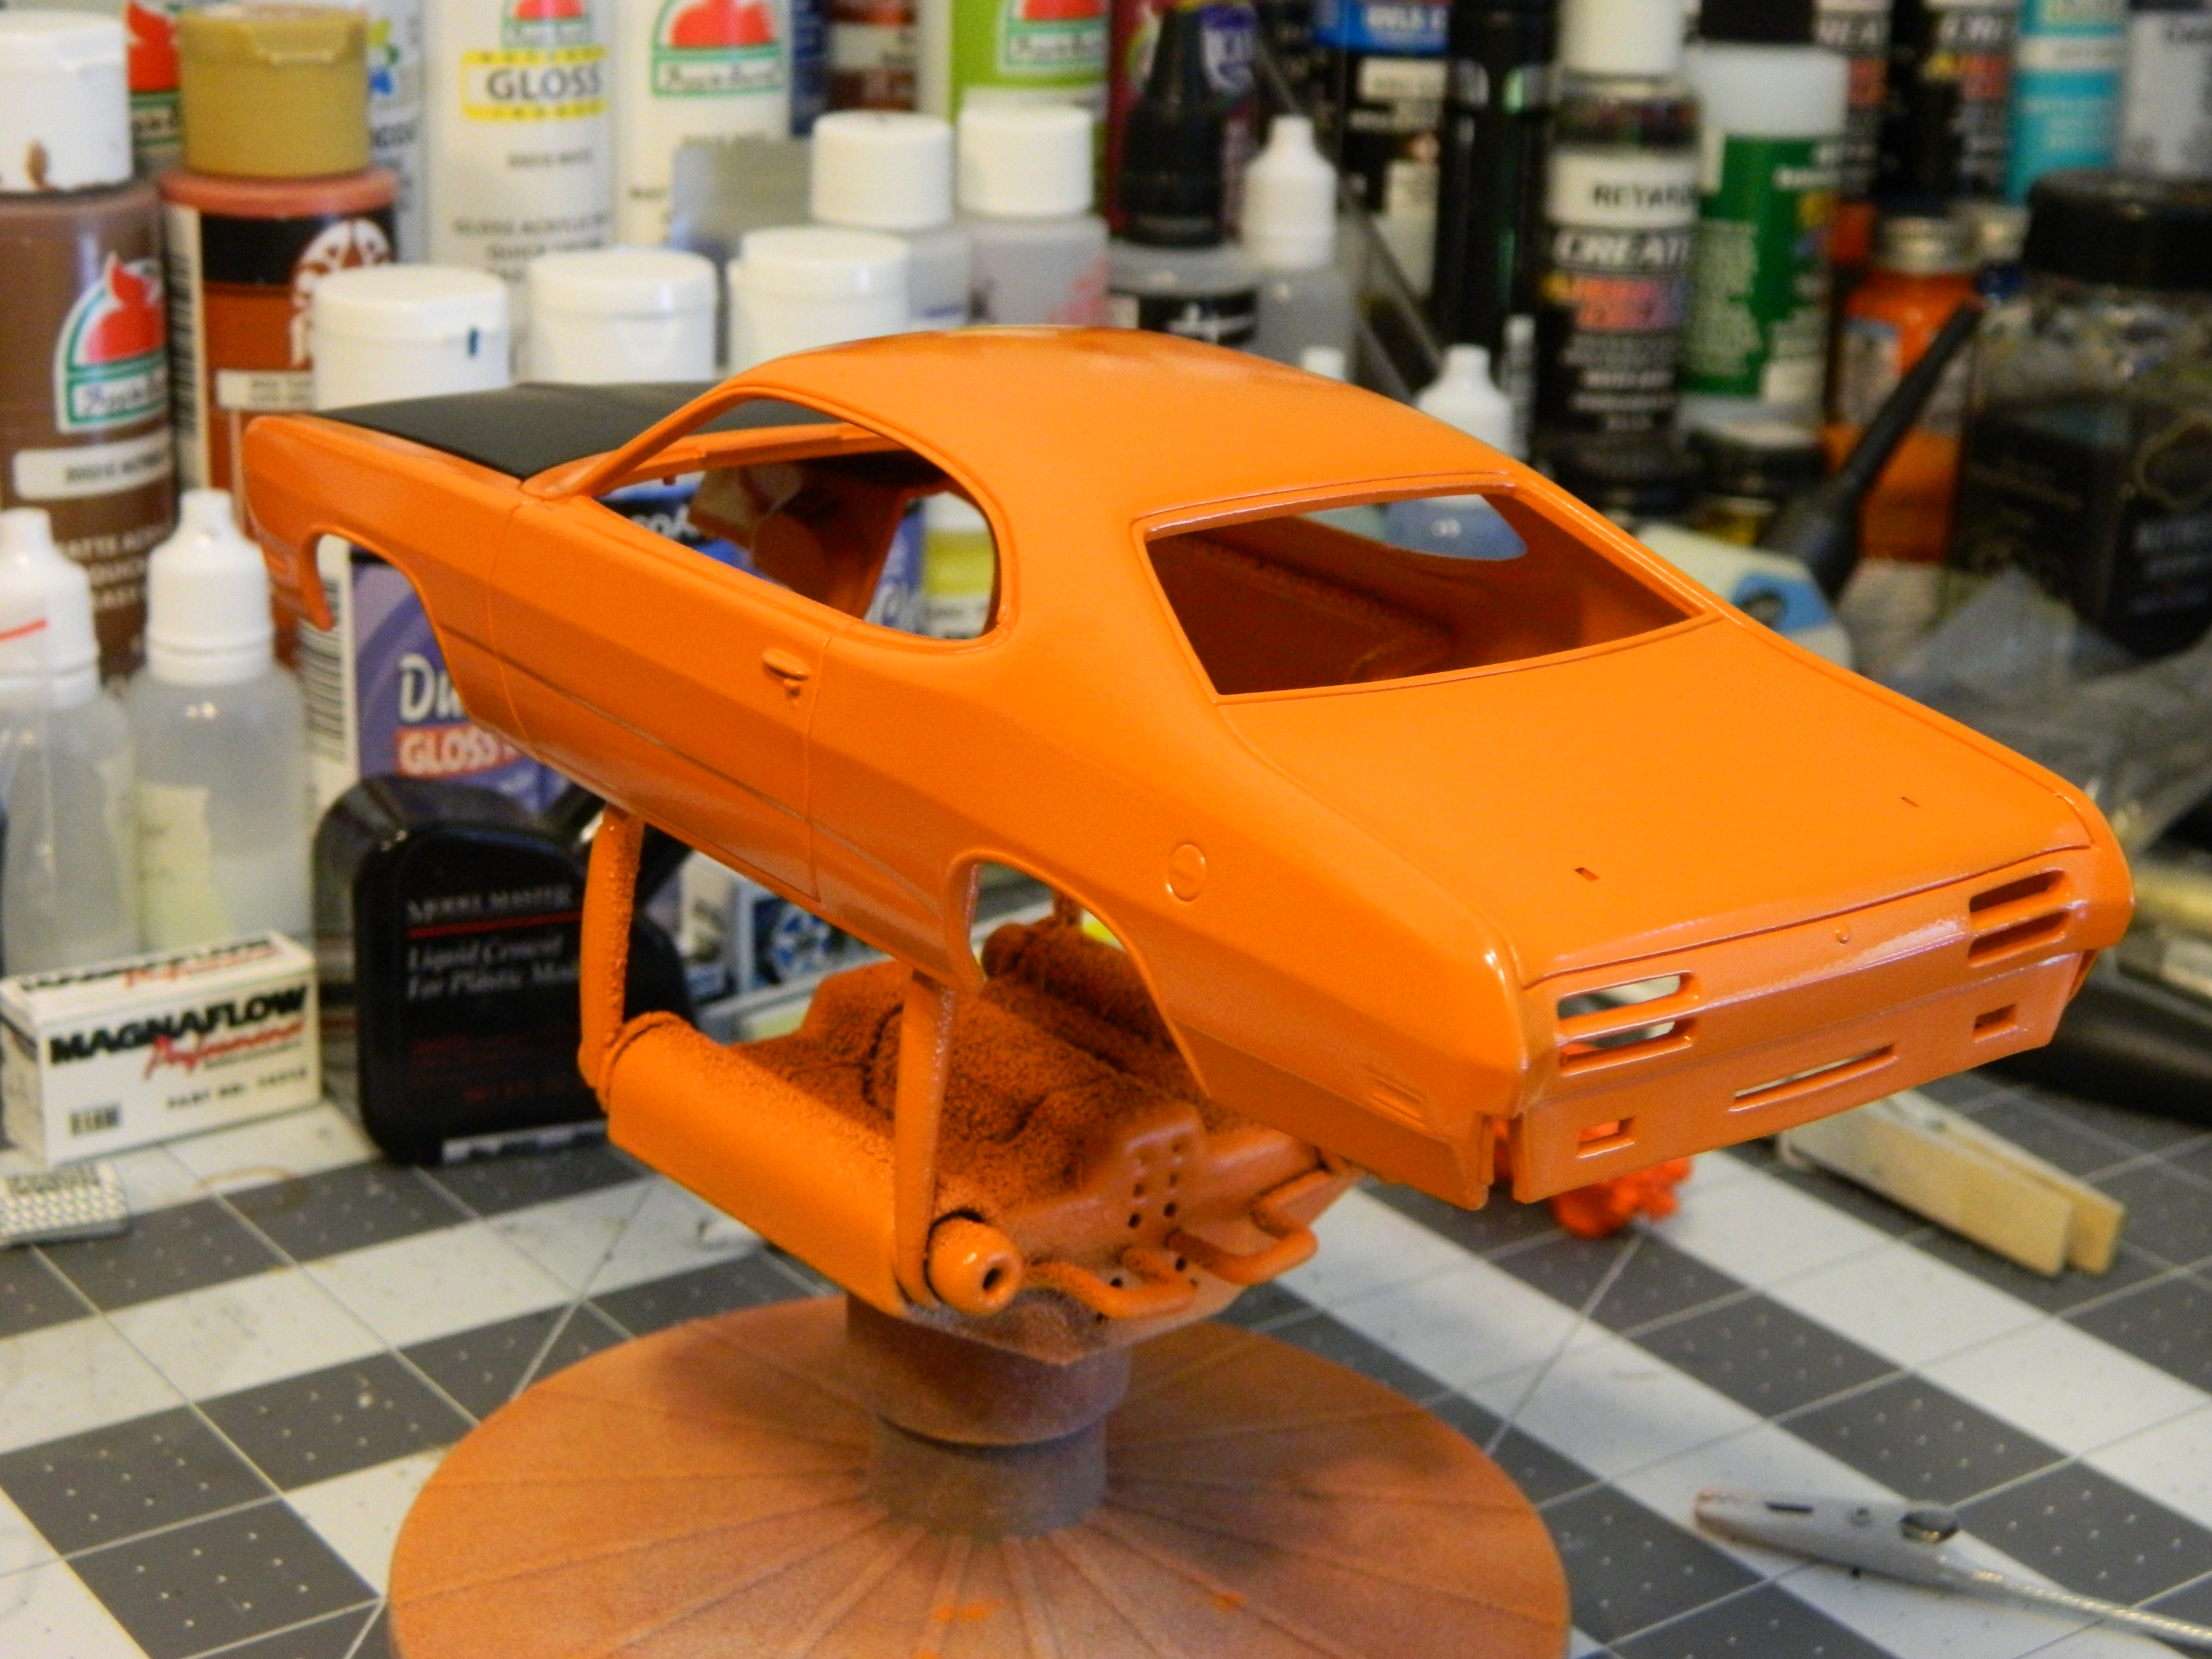
AMT 1971 Plymouth Duster 340. Go Mango Orange.
Dragonhawk1066 replied to Dragonhawk1066's topic in WIP: Model Cars
Thanks for the heads-up, I'll keep an eye on those areas. -
Very well done!
-
Nice job Ray! That's a great color! How is the Duplicolor 1K clear to work with? It looks good, did you wet-sand and/or polish it at all?
-
AMT 1971 Plymouth Duster 340. Go Mango Orange.
Dragonhawk1066 replied to Dragonhawk1066's topic in WIP: Model Cars
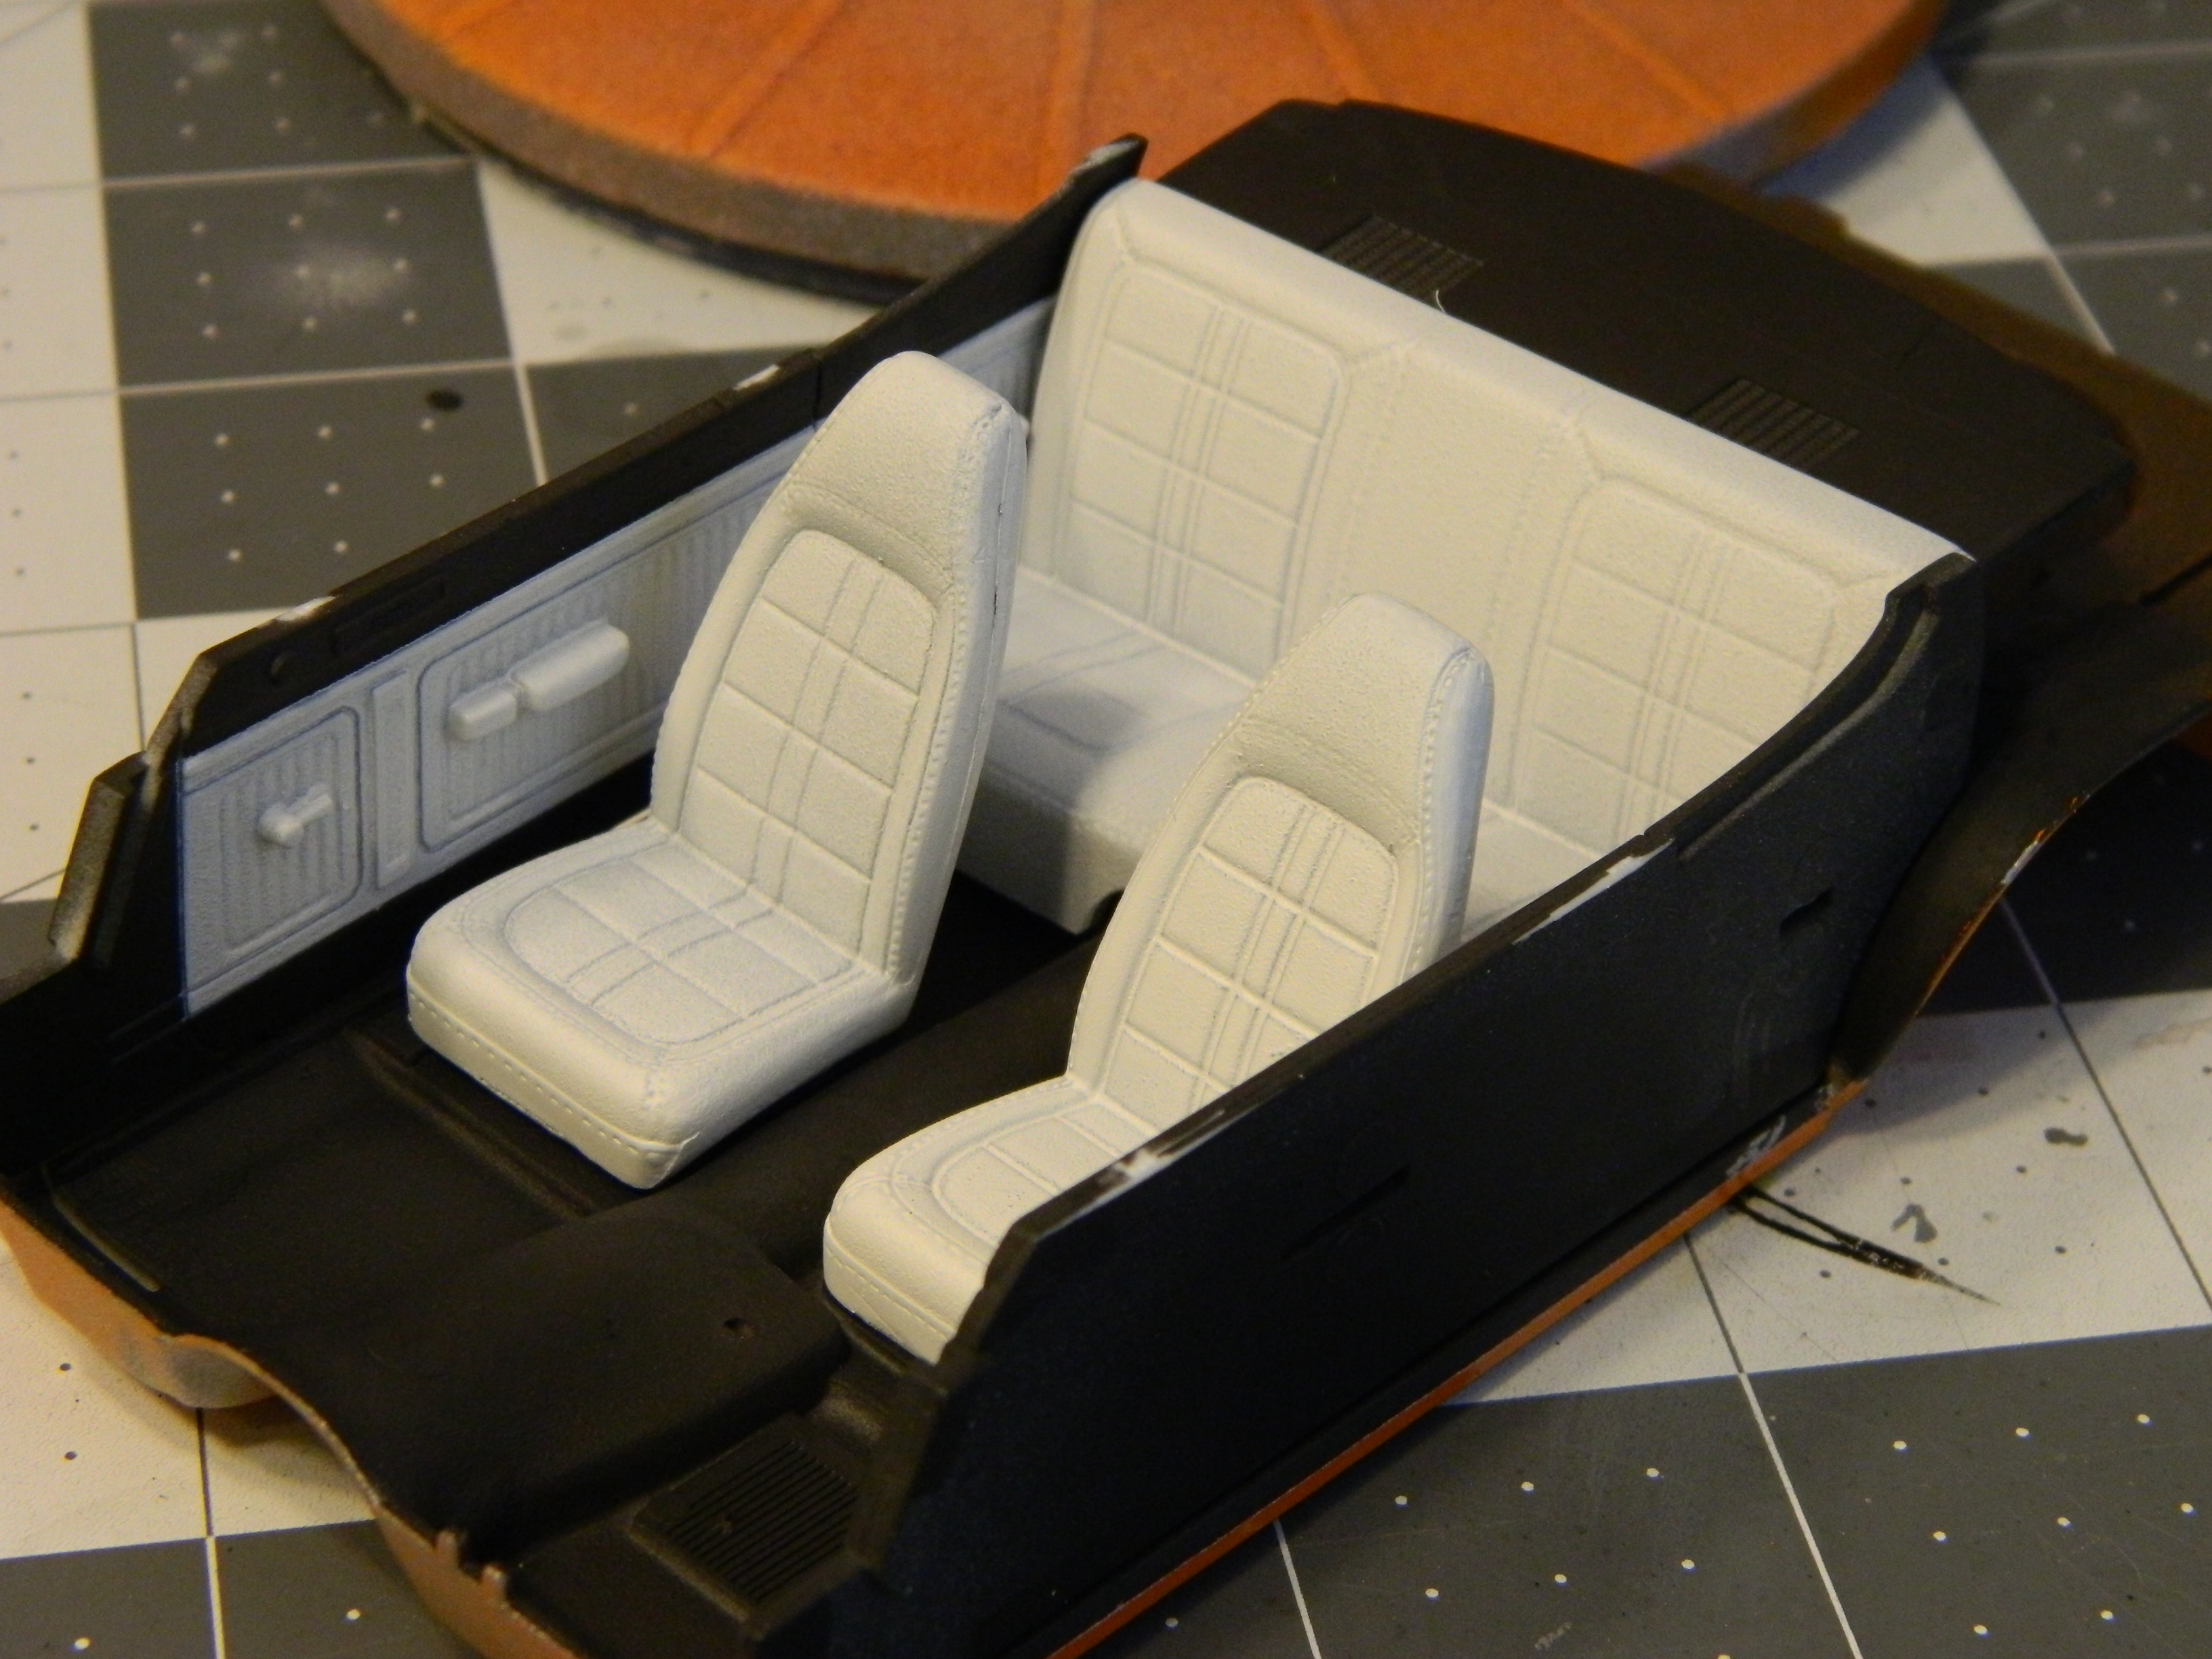
Thanks guys, this is what I'm going for, except with a white & black interior and I'll keep the hood flat with the 340 Wedge decal. I agree Ray, it's been a nice kit so far, although I haven't really assembled anything yet, LOL. -
I just bought a can of the Krylon Short Cuts Clear last time I was there. Eventually I'll get around to testing it over various other paints to see how it interacts with them, what the coverage looks like, and how glossy it is before and after wet sanding/polishing. At $3.99, if it does well enough it might be a go to over the $6 and up Tamiya and Testors clears.
-
Motor trend super models
Dragonhawk1066 replied to R. Thorne's topic in General Automotive Talk (Trucks and Cars)
Unfortunately there will always be stupid people doing stupid things with rare and/or valuable objects. Worse is rich stupid people doing stupid things with extremely rare and/or valuable items. I won't post a link, but as an example a youtuber buying a brand new Challenger Hellcat and putting wooden wagon wheels on it and driving it around town....WHY!!!! Just to get some likes and subs on his channel to make more money and do stupider things with even more rare and/or valuable things. Stupid is as stupid does, always, unfortunately! -
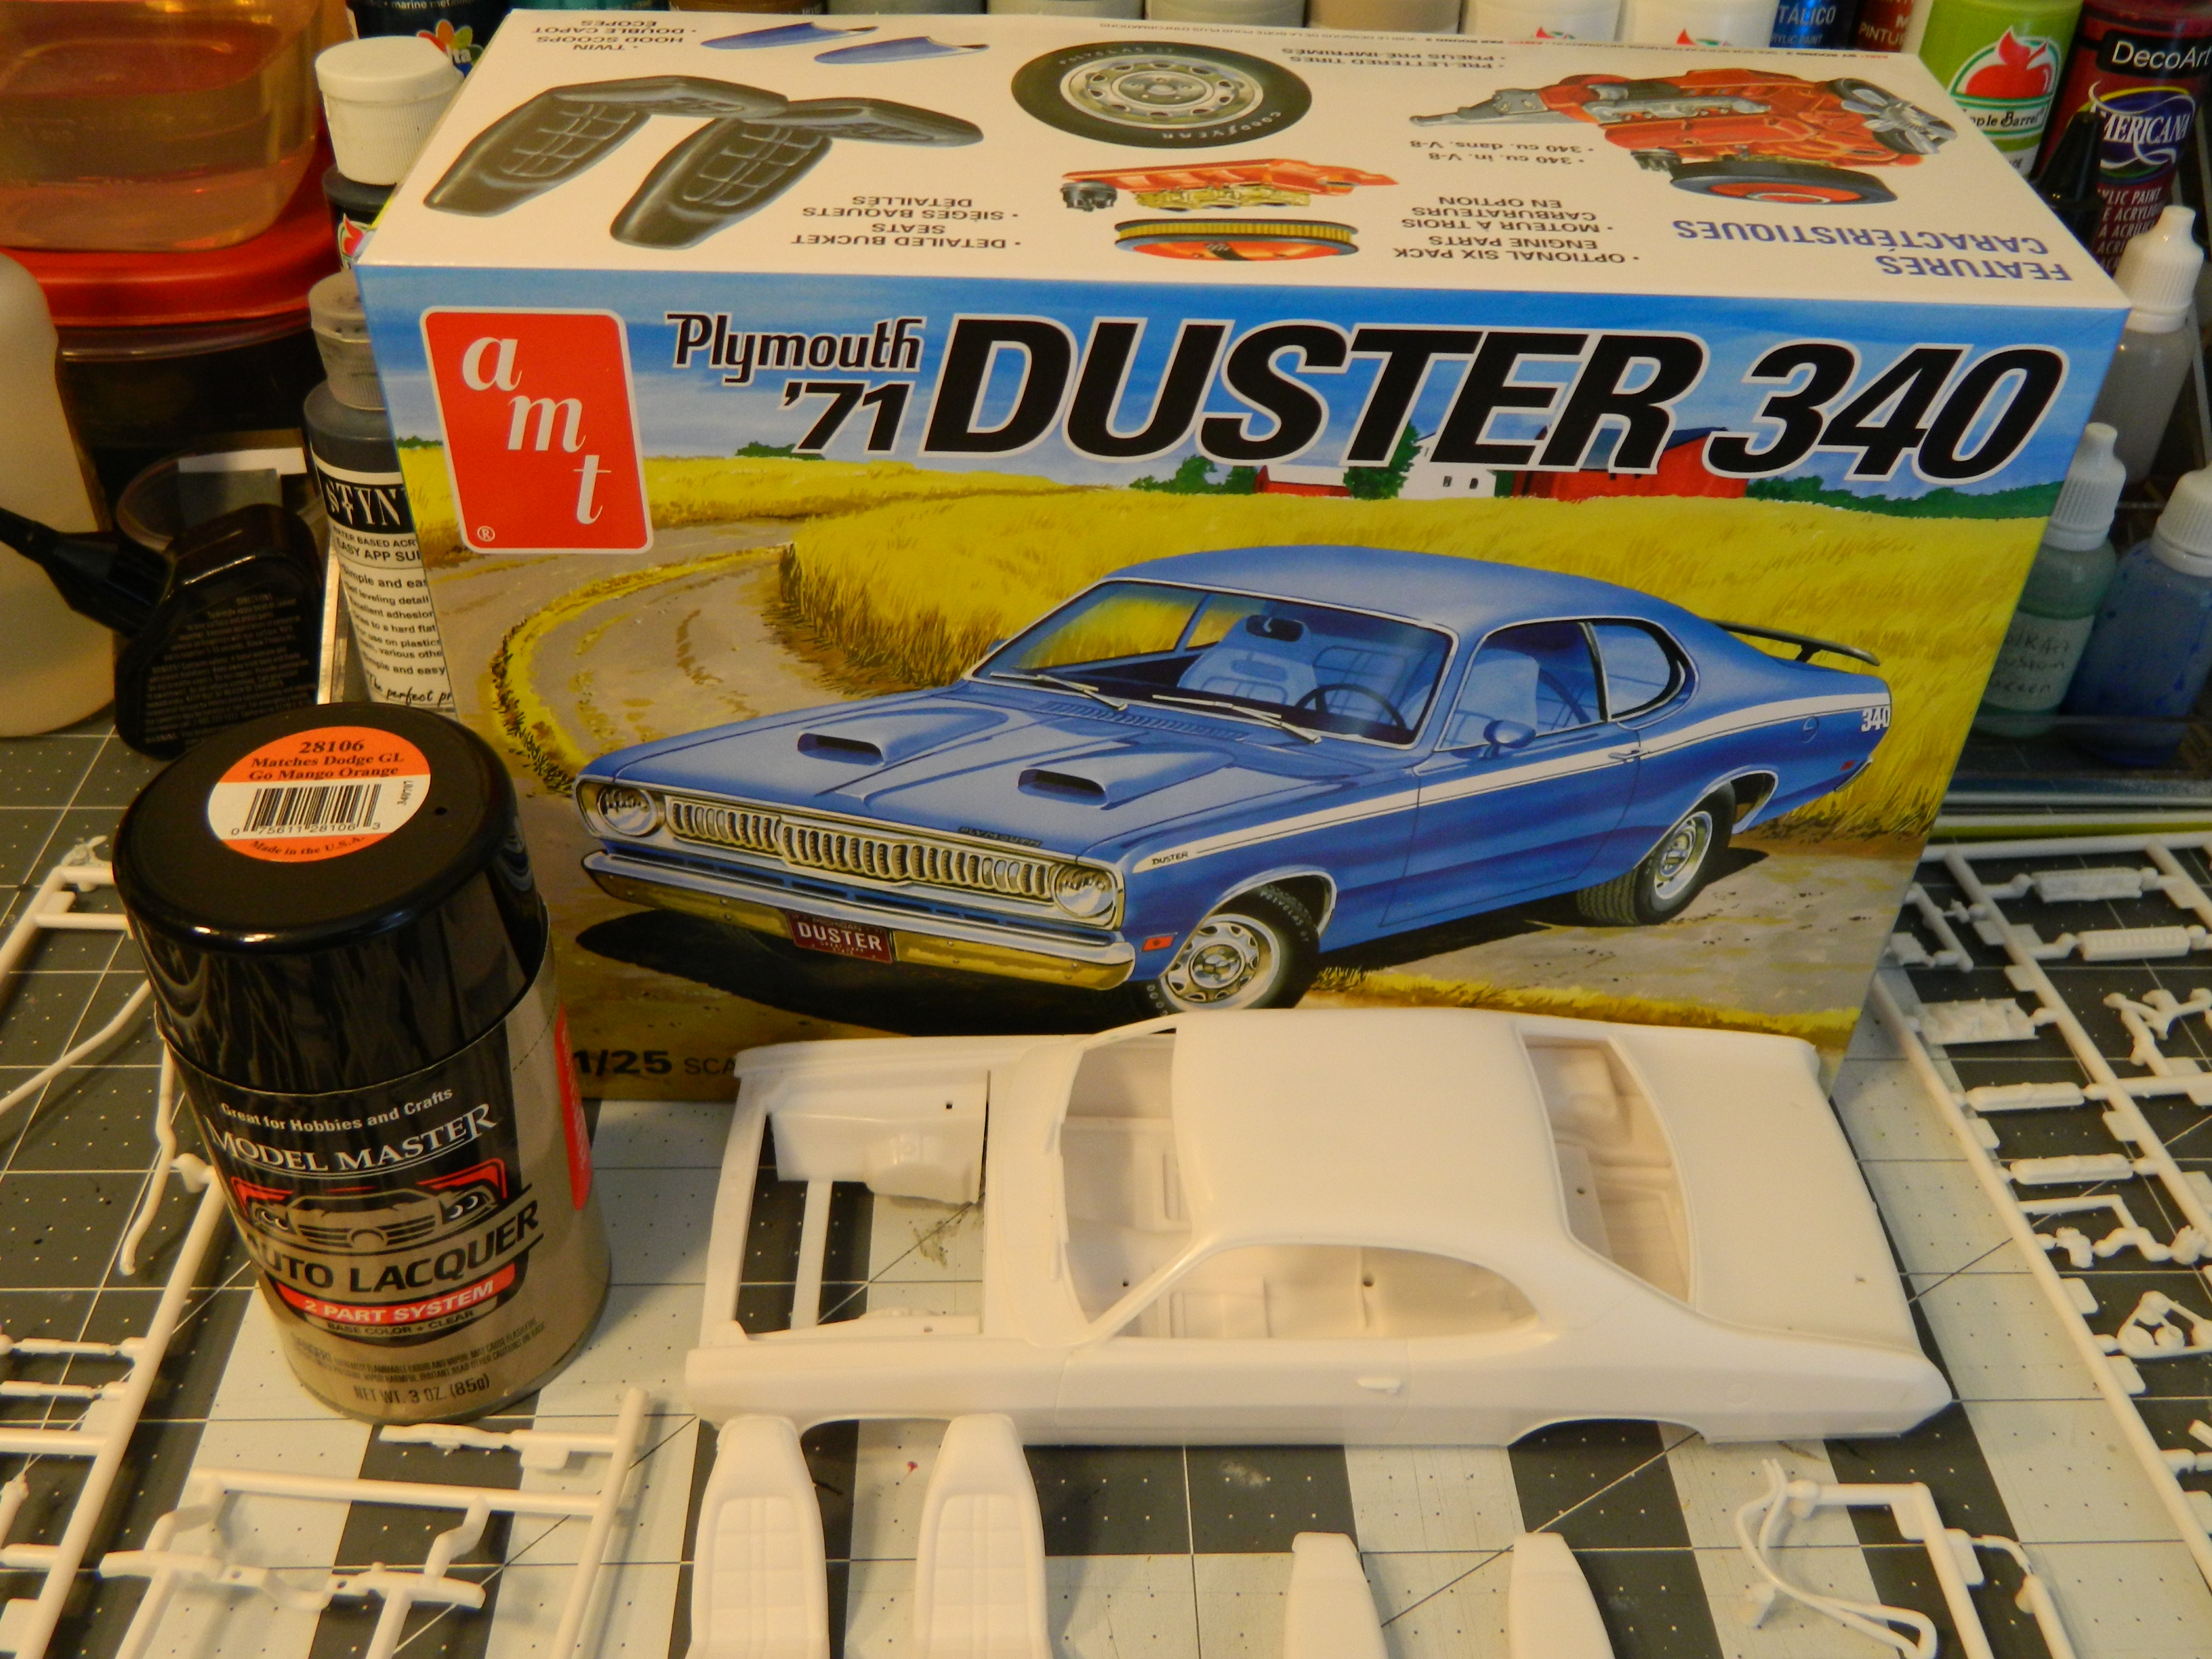
Here's a quick little update on this one I started last week. I primed the body, firewall, and engine in white, and the rest of the parts in black. I taped off the interior panels yesterday and painted them and the seats in white primer over the black this morning. I airbrushed the exhaust and floor pan in Vallejo Aluminum, and the steering linkage and exhaust manifolds in steel earlier today, as well as the engine in Testors Orange Acrylic. I decided to go ahead and paint the body before lunch too, and it turned out pretty good. I will color sand the orange on this one before taping off the rest of the body so I can paint the top of the fenders, door panels and around the windows black. I sprayed some dull-cote onto the wheels Friday too, but I didn't like how they looked, so I put them into a container of LA's Totally Awesome overnight. When weather permits again (rain tomorrow looks like) I'll get the wheels primed and painted in Vallejo Aluminum.

-
Stretched SSR
Dragonhawk1066 replied to Modlbldr's topic in WIP: Model Trucks: Pickups, Vans, SUVs, Light Commercial
Looking pretty slick so far! -
WOW! What a great start to this one! One of these days I have to try to do a weathered build too, but I'm just so nervous to start one. I have a couple of extra bodies that I might practice on real soon. Your techniques look very solid and doable for me, so I'll probably try to follow them as close as possible. Thanks for the guide!
-
You're blowing my mind on this one, Steven! These details are crazy, especially the wiring harness. I'm half expecting some shrunken down 3" guy to get in, start it up and drive it away when you're done!
-
He did good! I was building paint glopped glue bombs at that age, LOL!!!
-
Thanks Chris. Thanks Rusty! I wasn't 100% sure where the tank started and the floor pan ended, I couldn't really tell on any of the reference pics I could find on Google.
-
Very cool and very imaginative! Well done!
-
Cool little roadster! Well done!
-
I'm liking that color! This is quite the popular kit to build at the moment. I started mine a few days ago and there's another one going on in this WIP section of the forum.
-
Looking good! I like the color! I just started mine a few days ago by trimming the flash and mold lines and deepening the panel lines followed by a Dawn dishwater bath. I'm just waiting for the humidity here in Michigan to drop under 60% so I can prime it, lol. Mine will be Go Mango Orange with a white and black interior. Funny that while prepping the parts, I noticed I was missing one of the spoiler pedestals, part #71. I'm waiting to hear from Round 2 about my missing part request.
-
Definitely a possibility as well.
-
Thanks guys!! This one went immediately into one of my top 5 faves. The end result looks pretty much like how I envisioned, which is usually not the case for me, lol. Thank you Tom! My mindset is that the clear seals in the foil so it can be handled without freaking out about it "sliding around" on the surface, not that I overly handle or play with them, but I do pick them up by the roof edges often. I have noticed that clearing over the BMF does dull it just a little bit. Not too noticeable, but not quite as shiny so there is that pro and con for the individual to weigh.
-
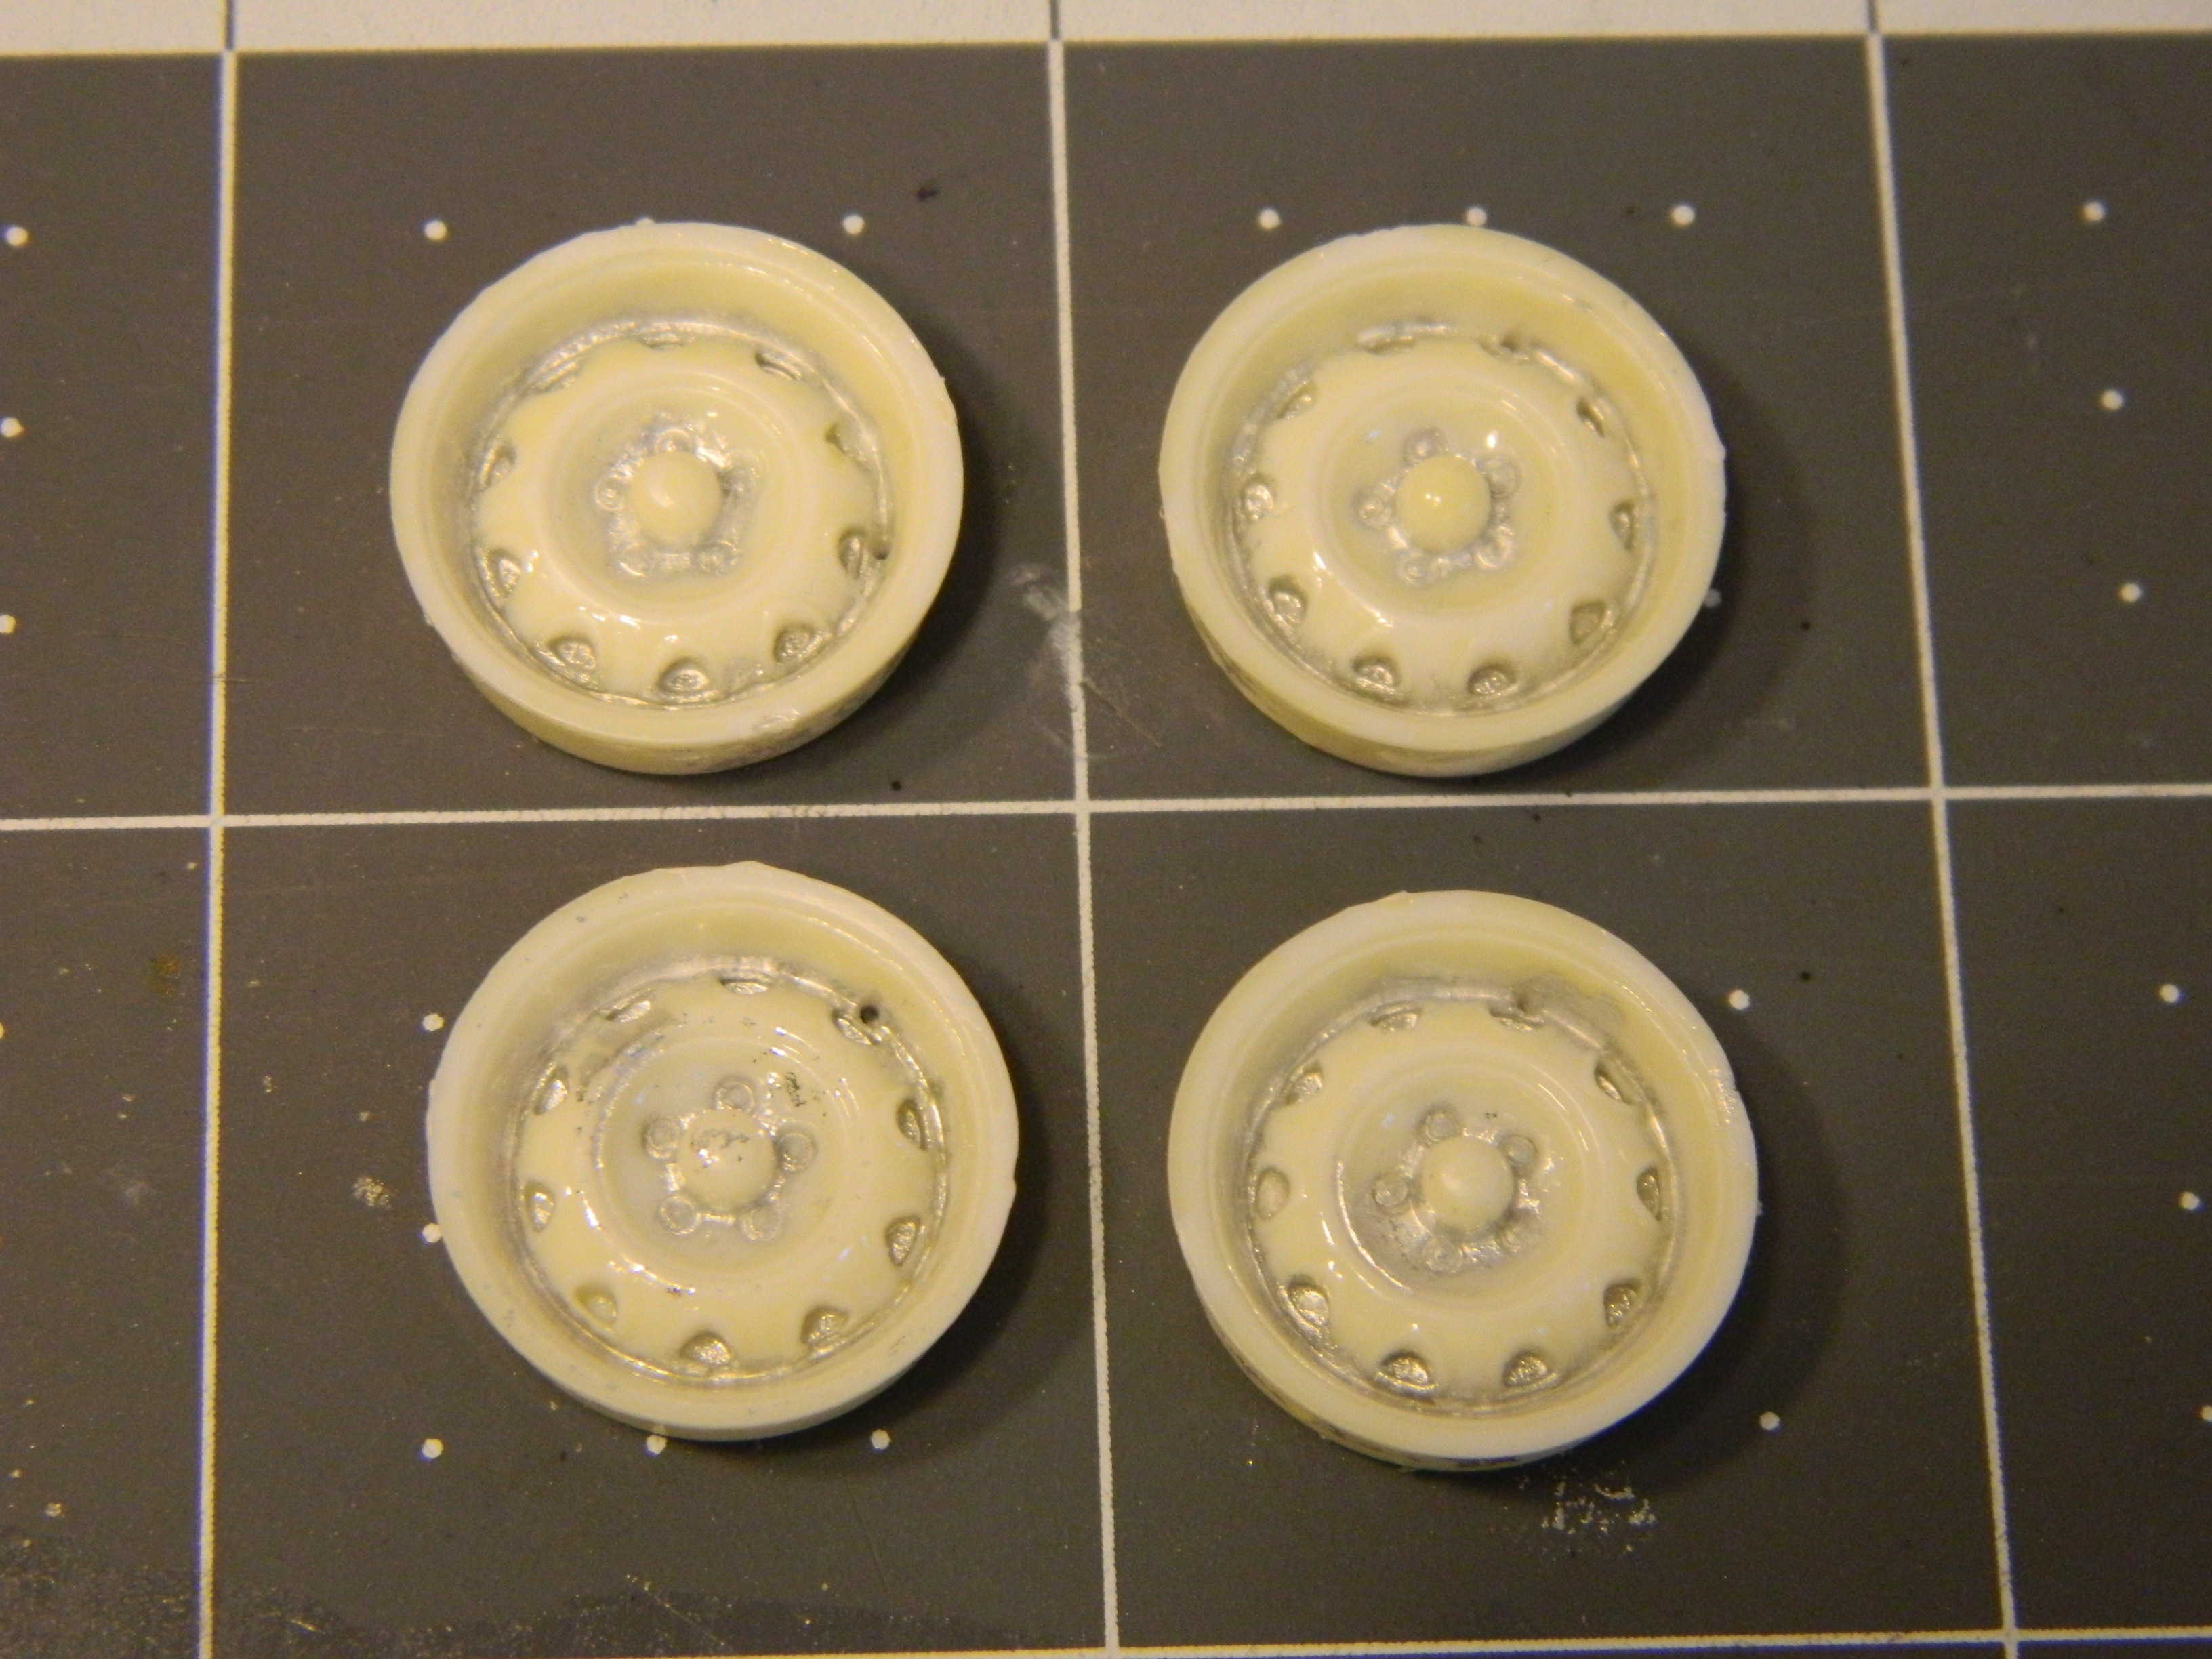
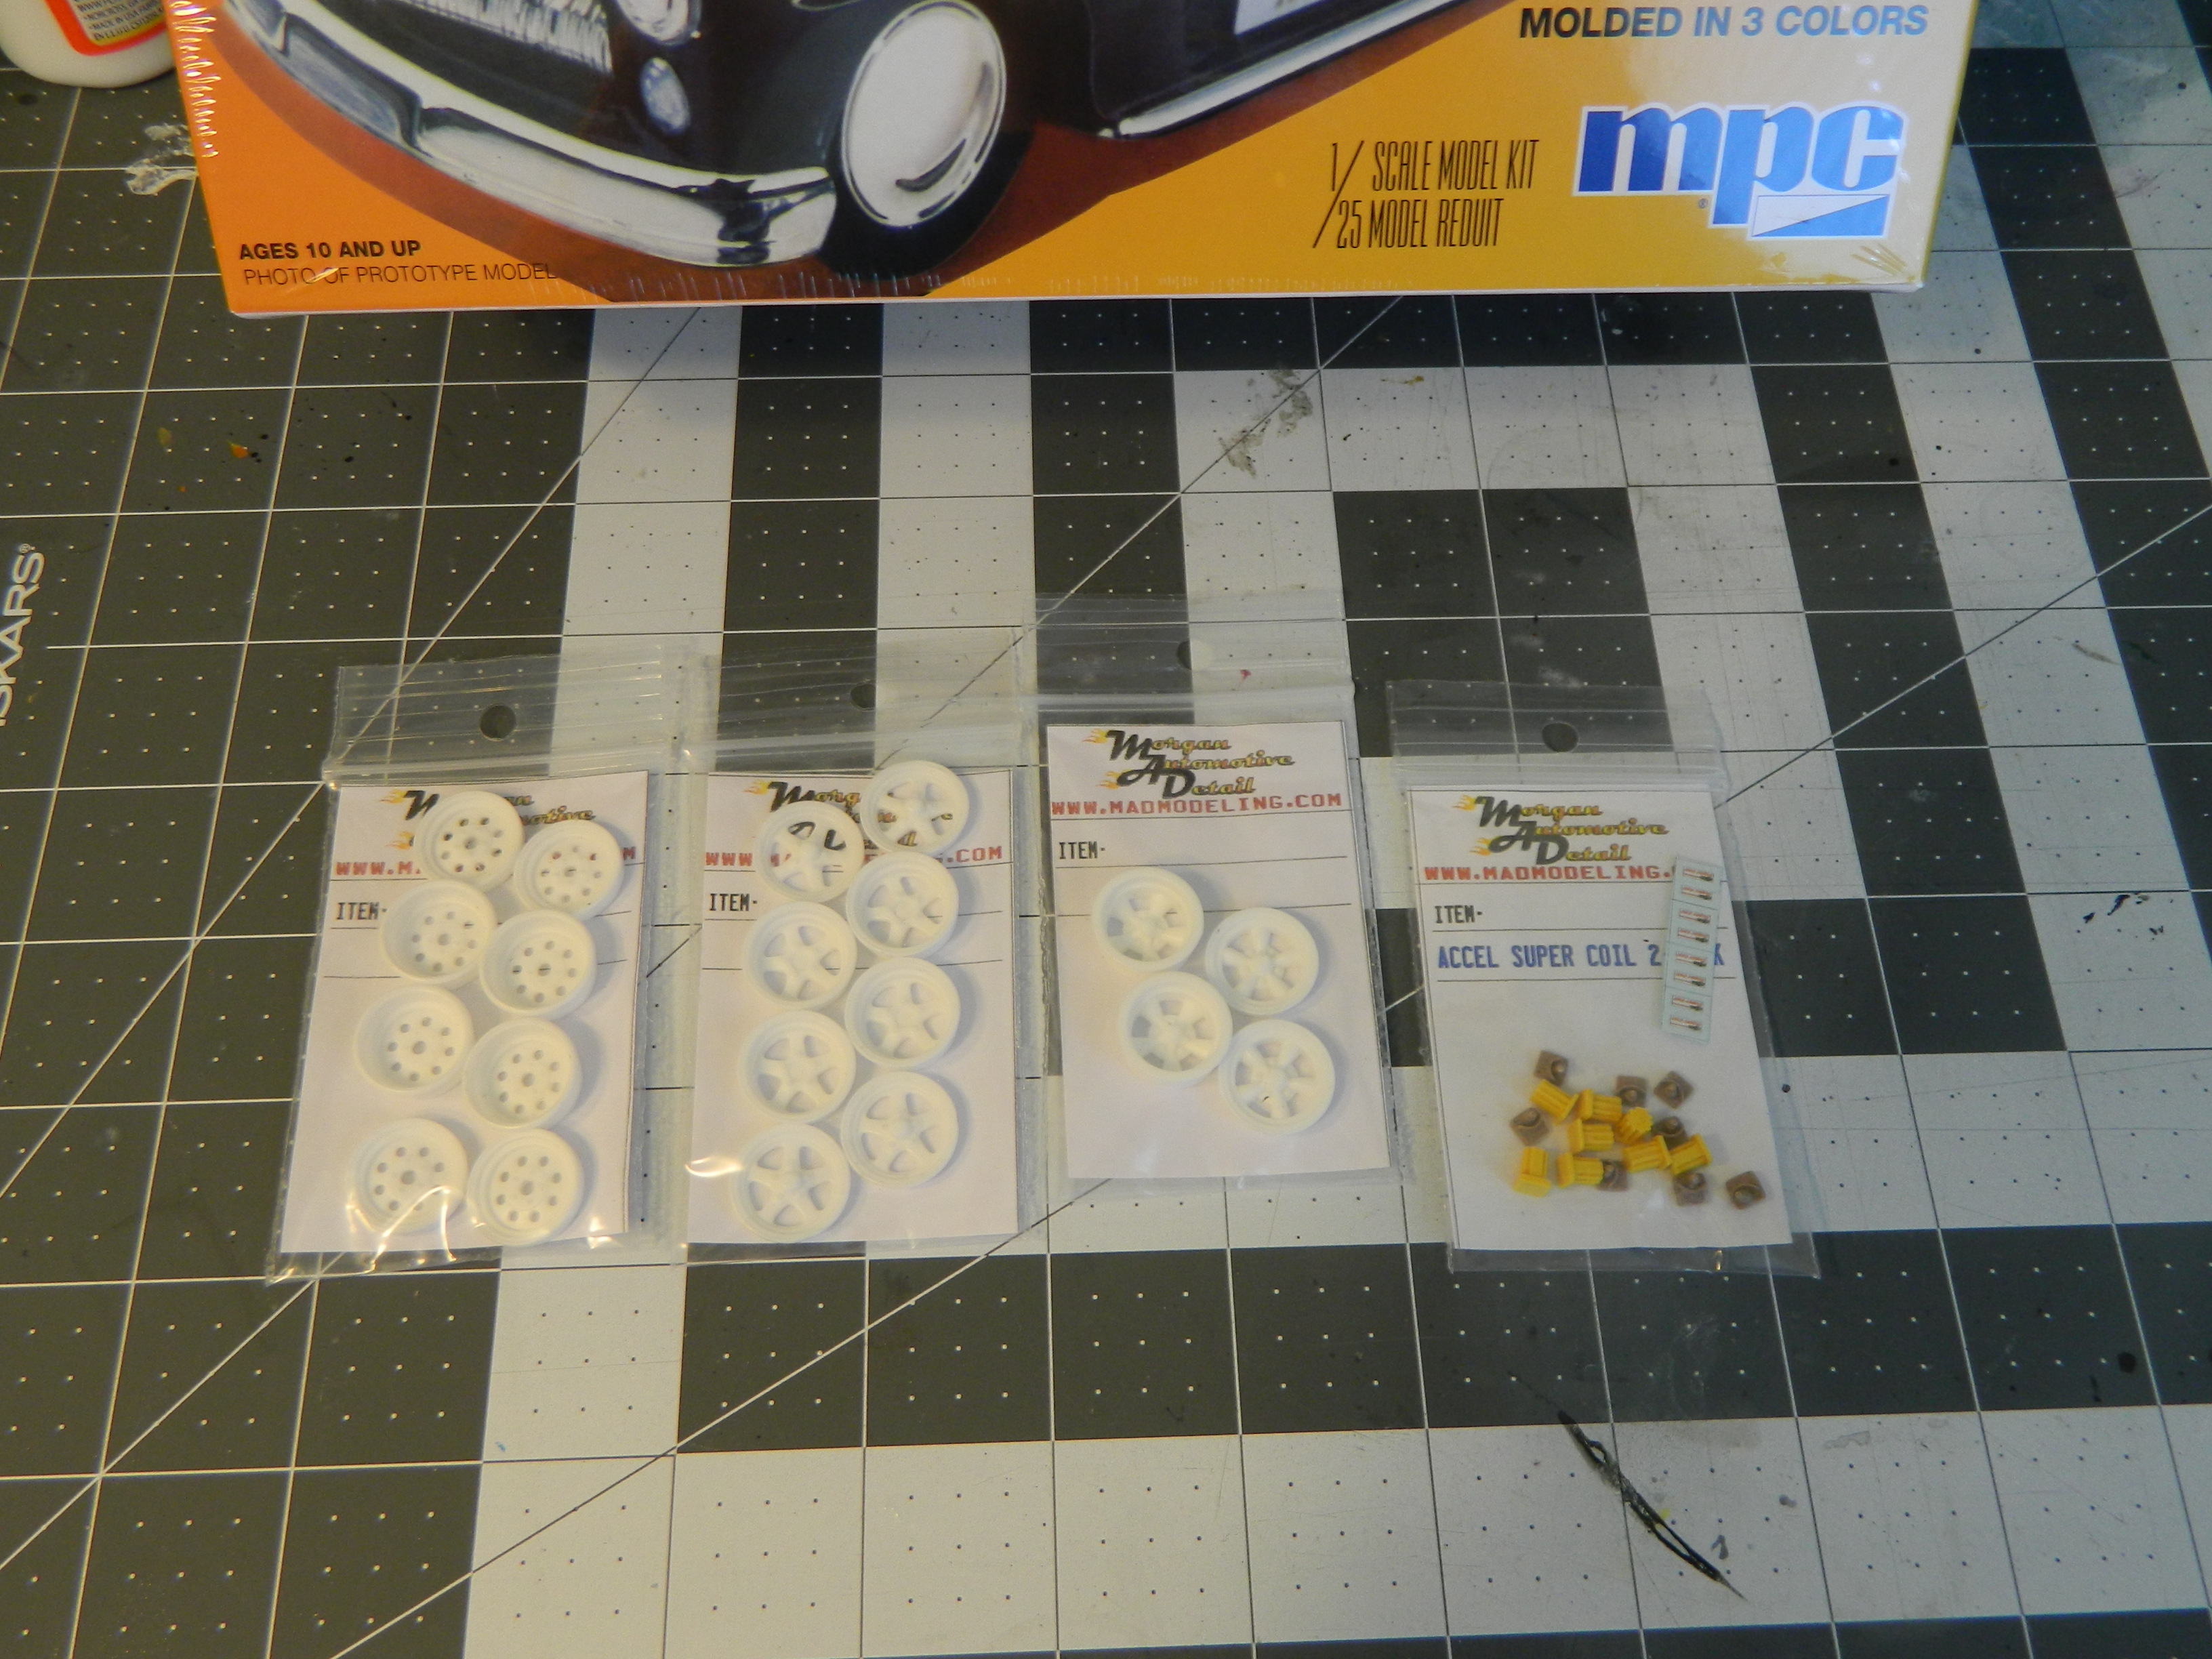
My one measly kit that I managed at Ollie's this morning about 2 minutes after the hoarder trio filled up their 3 carts full of kits. I passed on it last time before I realized Stallone's "Cobra" movie car could be made from it for the most part. I also got my MAD order in from Kris Morgan. 2 sets each of regular and deep Cragar Draglites and Weld Pro Star's, a set of big 'n little Torque Thrusts and 4 pair of Accel Supercoils. Outstanding quality castings on everything, I'm very happy with these parts! I also picked up a nice little Mopar collage at Hobby Lobby in their clearance aisle last week for $3.49.
-
Thanks Tom, I appreciate it. I filled out a request without submitting a pic of the receipt, so I'll wait and see what happens. If they want to charge S/H, I may just take you up on your offer. The S/H charge according to their chart would be $5.95 for a tiny part. For that amount, I'll just fill in the holes and build it without a spoiler. I did have to submit a pic of the UPC, which was no problem.
-
Ollie's strike again
Dragonhawk1066 replied to GLMFAA1's topic in General Automotive Talk (Trucks and Cars)
They must have a pretty successful ebay storefront to be able to drop, let's say, $1000 in one hit just to make $1000 over a period of at least 6-12 months. I'm sure they buy lots of other highly reduced items to re-sell at twice the amount. Like I said, they were loading the kits into a pair of brand new shiny white Chevrolet 4 door Pickup's, so obviously money isn't that much of an issue to them. -
Ollie's strike again
Dragonhawk1066 replied to GLMFAA1's topic in General Automotive Talk (Trucks and Cars)
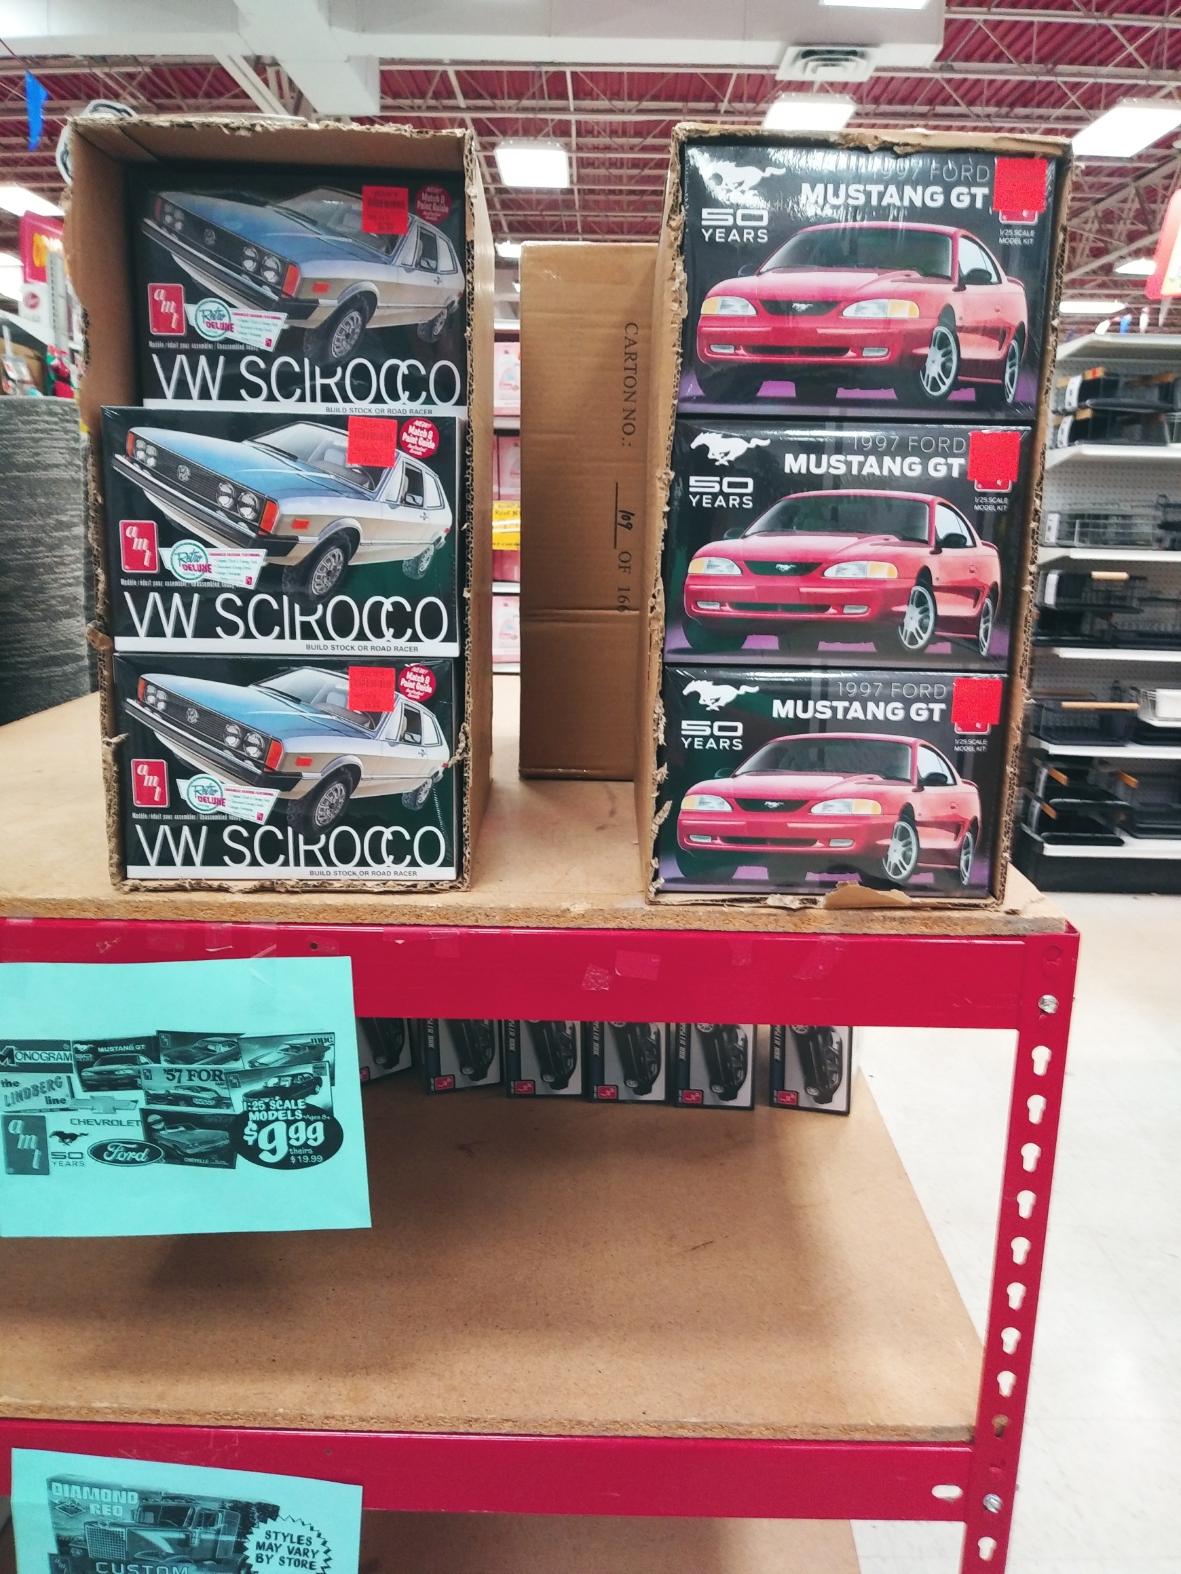
I went to the Ollie's in Flint, Mi. this morning. I got there at 9:06 AM (They open at 9 AM) and found 5 kits on their large display cubicle. The 2006 Camaro Concept, 2005 Chrysler 300, VW Scirocco, 97 Mustang GT, and the MPC snap '49 Merc Police Car. I grabbed one of the Police Cars to do the Stallone "Cobra" Merc. After walking around for a few minutes, and coming across a couple more gents looking for kits also, I headed to the checkout with my one paltry kit. While I was nearing the checkout I see one of the guys I saw by the display with two other women (All of them were about 30 years or younger) checking out with THREE CARTS FULL OF KITS, THE CARS STILL IN CASES, AND A BUNCH OF LOOSE TRUCK KITS. I didn't see everything in their carts, but I do know they had several Diamond REO Trucks, the '69 Chevelle Convertible, '69 GTX, '69 Hurst/Olds, '57 Ford, VW Scirocco, AMC Gremlin. There were a few more that I didn't get a good enough look at to see clearly. My estimate would be that they had close to 100 car kits and at least 20 Truck kits. As I was leaving they were still in the parking lot loading their booty into a pair of brand new Chevy Silverado Pickup's that probably go for 40-50K. I know all about first come first served and capitalism and all that, but sometimes these things just piss a person off. I envy some of you guys that can still get kits from Ollie's and Clearance kits and paints from Hobby Lobby up to a week after the sale starts, because around me, if you don't get there first, you're out of luck. I guarantee this rack was full when those folks started hoarding all of them!!
-
Maybe, but not really worth the hassle. I did get the request to go through without a receipt, so we'll see what happens. At worse, I'll just fill in the holes in the trunk and build it without the spoiler.
-
not sure if this is the right place to post this, but here goes. For those that have requested a missing part from Round 2, but don't still have the receipt, did you have to pay for Shipping and Handling. I'm missing a spoiler pedestal, part #71 from the AMT 1971 Plymouth Duster kit, but since I do not still have the receipt from my last September purchase, the request form states that there will be a S/H charge. Anybody else have this S/H issue? I have had to fill out a request 2 other times in the past, but happened to have the receipt for both purchases so there was no charge.
-
I'm definitely interested in seeing the before and after using these, especially with Future/Pledge.