John Jacobs
-
Posts
58 -
Joined
-
Last visited
Content Type
Profiles
Forums
Events
Gallery
Everything posted by John Jacobs
-
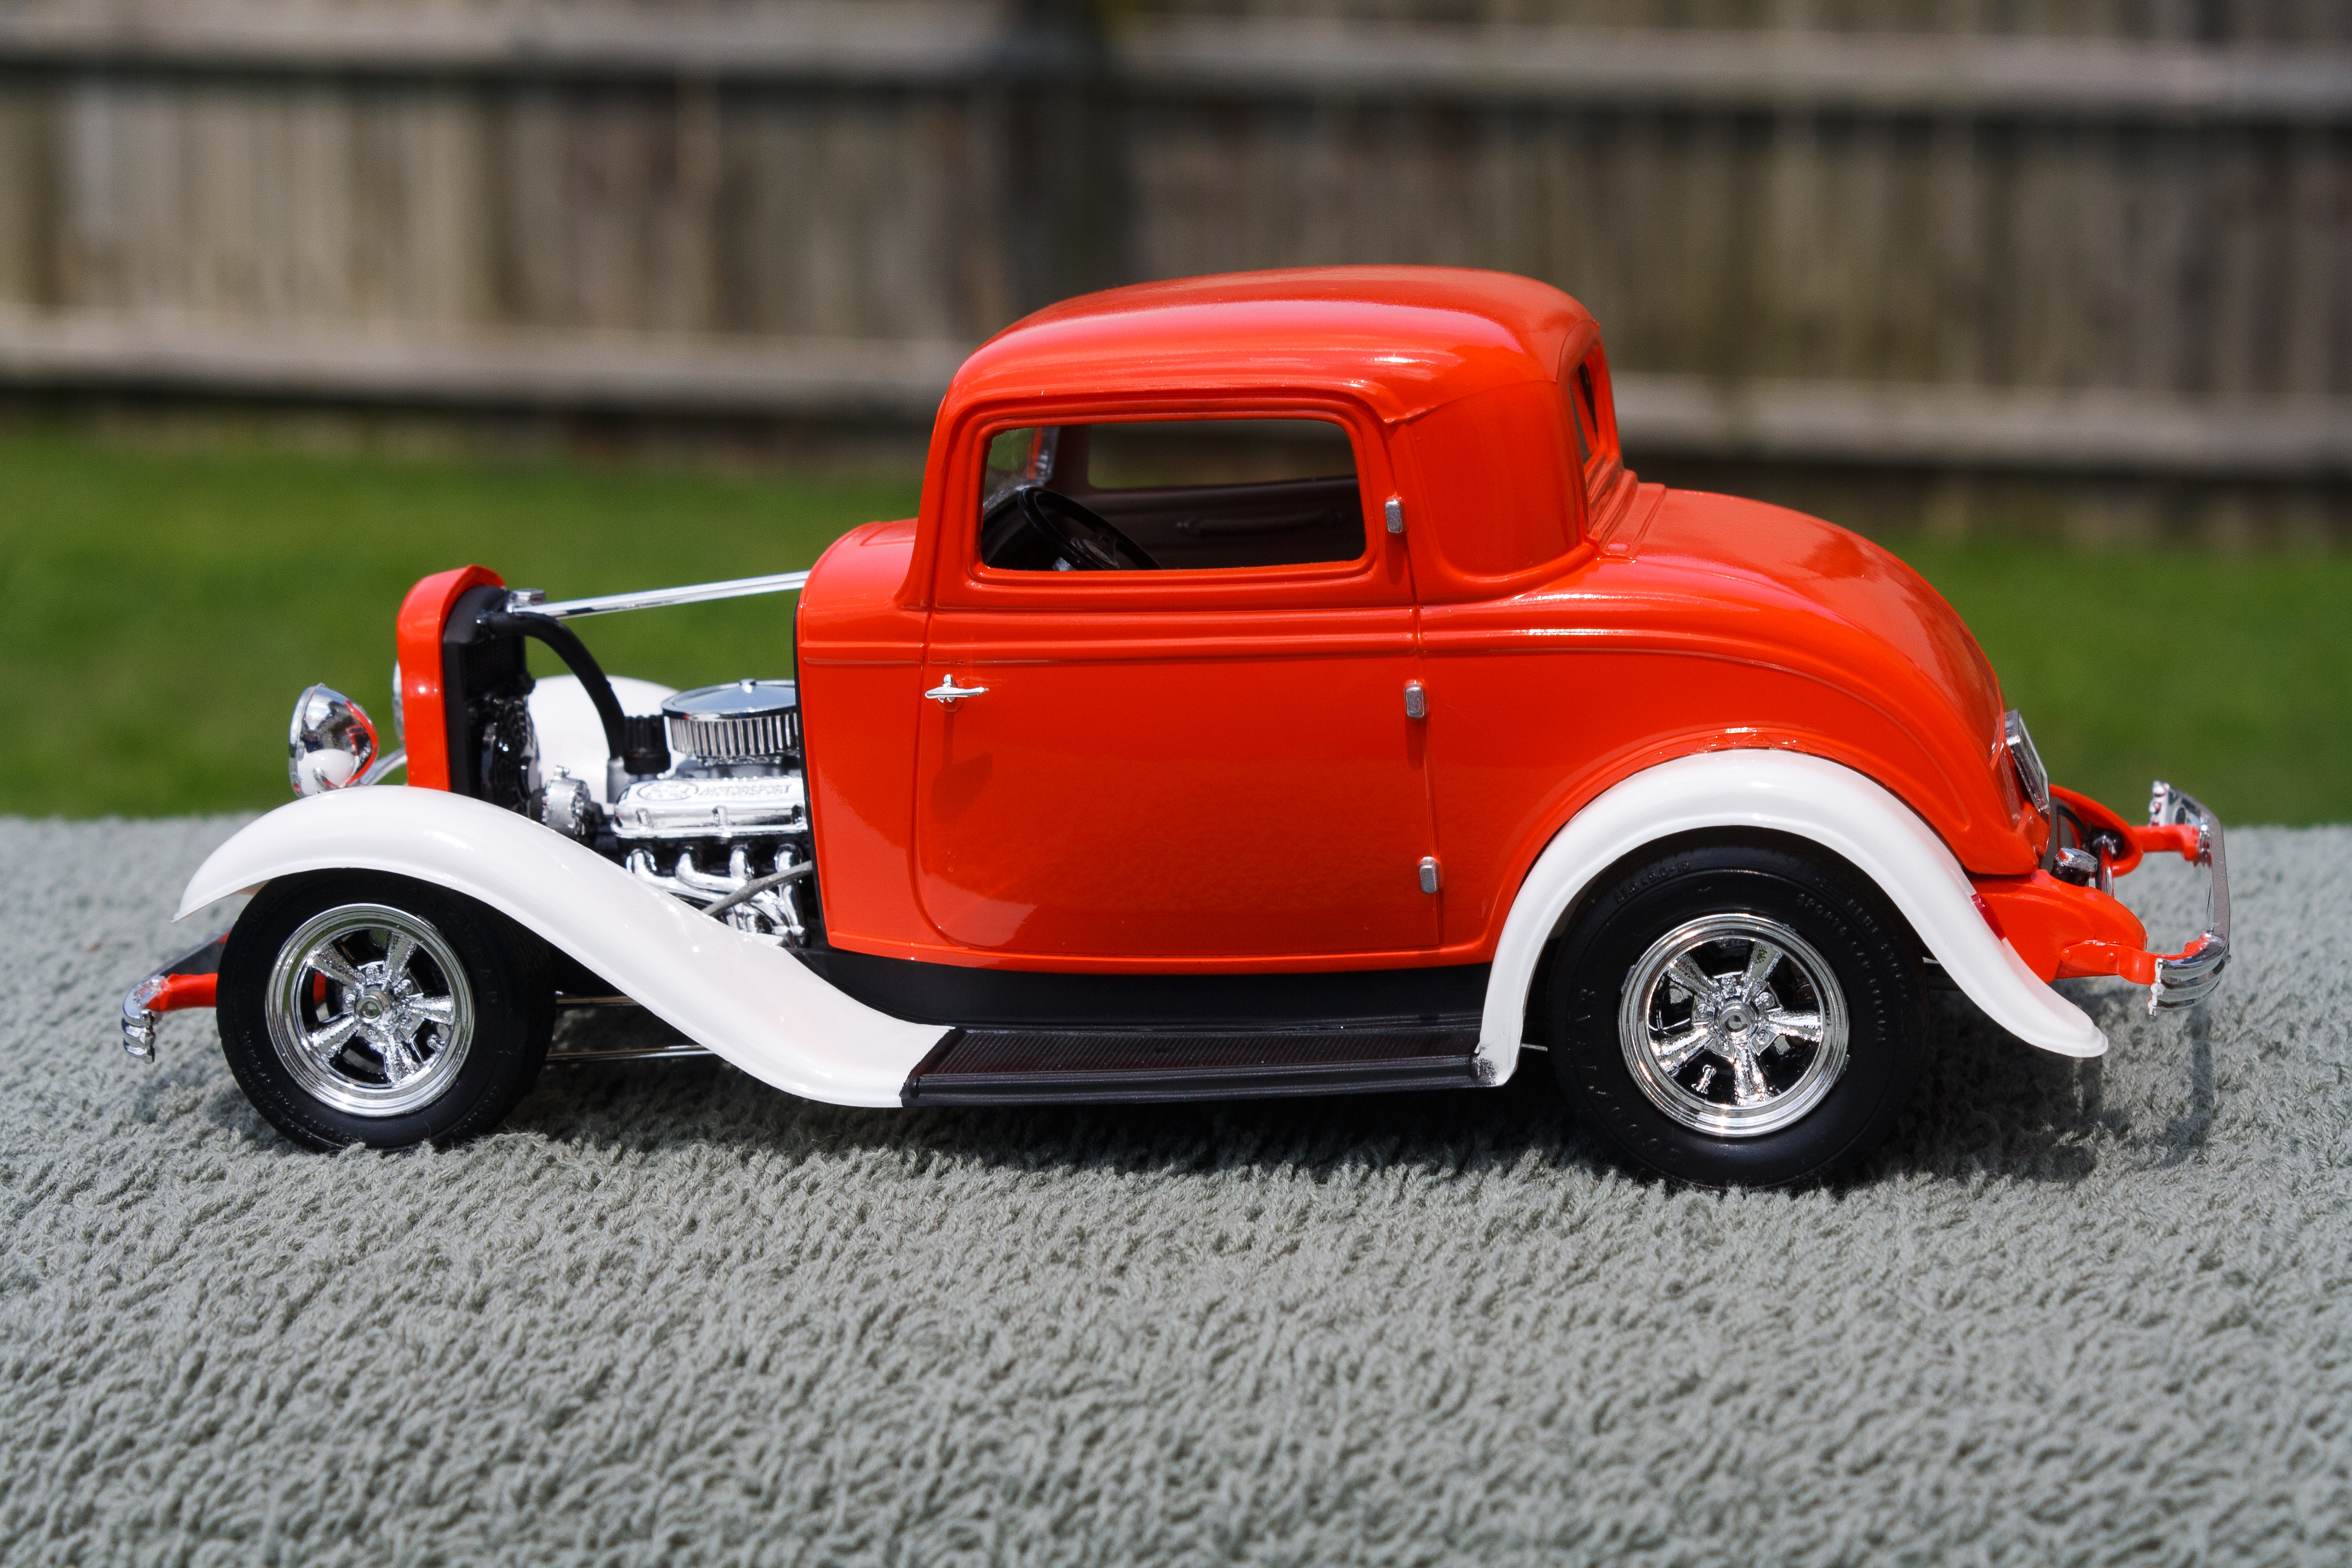
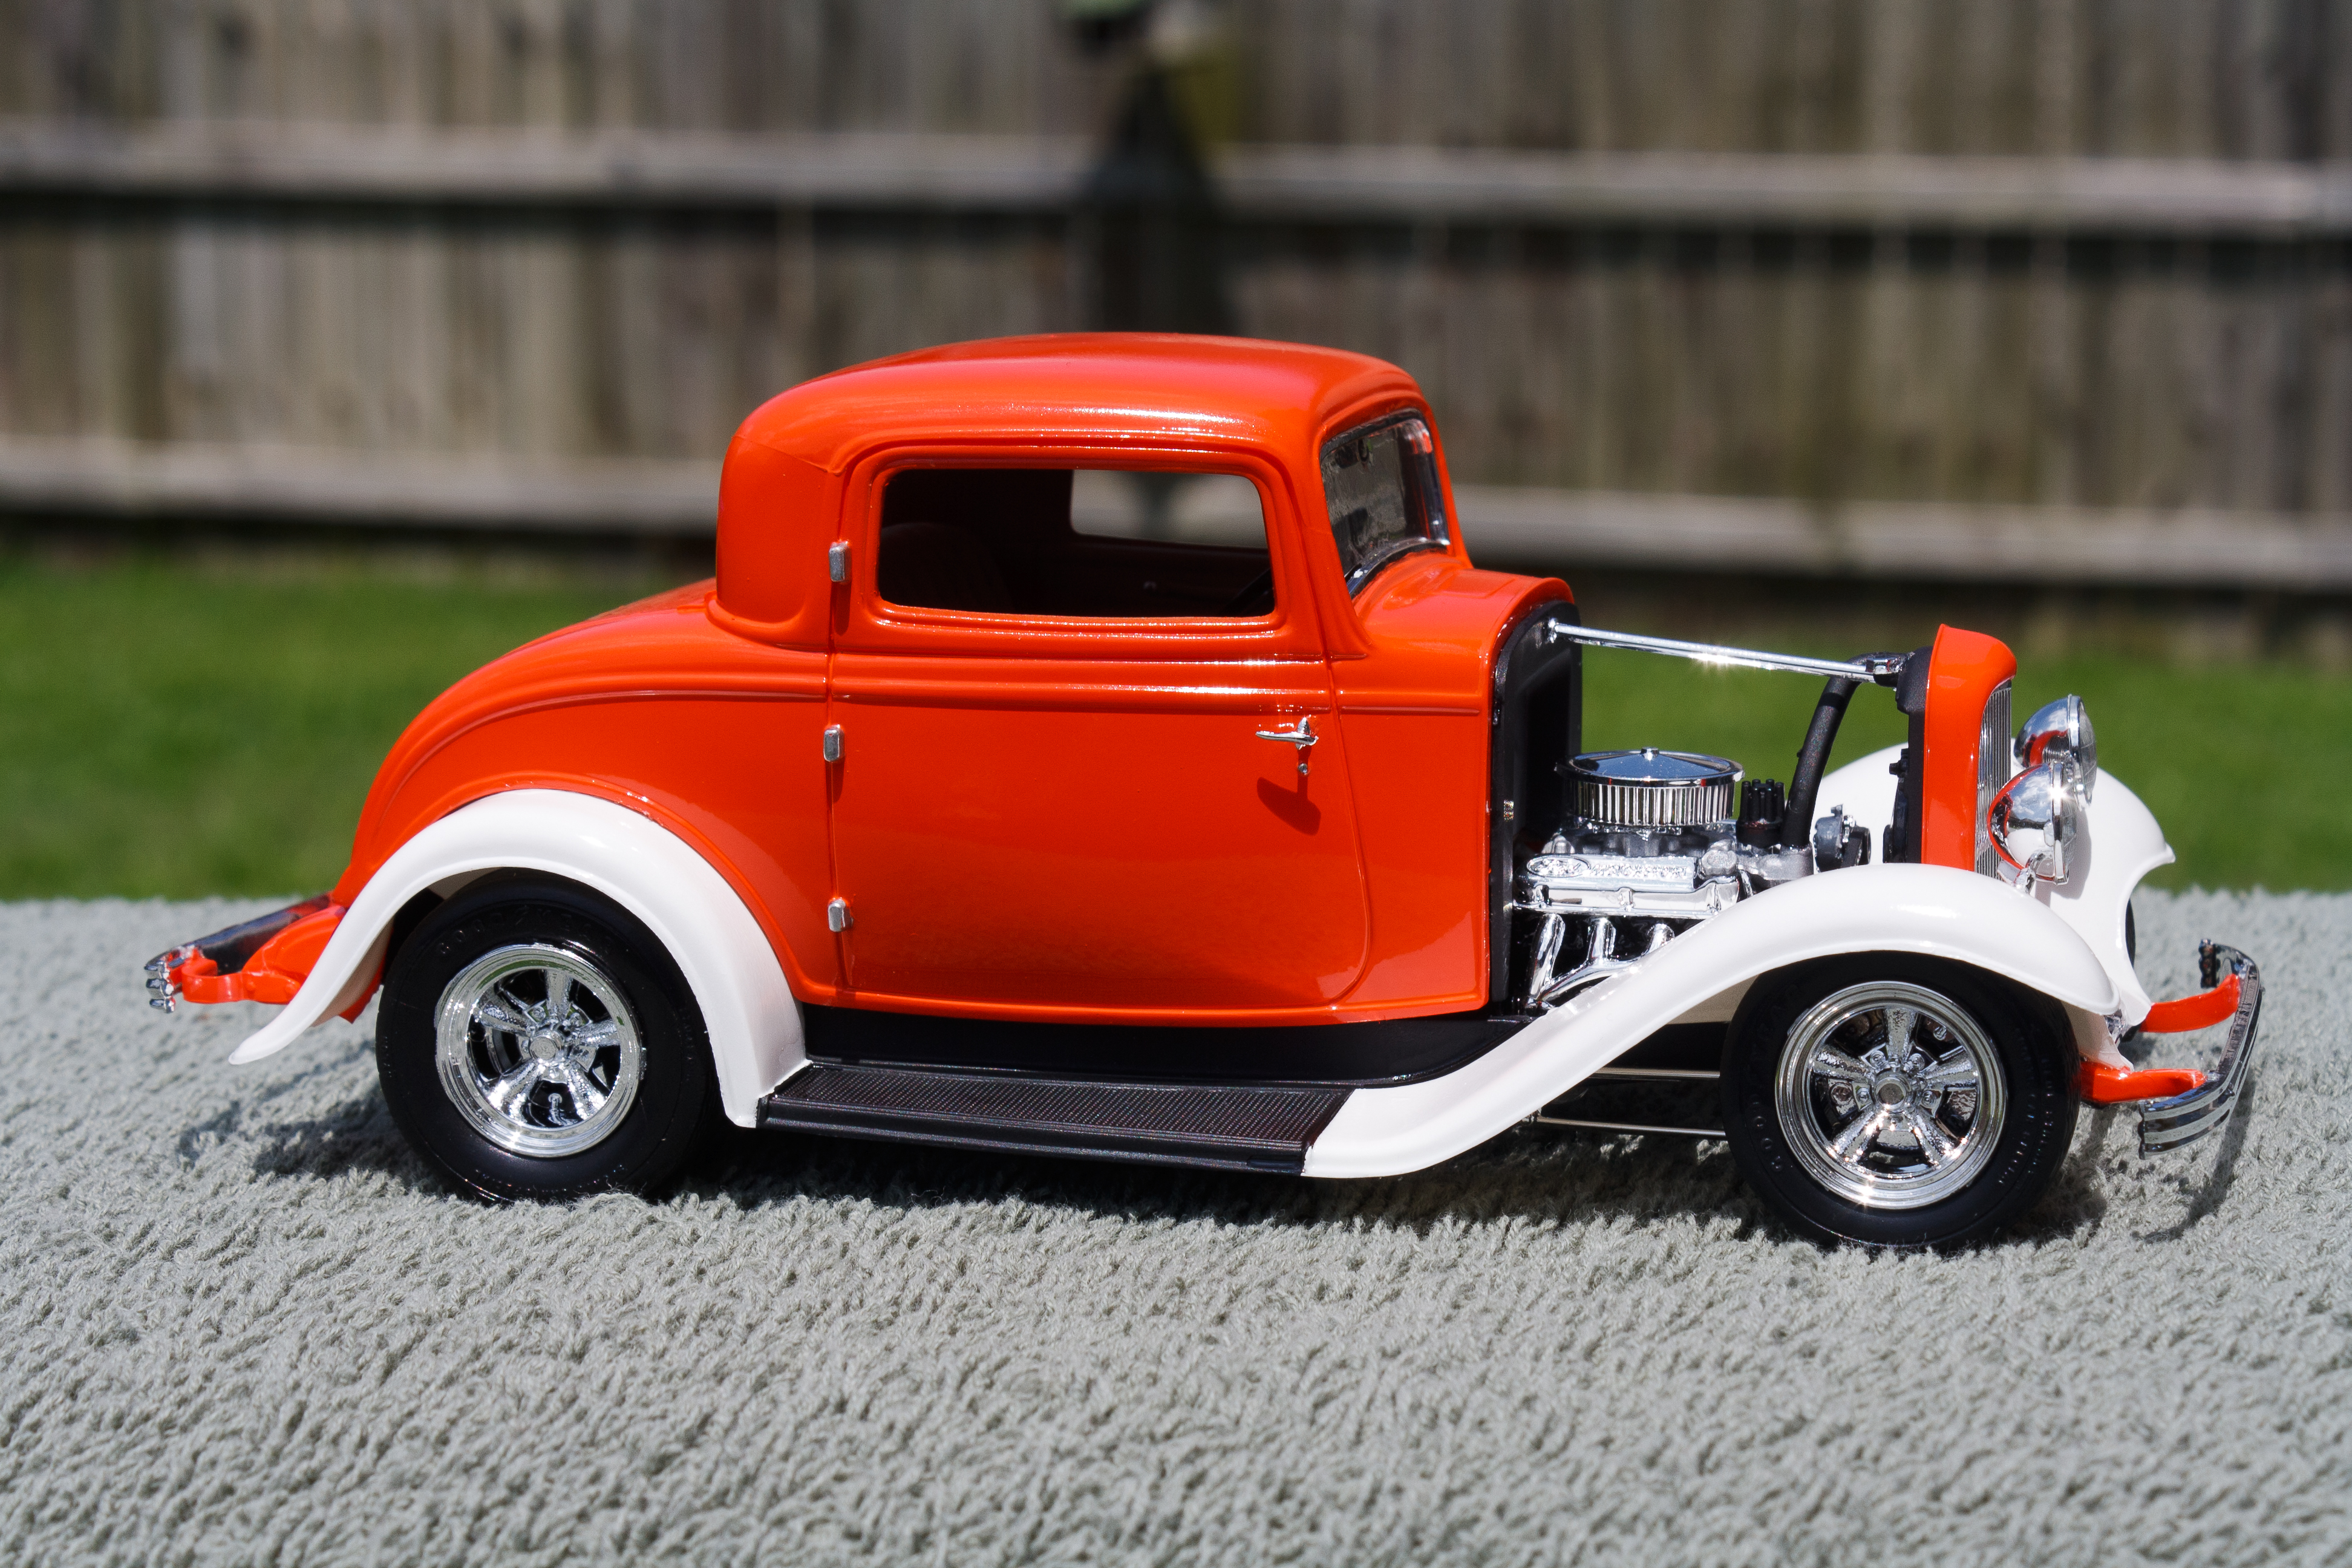
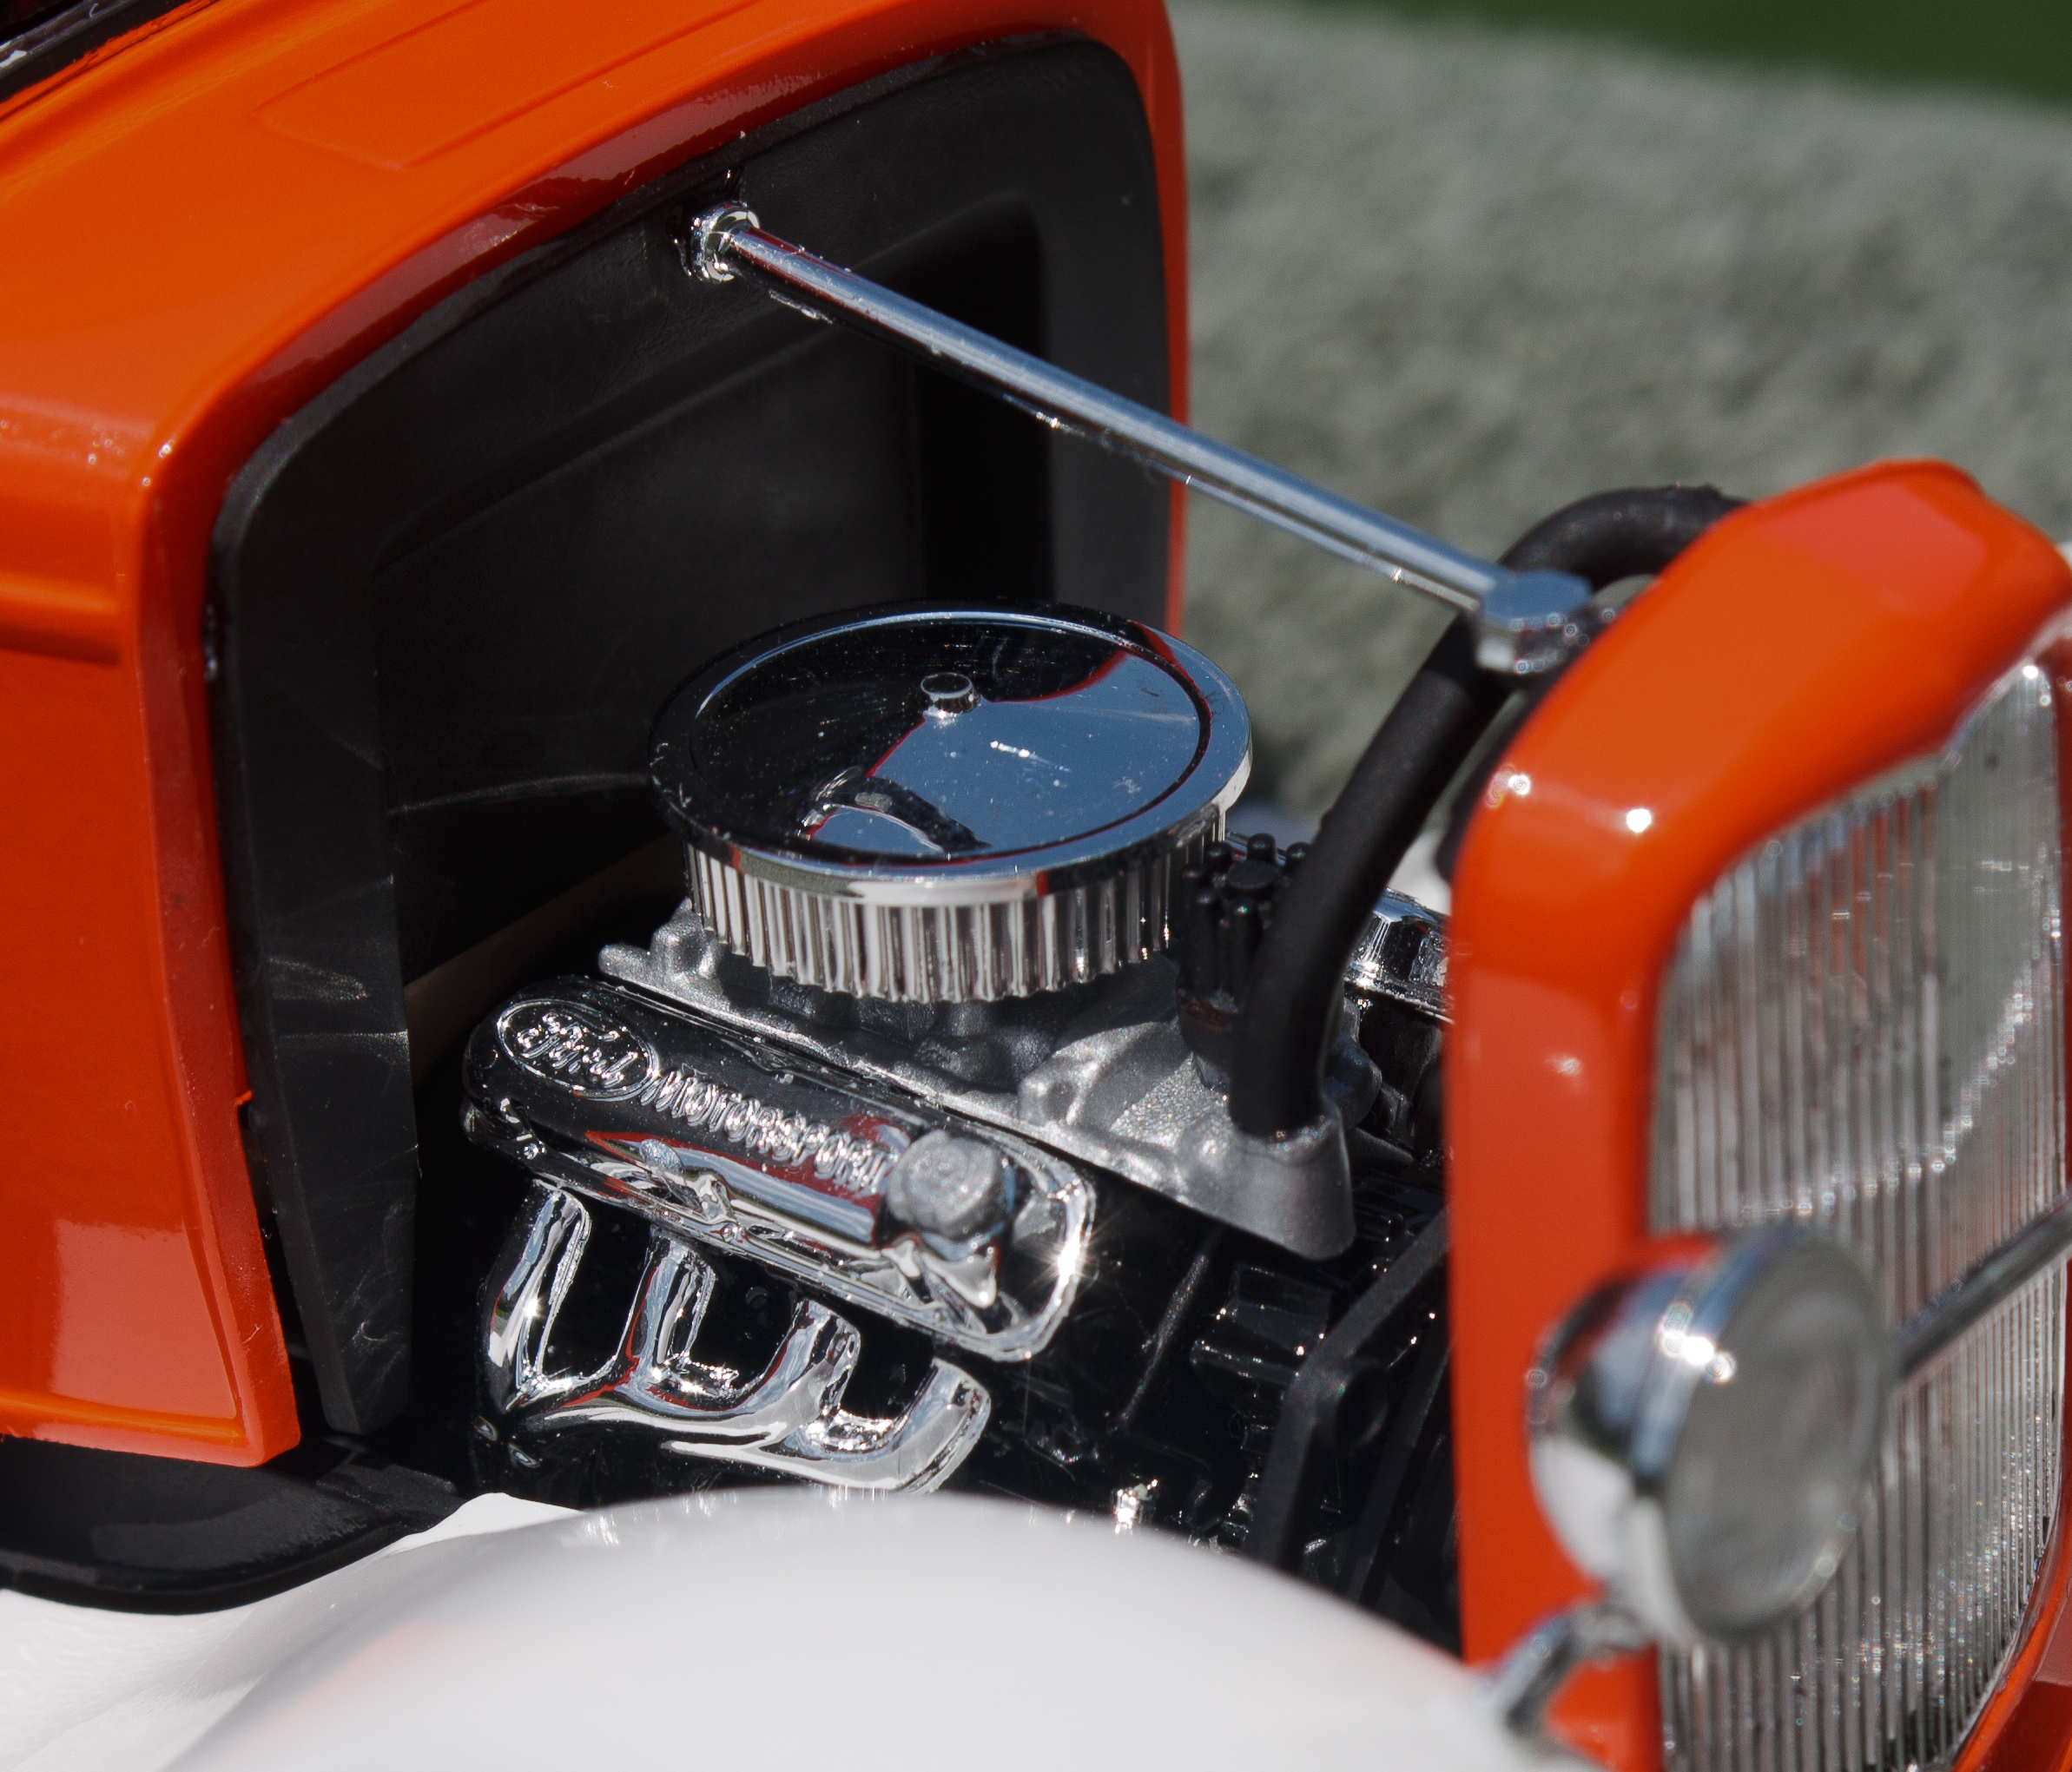
Just finished this '32 Ford 3-Window Coupe kit made by Revell Monogram. The white fenders were a little nod to the Ramblin' Wreck from Georgia Tech, with an orange body instead of gold. Enjoy!

-
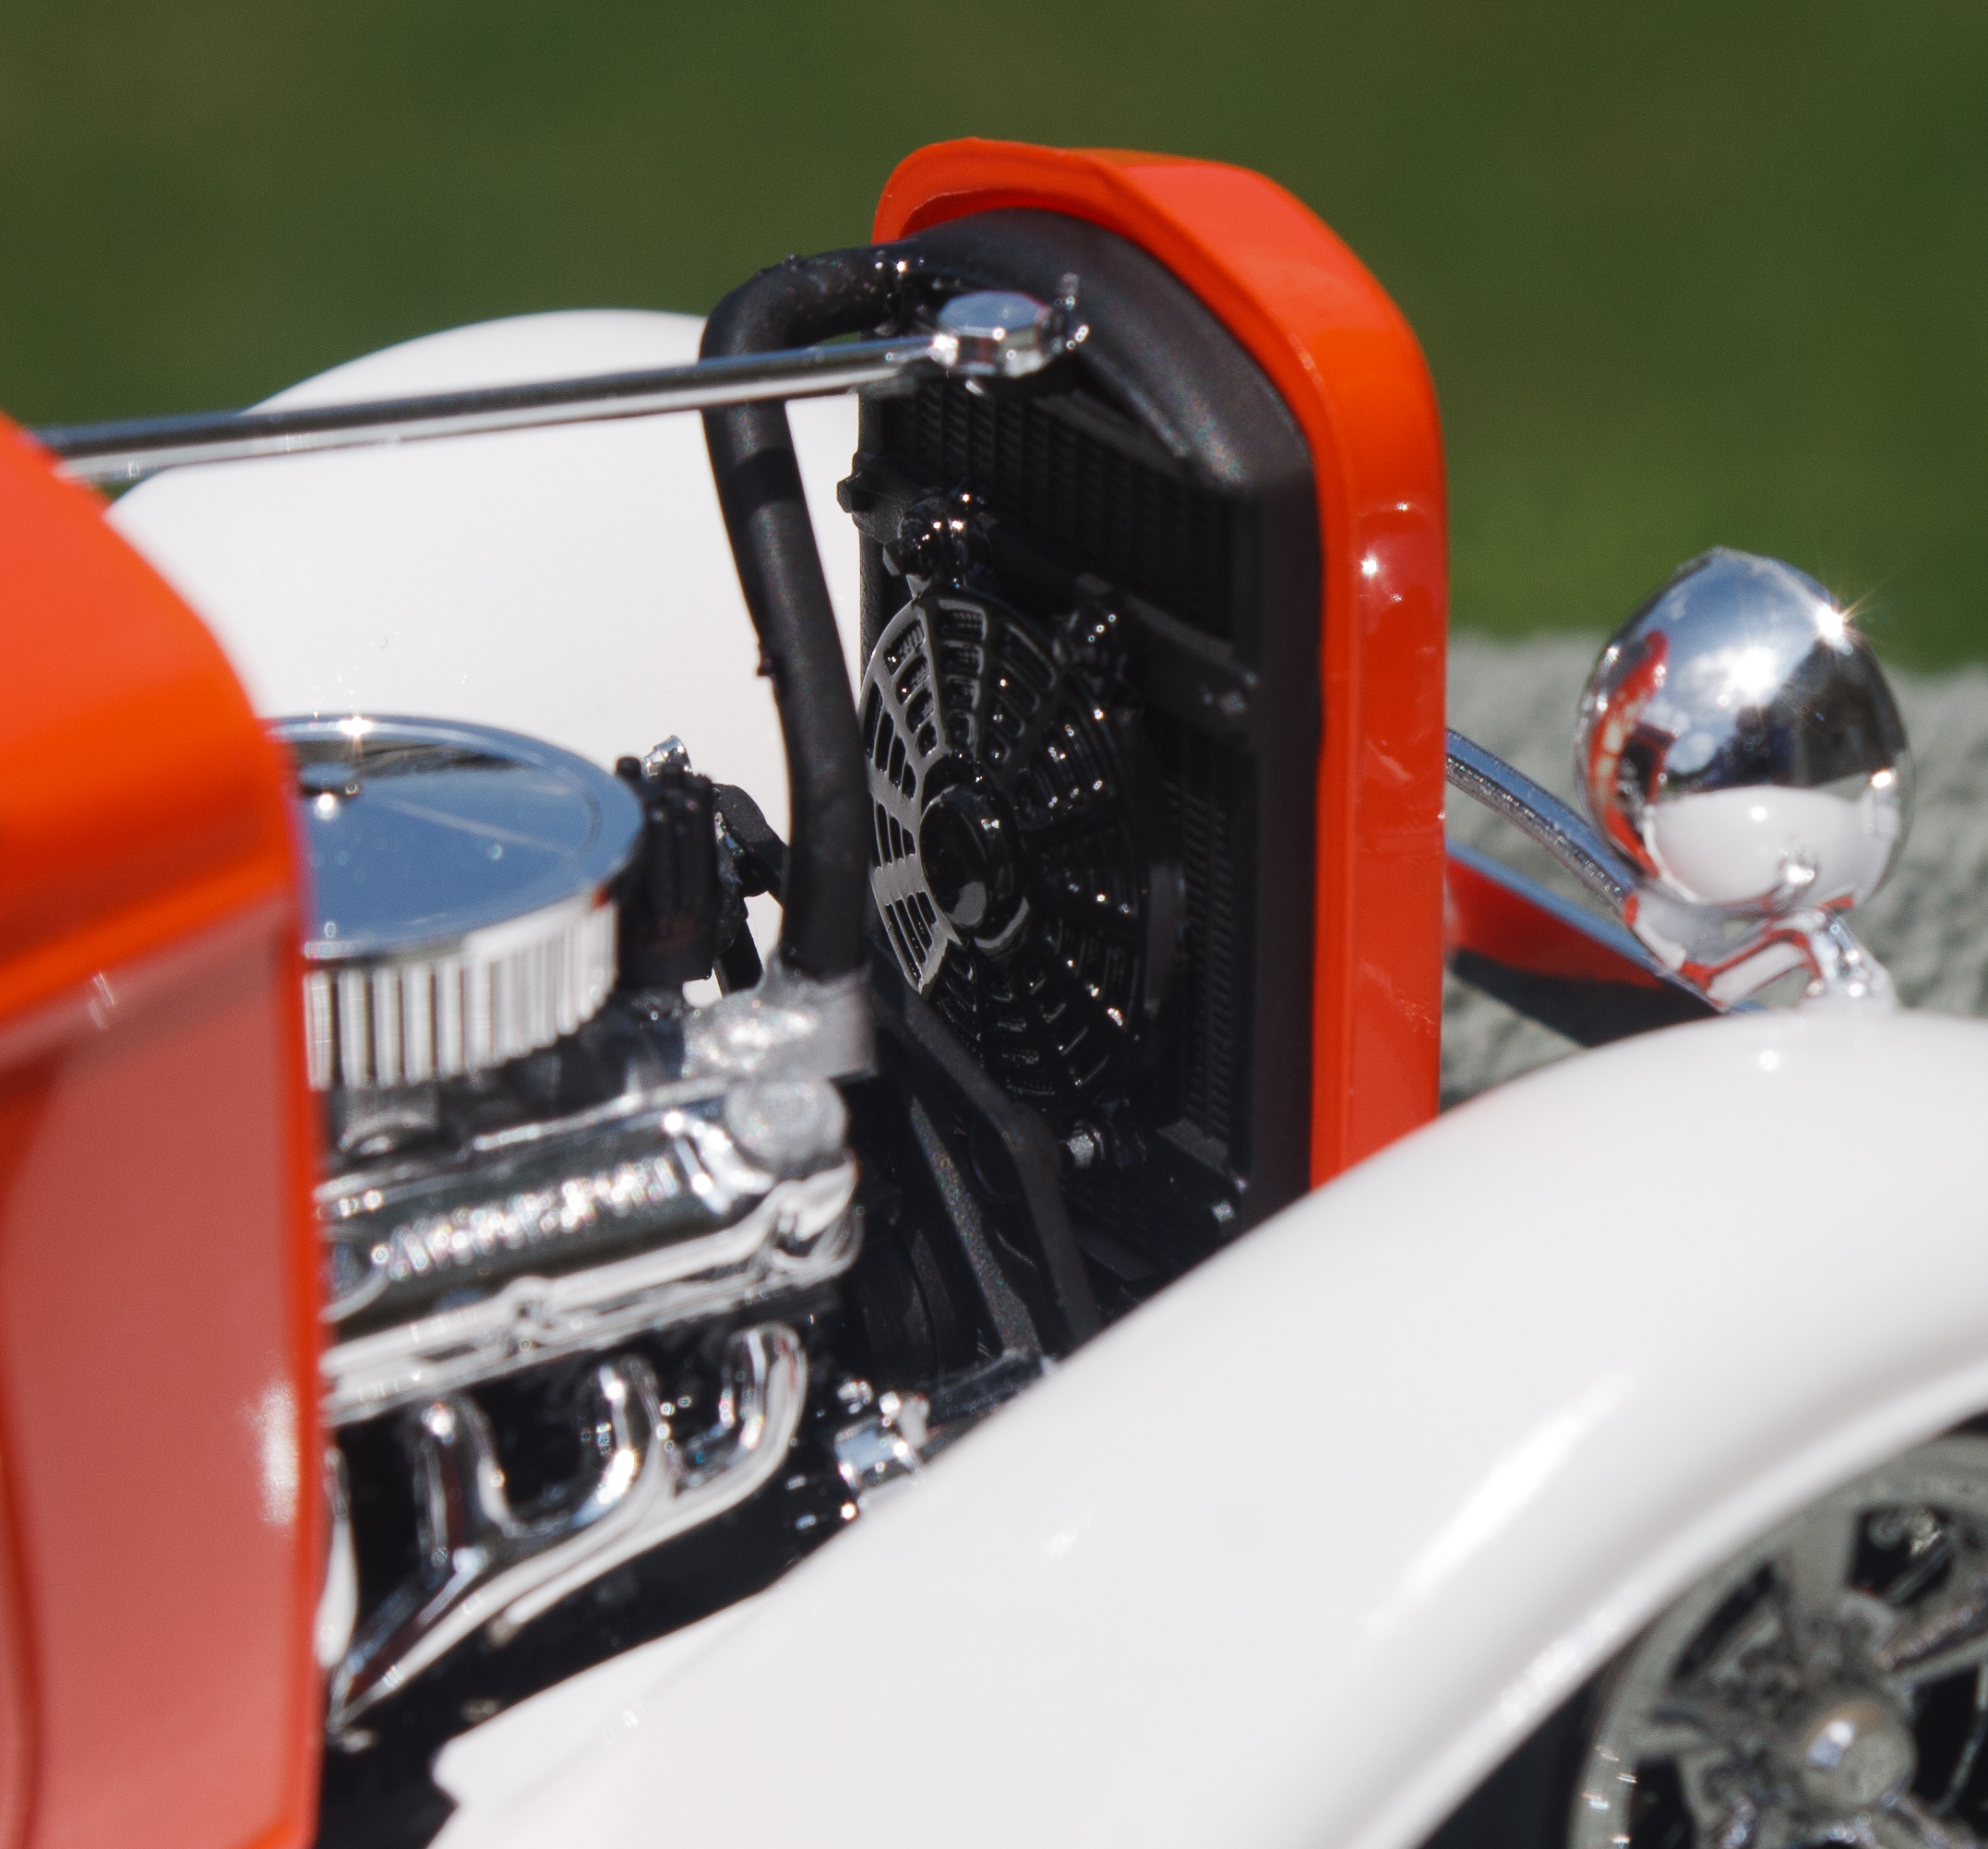
Wow, that looks great. The metal in the engine and hose fittings looks so realistic.
-
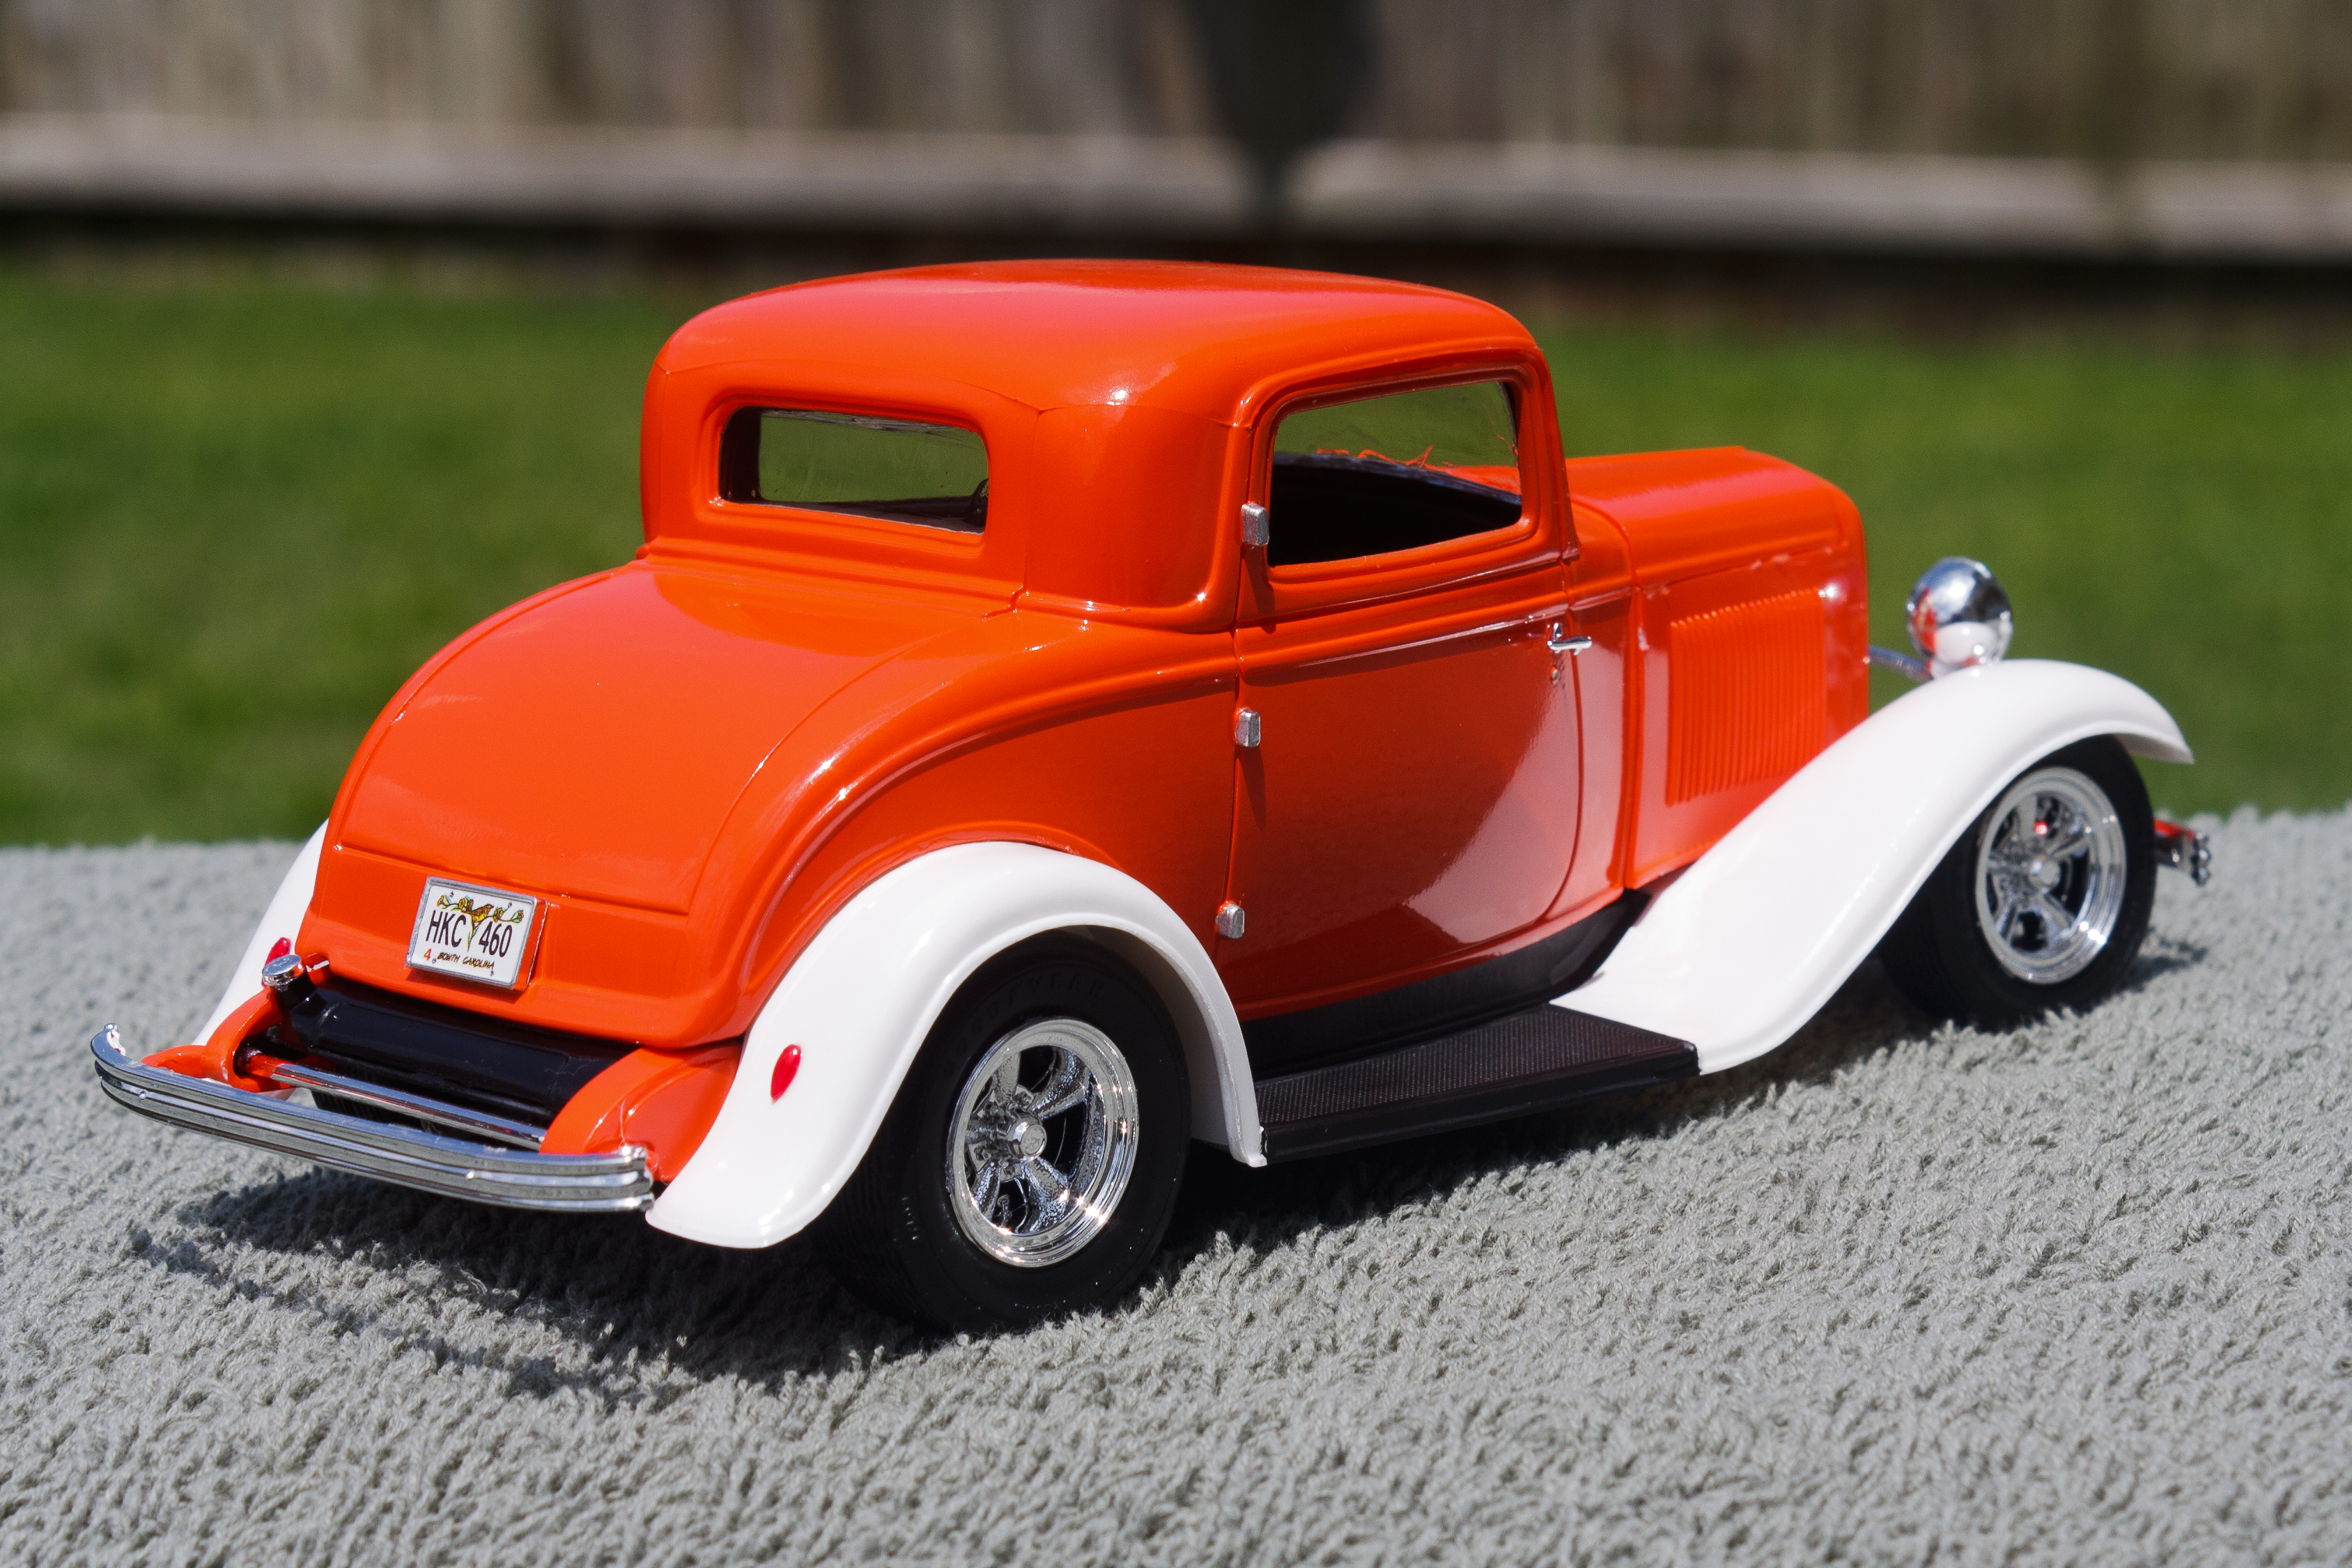
Thanks for the comments. One of the things I forgot to mention was the decals. This comment is actually a continuation from my last model. I was given a bunch of model kits from a guy who had been storing these kits in a hot and humid garage for maybe 20 years. On the last model I did, I tried to do the decals, but the larger ones basically disintegrated in the water. I found a product called "Liquid Decal Film" made by Microscale. Supposedly, you can paint this stuff over old decals, and it will hold them together when you put them in water. So, when it came to this kit, there were some cool flame decals and license plates. As a test, I painted the film over one of the license plates and attempted to place it on the model. The film did a good job of holding the decal together, but when it started to dry, it just curled up. There was no glue holding it down. So, I assumed the flame decals would act the same way, and decided against putting them on this model.
-
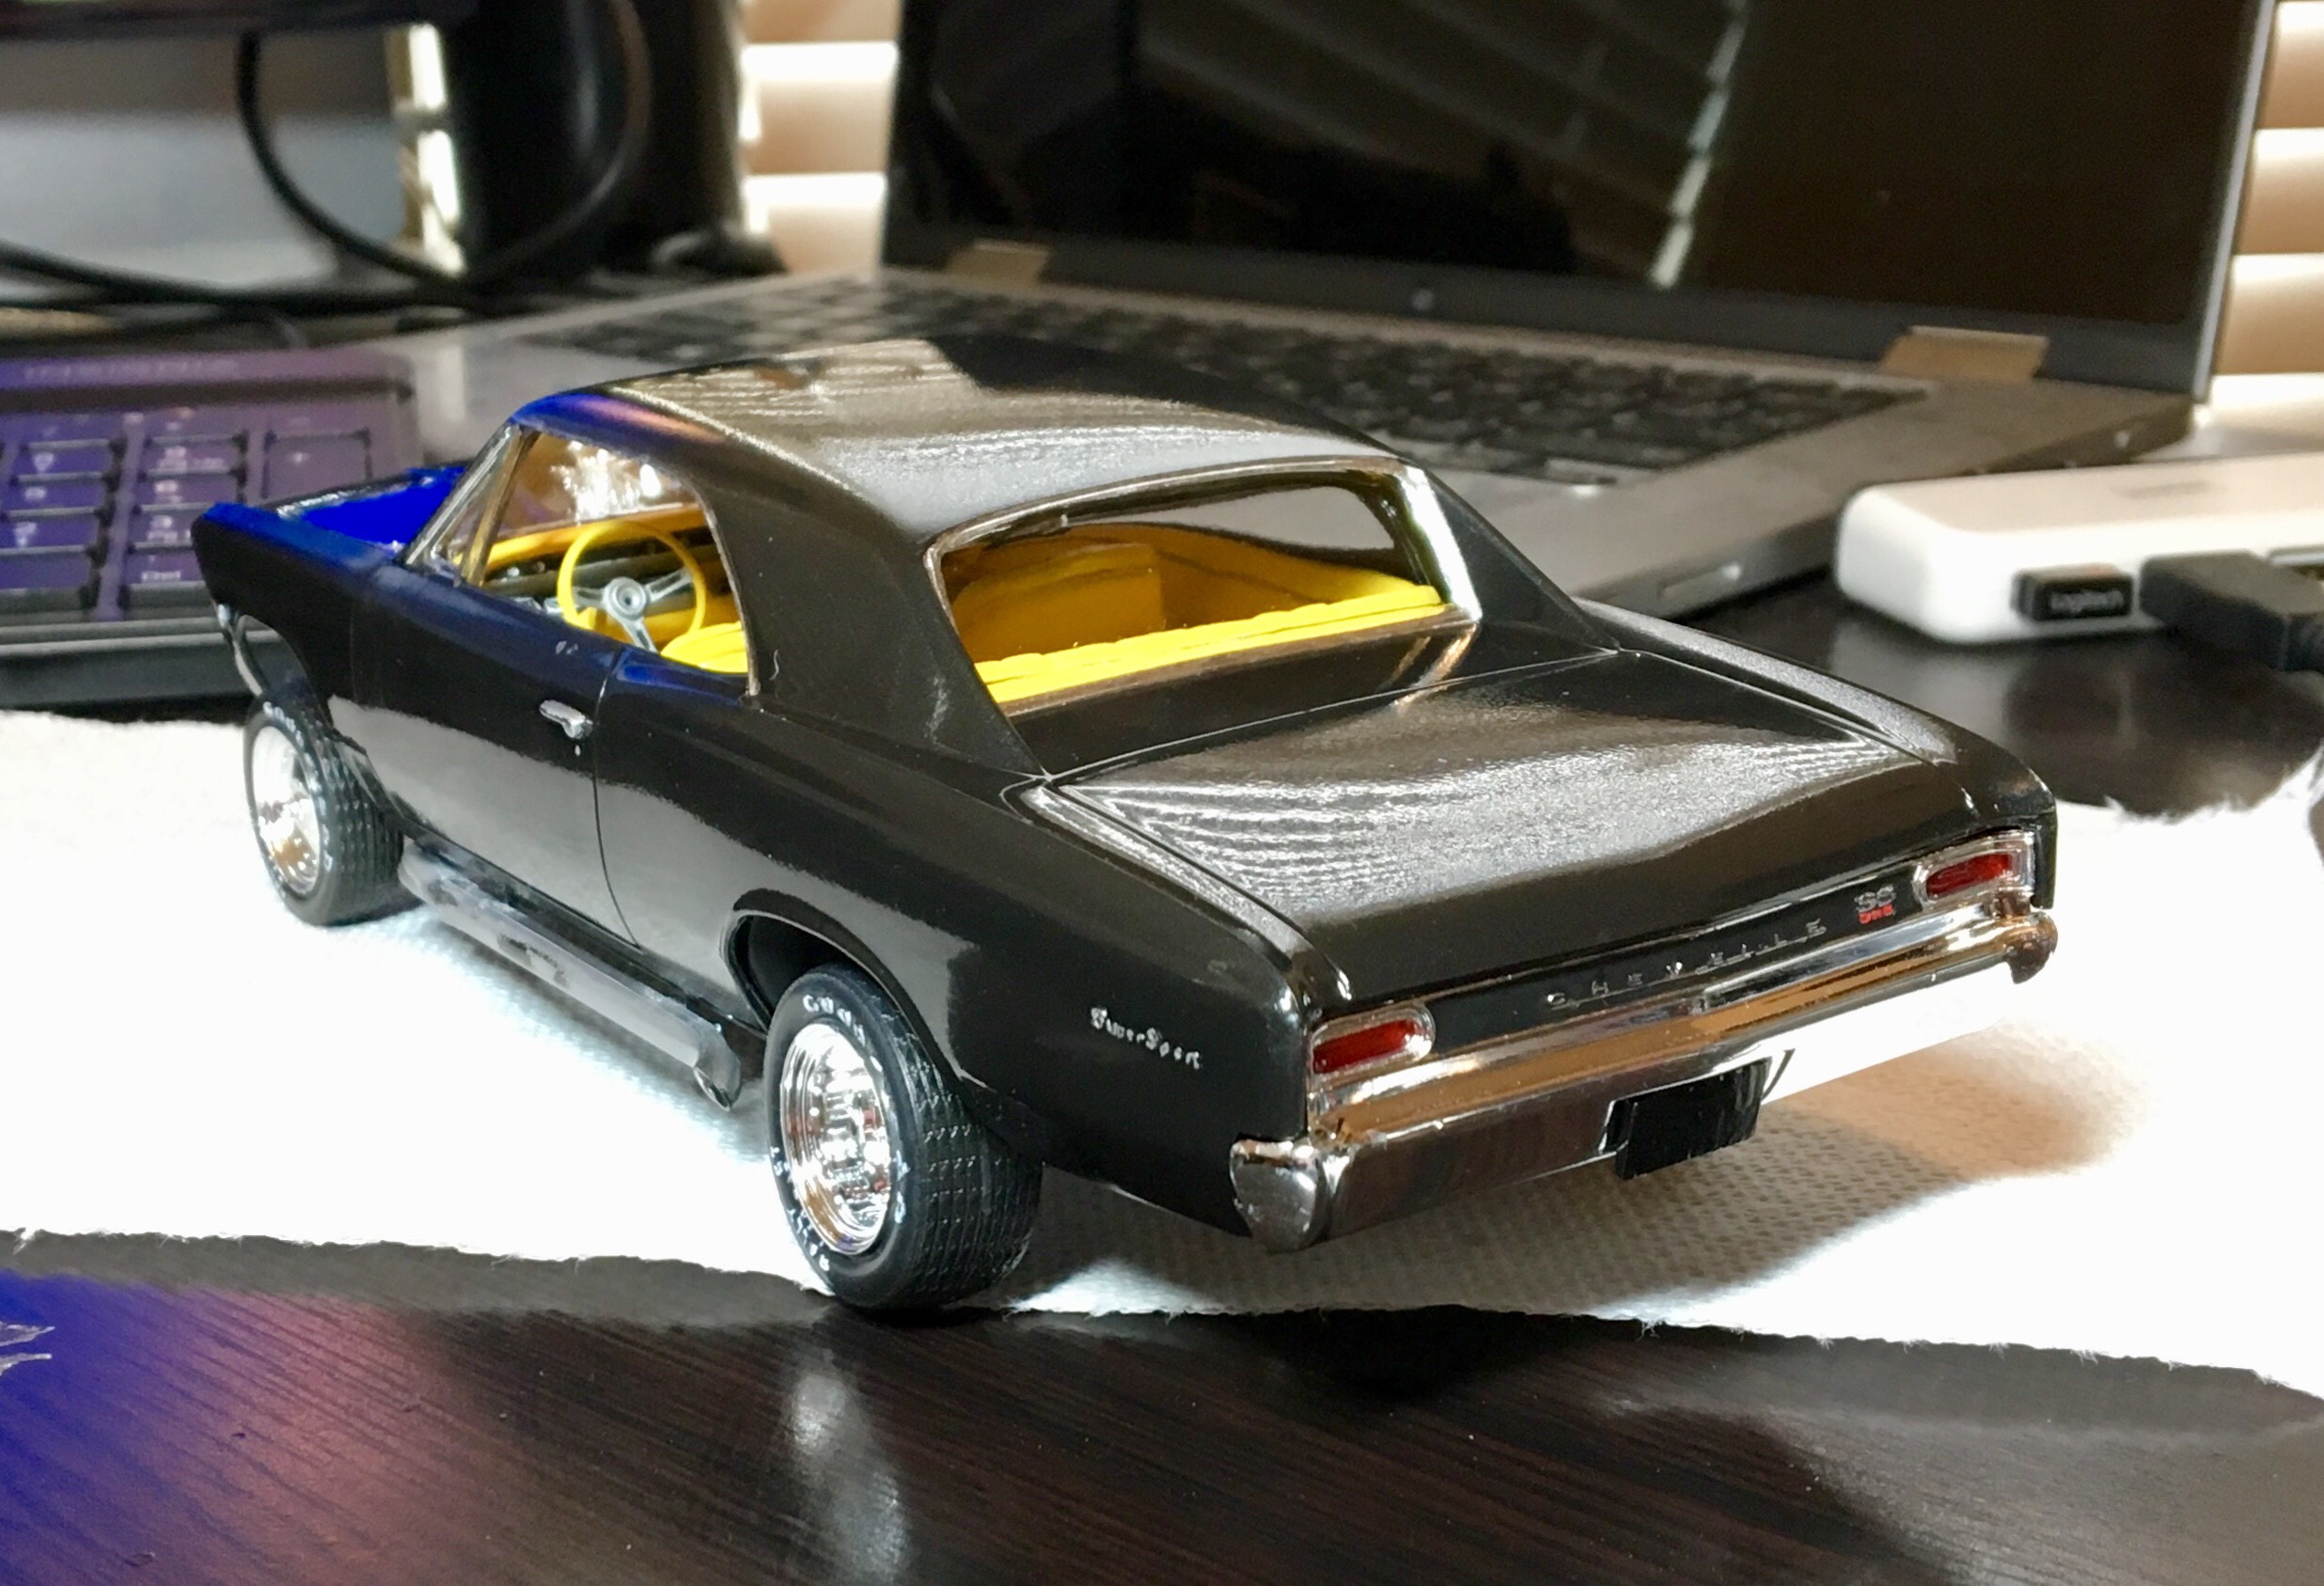
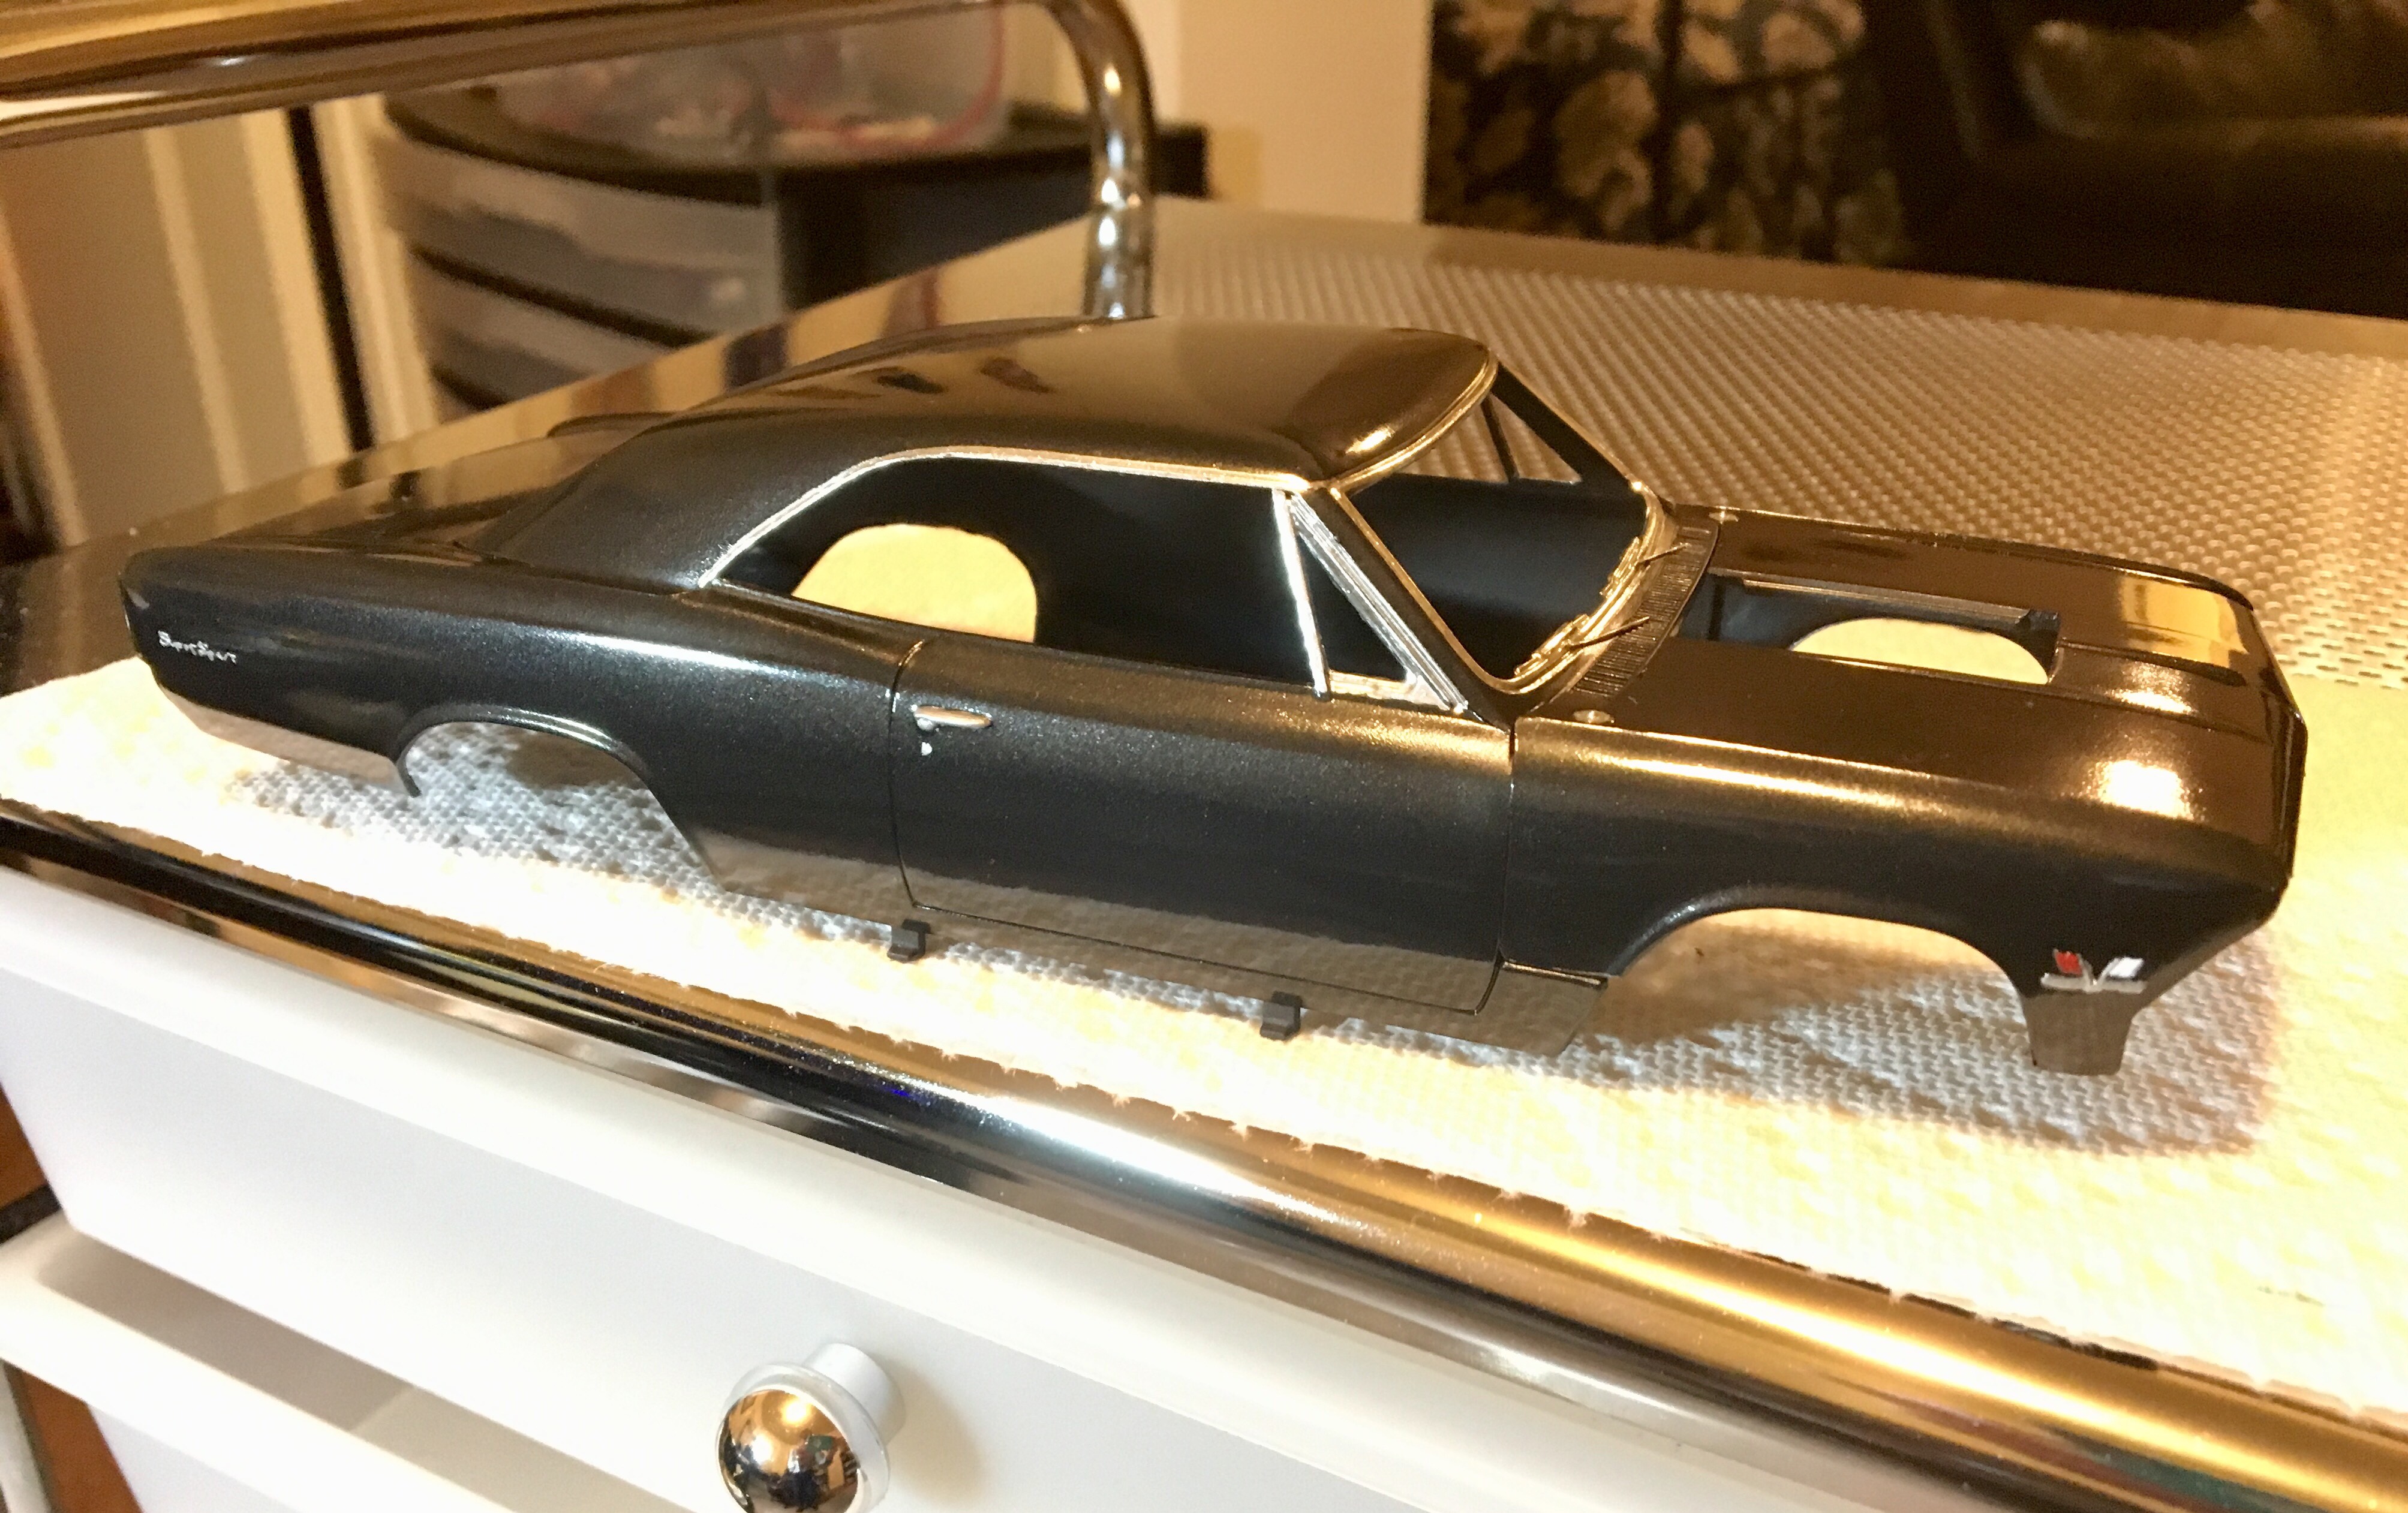
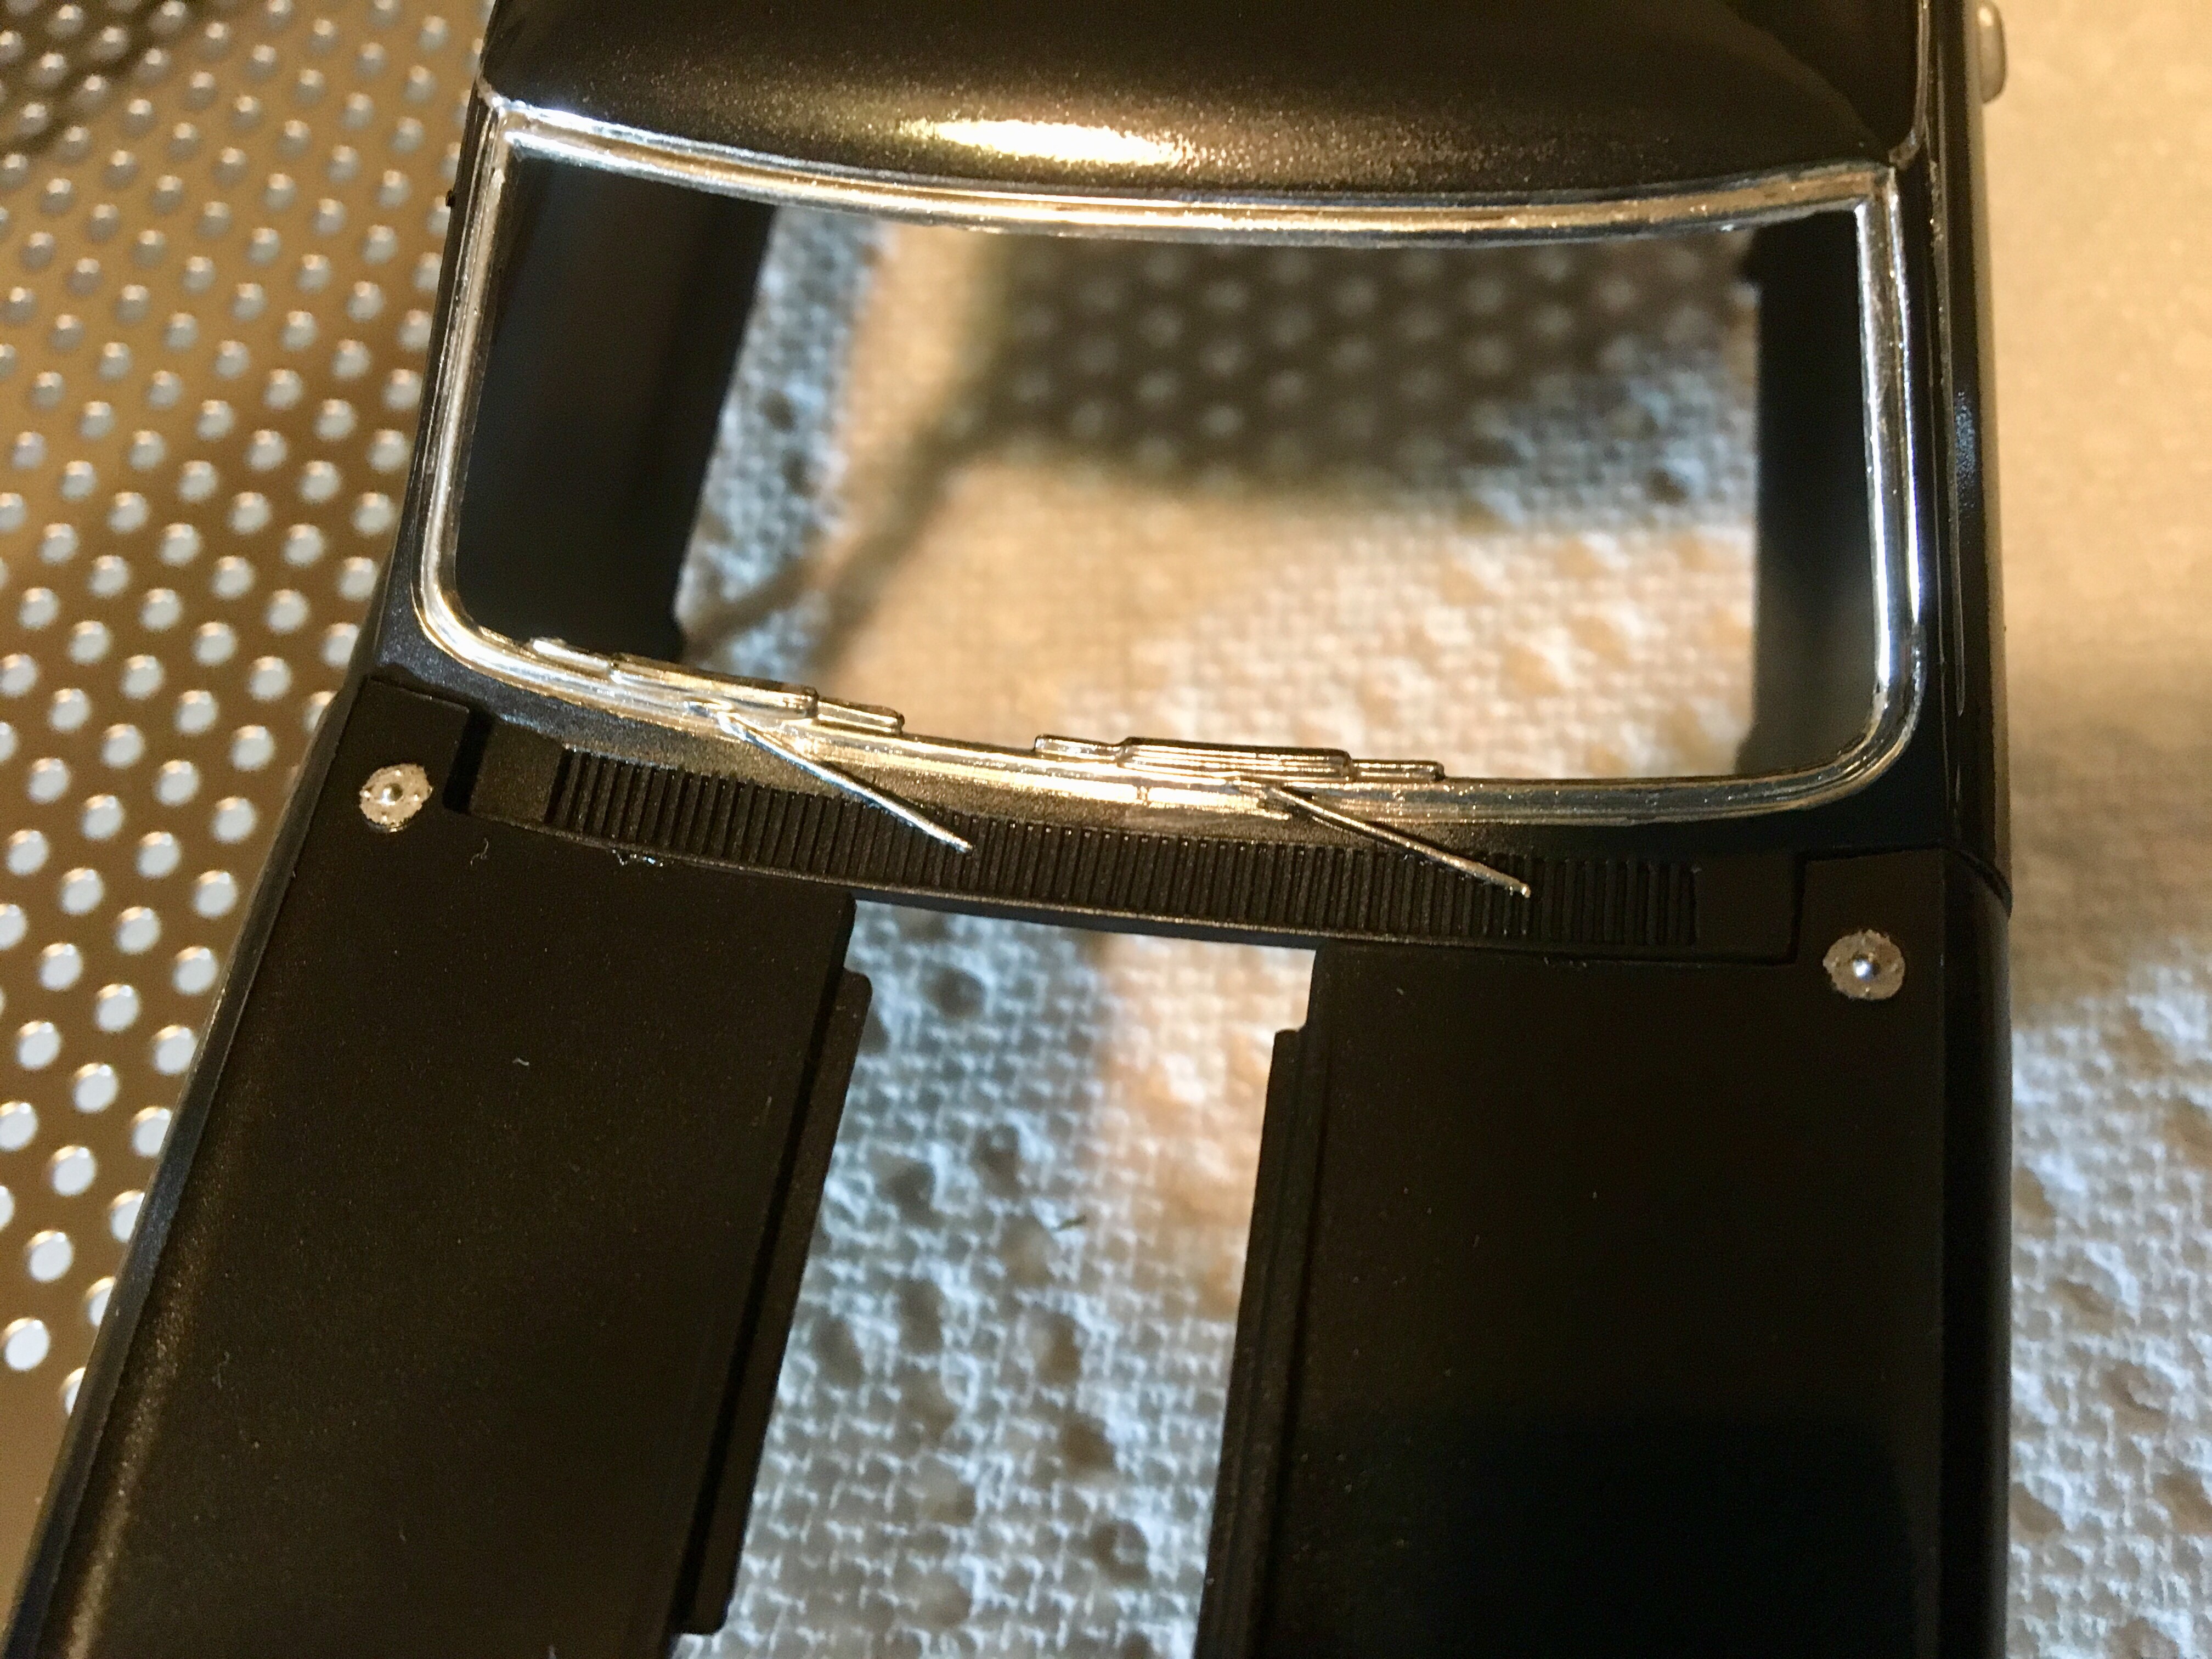
This is a '66 Malibu SS (Revell Monogram). The body paint is Testors Metallic Black enamel. The interior is Testors Yellow enamel. I used a Molotow Chrome pen on the windows. On the rear chrome I painted with Model Master flat black acrylic, and then used a toothpick to scrape off the raised letters. The lettering on the tires was originally flat white enamel, but I found after 2 weeks that it never dries. I rubbed it off with thinner and repainted with white acrylic. I used flat black acrylic in the radiator and on the engine heads. I put a coating of Future on, but didn't think it was glossy enough, so I kept layering on coatings until it became a big mess. Then I sprayed it down with Windex and ran it under the sink faucet and all the Future rubbed off easily. But not before I accidentally scraped up some of the paint. Two coatings of Future with a Q-tip eliminated almost all the scratches. This model has a poor design for fitting parts together. The side frames for the engine actually interfere with the exhaust pipes. I had a really tough time with that. Also, I had a tough time getting the front to stay on and had to end up using superglue, which unfortunately shows up on the seams. The workbench thread is here.
-

66 Malibu SS (Monogram) - Updated 17 May 2018
John Jacobs replied to John Jacobs's topic in WIP: Model Cars
This kit has some major flaws in the way it fits together, but I'm making it fit. A little more progress on it.
-
That color combination looks good and I like the detail on the trim.
-
66 Malibu SS (Monogram) - Updated 17 May 2018
John Jacobs replied to John Jacobs's topic in WIP: Model Cars
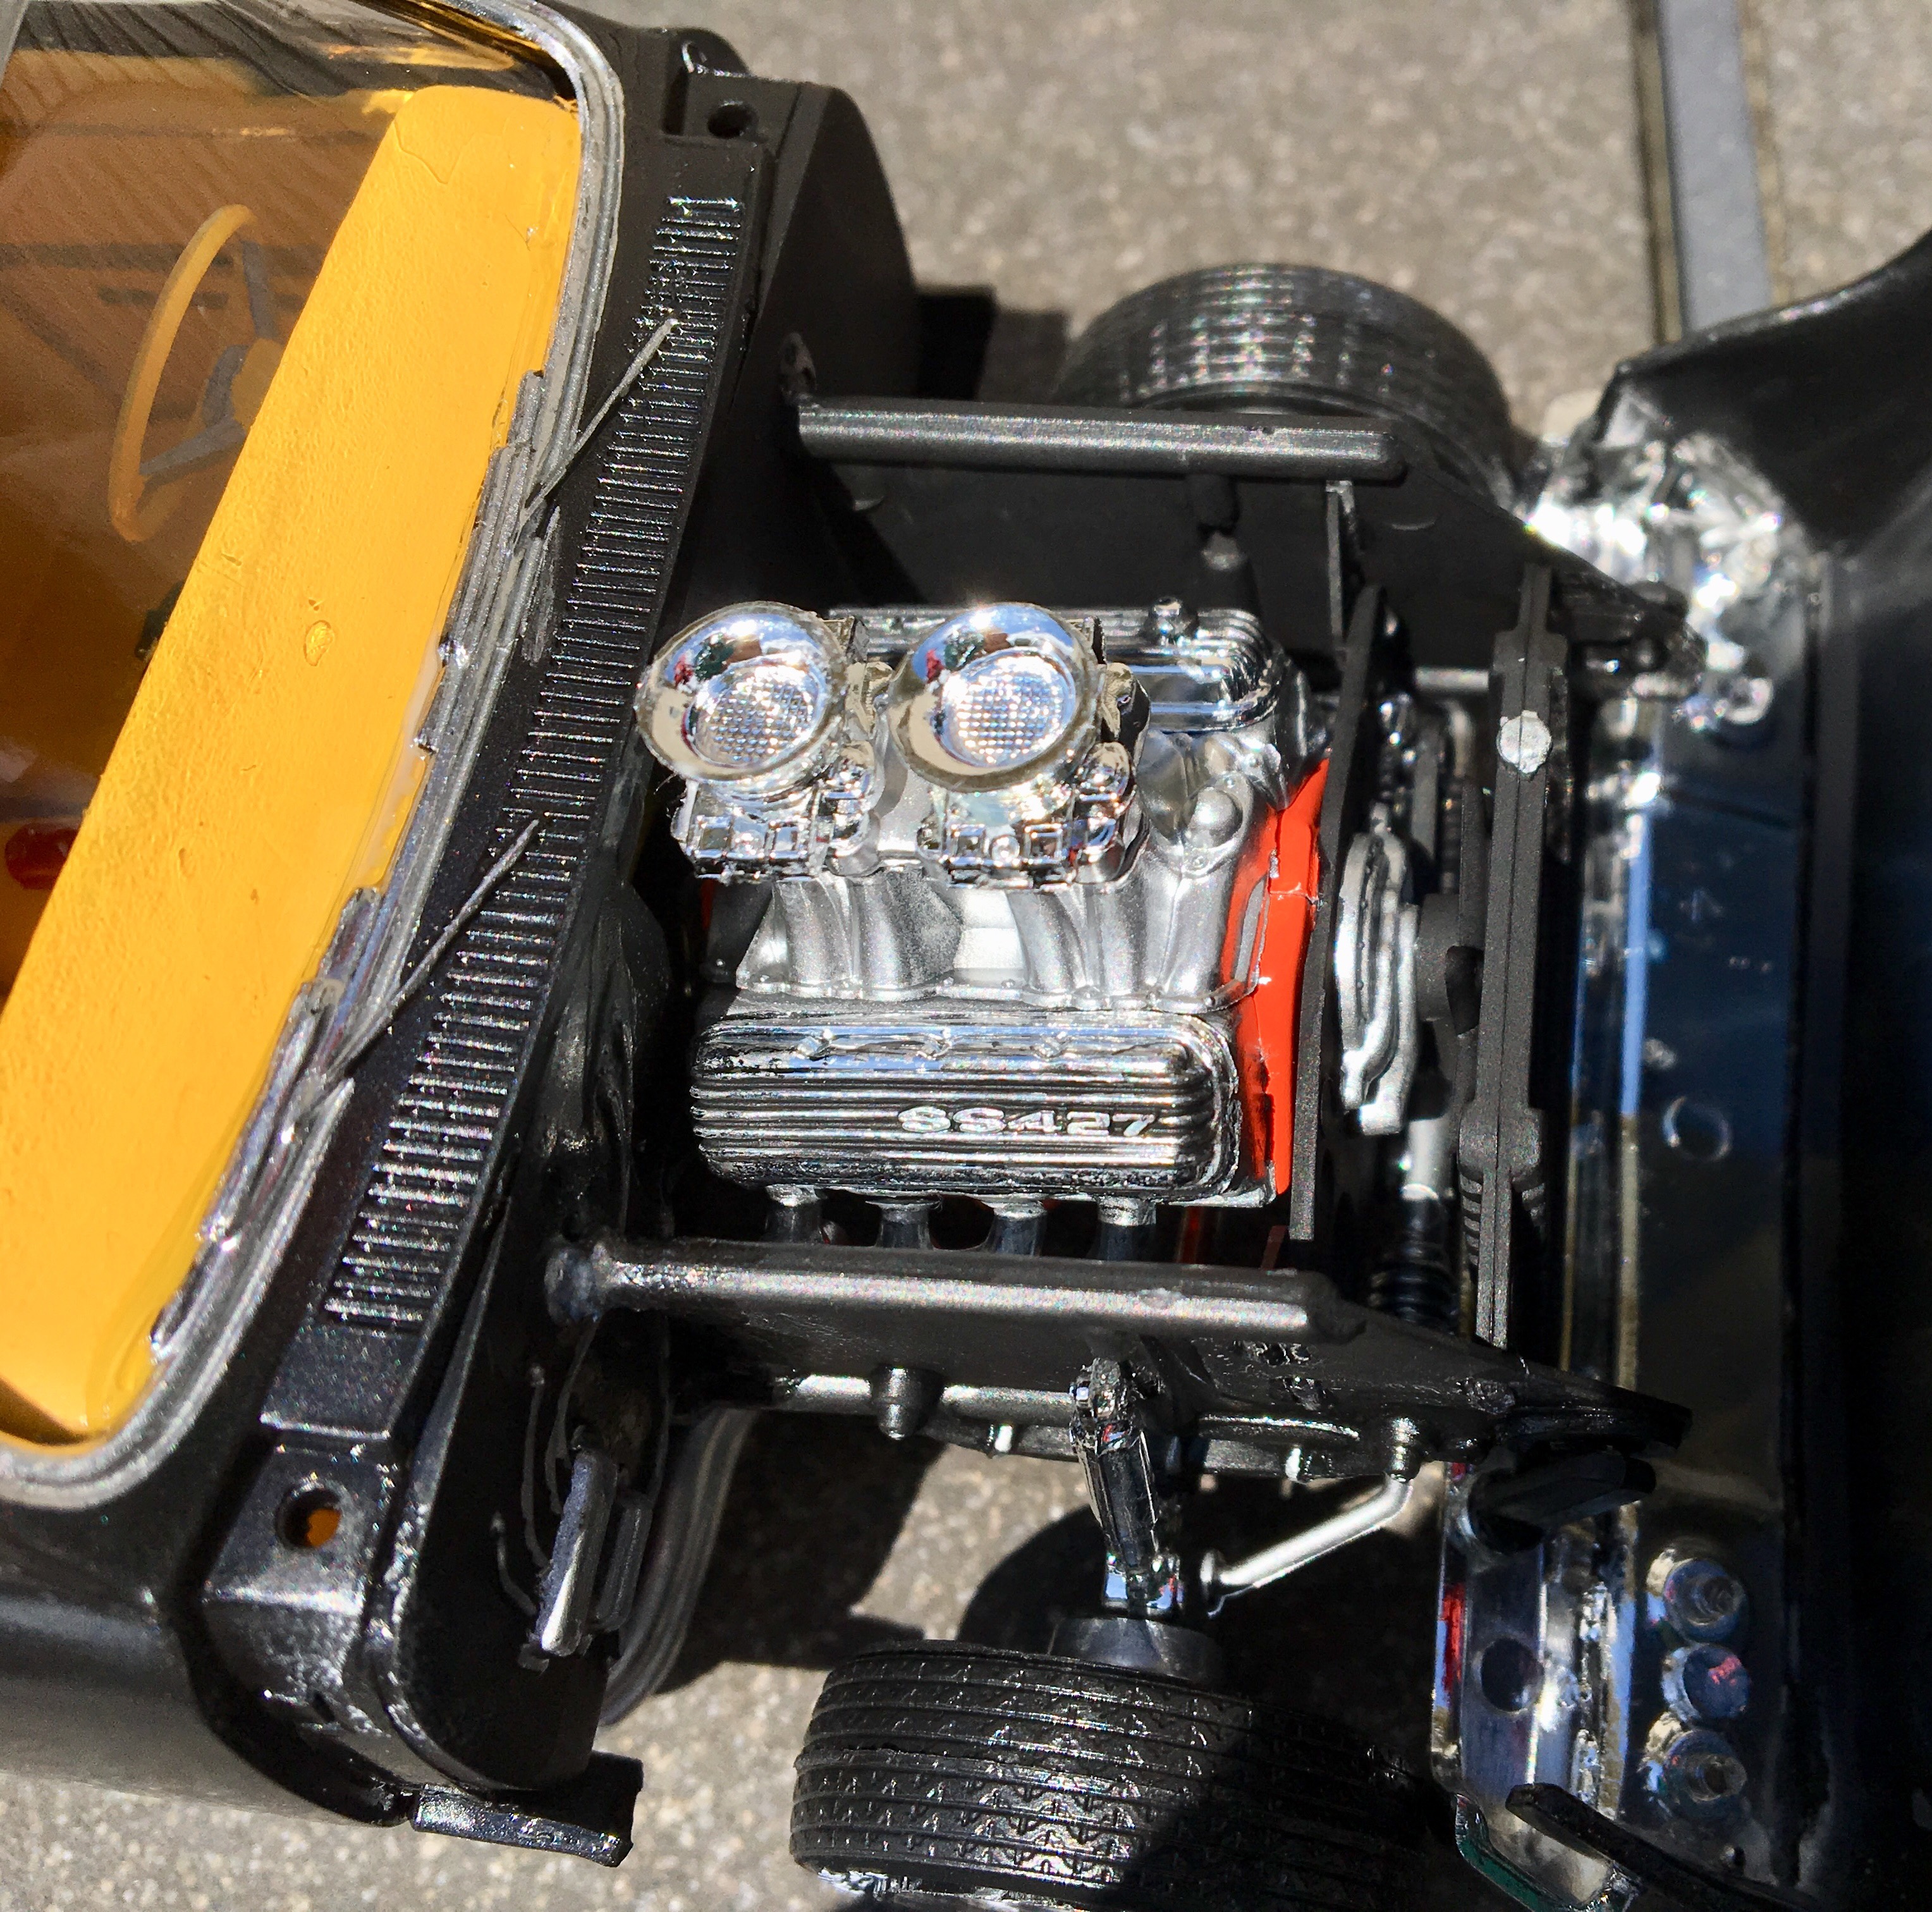
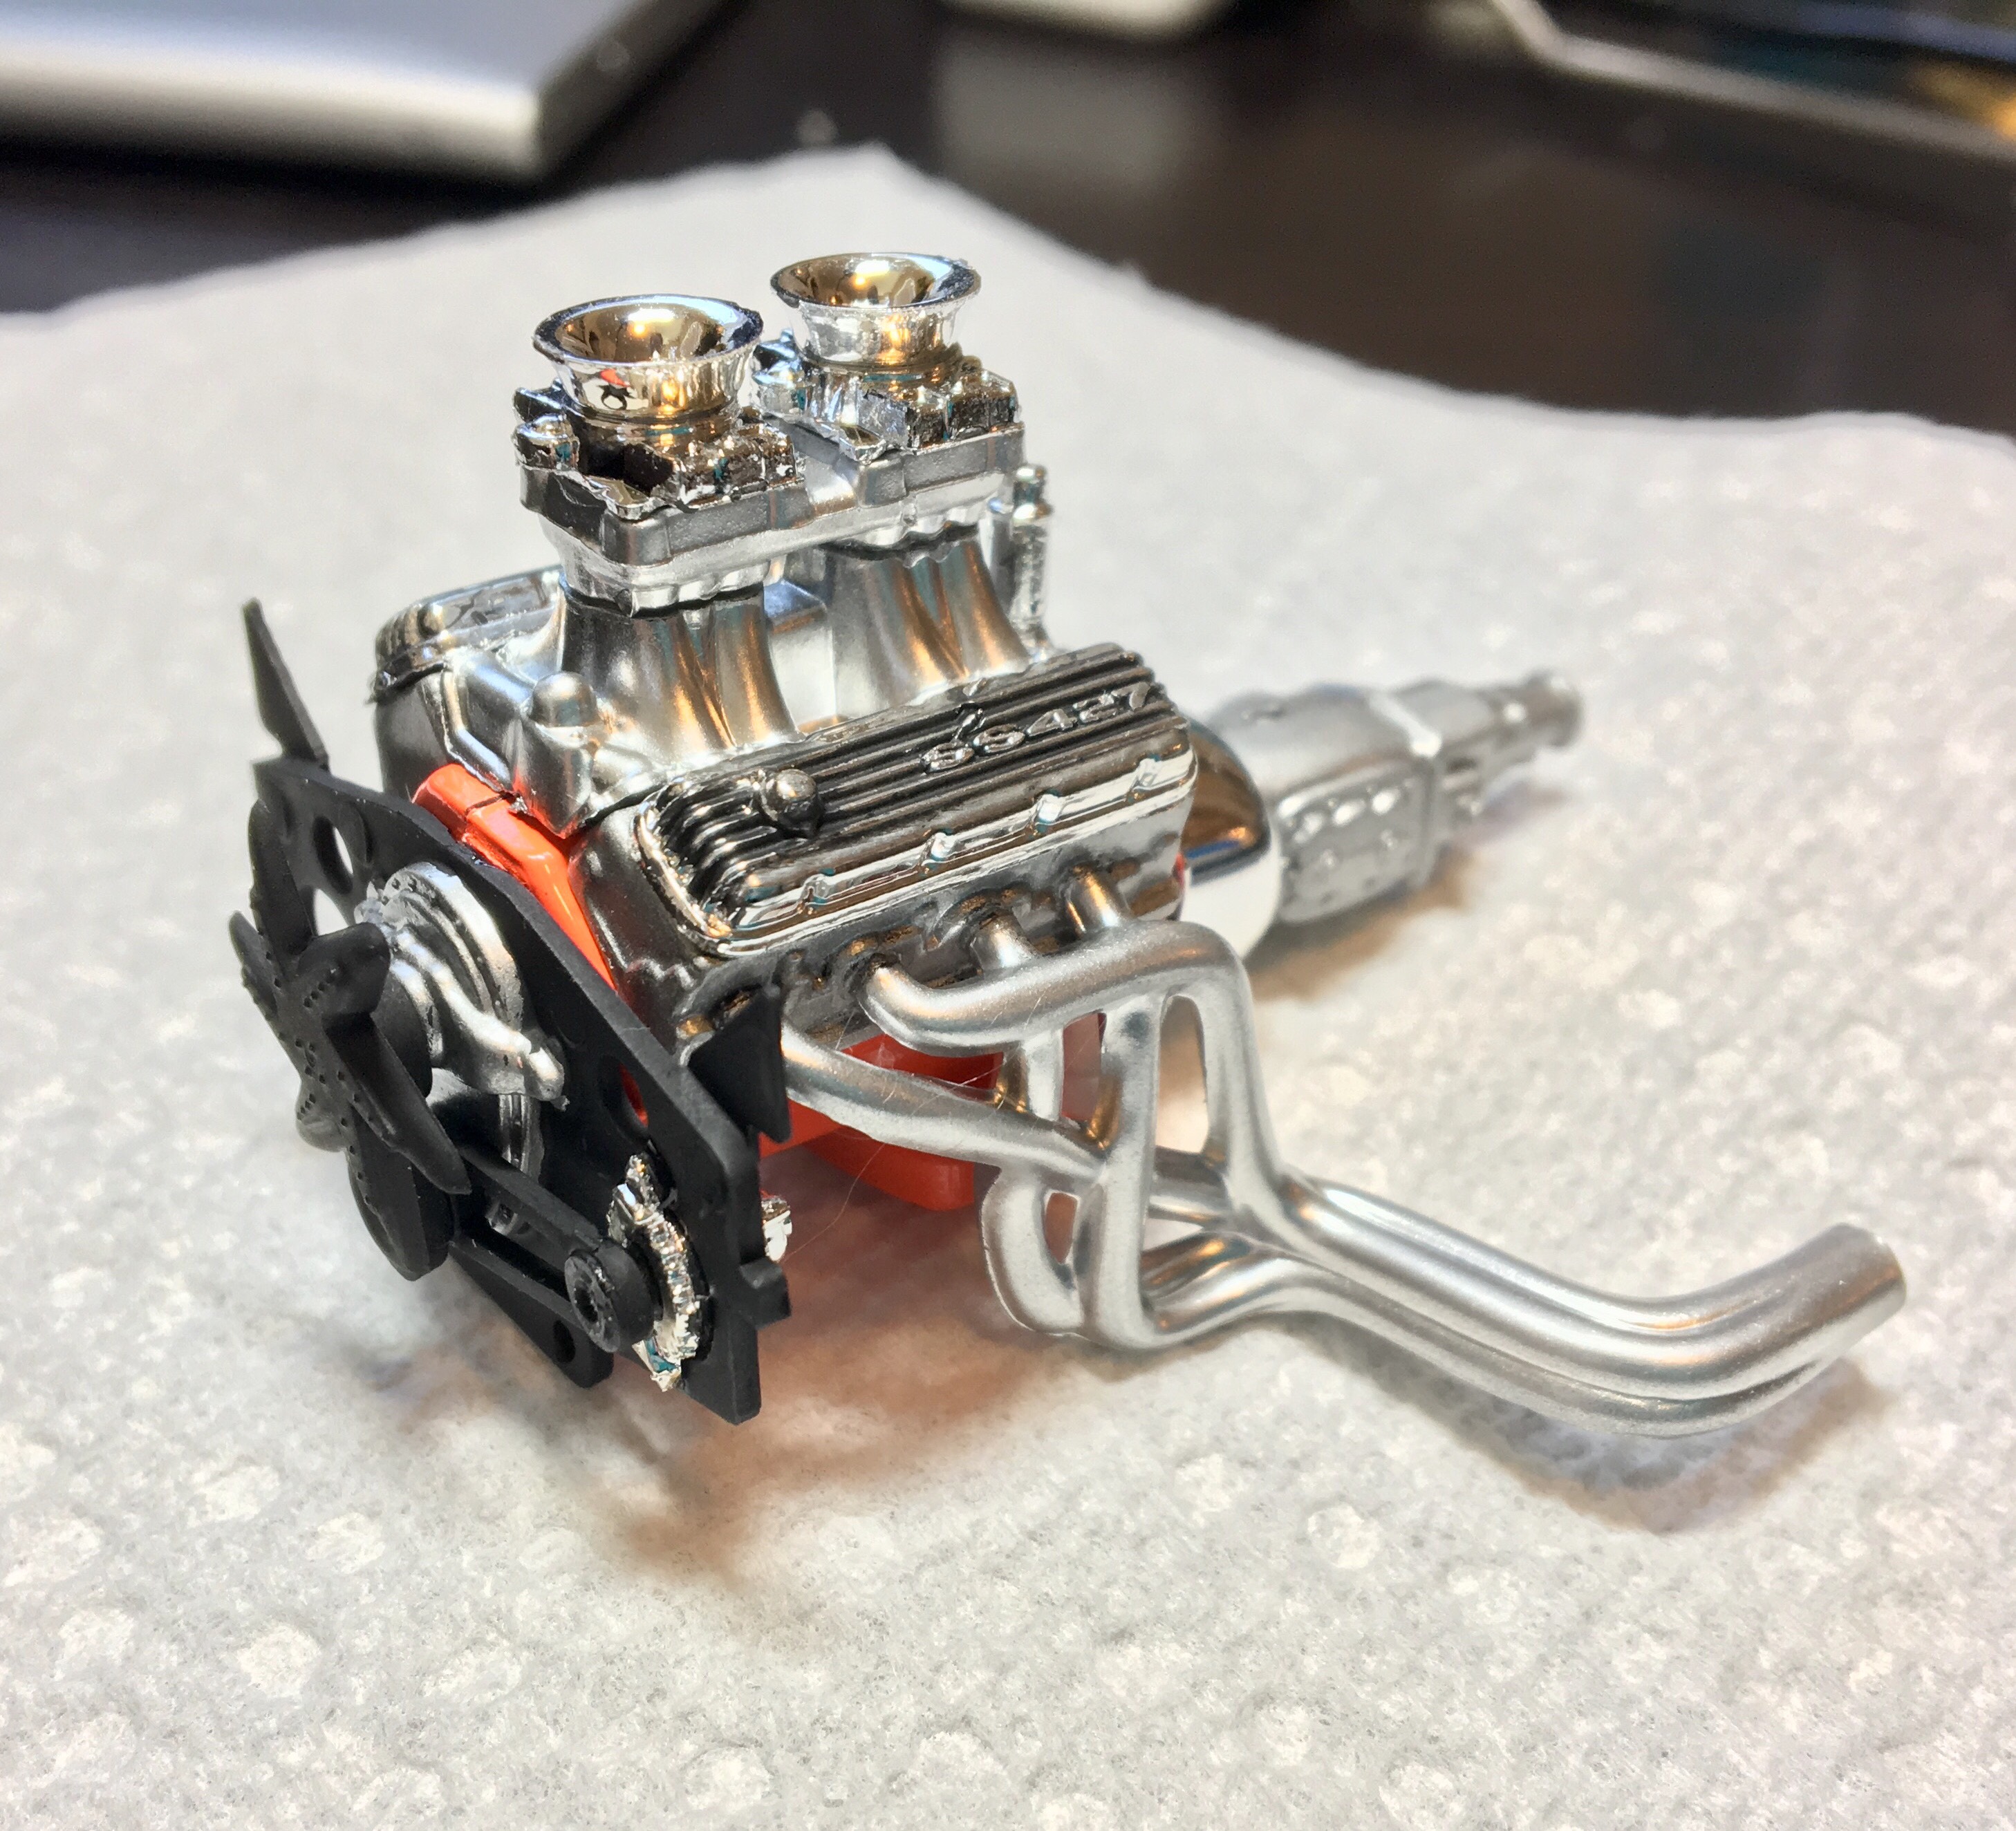
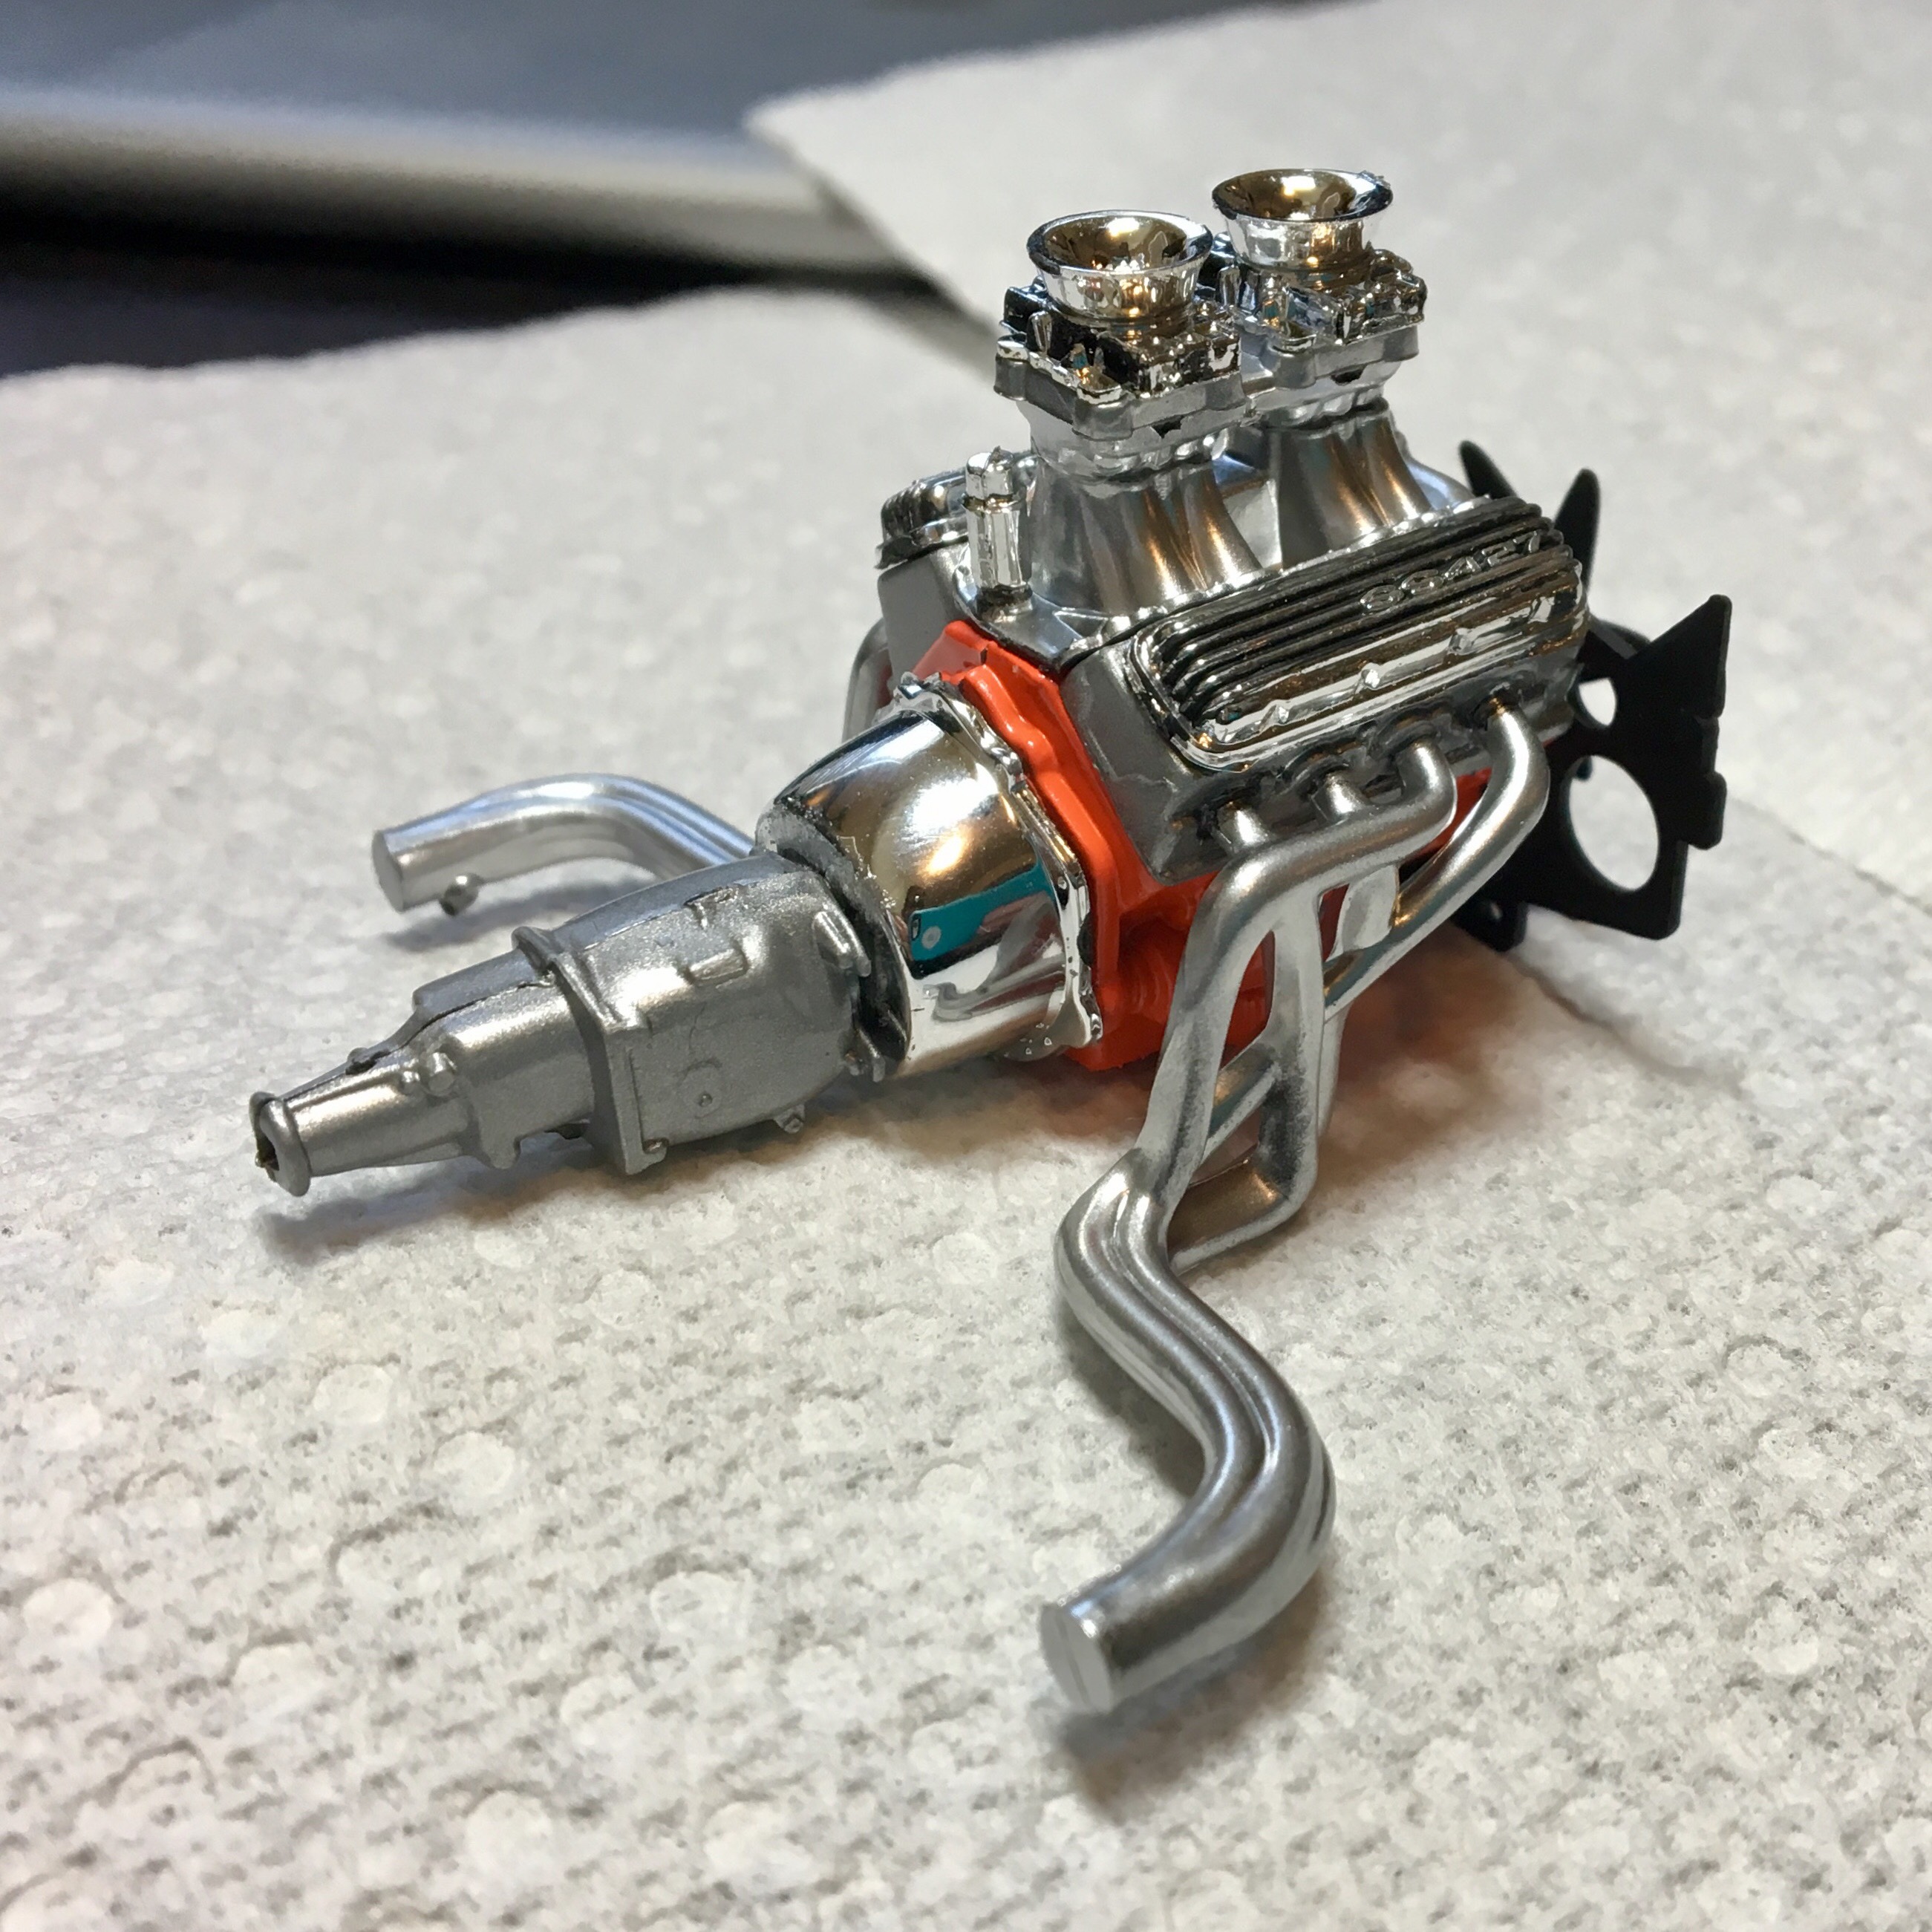
This monstrosity is what will be going under the hood.
-
I've been working on this '66 Malibu SS by Revell Monogram. The painting is mostly done, and I've just started assembly. The kit called for a gloss black exterior and red interior. I'm using a metallic black exterior and yellow interior. The trim is done using Molotow chrome pen.
-
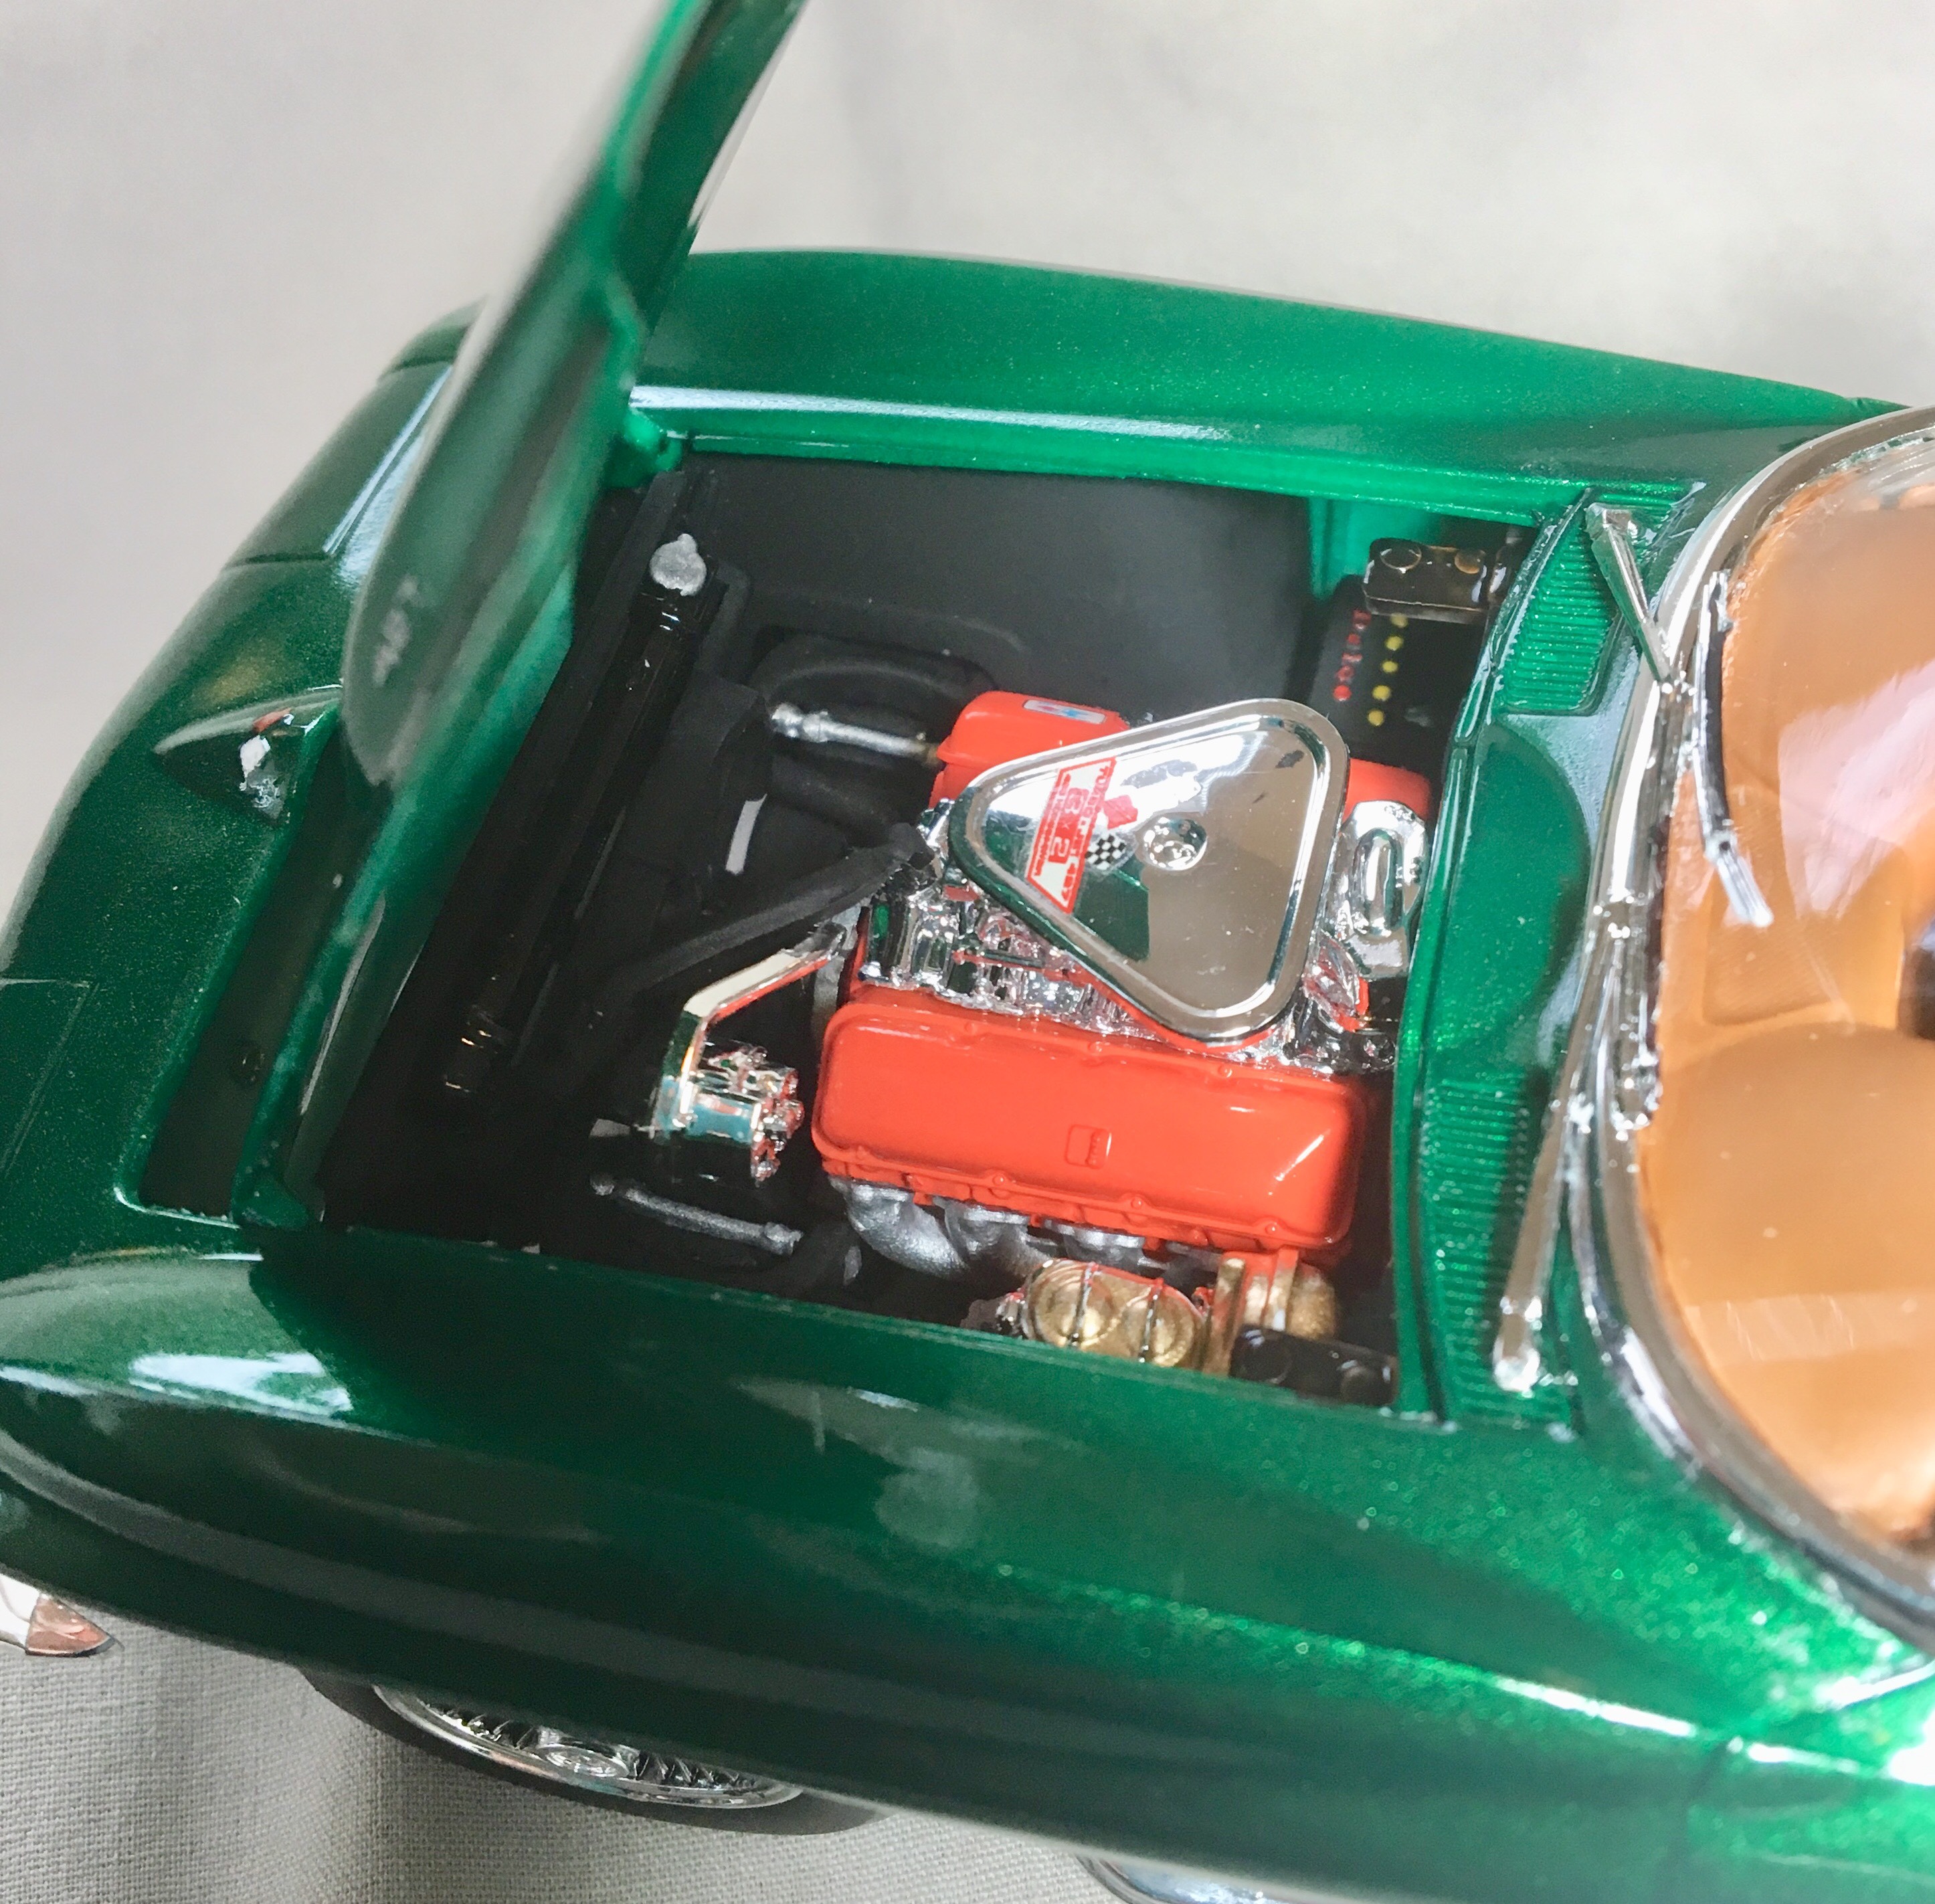
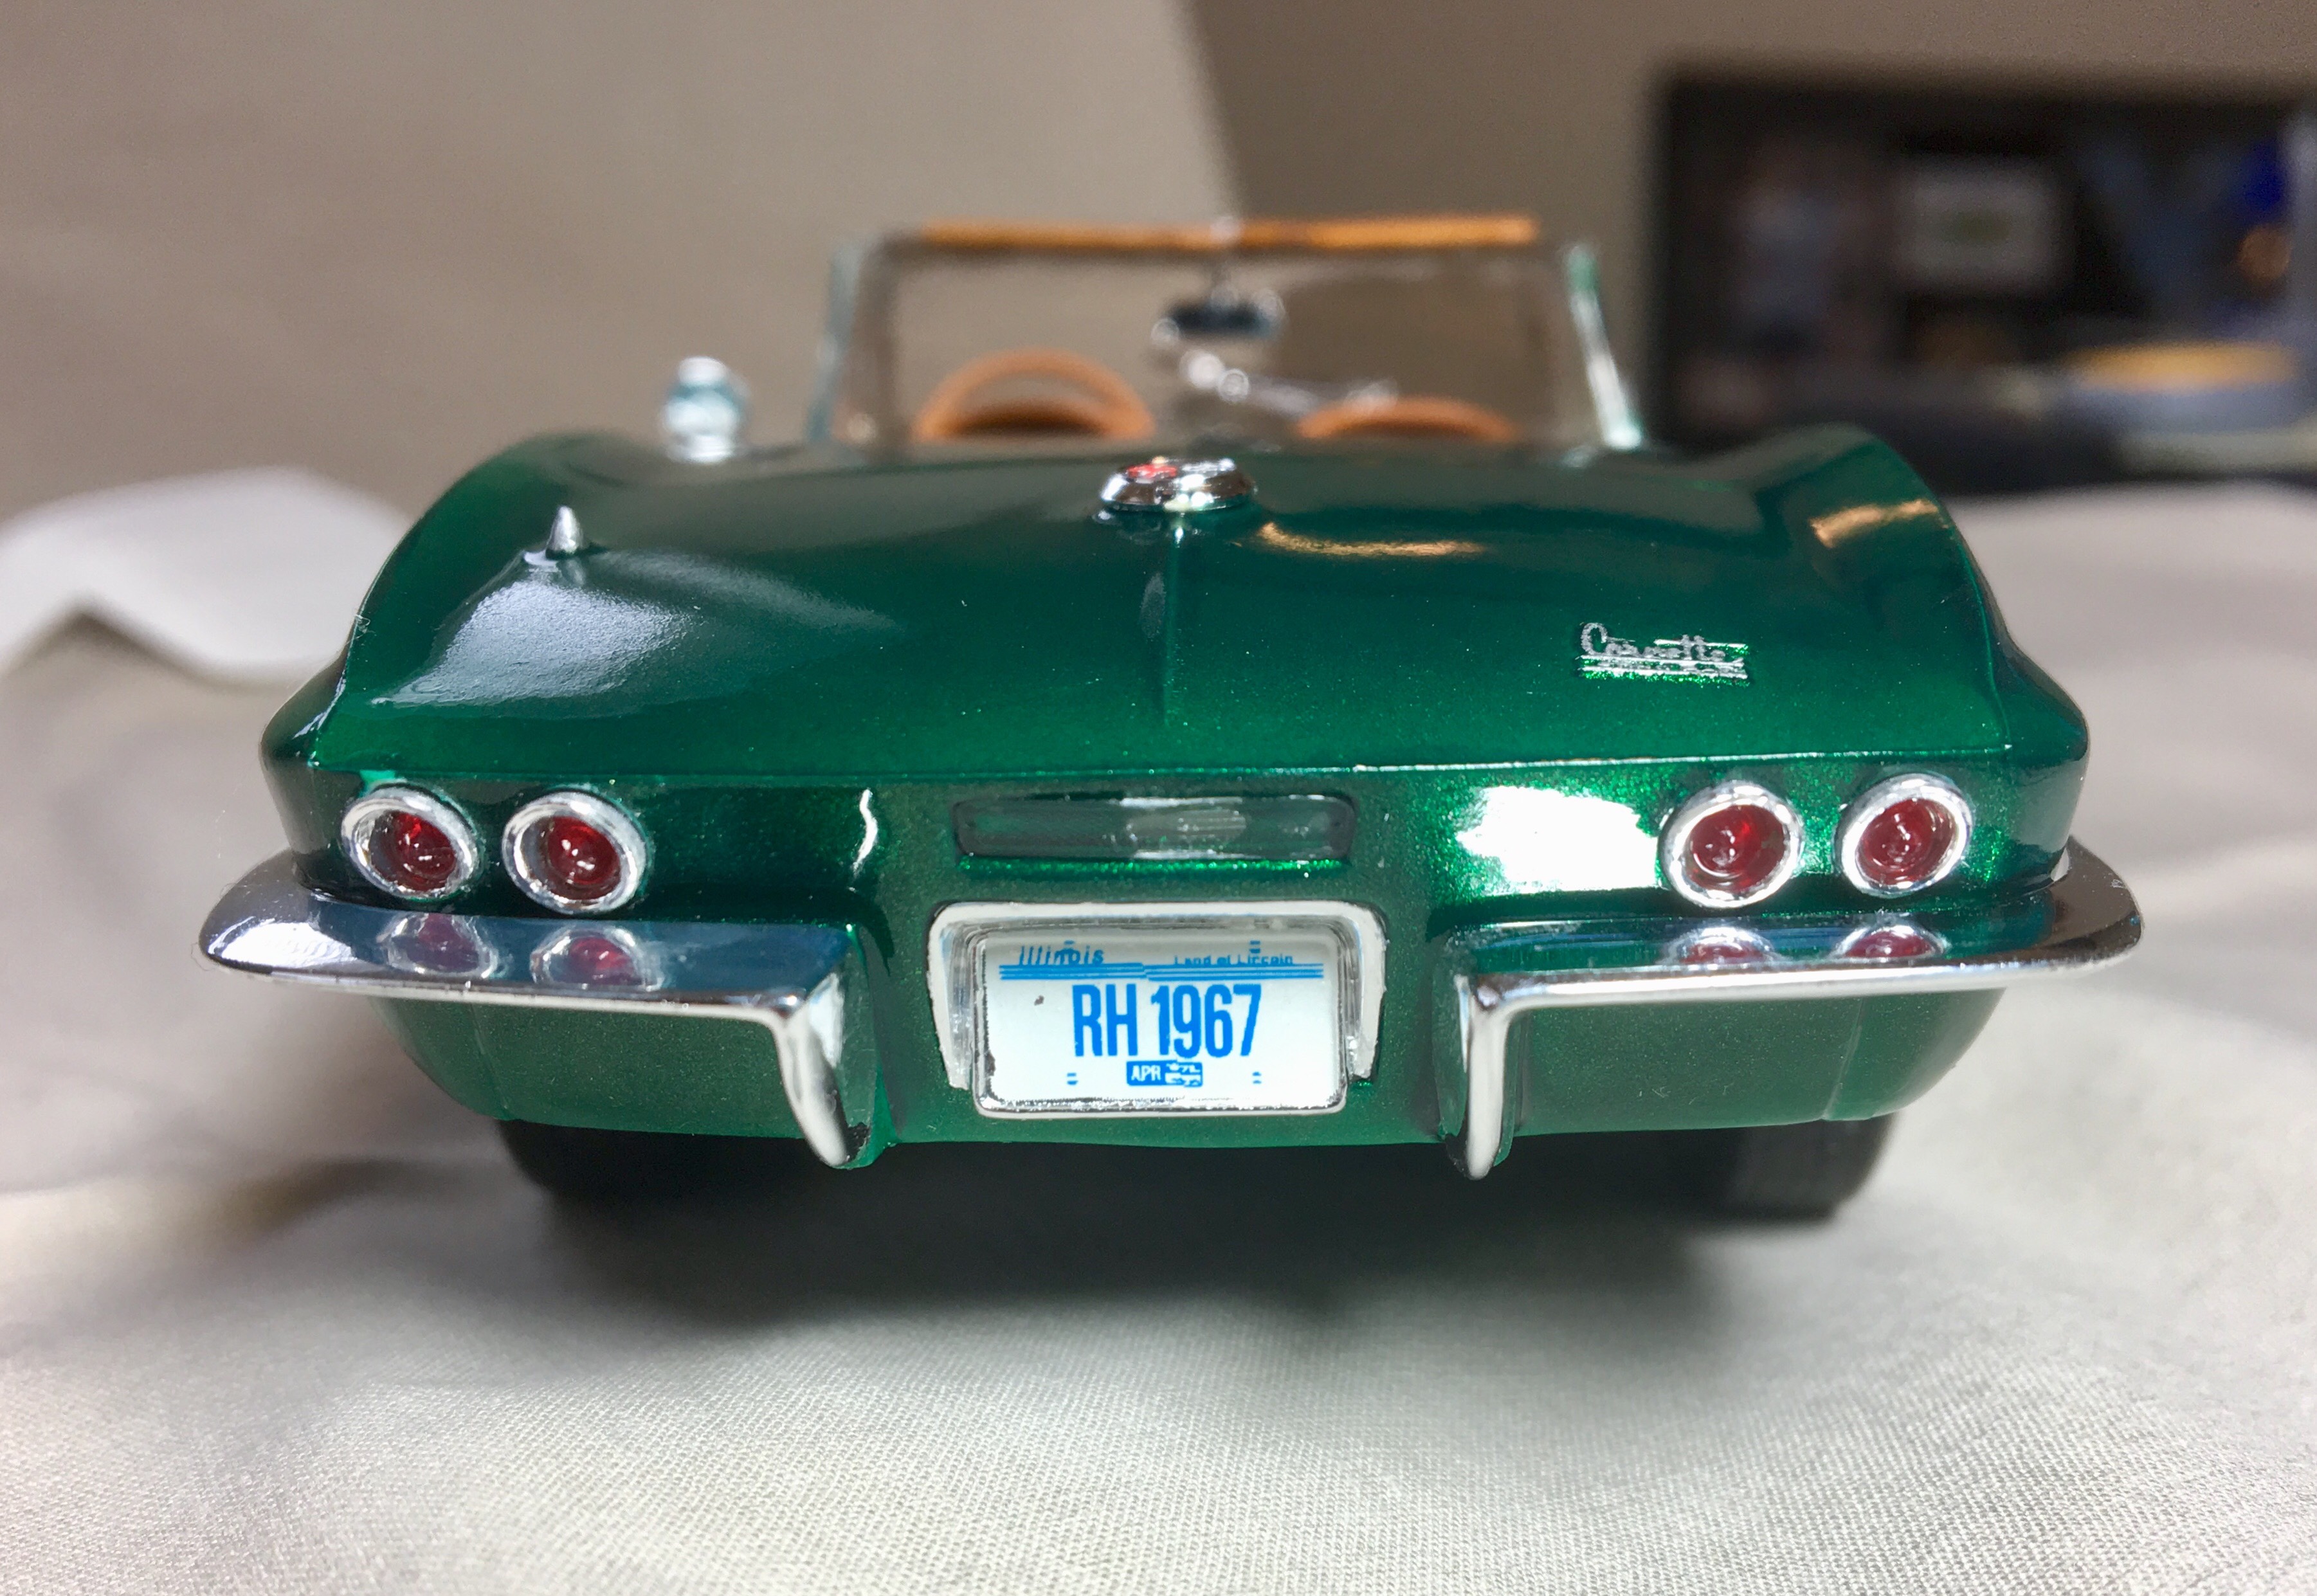
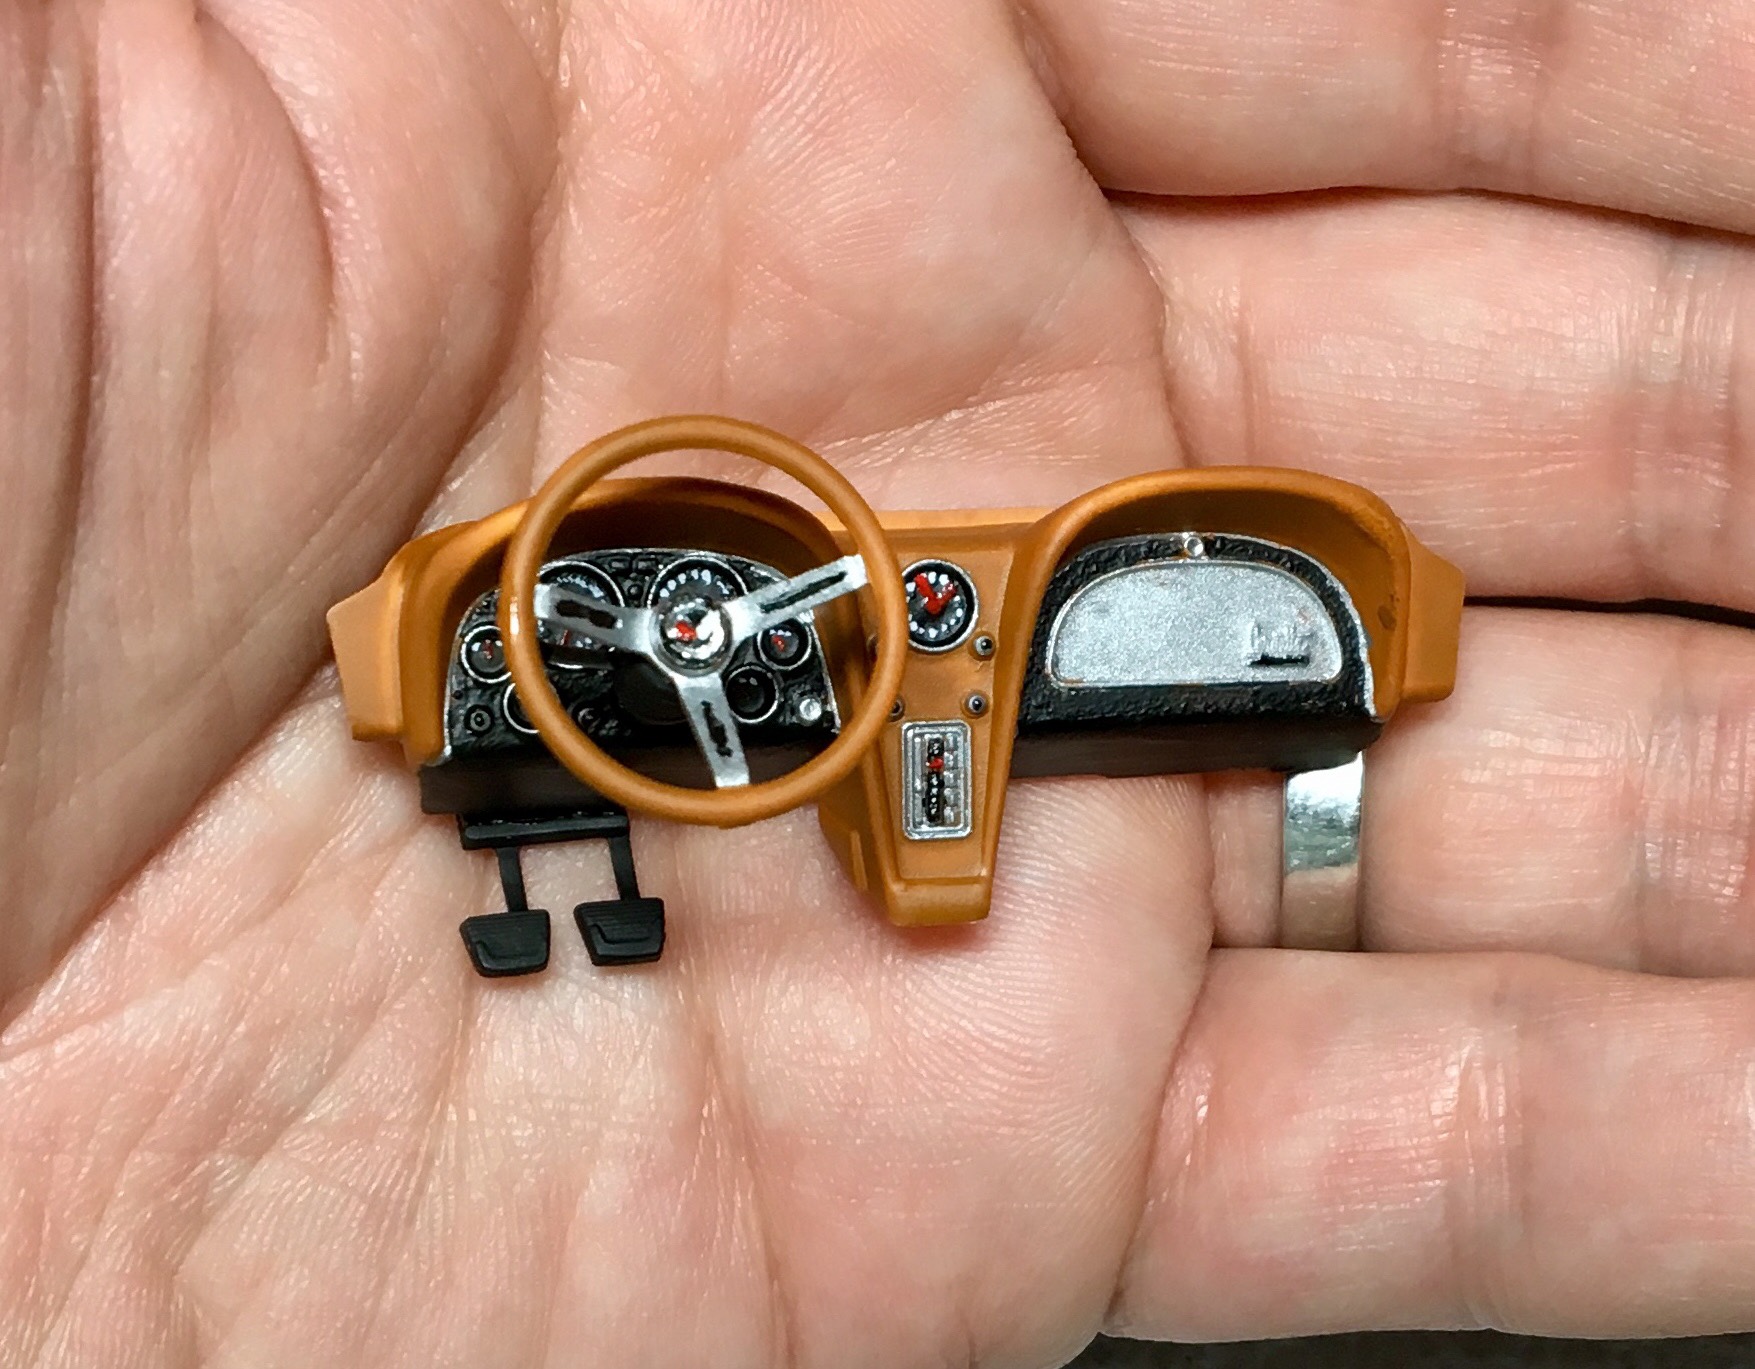
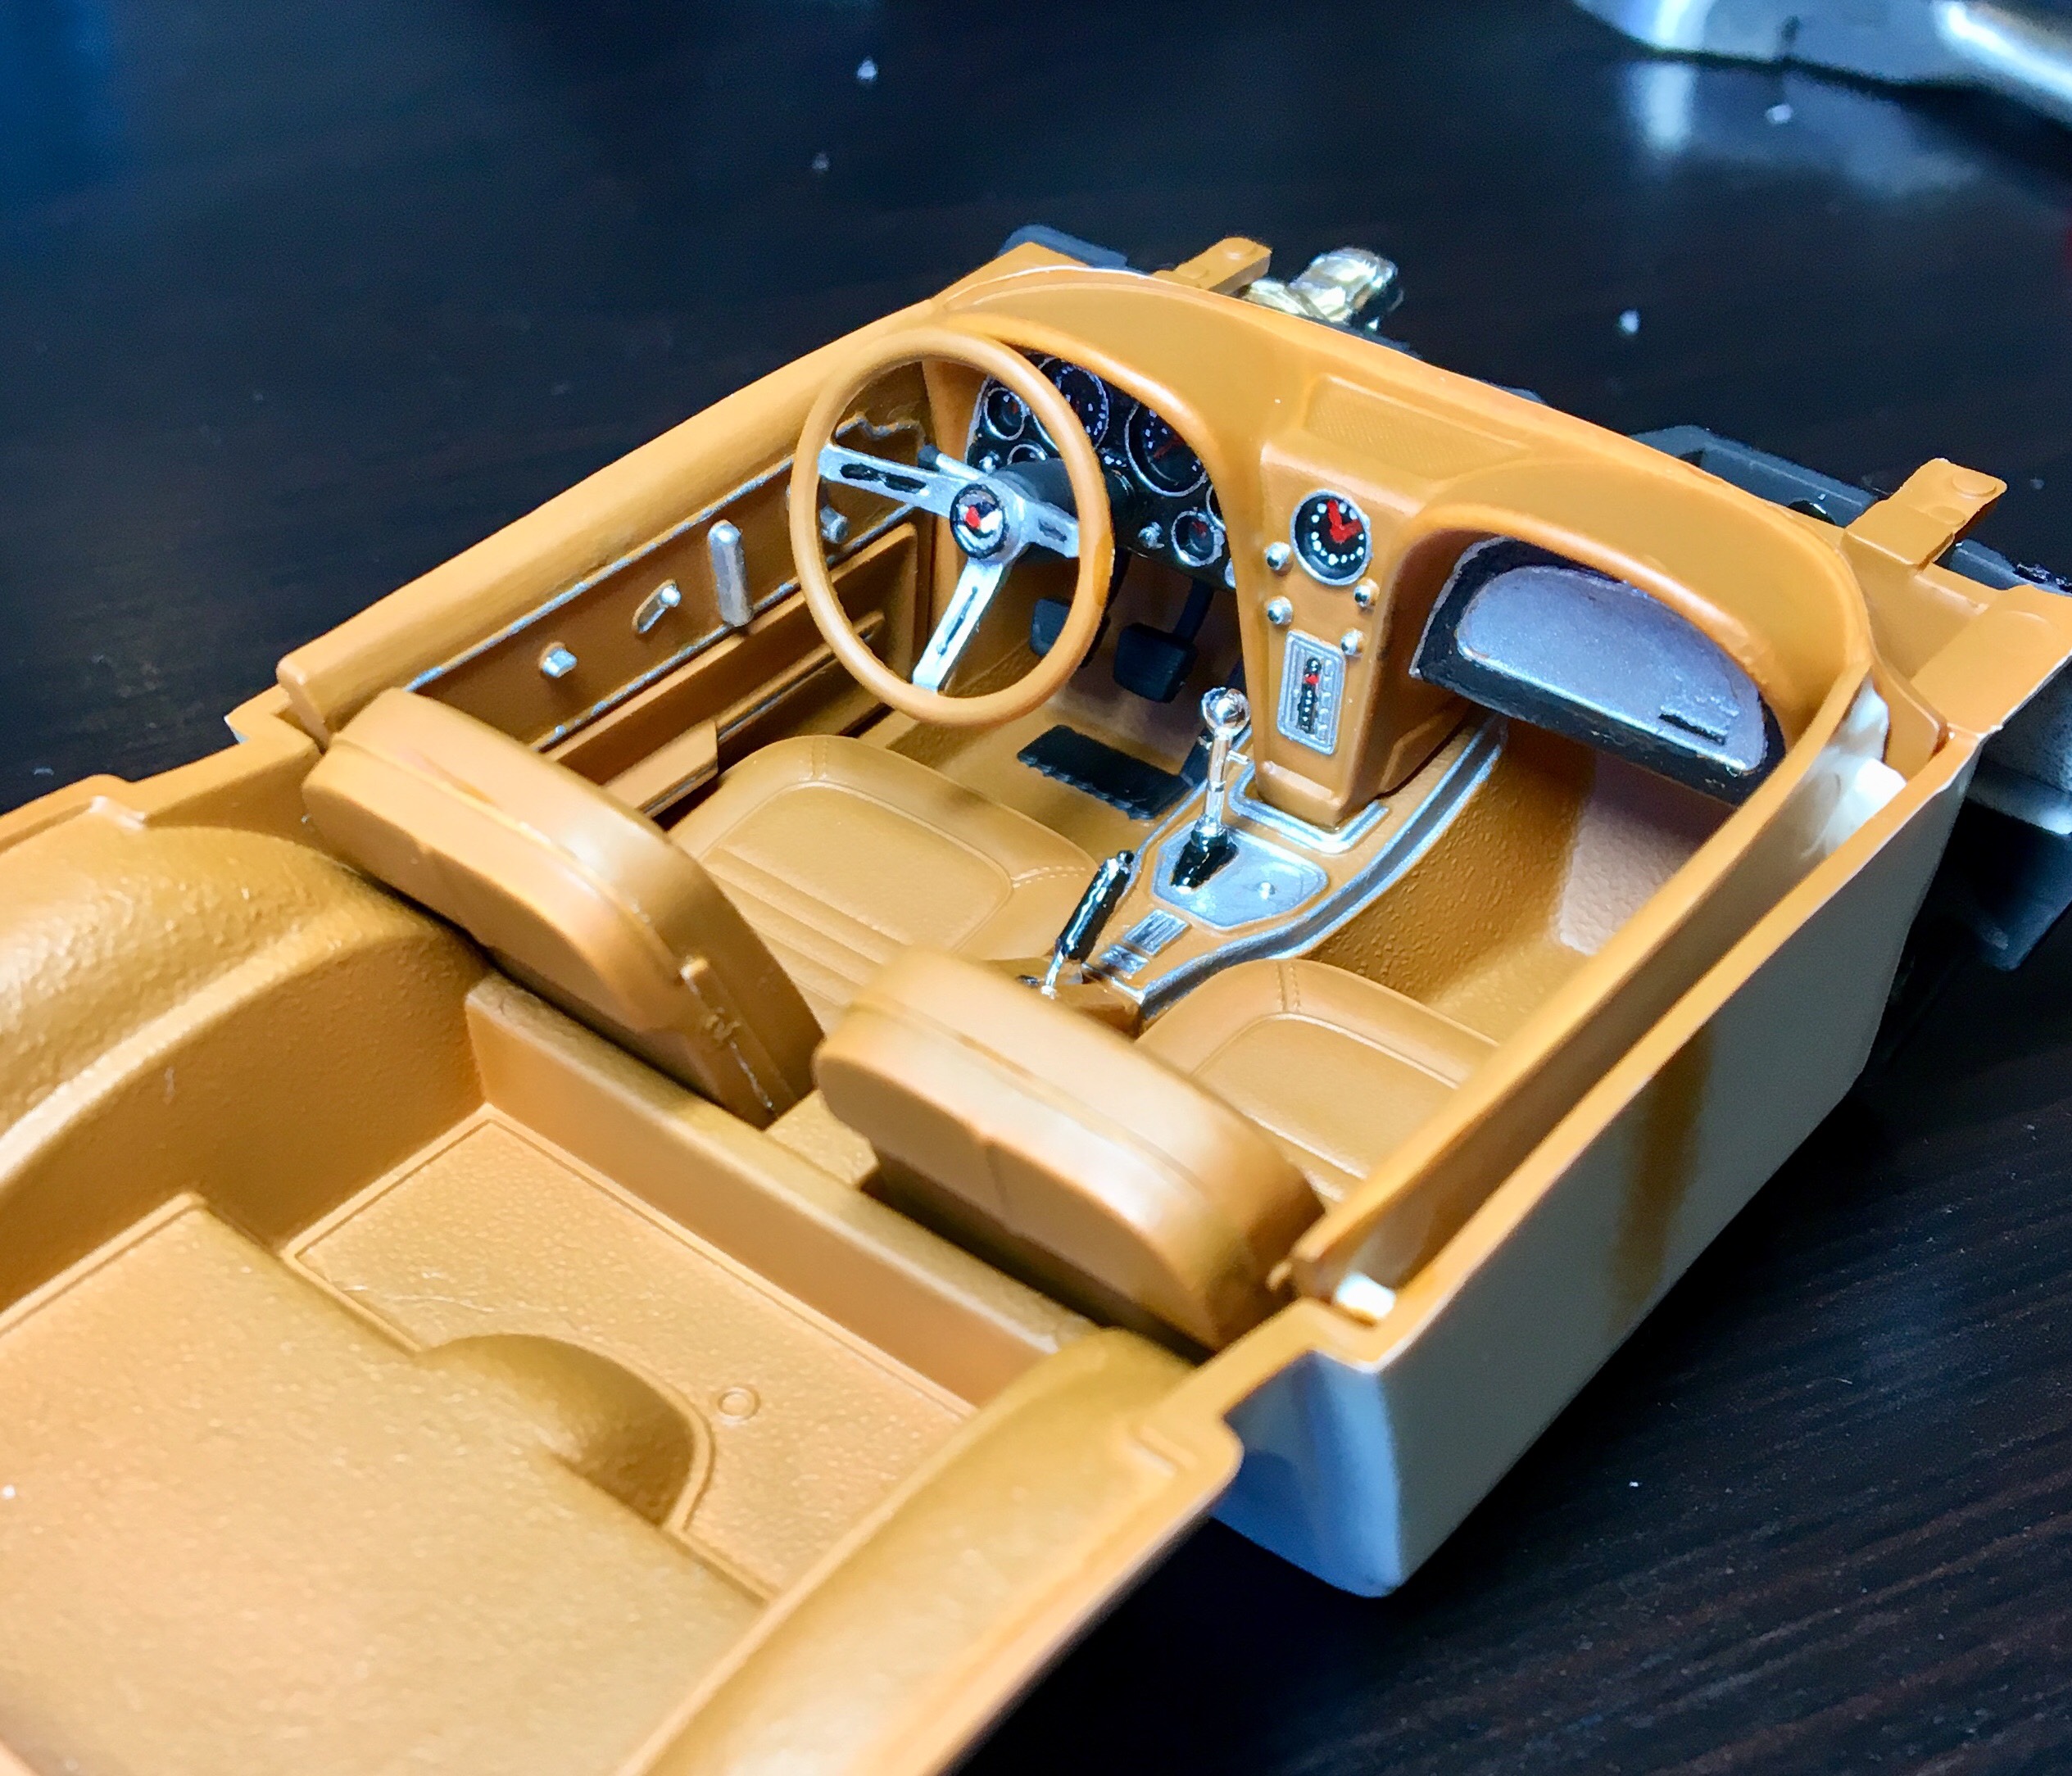
Thanks for the comments. The body is Testors green metal flake enamel. I thought it was going to be glossy, but it had more of a dull metallic finish. I used at least 5 coats of Future to give it some gloss. The metallic paint really soaked up the Future like a sponge. The interior is Testors flat brown enamel. This kit comes with a lot of chrome parts. Some parts I wanted to keep chrome but with a different color on detailed areas. I learned a little trick about painting on top of chrome. I sprayed just a little white Tamiya primer in a bottle cap and then brush-painted primer over the areas of the chromed pieces I wanted a different color. After dry, I painted the new color on top of the primer and it worked really well.
-
Tamiya AMG GT3-12th Annual 24hr of Daytona Group Build
John Jacobs replied to Jhedir6's topic in Model Cars
Looks great. I'm amazed you finished it so quickly. -
Looks great. Did you do something to bring out the detail in the upholstery, like a black wash or a different color? I like it.
-
Excellent job on this build.
-
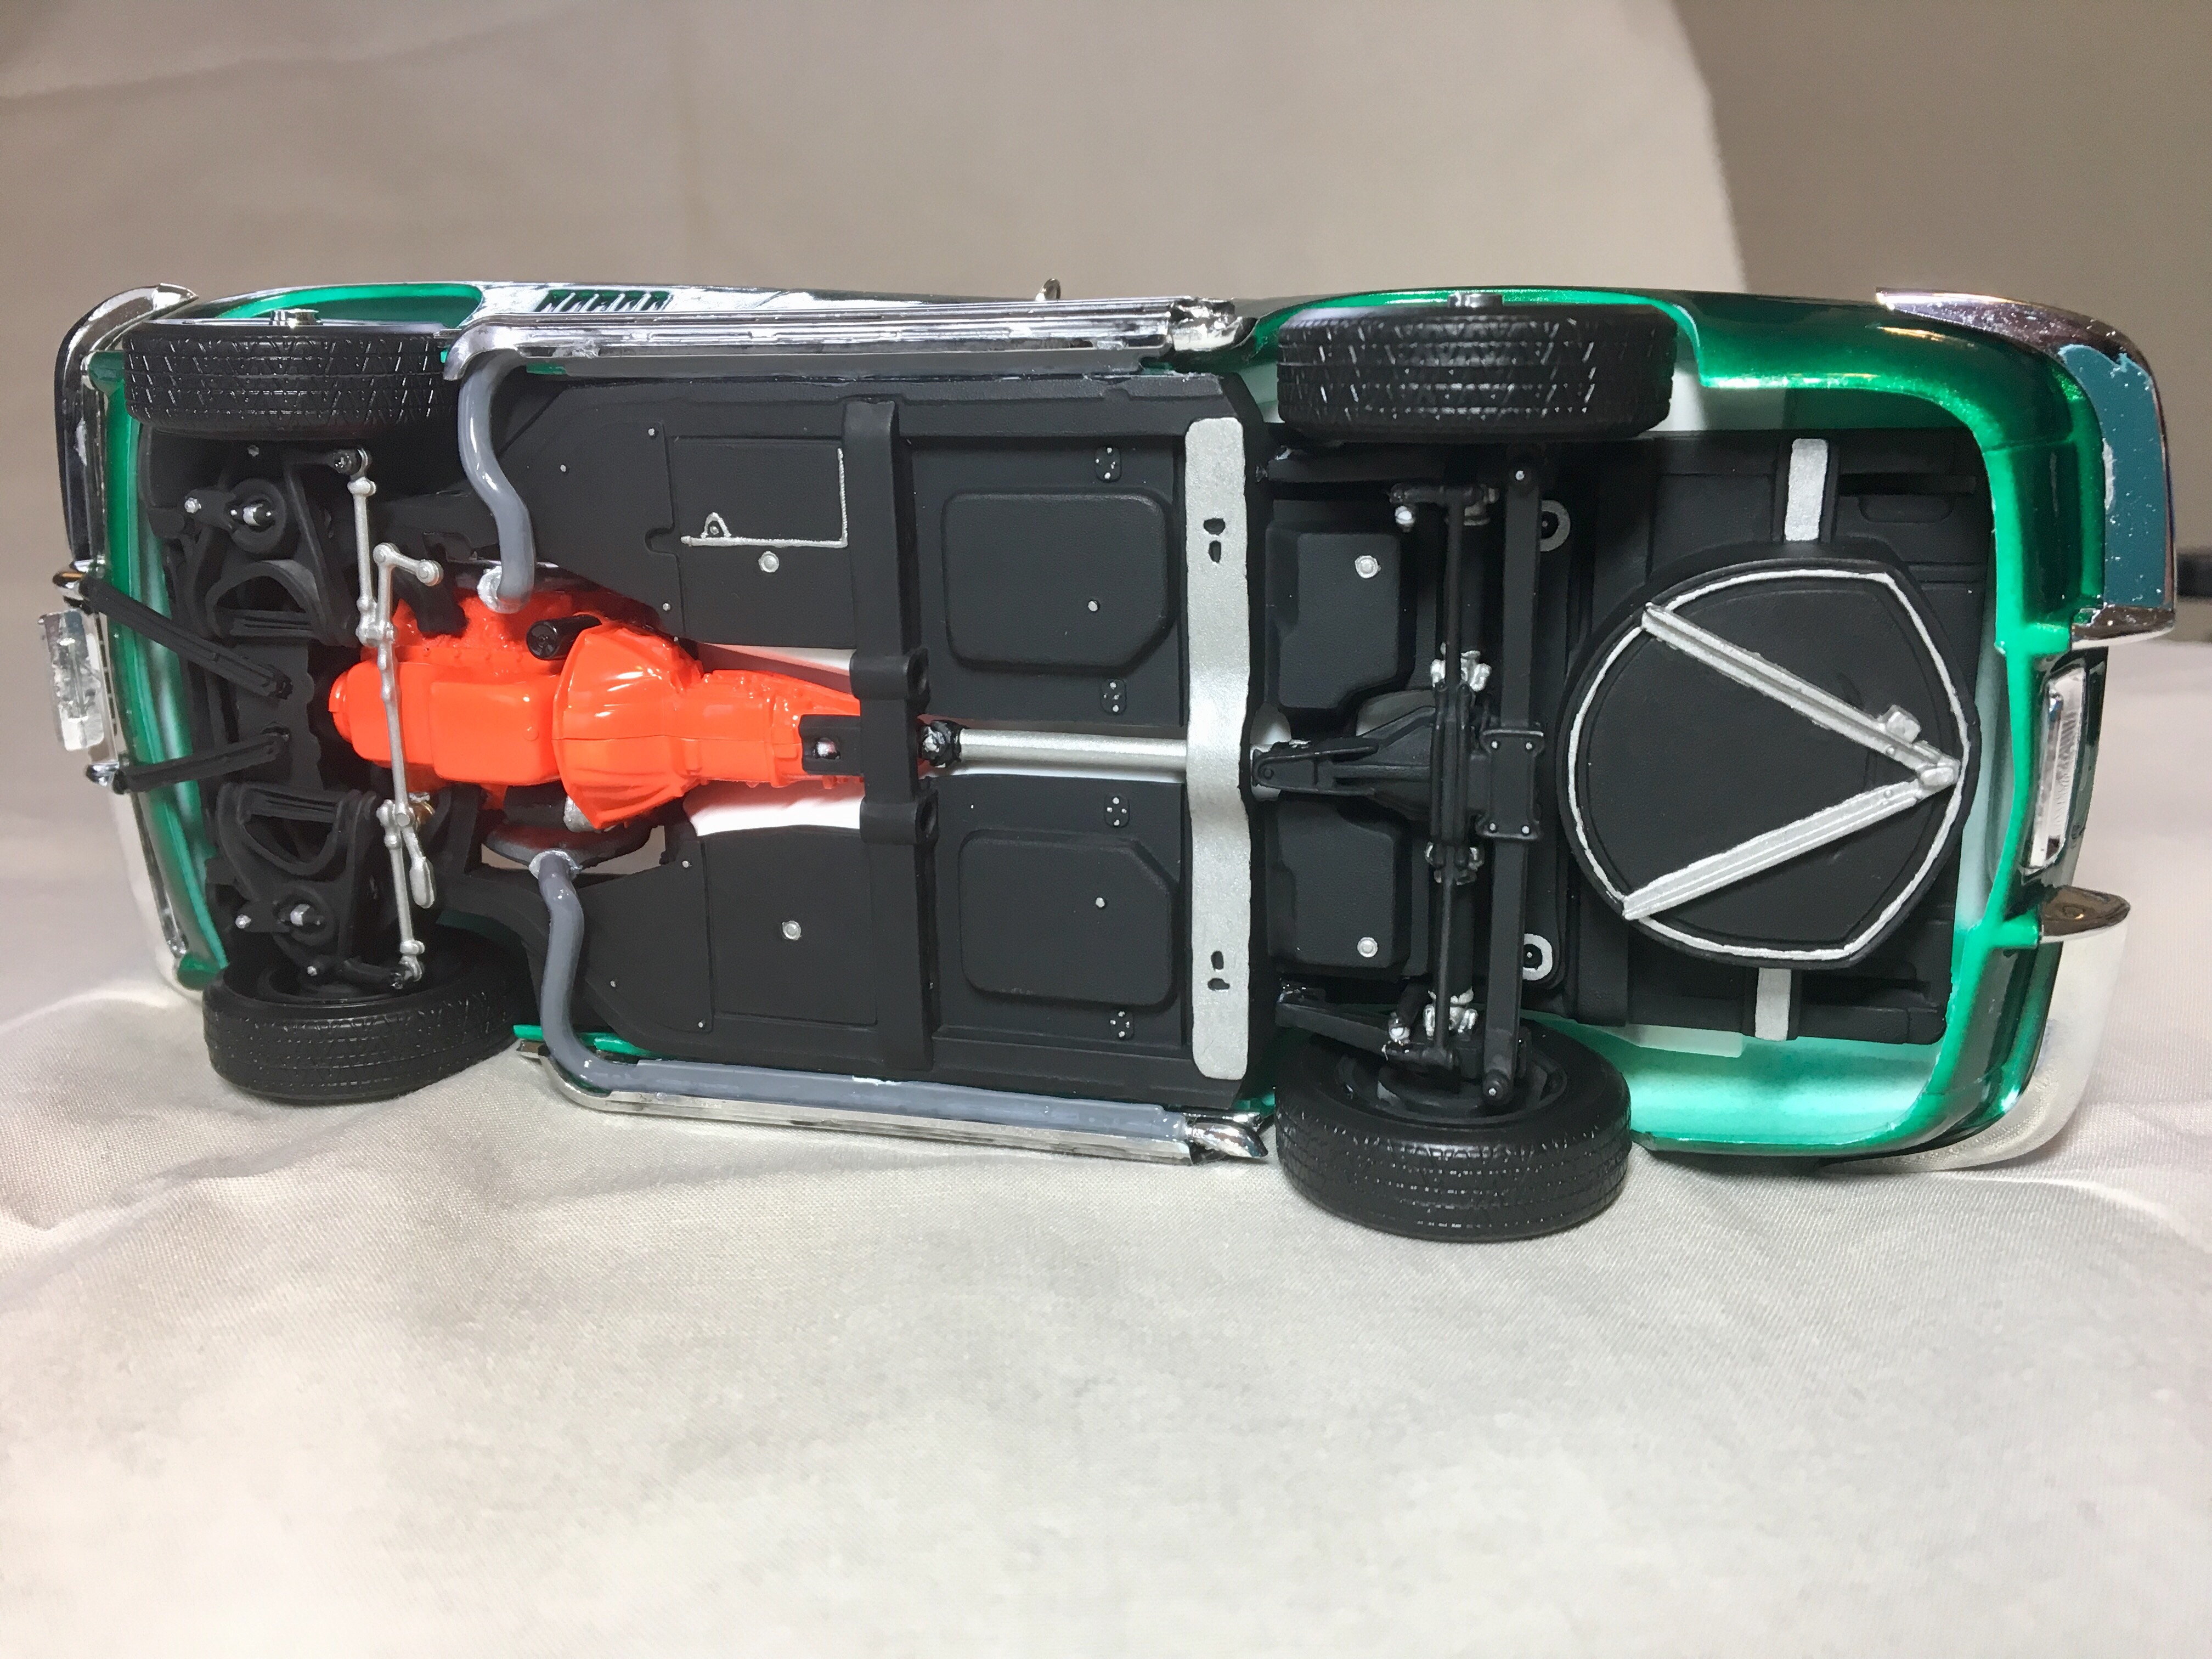
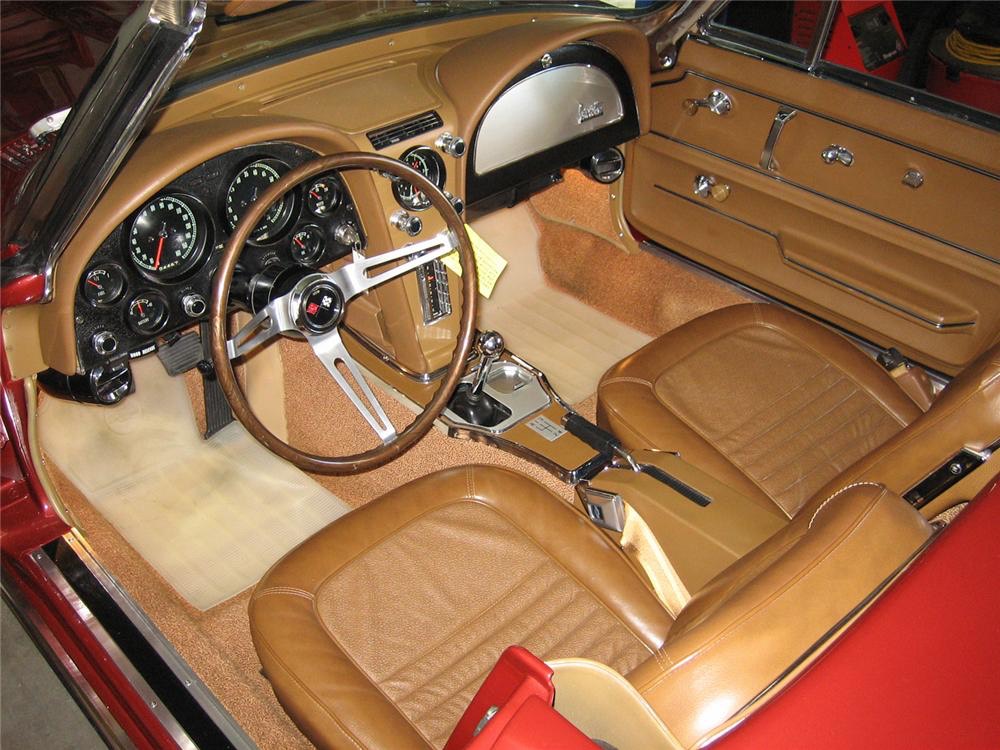
This is a 1:25 Revell Monogram kit of a '67 Corvette 427 Roadster. This is one of many kits generously given to me by a friend from work. It turned out almost exactly as I imagined it. The only differences were the omission of the white hood stripe and the redline tires. The decals were really old and had been stored in a garage with poor air conditions. Some of the decals disintegrated in water. I found a product online, a brush-on film for preserving old decals I can use on future models. Most of the parts under the hood and in the interior have a color scheme based on Corvette part pictures I found online. The Workbench thread is located here:
-
1967 Corvette (Monogram) - Updated 28 Jan 2019
John Jacobs replied to John Jacobs's topic in WIP: Model Cars
Thank you for the offer, but I'm just going to leave this one without the white stripe. -
1967 Corvette (Monogram) - Updated 28 Jan 2019
John Jacobs replied to John Jacobs's topic in WIP: Model Cars
Thanks. The interior is Testors flat brown enamel. -
1967 Corvette (Monogram) - Updated 28 Jan 2019
John Jacobs replied to John Jacobs's topic in WIP: Model Cars
I should have been clearer. The Testors green metal flake paint went on okay, but it took about 5 coats of Future before it became glossy. I don't think the paint is intended to look glossy, being a metallic paint. I was surprised how much Future it soaked up, though. Regarding the decals, this kit, along with a bunch of others, was given to me by a guy who had them sitting in his garage for years, maybe decades. The decals must be extremely brittle from exposure to poor air conditions. I found a product online called liquid decal film by Microscale that may be able to preserve some of the decals from other kits. It's too late for this one, but that's okay. -
1967 Corvette (Monogram) - Updated 28 Jan 2019
John Jacobs replied to John Jacobs's topic in WIP: Model Cars
-
1967 Corvette (Monogram) - Updated 28 Jan 2019
John Jacobs replied to John Jacobs's topic in WIP: Model Cars
Thanks for the comments. I was a little disappointed that the hood decals (were going to be white stripes) and the red lines for the tires completely disintegrated when I put them in water. I'm really happy with the look of the metallic green paint after several coats of Future, so my disappointment was short-lived. The metallic paint seems to be very porous, so it took about 5 coats before it started looking glossy. Here is the engine, now installed on the chassis.
-
I've started working on a 1967 Corvette (Monogram). Decided to go with a metallic green exterior and saddle interior. Found a couple of pictures on the internet to go by.
-
If Future is applied to parts before assembly and then regular cement is used to bond the parts together, does the Future prevent good bonding of the parts? I'm concerned that the layer of dried Future on the part will act as a barrier, preventing the parts from bonding in the same way that chrome plated parts do not bond well with regular plastic parts without using something like superglue.
-
Sorry if this was already addressed in this thread. If Future is applied to parts before assembly and then regular cement is used to bond the parts together, does the Future prevent good bonding of the parts? I'm concerned that the layer of dried Future on the part will act as a barrier, preventing the parts from bonding in the same way that chrome plated parts do not bond well with regular plastic parts without using something like superglue.
-
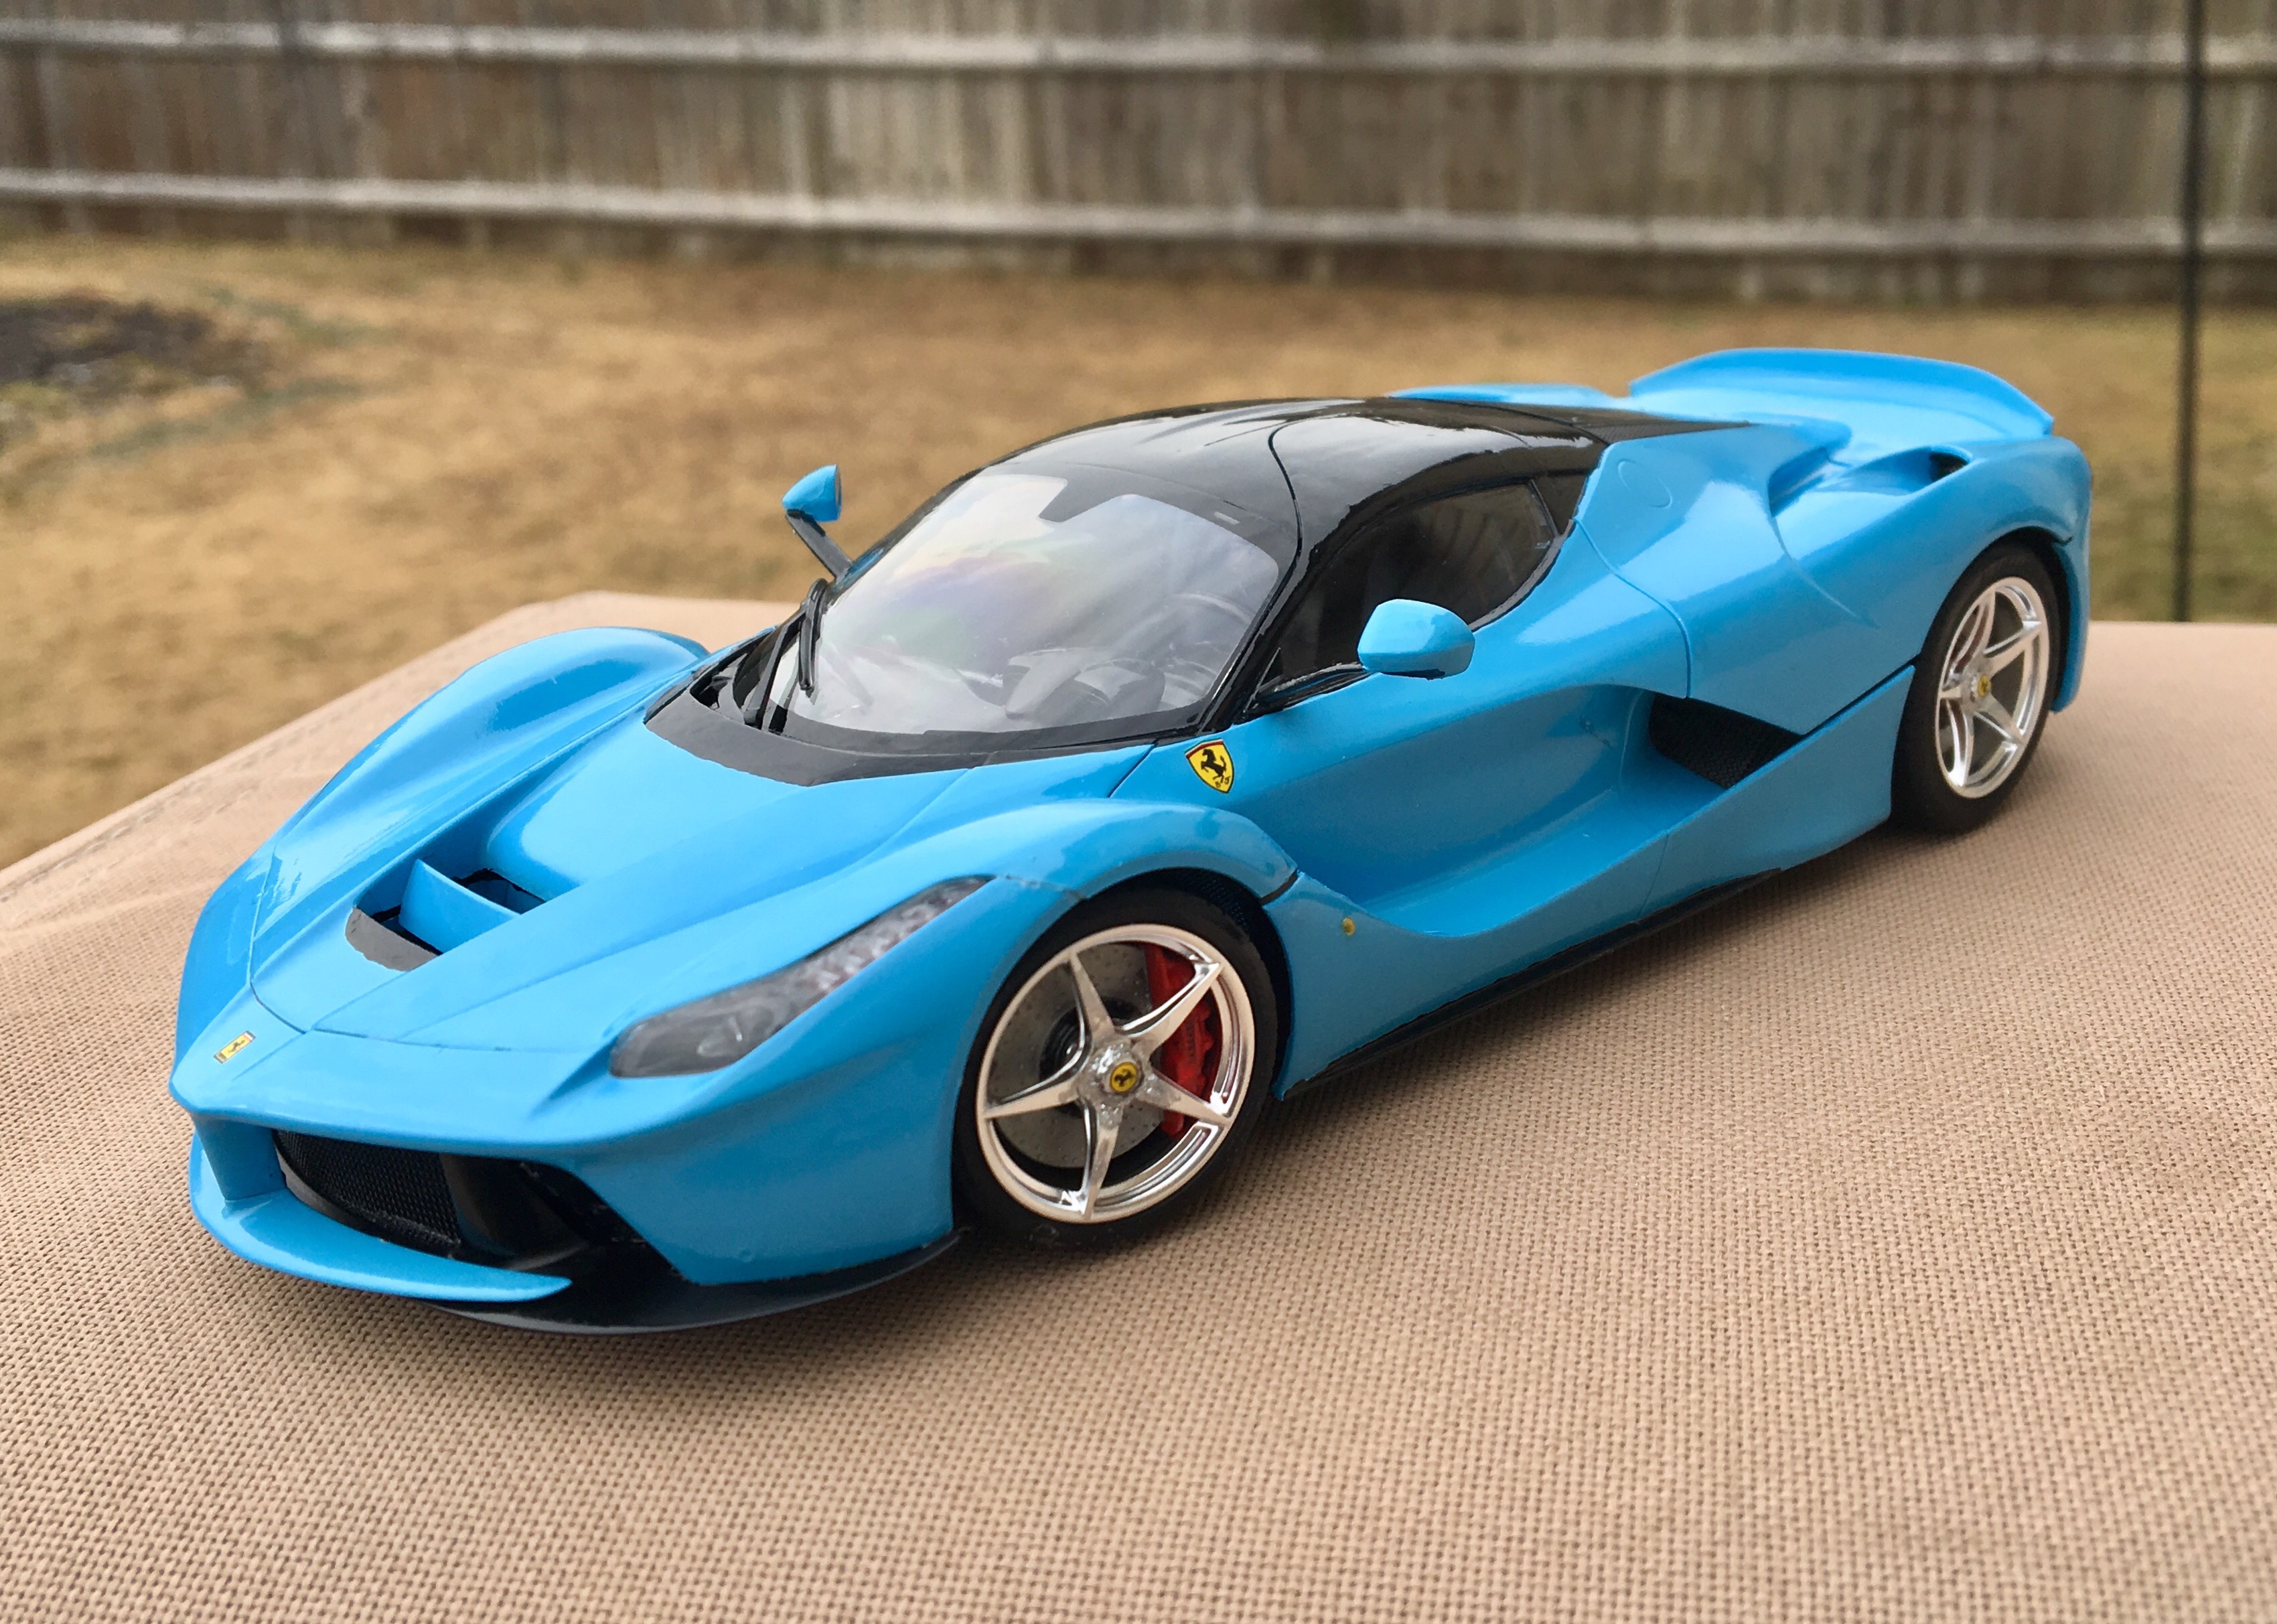
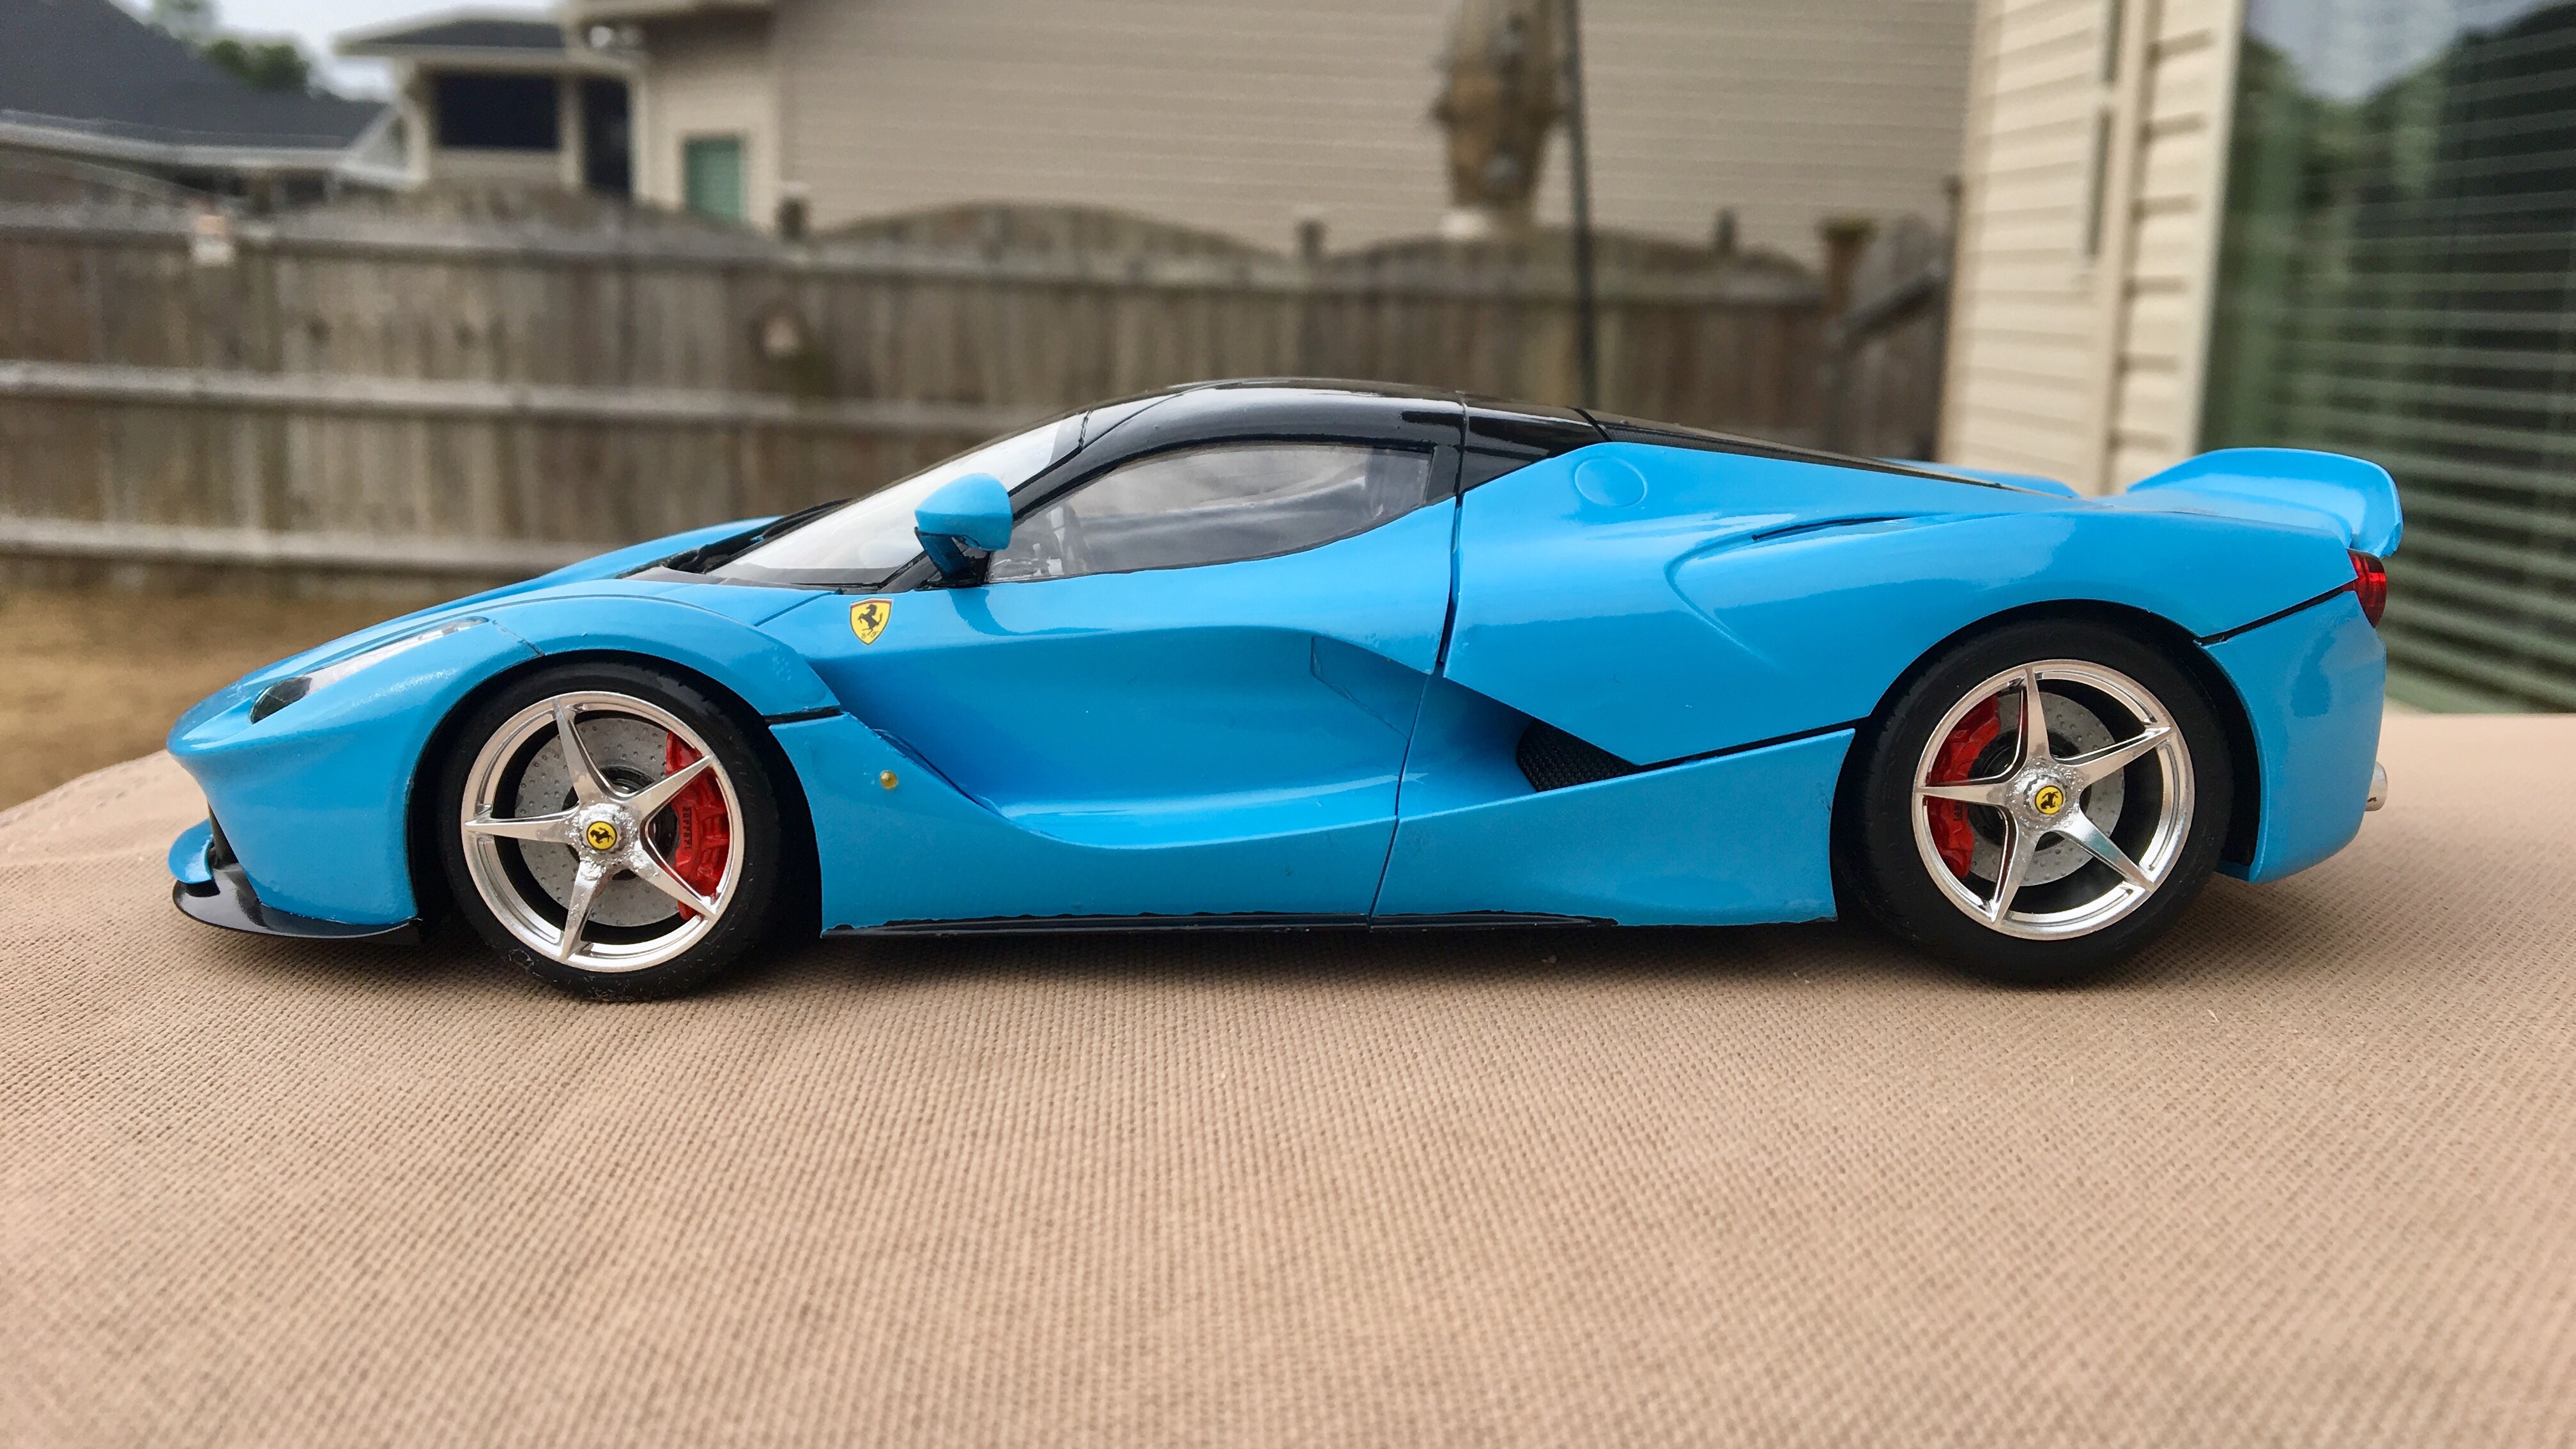
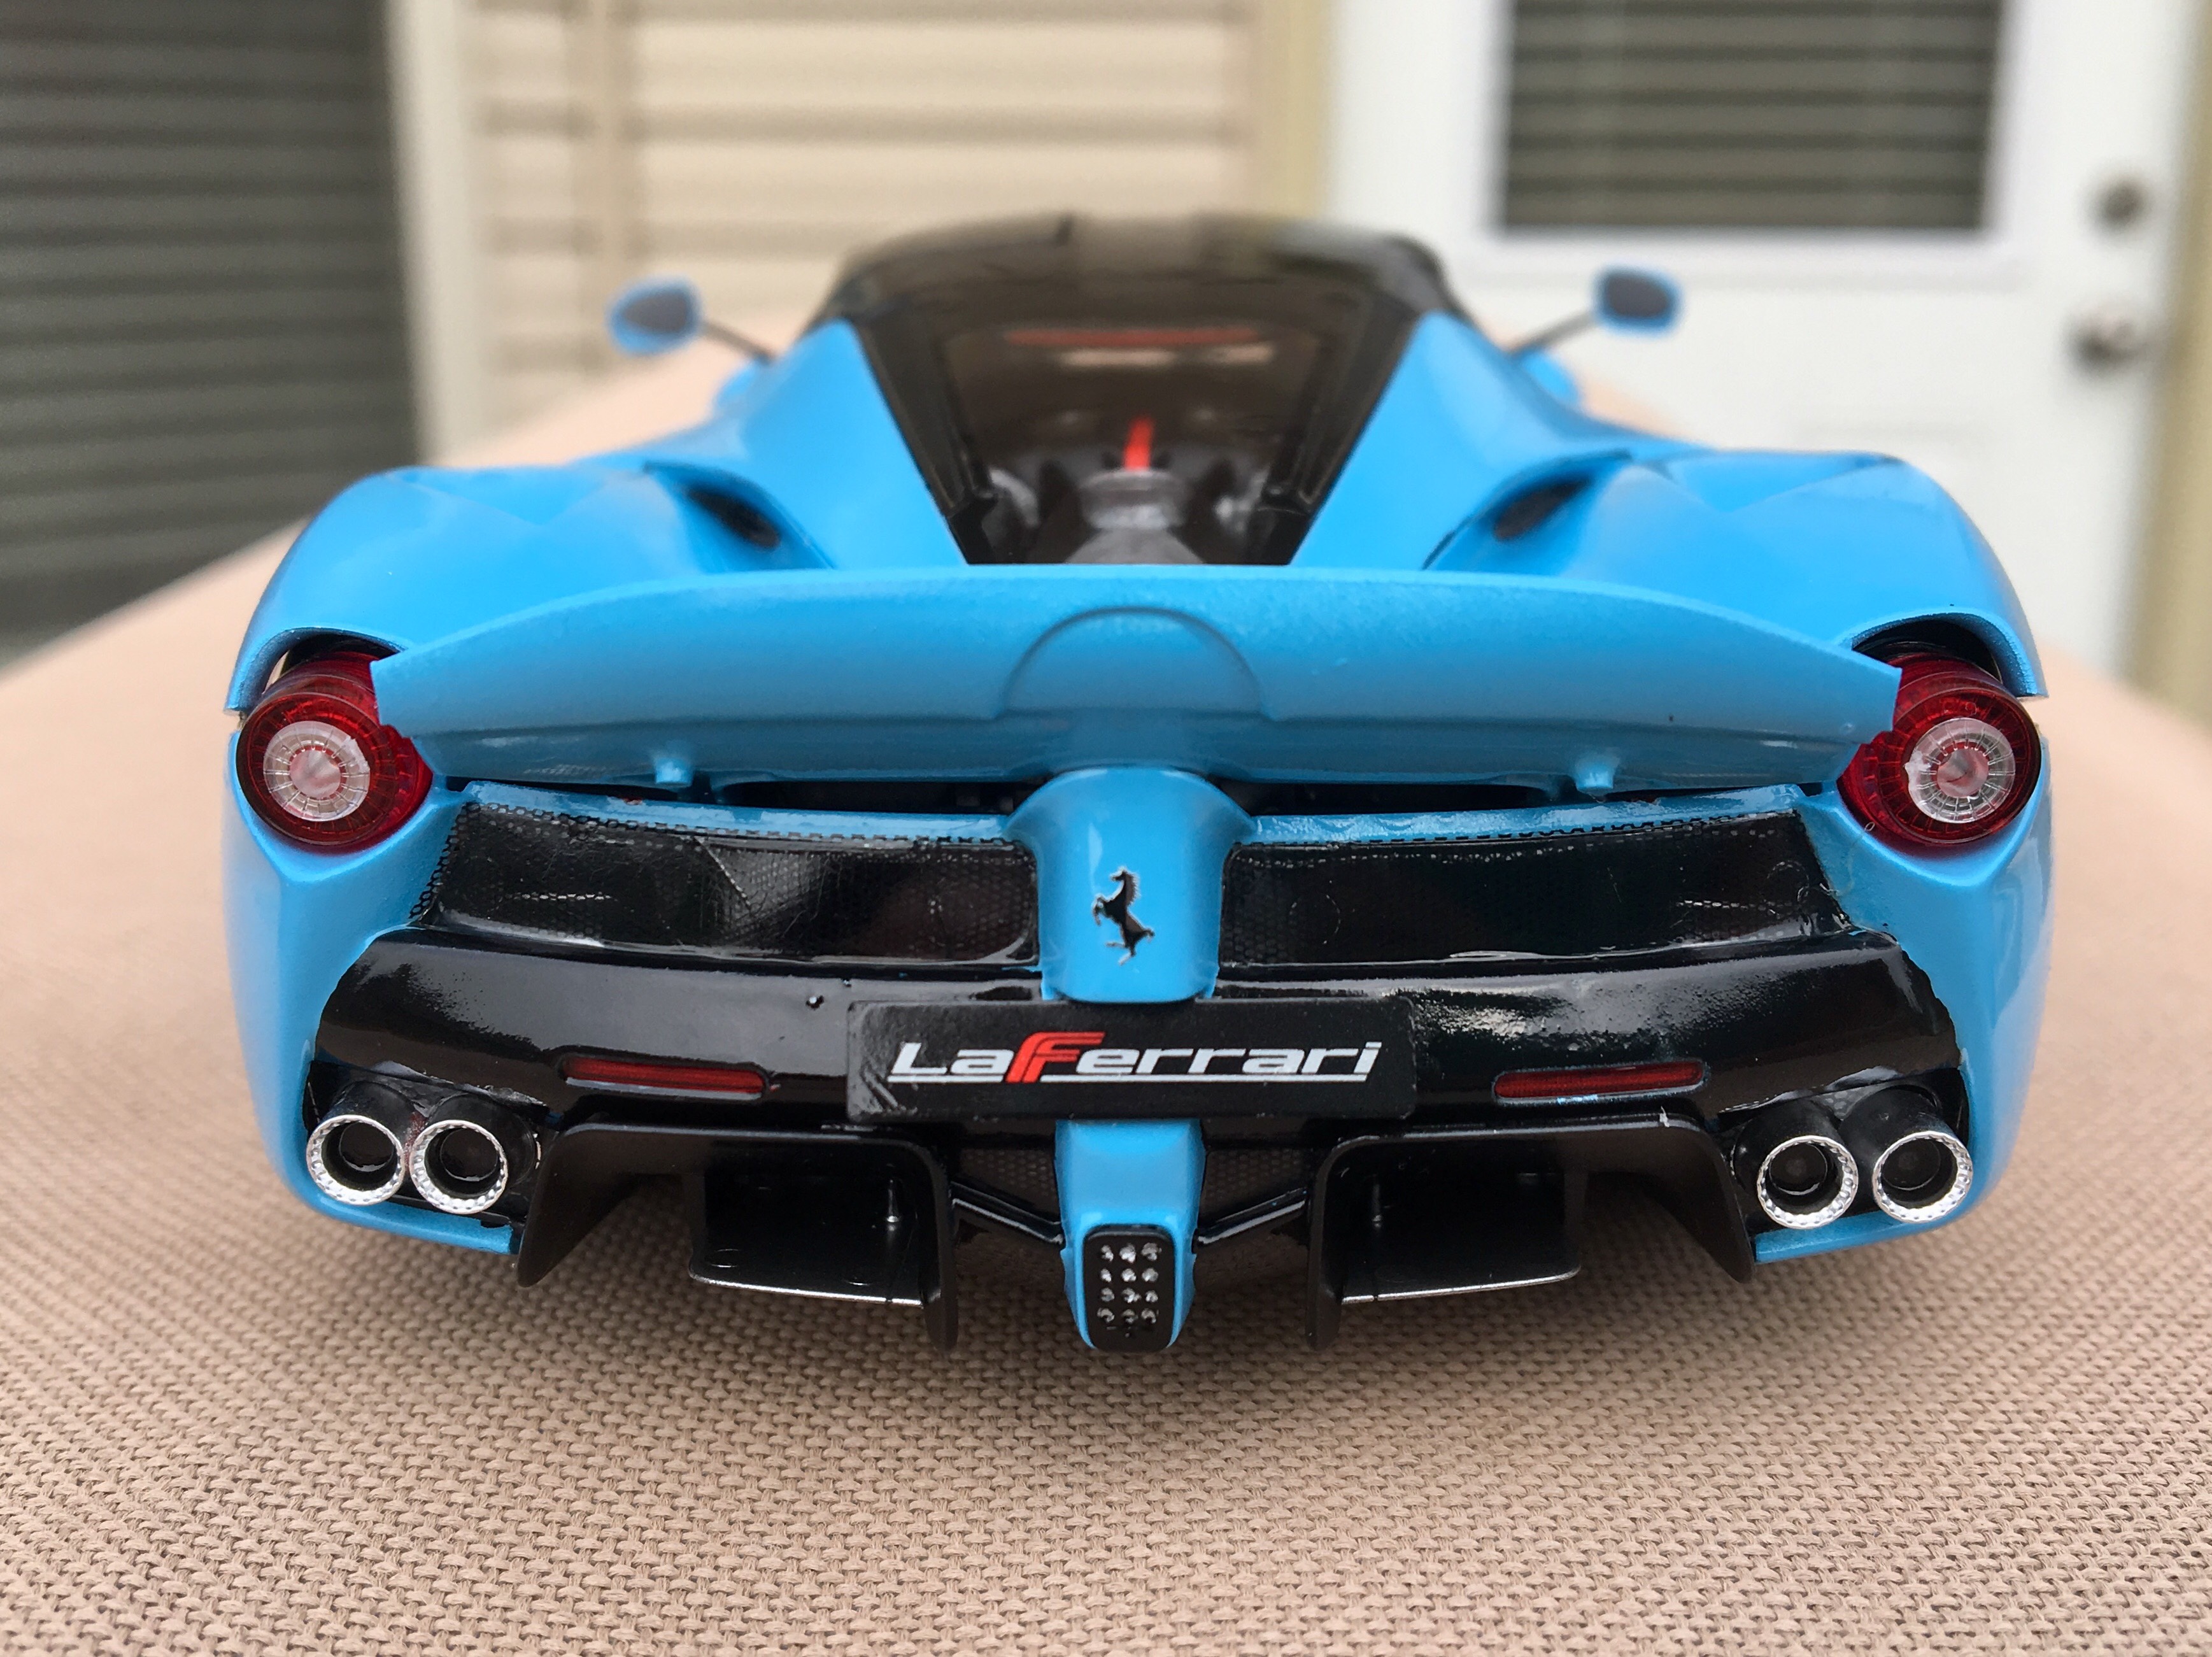
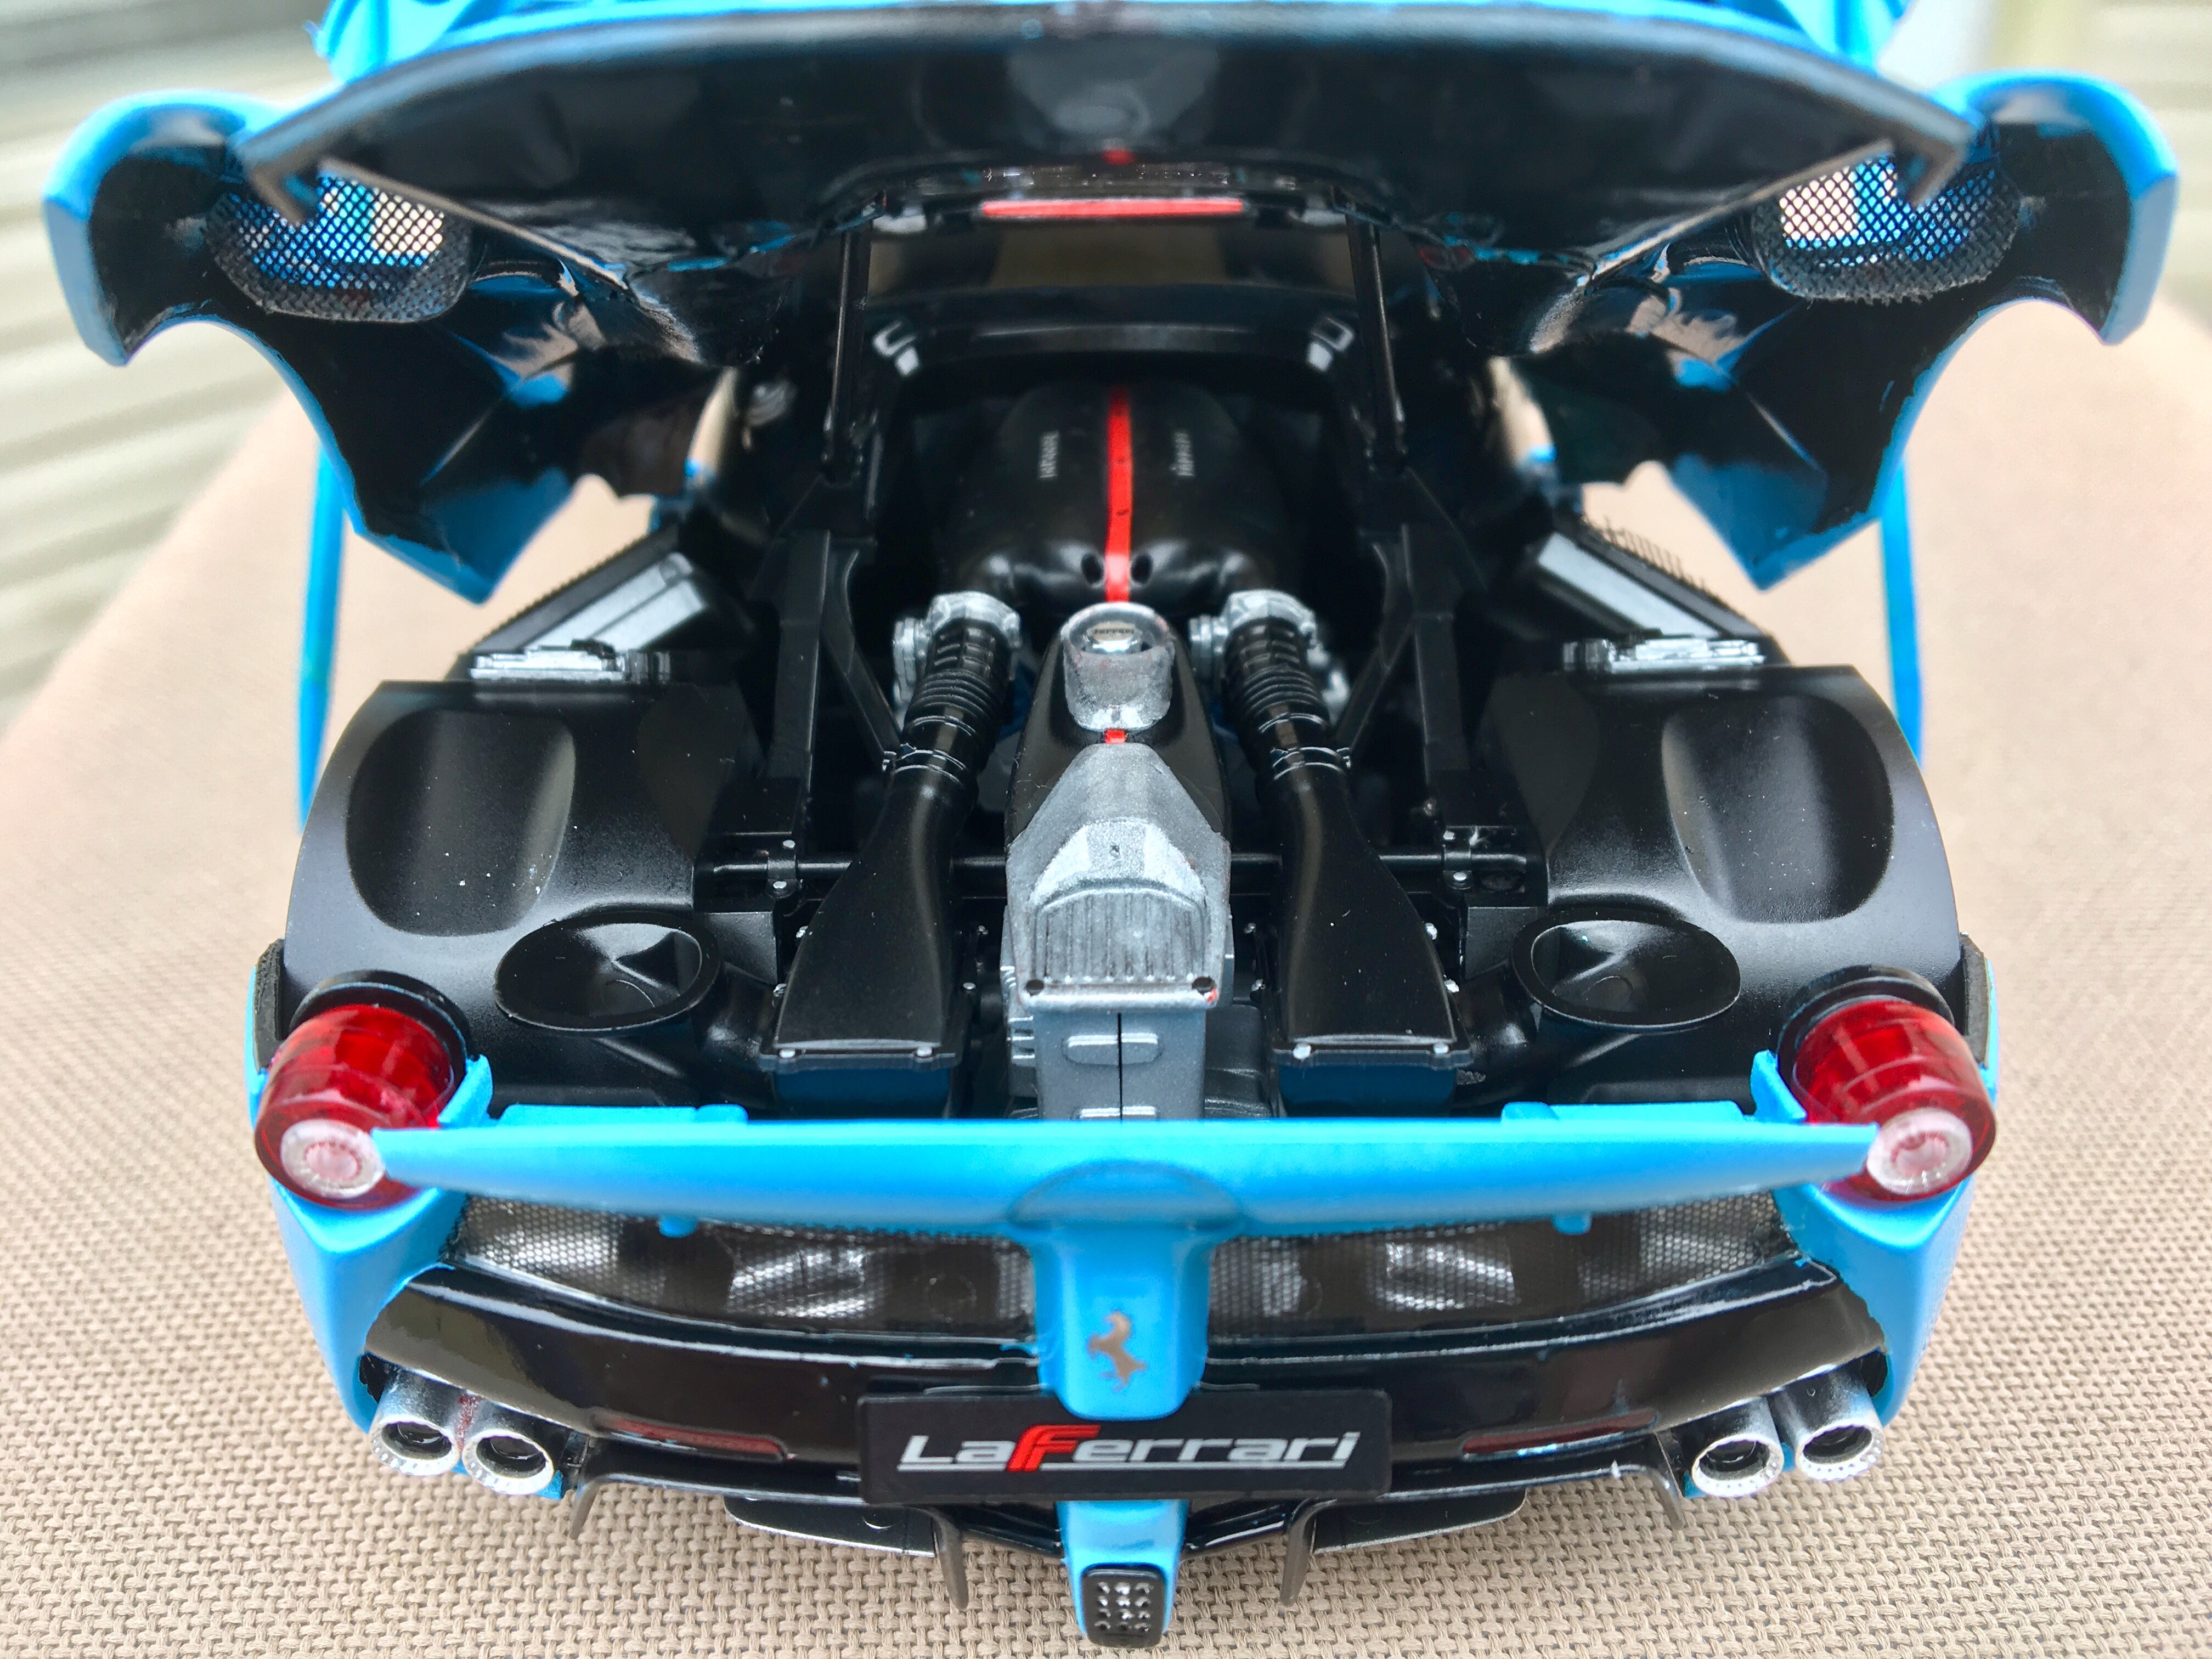
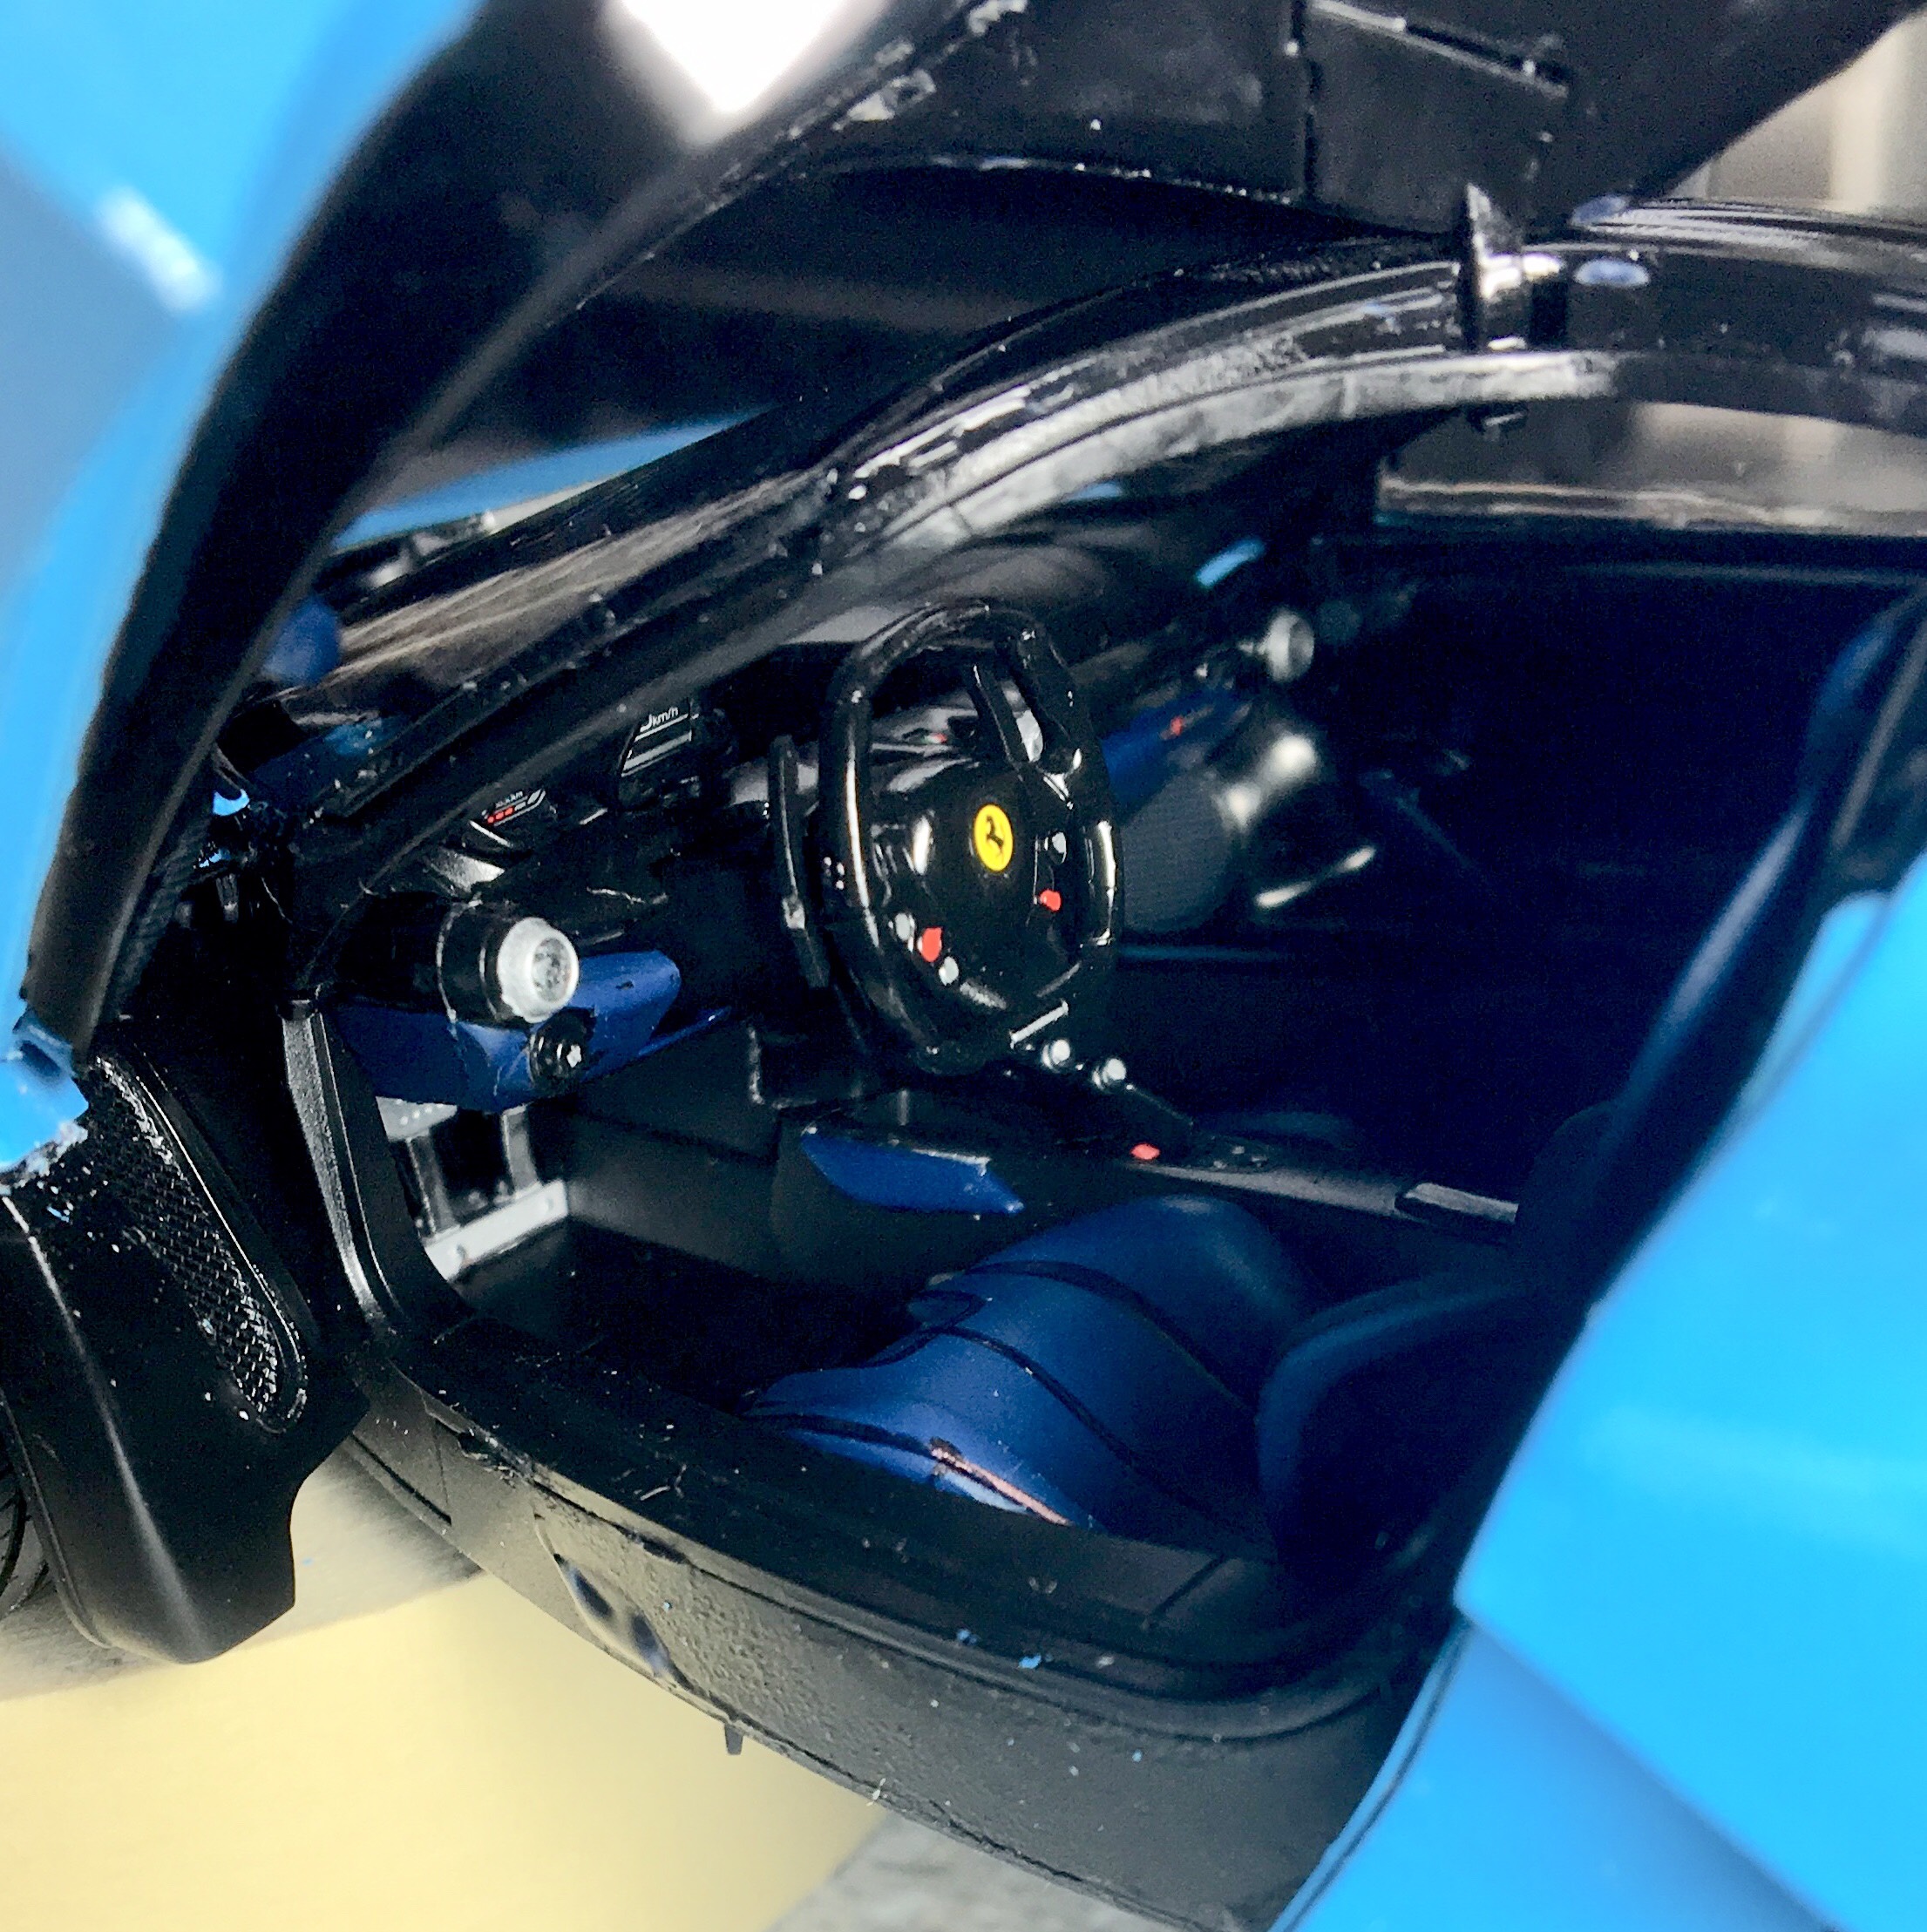
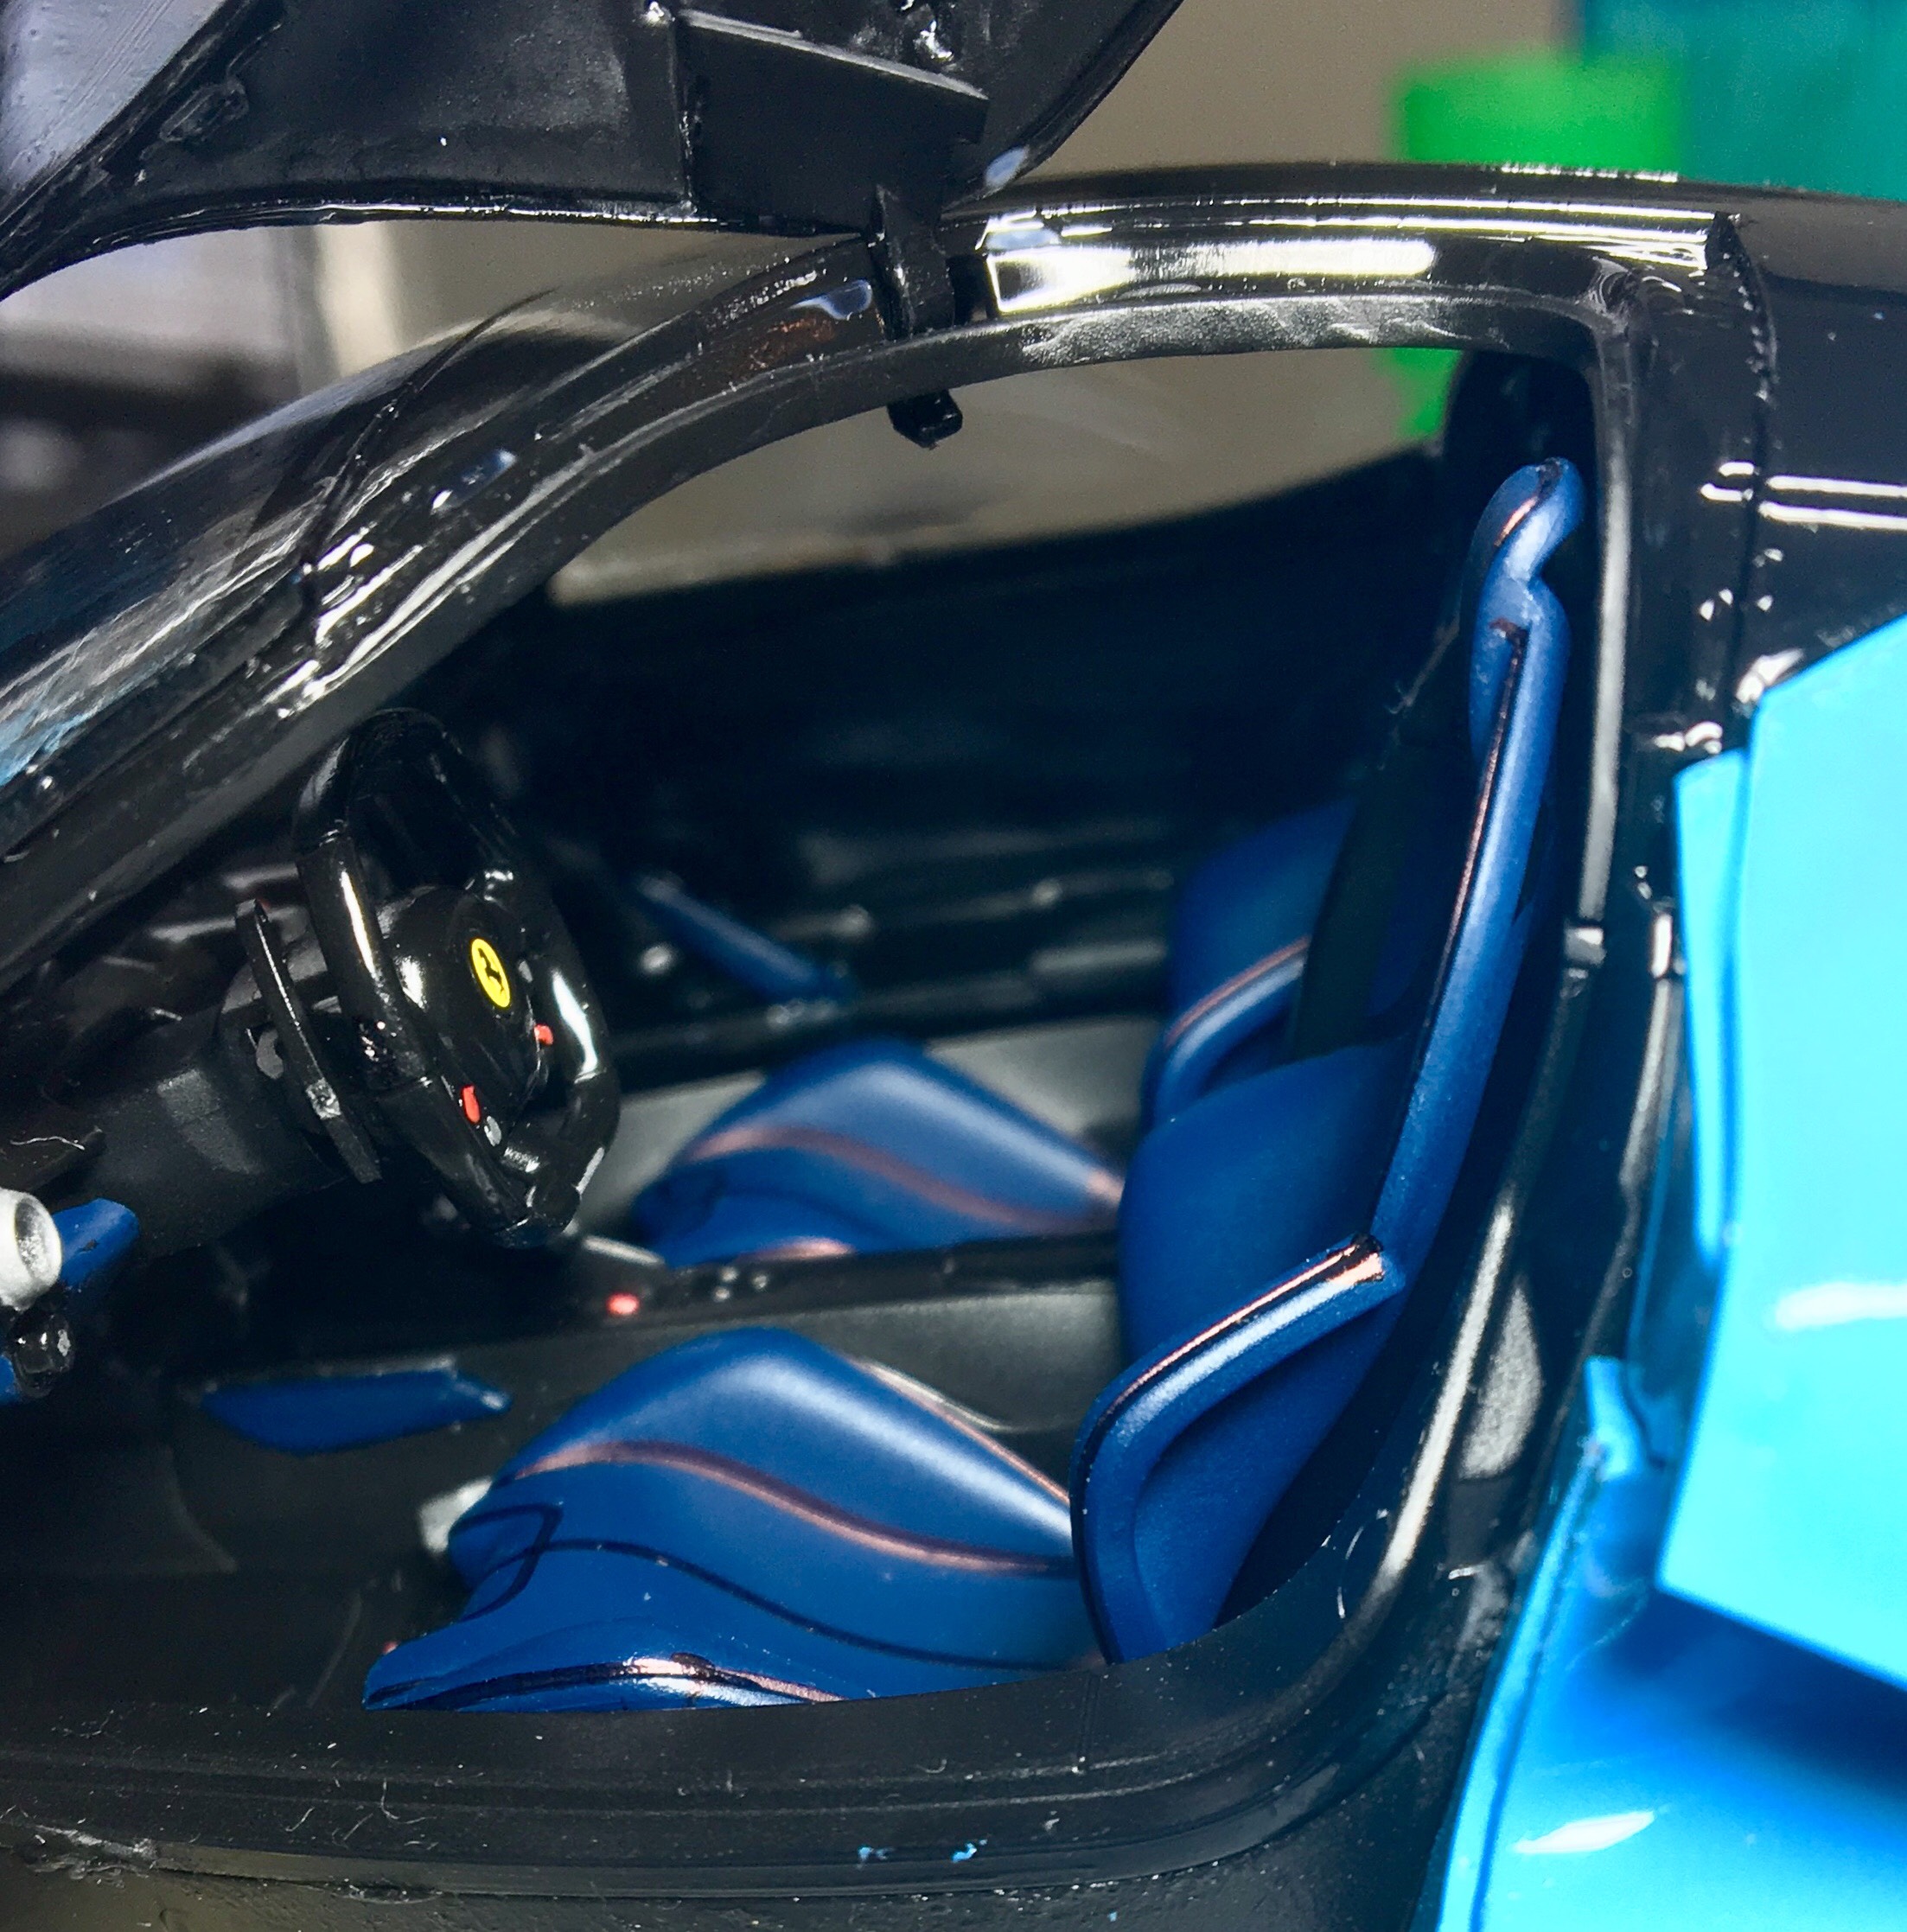
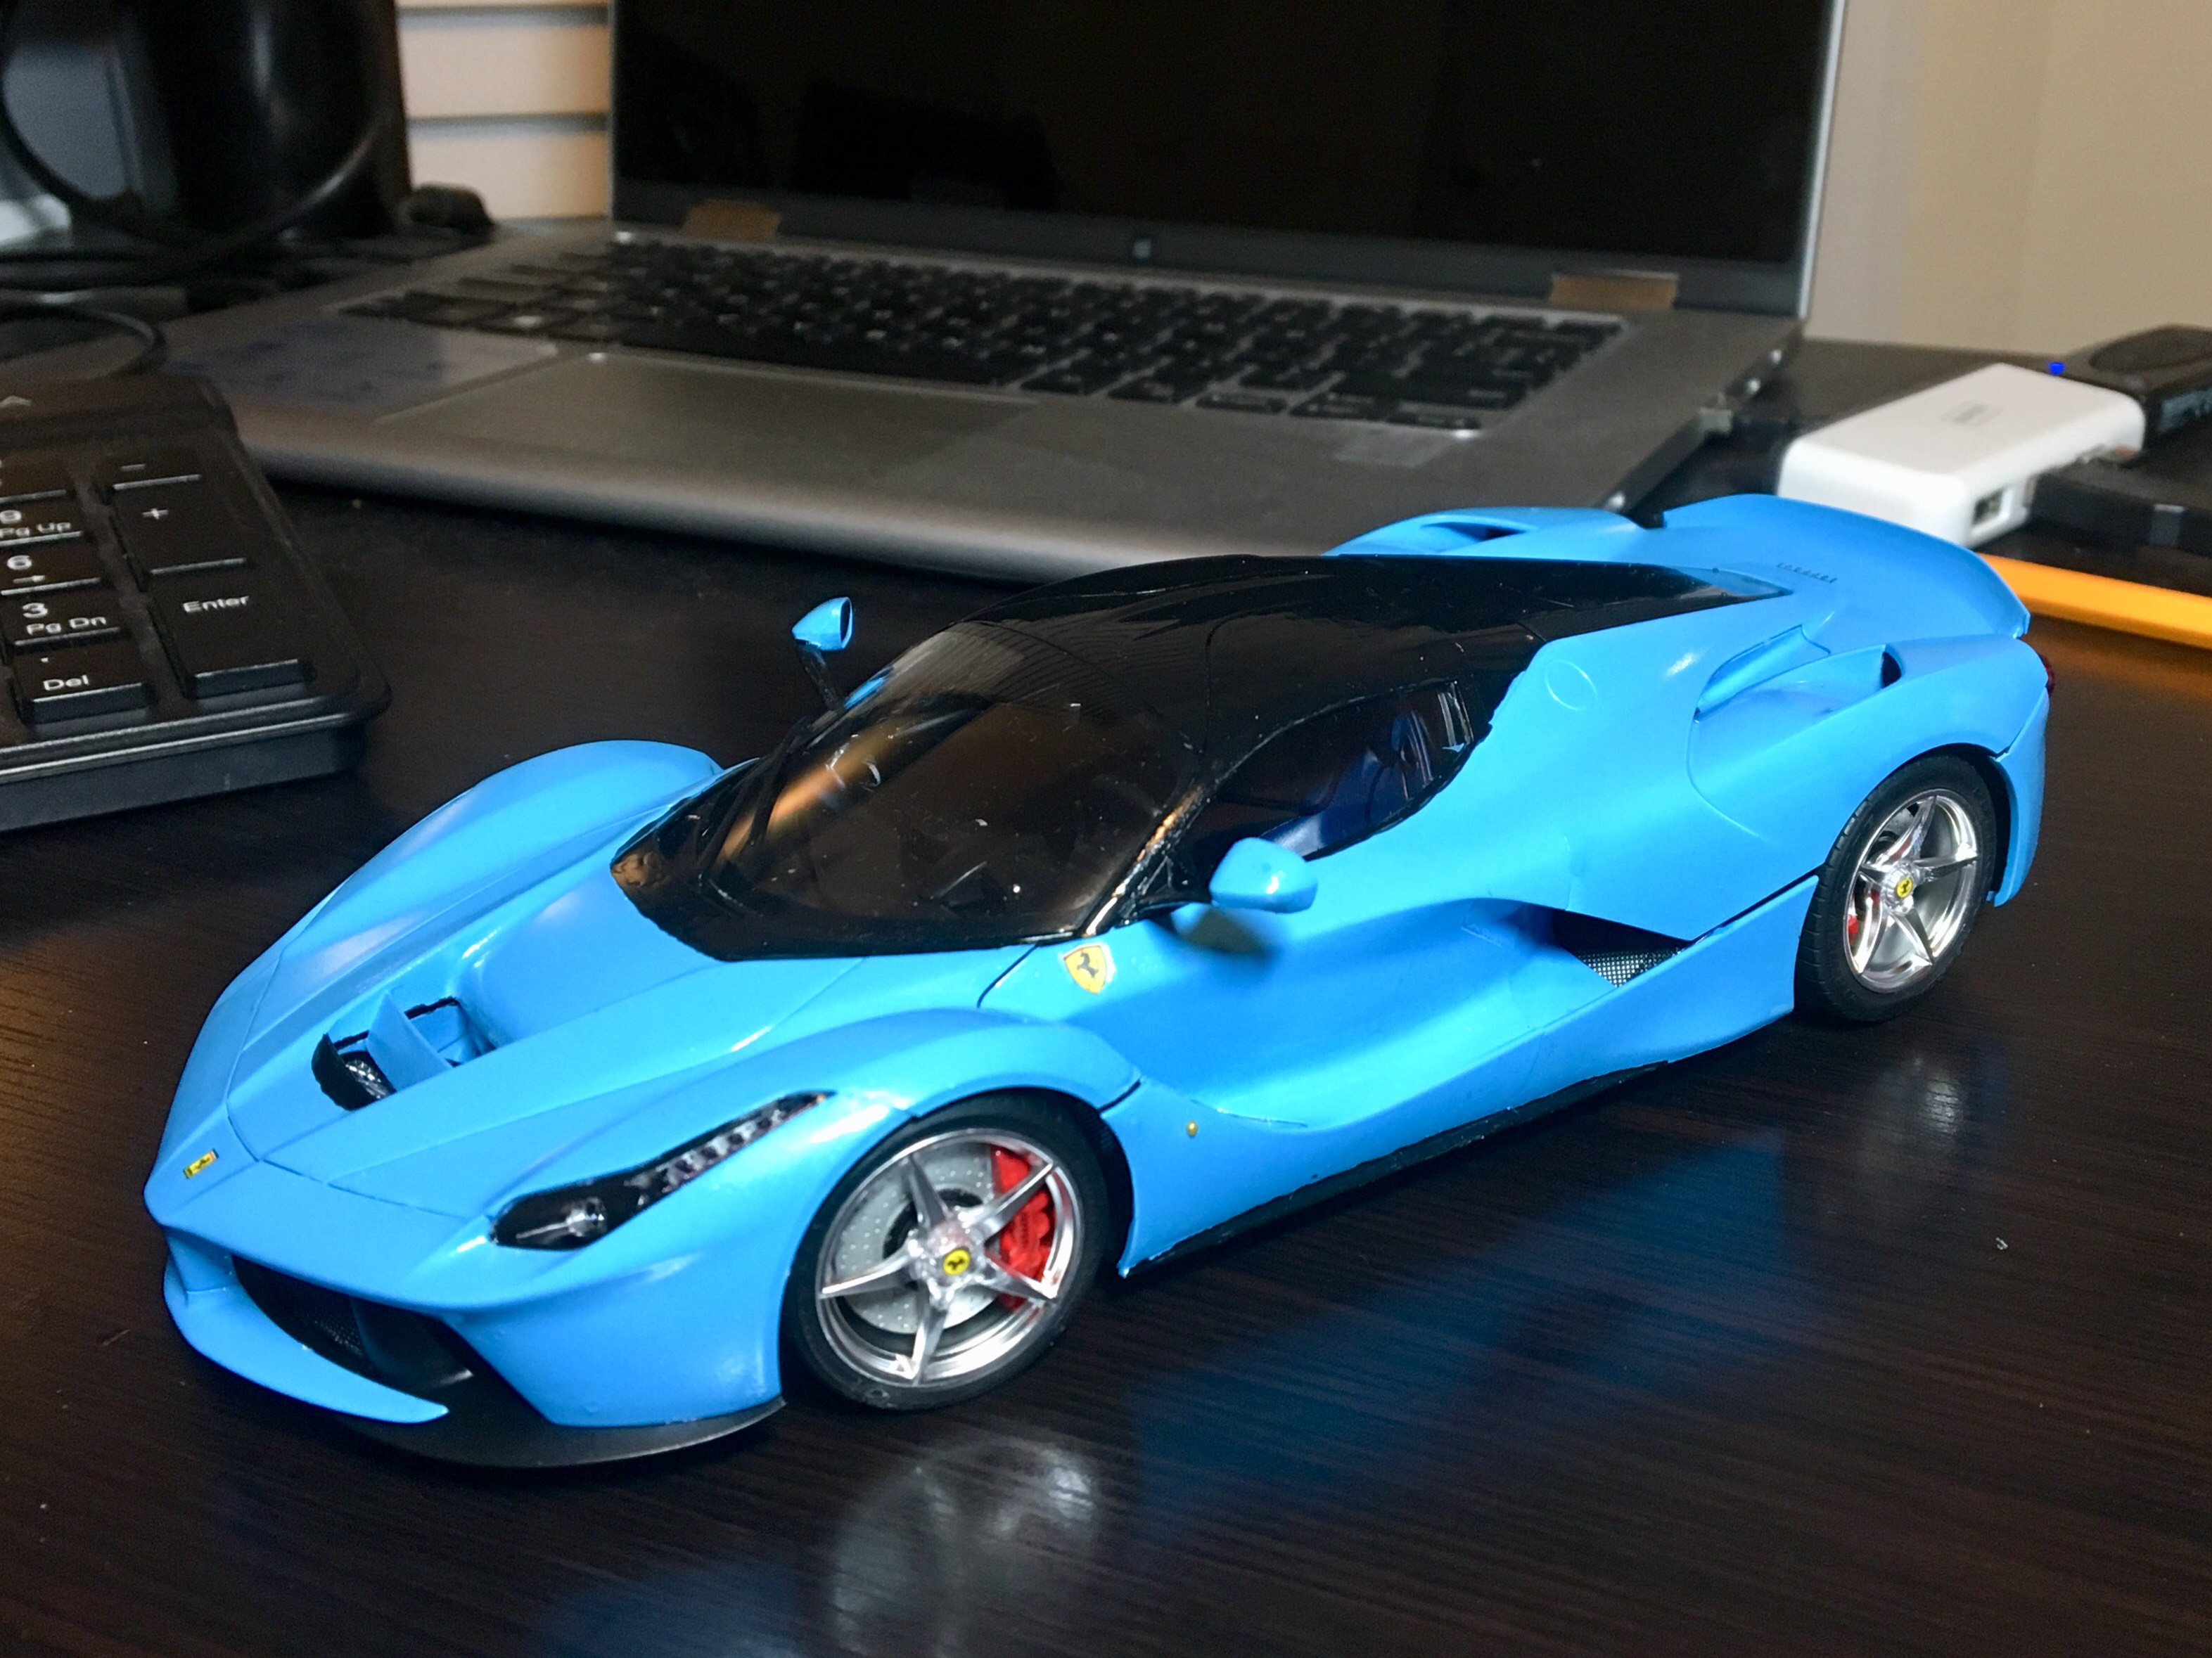
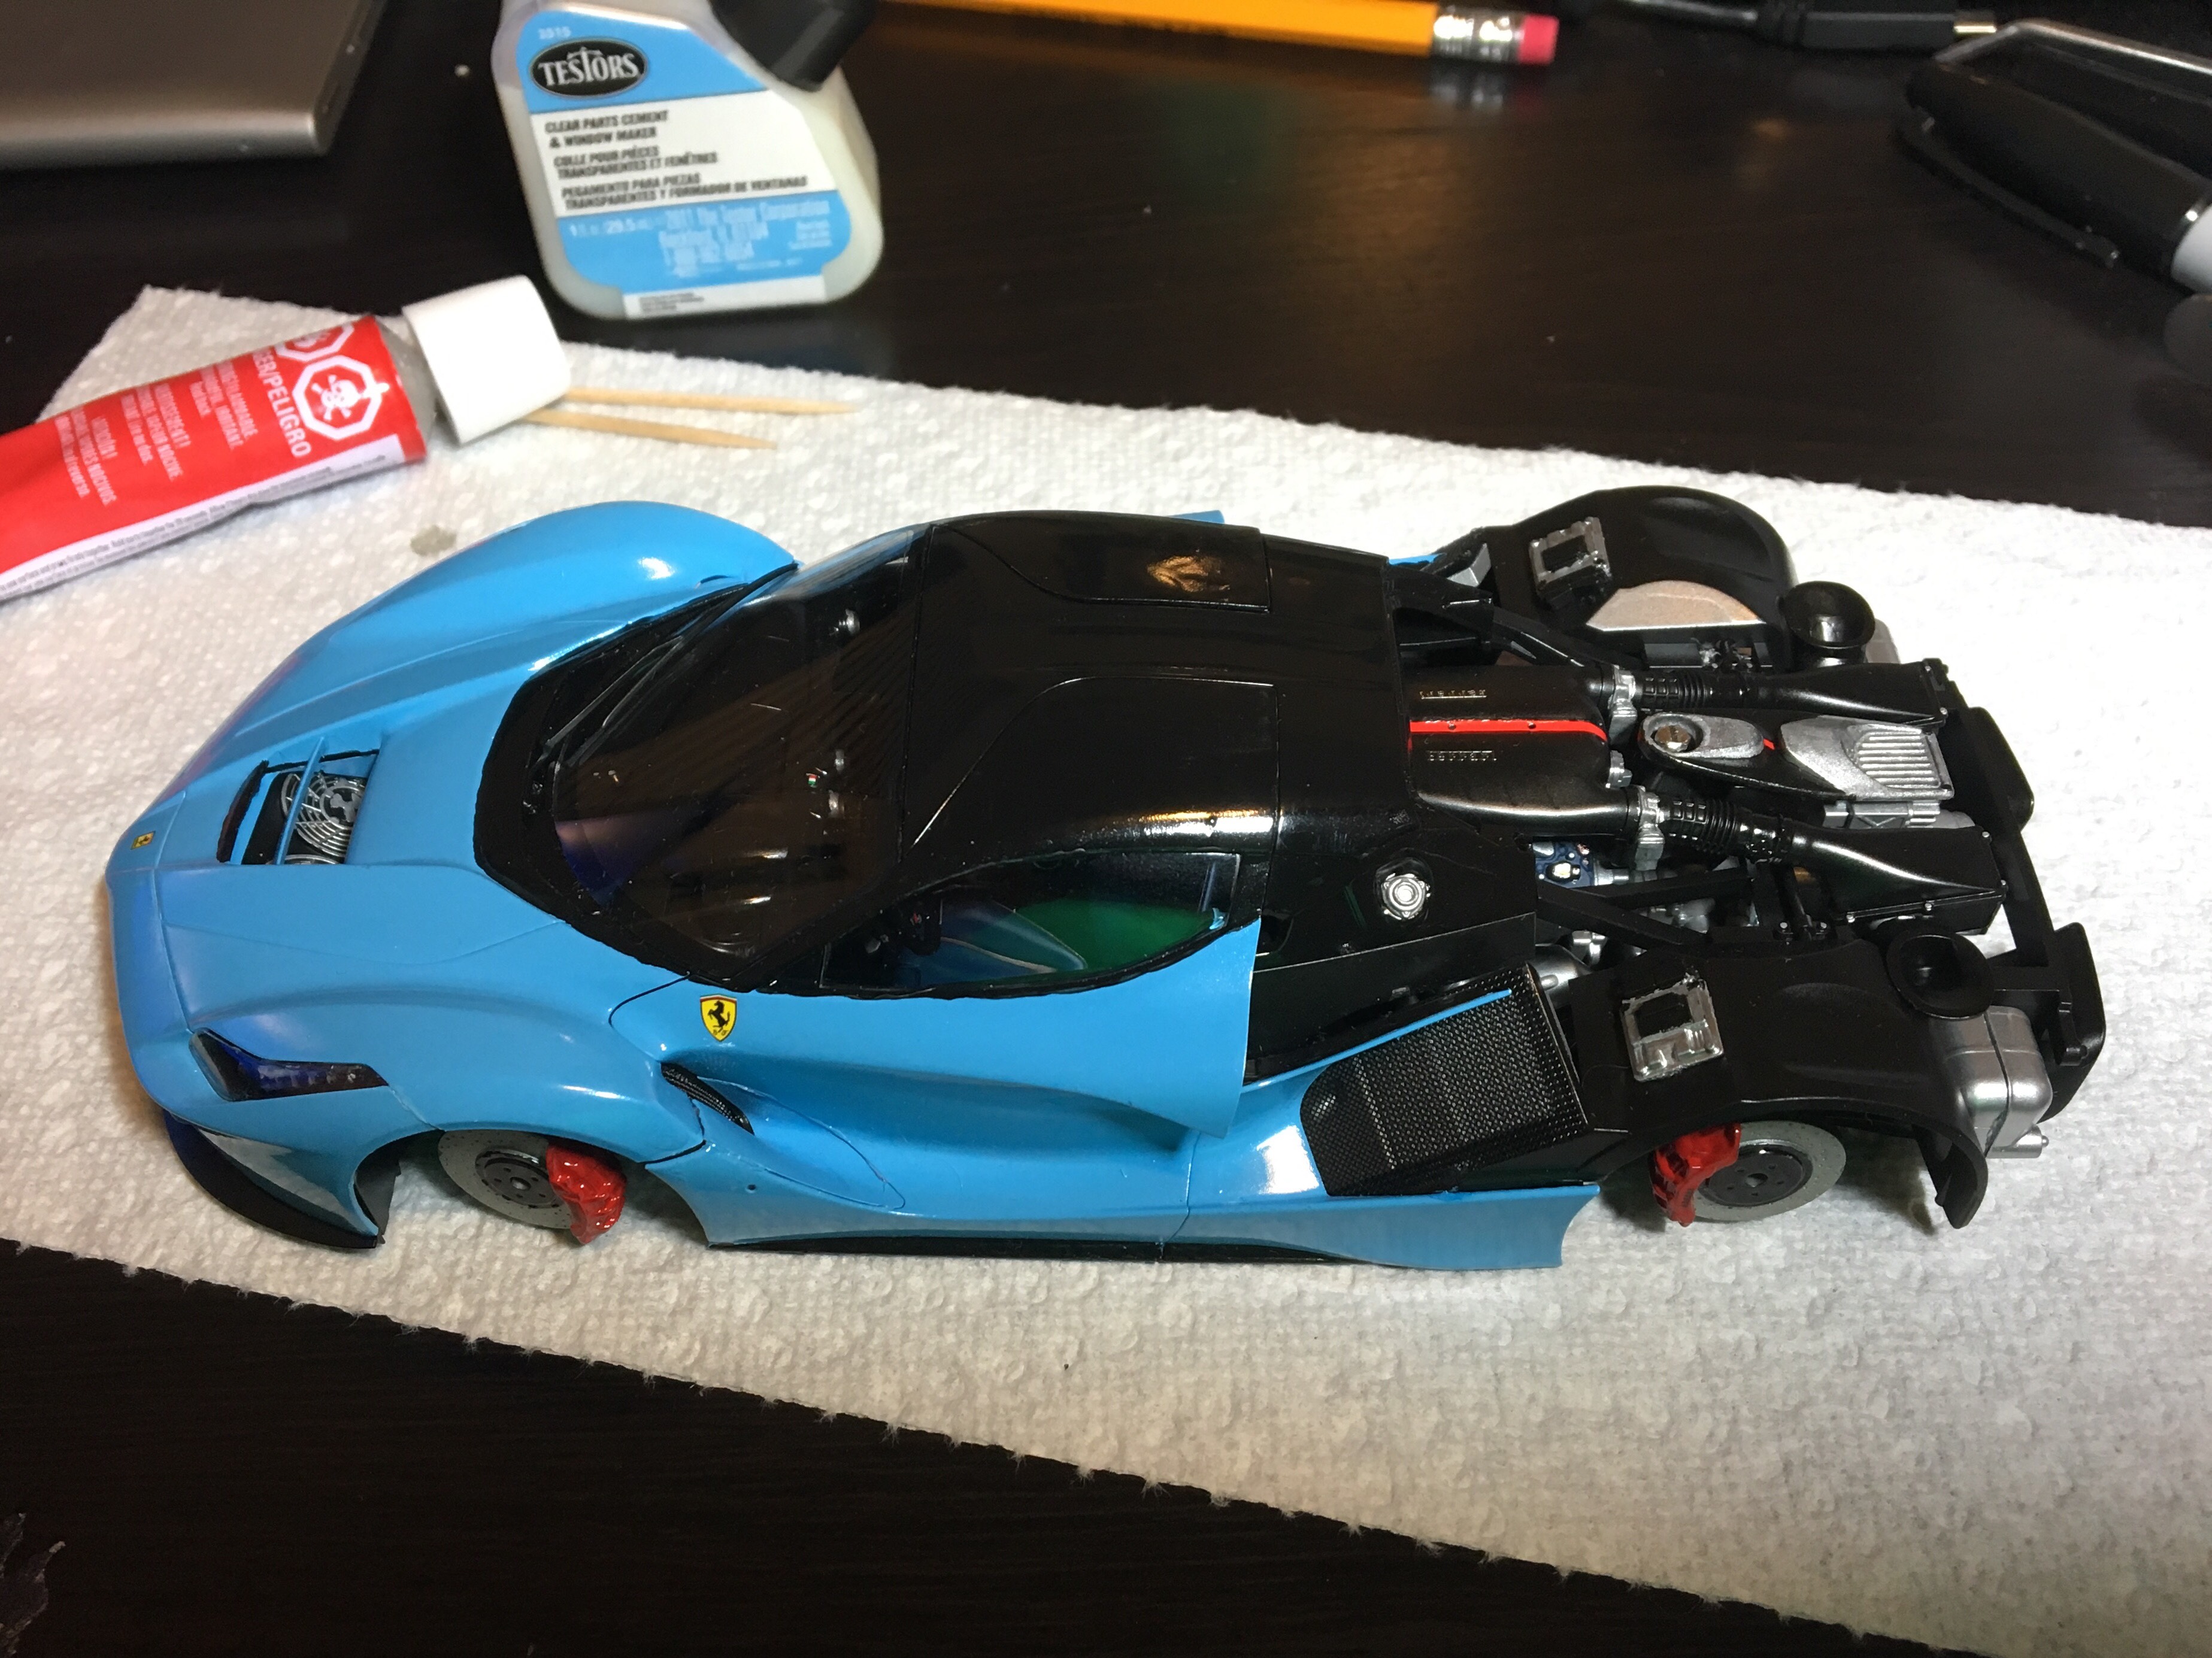
Just finished the Ferrari LaFerrari model kit made by Tamiya. I have pictures of the engine and assembly in the On The Workbench section at the link below.
-
How did you get the steel on the engine to look like it has some grime or carbon in the grooves? Did you use a wash of flat black over the steel color? I like that detail. It looks very realistic. Also, the rust looks good.
-
It's mostly done now. Will do some touch up work and give it a coating of Future for gloss. I need to work a little on the rear cowling. It and the doors are liftable. The doors click nicely into place but the rear cowling does not close tightly. The hardest part of this model was getting the little amber side lights into the tiny holes on the doors. Good grief that was some intense concentration.
-