Pico
-
Posts
516 -
Joined
-
Last visited
Content Type
Profiles
Forums
Events
Gallery
Everything posted by Pico
-
As far as I know I did not replicate an existing car. Although it could have been.
-
Nice work!
-
Finally finished, and glad of it.

-
Final assembly begins.
-
Price is right , too.
-
The reason I suggested the 3d warehouse Iso is because it is well designed and should be fairly easy to modify for printing.
-
I haven't used any of Turbosquid's files but my66s55 on the 3d print discussion has; best to ask him. However, I don't think that it is printable as it is. I am fairly certain the body file is a membrane; it has no thickness. In order to print, the file has to have thickness, must not have any holes in it and no geometry inside it. Here's a good basic tutorial : https://all3dp.com/sketchup-3d-printing-tutorial/
-
Made some progress recently and going to push hard to get this done because I got the hots to roll on to another project.
-
Try that image as a jpeg again...
-
The 3d warehouse has a well proportioned but simple Iso Grifo that could be 3d printed if you know how to modify the file, or are motivated enough to learn. Body only, you would have to scratchbuild the interior, dig up a chassis from somewhere, add detail such as the window frames, etc. Iso Grifo 3d warehouse image.bmp
-
Your models were made from two different materials. The COE was made from what they call SWF - strong white flexible - I think they have changed the name recently. It's finish is rough and "sandy" and requires a lot of primering and sanding. It can be finished well with a lot of work. The Ferrari was made from a high detail material and is much higher resolution and the material is much easier to finish but is more expensive, and it's worth it. The file size does not matter if the digital file is well made and detailed. You can print a 1/43rd model or cut out a 1:1 master using a CNC machine.
-
This was printed by an Atlanta area 3d printer, and he will print one for you for $150 plus shipping. PM me for details. Engine and engine compartment are included.
-
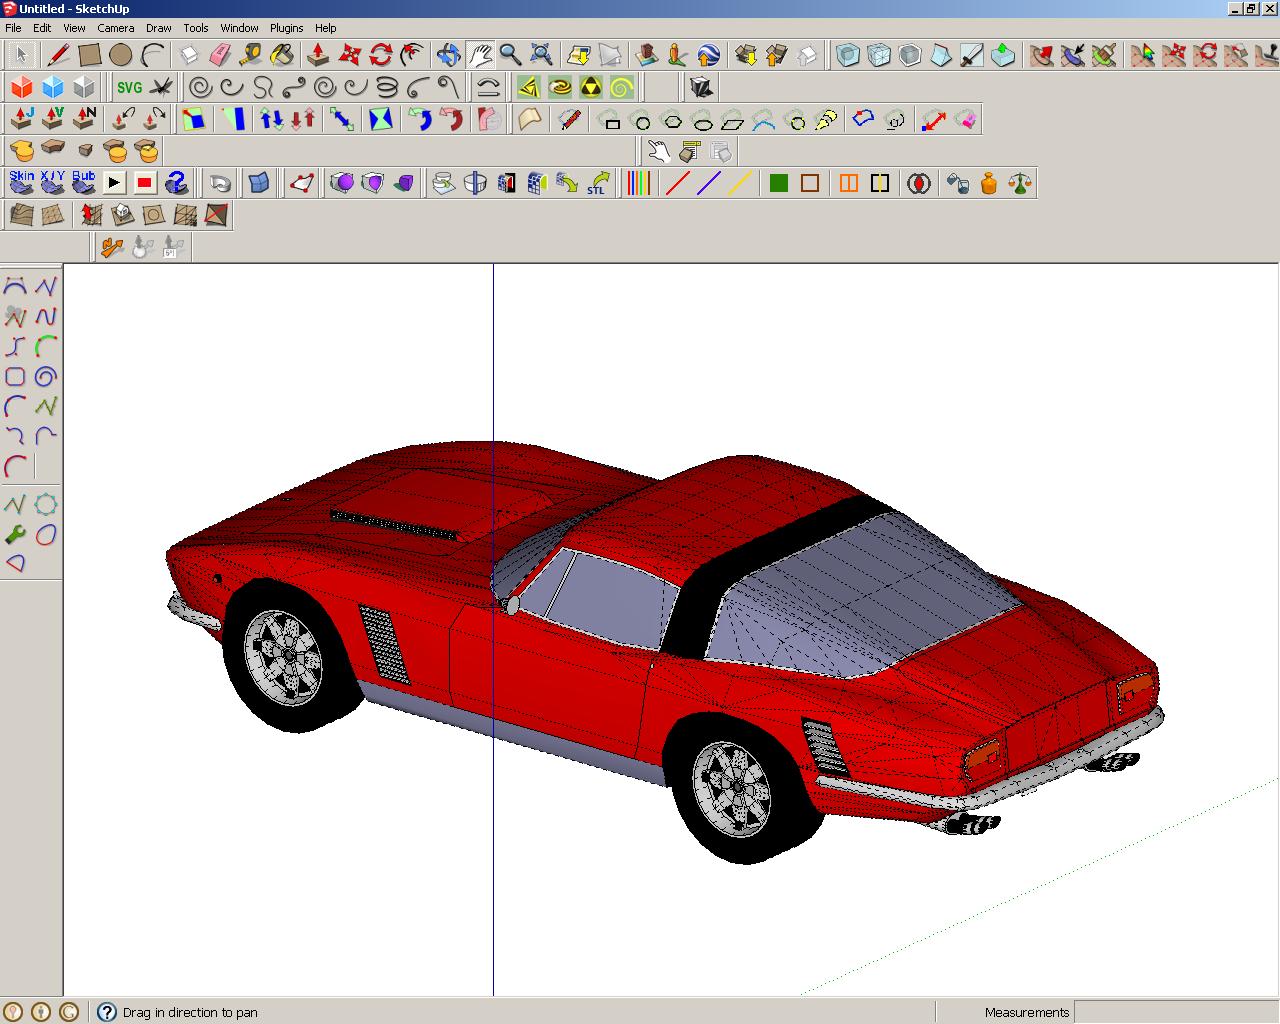
I used Sketchup to modify the file for 3d printing. The file for the body was obtained elsewhere, PM me for details.
-
Bill, Surely you attended the Philly NNL earlier this year? I displayed the model there.
-
Desktop Manufacturing, Part 1: 3D Printing
Pico replied to Ace-Garageguy's topic in General Automotive Talk (Trucks and Cars)
I saw Randy's 3d printed wheels at our Southern NNL and it's the best printed item I've ever seen. -
Lookin' good.
-
The spokes will not obscure enough on the hub to be a problem with painting.
-
What printer are you using?
-
Starting at 1, pull monofilament fishing line to 2, which is the first hole to the left of 3, which is directly across from 1. then to 3 and thread it on the opposite side of the hub to 4. Then start the sequence again at the first hole to the right of 4. Notice this method is only usable with rims that have holes in multiples of 4. Spoke diameters vary widely, but a spoke of 1/4" diameter would be .010" in 1/24th scale.
-
Third way, be back later..
-
When you're done with that, try this...
-
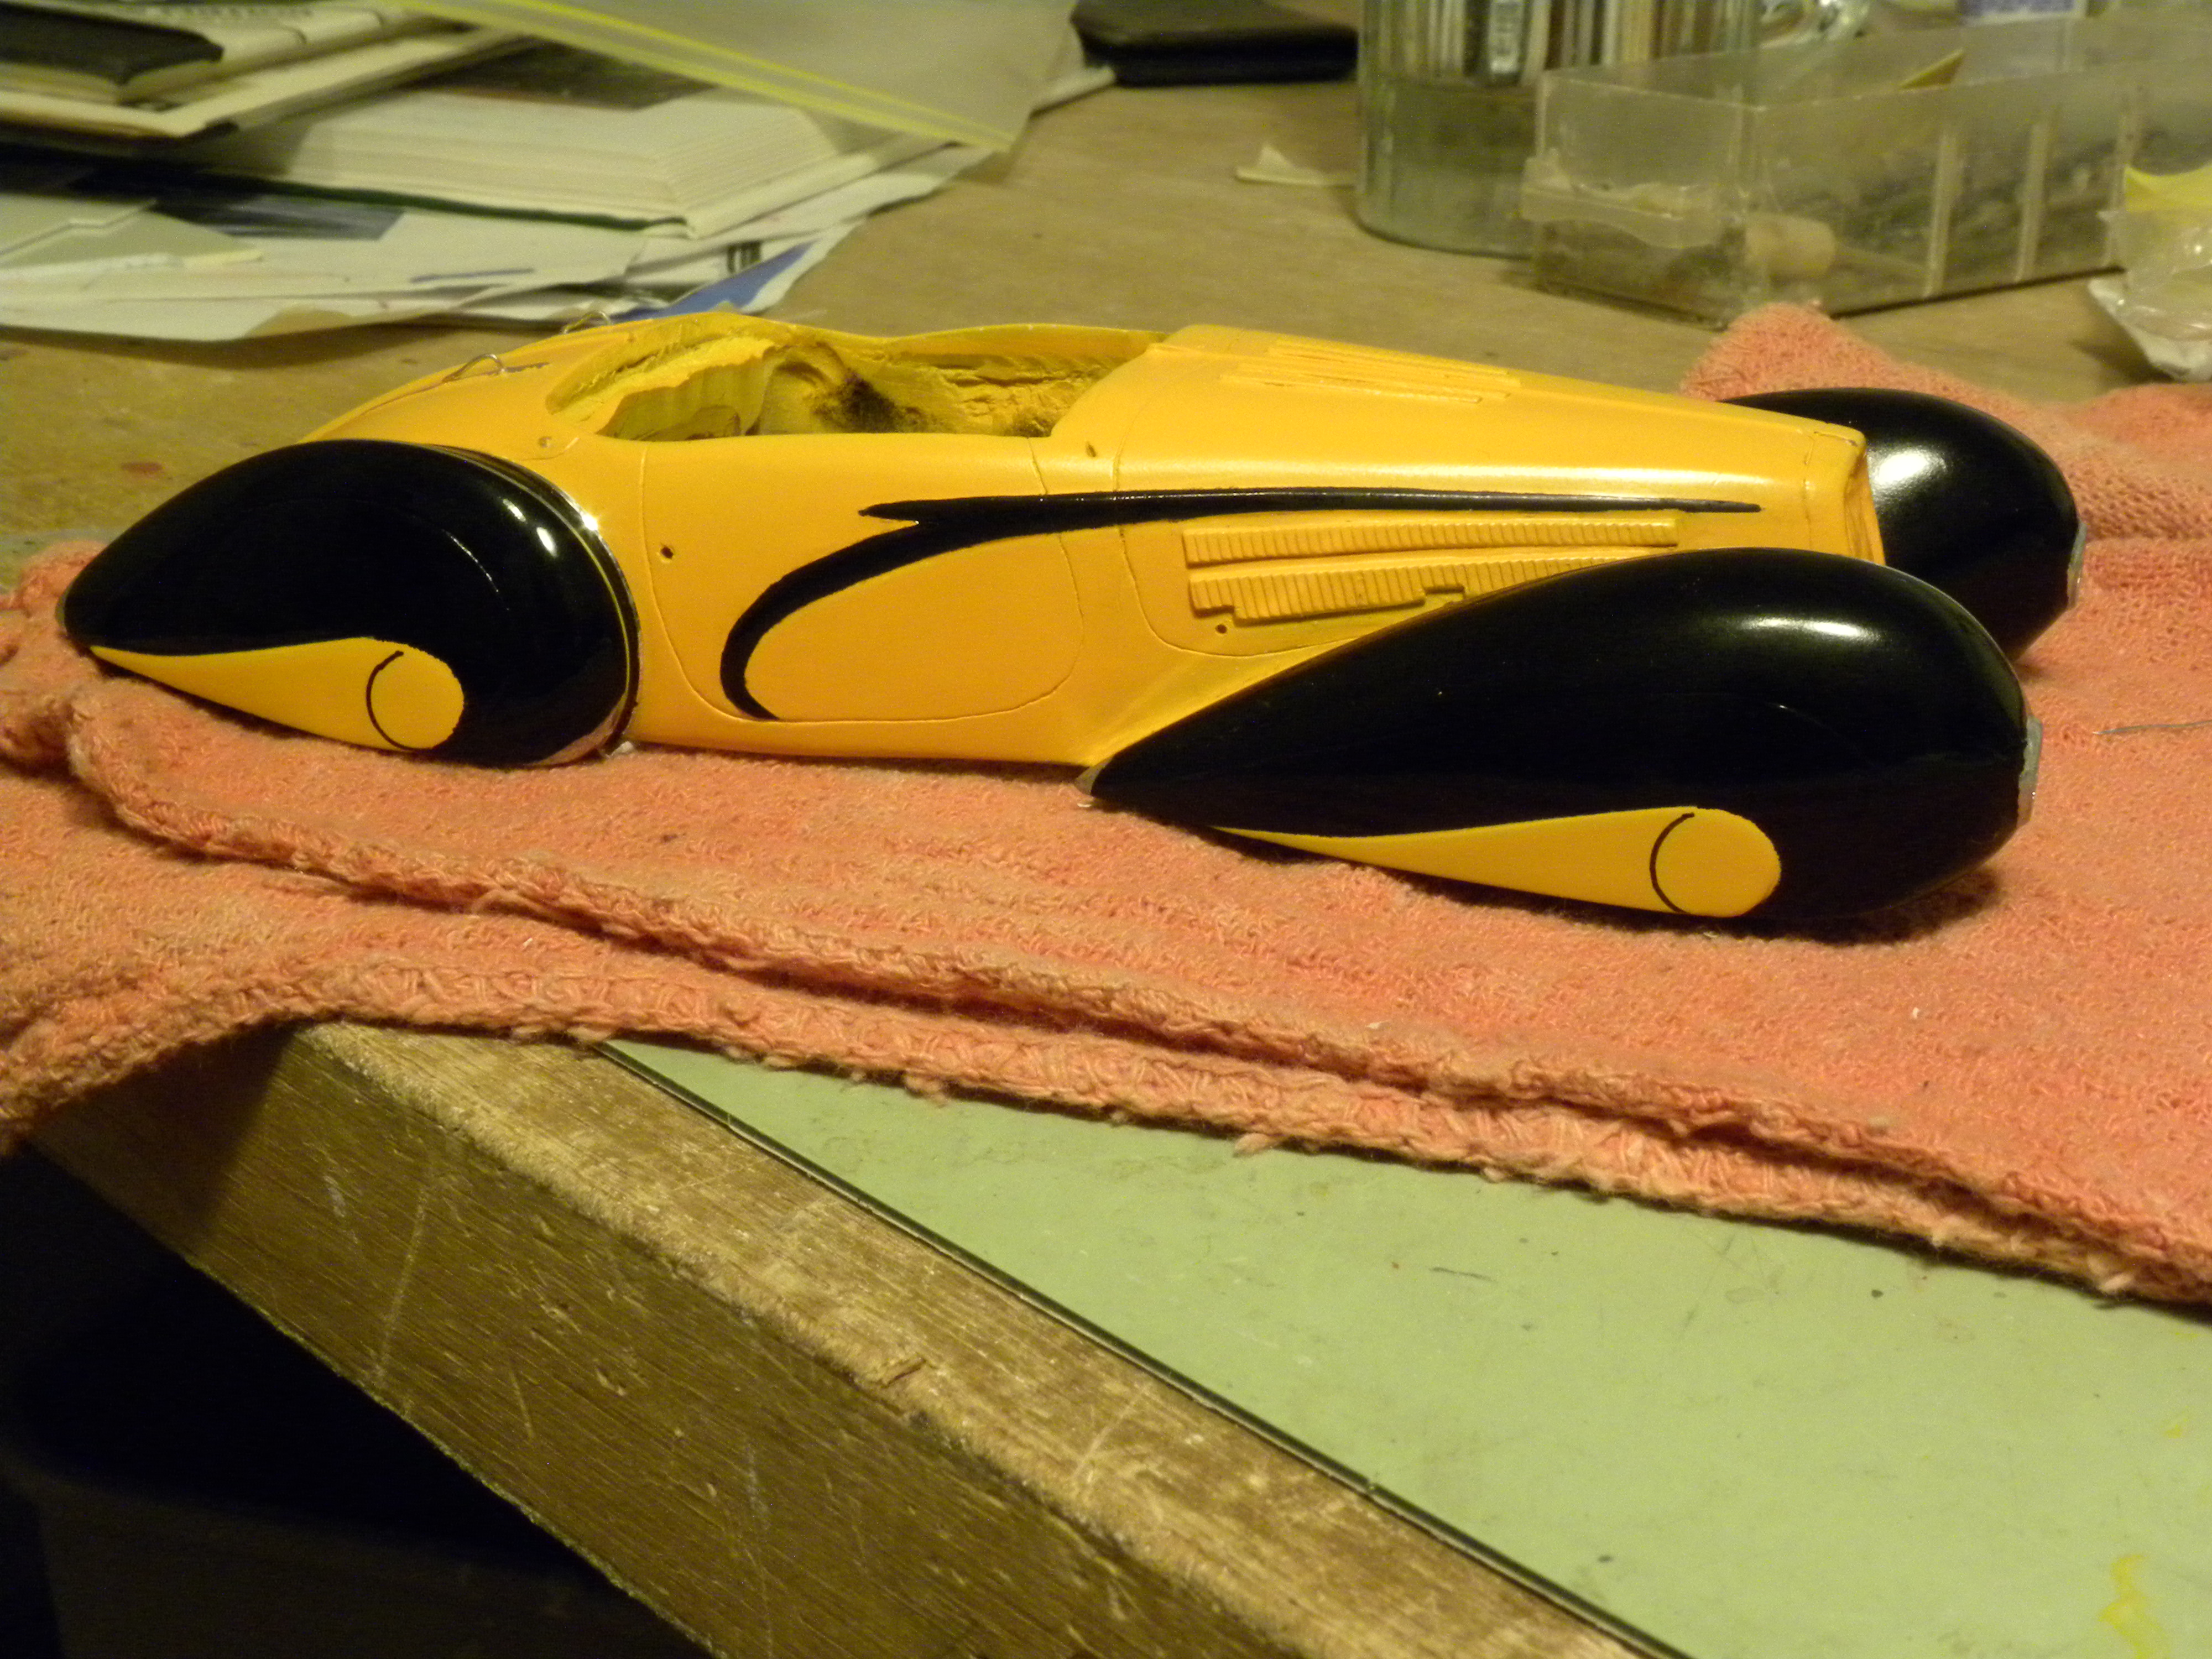
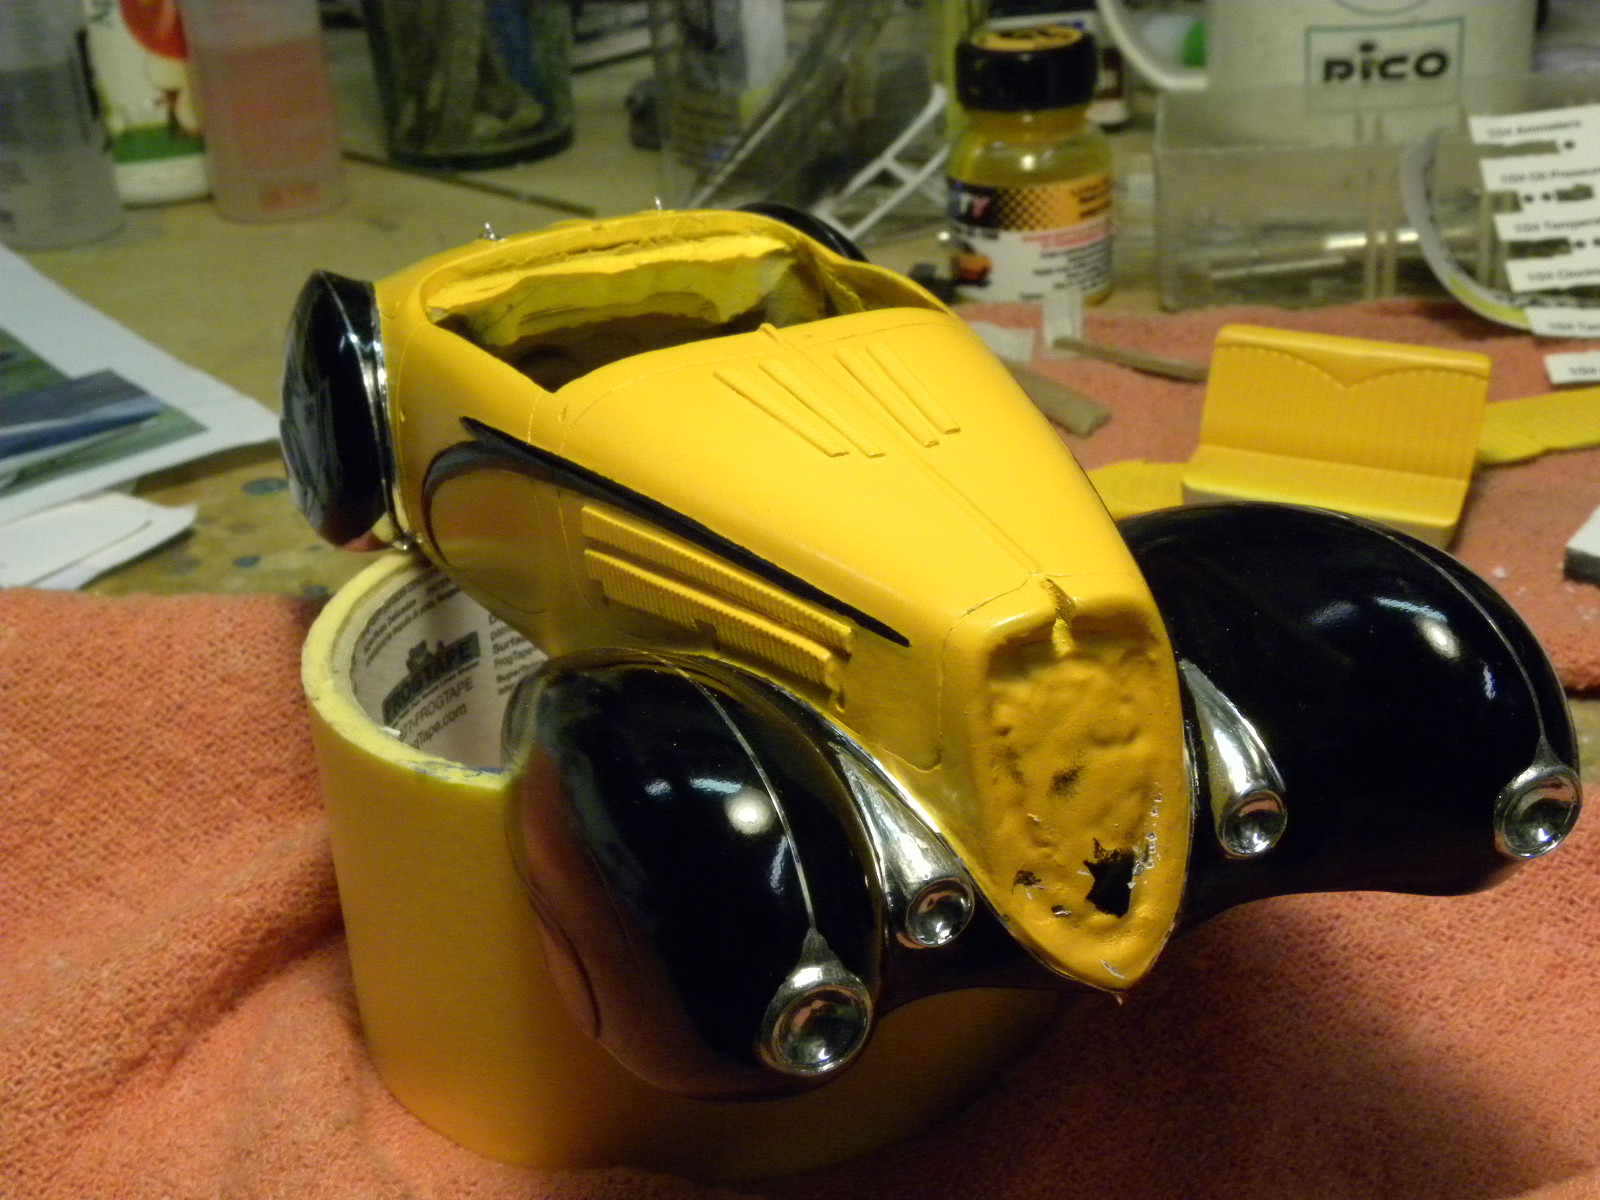
It was on the project table at out show, I'm having trouble making the yellow decals for the fenders; as well as working on another project and moving my model building shop from my unheated basement to guest bedroom. I have tons of time in it and will finish it.
-
I'm beginning to think I'll get this done for our show this Saturday - everyone here is attending,right? Check the events column on the right for the Southern NNL.
-
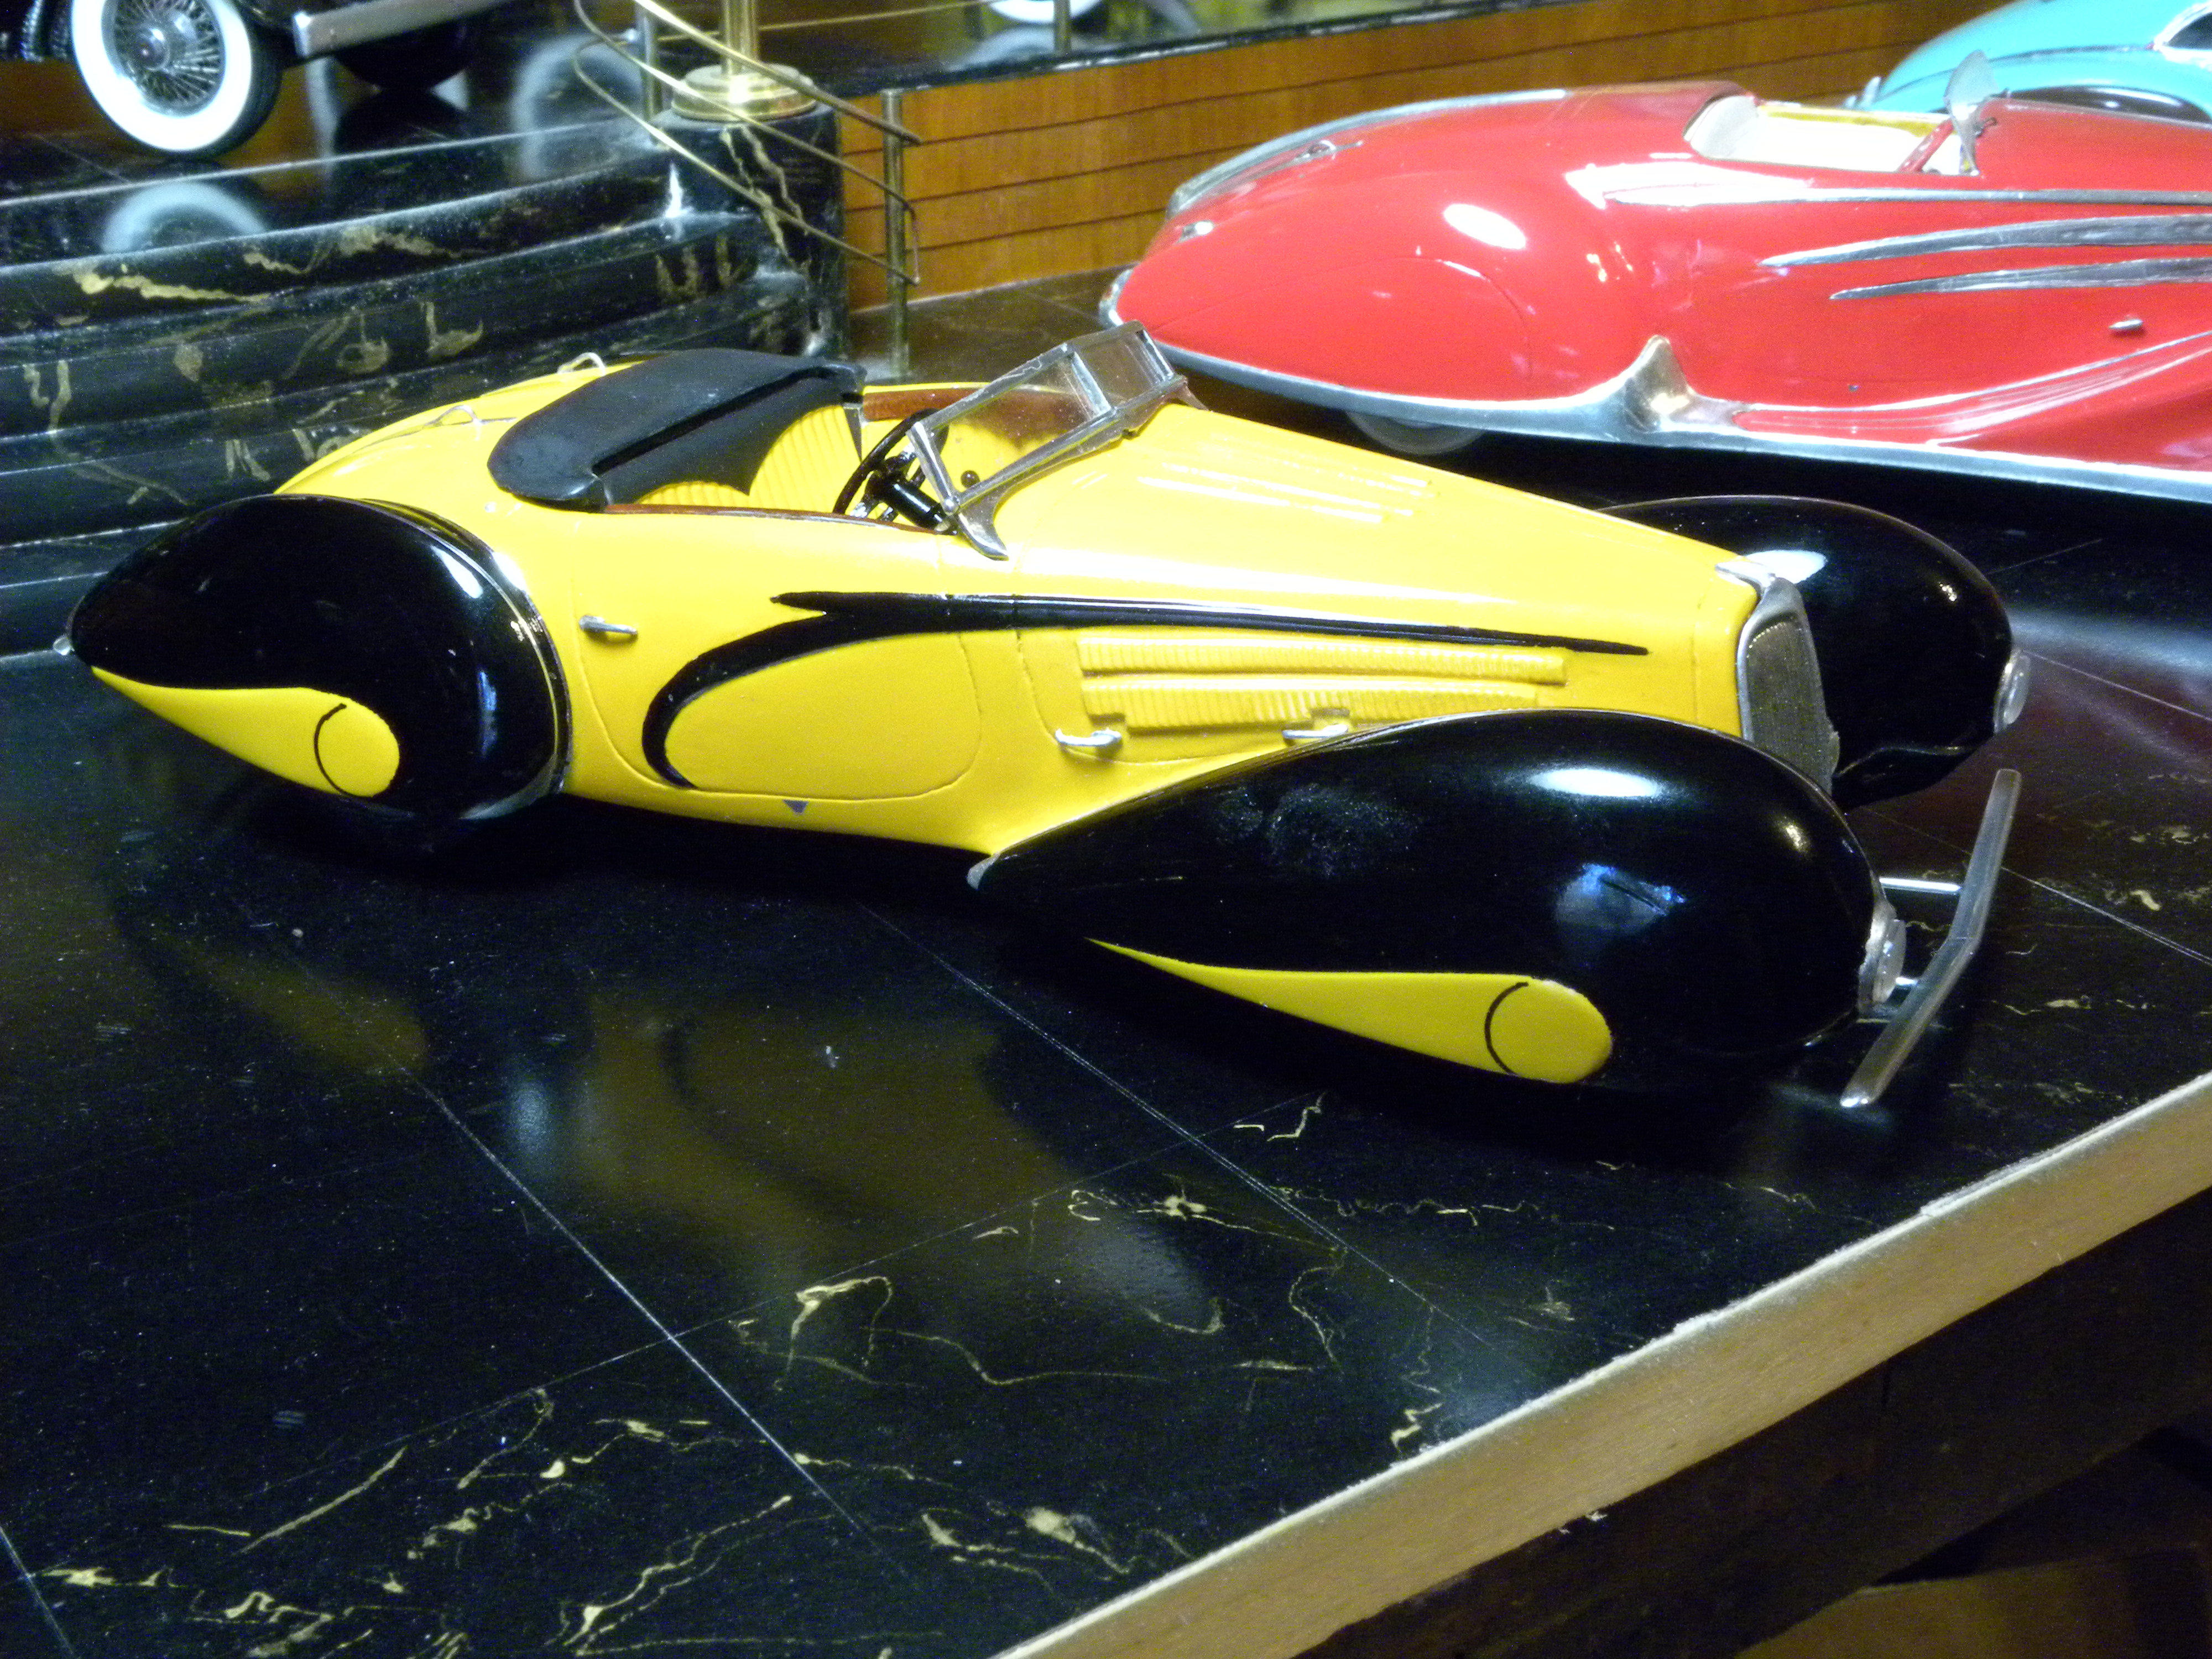
I have a bit of fine sanding ahead. Striking color combination.
-
Duplicolor black.