spencer1984
-
Posts
3,364 -
Joined
-
Last visited
Content Type
Profiles
Forums
Events
Gallery
Everything posted by spencer1984
-
Aoshima 2024 New Tool Back to the Future DeLorean Time Machine
spencer1984 replied to spencer1984's topic in WIP: Model Cars
Thank you! -
Awesome job on this!
-
Very cool!
-
Aoshima 2024 New Tool Back to the Future DeLorean Time Machine
spencer1984 replied to spencer1984's topic in WIP: Model Cars
Thanks! The finished pics are now posted in the "Under Glass" section: -
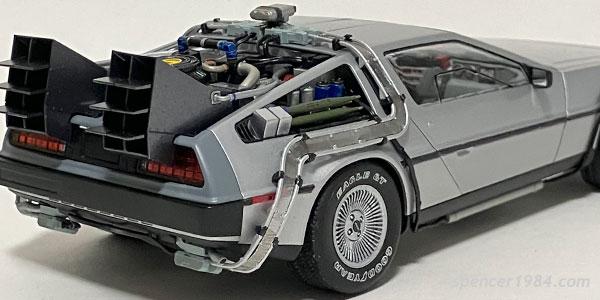
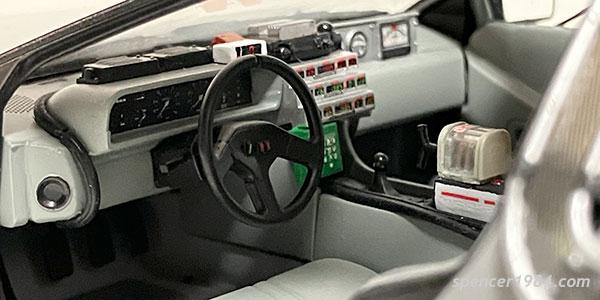
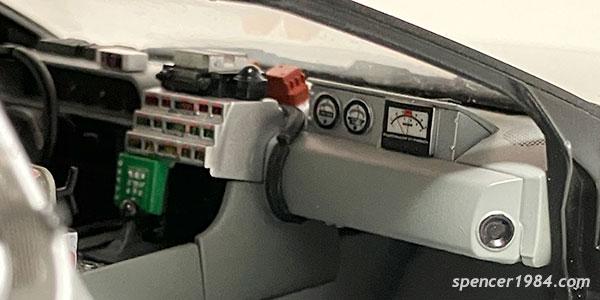
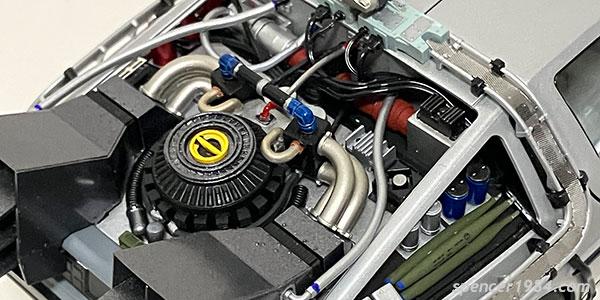
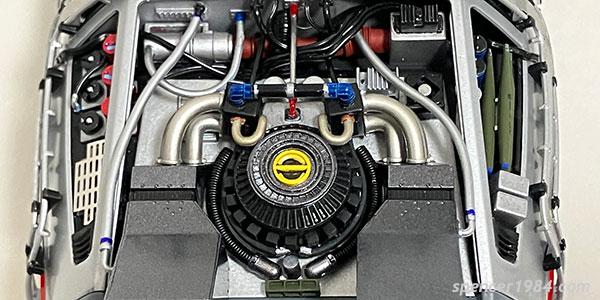
Mostly box stock build of Aoshima's new-for-2024 tooling. There's a WIP thread here, and a full writeup is available here. As always, any comments/criticisms are welcome! The biggest change I made from the kit was the addition of Goodyear/Eagle GT tire decals from Fireball Modelworks. Using aftermarket wiring would look better, but I wanted to see how all these went together. Except for the step where the upper and lower wiring meets on the right side of the center console, everthing went together great. I think I used just about every metallic color variant I had to add some variety to the rear deck.

- 40 replies
-
- 18
-

-
Beautiful job on this, and the wire wheels really do look great on it.
-
Aoshima 2024 New Tool Back to the Future DeLorean Time Machine
spencer1984 replied to spencer1984's topic in WIP: Model Cars
Thanks, guys! Yeah, that detail set was definitely worth it if only for the perforated bands around the outside. -
Aoshima 2024 New Tool Back to the Future DeLorean Time Machine
spencer1984 replied to spencer1984's topic in WIP: Model Cars
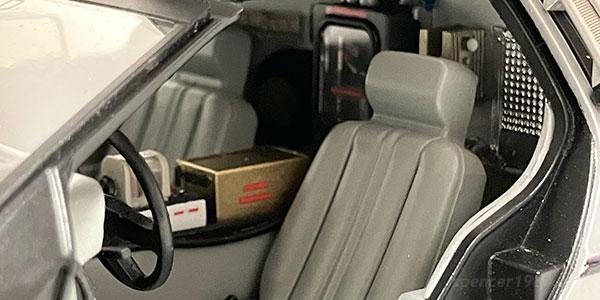
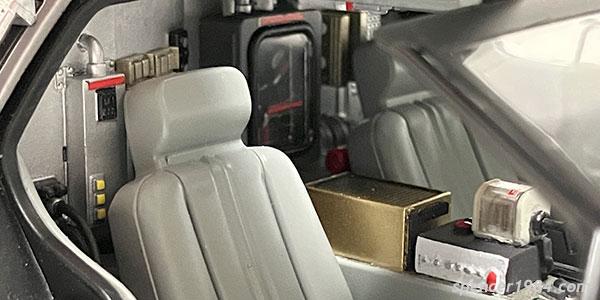
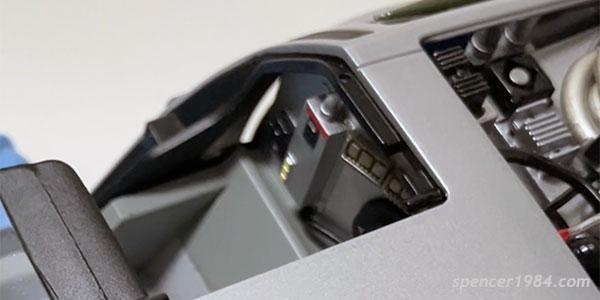
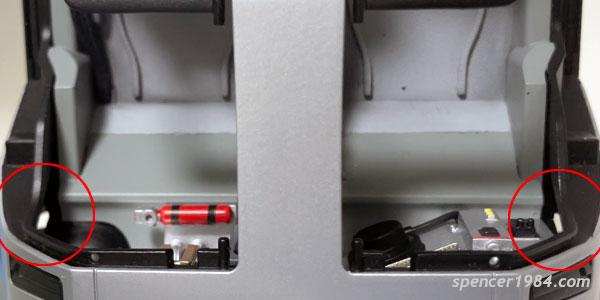
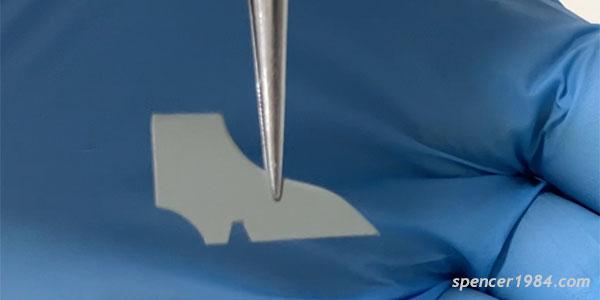
Overall Assembly: Bringing the subassemblies together, and for the most part everything looks good! There is one glaring error, however, and one I'm kind of surprised to see given the rest of the kit: The interior doesn't fully close around the back, leaving gaps on either side where you can look through and see the rear wheel openings. Not too hard to fix, but it does feel like something that should have been covered (literally and figuratively). I just cut a couple of small filler panels from 0.020" styrene stock and painted them to match the interior: If you decide to go this route, be aware that the two sides do not match, and so you won't be able to make one as a pattern and then repeat it (the driver's side needs to be longer to account for the offset in the rear bulkhead). With that done, the only things left are the external wiring/conduit, the doors, and the rear vents. So that'll warp it up for this thread, next update on this project will be in the Under Glass section.
-
Thanks!
-
Excellent work on both!
-
Thanks, guys!
-
Excellent work on this! I had never heard of the Bengal Chargers before, thanks for sharing that bit of history.
-
Beautiful job on this!
-
Aoshima 2024 New Tool Back to the Future DeLorean Time Machine
spencer1984 replied to spencer1984's topic in WIP: Model Cars
Thanks, guys! I have some in my parts box, but don't know if I want to try to replace these or not. I'm also thinking about making a set of decals to try to mimic the sealed beam appearance. Yup, the stock one is due out this month - very much looking forward to it! -
Seven Time
spencer1984 replied to Jim N's topic in Stock Cars (NASCAR, Super Stock, Late Model, etc.)
That turned out great, nice work! -
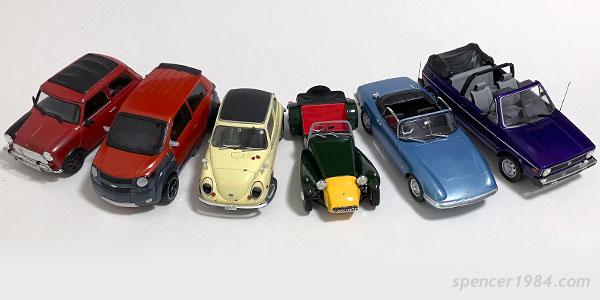
Thanks, guys! I'm a sucker for odd little cars, so it was definitely fun to give this a shot!
-
That turned out great, nice job! Curious what color you used for the engine?
-
I missed this earlier, glad it got bumped - very cool!
-
Aoshima 2024 New Tool Back to the Future DeLorean Time Machine
spencer1984 replied to spencer1984's topic in WIP: Model Cars
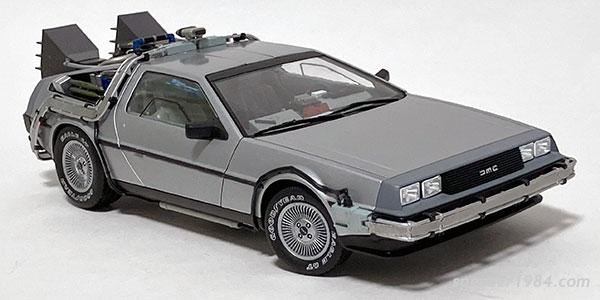
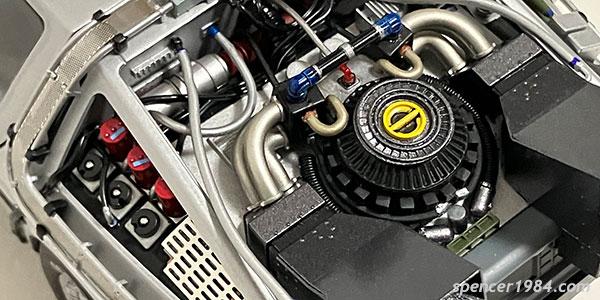
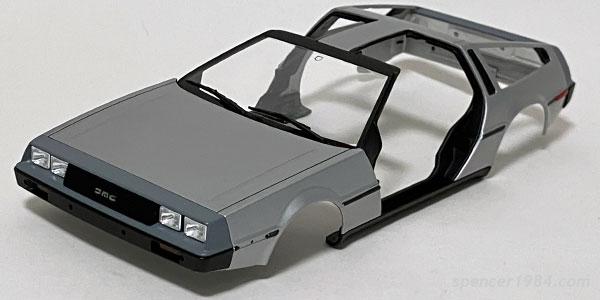
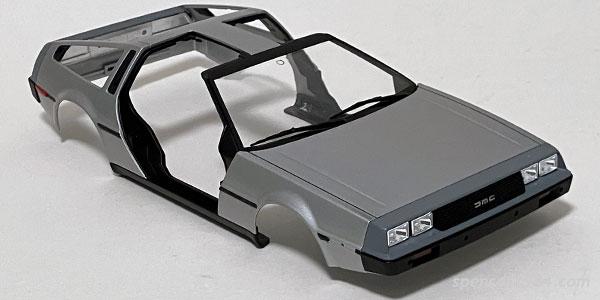
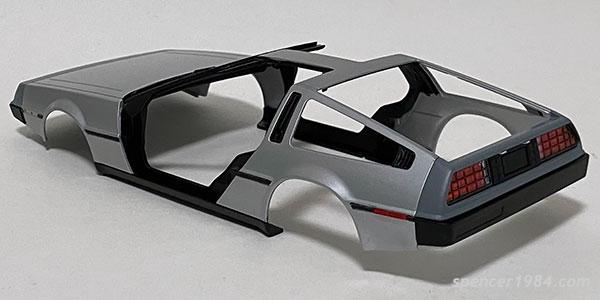
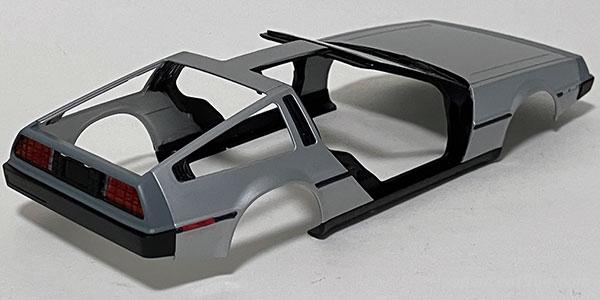
Body: The body was cast in multiple parts, which allows for a more accurate shape than previous DeLoreans. The main body has more angled sides and the rockers have a nice roll to the chassis that looks great. Assembly is far better than I expected, with supports under both door sills giving it a surprising amount of strength once assembled. My one note is that the headlights look too new to me - rather then the old lined Fresnel lenses of sealed beam headlights, these are totally clear like what you'd see with a modern lens. I can't argue with the fit or casting quality, though! The main body is painted Tamiya AS-12 Bare Metal Silver, the nose and tail are TS-99 IJN Gray, and the blacks are a combination of several matte and semigloss paints. Next: Subassemblies Unite!
-
Very cool, I really like that front end treatment!
-
Awesome job on this, it turned out great!
- 23 replies
-
- 1
-
-
- rake
- streetfreak
- (and 2 more)
-
Thanks, guys - it was definitely a fun change of pace! It's well worth watching, but go for the director's cut. I know that sometimes that just makes the movie longer, but Brazil is one of those where the studio just didn't get it and seriously tanked the theatrical cut by giving it a happy ending (Gilliam's working title for it was 1984½, so that should sum it up right there).
-
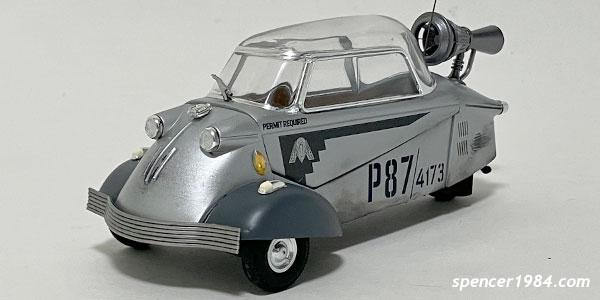
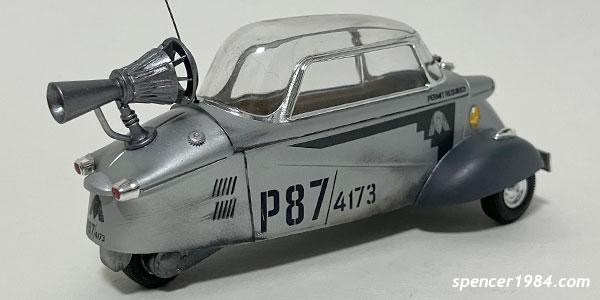
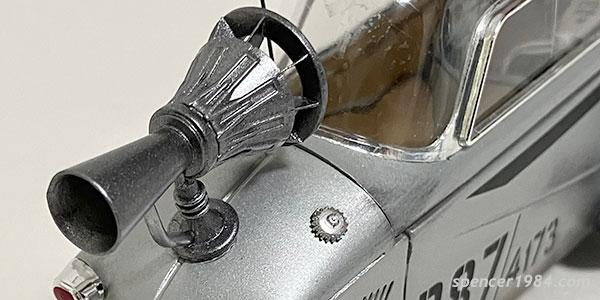
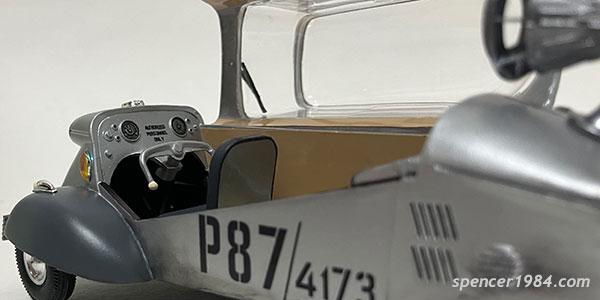
Built from the Gunze-Sangyo's curbside release of their Messerschmitt KR200 kit, to be Jonathan Pryce's car from the 1985 Terry Gilliam cult classic Brazil. Converted the front fenders to the older closed style, scratch bulit front bumper and rear engine, and used my own custom decals. A full writeup of the project is available here, and as always any comments/criticisms are welcome!
-
1953 Mercury M100
spencer1984 replied to Chuck Most's topic in Model Trucks: Pickups, Vans, SUVs, Light Commercial
Very sharp work, nice job! -
Take him out
spencer1984 replied to Allison's topic in Model Trucks: Pickups, Vans, SUVs, Light Commercial
Very cool! Are those the stock wheels/tires?