Rich Chernosky
-
Posts
2,138 -
Joined
-
Last visited


Rich Chernosky's Achievements
MCM Ohana (6/6)
-
That is one slick looking build. As a huge Ferrari fan, I am really enjoying this build. Outstanding job Urs.
-
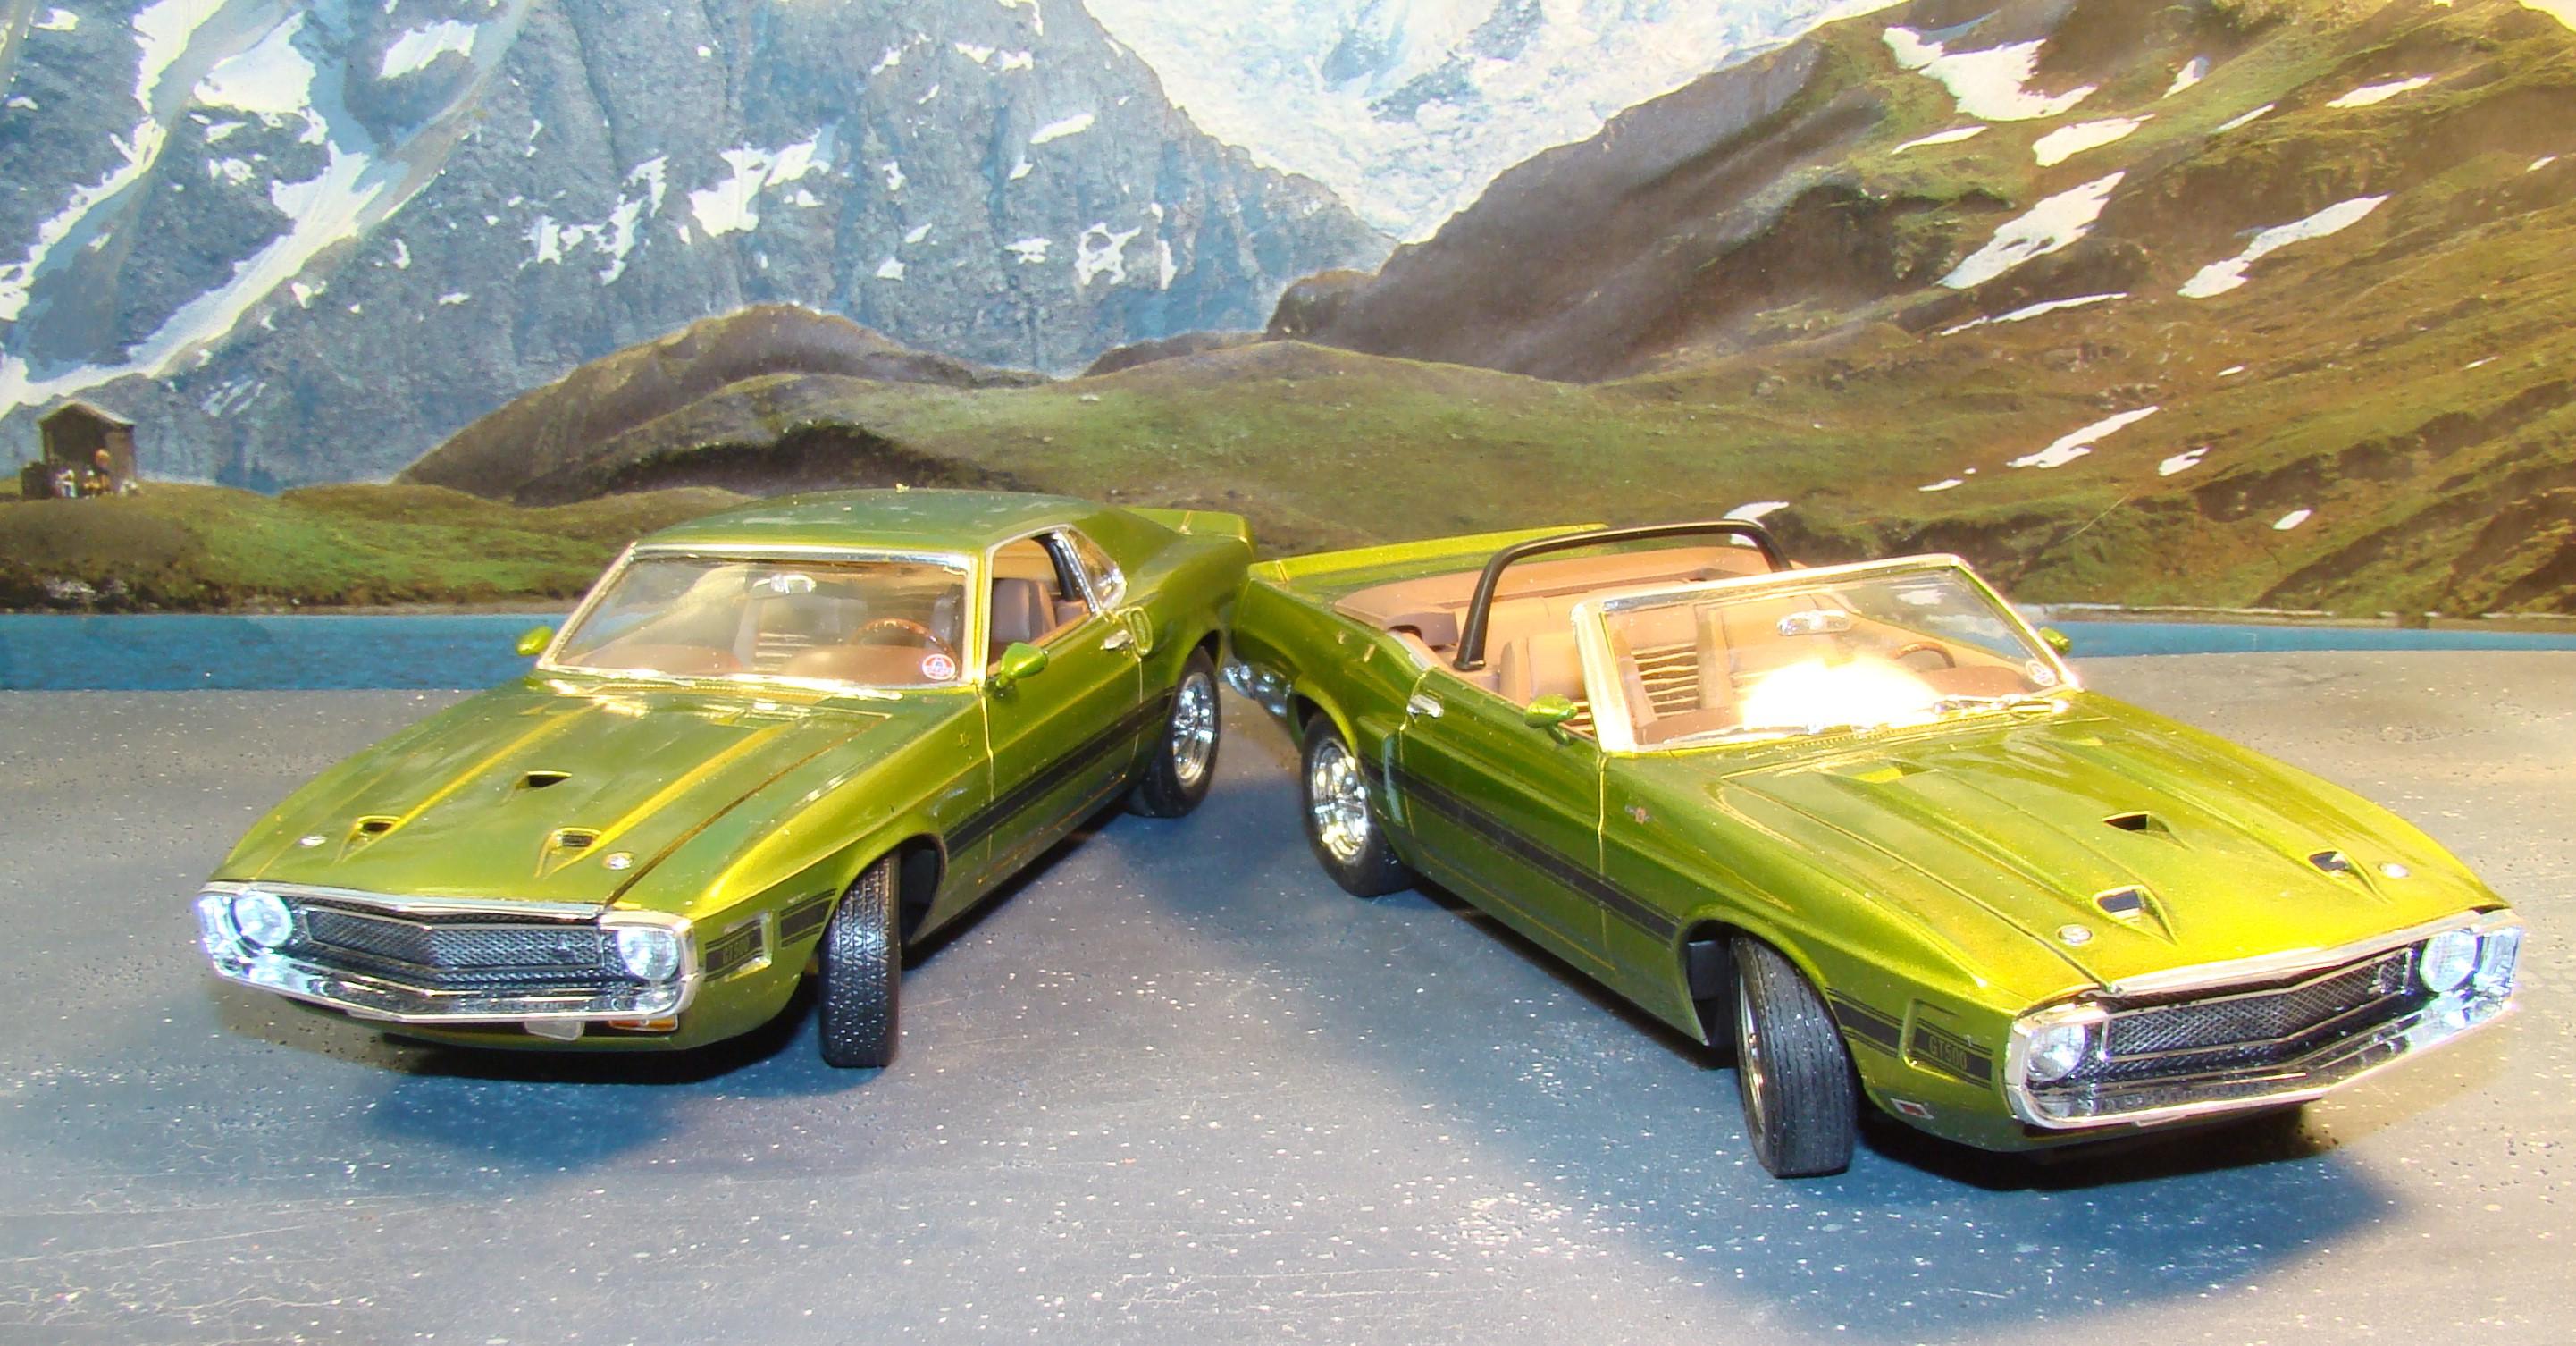
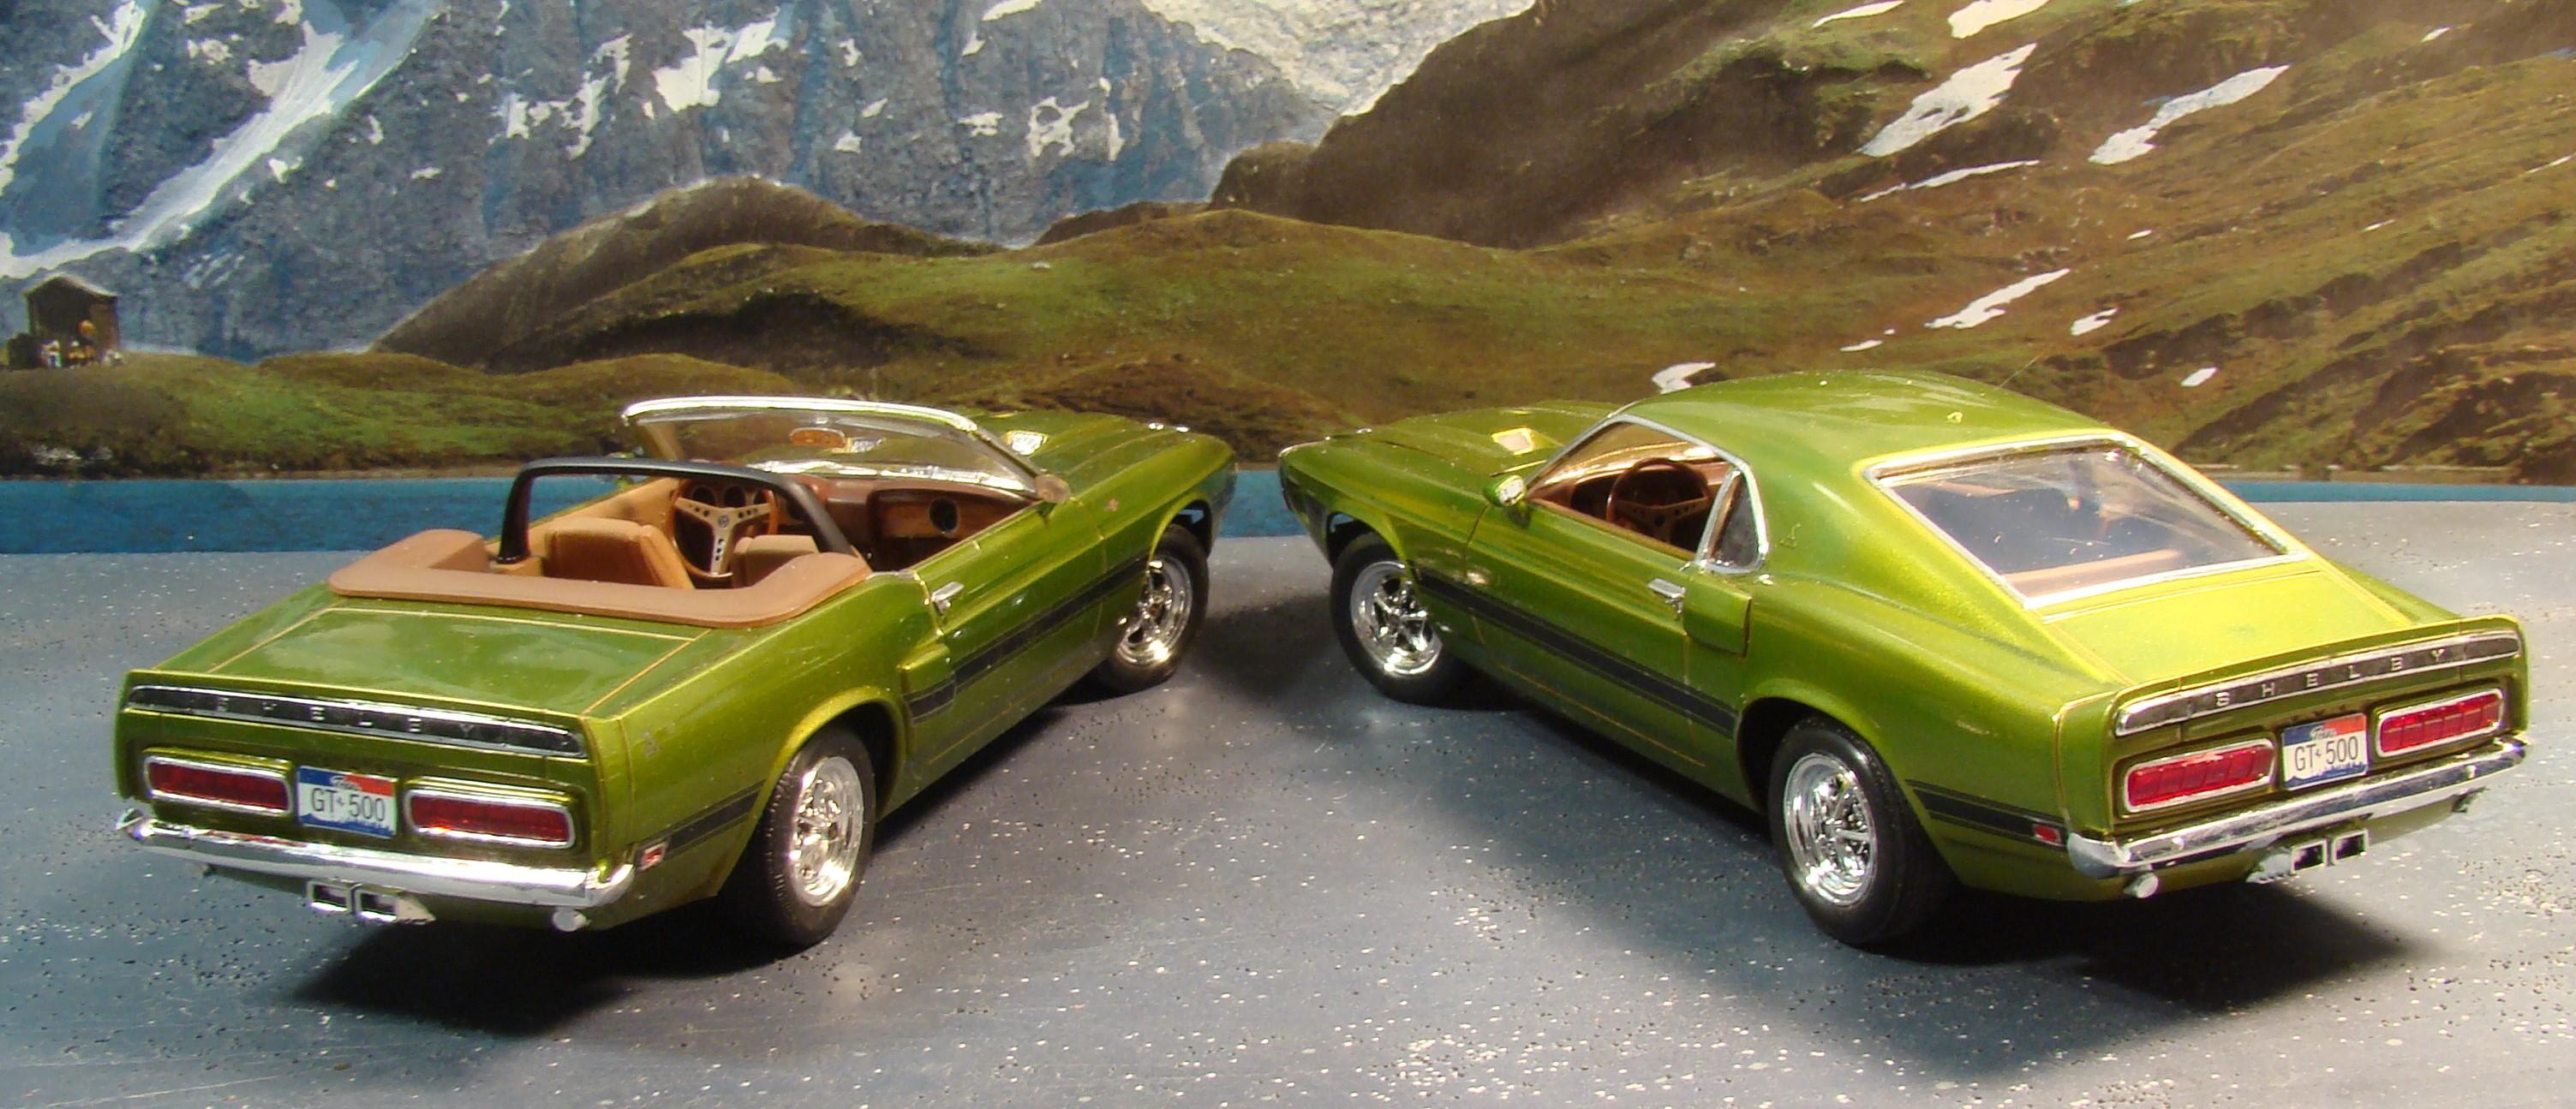
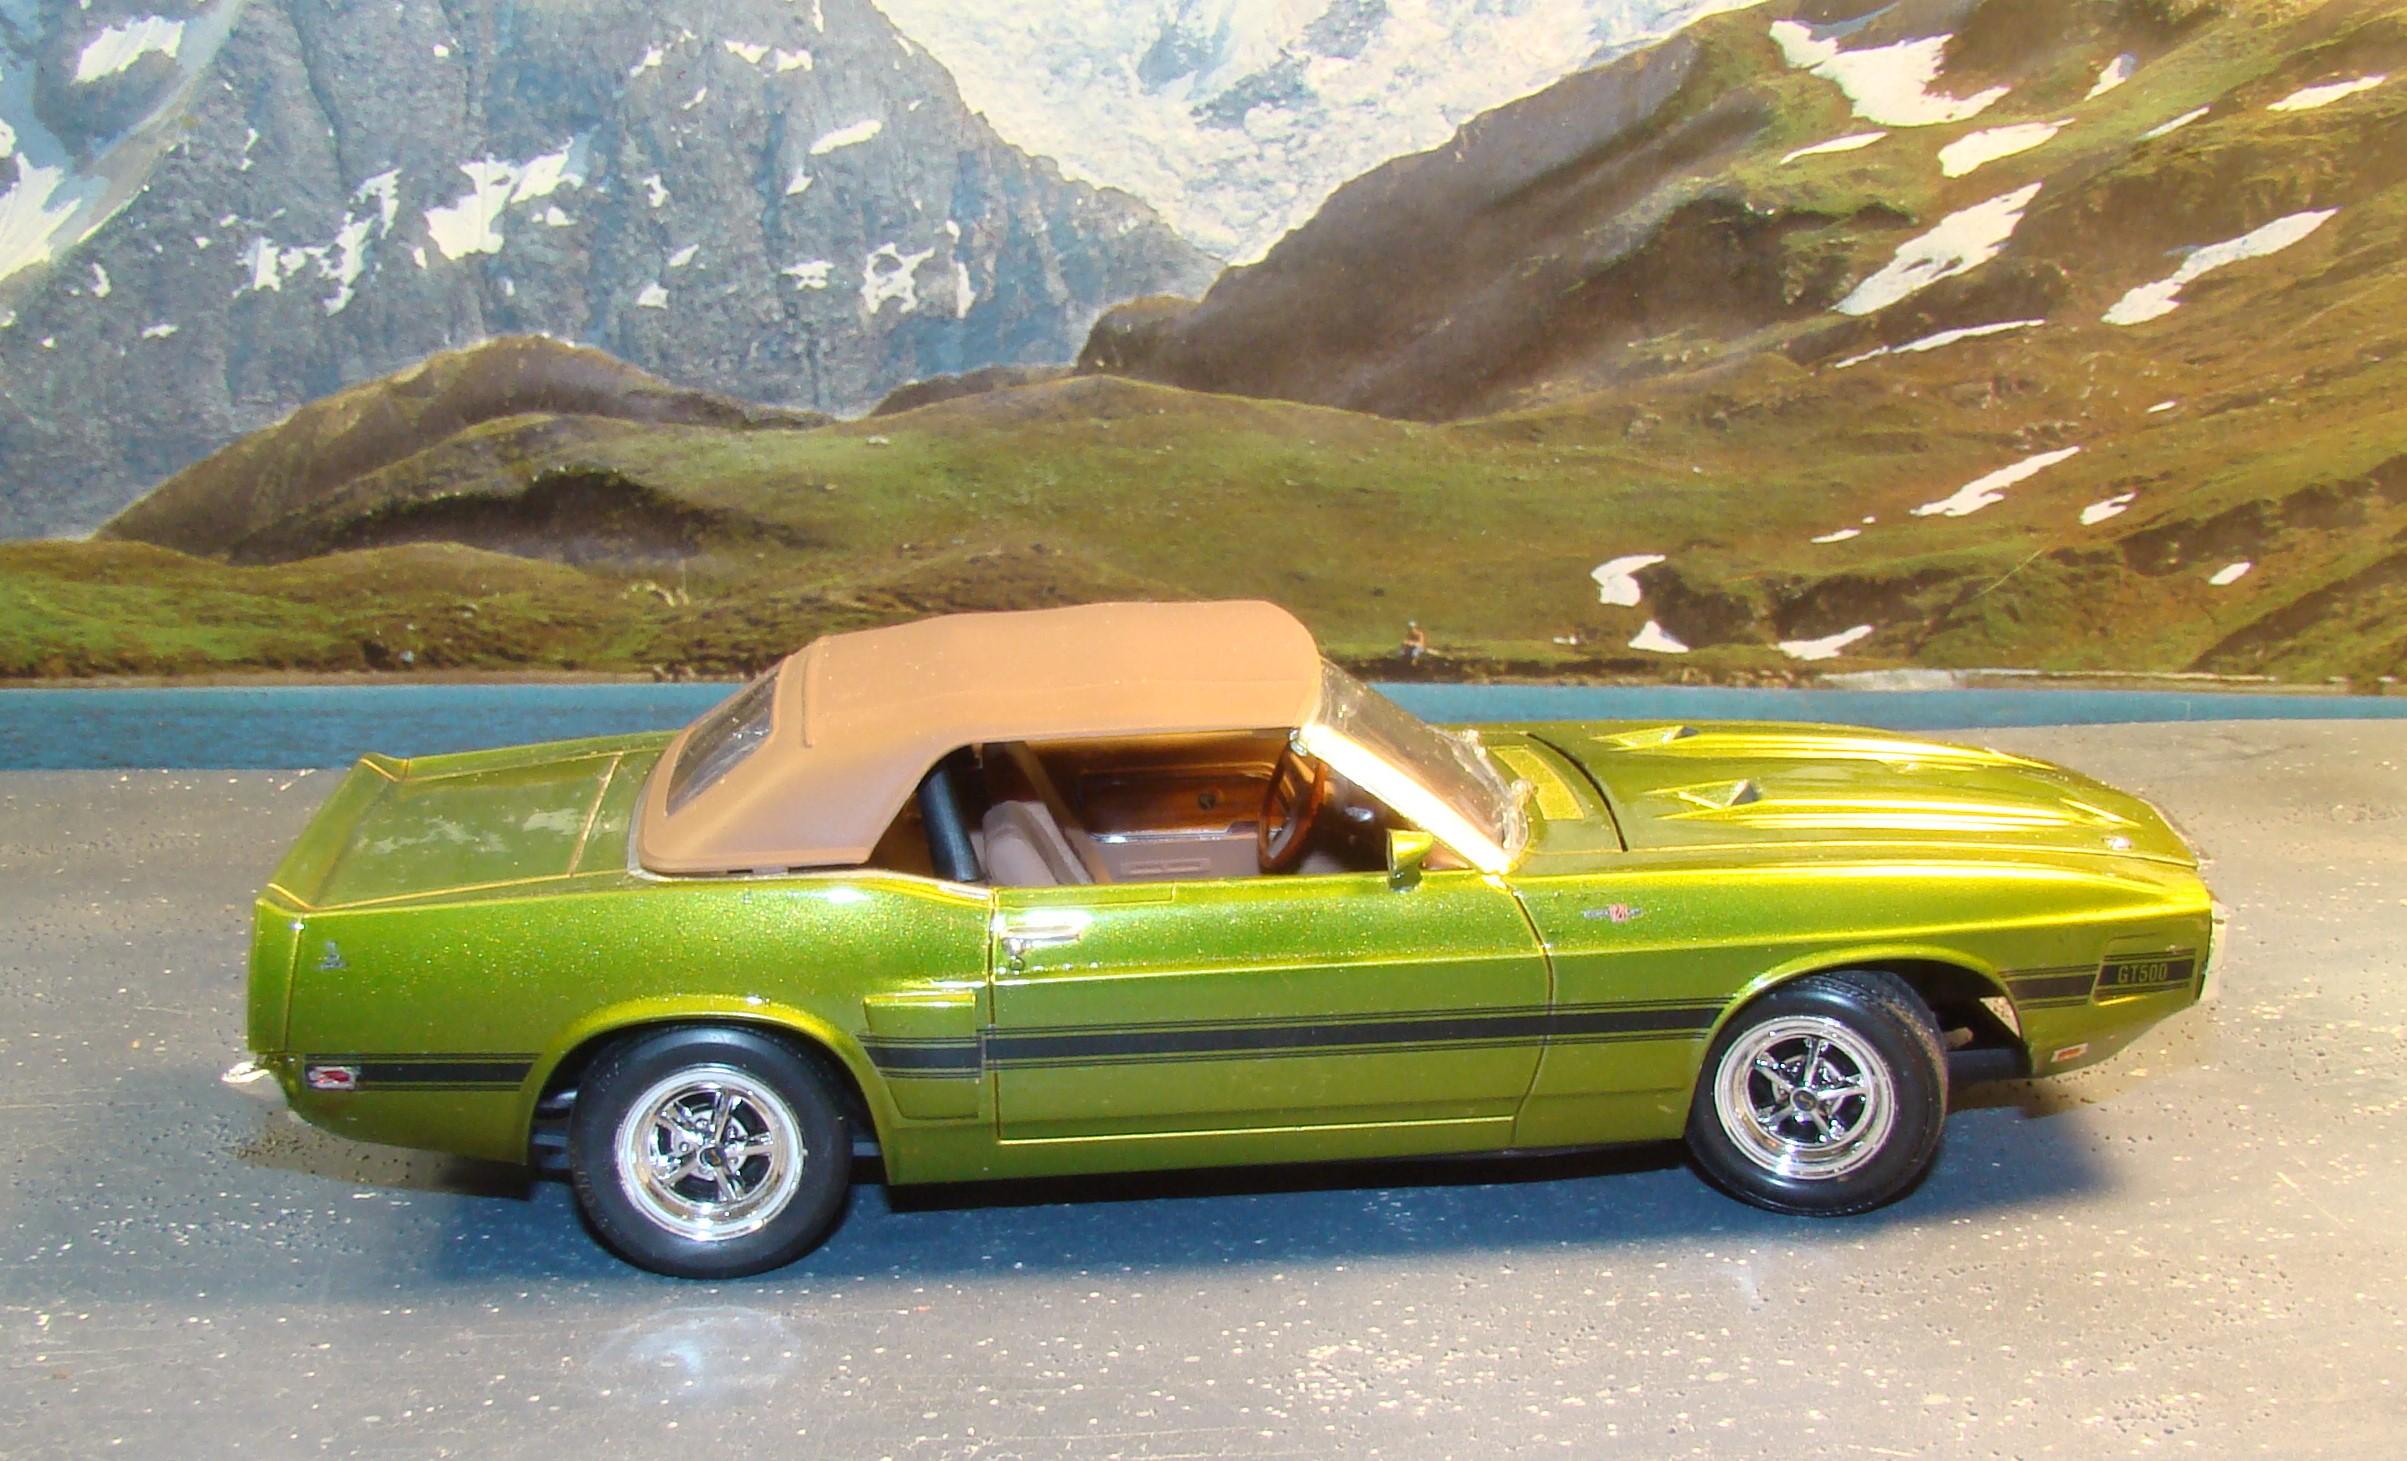
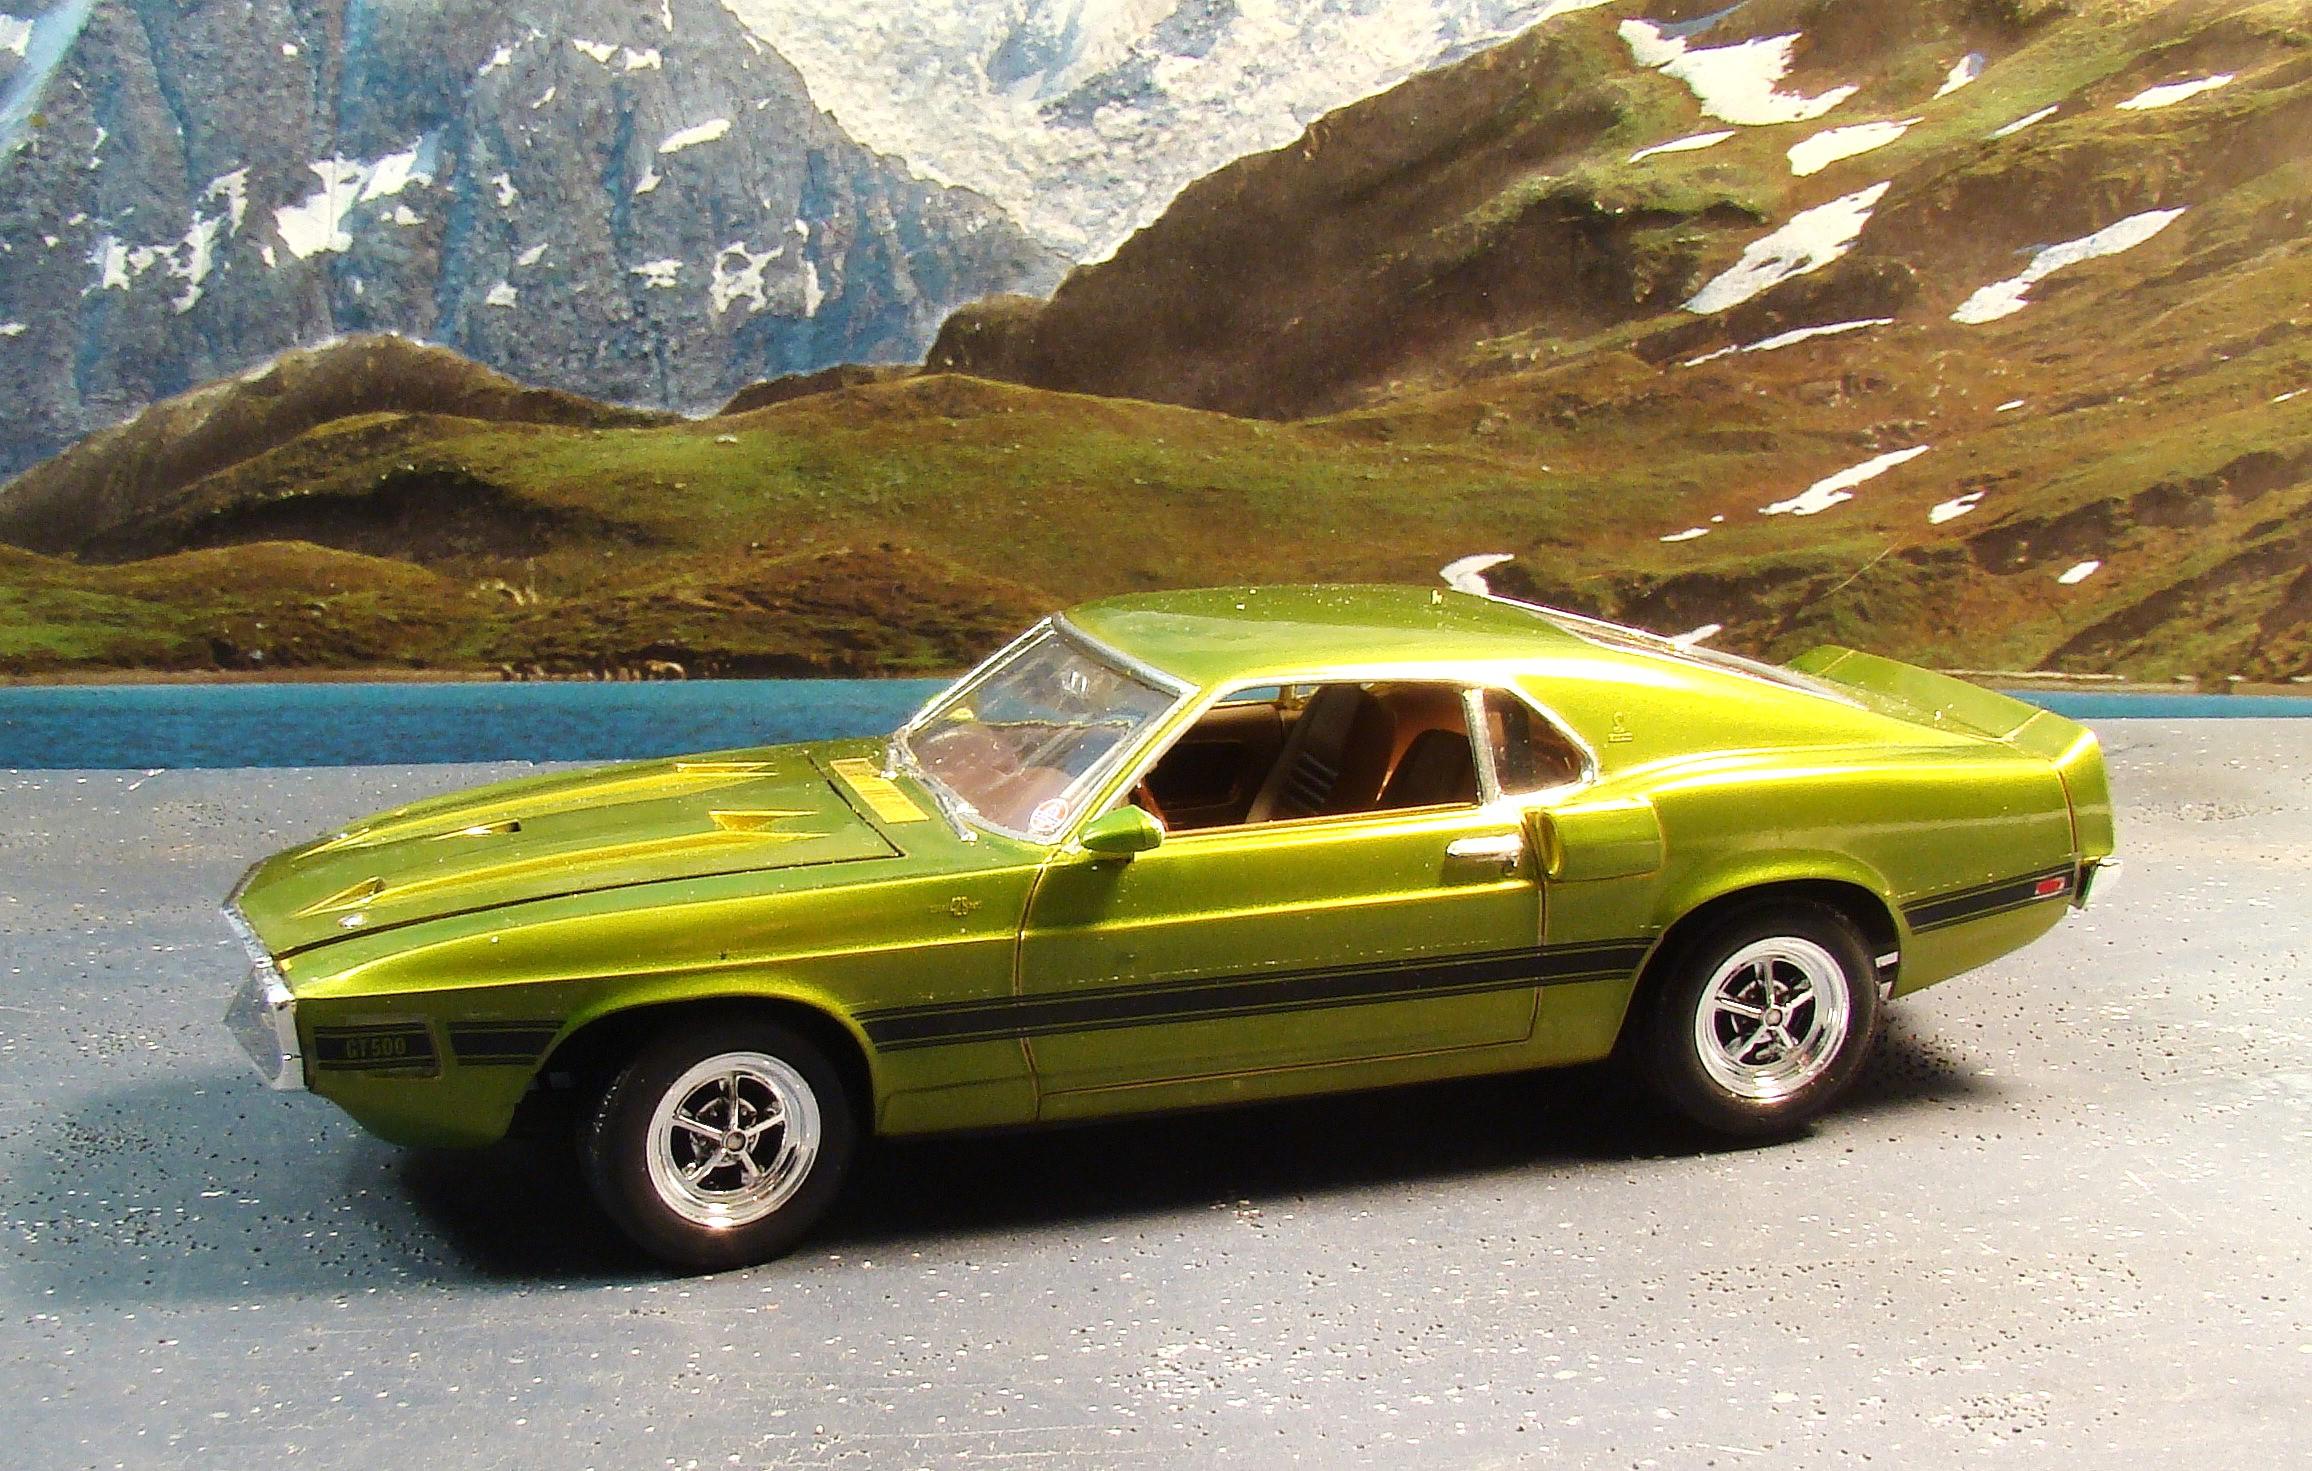
Continuing my line of Shelby Mustangs, I found these two lurking in the stash. The hardtop was aquired first and was painted in Nov of 2013. Found the convertible later and discovered they were basically the same kit with different bodies. Painted this one the same color in Jan of 2019. Time to finish them both at the same time. Color is Testors Boyds 52707 Lime pearl. This was sprayed over Pactra candy undercoat gold and finished with Testors clear top coat. Enamel takes some time to cure so I figure 6-12 years should about do it. More info below the pictures. Feel free to comment...always welcome. Both cars finished. They make a handsome couple. If you look carefully you will notice different mirrors on the convertible. This is because during final assembly I lost one of them. It still baffles me as the bench was completely clear. It just dropped out of the tweezers and then disappeared. 45 minutes later I gave up looking and found some similar in the spare parts. Still had the paint. I suspect a visit from the "borrowers". I did notice some very small footprints in the work area. rear veiw shows some of the nice detail Revell put inot these kits. The chrome surround for the tail lights was a plus. The convertible came with this nice fittingh soft top. It is painted with Tamiya Ls flat earth and then rubbed for effect. I liked the stance of both kits and the bodies fit eaqsily over the chassis and required no glue. I made the wheels poseable on both cars. That took some interesting engineering. I found these 1/64 diecast to match. Unfortunately the hardtop is a 1971 but will still look OK in the case. Engines in both kits were very well detailed. I added the ignition wires. The distributor was very small and I broke at least one #80 drill bit. The convertible had a much nicer decal sheet and it shows in this interior shot. Both cars were done the same with Tamiya flats with some gloss added. I added flocking for carpet too. Thanks for looking.

-
McLaren Mk6 GT
Rich Chernosky replied to Dave B's topic in WIP: Other Racing: Road Racing, Land Speed Racers
Dave...just poking a little fun at you. Although the one I saw at Watkins glen many years ago was orange. Mr Color Character Yellow is a very good match by the way. Of course its your project and the choice is ultimately up to you. It will be a great project whatever you do. -
McLaren Mk6 GT
Rich Chernosky replied to Dave B's topic in WIP: Other Racing: Road Racing, Land Speed Racers
Dave...here is one of those " why didn't they ever make a kit of" cars. Saw one these in person (they only made two) and fell instantly in love. Will be following this one with great interest. You are painting it Mclaren Orange, aren't you???? -
-
Thank you Stuart. I have gone out of my way to get these oddball Japanese kits. At shows nobody wants them so they usually go cheap but lately the prices have started to soar. Most of the Japanese kit makers manufacture for their own market first. Most of what I have seen for our market has been Mustangs and Corvettes and a few oddball show cars. I just like em cause they are so different than the usual domestic fare.
-
-
Vince, really nice build from you. That paint really shines. 1/16 scale is fun to build. Just got done with one (as you know) . Great job.
-
1967 Ford GT MKIV Gurney/Foyt
Rich Chernosky replied to Rich Chernosky's topic in Other Racing: Road Racing, Salt Flat Racers
-
Revell 1/25 Corvette C7.R
Rich Chernosky replied to nickfzr61's topic in Other Racing: Road Racing, Salt Flat Racers
Nice job on this one. Chassis detailing looks great and the body is spot on. Very nice. -
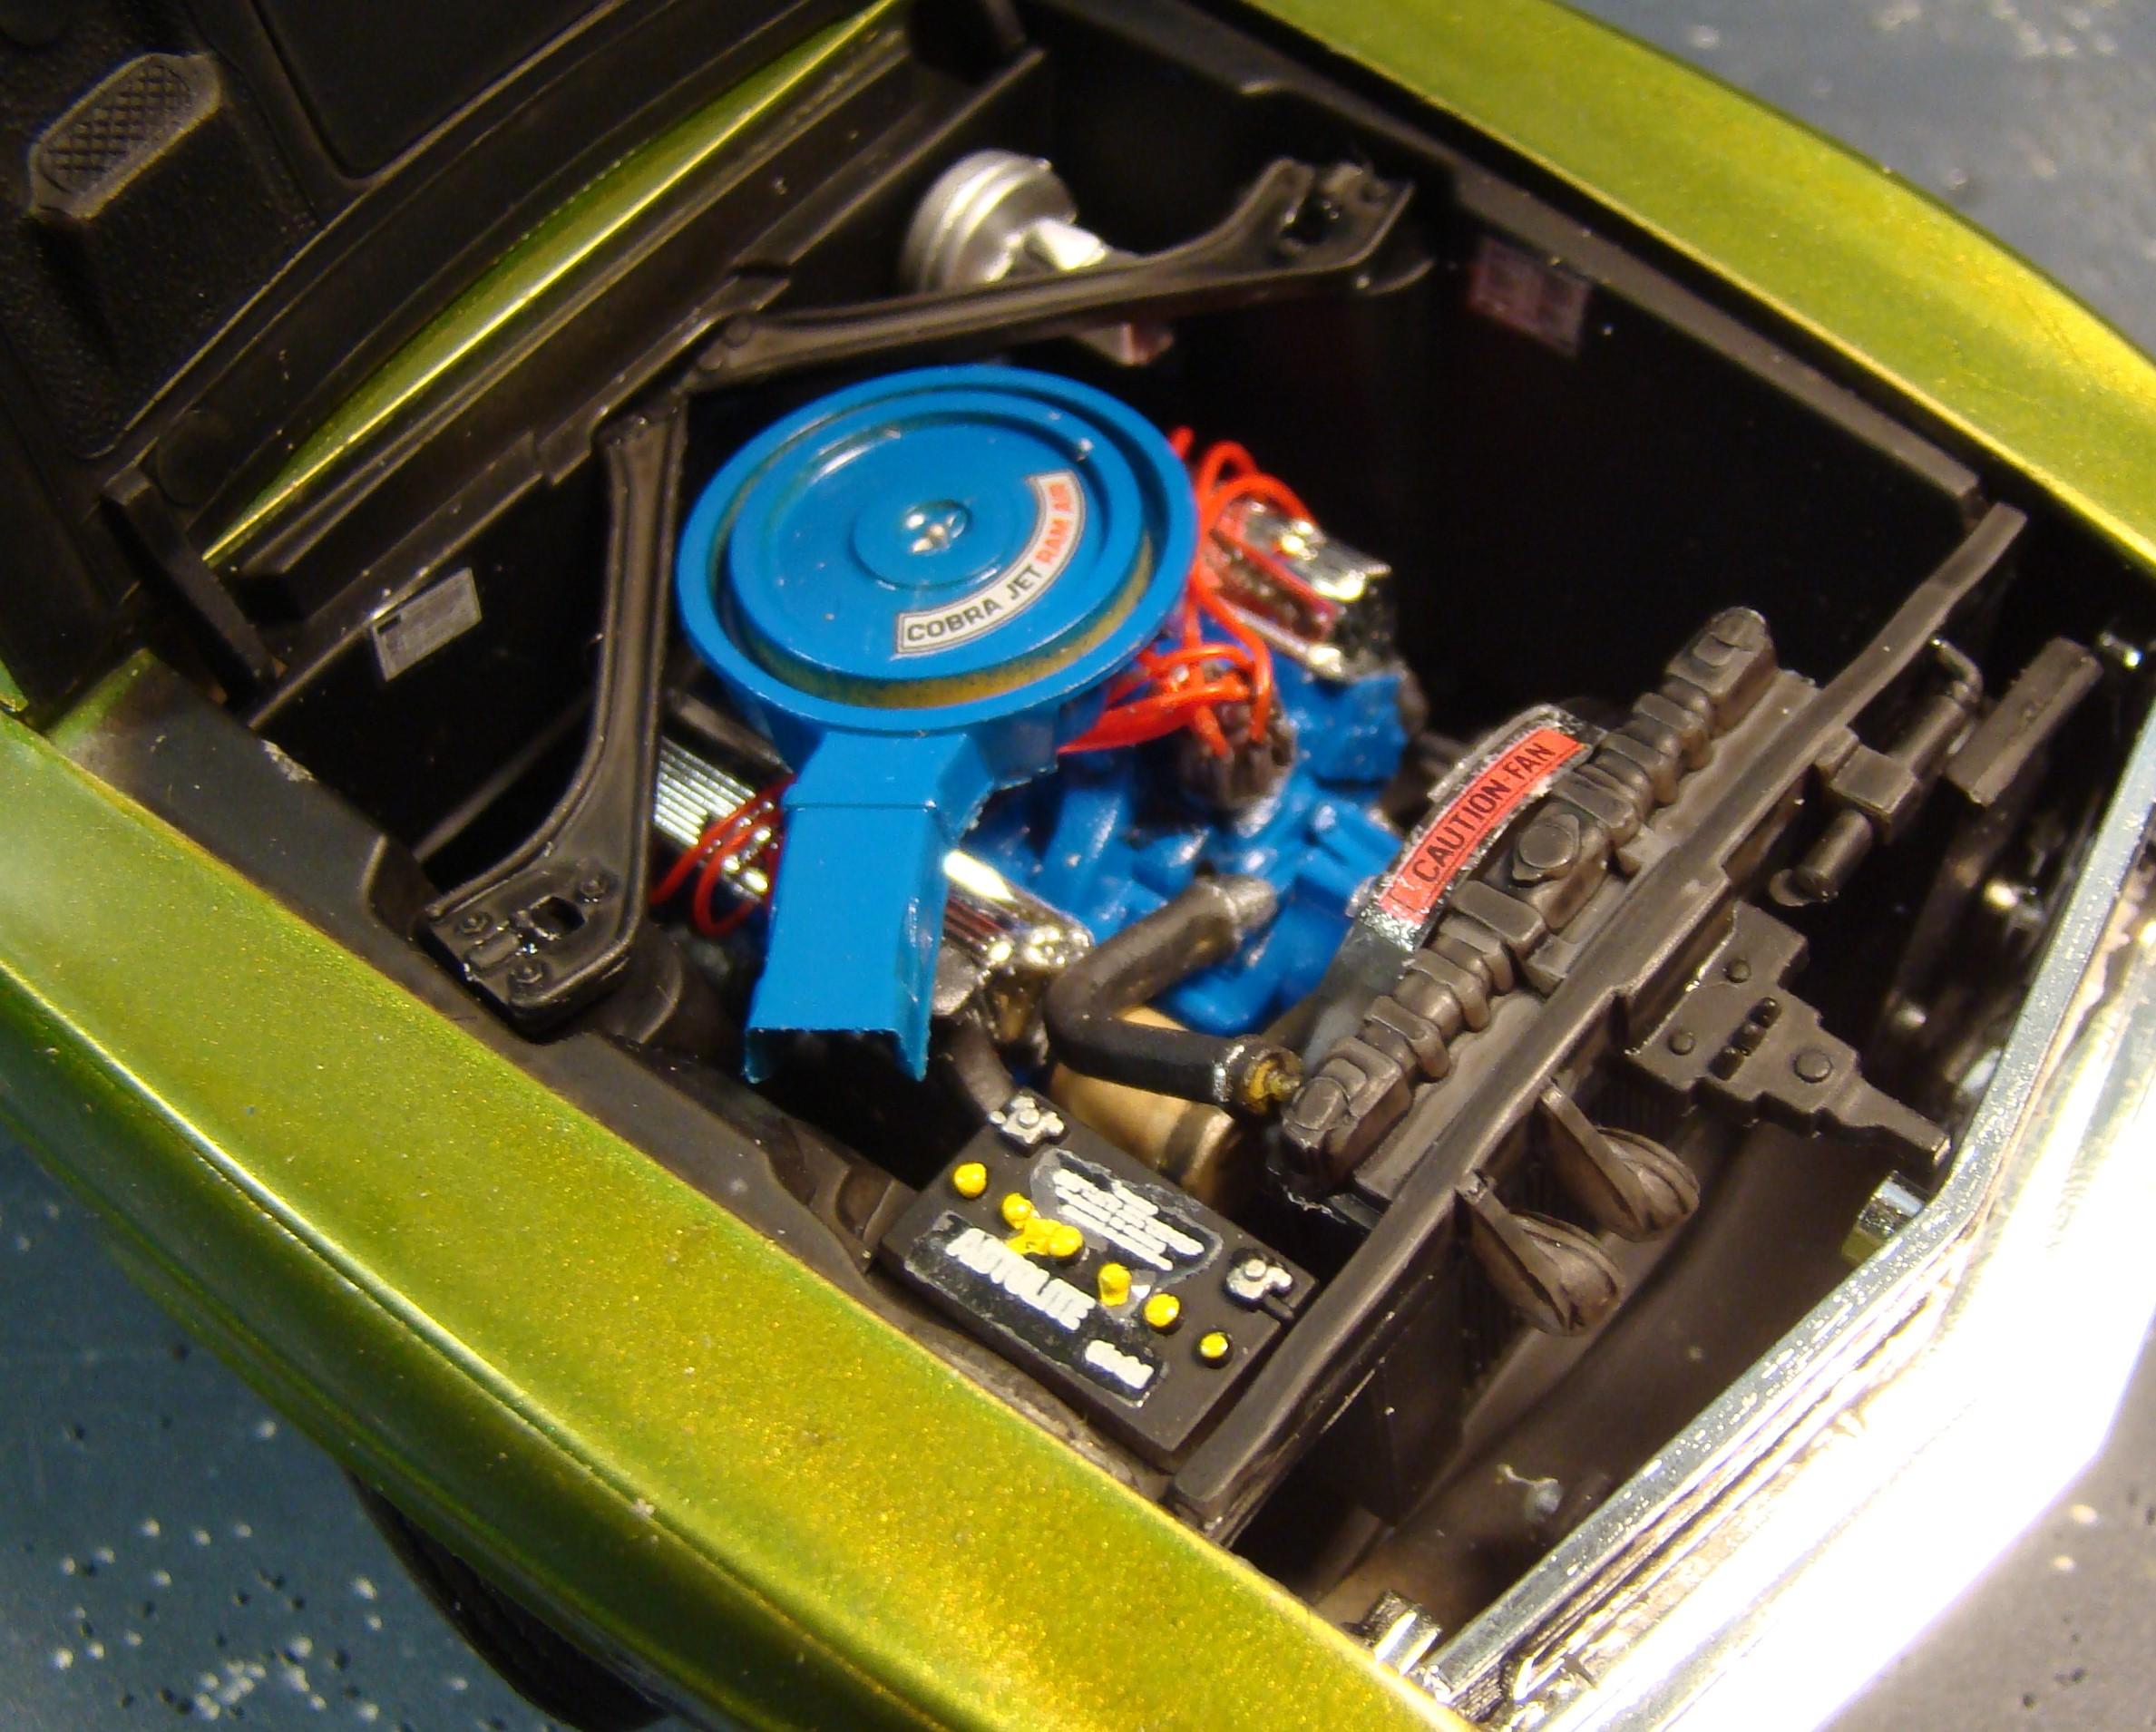
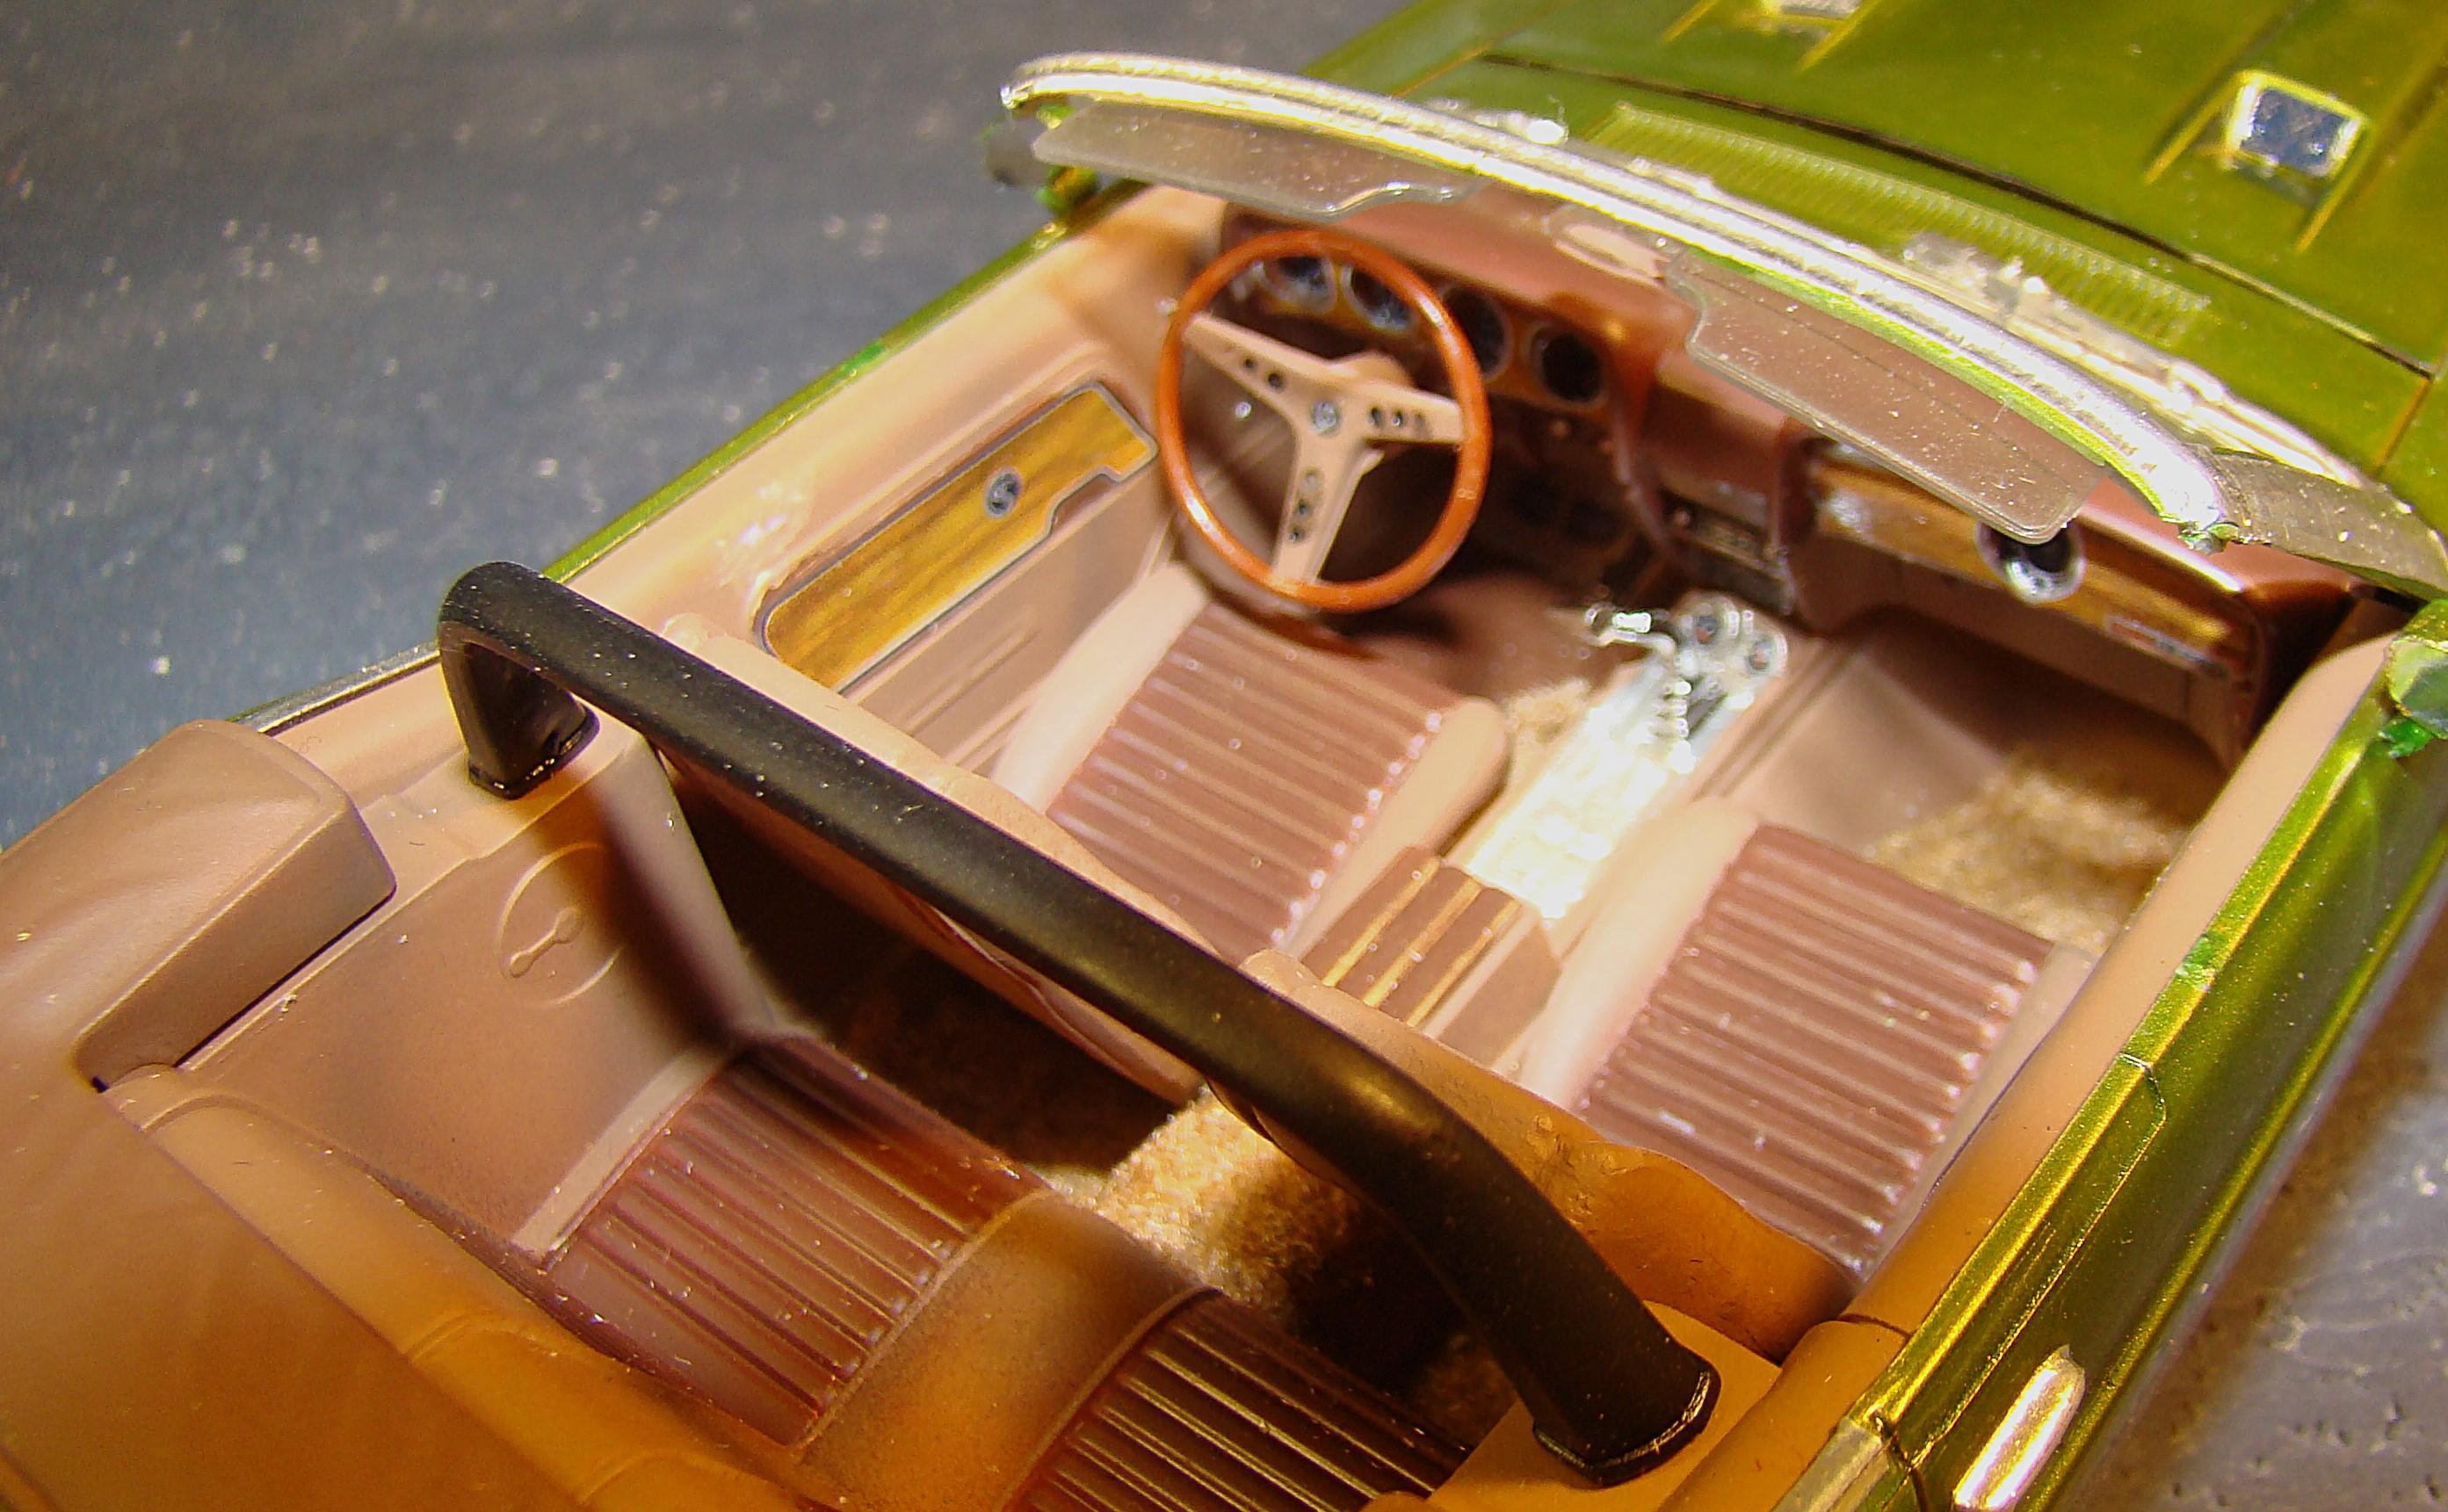
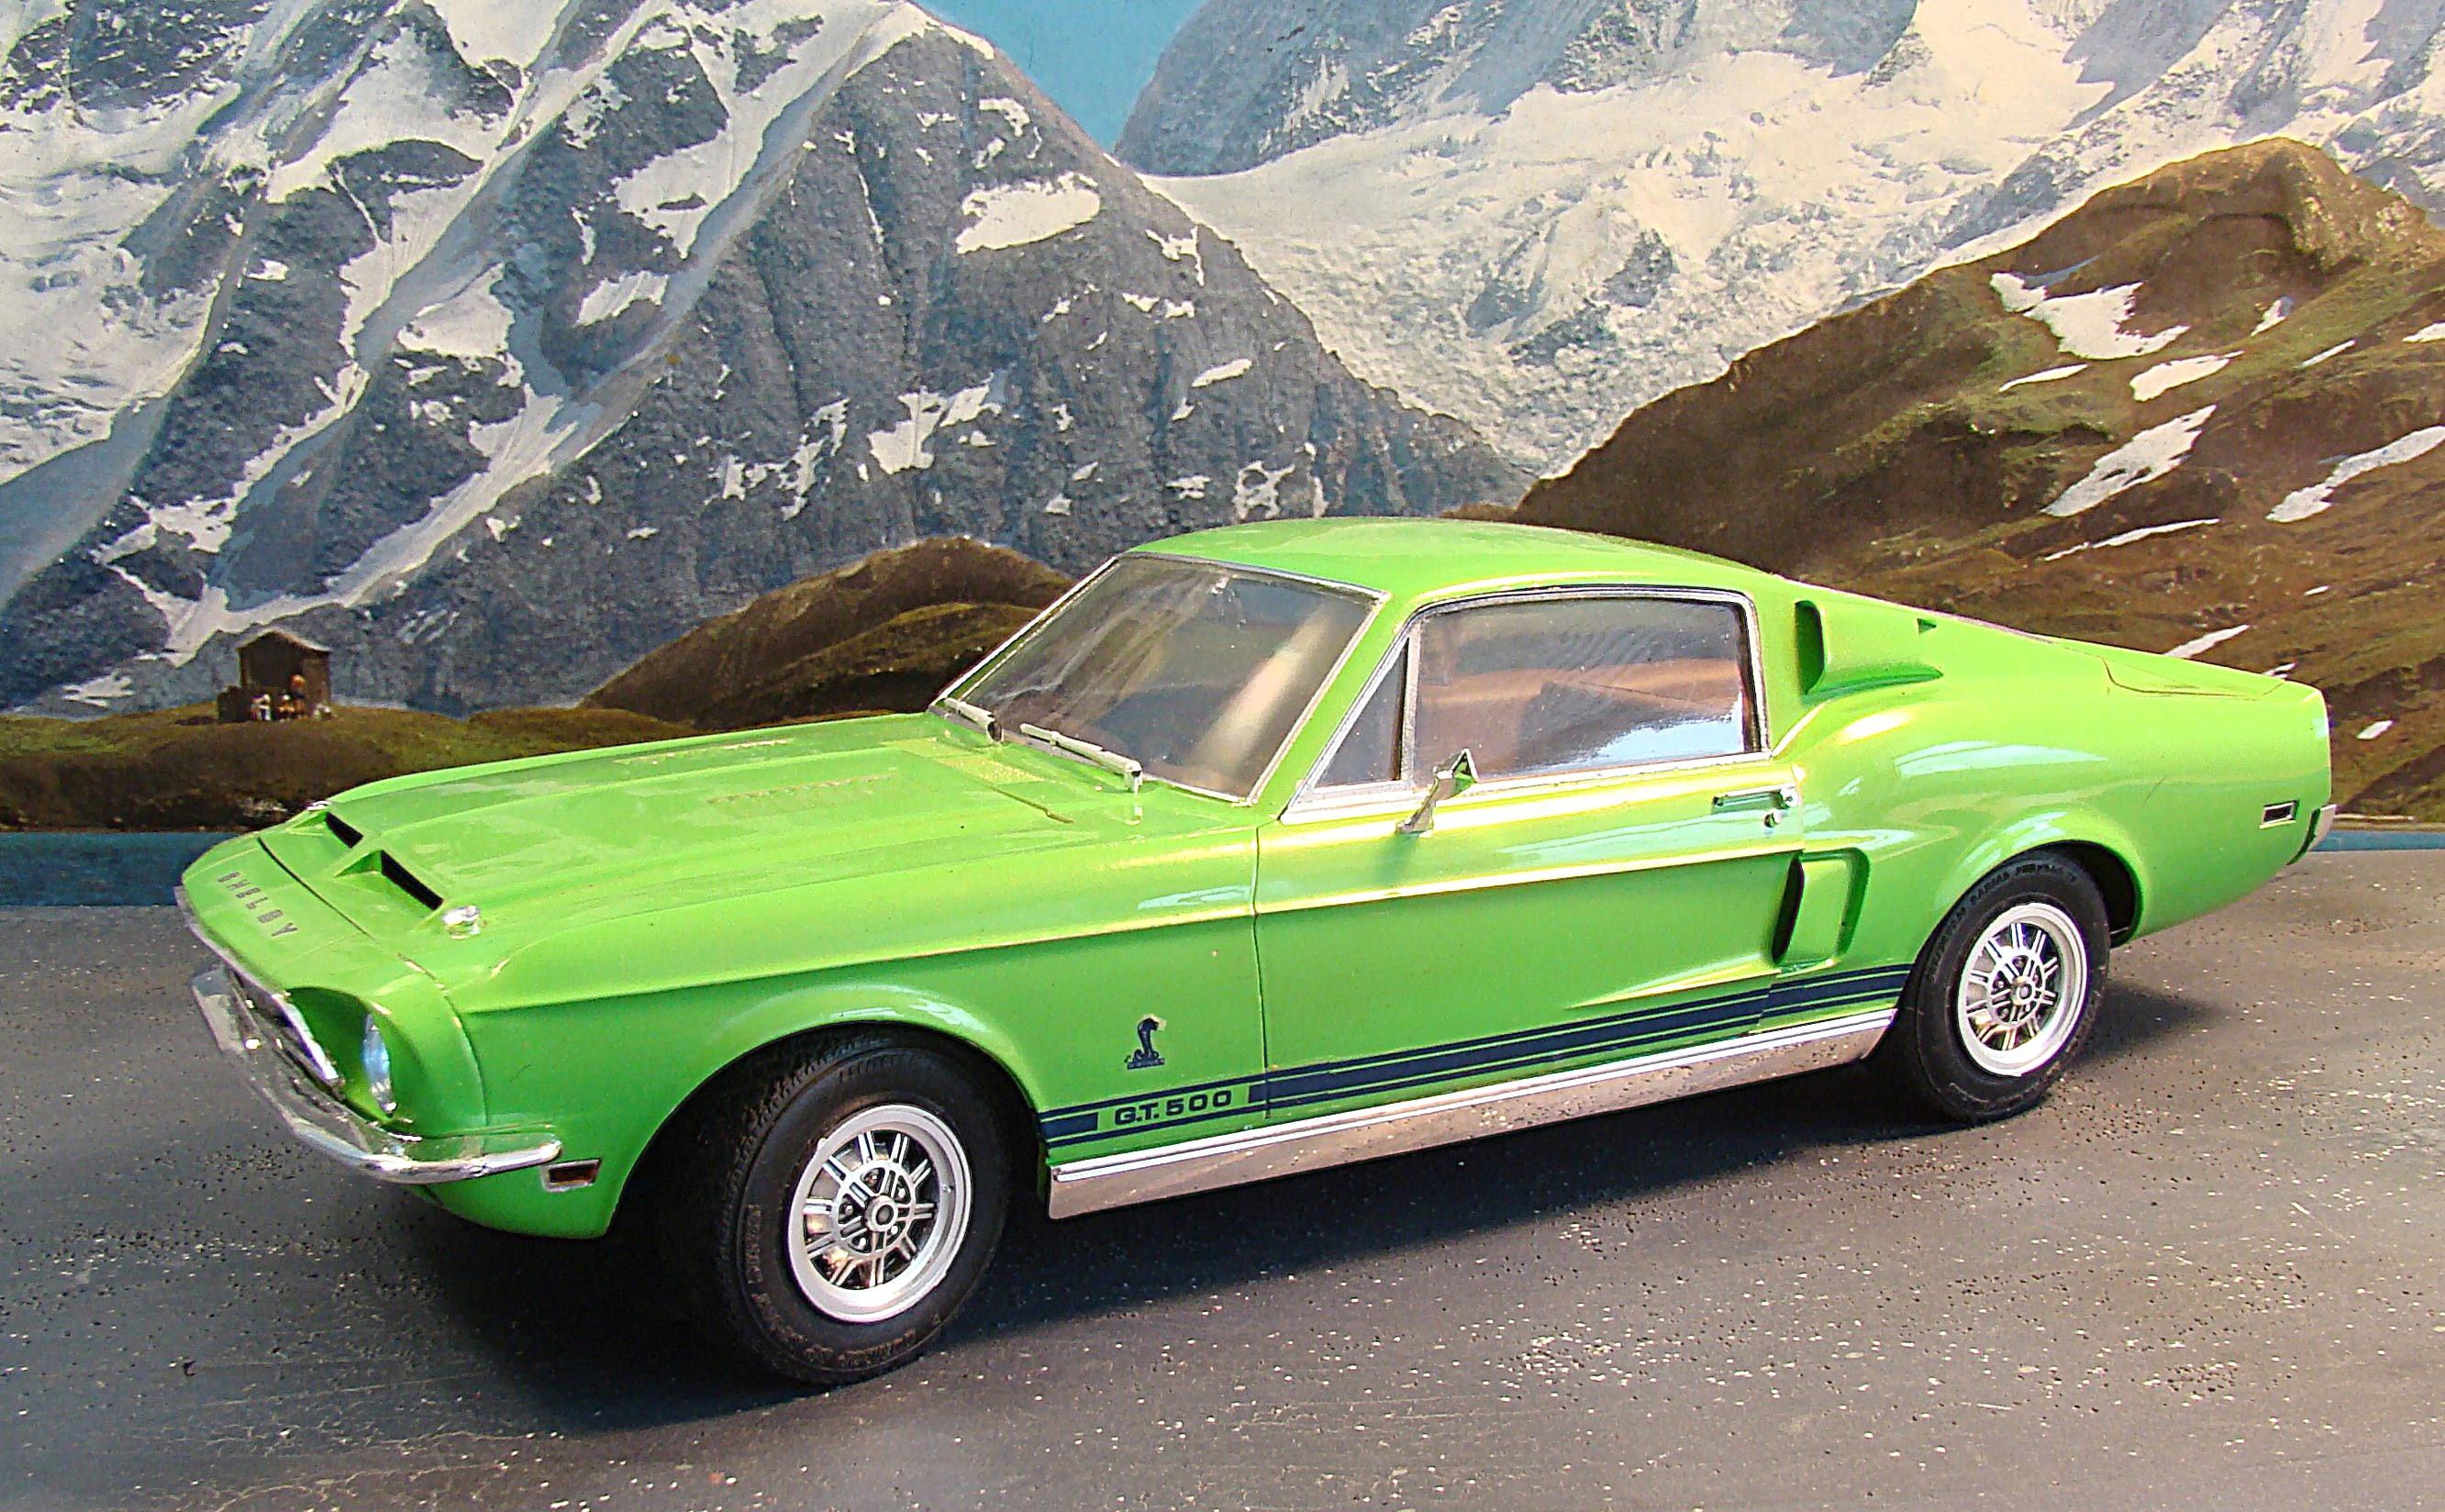
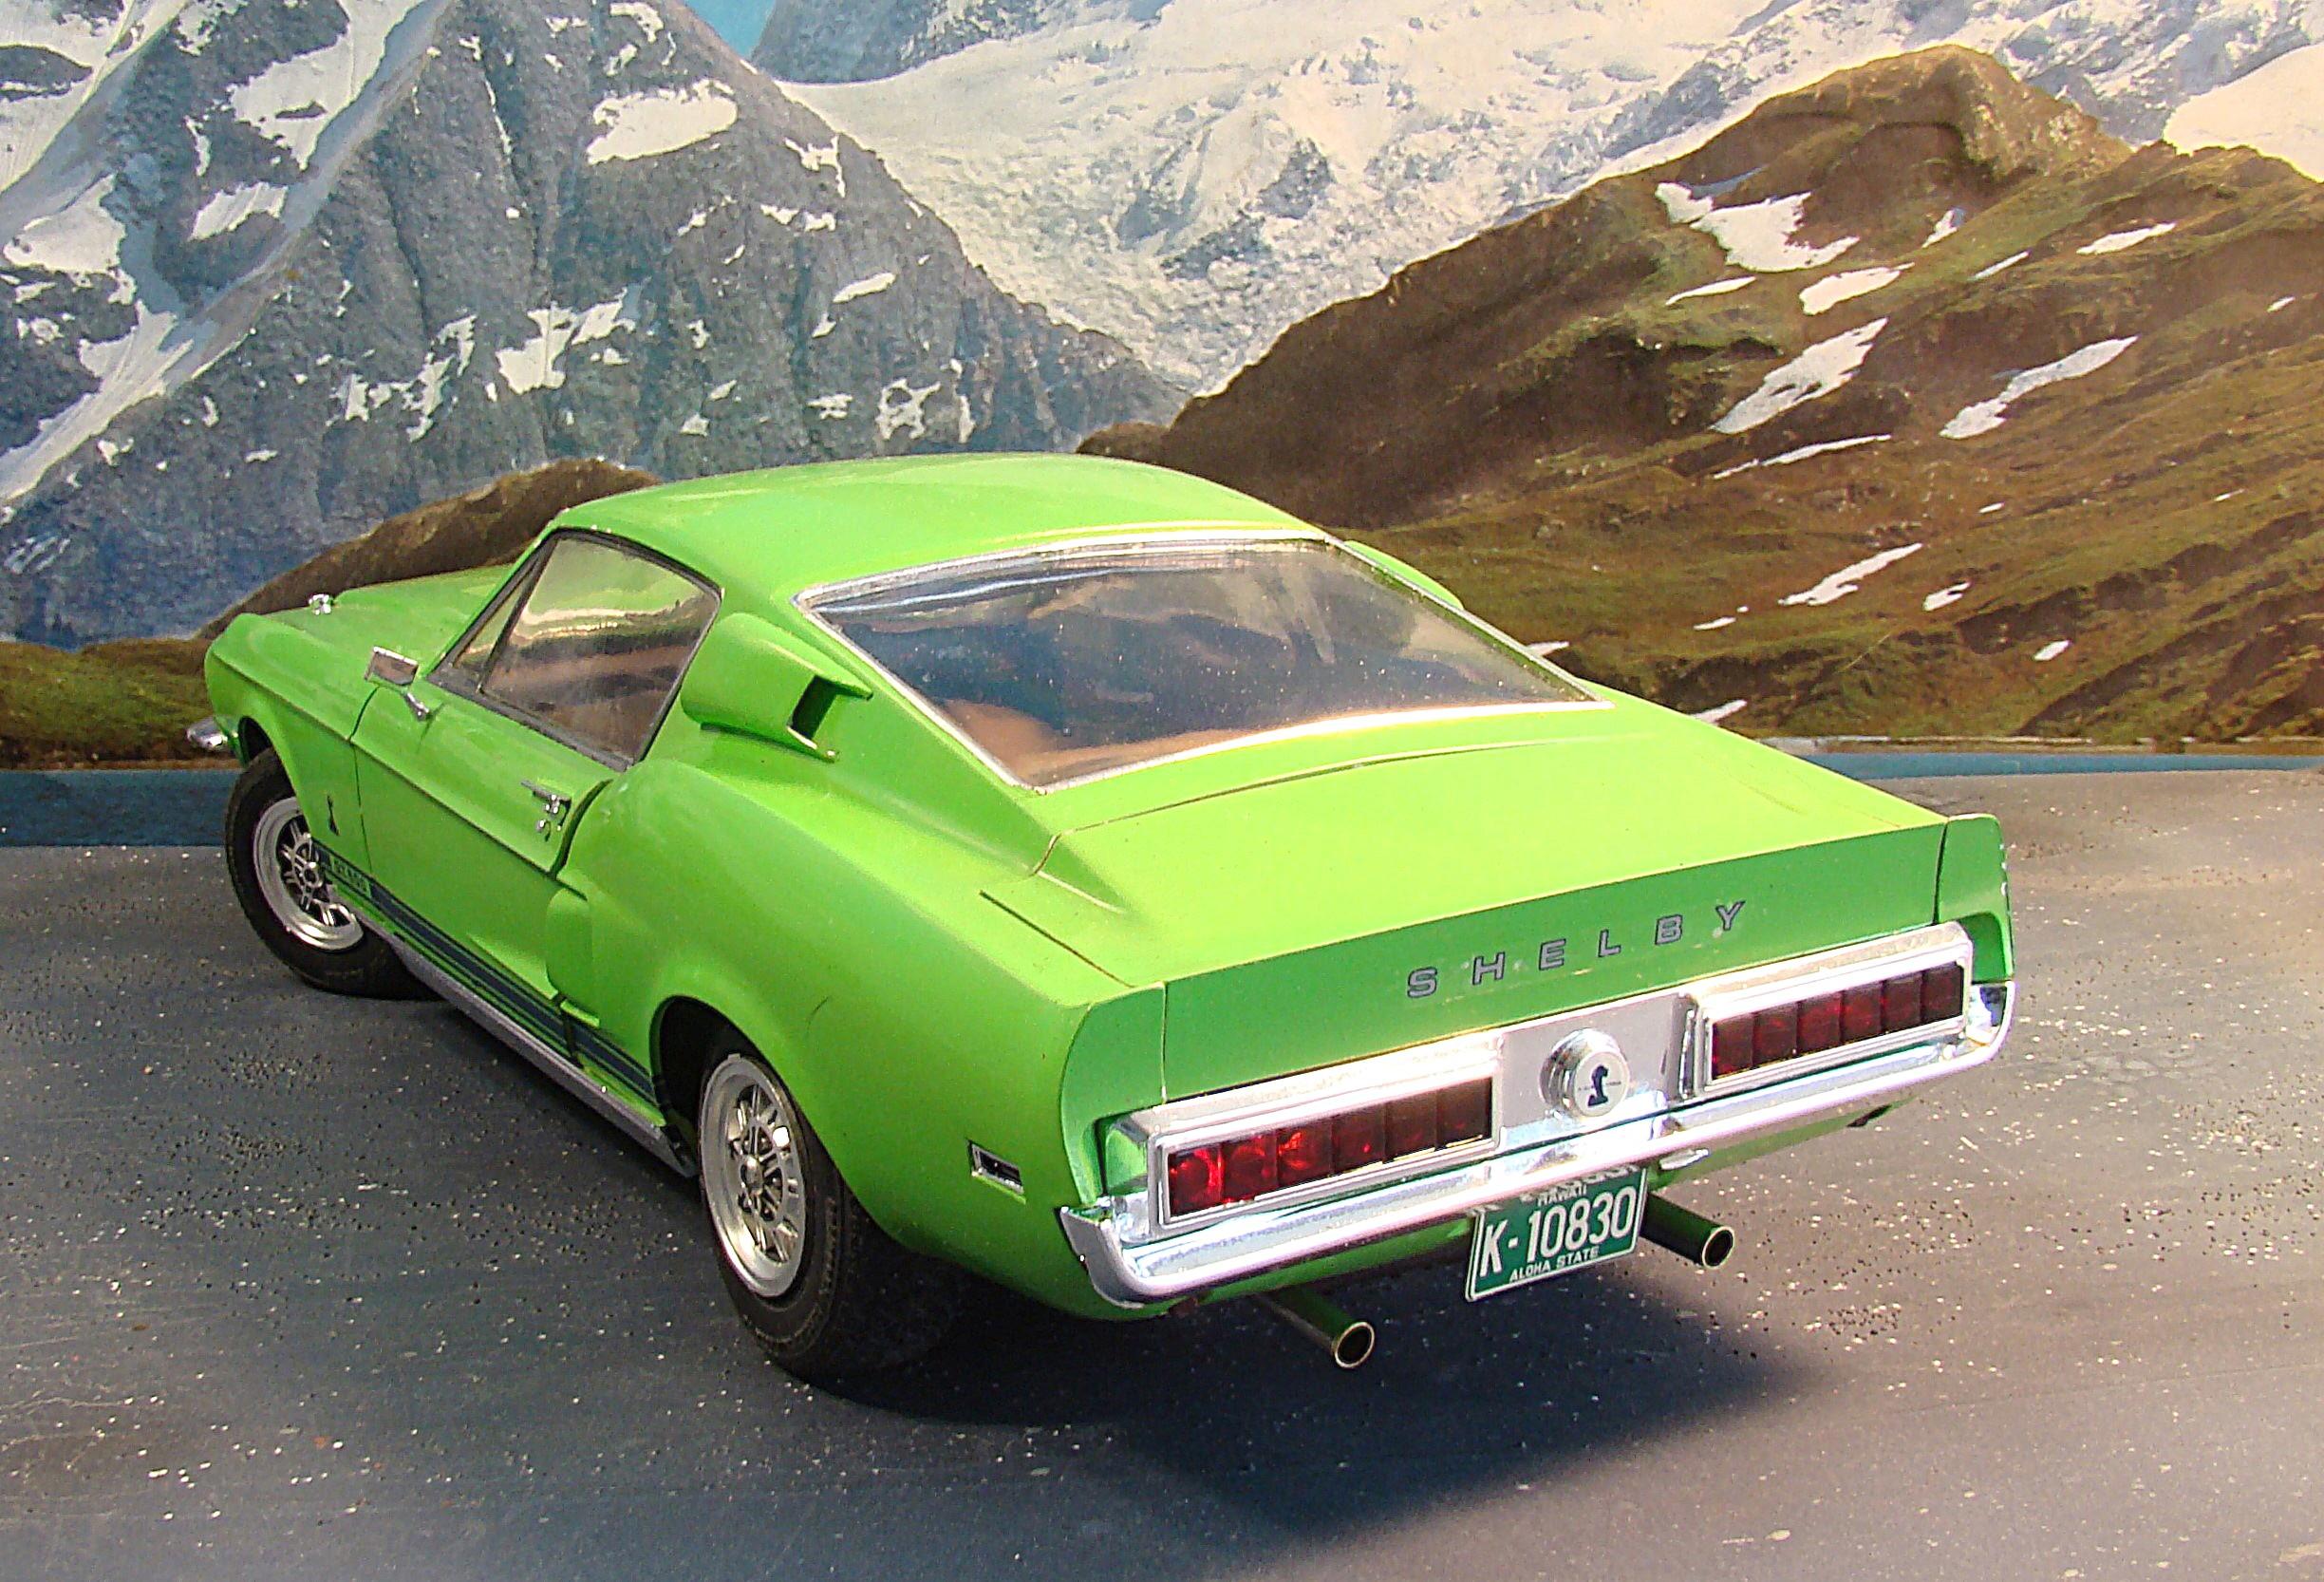
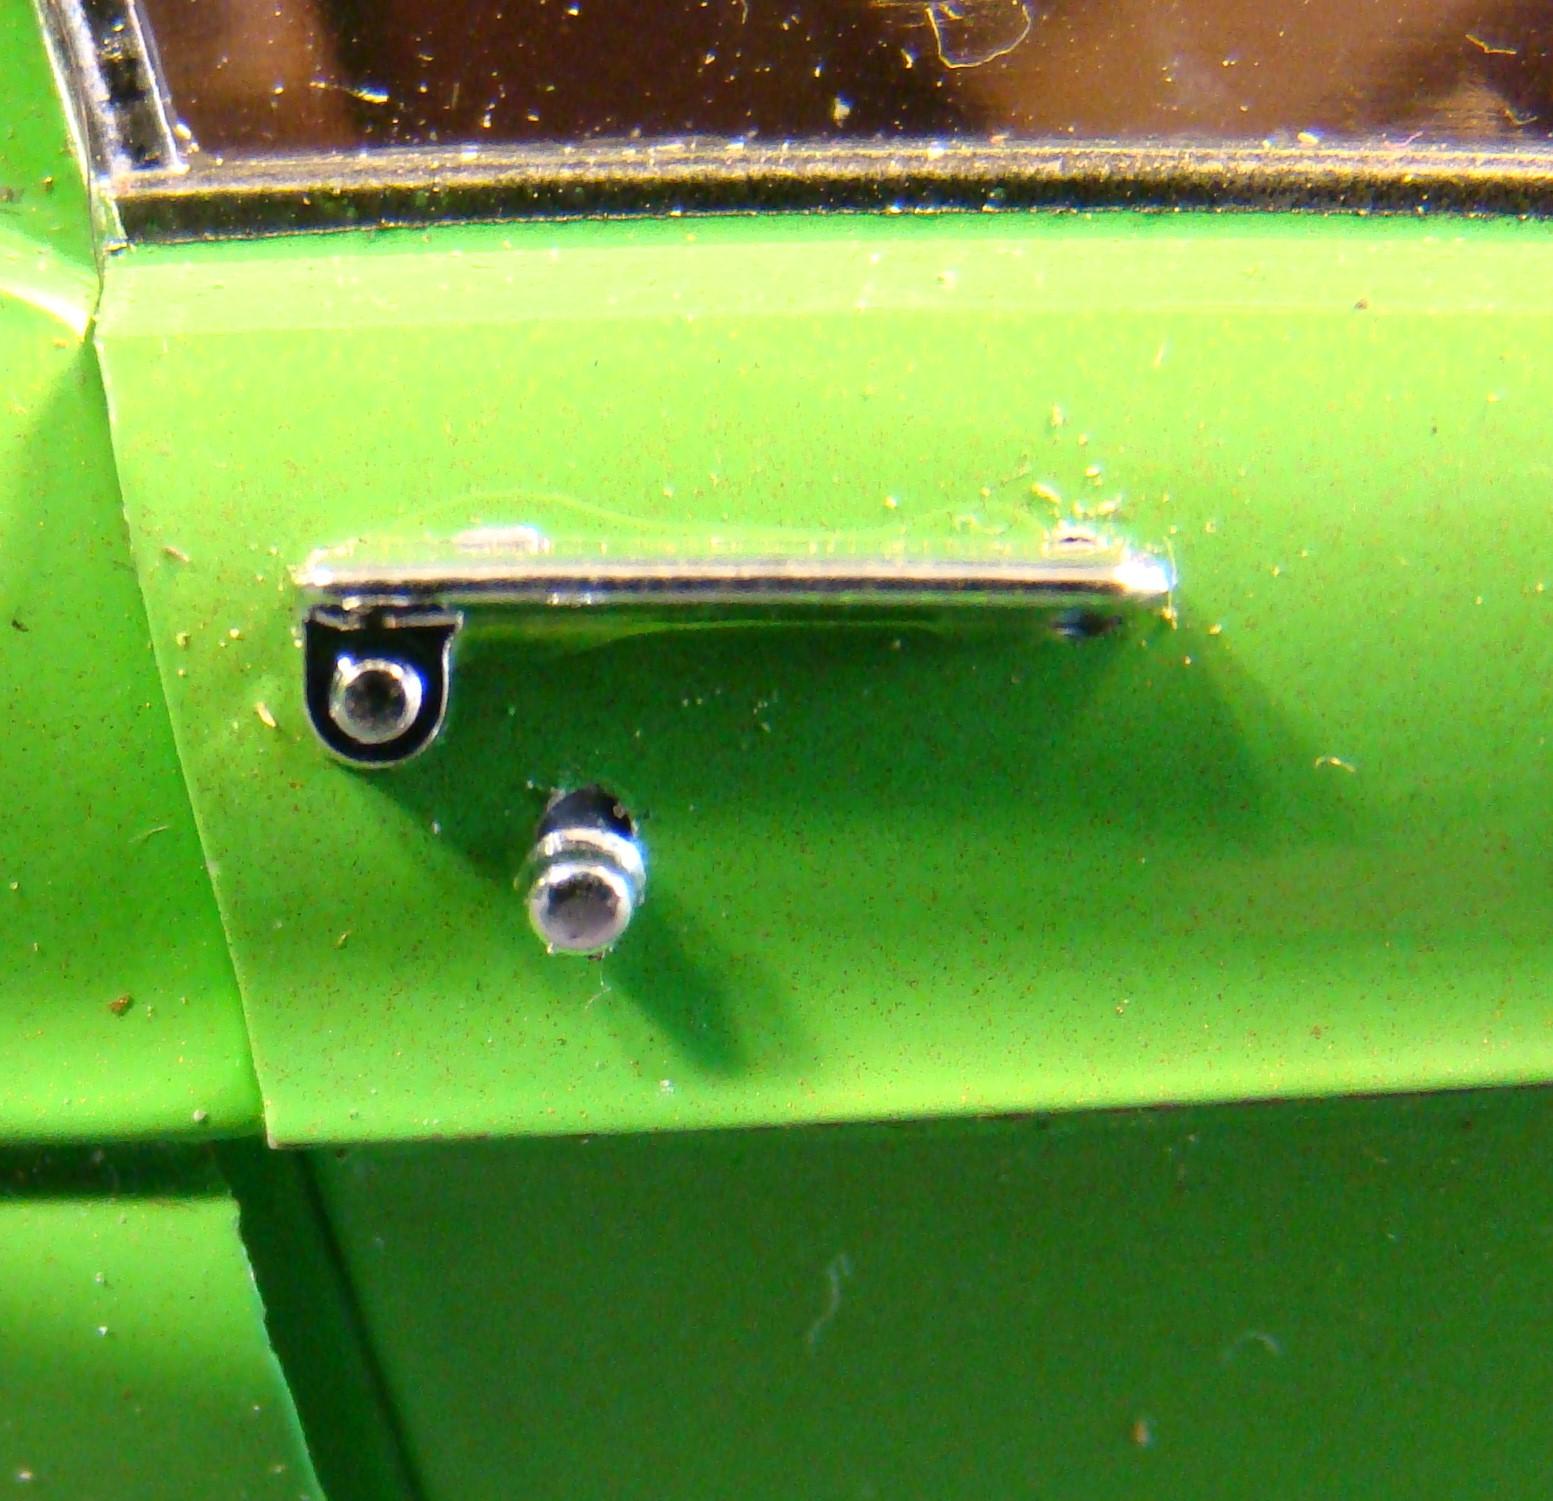
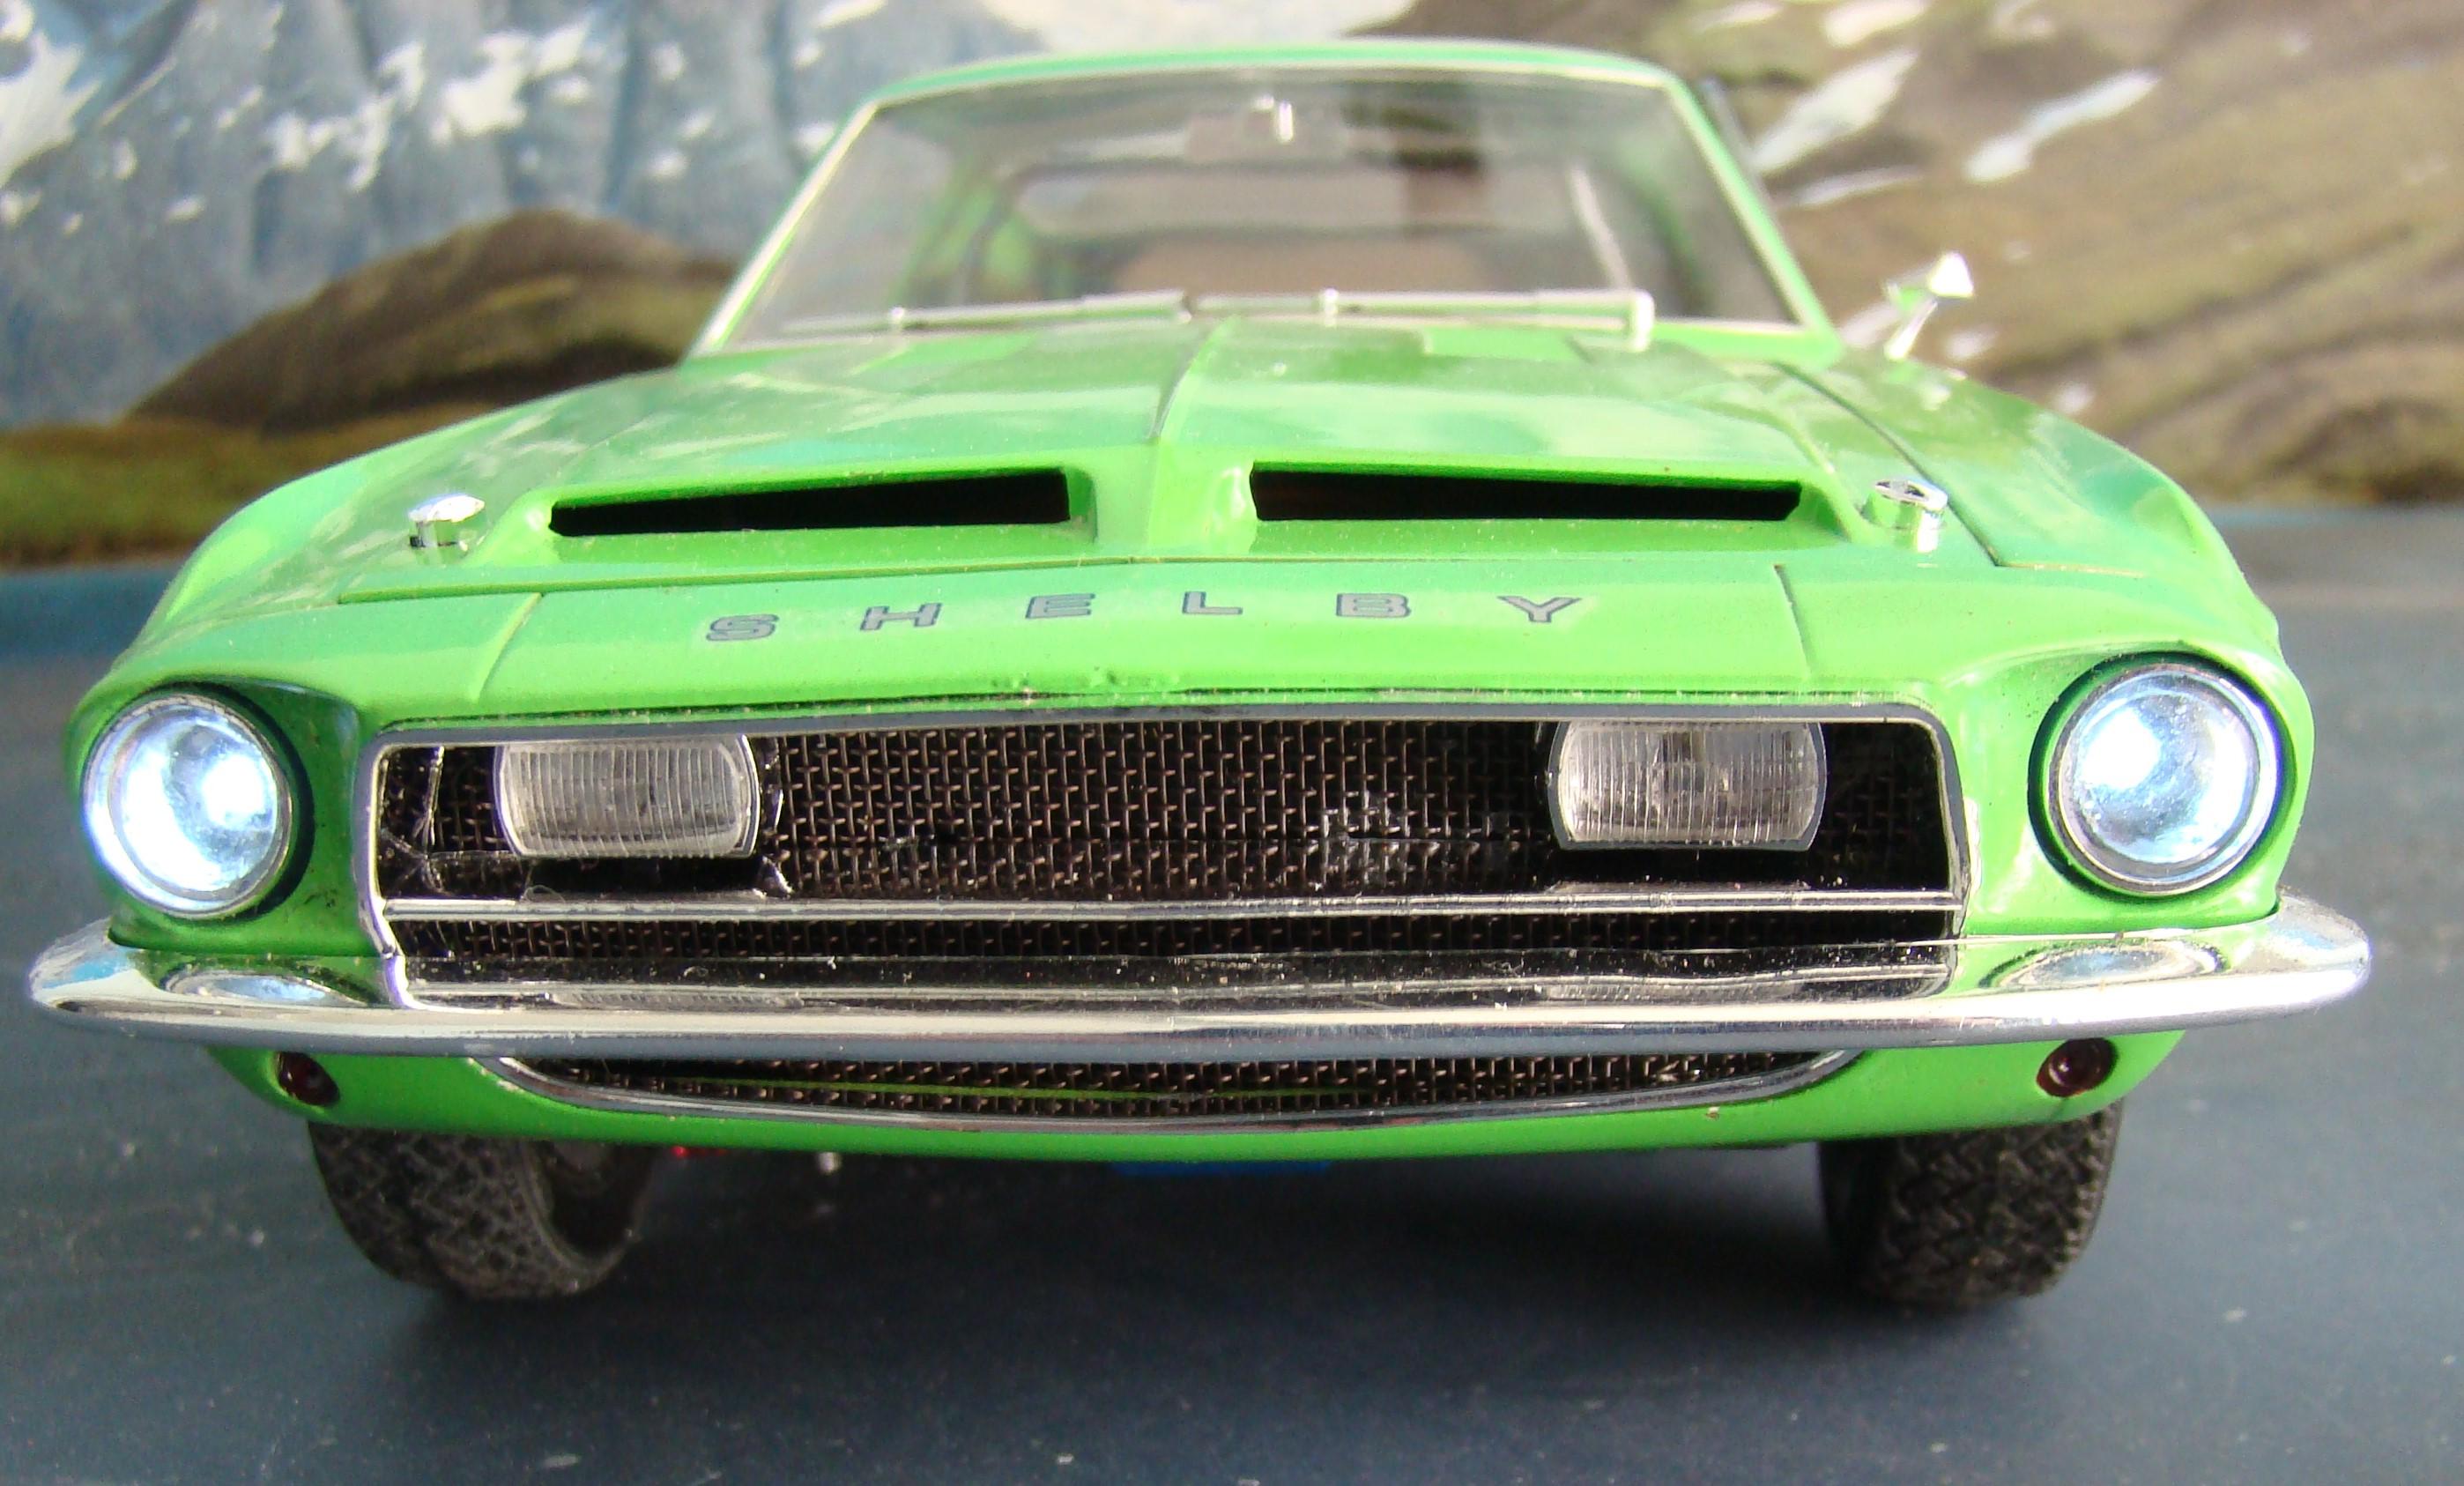
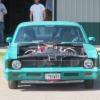
Inspiration sometimes comes from the strangest places. I recently moved my rack of big scale kits and re-arranged it. Everything fit nicely except for one box. This kit. So why not just build it. Here it is, a fairly obscure Nichimo 1/16 Shelby Mustang GT500. This was sprayed on November of 2013. Color is Tamiya TS22 over TS21 gold. Ity was clearcoated with TS13 with some gold added and then just a coat of TS13. Many working features on this kit and it was a joy to build. Glad I did it ....finally. More details below pictures. Feel free to comment. For and early Japanese kit...my guess is early 80's...this was a well engineered and great fitting kit. the openiong doors,trunk, and hood all fit and worked to perfection. The glass fit was also amazing. Wheels were accented with Tamiya panel liner. Even the decals were still good. Detail and fir in the back was also good. I substitued the tail pipes with chrome antenna tubing and the licence plate is from extras. Note the working tail lights. One of the more interesting features of this kit was the working suspension front and rear. Not quite prototypically correct but worked and assembled nicely. The big block 428cu in engine all wired and plumbed. Had to add a few extras here as they kinda skimped on detail but what was here was nice. Had the option of doing either the Mustang or Cobra graphics. Ford used the Cobra name as they were out of production to sell the cars. Not many GT500 cars were produced between 1967-69 due a shortage of these engines. These two tiny pieces were seperate and really added to the look . Nice touch. I really liked the front end treatment on this kit. Model came complete with working front headlights, but they were grain-o-wheat. I substituted them for LED's. Thanks for looking.
-
Tamiya Ferrari FXX
Rich Chernosky replied to harti20's topic in WIP: Other Racing: Road Racing, Land Speed Racers
You really should have. That was one of the most awesome kits I have ever done. When it came out it was a "gotta have" and "gotta build:" Mine was done in 2014 and I joined here in 2019. I can take pictures (my originals were lost) . PM me if you are interested. -
Aston Martin DB4 Zagato DB4GT/086/R
Rich Chernosky replied to Dave B's topic in Other Racing: Road Racing, Salt Flat Racers
Dave...another hit off your bench. I really enjoy the fact that you are doing cars that aren't mainstream kits. Its really refreshing seeing seeing some of the unusual subjects you come up with. Thanks for posting. -
Great idea Phil and well executed. Who were the drivers BTW.
-
Tamiya Ferrari FXX
Rich Chernosky replied to harti20's topic in WIP: Other Racing: Road Racing, Land Speed Racers
Urs, I am with you on the carbon fibre templates. I was able to spend some time with a real Ferrari Enzo so I know how much carbon fibre there is. A few years back I completed Tamiya's 1/12 Enzo. 130+ templates and CF later I said enough. Now I look for pre-made CF decal sheets. Far less time consuming with the same rewards. By the way your carbon fibre work is outstanding. Well worth the time in my opine. But I do understand your frustration.