RCprofile.JPG.6b95b19b856bf00a3becd6aeaaa48f3b.JPG)
Ian McLaren
-
Posts
1,360 -
Joined
-
Last visited
Content Type
Profiles
Forums
Events
Gallery
Everything posted by Ian McLaren
-
RCprofile.thumb.JPG.1691ea753d0f0897fdc1b2510cf06775.JPG)
64 Dodge D100 Pickup Pro Street
Ian McLaren replied to AmericanMuscleFan's topic in WIP: Drag Racing Models
As amazing it has been watching you produce all of the individual parts and their quality, it's not until seeing them come together to produce realism of this level that it becomes evident that " The whole is greater than the sum of its parts" Just incredible Francis -
charlie libby 1965 mustang dragcar
Ian McLaren replied to charlie libby's topic in WIP: Drag Racing Models
It just keeps getting better and better. Well done Charlie -
Dodge (Color me Gone) Promod
Ian McLaren replied to Tortuga Kustomz's topic in WIP: Drag Racing Models
Absolutely stunning workmanship it looks fantastic. Great job Marcos -
1/16 SCALE A/FC NITRO FUNNY CAR
Ian McLaren replied to Ian McLaren's topic in WIP: Drag Racing Models
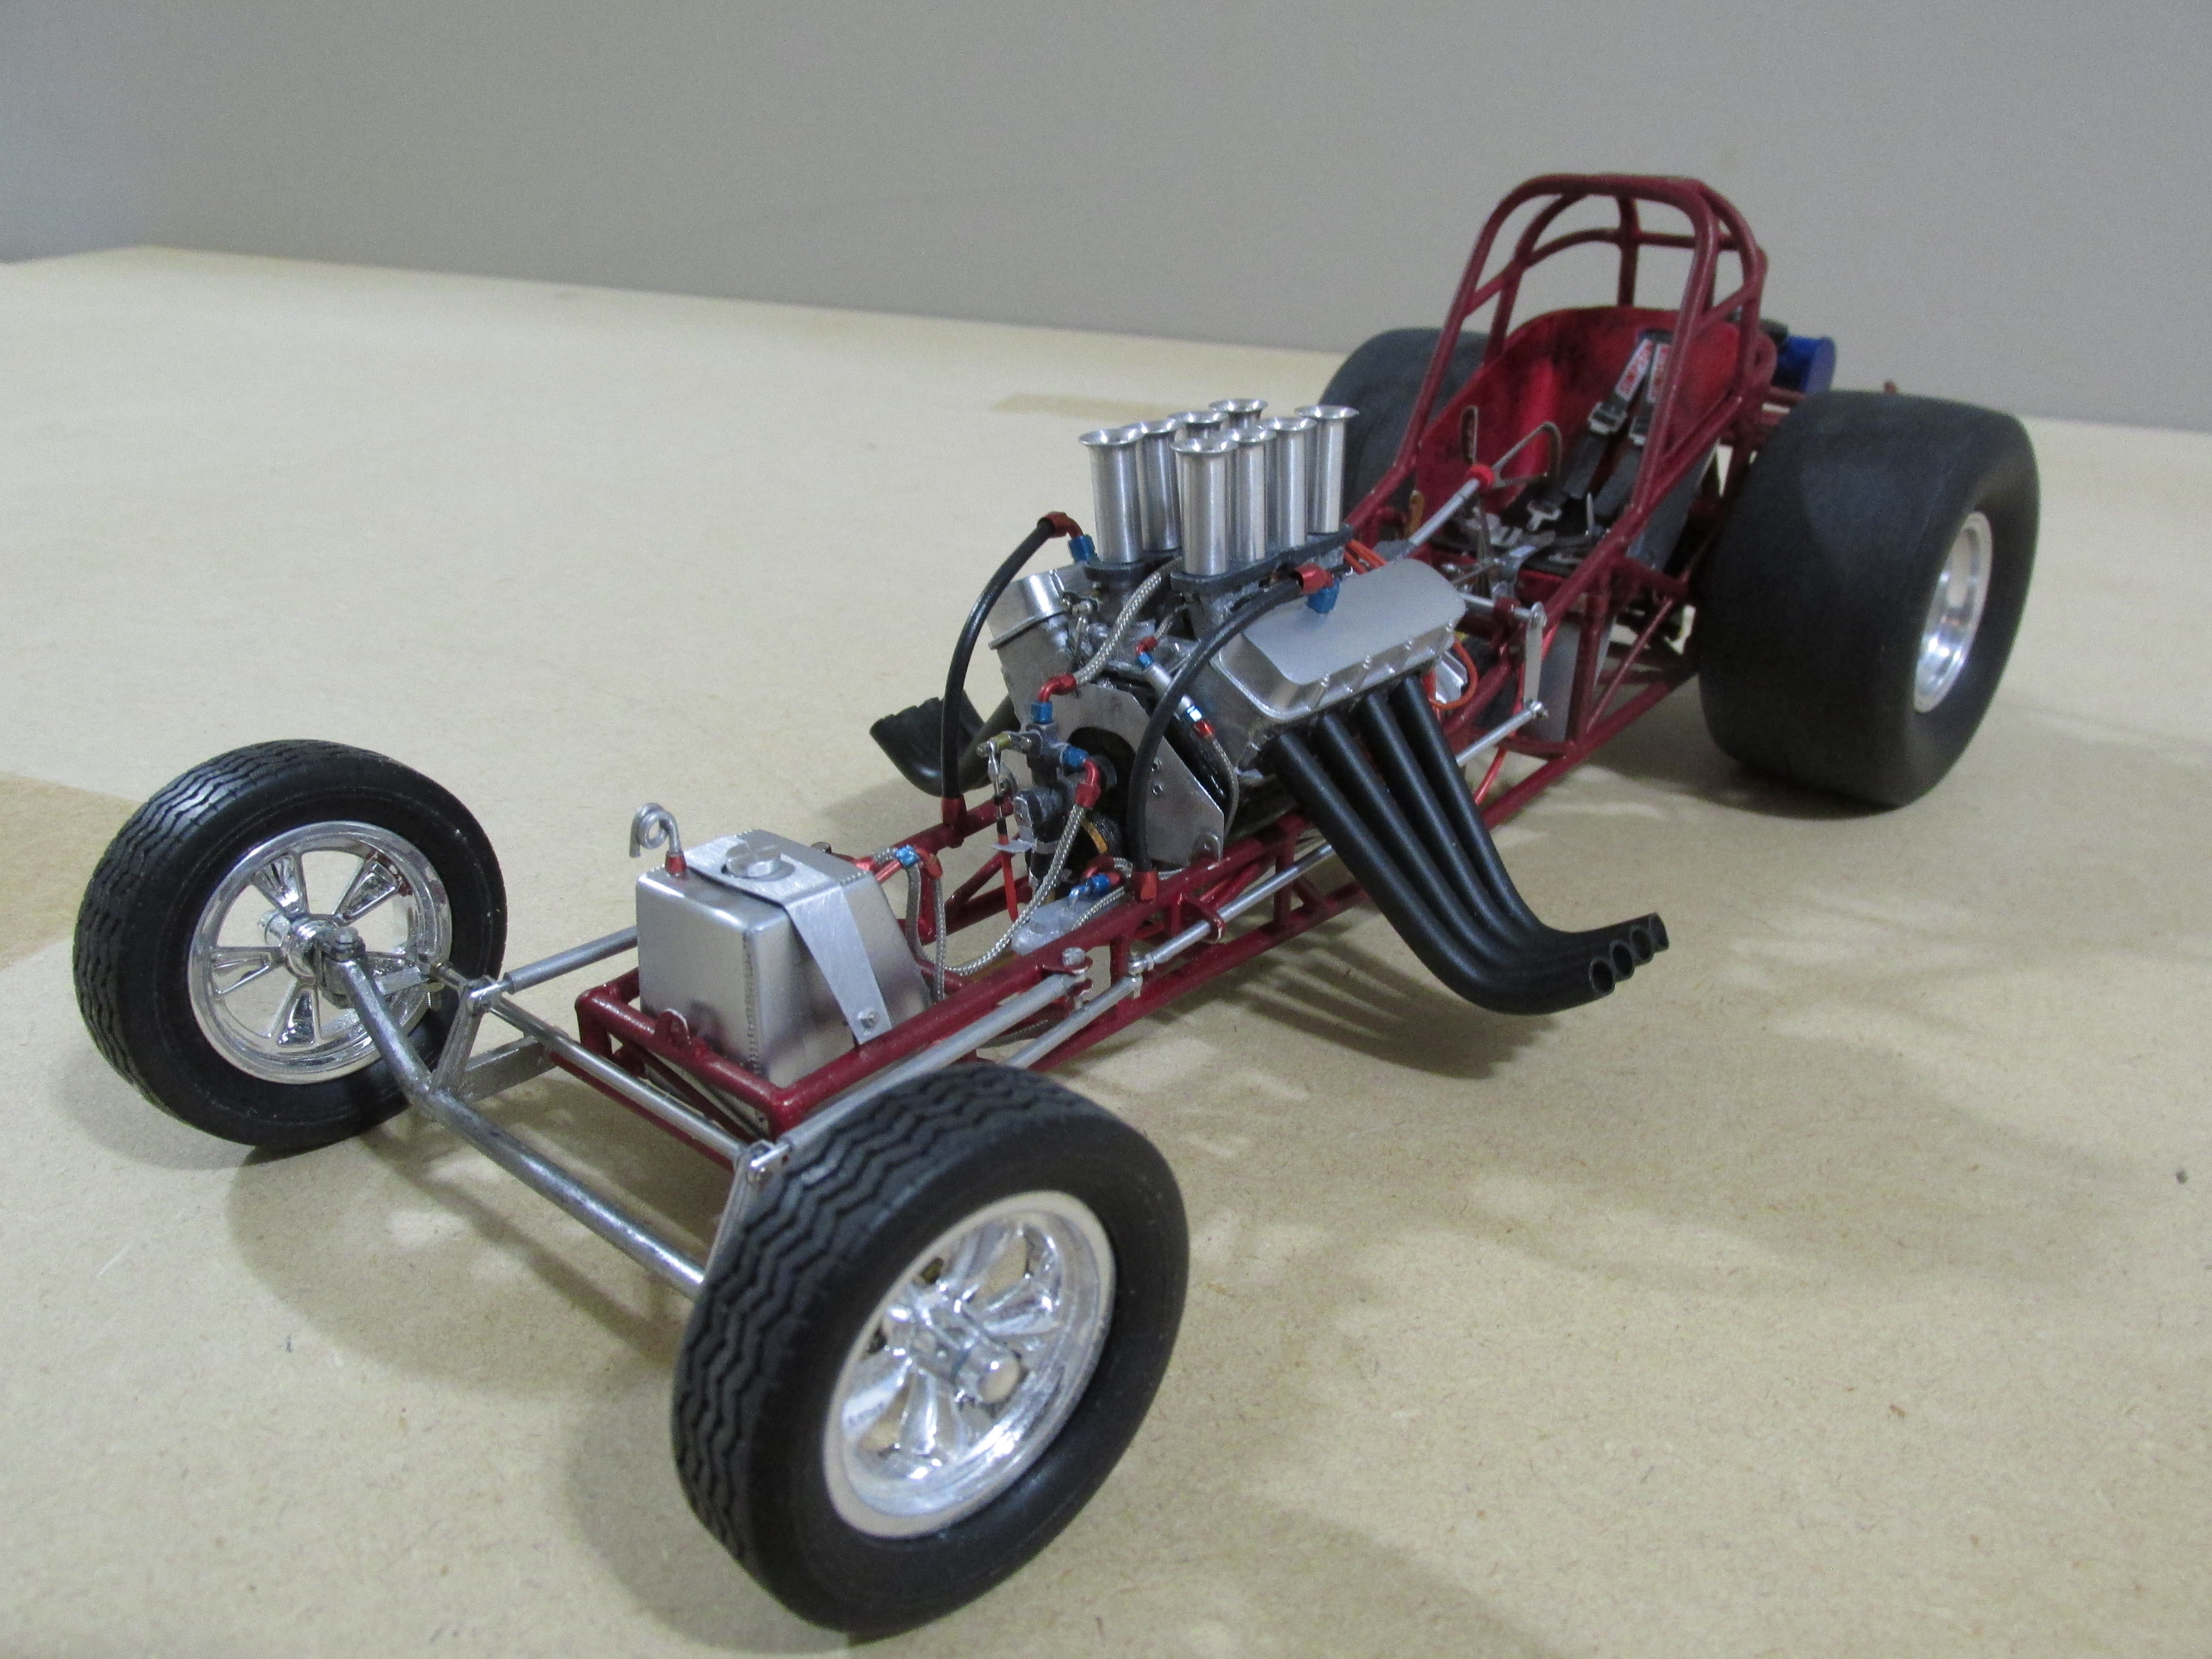
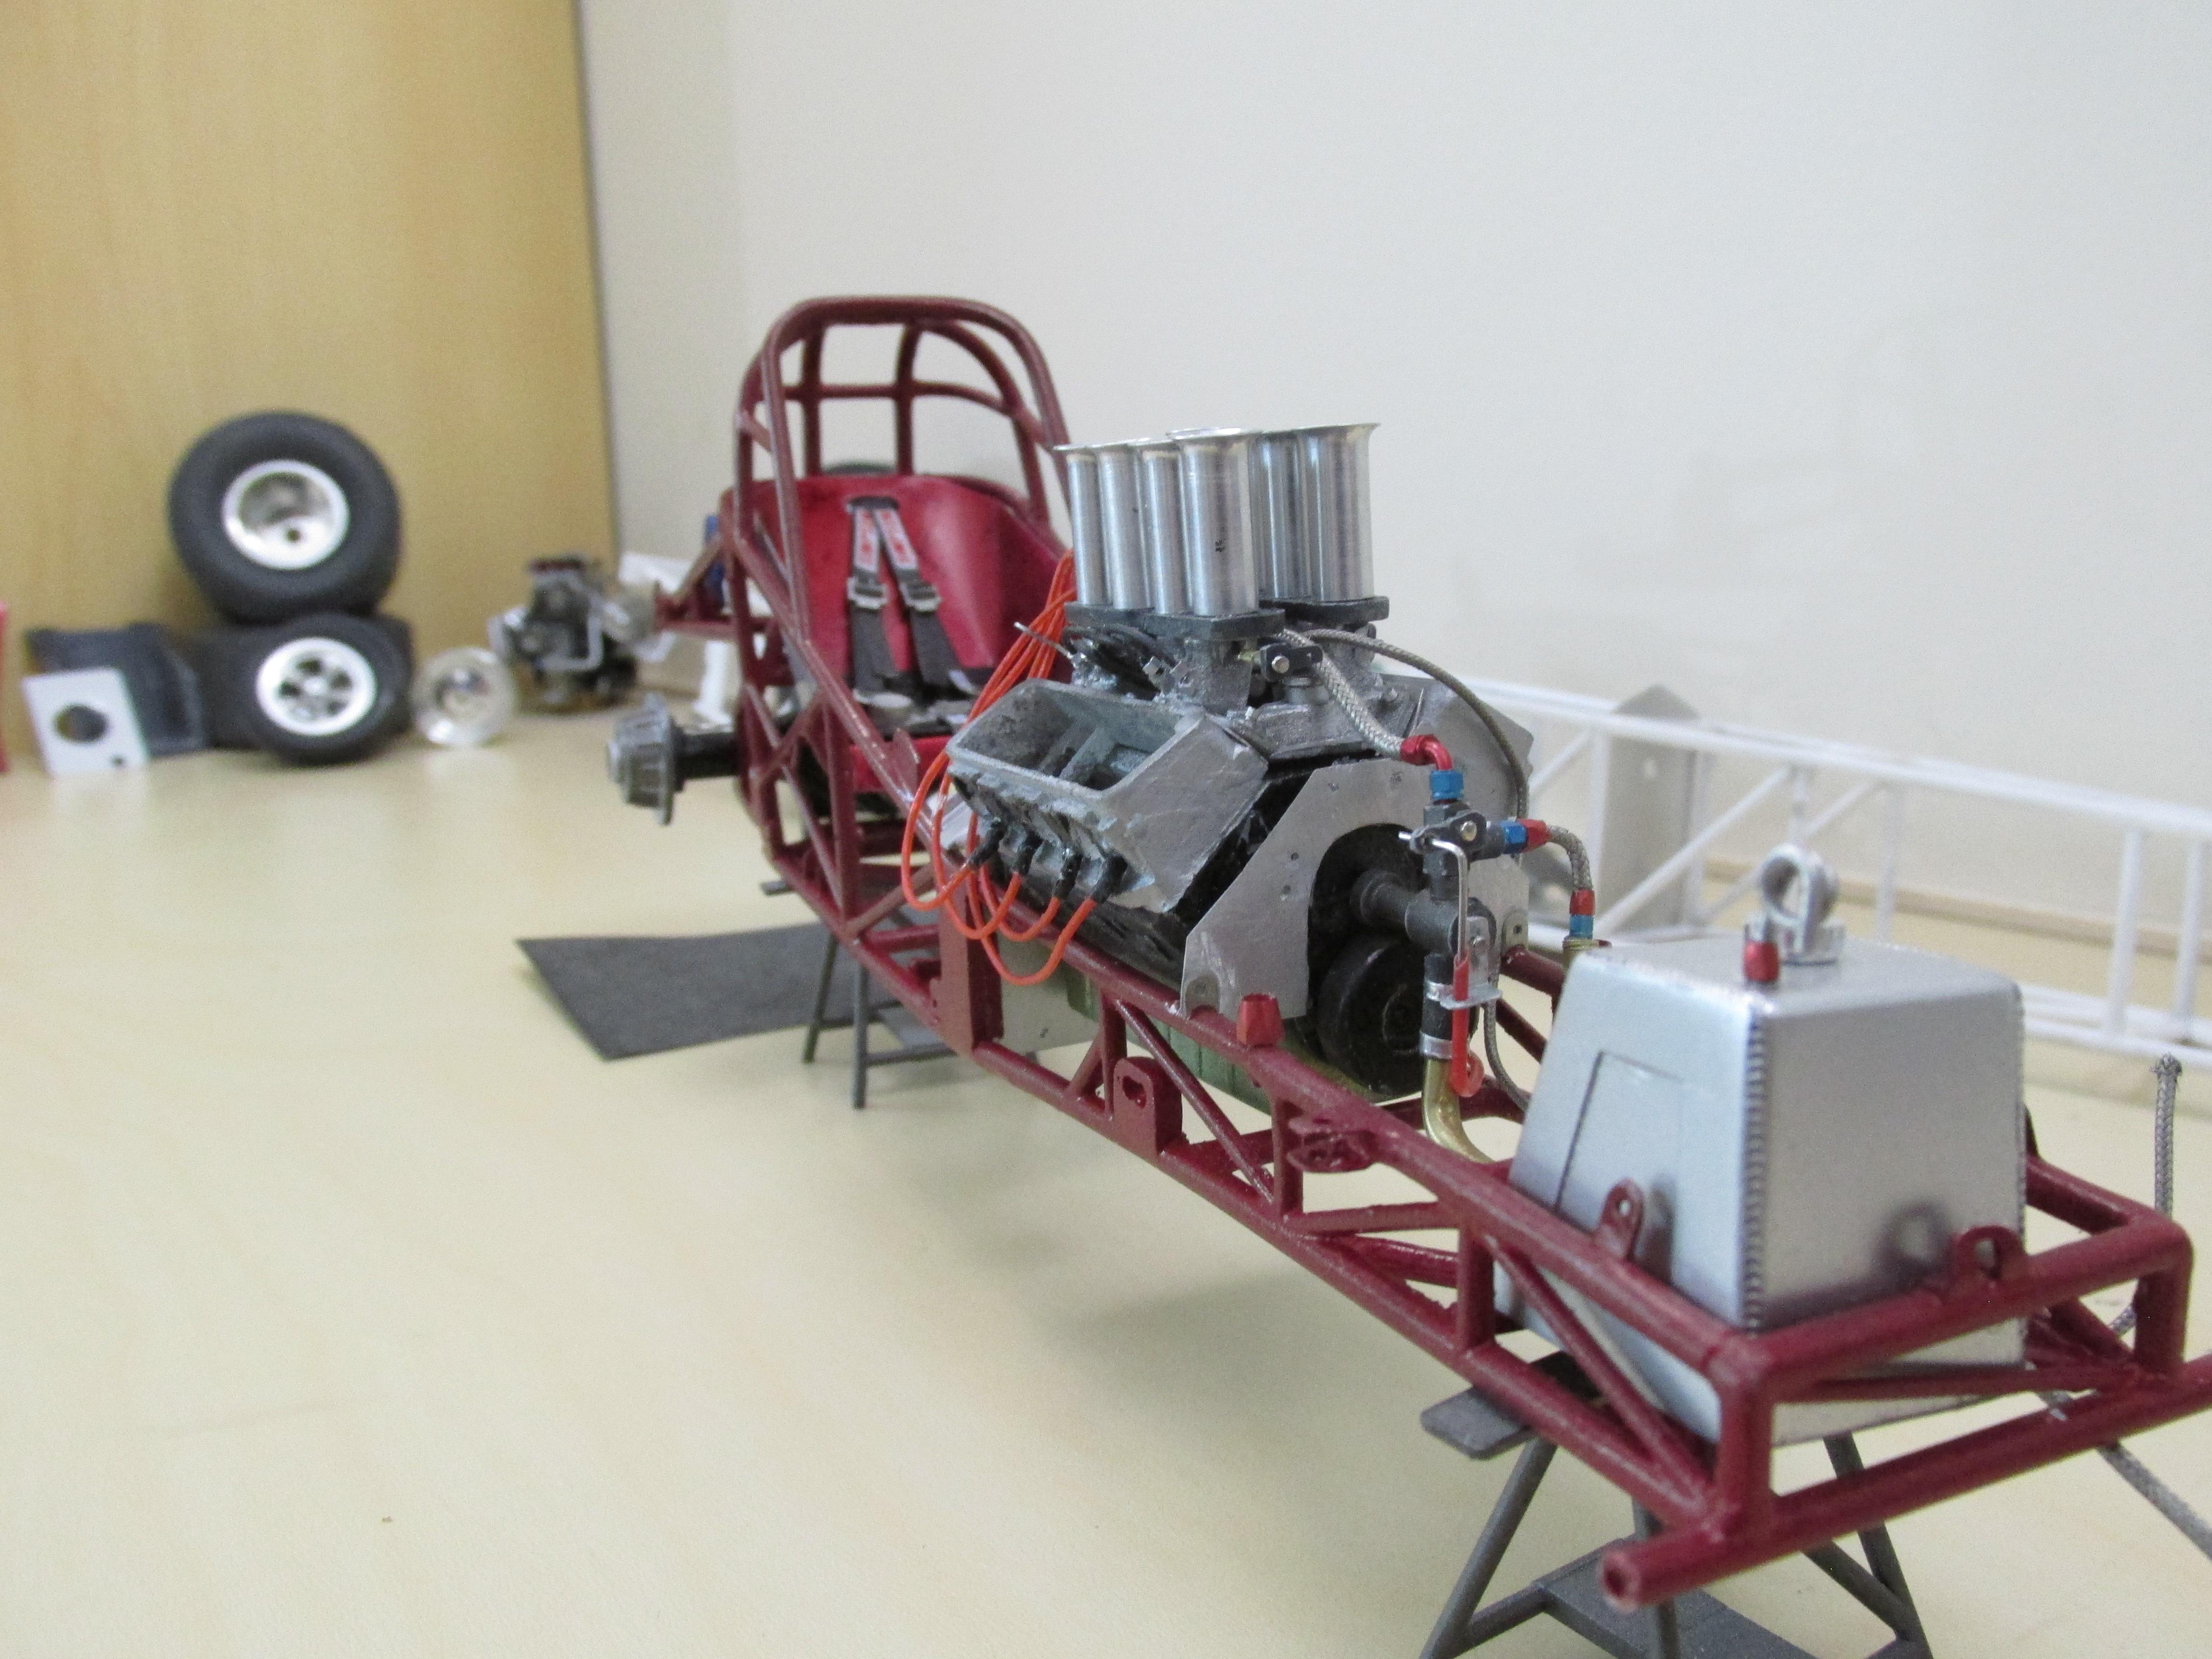
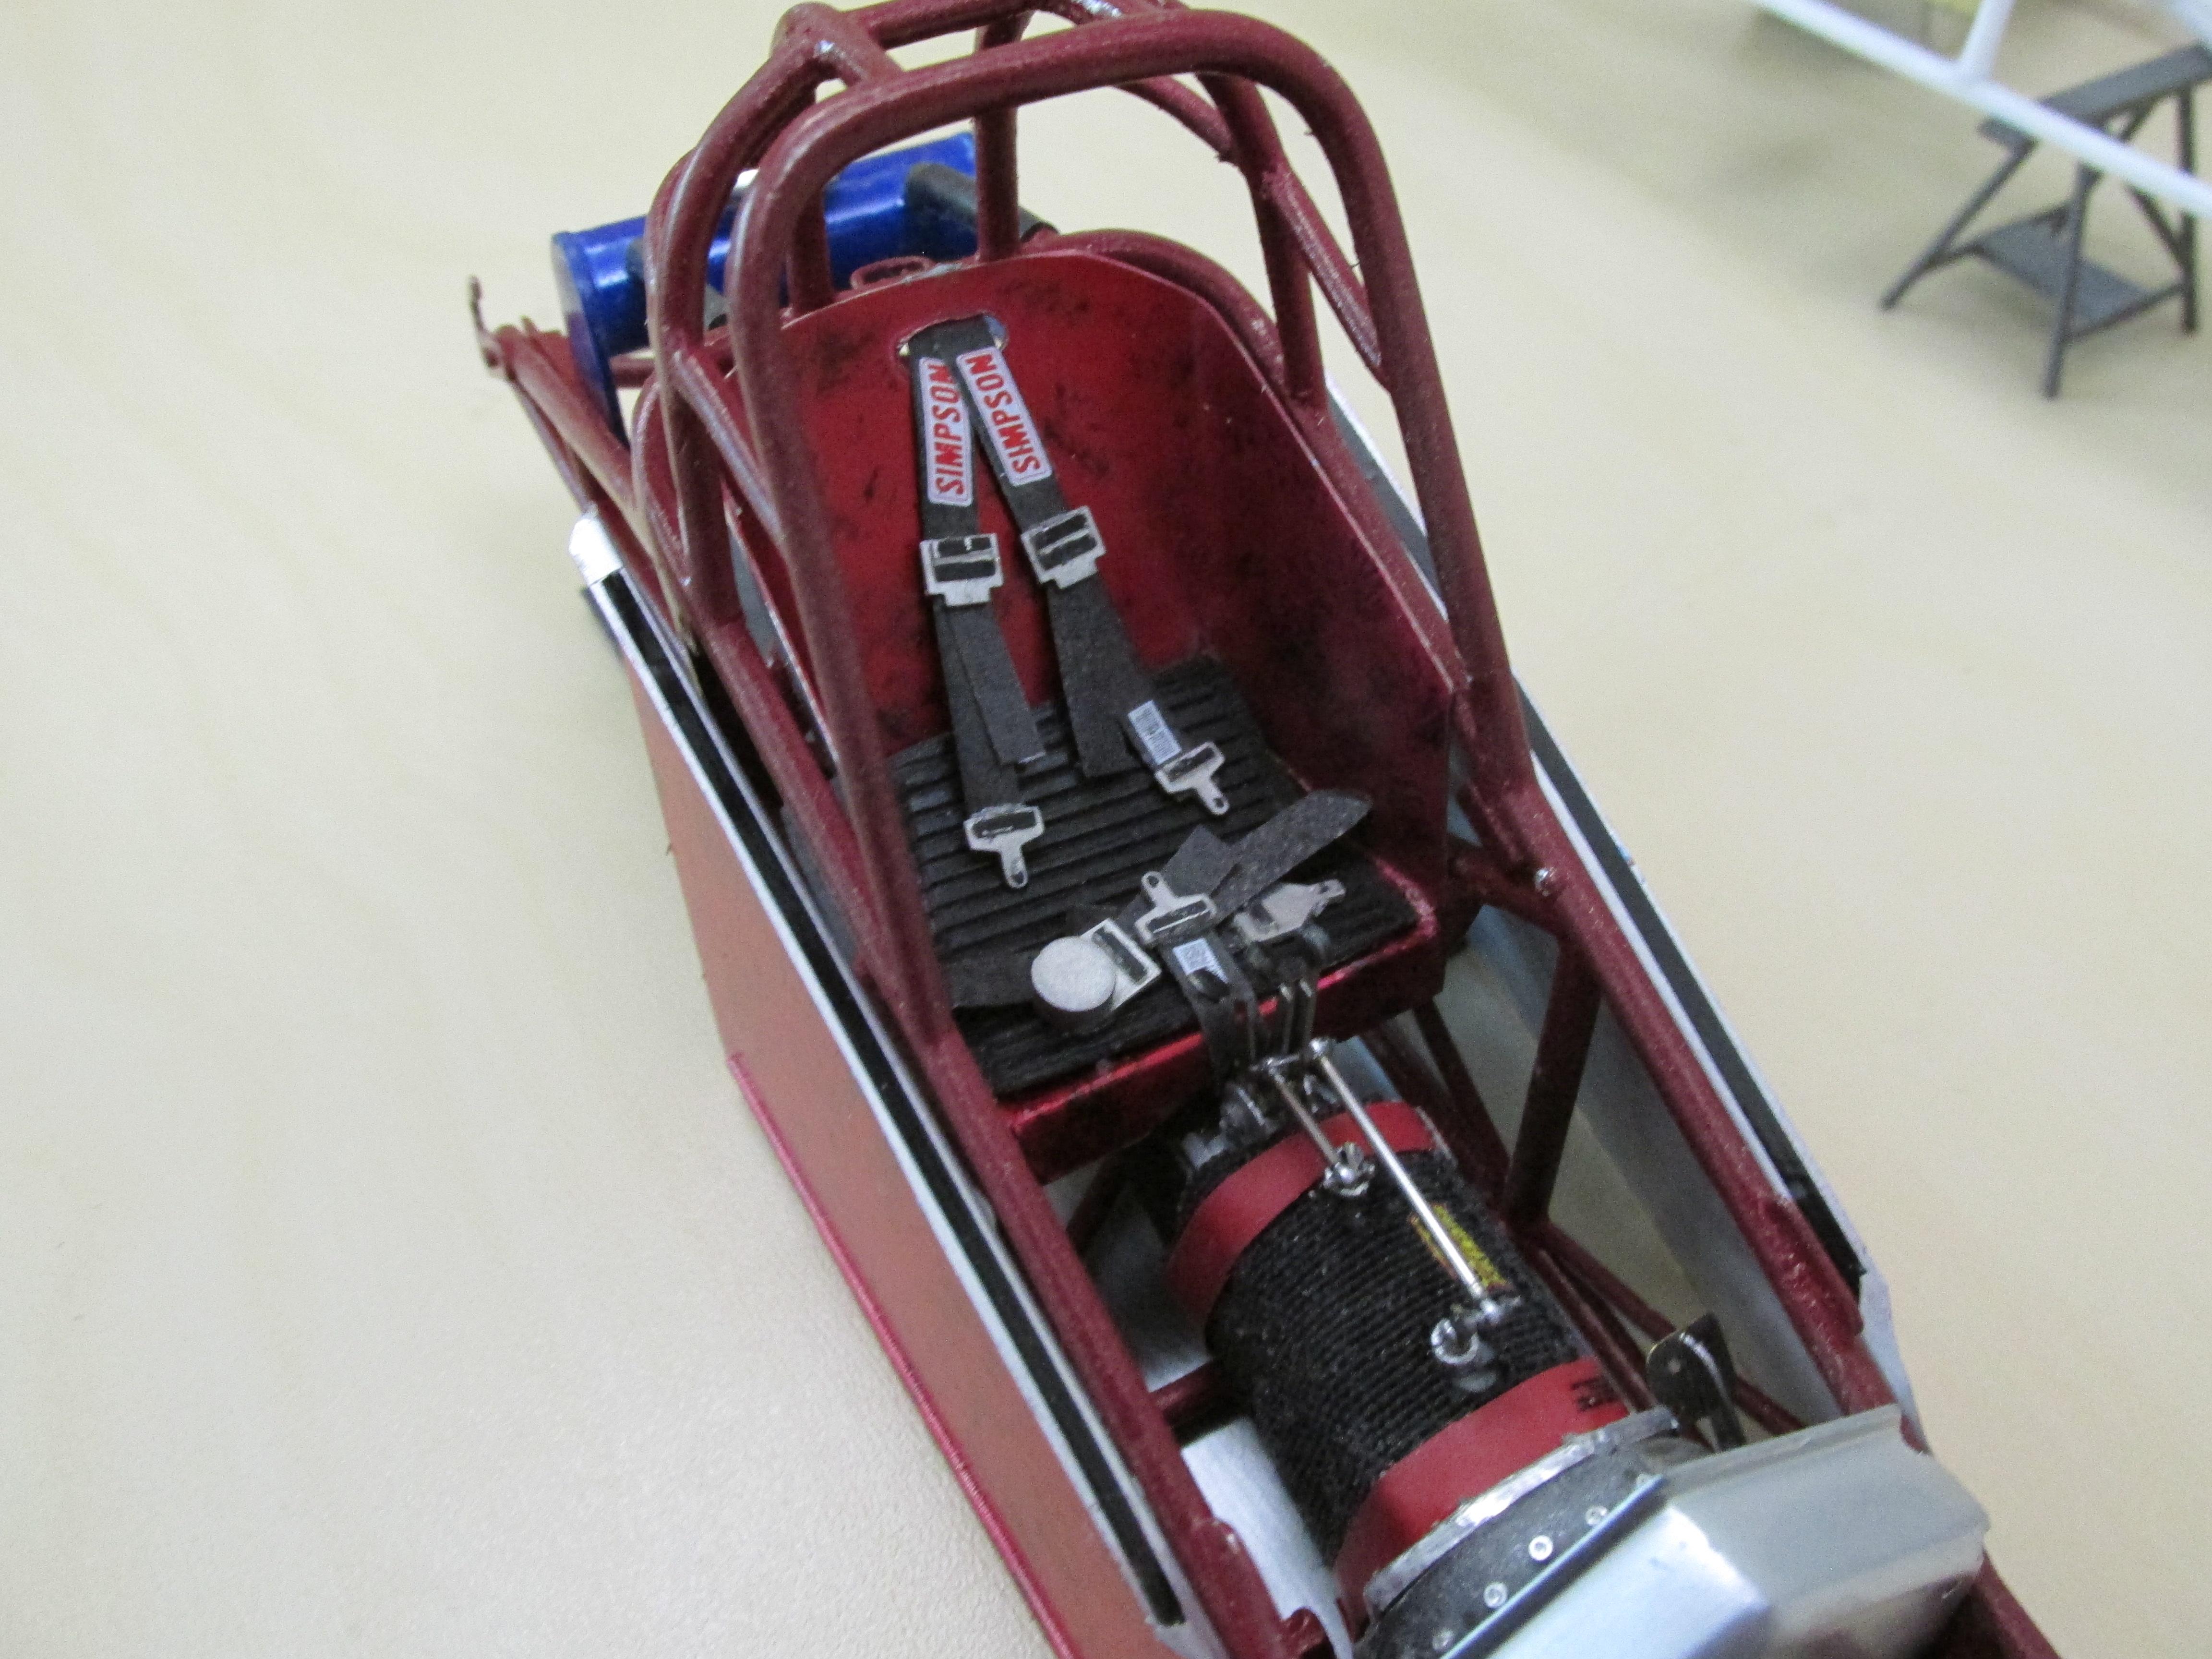
The chassis is basically completed with the exception of the belly pan and side tins. They are going to be installed last, once the body is final fitted with it's tin and all clearances are double checked. The finish on the tins is so fragile there can been no contact with the body tin. The next few updates will deal with the body, it's internal structures and tin parachute and roof mounted handle and the external paint job and hopefully decals by then. Comments and suggestions are always welcome.
-
64 Dodge D100 Pickup Pro Street
Ian McLaren replied to AmericanMuscleFan's topic in WIP: Drag Racing Models
NSCA, Interesting concept and I would be in, but as Claude says there are no rules, except have fun doing it. With GSL winding down there is going to be a void though. On to more important things, the chassis is stunning and what you have mocked up looks great! This truck is going to have some serious attitude, Can't wait to see it done. -
1/16 SCALE A/FC NITRO FUNNY CAR
Ian McLaren replied to Ian McLaren's topic in WIP: Drag Racing Models
Thank you for the kind words Charlie. I really like your mustang project and wish I had your machining skills. -
charlie libby 1965 mustang dragcar
Ian McLaren replied to charlie libby's topic in WIP: Drag Racing Models
Another great up date, the carburetors are awe inspiring..well done! -
64 Dodge D100 Pickup Pro Street
Ian McLaren replied to AmericanMuscleFan's topic in WIP: Drag Racing Models
There is not really anything else that can be said about your talents and this project. This thread is one of the main reasons I look forward to visiting these forums, I enjoy every update and pour over your photos looking at the details and stash away what I learn for one of my future projects. For me this build is pure entertainment and I mean that in the best possible way. FANTASITC! Sorry couldn't help myself. -
1/16 SCALE A/FC NITRO FUNNY CAR
Ian McLaren replied to Ian McLaren's topic in WIP: Drag Racing Models
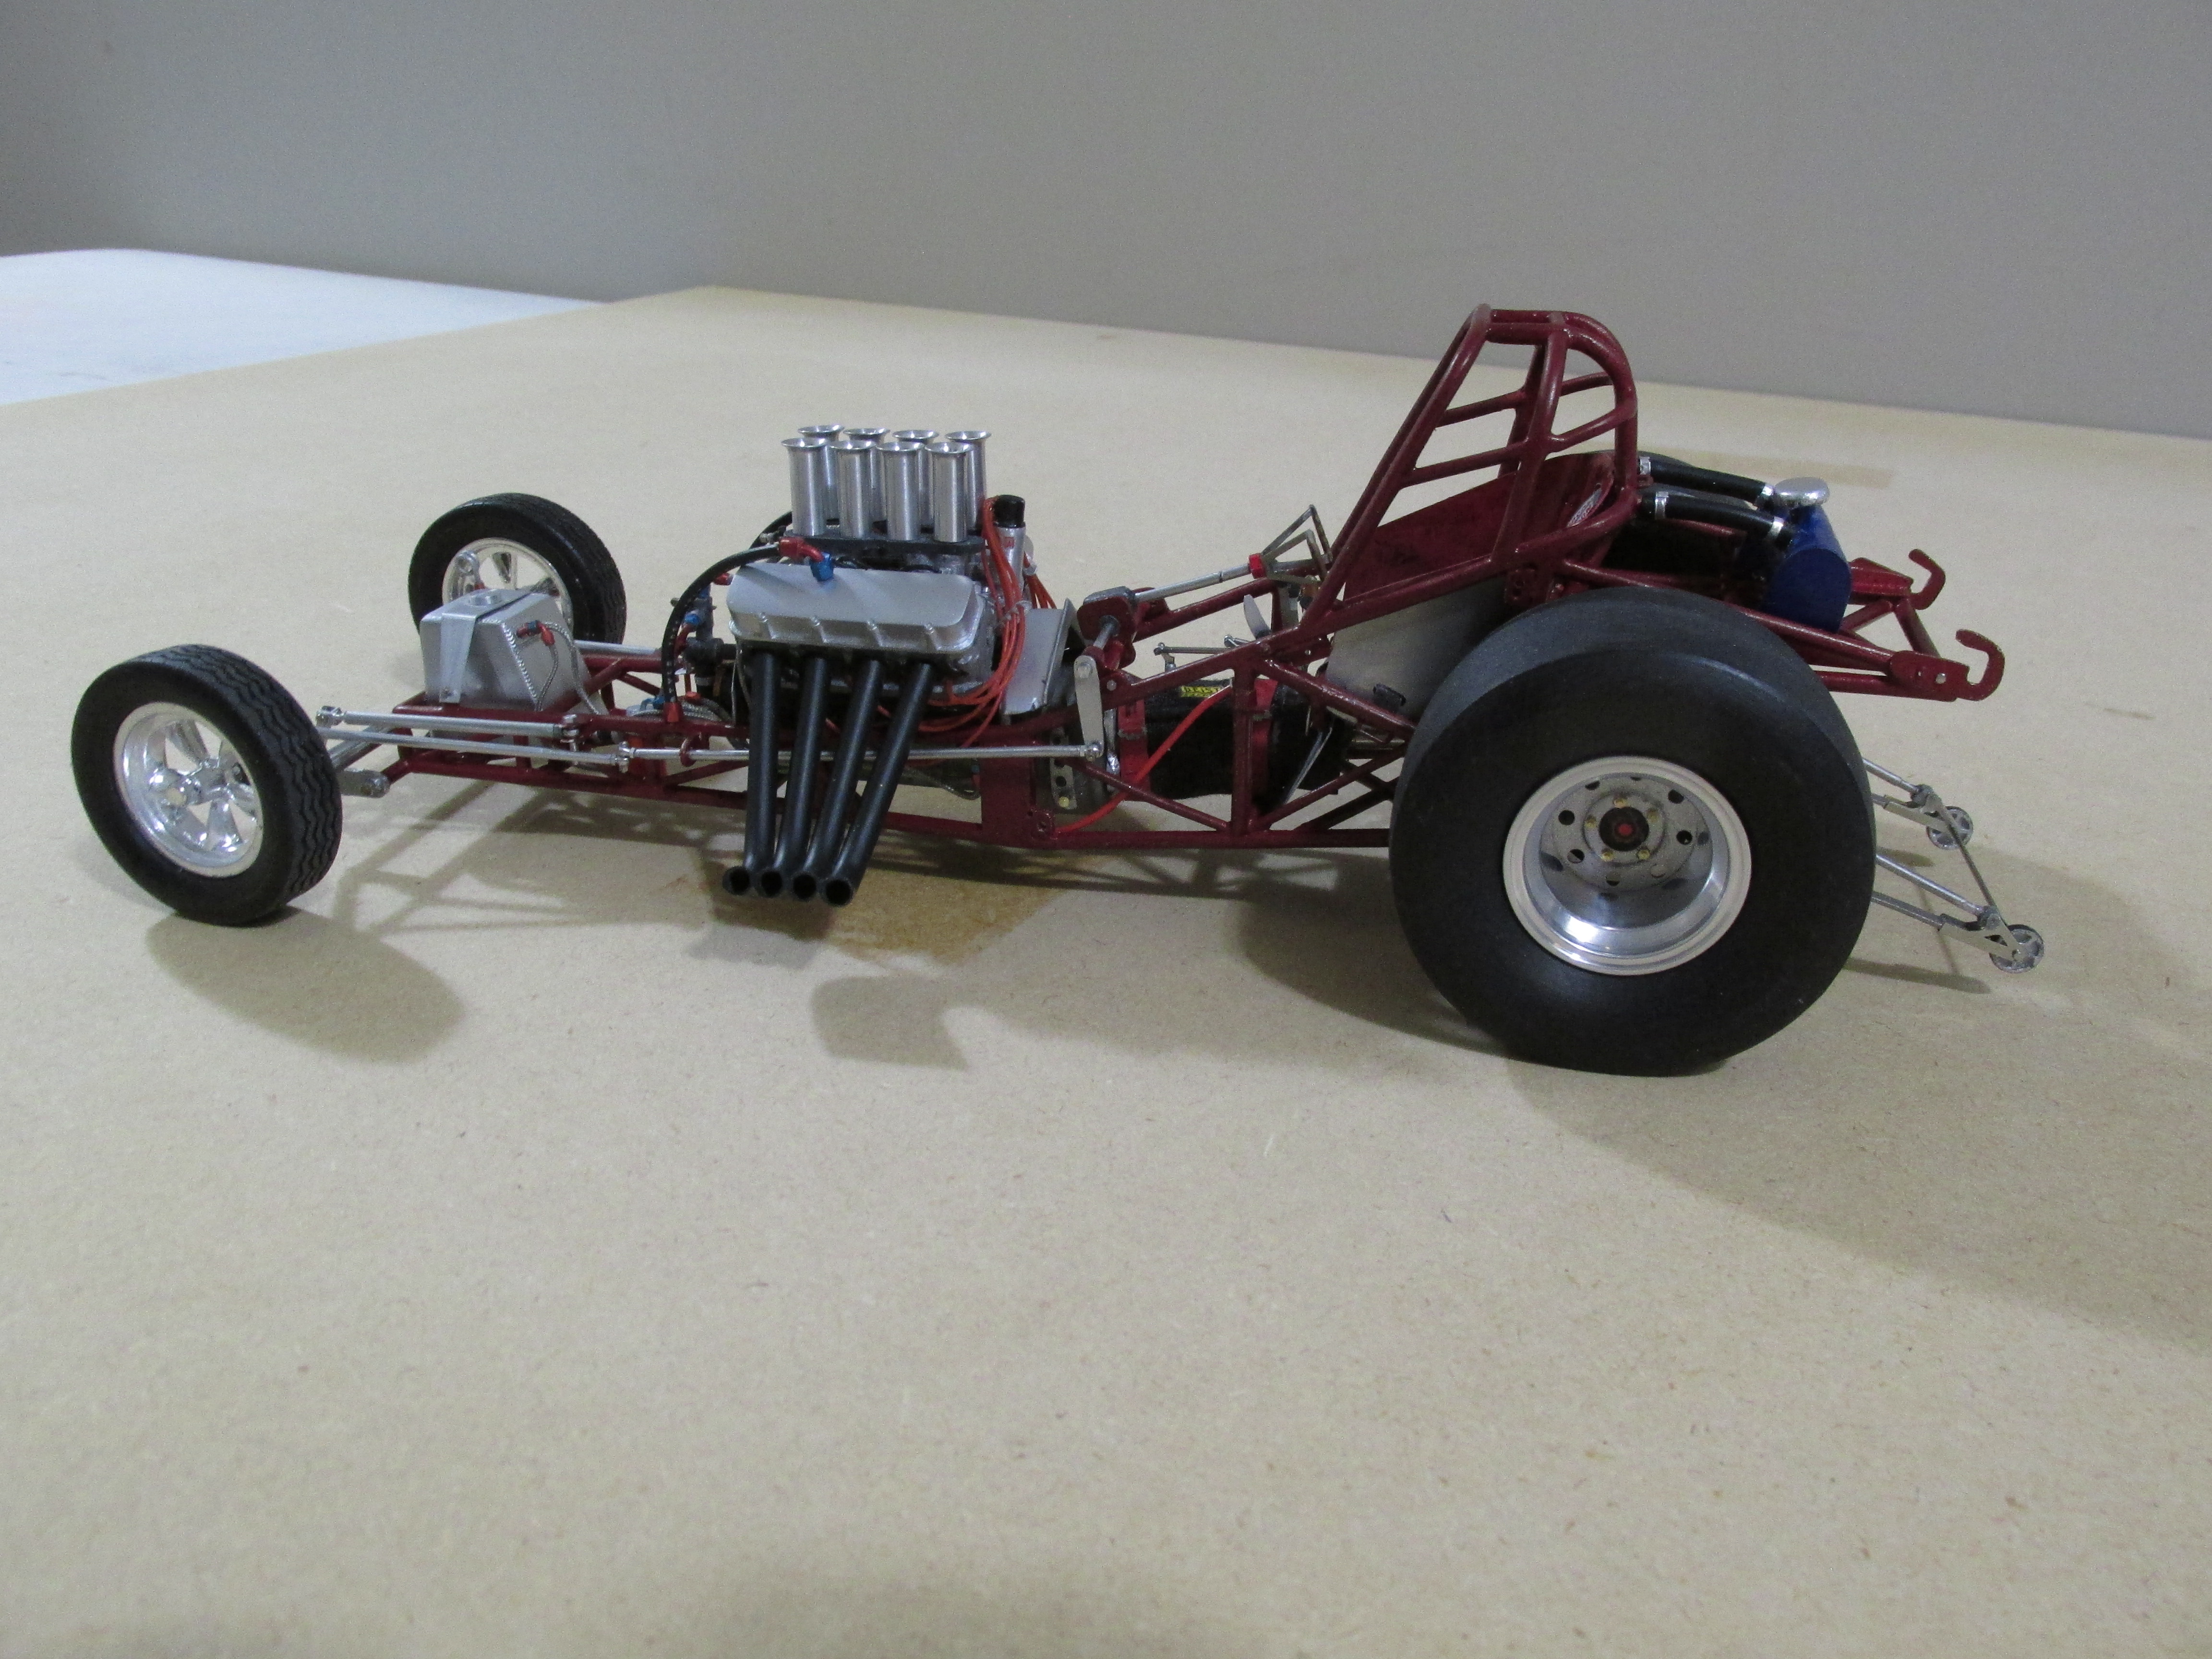
Going together, just starting final assembly
-
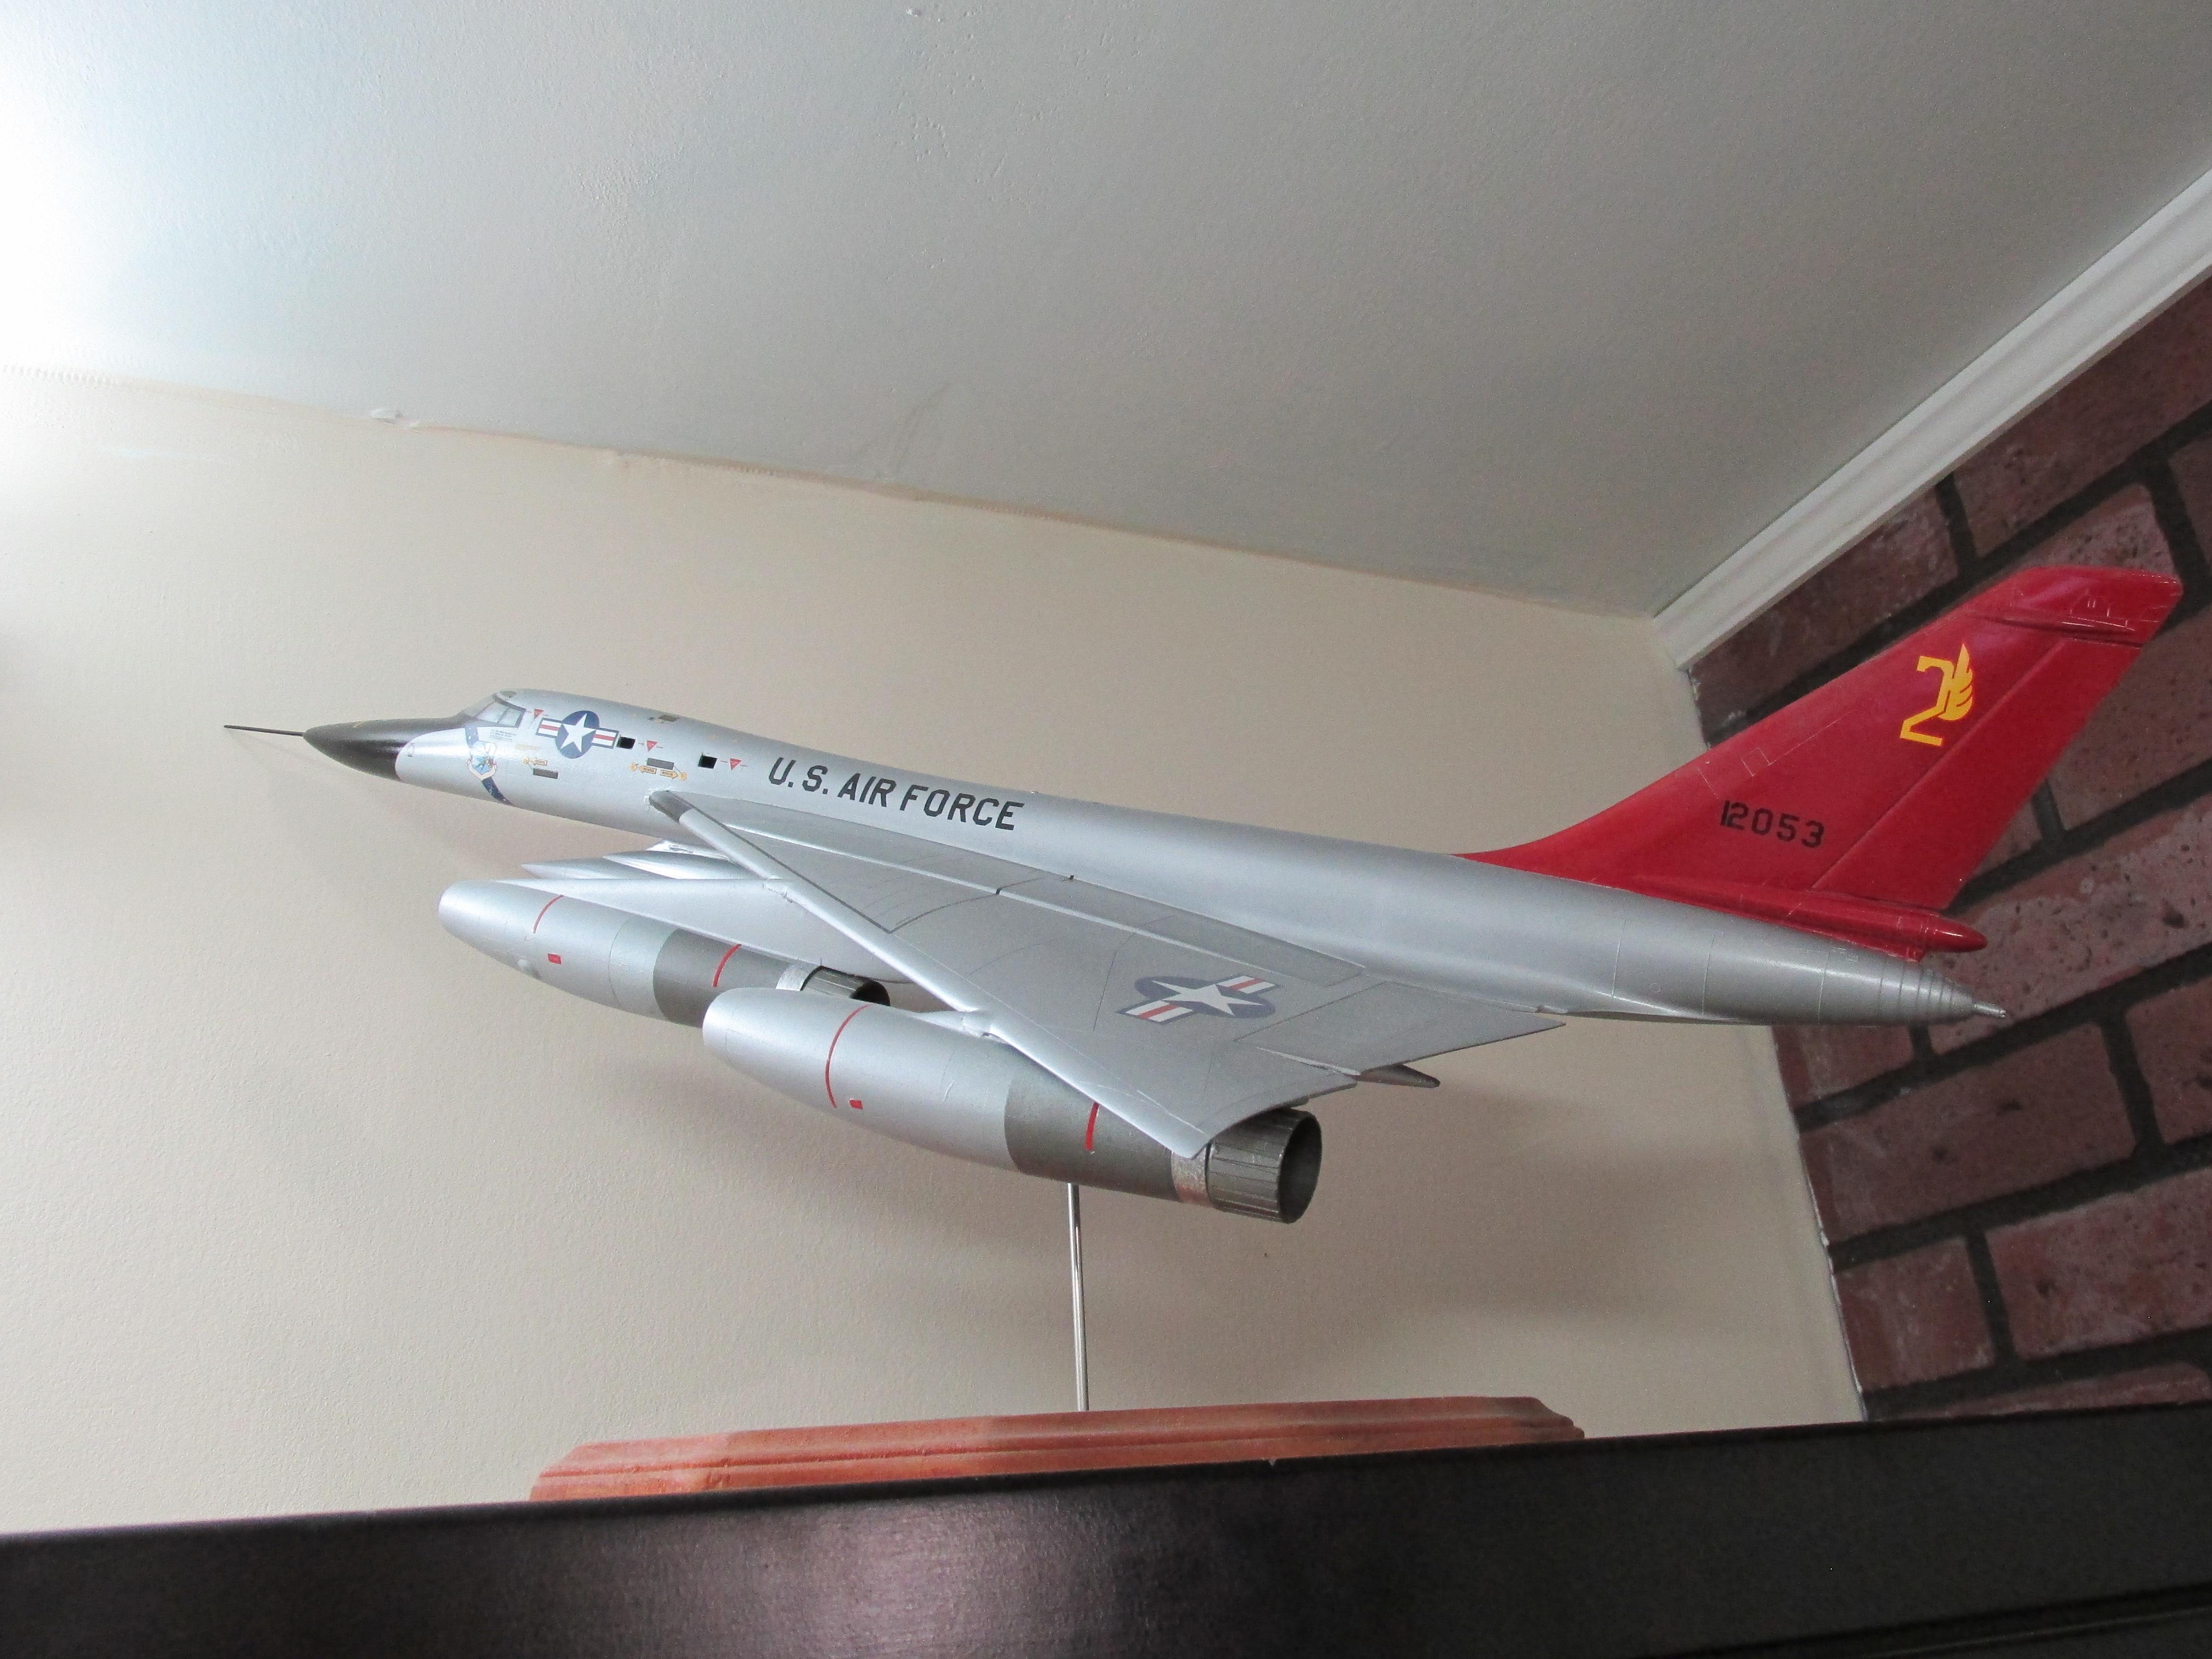
Another epoxy build attempt (who does this, it's the second one I have rescued the other was a B58) At any rate with what was left of the kit this is what I came up with, and a picture of the B58
-
Great work Tim, just fantastic modeling!
-
1/16 SCALE A/FC NITRO FUNNY CAR
Ian McLaren replied to Ian McLaren's topic in WIP: Drag Racing Models
Thankyou Francis I'm reasonably happy with the look so far, Making a couple of changes and adding the rest of the lines -
1/16 SCALE A/FC NITRO FUNNY CAR
Ian McLaren replied to Ian McLaren's topic in WIP: Drag Racing Models
To be honest I have plumbed a few real cars in the past so I have a feel for how the hose reacts in the real world. This Hilborn system threw me a curve so changes in the schematic are in progress -
64 Dodge D100 Pickup Pro Street
Ian McLaren replied to AmericanMuscleFan's topic in WIP: Drag Racing Models
I just can't imagine the amount of time and effort involved with bending, fitting and assembling the brake lines to this level. I'm working in a larger scale on a car with only rear brakes and it's one of the most challenging things I've done to this point, and it's going to get redone one more time after seeing what you have accomplished here. What material are your lines made of? -
For what it's worth I agree with Claude and Francis here, let the art of your work show through! The polished rear cover and bolts will add contrast and interest to the assembly.
-
1/16 SCALE A/FC NITRO FUNNY CAR
Ian McLaren replied to Ian McLaren's topic in WIP: Drag Racing Models
Yes Tim starting assembly puts a completely different feel to the project. You actually start to think there's an end somewhere. -
1/16 SCALE A/FC NITRO FUNNY CAR
Ian McLaren replied to Ian McLaren's topic in WIP: Drag Racing Models
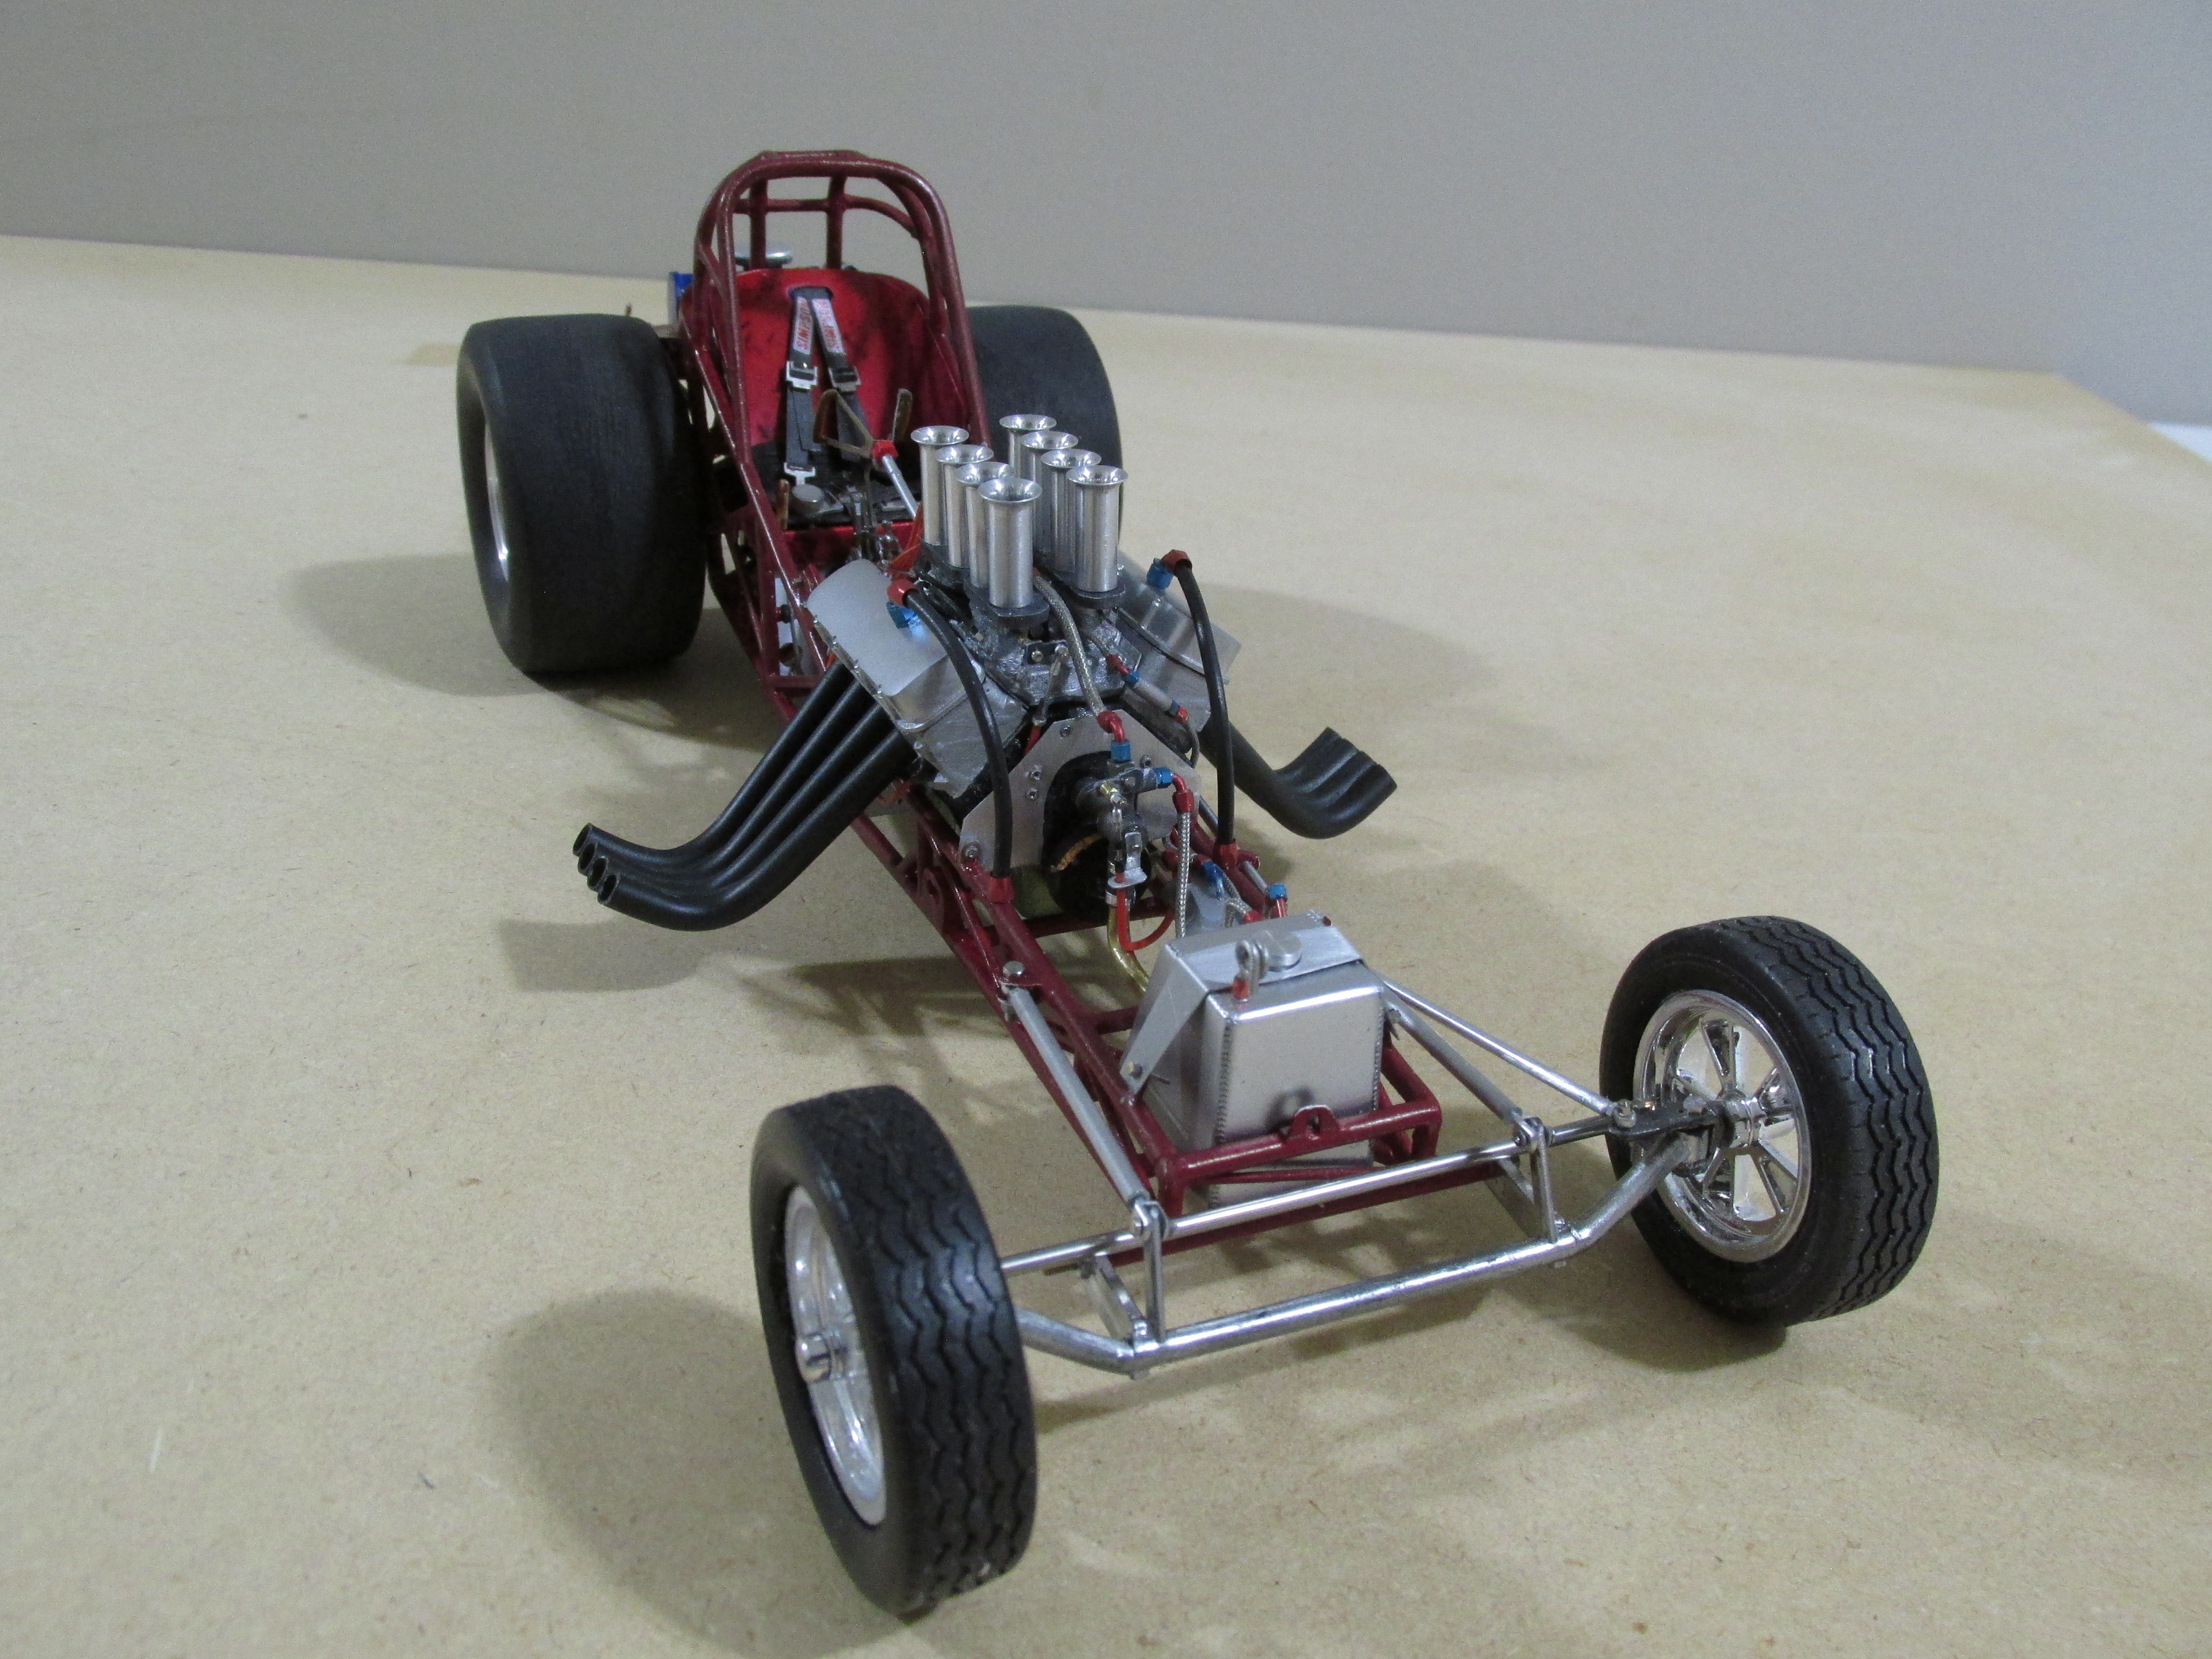
Cleaning up the fuel system, staring control cables.
-
1/16 SCALE A/FC NITRO FUNNY CAR
Ian McLaren replied to Ian McLaren's topic in WIP: Drag Racing Models
Working on the fuel system and engine.
-
64 Dodge D100 Pickup Pro Street
Ian McLaren replied to AmericanMuscleFan's topic in WIP: Drag Racing Models
I love the progress, another great update. It feels good to be painting something in a gong endeavor like this one. -
1/16 SCALE A/FC NITRO FUNNY CAR
Ian McLaren replied to Ian McLaren's topic in WIP: Drag Racing Models
Happy with the long weekends progress. Stopping to help getting supper ready.
-
charlie libby 1965 mustang dragcar
Ian McLaren replied to charlie libby's topic in WIP: Drag Racing Models
The colors definitely work together, good choice. Having sold Wilwood for a number of years your replicas are superb. Awaiting the next update. -
64 Dodge D100 Pickup Pro Street
Ian McLaren replied to AmericanMuscleFan's topic in WIP: Drag Racing Models
Machining your own headlamp lenses? Ok now your just showing off! LOL -
1/16 SCALE A/FC NITRO FUNNY CAR
Ian McLaren replied to Ian McLaren's topic in WIP: Drag Racing Models
Headers are painted, fuel pump in progress, interior tin has been painted (Smoked Red) and the steering gear is ready to install. The only original part of the gear assembly is the box casting itself, all shafts are metal, crossmember and pitman arm are scratch built and the steering wheel is Future Attractions with real wooden grips added, a RB Motion bolt and nut pin with washers was used to attach the pitman arm.
-
Another piece of amazing work, looking forward the the next update
-
1/16 SCALE A/FC NITRO FUNNY CAR
Ian McLaren replied to Ian McLaren's topic in WIP: Drag Racing Models
Thank you for the complement Jim I am honored you like my work. I have really been pushing myself on this one. I am however, nowhere near the level displayed by many of the modelers just on this thread alone let alone the full site. Their work never ceases to amaze me!