RCprofile.JPG.6b95b19b856bf00a3becd6aeaaa48f3b.JPG)
Ian McLaren
-
Posts
1,360 -
Joined
-
Last visited
Content Type
Profiles
Forums
Events
Gallery
Everything posted by Ian McLaren
-
RCprofile.thumb.JPG.1691ea753d0f0897fdc1b2510cf06775.JPG)
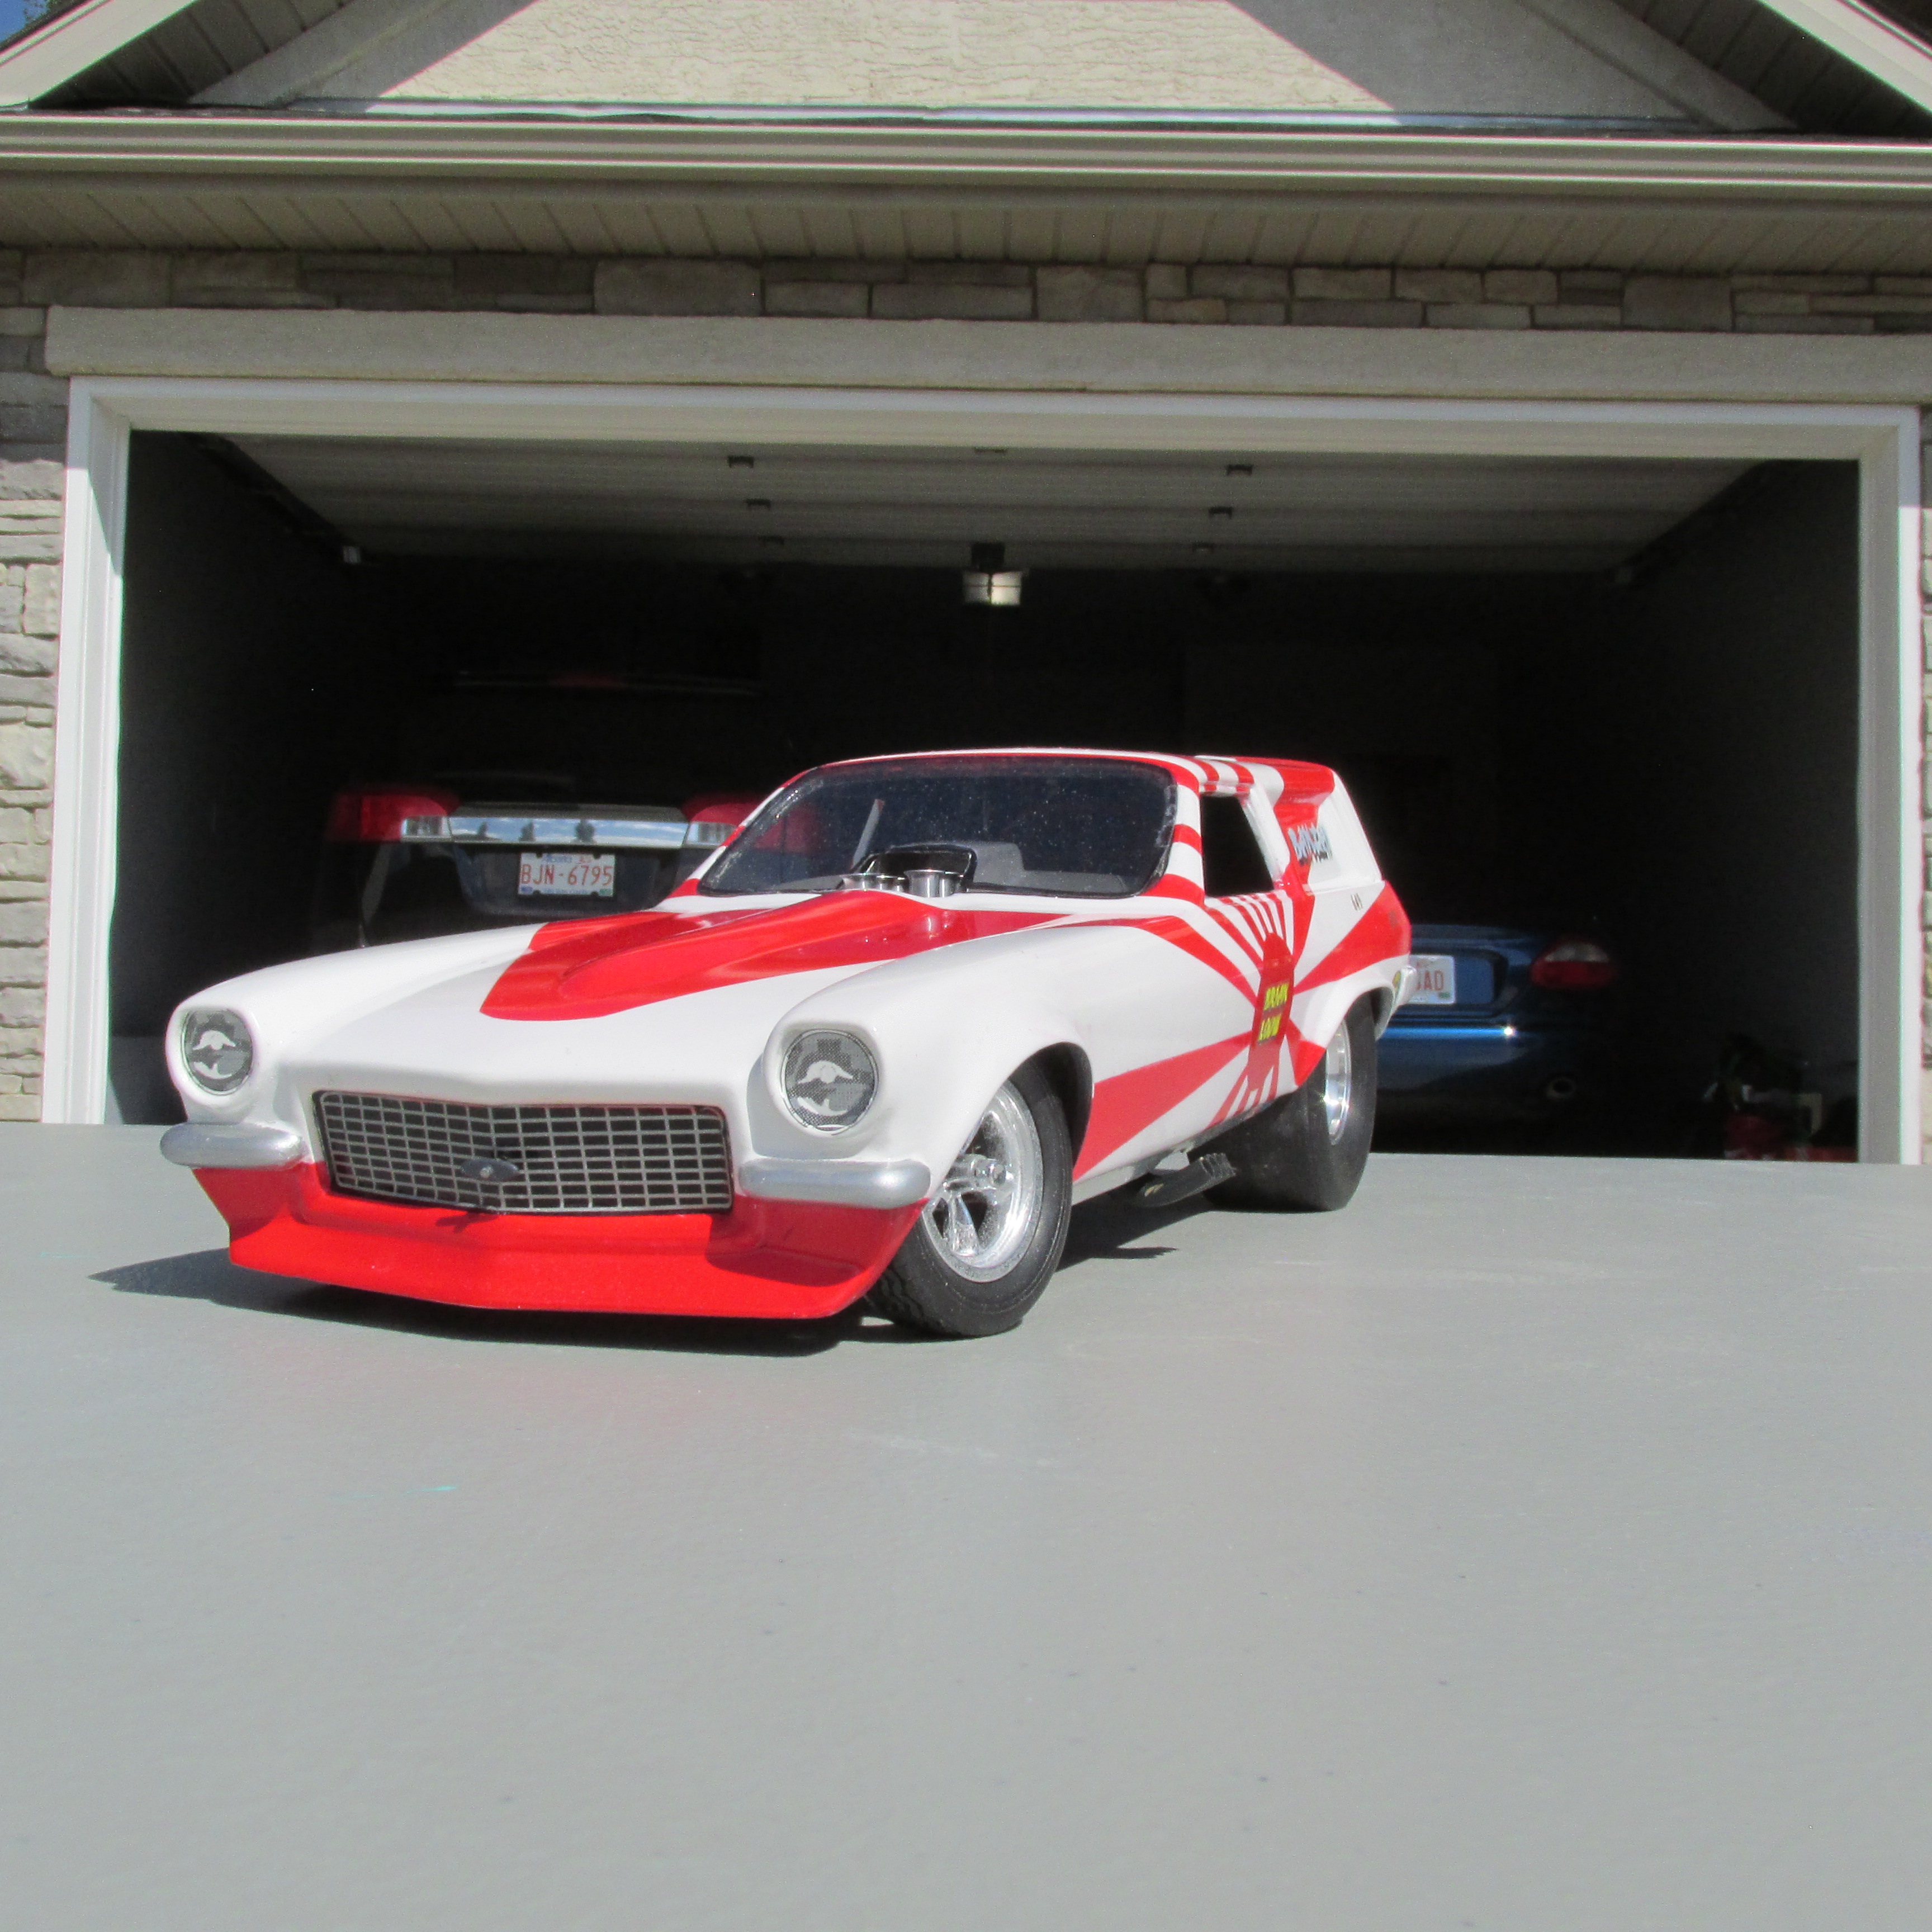
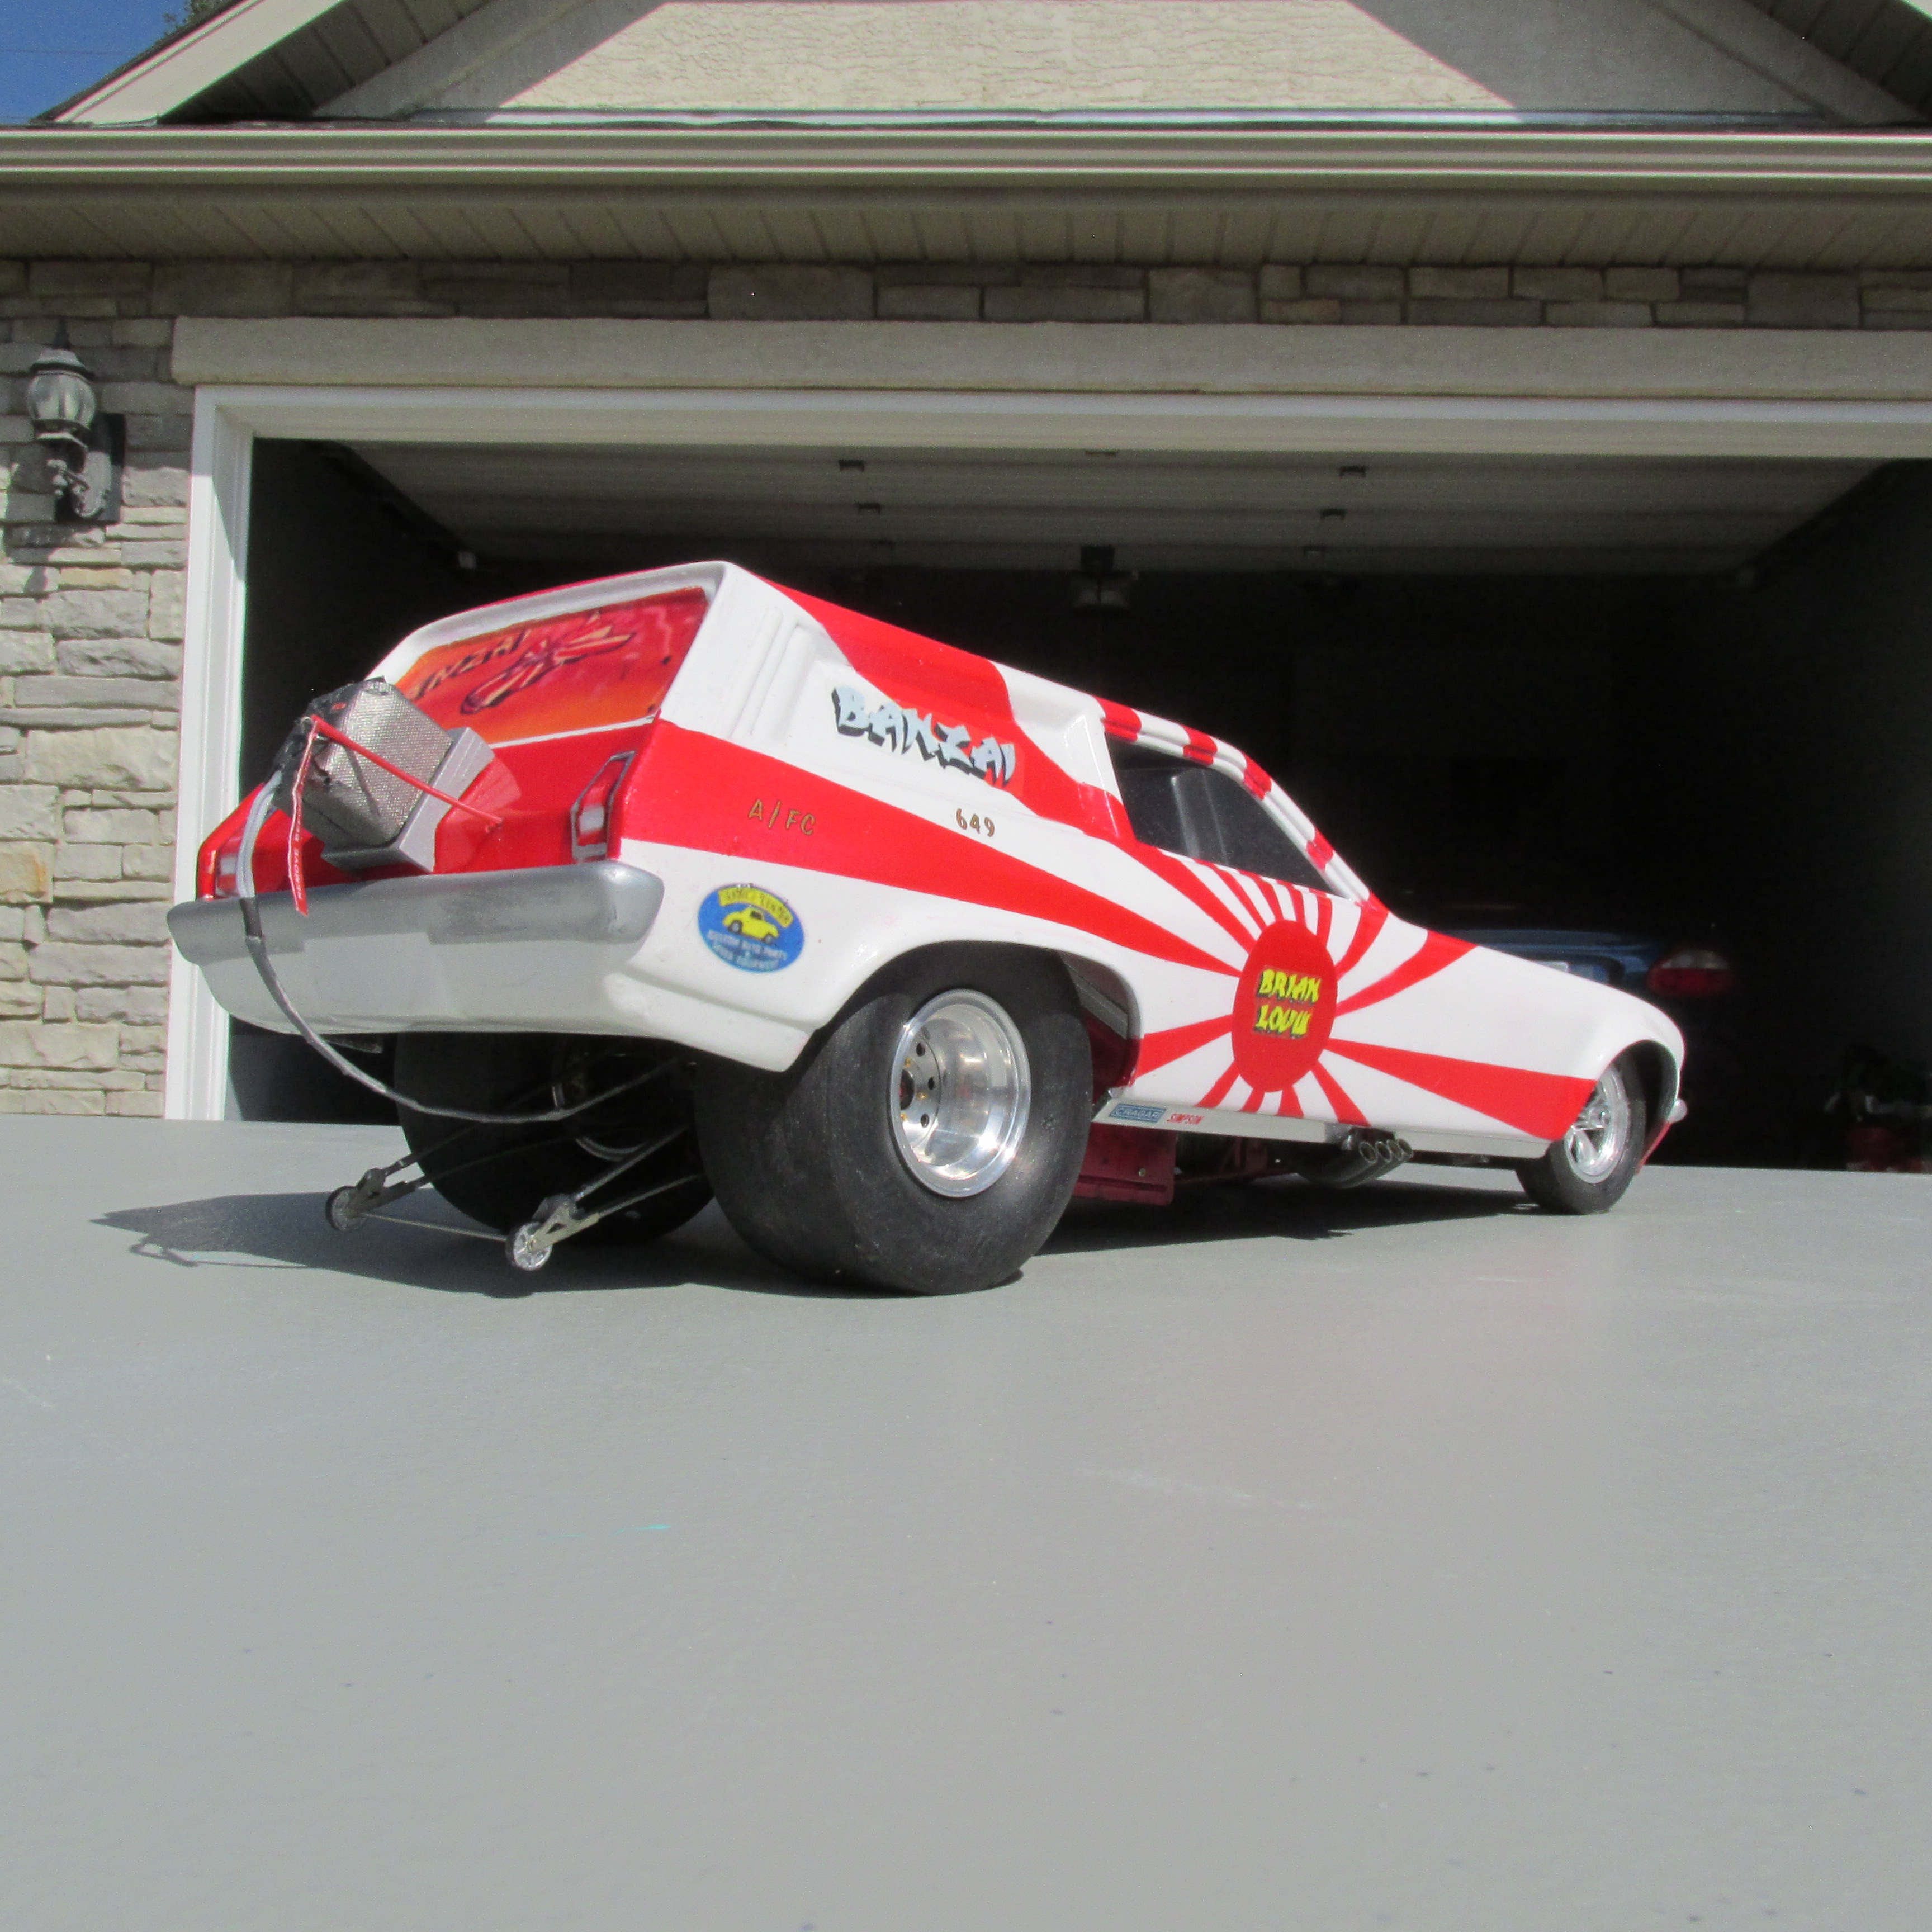
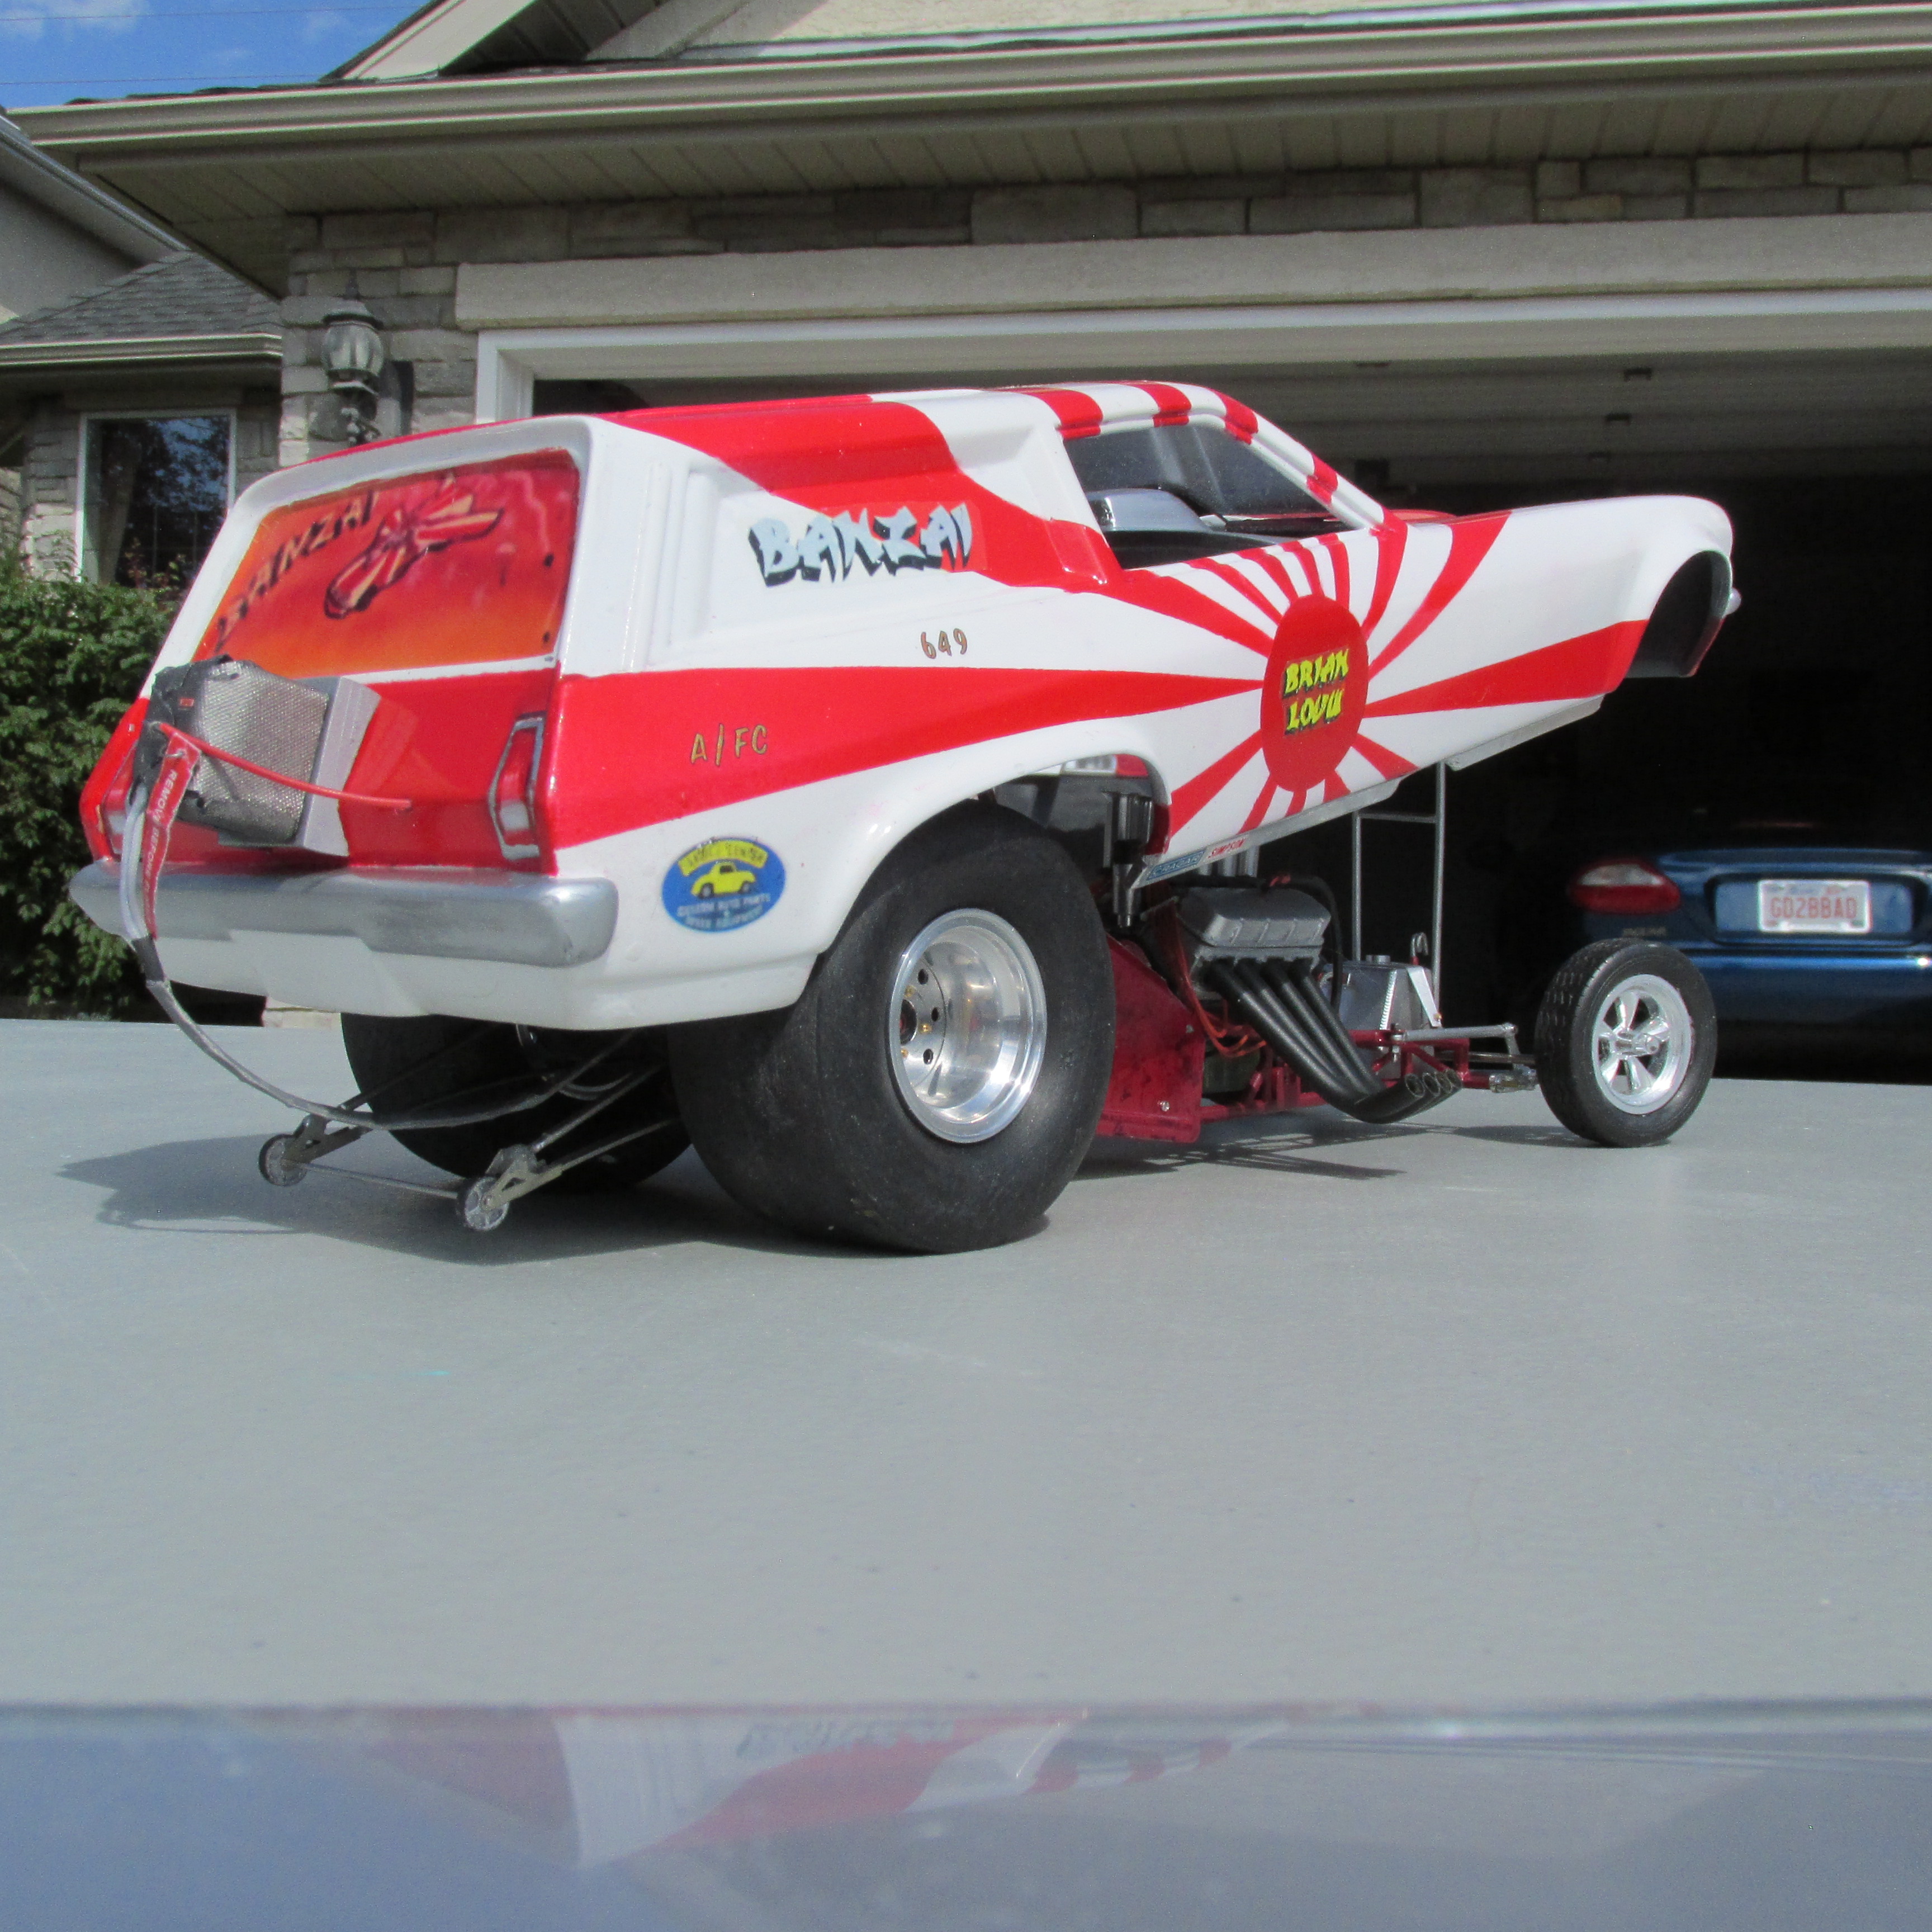
1/16 SCALE A/FC NITRO FUNNY CAR
Ian McLaren replied to Ian McLaren's topic in WIP: Drag Racing Models
The last set of pictures in this section, now to focus on the Royal Canadian
- 167 replies
-
- 1
-

-
- 1/16 scale
- nitro
- (and 2 more)
-
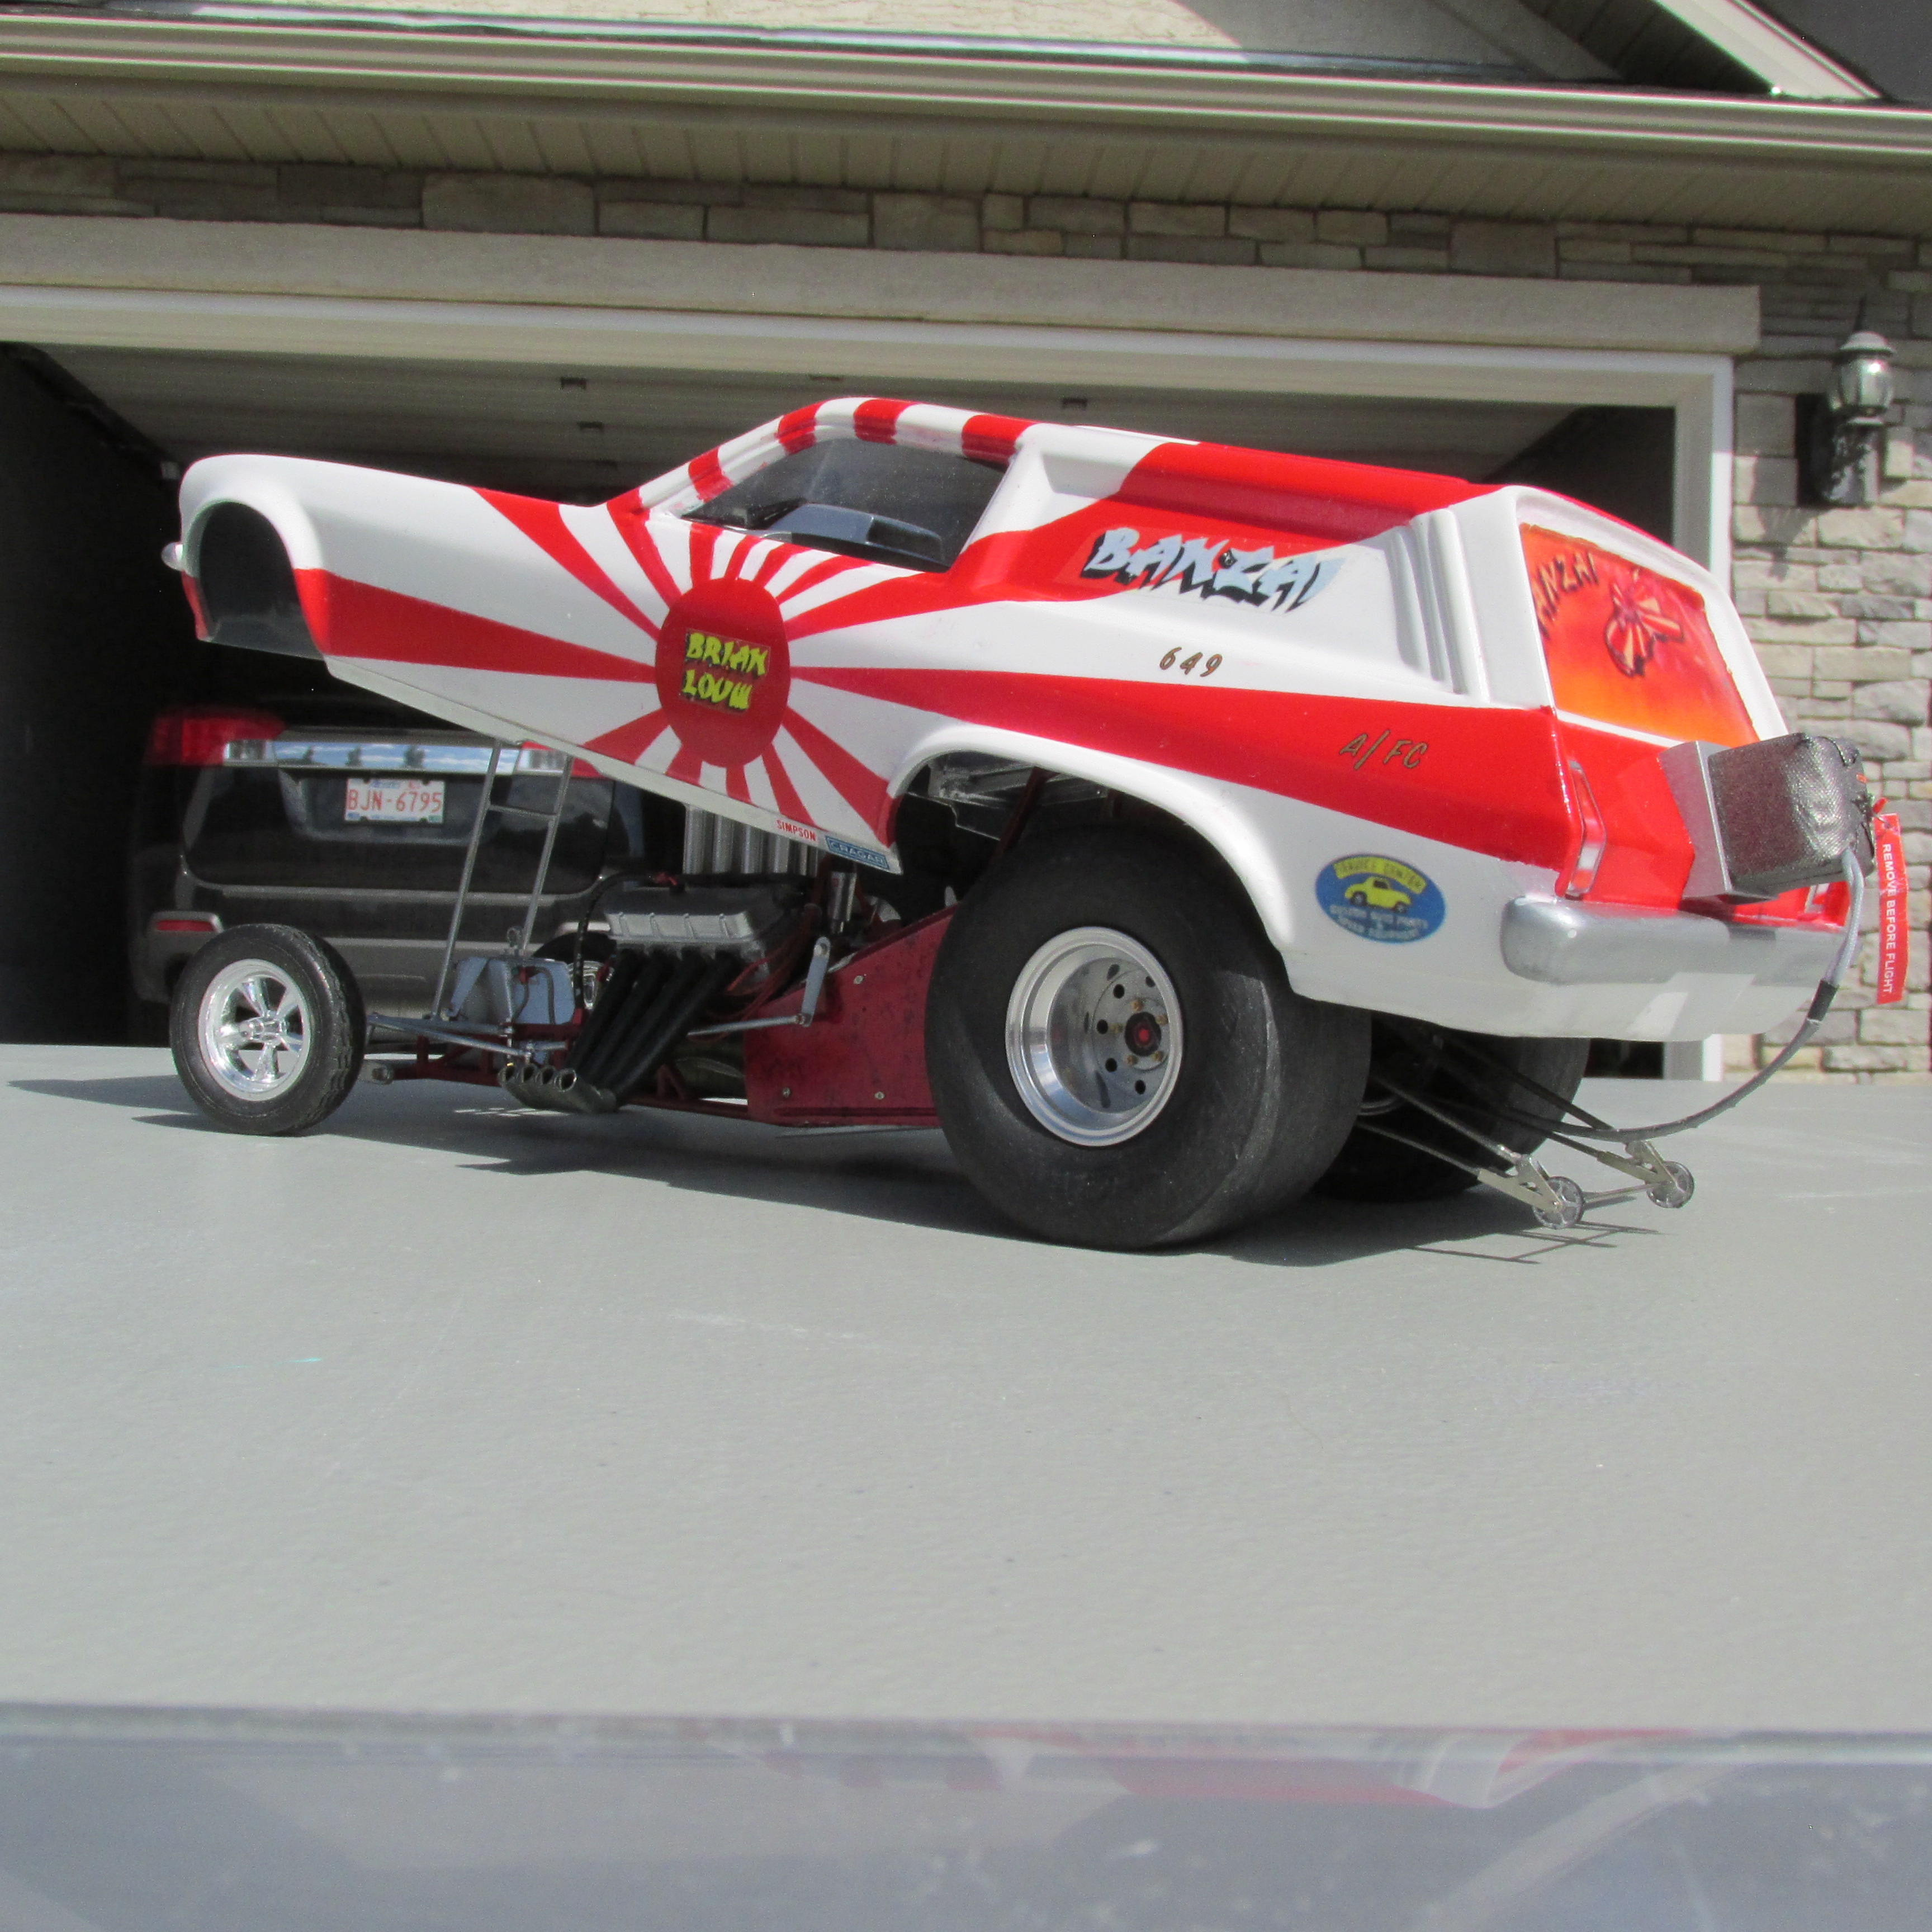
1/16 SCALE A/FC NITRO FUNNY CAR
Ian McLaren replied to Ian McLaren's topic in WIP: Drag Racing Models
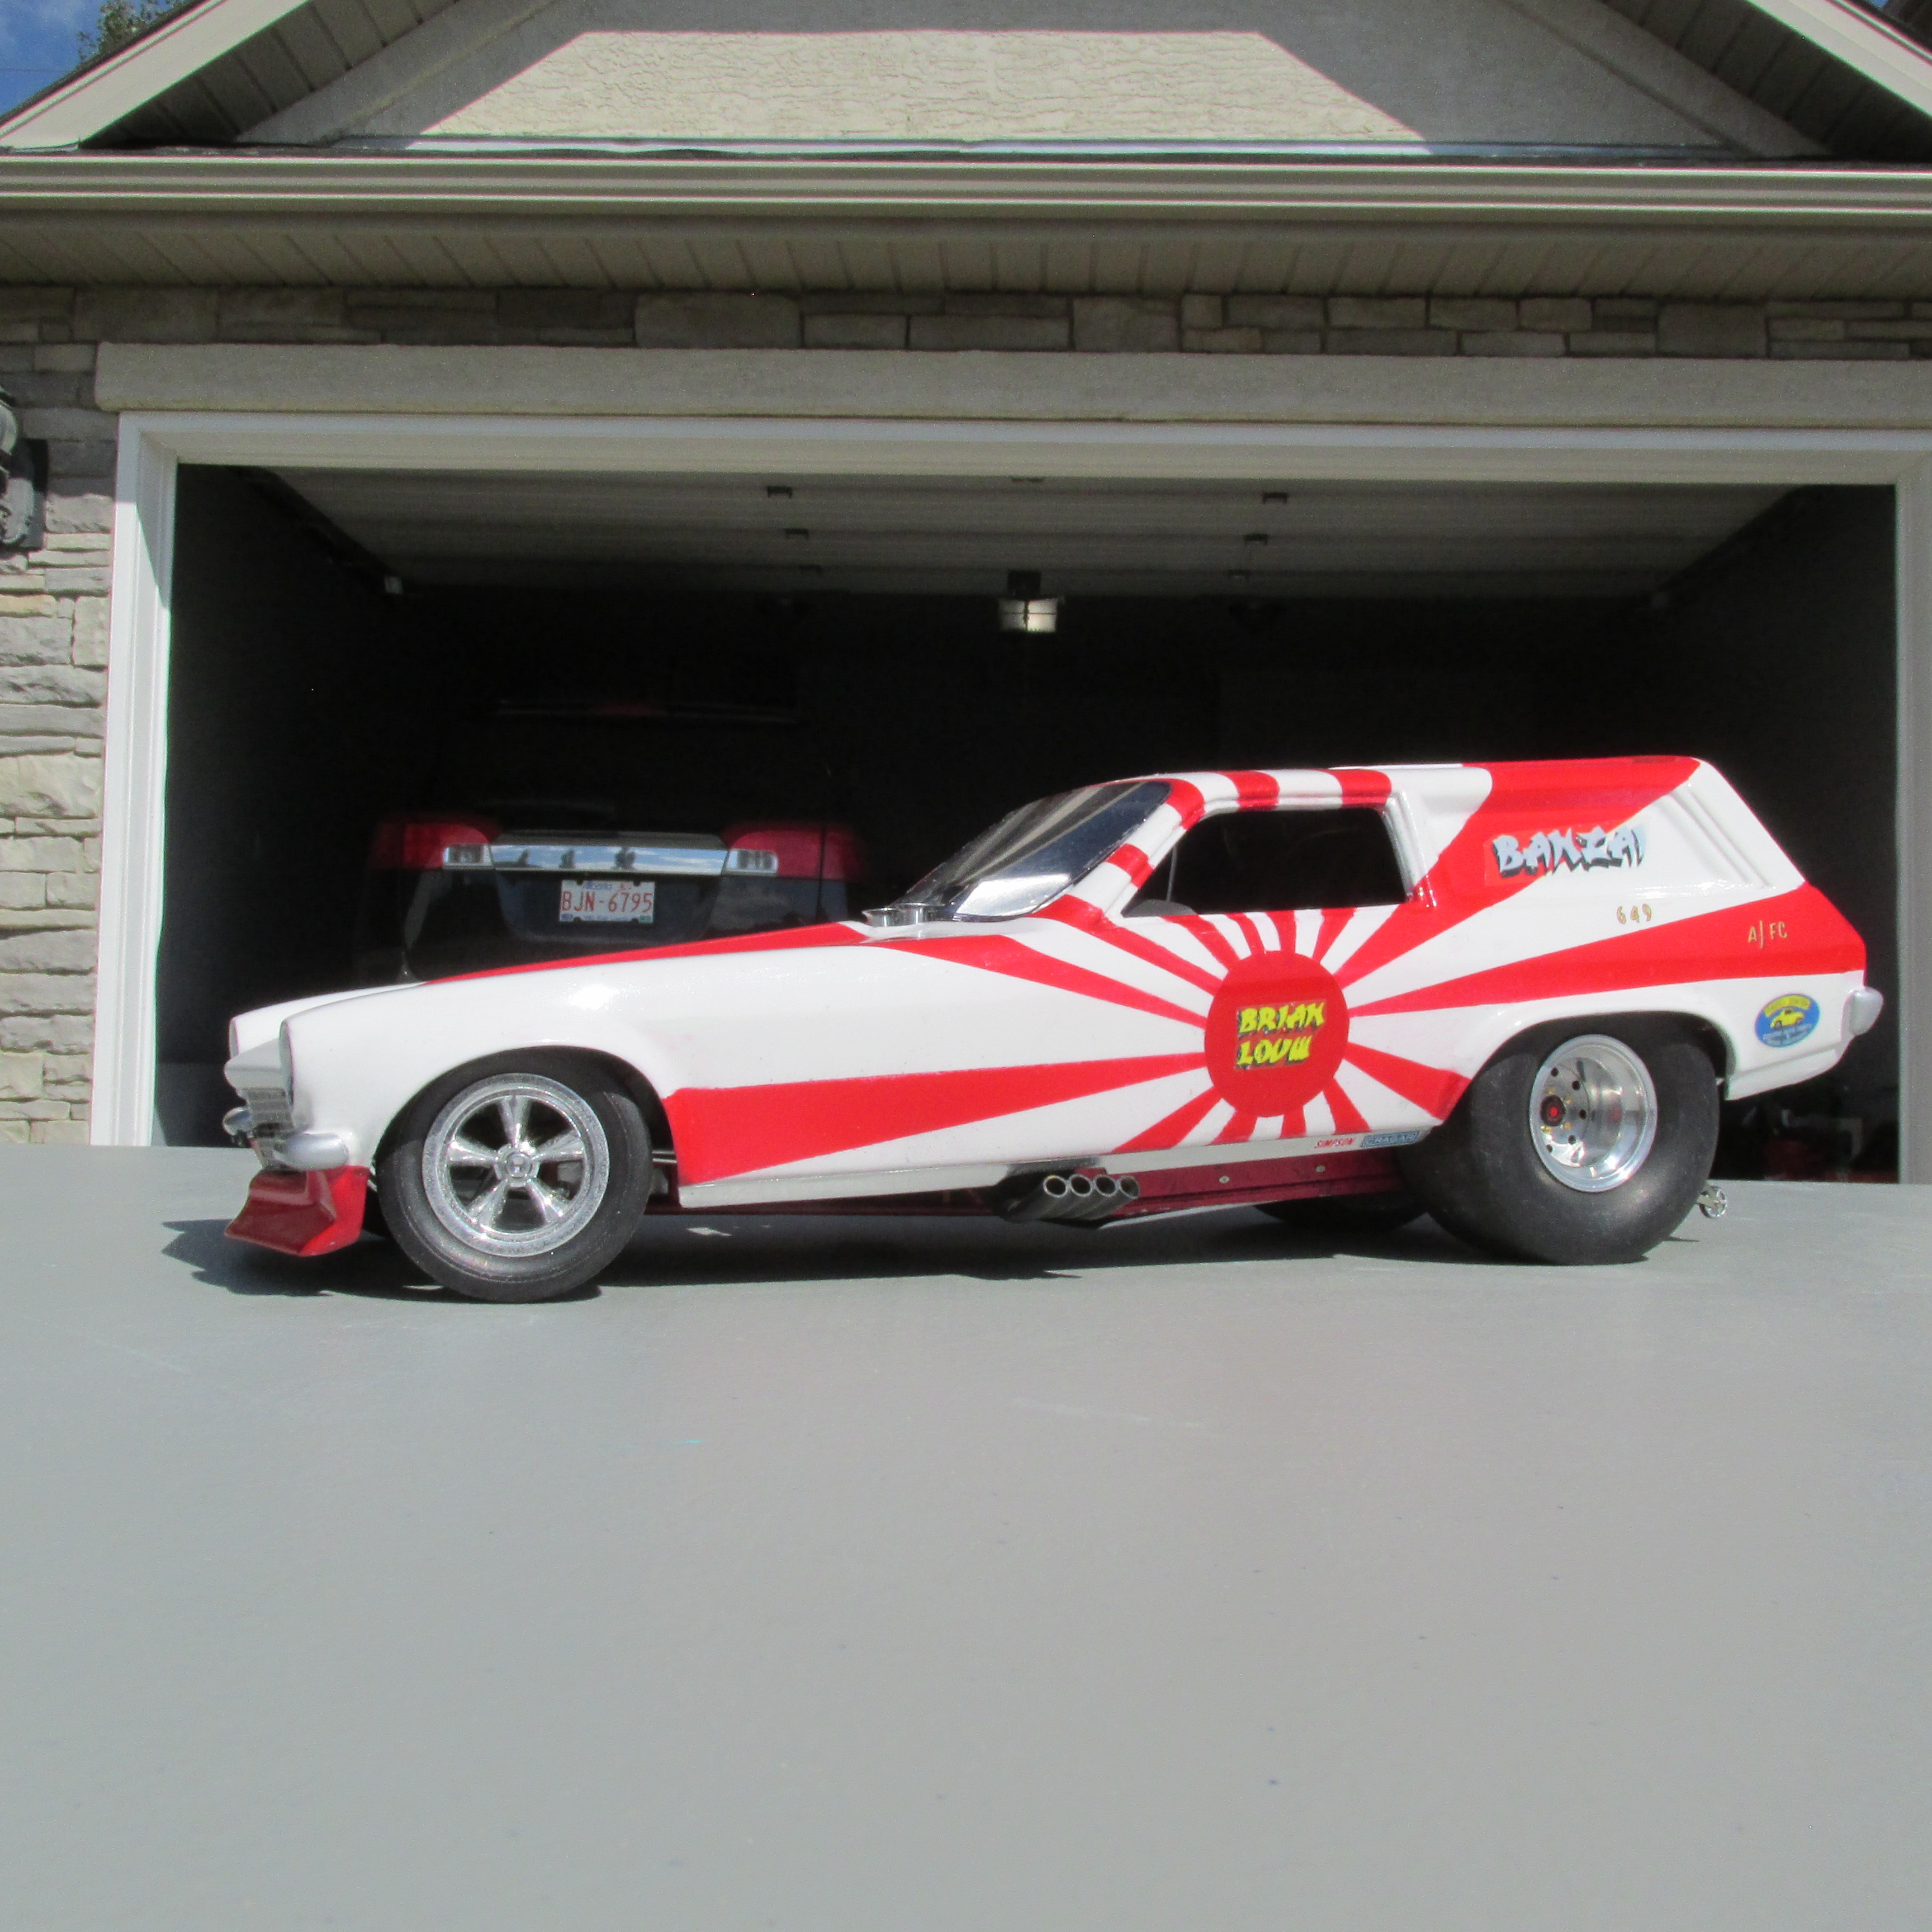
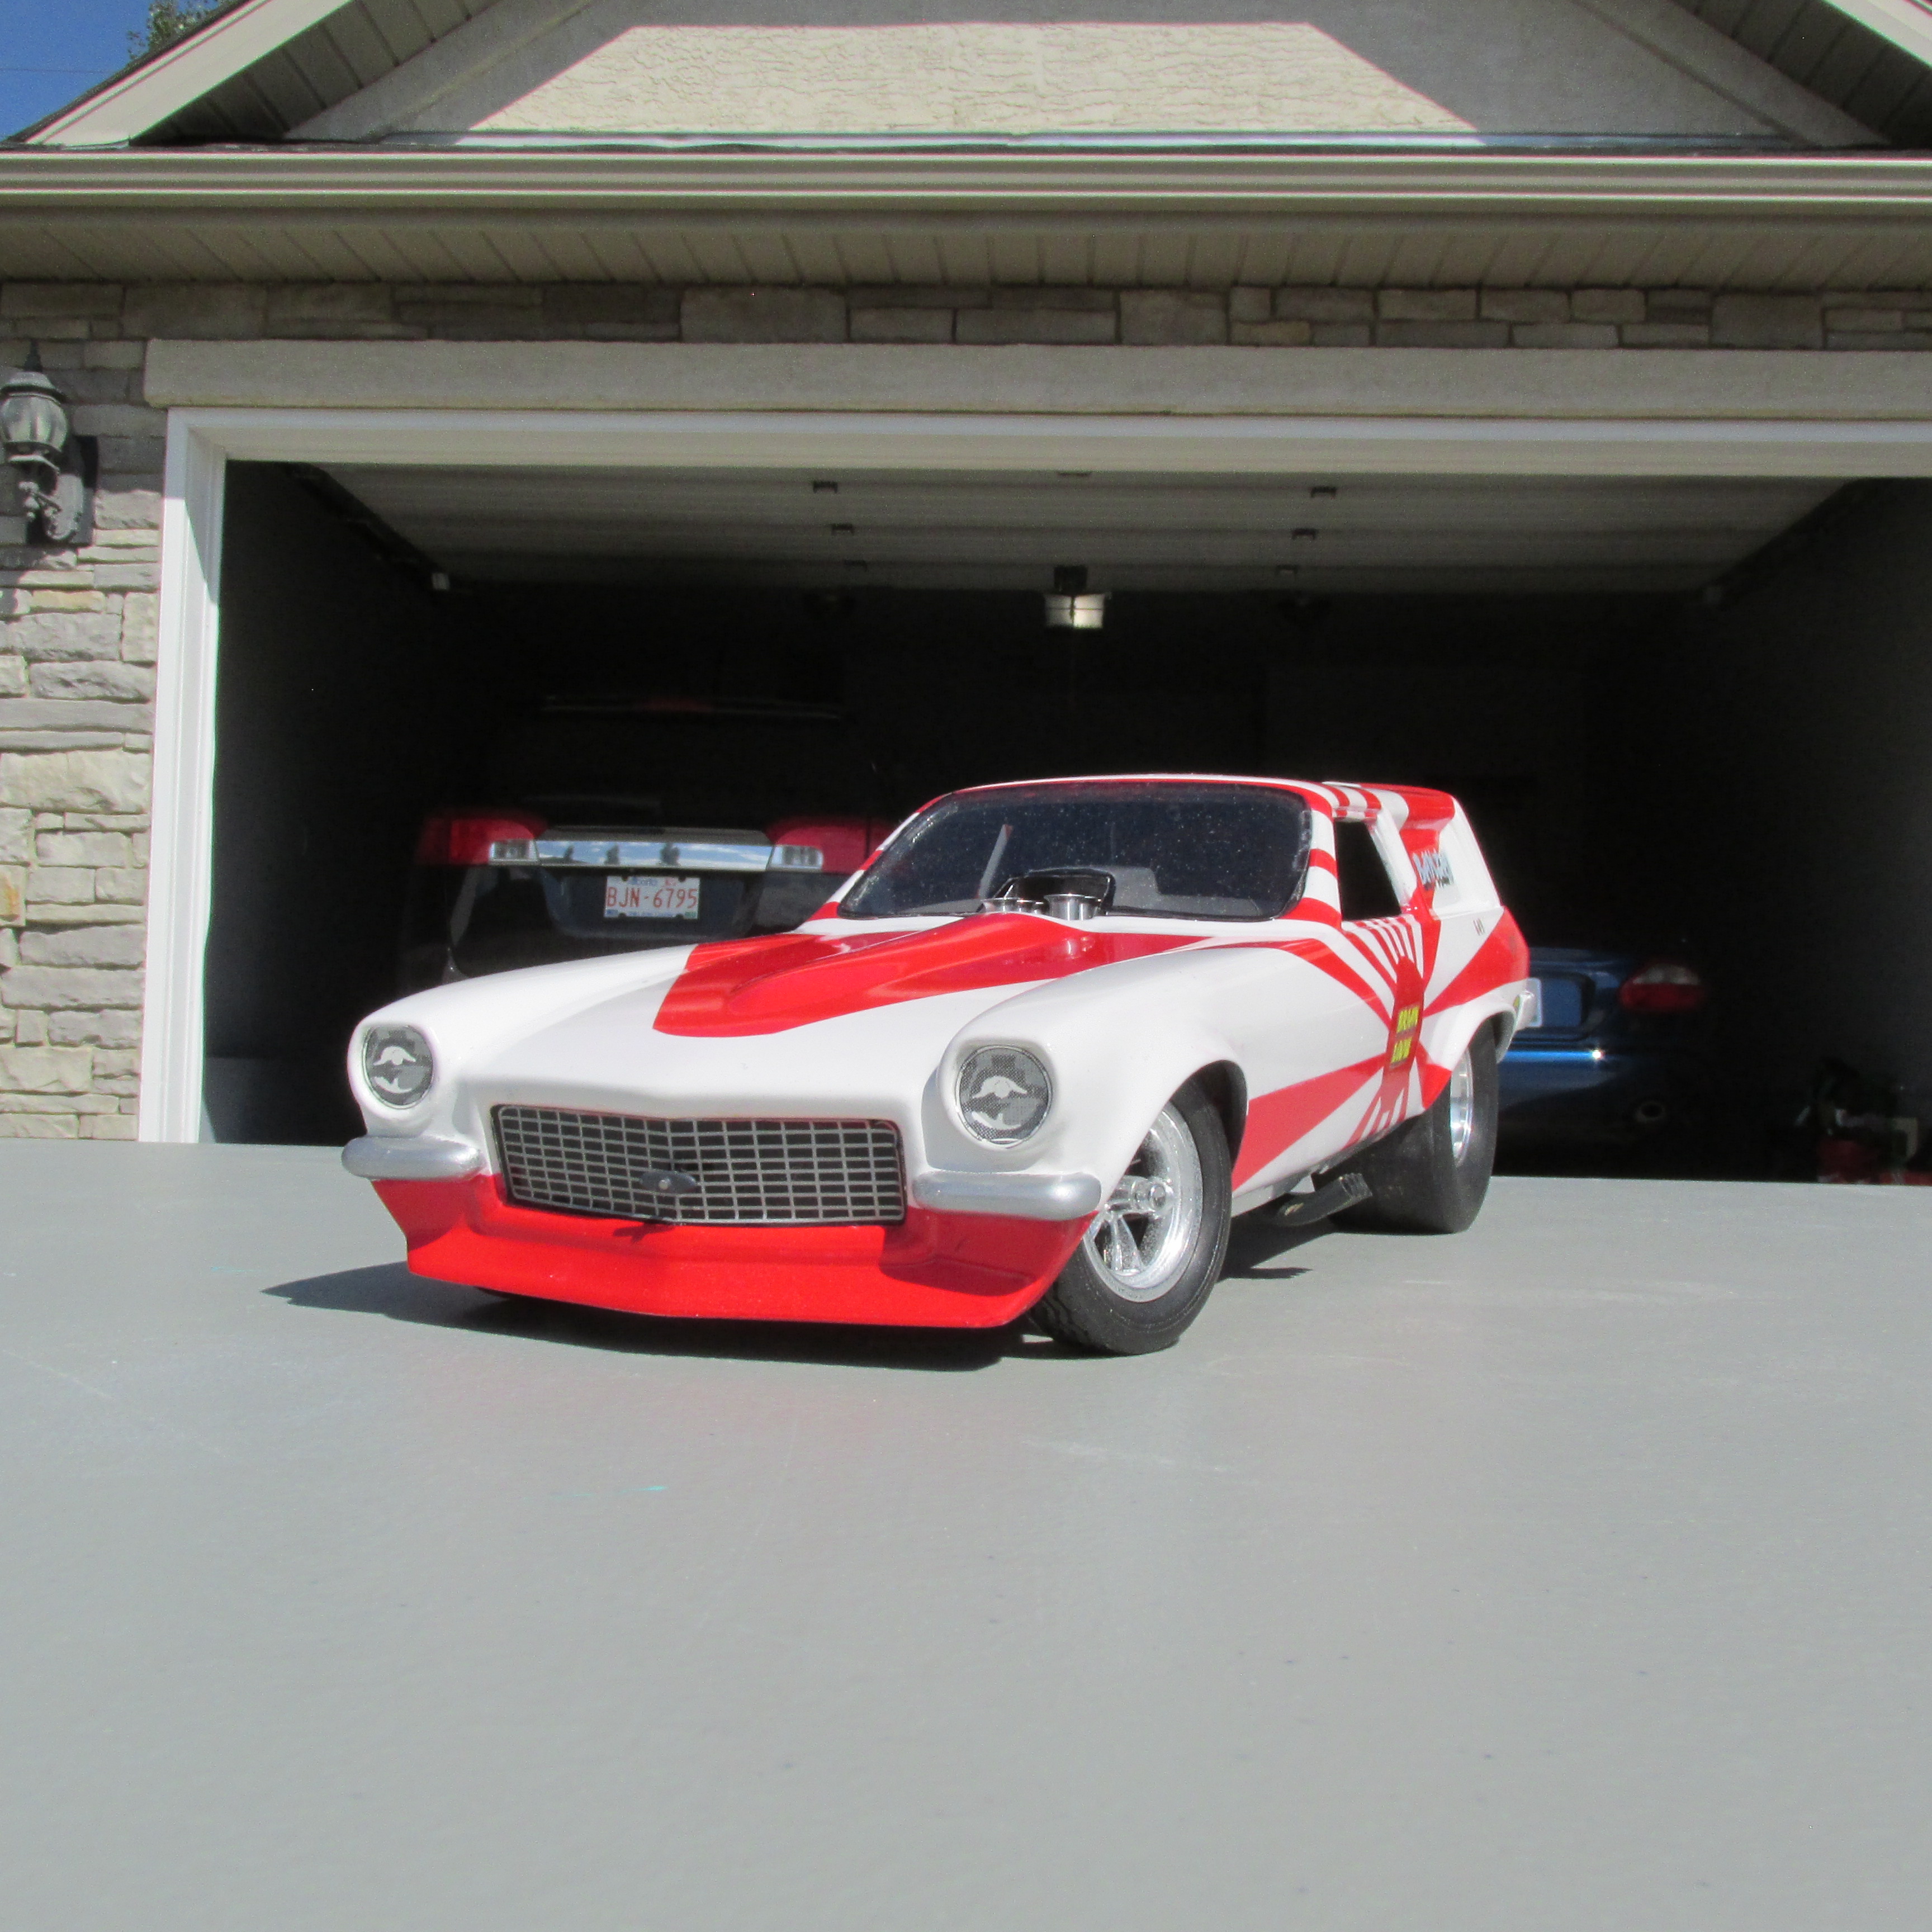
Some details to finalize, but essentially completed, Clean up those areas, wait for some sun here and post the final build pictures.
- 167 replies
-
- 1
-
-
- 1/16 scale
- nitro
- (and 2 more)
-
1/16 SCALE A/FC NITRO FUNNY CAR
Ian McLaren replied to Ian McLaren's topic in WIP: Drag Racing Models
Thanks Charlie, Lots of your parts in this one, they really add to the realism. -
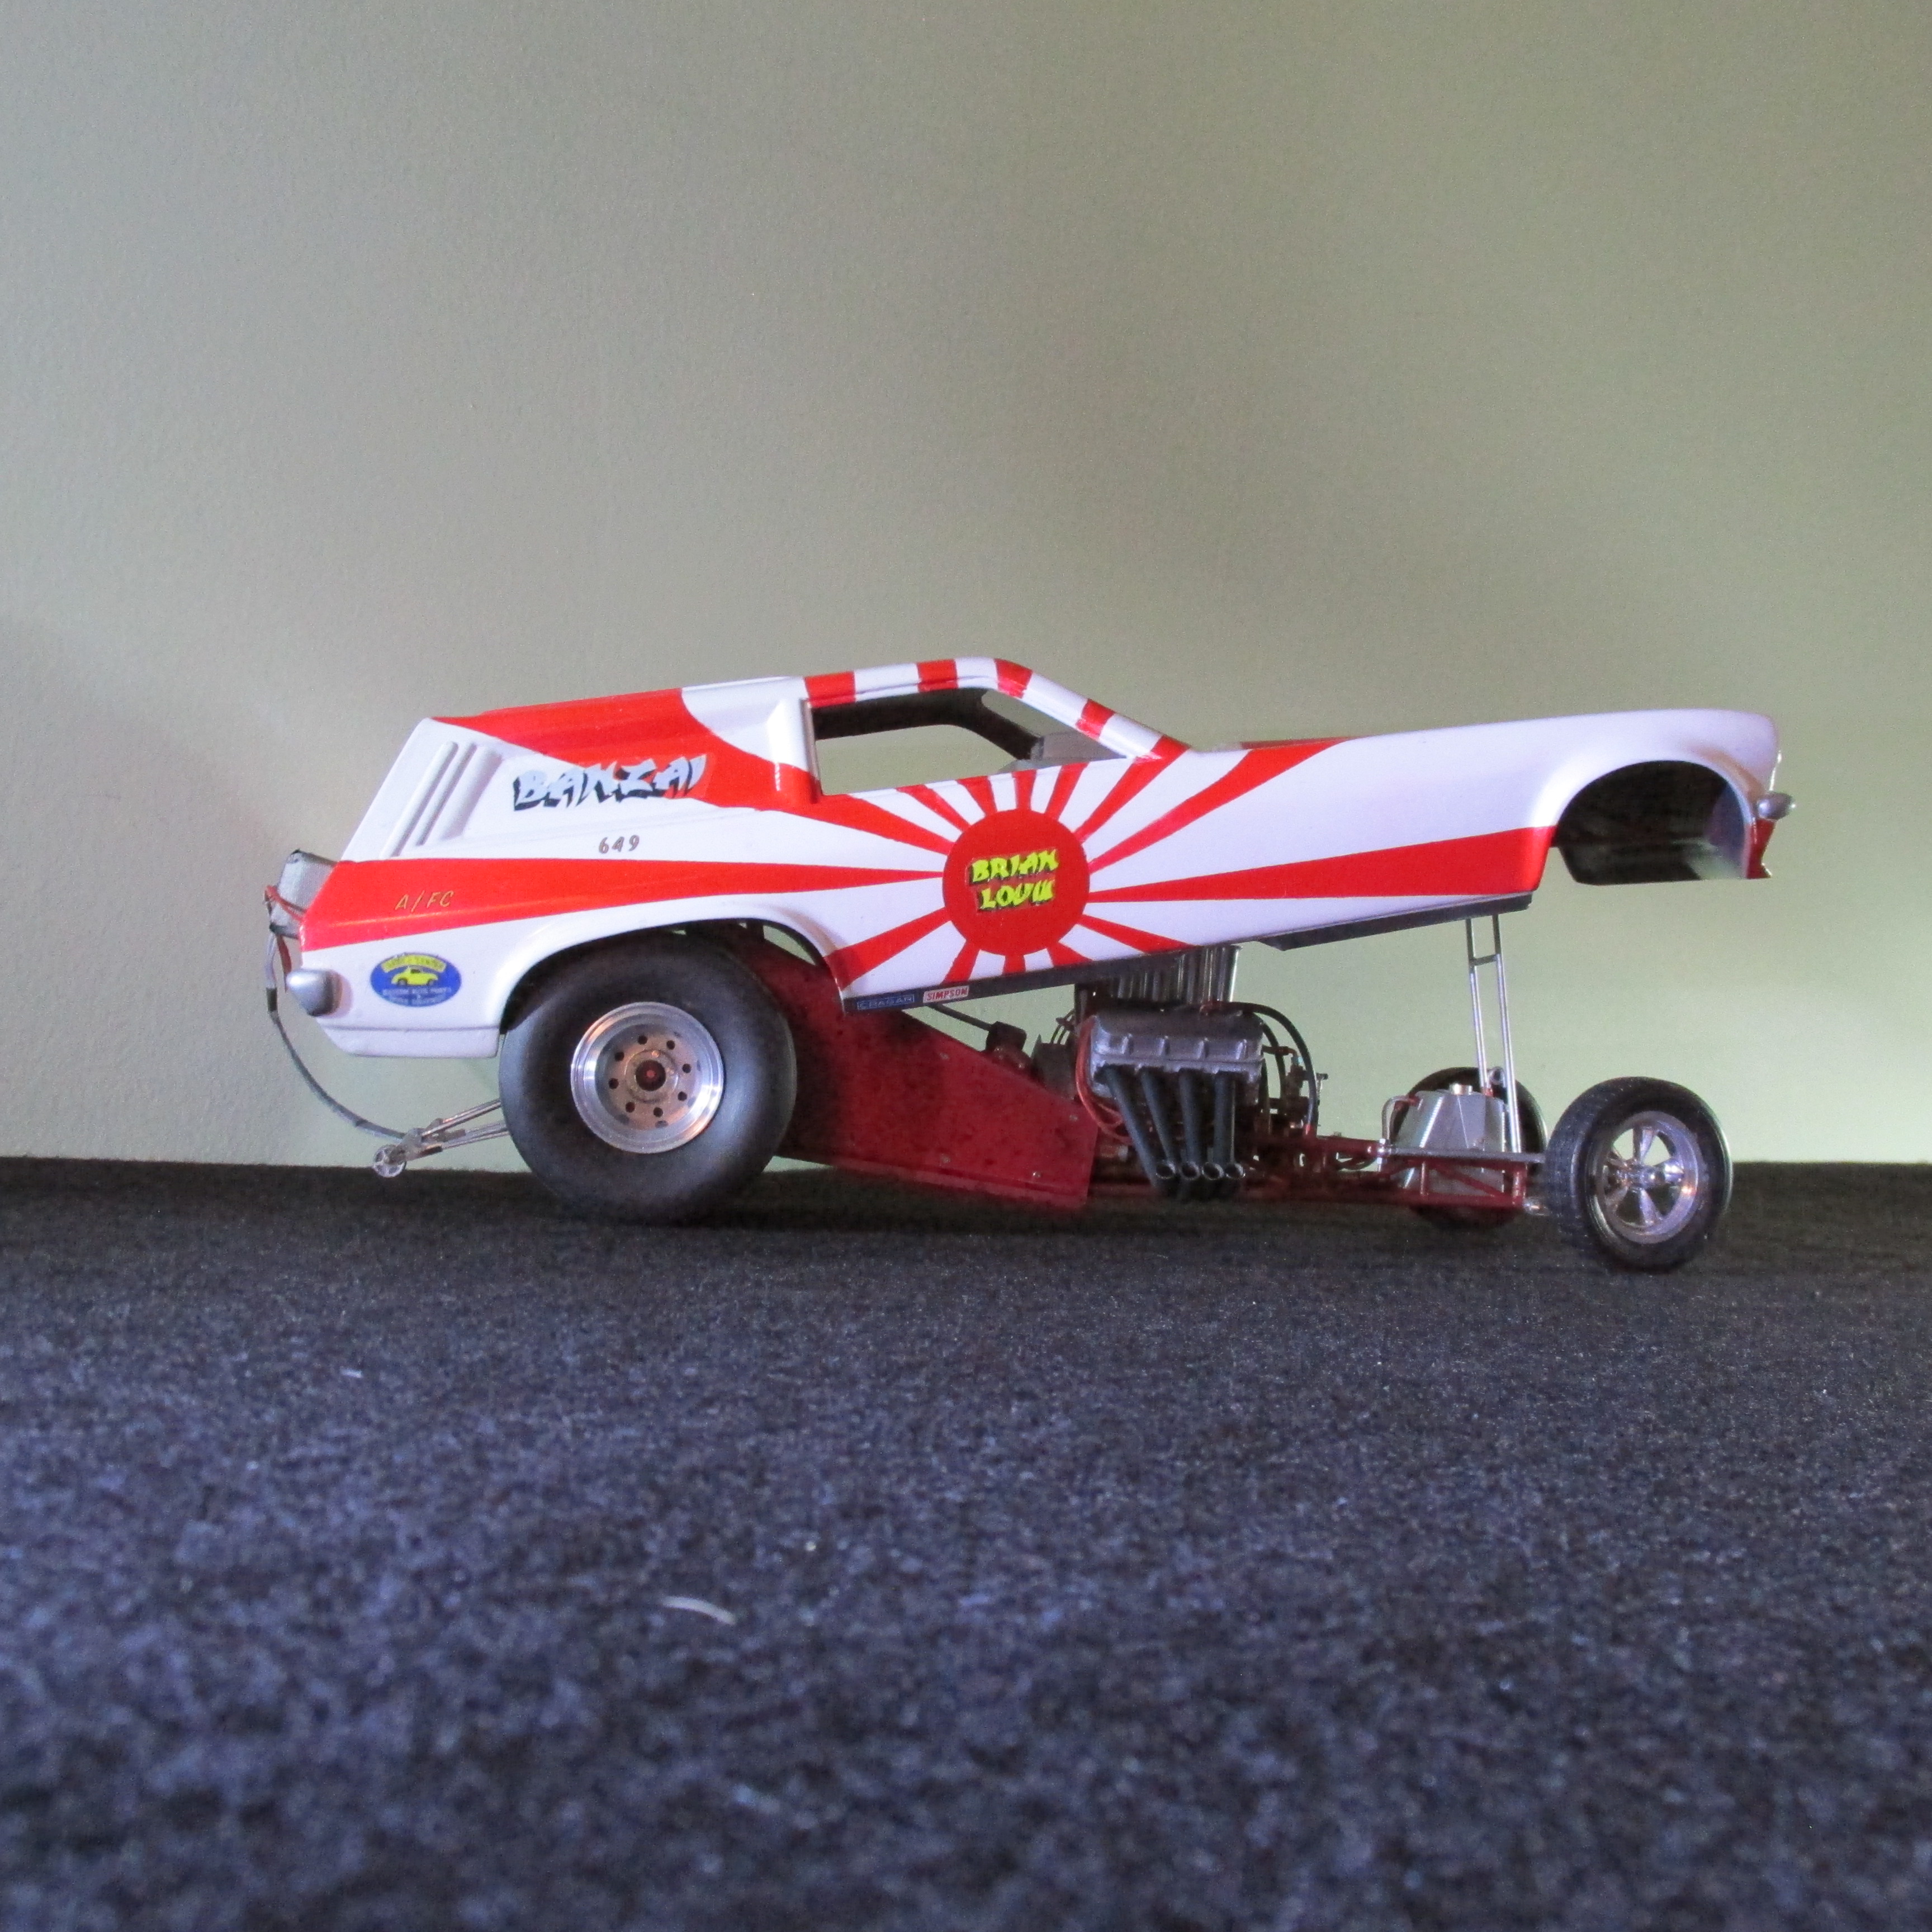
1/16 SCALE A/FC NITRO FUNNY CAR
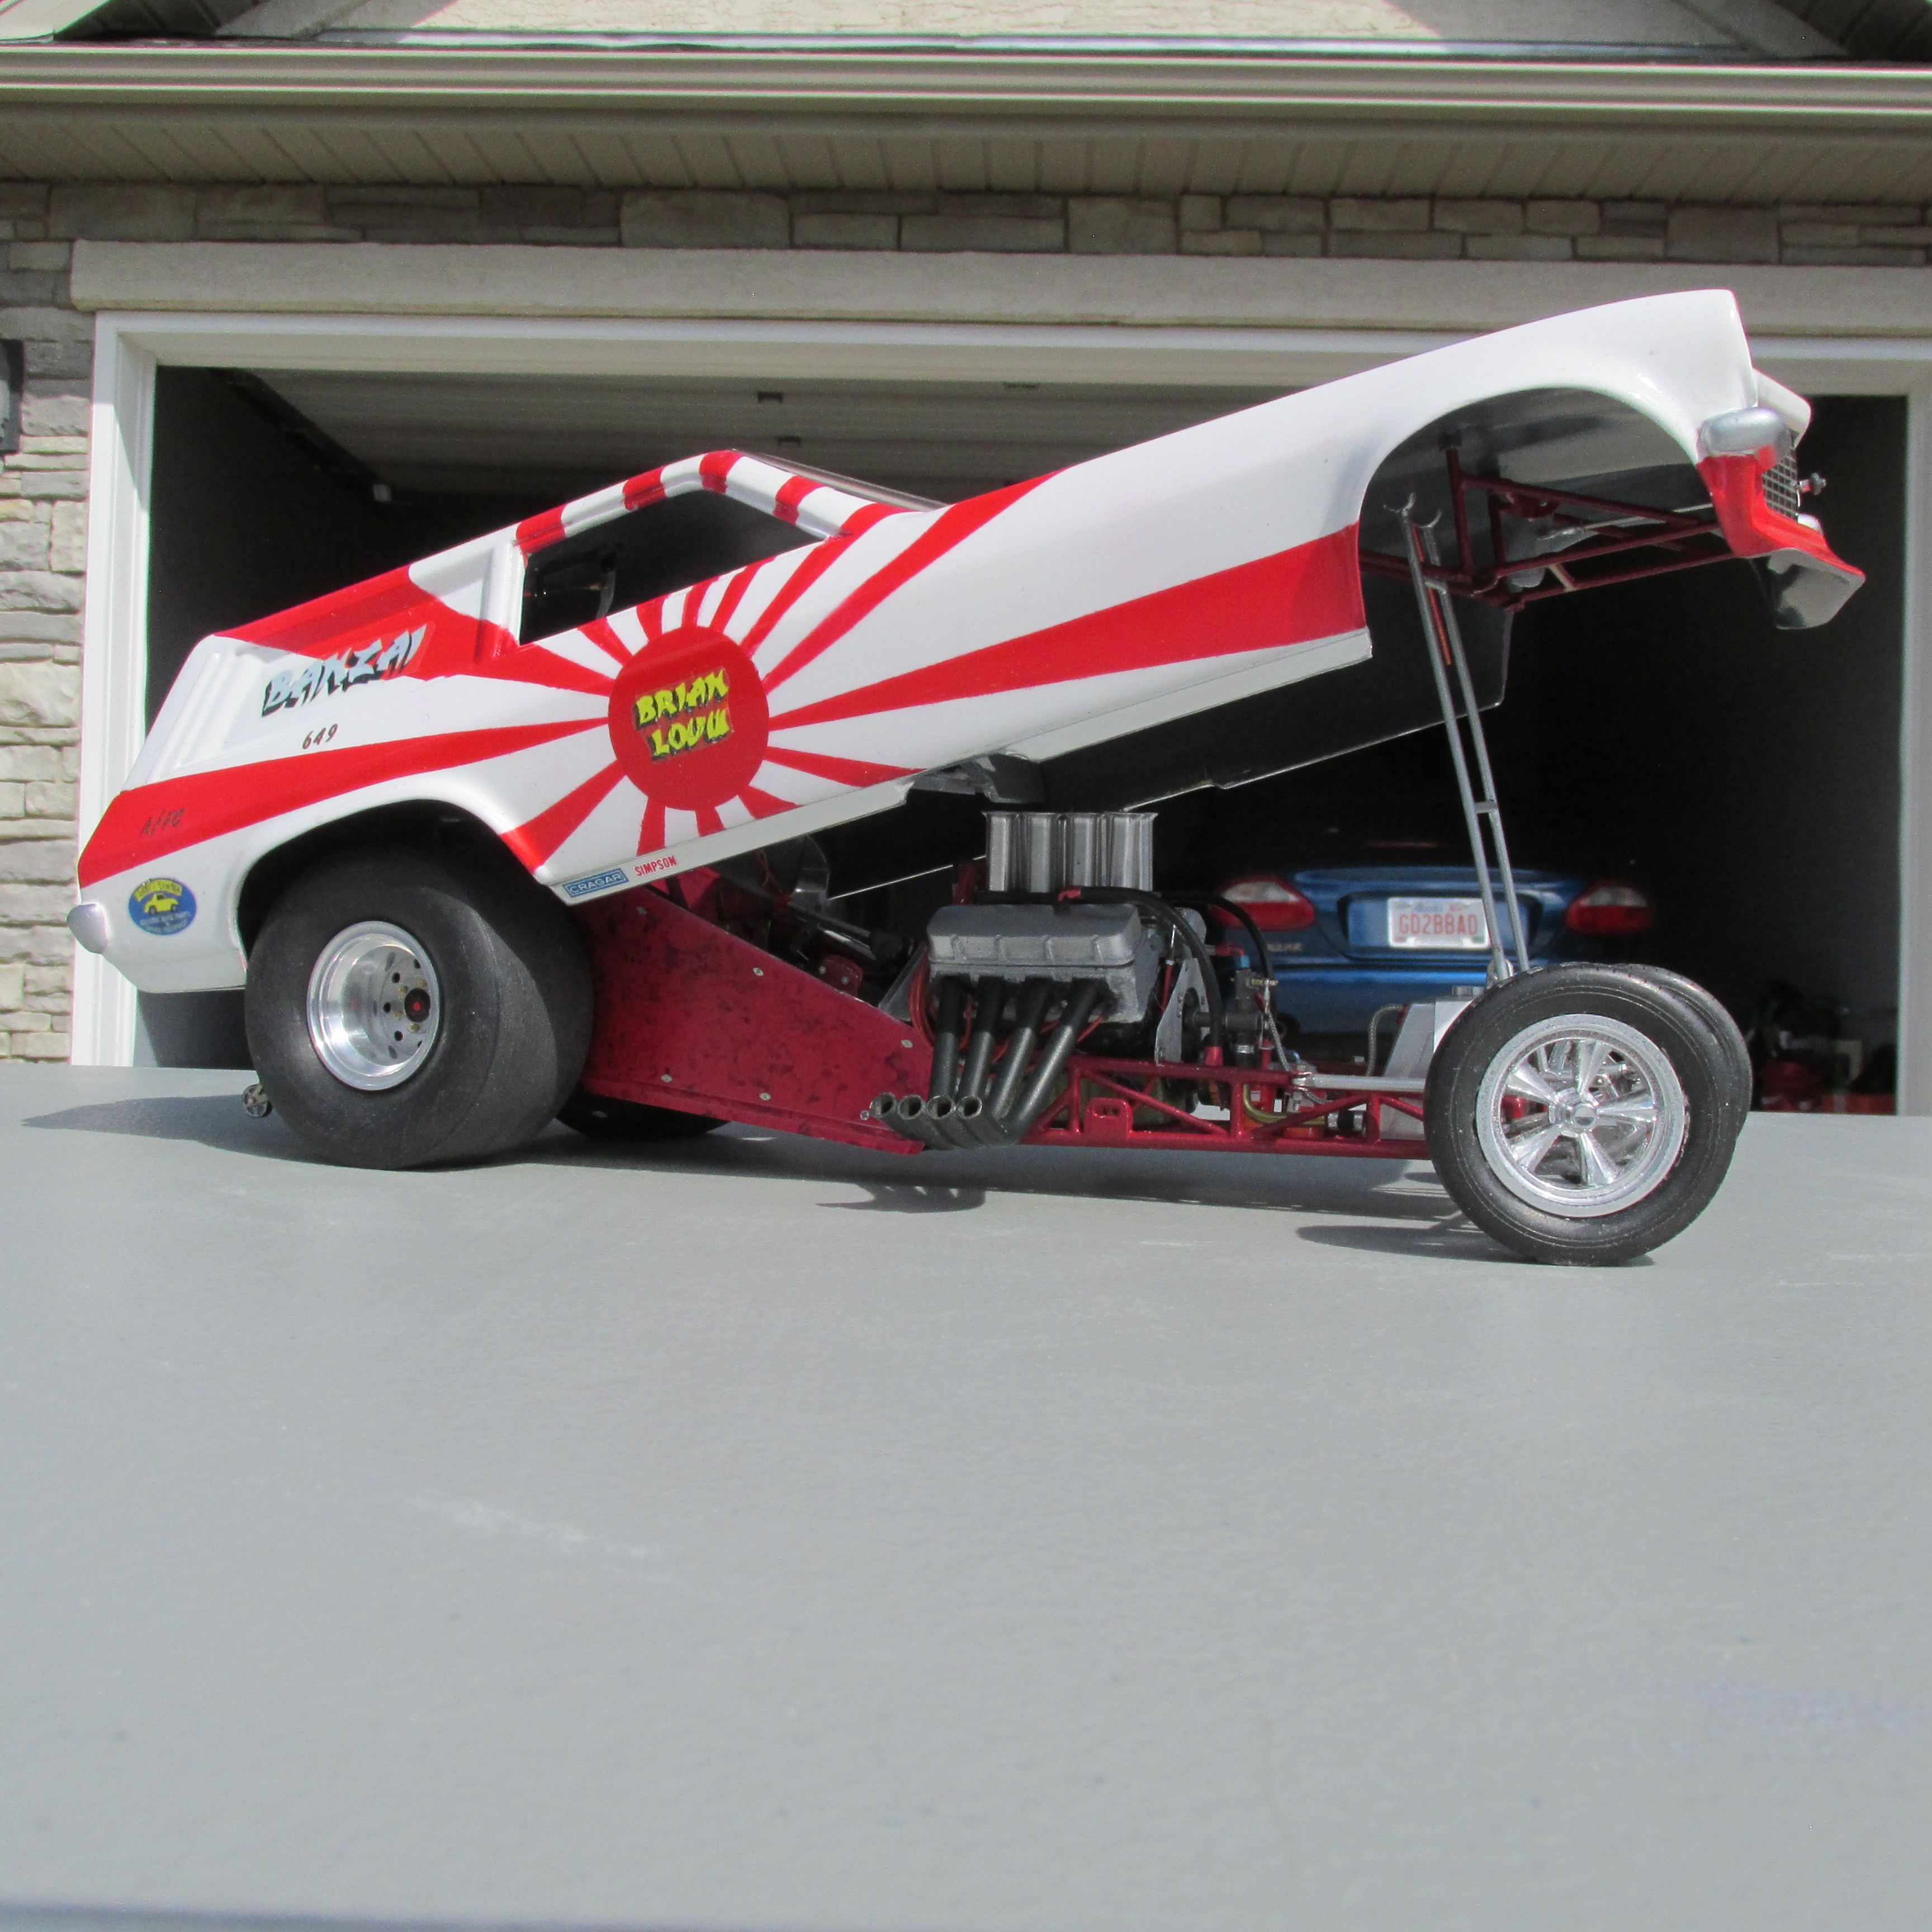
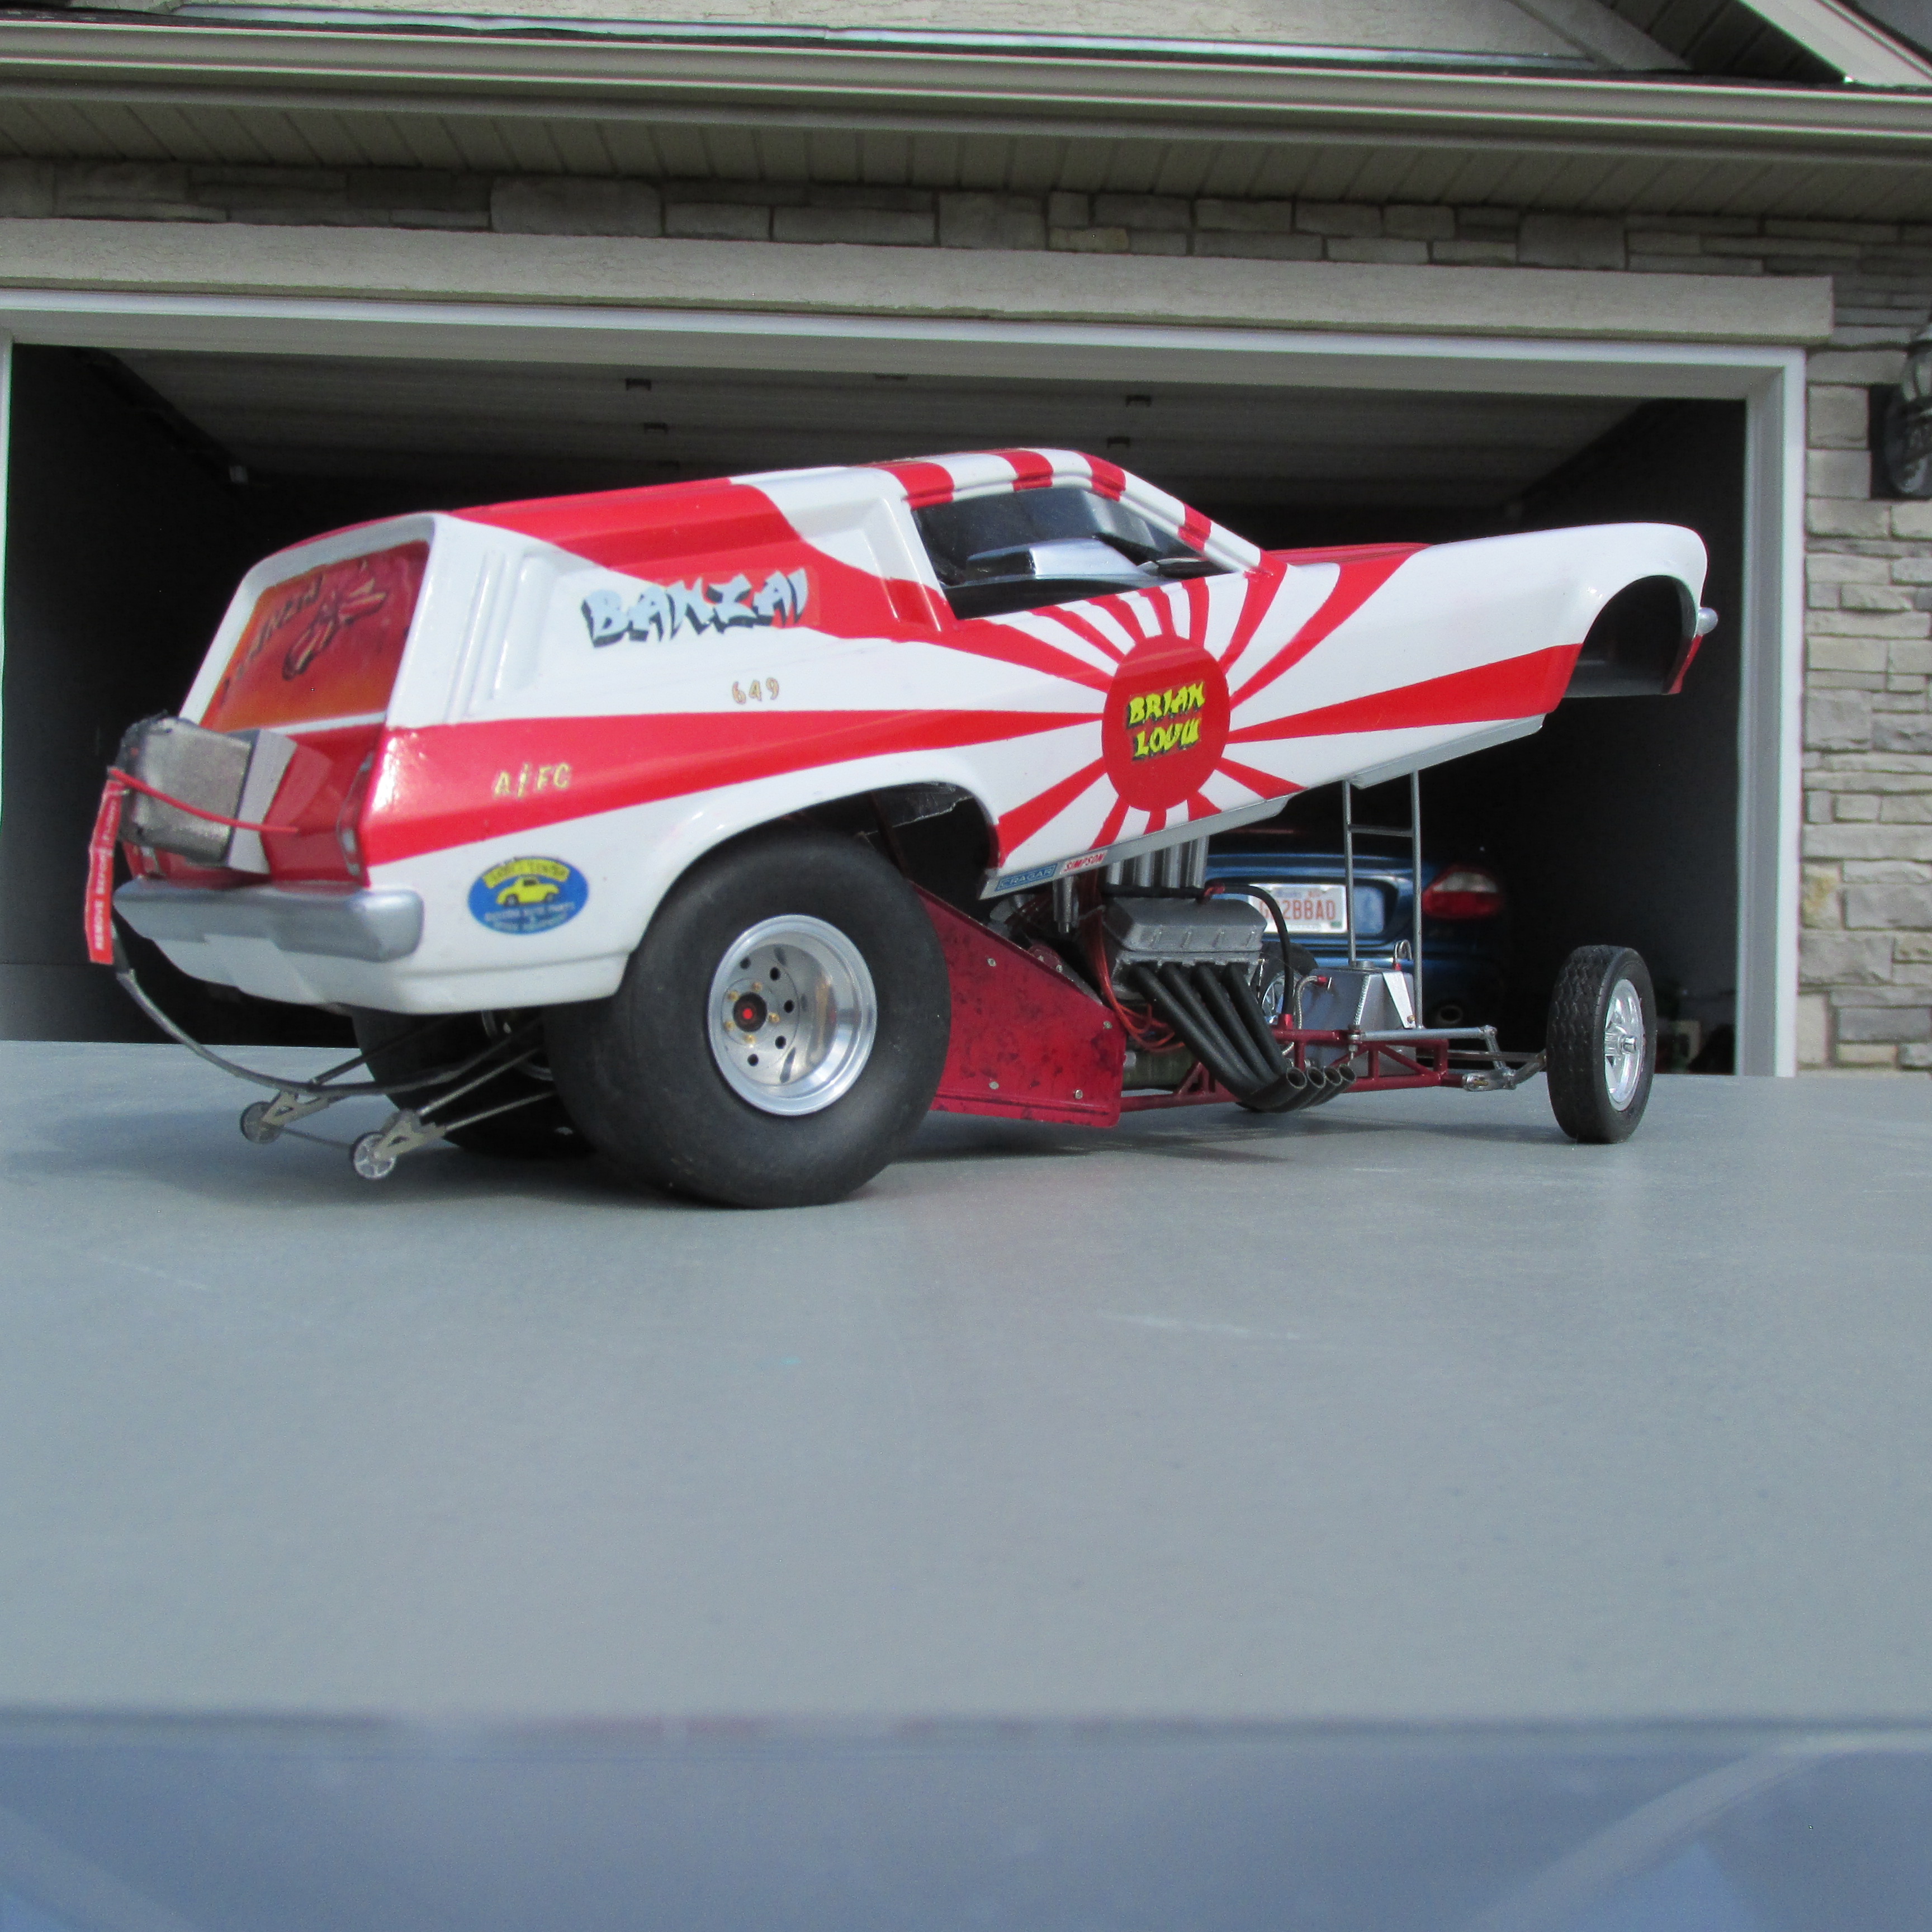
Ian McLaren replied to Ian McLaren's topic in WIP: Drag Racing Models
Going together, fitted the body latch and actuating handle set the spring tension it is completely functional. have to respray the inside of the body and final assembly some time this week end. It's been a long , long road.
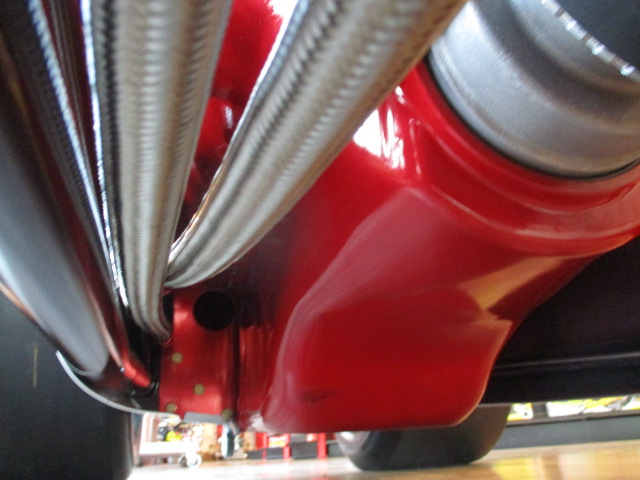
-
ROYAL CANADIAN 1/16 SCALE TOP FUEL DRAGSTER
Ian McLaren replied to Ian McLaren's topic in WIP: Drag Racing Models
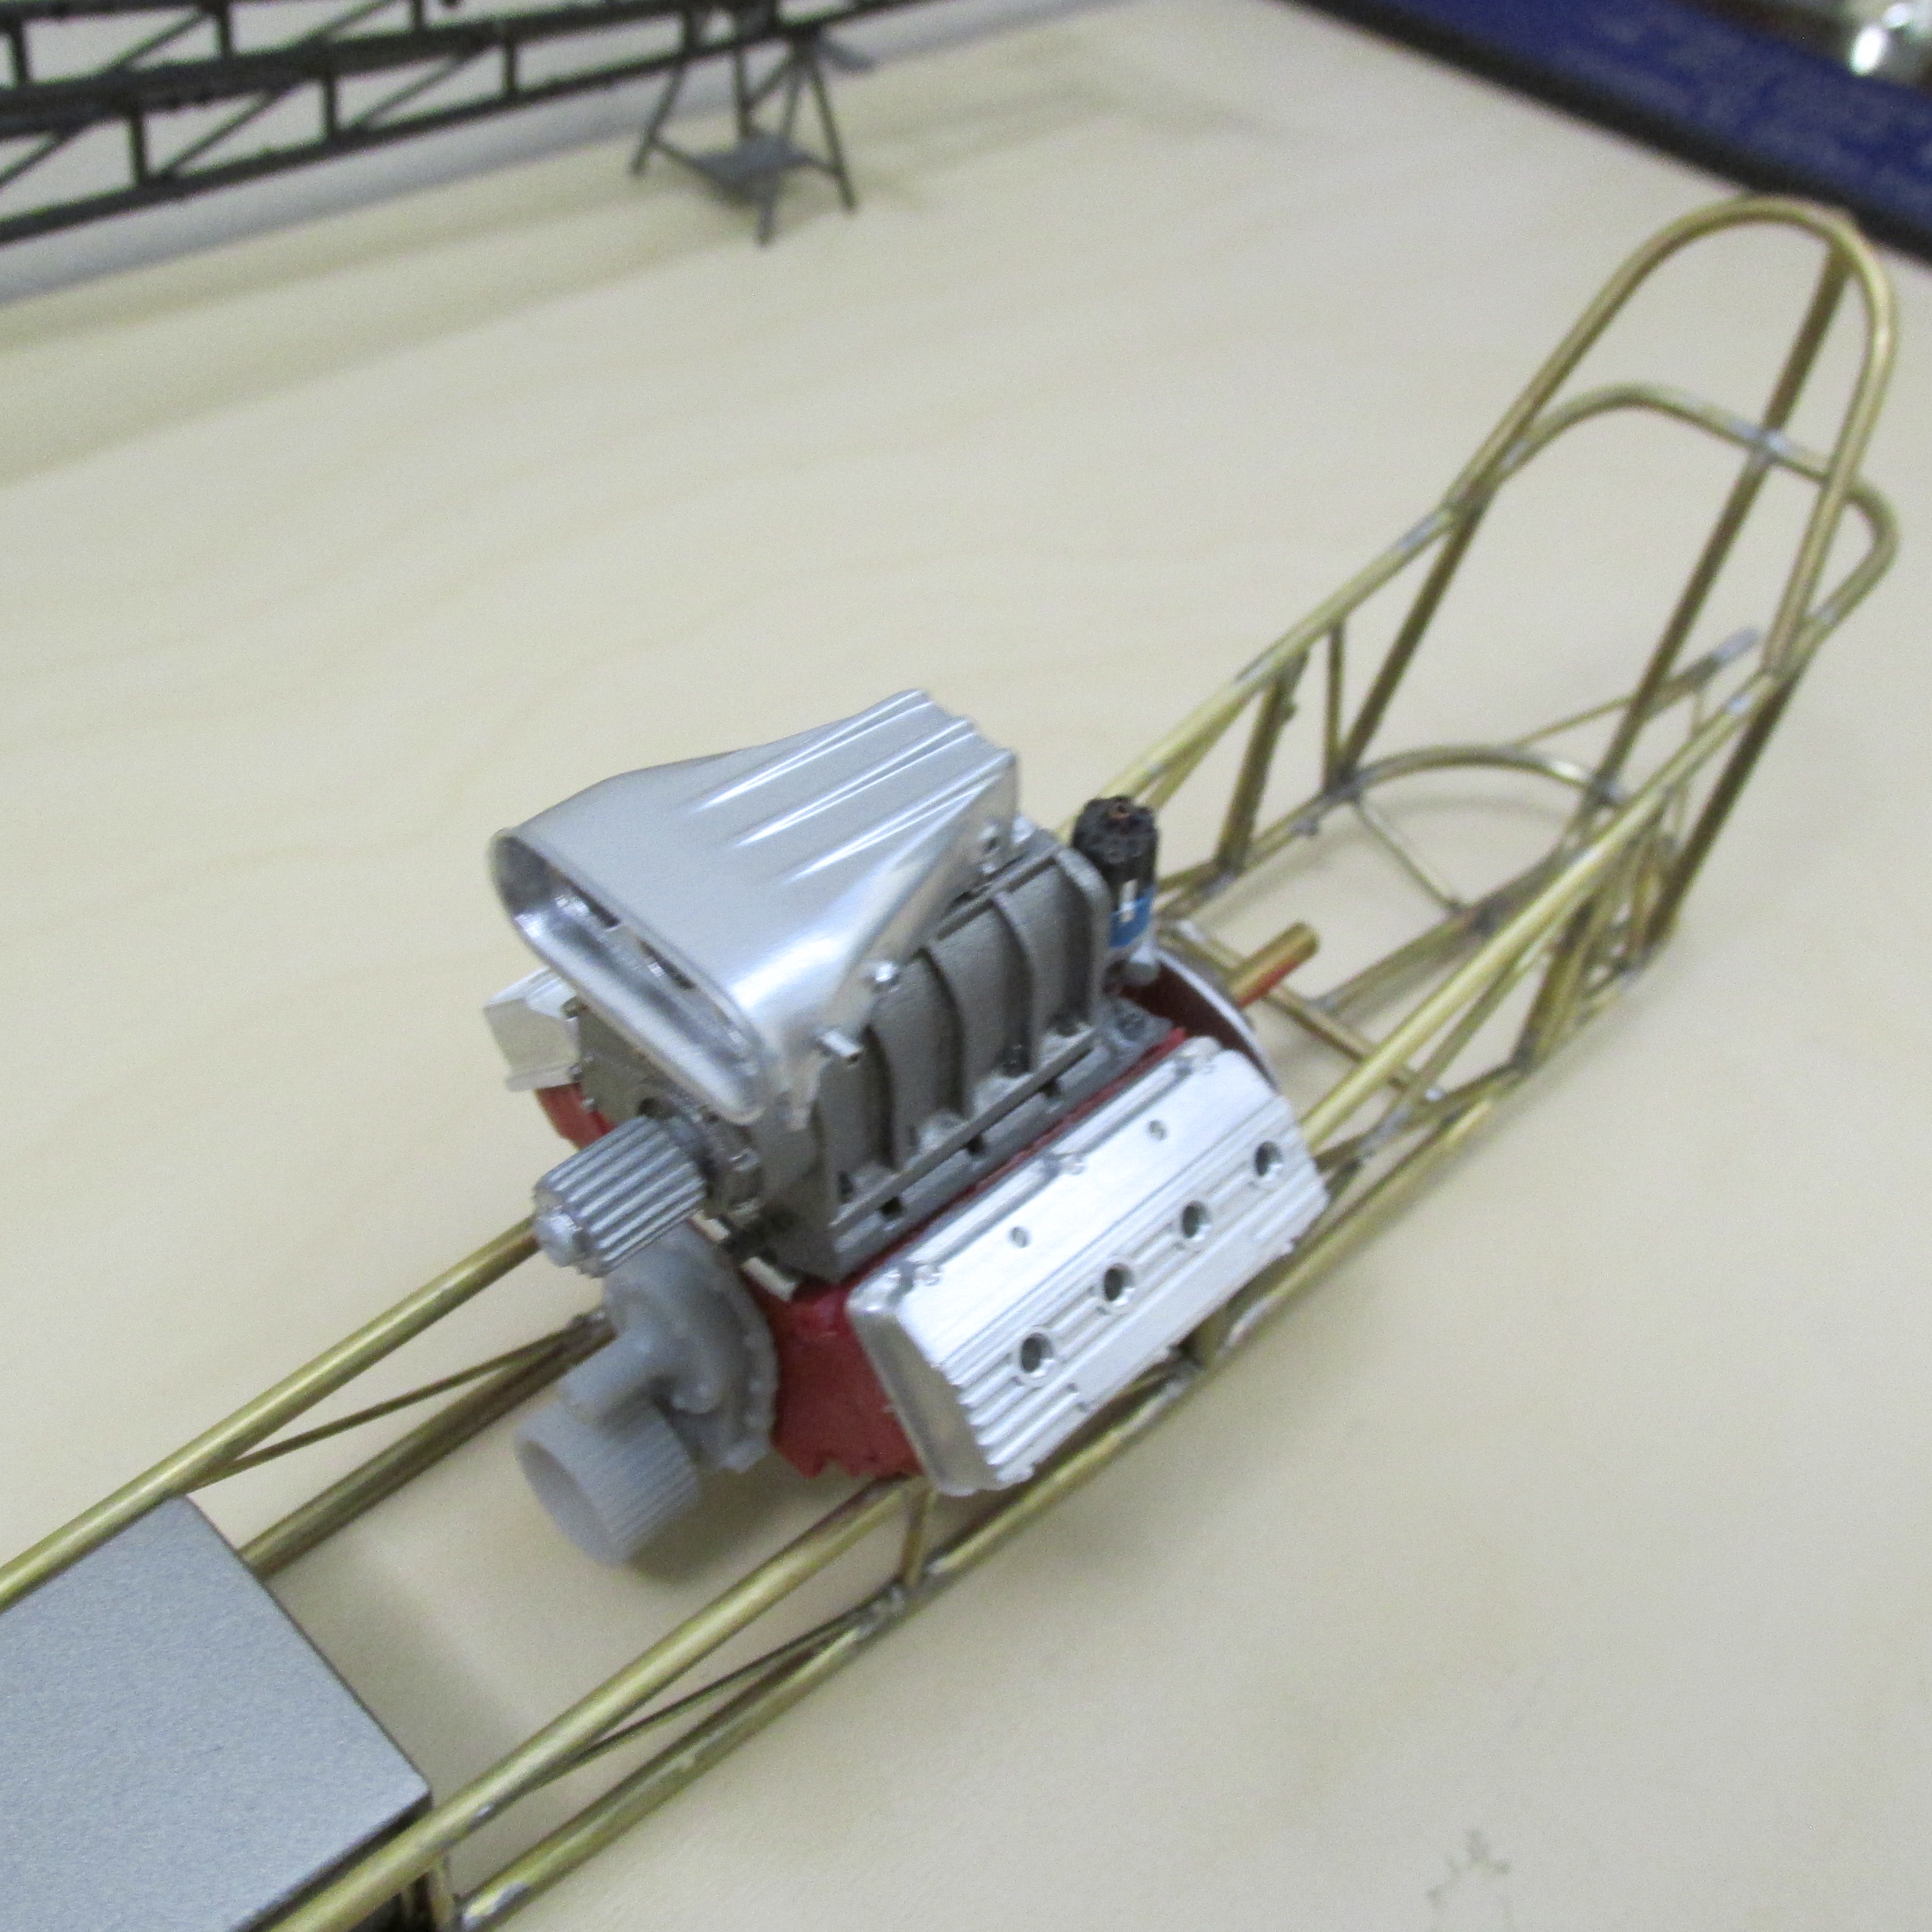
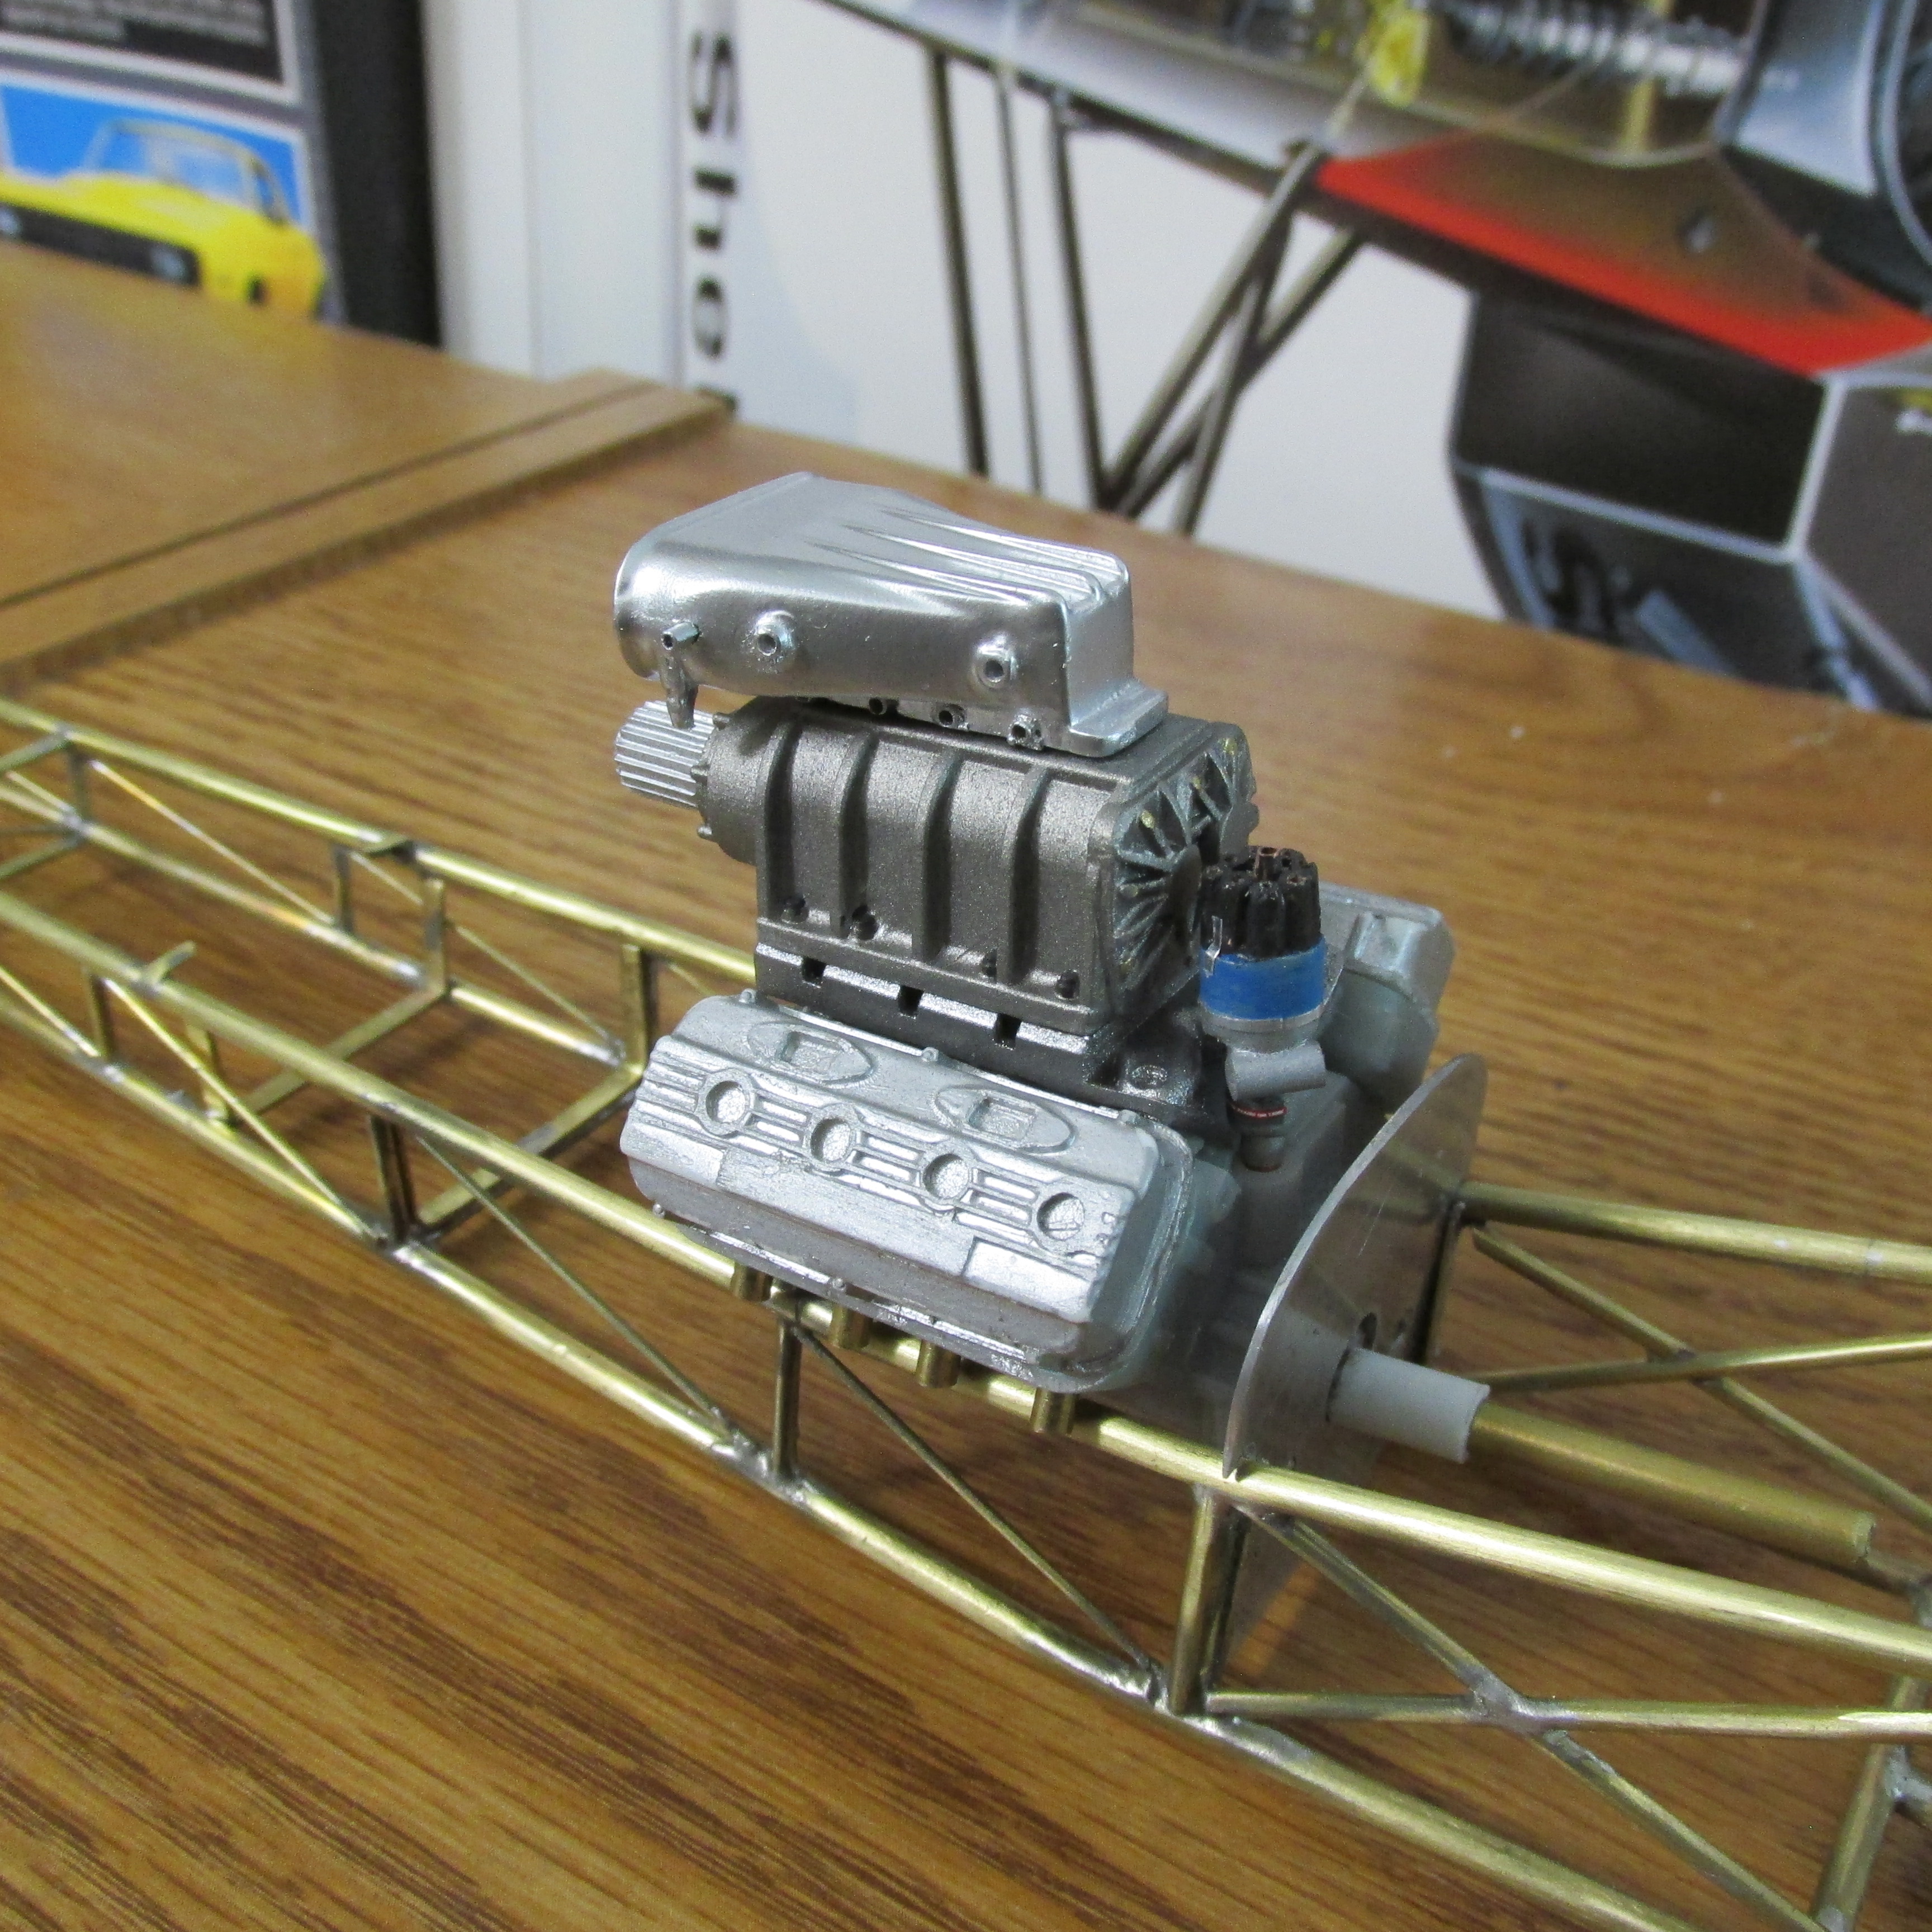
Blue Steaks, shower head injector shape and finish refined, and a proper set of valve covers fair progress for the weekend
-
64 Dodge D100 Pickup Pro Street
Ian McLaren replied to AmericanMuscleFan's topic in WIP: Drag Racing Models
Enjoying each new update, so much inspiration. -
The rotors and hats look great, I know what you mean regarding the eye surgery, I had my right lens replace about six weeks ago and the difference is remarkable.
-
1/16 Keeling and Clayton California Charger F/C
Ian McLaren replied to F/CNUT's topic in WIP: Drag Racing Models
Thank you I was wondering about the Meguiars as an intermediate step. -
I need some decals done with metallic silver finish, they have to be opaque as they cross a red and white background. I have camera ready art work but it was done in GIMP and I'm not sure anyone can use it to print directly.
-
1/16 Keeling and Clayton California Charger F/C
Ian McLaren replied to F/CNUT's topic in WIP: Drag Racing Models
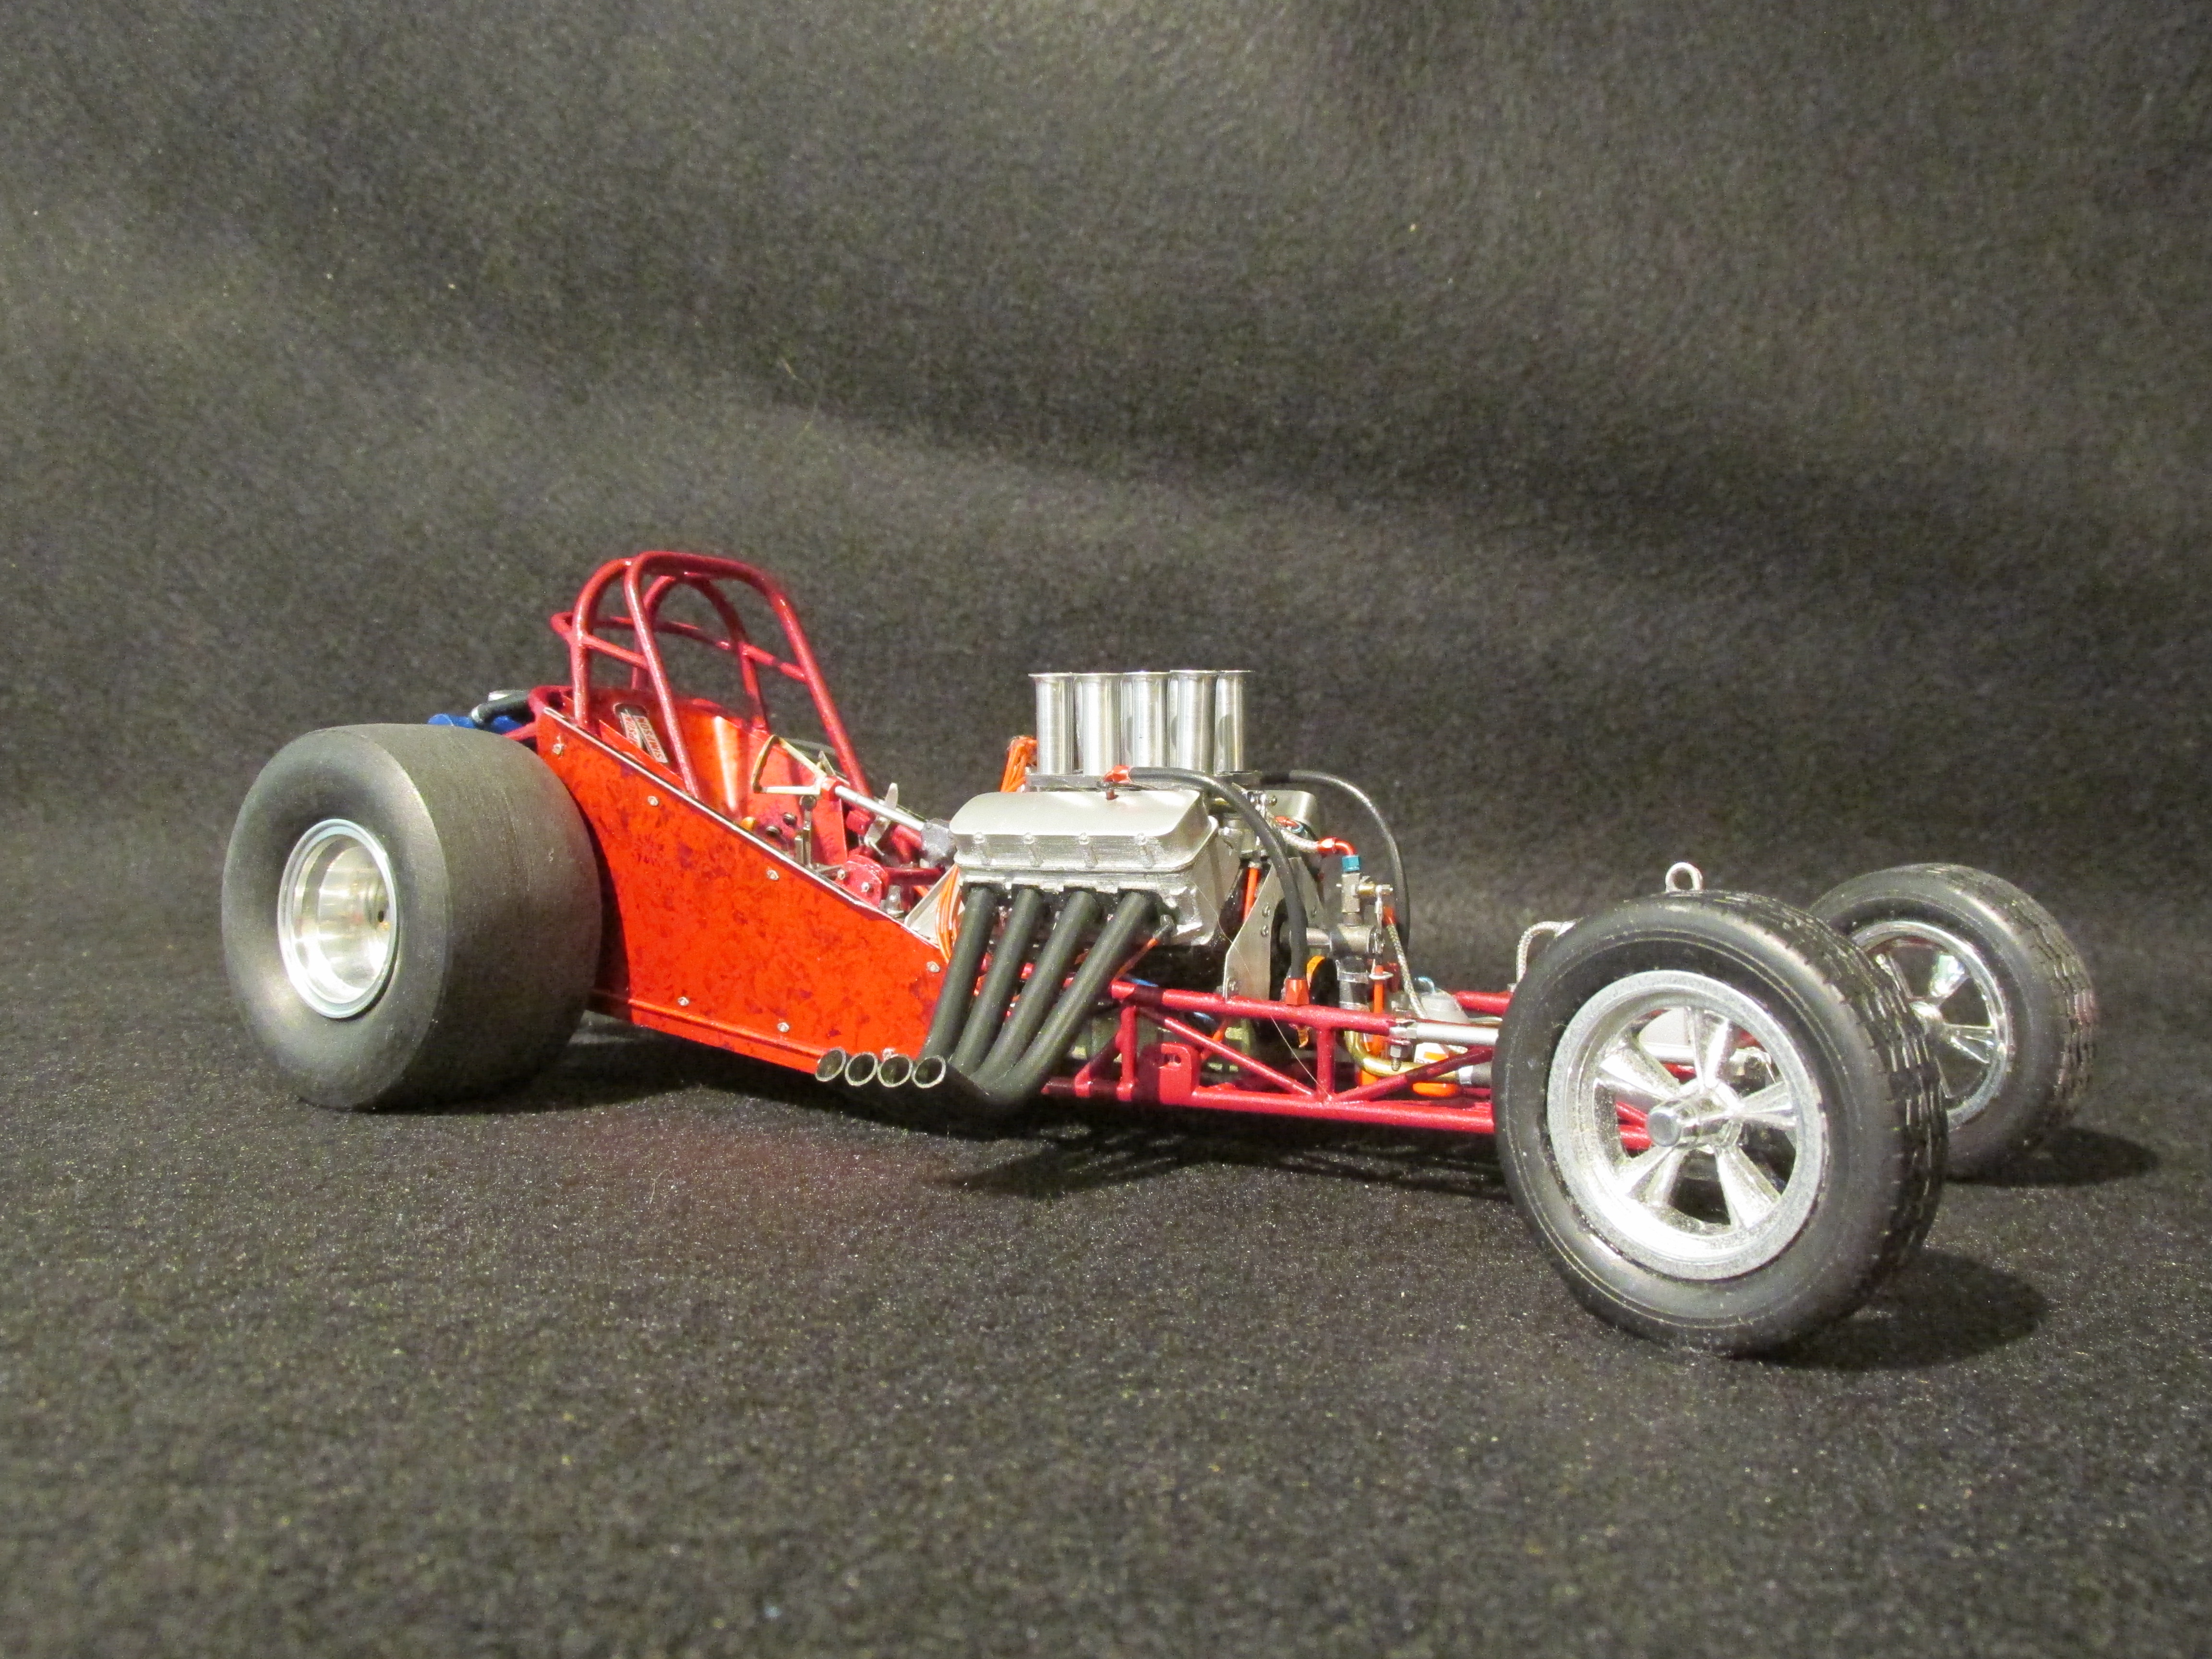
Very nice model in all respects. Love the paint I'm assuming it's been polished. If so which products did you use? -
ROYAL CANADIAN 1/16 SCALE TOP FUEL DRAGSTER
Ian McLaren replied to Ian McLaren's topic in WIP: Drag Racing Models
Got some color on and have found some areas that need improving but overall happy with the progress made
-
1/16 SCALE A/FC NITRO FUNNY CAR
Ian McLaren replied to Ian McLaren's topic in WIP: Drag Racing Models
After numerous test shots with Future got the amount of pearl correct in the clear. Decanted Tamiya TS13 clear and ran additional tests. Had to move the air pressure up a bit, it sprayed much better with the Tamiya. I was nervous how 50 year old pearl powder, stored in a baby food carrot bottle, would react. to illustrate how potent this pearl is I have included a picture of how much pearl powder Brian Louw (the owner of the real car) sent me. I actually only used one level scoop full (shown) to do the whole car with about a third of it left over unsprayed. So the pearl is on, and the first coat of over clear has been sprayed. Finished spraying, clean the airbrush took one picture and left the room. Keeping my fingers crossed that when I go back tomorrow morning nothing will have changed and I can proceed with final assembly and decals.
-
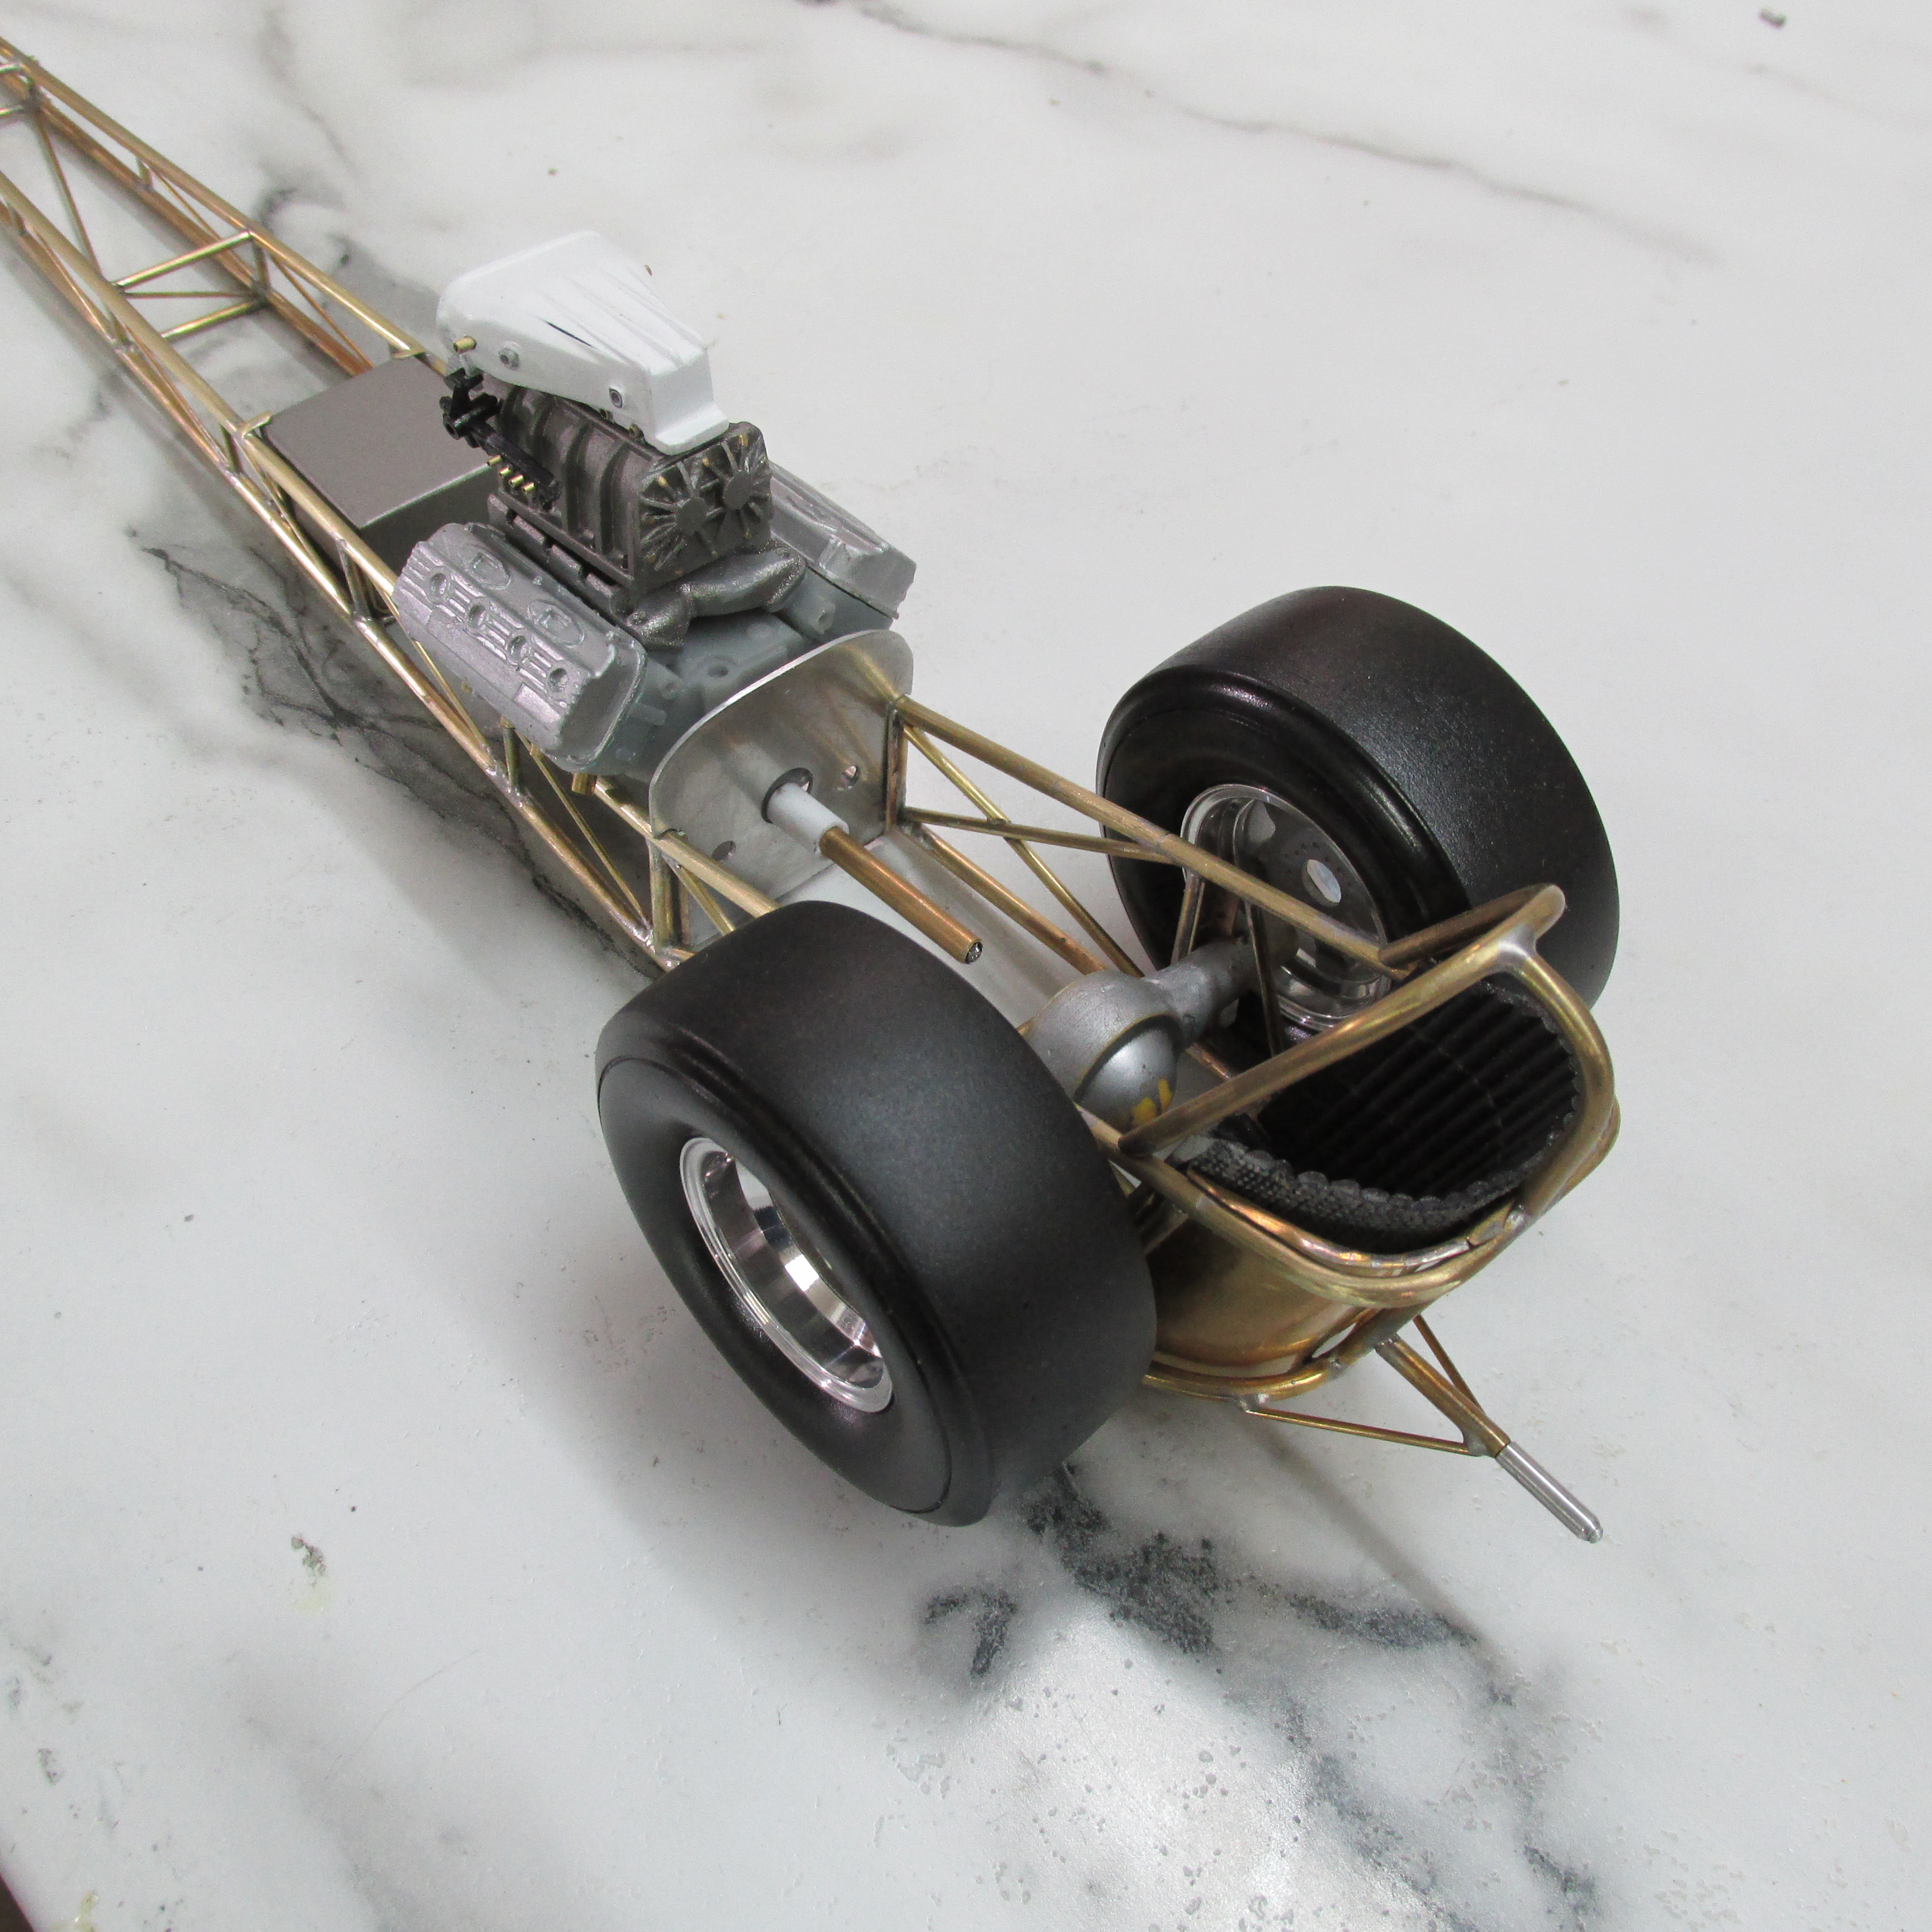
ROYAL CANADIAN 1/16 SCALE TOP FUEL DRAGSTER
Ian McLaren replied to Ian McLaren's topic in WIP: Drag Racing Models
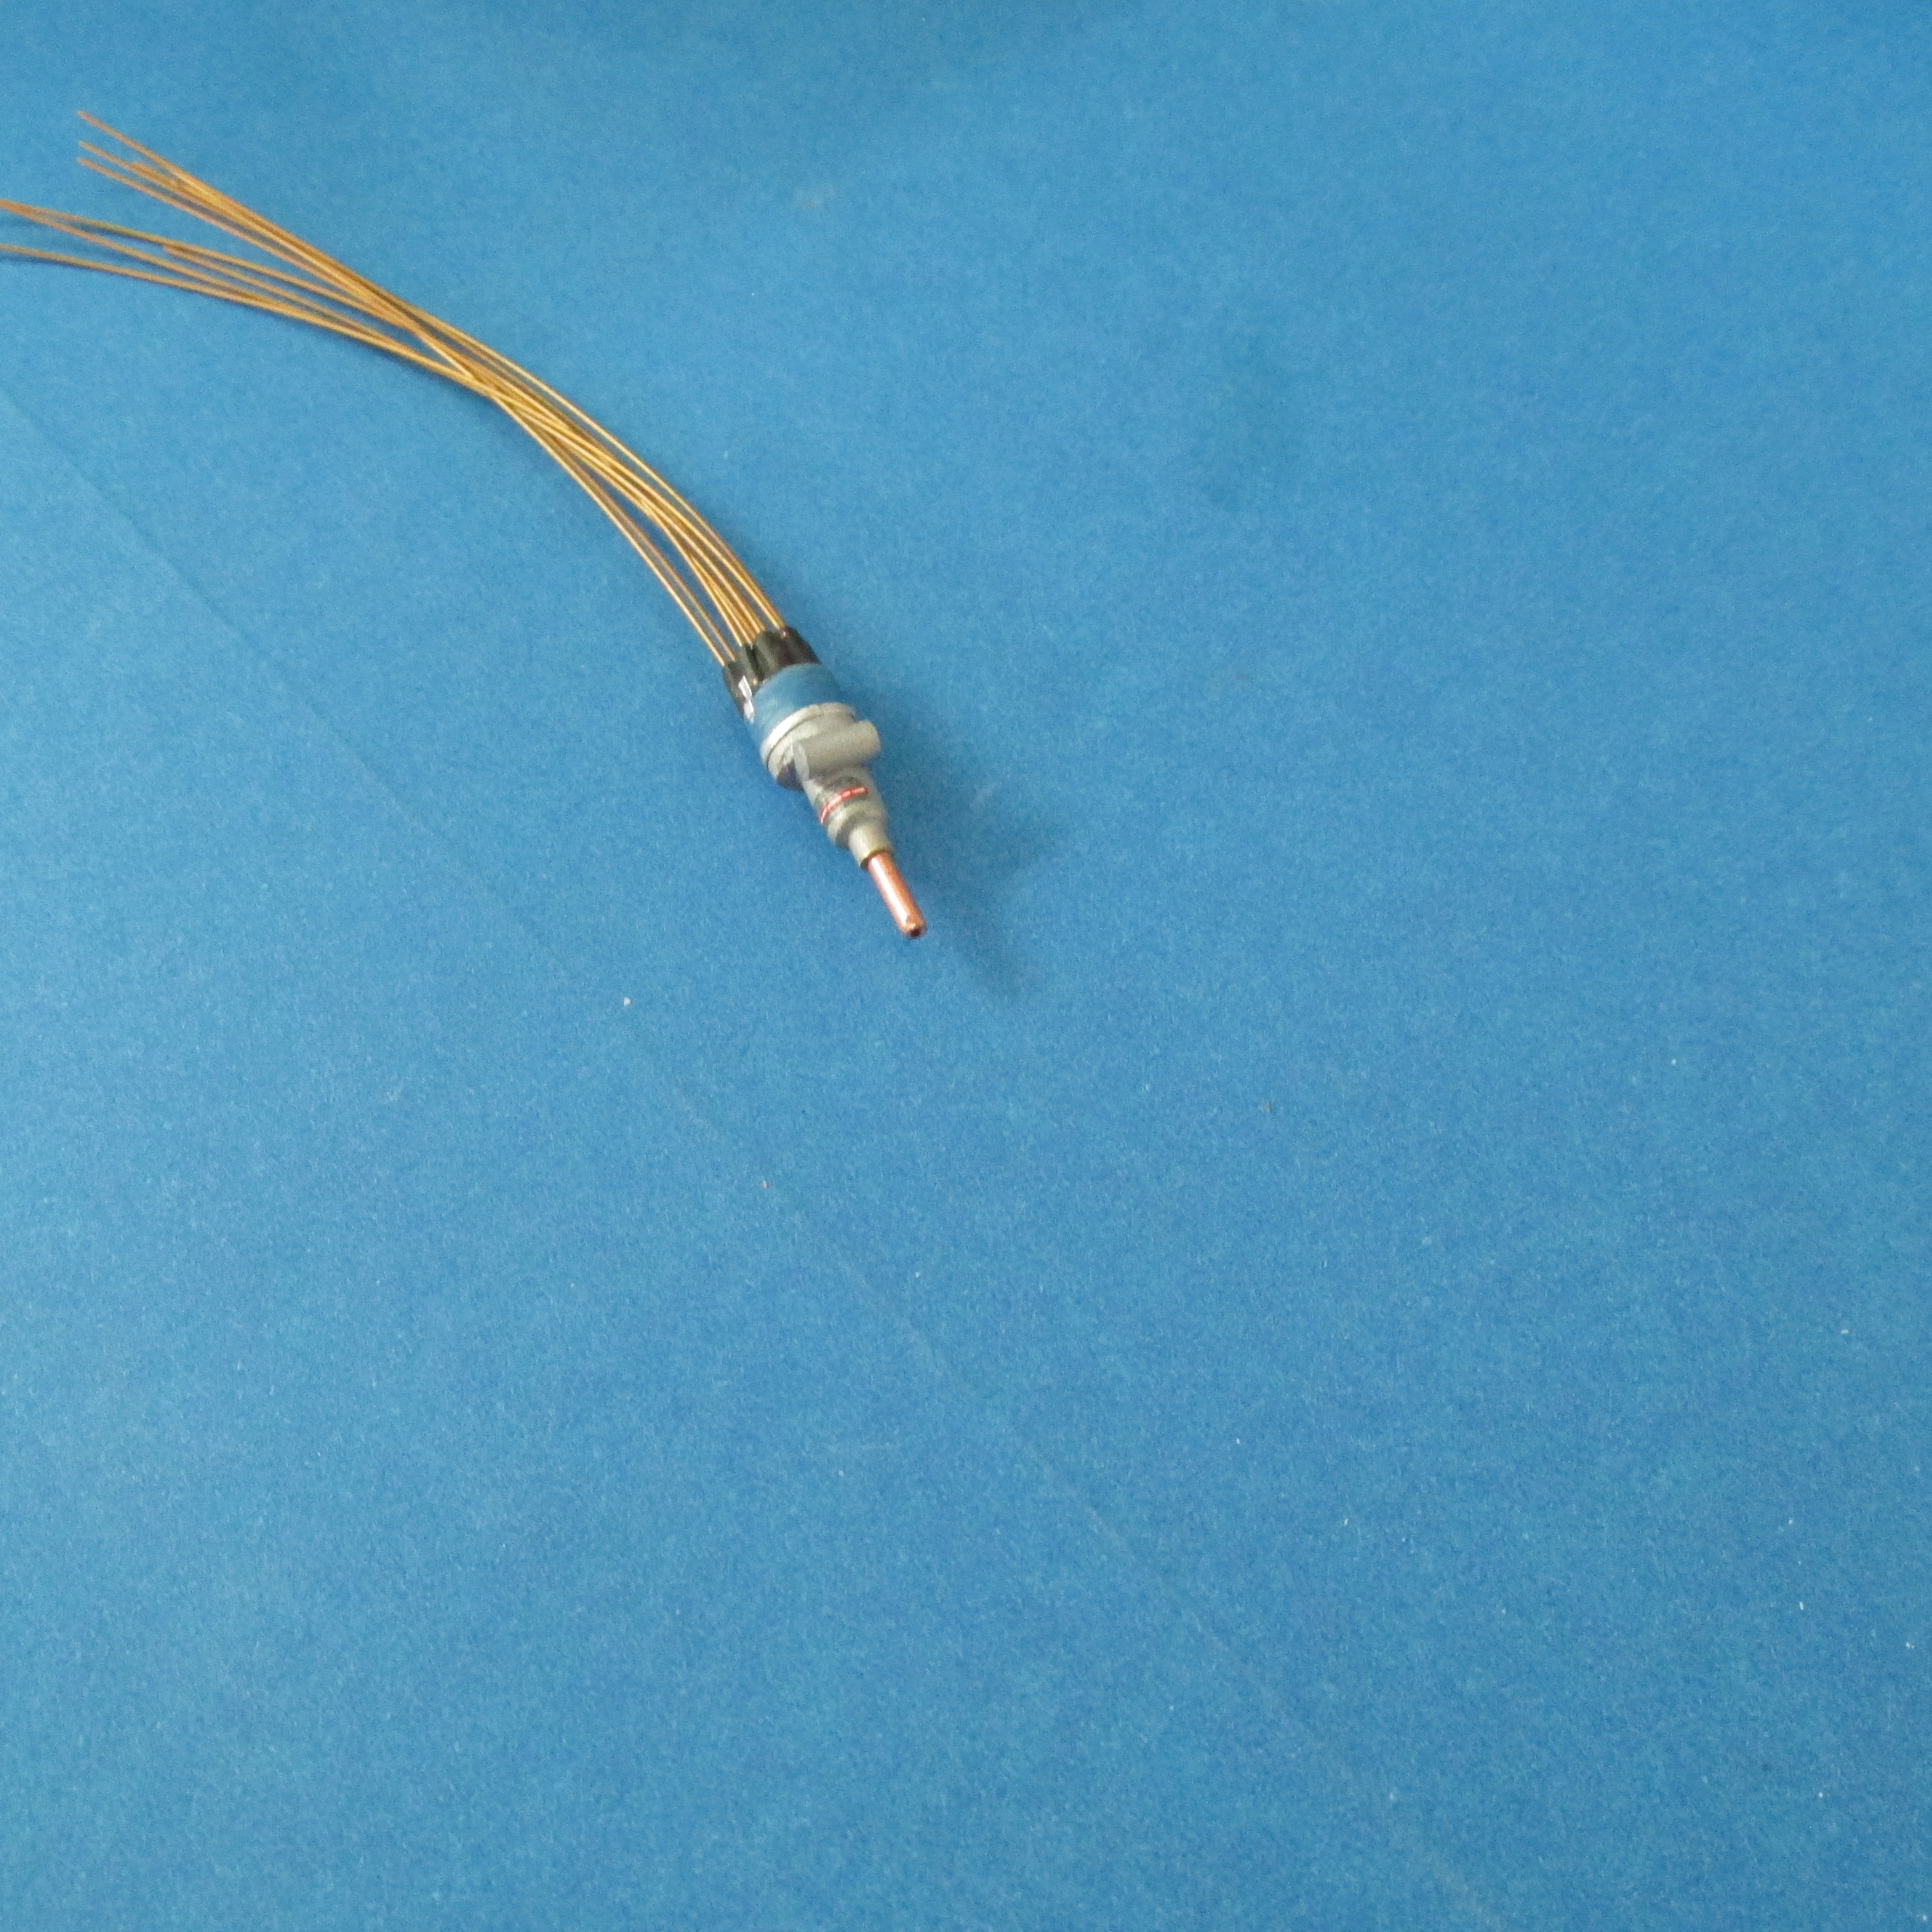
Mallory Super Mag 2 and I finally found something that looks like the original Autolite wires in the correct scale
-
1/16 SCALE A/FC NITRO FUNNY CAR
Ian McLaren replied to Ian McLaren's topic in WIP: Drag Racing Models
Brad Thank you so much for the kind words. I've been working on the body and will have some updates shortly. -
Dodge (Color me Gone) Promod
Ian McLaren replied to Tortuga Kustomz's topic in WIP: Drag Racing Models
I'm simply in awe with the detail you have added, amazing! -
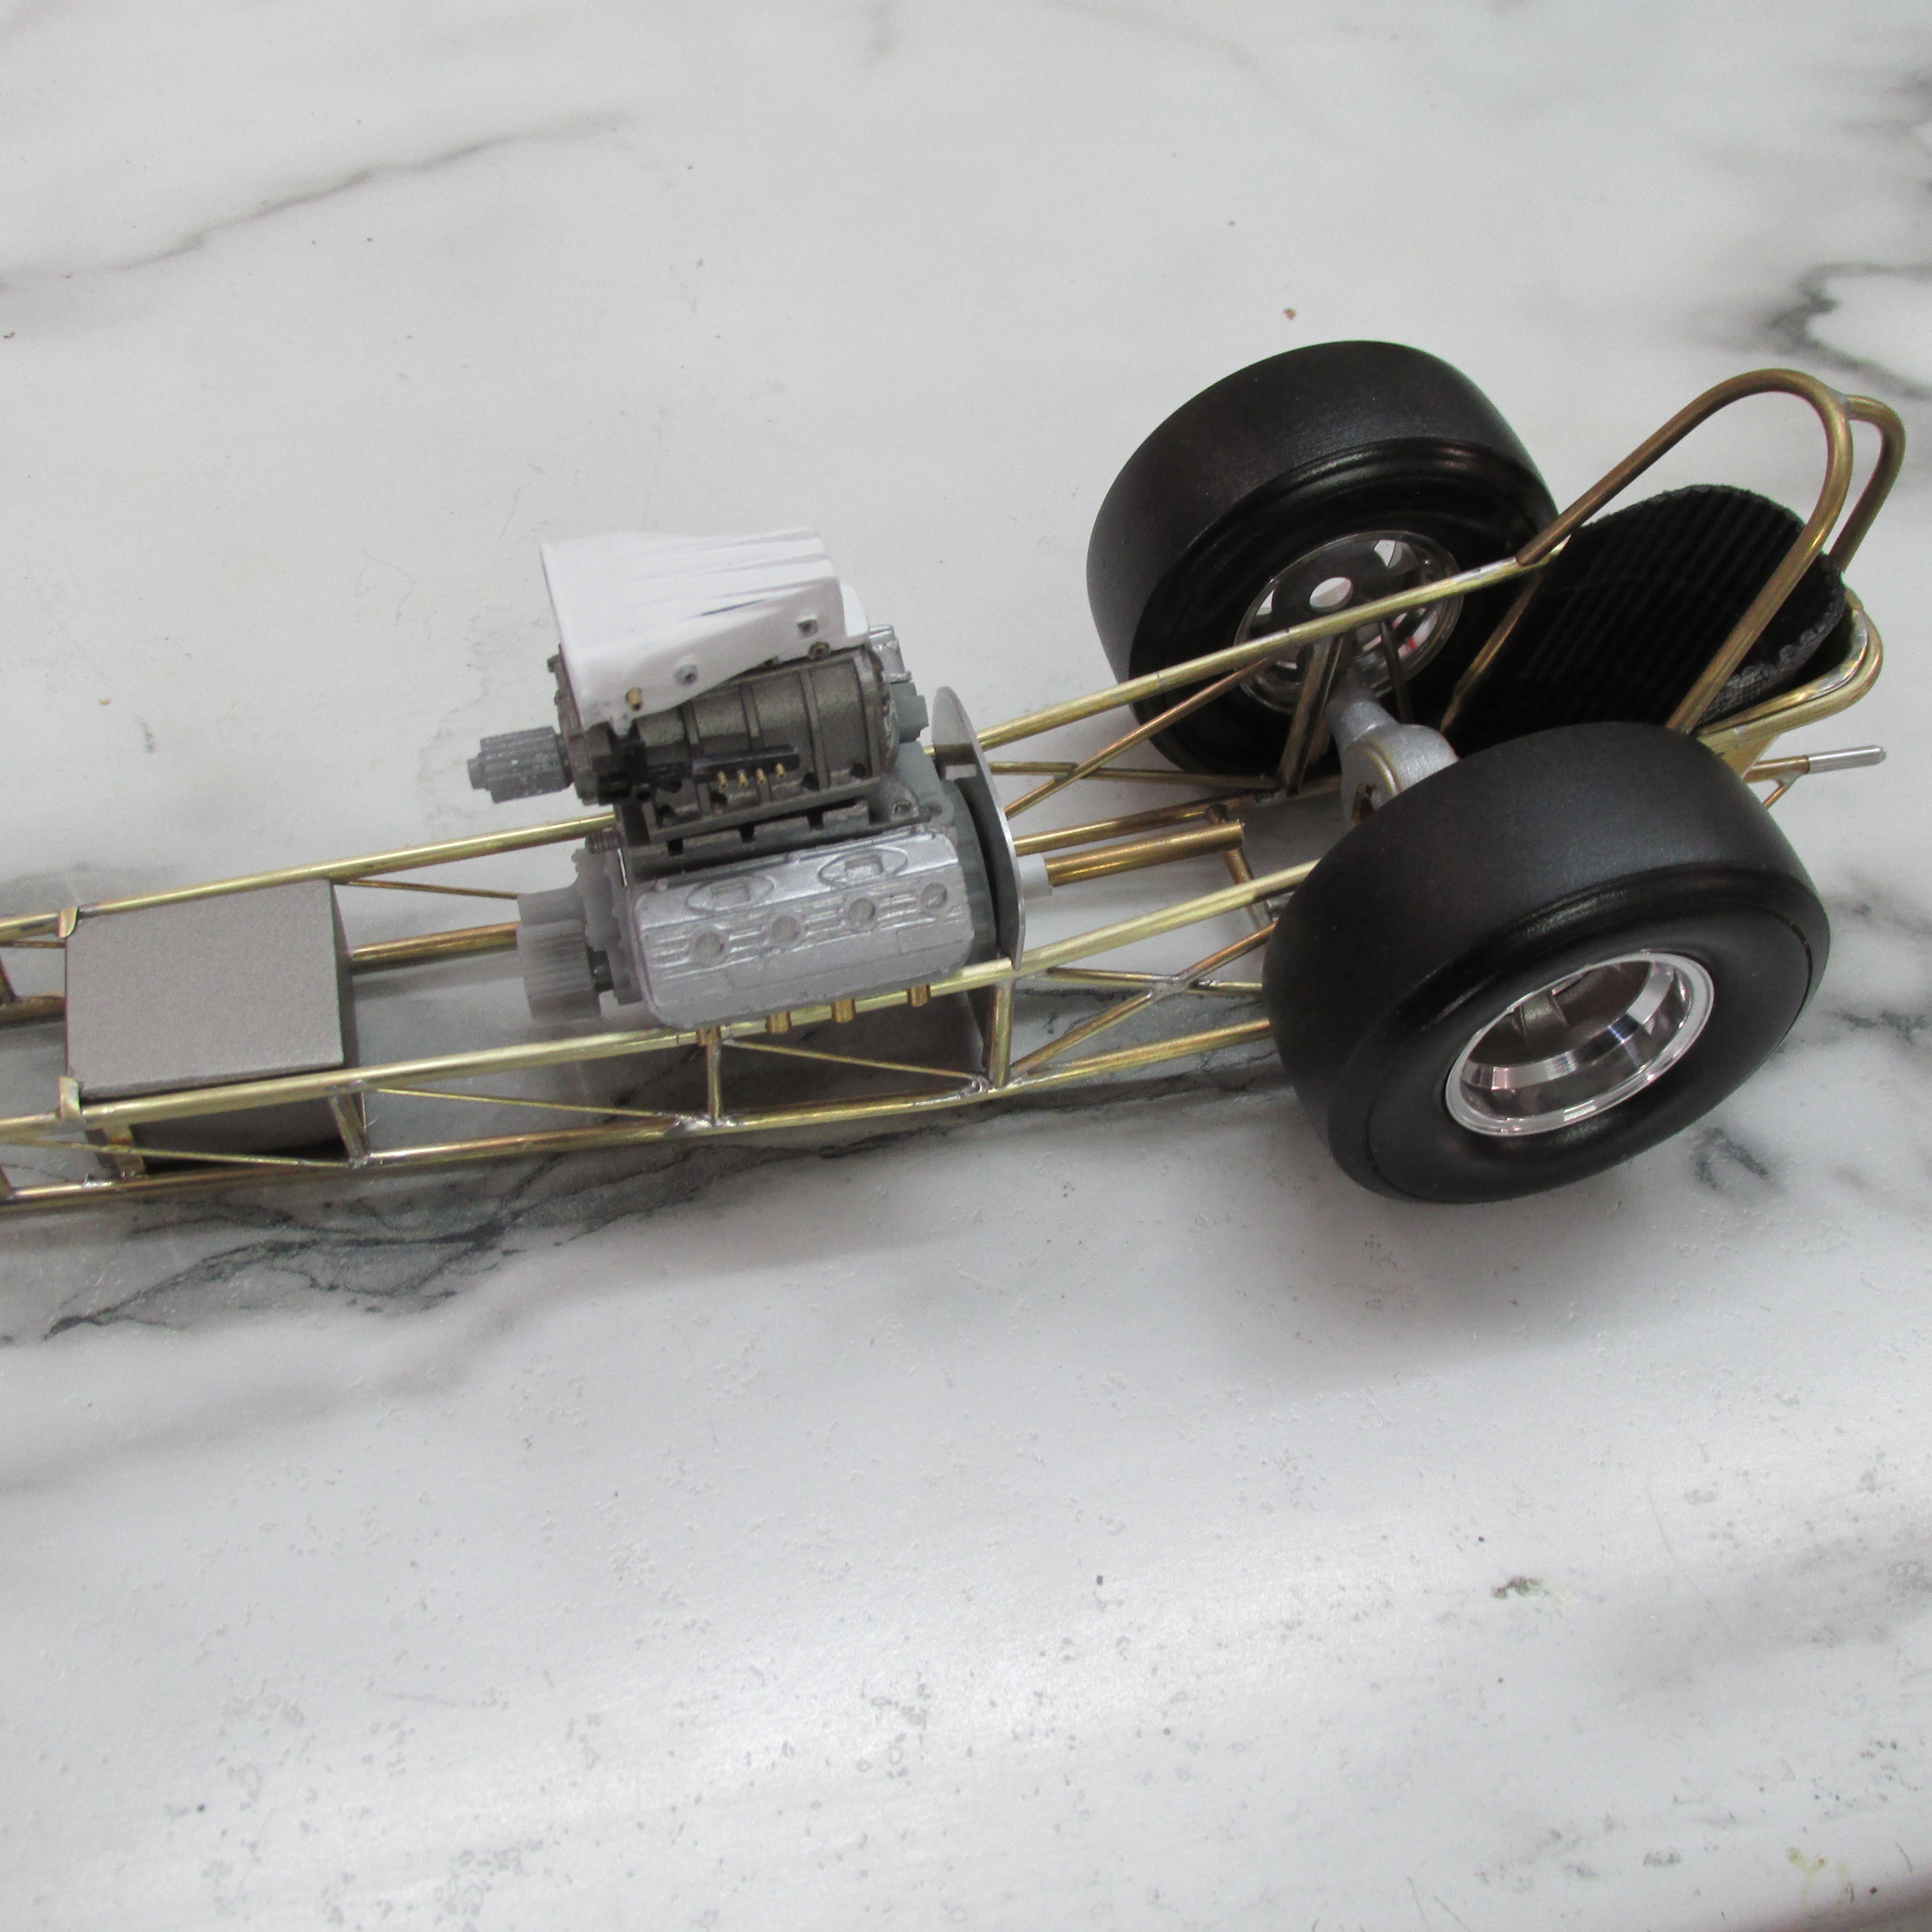
ROYAL CANADIAN 1/16 SCALE TOP FUEL DRAGSTER
Ian McLaren replied to Ian McLaren's topic in WIP: Drag Racing Models
Thank you Brad. Again trying new things is slowing the progress but I'm learning and growing. I kind of like this brass fabrication deal. -
ROYAL CANADIAN 1/16 SCALE TOP FUEL DRAGSTER
Ian McLaren replied to Ian McLaren's topic in WIP: Drag Racing Models
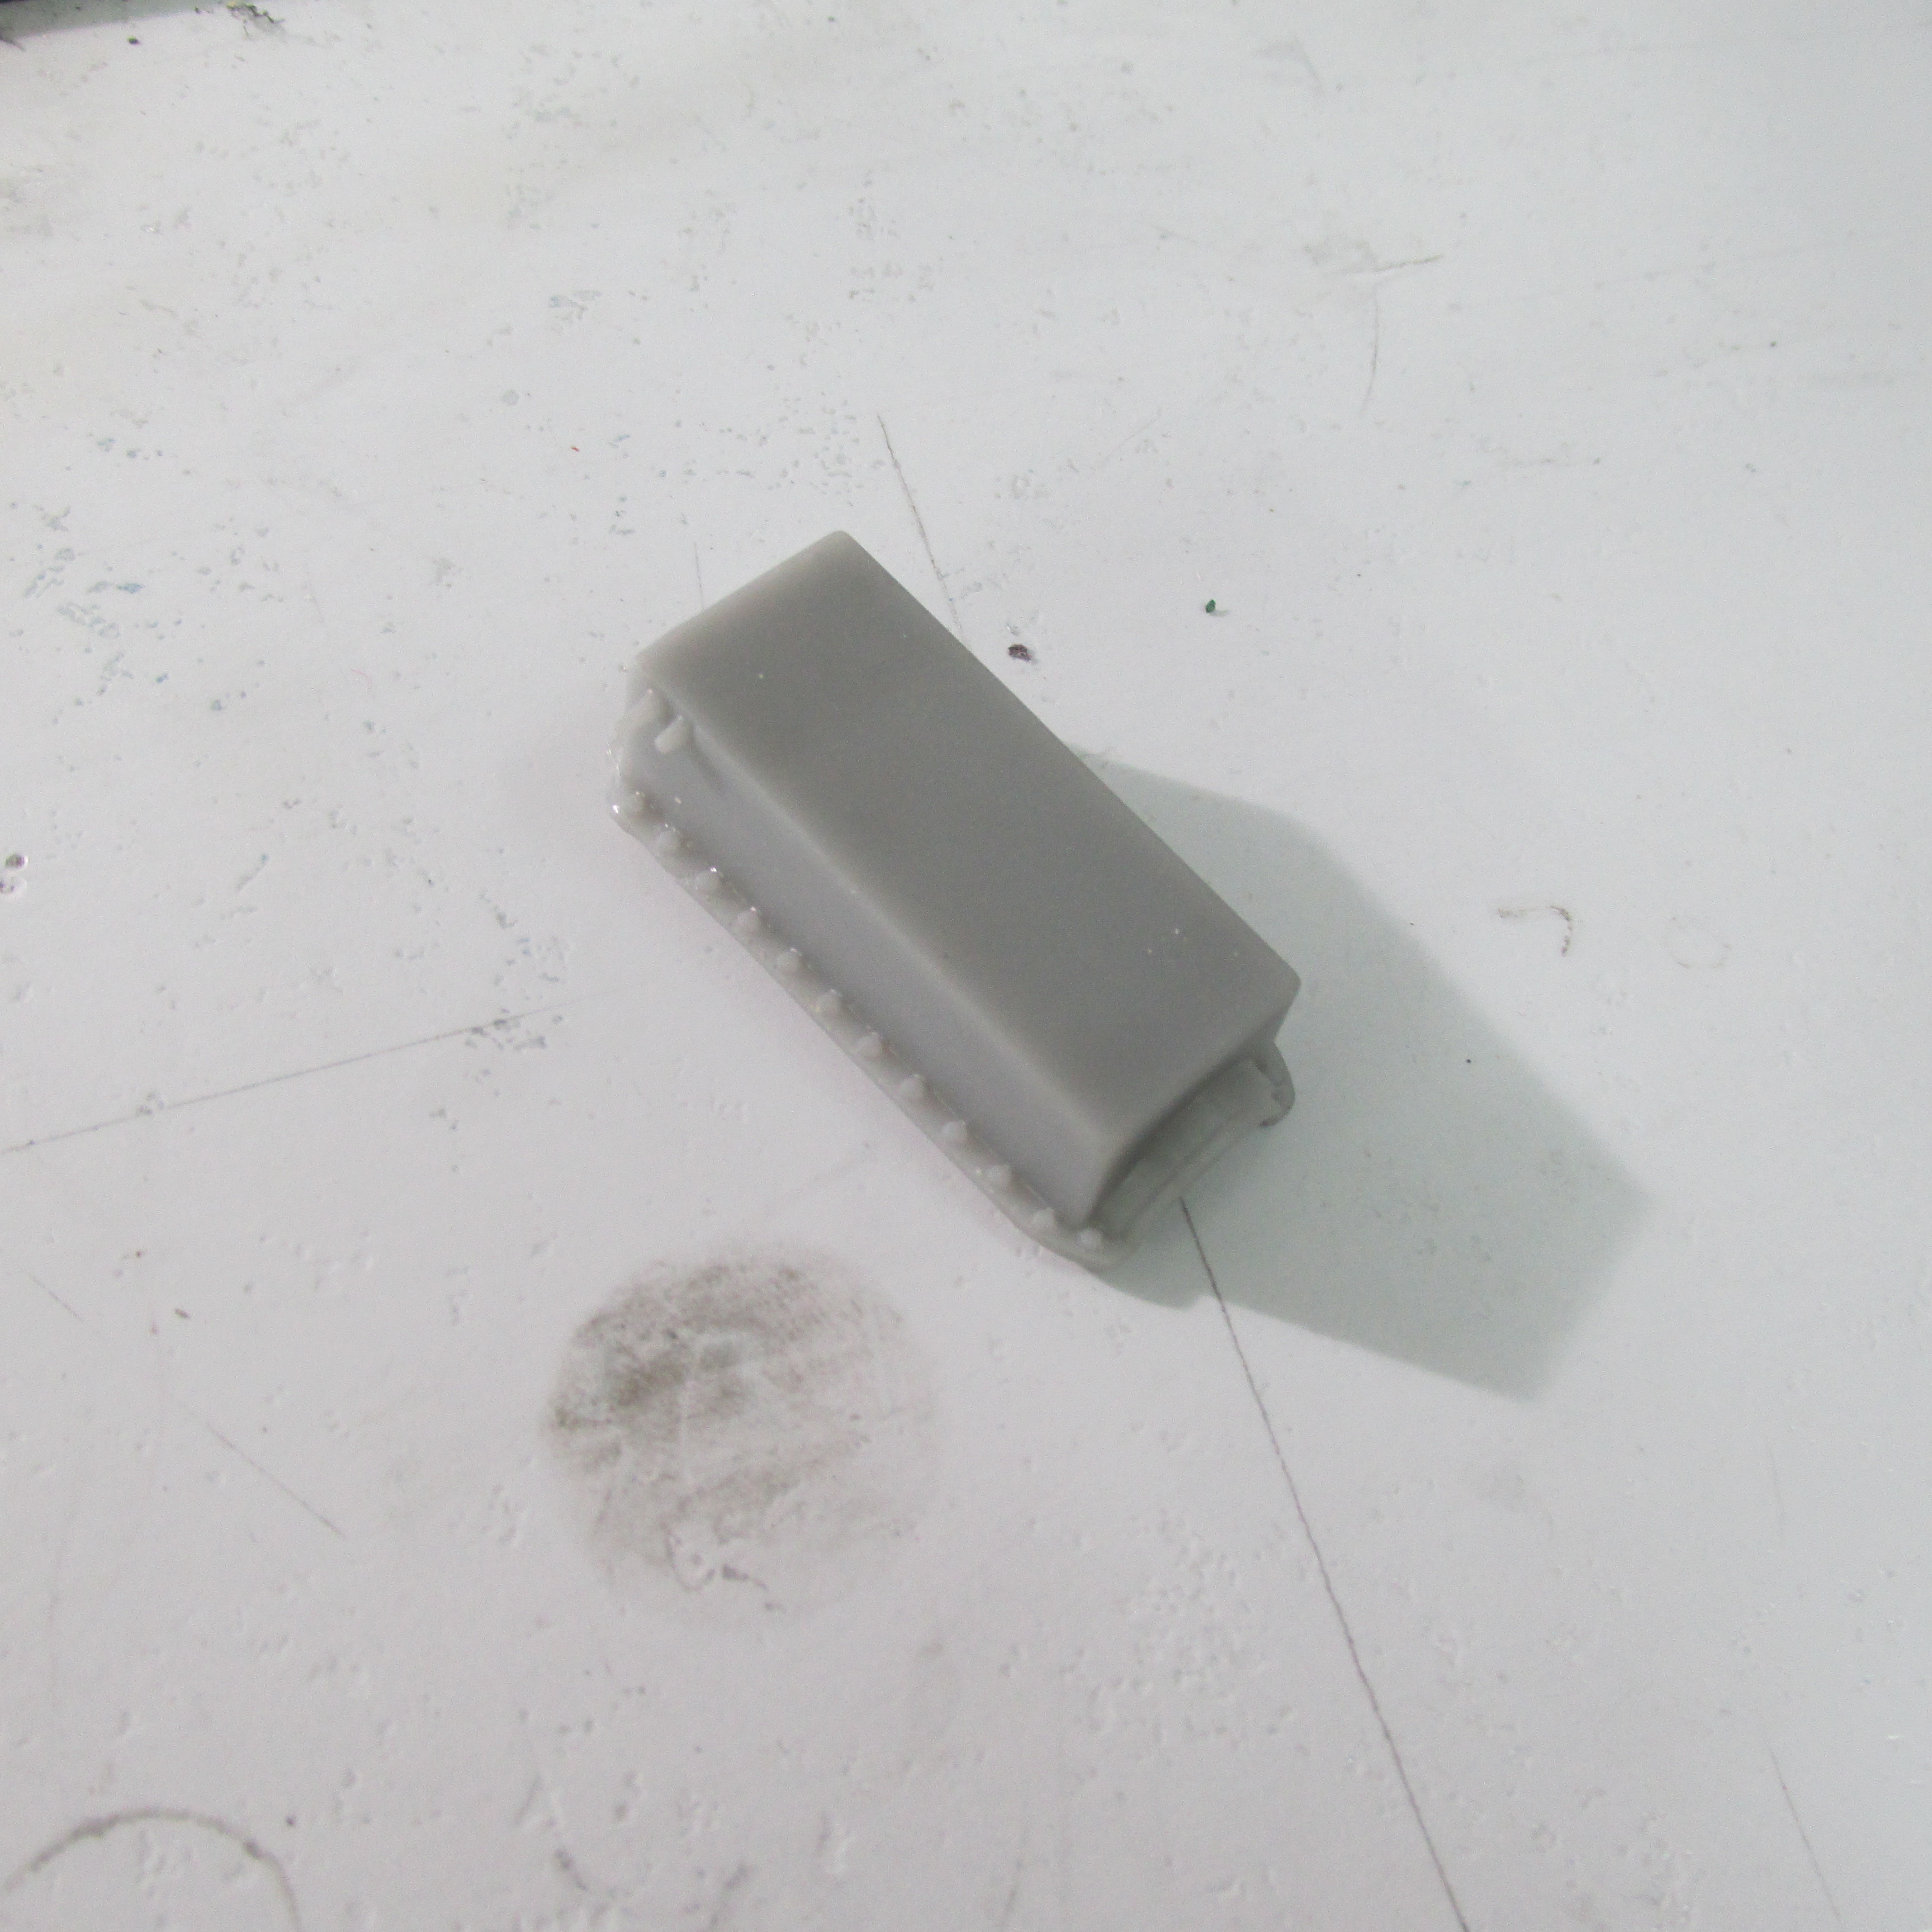
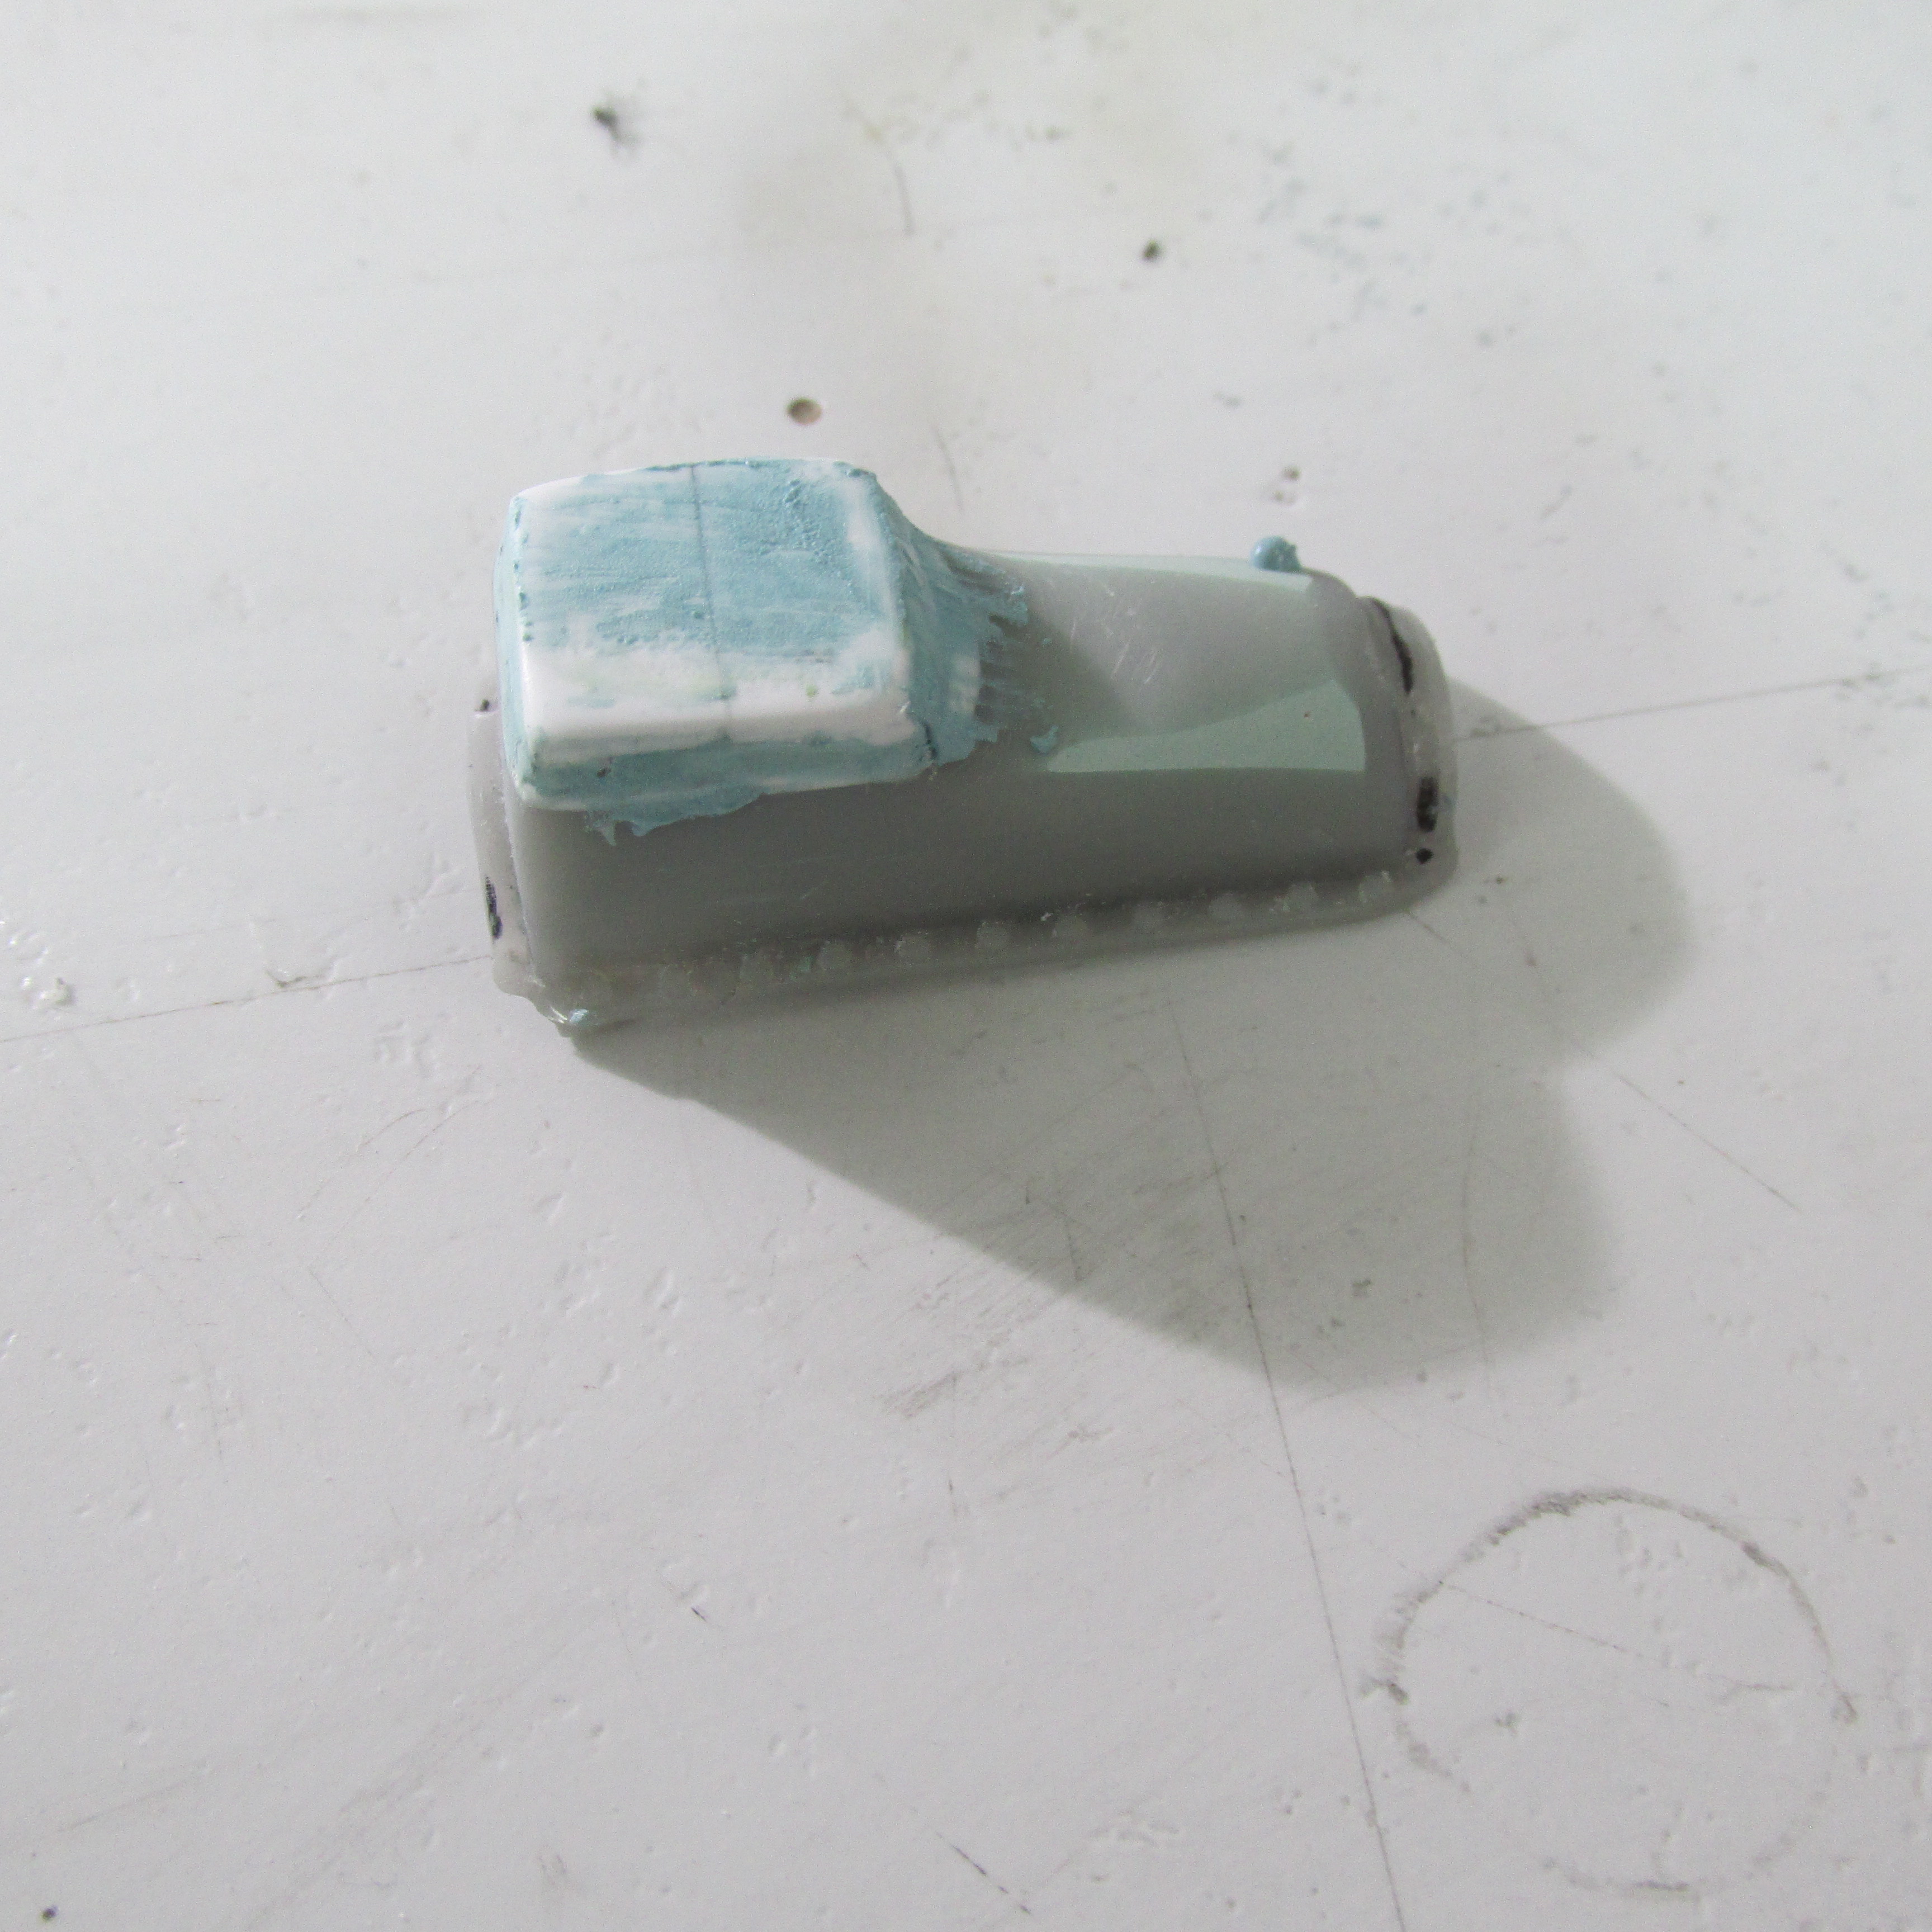
Just a recap of where I am with this project.; Had to change the dragster pan into the correct stock appearing pan.
-
ROYAL CANADIAN 1/16 SCALE TOP FUEL DRAGSTER
Ian McLaren replied to Ian McLaren's topic in WIP: Drag Racing Models
Thanks Francis it really helps when you have virtually unlimited access to the real car -
Dodge (Color me Gone) Promod
Ian McLaren replied to Tortuga Kustomz's topic in WIP: Drag Racing Models
Exceptional work my friend! -
Great looking model, the paint is fantastic. Do you have some detail pictures of the chassis with a little more light? What I can see looks very good. I like the chute release on the roof. Well done.
-
1/16 SCALE A/FC NITRO FUNNY CAR
Ian McLaren replied to Ian McLaren's topic in WIP: Drag Racing Models
Just finishing up some details on the chassis, I have been shooting some test panels with the original Murano Pearl that was used on the real car forty plus years ago , and I think I'm ready to risk it on the body itself this week end
-
ROYAL CANADIAN 1/16 SCALE TOP FUEL DRAGSTER
Ian McLaren replied to Ian McLaren's topic in WIP: Drag Racing Models
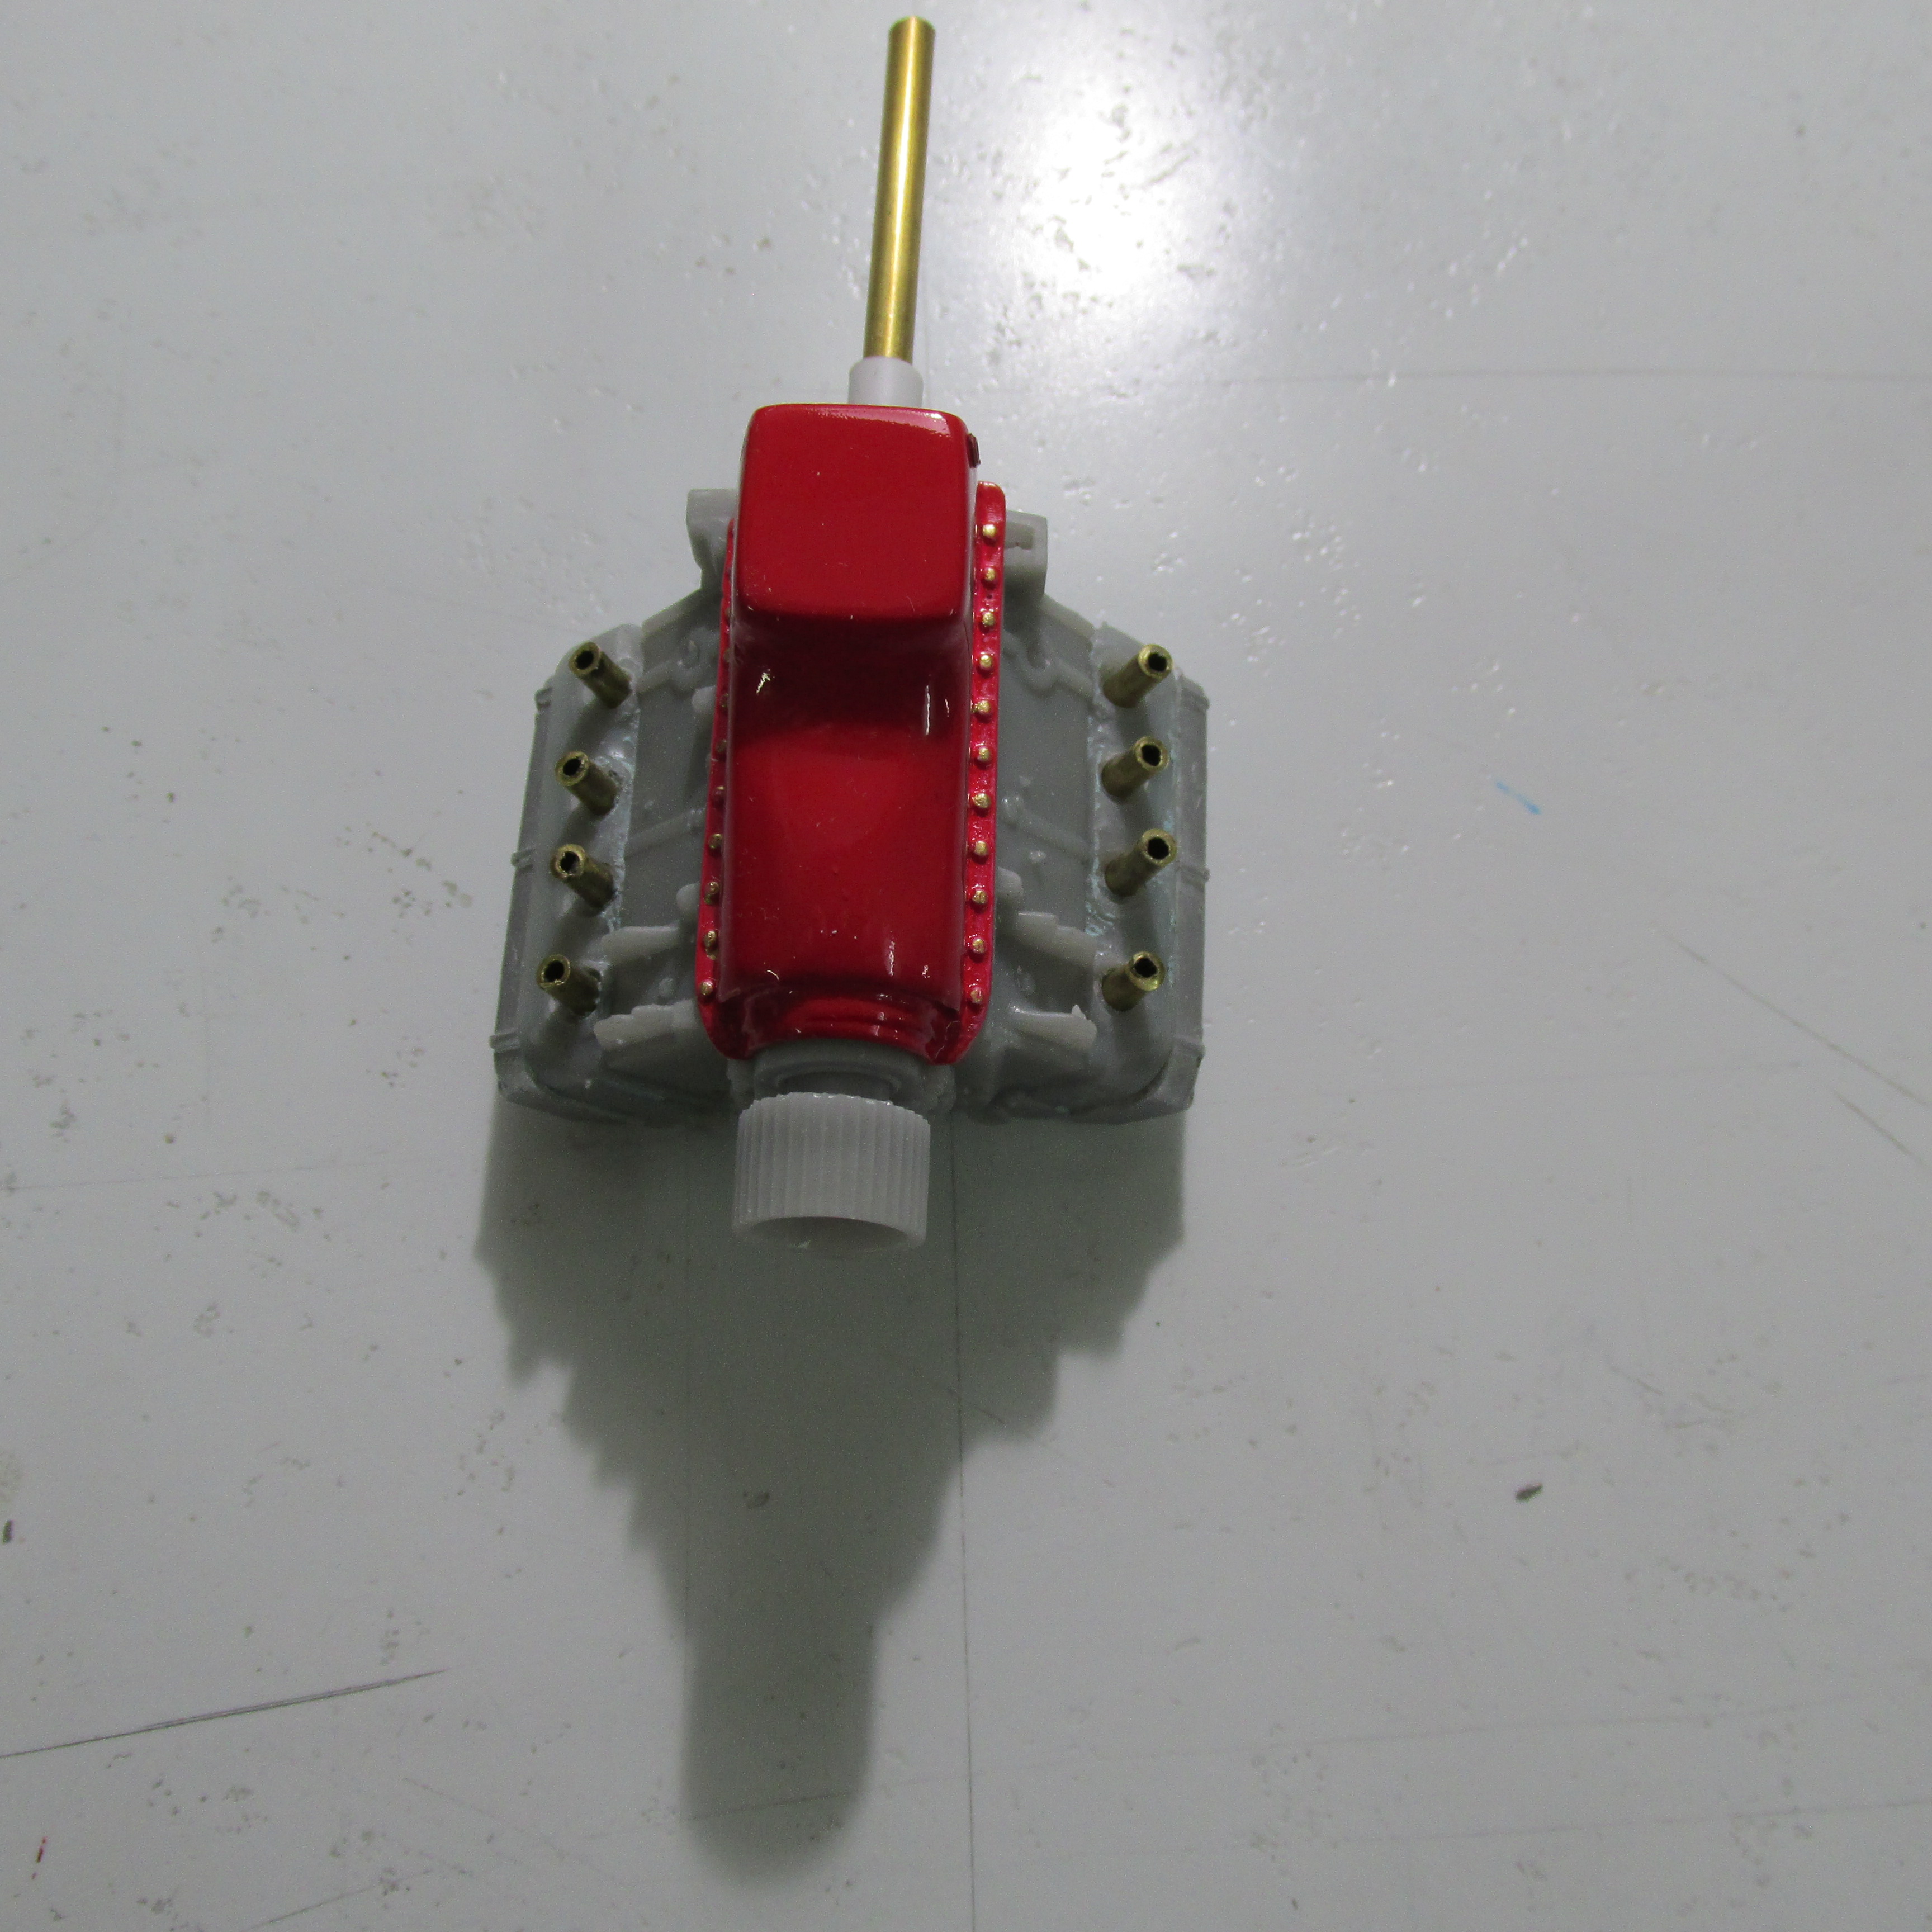
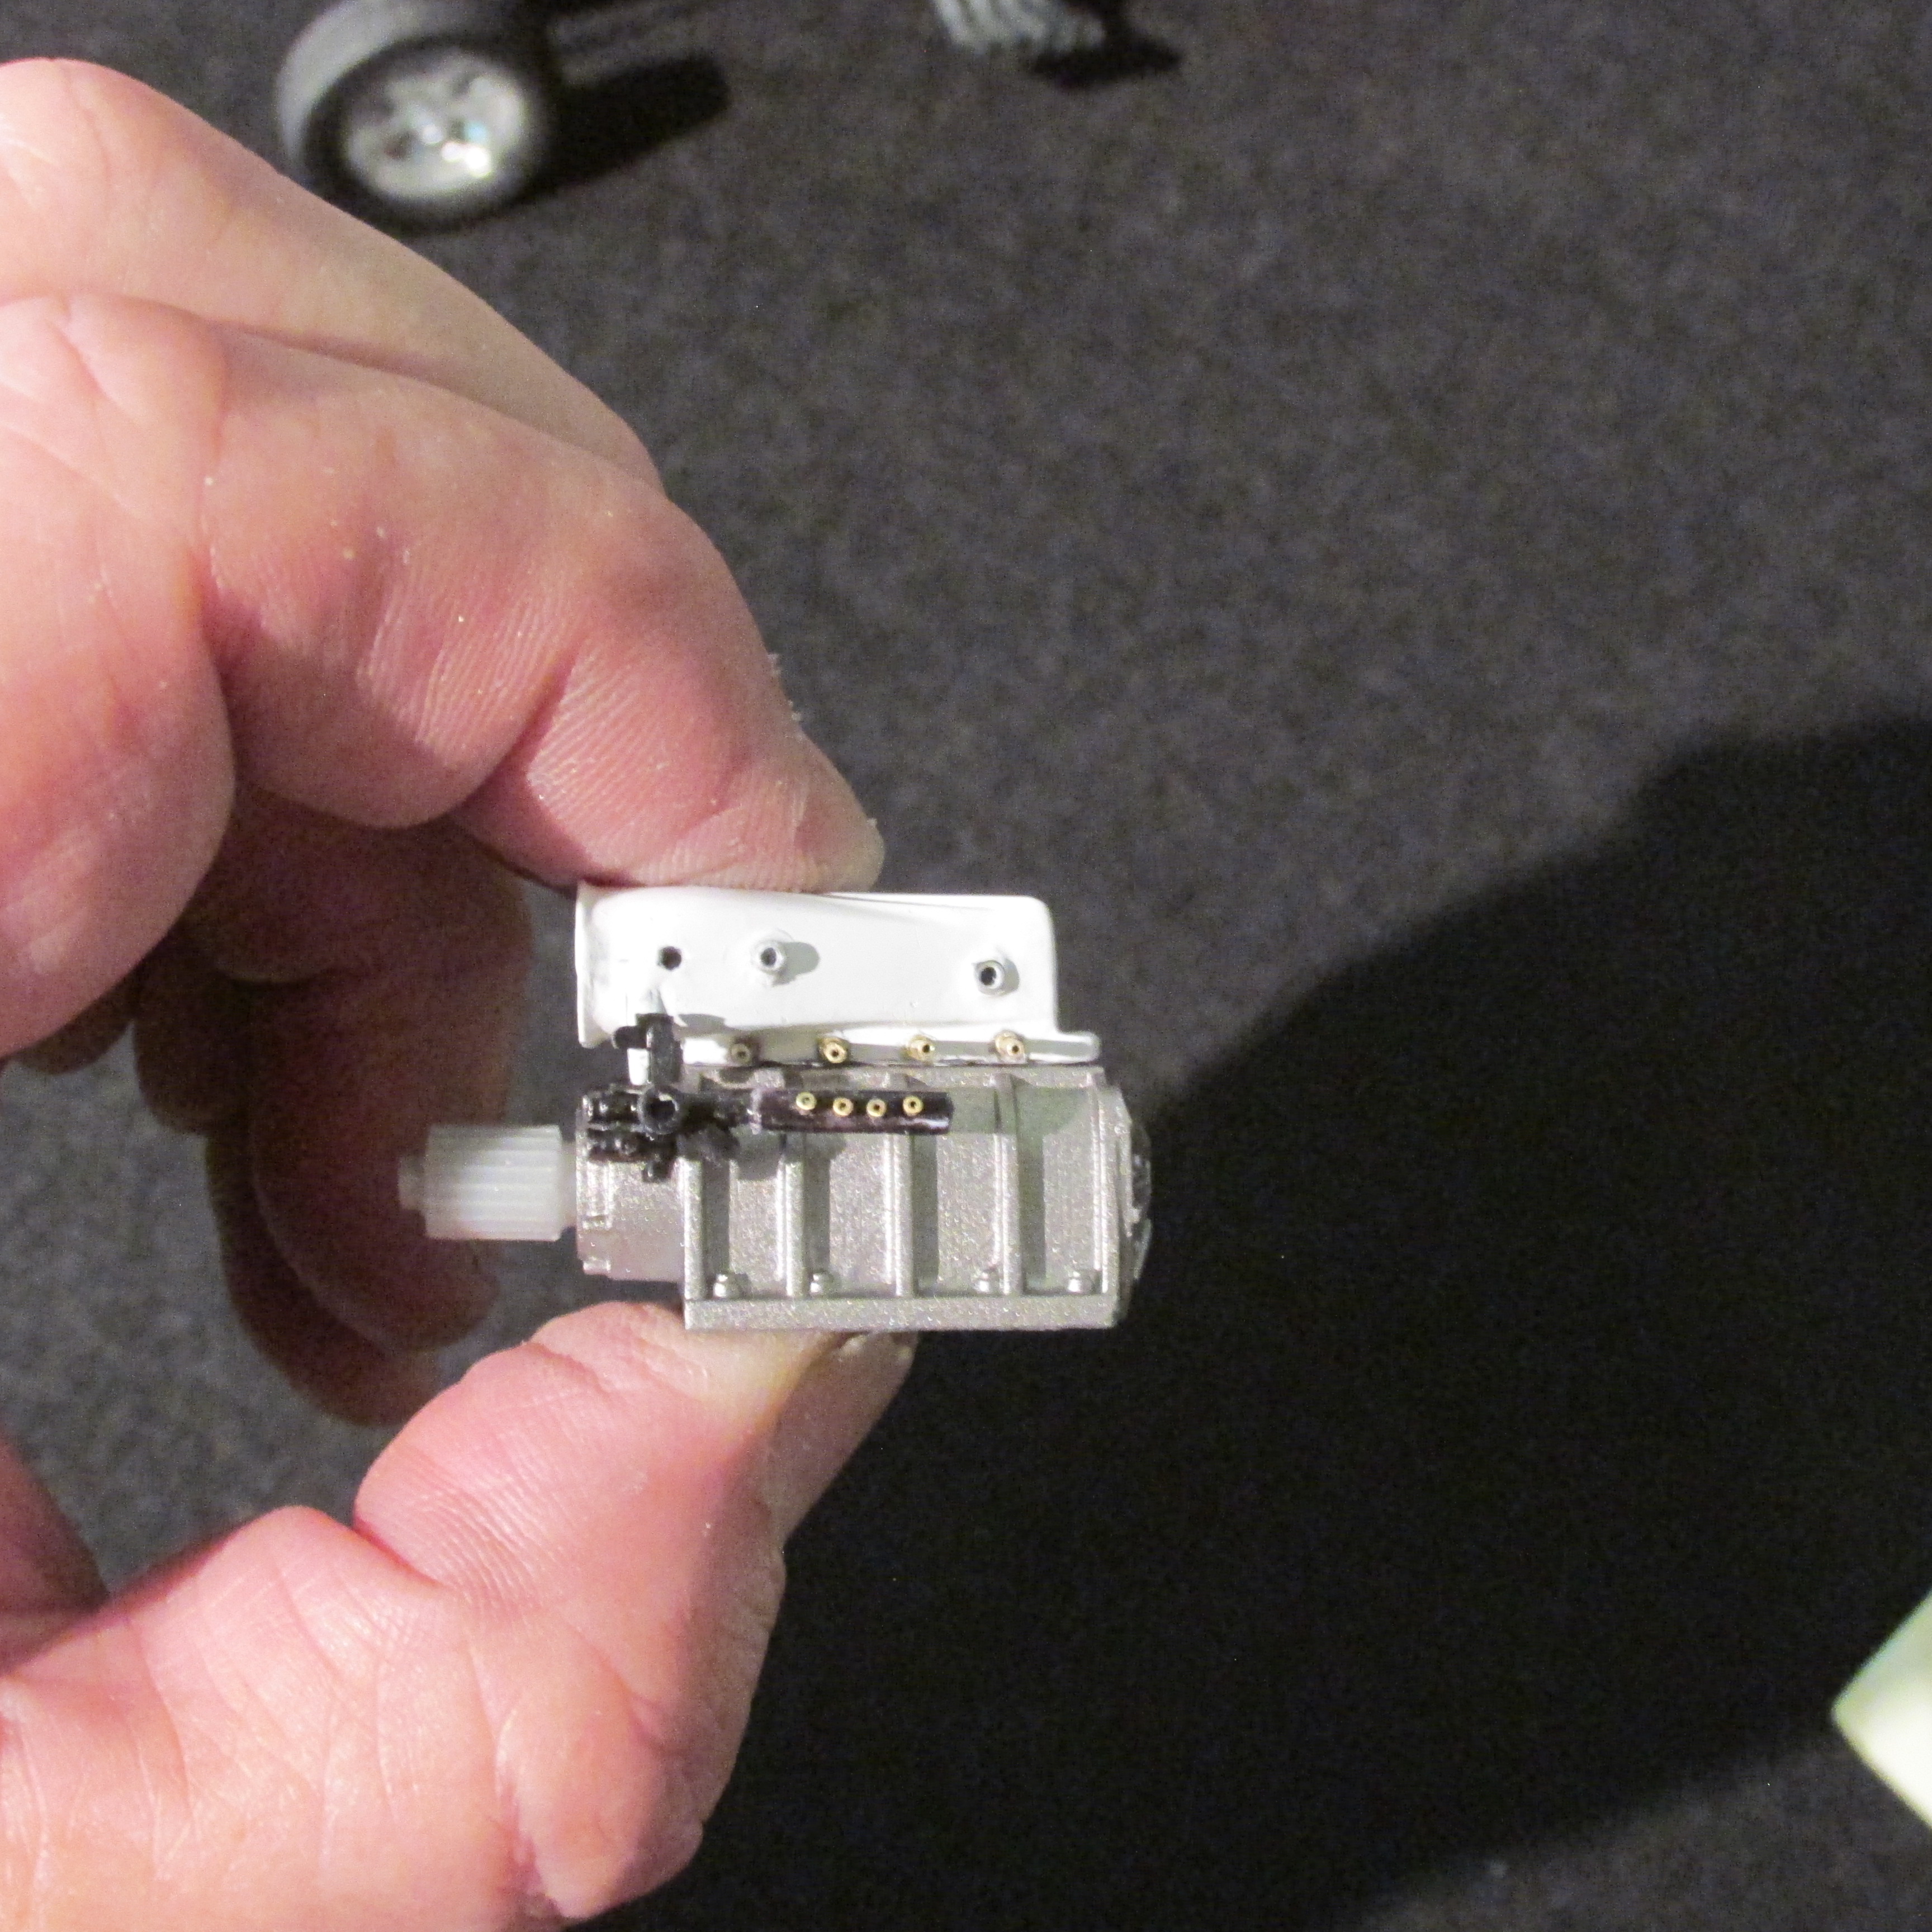
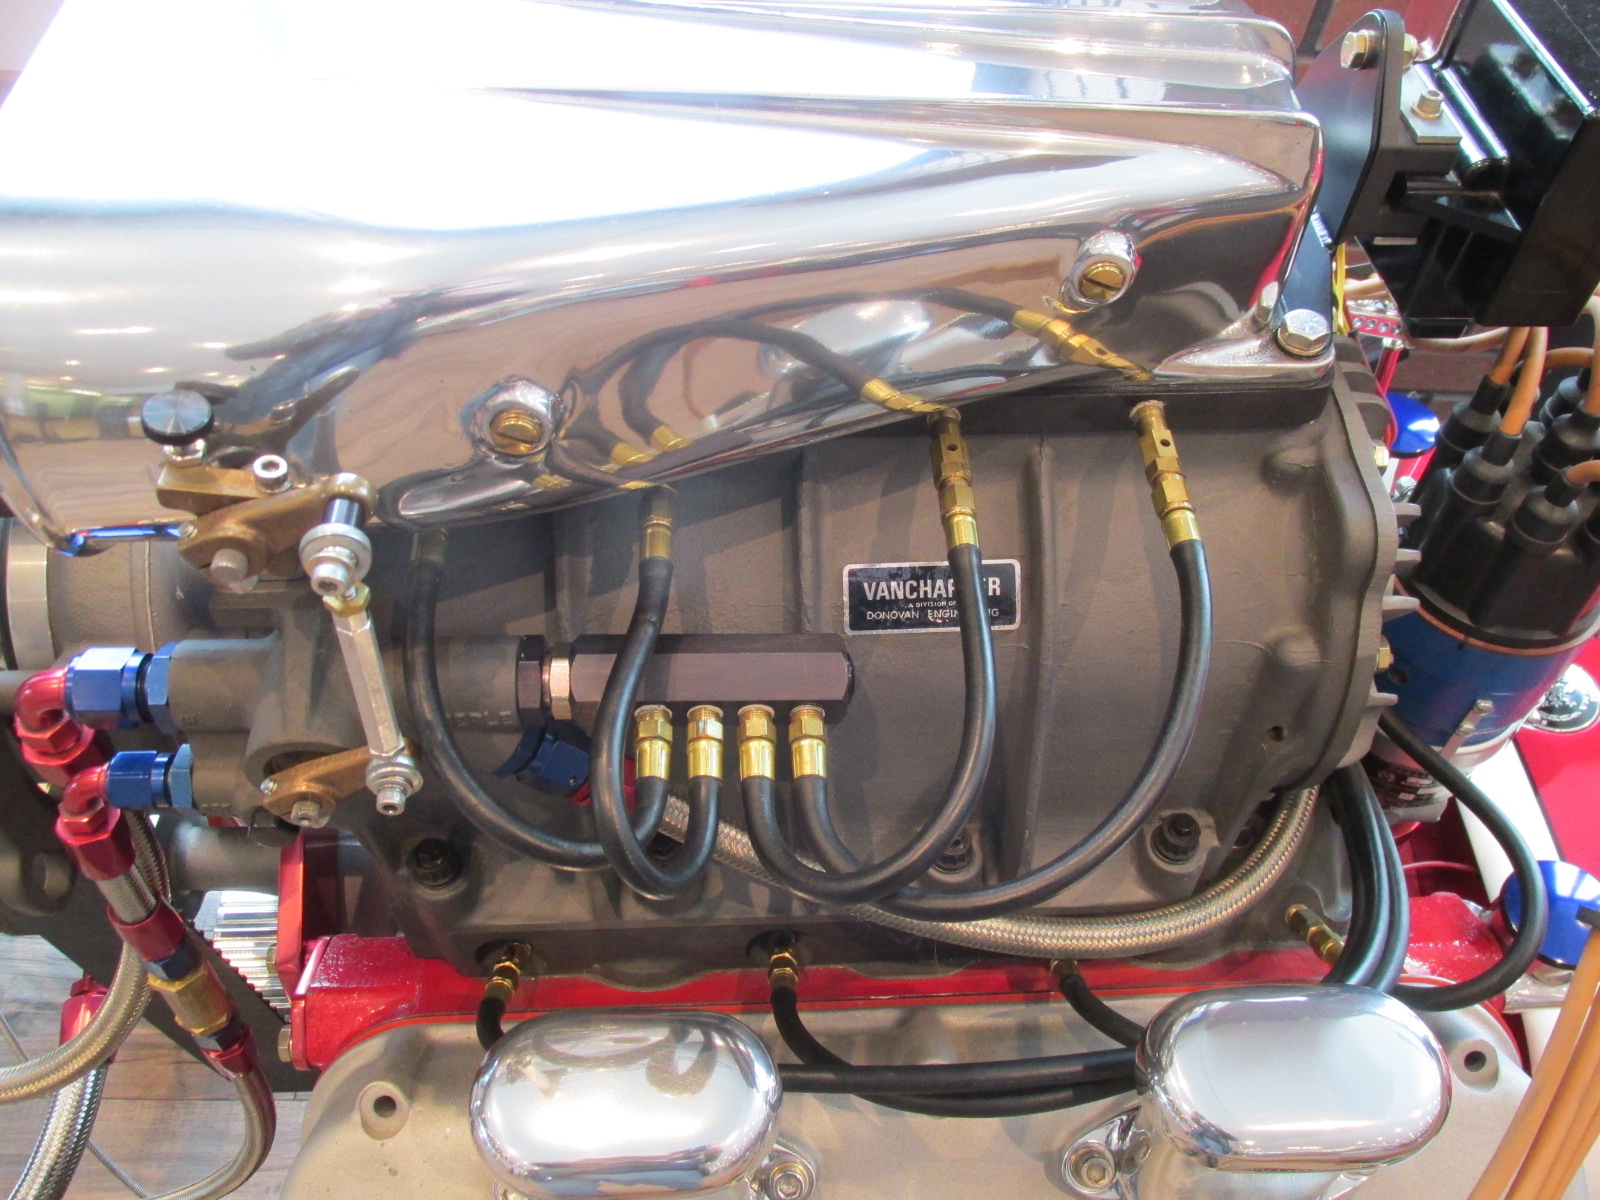
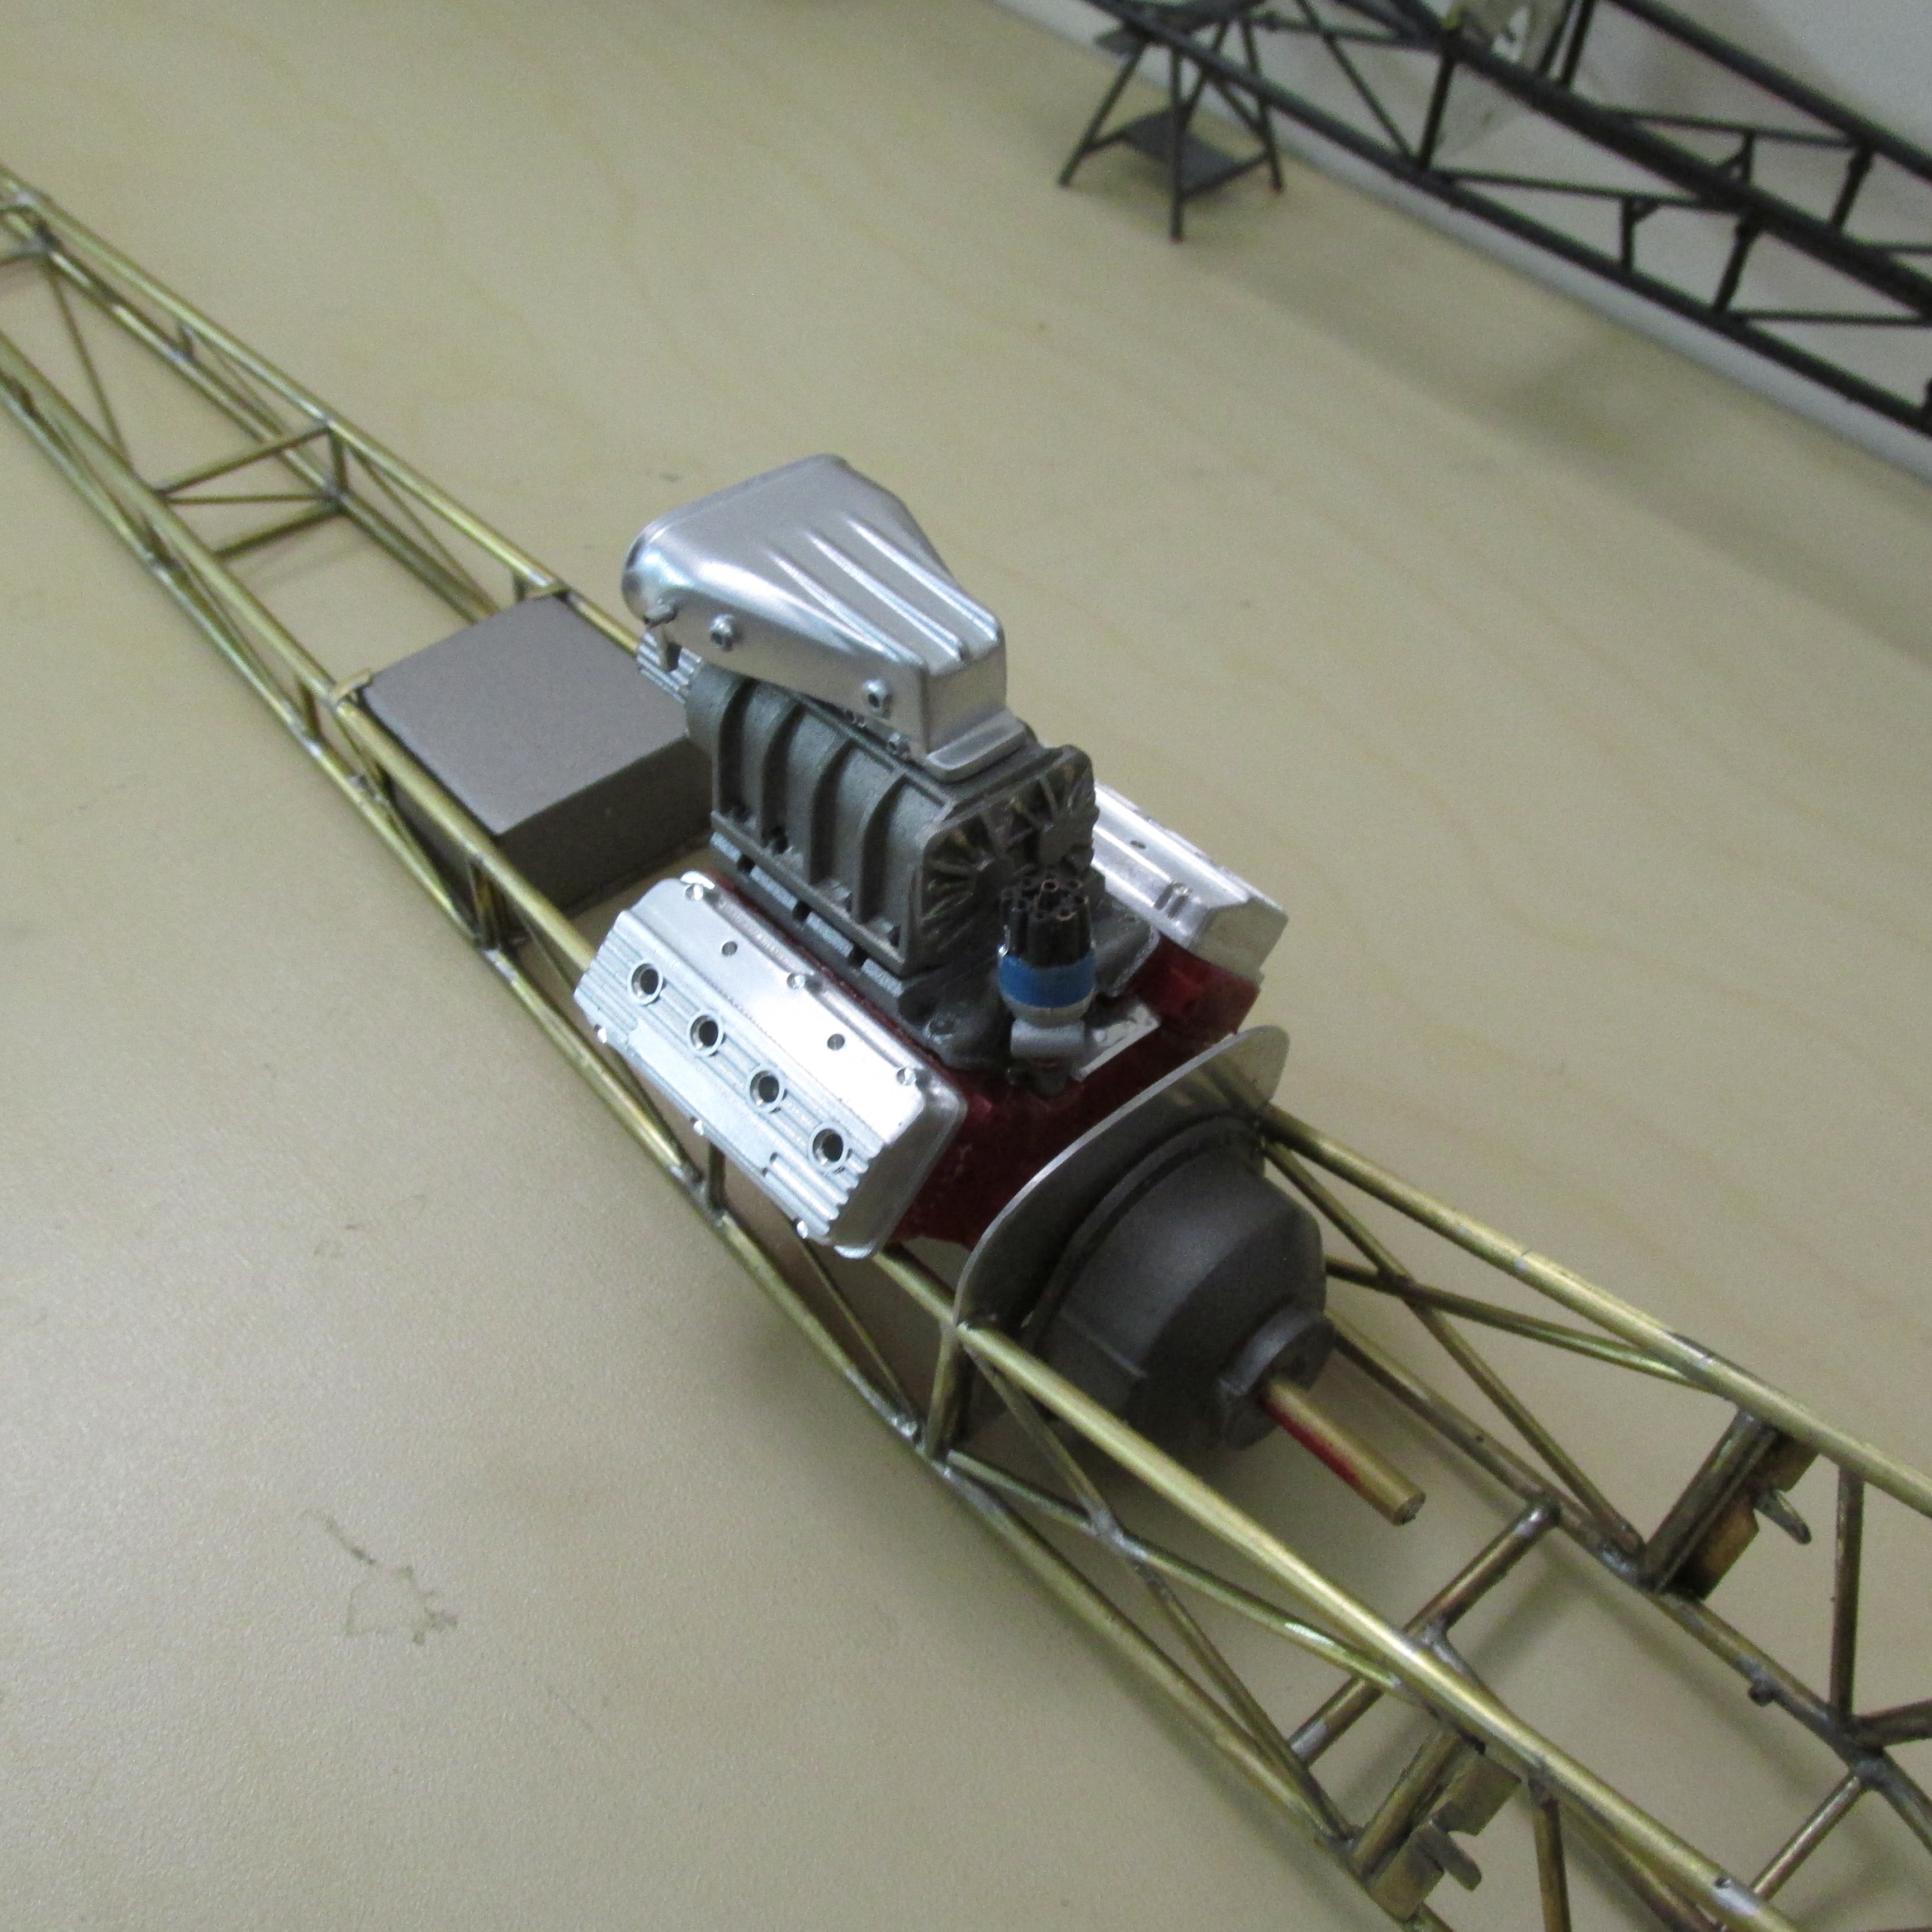
Working on the Royal Canadians somewhat unique fuel system. The Enderle hat is an old shower head design from around 1965 that was updated with a plate underneath and 4 injectors in a more conventional location, but still predating the 8 injector set ups that became the norm fairly quickly. This set up was still good enough to set the Canadian Top Fuel record and also win a NHRA National Event in its day.
-
Impressive progress on this project, I really like the way you are approaching it. You have mentioned Chris Sobak Designs a couple of times, is he producing model parts commercially?
-
This looks like a very interesting project which I certainly want to watch progress.
-
ROYAL CANADIAN 1/16 SCALE TOP FUEL DRAGSTER
Ian McLaren replied to Ian McLaren's topic in WIP: Drag Racing Models
Thankyou Francis I'm happy with my progress. Increadable work on the wheelie bars on the D100 BTW


.JPG.fe8afbfaec9de8823a041cf61b9e6ef9.JPG)