RCprofile.JPG.6b95b19b856bf00a3becd6aeaaa48f3b.JPG)
Ian McLaren
-
Posts
1,360 -
Joined
-
Last visited
Content Type
Profiles
Forums
Events
Gallery
Everything posted by Ian McLaren
-
RCprofile.thumb.JPG.1691ea753d0f0897fdc1b2510cf06775.JPG)
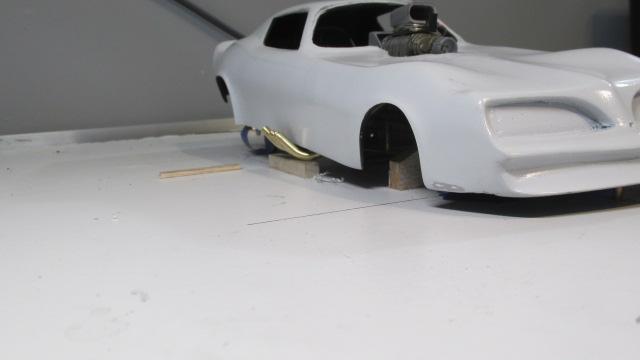
full detail 1/16th Gordie Bonin BubbleUp Trans Am Funnycar
Ian McLaren replied to Ian McLaren's topic in WIP: Drag Racing Models
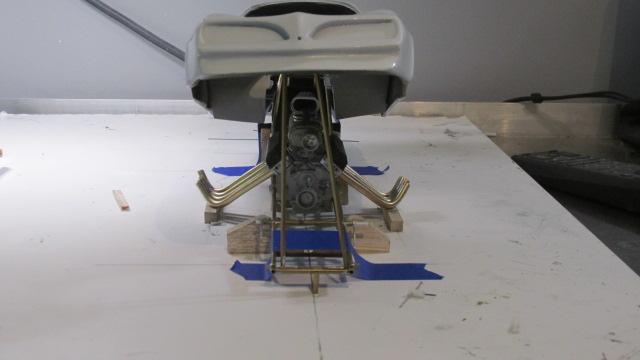
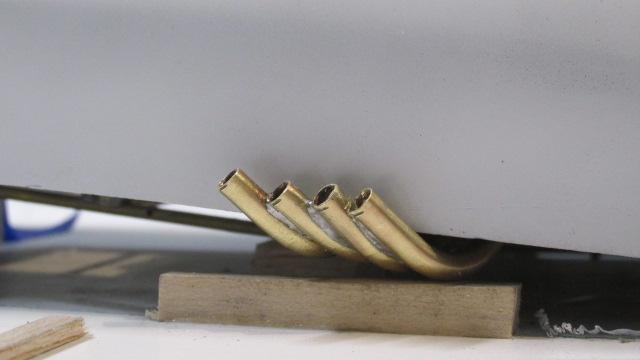
Just making sure everything clears before finishing the engine
- 190 replies
-
- 1
-

-
- scratch built
- brass chassis
- (and 1 more)
-
Welcome back Tim, even if it's the first sign of fall LOL. Looks like you have a handle on the sheet metal up front, can't wait to see how it progresses!
-
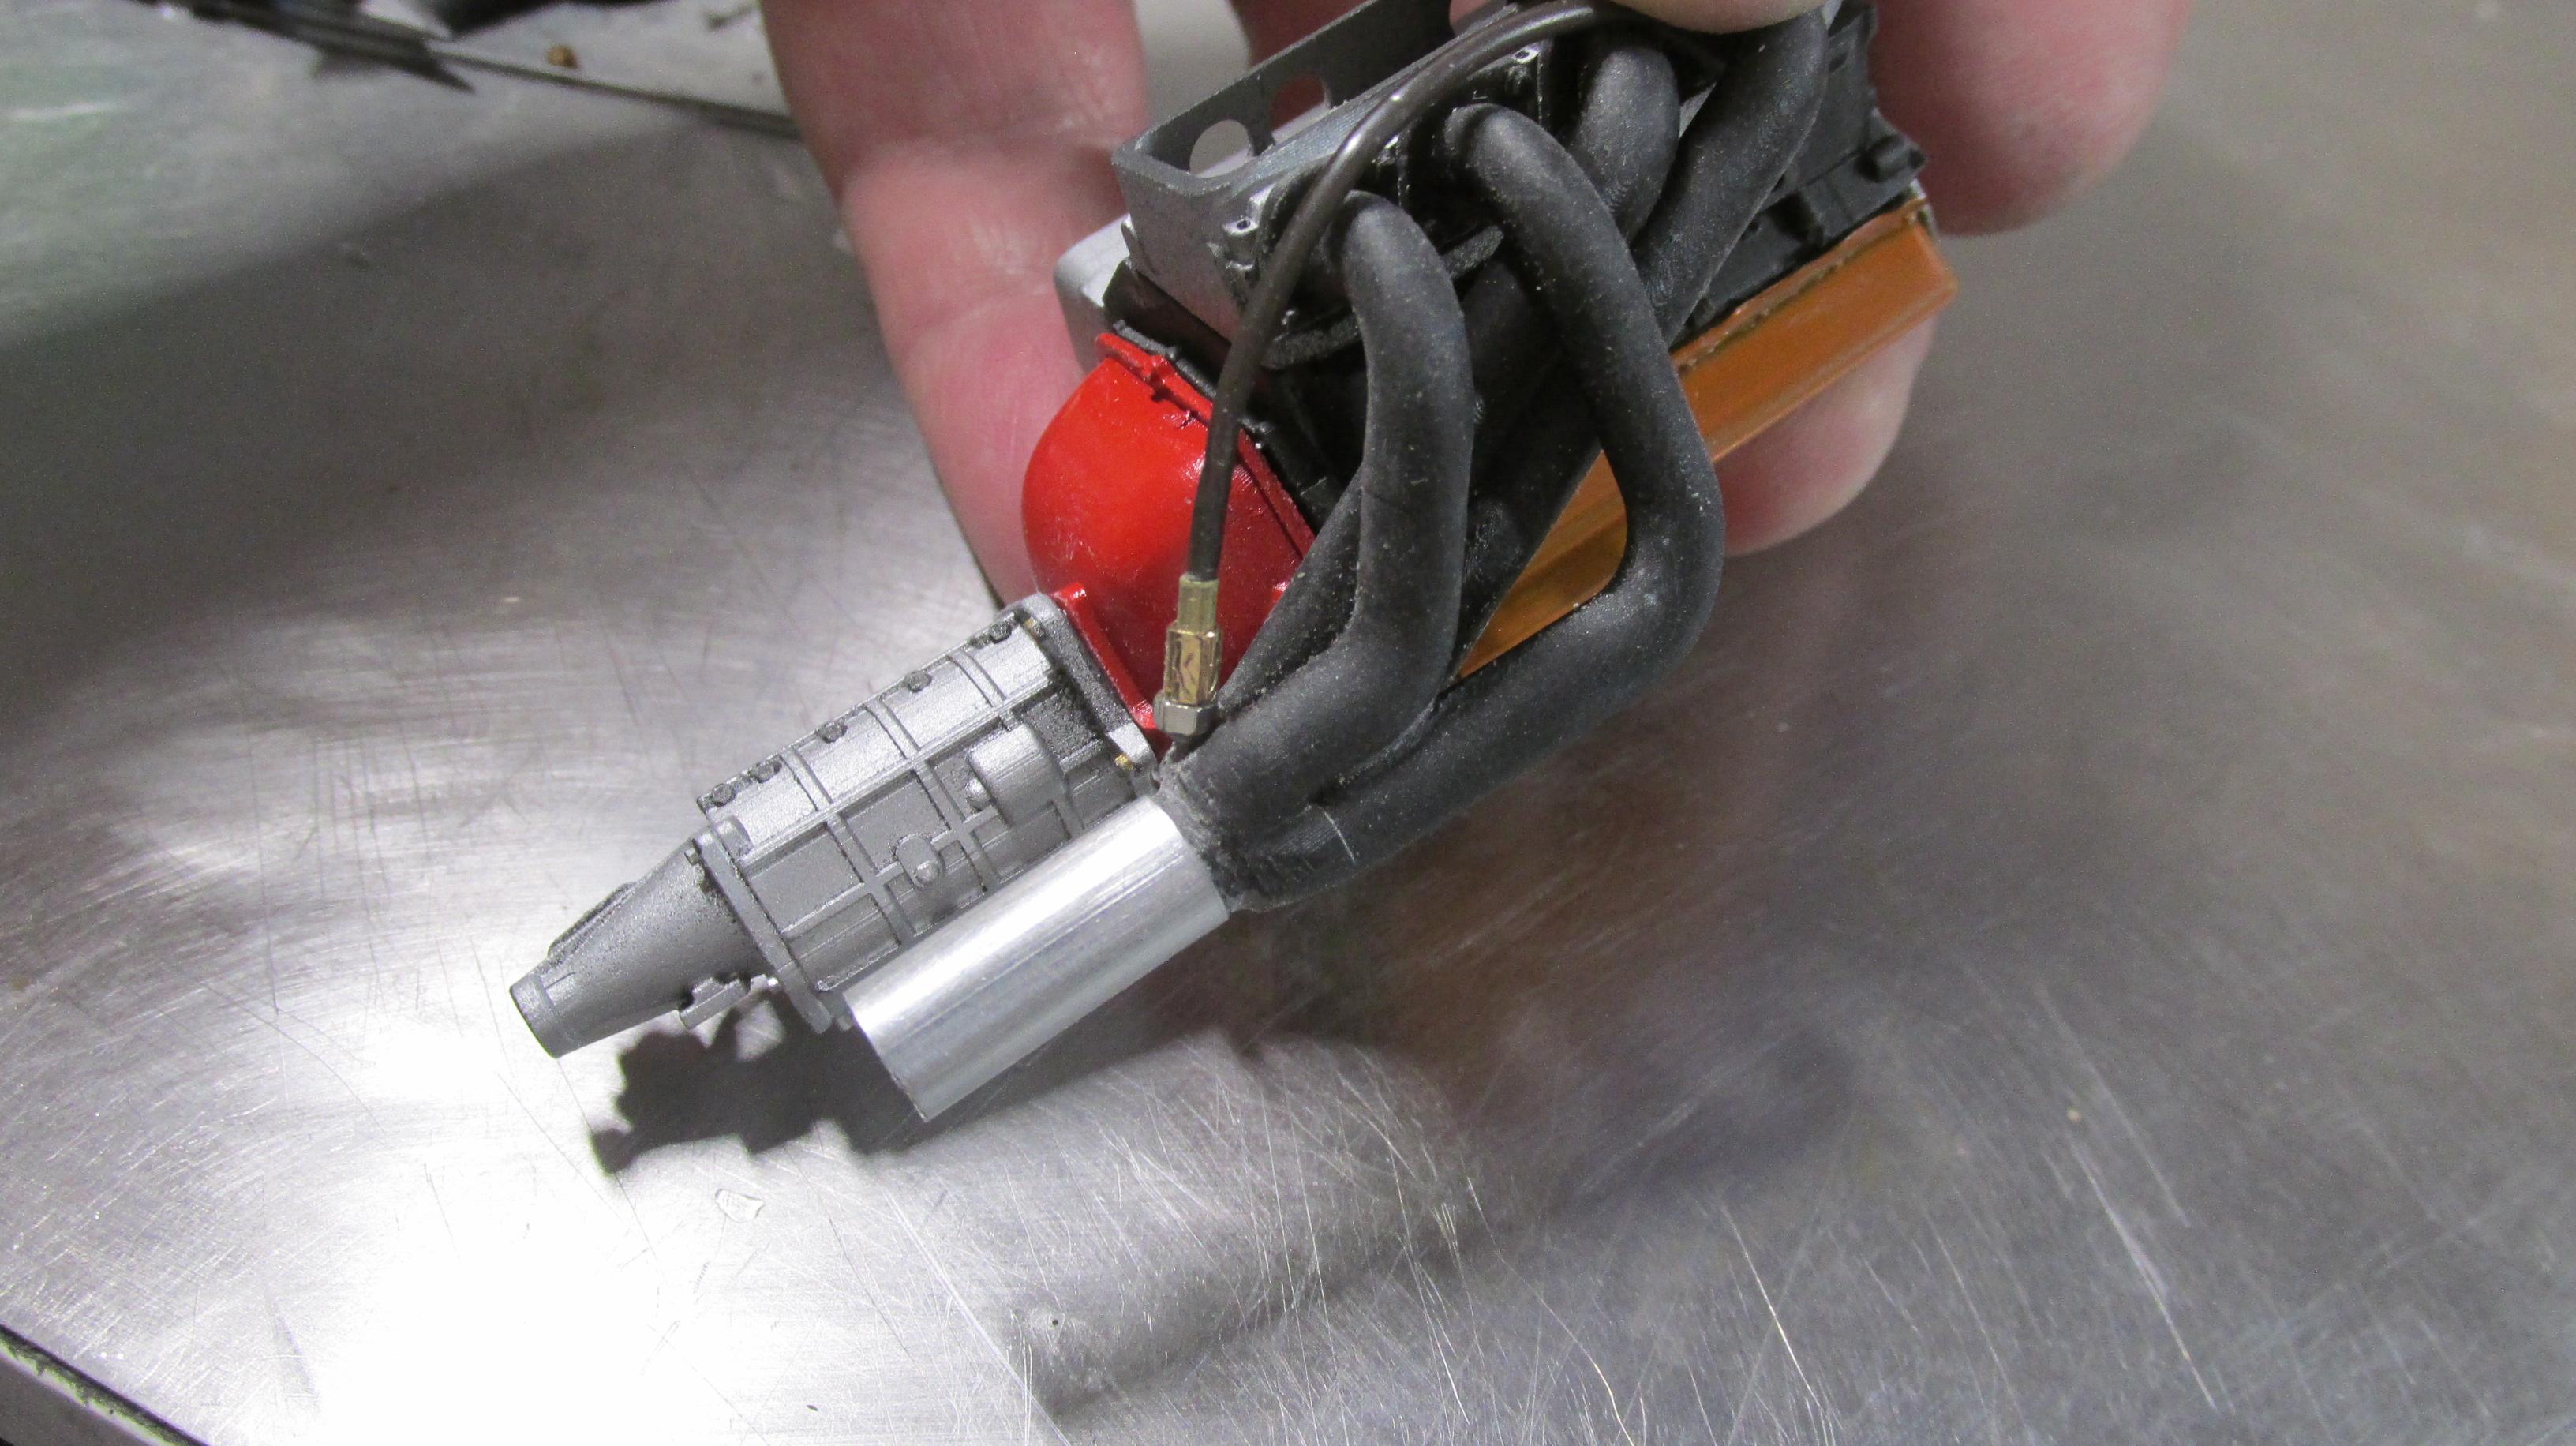
full detail 1/16th Gordie Bonin BubbleUp Trans Am Funnycar
Ian McLaren replied to Ian McLaren's topic in WIP: Drag Racing Models
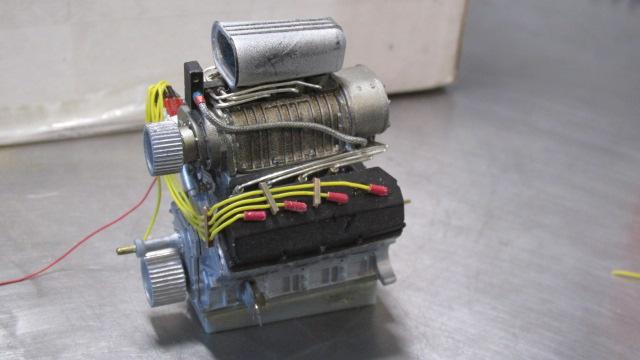
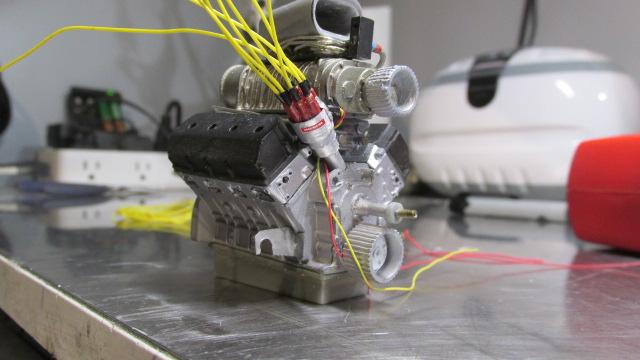
Chassis and drive train moving along added the ignition wires and boots, starting to long line a race motor
- 190 replies
-
- 3
-
-
- scratch built
- brass chassis
- (and 1 more)
-
full detail 1/16th Gordie Bonin BubbleUp Trans Am Funnycar
Ian McLaren replied to Ian McLaren's topic in WIP: Drag Racing Models
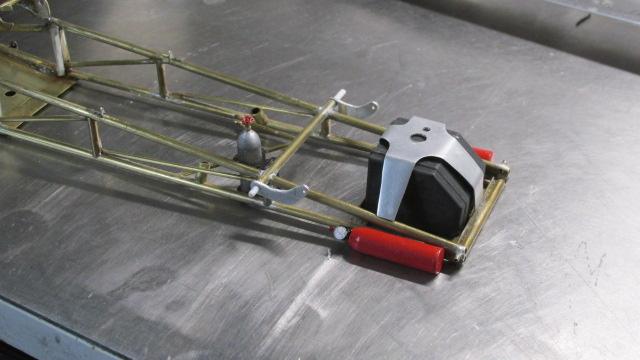
With the body now on hold for decals the chassis is now the focus. CO2 bottle and bracket printed and painted, bracket installed on the chassis. Fire bottles built and gauges added, need brackets and decals added
- 190 replies
-
- 2
-
-
- scratch built
- brass chassis
- (and 1 more)
-
full detail 1/16th Gordie Bonin BubbleUp Trans Am Funnycar
Ian McLaren replied to Ian McLaren's topic in WIP: Drag Racing Models
Thank you Roger, mine too. Back then Gordie and Ron had a very strong following, nice people backed up by a strong performance. Even today the nostalgia BubbleUp car is still popular with the crowds and Nathan has been doing the car proud and upholding Gordies legacy in the drivers seat.- 190 replies
-
- 1
-
-
- scratch built
- brass chassis
- (and 1 more)
-
Daniel, that starter motor is off the charts, especially considering the scale you are working in. I would not even attempt something that small and intricate, very well done my friend!
-
full detail 1/16th Gordie Bonin BubbleUp Trans Am Funnycar
Ian McLaren replied to Ian McLaren's topic in WIP: Drag Racing Models
-
full detail 1/16th Gordie Bonin BubbleUp Trans Am Funnycar
Ian McLaren replied to Ian McLaren's topic in WIP: Drag Racing Models
-
full detail 1/16th Gordie Bonin BubbleUp Trans Am Funnycar
Ian McLaren replied to Ian McLaren's topic in WIP: Drag Racing Models
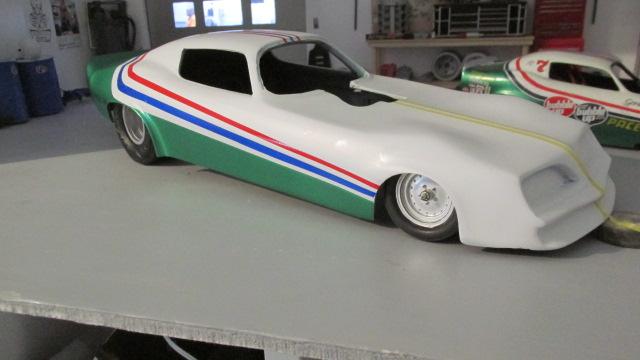
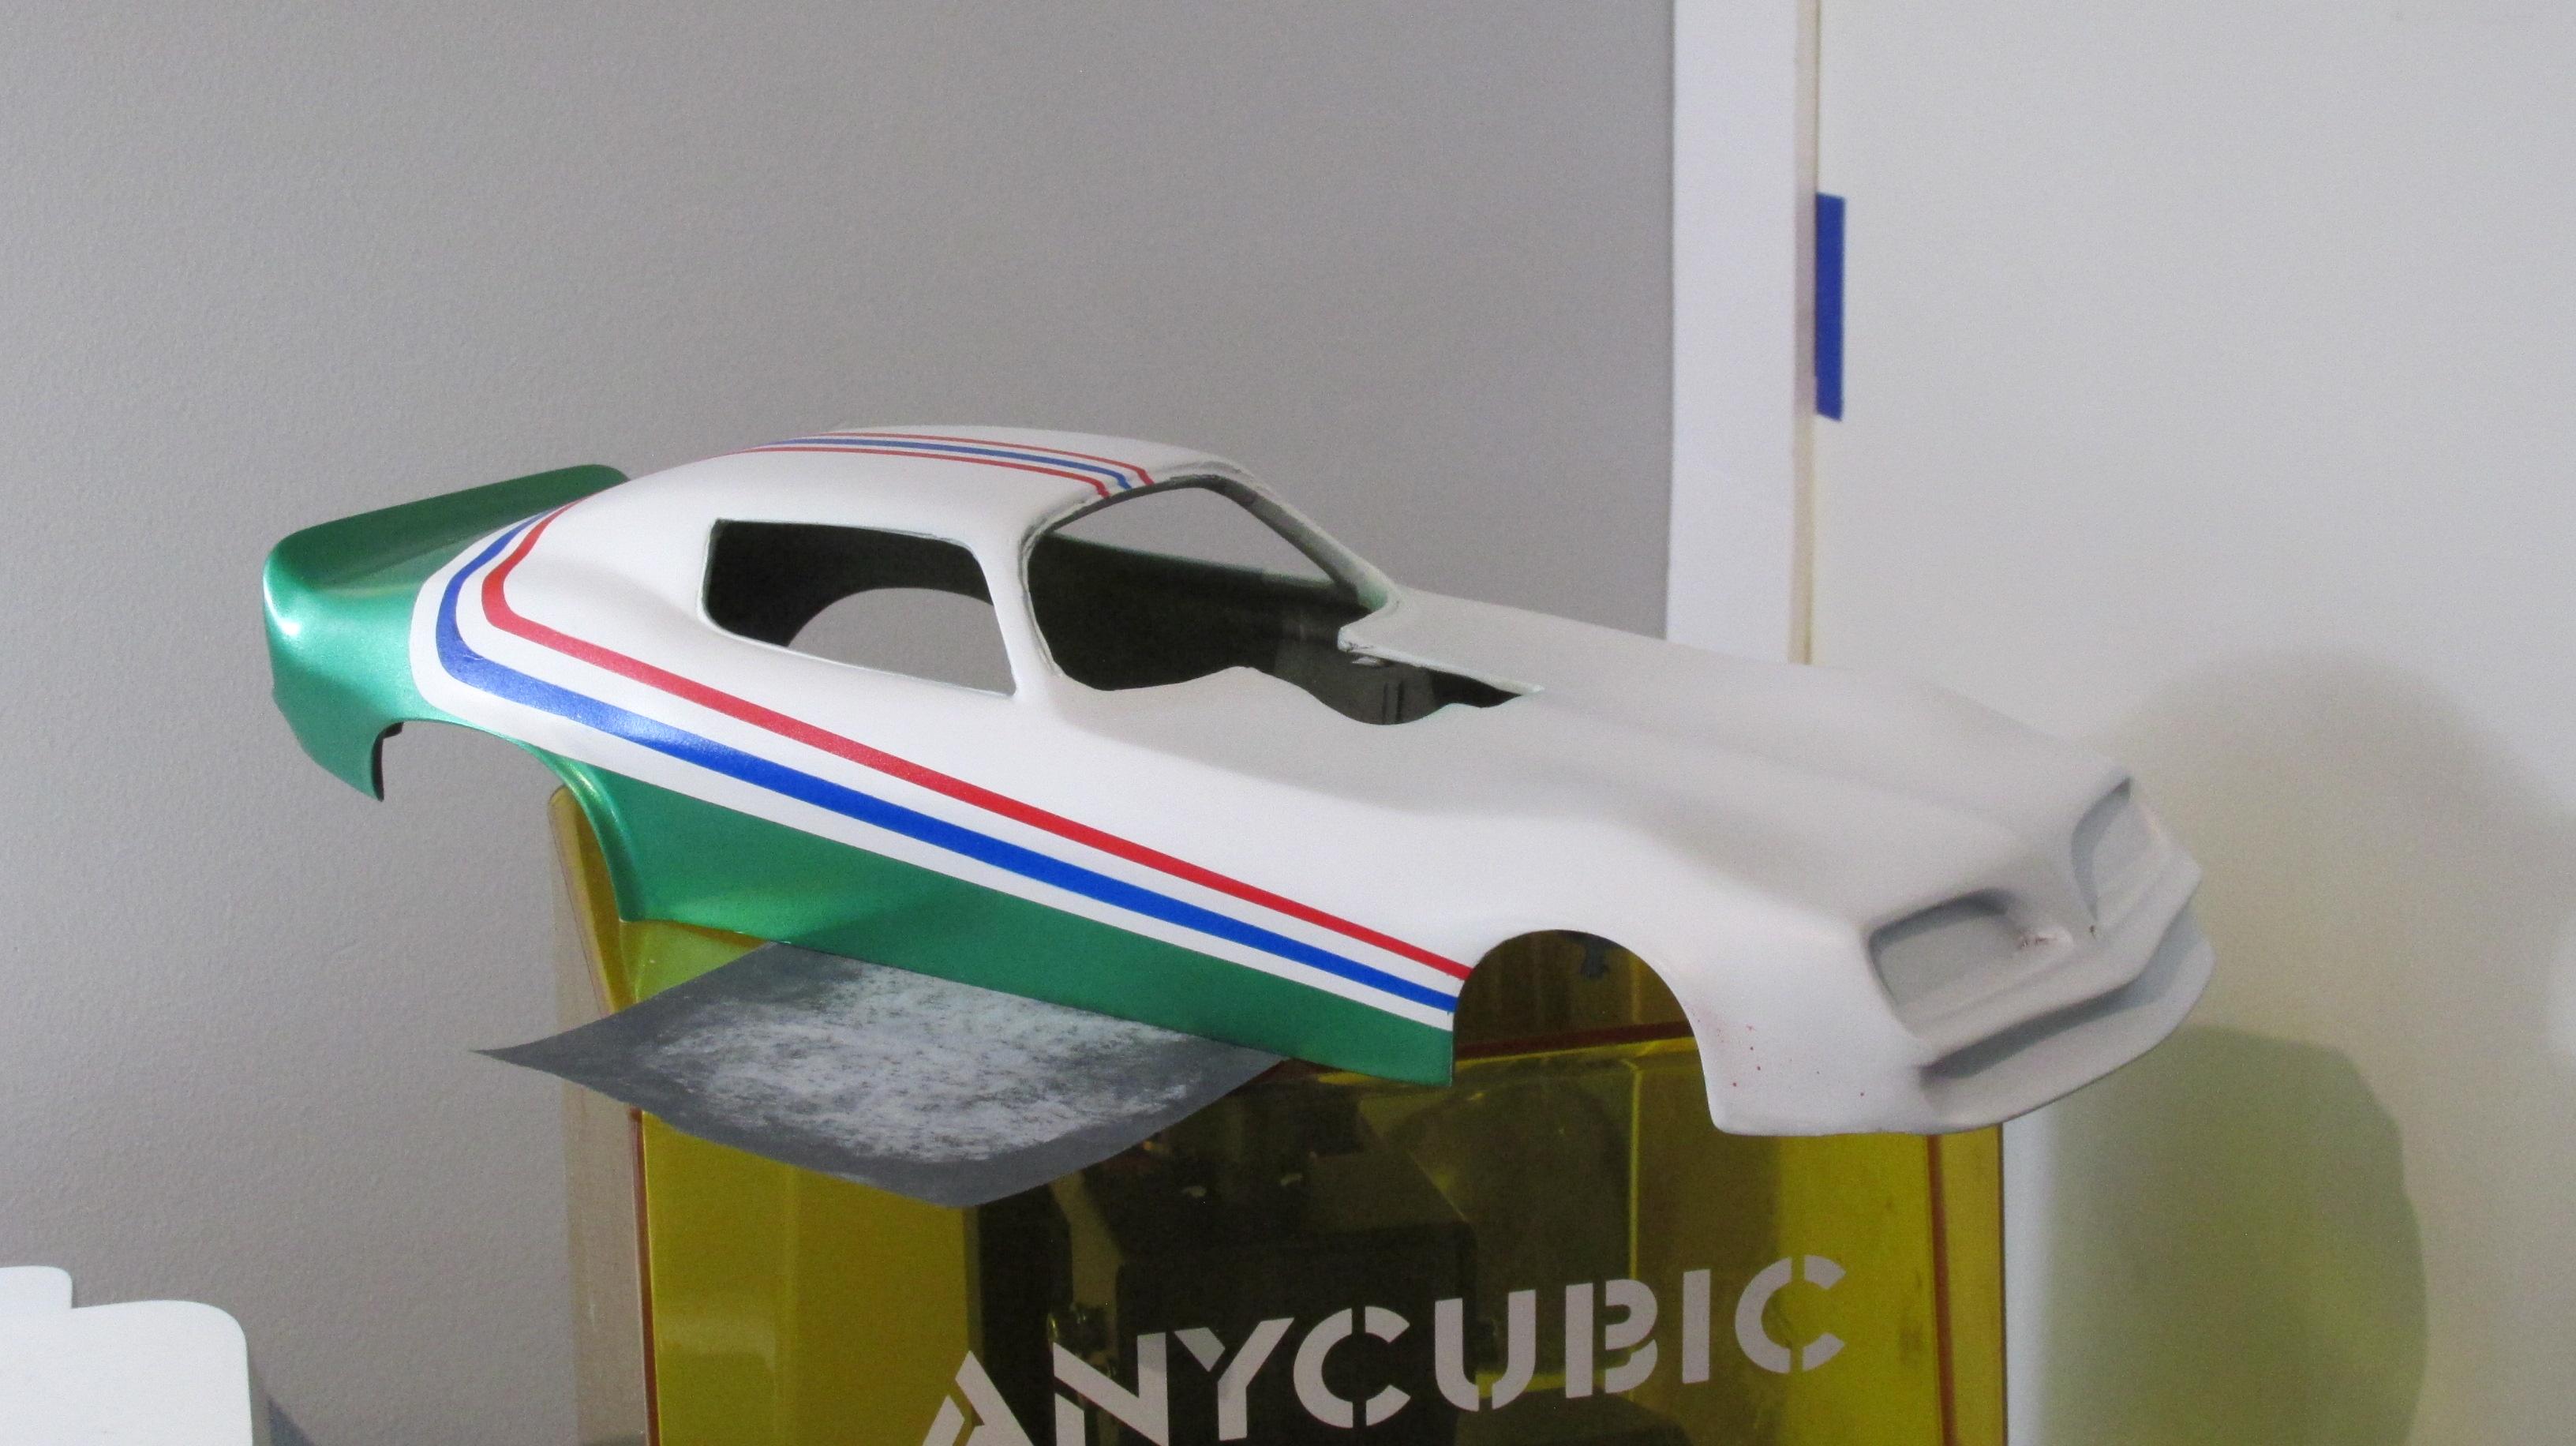
Thanks Daniel, I thought so too and then I took a closer look at my reference material. Out came the sand paper tape and airbrush and I widened the front of the green, lowered the edge o0f the Blue stripe and remved and repainted the Red stripe. It is now much closer to the original car, this whole deal was very agravating but completely my fault. It did take an hour and some to make the corrections but I am much happier with it now,
- 190 replies
-
- 1
-
-
- scratch built
- brass chassis
- (and 1 more)
-
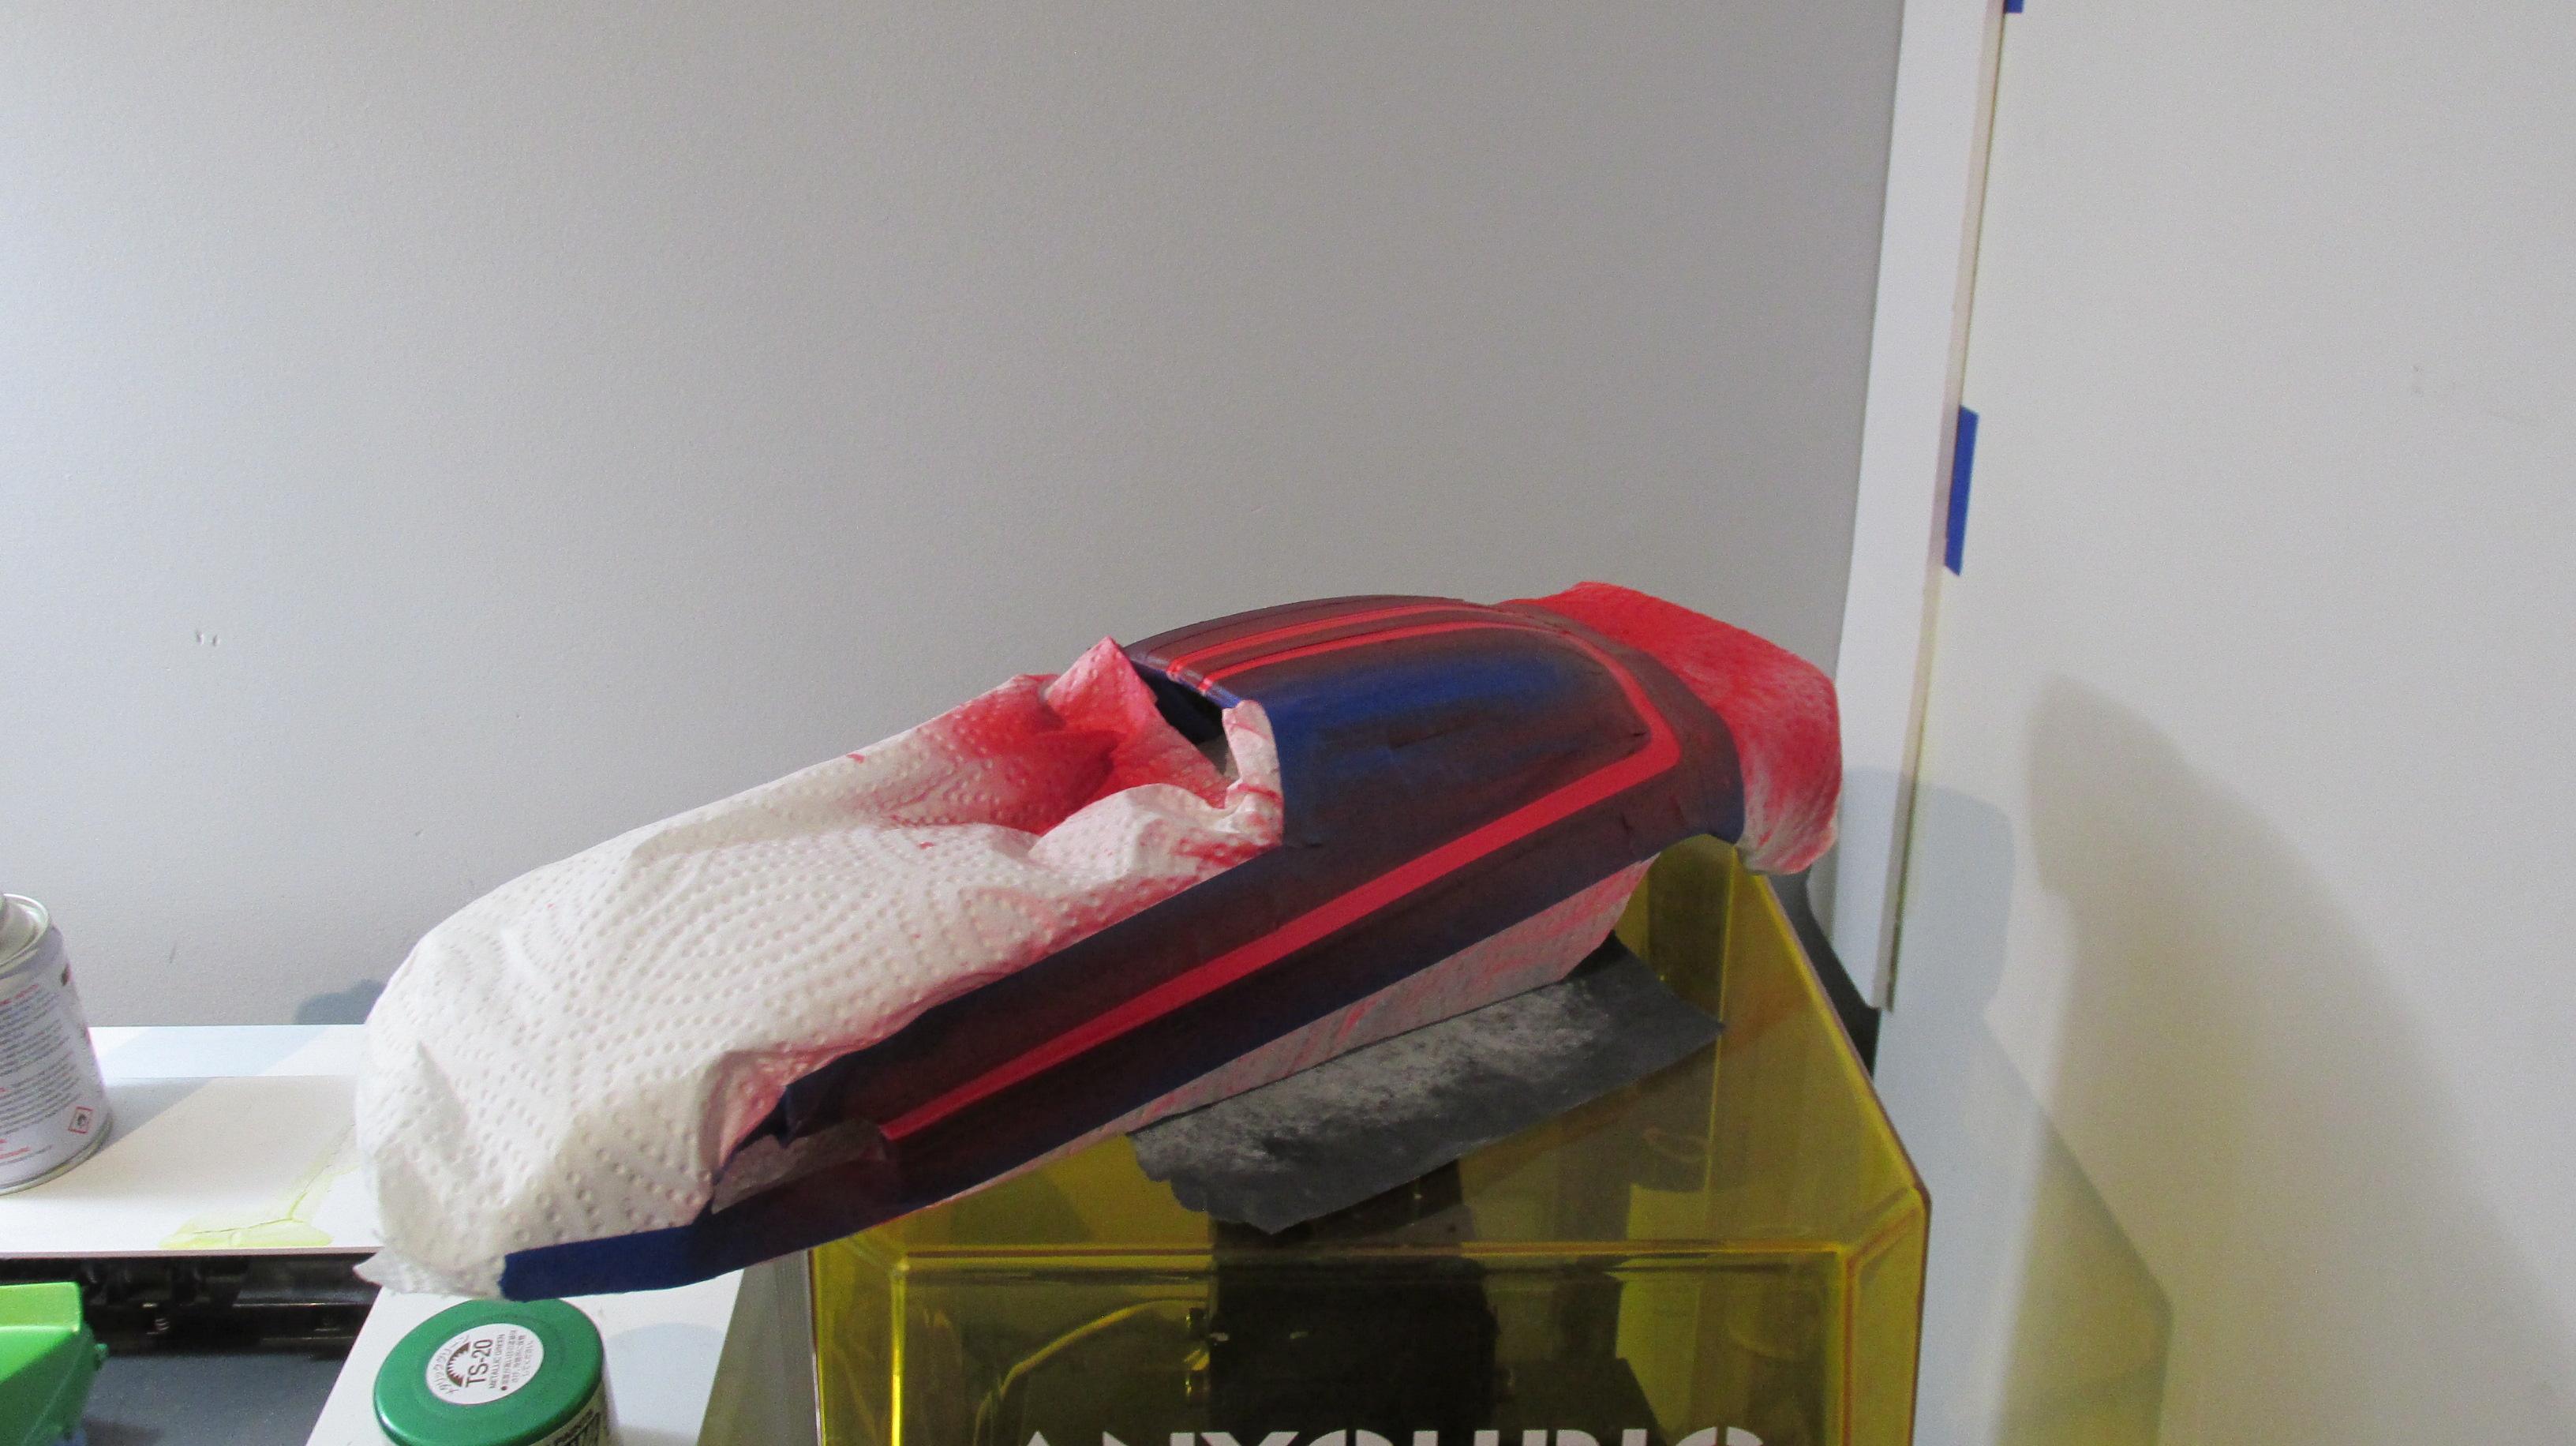
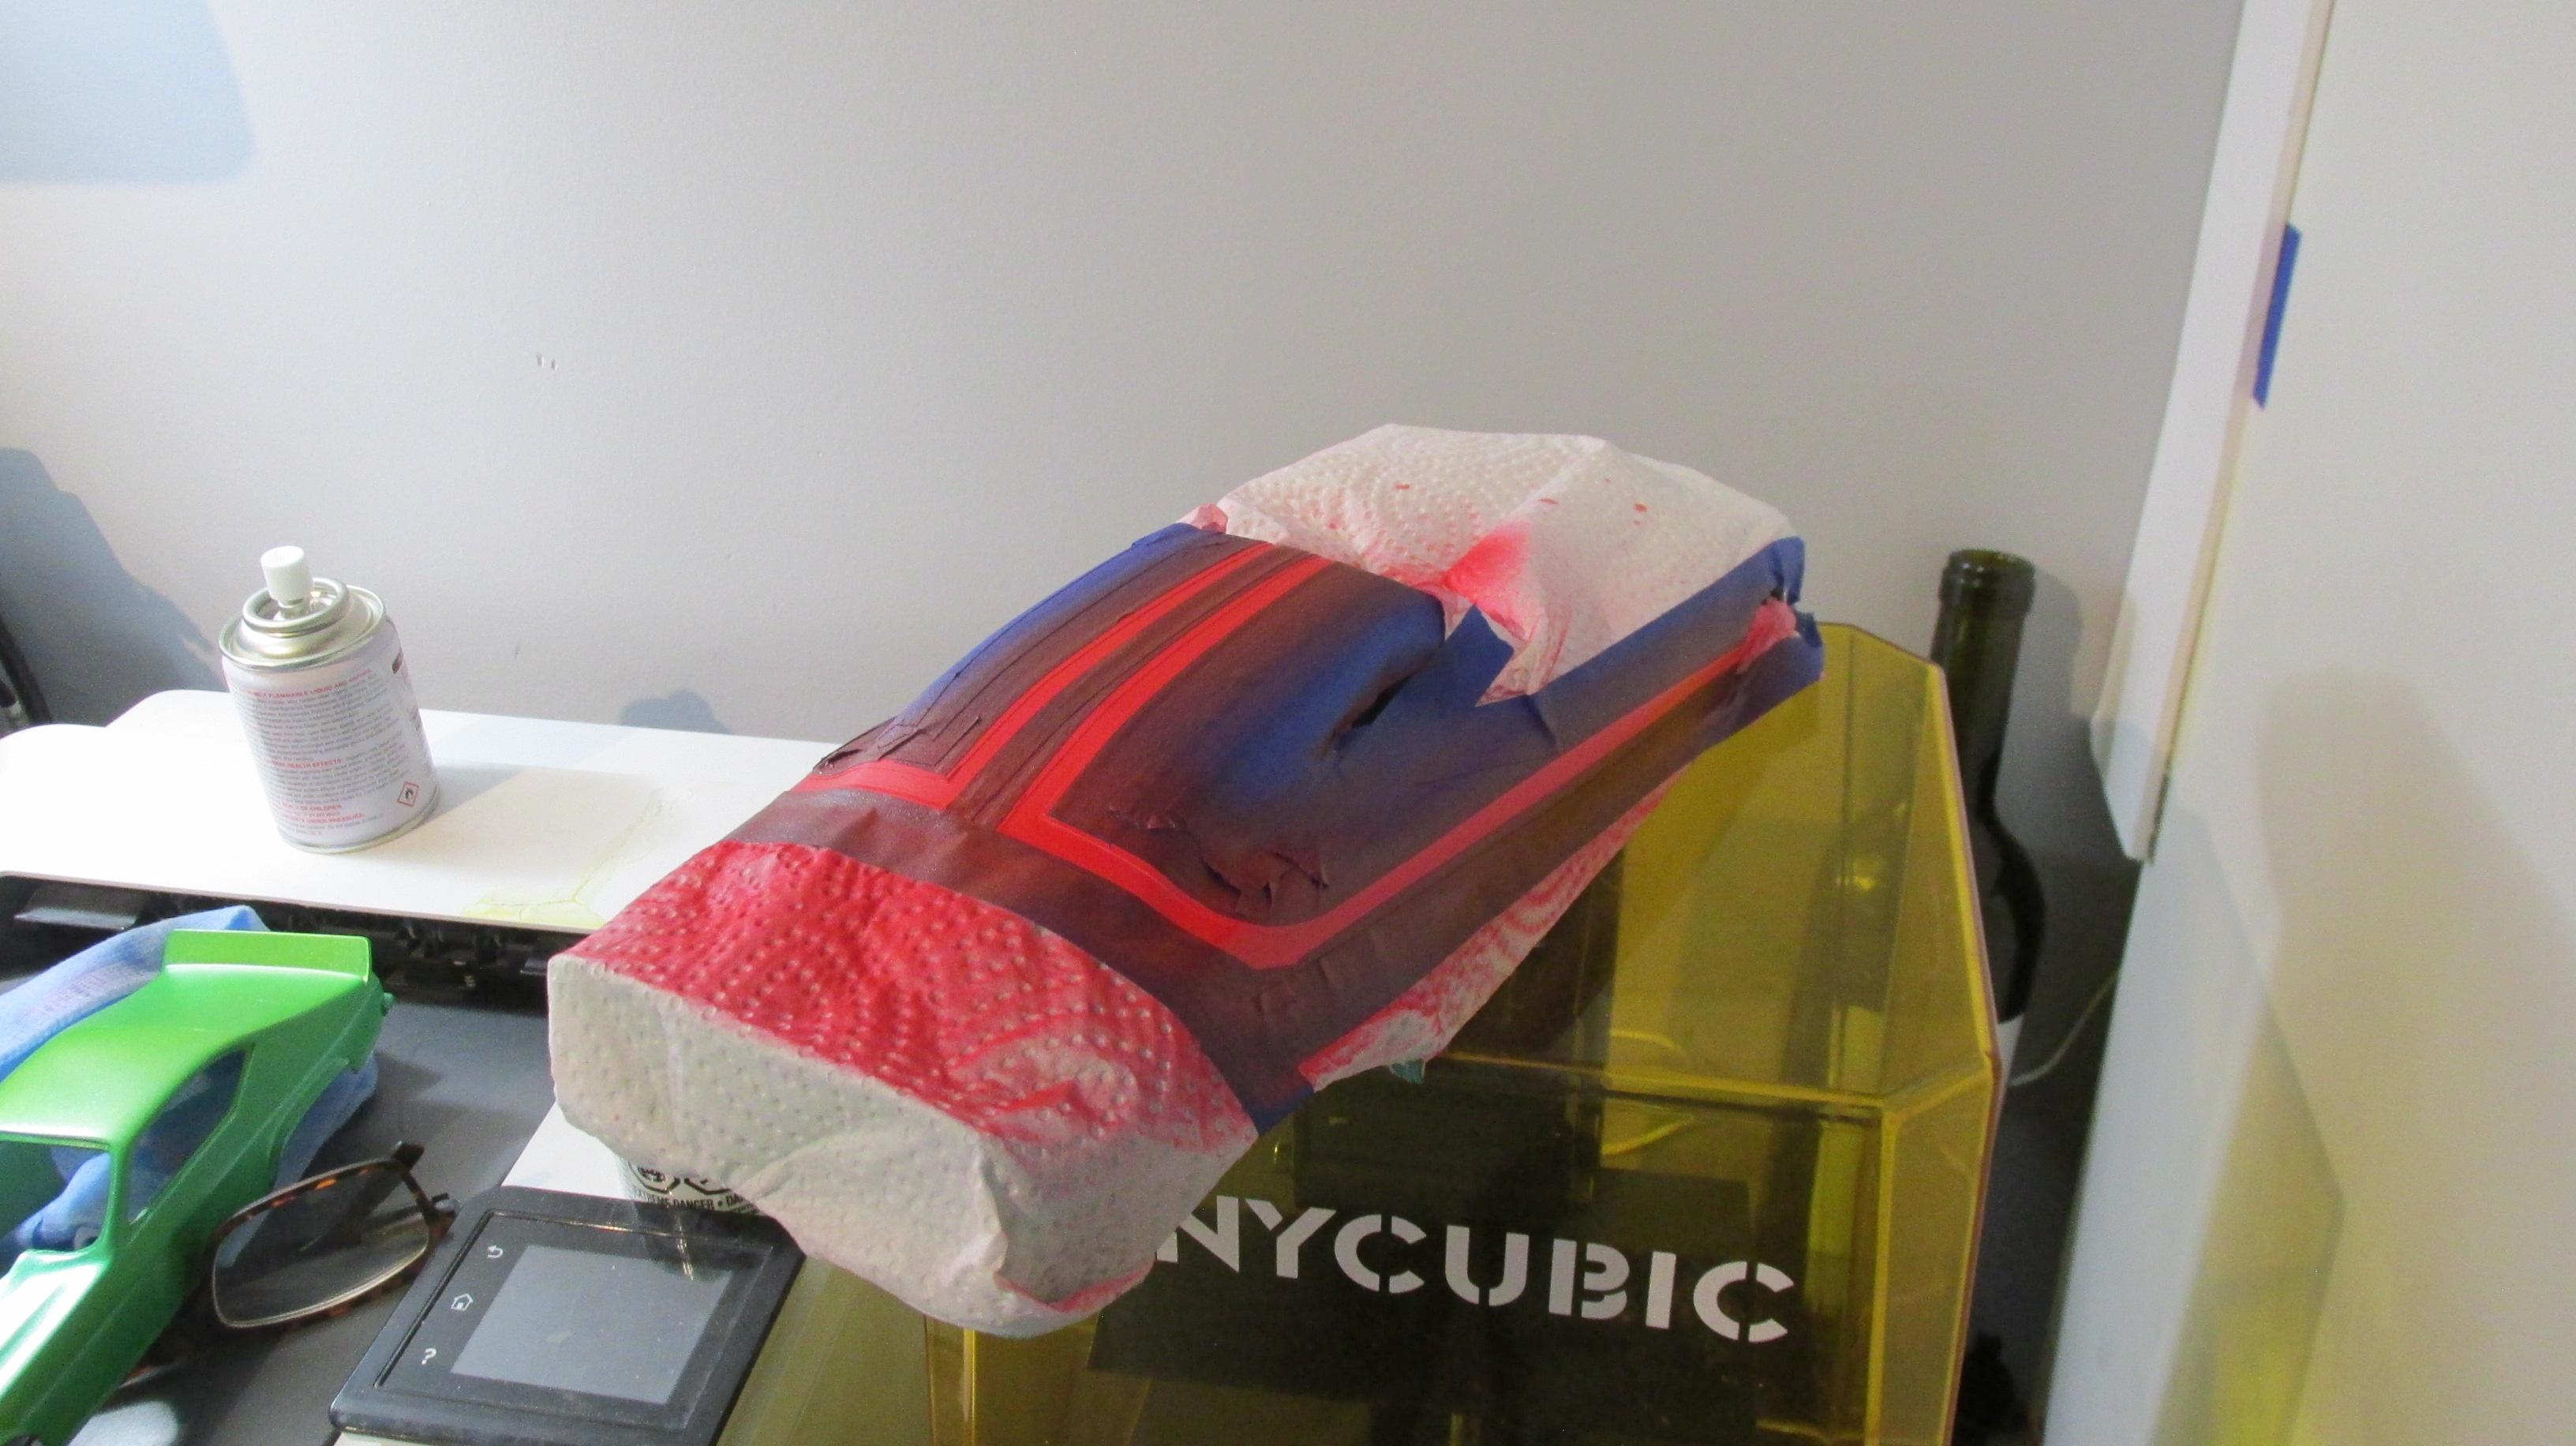
full detail 1/16th Gordie Bonin BubbleUp Trans Am Funnycar
Ian McLaren replied to Ian McLaren's topic in WIP: Drag Racing Models
The BubbleUp car is back to progressing, early stages of graphics
- 190 replies
-
- 3
-
-
- scratch built
- brass chassis
- (and 1 more)
-
1/16th 1957 Corvette Super Gas 80's
Ian McLaren replied to Ian McLaren's topic in WIP: Drag Racing Models
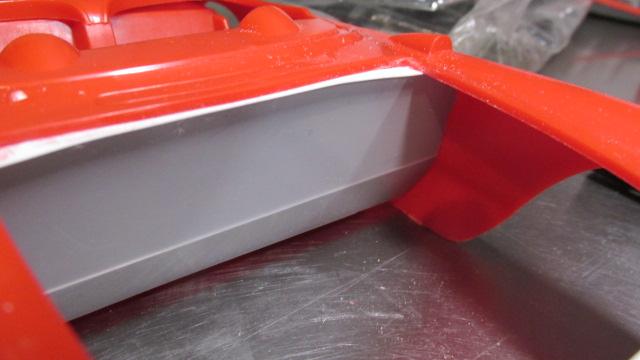
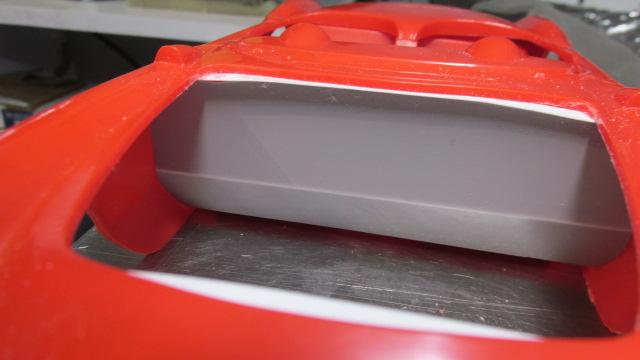
Back on the Bonin Car but between primer and sanding coats I did get a Vac-U-Pan system just about ready to install on the Corvette
- 47 replies
-
- 3
-
-
- bbc 5speed
- ladder bar
- (and 1 more)
-
1/16th 1957 Corvette Super Gas 80's
Ian McLaren replied to Ian McLaren's topic in WIP: Drag Racing Models
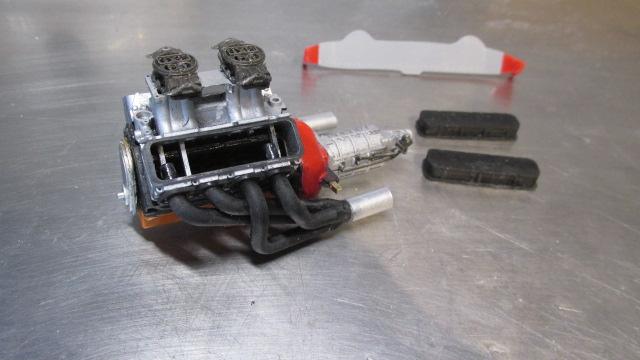
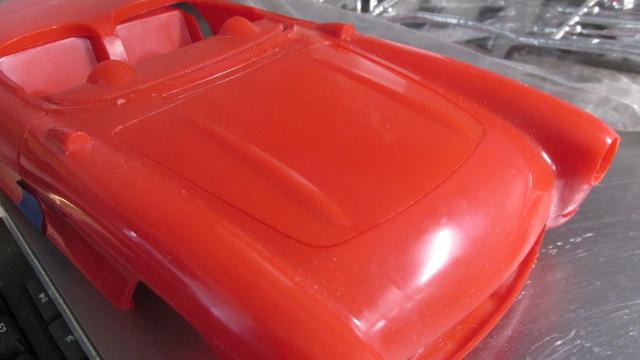
The additional materials have arrived for the BUbble Up Trans Am so this will moved to the back burner for a while, perhaps some small updates in the next few weeks. Here is where it's being left, hood and scoop pretty much ready, motor and trans have all the basics and the aluminum dash is ready to drill for gauges, switches and MSD electronics. The opening doors will be addressed once the BubbleUp caris done.
- 47 replies
-
- 3
-
-
- bbc 5speed
- ladder bar
- (and 1 more)
-
1/16th 1957 Corvette Super Gas 80's
Ian McLaren replied to Ian McLaren's topic in WIP: Drag Racing Models
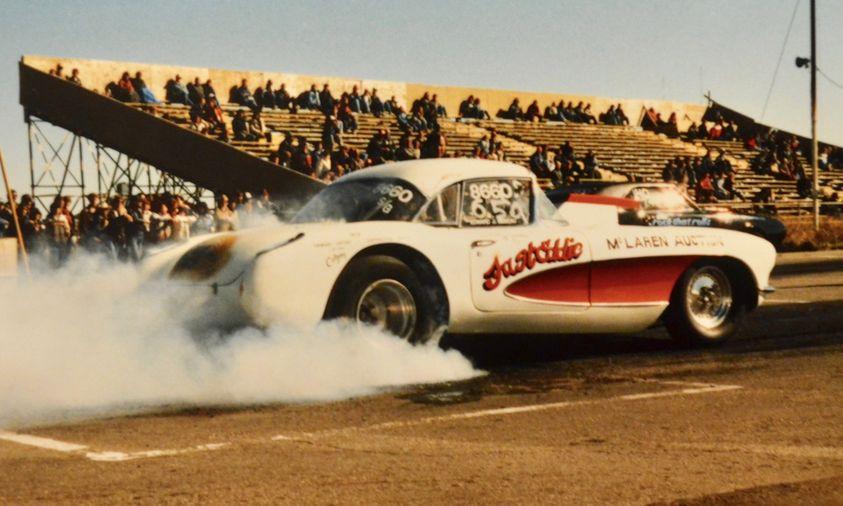
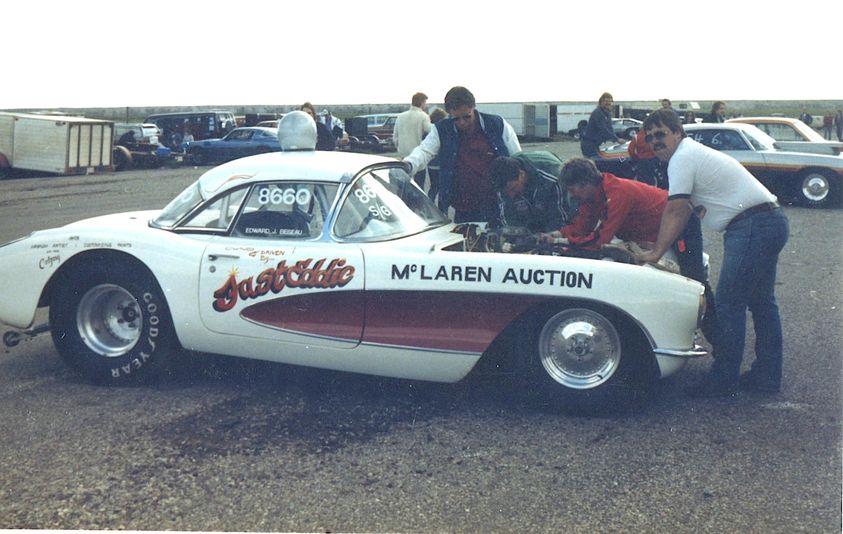
I guess I should show a photo of the car that is the inspiration for this project. I should add that the fact McLaren Auction sponsored the car really had nothing to do with choosing this project. Fast Eddie was a character, almost larger than life. Stories of his antics are legion.
-
You just keep raising the bar on this one, great update!
-
1/16th 1957 Corvette Super Gas 80's
Ian McLaren replied to Ian McLaren's topic in WIP: Drag Racing Models
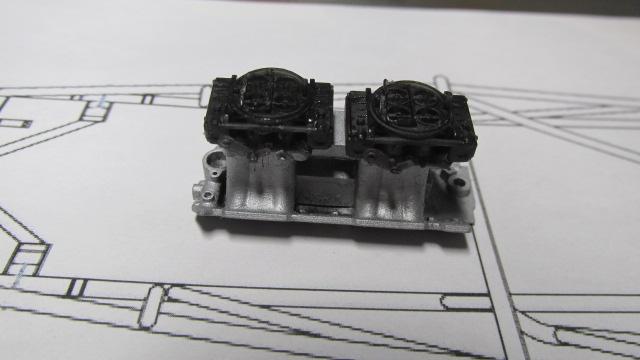
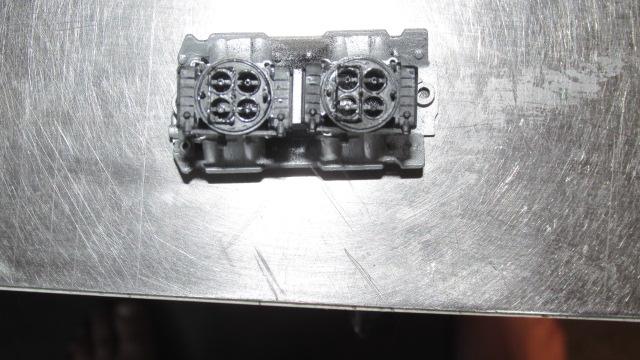
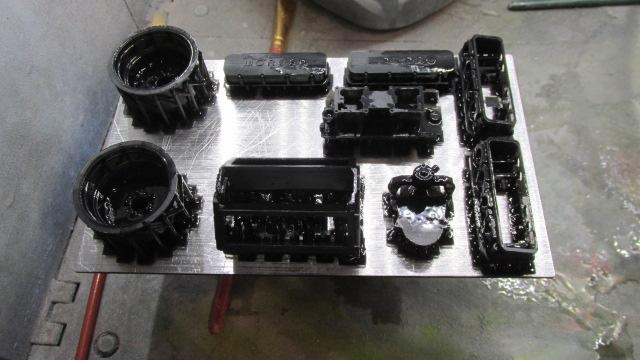
The carbs were Holley 660 Center Squirters, a drag race only carb that had both sets of throttle plates open simultainously instead of staggered as in a normal configuration. Driveablity was sacrificed for throttle response. The other unique feature of this model carb was a single accelerator pump nozzel with four outlets, mounted in the center of the airhorn where you would normaly find the air cleaner hold down stud on all other four barrel carbs.- 47 replies
-
- 1
-
-
- bbc 5speed
- ladder bar
- (and 1 more)
-
1/16th 1957 Corvette Super Gas 80's
Ian McLaren replied to Ian McLaren's topic in WIP: Drag Racing Models
Thanks Mike, I sure hope soby way of an update, after talking to the engine builder of the car the correct carb layout is side mounted carb but not Dominators
- 47 replies
-
- 1
-
-
- bbc 5speed
- ladder bar
- (and 1 more)
-
1/16th 1957 Corvette Super Gas 80's
Ian McLaren replied to Ian McLaren's topic in WIP: Drag Racing Models
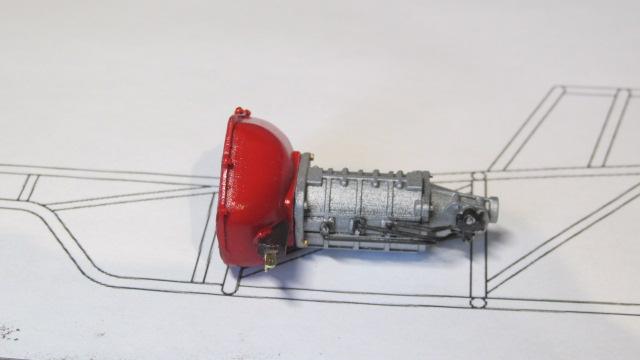
Printed, painted and detailed a Doug Nash five speed transmission and period correct Lakewood bellhousing. I also print some carburetor options for the intake but I think the Dominators are too new for this era, need to do a bit more reaserch
- 47 replies
-
- 2
-
-
- bbc 5speed
- ladder bar
- (and 1 more)
-
1/16th 1957 Corvette Super Gas 80's
Ian McLaren replied to Ian McLaren's topic in WIP: Drag Racing Models
Thank you John, so far this isn't planned as a fully detailed model, but these things have a habit of developing a life of their own during the process. I have already changed a couple of planned areas to a more detailed level. We will see. -
1/16th 1957 Corvette Super Gas 80's
Ian McLaren replied to Ian McLaren's topic in WIP: Drag Racing Models
Yup, since that post I've had several people from the local tracks fill in gaps in the layout of the car, especially the interior and chassis, as the doors on the kit already open the interior will take up some extra time. I'm really fighting the urge to open the deck lid. So far Im replacing the kit firewall and have also moved its location rearward. I am pretty happy with the BBC and tunnel ram, certainly a step up from the kit engine. Also change the hood front hinged to liftoff
- 47 replies
-
- 2
-
-
- bbc 5speed
- ladder bar
- (and 1 more)
-
My Bubble Up Trans Am funnycar project is on hold due to parts and paint. it's being set aside for a couple of weeks, This one just poped up due to a conversation with some friends. Starting out as a less ambitious project
- 47 replies
-
- 5
-
-
- bbc 5speed
- ladder bar
- (and 1 more)
-
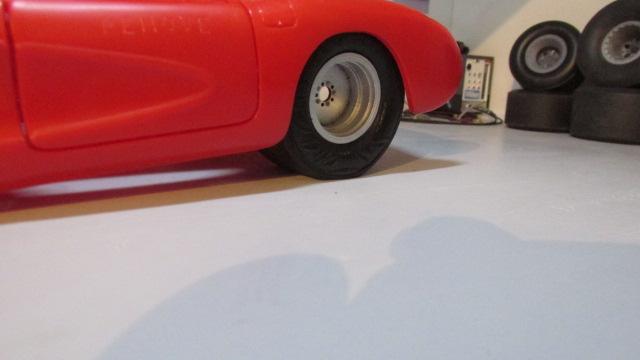
Hi Jeff, I didn't realize your were on this site, an oversight on my part since you have been here since 2015 apparently. The car looks great and the front wheels are spot on. I'll have to track dowm the rest of your posts.
-
full detail 1/16th Gordie Bonin BubbleUp Trans Am Funnycar
Ian McLaren replied to Ian McLaren's topic in WIP: Drag Racing Models
Thank you John, so far so good. -
full detail 1/16th Gordie Bonin BubbleUp Trans Am Funnycar
Ian McLaren replied to Ian McLaren's topic in WIP: Drag Racing Models
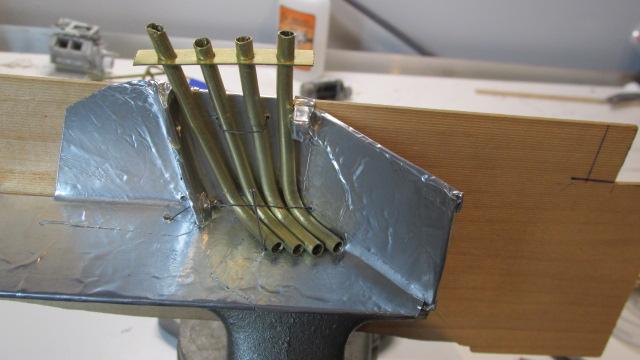
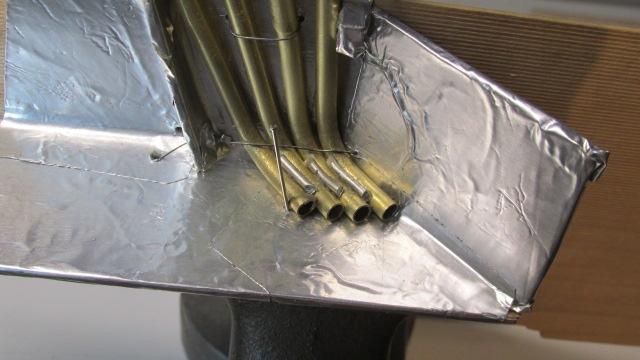
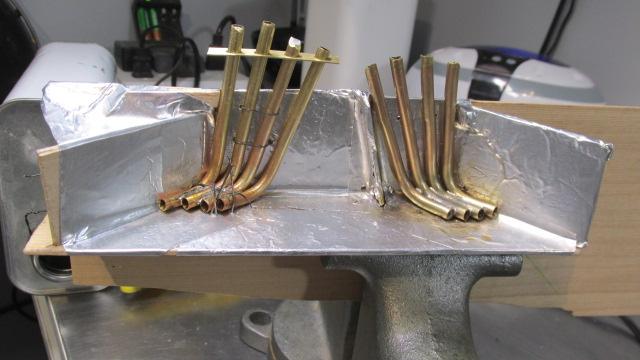
Thank you Tony, more to come on them including images of the jigs used for fabrication and clean up -
full detail 1/16th Gordie Bonin BubbleUp Trans Am Funnycar
Ian McLaren replied to Ian McLaren's topic in WIP: Drag Racing Models
Thanks Daniel it was a fun piece to build. -
full detail 1/16th Gordie Bonin BubbleUp Trans Am Funnycar
Ian McLaren replied to Ian McLaren's topic in WIP: Drag Racing Models
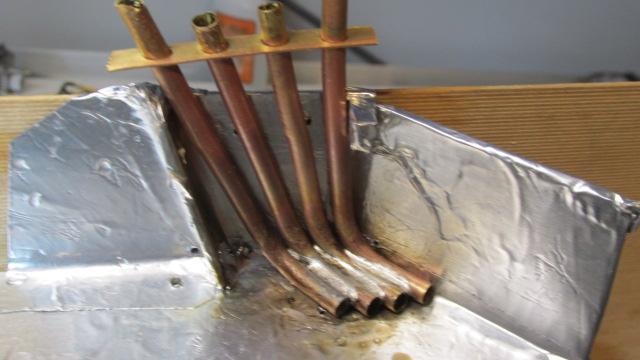
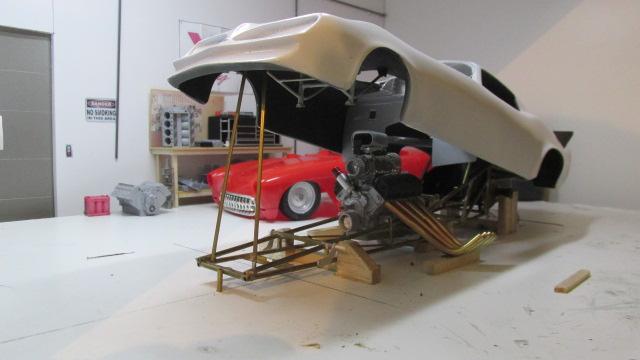
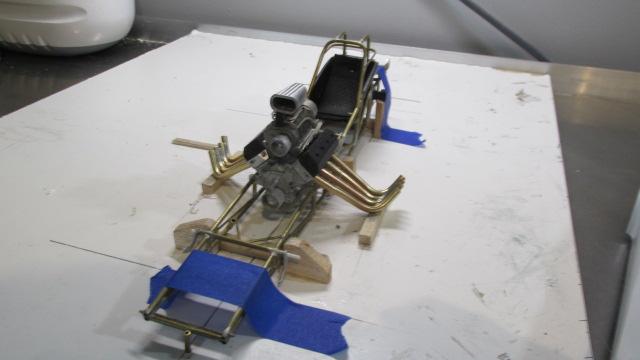
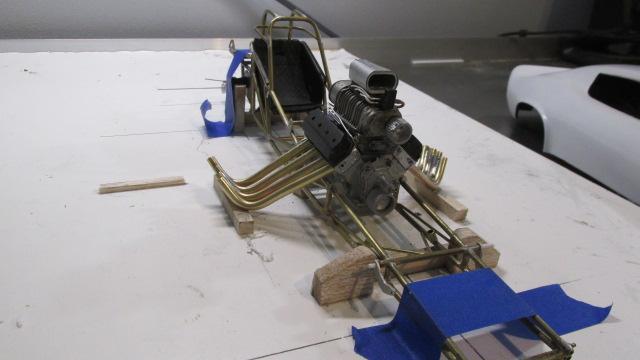
Basic headers fabricated and fit to the engine, still have flanges braces and detail to add, but the hard part is done. Rear pipe on right side has to have the tip shortened slightly (very minor) Headers were built in ajig to assure they were straight and level Both sides mounted and initially adjusted, final positioning will be done once they are permanently attached to the engine when details , flanges and waterline fittings are attached
- 190 replies
-
- 1
-
-
- scratch built
- brass chassis
- (and 1 more)