Mattilacken
-
Posts
3,670 -
Joined
-
Last visited
Content Type
Profiles
Forums
Events
Gallery
Everything posted by Mattilacken
-
 Great build! Do you have a picture of the chassis and or the instruction of the chassis? Would like to see it
 -
2020 Jeep Gladiator
Mattilacken replied to Grzegorz's topic in Model Trucks: Pickups, Vans, SUVs, Light Commercial
Nice looking build! Need to get me one! I want to build a Icelandic build and I believe this or the Raptor is what I need -
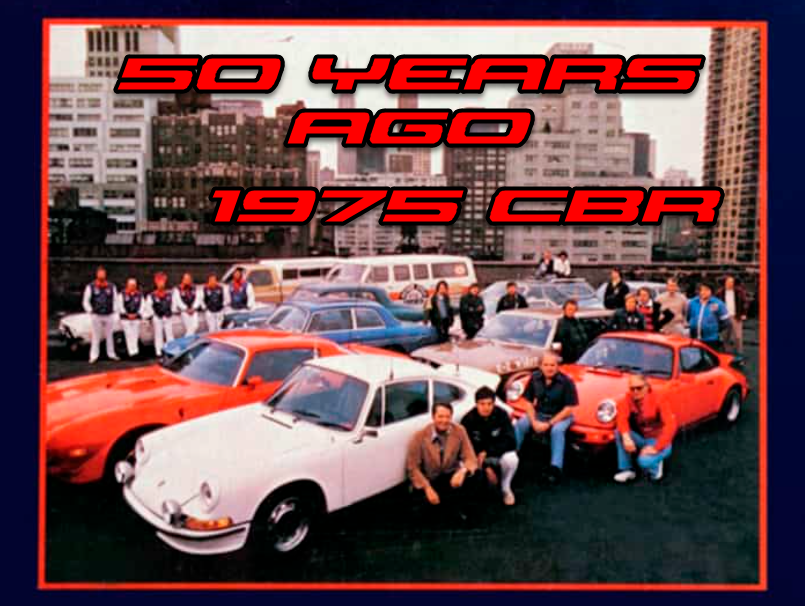
2025 Cannonball Run - 50 years since the 1975 run.
Mattilacken replied to Mattilacken's topic in Community Builds
2025 Cannonball Run Entry list: 1. '62 Chevrolet Bel Air (W-409) 2. Ford Escort MK2 ( stitchdup) 3. ‘71 Plymouth ’Cuda Hemi (Mattilacken) 🏁 4. ‘69 Chevrolet Camaro (atomicholliday) 5. WV type 1 Van (Fat Brian) 6. ‘69 Dodge Dart (Tim08) 7. ‘67 Ford Mustang (JimmyRiggins) 8. '70 Plymouth Superbird (Keef) 9. ’71 Renault Alpine A110( White Rabbit) 10. ‘75 Chevrolet Vega (MeatMan) 🏁 11. Dodge Super Bee (Slusher) 12. ’70 Dodge Super Bee (Sam I Am) 🏁 13. Lamborghini Espada (Tooltime-fan) 14. ‘70 Chevrolet Malibu (KWT) 15. ‘75 Volkswagen Golf (oldcarfan)🏁 16. ’60 Ford Starliner (blue303) 17. Shelby G.T. 350R (xbazzarex)🏁 18. ‘73 Mercury Cougar (bill_67) 19. ‘64 Corvette Grand Sport (beans)🏁 20. ’71 Porsche 911 T (Misha) 21. ’73 Dodge Charger (Pat Minarick) 22. ’71 Ford Maverick (bobthehobbyguy) 23. ’70 Ford Torino (kromolly) 24. ‘63 Renault Estafette (camaro69) 25. ‘73 Dodge d300 (53gmc)🏁 26. ‘71 Ford Interceptor (spencer1984) 27. ‘74 Ford Gran Torino wagon (iamsuperdan) 28. ‘58 Plymouth sports fury (Rescued Customs) 29. ‘66 Chevrolet Malibu (Chasten) 30. ’66 Fairline GT/GTA (geras24) 31. '69 Ford Galaxie (Stavanzer) 32. 73 Nissan Skyline GT-R (Badge73) 33. ’75 Chevrolet Laguna (RockinRoler)🏁 34. ‘67 Chevrolet Impala (meechum68) 🏁 -
Aha! I see! Was thinking of parting with this model.. maybe someone there would be interested.
-
Nice build! Only thing I would have done different is to put taller tires in the back to give the car a forward lean.
-
Such a great looking interior to that beautiful sculpted body!
-
Thanks sir! Which national forum was you thinking of? Sävarturbo? I believe he did most on his own site and after that FB. You might be right. It might be an import?
-
Beautiful build! One of the best looking fords there is.
-
Great looking Yenko!
-
Thanks man!
-
cannonball 2025 Cannonball Run - Finished builds thread
Mattilacken replied to Mattilacken's topic in Community Builds
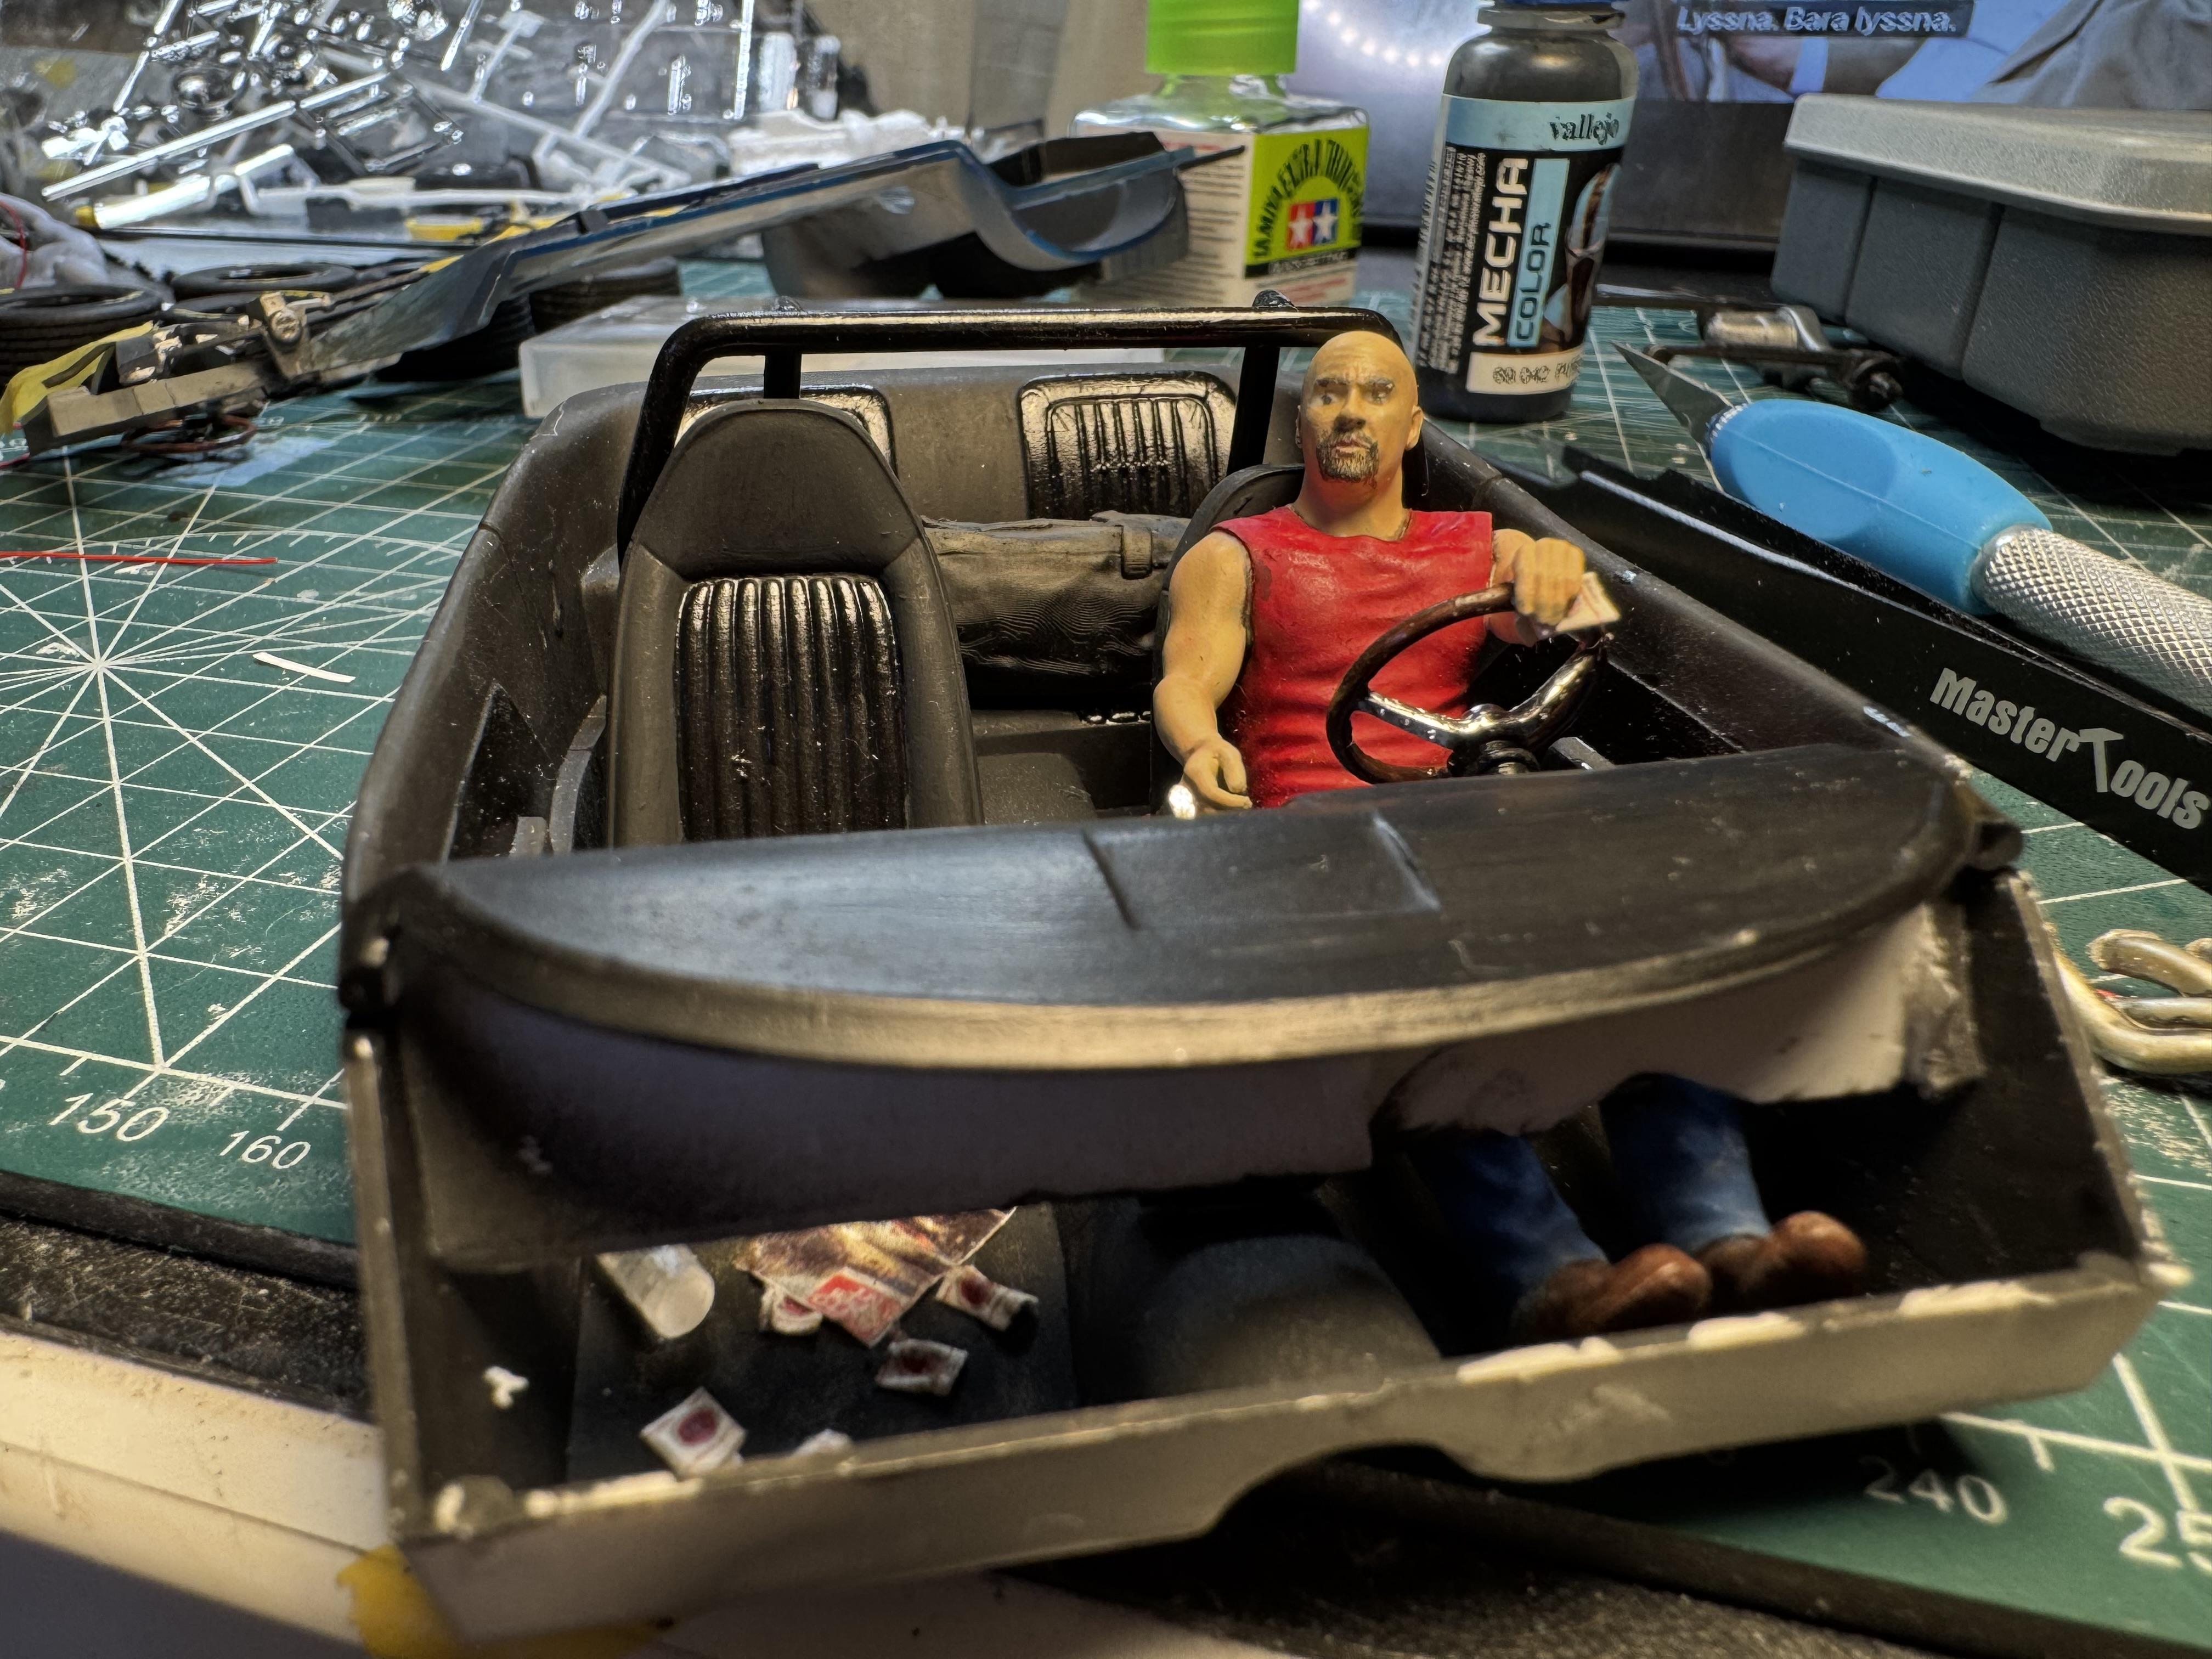
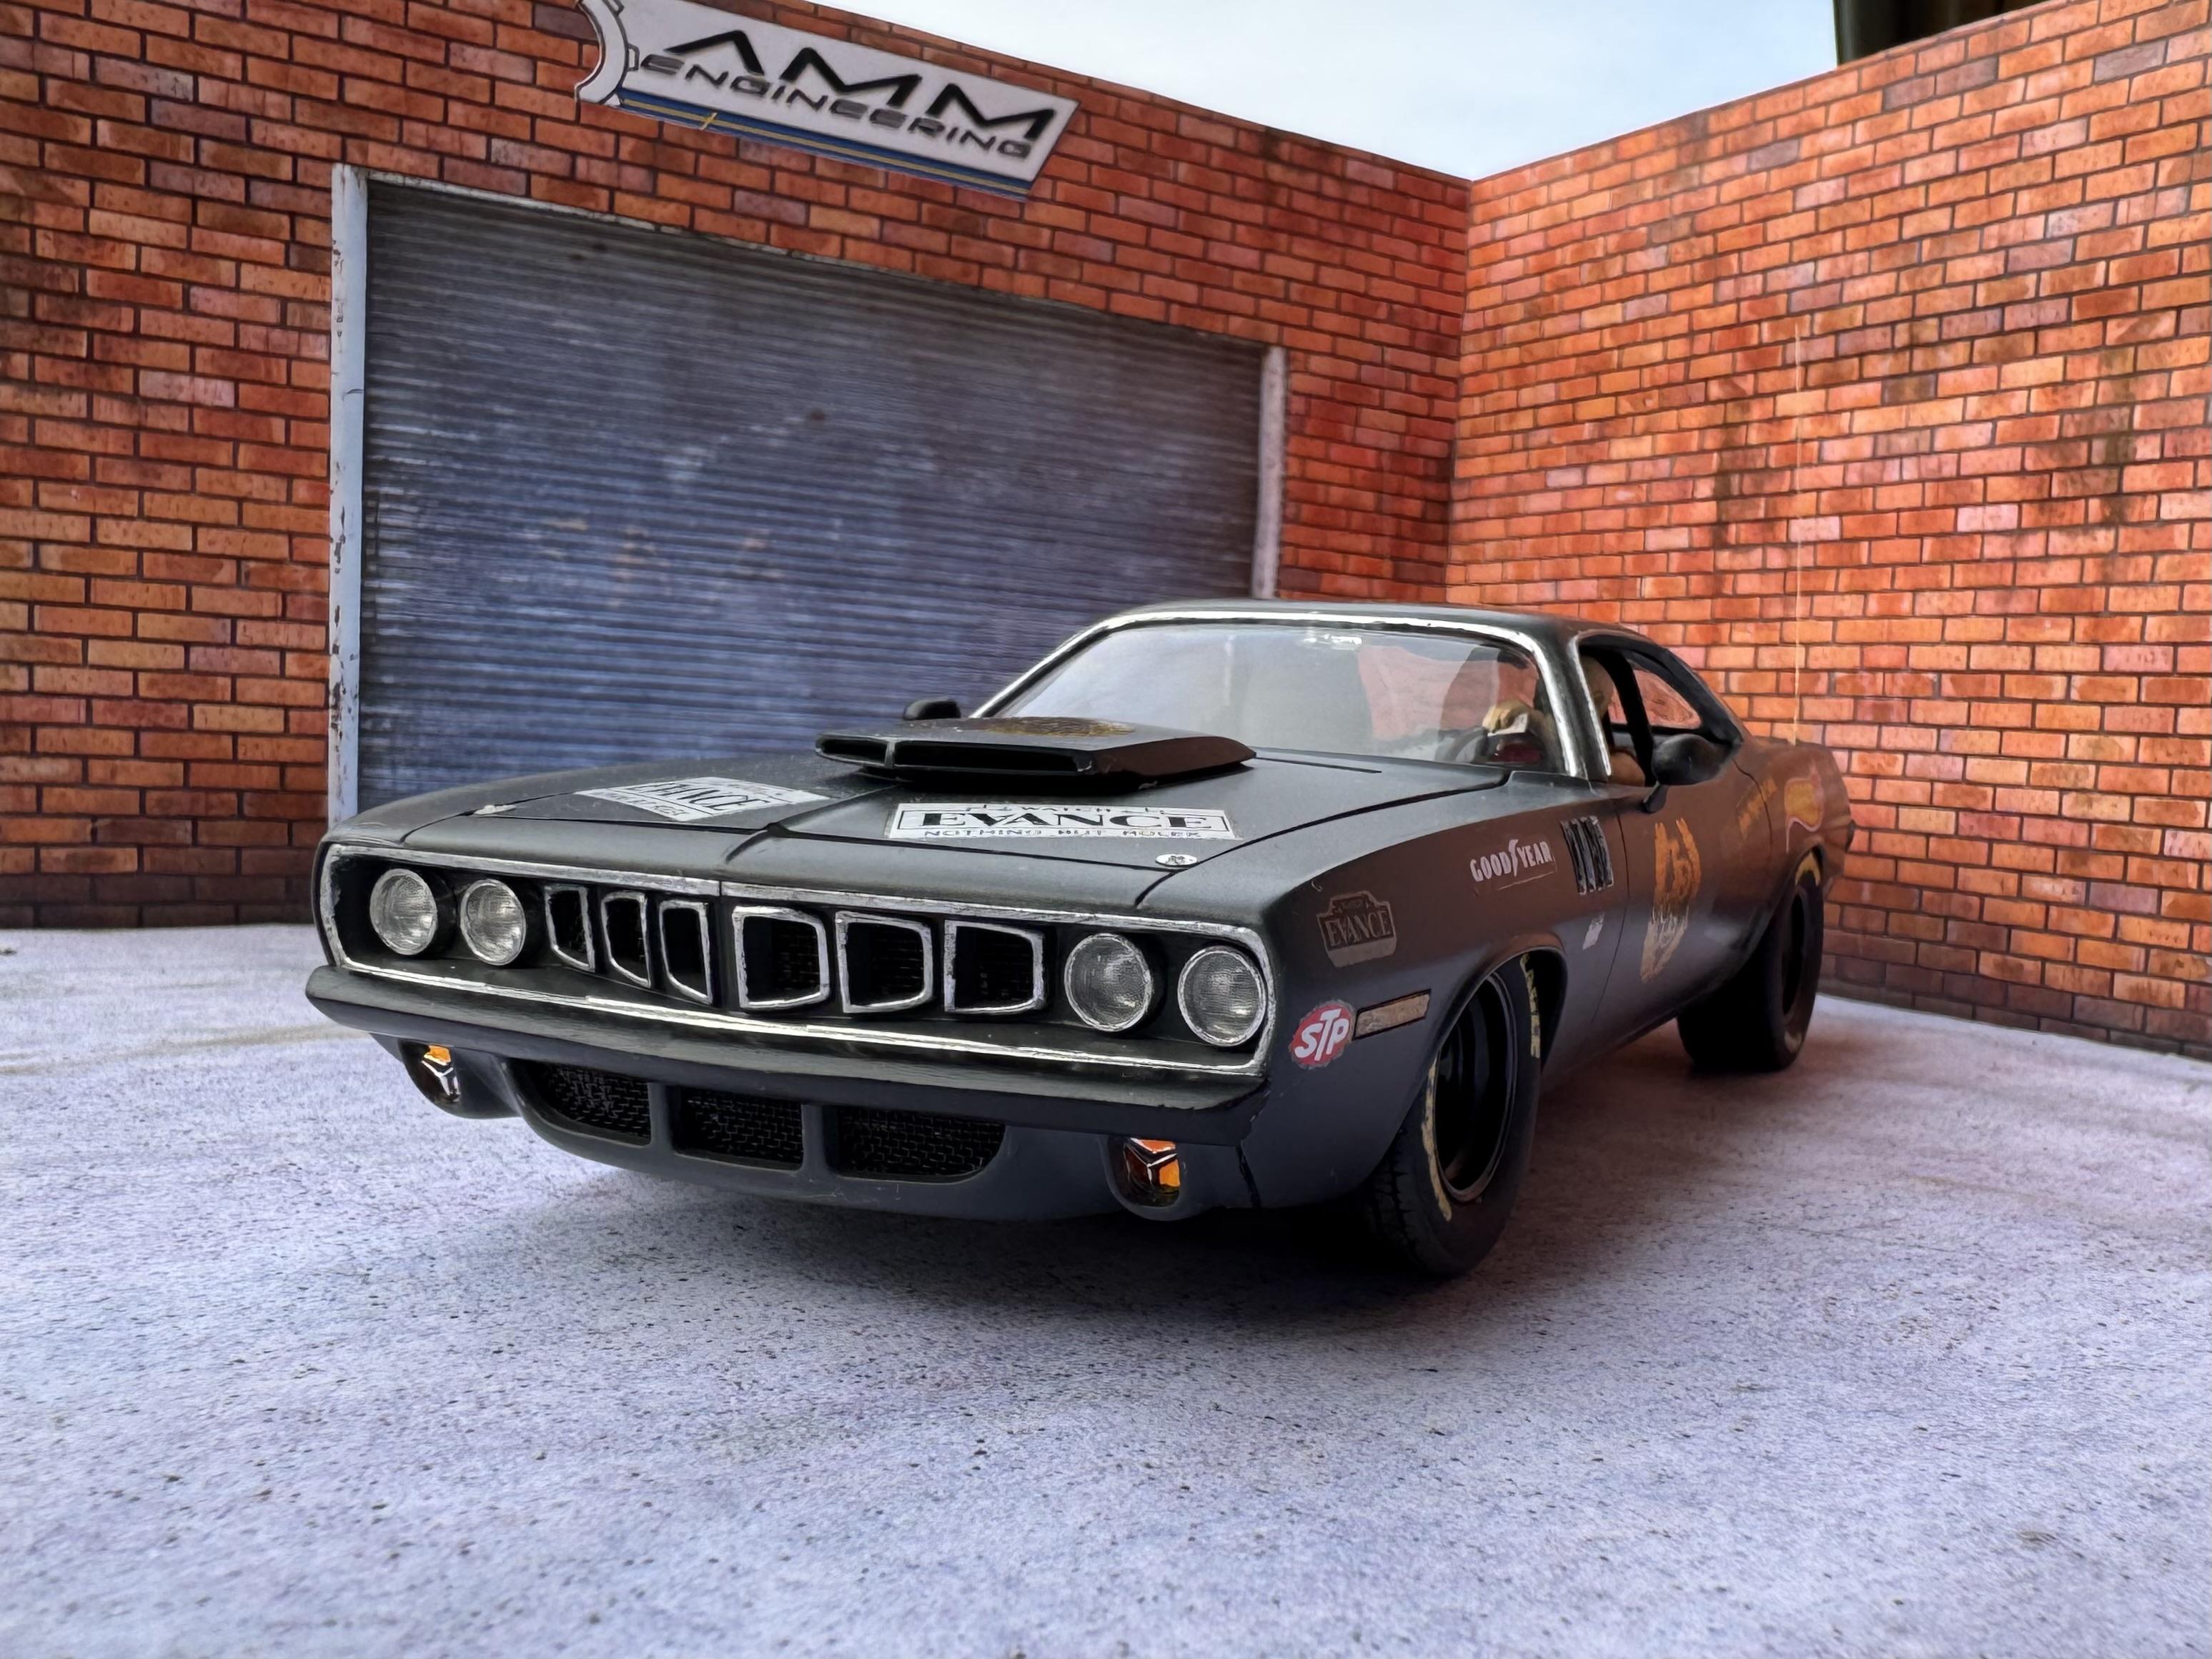
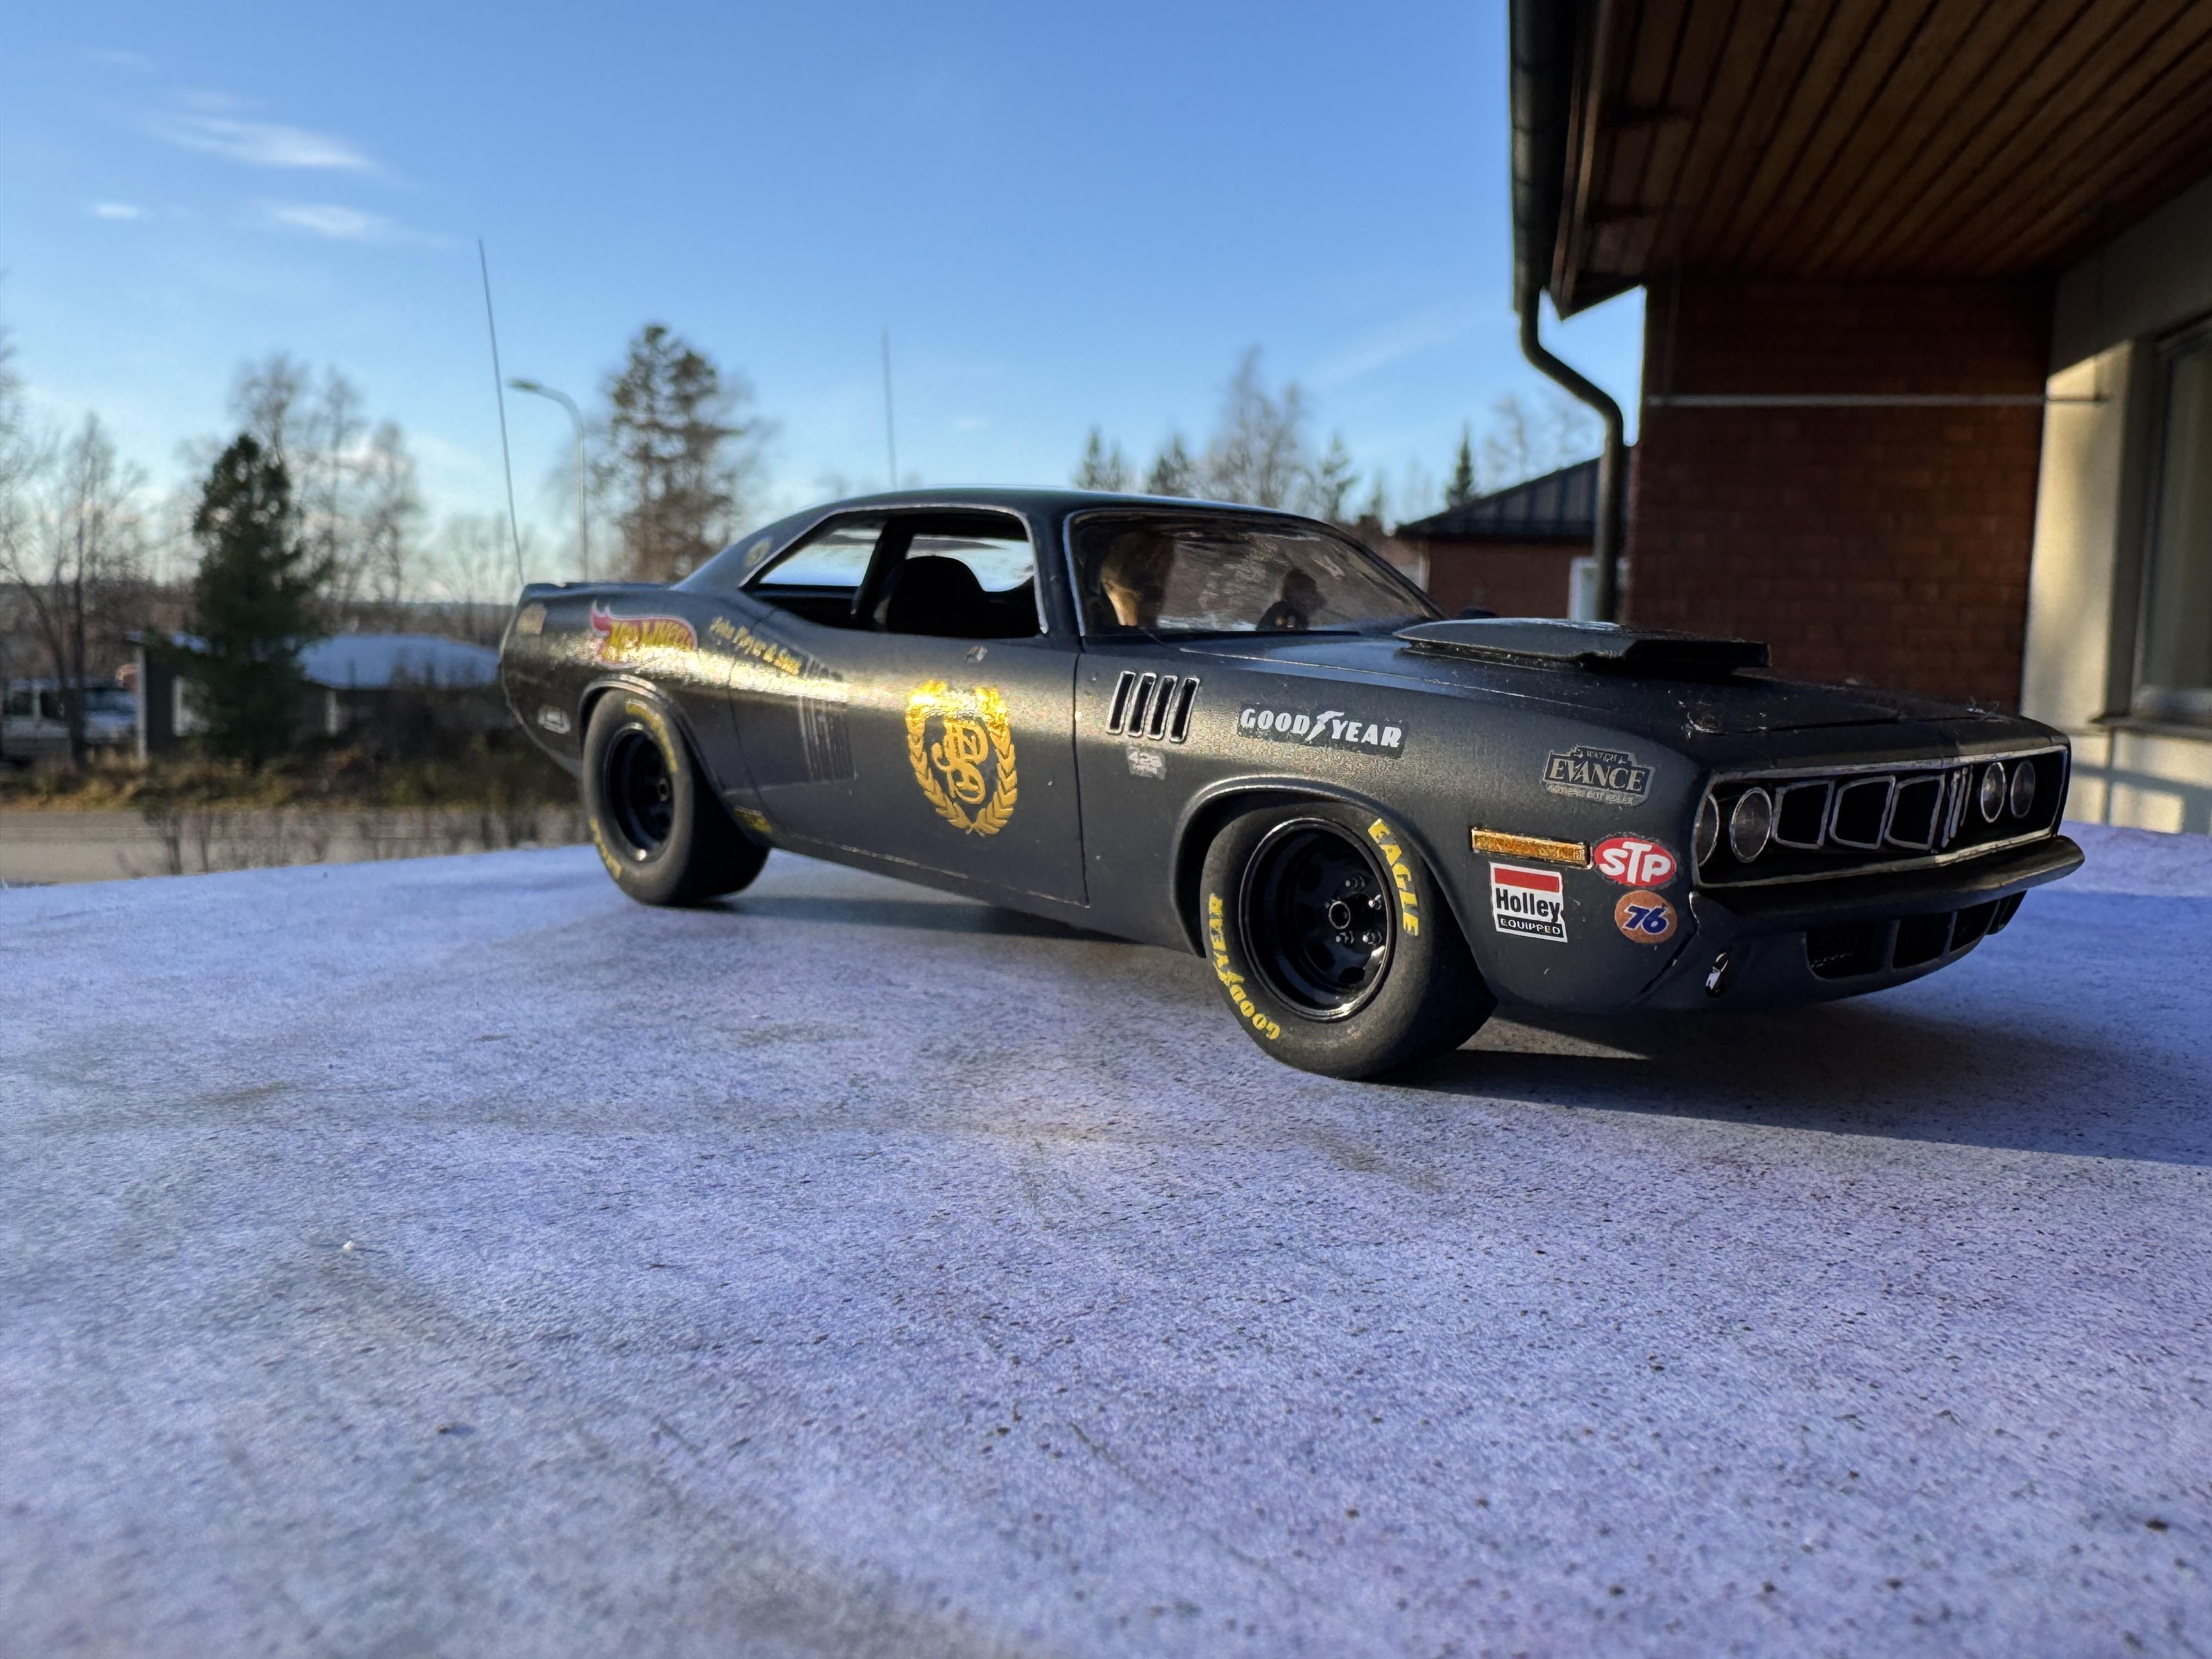
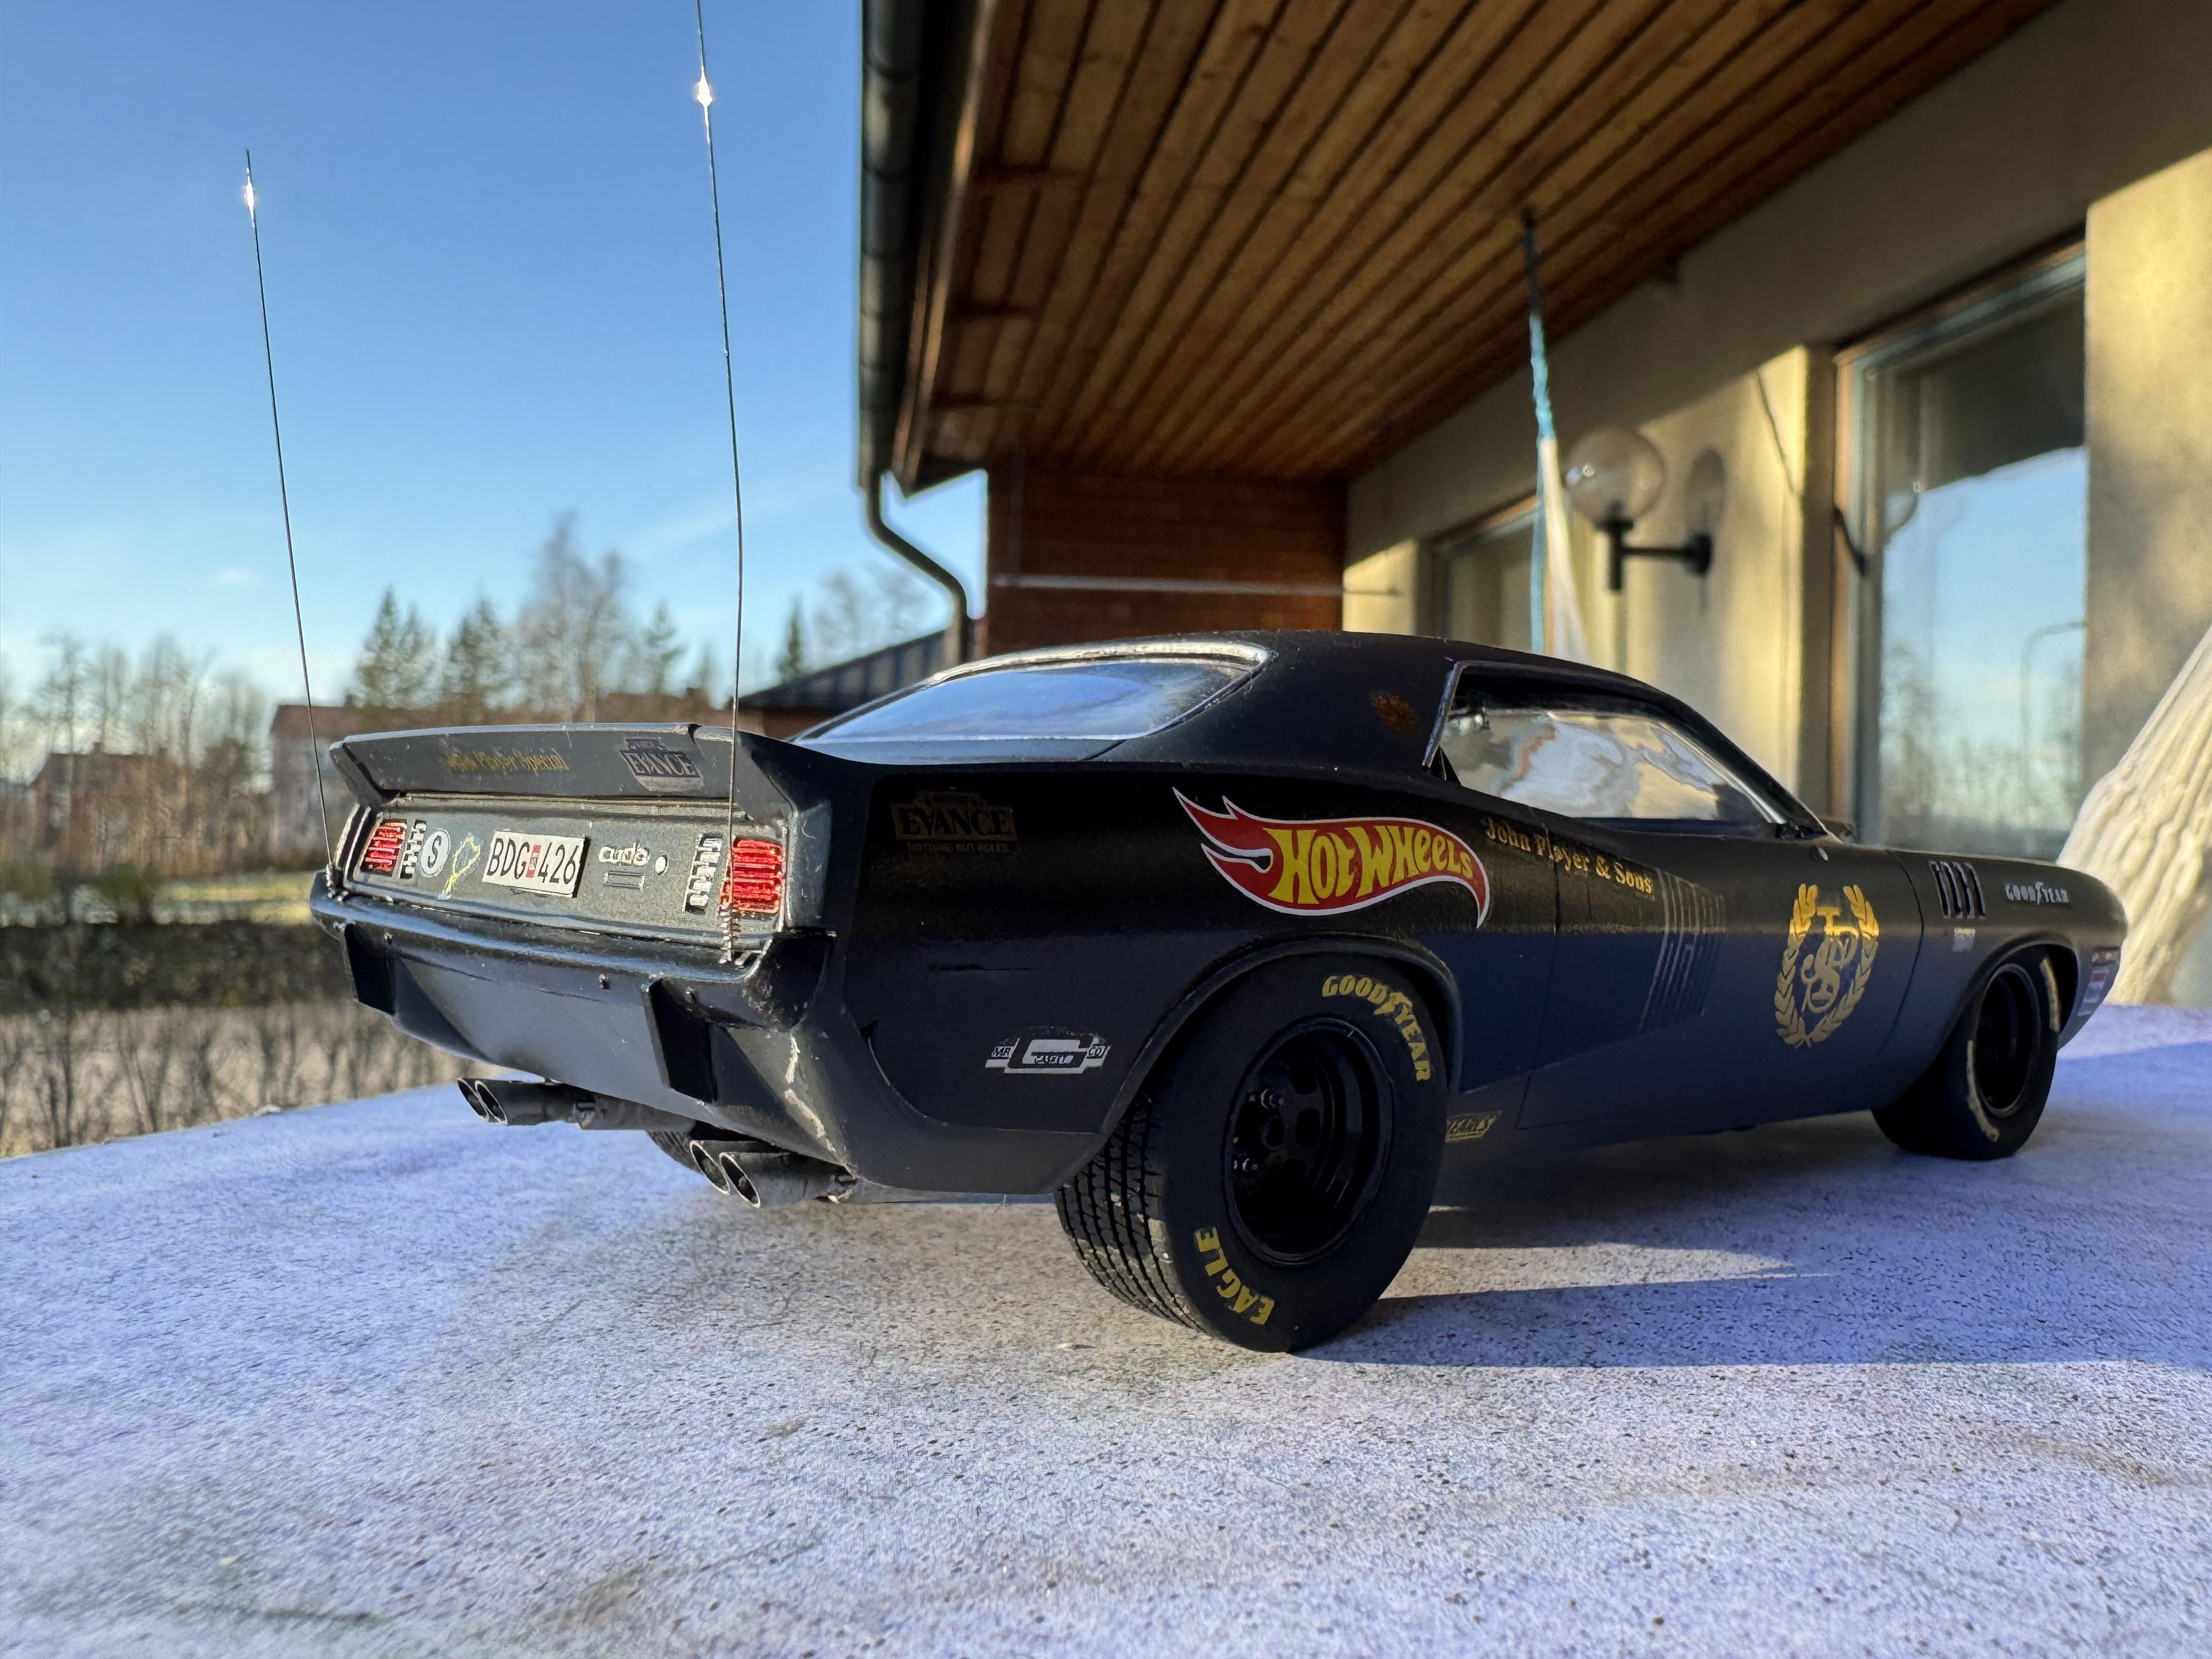
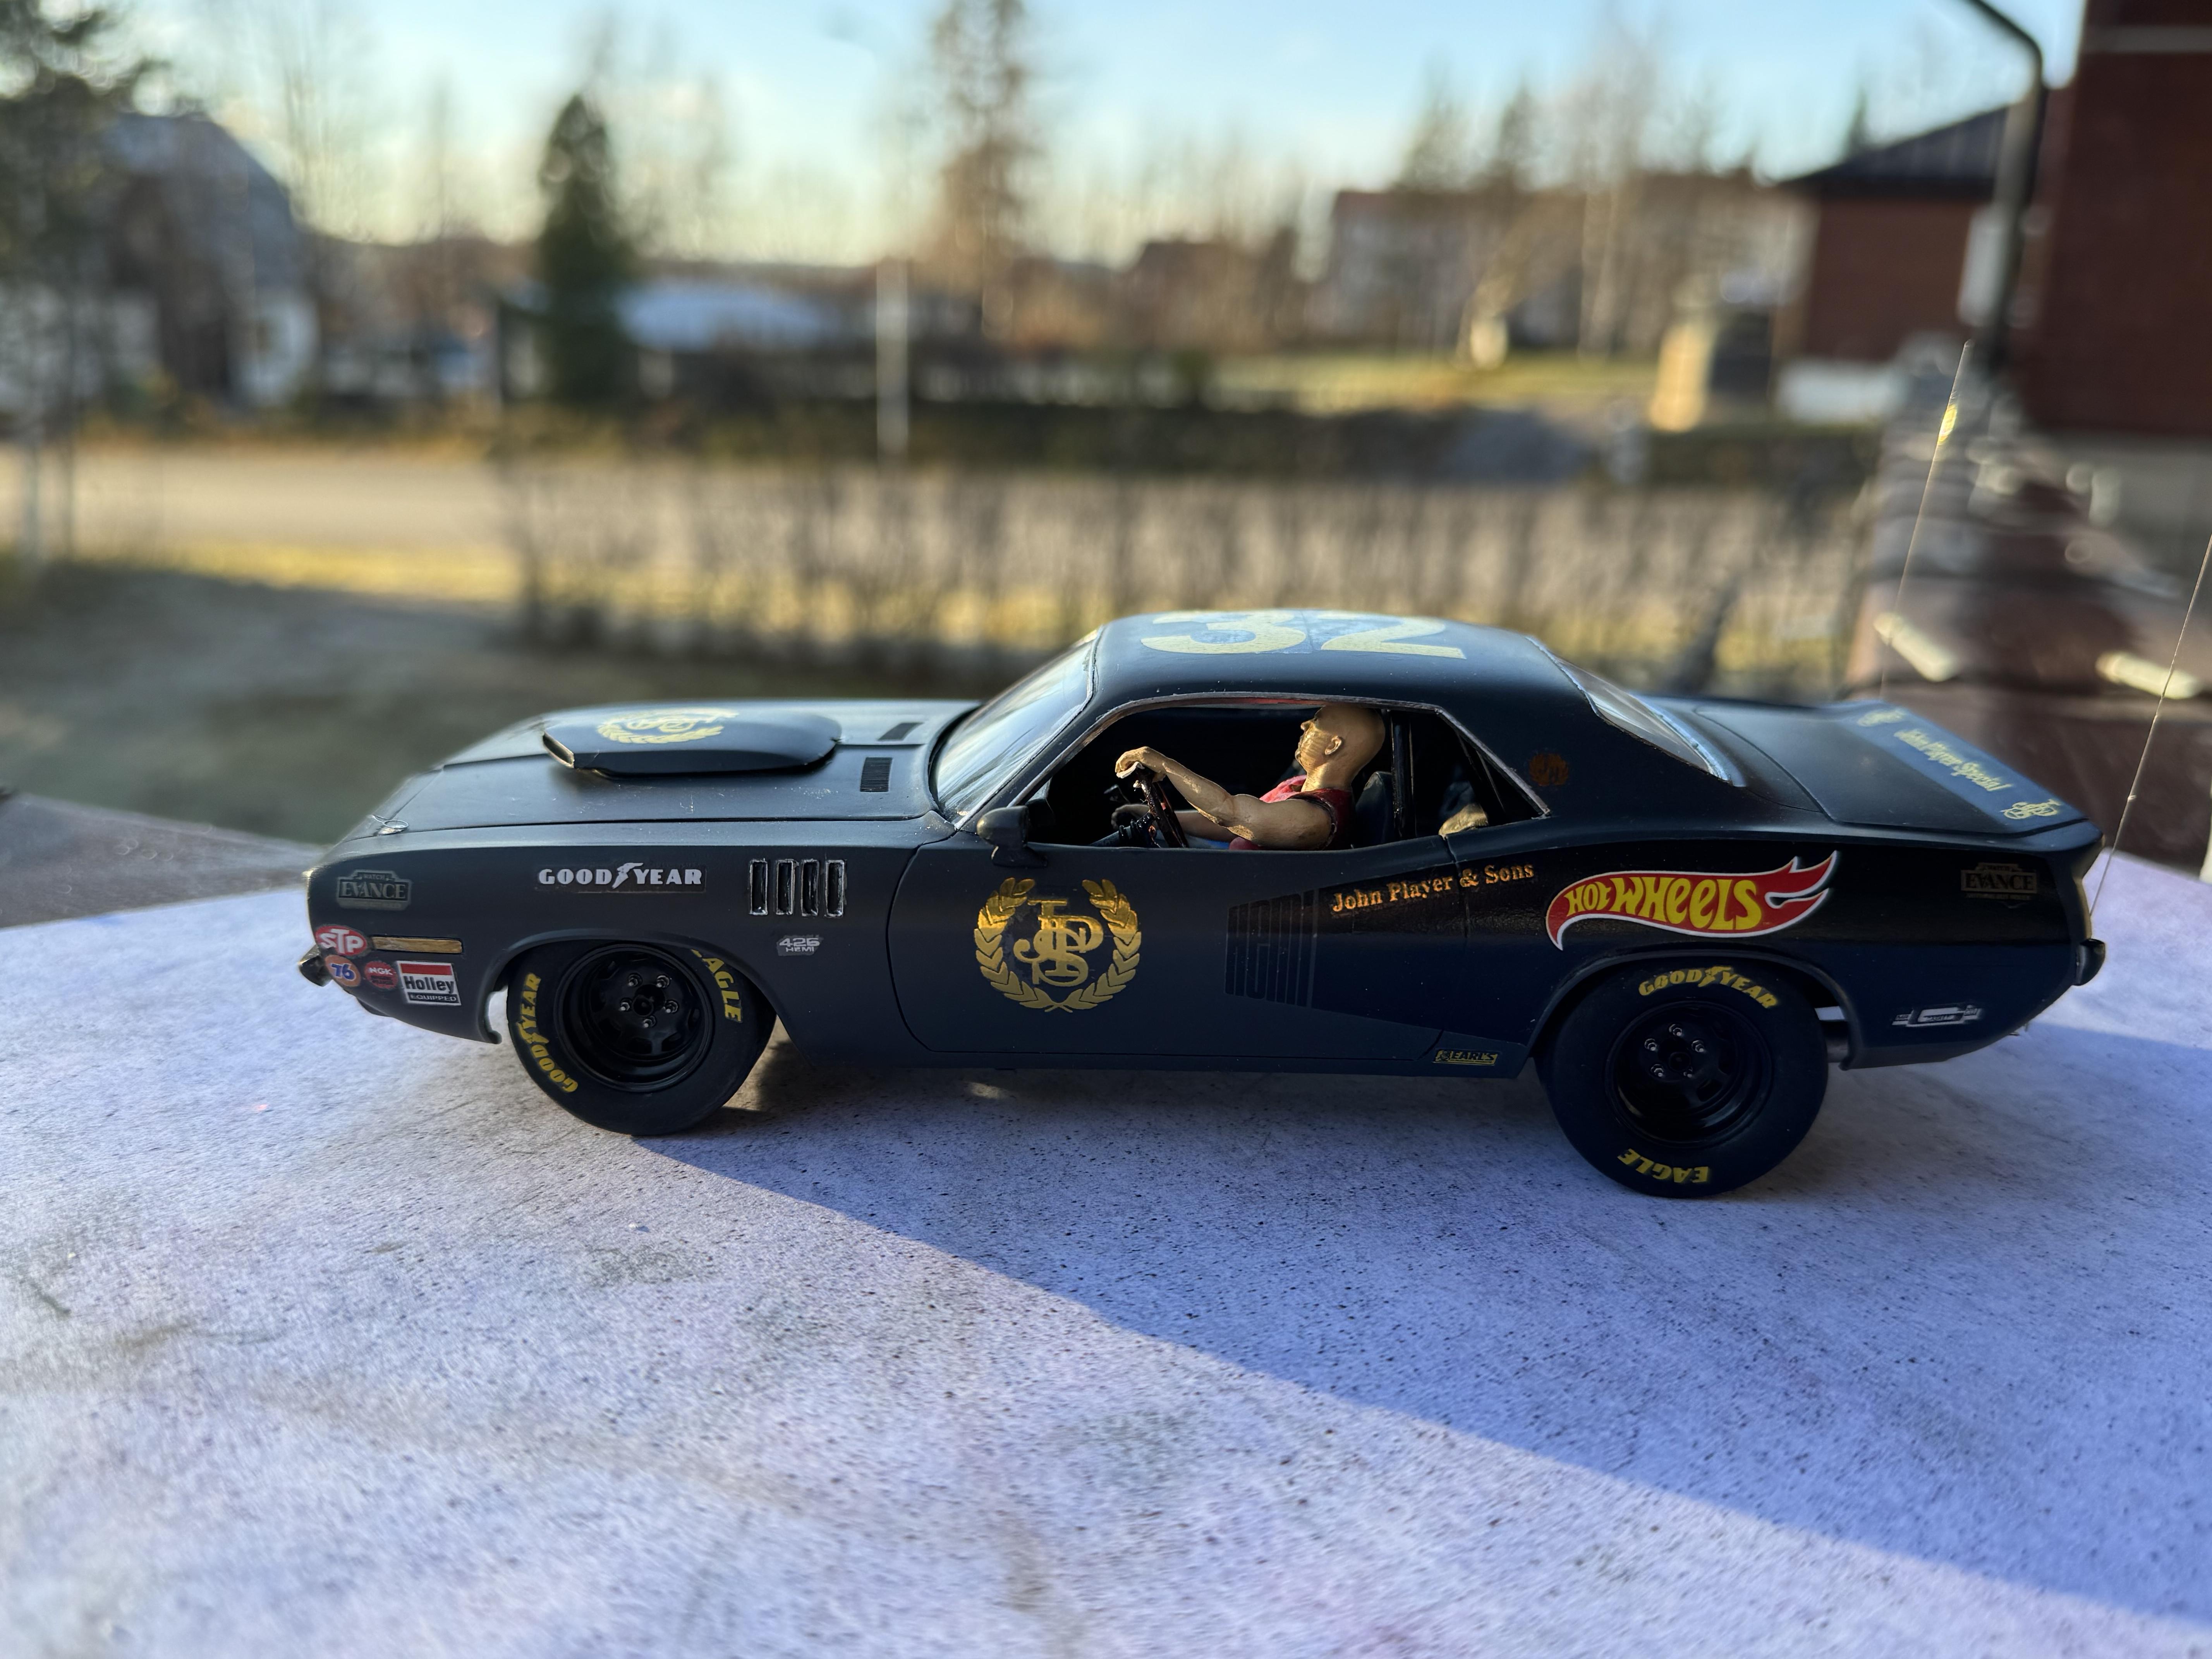
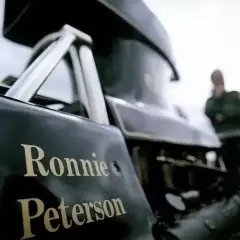
#3 1971 Plymouth ‘Cuda ”Used” to race in France but was sold to Sweden where the guys managed to get JPS sponsors thanks to Ronnie Petersson who was suppose to race with them. During the stay in US before the race they ran out of JPS smokers and only got hold of lucky strike and they went through a bunch of packs to stay awake! Latest issue of automotorsport where F1 was mentioned and the result of Peterssons race was announced is thrown on the floor.
-
cannonball 2025 Cannonball Run - Finished builds thread
Mattilacken posted a topic in Community Builds
Welcome all to the Cannonballers 18th Annual Cannonball Run Community build! This year’s Cannonball Run theme is: 1975 CBR – 50 years anniversary! So cars shall be built in a way they could have been driven in 1975. Please post your finished builds here. Try to take good pictures of your build of several angles and if you have made some details make sure to show these! Try to post up to 6 pictures per entry but not more. 2025 Cannonball Run Entry list: 1. '62 Chevrolet Bel Air (W-409) 2. Ford Escort MK2 ( stitchdup) 3. ‘71 Plymouth ’Cuda Hemi (Mattilacken) 🏁 4. ‘69 Chevrolet Camaro (atomicholliday) 5. WV type 1 Van (Fat Brian) 6. ‘69 Dodge Dart (Tim08) 7. ‘67 Ford Mustang (JimmyRiggins) 8. '70 Plymouth Superbird (Keef) 9. ’71 Renault Alpine A110( White Rabbit) 10. ‘75 Chevrolet Vega (MeatMan) 🏁 11. Dodge Super Bee (Slusher) 12. ’70 Dodge Super Bee (Sam I Am) 🏁 13. Lamborghini Espada (Tooltime-fan) 14. ‘70 Chevrolet Malibu (KWT) 15. ‘75 Volkswagen Golf (oldcarfan)🏁 16. ’60 Ford Starliner (blue303) 17. Shelby G.T. 350R (xbazzarex) 18. ‘73 Mercury Cougar (bill_67) 19. ‘64 Corvette Grand Sport (beans)🏁 20. ’71 Porsche 911 T (Misha) 21. ’73 Dodge Charger (Pat Minarick) 22. ’71 Ford Maverick (bobthehobbyguy) 23. ’70 Ford Torino (kromolly) 24. ‘63 Renault Estafette (camaro69) 25. ‘73 Dodge d300 (53gmc)🏁 26. ‘71 Ford Interceptor (spencer1984) 27. ‘74 Ford Gran Torino wagon (iamsuperdan) 28. ‘58 Plymouth sports fury (Rescued Customs) 29. ‘66 Chevrolet Malibu (Chasten) 30. ’66 Fairline GT/GTA (geras24) 31. '69 Ford Galaxie (Stavanzer) 32. 73 Nissan Skyline GT-R (Badge73) 33. ’75 Chevrolet Laguna (RockinRoler)🏁 34. ‘67 Chevrolet Impala (meechum68) 🏁 @MeatMan @Sam I Am @oldcarfan @53gmc @RockinRoller @meechum68
-
2025 Cannonball Run - 50 years since the 1975 run.
Mattilacken replied to Mattilacken's topic in Community Builds
2025 Cannonball Run Entry list: 1. '62 Chevrolet Bel Air (W-409) 2. Ford Escort MK2 ( stitchdup) 3. ‘71 Plymouth ’Cuda Hemi (Mattilacken) 🏁 4. ‘69 Chevrolet Camaro (atomicholliday) 5. WV type 1 Van (Fat Brian) 6. ‘69 Dodge Dart (Tim08) 7. ‘67 Ford Mustang (JimmyRiggins) 8. '70 Plymouth Superbird (Keef) 9. ’71 Renault Alpine A110( White Rabbit) 10. ‘75 Chevrolet Vega (MeatMan) 🏁 11. Dodge Super Bee (Slusher) 12. ’70 Dodge Super Bee (Sam I Am) 🏁 13. Lamborghini Espada (Tooltime-fan) 14. ‘70 Chevrolet Malibu (KWT) 15. ‘75 Volkswagen Golf (oldcarfan)🏁 16. ’60 Ford Starliner (blue303) 17. Shelby G.T. 350R (xbazzarex)🏁 18. ‘73 Mercury Cougar (bill_67) 19. ‘64 Corvette Grand Sport (beans) 20. ’71 Porsche 911 T (Misha) 21. ’73 Dodge Charger (Pat Minarick) 22. ’71 Ford Maverick (bobthehobbyguy) 23. ’70 Ford Torino (kromolly) 24. ‘63 Renault Estafette (camaro69) 25. ‘73 Dodge d300 (53gmc)🏁 26. ‘71 Ford Interceptor (spencer1984) 27. ‘74 Ford Gran Torino wagon (iamsuperdan) 28. ‘58 Plymouth sports fury (Rescued Customs) 29. ‘66 Chevrolet Malibu (Chasten) 30. ’66 Fairline GT/GTA (geras24) 31. '69 Ford Galaxie (Stavanzer) 32. 73 Nissan Skyline GT-R (Badge73) 33. ’75 Chevrolet Laguna (RockinRoler)🏁 34. ‘67 Chevrolet Impala (meechum68) 🏁 -
2025 Cannonball Run - 50 years since the 1975 run.
Mattilacken replied to Mattilacken's topic in Community Builds
Great build! Love the beer and crisps! I have wanted to build that car several years but not got around to it due to the amount of work needed, especially since I wanted to build a stocker more than stock car. Have 3 started I believe! Non with those decals though! Need to get them! -
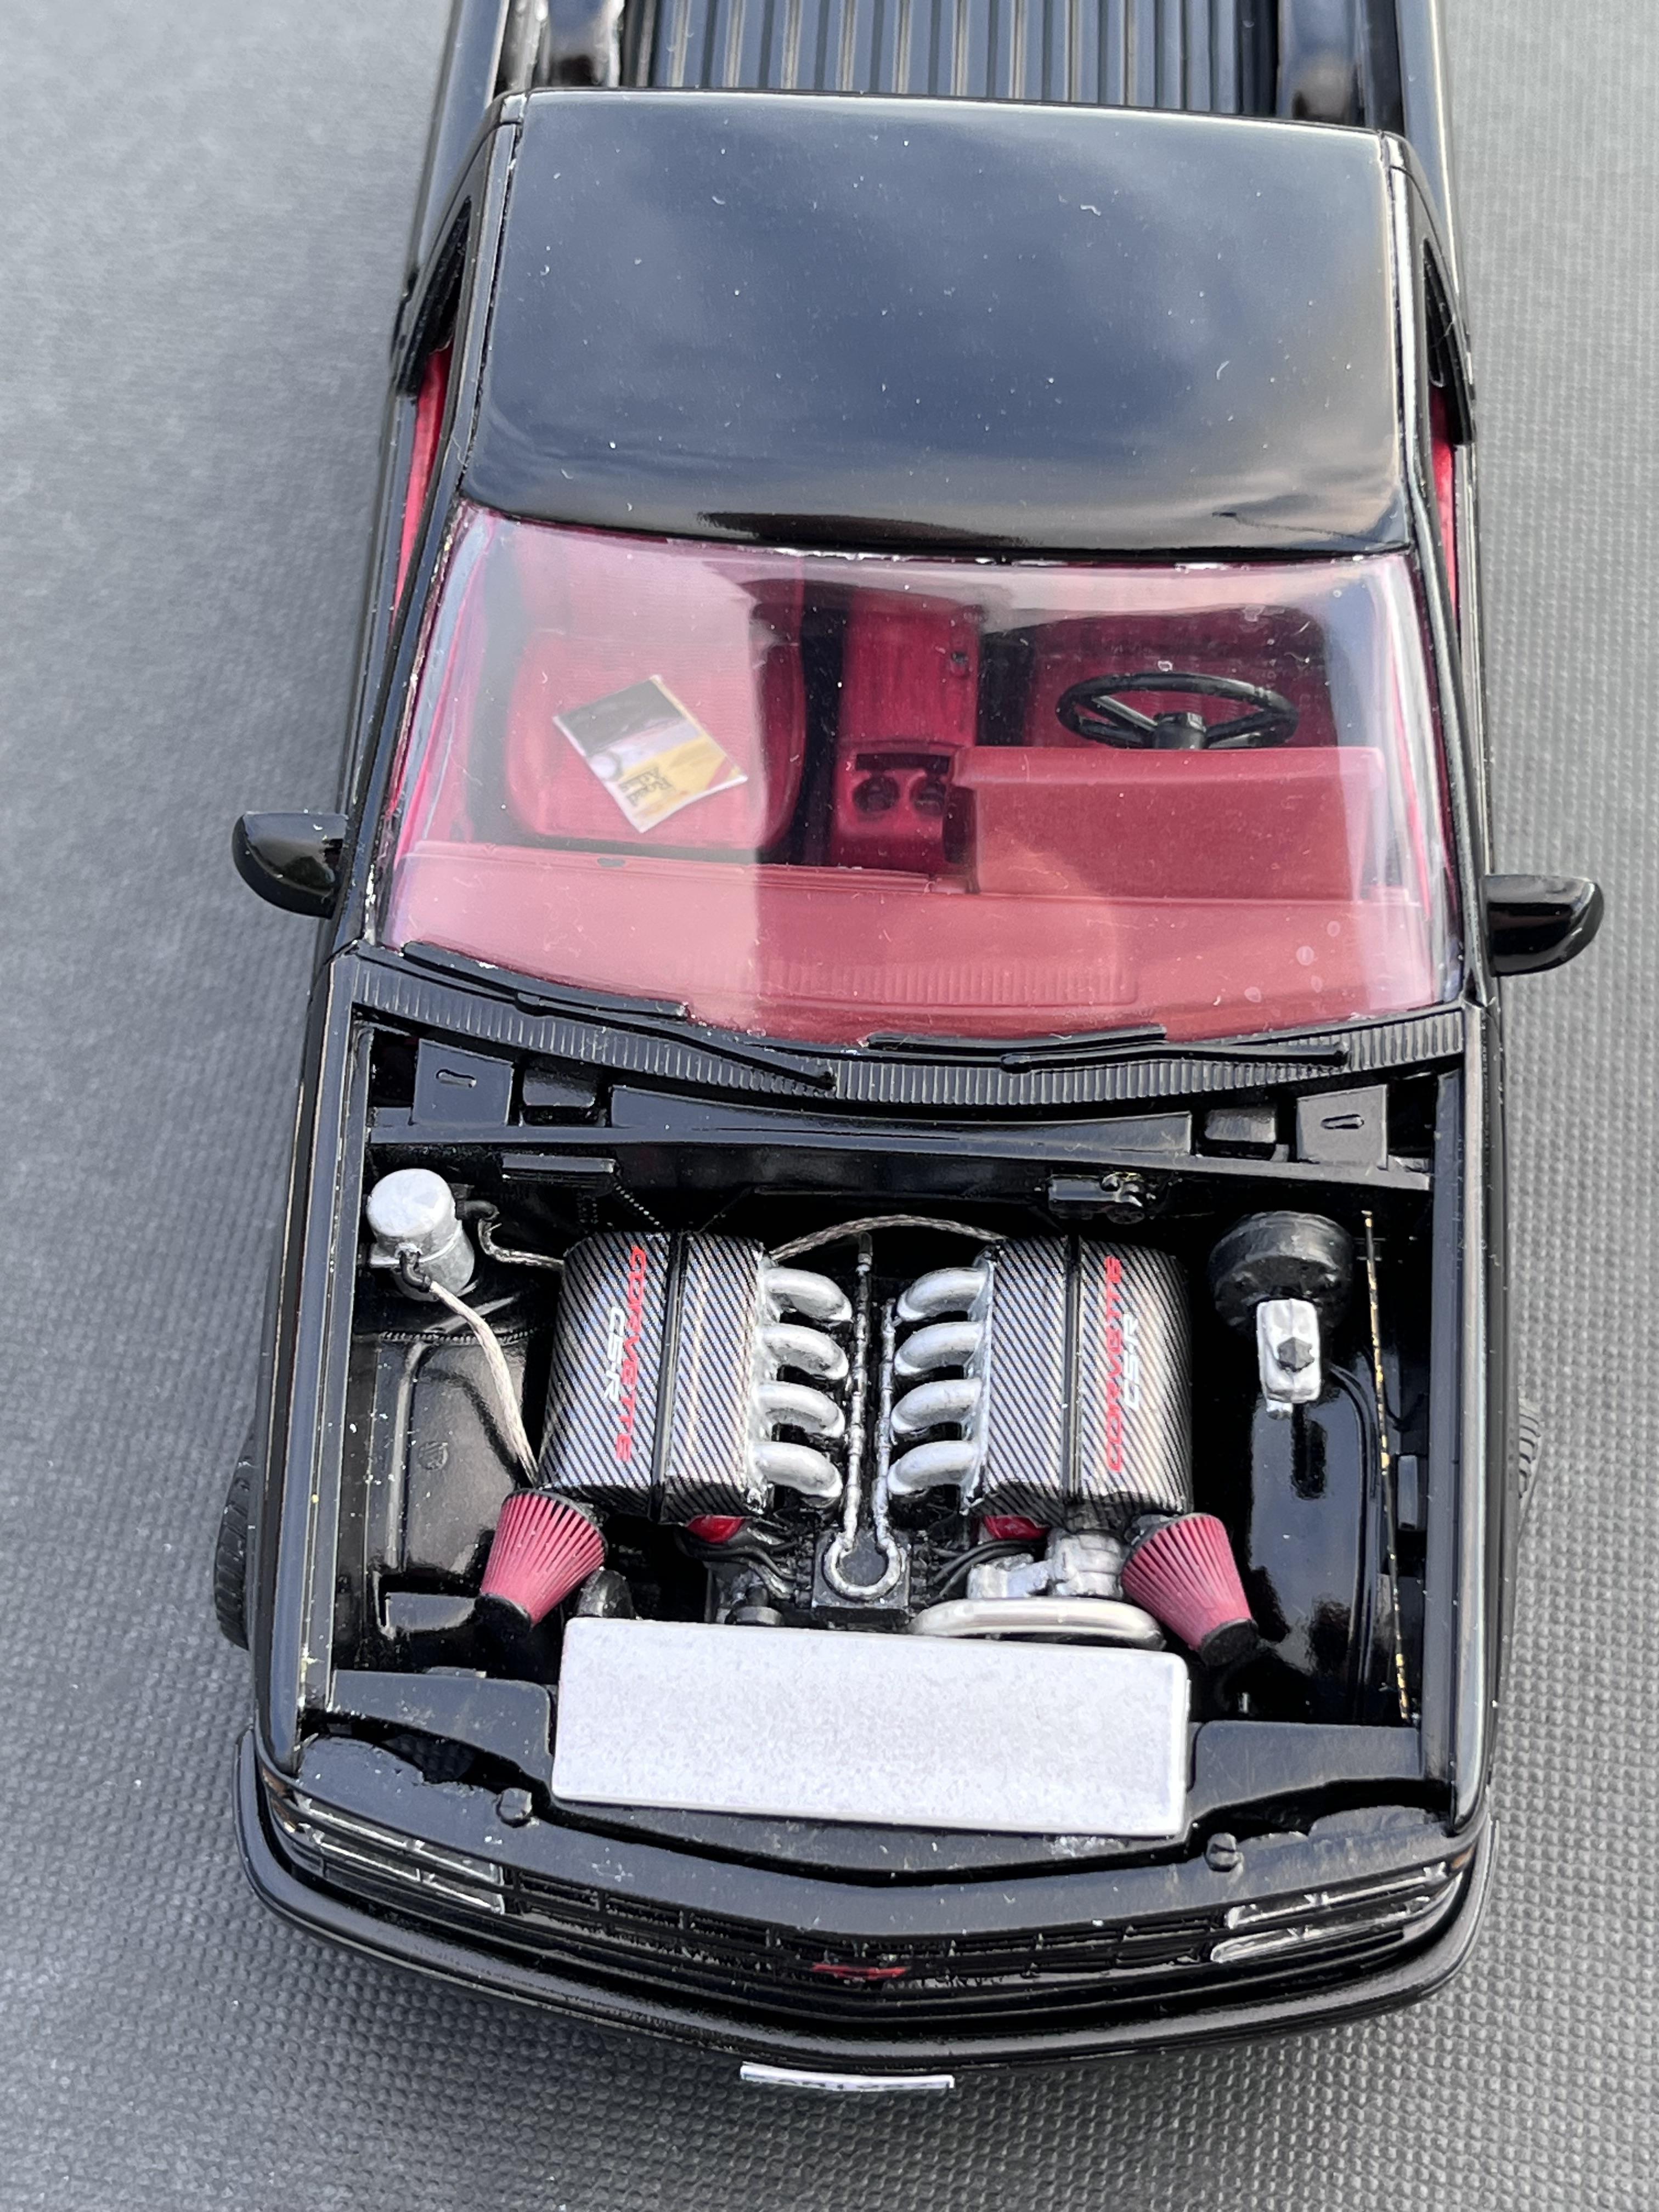
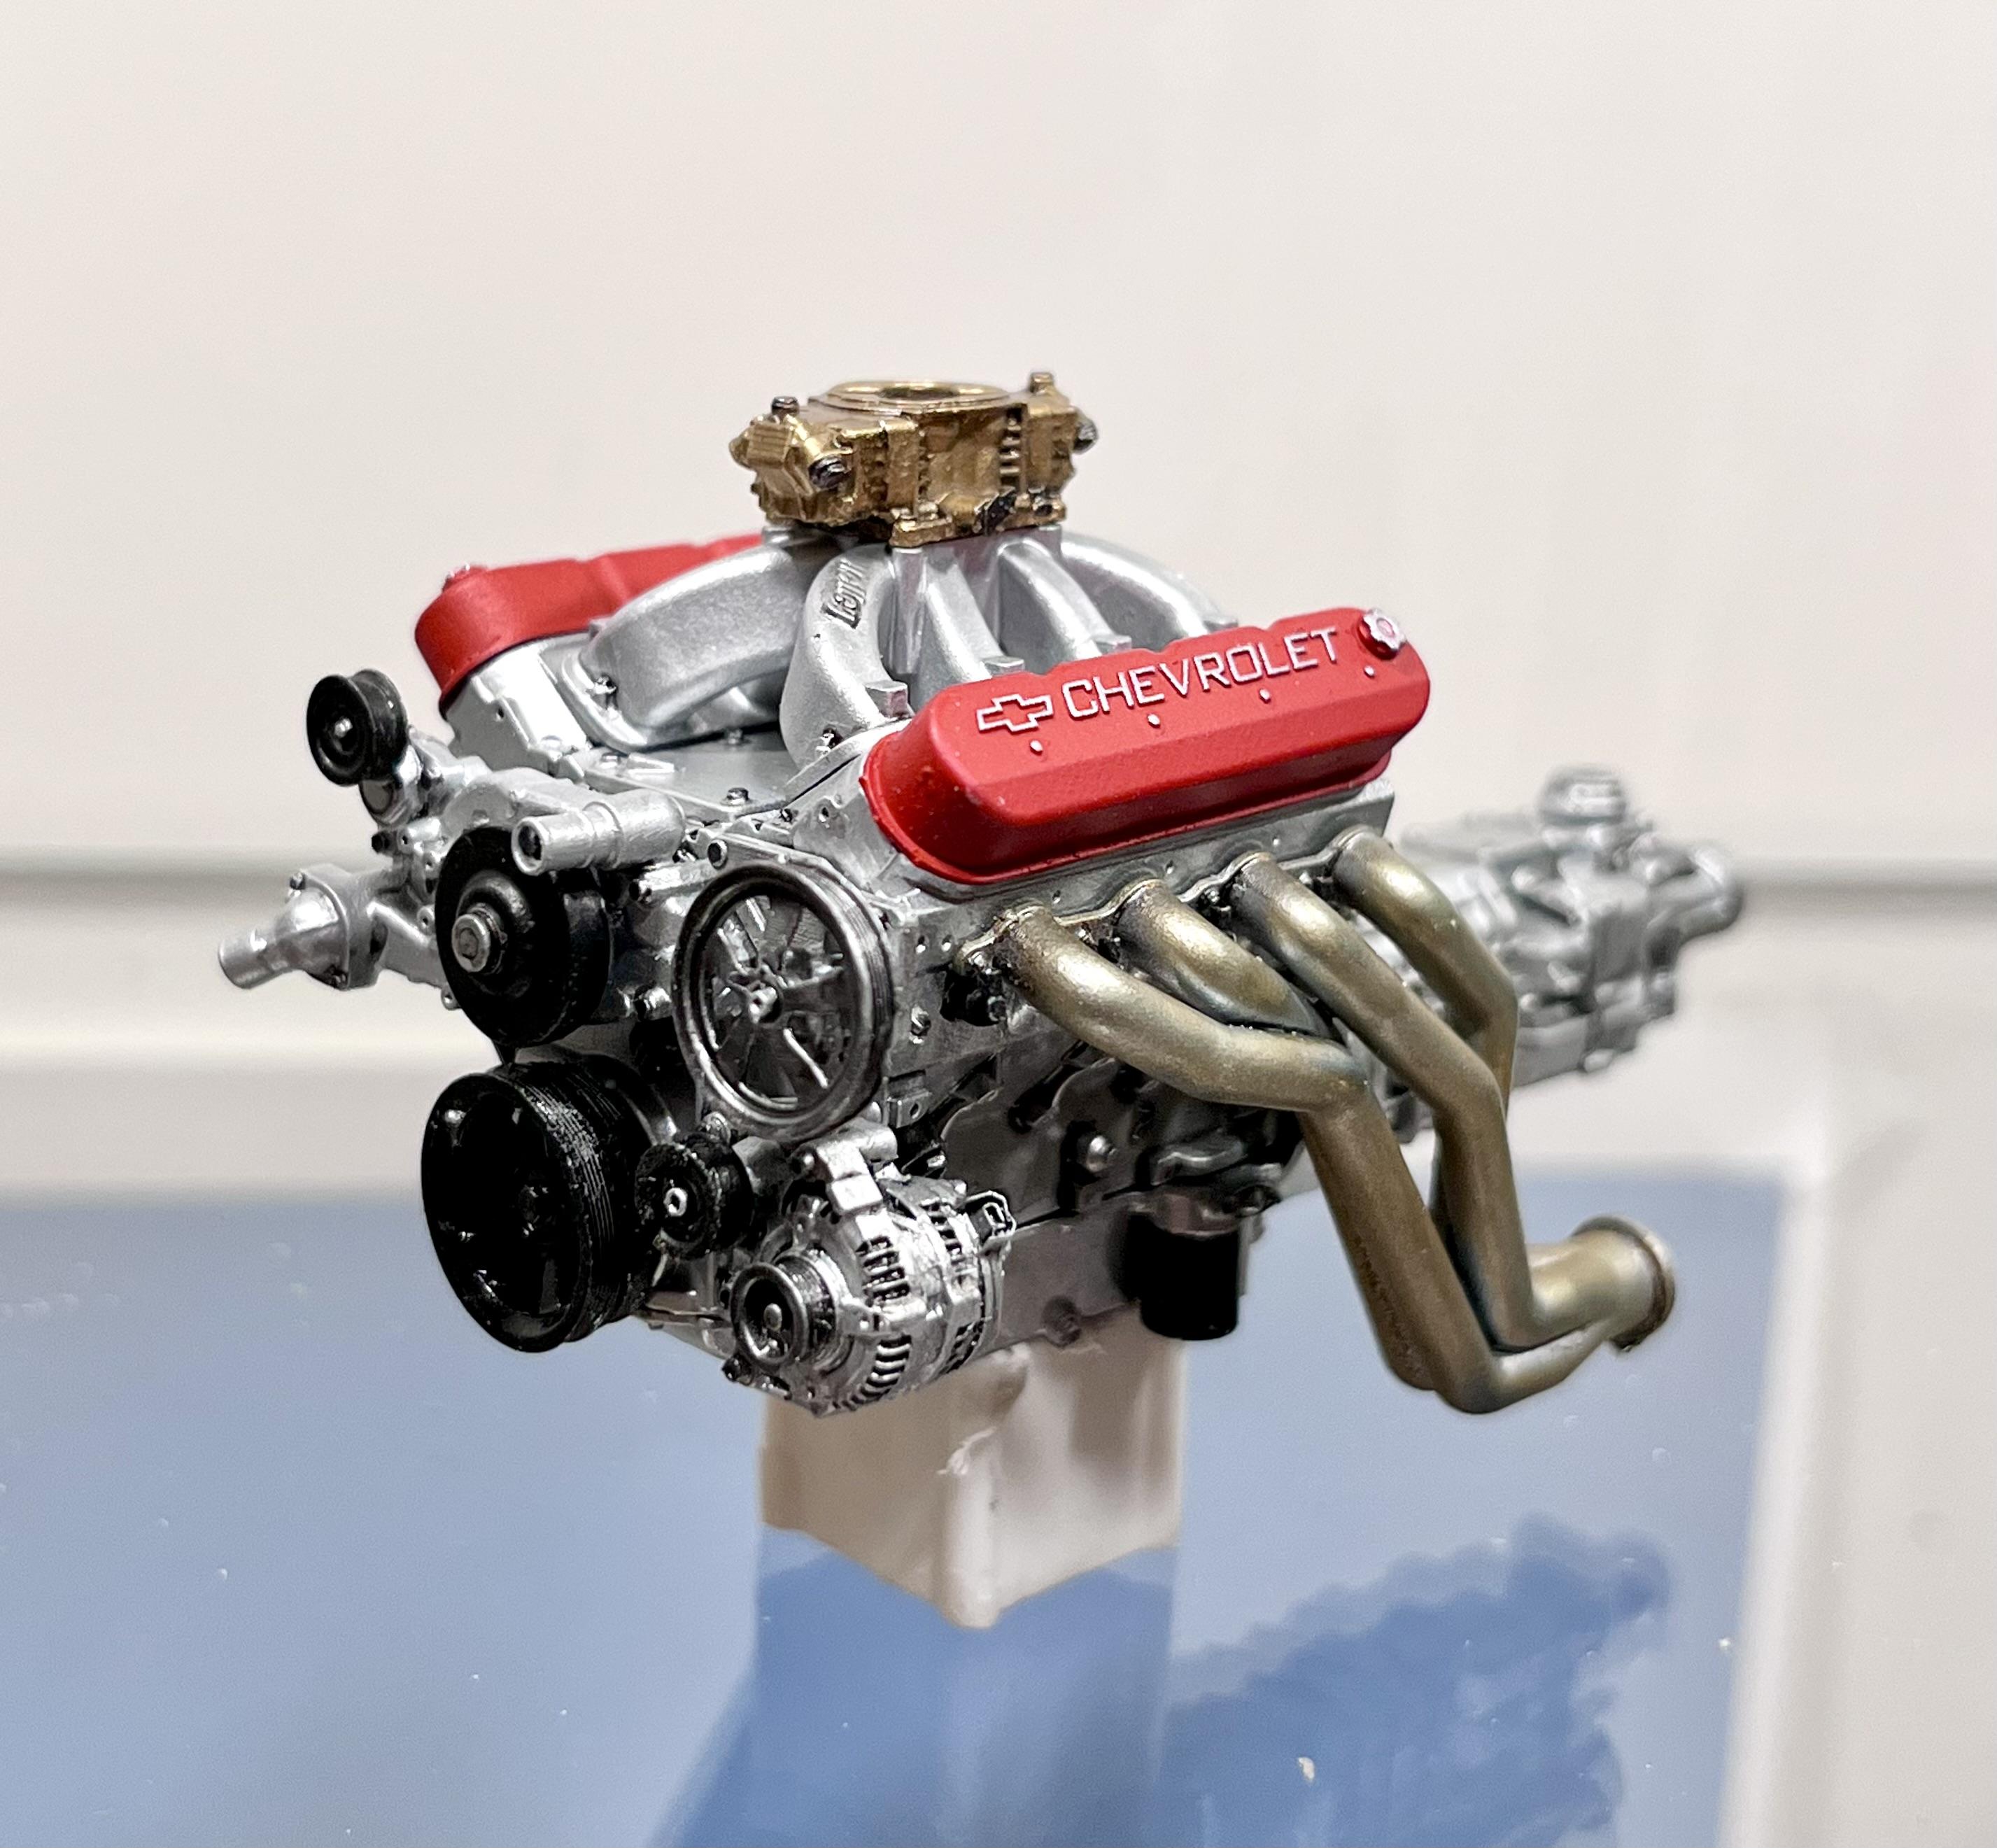
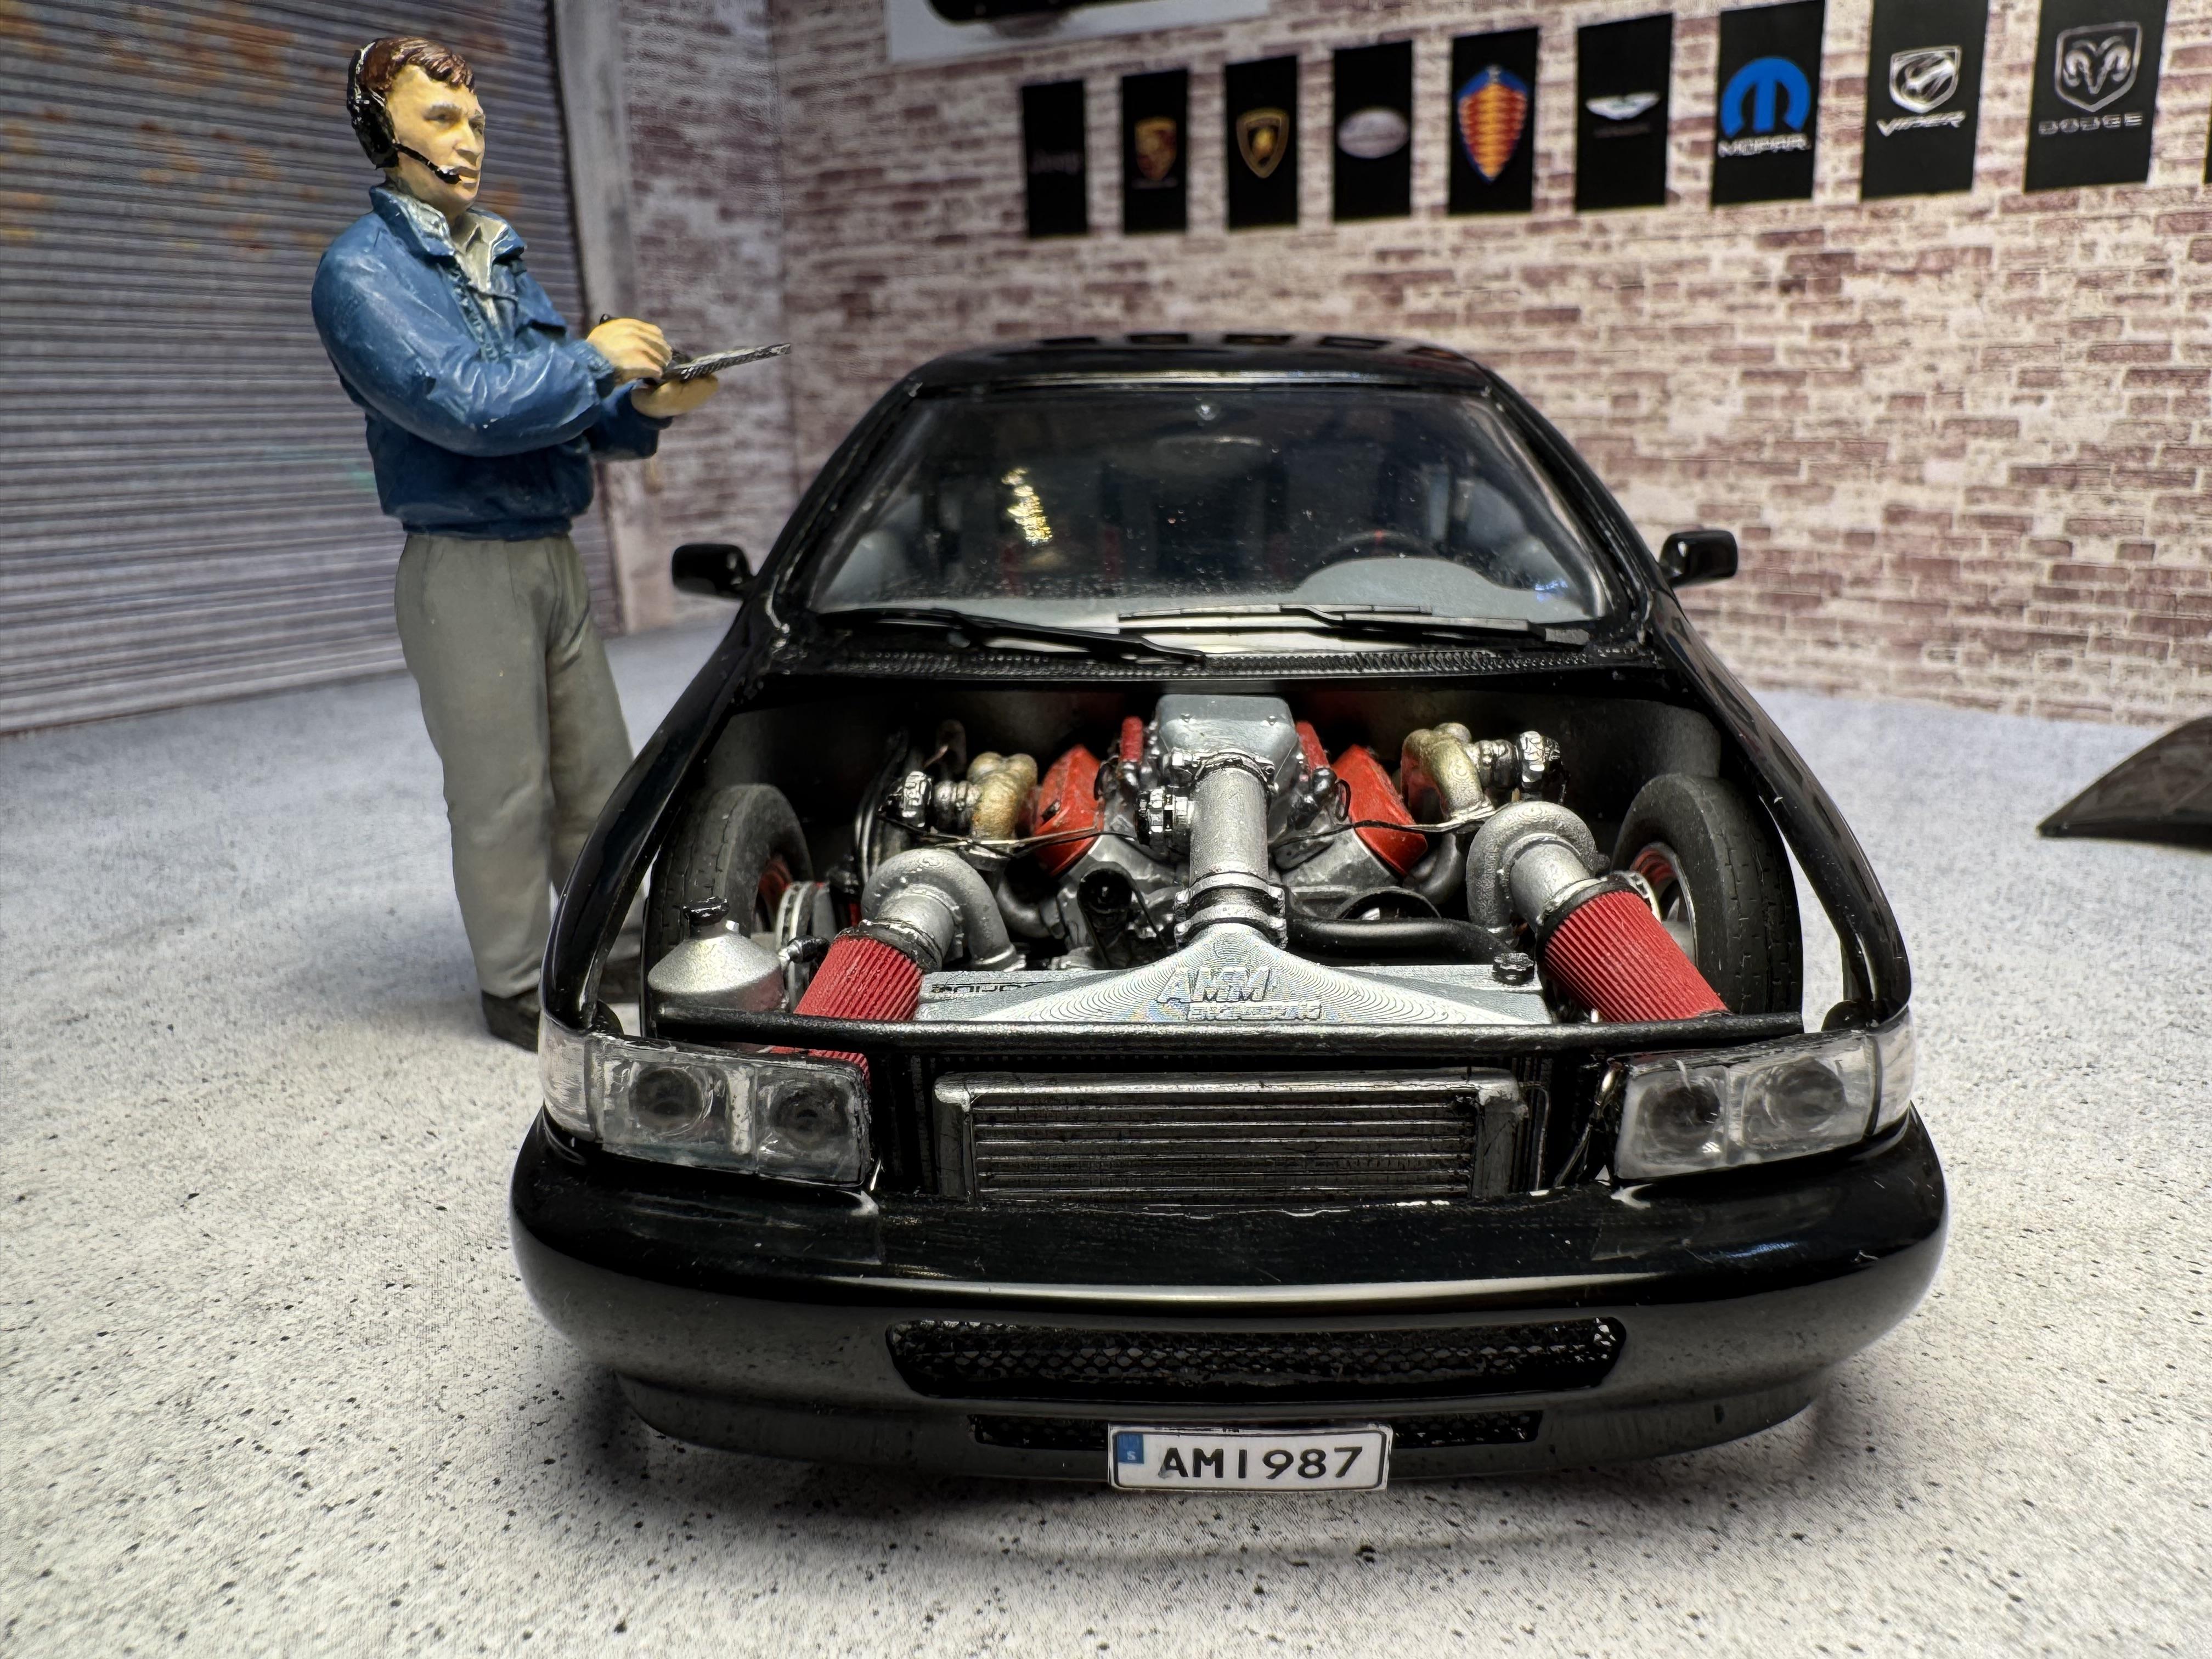
Show us your Engines - Post Dedicated to the Engine
Mattilacken replied to TheCat's topic in Model Cars
-
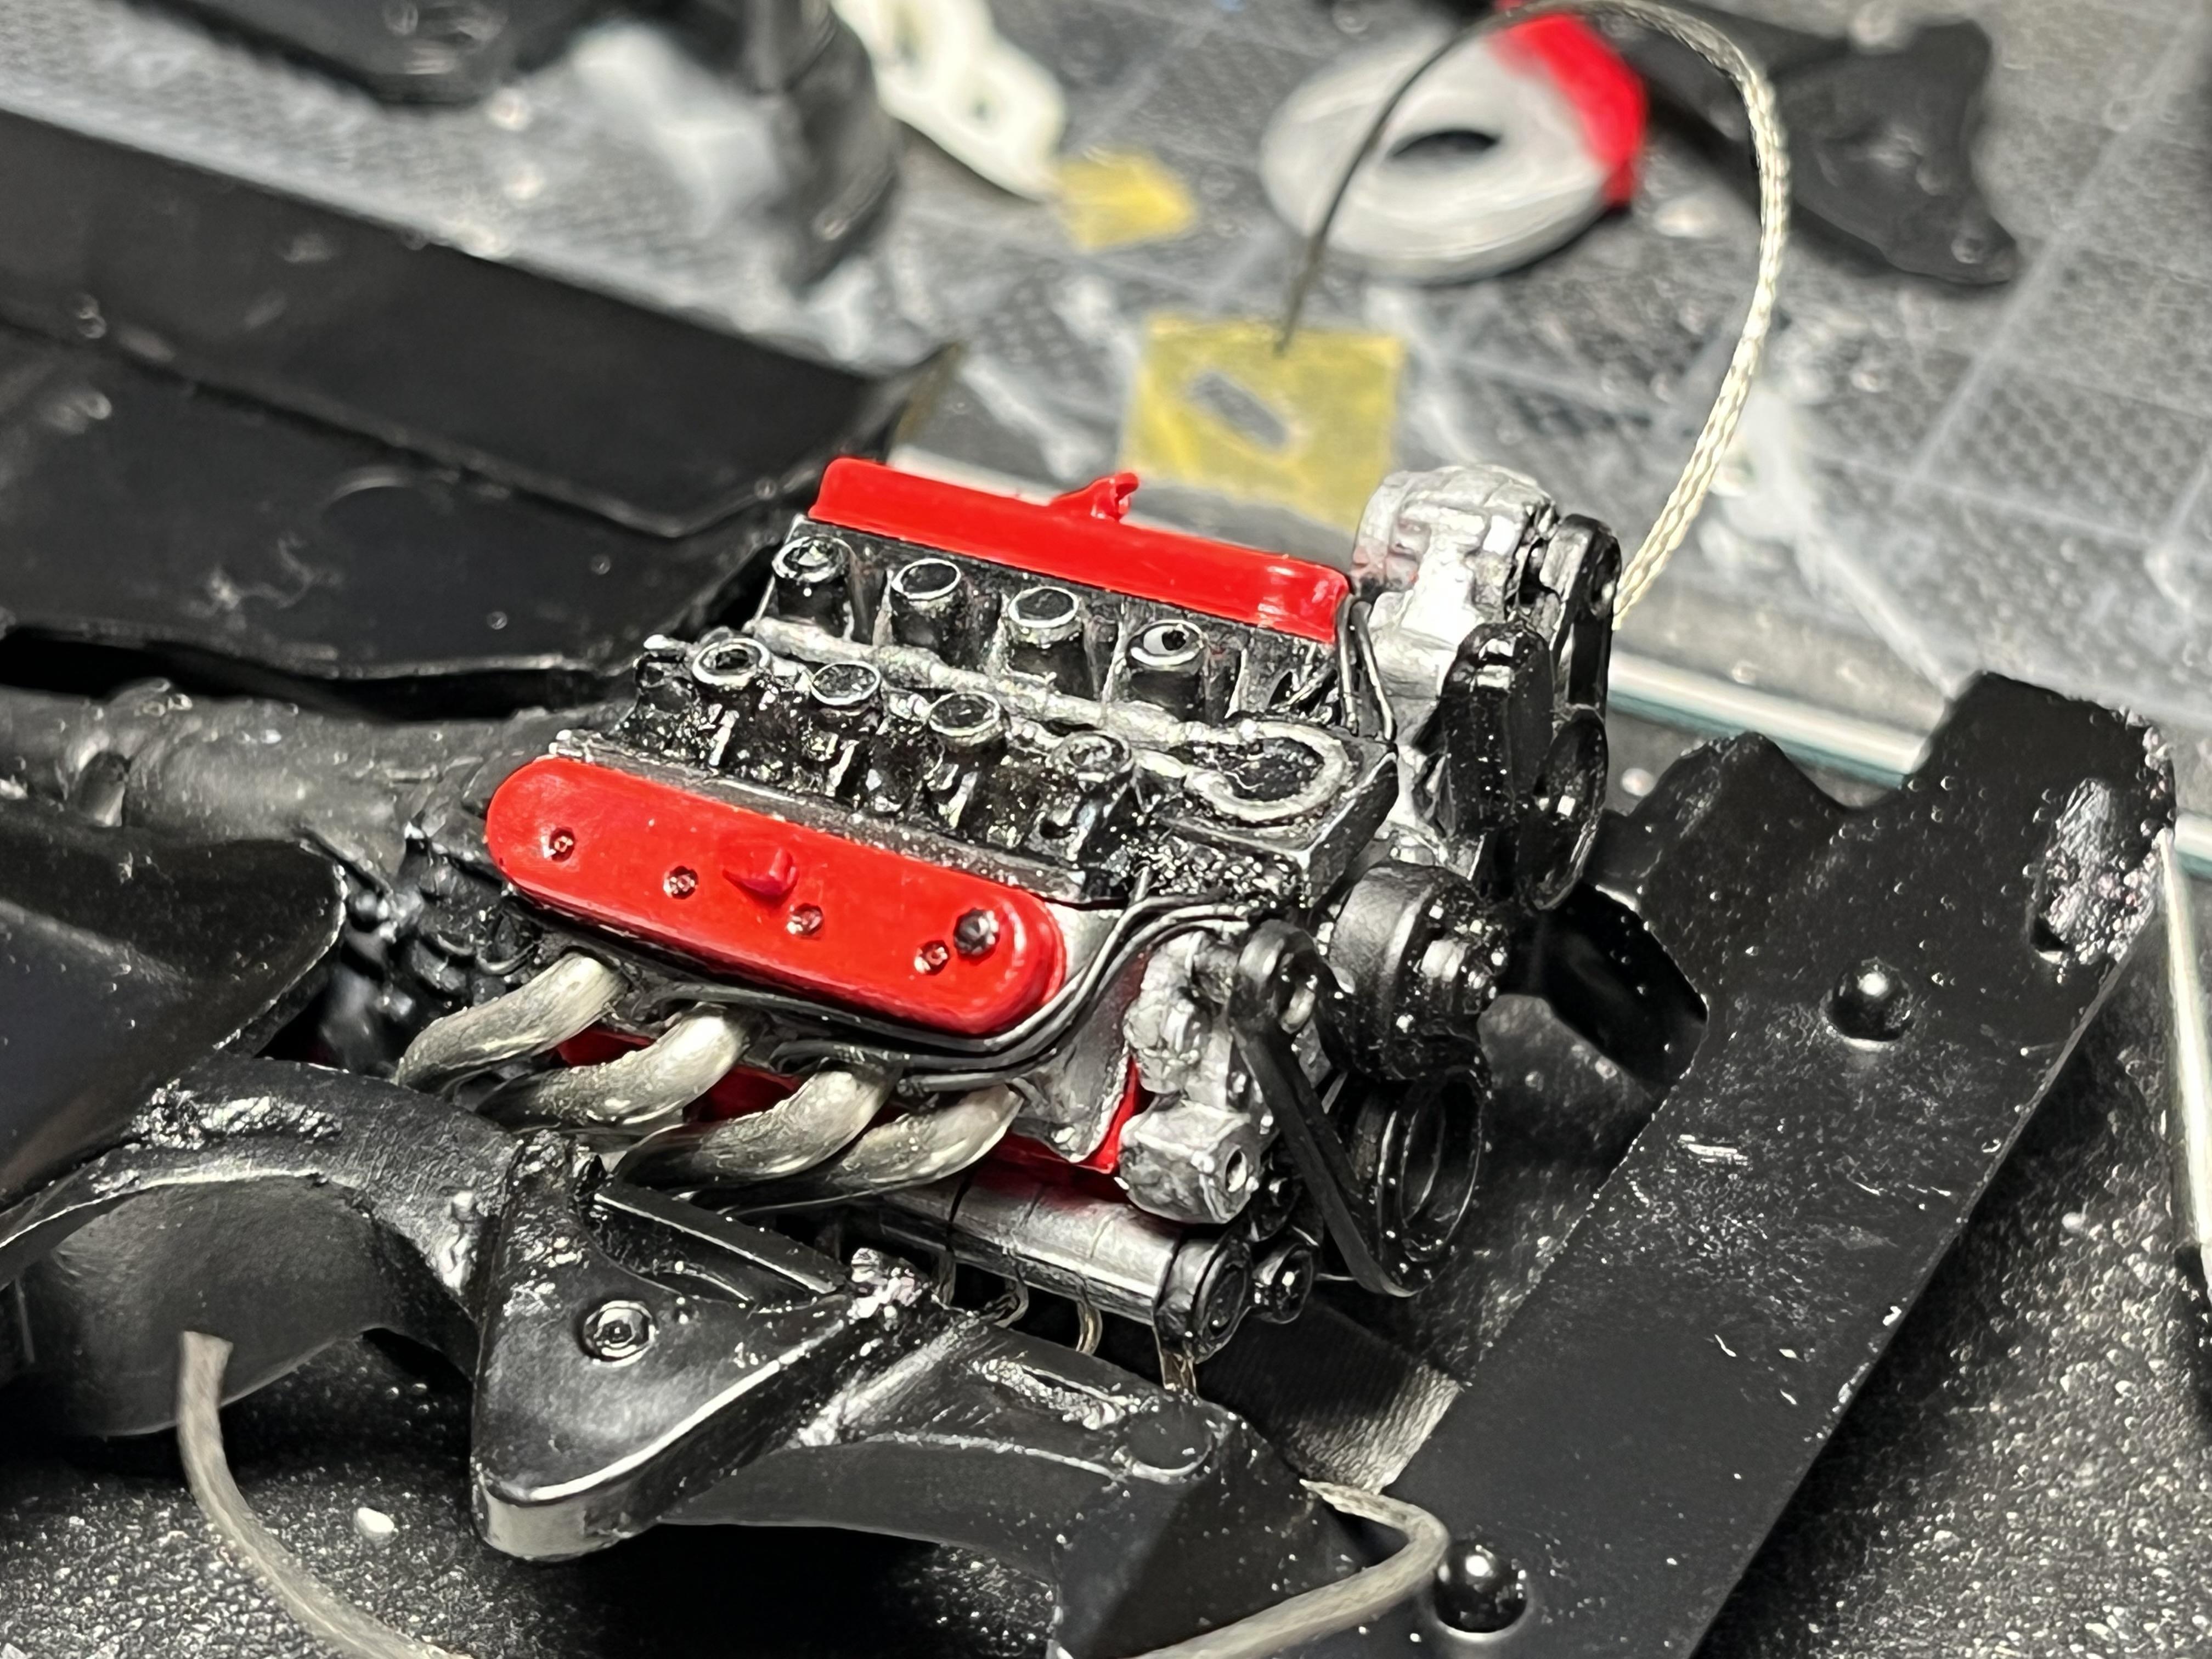
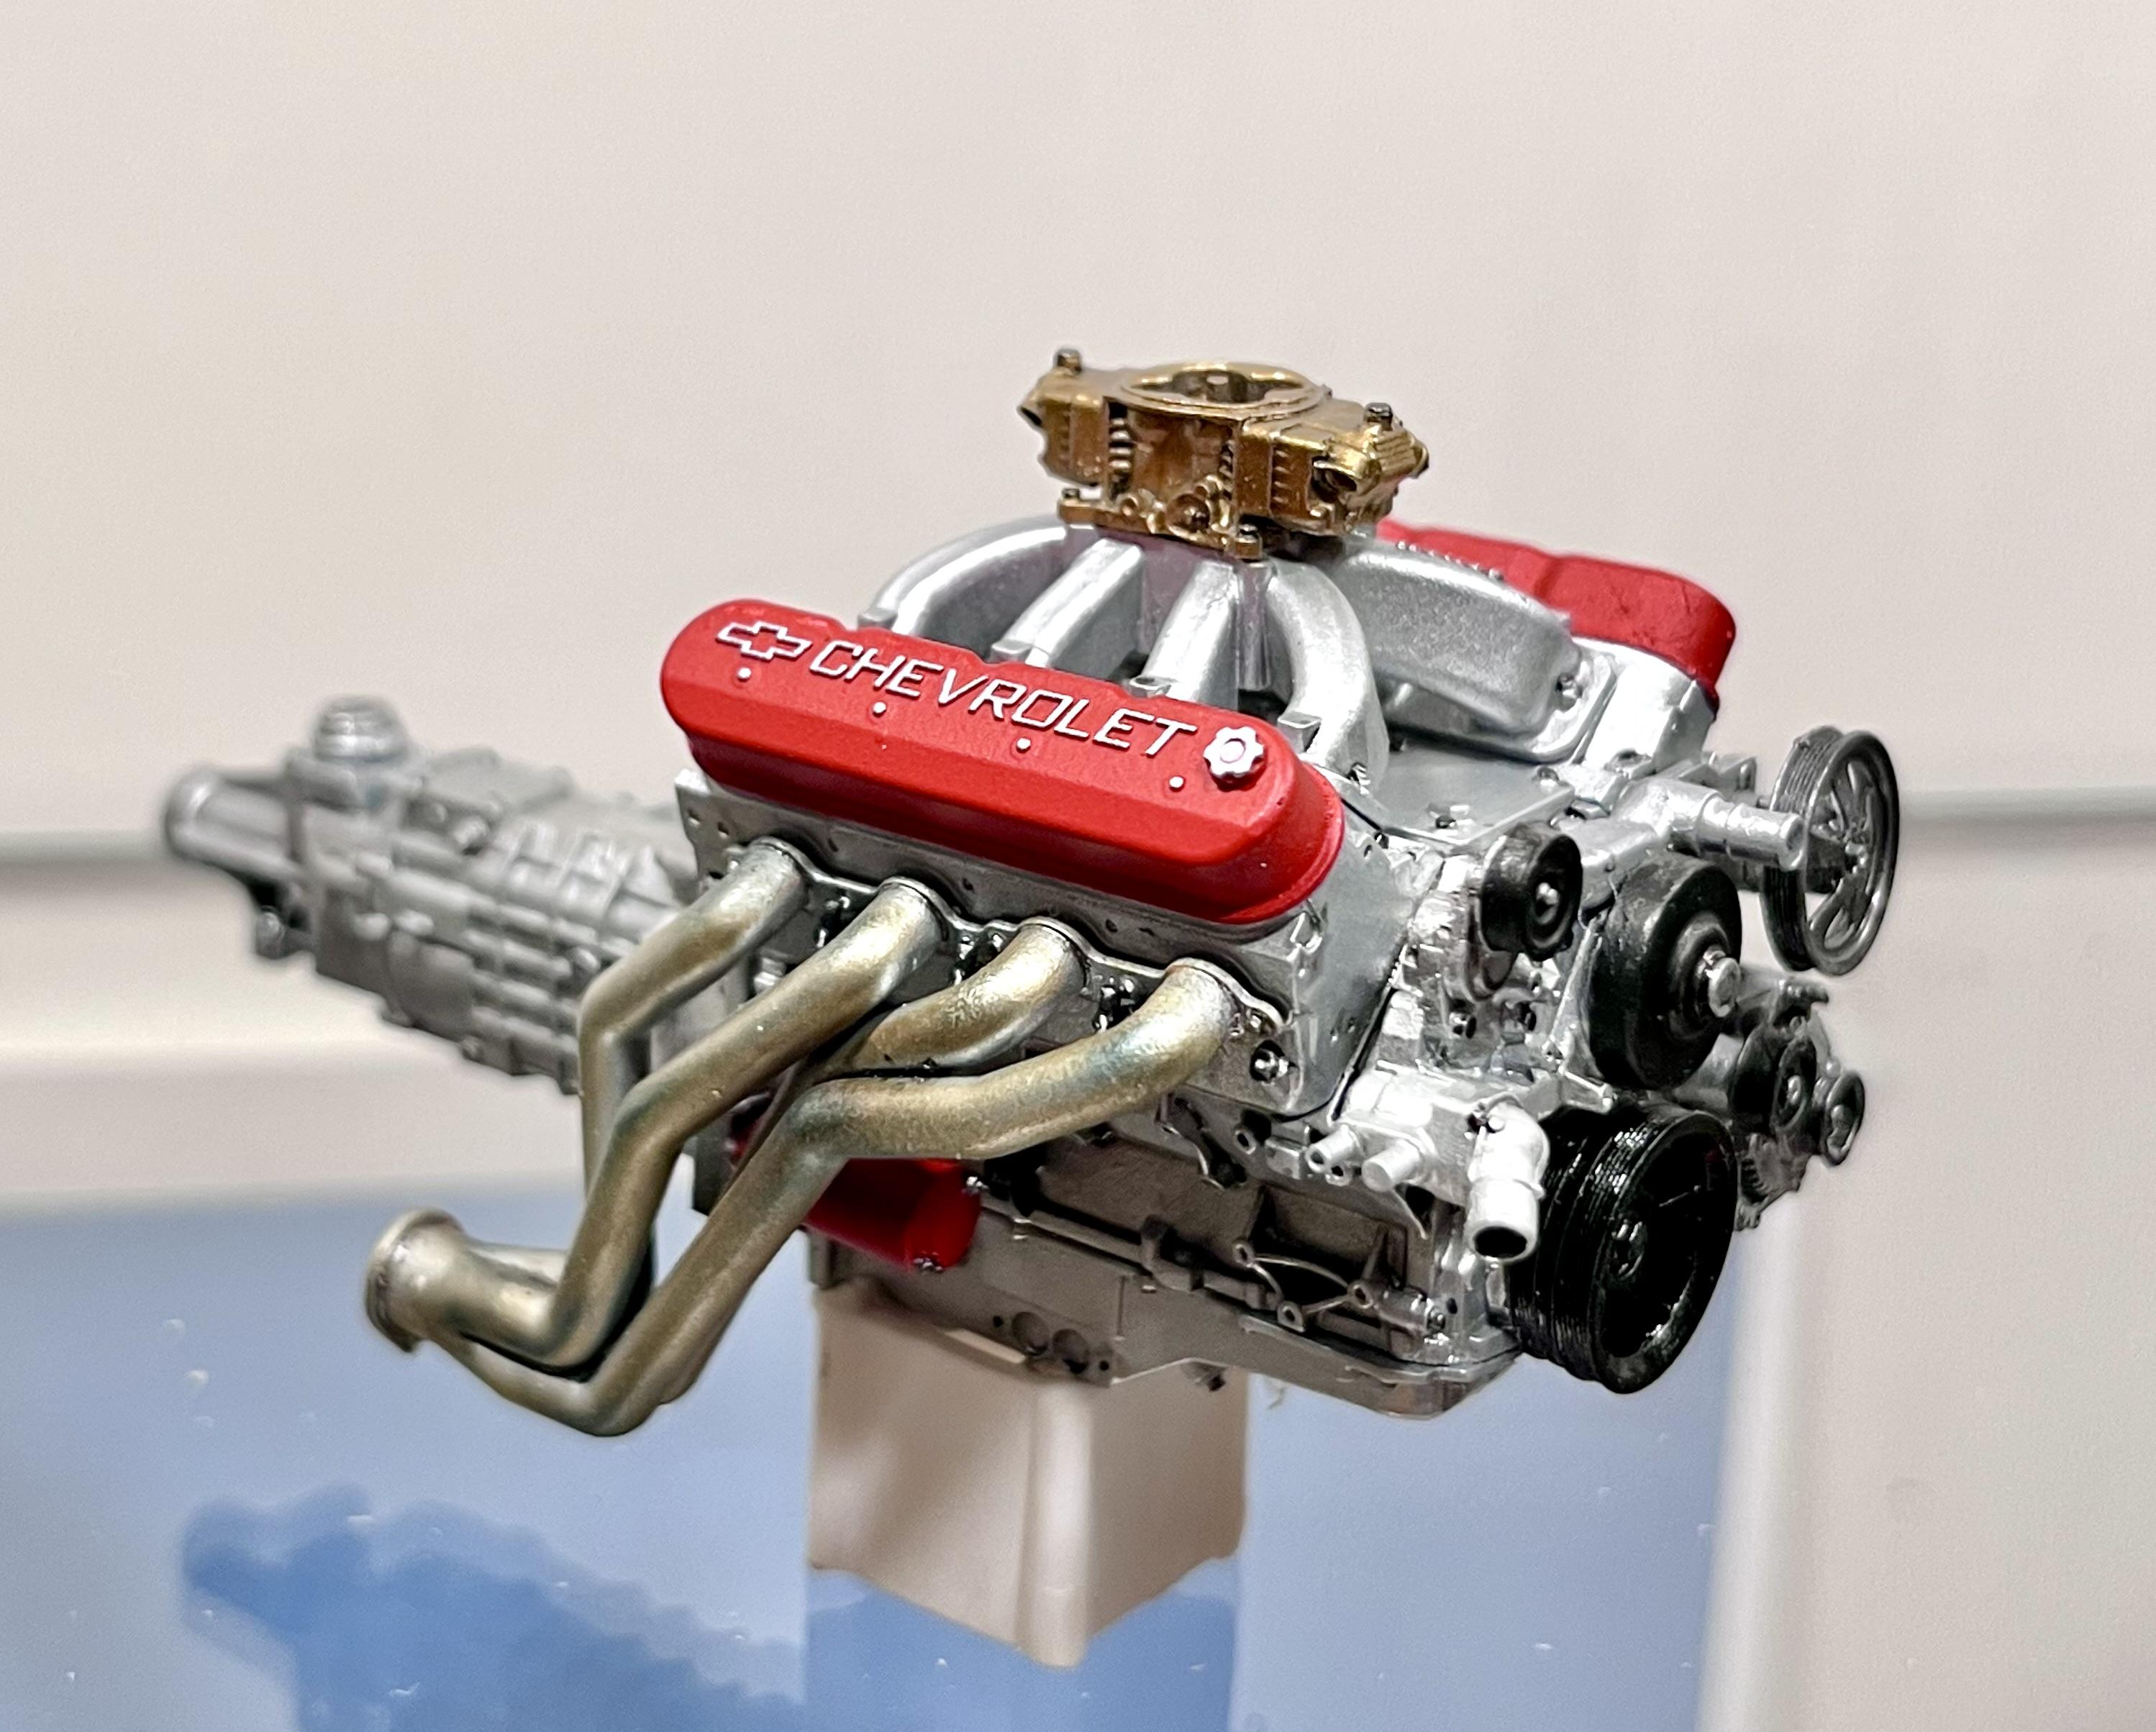
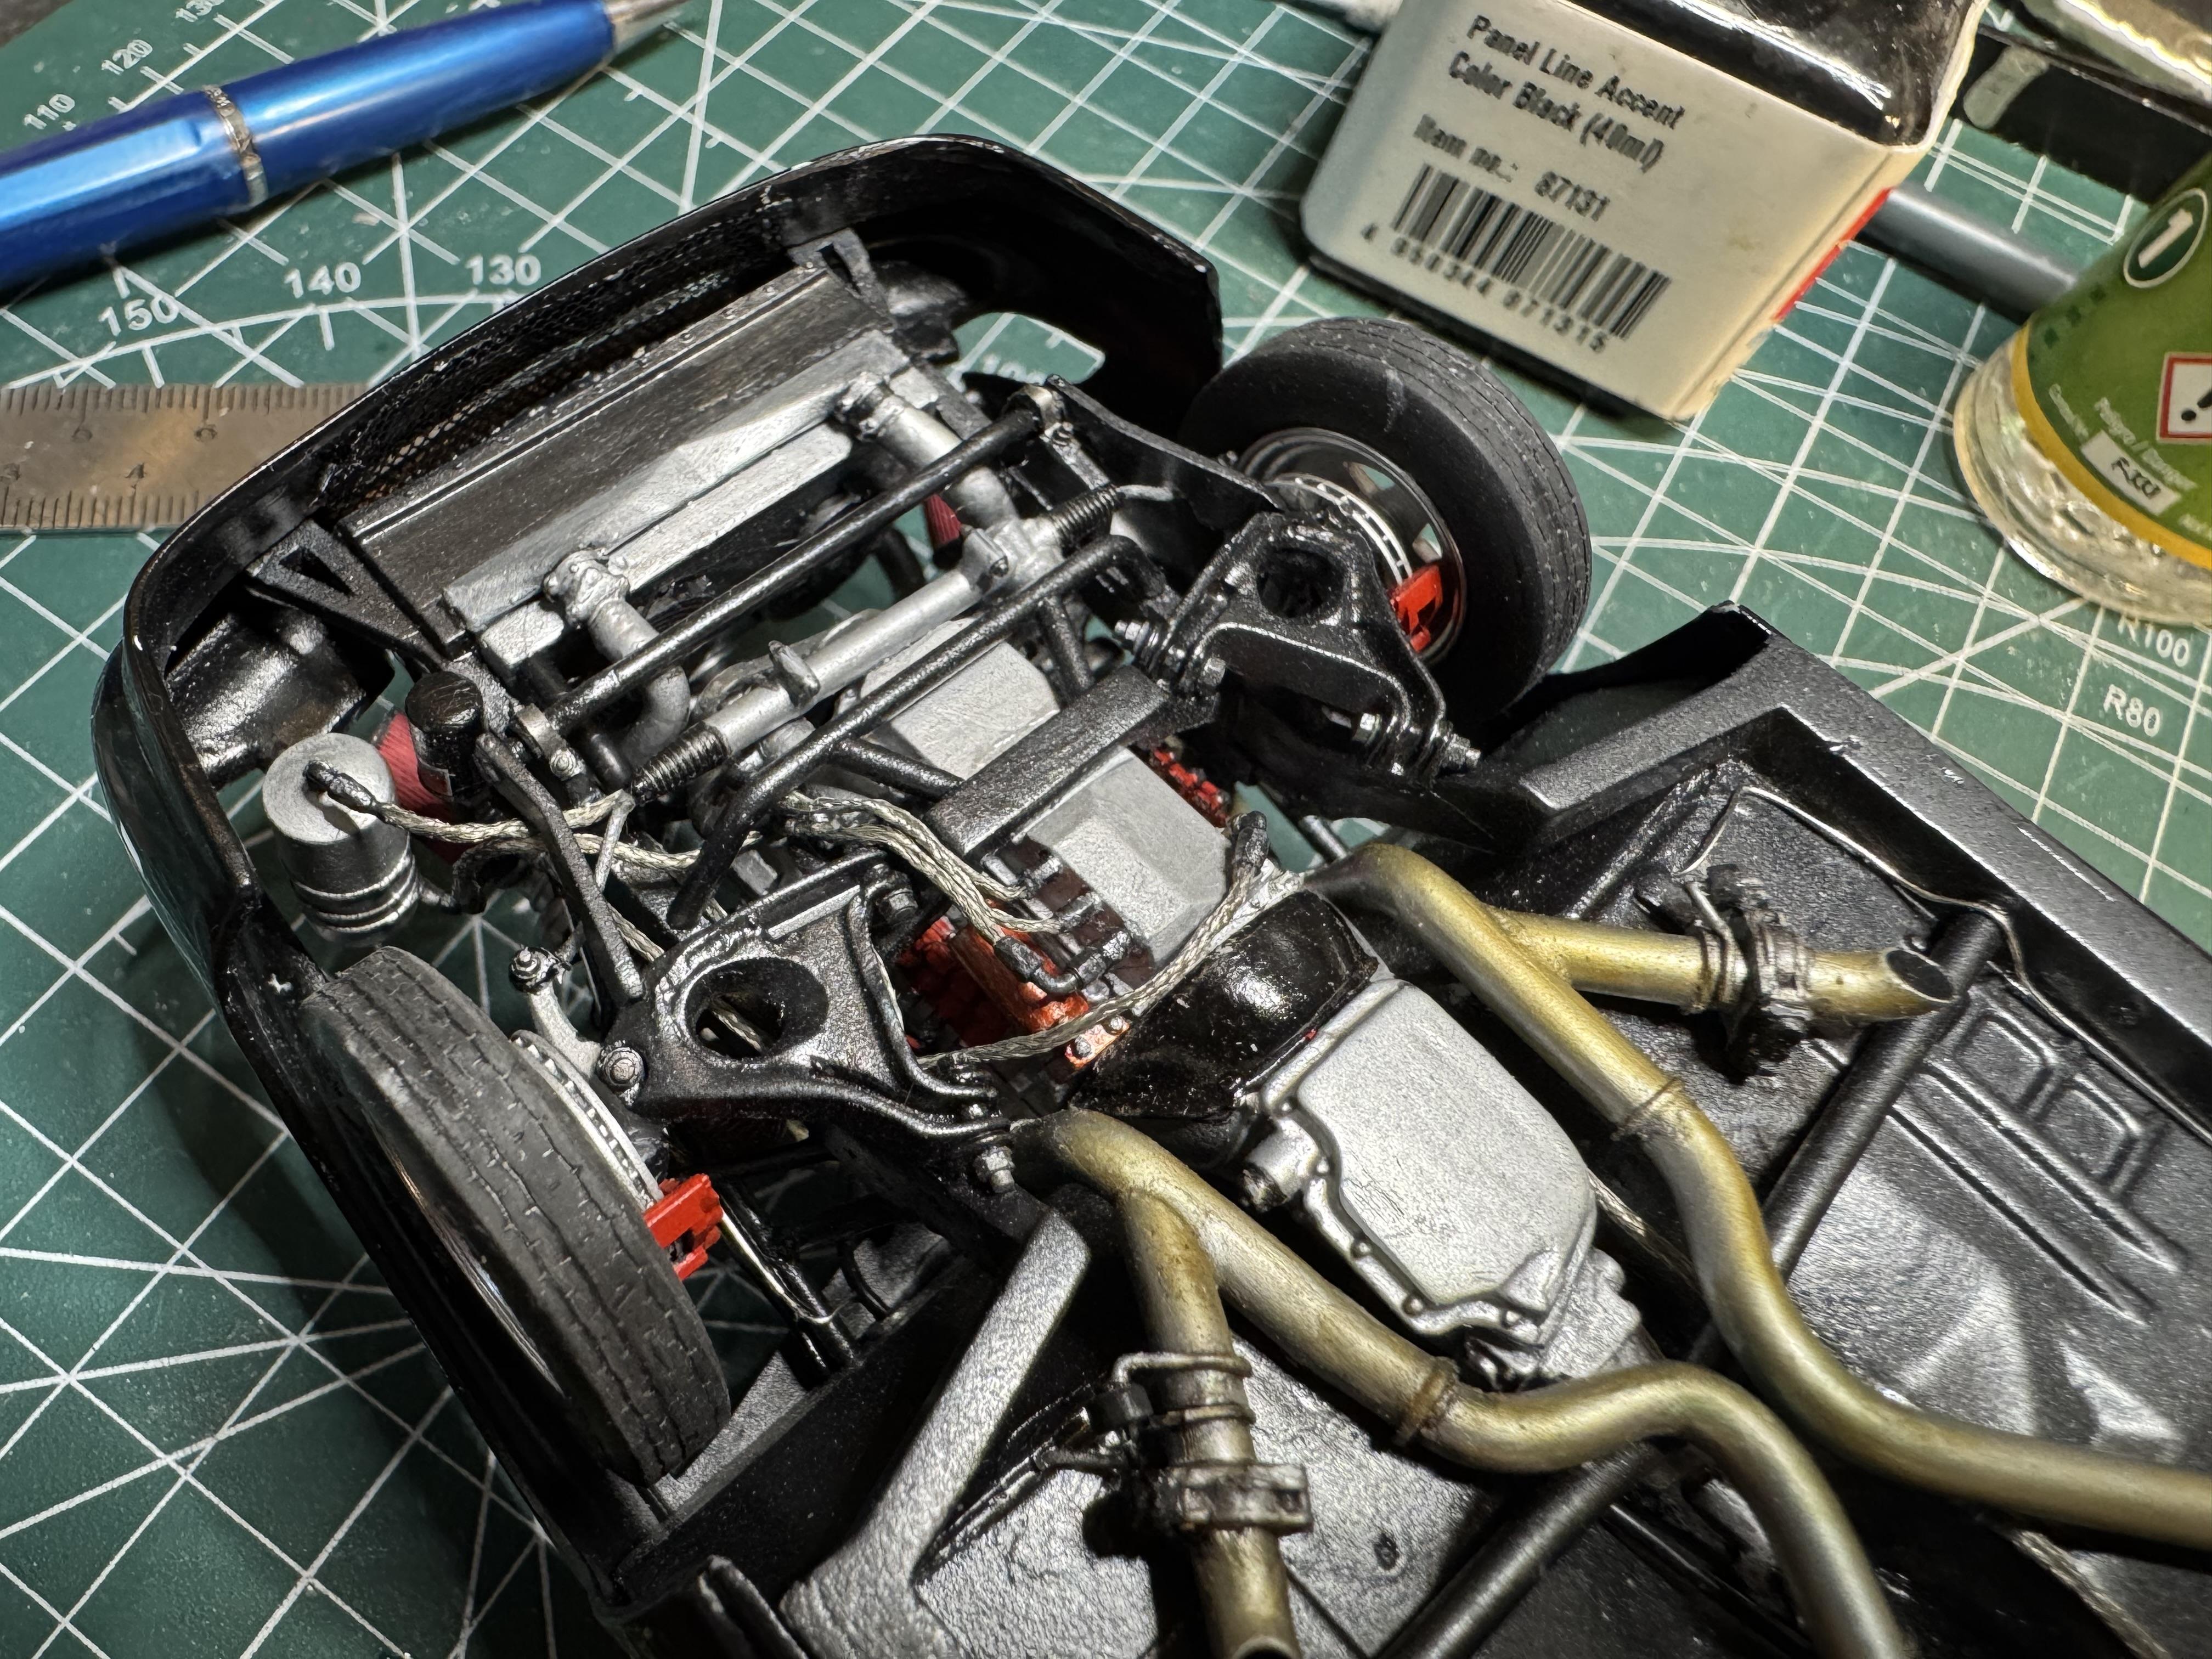
Show us your Engines - Post Dedicated to the Engine
Mattilacken replied to TheCat's topic in Model Cars
-
Cobra Daytona Coupe
Mattilacken replied to TC's topic in Other Racing: Road Racing, Salt Flat Racers
Epic build! Looks just right! -
1/16 Ferrari Testarossa Koenig Special turbo
Mattilacken replied to Rich Chernosky's topic in Model Cars
Nice build! -
Epic build as always! Came out superb!
-
Welcome! I am also from Europe, from Sweden in fact and are 38. Have noticed you have found several of my builds 🙂
-
Thanks man! Thanks Jim! And tanks for following along!
-
Thanks Carl! thanks Andy! Yes it does feel good
-
Great looking builds!
-
Nice! What chassis is that? Looks great!