.jpg.b9265433dc8c3b550370b1d0e4e4d2fc.jpg)
MarkJ
-
Posts
4,702 -
Joined
-
Last visited
Content Type
Profiles
Forums
Events
Gallery
Everything posted by MarkJ
-
Thank you, guys, for stopping by and giving the positive input. Any comments are very much appreciated.
-
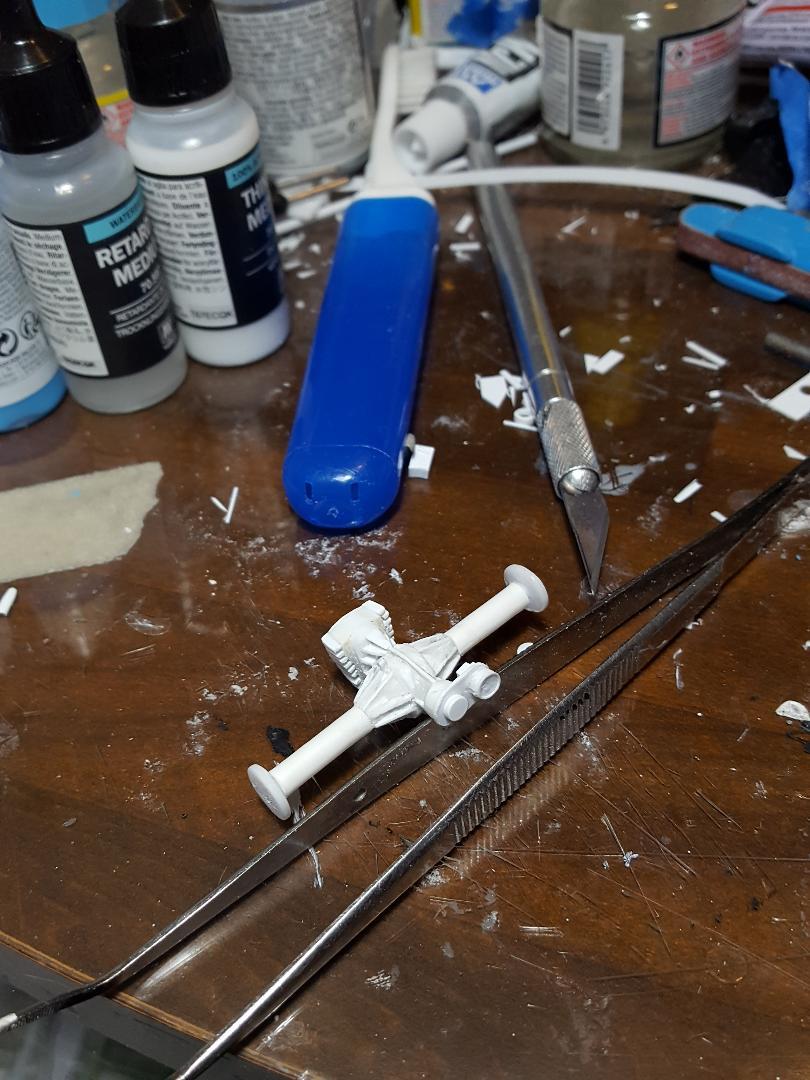
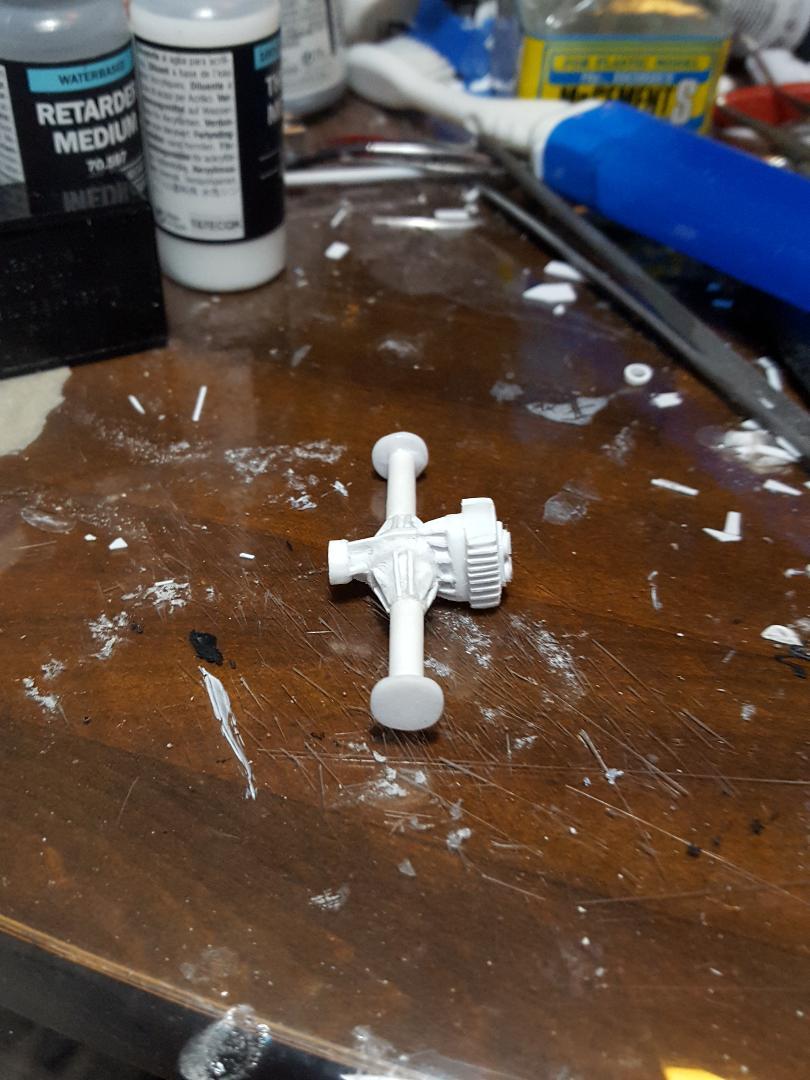
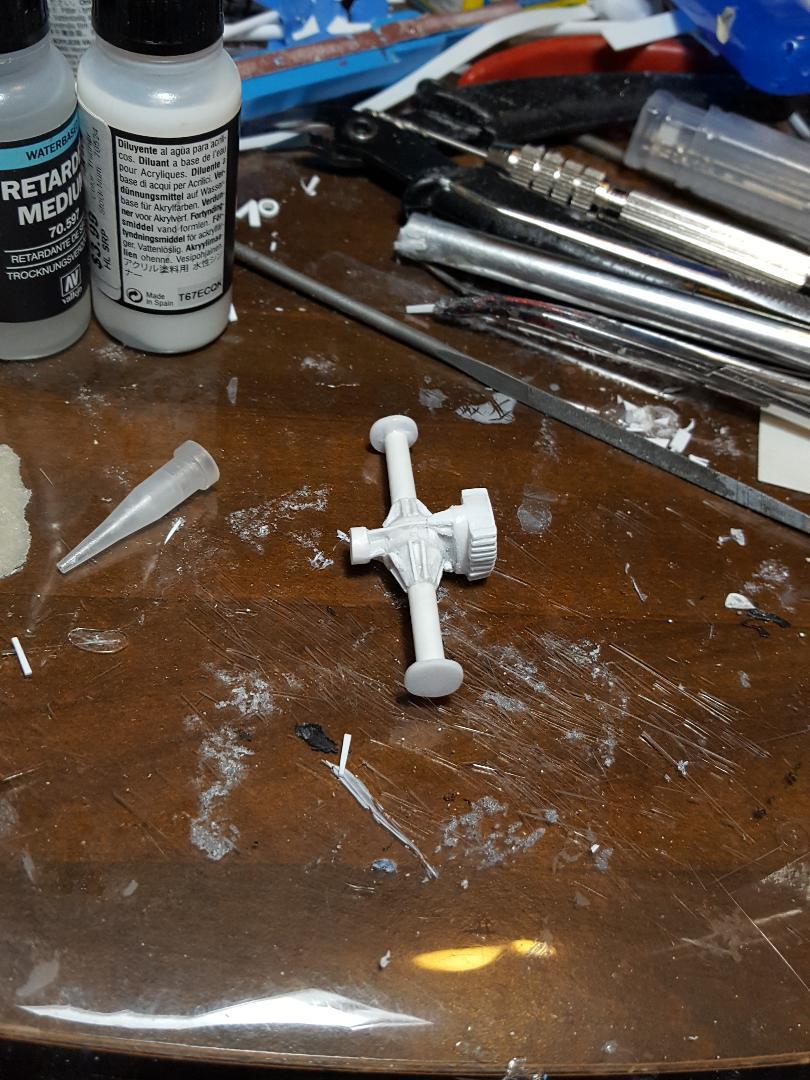
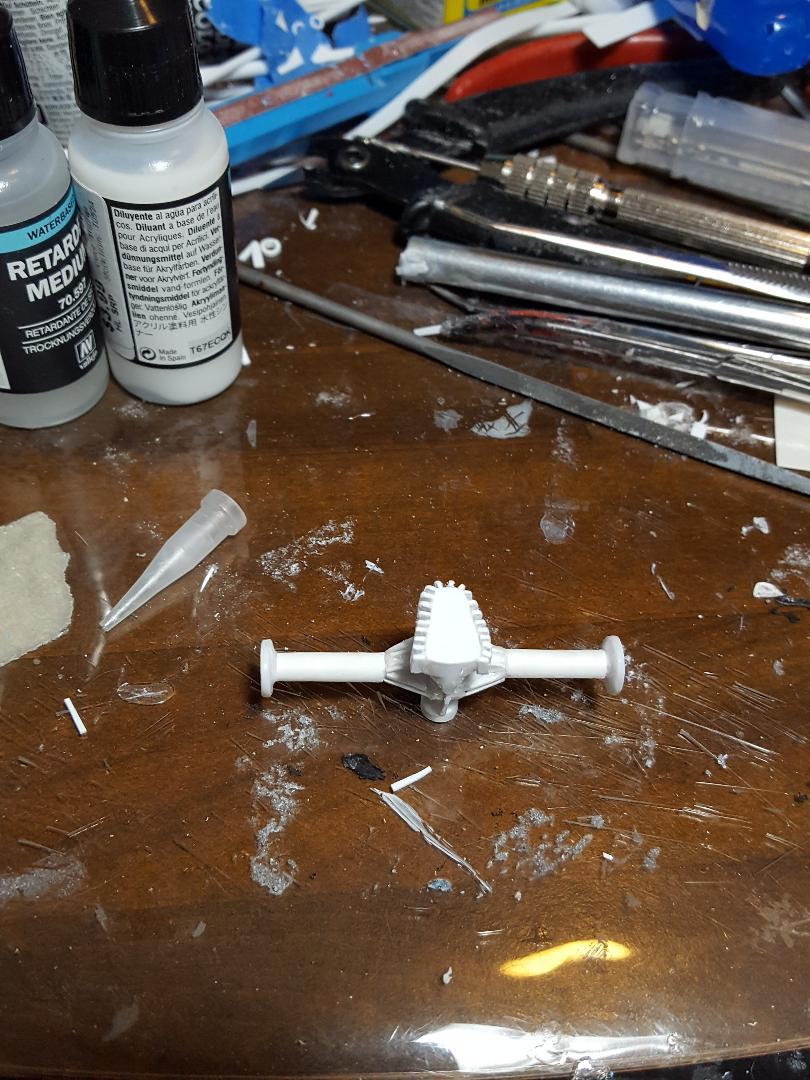
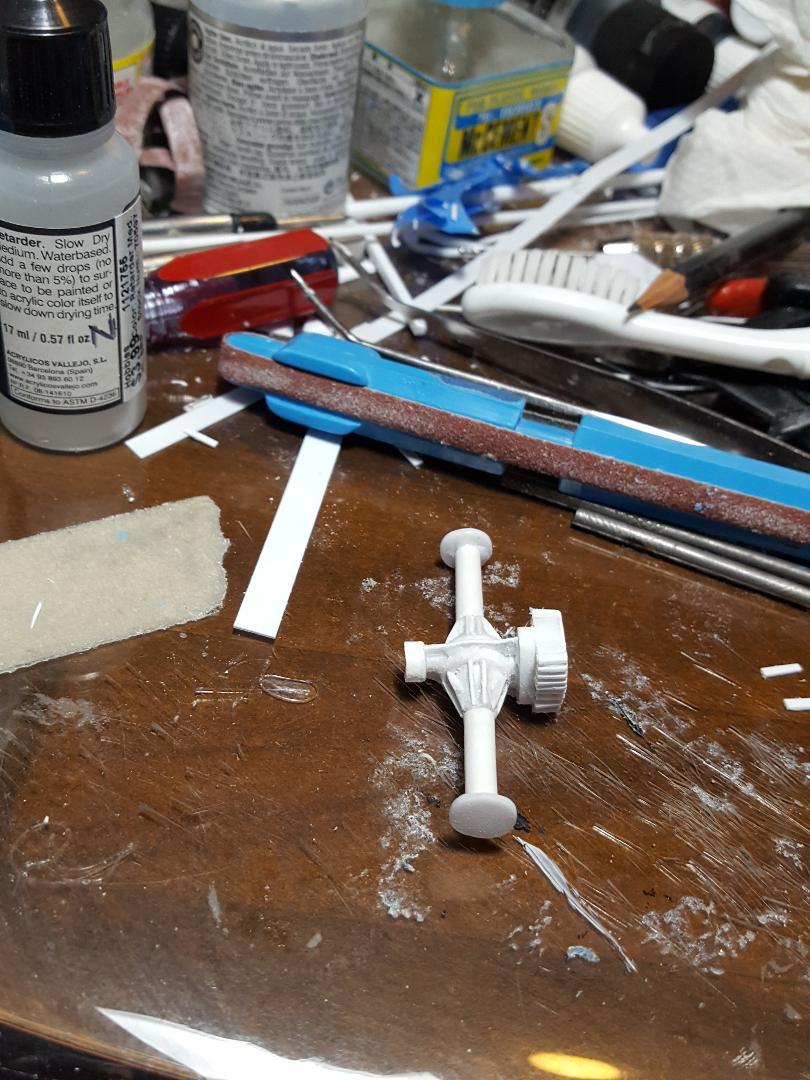
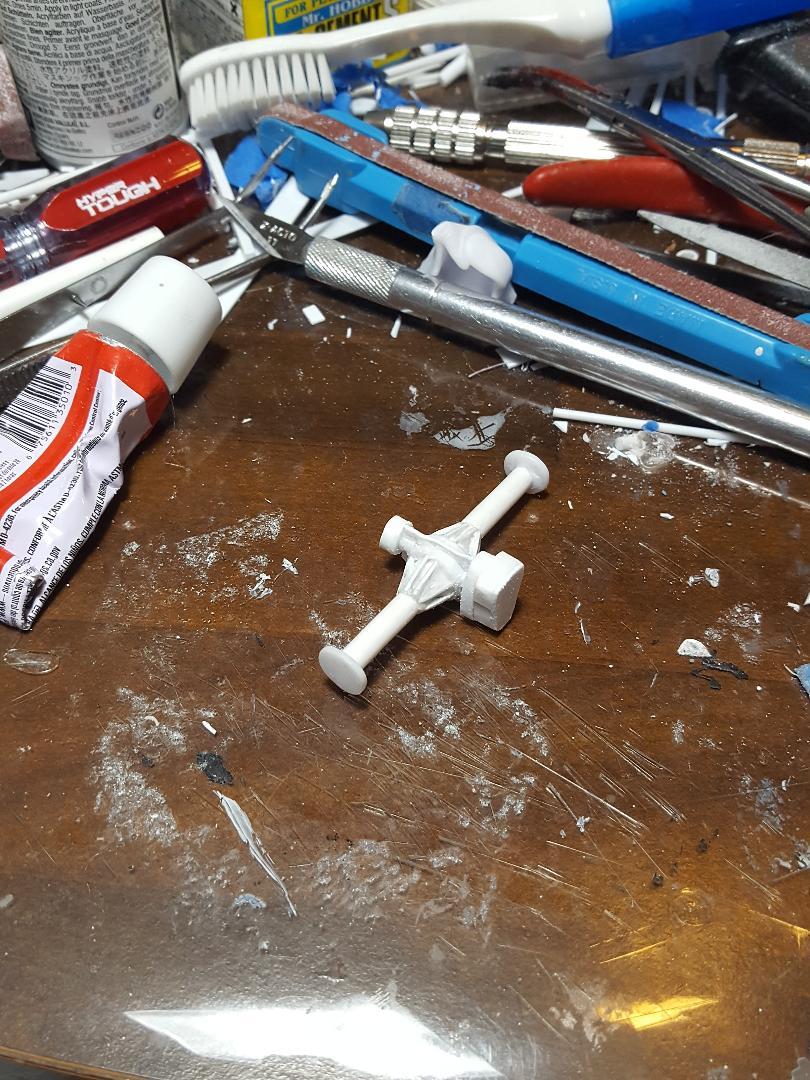
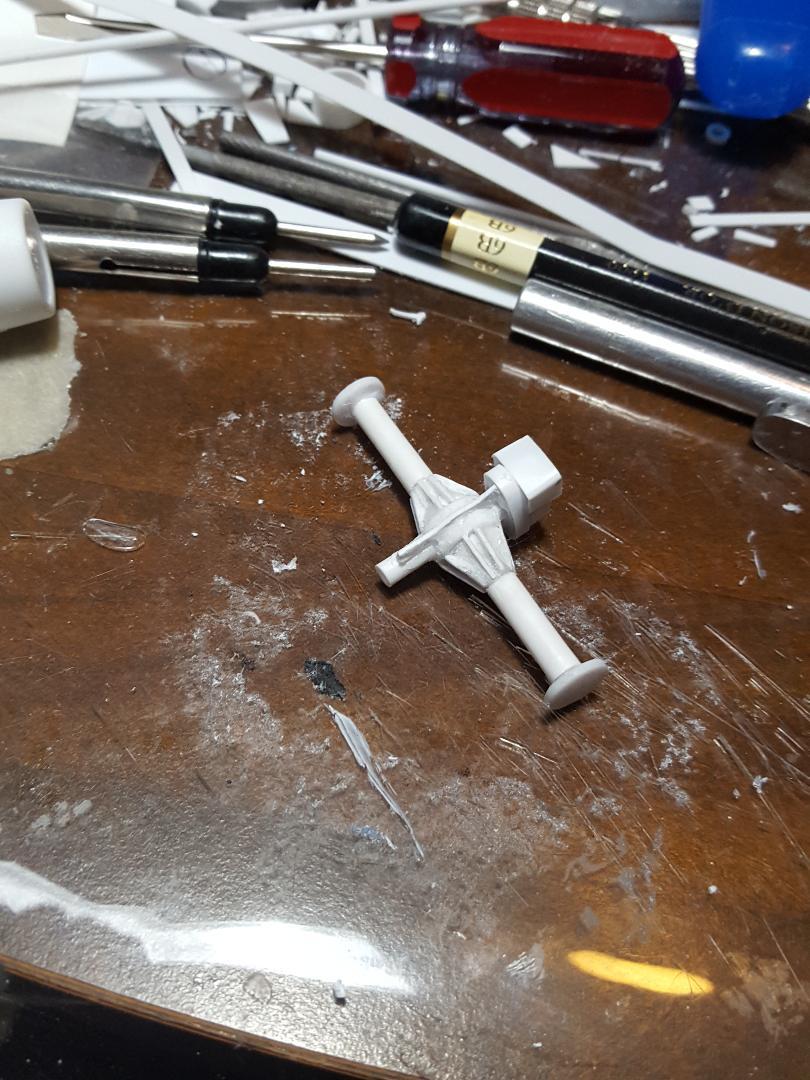
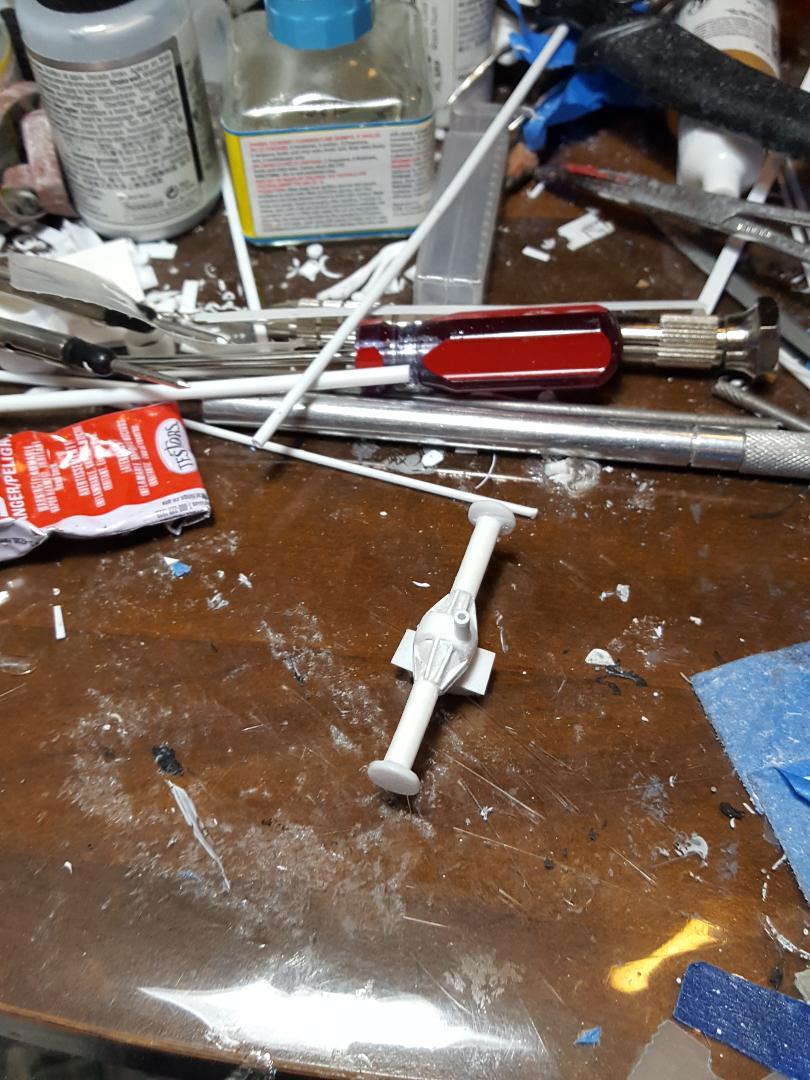
Just need to add the fanbelt and the pulley bolt to the pump sprocket and I'm going to call the rear axle finished. I then need to mockup the axle with installed wheels and tires so I can locate it for the truck arms. Then I can install the axle after I paint it. I won't actually install the tire wheel assembly's, just device a way to slide them on to the ends of the axle.

-
Finally found a ref photo of the rear axle oil pump but it was very small, and I had to blow it up, so the detail is not really good. I was thinking about plumbing it, but I can't because I can't figure it out so I will just leave it unplumbed. I also found out that it's not a Halibrand rear axle. It is made by "Stock Car Products".
-
.jpg.b9265433dc8c3b550370b1d0e4e4d2fc.thumb.jpg.915f5b46e3c9402eeaa6972073121c87.jpg) There you go, Helmut. Looks like you've got it figured out. Looks just like the ref photo to me. That sure was a beautiful race car. I had never seen one before you got this build going.
There you go, Helmut. Looks like you've got it figured out. Looks just like the ref photo to me. That sure was a beautiful race car. I had never seen one before you got this build going. -
I did a 1964 Pontiac GTO B/stock drag racer but that won't help doing a trans am car. I've seen photos of the one I think you are going to build, and it will be a great project for you. Looking forward to the wip on it.
-
Looking great, Helmut. I'm sure you can get the stance right and figure out how to get the headlight covers flush to the fenders. This is going to be awesome.
-
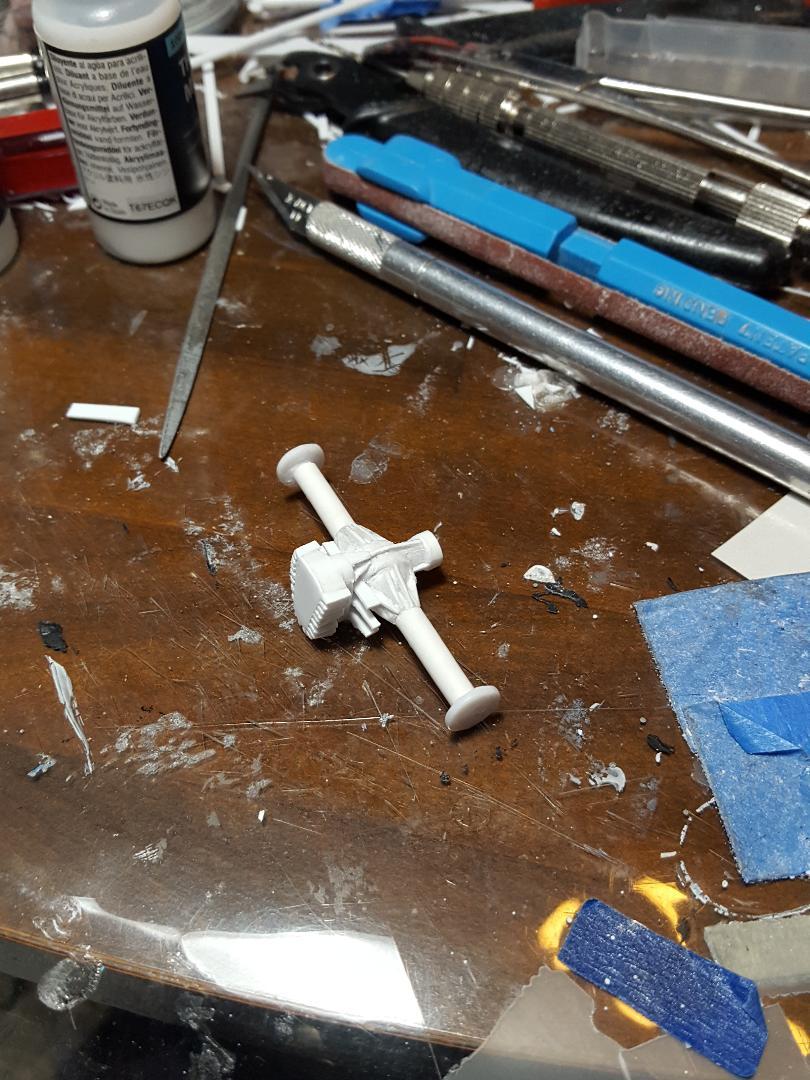
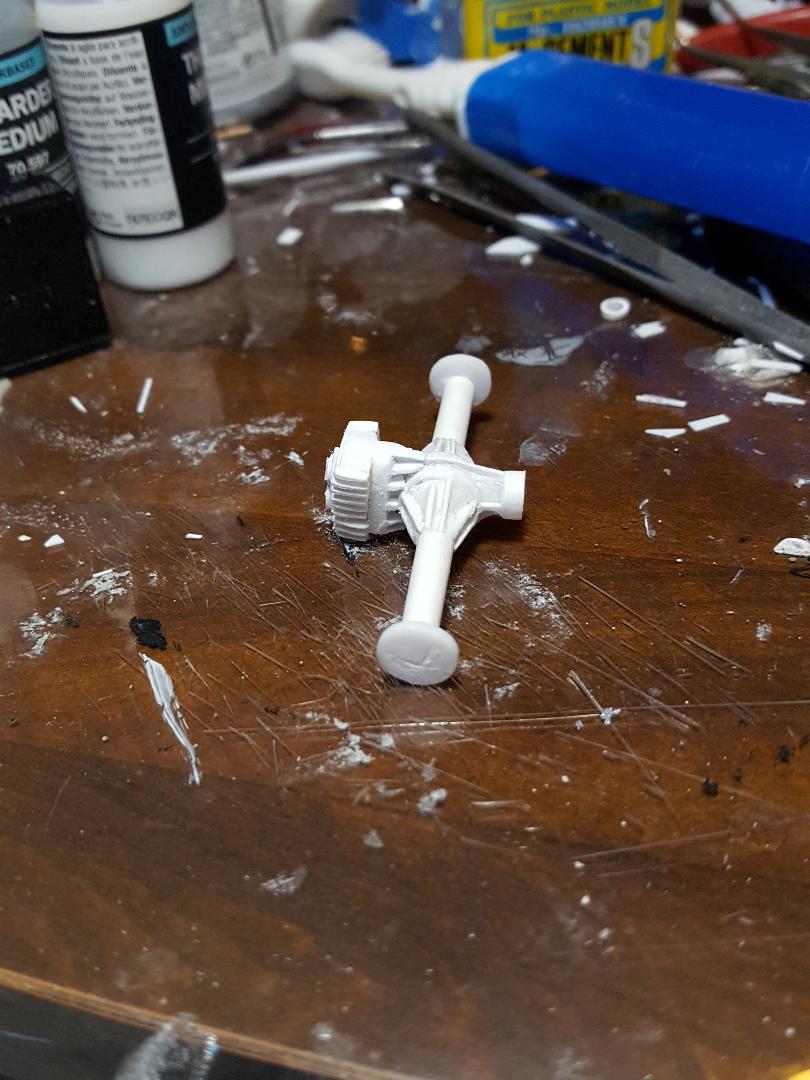
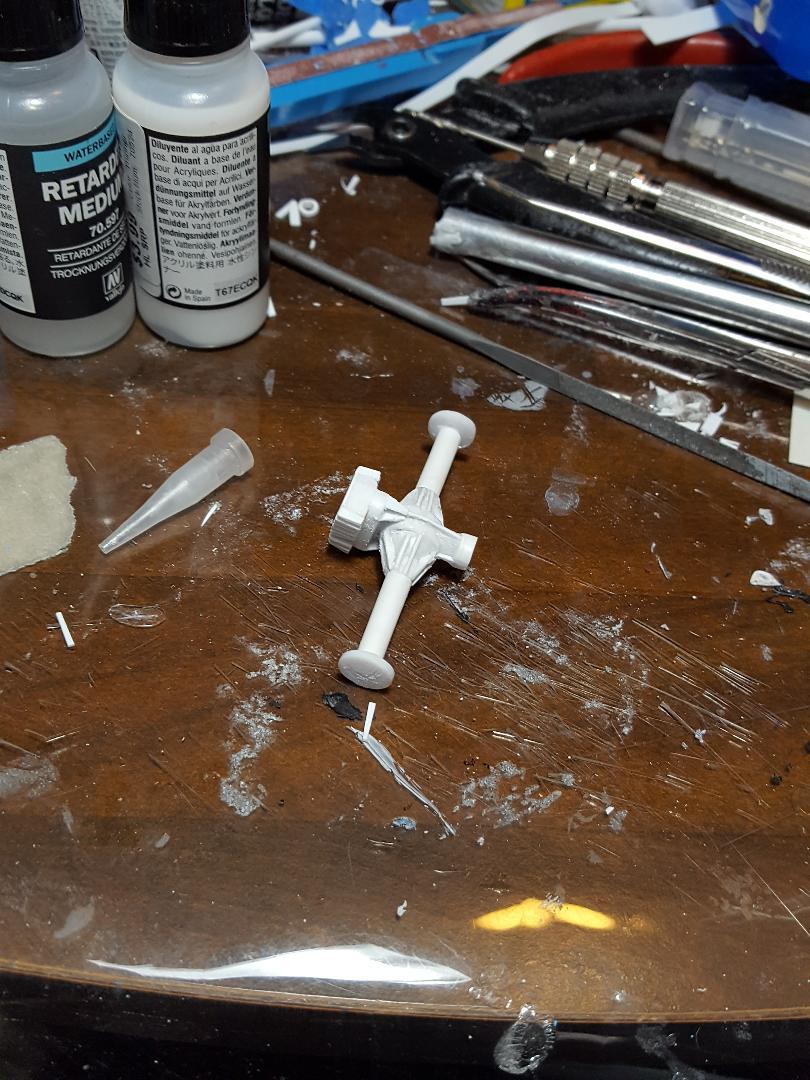
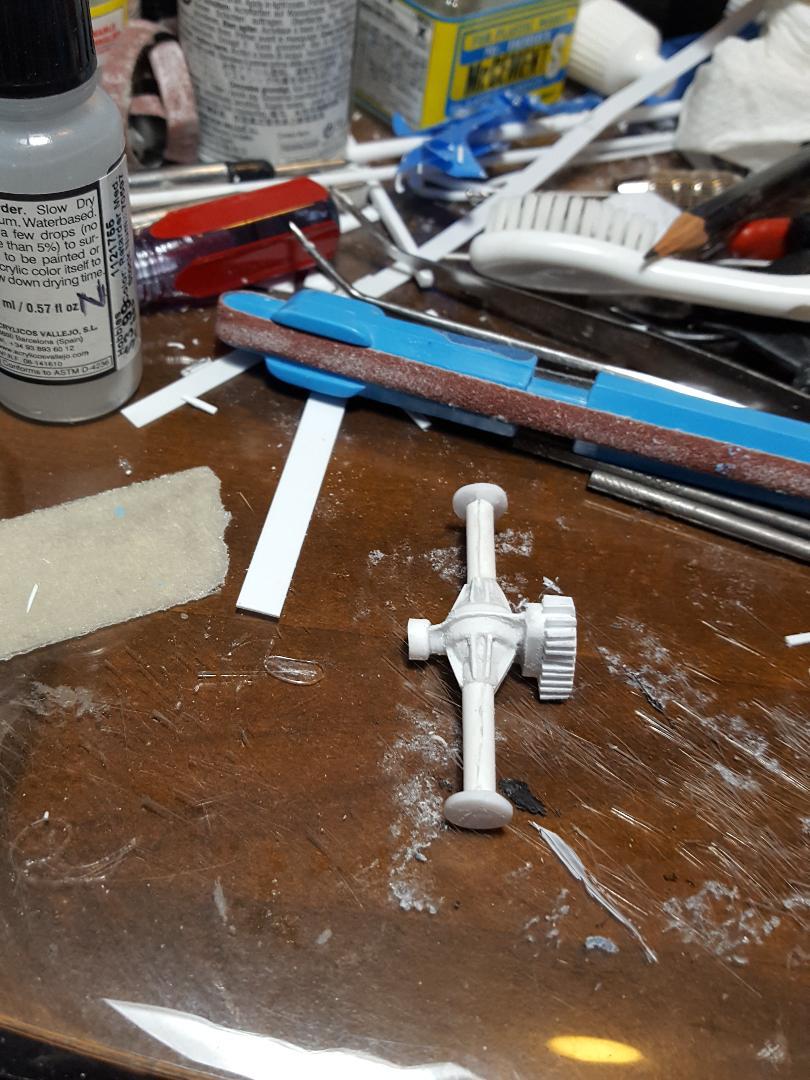
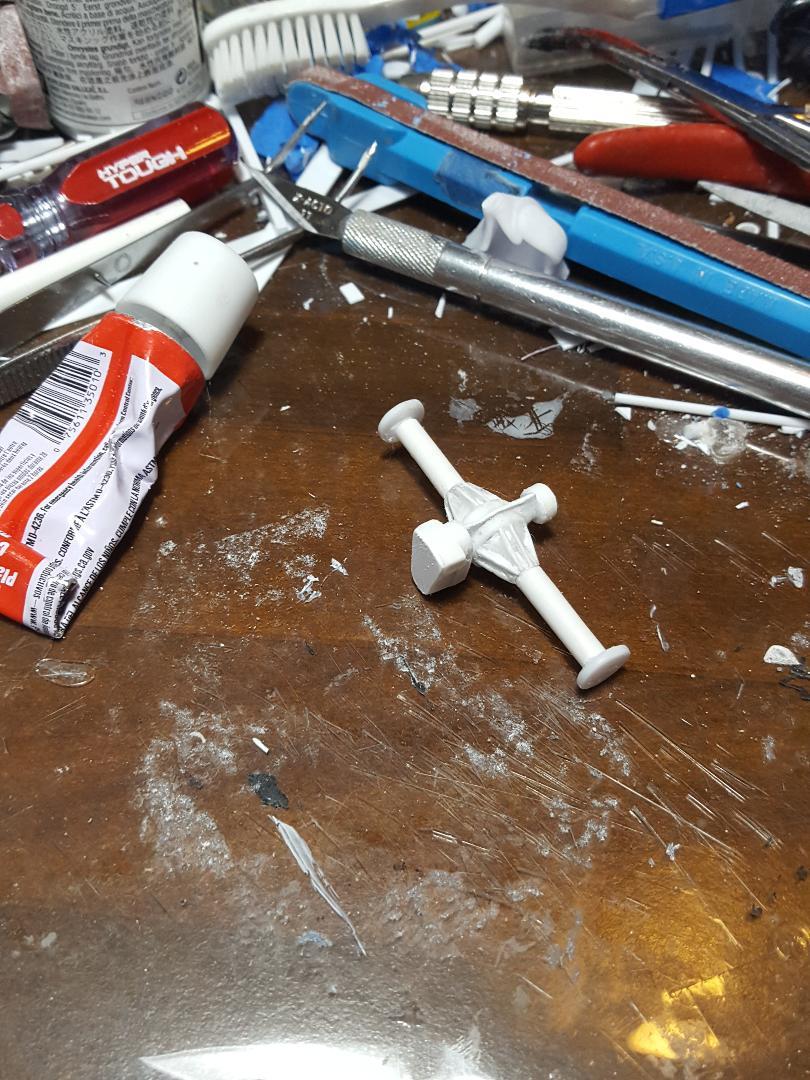
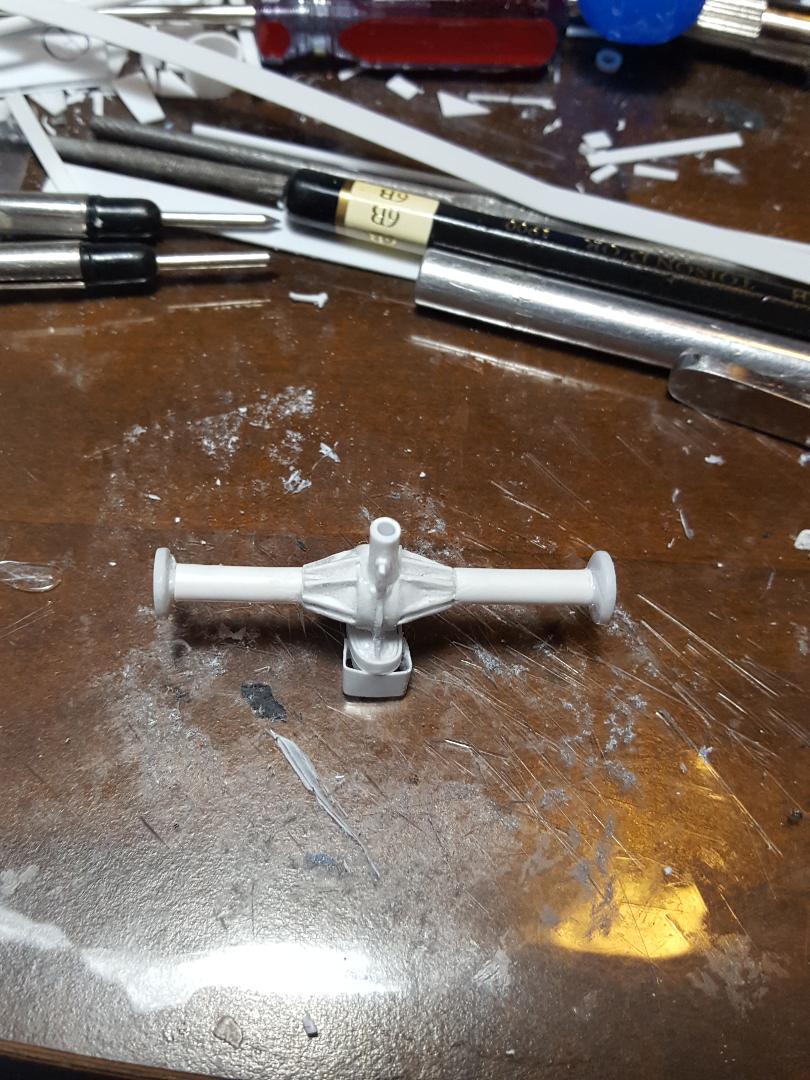
A few more tweaks on the axle and need to add an oil pump and fanbelt.
-
Fun? Yes, you are right Pierre. Yes, I too would like to see the exhaust header connection. Don't keep us in suspense, Andrew.
-
Nailed it, Andrew. Love that measuring tool you got there. Need to get me one of those, or just stop making parts would probably be better. Just oob from now on.
- 565 replies
-
- 1
-

-
- quarterman
- fisher
- (and 1 more)
-
Andrew, for such a tight fit it looks like you got her done. I think I will try that epoxy trick on my latest build. It is also a very tight fit and I had to really unspec the headers to make them eventually be able to hook up to the exhaust.
-
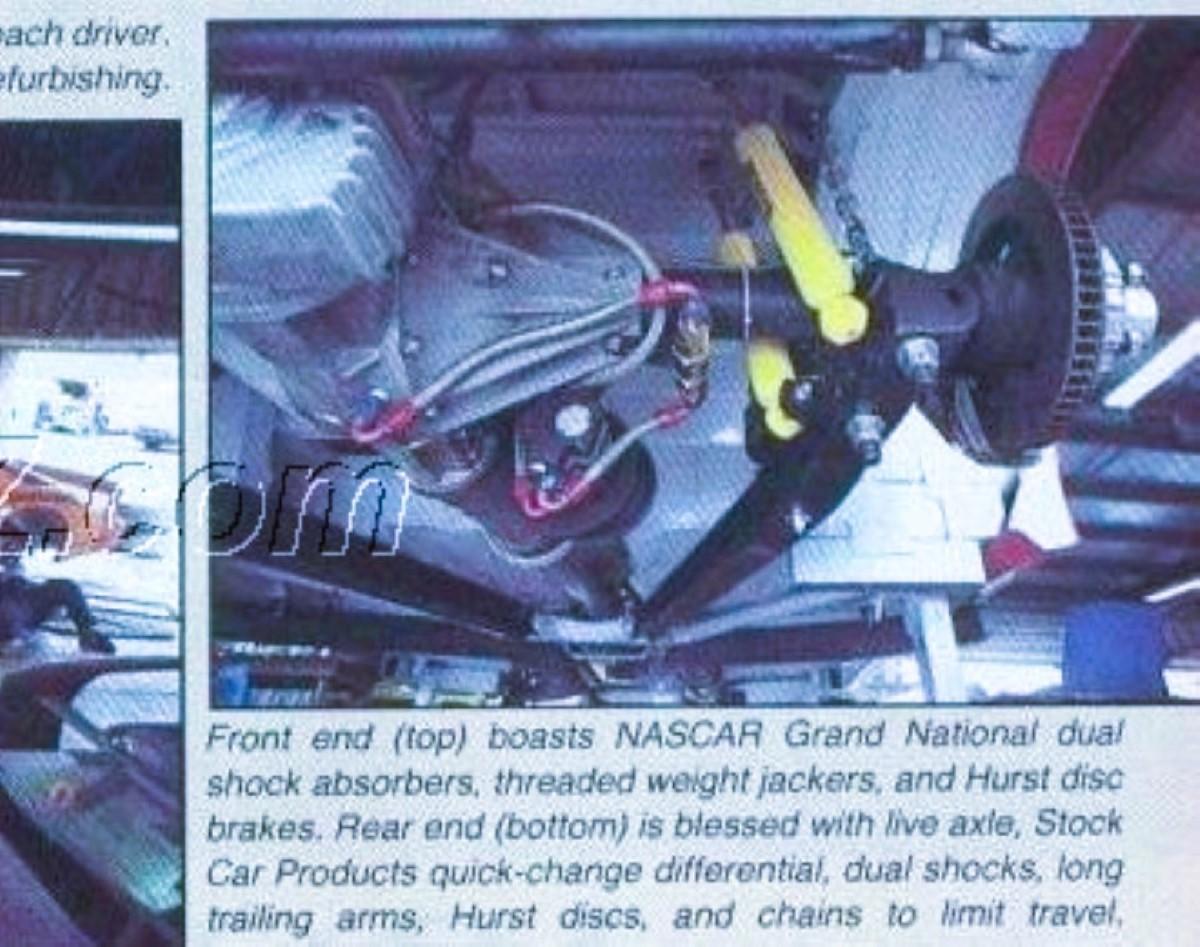
Thank you so much Andrew for stopping by to share the kind words and I agree with you that I was lucky to get that small grainy ref picture to confirm that the car really had a Halibrand quick change rear axle.
-
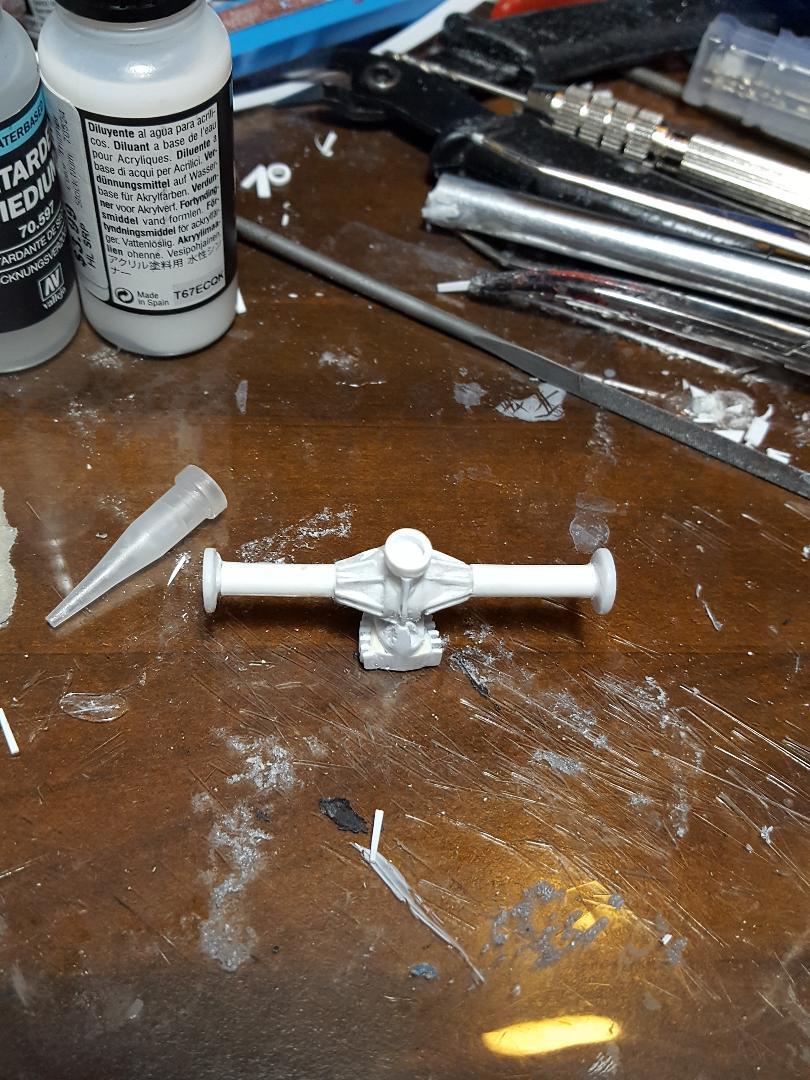
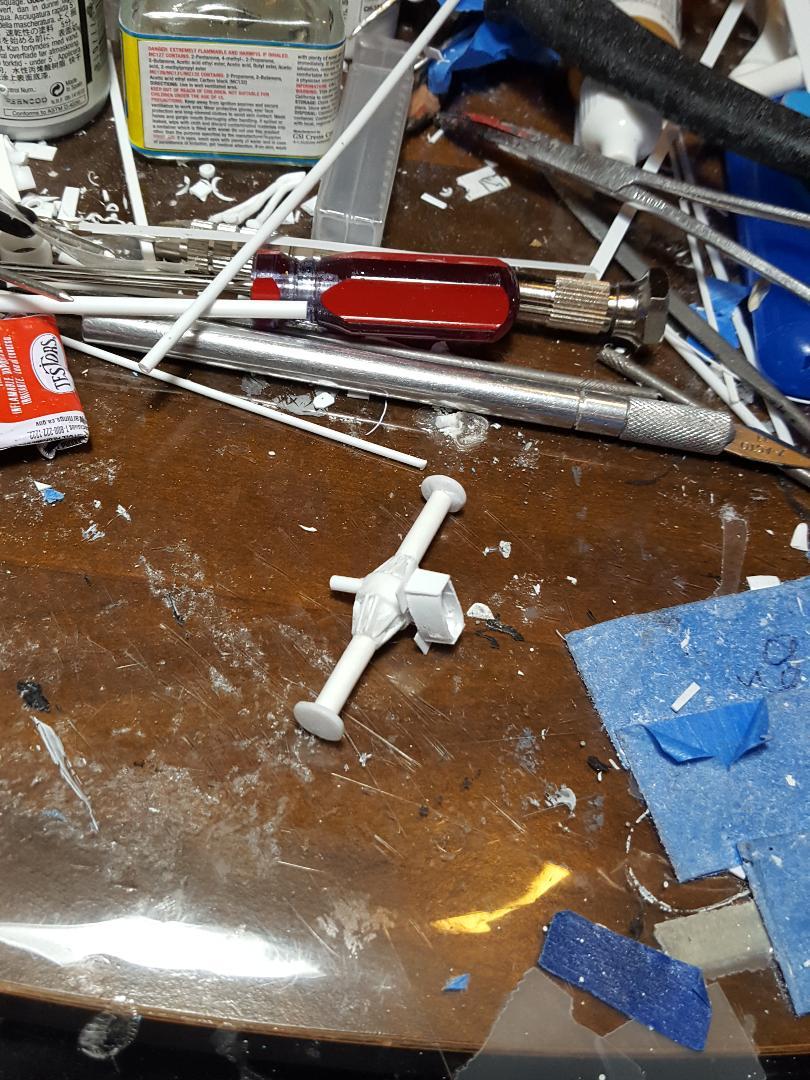
Thanks, Anton. It's been interesting and should not take too much longer. This is the last major subassembly I have to do.
-
Just a little more after this.
-
SCCA Camaro Trans Am Set
MarkJ replied to Scale-Master's topic in Other Racing: Road Racing, Salt Flat Racers
Group shots look awesome. Thanks for posting them. -
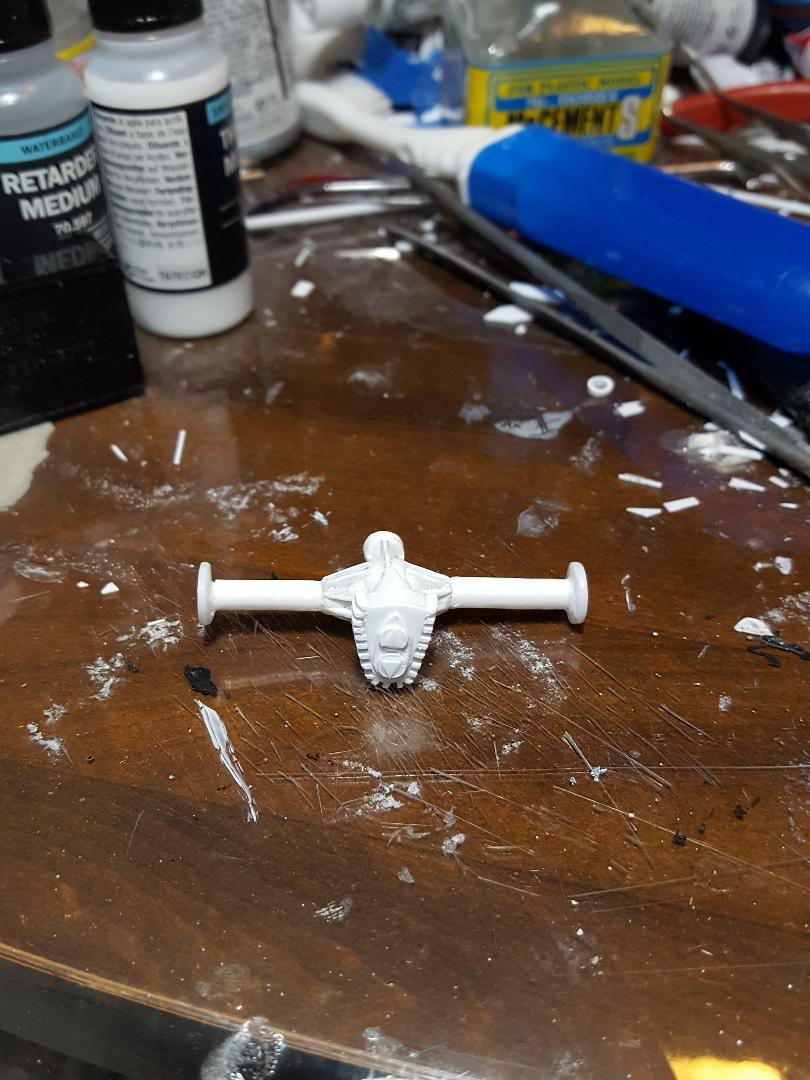
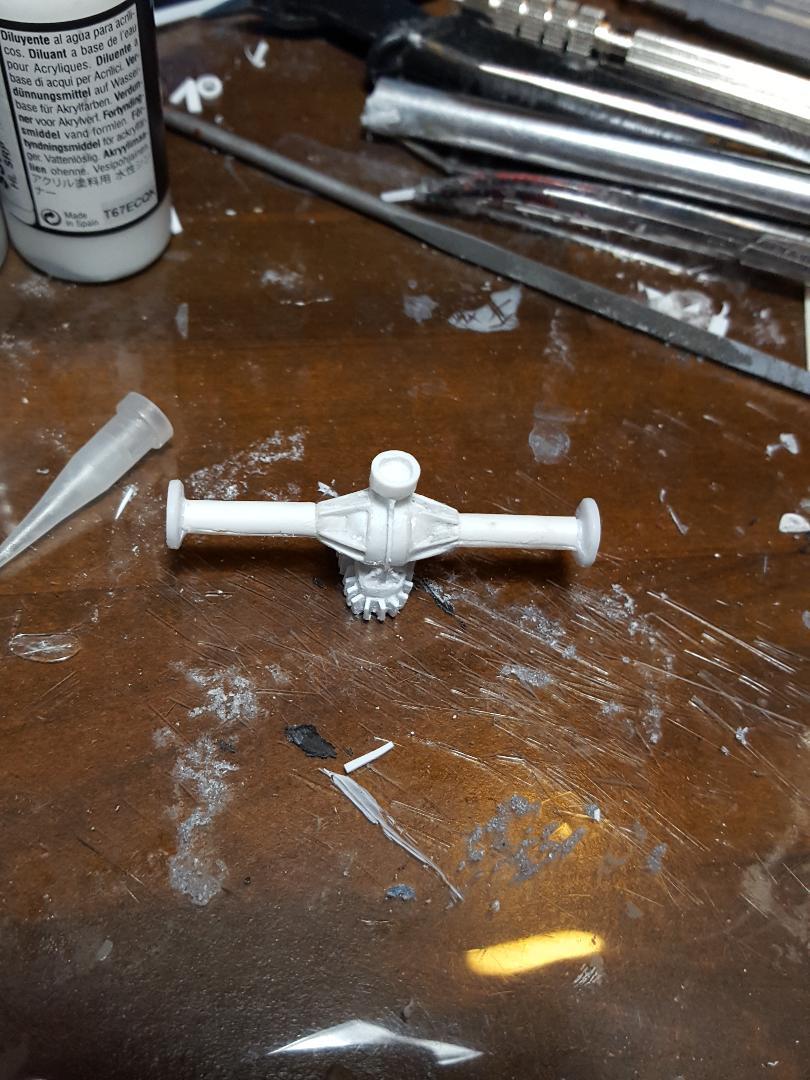
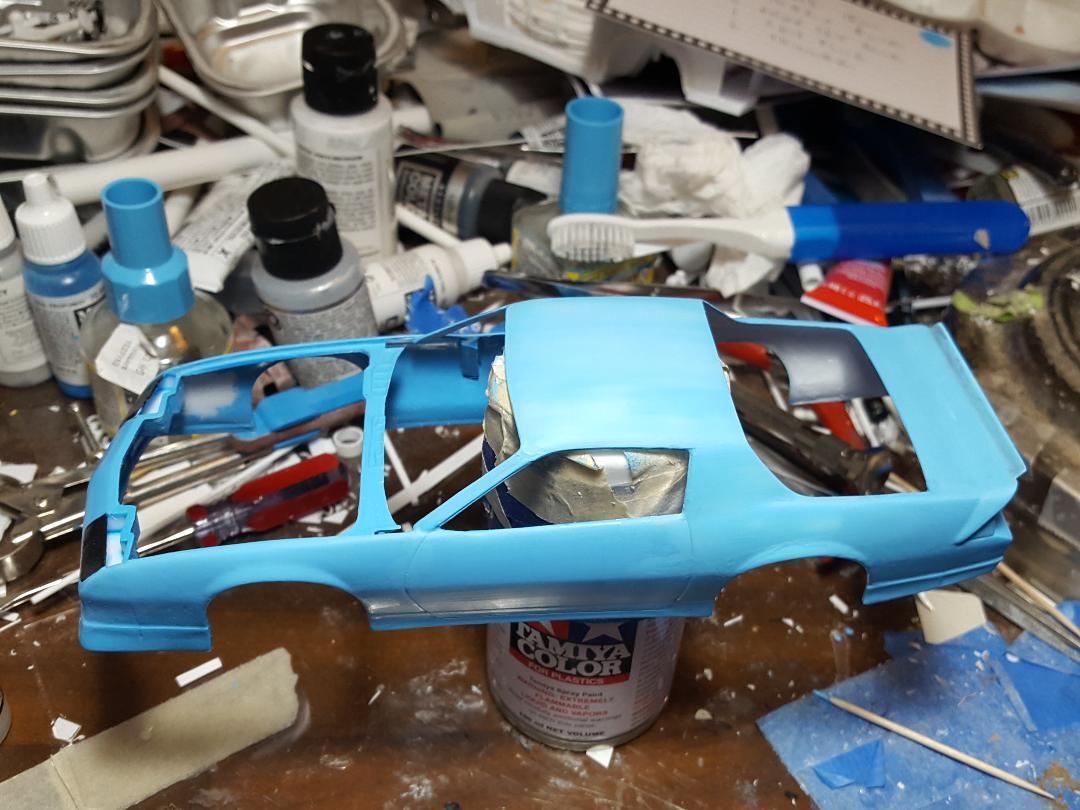
Added some cooling fins. Started repainting the body. I think I will try 3 drops of retarder in the paint mix to get the paint to flow out a little better.
-
SCCA Camaro Trans Am Set
MarkJ replied to Scale-Master's topic in Other Racing: Road Racing, Salt Flat Racers
Mark, three excellent builds, everyone is super clean, awesome paint jobs and decal work done to perfection. I believe a group shot of them together would be in order here. You know it's too bad that they can't engineer the kit better, so you did not have to go to so much trouble getting everything to fit properly. But you got it done magnificently. Bravo. -
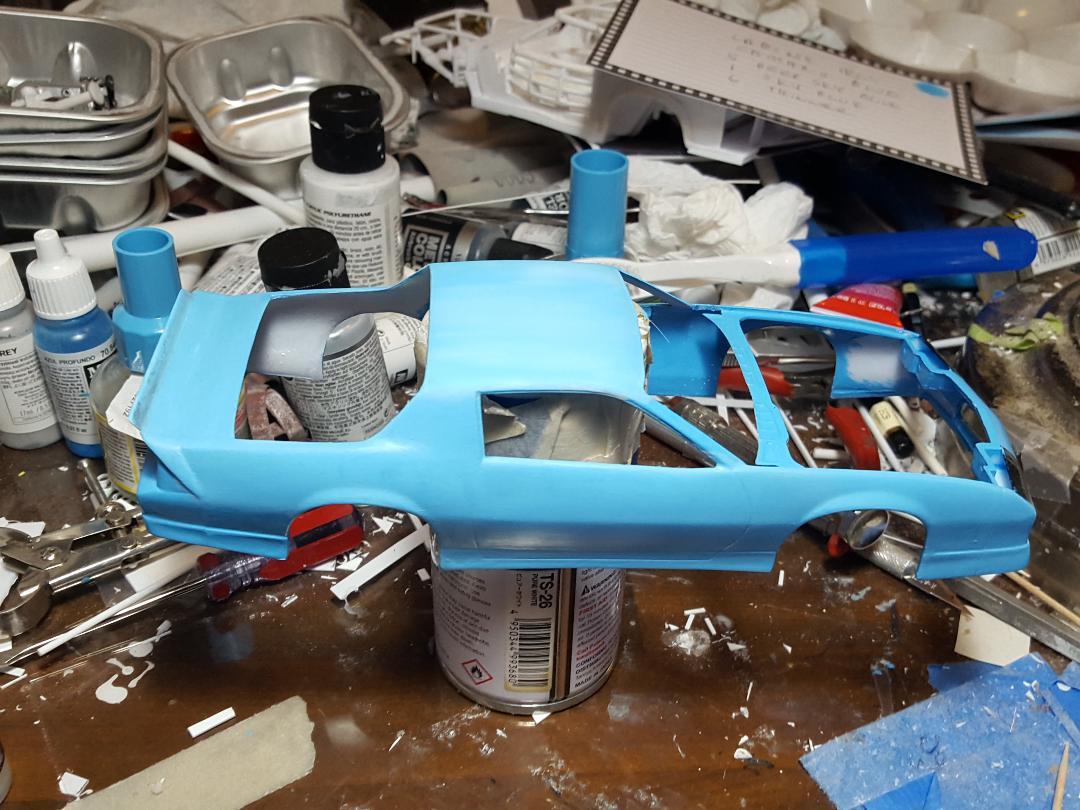
After this the tiny little fins get put on. Really not looking forward to that.
-
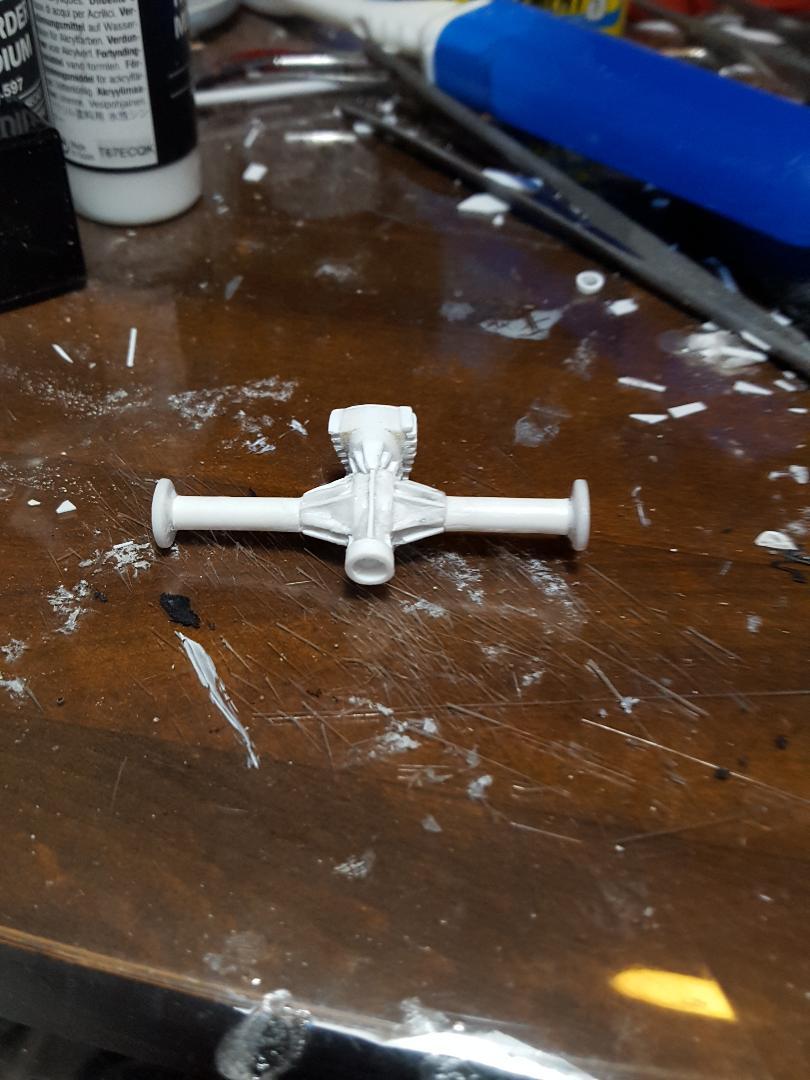
Here is a bigger one I meant to show above.
-
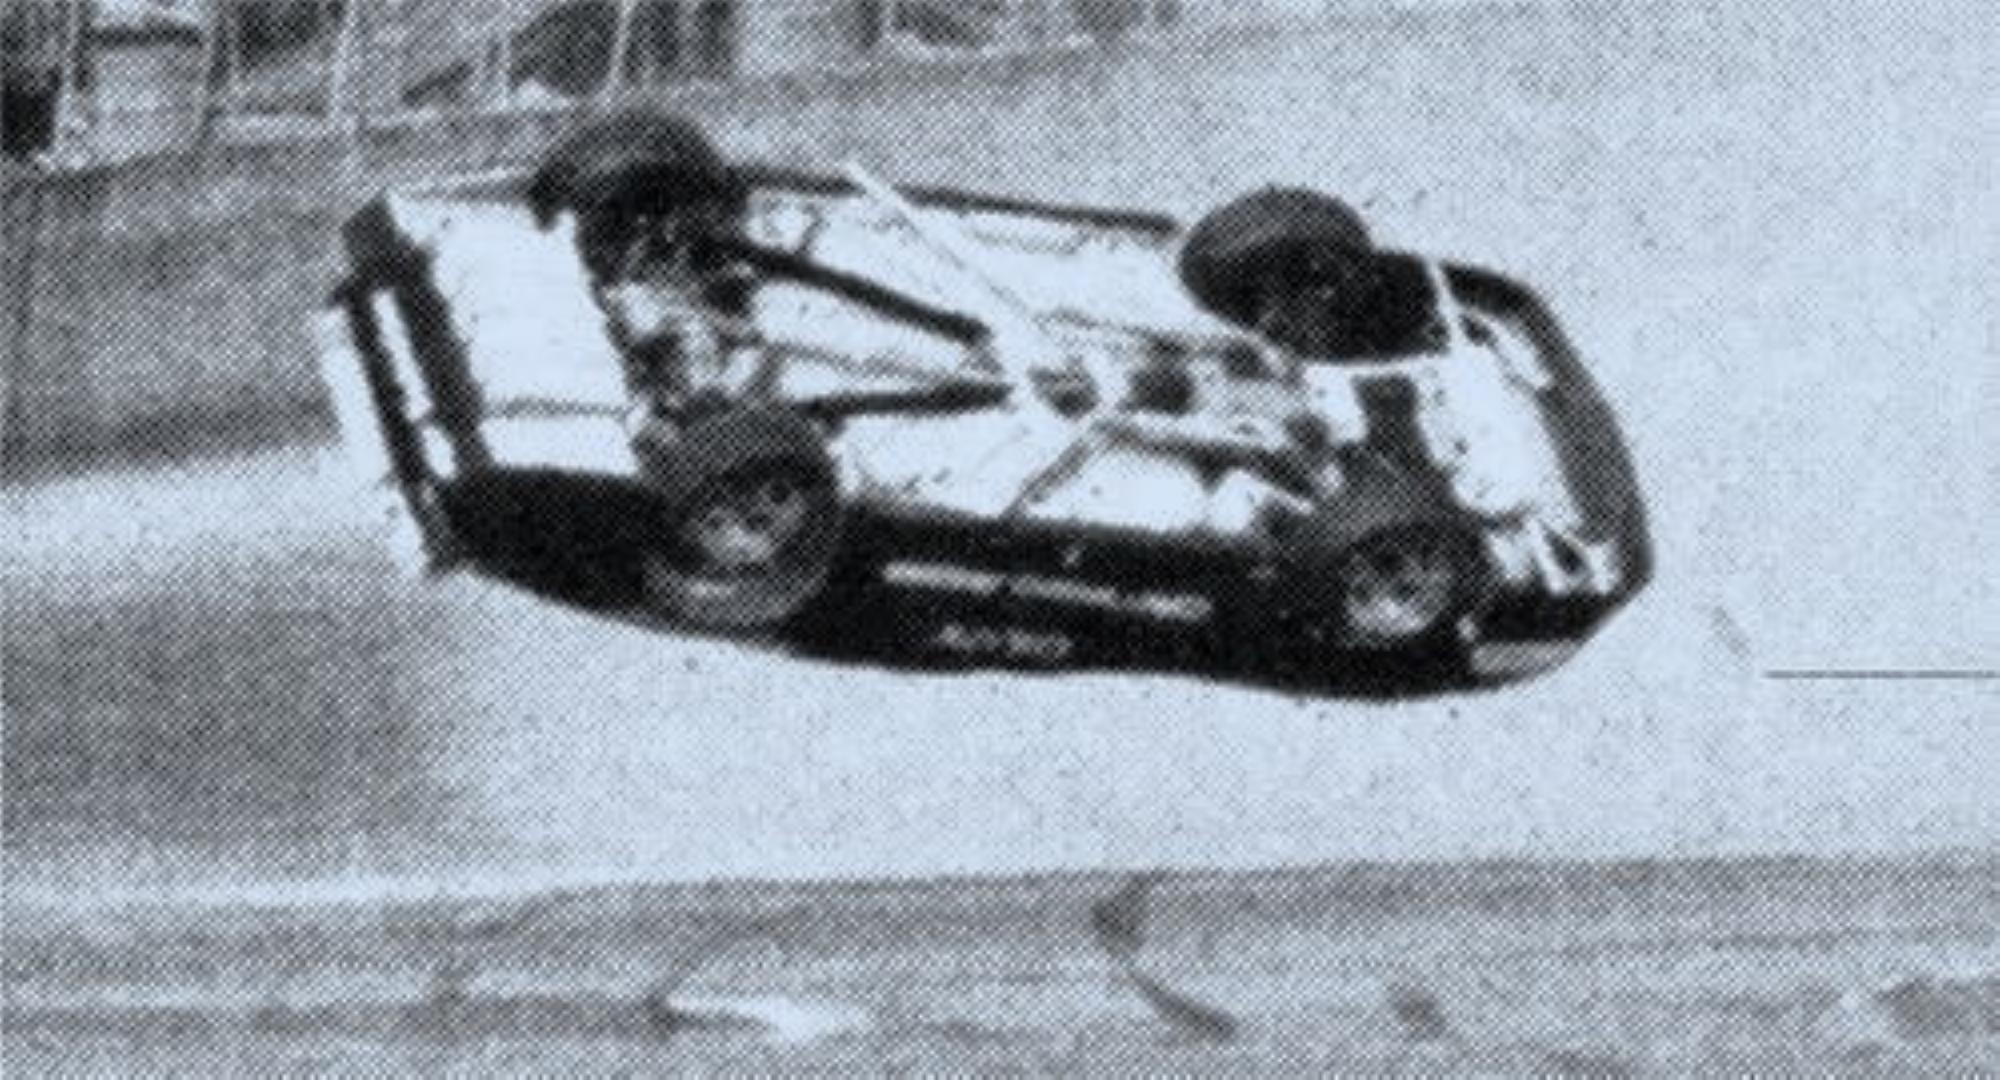
Thanks, Pierre. Yes, hopefully built. I have one grainy picture I had to blow up of the 1989 IROC Camaro and it definitely appears to have a Halibrand rear axle. The ref pictures I am using are from the Dodge version that came a while later, but I have heard that all the later IROC cars were just reskinned Camaros from the eighty's and ninety's. The ref picture below is a 1989 IROC car upside down flying through the air. You can see how grainy it is when you have to blow up a tiny picture.
-
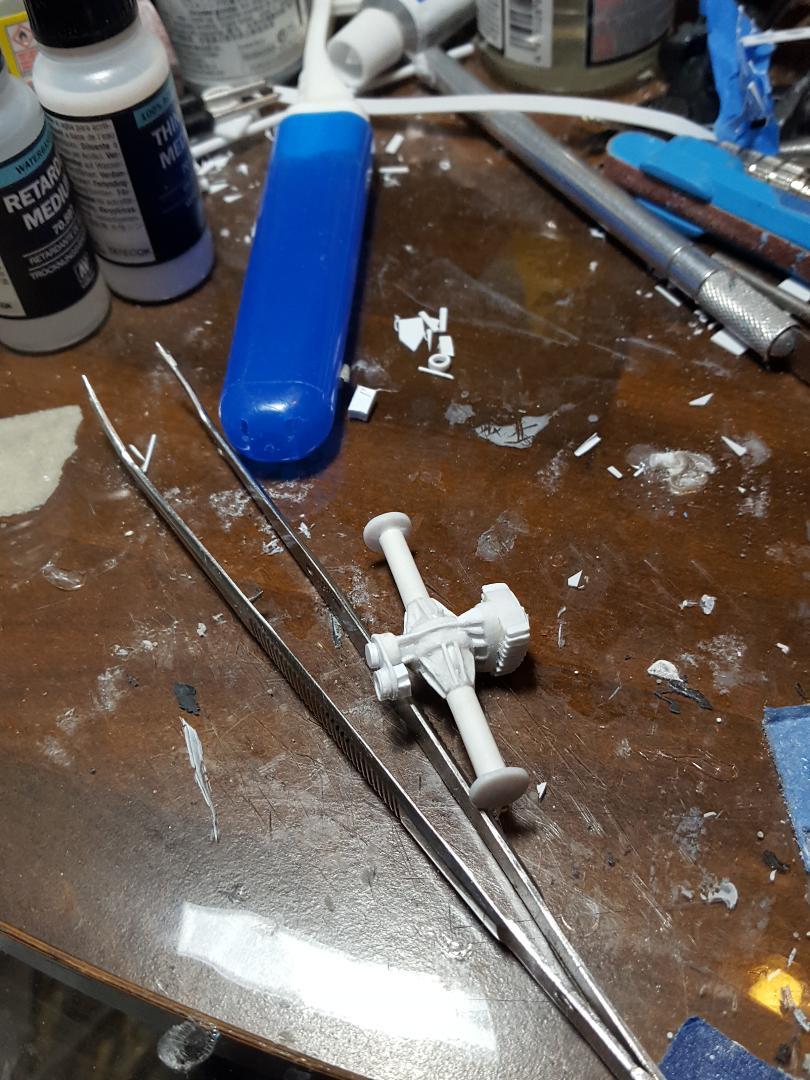
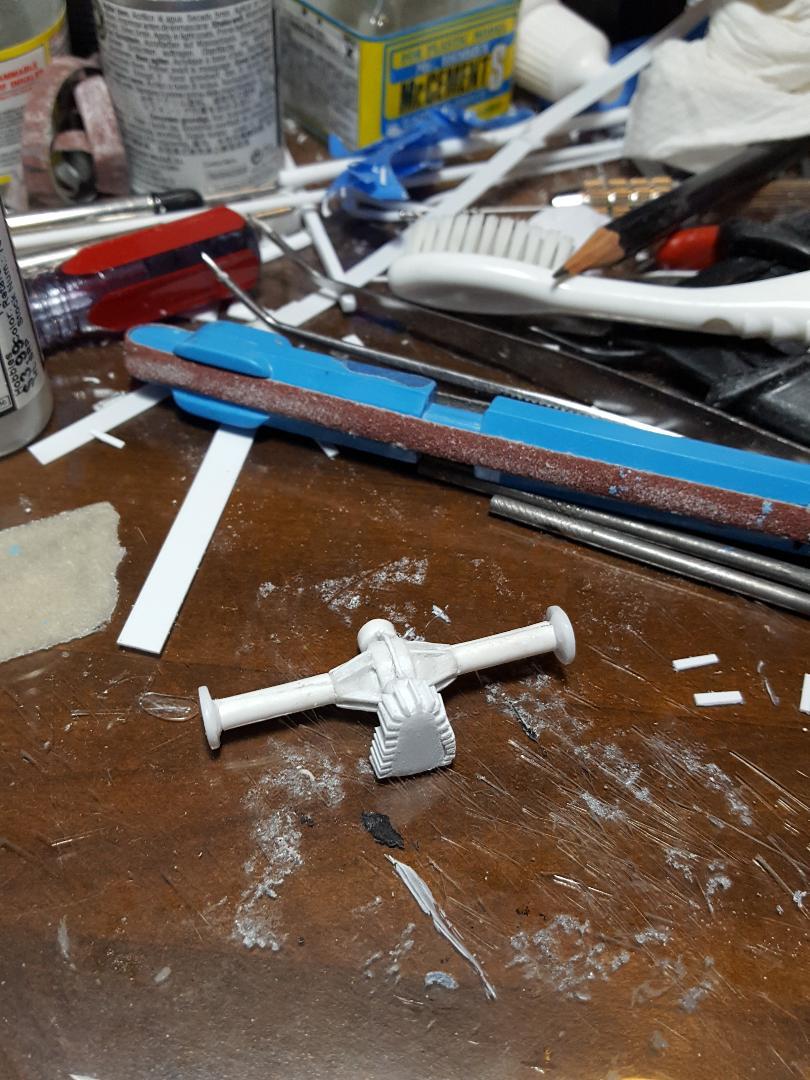
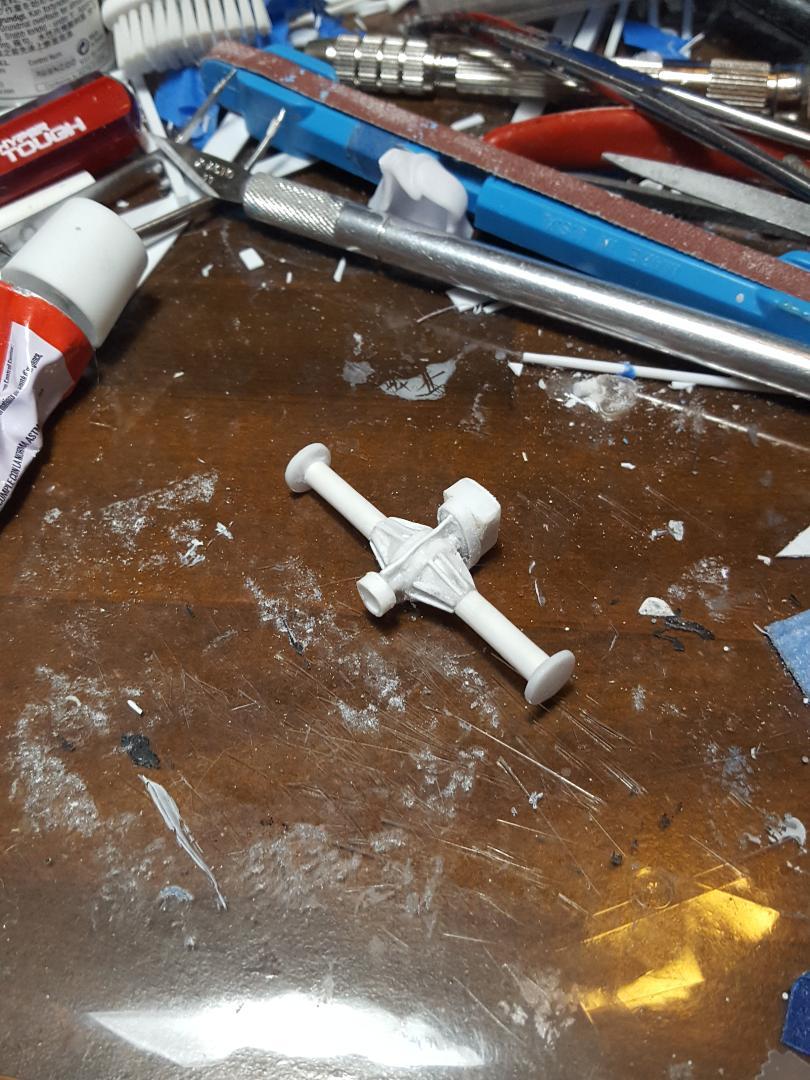
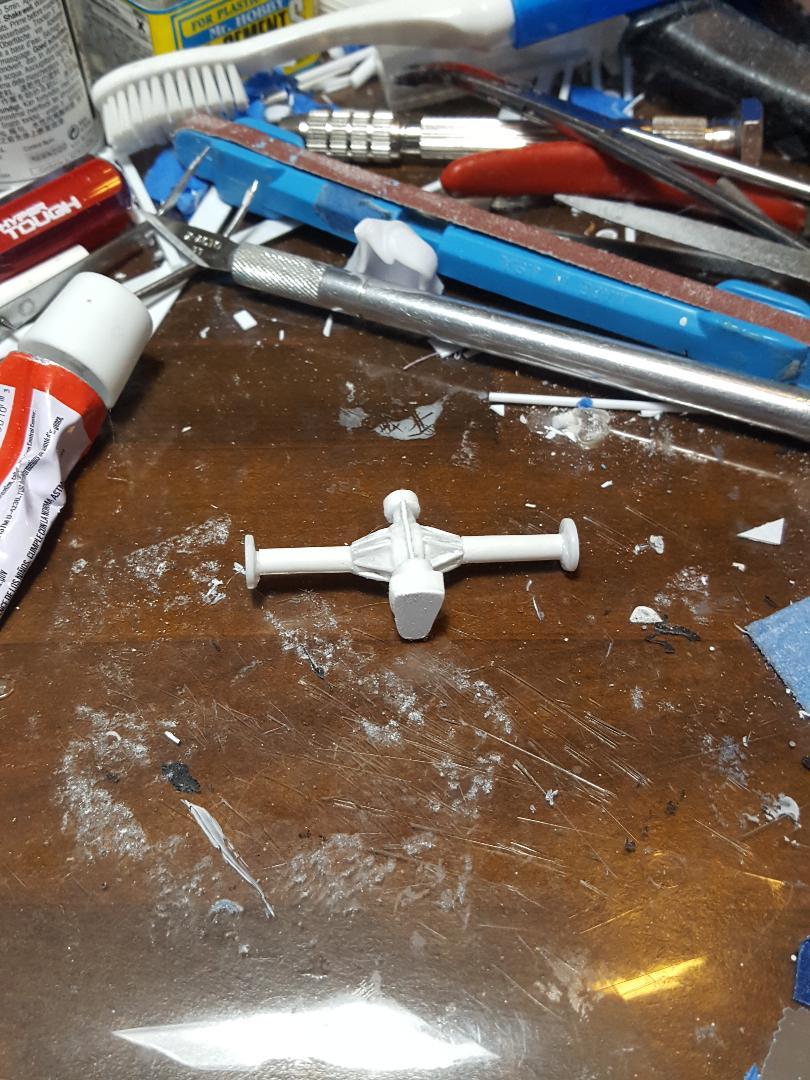
Just a few more pieces here and there and the rear axle will be done
-
SCCA Camaro Trans Am Set
MarkJ replied to Scale-Master's topic in WIP: Other Racing: Road Racing, Land Speed Racers
Another beauty, Mark. Like to see them all lined up together when the last one is finished. -
Thanks, Atin. Yes, you are right. Alclad is okay if you can't get the Revell chrome but, for ease of use and final result the Revell is numero uno. Just make sure if you have to shoot outdoors the humidity is low.
-
Batmobile
MarkJ replied to Pierre Rivard's topic in WIP: Other Racing: Road Racing, Land Speed Racers
Pierre, those vents are off the charts impressive. I'm totally in awe of them. Now I need to pick myself up off of the floor. Model on, oh great one. -
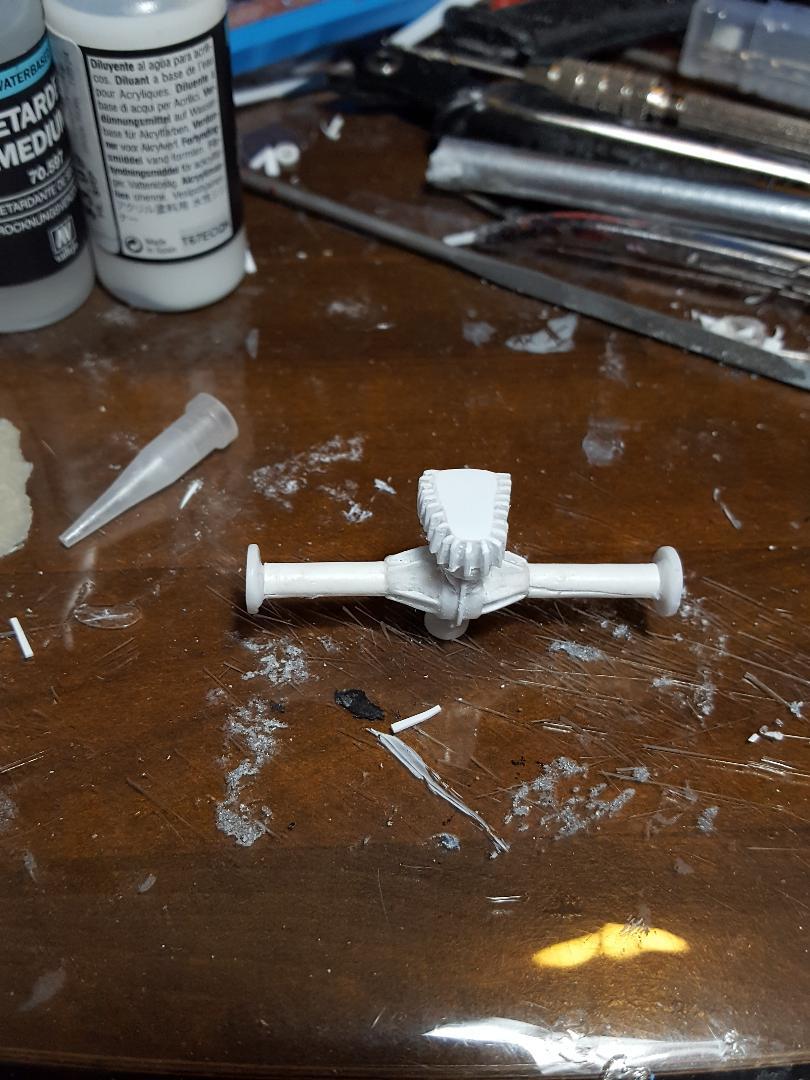
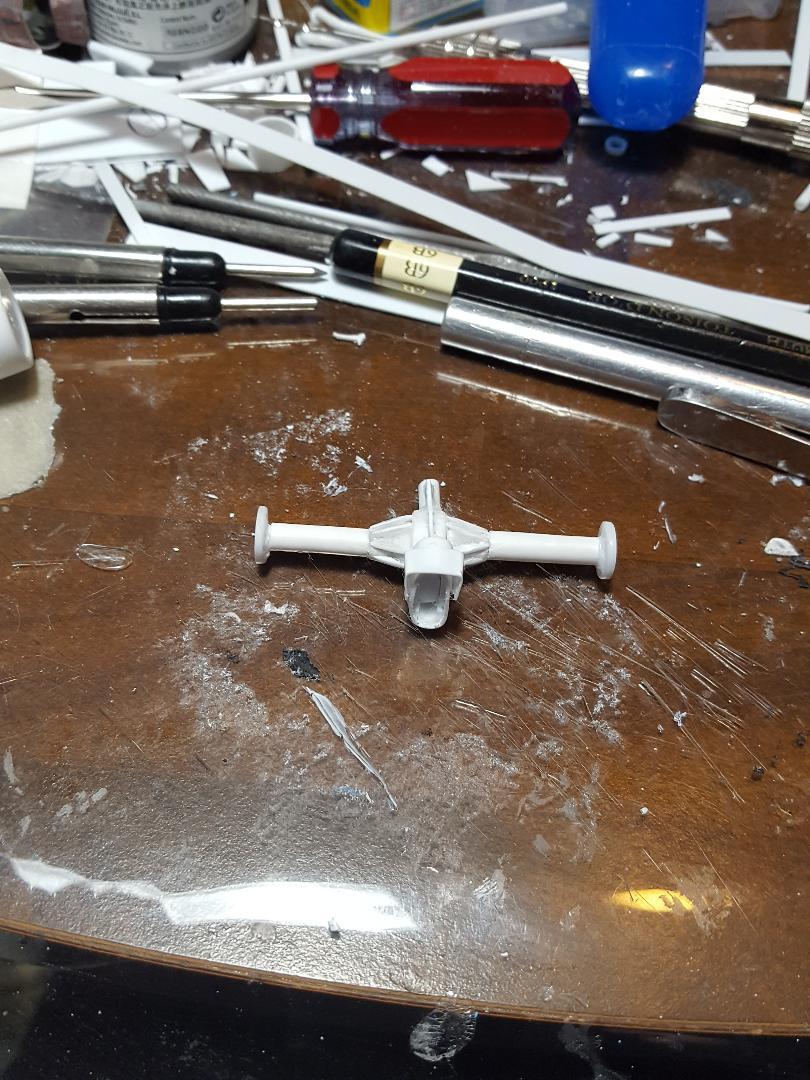
The quick-change housing has a squarer look to it, so I had to tweak it a little bit. Still will have rounded off corners though and lots of ribs all over the place. I guess they figured it needed a lot of help keeping it cool besides the axle oil cooler the car had as well.
-
Great job on the paint. I need to remember that tip about pink primer. I have a red build in my future.