Biggu
-
Posts
1,714 -
Joined
-
Last visited
Content Type
Profiles
Forums
Events
Gallery
Everything posted by Biggu
-

Mid 60s Peterbilt Unilite COE
Biggu replied to RoninUtah's topic in WIP: Model Trucks: Big Rigs and Heavy Equipment
That looks really good Brian ! -
1/32 Freightliner cabover
Biggu replied to Rockford's topic in WIP: Model Trucks: Big Rigs and Heavy Equipment
Thanks for that, Steve. I know a little bit about North American trucks but even less about British ones. All GREAT information and VERY interesting. -
The Same but “ a little “ Different
Biggu replied to Biggu's topic in WIP: Model Trucks: Big Rigs and Heavy Equipment
Now the pressure is on ???????? with luck I can get a start on it today. -
The Same but “ a little “ Different
Biggu replied to Biggu's topic in WIP: Model Trucks: Big Rigs and Heavy Equipment
Thanks Gary. Coming from you I really appreciate that -
The Same but “ a little “ Different
Biggu replied to Biggu's topic in WIP: Model Trucks: Big Rigs and Heavy Equipment
Oh ok. Forgot about the Fiat-Allis and those are real working utilitarian trucks. Typical fleet units, not owner operator trucks. I know our trucks were not loved by many of the guys being fleet units. It would have been a different story if the guys had to buy their own truck ! -
The Same but “ a little “ Different
Biggu replied to Biggu's topic in WIP: Model Trucks: Big Rigs and Heavy Equipment
Thanks JM! I was striving for a hard worker, but maintained, just not a show piece. It’s a fine line … the frame weathering is next. Then wheels and tires, fuel tanks etc. still a way to go. But it’s fun. Thanks for checking in. -
The Same but “ a little “ Different
Biggu replied to Biggu's topic in WIP: Model Trucks: Big Rigs and Heavy Equipment
??blocks made of a sponge…. Thats a good one…. I was a bit concerned I may have been a touch heavy handed but in real life it doesn’t look bad. Thanks for the confirmation, Steve. Your story is interesting. And thanks for the VERY cool pic. I’m going to save that one. Is that loader an Aviling - Barford ? Check my spelling but …? Love the short story and pic, thanks. Jeff -
Mid 60s Peterbilt Unilite COE
Biggu replied to RoninUtah's topic in WIP: Model Trucks: Big Rigs and Heavy Equipment
Lookin good Ron….. makes mine look a bit plain …. Your surgery looks good. Great research on the dash. Too bad we don’t have a scale tach-o-graph they are cool …. I recall they used to be called a ‘stool pigeon’ …. Are you going to fashion a couple? -
The Same but “ a little “ Different
Biggu replied to Biggu's topic in WIP: Model Trucks: Big Rigs and Heavy Equipment
Thanks Brian … I blew it by Ken to make sure I was on the right track …. I does kook better in real life tho. Th als for checking in…. -
The Same but “ a little “ Different
Biggu replied to Biggu's topic in WIP: Model Trucks: Big Rigs and Heavy Equipment
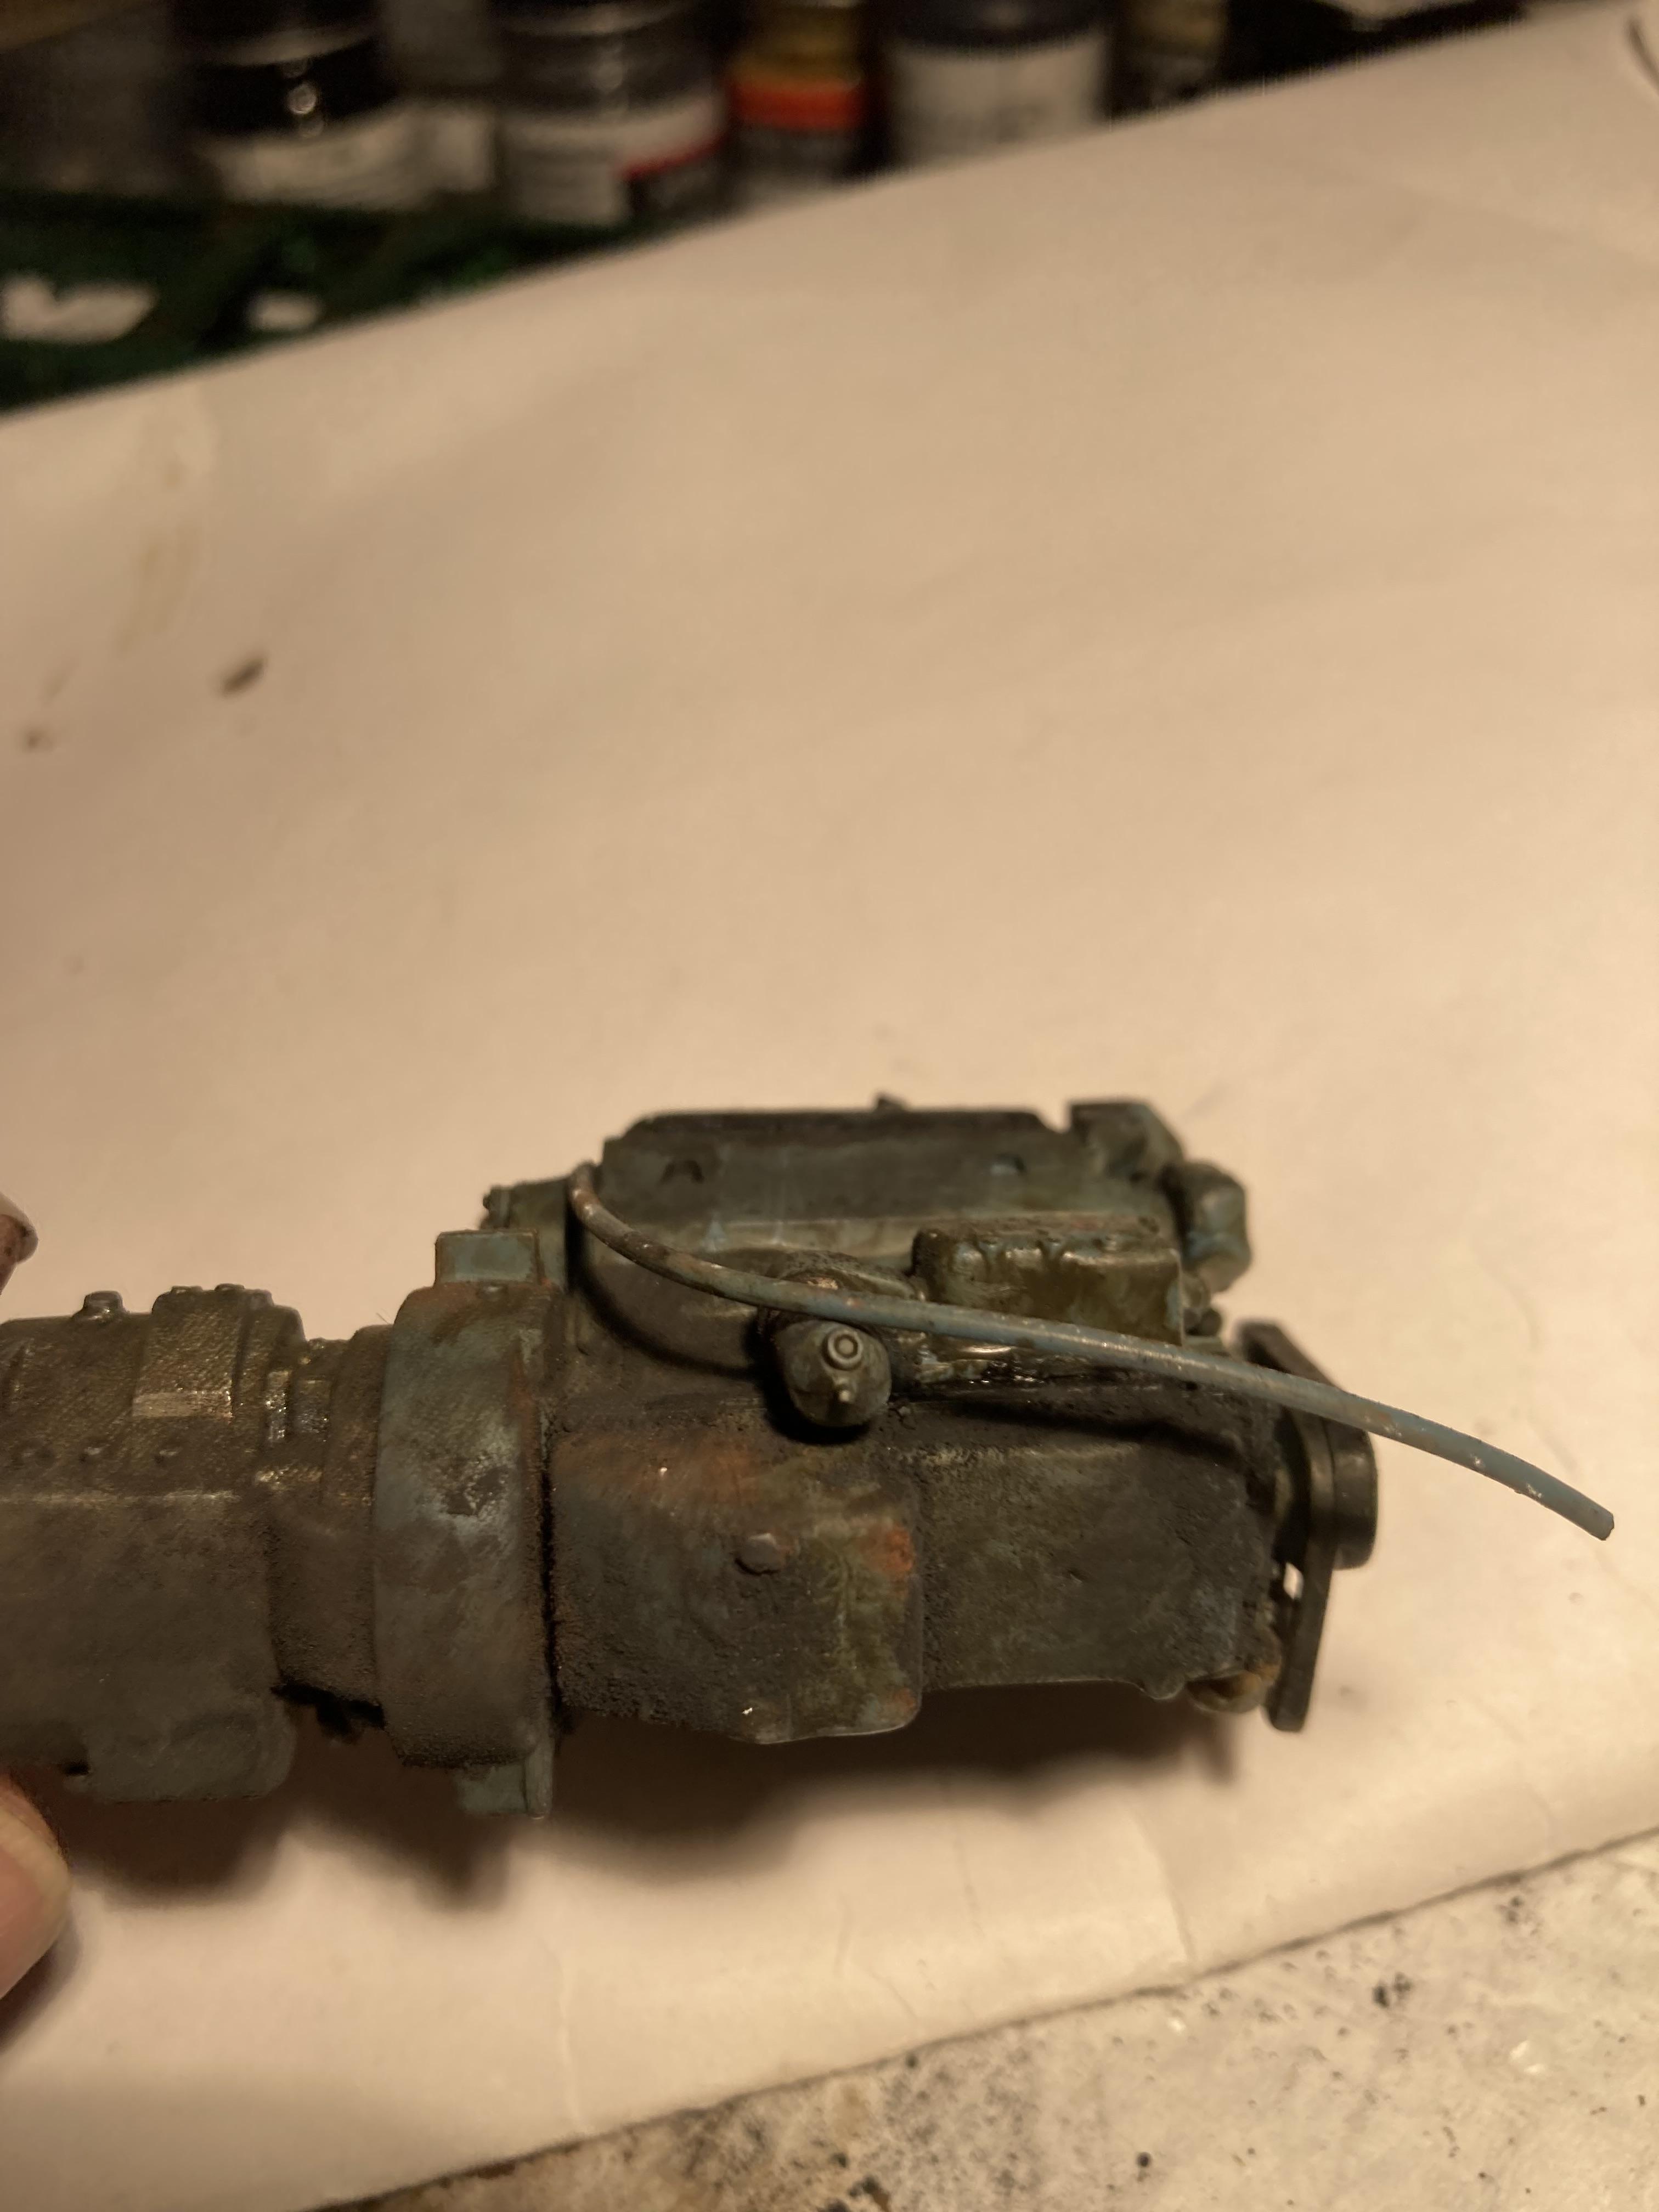
Thick black 15/40 is what we used. Sent the pics to my buddy the mechanical foreman , he said that was pretty close. Lol. I tried to put a little ‘wet’ around the valve covers. Will look at it tomorrow and see if I’m really happy with it … Jeff -
The Same but “ a little “ Different
Biggu replied to Biggu's topic in WIP: Model Trucks: Big Rigs and Heavy Equipment
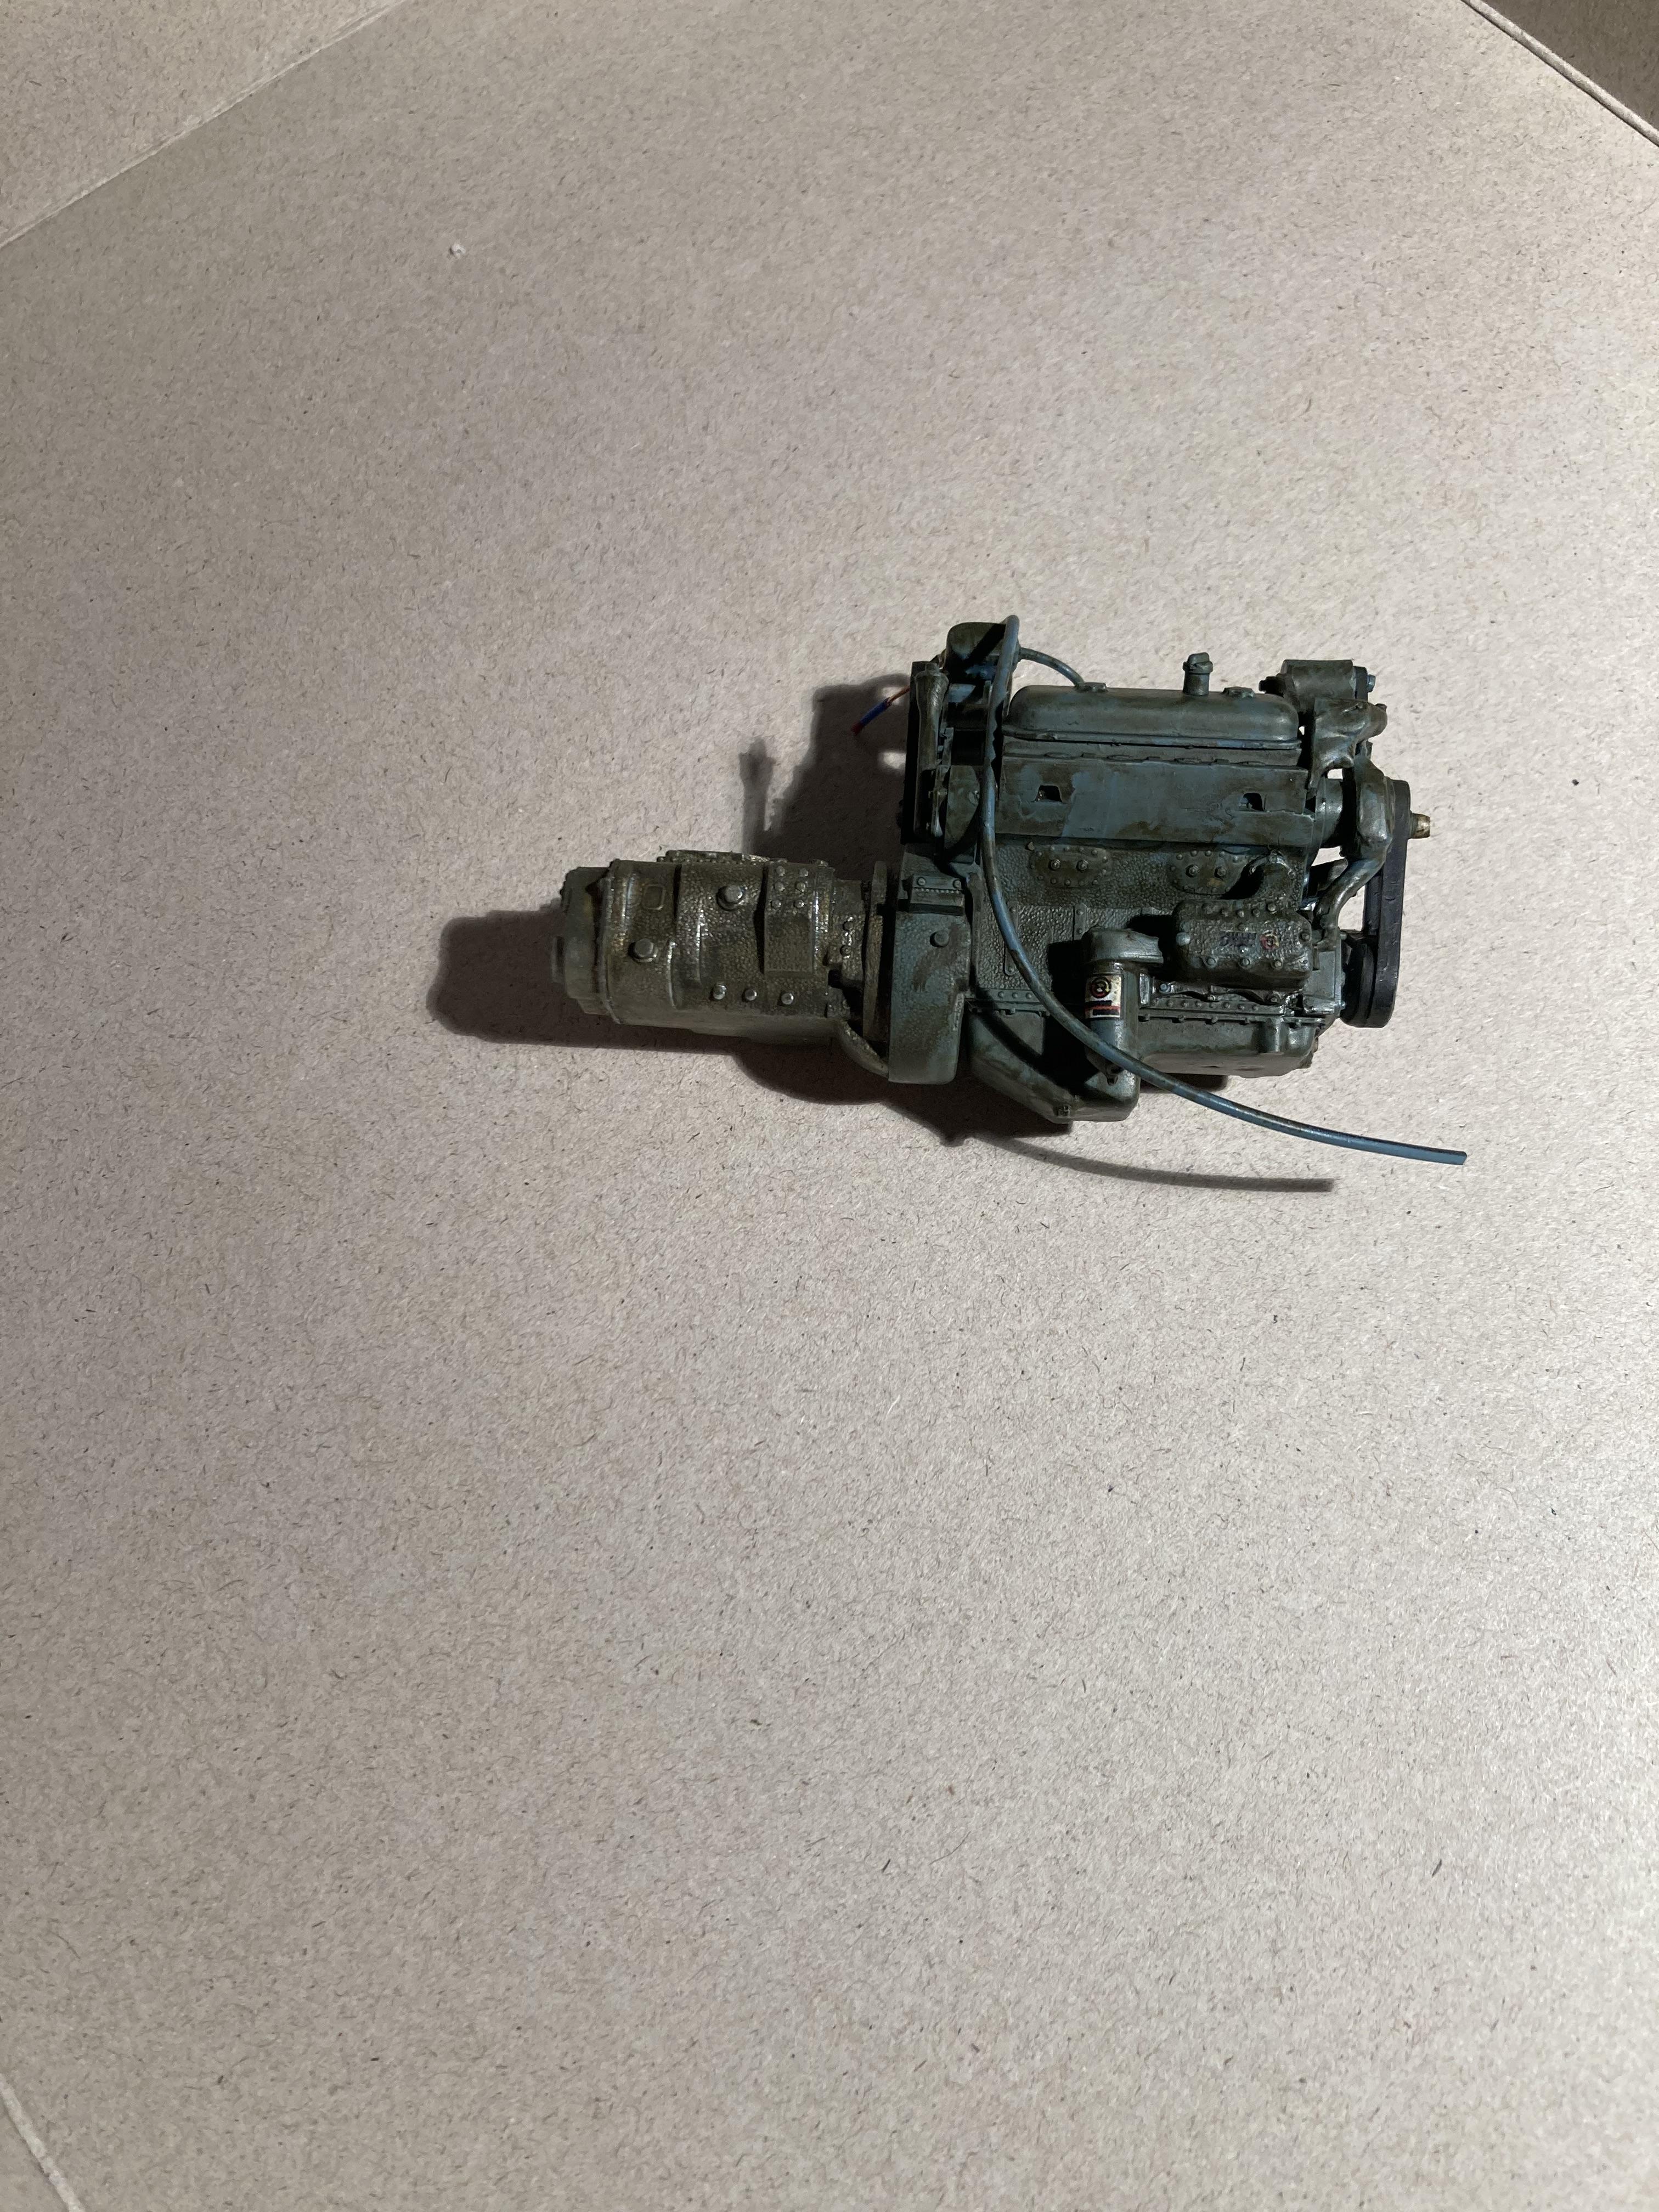
Hard worker and no time for cleaning and detailing ……. It looks better in real life but you get the idea
-
Service Truck Kitbash
Biggu replied to PHPaul's topic in WIP: Model Trucks: Big Rigs and Heavy Equipment
Oh for sure. I was just thinking it may be a bit light for a logging truck. Your idea for a deck truck is spot on ! Its a beautiful piece. And will look really good mounted…. Jeff -
Service Truck Kitbash
Biggu replied to PHPaul's topic in WIP: Model Trucks: Big Rigs and Heavy Equipment
Nice, that looks spot on, Paul.... are you possibly thinking self loader for the logging truck? -
The Same but “ a little “ Different
Biggu replied to Biggu's topic in WIP: Model Trucks: Big Rigs and Heavy Equipment
Just a start….more to do…
-
Mid 60s Peterbilt Unilite COE
Biggu replied to RoninUtah's topic in WIP: Model Trucks: Big Rigs and Heavy Equipment
It sure is. Like you, Gary, I’m watching to see what Ron does next …. Small changes really make a difference. Love this Jeff -
The Same but “ a little “ Different
Biggu replied to Biggu's topic in WIP: Model Trucks: Big Rigs and Heavy Equipment
I was exactly the same. Why guck up a nice new model ???… until I started to think, it’s time to try and make something different, engine changes, wheels and tires and some weathering. I have seen the tank guys do some incredible things towards a better realistic final product. There are a couple books out there on weathering trucks and they are really good…. Also with more than half my life in the seat, I have seen one or two working units, and in fact should have taken more pictures and paid more attention. ?…….but I can get to real trucks any time so…. Armed with that I am seeing if I can replicate something a bit different. Gary and Steve, take an old kit and give it a try. Just for fun and if it doesn’t work to your satisfaction , or you don’t like it I will buy your left over pigments and washes. There are, as I’m sure you are more than aware, lots of you-tube vids on the subject. My weathering is not all that good but does make the truck look a little different. Give it a go boys ….. -
Thank you and Thank You for your service as well Jeff
-
The Same but “ a little “ Different
Biggu replied to Biggu's topic in WIP: Model Trucks: Big Rigs and Heavy Equipment
I think you’re right. My buddy who was our Mechanical Foreman at work said they leaked from EVERYWHERE !???And funny thing is, I out many thousands of miles on a 318 in our Ford Louisville tandem and don’t really remember it being too bad ….. but….. they say the memory is the first thing to go ??? thanks for checking in. Jeff -
Mid 60s Peterbilt Unilite COE
Biggu replied to RoninUtah's topic in WIP: Model Trucks: Big Rigs and Heavy Equipment
That back date is coming along famously. Talk a out raising the Bar ! Love what you’re doing with this Ron , looking forward to the next update….. keep on truckin Jeff -
The Same but “ a little “ Different
Biggu replied to Biggu's topic in WIP: Model Trucks: Big Rigs and Heavy Equipment
Thanks Ron. You are kind….. I am going to try my hand at making it look used , so a little dirt and grime and the odd oil stain ….. that’s the ‘plan’ any way. Thanks for checking in … -
The Same but “ a little “ Different
Biggu replied to Biggu's topic in WIP: Model Trucks: Big Rigs and Heavy Equipment
I felt the same way for eons …. But the new pigments etc are nice to work with. Start out gentle and then as the urge comes add more. I strive for as real as I can… I may over do it here and there, but give it a go, Steve . Find an old kit and play. It adds a whole new level of fun ….. I’m not very good at it but I keep practising. I really don’t have a handle on blending and chipping but I can add mud ! Lol -
The Same but “ a little “ Different
Biggu replied to Biggu's topic in WIP: Model Trucks: Big Rigs and Heavy Equipment
Thanks for the info Brian, this time I actually used an acrylic paint and ‘so far’ things are ok. ….. so far ….. talking with Ken he says these juice harps leaked oil everywhere , so I guess it has to be sloppy oil at least. Then it is how much dirt and dust …….???? -
The Same but “ a little “ Different
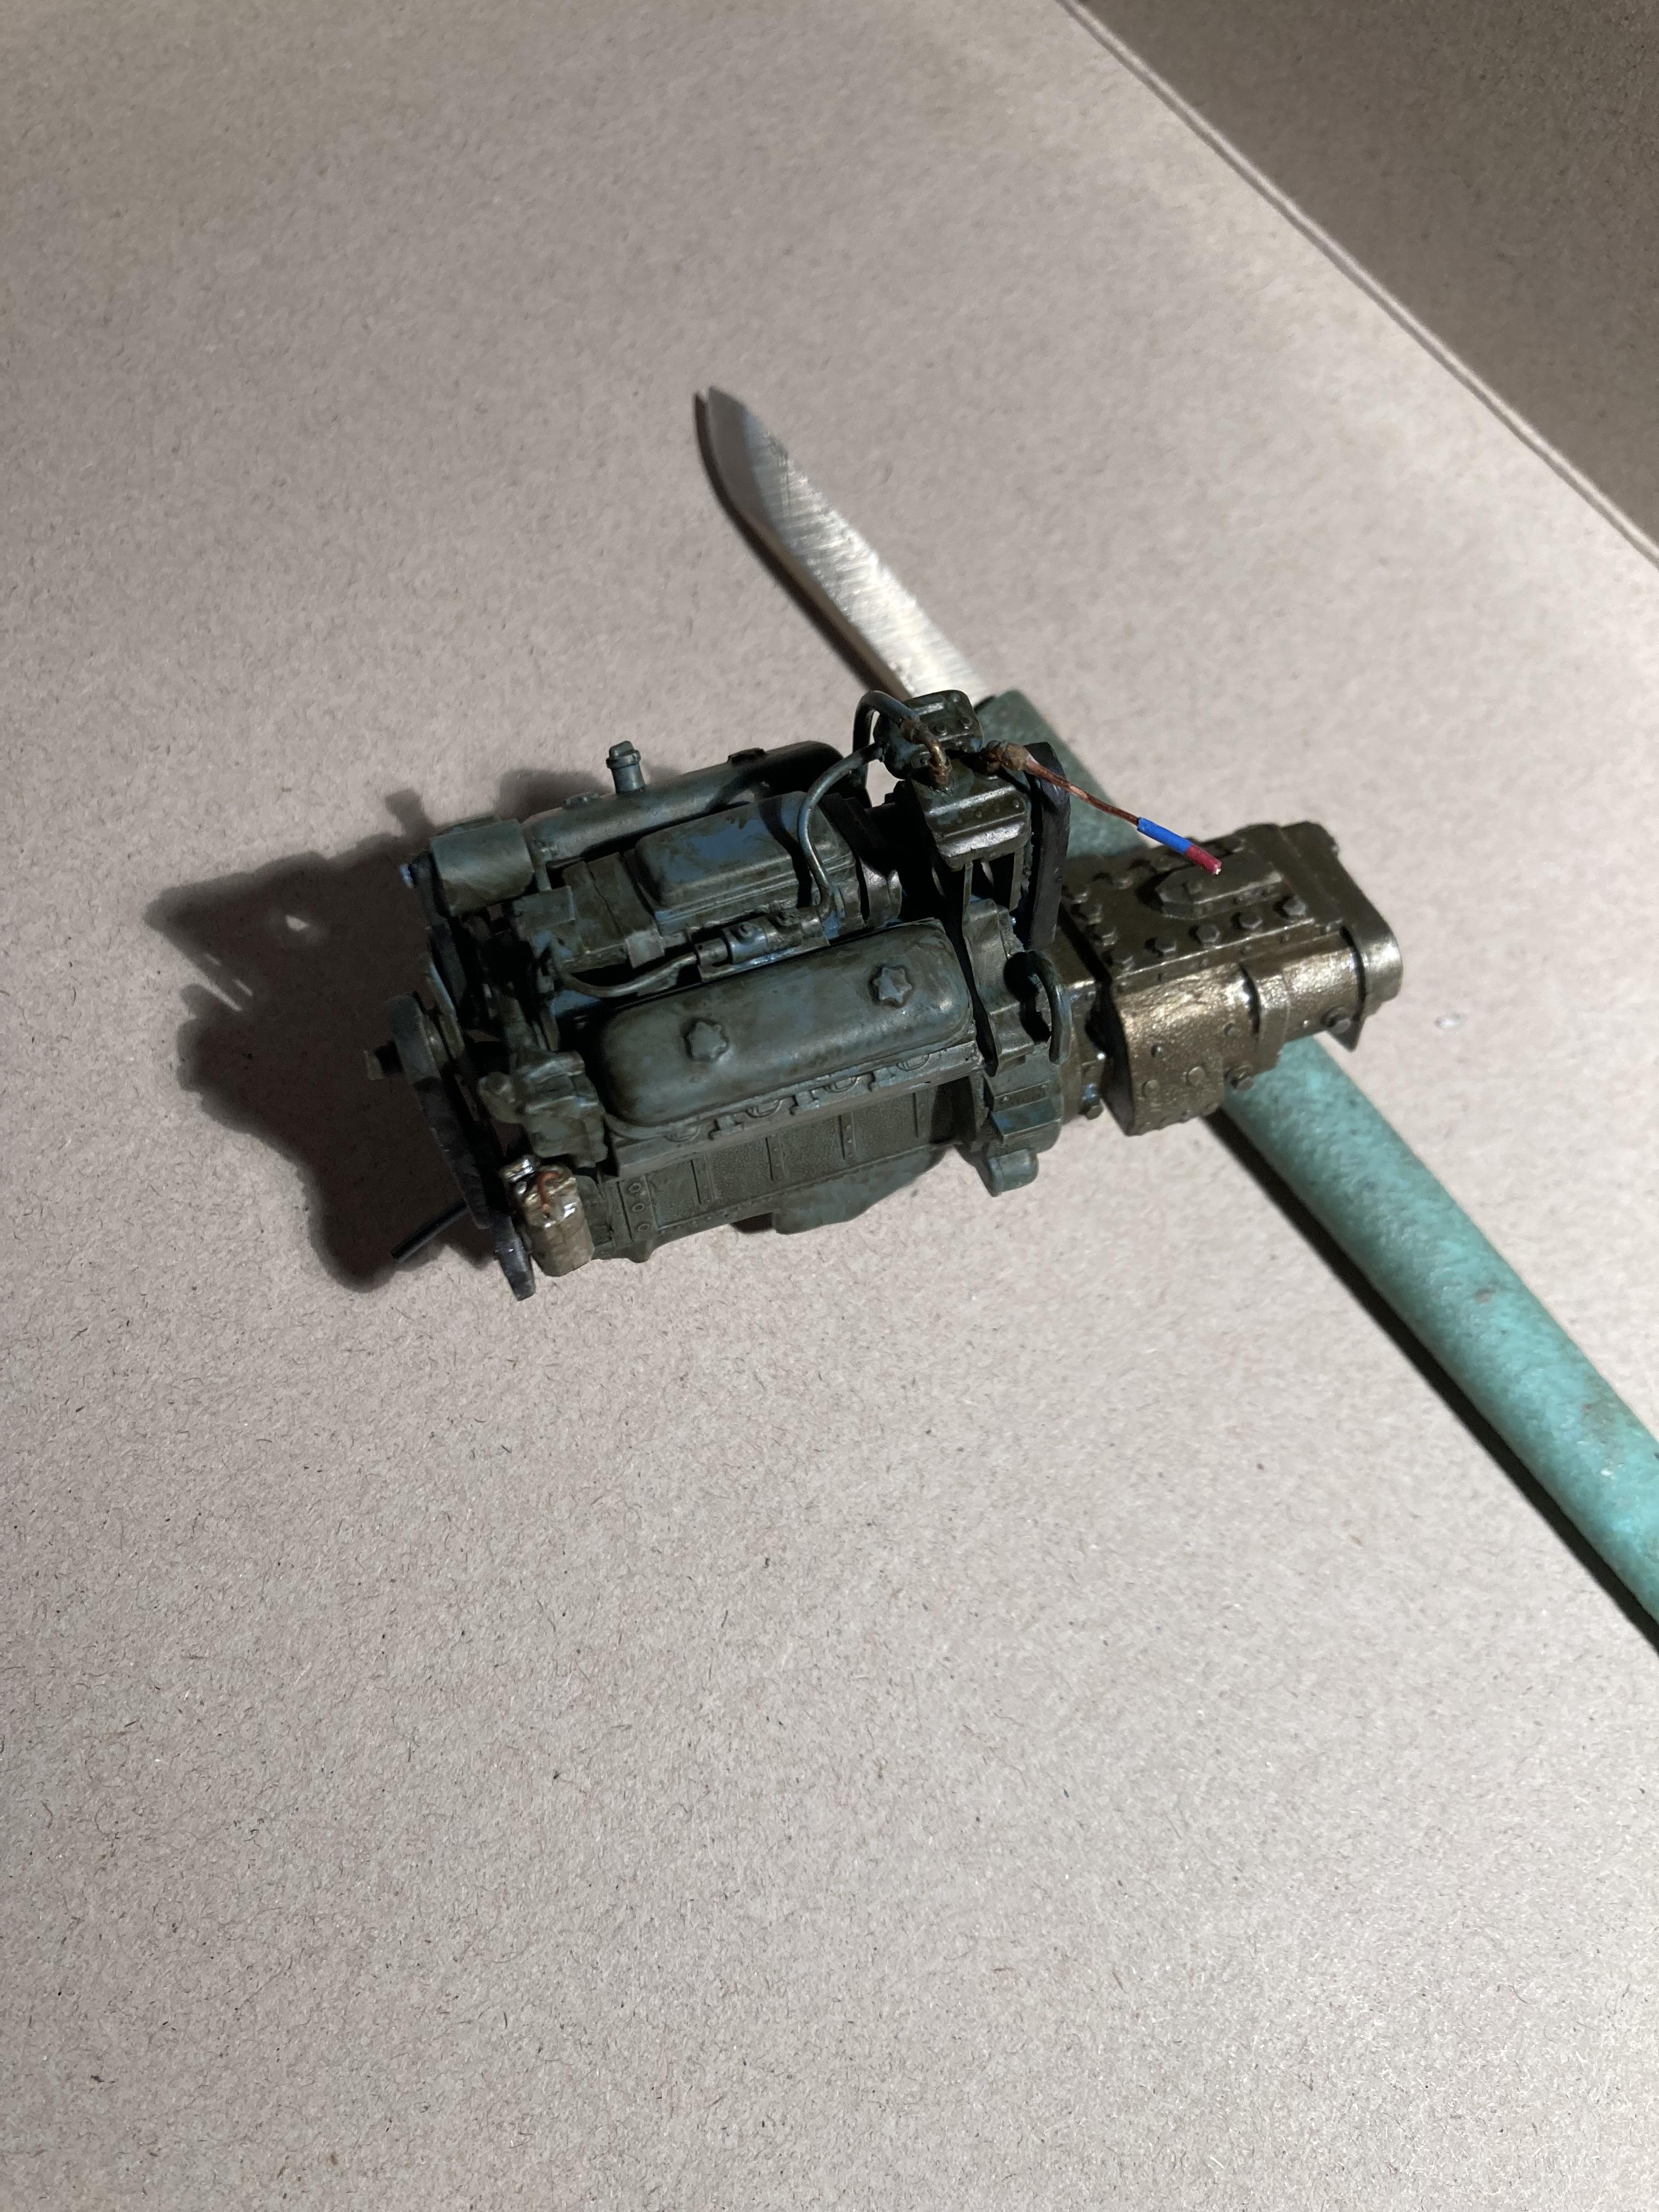
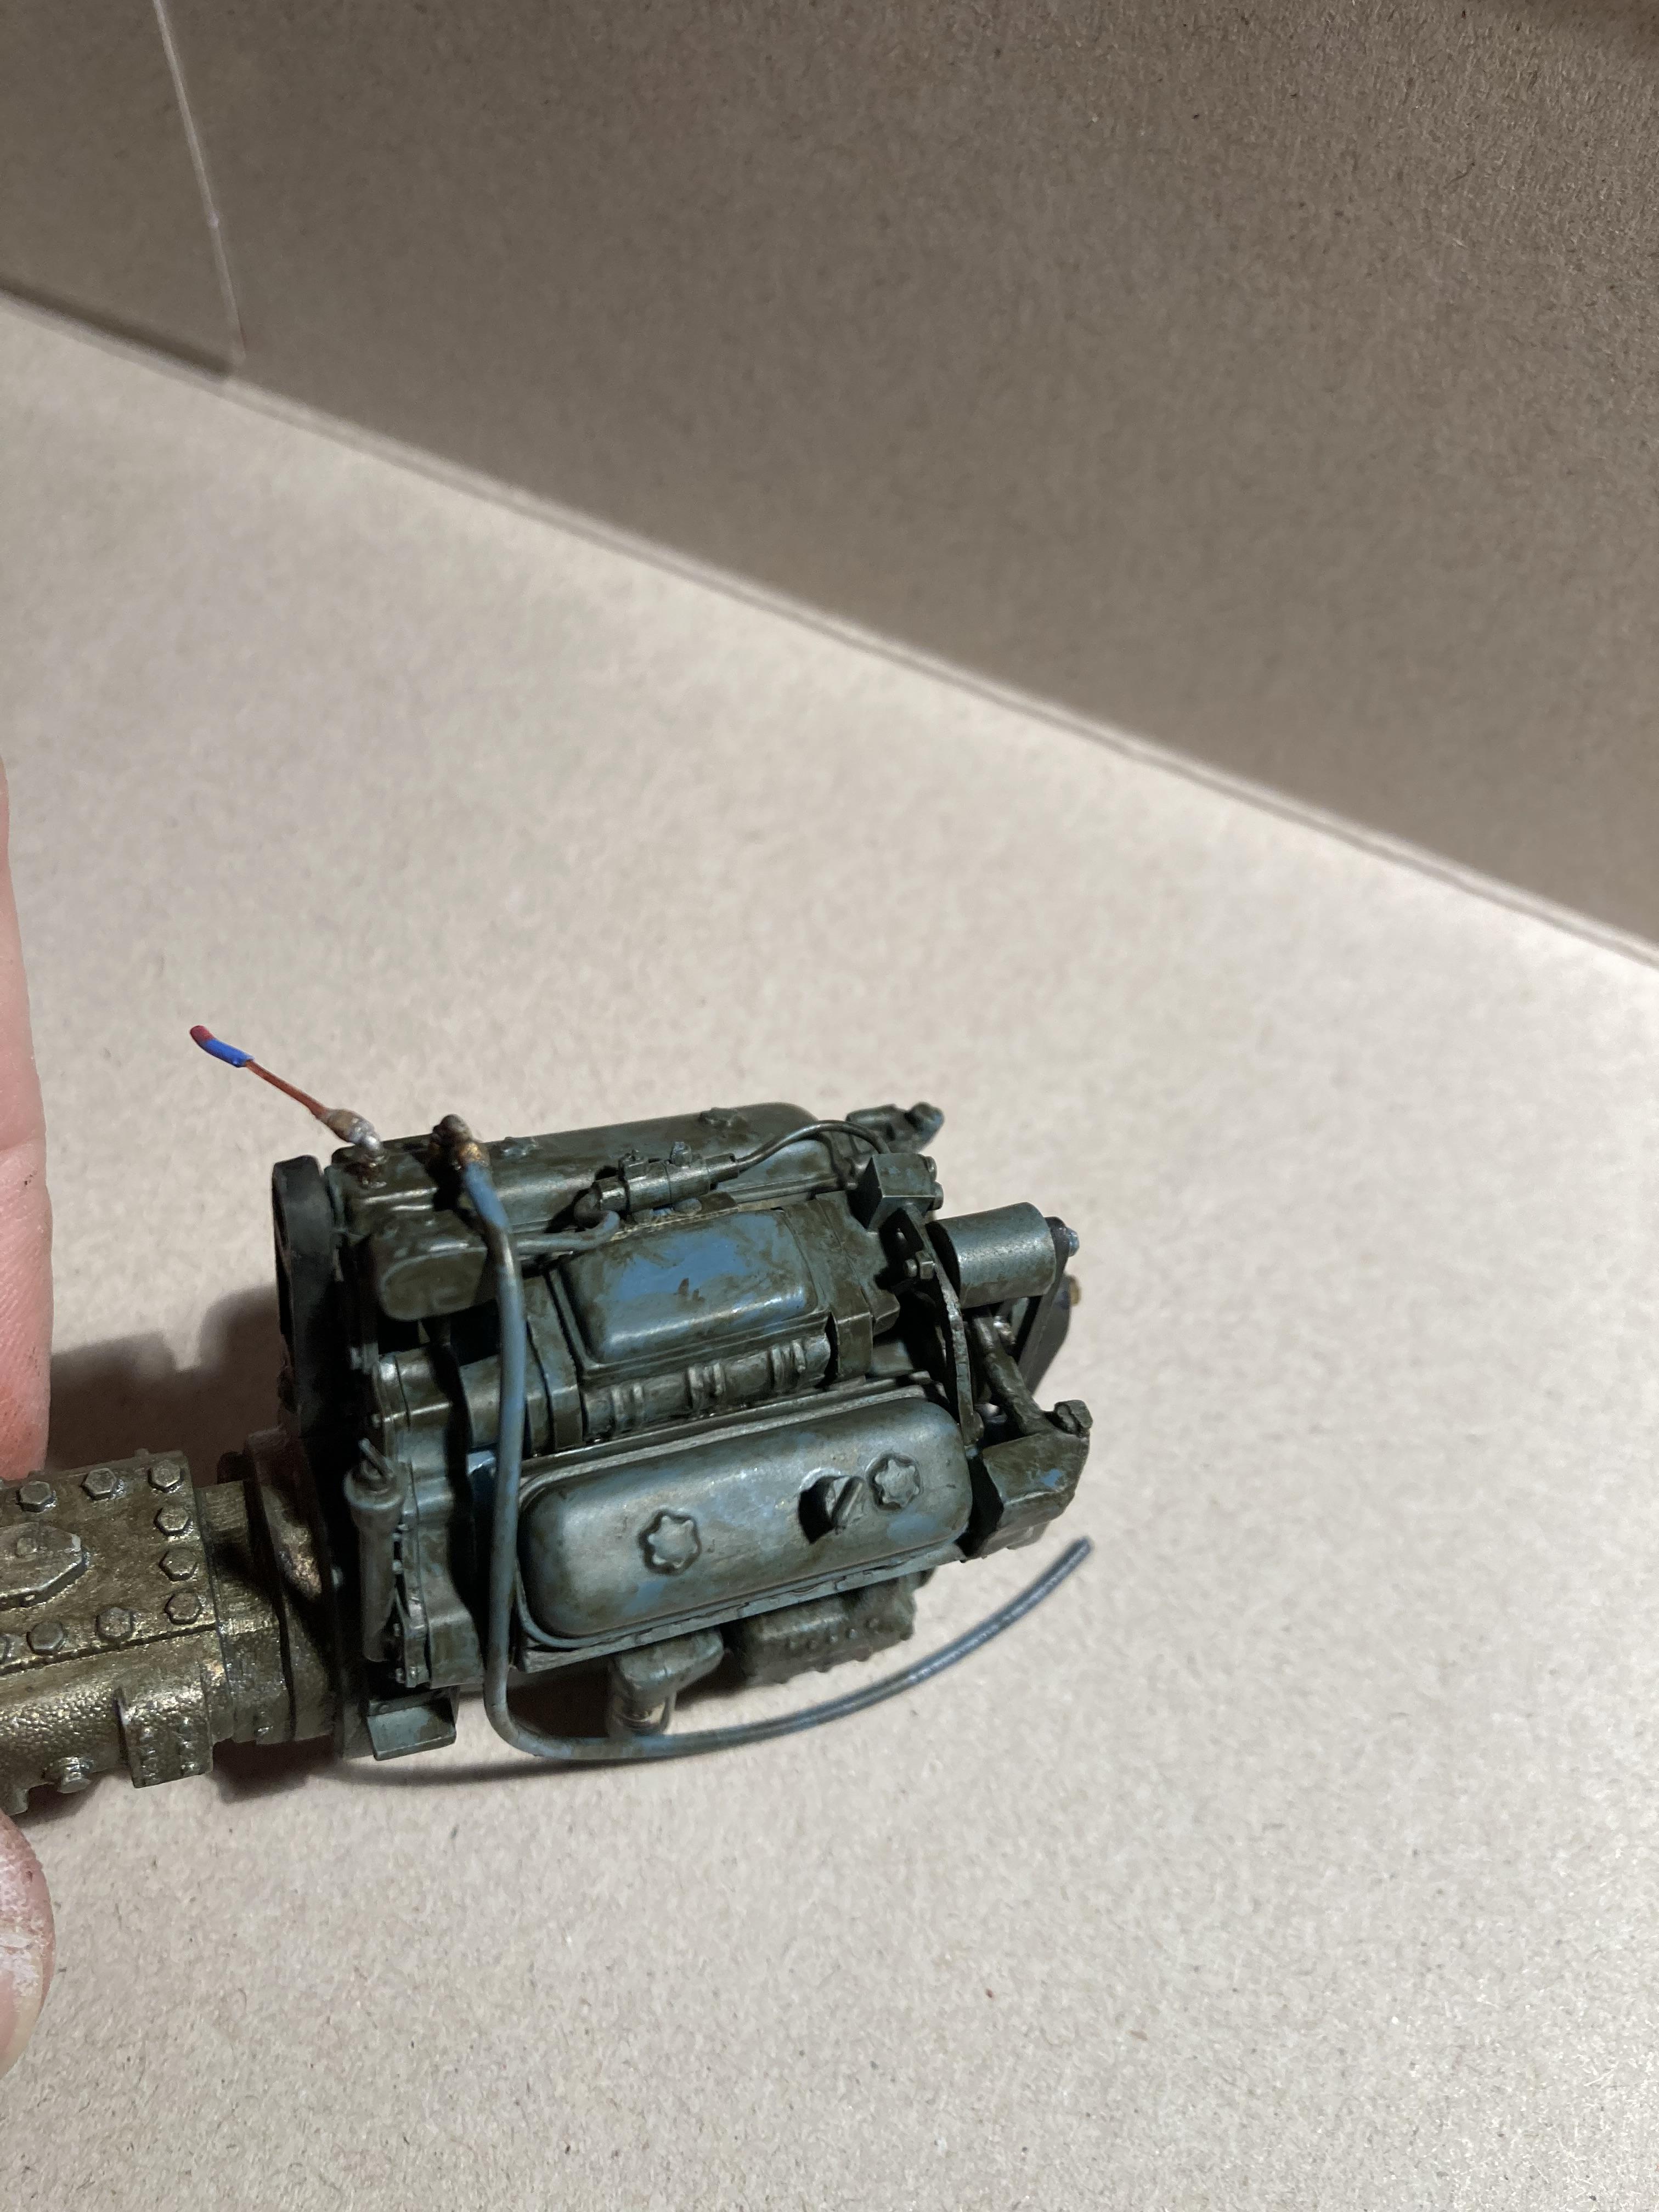
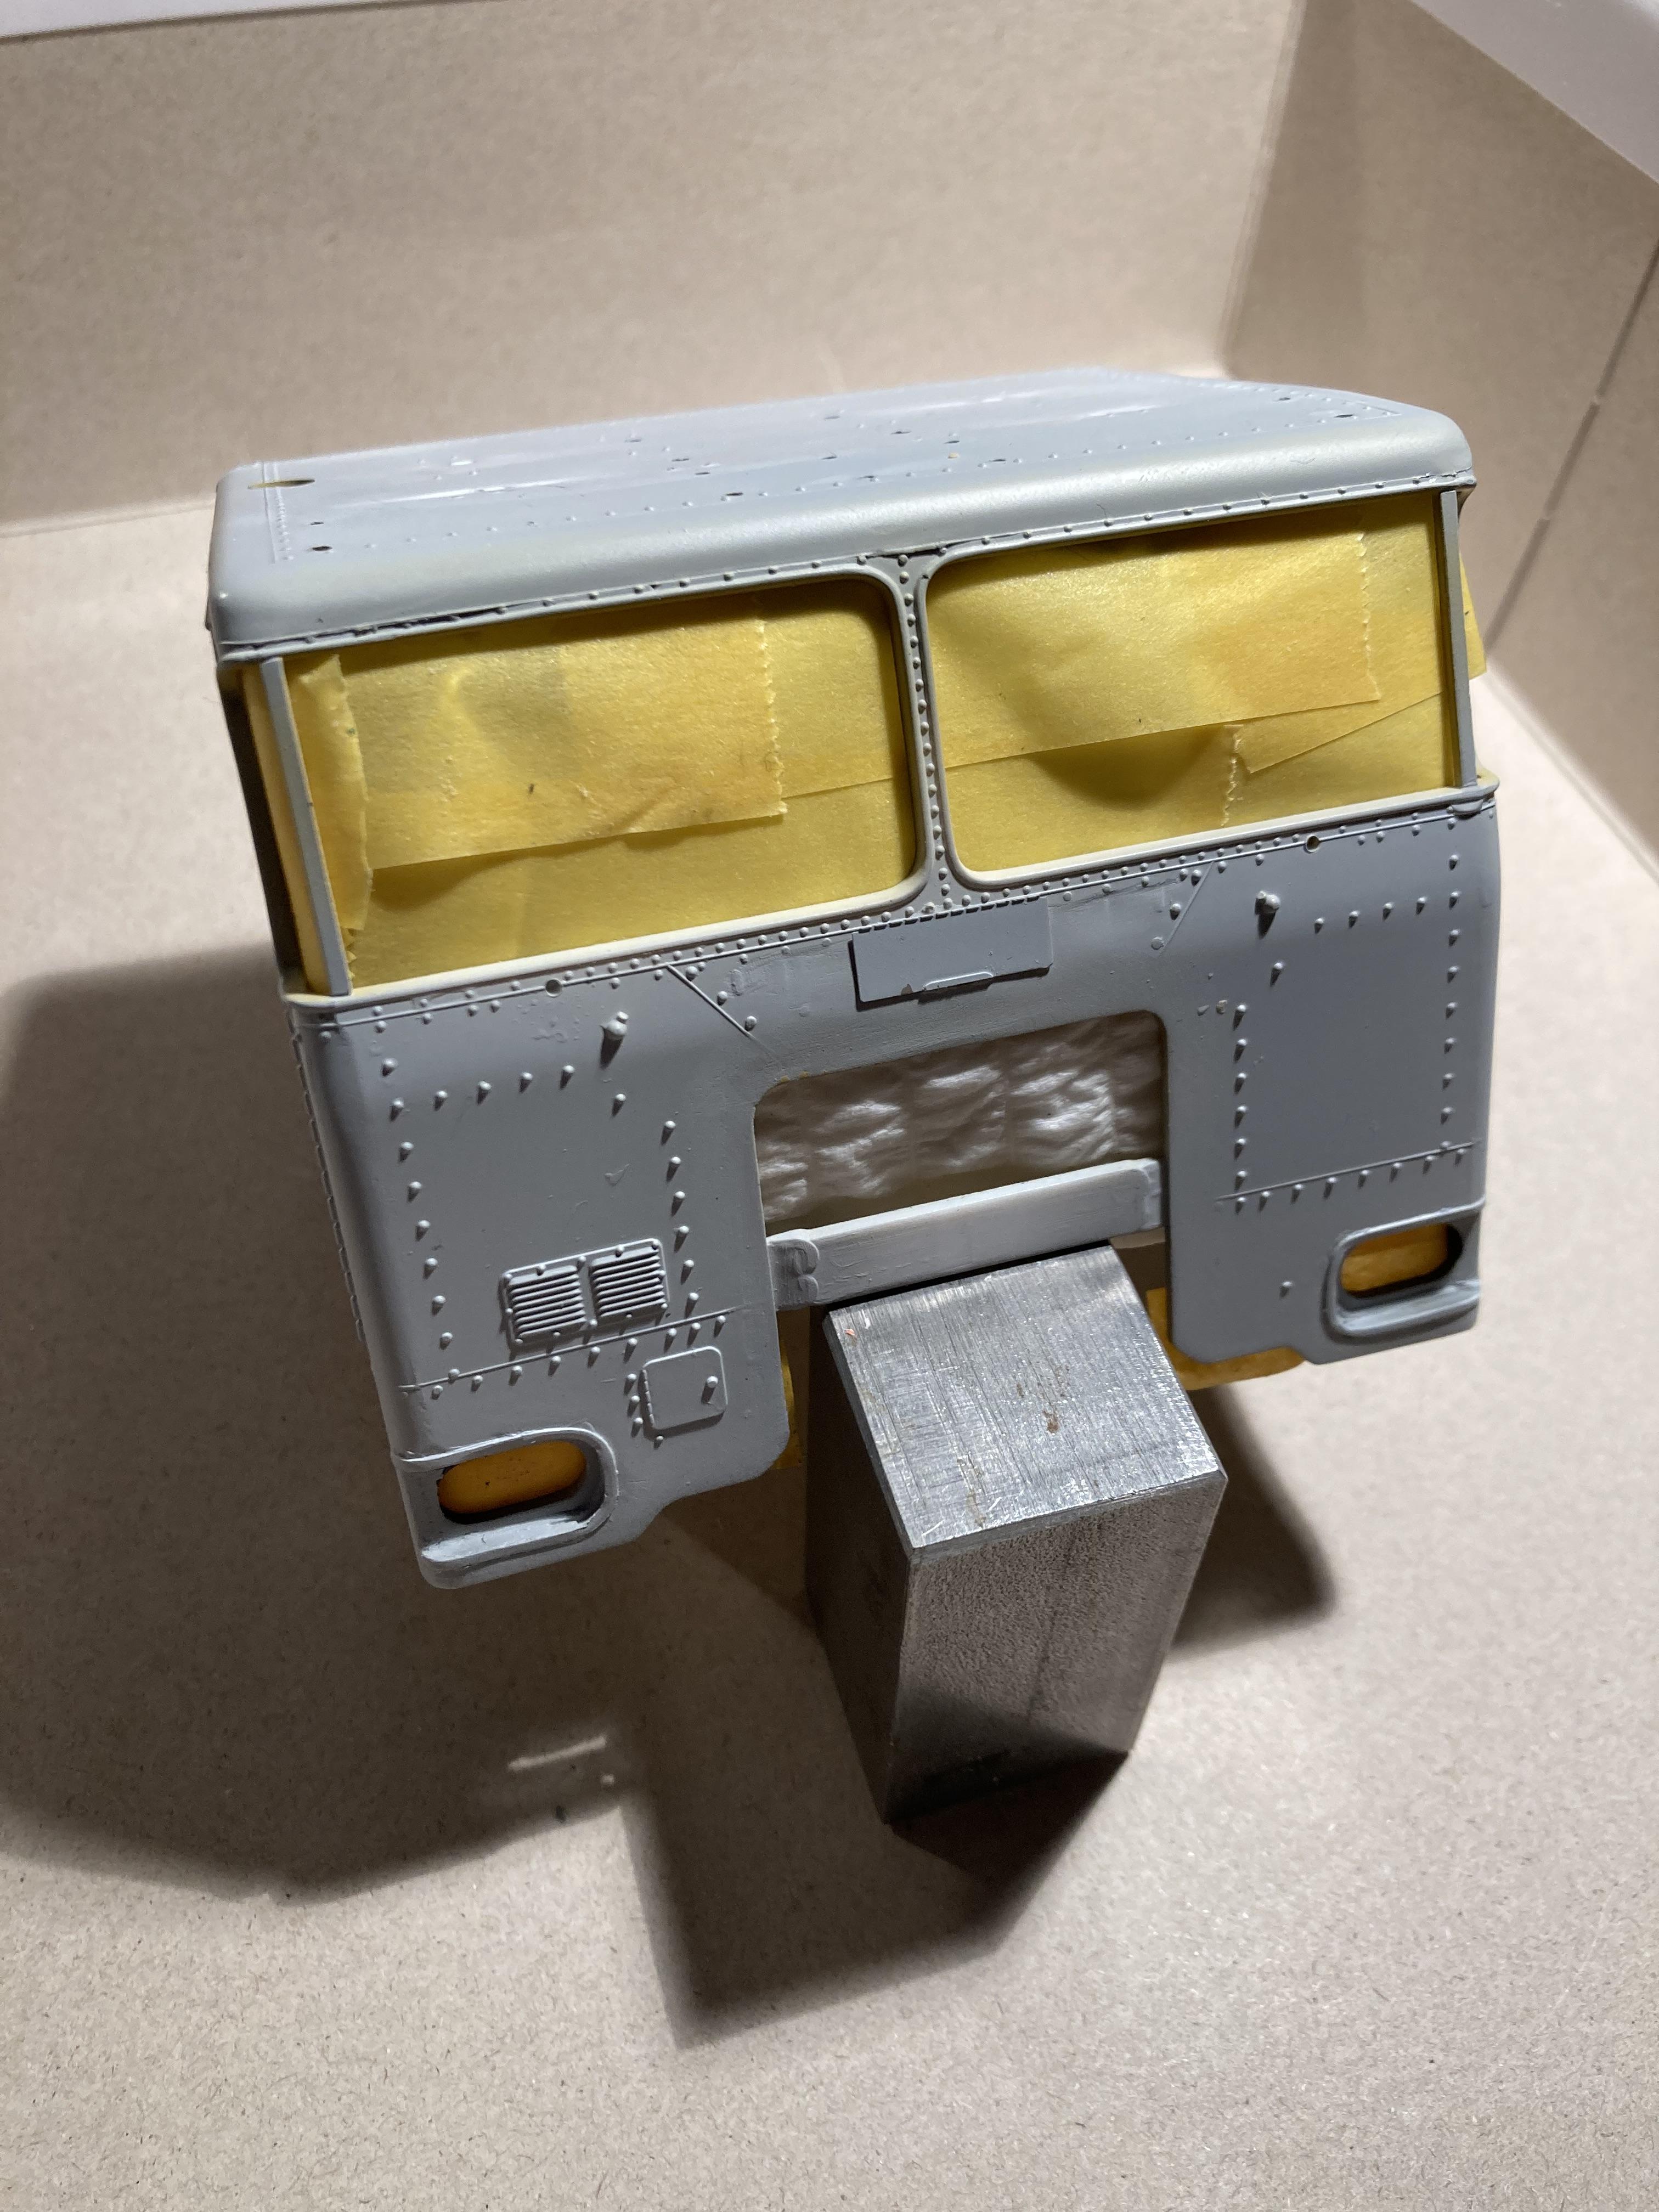
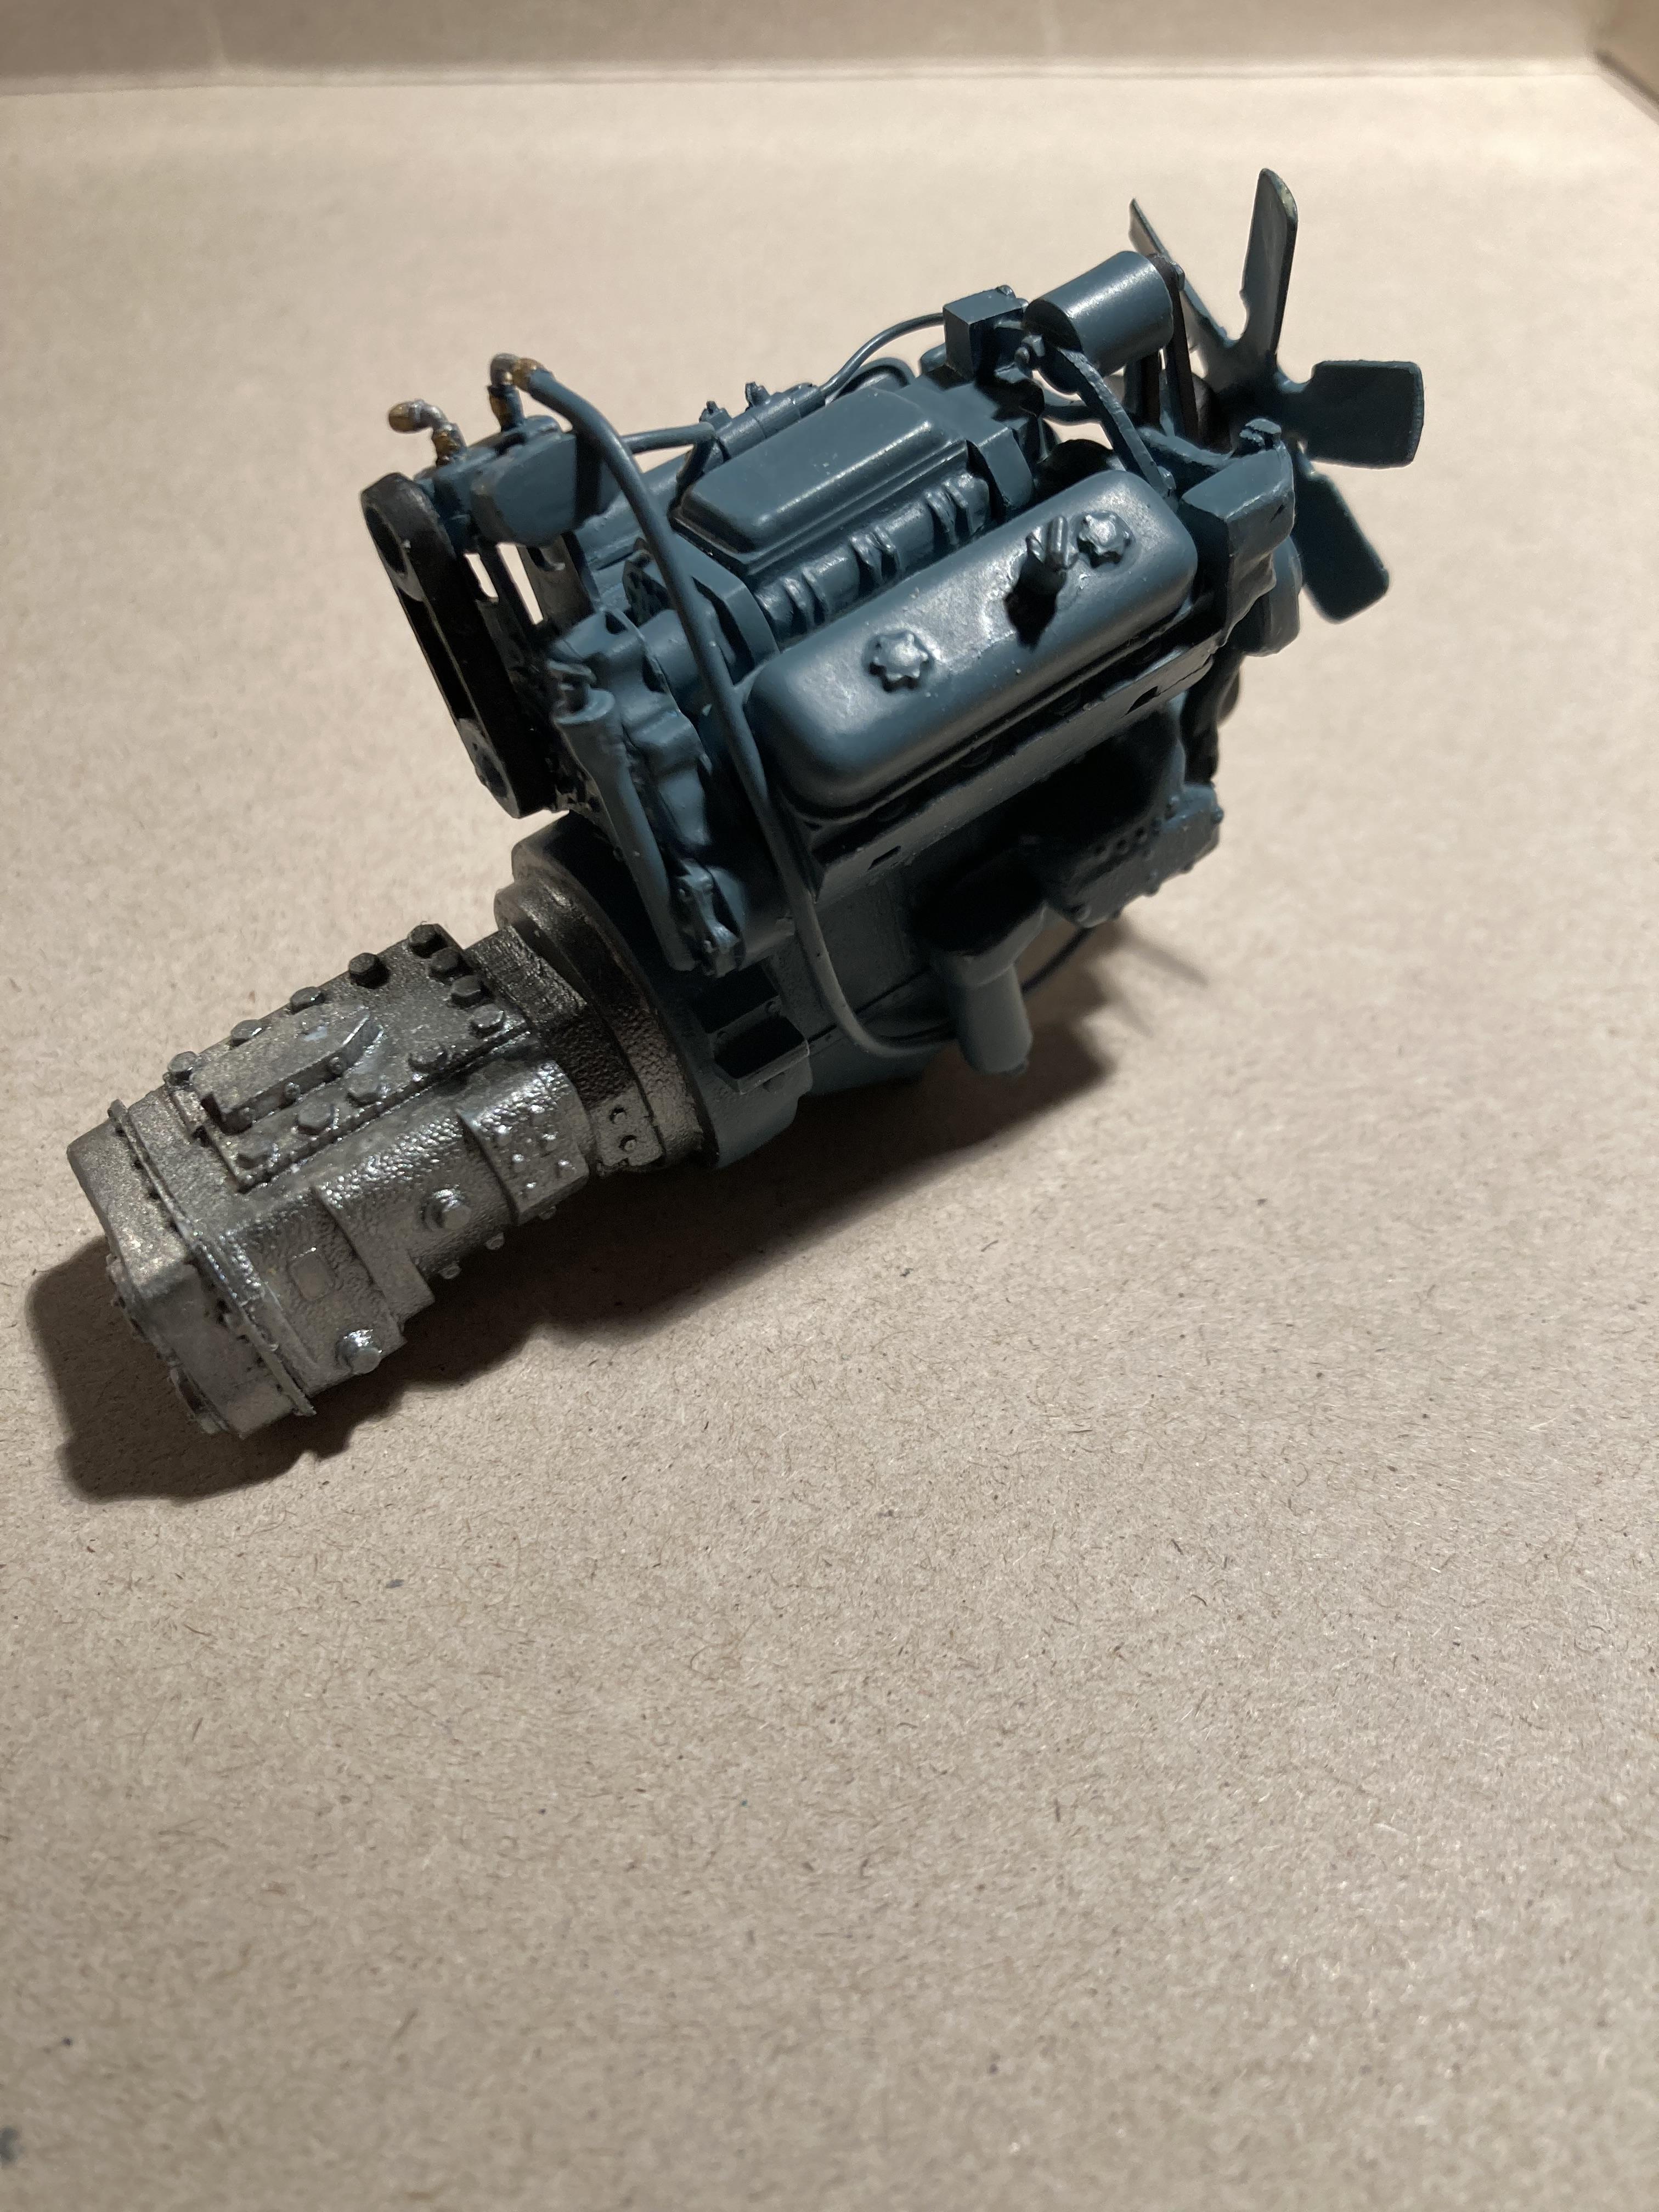
Biggu replied to Biggu's topic in WIP: Model Trucks: Big Rigs and Heavy Equipment
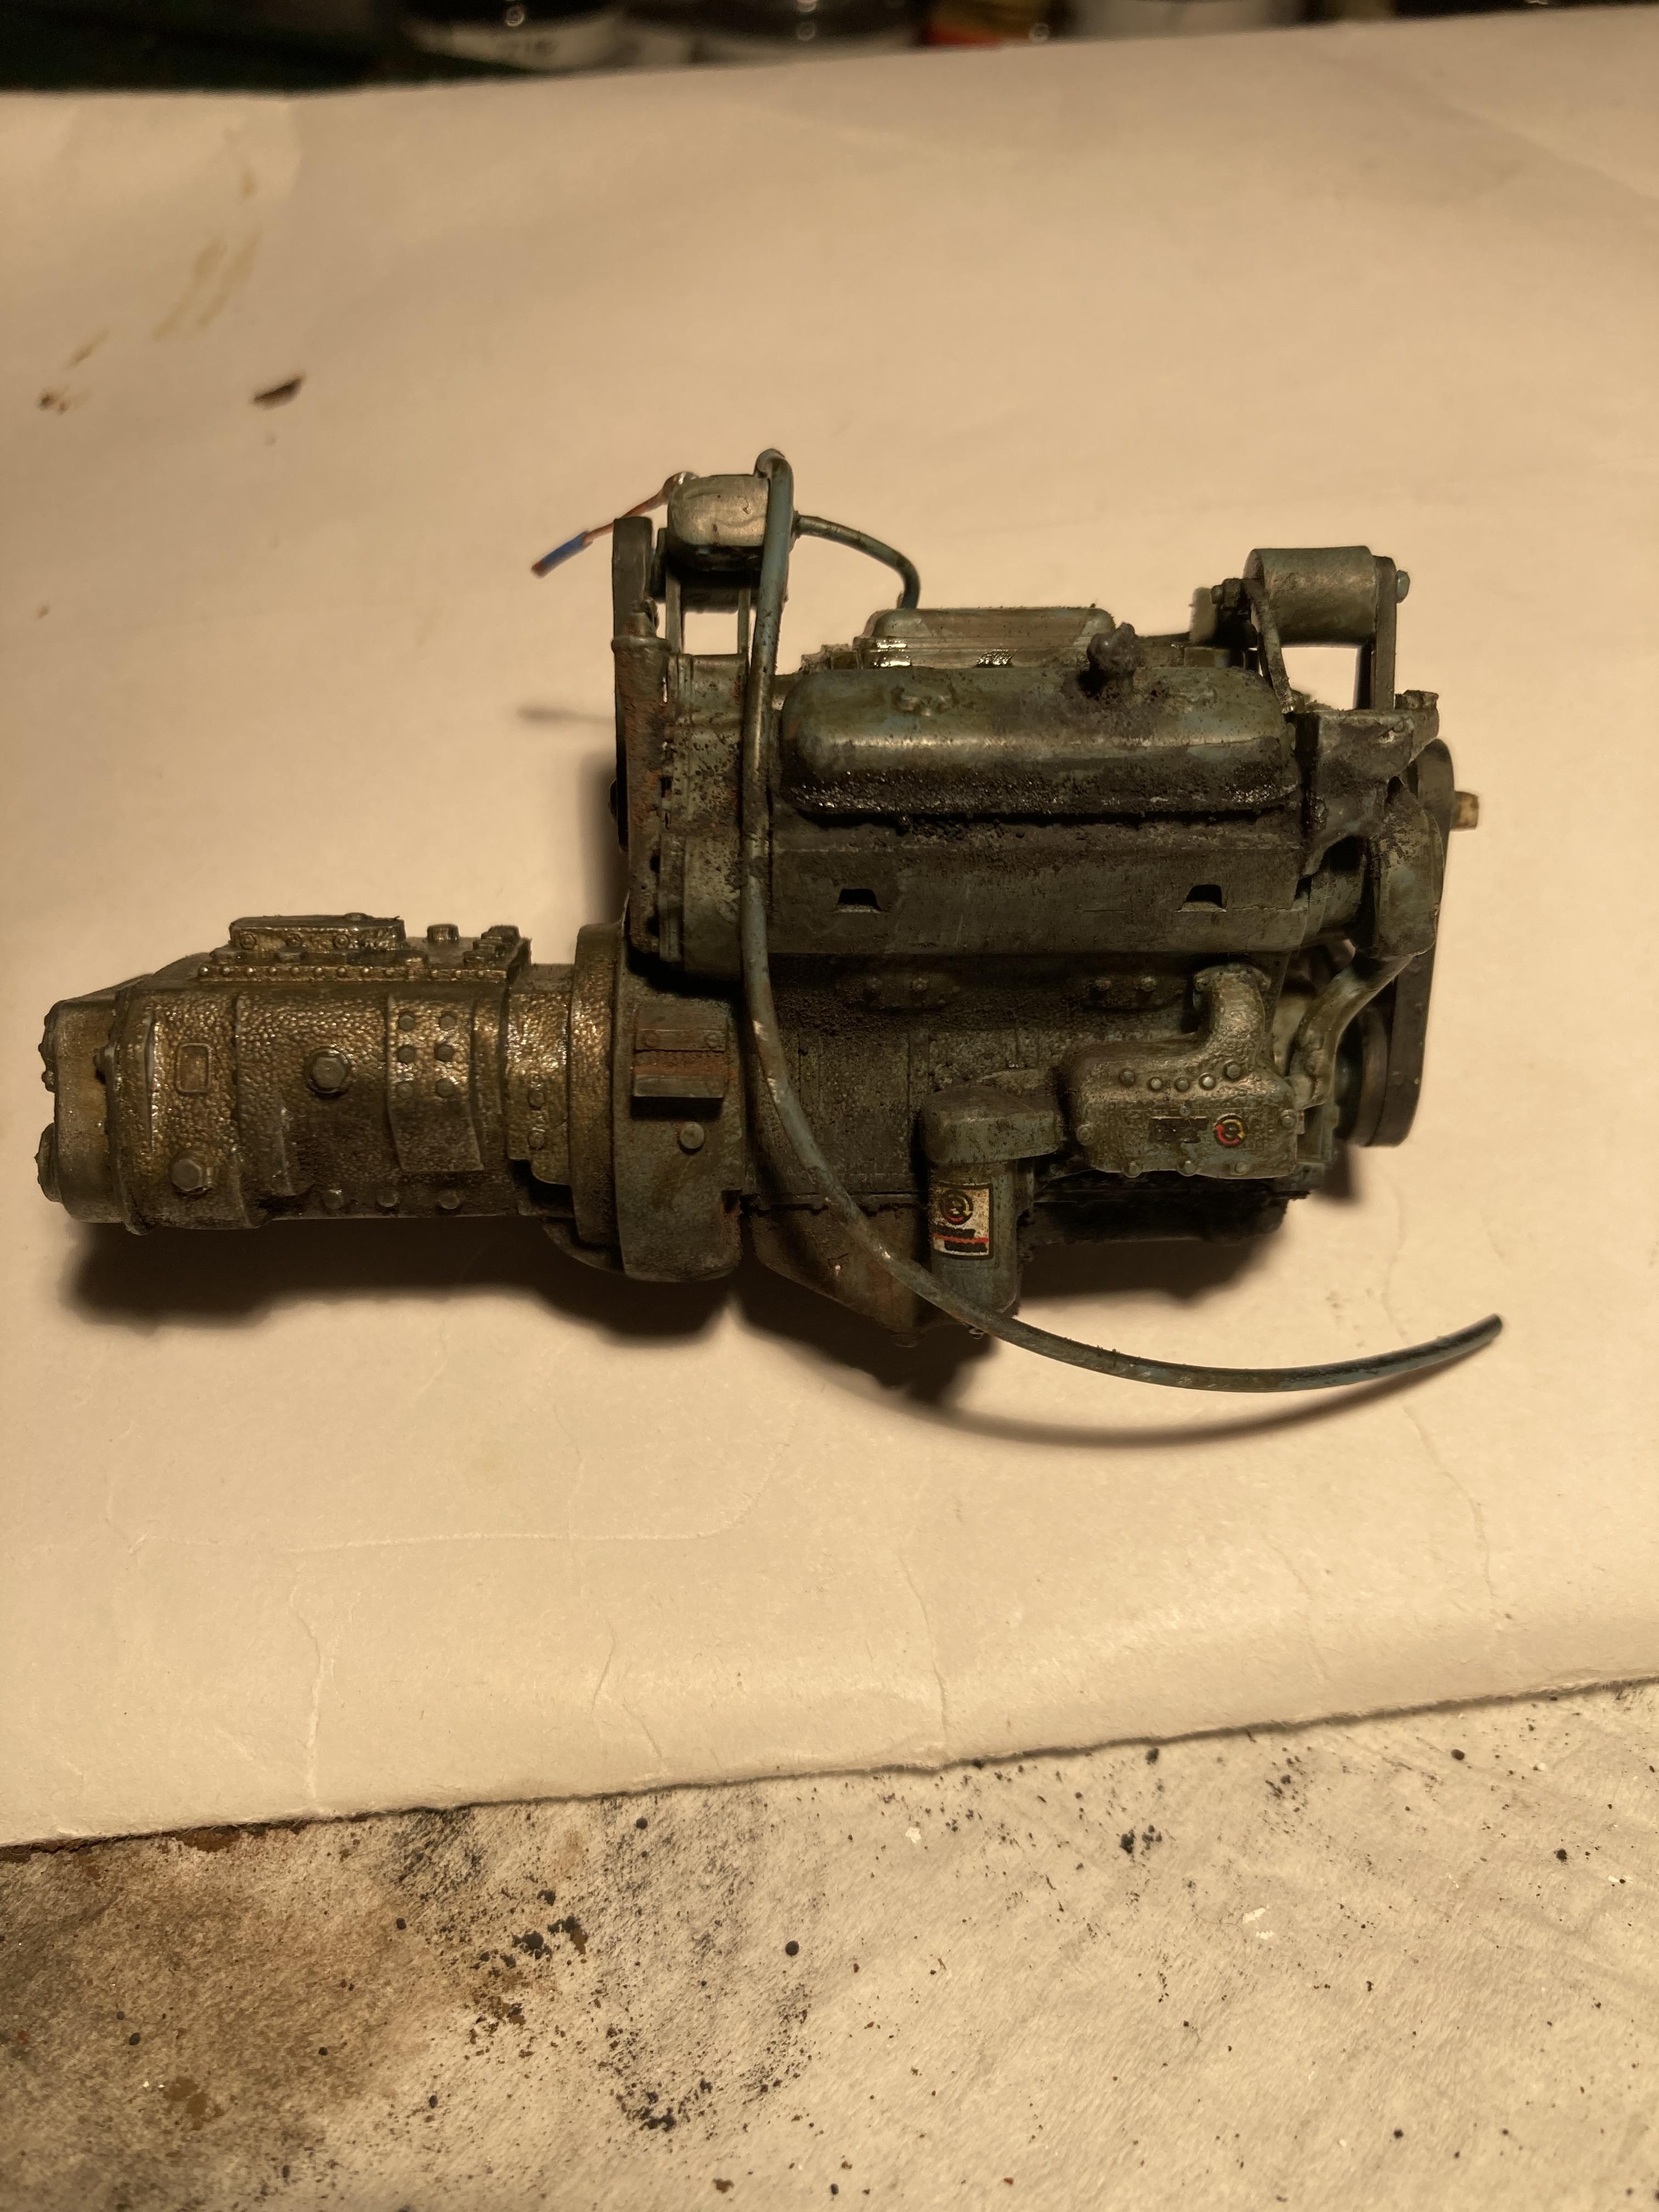
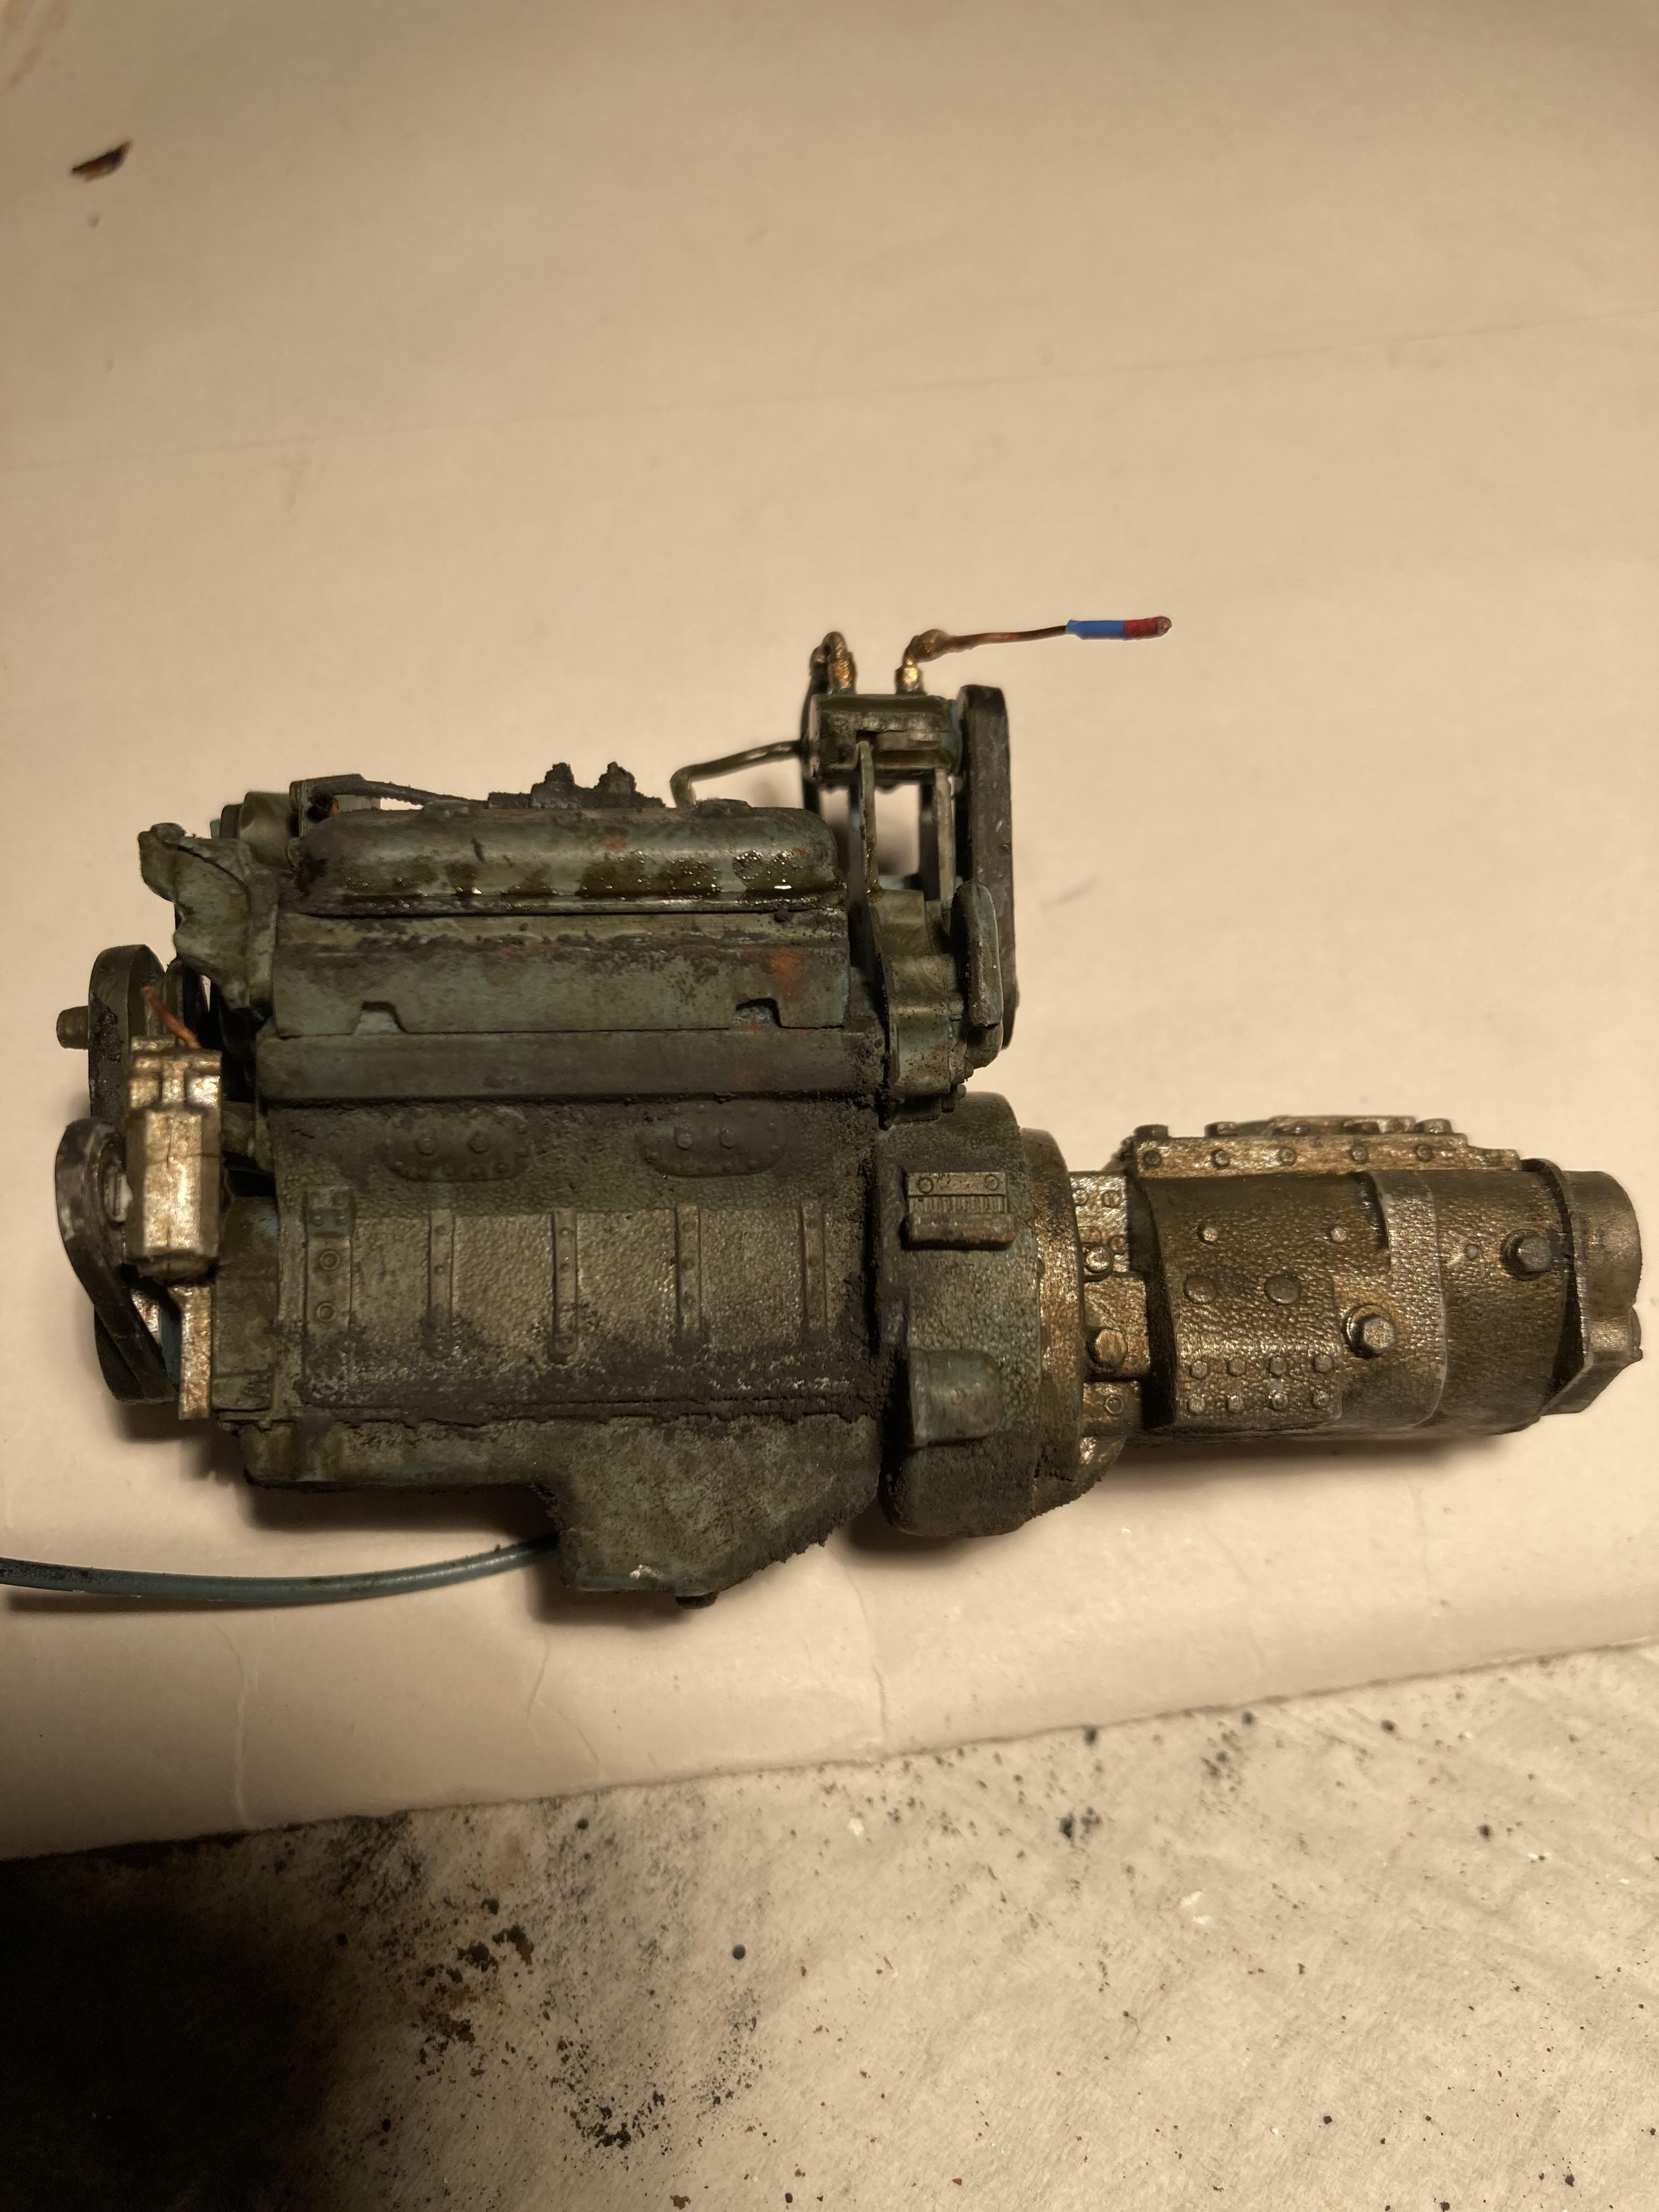
A little update. Doesn’t look like much but holy, it took a long time. Cab interior painted and masked ready for some outside paint, a start on the 318, and some paint on the frame …….. now …… I need to decide how dirty this truck will be …….??? any thoughts ?
-
Many thanks , Jack. Greatly appreciated. Jeff
-
1/32 Freightliner cabover
Biggu replied to Rockford's topic in WIP: Model Trucks: Big Rigs and Heavy Equipment
Its the little details that make a model pop. Nice job, Steve. This is a sweet build. Jeff