Bullybeef
-
Posts
2,292 -
Joined
-
Last visited
Content Type
Profiles
Forums
Events
Gallery
Everything posted by Bullybeef
-

Revell 32 Ford roadster new release done the hard way!
Bullybeef replied to Bullybeef's topic in WIP: Model Cars
Feel free to use that as much as you want Craig. -
Guess that solves the Hood dilemma haha
-
Revell 32 Ford roadster new release done the hard way!
Bullybeef replied to Bullybeef's topic in WIP: Model Cars
And a final shot for the night….
-
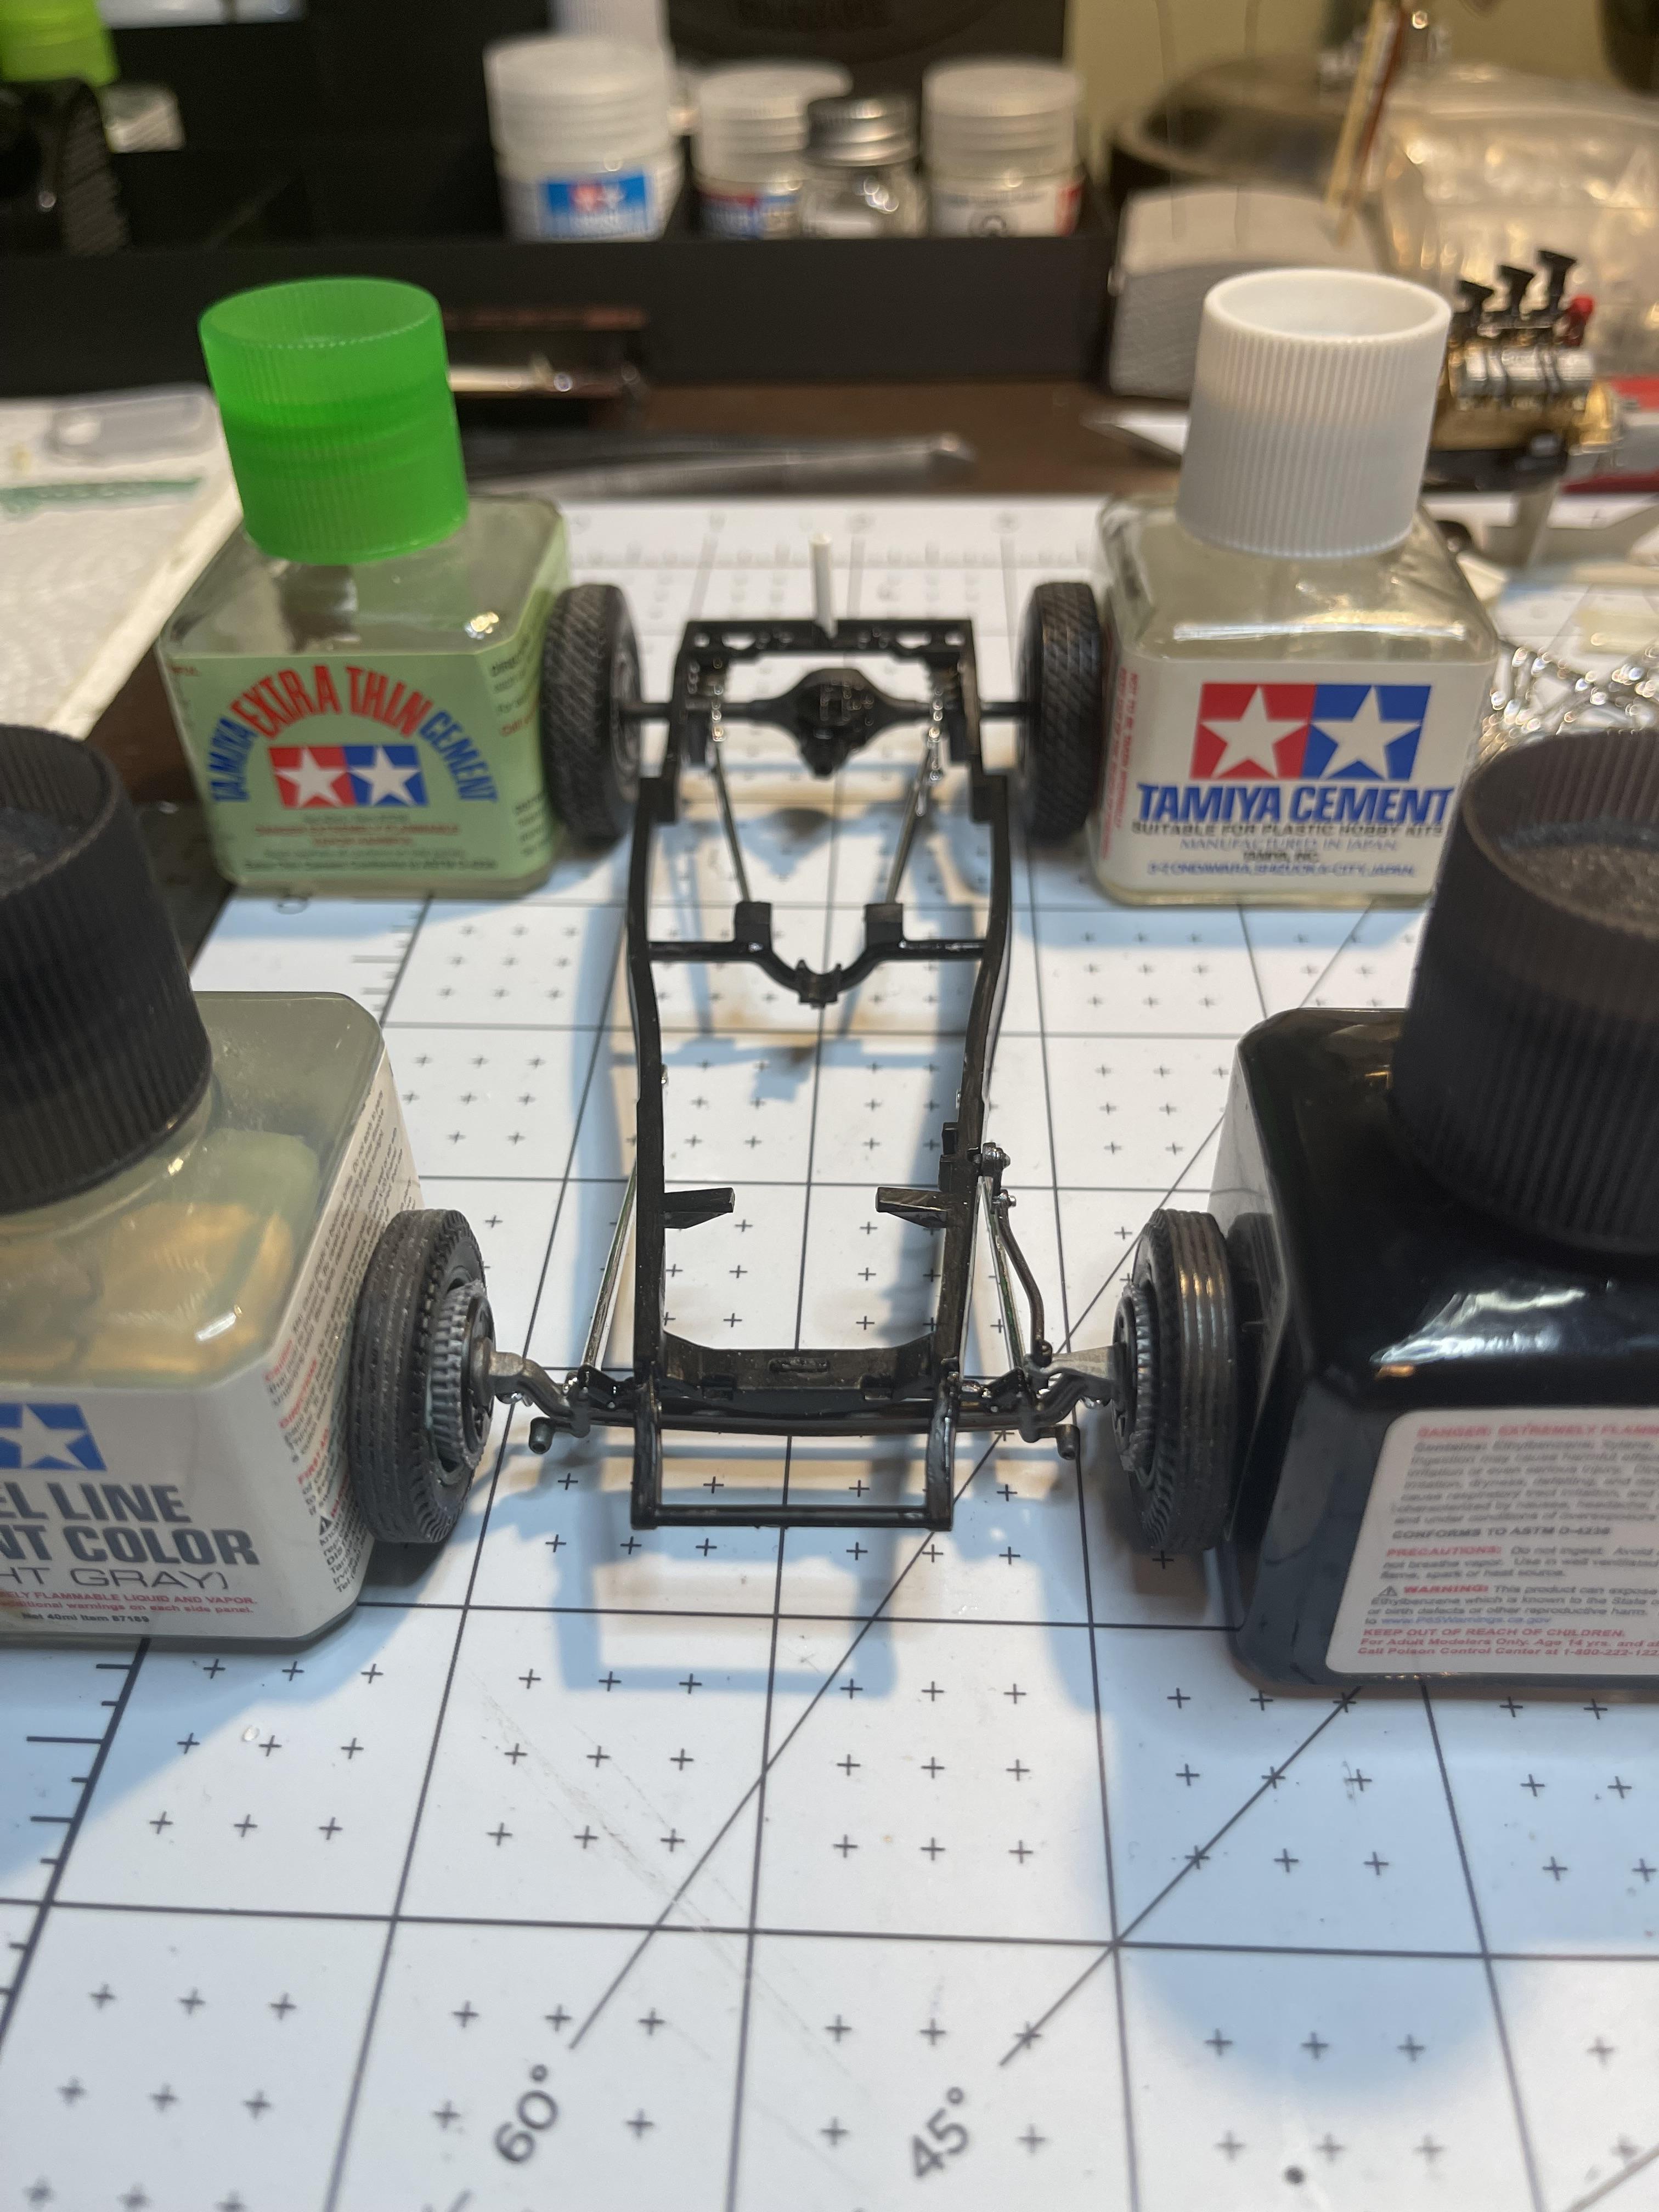
Revell 32 Ford roadster new release done the hard way!
Bullybeef replied to Bullybeef's topic in WIP: Model Cars
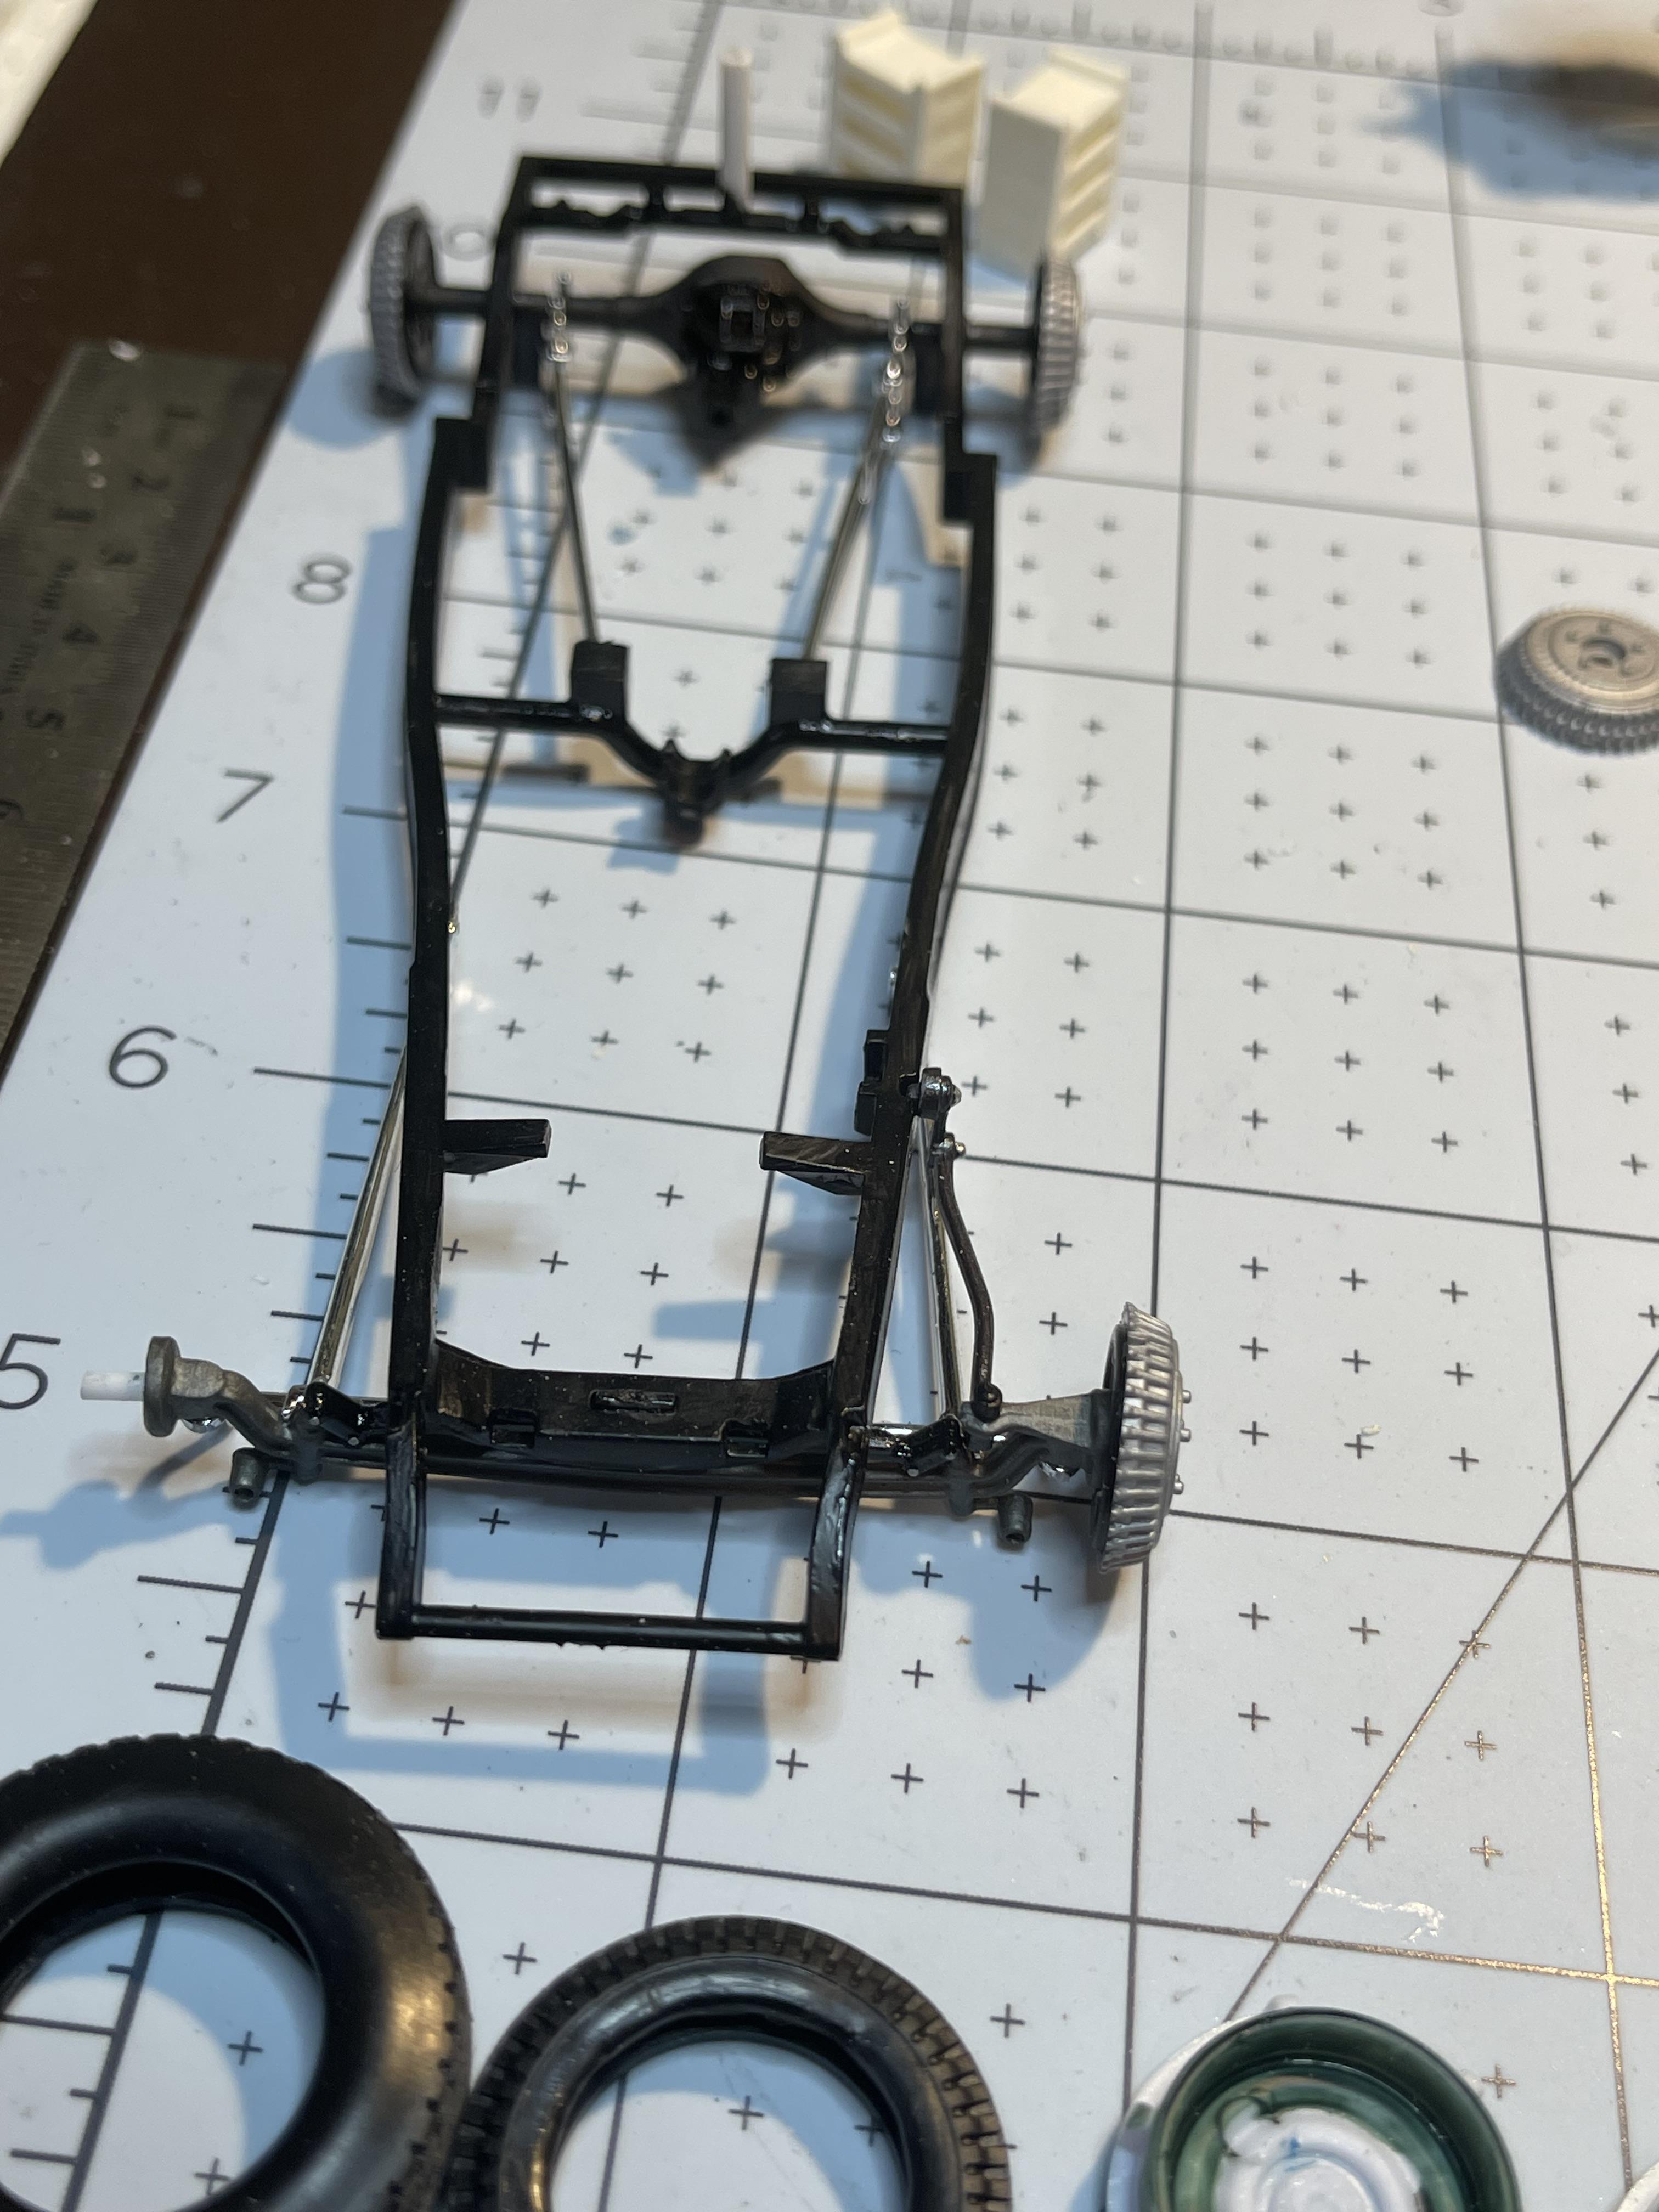
Well as I had hoped the frame and suspension are complete I won’t attach the steering til the body I painted. I still have to add the from shocks but that will also wait til I decide on what lights to use. Busy productive day at the bench.
-
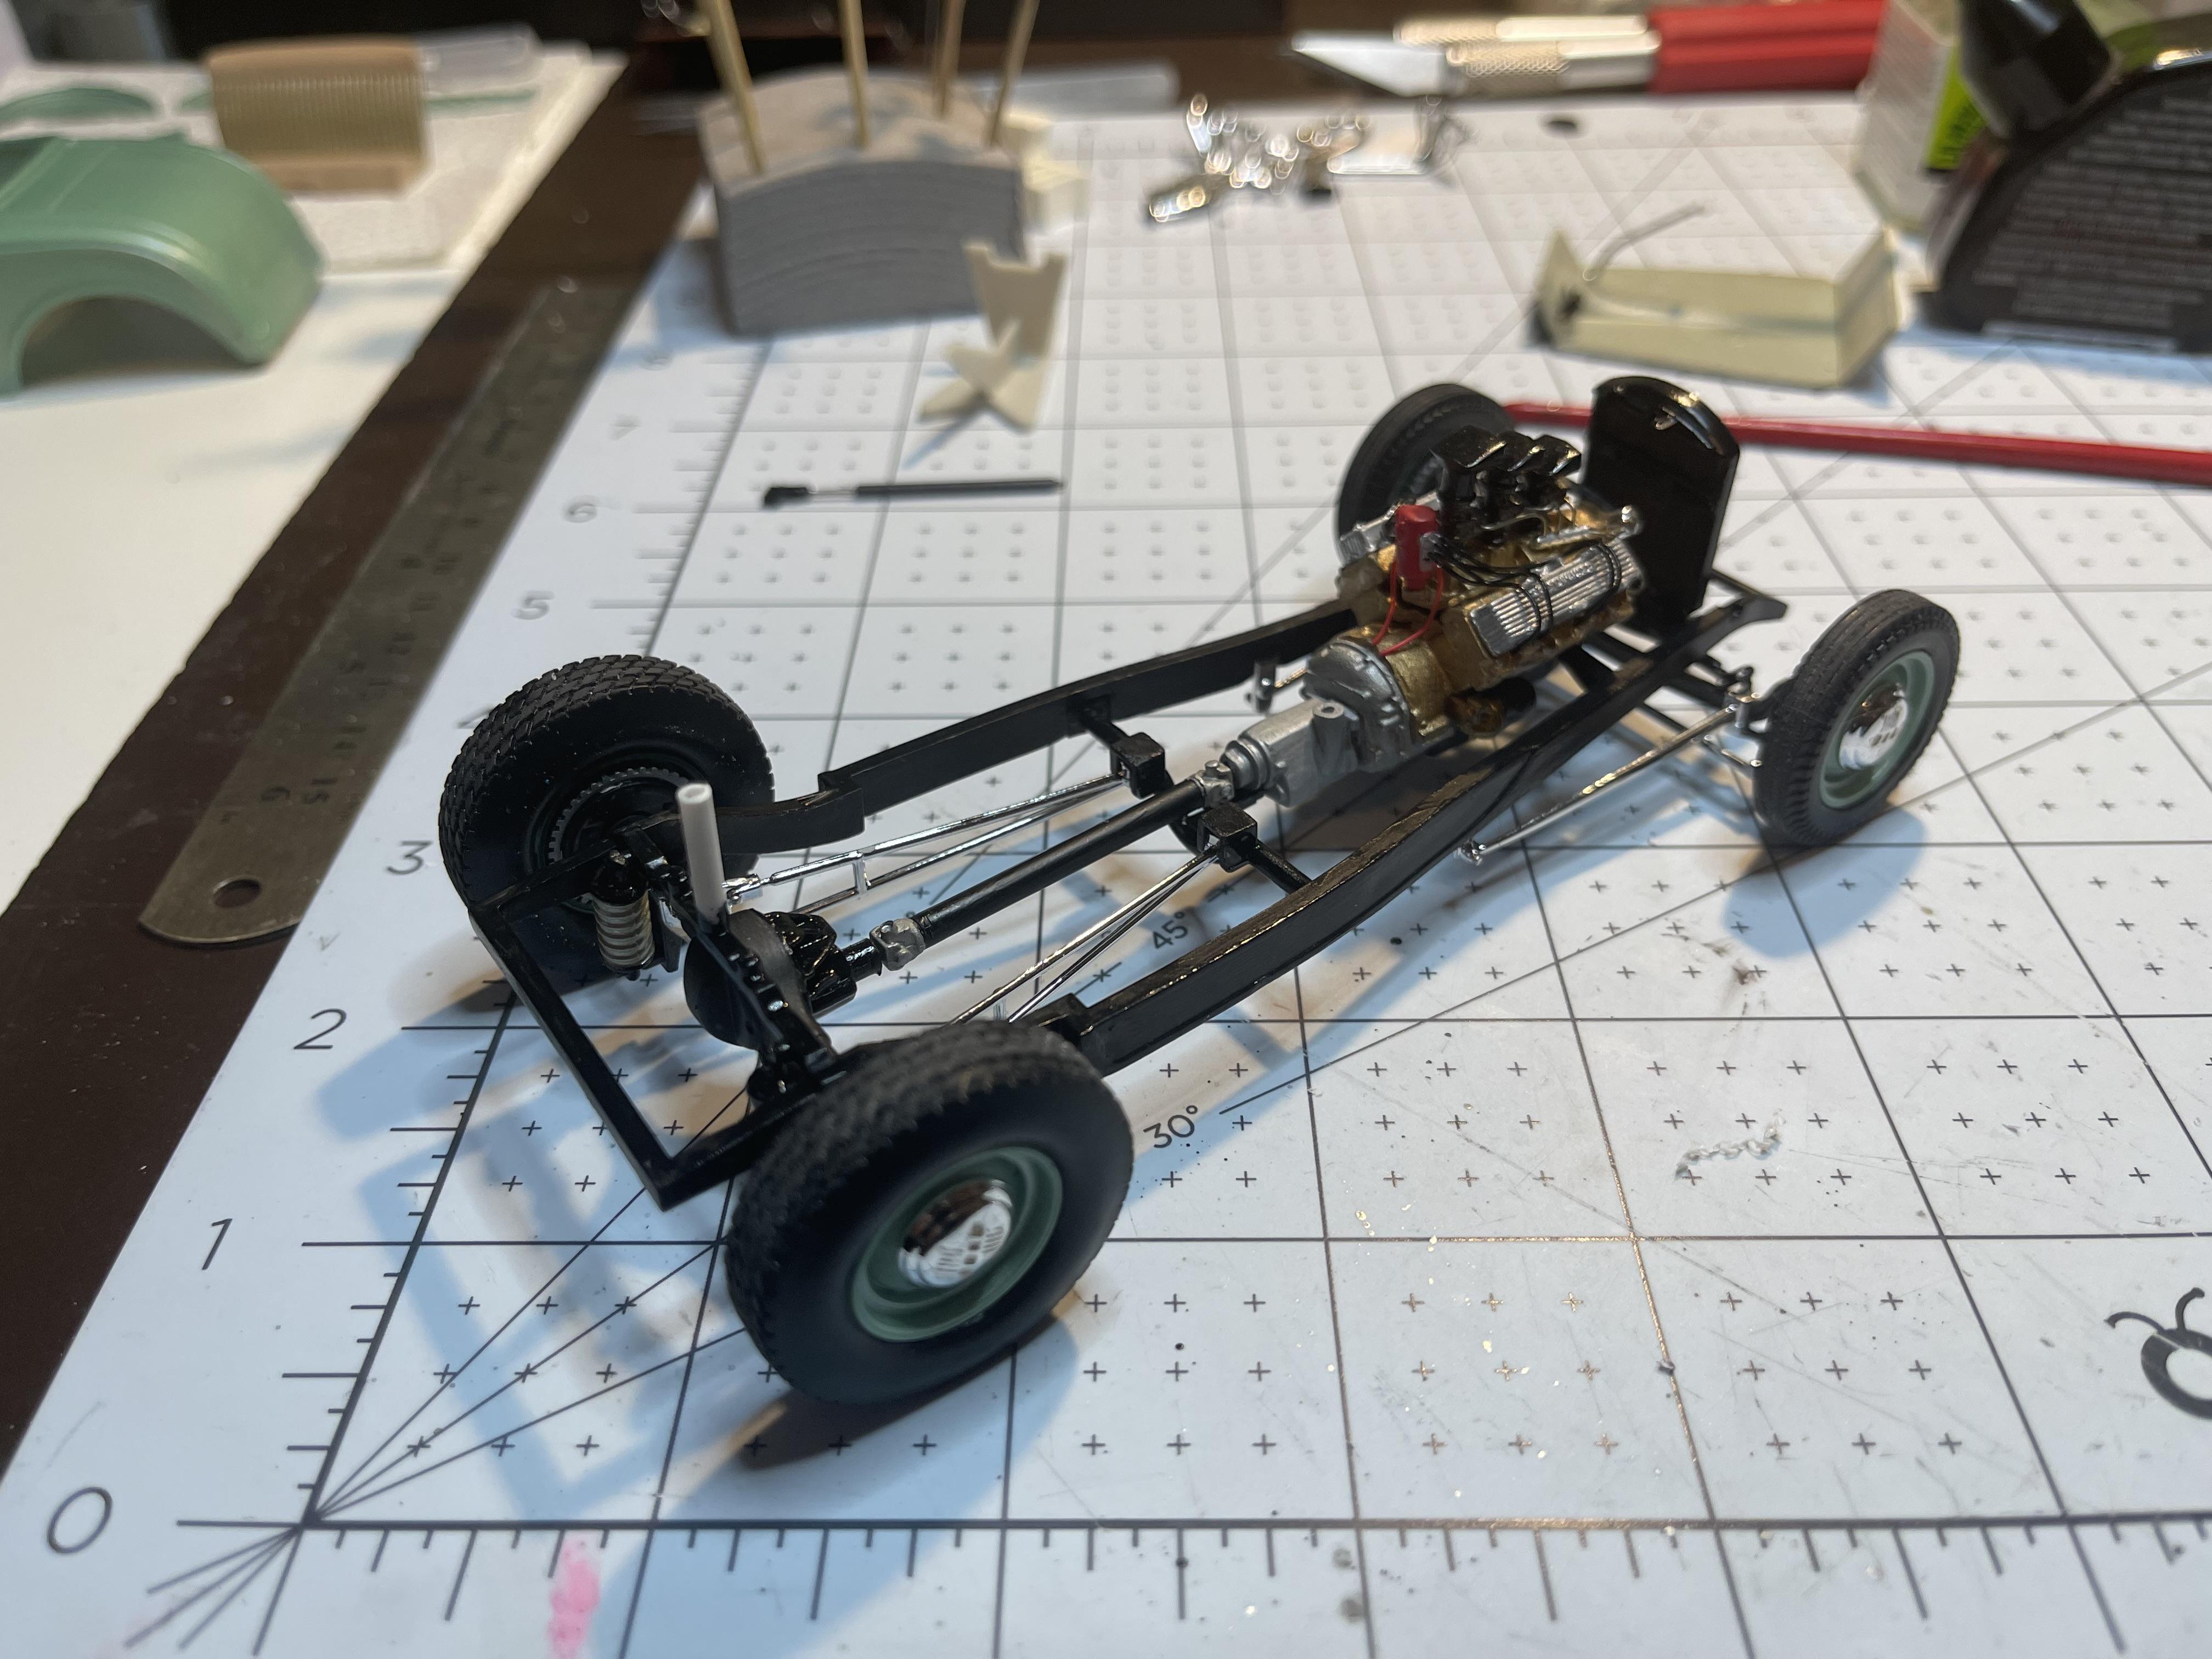
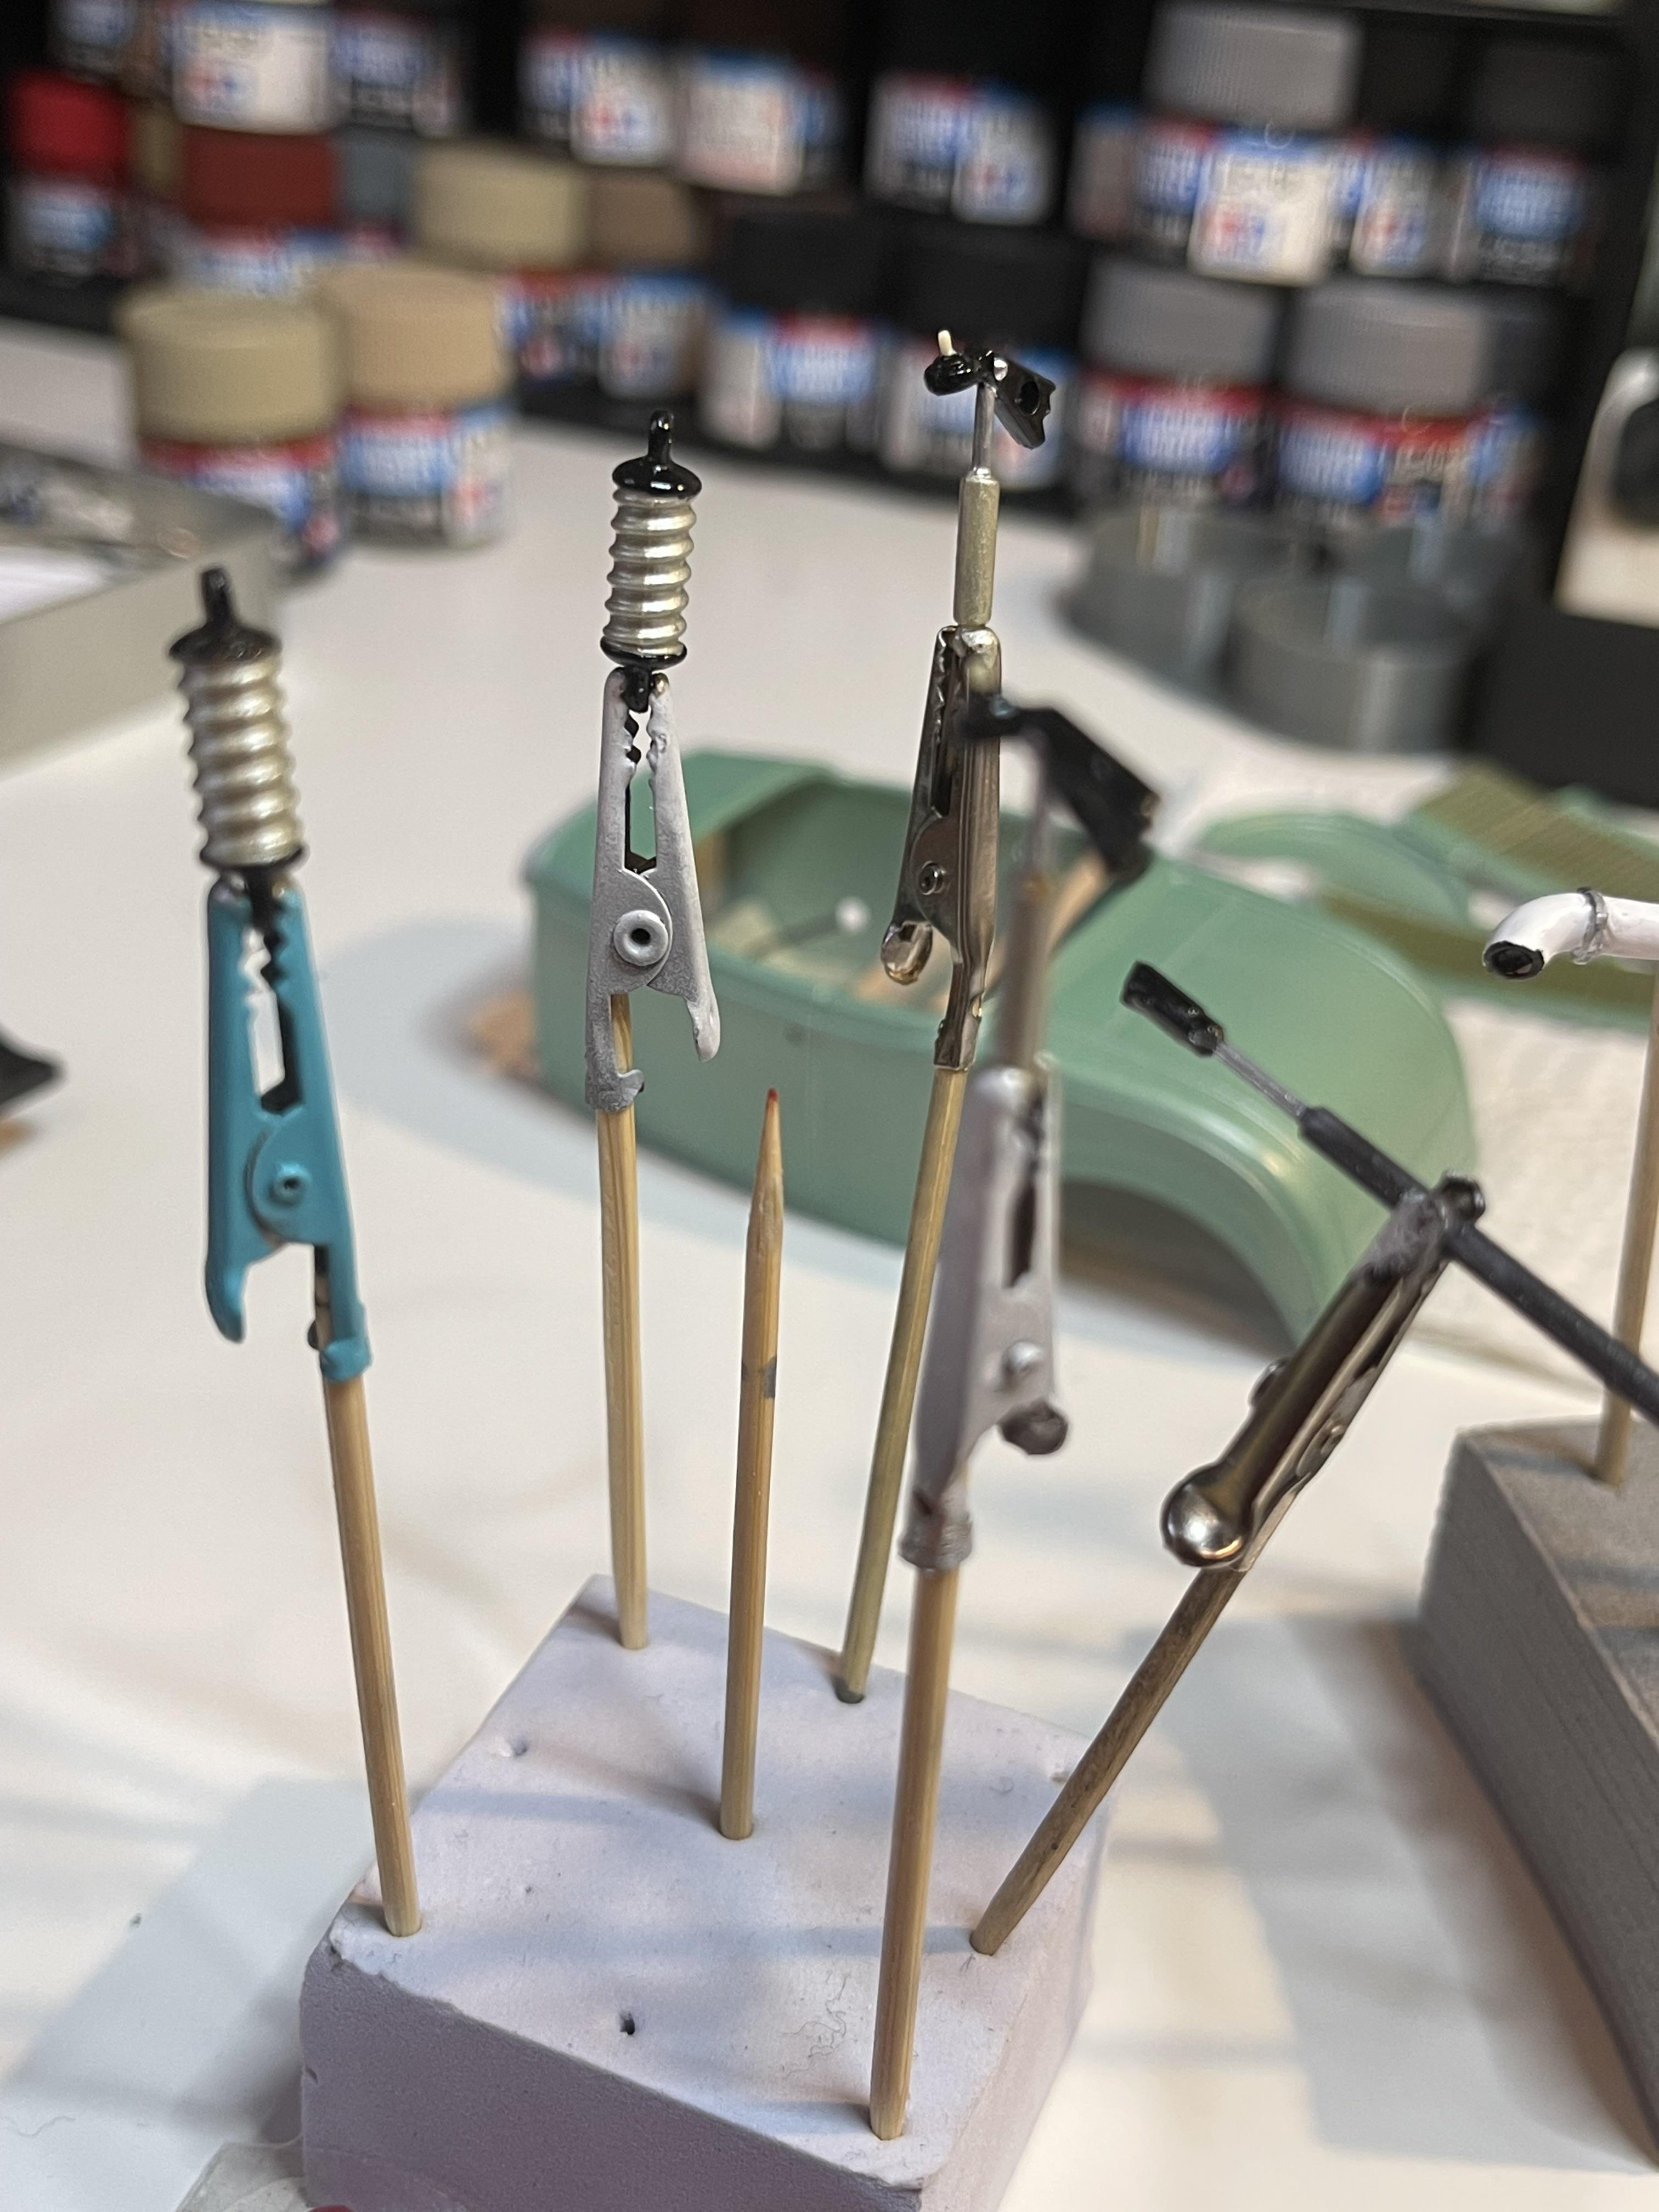
Revell 32 Ford roadster new release done the hard way!
Bullybeef replied to Bullybeef's topic in WIP: Model Cars
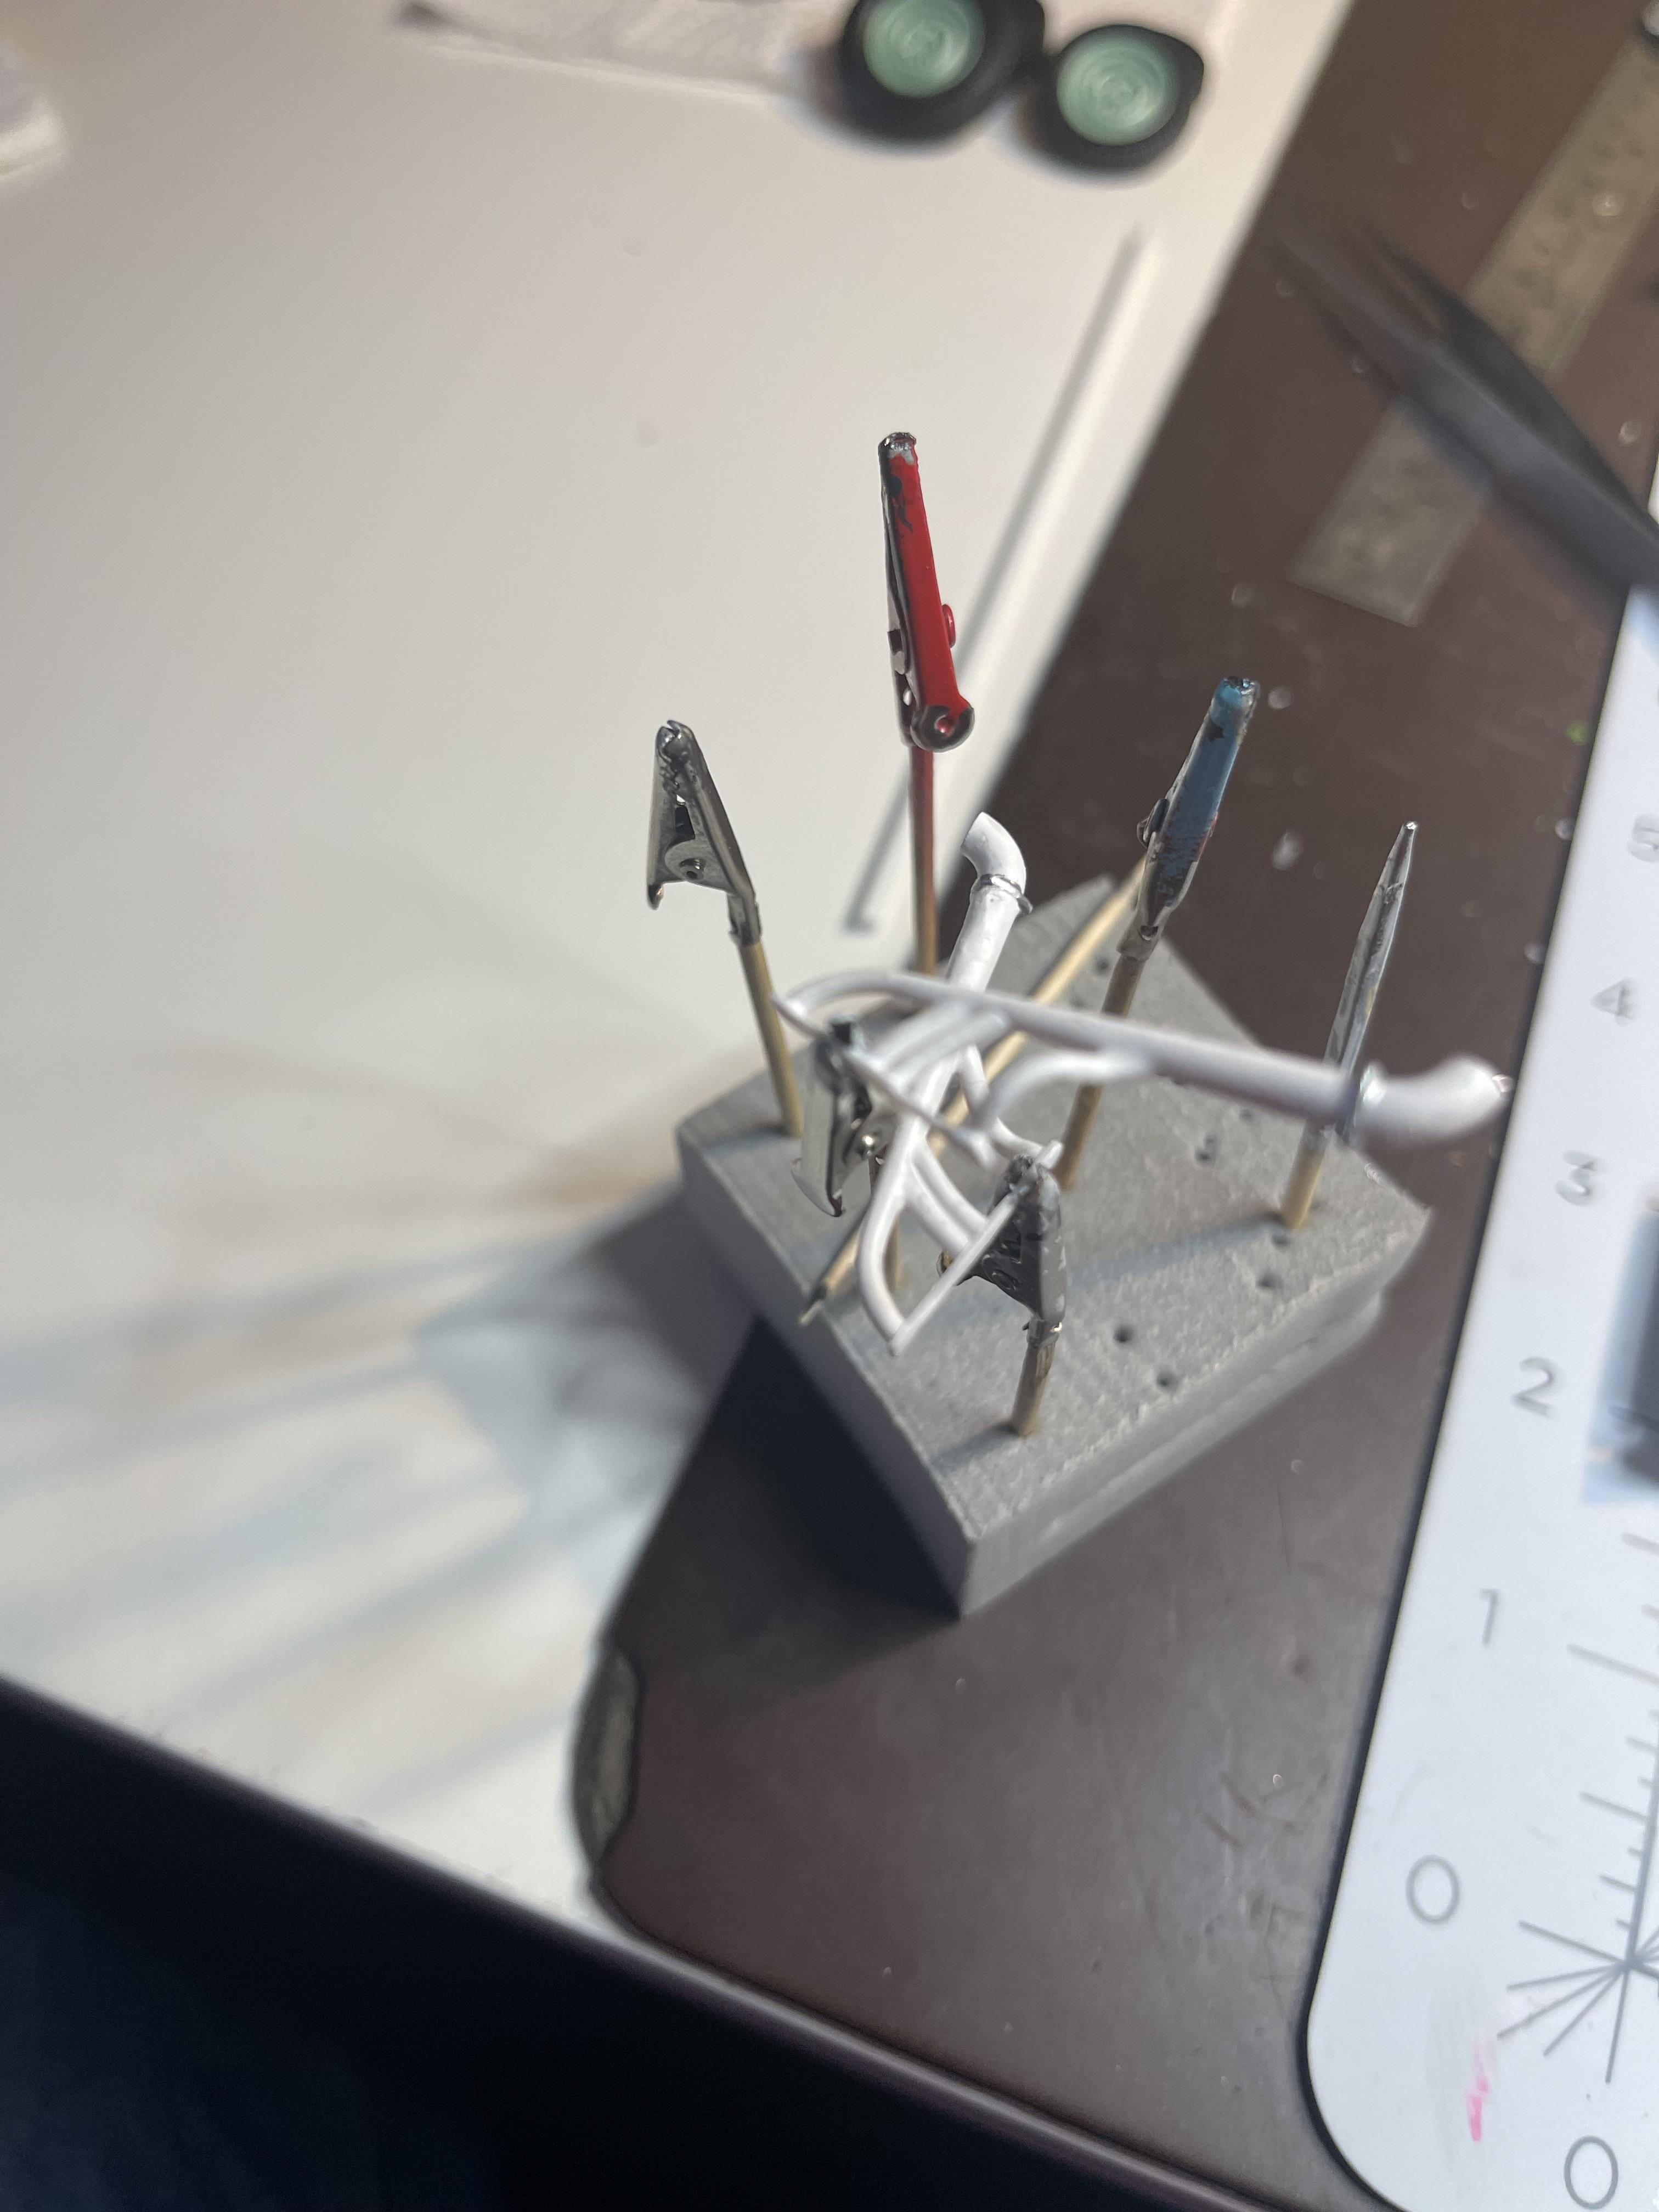
All the small things! Final detailing on suspension pieces today, It’s too cold to paint so that on hold for now. Goal for today is to have the frame all buttoned up and finally marry the wheels to those beautiful Buick brake drums. Progress has been hindered by the weather and those flippen bench squirrels! ?️ And then I find more headers to fit the olds and have offered them all up to see which ones look the best to me?
-
I didn’t know if you would be using hood sides or not, the louvered hood and sides are ideal as a set but I feel the hood with no sides and louvres looks kind of redundant.
-
Who doesn't love a mock-up? Let's see yours!
Bullybeef replied to Belairconvertable's topic in WIP: Model Cars
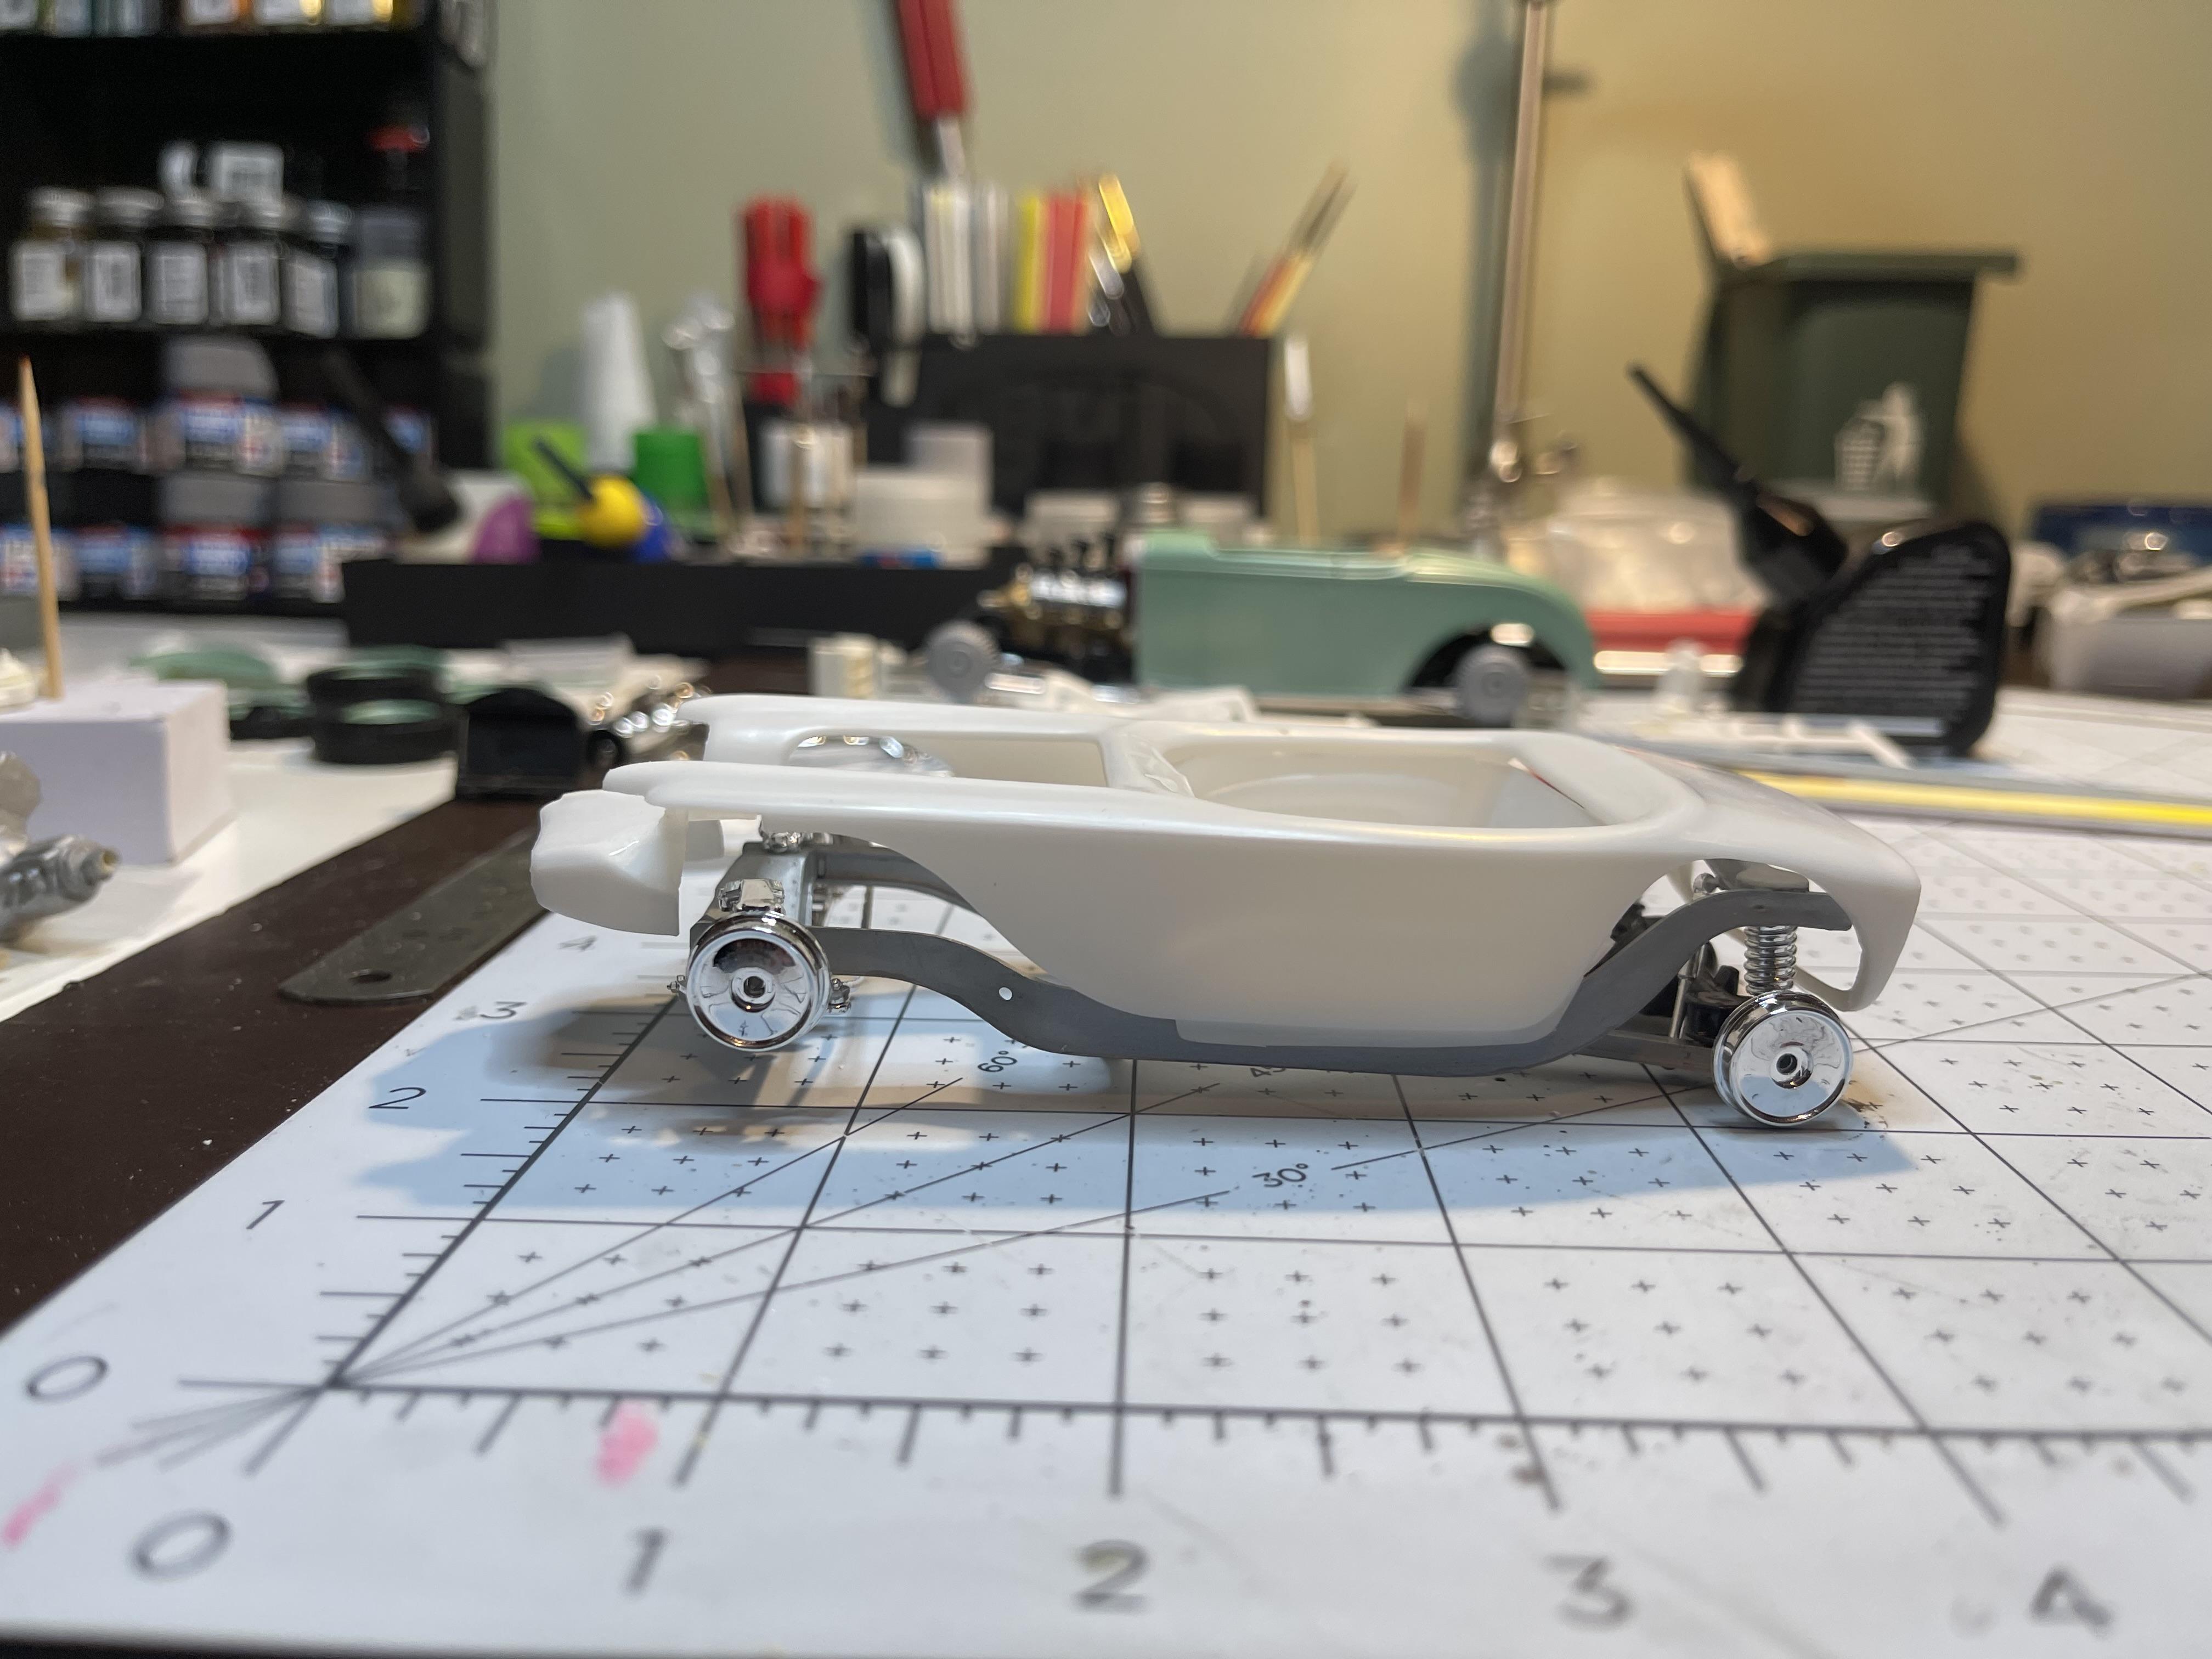
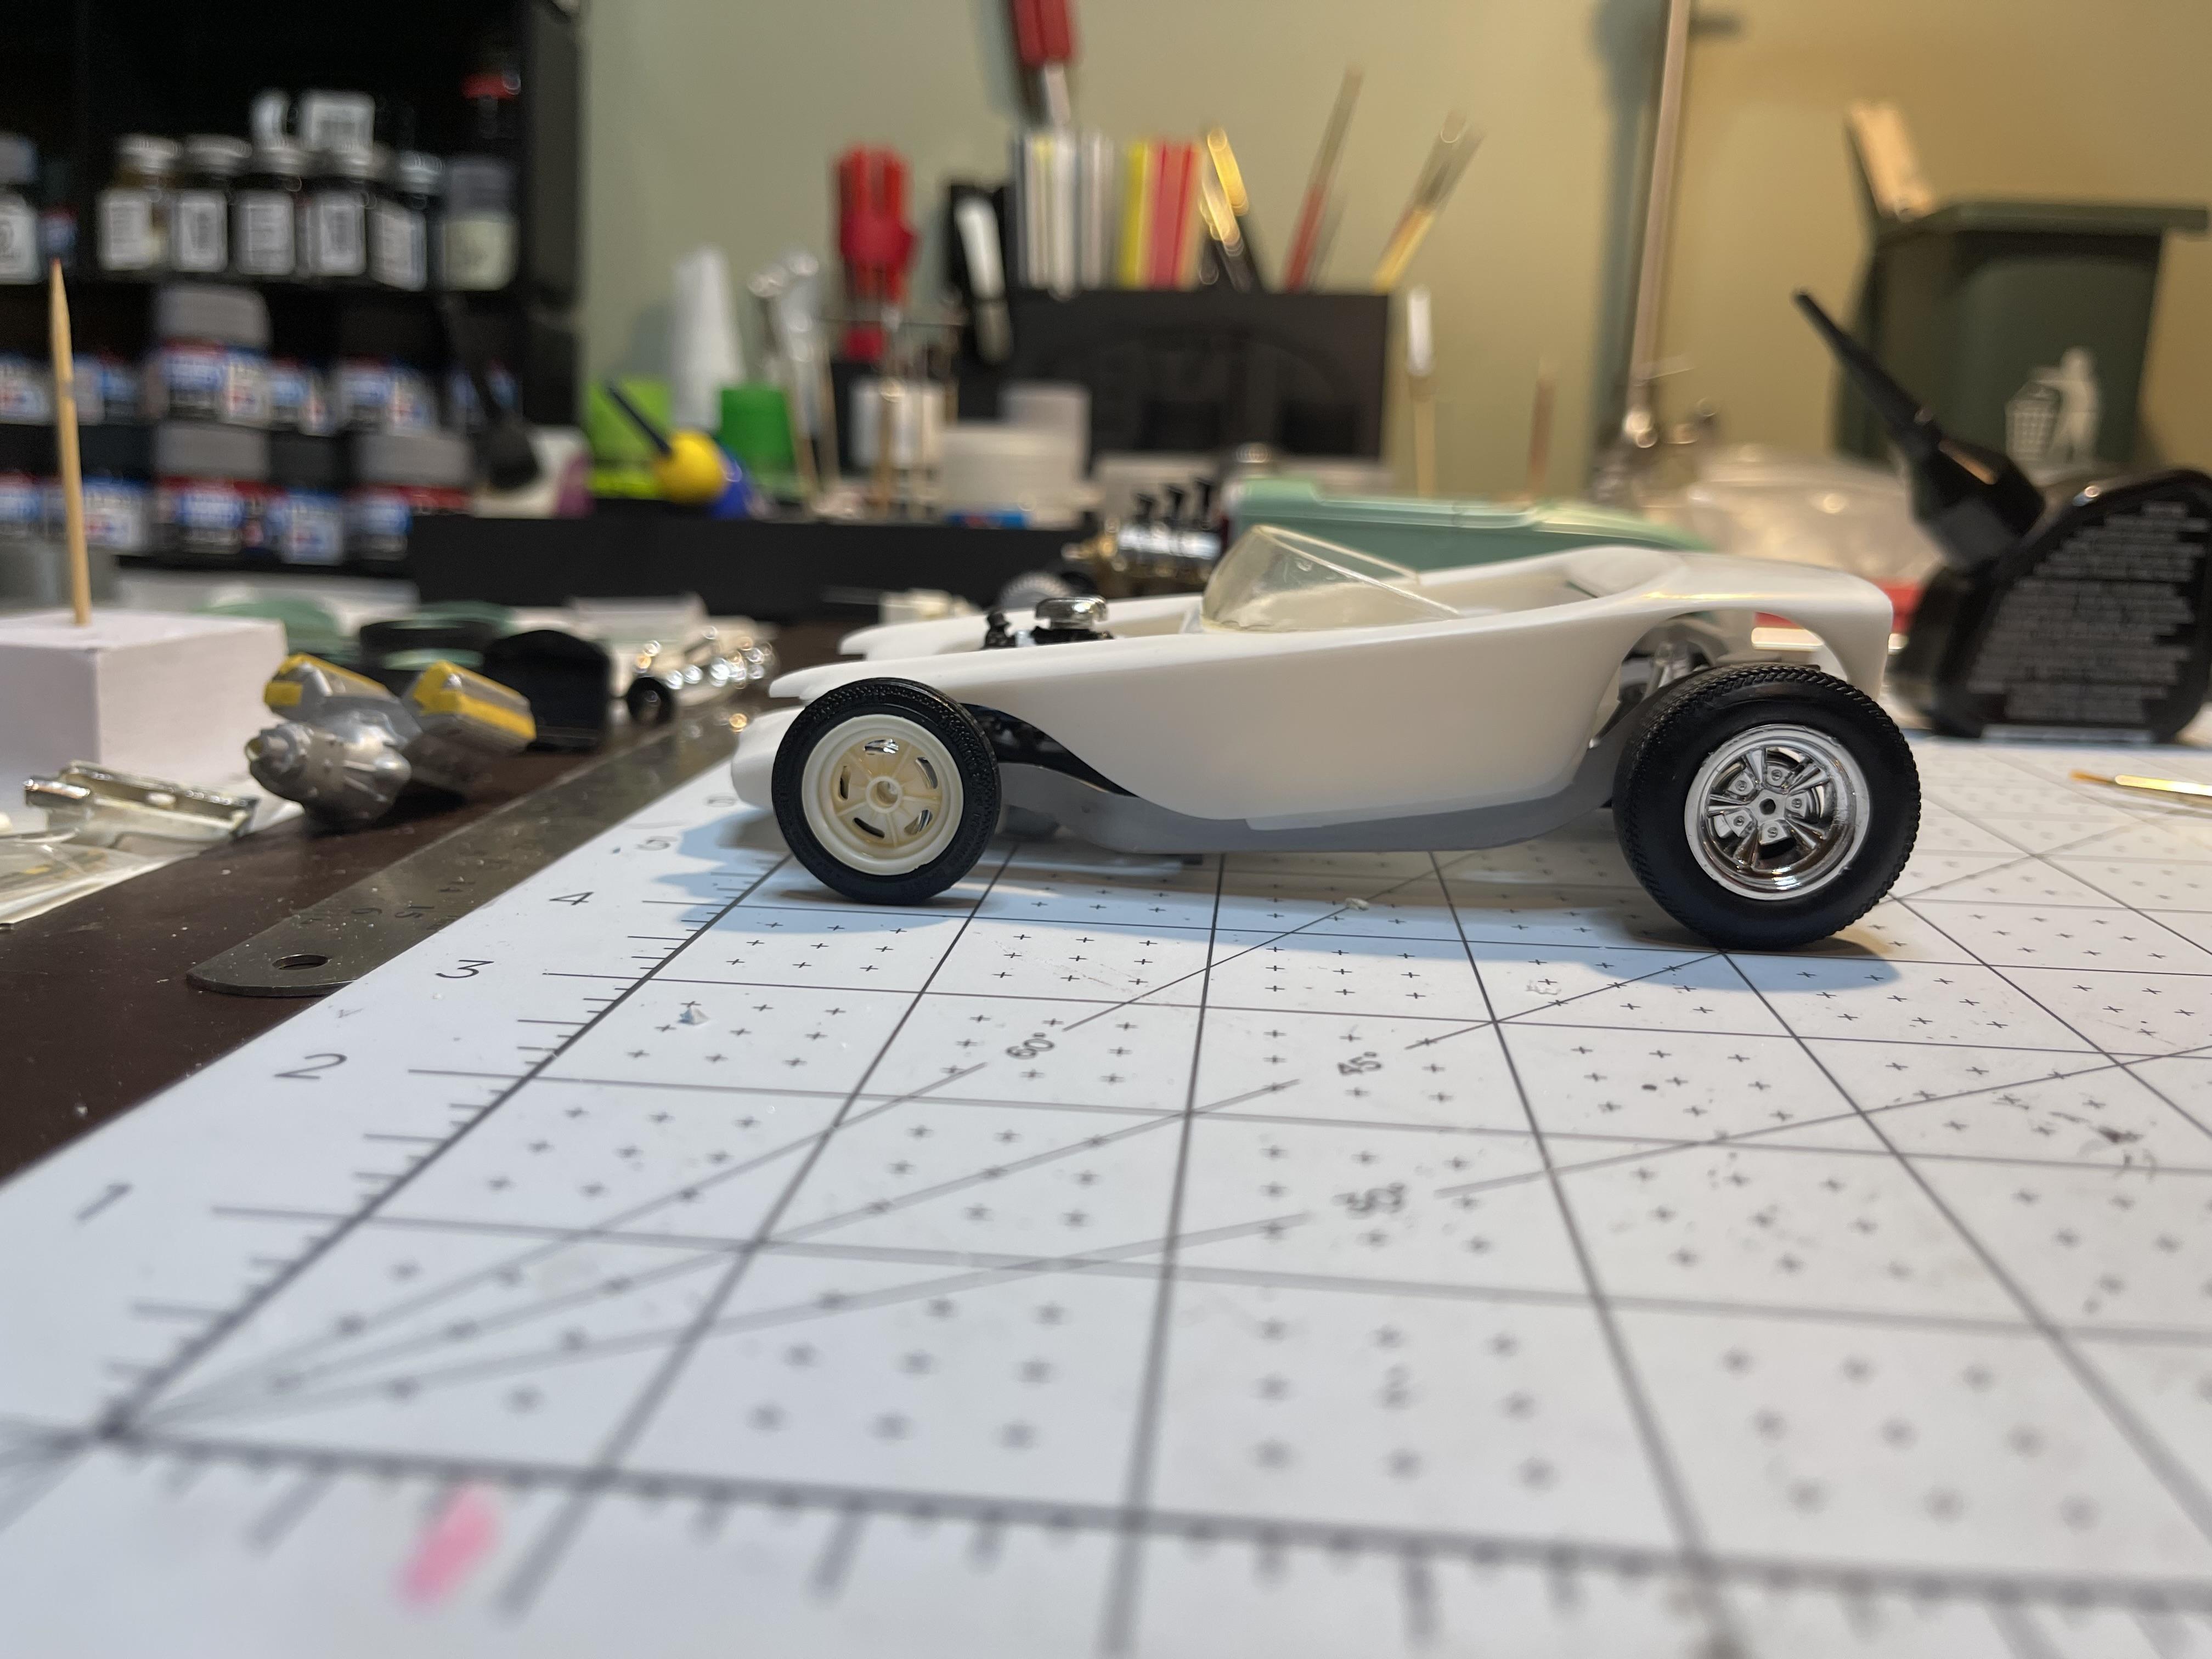
Been kicking this kit further and further to the dark area under my desk, I stole the engine and rolling stock for other projects so it was just a box of parts. I’ve never been a fan of the styling at all so I figured it had bothered me long enough to do something about it. I trimmed the fenders off and found this windshield in my box of glass so I tried it out. It needs better wheels and tires but this was so I could see the stance. we will see if it gets any further to make a build thread. The un-beatniked bandit
-
Engine arrangement looks mucho bueno now! I think a smoothie hood would suit the look a little better than the louvered. My .02 Canadian
-
The slots give it a 70’s vibe whereas the Kelsey Hayes are ageless and fit in any era. Both suit the car it will depend on where it sits in your build era.
-
One of my favourite GM cars from the sixties, your is a beautiful rendition.
-
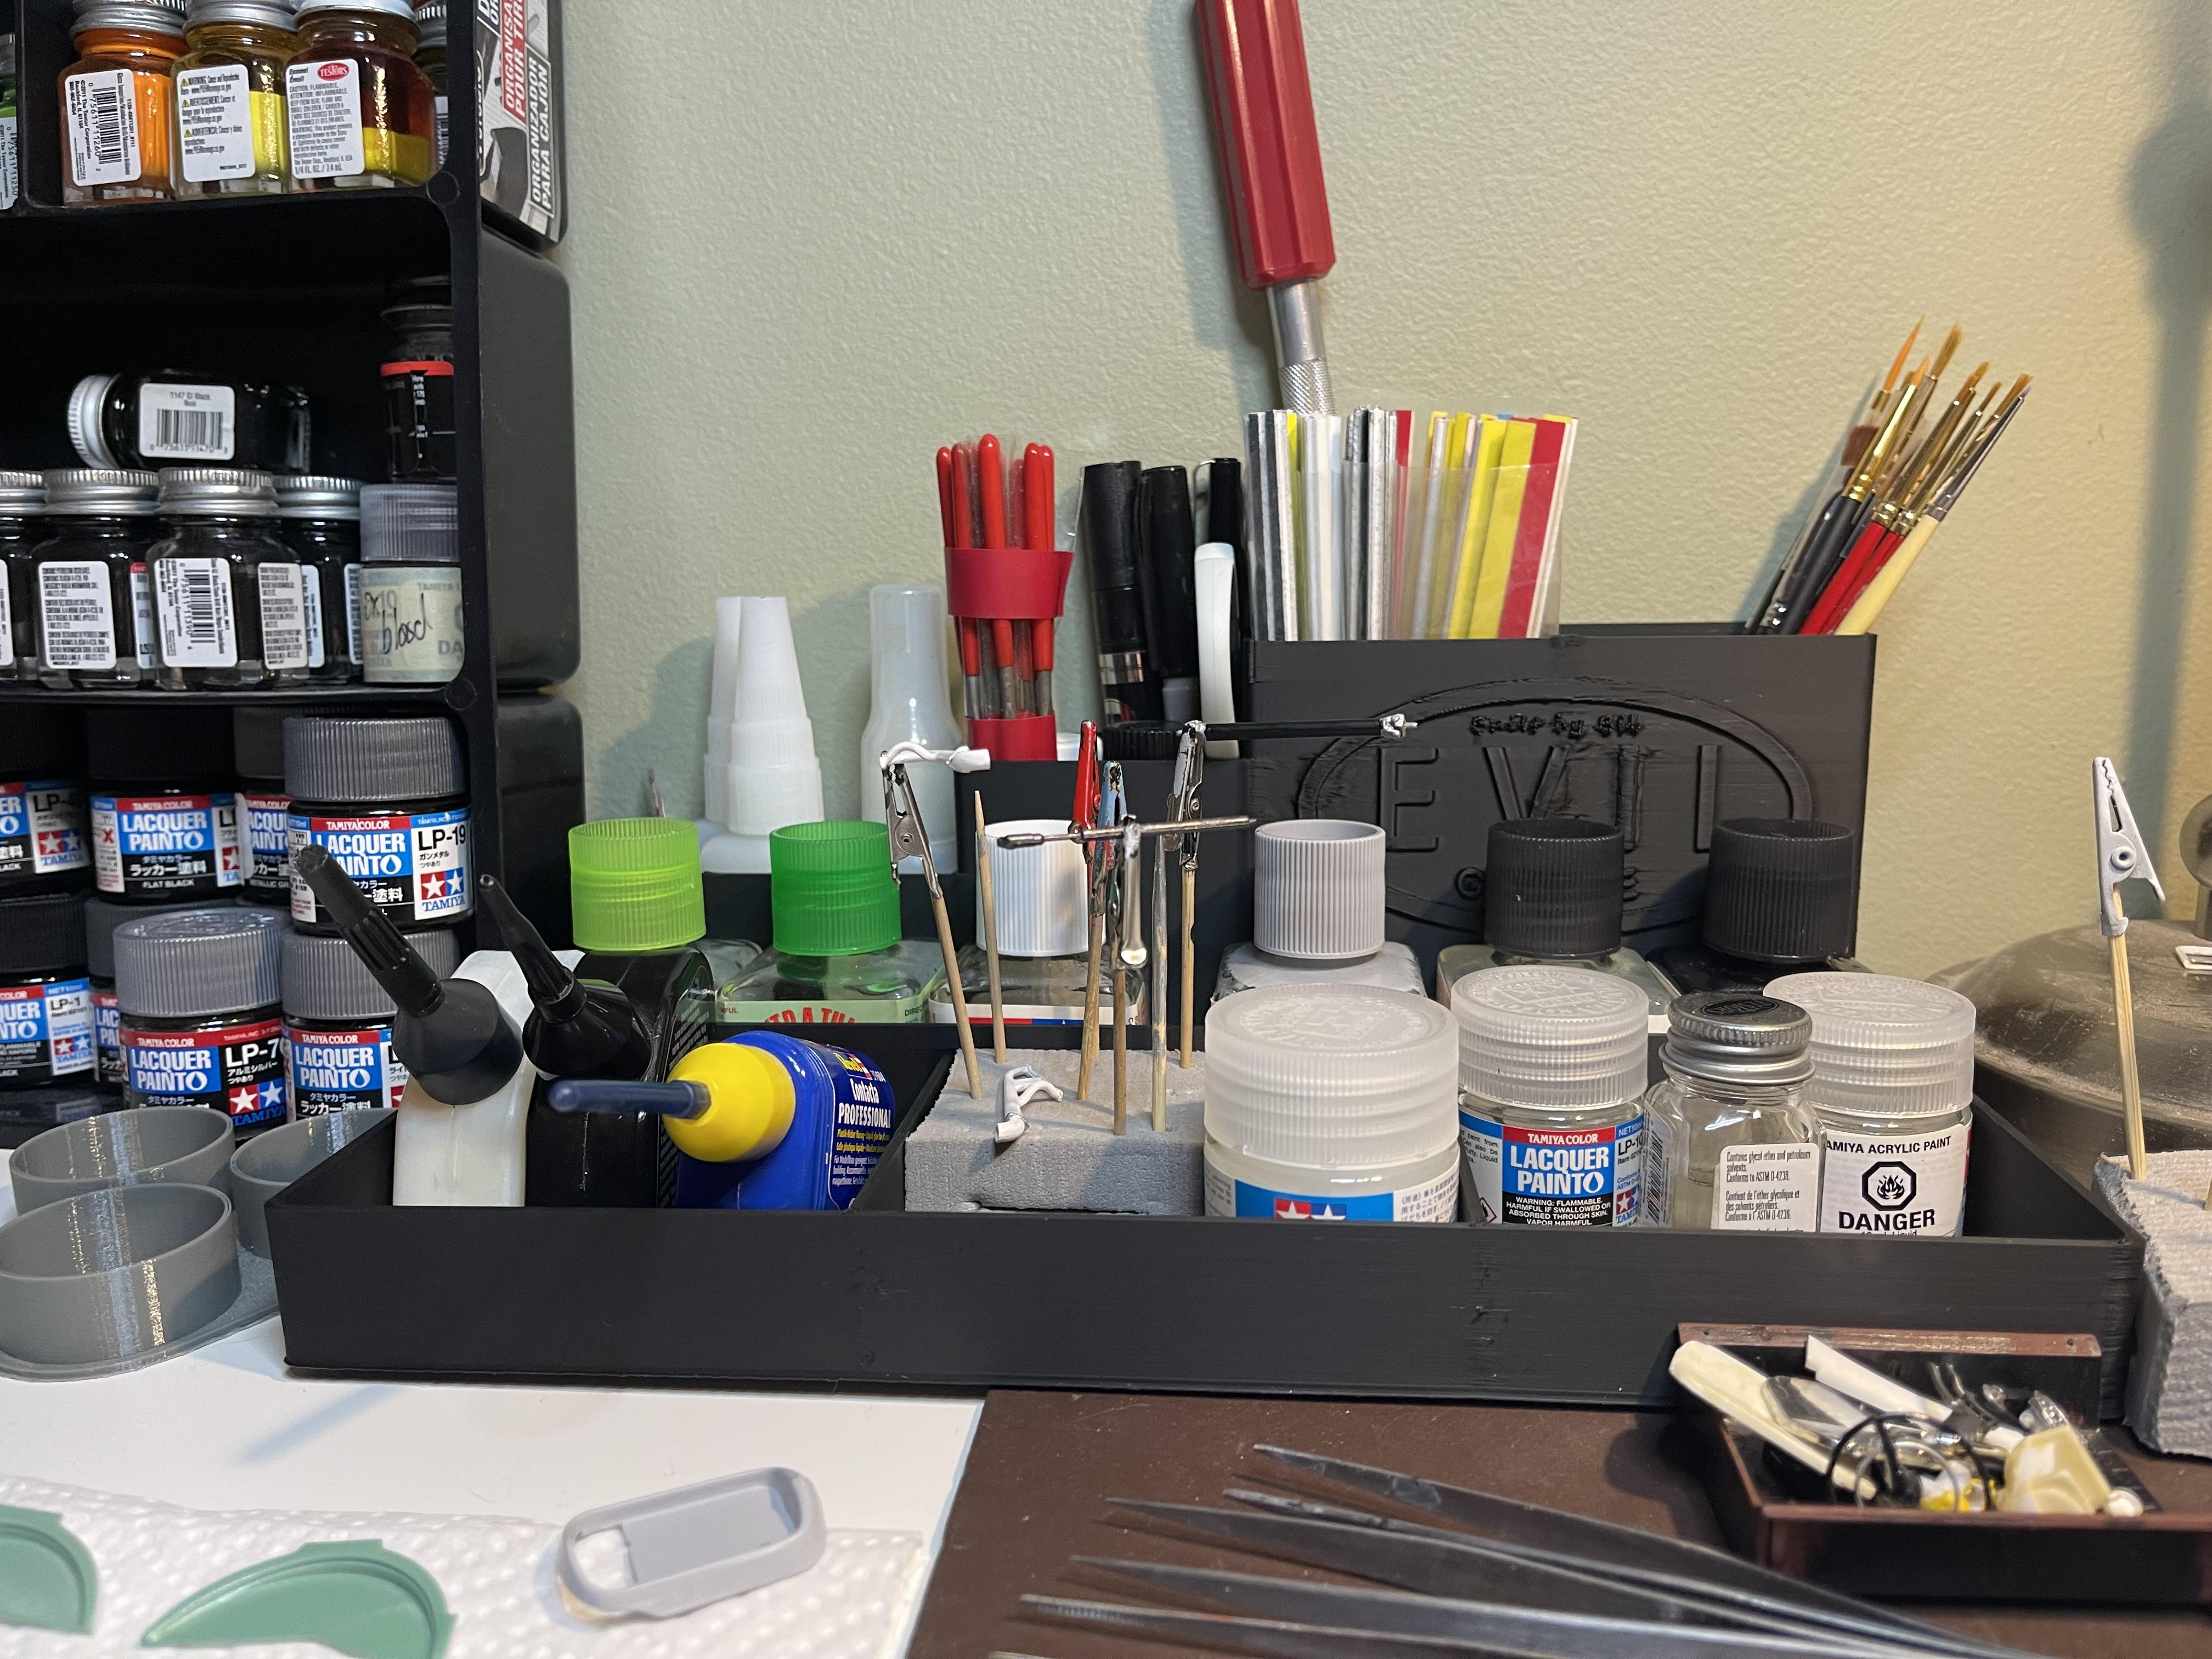
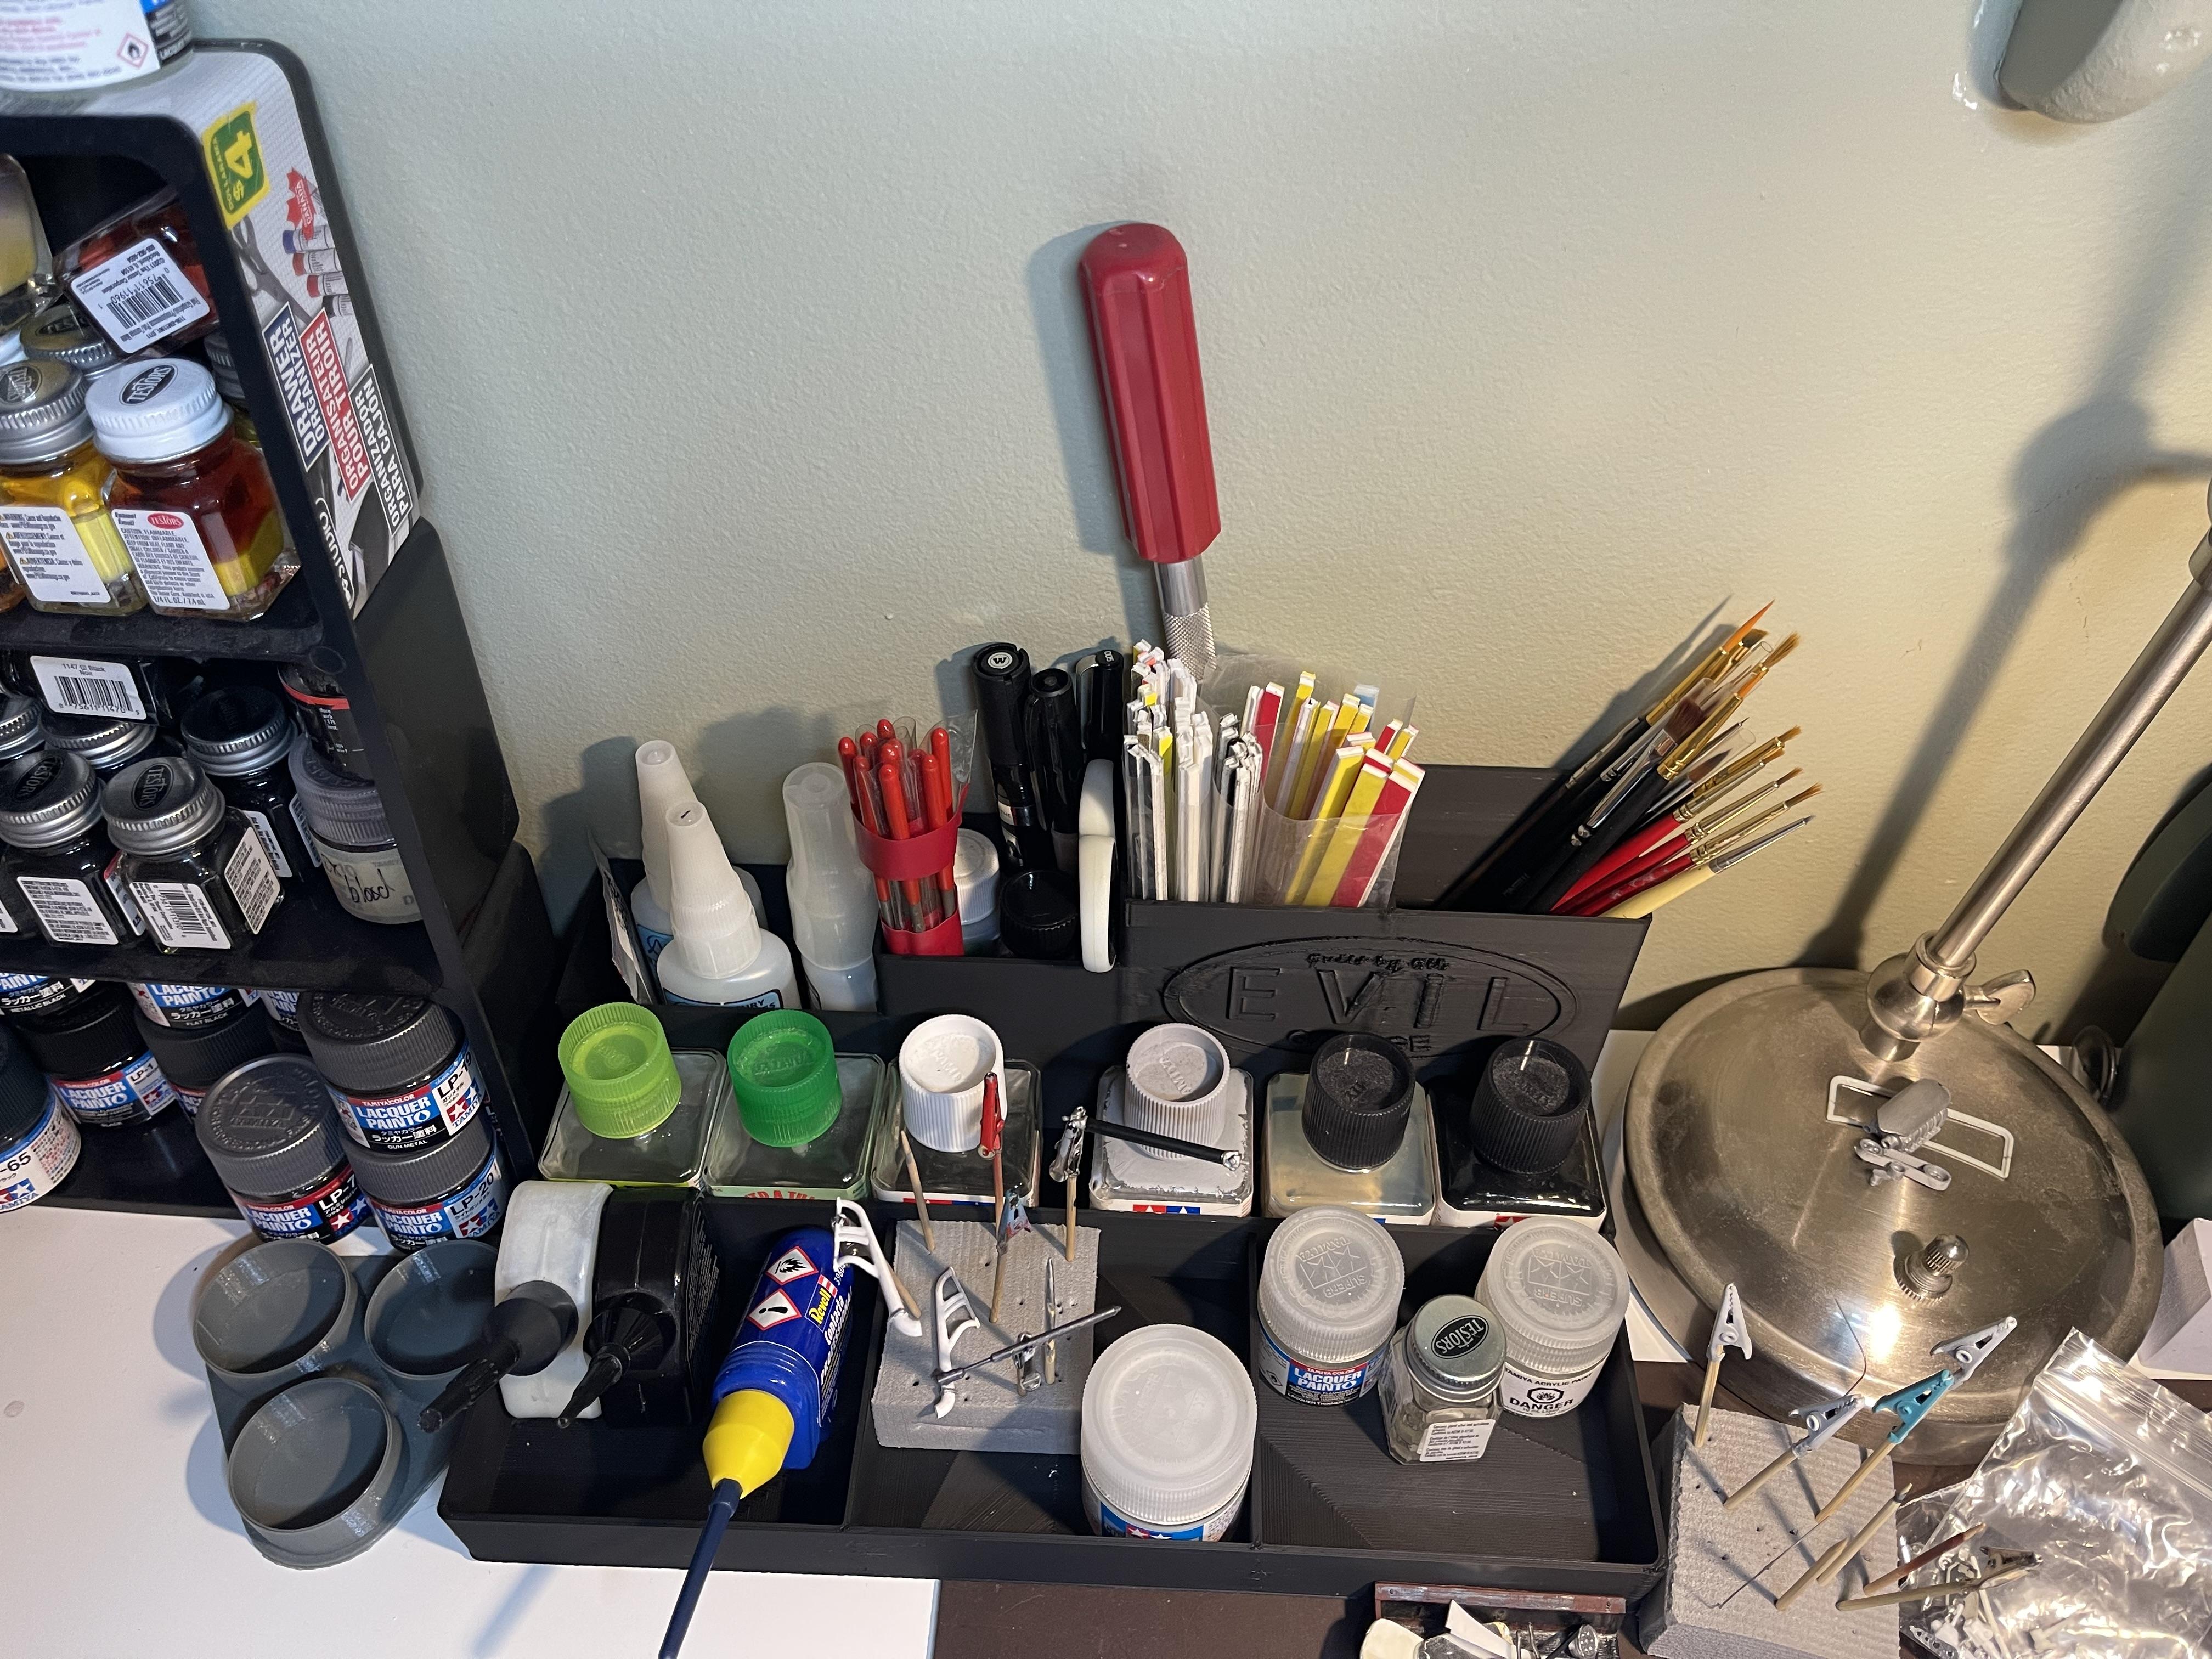
Pretty stoked on this, my friend got himself a pretty large pla 3D printer and he asked if there was anything model related he could print for me, i mentioned a desk organizer he asked for some measurements and bam. Holds all my brushes, sanding sticks, files, glues and thinners all in one convenient place. And it goes well with my paint caddy/drawer liner haha.
- 39,071 replies
-
- 4
-

-
- johan
- glue bombs
- (and 1 more)
-
Revell 32 Ford roadster new release done the hard way!
Bullybeef replied to Bullybeef's topic in WIP: Model Cars
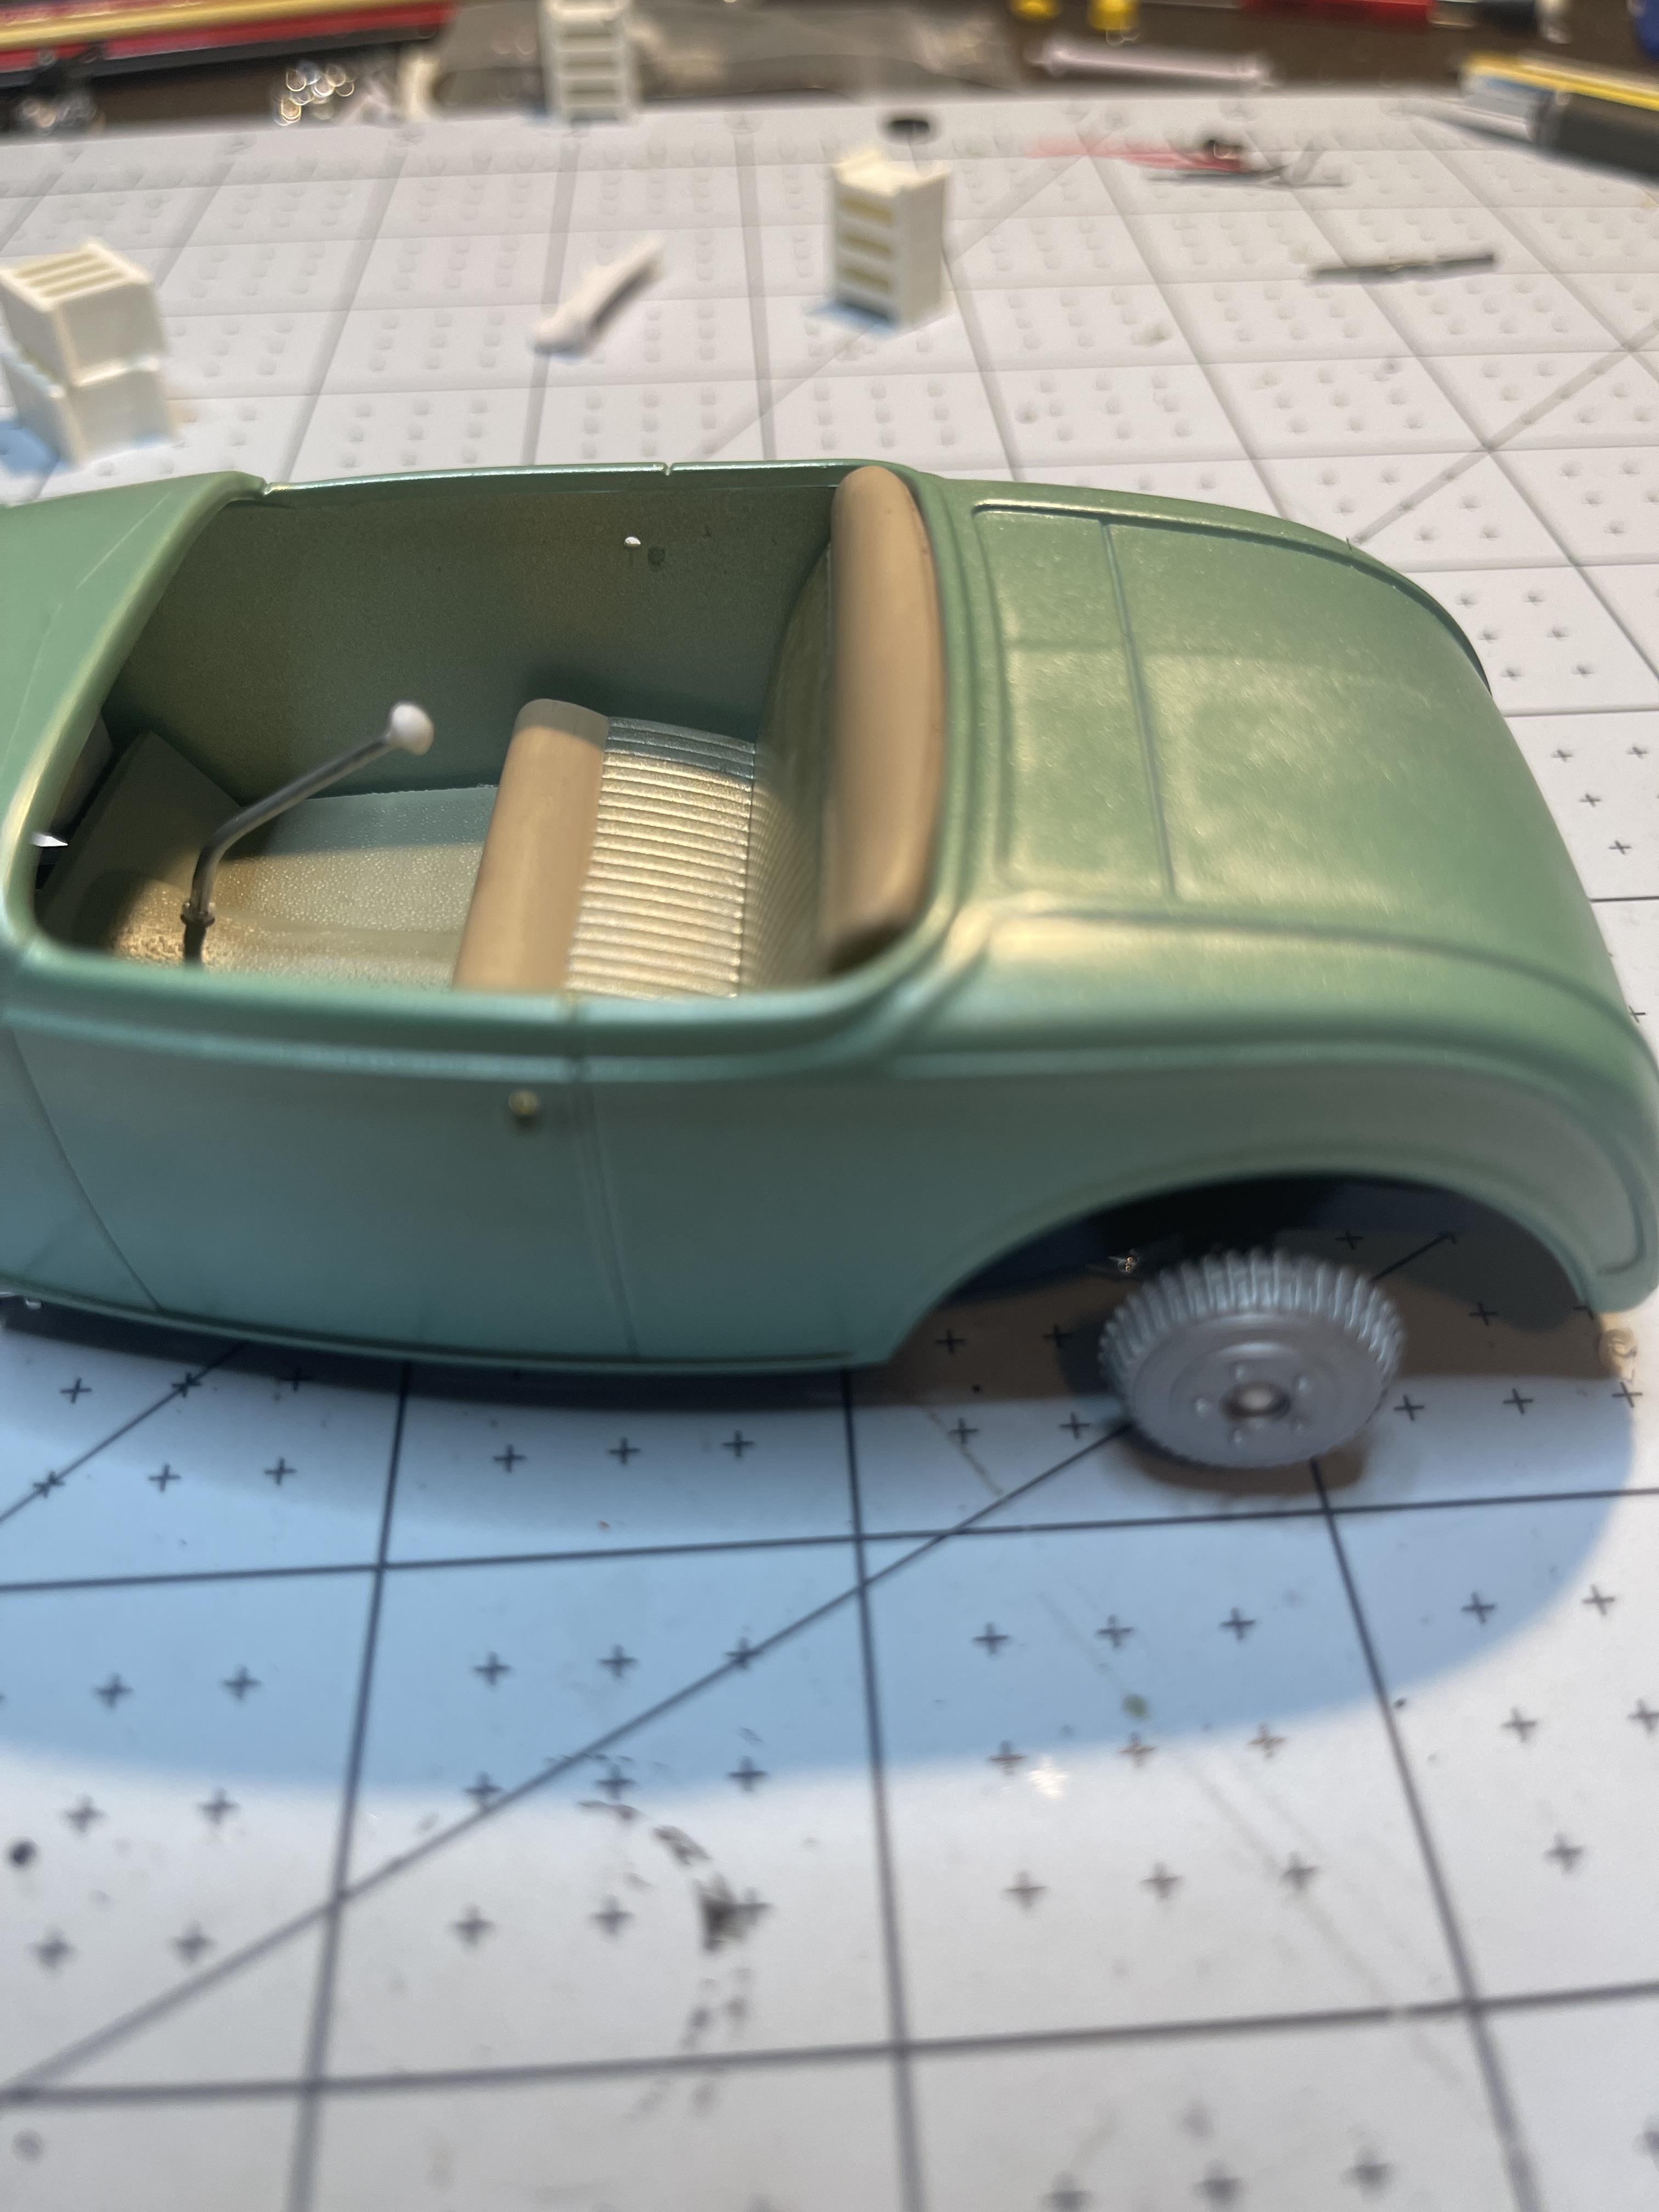
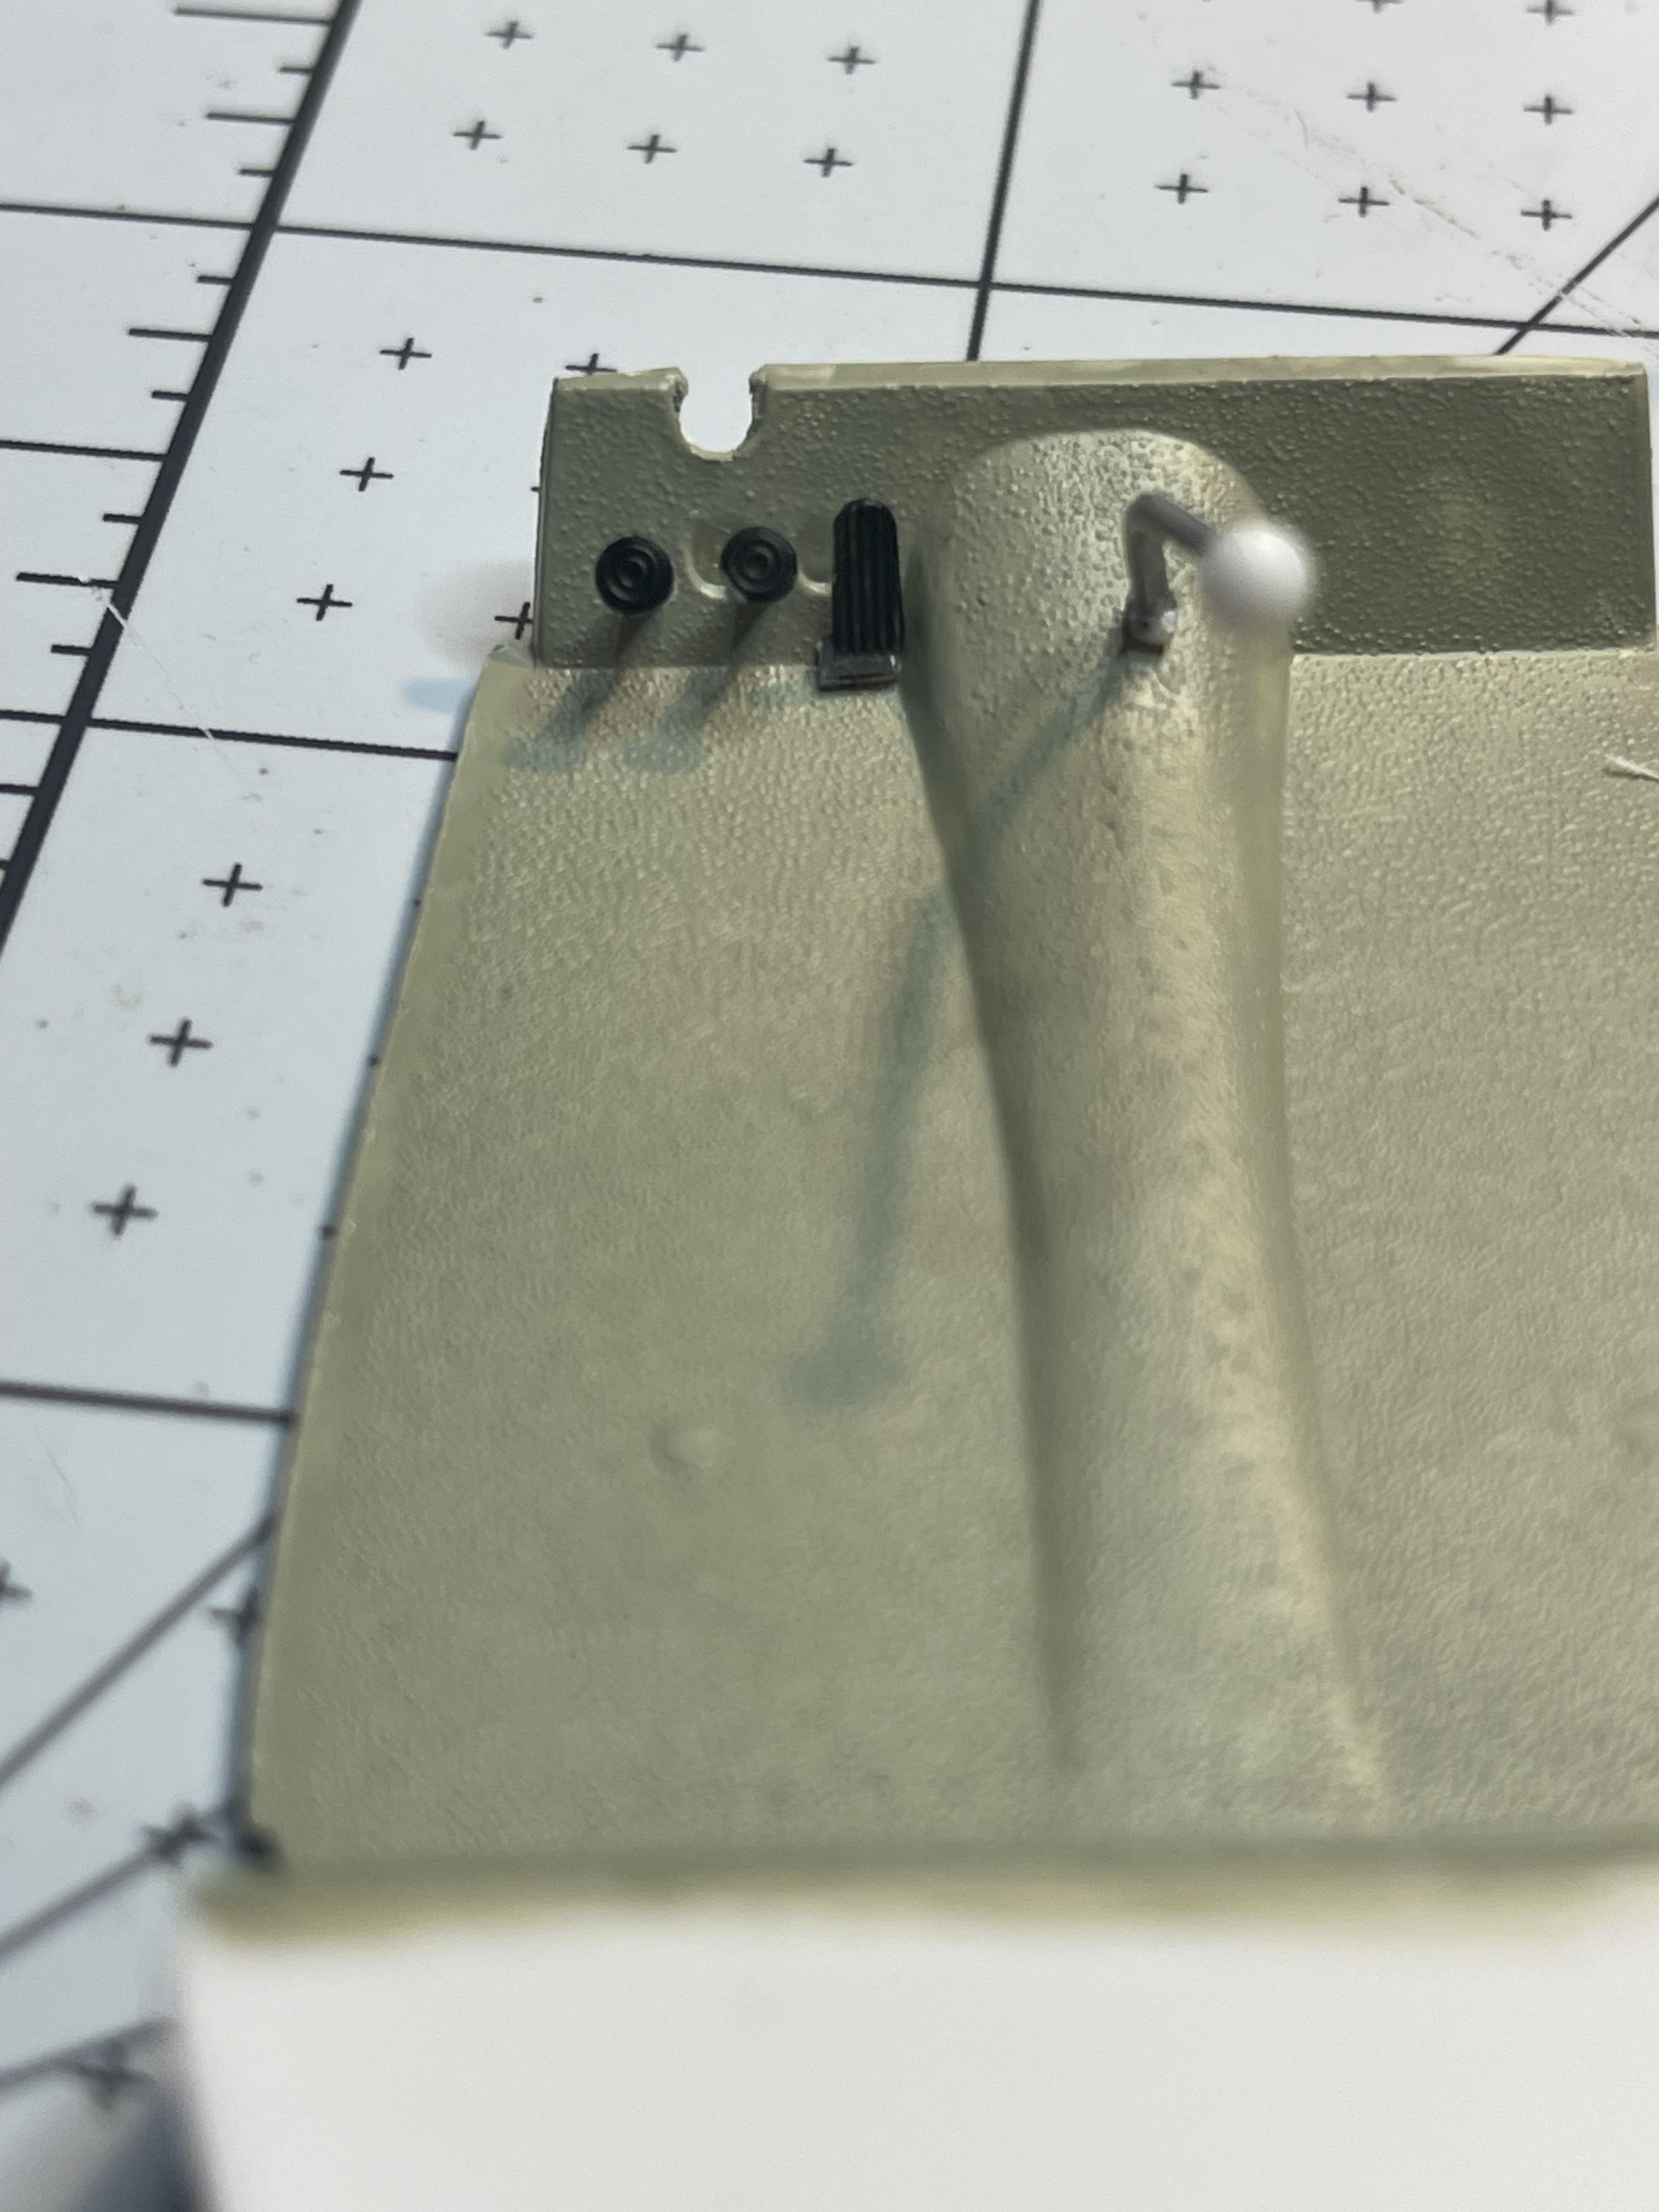
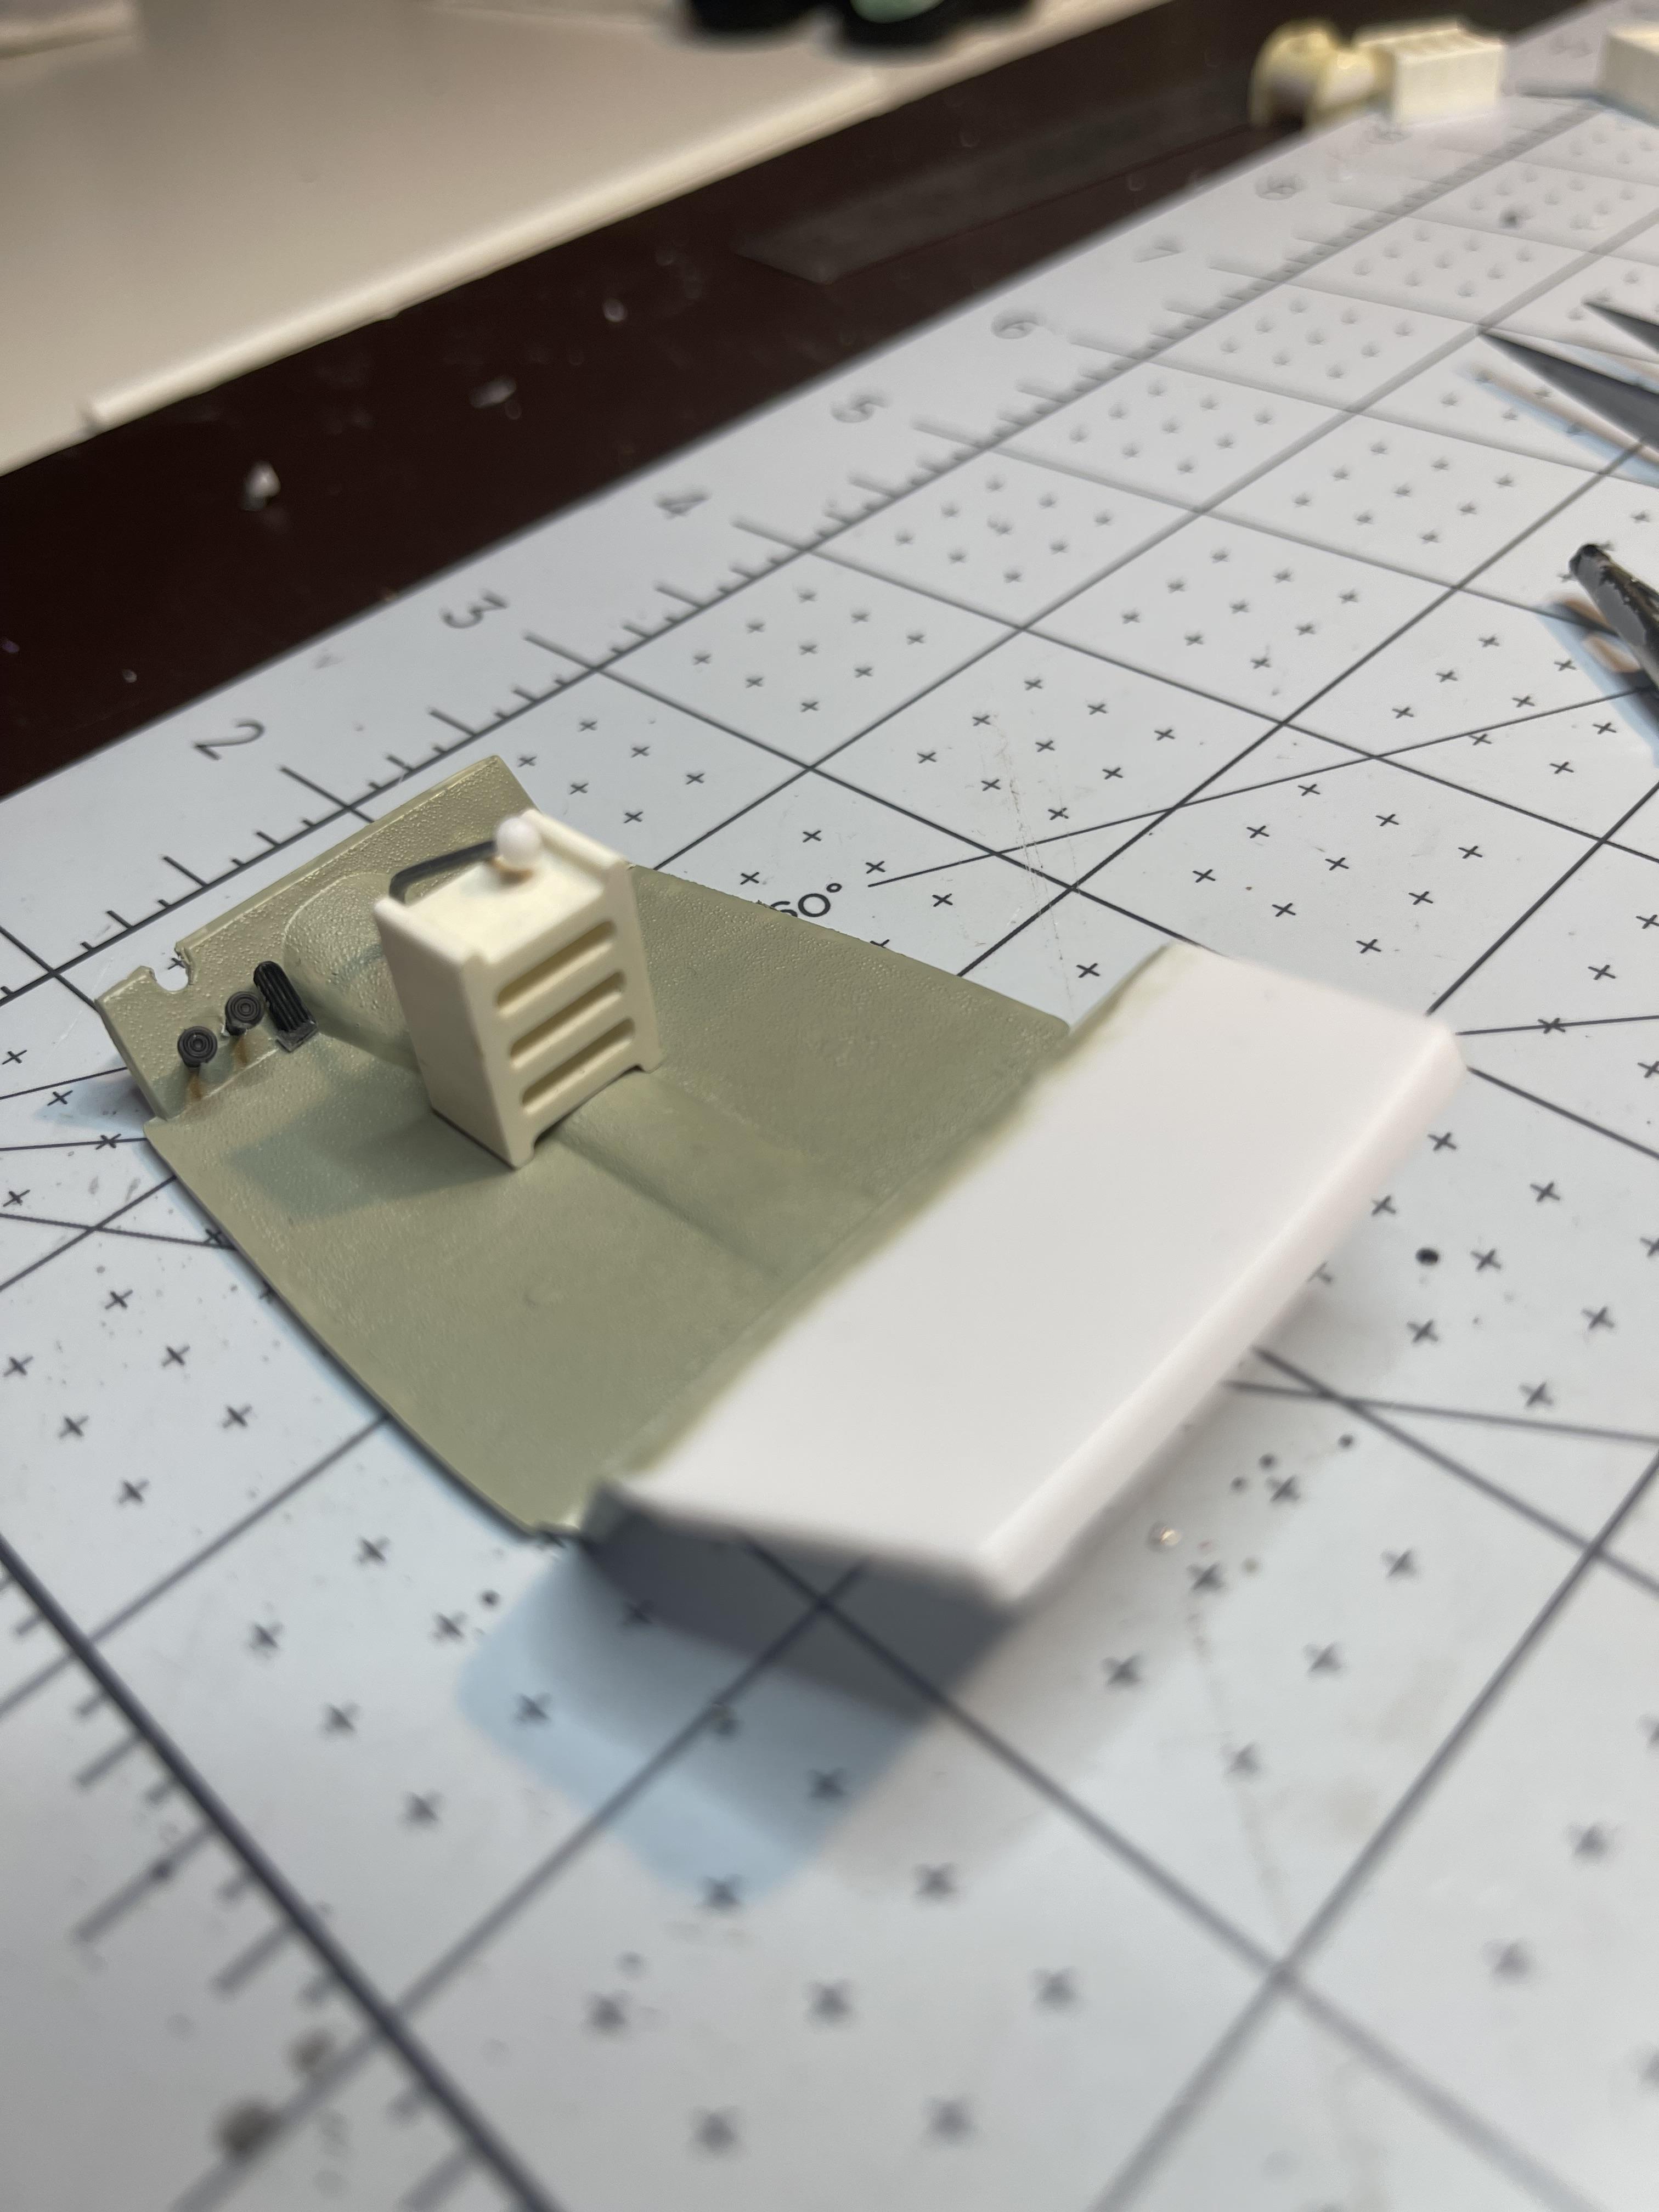
While this may not seem like a worthy update, I’m certainly please as punch with how this seat came out, after shaving a mm or so off the bottom it still sat proud of the opening so adding a slim strip of styrene to the back and sanding filing it to shape it looks the part enough for me
-
Revell 32 Ford roadster new release done the hard way!
Bullybeef replied to Bullybeef's topic in WIP: Model Cars
Ideas are always good, I’ll dig through my parts and try some different caps , thank you David. -
Hobby wholesale on an end cap between the revell section and the amt/mpc section
- 39,071 replies
-
- 1
-
-
- johan
- glue bombs
- (and 1 more)
-
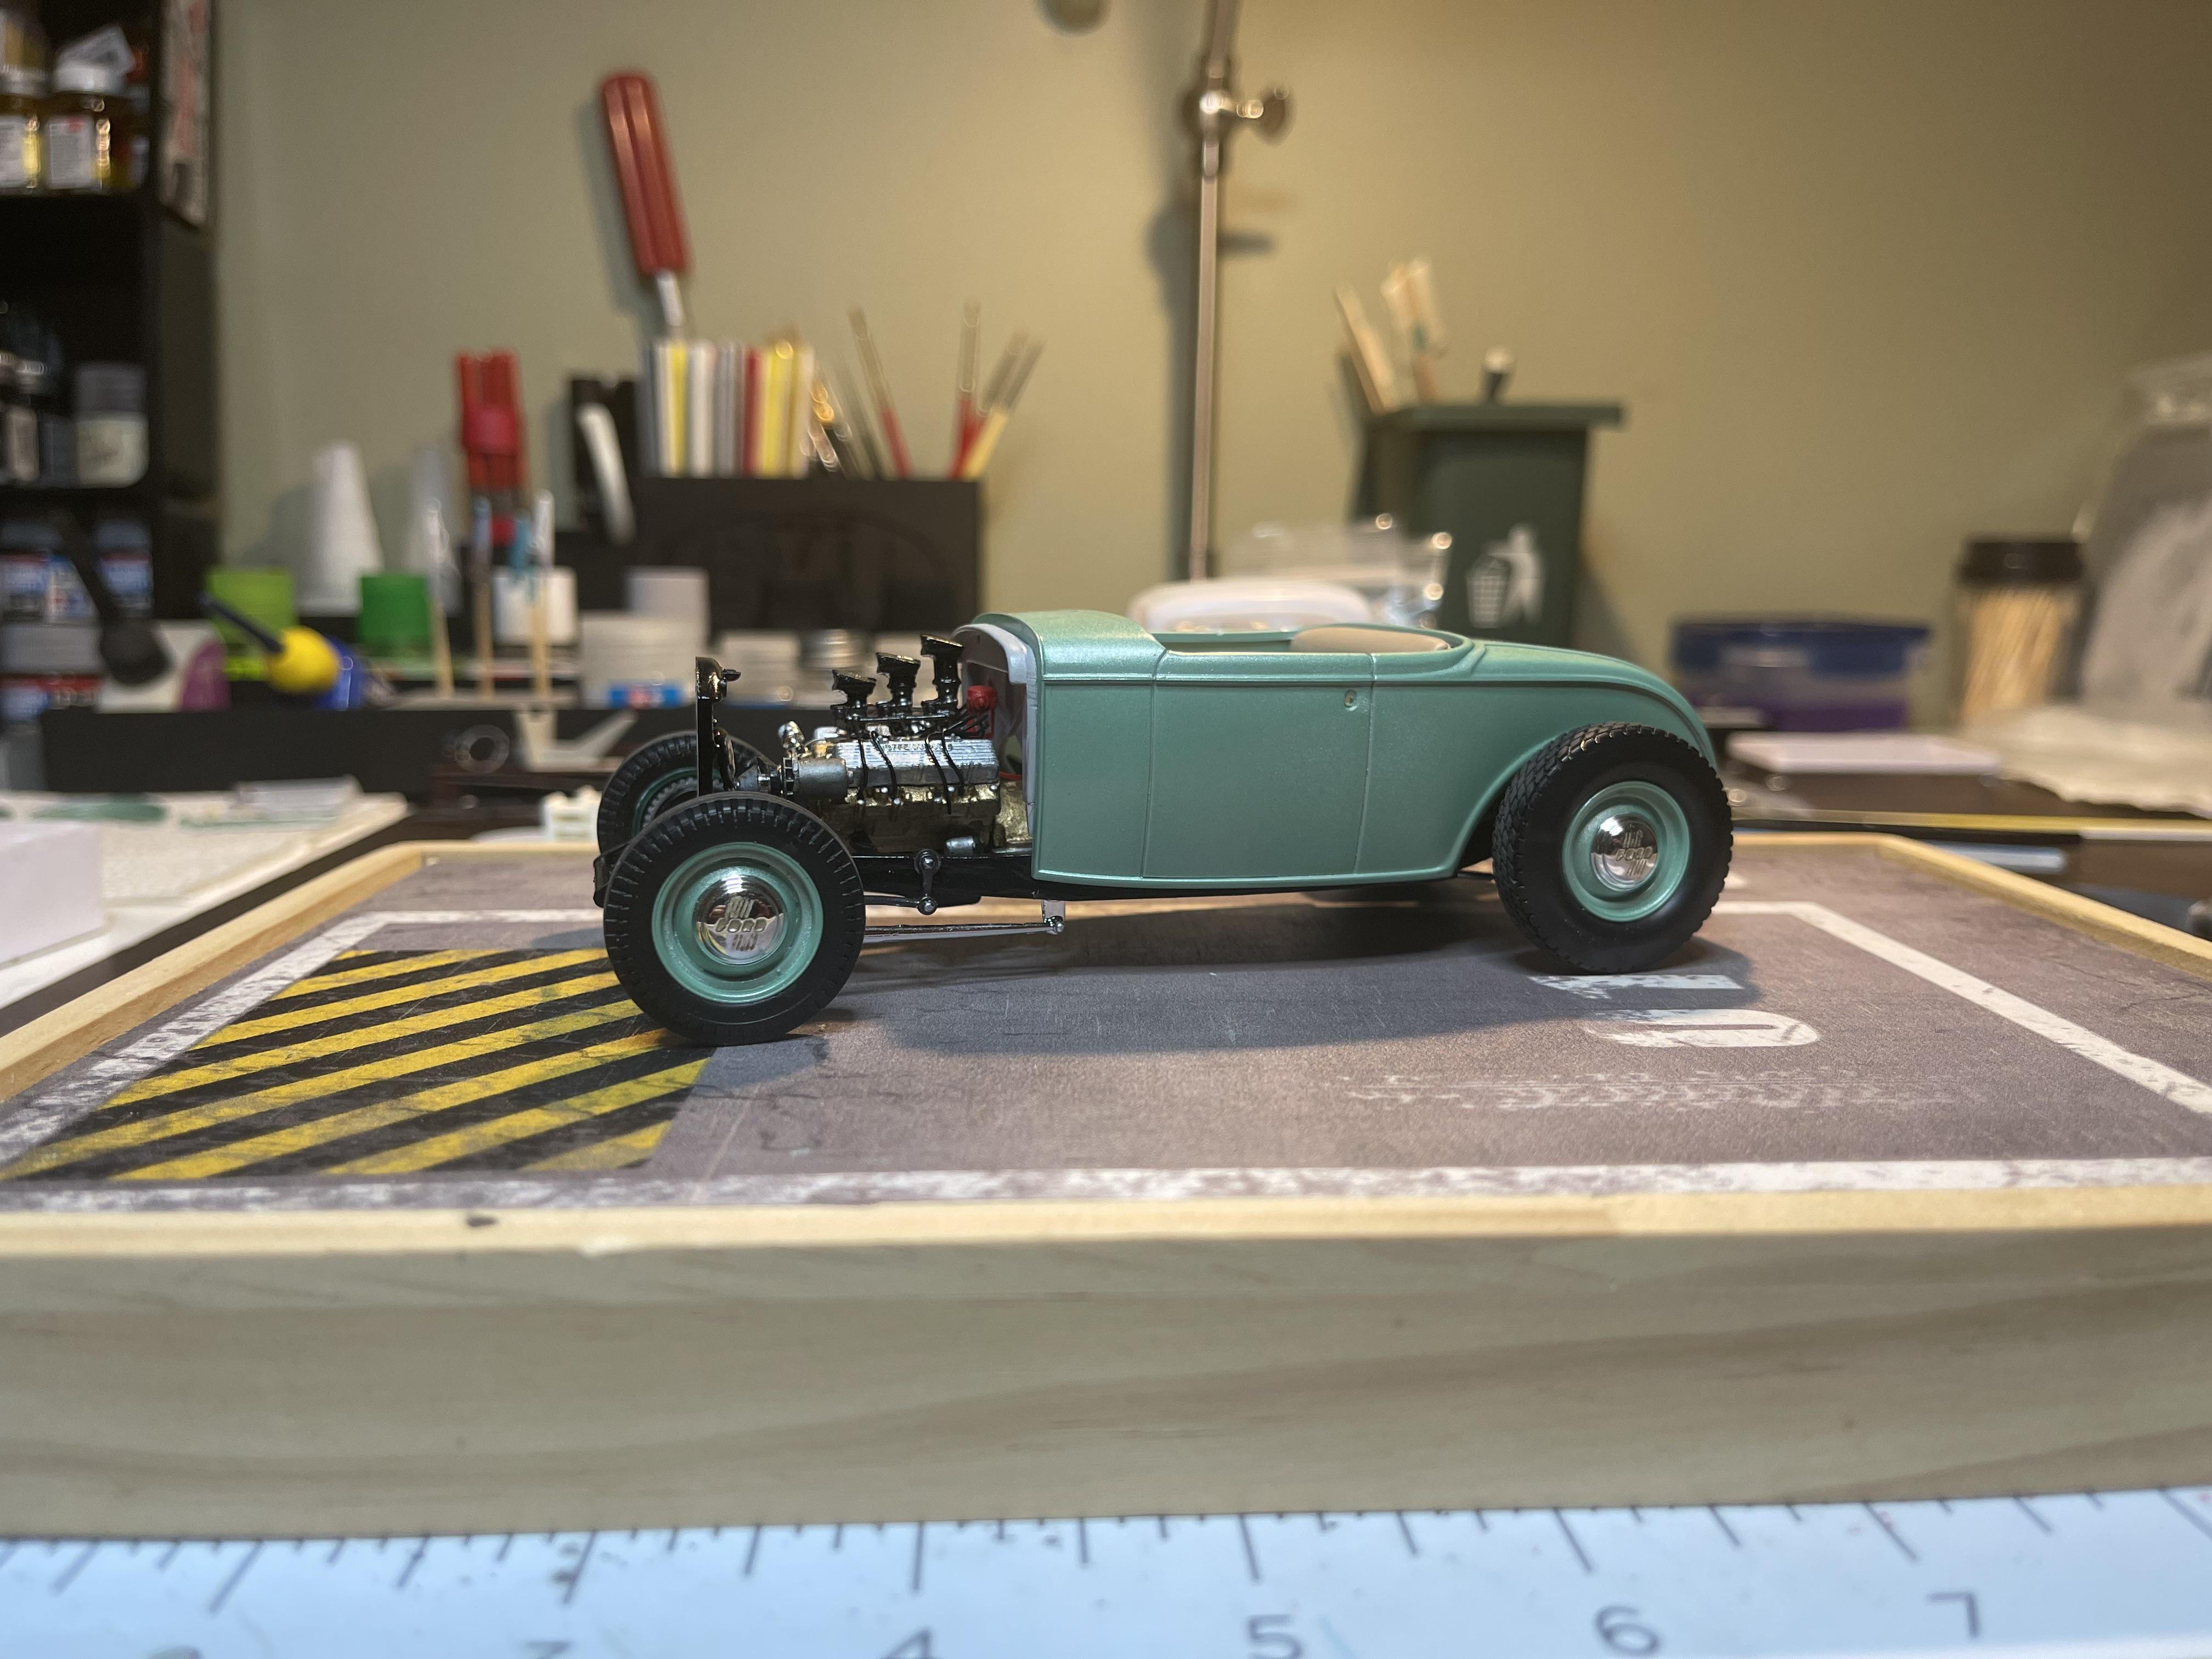
Revell 32 Ford roadster new release done the hard way!
Bullybeef replied to Bullybeef's topic in WIP: Model Cars
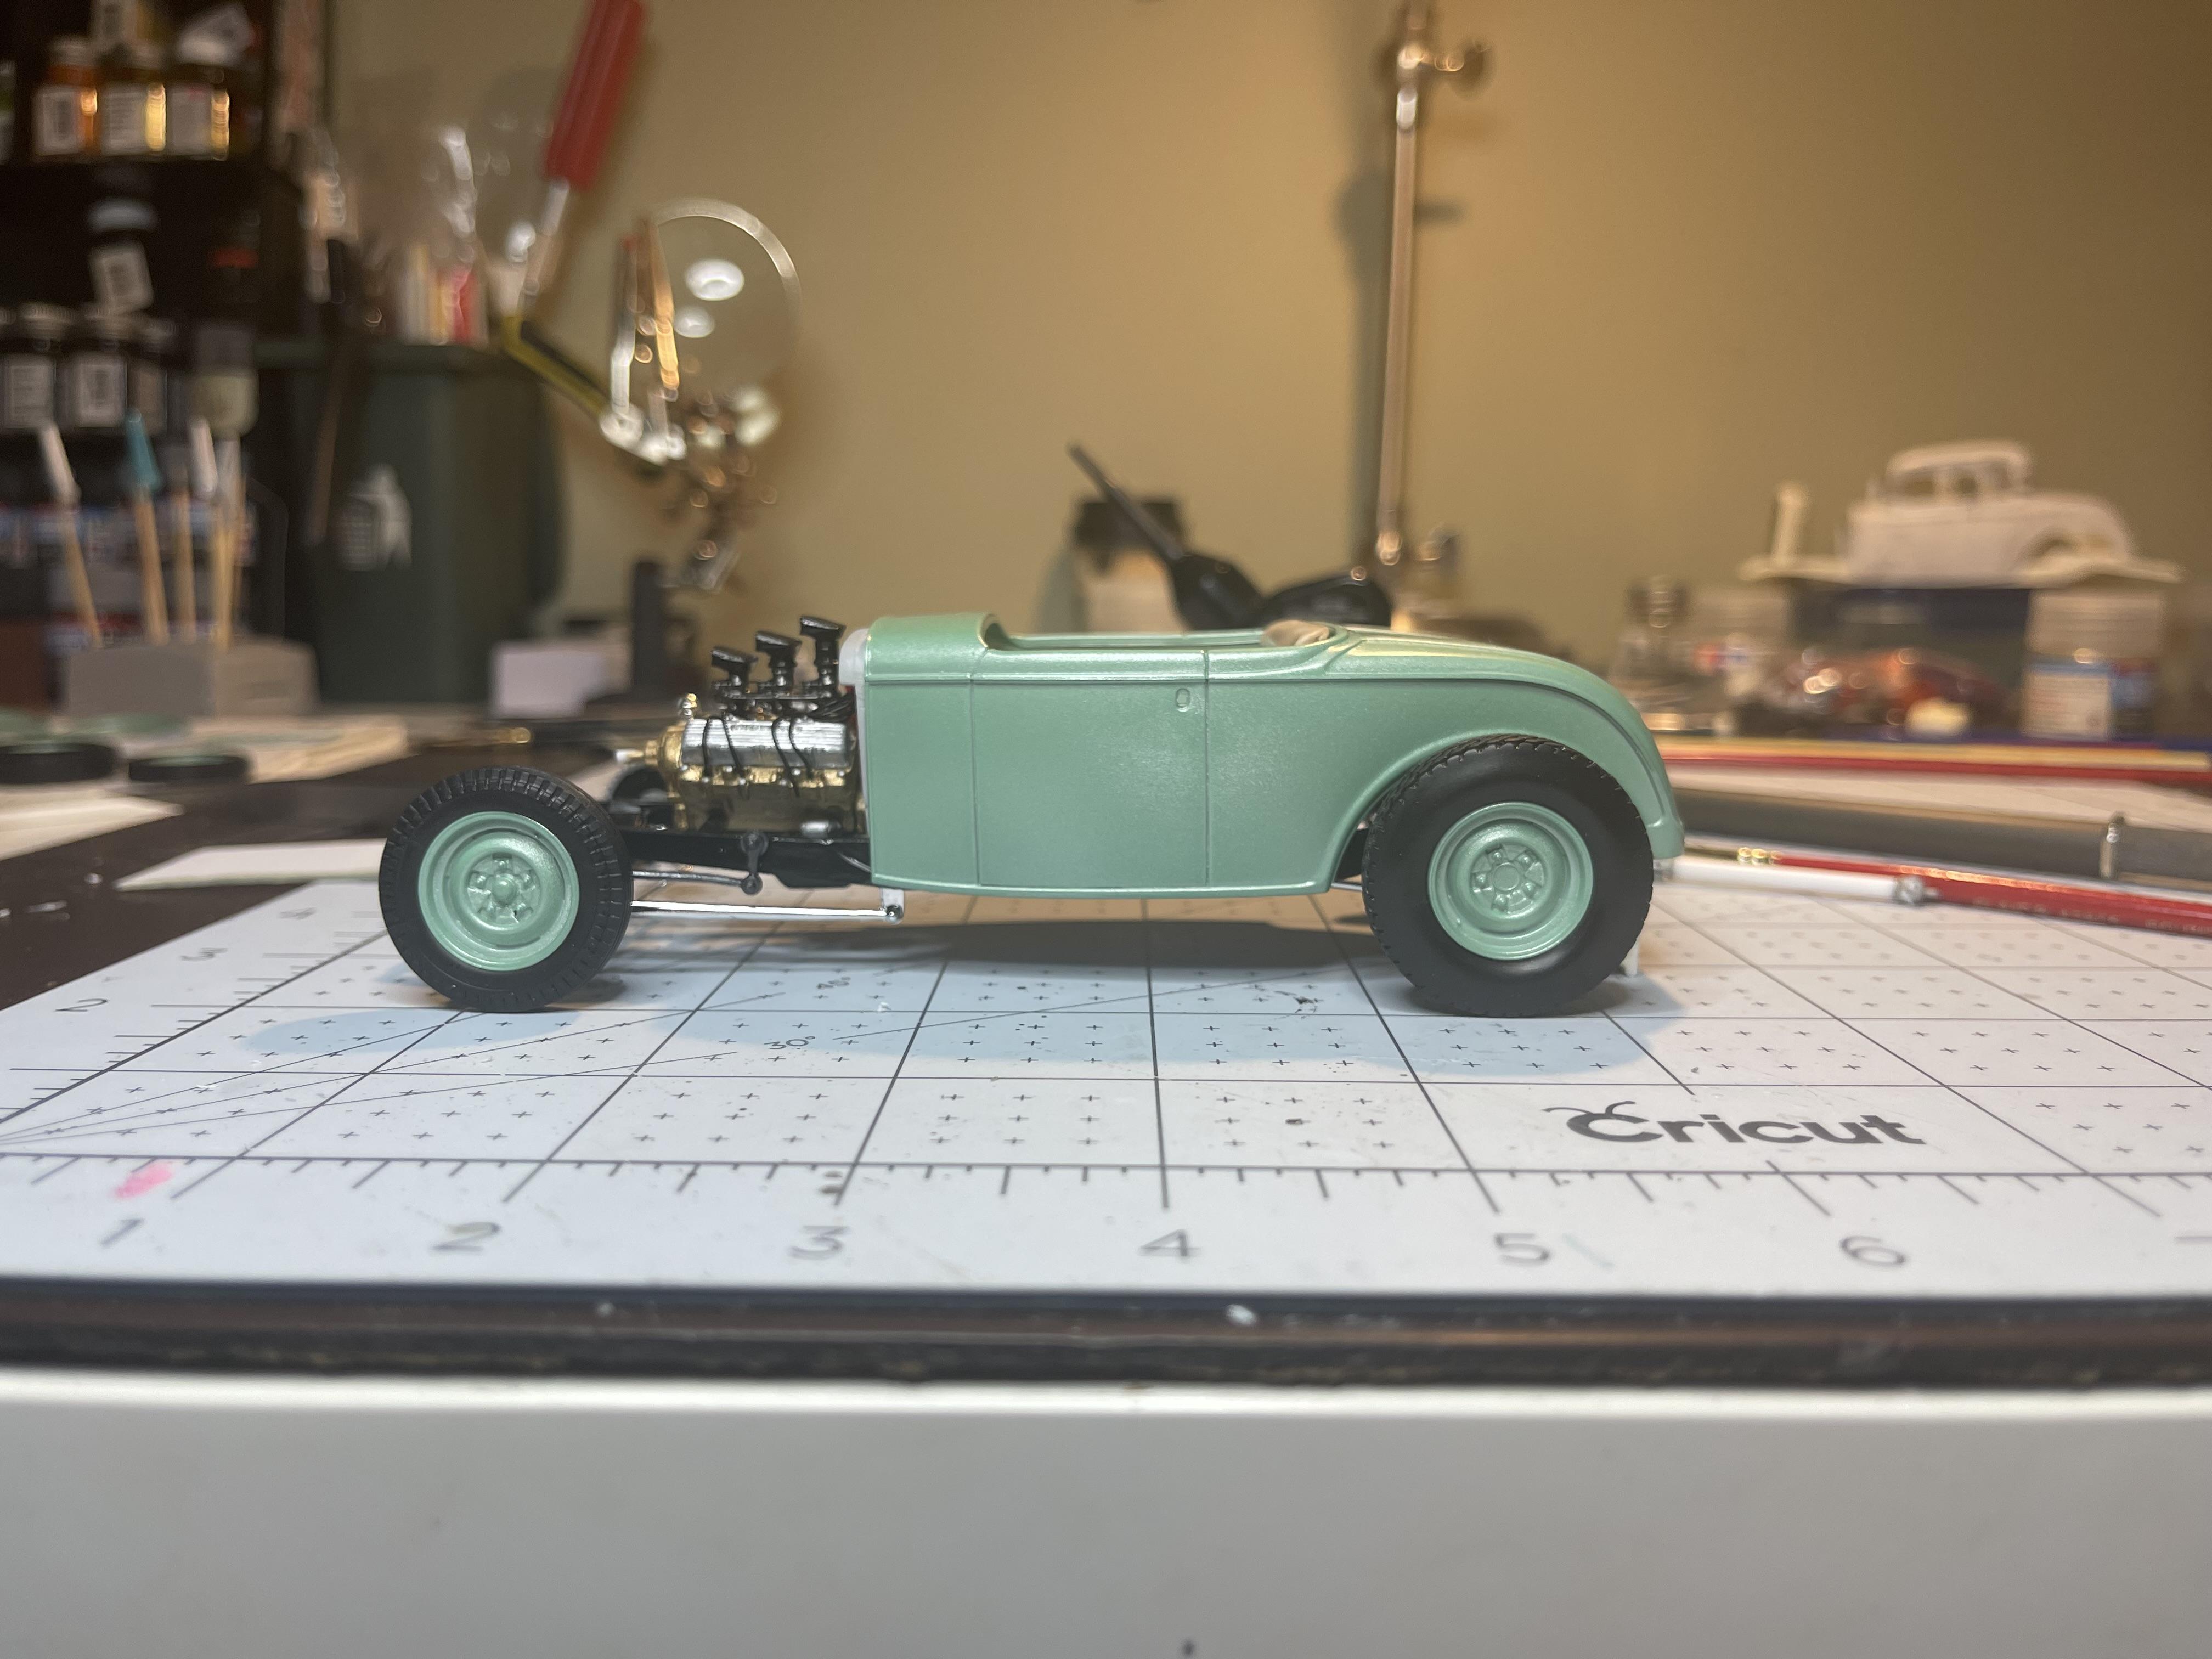
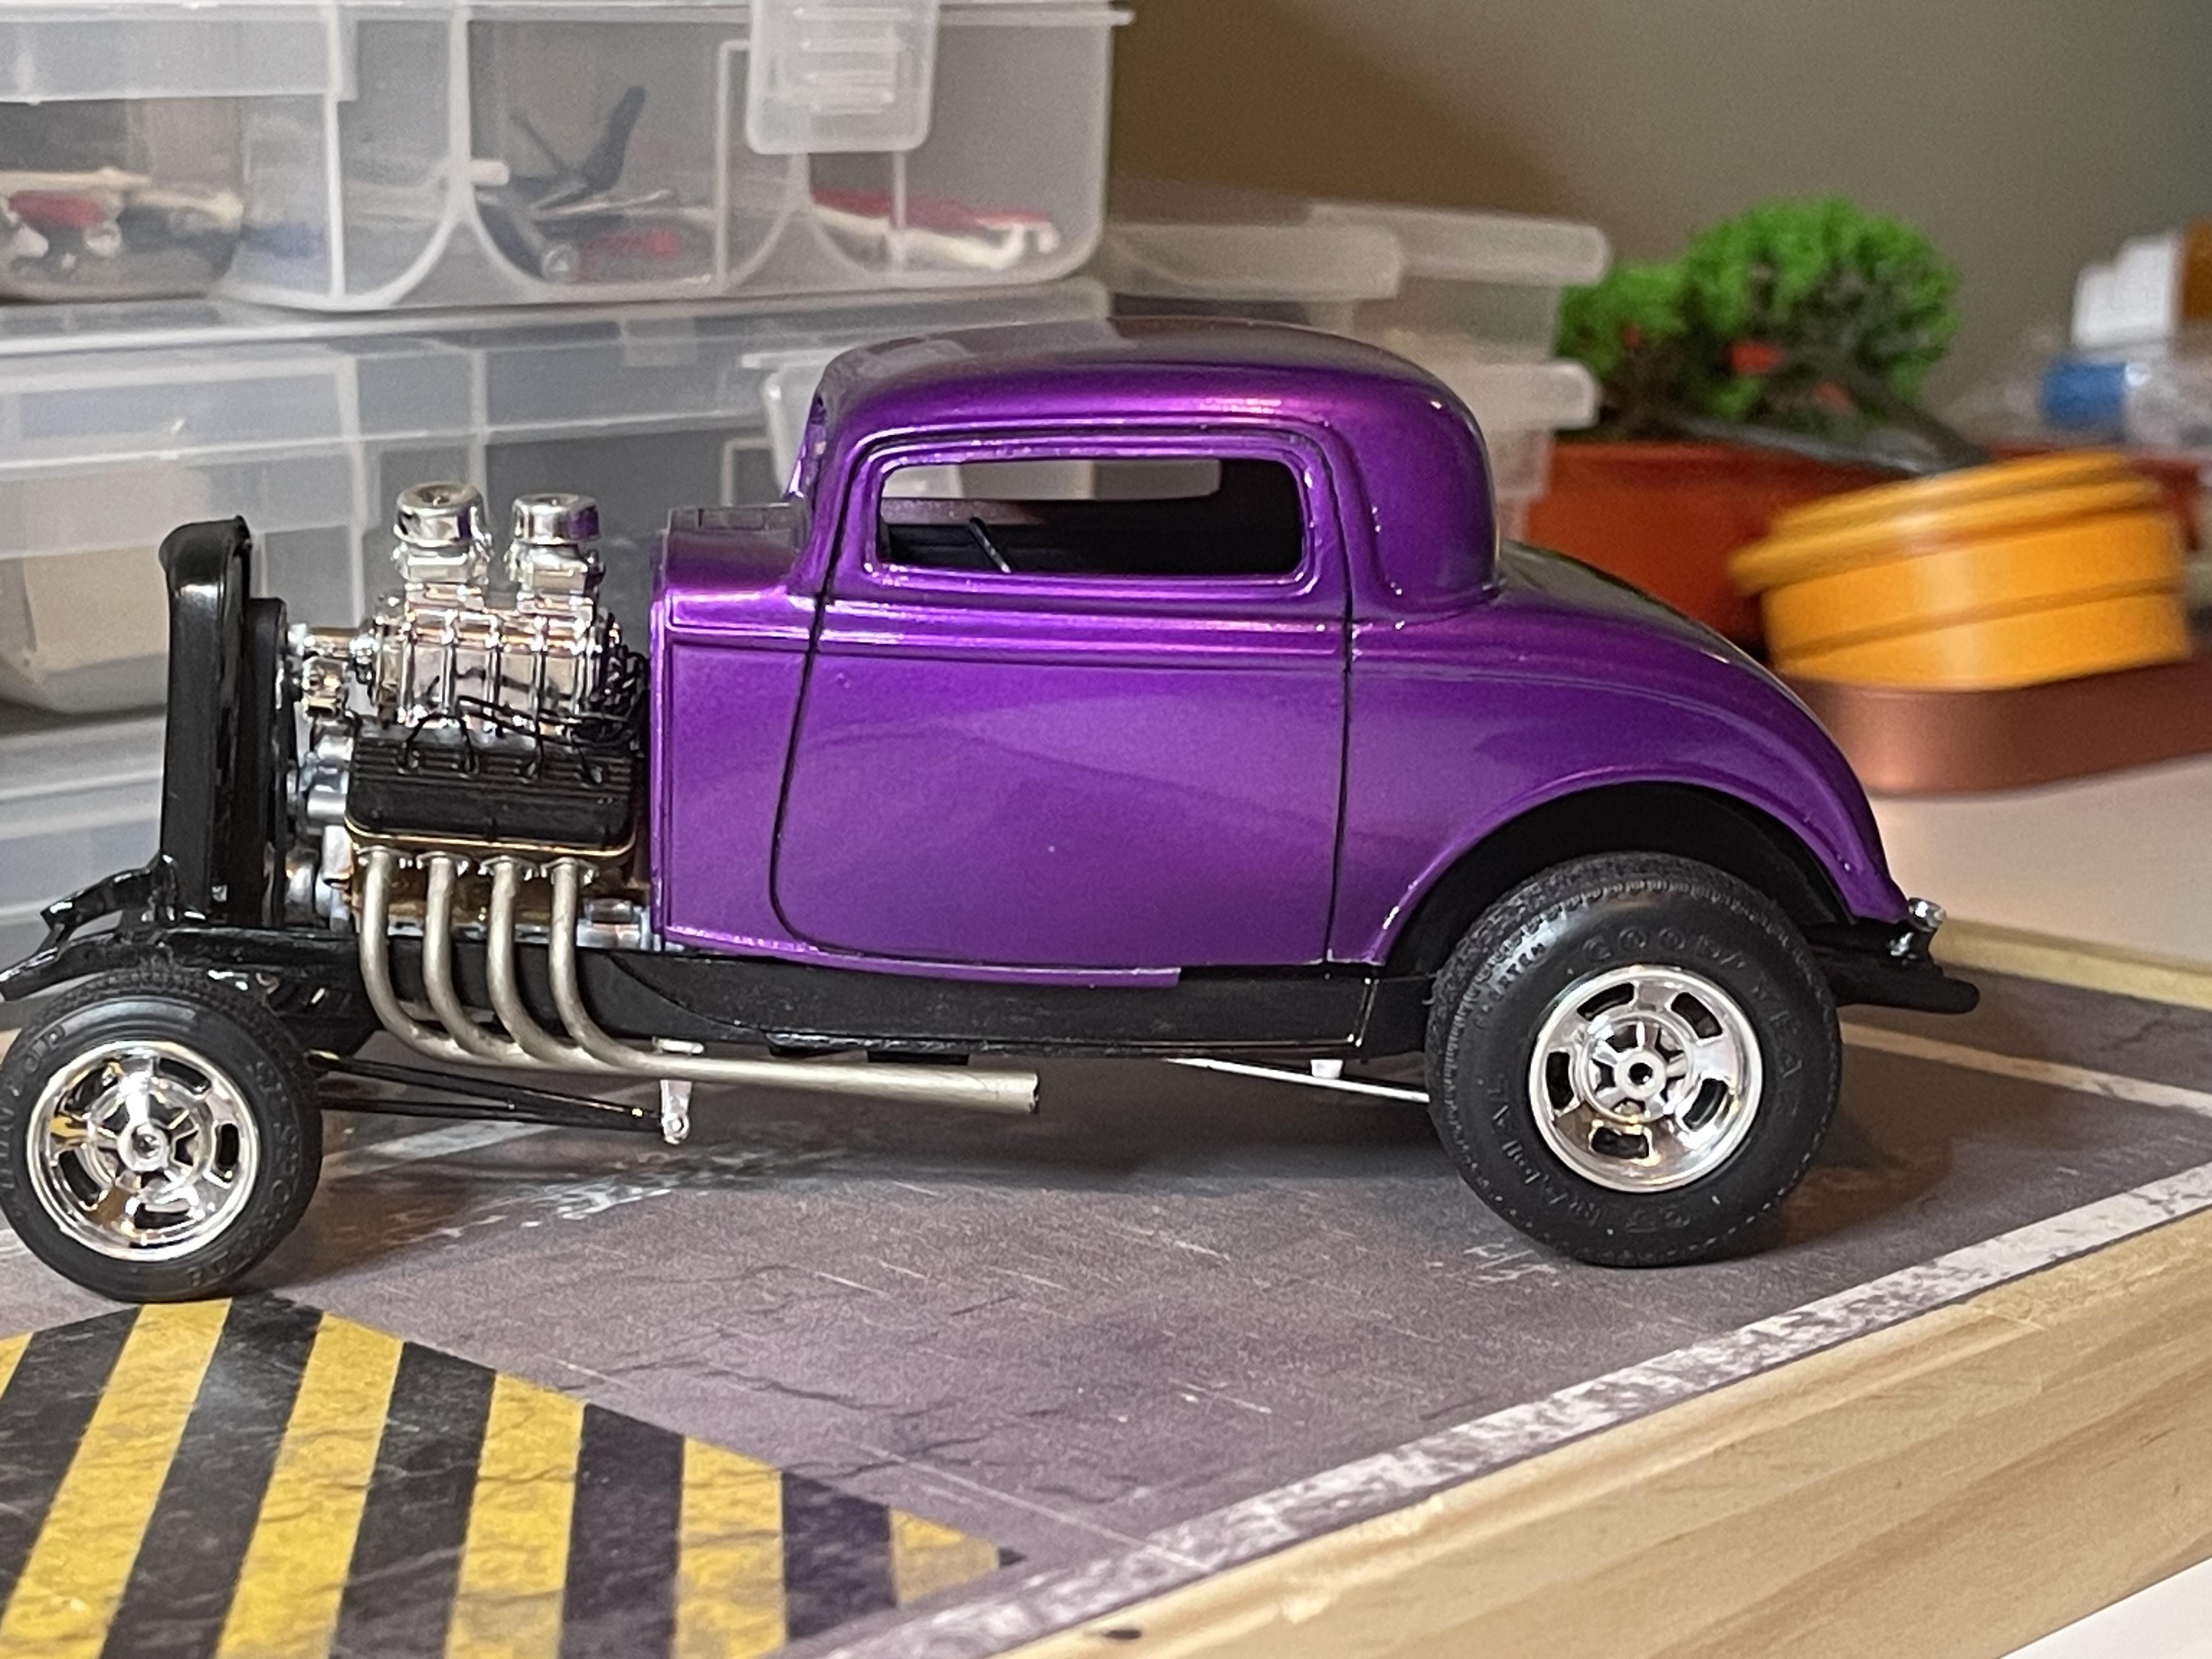
It is indeed Greg, I have many coats to lay down, I wanted to see how the colour looked. Thanks Tim, I appreciate the comments. Ok we are getting to the point of no return, engine fits, body goes on the chassis the same way every time. Time to offer up the wheels and see how it sits! Whoohoo!! It’s exactly like the mock-up stance and I’m pleased as punch with it. Still debating on colour matched steelies or an accent colour like racing white or even black. Thoughts or feedback on this would be good.
-
Nice to see you back at the bench @Dennis Lacy. I’m sure your subtle touches will make this a stellar build. I have one of those kits left in the stash. Put me down for one seat in the third row please.
-
Tidy work Bill
-
Revell 32 Ford roadster new release done the hard way!
Bullybeef replied to Bullybeef's topic in WIP: Model Cars
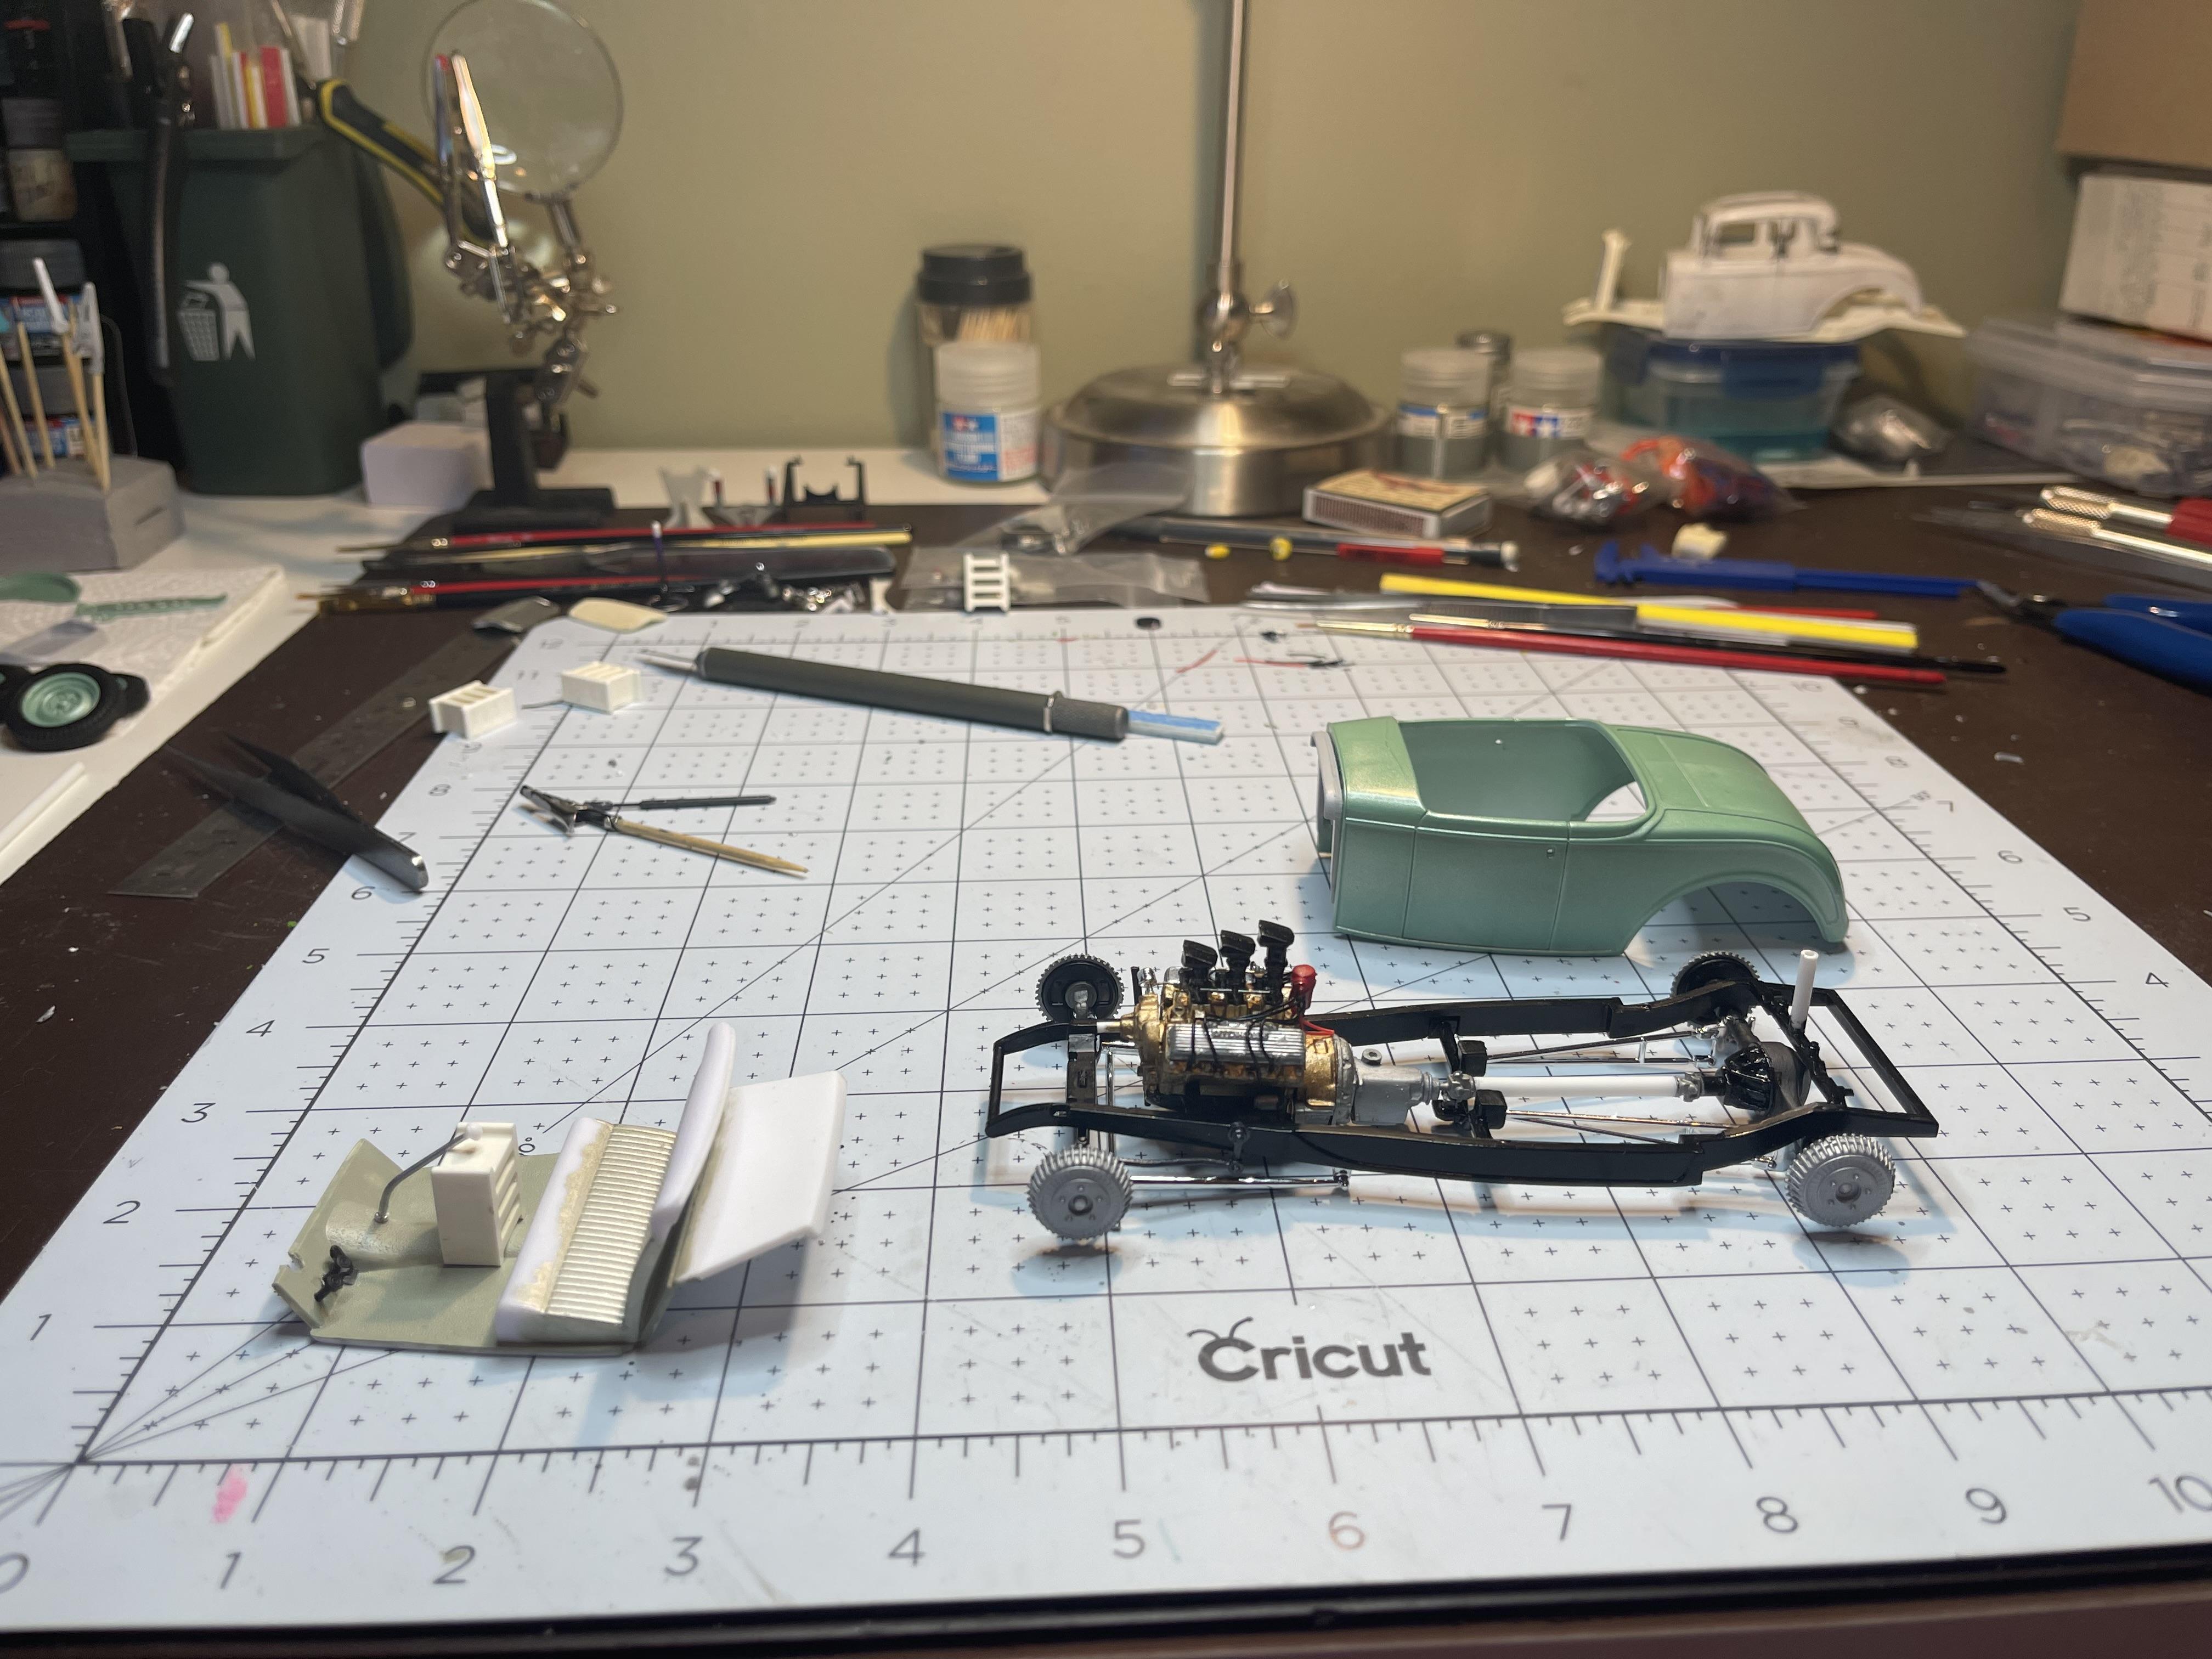
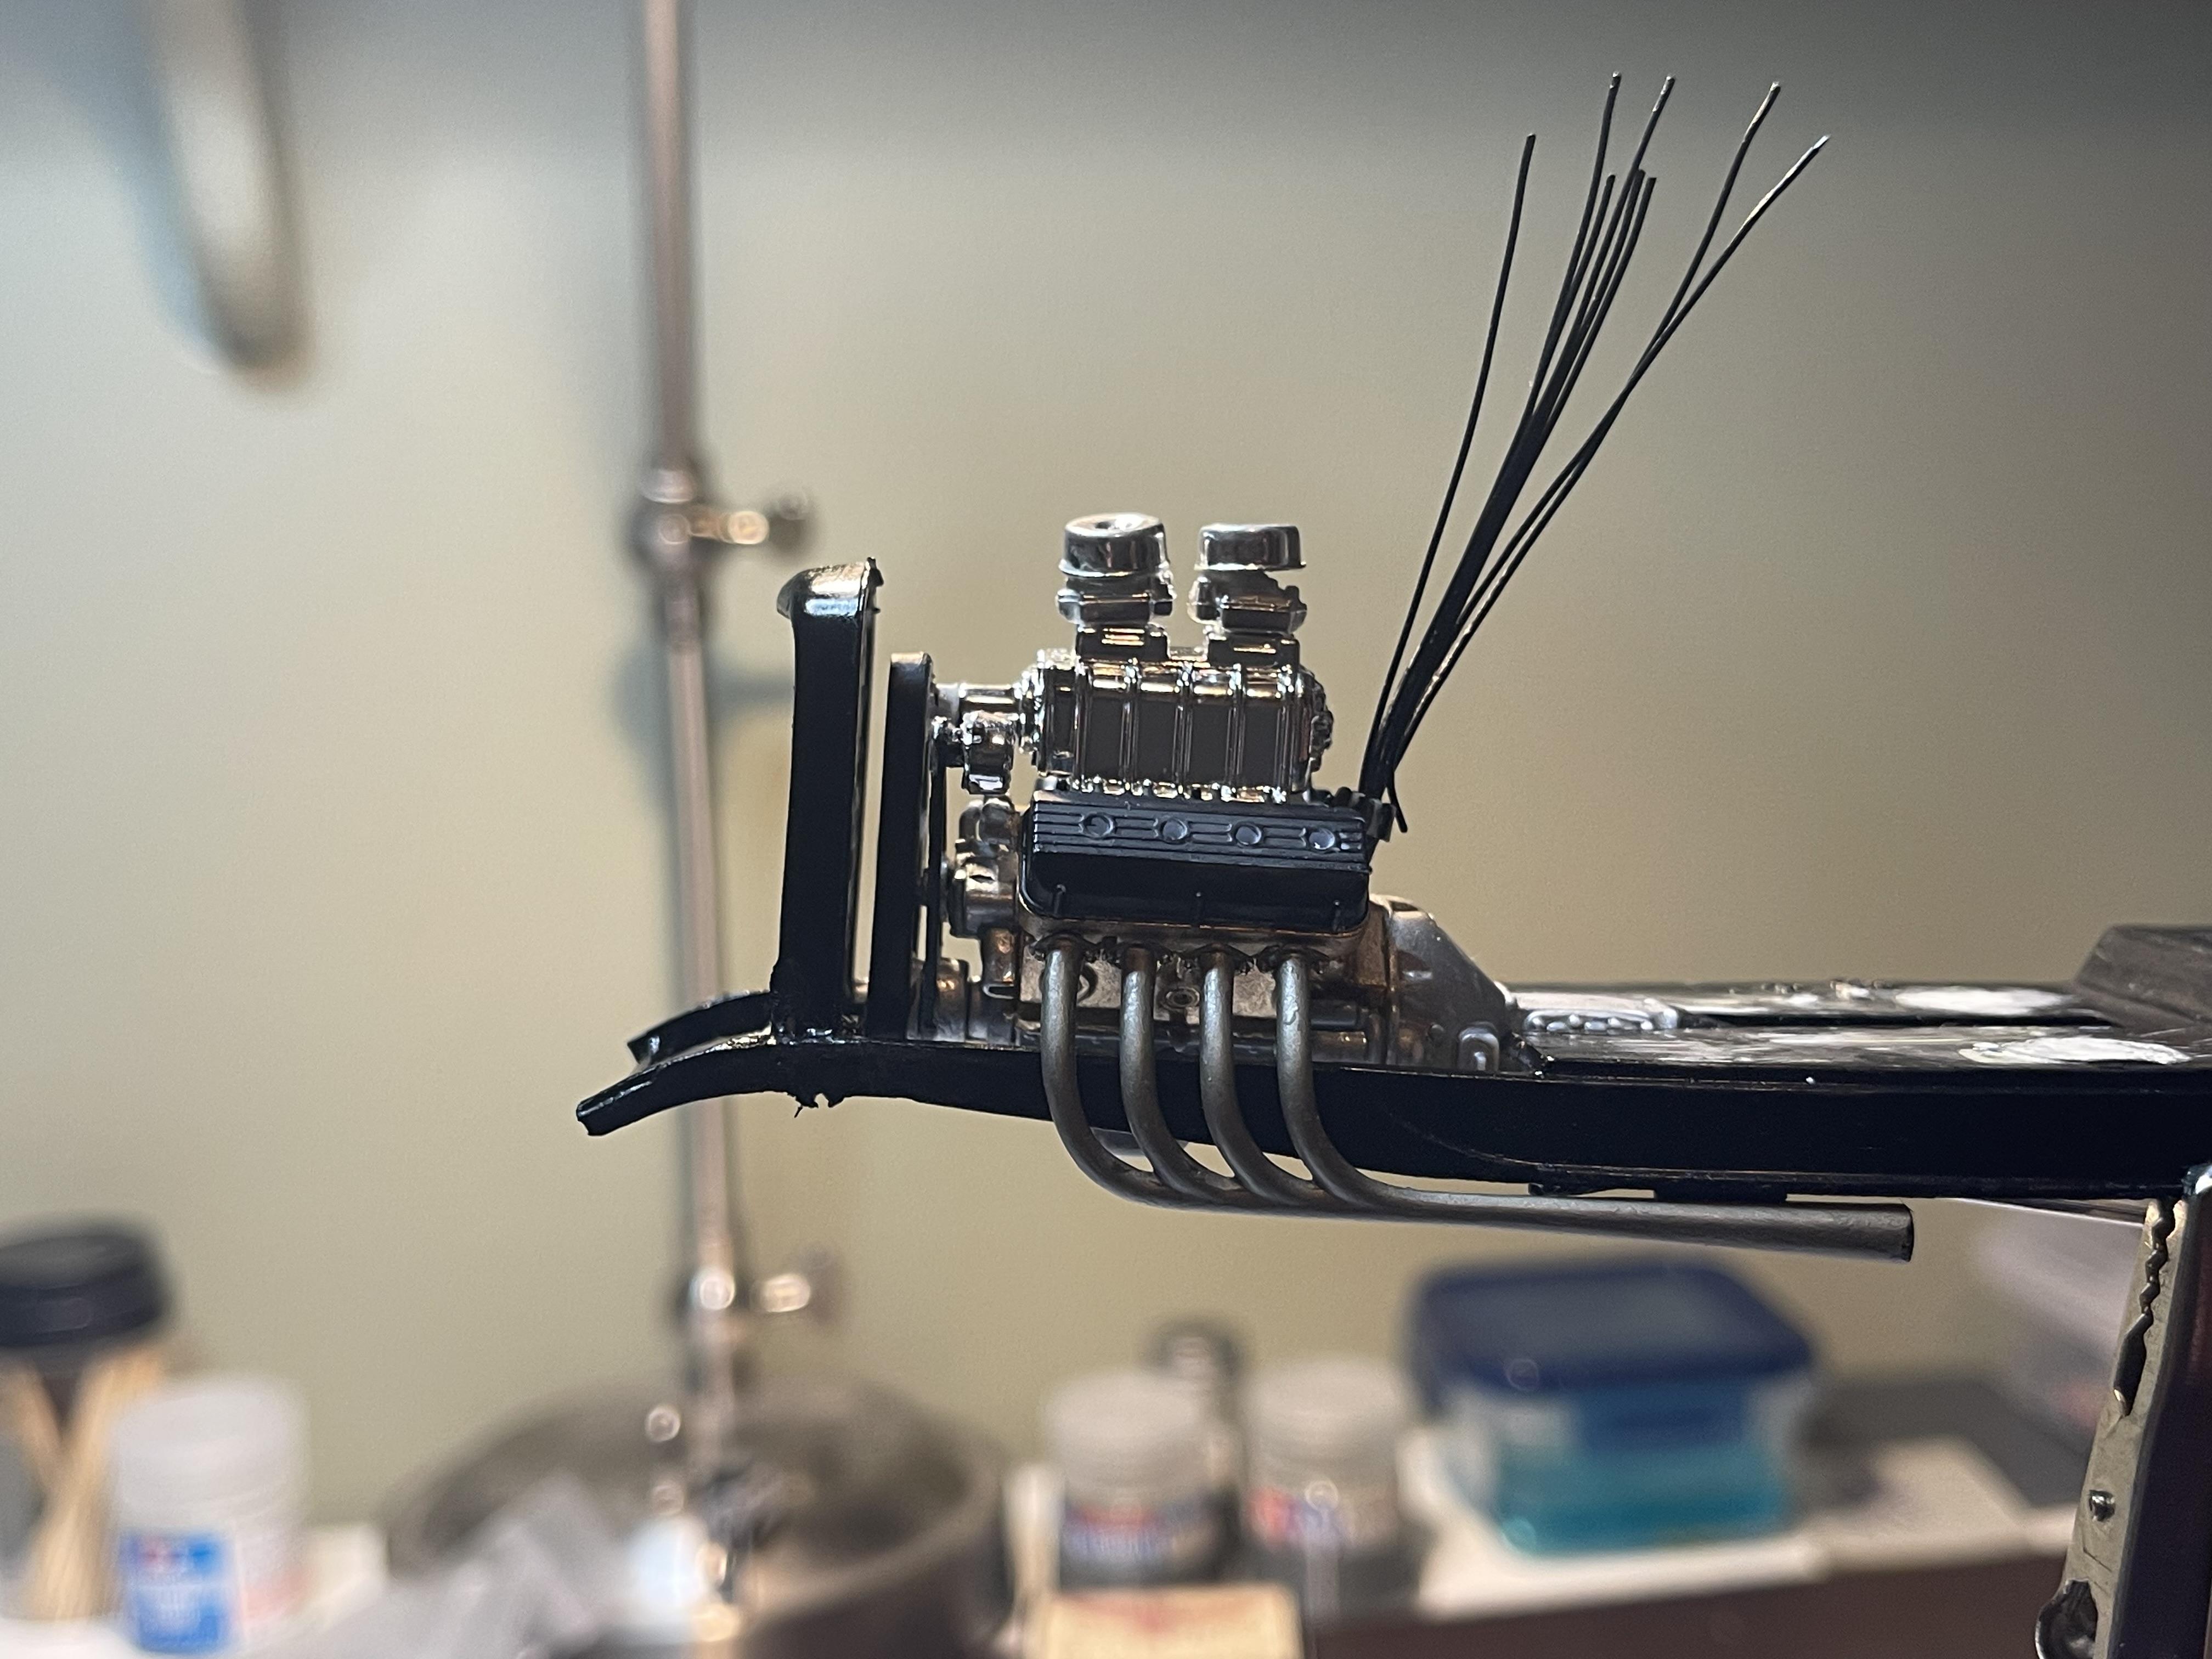
Well it’s been chaotic here that past couple of days so not a lot of progress. Sorting out the interior details. The floor pan that I grabbed from the box of parts did not have a gas pedal or enough room to mount one, so a little drilling was needed to move the pedals over enough to add a pedal( parts box find again). Made a driveshaft from styrene tube and the revell 32 driveshaft ends. De chromed a set of headers and got them in some flat white, I think that would be a good late fifties style. And finally a reveal of the colour of the body.
-
Revell 32 Ford roadster new release done the hard way!
Bullybeef replied to Bullybeef's topic in WIP: Model Cars
Carl thank you but that is not the colour for the roadster. -
Post your truck mockups.
Bullybeef replied to Mike C.'s topic in WIP: Model Trucks: Pickups, Vans, SUVs, Light Commercial
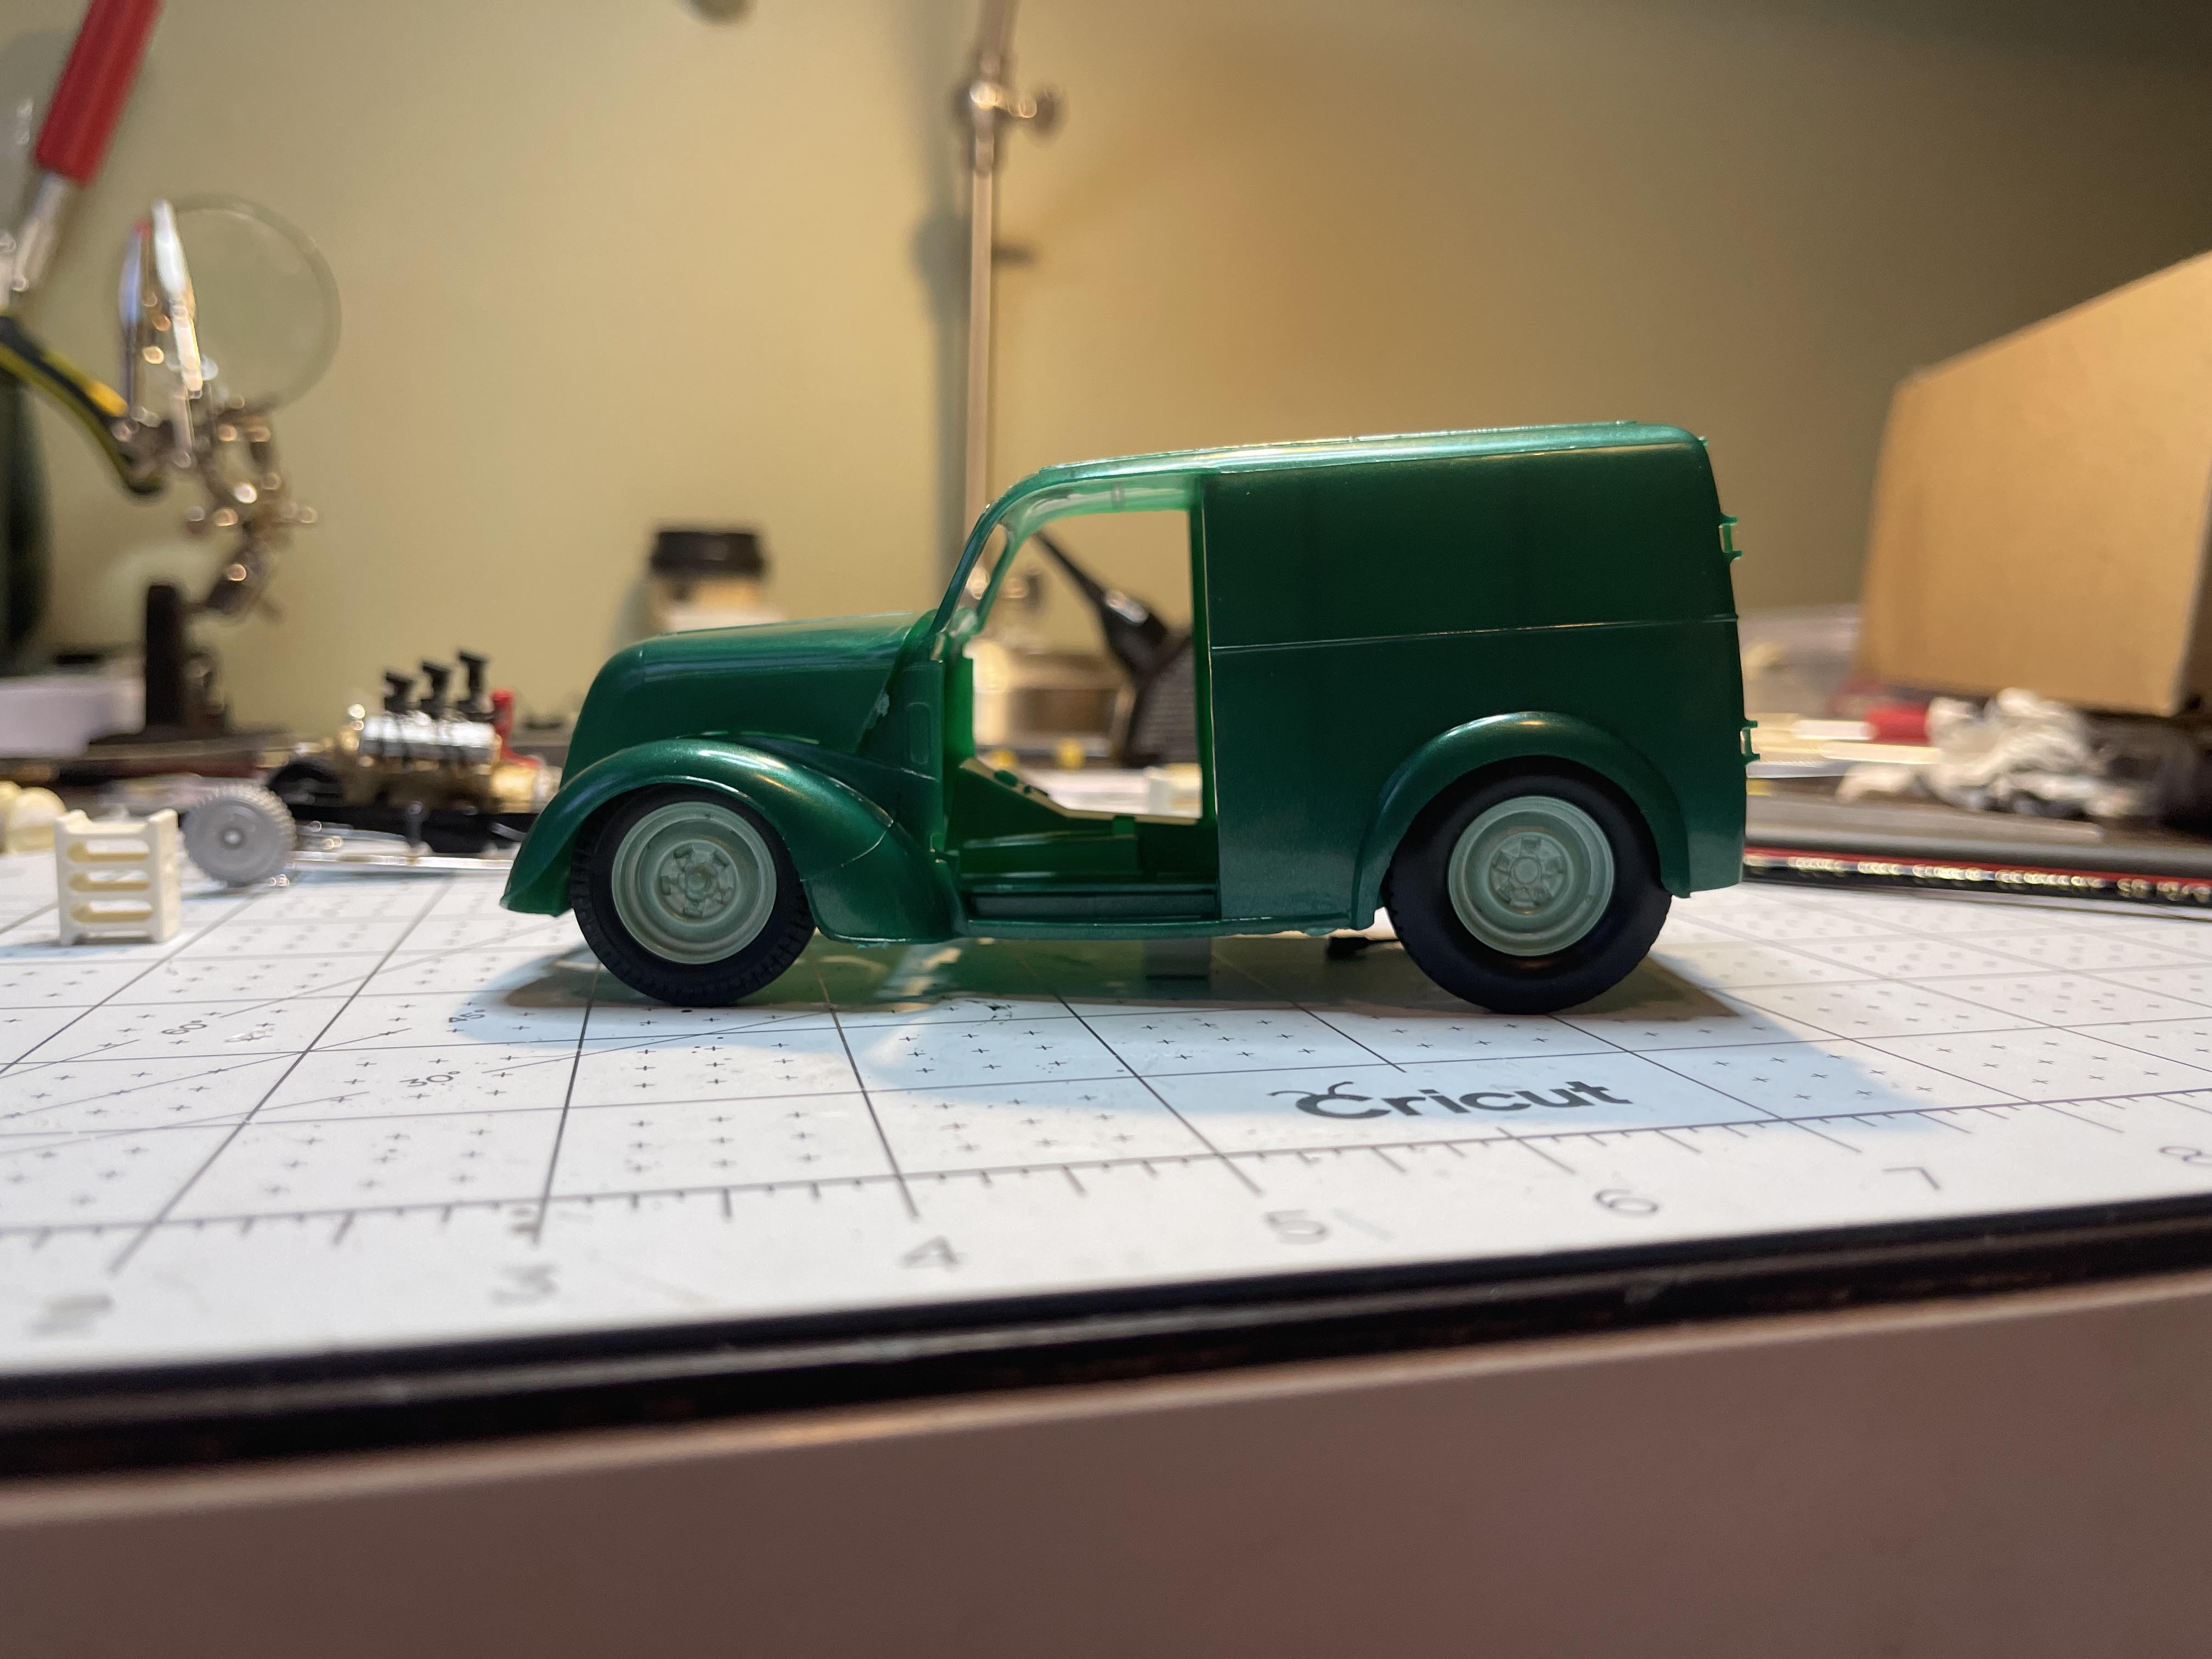
Not a truck per se, going for a small shop truck instead of a gasser.
-
Who doesn't love a mock-up? Let's see yours!
Bullybeef replied to Belairconvertable's topic in WIP: Model Cars
A little something I picked up today, think I’m gonna make a little shop truck out of it instead of the dragster.
-
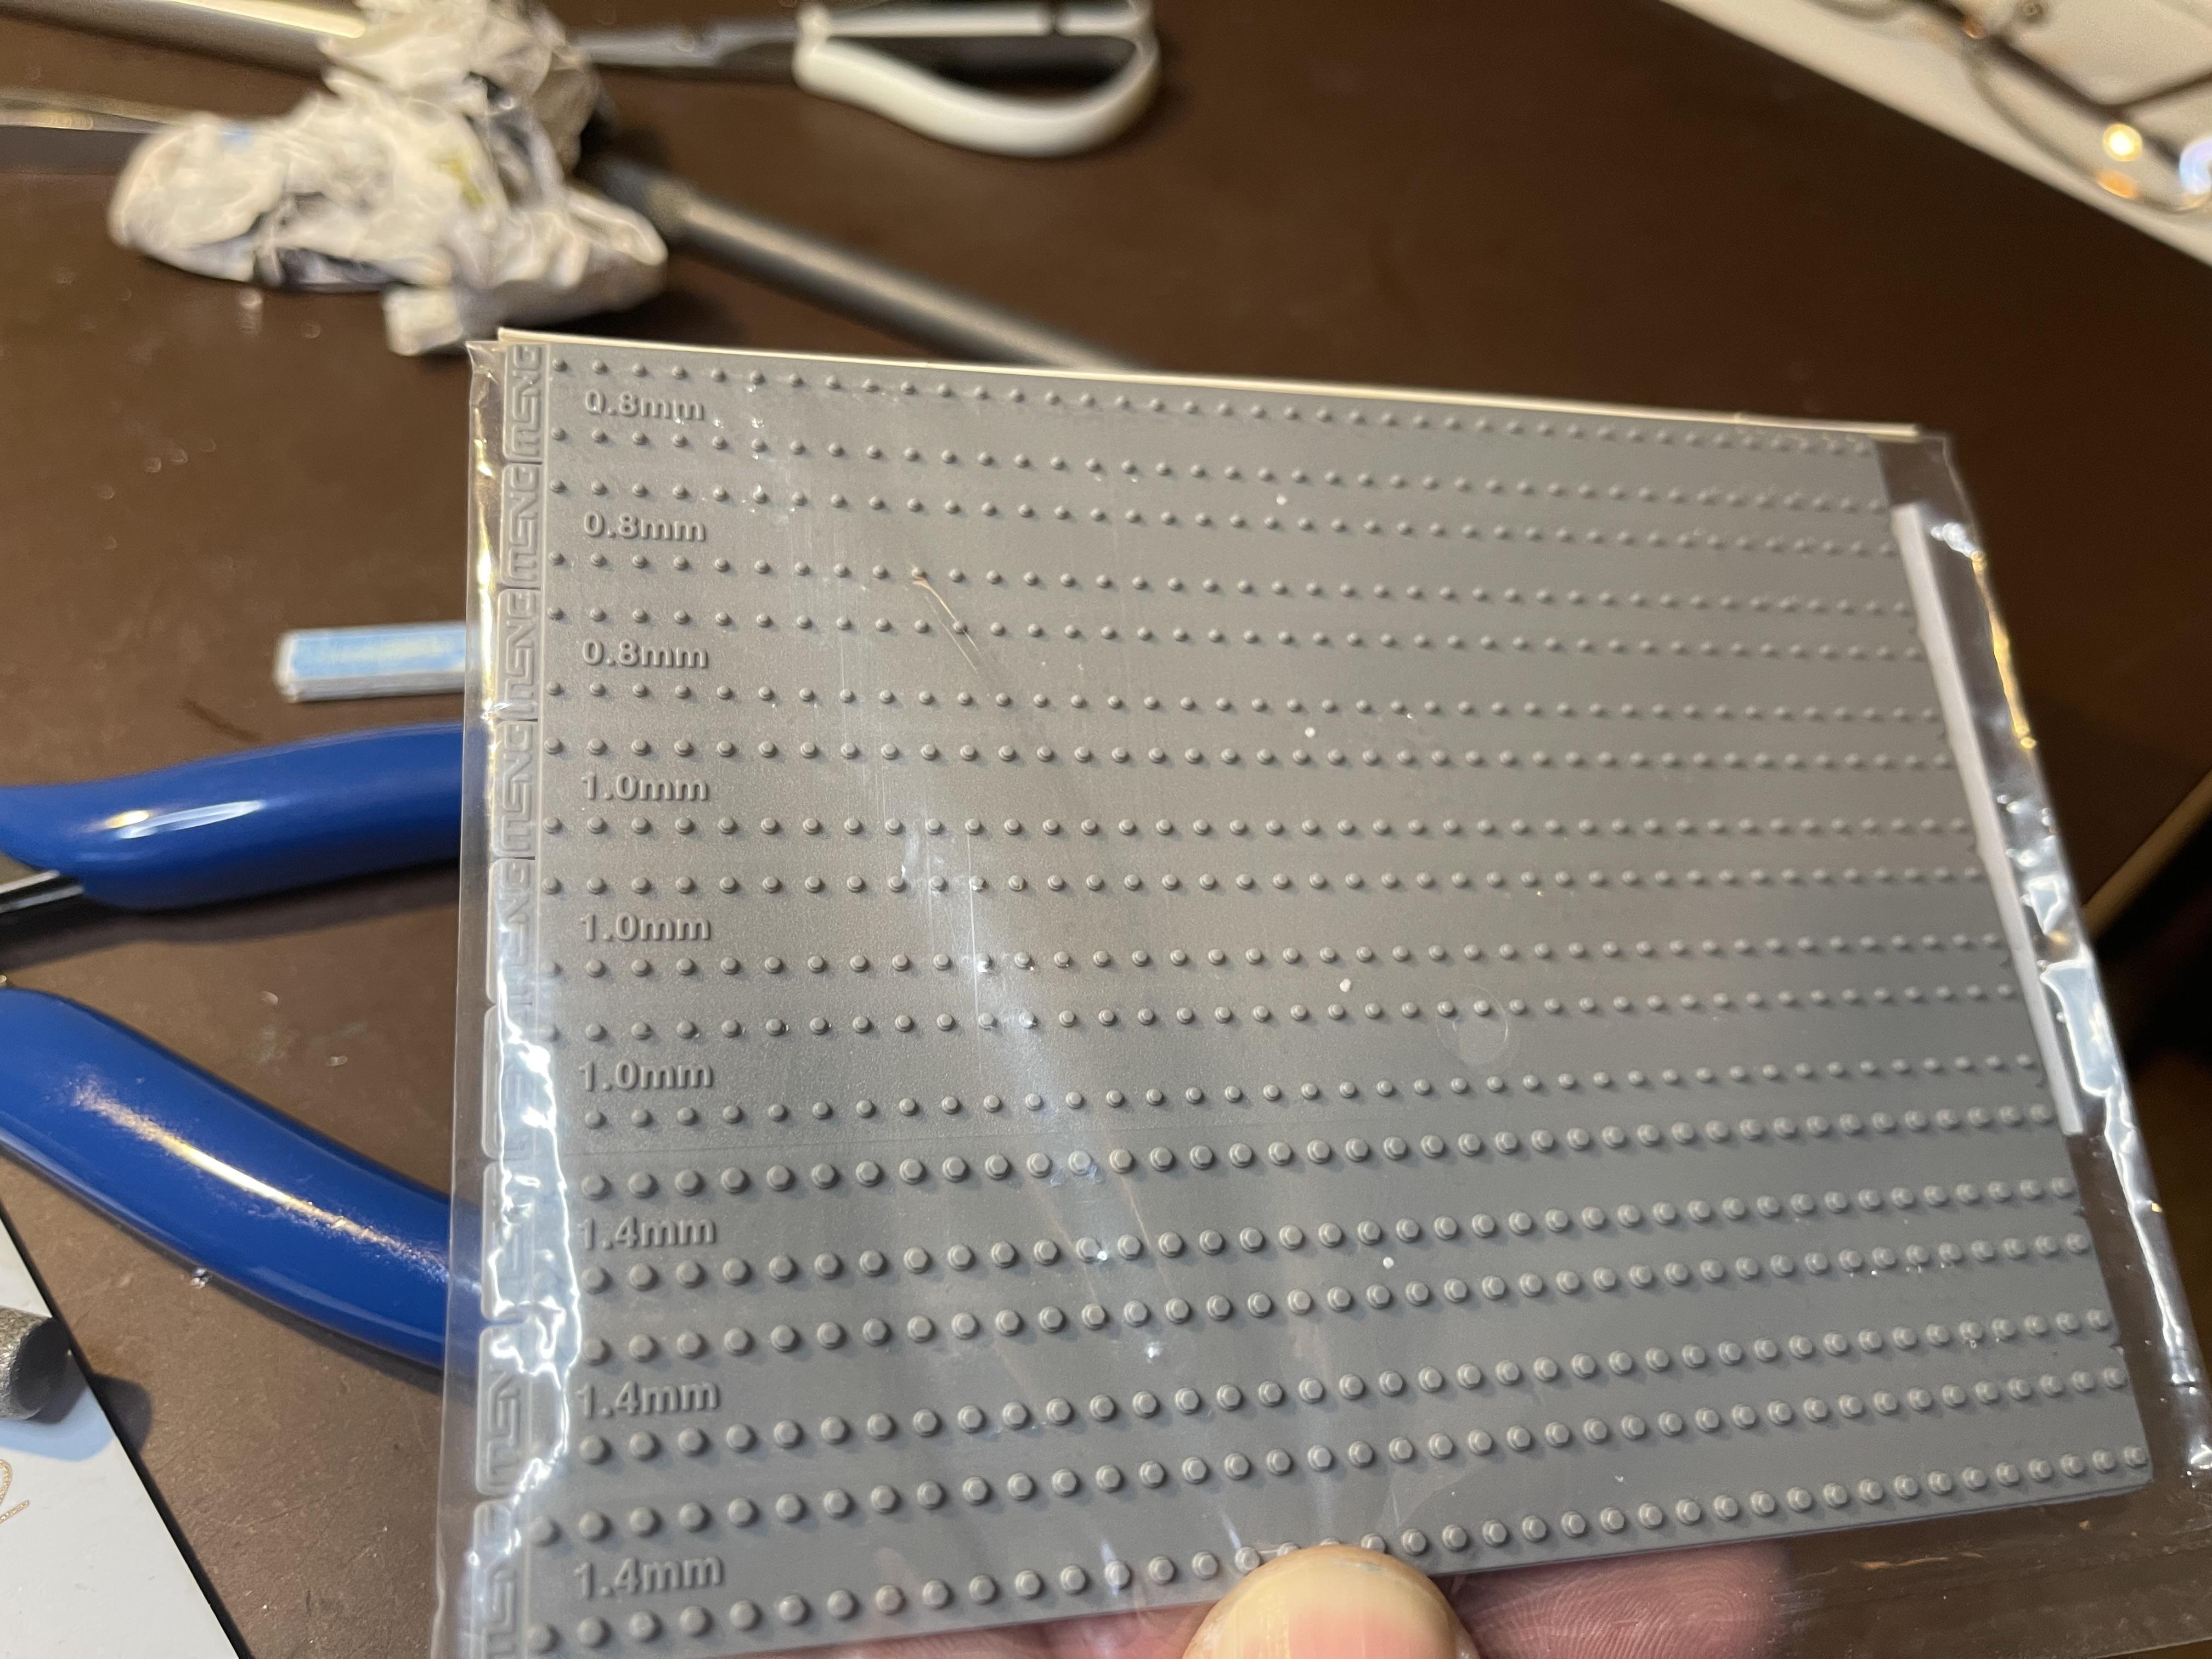
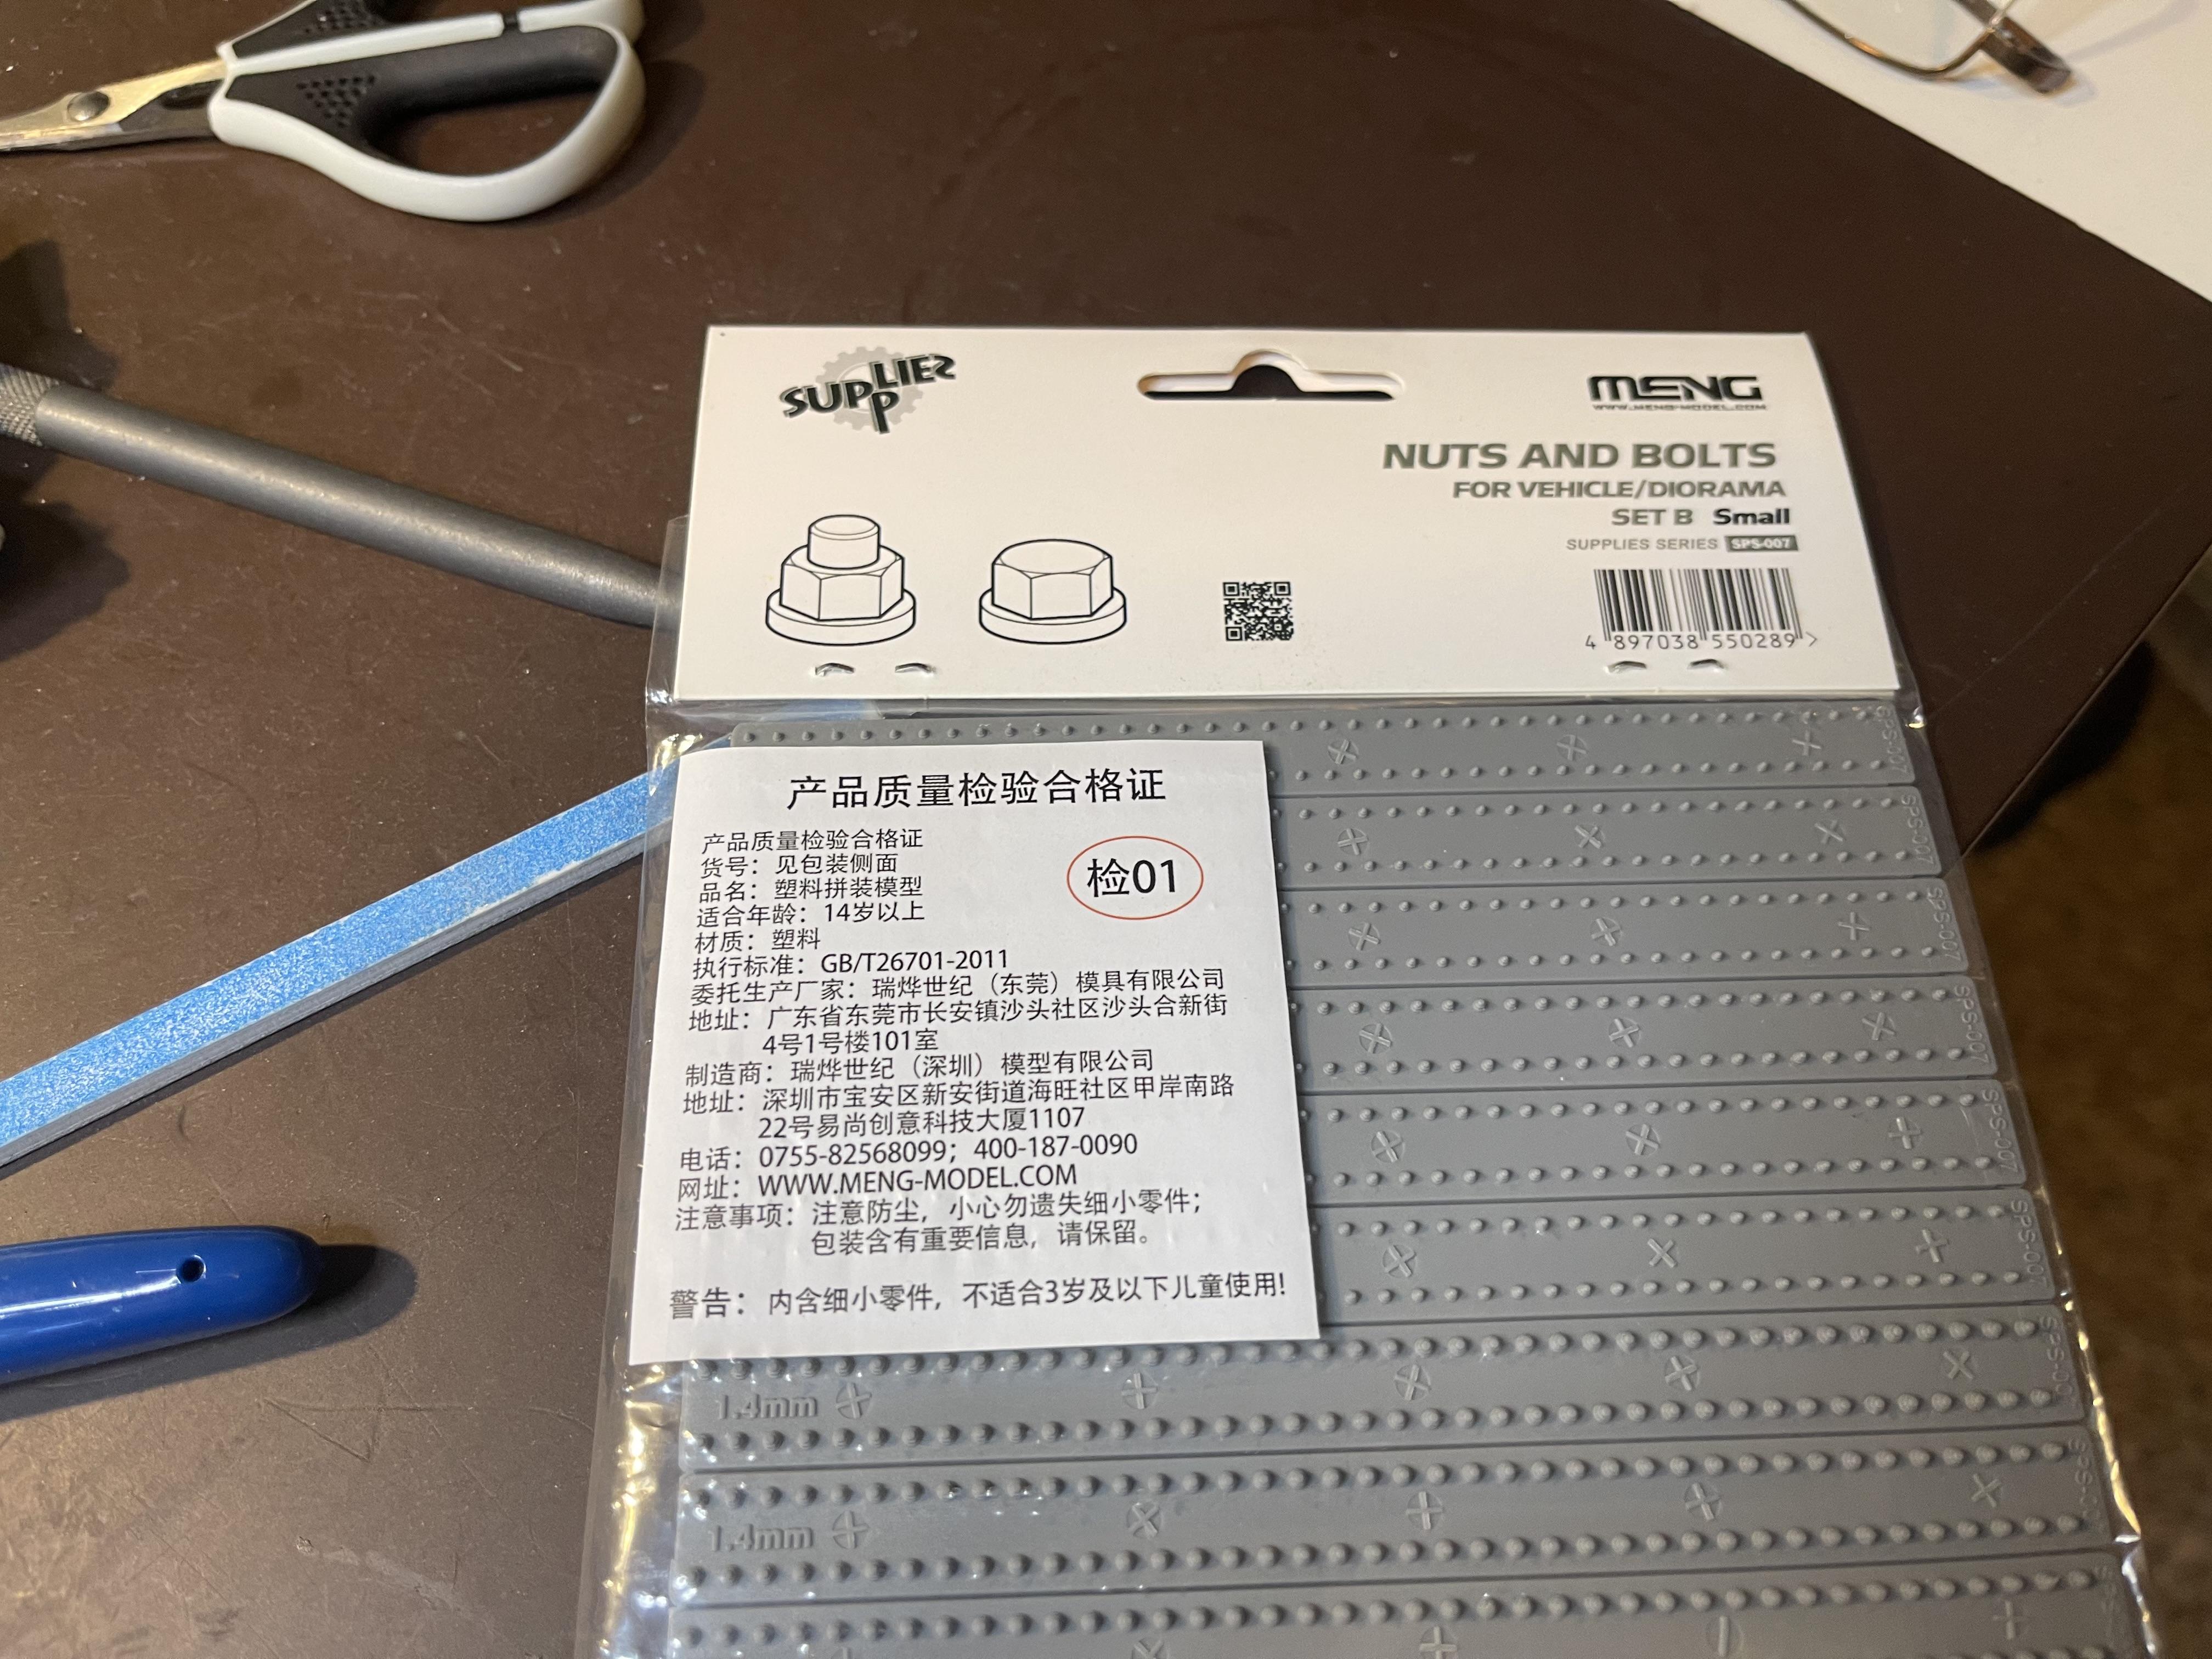
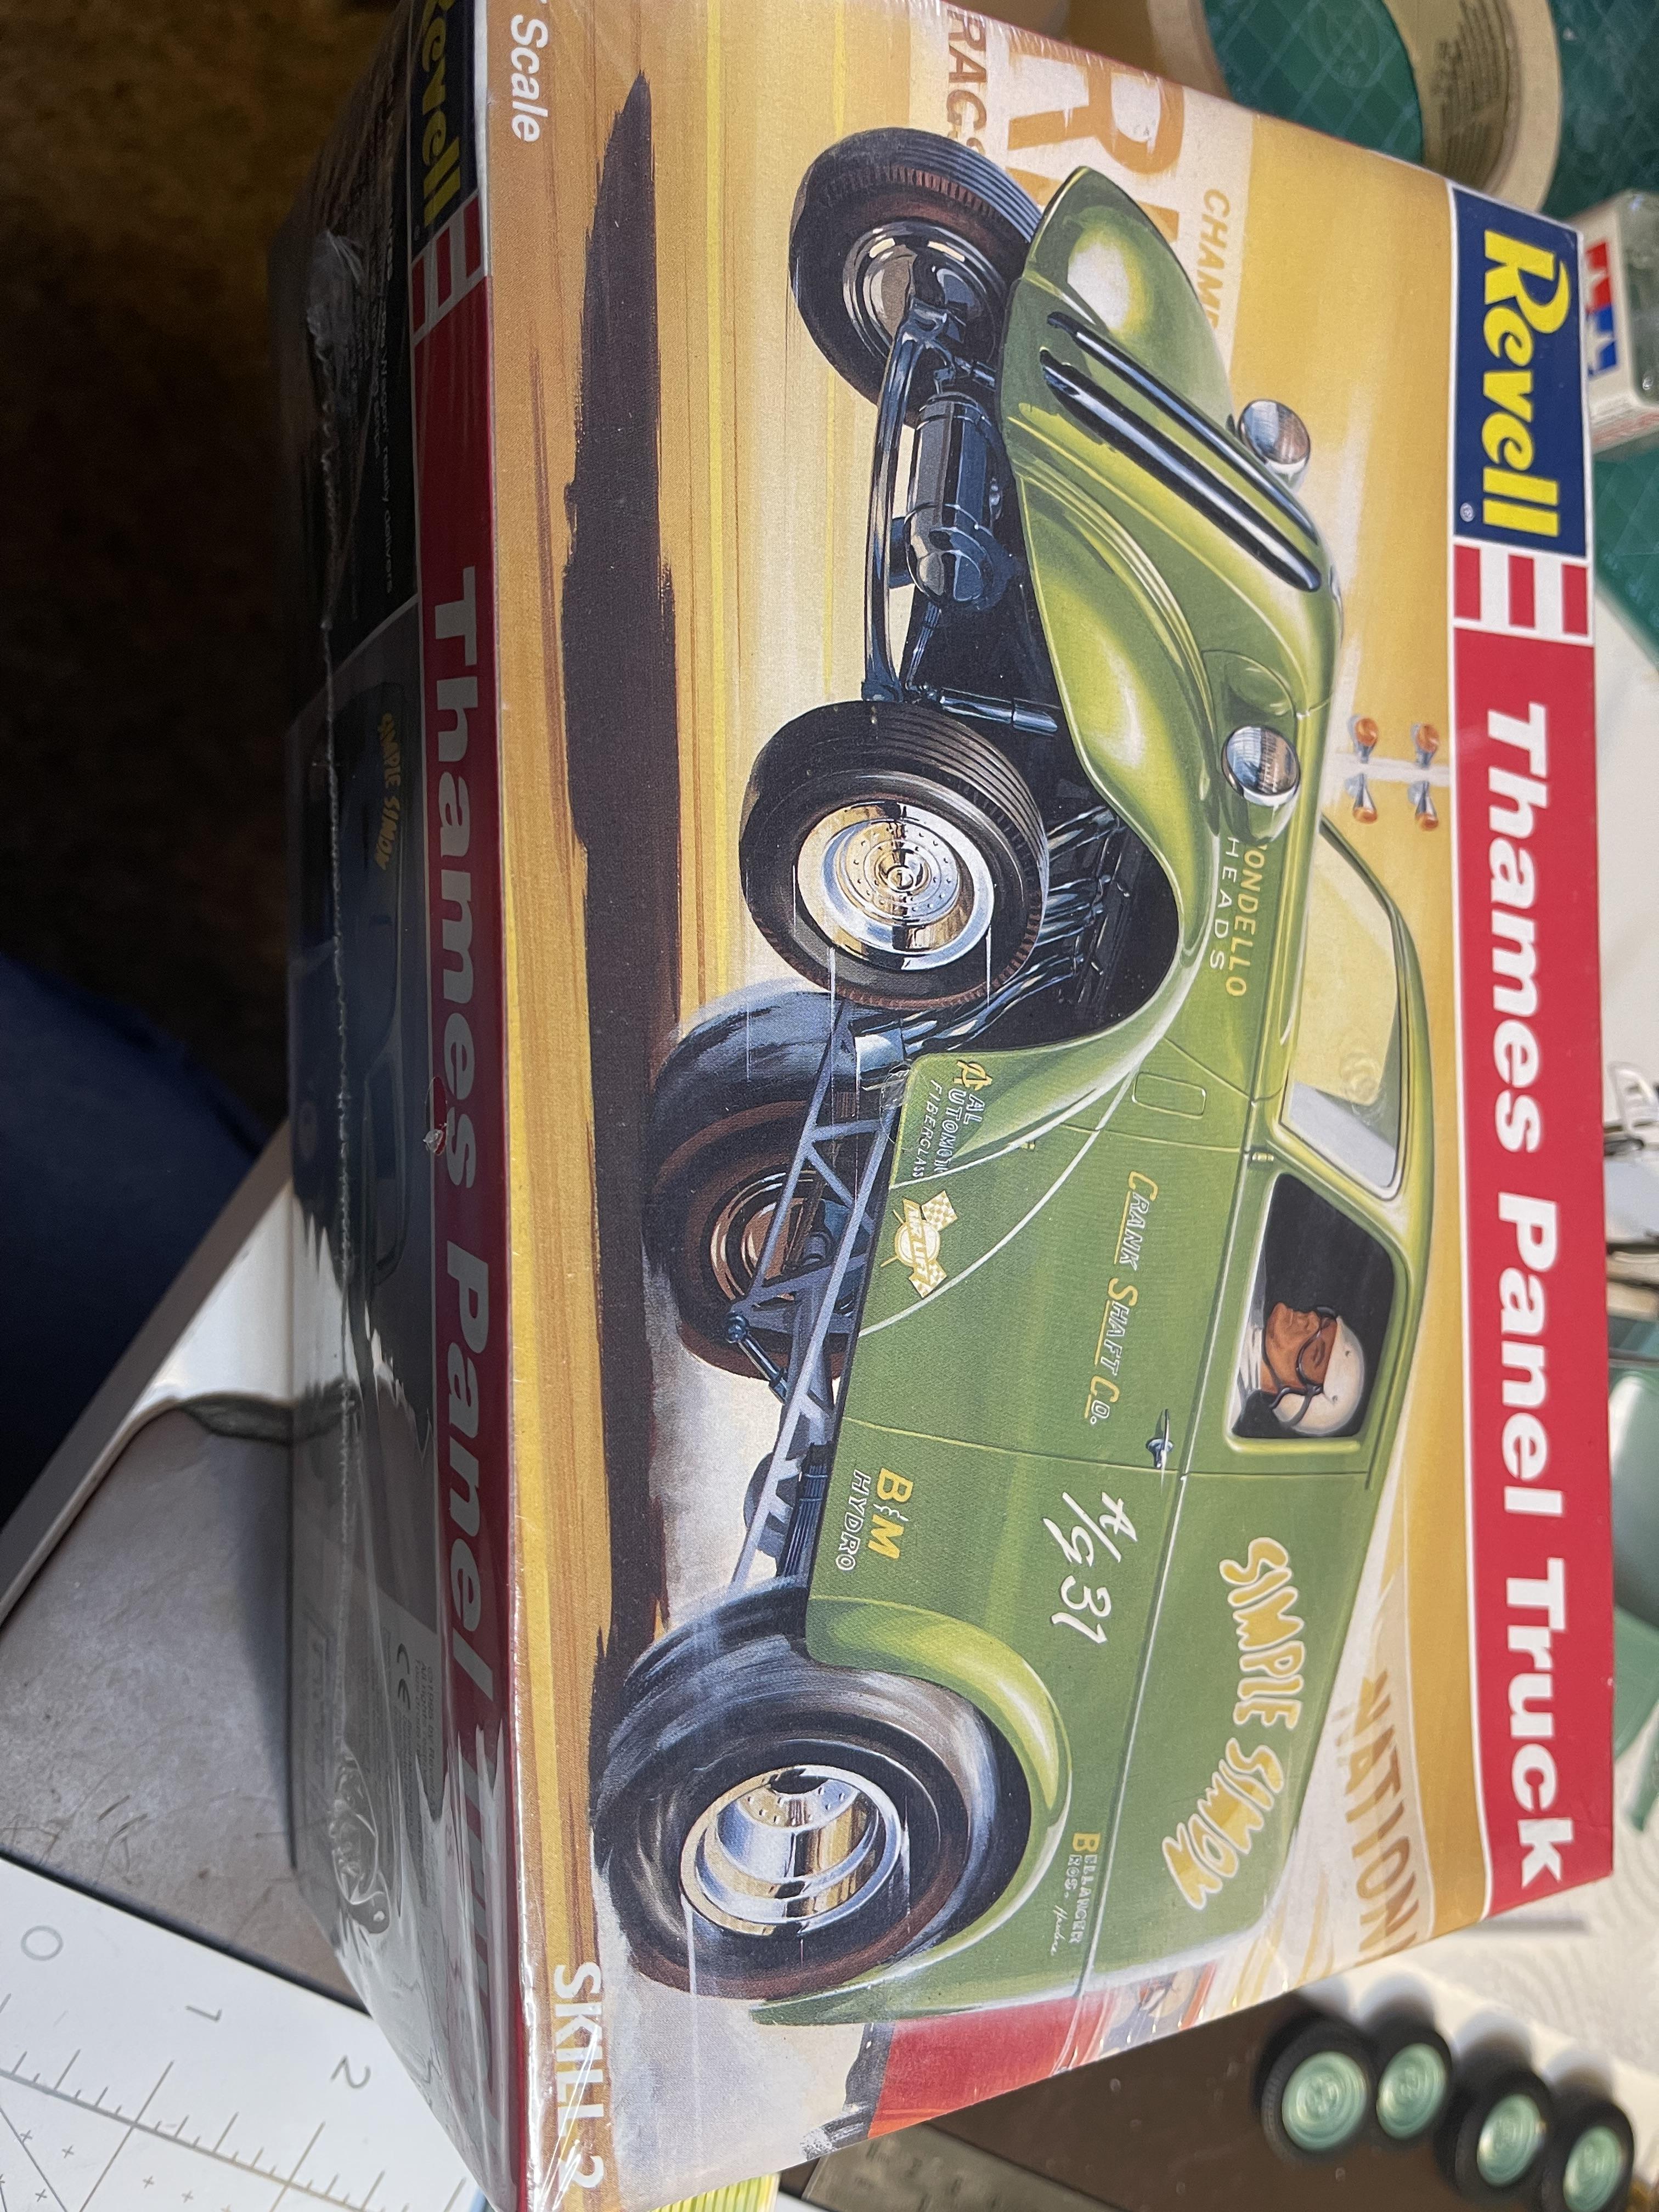
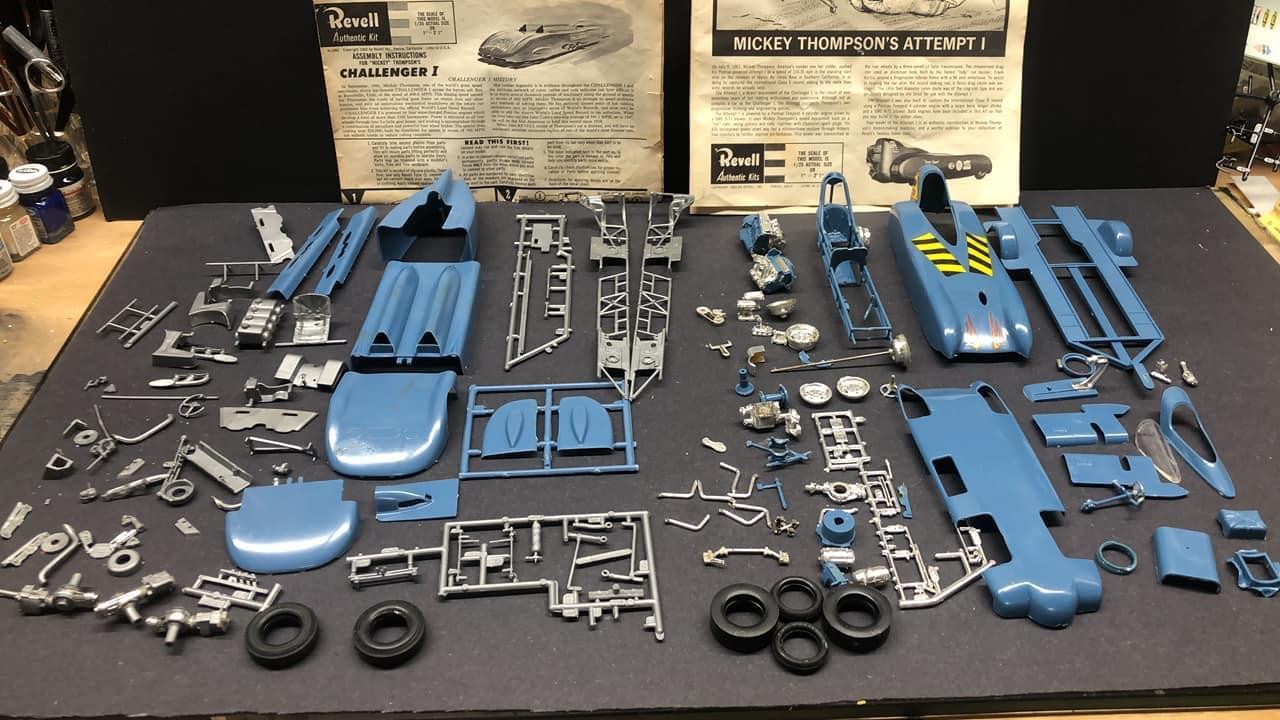
Went to the lhs to get some primer for an upcoming build, browsed the evergreen racks and got some resupplies, found these Meng bolts and those will save a heck of a lot of scratch building. They had a bunch of nos kits from an estate! Found the Thames panel release 1995 always wanted one, had some partials but never enough to build a full kit. And lastly a fb auction score. Now I’ll finally have a trailer for the attempt 1.
- 39,071 replies
-
- 2
-
-
- johan
- glue bombs
- (and 1 more)
-
Dude that’s heartbreaking
-
Let's See Some Glue Bombs!
Bullybeef replied to Snake45's topic in General Automotive Talk (Trucks and Cars)
@Snake45 I finally got to use some of the parts of that original glue bomb, frame, rear axle/suspension engine and a bit of the interior. While not a restore, it did get a second life.
-
Revell 32 Ford roadster new release done the hard way!
Bullybeef replied to Bullybeef's topic in WIP: Model Cars
Well I wouldn’t say beating my brains out, more like giving a very strong workout, and maybe I’ve mixed in a couple of pan galactic gargle blasters to get the flux back in the core. Pipe down Scotty you’ve had the engines past warp 5 before ya mumbling Scottish bast…