Pierre Rivard
-
Posts
2,579 -
Joined
-
Last visited
Content Type
Profiles
Forums
Events
Gallery
Everything posted by Pierre Rivard
-
Well it just so happens that...
-
BOING! That's my jaw hitting the floor.
-
Porsche RS60
Pierre Rivard replied to afx's topic in WIP: Other Racing: Road Racing, Land Speed Racers
Year of the Porsche at the Reckner shop. Definitely. -
Yes, yes, hollow that bell housing, go for it. A functioning clutch mechanism would be nice. Give Francois a bit of competition.
-
Thanks Mark. I don't mind a challenge but this one may be a bit beyond my capability. Lots of head scratching...
-
3rd gen Camaro
Pierre Rivard replied to MarkJ's topic in WIP: Other Racing: Road Racing, Land Speed Racers
So It appears you'll keep us guessing until the big reveal? -
It looks beautiful and it has not aged at all. We see the occasional Fujimi but rarely a Heller build of this car. It's good to see that Heller builds well and offers an alternative to the hard to find Fujimi.
-
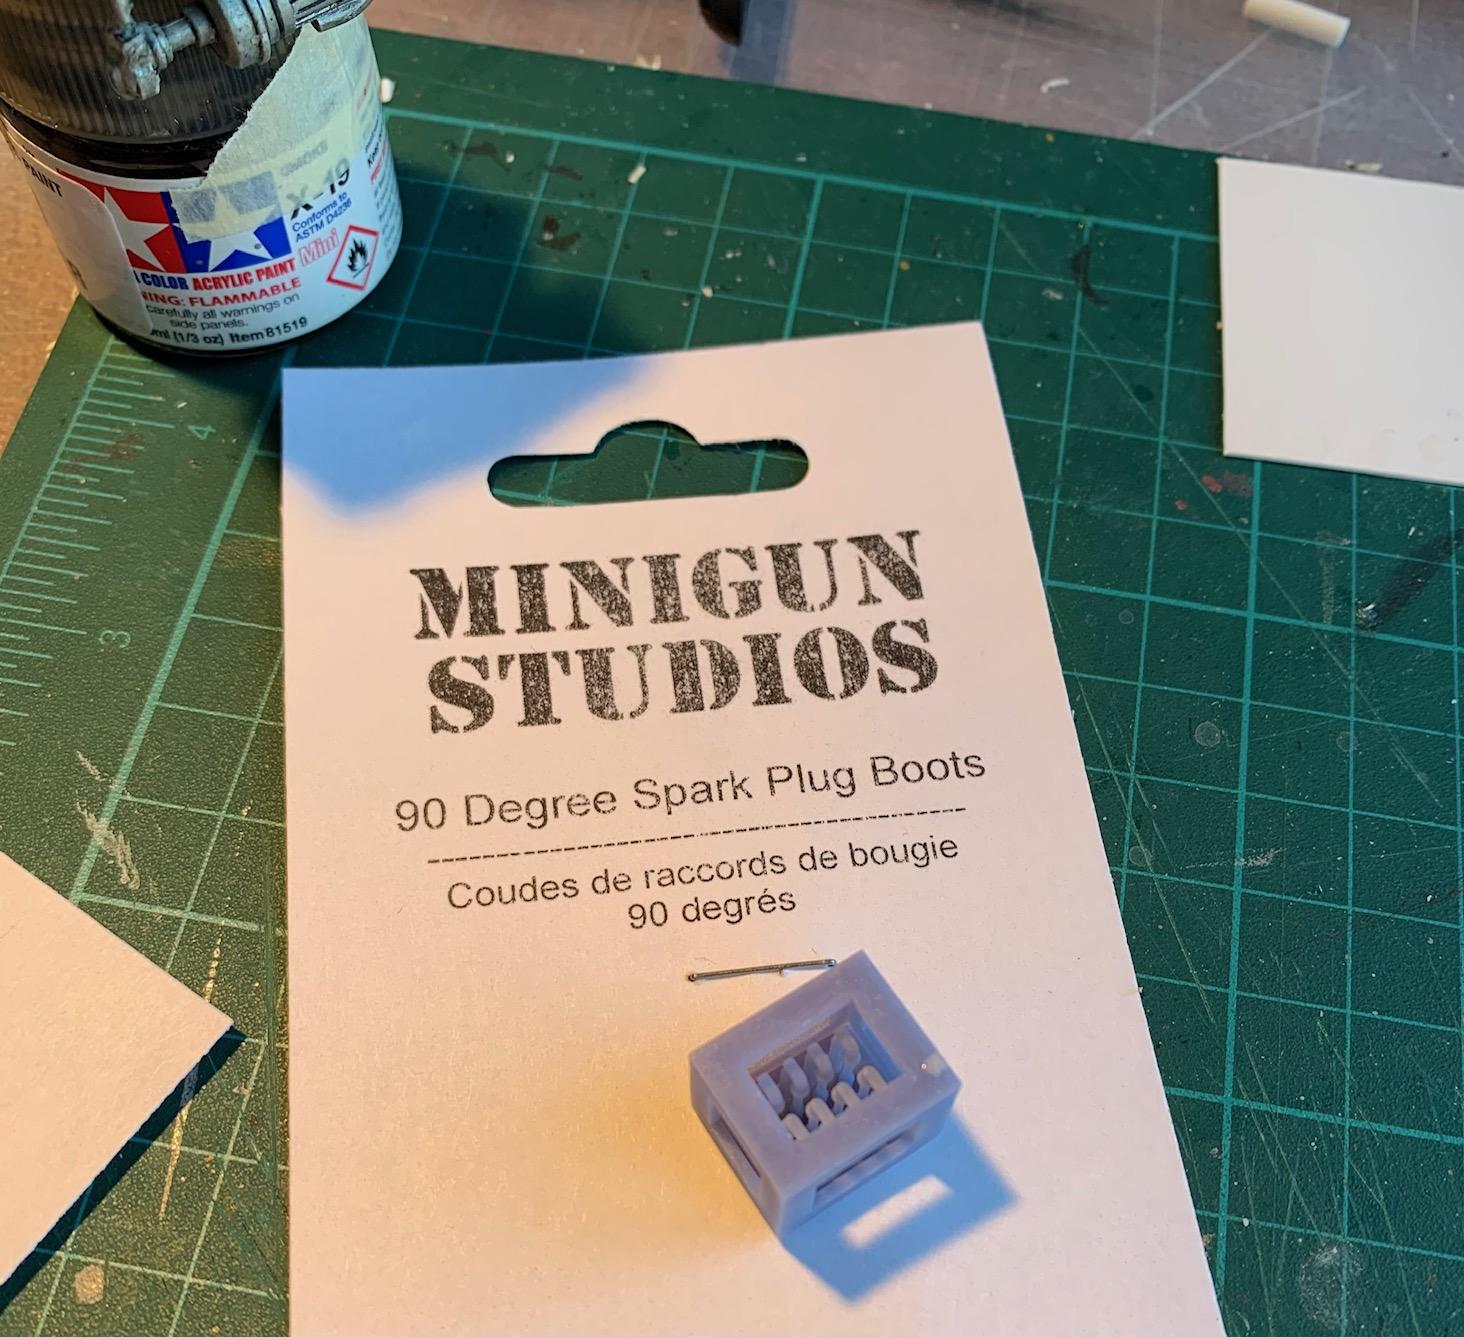
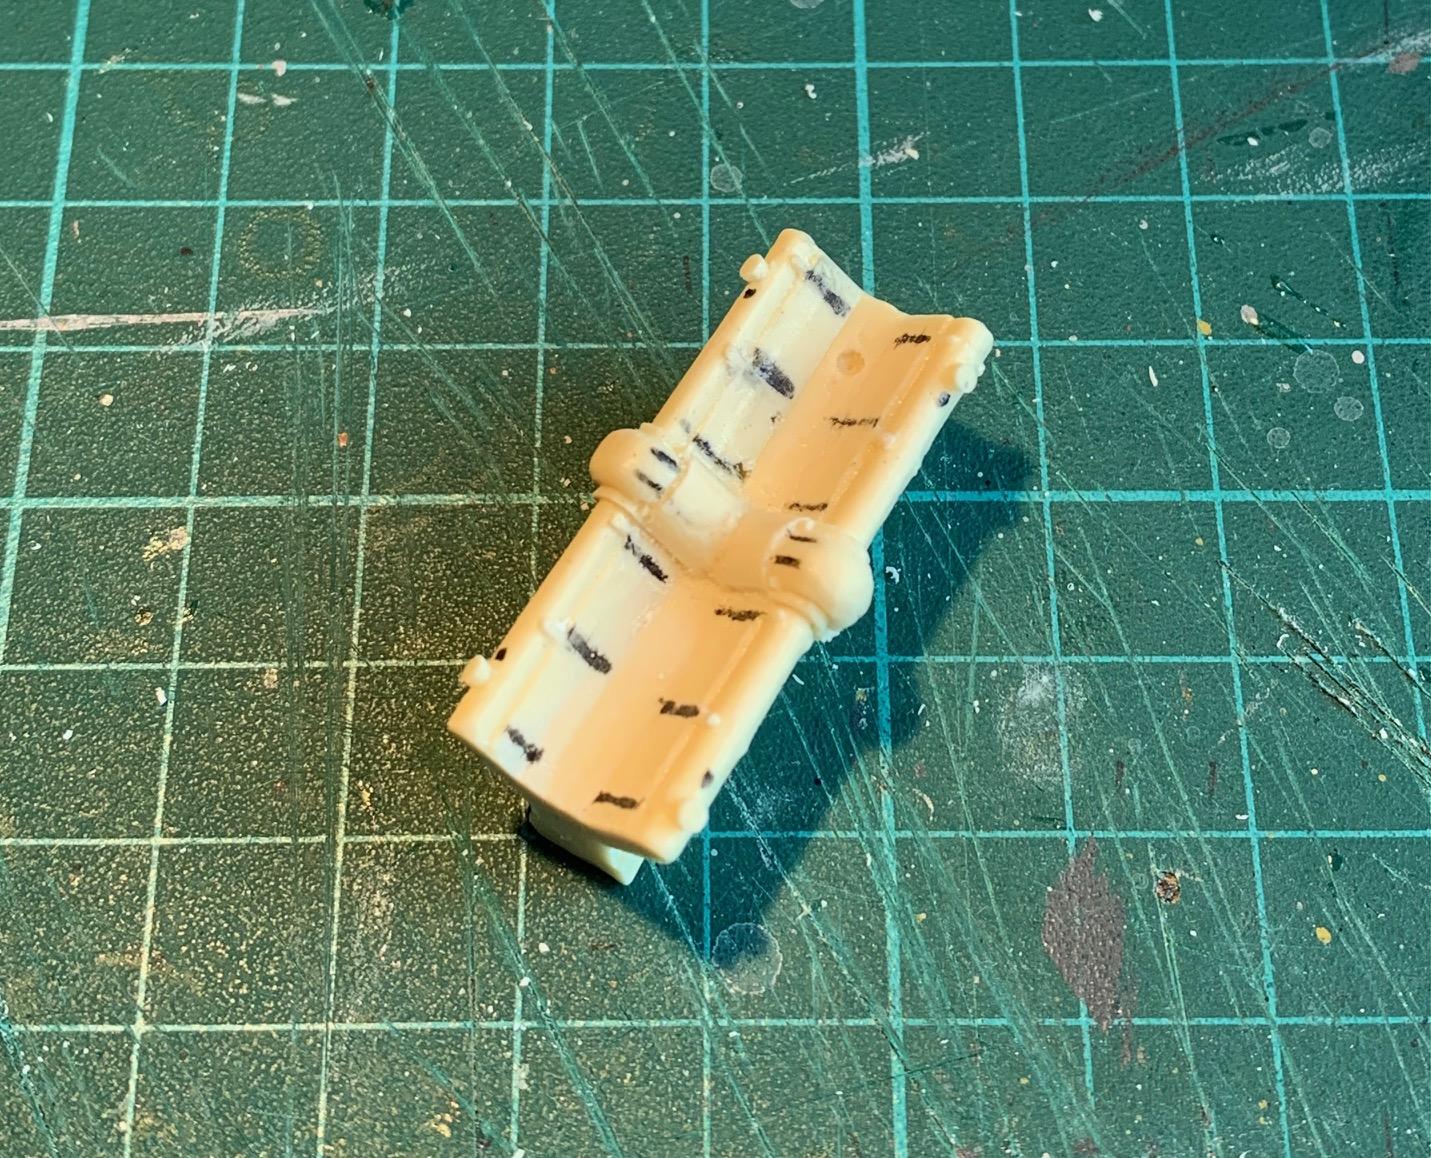
Thanks Andy. This engine pales in comparison to your's but that's the best I was capable of with the combo of the parts I started with and what I'm capable of. I find that working with resin is a lot more harder than the styrene I'm used to...but these pre-war race cars... getting addicted... Minigun Studio is printed locally by a fellow working at my (great) hobby store. It was a first try and I was very impressed. Here's a list of items they offer, and they appear open to requests for new items. https://jachobby.com/fr/jolisearch?s=Minigun+Studio
-
Who doesn't love a mock-up? Let's see yours!
Pierre Rivard replied to Belairconvertable's topic in WIP: Model Cars
That would be so much better than the bulky, busy, inelegant C8... -
1/16 Mercedes-Benz 300 SL by Italeri (like a barn find)
Pierre Rivard replied to Mittagskind's topic in Model Cars
Well done Hanjo. The weathering is very convincing, particularly the chassis and engine. Must be a fun journey do do something different like this. Thank you for sharing this. -
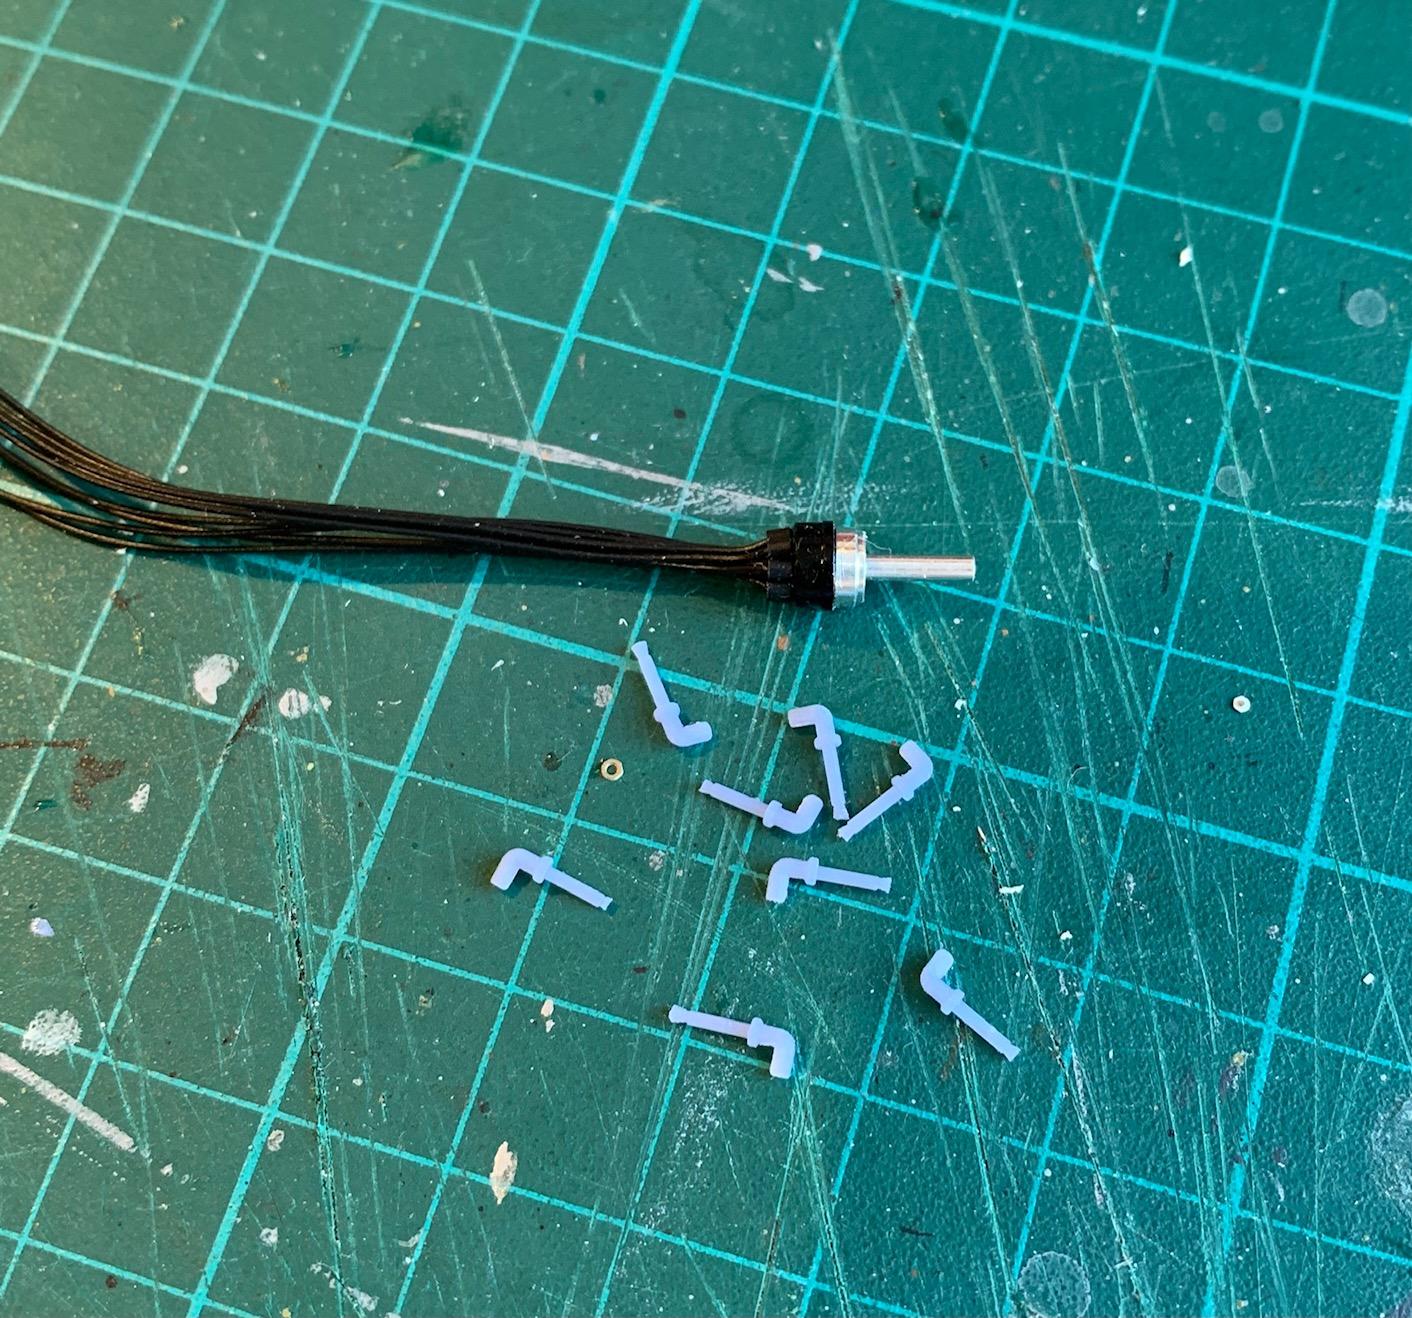
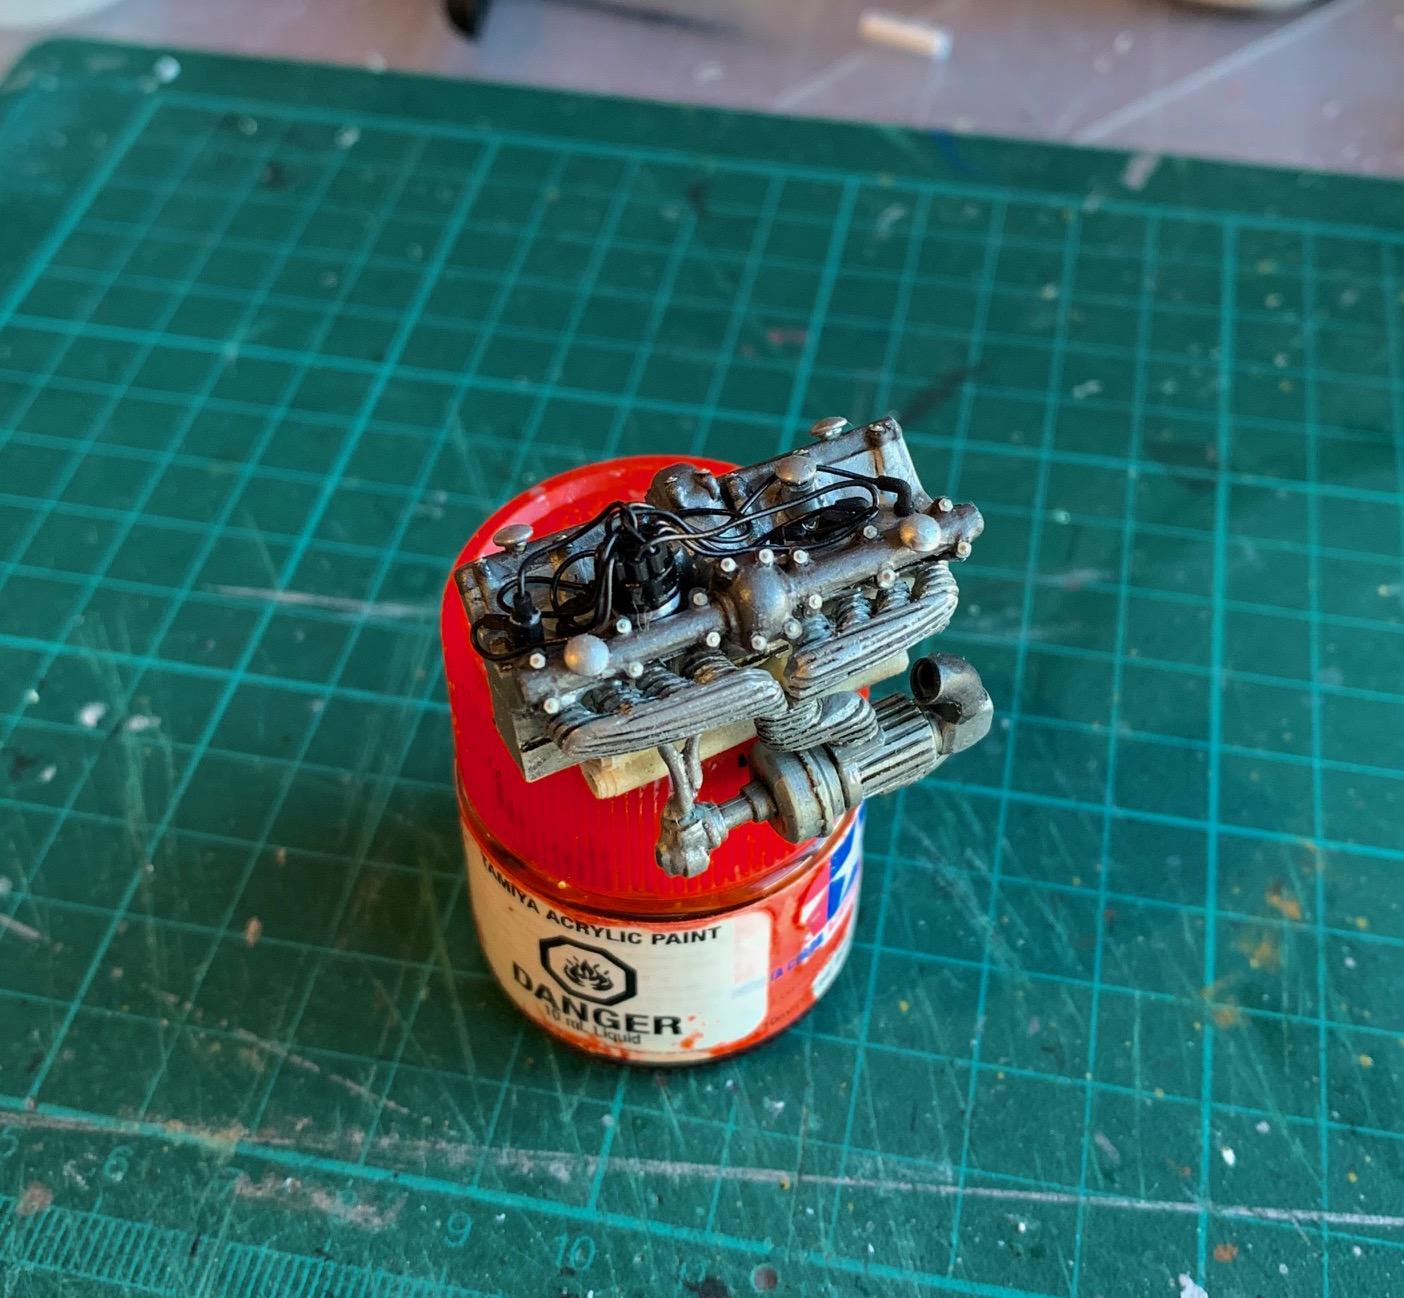
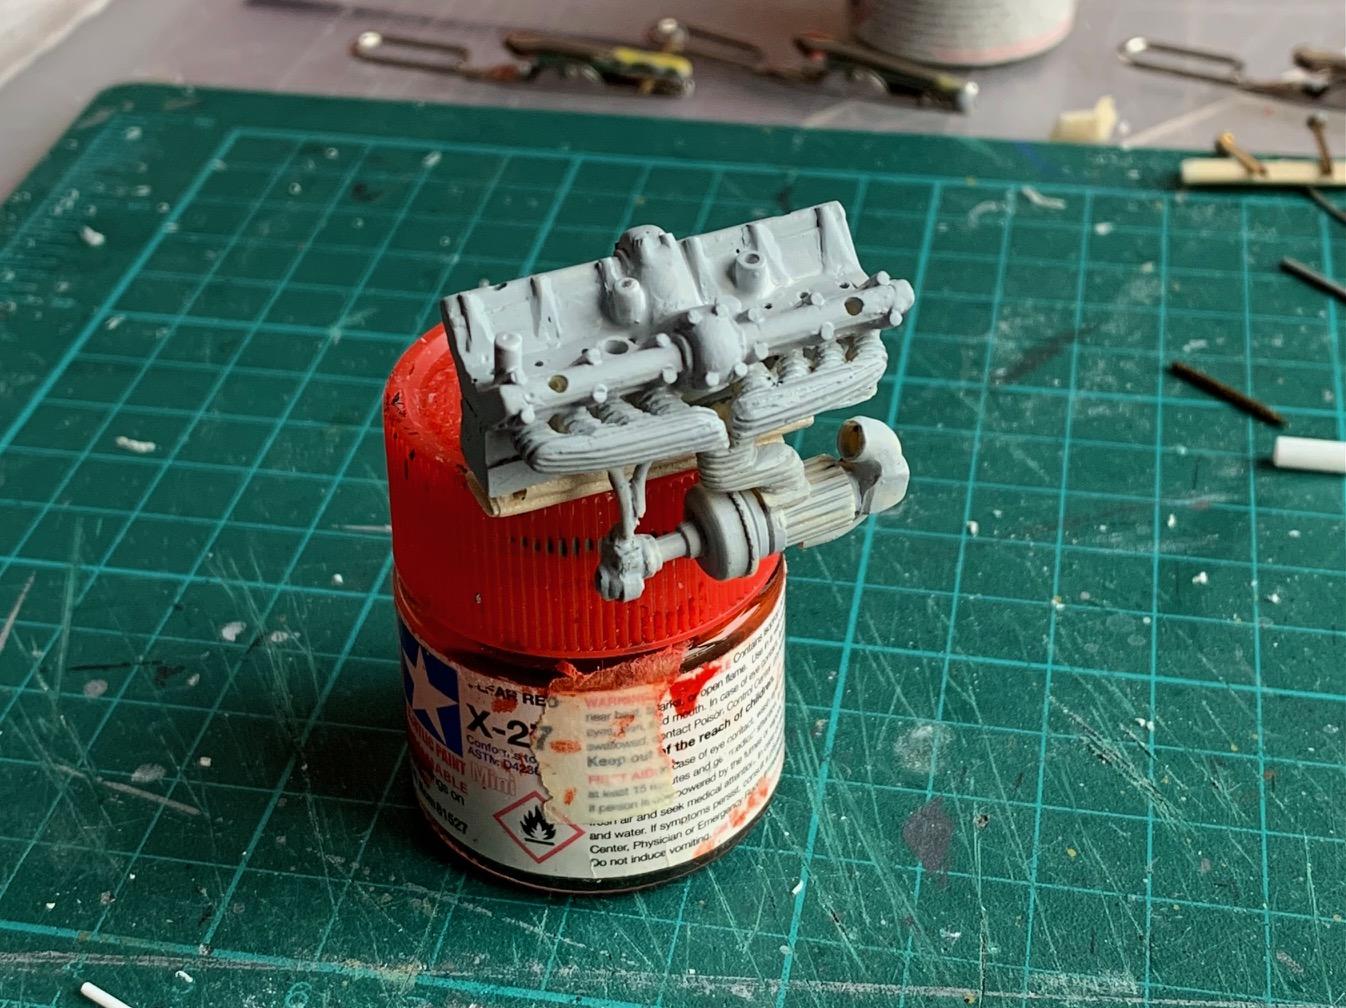
More work trying to make this engine presentable. A added 0.03 Protech PE bolt heads & nuts. The breathers are just heads of small brass nails, coolant hose made from common material and finally added the distributor and wires. It is what it is...

-
This keeps getting better! Are you making two of these...one for you...one for me?
-
Amazing transformation. Scratchbuilding extraordinaire!
-
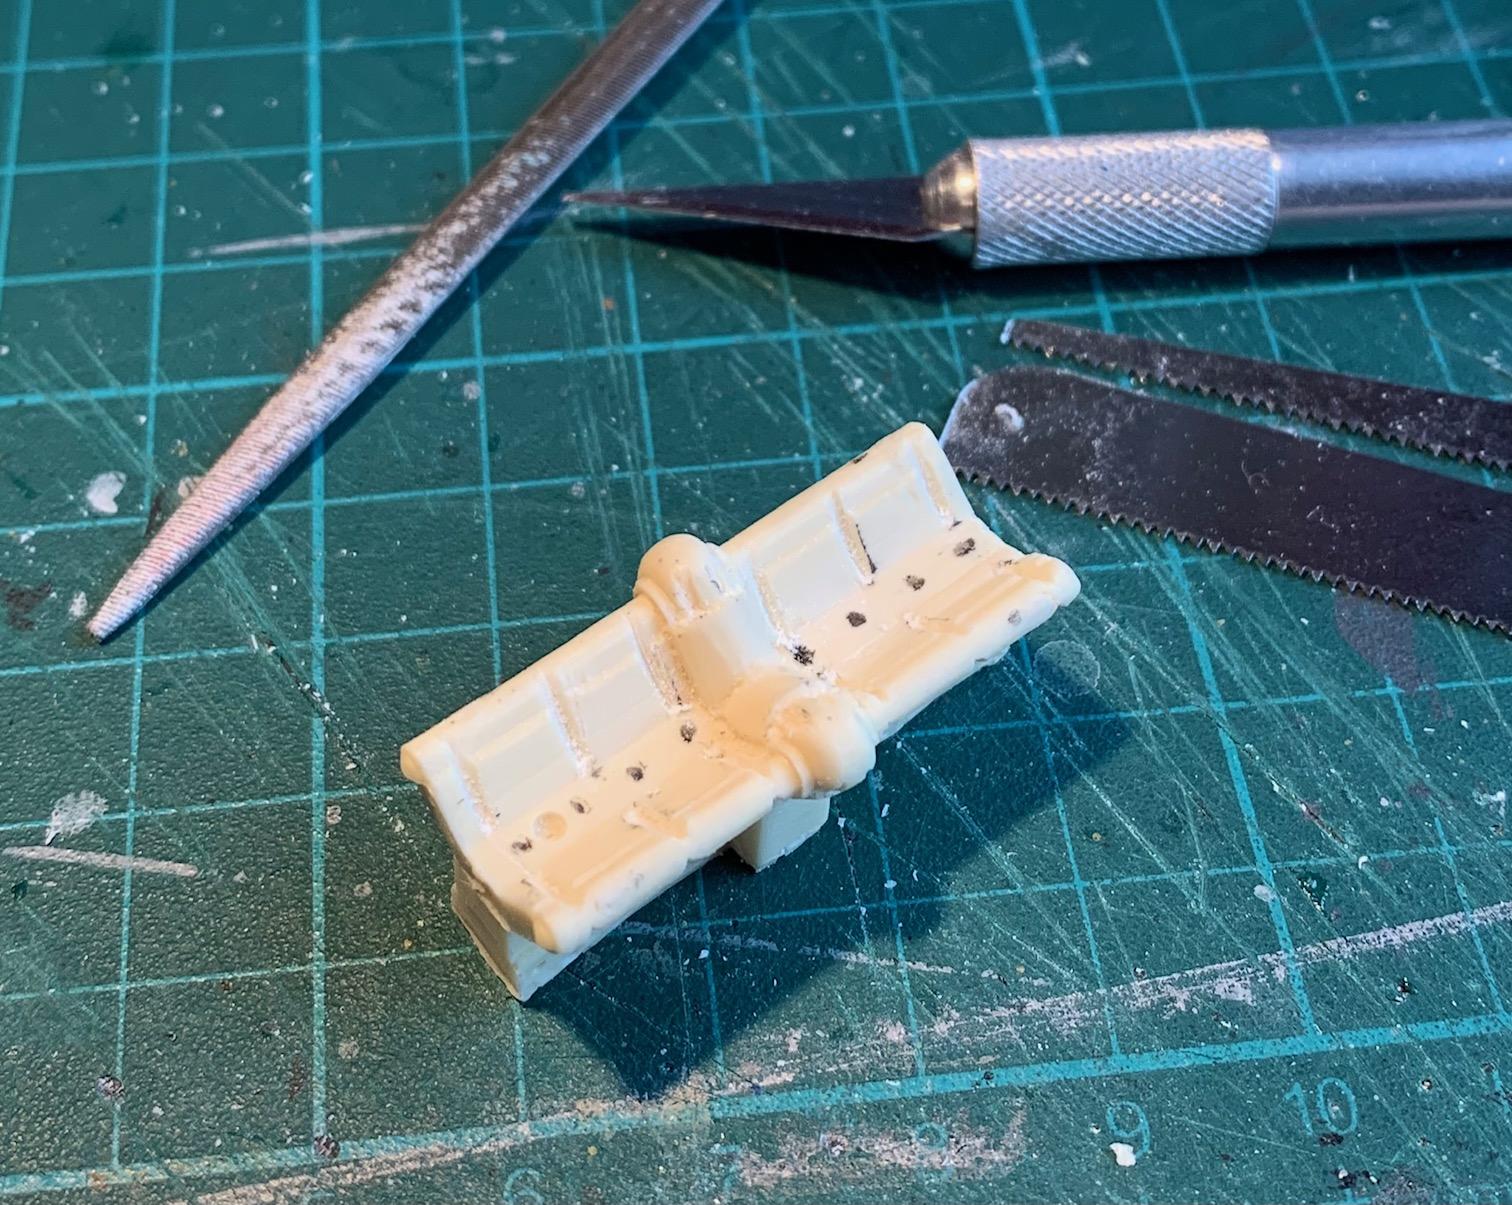
I added some elements to the engine top (the bottom half is molded into the chassis), housings for relocated distributor, oil breathers and coolant outlet. I also started some priming, sanding and color coating. Trying but looks like I'm making a mess. Hopefully adding a flat clear & washes plus some detailing like bolts and wiring will help a bit. Resin engine 1, Pierre 0...
-
Hi Misha. I did not do much to the Cobra interior. Focus was mostly on IP gauges & switches. On the paint side everything was brush painted starting with Vallejo black primer. That primer has a semi gloss shade to it and it looked good for the seats so I did not topcoat them. I added Vallejo black color coat to the interior tub to get a flatter finish. What I like with Vallejo Color is that you can move the gloss level with what you thin with. Vallejo thinner medium will produce a bit of gloss, Green Stuff World acrylic thinner will make it flat. Other than black for the metalized parts I start with Vallejo aluminium or chrome and then add a wash of Vallejo Oiled Earth to produce a weathered effect.
-
Wish I could find MasterClub stuff. Basically unobtainium these days...
-
Beautiful detailing. This engine is...nuts!
-
Alfabbergasted?
-
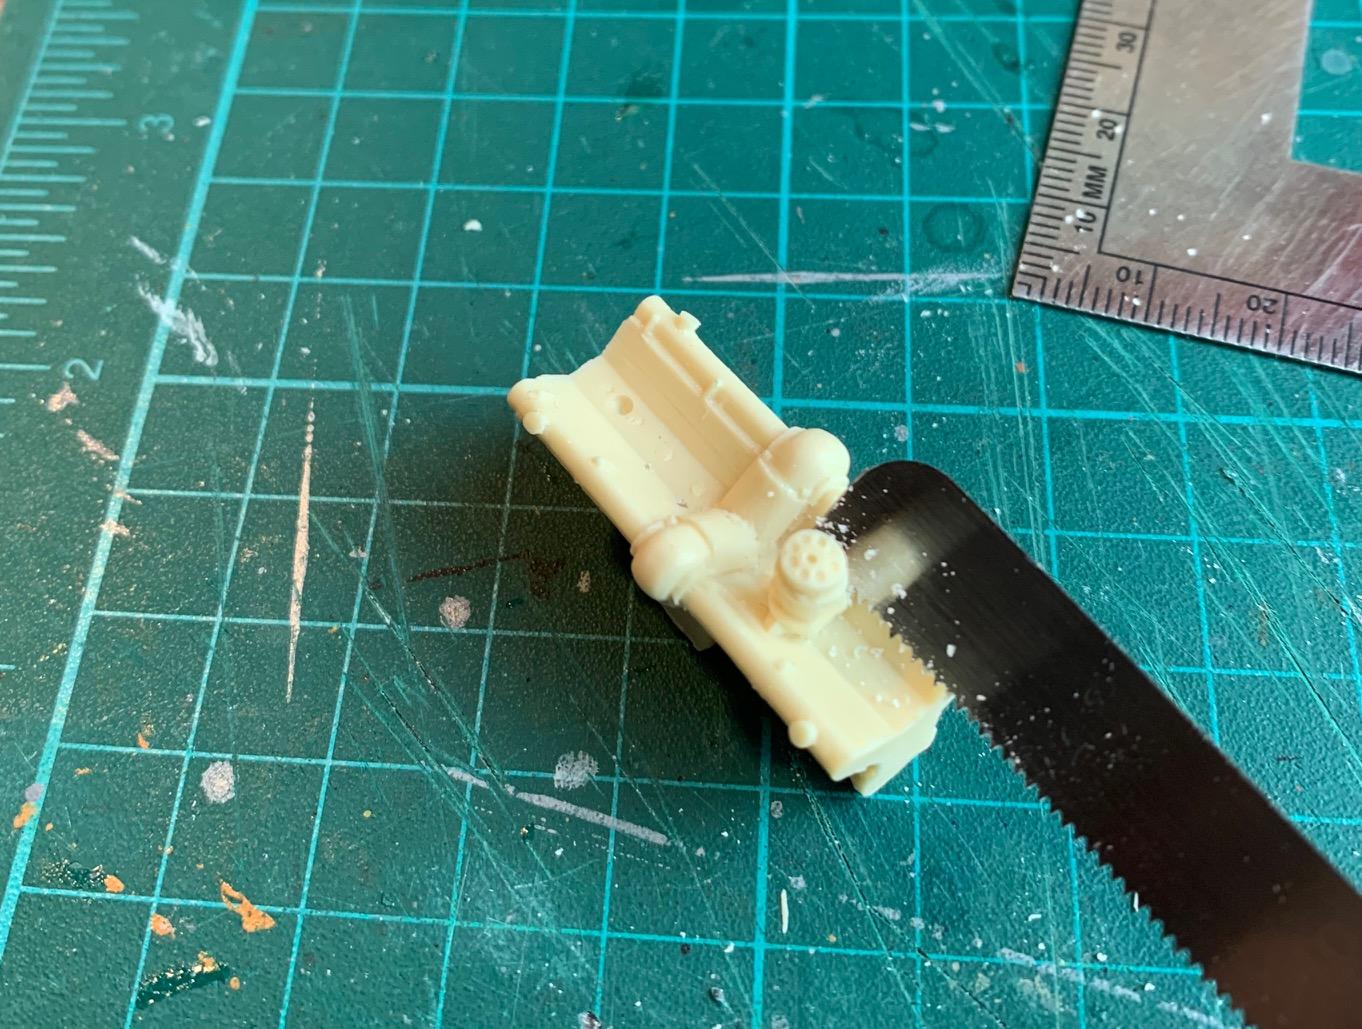
Surprisingly...as it was initially sunk in a pool of flash and very brittle to deal with. I twice broke the part in the process.
-
A beautiful build Thomas. That deep red finish is gorgeous. The 87/88C was a brilliant car and if not for fuel consumption issues might have fought at the top more often.
-
Thanks Mark. Like I said this will not be representative of the real engine design but neither were the engine parts I started with. Still some work ahead to make these changes blend in reasonably well.
-
Thanks Daniel, For awhile I thought this would end up with a closed casket ceremony (i.e hood glued shut) but now I am gaining a little confidence with the engine build.
-
Who doesn't love a mock-up? Let's see yours!
Pierre Rivard replied to Belairconvertable's topic in WIP: Model Cars
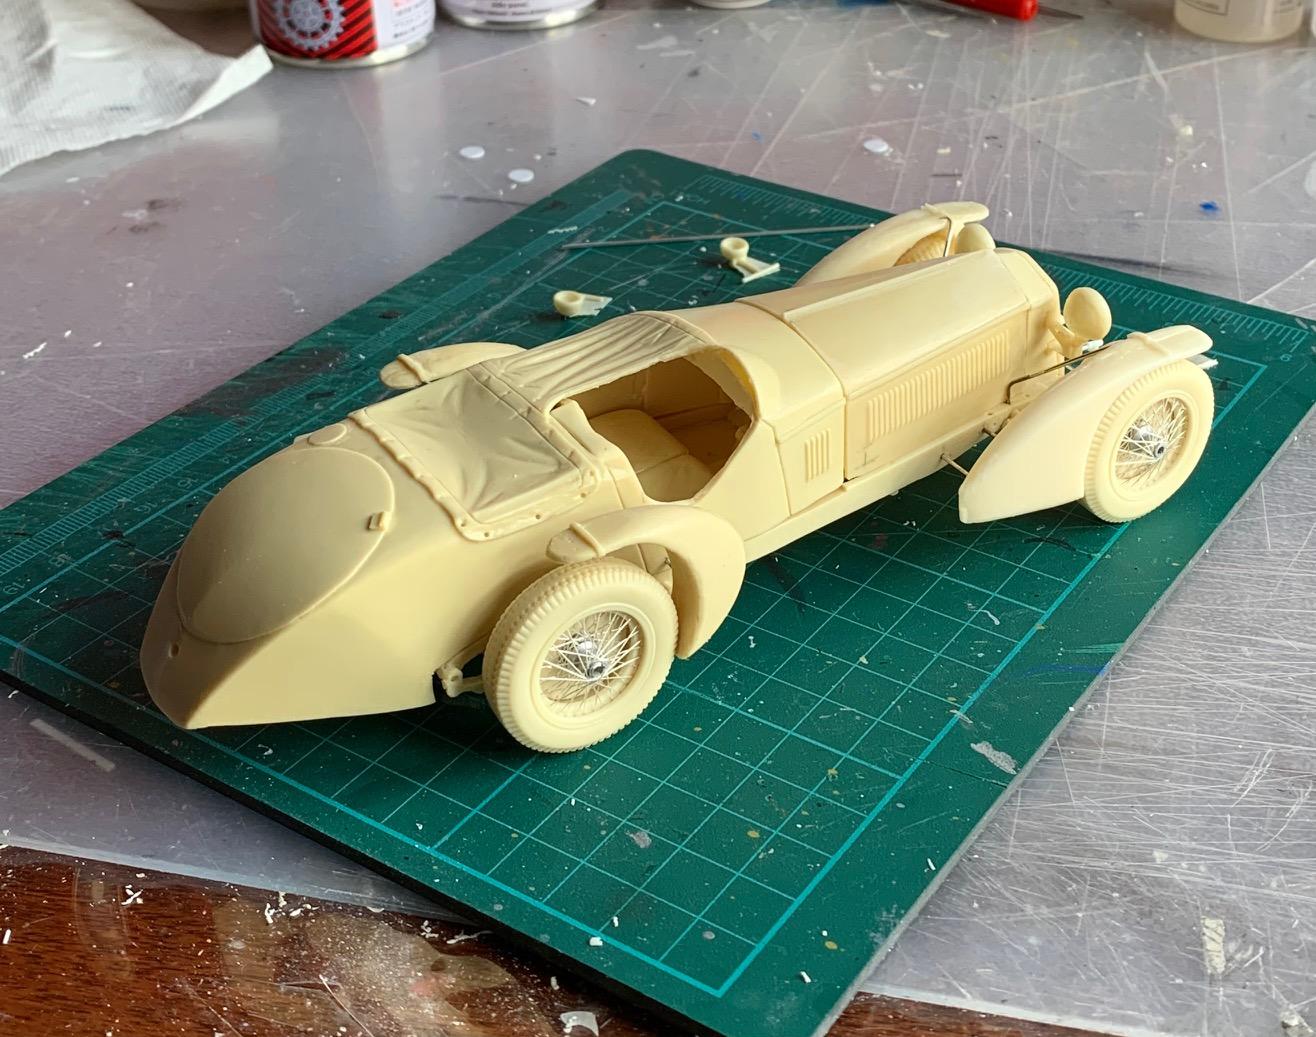
I do a mock-up for every build and sometimes many times during a build. Such was the case with this one which did not have defined attachment points for the "floating" fenders.
-
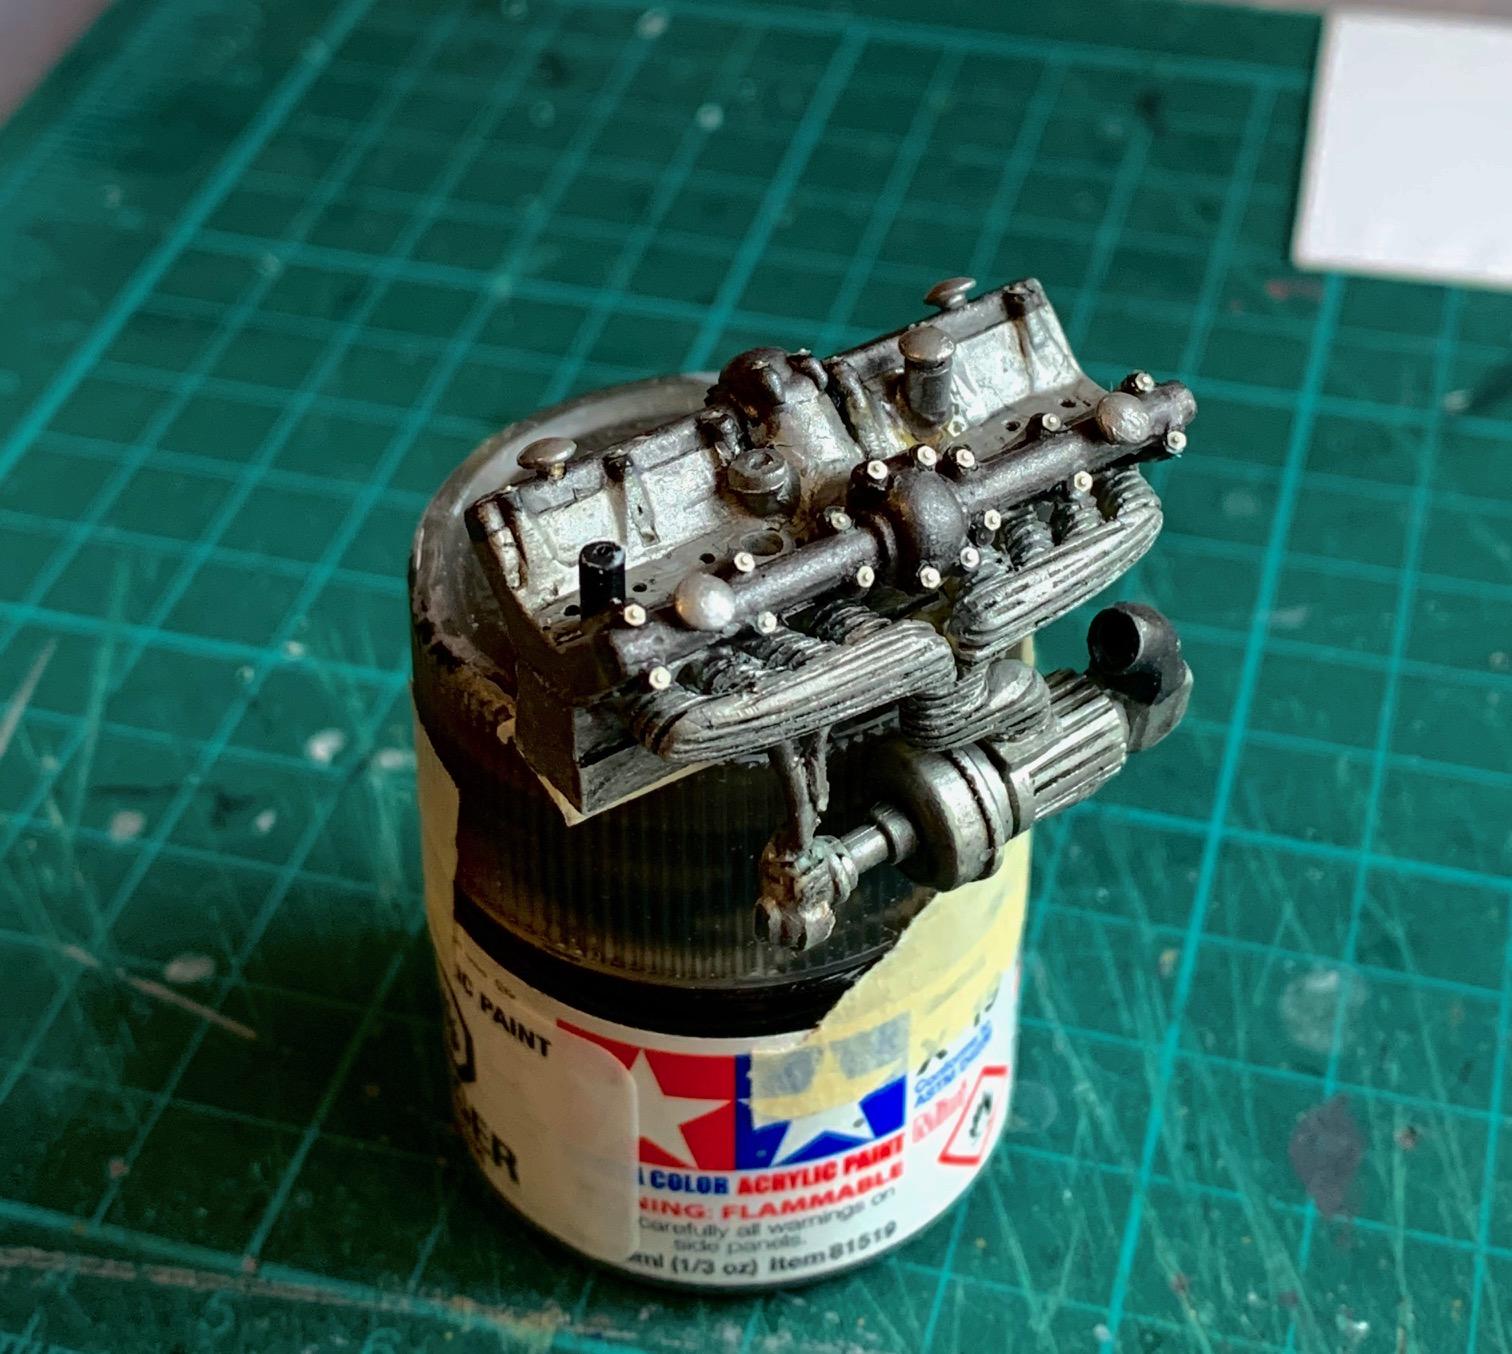
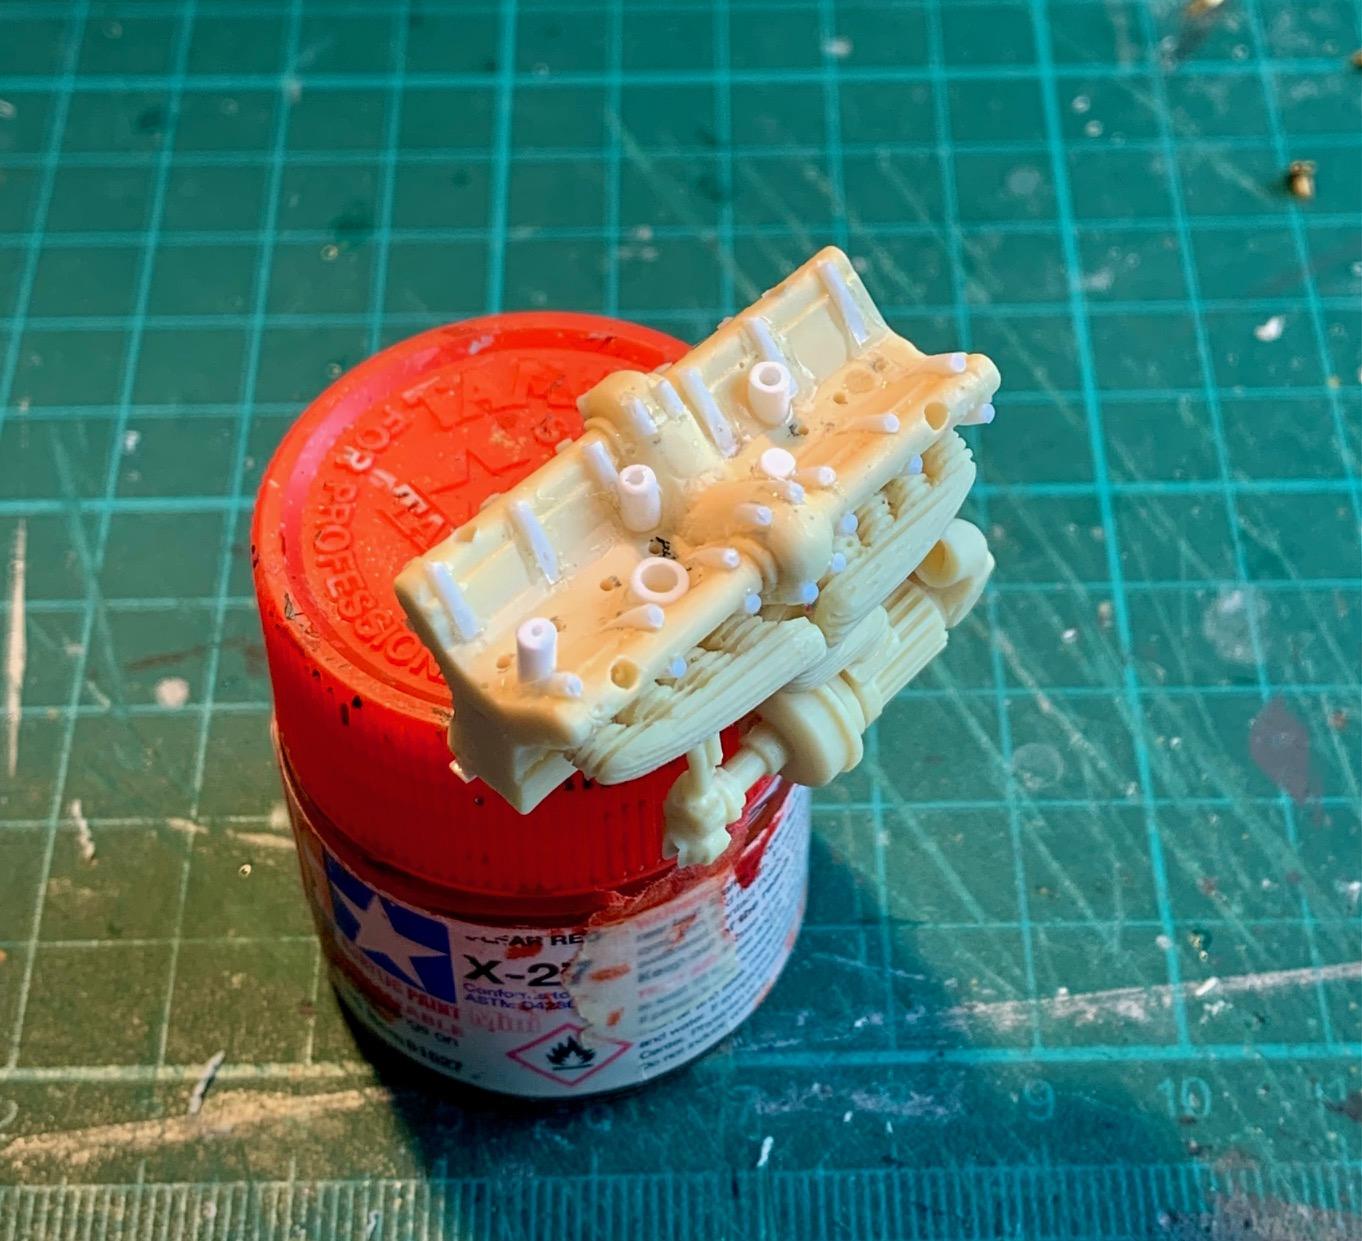
Taking the plunge on engine work...always something I am not comfortable doing. The kit part limited to start with. The cam covers ave very narrow relative to reference pictures so there is no room to add the fasteners. I'll try to imbed posts on the sides on which PE fasteners will eventually sit on. This will in no way be accurate but hopefully more presentable. Other fixes & adds? Relocating the distributor, ignition wires, coil, engine coolant take off and possibly a bit more detailing if phase one works out. If phase 1 fails? that's it for the little engine...⚰️
-
Very, very nice work Misha. What you have done with the cast wire wheels is pretty amazing. First time I see washes applied at the primer stage (chassis) so I'll be following with great interest. Always something new to learn.