Pierre Rivard
-
Posts
2,633 -
Joined
-
Last visited
Content Type
Profiles
Forums
Events
Gallery
Everything posted by Pierre Rivard
-
I love your choice of paint for the gold. It looks deep and vibrant. Now please unmask the body so that we can see that beautiful color combo?
-
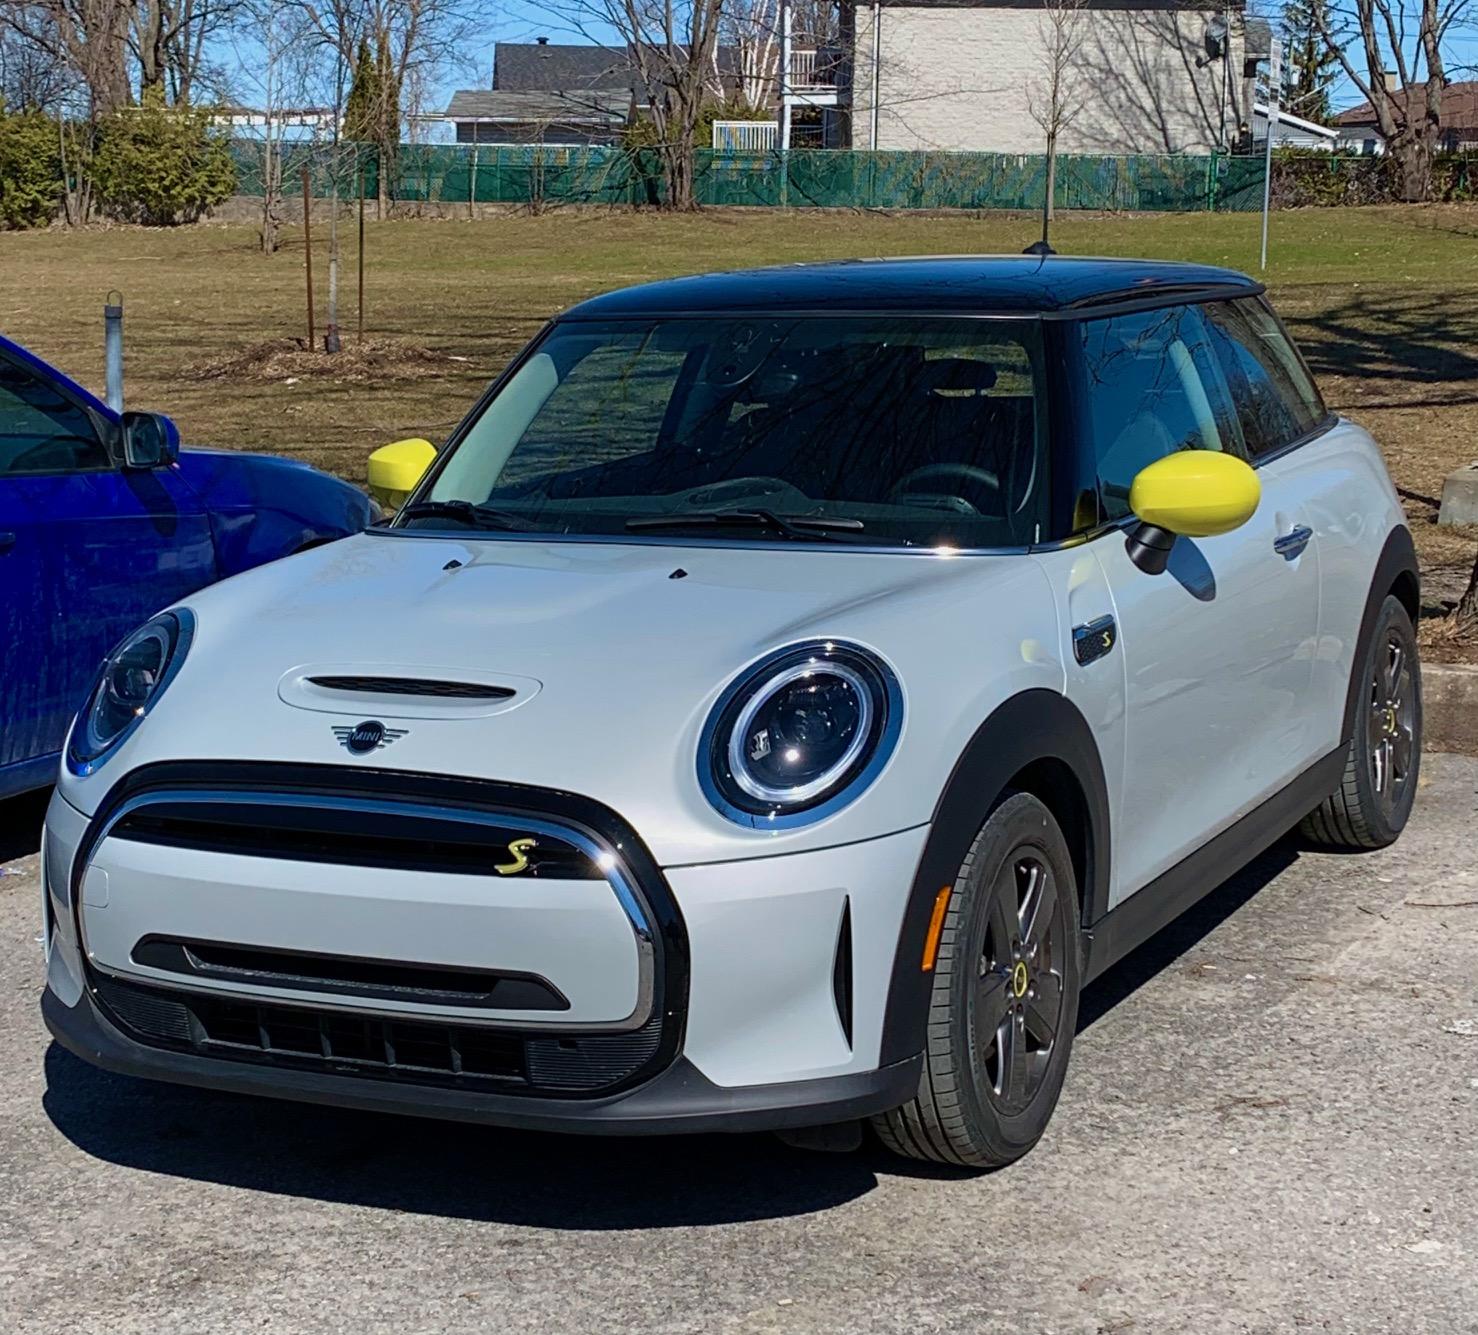
Wonderful thread, great stories and so many great cars featured as the main characters. It got me to revisit my relationships with sports (or sporty) cars. I grew up in Quebec in the late fifties and sixties. Most people owned American cars but there was a growing market for imported cars. As a teen I definitely leaned towards the lighter imports (MG, Triumph, Alfa Romeo etc) and my first nice car was a used Ford Capri 2.8 4 speed. I loved that car. I then went to work for GM so light small sports cars were not on the catalog. I eventually bought a 86 z28 with a 5.0/manual transmission. A good car but in all honesty I much preferred driving my friend's VW GTI with the new 16v engine. I did own a few Camaros/Firebirds in the next 30 years and enjoyed them all. My job allowed me to occasionally take pool Corvettes for weekend drives and as much as I marveled at the technology and power I always found them too big and heavy feeling for me. Fast but disconnected is how it felt to me, and definitely too much power for my driving skills. My wife and I both enjoy driving and as we retired we decided to keep 2 cars. A regular everyday car (currently a Volvo S60 T8) and the second car to be something small and sporty. We had for a few years a Mazda MX5 (Miata). The Miata eventually was replaced by a Mini Cooper SE. A combination of going back to our roots with a small agile car while embracing electrification. A pure delight to drive!

-
I have 27 in the stash. My wife has at least 50 pairs of shoes and still buying... I'm safe!
-
Perhaps. I got mine on Amazon. search as Angeliox 80 mesh screen. Sold in pack of 2 rolls (12x45 inch each) for about $20. Quite inexpensive compared with PE mesh but I am satisfied with the appearance it provides
-
Hi Mark, I just painted the background styrene part flat black but the screen I used was 304 stainless steel and I left it unpainted.
-
Phantom 1937 Cord 812 coupe - a classic that never was
Pierre Rivard replied to mr moto's topic in Model Cars
Your "coach built" body looks very cohesive and refined. This Cord looks so much better as a coupe than a convertible. Beautiful flowing lines. -
Real mesh screen will make a big impact on this beauty. I used the same process on my 29 Mercedes and it added a lot of realism. You obviously found your formula for the painting process. The red color coat looks very smooth. Can't wait to see the gold.
-
Bumping this one to the front again. Found this one researching streamliners. Superb craftsmanship.
-
’72 Dodge Demon Drag Racer 1/25 scale
Pierre Rivard replied to AmericanMuscleFan's topic in WIP: Drag Racing Models
I come back from a five week vacation and surprise surprise, Francis is still machining incredible engine components. For once I am thankful for the rainy weather... These heads are amazing. The photos of your fingers holding the block/heads combo tell a powerful story. Without these one would believe these are 1:12 or 1:8 but noooo... these are 1:25. What a feast for the eyes. You never cease to amaze mon cher Francis! -
So so much better. Jason to the rescue again.
-
This is exceptional in so many ways. Your extensive research and obsession to accurately replicate every single detail is so so impressive. The 1/25 scale replica is confidently displayed with period pictures of the car as a background and they look like twins, so what else can be said?
-
Wire mesh looks so much better. Easy to find on Amazon (search 80 mesh wire screen). 12x45 inch roll for less than $20... a lifetime supply! Just got back. 1953 Ferrari resin kit might be next... whenever the build bug hits me...
-
Nova Salt Flat Racer
Pierre Rivard replied to Pierre Rivard's topic in WIP: Other Racing: Road Racing, Land Speed Racers
Tires are a mix of parts from the spares. Fronts are 2 piece styrene from an old AMT Falcon drag car and rears are 3D printed Dunlop 60's racing tires from JackModeling. A compromise at best. I'm looking for a better solution for future salt racer projects. -
I built this kit a few years ago and struggled getting the mesh grill to look right. The pattern does not offer a lot of depth to work with. Catching up to your build. Looking good!
-
0.65 mm, used them for the pass compt tarp on the '33 Alfa and fuel filler neck on Jag C type. Tend to agree with you that for body rivets, 0.5mm would be more in scale. Thinking of using them for a fifties streamliner alu body (still in planning stage)
-
1/24, JPGM
-
T41 Bugatti sport coupe
Pierre Rivard replied to charlie libby's topic in WIP: Other Racing: Road Racing, Land Speed Racers
Catching up on this build after a prolonged absence. The body finishing is so so good and the black & red scheme is such a beautiful classic combo. seeing the body test fit on the chassis, it all integrates together in such a powerful way. An absolute delight for the eyes. -
Amazing work on... which one of these Lotus (Lotuses, Loti?) is this... losing count. I really like what you have done with the rivets. Good stuff happens when you follow my lead...
-
Epic build, as always Mr Bacon. Tazio approves!
-
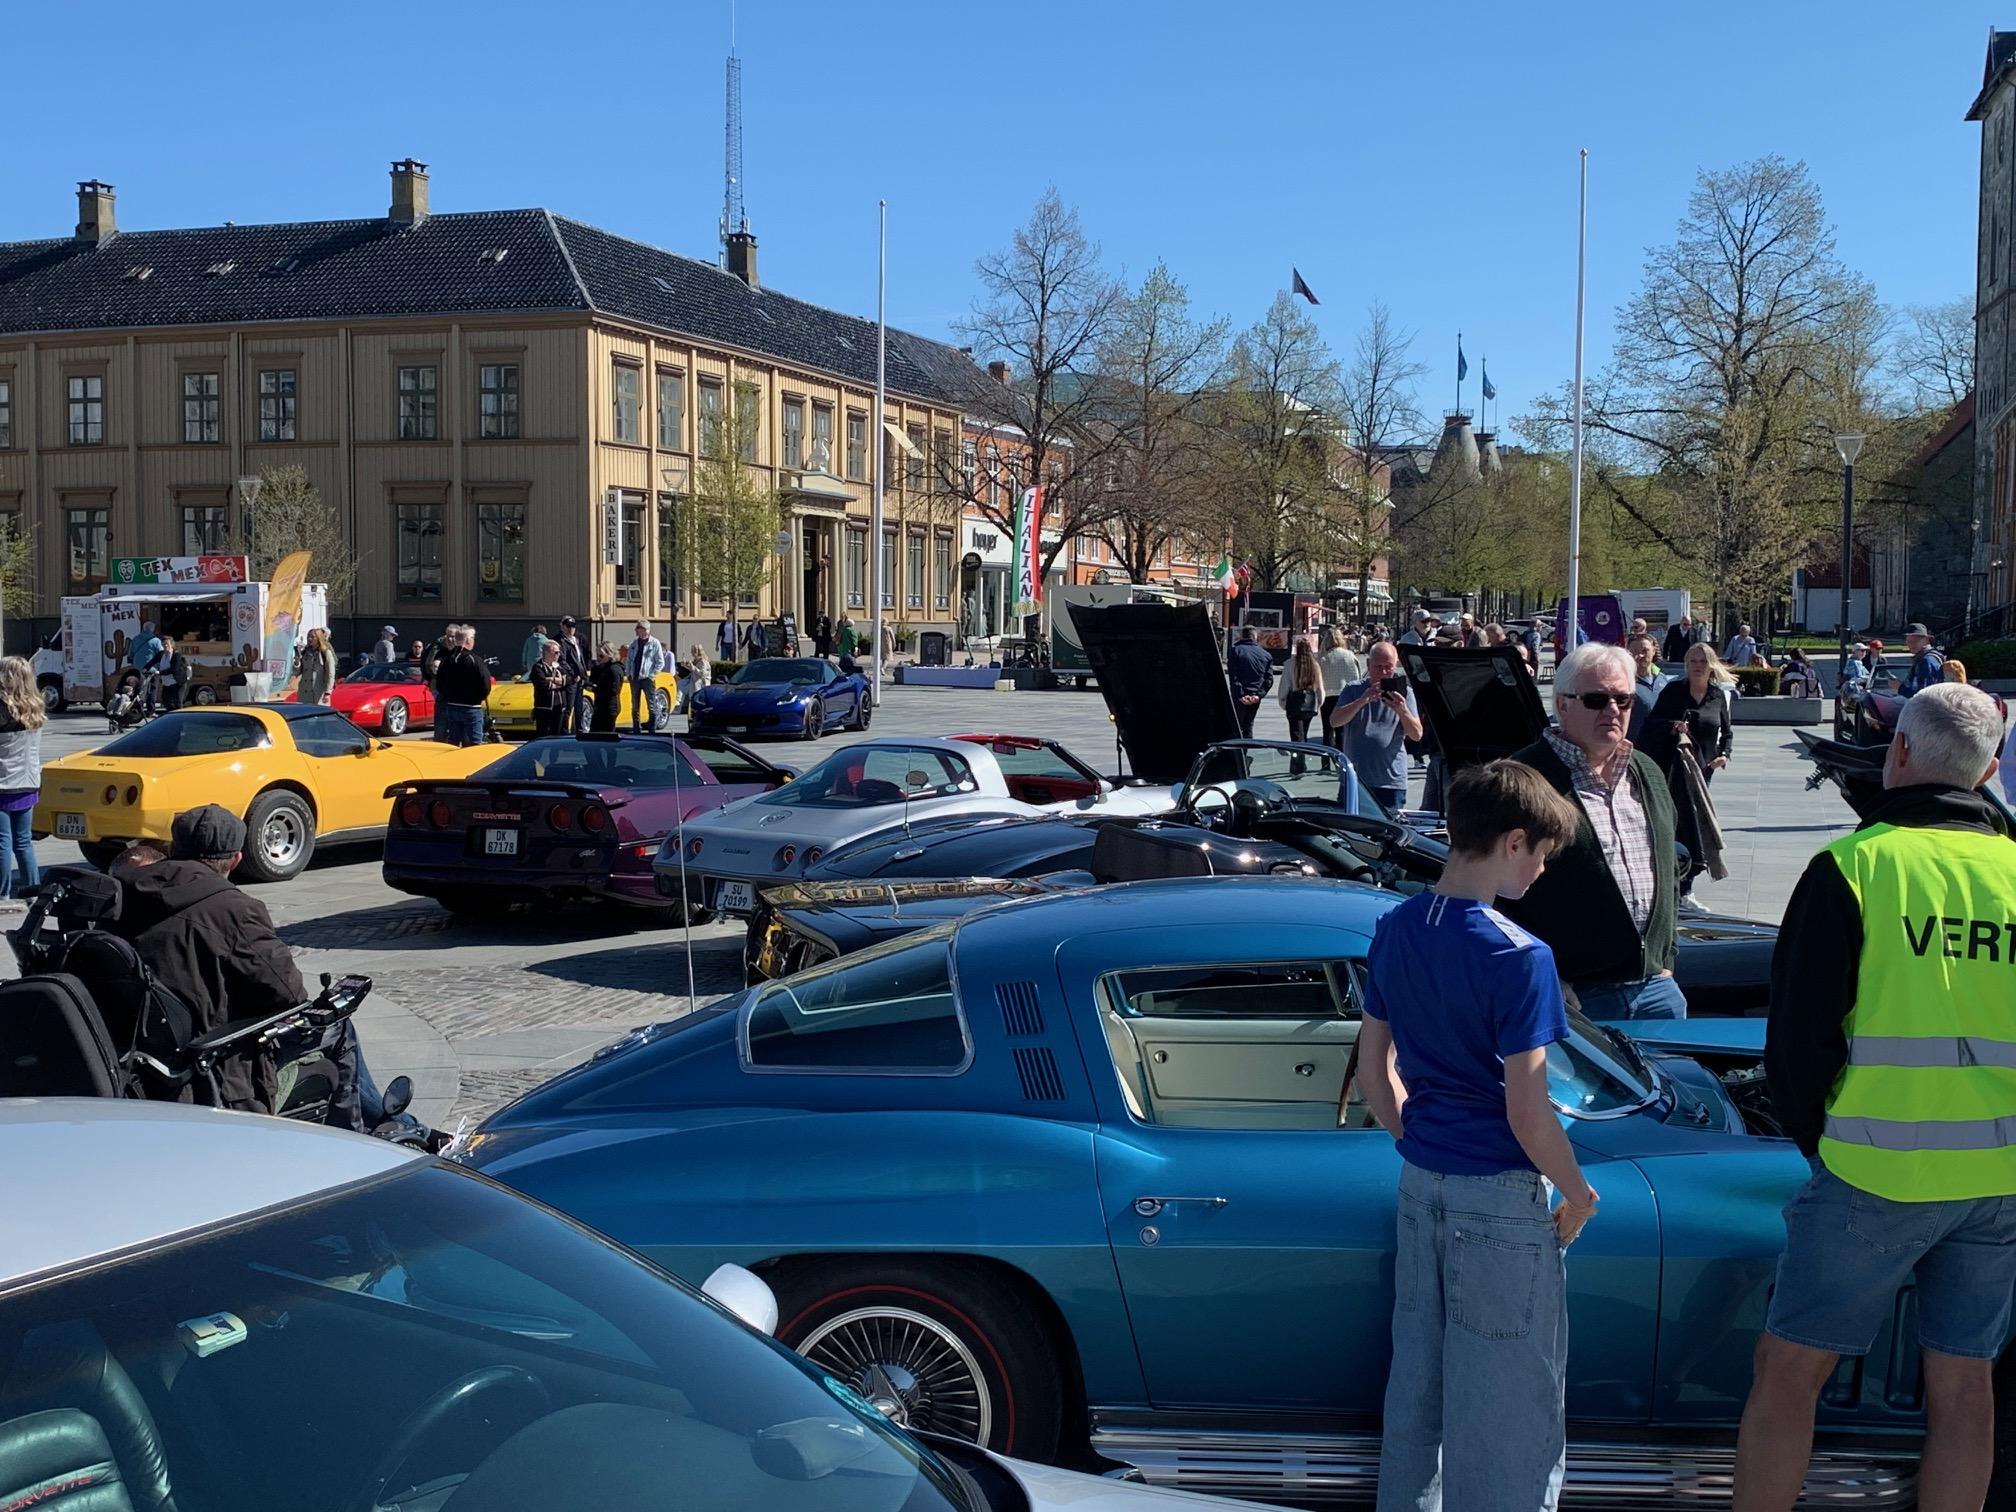
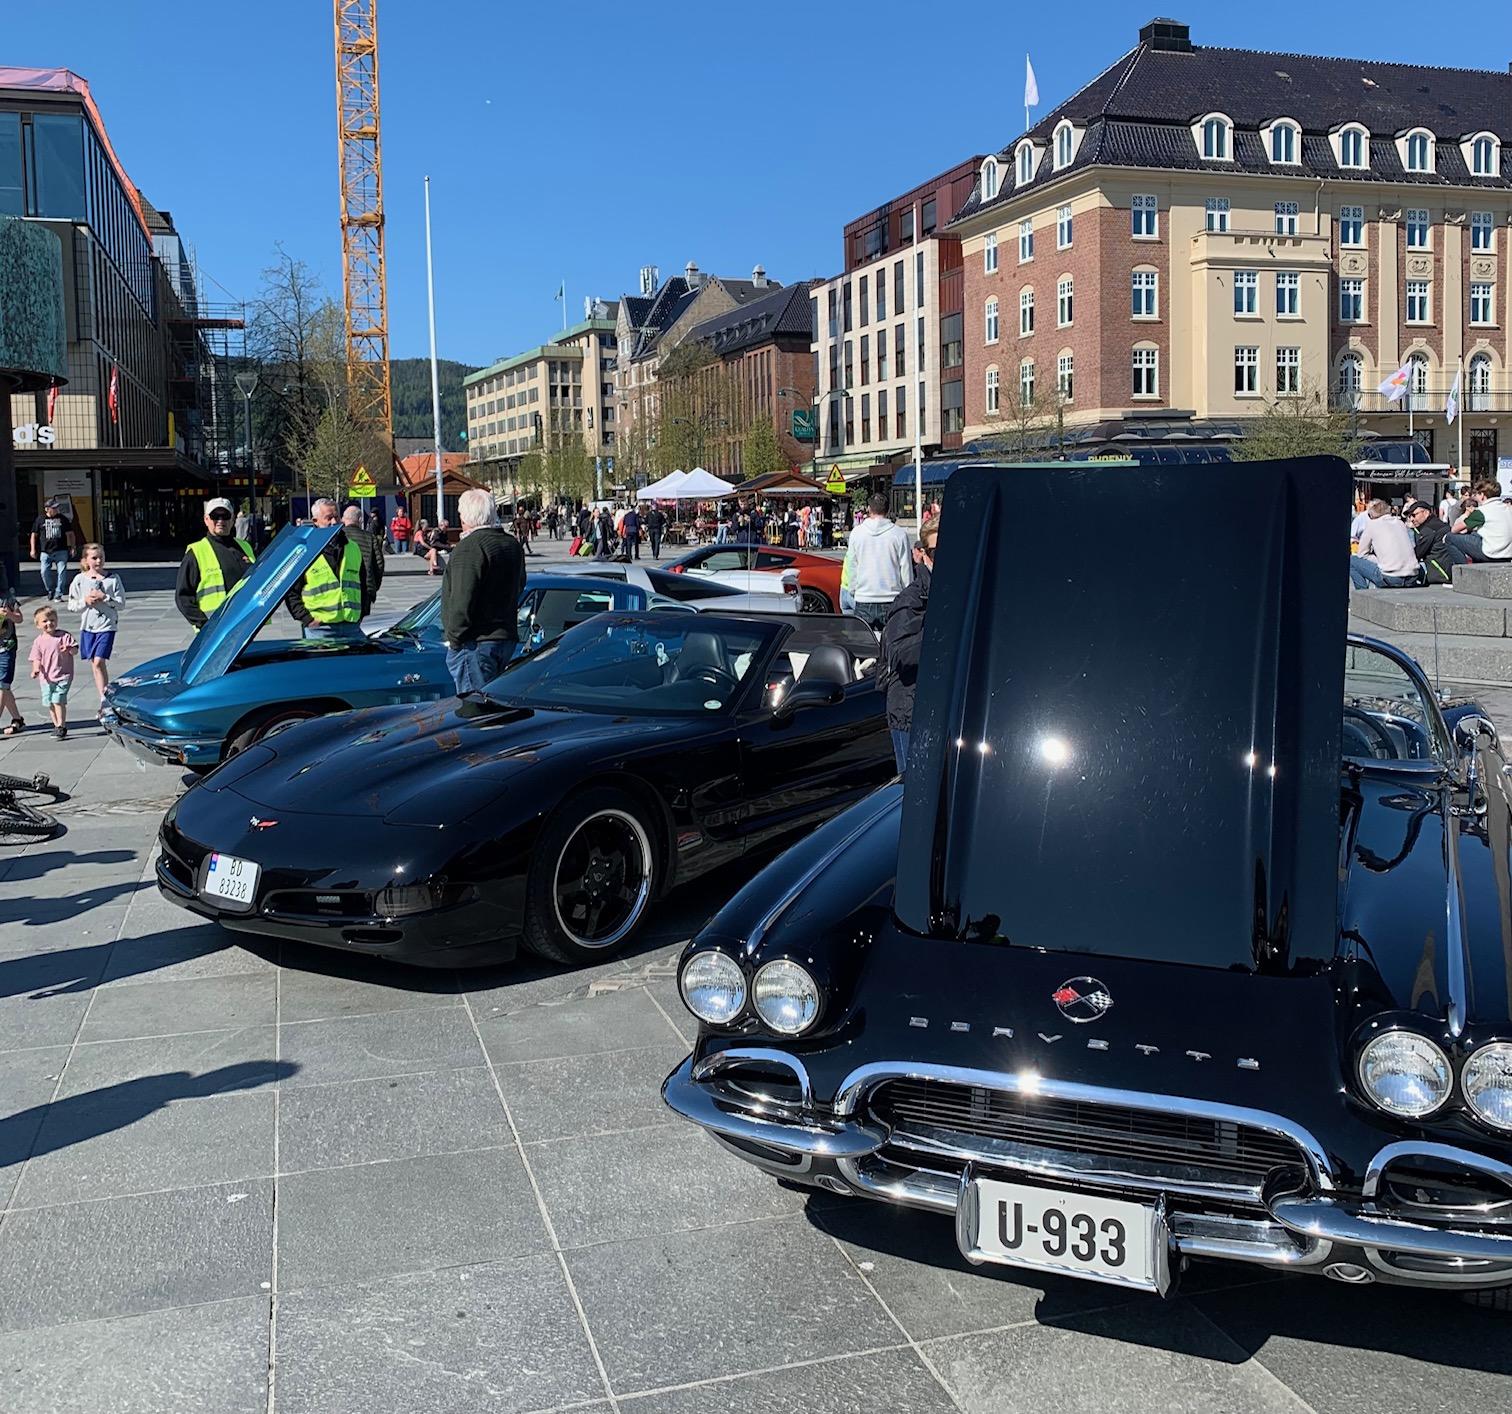
On vacation in Trondheim and as I walk the town stumble on a Corvette meet. About 50 of then filling the square. Who would have guessed, Corvettes in Norway.The 1965 396 4 speed and the 1962 Fuelie 4 speed are my personal favorites.
-
Nova Salt Flat Racer
Pierre Rivard replied to Pierre Rivard's topic in WIP: Other Racing: Road Racing, Land Speed Racers
Hi Michael, the build phase was a quick 3 weeks due to a self imposed deadline to finish before taking off for a vacation. I would have normally taken 5-6 weeks at the pace of 2-3 hours/day I usually work at. The planning phase was on/off for about 2 months, researching rules, searching the web for data/photos, acquiring parts and considering the design iterations and methods I should use. Not unusual for me to spend more time planning than building. Thanks Charlie. I would not say perfect but the experiment turned out pretty good. This salt rat makes me think that ugly can be beautiful. Beauty in the eye of the beholder? -
1/25 Chevy Nova Salt Rat
Pierre Rivard replied to Pierre Rivard's topic in Other Racing: Road Racing, Salt Flat Racers
Thank you friend, it is different but I like exploring new areas. First LSR'ish kind of build and first rat rod type paint. I really enjoyed it. Thank you very much sir! Thanks Ulf. I was fortunate to start with a body that was molded with crisp panel gaps. I just scribed them a little deeper and used a Vallejo wash to highlight the panel and window trim joints. Thanks John. I like them too. I just painted a 10x12 board to mimic the salt surface and used photos on my laptop screen as the background. Sometimes simple does work! Thank you Carl! -
Oh boy, these pinstripes zig zagging around or over body seams and features. Just being off by 0.5 mm would be very visible. They look absolutely perfect. I could not survive that un-medicated! 🥃
-
1/25 Chevy Nova Salt Rat
Pierre Rivard replied to Pierre Rivard's topic in Other Racing: Road Racing, Salt Flat Racers
I think it was a bit of beginner's luck. I picked up the idea from another builder on the net and it worked out better than I thought possible. It does open up an avenue into new types of builds for me. -
1/25 Chevy Nova Salt Rat
Pierre Rivard replied to Pierre Rivard's topic in Other Racing: Road Racing, Salt Flat Racers
Thank you sir, I am on a learning curve with patina effect but this sponge & sand technique looks pretty promising. I want to try this again in a not too distant future.