Pierre Rivard
-
Posts
2,579 -
Joined
-
Last visited
Content Type
Profiles
Forums
Events
Gallery
Everything posted by Pierre Rivard
-
Hi Mark, I just painted the background styrene part flat black but the screen I used was 304 stainless steel and I left it unpainted.
-
Phantom 1937 Cord 812 coupe - a classic that never was
Pierre Rivard replied to mr moto's topic in Model Cars
Your "coach built" body looks very cohesive and refined. This Cord looks so much better as a coupe than a convertible. Beautiful flowing lines. -
Real mesh screen will make a big impact on this beauty. I used the same process on my 29 Mercedes and it added a lot of realism. You obviously found your formula for the painting process. The red color coat looks very smooth. Can't wait to see the gold.
-
Bumping this one to the front again. Found this one researching streamliners. Superb craftsmanship.
-
’72 Dodge Demon Drag Racer 1/25 scale
Pierre Rivard replied to AmericanMuscleFan's topic in WIP: Drag Racing Models
I come back from a five week vacation and surprise surprise, Francis is still machining incredible engine components. For once I am thankful for the rainy weather... These heads are amazing. The photos of your fingers holding the block/heads combo tell a powerful story. Without these one would believe these are 1:12 or 1:8 but noooo... these are 1:25. What a feast for the eyes. You never cease to amaze mon cher Francis! -
So so much better. Jason to the rescue again.
-
This is exceptional in so many ways. Your extensive research and obsession to accurately replicate every single detail is so so impressive. The 1/25 scale replica is confidently displayed with period pictures of the car as a background and they look like twins, so what else can be said?
-
Wire mesh looks so much better. Easy to find on Amazon (search 80 mesh wire screen). 12x45 inch roll for less than $20... a lifetime supply! Just got back. 1953 Ferrari resin kit might be next... whenever the build bug hits me...
-
Nova Salt Flat Racer
Pierre Rivard replied to Pierre Rivard's topic in WIP: Other Racing: Road Racing, Land Speed Racers
Tires are a mix of parts from the spares. Fronts are 2 piece styrene from an old AMT Falcon drag car and rears are 3D printed Dunlop 60's racing tires from JackModeling. A compromise at best. I'm looking for a better solution for future salt racer projects. -
I built this kit a few years ago and struggled getting the mesh grill to look right. The pattern does not offer a lot of depth to work with. Catching up to your build. Looking good!
-
0.65 mm, used them for the pass compt tarp on the '33 Alfa and fuel filler neck on Jag C type. Tend to agree with you that for body rivets, 0.5mm would be more in scale. Thinking of using them for a fifties streamliner alu body (still in planning stage)
-
1/24, JPGM
-
T41 Bugatti sport coupe
Pierre Rivard replied to charlie libby's topic in WIP: Other Racing: Road Racing, Land Speed Racers
Catching up on this build after a prolonged absence. The body finishing is so so good and the black & red scheme is such a beautiful classic combo. seeing the body test fit on the chassis, it all integrates together in such a powerful way. An absolute delight for the eyes. -
Amazing work on... which one of these Lotus (Lotuses, Loti?) is this... losing count. I really like what you have done with the rivets. Good stuff happens when you follow my lead...
-
Epic build, as always Mr Bacon. Tazio approves!

-
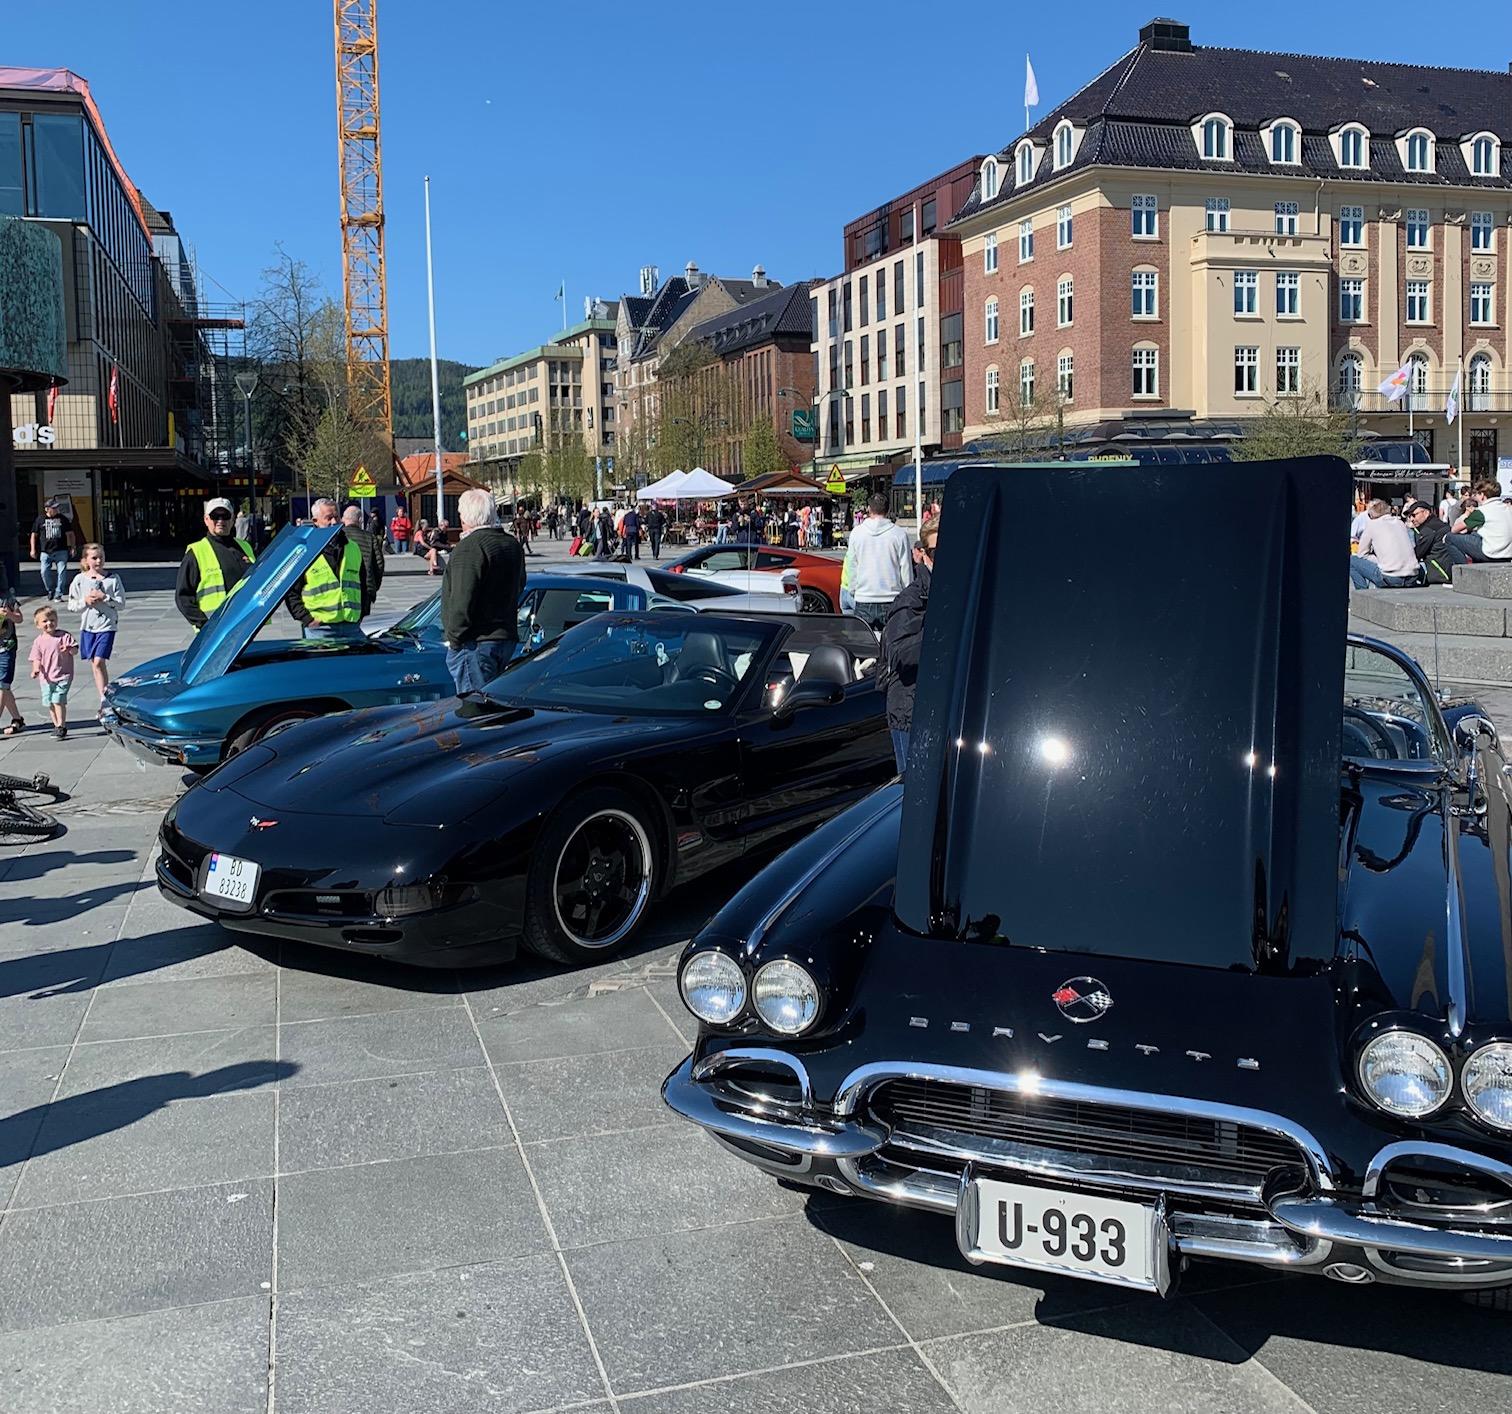
On vacation in Trondheim and as I walk the town stumble on a Corvette meet. About 50 of then filling the square. Who would have guessed, Corvettes in Norway.The 1965 396 4 speed and the 1962 Fuelie 4 speed are my personal favorites.
-
Nova Salt Flat Racer
Pierre Rivard replied to Pierre Rivard's topic in WIP: Other Racing: Road Racing, Land Speed Racers
Hi Michael, the build phase was a quick 3 weeks due to a self imposed deadline to finish before taking off for a vacation. I would have normally taken 5-6 weeks at the pace of 2-3 hours/day I usually work at. The planning phase was on/off for about 2 months, researching rules, searching the web for data/photos, acquiring parts and considering the design iterations and methods I should use. Not unusual for me to spend more time planning than building. Thanks Charlie. I would not say perfect but the experiment turned out pretty good. This salt rat makes me think that ugly can be beautiful. Beauty in the eye of the beholder? -
1/25 Chevy Nova Salt Rat
Pierre Rivard replied to Pierre Rivard's topic in Other Racing: Road Racing, Salt Flat Racers
Thank you friend, it is different but I like exploring new areas. First LSR'ish kind of build and first rat rod type paint. I really enjoyed it. Thank you very much sir! Thanks Ulf. I was fortunate to start with a body that was molded with crisp panel gaps. I just scribed them a little deeper and used a Vallejo wash to highlight the panel and window trim joints. Thanks John. I like them too. I just painted a 10x12 board to mimic the salt surface and used photos on my laptop screen as the background. Sometimes simple does work! Thank you Carl! -
Oh boy, these pinstripes zig zagging around or over body seams and features. Just being off by 0.5 mm would be very visible. They look absolutely perfect. I could not survive that un-medicated! 🥃
-
1/25 Chevy Nova Salt Rat
Pierre Rivard replied to Pierre Rivard's topic in Other Racing: Road Racing, Salt Flat Racers
I think it was a bit of beginner's luck. I picked up the idea from another builder on the net and it worked out better than I thought possible. It does open up an avenue into new types of builds for me. -
1/25 Chevy Nova Salt Rat
Pierre Rivard replied to Pierre Rivard's topic in Other Racing: Road Racing, Salt Flat Racers
Thank you sir, I am on a learning curve with patina effect but this sponge & sand technique looks pretty promising. I want to try this again in a not too distant future. -
1931 Cadillac V16 Convertible Coupe, Jo-Han, 1/25
Pierre Rivard replied to Matt Bacon's topic in WIP: Model Cars
You have absolutely nailed the yellow hue. Gloriously beautiful! -
’72 Dodge Demon Drag Racer 1/25 scale
Pierre Rivard replied to AmericanMuscleFan's topic in WIP: Drag Racing Models
I'm speechless... I struggle to line up the corkscrew into the cork... yet you machined a very complex engine block measuring about half the size of the cork. This is next next next level stuff. I need a drink! -
Beautiful build. Impressive how this old tooled body has retained crisp lines and details.
-
McLarem M8B
Pierre Rivard replied to Mark W's topic in WIP: Other Racing: Road Racing, Land Speed Racers
I had been wondering about these Top Studio fittings. They look really good on your powertrains. I find the RB Motion fittings to be extremely accurate but difficult to handle and quite expensive. I think these are an excellent alternative. Thanks for the tutorial professor Mark!