Pierre Rivard
-
Posts
2,579 -
Joined
-
Last visited
Content Type
Profiles
Forums
Events
Gallery
Everything posted by Pierre Rivard
-
I used to do it with my DSLR but now I just use my iPhone. Not as crisp as a good DSLR on tight close ups but so easy to use and good post processing features
-
I fabricated a shifter, some visible linkage and a shifter gate.

-
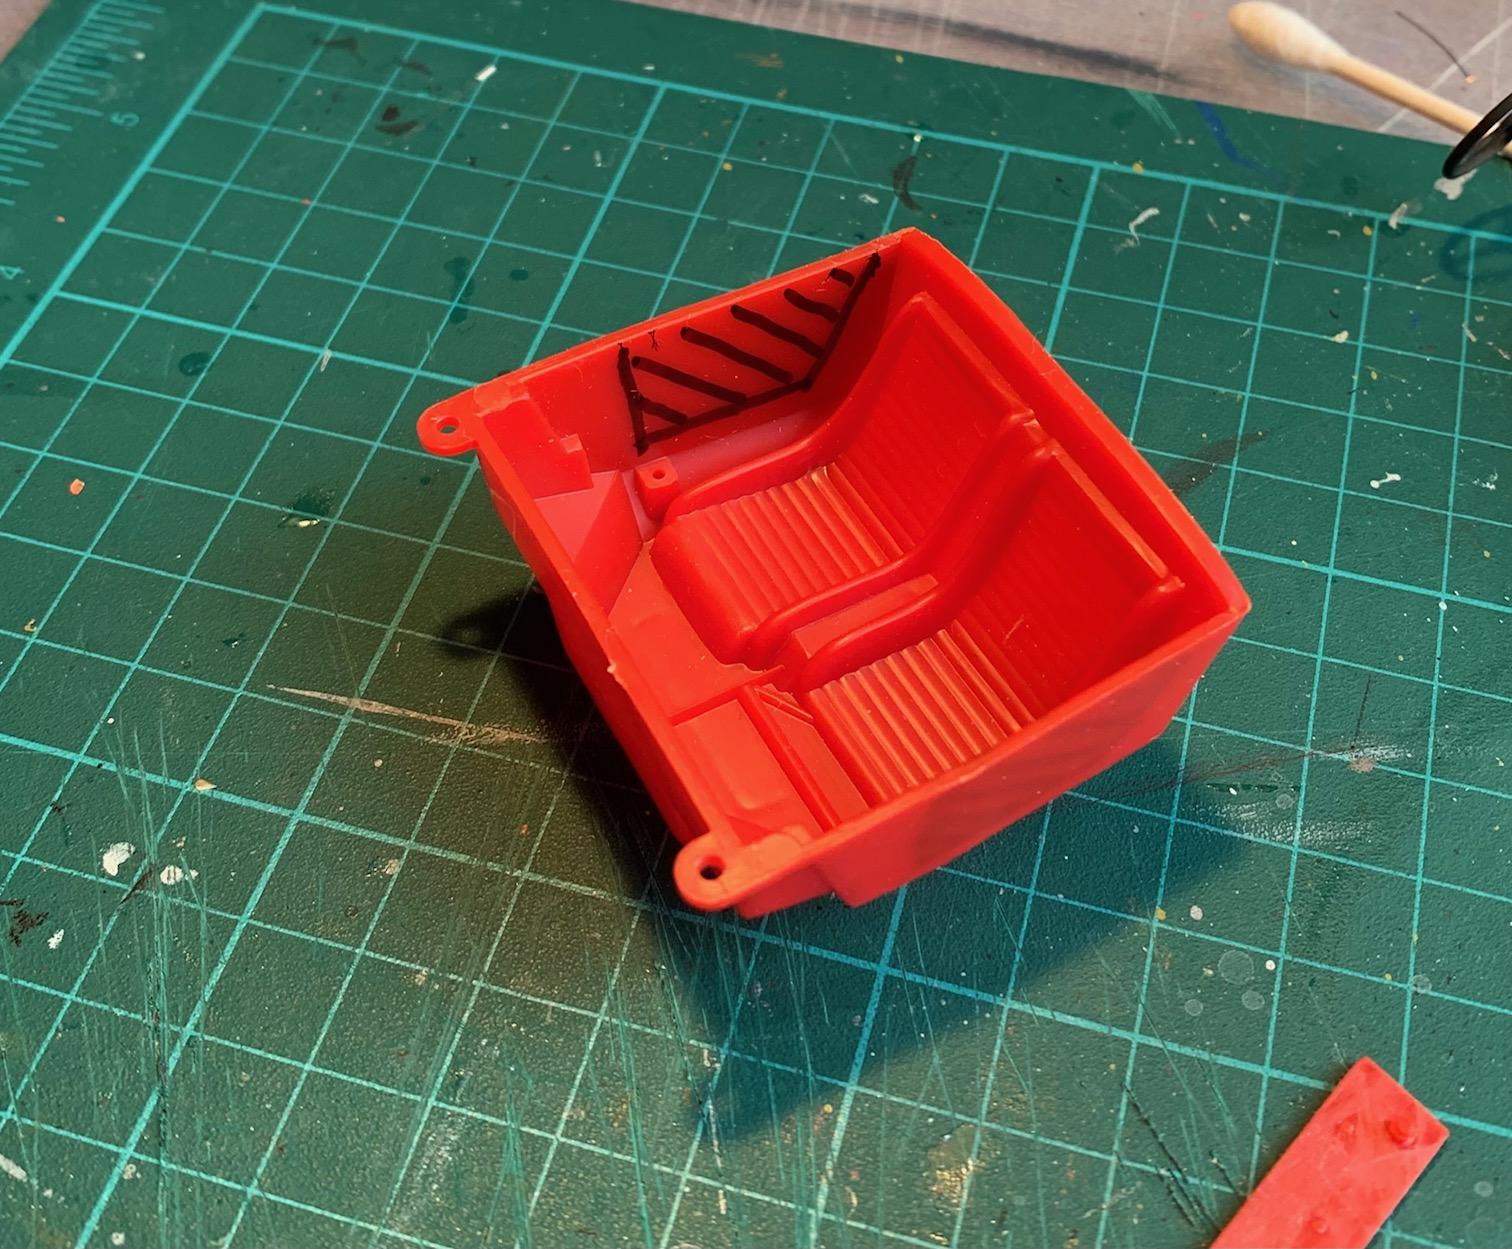
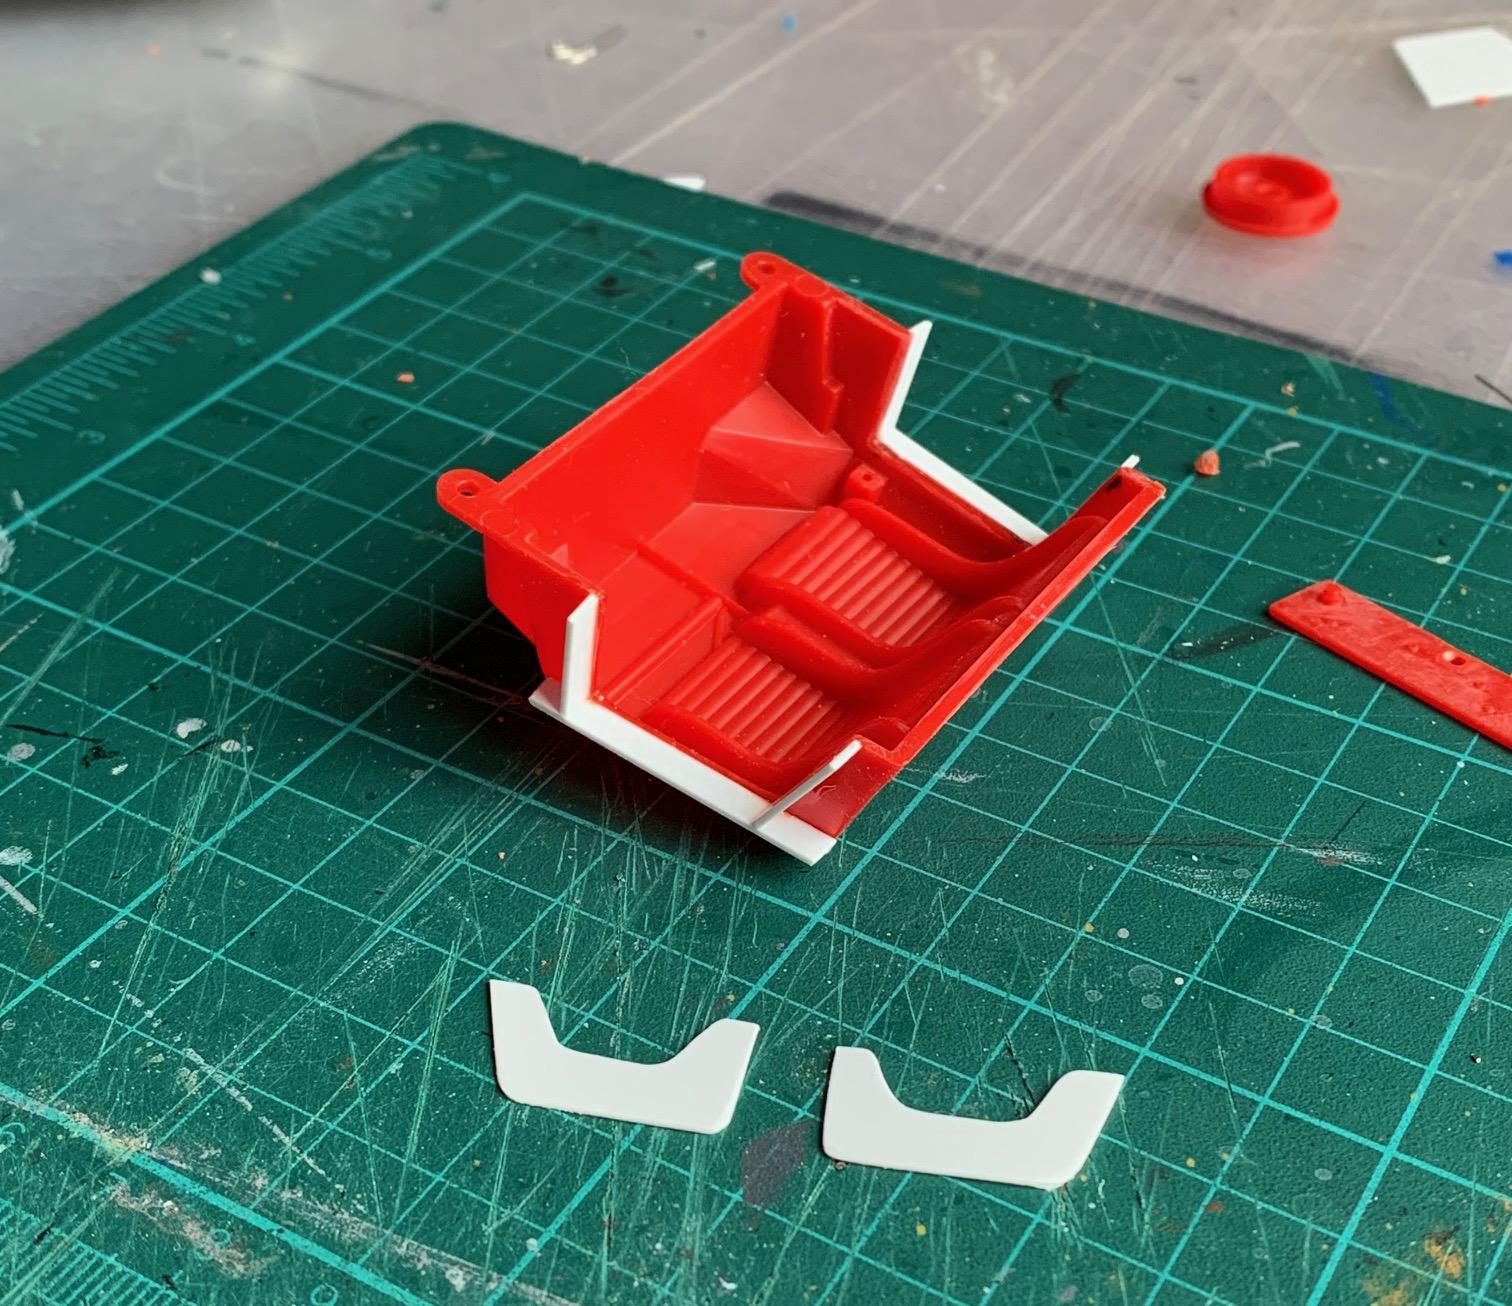
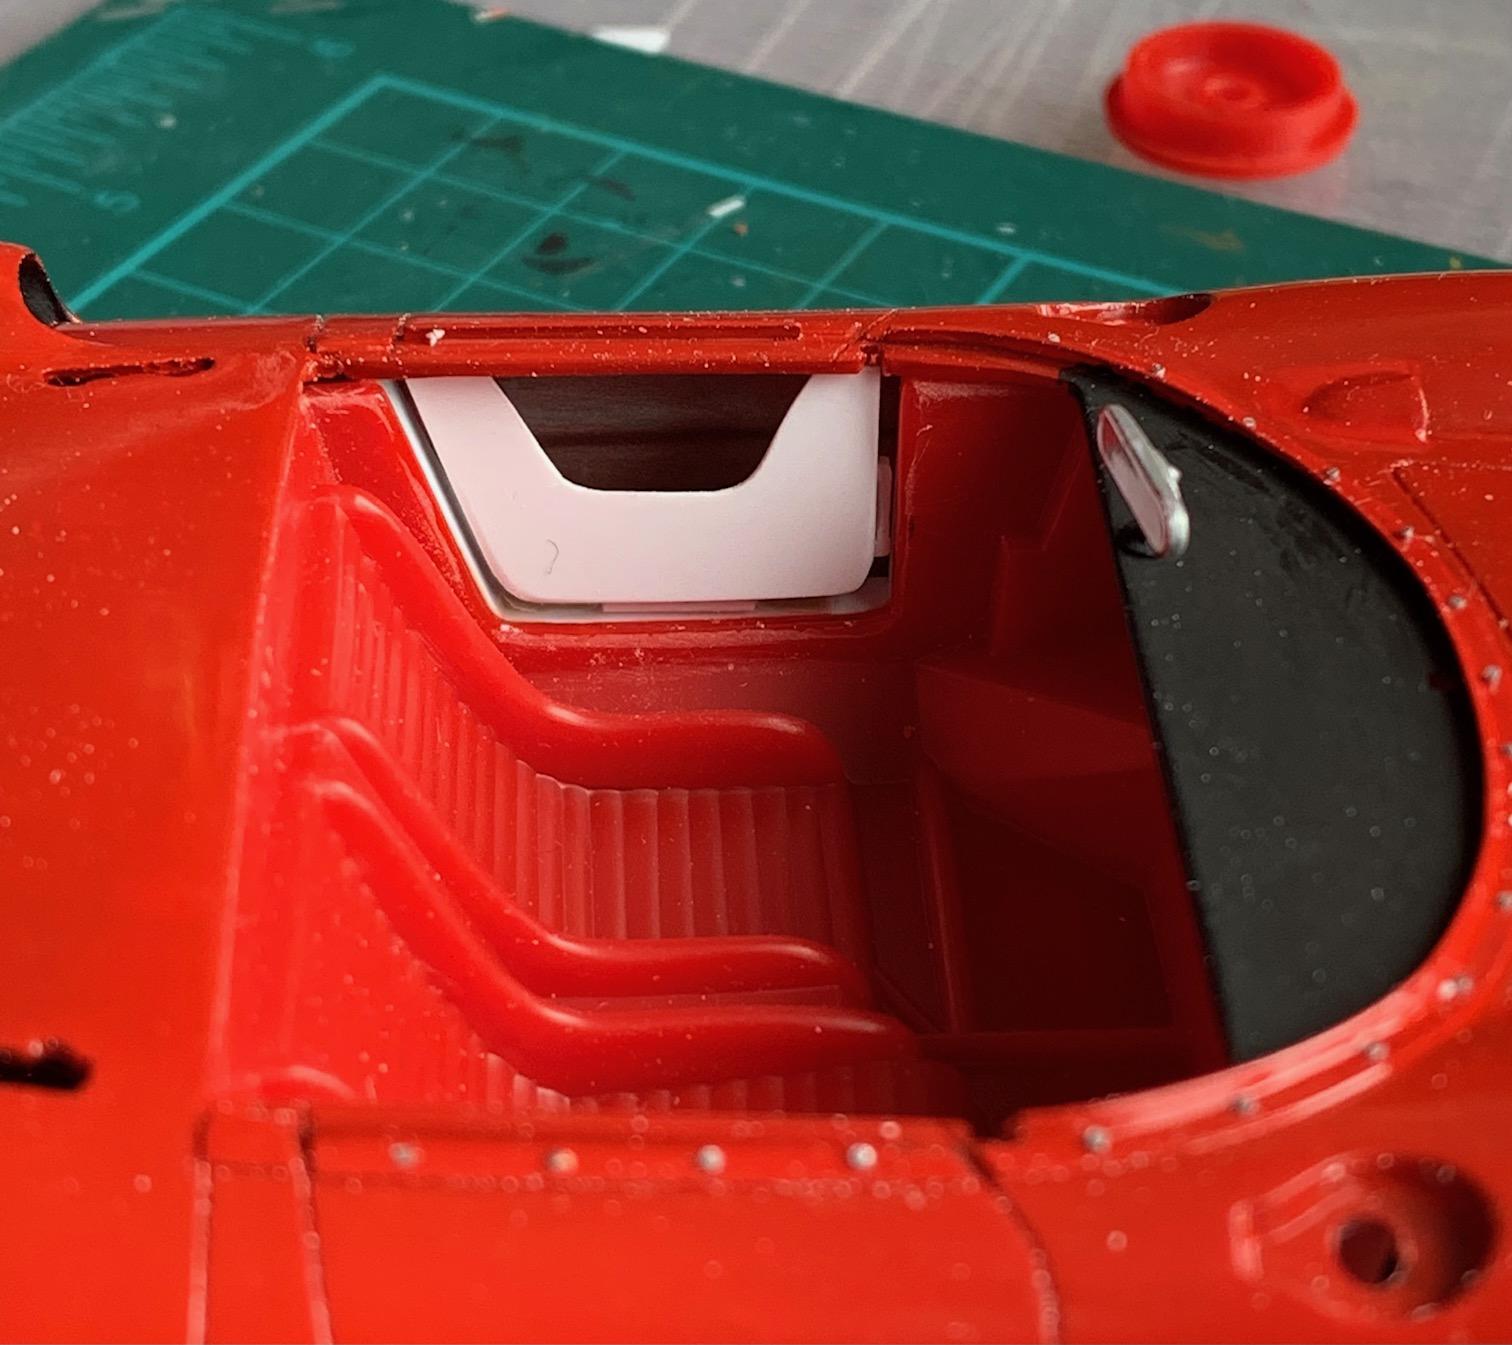
Interior is a most basic tub with 3 added parts (dash, steering, shifter). I will try to dress it up a bit. Step one is simulating door panels.
-
1/8 Pocher Lotus 72
Pierre Rivard replied to Chris Smith's topic in WIP: Other Racing: Road Racing, Land Speed Racers
Superb work as always Chris. The weathering you have done to the chassis and engine gives it a lot of life. The front wheels look a bit odd on this Pocher kit. I don't know if it is the color or shape... and were they still using spinners then? -
Alpine Renault A110
Pierre Rivard replied to TonyK's topic in Other Racing: Road Racing, Salt Flat Racers
Beautiful build Tony. Tamiya has captured the look of this car very well. -
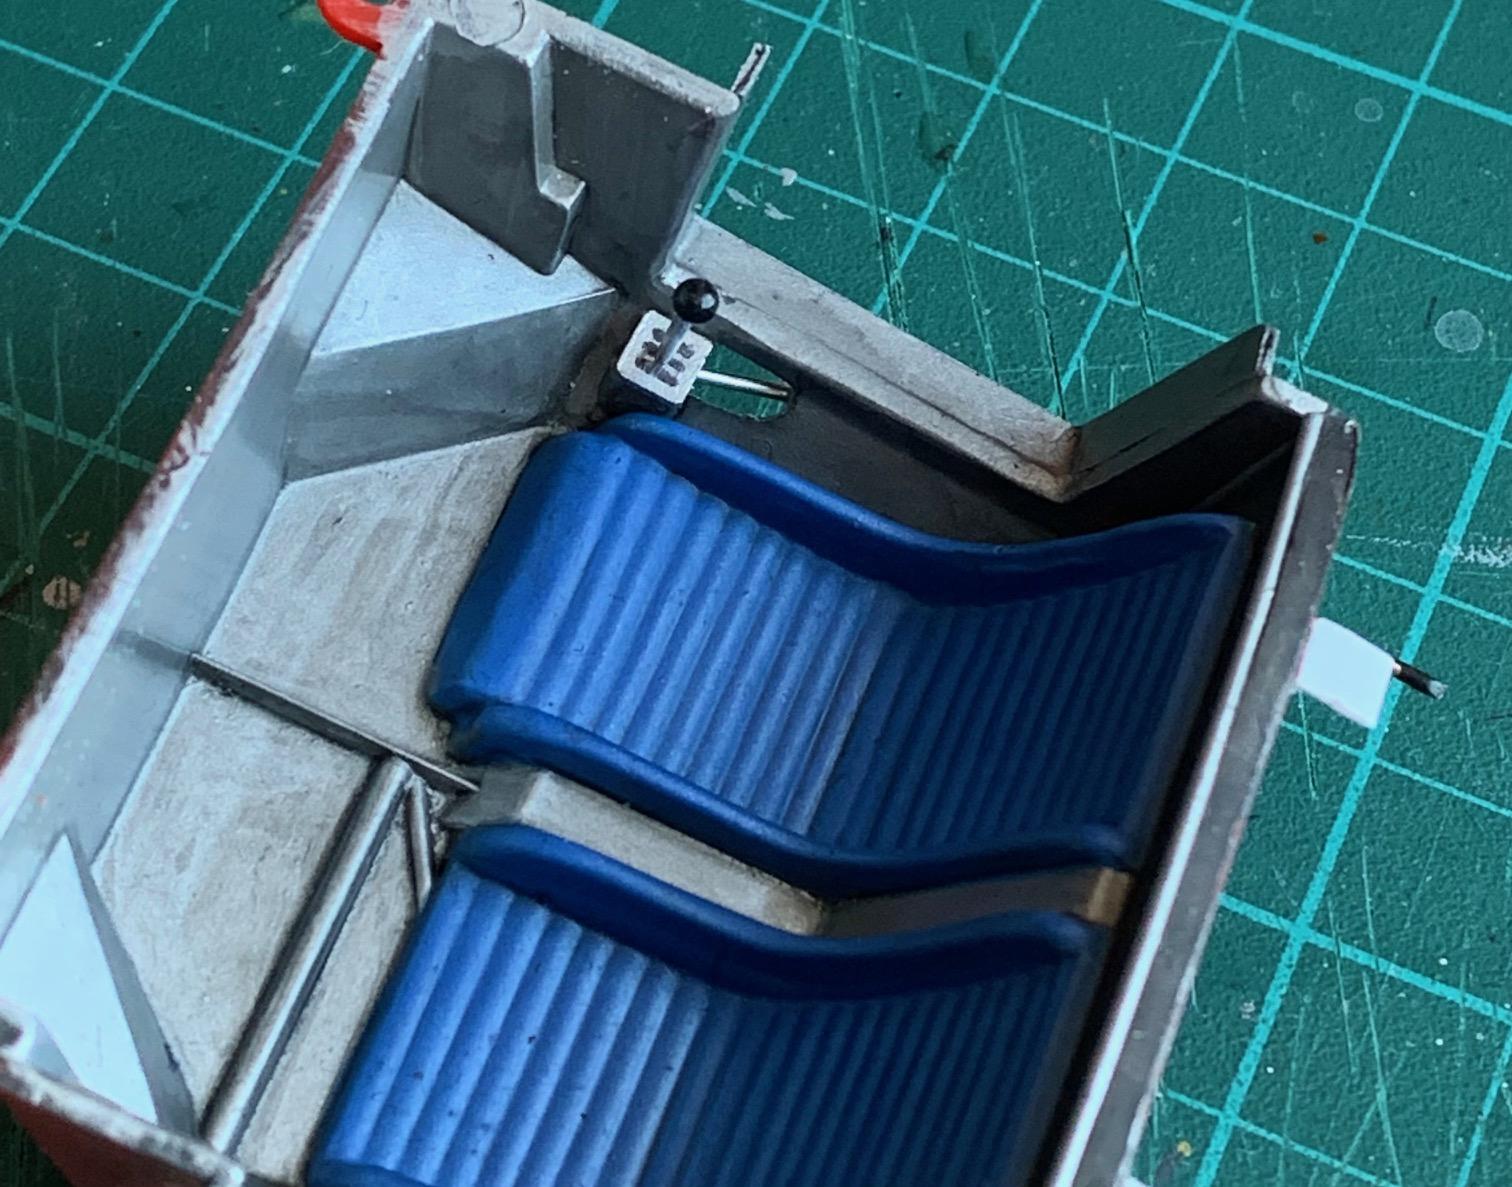
That transformer is mighty impressive and placing it on a coin puts it all in perspective. It's so small...what...what am I looking at? Can't see it, too small. Seriously Daniel, make sure this thing has minimal bodywork. Don't cover up all that great stuff!
-
Simple, it combines the effort to do something artistic and my love for 60's race cars. I love the chase for information about a specific car at a race venue then go about to replicate this moment in history to the best of my ability. Lastly I very much enjoy all the exchanges with fellow builders, mostly on this forum.
-
Precise, exquisitely detailed replica. Most of us are just assembling kits but you my friend are a true model builder. Nothing less than masterful! I prefer scotch whisky and I'll drink one in your honor, not that I need an excuse but... ?
-
1954 Jaguar D Type - Archive
Pierre Rivard replied to Gramps46's topic in Other Racing: Road Racing, Salt Flat Racers
This is seriously, seriously good stuff sir! That's a big transformation you took on and it has come together so so good. And the way you painted it, it looks like a fifties race car, smooth but just a bit of restraint on the gloss. When did you build it? I hope you will keep pulling stuff from the vault for us to enjoy. -
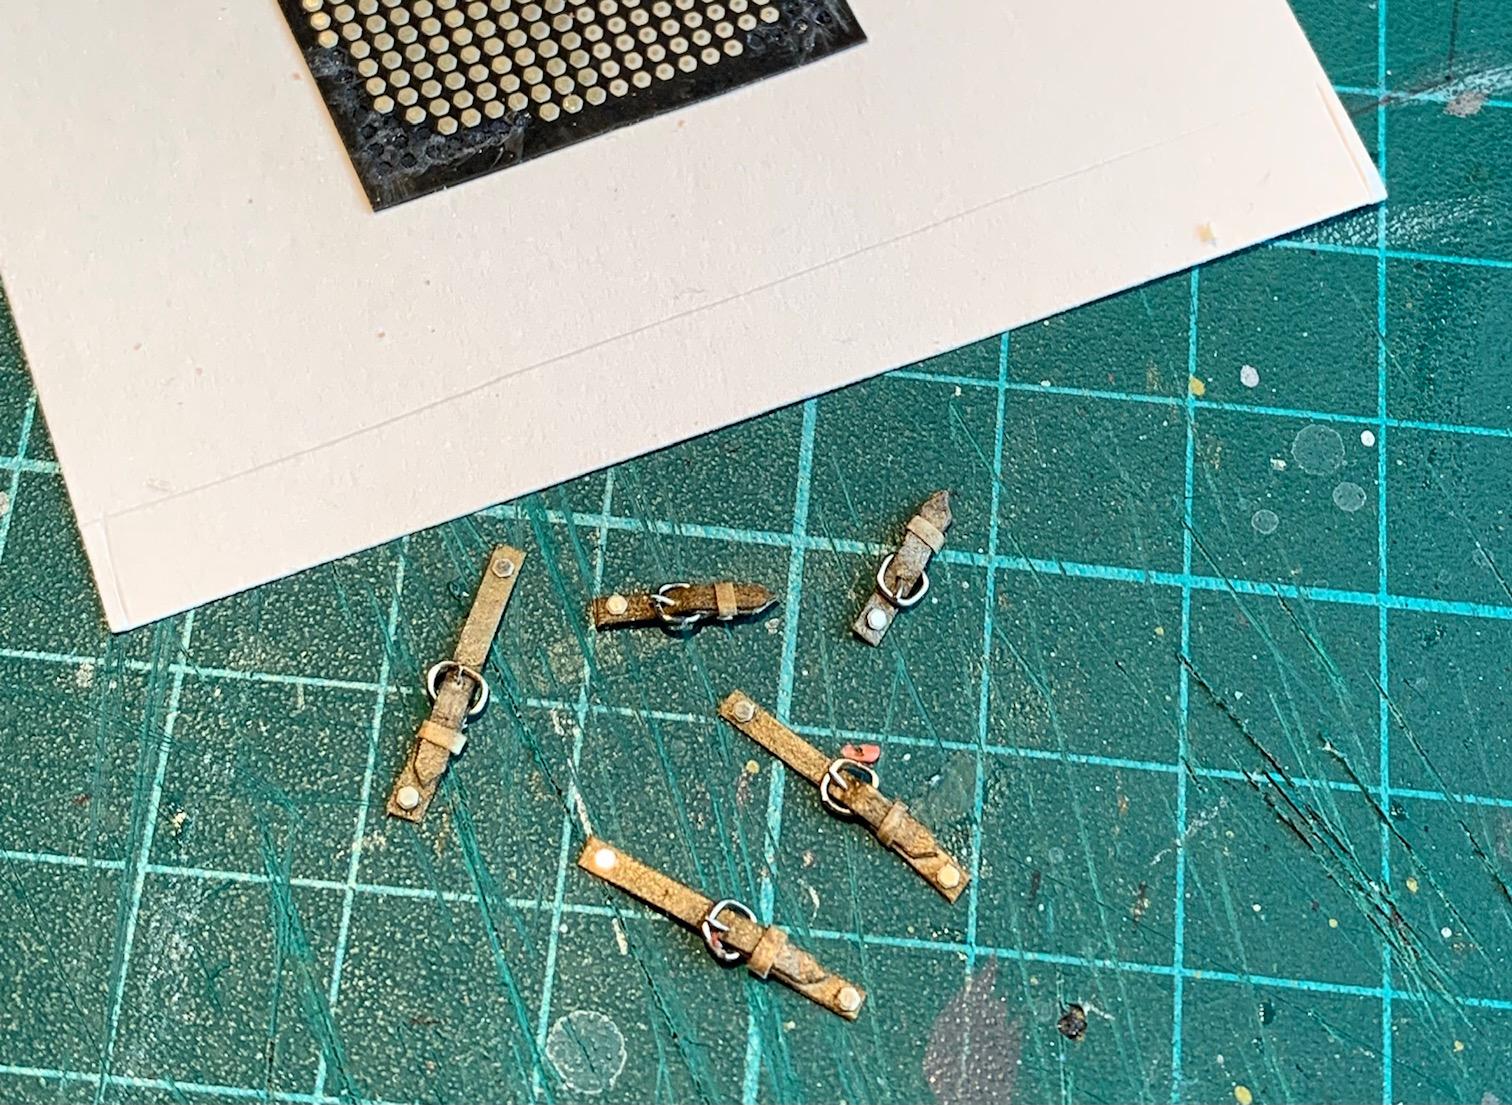
Thanks fellows. I surprised myself with these straps, I made them without a firm how to plan in about 4 hours. I think it's the story of this build, trying stuff I've not done before and so far nothing has back fired on me. Next step is fabricating the interior. Very visible with the open cockpit so I'll need to give it some love.
-
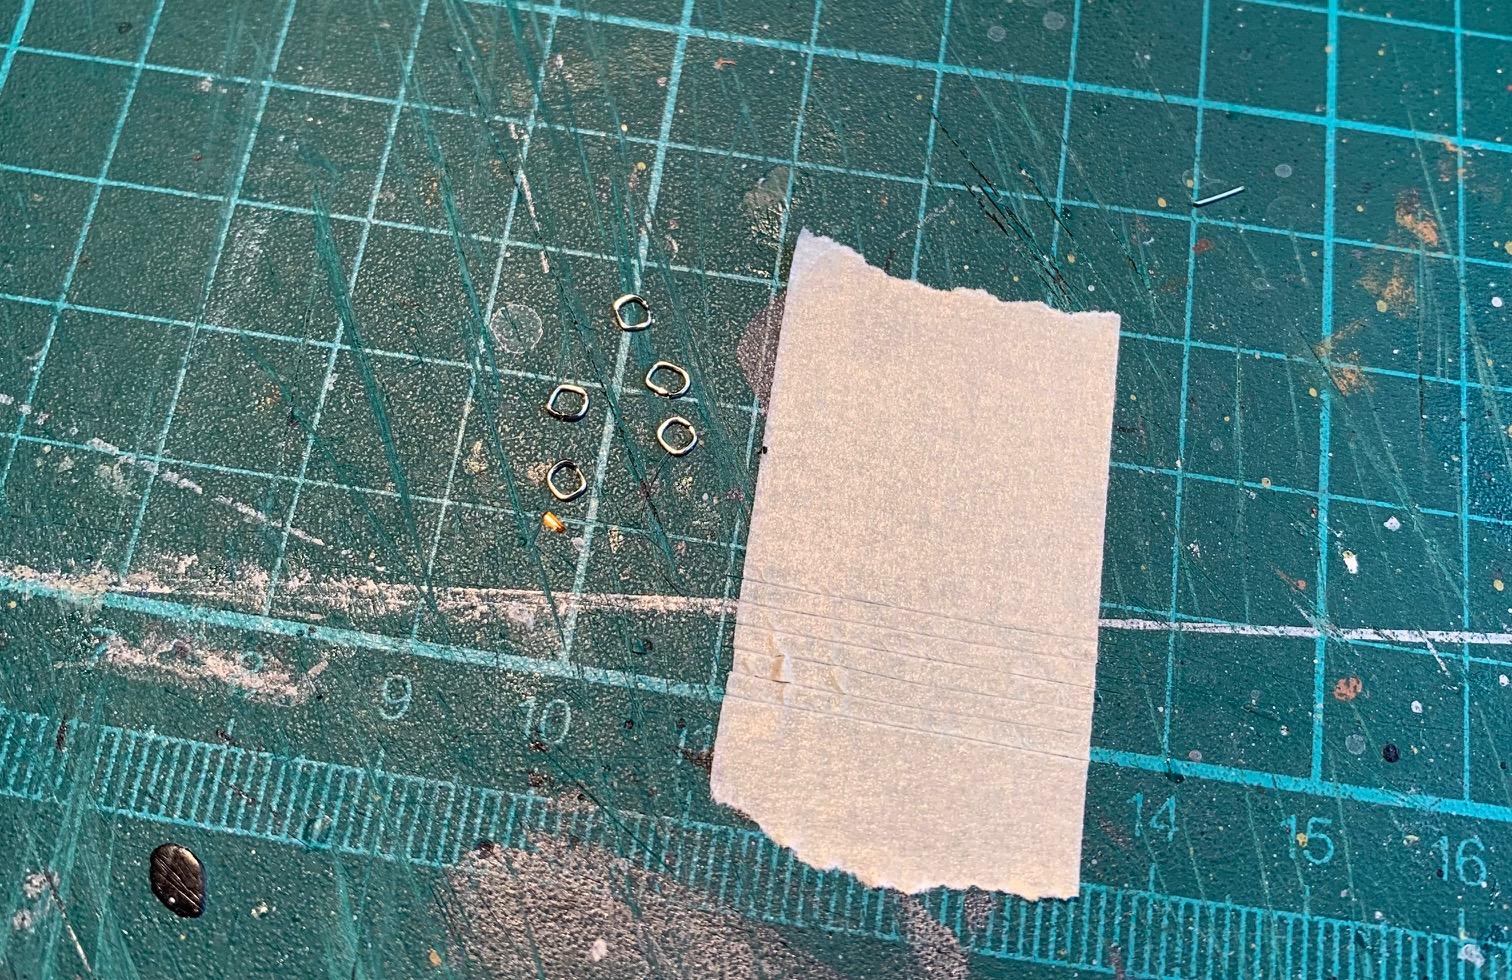
The hood and rear clamshell have leather safety straps. Making them for this build. A bit over scale but it's about as small as I am capable of.
-
Yeah, that one is way cool. Looks exactly like a car the owner would prefer to spend time driving rather than finishing (trim, numbers etc.)
-
Lotus XI, Merit, 1/24
Pierre Rivard replied to Matt Bacon's topic in Other Racing: Road Racing, Salt Flat Racers
That is a beauty Matt. I love the added realism with the added driver figurine. Top notch effort, makes me want to start looking for old Merit kits! How did they change tires on these cars? -
Pledge Floor Care with Future
Pierre Rivard replied to Joe Handley's topic in Model Building Questions and Answers
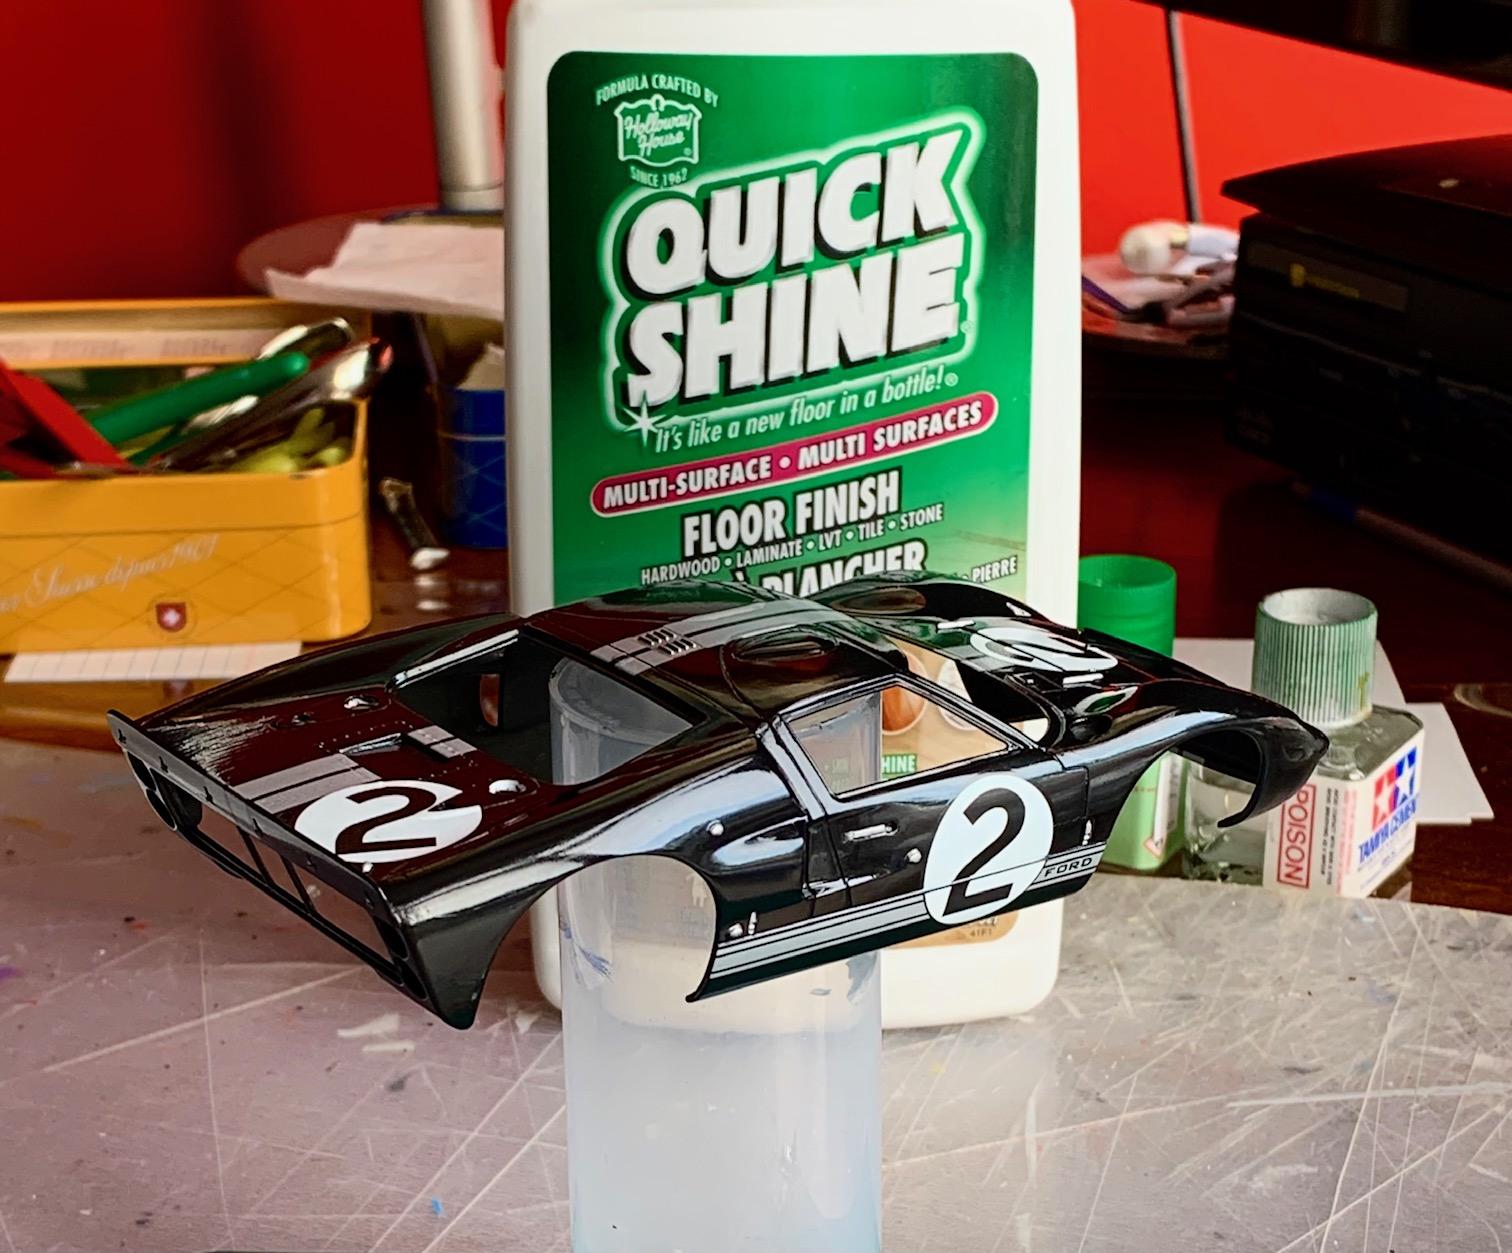
Running out of Future and I too have been looking for a replacement. I've used Quick Shine as a final seal coat on my last project. It brushes on even easier than Future but it appears to be a little less glossy. For me it has not worked on glass, no adhesion, so I'll keep my limited supply of Future for that.
-
It sure is. And don't do the little Delage stunt of just posting a so so picture of the car in this section saying it's all done. We demand a complete set of pictures in the under glass section...or else...??
- 406 replies
-
- 1
-

-
- harry miller
- indy
- (and 1 more)
-
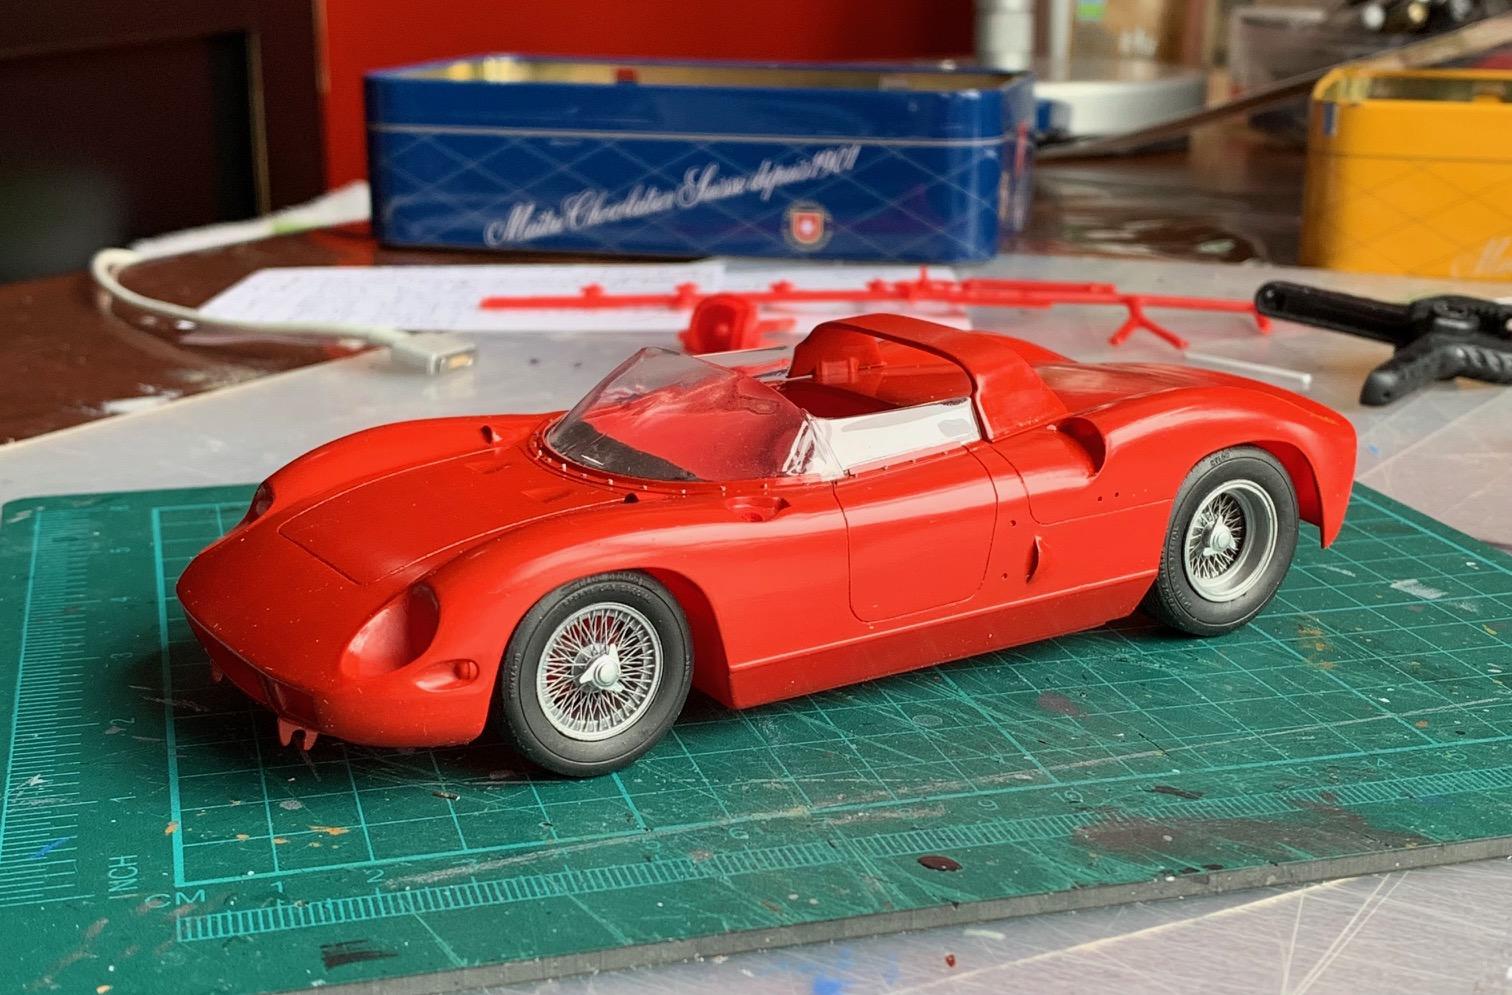
Yup, saw that. I also need to fab new amber side markers above the front wheel opening. The molded markers disappeared with the fender shape change I did. Just fabricated (sitting on the tape column below) but not glued to the body. About the wheels, working with Jason at Jack Modeling on making in laced Borranis for future Ferrari builds.
-
Thanks JC. It's a very simple kit but I enjoy trying to dress it up a bit. Hope we will see some of your beautiful work soon.
-
Easy on the gloss, got it boss! ?
-
Outstanding. Concours level of paint. Very impressive.
-
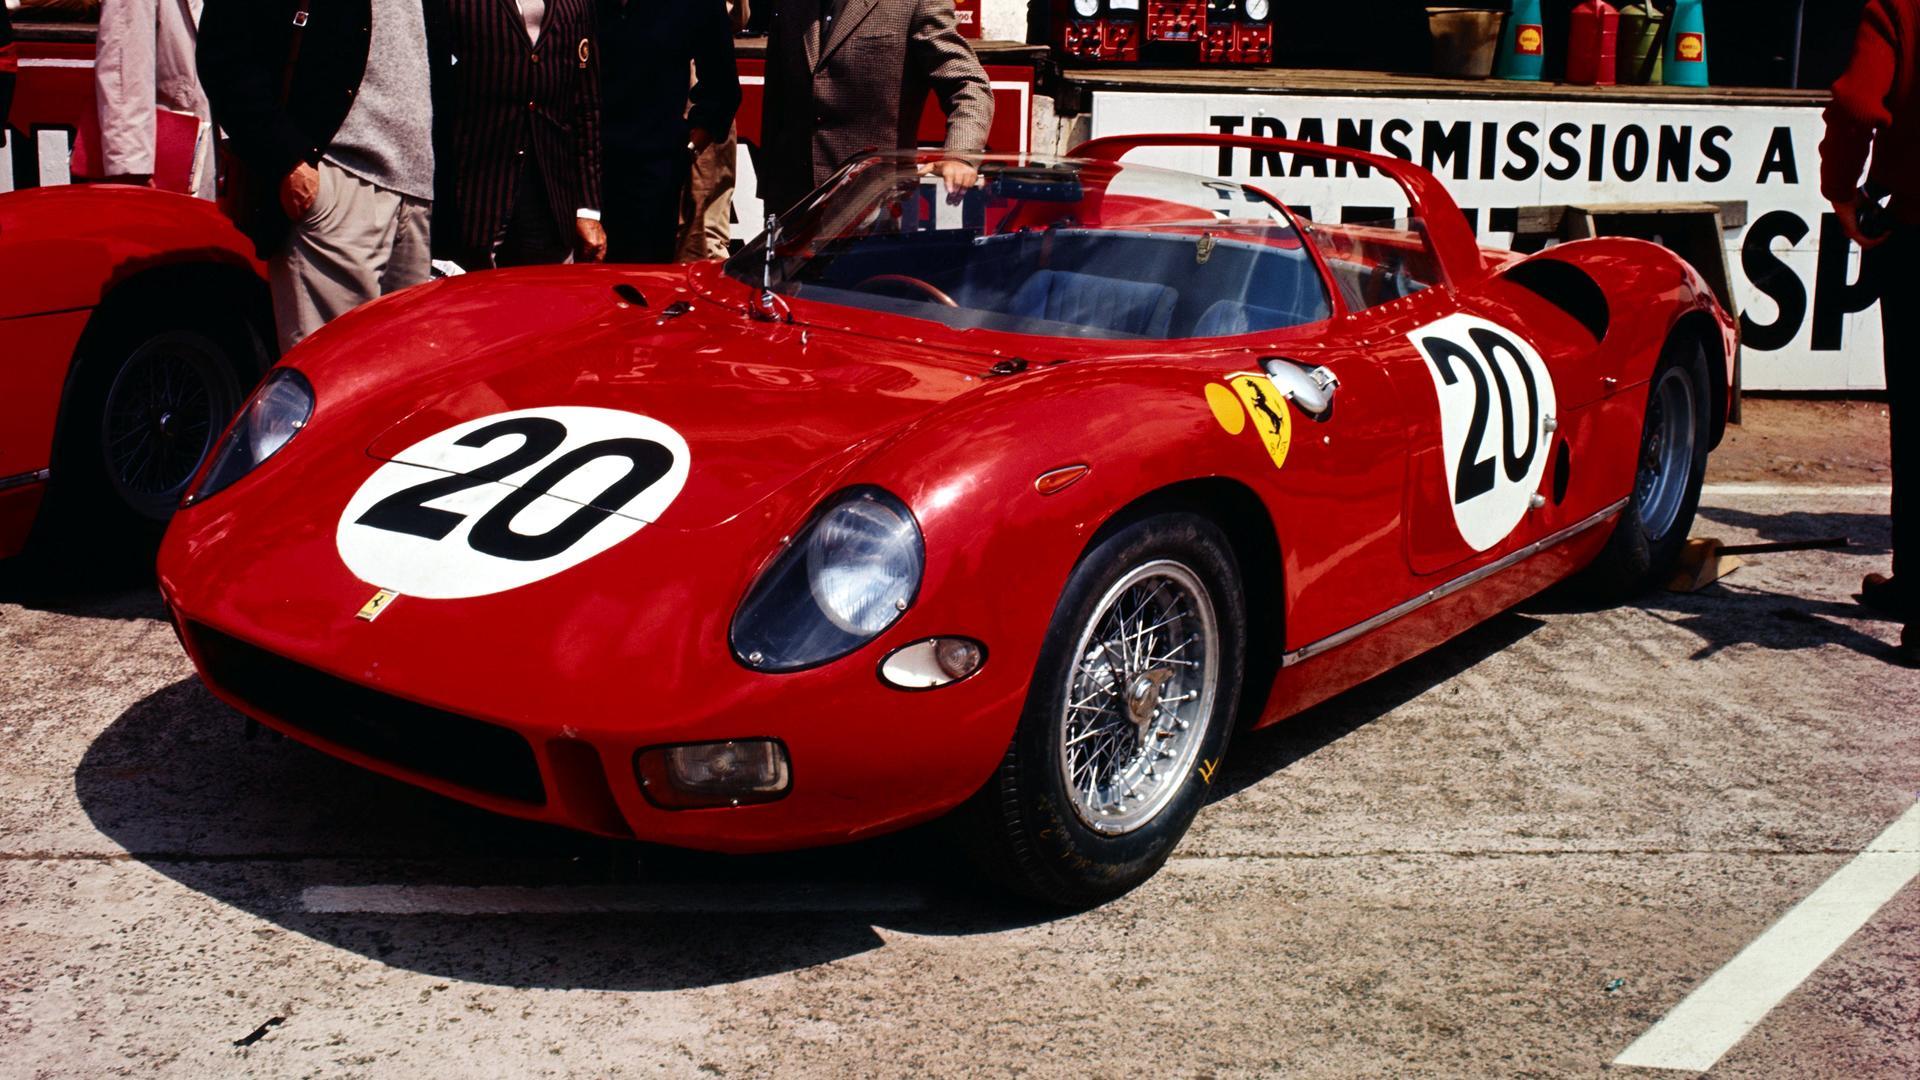
Thanks guys. Still some work to do on the paint and I also think I will need to tone down the gloss a bit. Picture below is what I will aim for. I just realize from looking at multiple pics that the 64 LeMans winner had black headlamp pockets, not the often seen silver.
-
I finished the "canopy" hardware. I glued in small 0.5 mm rods with the tips painted chrome. Not bad but I have to find a good source for rivets for future builds. Also the small A posts have been painted and bonded to the glass piece. The canopy and airfoil are just installed loose at this point. Gluing them in will be at the final build stage. I still have to build a wiper. Gotta design a solution first...
-
I still have a lot to o on this one but I could not resist doing a quick mock-up. I set up attachment/axle setup to the printed wheels and I am satisfied with the ride height I have set up, and I like the look of the wheels. Taking pictures also help a lot to assess the body mods. I am happy with the way the fenders now gradually roll to the sides of the body. keep in mind the paint has not been polished yet so some small brush strokes may be visible.
-
X2, you're not done until the camera says so!
-
It's beautiful Jeff. Not an easy kit but once conquered like you did it results in a rewarding build.
-
I love watching the parts made from multiple materials. Making all four spats like that is a lot of work but your model deserves nothing less.