-
Posts
1,278 -
Joined
-
Last visited
Content Type
Profiles
Forums
Events
Gallery
Everything posted by Dpate
-
- 39,060 replies
-
- 4
-

-
- johan
- glue bombs
-
(and 1 more)
Tagged with:
-
I use Tamiya Q-tips there wounded tighter than regular Q-tips. But if you’re having trouble with regular Q-tips? Just use a cotton cloth around one finger. But some areas may require multiple pieces of BMF, and if done right you can’t even tell it was pieced. You can get away with one piece of foil around a bend, but you’ll have to lay it down right or you’ll get bad creases in the foil, and it’ll look horrible.
-
You have to burnish it i.e cotton bud or cotton cloth. If you burnish it you’ll notice how the cotton bud or cloth starts turning black. Keep doing that for a little, and you’ll see the shine. certainly not gonna stroke no body’s ego, but like others have said you gotta work your way up, and learn different skills, different techniques, etc. I look at models different than most as I’ll try and get it close to 1:1, but I’m not gonna try and get it 100% 1:1 hundred of wires, open doors, etc etc. It’s a plastic model that’s gonna sit, and spending 100 of hours on it is just going too far to me. I understand the satisfaction some get out of it, but I rather build 2-3 quality kits in 100 hours than just 1 to each their own. With time, practice, patience, you’ll get good at painting, clear costing, using BMF, etc etc. Just like guitarist they didn’t learn over night even though I think some are aliens lol.
-
The numbers are grit size. 1500 being the smallest, and 500 being the biggest or thickest of them. It’s a system you can use 500 for filling etc, and work you way up. If everything is good to go you can start out with 1500 the smoothest of them.
-

Strange Result Stripping Chrome
Dpate replied to Olderisbetter's topic in Model Building Questions and Answers
Have to be careful with super clean though. If it doesn’t strip it 100%(I have had chrome where superclean wouldn’t touch the varnish even 2 days of soaking) it’ll stain the varnish purple reason I stopped using it. It strips the chrome cause it has 5 or so percent lye in it. It just depends on the kit chrome, but super clean does work so not knocking it. It’s cheaper route than the method I use. Even though a pound of lye cost like $6. My method I’ll have a whole kit of chrome stripped in half a hour chrome and varnish. -
Mr surfacer 1500 black all day everyday. Nicest black primer I think u can get besides hobby titans black primer in a can. I think it rivals surfacer it’s that good. Italy product VS Japan product they’re both amazing.
-

Strange Result Stripping Chrome
Dpate replied to Olderisbetter's topic in Model Building Questions and Answers
That is little weird must be a bleach thing. I use 100% lye takes chrome off in bout 20-30 secs. I then use a stripper to remove the under layer varnish. Method I’ve used for awhile basically fool proof. -

Decals wrinkled - can they be saved?
Dpate replied to atomicholiday's topic in Model Building Questions and Answers
Yeah just got to let set dry for a little, and then go for sol. Lot of times you can just skip set all together. Are you cutting the decal between the door seals or letting sol sink it down? Also be careful with Mr hobby’s decal solutions it’s strong stuff like solvaset if not stronger. I think it’s the blue bottle you need to make sure, and shake good too cause all the white stuff settles. If decals are thin I’ll use set & sol, and if they’re thick or being annoying I go for the strong stuff. I use a water brush a lot too (those brush’s that you can put solution in, and squeeze.) I don’t put solutions in them just use them to apply decal solutions while rubbing down the decals can burnish them down real good especially in door etc. -

What glue to use attaching Photo-etch scripts?
Dpate replied to Len Woodruff's topic in Model Building Questions and Answers
So the is stuff almost act like the adhesive we get on the back of metal transfers we get with Tamiya etc? If so I’m gonna bet a bottle to try myself even though the AK stuff I use works , but not the same as this. -
Been waiting for this bad boy. Id be shocked if it isn’t already built from all the movement during shipping when you open it….lol
- 39,060 replies
-
- 2
-

-
- johan
- glue bombs
-
(and 1 more)
Tagged with:
-
Replacement body for revell 65 Chevy impala Foose came in, but damaged and can’t use it. So $15 down the drain should have just got a full kit. Both sides are the same. It was packaged good just poor choice of packaging.
- 39,060 replies
-
- 1
-

-
- johan
- glue bombs
-
(and 1 more)
Tagged with:
-
-
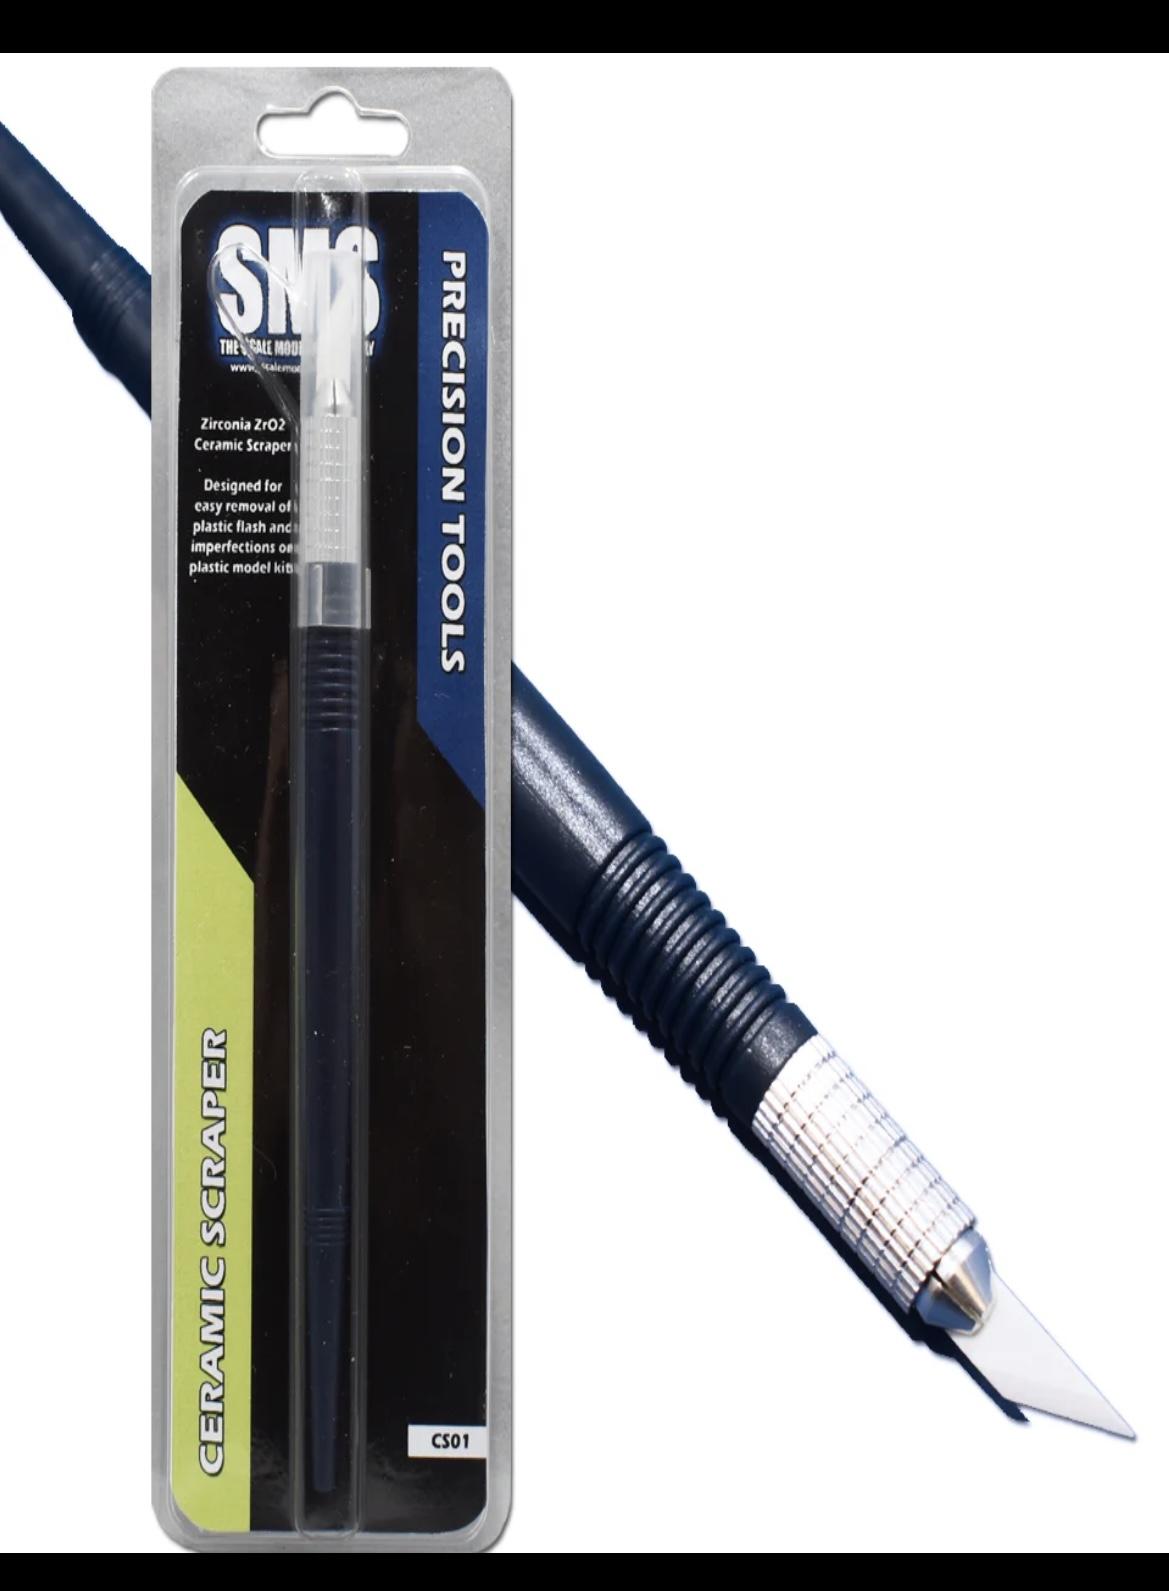
You can use the back side on a xacto blade at an angle to clean up flash etc. I use a ceramic blade though as it’s safer, and can’t damage the plastic by accidentally gouging it. Seamlines and moldlines is different though. The SMS tool is pricey as is the blades, but one blade will outlast 100 pack of xacto blades far as sharpness goes.
-
I hear ya. I think next time if it’s a rough kit I’ll give it a swirl. But the current kit 57 Chevy bel air 100 anniversary edition by AMT that I’m dabbling in is fantastic. Even the instructions are the best I’ve seen by AMT. Only issue I found with the kit so far was when test fitting the trunk - it sat little higher than the body so had to sand it down until whole thing was flush. But besides the flash it looks like a newly tooled kit, and the chrome is the best I’ve seen so far from AMT.
-
Besides for base coats. Its good practice to use grey primer to see any imperfections on the model that you may of missed. Only need light coat or two of grey primer to see what u missed. Happens all the time though! You think u cleaned all the mold lines etc and it looks good, and you go to primer and BOOOOOOOM…..Small piece of flash or mold line or dent or something laughing at you.
-
Yeah that’ll never happen with Tamiya, but would be awesome though. Id buy with no hesitation.
-
That’s true, but my priorities are different than those dedicated accomplished builders. I like the car reason I asked if there were any others out there, but not enough to care that much to spend months on it. I could do it if I wanted too, but that road from start to finish wouldn’t be fun for me. It’s a decent kit, but maybe I got a lemon as I seem to get all the time with AMT - even though I do have a lot of quality AMT kits. I threw away a few though except the tires and rims, cause bodies missing trim work etc etc. I don’t mind cleaning flash and few other things, but I buy kits I like to build them not fix bad engineering or ridiculous mold issues from out dated molds that should be put to rest. It’s my own ignorance getting kits when I was new, and not knowing how old something is.
-
The body of kit is good, but the front end is horrible and doesn’t match the real car at all. The grill inserts fit, but with big gaps. The front trim isn’t even even or align, and the hood is ill fitting with a gap on right side. Other than that the tires are great along with the rims. I knew the responses that was gonna come, but was just curious if there was anything else out there is all. Doesn’t matter how much u polish a turd - a turd is still a turd. Thanks for the help.
-
Is AMT the only one that does that model? It’s trash, and was hoping there was another company out there that happened to do one?
-

What Did You Accomplish Today? (Model Car Work)
Dpate replied to Snake45's topic in General Automotive Talk (Trucks and Cars)
I might prep a scrap body etc and try it again see how it does without doing a heavy coat. Just got to….dig it out the trash. -

What Did You Accomplish Today? (Model Car Work)
Dpate replied to Snake45's topic in General Automotive Talk (Trucks and Cars)
It was the perfect match clear of there’s acrylic lacquer. I paid $18 for it, but I’m not blaming the product but myself. The last cost was just way too heavy I think. I guess it’s best to just do light coat after light coat 10 mins in between until it finally turns to gloss. I’m just scared to use it again, and prob would never use it over decals as it’s too hot. I’ll just stick with 2k something I’m good at, and just have someone watch my son for bout a hour while I use it. I probably should have heated the can up though as it was spitting a little hear and there, and wasn’t a fine mist. I just suck at rattle cans lol. -

What Did You Accomplish Today? (Model Car Work)
Dpate replied to Snake45's topic in General Automotive Talk (Trucks and Cars)
It was scalefinishes, but it wasn’t the paint that was the issue. It’s my own my fault though I didn’t know that dupli color was that hot. I couldn’t fix the damage it did so I had to order a body off eBay. I guess I should have kept doing light coats building it up, but I’m sticking with 2K. There is a new 2k that James selling at scalefinishes called honey clear (Like 2K without most of the harmful Chemicals) that I wanna try. Haven’t ordered it yet as I need some custom paint done, but he hasn’t answered my email in almost two weeks. I guess he still backed up with orders after the emergency situation he had to deal with. -

What Did You Accomplish Today? (Model Car Work)
Dpate replied to Snake45's topic in General Automotive Talk (Trucks and Cars)
What I accomplished today was destroying my paint job using dupli color clear. Did about 4 coats each one light to medium with 10 mins between coats. I than decided to do a heavy coat at the end, and it made dark patches in the color, and made small scratches on the hood, and the trunk, and some on each side of the body. It’s hard to explain, but looks like someone took a blade to it. I guess I went too heavy as I suck with rattle cans. So $20 down the drain cause the can going in the trash, and $10 bottle of stripper wasted, and now hours of work tryna fix all the issues it created. My gut told me not to get it as I do 2K with no issues, but I was willing to try something different cause of my son. -
- 39,060 replies
-
- 4
-

-
- johan
- glue bombs
-
(and 1 more)
Tagged with:
-
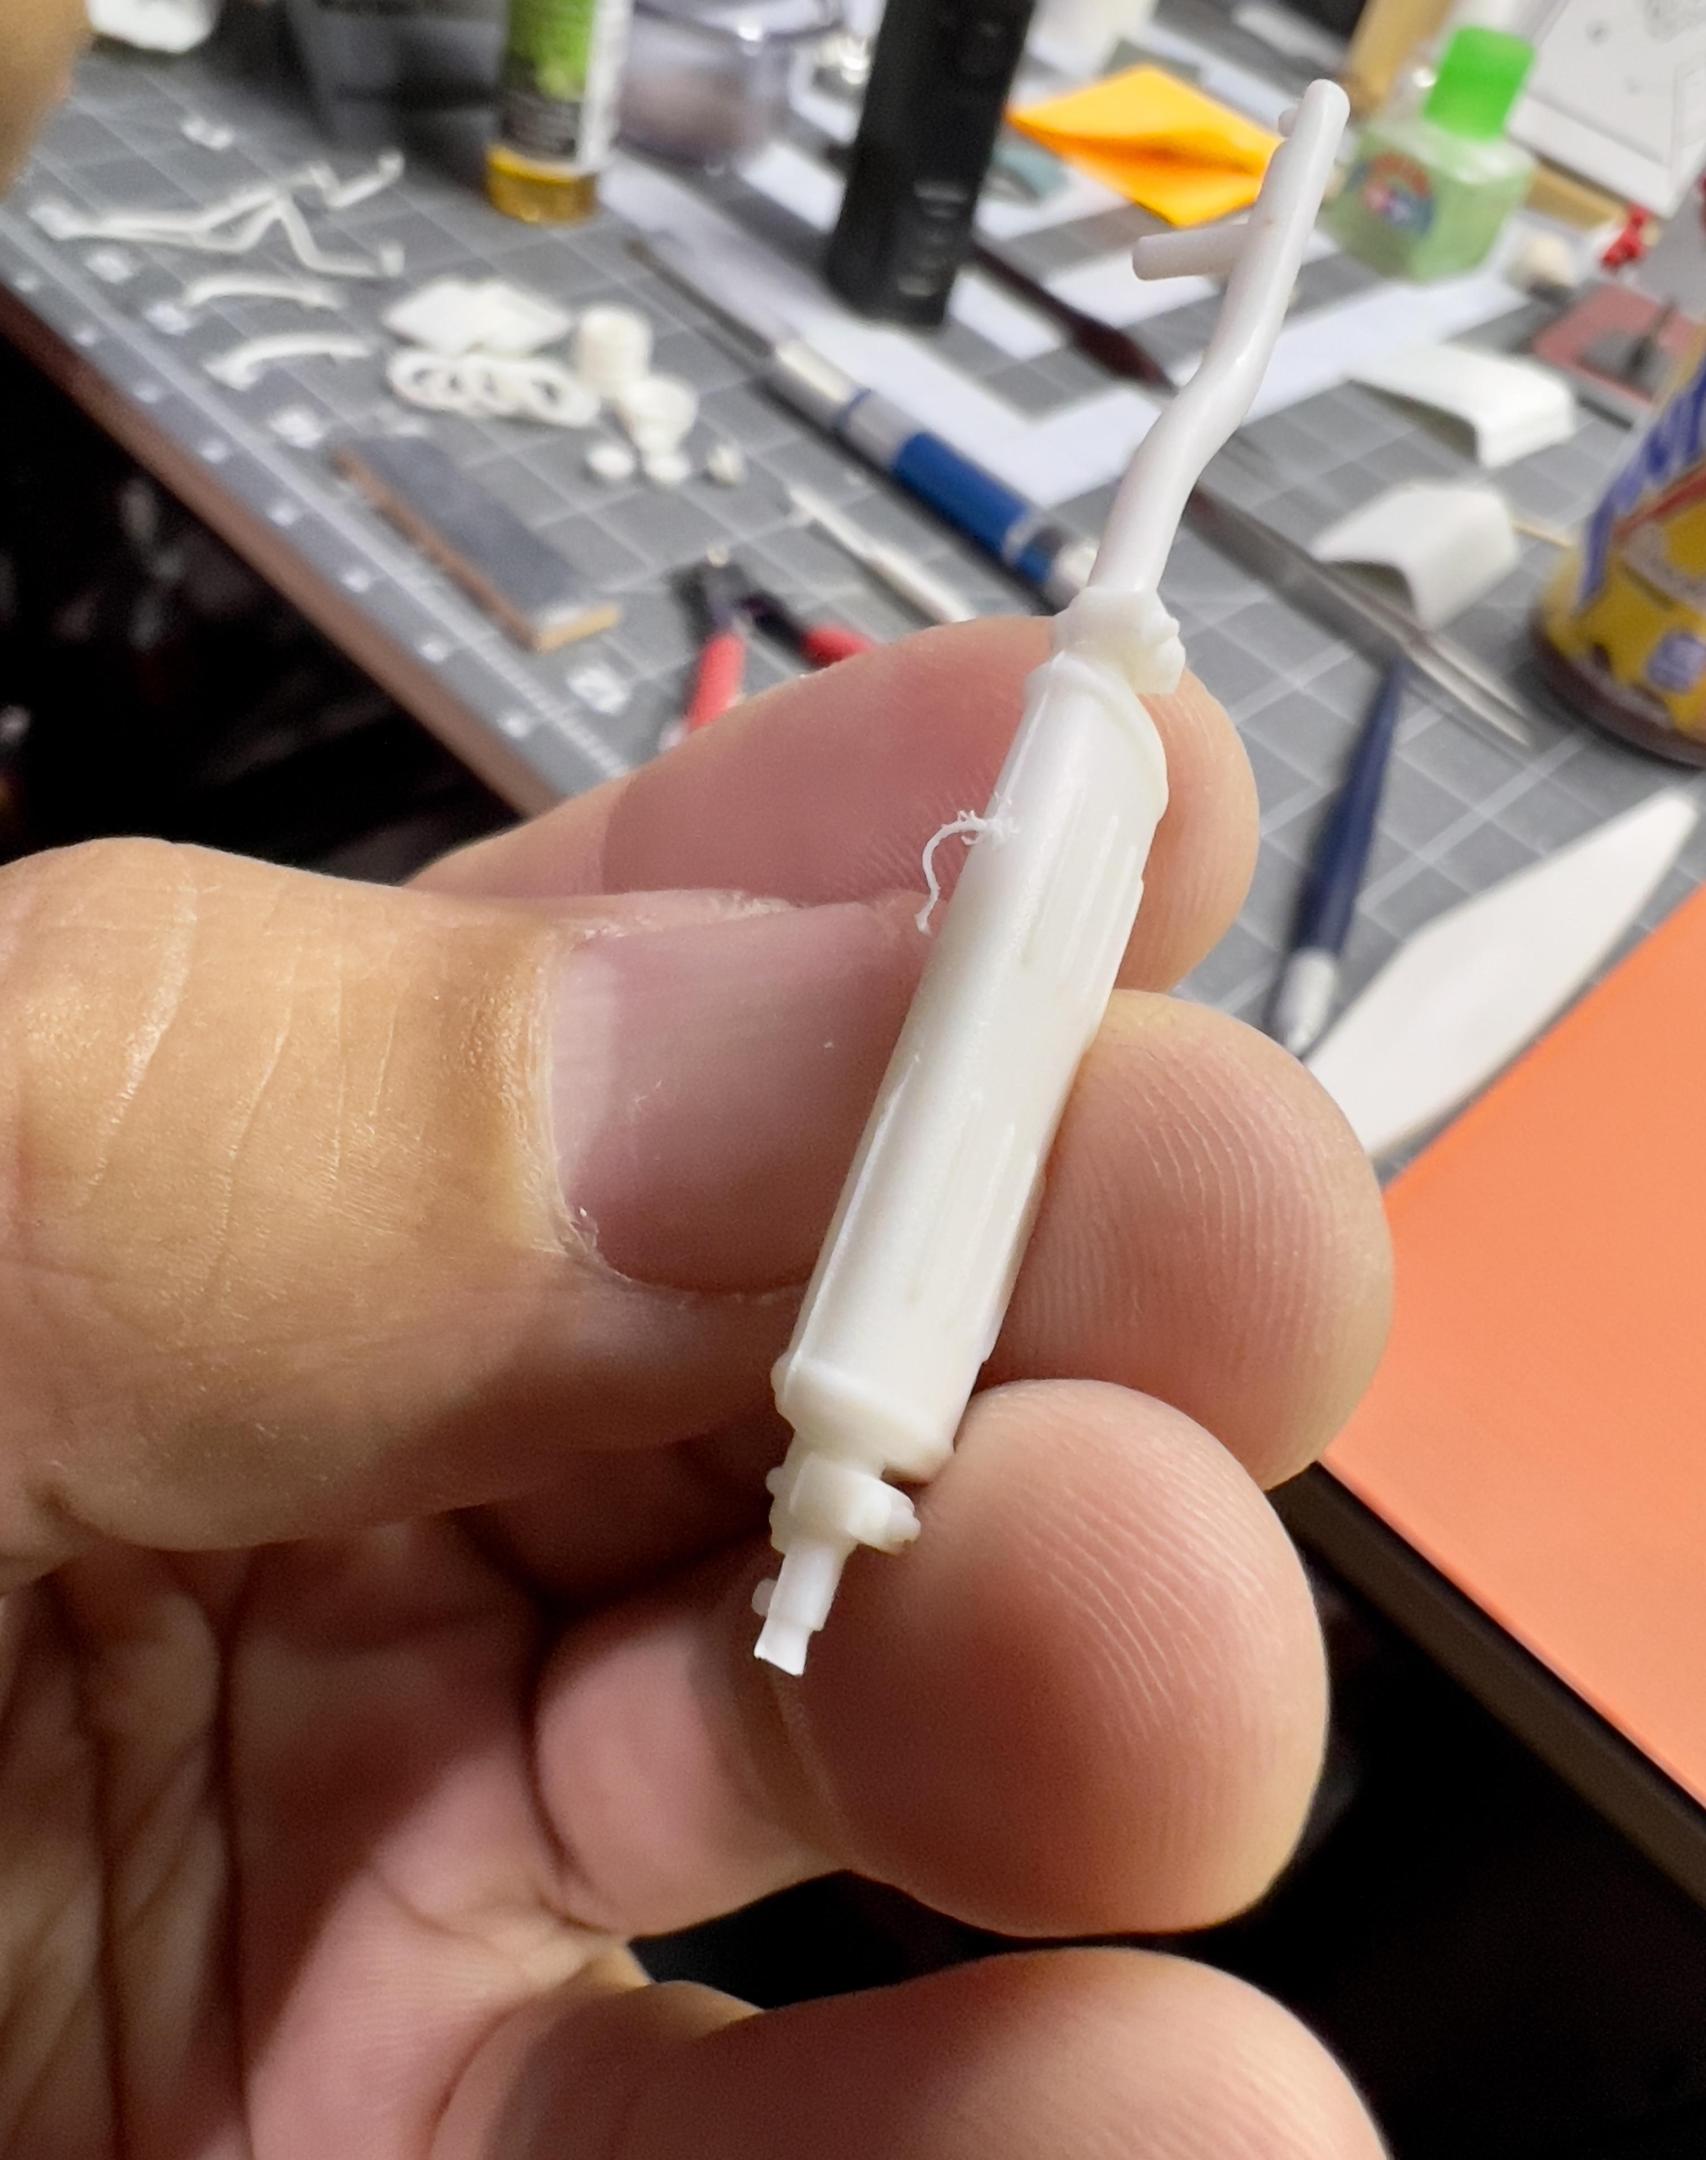
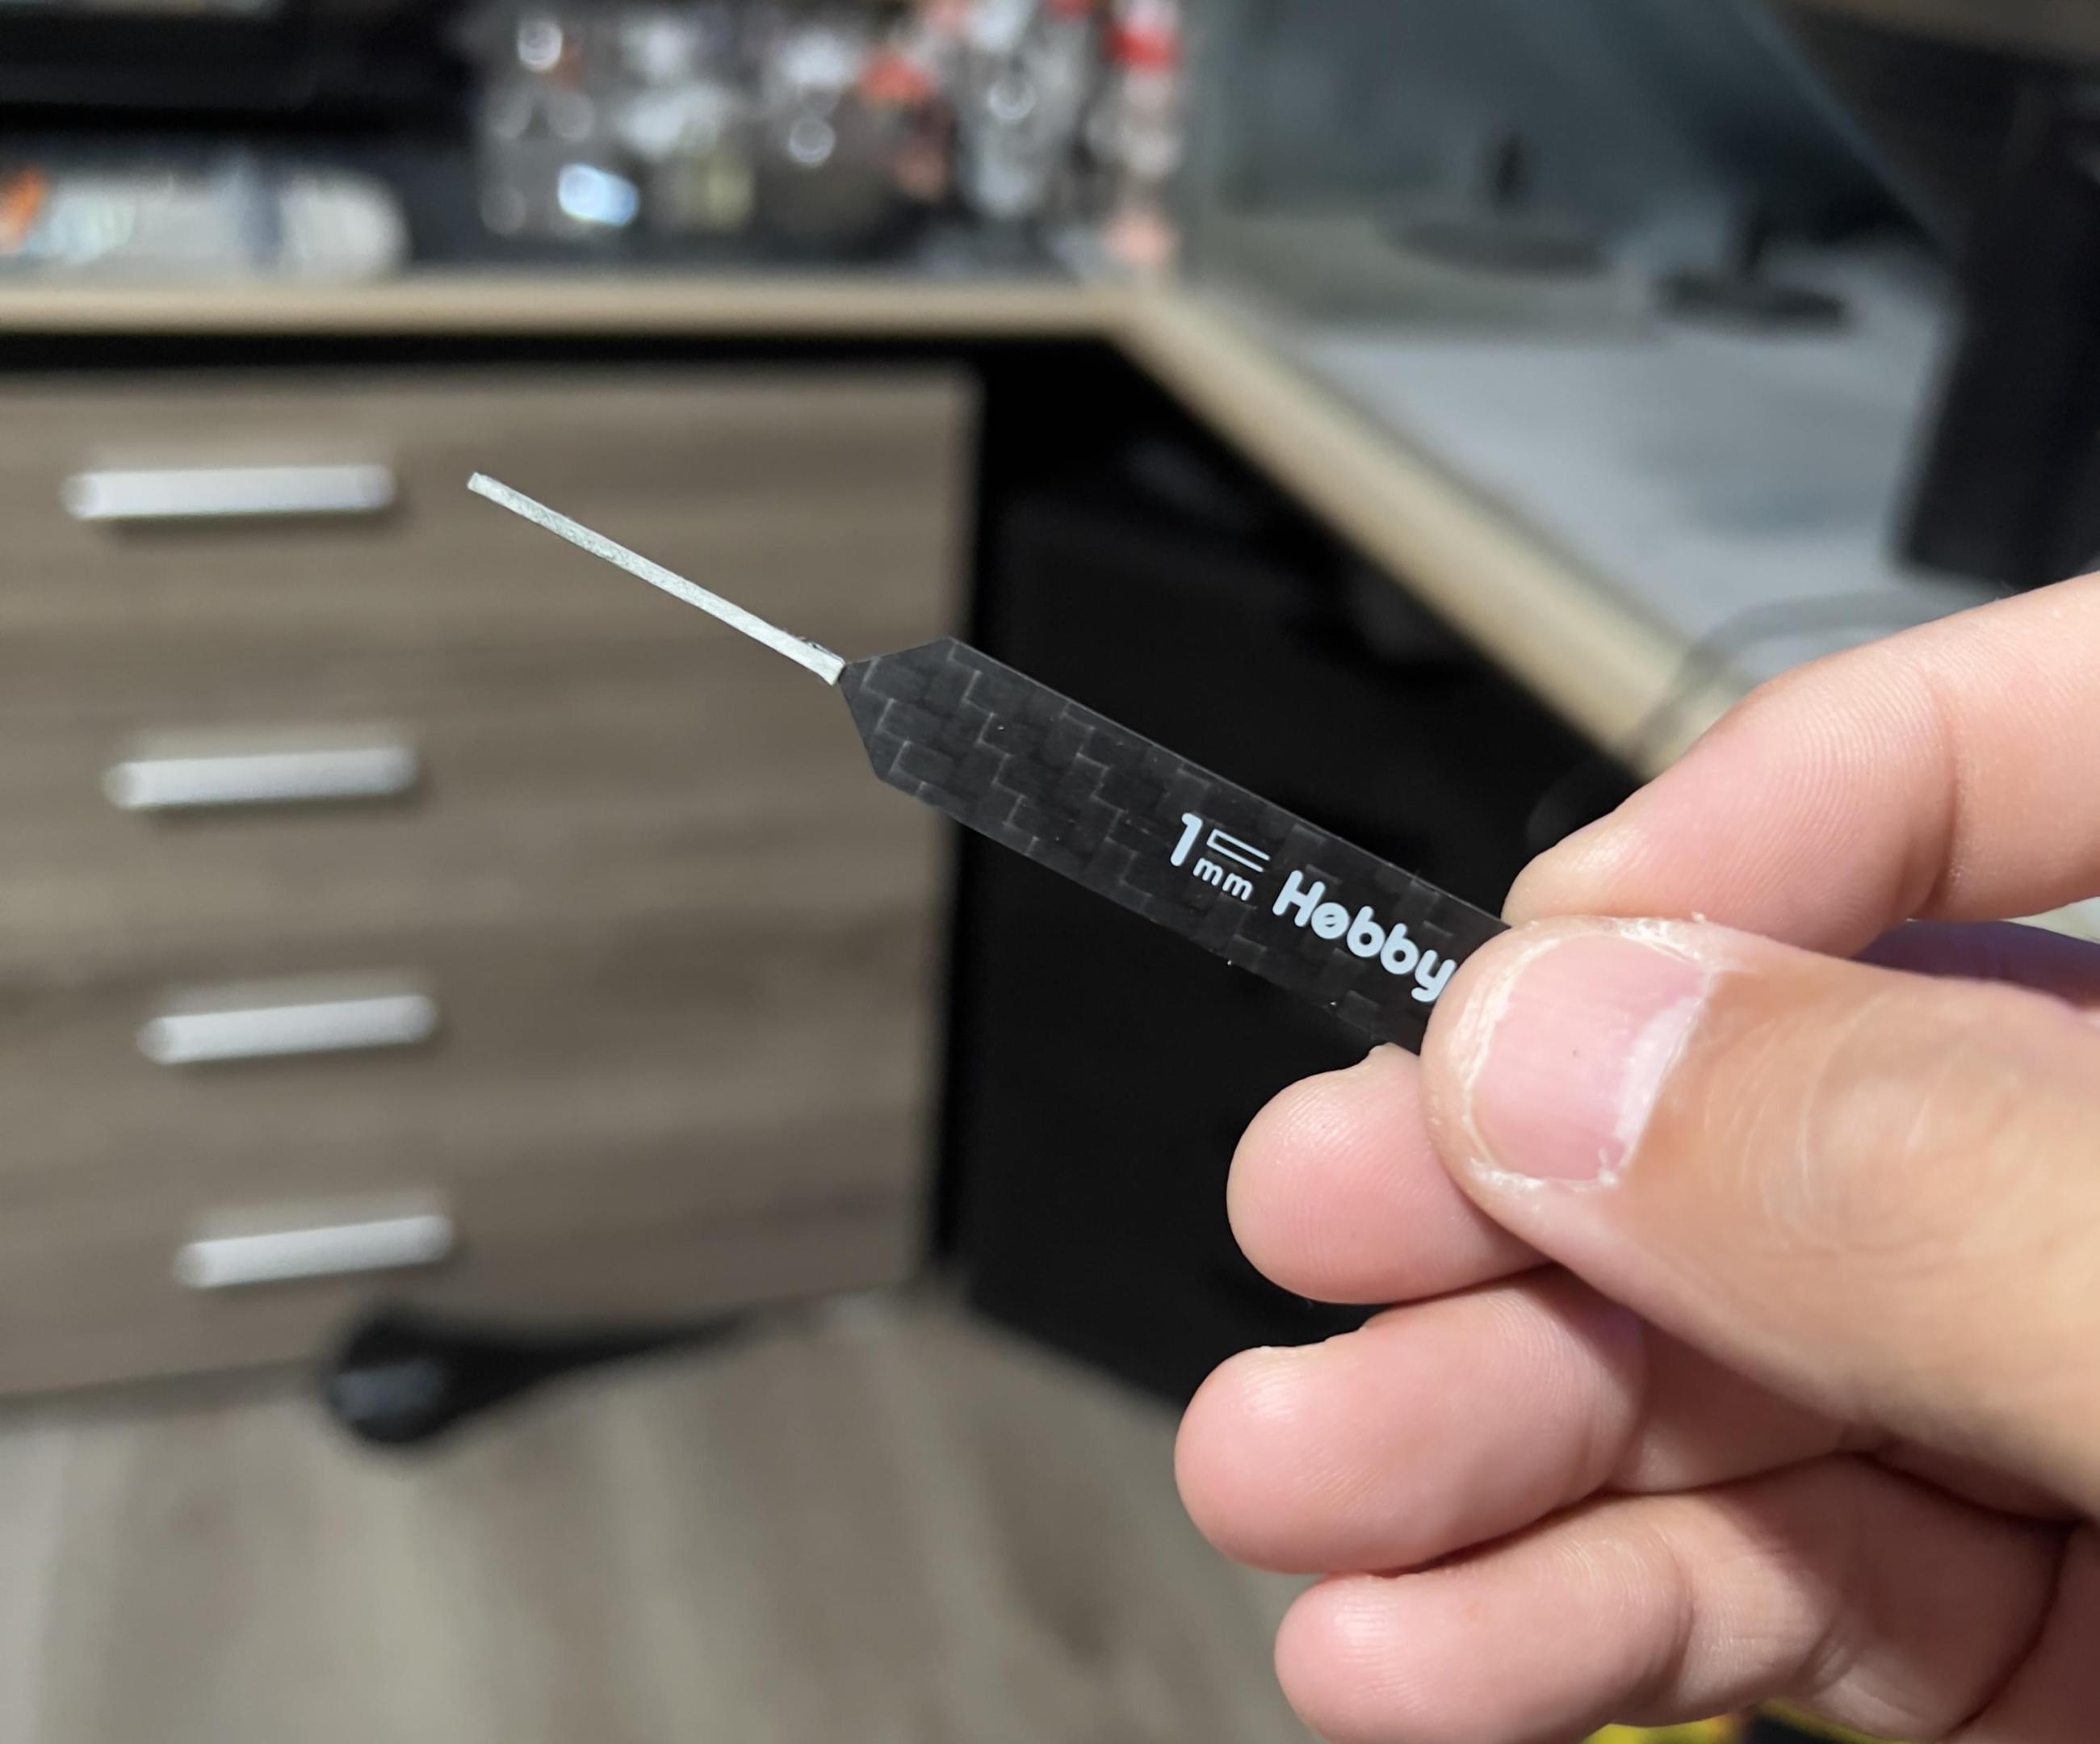
There’s all different types of methods to sanding in small areas etc. Here is a example in the pic. Some areas though aren’t worth trying to polish etc cause you’ll never really notice or see it, and you’re asking for burn through.

