Jürgen M.
-
Posts
1,677 -
Joined
-
Last visited
Content Type
Profiles
Forums
Events
Gallery
Everything posted by Jürgen M.
-

Pete 359 tanker with trailer
Jürgen M. replied to Jürgen M.'s topic in WIP: Model Trucks: Big Rigs and Heavy Equipment
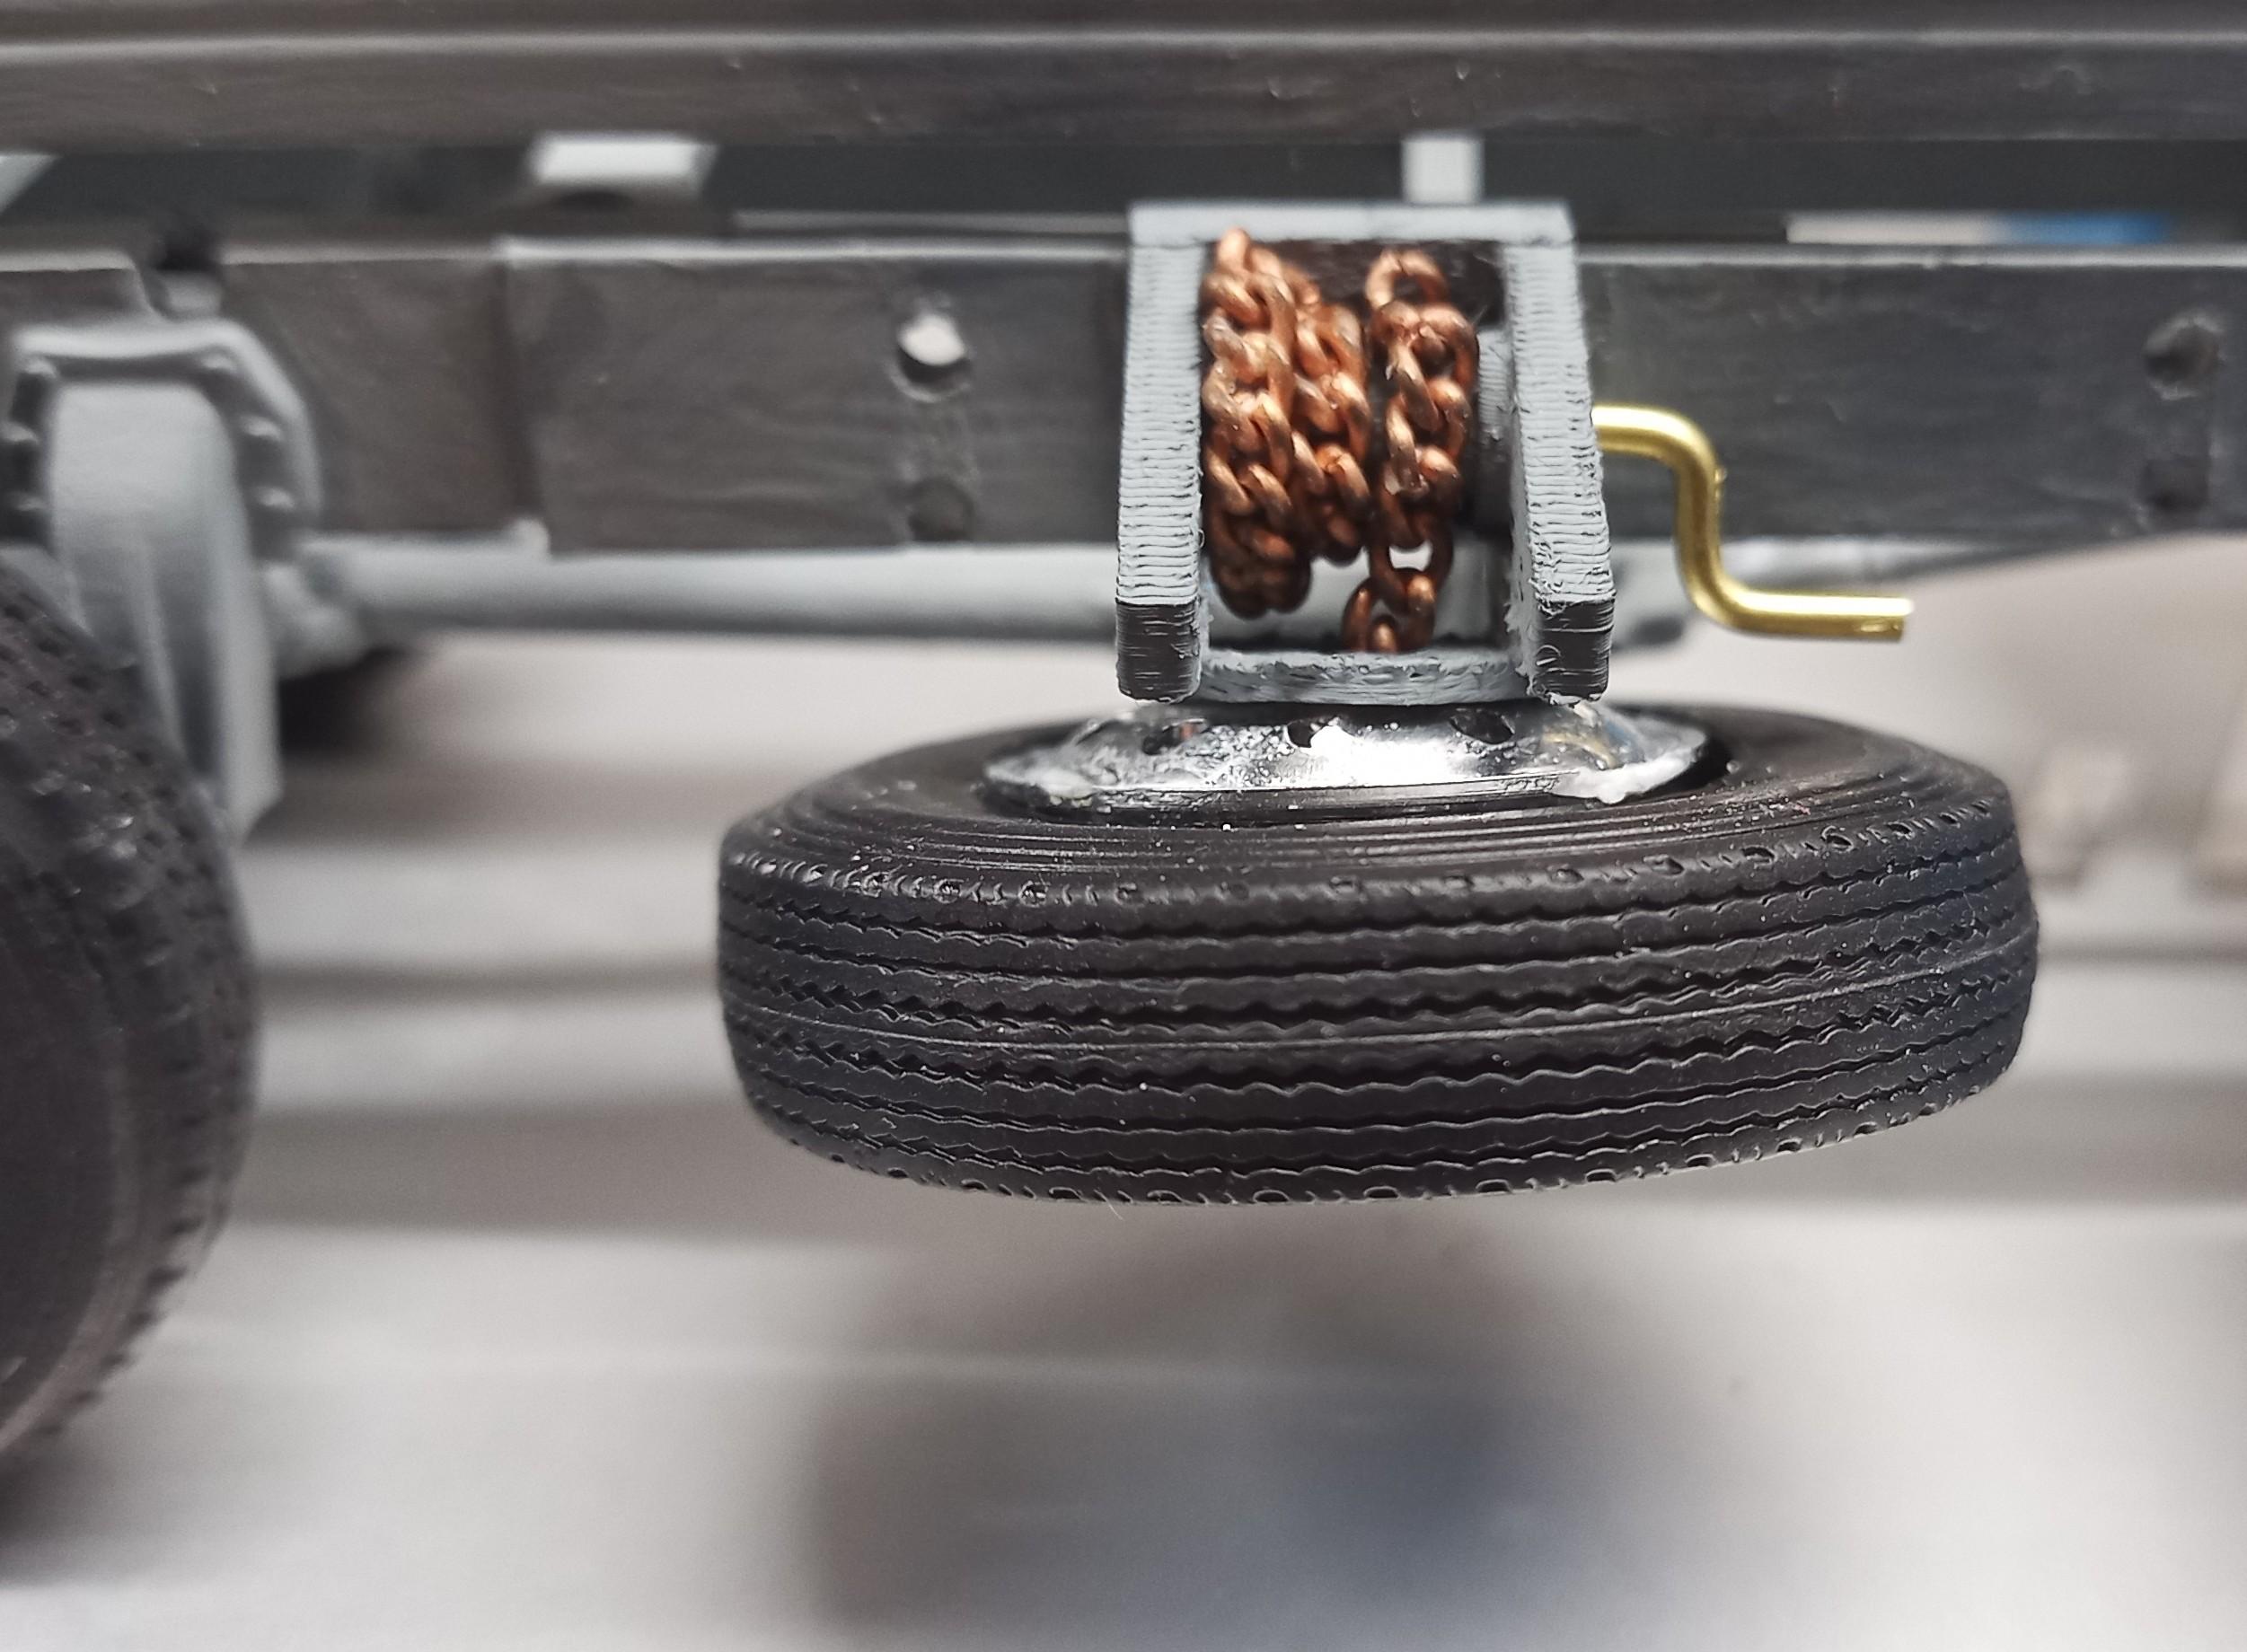
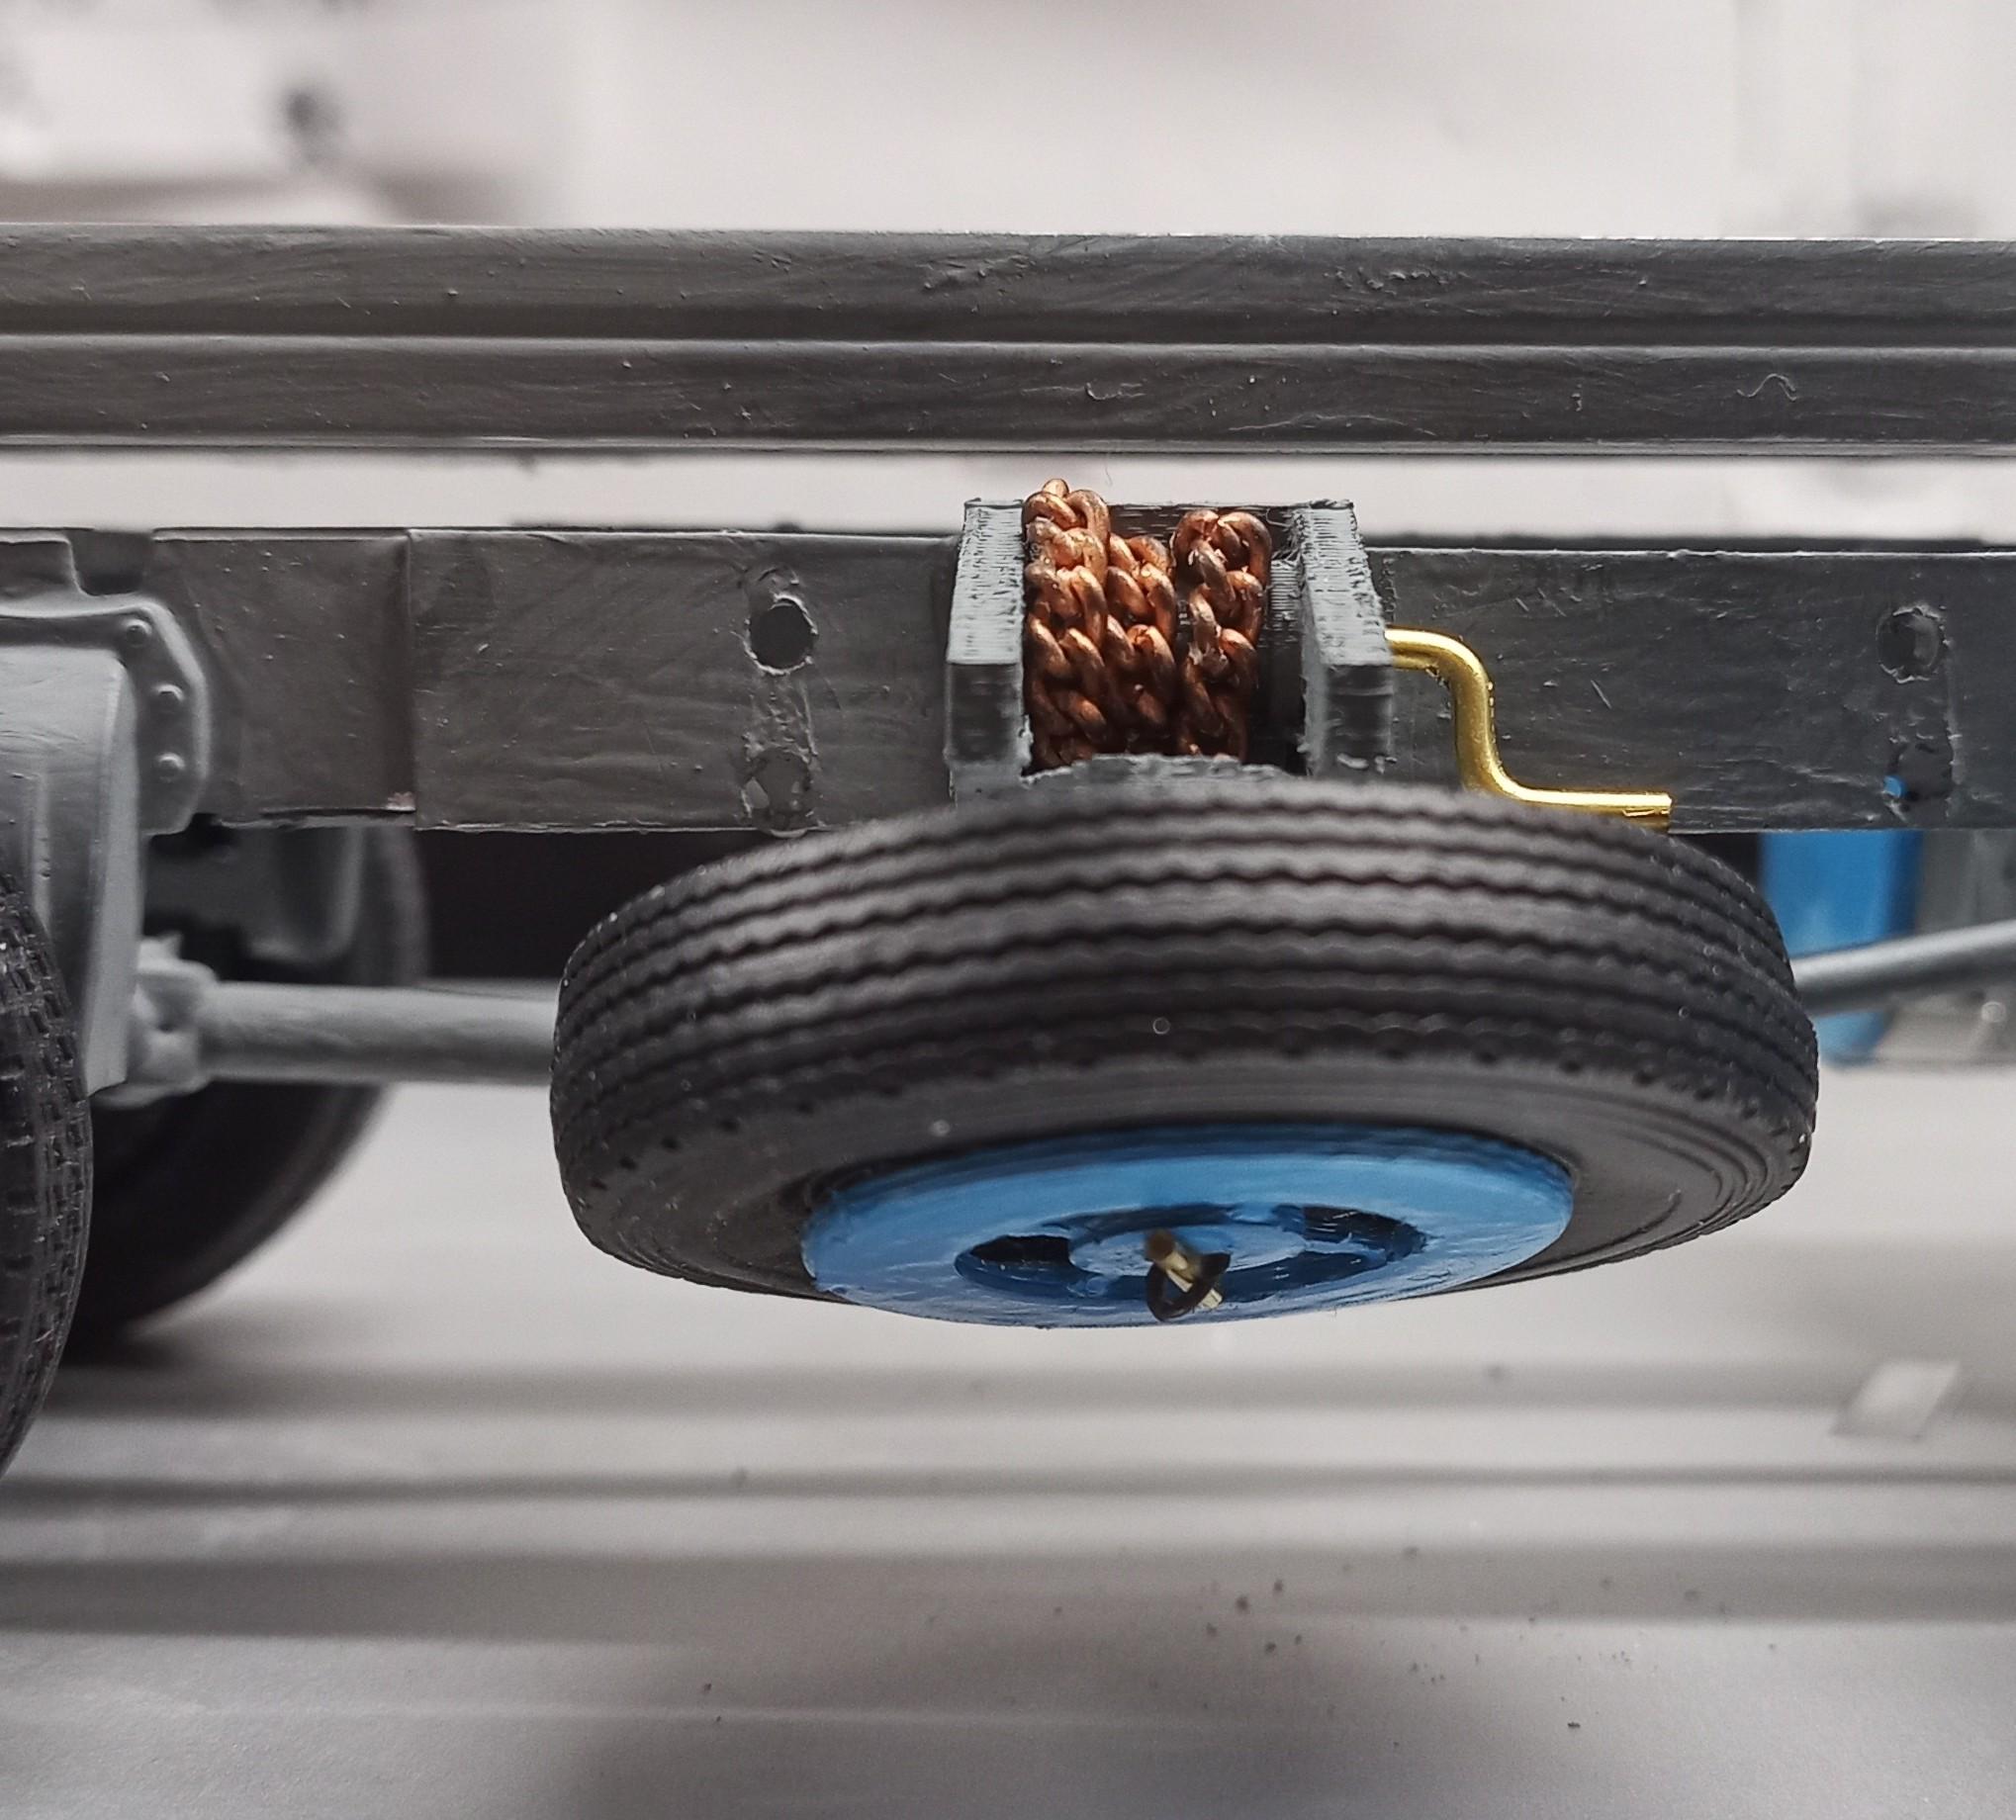
Thanks Jeff! Didn't have the feeling that I made that much progress! Glad you like the spare holder! I came up with that idea a while ago when I saw a similar thing on an old Volvo truck. Thought it might be a nice feature on a build someday. Didn't think it would happen so soon though! -
Pete 359 tanker with trailer
Jürgen M. replied to Jürgen M.'s topic in WIP: Model Trucks: Big Rigs and Heavy Equipment
Got the spare mounted!
-
The Same but “ a little “ Different
Jürgen M. replied to Biggu's topic in WIP: Model Trucks: Big Rigs and Heavy Equipment
Keep going Jeff! Looks just fab! 👍 -
Nice truck. Not an everyday model! Good job!
-
Pete 359 tanker with trailer
Jürgen M. replied to Jürgen M.'s topic in WIP: Model Trucks: Big Rigs and Heavy Equipment
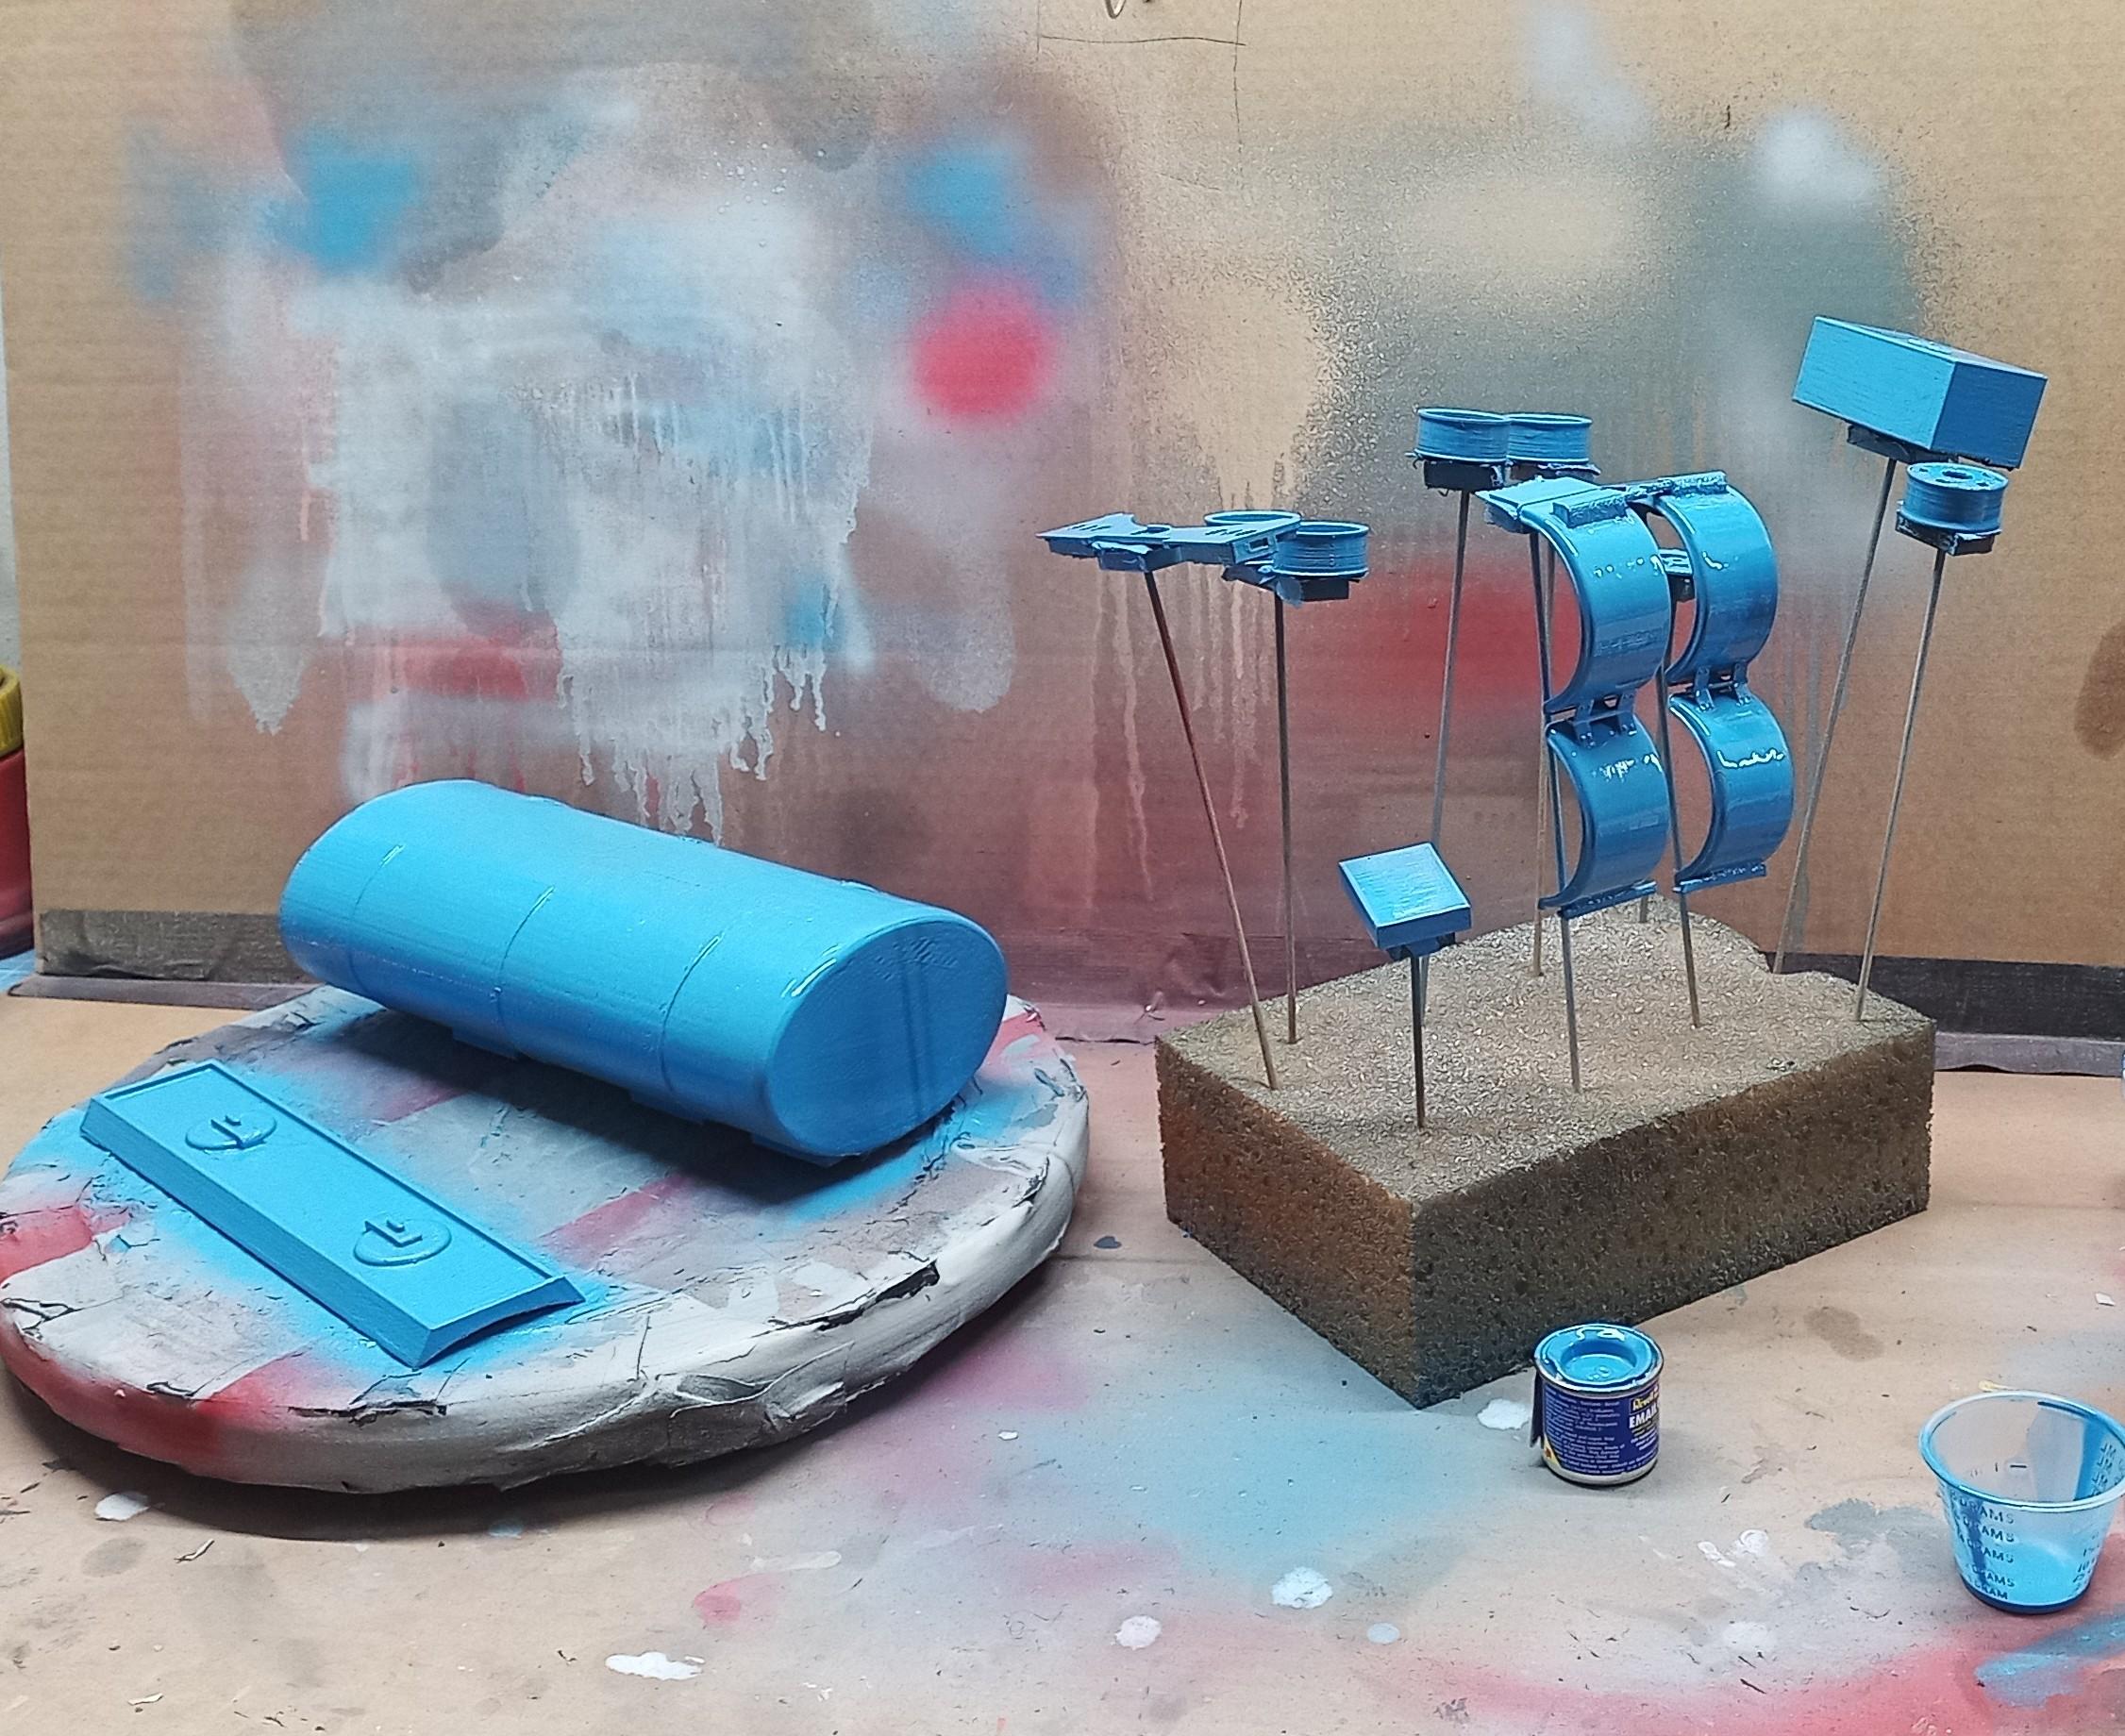
First coat of blue is on!
-
Pete 359 tanker with trailer
Jürgen M. replied to Jürgen M.'s topic in WIP: Model Trucks: Big Rigs and Heavy Equipment
Thanks! I Hope so! I liked the contrast of blue and chrome in the truck so I thought it would good on a tanker! Got everything prepared for painting.
-
Resto Rod Autocar
Jürgen M. replied to Gary Chastain's topic in WIP: Model Trucks: Big Rigs and Heavy Equipment
Cool! Looks really nice! Thanks! -
Pete 359 tanker with trailer
Jürgen M. replied to Jürgen M.'s topic in WIP: Model Trucks: Big Rigs and Heavy Equipment
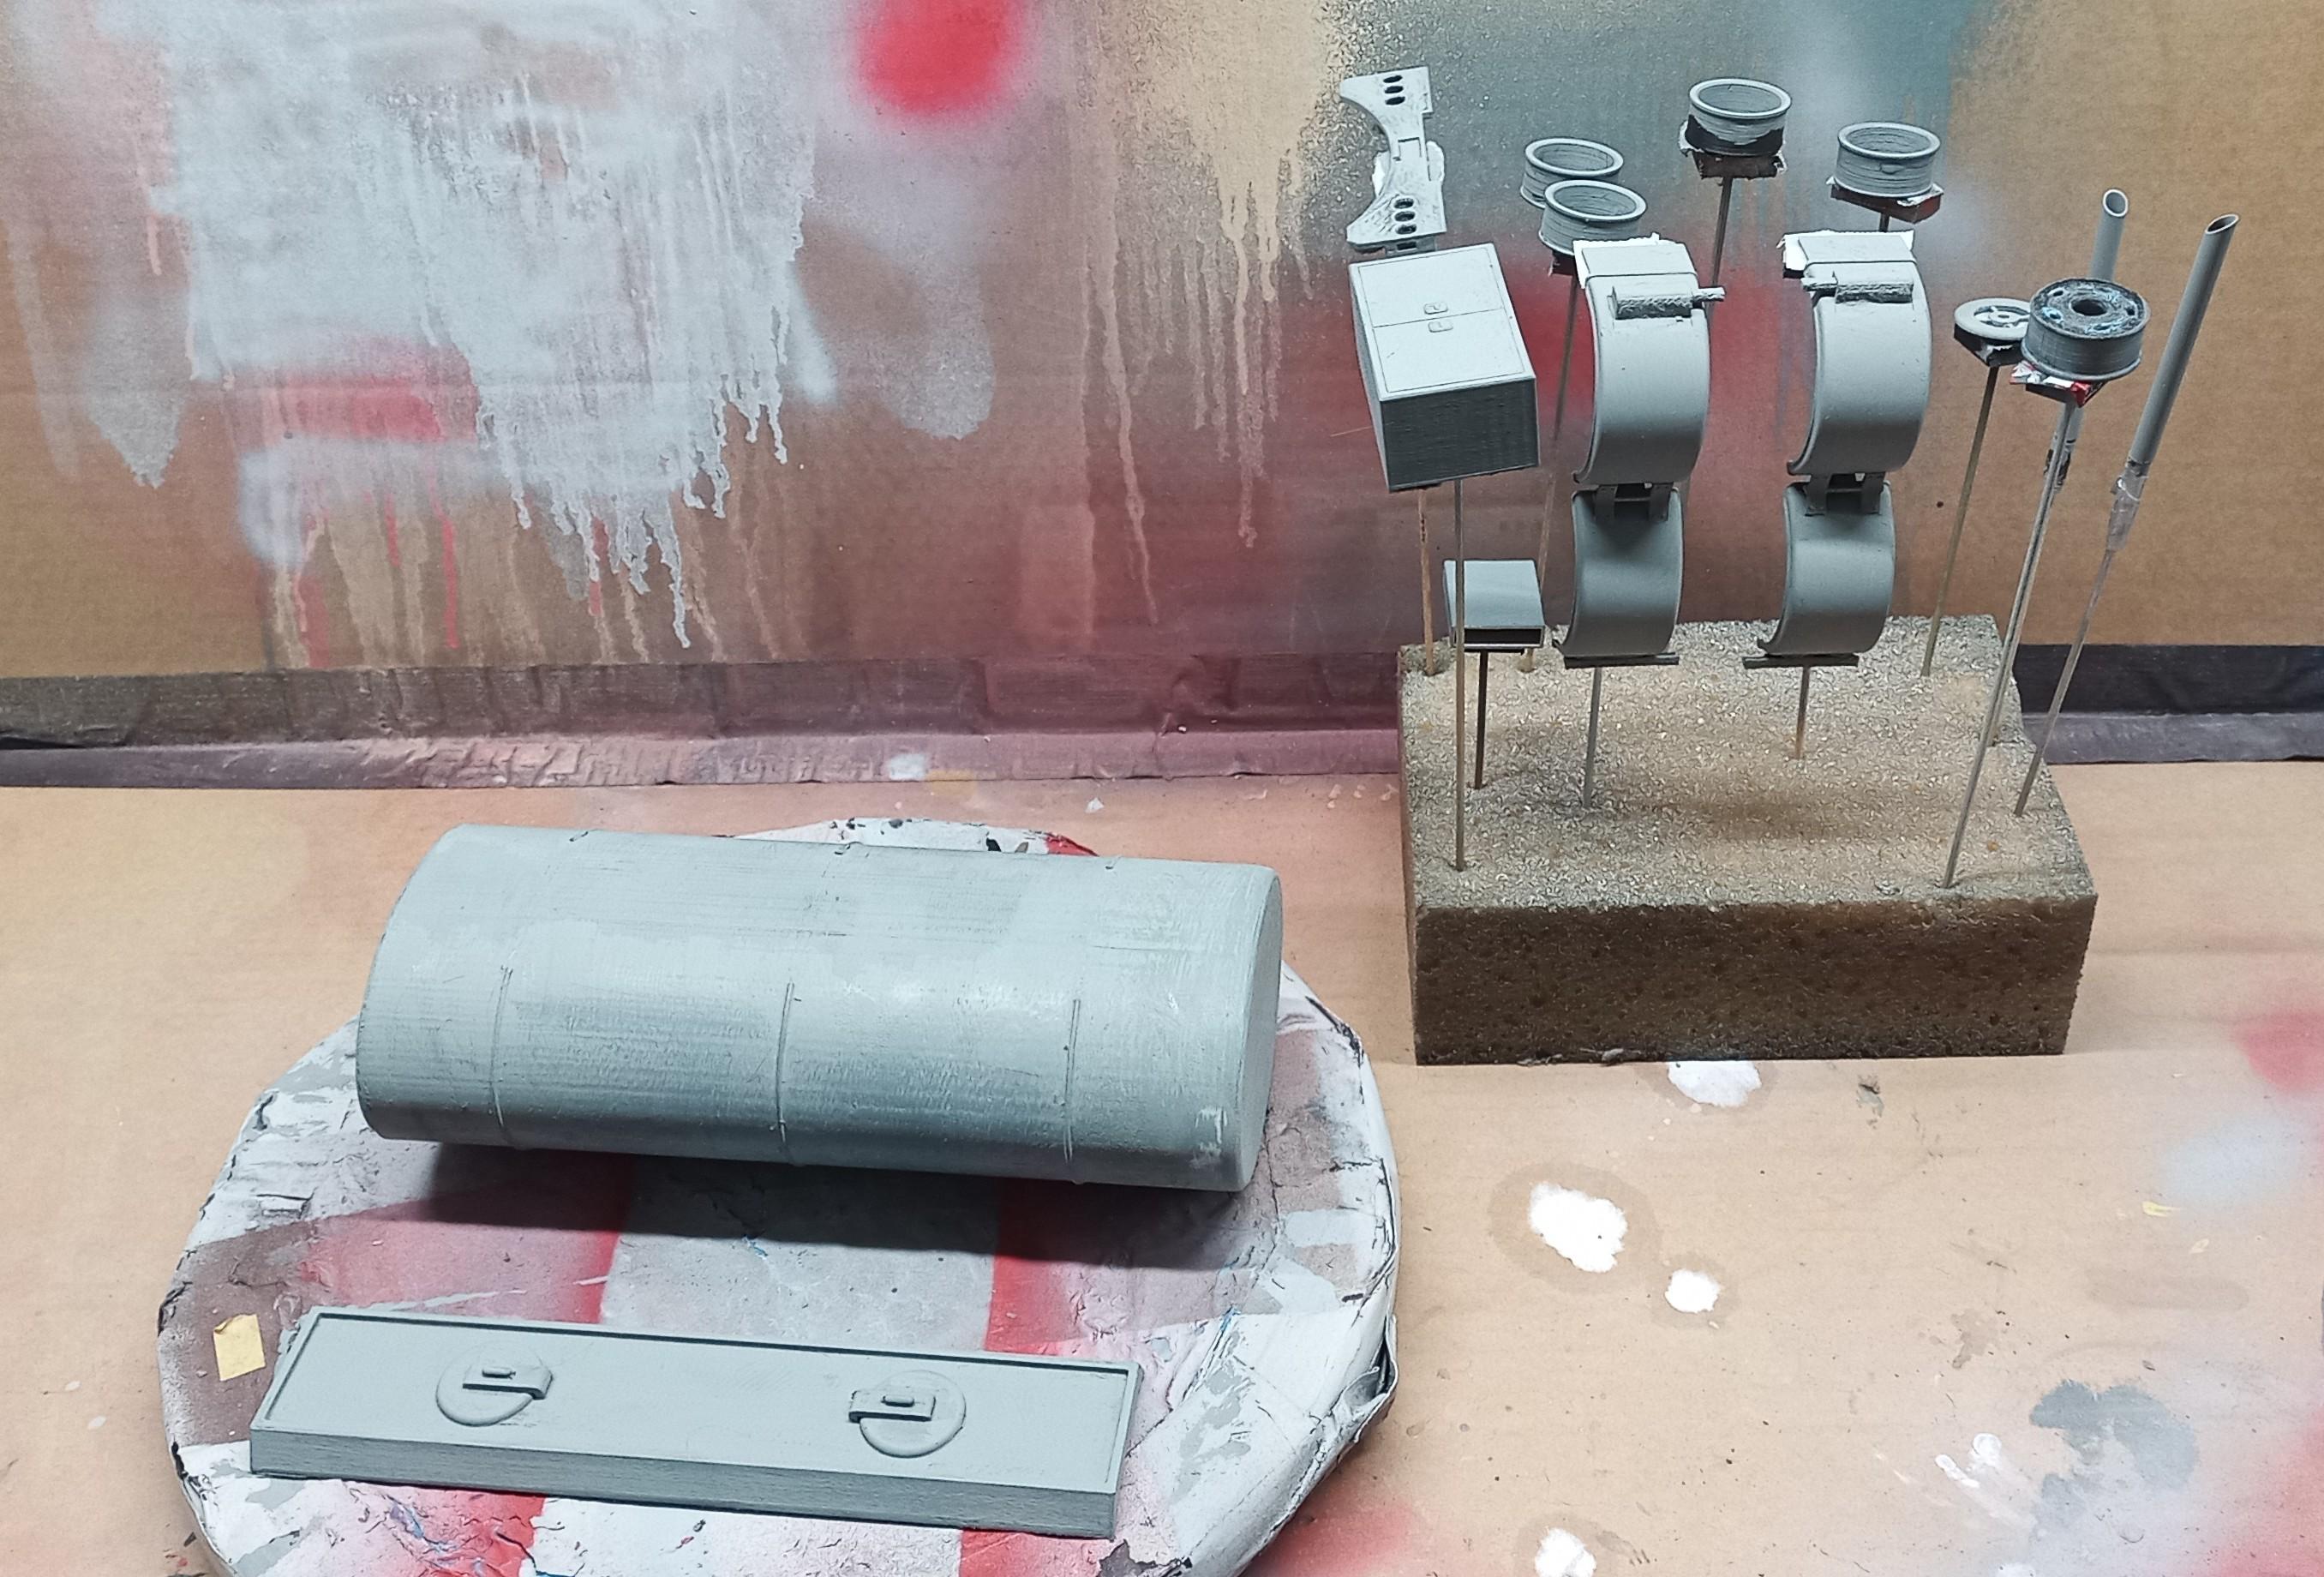
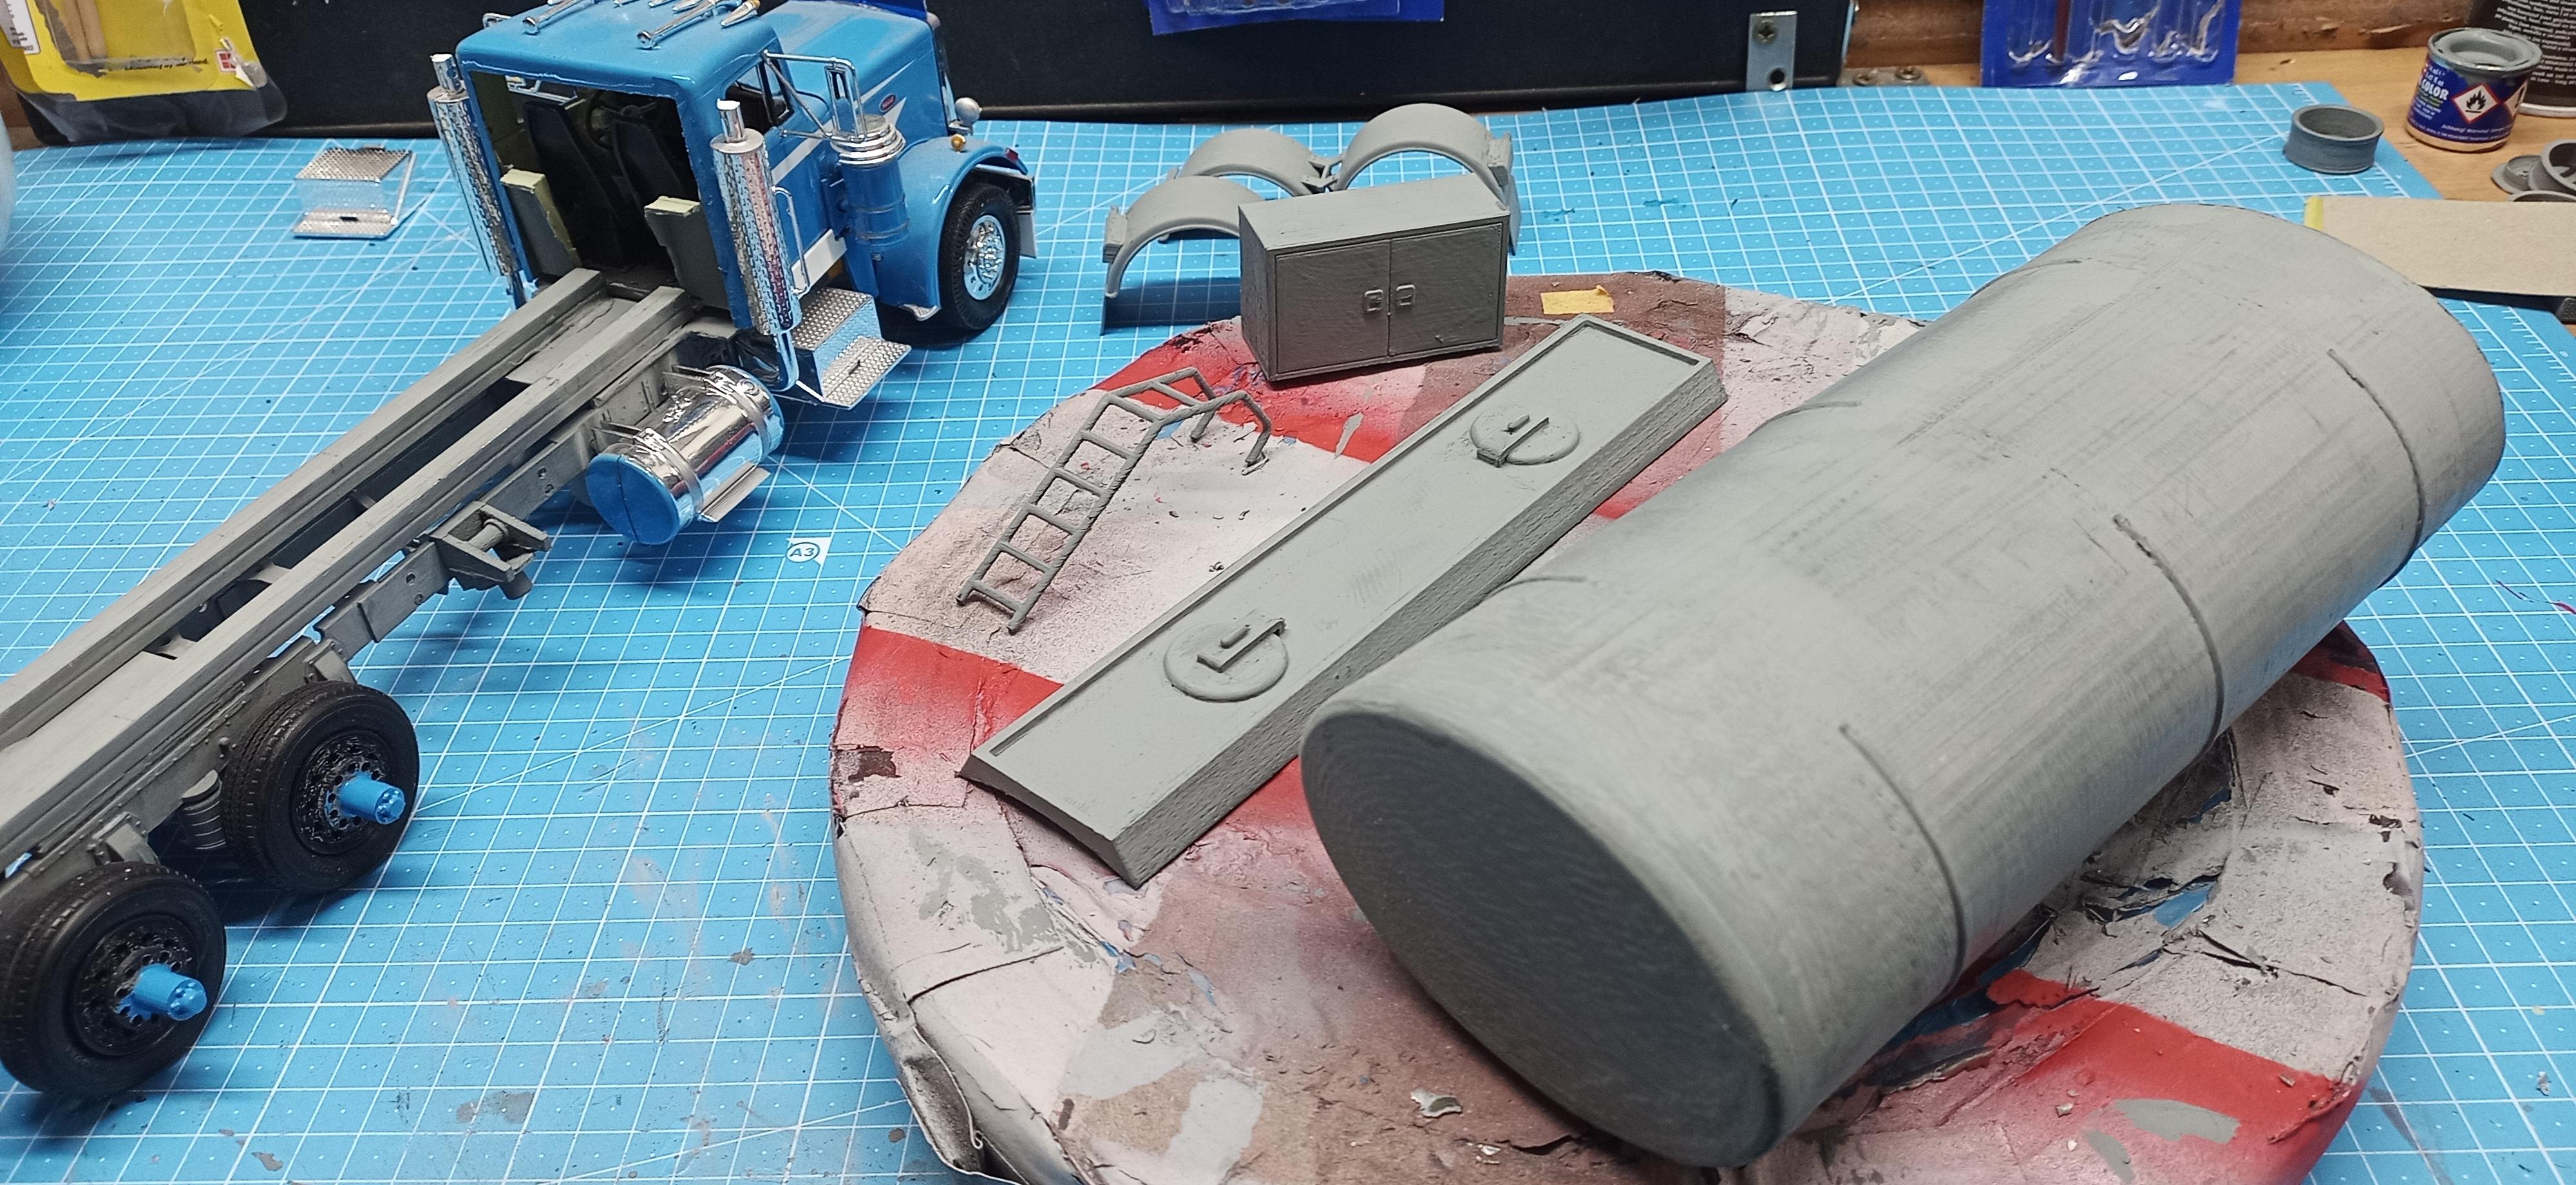
Got the parts sanded and primered and sanded and primered and ... ! Of course there was also putty involved to close the gab between the tank body and the covers. In the picture it probably doesn't look much different than in the last pics but it is! The rear hubs are painted and the fuel tanks remounted. Next step will be the first coat of gloss blue. That has to cure a few days in order to get hard enough to sand it with 2.500 grain sand paper. Wet of course. Then the second layer of blue hopefully without rework!
-
Pete 359 tanker with trailer
Jürgen M. replied to Jürgen M.'s topic in WIP: Model Trucks: Big Rigs and Heavy Equipment
😂 Might be worth a try! My desk is big enough to build models but I don't like to look at the clock all the time. I'd rather build at home but thanks for the idea! If my work gets too boring I'll give it another thought! -
The Same but “ a little “ Different
Jürgen M. replied to Biggu's topic in WIP: Model Trucks: Big Rigs and Heavy Equipment
Looks convincing to me Jeff! With the dort in the tire thread and the spilled fuel and road dort in the fuel tanks it's very realistic! -
Resto Rod Autocar
Jürgen M. replied to Gary Chastain's topic in WIP: Model Trucks: Big Rigs and Heavy Equipment
That is one cool build! Today during lunch break I was thinking about future builds! A four axle variation was part of the vision! Just have to decide which truck it's gonna be! Got a few ideas! 😉 -
Freightliner COE (yes, another one!)
Jürgen M. replied to Jürgen M.'s topic in Model Trucks: Big Rigs and Heavy Equipment
Thanks everyone! Glad you dropped by! -
Brockway 260 Dump
Jürgen M. replied to Warren D's topic in Model Trucks: Big Rigs and Heavy Equipment
Cool build! 👍 -
White Road Commander 2
Jürgen M. replied to DRIPTROIT 71's topic in Model Trucks: Big Rigs and Heavy Equipment
Nice truck! Like the long chassis! Got a trailer planned? -
Pete 359 tanker with trailer
Jürgen M. replied to Jürgen M.'s topic in WIP: Model Trucks: Big Rigs and Heavy Equipment
I'll ask James Cameron If he'll make me an avatar! 😉 -
Pete 359 tanker with trailer
Jürgen M. replied to Jürgen M.'s topic in WIP: Model Trucks: Big Rigs and Heavy Equipment
The tank will be chromed, the ends blue or silver. Therefore I'll paint everything blue, like the truck and then mask the areas that won't be chromed. I don't think it matters if there's gloss black or gloss blue underneath the chrome! -
Kenworth t600 FINISHED!
Jürgen M. replied to Thedragsterdude's topic in Model Trucks: Big Rigs and Heavy Equipment
Nice rig! We don't get these in shops Here so I'd have to order or design one! I'm more into 60s and 70s but maybe someday I'll make an exception! Hope then it'll turn out as nice as this one! -
Resto Rod Autocar
Jürgen M. replied to Gary Chastain's topic in WIP: Model Trucks: Big Rigs and Heavy Equipment
Never Seen an Autocar in that configuration. Cool idea and nice work! 🍿🍺 Ready for more! -
Pete 359 tanker with trailer
Jürgen M. replied to Jürgen M.'s topic in WIP: Model Trucks: Big Rigs and Heavy Equipment
My boss wants me, and all the others, to come back into the office more instead of staying in home office where he can't see what we're doing. Anyway that gives me less time since I have to drive about 40 mins from work to home. 40 mins less in the evening for bench work. Still got a bit done yesterday! Touched up the frame on the truck that holds the tank and primered some parts. Most of them will need at least a second layer before I start sanding!
-
Pete 359 tanker with trailer
Jürgen M. replied to Jürgen M.'s topic in WIP: Model Trucks: Big Rigs and Heavy Equipment
Tell my boss! He wouldn't be amused if I stayed home to build models instead of doing my job! 😉 -
The Same but “ a little “ Different
Jürgen M. replied to Biggu's topic in WIP: Model Trucks: Big Rigs and Heavy Equipment
I'm in! So much fun here! -
1/32 1977 Chevy Bison Steel Hauler.
Jürgen M. replied to Pete68's topic in WIP: Model Trucks: Big Rigs and Heavy Equipment
I can only agree and I'm Happy for Steve that hes got a scale companion! You guys are champs in this scale! Always fun and interesting to watch! -
Nice collection there and great work in the Bison! Looks like a big one!
-
Revell Kenworth w900 dump truck
Jürgen M. replied to the60falcon's topic in Model Trucks: Big Rigs and Heavy Equipment
Looks great! Like the engine and the piping around it! -
GMC Astro double bunk
Jürgen M. replied to The Brush's topic in Model Trucks: Big Rigs and Heavy Equipment
Wow! Thanks Graham! I'm impressed! That's quite some work you put into that! And it's an interesting way of approaching it! I might try that on my next build!