Duddly01
-
Posts
1,048 -
Joined
-
Last visited
Content Type
Profiles
Forums
Events
Gallery
Everything posted by Duddly01
-
Thank You!
-
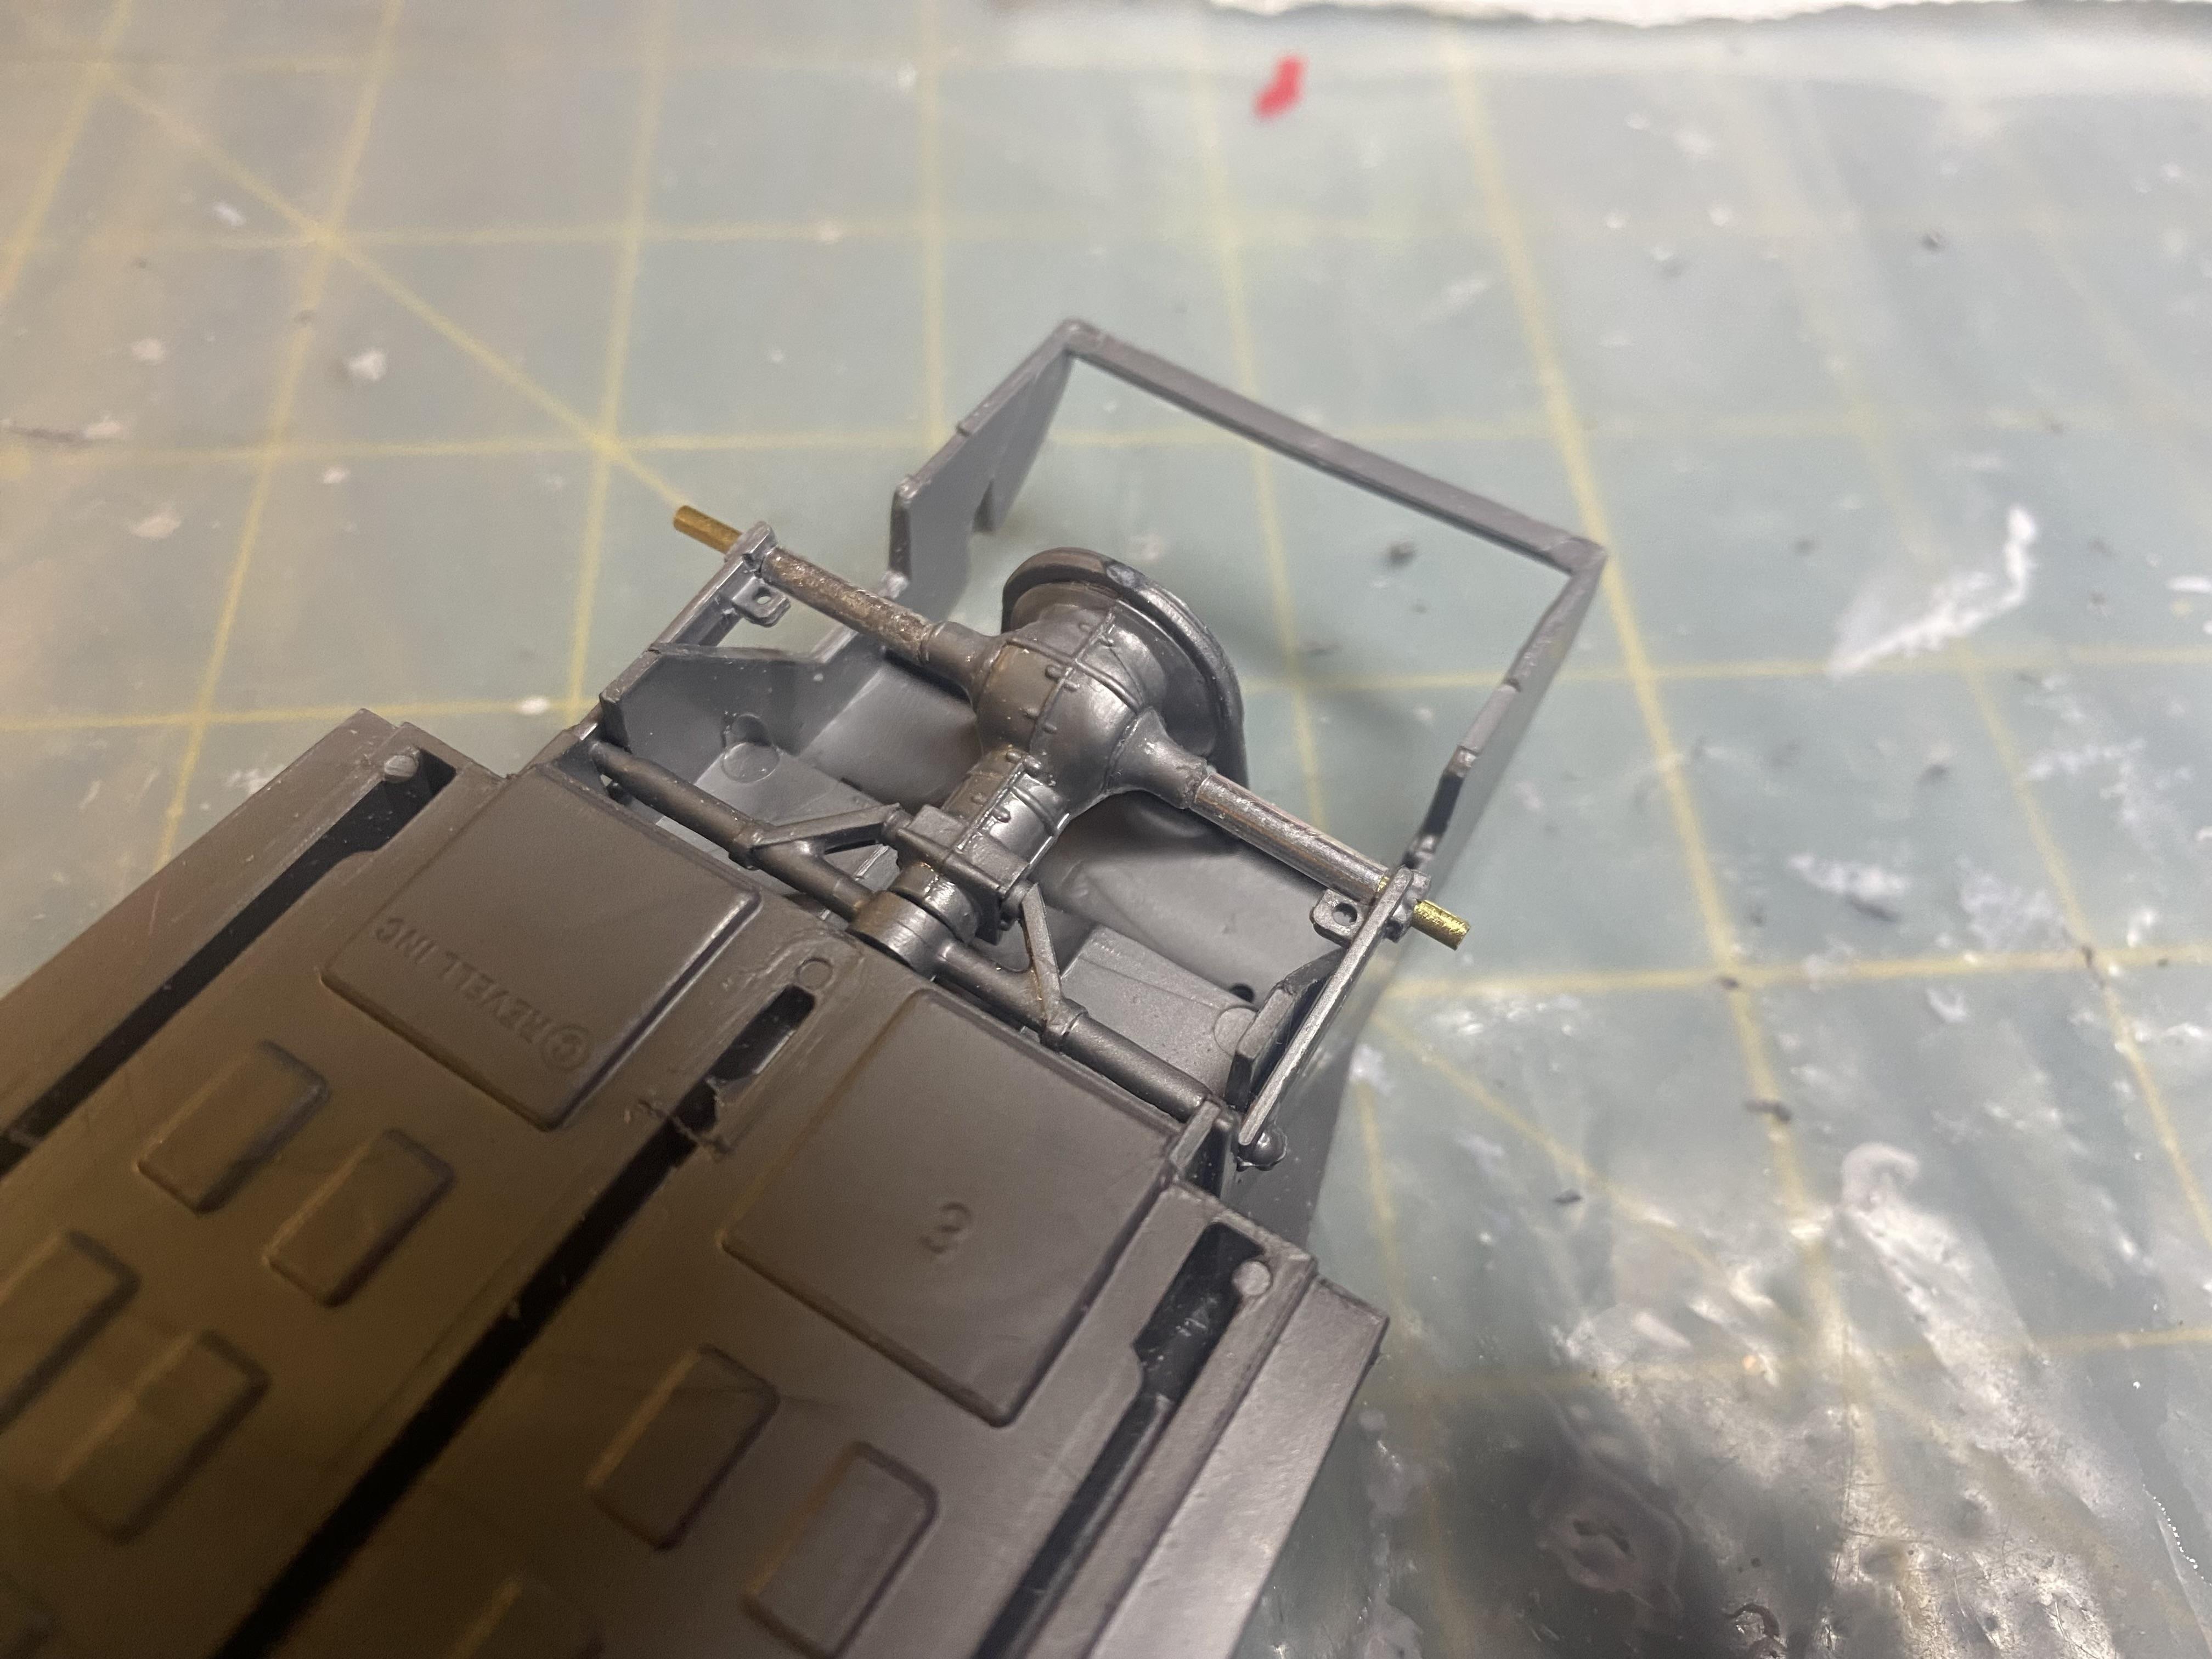
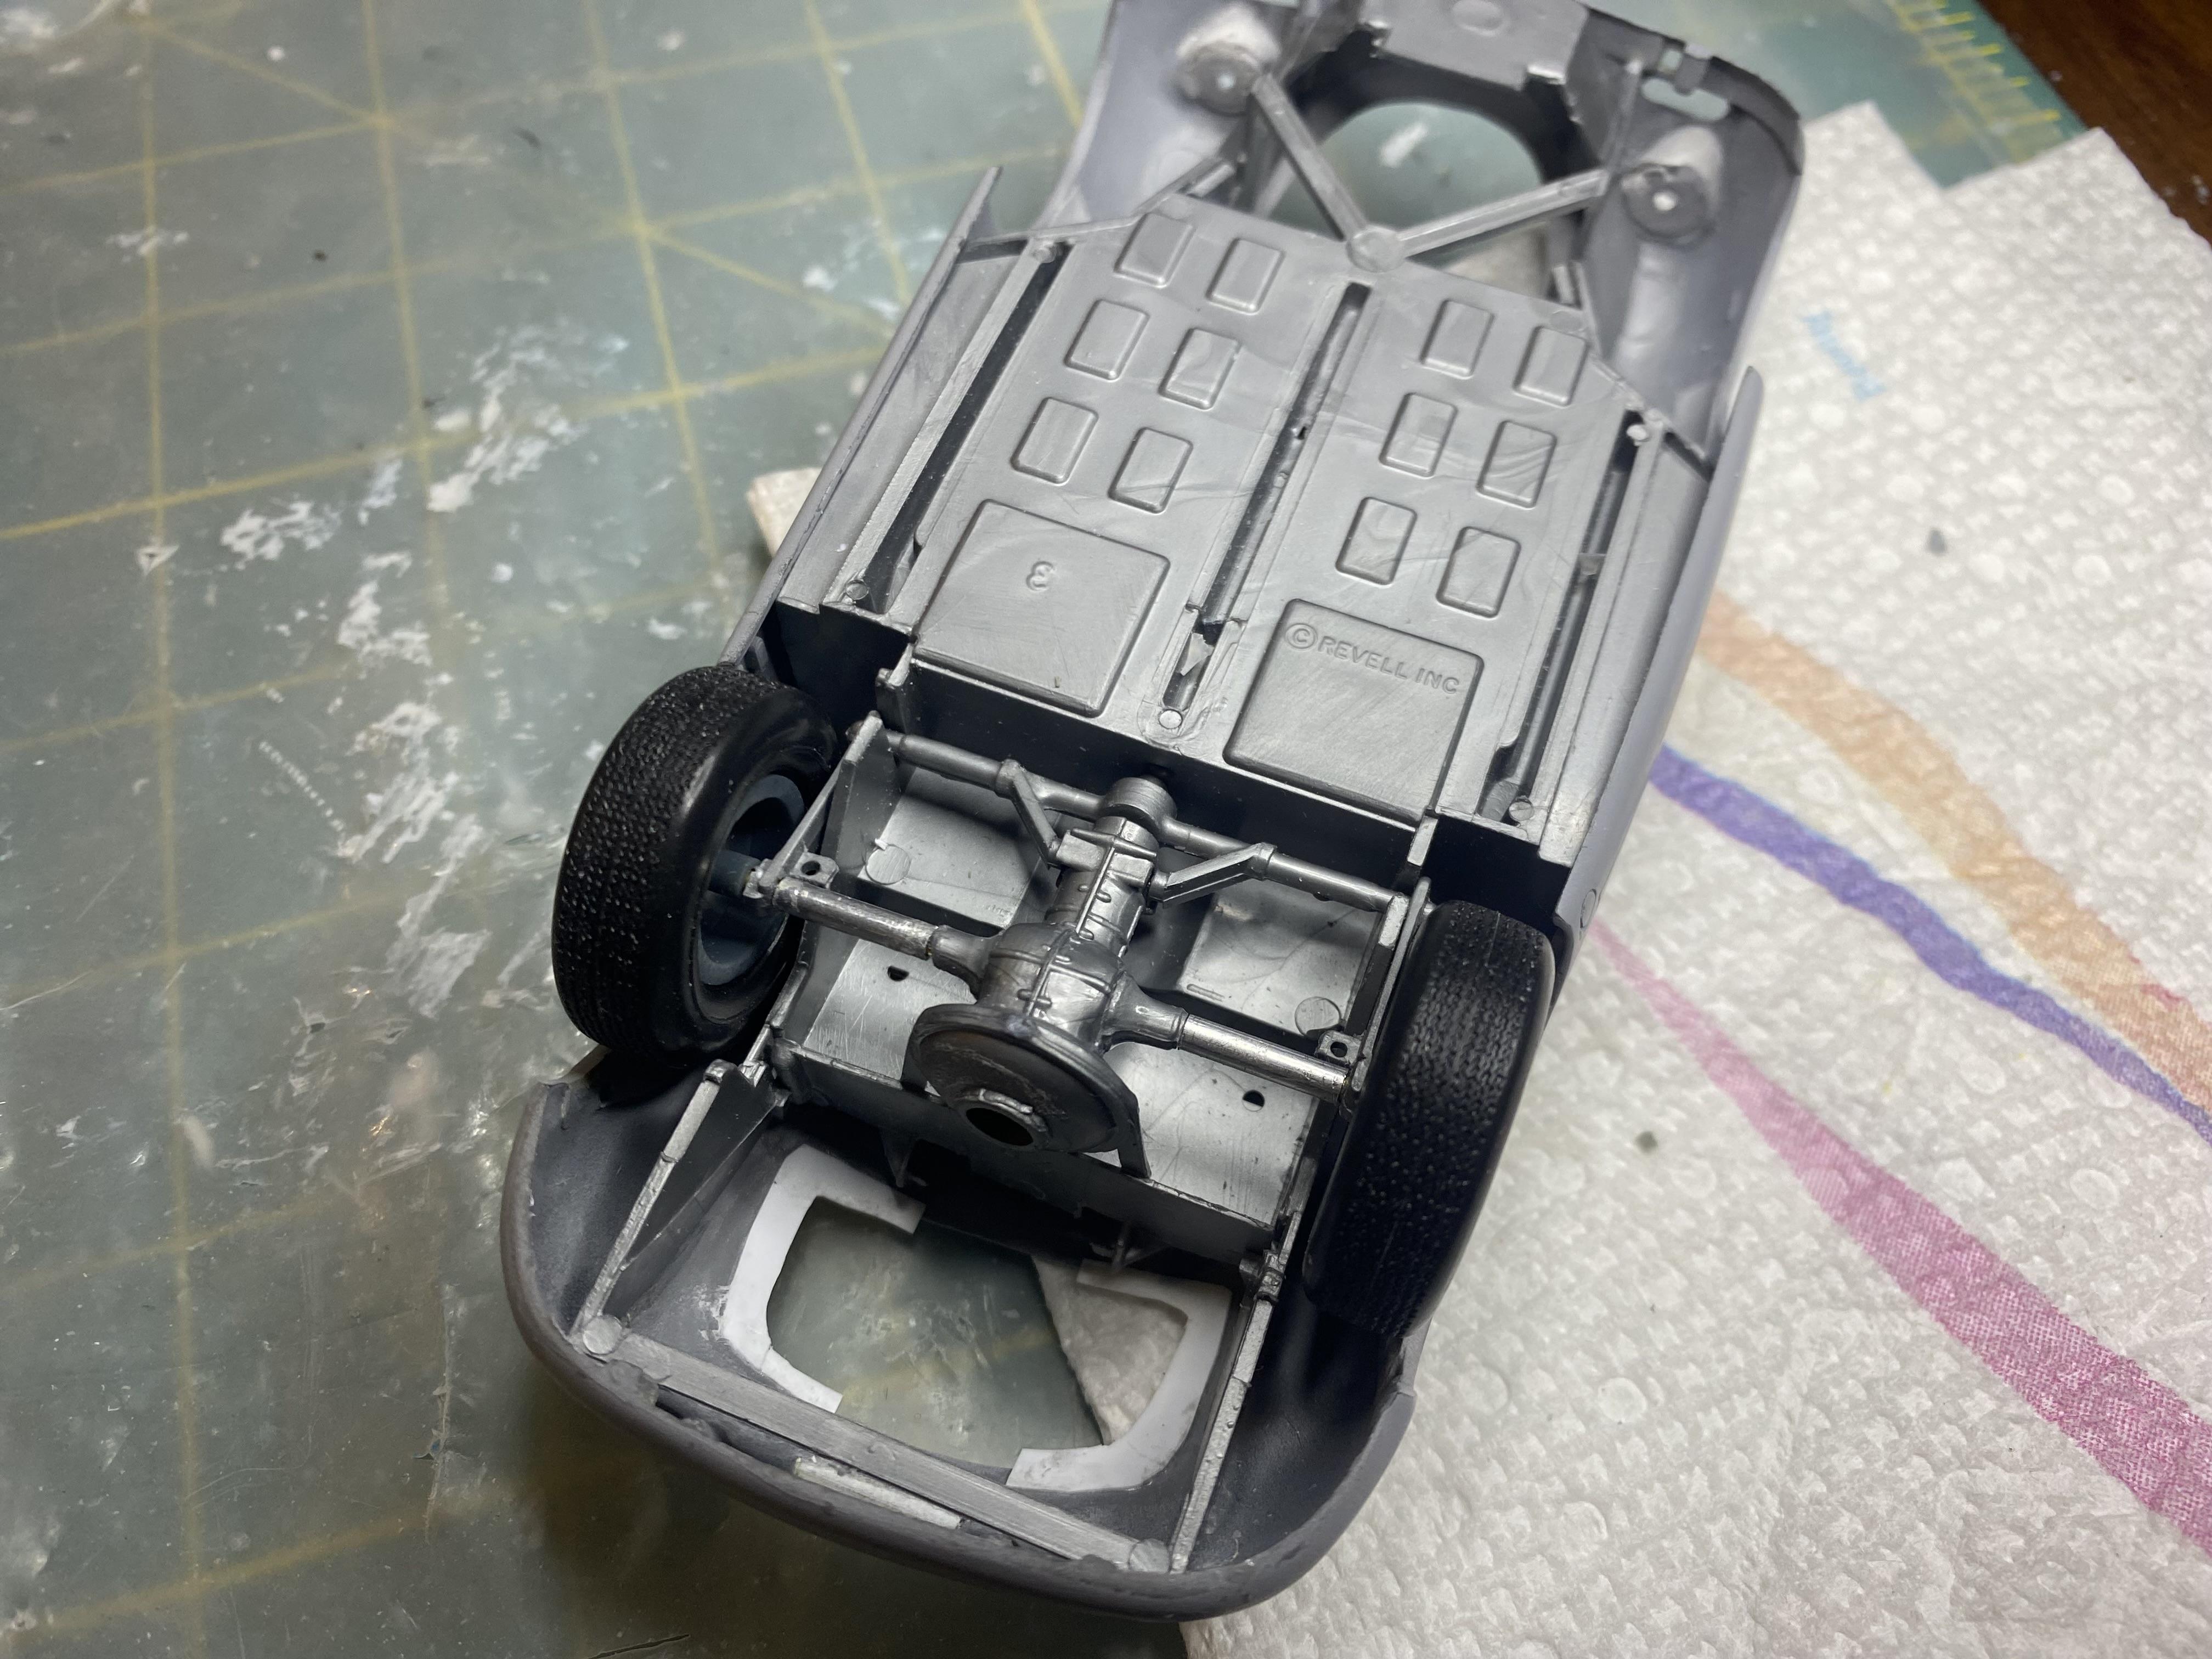
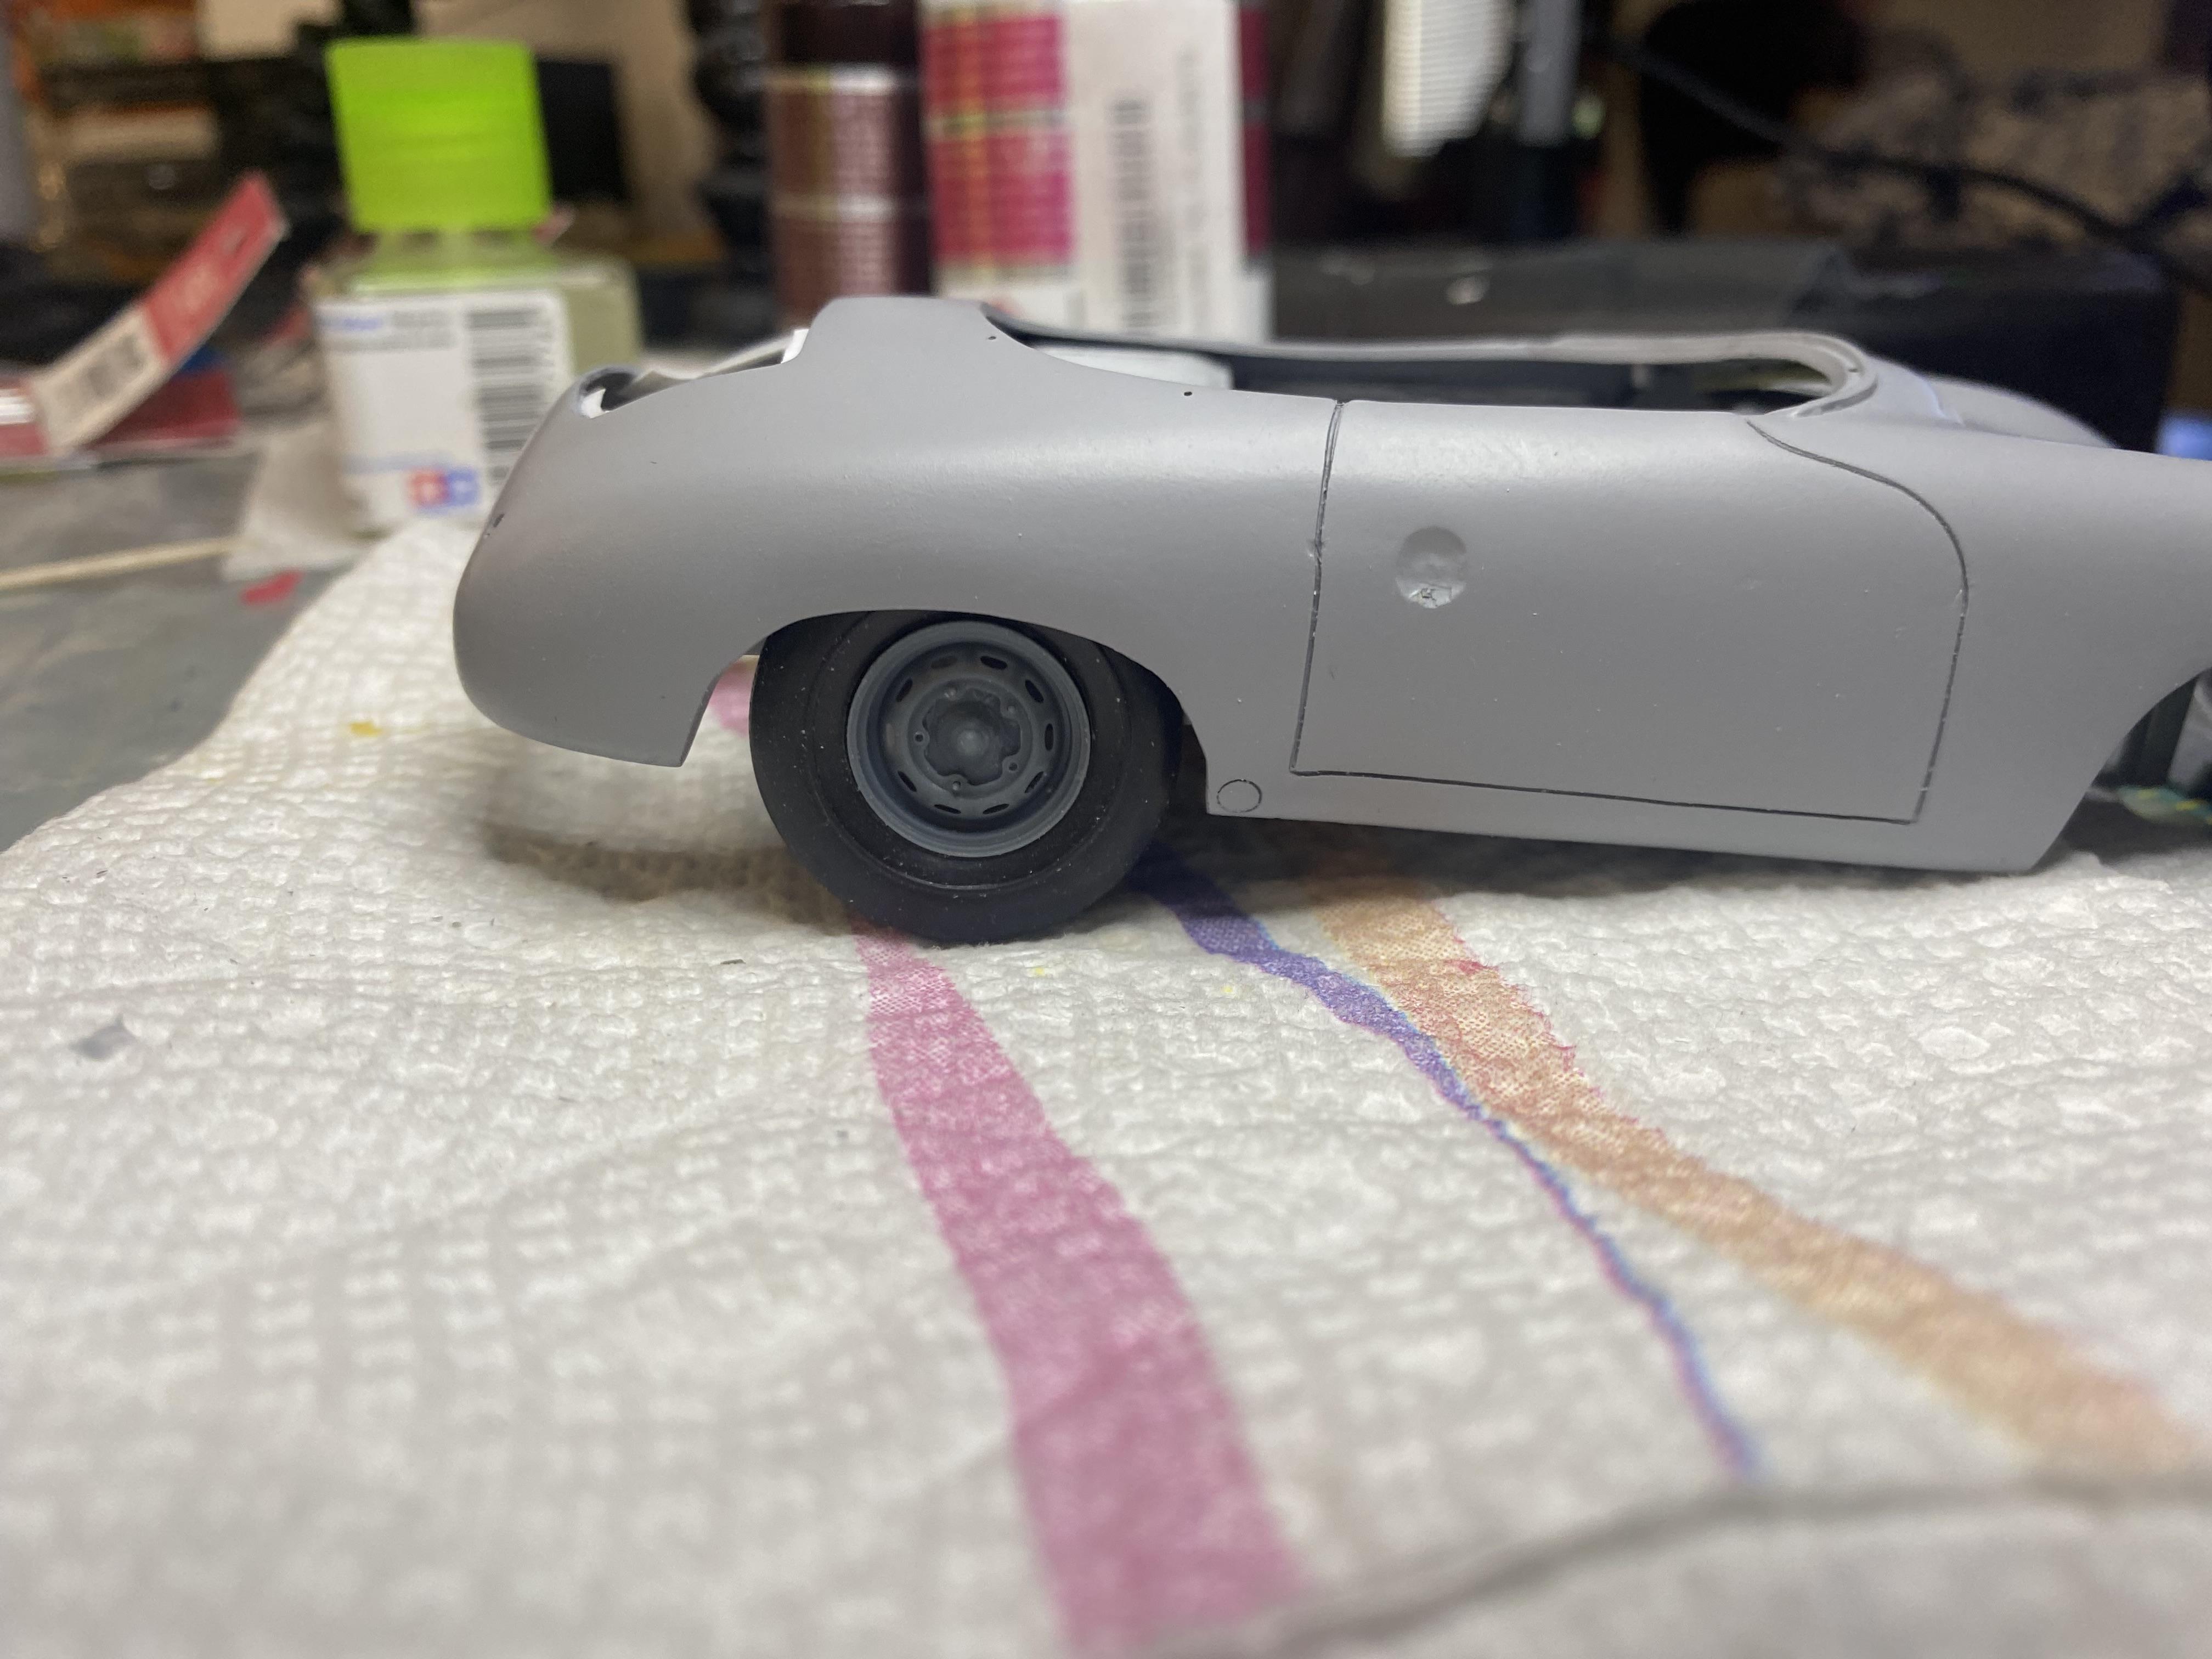
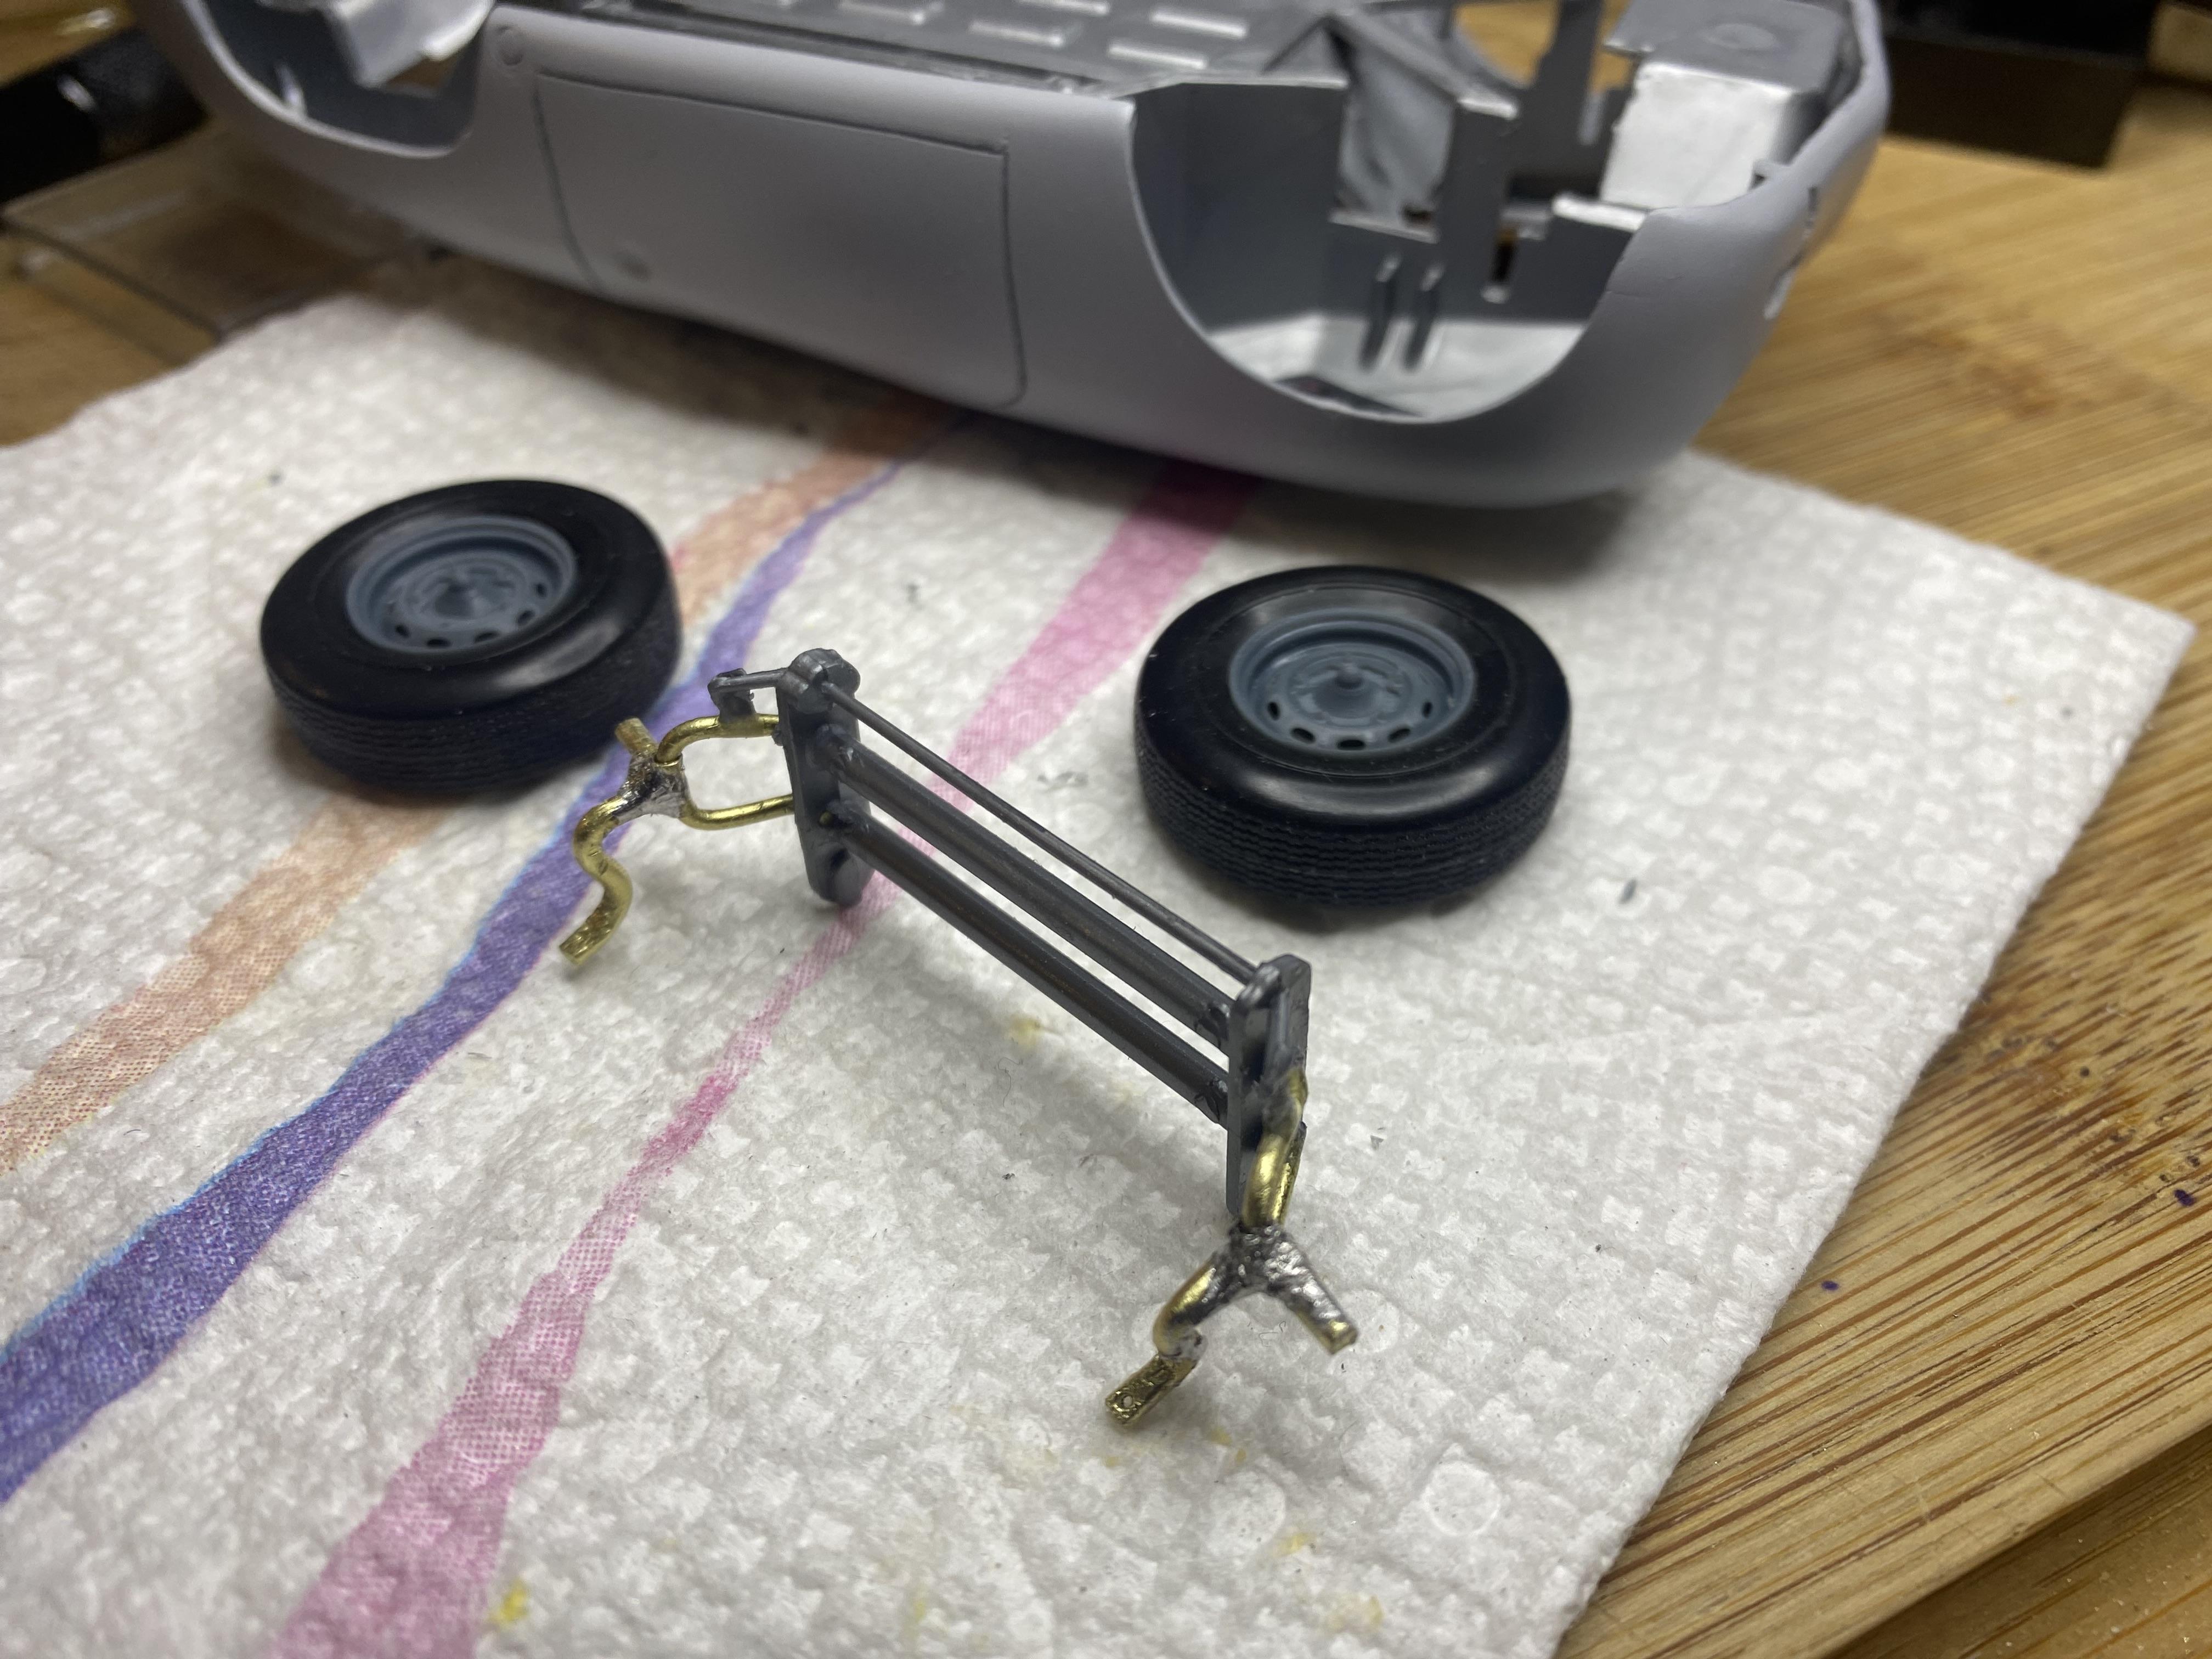
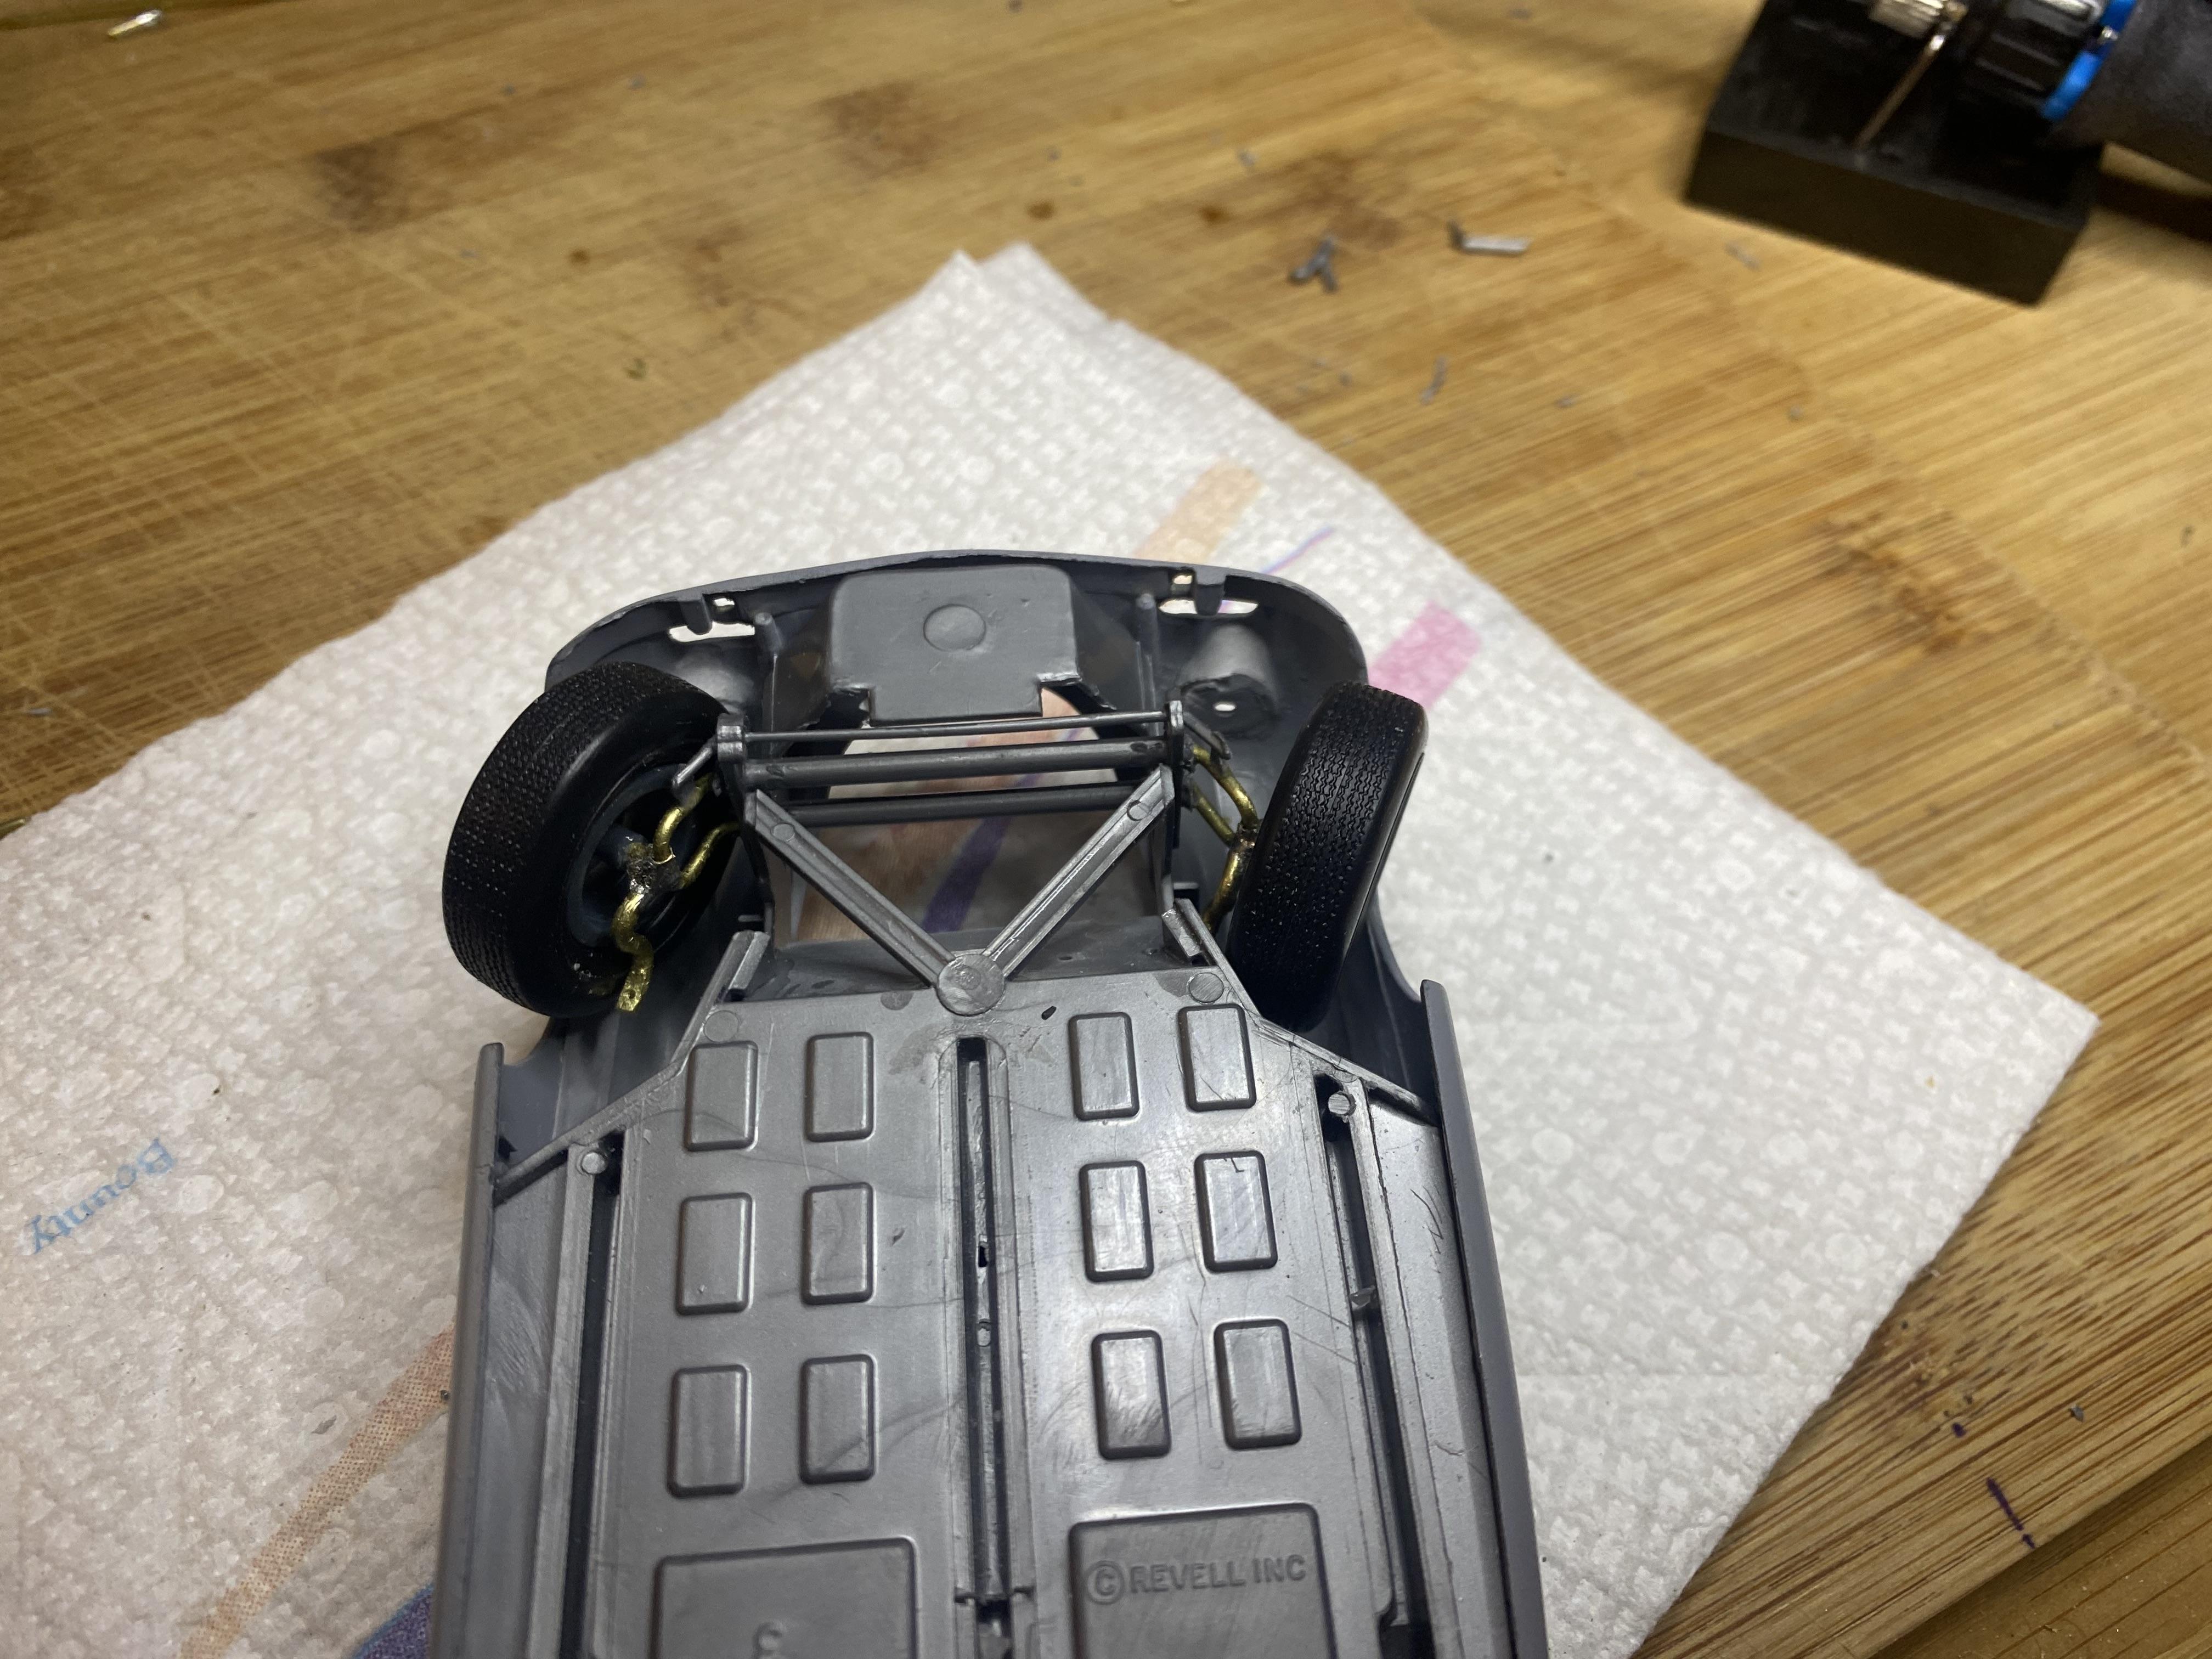
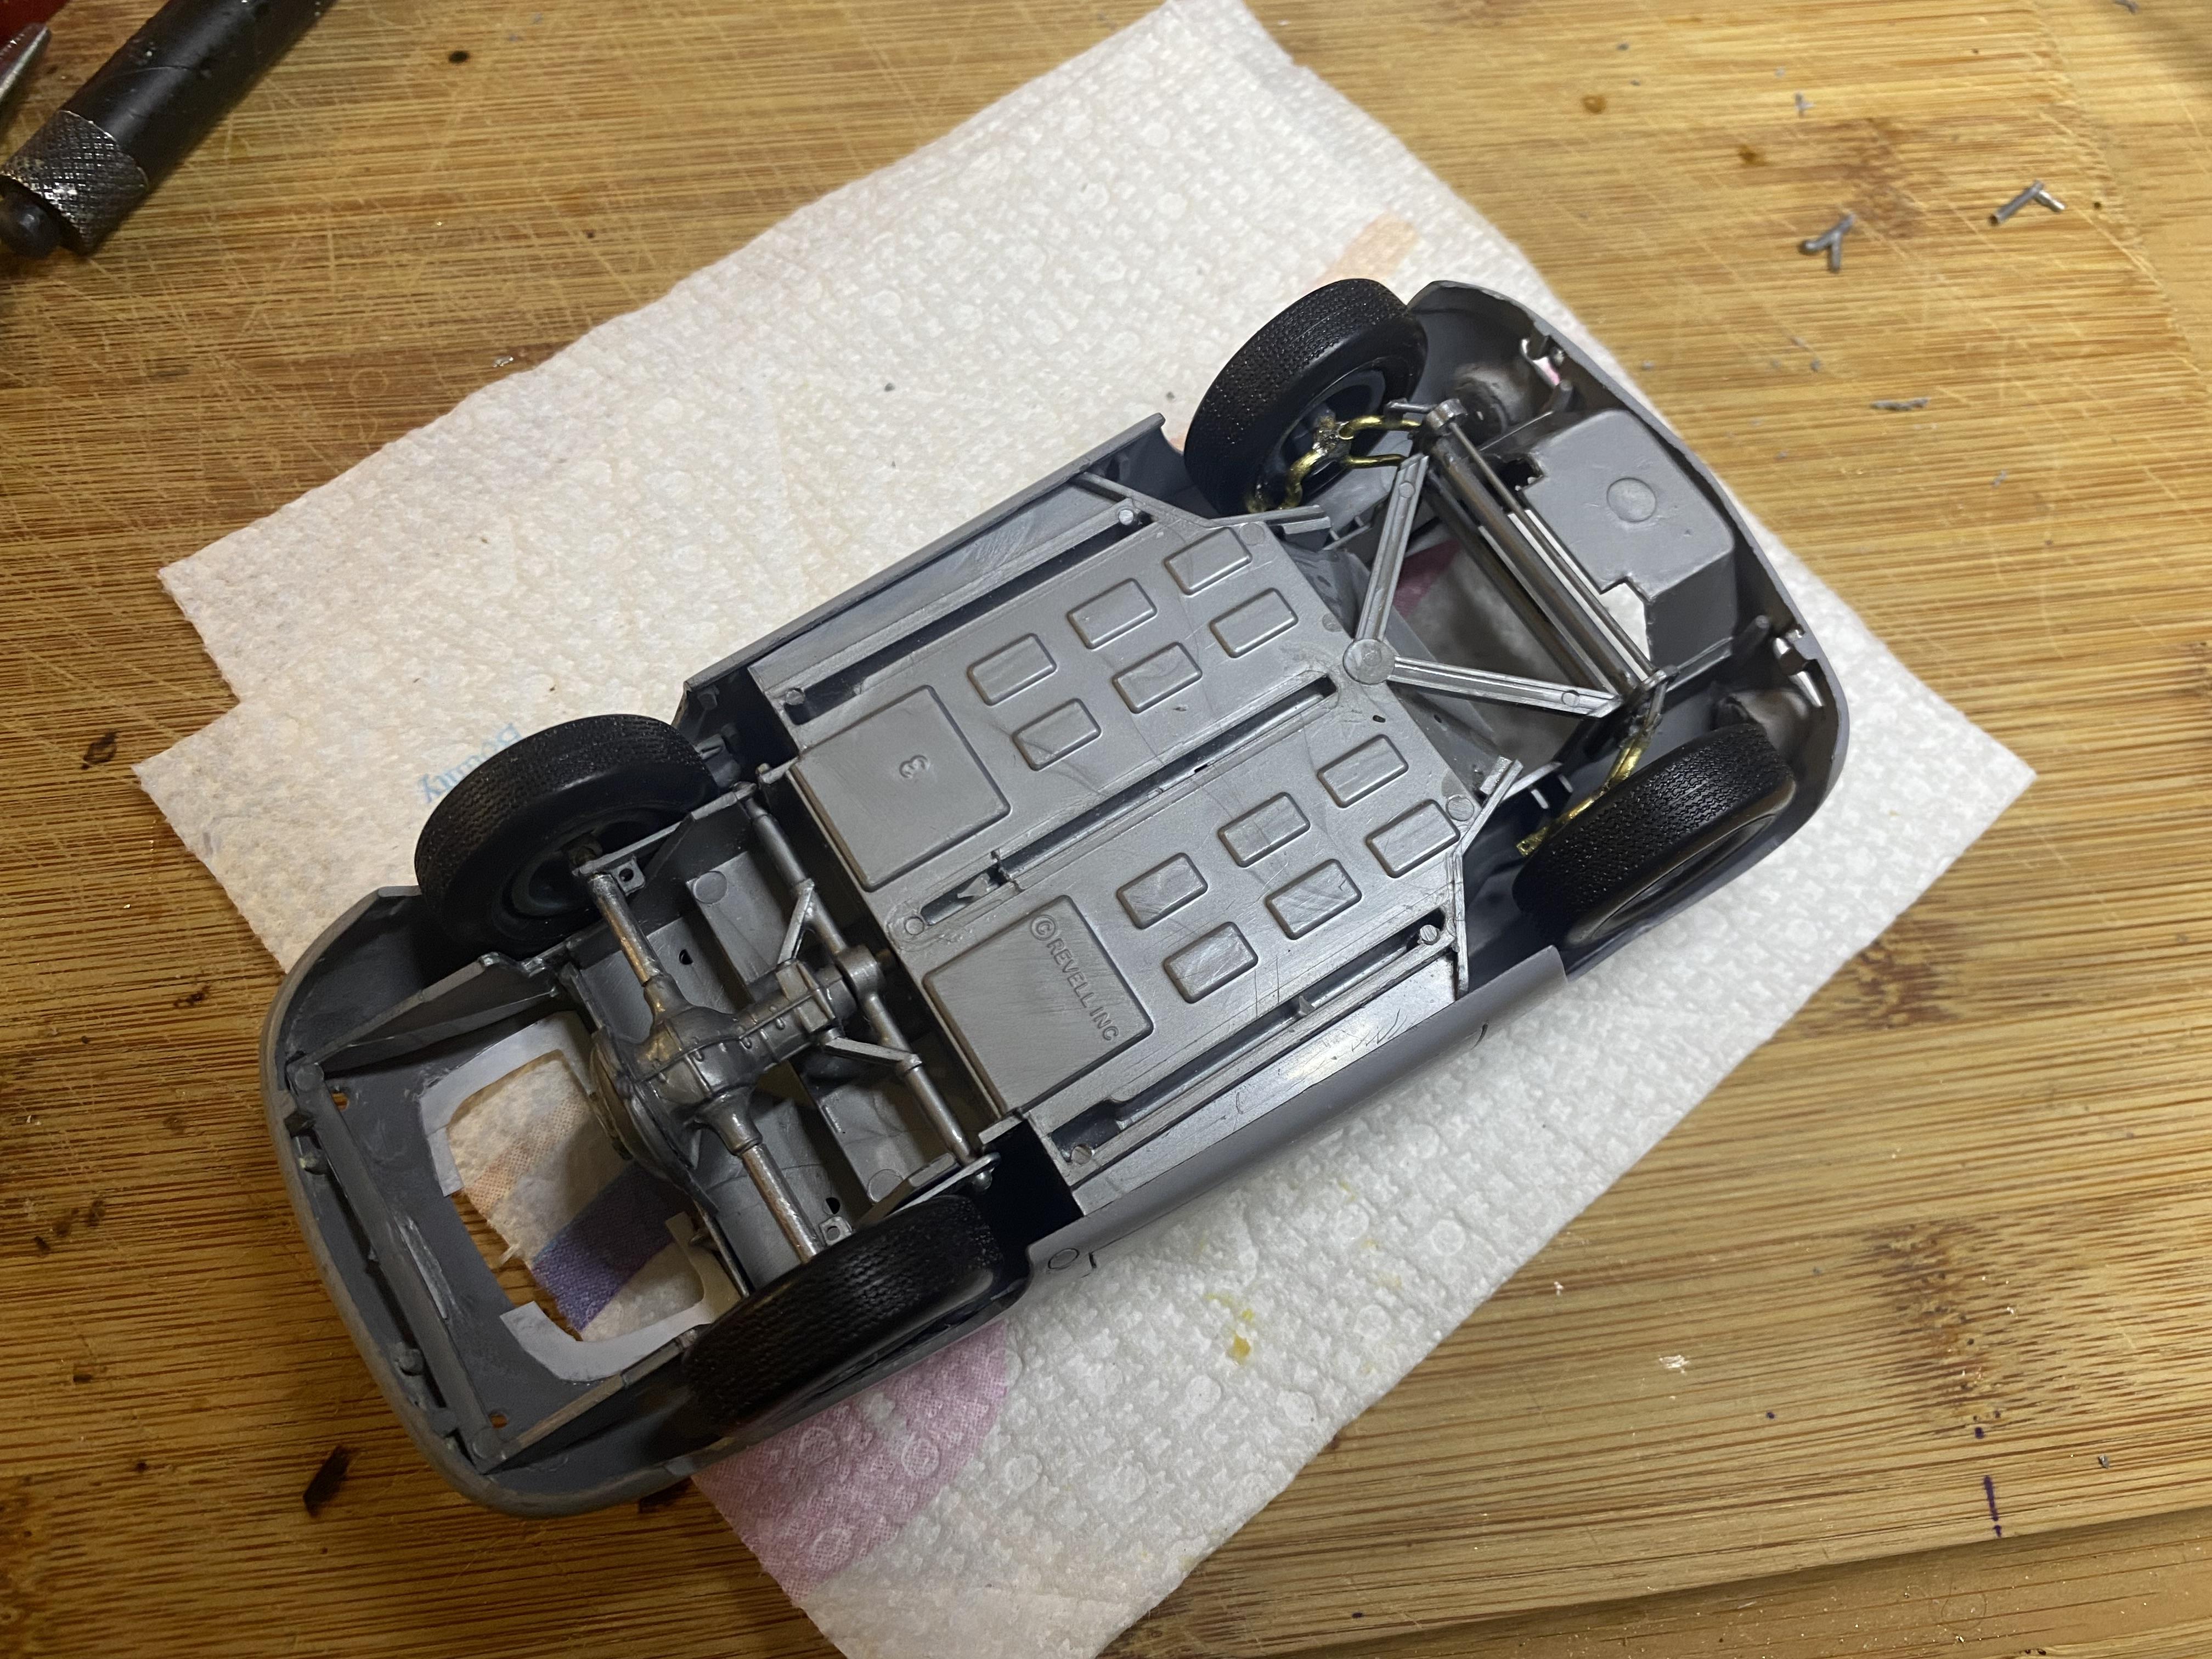
Got some work done on fitting the suspension. The rear now has aluminum tubes and brass rod to hold and allow the rear wheels to turn. Modified the front suspension with brass rod and tube to make the front wheels fit in the wheel wells and be poseable.

-
Thank you!
-
That is most certainly a good idea. I didn’t realize how bad the Revell kit was till I purchased it. I have since purchased a few fujimi kits. They are night and day better kits. I think I am making something out of this kit, but as you can see it takes a whole lot of work to do so.
-
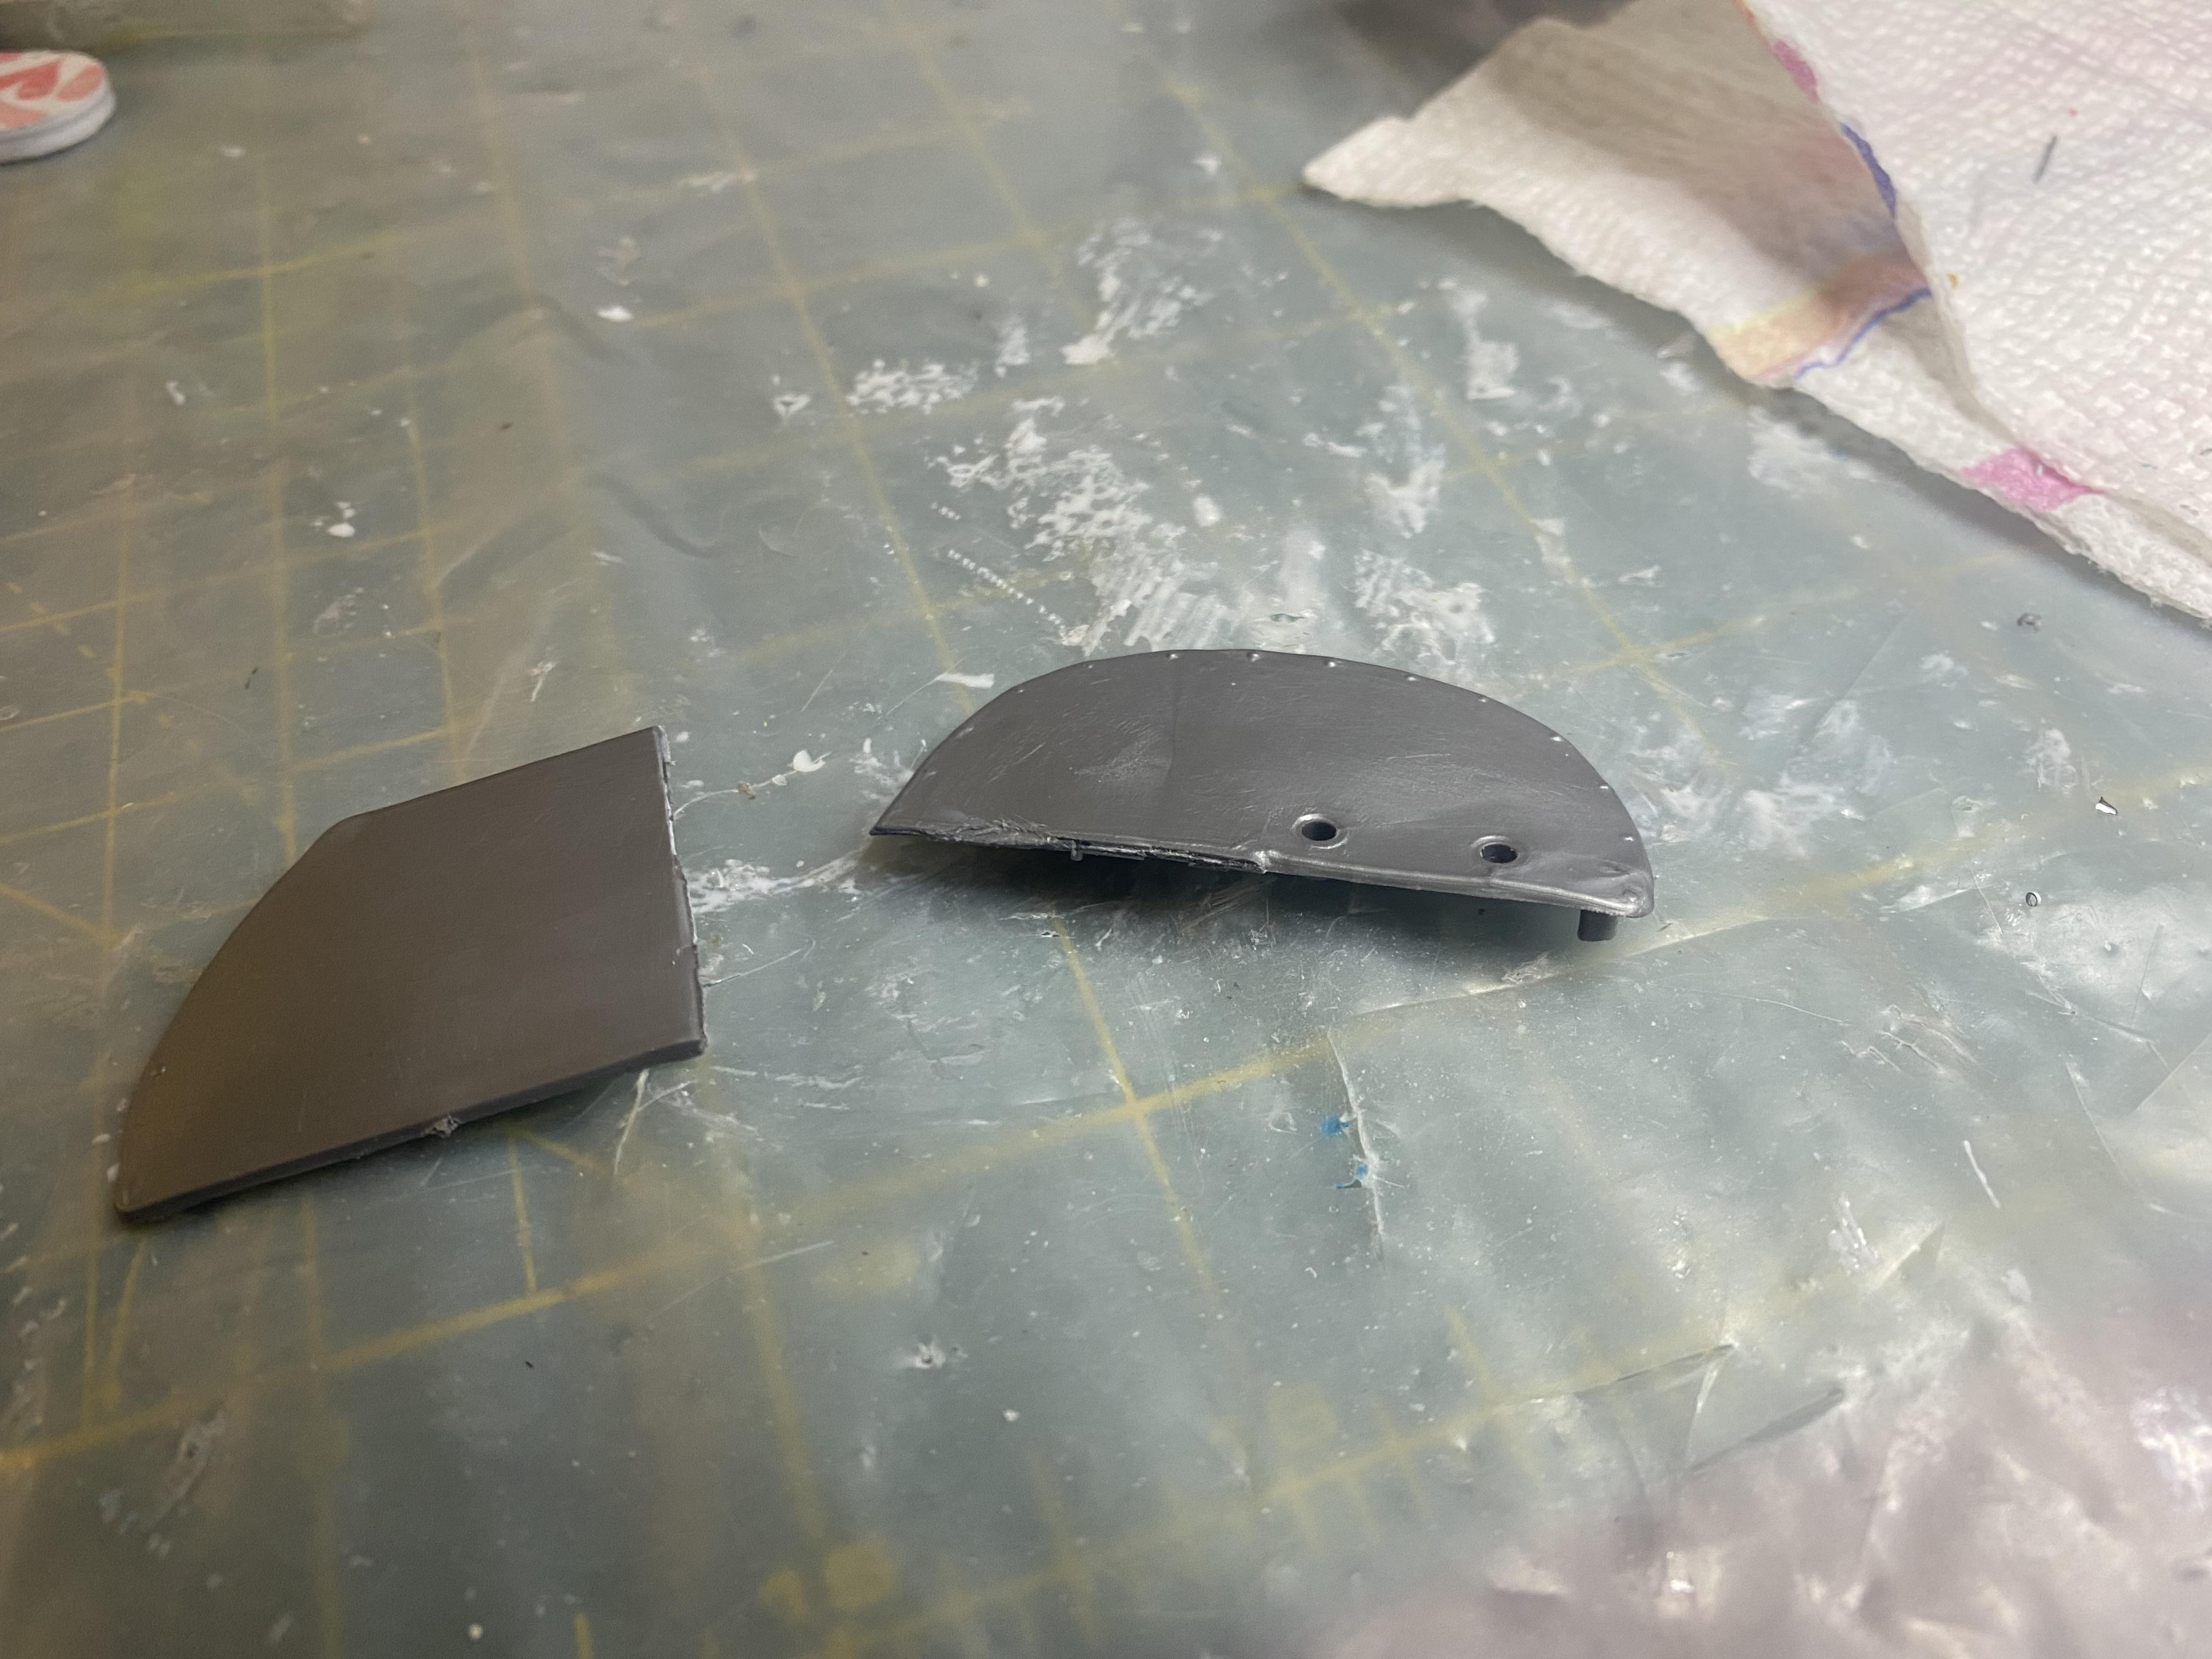
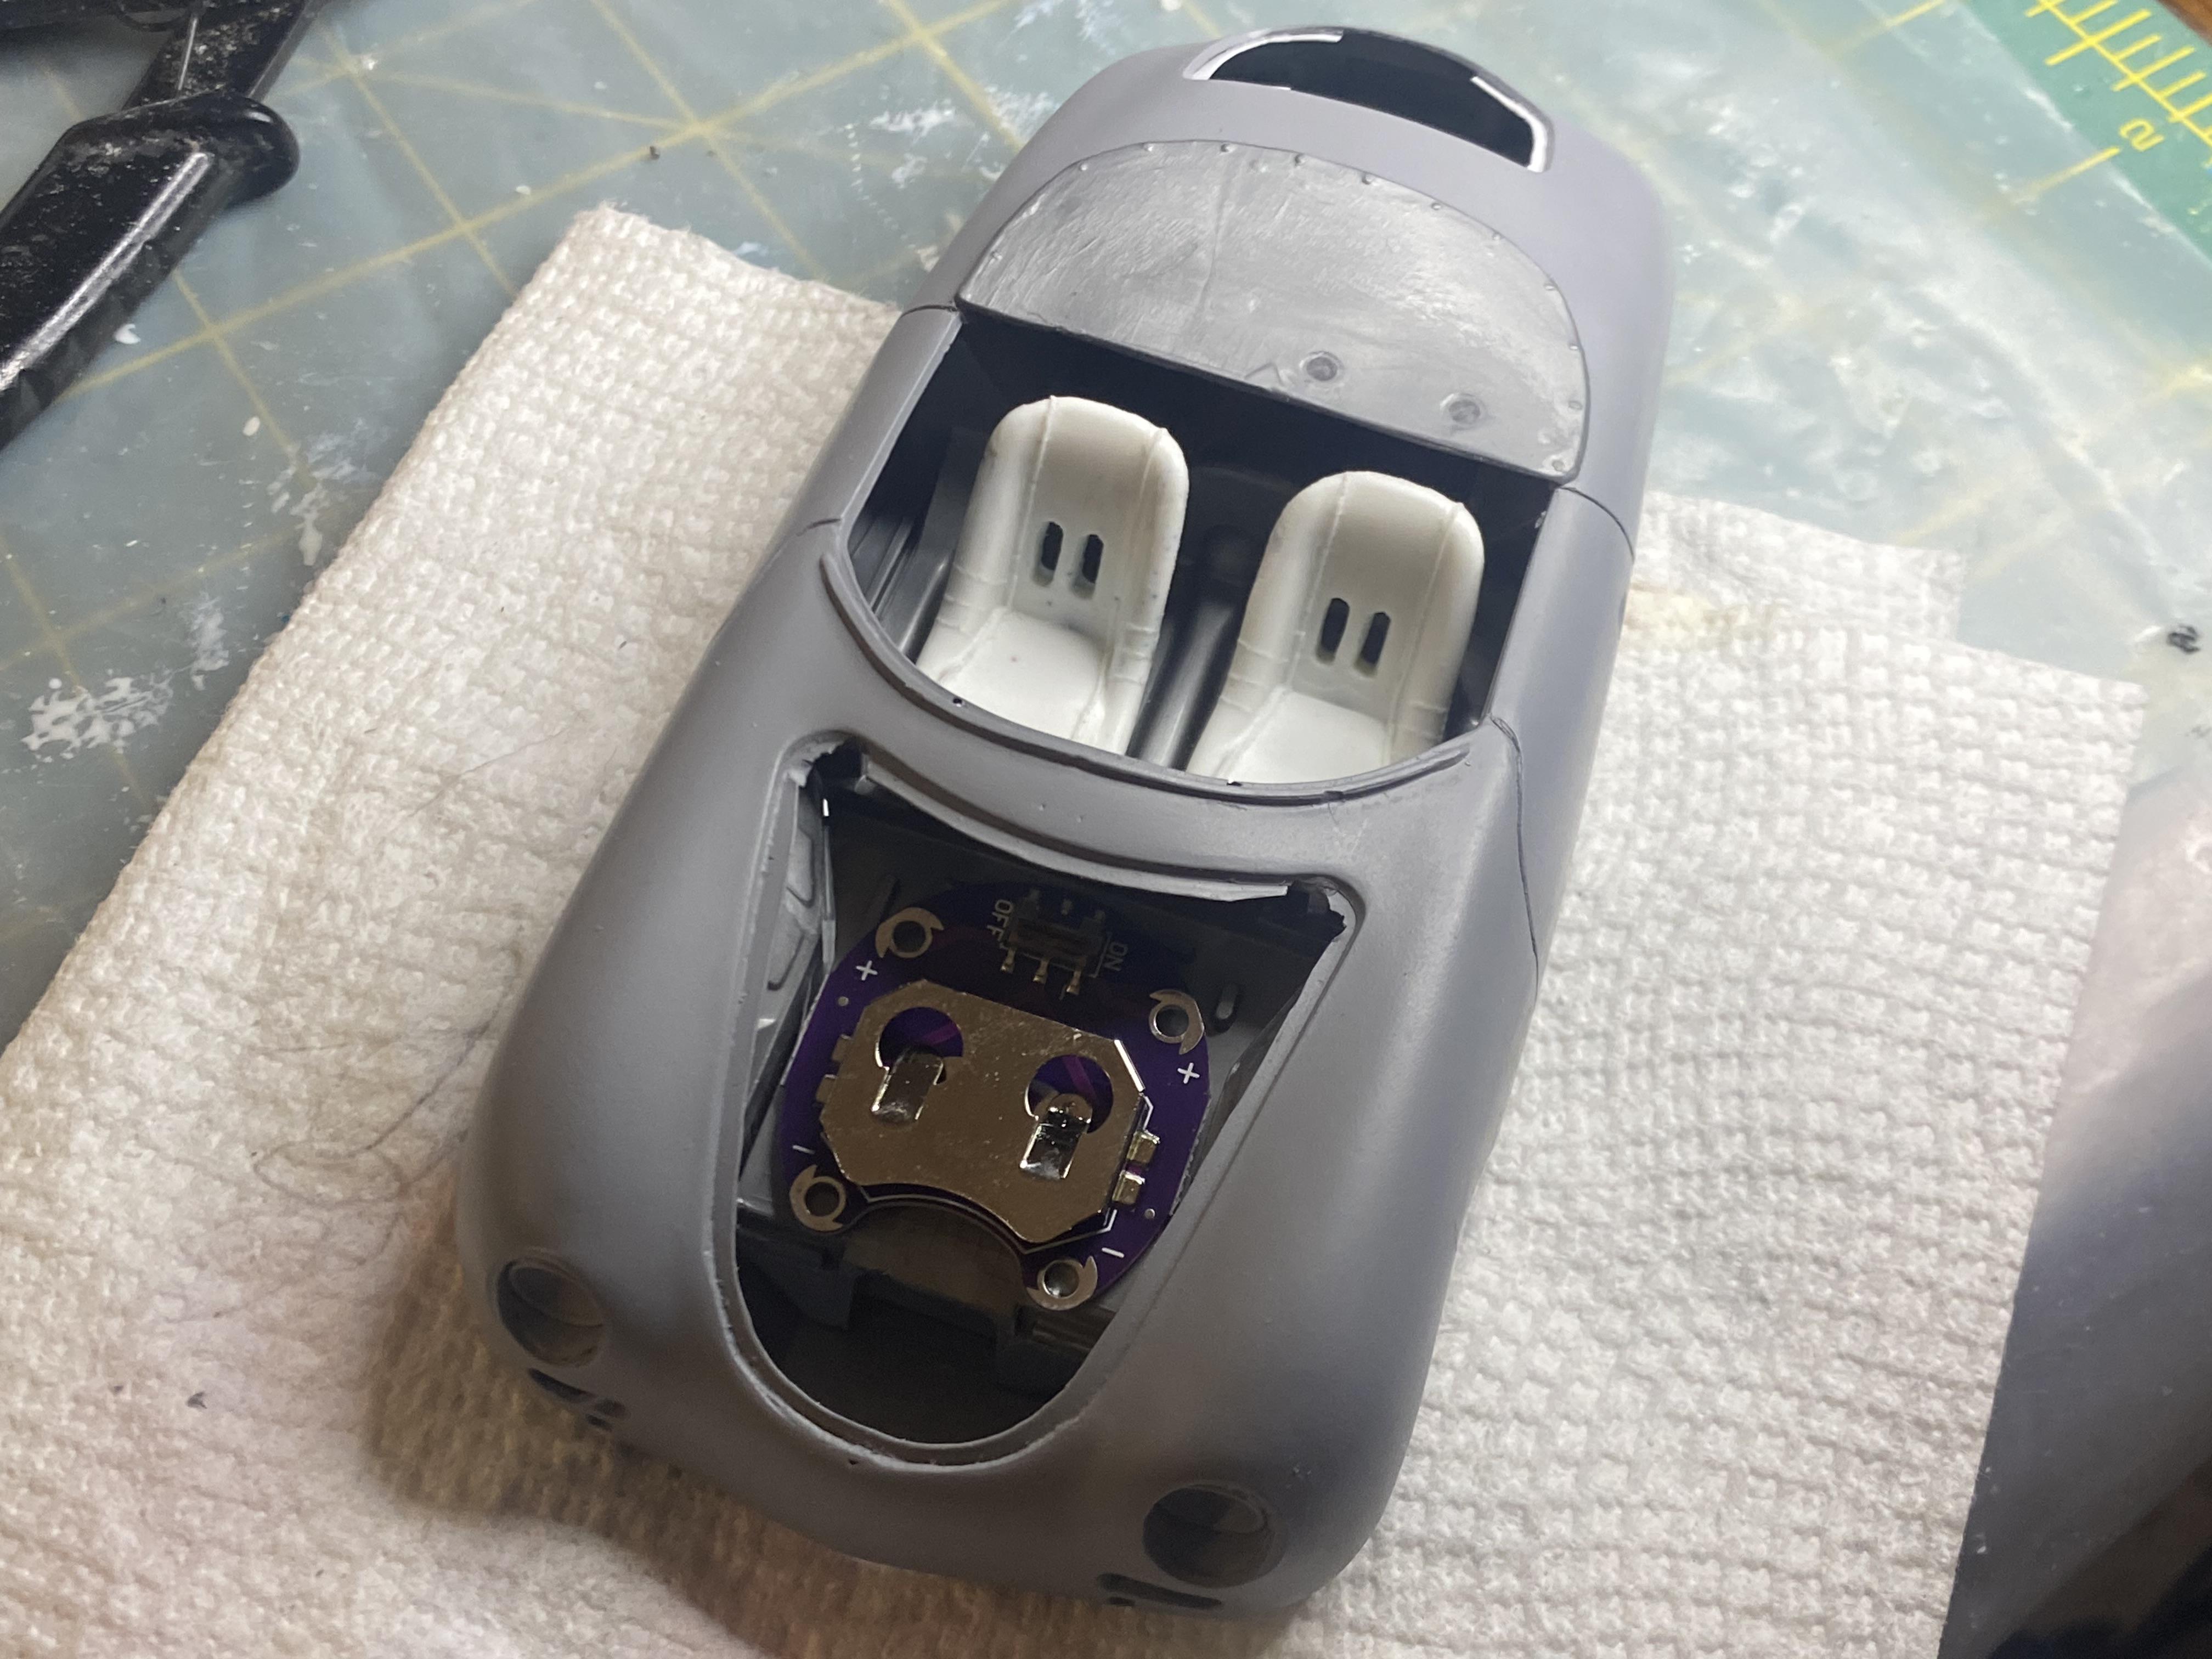
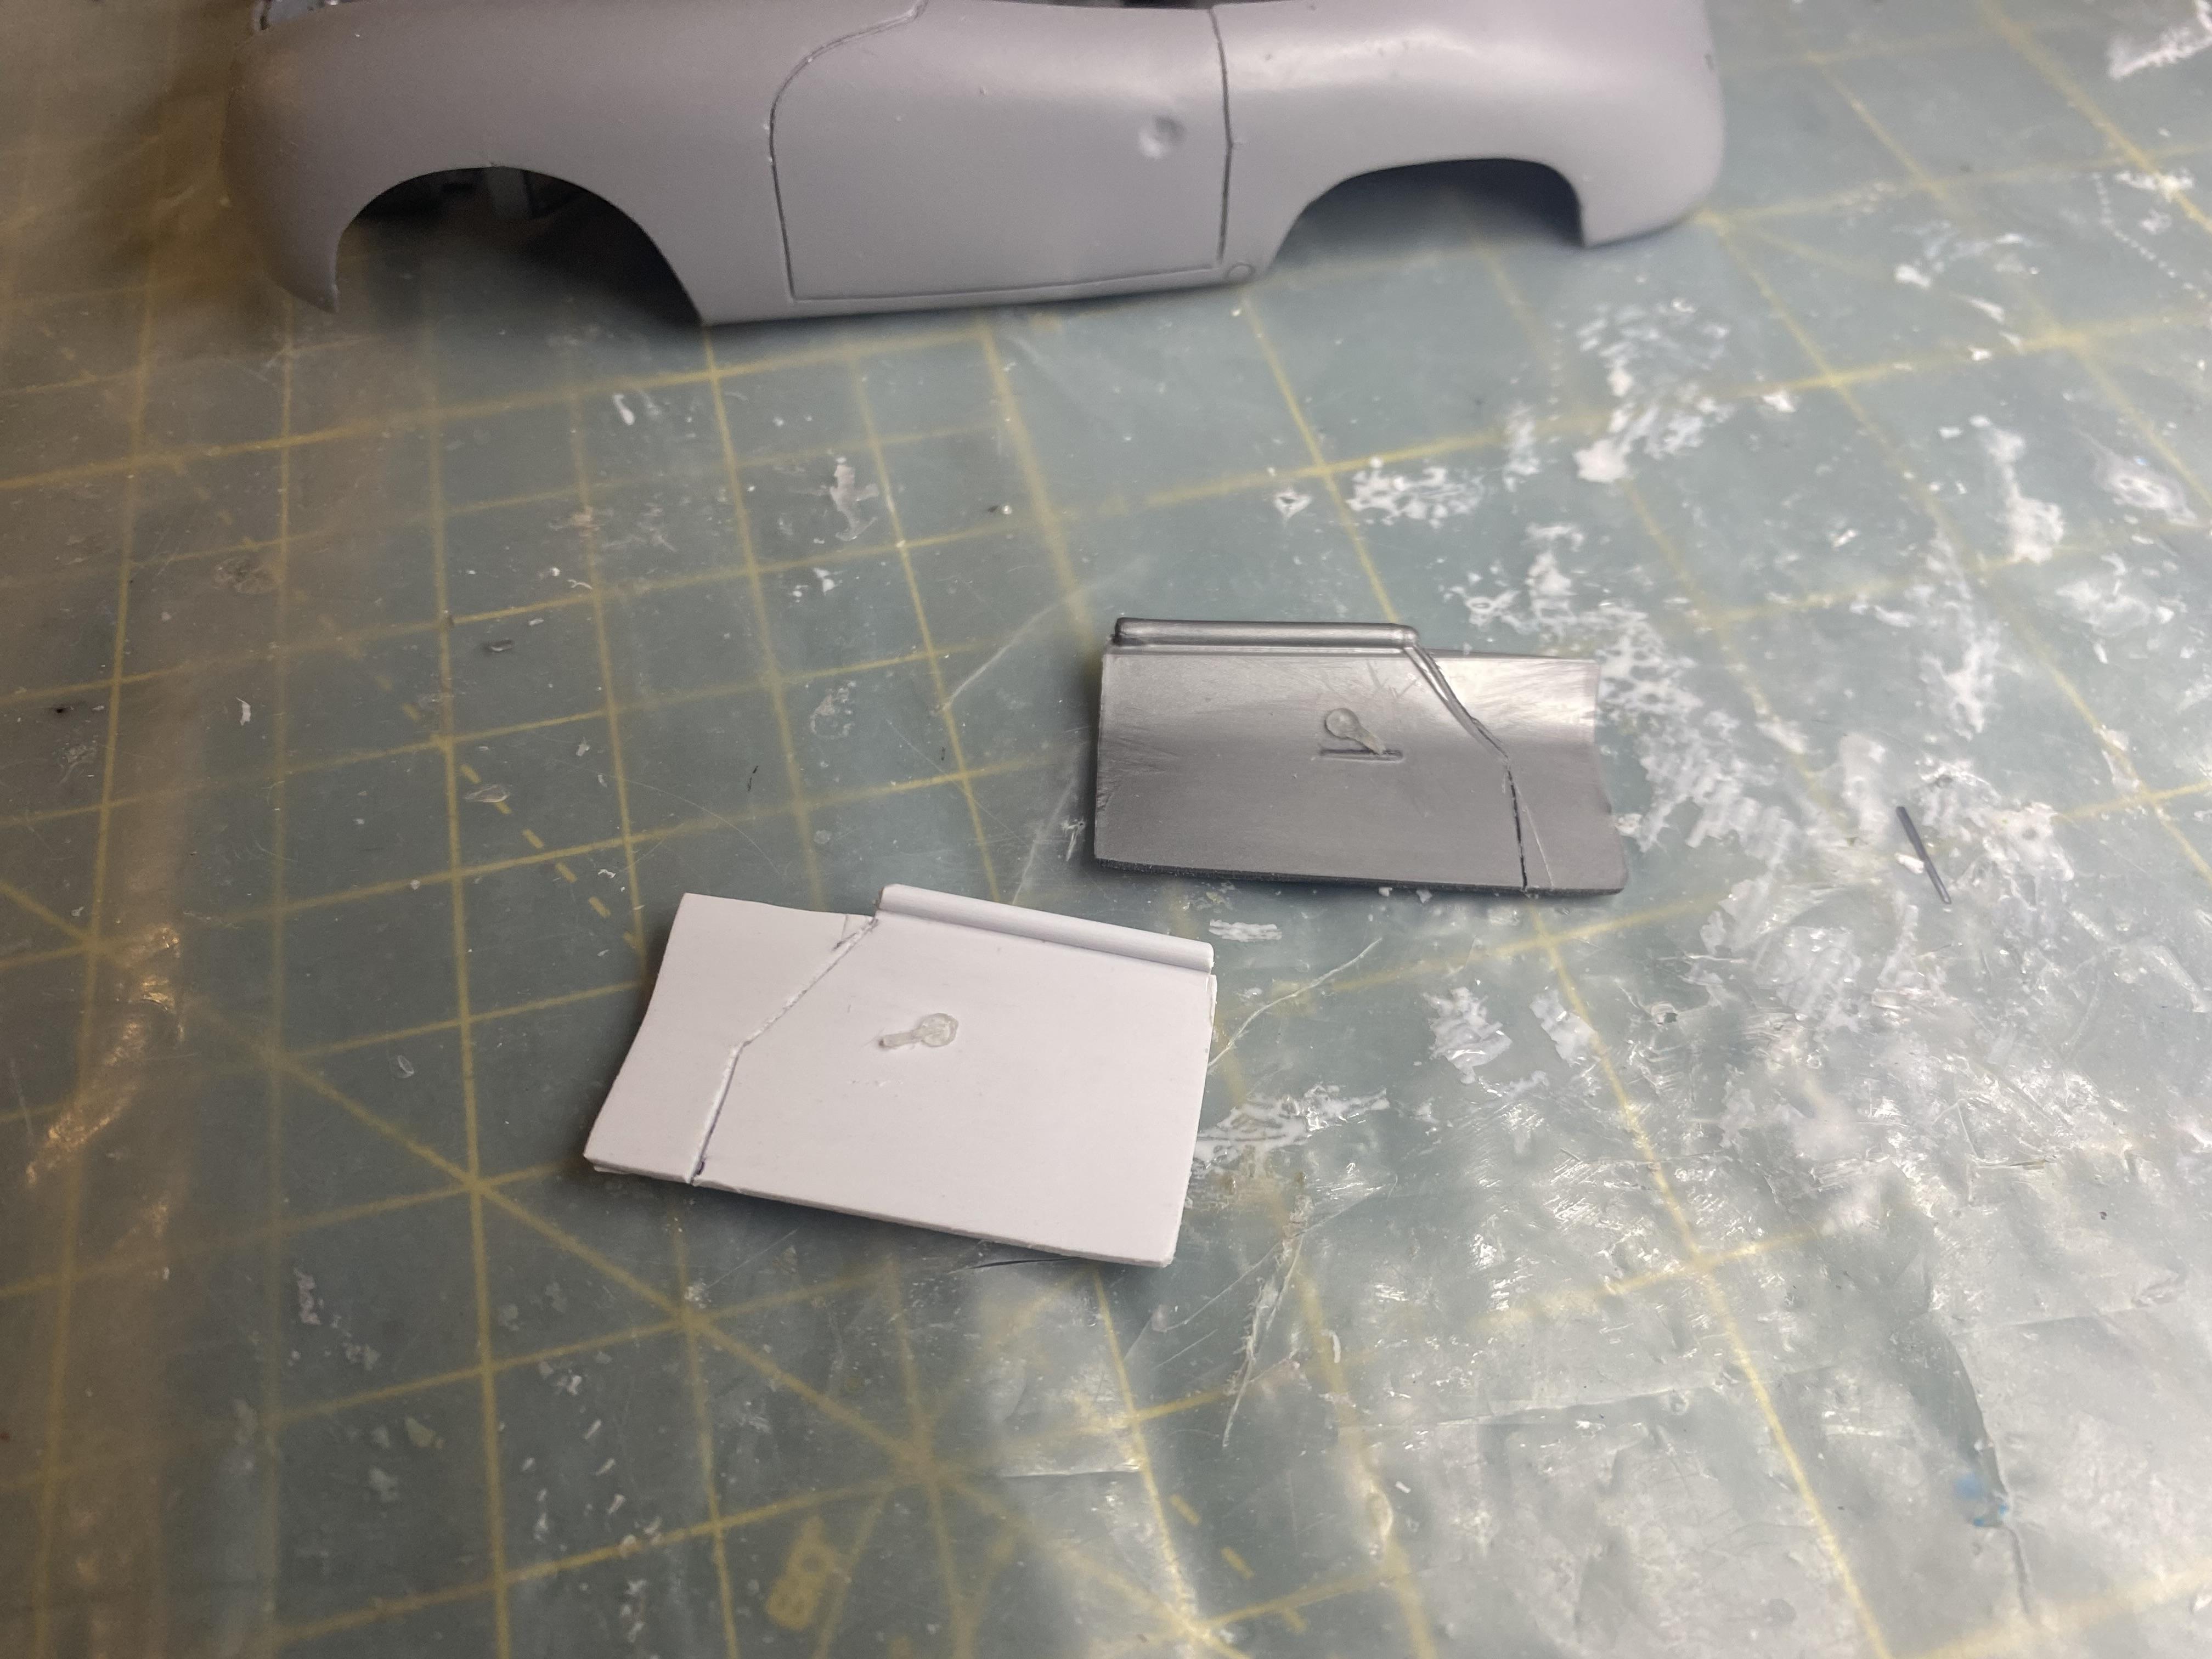
I cut down the tonneau cover and filled the holes for the roll bar. I figured out the only place I will be able to fit the lily pad battery holder. I will need to figure out how to hide it. I made a couple of door opening handles and the passenger door panel.
-
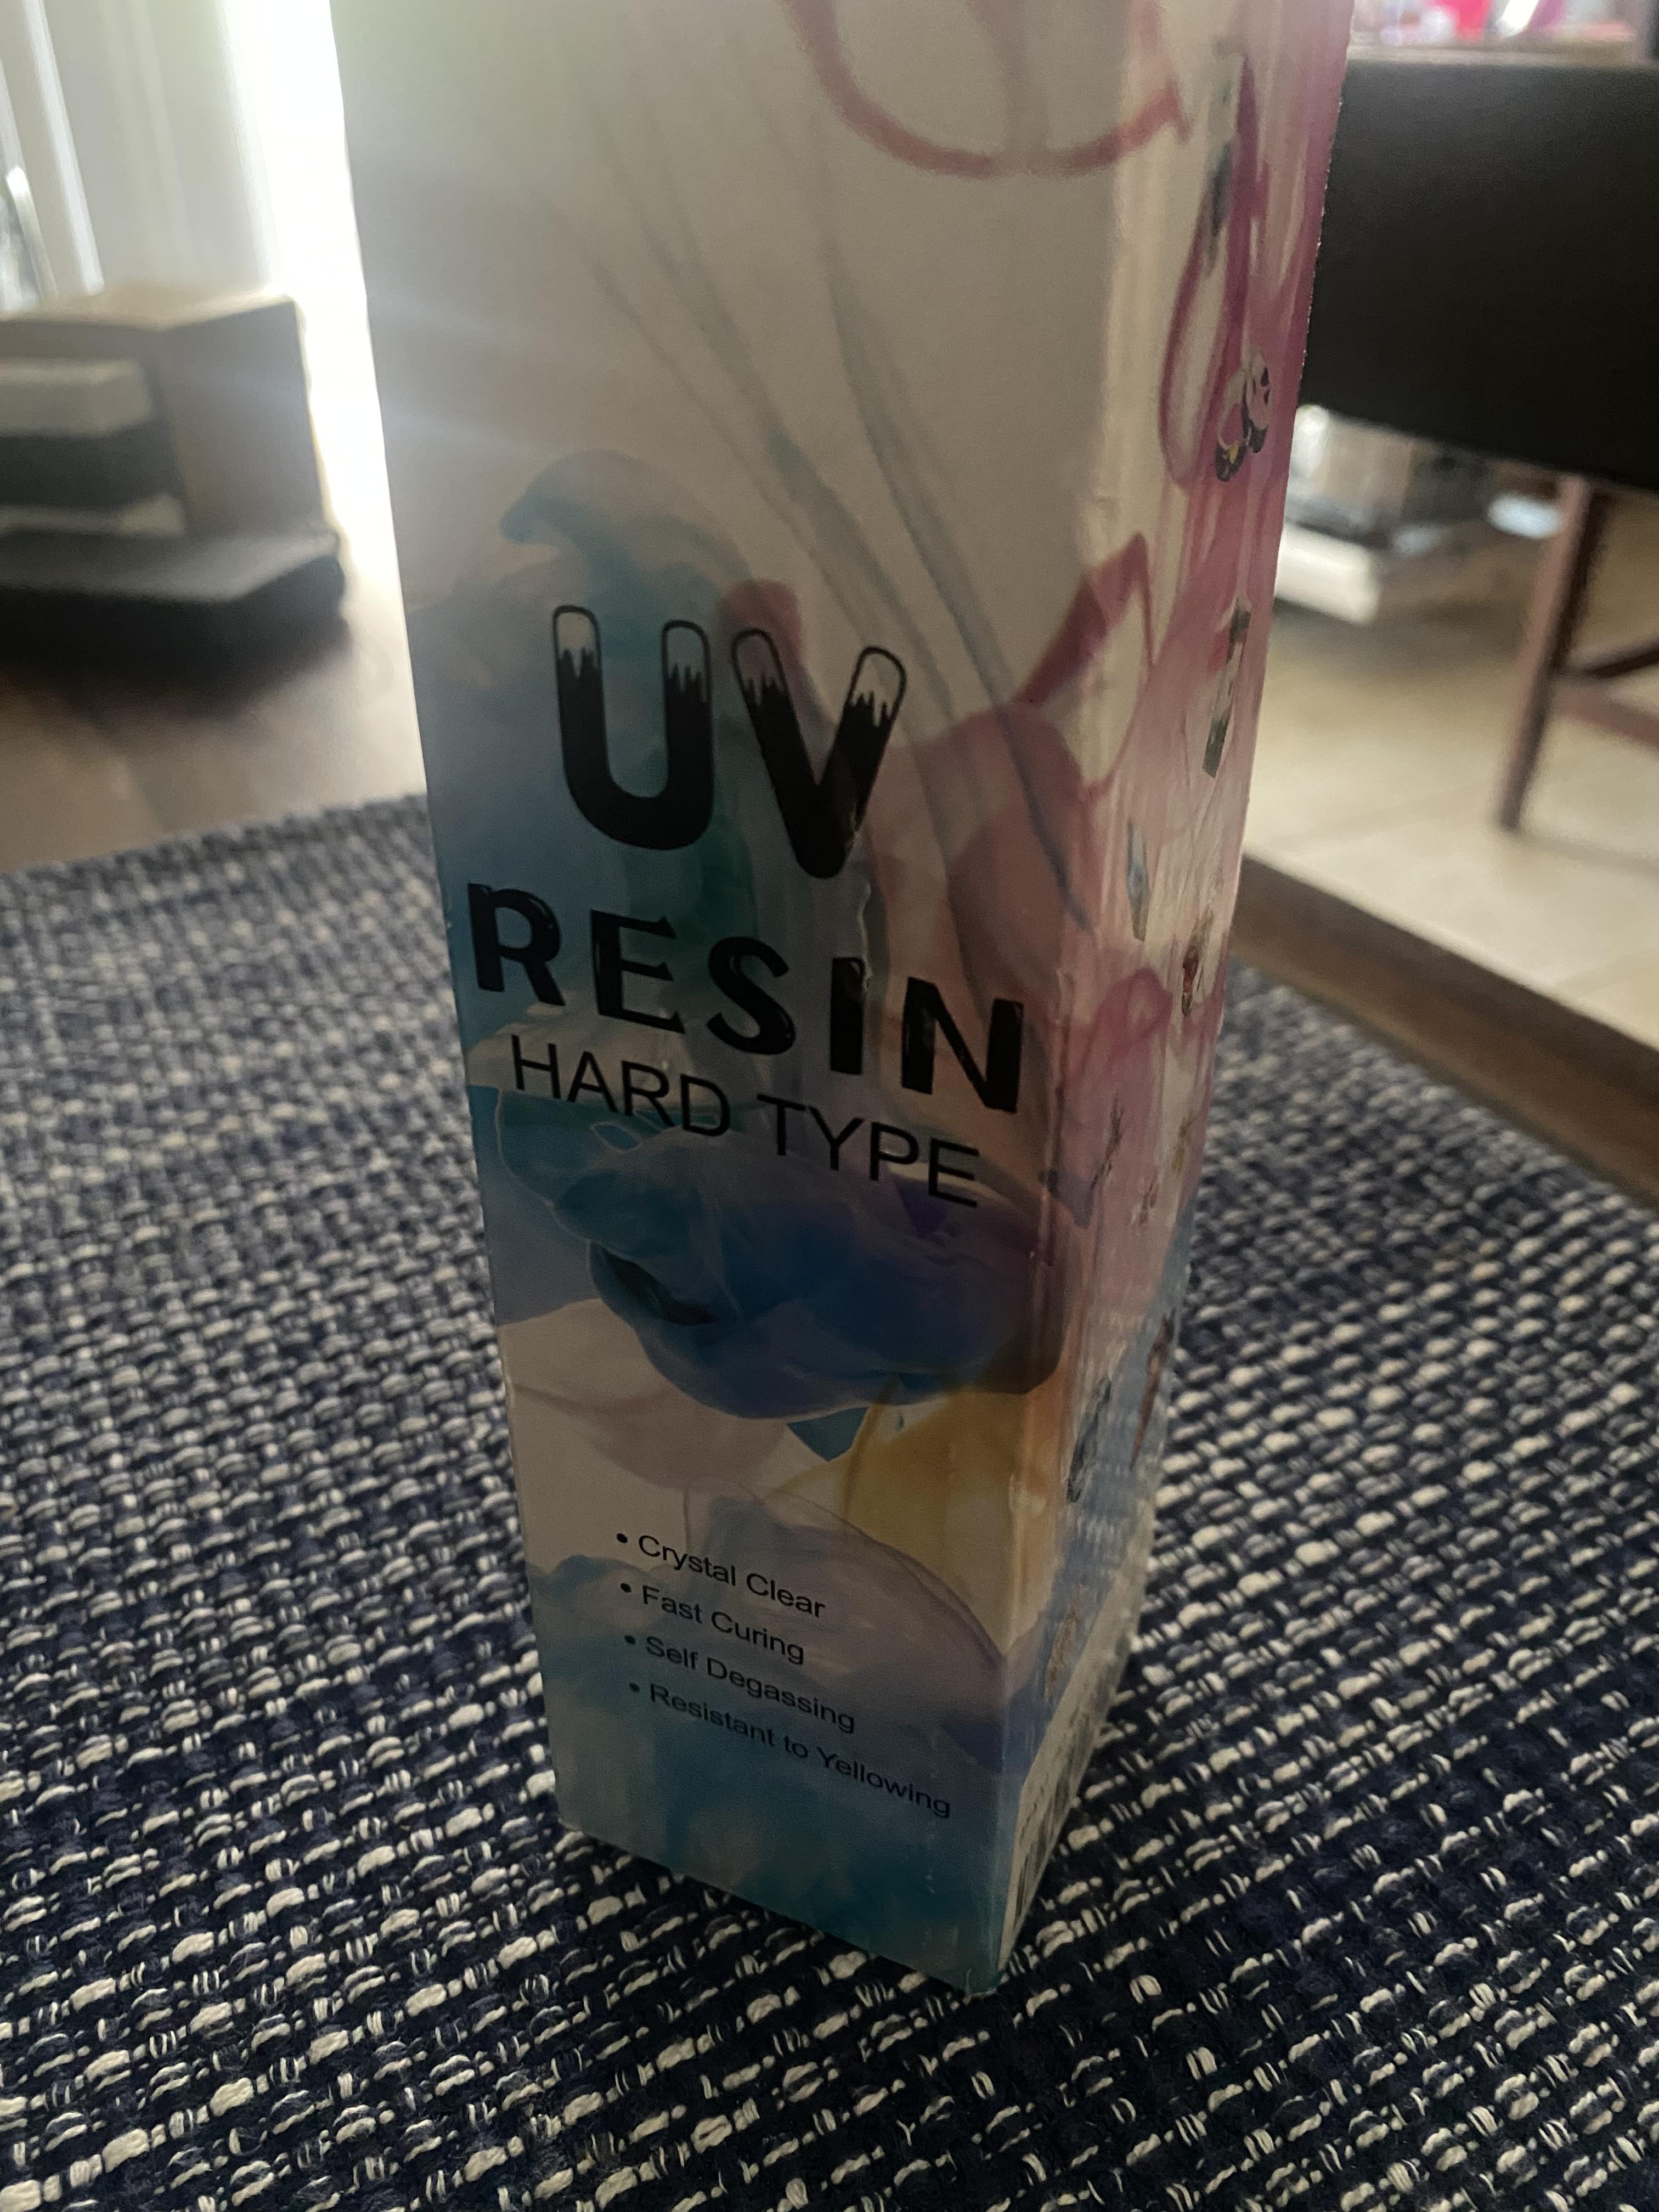
I got it from Amazon, don’t really see a name.
-
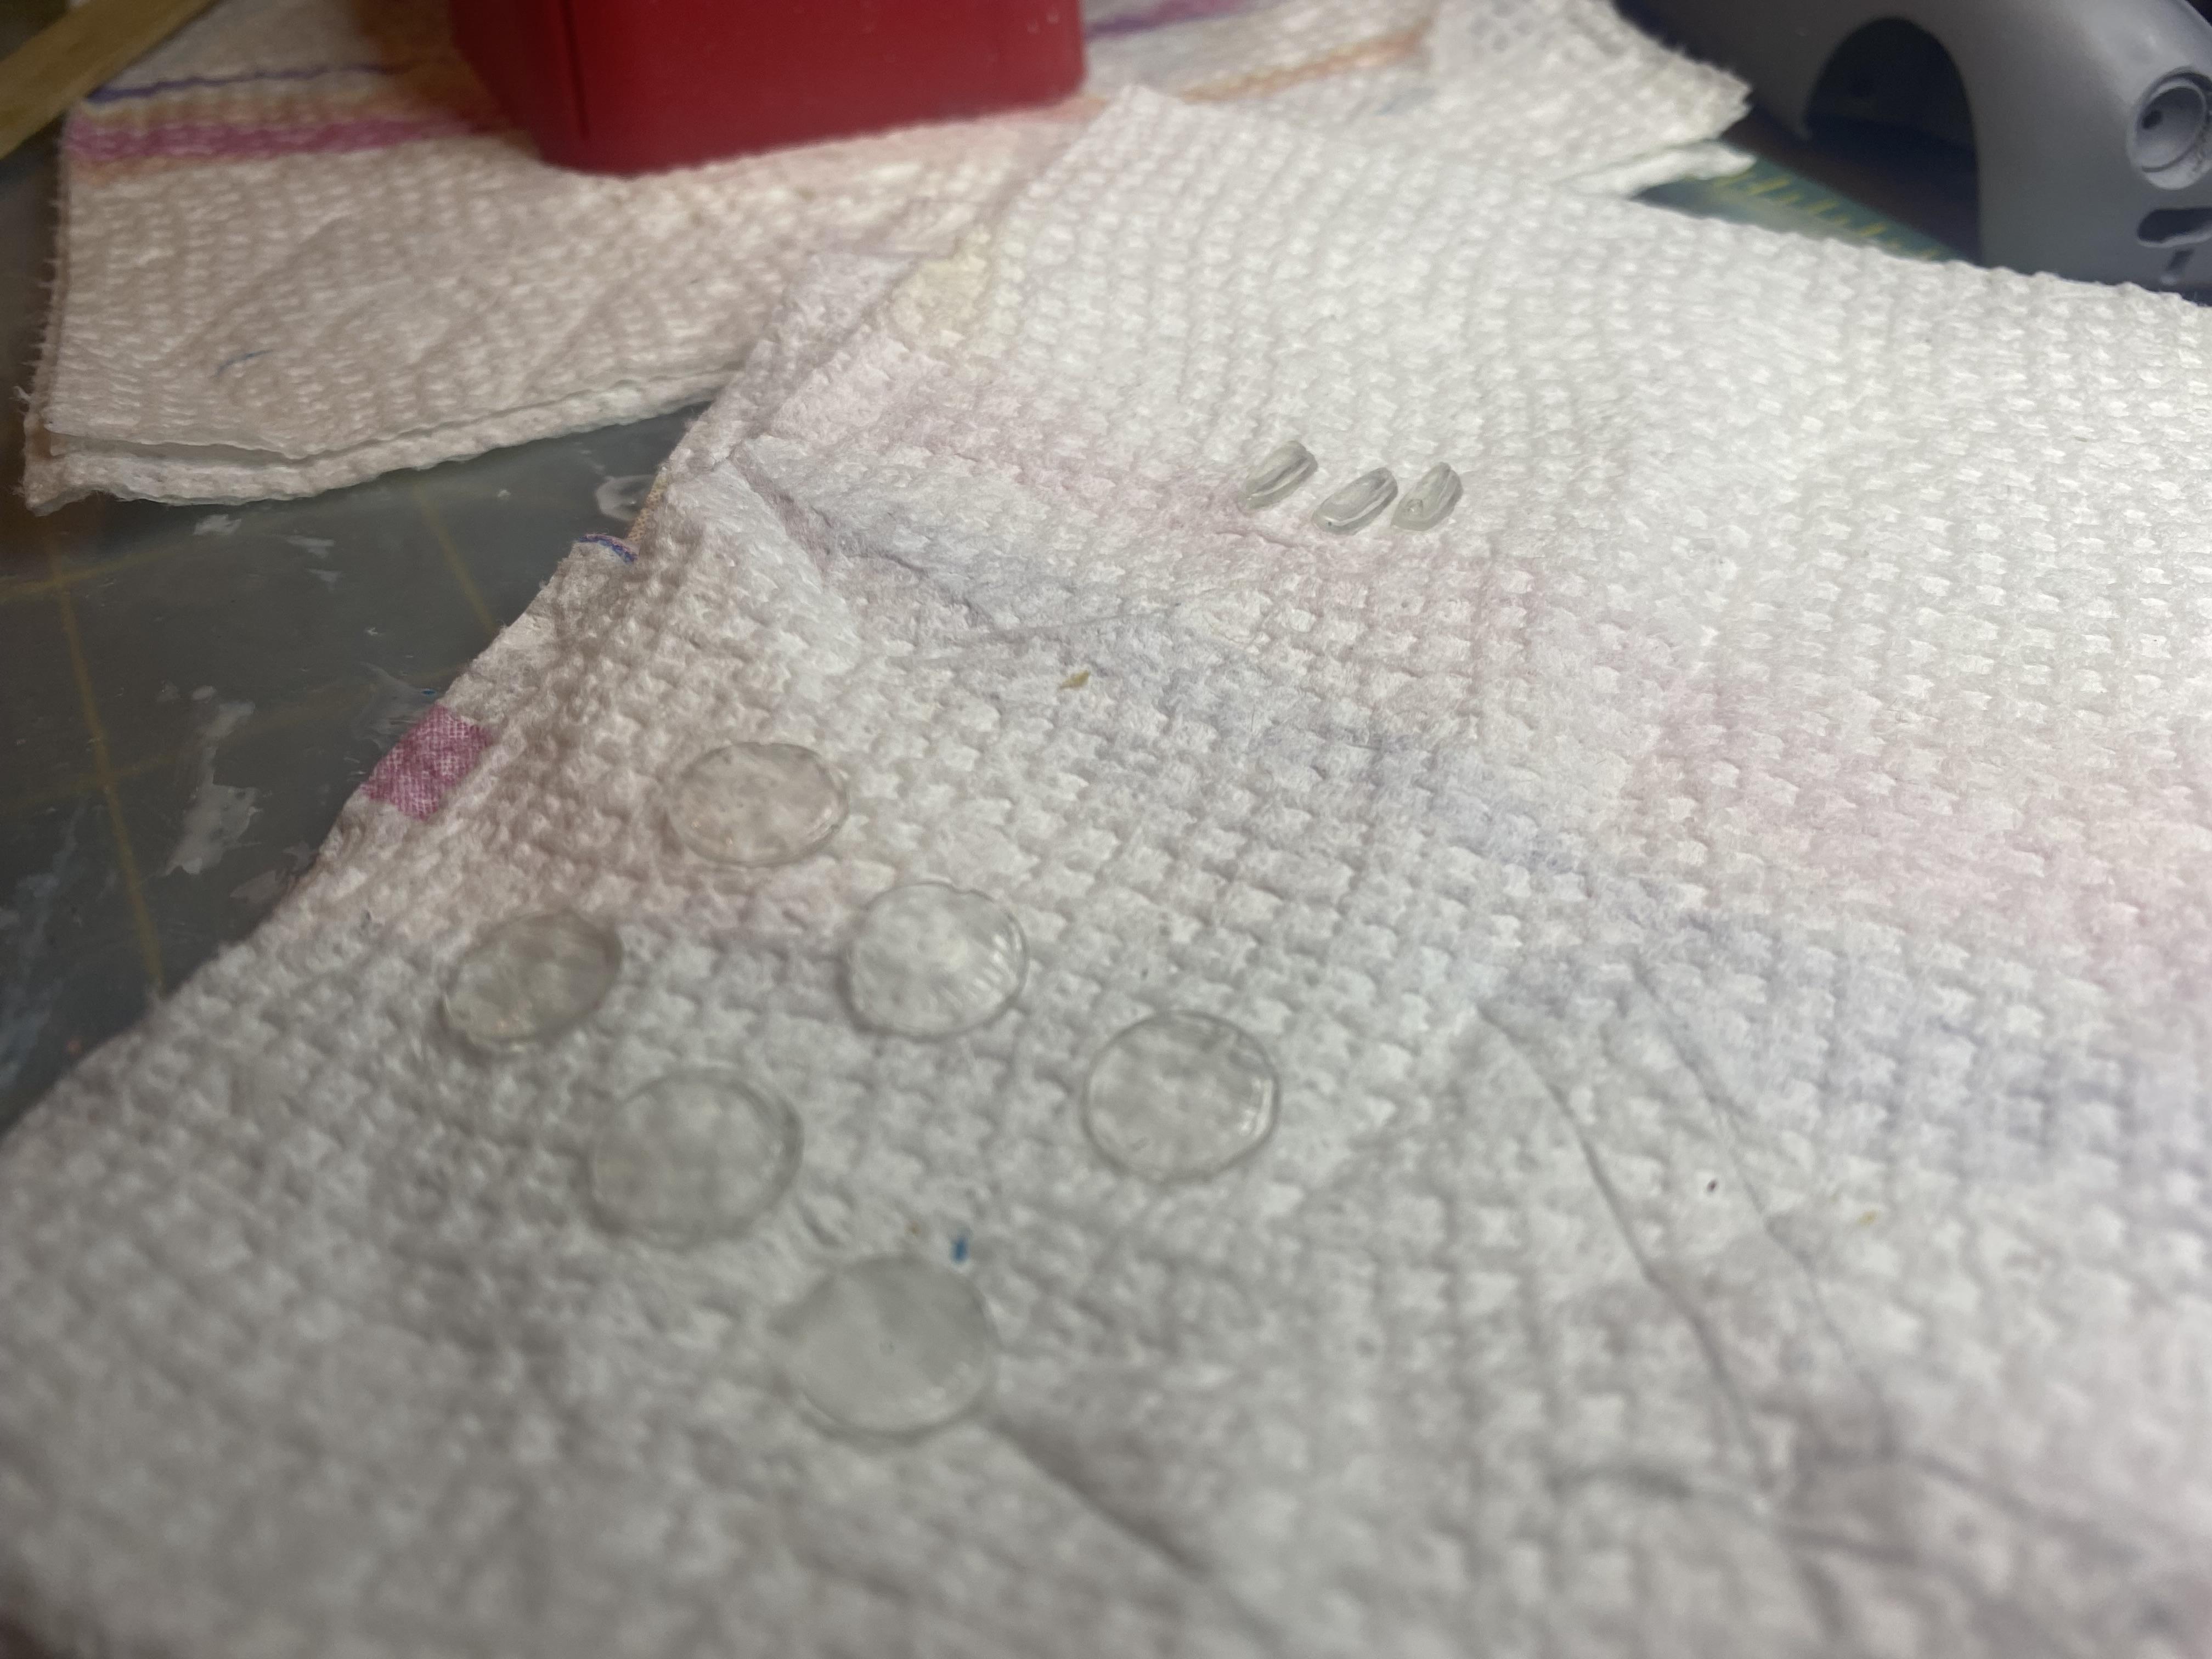
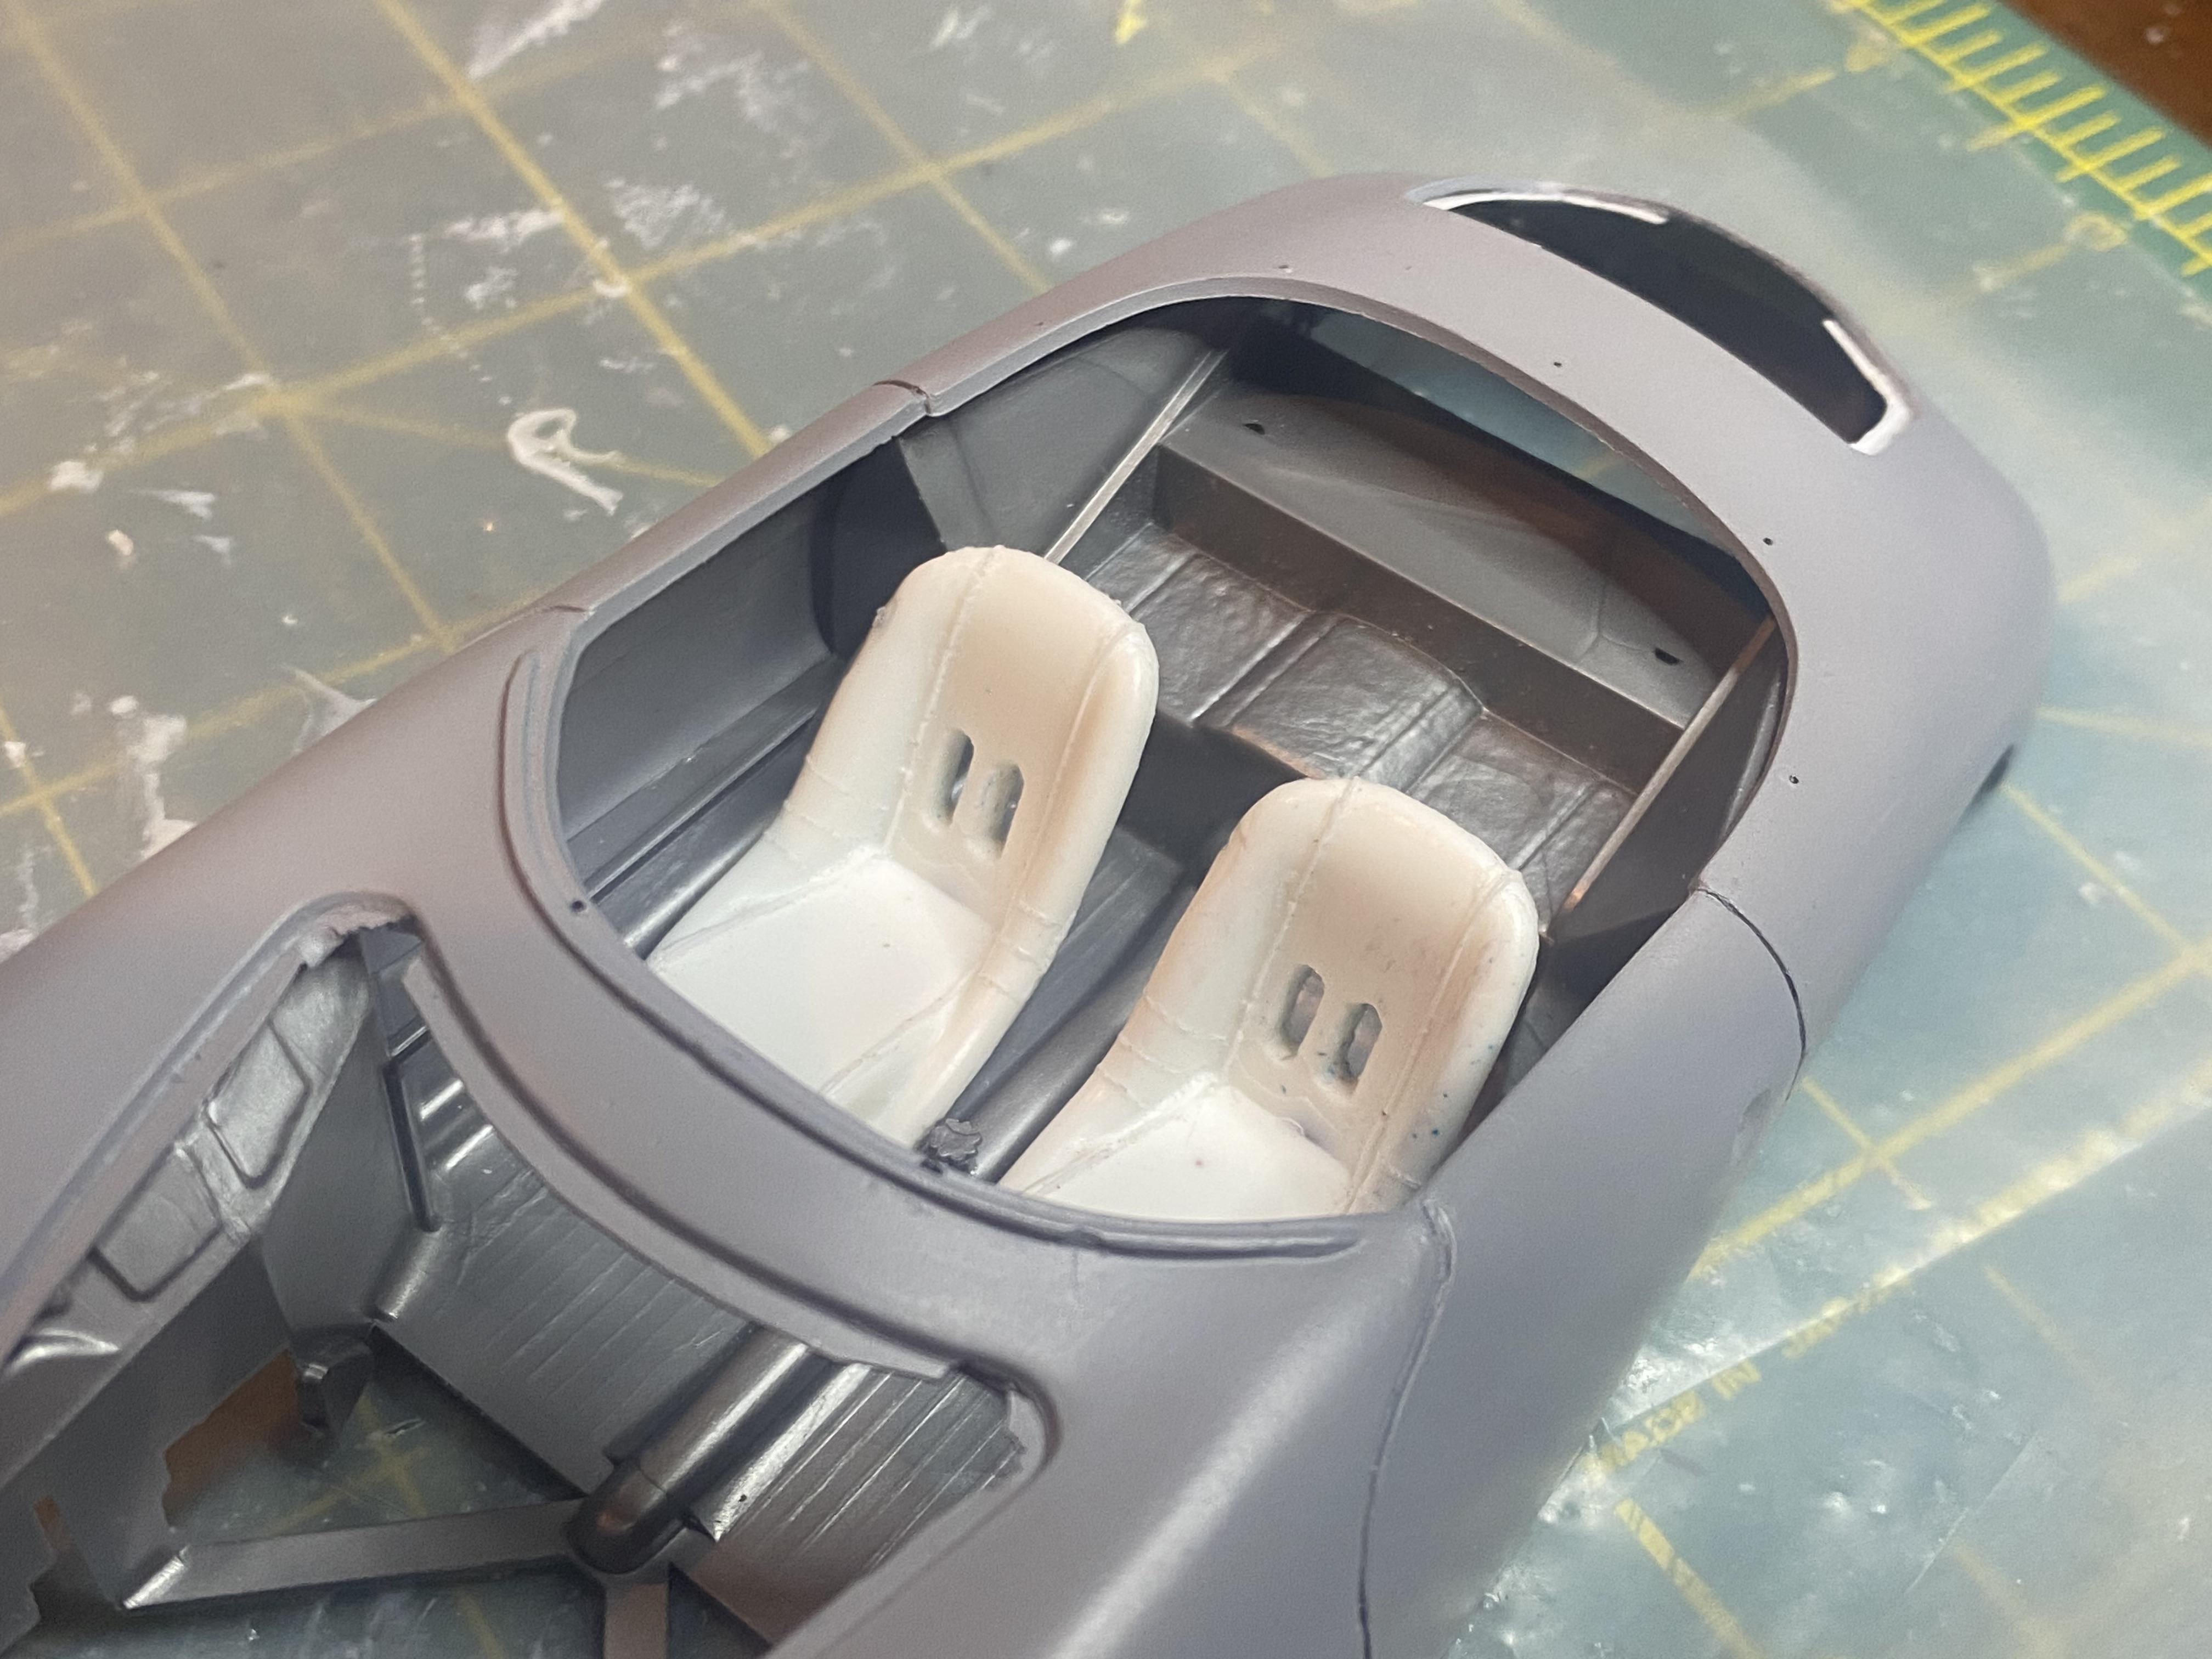
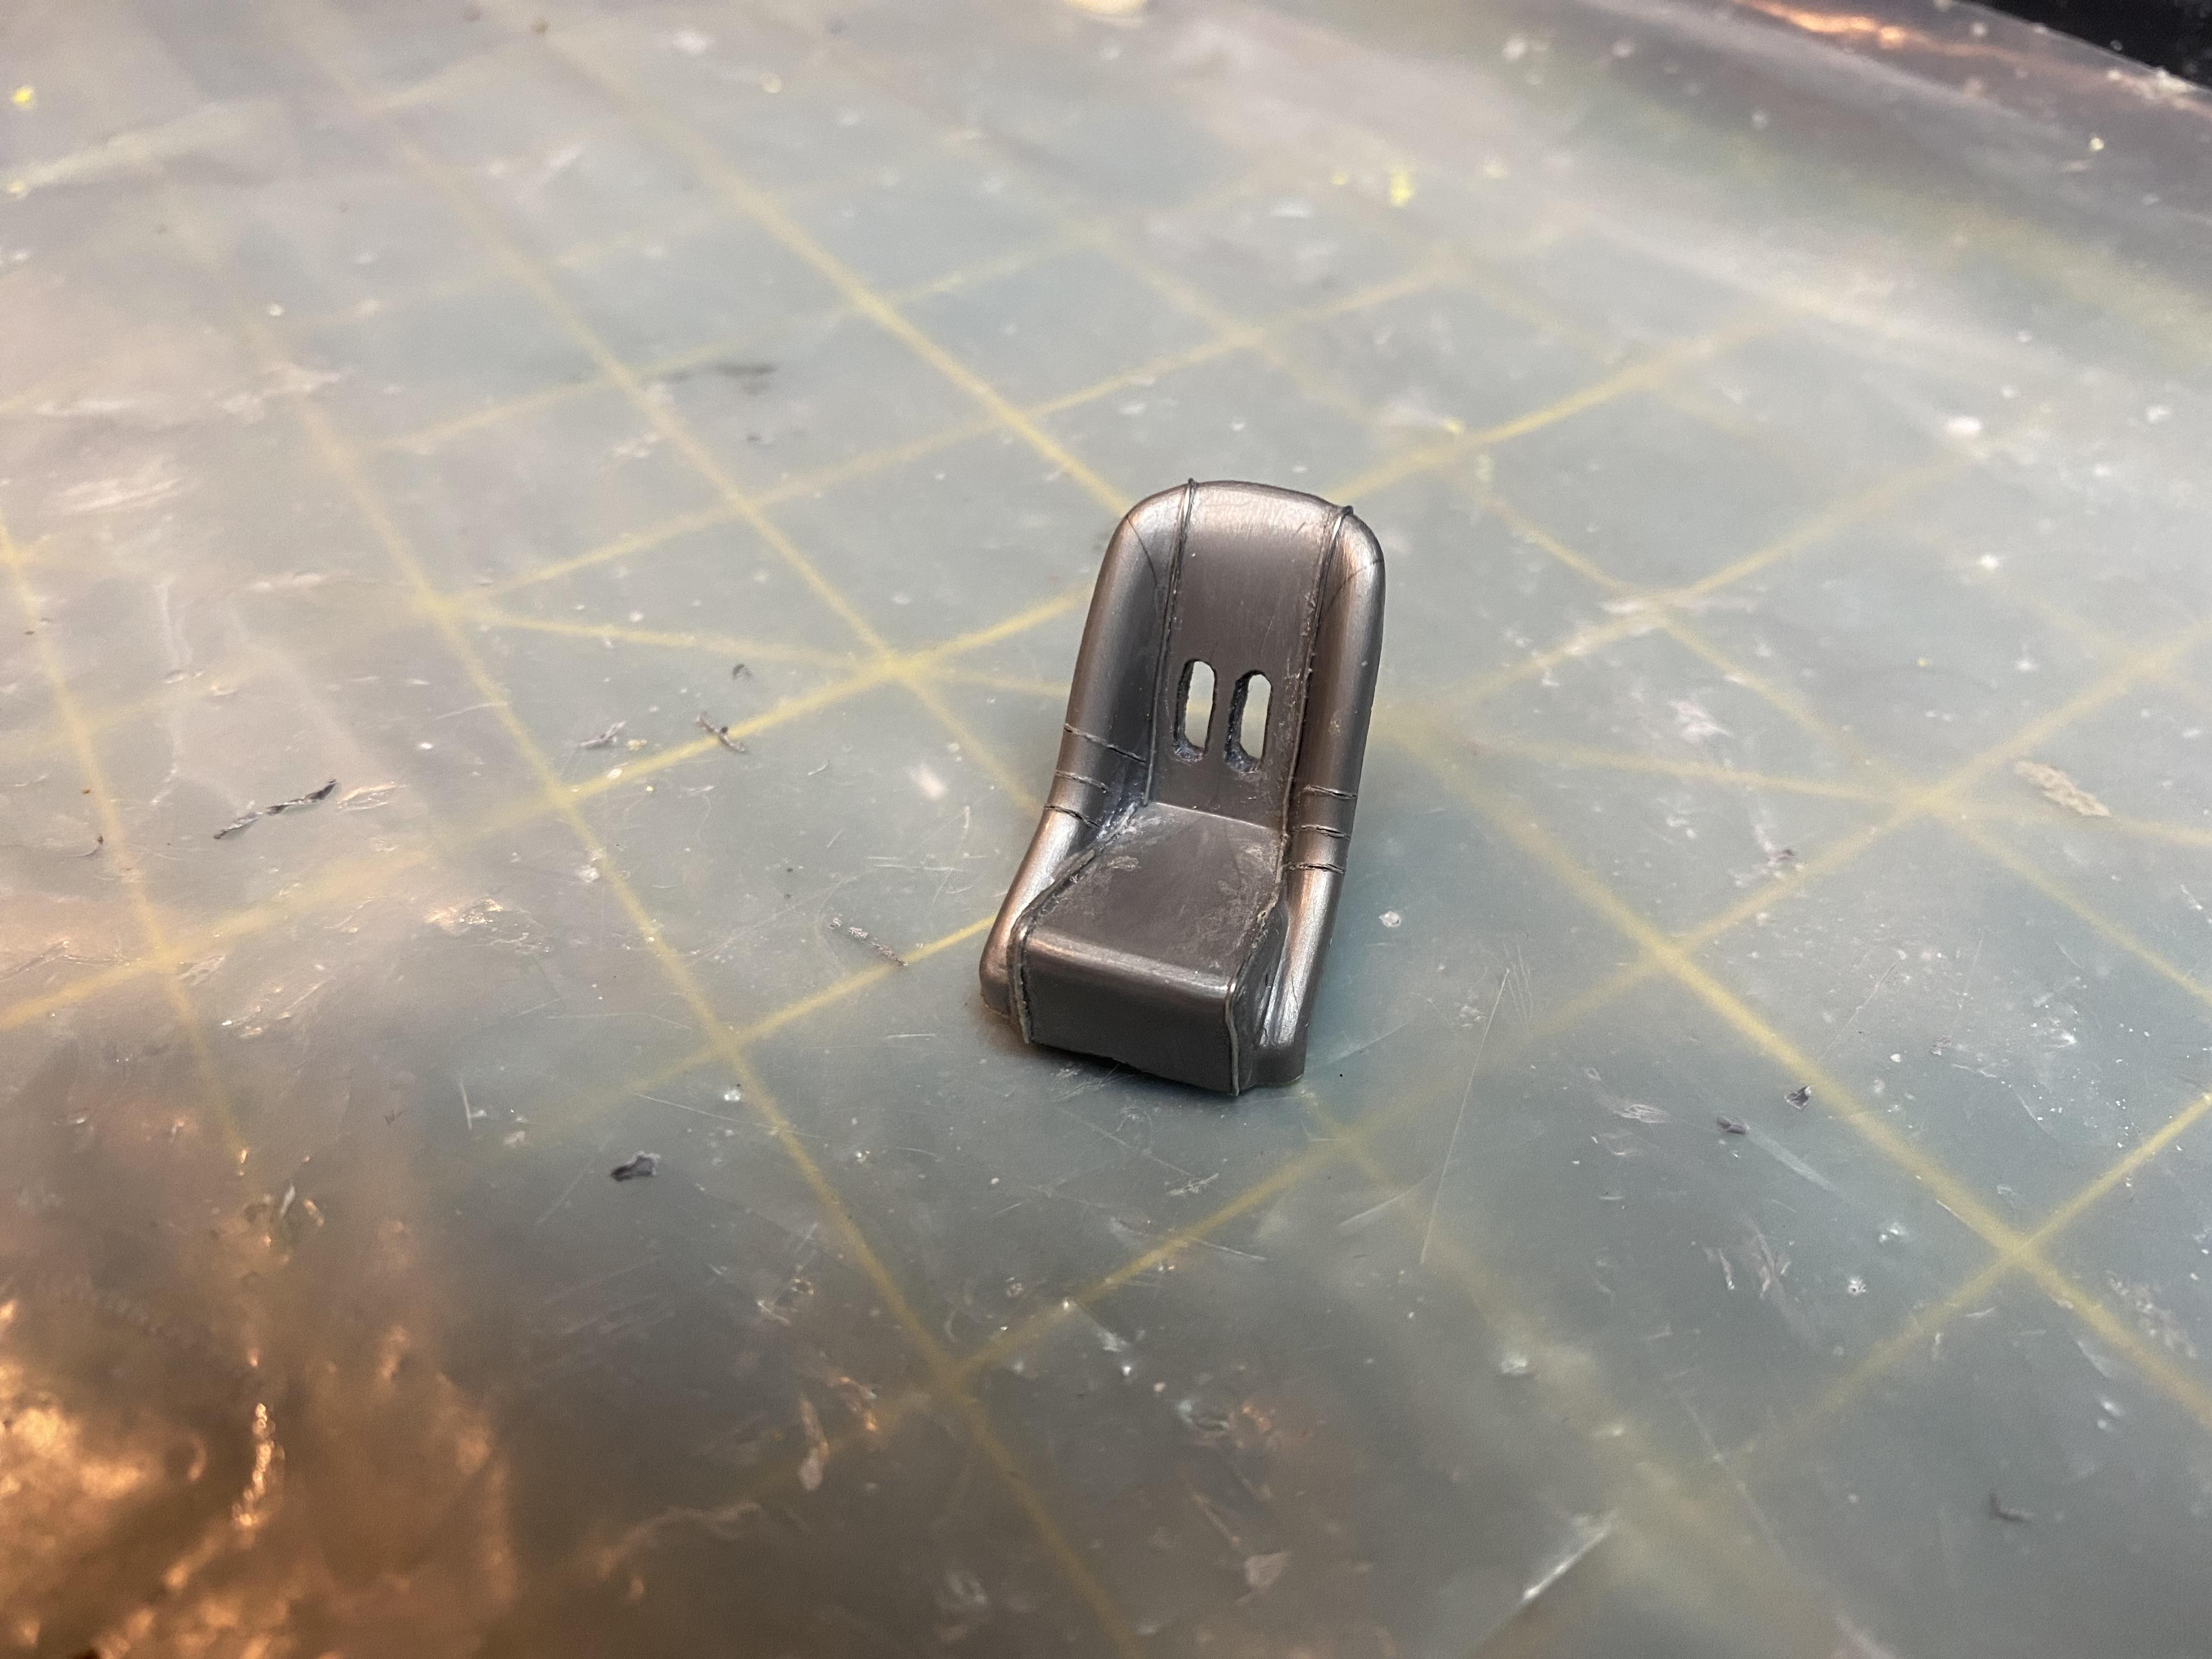
Created clear UV resin headlight covers and taillights and cast seats.
-
I got them from someone on Etsy. Their shop is currently closed till January 6th. After then just search for Porsche 356 wheels for the 3d printed wheels.
-
Thank You!
-
Thank you!
-
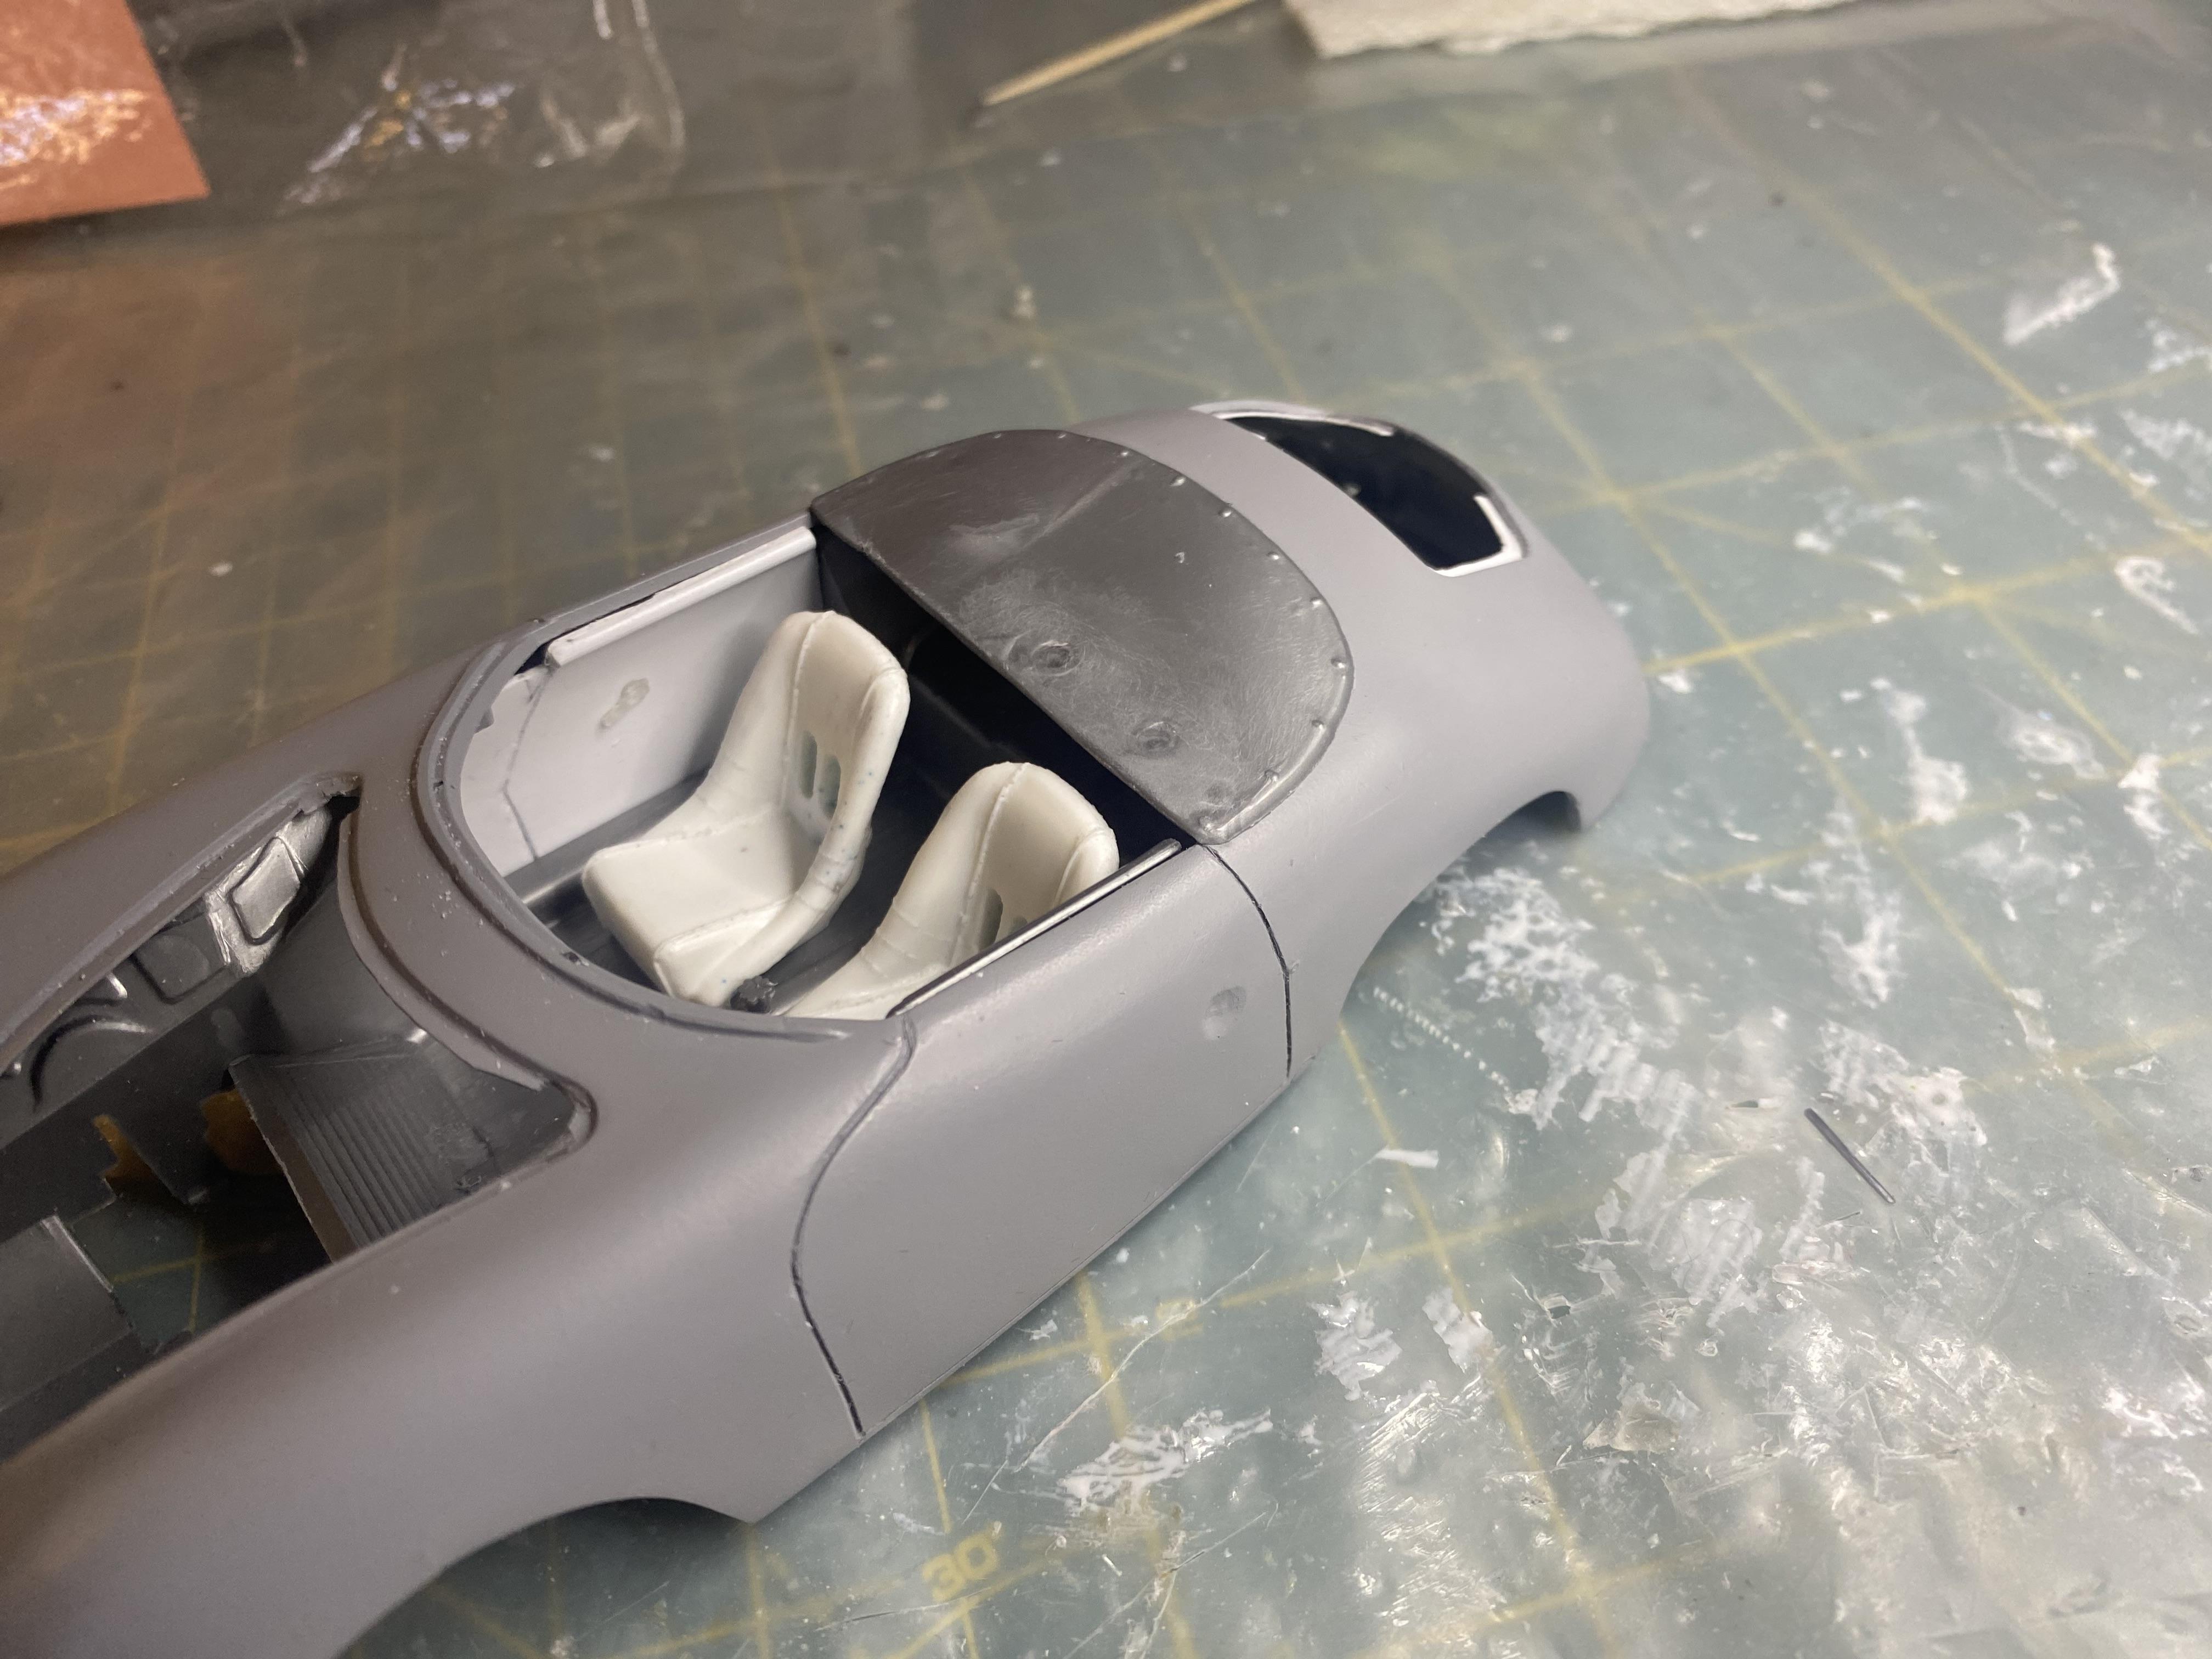
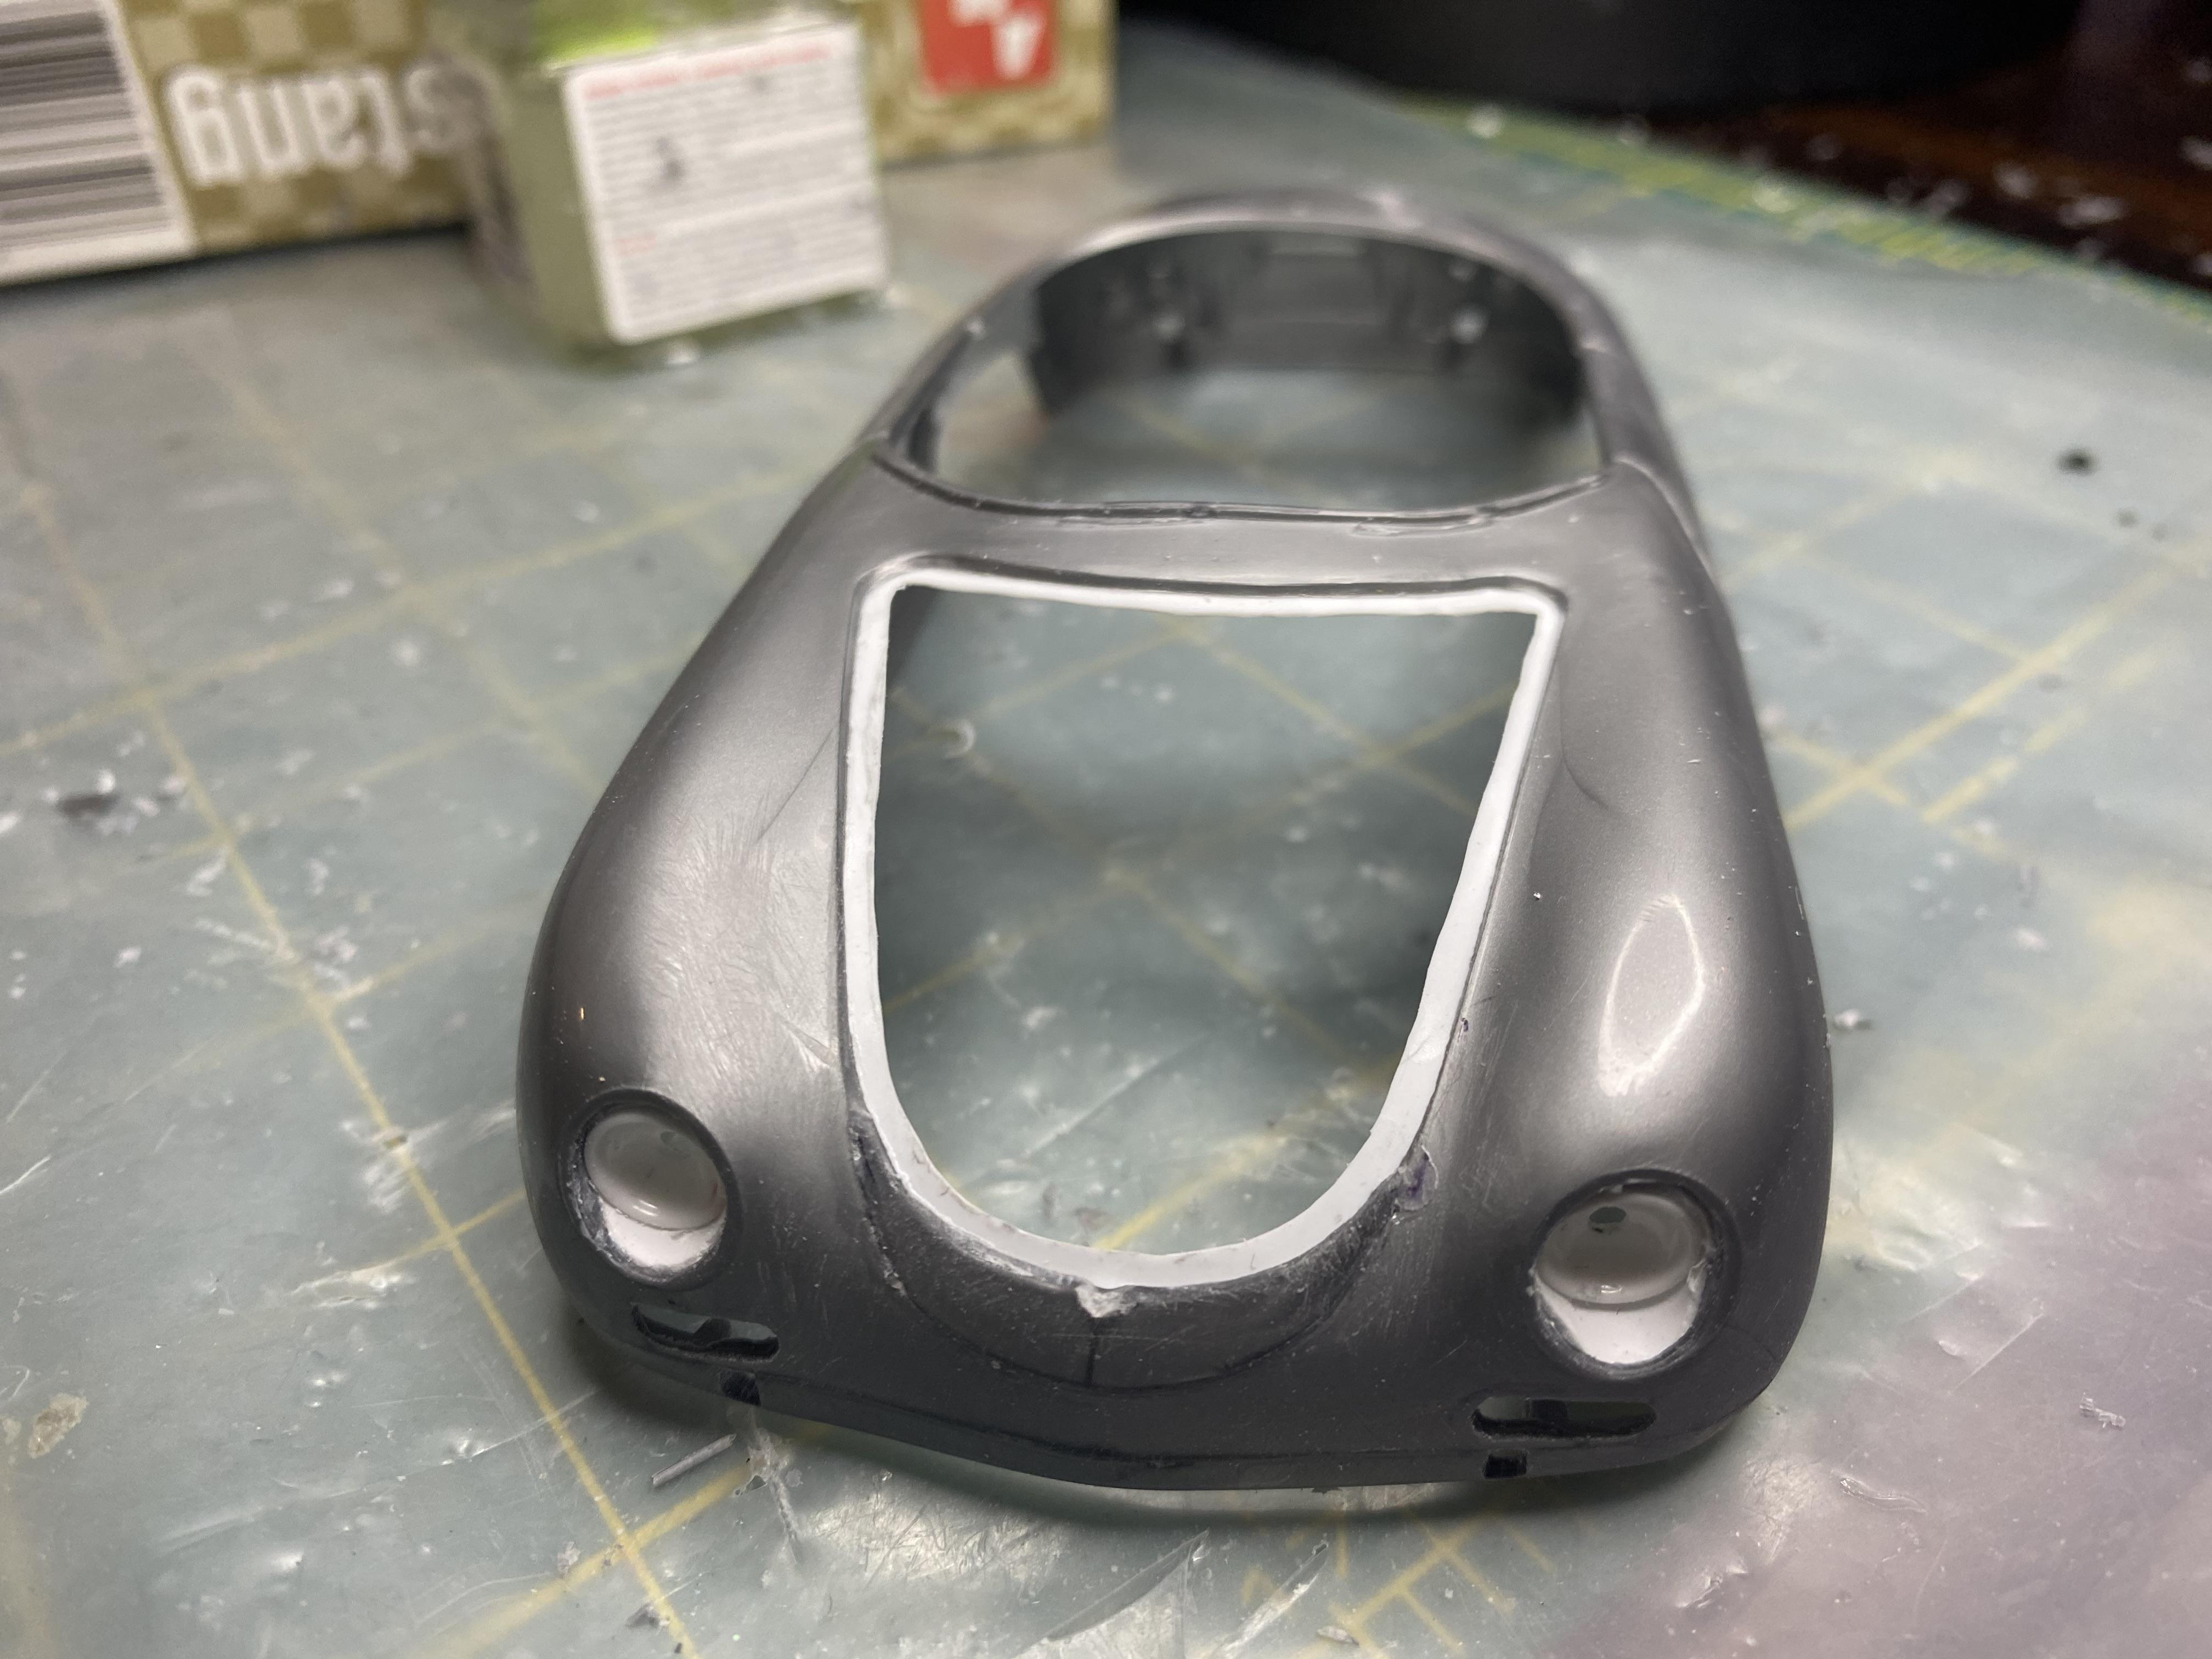
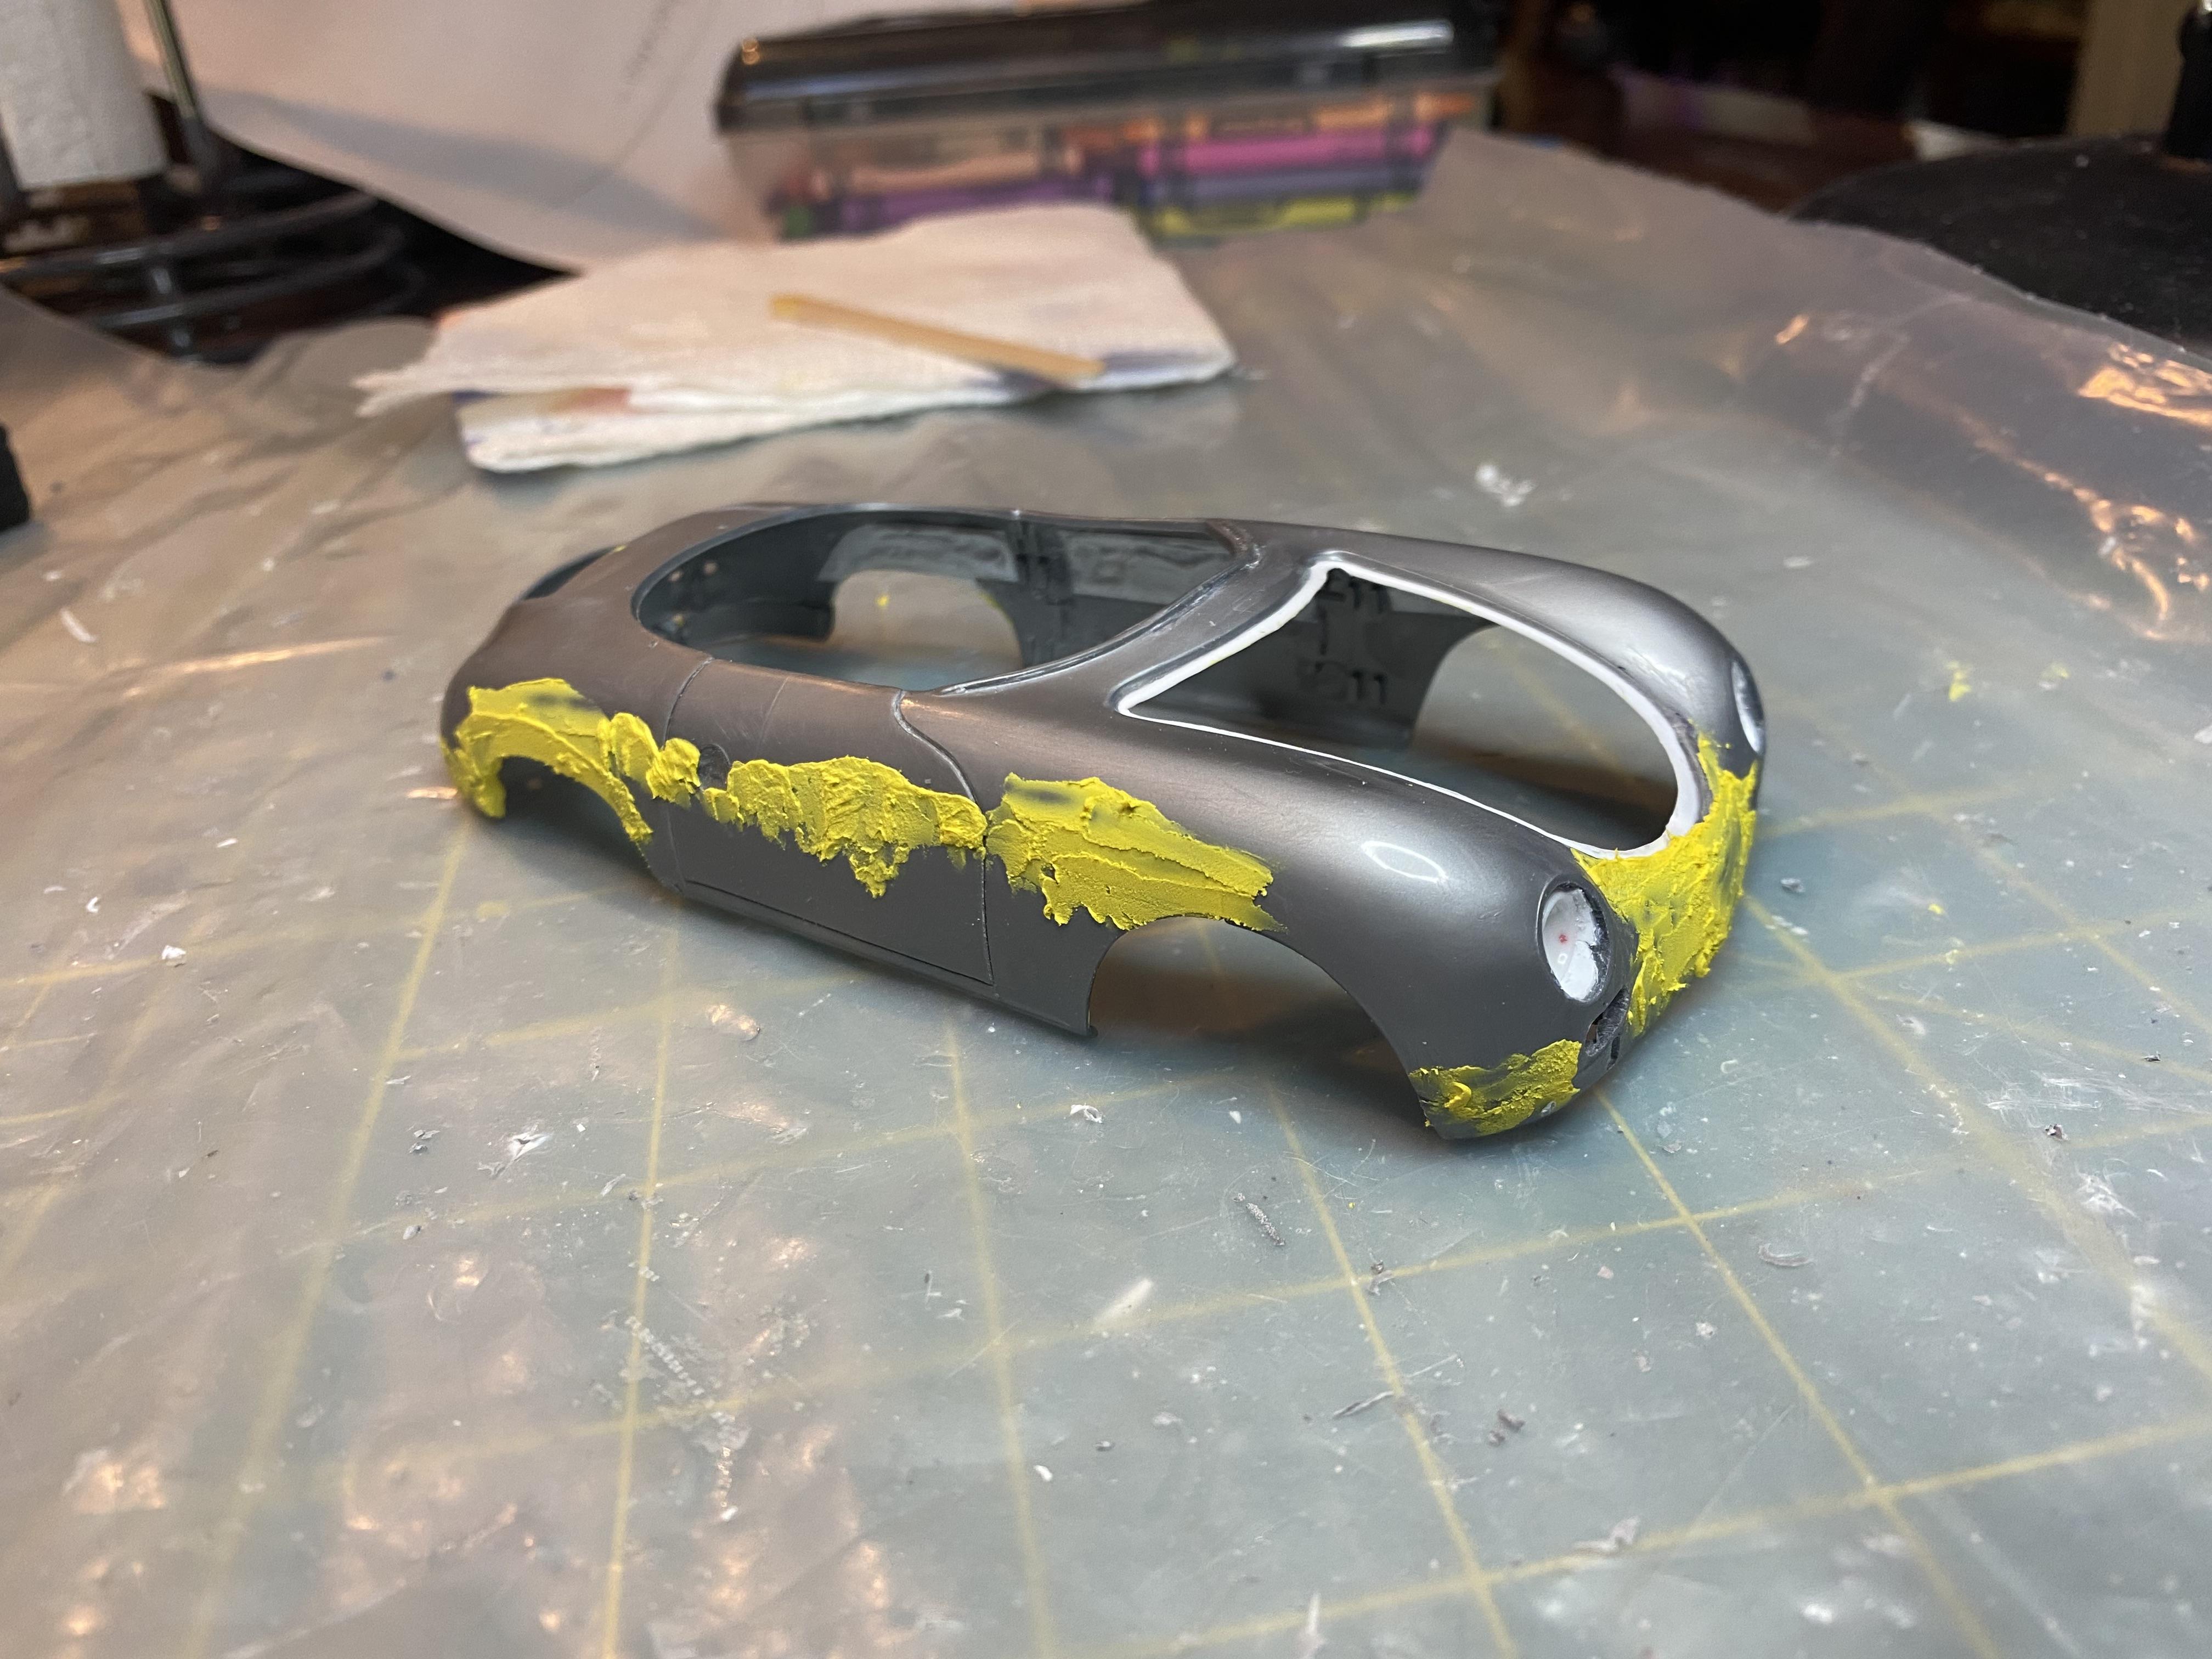
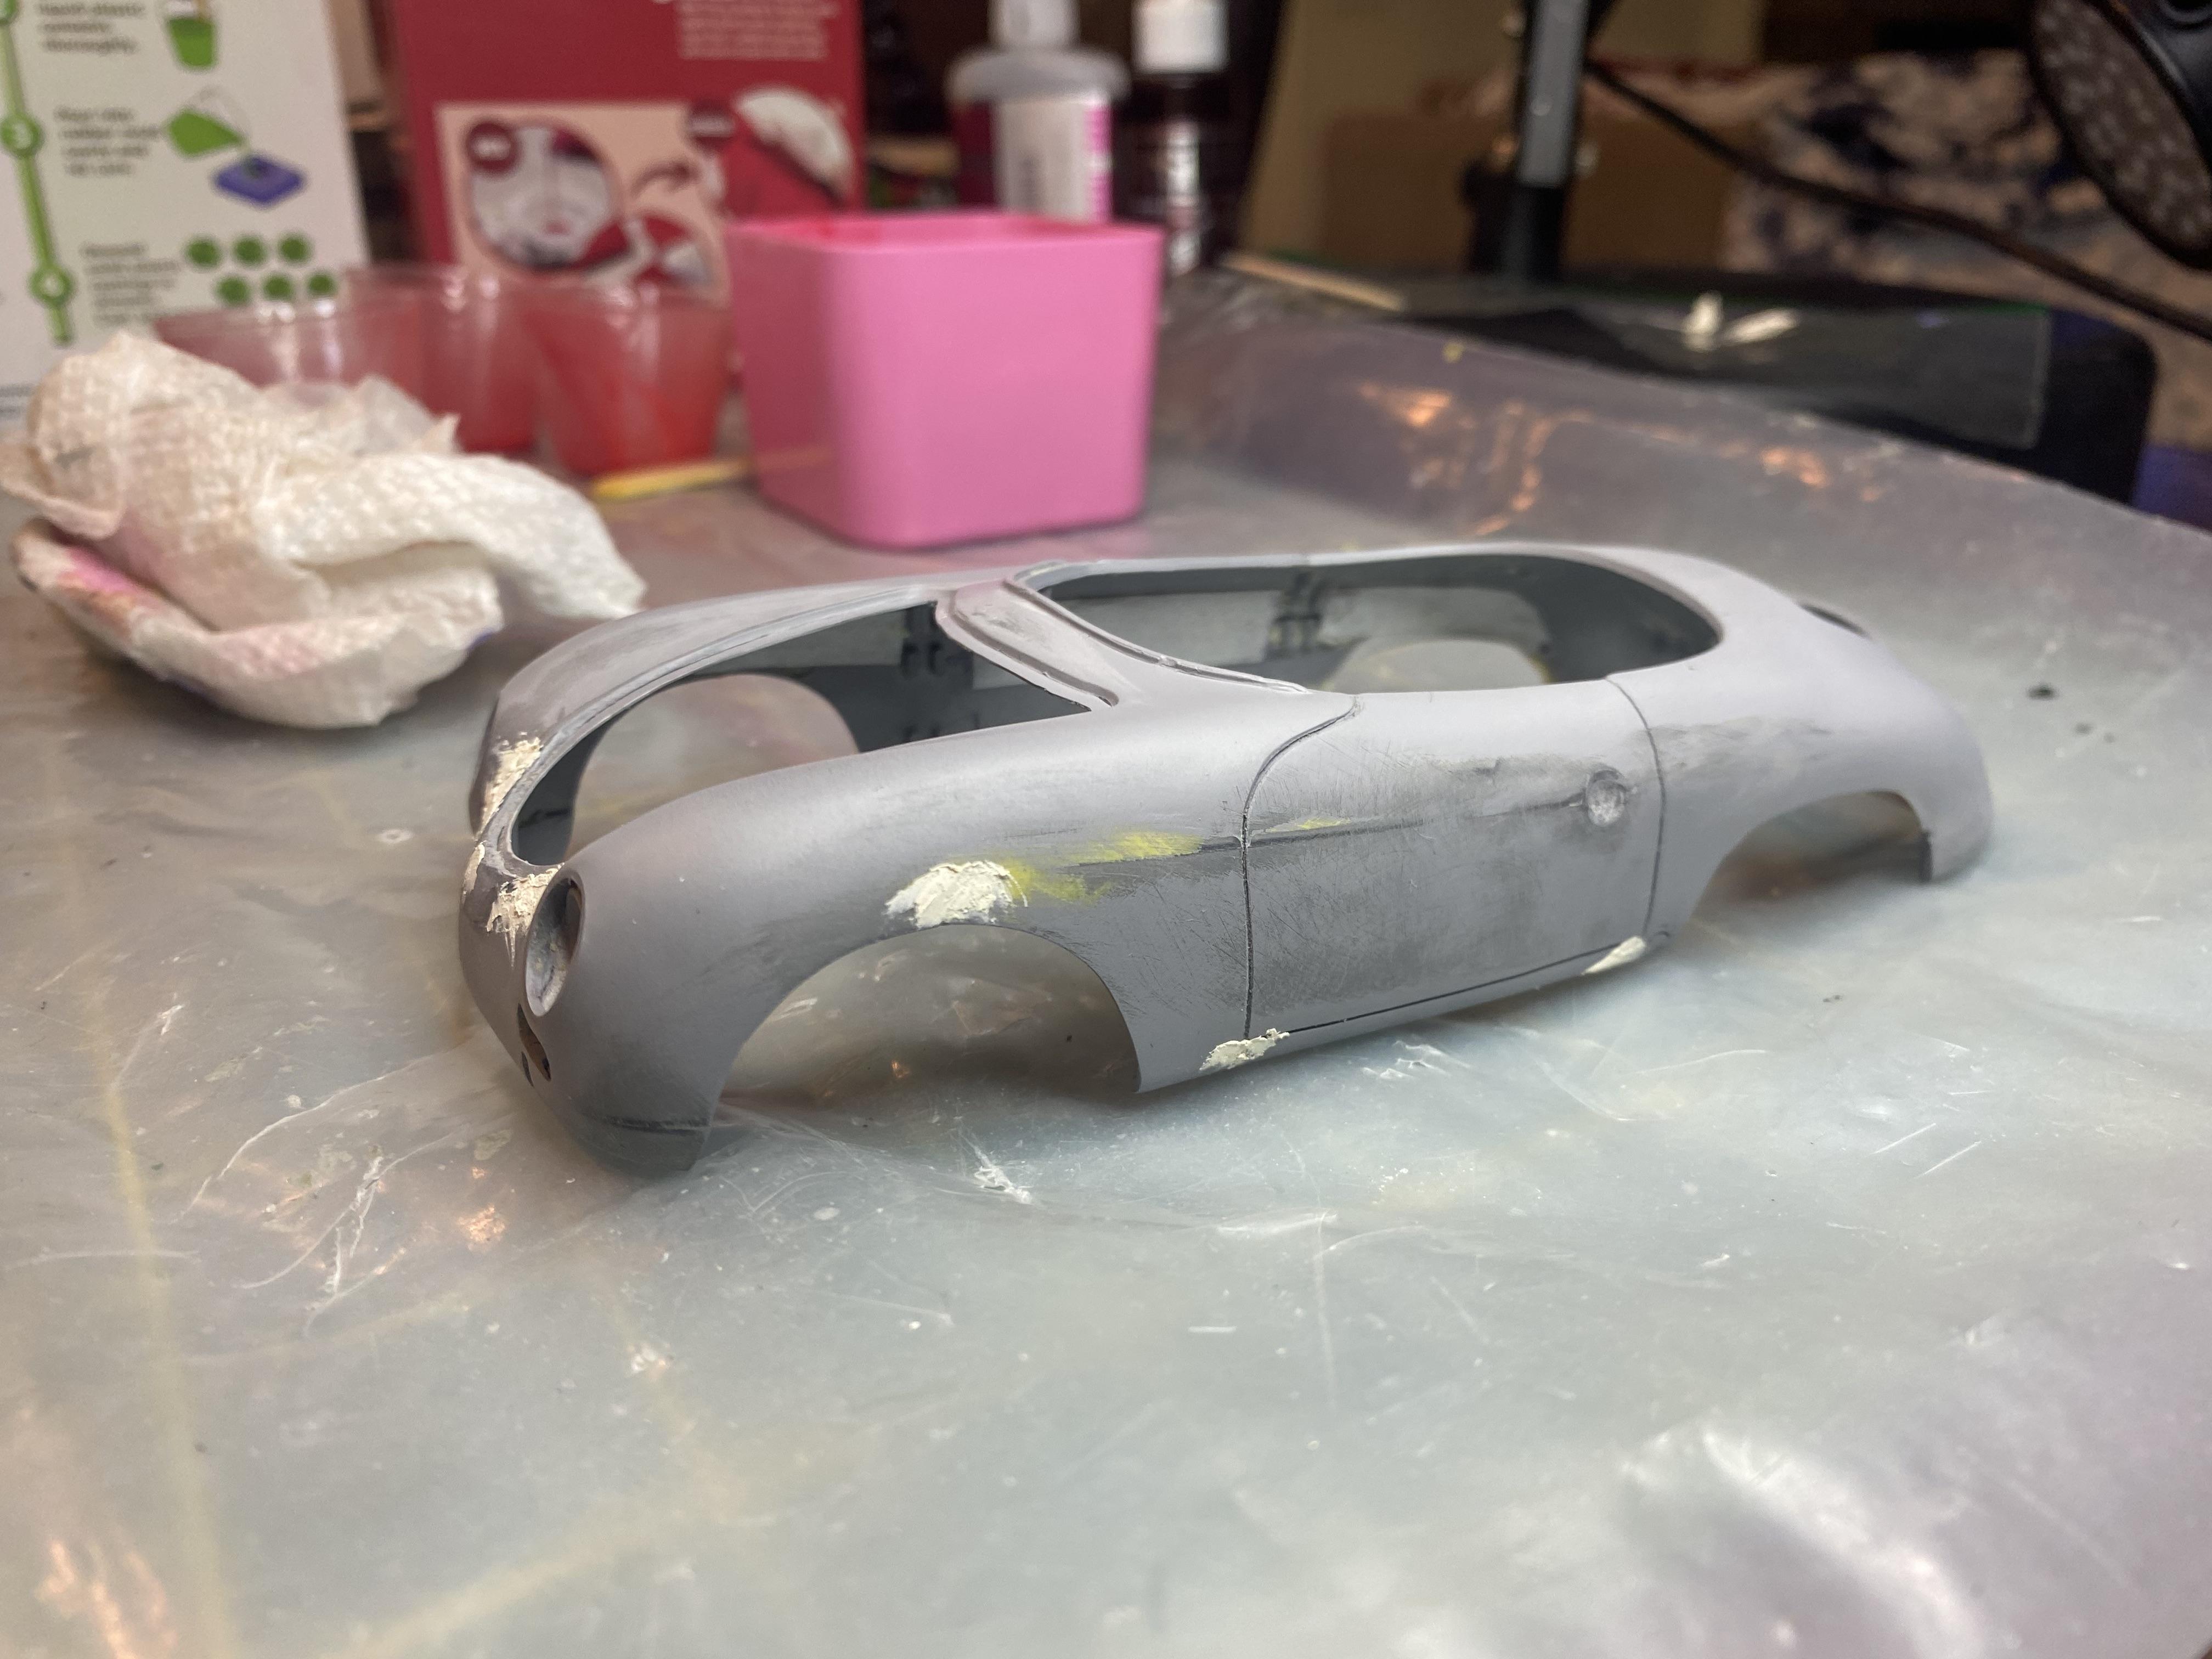
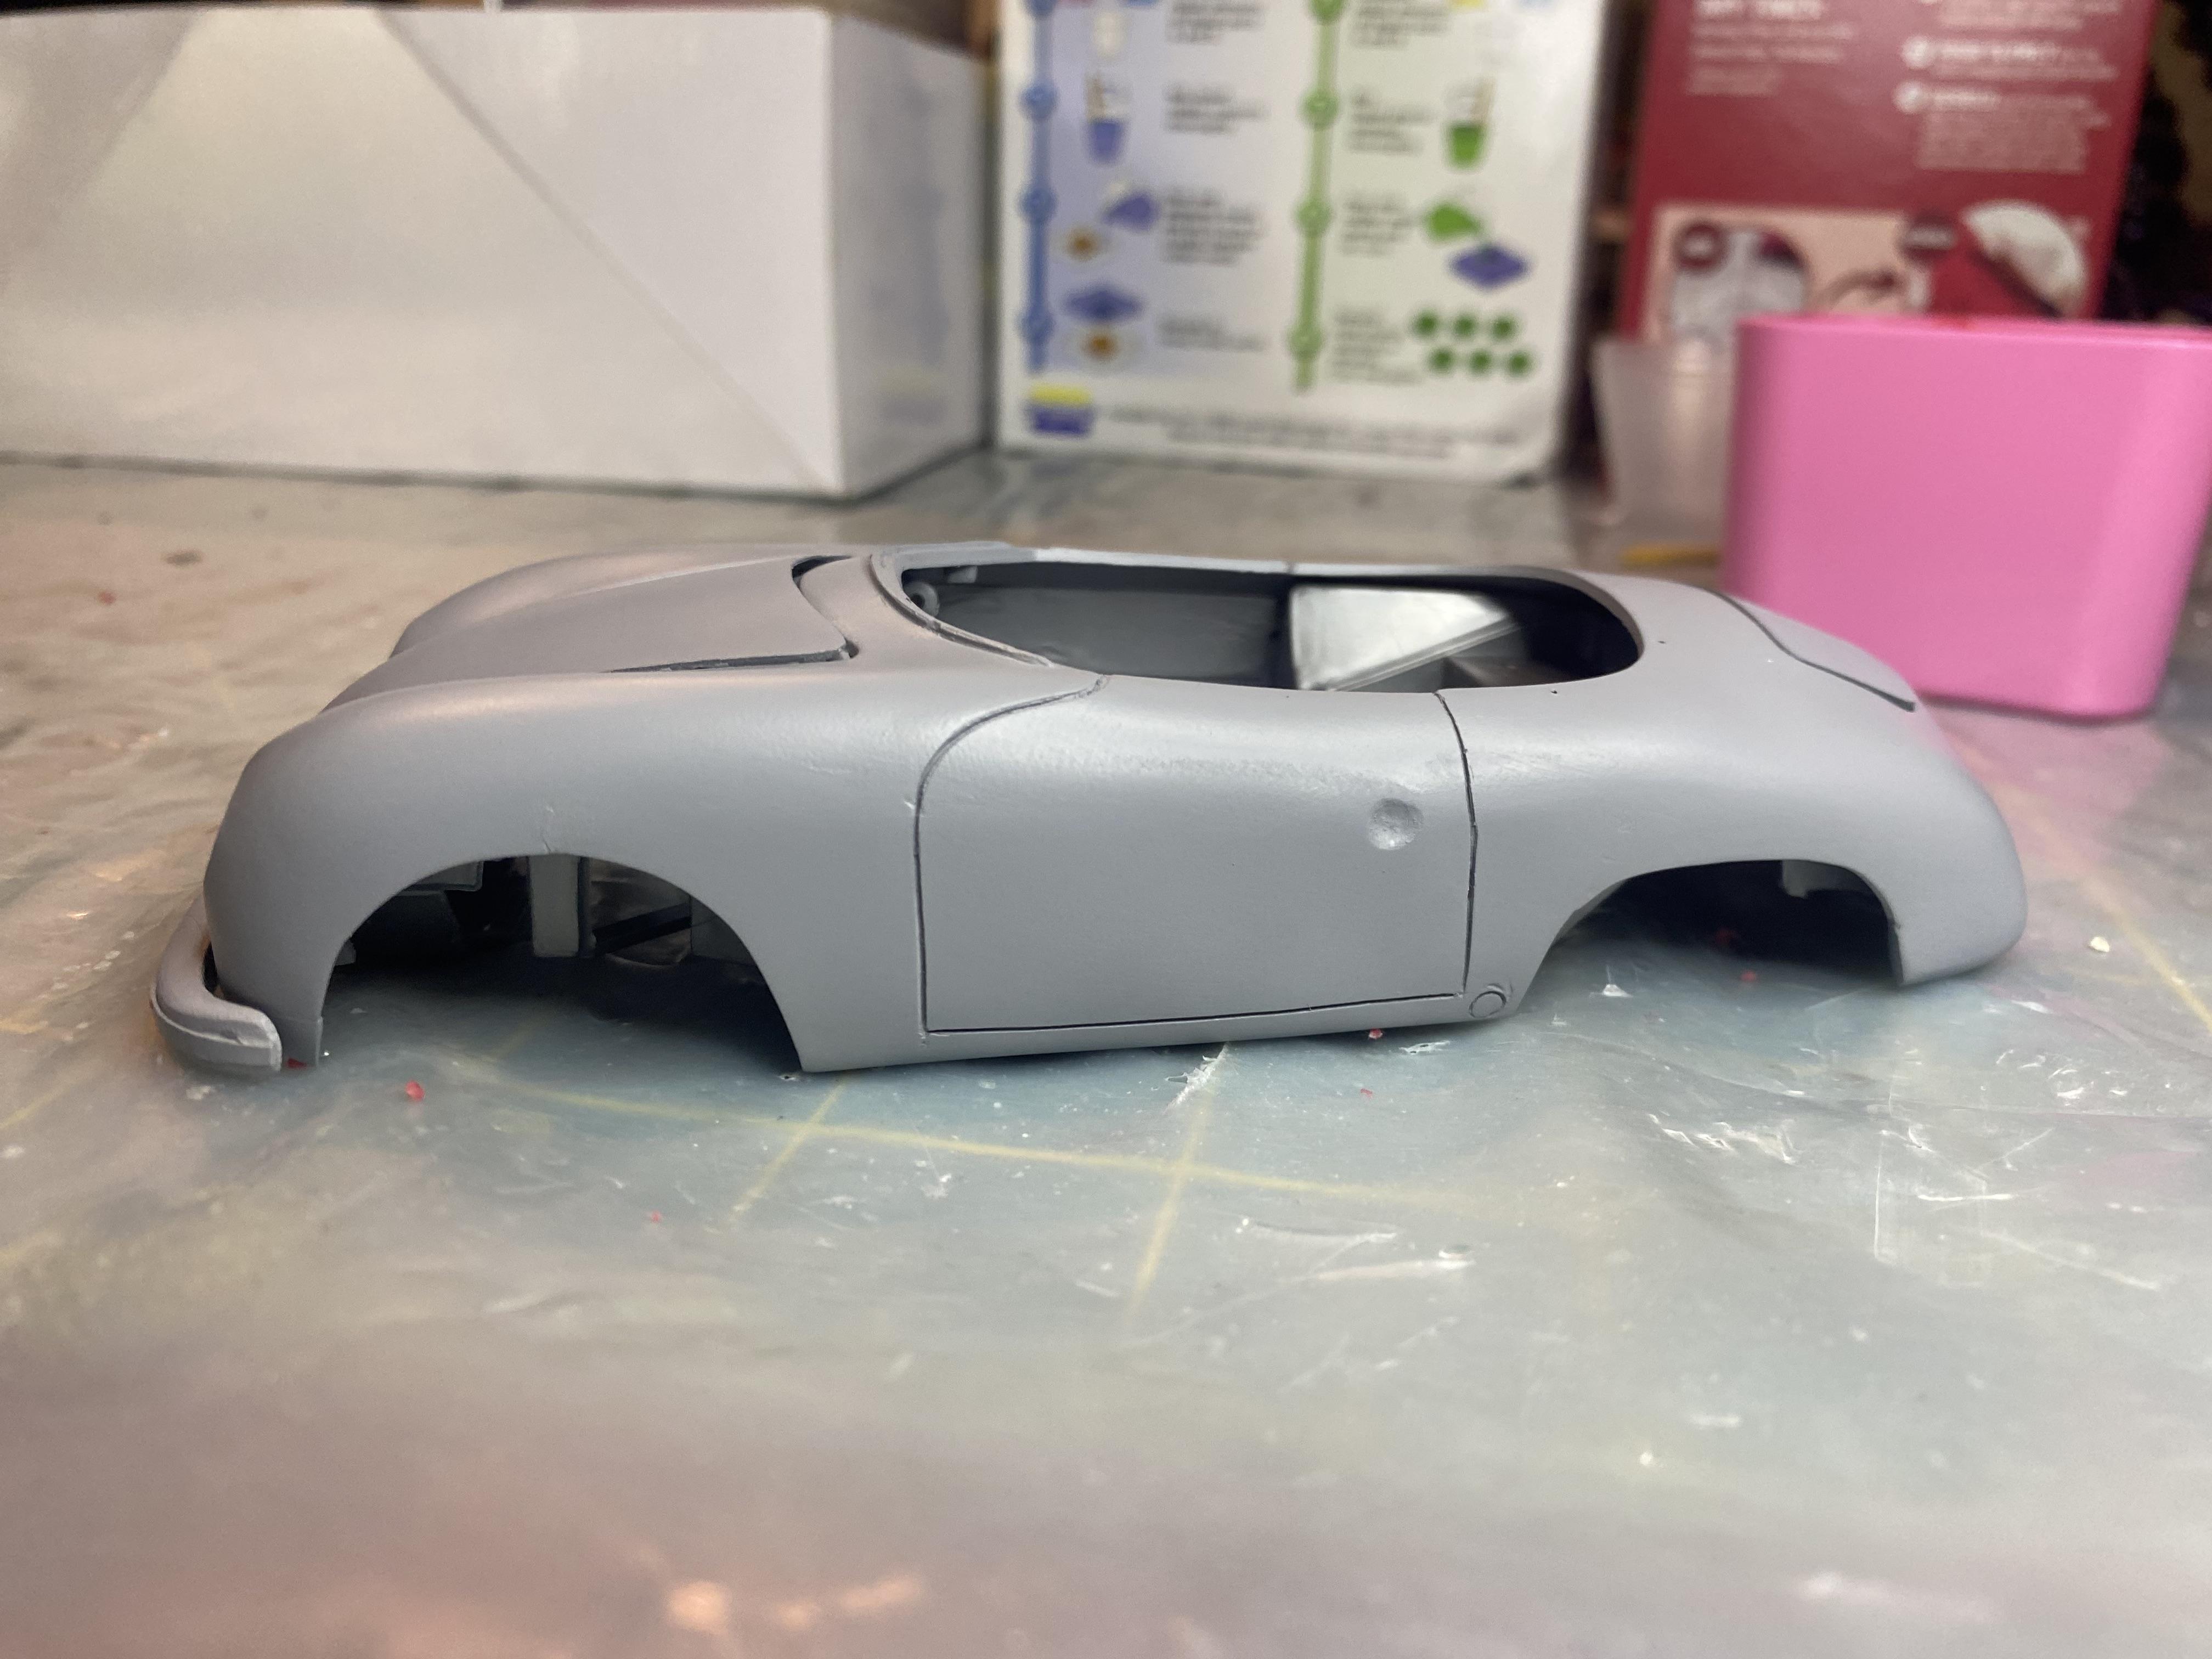
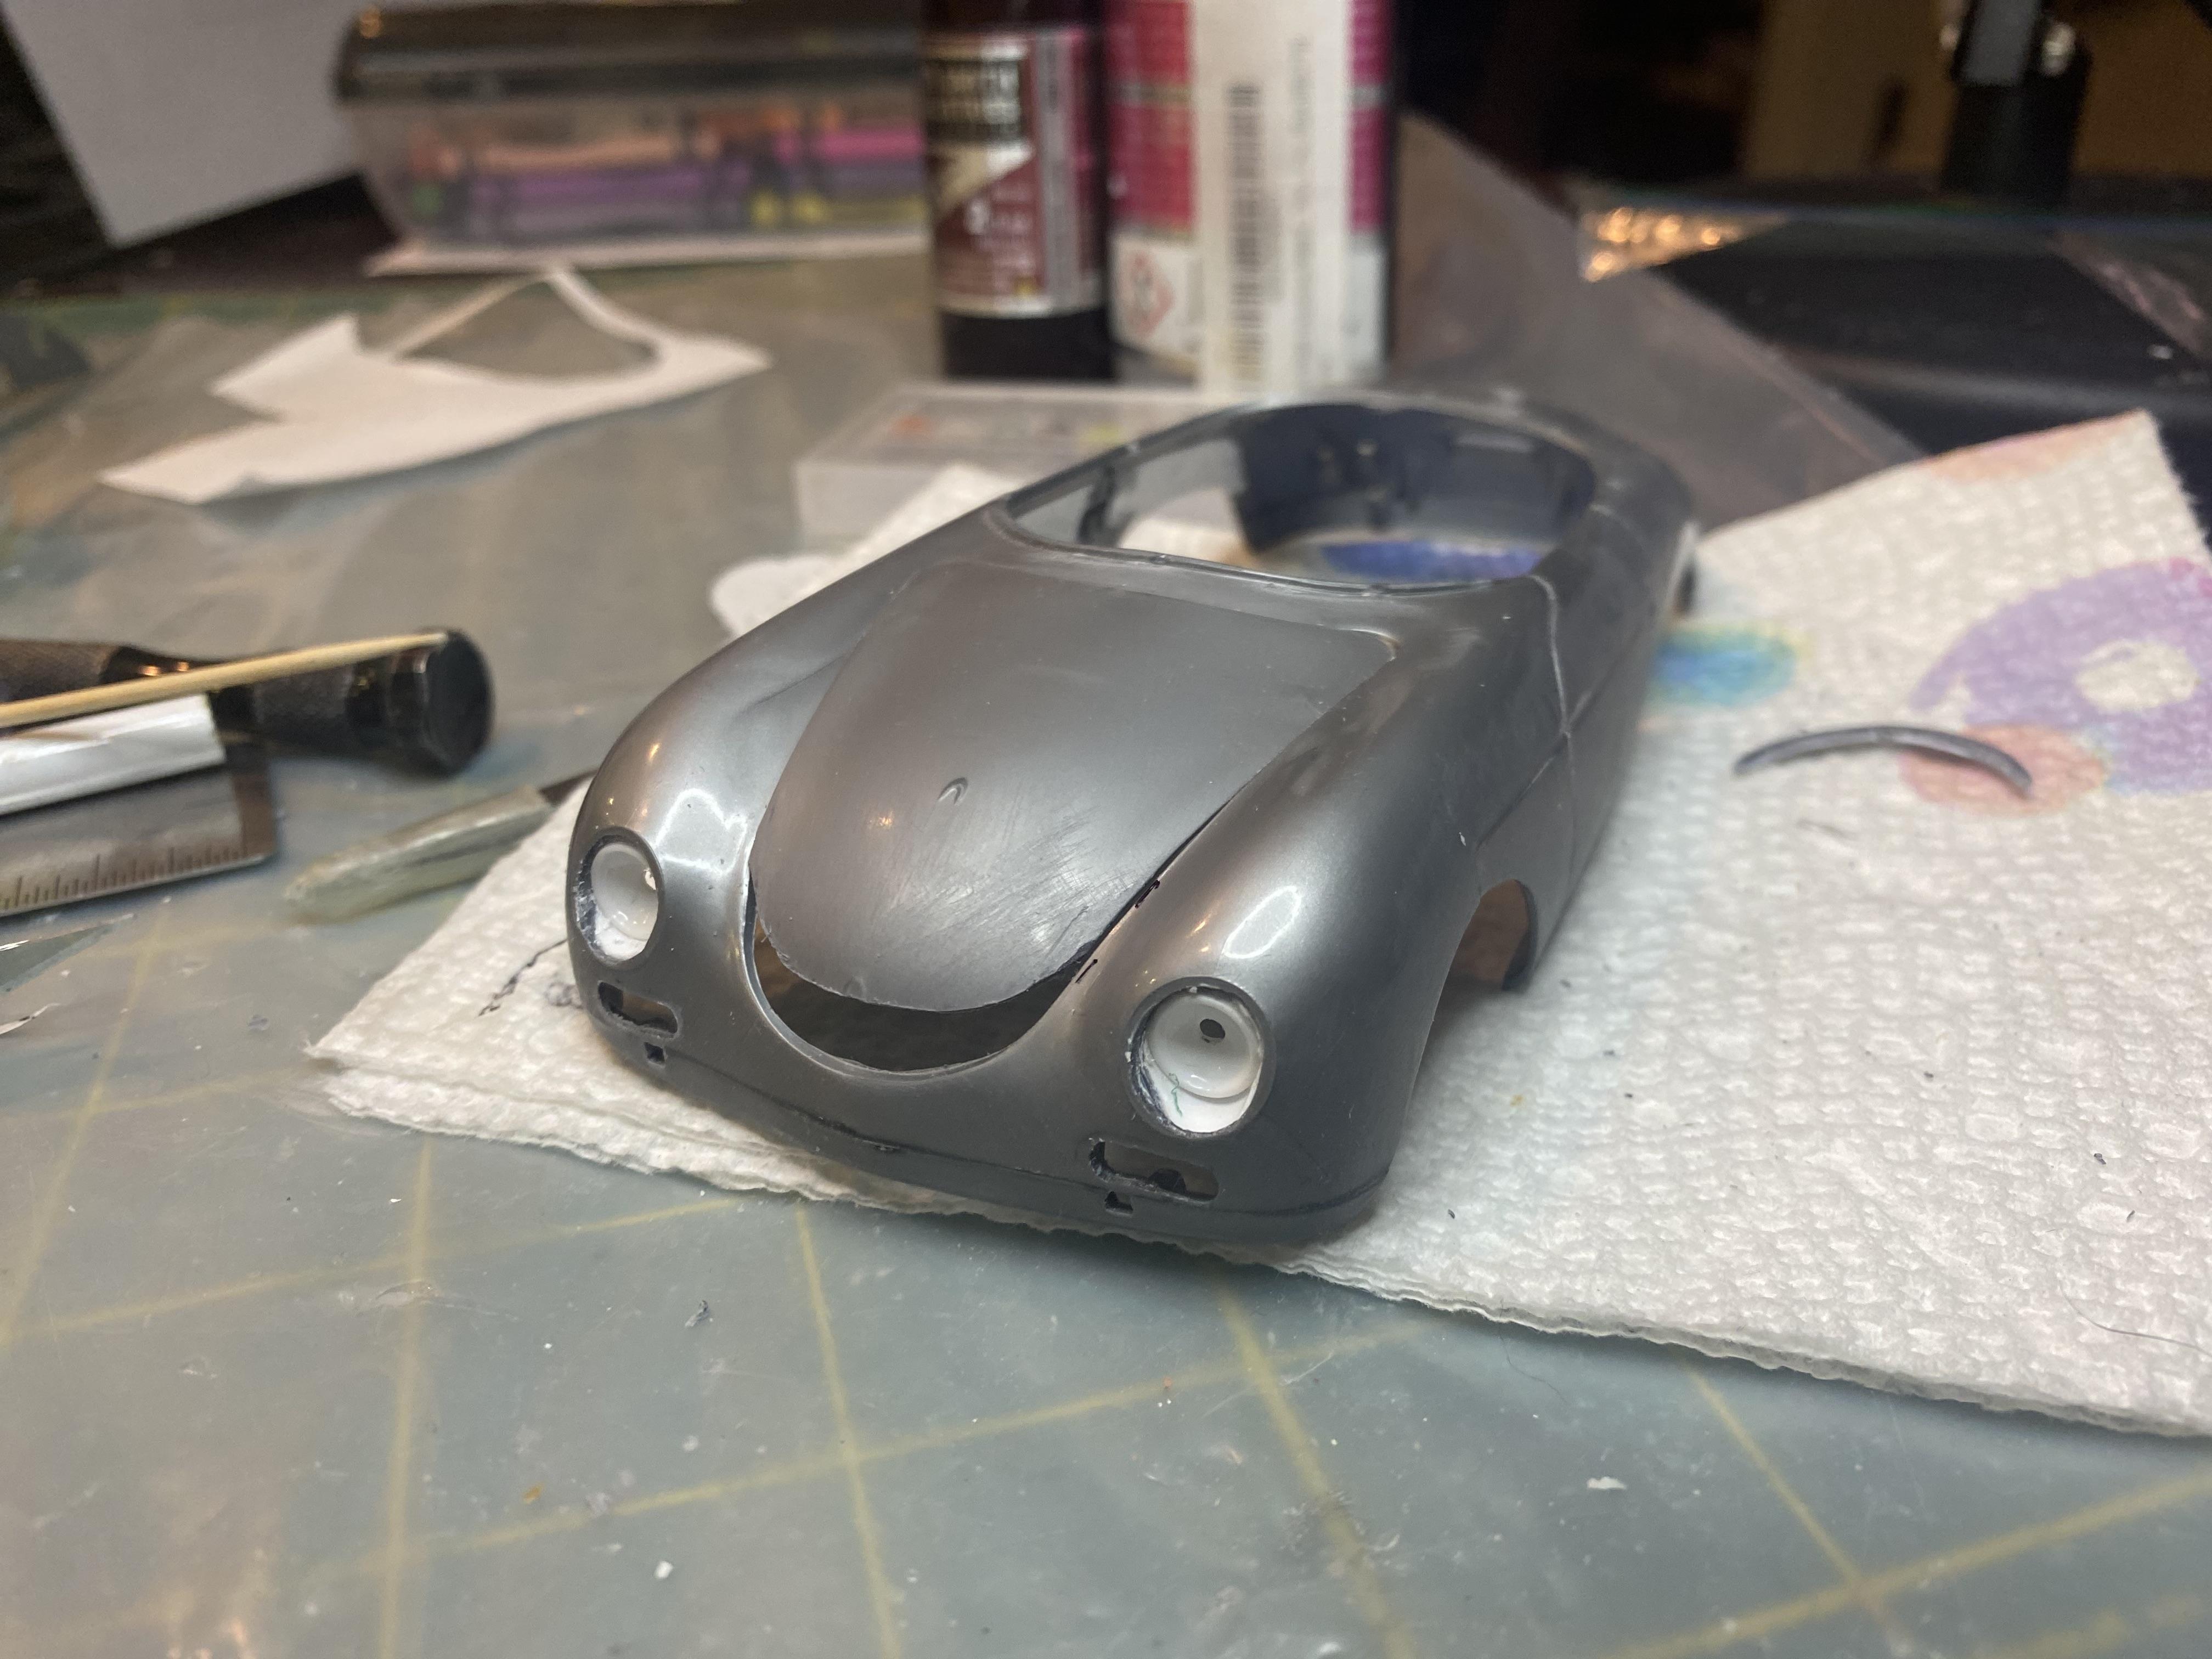
Body modifications pretty much complete and body in primer. Added front hood edge, cut rear hood vent openings, polyester putty, sanding and priming. The interior is no better than the body. It only comes with one seat that has no detail and only the drivers door panel. Cut the two openings and added wire for the piping and started making a mold of the seat.
-
Thank You! Thank You! Thank You!
-
Thank You!
-
The air cleaner is scratch built for the most part. I cast a boss 302 lid from another kit which is the same as a 67 390 lid. Then made the base from styrene sheet, cut the openings and added photo-etch mesh.
-
PM sent. He closed his shop for the holidays.
-
I got them off Etsy. Just search for Porsche 356 wheels.
-
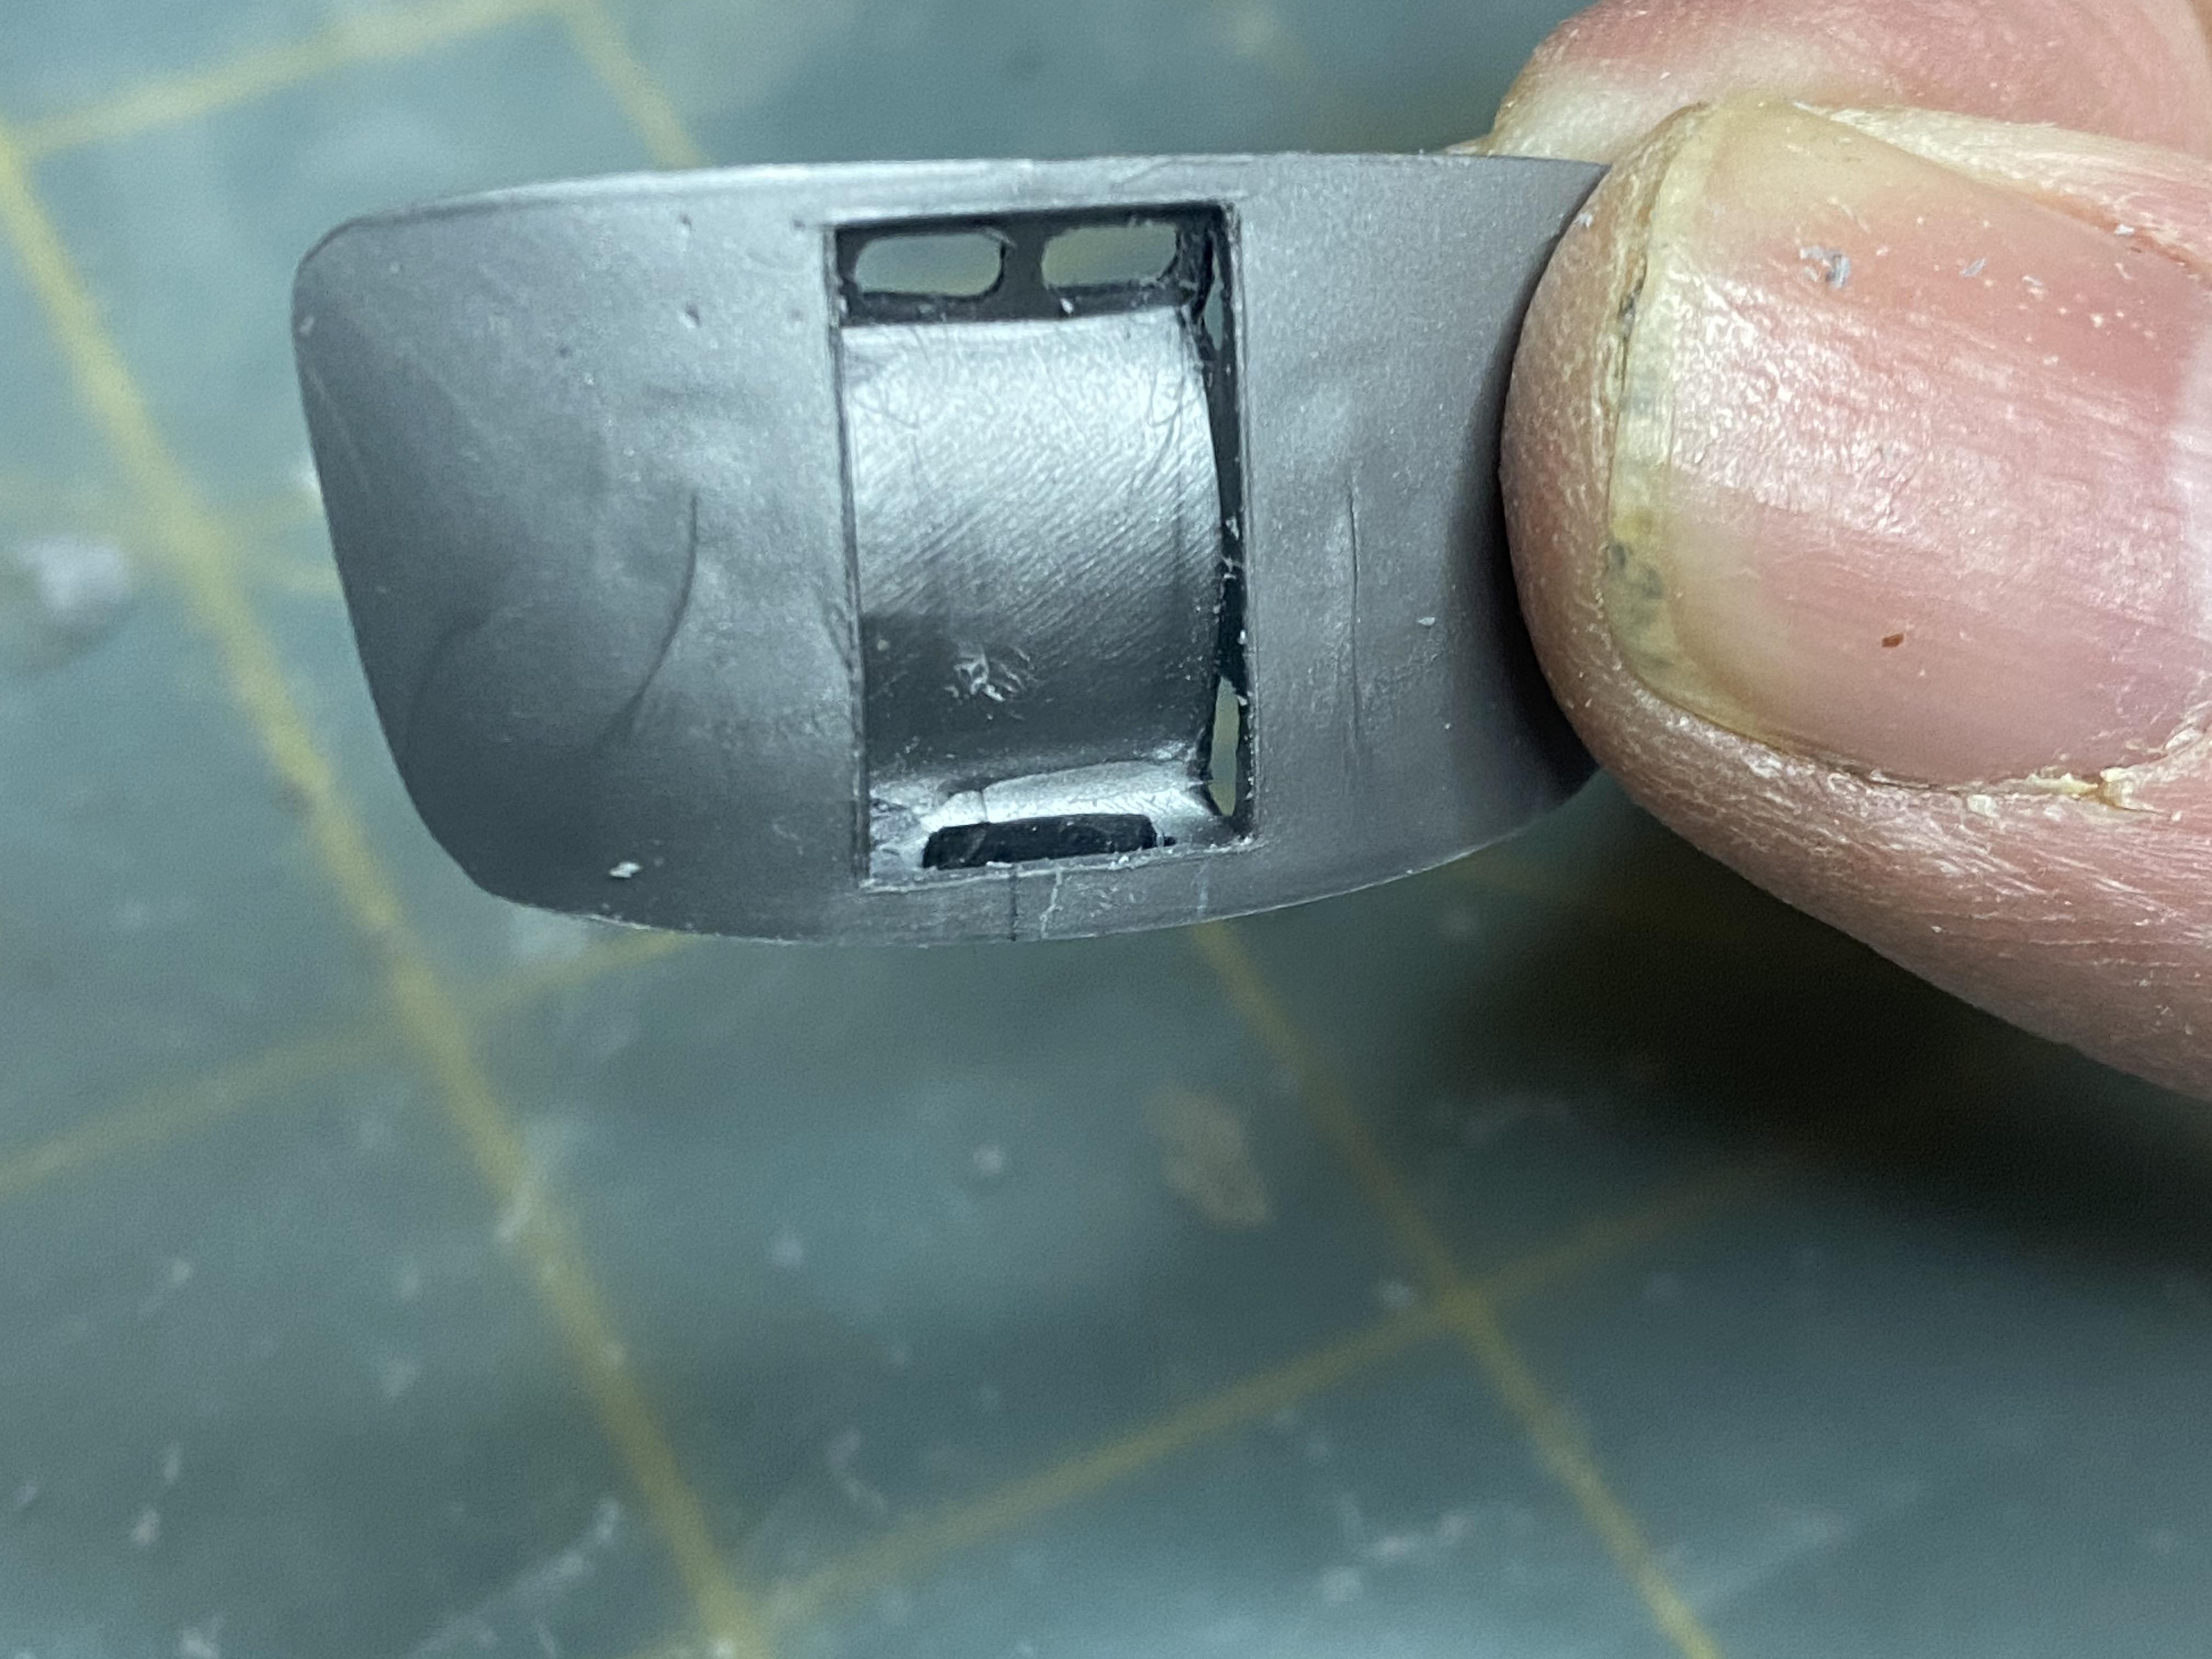
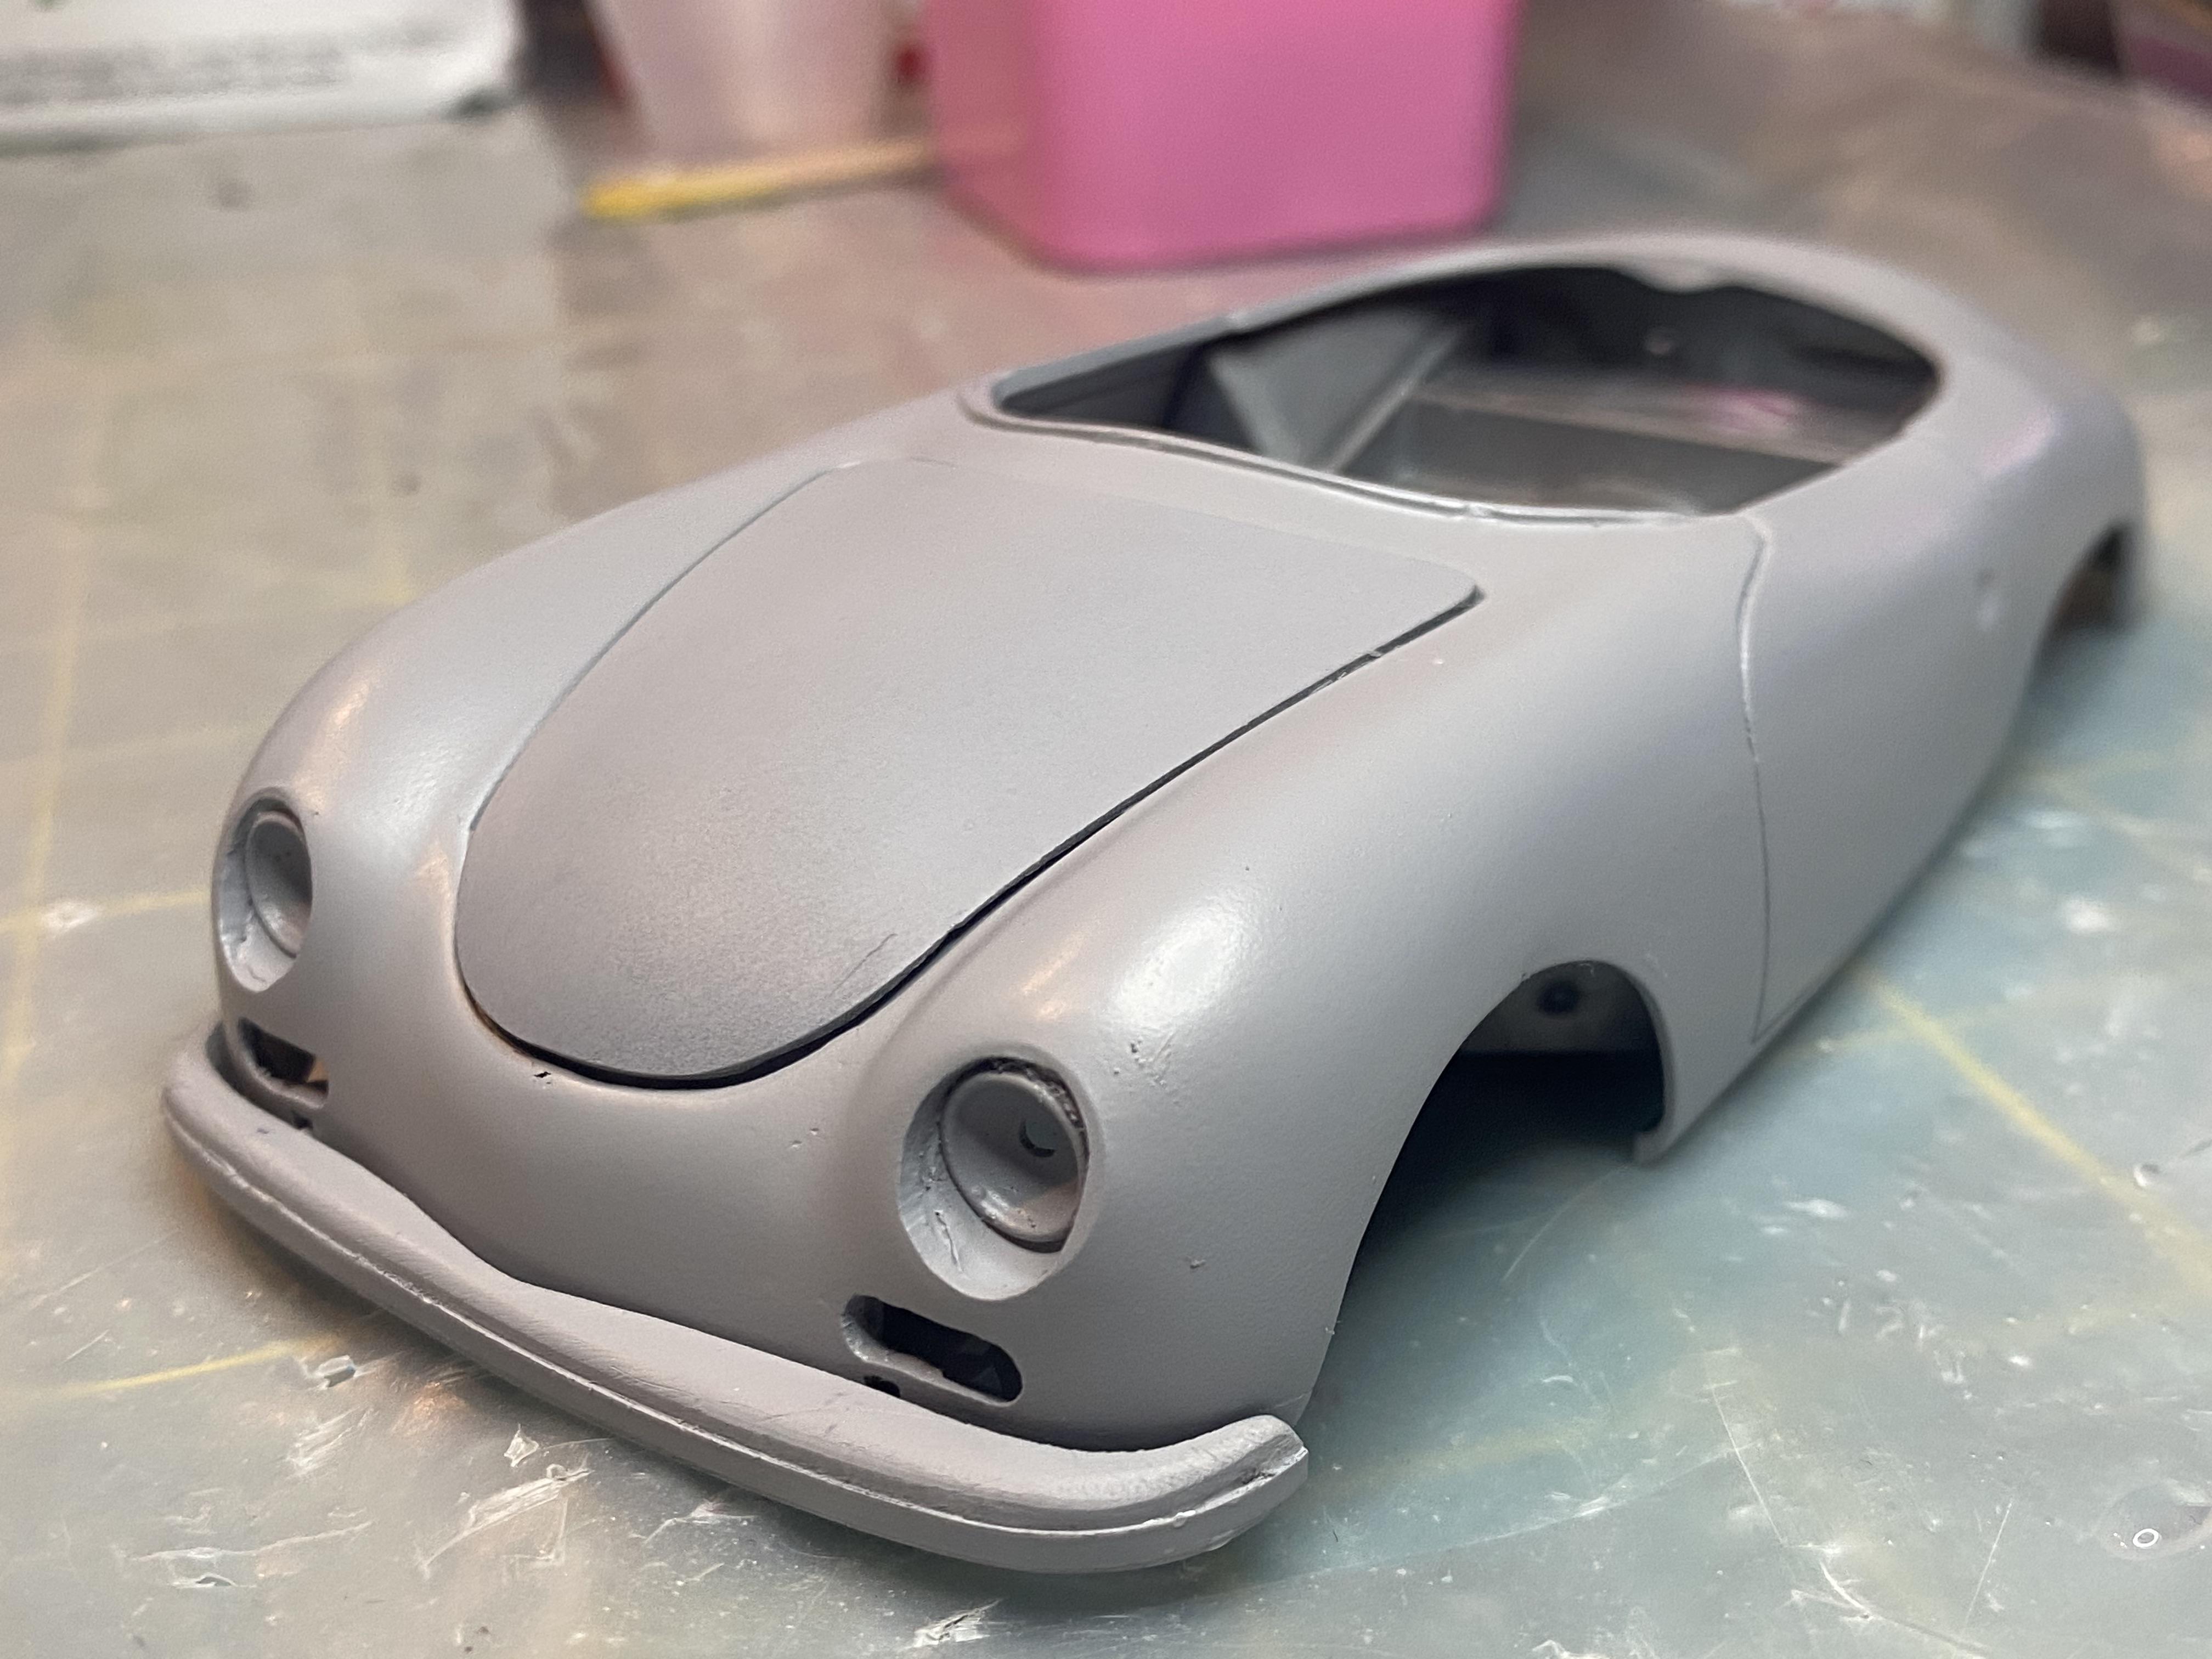
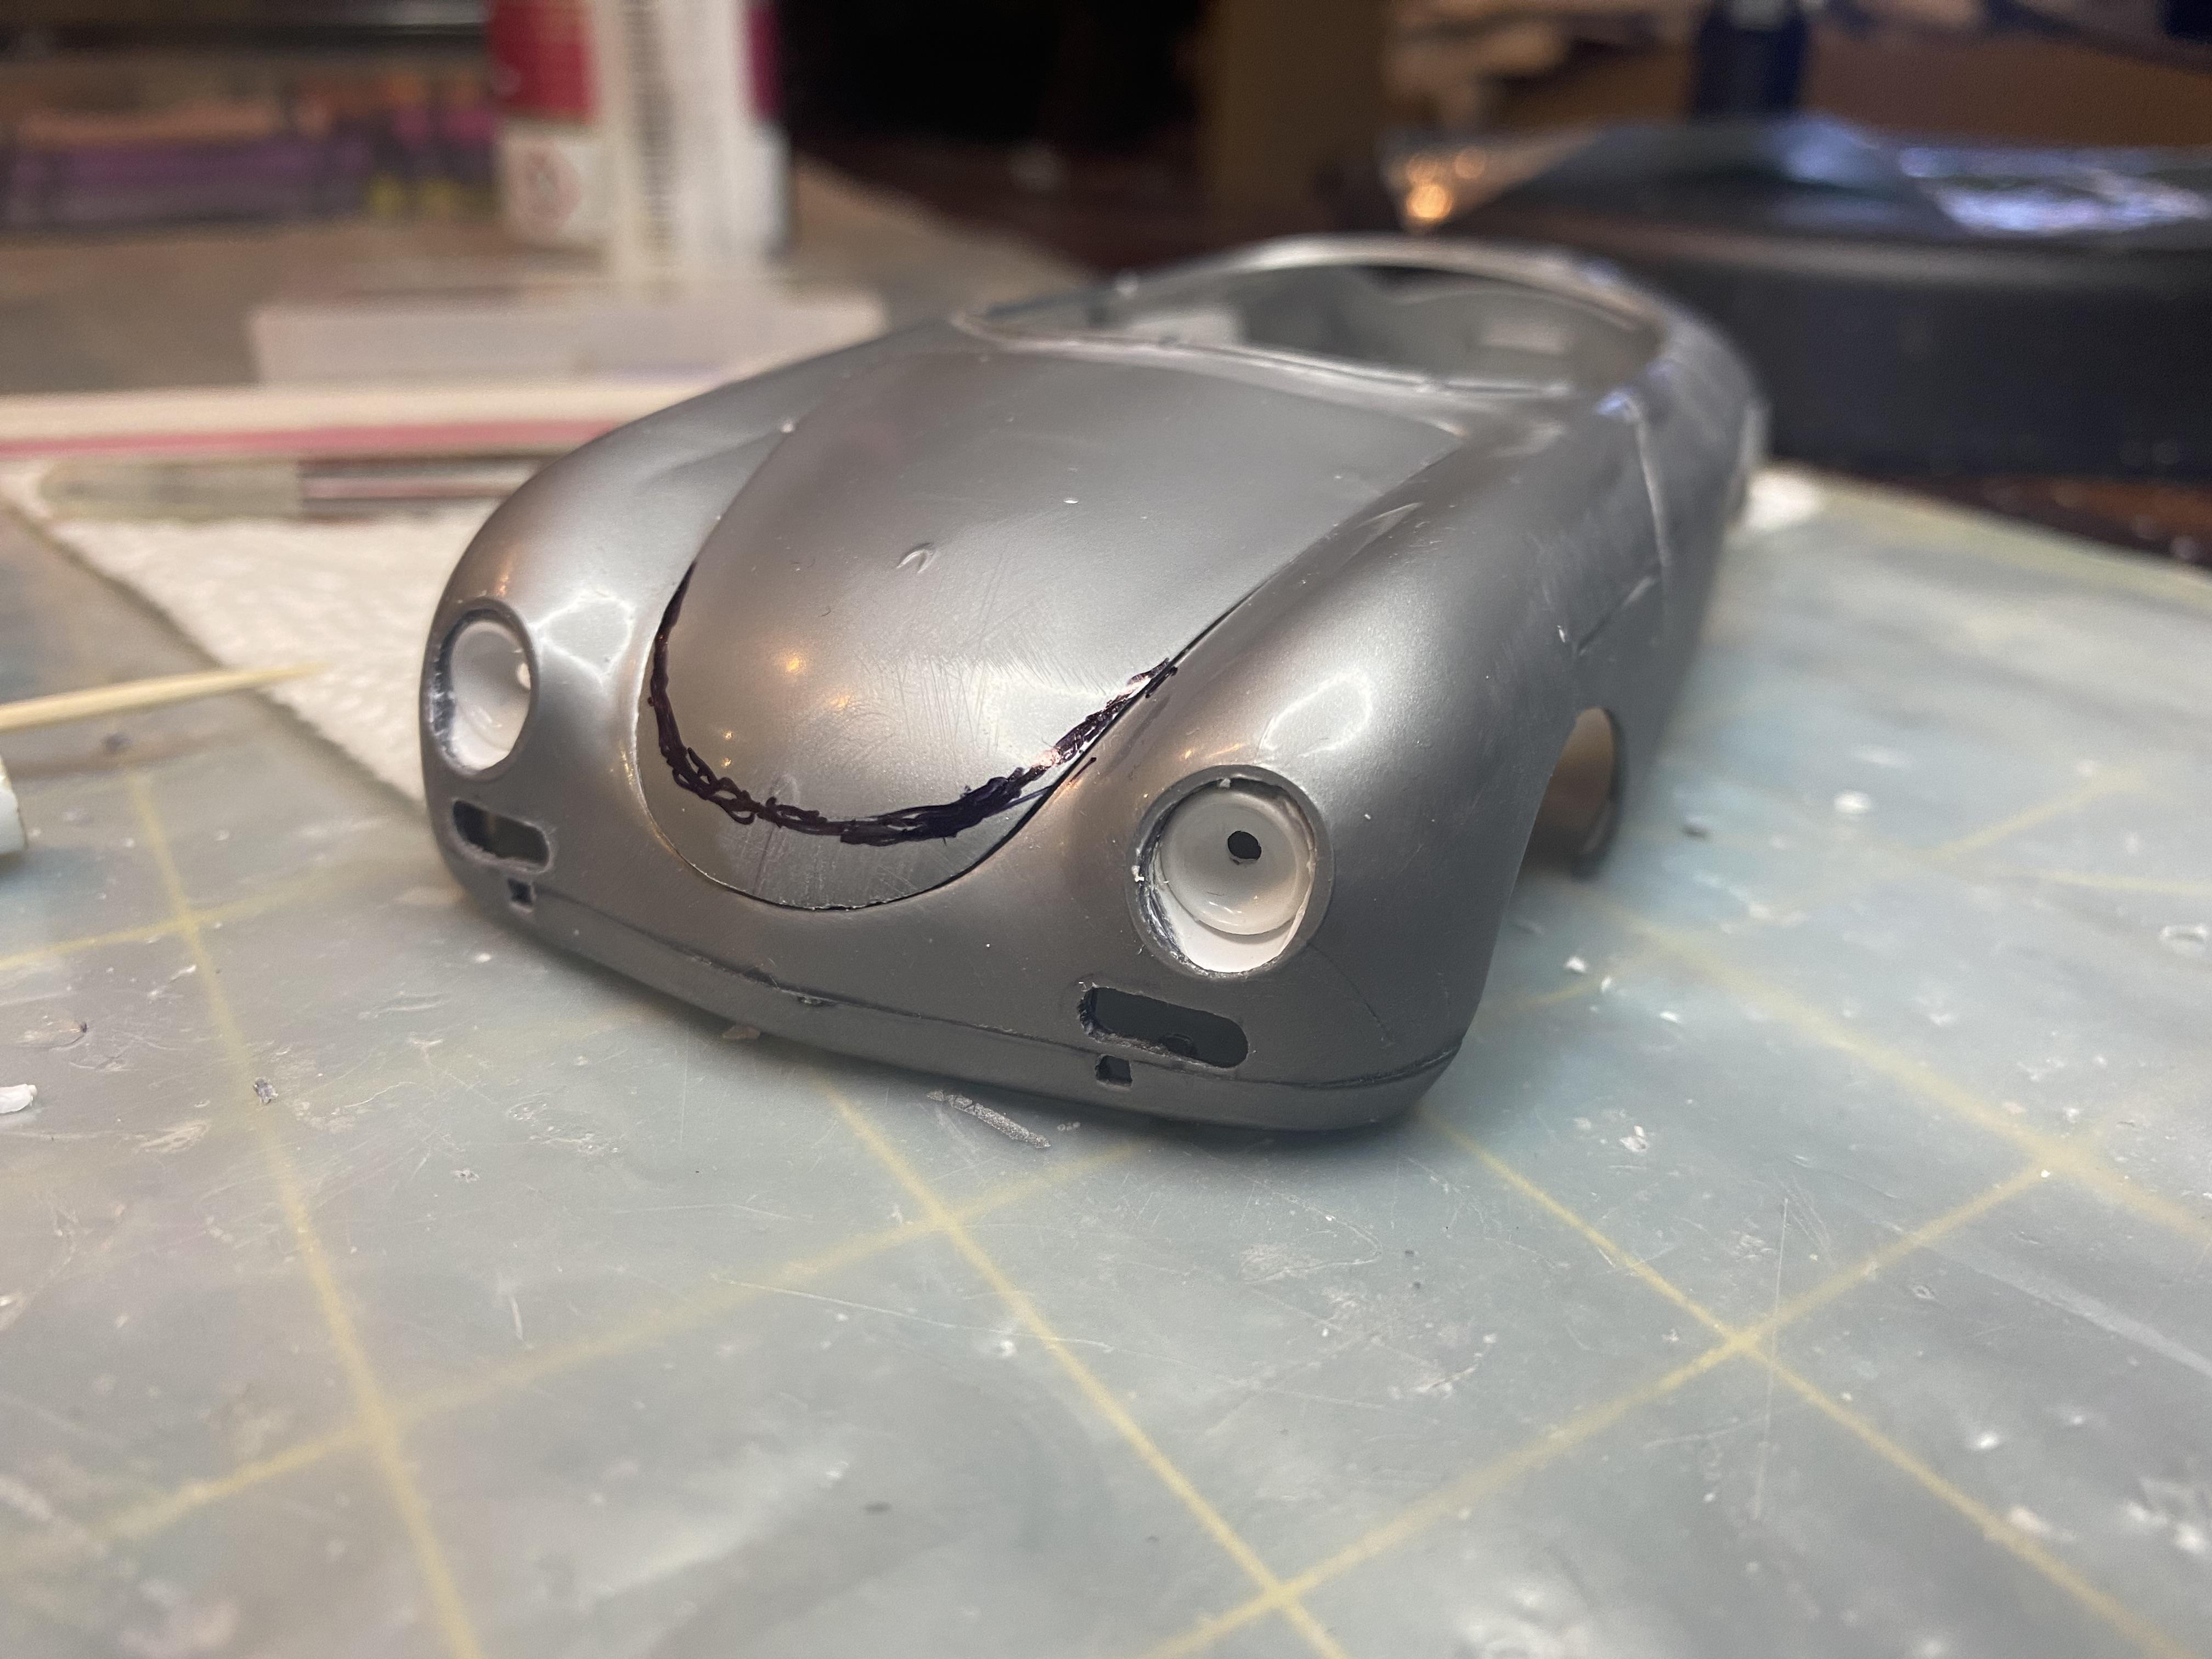
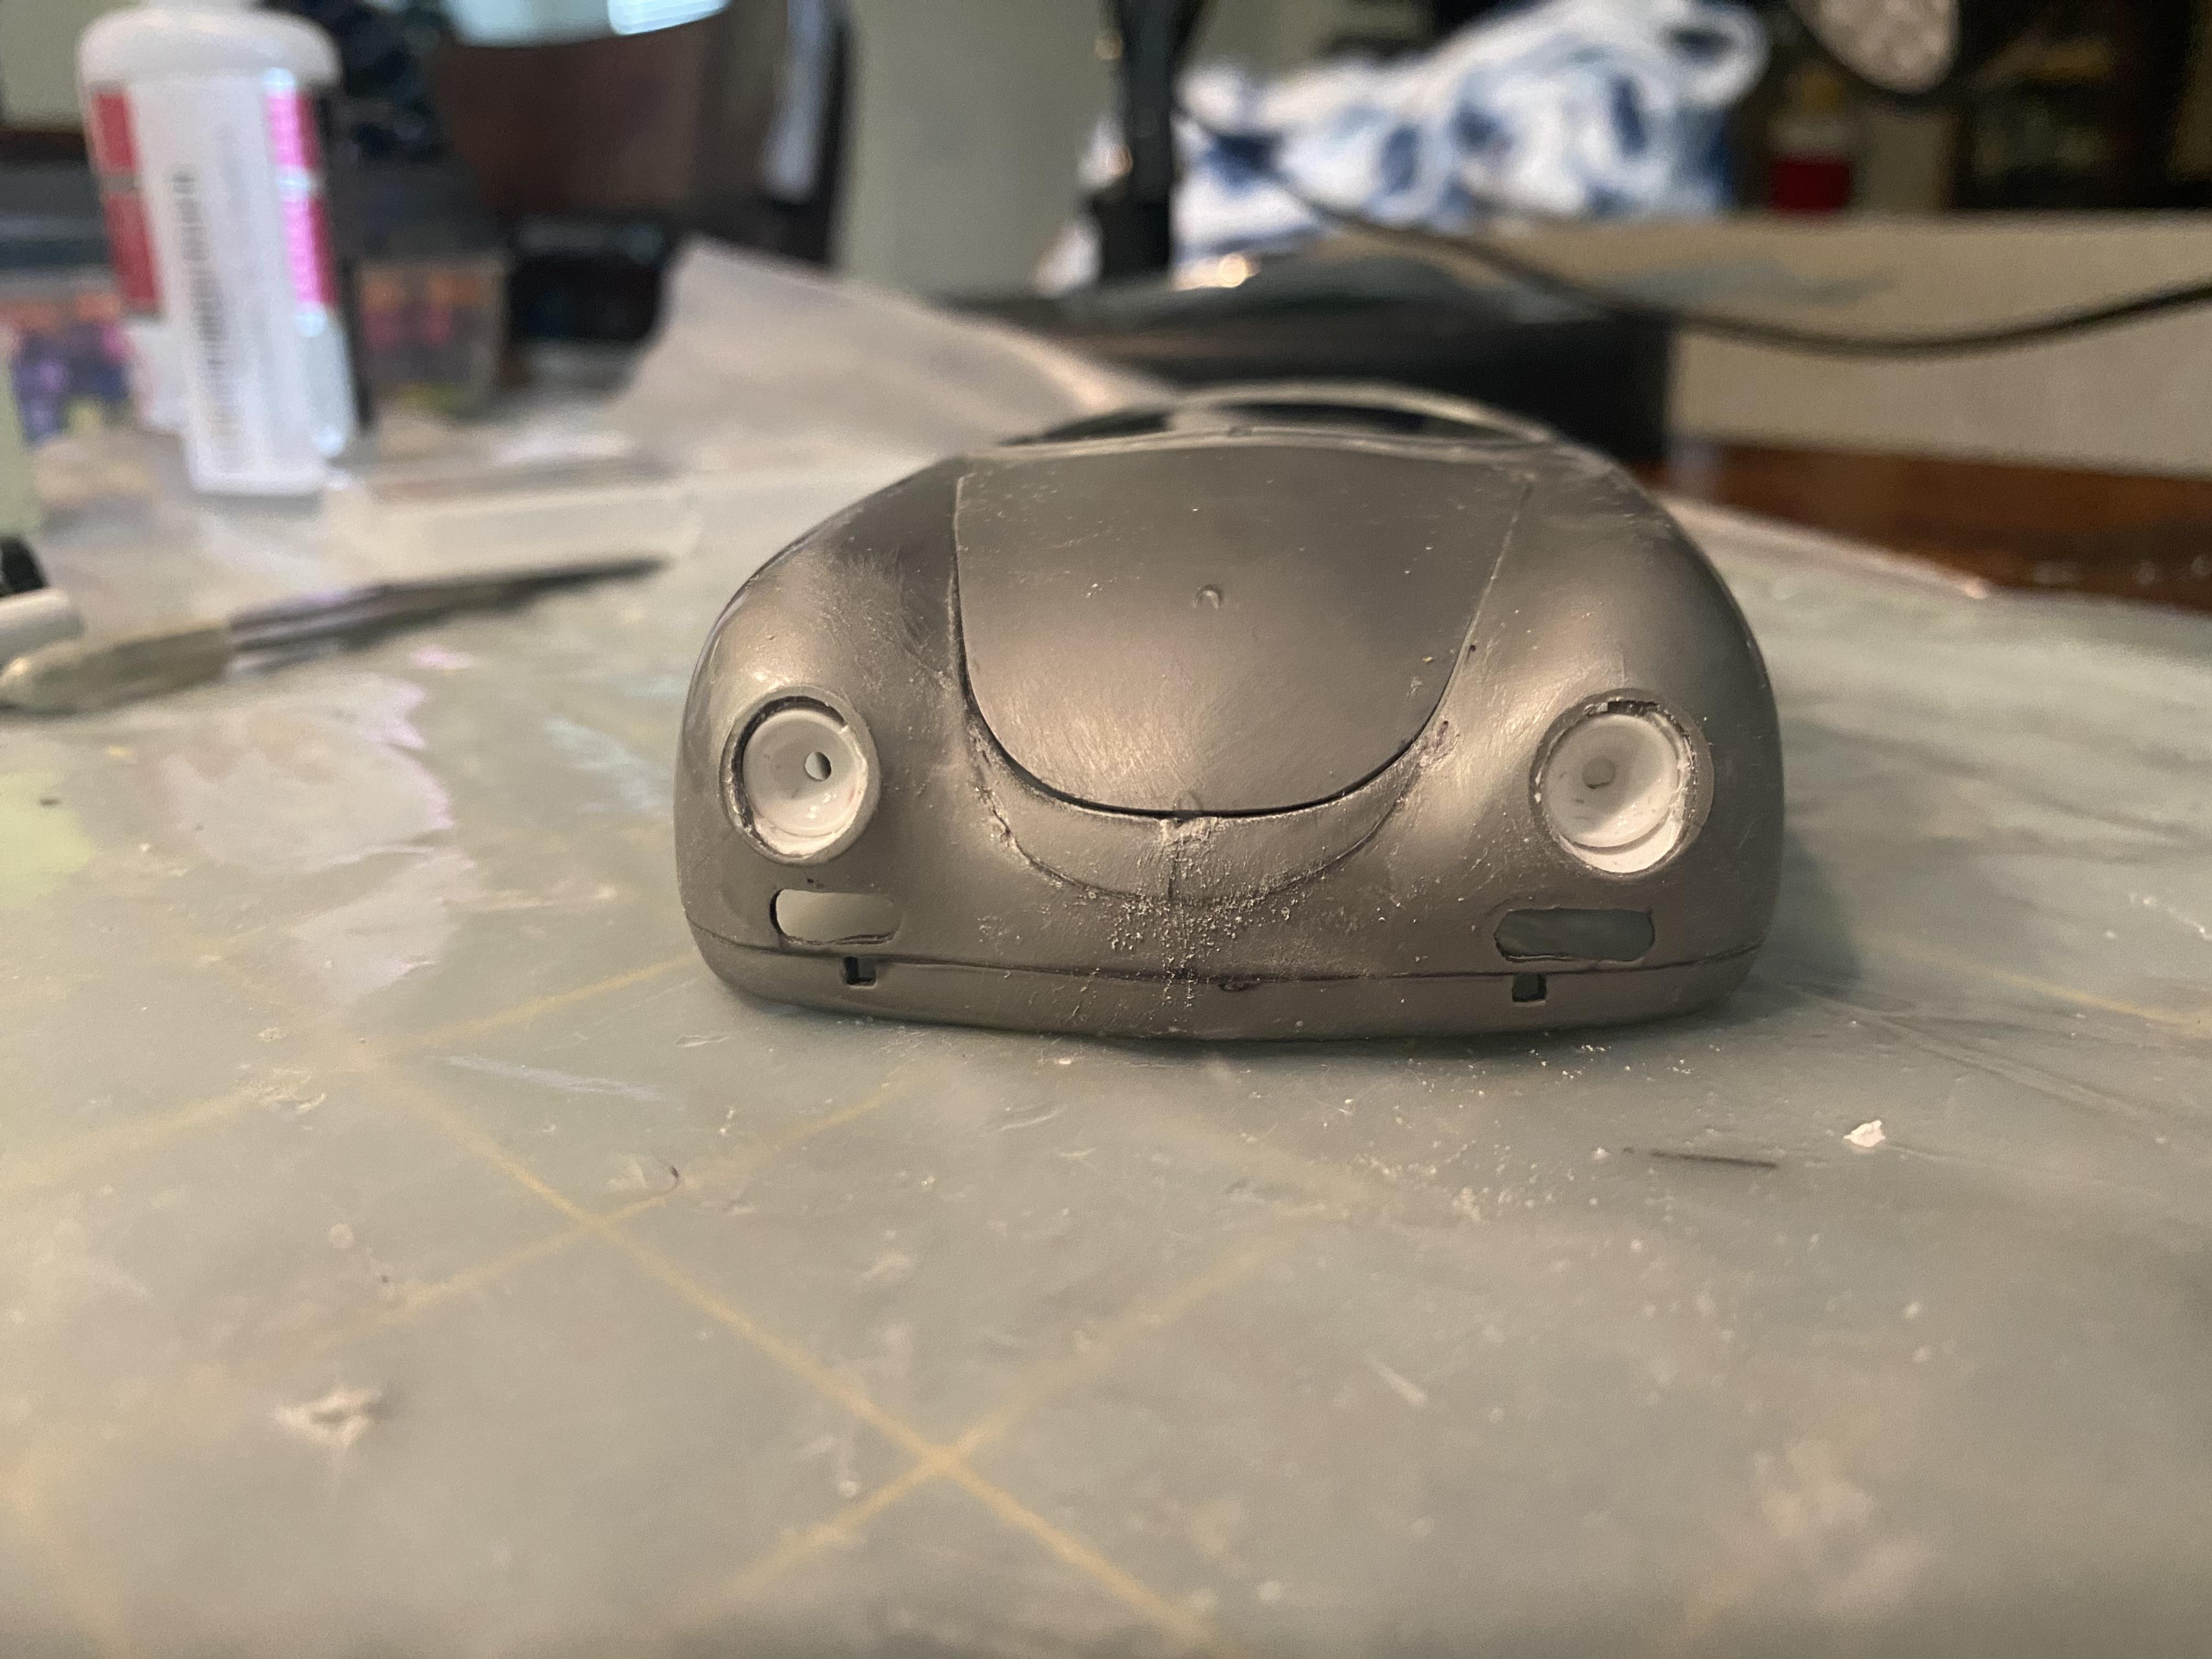
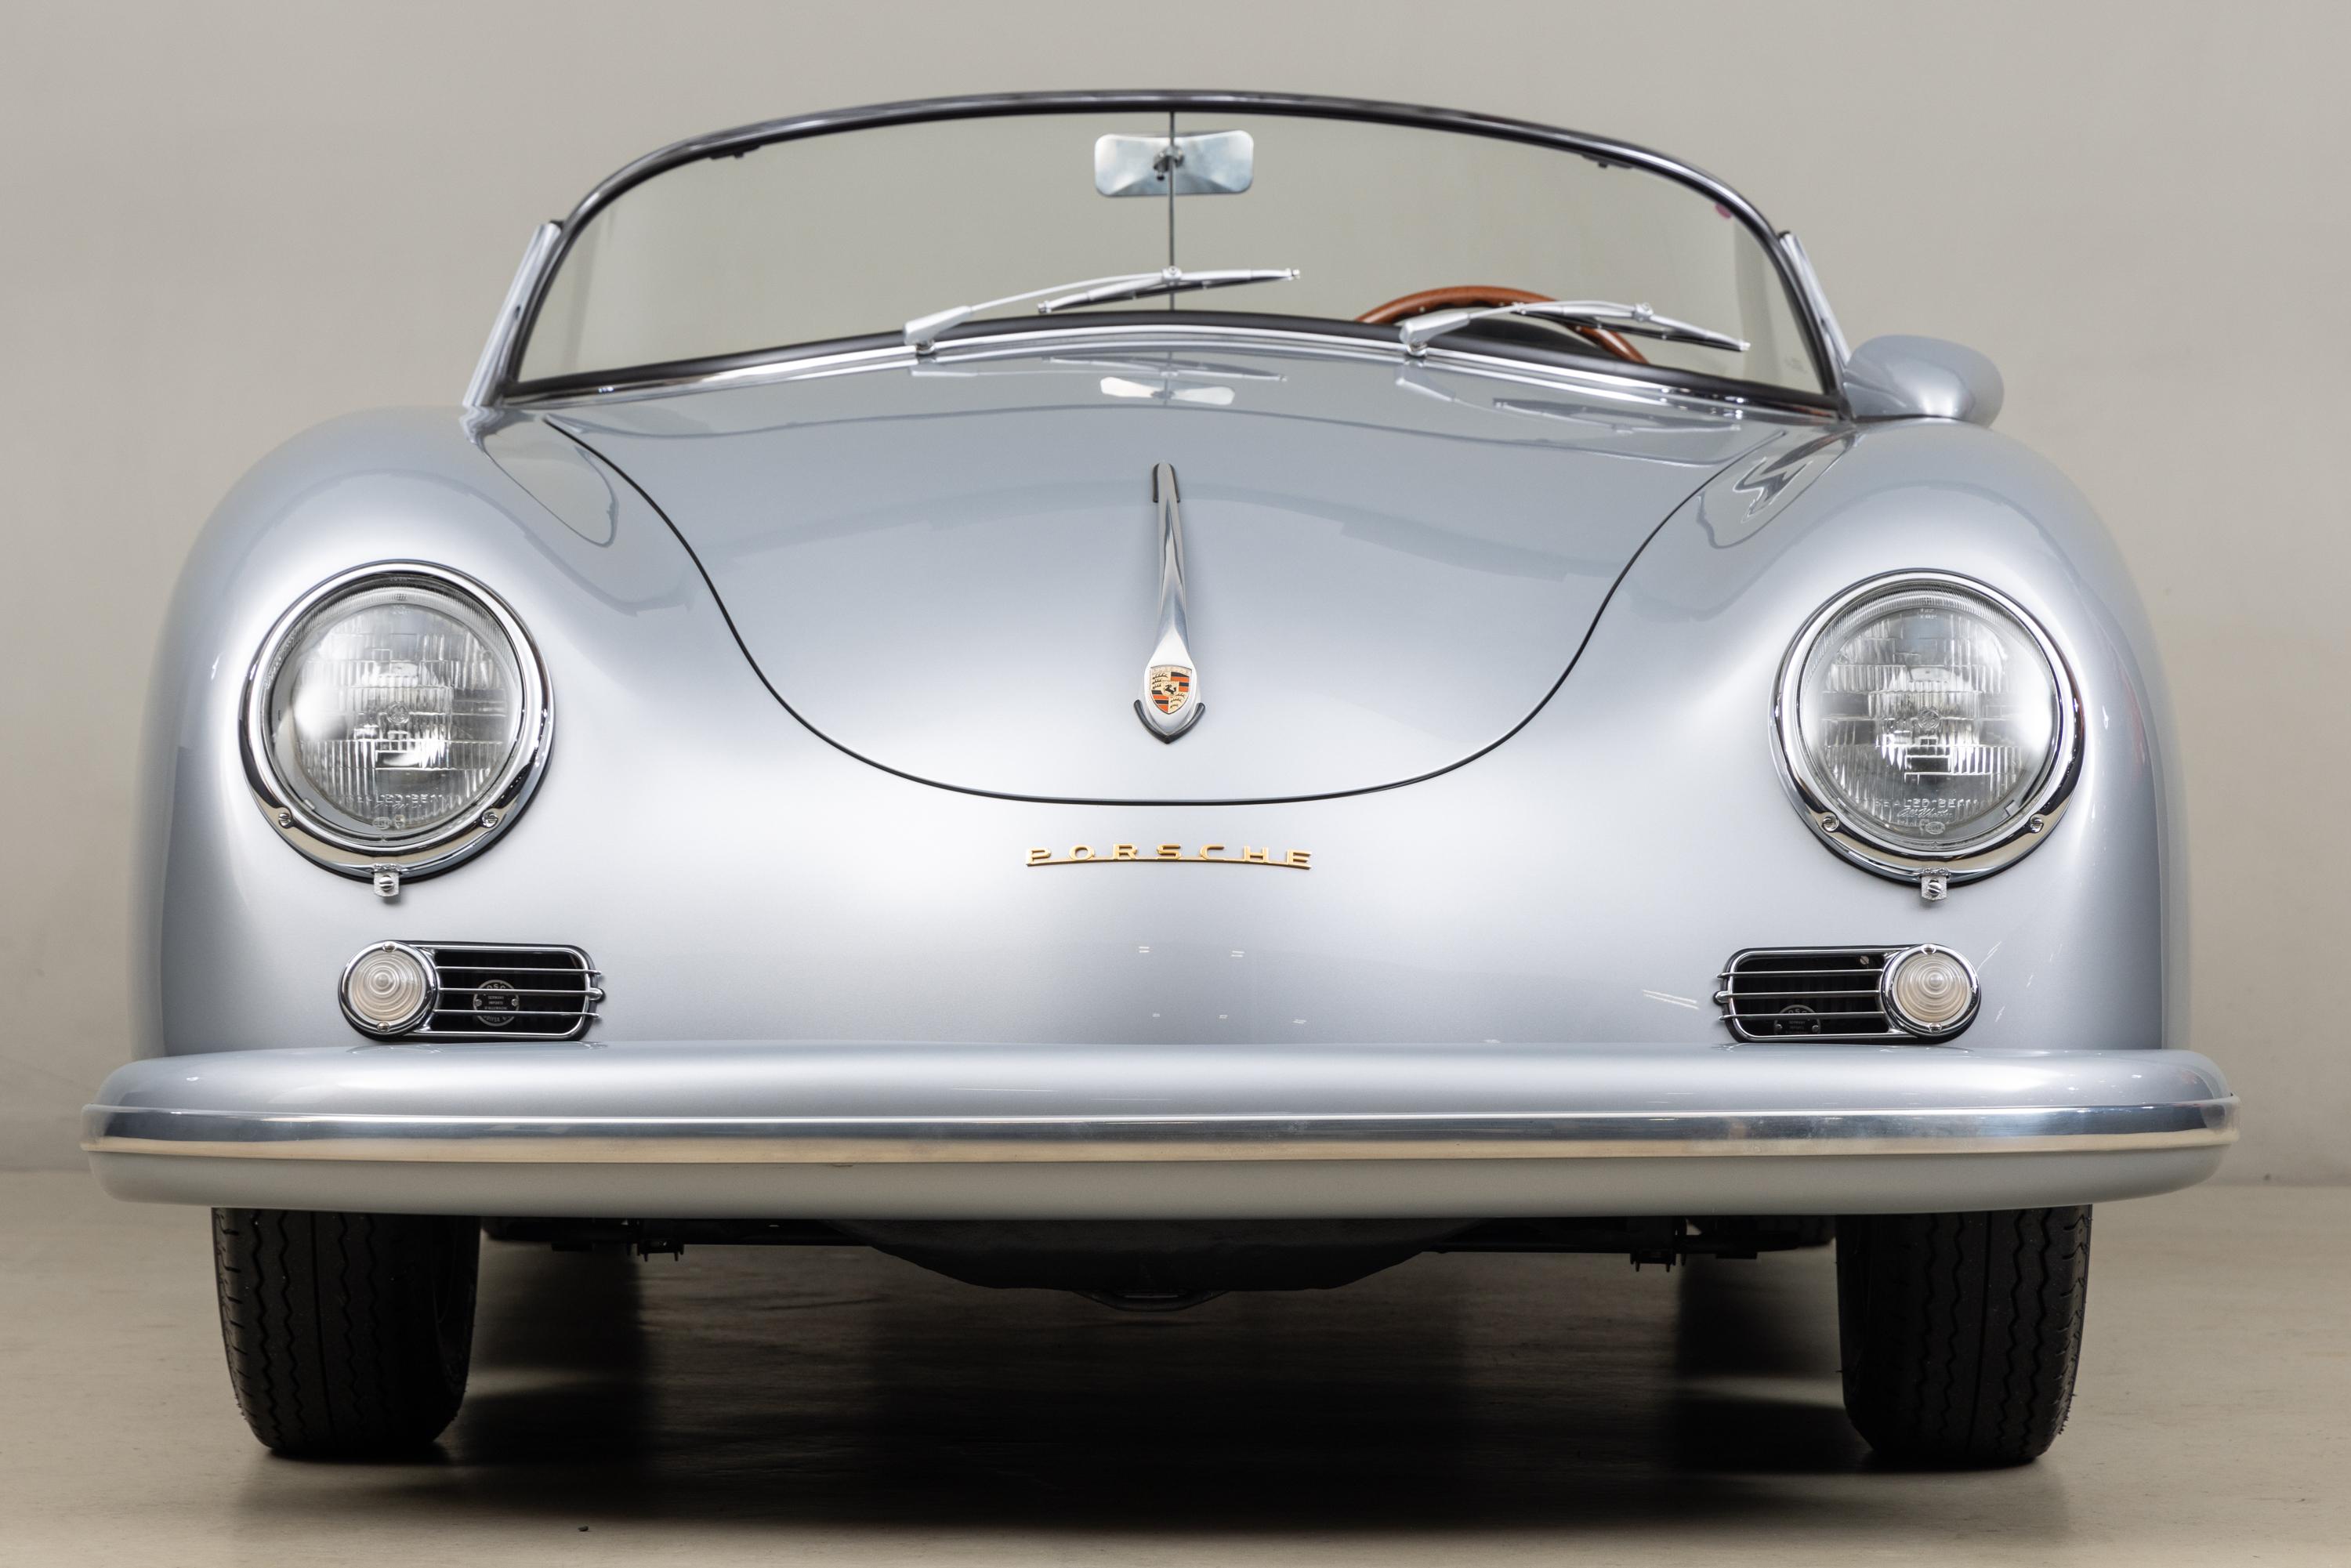
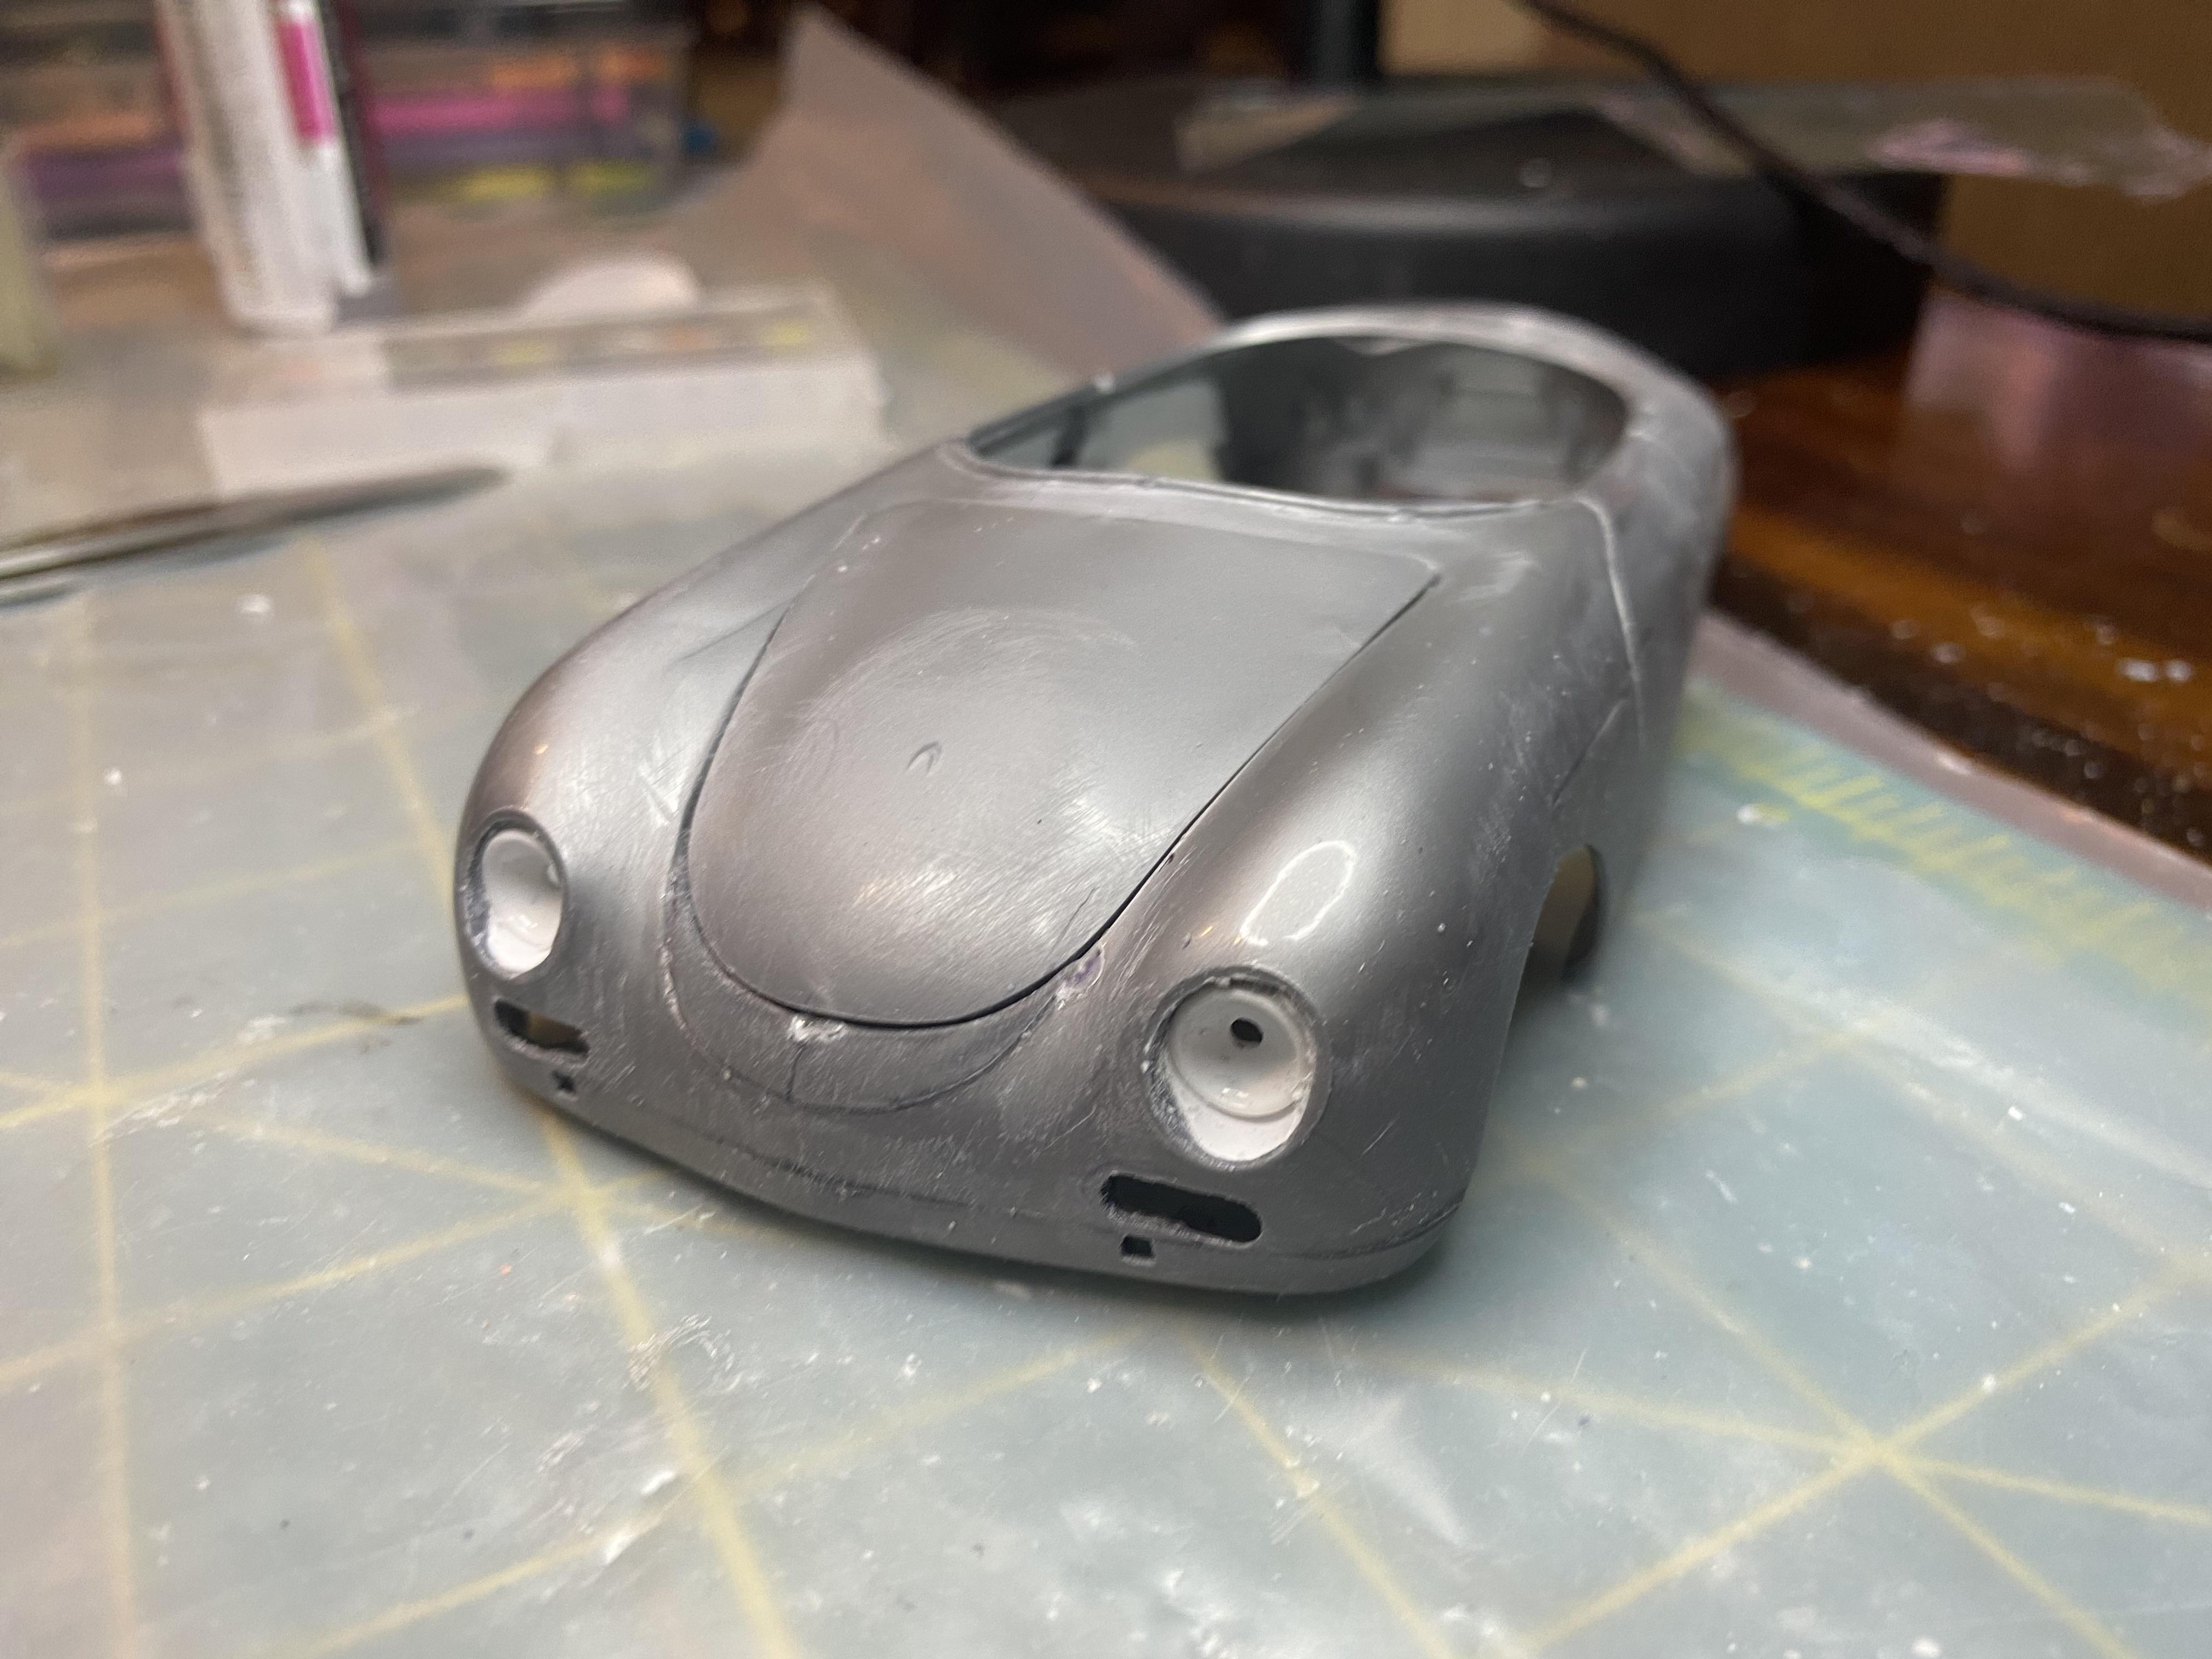
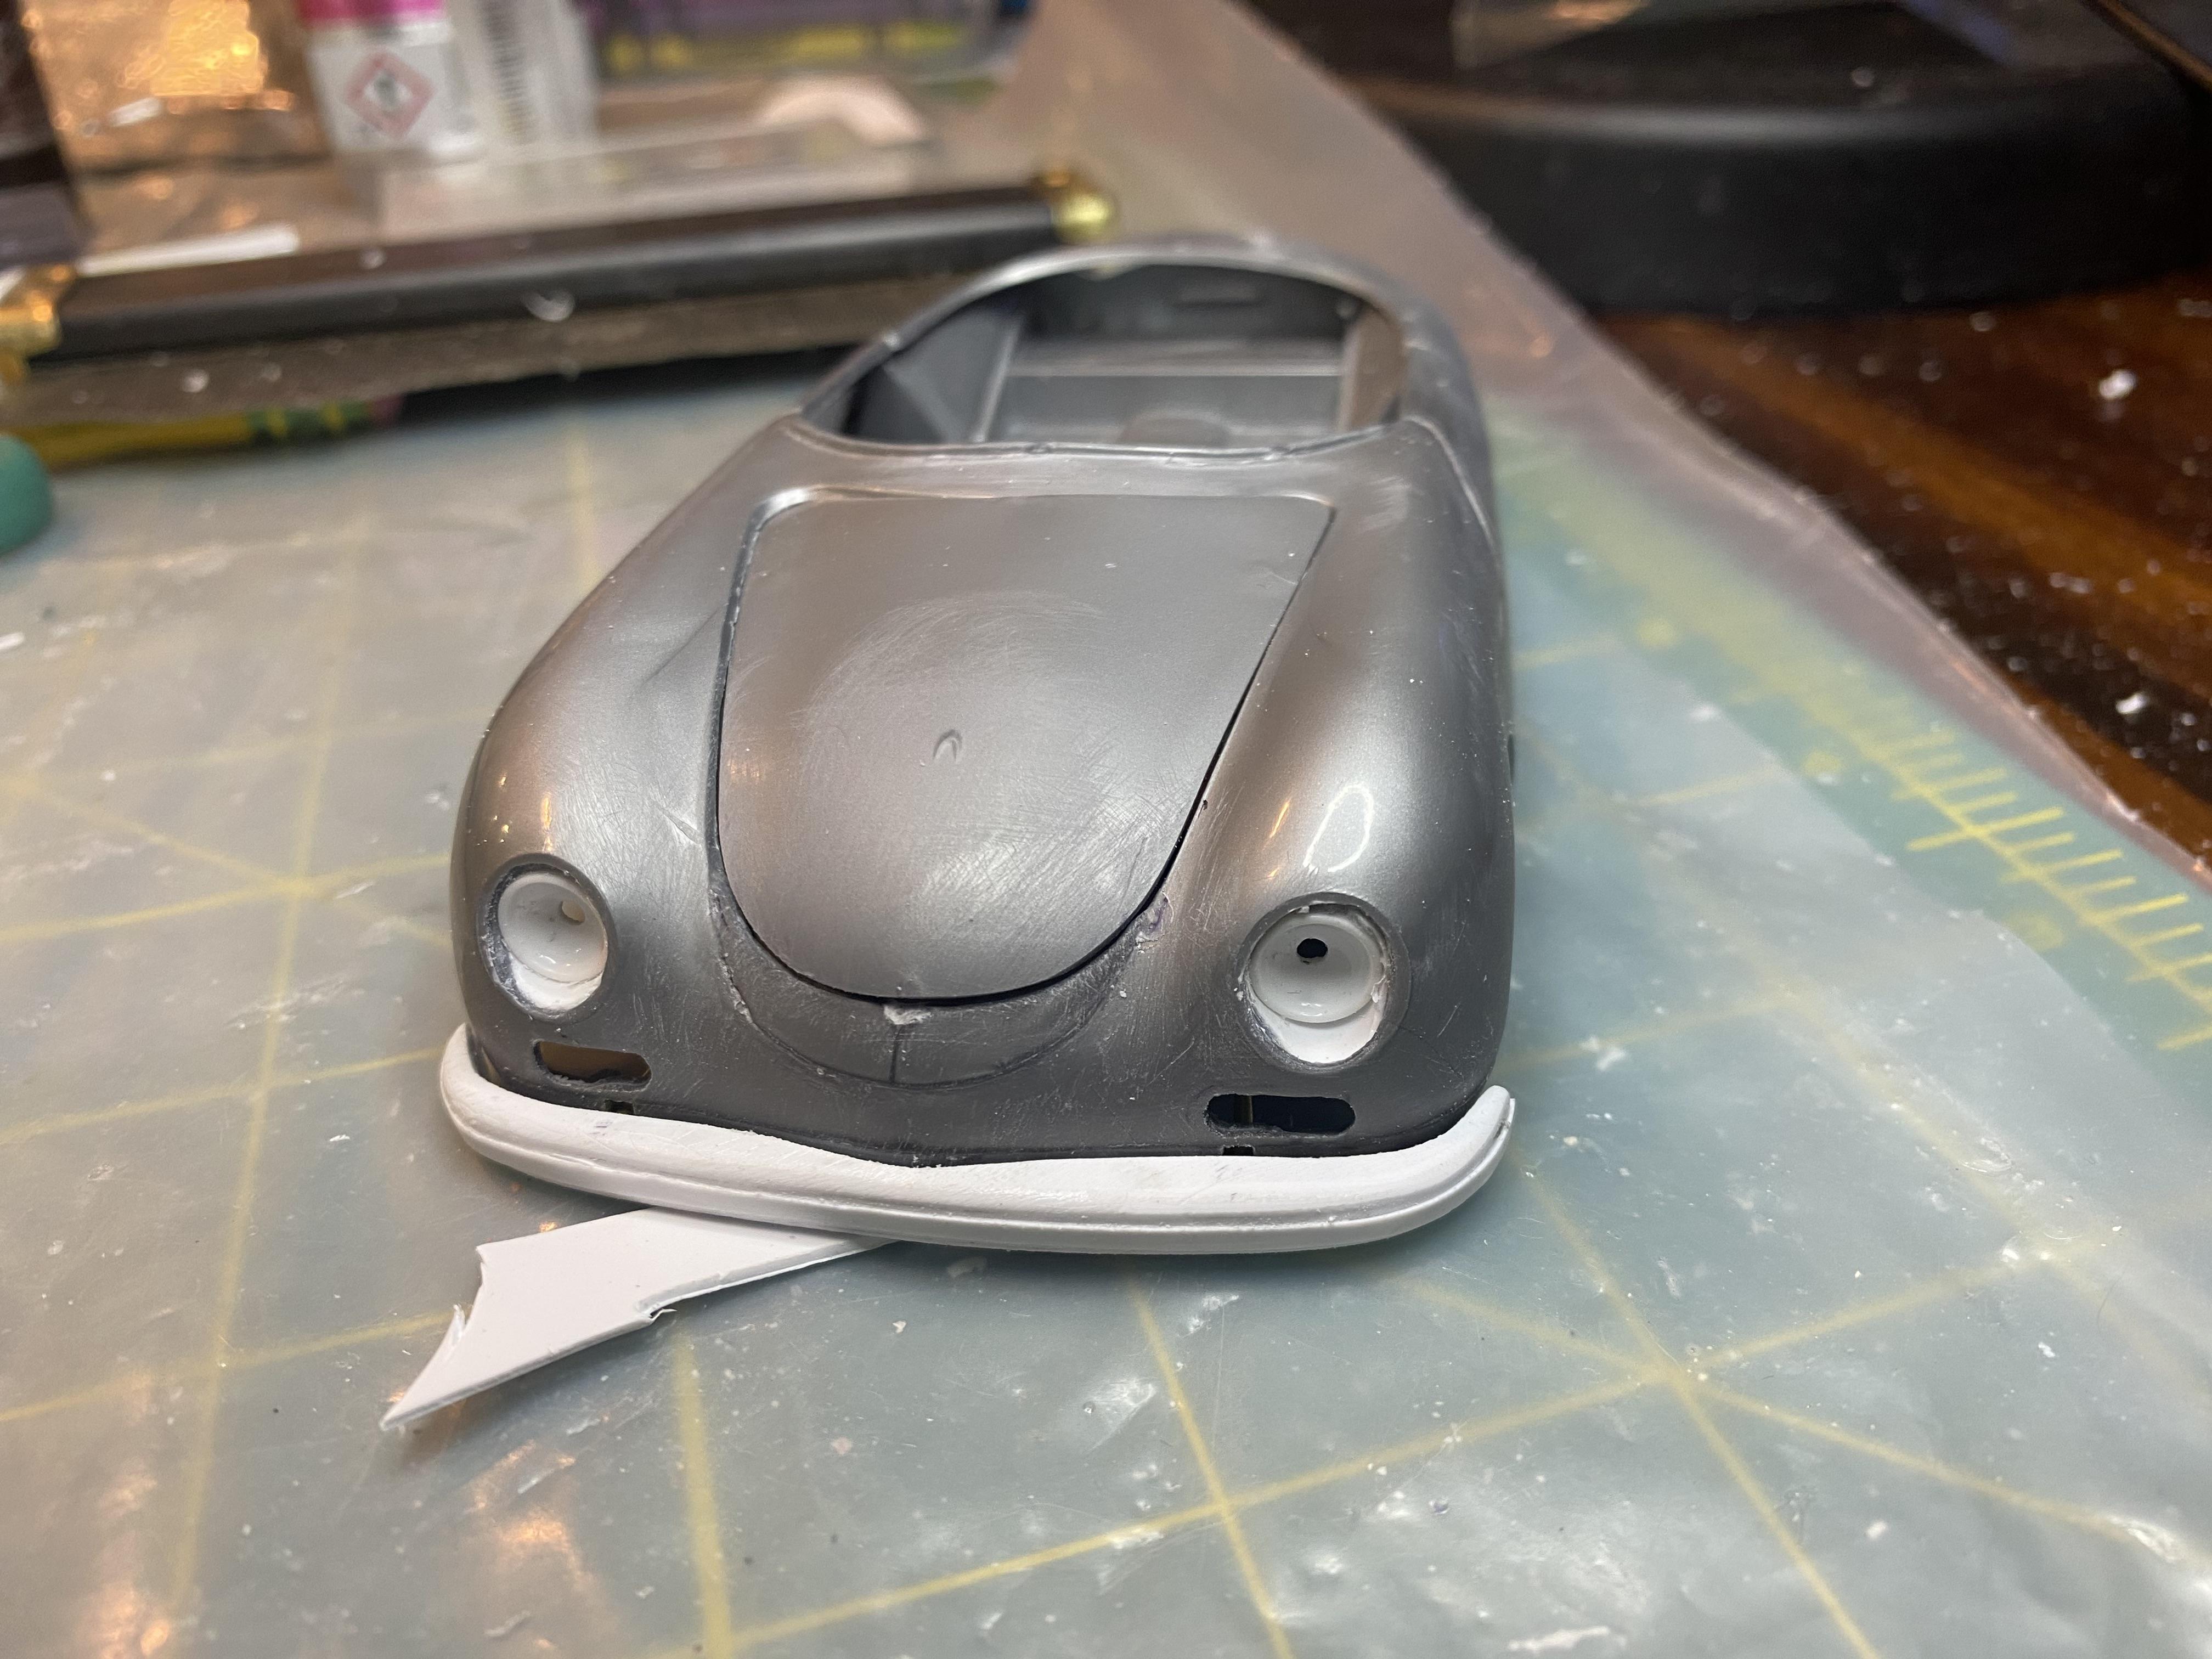
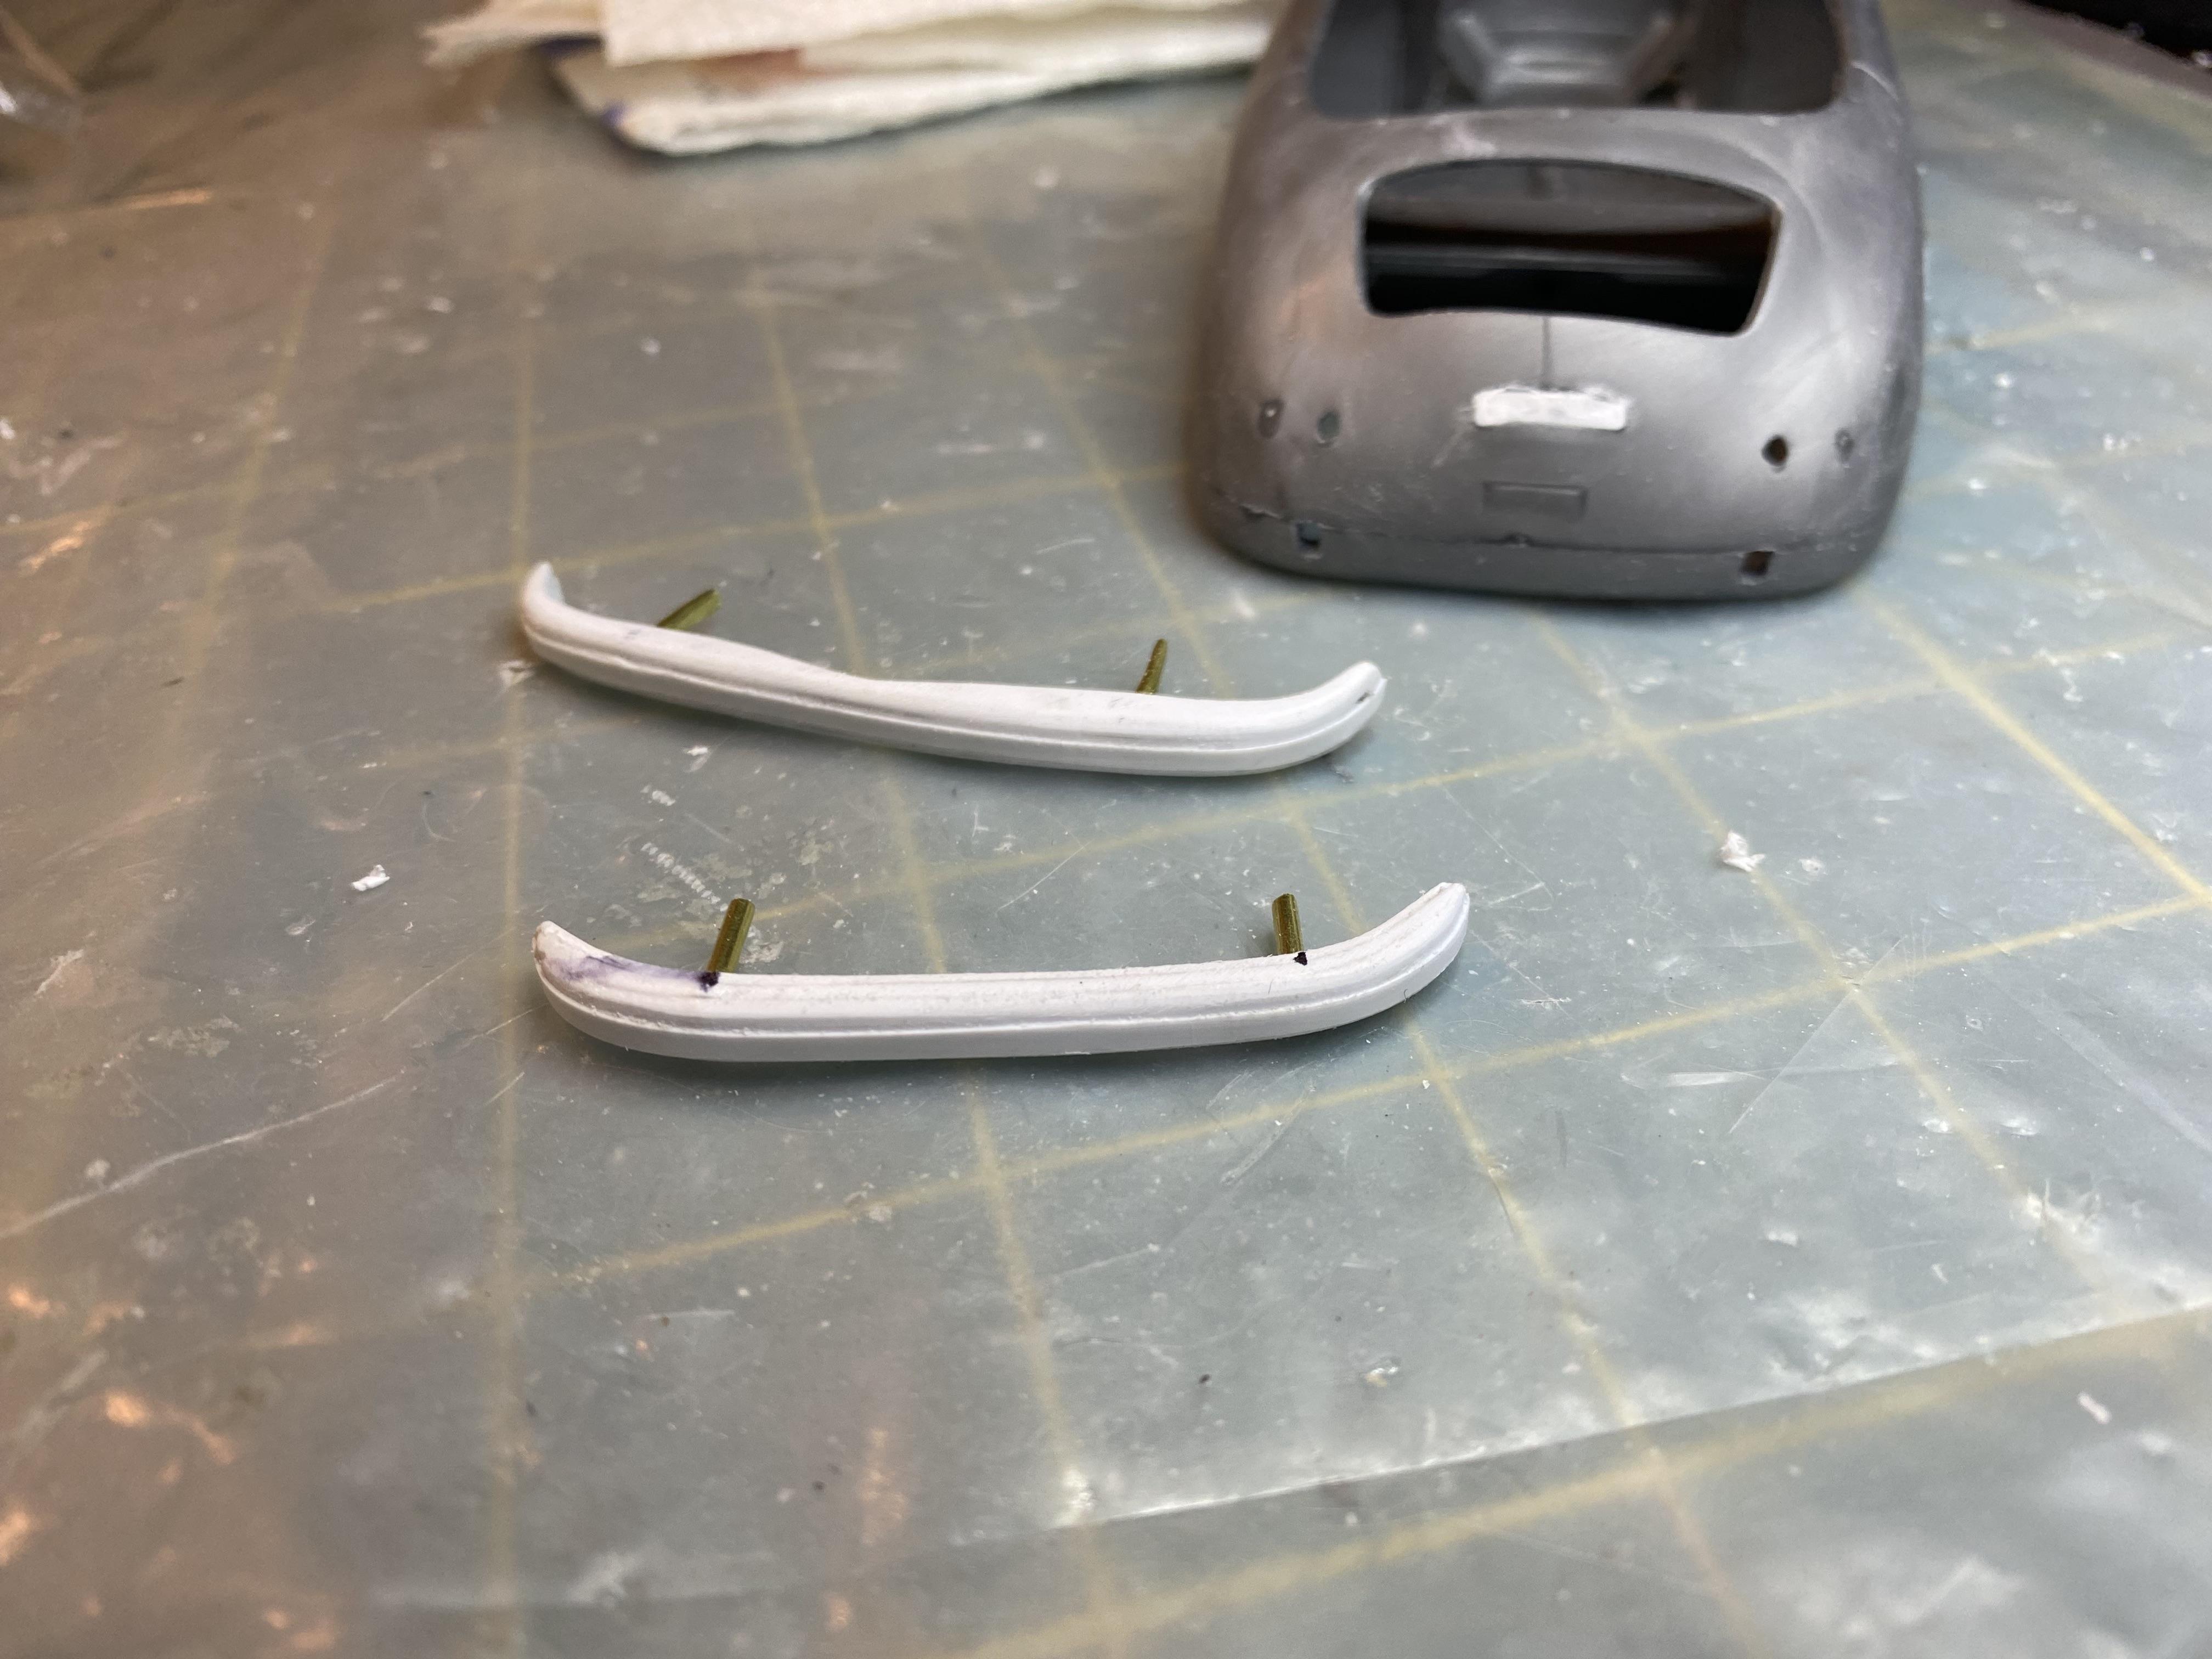
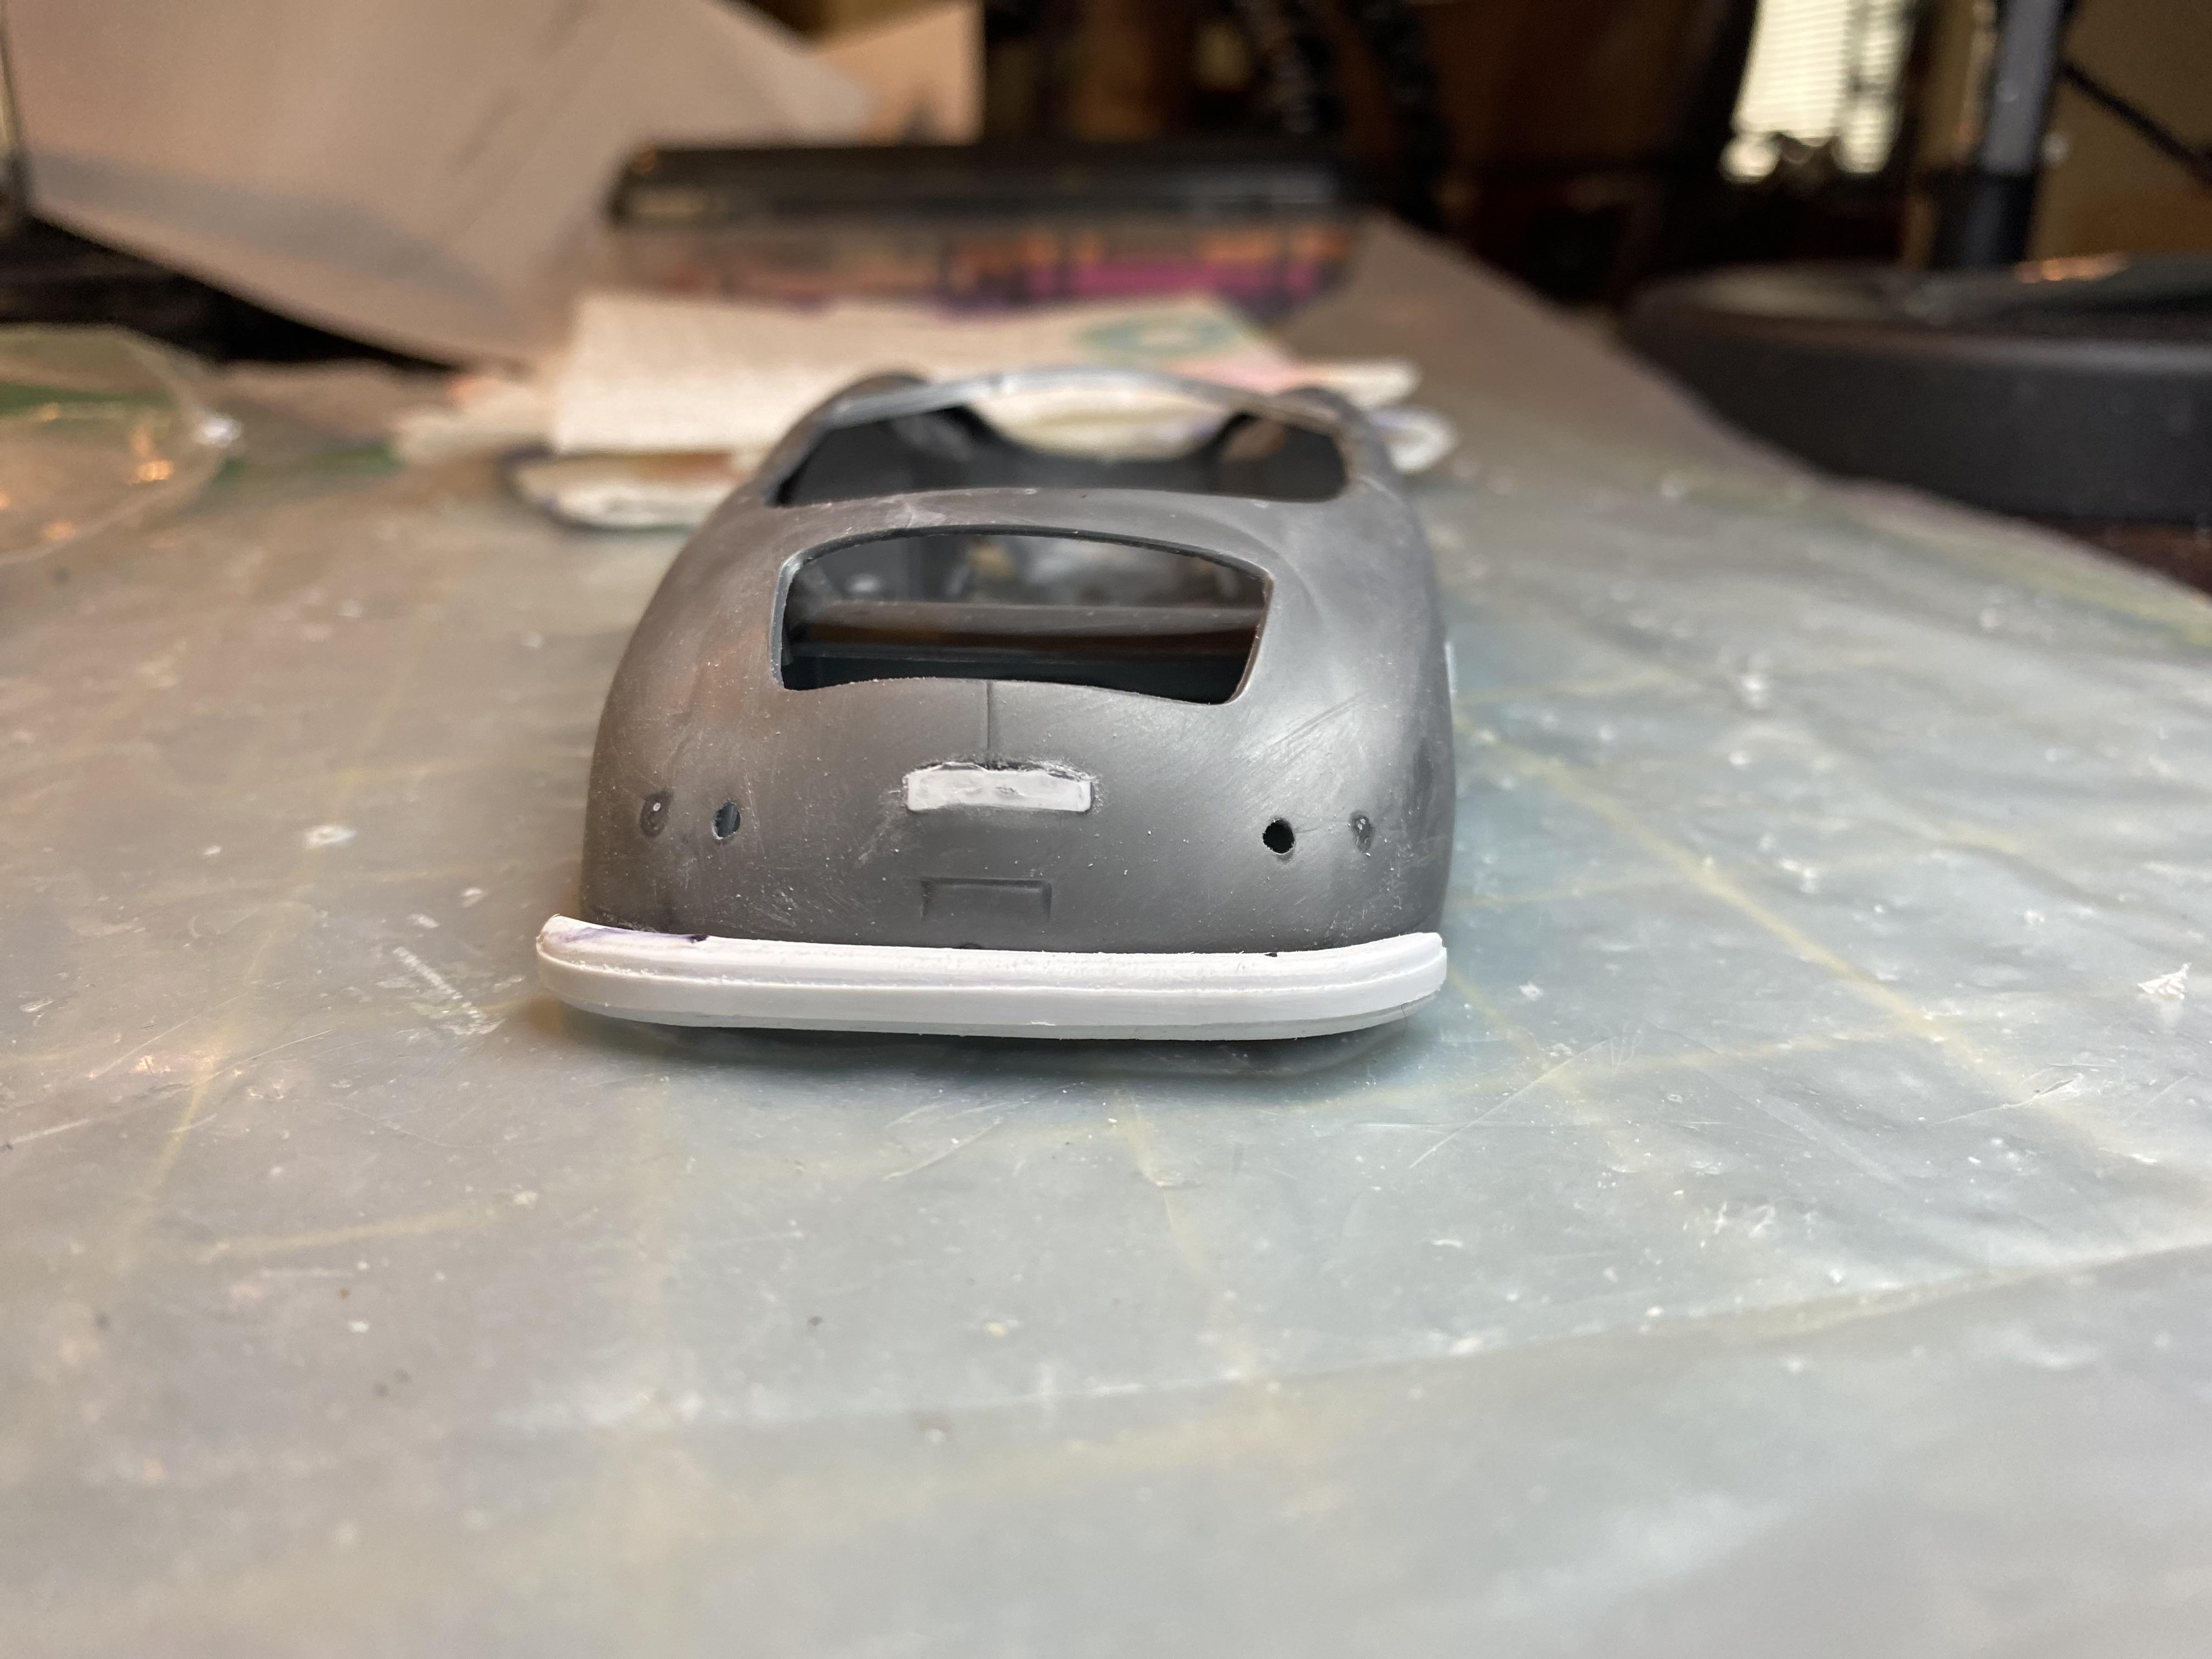
There really isn’t a single part of the body of this kit that is quite right. I created the headlight buckets. It will get inner lenses and outer clear covers like the real car. The front hood was way too long and extended far too low. It almost looks like it is smiling now that it is getting fixed to look right. 😁 Created front and rear bumpers. I am not happy with rear bumper yet, but I will get it right.
-
Thank You! Thank You!
-
Thank You! I actually like this kit ok. It has a few short comings but there are so much worst kits. The one I am working on is really really bad.
-
Thank You! I mix blue and green Tamiya clear to get the right color and mask and airbrush for the sun strip.
-
Thank You! I did leave the keys on the passenger seat. 😁 Thank You! Thank You!
-
Ah, Thank you! I hope it inspires some people. If I can make the conversion anyone can. 😊
-
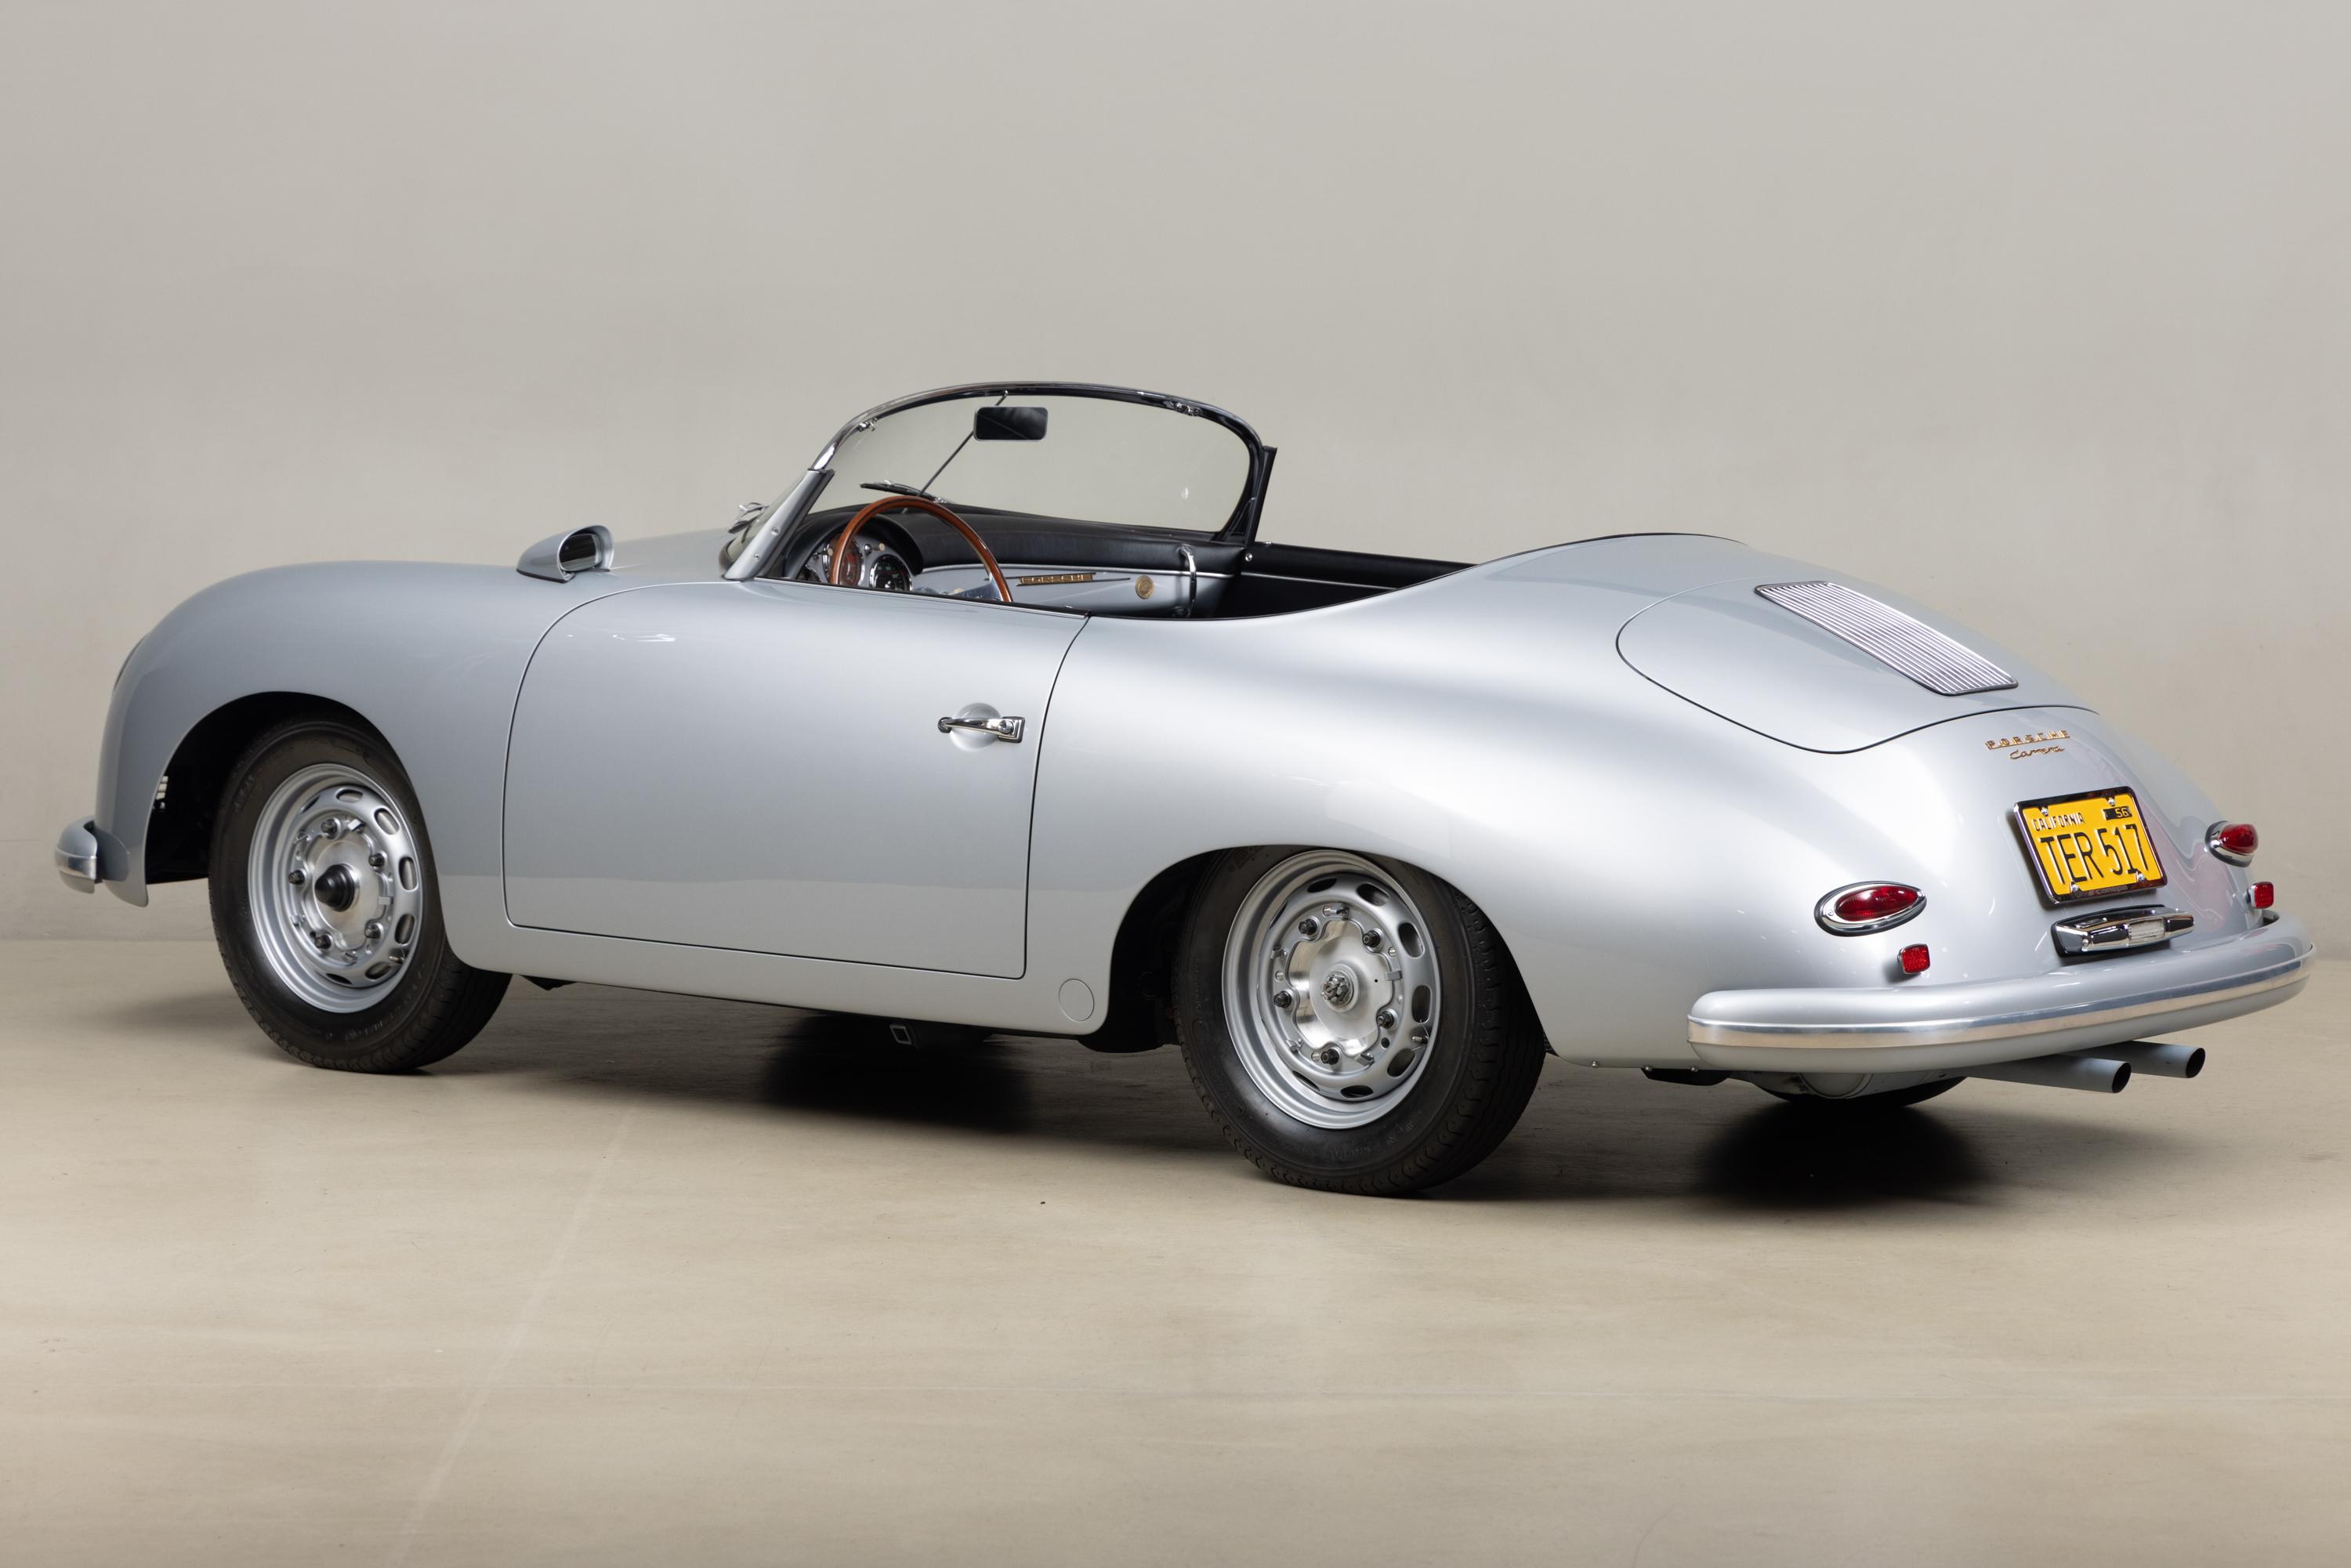
Thank you! The one I used as a reference was on a classic car sales site. 😁 Thank you!
-
Thank you!
-
Thank you! I assume you saw it in under glass?