Duddly01
-
Posts
1,048 -
Joined
-
Last visited
Content Type
Profiles
Forums
Events
Gallery
Everything posted by Duddly01
-
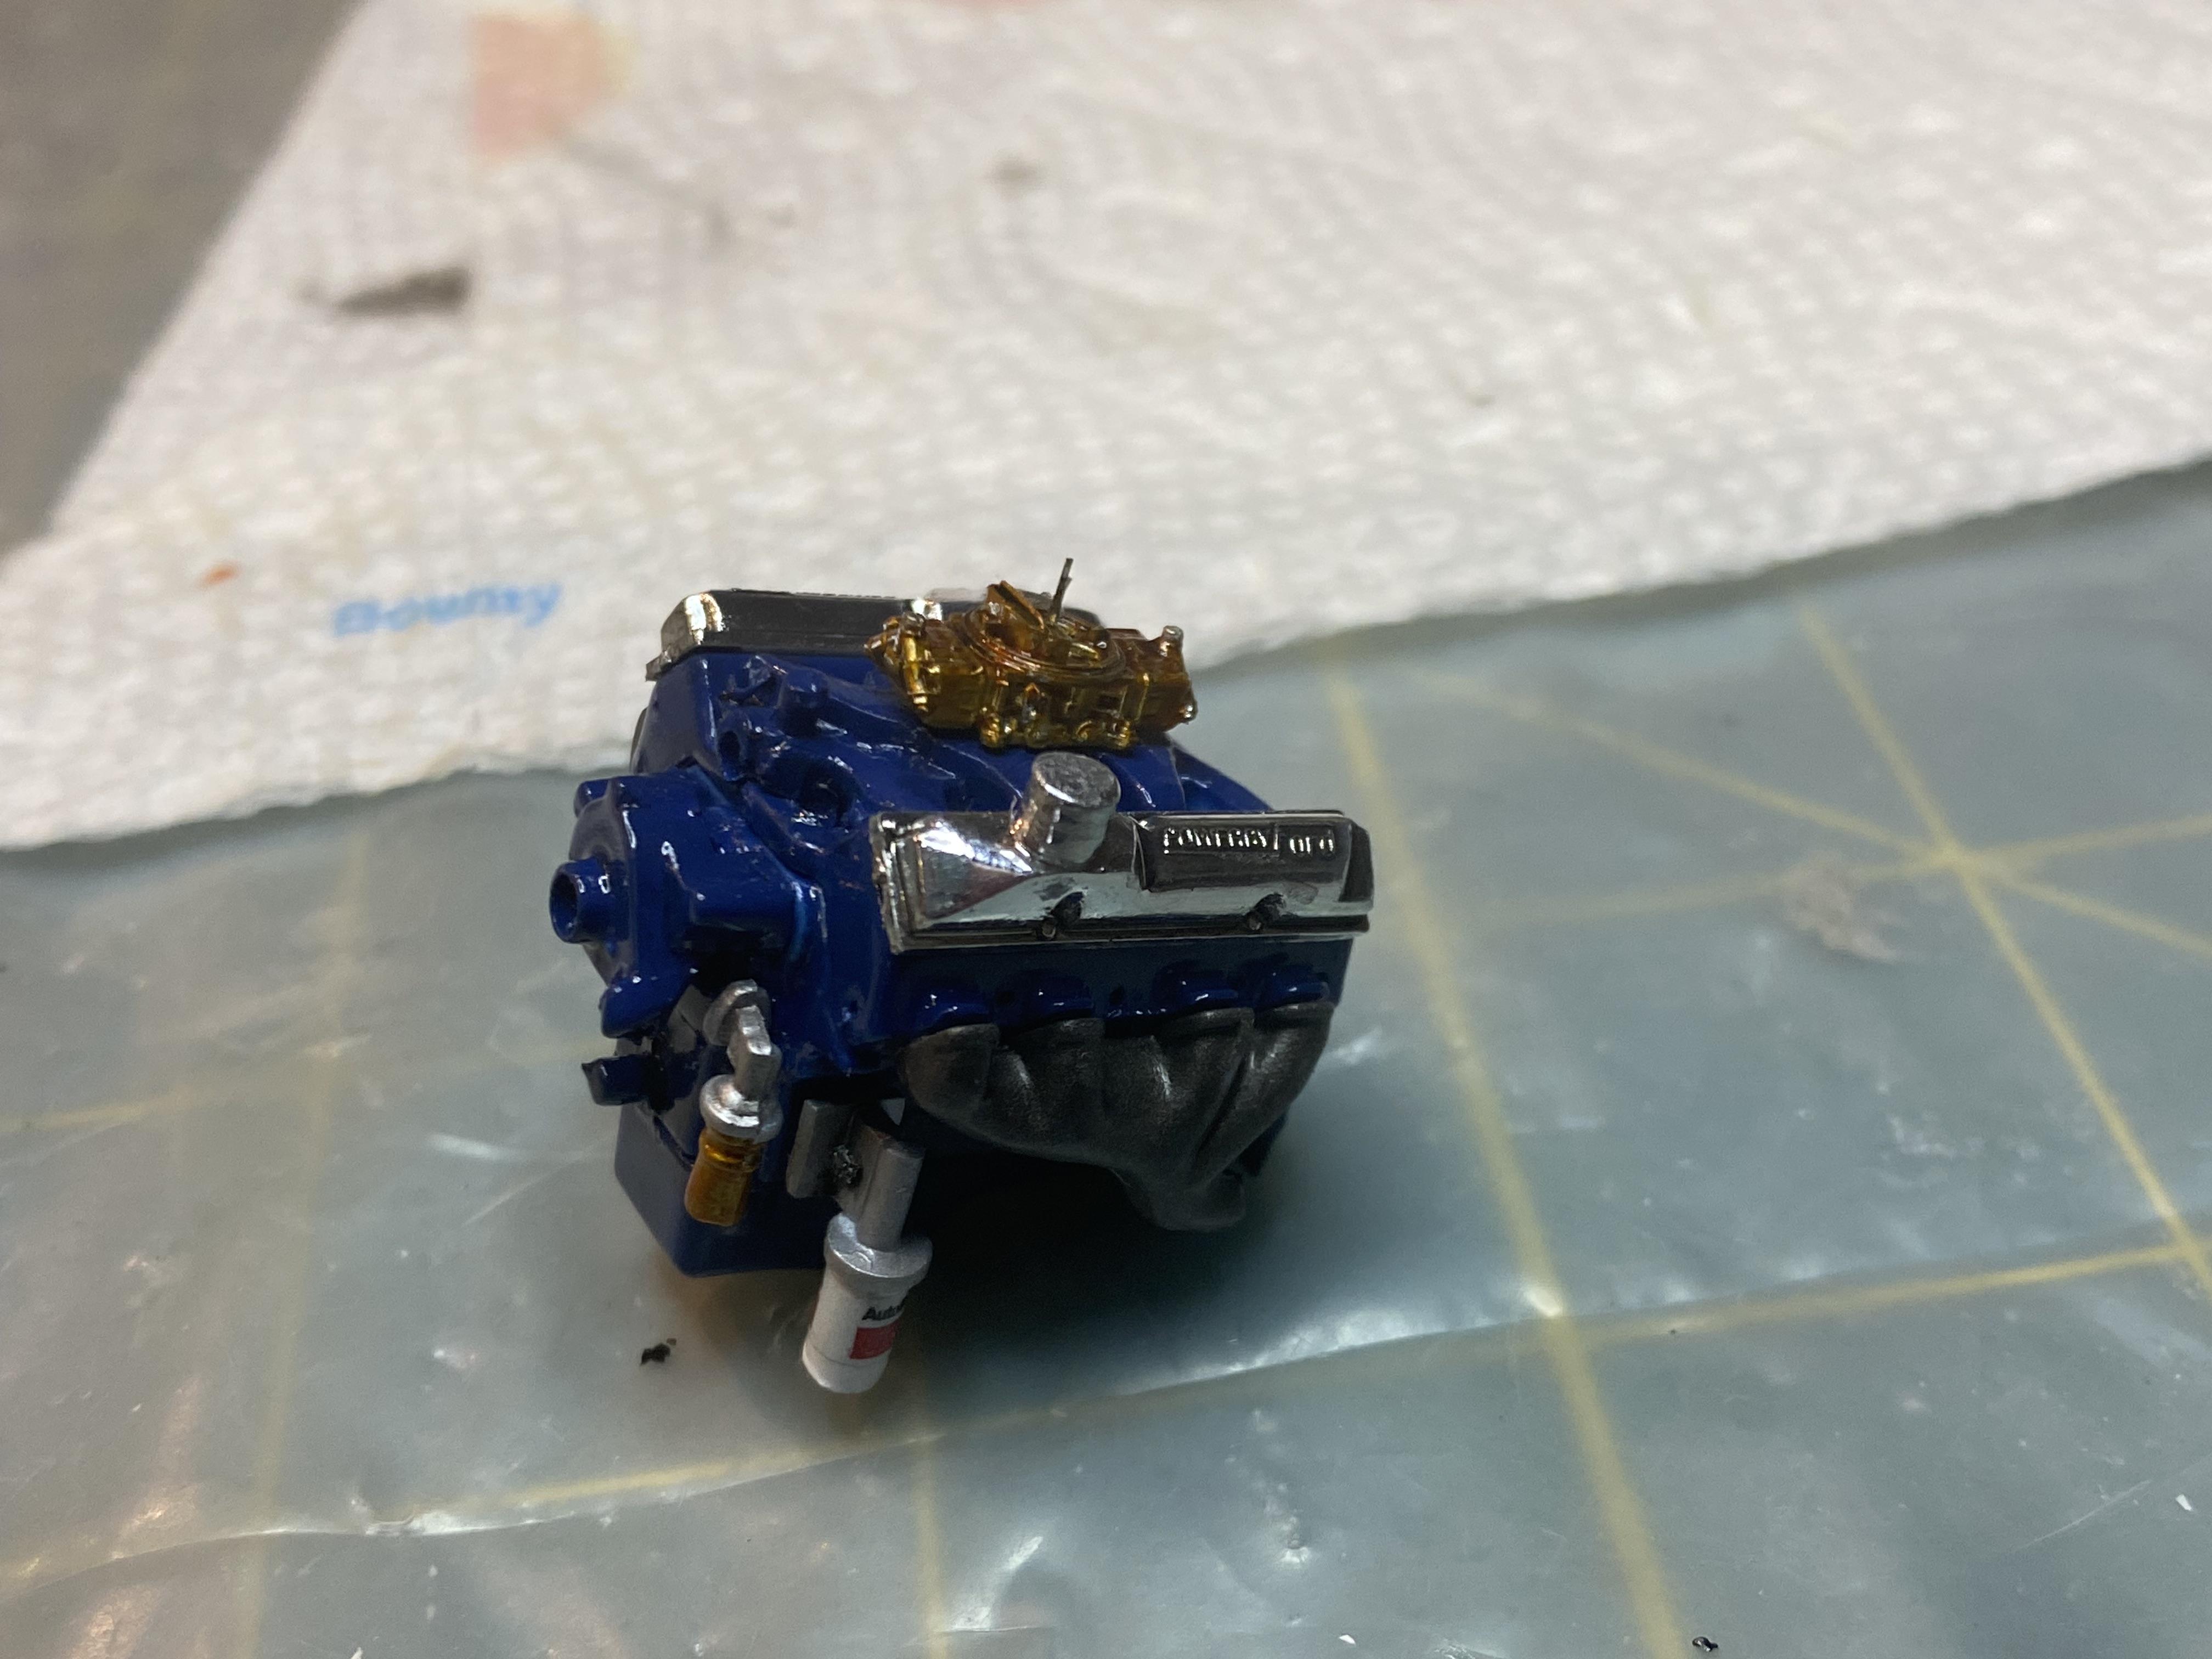
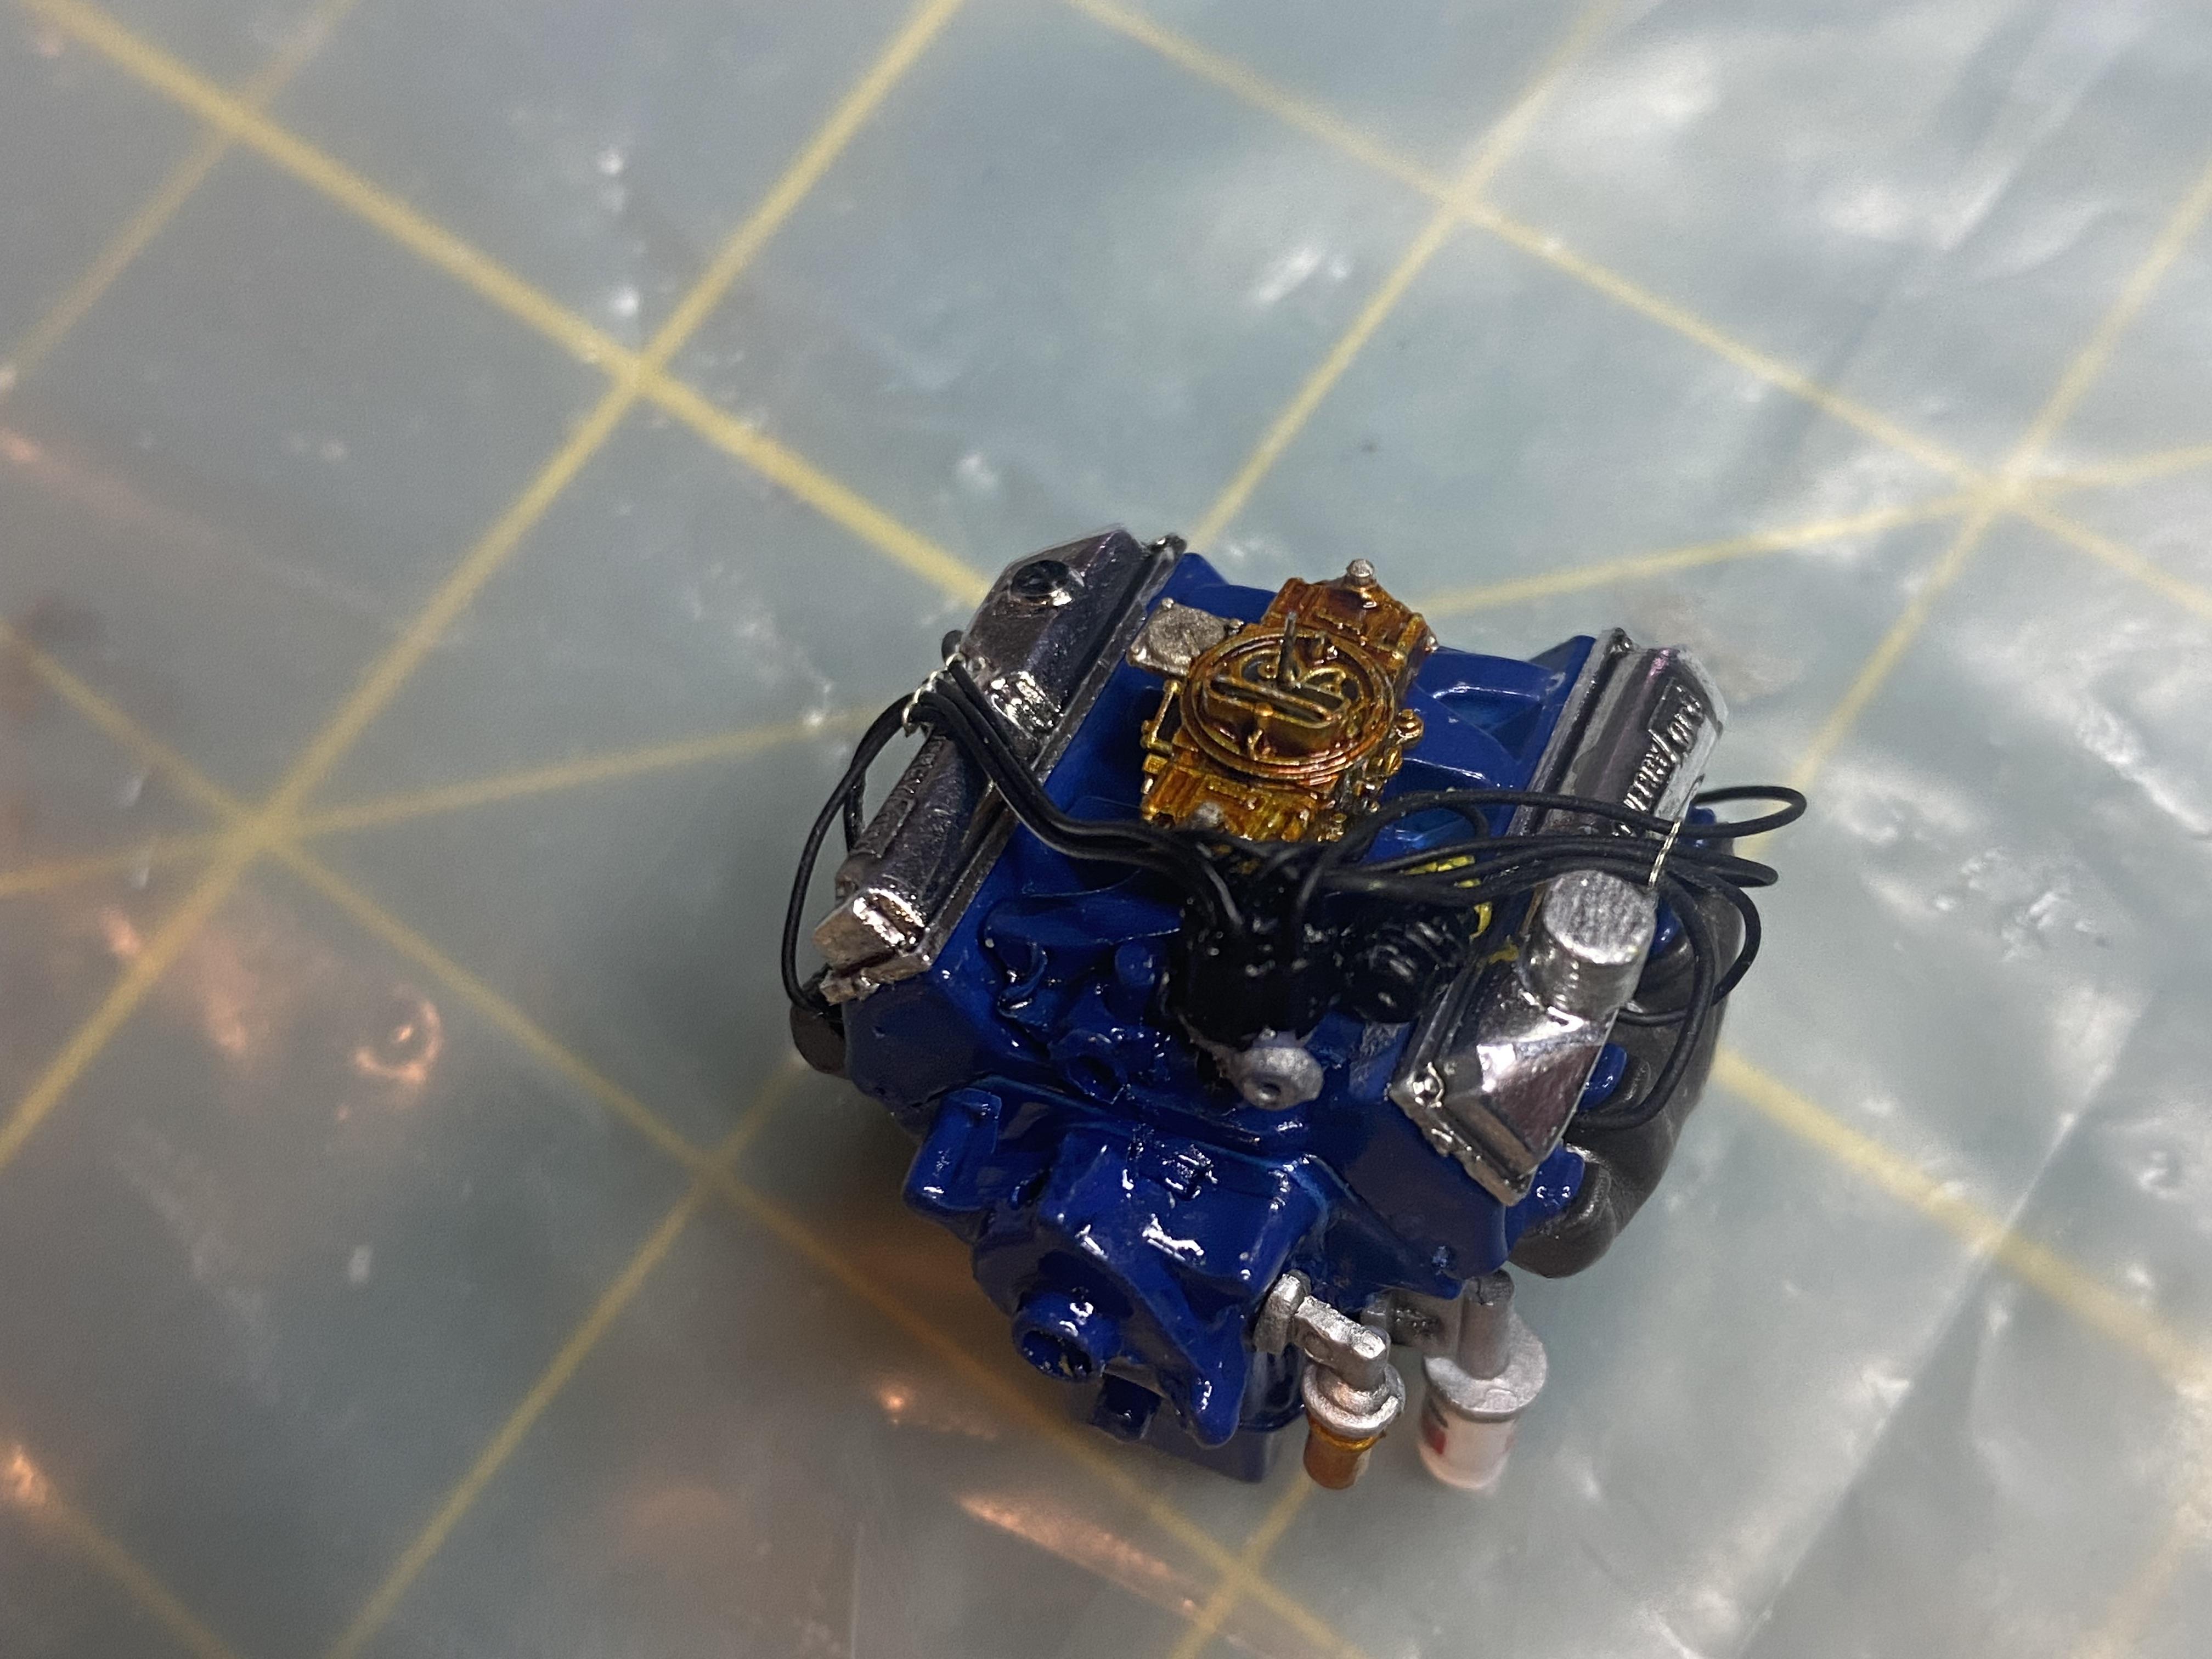
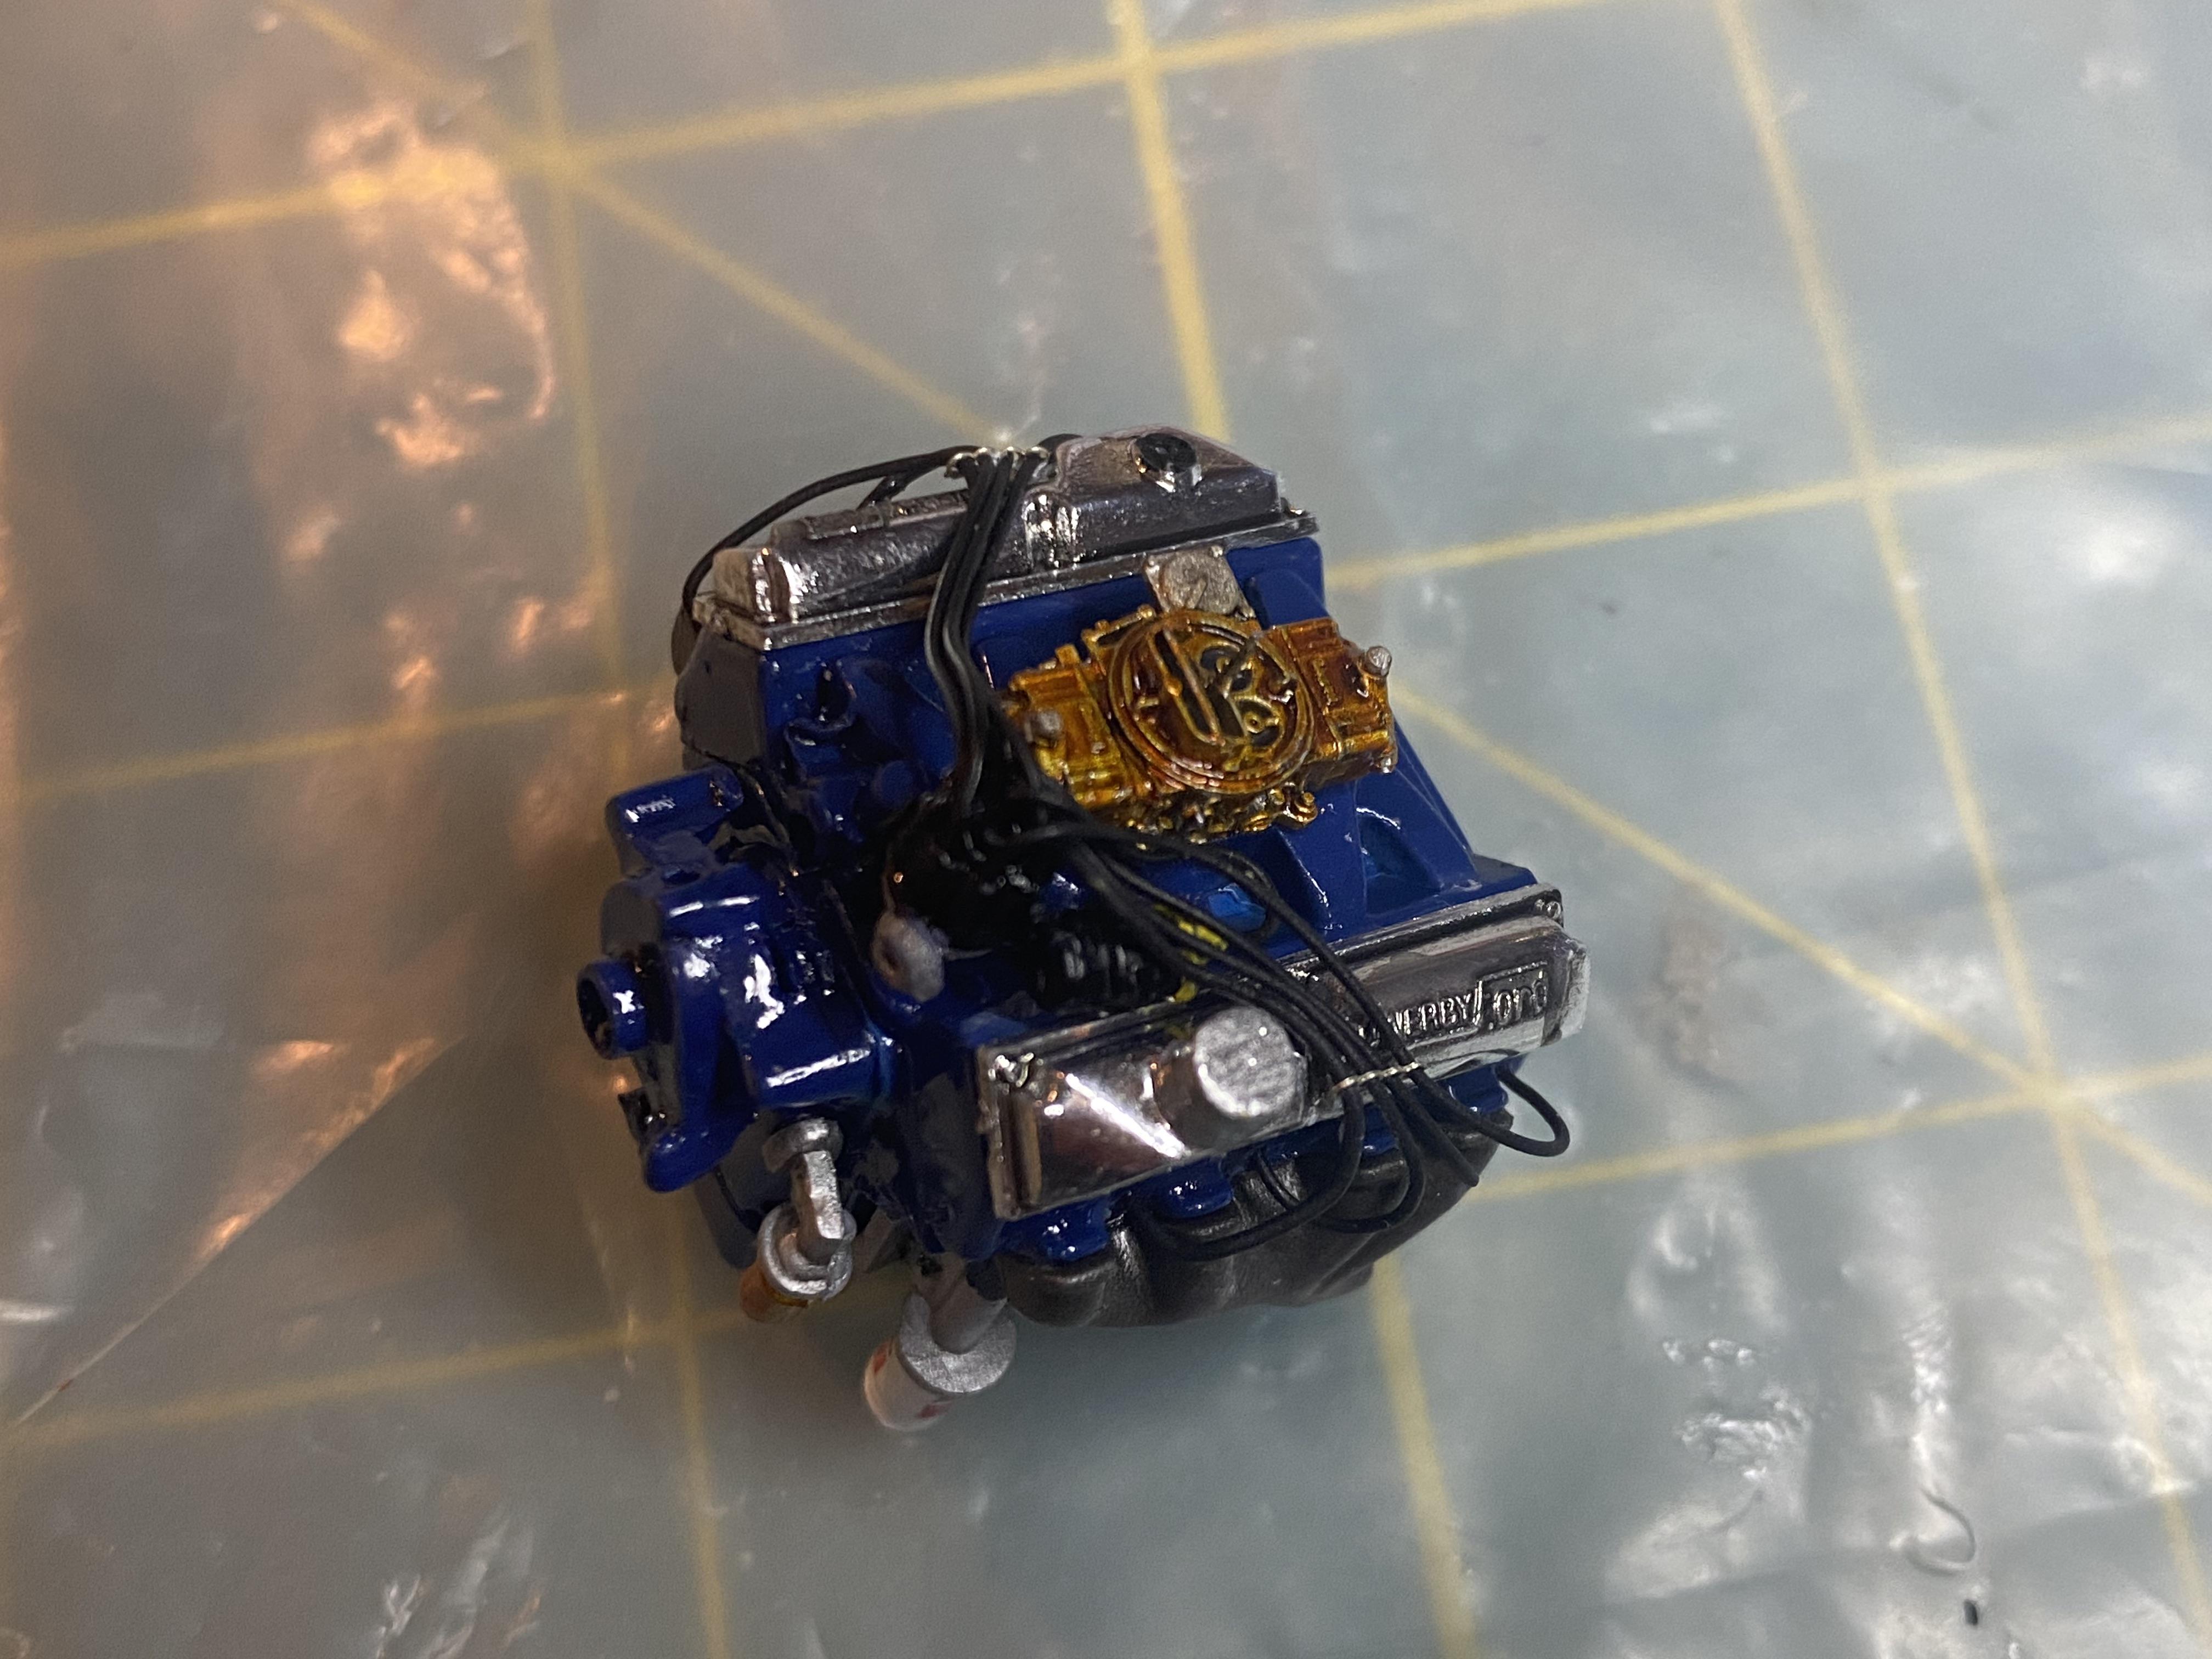
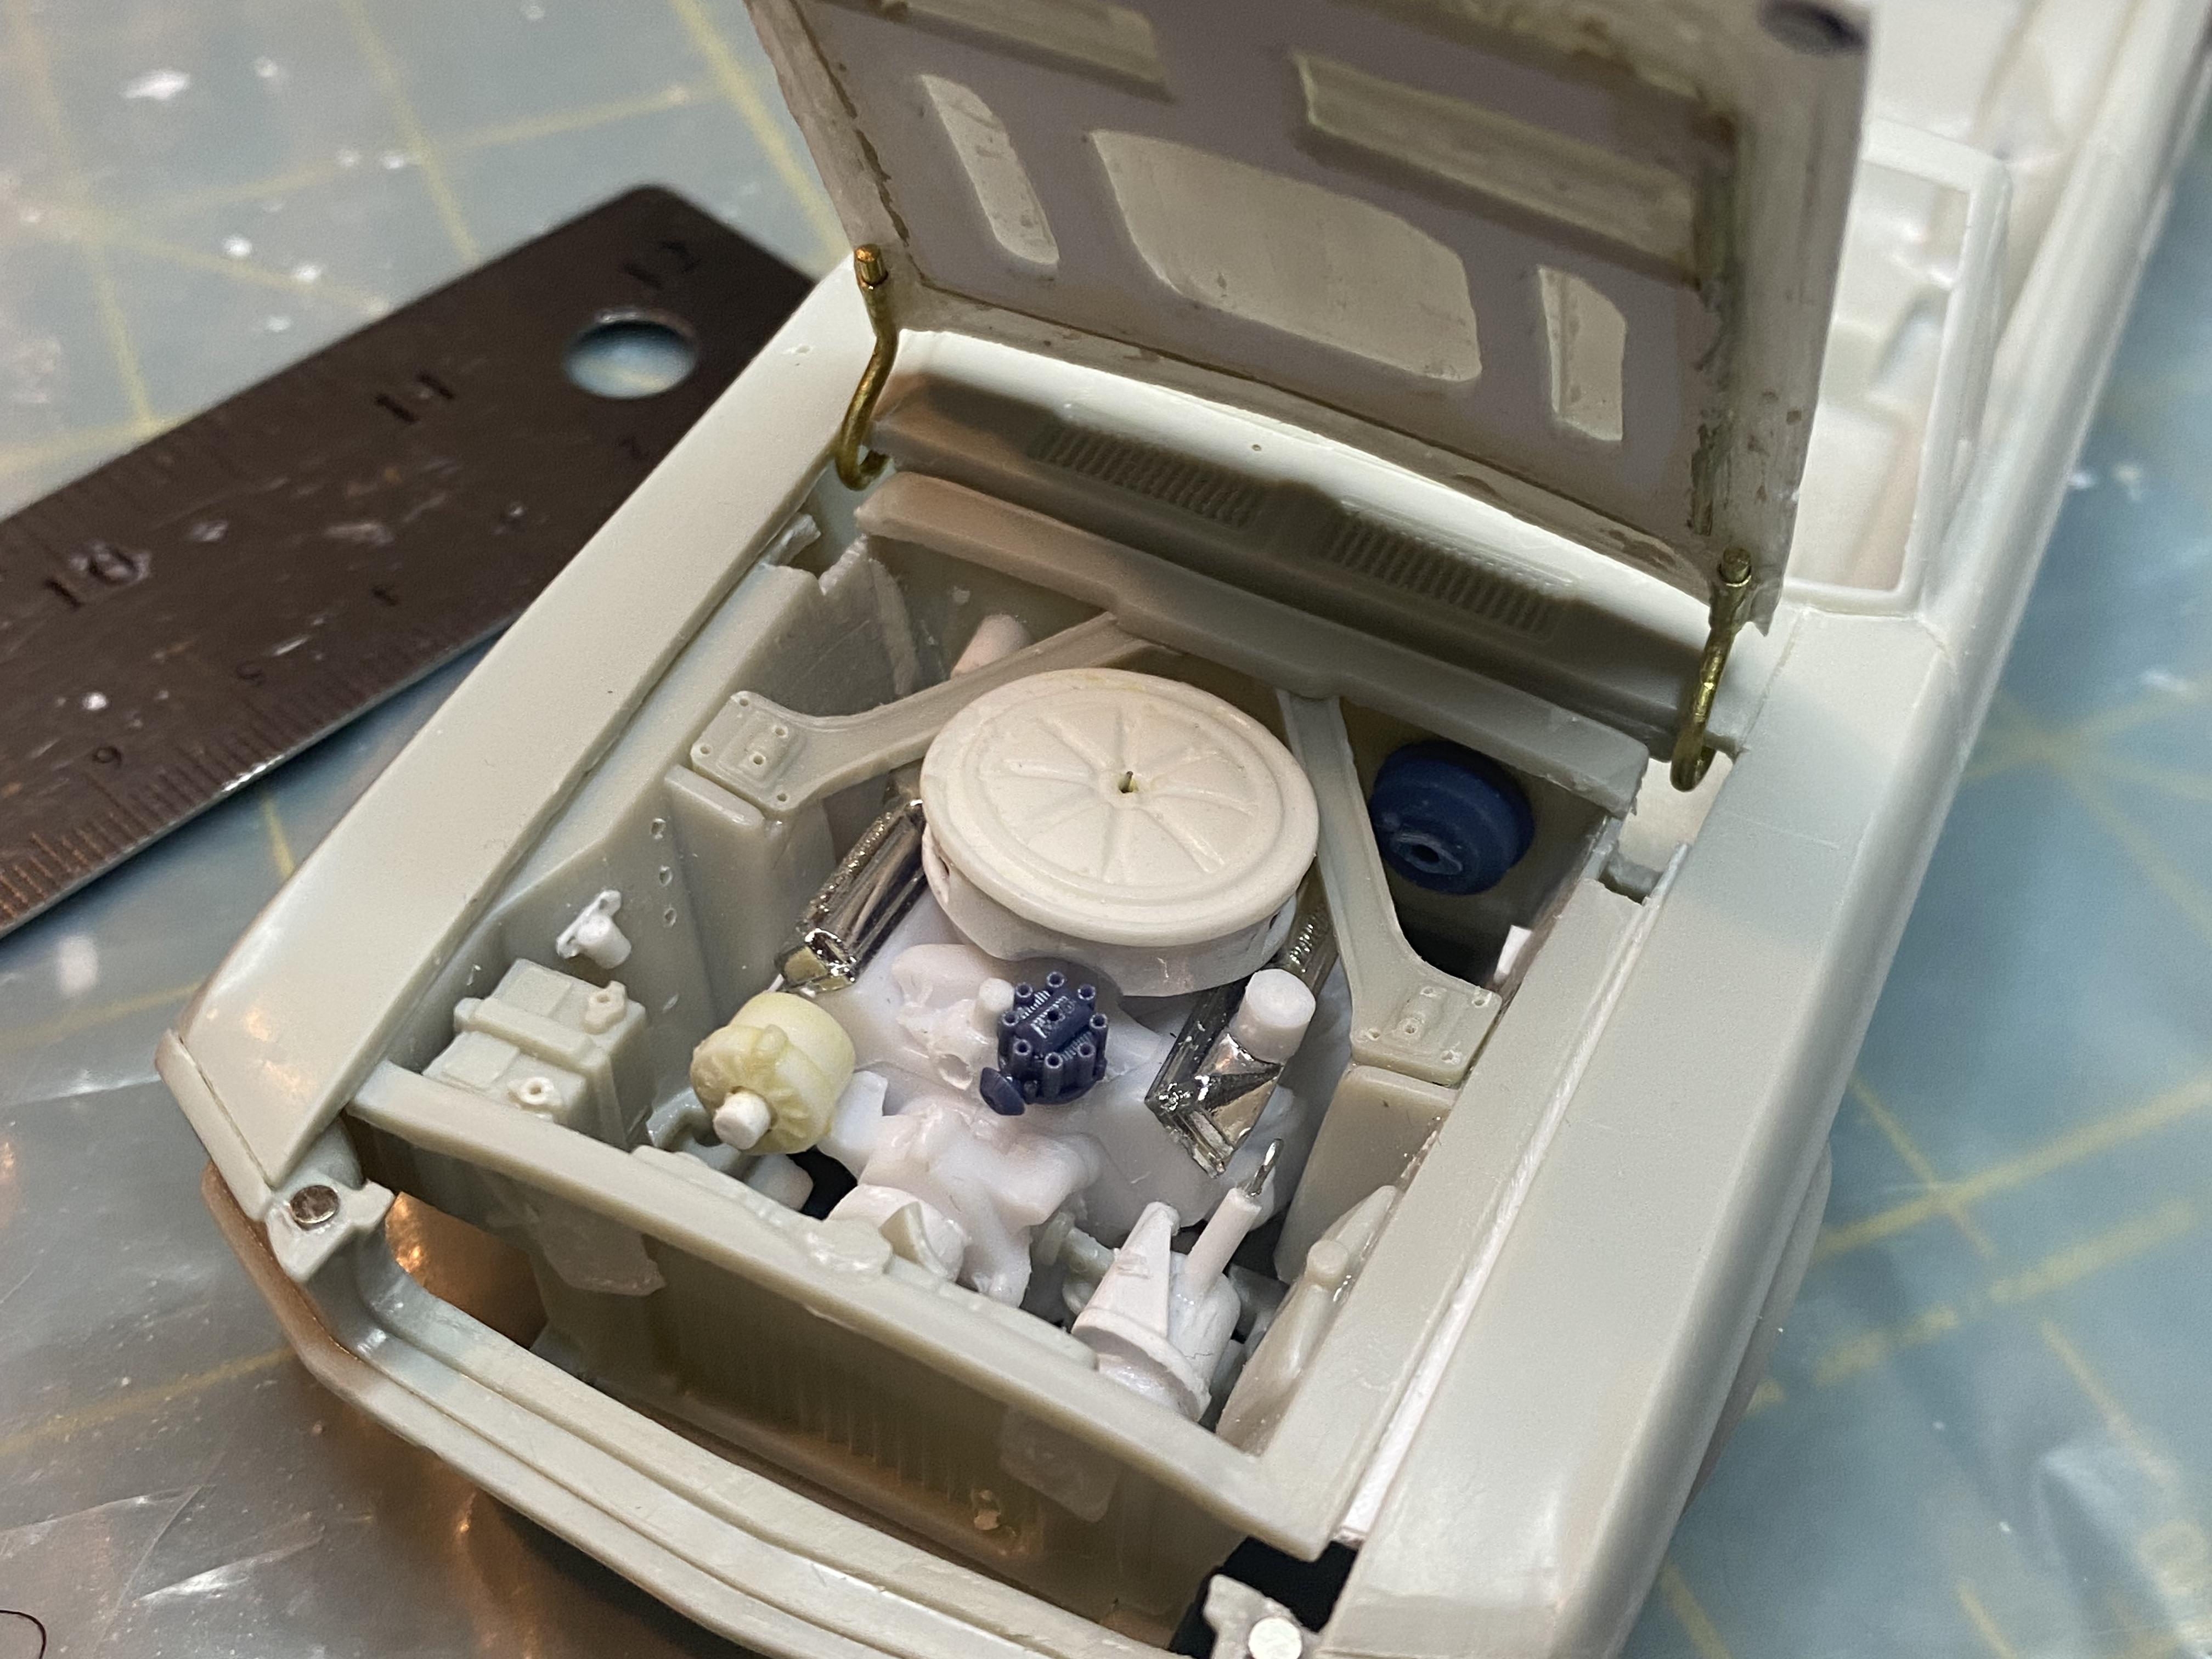
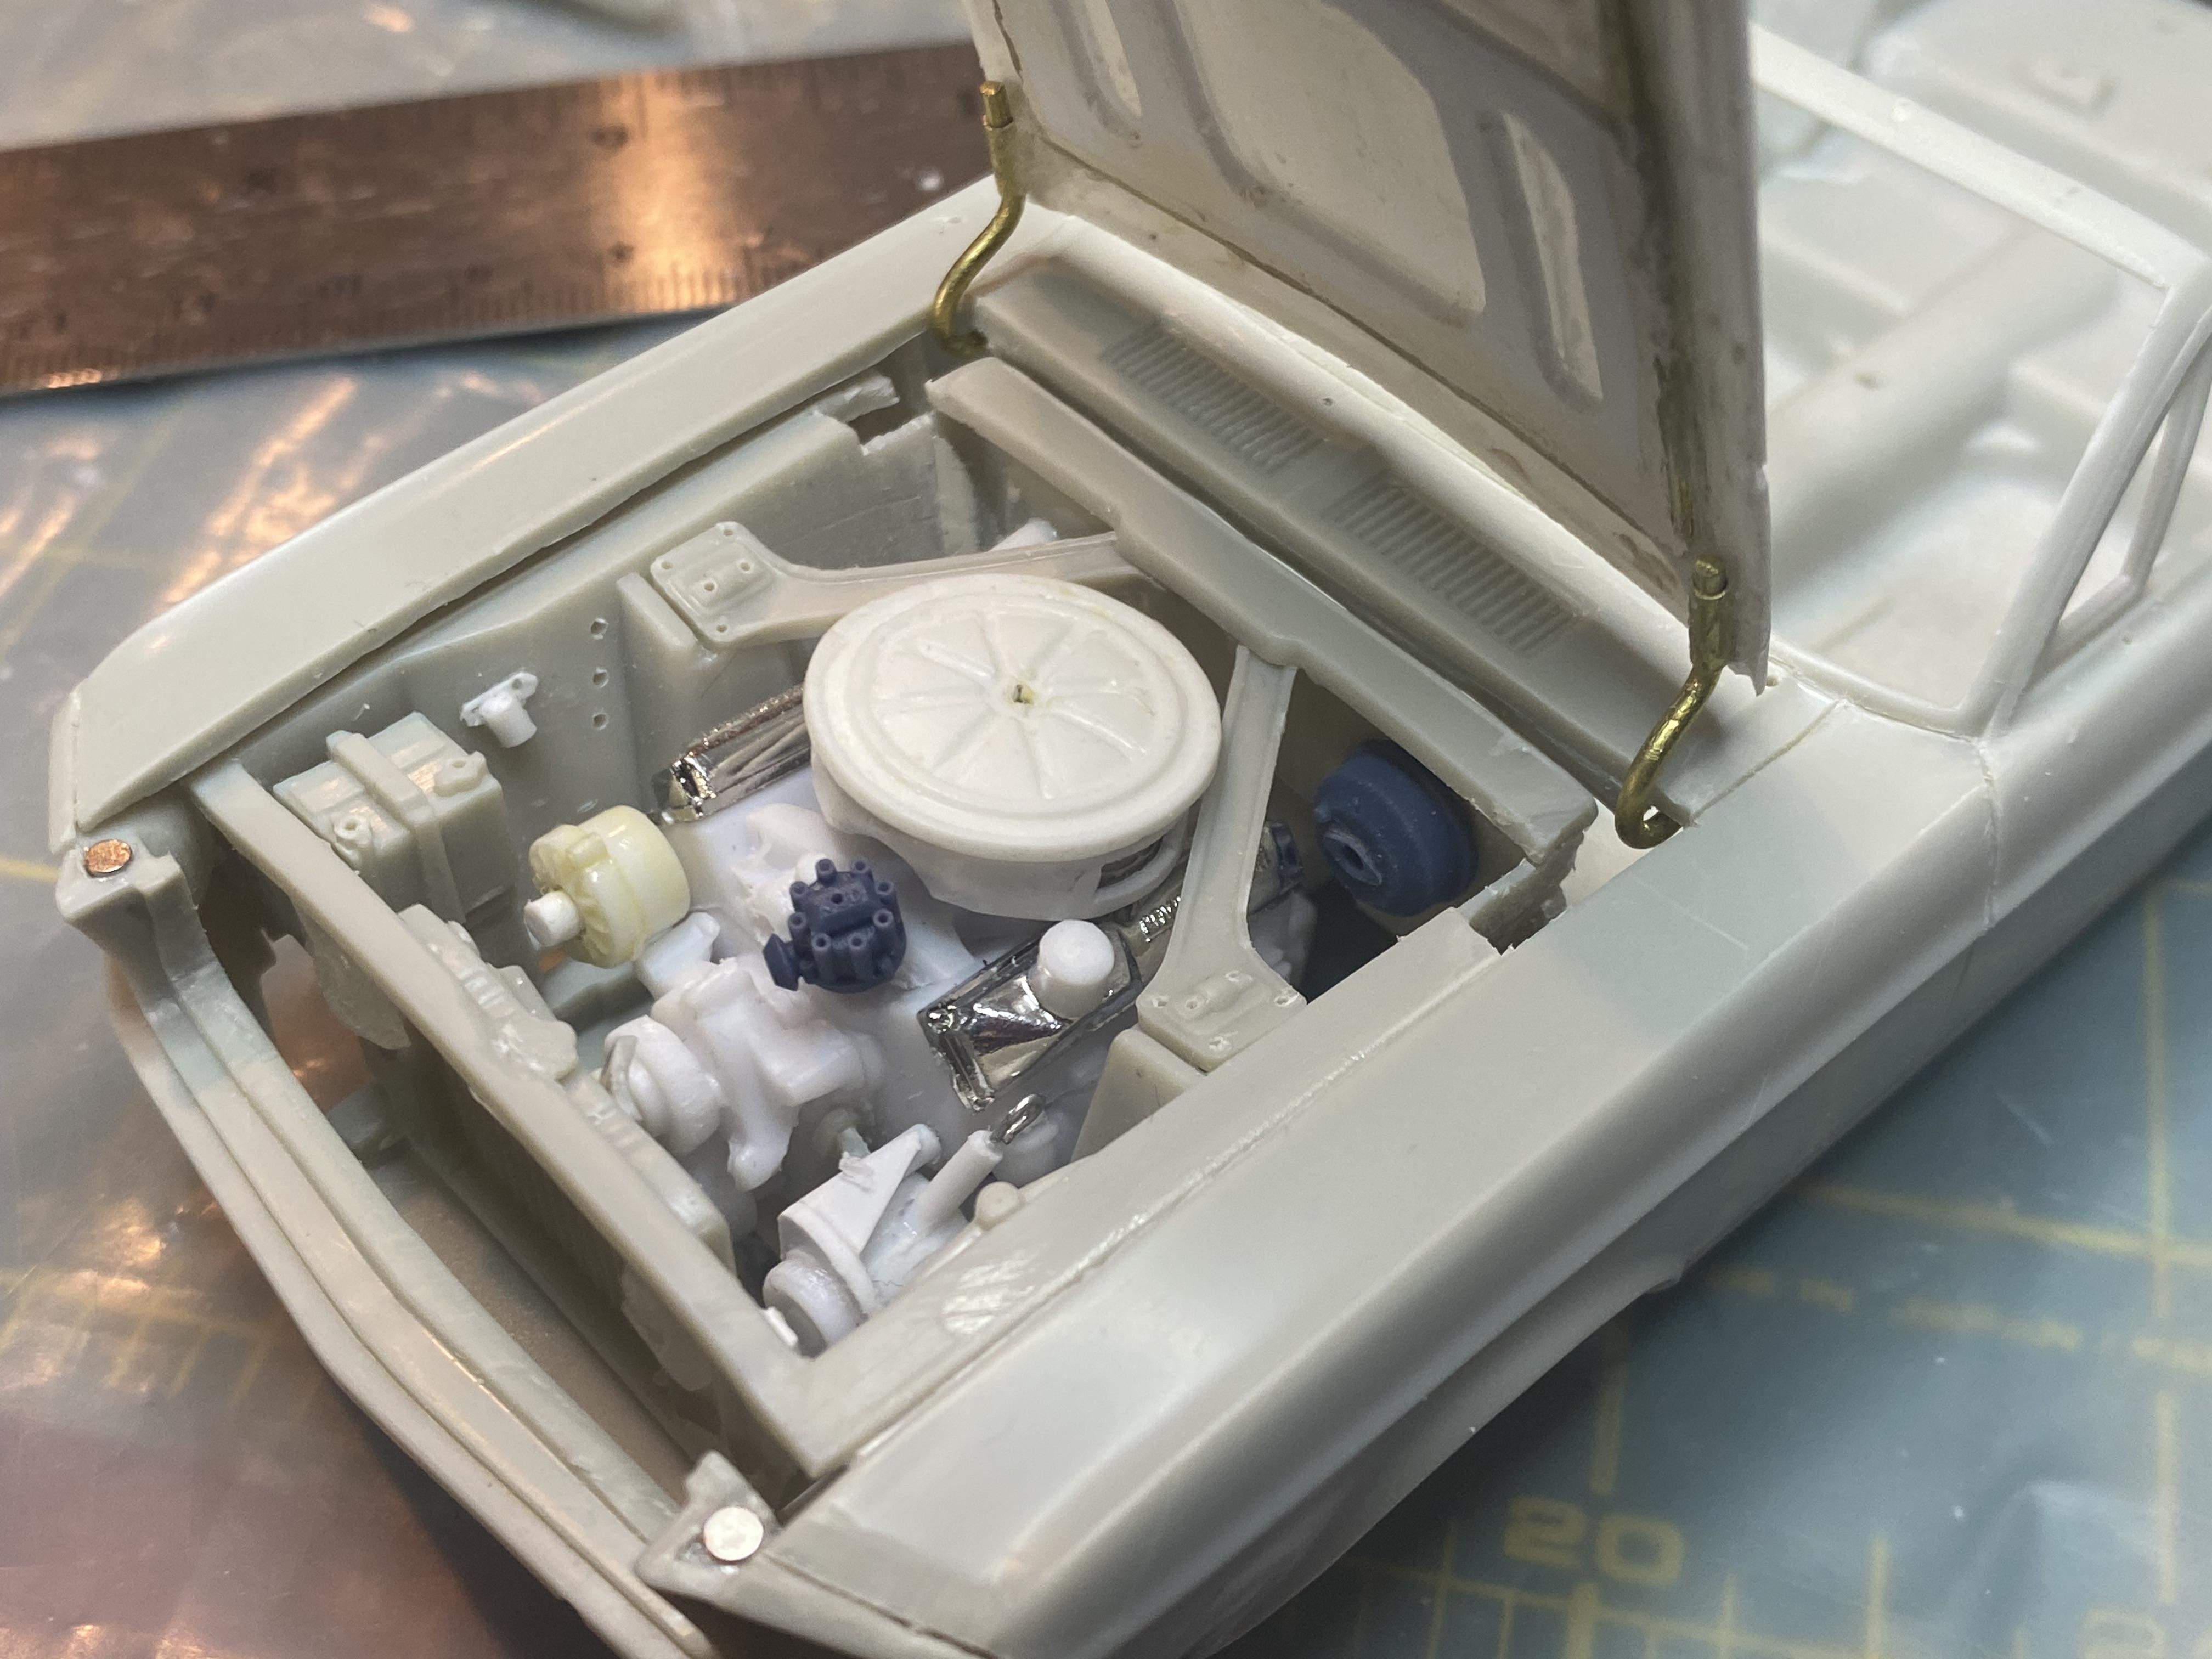
I did get a little more detailing done today. Mainly the engine and engine compartment.

-
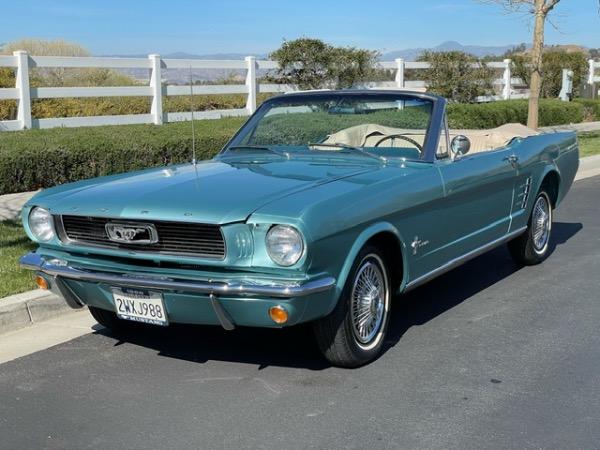
Thank you! I didn’t think about that one. I believe it is a 1968 Shelby look alike, but the color combination is close.
-
Thank you! I am sure some people will notice there is something about the wheels that is different from the kit but may not know why. 😁 I do wonder how many people will think the body is from a resin transkit. I may have to make a coupe at some point too. I think I can scratch build a roof. 🤔
-
Thank You! Thank You! I must certainly hope it will be.
-
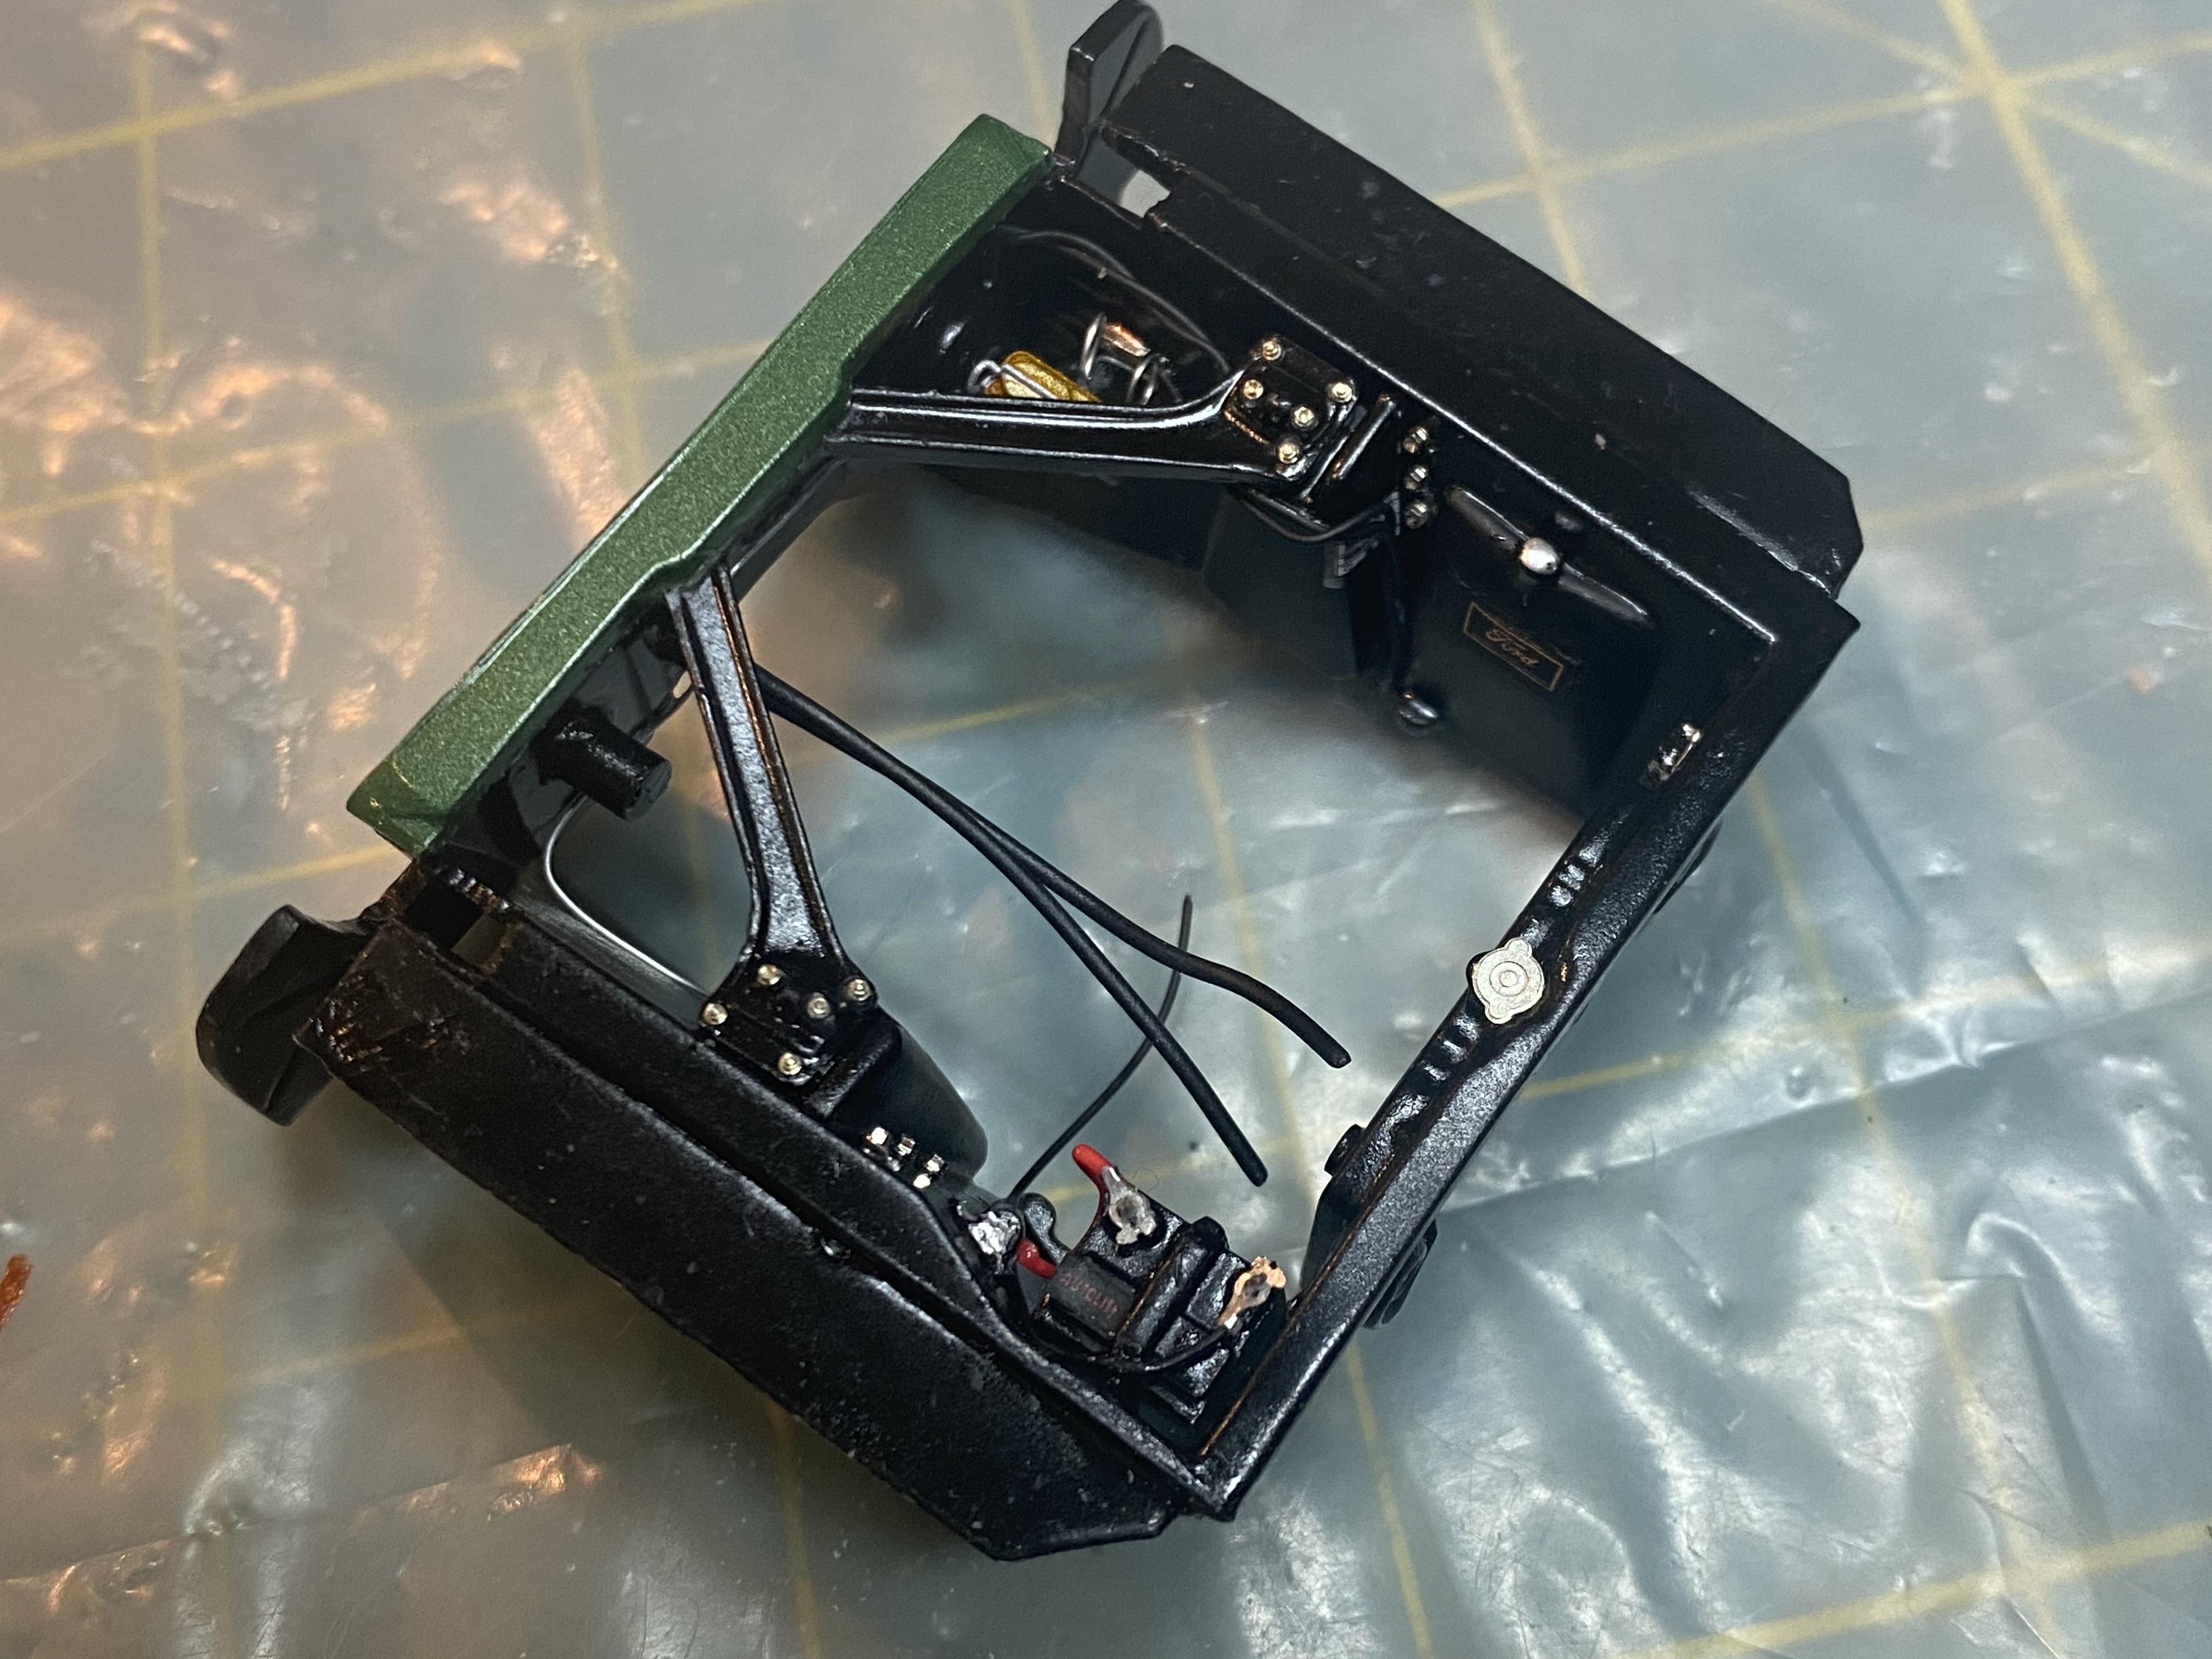
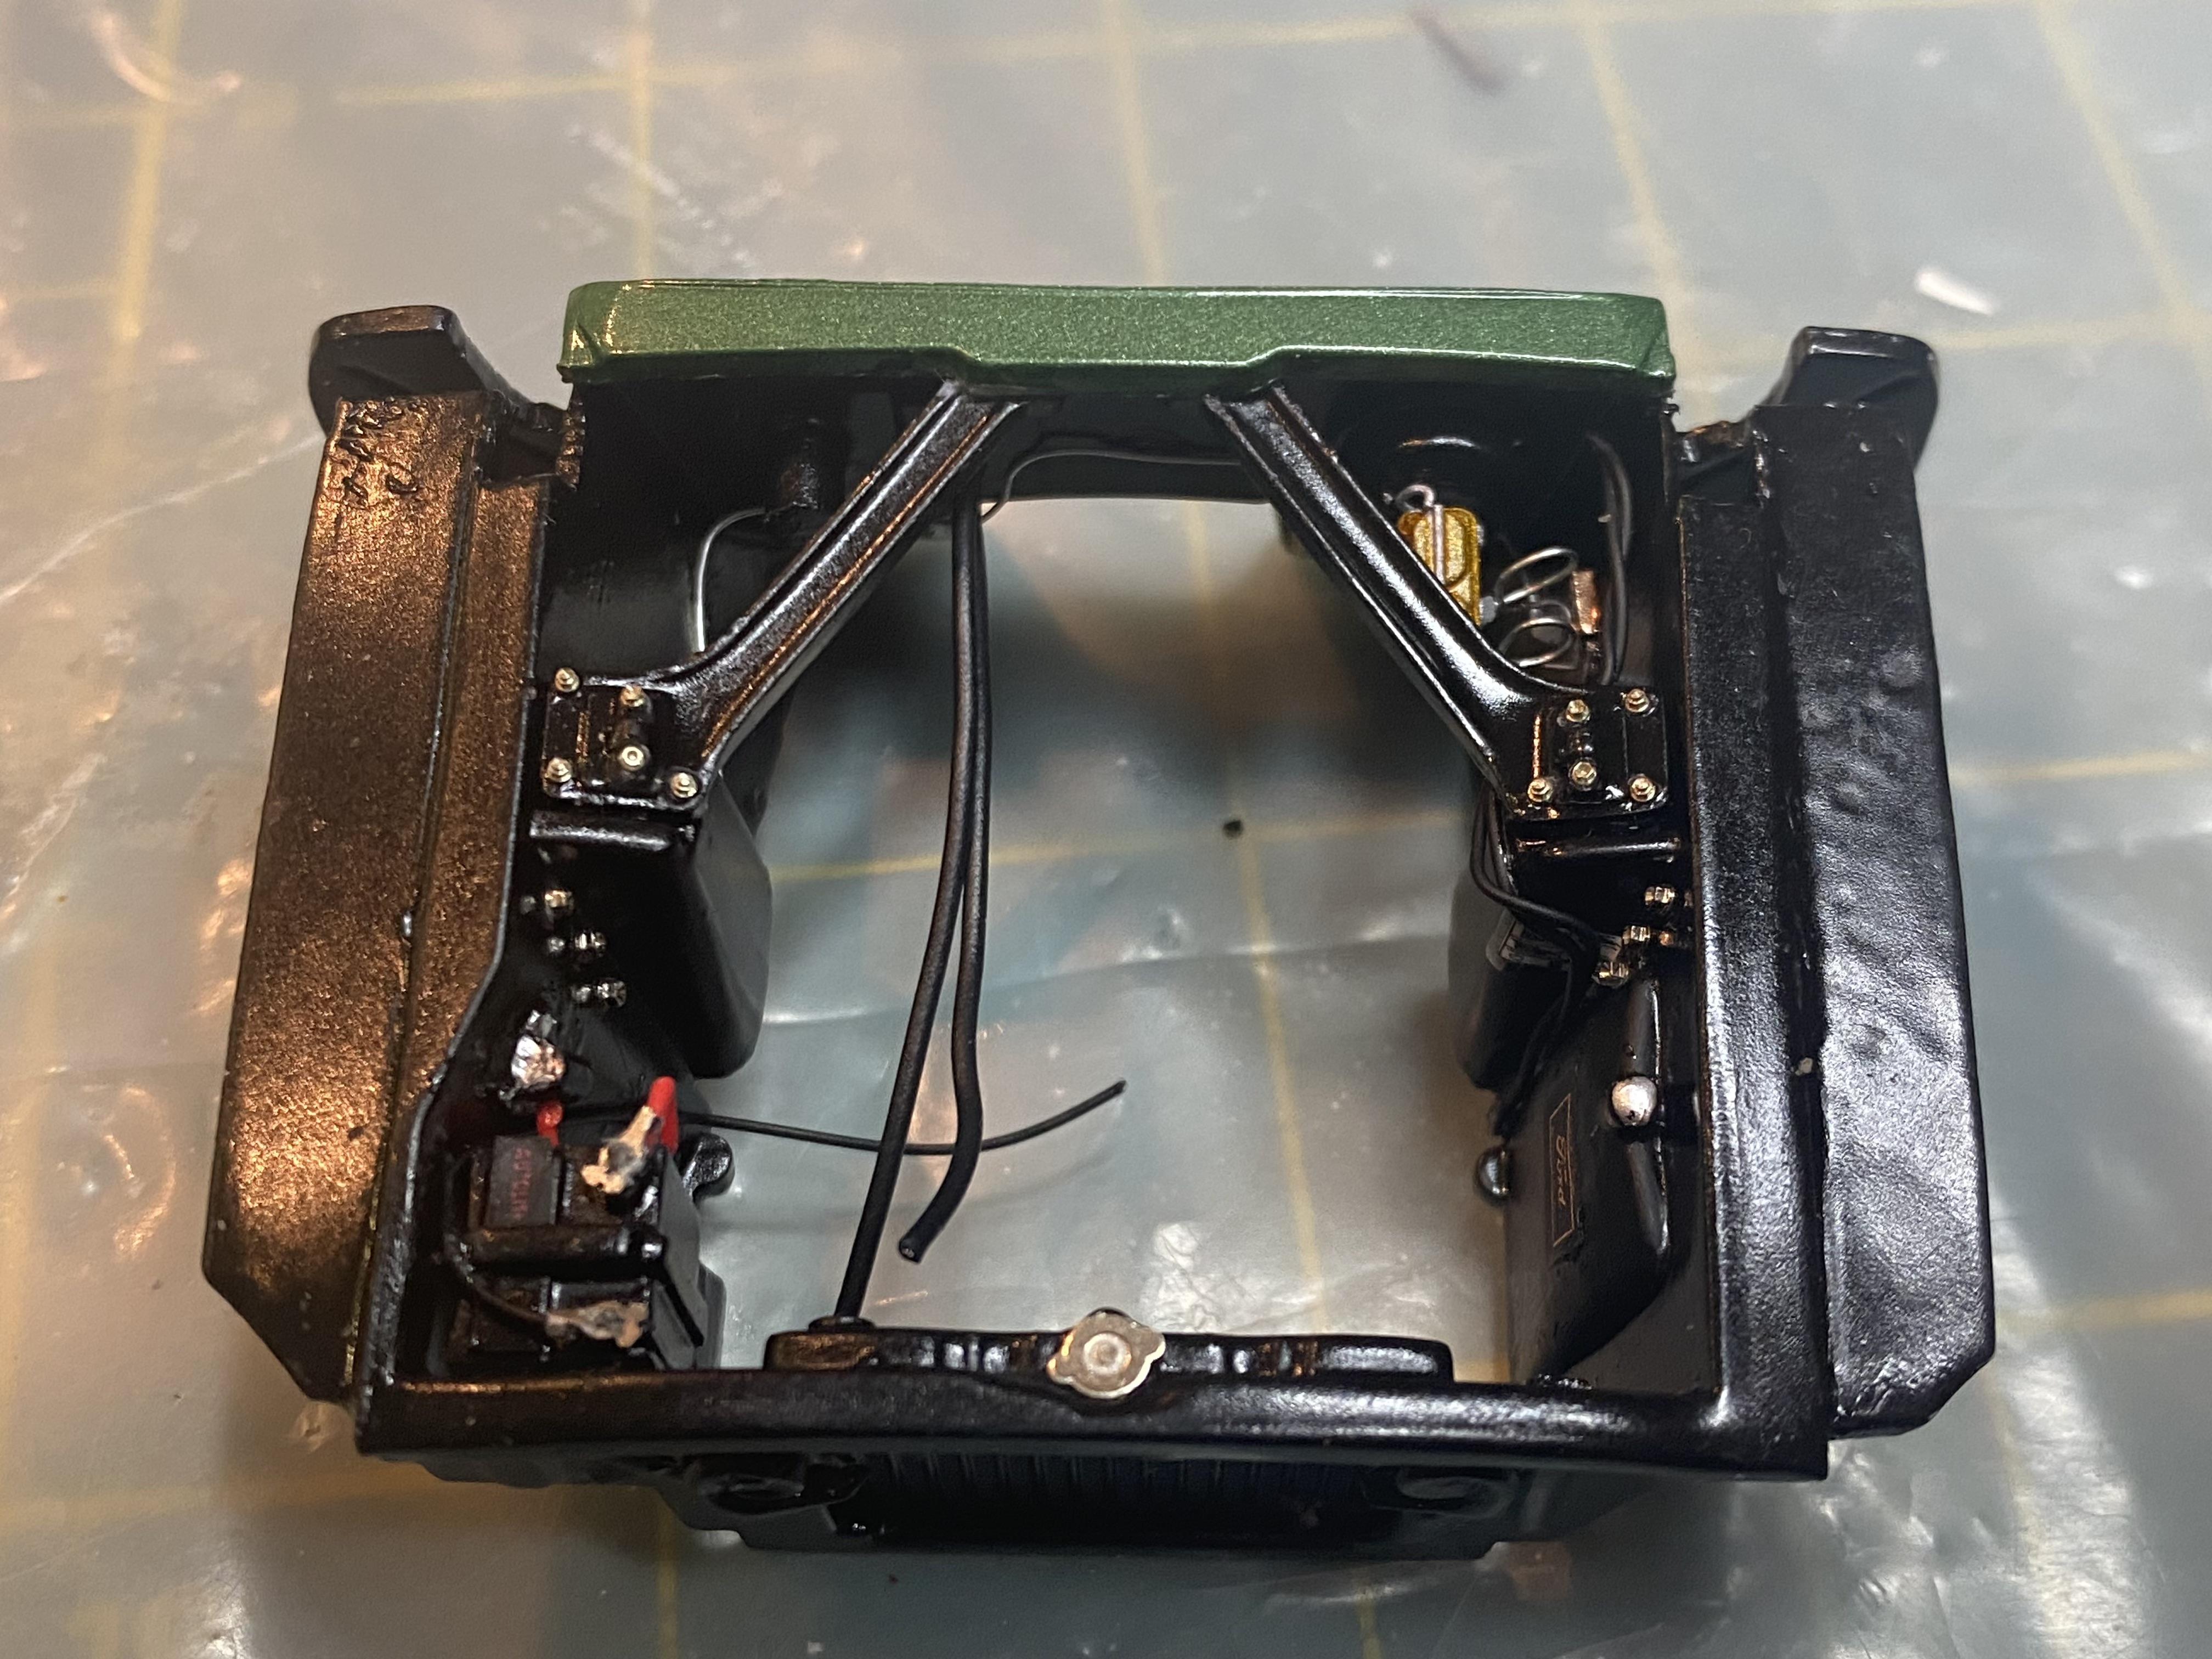
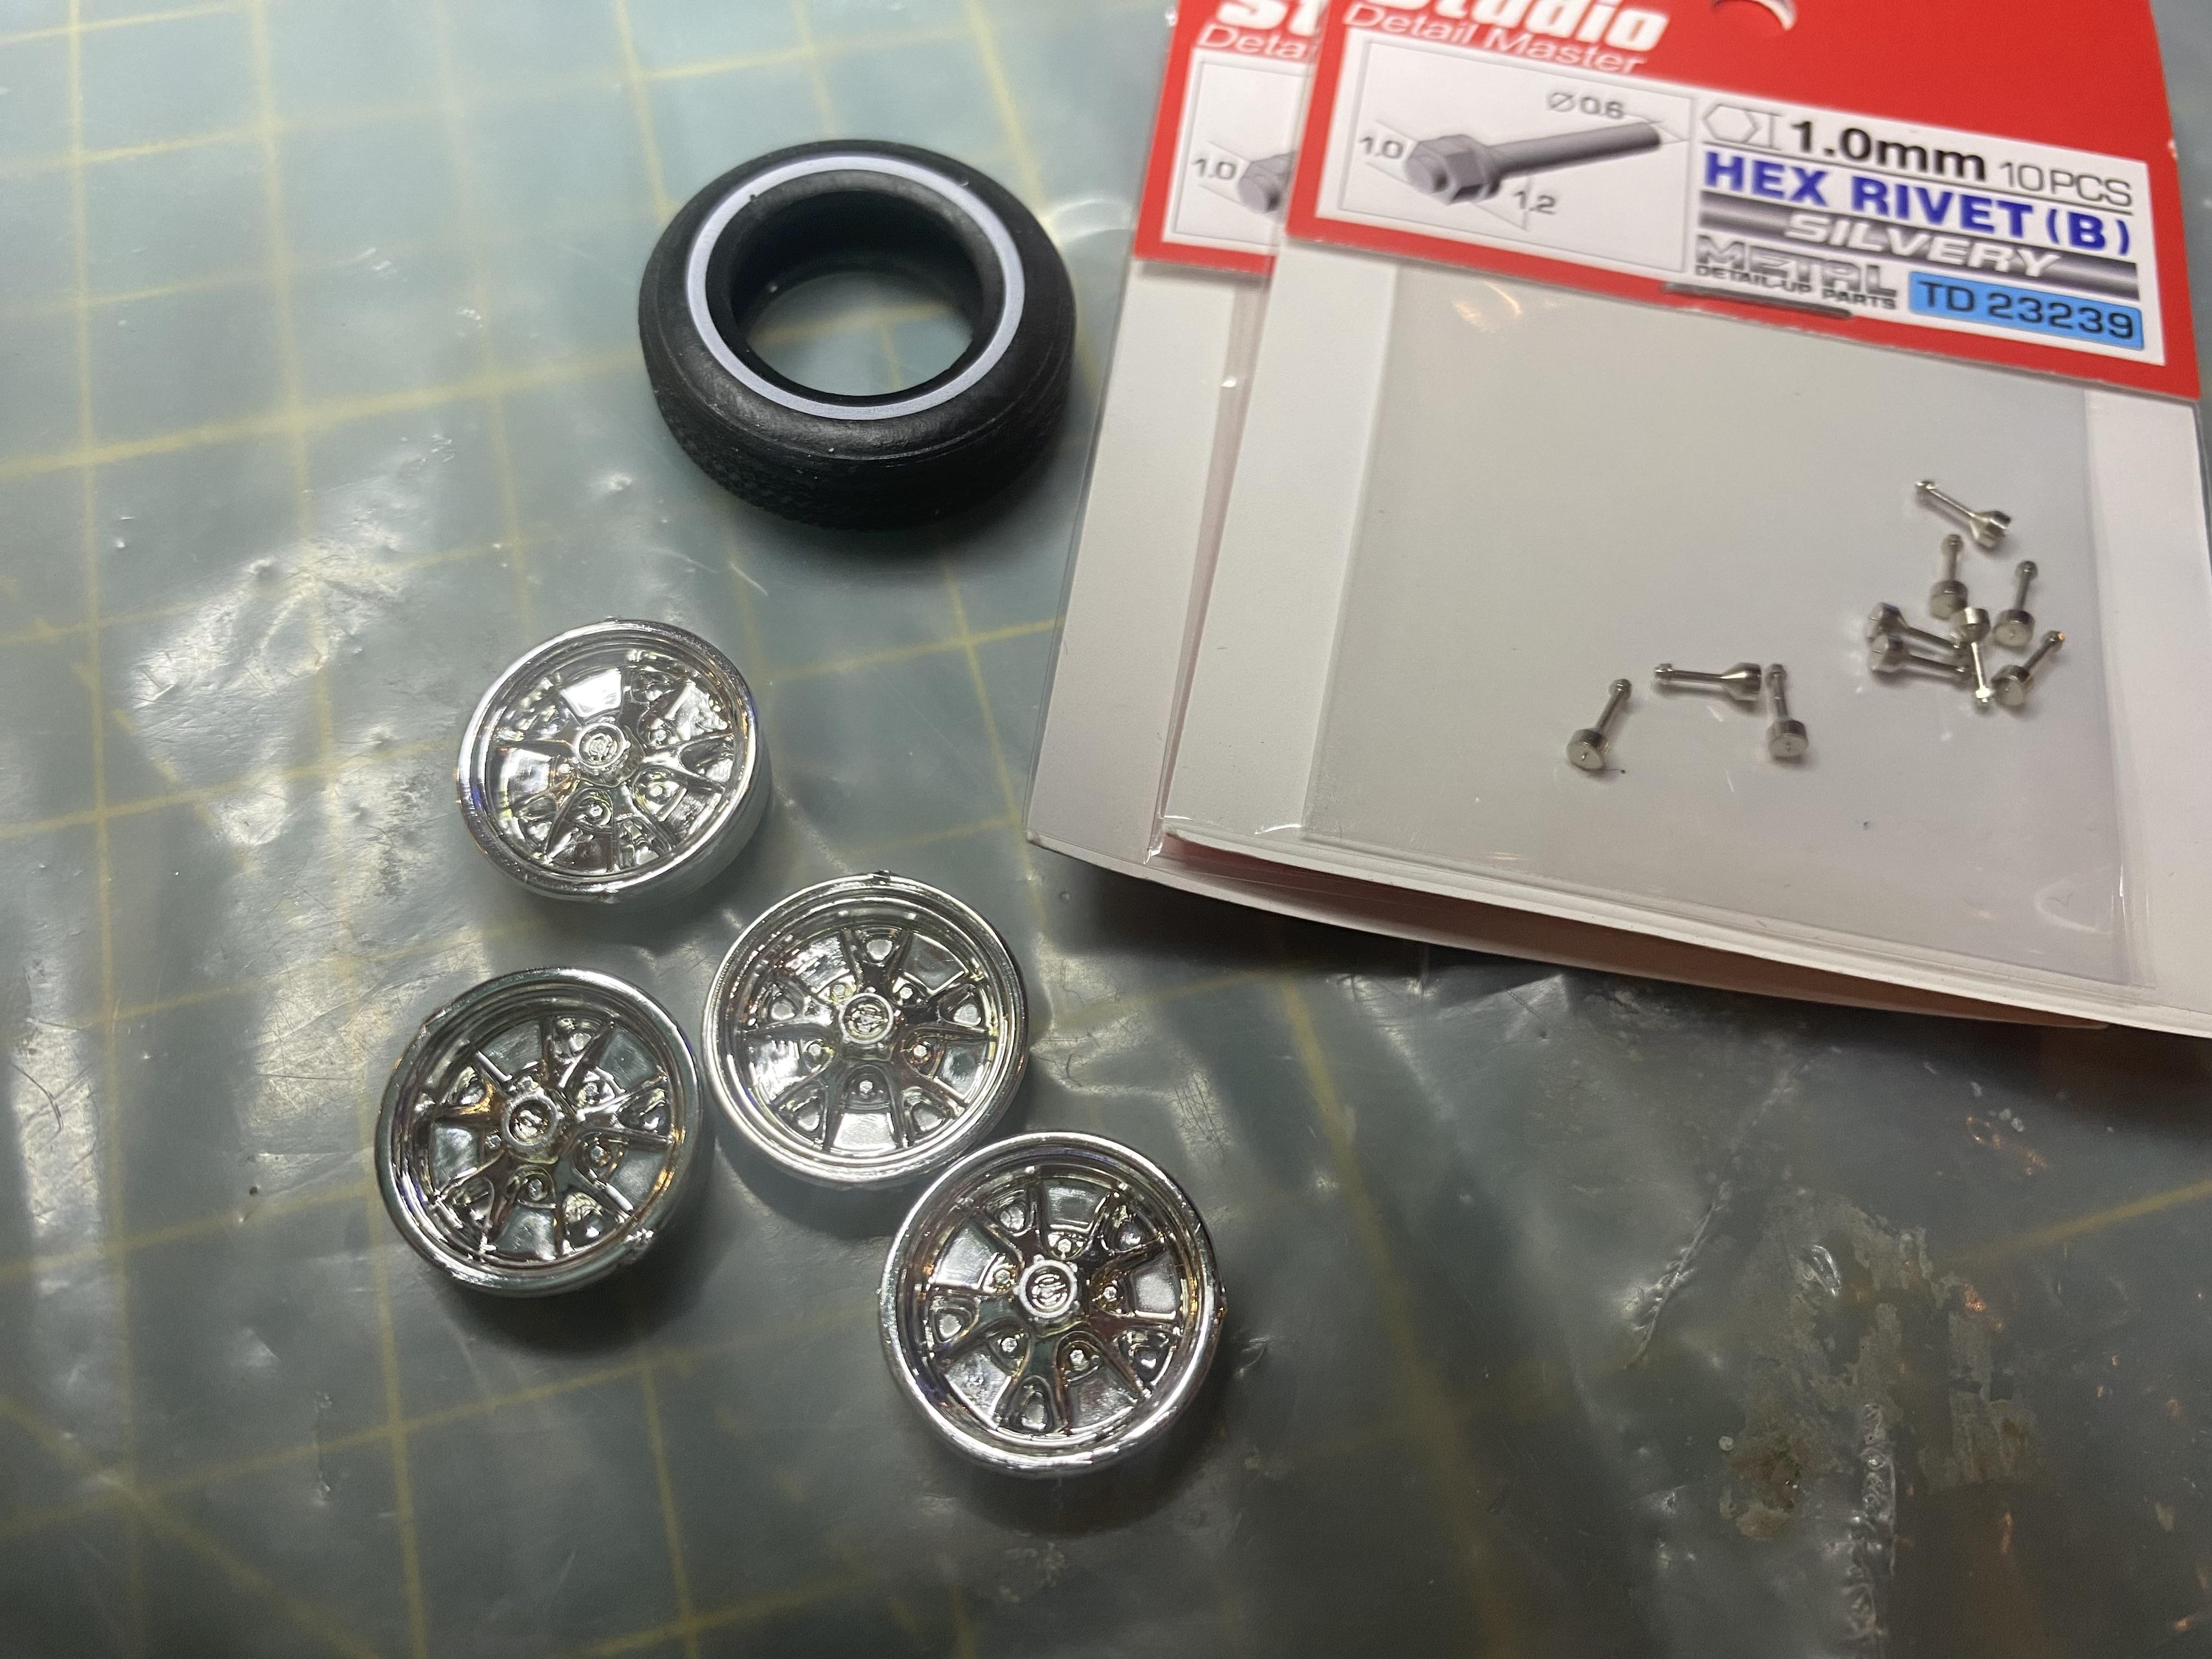
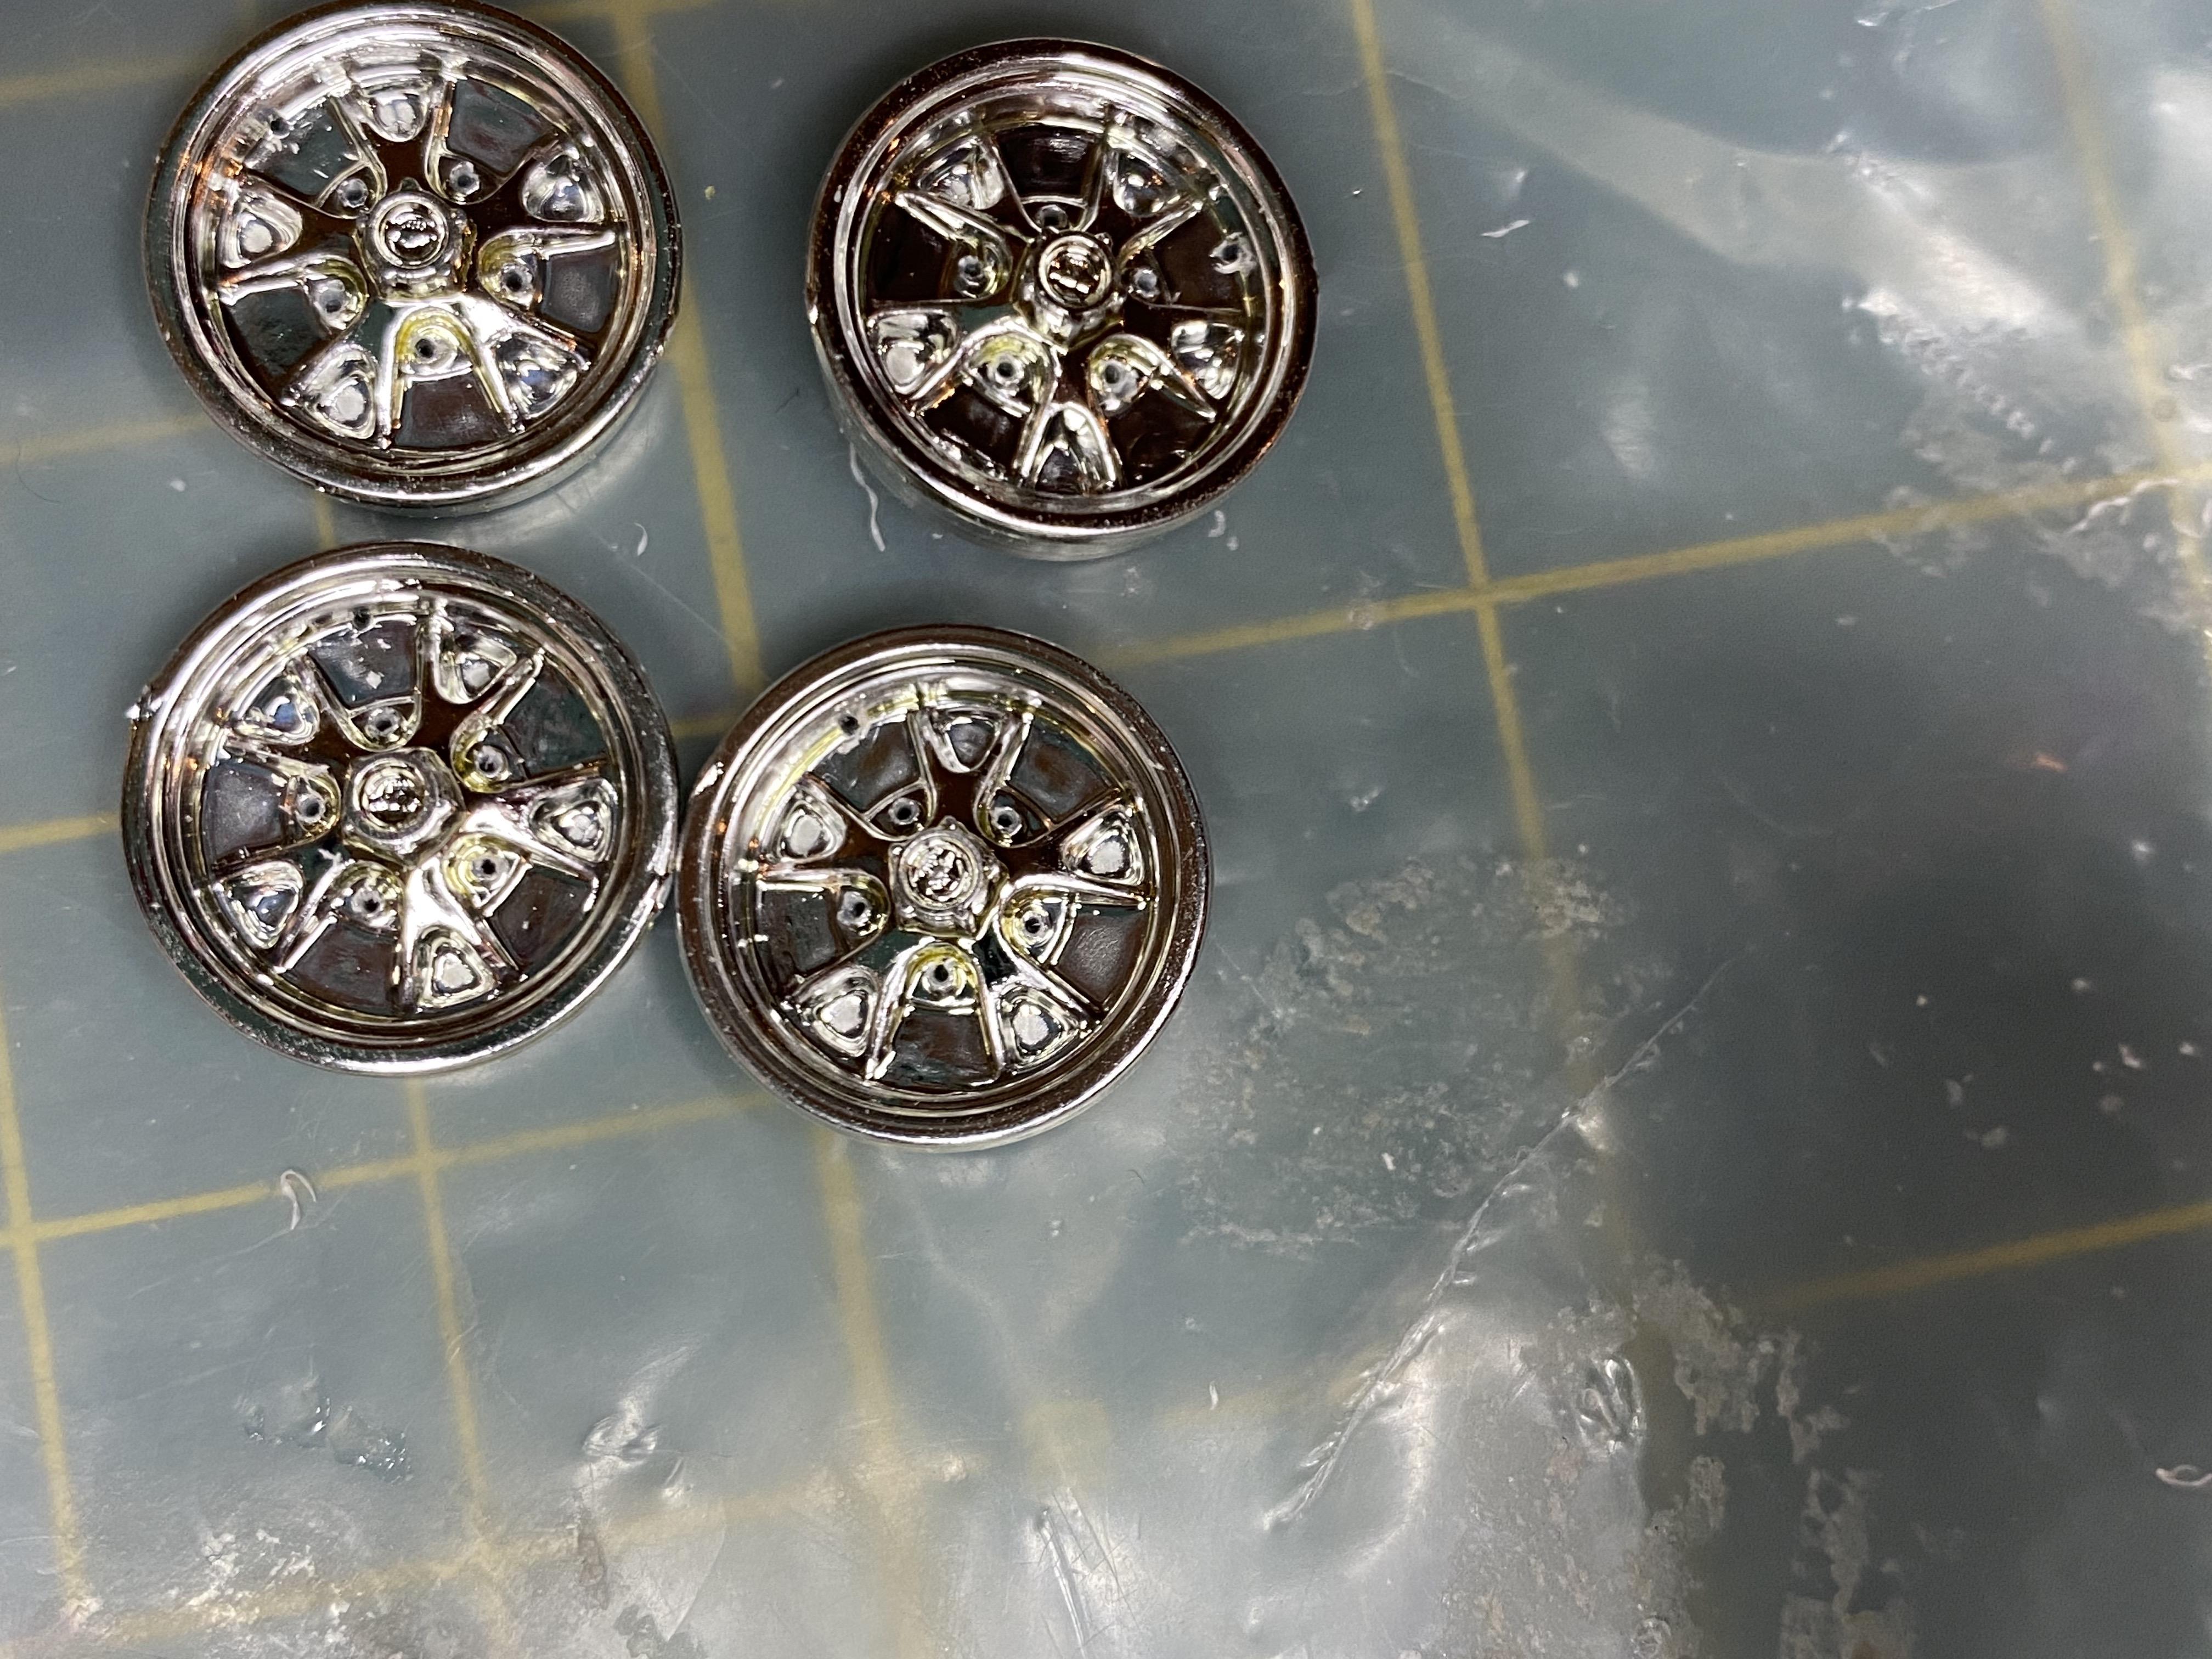
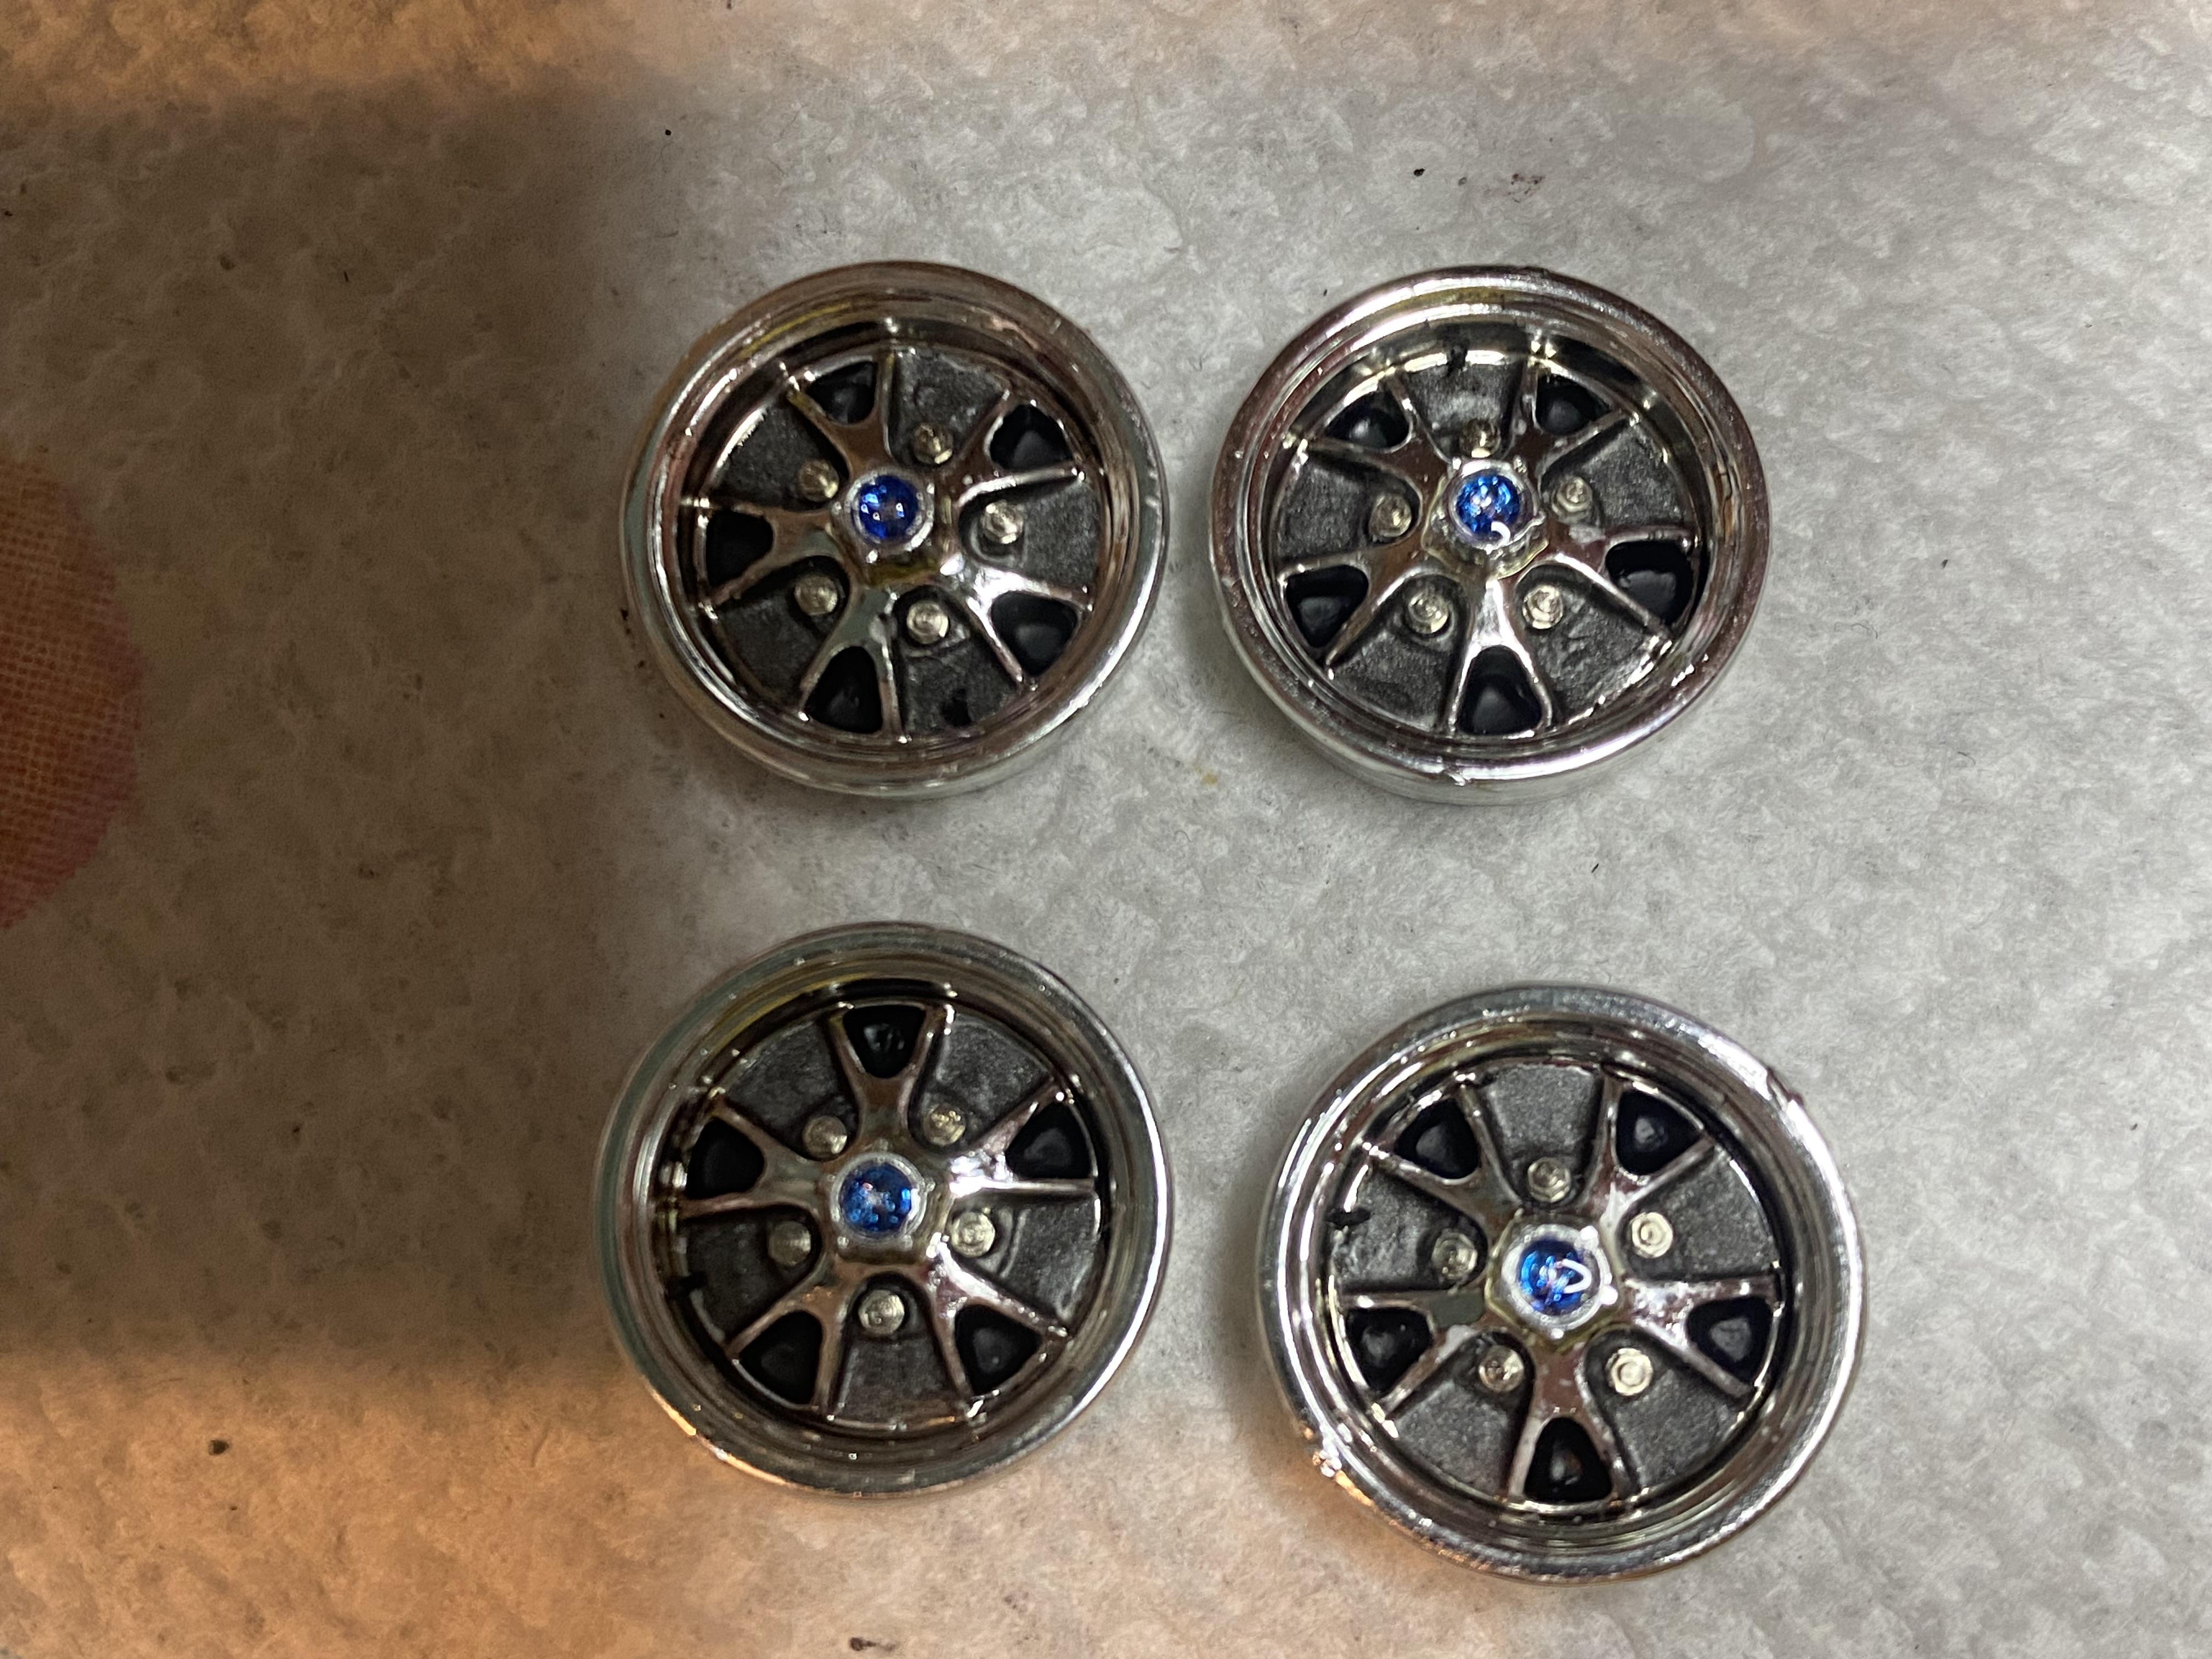
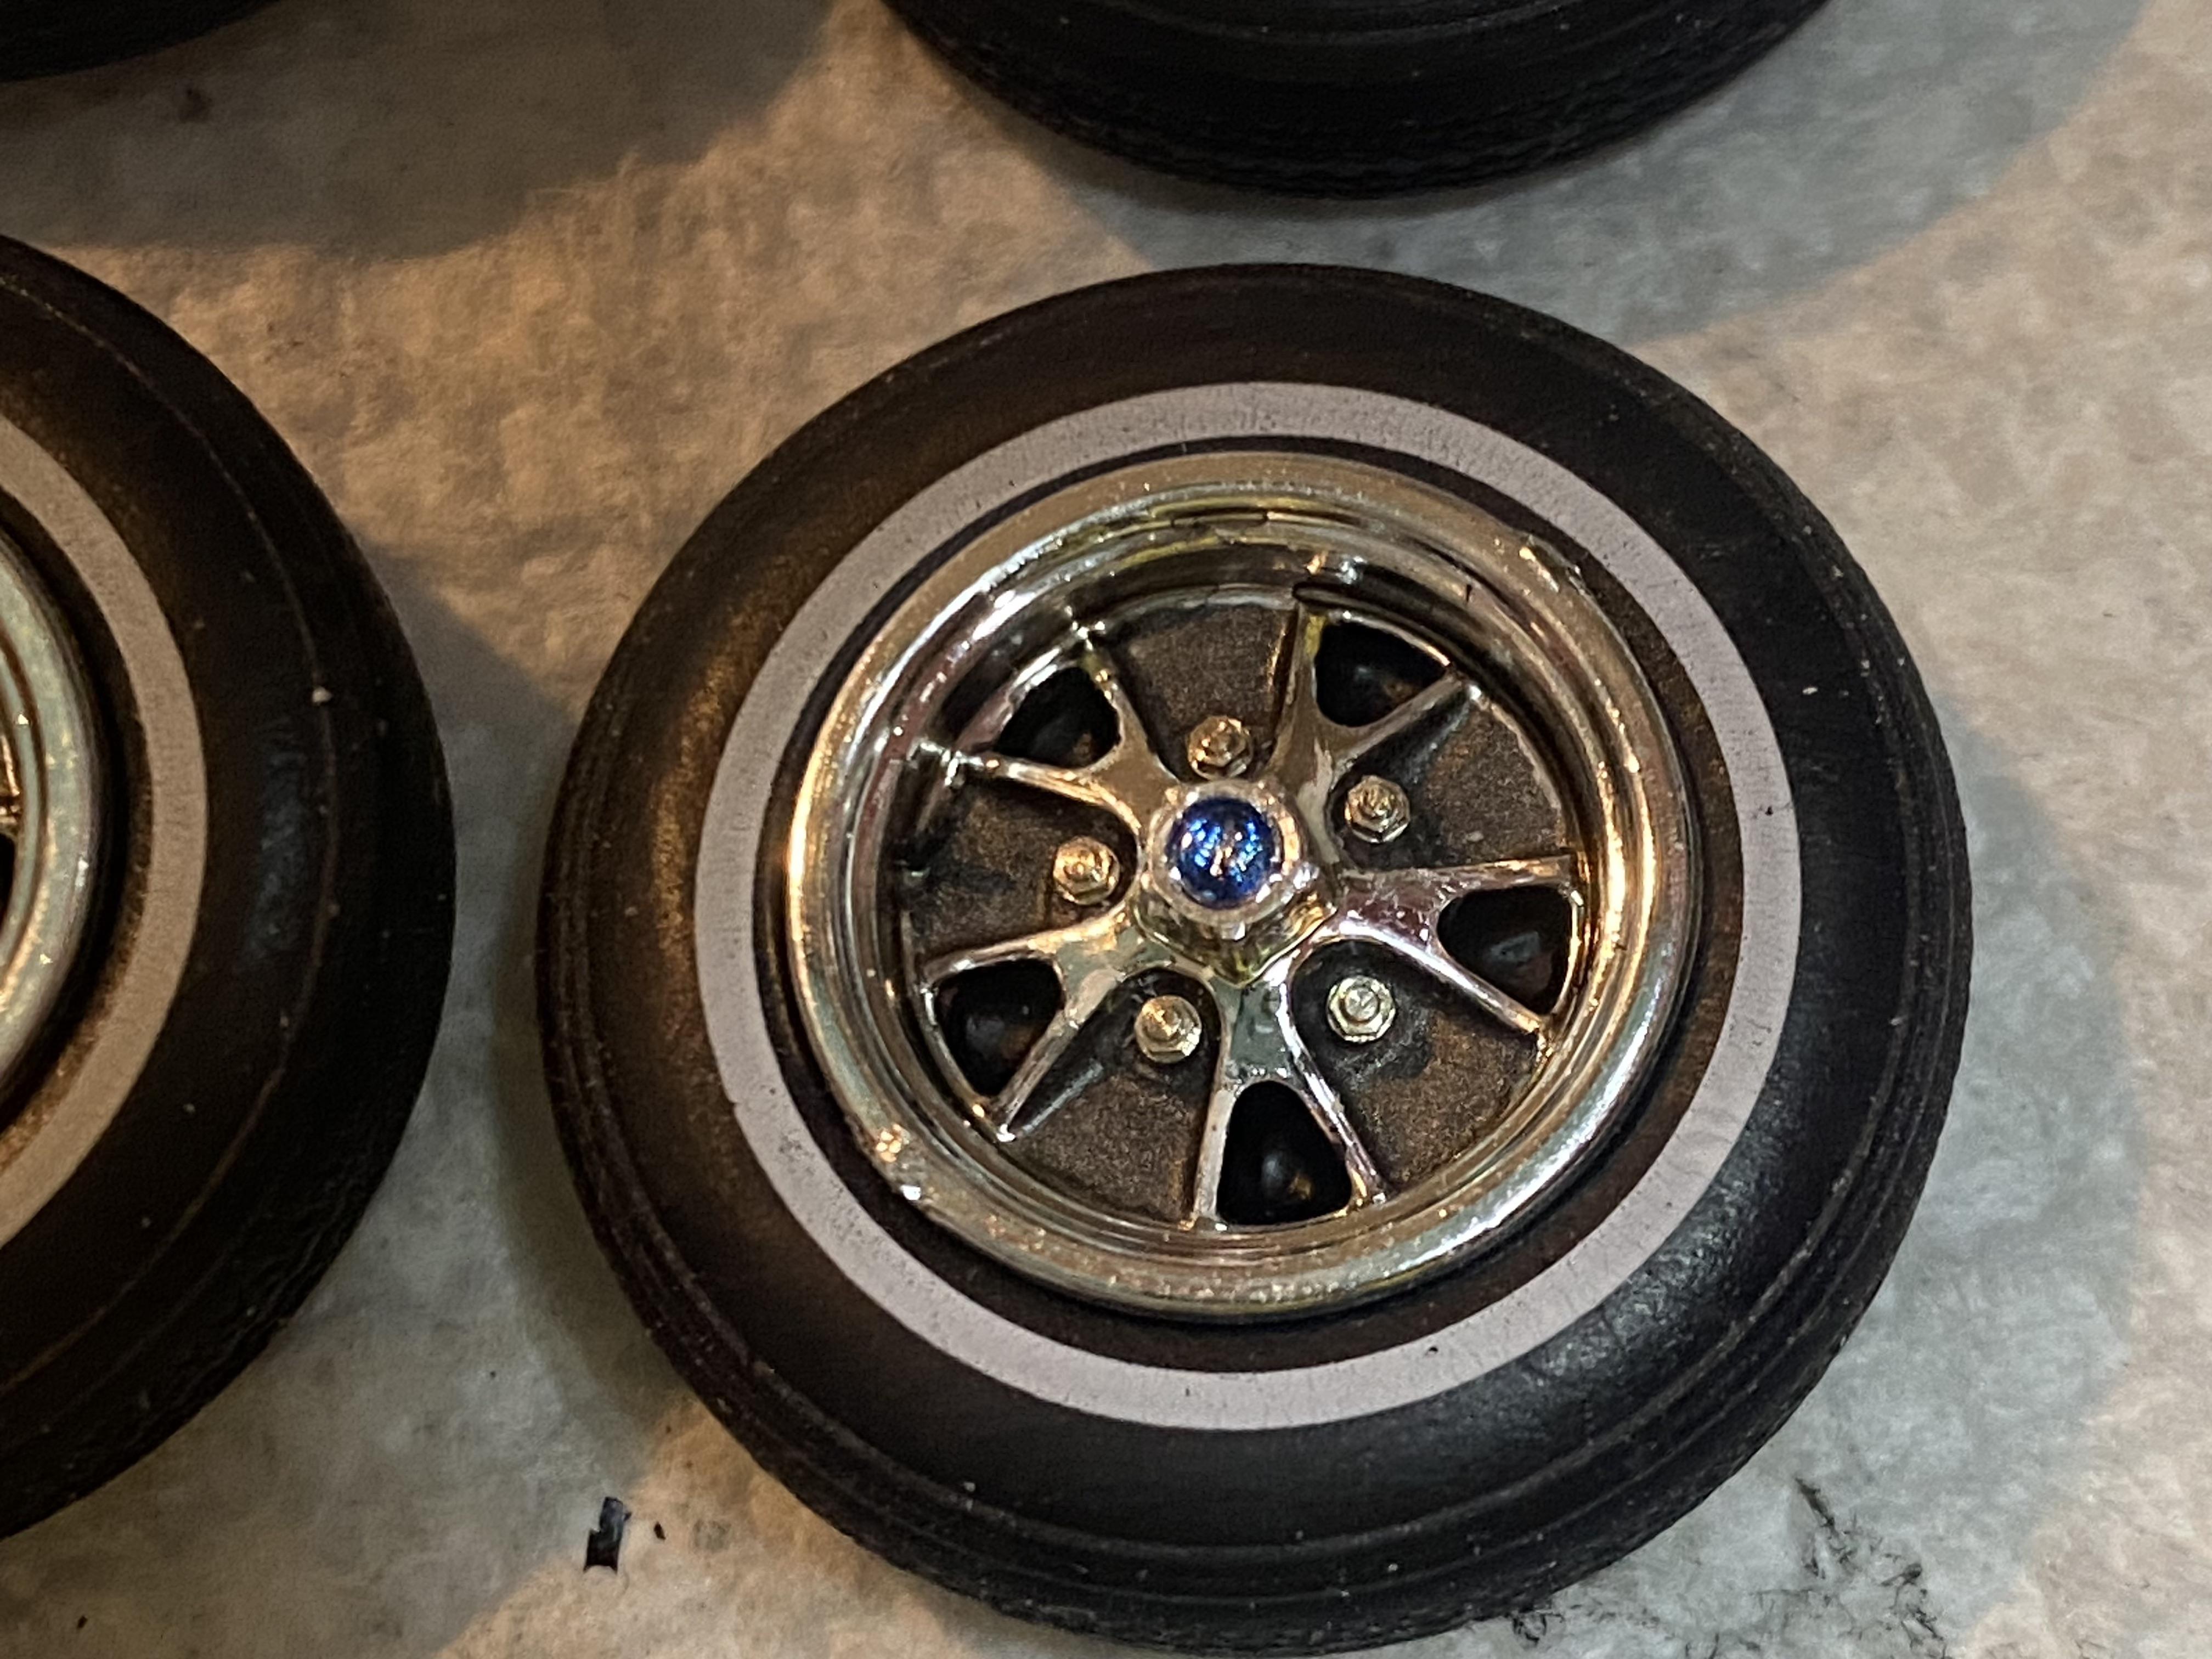
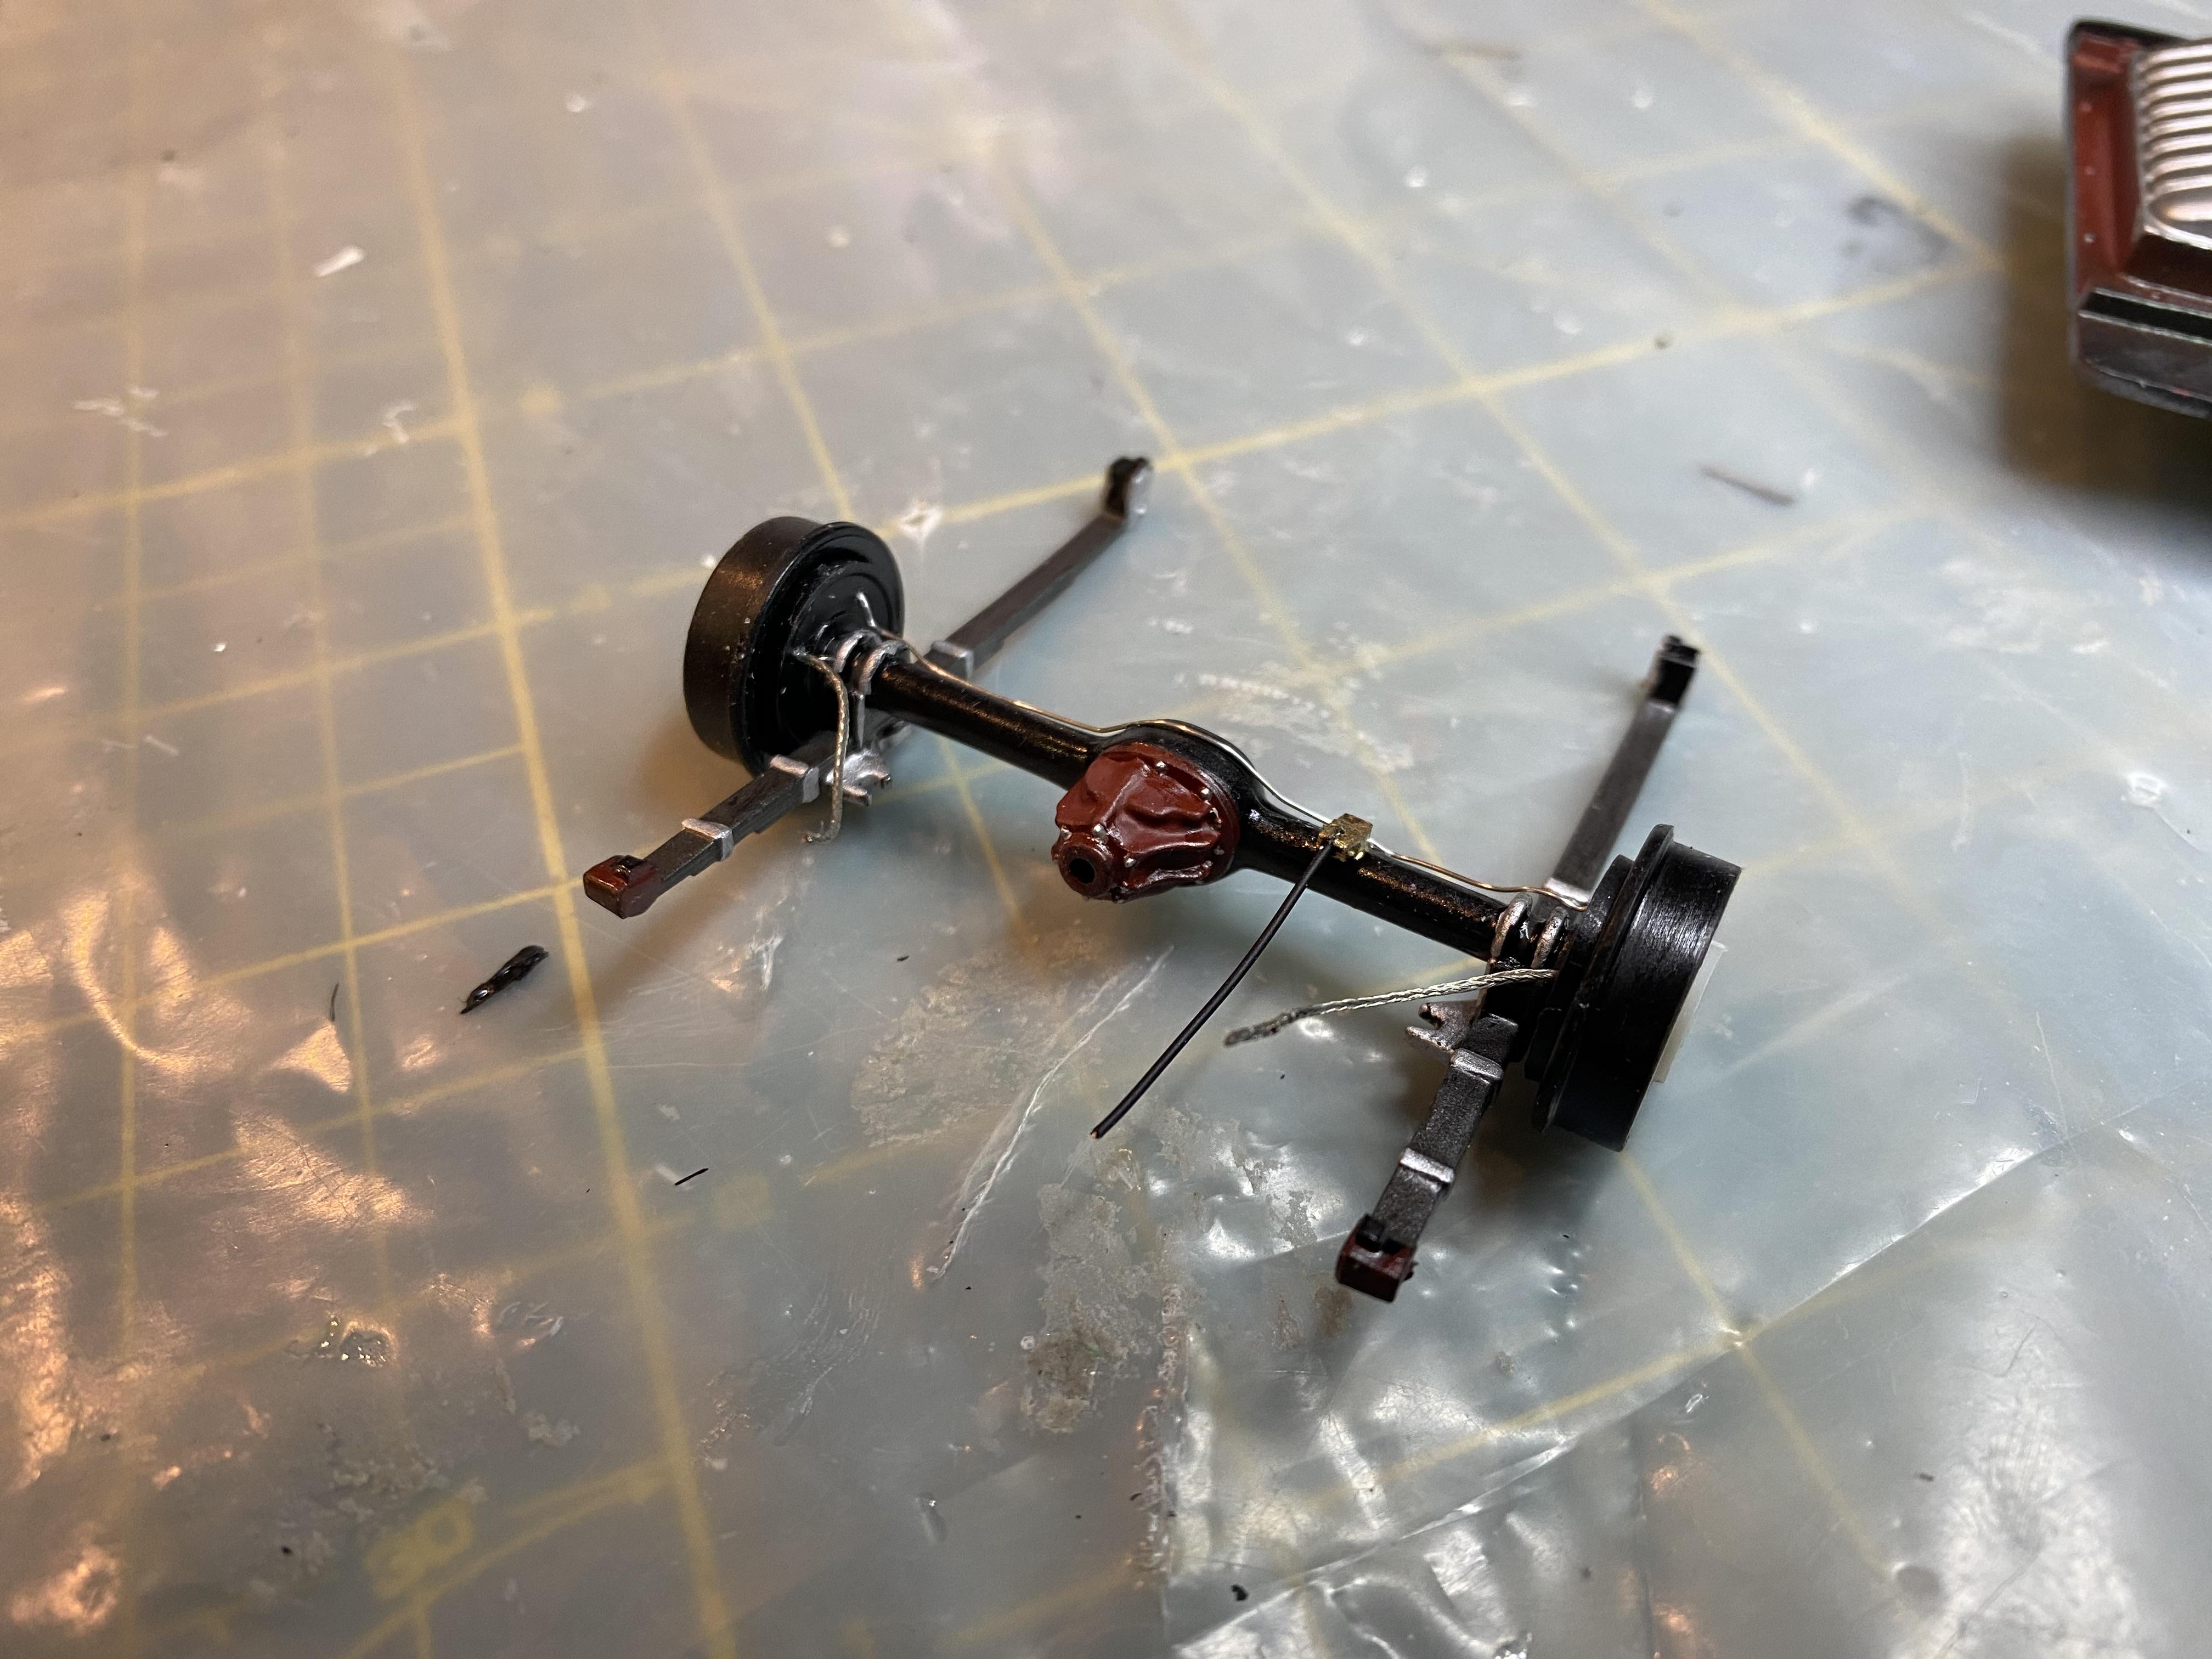
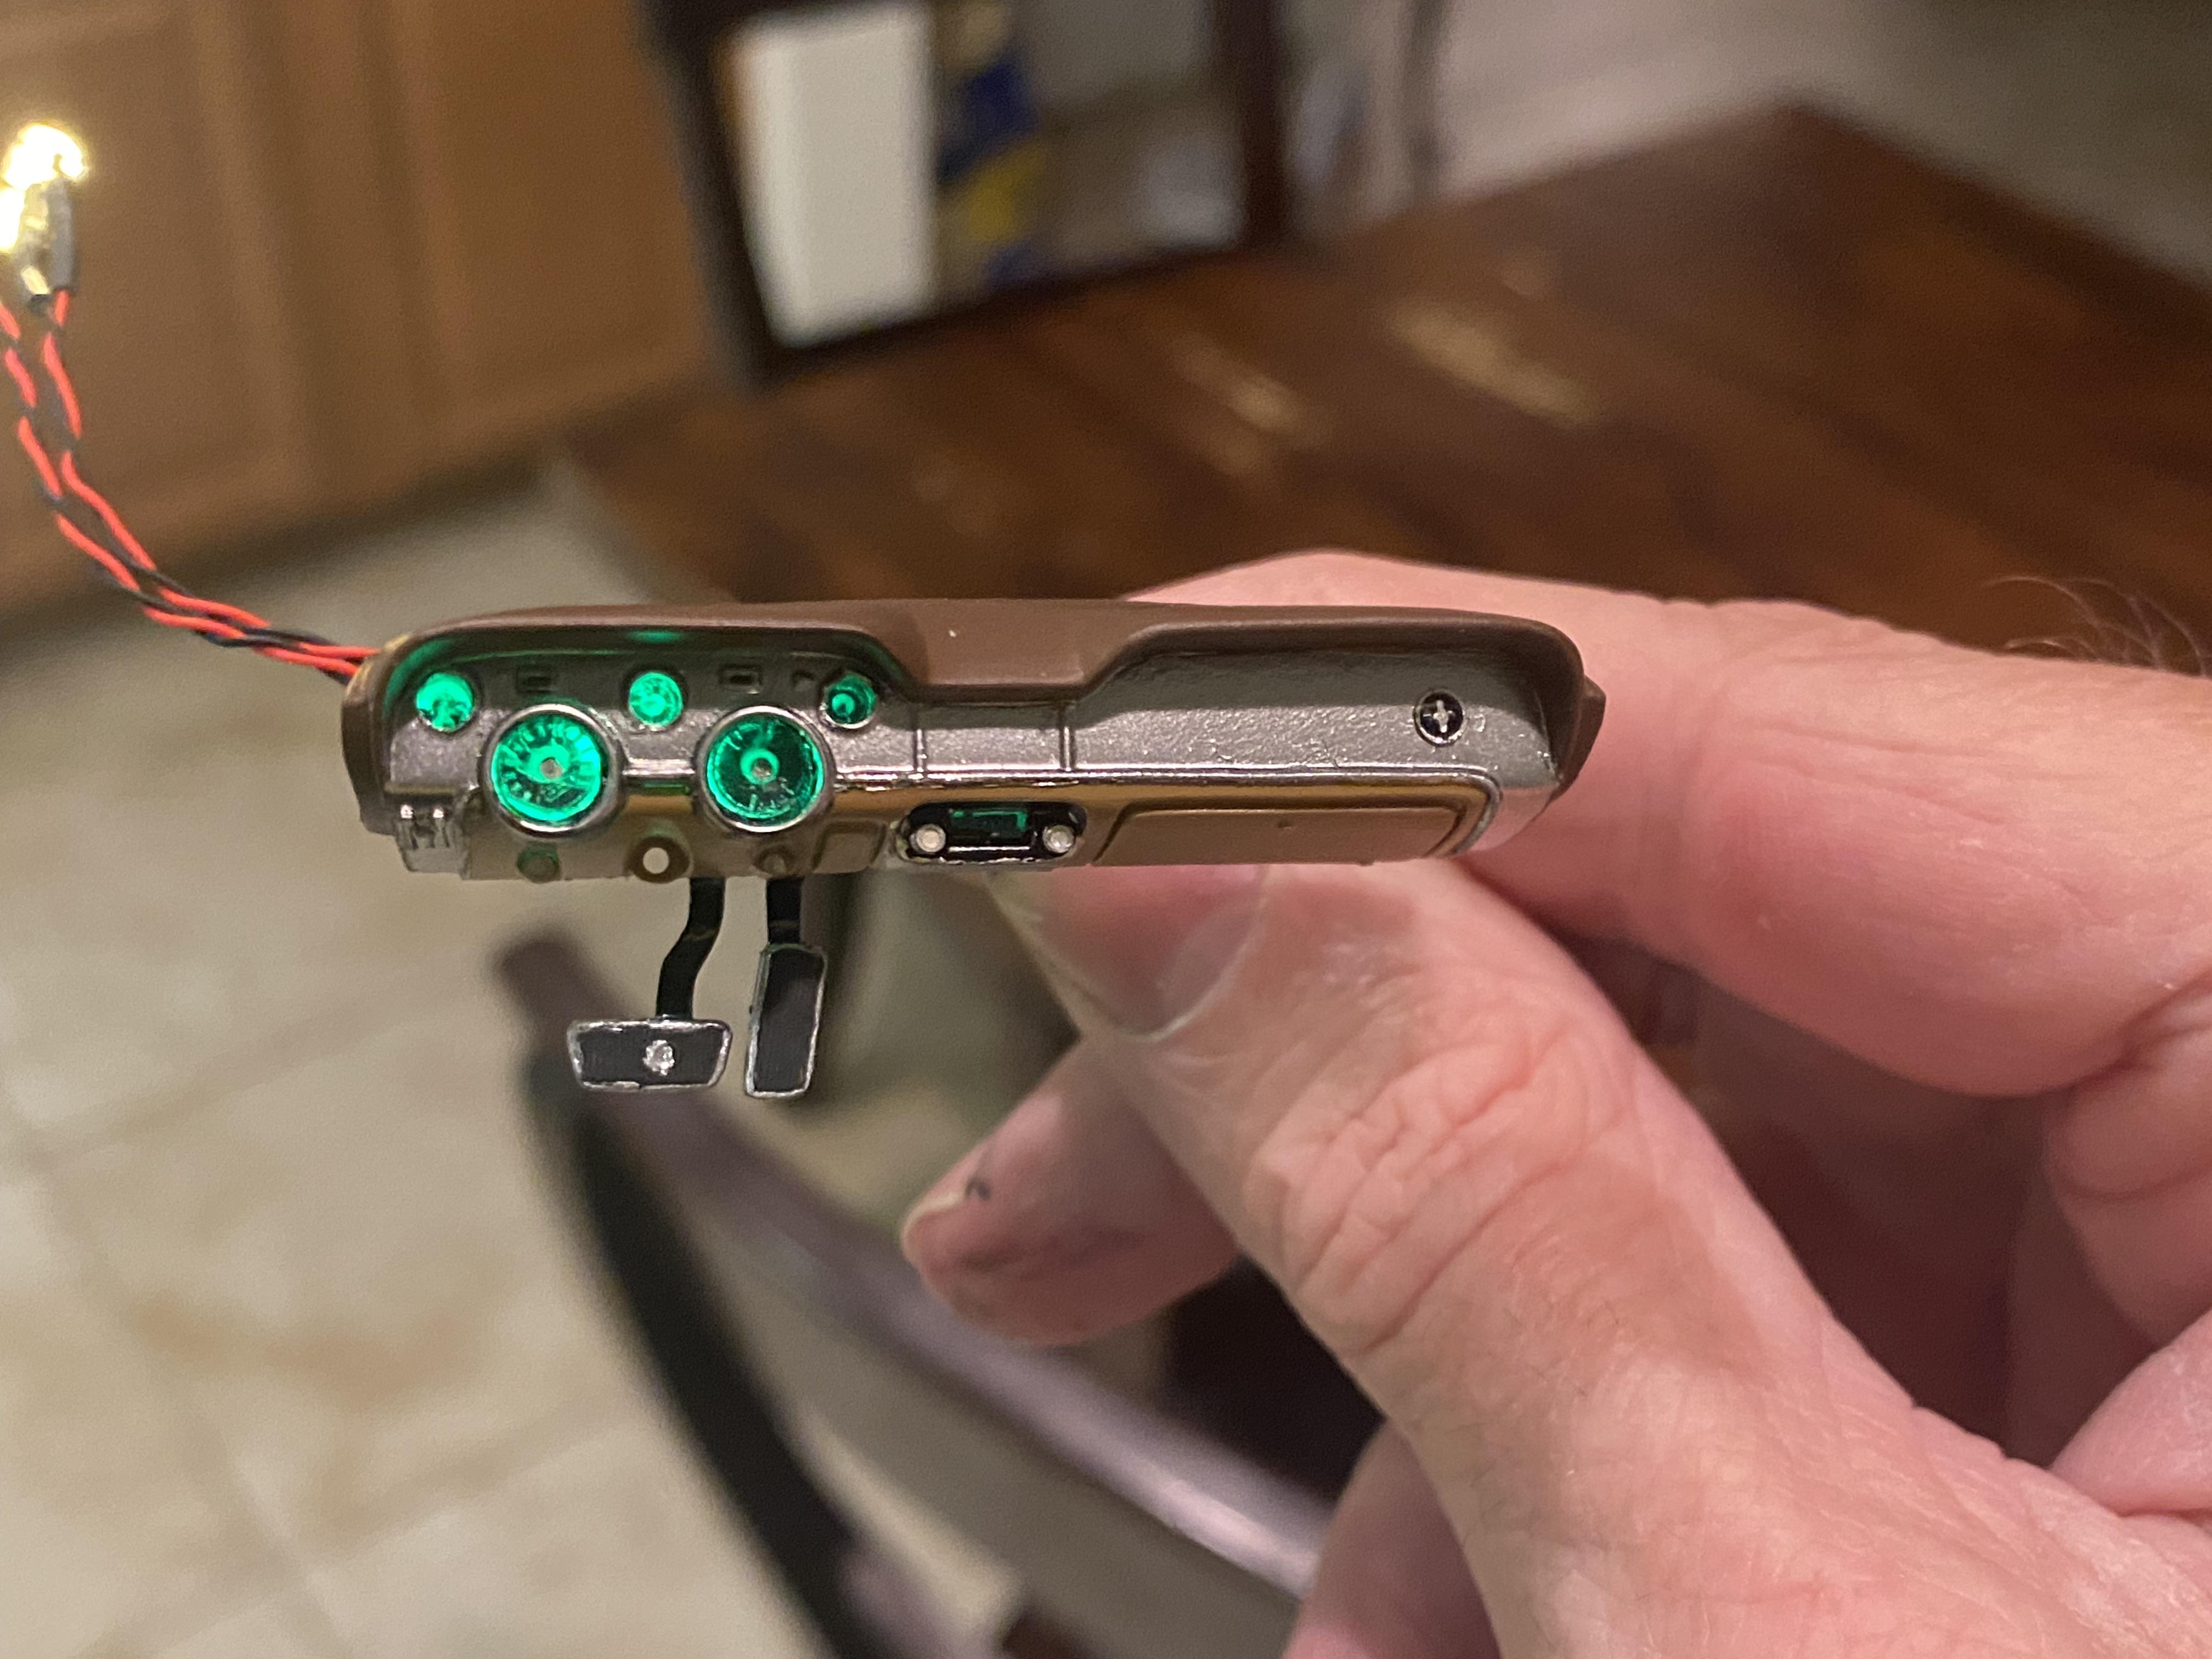
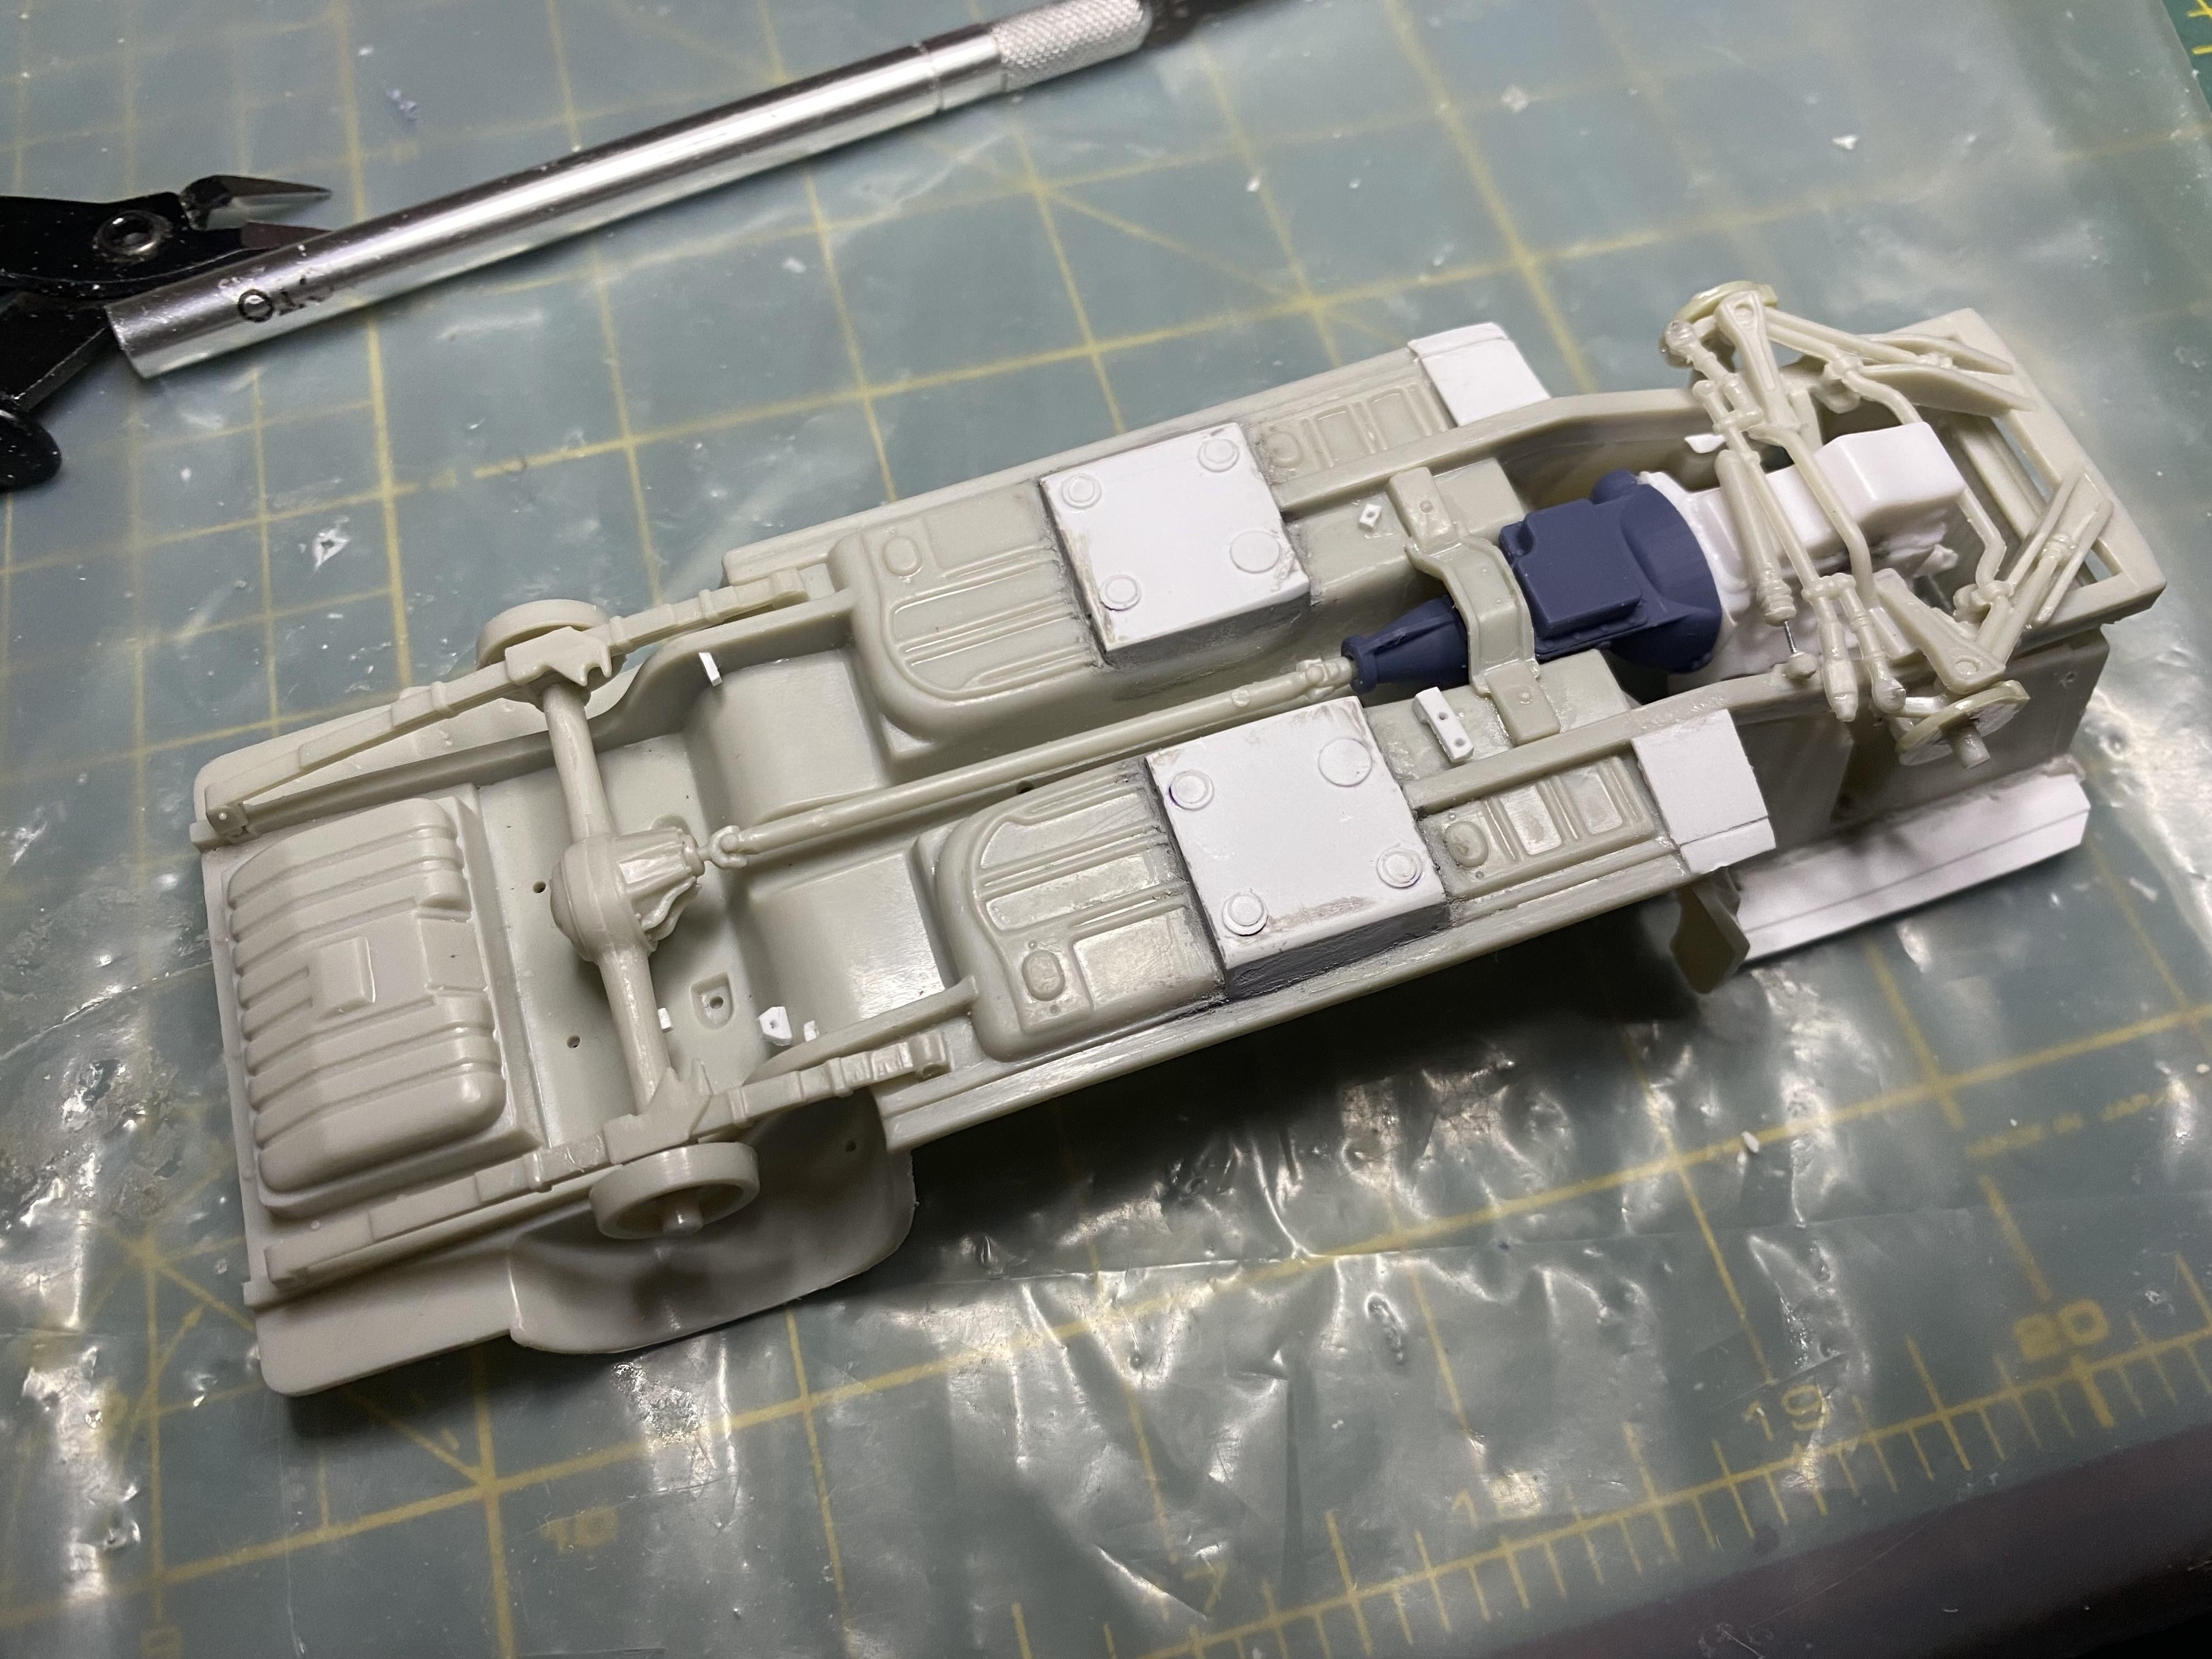
I got a little more work done today. Drilled out the wheels for hex rivet lug nuts and valve stems. I painted the rims, installed wire for valve stems, hex rivets for lug nuts, center cap decals and Uv resin for the center caps to give them the clear plastic look of the center caps. I like how they turned out myself. I did some detailing on the chassis, adding brake, fuel and emergency brake lines. I then turned my attention to detailing the interior a bit, adding the gauges lenses and LED light containment for the dash.
-
Thank You! Thank You! Working on the detailing now. I am taking this one a bit further than I usual do even. I am working on the wheels now, adding valve stems and top studio hex rivets for the lug nuts to give them just that little bit extra.
-
Thanks, I had a 1967 Fastback years ago that was dark moss green, with black interior.
-
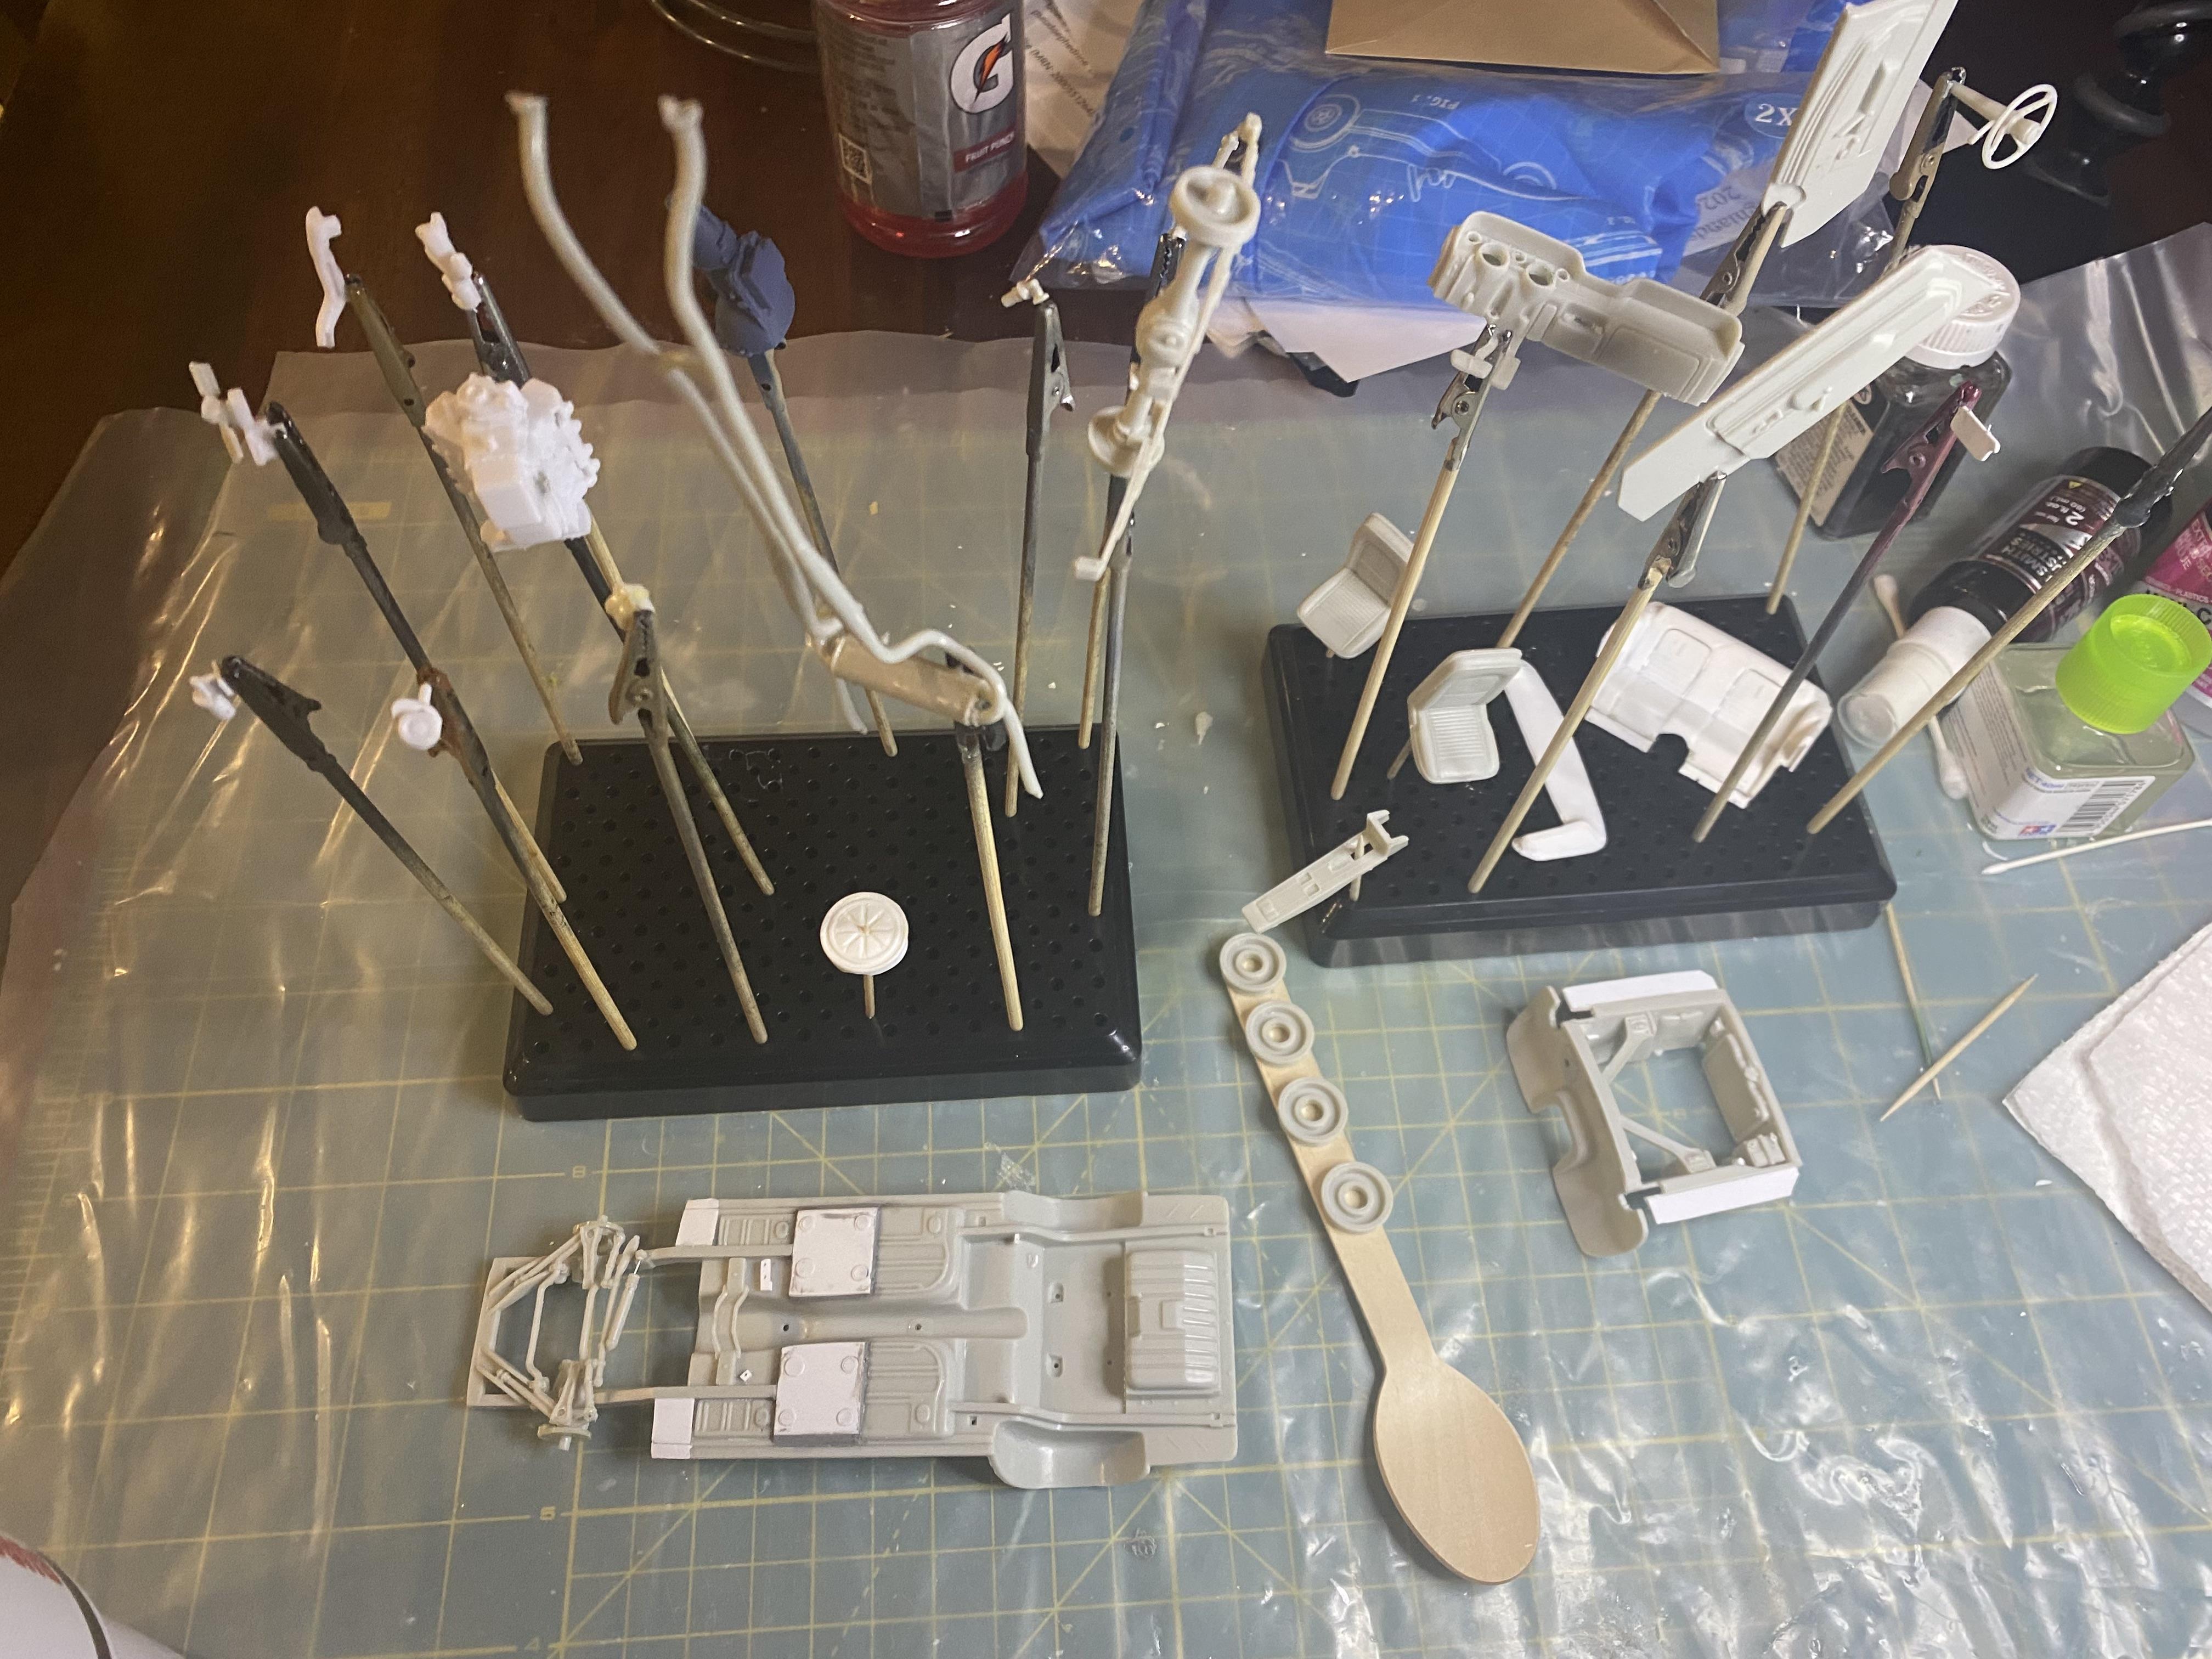
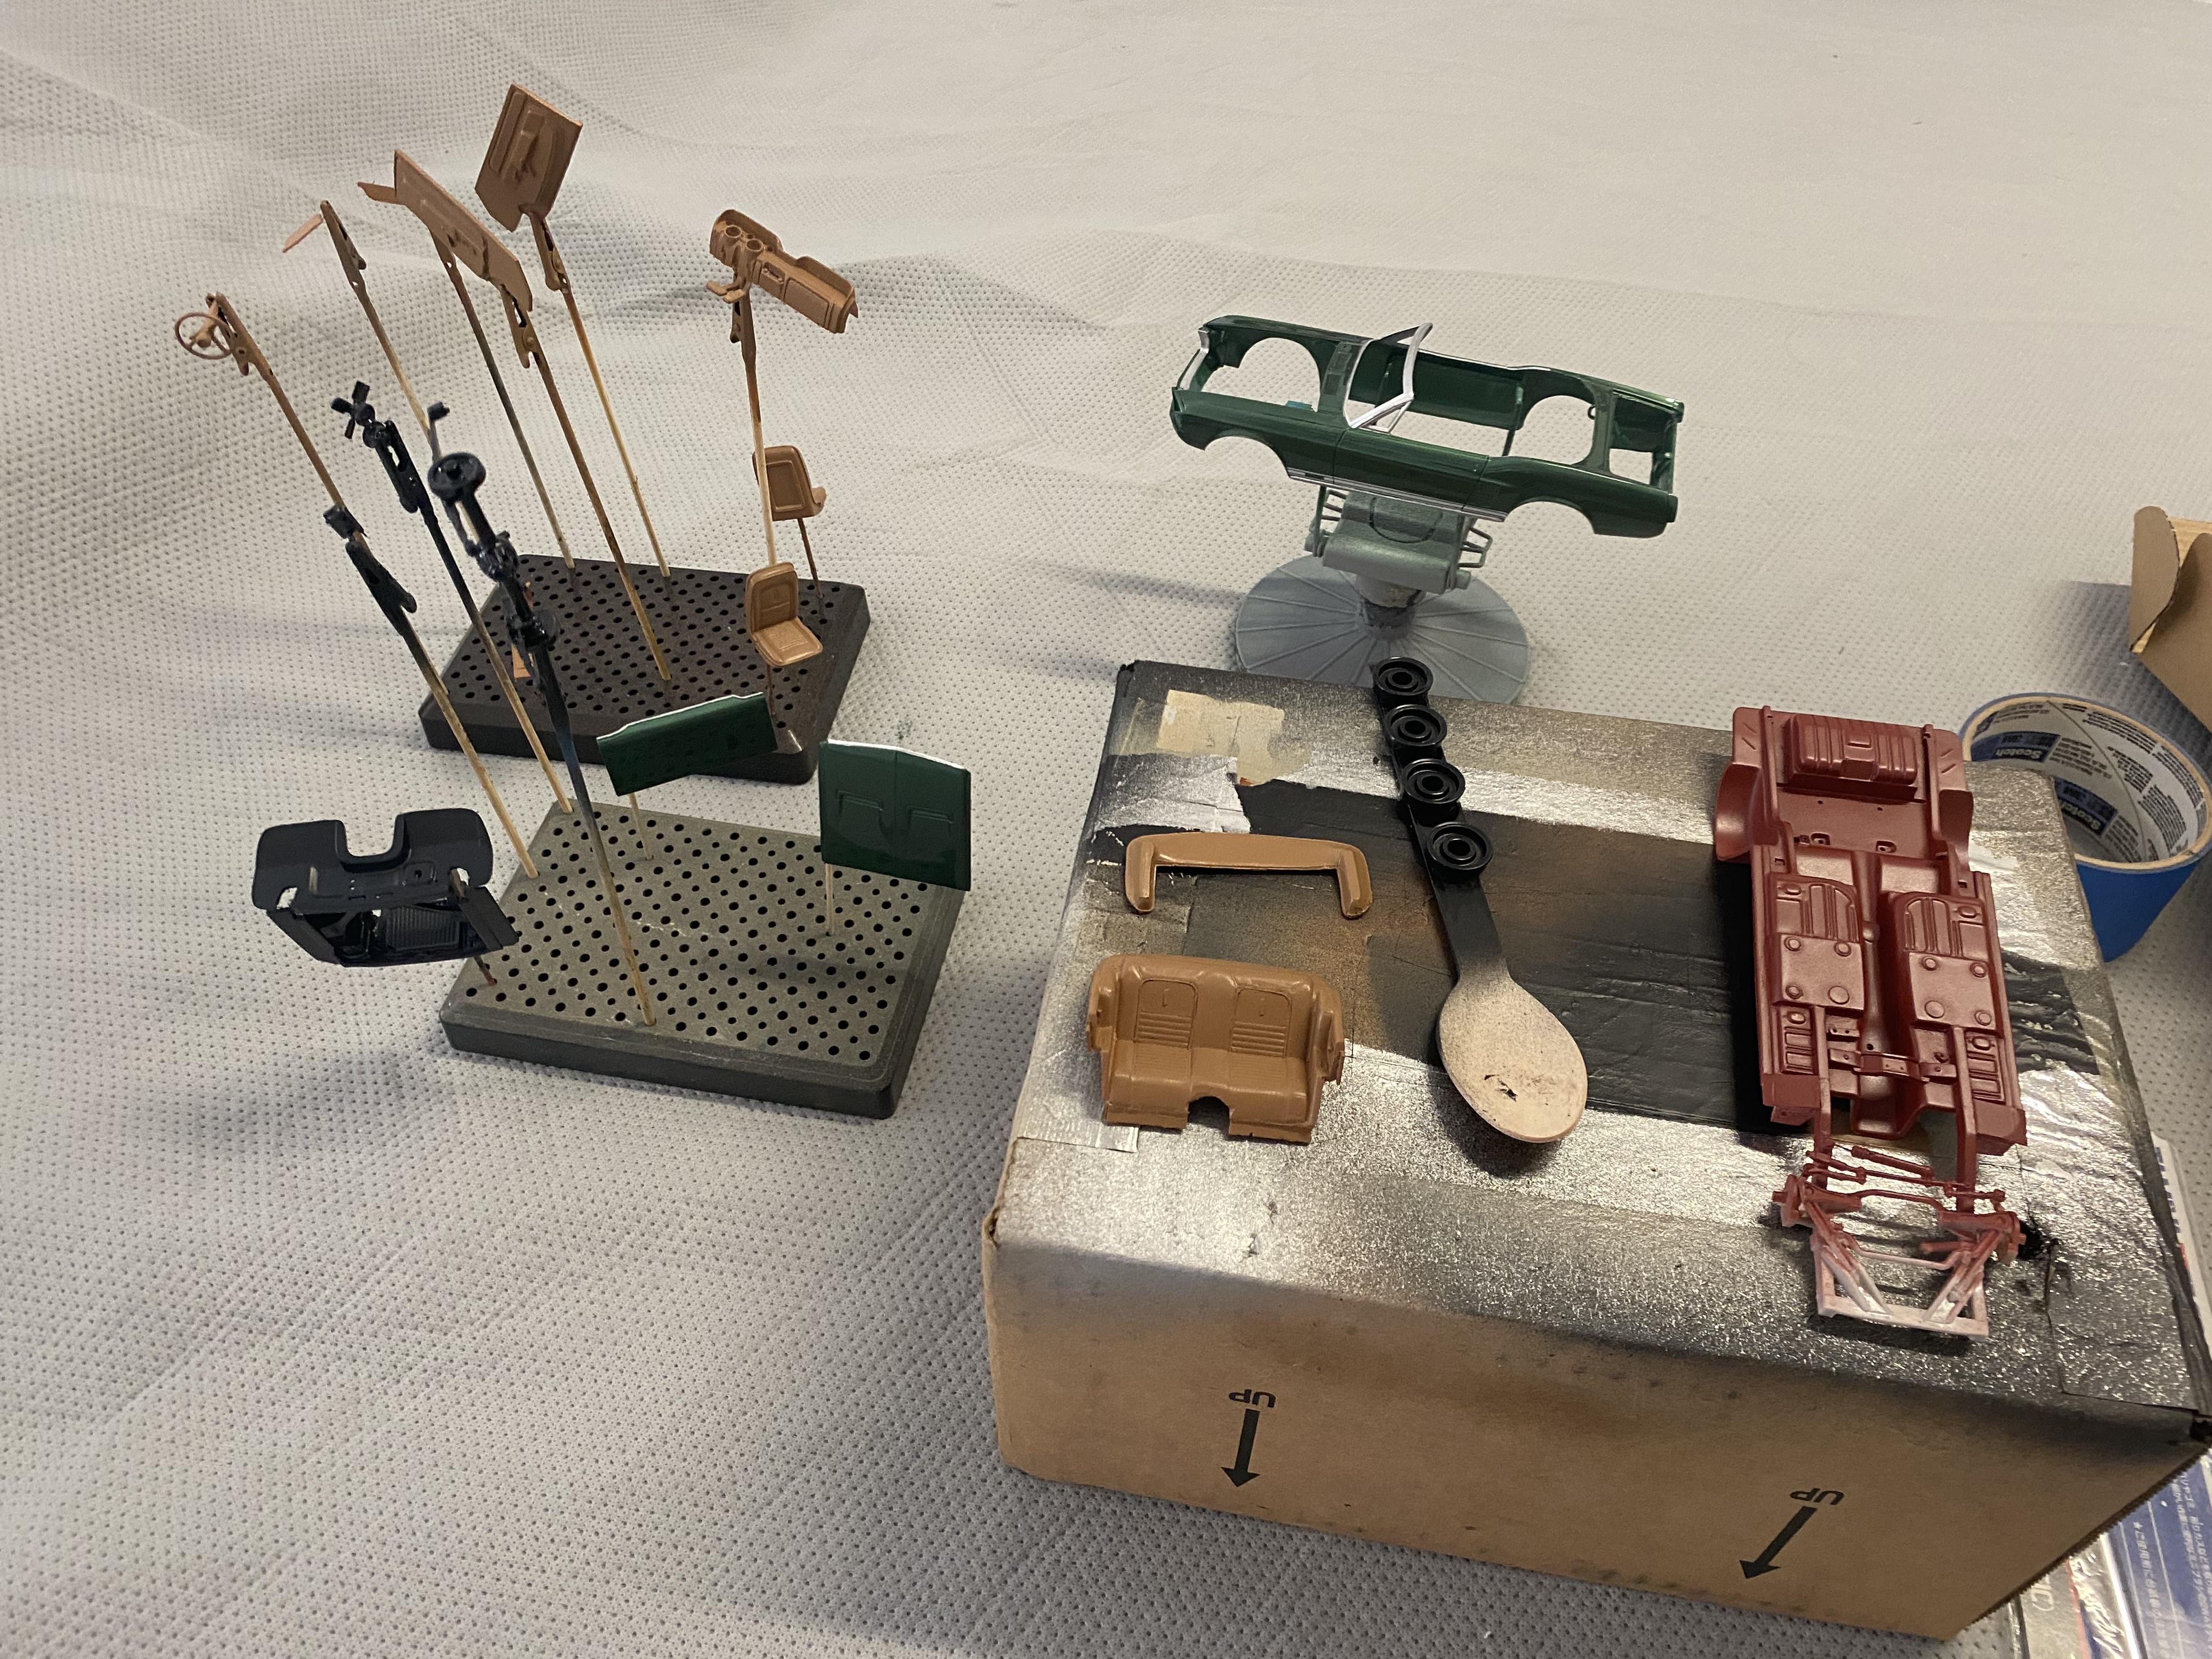
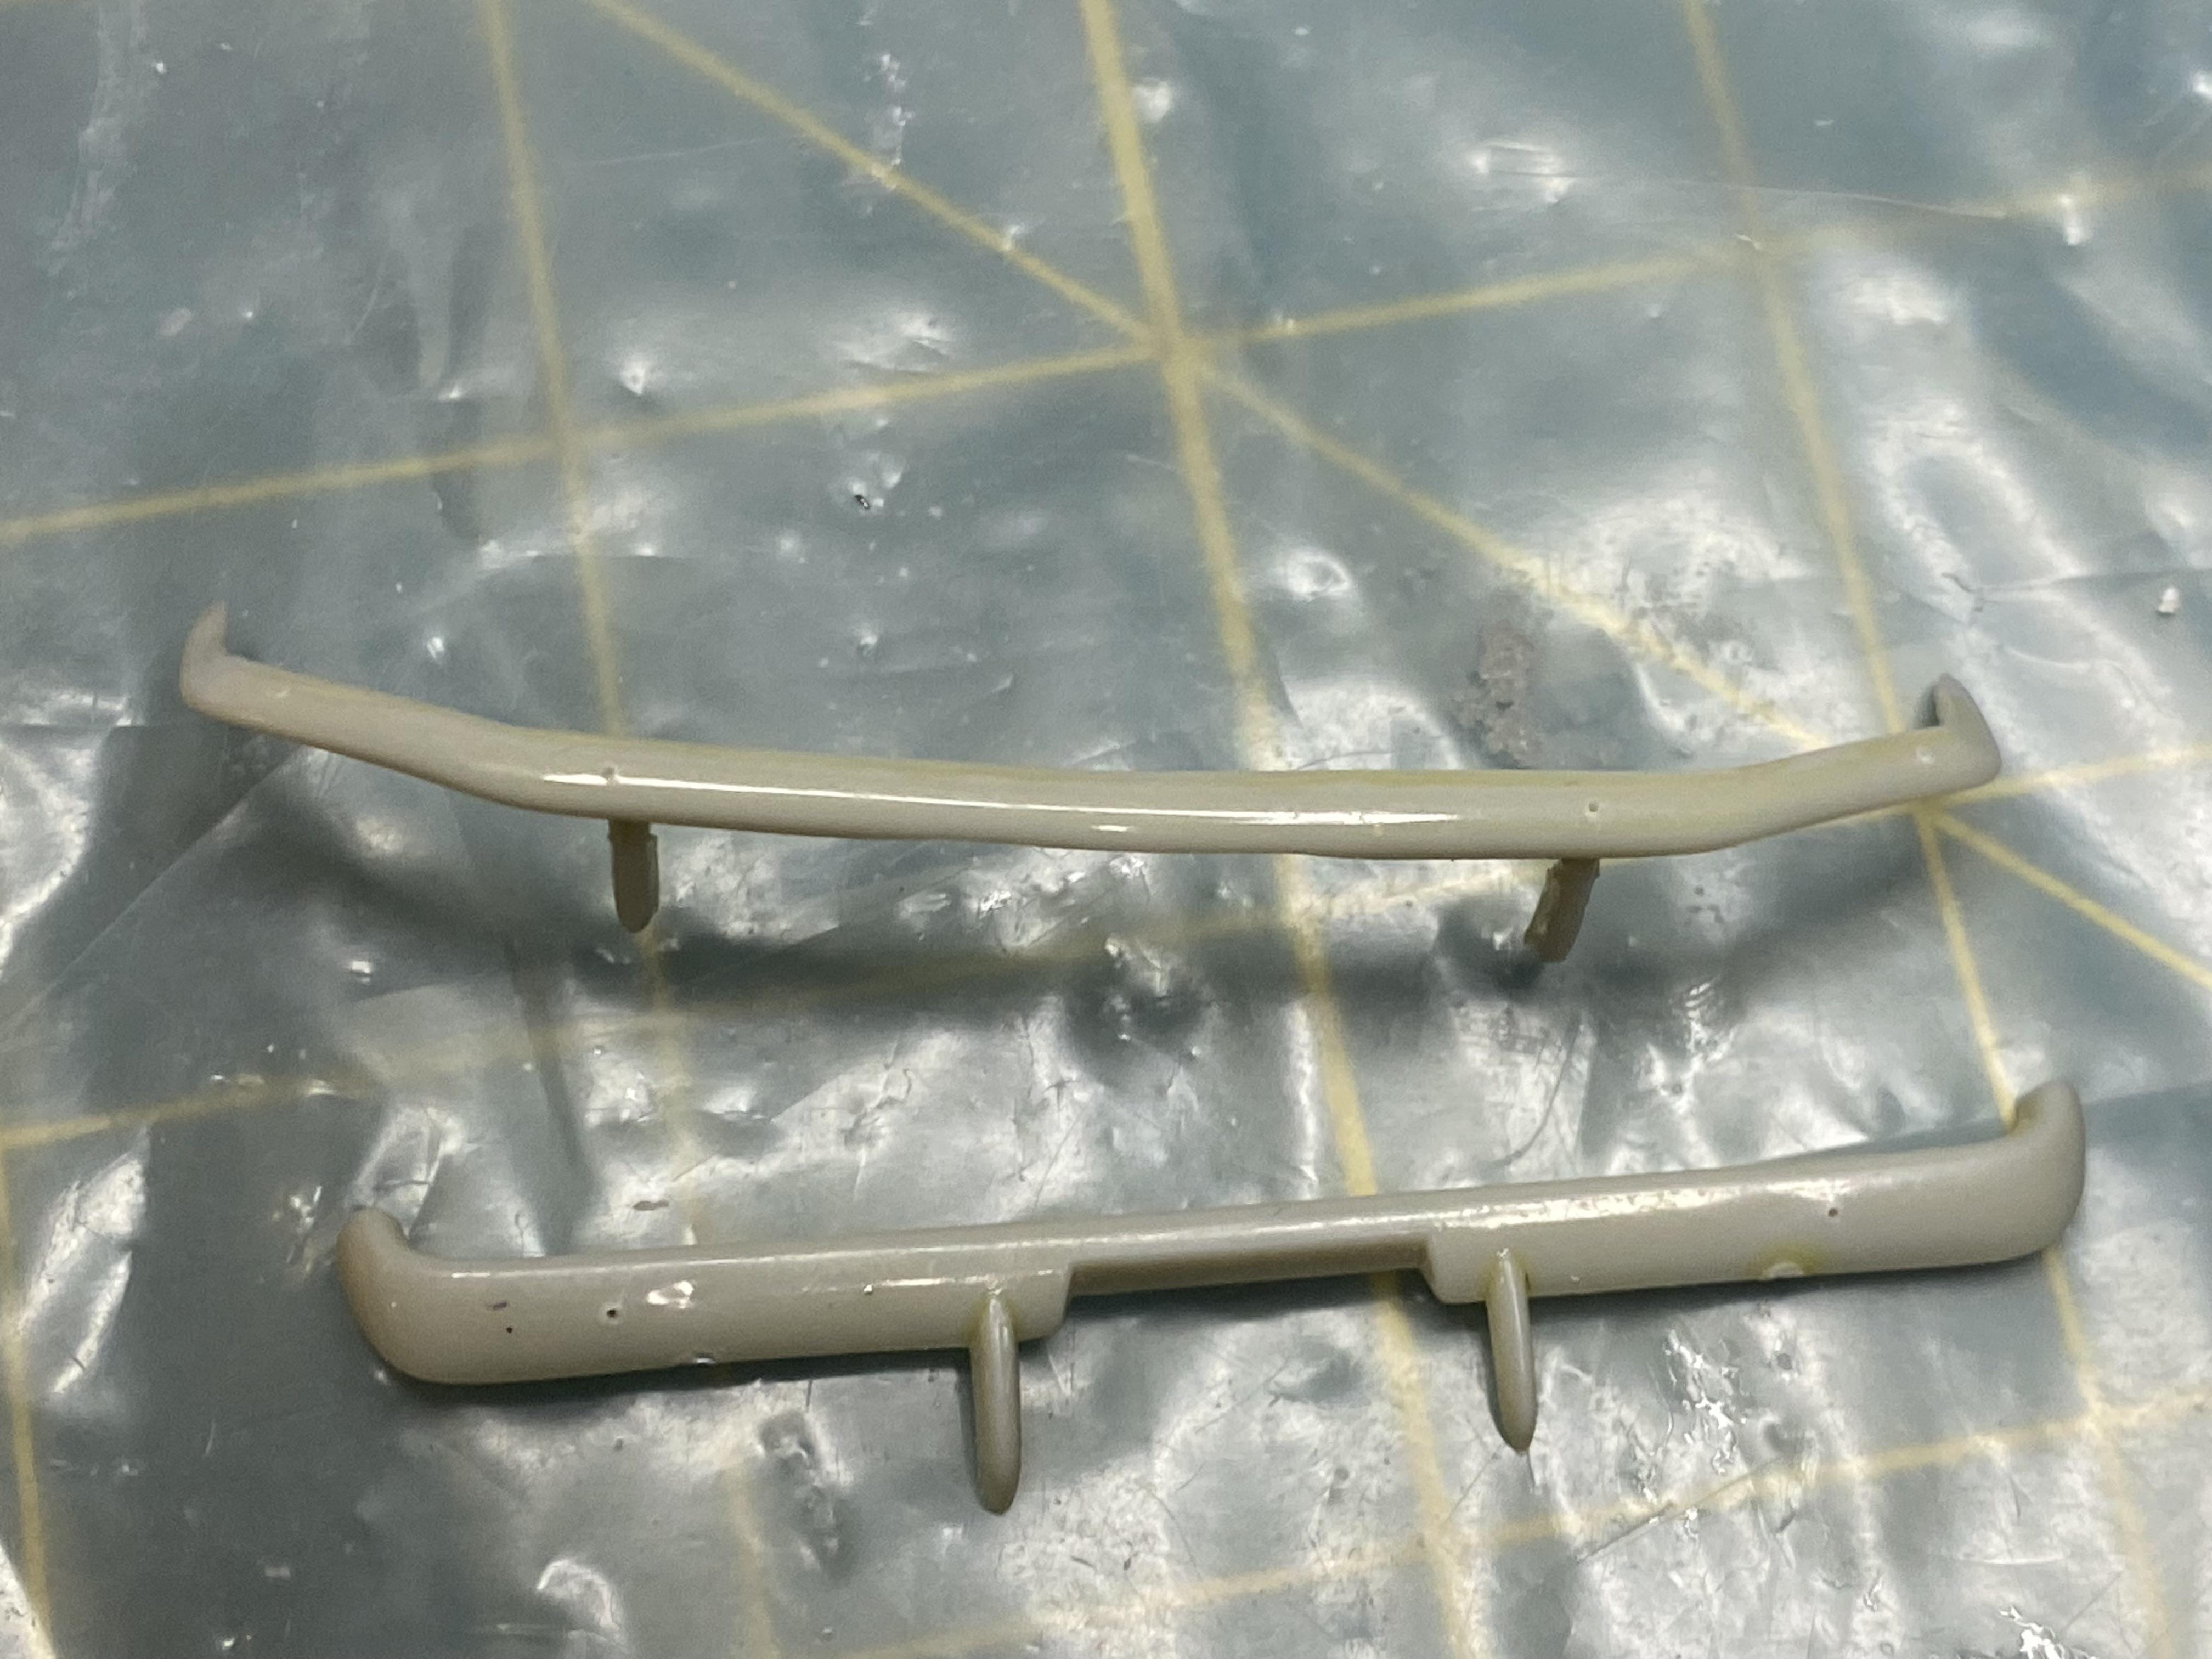
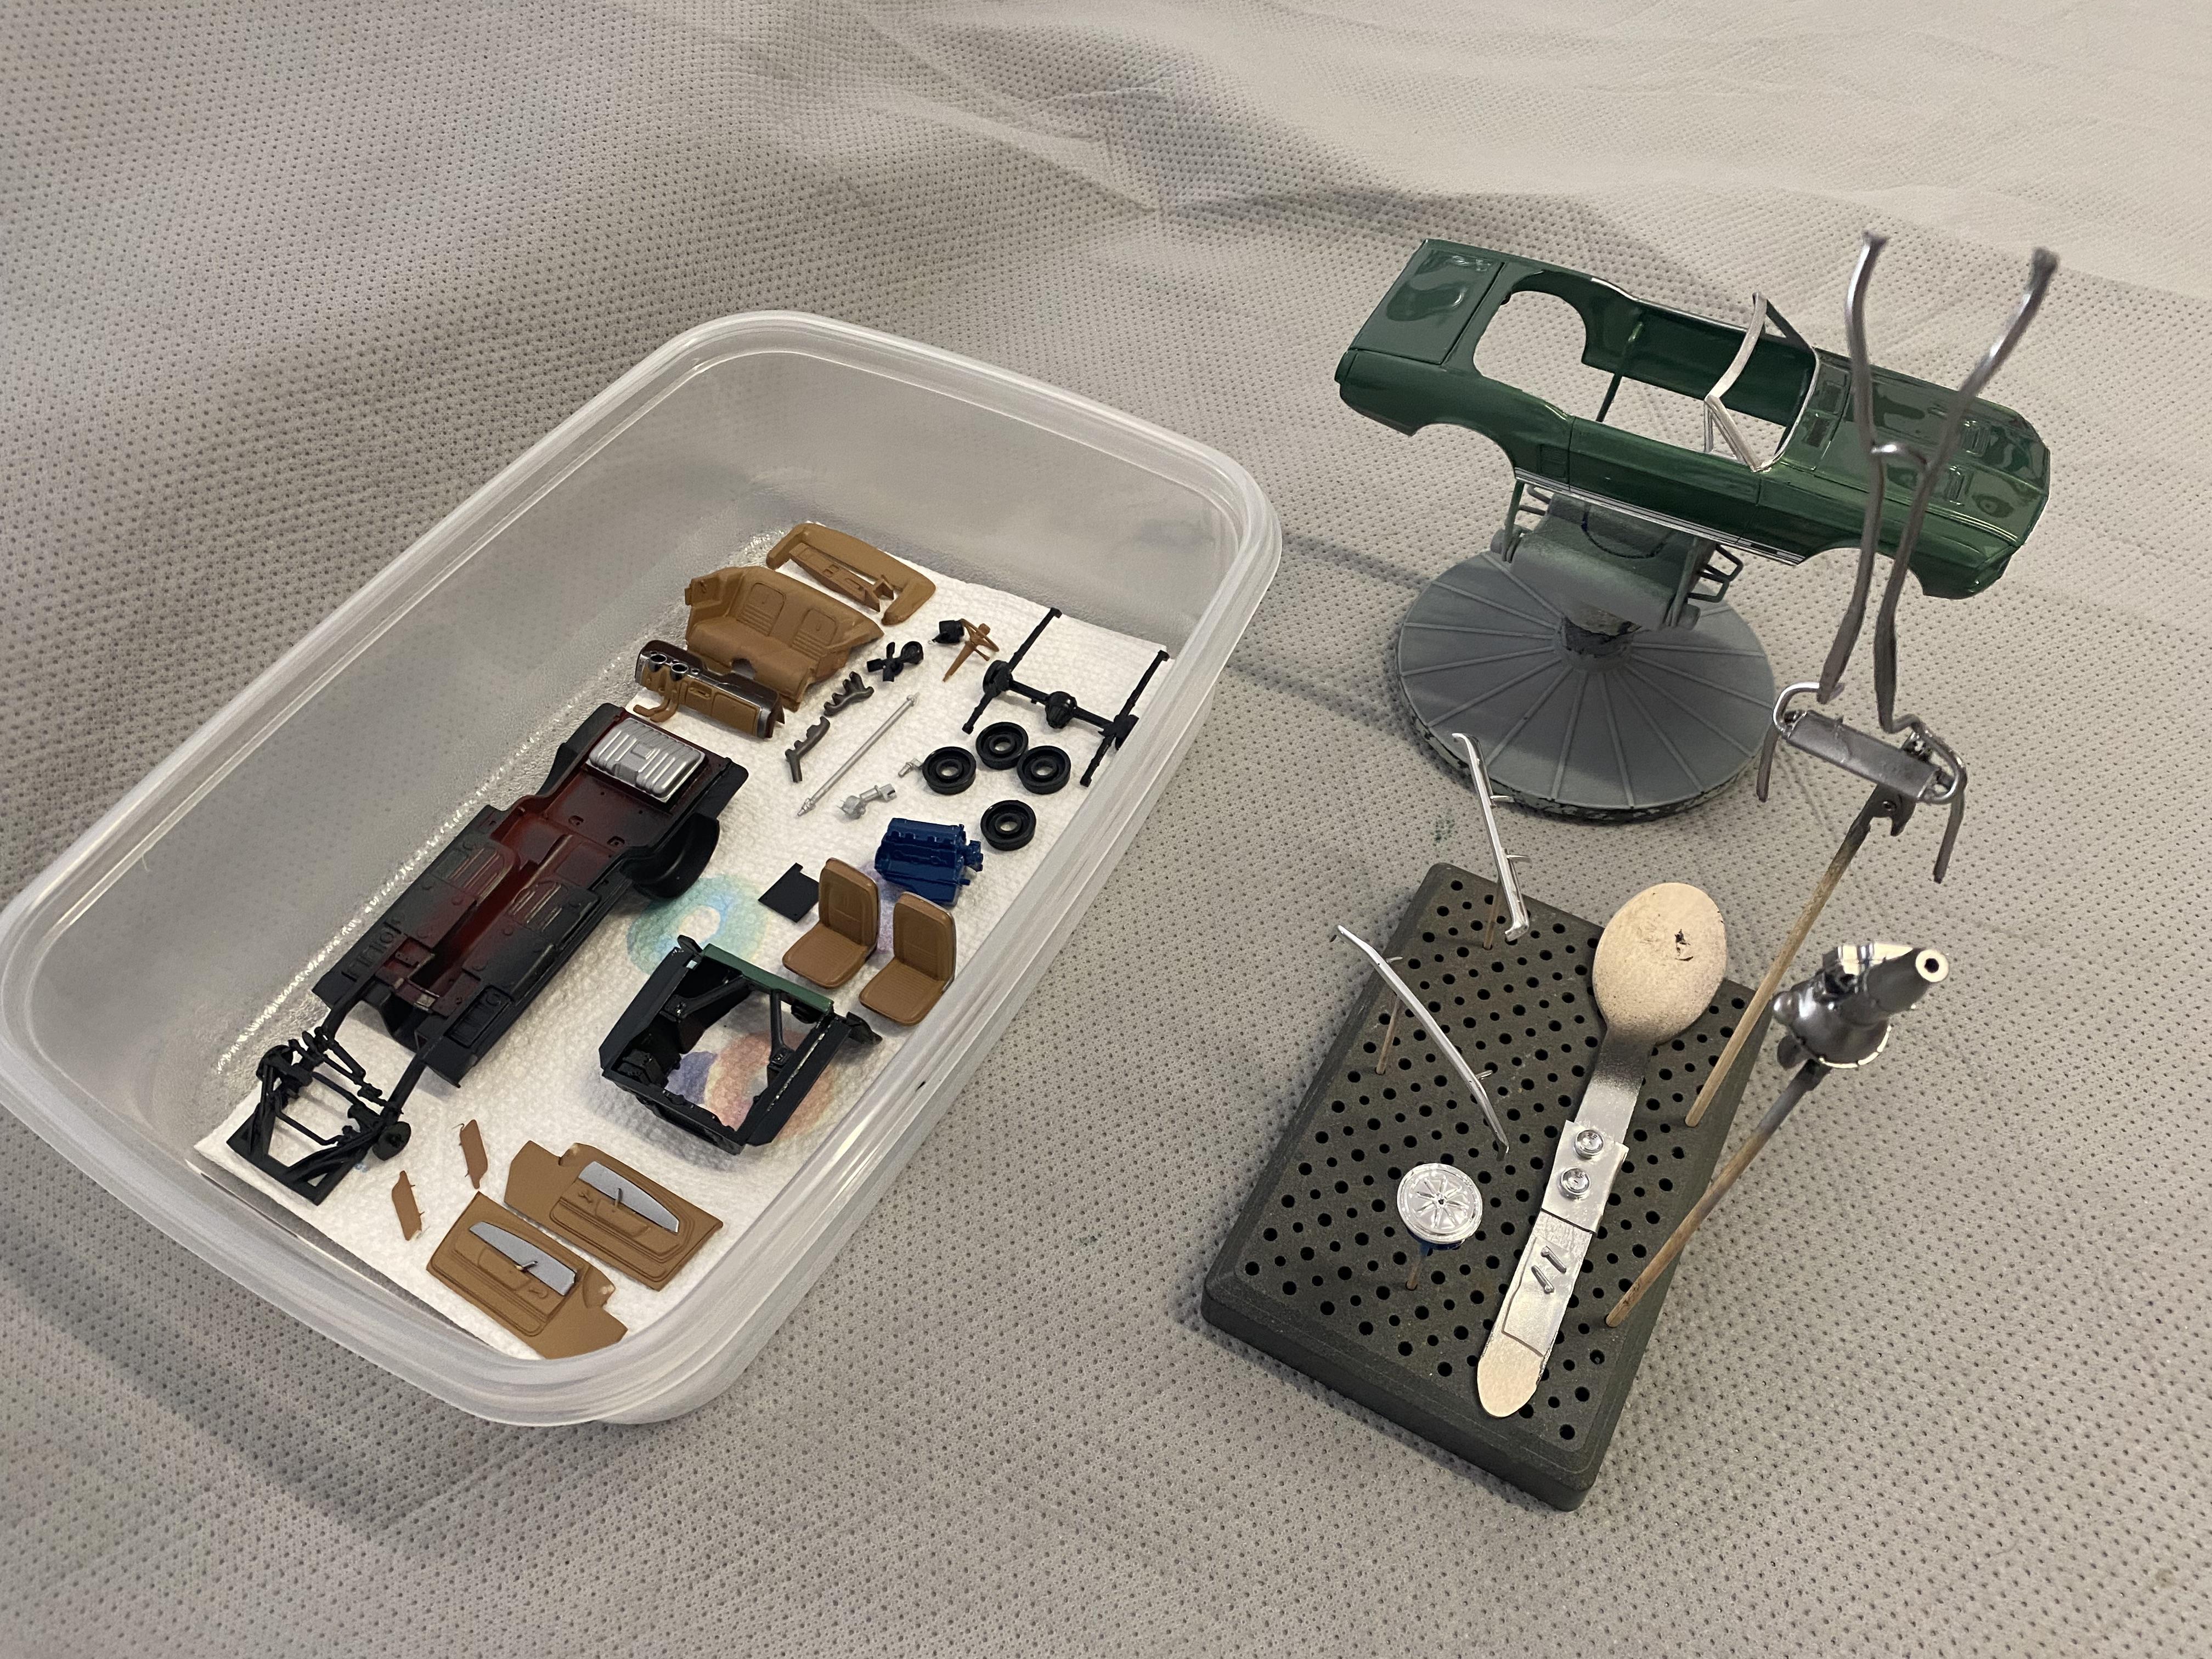
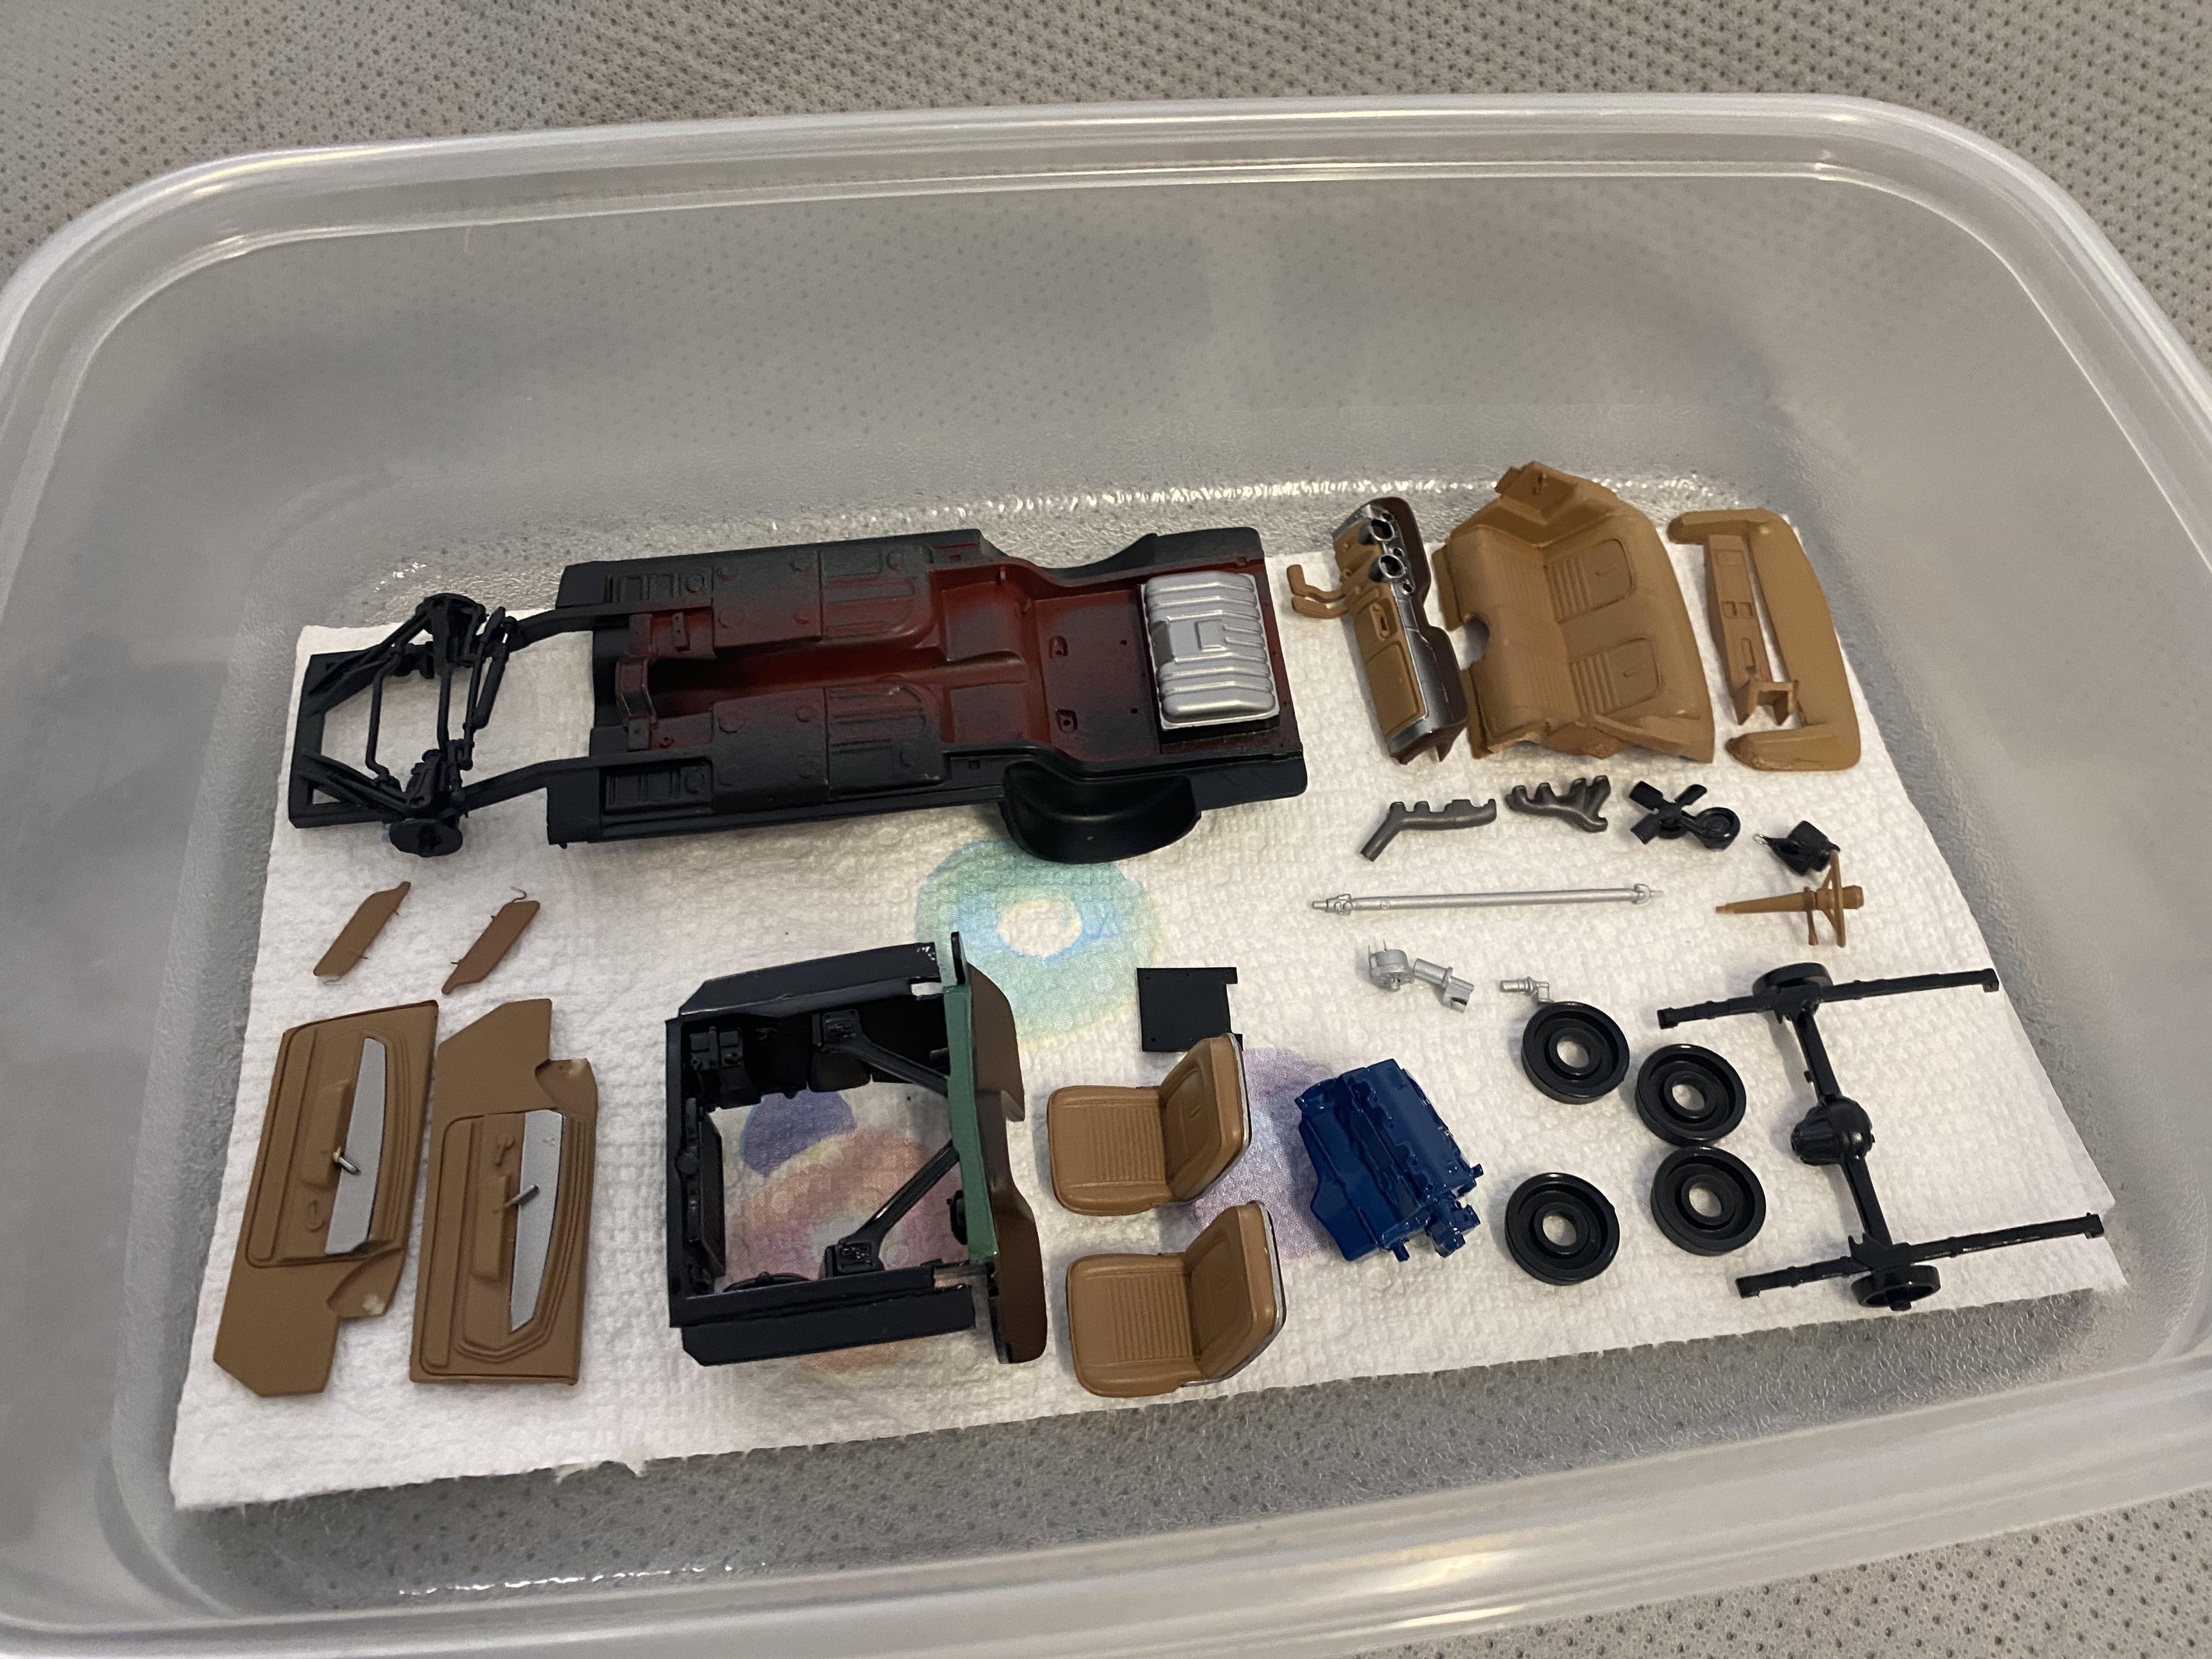
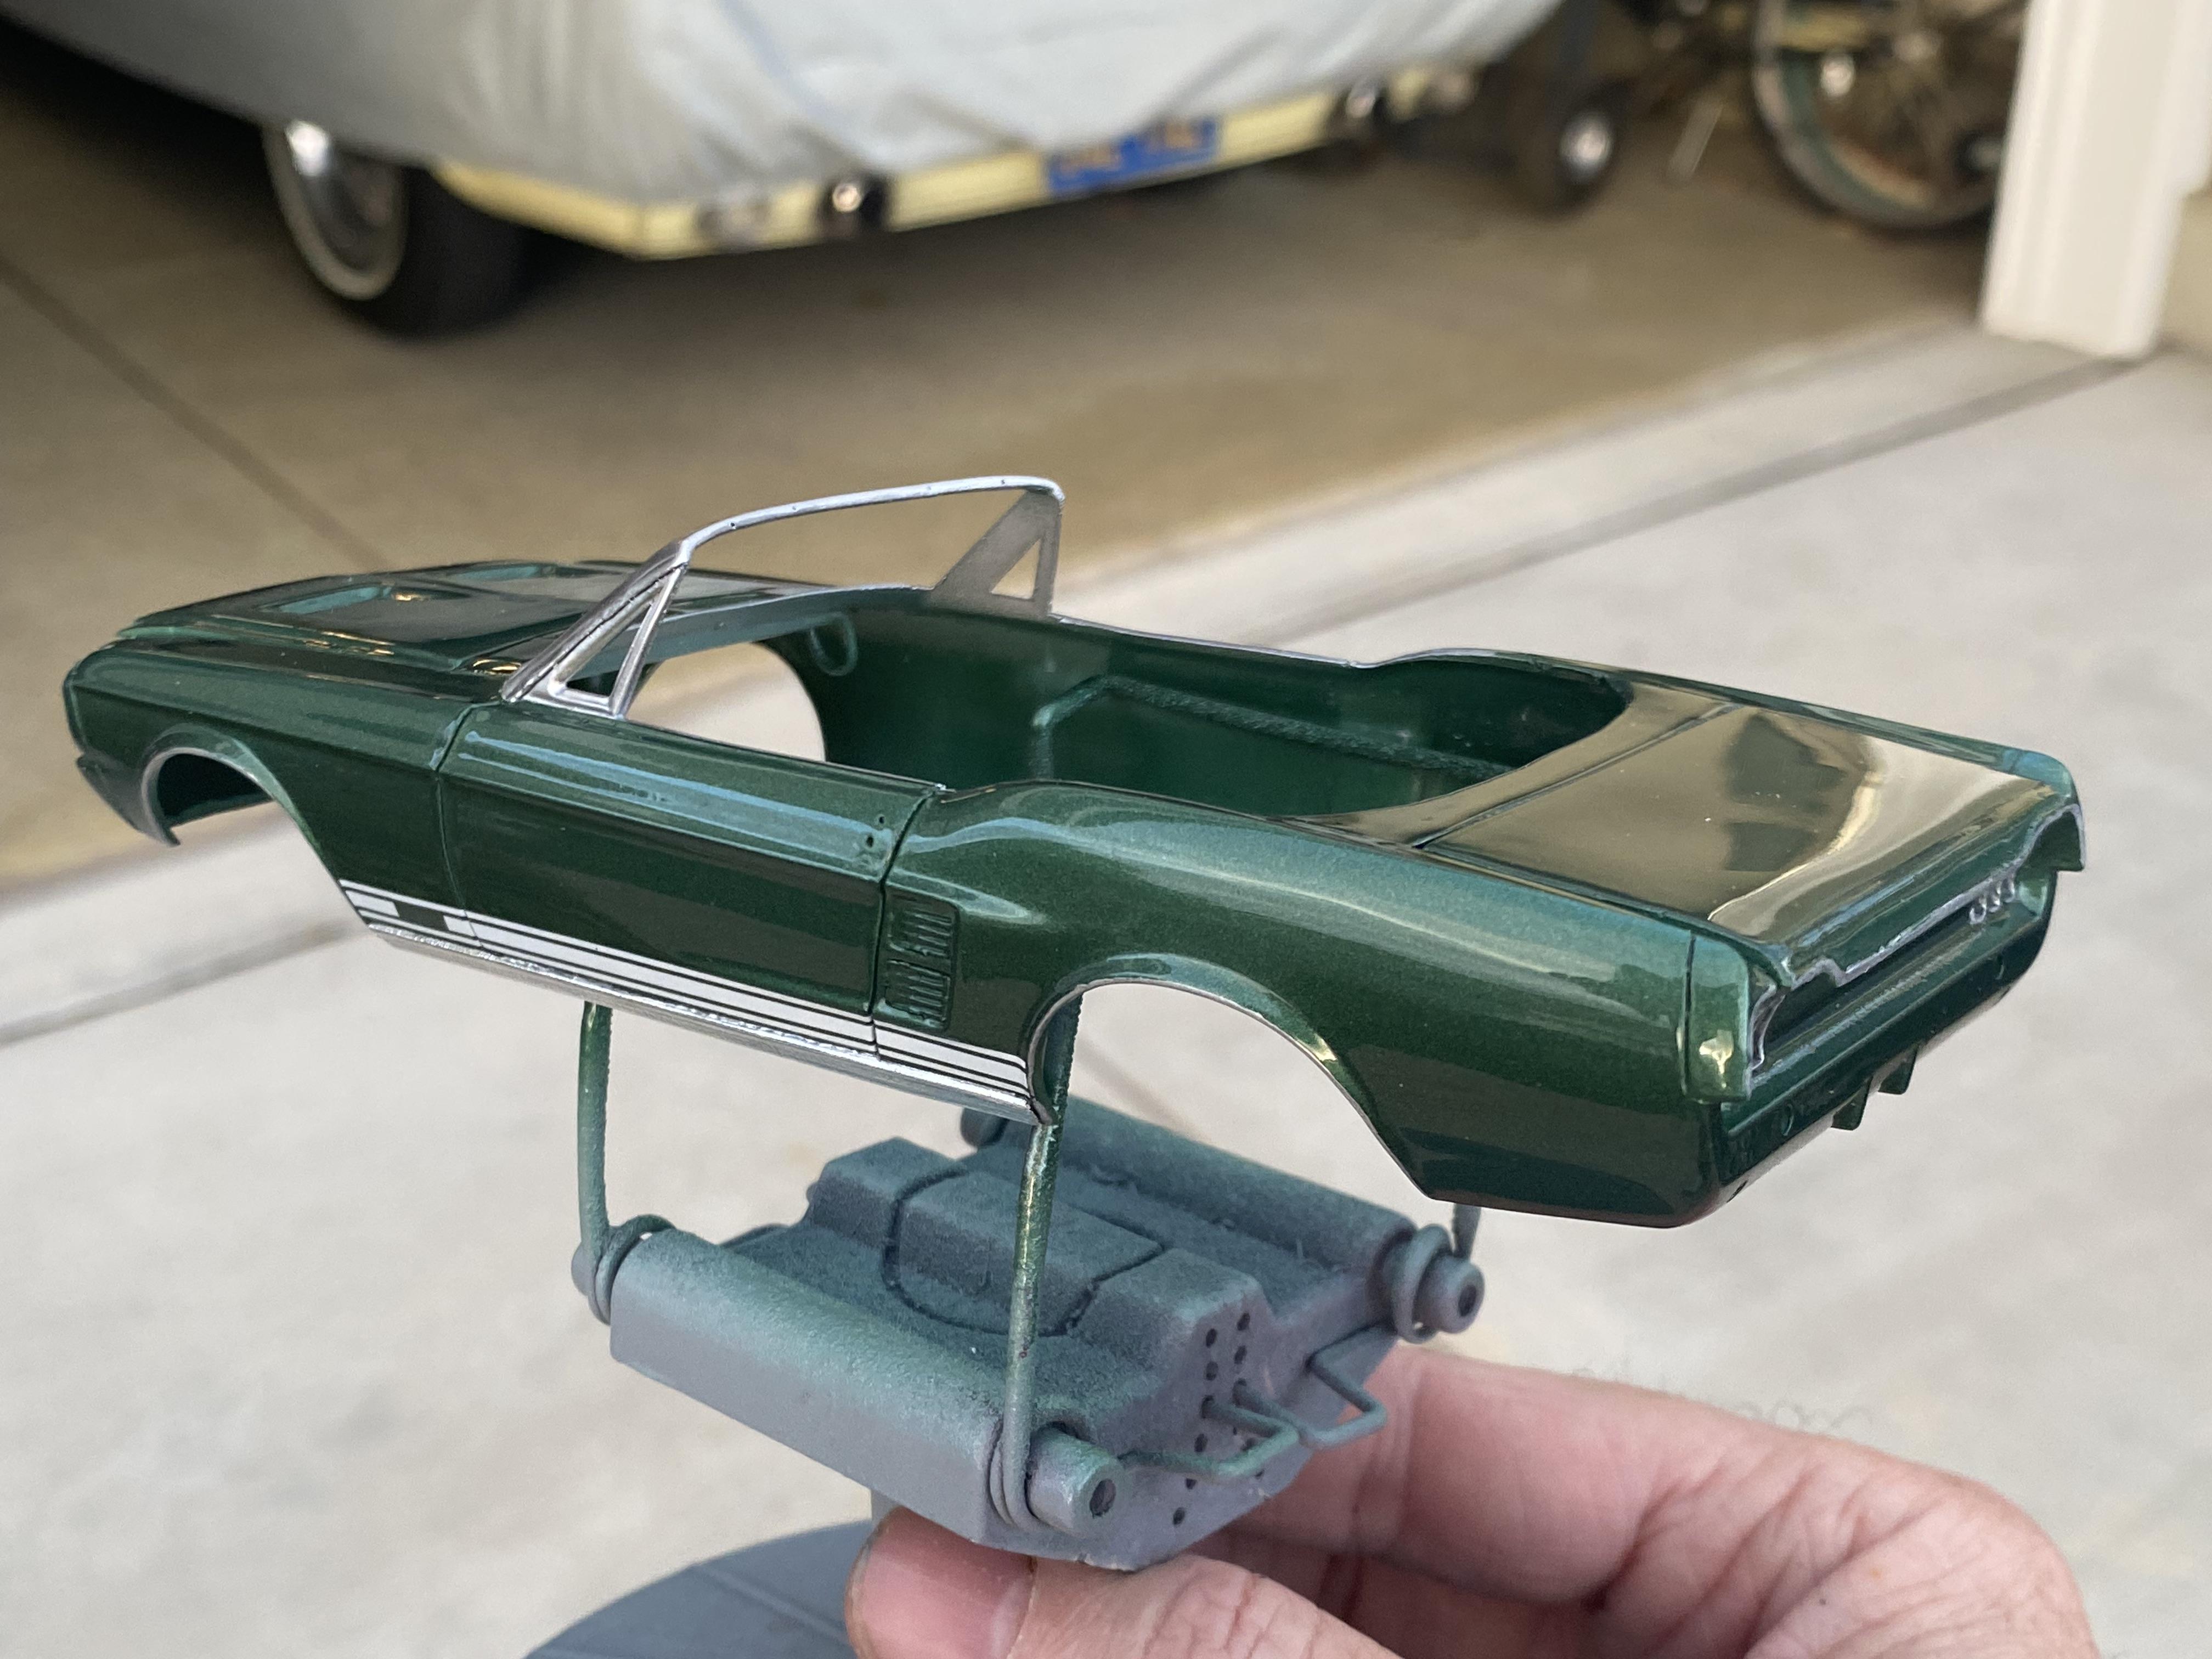
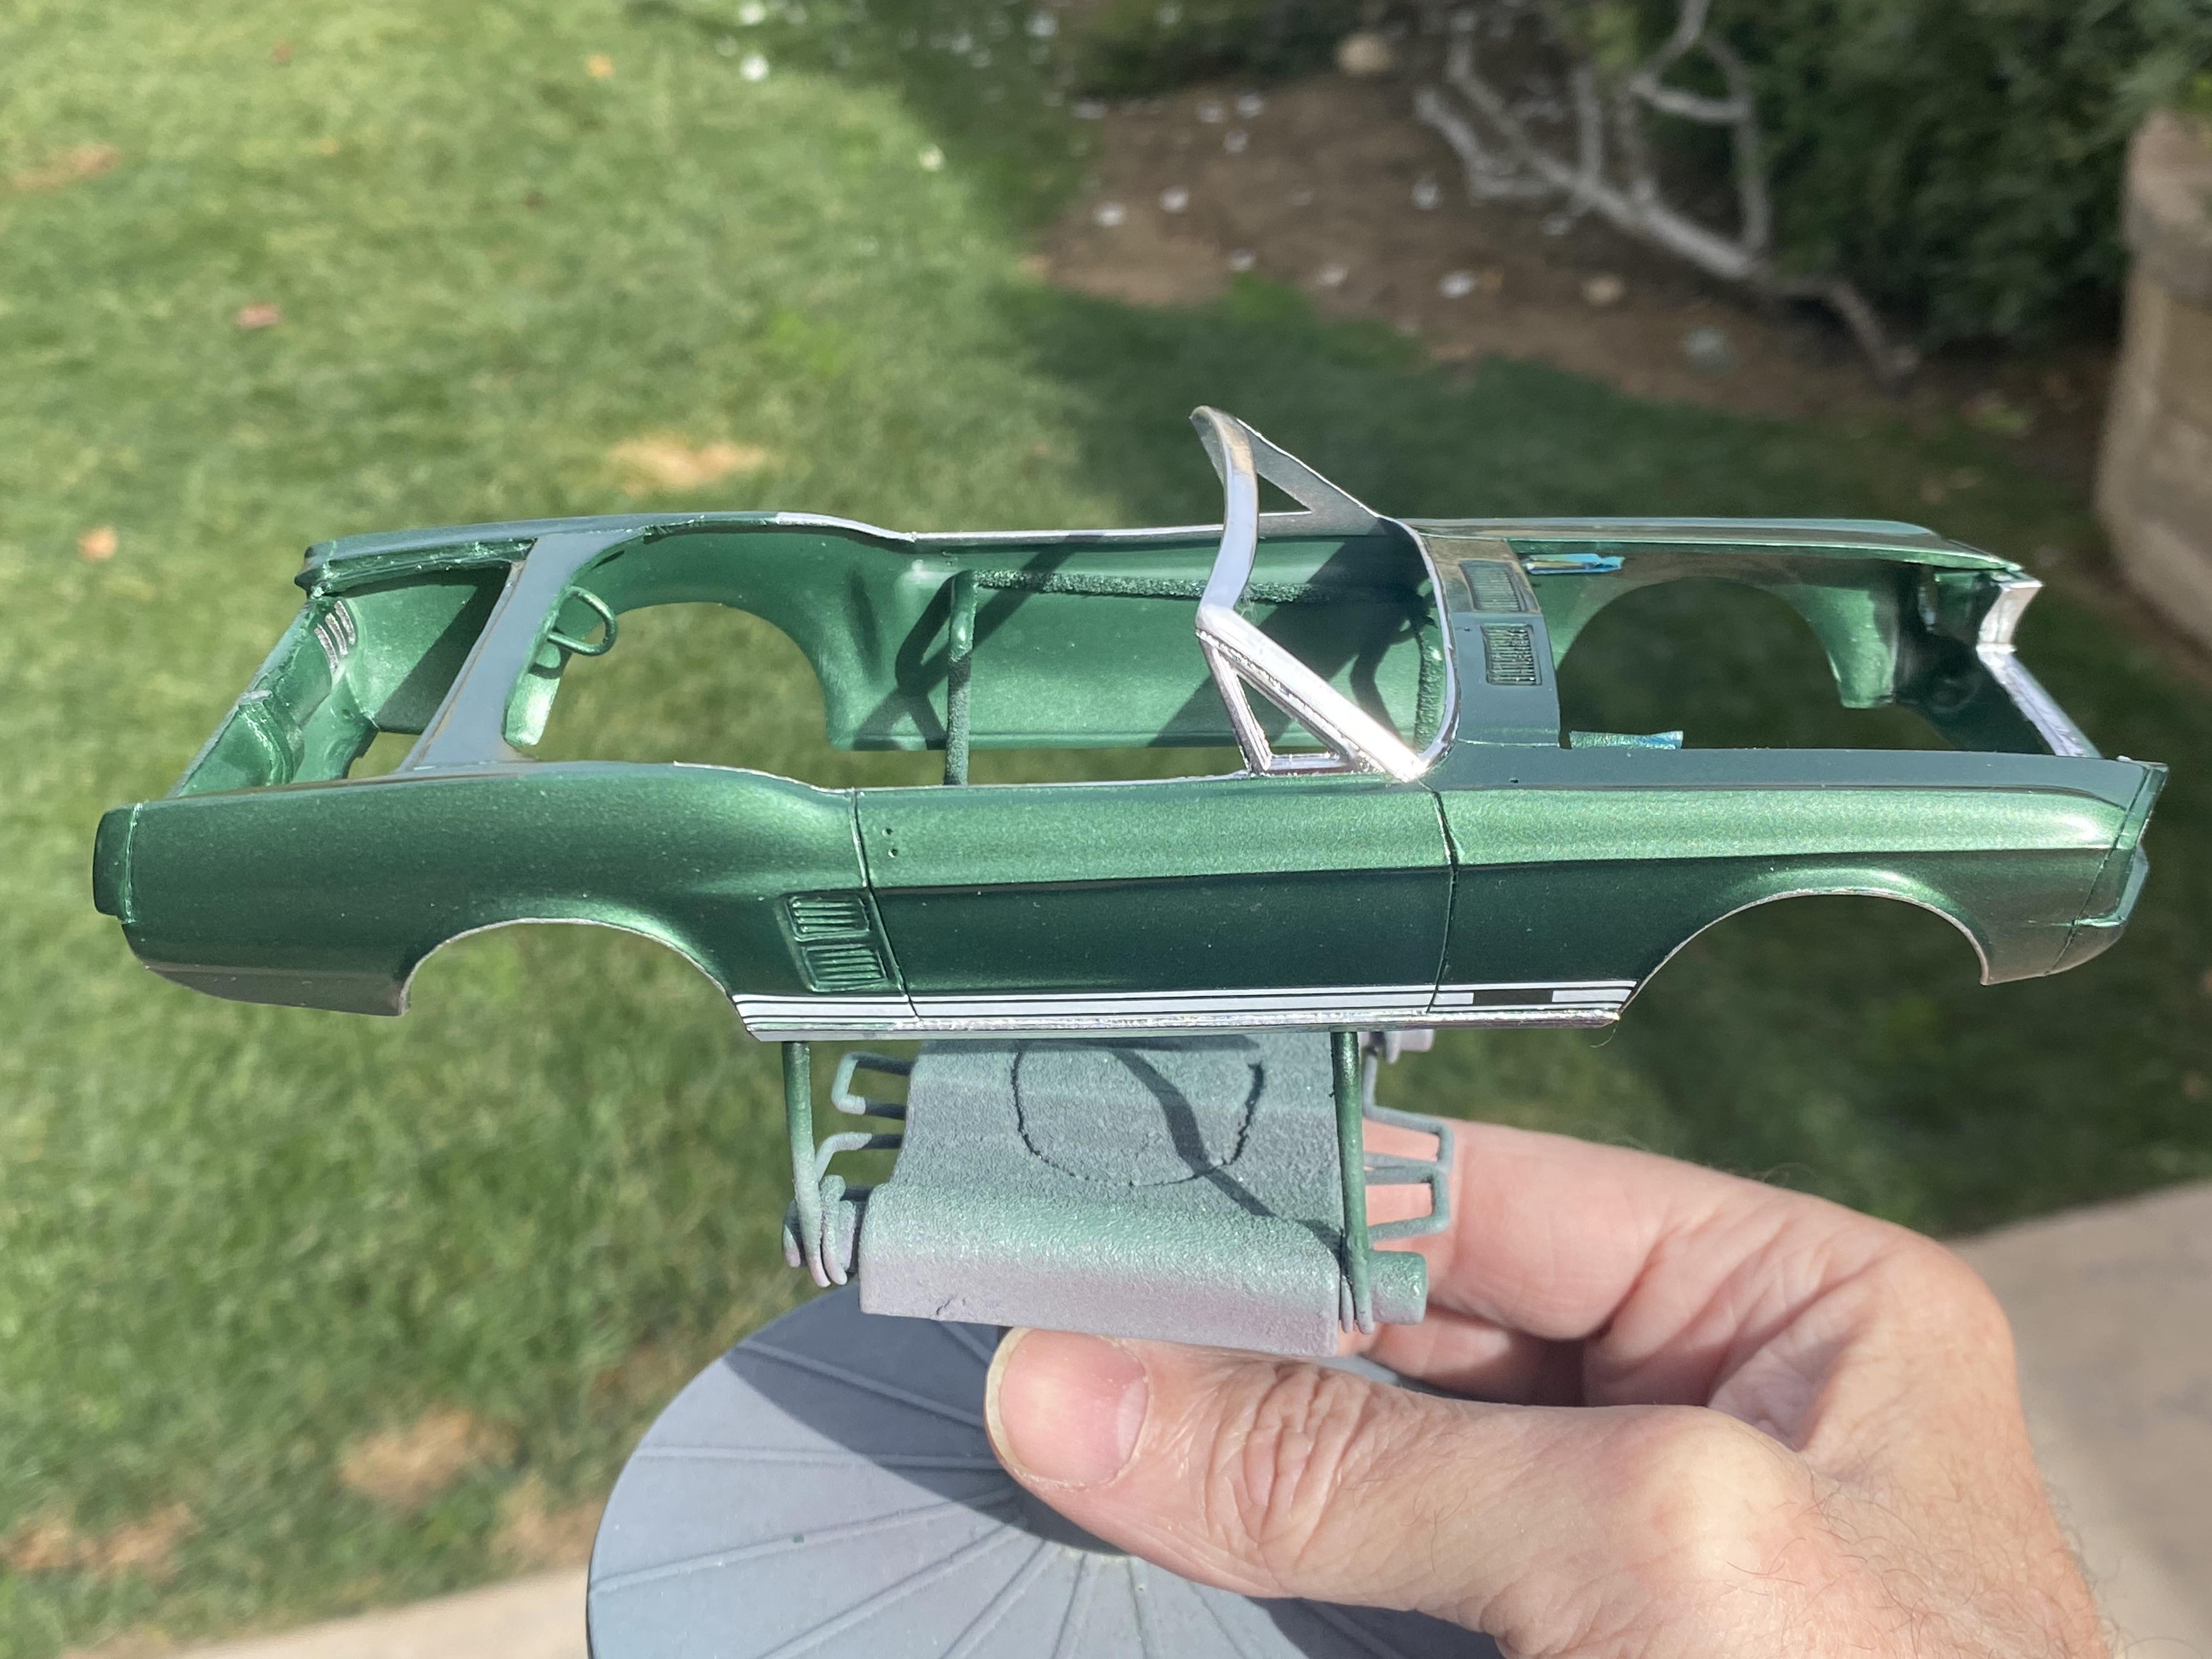
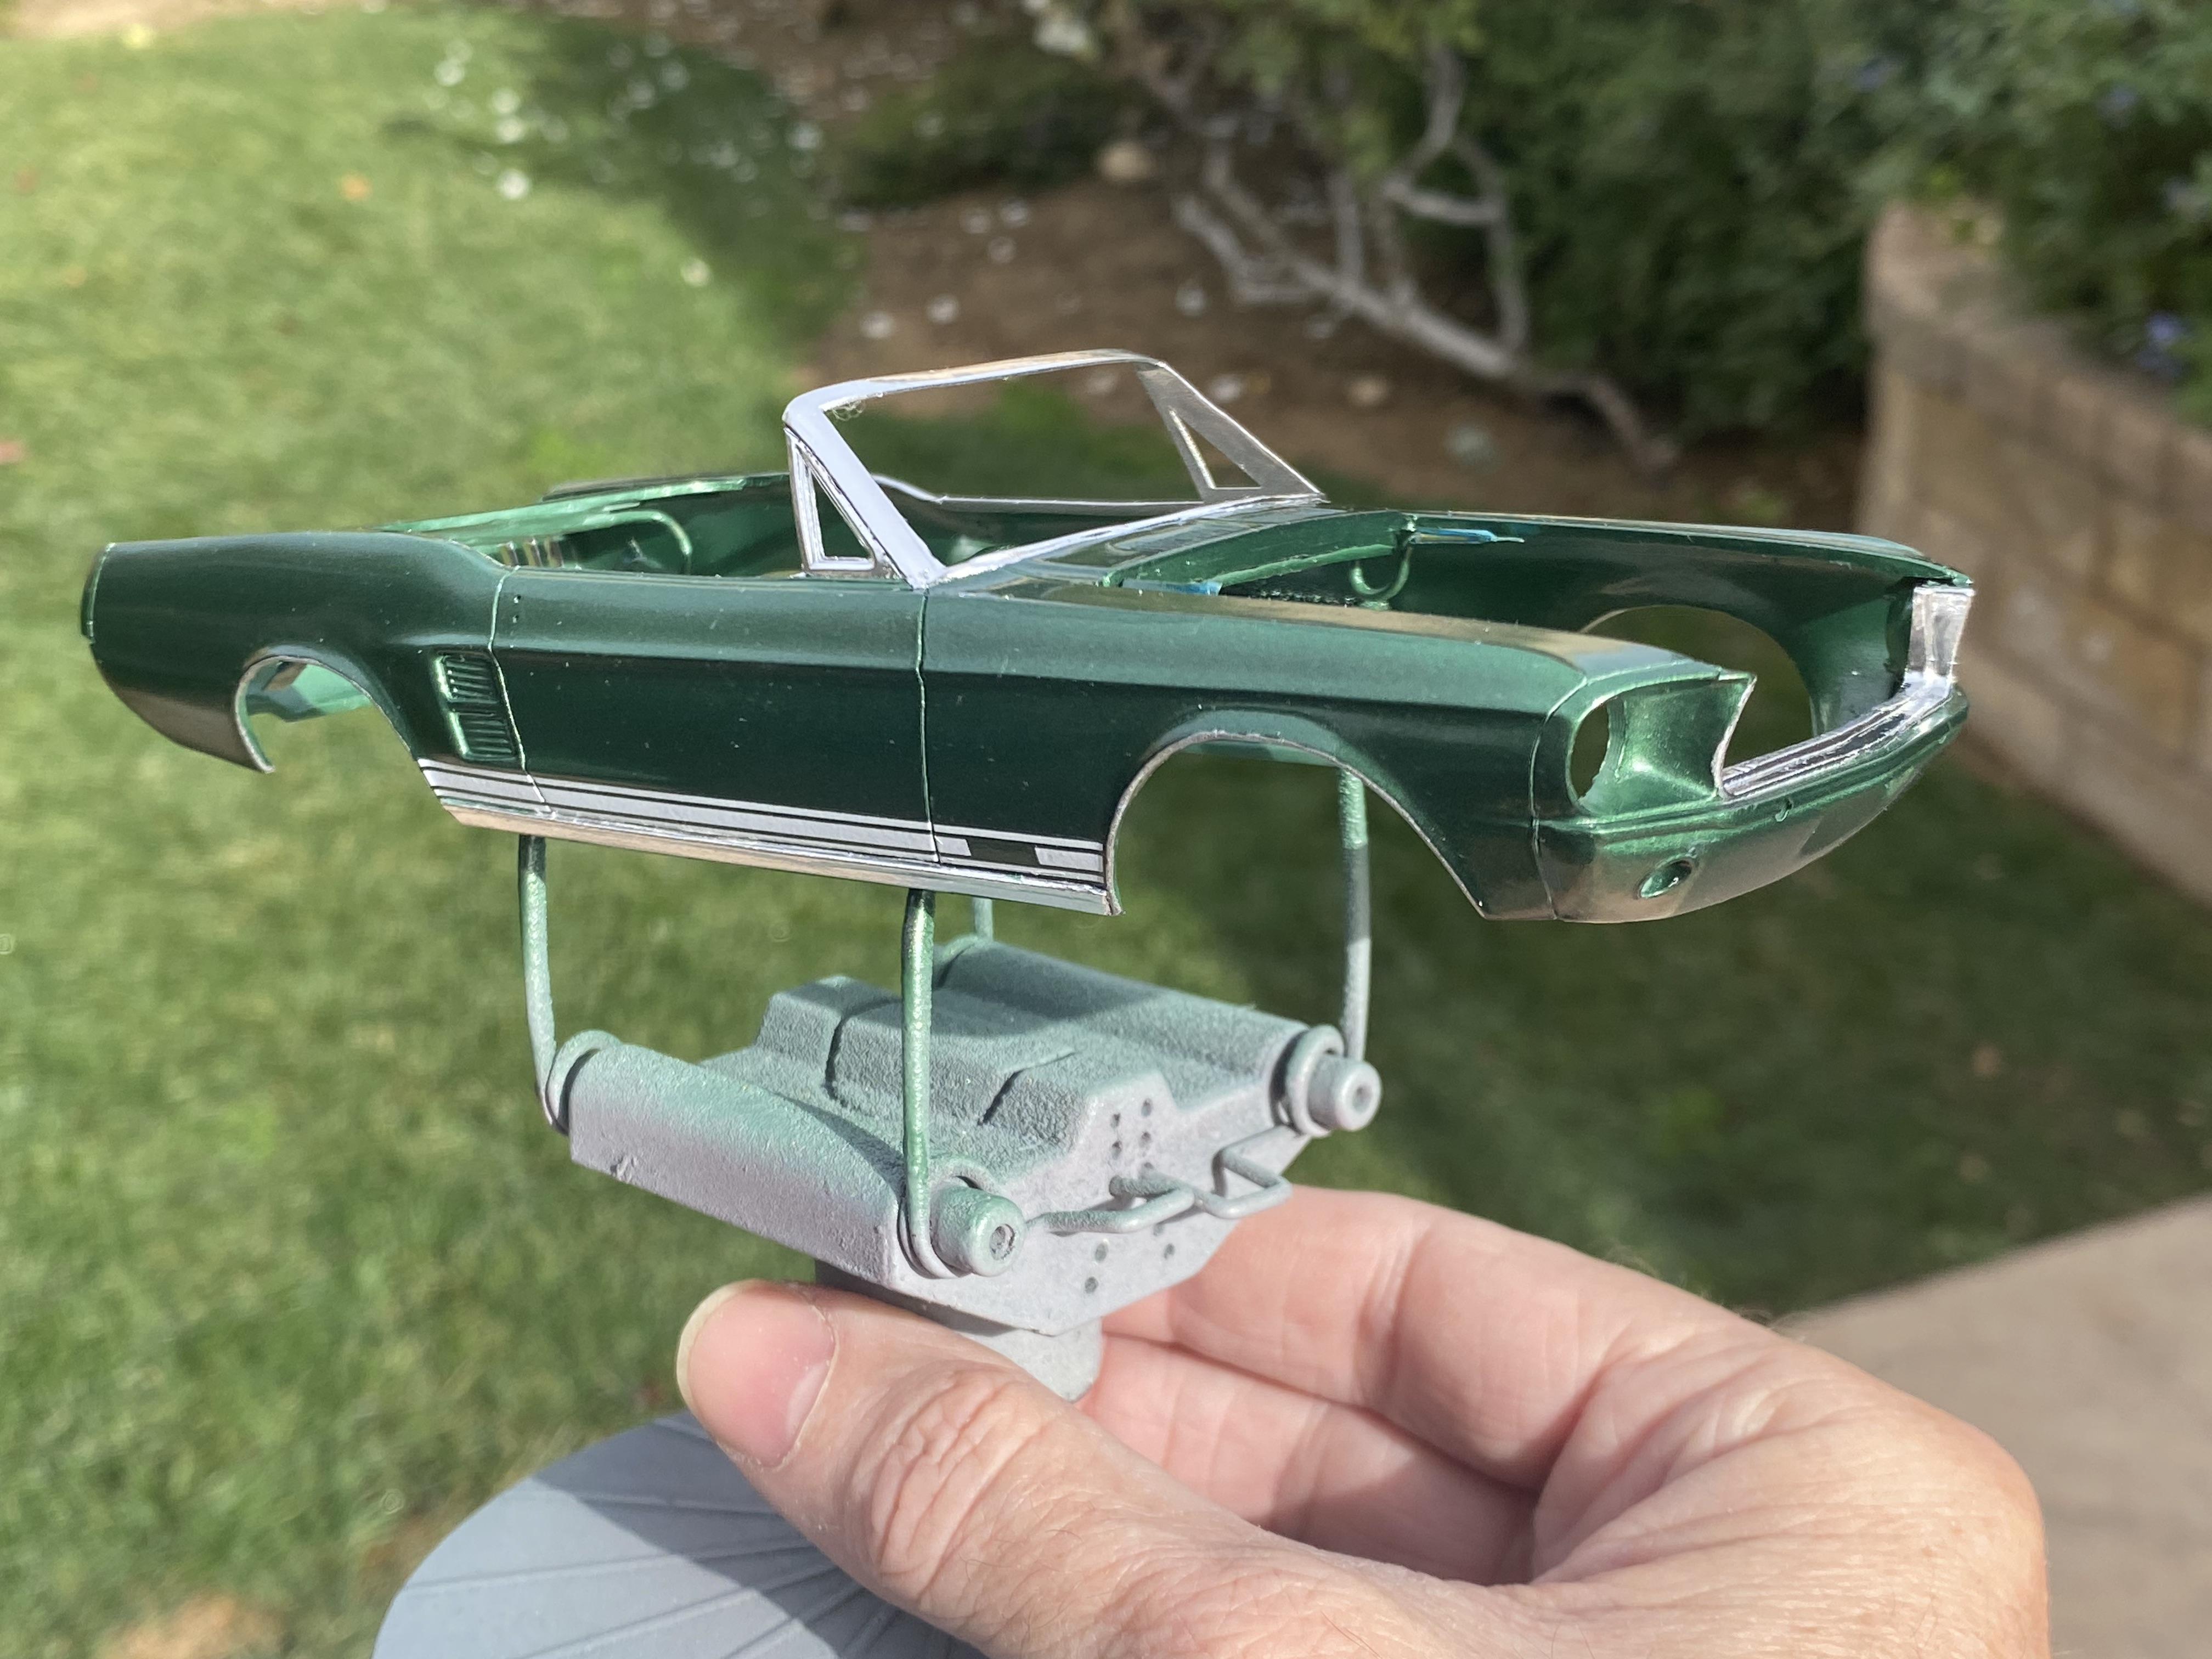
Started preparing the parts for paint and painting base colors. there was a nasty mold line through the ends of the front bumper so I stripped and sanded the bumpers, then drilled them for carriage bolt rivets I will add later. components in the tray are finished with airbrush work and the rest will be hand painted details. The rest still need airbrush work. the body has now been wet sanded and polished.
-
Thank you! The ability to polish with less of a chance to burn through is one of the things I love most about 2K over other clear coats.
-
I love splash paints 2K clear. Always lays down so smooth.
-
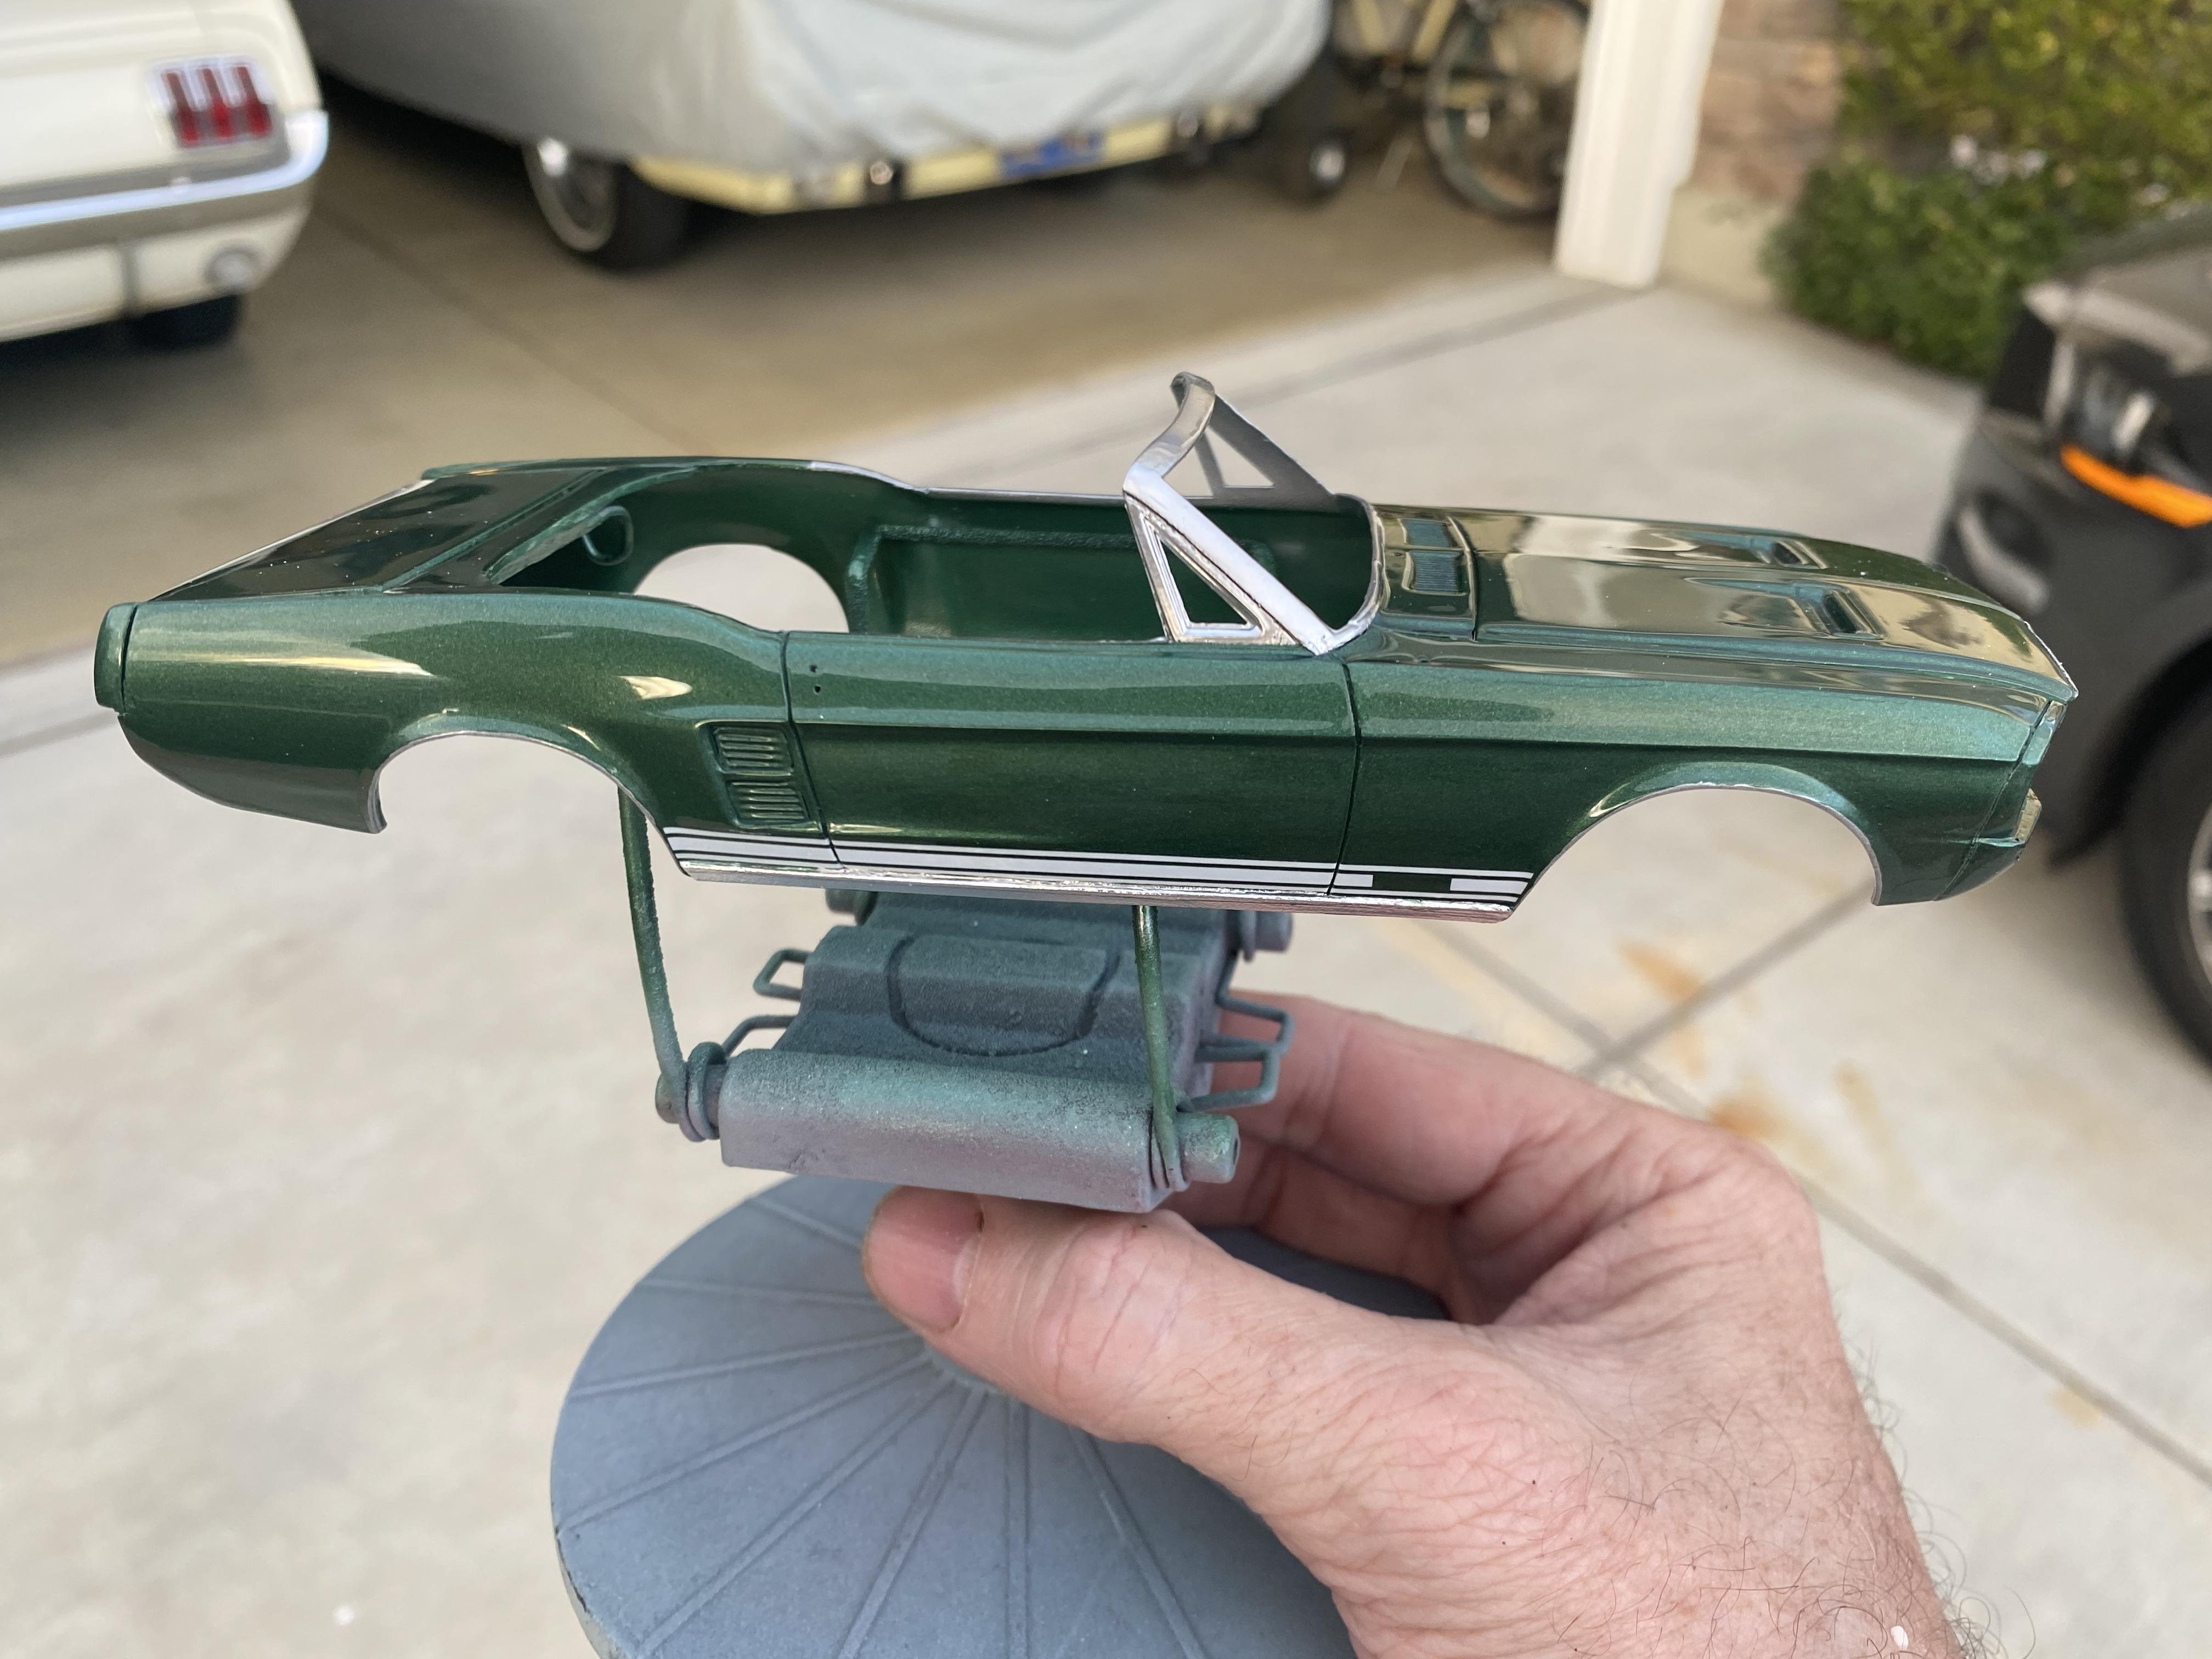
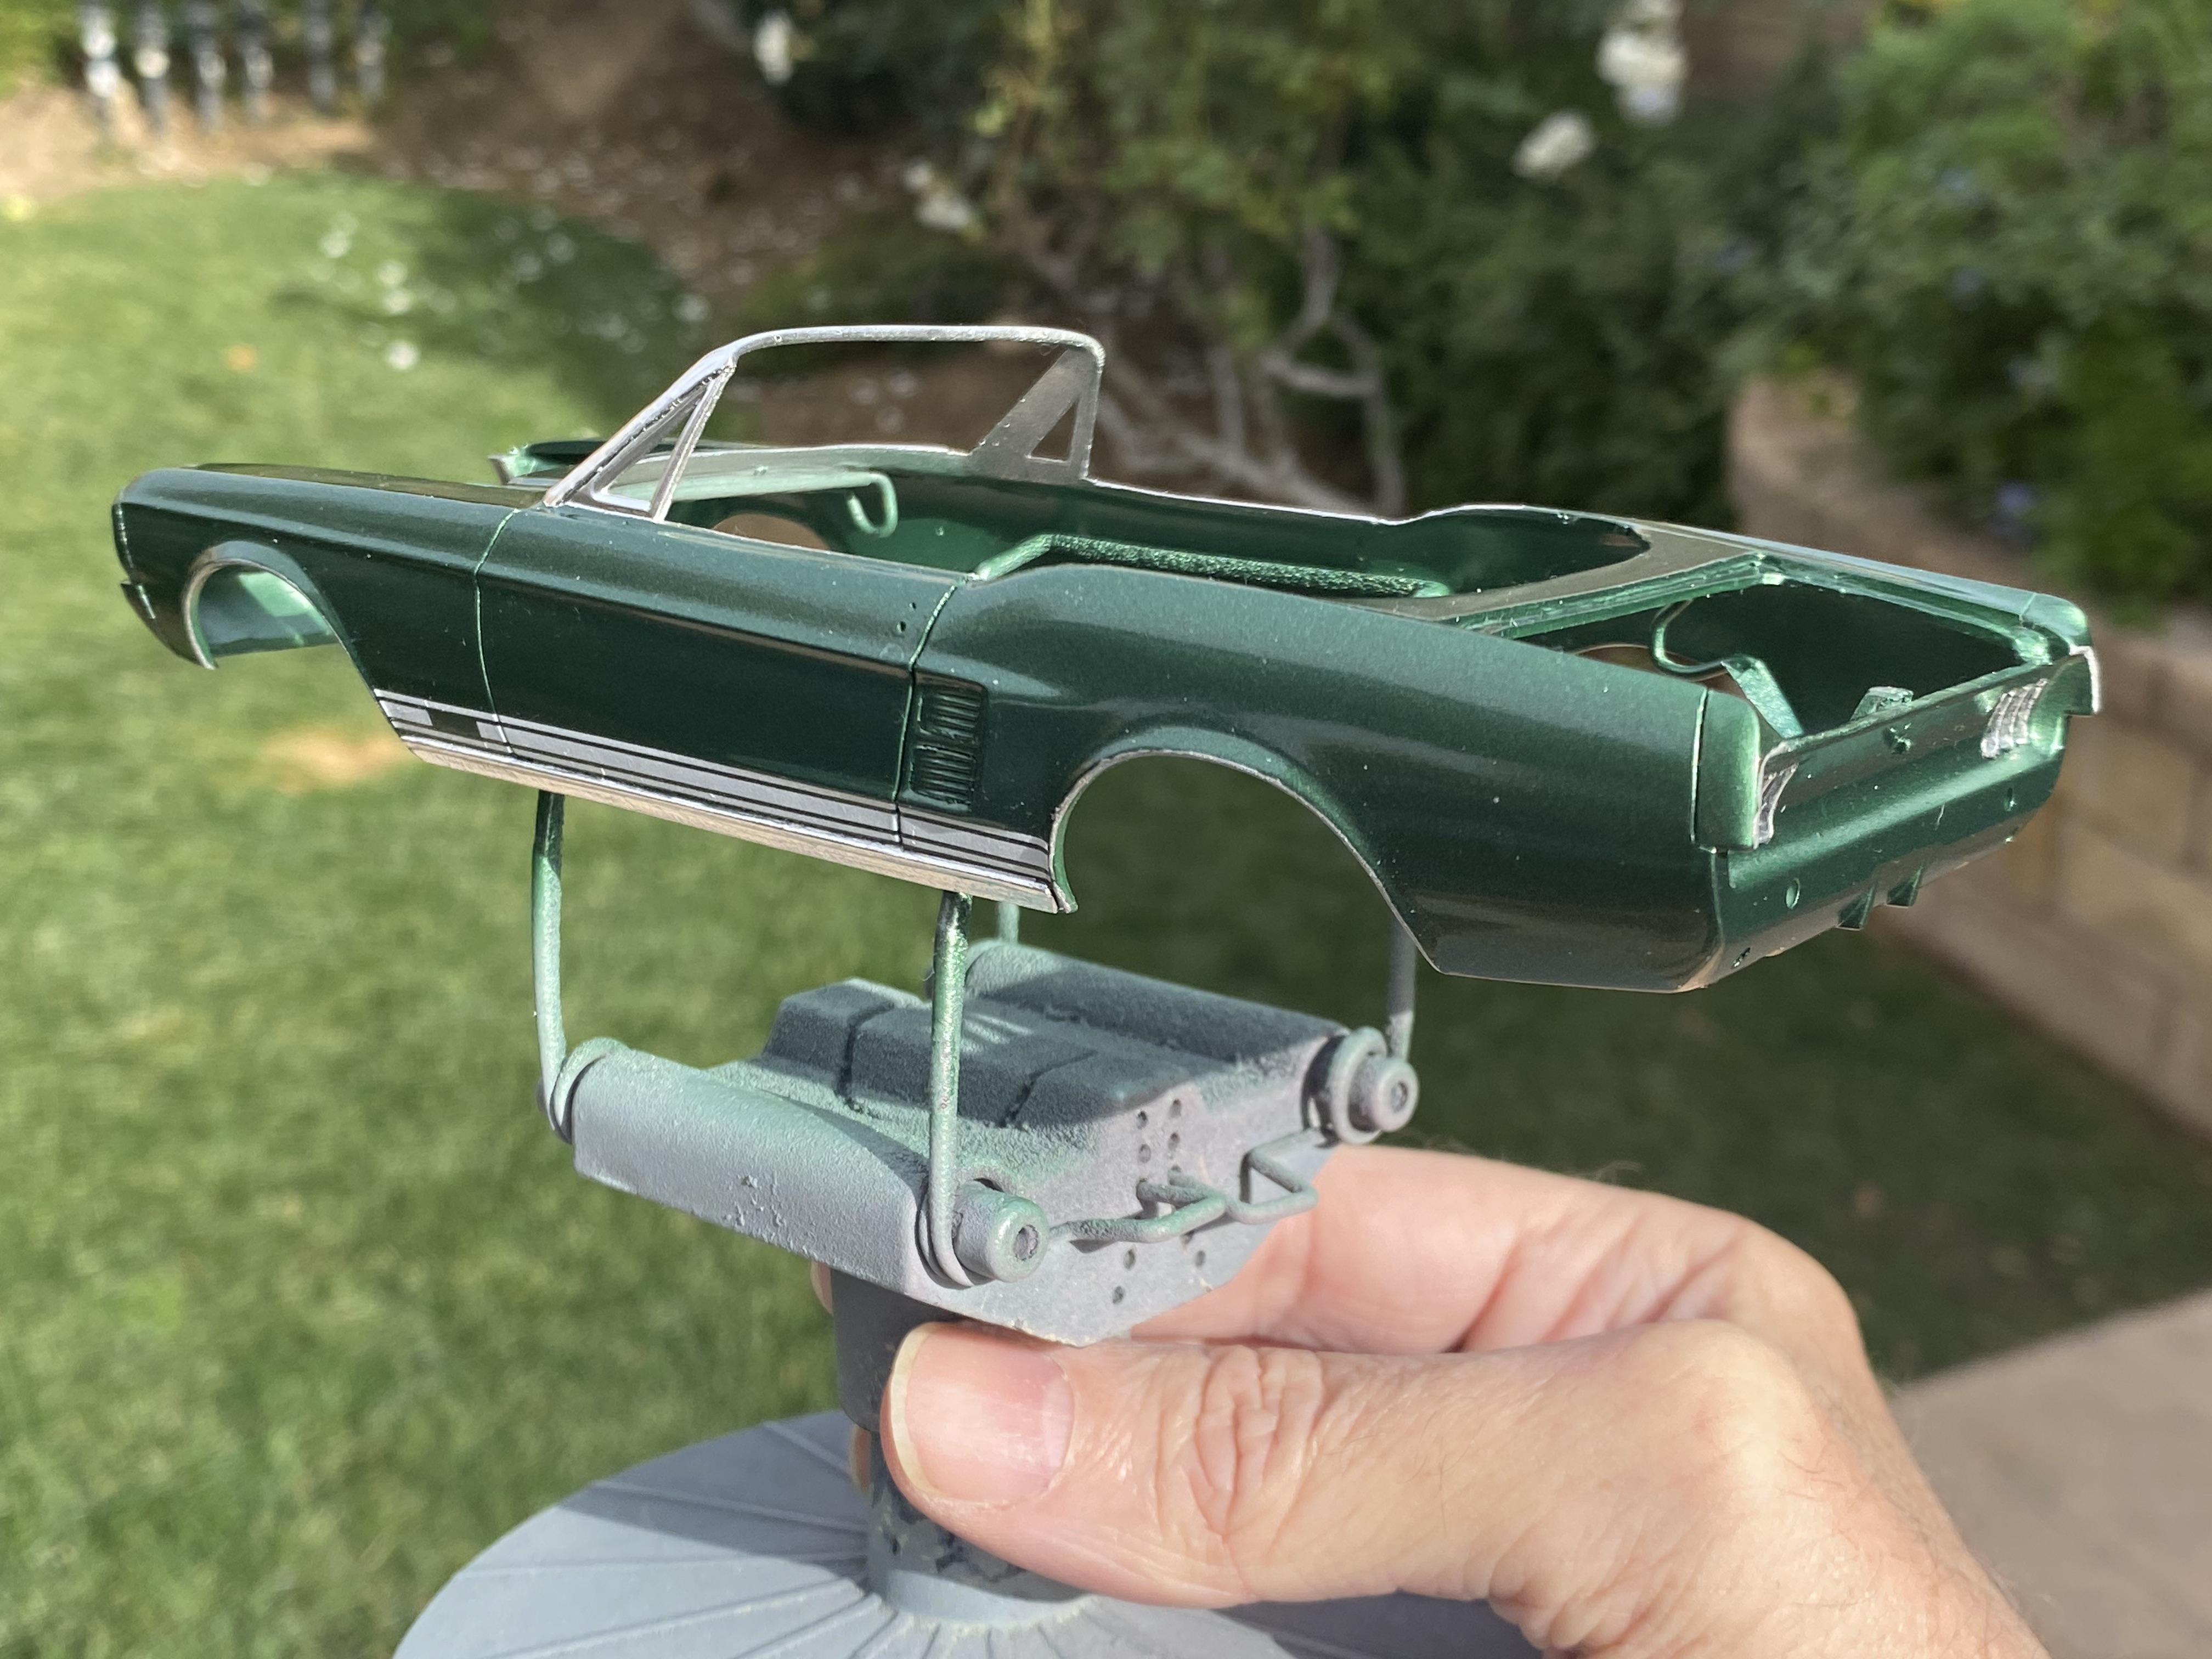
Got the 2K clear on the body today. Just a few specks of trash that will wet sand out easily when I get to the polish phase in a few days.
-
Thank You! Still lots of work to go. Thank You! It’s got a very long way to go but it is getting there.
-
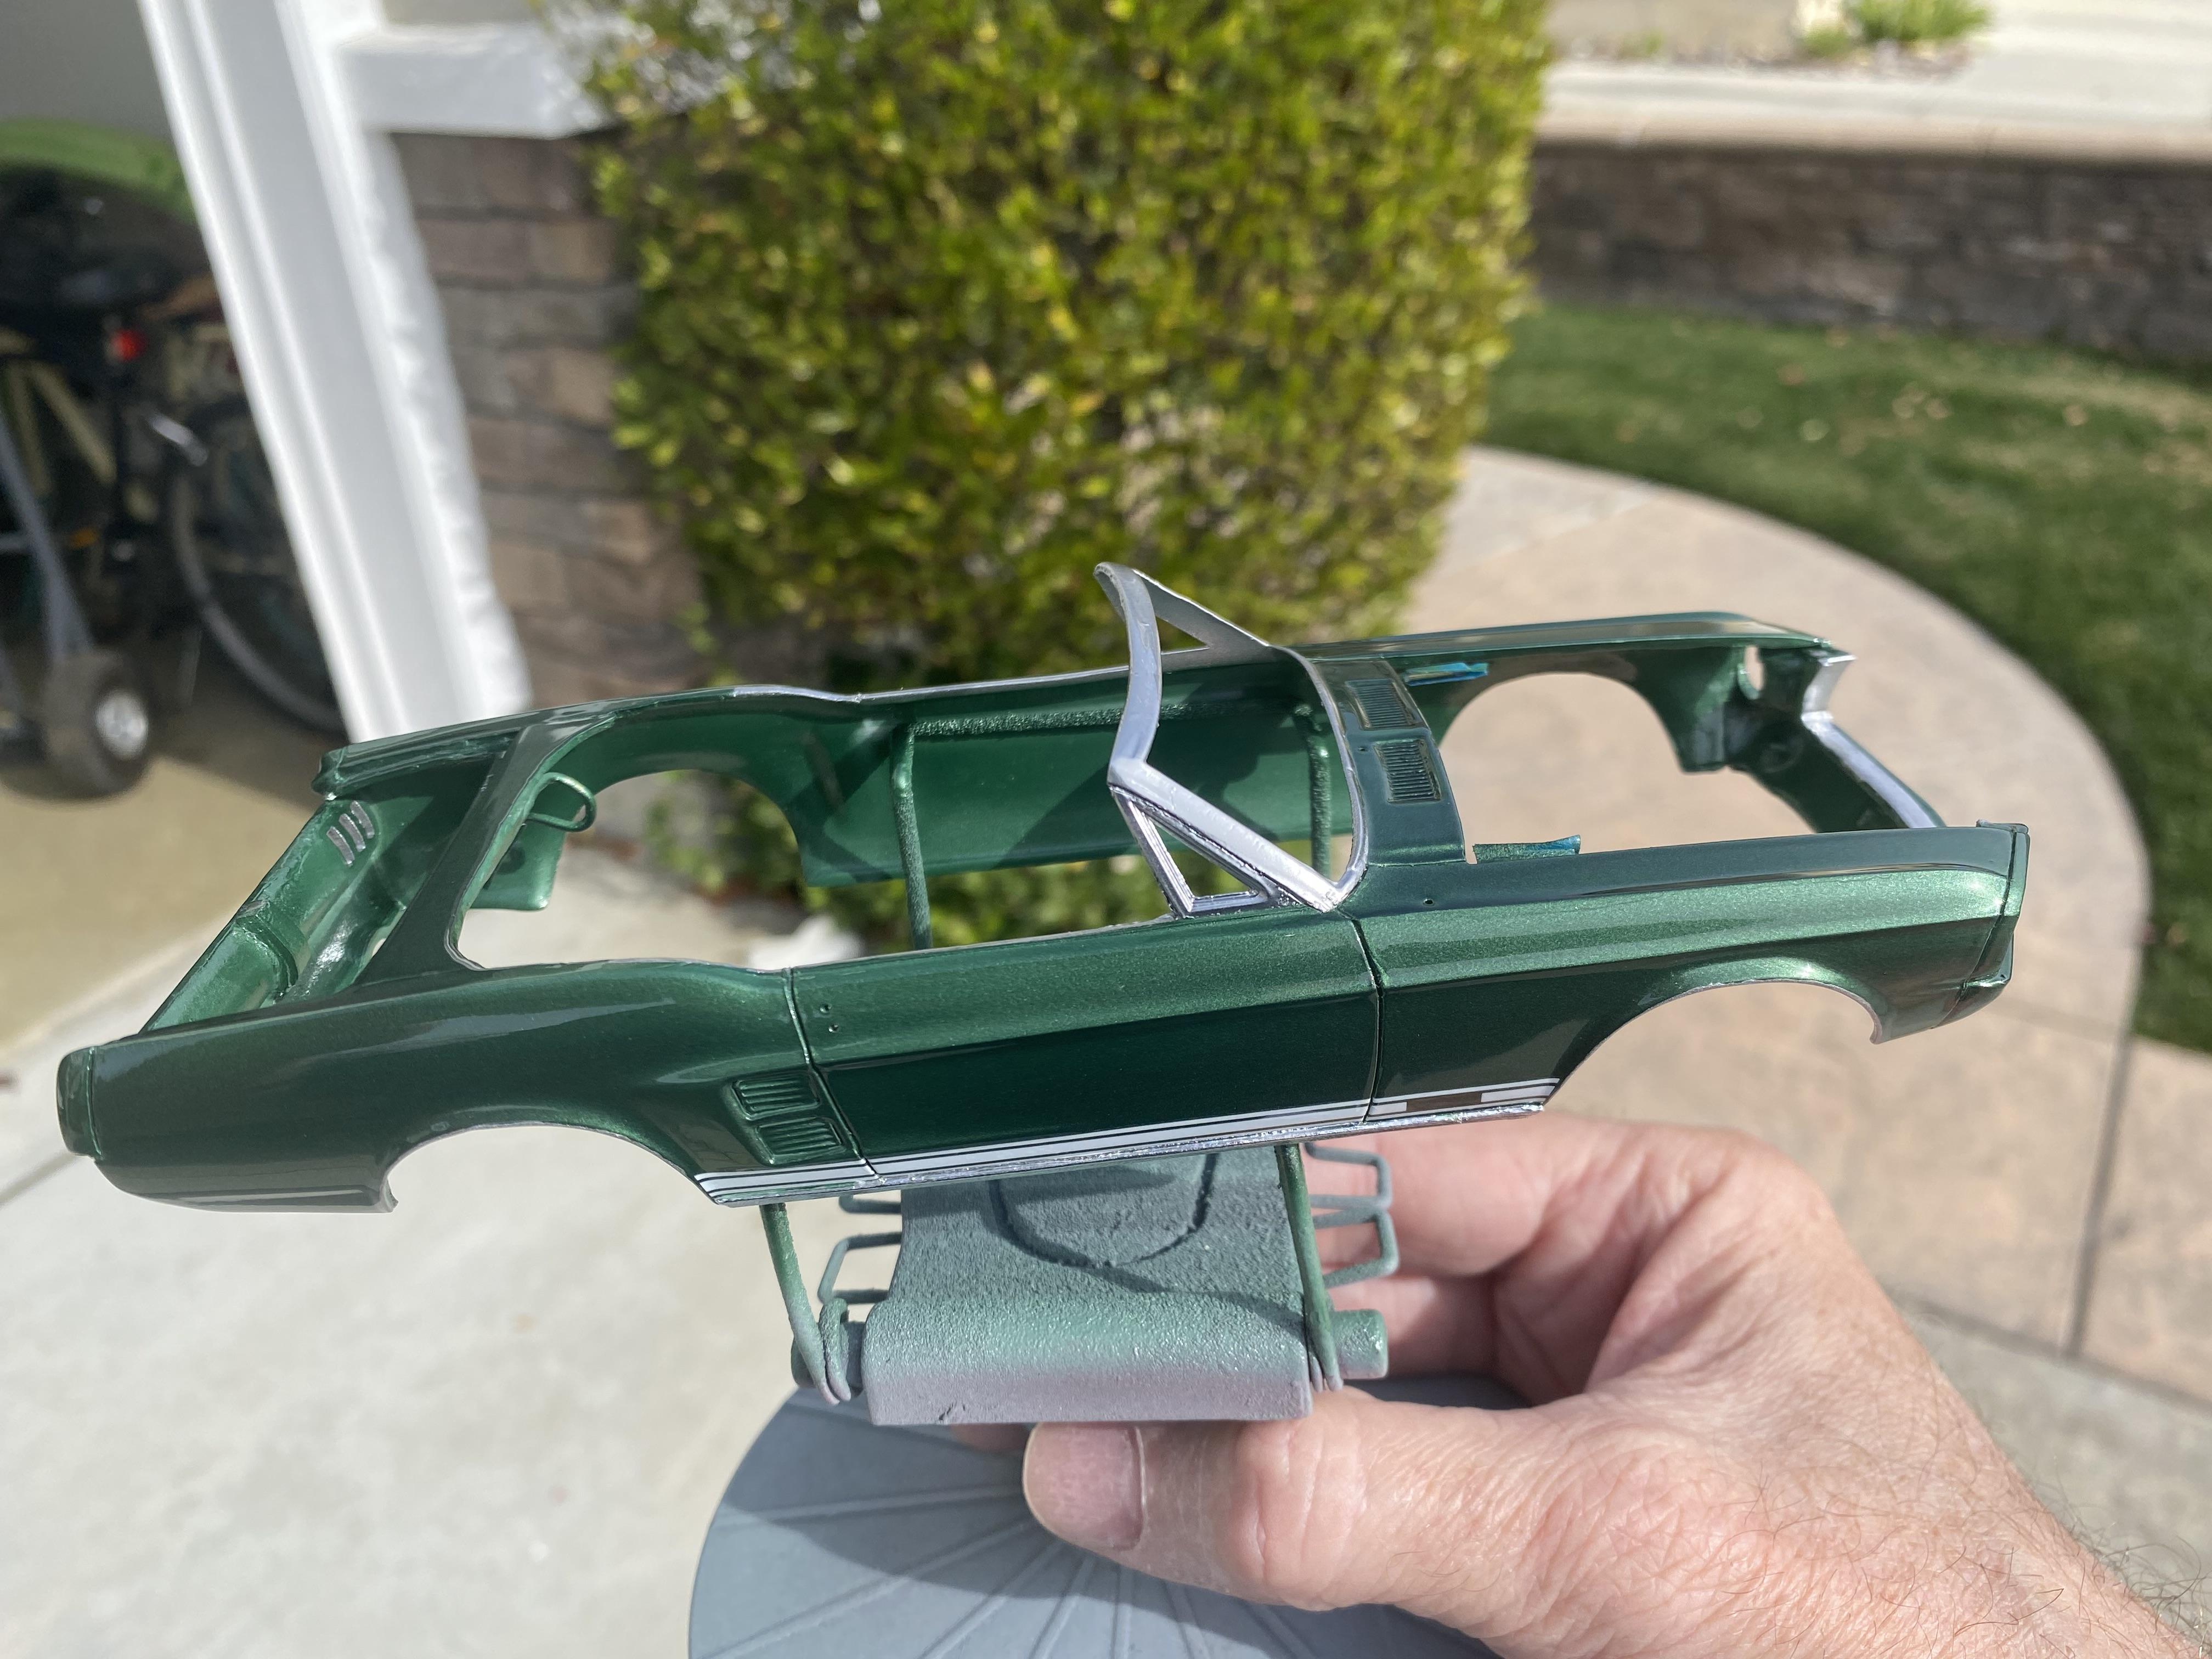
Thanks, me neither. I am looking to shooting the 2K probably Wednesday. Giving it time to completely cure. The Rocker panels are bare metal foil, but the windshield frame and grill are Molotow Chrome through my airbrush and I have found if I give it a good 72 hours to cure, light coats of clear at first, it loses very little to no shine. It's quite a process but it has worked for me... so far.
-
Thank you! Think this is something, wait till you see what I have planned for my next build. 😁 my family already said I can’t do a build without lighting, now I am being told they will now all have to have poseable steering. 😳
-
Thank You!
-
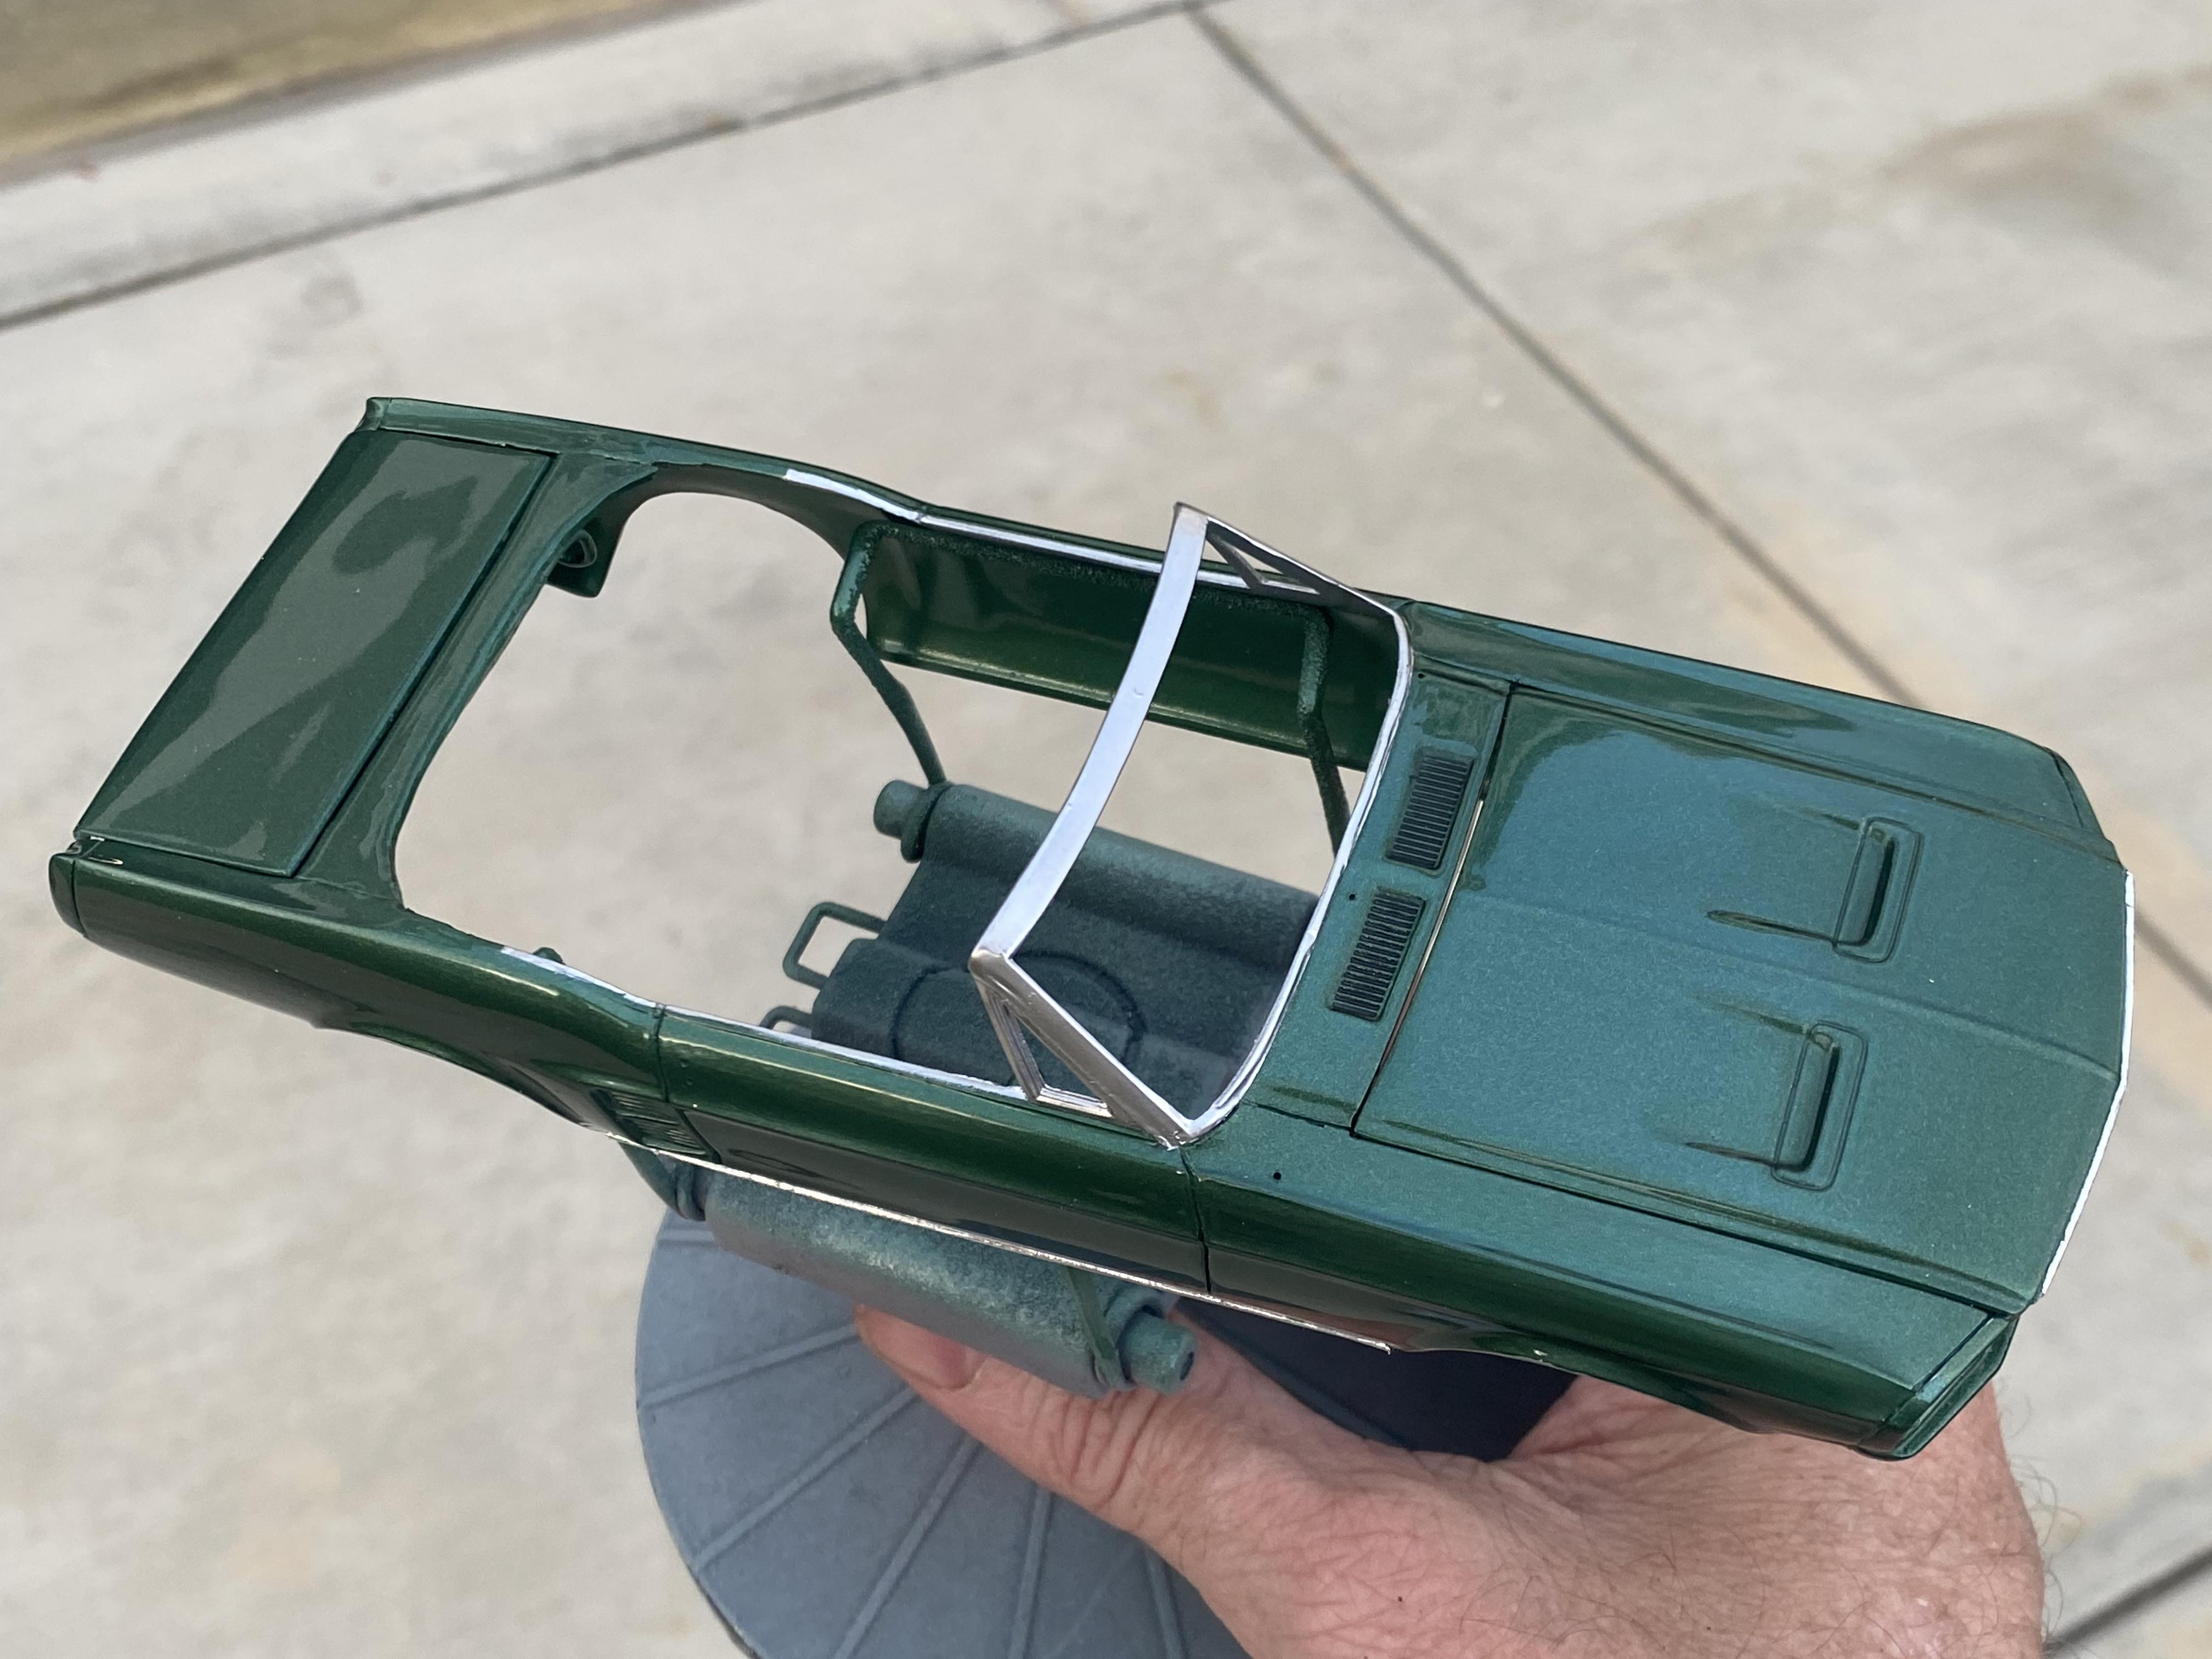
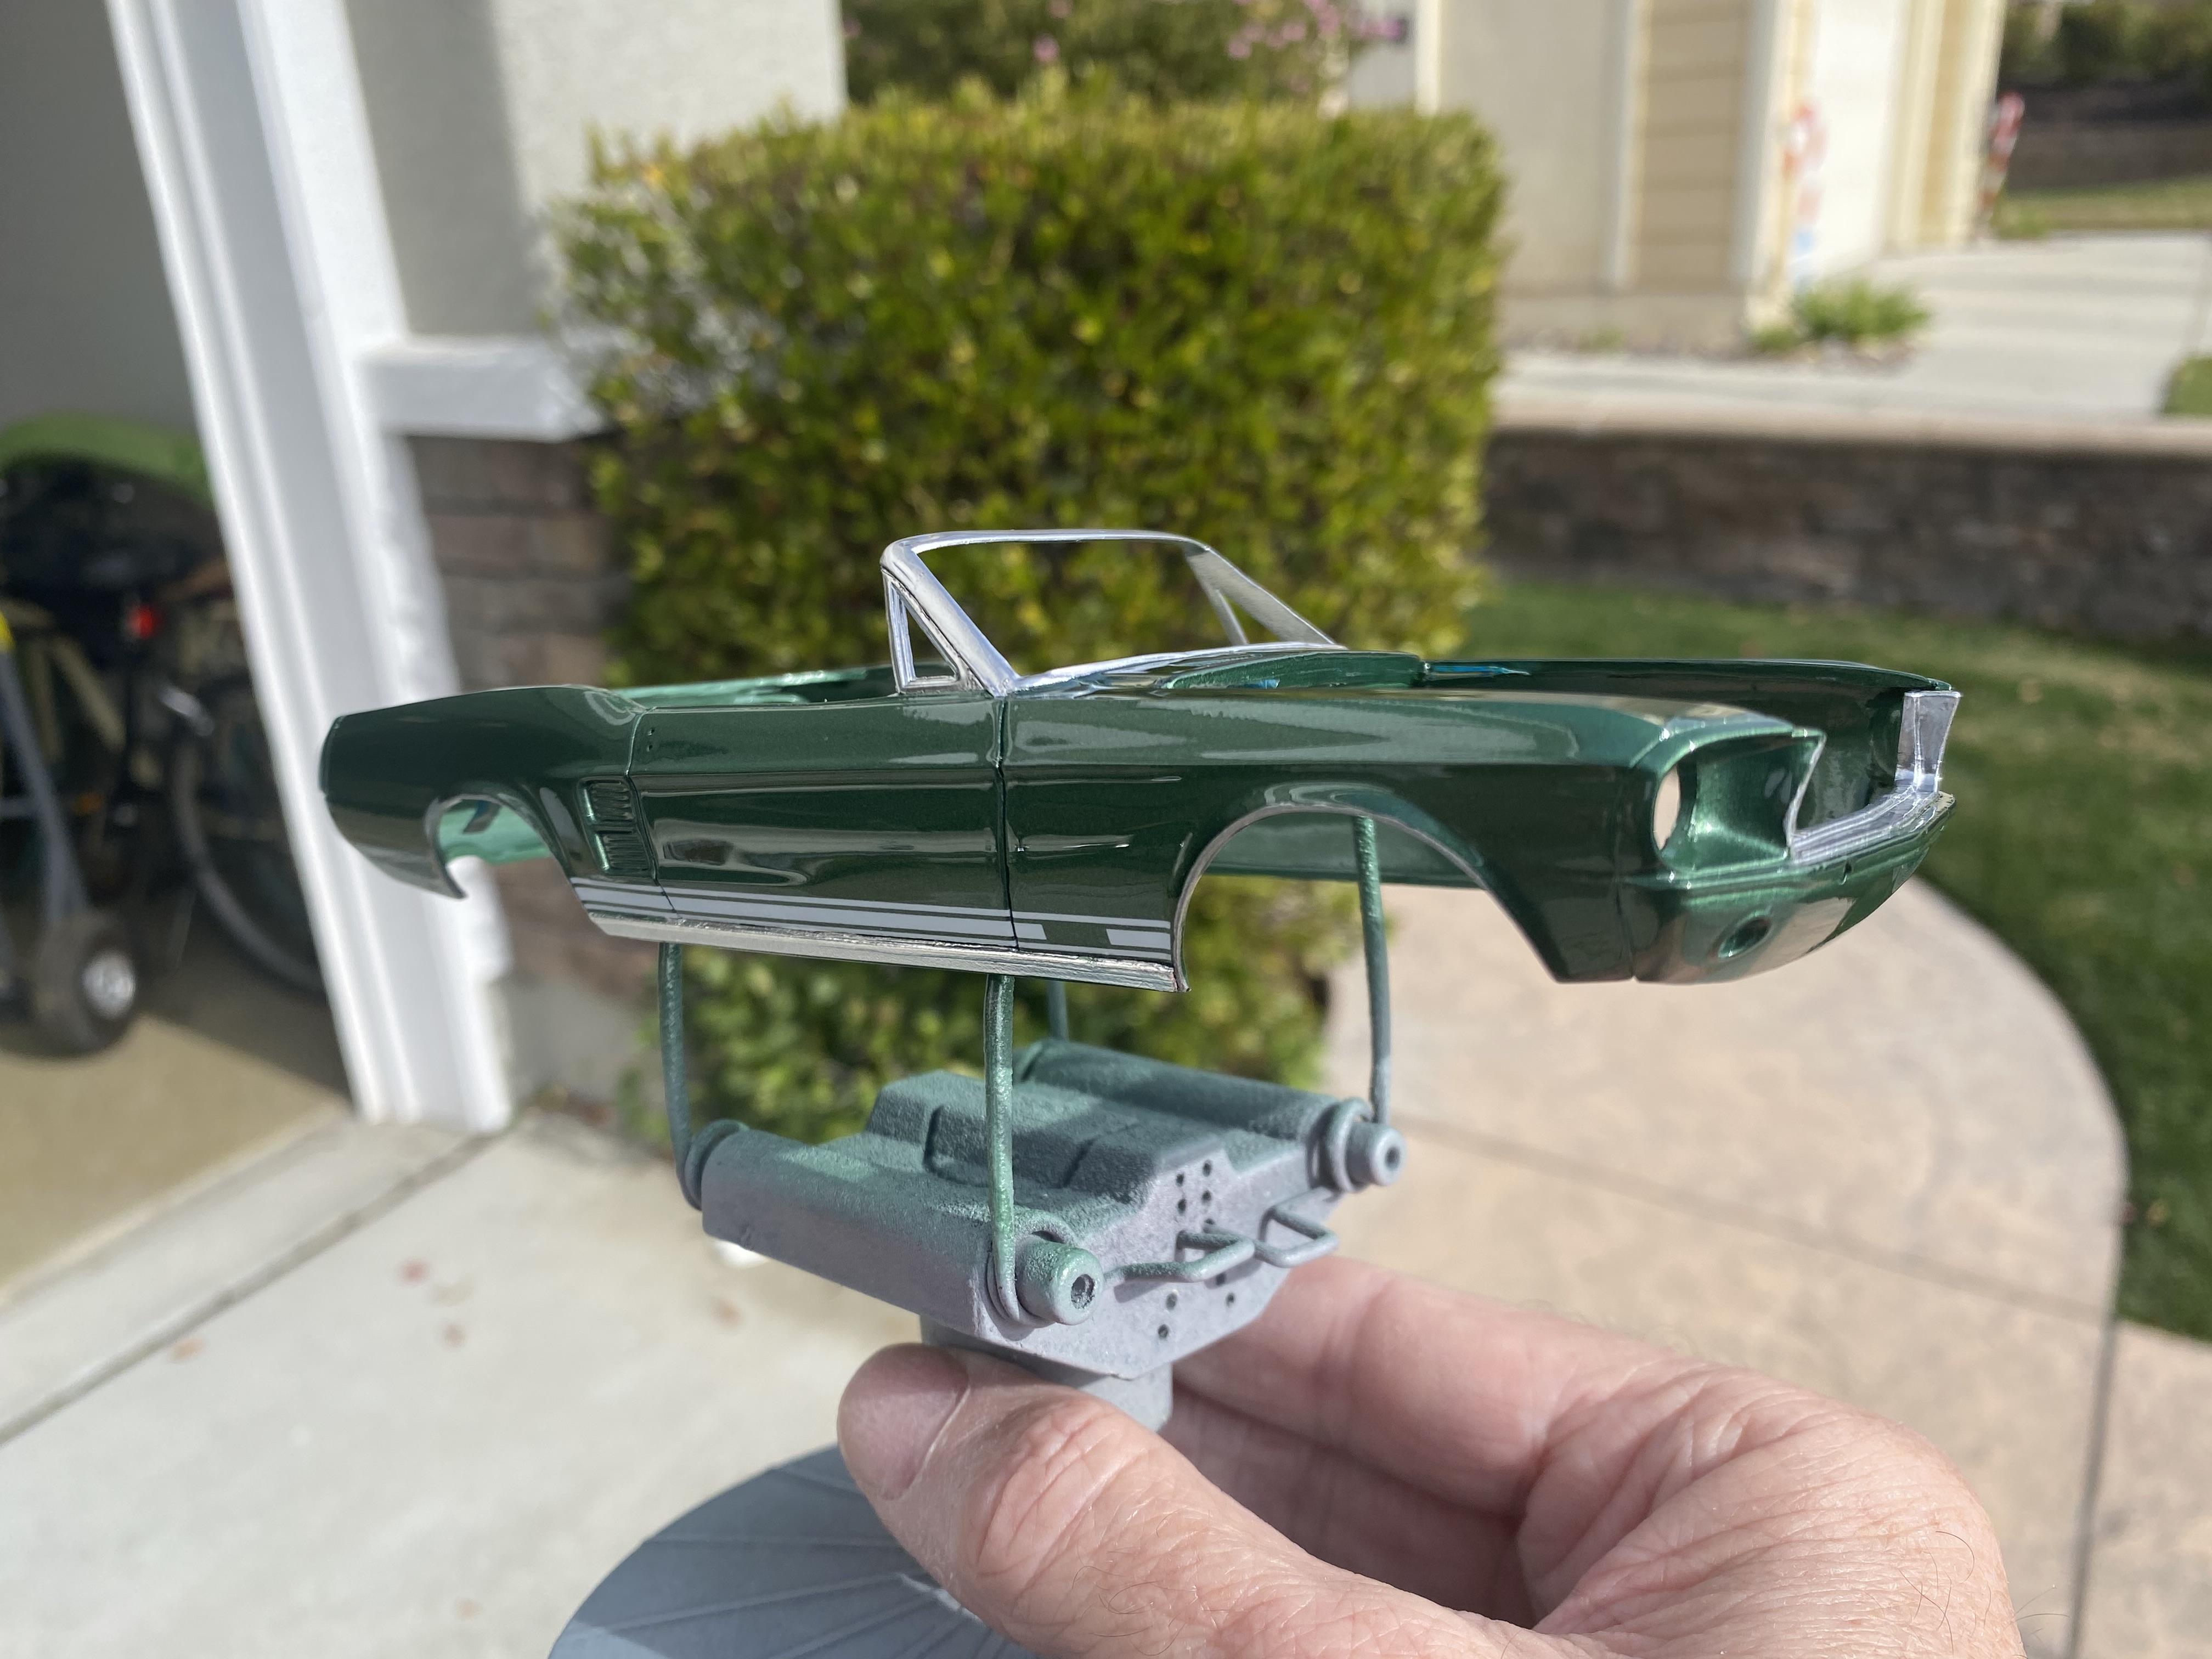
Chrome work and decals done on the body. Still need to 2K clear in a couple days, and then wait to wet sand and polish. I still haven’t started painting the other components yet, doing things a little different this time getting ahead on the body while I was waiting on some supplies to arrive for the engine. I did have to make some modifications to get it to fit so good thing I did wait. .
-
Thank You!
-
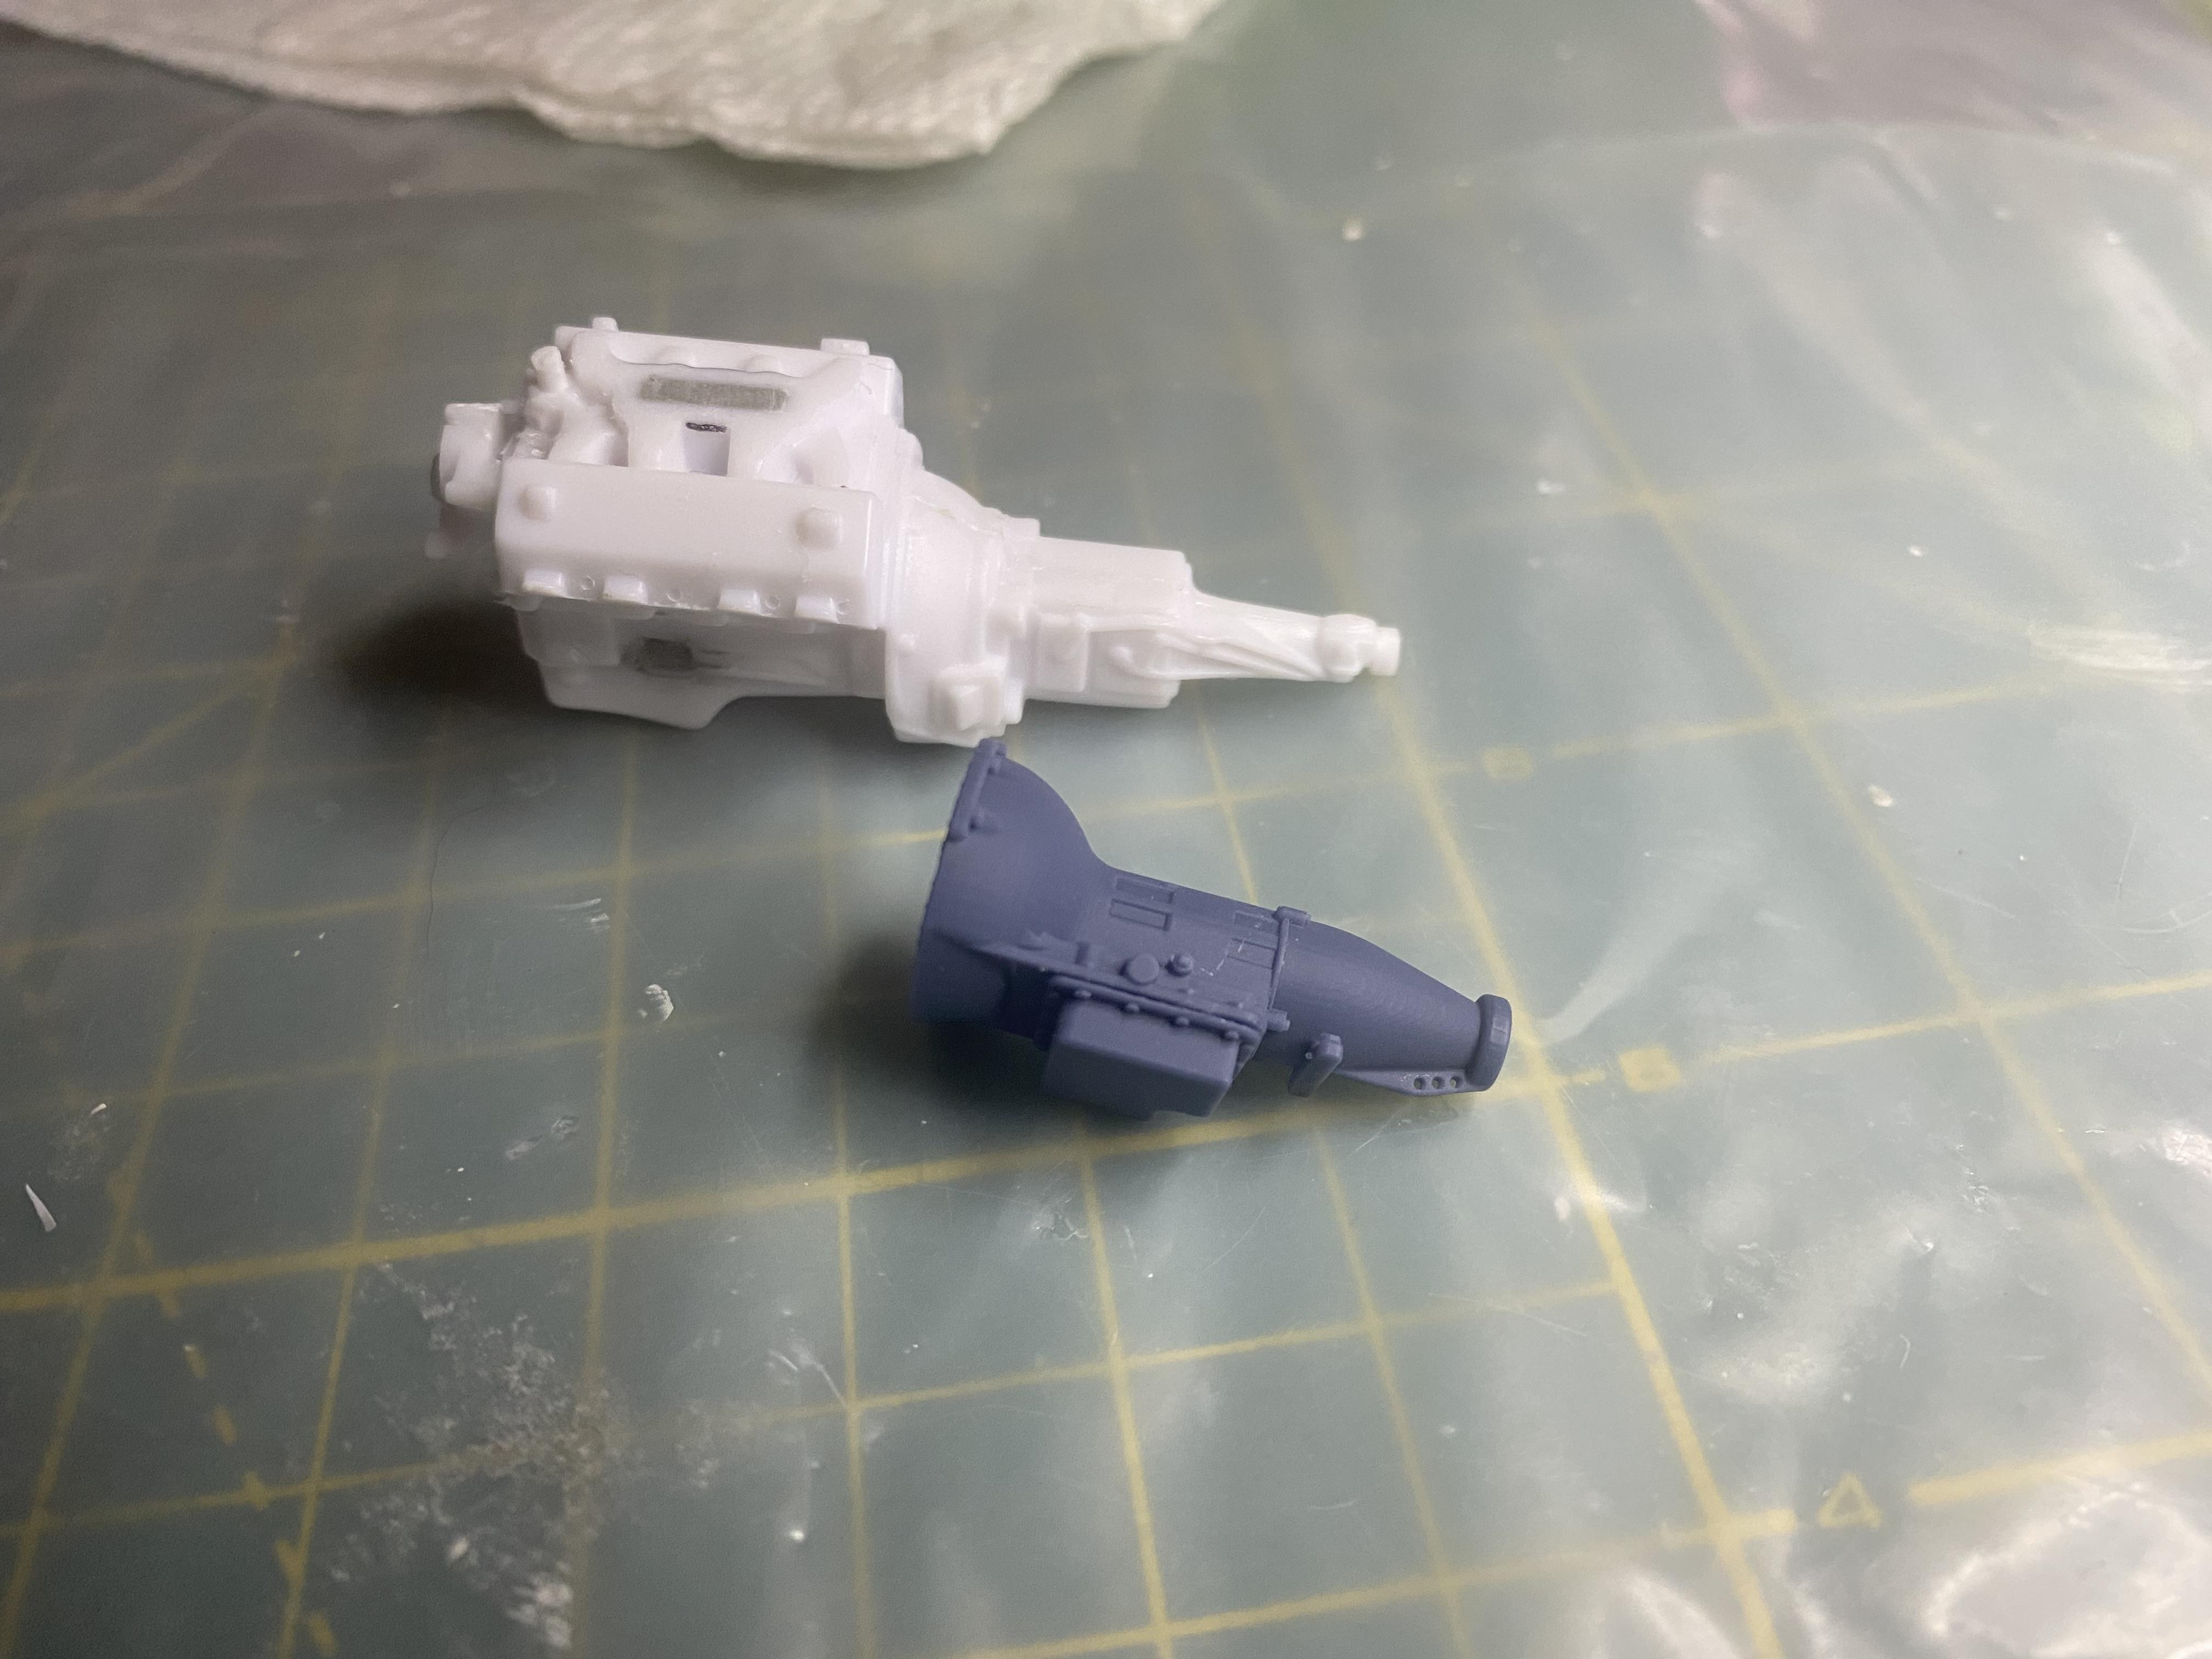
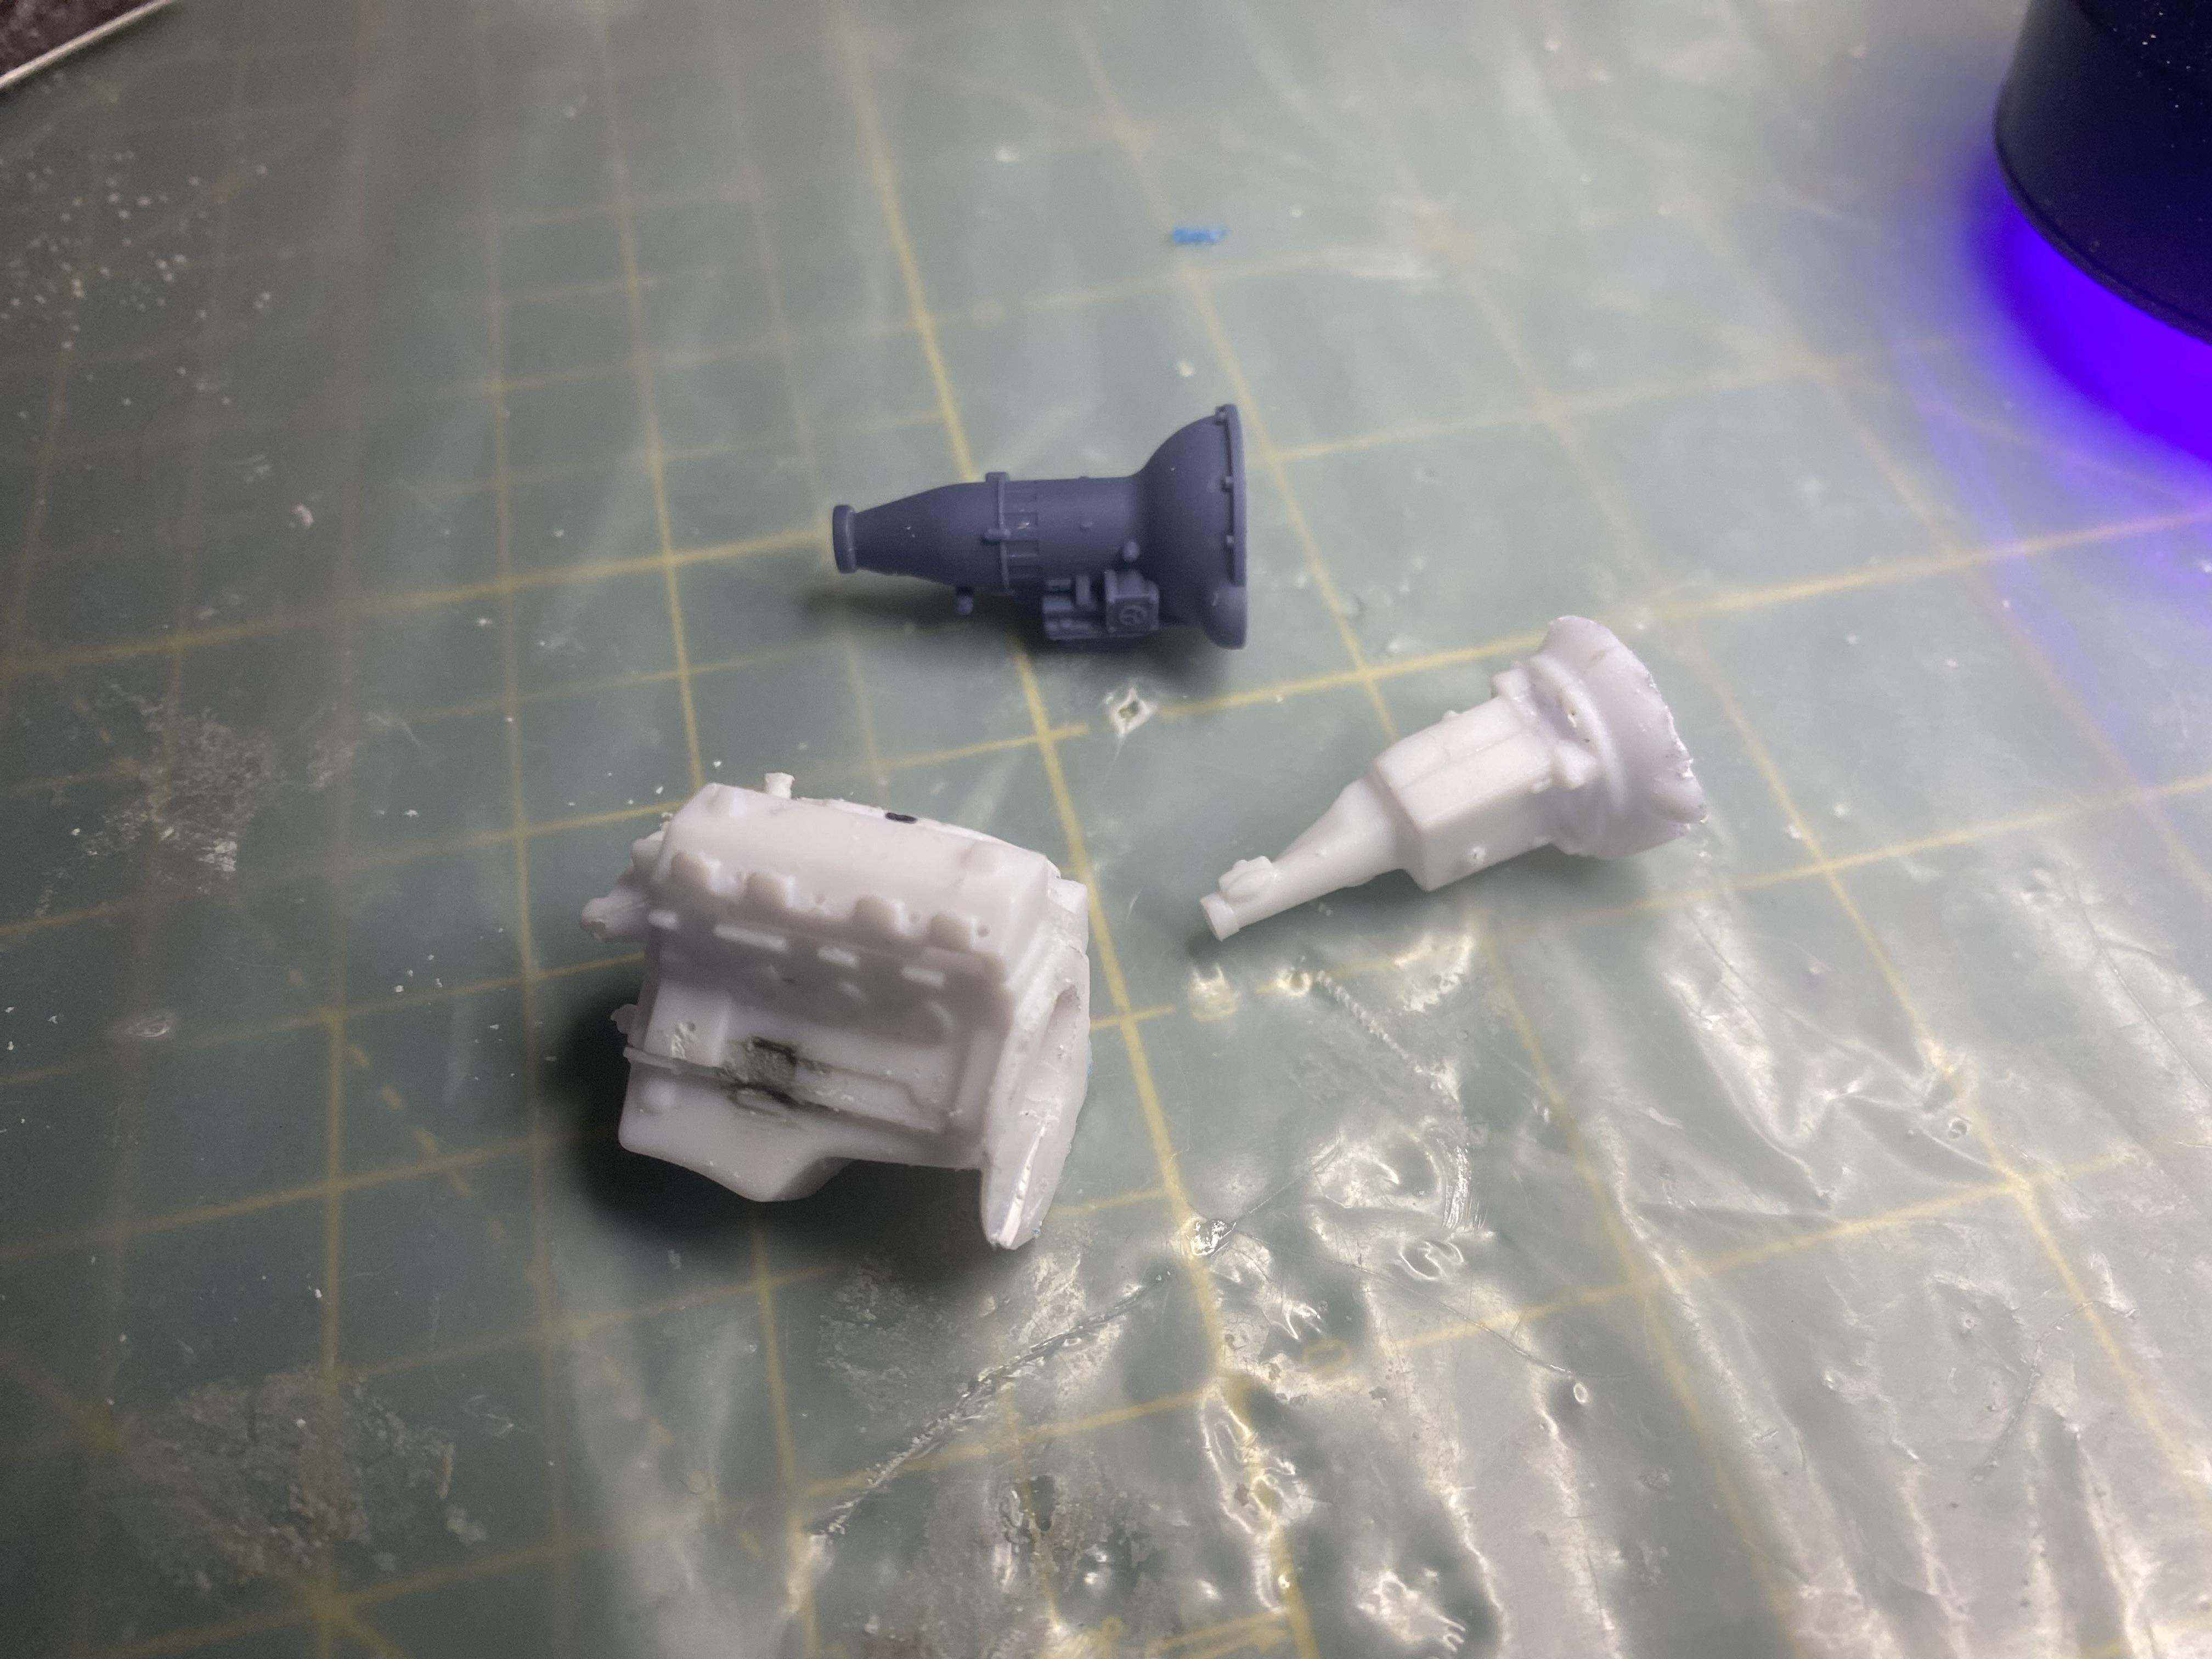
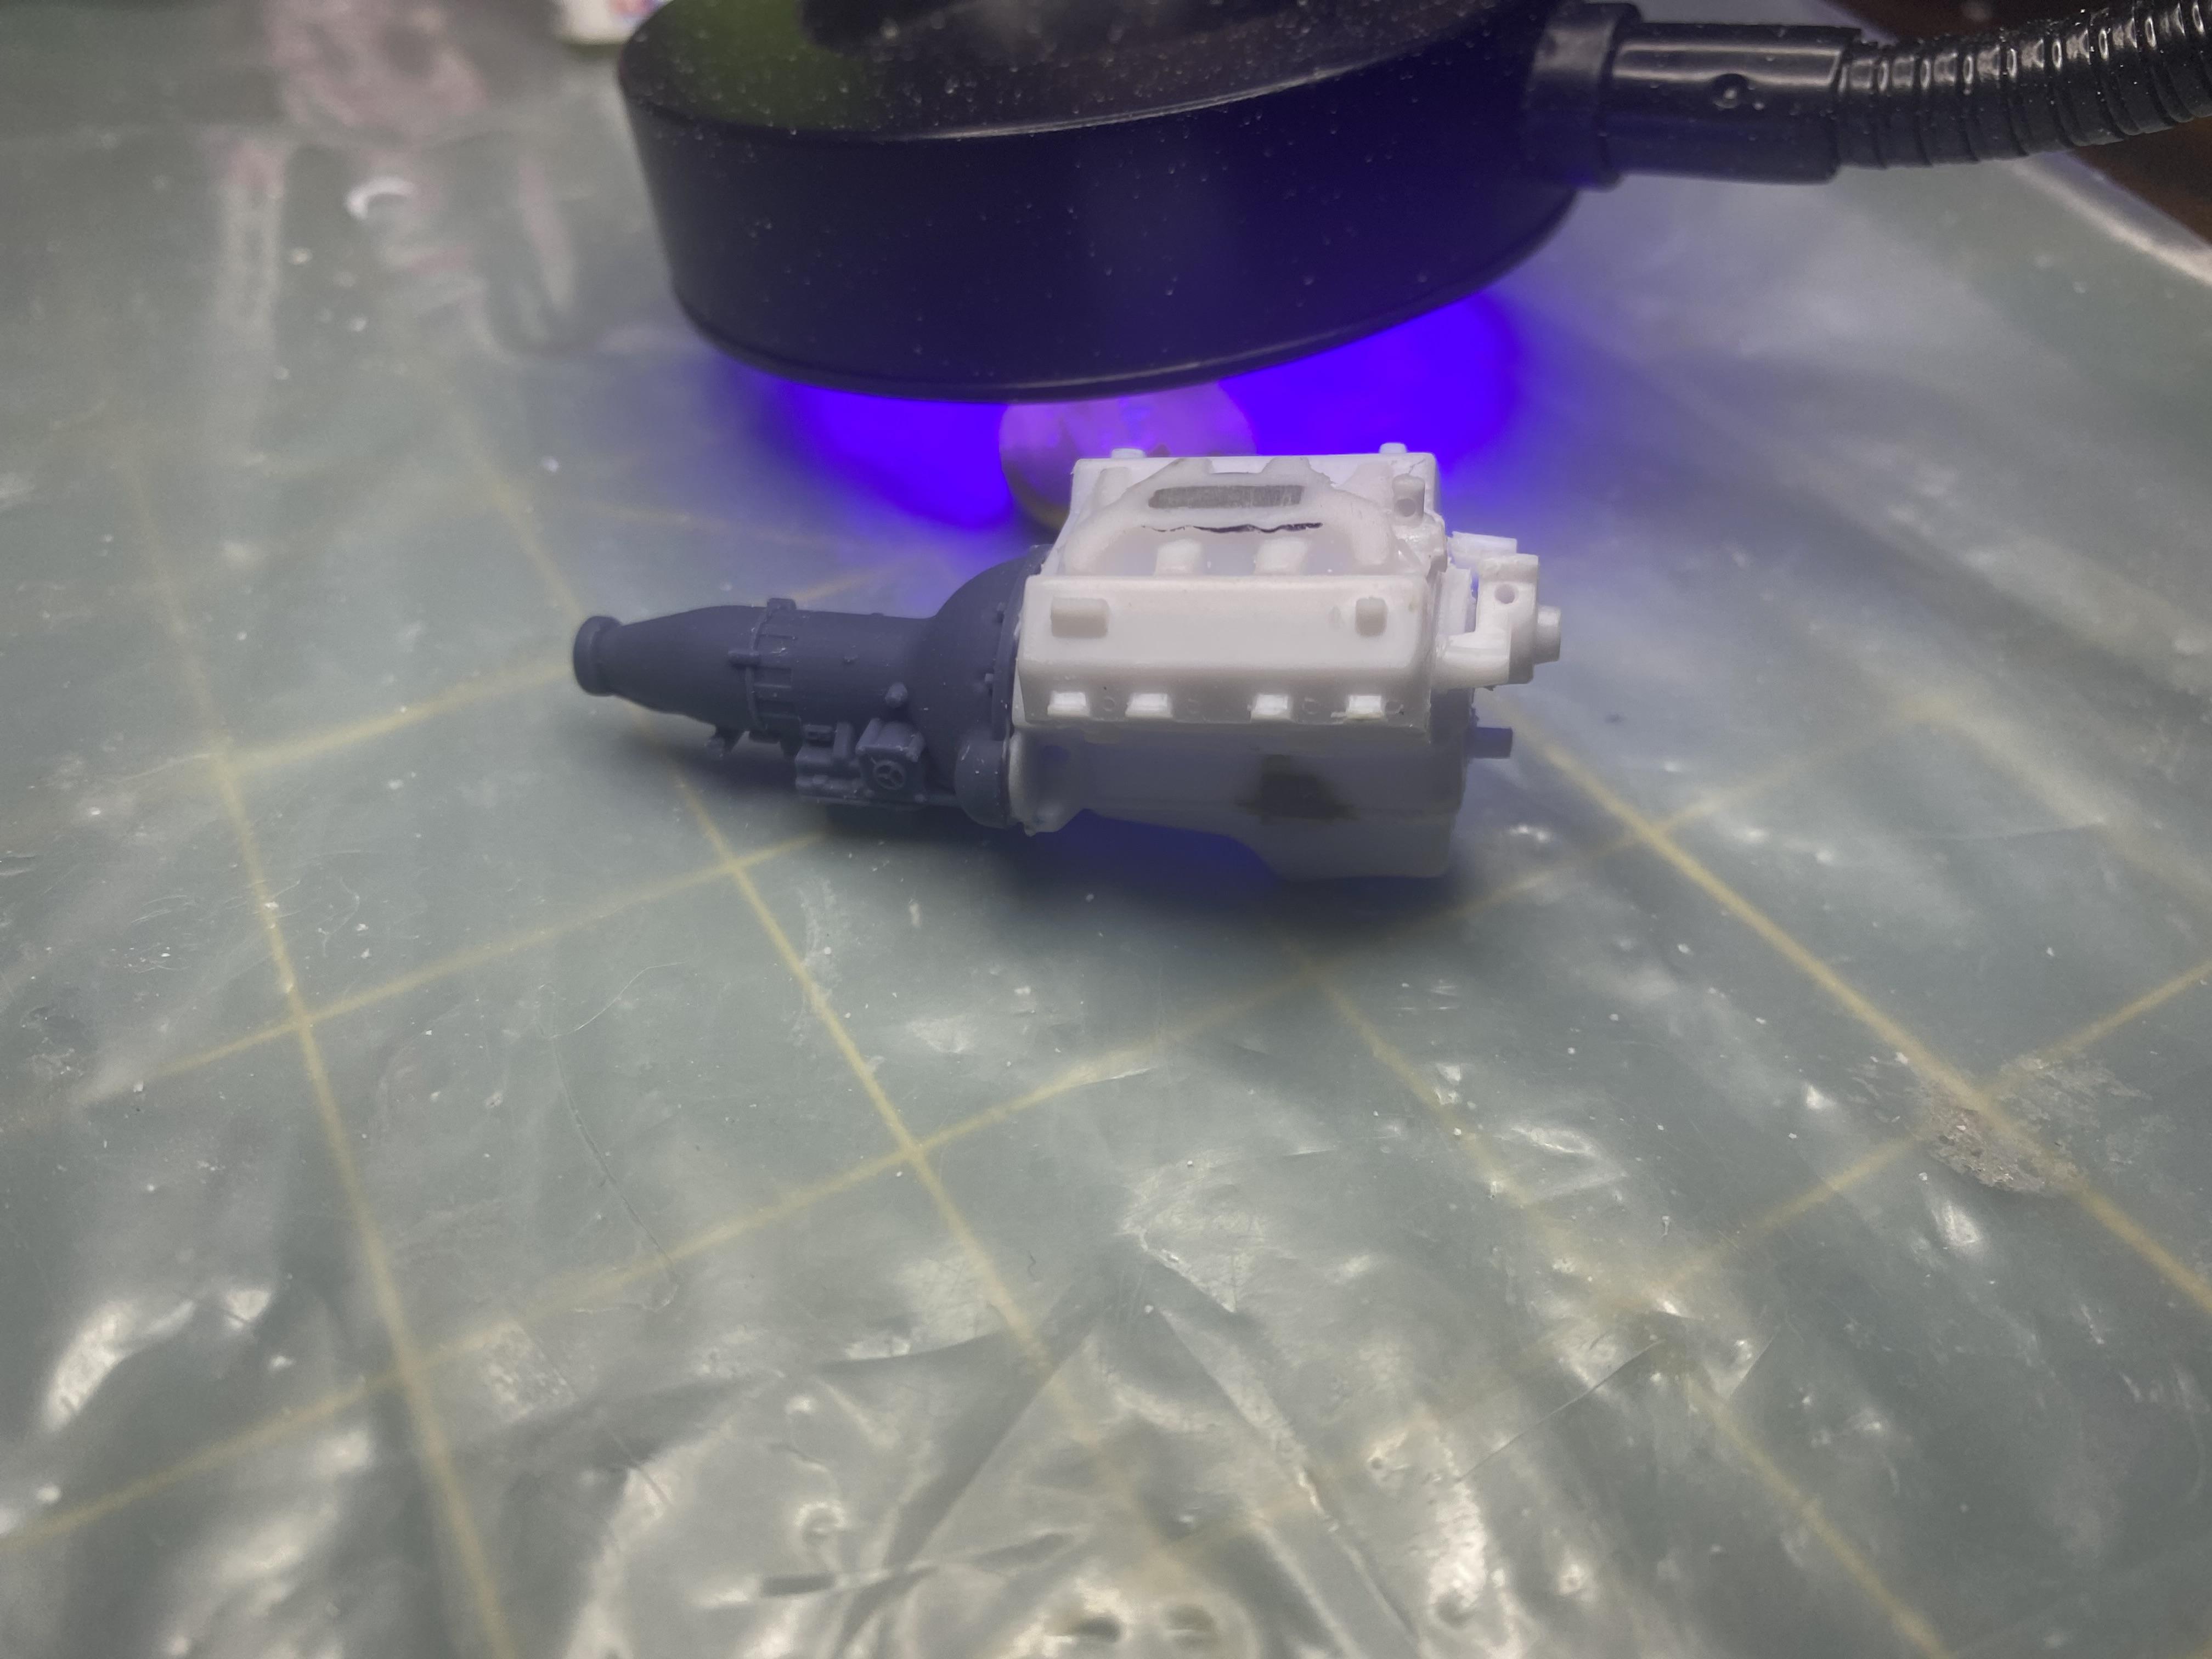
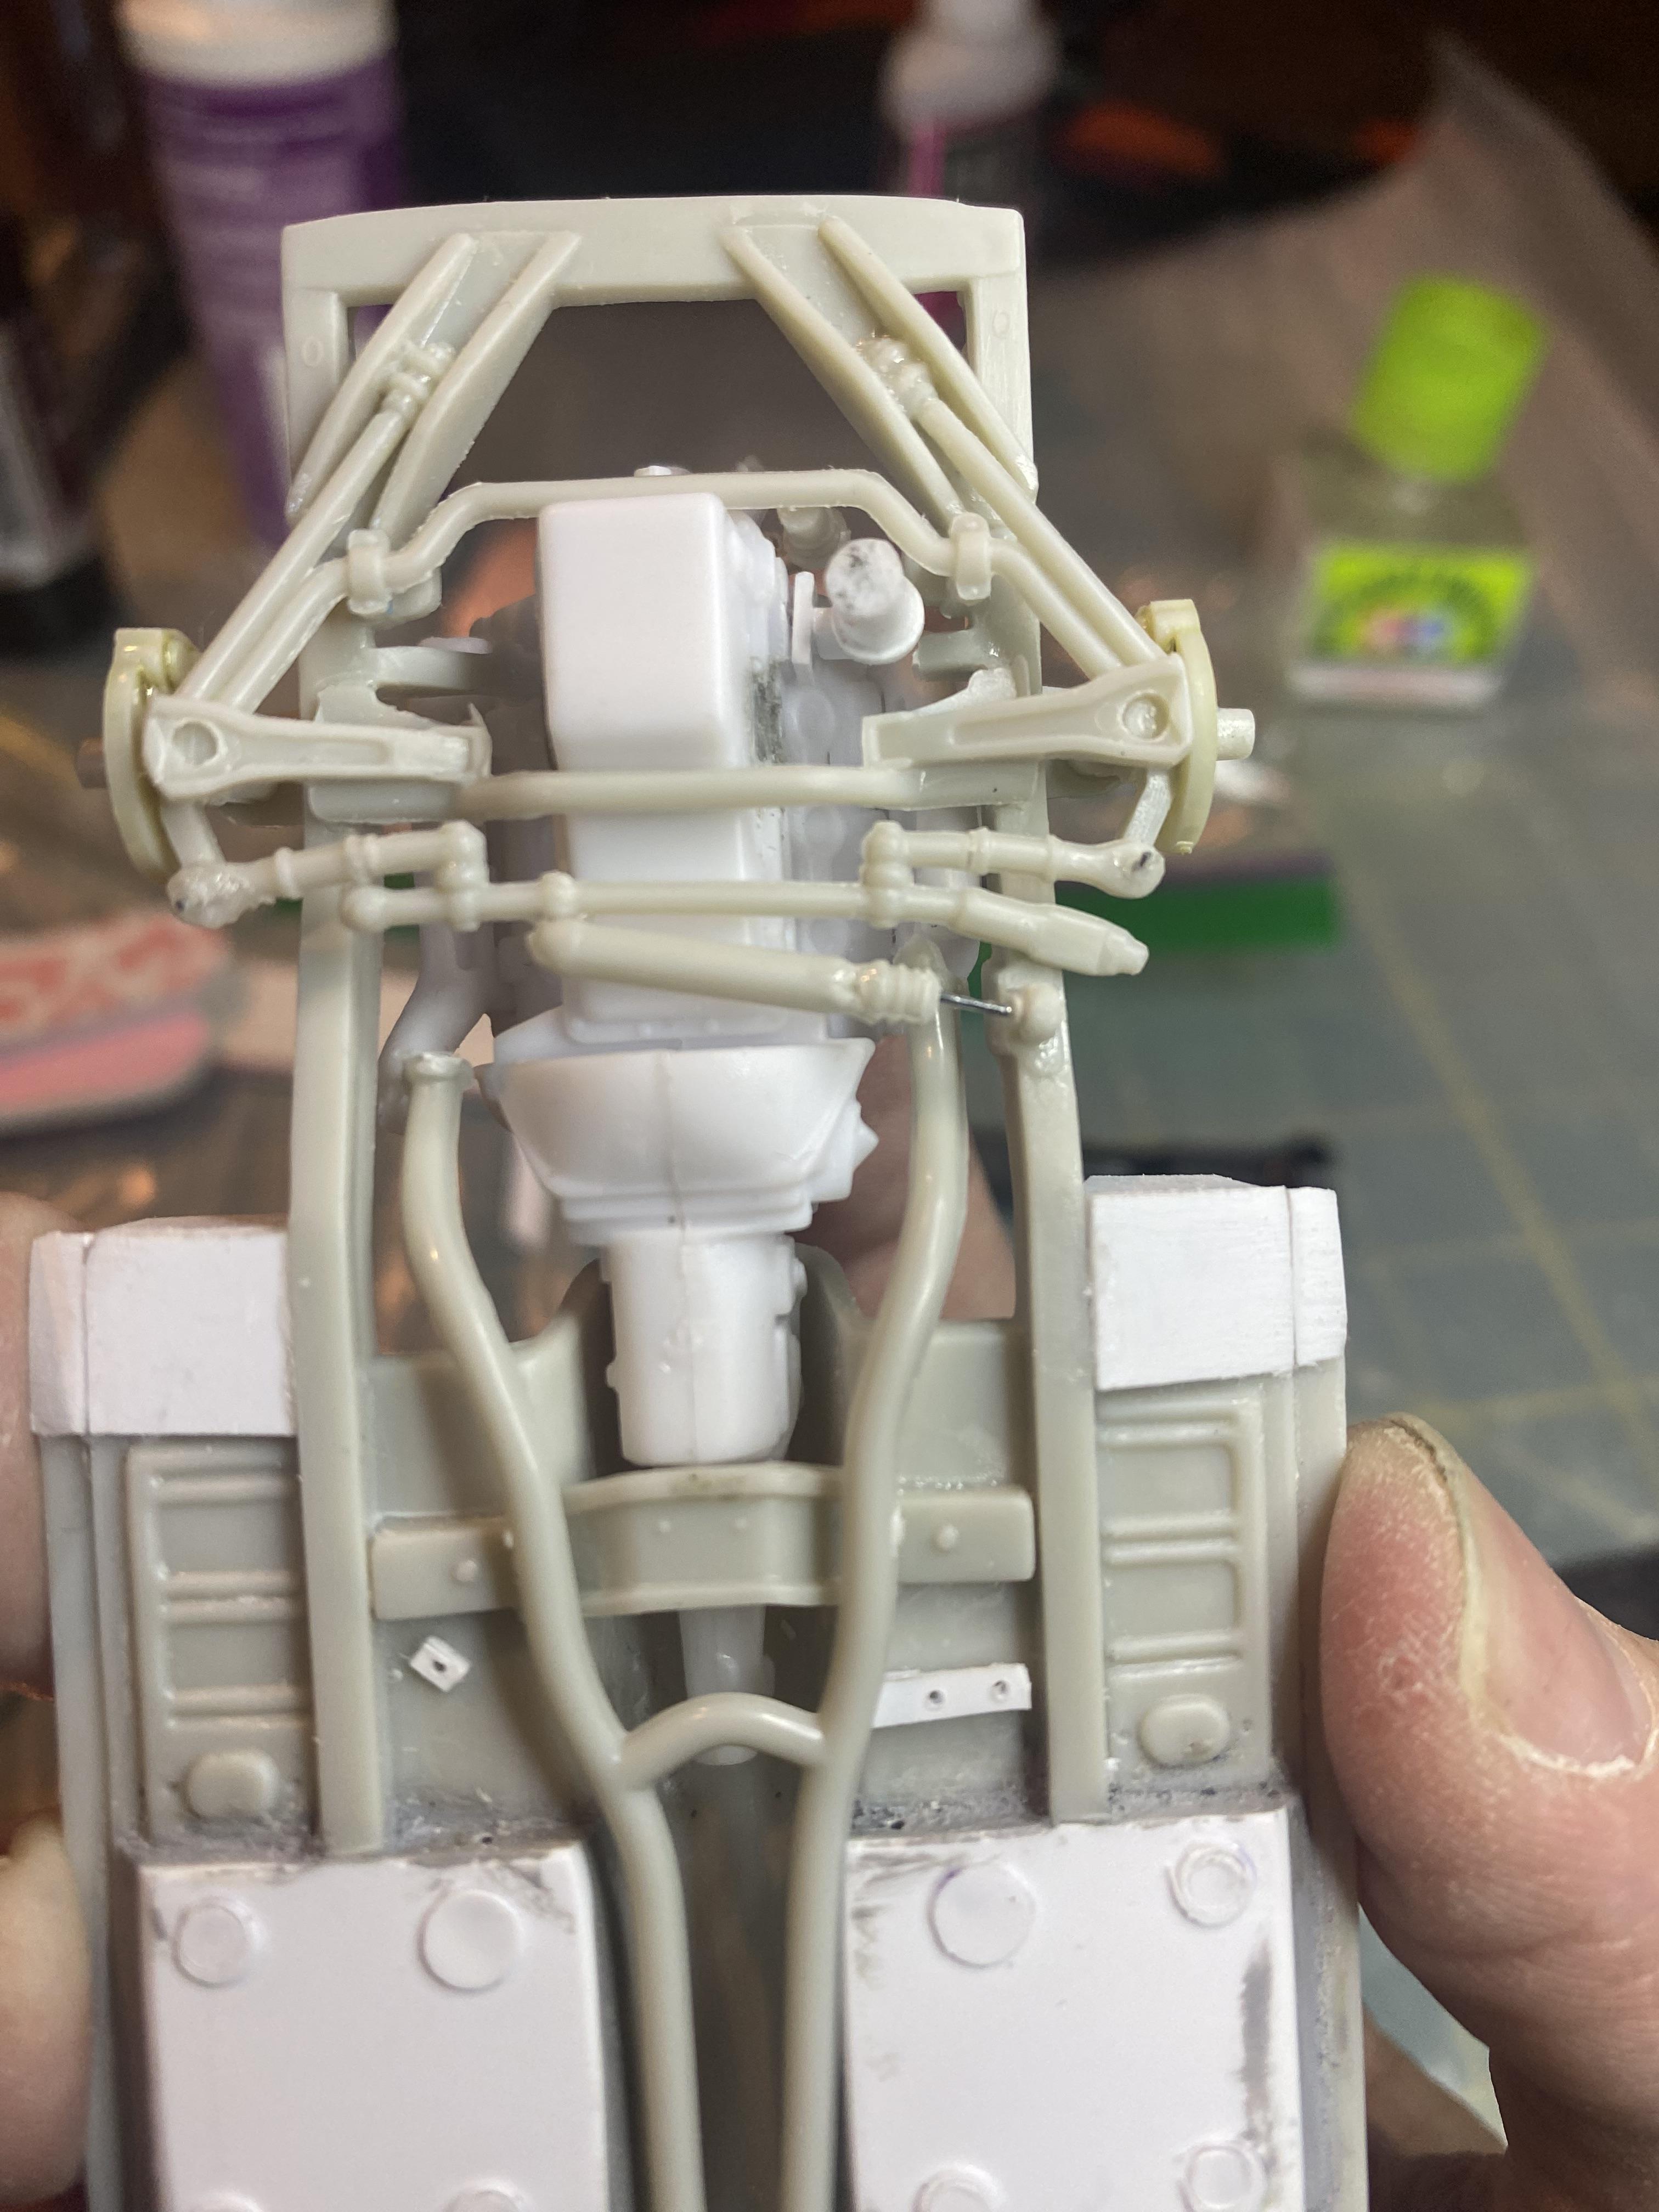
My 3d printed C6 transmission arrived today. Did take a little work to get to fit but nothing too major. after several passes of sanding and filling I put the first couple of coats of base lacquer to find more blemishes and sanded even more. The cutting through the first coats of color were expected. Then added the final wet coats of Dark Moss Green. next on to detailing a bit including chrome trim and stripe decals before 2K clear.
-
Thank you!
-
Thank you!
-
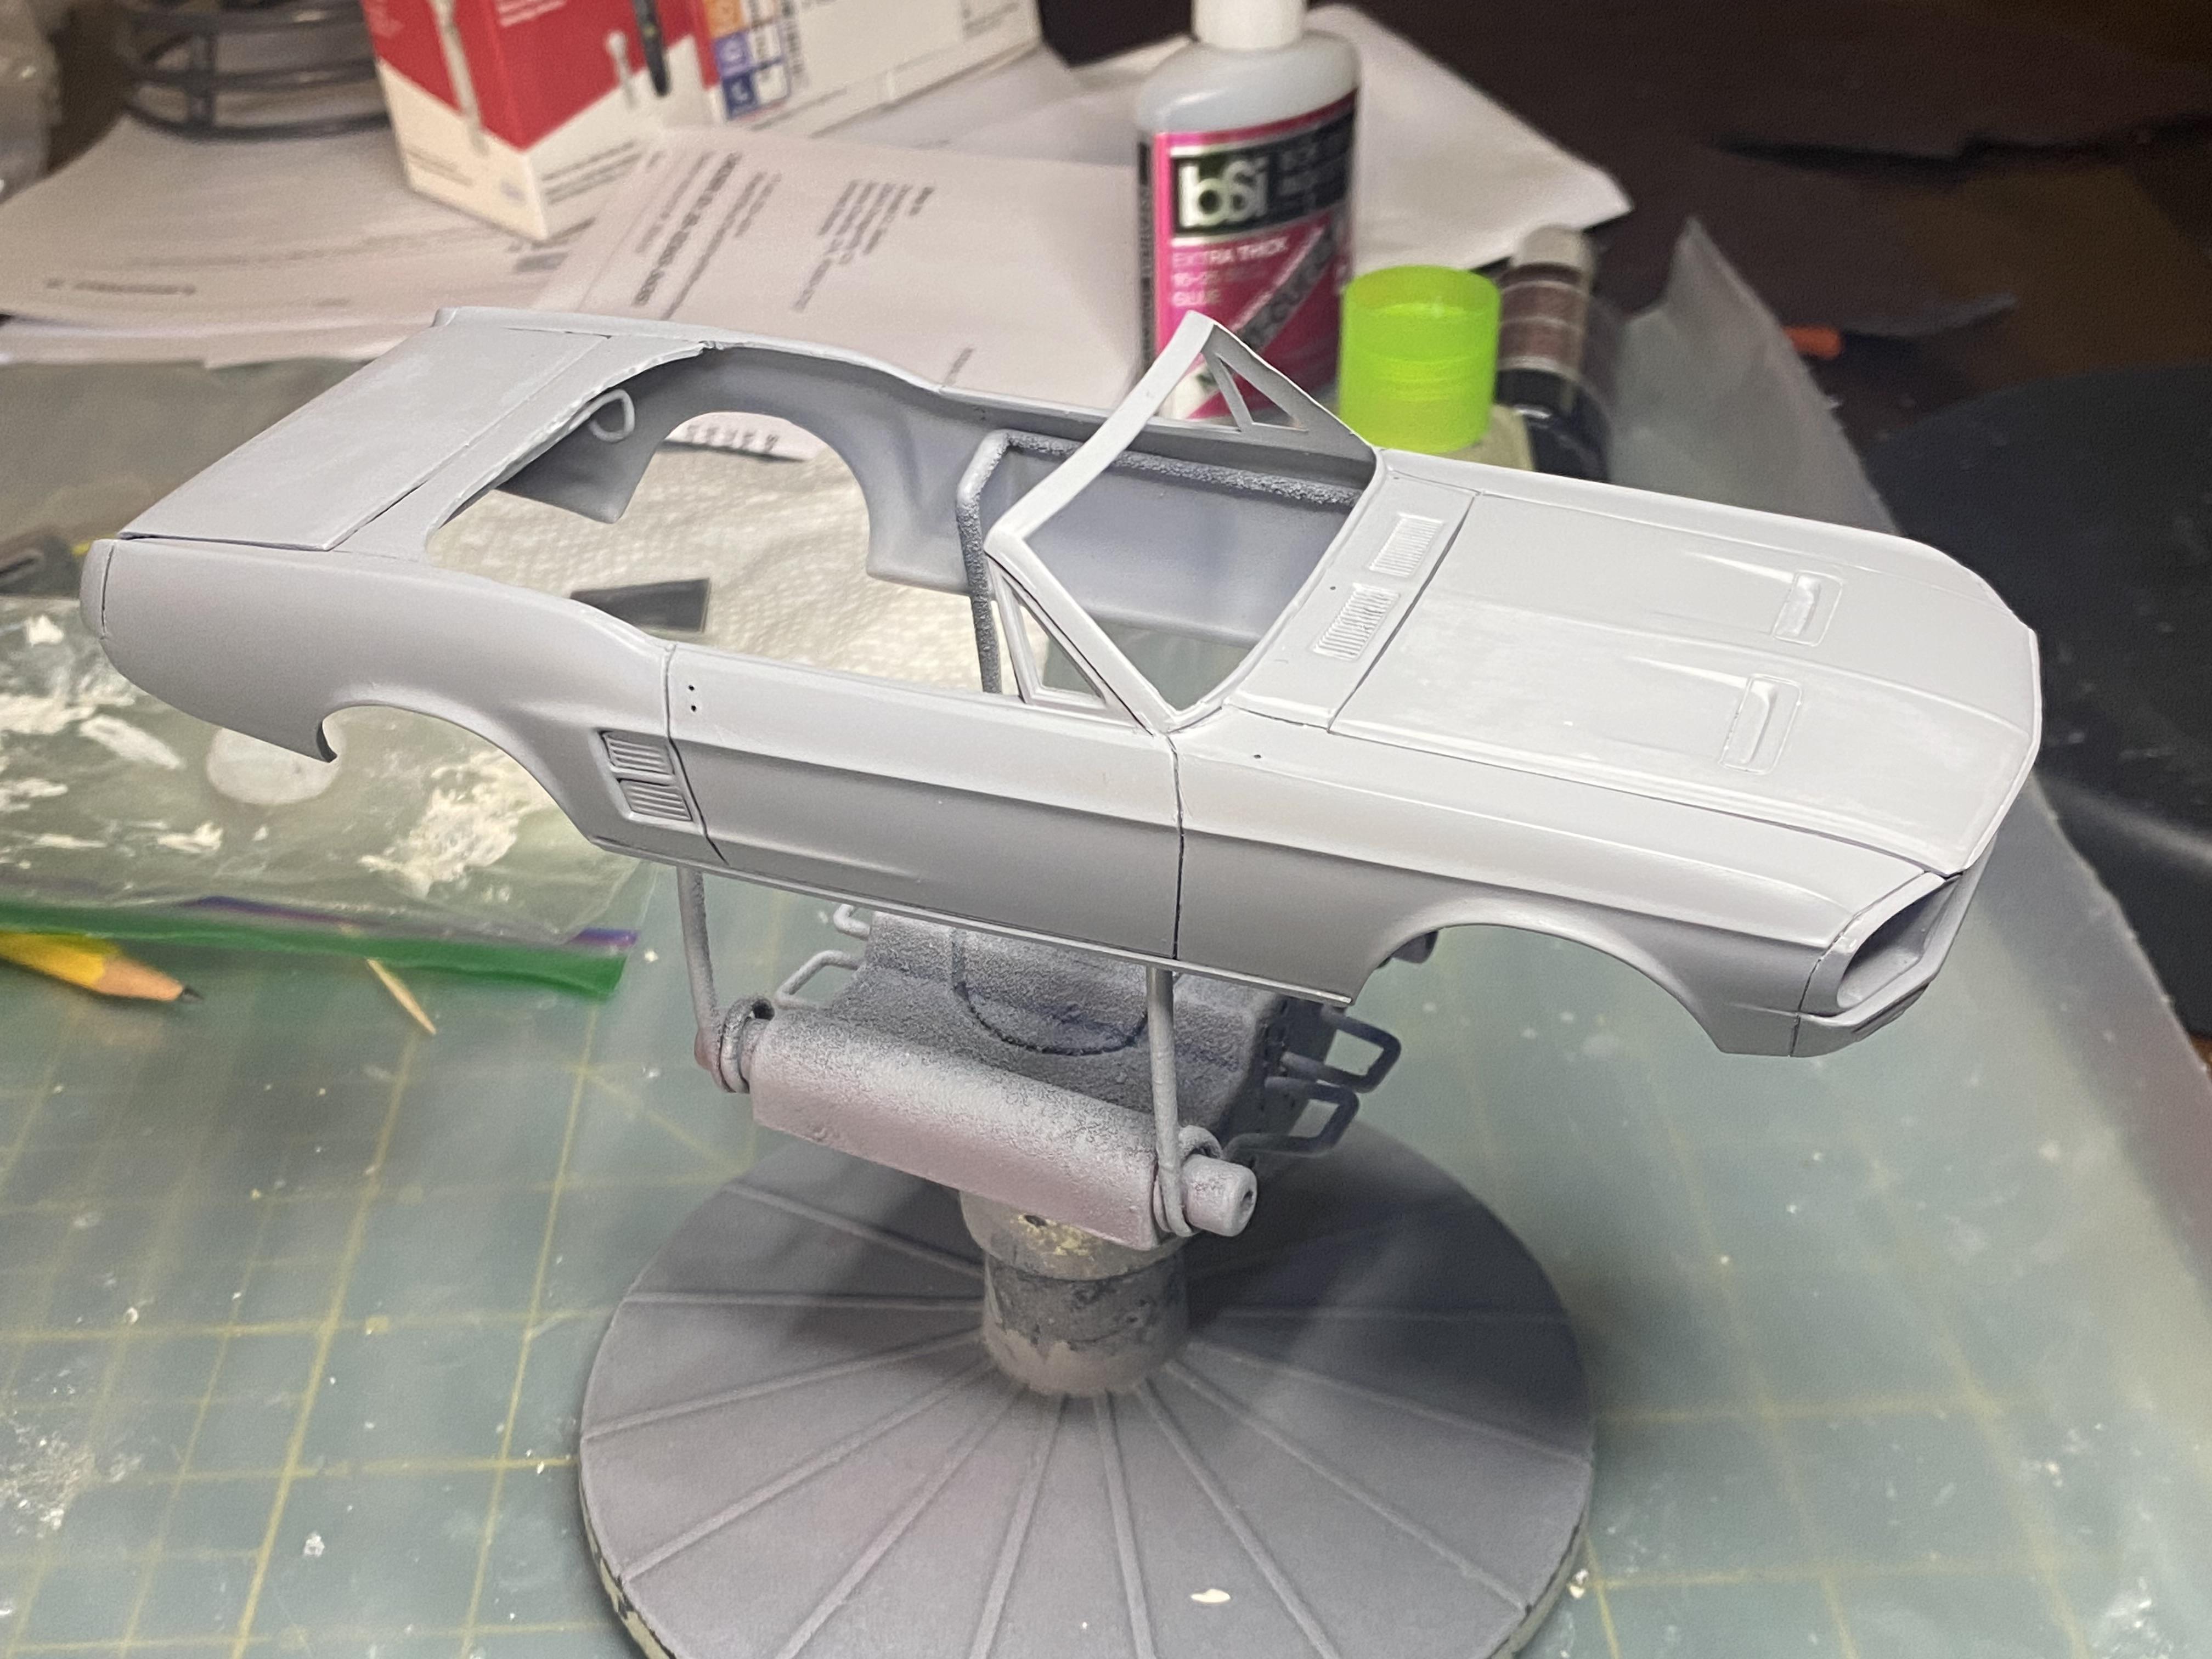
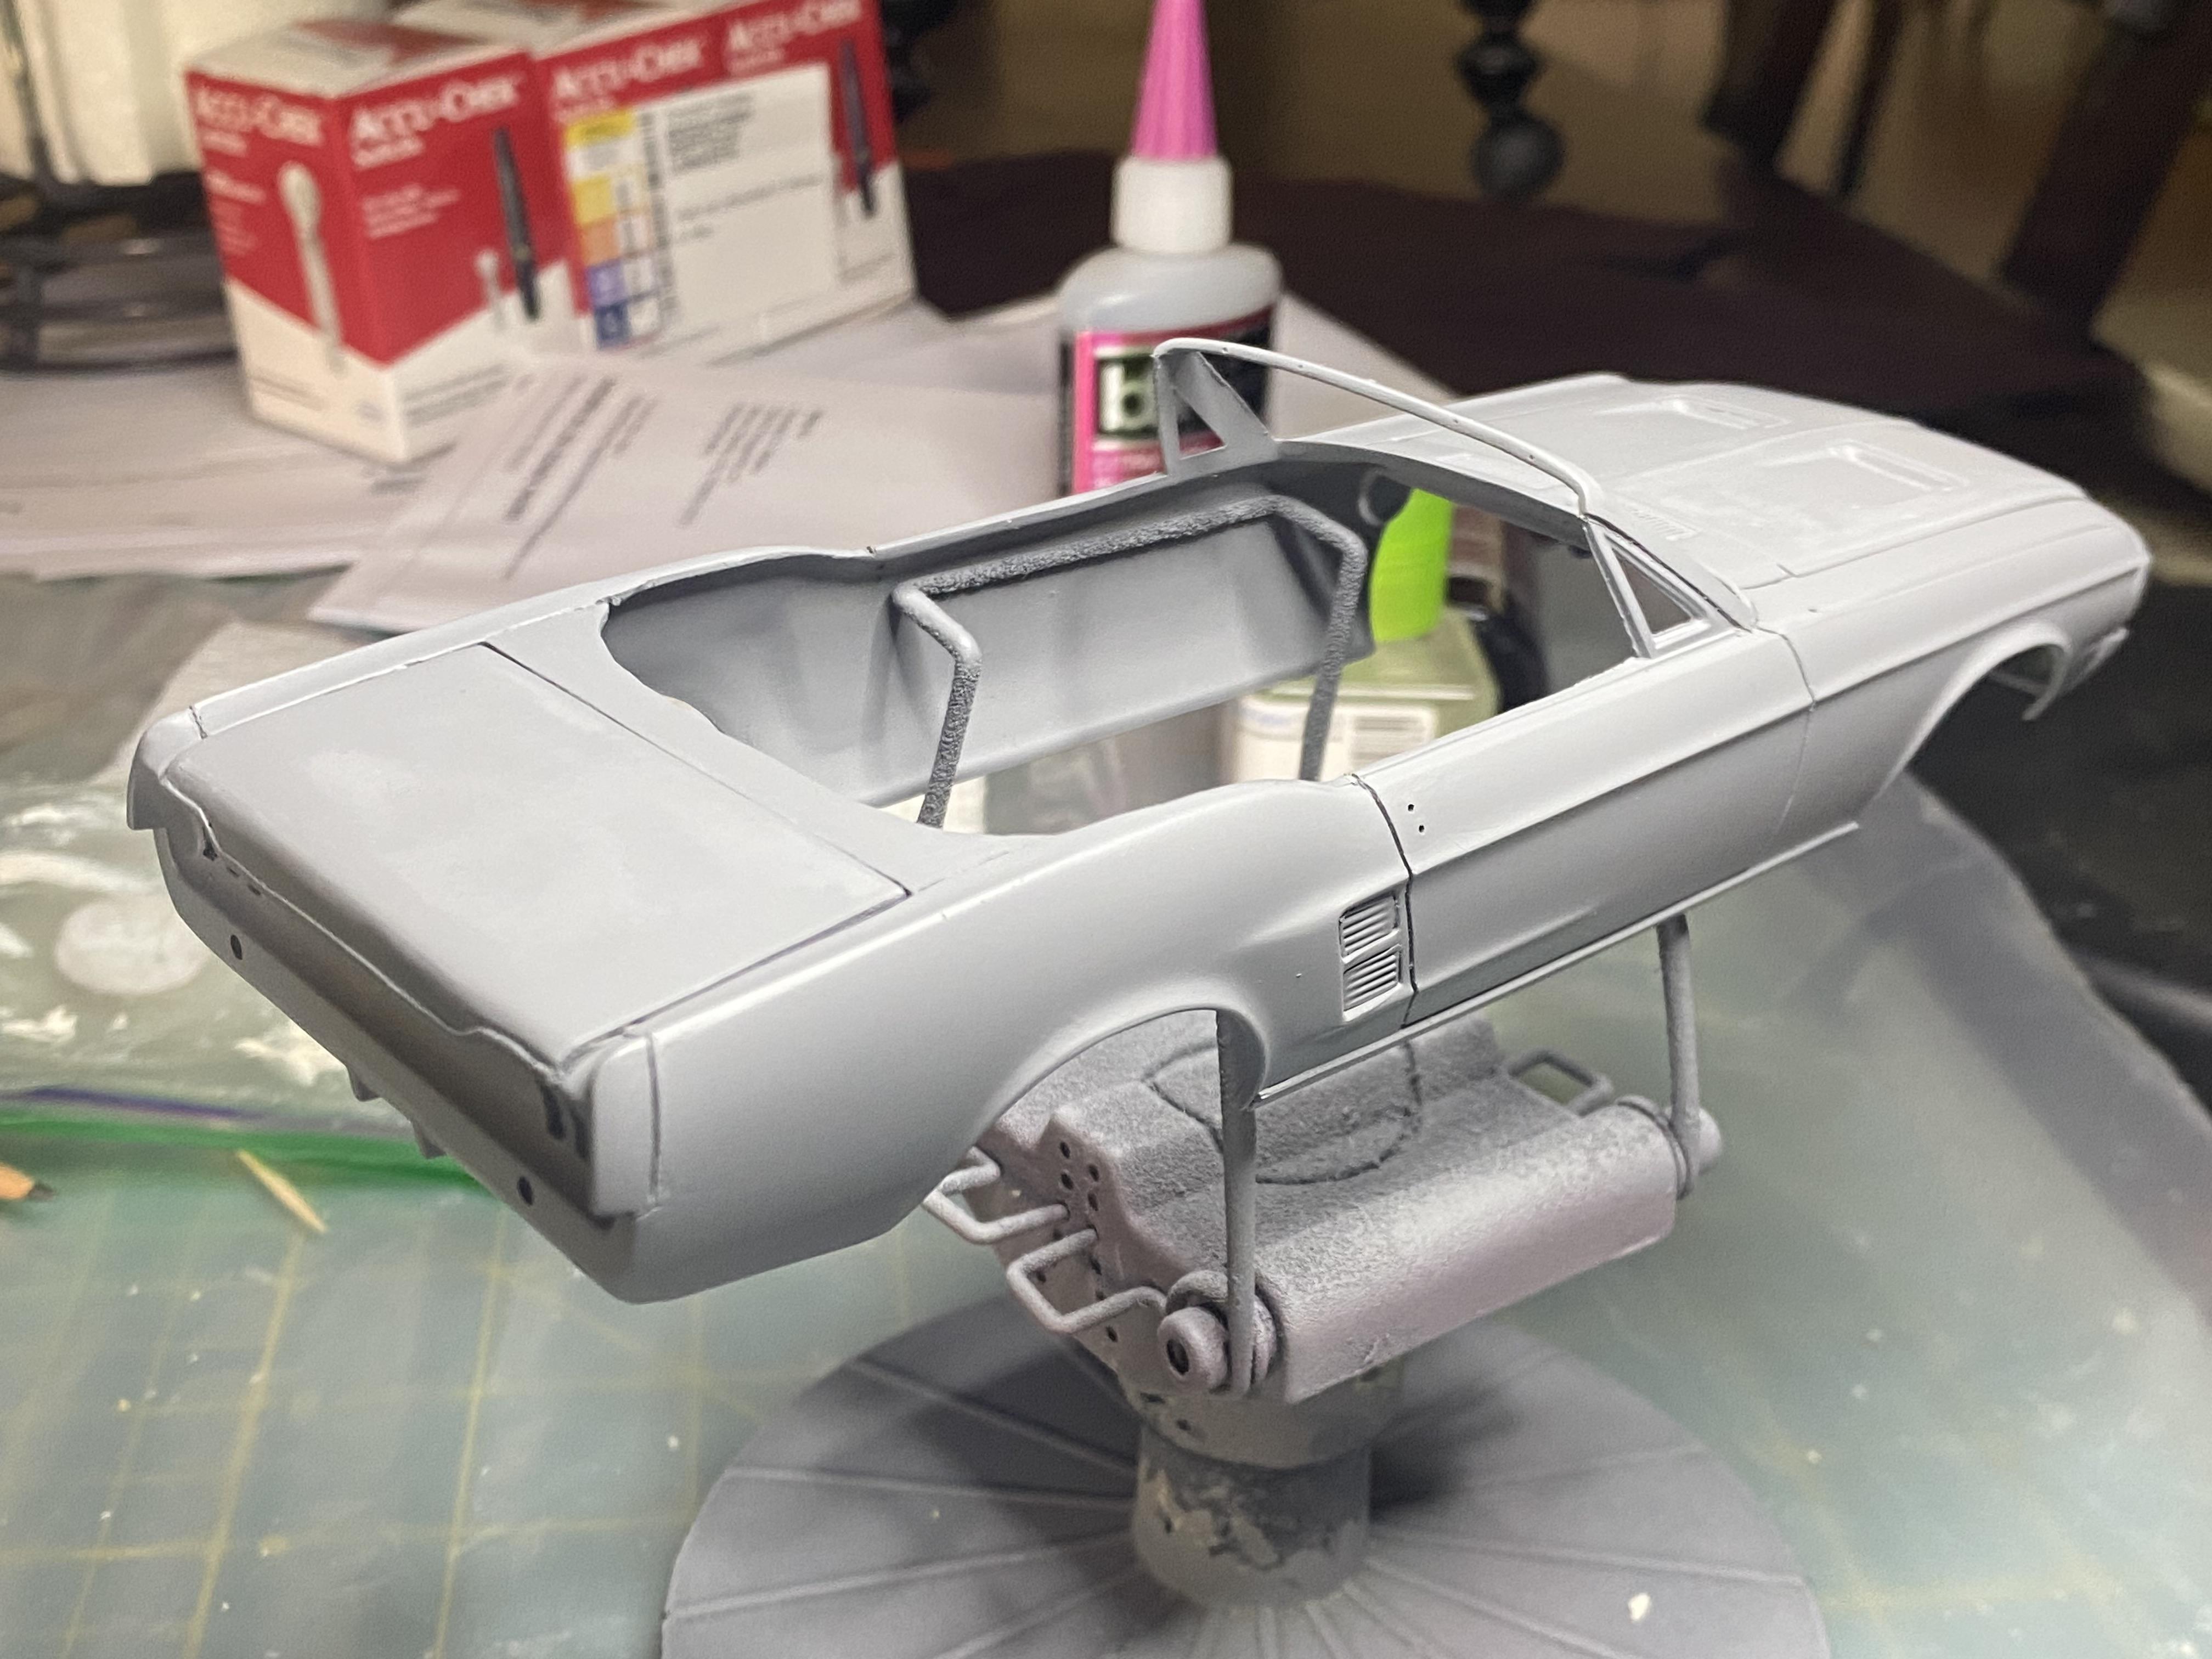
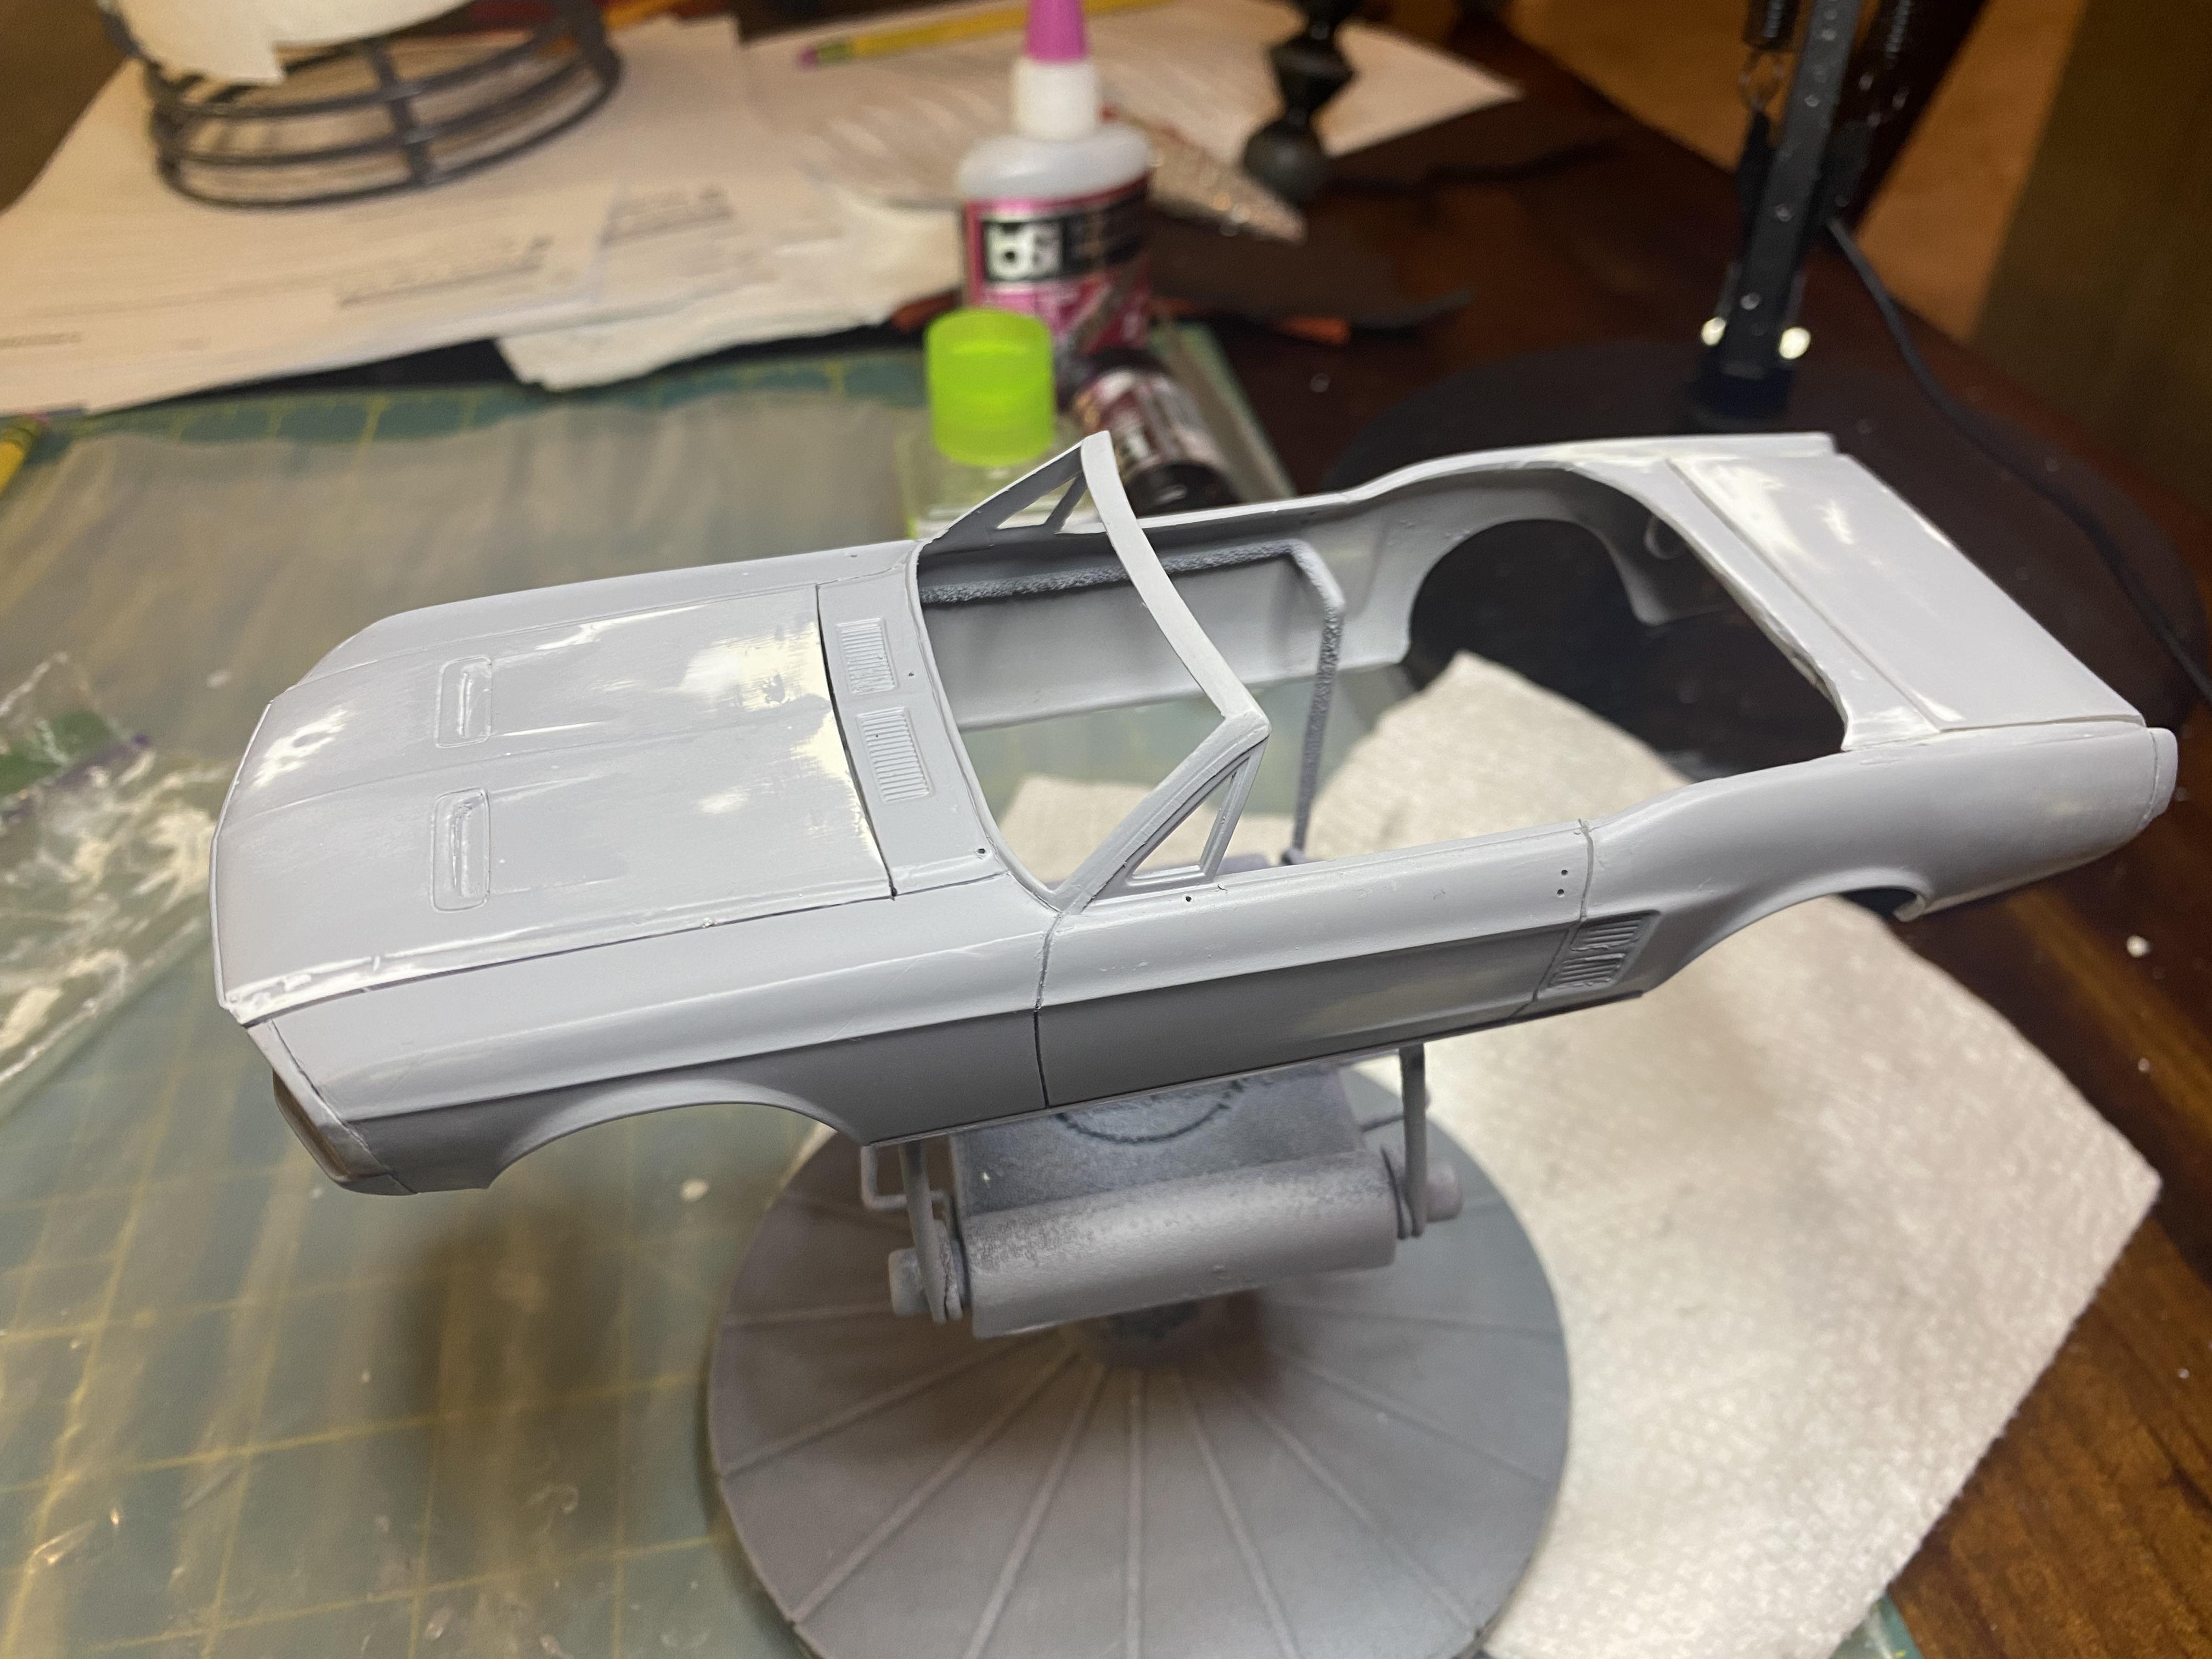
Paint is supposed to arrive Wednesday and body shouldn’t need any more modification based on remaining engine changes. Started the long task of priming, sanding and filling imperfections in the body.
-
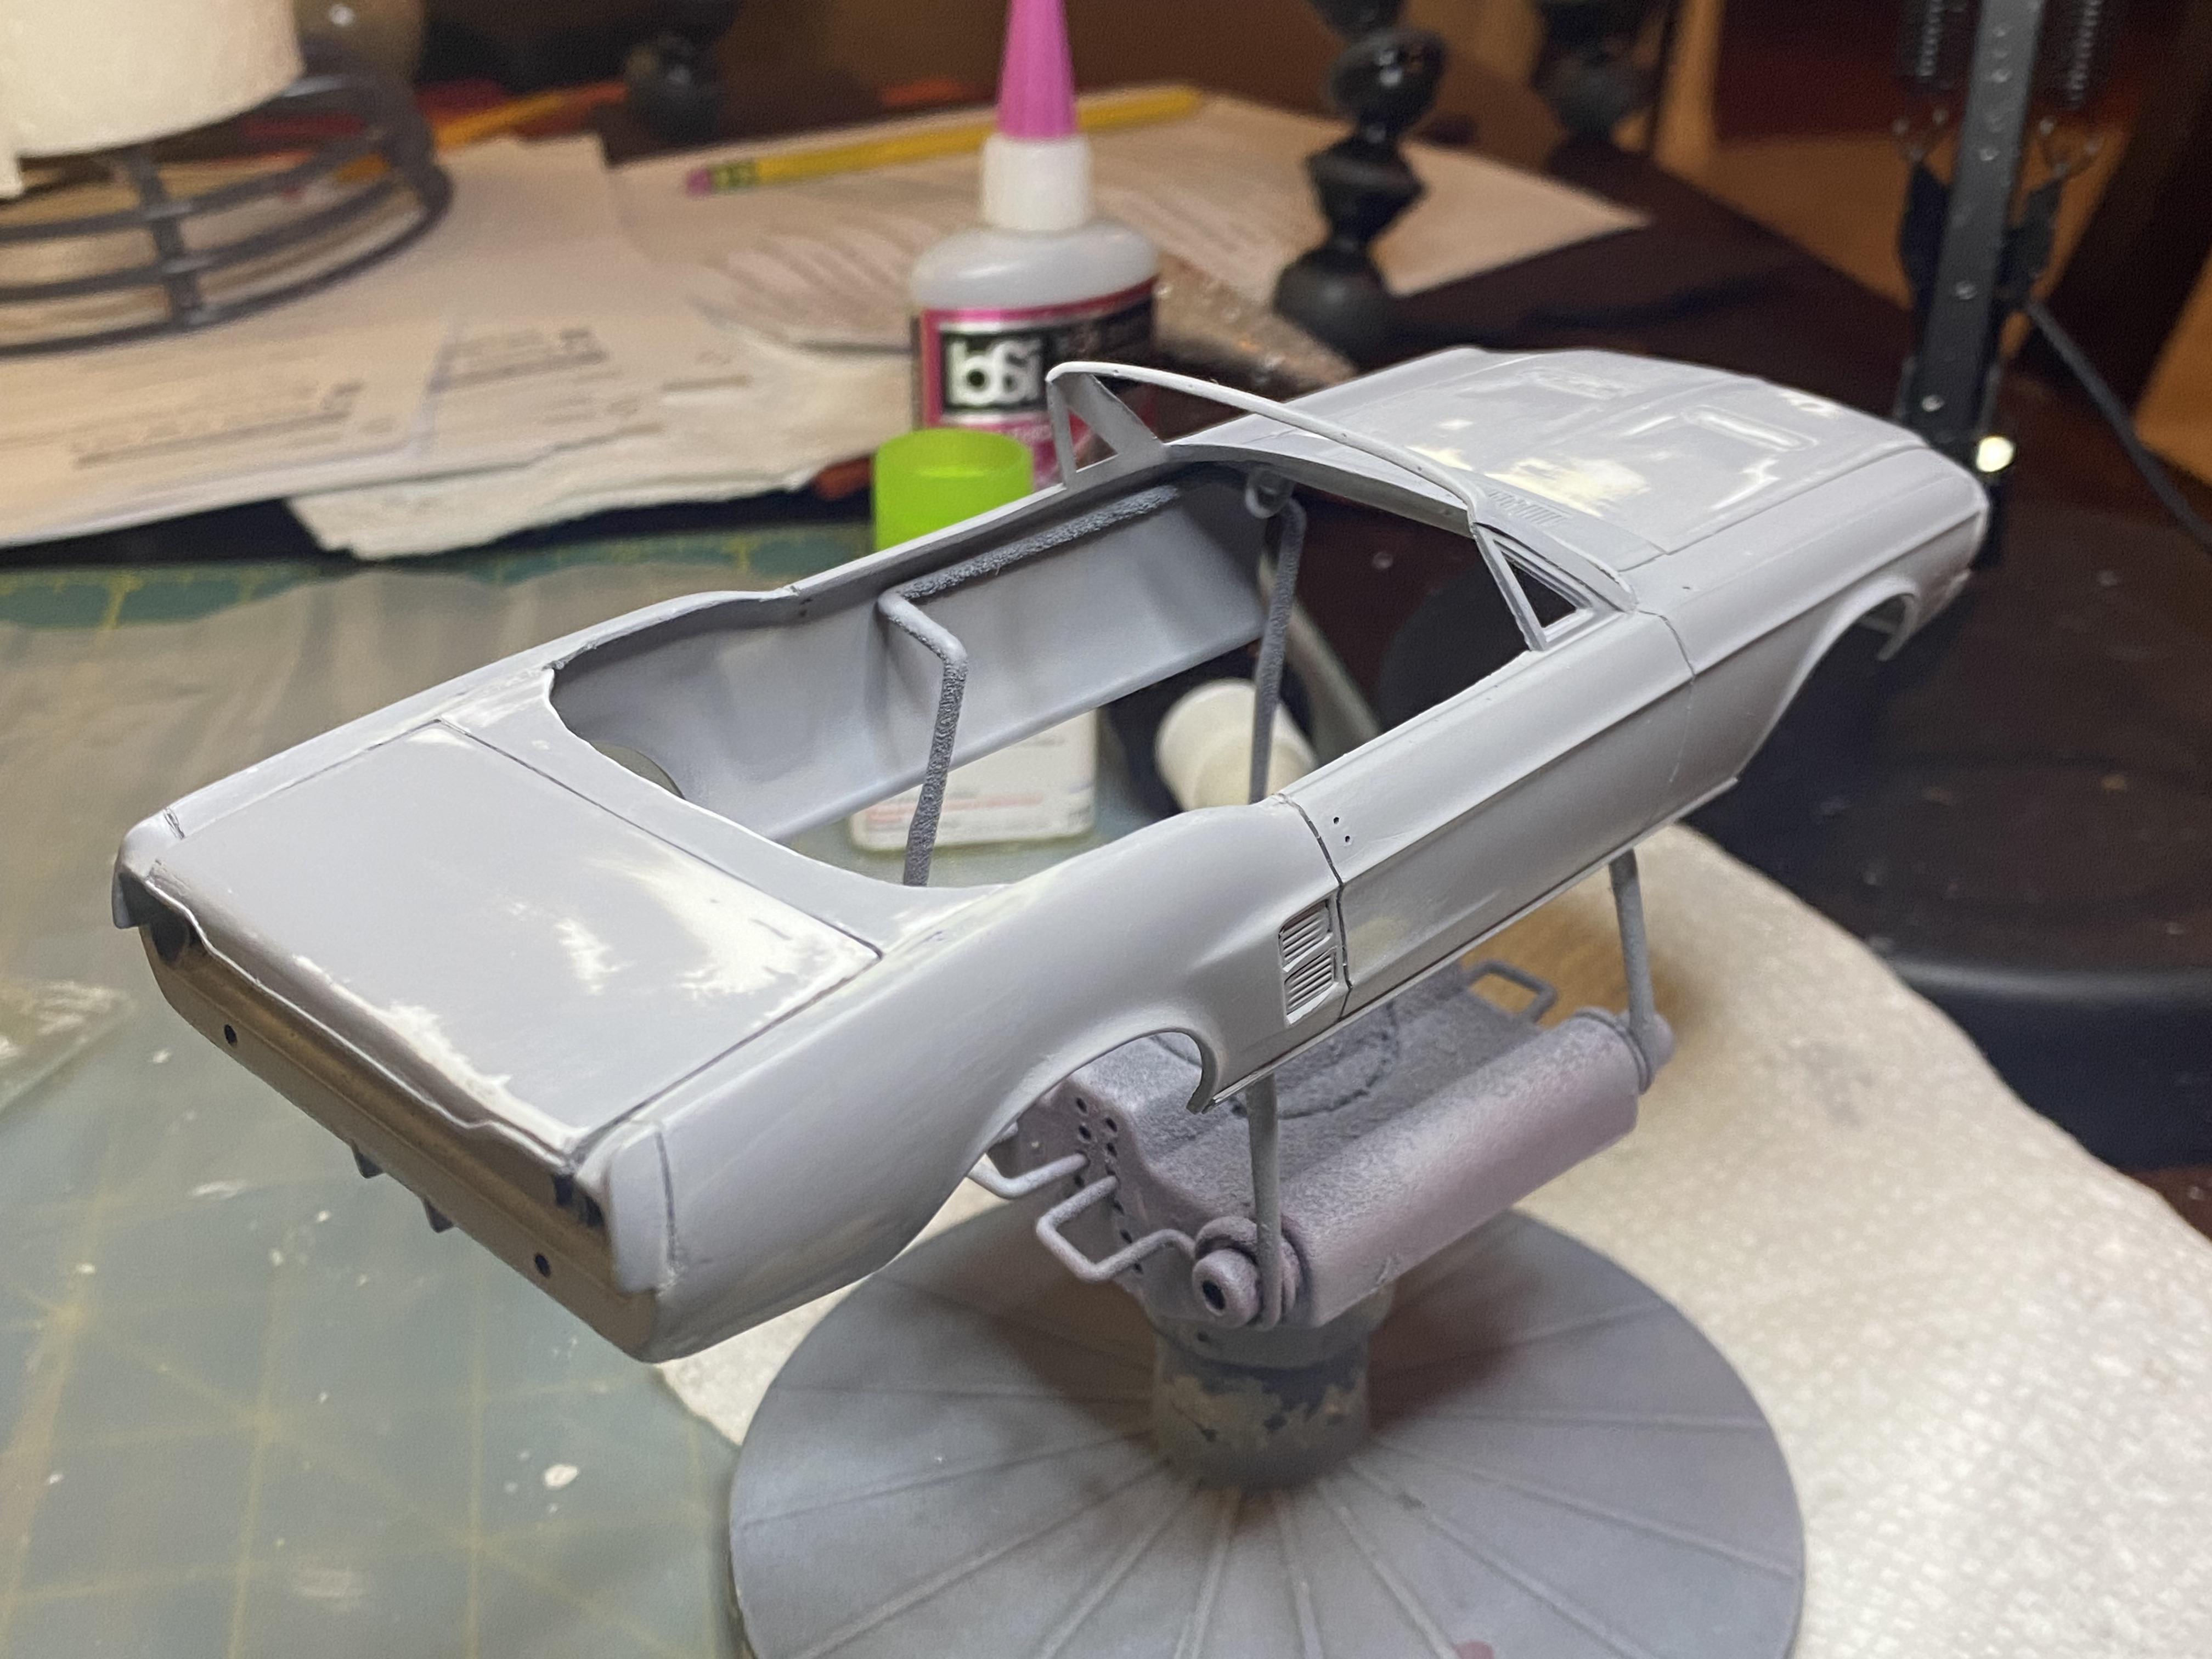
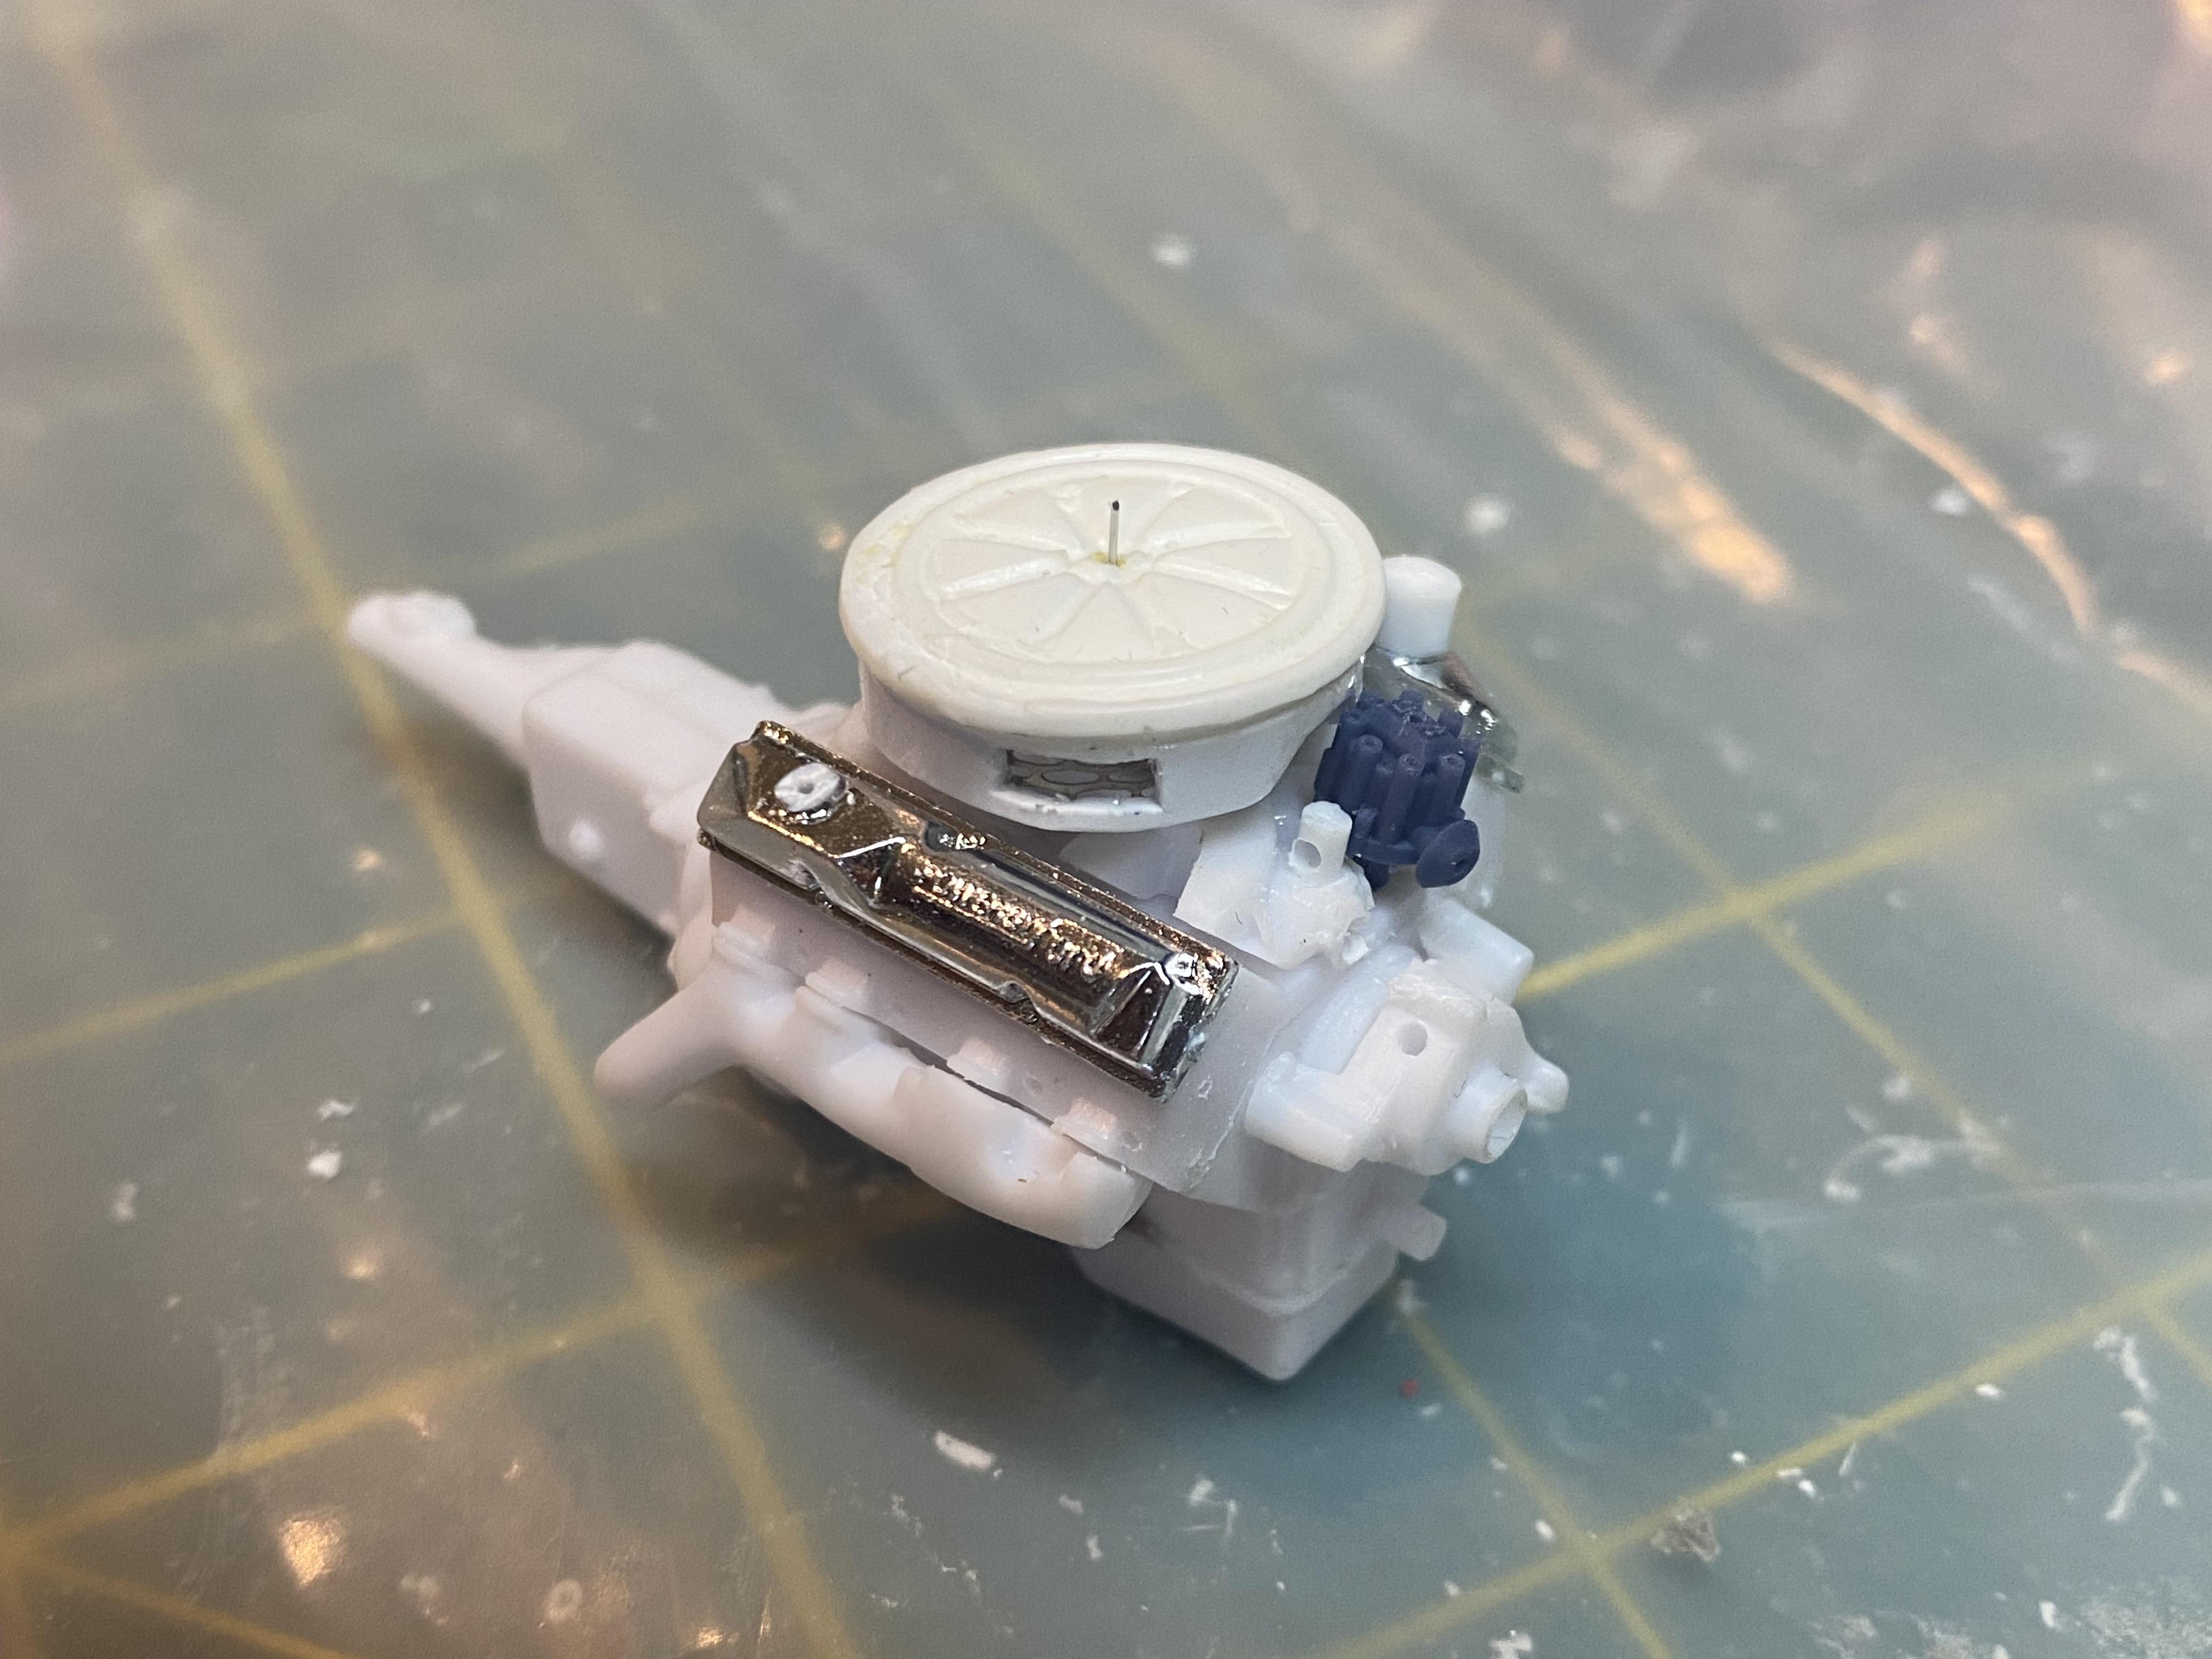
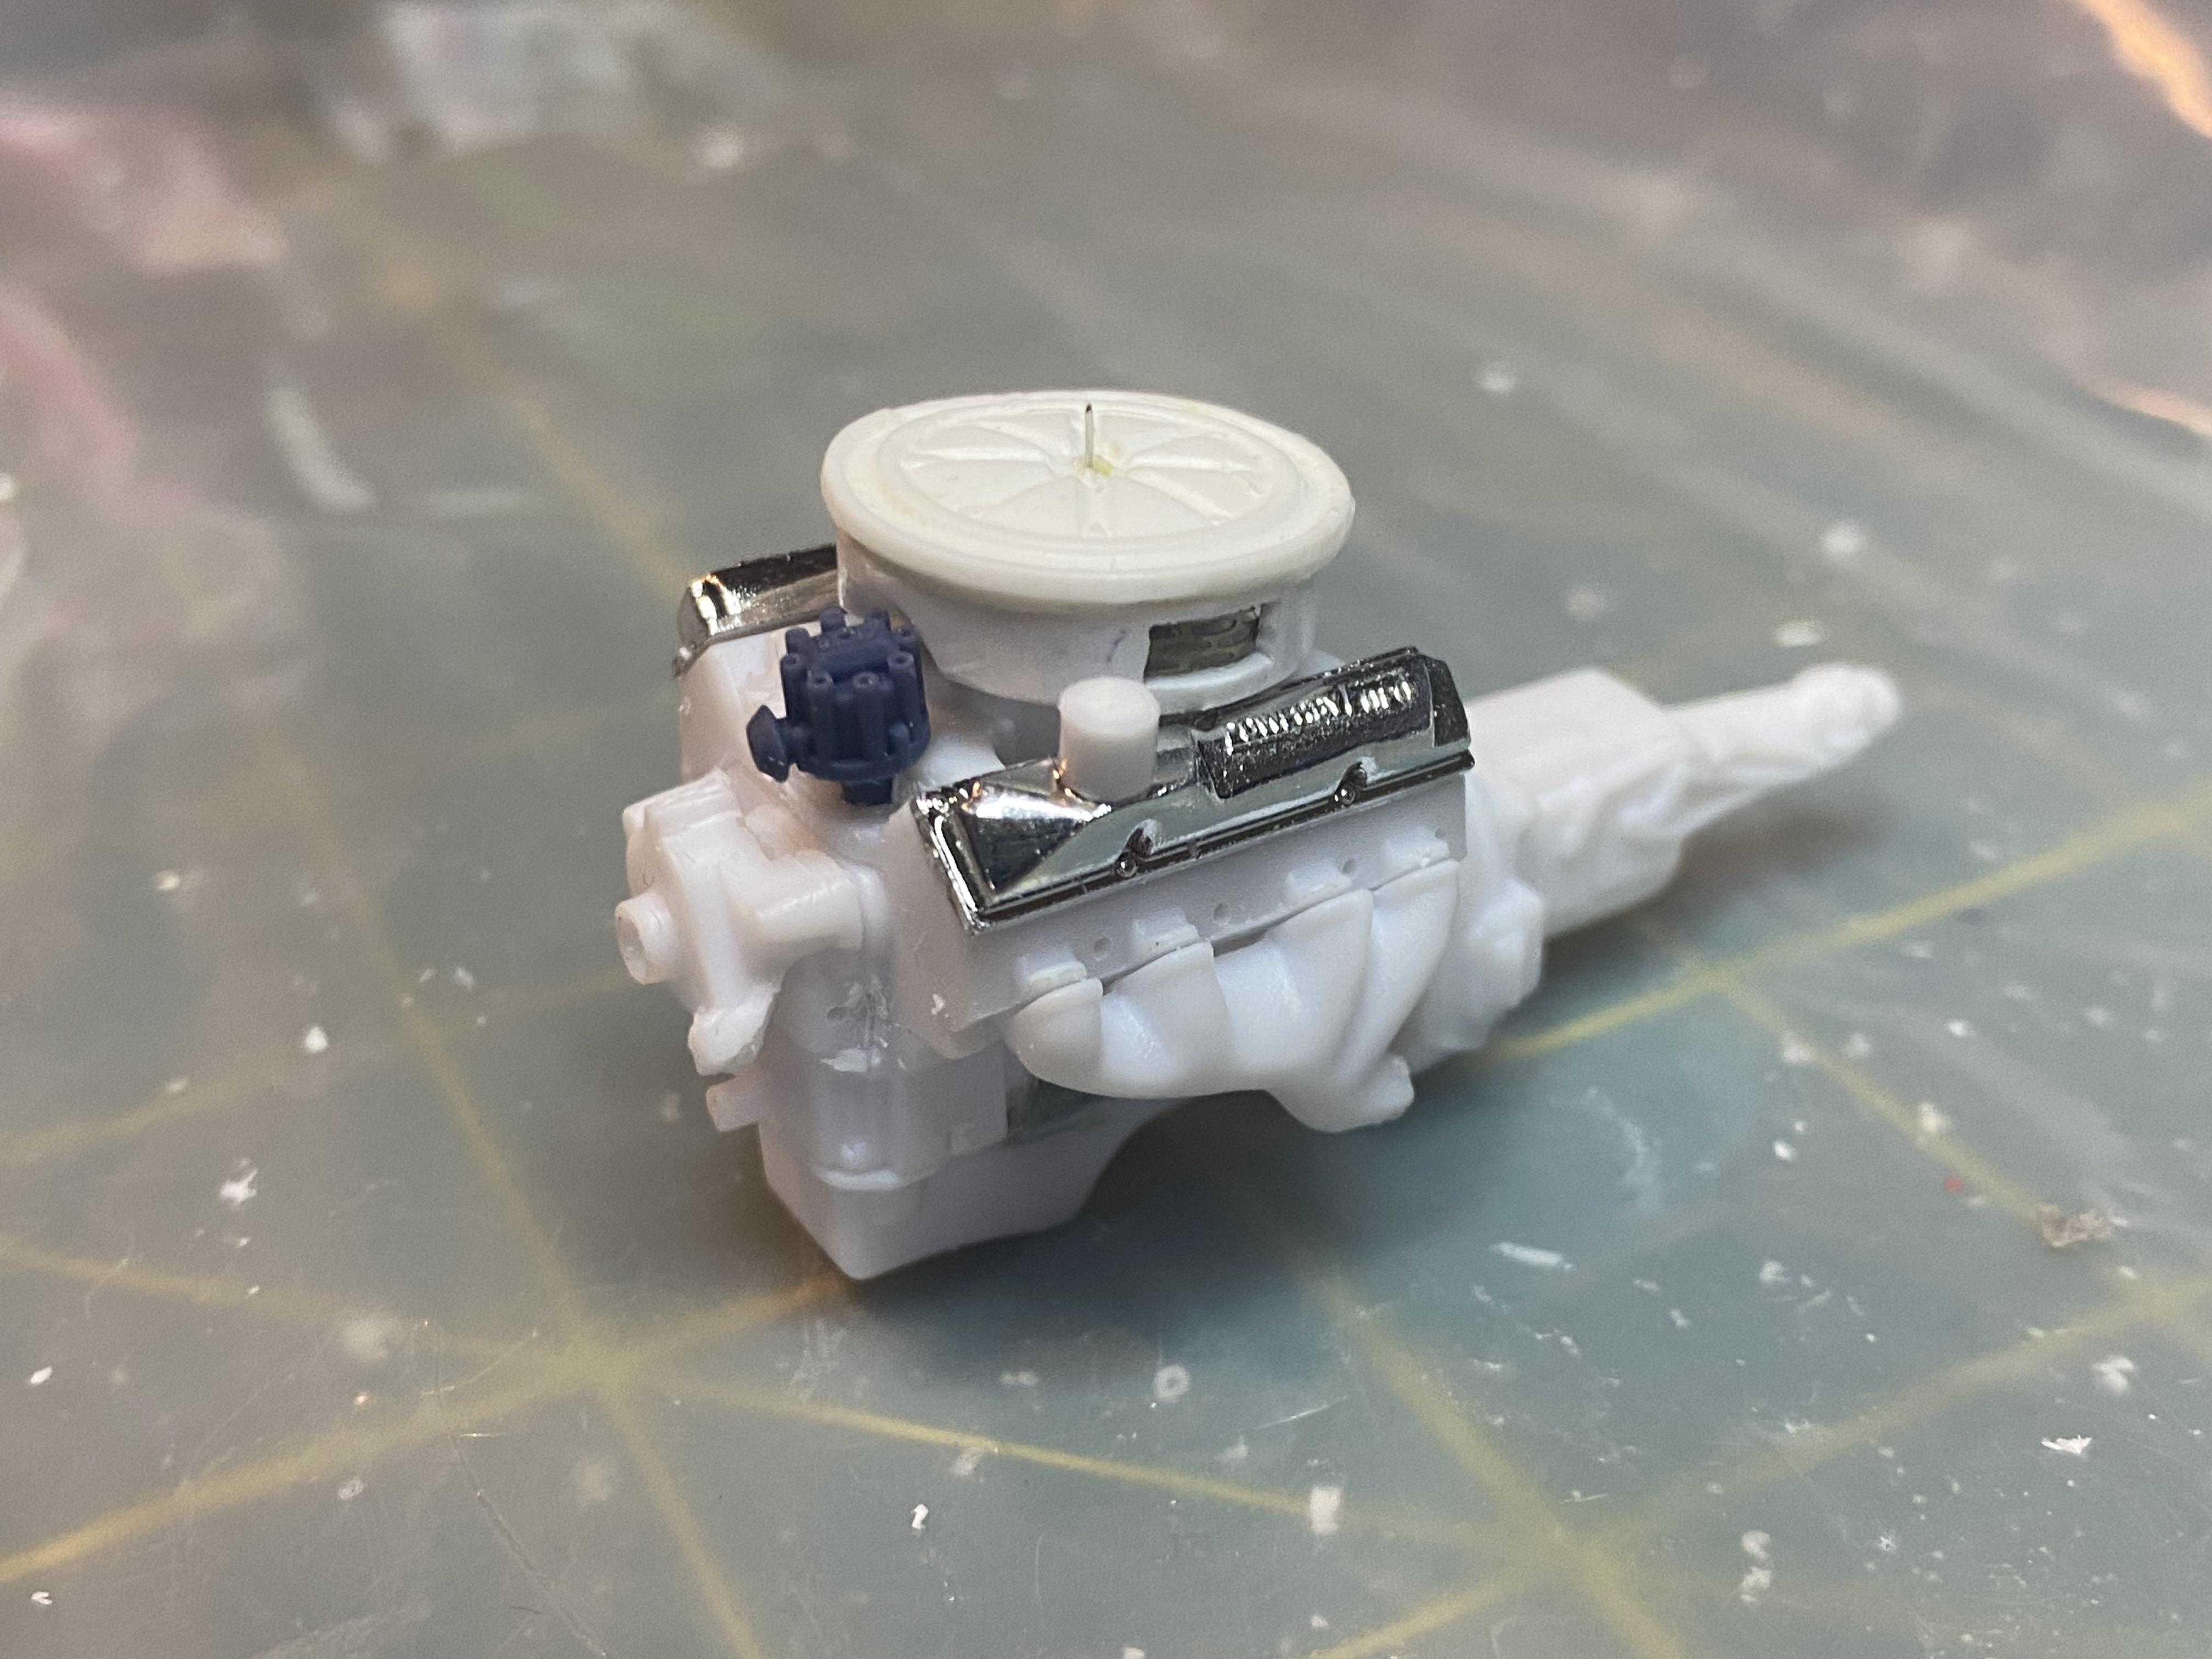
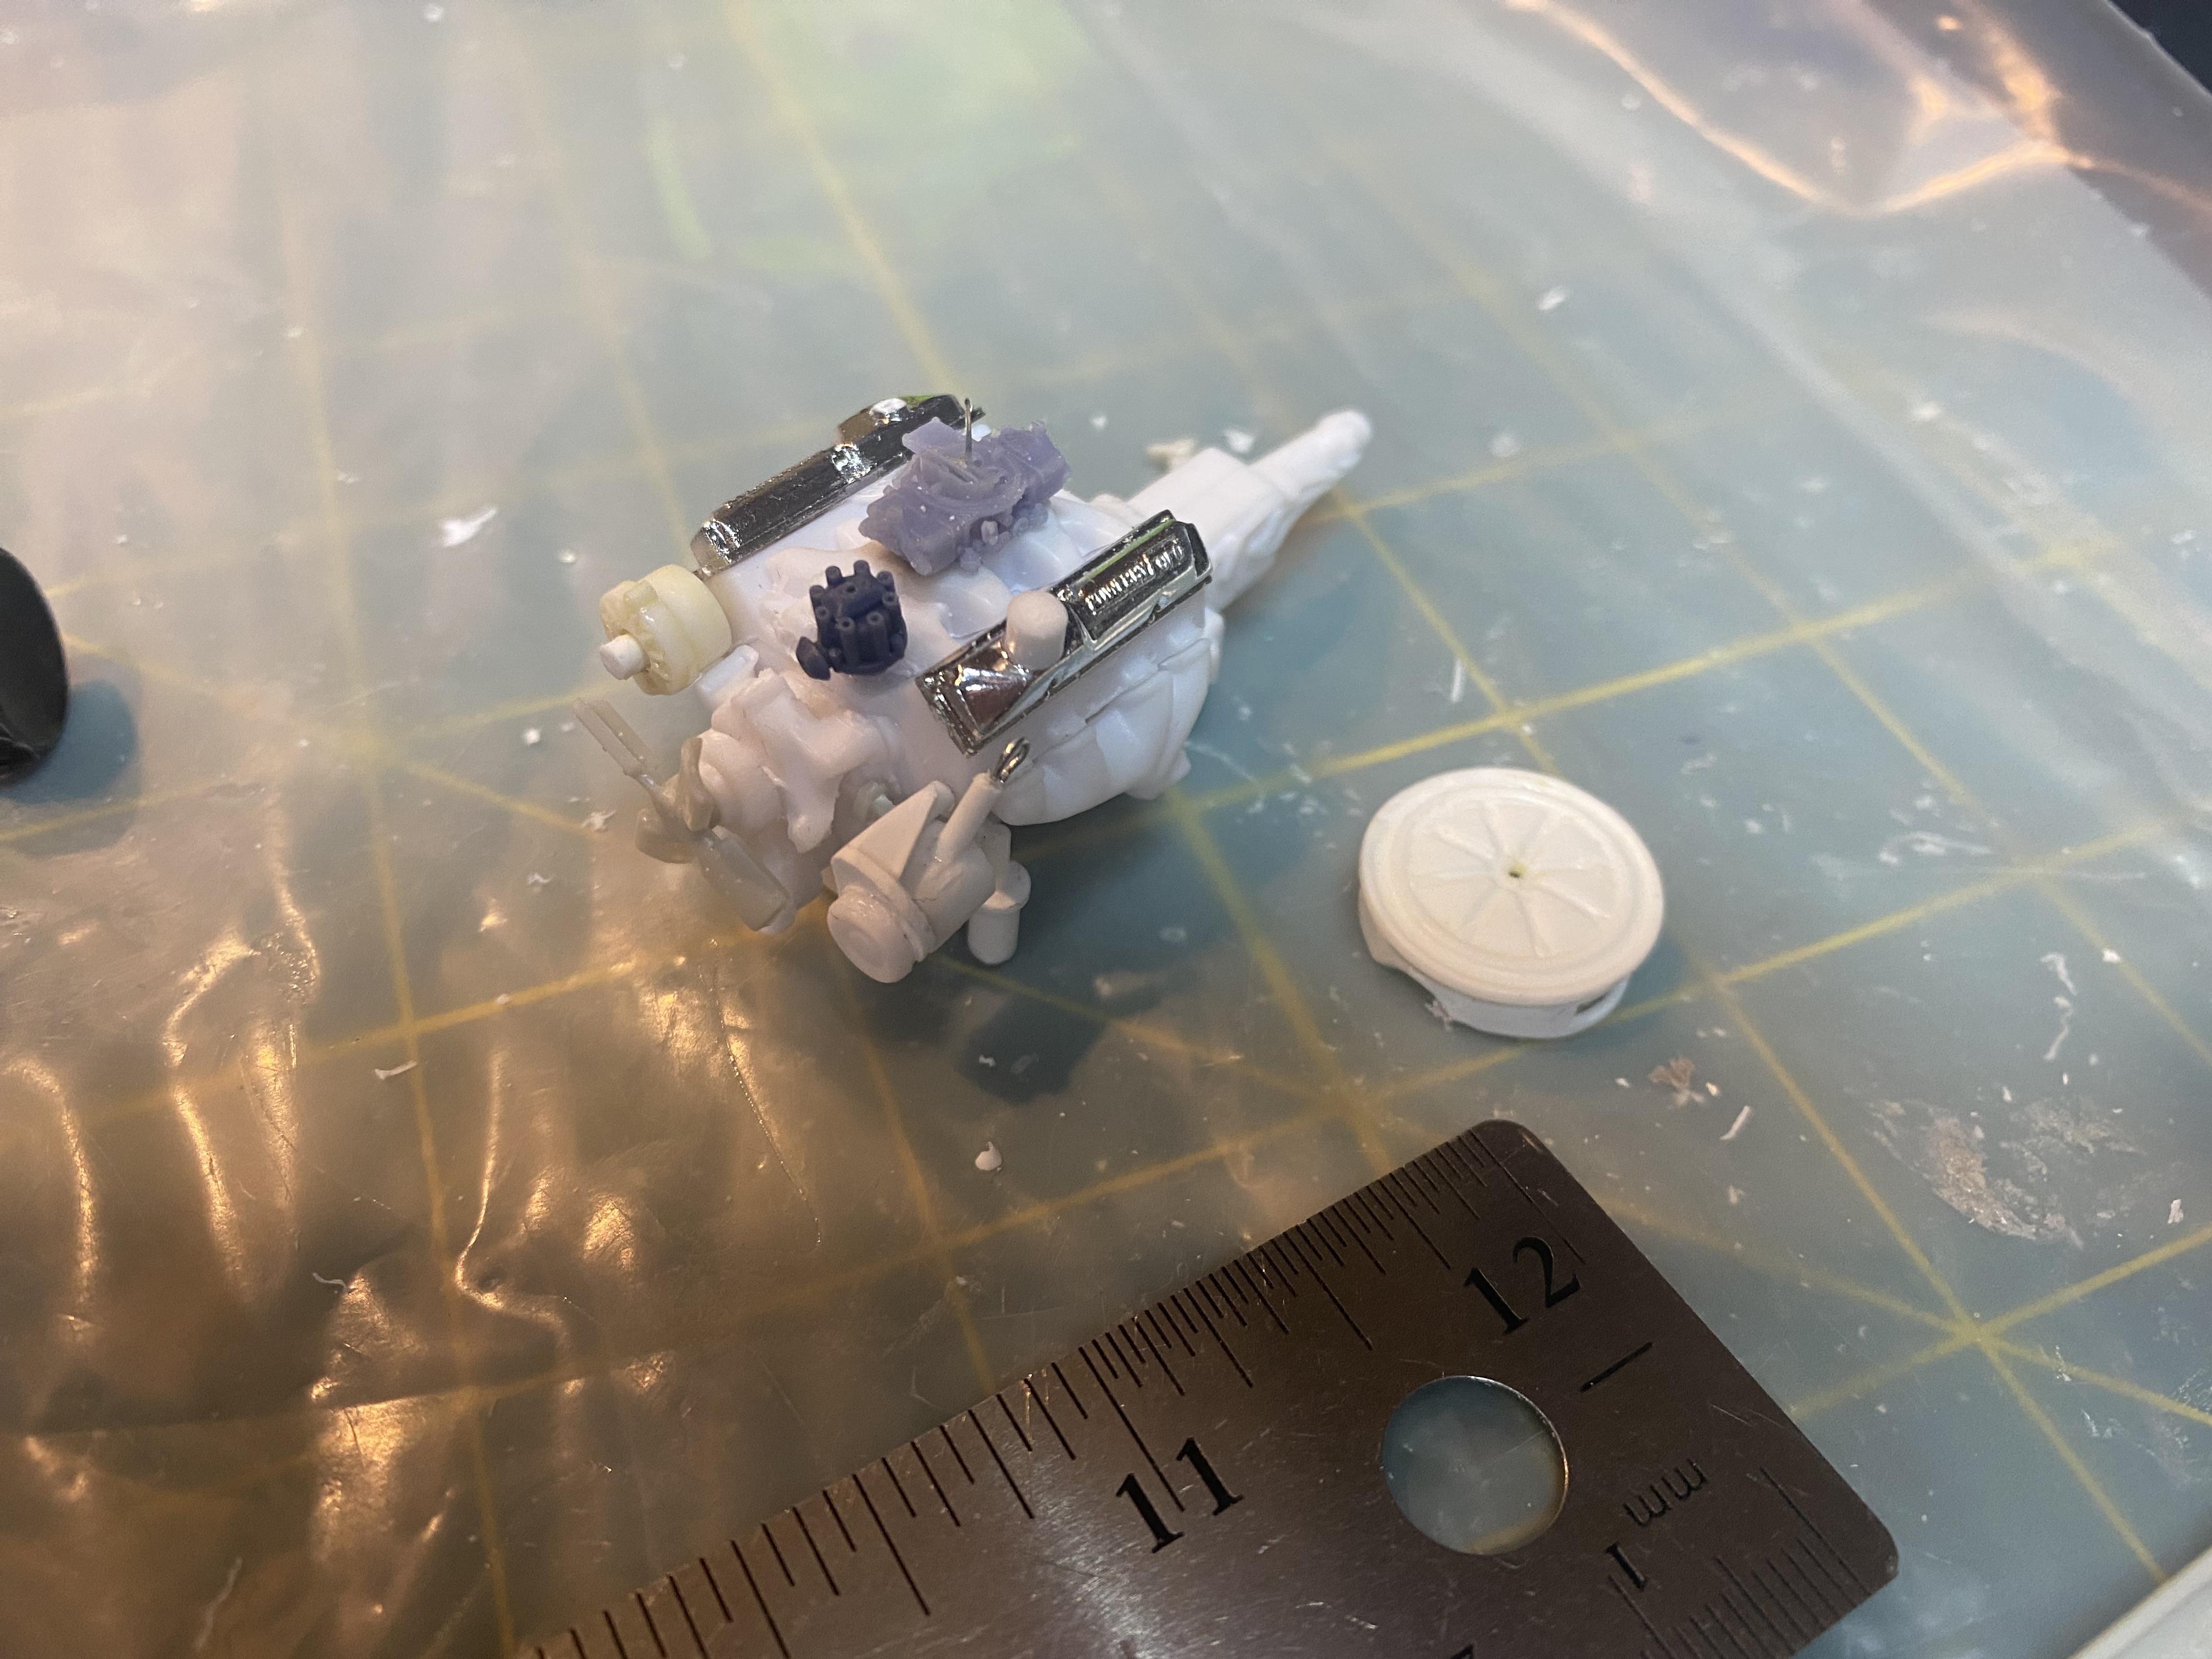
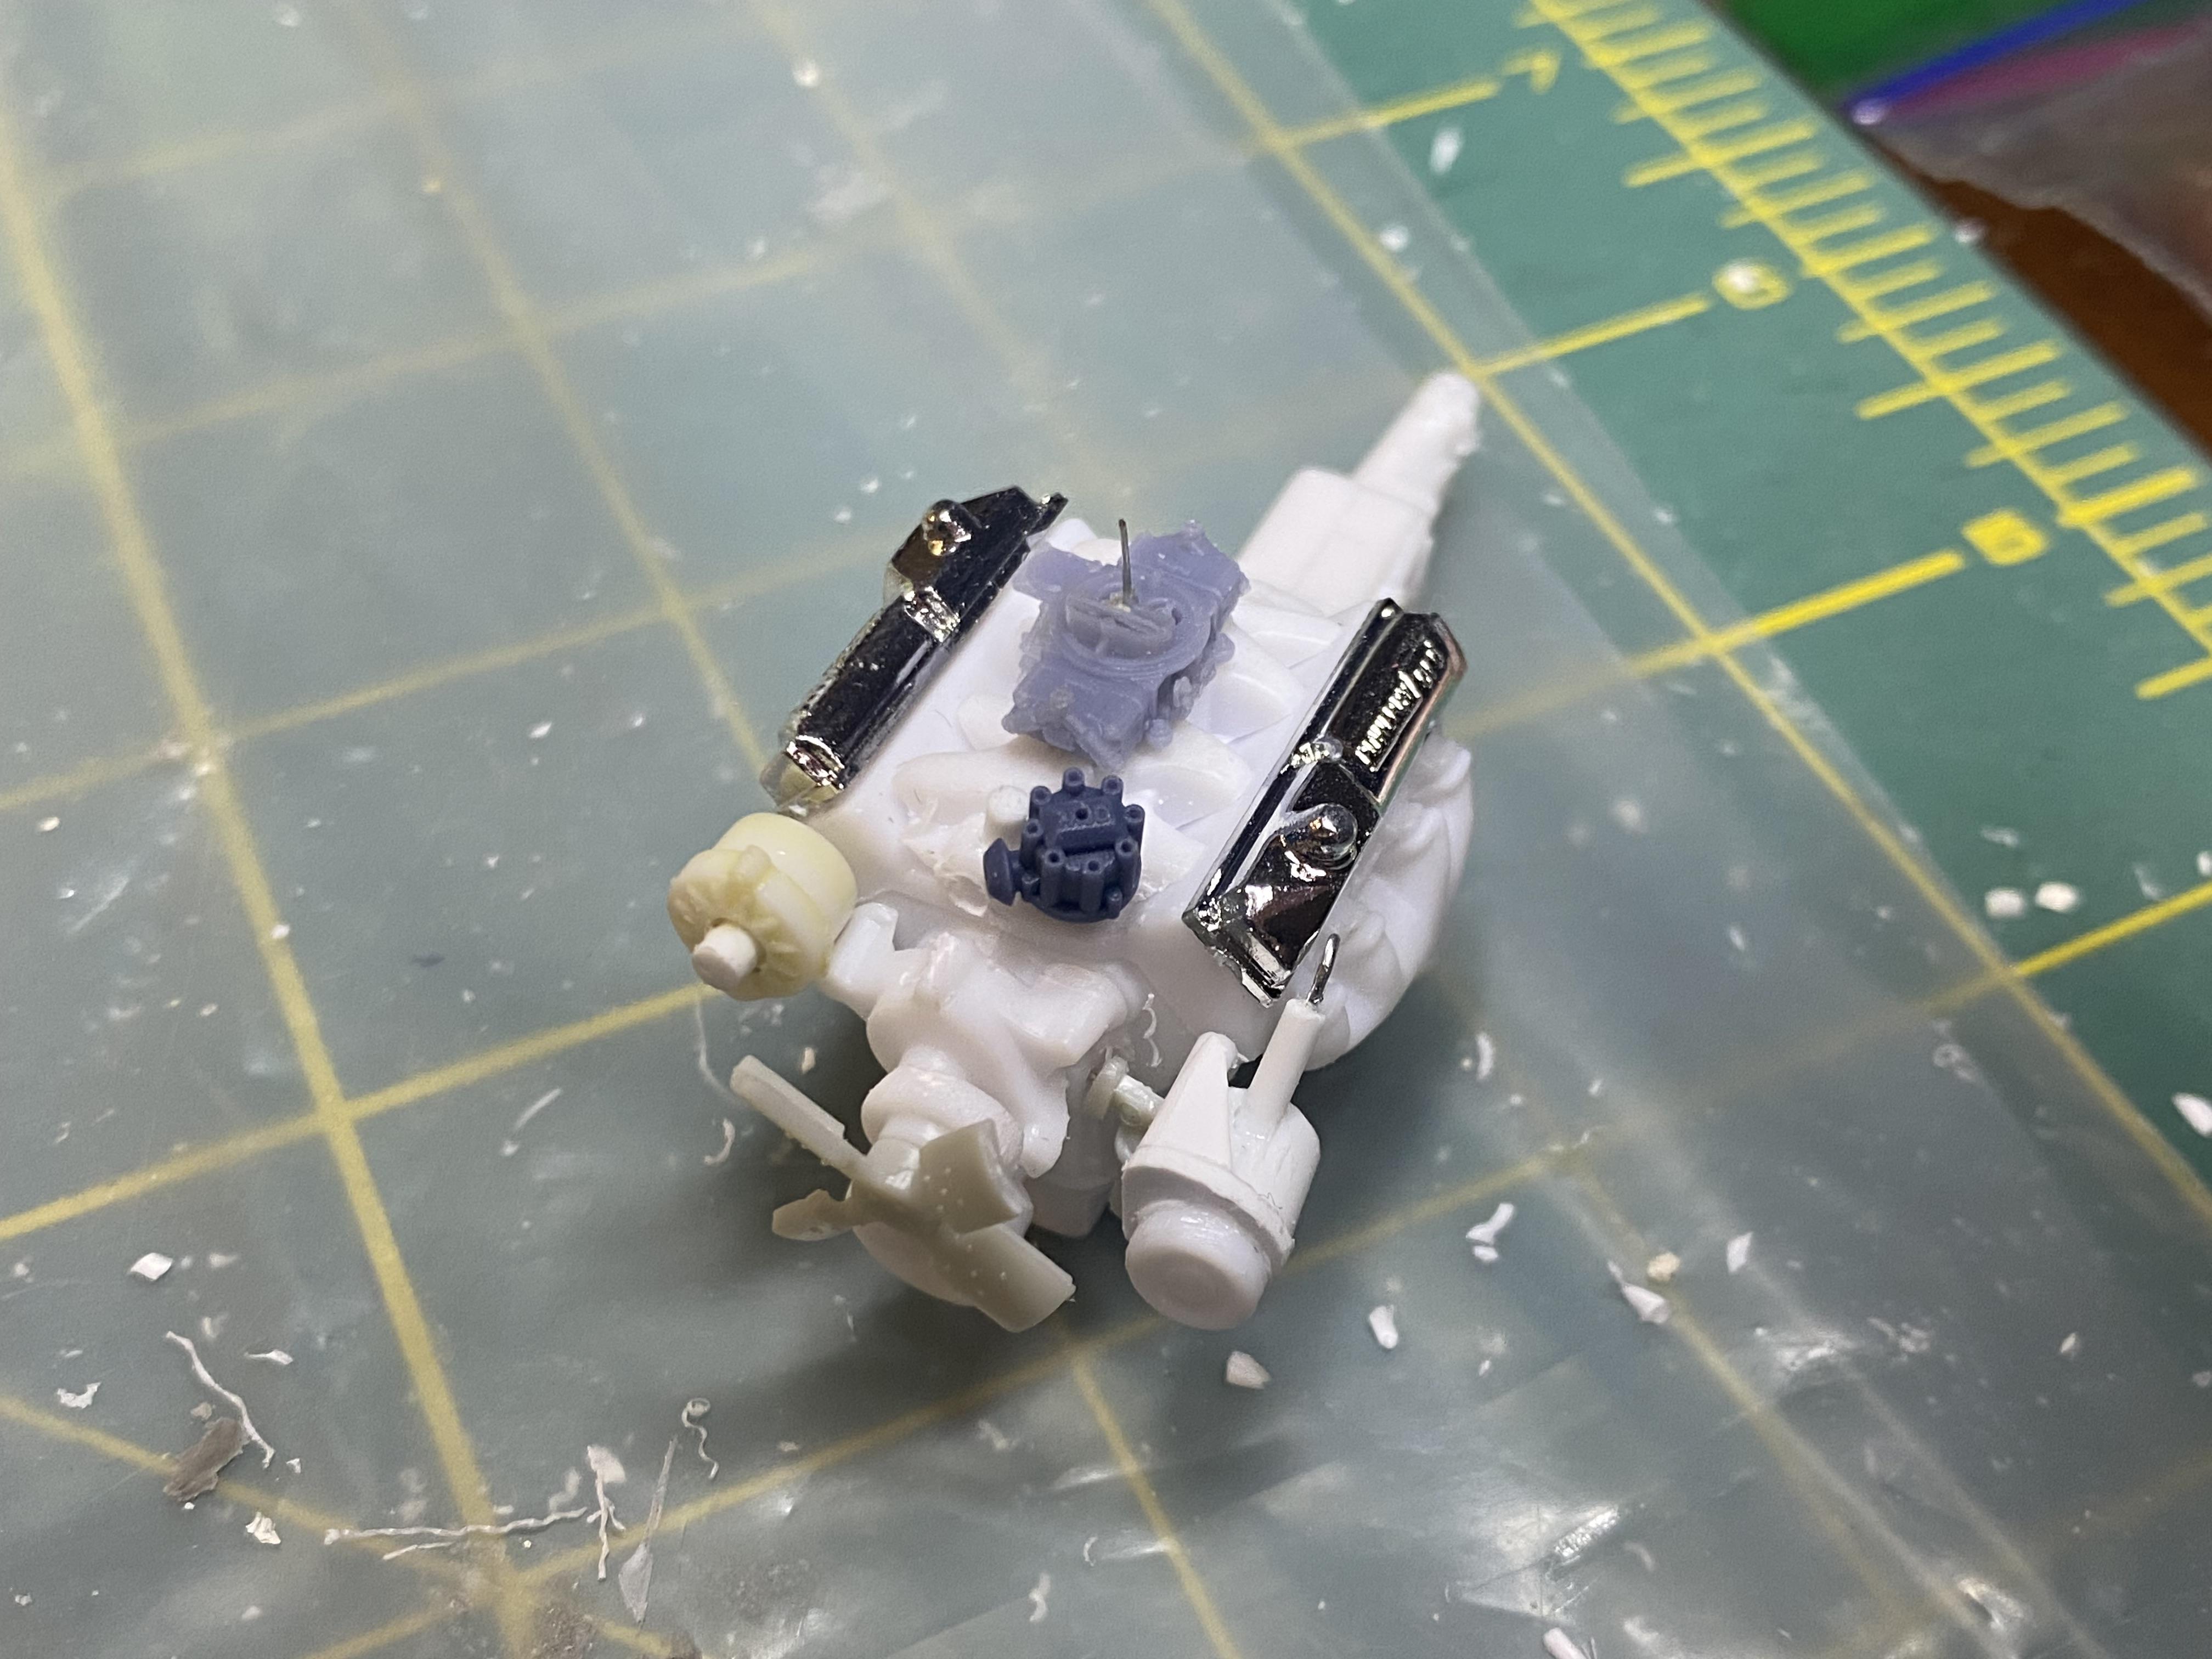
Created the air cleaner and oil filter. White glue mock up with chassis. Oddly the exhaust fits ok. It’s really tight fit in the engine compartment. I am against a wall until the 3d printed c6 transmission arrives before I cut off the old transmission.
-
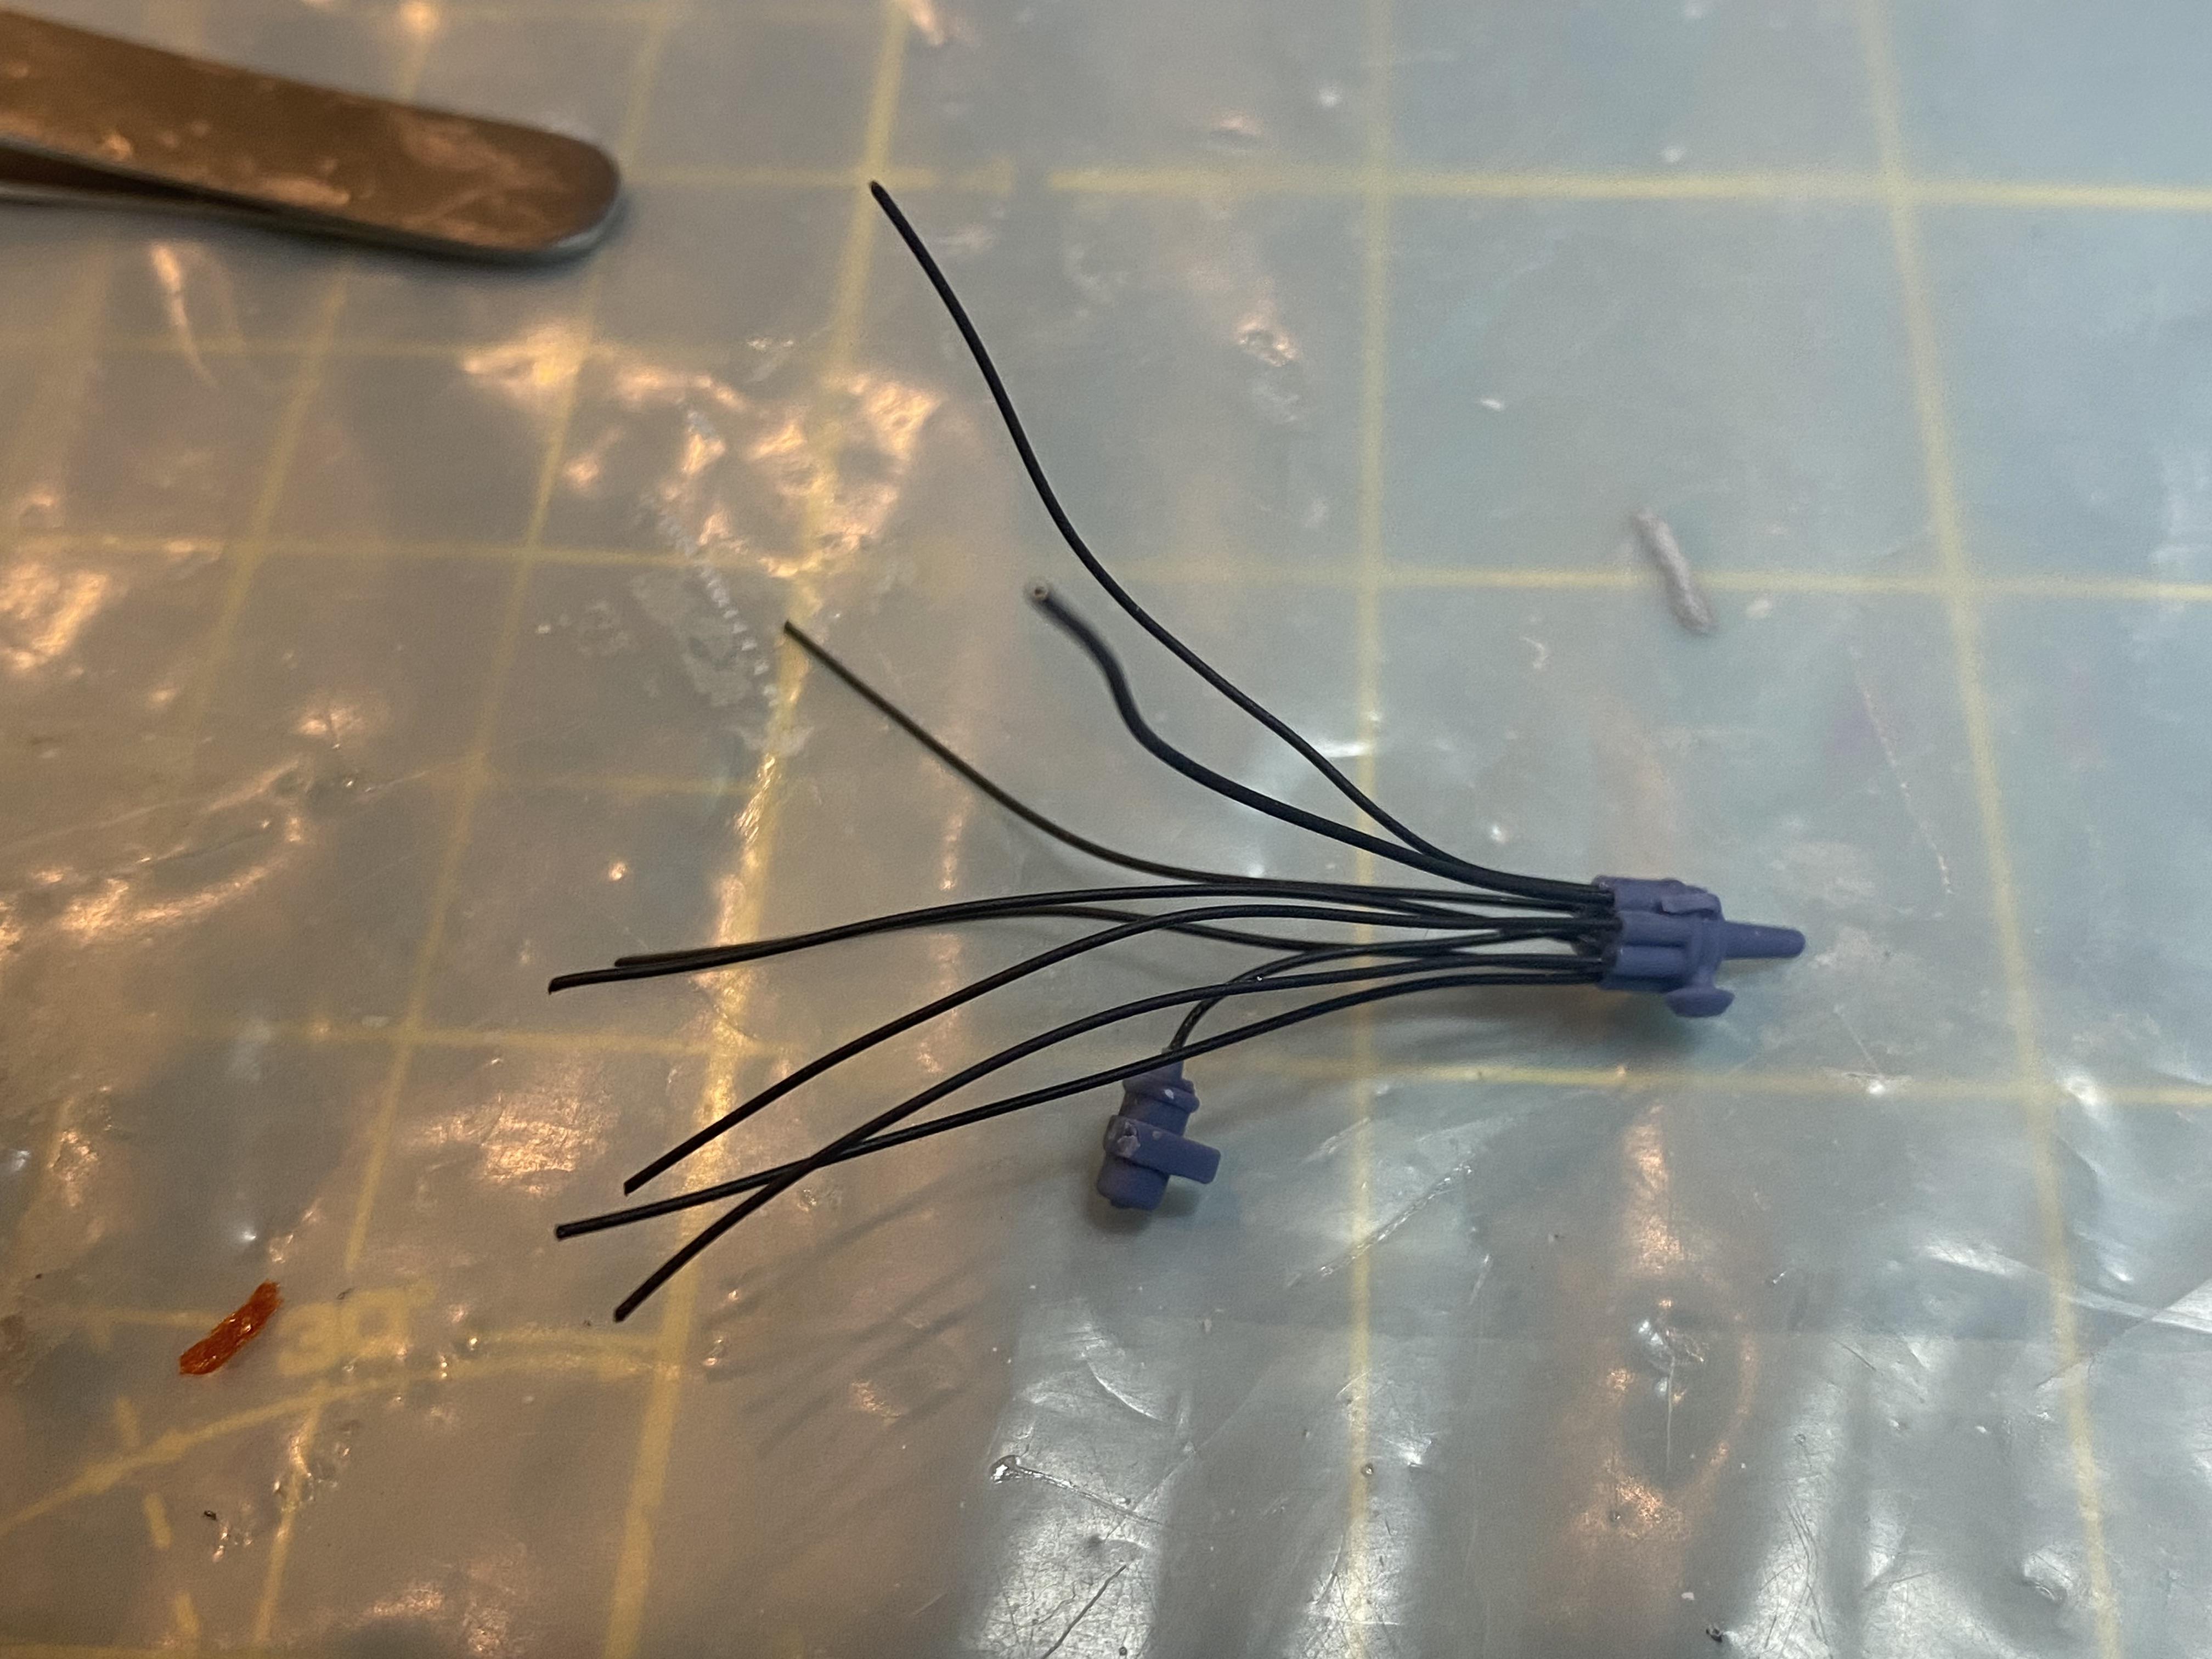
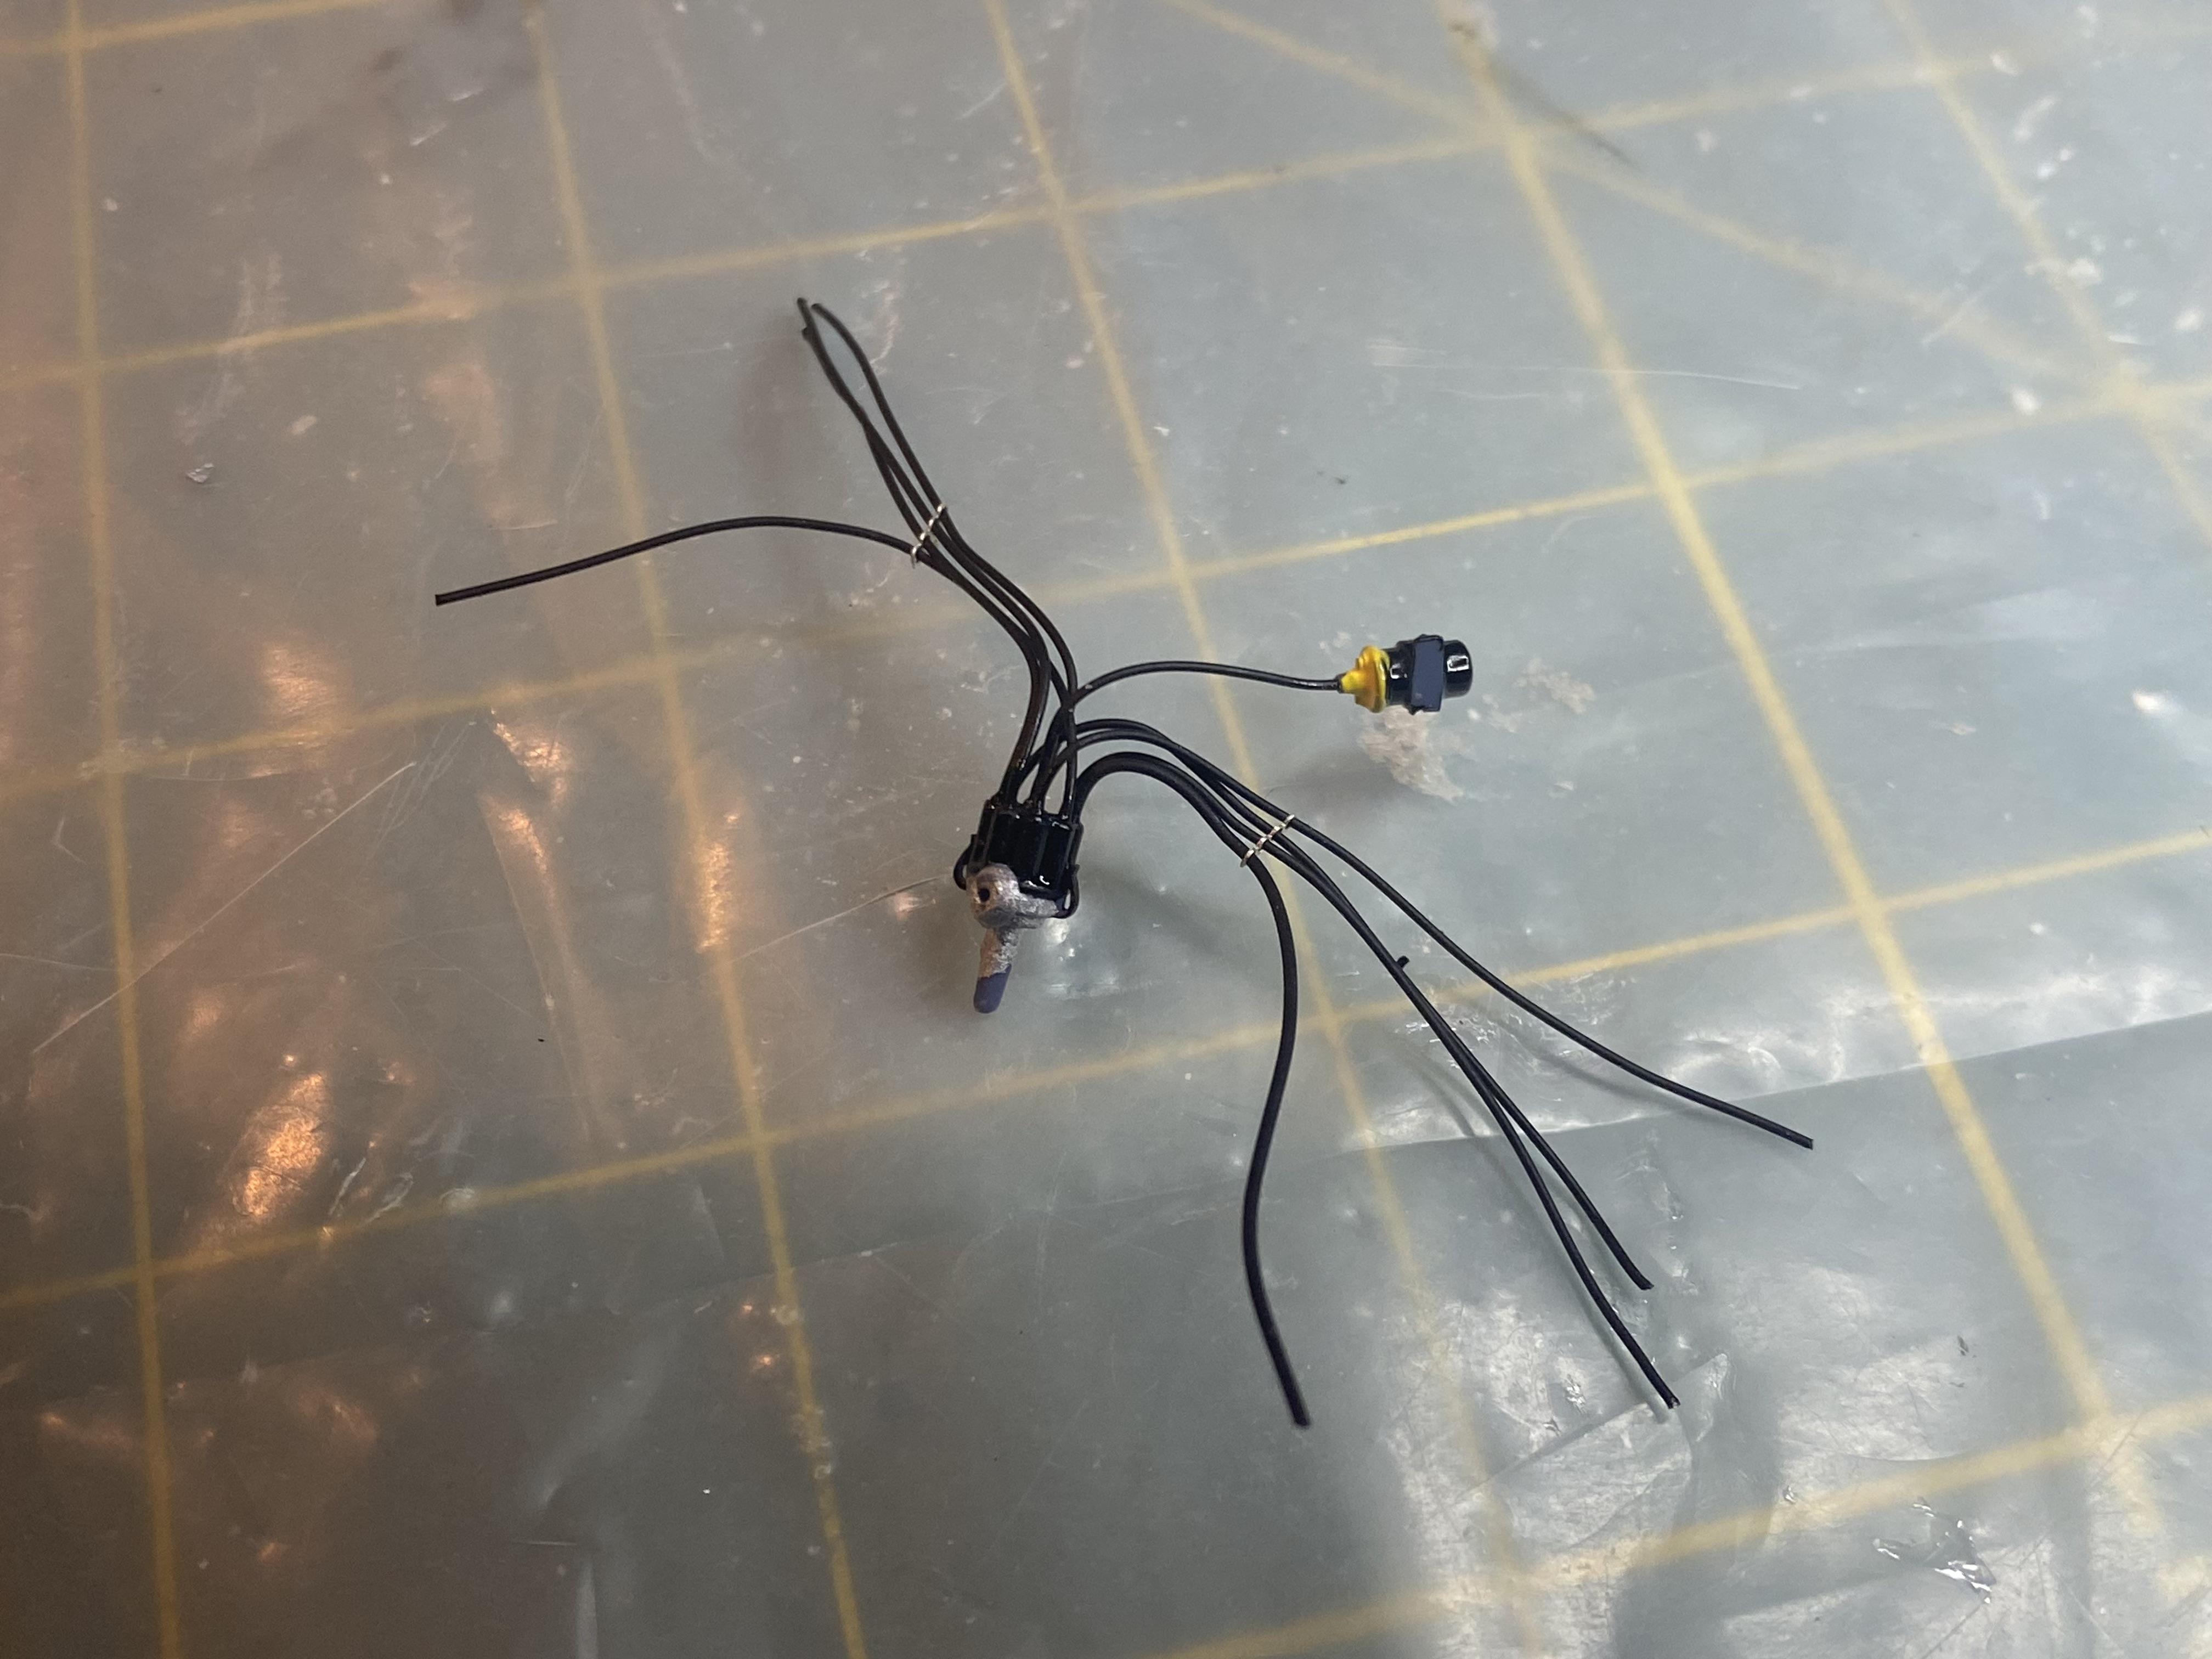
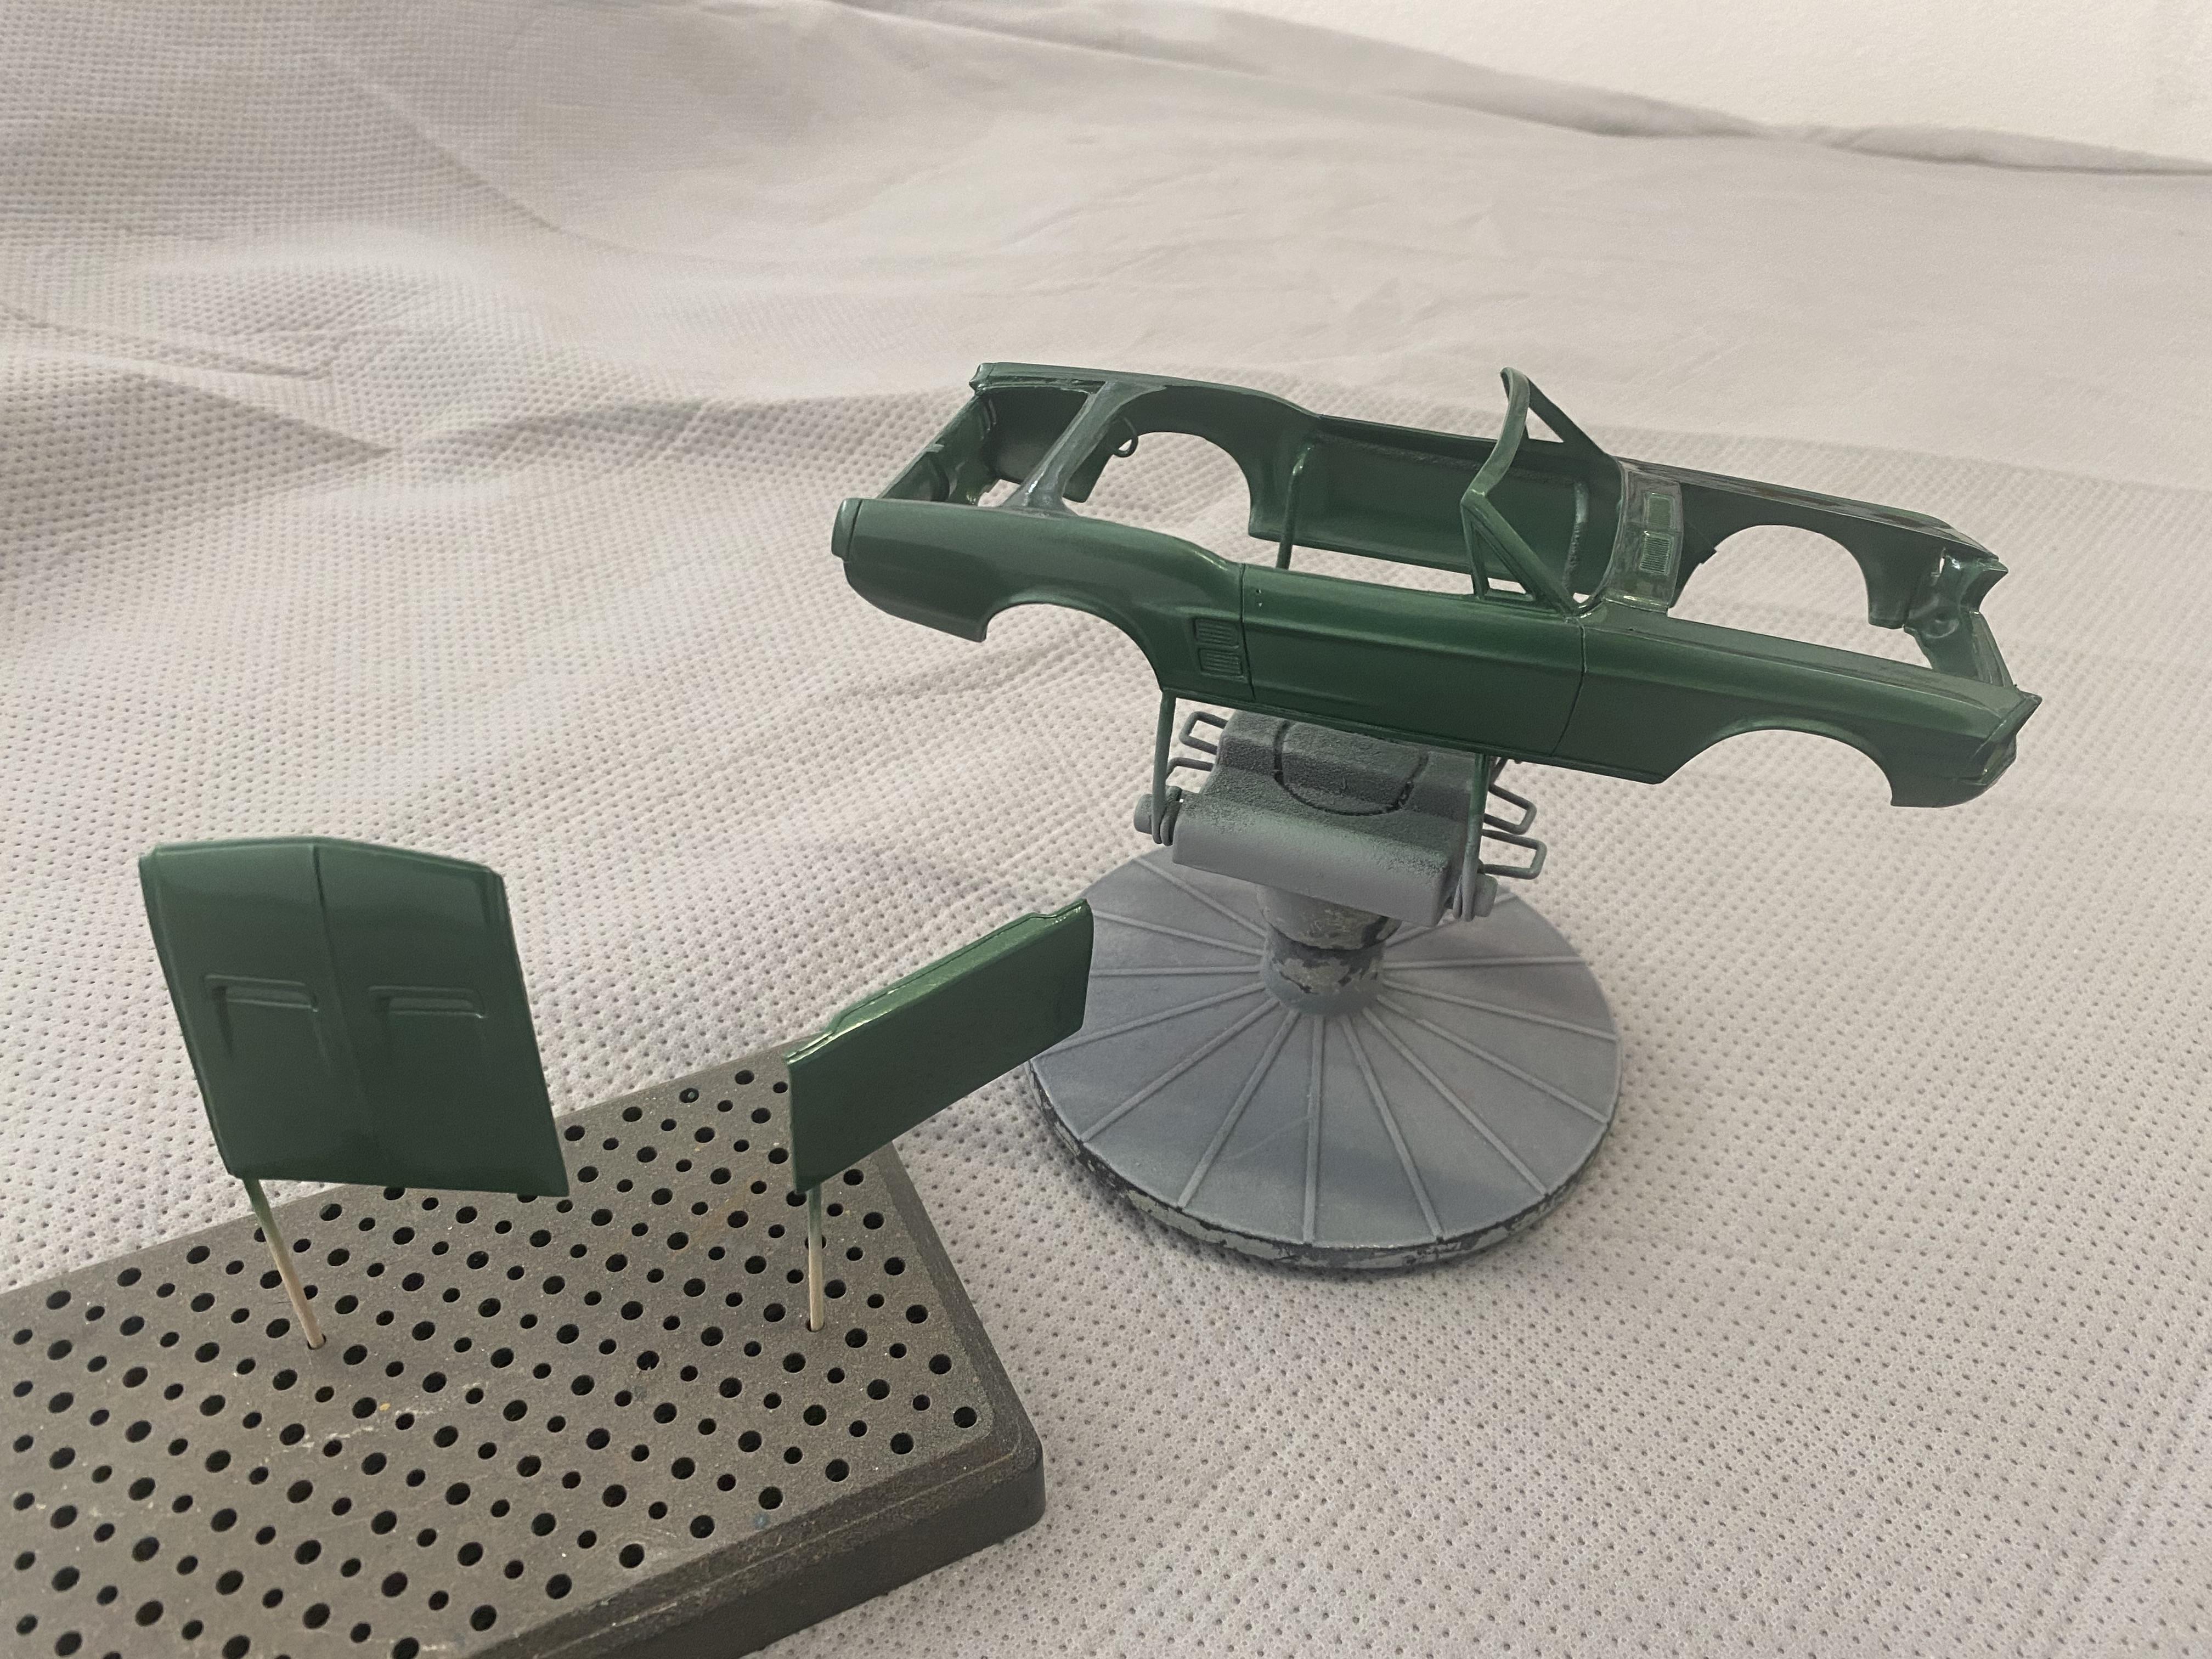
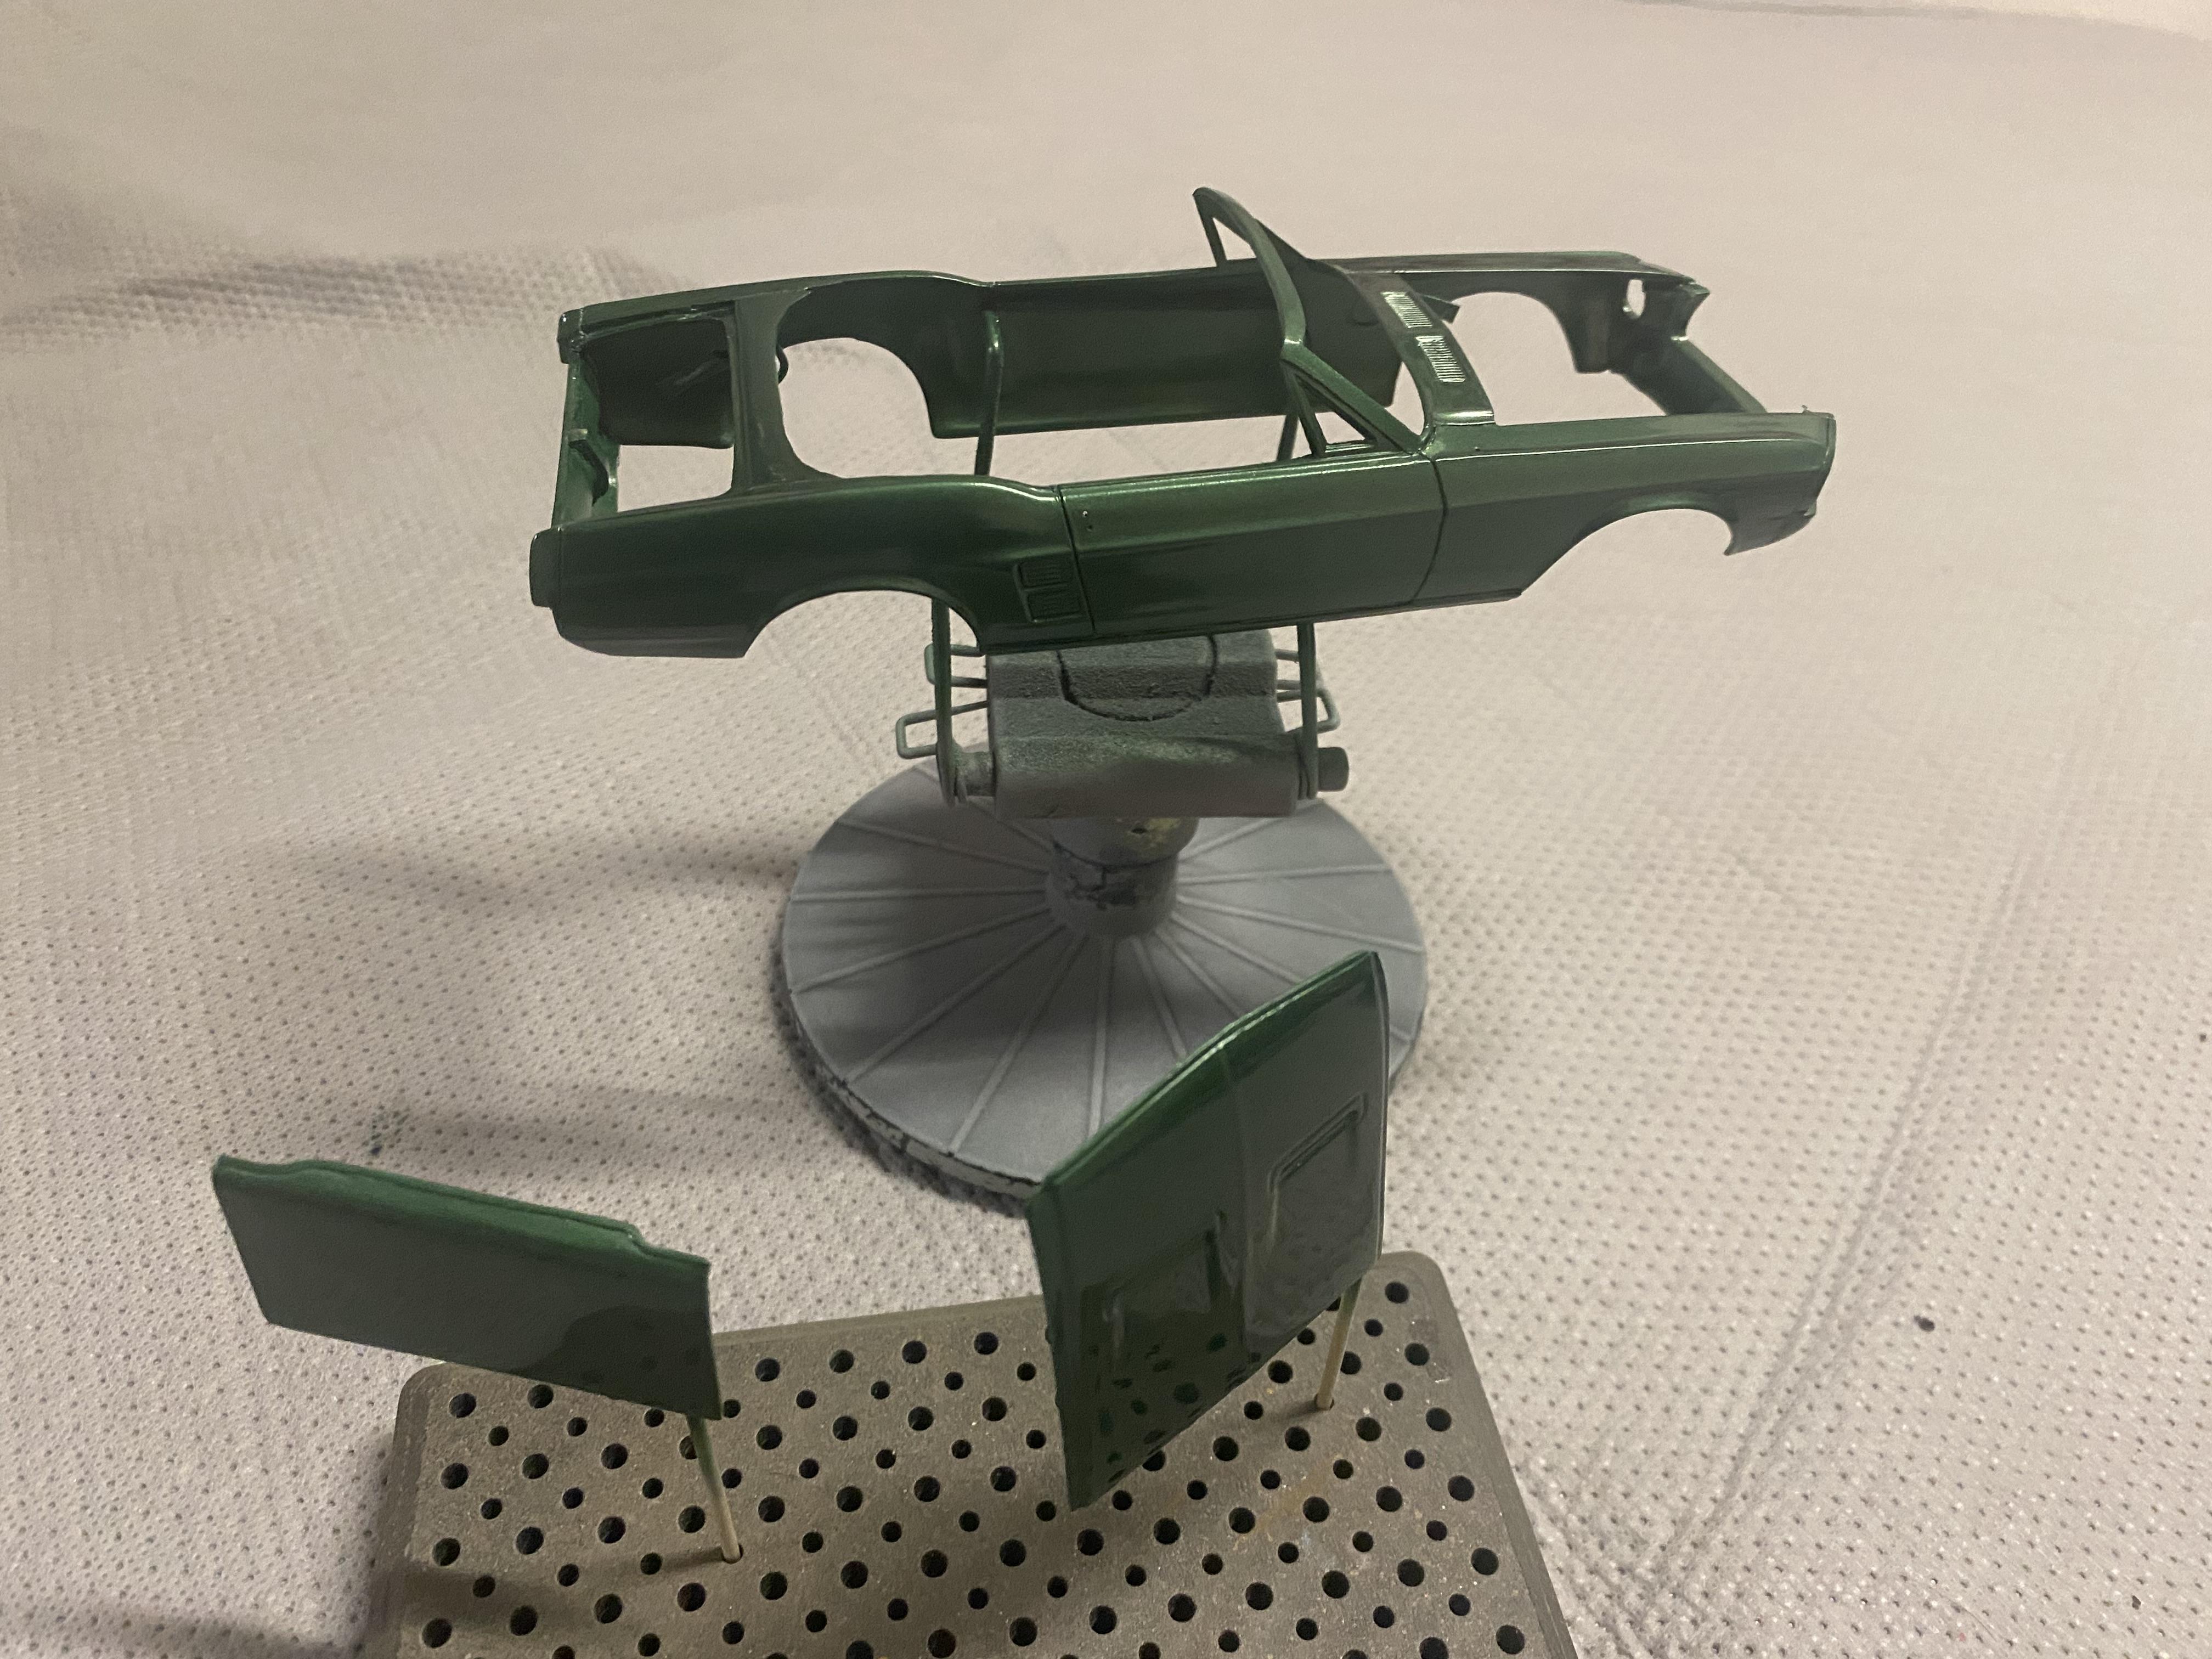
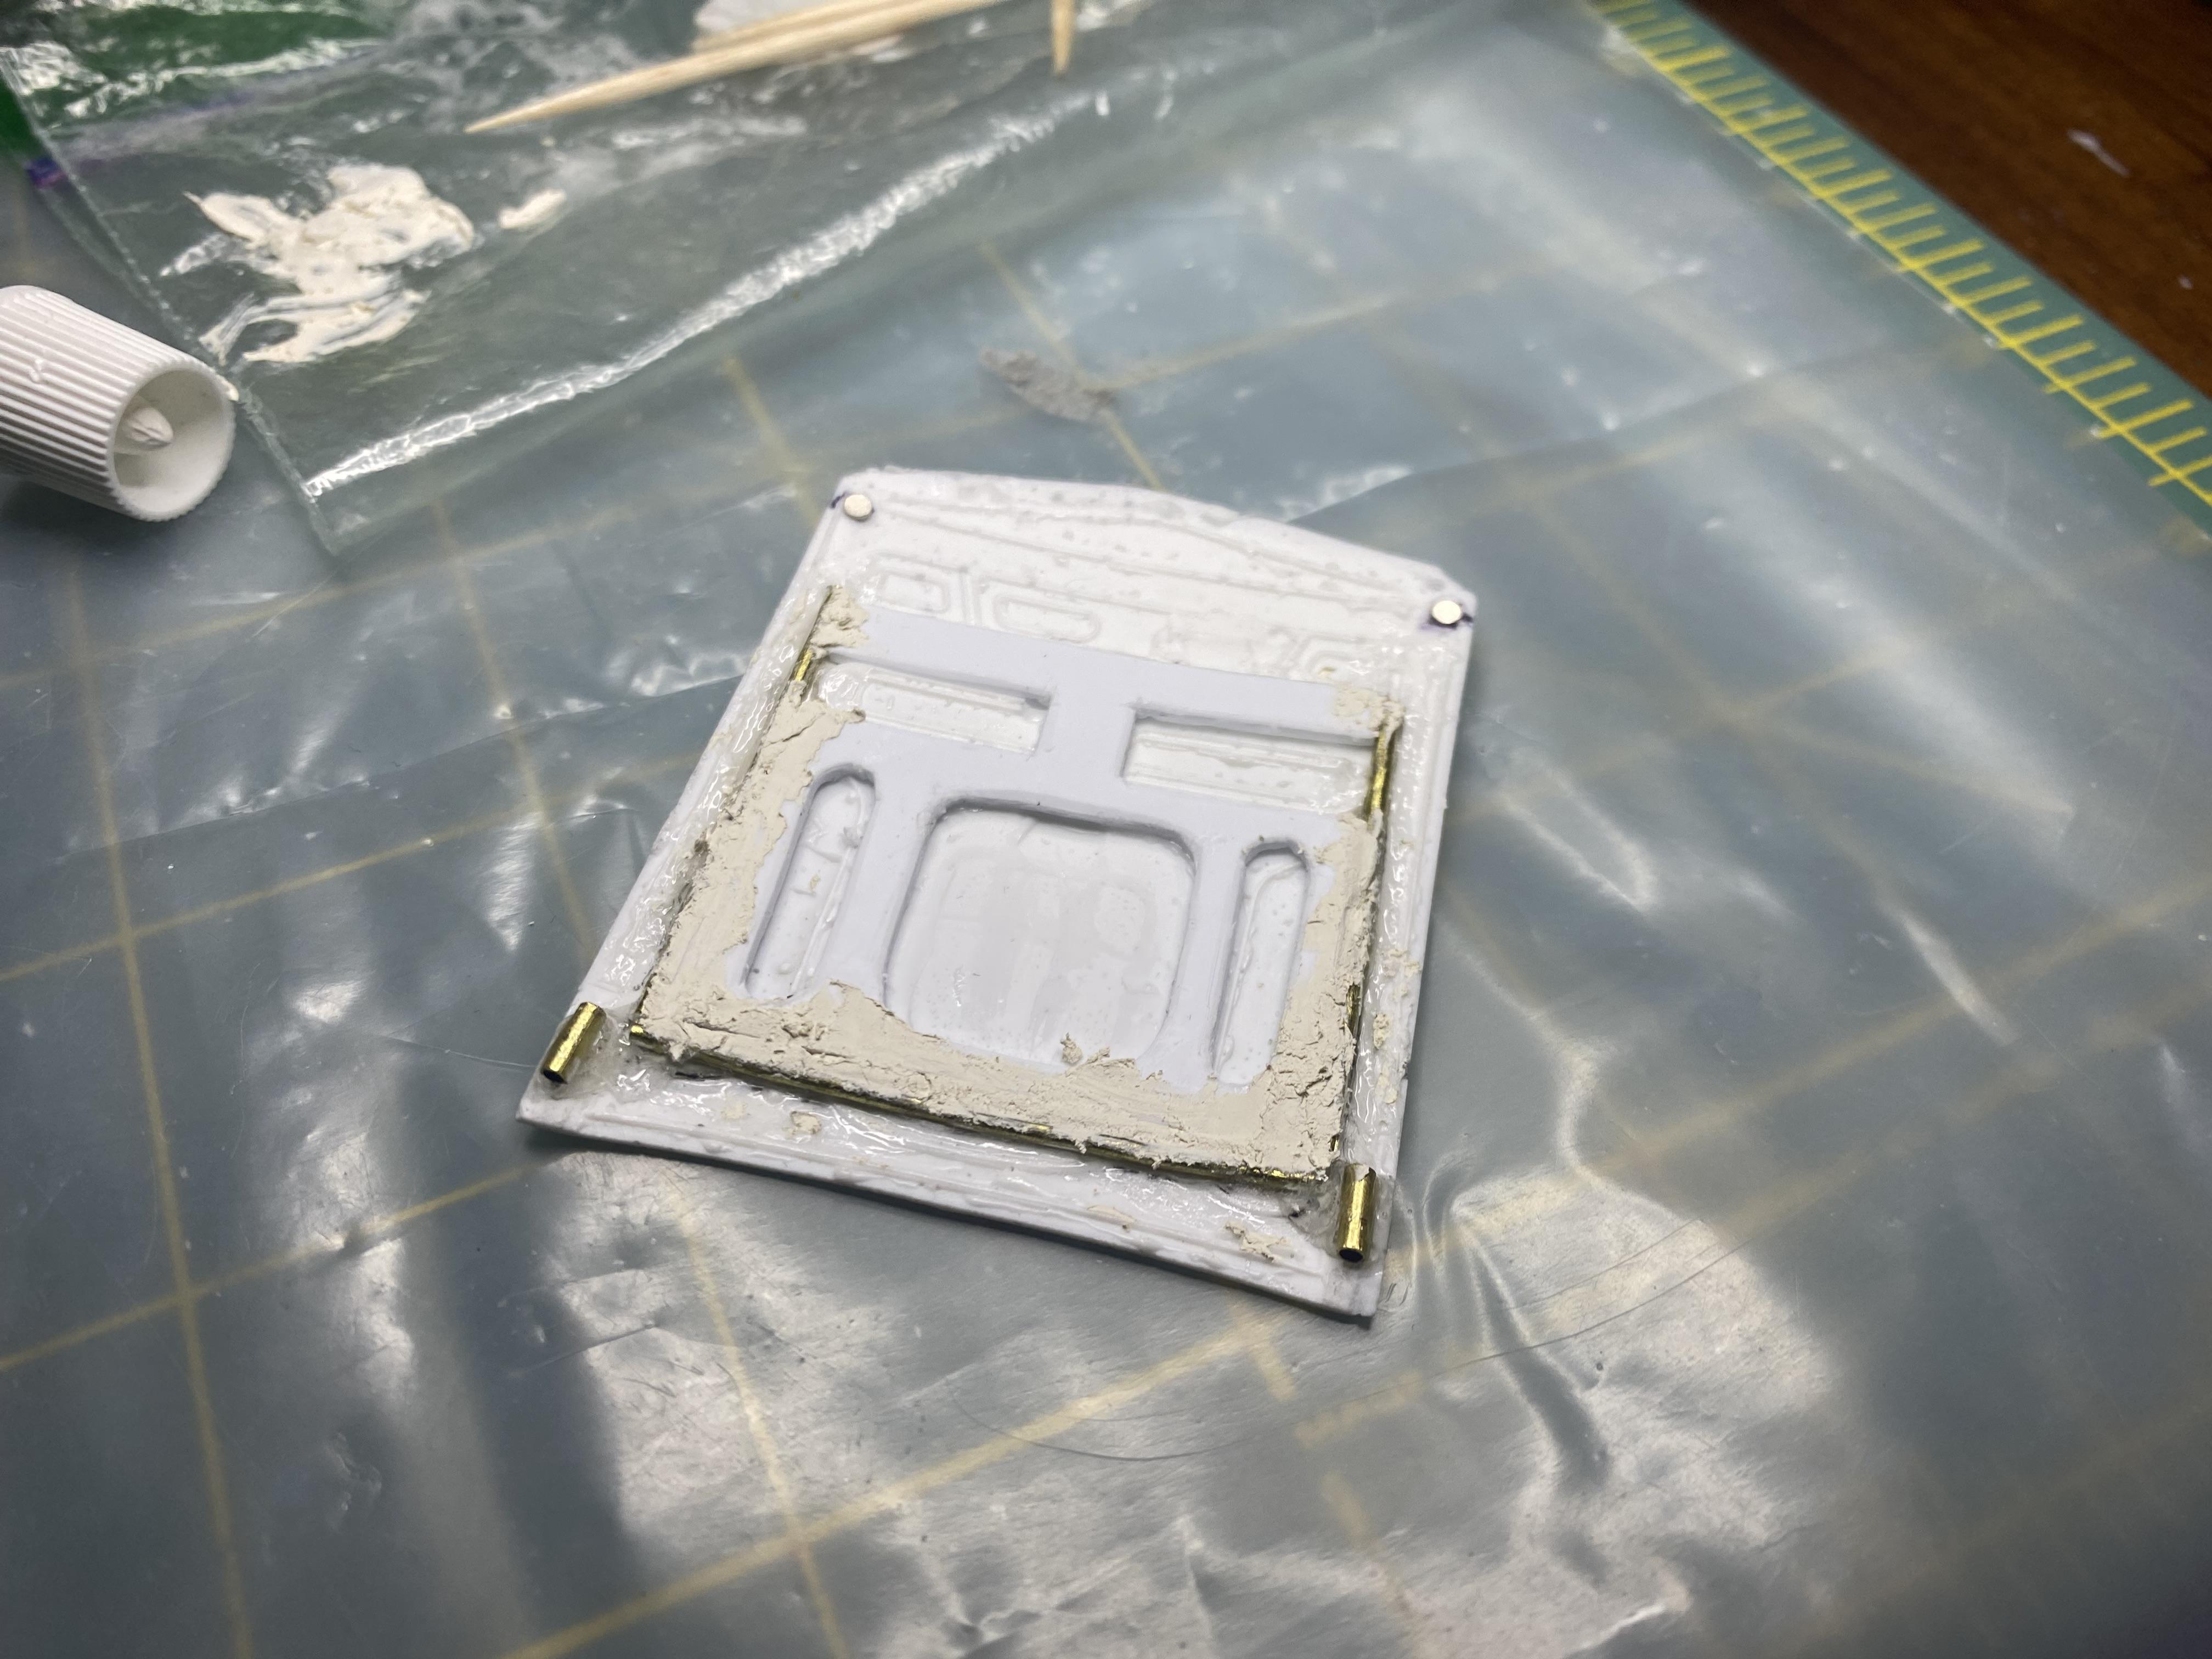
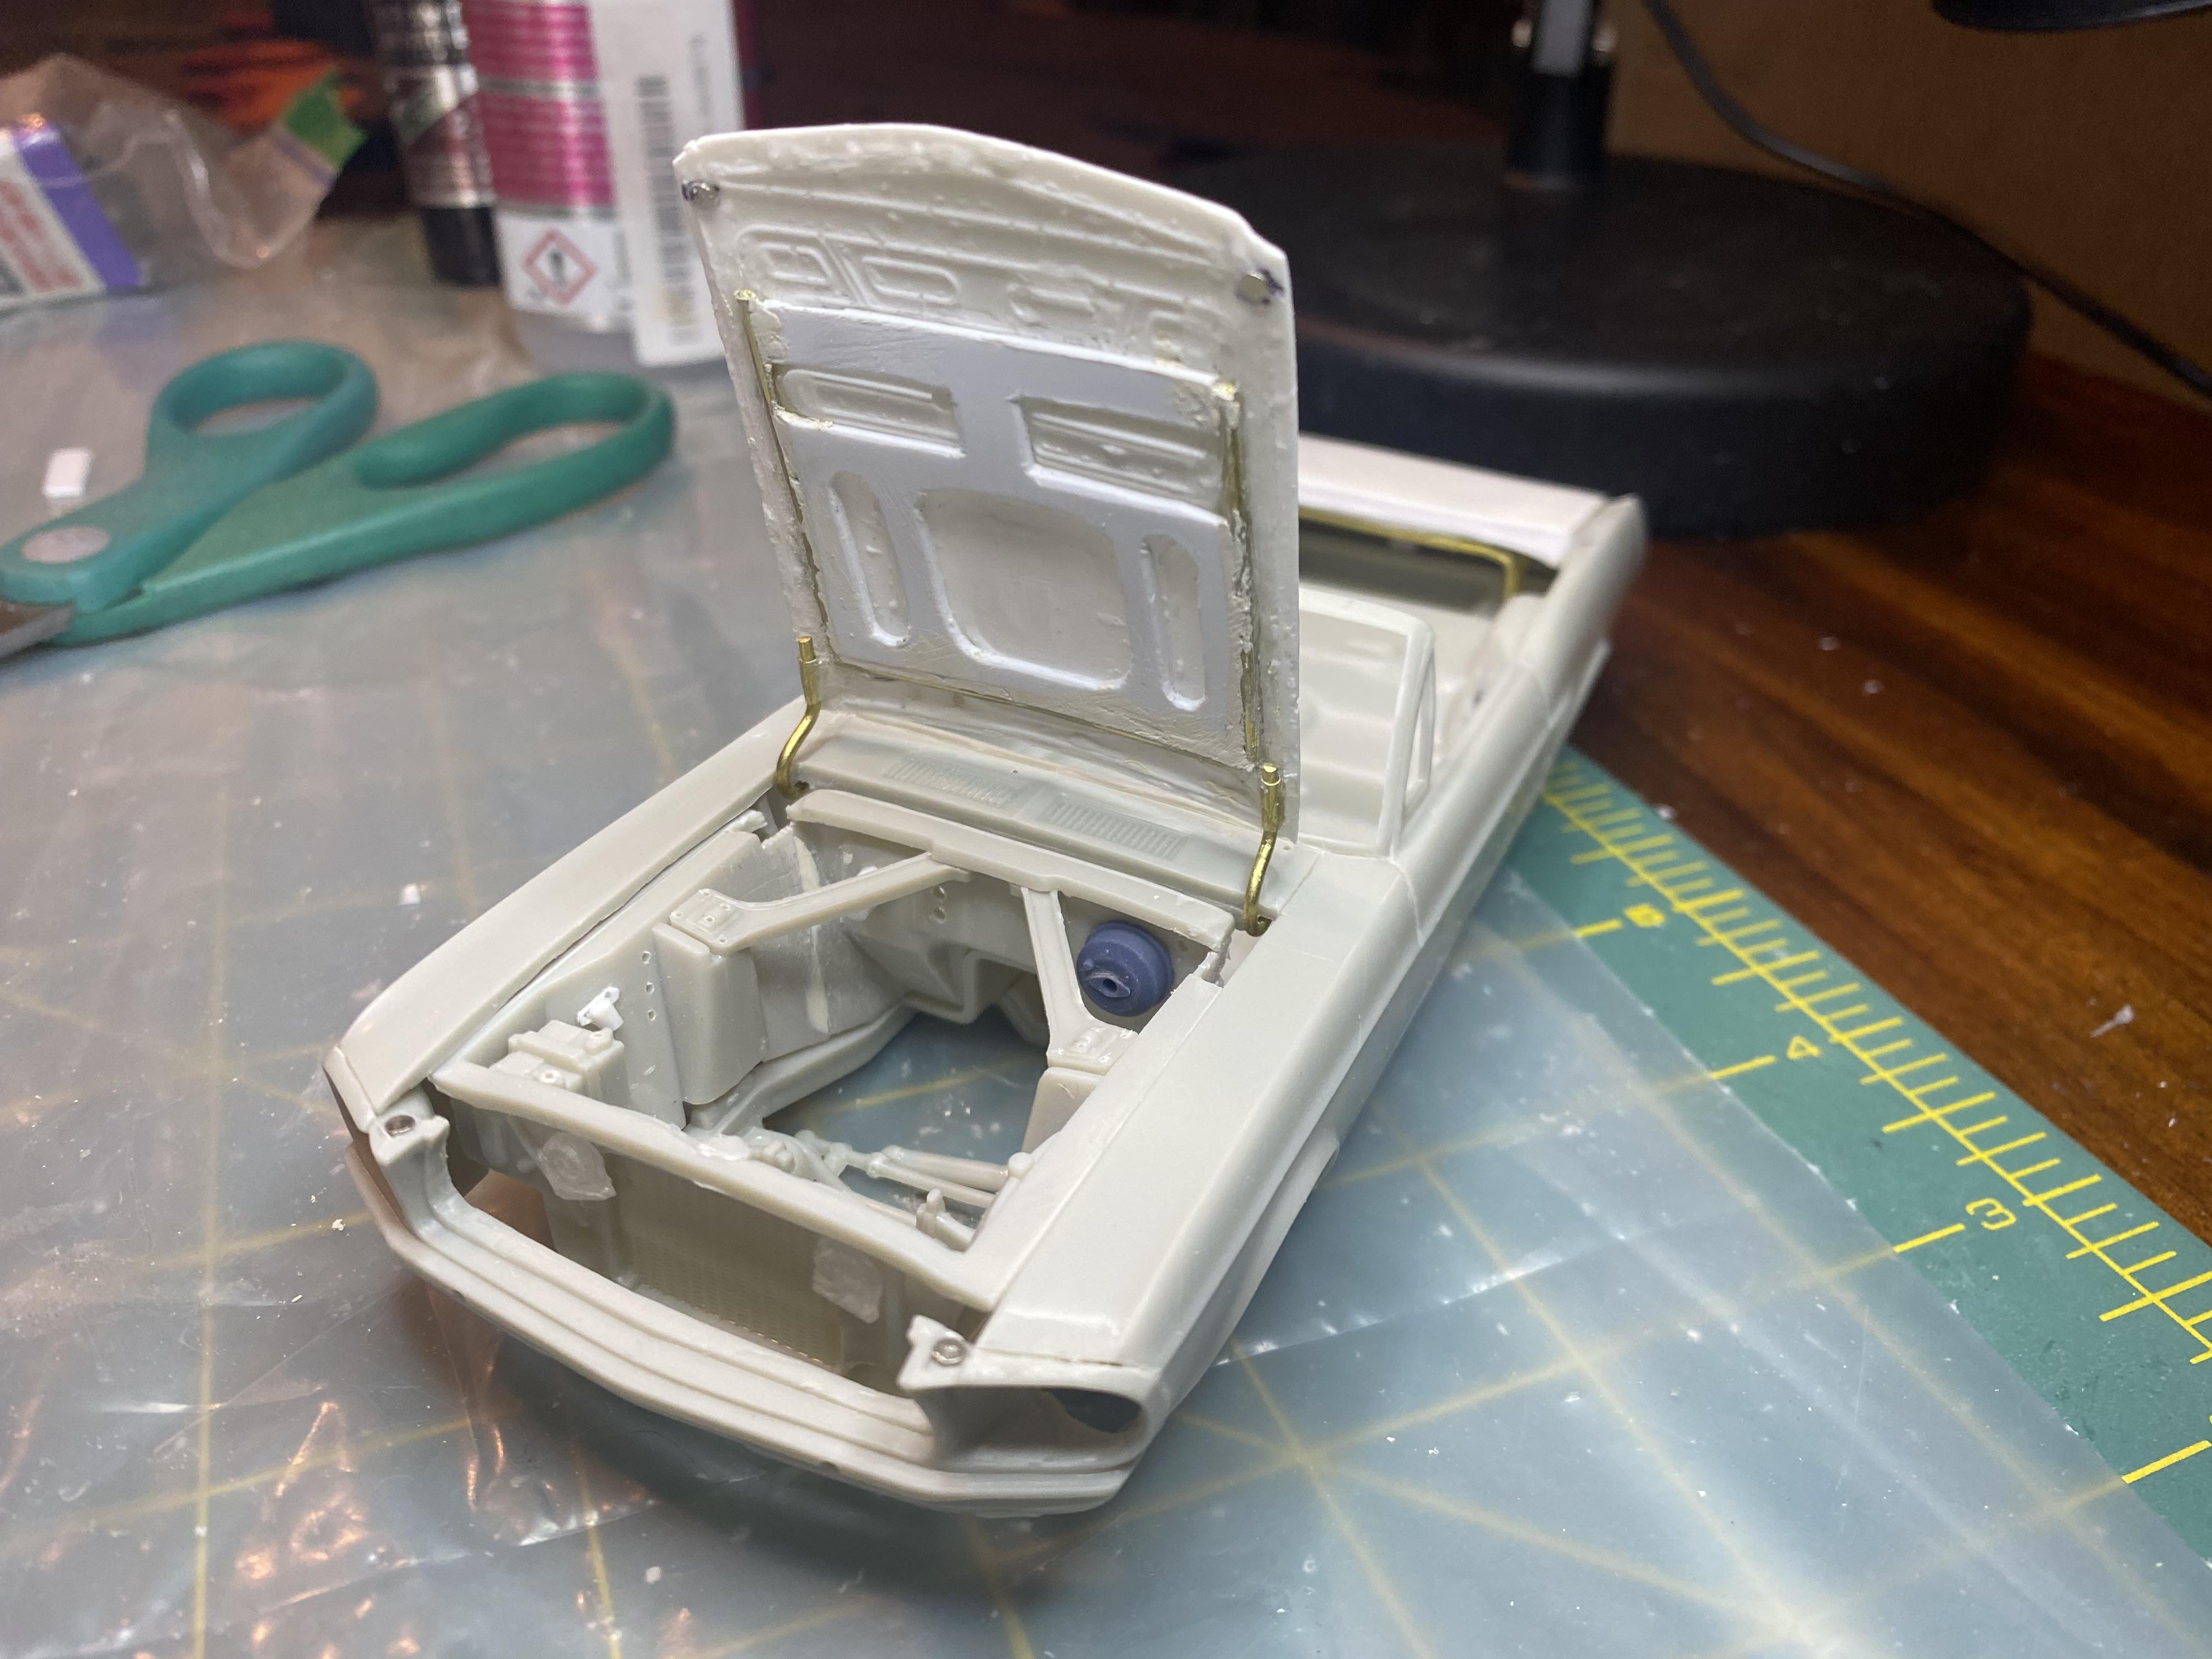
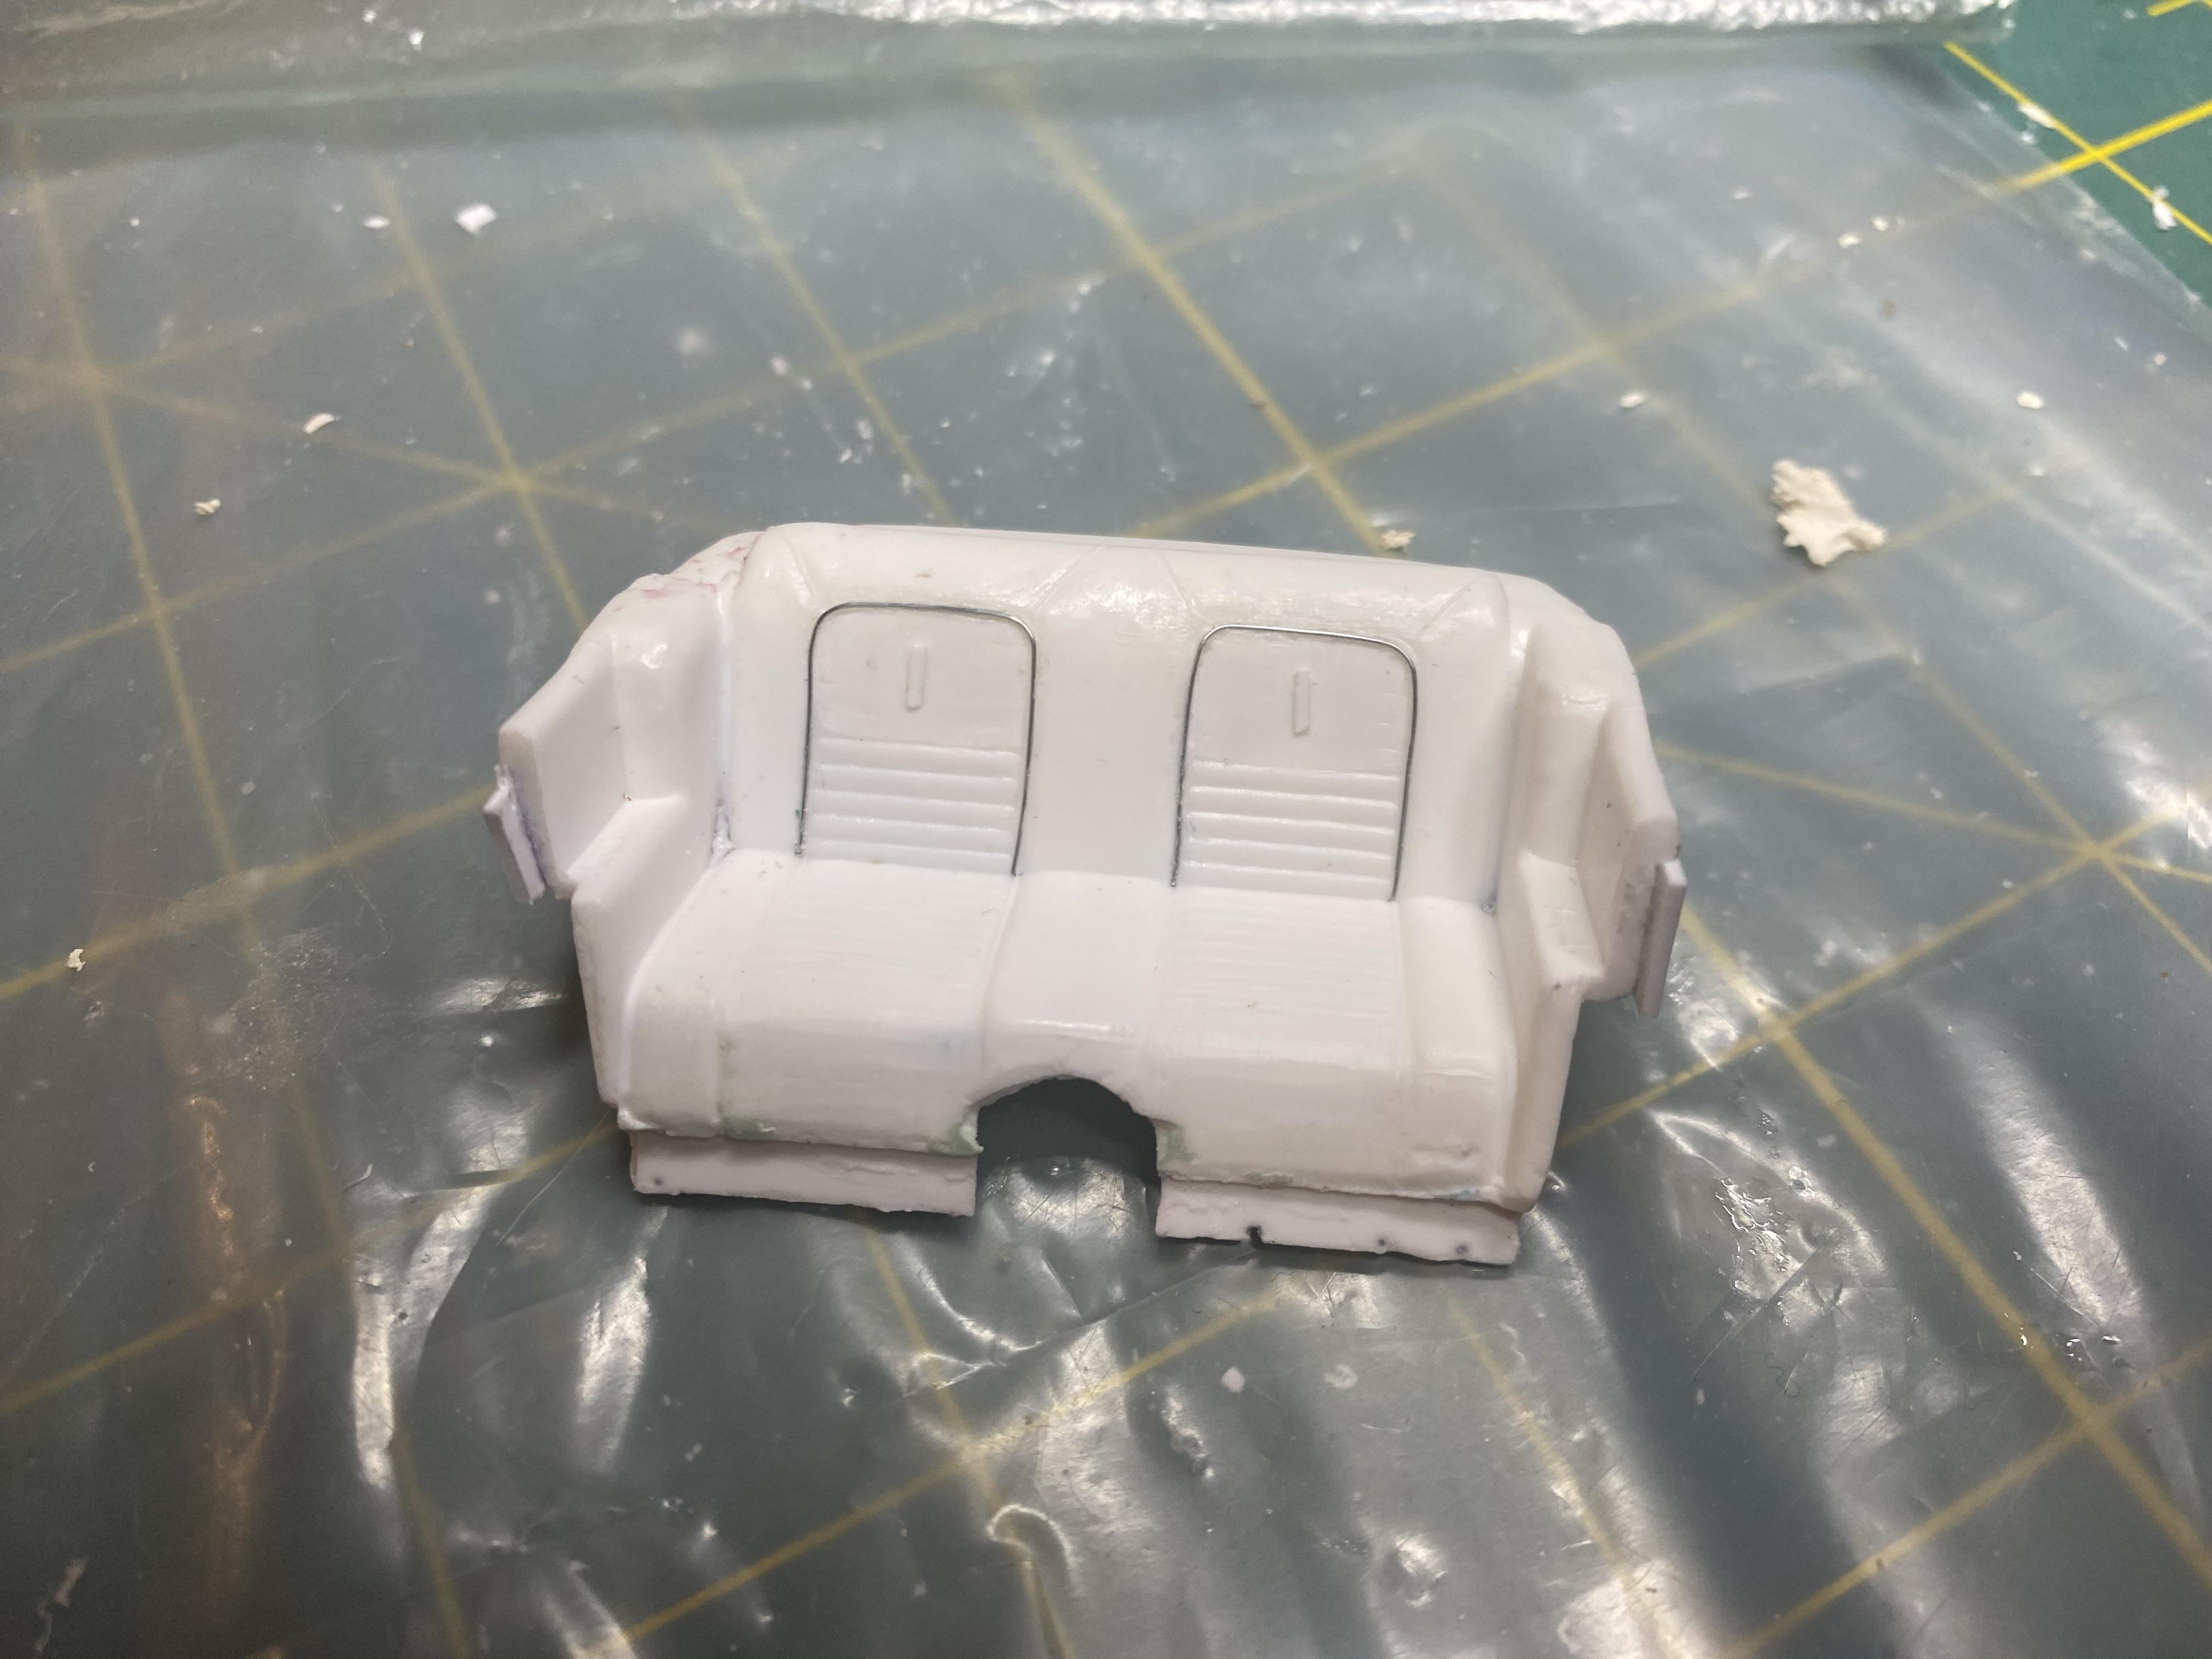
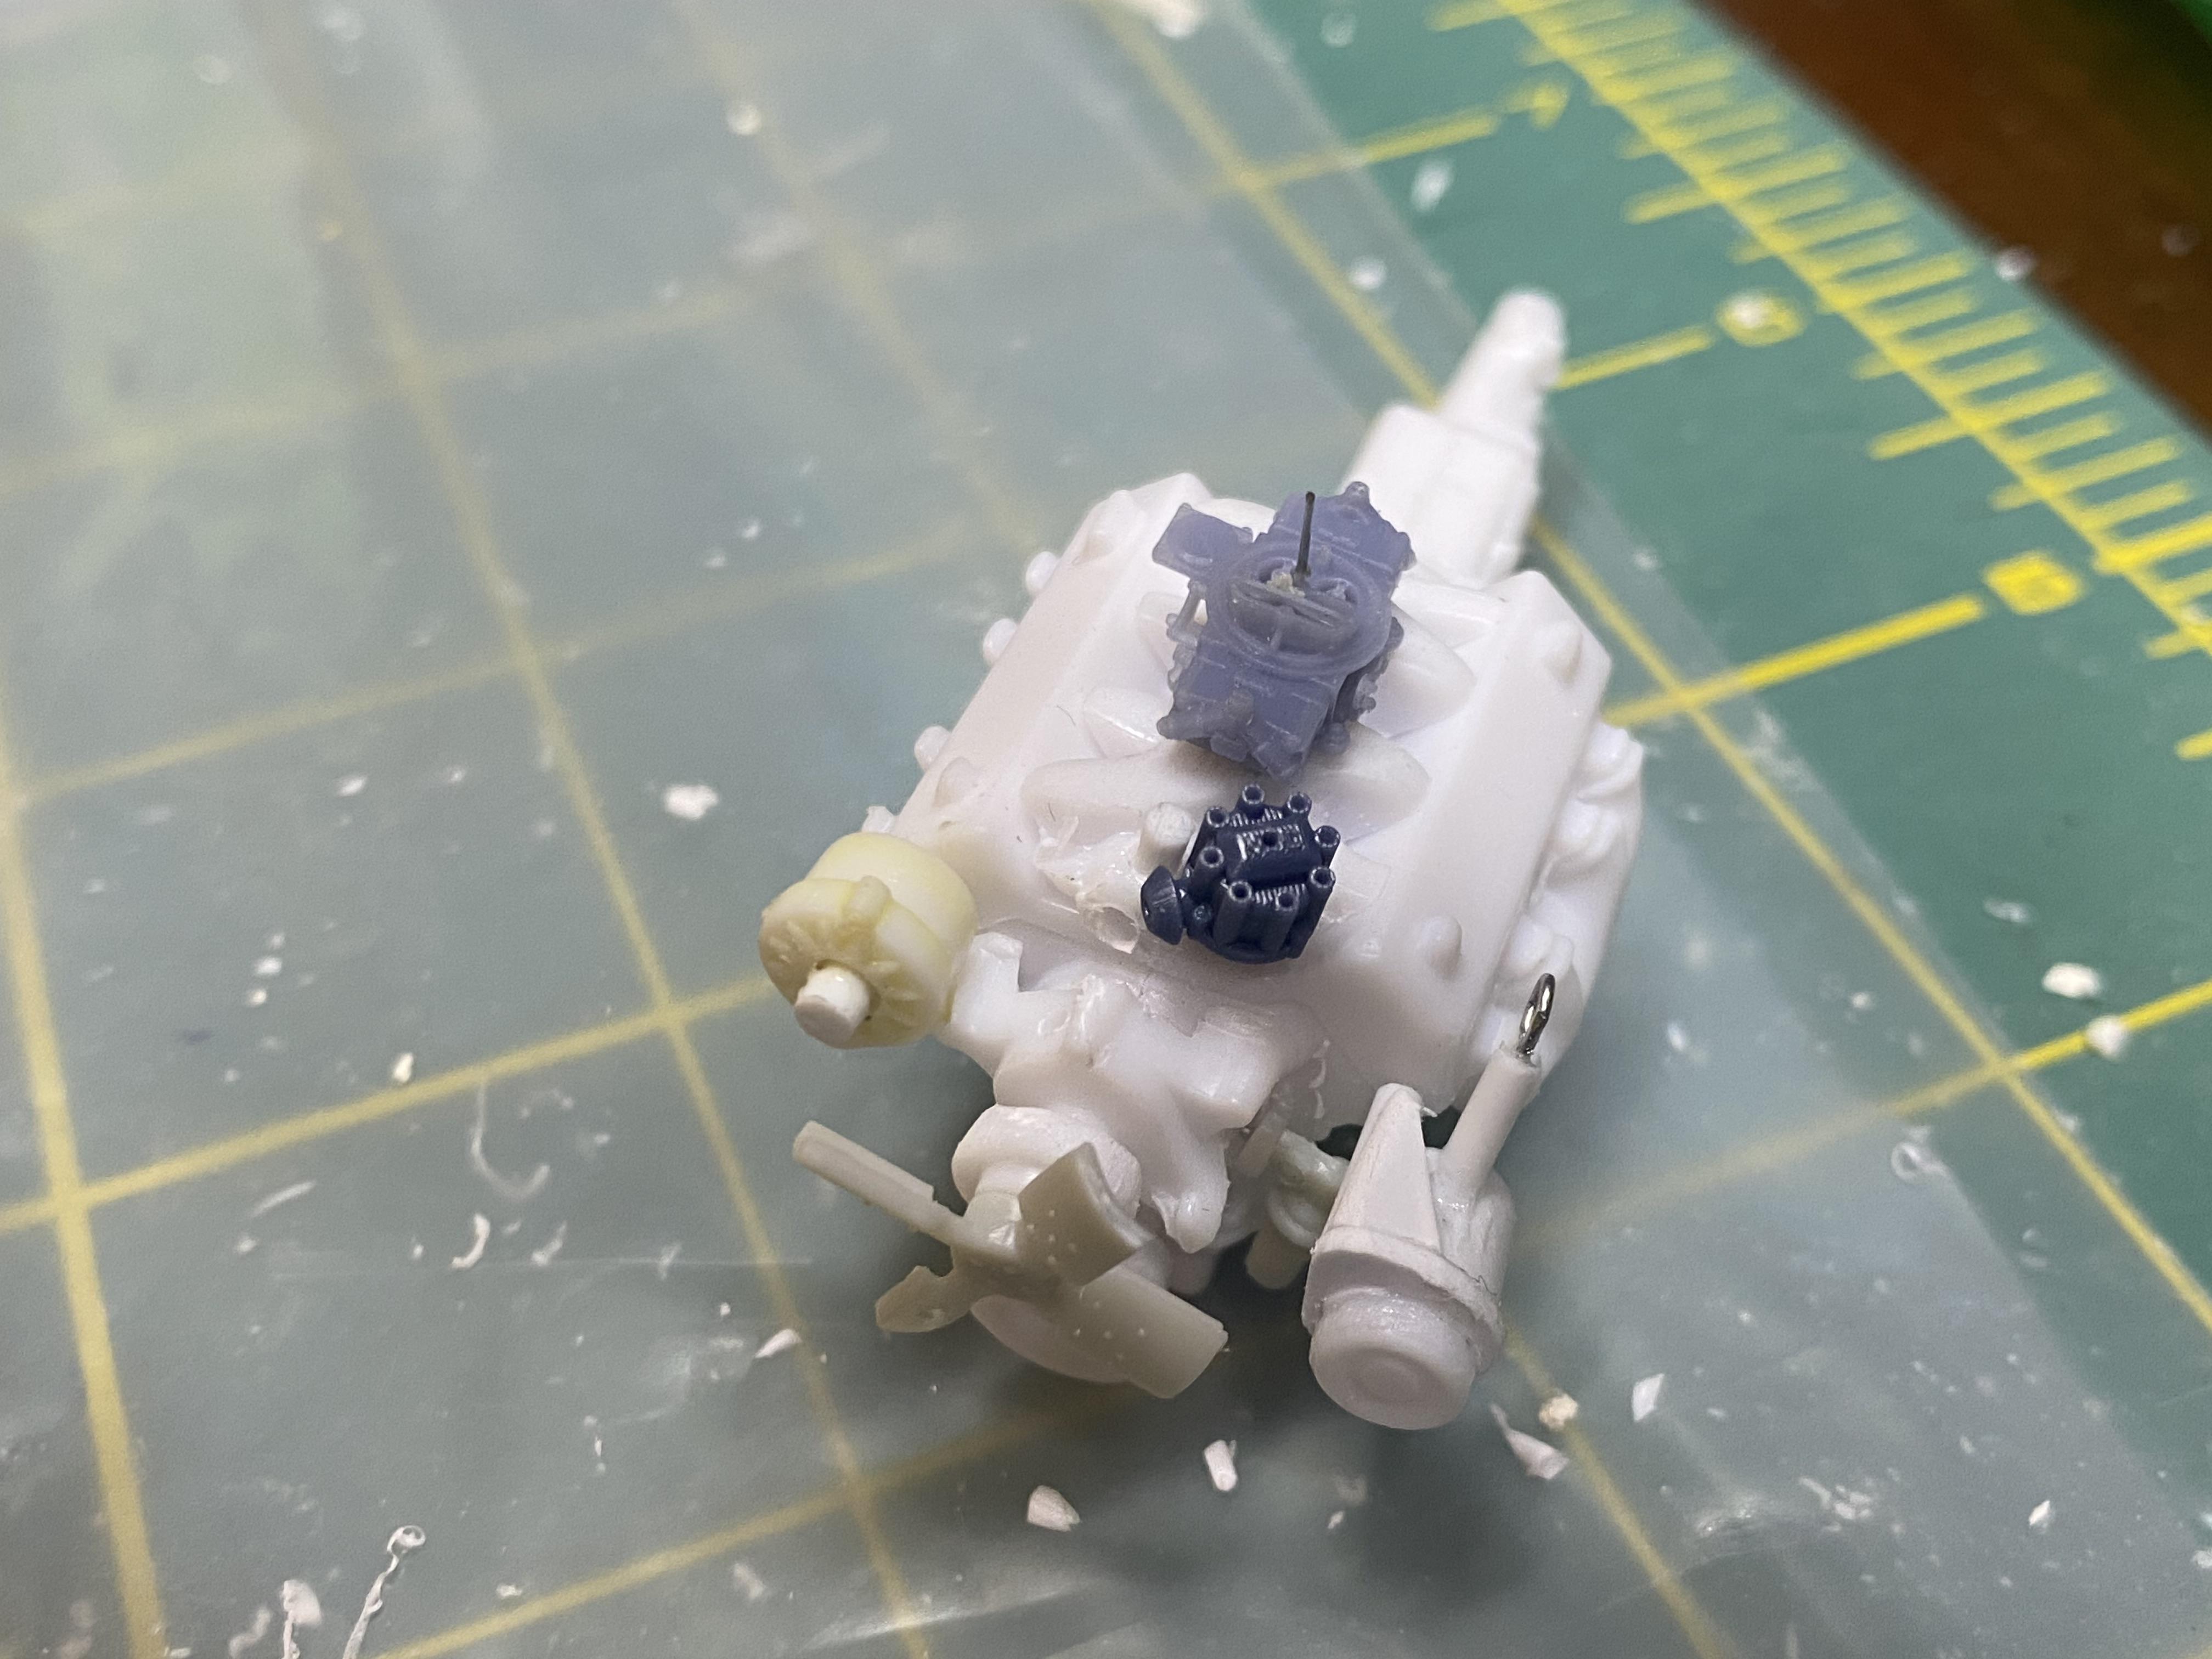
A little bit of work done today. Added a bit oh hood framing to camouflage the reinforcement rods. Added some wire to the back seat to bring out the piping detail a bit better. I had a left over big block from the 1968 GT kit so decided to use it with some heavy modification. I purchased a 3d carburetor and distributor. I removed the belts, they will be replaced with flat elastic to look more realistic. Pinned the alternator and scratch built a power steering pump. I still need to make an oil filter and air cleaner. I have a c6 transmission on order from VCG resins and will be cutting off the transmission from the block once it arrives and trial fitting to the chassis.
-
Thank You!
-
Thank You!