LennyB
-
Posts
3,214 -
Joined
-
Last visited
Content Type
Profiles
Forums
Events
Gallery
Everything posted by LennyB
-
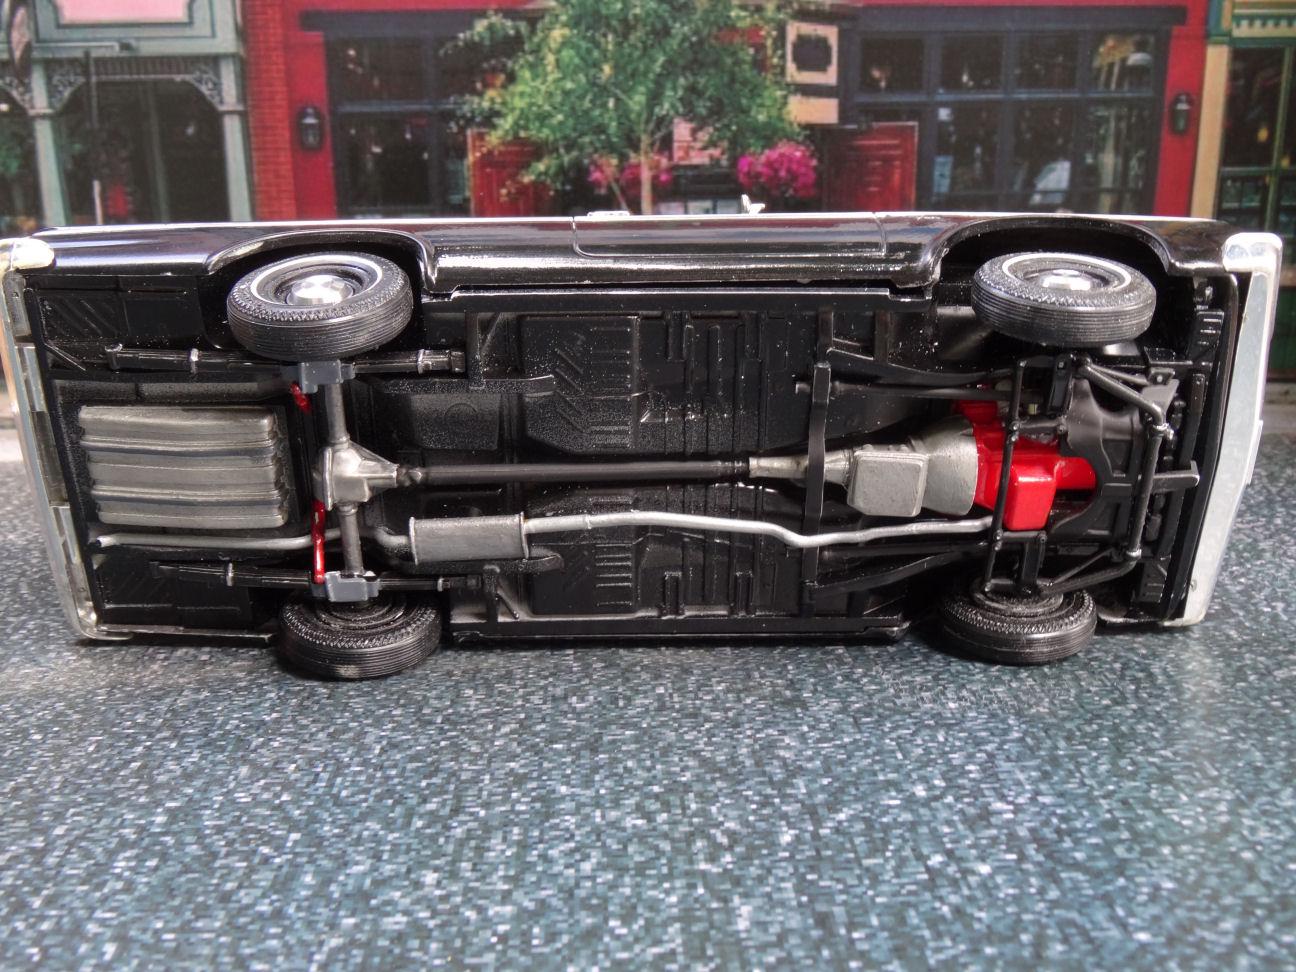
Nice details on the chassis Donald.
-
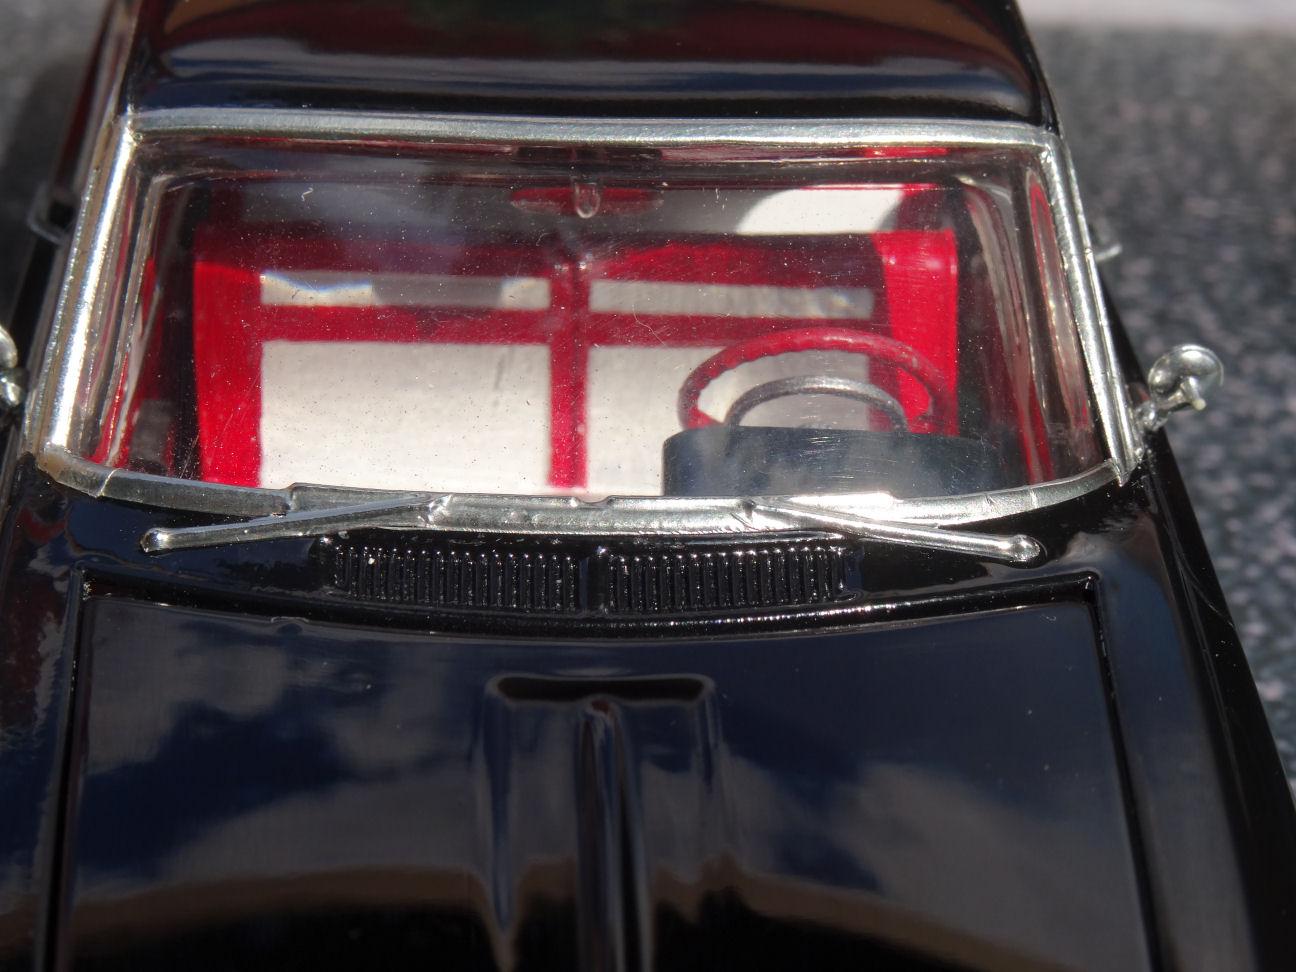
Looks nice Rich. Don't forget to wire the radio, I want to hear some tunes out of those 2 speakers on the package shelf.?
-
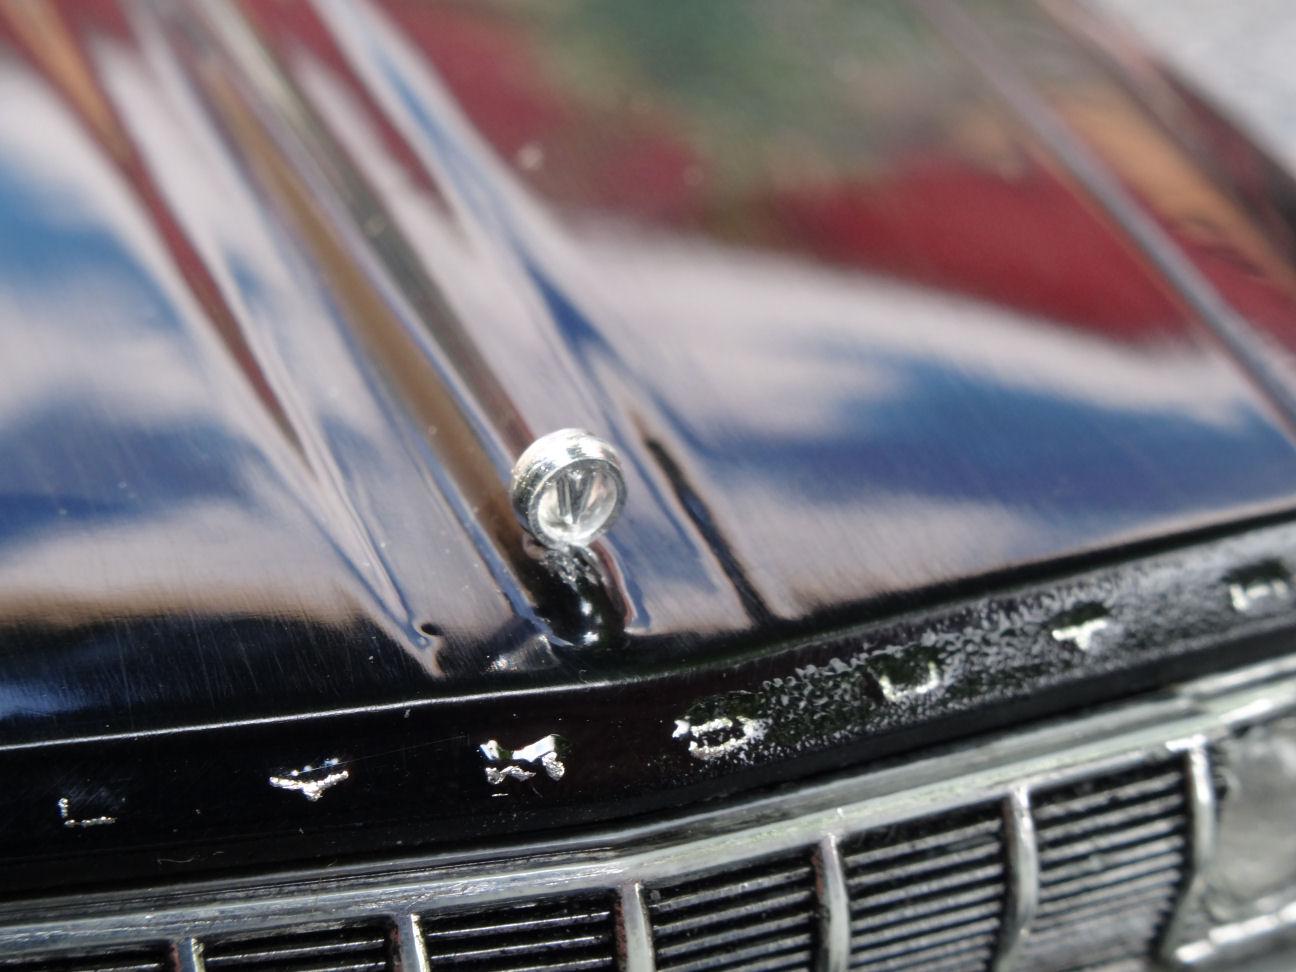
Thanks Bob, those caps were a late addition and made a big difference. Thanks Chris. Appreciate it Stuart. I've started another build with the "leaning tower of power" Thanks Steve, maybe I'll start a trend. Hope I don't offend those that like the 63 nose.?
-
Maybe they were used on the 57 Plymouth also?? But the ones on the subject car originated on a 57 Dodge we had in the family. Or as my brother called it the BatMobile because of the wings.
-

'57 El Nomado
LennyB replied to customline's topic in WIP: Model Trucks: Pickups, Vans, SUVs, Light Commercial
I like the tail up where it is. But I guess that’s just me. Maybe when your at HD picking up Sew-Ology pick up some cinder blocks to put in the back, that will bring the rear down. But seriously, didn’t going with the beefier drive shaft aggravate your problem? Could you possibly remove those braces that sit in the tunnel and find a smaller driveshaft tube to gain some more clearance. Just a thought. ? -
‘55 El Camino
LennyB replied to NOBLNG's topic in WIP: Model Trucks: Pickups, Vans, SUVs, Light Commercial
If you lose the opera window the dogs can't see out.? -
‘55 El Camino
LennyB replied to NOBLNG's topic in WIP: Model Trucks: Pickups, Vans, SUVs, Light Commercial
That's one way to add extra leg room for us tall guys. ?. Doesn't look terrible and the rear slope of the roof seems to mimic the slope of the tailgate. -
'57 El Nomado
LennyB replied to customline's topic in WIP: Model Trucks: Pickups, Vans, SUVs, Light Commercial
Jim, I think the stance looks good. Only thing I would change is smaller tires on the front. I prefer the big and little look.? -
Rich thanks, I had seen that in your thread. I can go and buy the later dart dash off ebay for $10 which is no big deal, but it looks to me as if I could just cut off the cluster area on the rally dash and replace it with flat stock.Then do the overlay. You need to remove the dash detail before putting the overlay on anyway, so what's the difference?
-
Dan, thanks for the pics. Gives me a better idea of what I'm dealing with.?
-
Rich, not actually having the 75-6 dash in hand I'm wondering if I could just cut out the rally gauges and fill the hole with flat styrene and then put one of the overlays on it from ebay.
-
Well I found this overlay on eBay for the dash. The pics of the kit dash that I saw you couldn't make out much detail.

-
I was just looking at the Dart Sport dash. What I saw looked like it had 2 extra gauges next to the headlight switch.
-
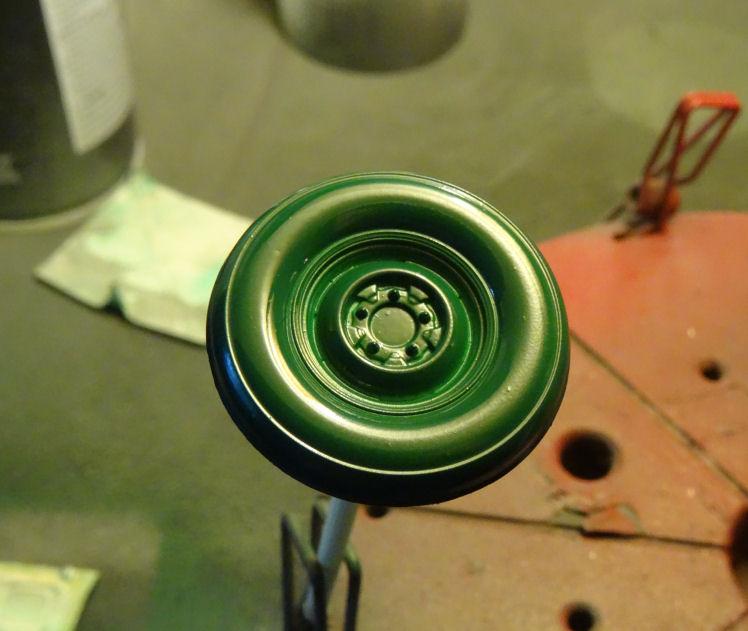
As they say they don't build them like they used to? Thanks Bill. Haven't thought as far as the dash yet but that will have to change. They do have Hemi Orange listed for 1971. The wheel covers are '57 Dodge. I had a set on my 63 1/2 Fury build but then switched them out for dog dish. Can't build 2 cars with the same wheel covers now can I ?????
-
Support group meets every Friday at the diner at 5 AM. Too early for me, guess I'll never be cured.?
-
Thanks you all for checking in. I really needed to join this forum to get the push to get this over the finish line. Without the encouragement it would probably still be in the box.?
-
Precisely Jim, I will never build all the kits in my stash. I'm just lucky the wife doesn't know what I have. ☺️
-
Thanks for checking in Carl. Those Mopars just keep going and going and ..... Straight up out of the jug. It was a fresh pour which I think might have helped. I had a batch in a tub and I it didn't seem to work so well so I went with fresh stuff. Also the fact that the previous builder didn't clean the flash off the body would probably also mean they didn't wash the body. That might have made it easier as well. Always helps to have a story for inspiration Alan. Thanks for stopping by.
-
Thanks Greg.Think I need a nap before the next one. It's been a long ride.?
-
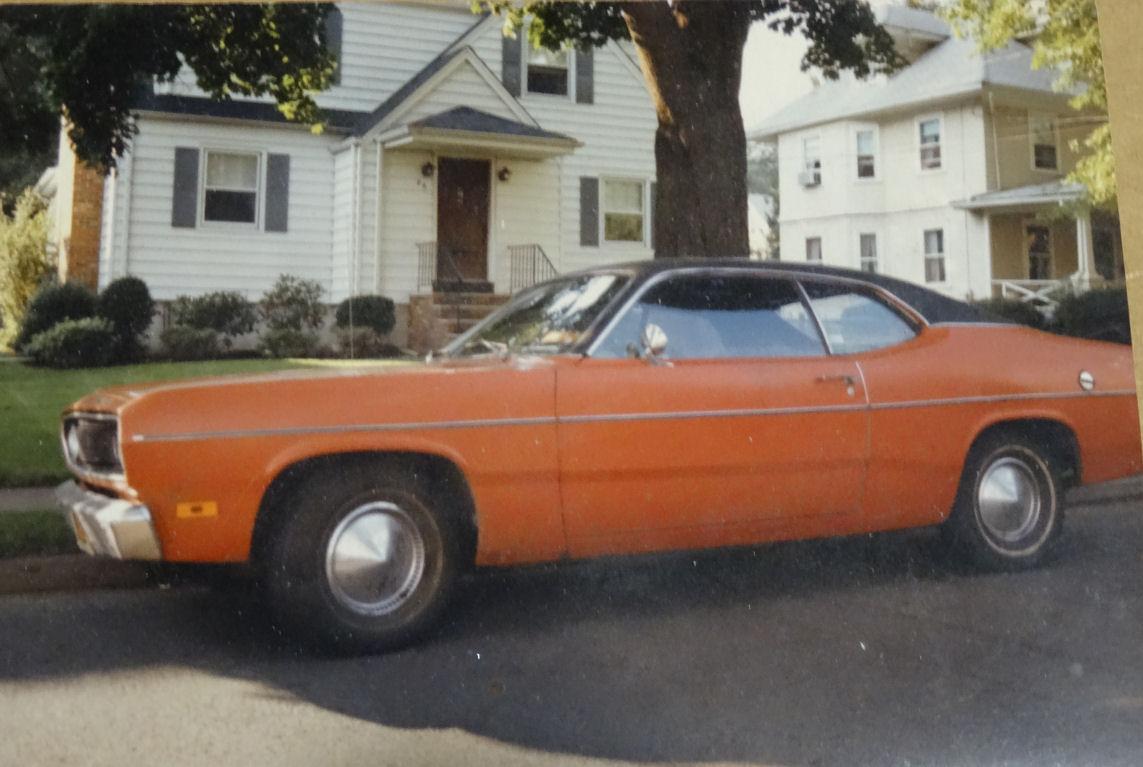
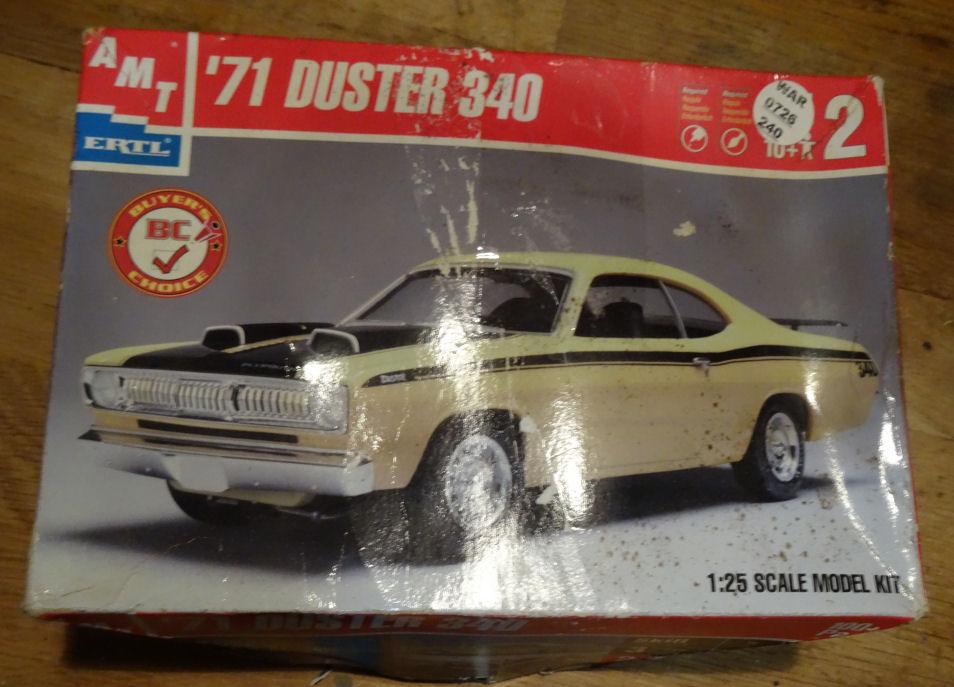
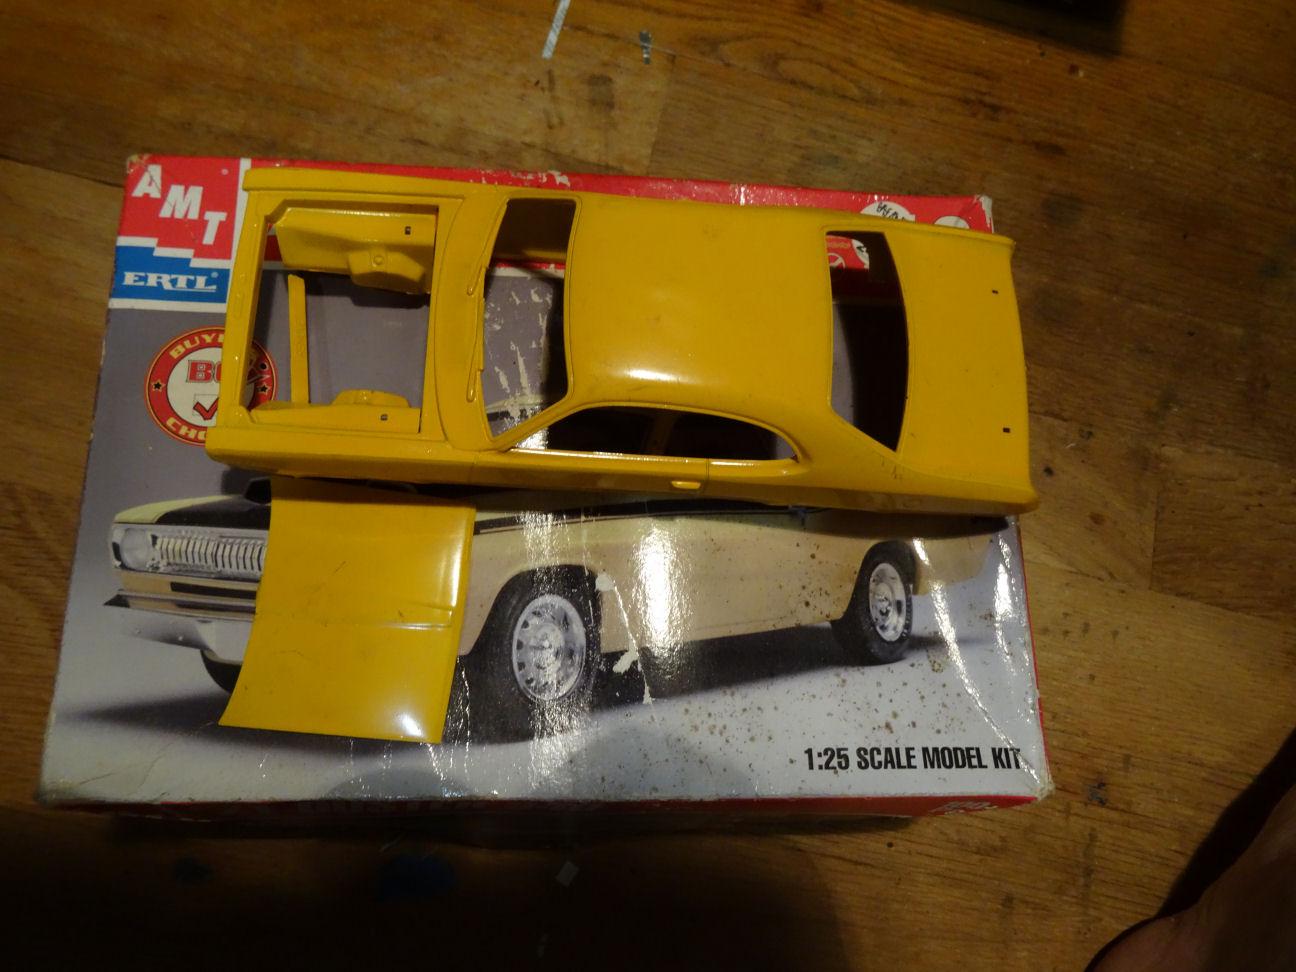
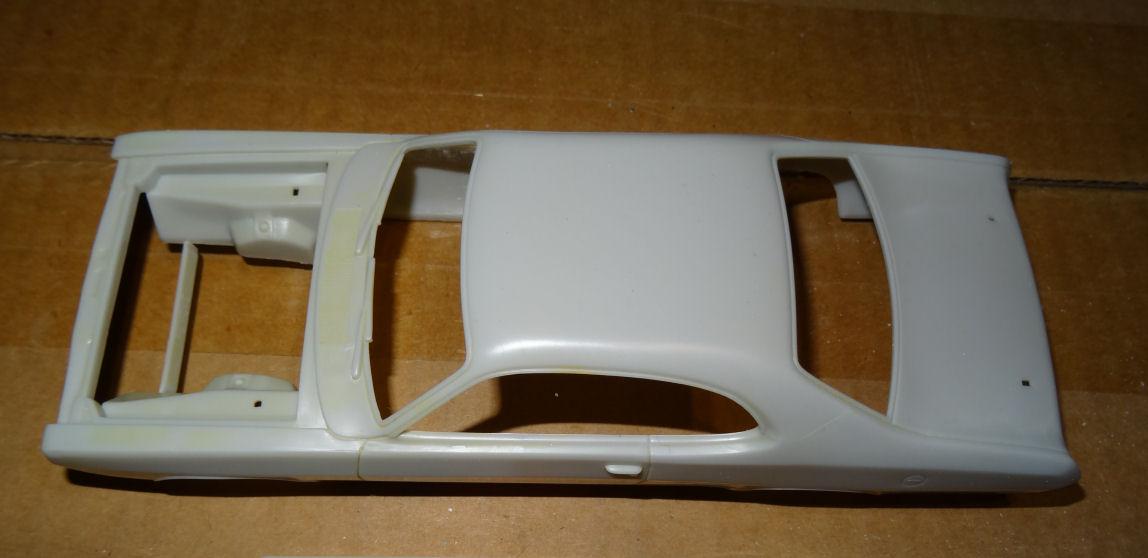
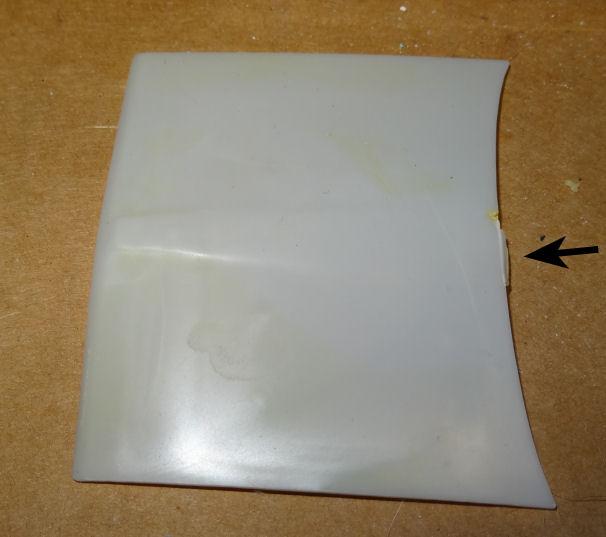
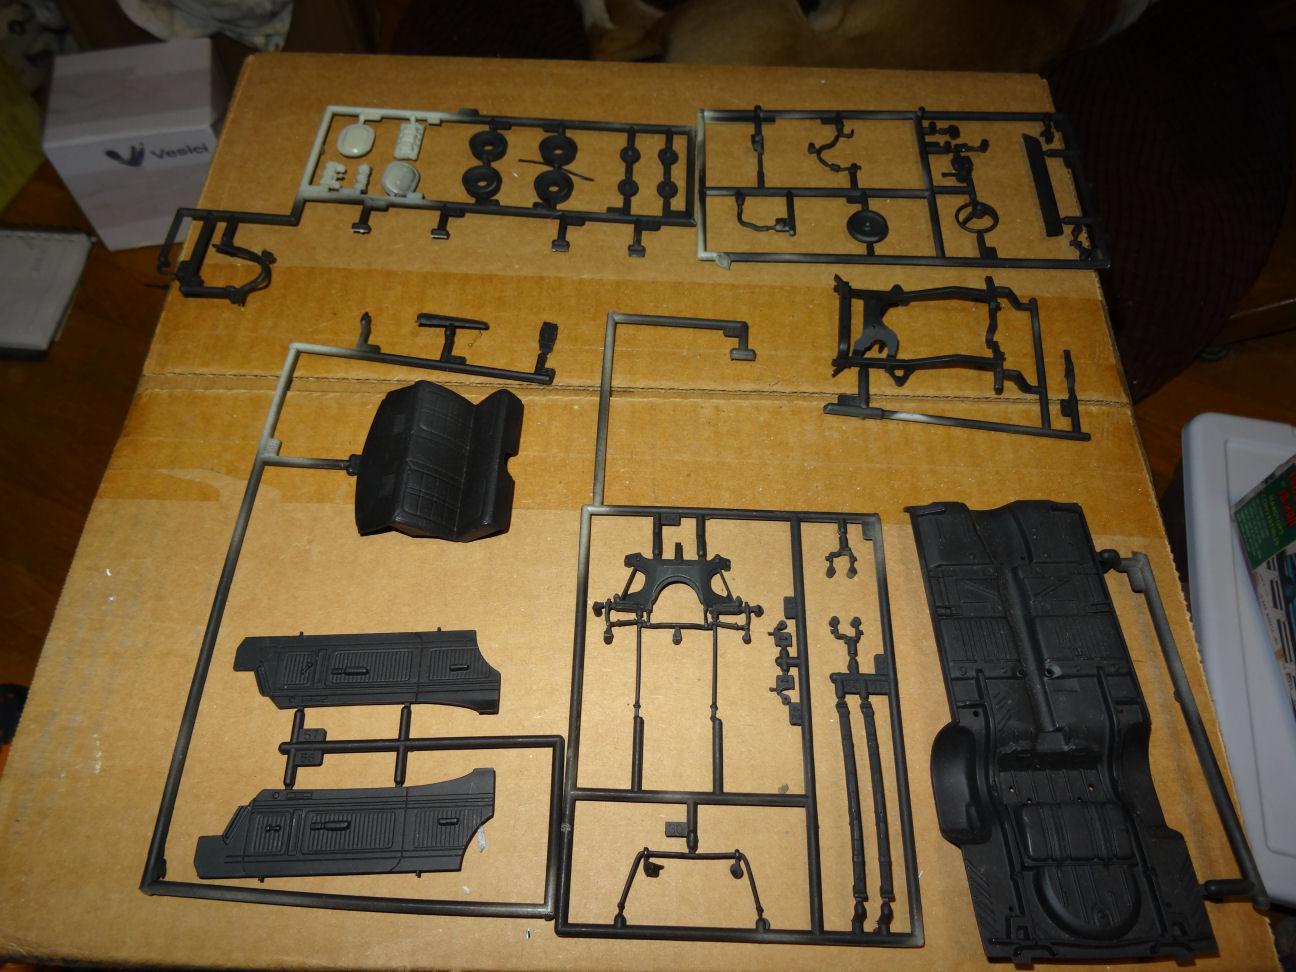
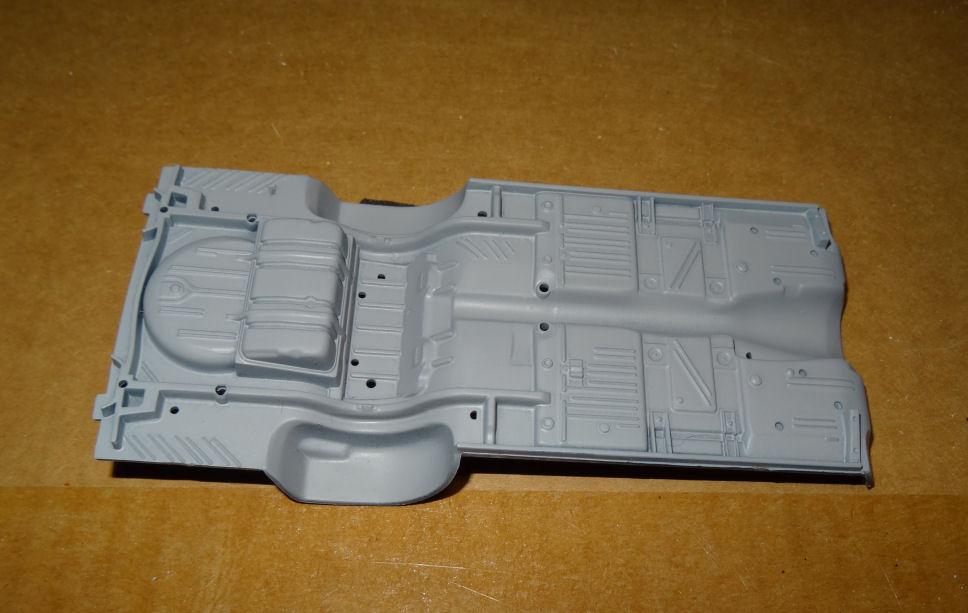
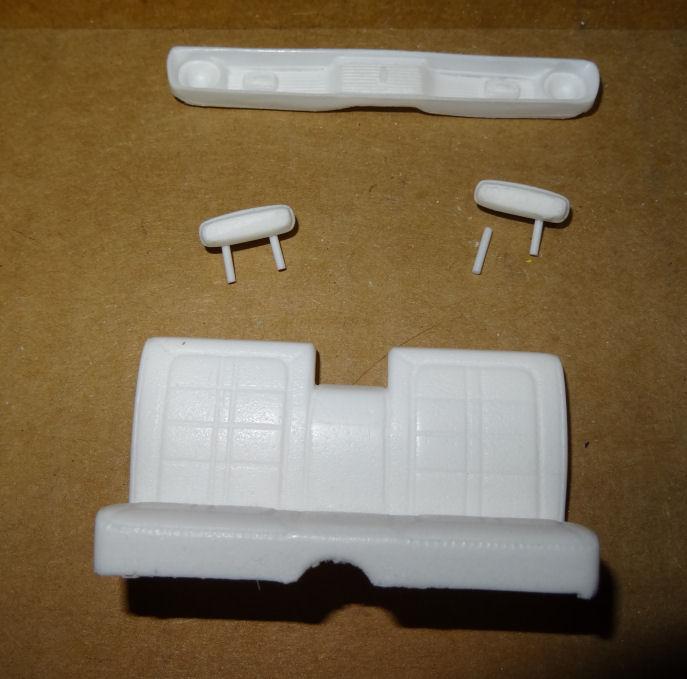
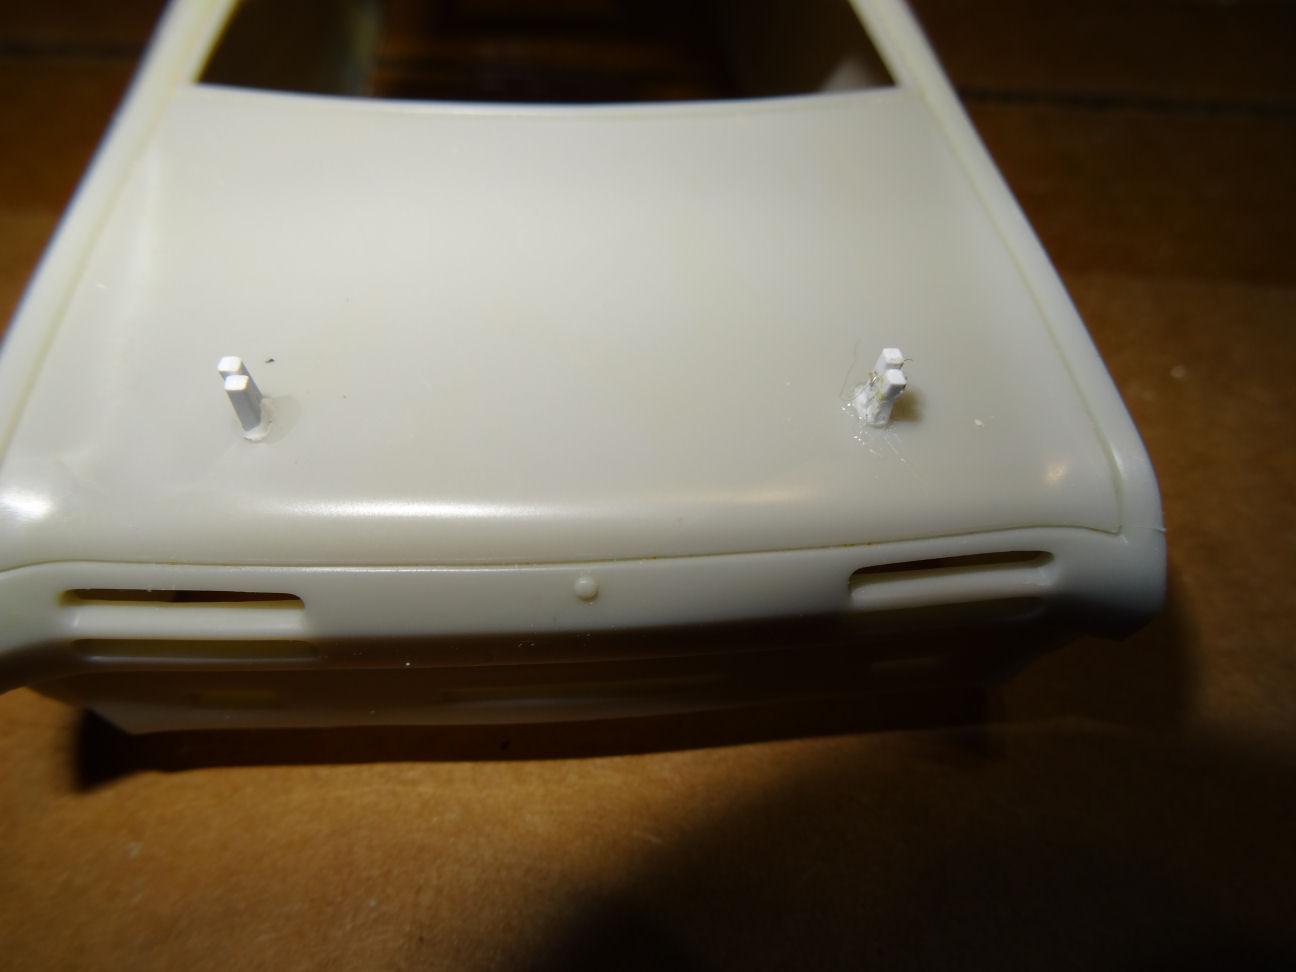
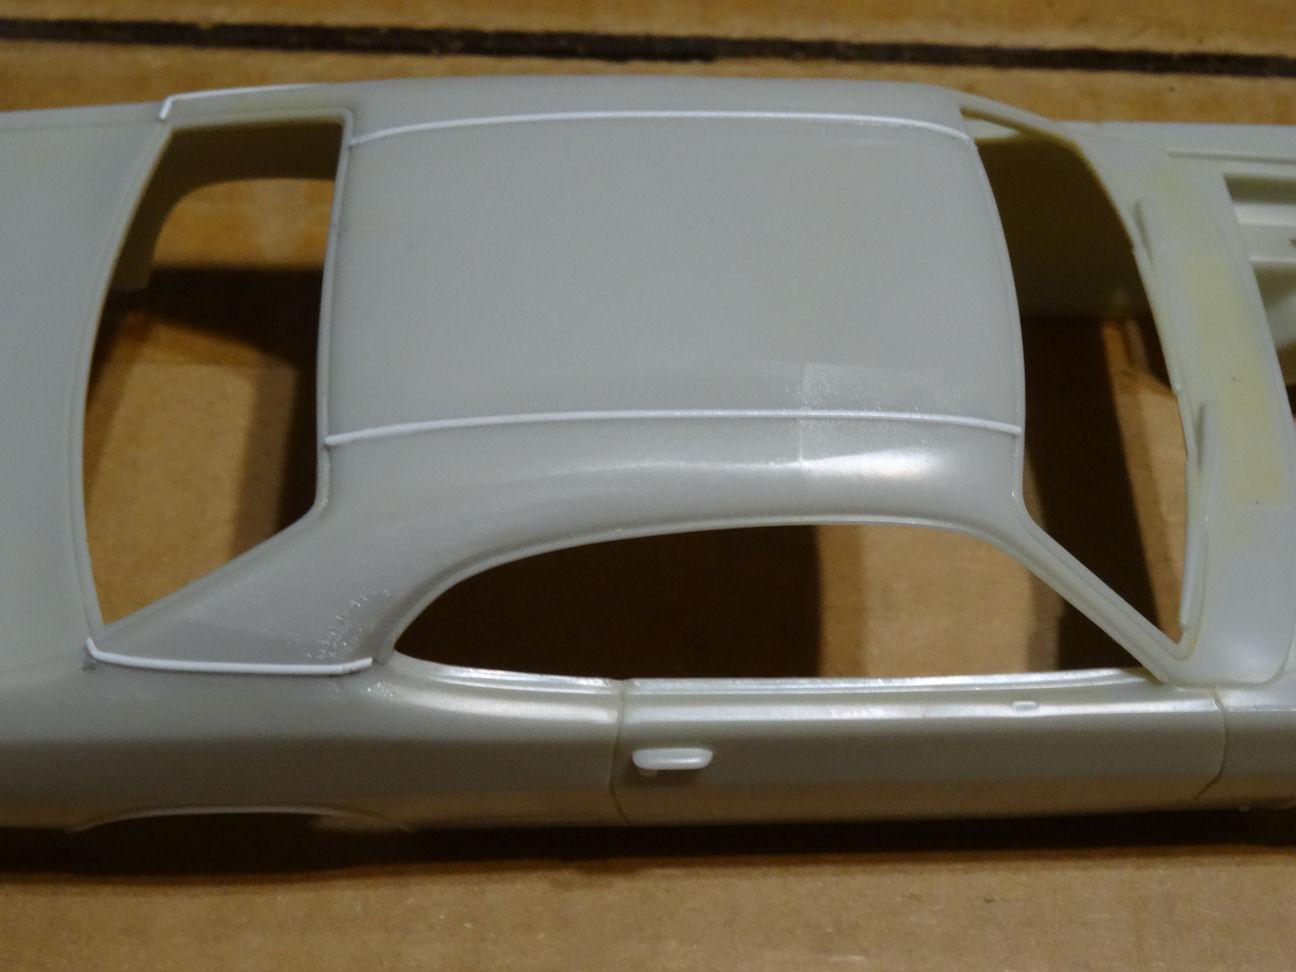
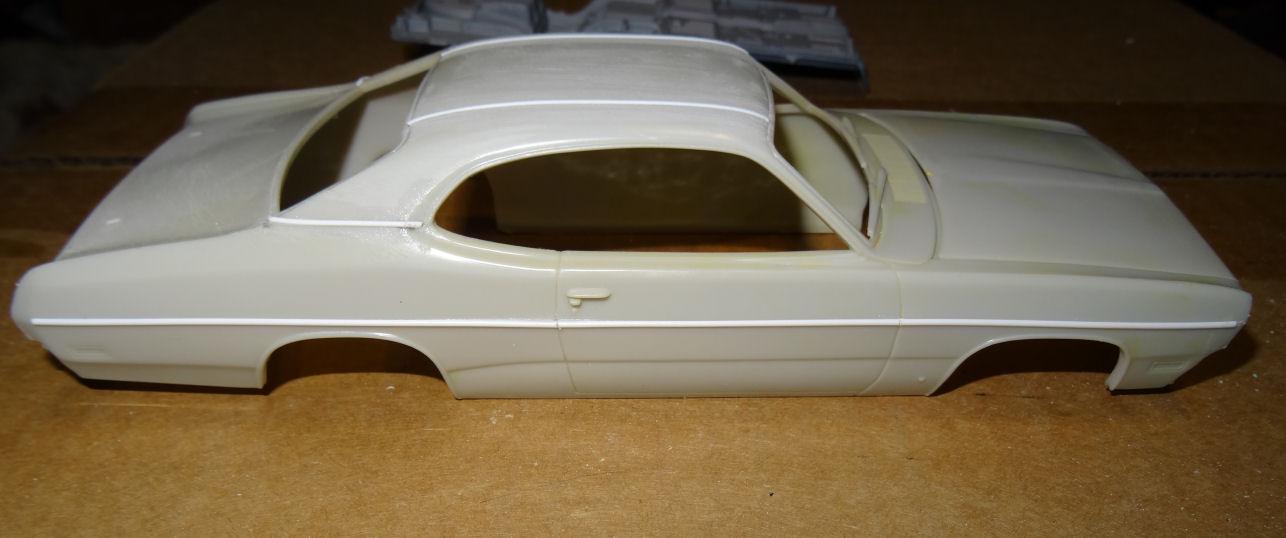
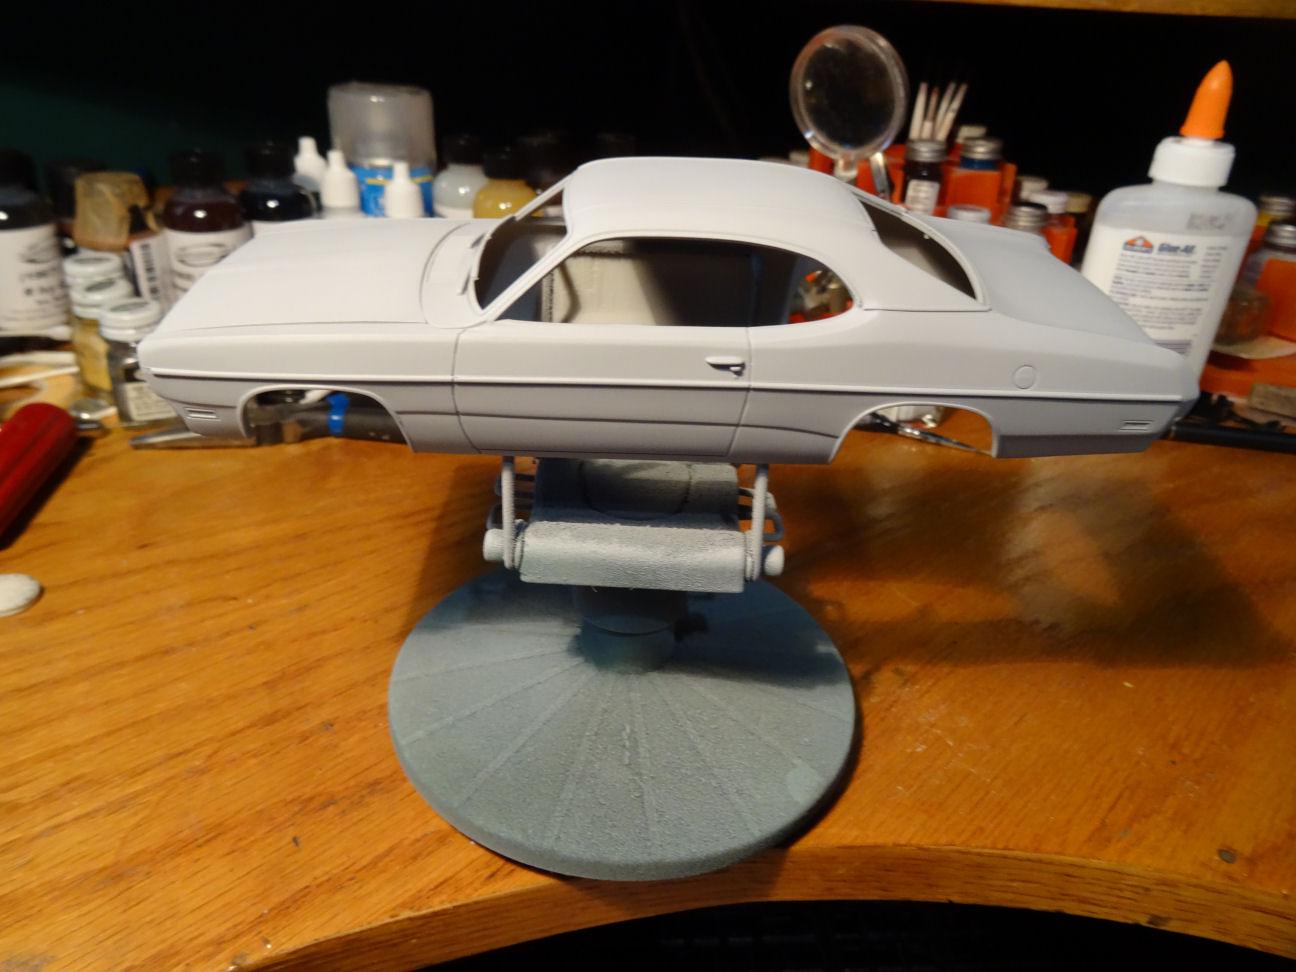
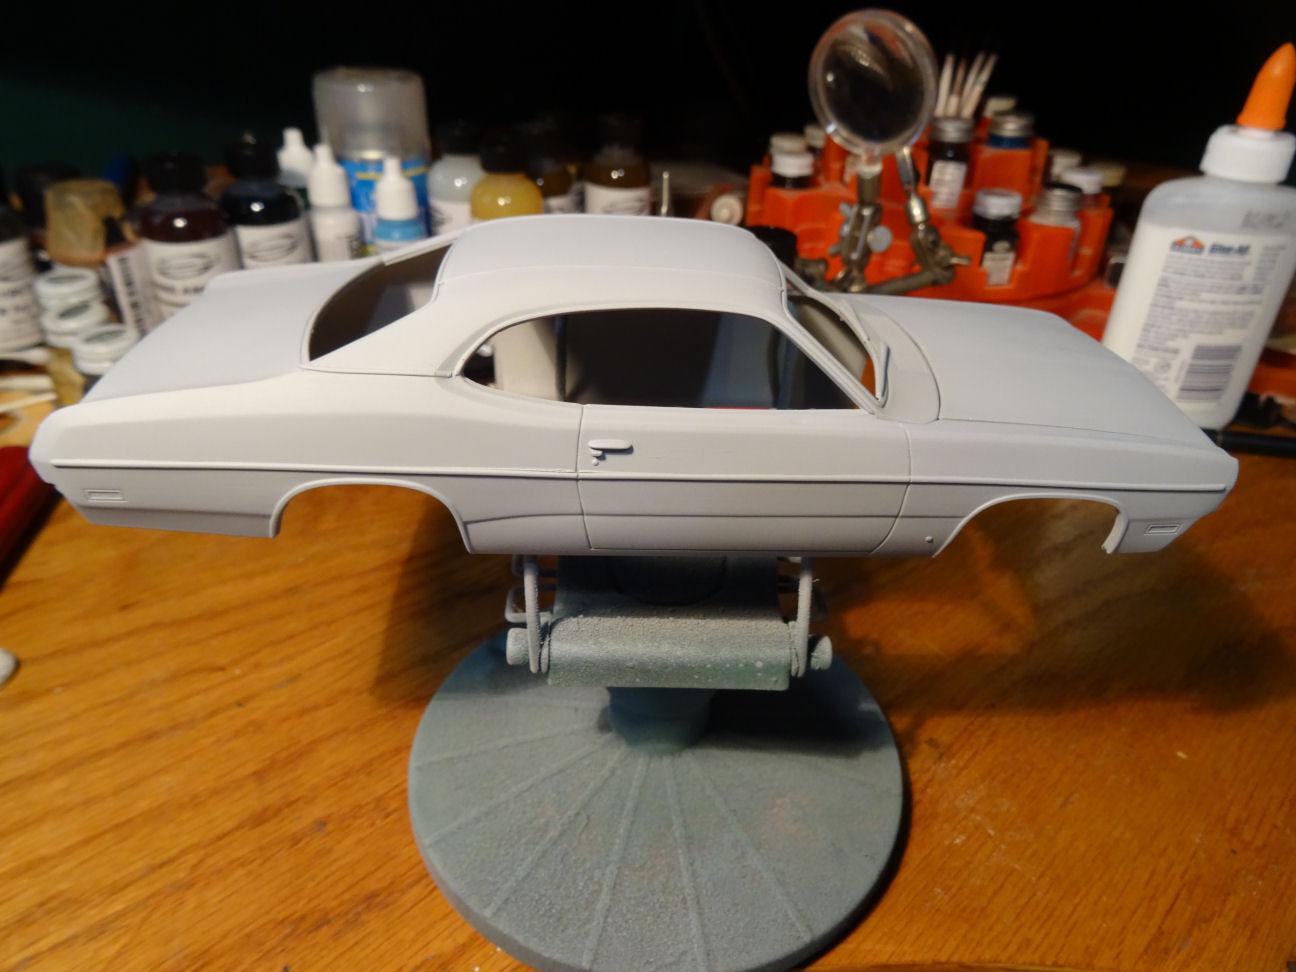
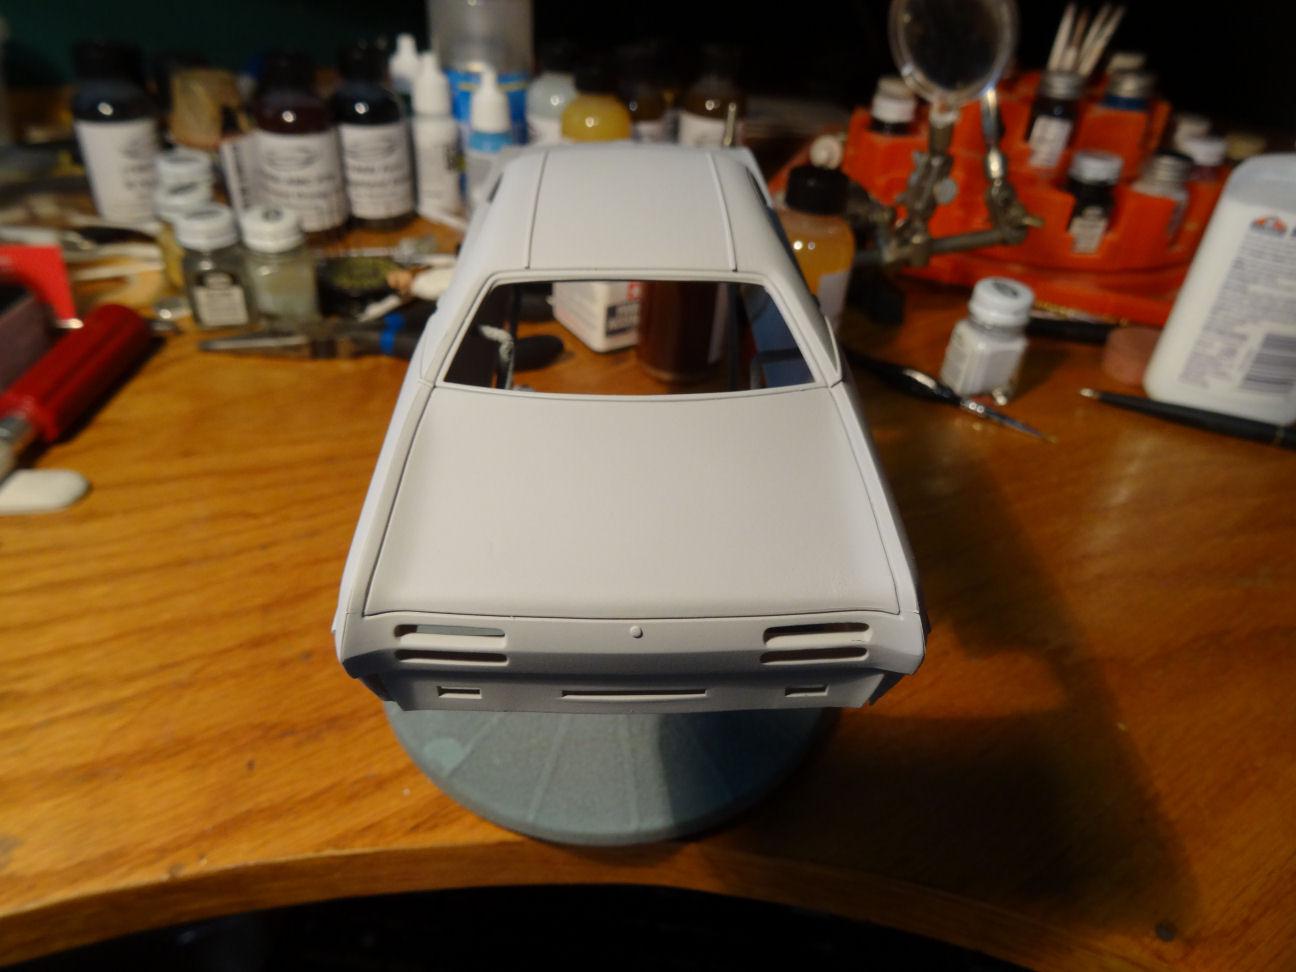
We all have been in this situation one way or another. Maybe we were a kid sent off to college with a car their parents bought them in the hopes the kid and the car would make it through the next four years. Or maybe you were the parent who bought the car. Or maybe both. Or maybe you were the kid that bummed the ride with the kid who had the car their parents bought them to go off to college with. I have a car sitting in the driveway that was bought from the little old lady next door and sent off to college. It only made it one year. But I diverge as it's not part of this story. This story is about a 1971 Plymouth Duster that my father bought from a little old lady and sent it off to college with one of my brothers. Spoiler alert, they both made it through four years but it was a bumpy ride. Car became the transport for the college newspaper and regularly made runs to the press. Returning with its ass dragging under the weight of many pounds of pulp. One such trip resulted in a close encounter with the posterior of a Cadillac. Off to the bone yard to find a new nose. A few years later a ski trip ended in similar fashion. Off to the bone yard once again for a new nose. Somewhere along the line the under-dash harness caught fire. Back to the bone yard. Just for future reference a harness from a 72 will work, just a few wires to swap. Somehow the Duster made it through college and beyond. It was eventually passed on to my cousin who bombed around in it for another few years before she passed it on. For all I know it could still be out there somewhere with the old slant six scoring a few more miles. Here is a pic of the unstoppable force. Where have you seen those wheel covers before? I figure this should not be too tough a build. Using the AMT 71 Duster 340 as the basis. Although when I took the kit out of storage it was not un-built as I thought but something someone else started. Not a big deal as a swim in the purple pond and we are clean as a whistle. Person who started this didn't bother to clean their flash. We have other painted parts but I think we can manage as most of this will be black anyway. Did strip that chassis as that will be primed and then over sprayed in body color. Speaking of body color going with Scale Finishes Tor Red. You might ask why I am going with a 1972 color. Well, at some point before we acquired it the car had been repainted and this color seems to be the closest to what I remember. Maybe it was not painted the original color. It maybe it was a late year production and had a 72 color. Either way this is what I'm using. Got it? Good. Other adaptations are a grill and front bench seat from Hart Resin Parts. And a slant six from Lindberg. After body cleanup needed to fill the spoiler holes (see I told you there was a spoiler alert) in the trunk. Set her up for a vinyl top. And we have to add side moldings. Little more cleanup and some primer. Gas cap needs a handle if you want to get gas. A little more cleanup and we're getting close to paint although I'm not sure if I want to do the top first or the body color. Going to spray the top in a Behr Texture paint. Same paint I used on the 41 Woody. Until next time, comments and feedback welcome.
-
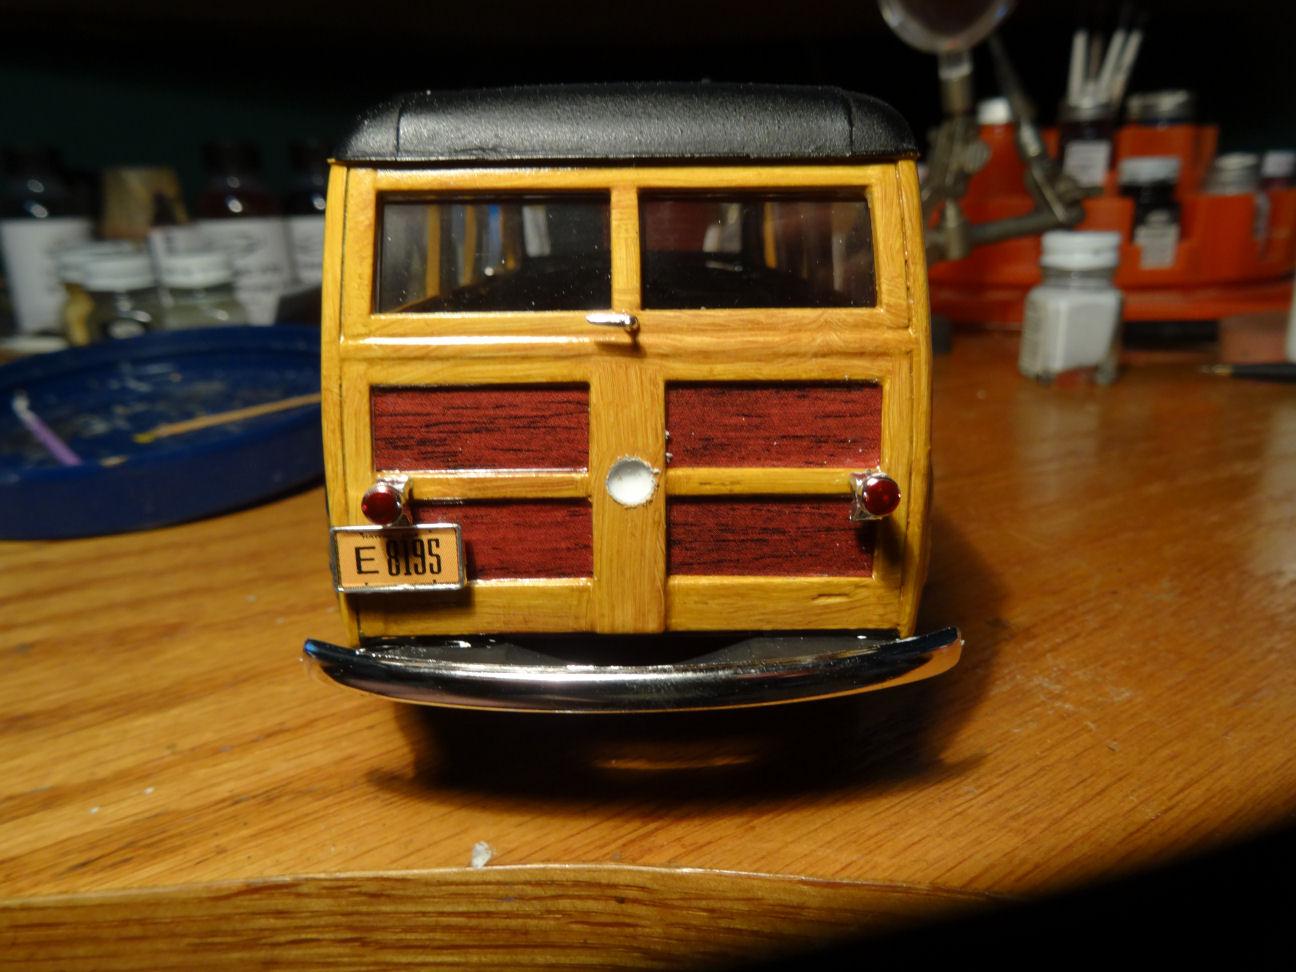
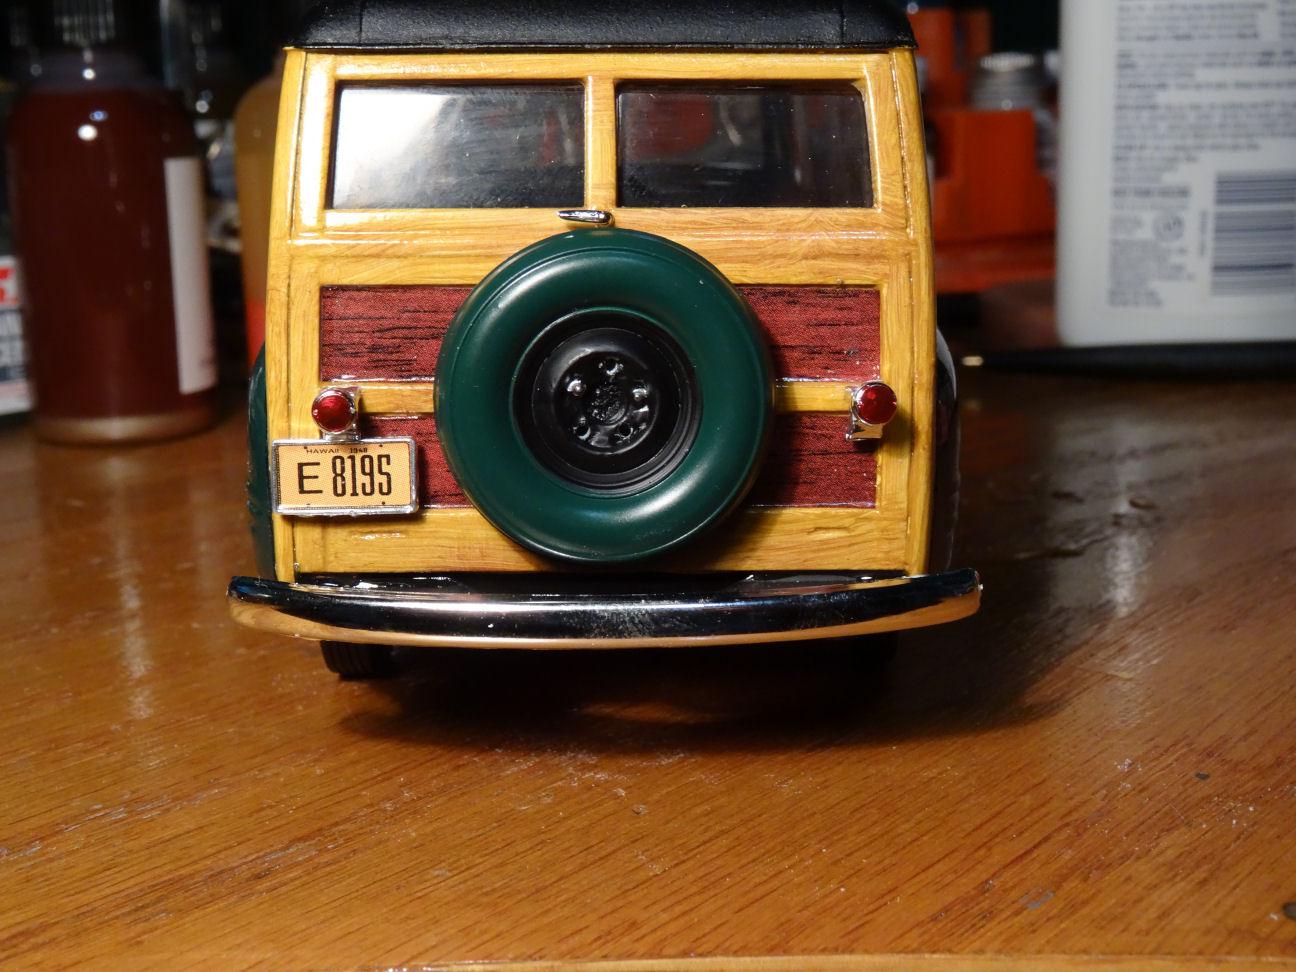
The Woody Couldn't quite make up my mind as to how to approach the spare tire as I didn't find any Plymouth reference photos. Found plenty for Ford, but all those had a hub cap on the spare. That actually seemed odd to me. But most pics you find are of show cars with owners who stick everything they find on the vehicle. I was going to put a hub cap on this but changed my mind. I used the spare tire from the 48 ford which is actually a hard cover over the tire so all you see is the rim. I drilled out three of the lug nuts and left two to represent the wheel being bolted to a bracket of some type. It was very hard to see the drilled holes so I painted the openings from behind with some flat white. Helped a bit but it's still hard to tell they are open holes. Speaking of brackets, early on in the project I cut off the mounting stub for the spare as I didn't know why it was there. So now I had to drill a mounting hole and put a post on the back of the spare for mounting. That's what happens when you don't have an instruction sheet. Now while this may look like the end there are still a few things to do. Hopefully I can have this wrapped up soon. Ta, da...
-
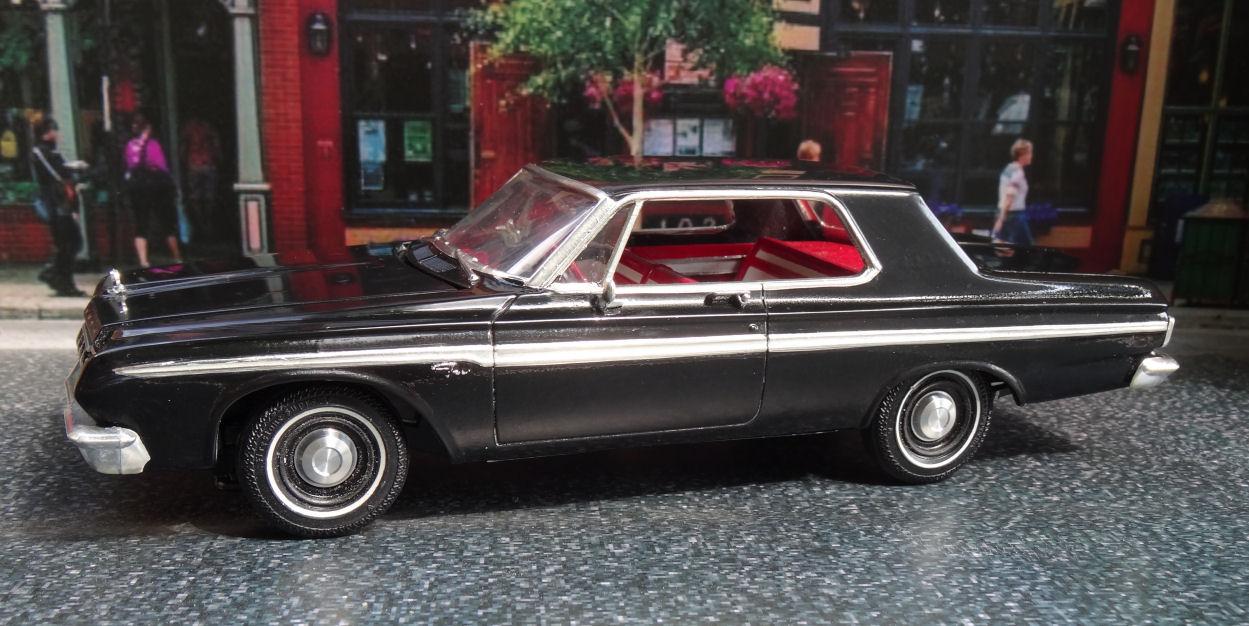
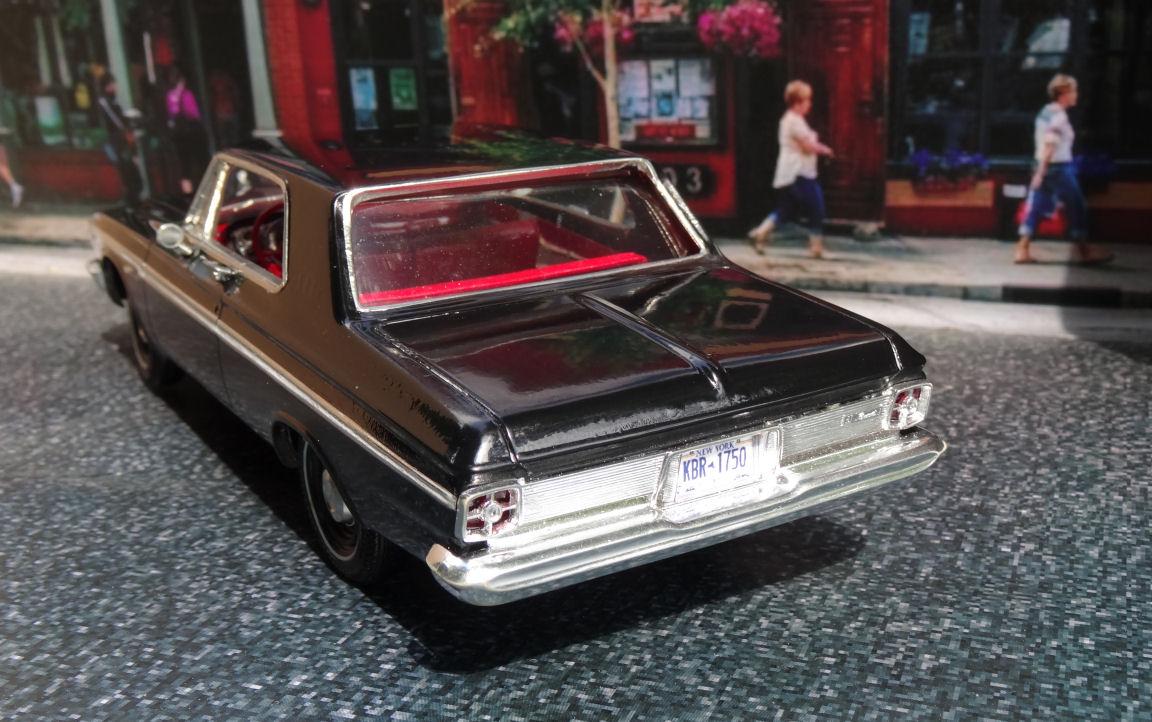
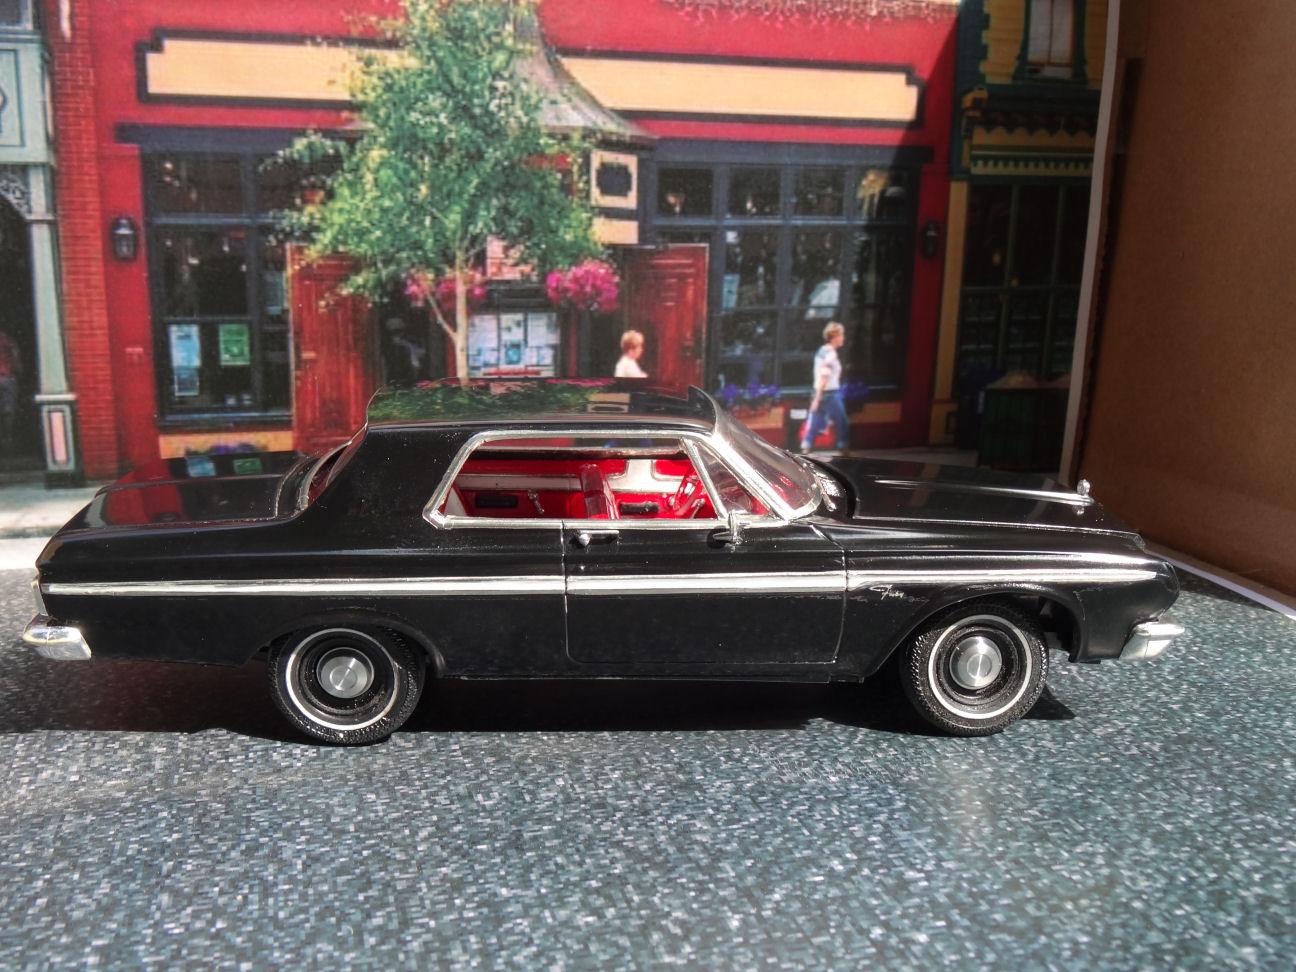
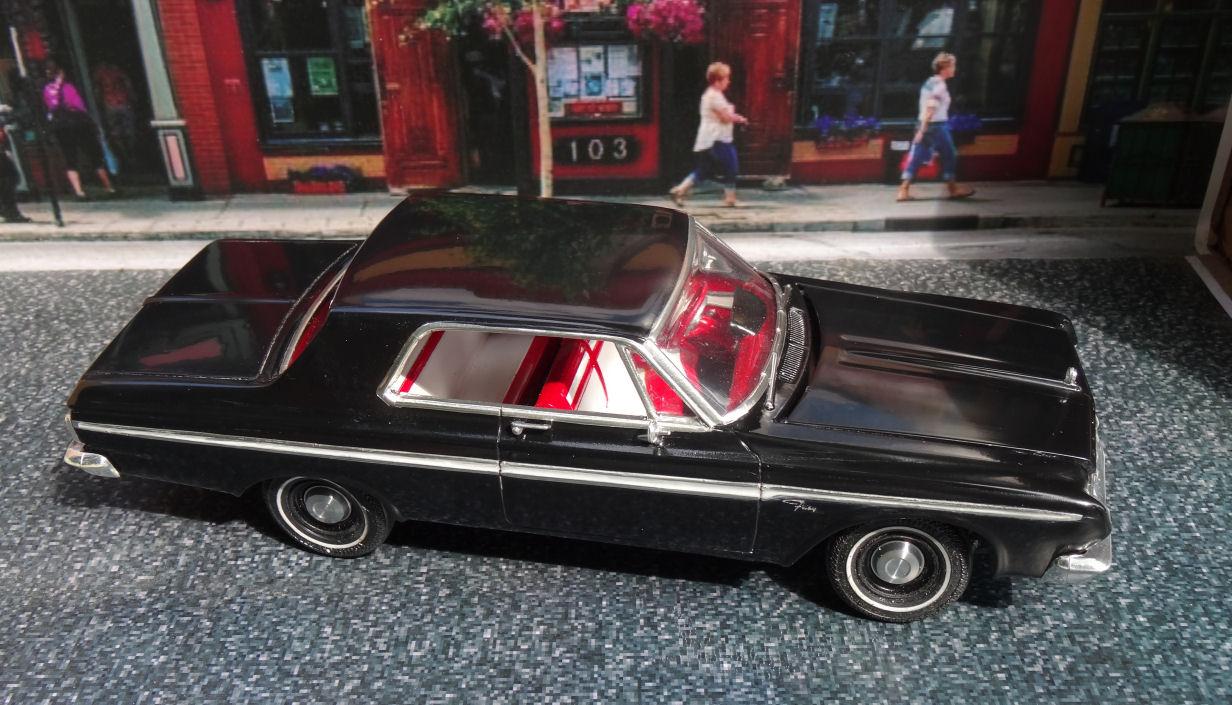
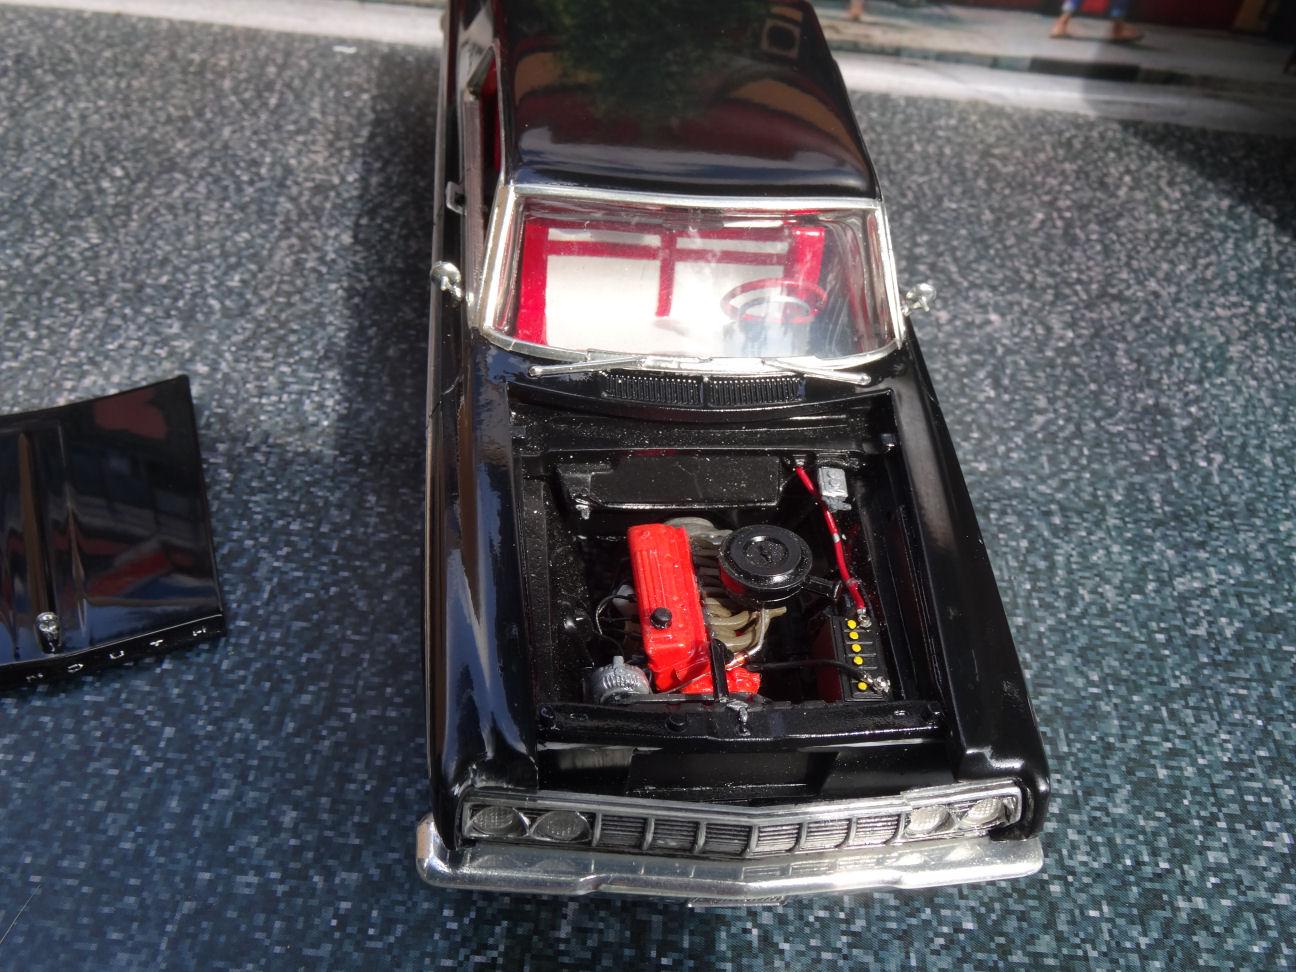
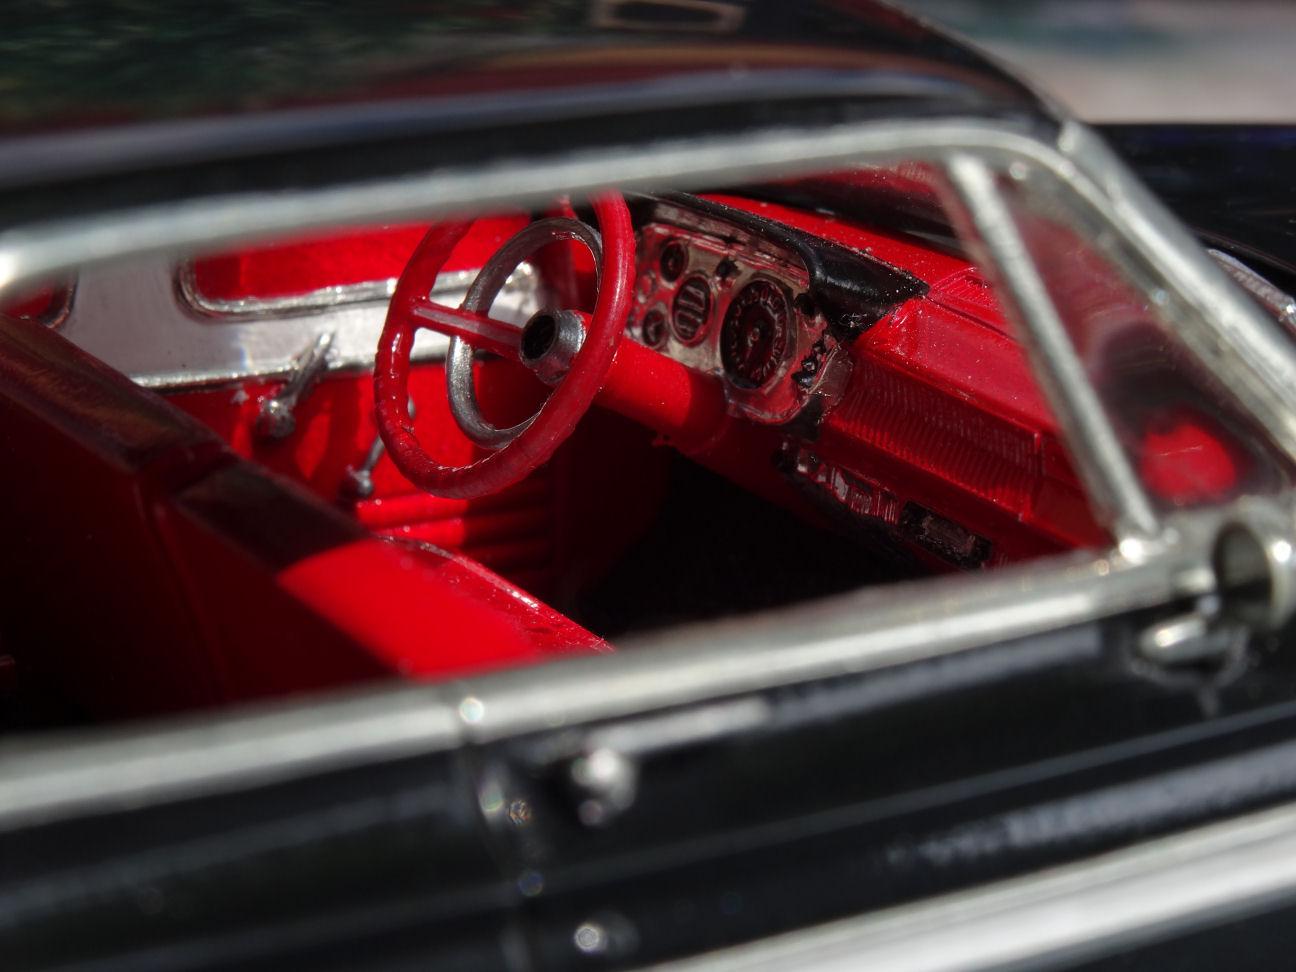
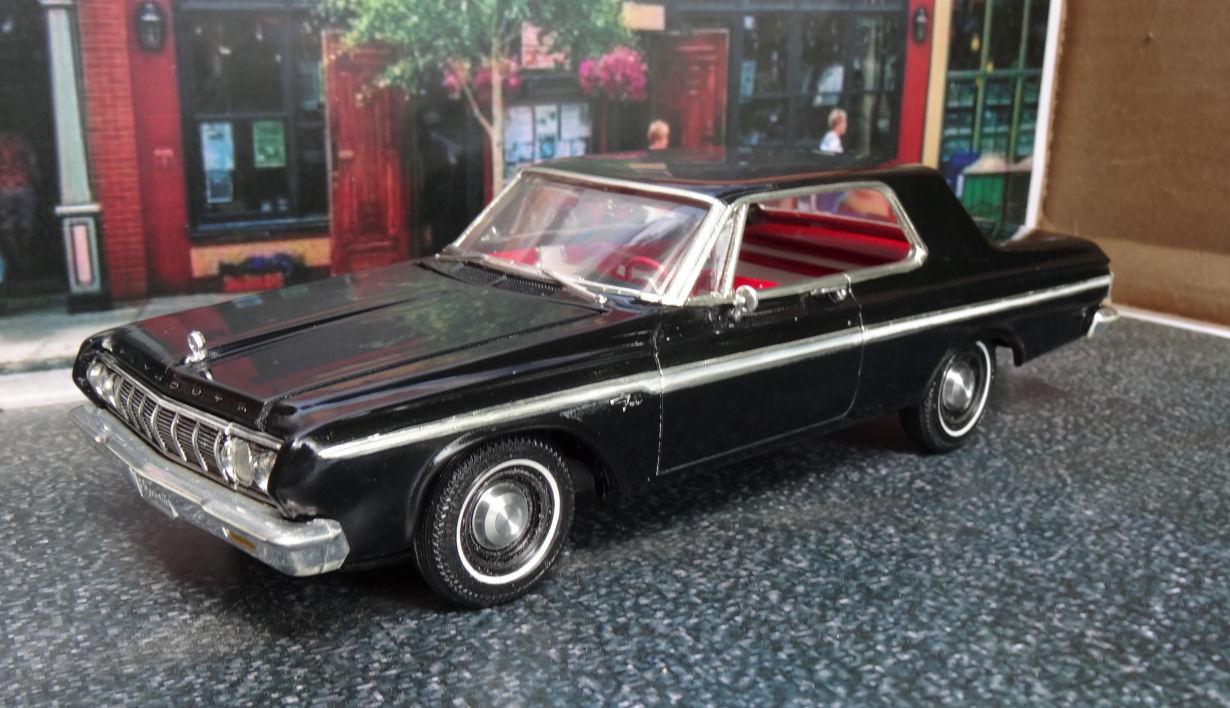
This is a project I started some 49 years ago. Although for most of that time it spent life inside a box while I took a long sabbatical from mode building. Recently pushed myself to get back to it as I'm not getting any younger and I think I can declare this one done, or done enough. In a nutshell all that was done back then was the nose swap with the intention of building the rest of the kit stock. But time and improvements in model kits changed those plans. So this turned into a kit-bash with a Lindberg 64 Plymouth using the best of both worlds. If you want to check out the WIP you can find it here. On to the next...
- 15 replies
-
- 12
-

-
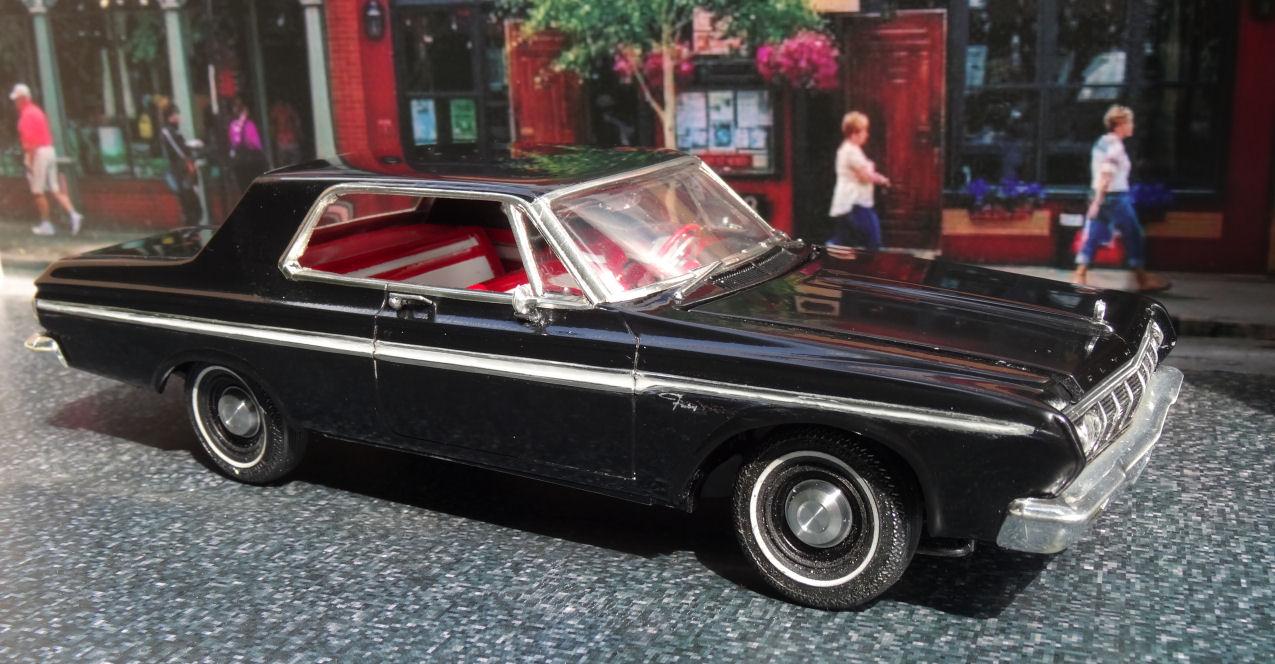
Early on in this project I wanted to paint the inset of the side chrome white. Which I did during the painting process. But when it came time to foil the BMF would not co-operate and stay in place as the trim section was just too thin. So instead I foiled the whole trim piece. Then in what I'm calling the final bit of this build, if I don't cut it off I'll never stop, I hand painted the inset in flat white. I started with Testors flat acrylic white and laid it in the valley and rubbed off the residual with a cloth. That didn't work as the paint rolled off the body instead of wiped off. Switched to the old Testors enamel and it cooperated fairly well. It is subtle but the inset is done and so with this one parting shot I'm calling it finished and moving on. See ya on the next build. ?
-
Trim looks nice, makes the color pop. I found the same with a recent batch of BMF. Although as I get to the end of the sheet, ie the middle as I work my way in, I’m finding it harder to get the foil off the backing. Glue must be stronger in the middle. ?
-
Monogram's 1955 Lincoln Futura Concept Car: WIP
LennyB replied to David G.'s topic in WIP: Model Cars
So we’re off the AMT bandwagon and now it’s Monogram ?