LennyB
-
Posts
3,214 -
Joined
-
Last visited
Content Type
Profiles
Forums
Events
Gallery
Everything posted by LennyB
-
As basic as these kits were I always found them interesting. It would be nice if they turned up again if the molds are still around somewhere. I see I’m not the only one to use a baking pan to lay out my projects.
-
I guess the claim to be “quick drying” on the can is a misnomer? Looking nice so far.
-
Nicely done, came out great.
-
I'm trying David. At least it's not a '41 Plymouth.?
-
No, I can't afford the whole door, just the handle. Thanks Bob, appreciate you checking in.
-
Thanks Steve, appreciate the comments. Gonna take it one bit at a time and she how she looks after each change. ? After the door edge probably do the T-Bird door handles.
-
They always have an agenda?
-
Looks nice. That color pops.
-
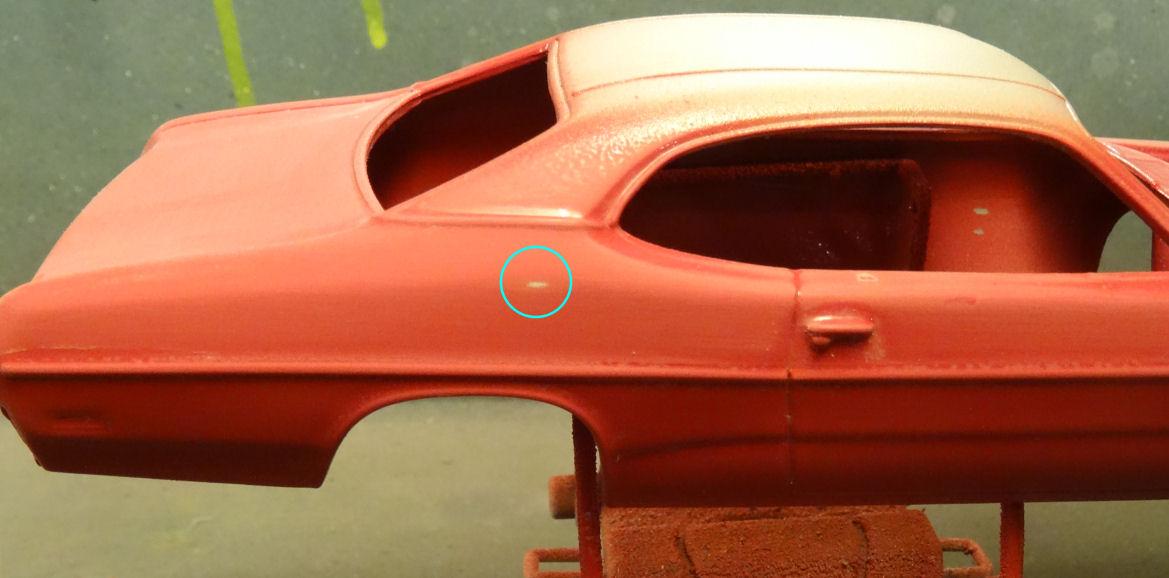
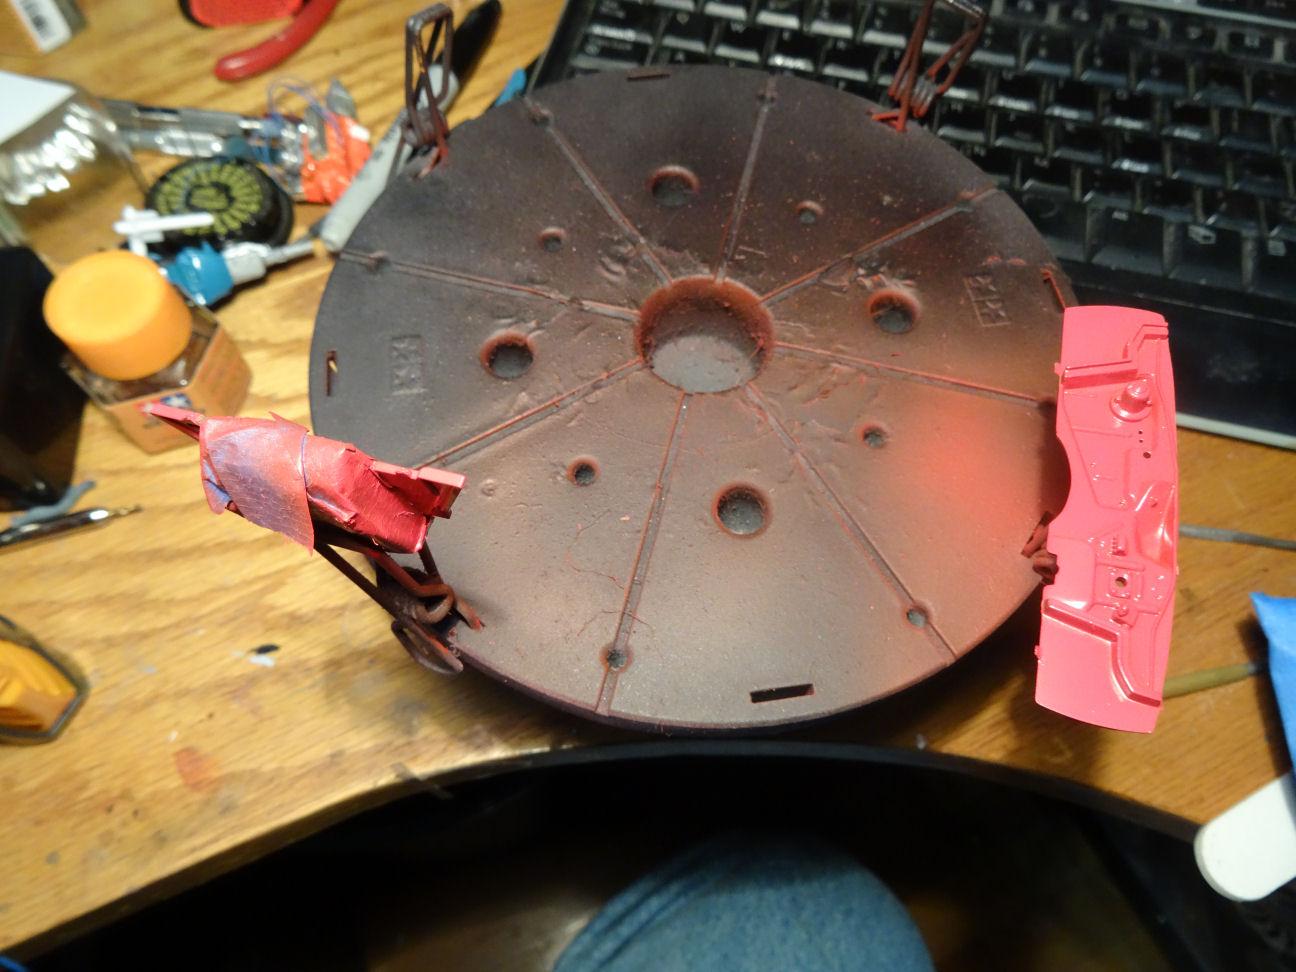
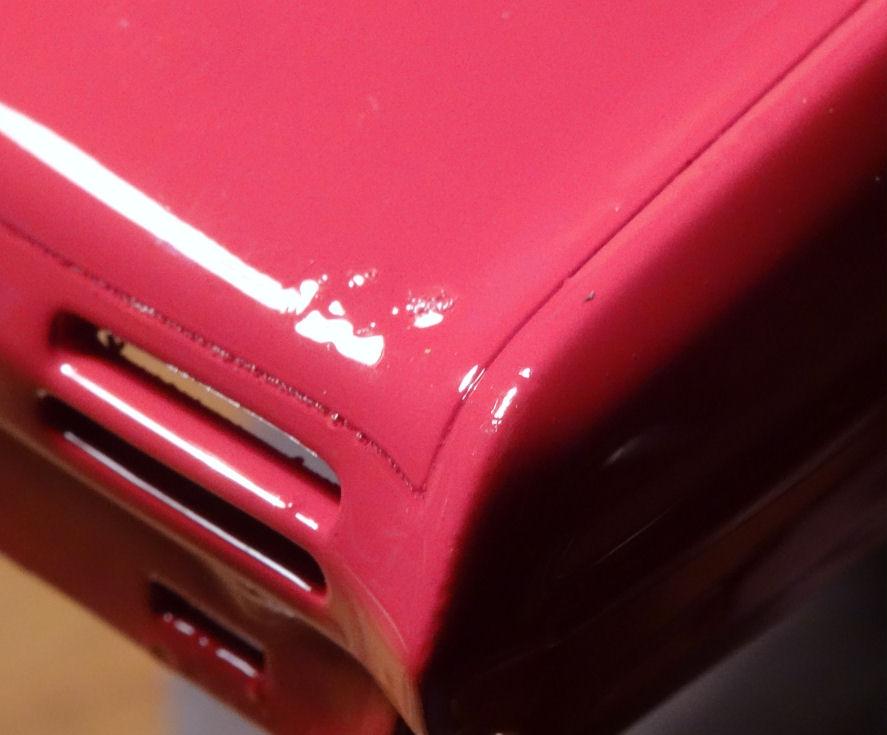
Thanks guys. I decided to give a go at sanding out the damaged spots. It was going well at first, fixed the damage on the trunk and I thought I had the rear quarter done as well. But as I was getting down to the finer sanding pads this happened. I had broken thru to the primer. I needed to lay down some more paint anyway as I needed to spray the firewall and the radiator core support. As well as a bit of touch-up over-spray on the chassis after I fixed those random holes. So despite the rain today I took a chance and sprayed these bits and it went without incident. I will just need to wait for another good day to spray the 2K clear again. Hope it come sooner rather then later. ?

-
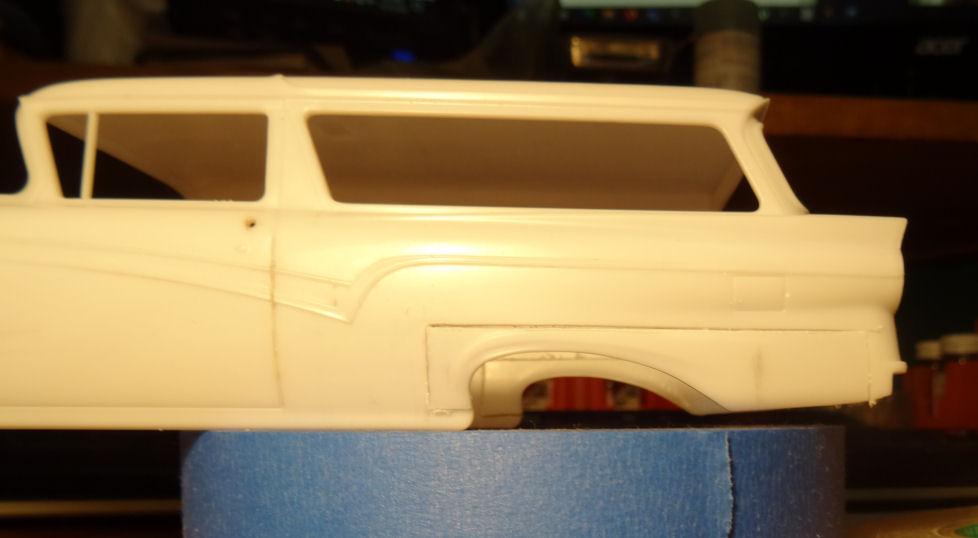
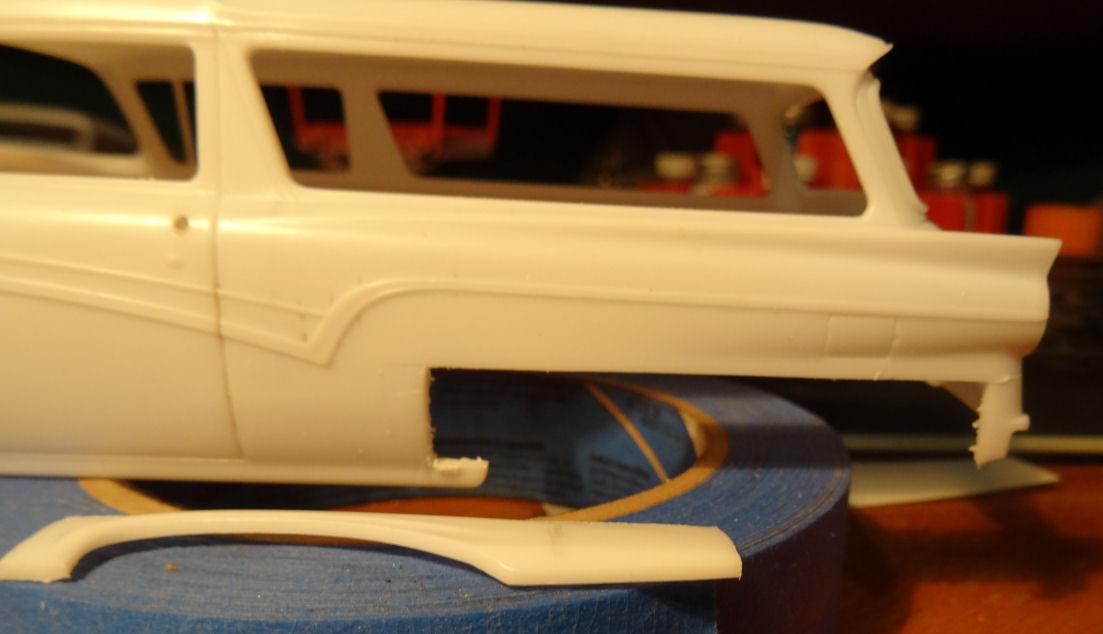
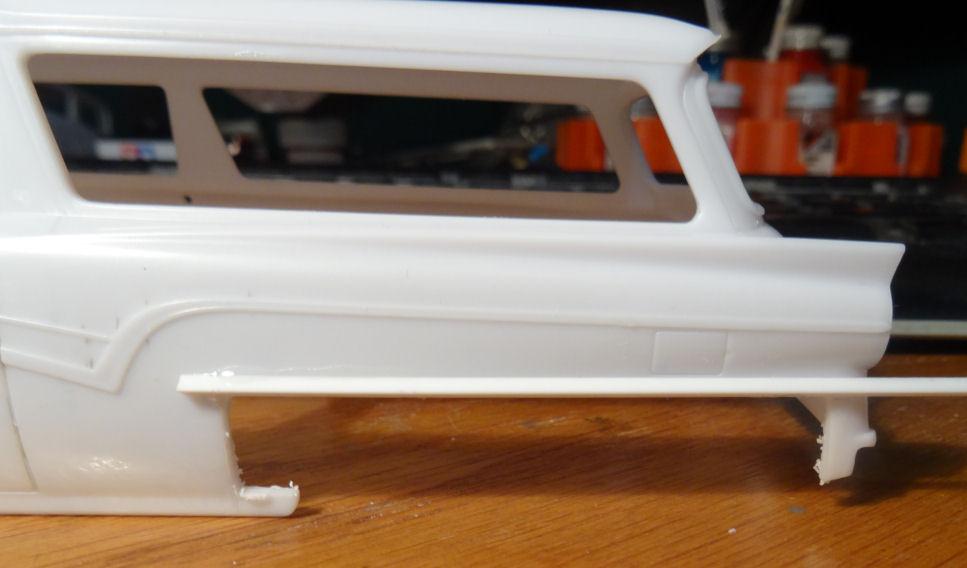
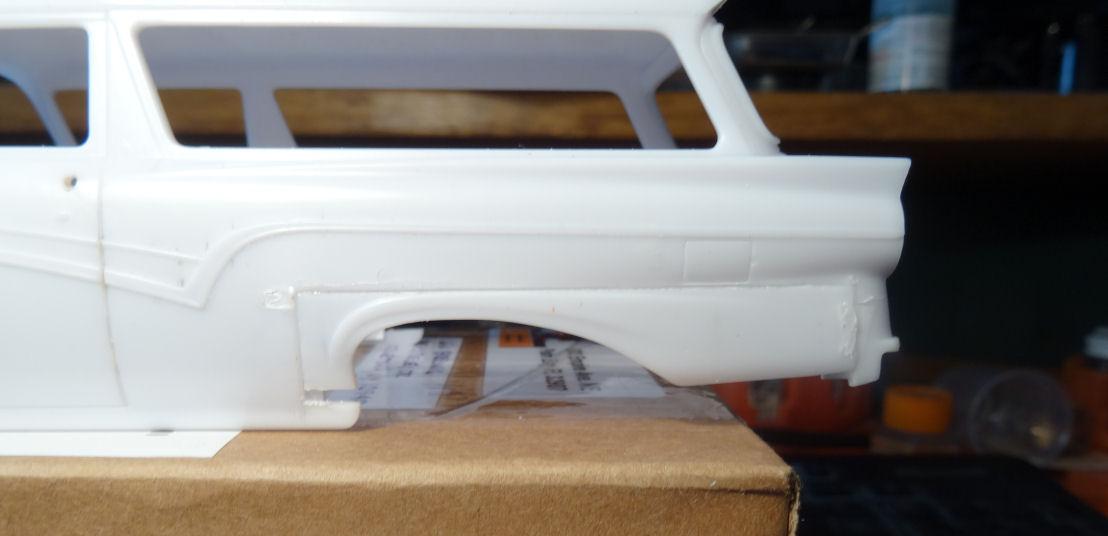
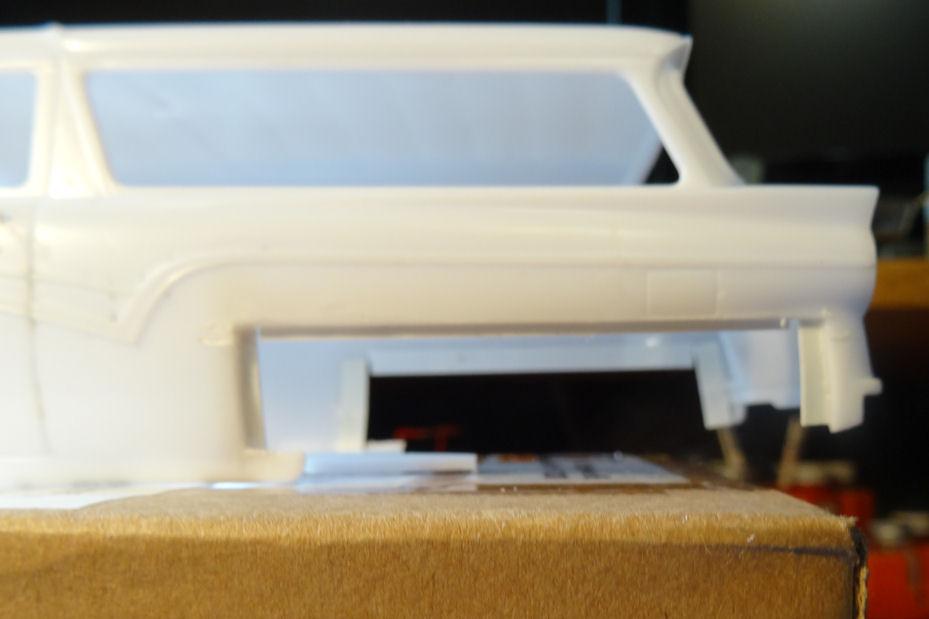
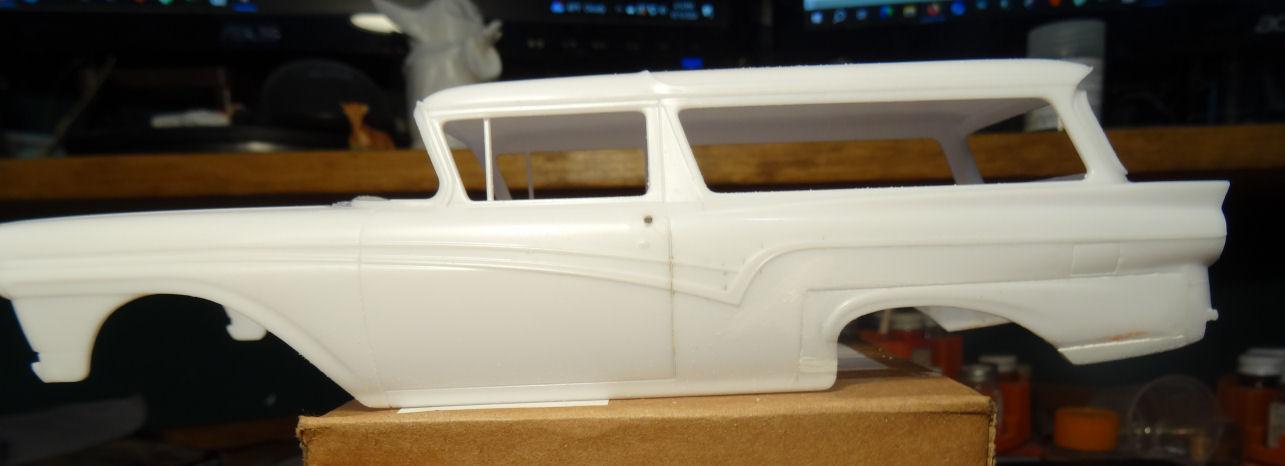
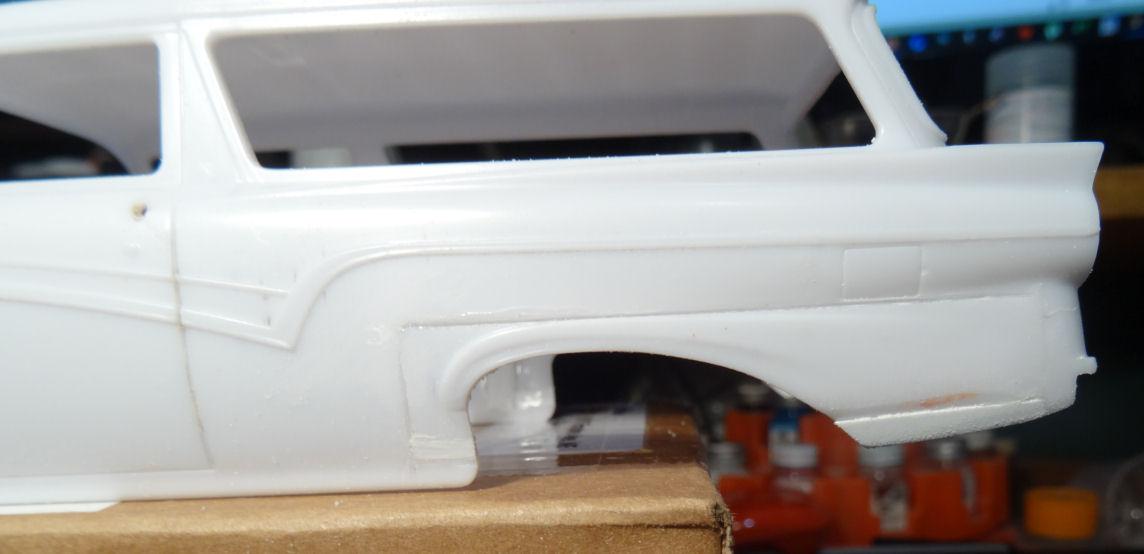
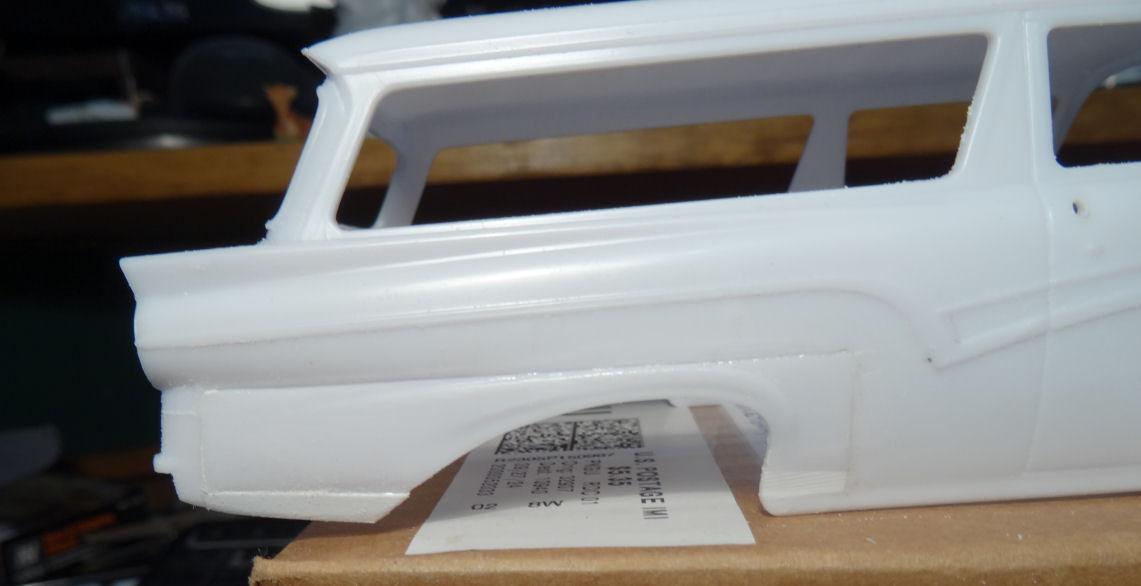
Finally took the knife to the old wagon and started by cutting out the rear wheel opening. Decided to leave the rocker panel intact and cut the front just above the rocker. Made it a bit more difficult to do the surgery but sometimes ya gotta do what ya gotta do. I drew out my cut lines in pencil and then laid out some scribing tape and initially scribed the top cut with a Tamiya scribing tool and then switched over to the backside of an X-Acto #11. Rod Stewart was wrong, the first cut is not the deepest. After the top cut was done I did the front edge which was marked square to the rocker. Then the rear which I cut on a slight forward angle. I did this so that when I slid the wheel opening upward it would tighten up in the opening. Lastly I cut the little dog-leg in the front. Once removed I glued a piece of Plastruct .080 triangle along the cut line as a guide. This is slightly smaller then the 0.1" I needed to remove but the cut will make up the difference. The I scribed some more until I had the 0.1" removed. Here is the cut piece placed into the cutout. I was happy with the fit at this point. I glued some flat styrene strips around the perimeter of the opening for added strength and to help with alignment. You can see how it looks from the inside if you look all the way thru. Then the wheel opening was glued in place. Have to make up filler pieces for the dog-leg and the lower rear fender. I used a couple of pieces of flat styrene for the rear of the fender glued together in a staggered formation to form a lip so to speak. Then the lip was glued to the inside of the body while the rest of the piece hung down to fill in the gap. This added strength to the piece. Here is the raised wheel opening in it's rough state. A bit of cleaning and filling and we should be good. After this gets cleaned up we will move on to relocating the rear door edge. See ya next time.?
-
Interesting project, should look cool when finished.
-
I might be mistaken but I think I read somewhere that there is a connection between Edsel and Pontiac. Like a designer for one left to go work for the other. Tried to find it but so far have come up empty.
-
Always knew Batman had a secret family somewhere. This is what he took the kids out for ice cream with ?
-
That purple could never stay in the box and looking as good as it does there’s your proof. Am I missing something or is there only a Side view mirror on the passenger side. You haven’t gone down under have you Jim?
-
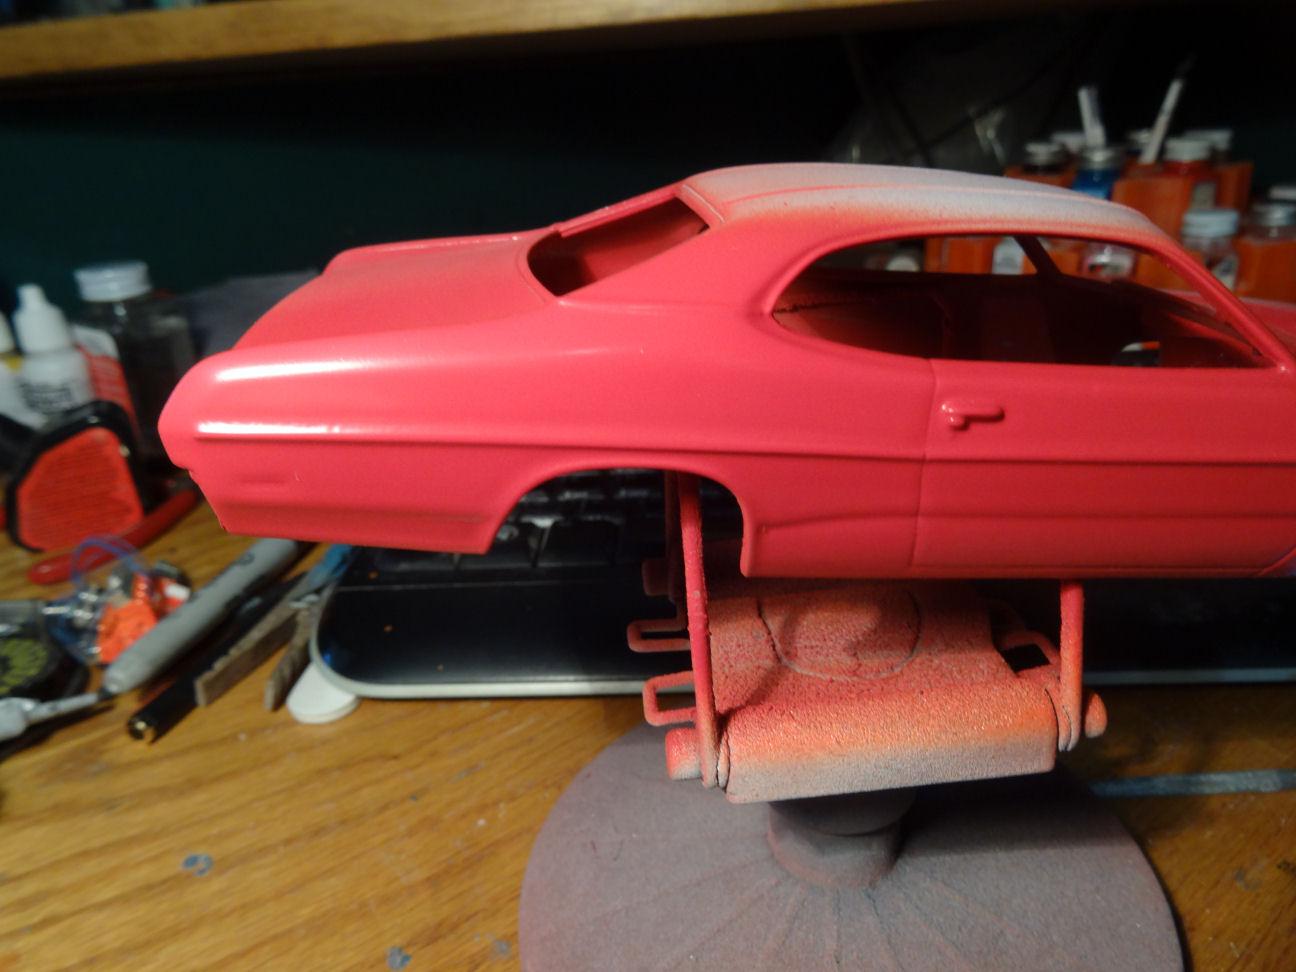
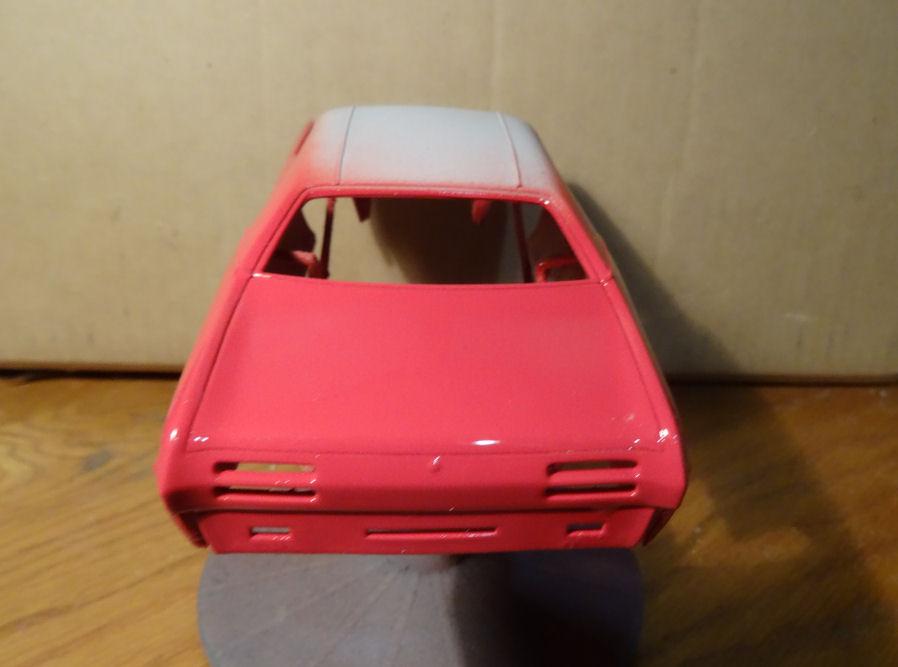
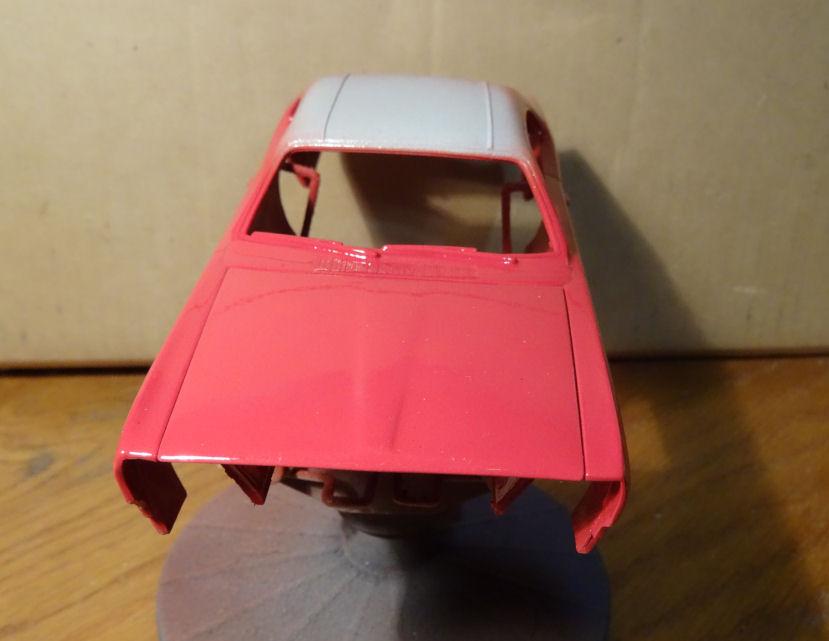
We were doing so good today. Weather was nice and it was a good day to paint. Got the 2K clear done on my Vette, then I moved on to the Duster. Got the body done. Then I went to do the hood, picked up the body to move it to the back of the paint booth and it slipped in my hand and the air hose hit the body in two spots. The right rear quarter And the lower right corner of the trunk. As Charlie Browne would say ARRRRGGGGHHHHH! ?. Actually that last part was for Jim. We'll, let it dry and sand it out and do it again. 41% chance of rain tomorrow, so that doesn't look promising. So until then.....?
-
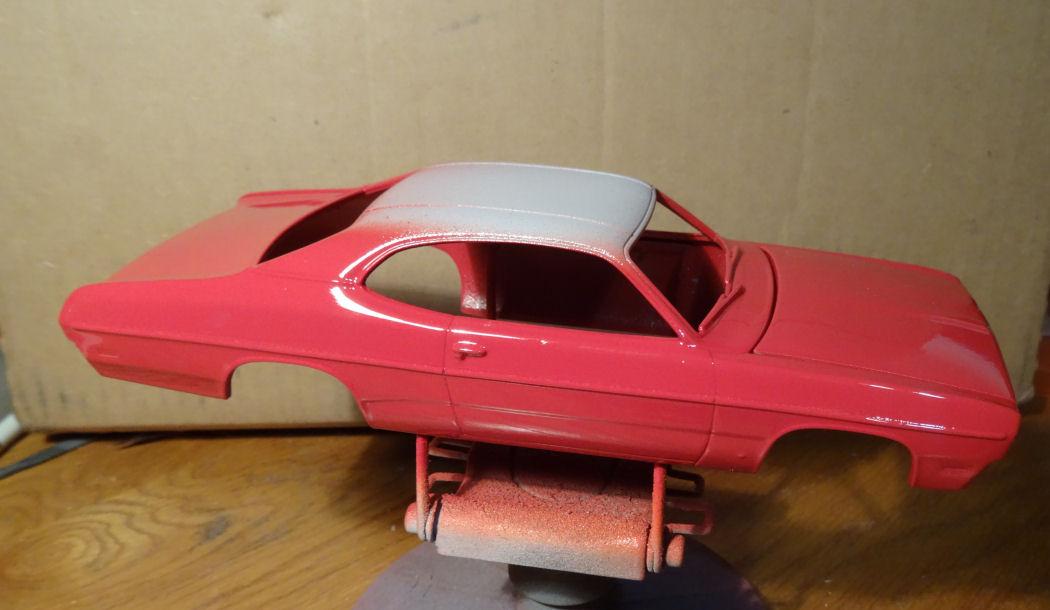
The stars finally aligned today and I was able to shoot some clear. Came out pretty good, the color is a bit darker then these photos show. Decals and the clear got along just fine. Have a couple of dust nibs on the hood I need to fix but otherwise we are in good shape. Give t a few days to harden and then we can polish and do the BMF.
-

Monogram's 1955 Lincoln Futura Concept Car: WIP
LennyB replied to David G.'s topic in WIP: Model Cars
David, that rear bumper has such a sinister look to it.? -
This should be interesting, I'll be watching.
-
Very nice, I like the way the c-pillar matches the side sculpture on the body.
-
That’s the way I’m leaning at the moment. Let’s see if I feel the same after I alter the wheel opening and door?
-
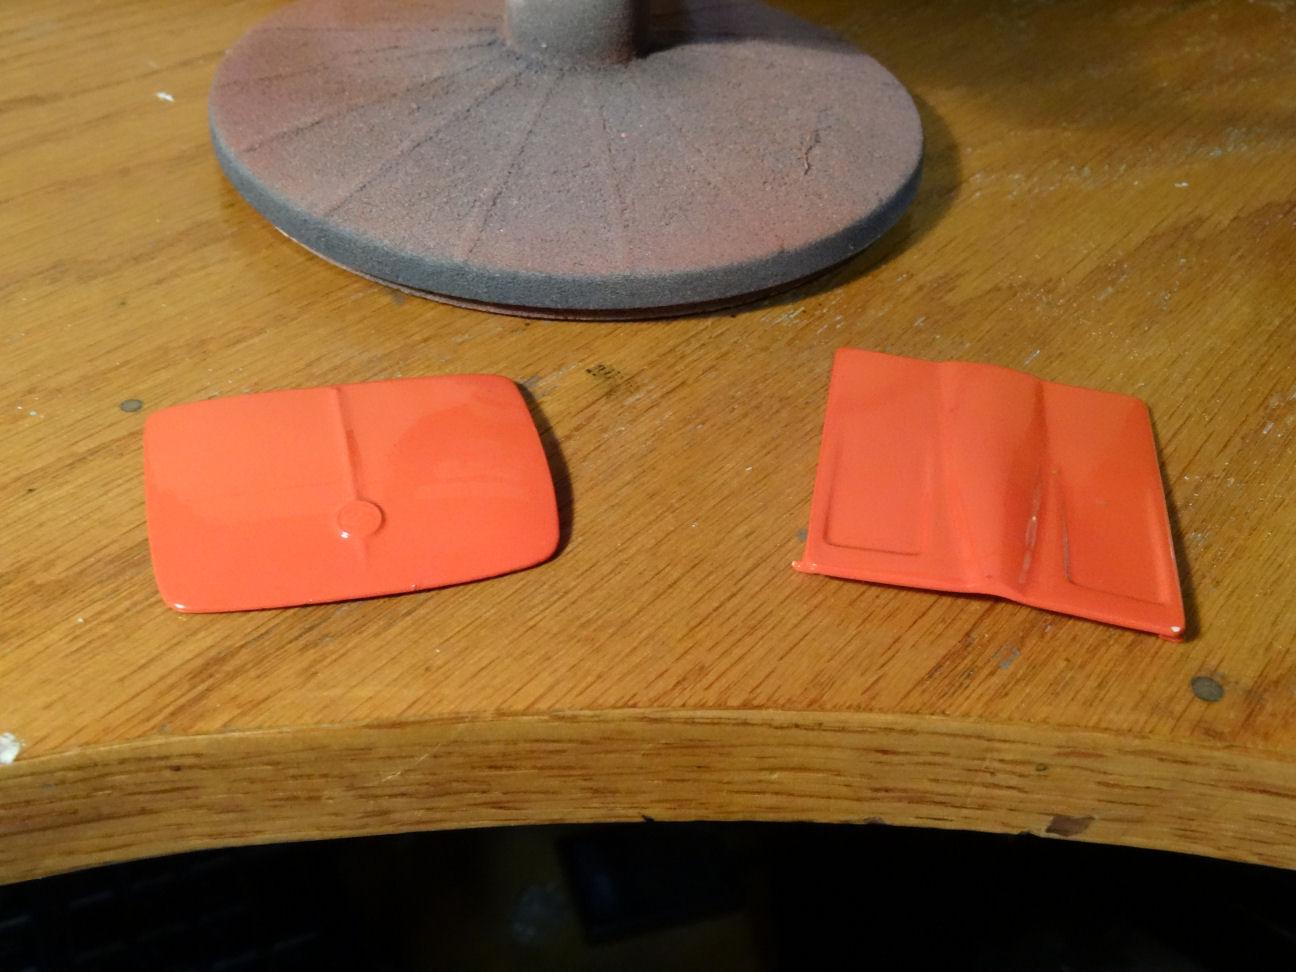
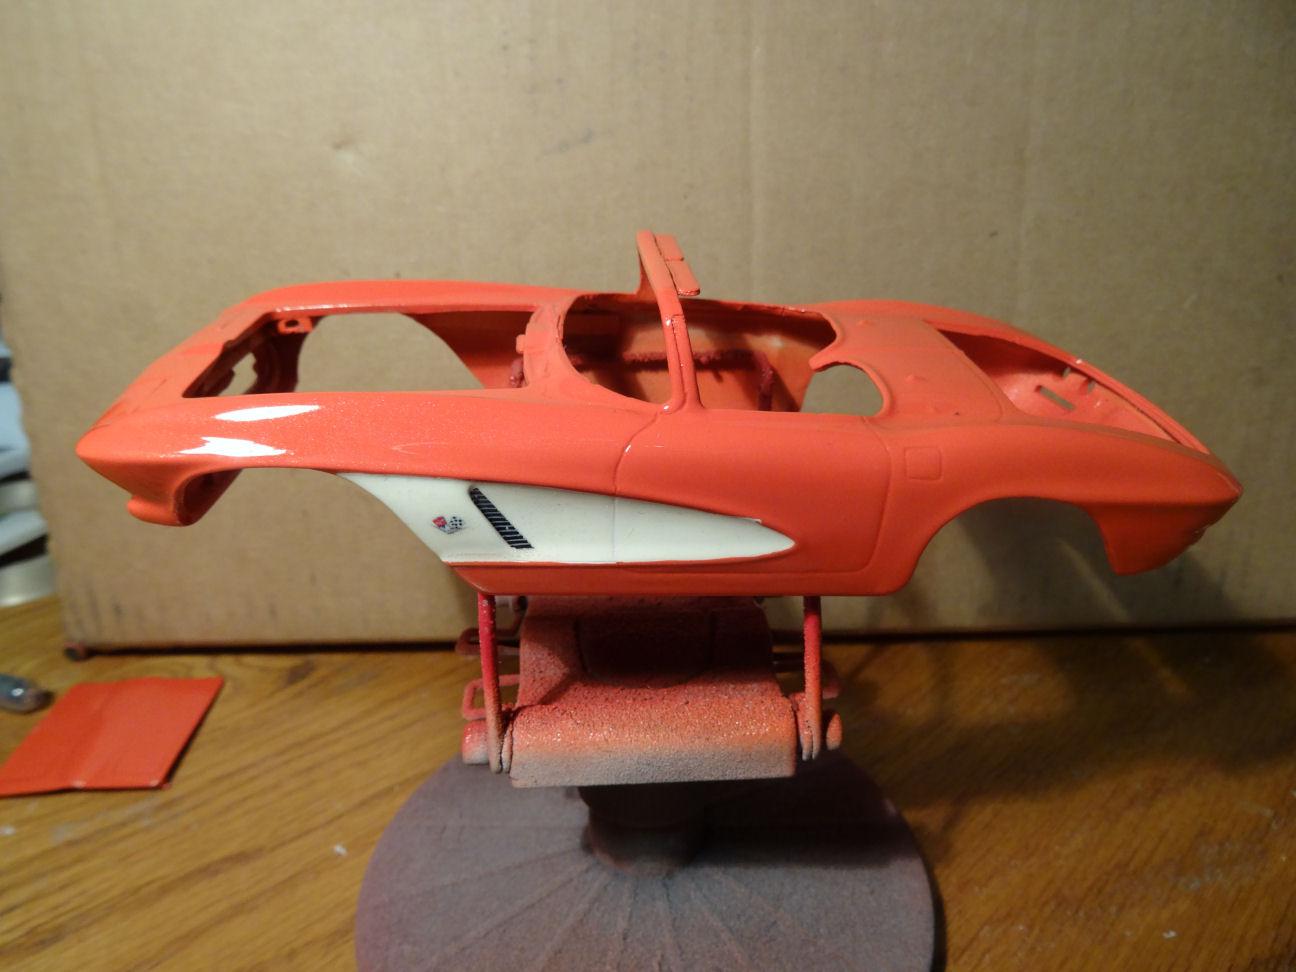
Hi All, I'm back from my short vacation. Thank you all for your input and ideas, it really helps a lot. Before I start carving up this body I decided to do a little more photo editing. I took a few more pics of the kit body to get one to closely match the PV pic. Then I overlapped the two and scaled and adjusted the PV to get the approximately the same size. With the PV on top I adjusted the transparency so I could get a good idea of how things lined up. I have to say the results were surprising. I was so focused on the molding but it appears that was not changed all that much. The "V" is actually just shifted a bit to the right. And as espo pointed out the slope is a bit gentler. But it doesn't dip any lower. ? The big difference is the rear wheel opening. As the image above provided by DJMar indicates the wheel opening was raised 2 1/2". Along with the eyebrow over it. So I think at this point the first thing to do is cut out the wheel opening, remove 0.1 inch from on top of it and shift it northward. Then maybe scribe the new door edge and see how things look at that point. Wondering if it is even worth doing anything with the trim. Another observation is the gas door. The larger of the two doors and the one favoring the left is the PV. As it says in the above illustration PV shrunk the door, but that doesn't appear to be the case here. Maybe the kit door is smaller then it should be. I think I can probably just leave that as is. That's all for today, have to get back to laundry.?
-
DJ, no, I had not seen that. That will be a big help, I really appreciate it ?
-
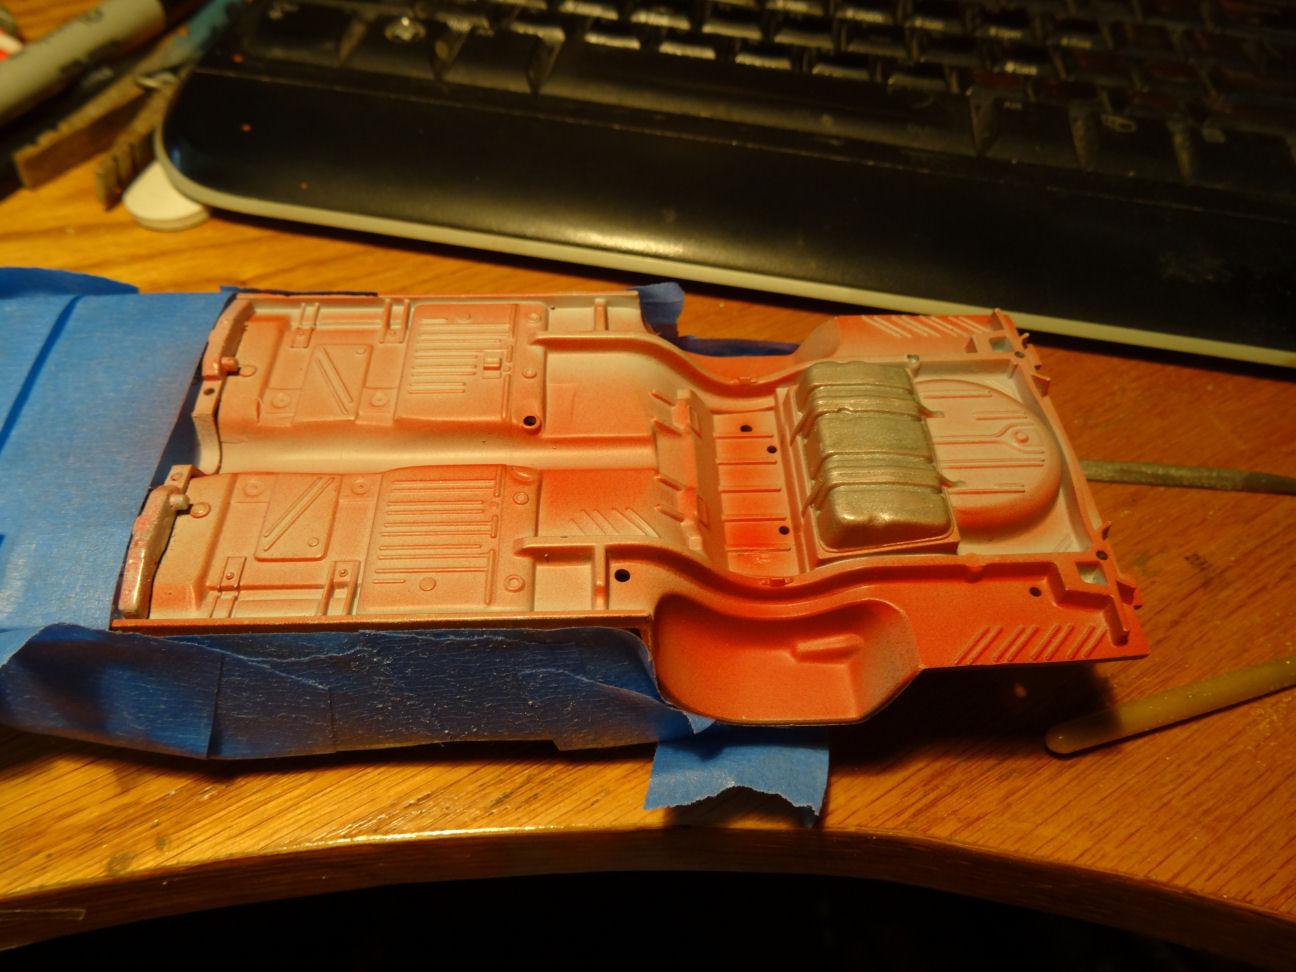
Dennis, you threw me for a second because the gas tank filler is on the rear. What’s the filler neck doing on the side, then I remembered it’s the Chevy II chassis. I guess those tank straps should go as well as the Falcon tank is mounted via the flange on the tank. Unless you’re going with a fuel cell.
-
Monogram's 1955 Lincoln Futura Concept Car: WIP
LennyB replied to David G.'s topic in WIP: Model Cars
Monkey see, monkey do? So that would mean this is next
-
1965 Acadian Beaumont Sport Deluxe Coupe
LennyB replied to Mike Slapattack's topic in WIP: Model Cars
Always though these were nice looking cars. So often when they modified an existing vehicle for an export or even a follow up model year, the6 just don’t look right. The Beaumont does.