LennyB
-
Posts
3,214 -
Joined
-
Last visited
Content Type
Profiles
Forums
Events
Gallery
Everything posted by LennyB
-
f you want to PM me your address I'll ship it to you.
-
Is this the one you're talking about?

-
How about Tri-color, white, black and coral. ? That’s actually a Chrysler combo. Knew a guy who worked at a Plymouth dealership, had a 56 Dodge with a hemi in that combination
-
Yeah, I don’t think orange would work with that interior. Coral Blue a much better choice?
-

The Official EBay Discussion Thread
LennyB replied to iamsuperdan's topic in General Automotive Talk (Trucks and Cars)
If you do a search and put your inquiry in quotes you will get better search results. Both in Google and eBay. ie "AMT 41 Ford" -
Well, technically it is. In 71 Chrysler called it Hemi Orange and in 72 it was renamed Tor Red. Guess the person who ran the paint department was color blind.?
-
Wheels looking good. Always been a fan of painting the spokes as you mention.
-
Nice work, I always liked the look of this body style. Built a few of them back in the day. This is a good candidate for the AMT 1960 Ford Starliner chassis. I have the Super Marauder show car on my to-do list.
-
It's like a disease son, once you get it you can't be cured.?
-
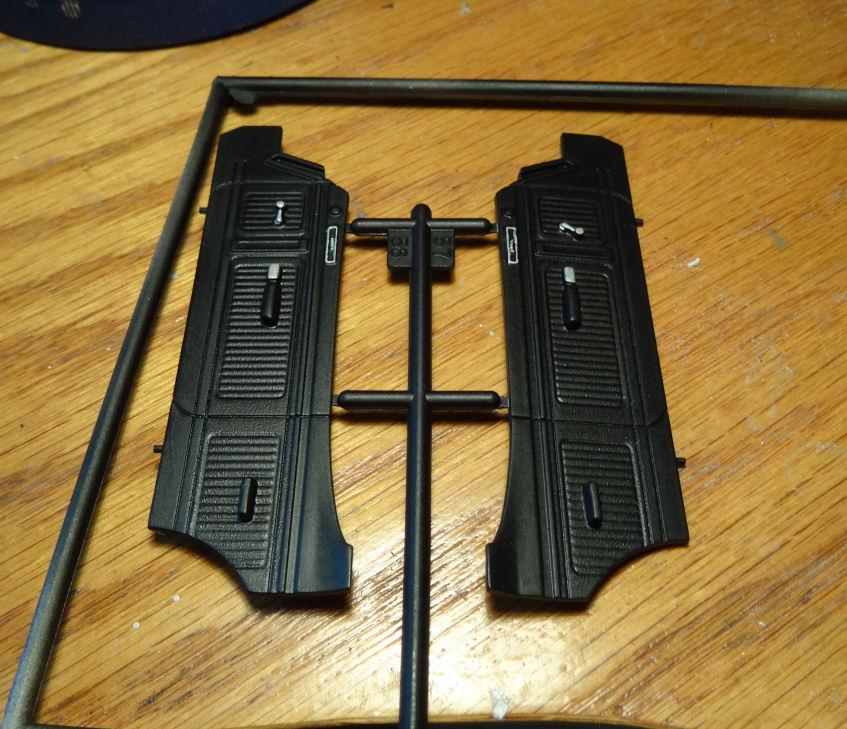
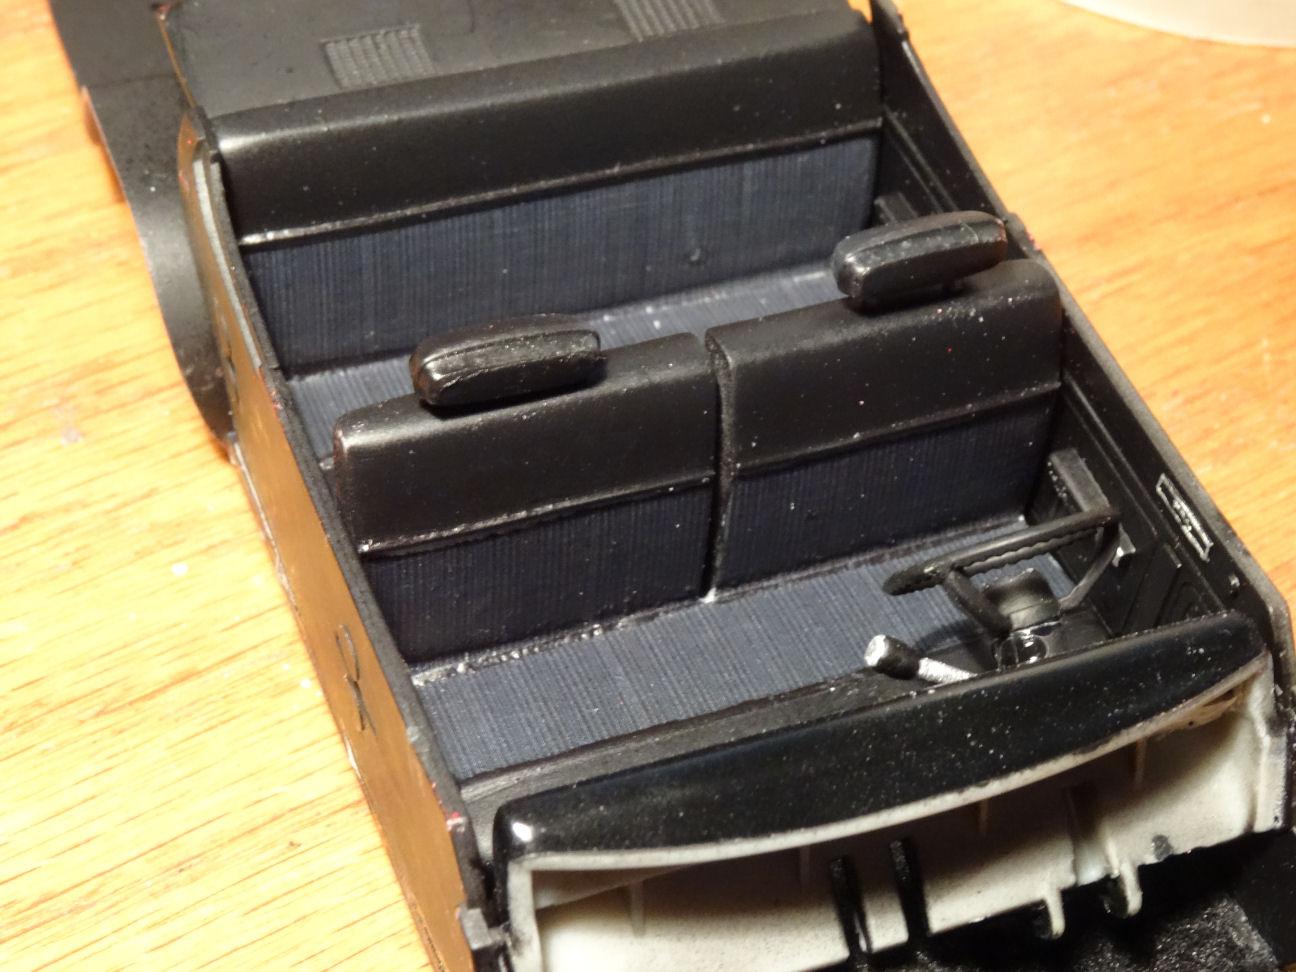
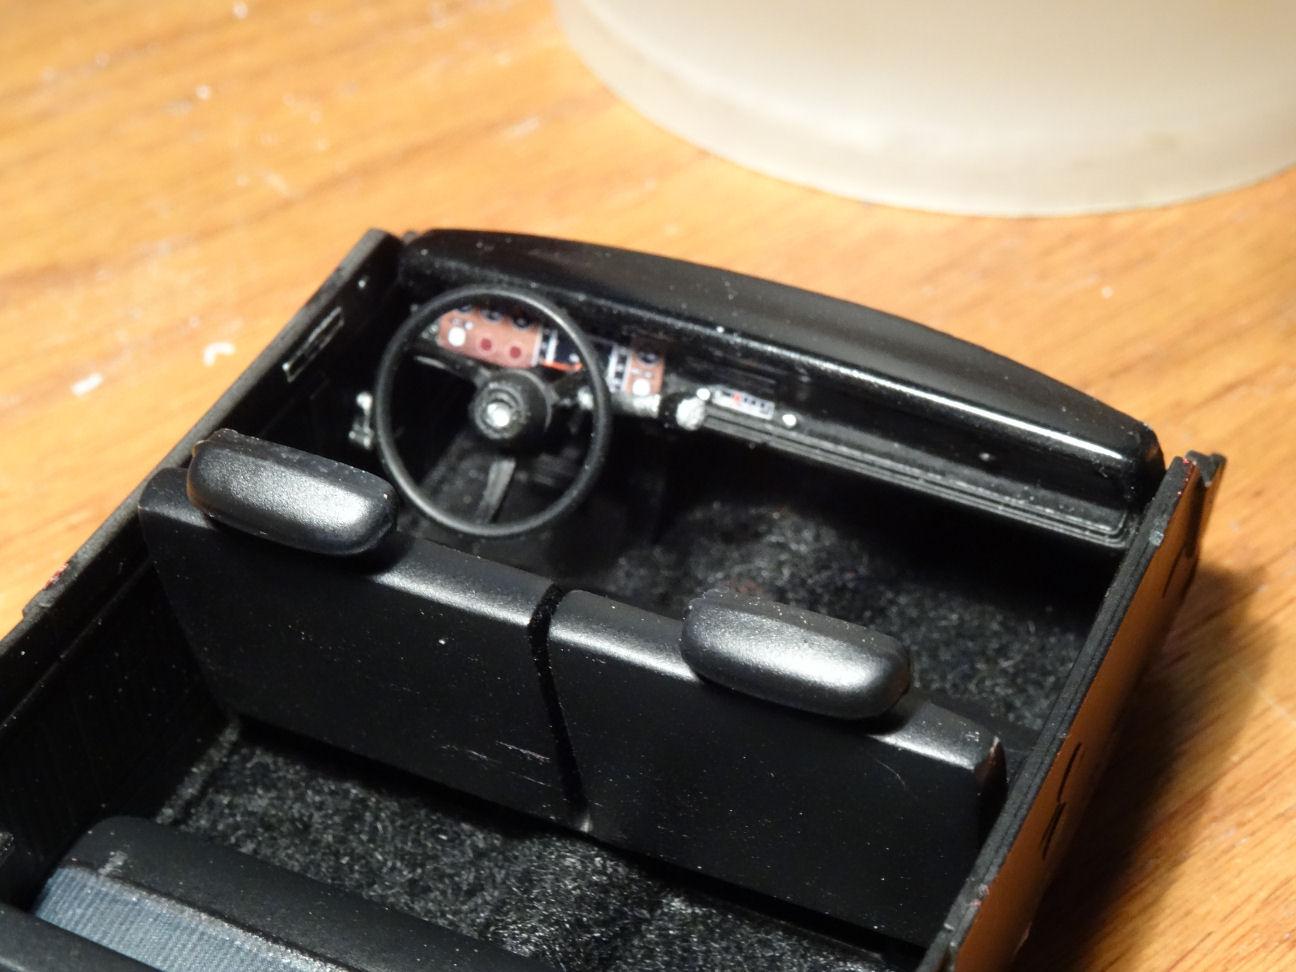
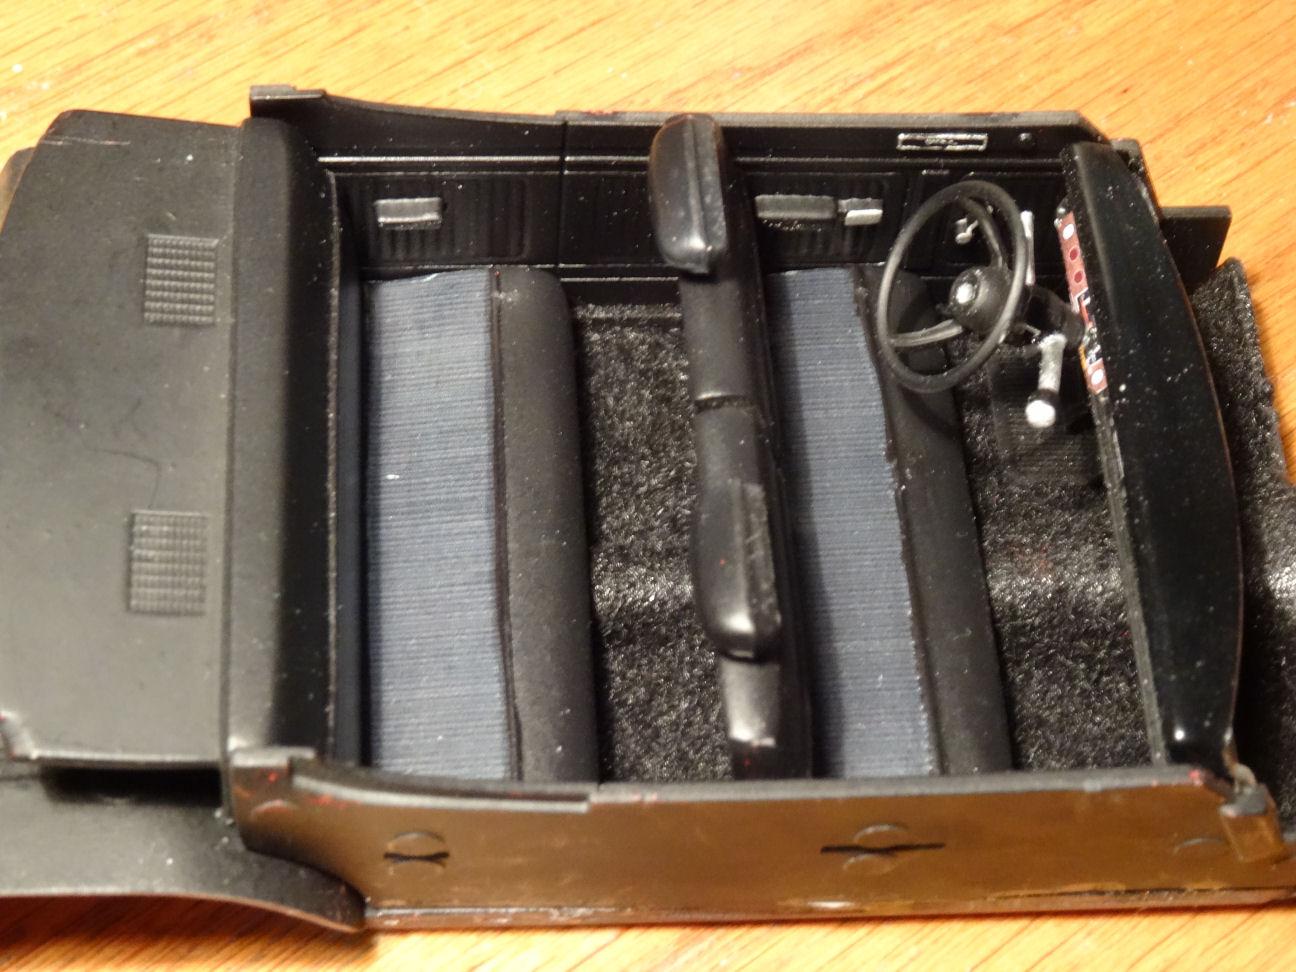
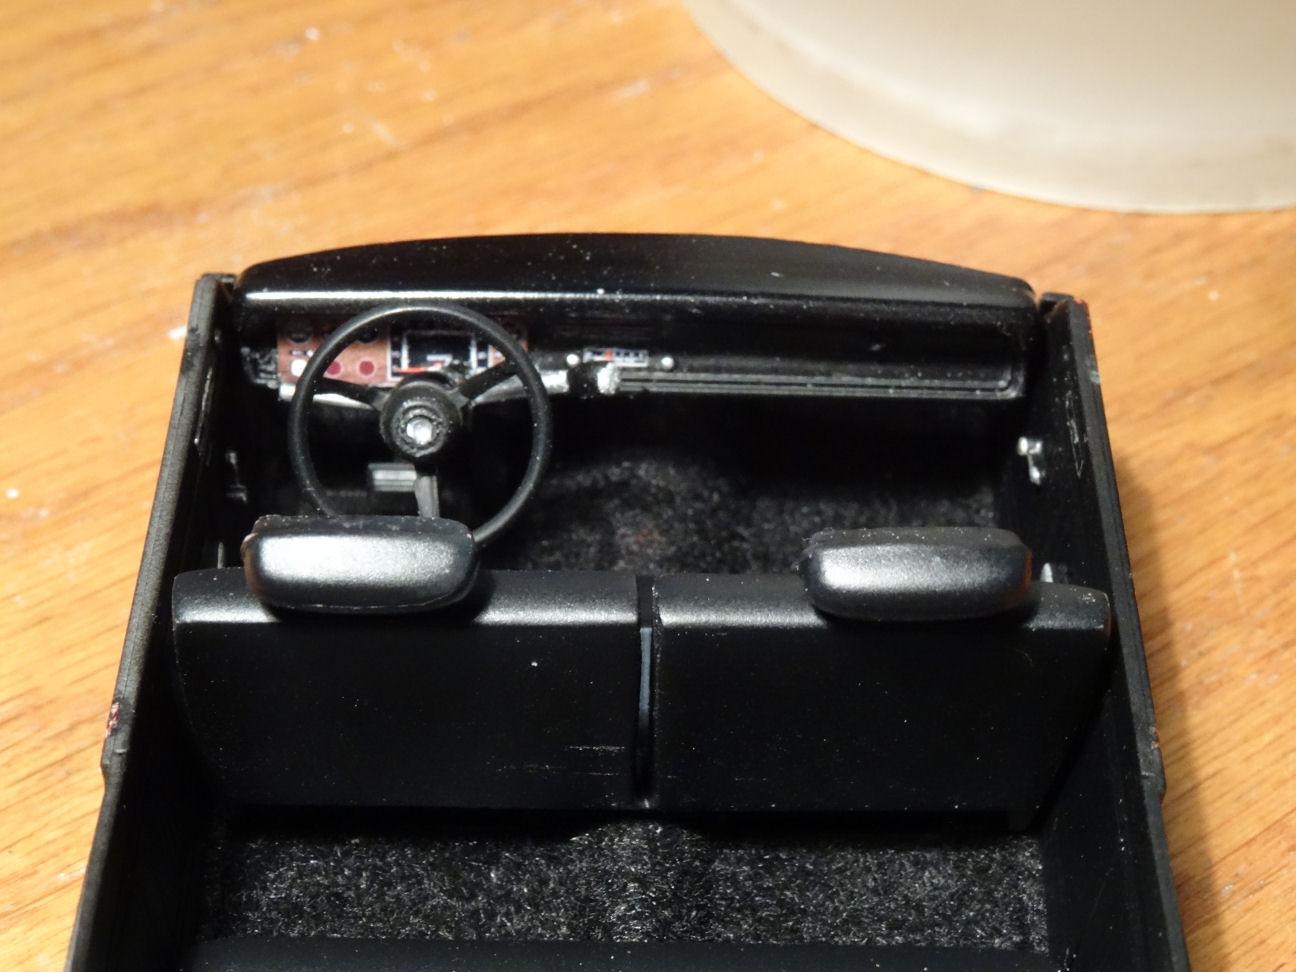
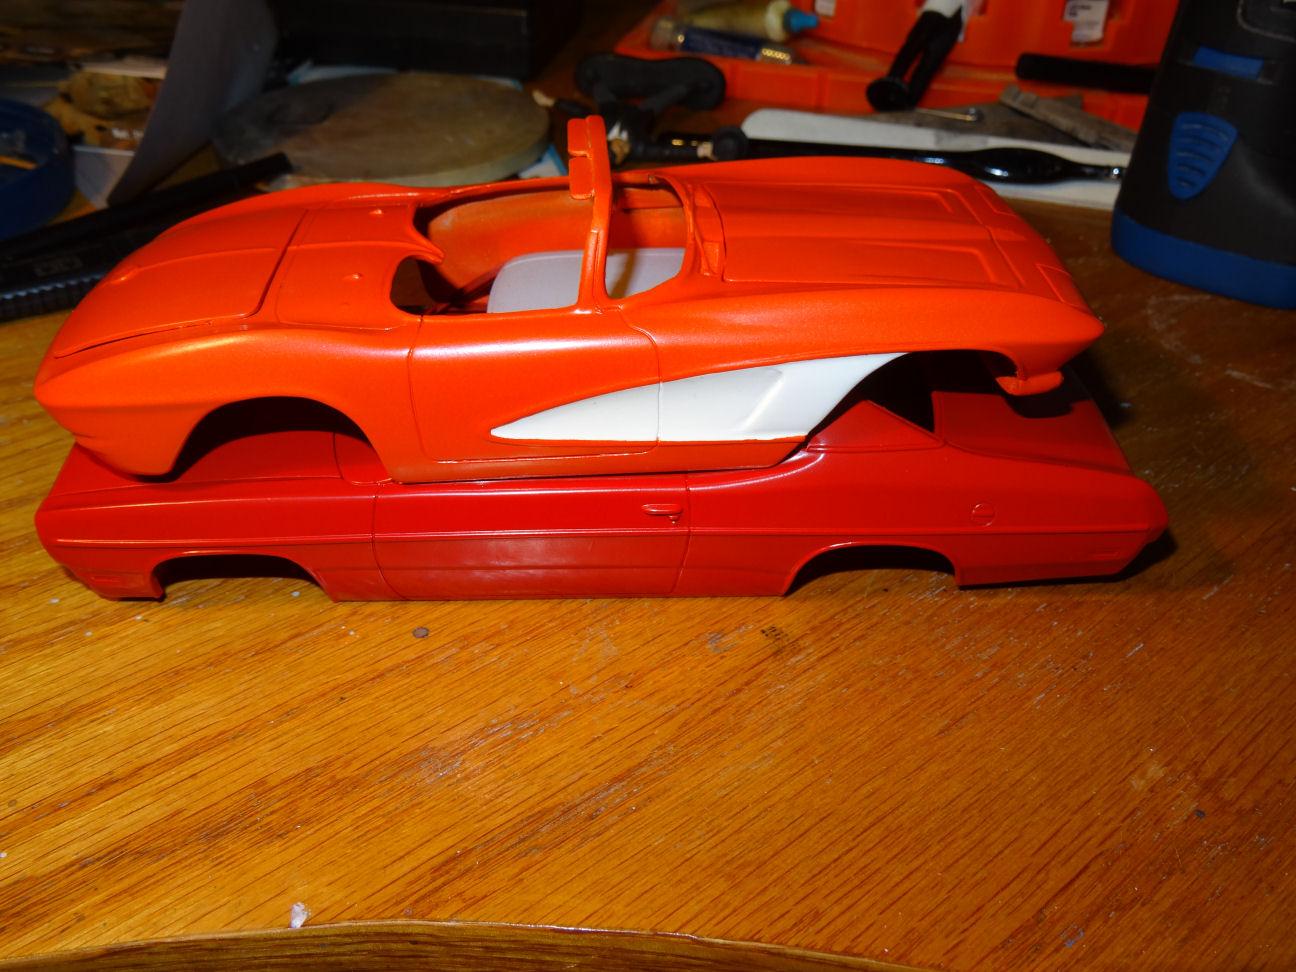
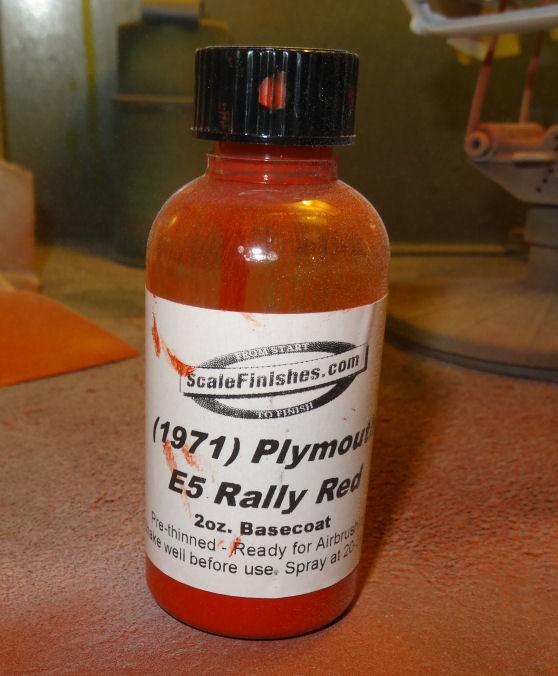
I took another stab at printing decals for the seats. Came out better this time around but not perfect. The door panels were already painted flat black for me so I added a coat of matte clear and then did a little bit of detailing. These cars are a bit plain so there's not much to detail. Added the headrests to the seats and some flocking for the carpet. Yes, some of these were so plain they came with rubber mats, but not this one. Carpet all the way. And then I put the interior together. Still need to get the tower of power started and work on the underside.? For anyone who didn't already see this, here is a comparison between the original Tor Red I was going to use and the Rally Red I finally used, Not to let the paint go to waste I used it on a Vette. That may offend the Chevy guts but I don't think the Chrysler crowd will care. ?
-
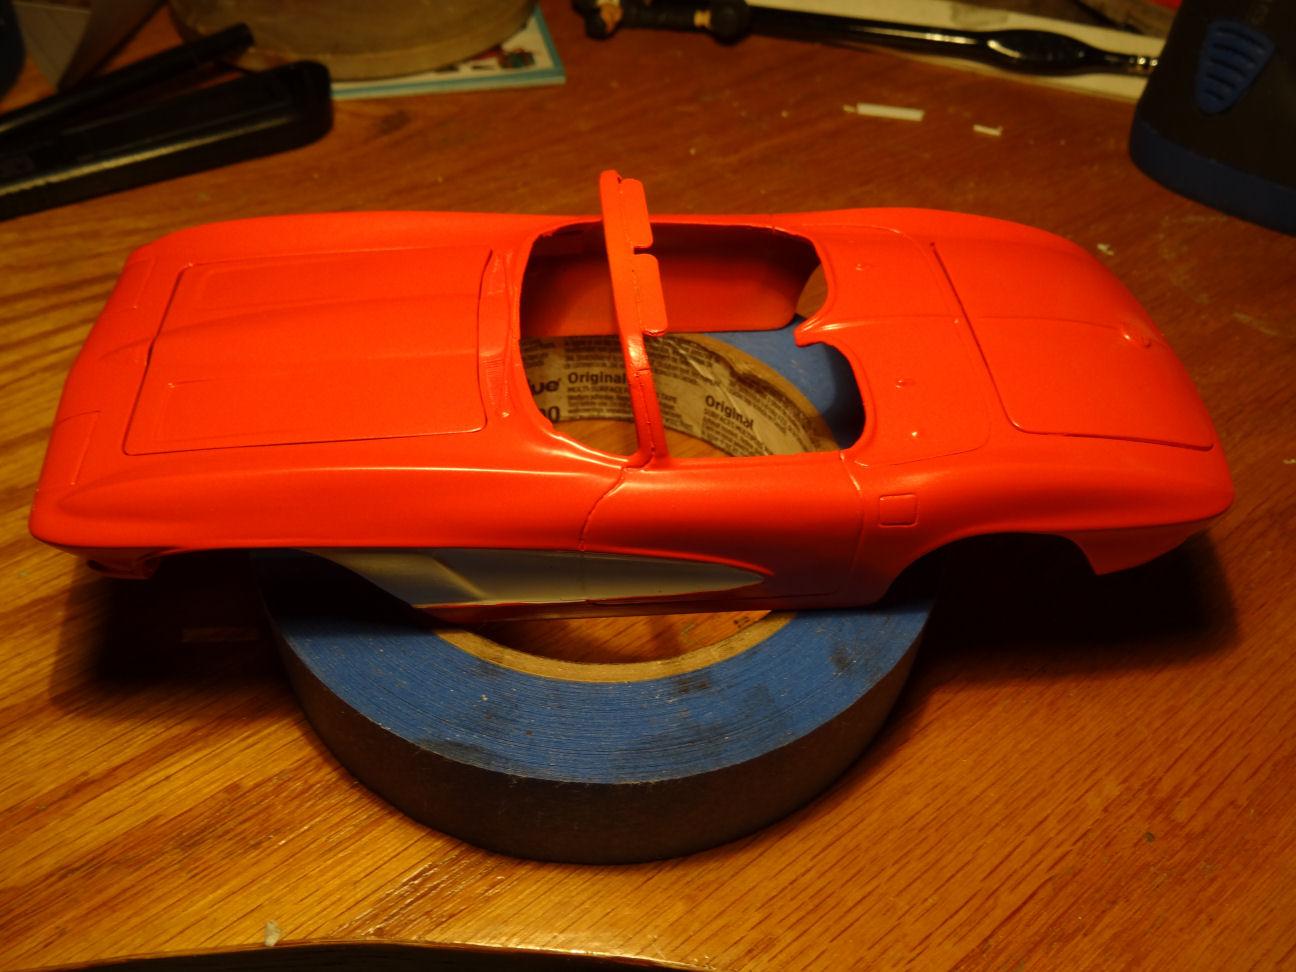
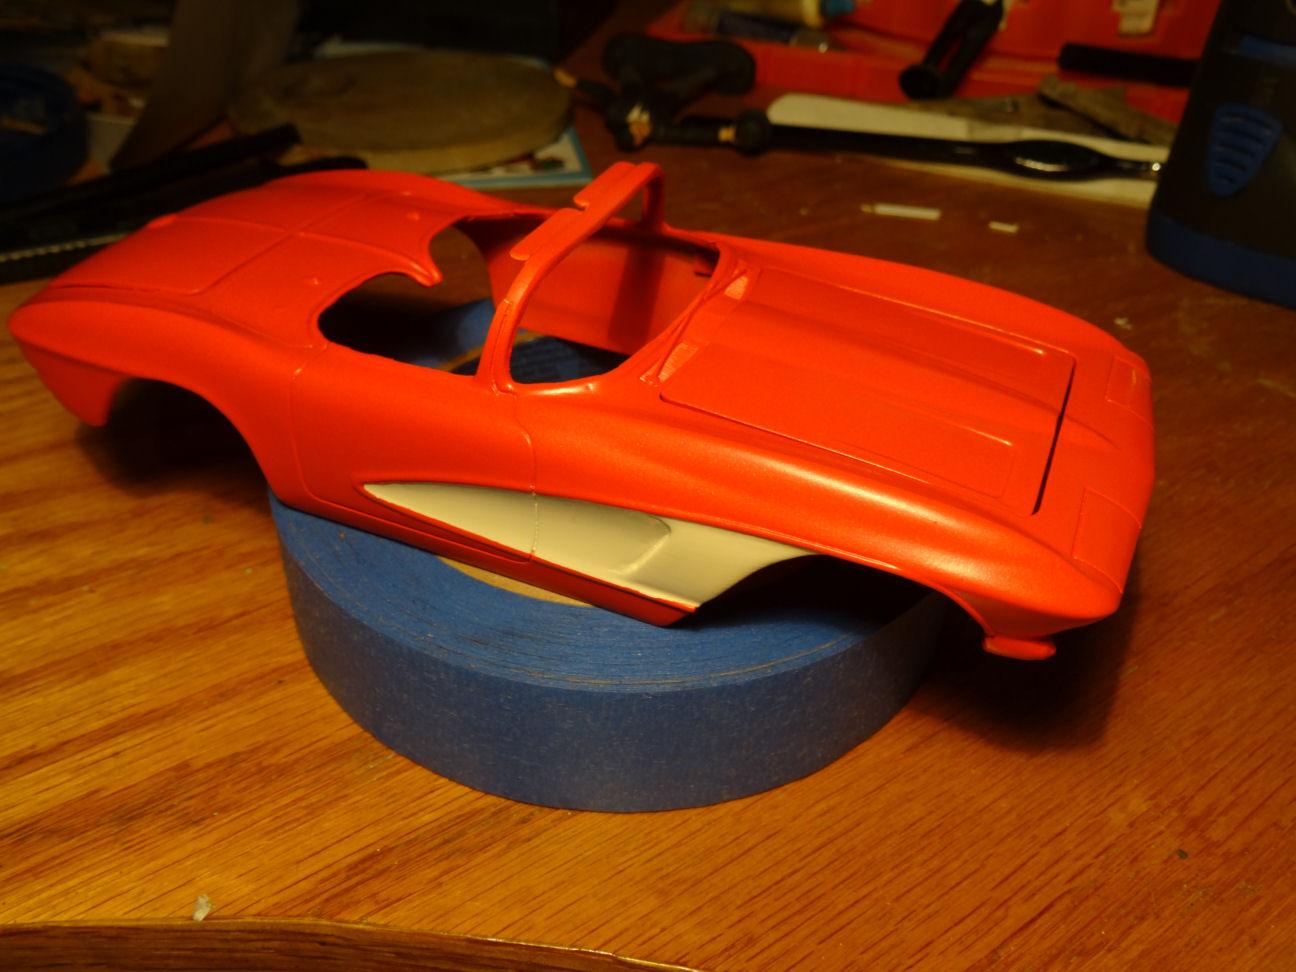
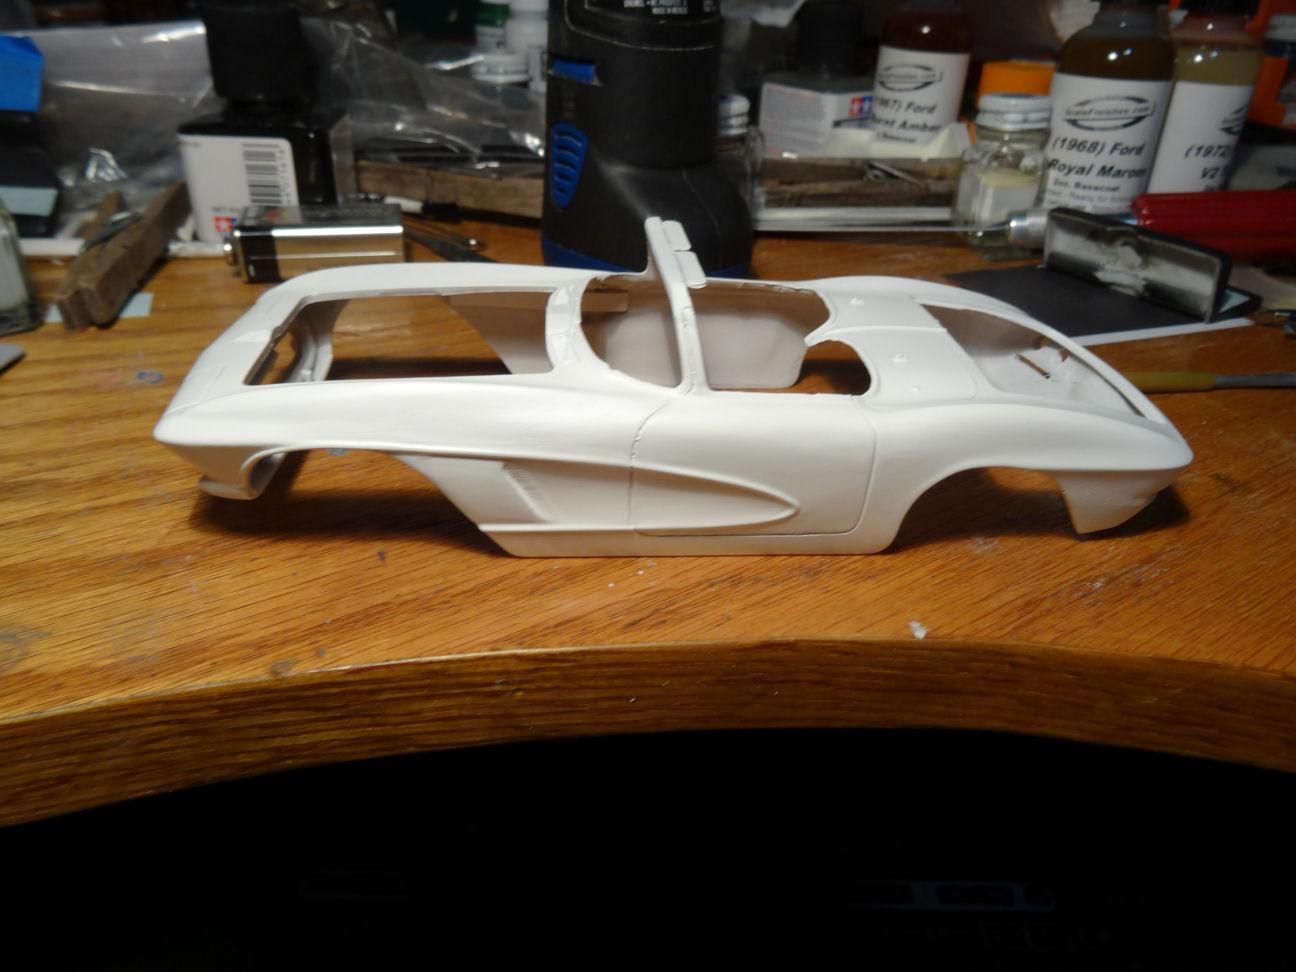
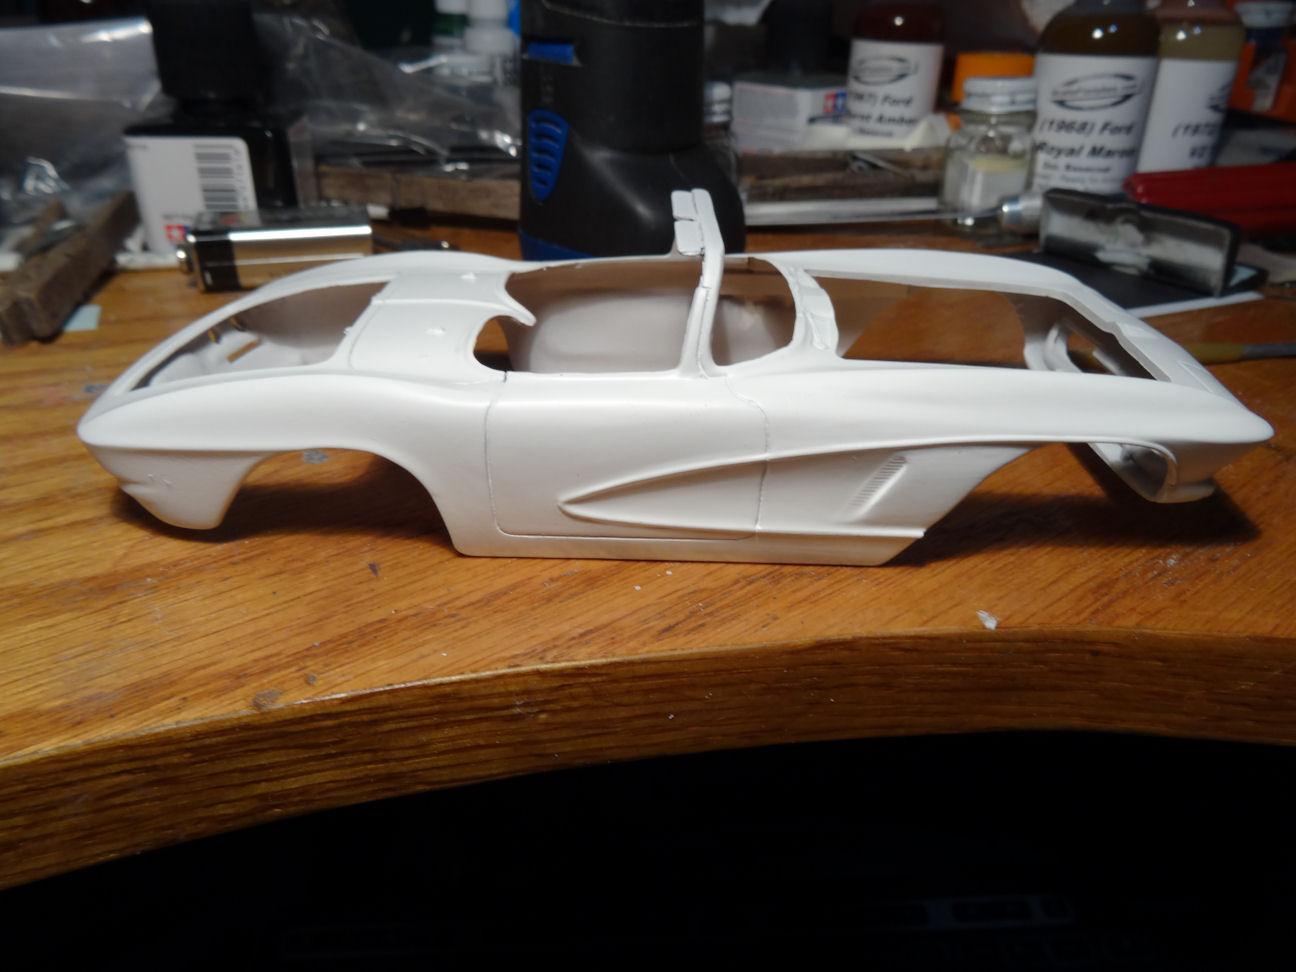
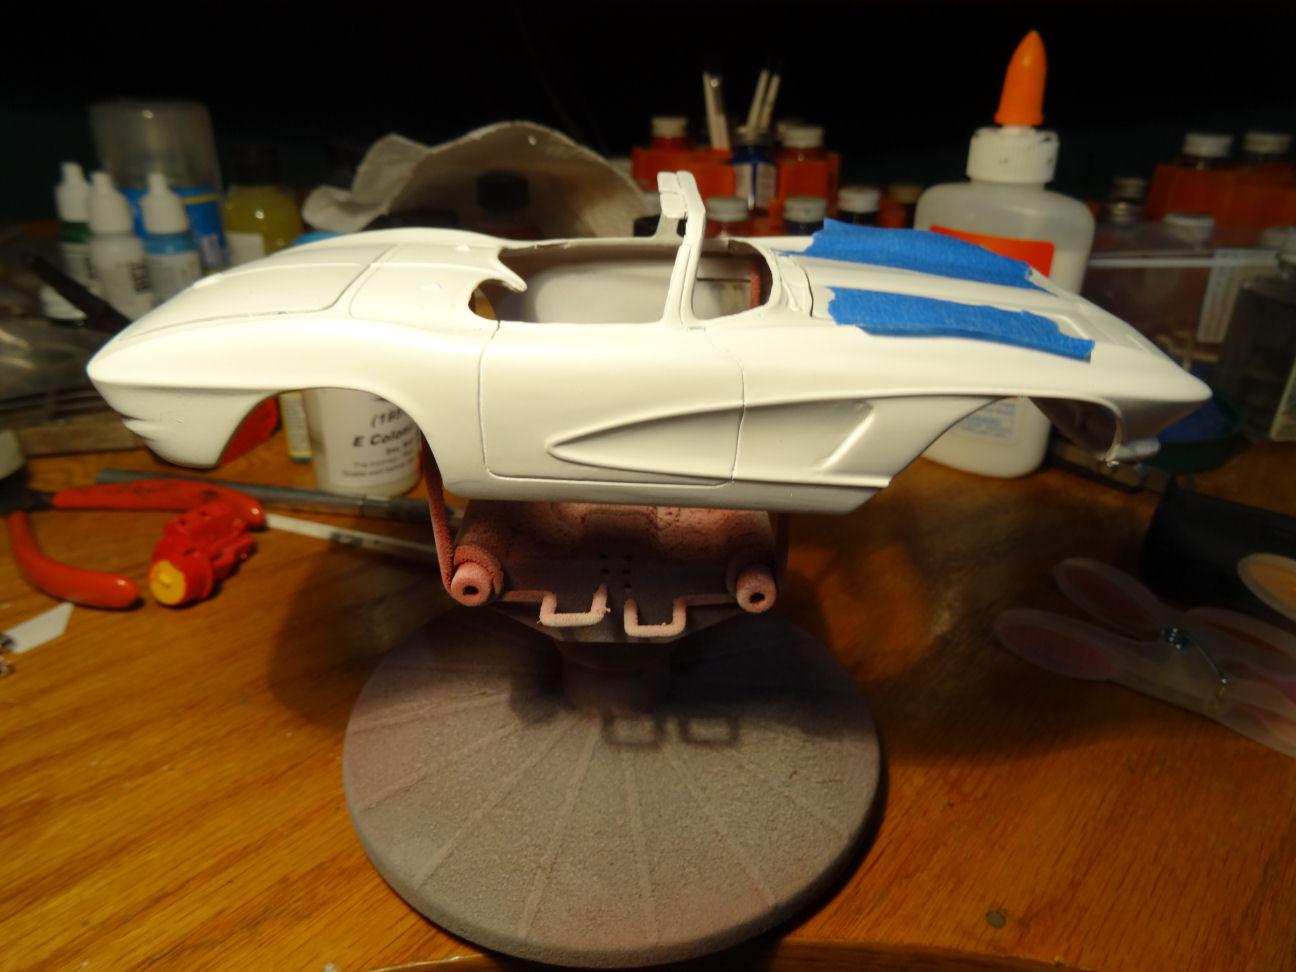
The Vette is slowly taking shape. Did some work on the chassis. Added some ribs to the section I added behind the x-frame. Also disassembled the front suspension but in doing so the springs would not come out. I was not concerned with saving them as I want to go back to real springs the way the first release of this chassis was. So I drilled out the spring pockets to make room. Looking at reference photos online the bottom side of theses Vettes are either bare fiberglass or painted black. I decided to try and replicate the bare fiberglass look. Went over the black paint on the chassis with a tan wash. Did several coats until I got a look I wanted then sprayed the whole chassis with a matte clear. Then I added a touch of overspray from the body color. I went around in circles on what color to paint this. I originally wanted to go with a dark color, such as burgundy or dark green. But I have another project I want to do in Rootbeer, so I switched gears and decided to use the Tor Red that I did not use on the Duster project because I felt it was too orange for that one. At the bottom you can see a comparison of the two. So the Vette is painted with a combination of Chrysler and Ford paint. I used Colonial White, a '57 Ford color, for the sculpted side. Next I need to clearcoat this pair. But that will have to wait for another day. Catch ya next time.
-
I like the combination Jim. Like you said some mat clear should improve matters. The white is too flat and the purple too glossy.
-
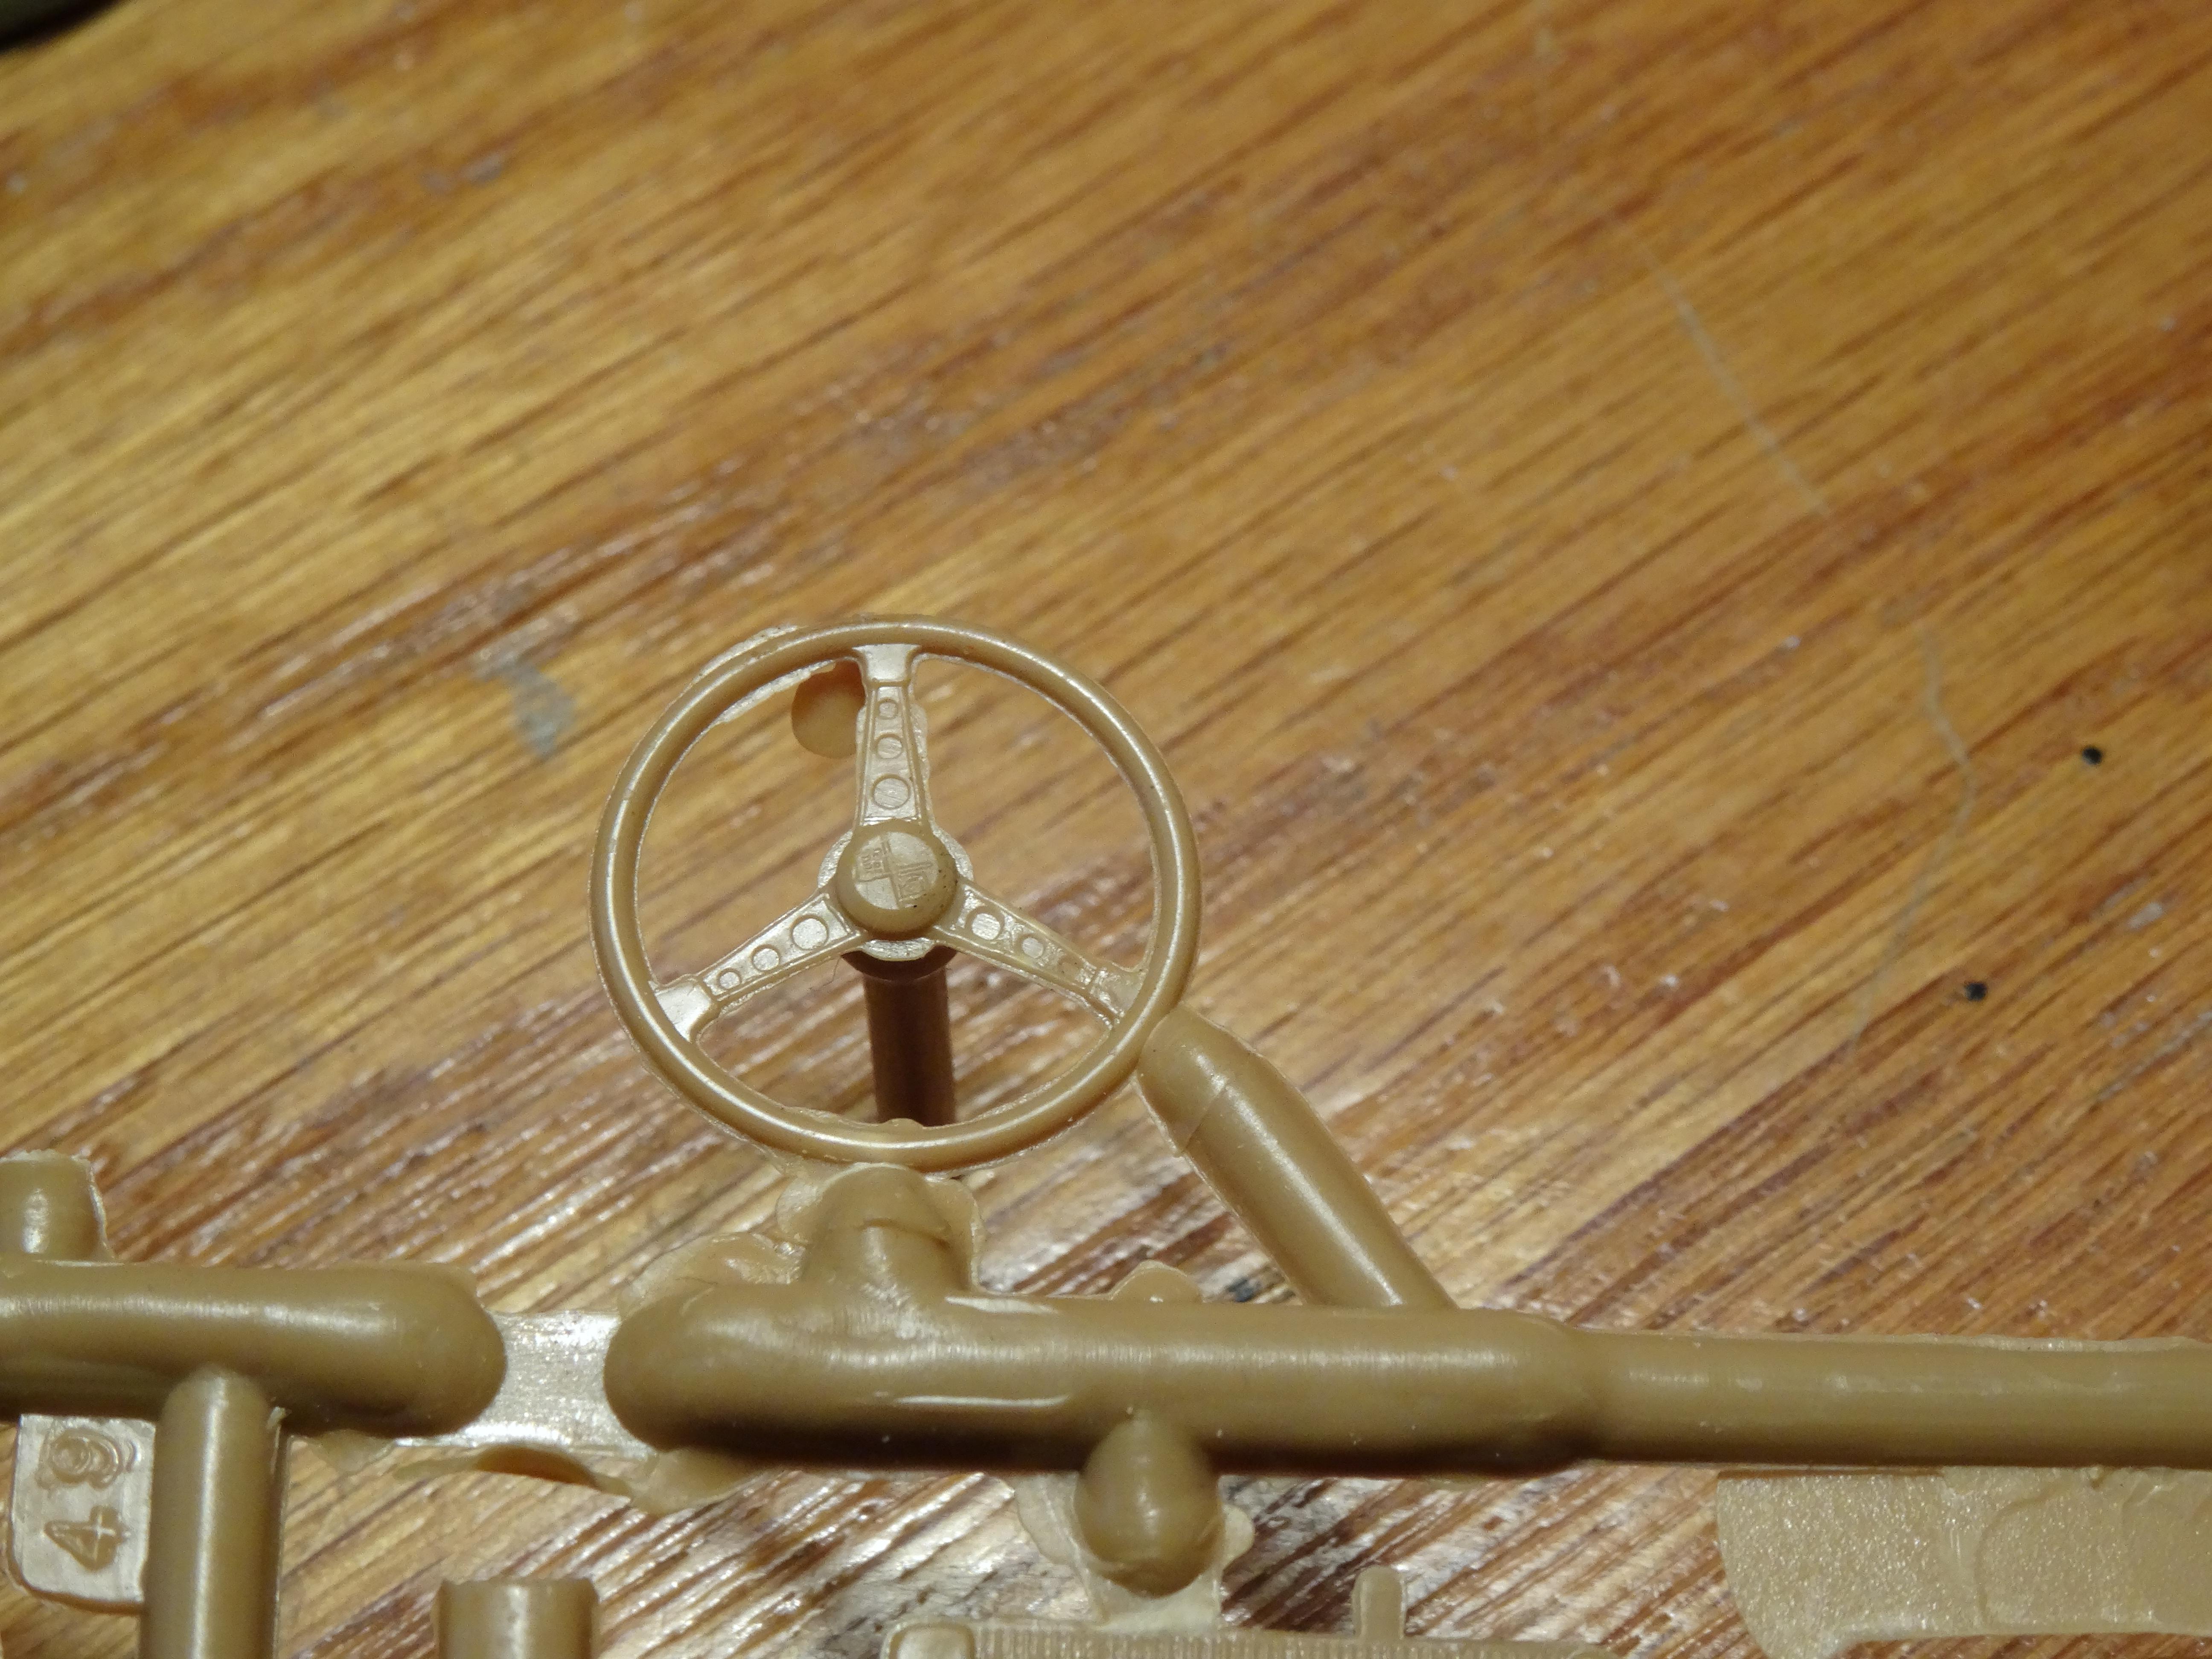
I’m surprised there is so much flash. The original came out in 1999, which by my standards is not that old ?. This version is 2015. I have the original versions stashed away, I’ll have to see how that one looks.
-
'57 El Nomado
LennyB replied to customline's topic in WIP: Model Trucks: Pickups, Vans, SUVs, Light Commercial
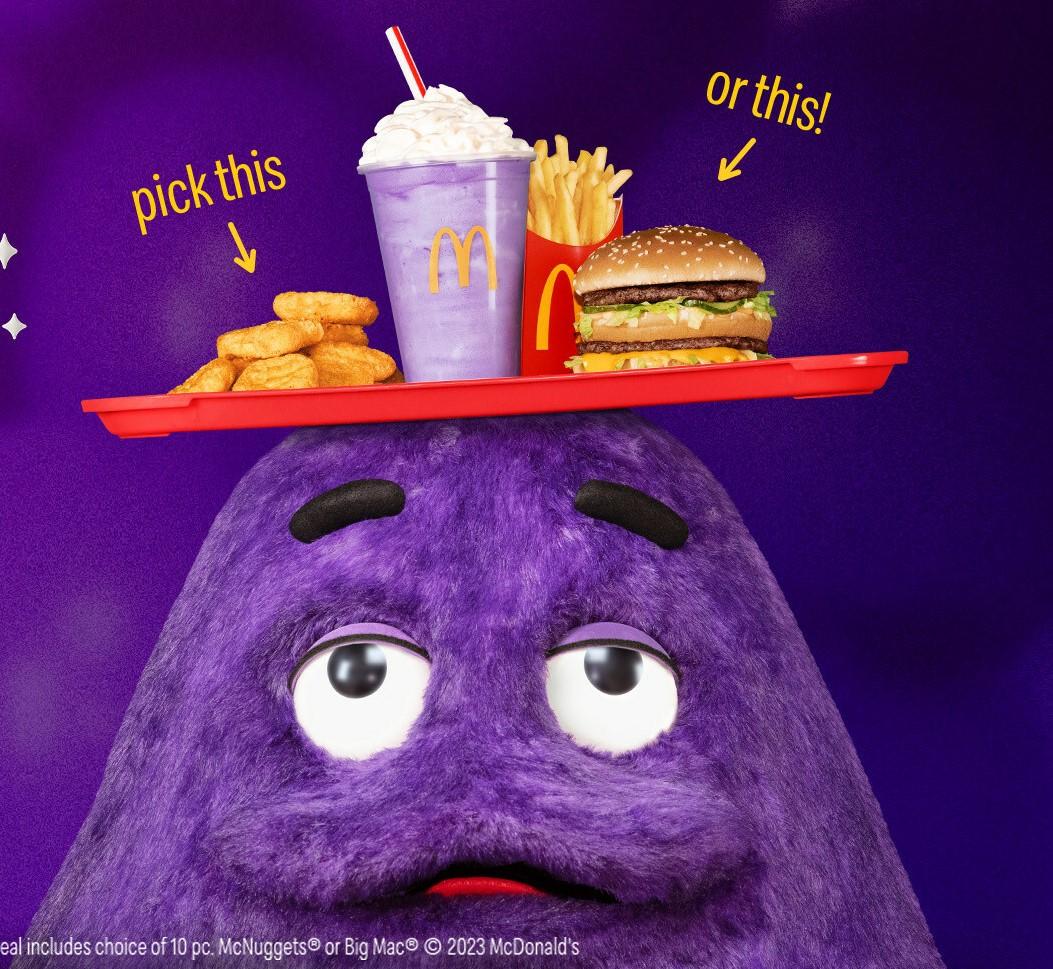
You better hurry up with those buttons. The Grimace is coming with your lunch order, is the paint dry on the cup holders?
-
Valid point, bigger the better anyway?
-
Donald, I'll be watching this one. After doing my 41 Plymouth Woody using the Revell 48 Ford Woody I thought of doing a straight build of the ford. Curious to see how the AMT kit compares to the Revell.
-
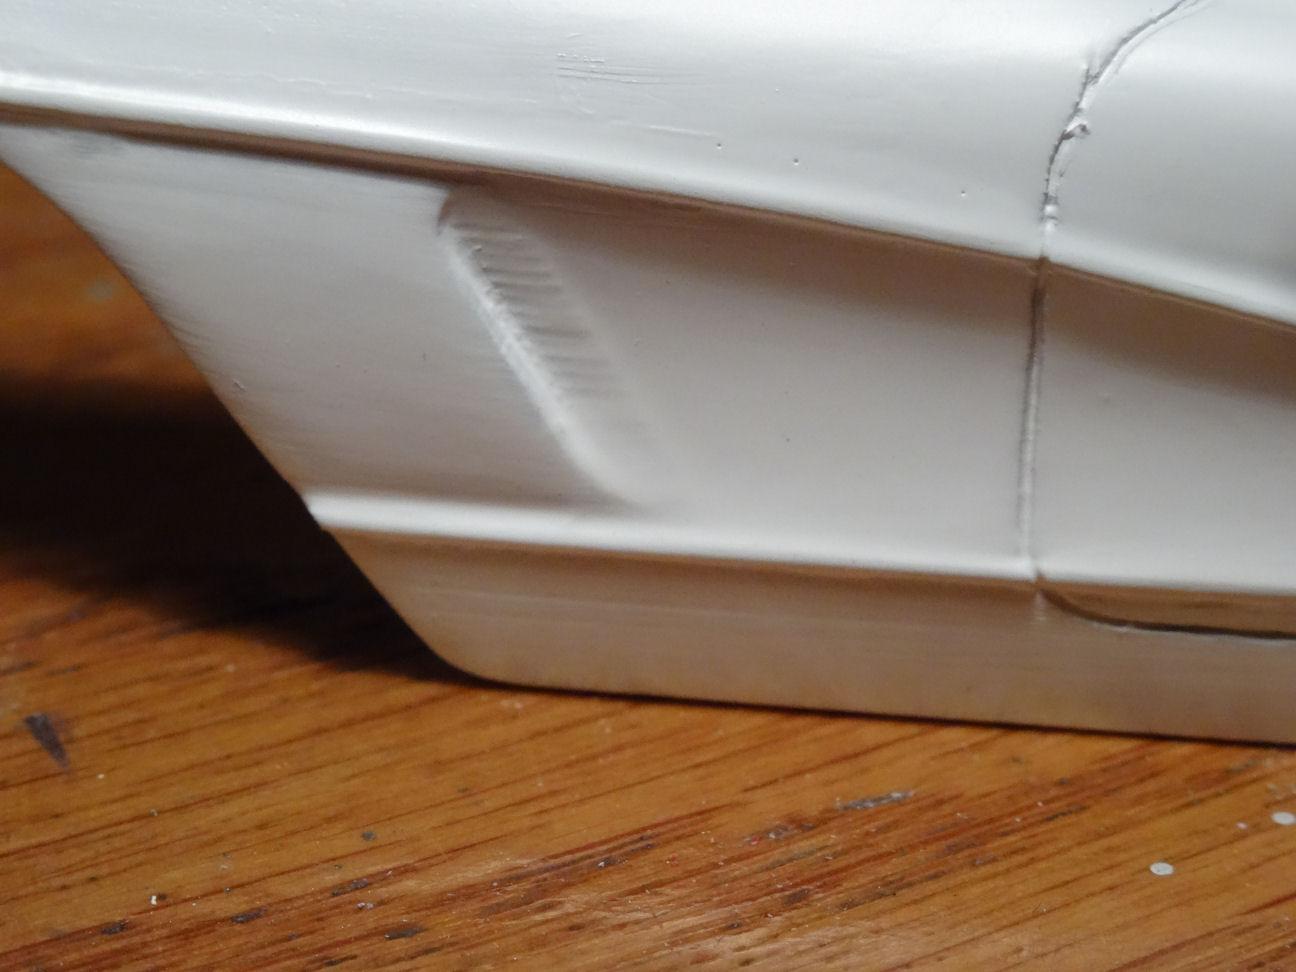
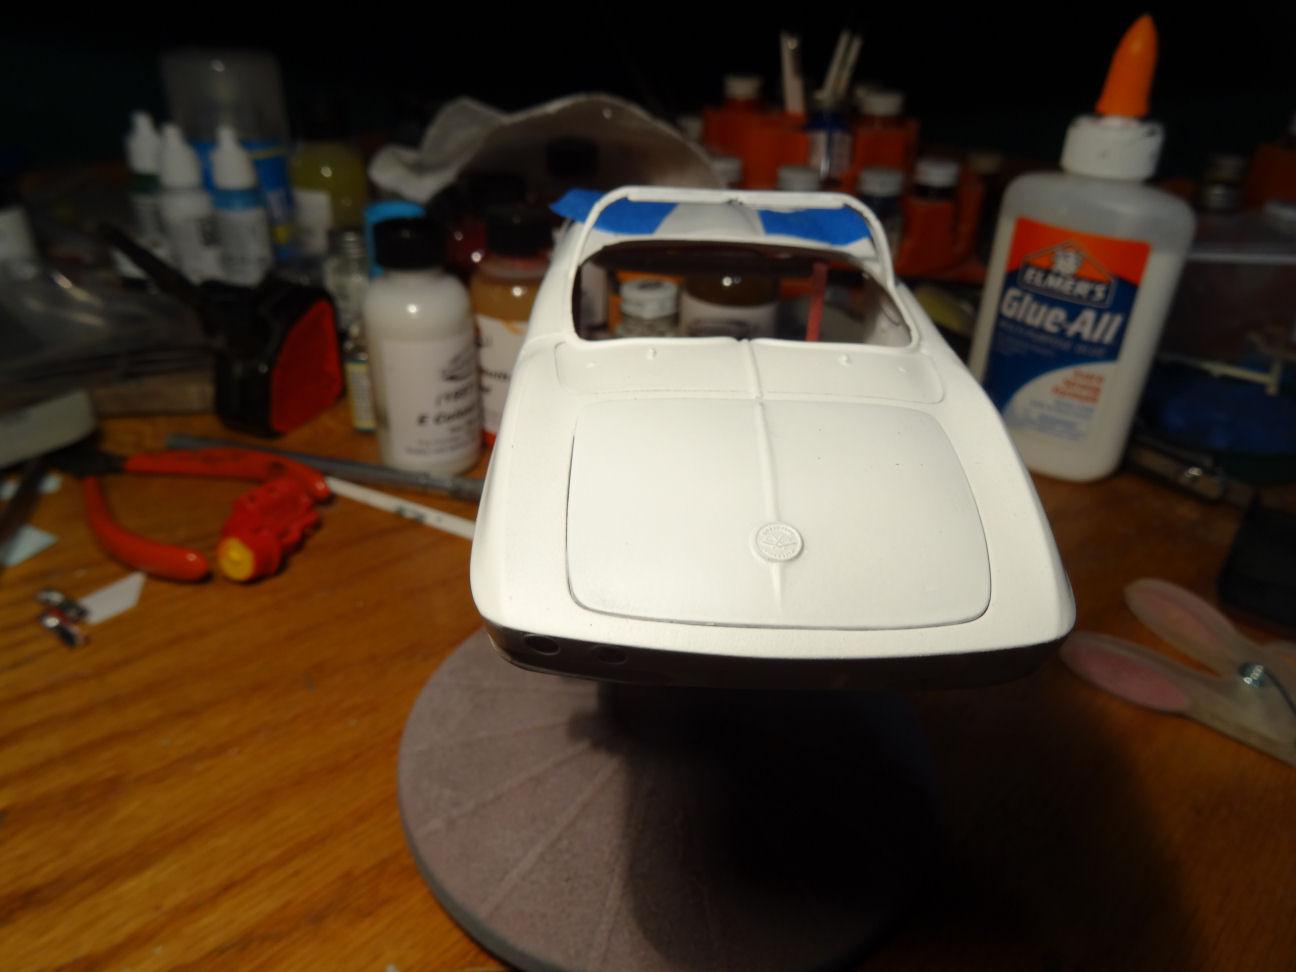
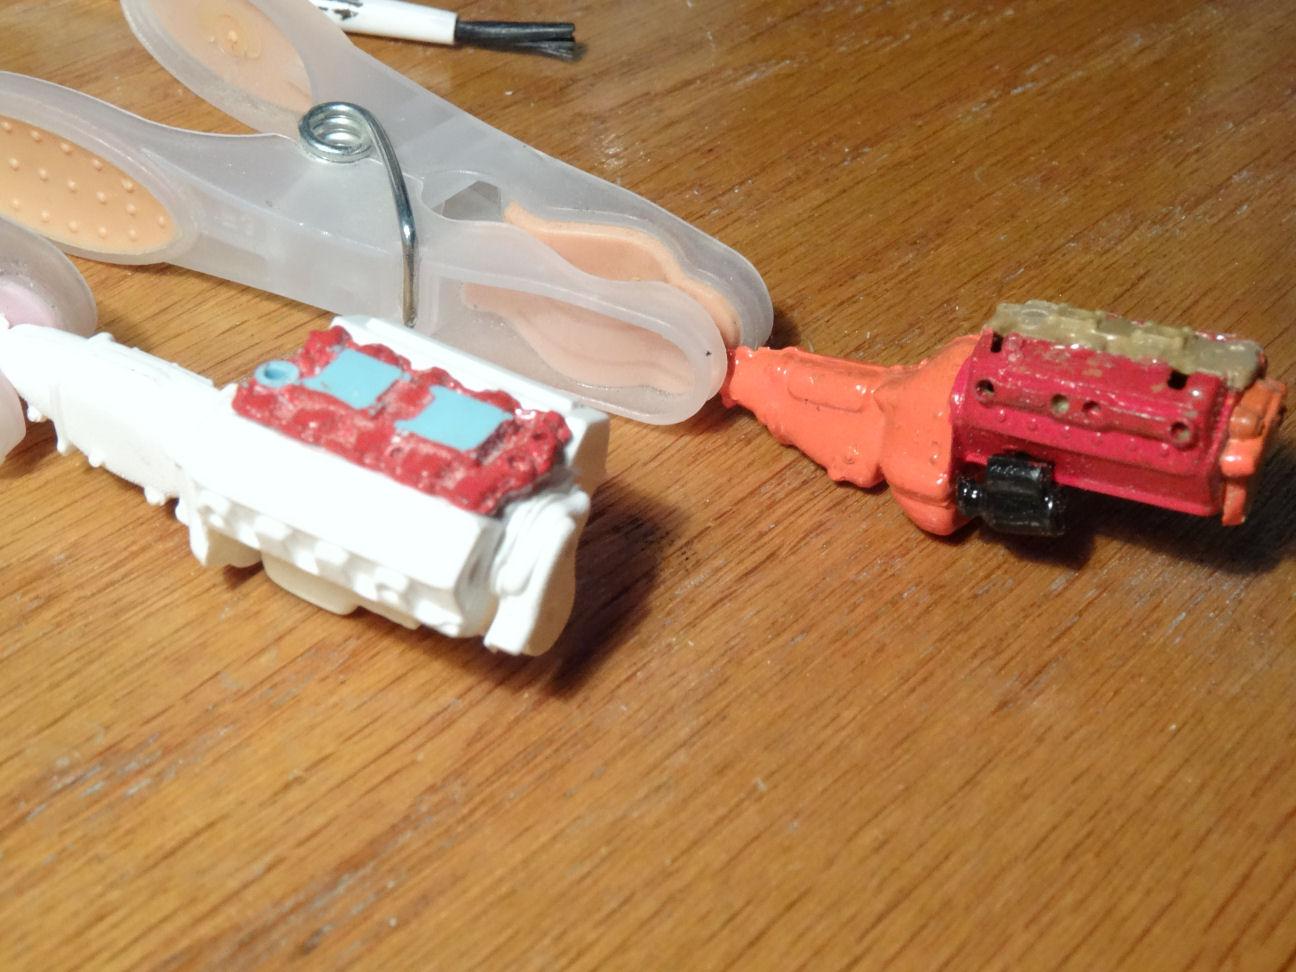
Made some progress on the Vette. Plastruct arrived so I was able to finish the side molding. So both sides are done. Still need to do some cleanup work as the panel lines are a bit janky. One thing I'm disappointed about is I wanted to save the trim inside the side cove. But will all the body work on this one they have gotten very faint. Even tried stripping the paint back in that area but the trim is just too worn. Decided to just remove it and print up some decals to put in their place. Also, the body was missing the crest on the fender when I got it so I'm printing a few of them as well. Printing two different sizes and we shall see which one looks best. Body is getting closer to paint. Still need to figure out how I want to handle the hood and trunk hinges. The trunk uses one of those tiny metal clips. Have to dig one one of those clips up and see if it works. I would like to leave it for sentimental reasons. The front hood has pins on either side of the front edge that are meant to fit into the original inner fenders which I don't have. Have to come up with plan B. Still trying to figure out which way I want to go with the drivetrain. Think I'm going to abandon the LS engine route. Dug the original 283 out of the parts box from the MPC 57 vette kit which someone already started and found I had an unbuilt 327 engine in there as well. Started putting that together to see how it looks. The painted engine is the 283. The box art for the original 57 vette kit has a 4-barrel carb setup and I kinda like that idea. I found an intake for the 327 in the bone yard and added that on top. I think the 327 is the way to go. Thoughts? Until we meet again....
-
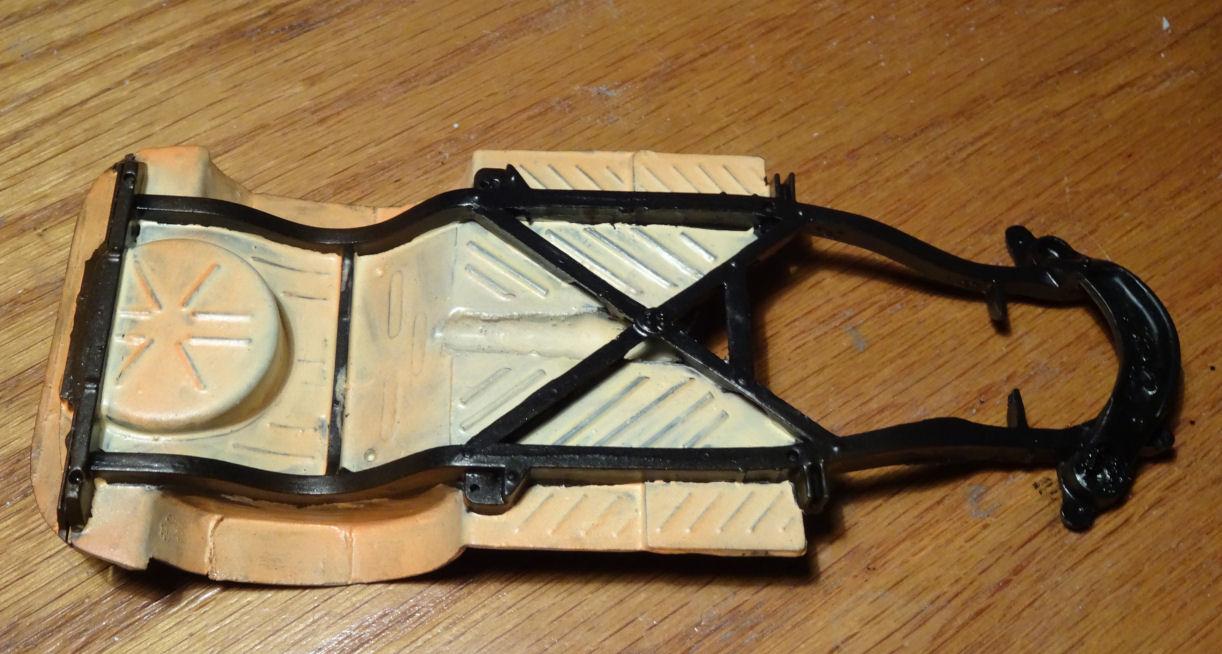
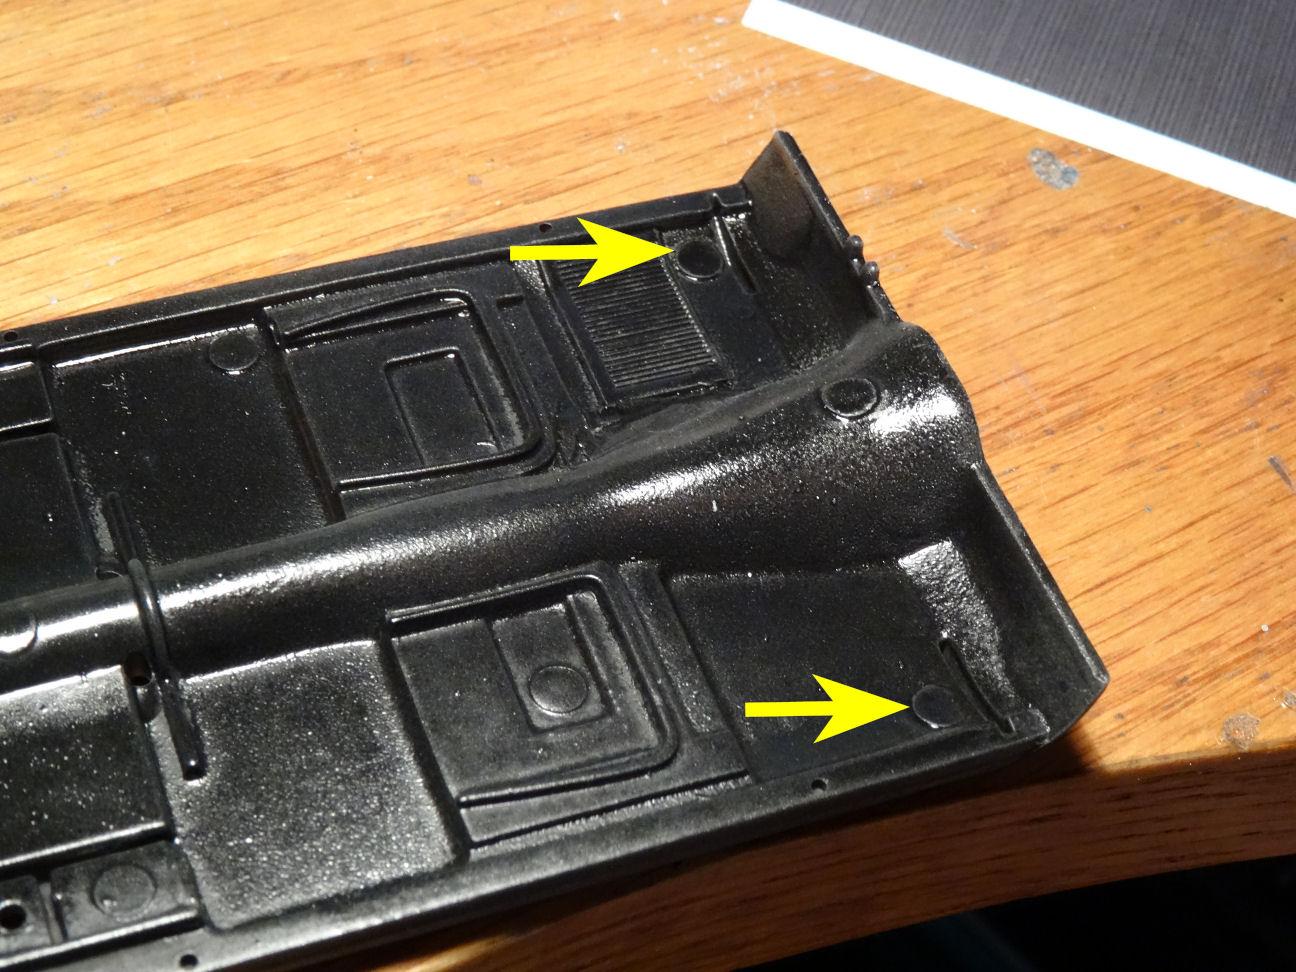
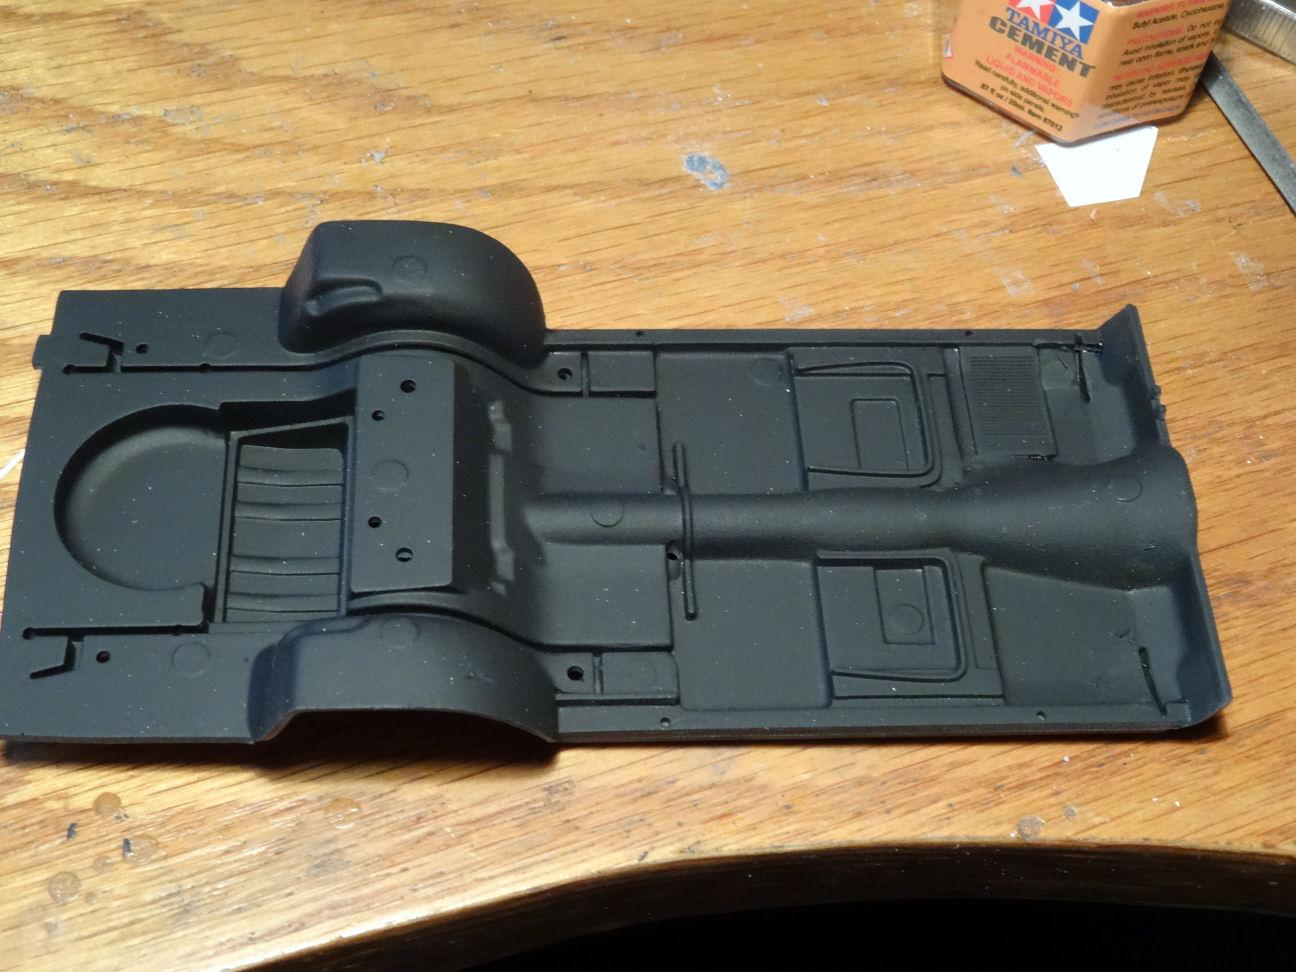
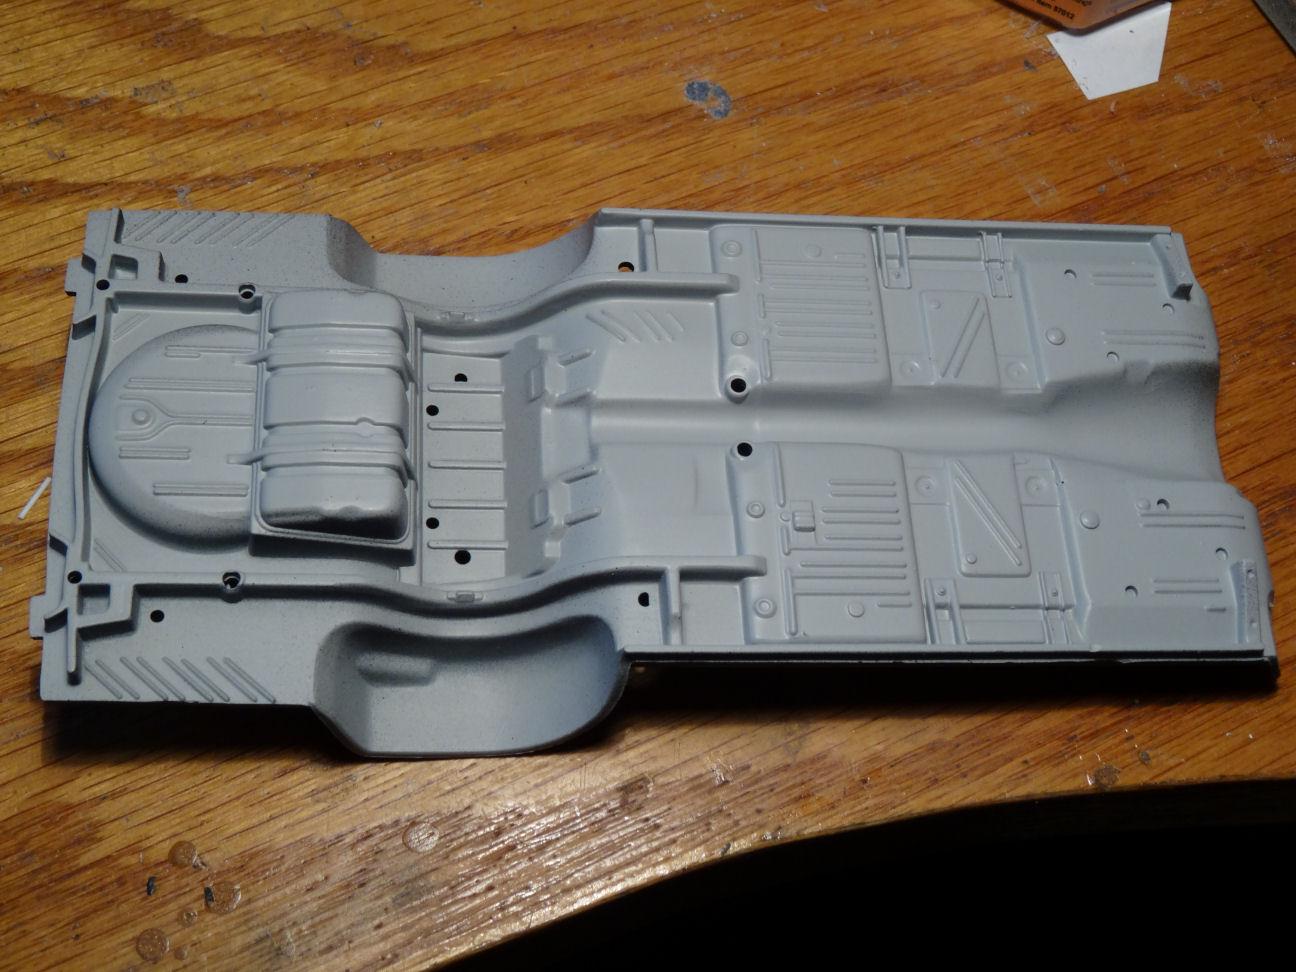
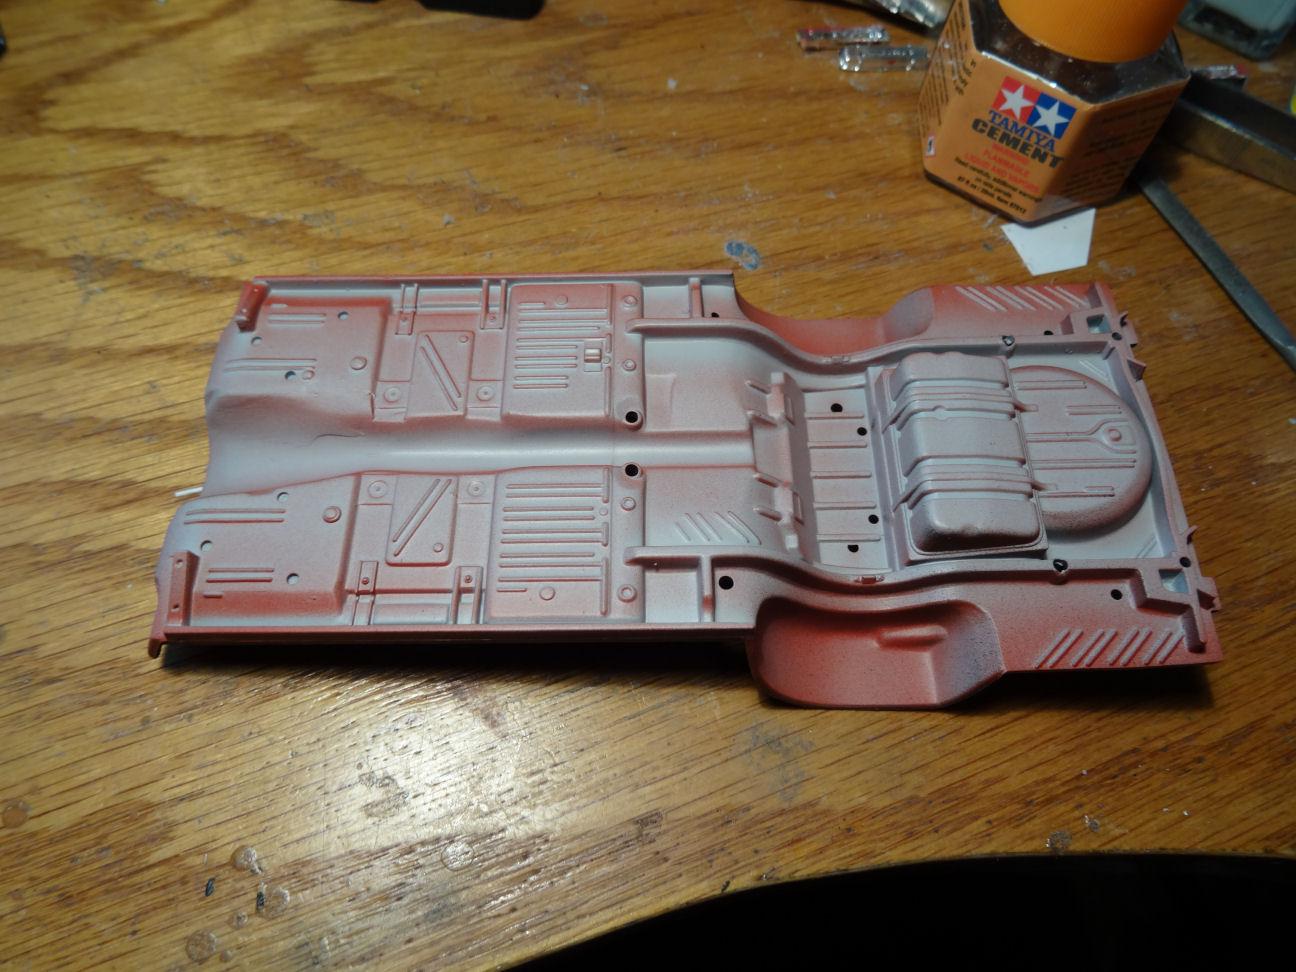
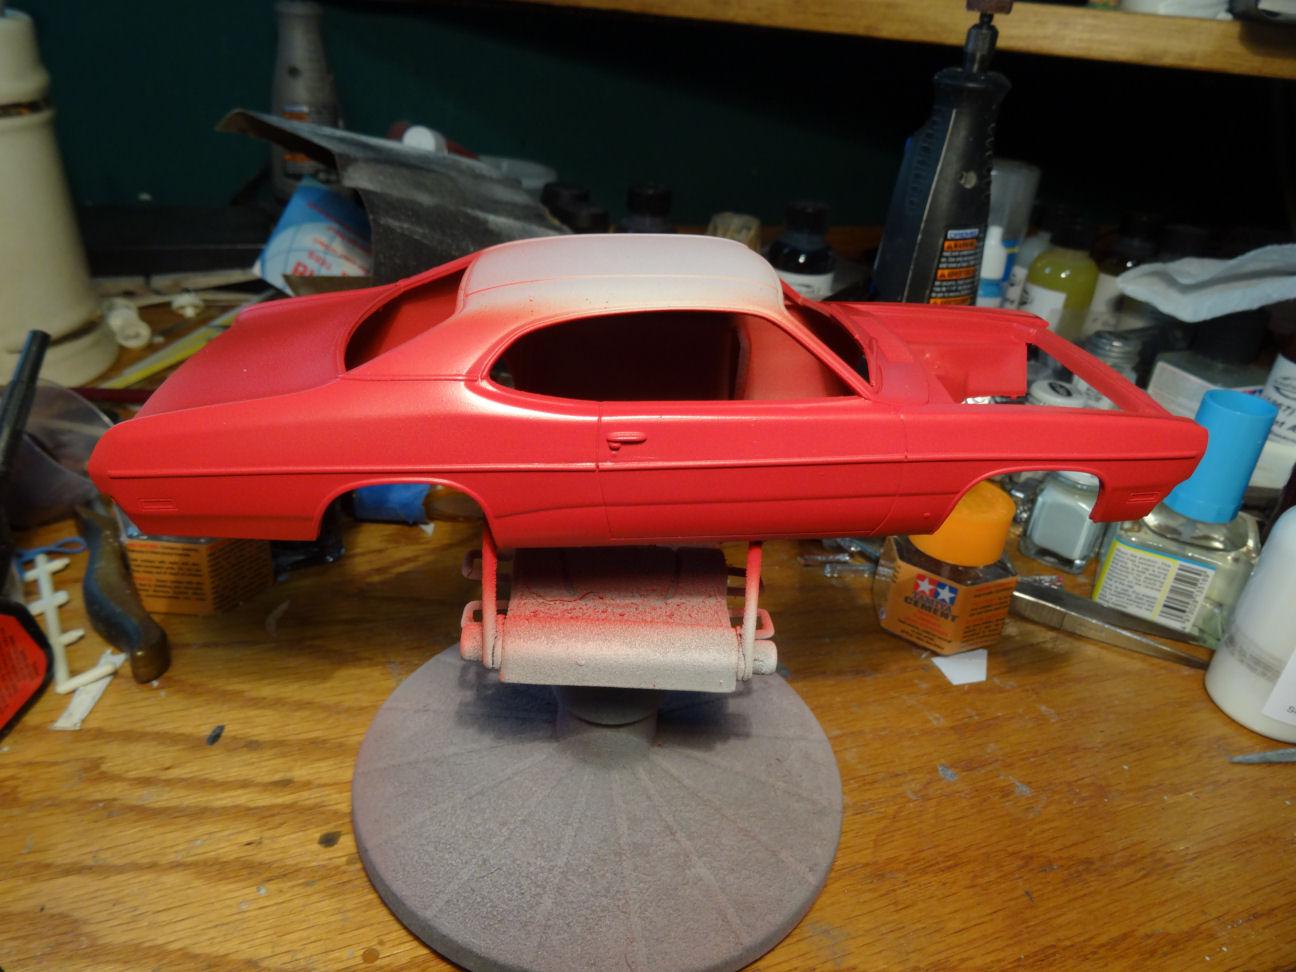
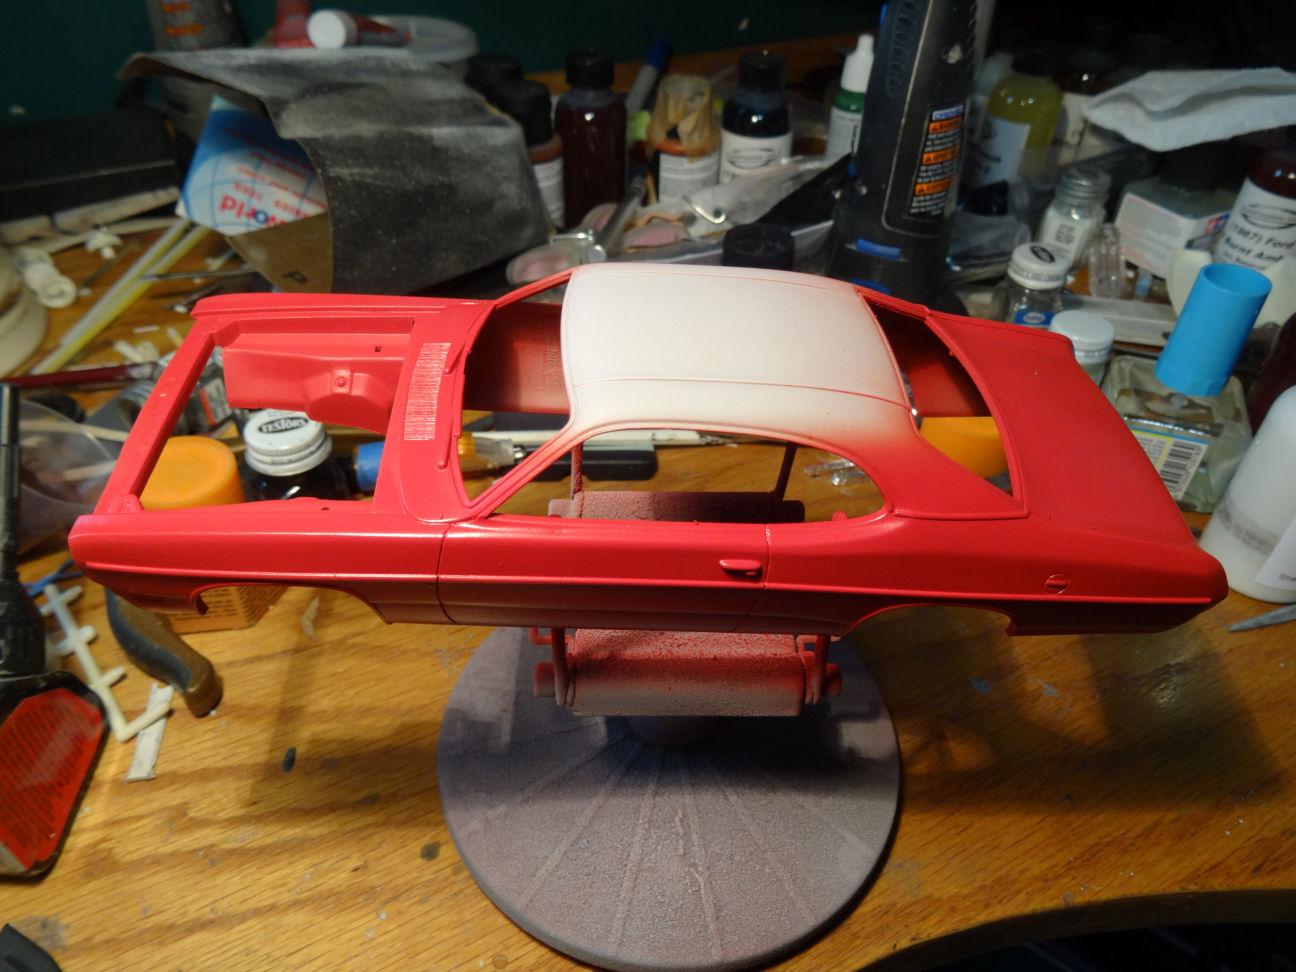
Still waiting foe the decal paper to arrive worked on a few other areas. In order to remove the floor shifter hump from the chassis we needed to do a bit of body work on both sides of the floor pan. The floor also has some large injector marks which need to go away. Cleaned all this up and sprayed the top side flat back and the bottom light grey. Still want to do some flocking for the rug. Also did some overspray on the chassis. And since I had the paint out figured I would spray the body as well. Why not right? This is scalefinishes Plymouth Rally Red. It's a base coat so I will still need to apply a clear topcoat. That will have to wait until the Vette project is ready for clear so I can mix and spray them both together. Next I hope to get started on the tower of power. I've been saying that for weeks and never get there. Hopefully soon. See ya then....
-
Interesting topic and a lot of good information here. However, lot of missing info as well. I am not a graphics person but a printer person by trade and have troubleshot many printing issues over the years. In most cases the printer is not the cause of the problem. As mentioned above the first thing you need to look at is quality of the file you’re trying to print. Most images you grab off the internet are going to be JPEG. These are low quality images. They are also RGB images. What that means is they are made with Red, Green and Blue colors. Your monitor is also RGB, so these images look good on the screen. In order to get something that is black all three colors have to be combined. That’s why most blacks look greyish or brownish. Most printers are CYMK, Cyan. Magenta, Yellow and K for Black. So, to print a JPEG your software program or your printer have to convert the image to CYMK. This doesn’t always convert correctly. So, your image won’t always look like what’s on the screen. In fact, it almost never will. Another reason for that is what you see on the screen is illuminated from behind and what you see on paper reflects the light. It was also mention above about converting files to a graphics quality image. Any converter will not improve the quality of the JPEG. It’s like trying to take an MP3 file and converting it into a wav file. It’s a lossy file format and you won’t retrieve the lost data by conversion. Converting the file can sometimes help as it probably does a better job of converting the RGB to CYMK then your printer does. But your best bet is always to start out with the best quality image in a CYMK format There are a lot of printers on the market both good and bad. Doesn’t matter a whole lot if it’s ink, laser or wax, as long as you have the right decal paper to go with it. What’s more important is the dpi (dots per inch). If your printer is only 600 dpi then you need to go shopping for a new printer. You always want to use the highest dpi possible. Another thing I see a lot is people using the wrong print driver. They use a generic driver that their Windows PC or MAC installed by default. Yes, you can print. But as a rule, the proper driver downloaded from the manufacturer’s website will give you more options when it comes to printing and improving the output quality. You also need to pay attention to the “paper type” you select when you print. I’ve yet to see a printer that has a decal setting, but generally the closest setting you will find is glossy paper. The printer will make adjustments for the slick surface of the decal so the ink/toner will adhere better. There is one last thing that effects the way the colors look. Are you using clear or while decal paper? The ink/toner/wax is actually somewhat transparent. And by design is meant to be printed on white paper and it factors the white into the equation as to how the colors come out. So, when printed on white decal paper the color will come out brighter then on the clear. It should go without saying the color of the model will change the way the printed color looks. If you put a red decal on a blue car, you can expect it to look purple. Sorry for being so long winded but I hope I’ve said something that can be helpful to somebody out there.
-
Cool project. Somewhere I have their Pierce Arrow but it seems to be MIA.
-
Thanks Rich, just to clarify I’m using a laser printer. It uses toner not ink. I ordered some more decal paper earlier will give it another go when it arrives.
-
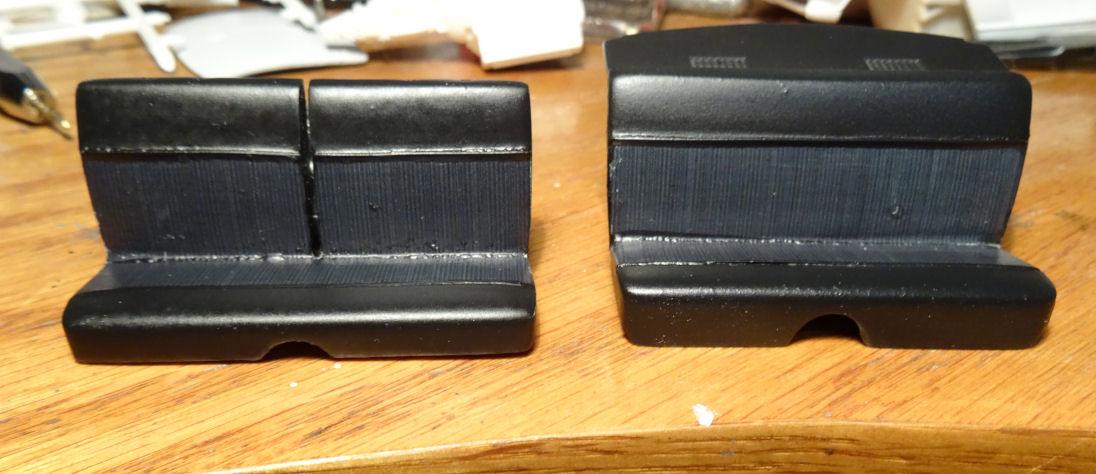
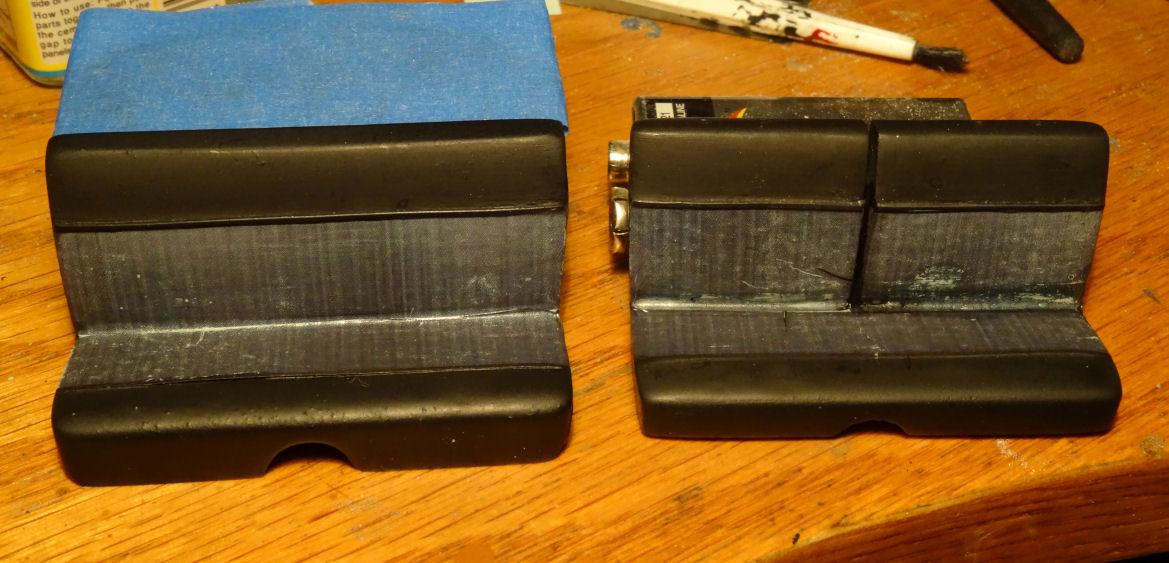
Printed up some clear decal paper and tried to do the fabric insert on the seats. The concept worked but the execution leaves something to be desired. I had painted the seats black and when I put the decals over the back they completely disappeared. You couldn't see the pattern. Then I painted the are on the seats where the decals go medium grey. This worked a bit better as you could se the pattern but while working the decals into place some of the toner rubbed off. Perhaps I should have clear-coated the decals first. I'm completely out of decal paper so I"m not sure if I want to pick up some more and give it another go, or take a different approach.
-
Stopped at a different Ollie’s over the weekend and they had noting as well.
-
I like the stance on the ‘30, it looks wicked ?
-
The return of the purple people eater. Glad to see your back on track ?