Ken Car-Fanatic
-
Posts
124 -
Joined
-
Last visited
Content Type
Profiles
Forums
Events
Gallery
Everything posted by Ken Car-Fanatic
-
Very nice & clean build. Hope to see more! Well done.
-

Honda Civic Si coupe and Civic Hatchback
Ken Car-Fanatic replied to Rich Chernosky's topic in Model Cars
How very Civic minded of you to build these! Very nicely done tuner Honda kits. I've always liked some of the Honda cars (especially the CRX, S2000 & Civic Si's), and these look very good. Well done. -
Very impressive & well done. Like others, I have one of these kits & was so disappointed in it, that I wasn't sure if I would even attempt to build it? Yours has now given me hope & makes me want to build it... (someday). The details & modifications you added wonderful. Very nice work!
-
Sadly, I thought I'd have lots of time to work on this over the holidays, but of course, all kinds of stuff has to go wrong all at once & I just finally got back to this. So things are much better now. Continued interior & chassis detailing & assembly. Working on engine compartment & body now. Lots of details, parts & test fitting on some of these AMT kits, but I'm fairly happy with the way things are coming out. Hopefully I can finish this in the near future?

-
Thanks, I just recently started getting back into model building, so I hope to keep showing more in the future. Happy Holidays to you as well.
-
Thanks. The top-side & interior are pretty decent, but the under-side & chassis was almost more toy-like, so sad to say, you probably didn't really miss-out on anything by not getting one.
-
Really nice looking Impala build.
-
Also found some correct diameter & thickness wheel backers (had to de-chrome them), not sure what they where originally from, but they'll work. The center post hole was just a little too big & sloppy, so I ended up taking some Thick C/A Glue (super glue) with some Zip-Kicker (C/A accelerator) & used a toothpick to apply glue & a Q-tip soaked of Zip-Kicker to build up 3 coats on post hole, then re-drilled to correct needed size. So now the wheels fit nice & snug with no slop. Also got 'em painted.
-
Pretty much completed detail work on interior, except during that, I tried to use Tamiya Panel Liner to accentuate the folding seat seam & found it works great on gloss paints, but not on flat acrylics, it just soaks into, bleeds & stains the paint (Arg!). So I had to re-mask & touch-up paint on rear bench seat (luckily it was the easiest thing I could have mucked-up & redo). Also when un-gluing the interior pieces, the steering wheel assembly didn't come off clean, so I just took an Evergreen plastic rod & drill the steering column & dashboard to make a locating pin to help re-glue it.
-
The Pig Rig
Ken Car-Fanatic replied to Nosferatu's topic in WIP: Model Trucks: Pickups, Vans, SUVs, Light Commercial
YES! This one makes me smile for all the right reasons! Very creative & I can say it's unlike any other build I've seen before. Brilliant. I'm sure you have your own ideas on paint & finish (& I can't wait to see how it comes out), but just looking at it got my brain instantly thinking about a sort-of Candied Red-Brown color like barbequed pork, or a paint scheme like the 1971 LeMans Porsche 917-20 called the Pink Pig (pictured). Although admittedly, I do actually like the menacing look of the black too. Can wait to see how it comes out. Very cool.
-
That looks Great! Beautiful Buick & an excellent build.
-
Nice! I've always loved the '64 Dodge 330, 440, Polara, Phoenix cars, especially the Hardtop Coupe body styles. But you've now proven that a sedan can look REALLY good. Nice build!
-
Thanks, it really wasn't a great kit, but it was fun to build.
-
Very nice build of a classic car. I've always liked these Monogram classic car kit & agree that they seem to make great finished kits. And your care, detail & choice of colors has made something that looks great.
-
Very nicely done! I've always liked this generation of the F150 Lightning, great looking truck.
-
I like it. Very interesting build. I also am now oddly curious about the movie? Very cool.
-
So I did this one back around 1999, the place I got the kit from was clearancing-out all there model kits & I got it for $3.00. Thought it would be fun to play with & try something a bit different, so I lowered it, put a set of Fujimi 18" wheels with big Brembo brakes & a bigger exhaust on it. Painted it bright metallic orange & put relevant tuner-race decals on it. Also did white-faced gauges & some aluminum trim inside. (Of course if it was real, it would have a performance cam, free-flowing heads, headers & big anti-roll bars to go along with lowered stiffer springs). The kind of van I'd like to drive, if I had to drive one. Just an idea, but thanks for looking.
-
Got the body & wheels painted using the Pearl EX powdered pigments. Ended up having to use some metallic red Tamiya Lacquer paint along with some clear as a base for the pigment (used Super Russet [metallic-red] & Antique Copper pigments with some Fluorescent Red). The color came out a bit too bright with a more copper color than I wanted, so I ended-up clear coating with a mixture of Tamaiya's Clear Smoke (dark tint) & Clear Red to get the color I wanted. Happy with how it came out (the photos look brighter than it is, it has a deeper color in person). I painted the wheels Black with a clearcoat that had just a little Antique Copper mixed in. The self-pigmented paint worked well, but did require a good bit more stirring every couple of minutes because the pigment does settle in the spray cup of the airbrush. It also seemed to take maybe a couple more thin coats of clear than I otherwise might have used, but the new color options are amazing & I will use this technique again if I need to.
-
Fantastic conversion on this & a beautiful build. I've always loved the Lancia Stratos, such a classic sports car, especially the Alitalia sponsored race versions. Great job. I will certainly follow this one to the end.
-
WOW! I can't wait to see how this turns out, because everything up to this point is really stunning! Excellent work.
-
Very nice. I'm really interested in this one because I also have an Esprit Sport 300 kit to build. I'm loving your choices so far & attention to detail. Really looking forward to following this one. Great work.
-
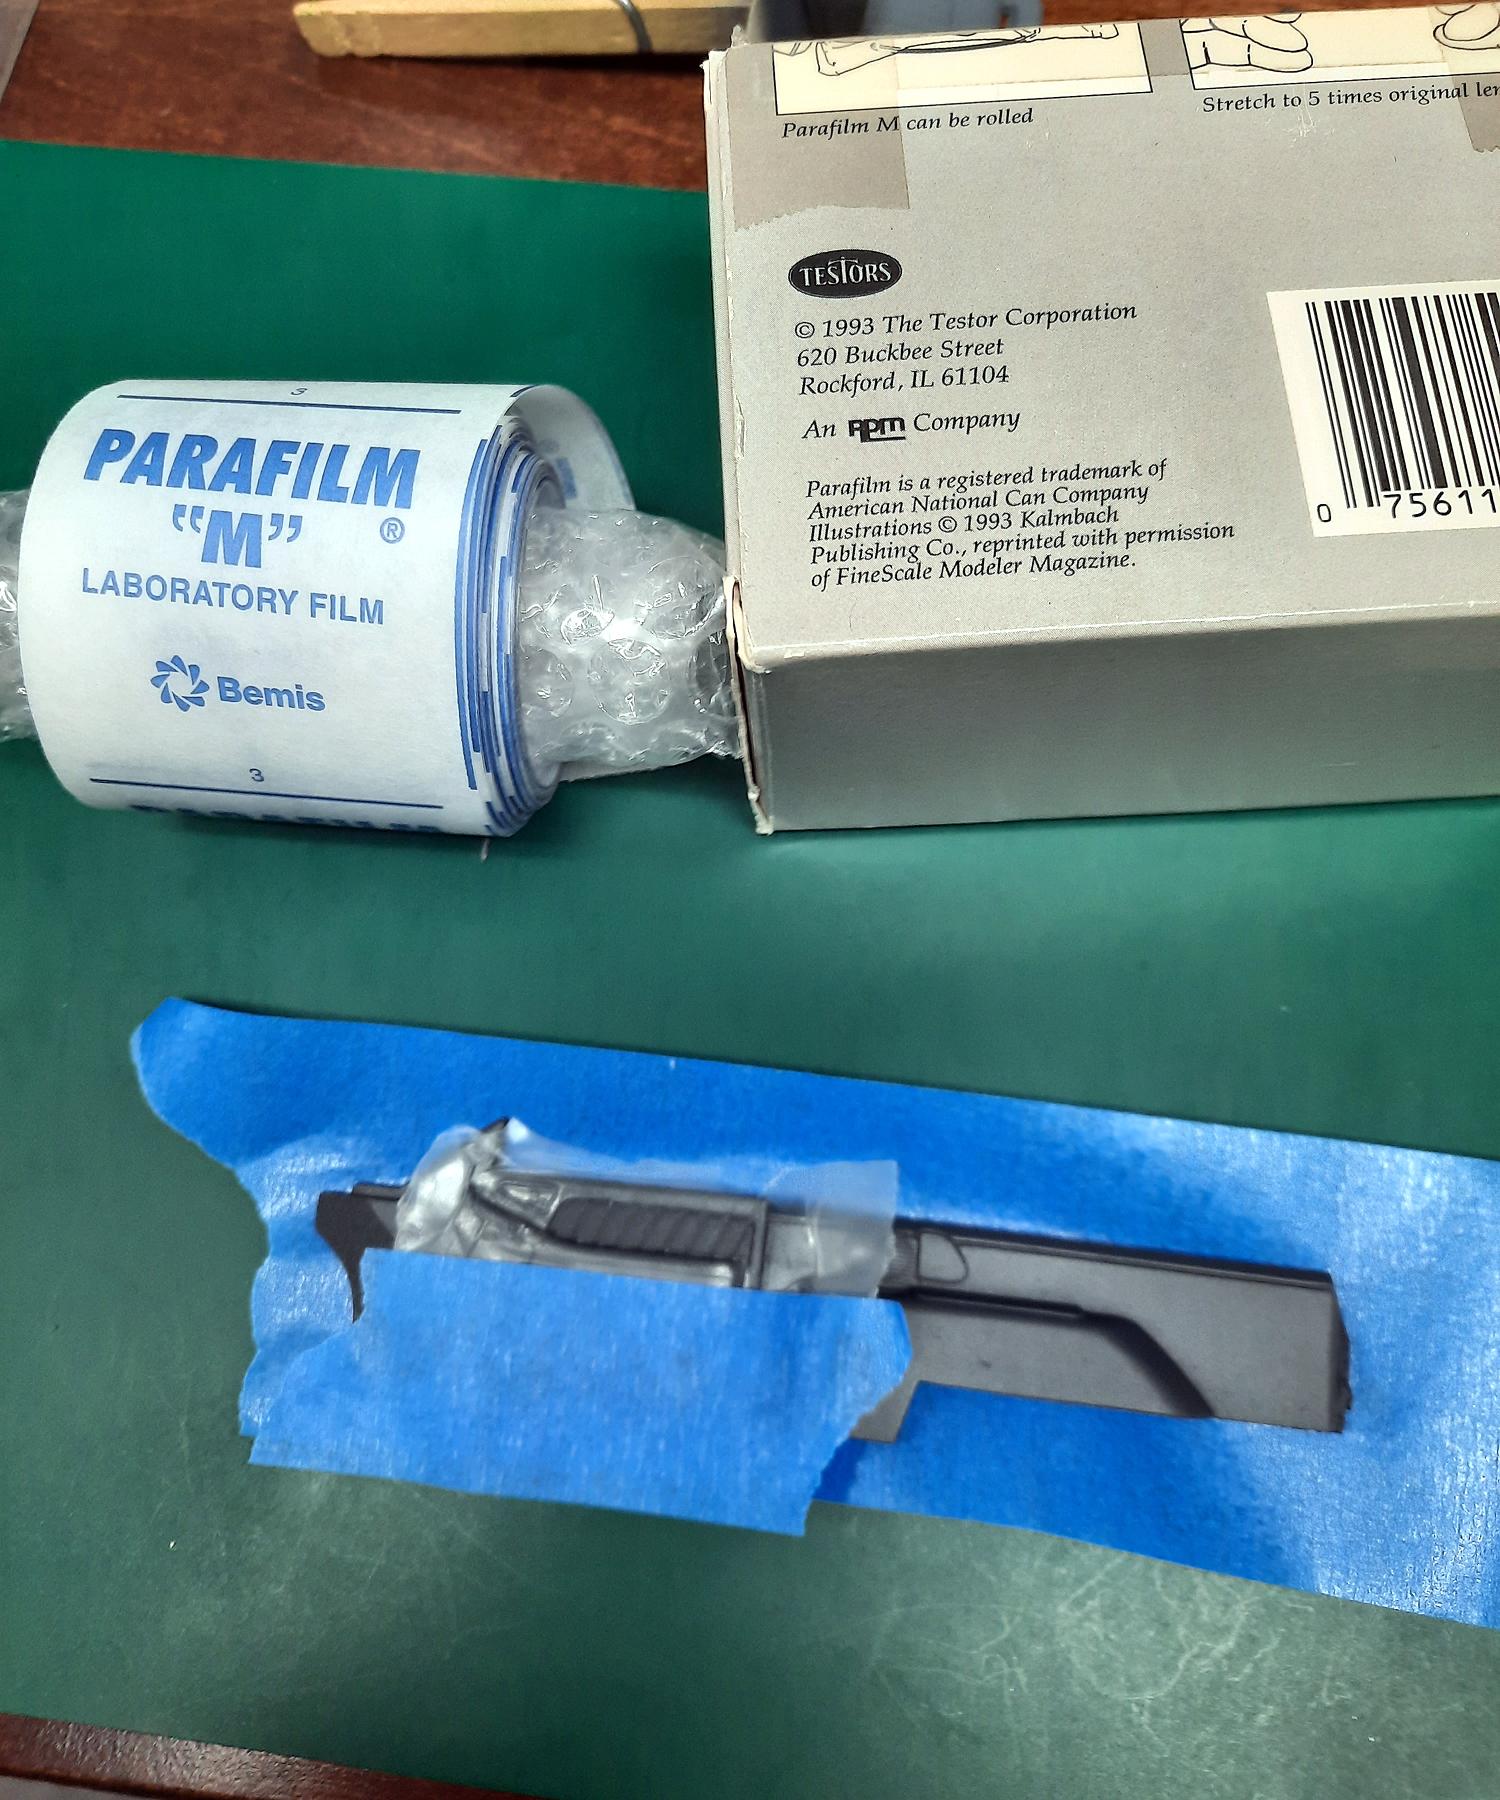
The picture isn't the greatest (darker than normal), but it's the color I figured I try to reproduce. Got the door panels, carpet & seats painted tonight, still remembering how to do things & was trying to figure best way to mask off different sections of seat fabric when I realized I still had some Parafilm for masking (great stuff for complex shapes). The colors (greys) are all air-brushed Tamiya Acrylics, with the carpet & the seat fabric mixed thicker (almost not thinned) & sprayed at low pressure with the air-brush held further back to create the speckled & textured look. Mixed some gloss clear into door-panel & dashboard paint to create the vinyl sheen. Now the detail painting begins.
-
Now that is kool! I seen pictures of the kit before in the past, but I've never seen one. Great to see this build & very nicely done!
-
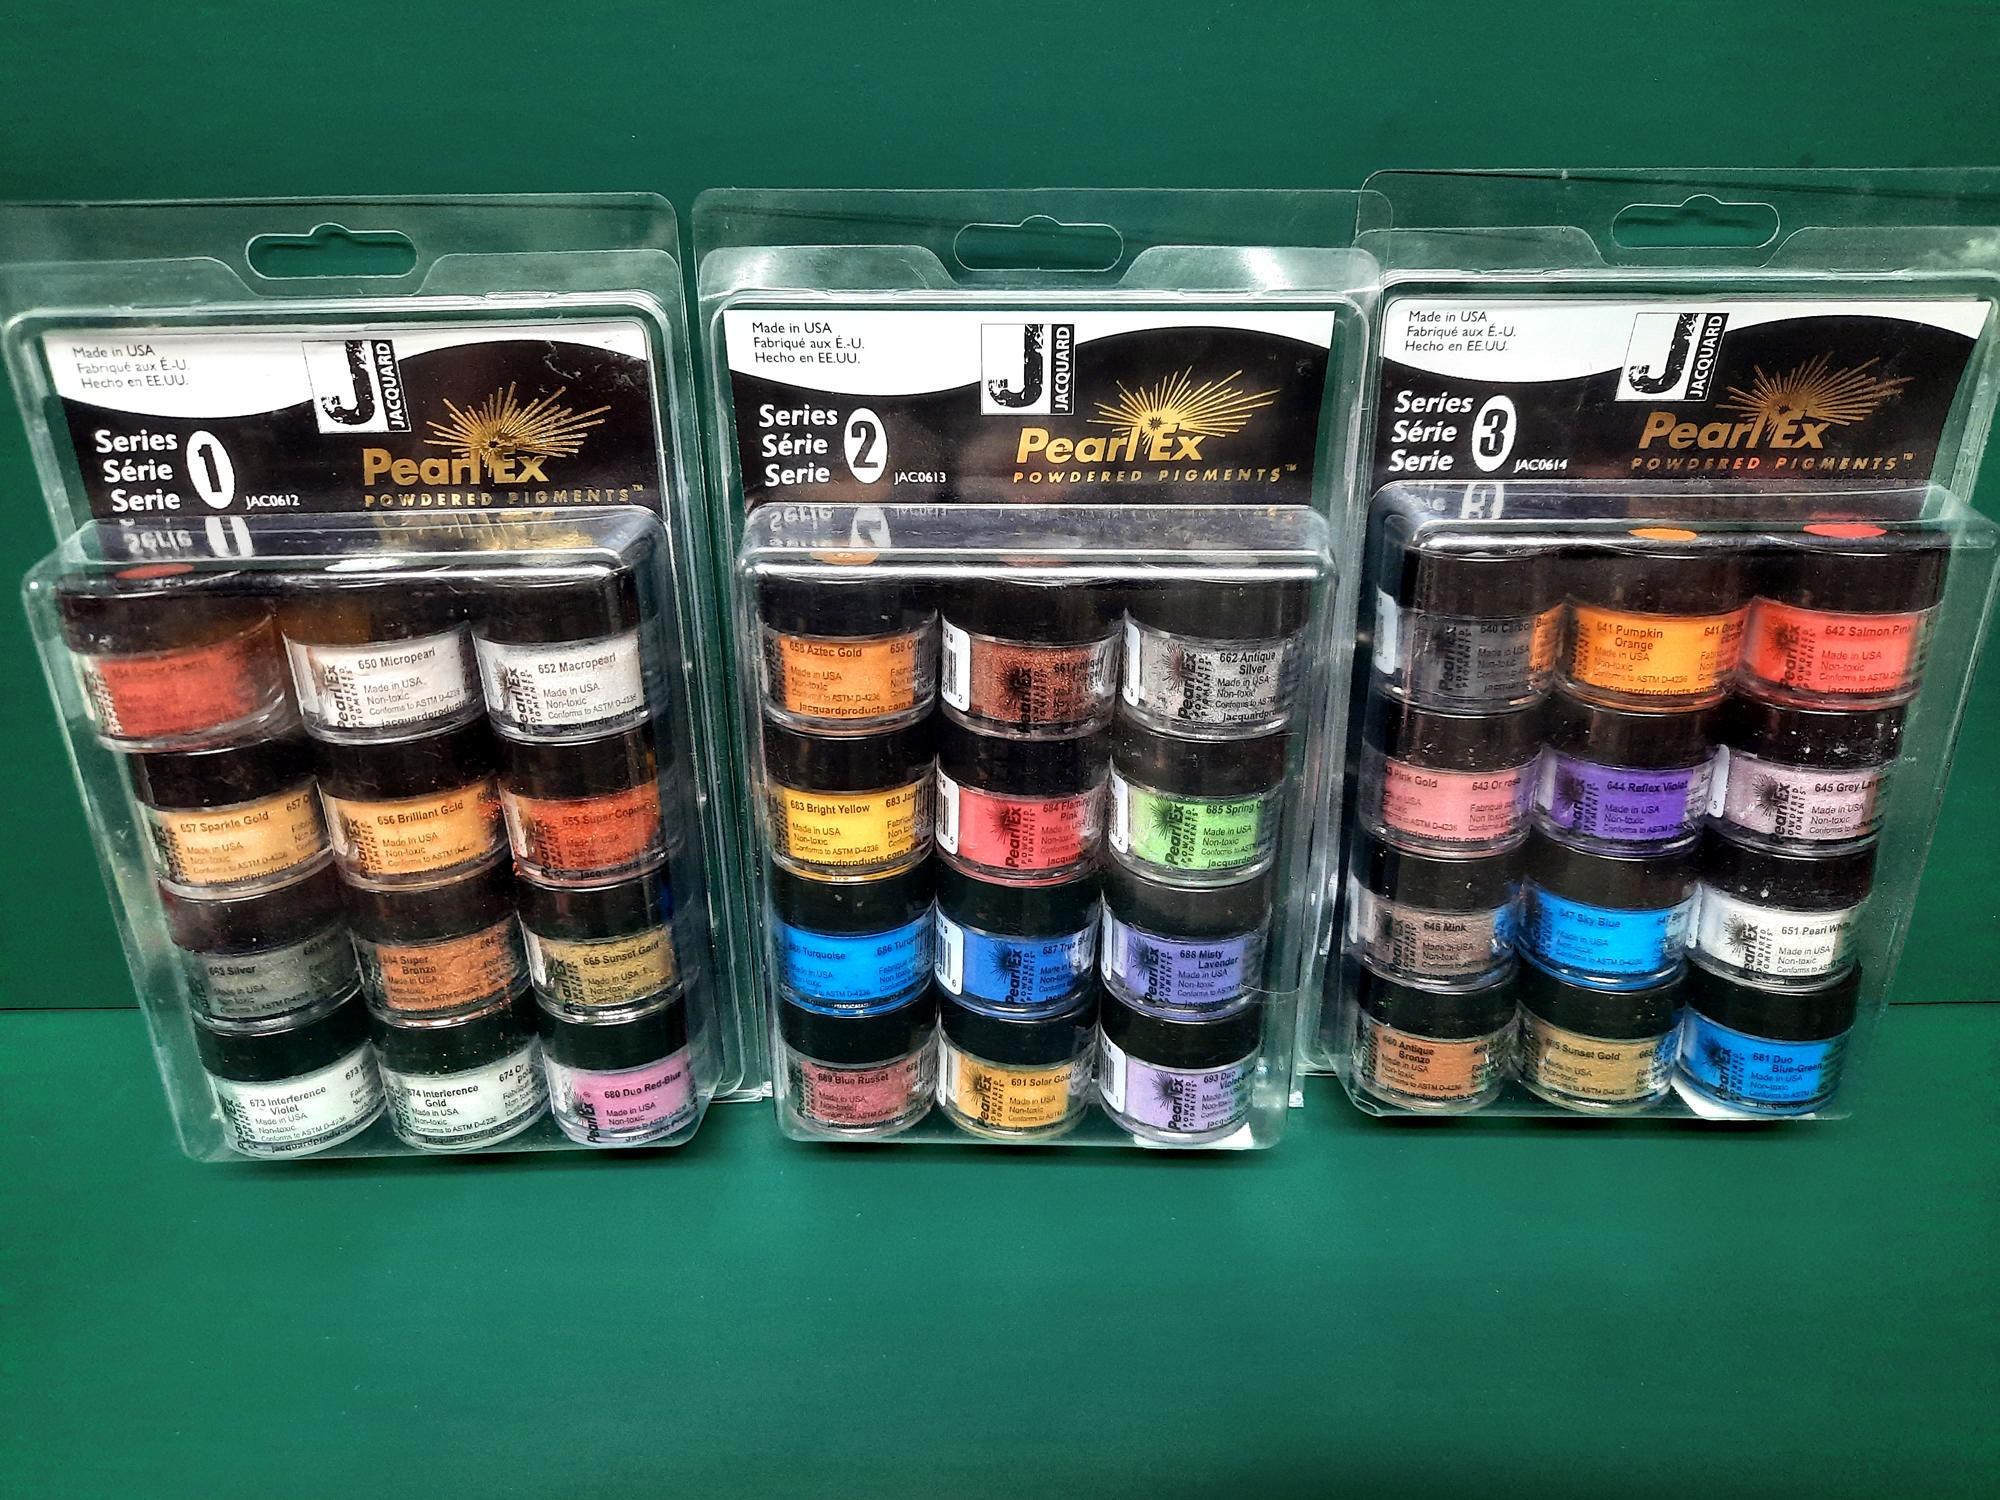
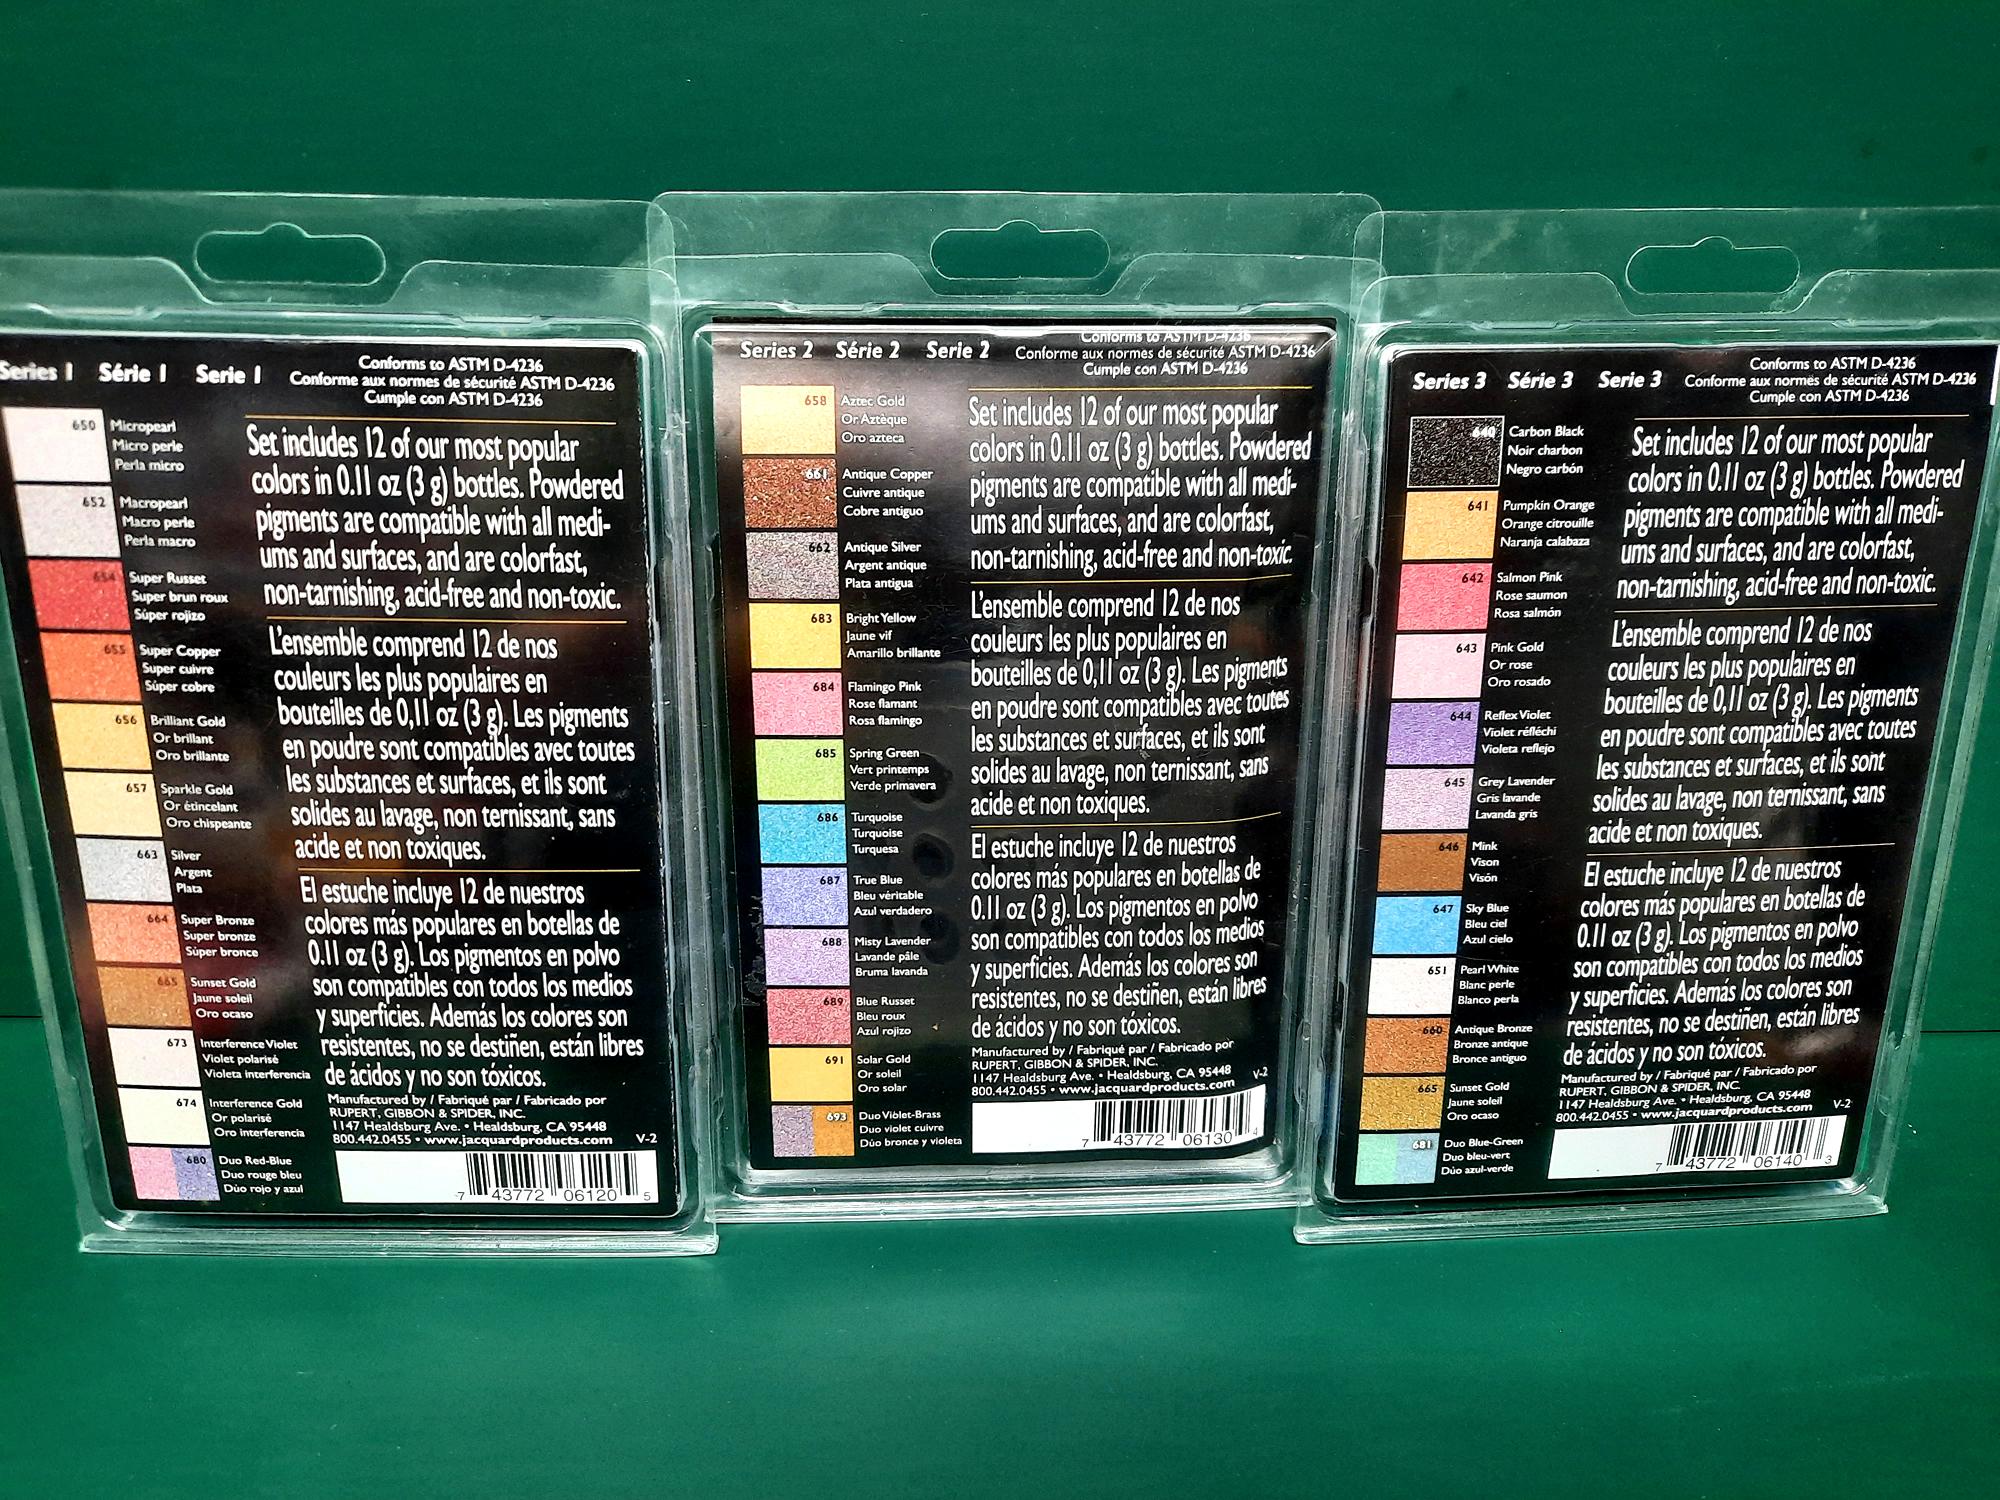
I finally decided to try to make a Copper-Red color for the Blazer with darker wheels. I mentioned at the beginning that I had some ideas & trying something different with the paint was the biggest one. So about 3 years ago Hobby Lobby had a 40% off sale on these cool pearl/metallic & color-shift powdered pigments along with some fluorescent pigments as well. So I bought them & figured I could mix-up some unique colors & almost anything I wanted? I also started stocking-up on the Tamiya Lacquer paints & figured I could use the gloss clear as a base to mix the pigments in? I'll see how it works & what it can (or can't) do I guess. I've done some test sprays & it looks promising (I'm hoping).
-
Very nice build, I've always like the '70 GSX's & I could totally imagine this driving around on the road, beautifully done!

rebuild-16.jpg.ac721d564922a30b065e99e6a4afb05c.jpg)
rebuild-18.jpg.c257c22685a6b2a833cdcd1e251264ff.jpg)
rebuild-19.jpg.90be985e3d5939ec535d84c54cbb67e1.jpg)
rebuild-20.jpg.d78c3f83d704af588e19fa368e2670dd.jpg)
rebuild-x11.jpg.4790d2cf54fdaace23b90d72eff85835.jpg)
rebuild-x07.jpg.ffcd8bd3c804306439c25cb064e0651e.jpg)
rebuild-x26.jpg.3fea4ef6374513aee8eaee7859407354.jpg)
rebuild-x27.jpg.d669990efc87bbee01c7e0890238fe0e.jpg)
rebuild-i11.jpg.b17115fa79ef7101cd7fb830e5309e28.jpg)
rebuild-i12.jpg.574ecd36ded5a847e8272e5783c59072.jpg)
rebuild-i19.jpg.52f425a1a05db28a199d705a6ec2a502.jpg)
PinkPig-00.jpg.f37410424c190c9b768659b1c082a6be.jpg)
-01.jpg.df90d9097524a36e1900605e83b591d8.jpg)
Lindberg-01.JPG.a8d1f7562c58c88d04c31a92db2f132a.JPG)
Lindberg-00007.jpg.d8103273c1f9e6b9789544696d5723df.jpg)
Lindberg-02.JPG.b3165741344721ba2e01c9040bf3129f.JPG)
-03.jpg.5ba4add2bcb2a4abd06456583e00fa02.jpg)
Lindberg-i01.jpg.6a798912d1dc87f52646f71548d46b68.jpg)
Lindberg-i03.jpg.316c4ee91cd06cc2c0d978e309411c54.jpg)
rebuild-04.jpg.e18f474b2883aa9a9cc42e67ca2bbefc.jpg)
rebuild-08.jpg.9e99c9531b42628b3fc7dc3355f56cd1.jpg)
rebuild-09.jpg.74a7b22aeeaaa640e4b34fd82df185ff.jpg)

4x4LTV6-i01.jpg.ec1272e7ab5fc7e54ee62bc4ef071ecb.jpg)
rebuild-i01.jpg.b96e2c30313318e1a9773e1ca504098d.jpg)
rebuild-i06.jpg.cf7d172011c571f13810034e55d00bb8.jpg)
rebuild-i07.jpg.99bc7b91fac01168124d60804454059b.jpg)
rebuild-i10.jpg.bb60f3c378aabf0ee0d420cc9e3549ee.jpg)