OldNYJim
-
Posts
252 -
Joined
-
Last visited
Content Type
Profiles
Forums
Events
Gallery
Everything posted by OldNYJim
-
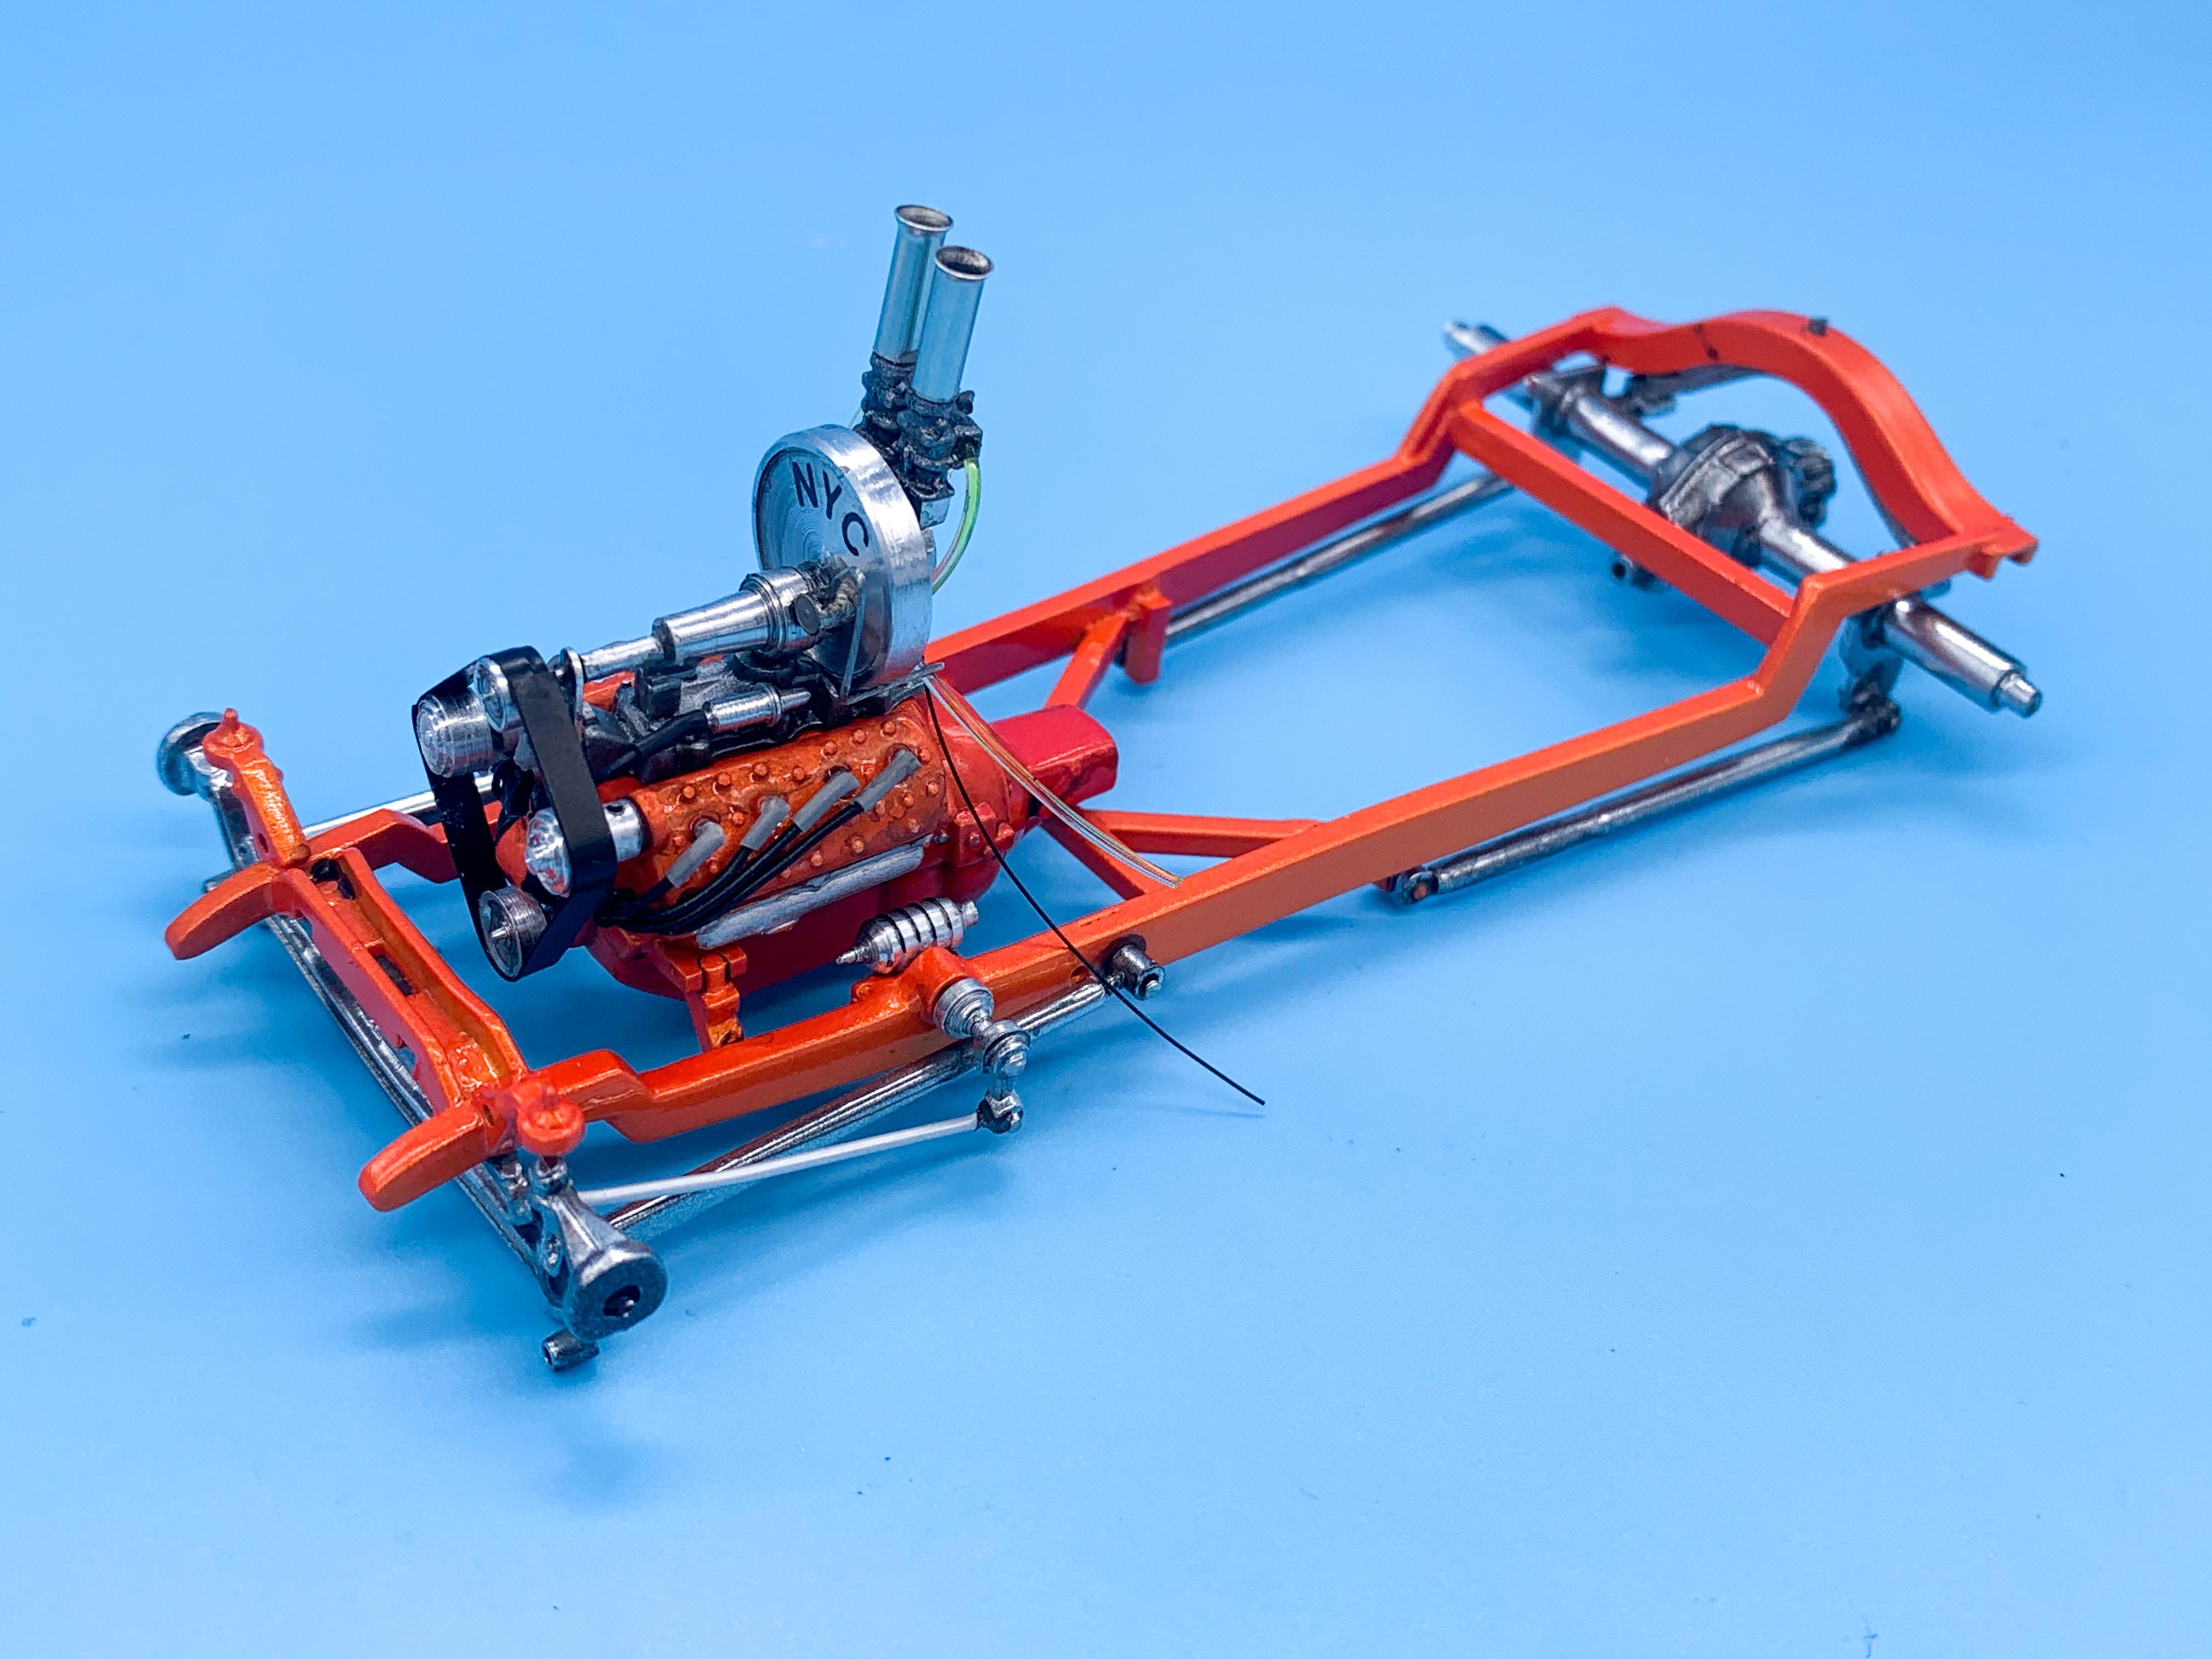
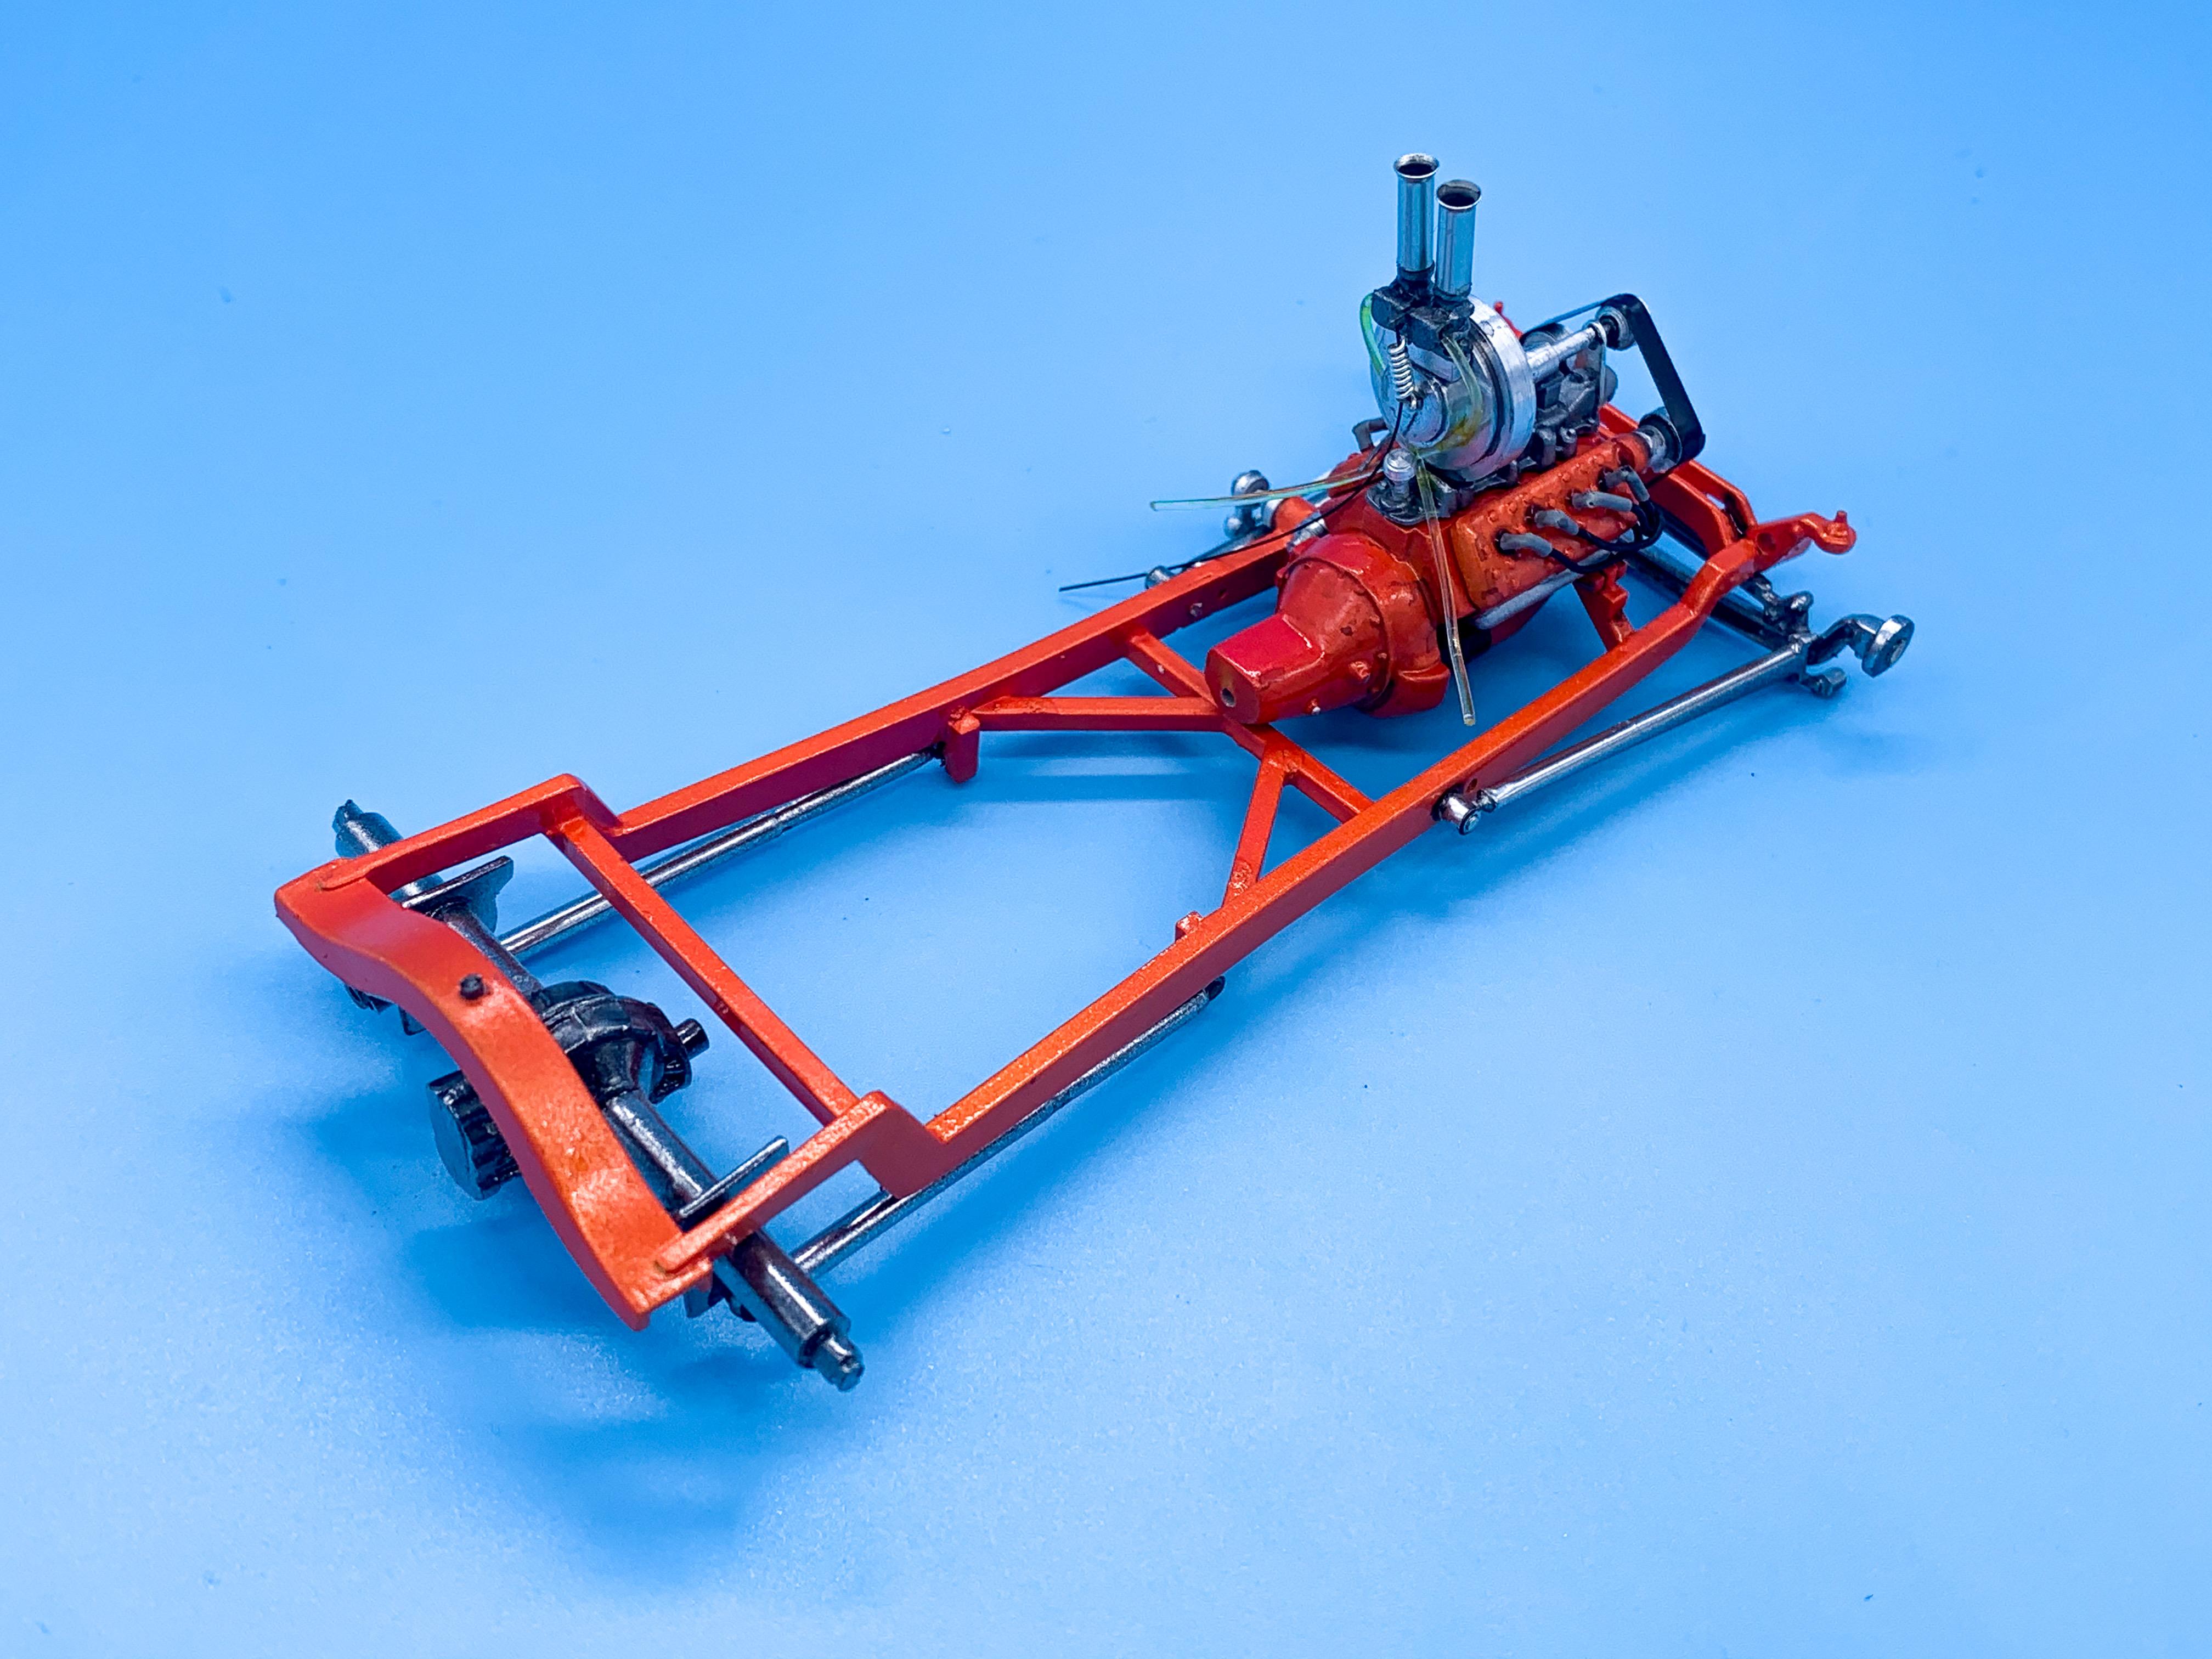
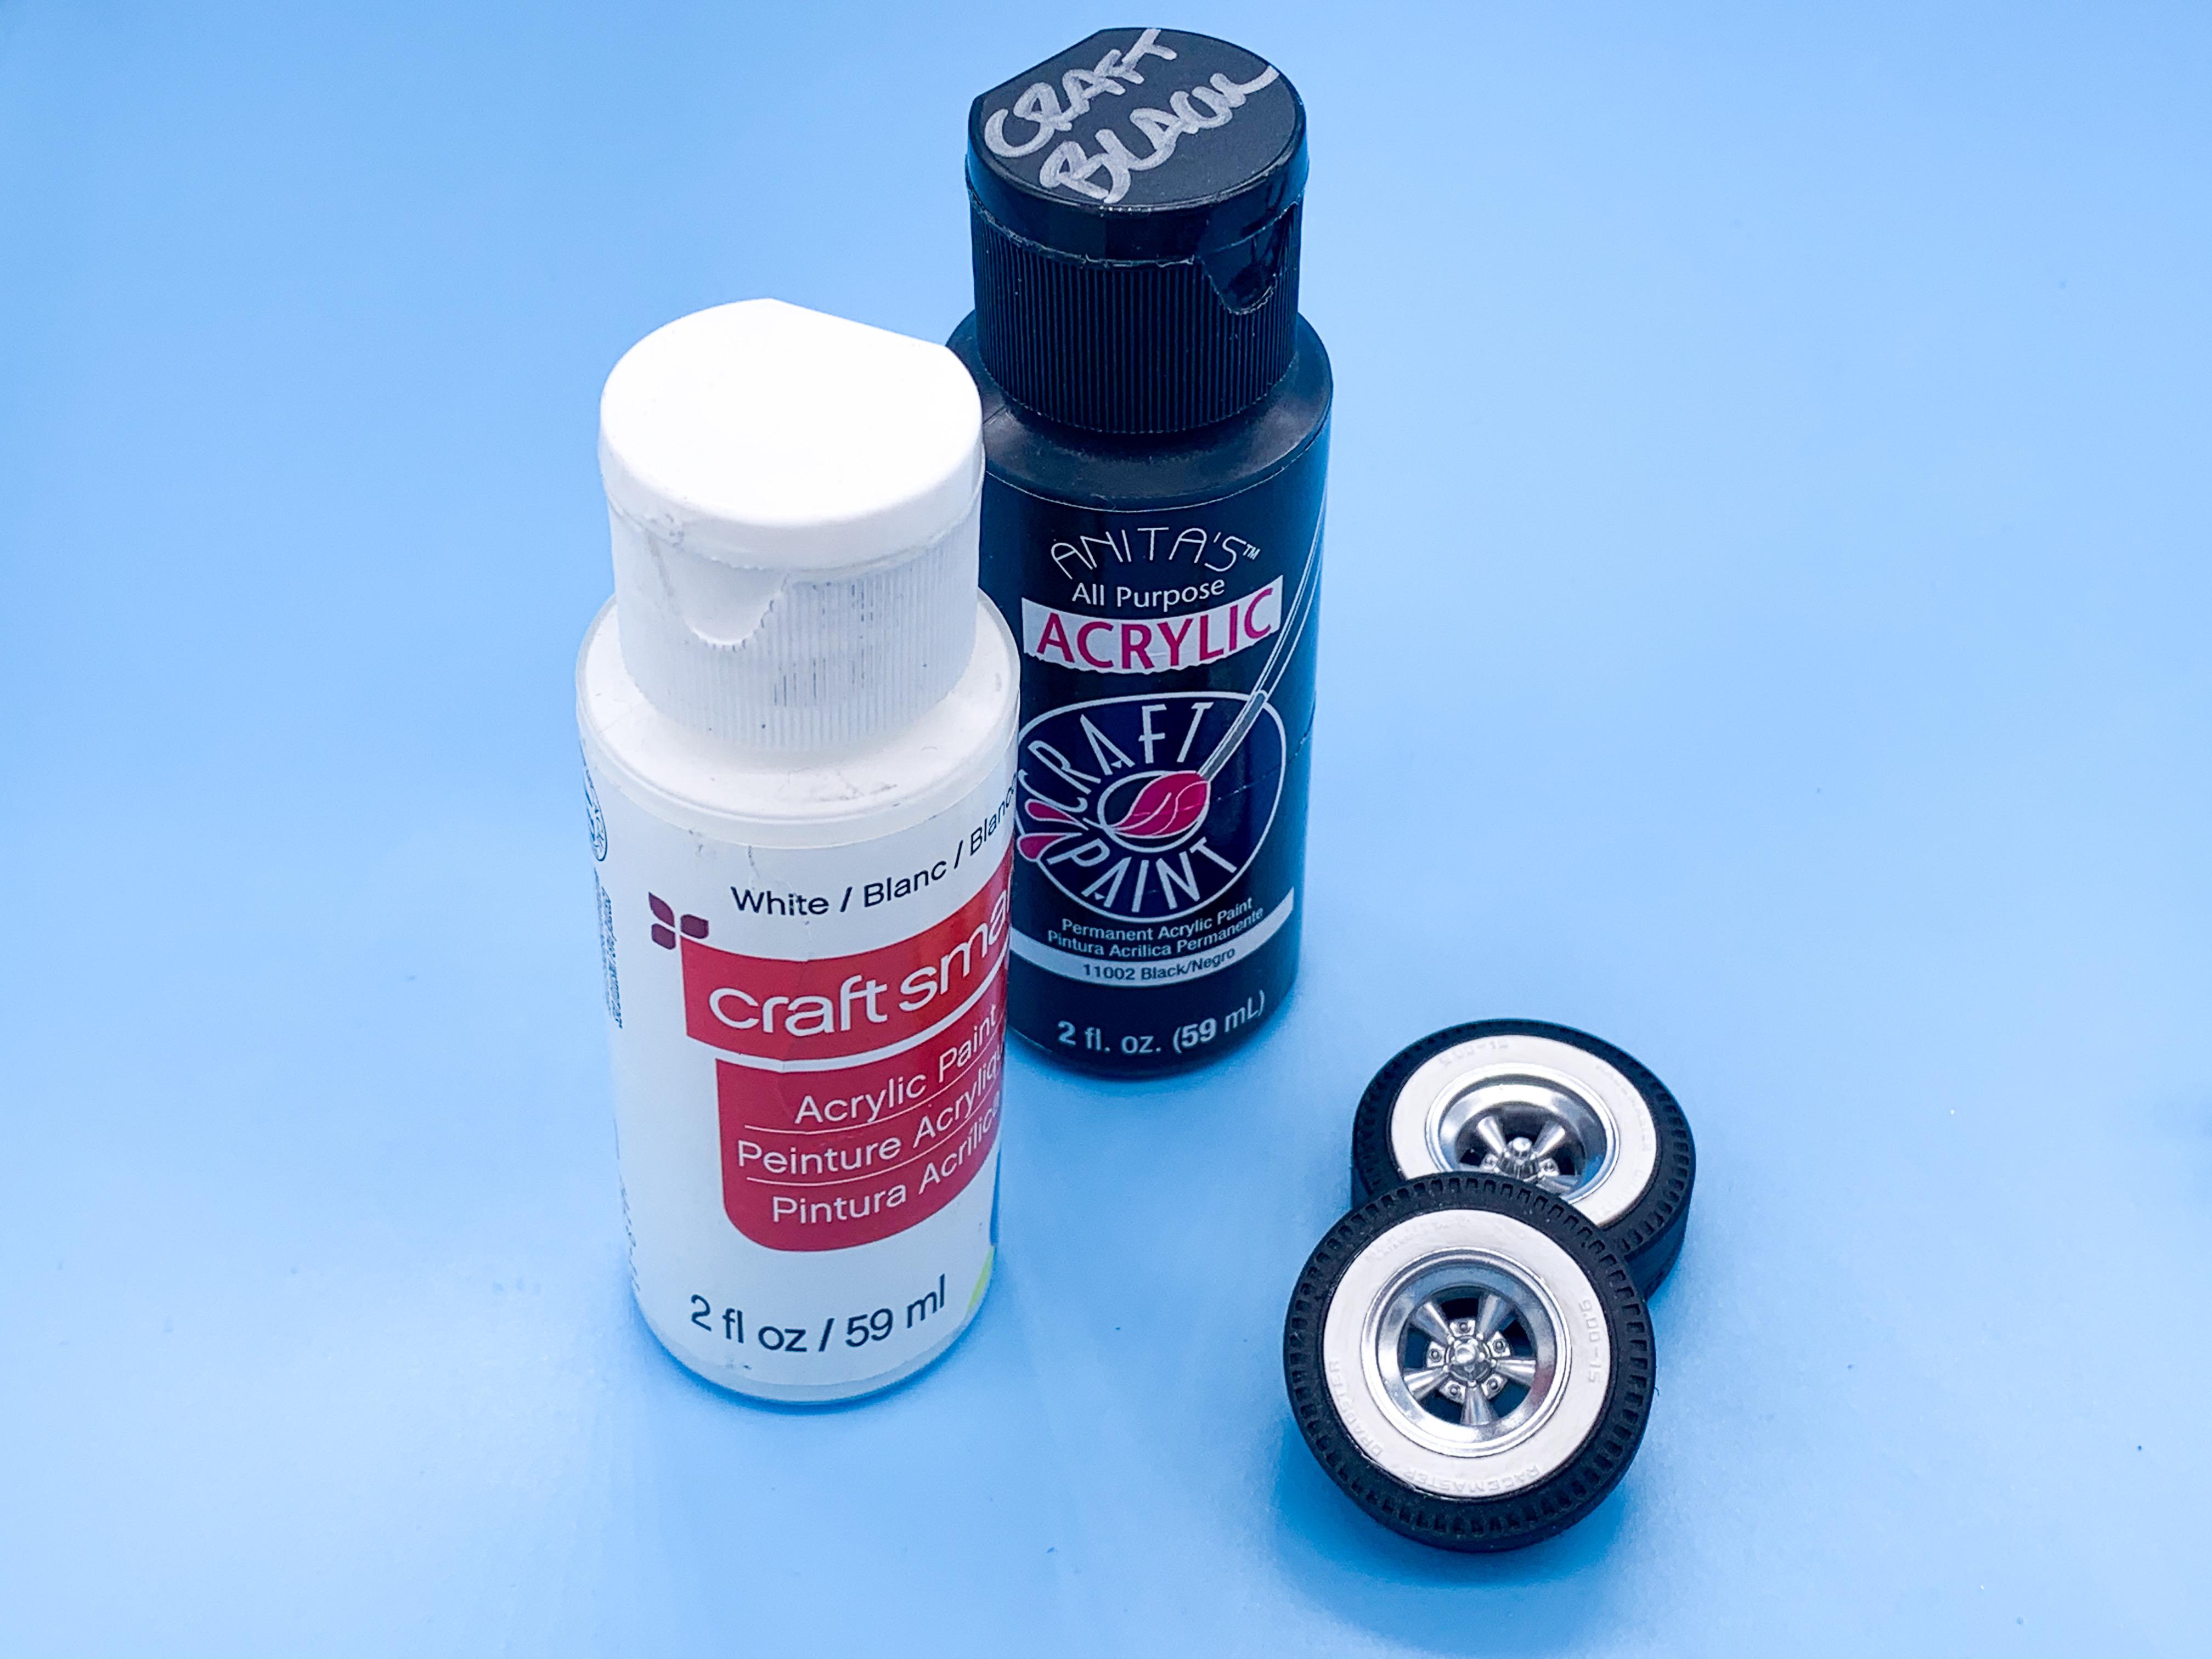
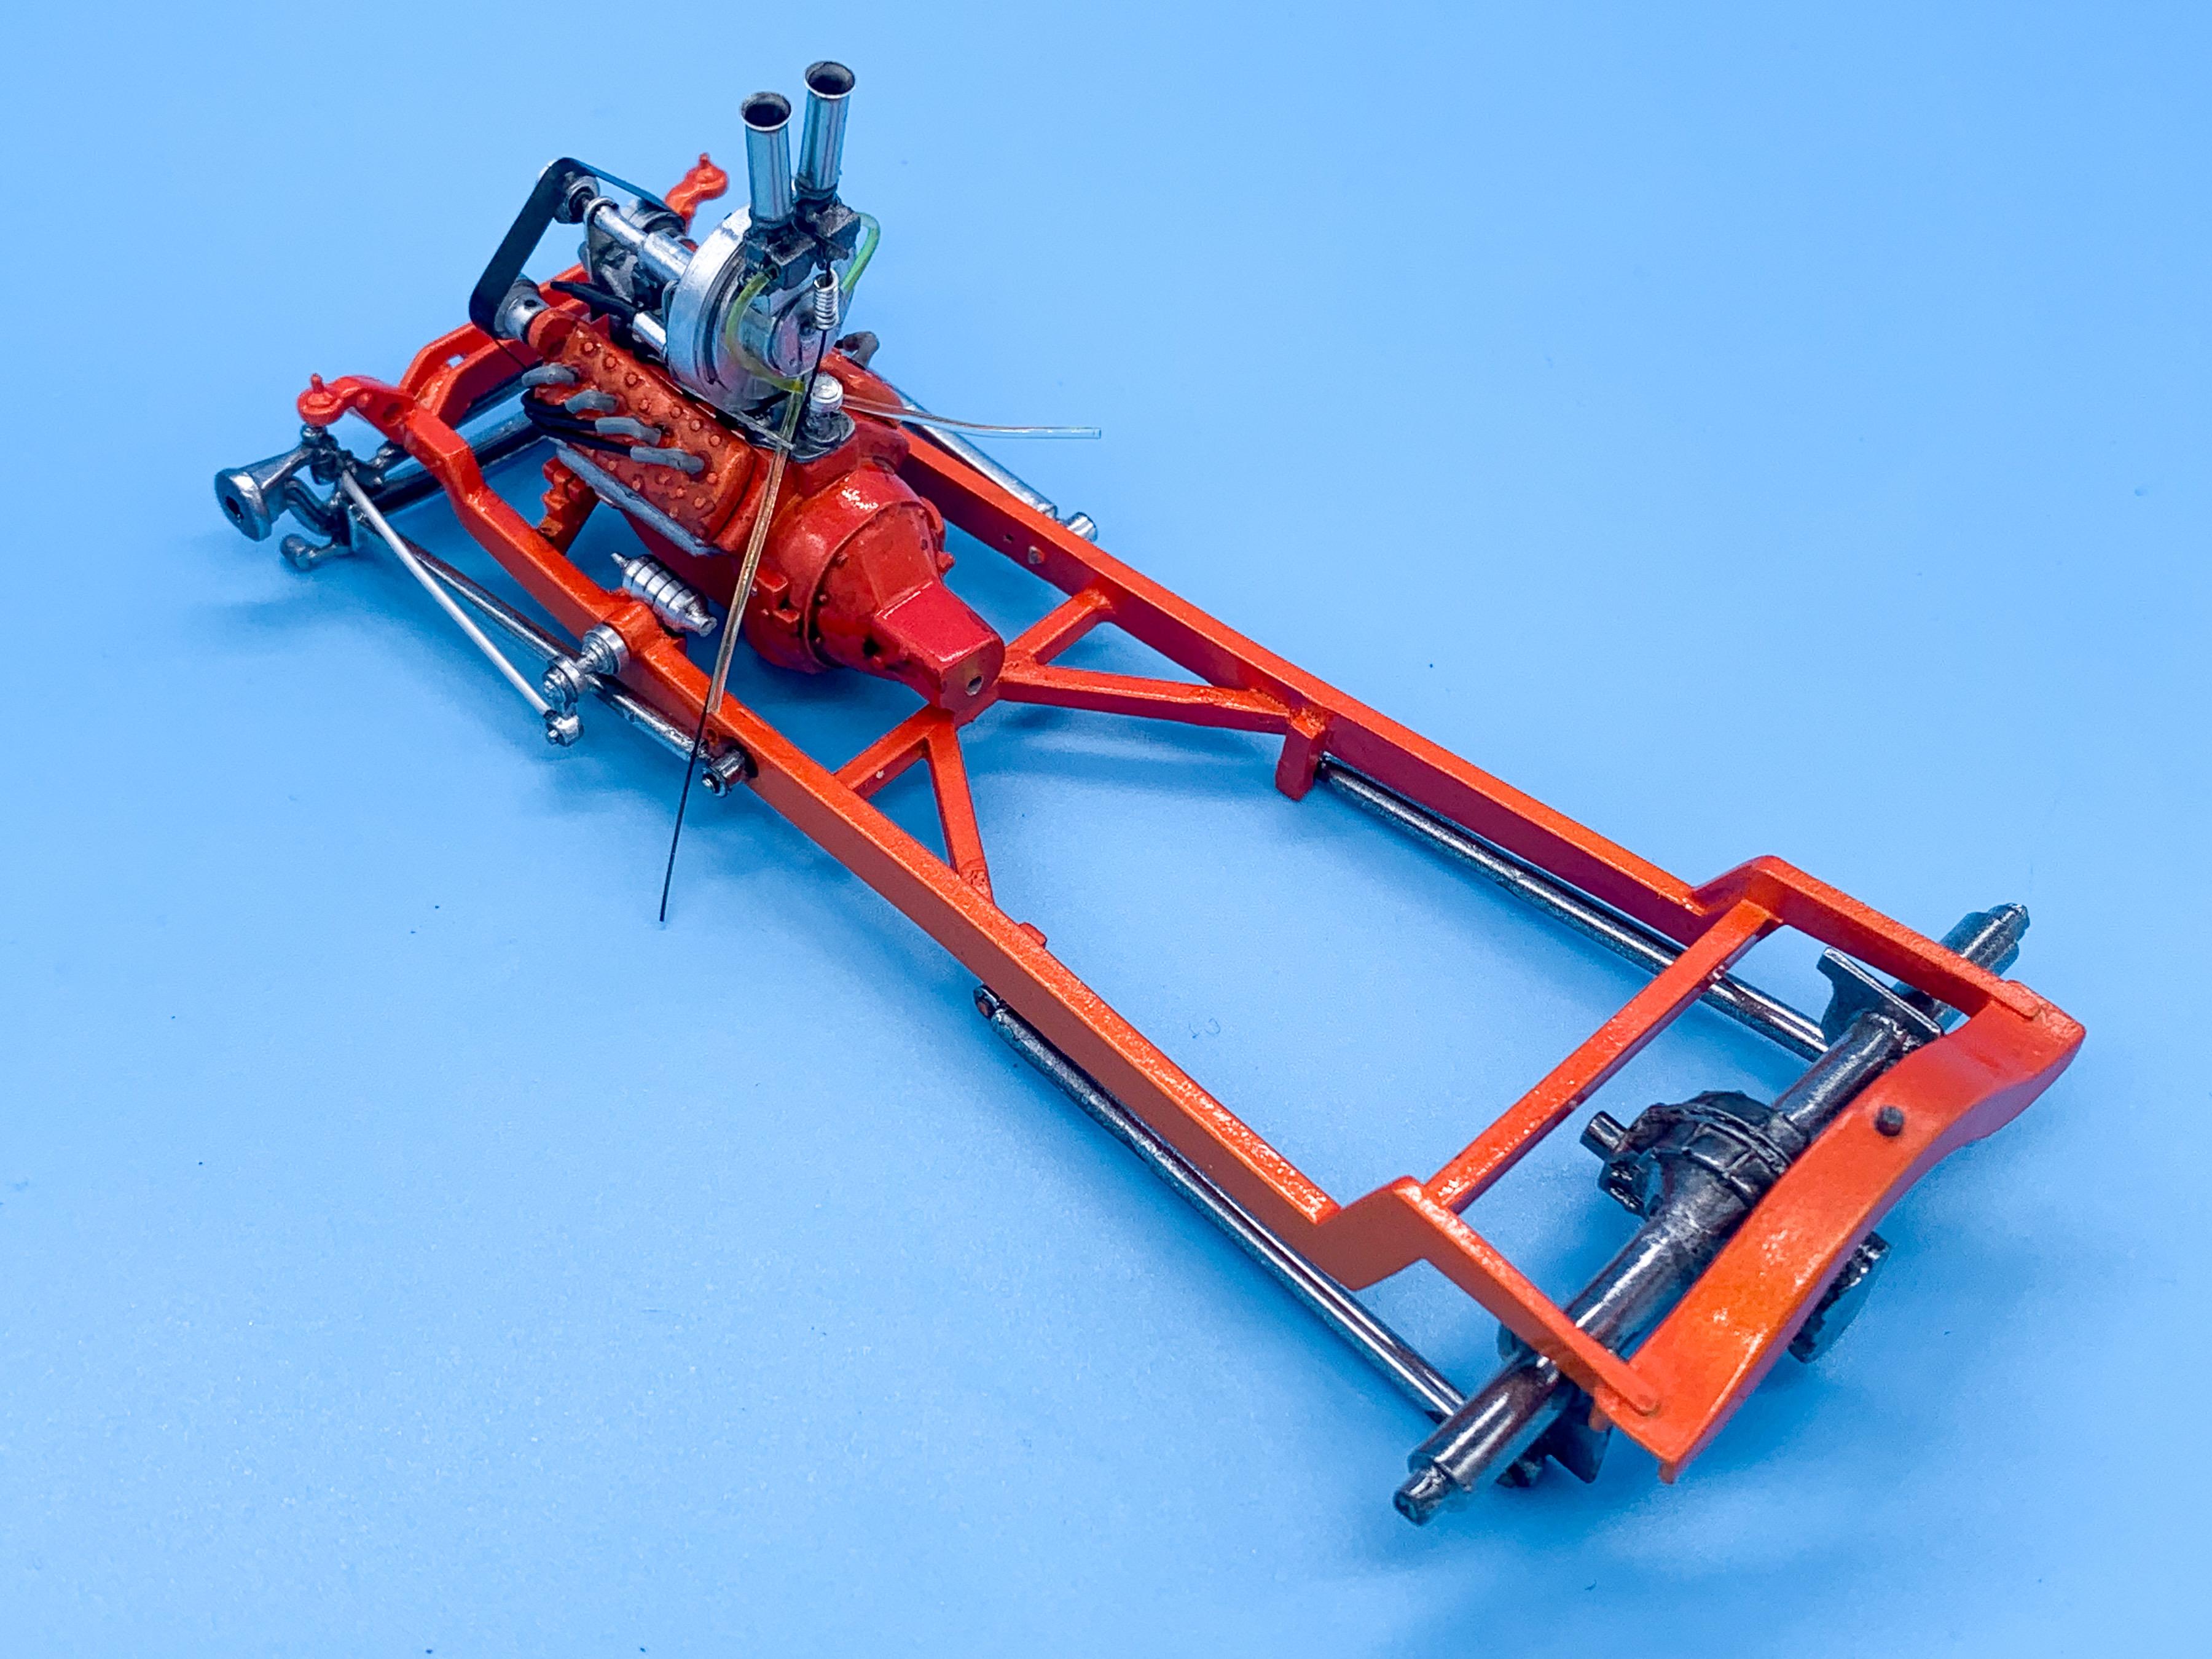
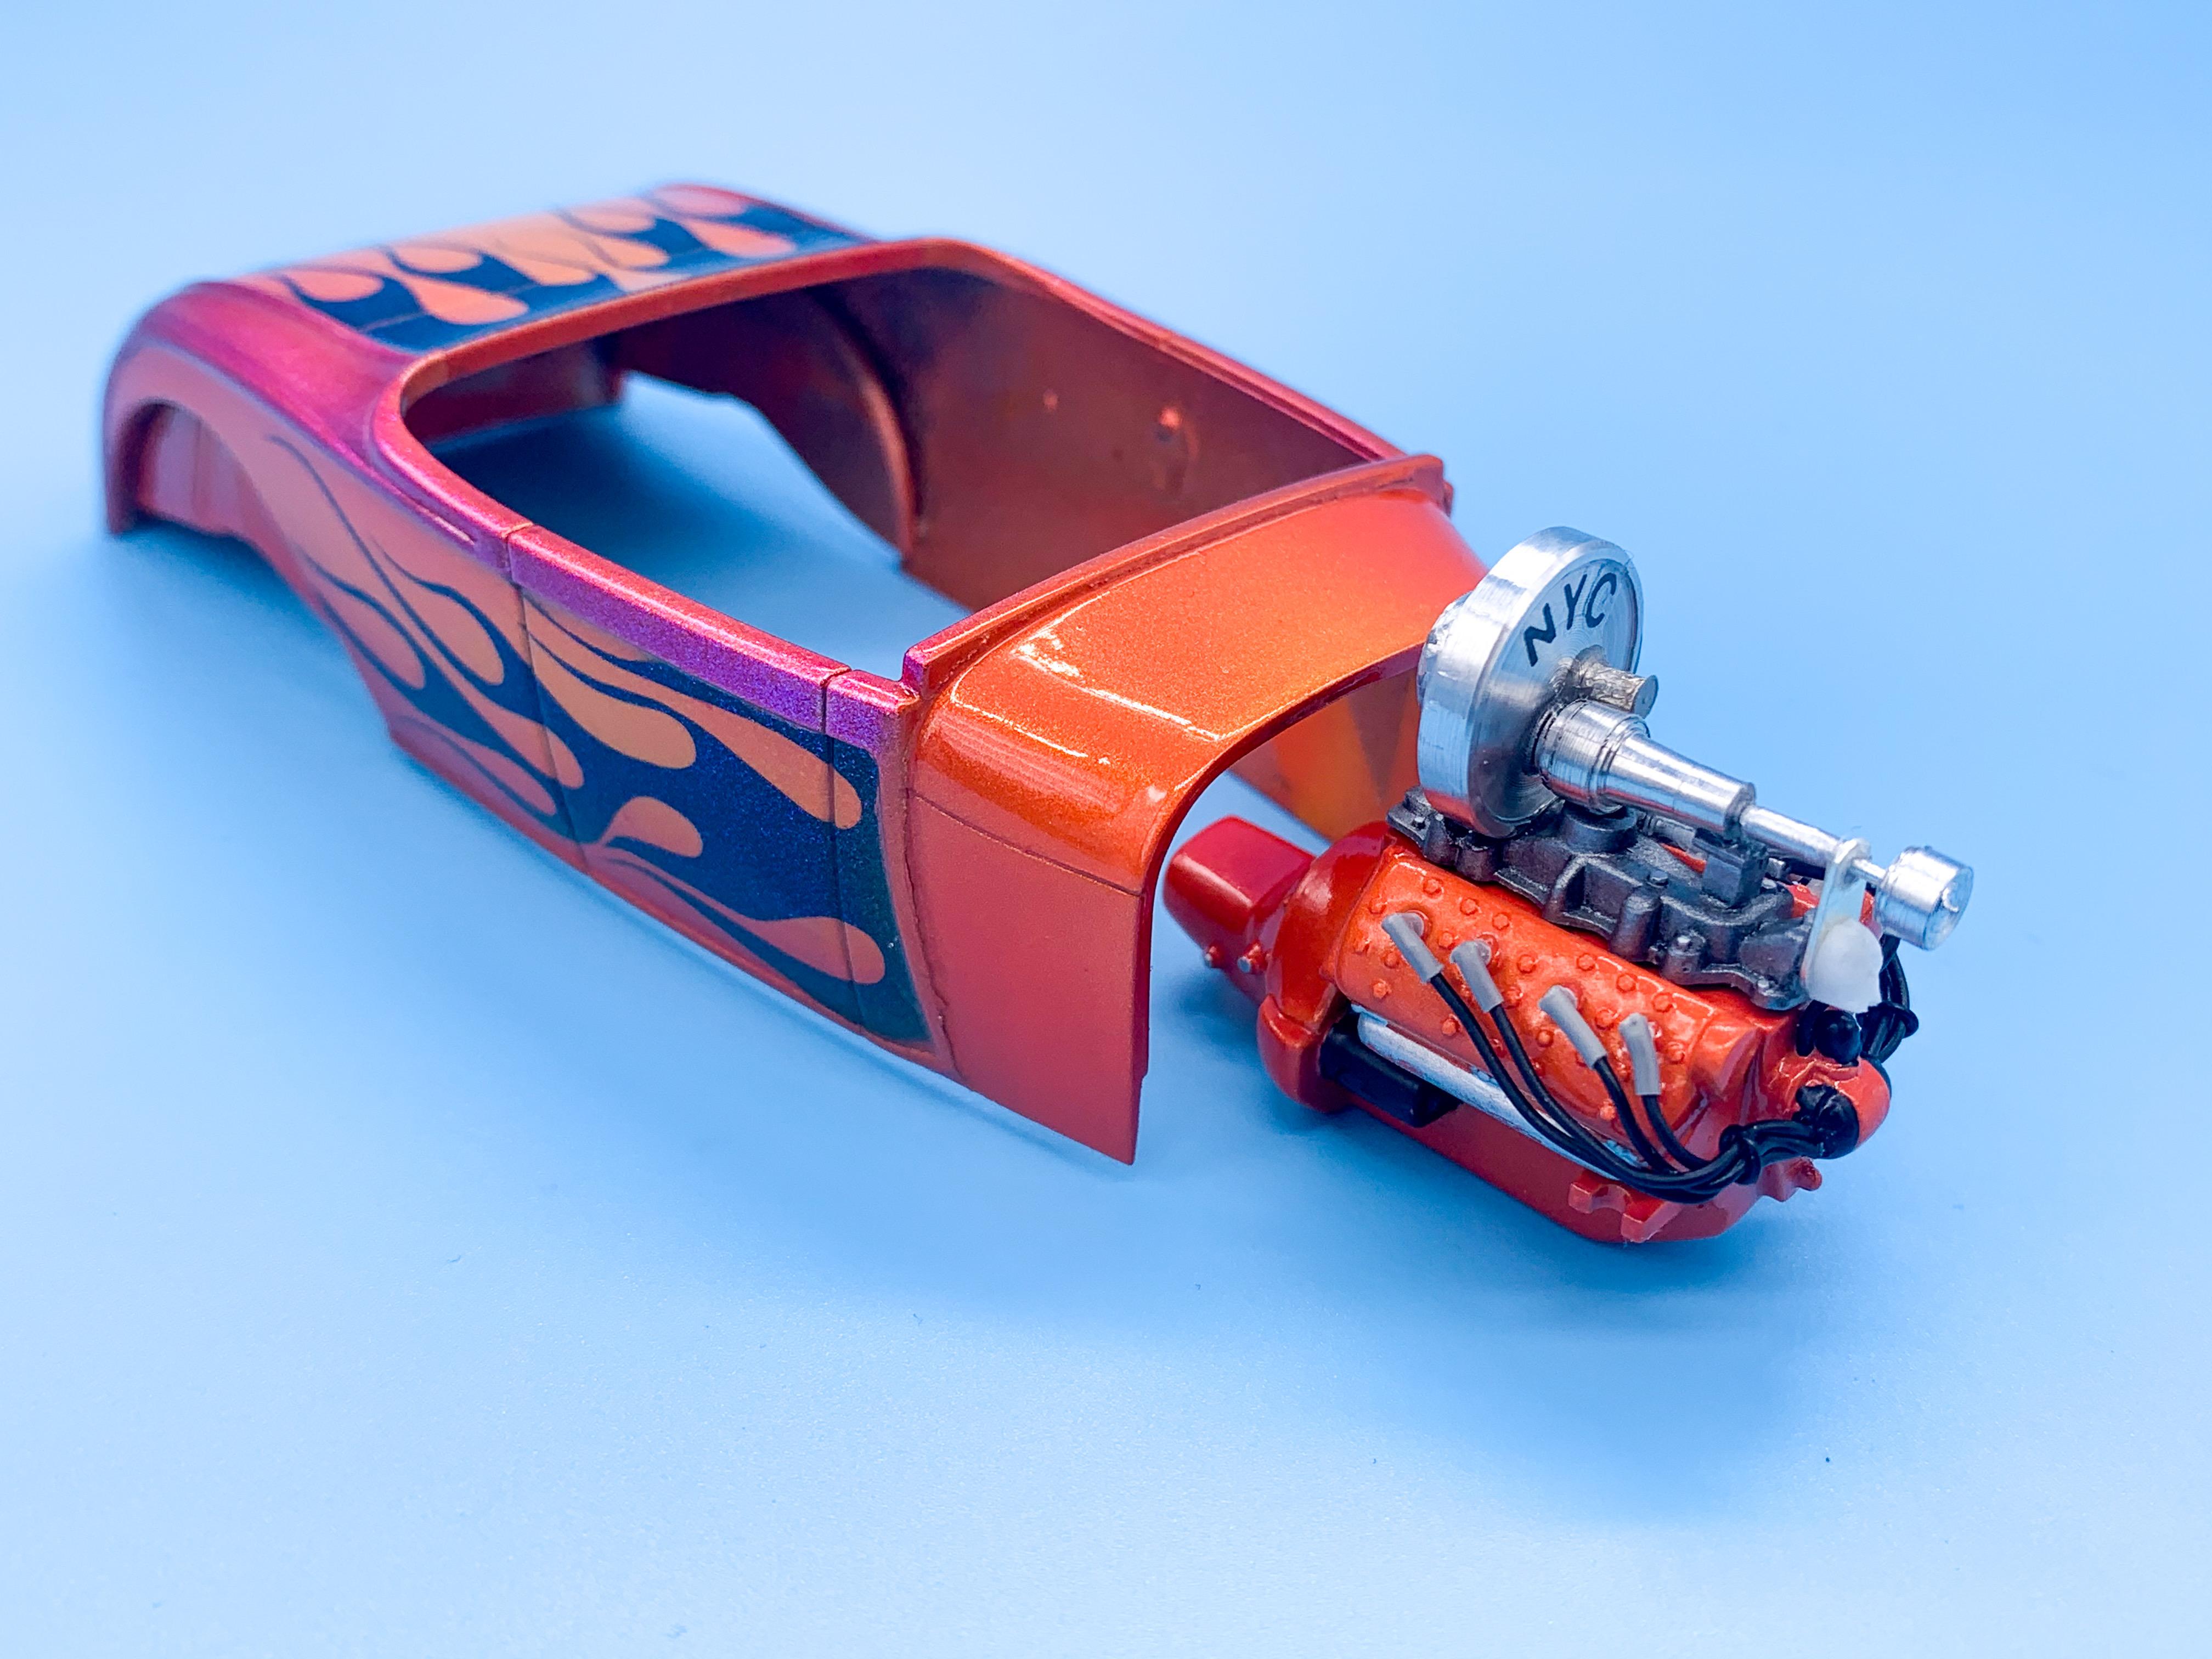
Chassis assembly day! Some of it anyway - got the axles and linkages in place, along with the machined bits I made for the steering, and dropped the engine in there just to see how it’ll all look together: Need to do some plumbing and wiring before the engine can go in for good, but it’s a fun looking frame I think! And, borrowing a trick from John Teresi, painted the tires with some craft paint to give them a more realistic look - got some more detailing to do, but I like the effect of the craft paint compared to plain old vinyl tires! Just a mini update - more soon!

-
 I can't take the credit - just copying what @Impalow did on his identical build (and I had to ask him where to get the photo etch too - good thing he's a nice guy ) I'm pleased with the difference though!
 -
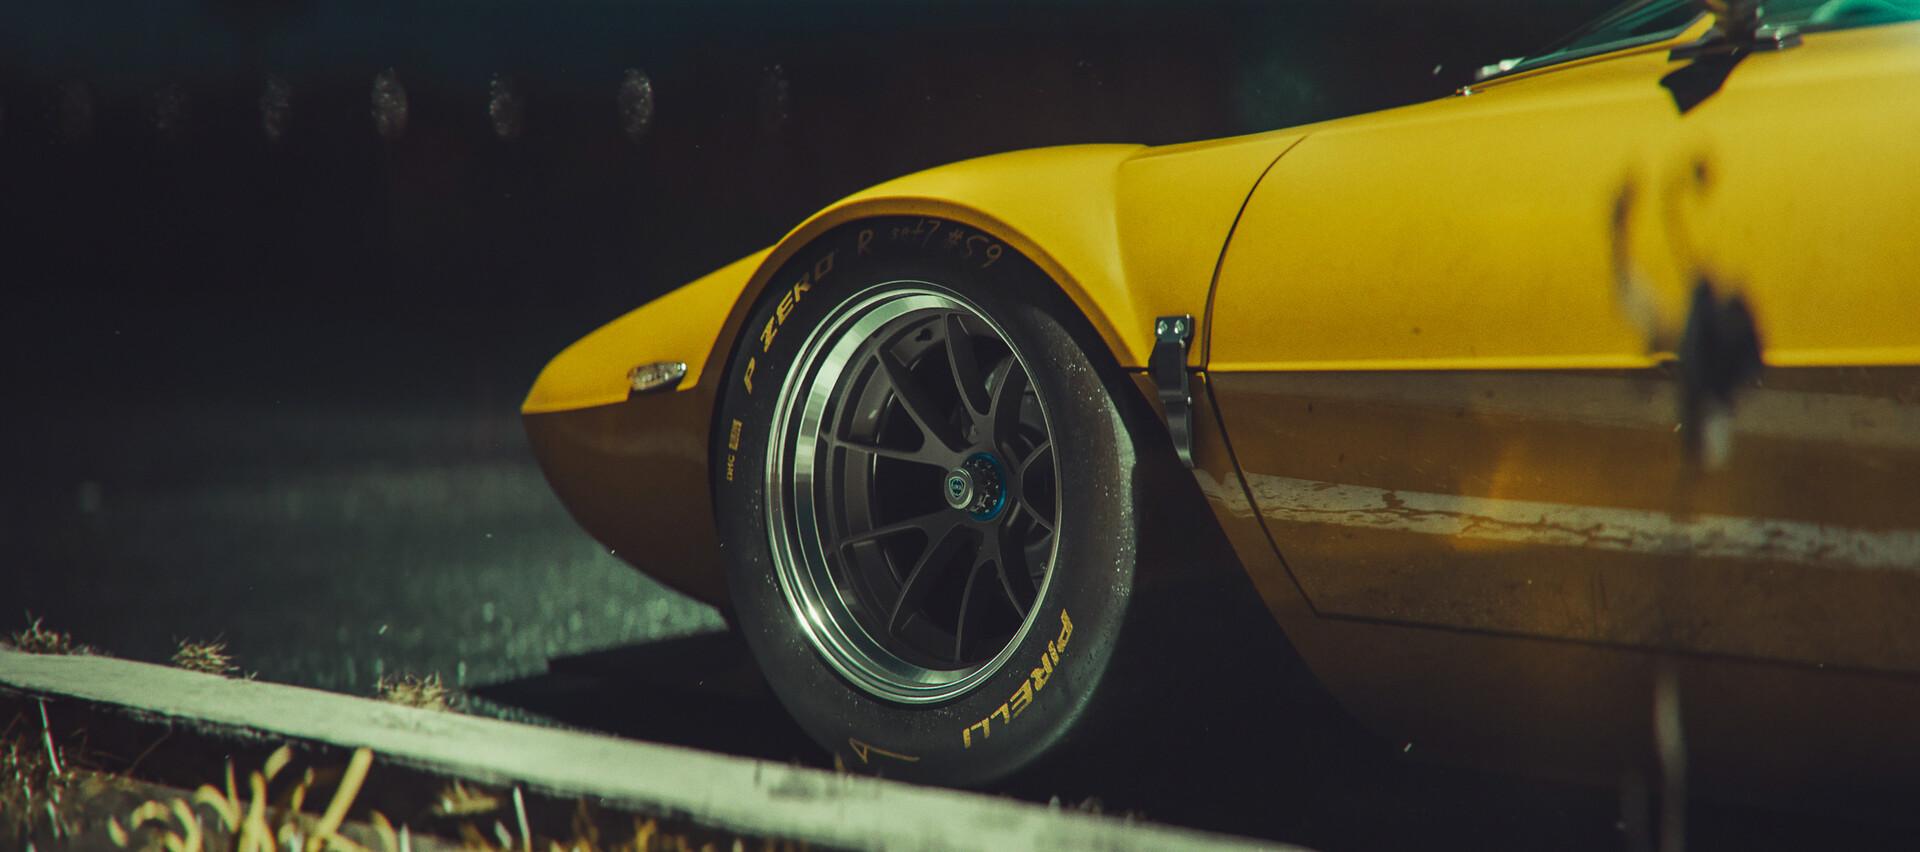
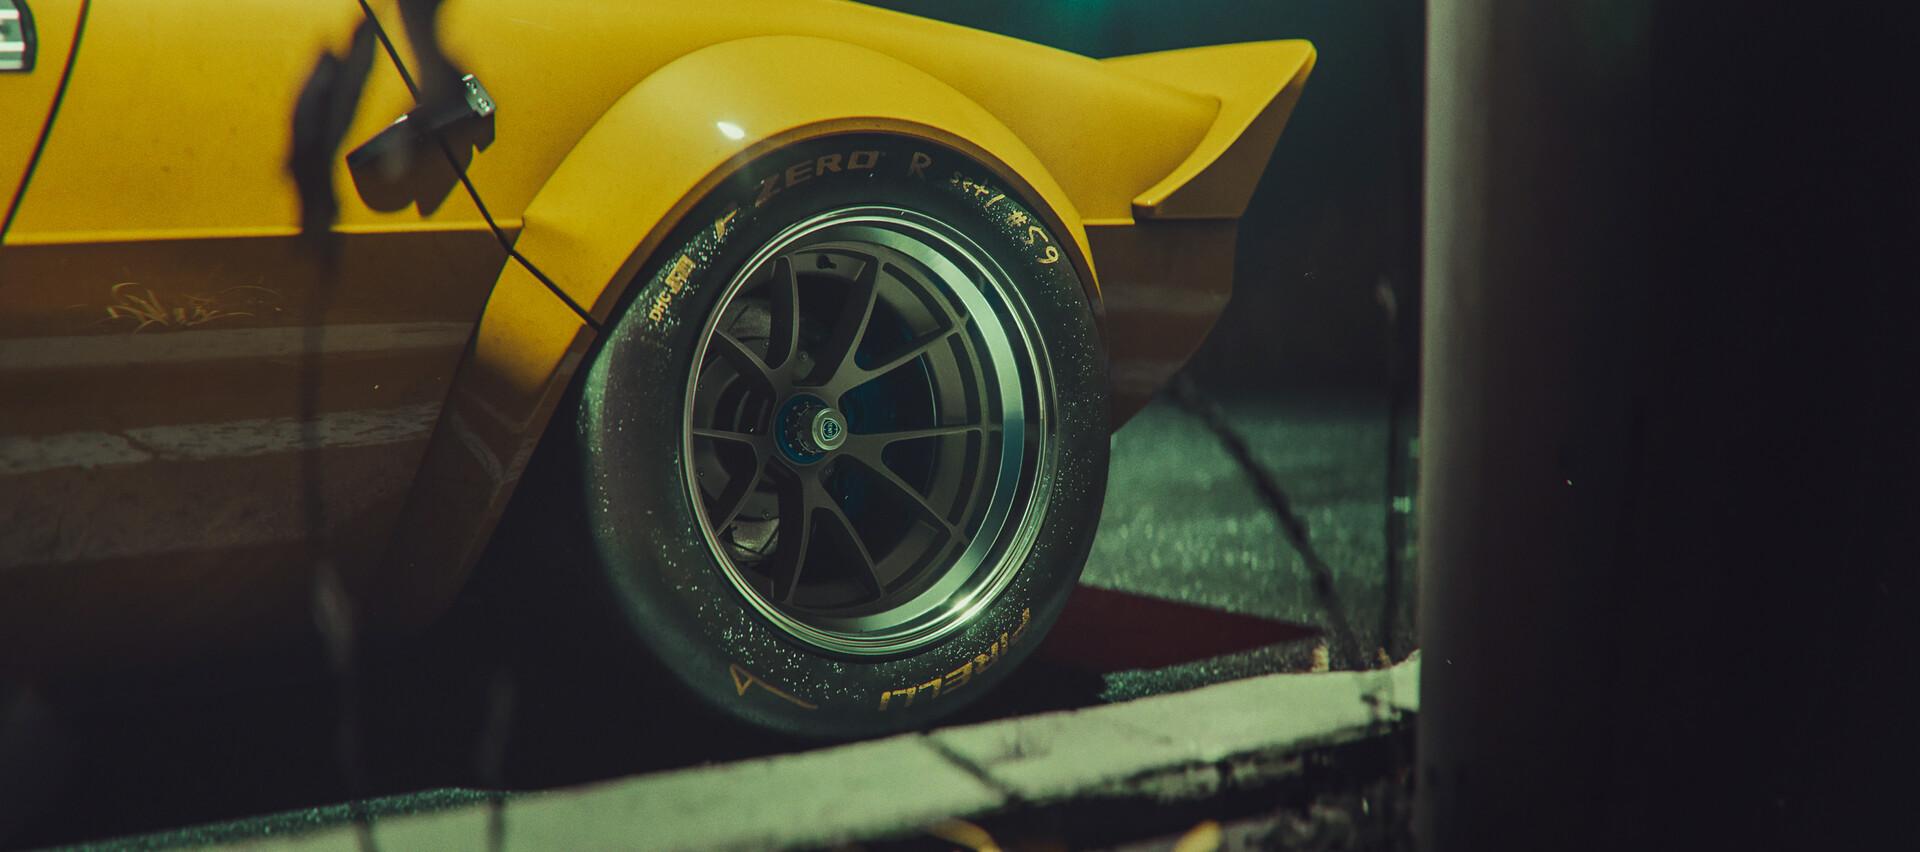
I’ve been thinking about tires a lot this week - I saw these two images of an entirely computer-rendered car, and I was really impressed with the detail in the tires: The slight scuffs and grit on the sidewall, the lighter grey on the radius of the tire versus the darker grey on the edge...I’d like to try airbrushing a vinyl kit tire with some similar shades and see how much realism it adds and how it looks! I know this isn’t a model OR a real car - but it’s done by an artist trying to do the same as we are, just in the digital realm, and it looks good to me!
-
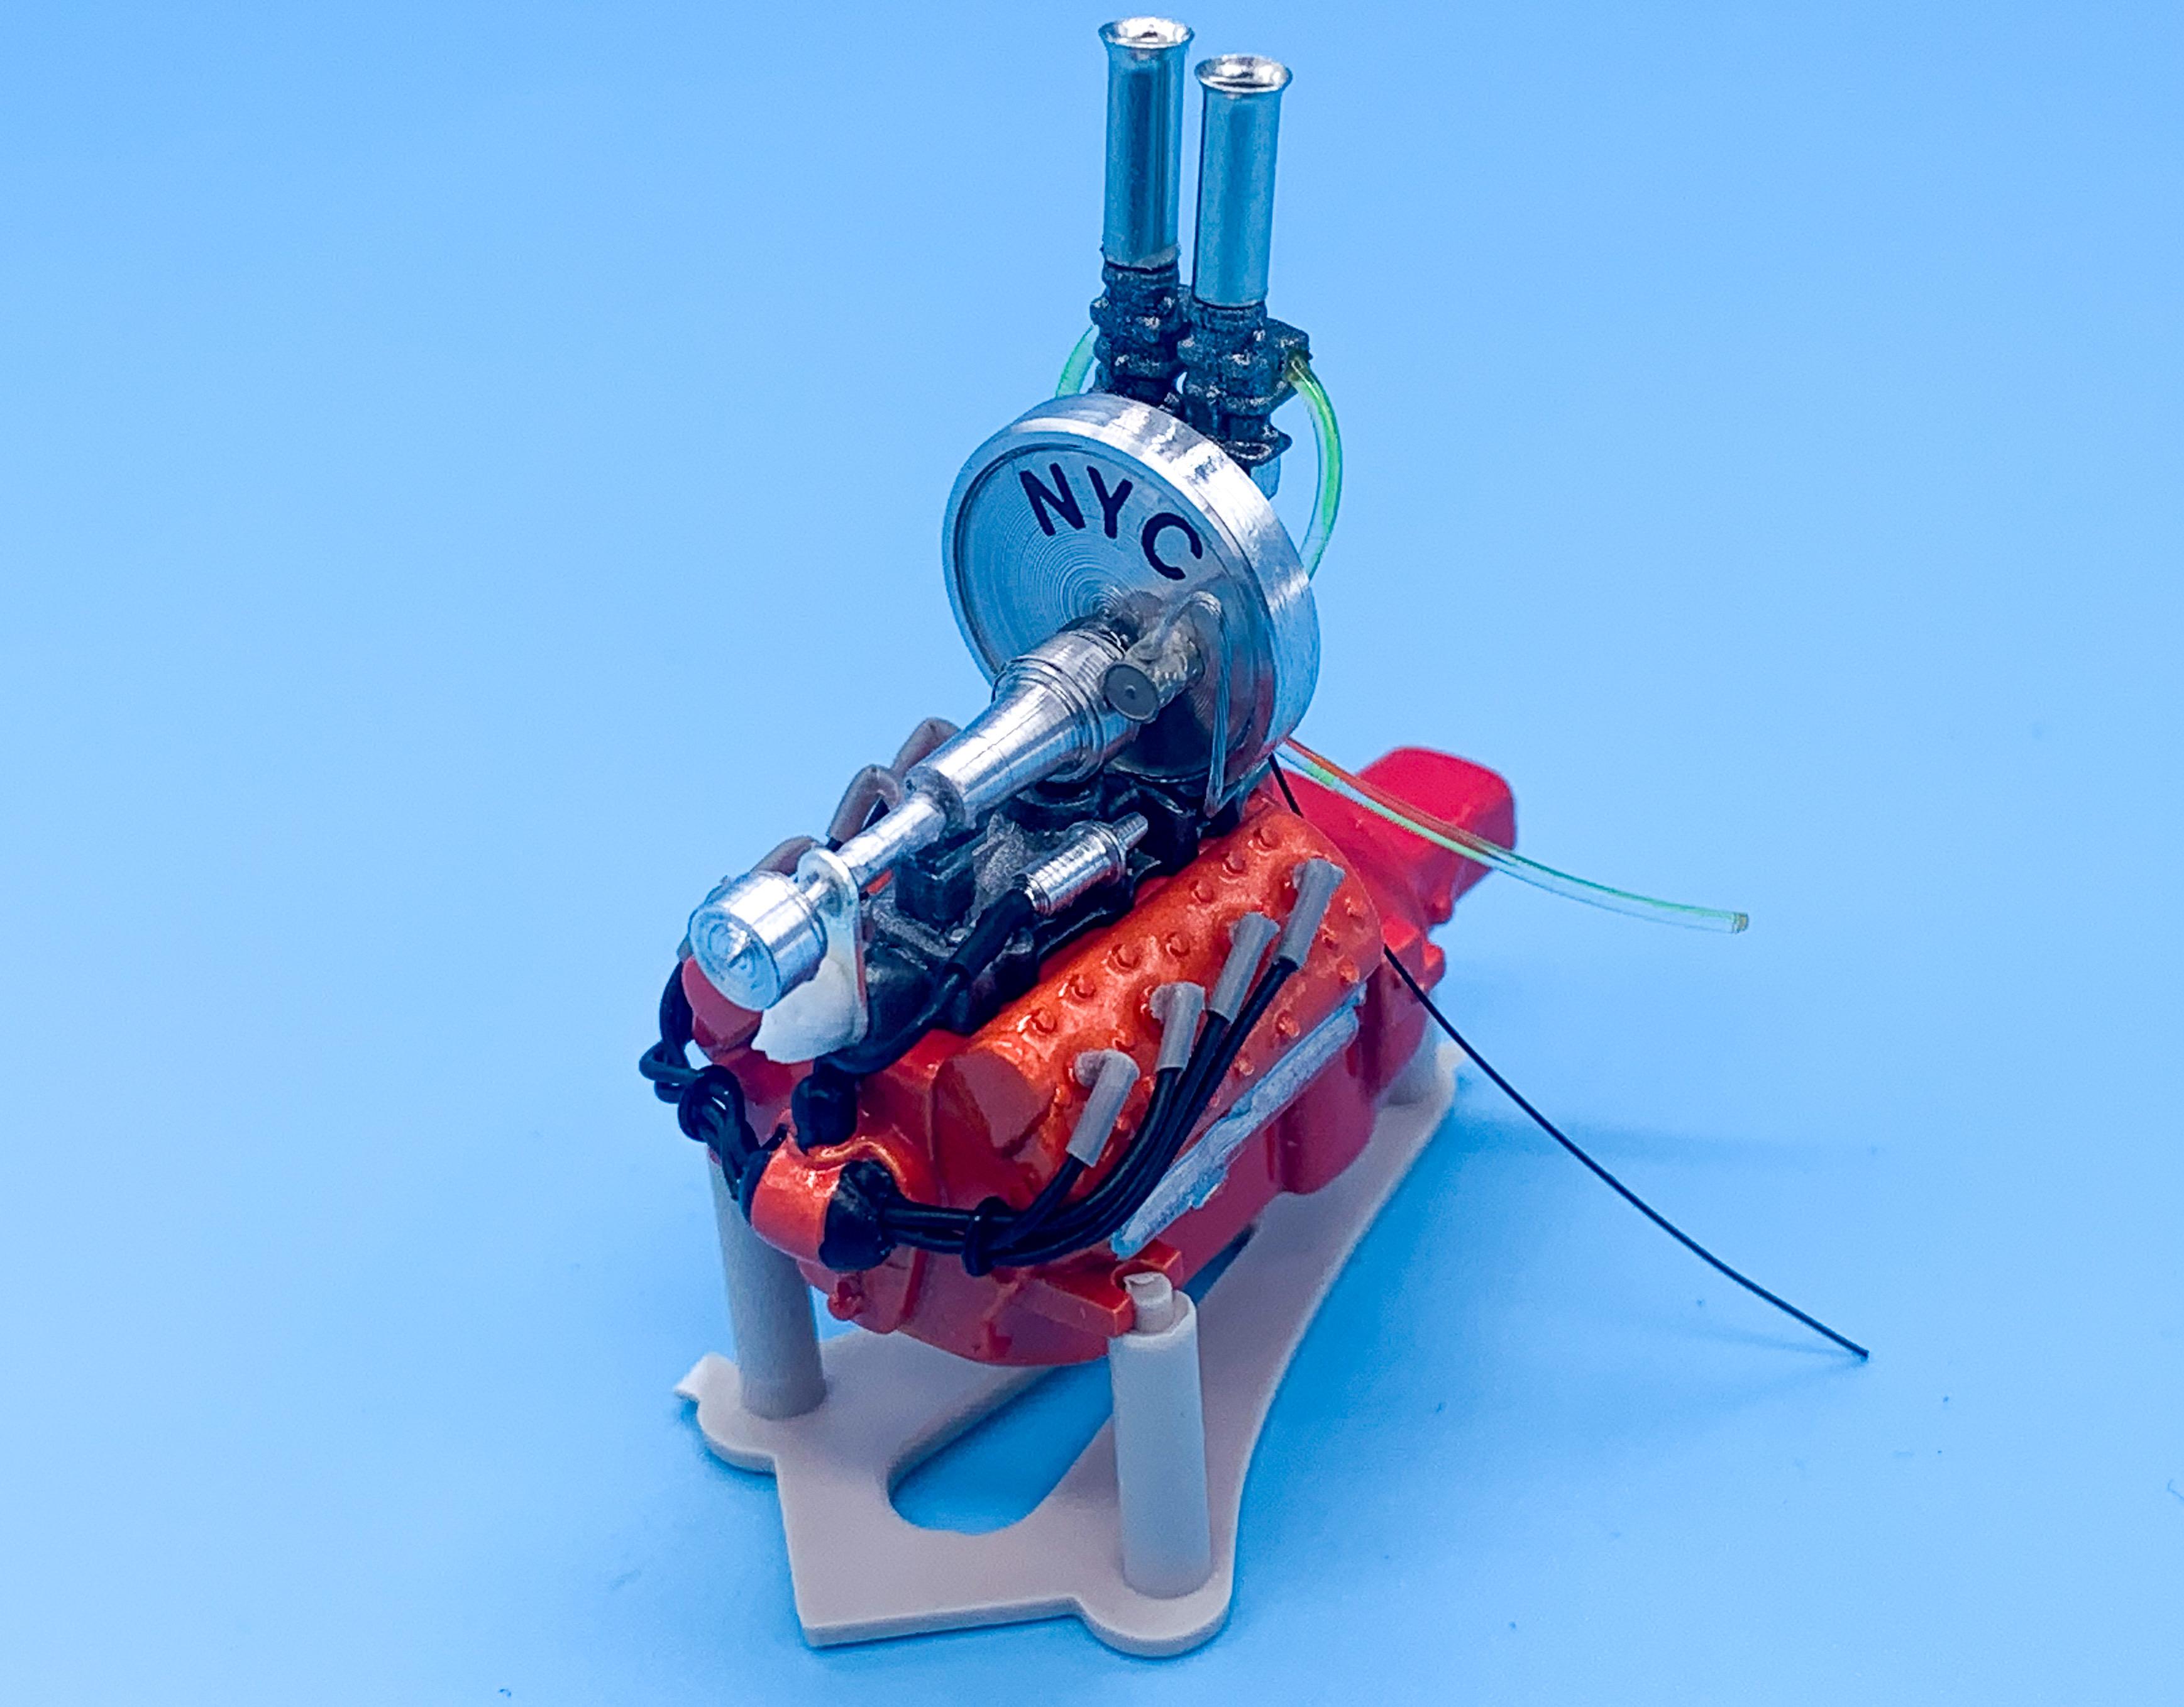
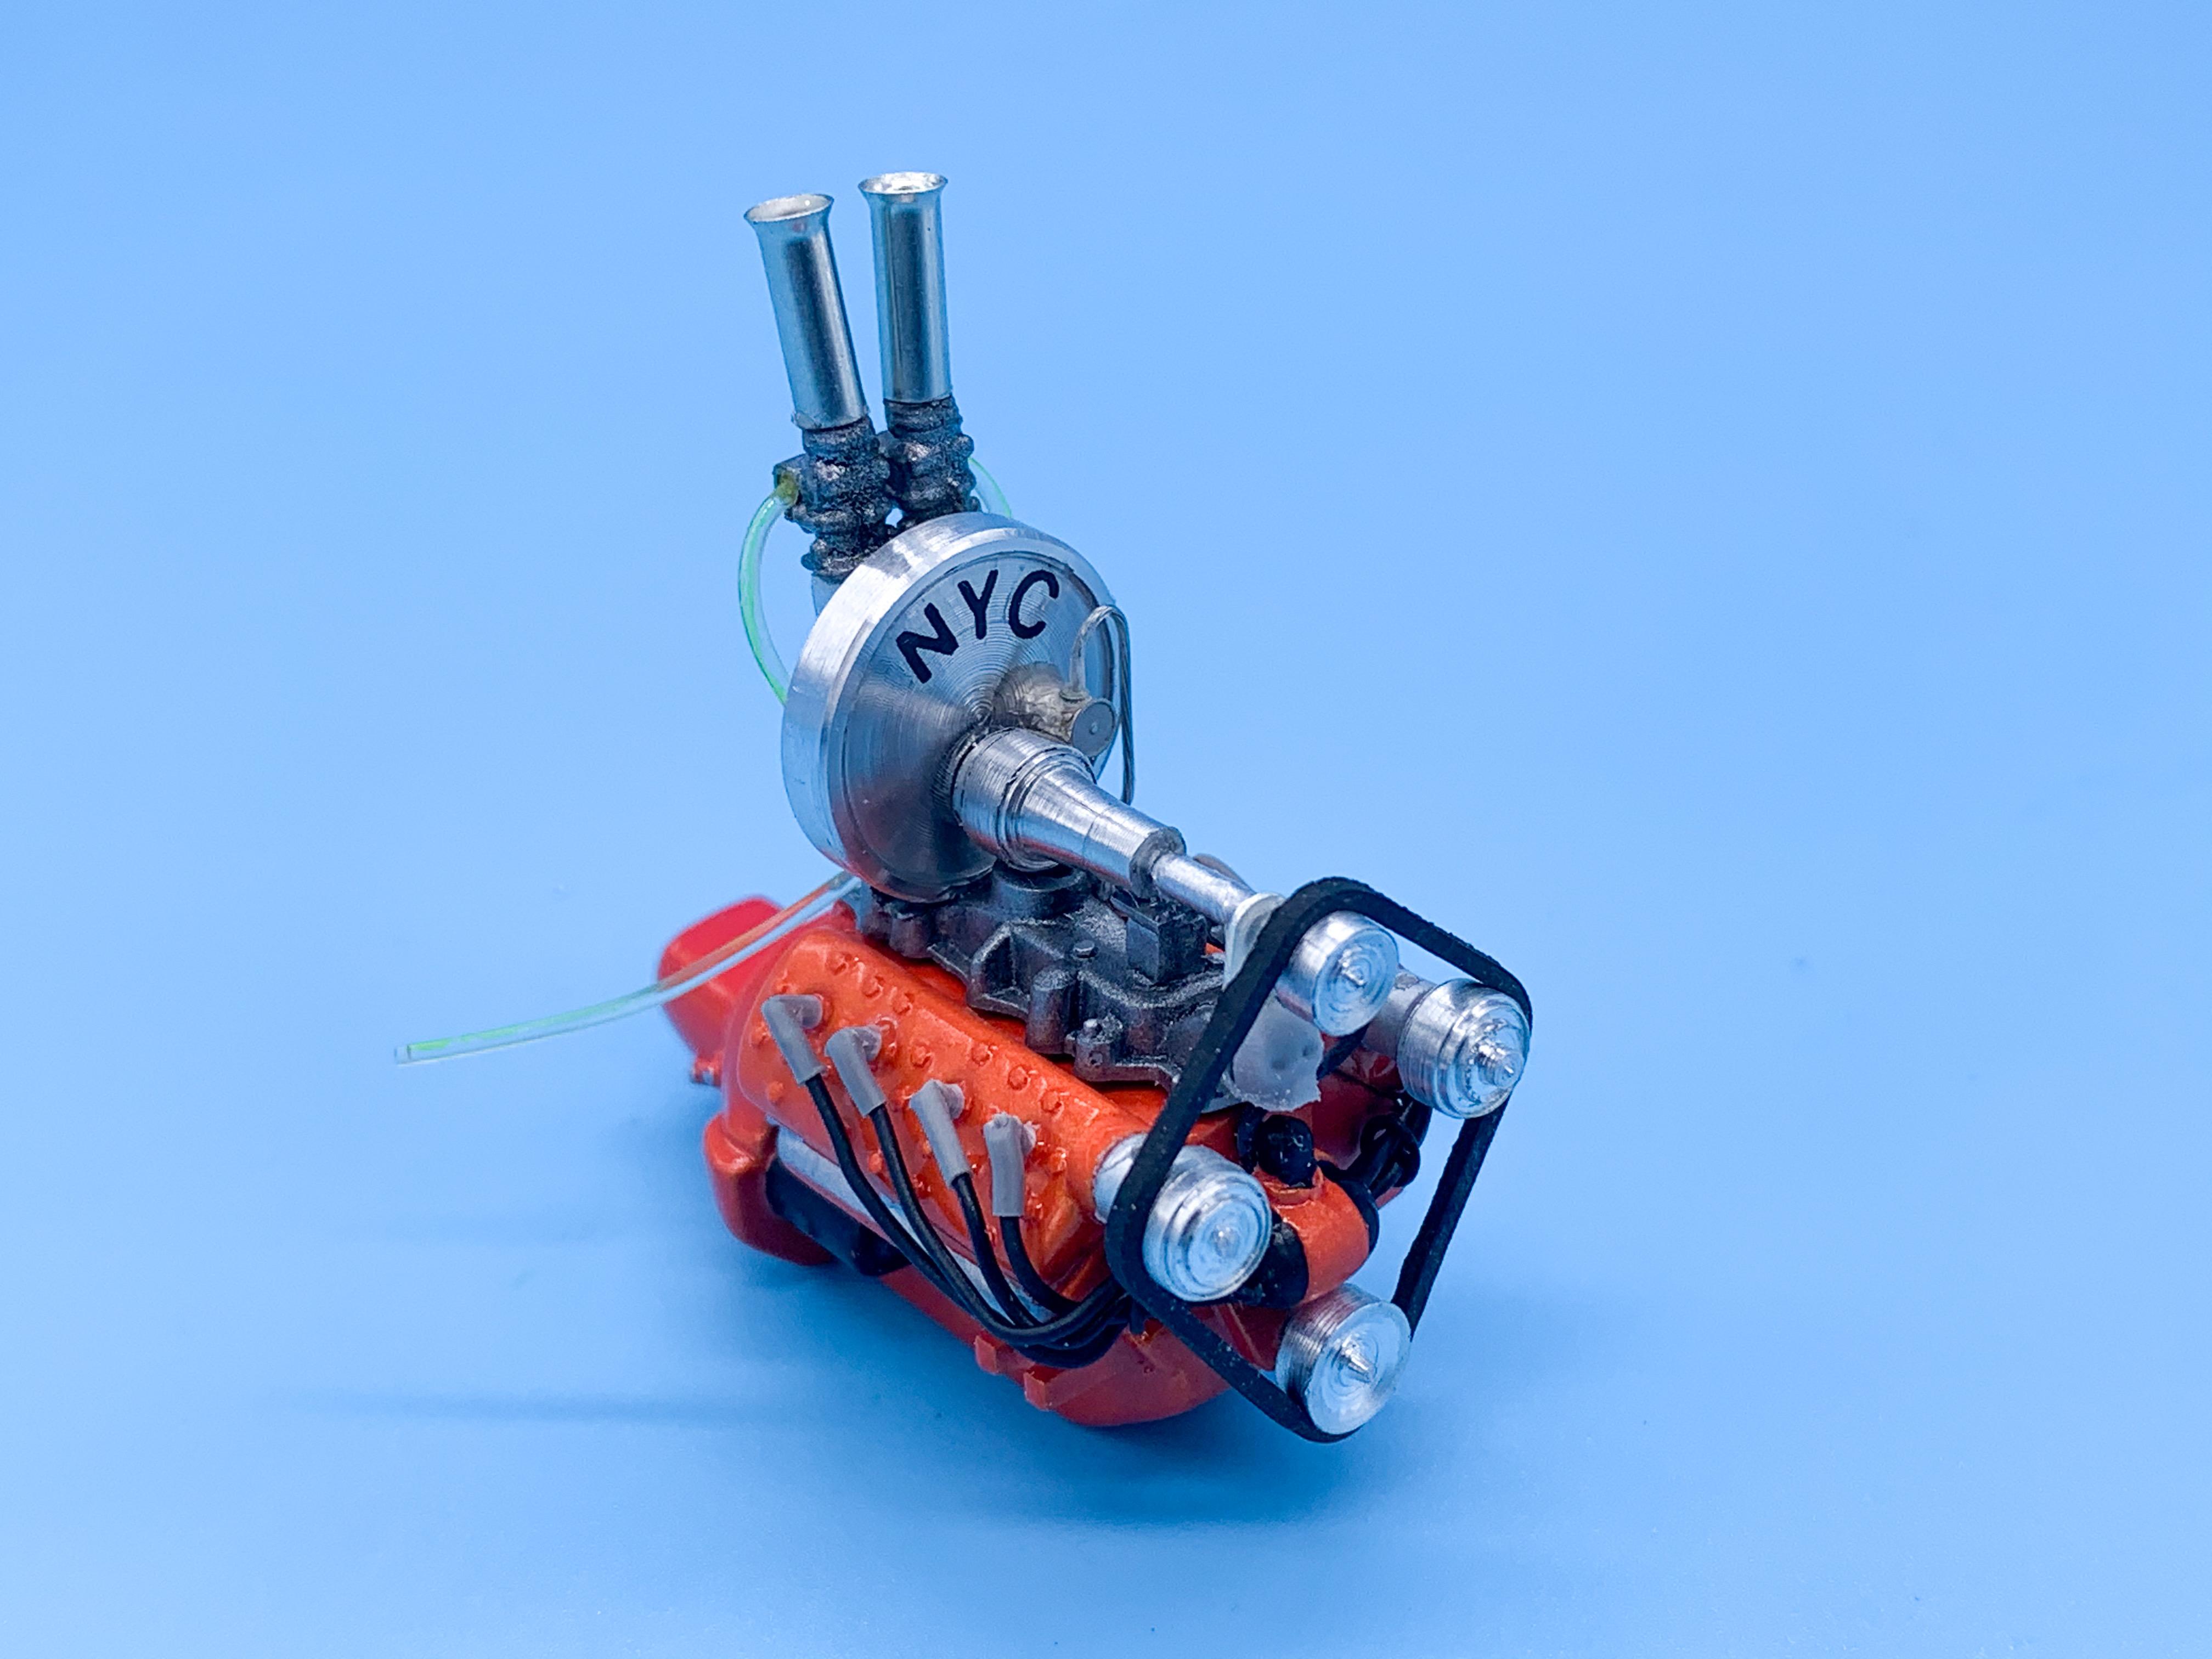
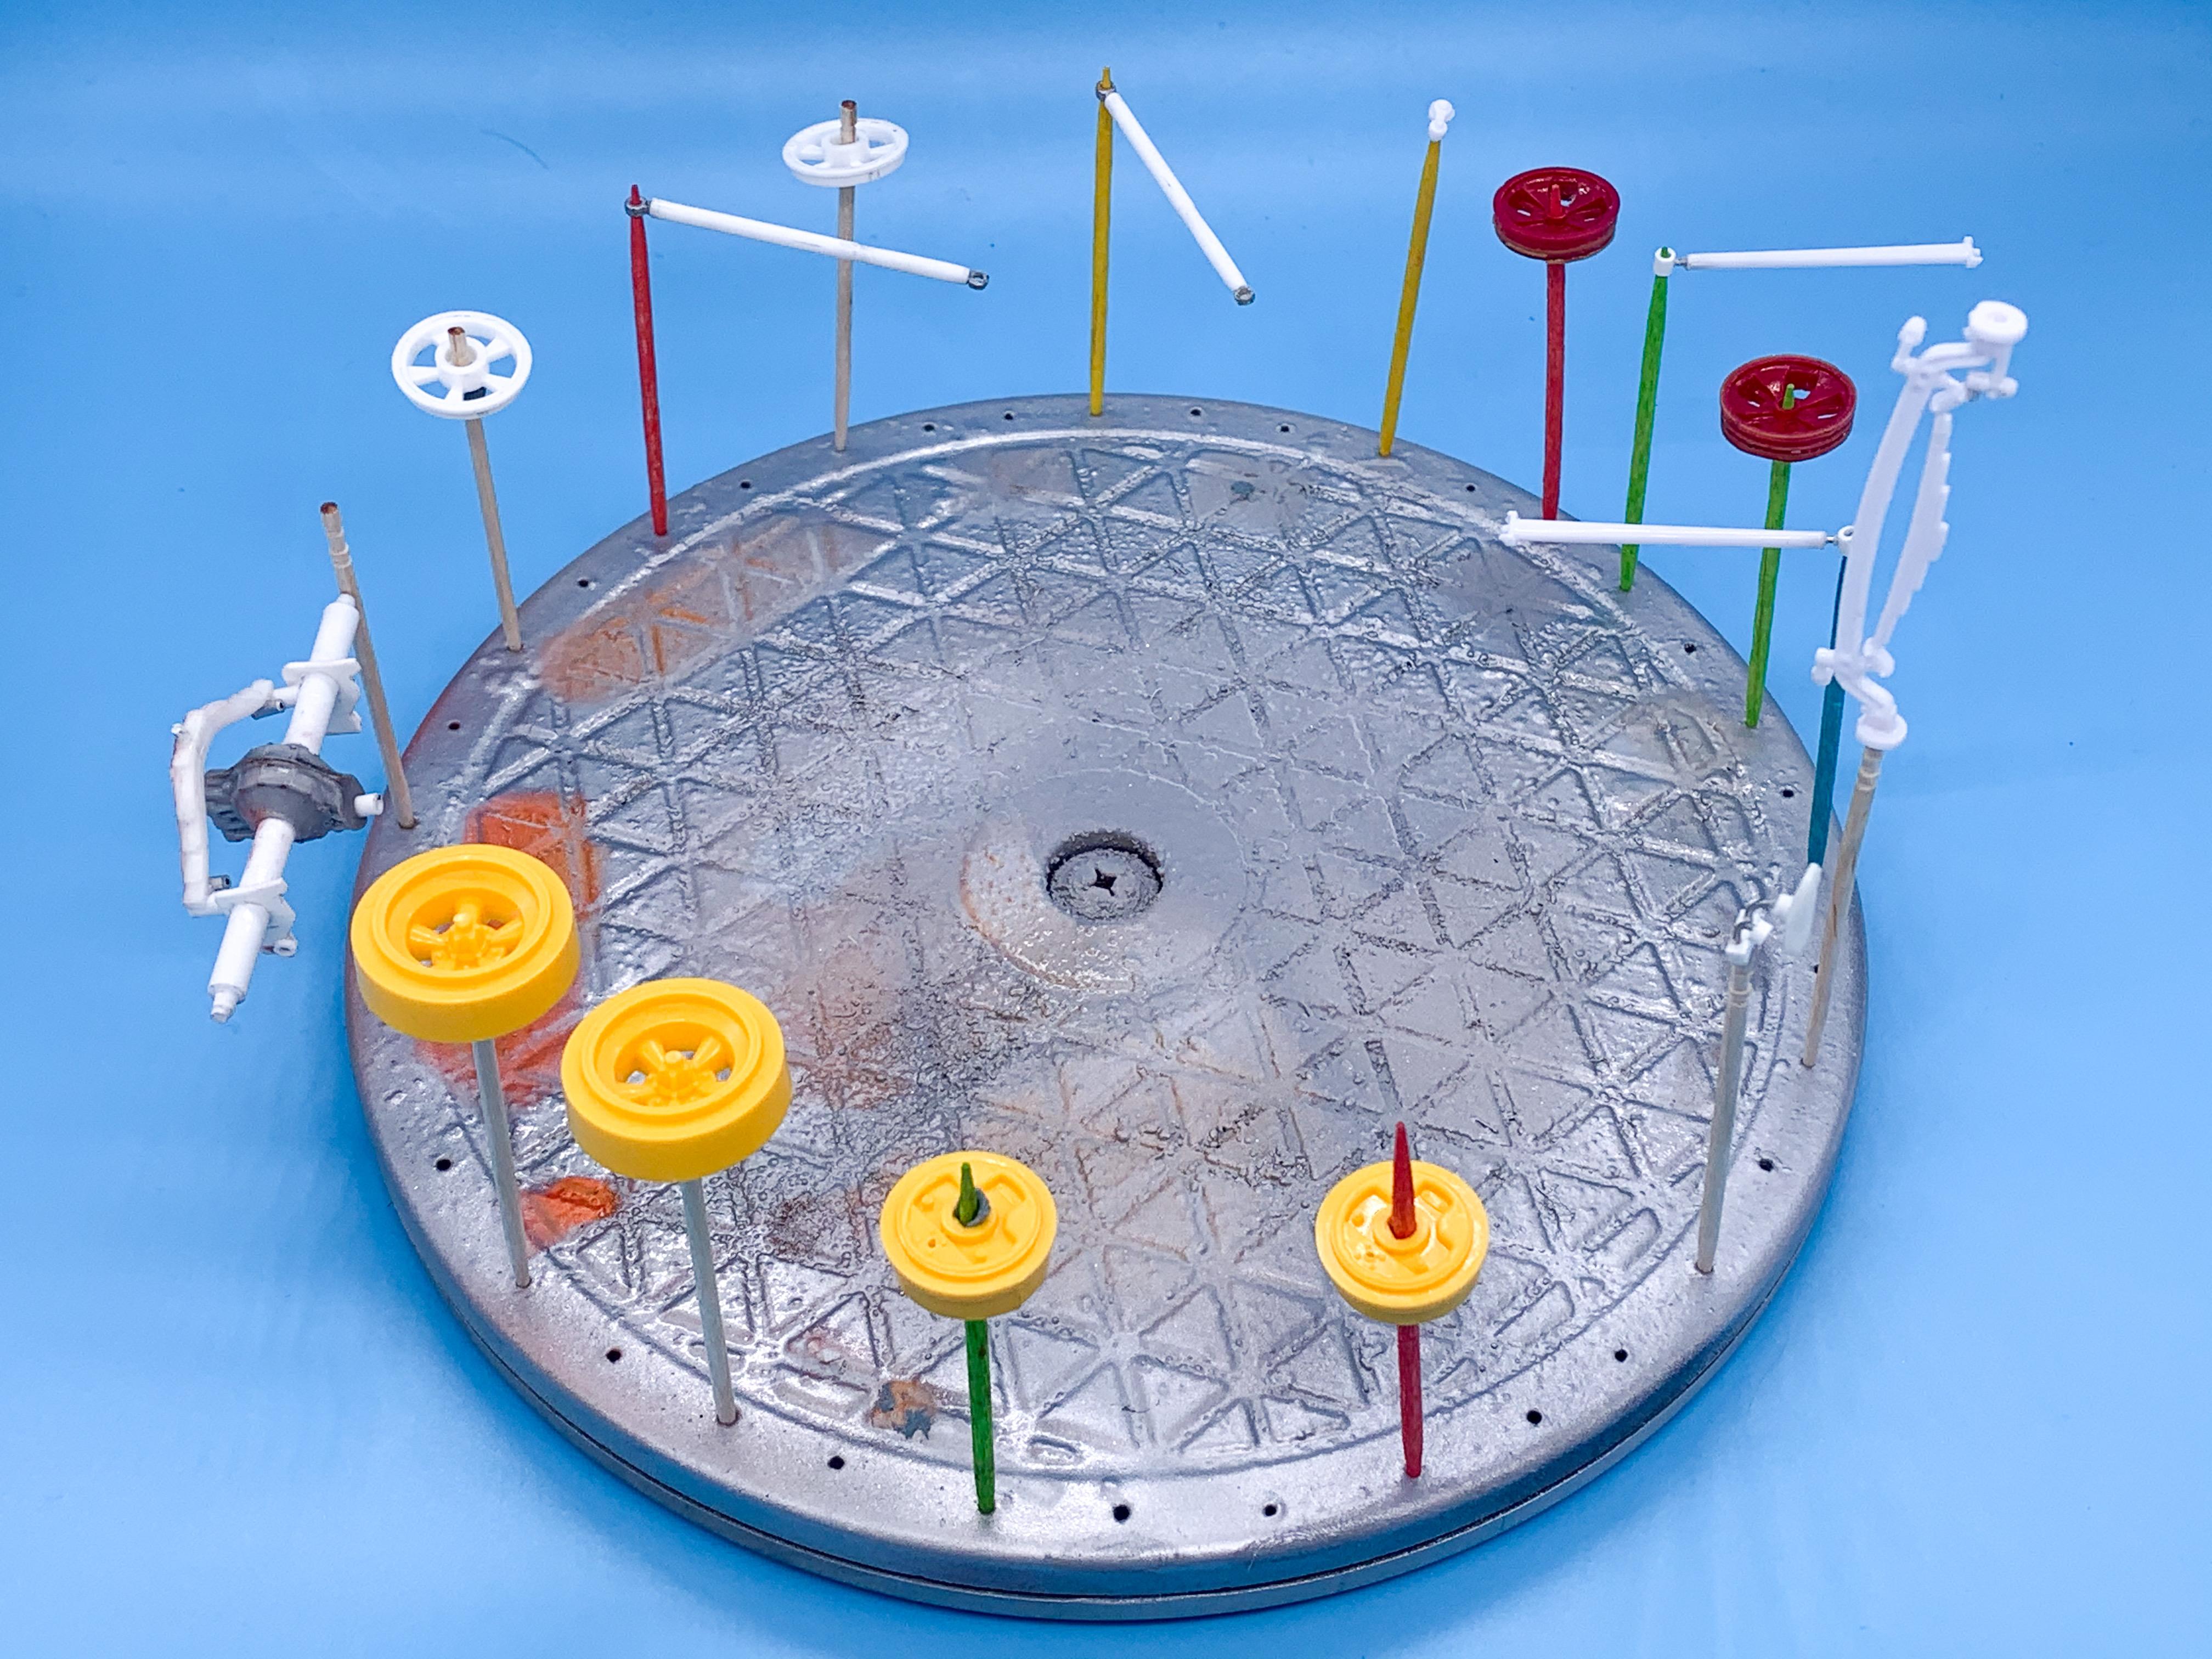
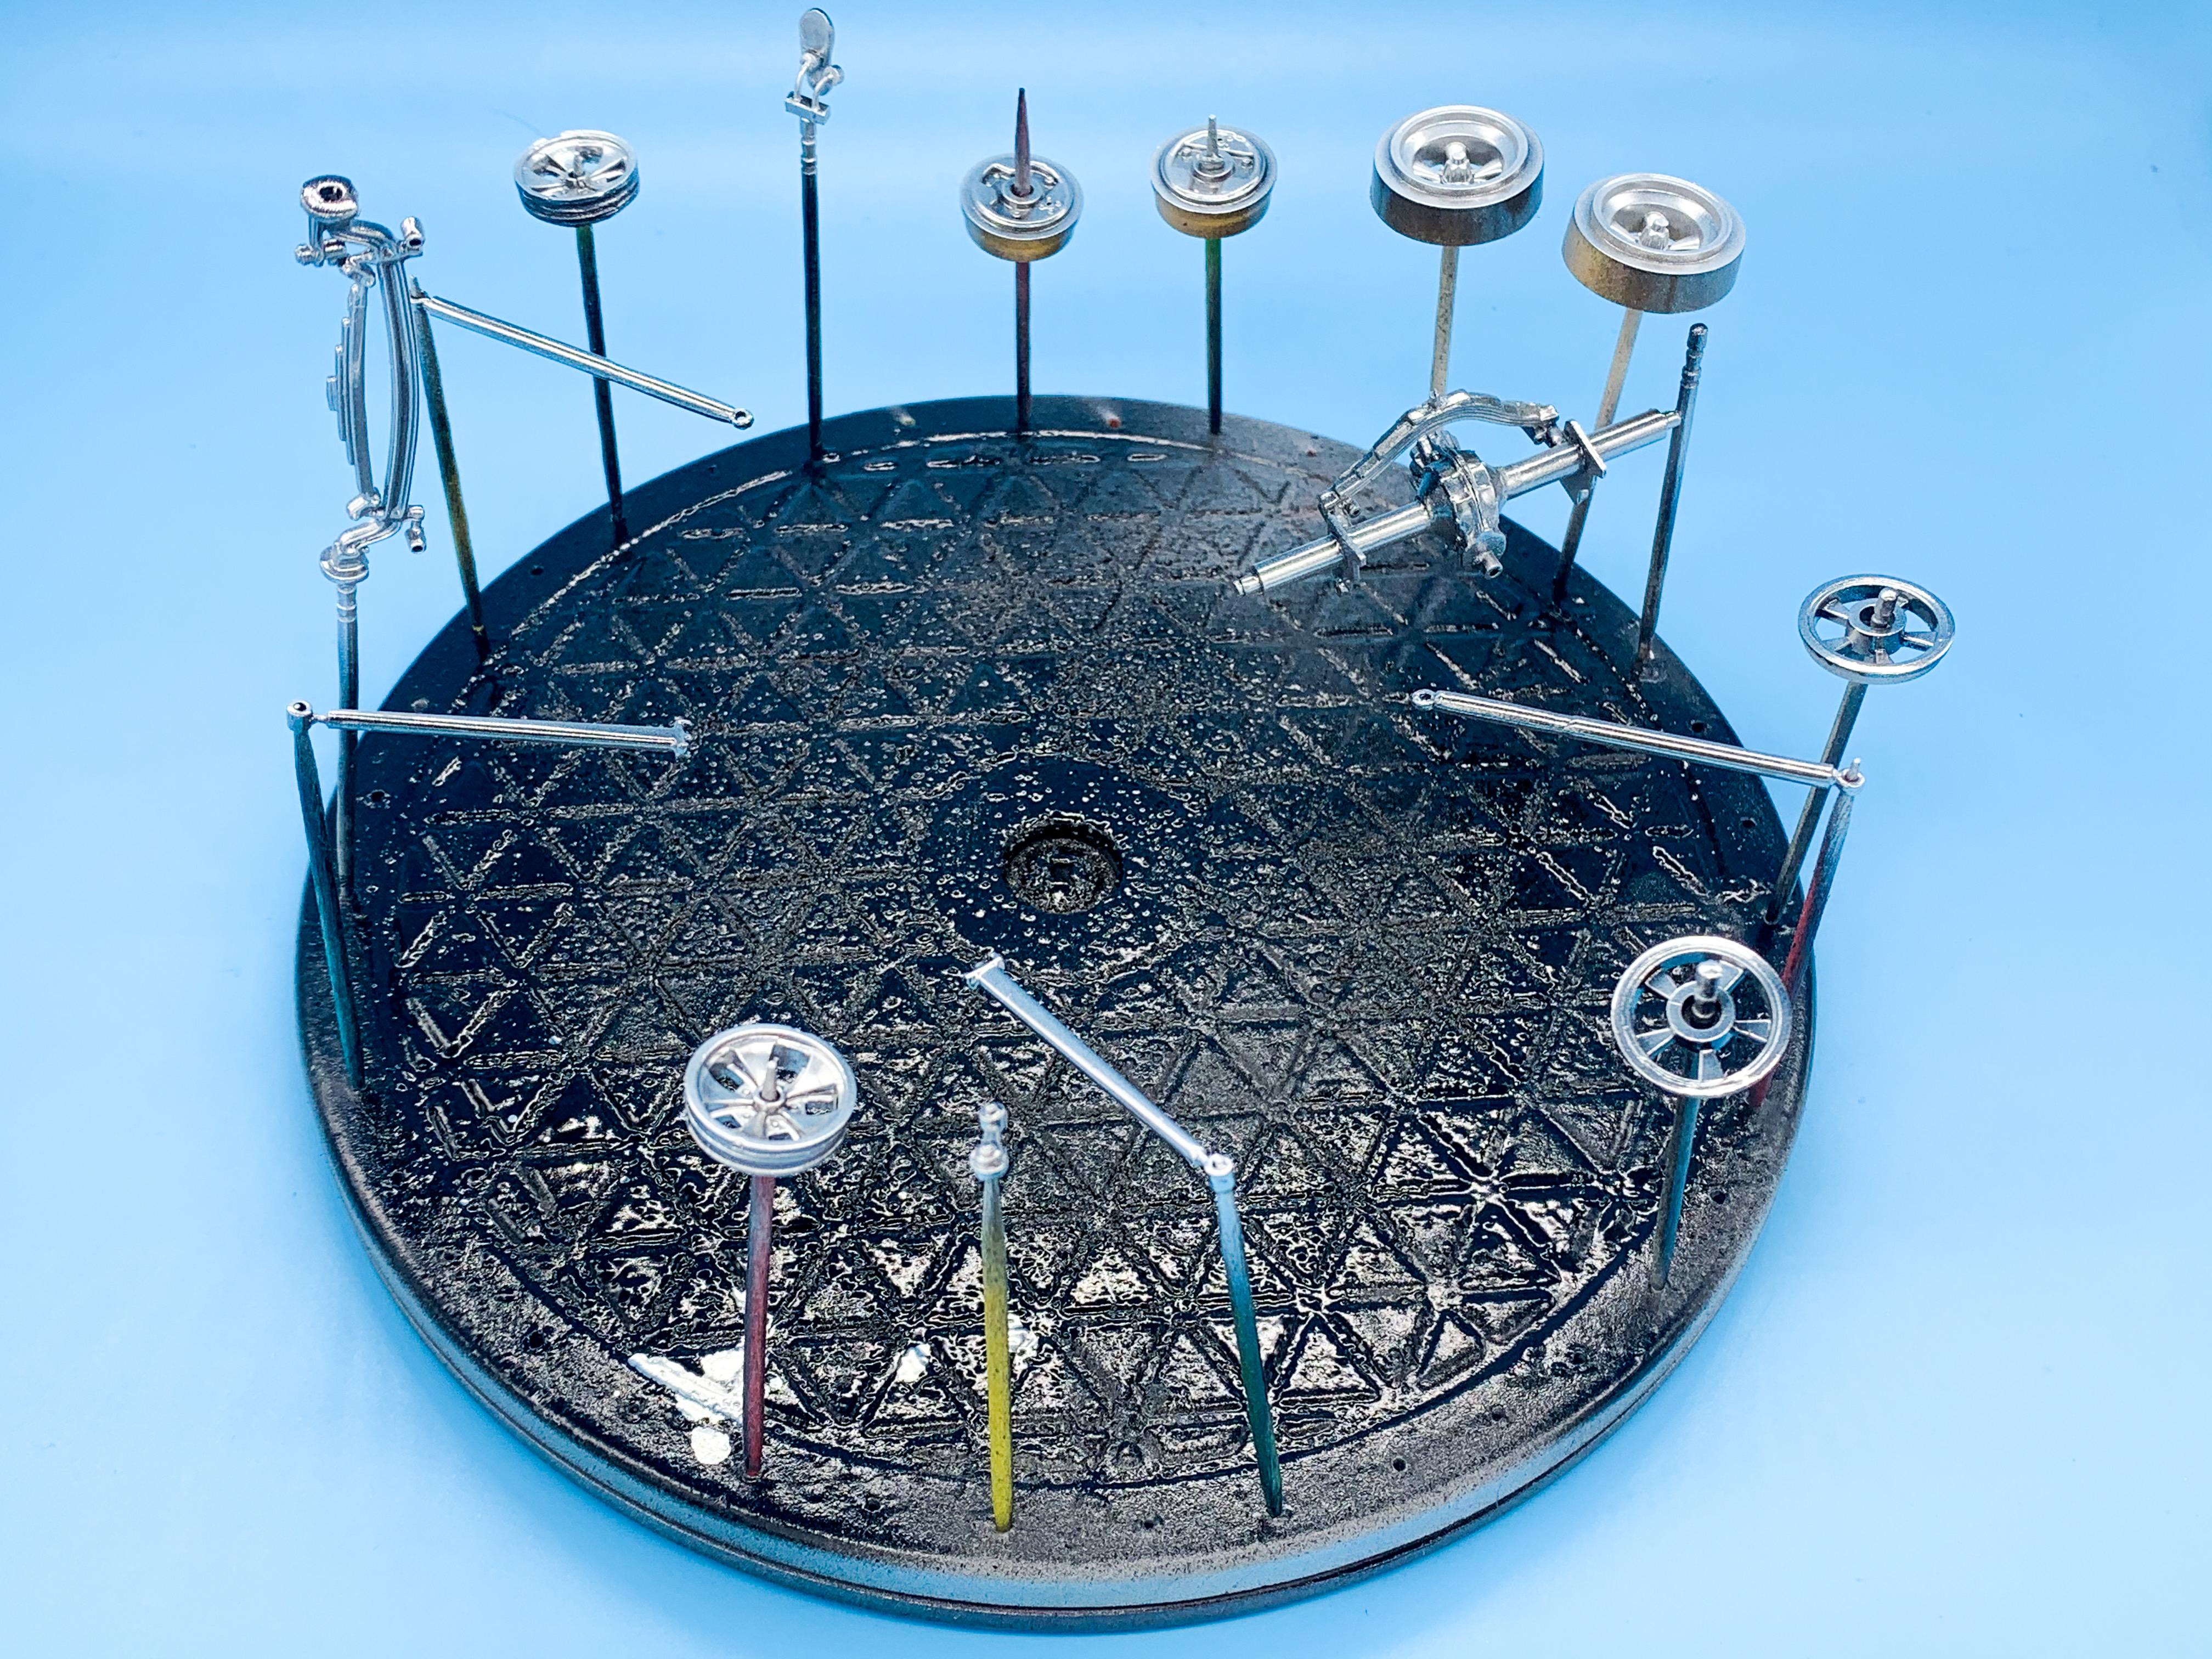
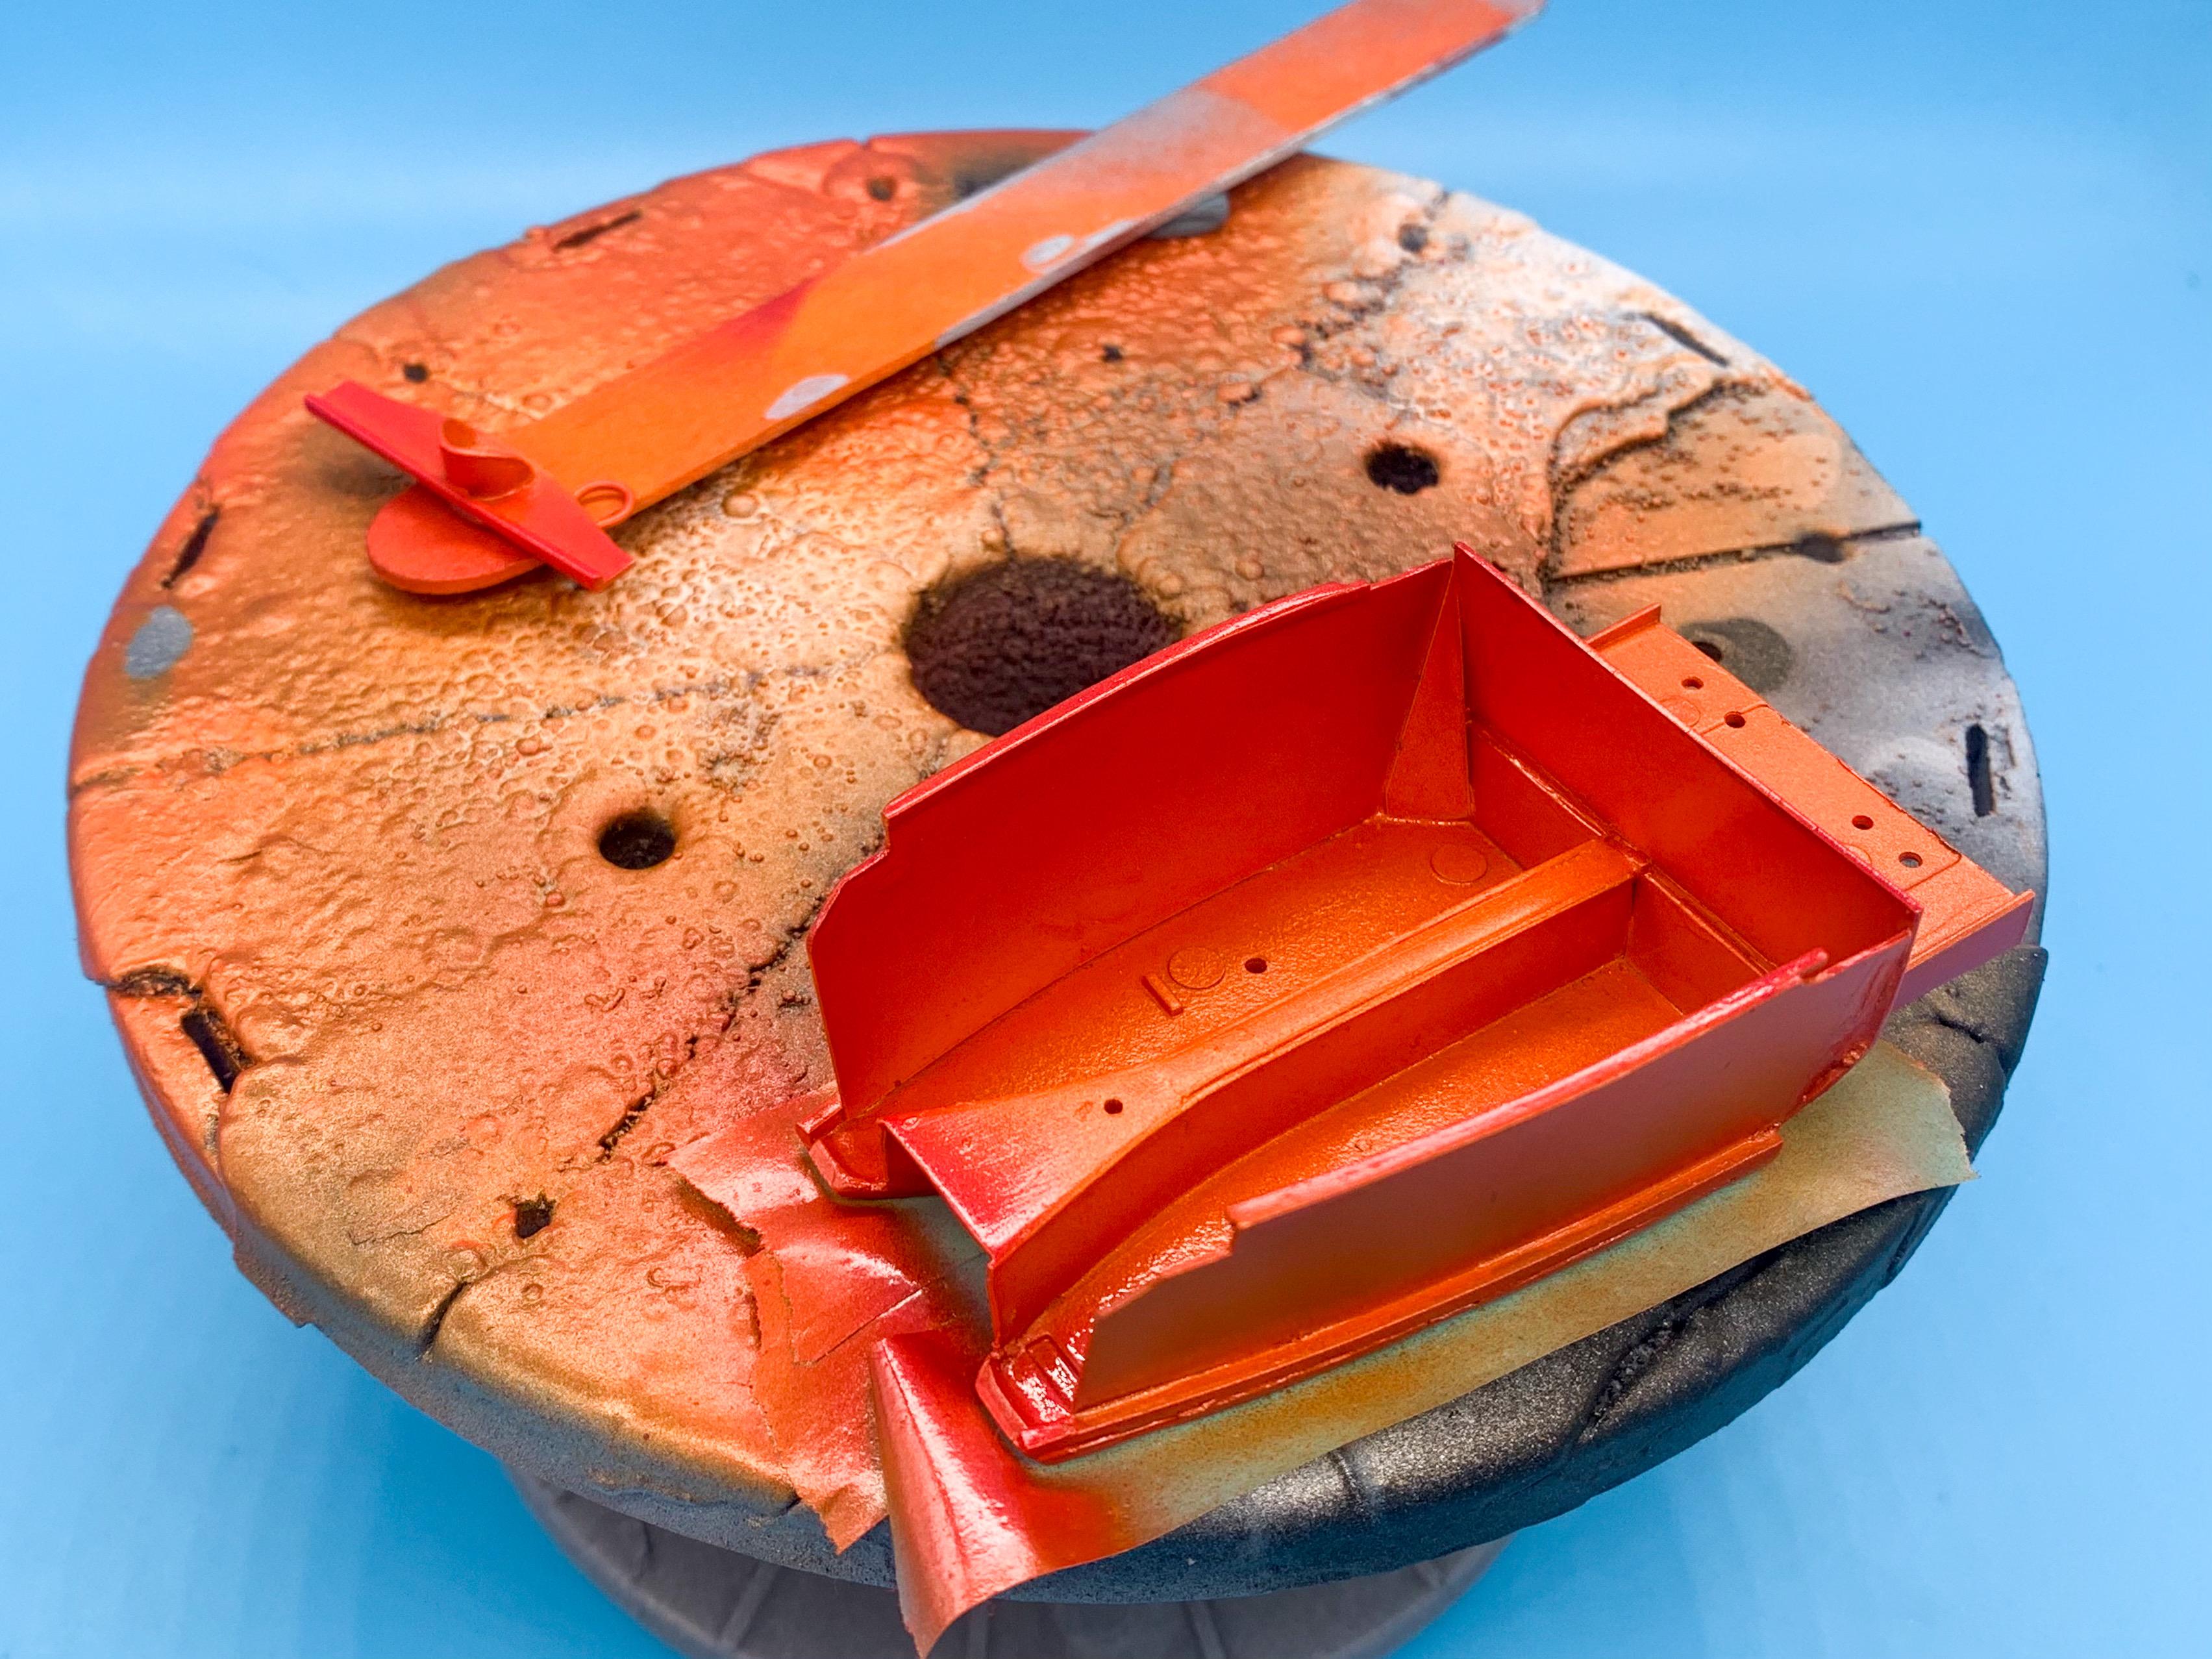
Thanks buddy! A little more progress this past week - not as much as I’d like, as usual but I got a bunch of clean-up and little jobs done at least. Got the carbs painted and fuel lines in place: Machined a set of pulleys: That belt is too big, but I wanted to try it anyway - I’ll make another out of something more in-scale... Cleaned up and prepped a bunch of chassis parts for chrome: Then chromed them! ? And got some more of that Createx orange and Testors Hot Pink on the interior tub and dash so I can start assembling and detailing them: Got plenty to paint still - if it’s not chrome or real metal...it’ll be candy or flake or both! More soon!
-
57 bug with working suspension & teardrop trailer
OldNYJim replied to stitchdup's topic in WIP: Model Cars
That color is amazing! Nice save! -
Yeah, how DID you make that Kurt? ?♂️? Made an all-metal MPC trike wheel today:
-
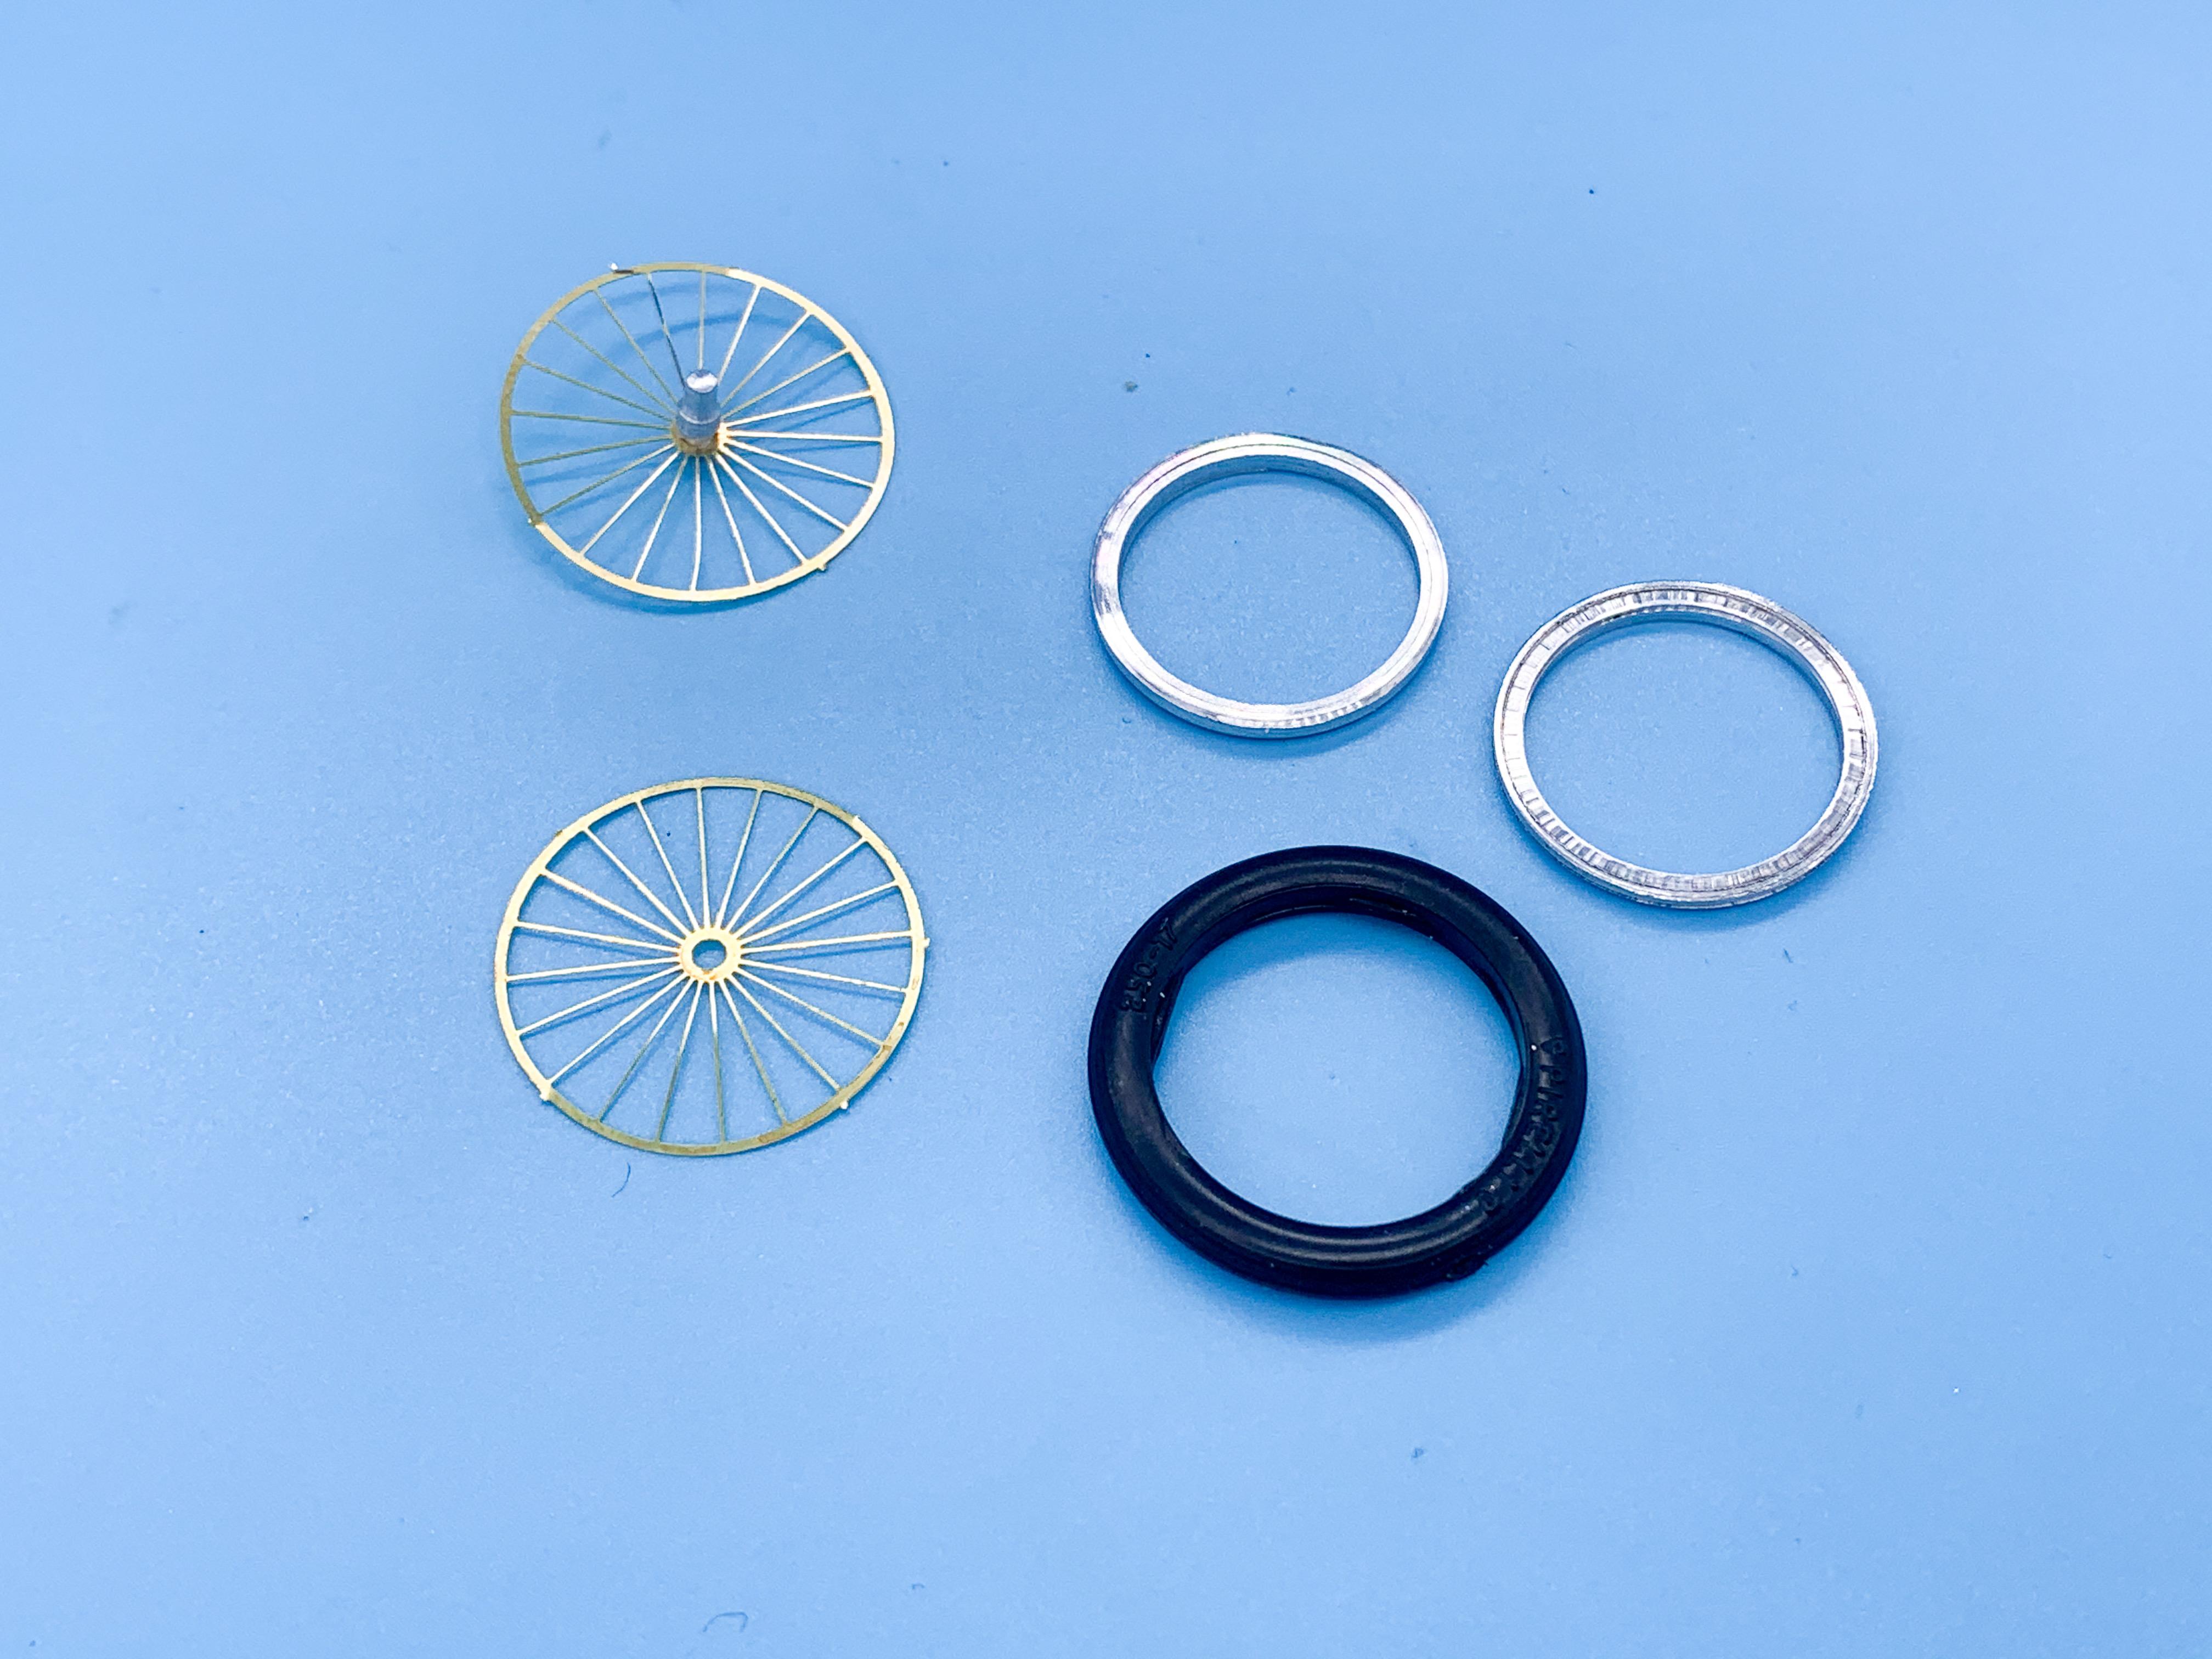
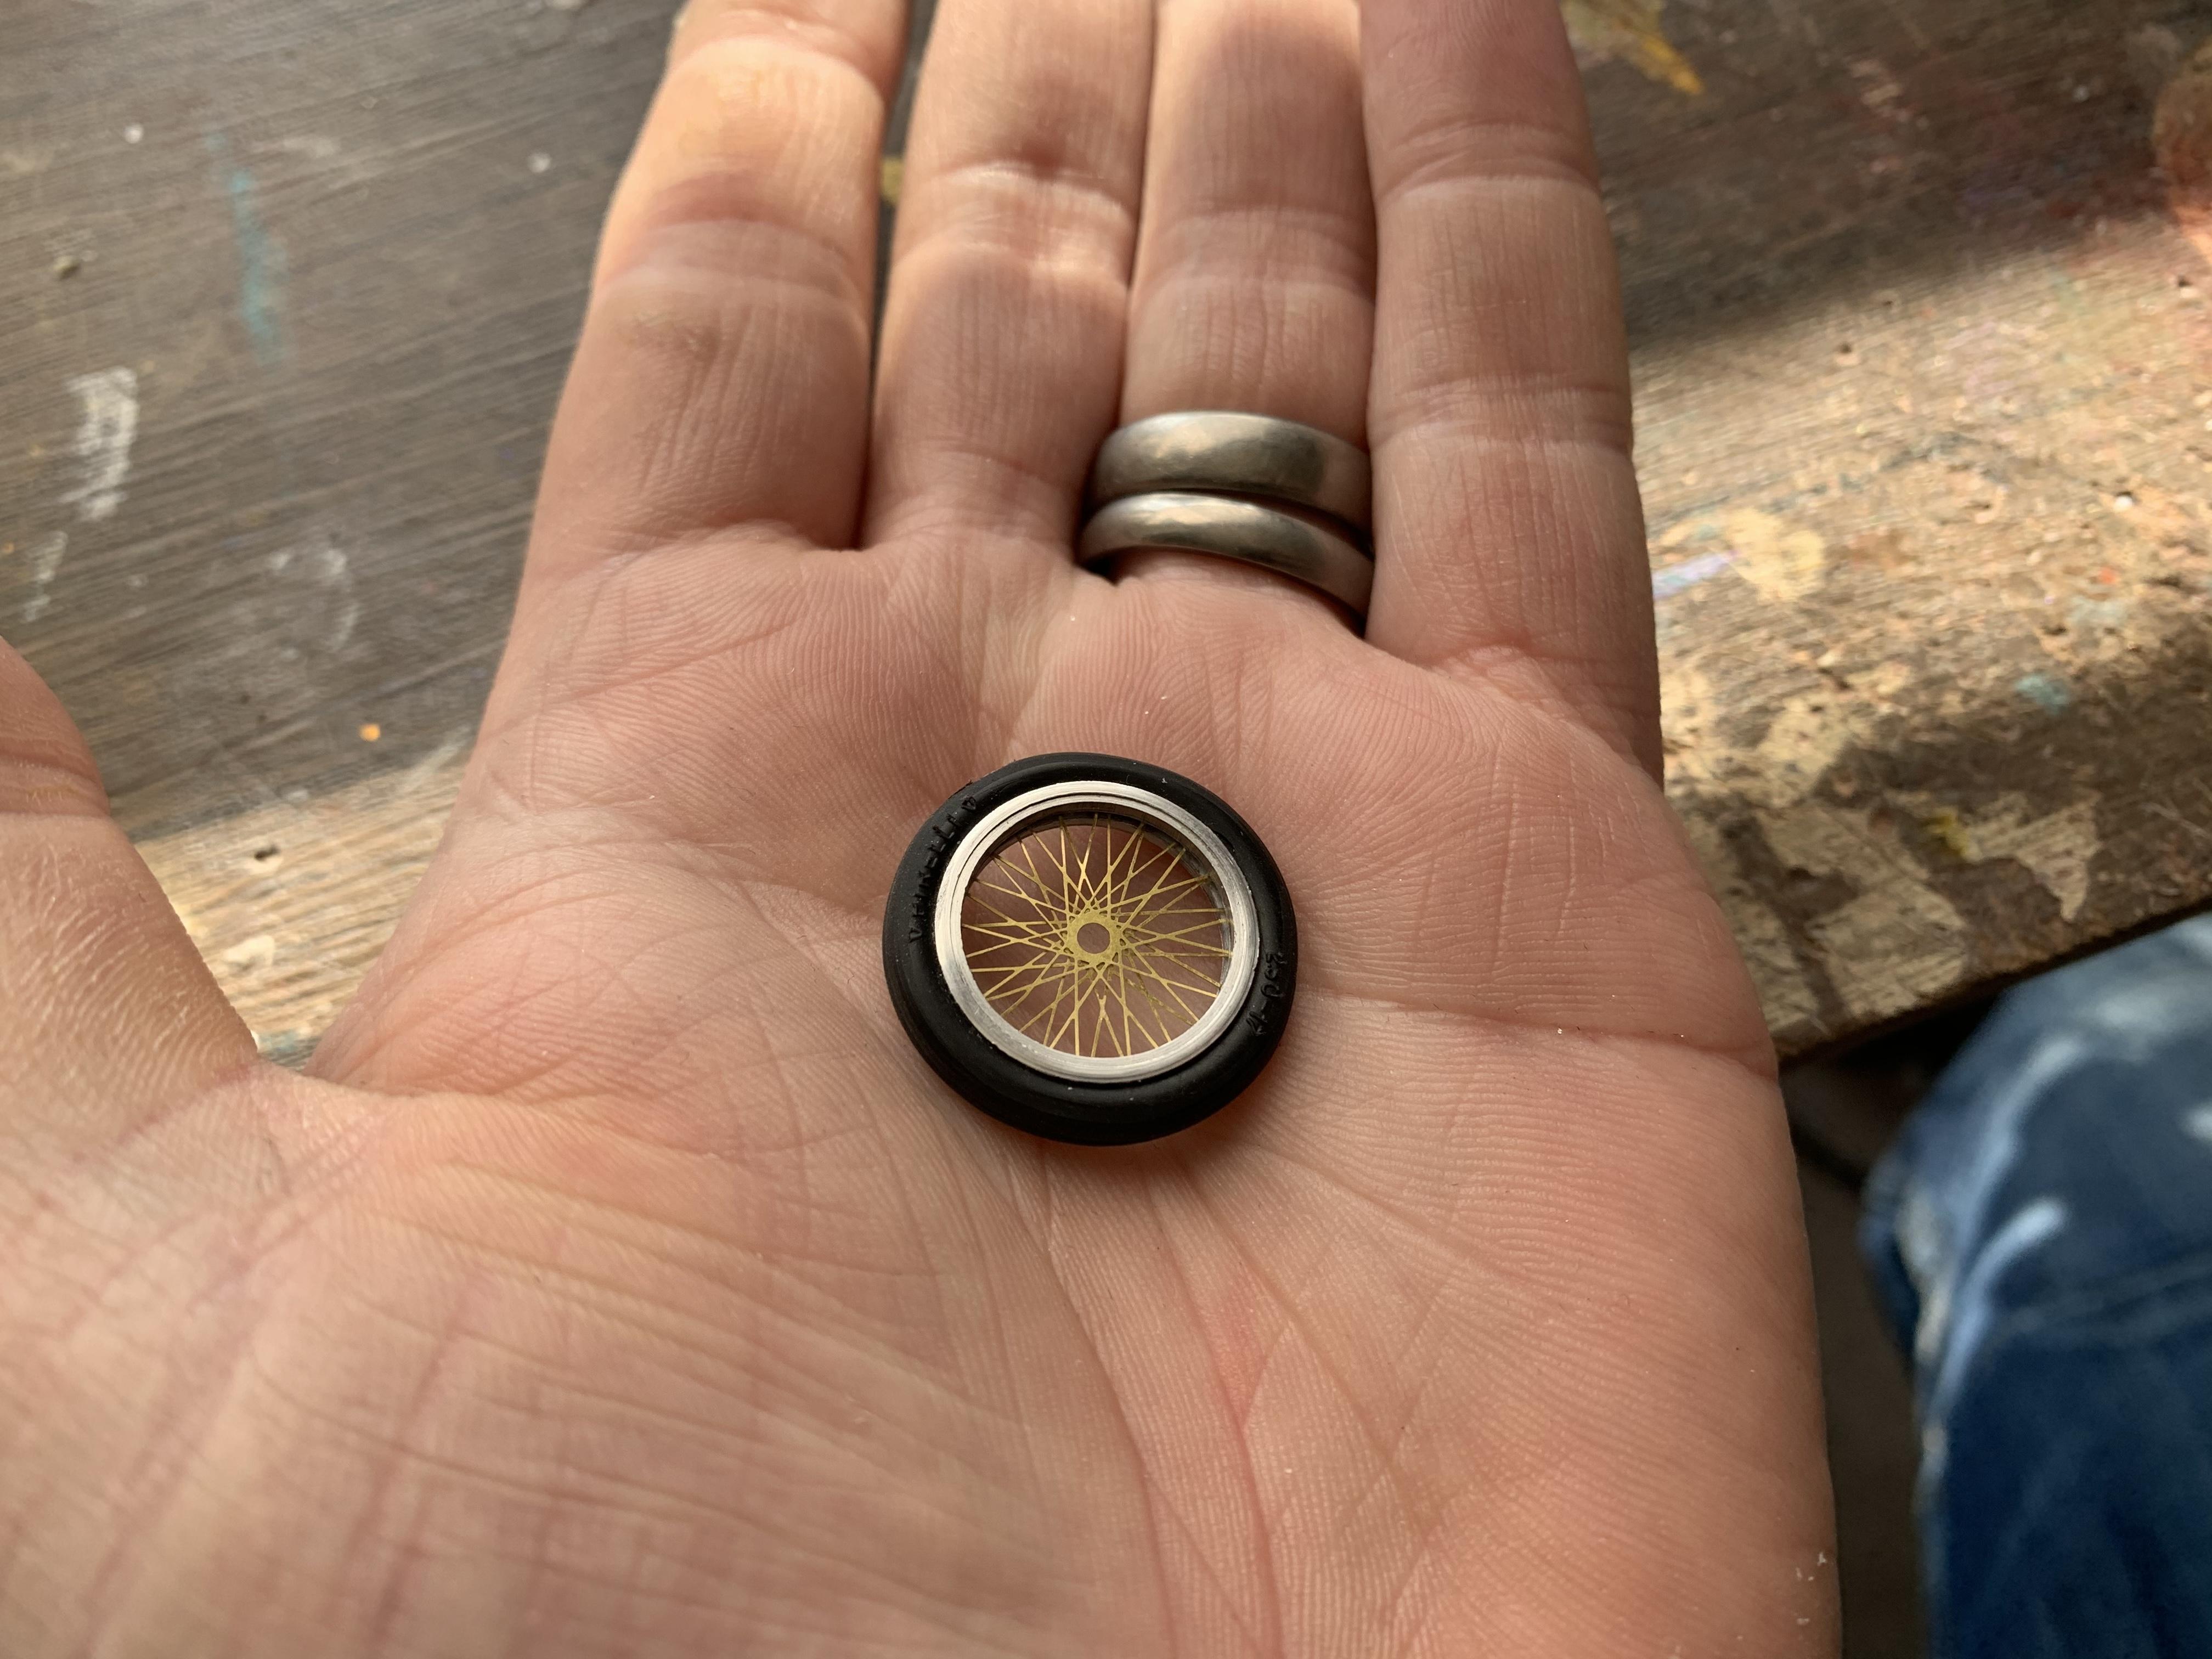
That’s good to know! Thanks Steve! I mocked up the body to make sure I could get the interior in ok, which I can, so at least I can get the bodywork all smoothed out without having to modify anything too much. Got delayed somewhat waiting for the alu tube to arrive so I could machine the front wheel - and it took me 3 evenings of failures before I got a good one but I got there in the end... Tom’s Modelwork center (which is REALLY delicate) and a couple of machined rims, plus the kit tire: The photoetched pieces are too big for the wheel size we’re making here, so what I did is glued one of those to the inside of each rim, going round each spoke individually to glue them in place then I carefully sliced off the excess. Worked ok I think - kit part on the left, remake on the right: What would’ve been cooler is if I had a little hub sandwiched in there to angle those spokes out somewhat, but I was happy to have got one of these made without ruining the tiny little spokes for now...I’ll keep working on getting these better and better for the subsequent builds. Looks ten times better than the kit part anyway, I think... Now that’s done, I guess the next biggest scratchbuilding projects are a hub for that wheel and the forks...more soon!
-
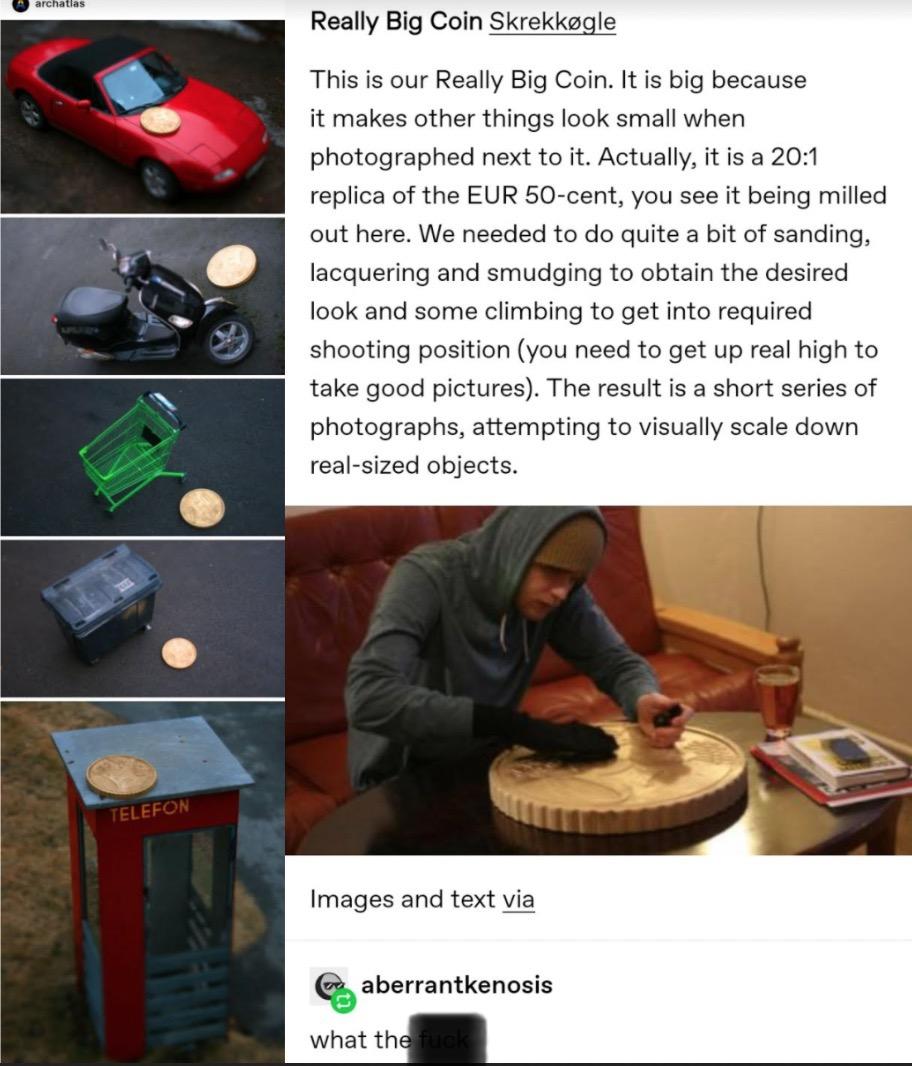
Now I need to make a 25:1 scale quarter! ?
-
I saw this online recently and thought of this post Someone actually made the big coin we always hear about! ?? Thank you sir!
-
MFH Porsche 917-43 hippie
OldNYJim replied to Chris Smith's topic in WIP: Other Racing: Road Racing, Land Speed Racers
Really enjoying this build - beautiful work! -
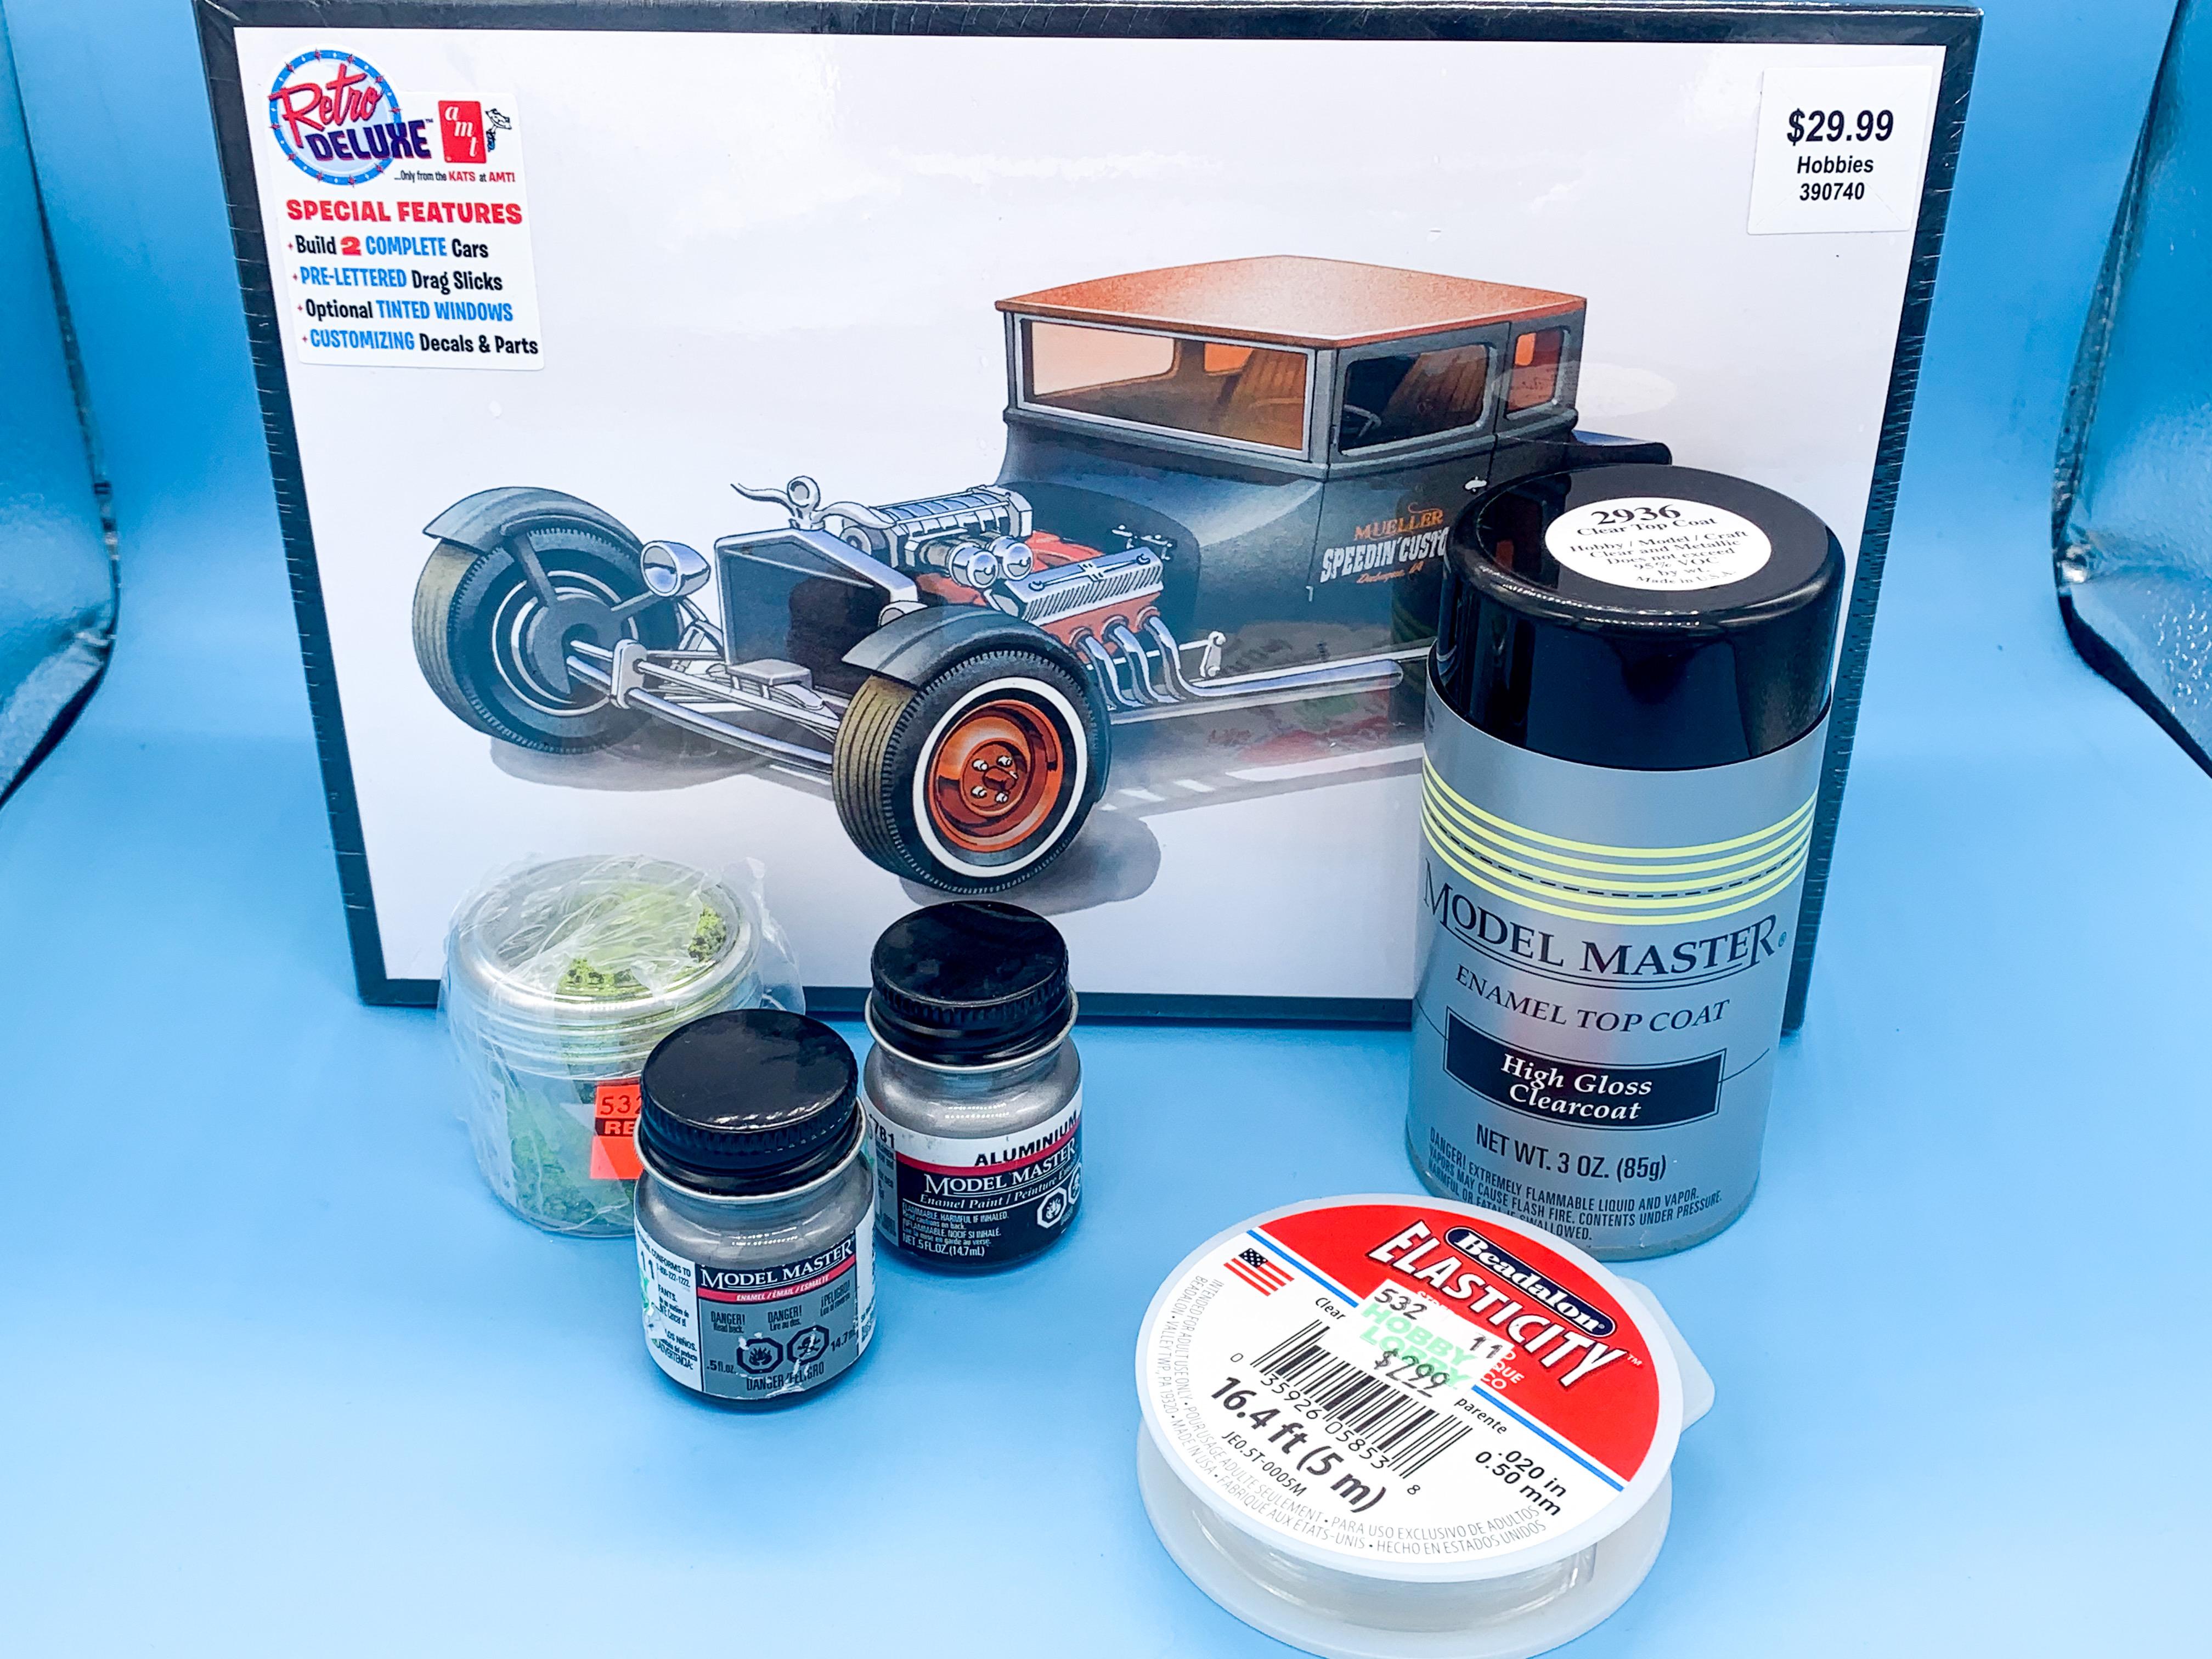
Quick Hobby Lobby run before the 40% off voucher ends...got a couple of bottles of Testors enamel metalizers, a rattle can of their gloss clear, some green embossing powder that I might never find a use for, some clear plastic tube for fuel lines and the reissued AMT Model T kit Really impressed with the T kit - I figured it was the standard 2-in-1 deal but there’s actually enough parts to build two entire kits...wish I’d grabbed the other one on the shelf now!
-
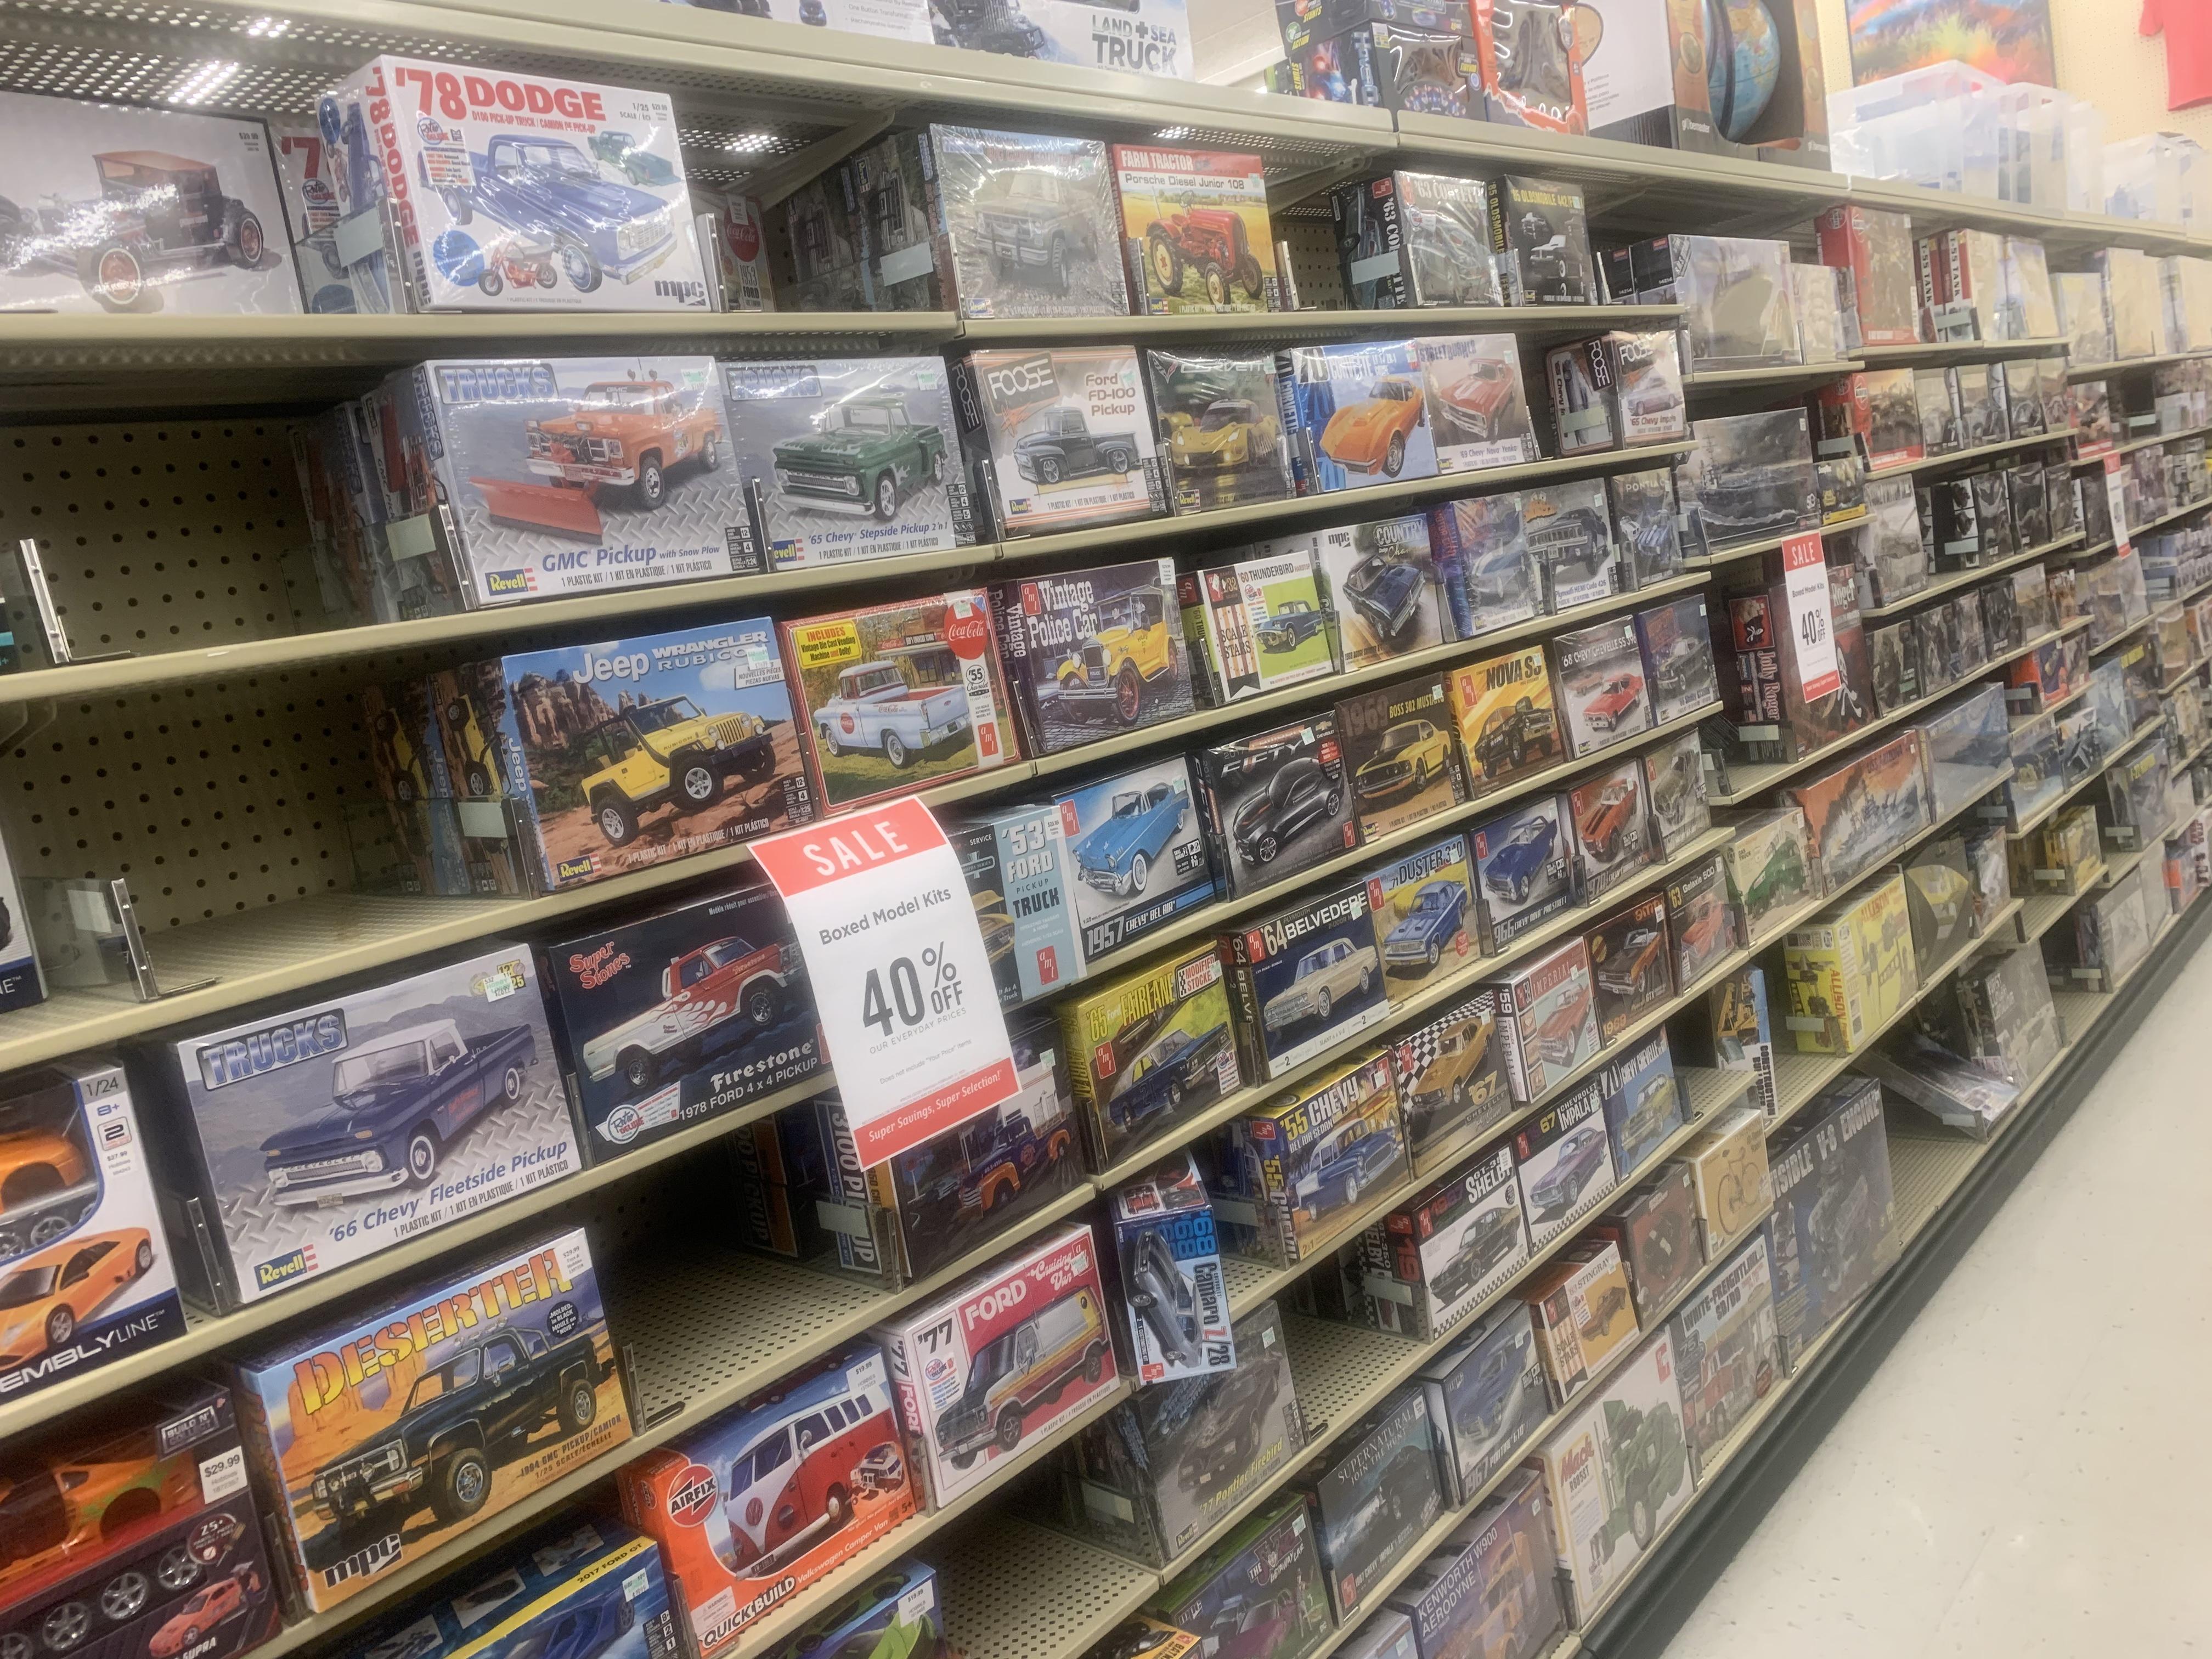
No paints marked down here in Cornland either - but I found a couple of lonely bottles of the Testors enamel metal finishes and grabbed those, and they just seem to have got the AMT Model T coupe kits so I grabbed one of those too. Model selection was better than it has been lately, but nothing much new except for the Ts:
-
I always enjoyed his work too - hope he's doing ok!
-
I'd like it if they stocked the Tamiya paint lines - those tend to be a little harder to find around here than Testors or Vallejo. Maybe with some of the Testor's lines disappearing we'll see more of the Tamiya colors appearing on the shelves
-
Posted a mini tutorial, for anyone curious... I’d like to develop this technique a little more, but it’s a start!
-
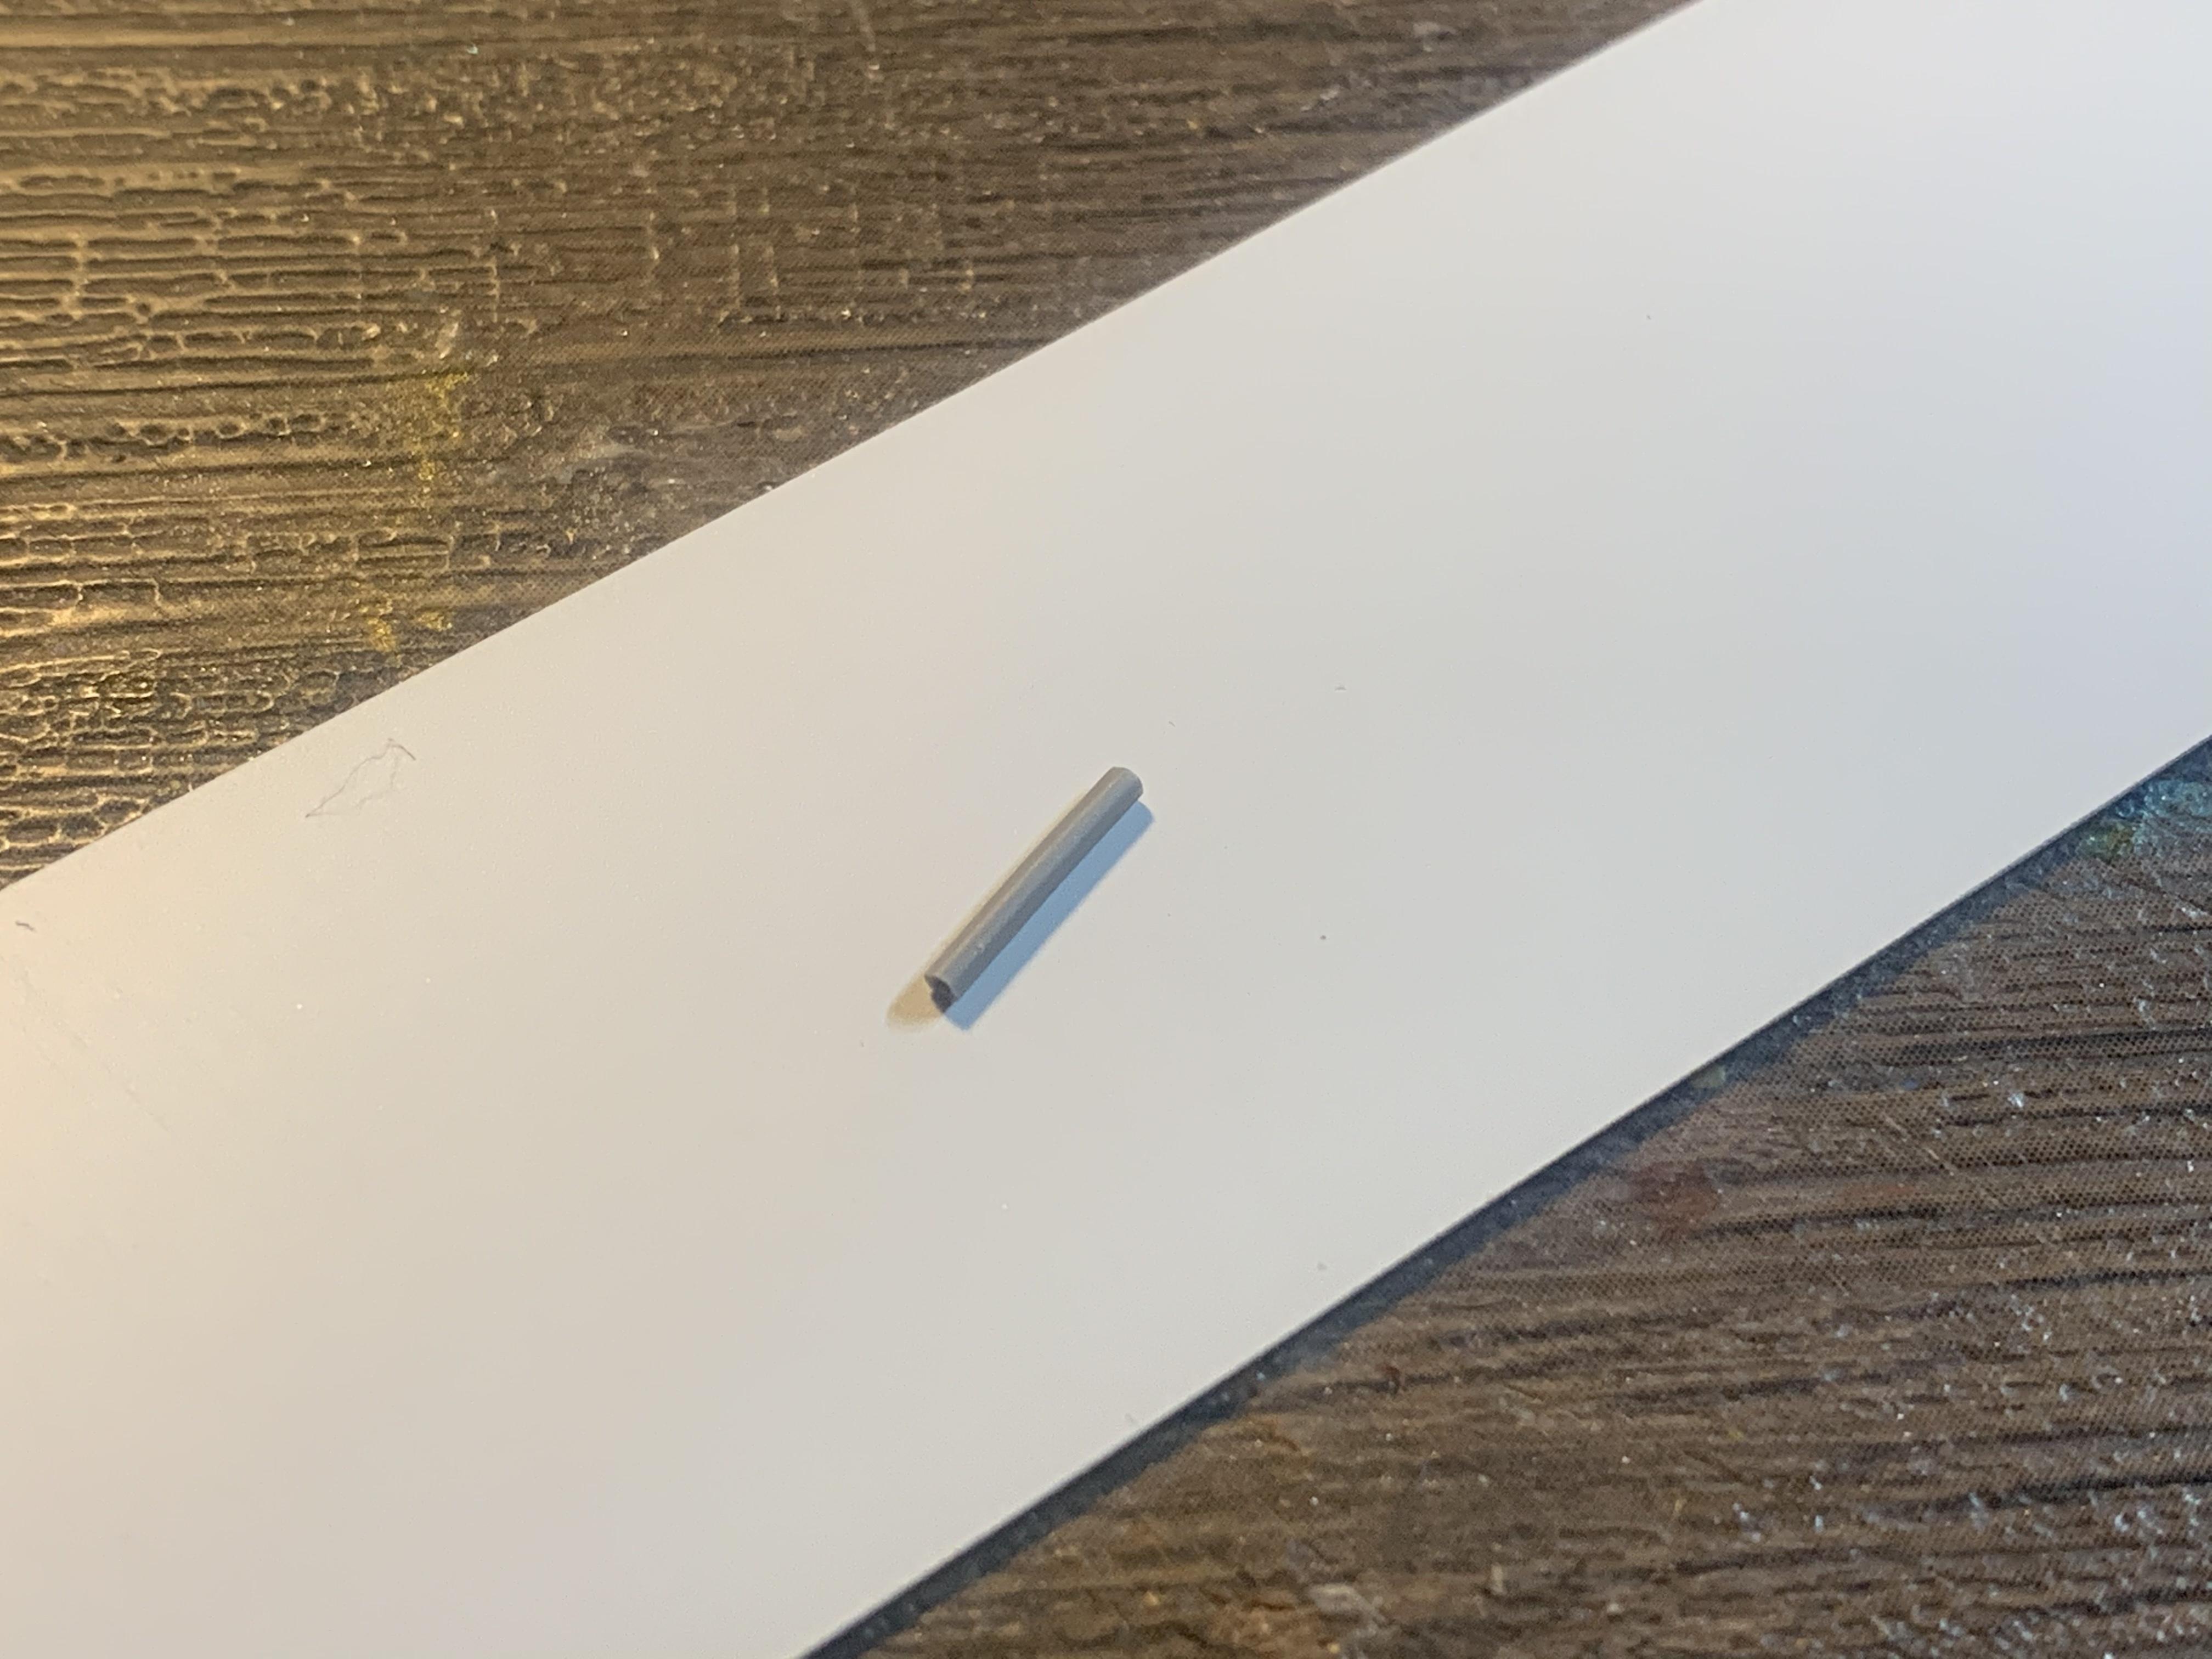
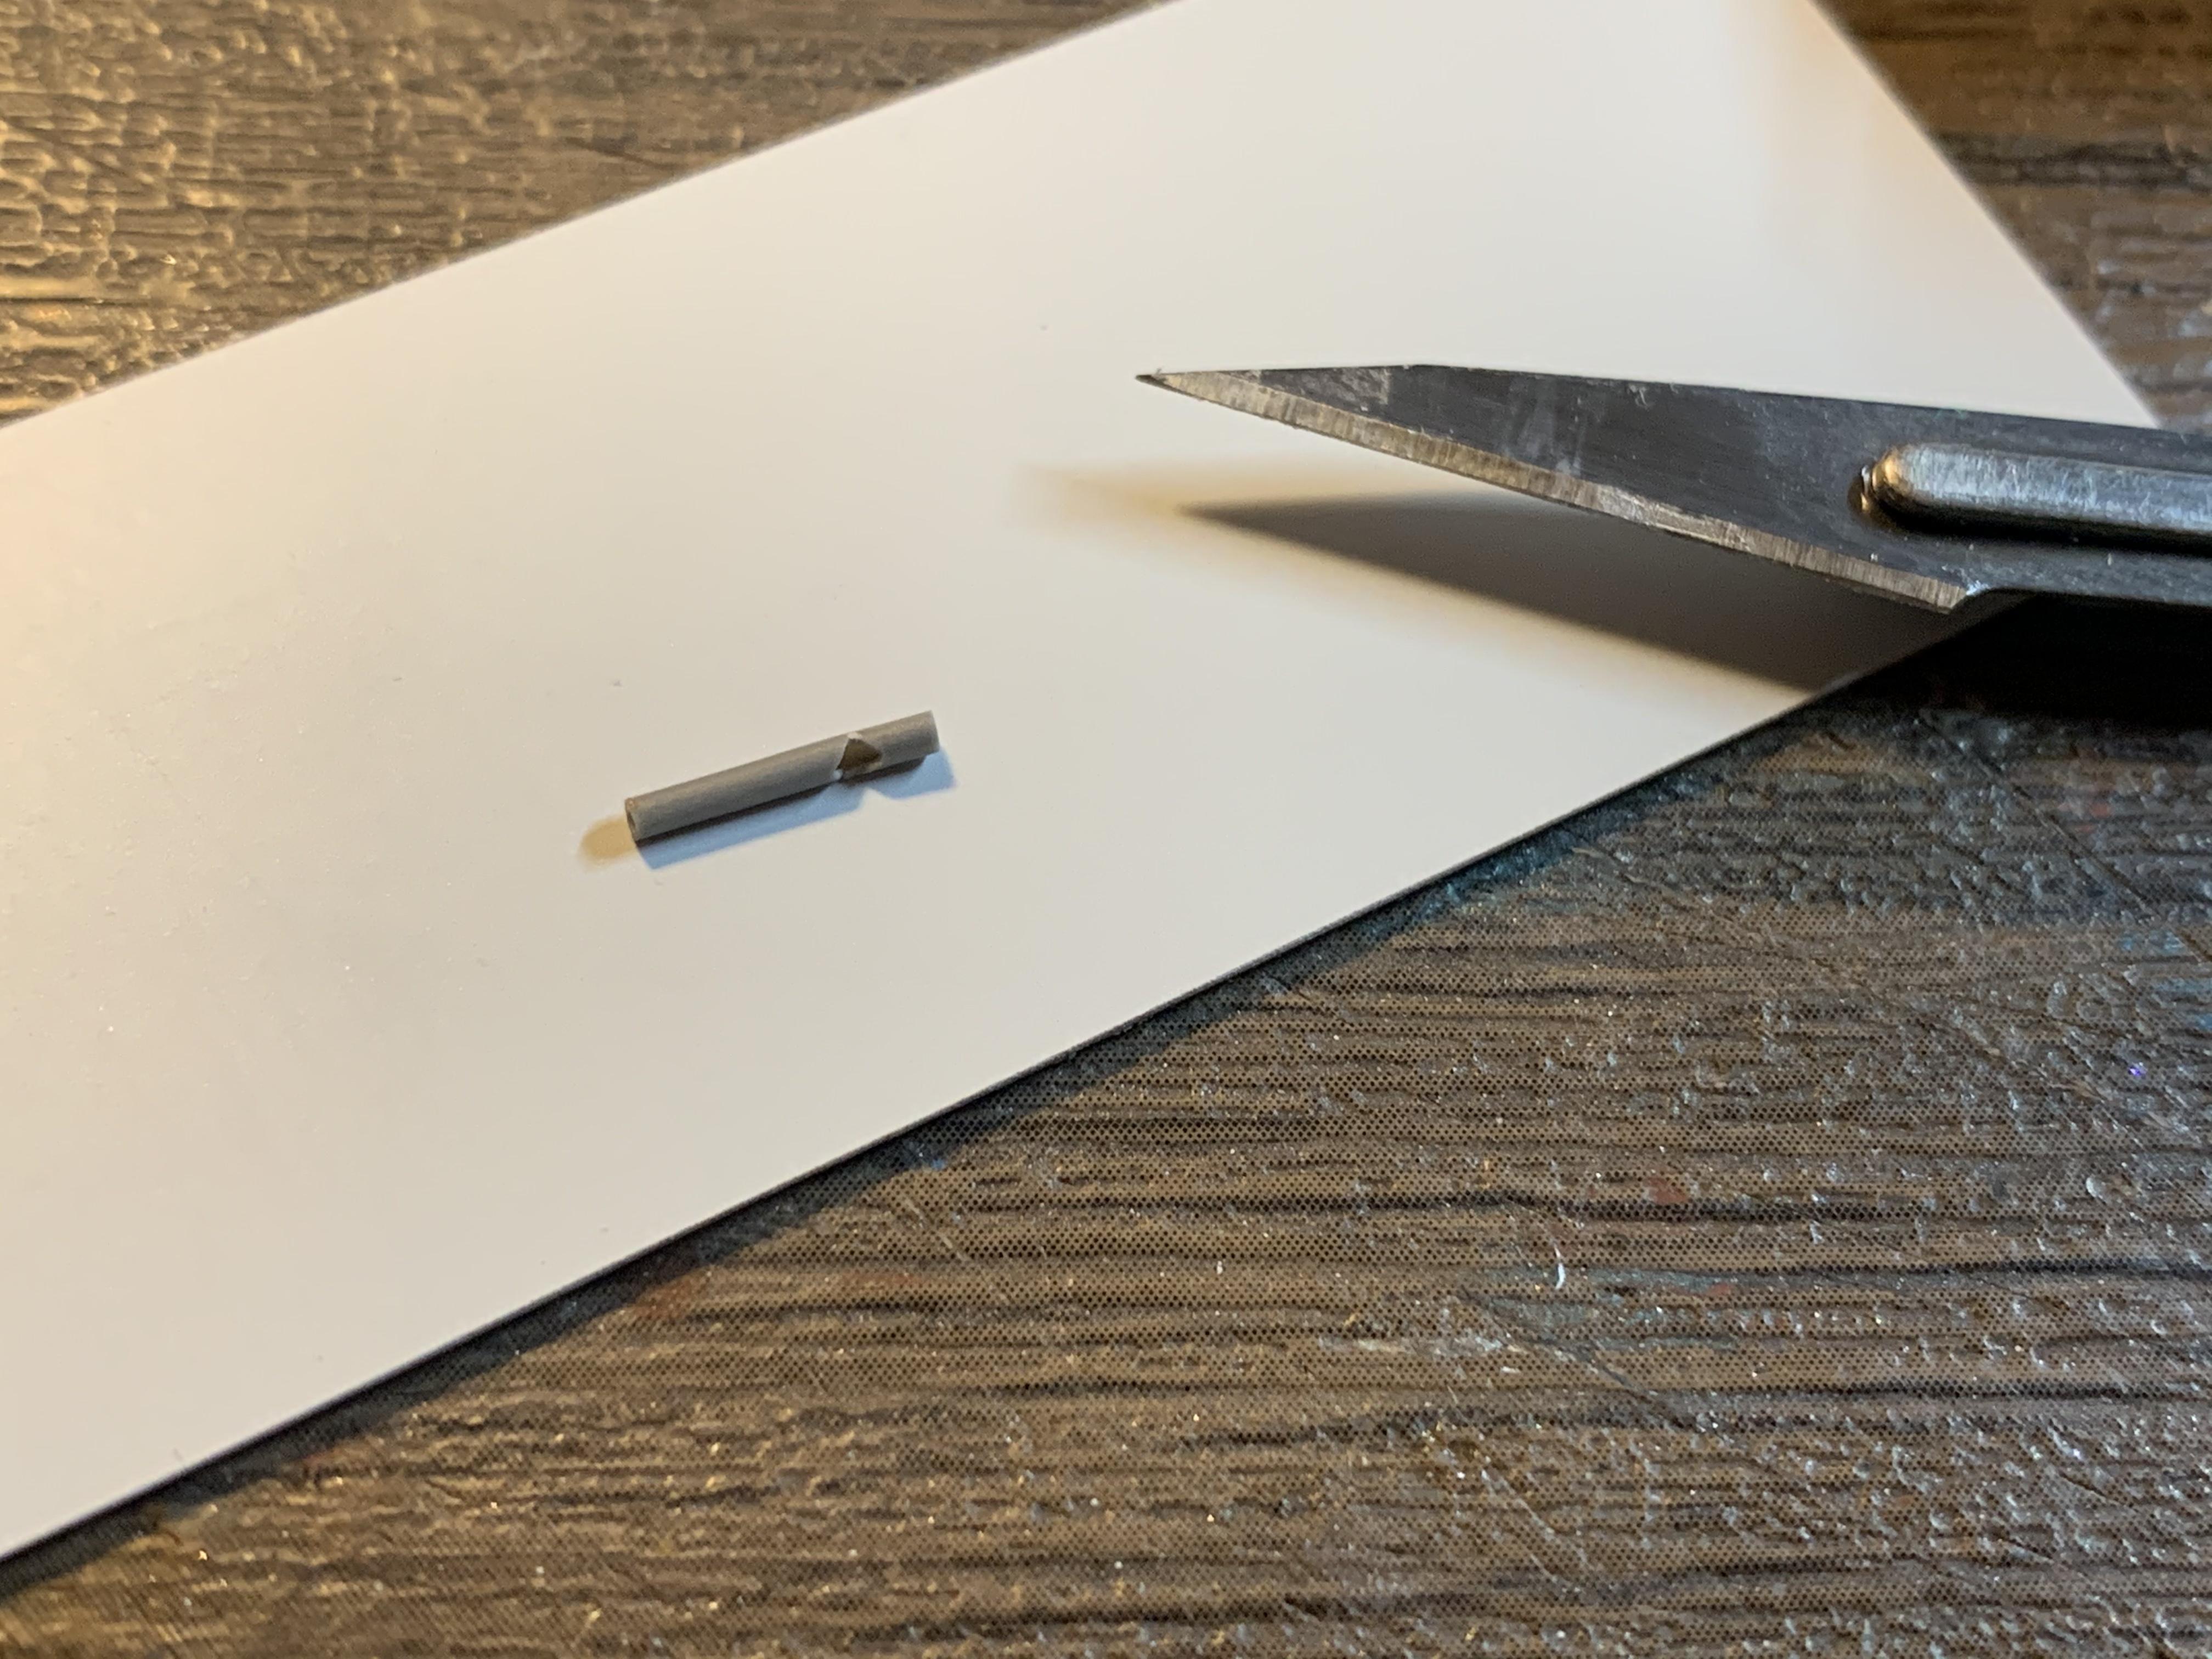
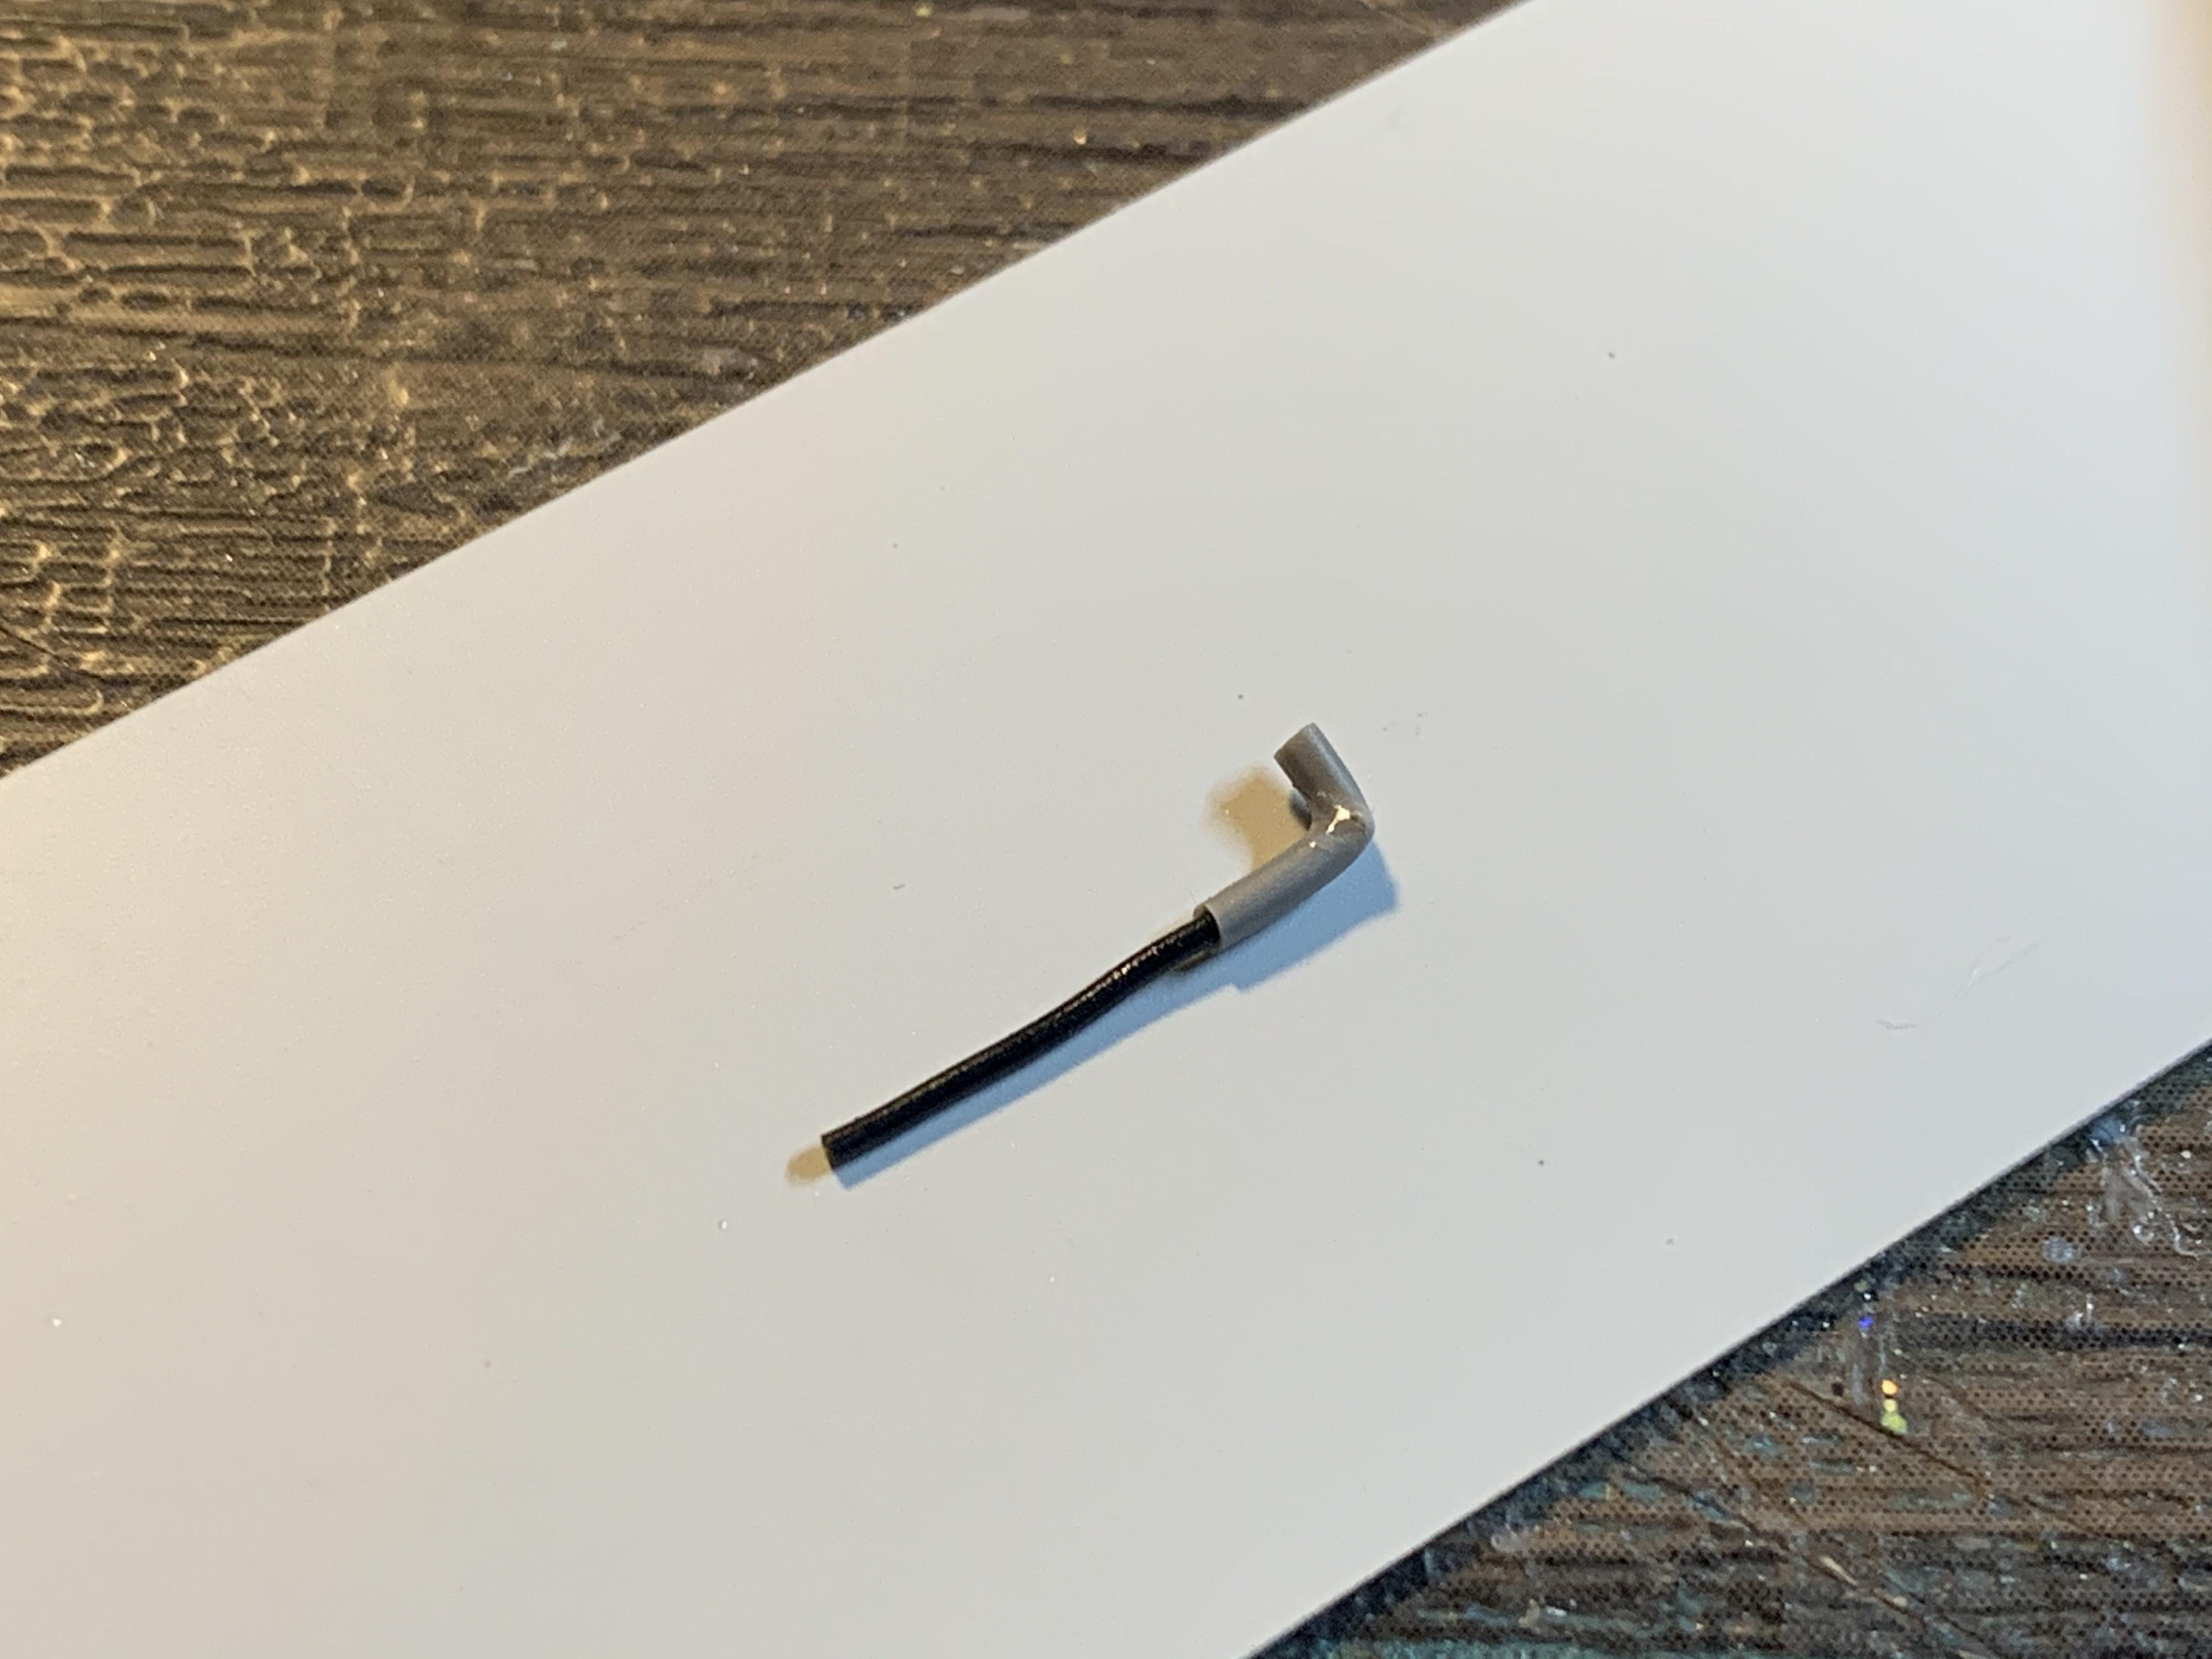
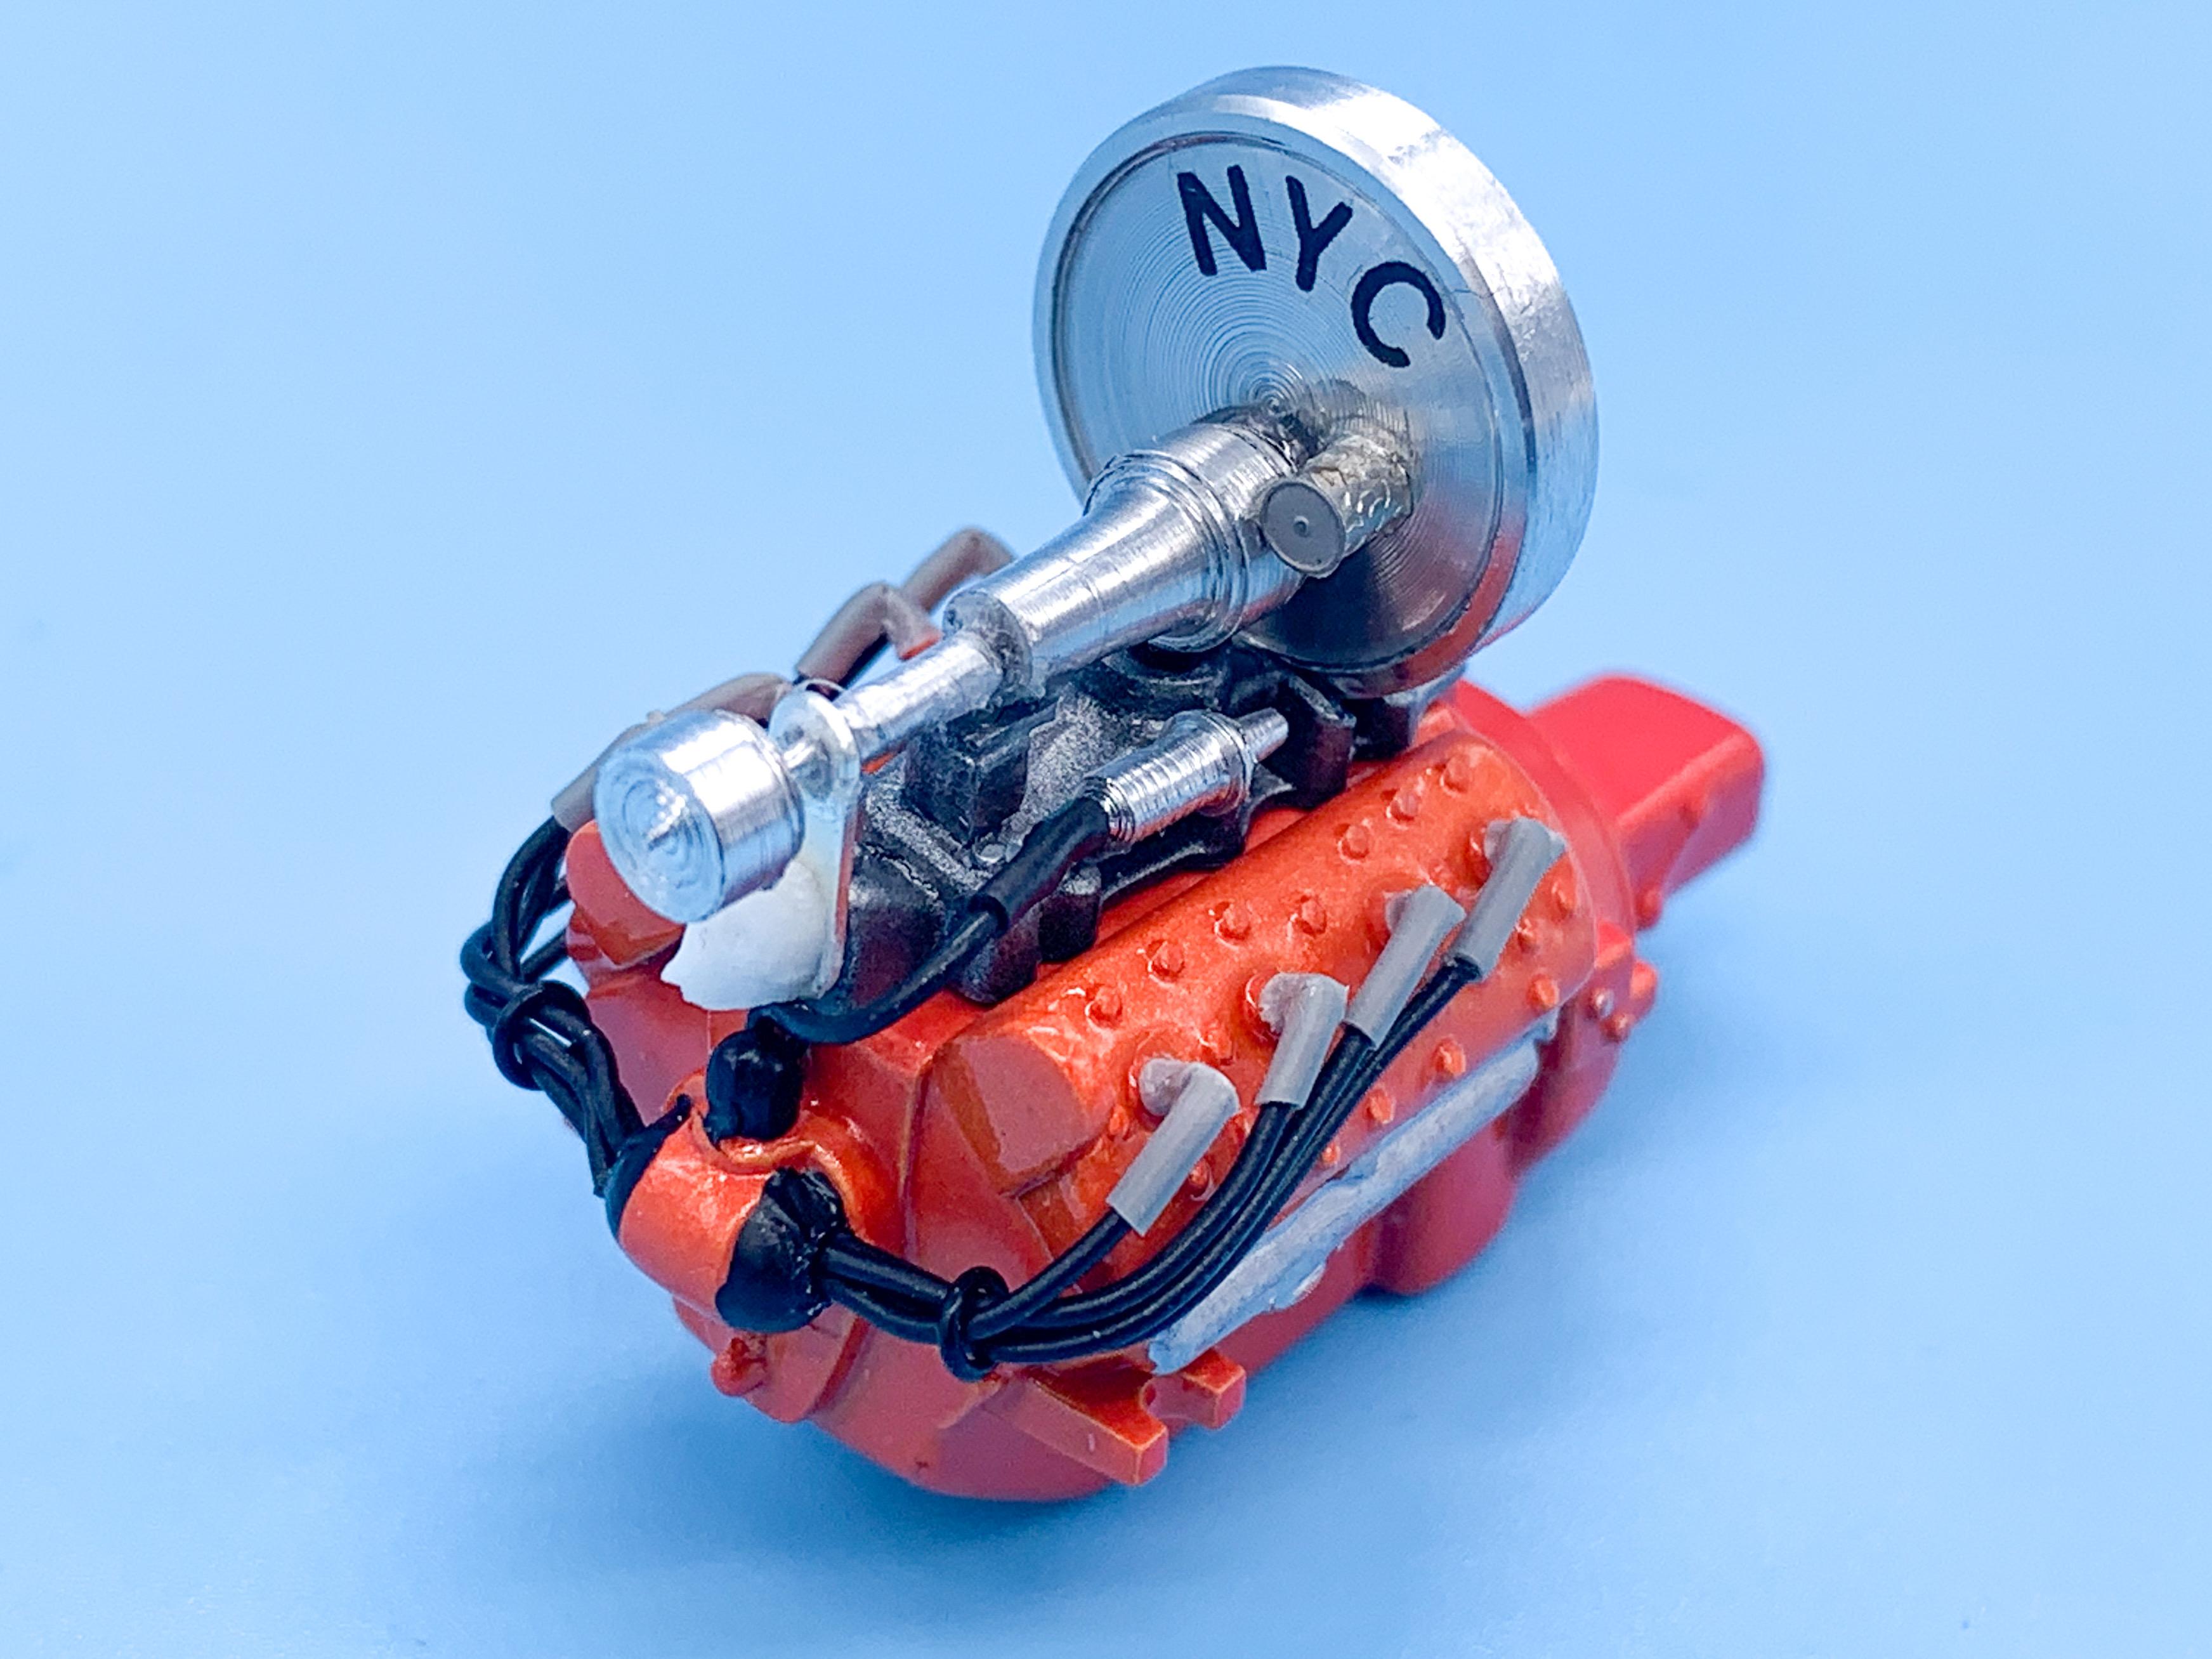
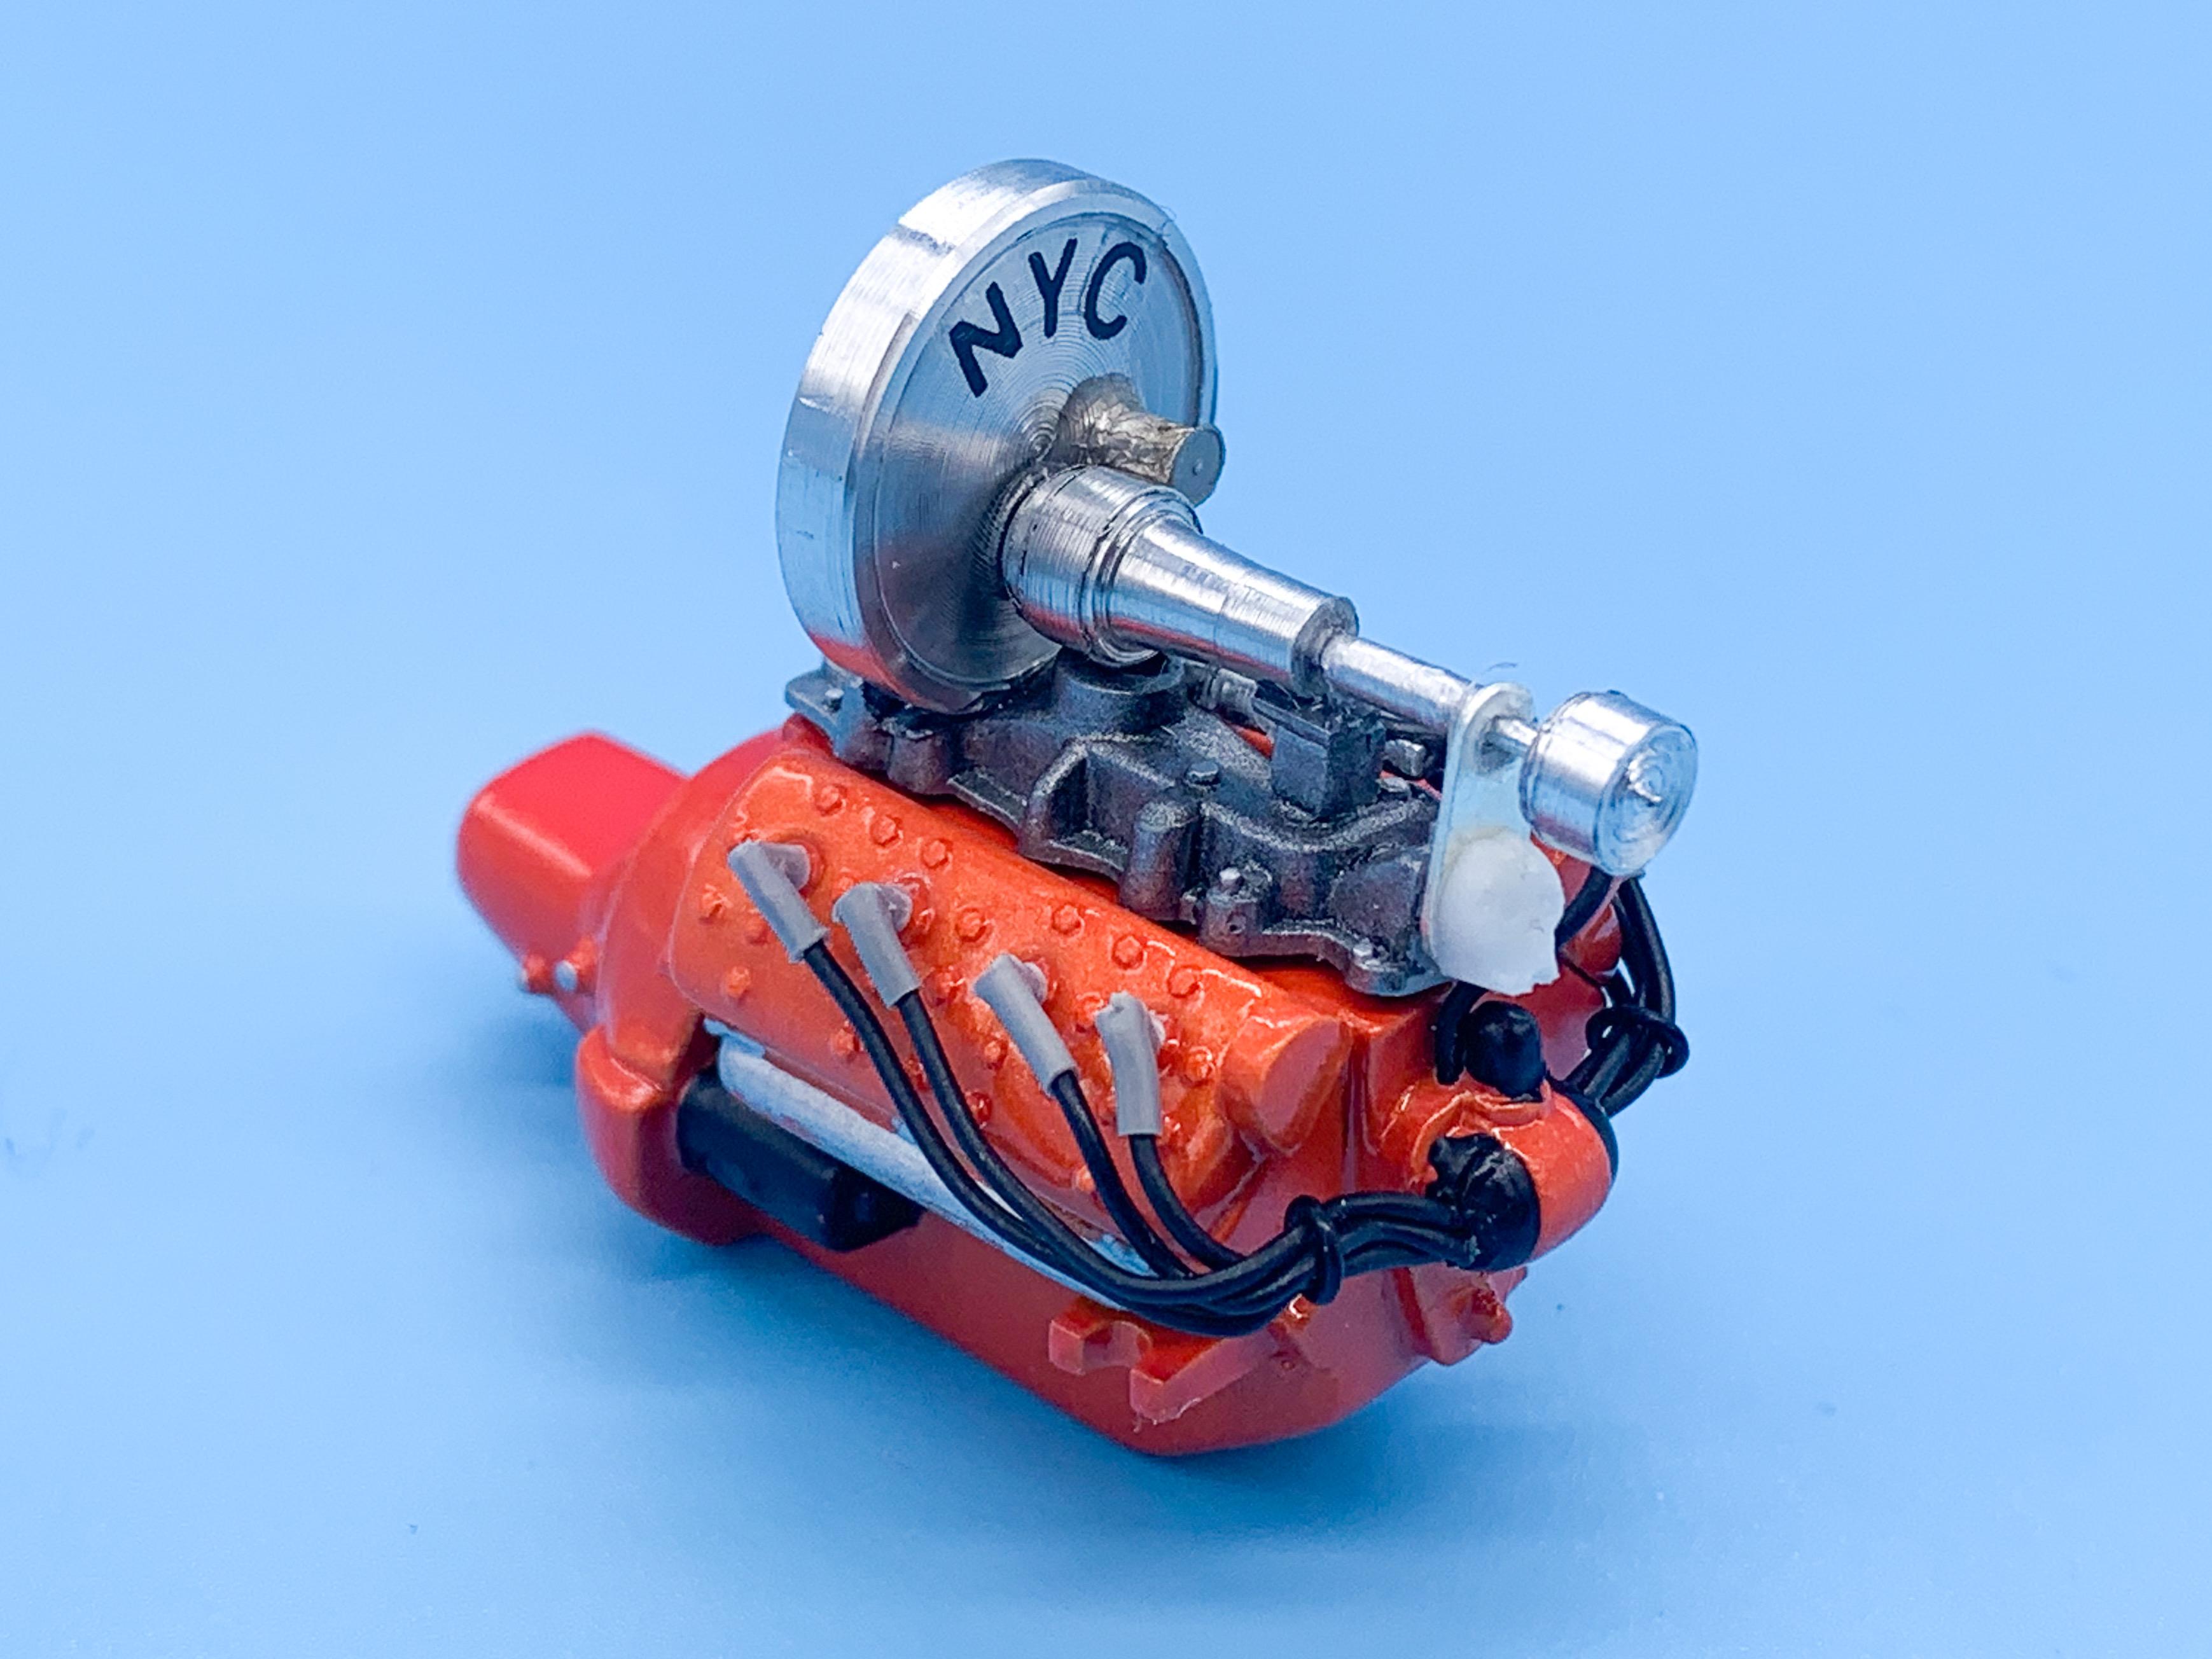
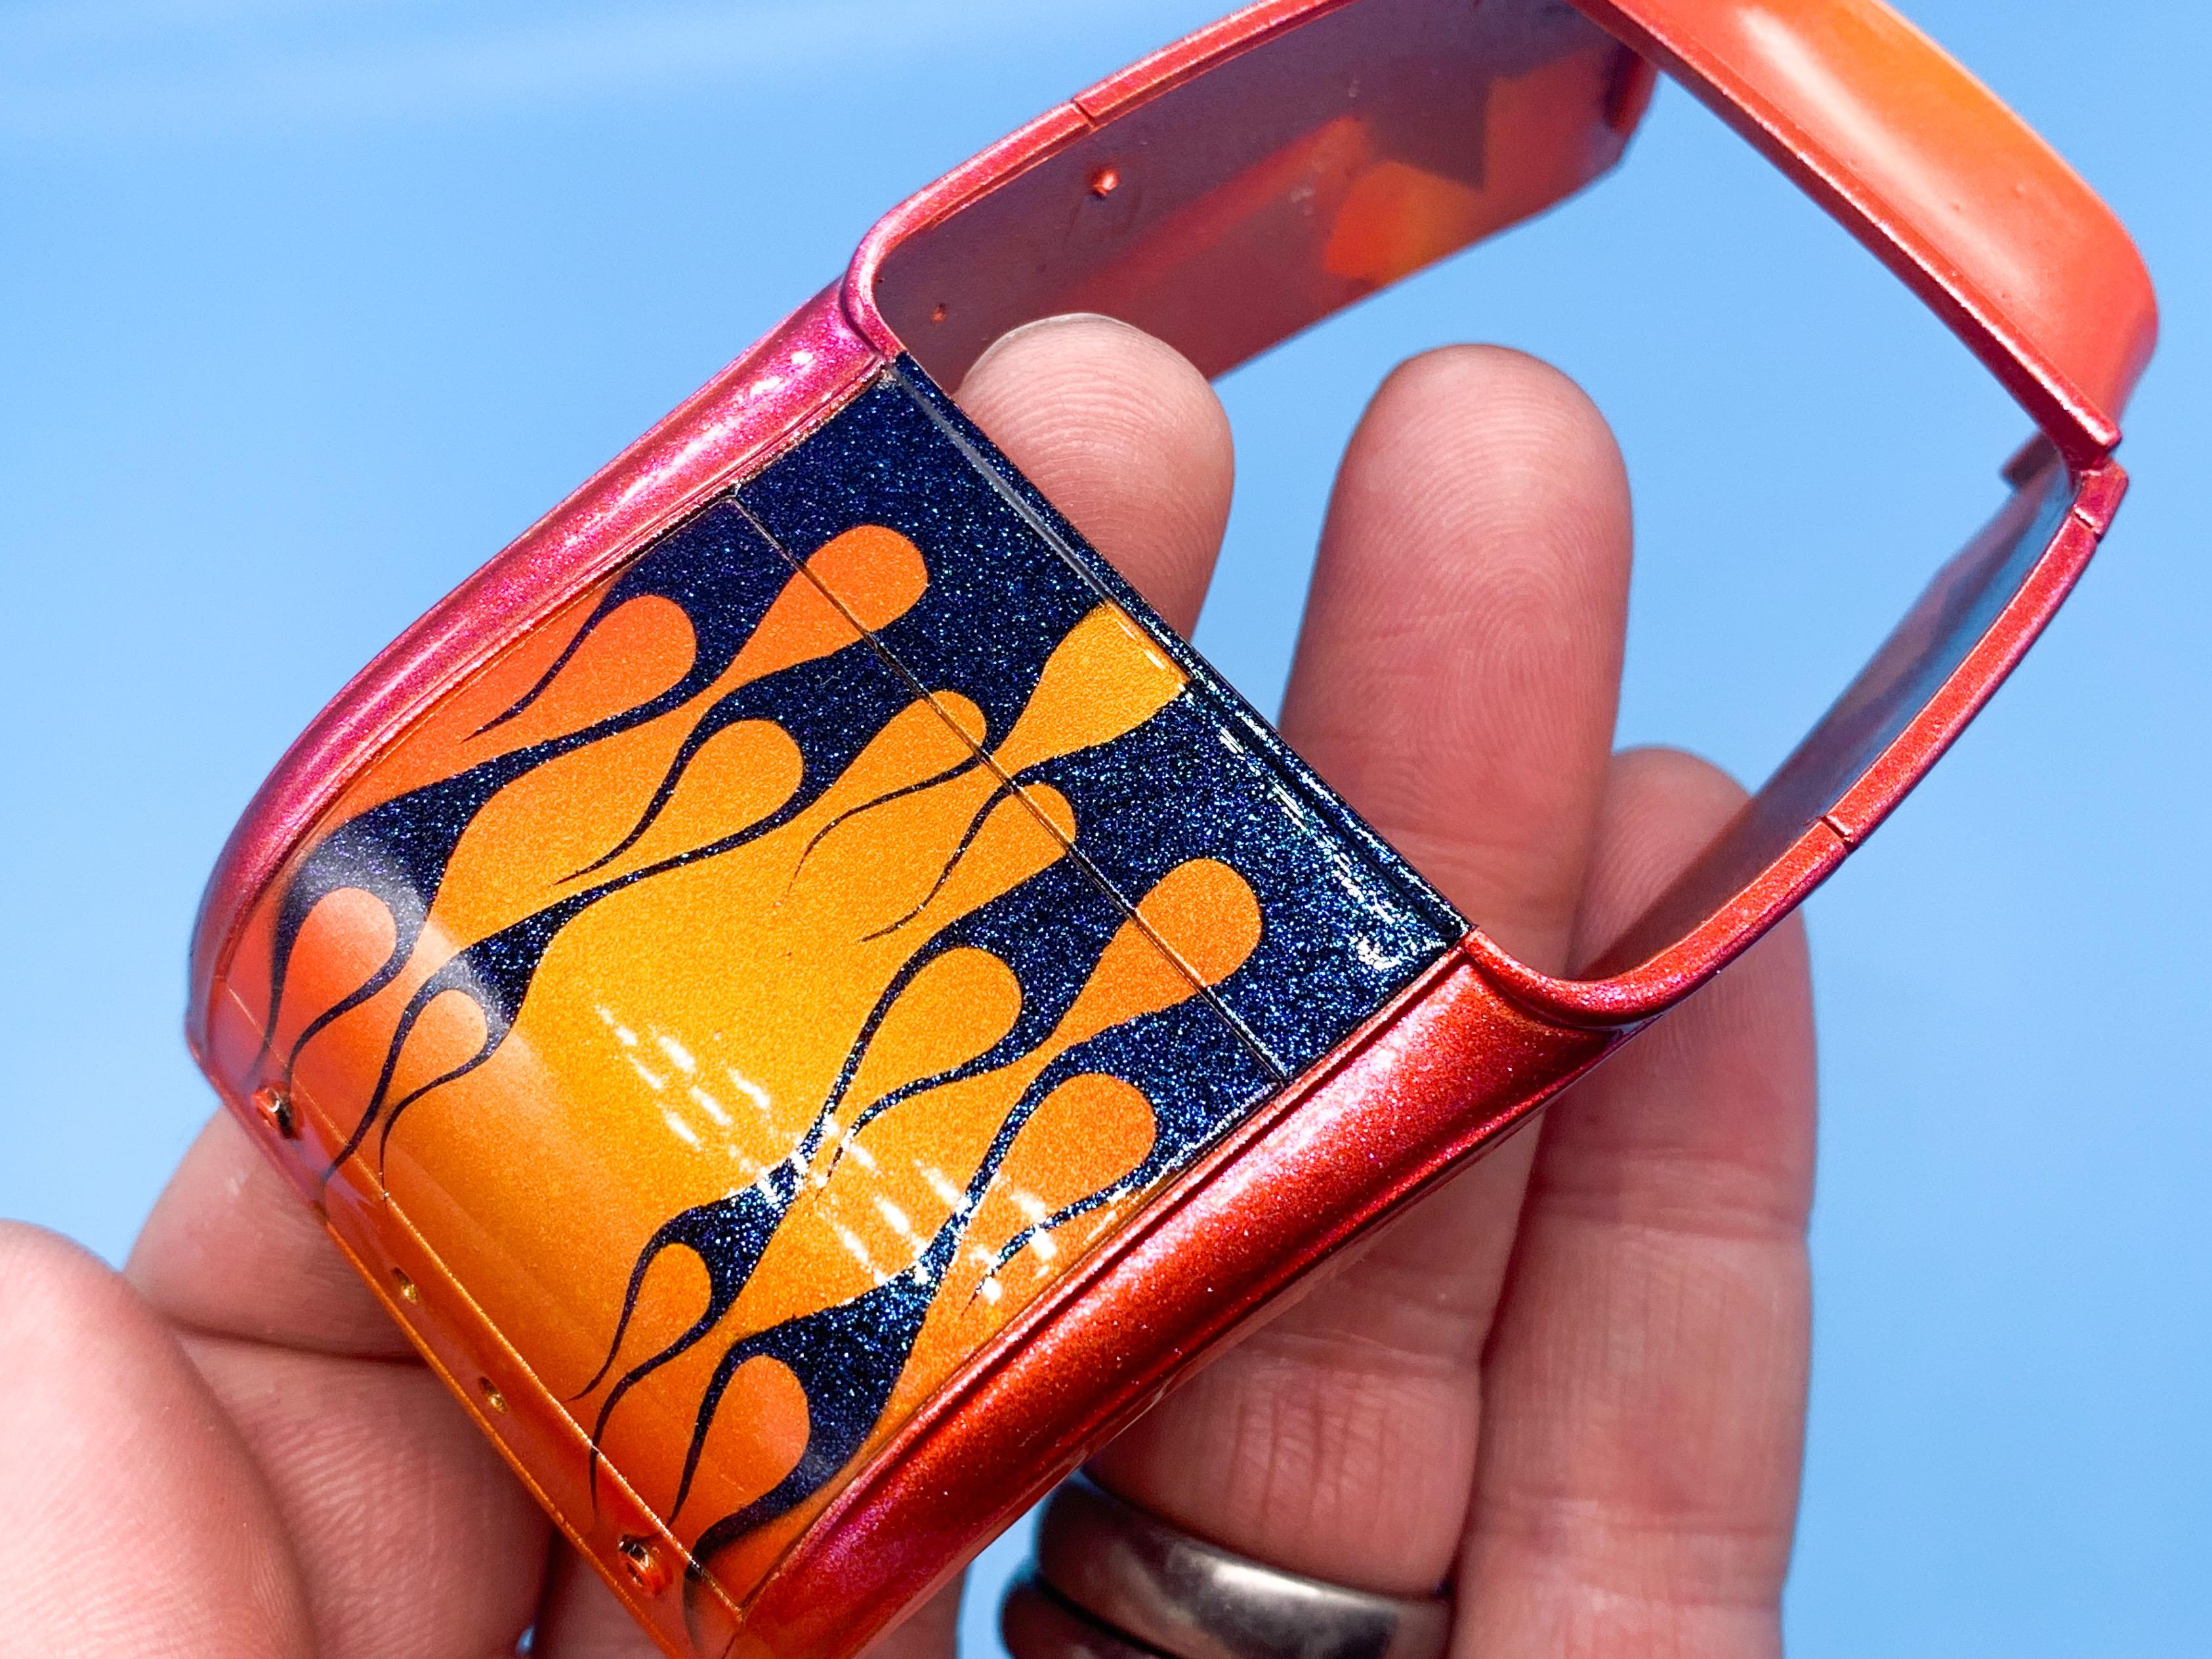
Mini update (and mini angled-plug-boot-making tutorial seeing as a couple of people asked for it...) I wanted to take a little more time and effort on the wiring of this engine - the detail isn’t incredible on the old AMT block I’m using so I’m making up for it with some other little bits and pieces. So, here goes making angled plug boots the best way I've figured out so far. You’ll need some wire that’s a larger diameter than your plug wires - I have a stash of old charger leads and headphones and junk that I’ve saved for exactly that. Just pull the actual wire out of the sleeve and you’ll be left with this: Then, slice a couple of angled cuts into, but not all the way through, the sleeve to remove a little diamond shape: Next, dip your plug wire into your superglue of choice, and slide it into the longer end (it’s easier to do the next step if you do that first, seeing as we’re working with some tiny fiddly little parts here). Then, you need a little dab’l-do-ya of superglue in the cut out, and fold the sleeve in on itself to make an angled boot: Then repeat as many times as necessary until you’ve got a set you’re happy with: Tada! I still want to perfect this process some more, but it’s a start! With those made (plus a few redos, until I ran out of the grey wire I was using) I could do a little assembly and wiring on the engine: Driver’s going to have a pretty wild view...bet it would sound pretty good too! Pretty pleased with how the clear laid down on this one too - might be my best result yet. A little gloss REALLY brought out the sparkles and flake!! More soon, thanks for looking!
-
The shelves in the model aisle at my local store are getting really bare...I can’t tell if they’re holding back some stock so that anything new that comes in will be at the new higher price soon, or if they’re just not good at restocking the shelves lately
-
Messed with a technique for making plug boots: Got about 2 that I was perfectly happy with ??
-
I think there ARE a couple of extra pieces included, in fairness - but nothing to get too excited over.
-
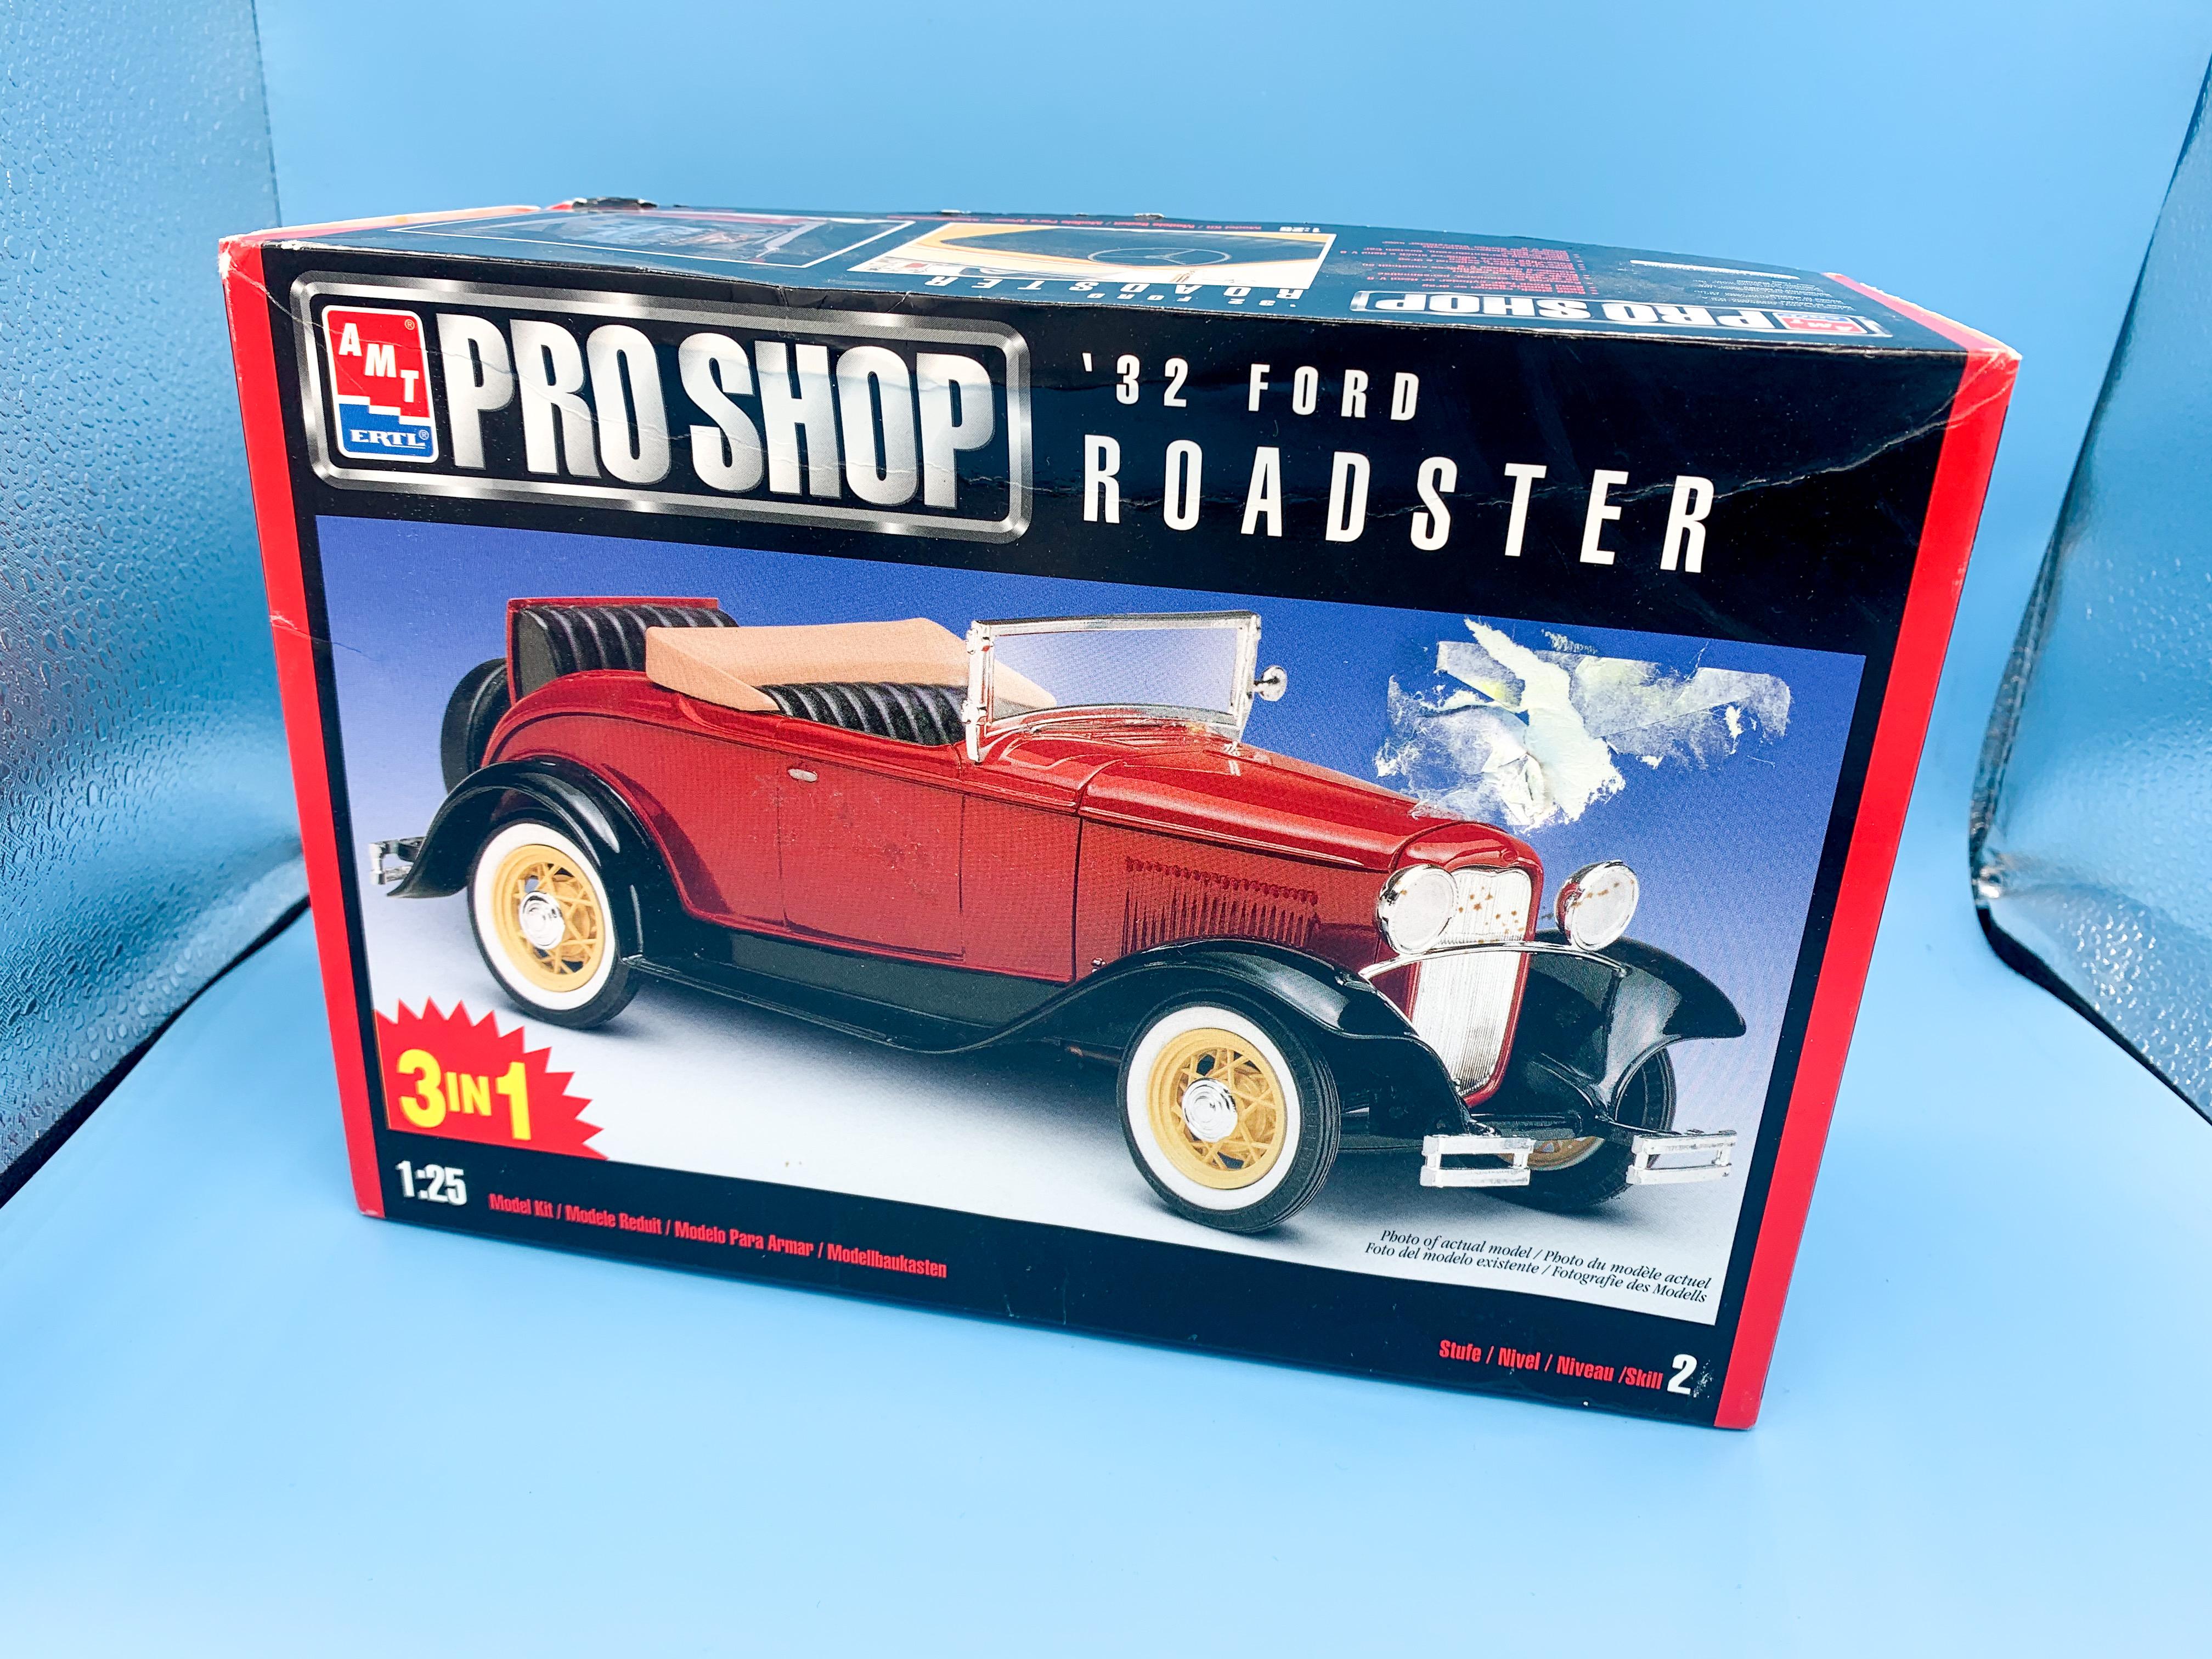
Had this on my list for a while - and put a lowball offer on eBay and won it for cheap: The “Pro Shop” tag makes you think you’re maybe getting some kind of crazy extra-detailed version but far as I can tell it’s the same as the earlier AMT 32s - moulded in stuff on the frame and one-piece interior tub. I knew that going in tho - just wanna build one for my collection! I’m going to do the drag version from the box art I think. Fun little quickie build (although I was wondering how well it would kitbash with the 32 frame and all the running gear from the Revell 29 Ford kit ???)
-
They had some cool kits in that series (if you like this kind of thing). The Drop Out Bus is killer!
-
Tinting clear plastic and chassis parts color
OldNYJim replied to RDF's topic in Model Building Questions and Answers
Another low-cost alternative (cheaper than Tamiya anyway, and probably comparable to artist's ink) is Createx candy airbrush colors. They're about $4 or $5 a bottle and you get 2 fluid ounces of the stuff for the same price as 1/3oz in the Tamiya jars for about the same cost. Hobby Lobby carries them, if you have one nearby, or failing that they're readily available online. -
Painting her eyes (and other 'details') will be the real challenge I think...?
-
Scratch Building - OMG, I lost my dizzy
OldNYJim replied to Alyn's topic in Tips, Tricks, and Tutorials
What does that have to do with making distributors? ?? Anyhoo - cool tutorial at the top of this thread, glad this got a bump! I'd be tempted to resin cast that entire 'extrusion' and just keep casting and slicing to make future copies (or, indeed, cast the little version with the holes in) -
Tinting clear plastic and chassis parts color
OldNYJim replied to RDF's topic in Model Building Questions and Answers
Is that a pun? ?