OldNYJim
-
Posts
252 -
Joined
-
Last visited
Content Type
Profiles
Forums
Events
Gallery
Everything posted by OldNYJim
-
 Bring on the pastel tones! ?
 -
Nice work Dennis - I especially like the wiring loom! It’s coming together - can’t be too far off being ready for paint?
-
34 Church Truck
OldNYJim replied to OldNYJim's topic in WIP: Model Trucks: Pickups, Vans, SUVs, Light Commercial
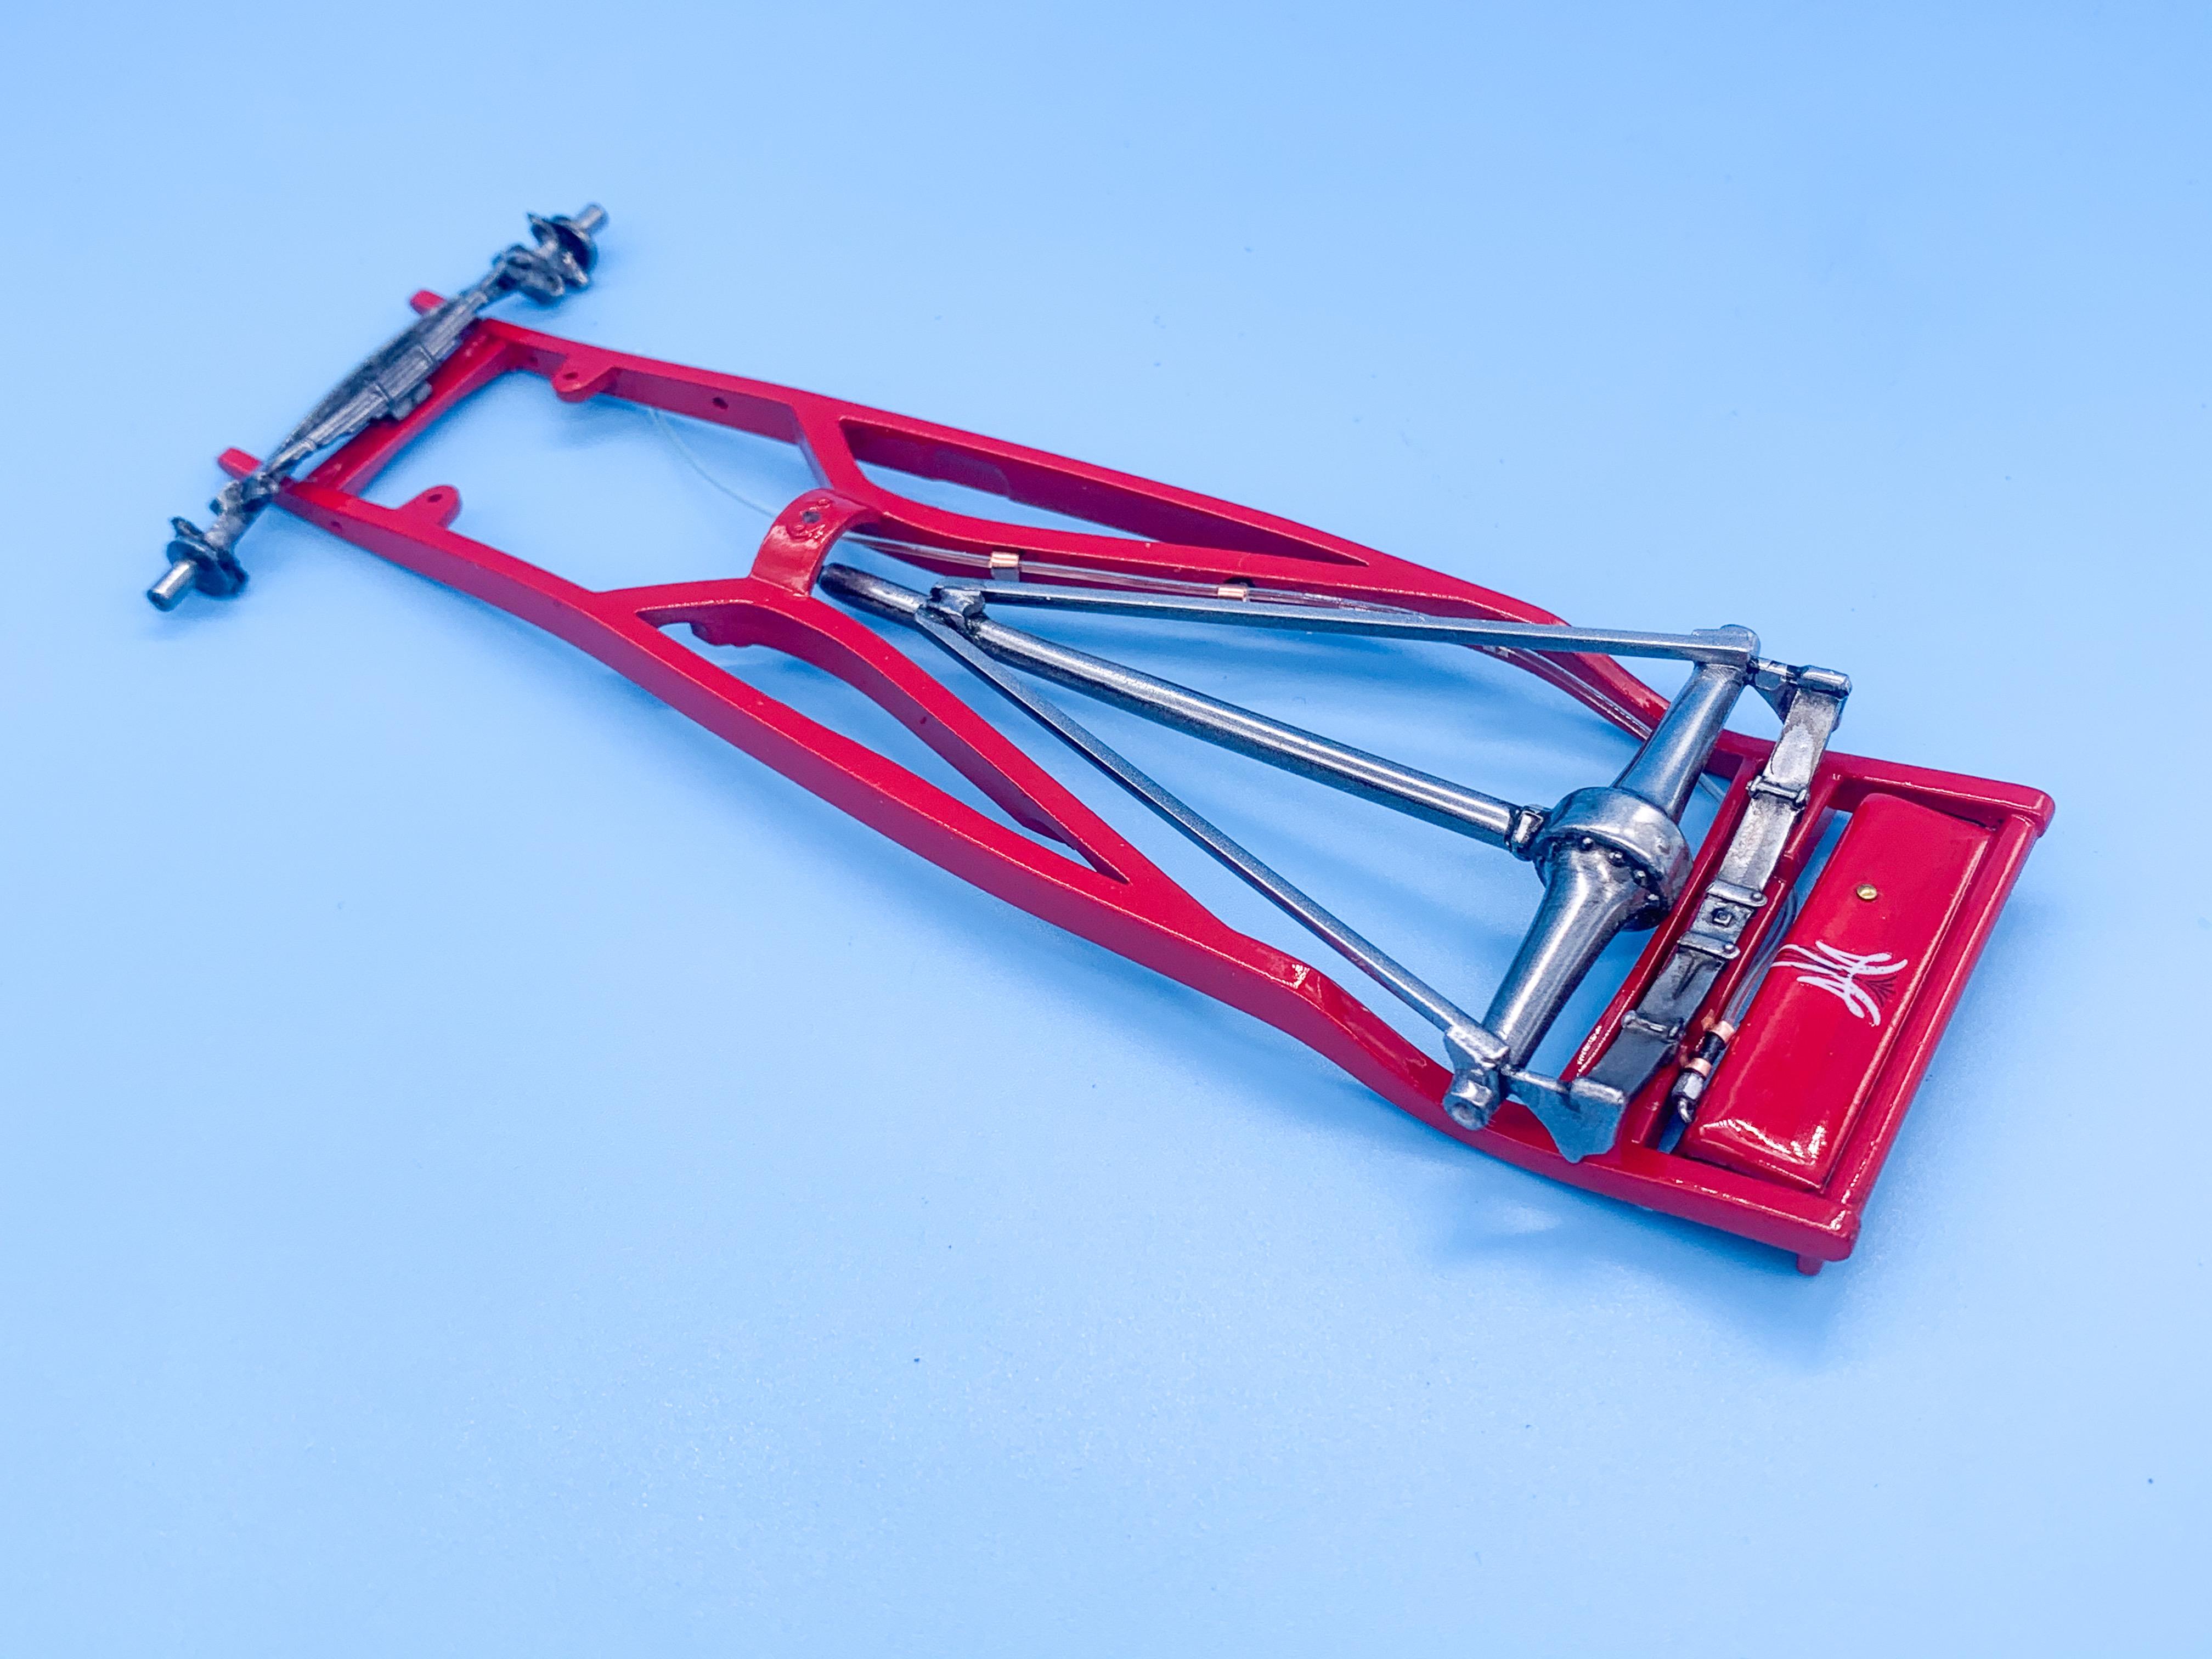
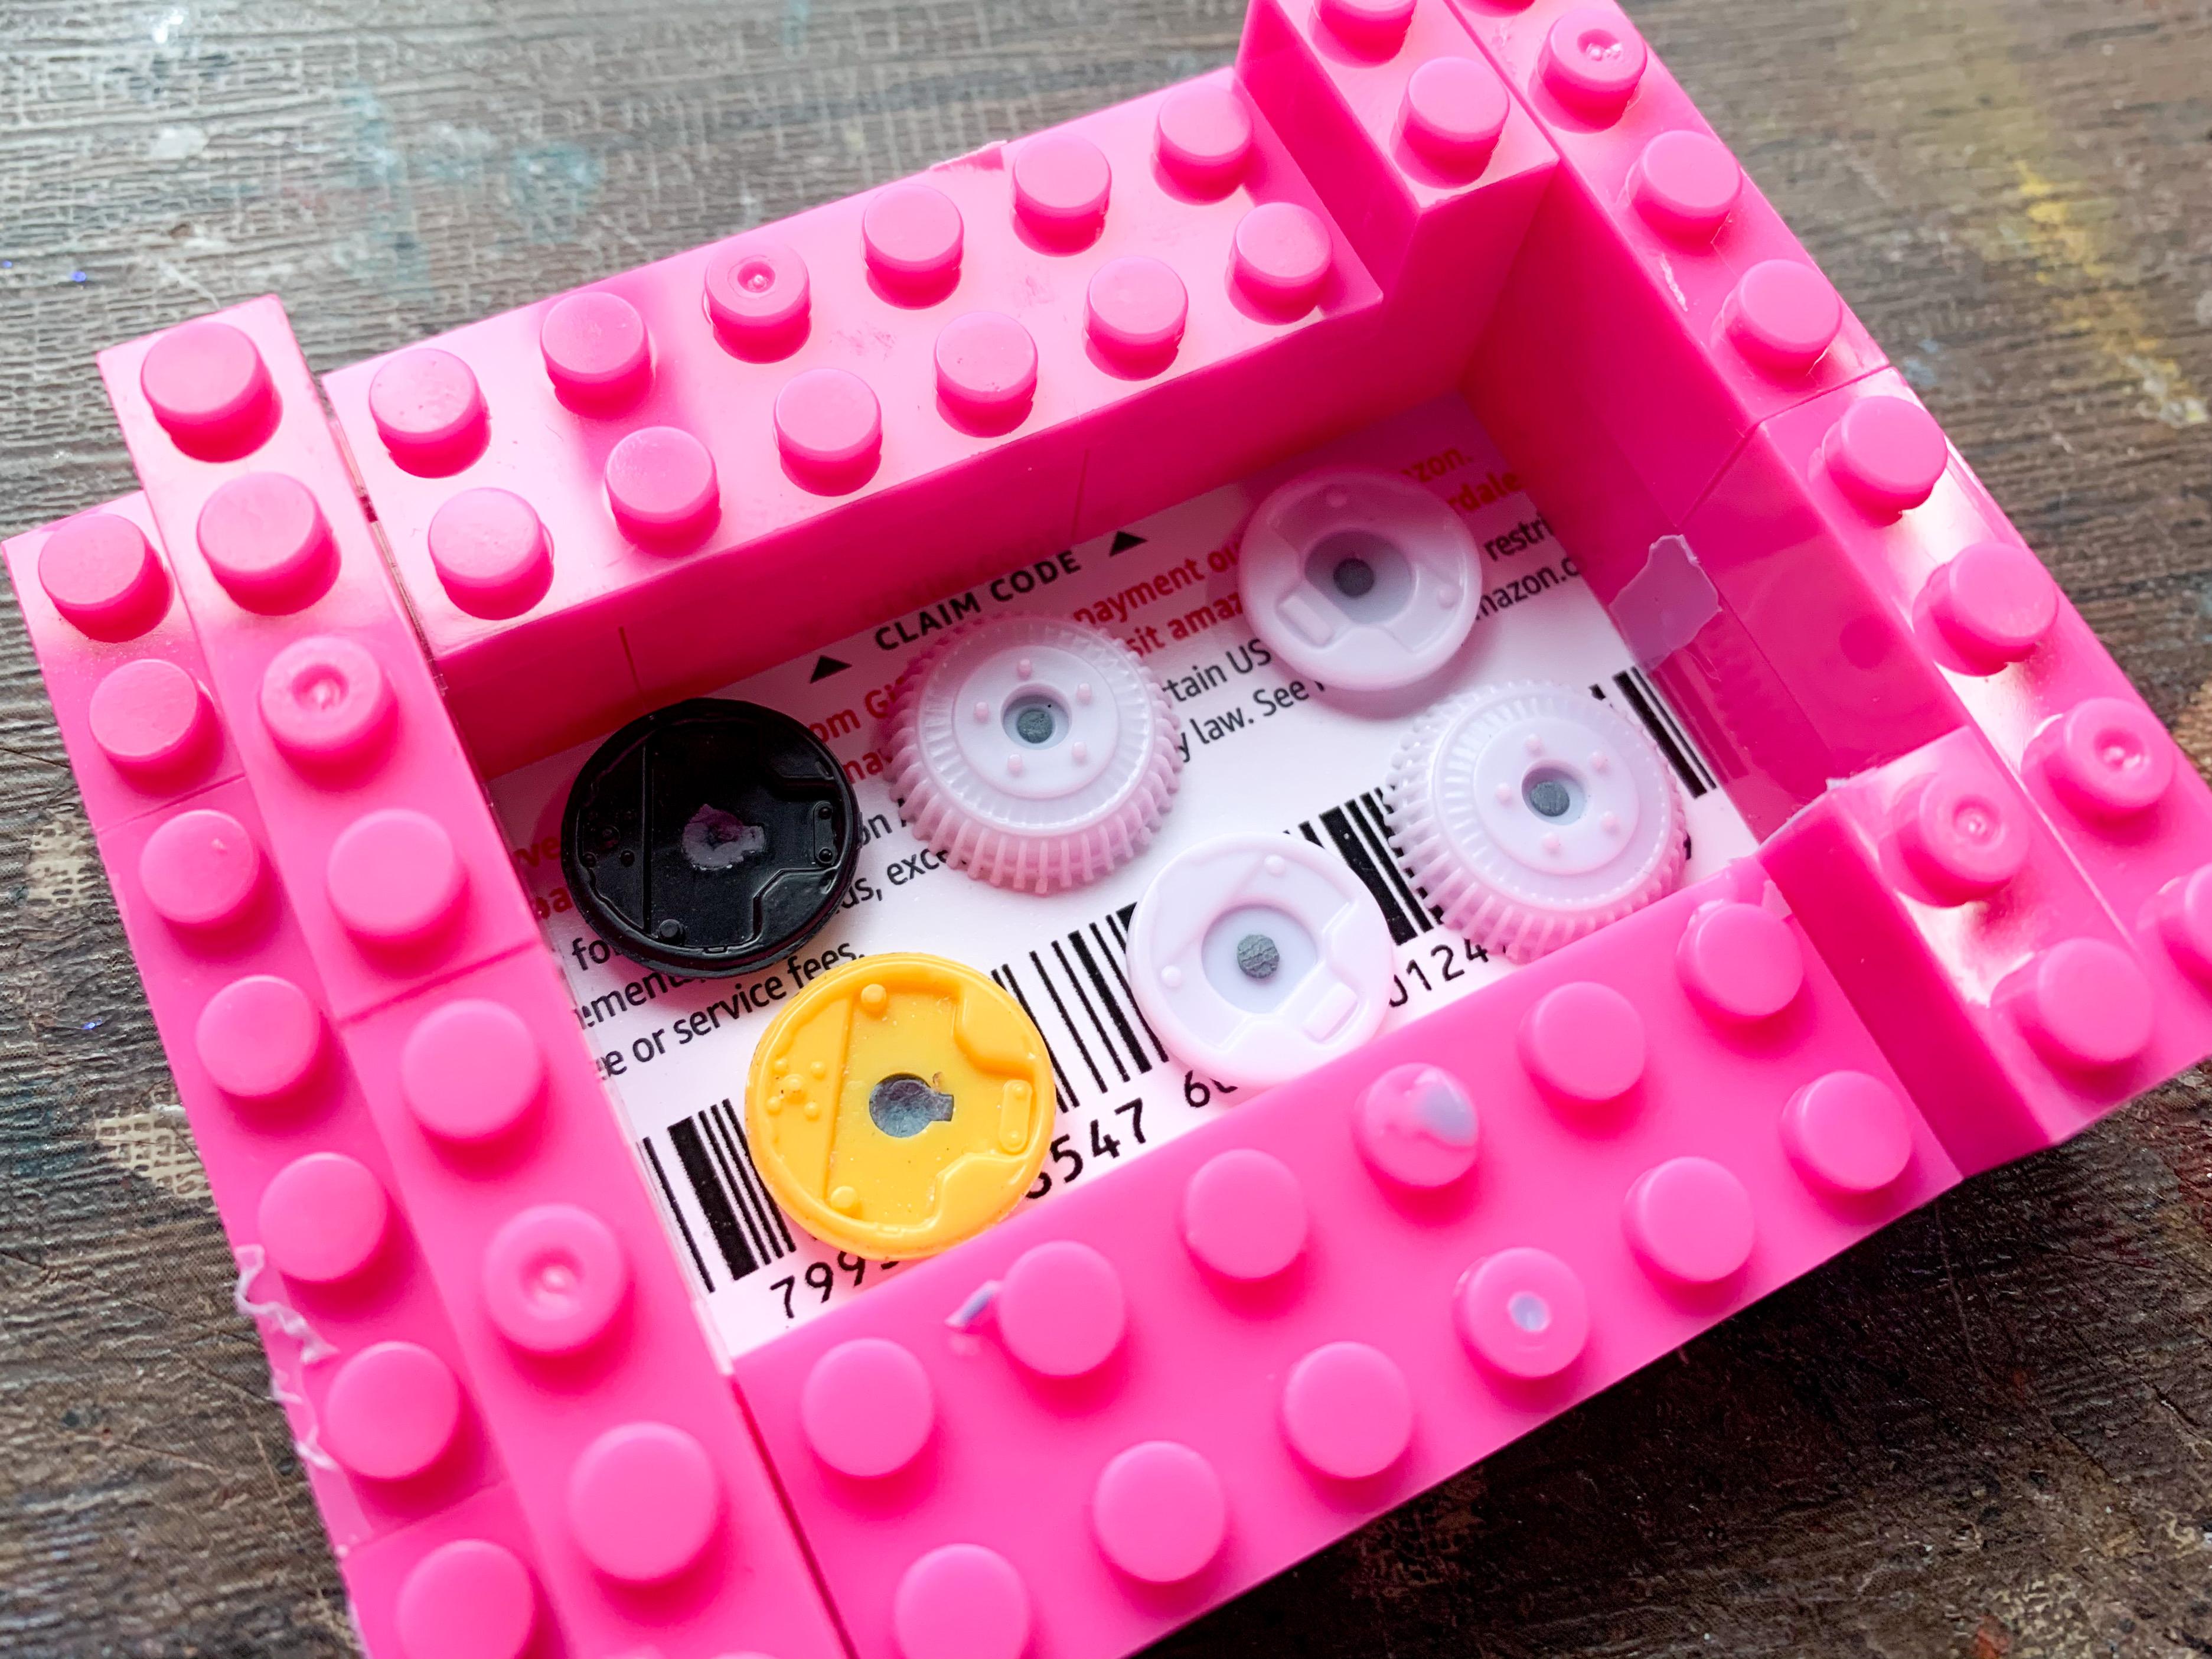
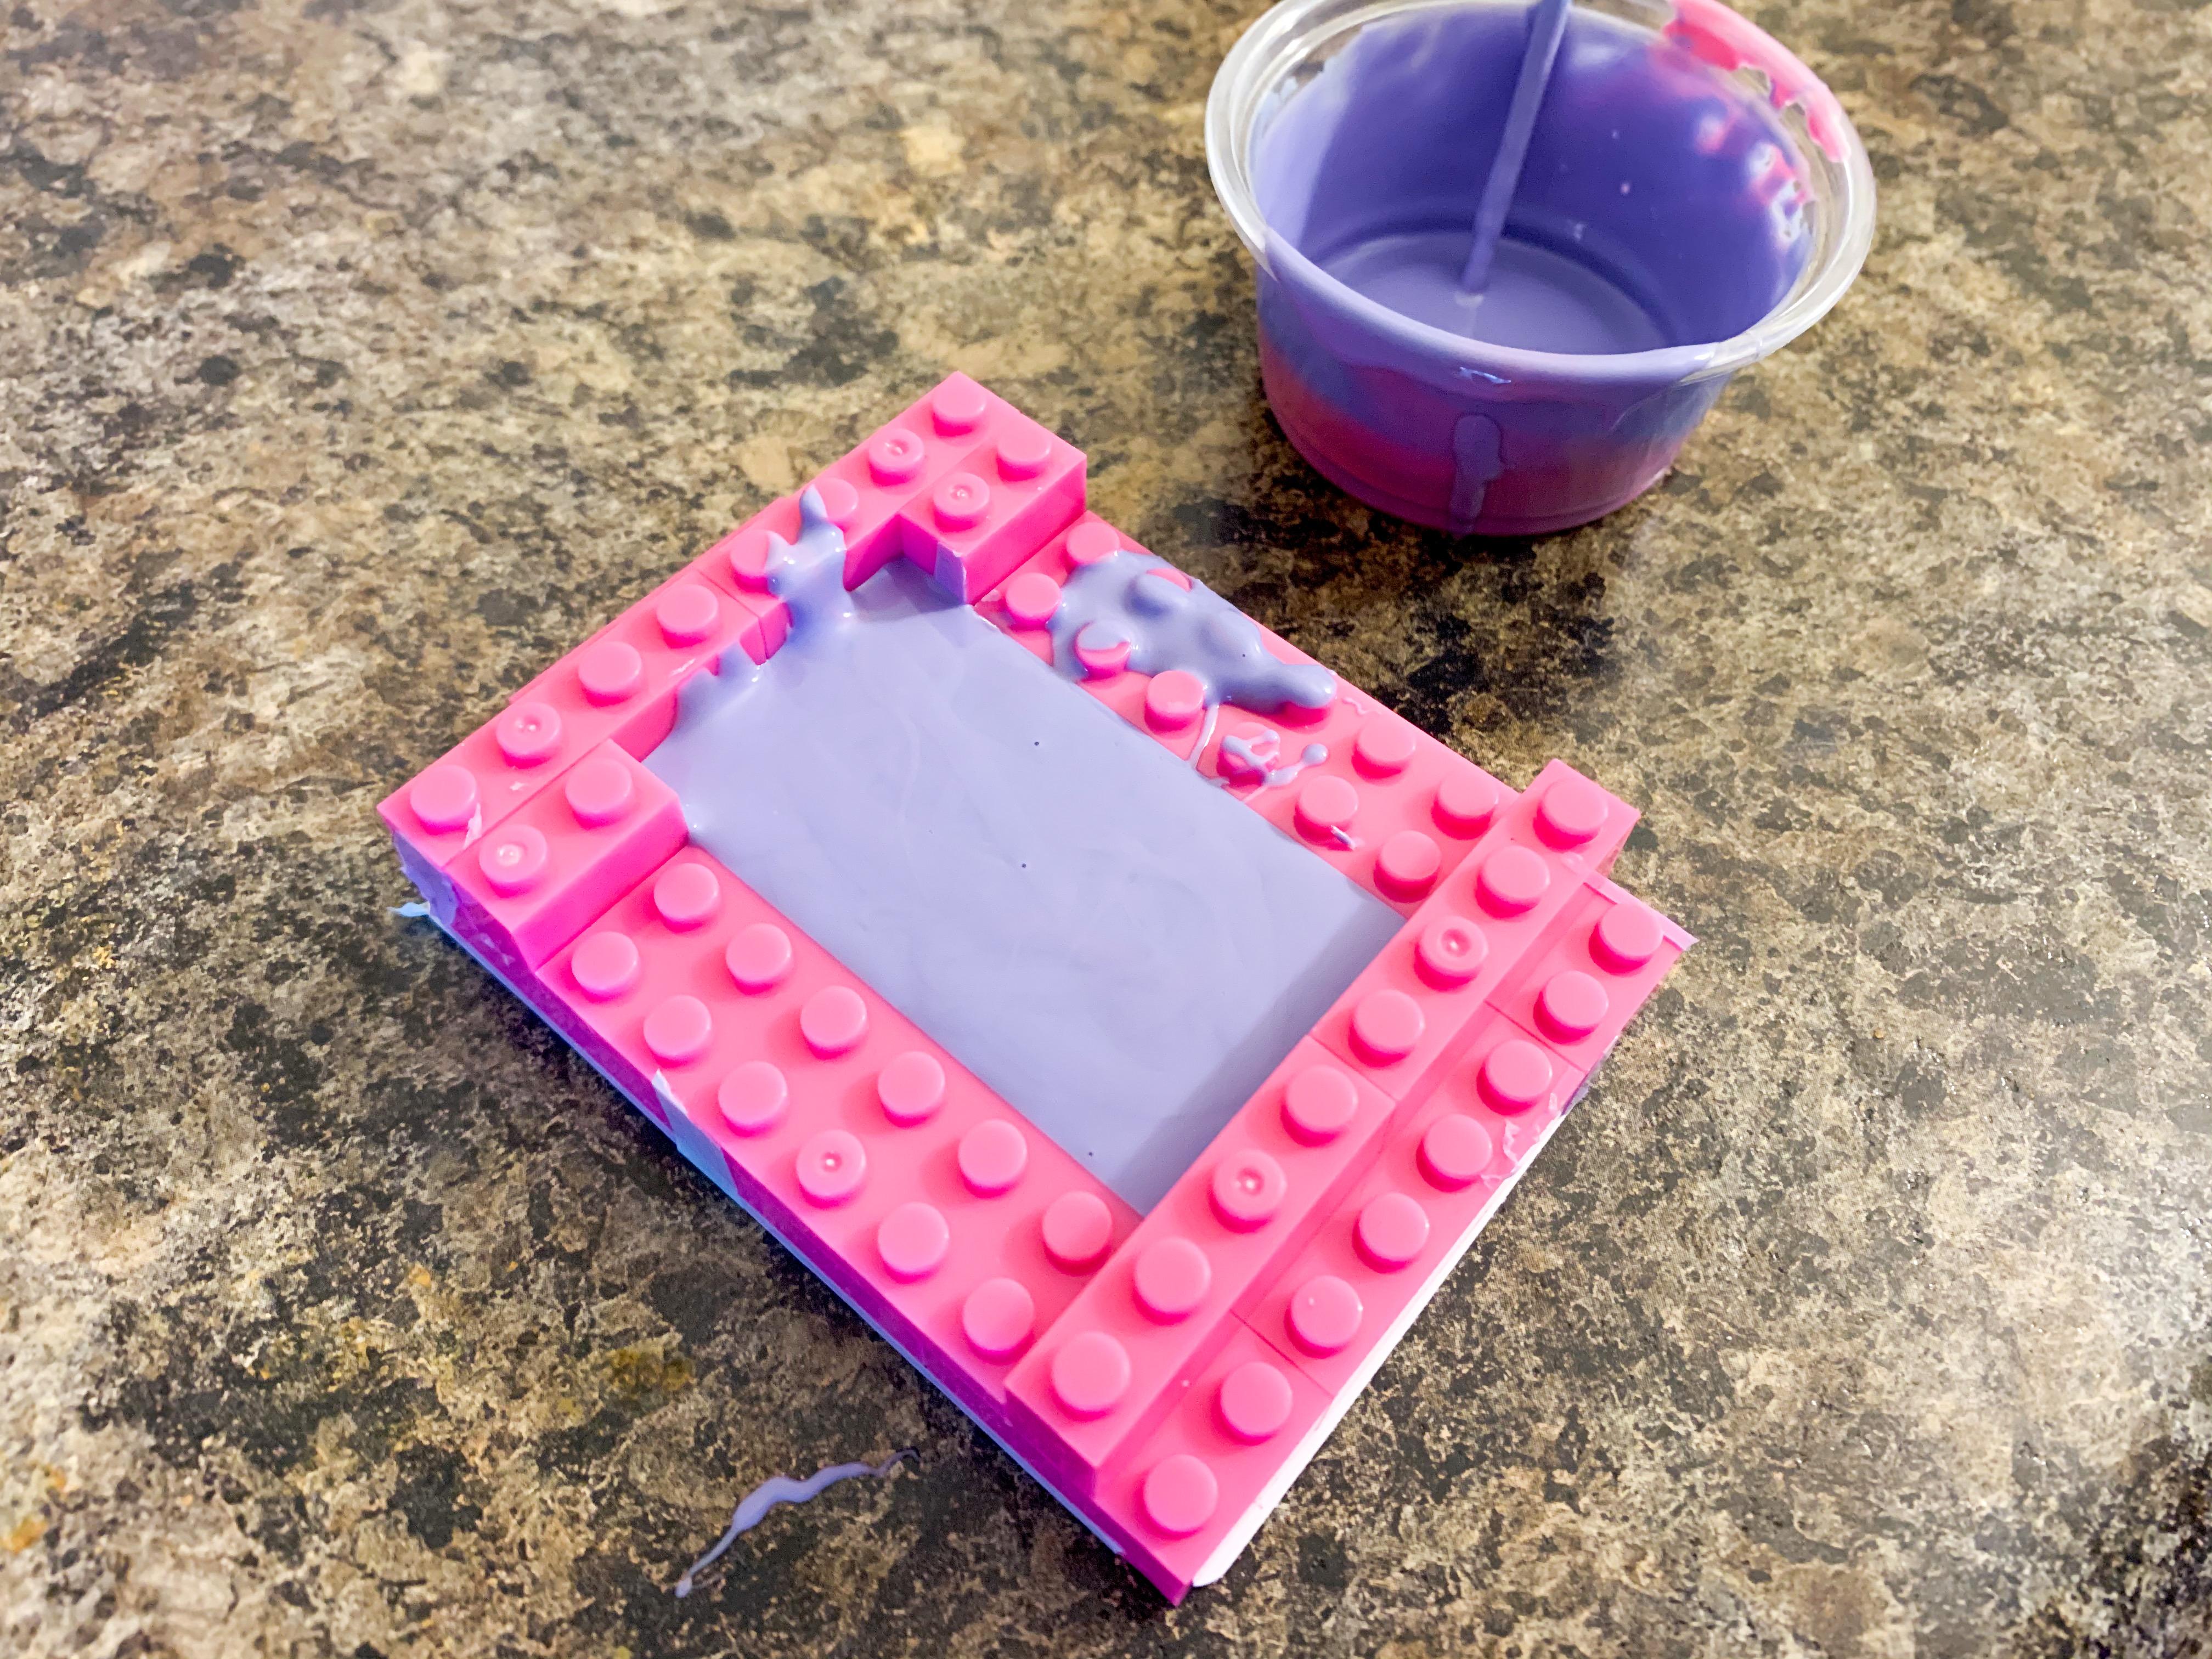
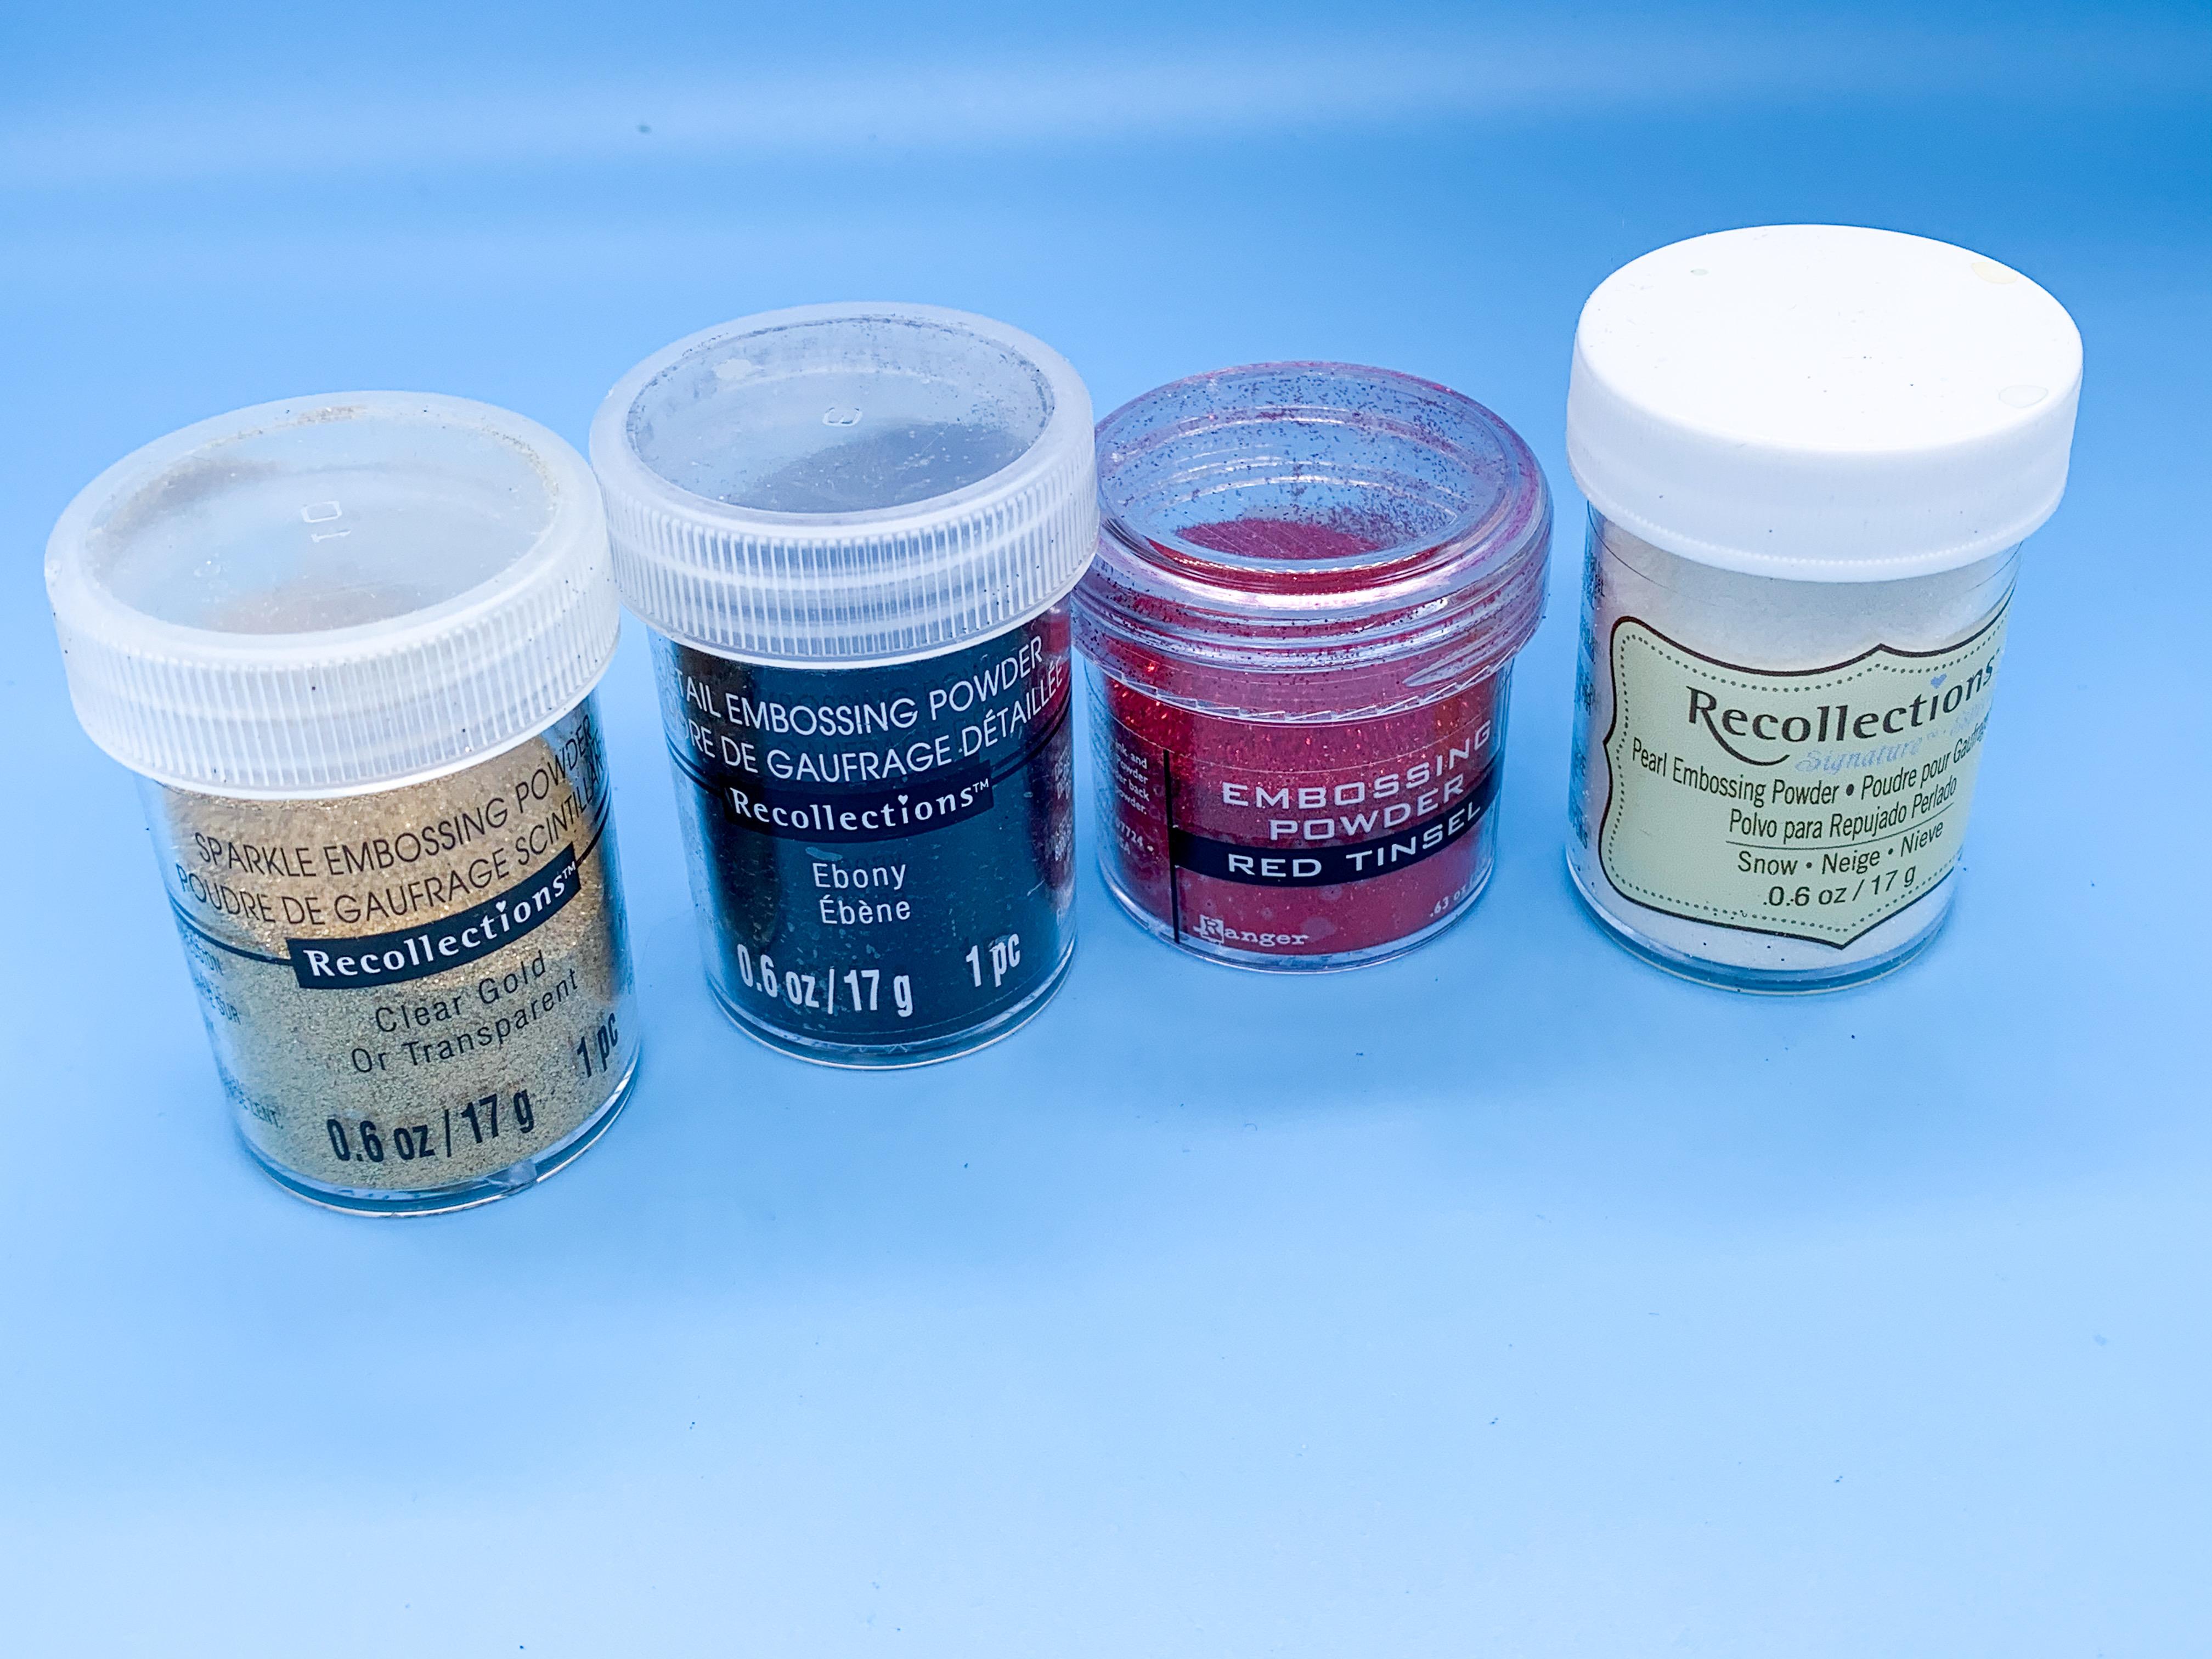
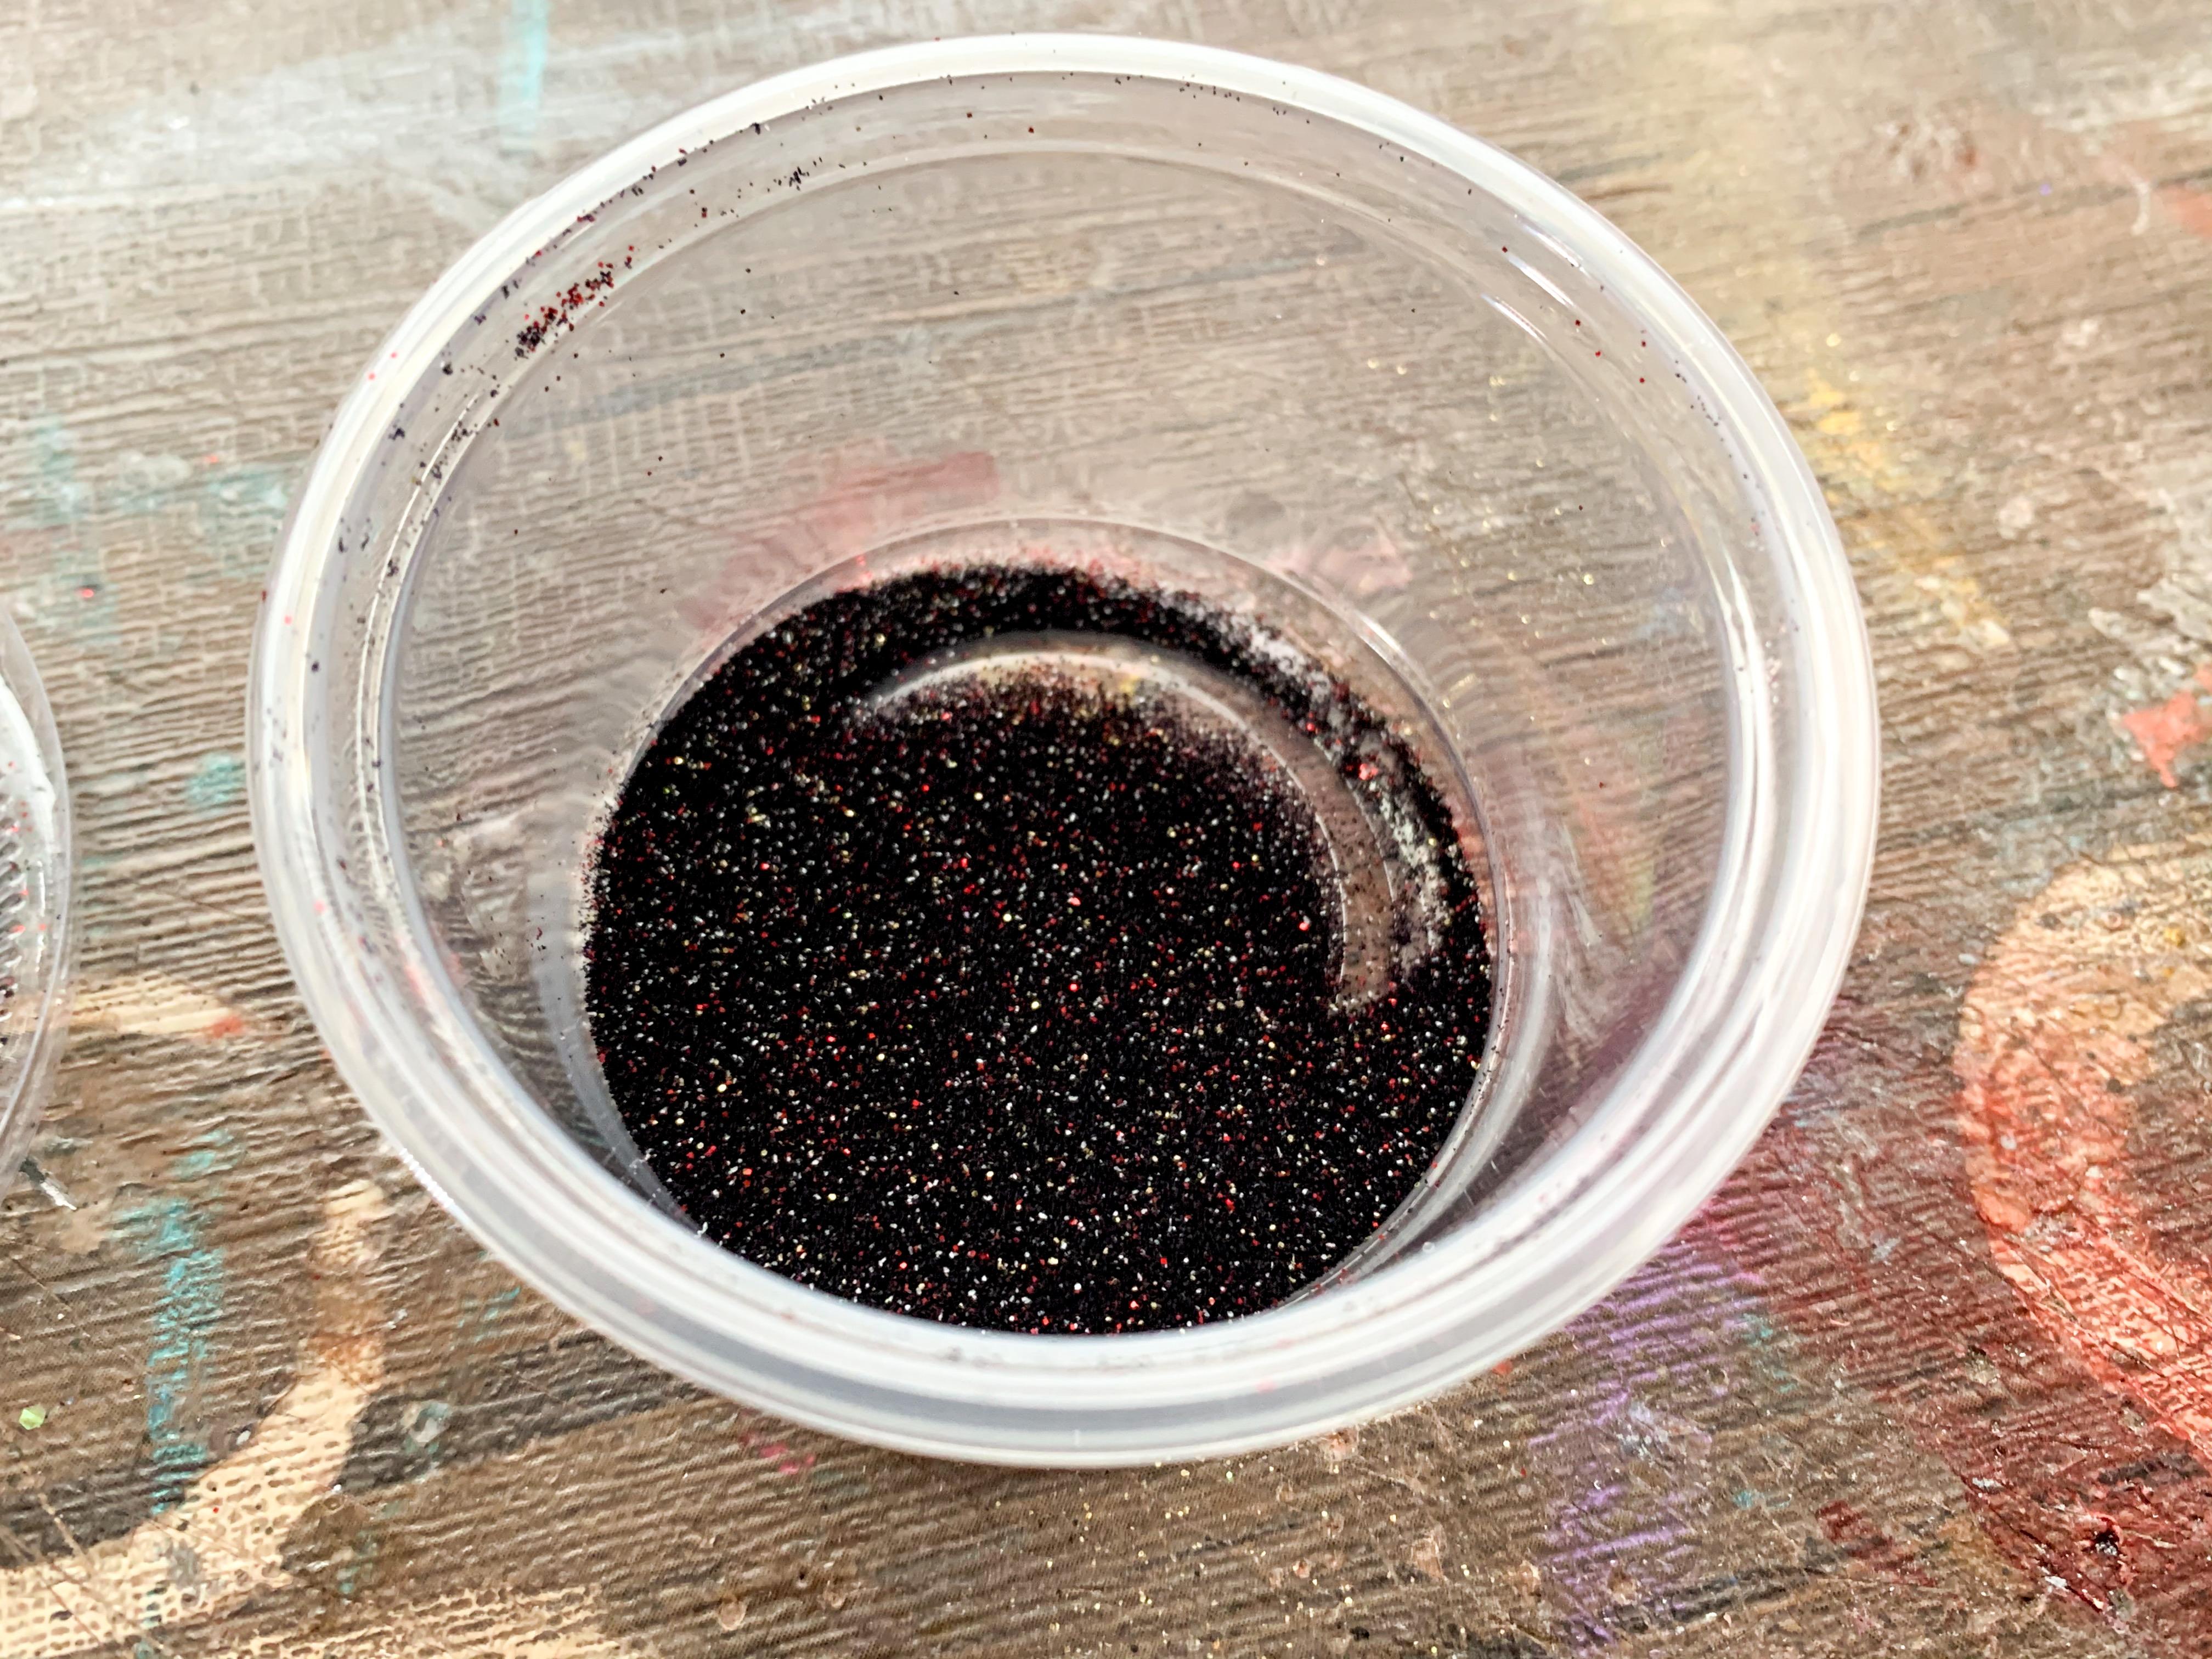
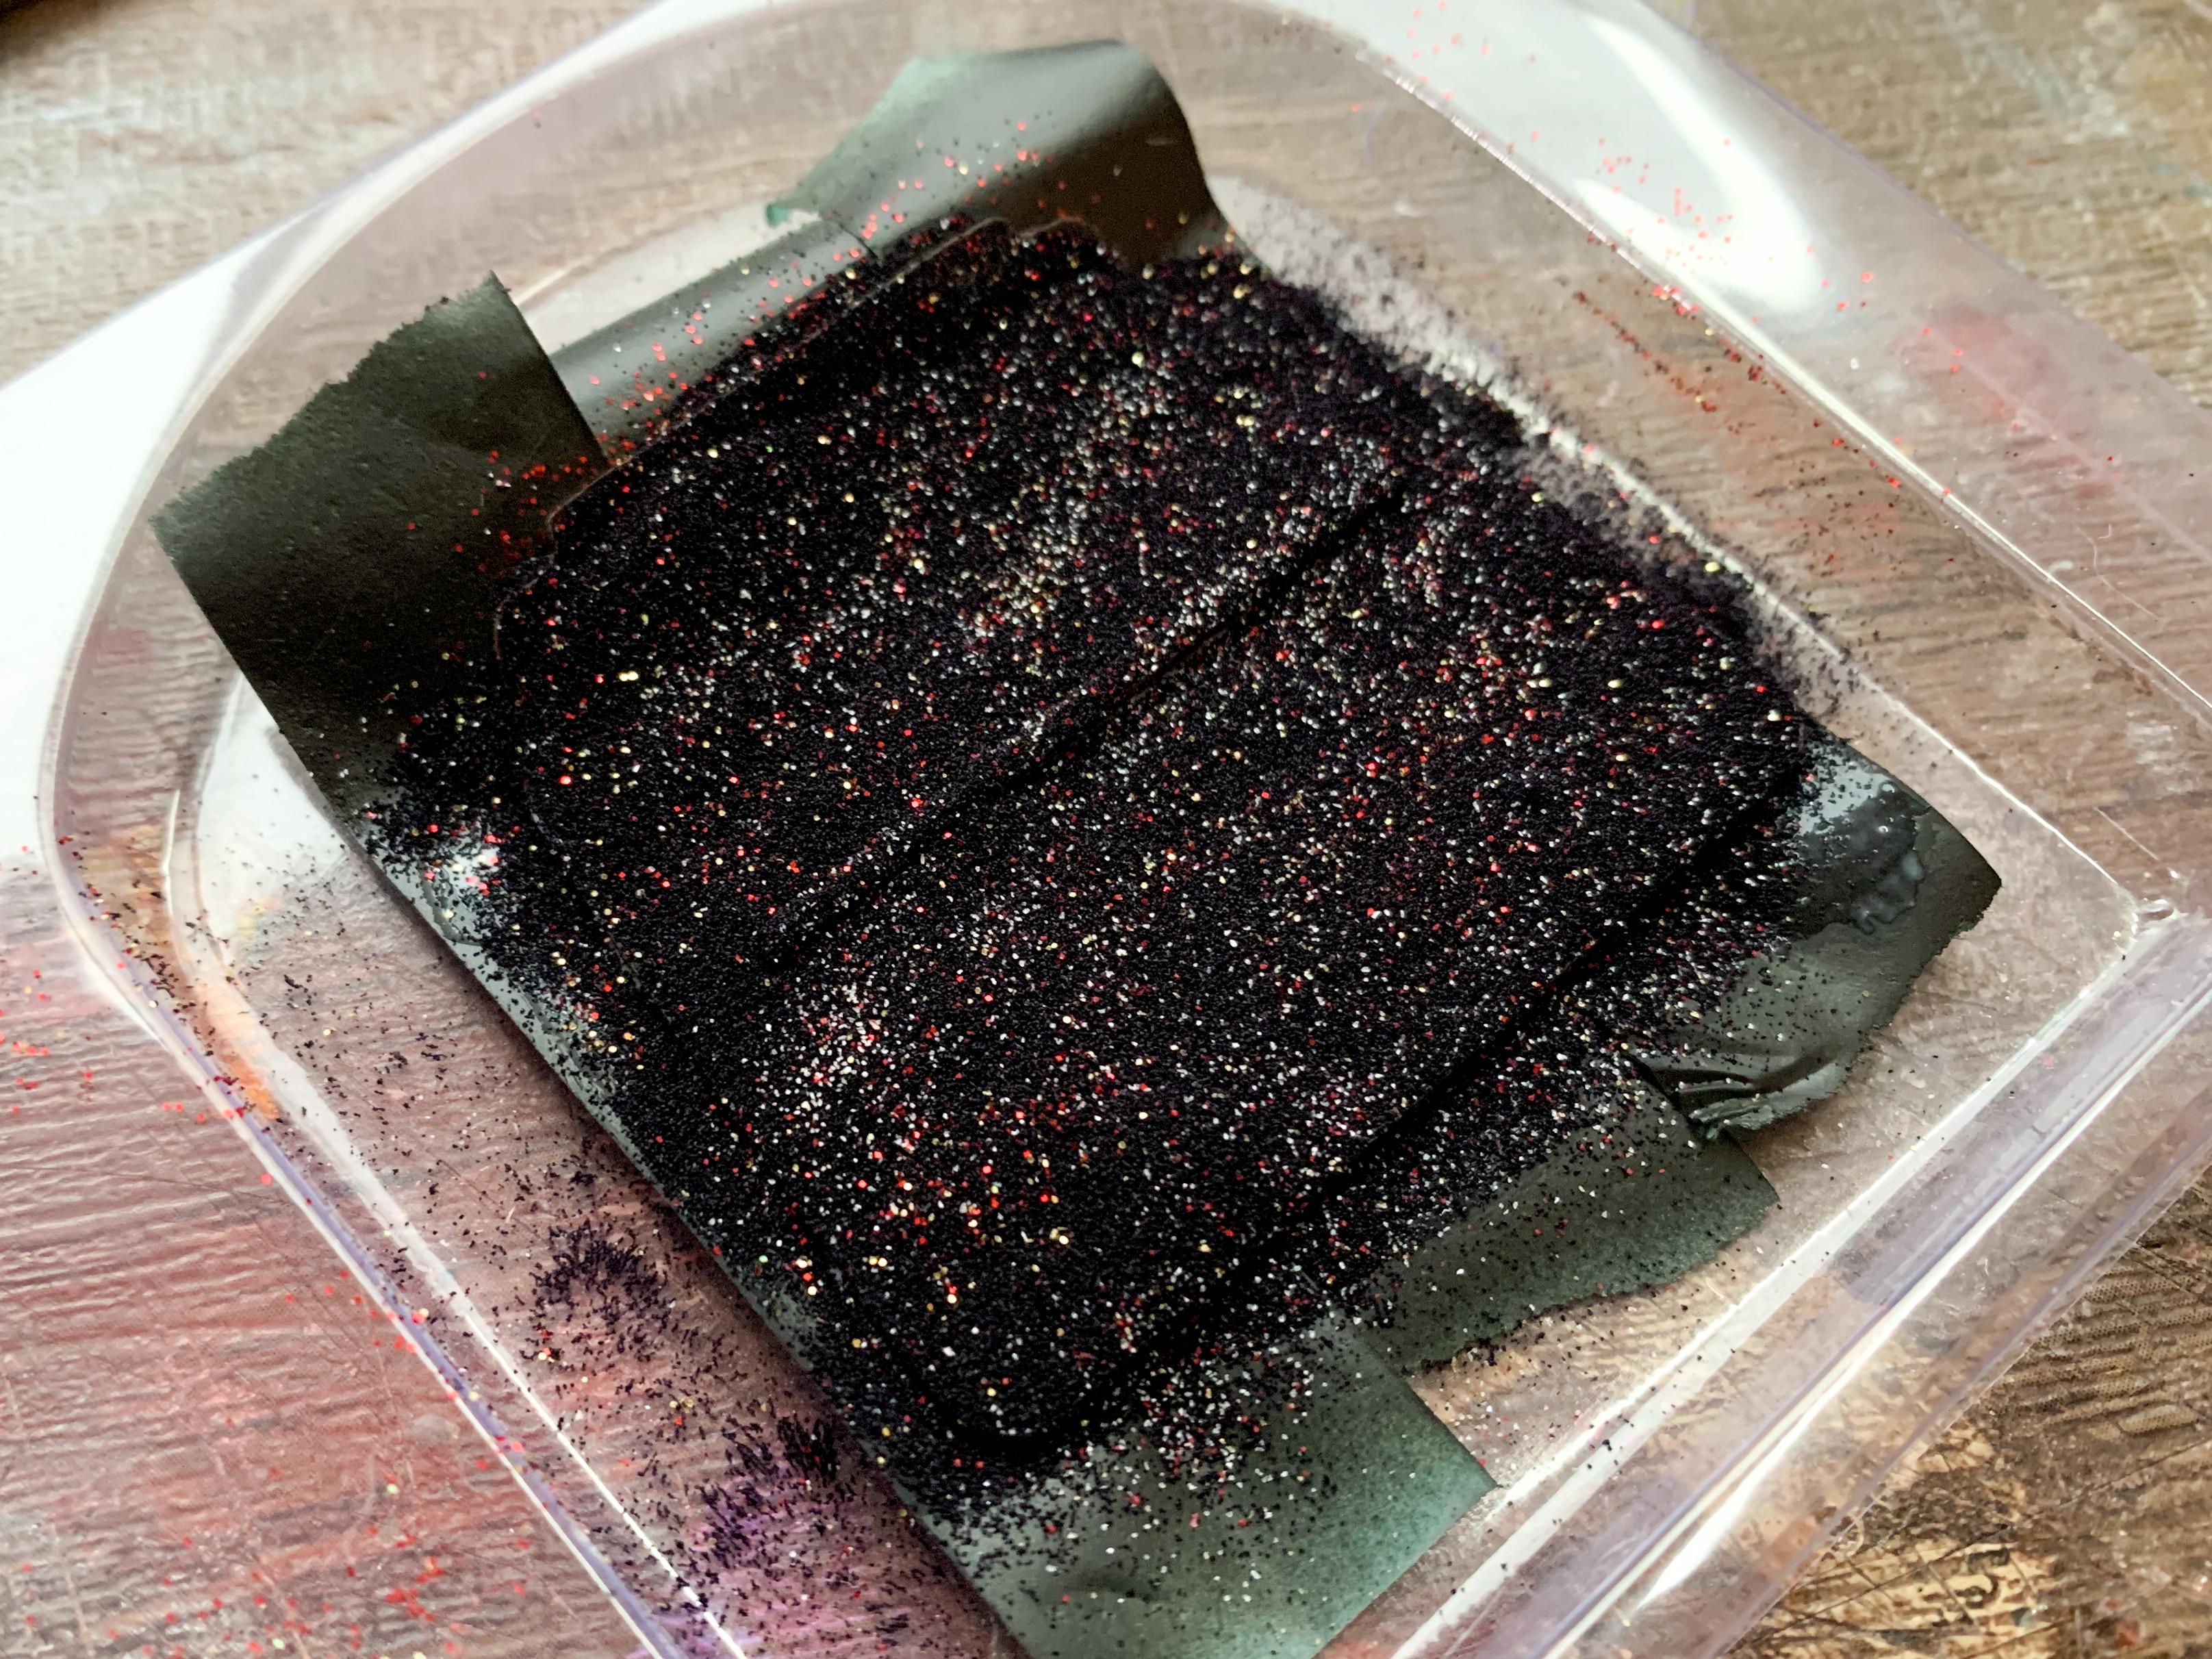
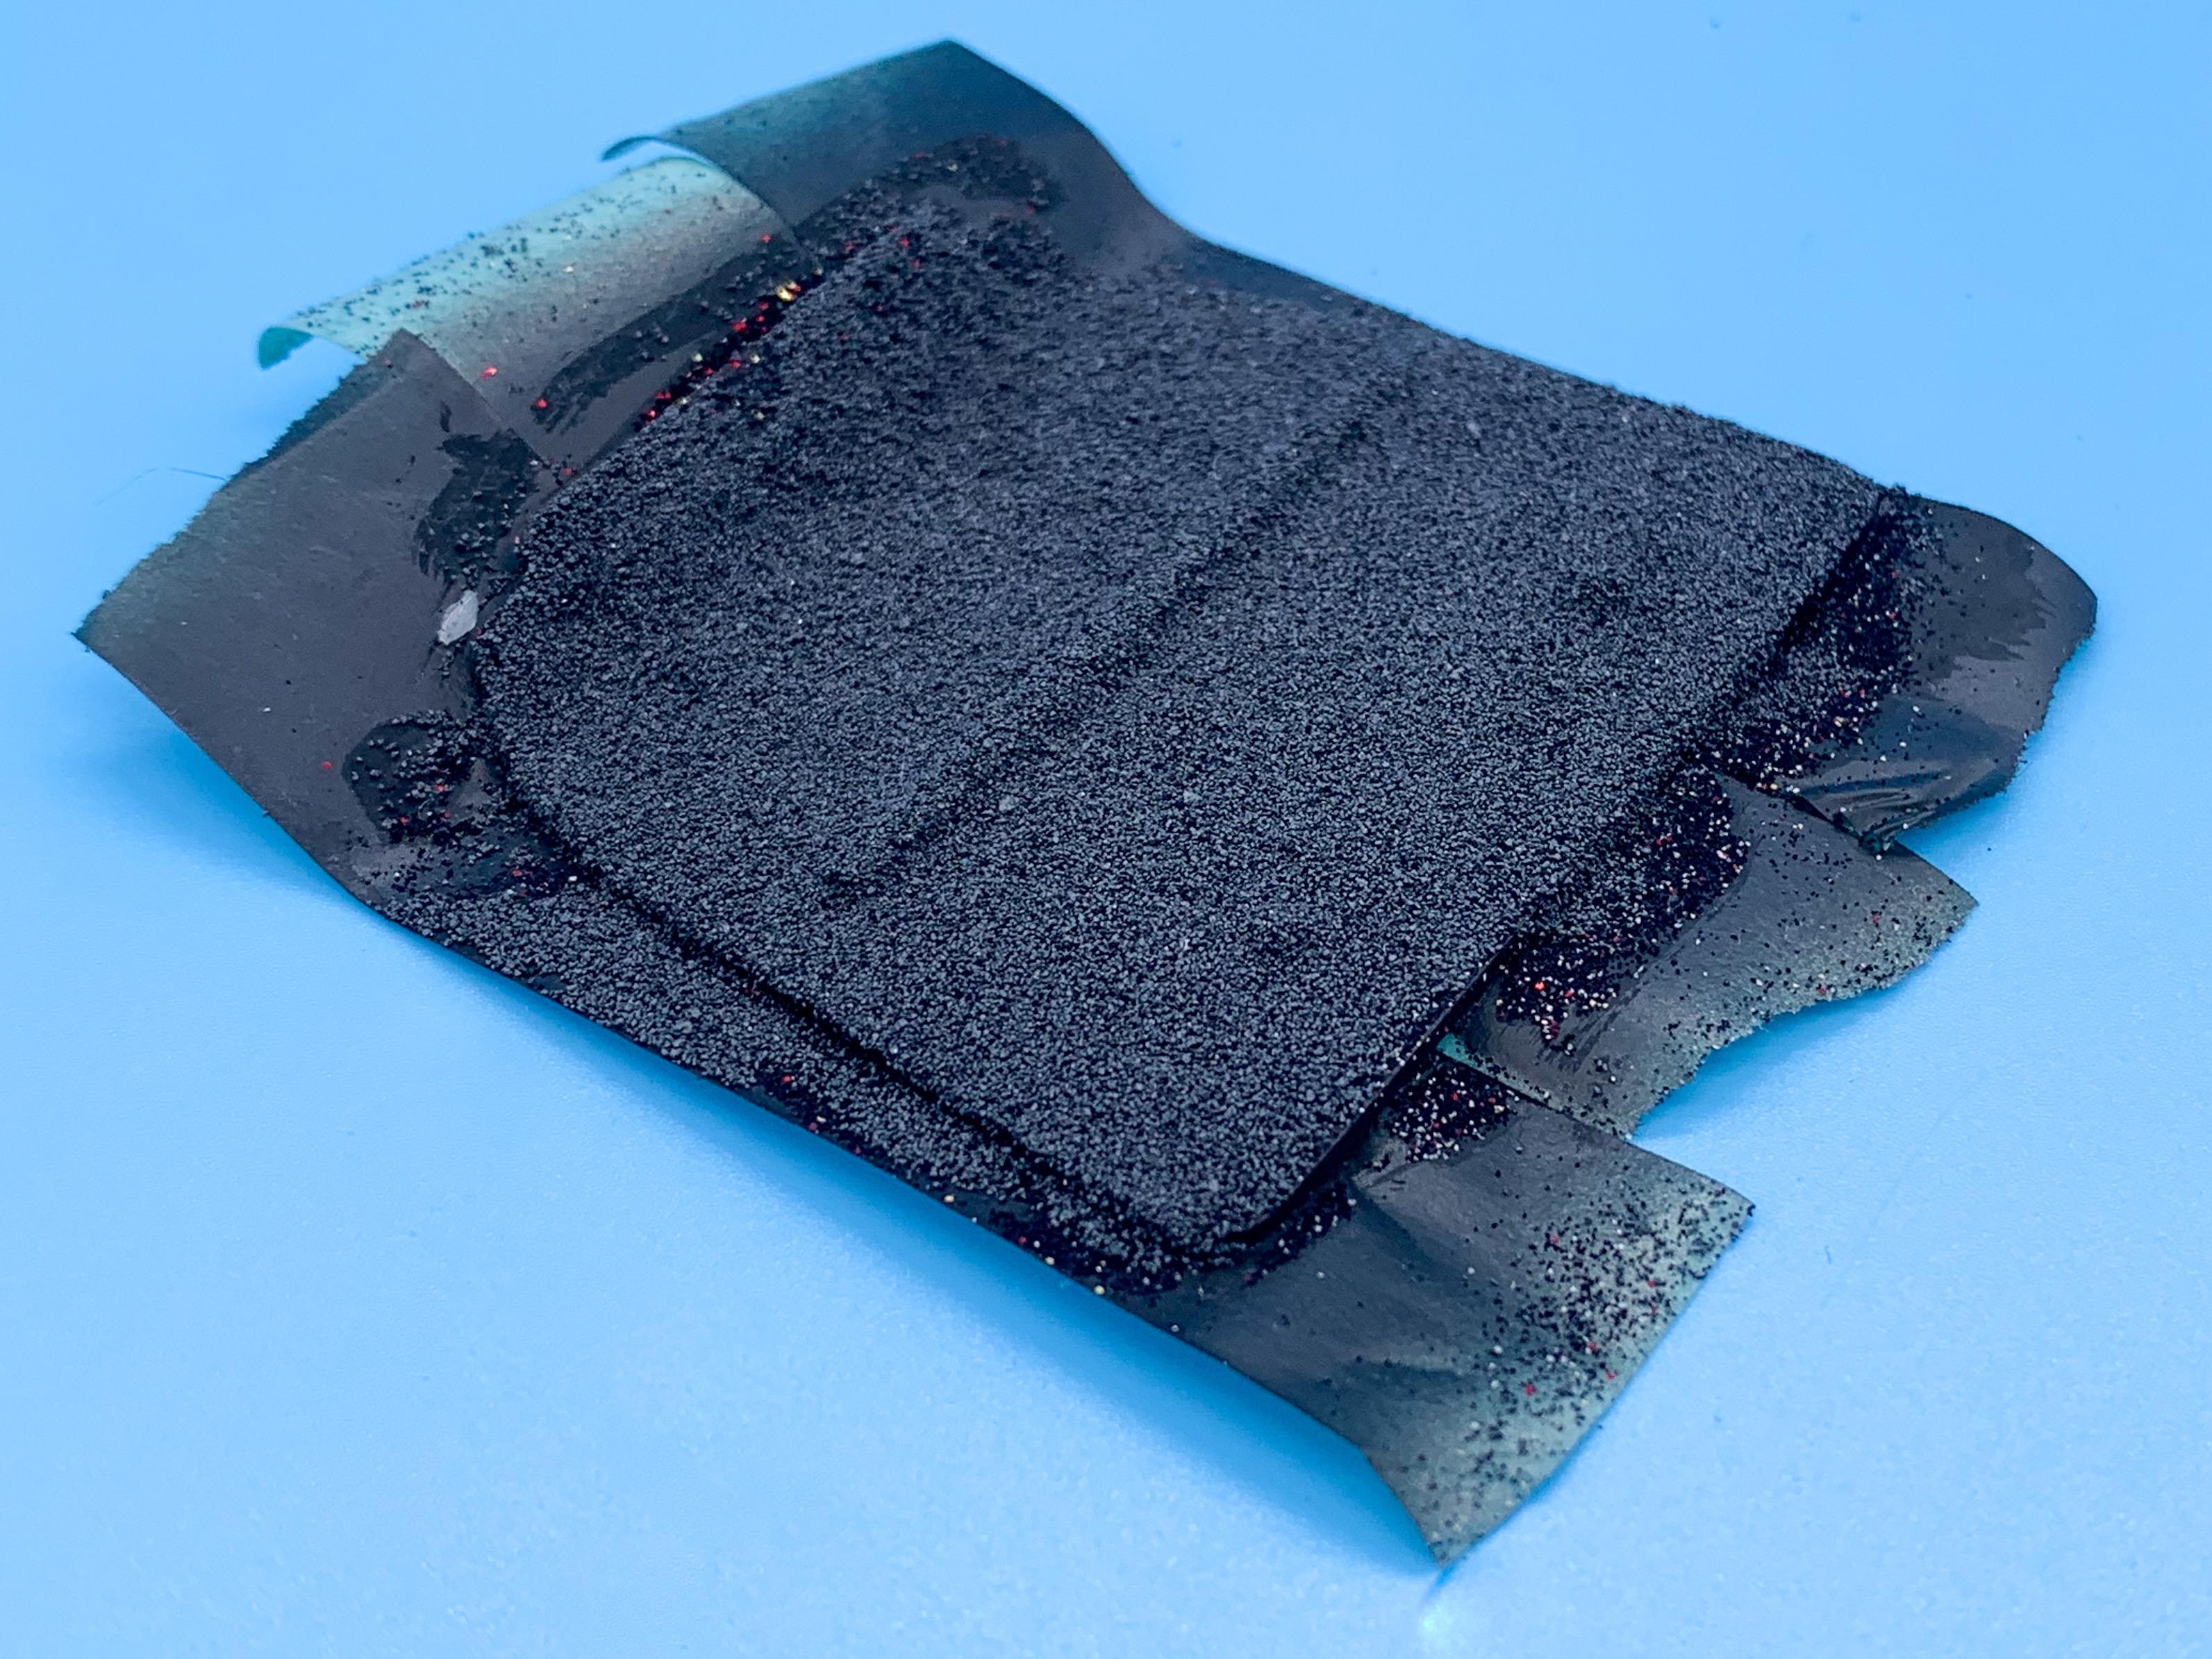
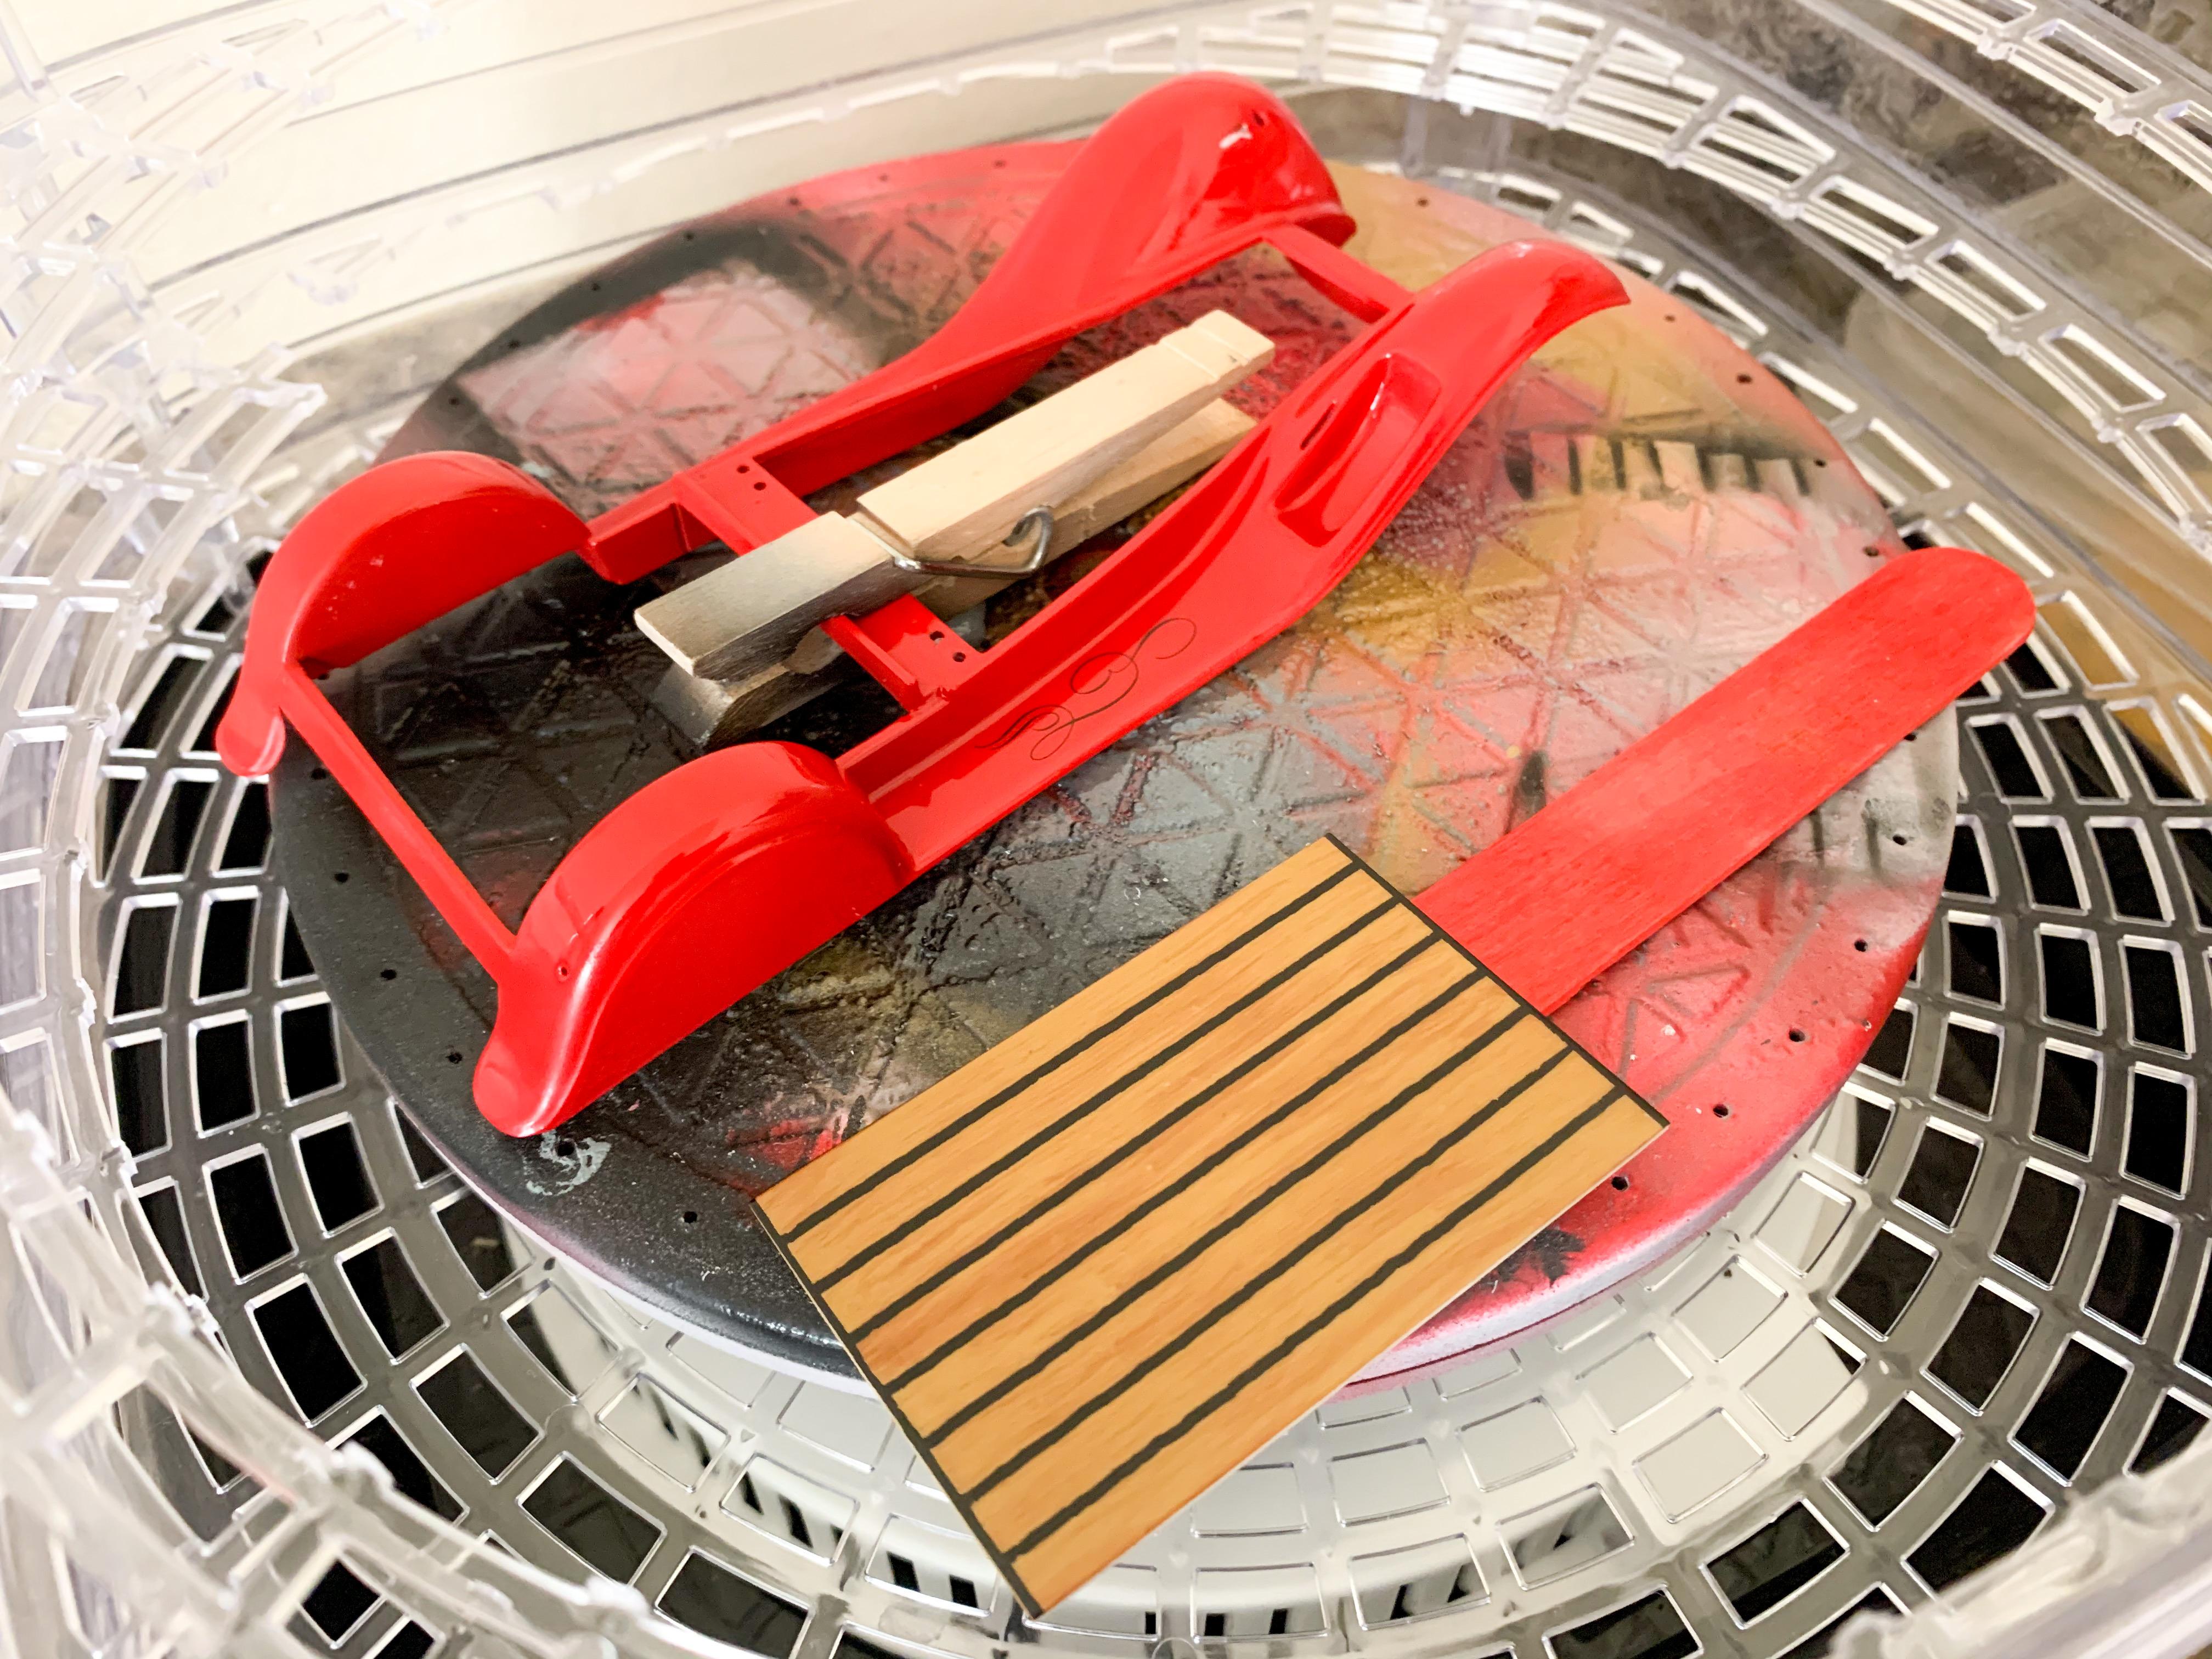
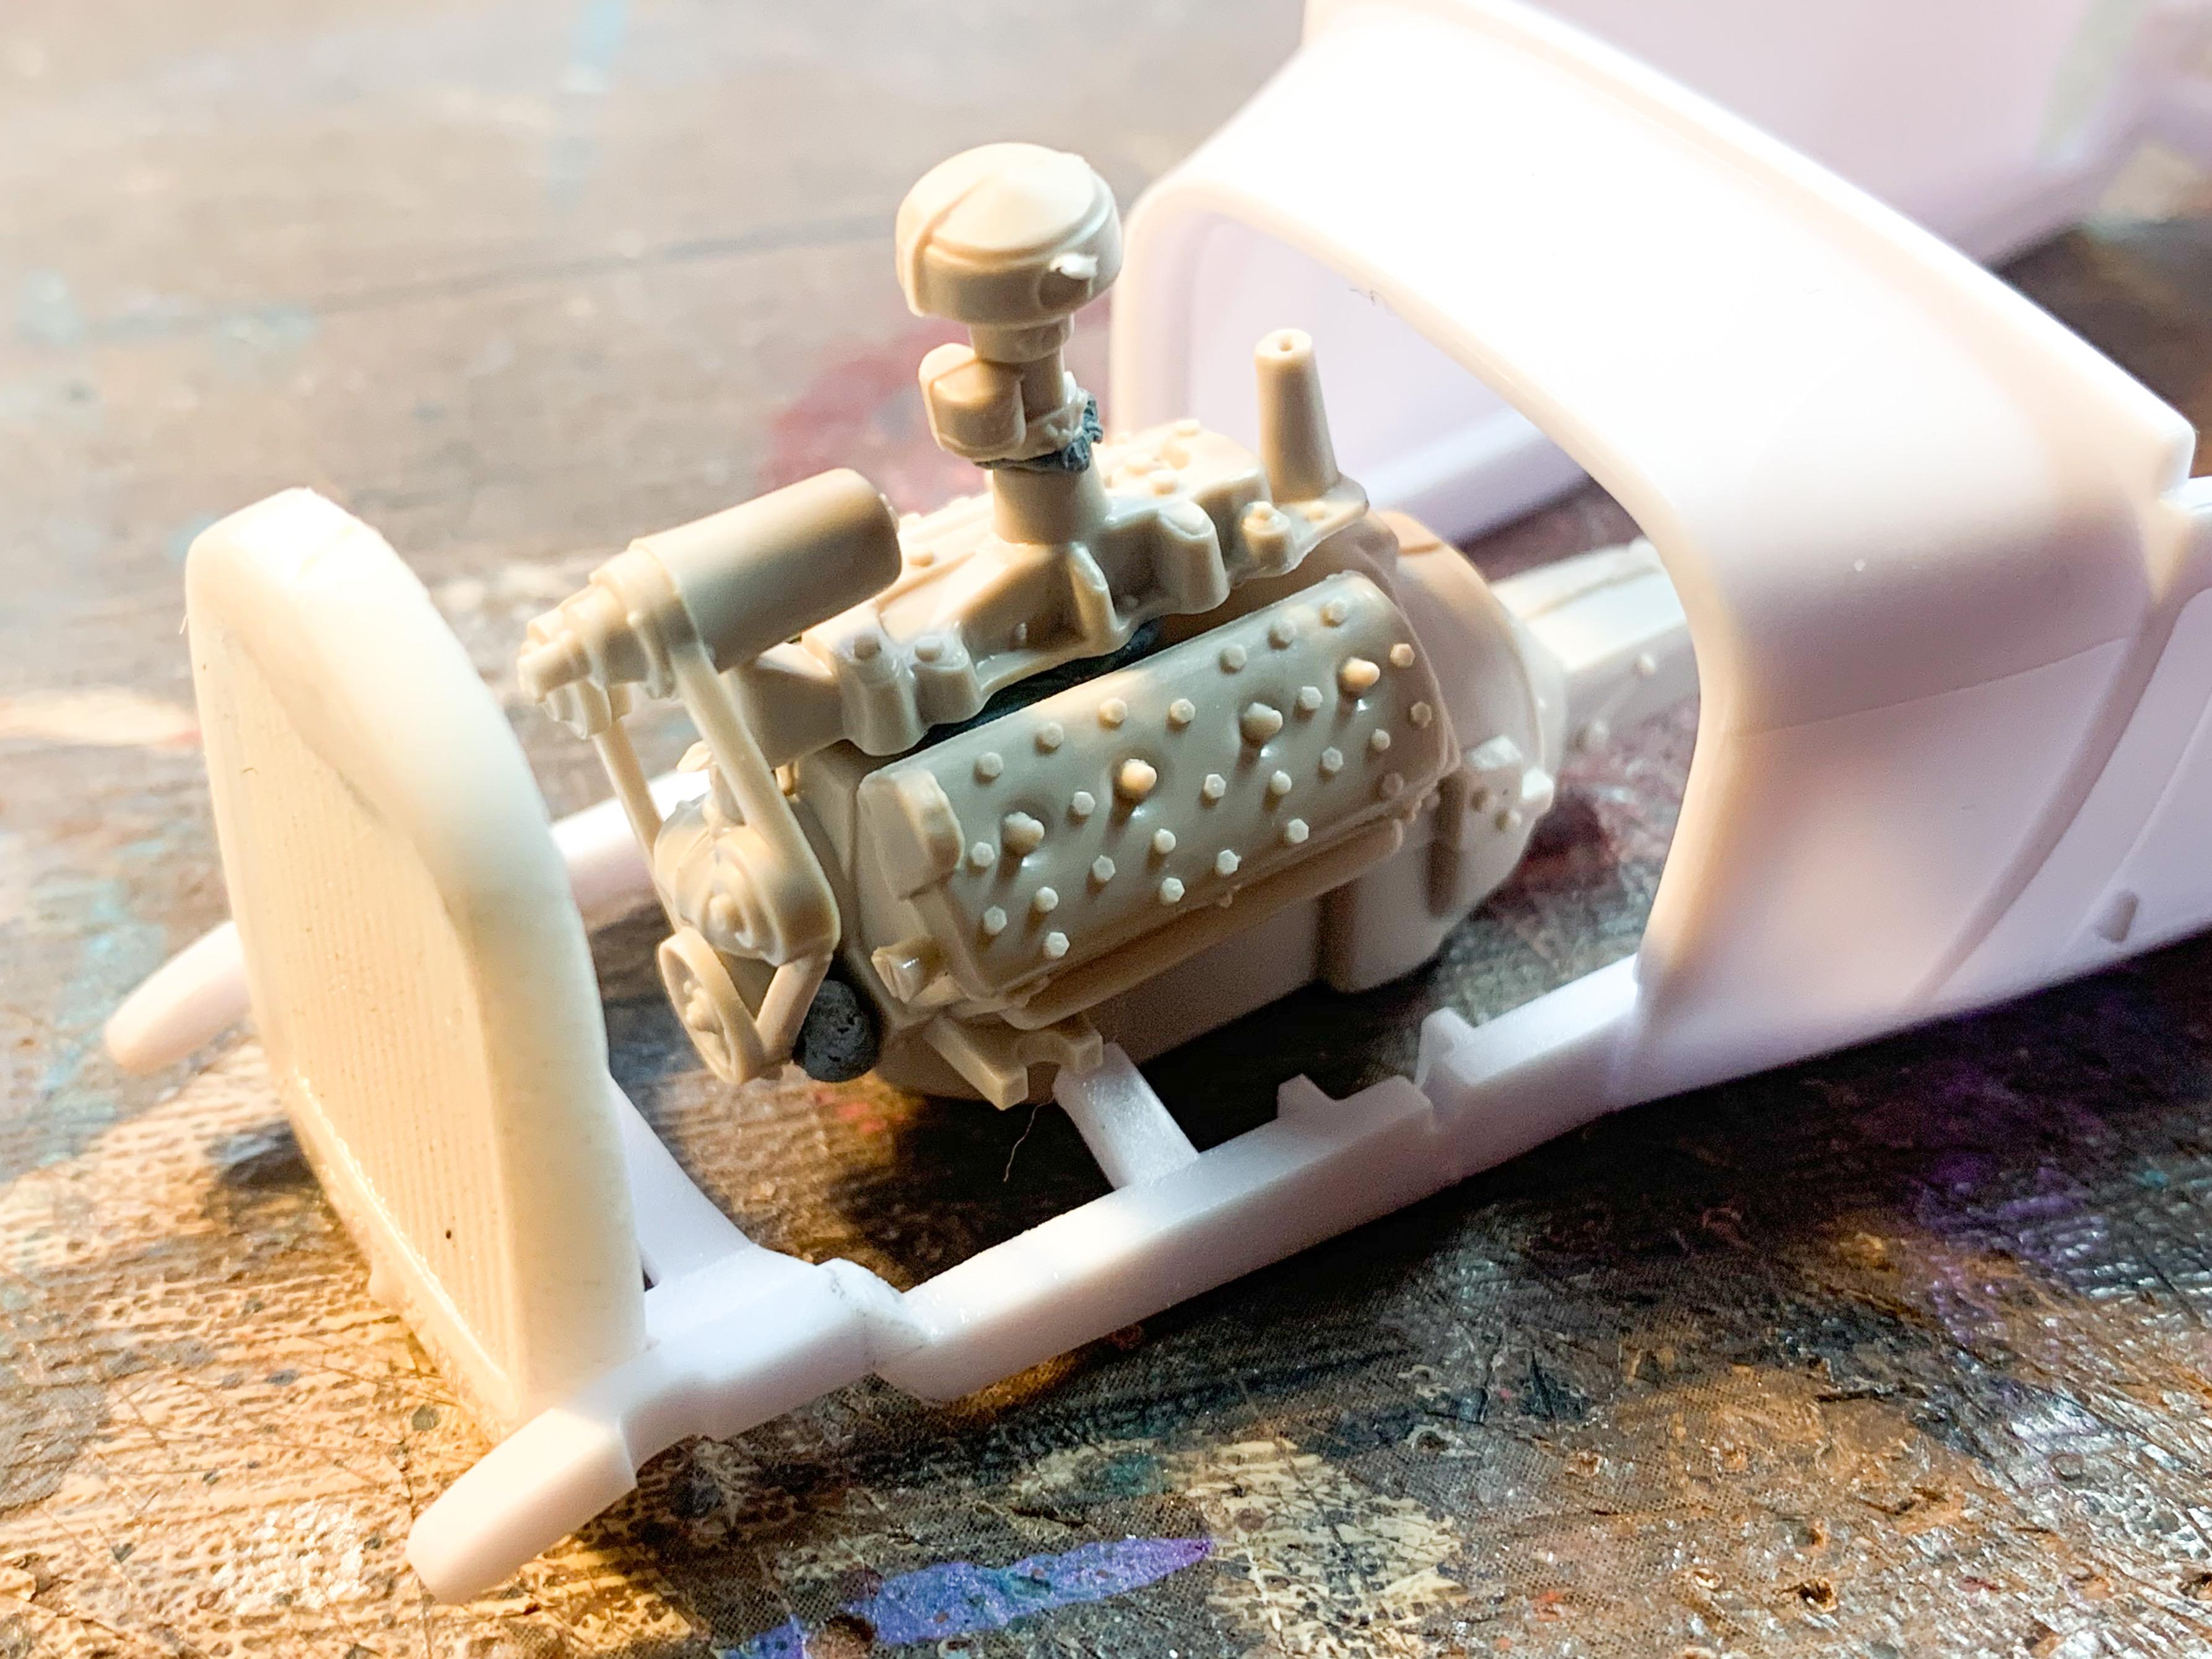
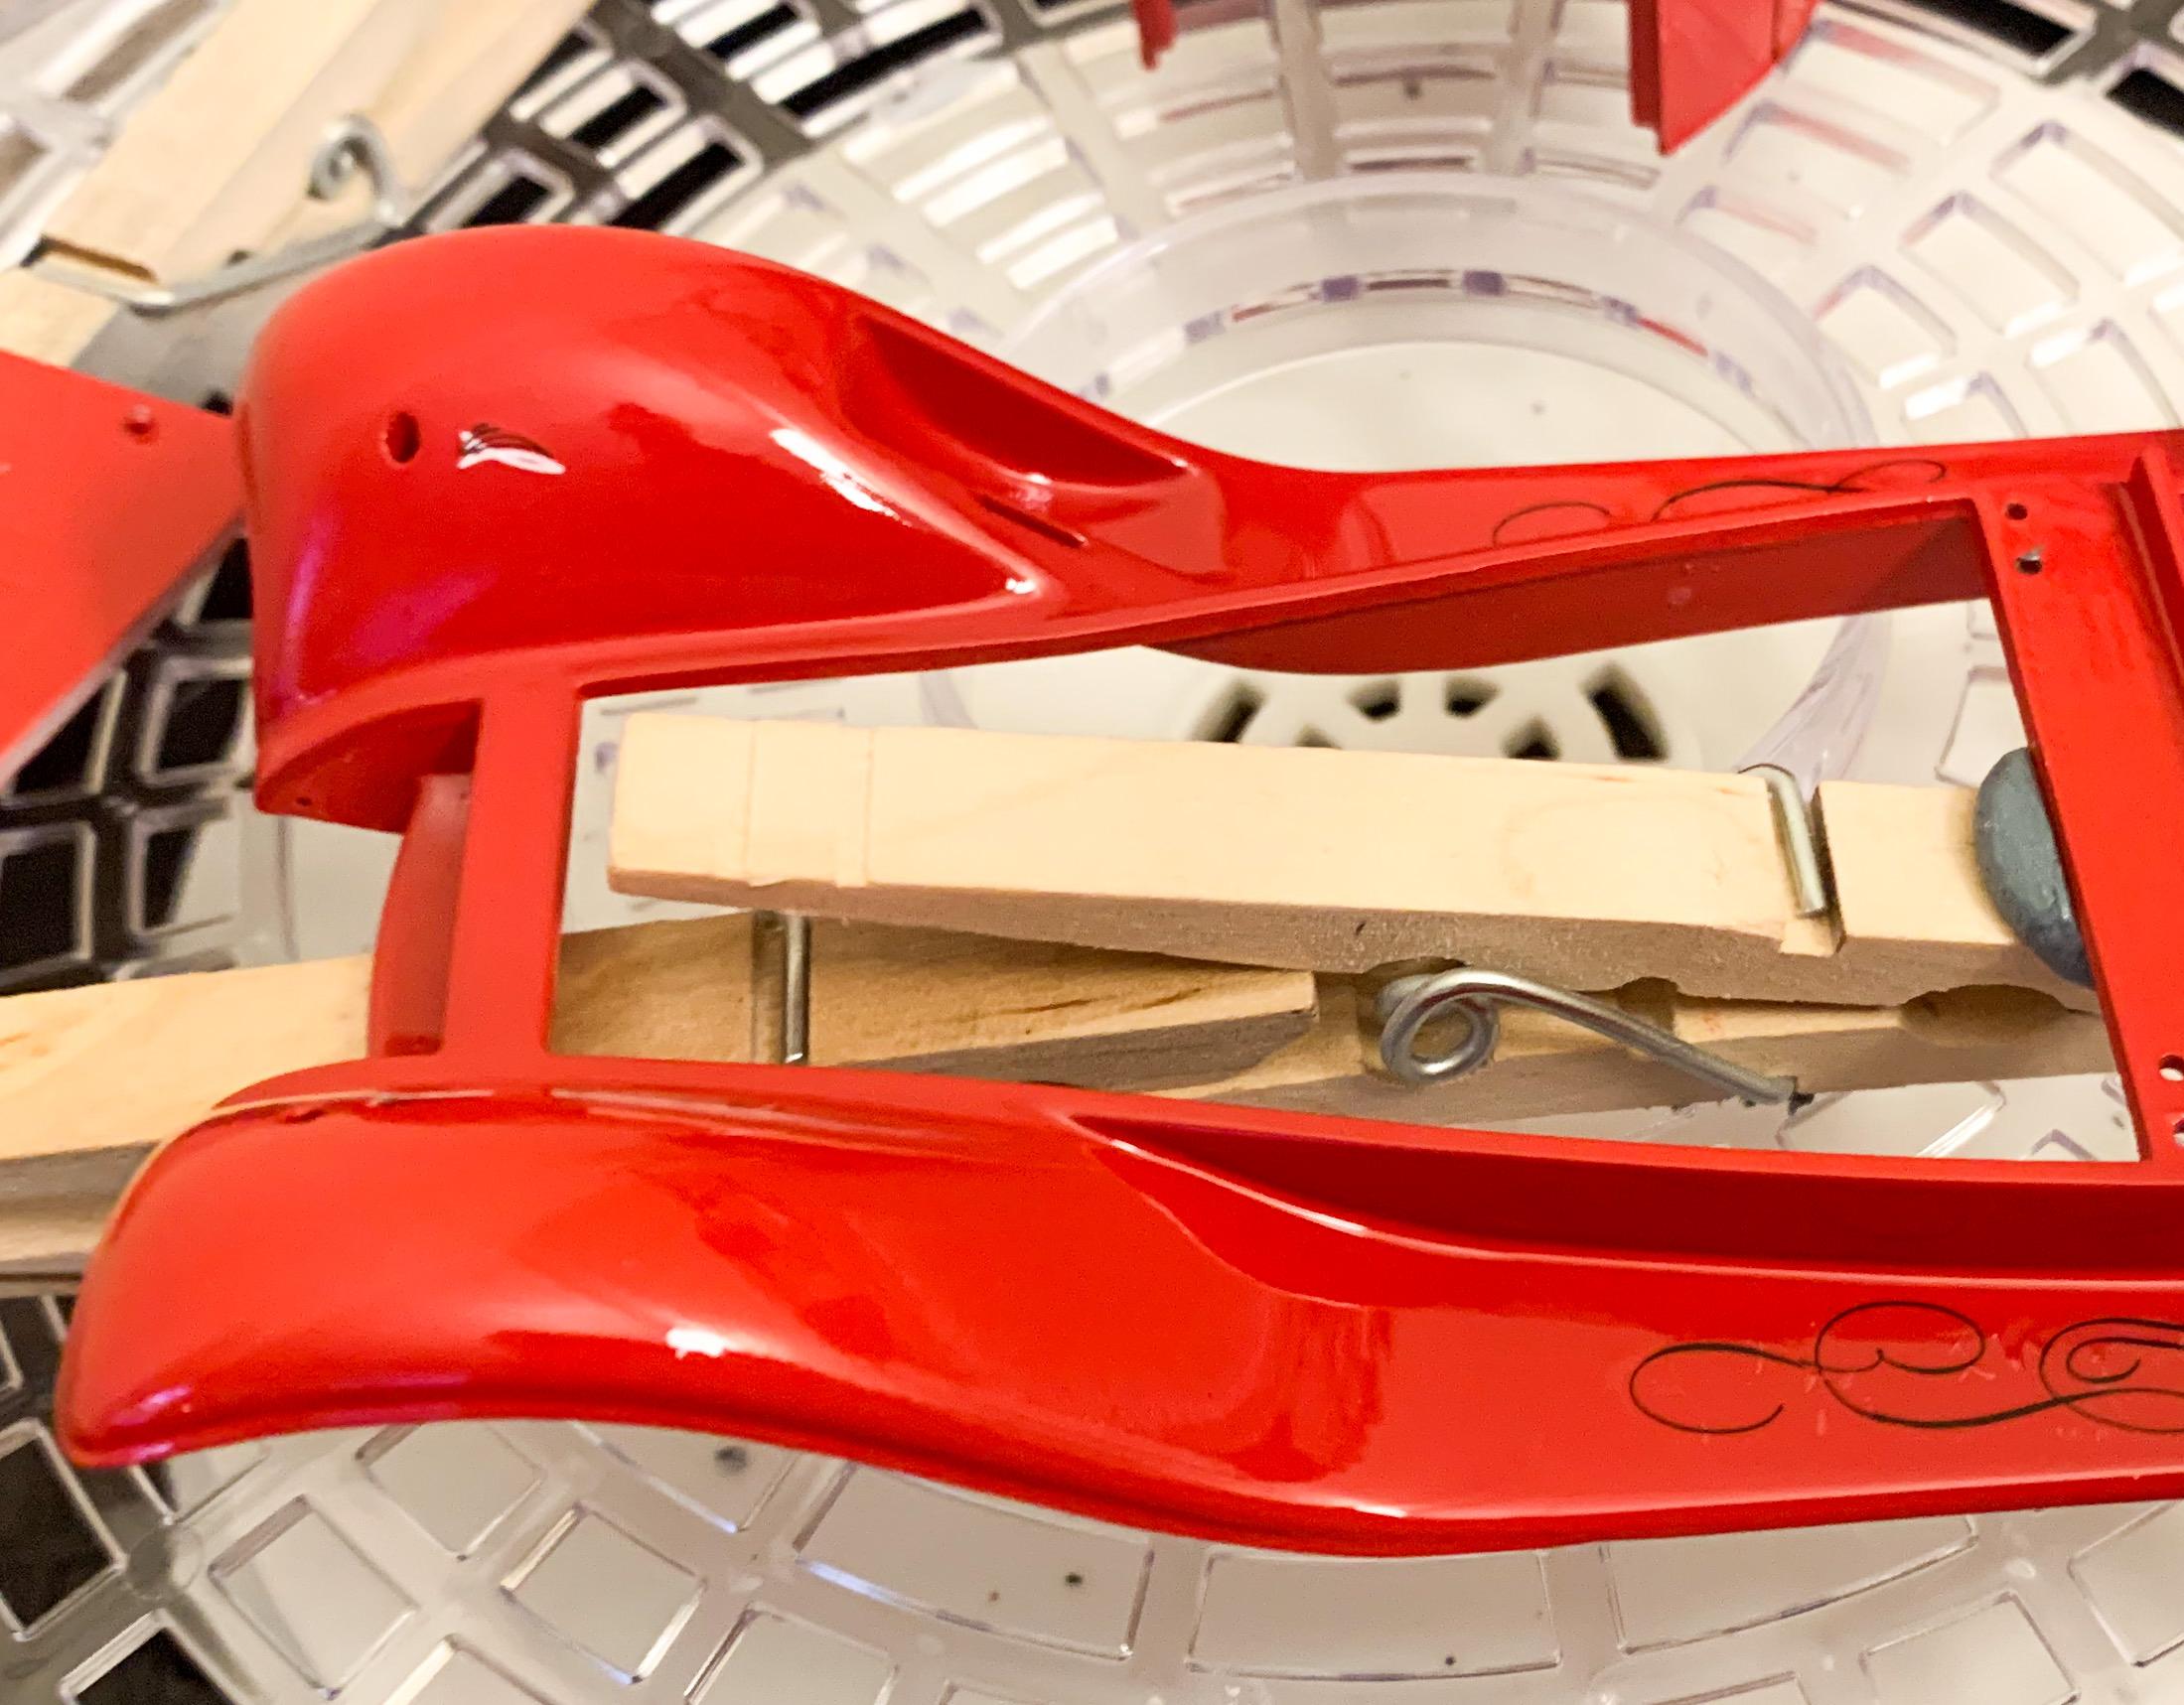
I just ordered a lathe last week if it’s any consolation...the dehydrator was MUCH cheaper ??. Thanks buddy! I feel like I’ve been messing with little bits of this thing all week and didn’t really have anything much to show for it, so here’s an update to prove I wasn’t asleep over here ?... Polished out the frame, added a fuel line and did an India Ink wash on some of the chrome bits to bring some detail out: I just ordered one of those circuit board holders that people are using to help with assembly - whichever way I’m going to assemble this frame there will be SOMETHING top or bottom that has Alclad on it, so being able to suspend it will be helpful whilst I get everything in place for good. Wired up the engine with a MAD distributor - need to get those plug leads sagging a little more but spent some time trying to get the routing neat for once: I hadn’t figured out what to use for brakes on the front OR rear yet - I think I settled on the nice drum backing plates from the old Monogram 32 Ford but I didn’t have any spares that weren’t earmarked for a future project so I’ve got a little RTV rubber mold setting up as we speak: Had the idea of mixing up some black embossing powder with gold, white and red flecks in it to add a little visual interest to the carpet in the interior: Pro tip: it doesn’t look good, don’t try it ? Stripped it off and laid down a nice neutral gray instead: It’s still drying in this pic, hence the dark spots, but it set up ok after a few hours... And finally, inspected the clear on everything I painted last weekend and wasn’t 100% happy with a couple of little bits on the fenders, so buffed them down, reshot them with another coat of enamel and they’re just on a timeout in the dehydrator until they learn not to have imperfections next time: More soon - hopefully something more interesting ?
-
What can you tell us about the quality of the detail on this one Pat? Seems like it’s a high parts count for 1/32 scale!
-
Heeeere's Chad: Round2 January 2021 New Product Spotlight
OldNYJim replied to Dave Darby's topic in Car Kit News & Reviews
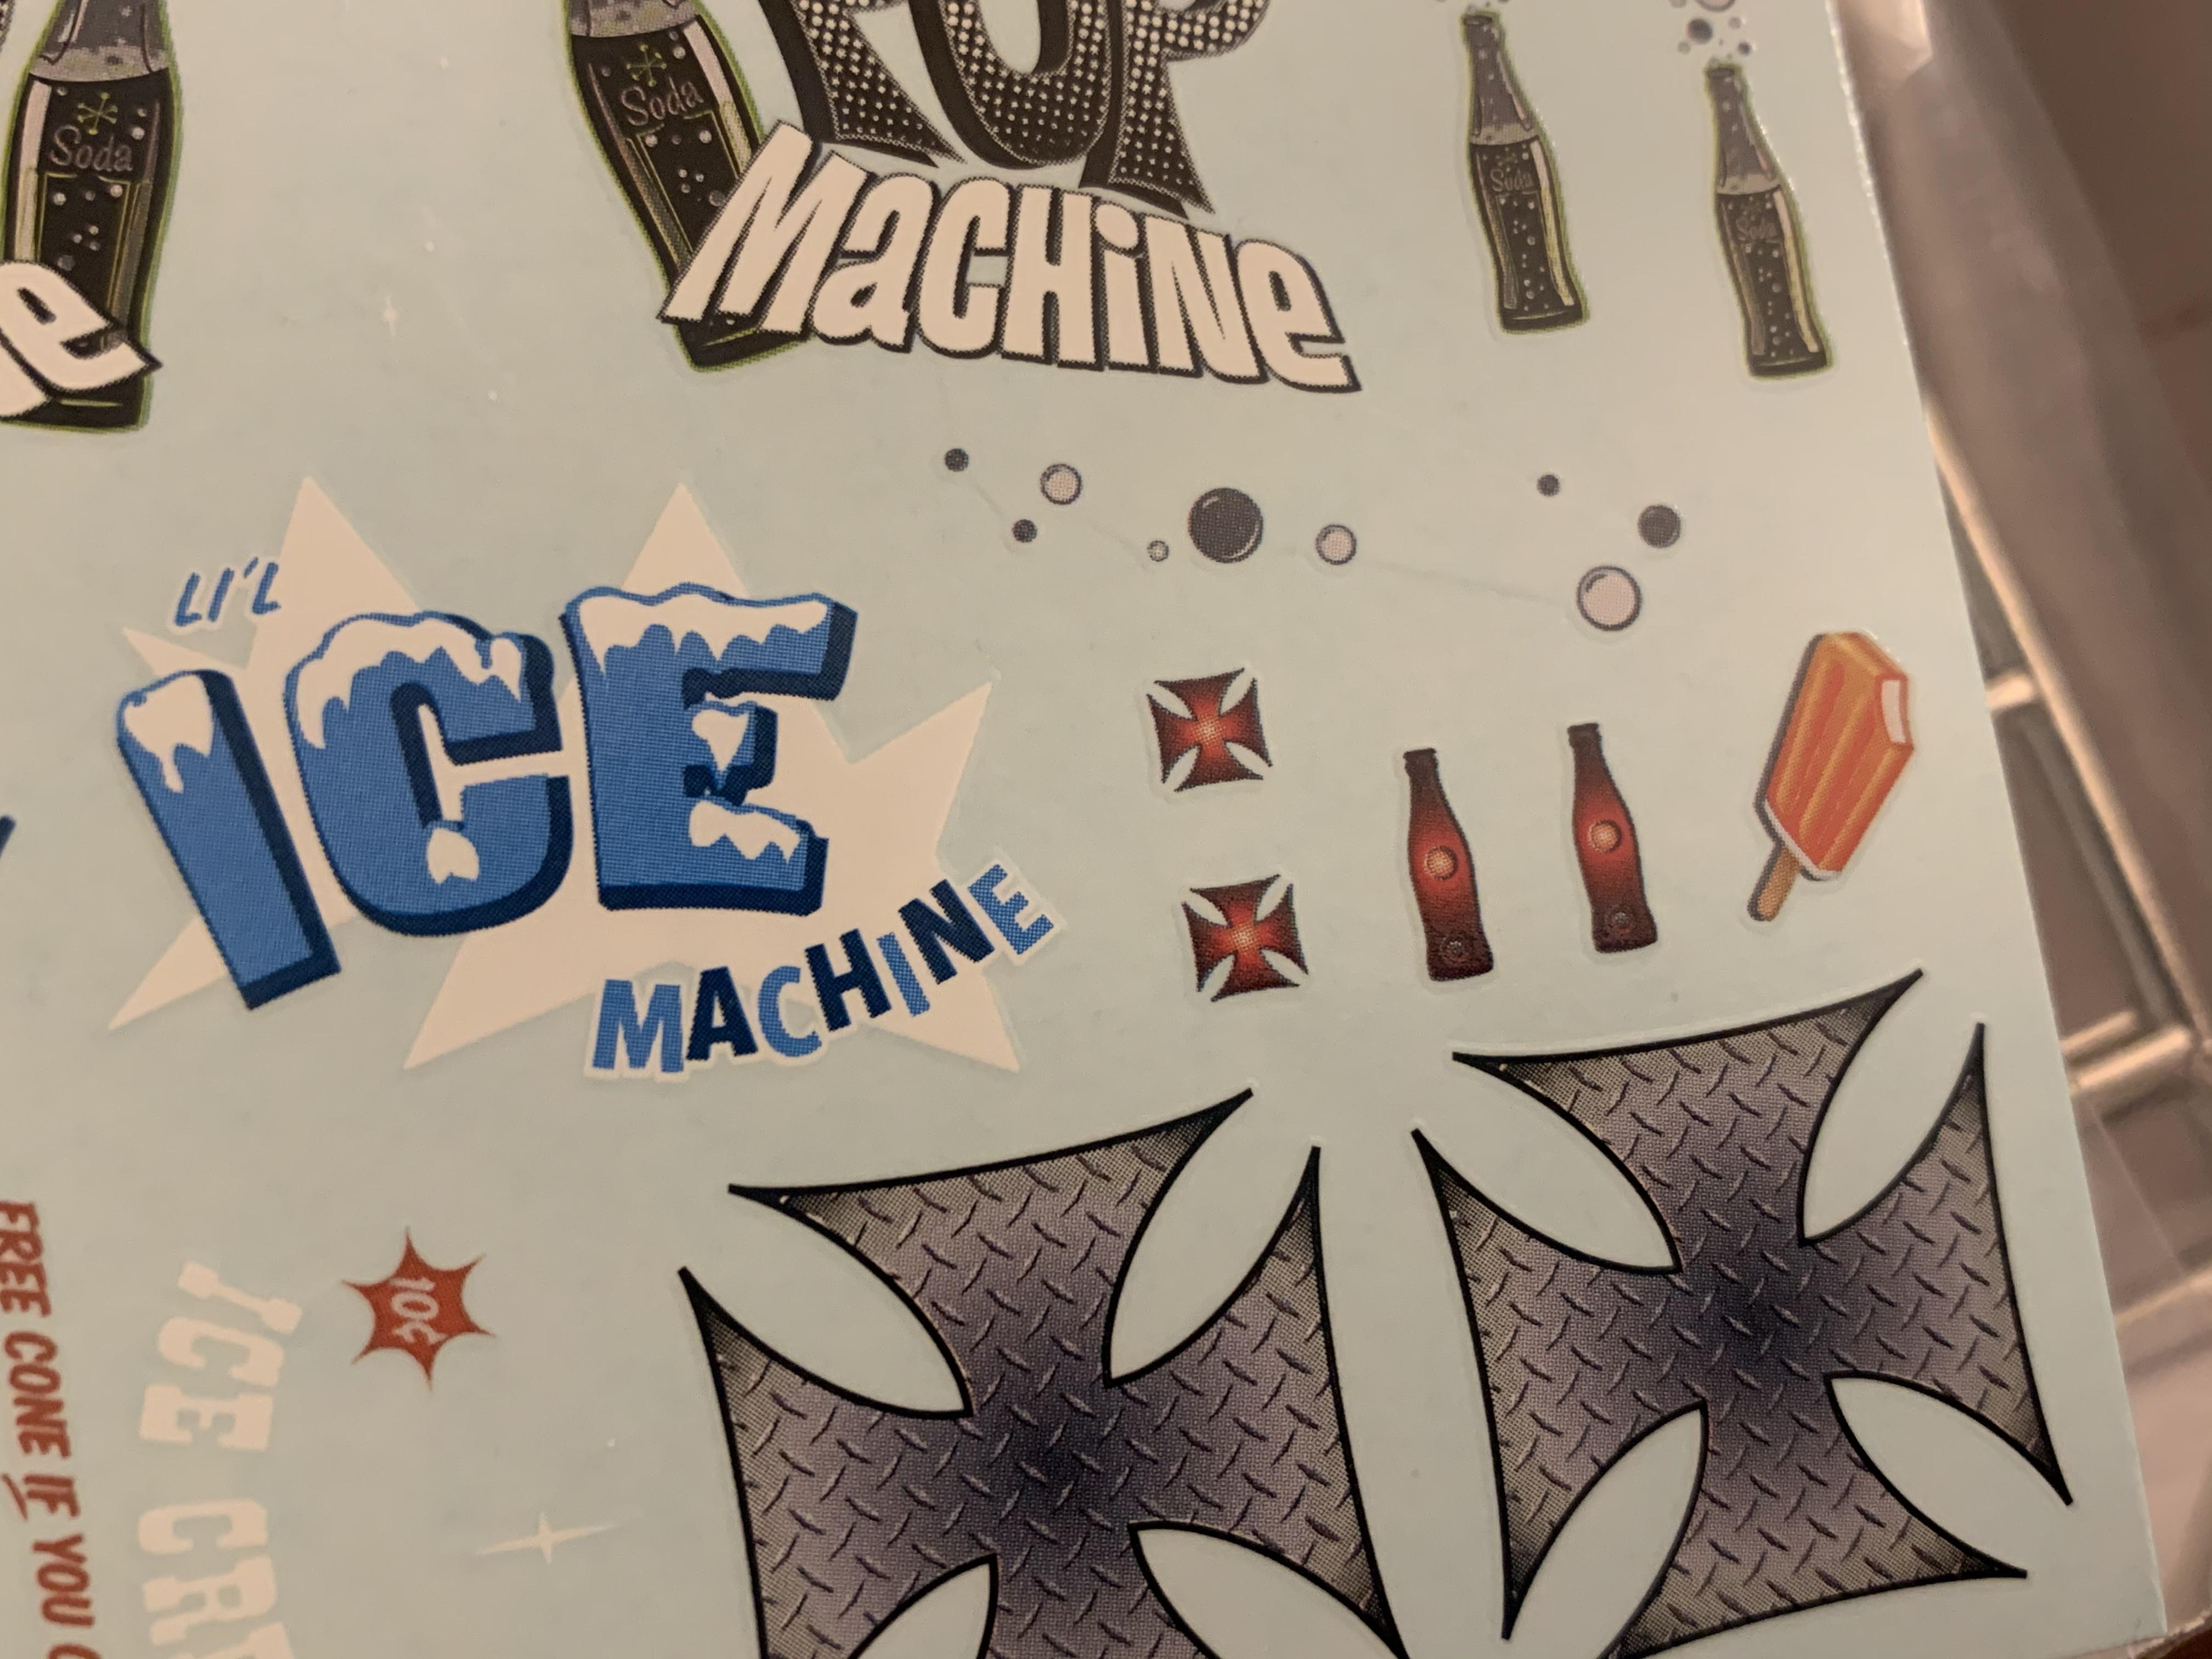
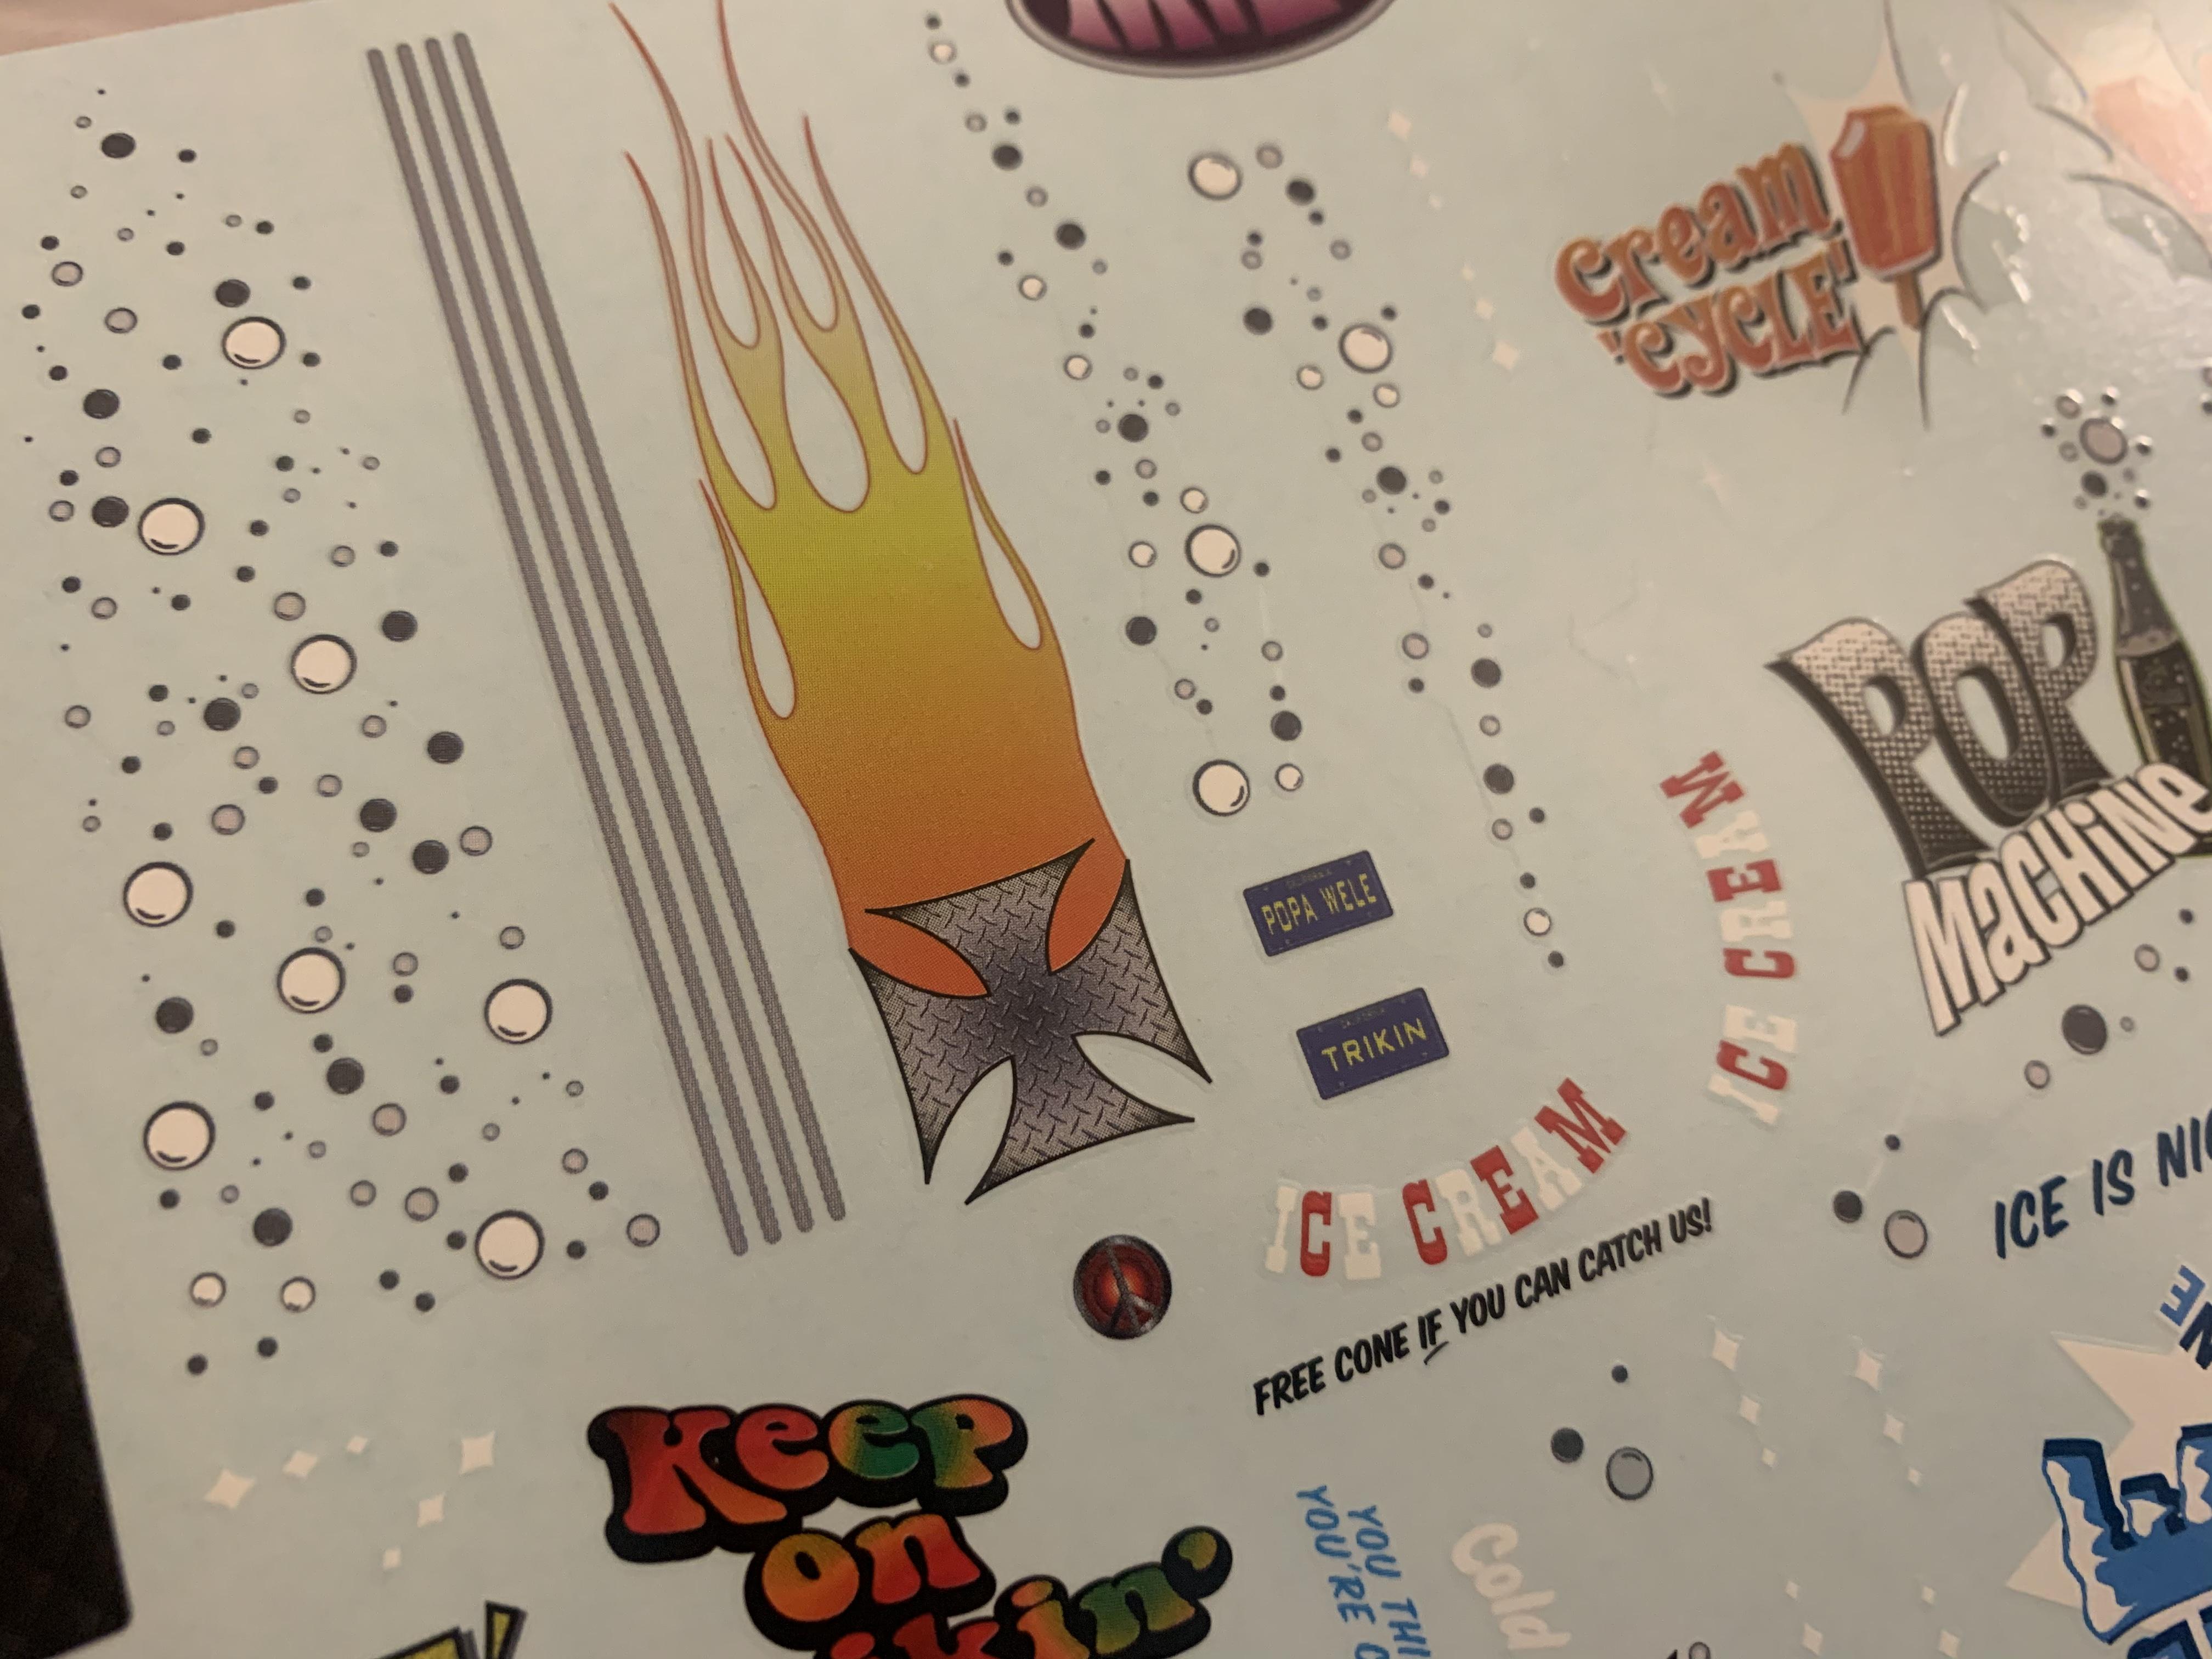
Not the same as what? I was just pointing out that they’re not NOT putting Maltese crosses on the decal sheets for these trikes - so the Black Max / Torque Trike might have them too -
Heeeere's Chad: Round2 January 2021 New Product Spotlight
OldNYJim replied to Dave Darby's topic in Car Kit News & Reviews
The Milk Trike from the same series has some on the decal sheet, so...
-
These cars are so pretty - it makes me think of if Fiat made a Miata! I’ll be watching!
-
Those seats look great! I’m envious of your 3D modelling skills! I’ve been doing 2d industrial design (mostly in Illustrator) for YEARS, but never really messed with 3D stuff properly. Guess I should start!
-
Wow, what an impressive build! And aside from the obvious craftsmanship displayed here, the overall look of the car is GREAT. Love it!
-
Taco Trike
OldNYJim replied to Hmann68's topic in WIP: All The Rest: Motorcycles, Aviation, Military, Sci-Fi, Figures
Looking great so far! I've been collecting the whole set of these to build this year - I'll be following along! -
Awww yiss! ?
-
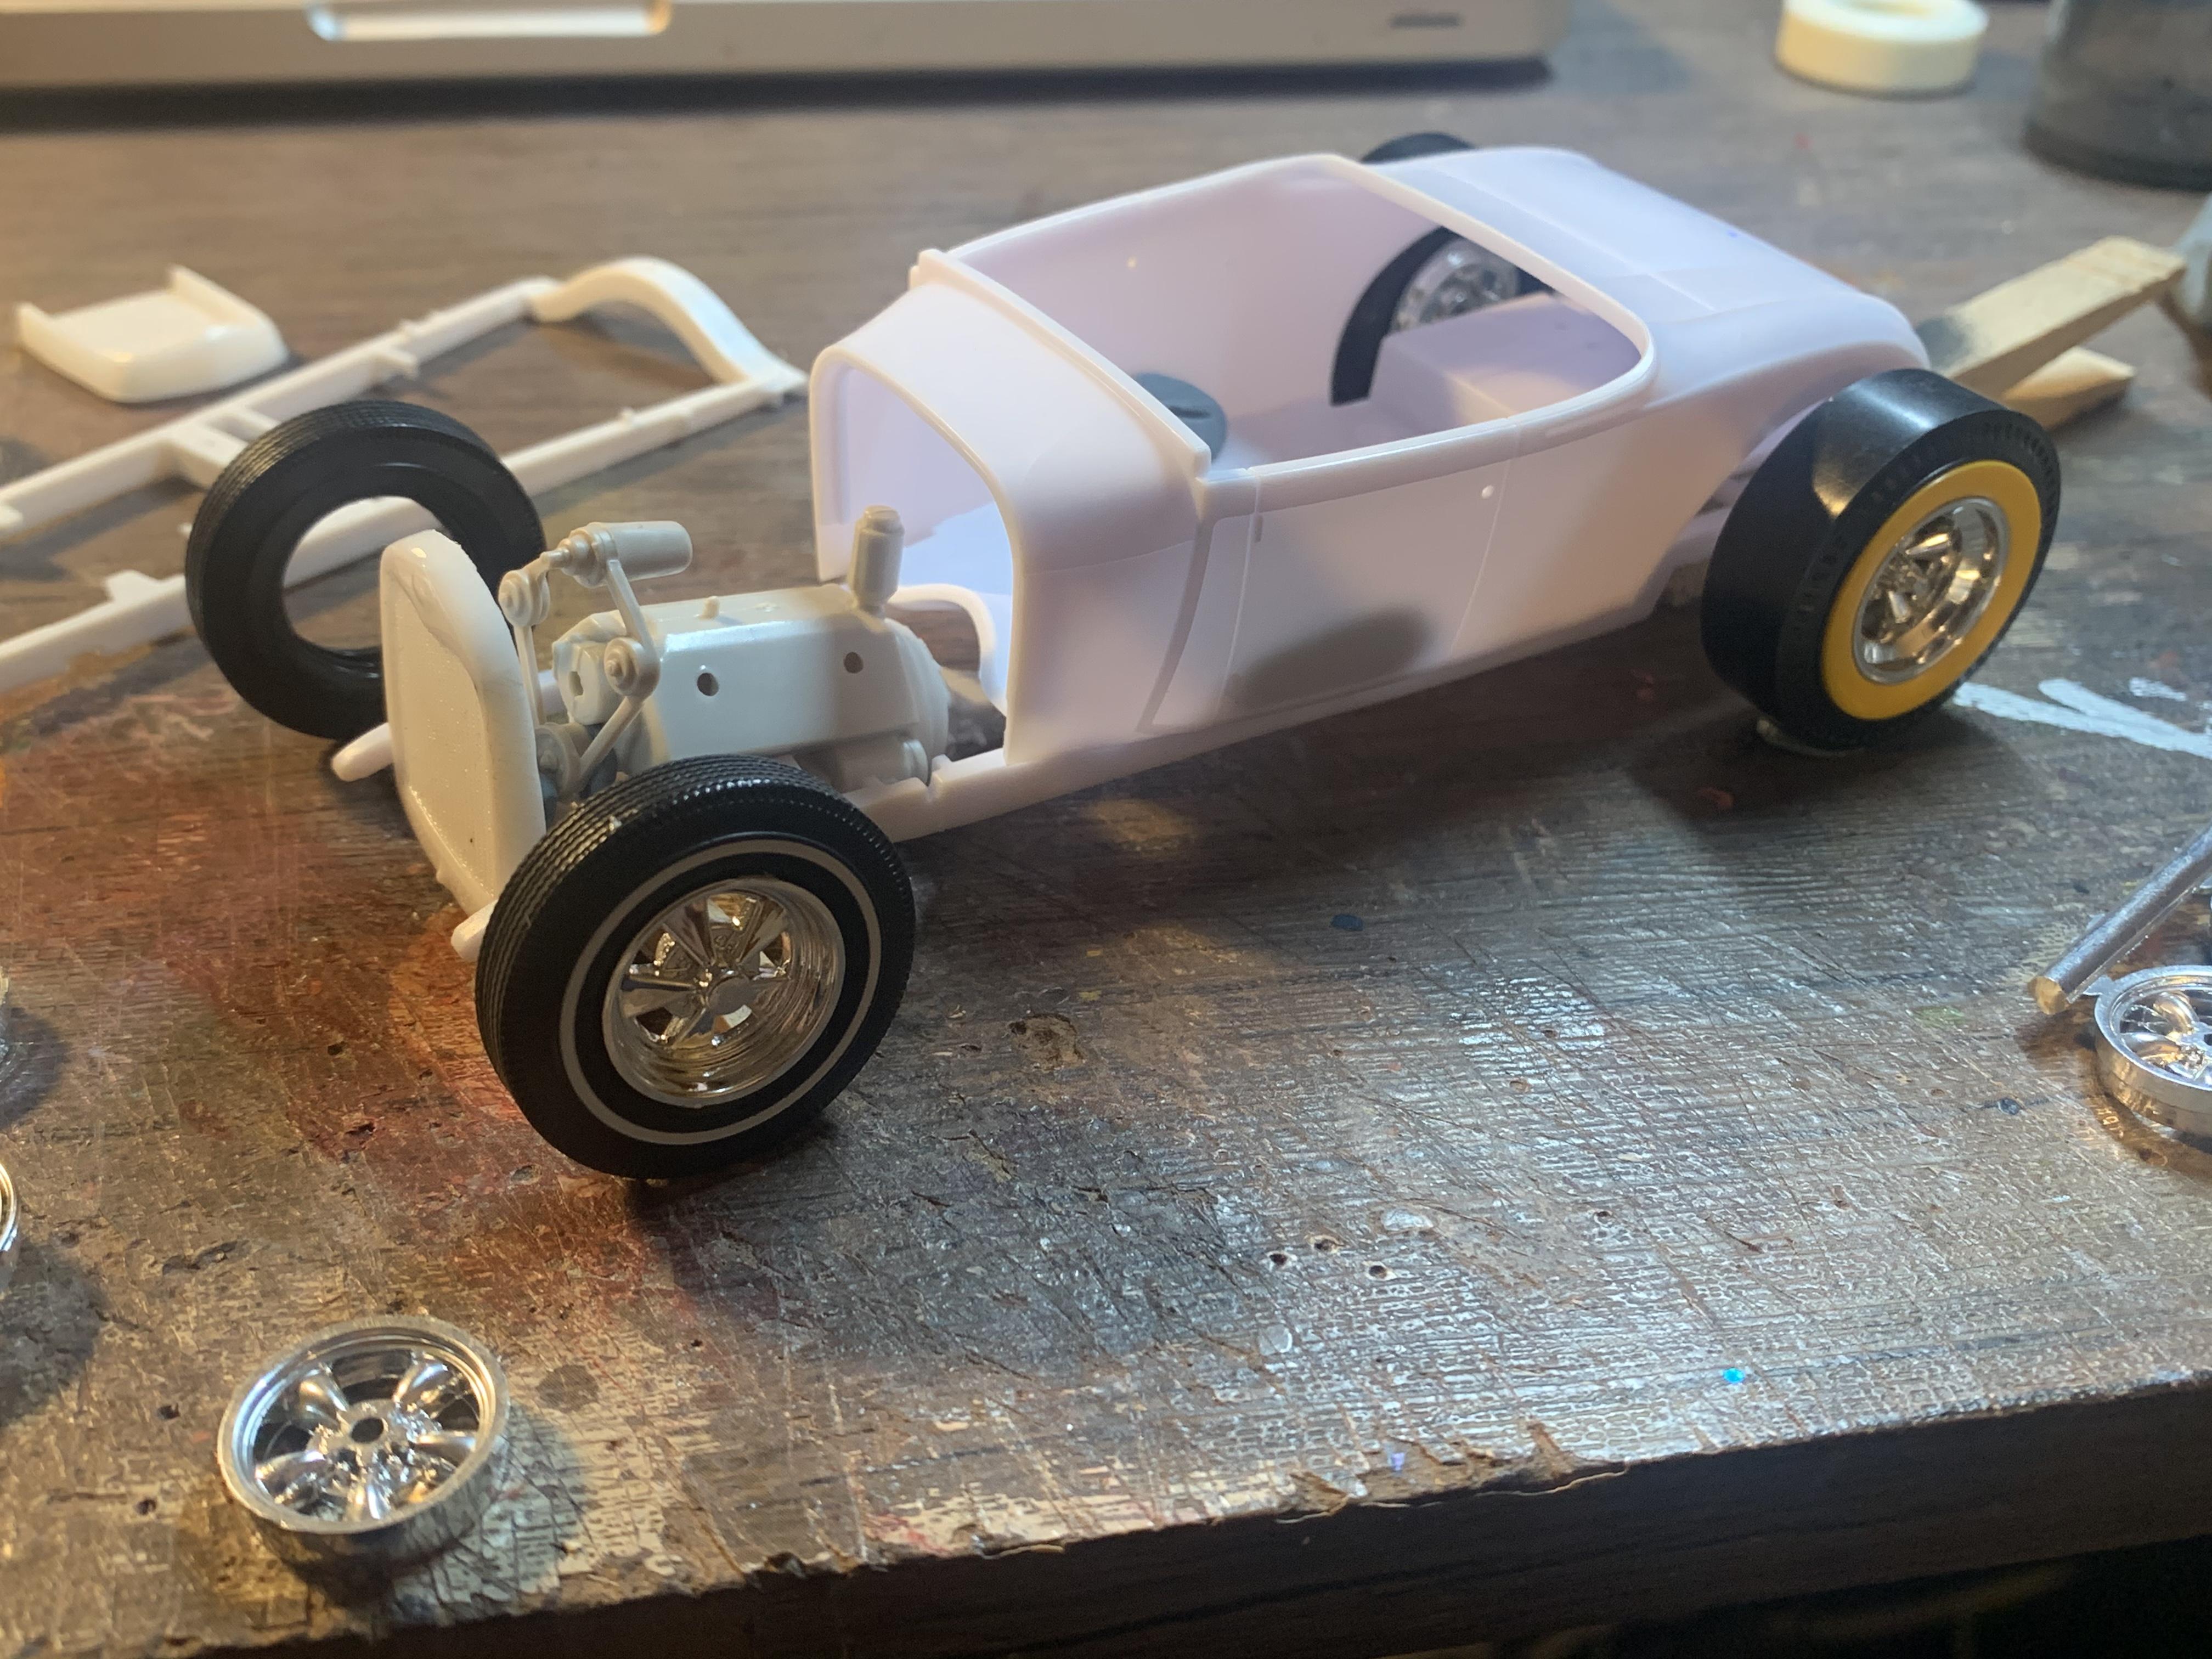
I built a couple of Revell 29 kits last year and really enjoyed them - I did one of each variation, the Highboy on the Deuce frame and the channeled version over the stock Model A frame. I wanted to do a box stock (ish) version of each before getting too crazy and changing everything around too much...but now I’ve done that I think I’d like to change everything around too much and build something more interesting ? Swap the engine out, add a bunch of detail, make it a Highboy but use the Model A’s frame instead of the more commonly used 32 frame - I’ve got a bunch of ideas. A bunch of old traditional parts, some crazy paint scheme with flames and sparkles and glitter and fades and airbrushing...I wanna build something FUN! 60s showcar style with all the bells and whistles - a real eye-catcher. It doesn’t hurt that over Christmas I read every build thread on the site by @John Teresi and @Impalow (two of my favorite builders) so I’m feeling pretty inspired...not that I’m going to hit the levels those guys reach, but it gave me some brain-fuel anyway. Quick mock-up with some parts I pulled out of my stash: I like the idea of running a Flathead, and getting this thing nice and low, but making it look like it’s still running a stock Model A frame without the body being channeled. That’ll require some trickery to get it decently low - I don’t mind the rear being zeed but I wanted those rails to look standard and un-modified in the front through to the rear arches at least. They WILL be modified, but I’m going to try and hide that as best I can. First up, the rear - kit frame front and what I think is an older Revell Model A frame rear in the pic below. To get the back down lower, and because I wanted to, I’ll be swapping out the rear end for something with a buggy spring...and likely some kind of Quickchange but we’ll get to that when we get to it: Some cutting and glueing later - this will help a LOT with getting the back down further. Then, on the front, rather than zee at the cowl like I would normally like to do I made the cut as far forward as possible - I’m hoping once the wheels and suspension and grill are on there this thing will sit a bunch lower but it won’t be quite so obvious HOW I got it that low: Next up, went parts-digging and dug this out of my stash - I guess it’s an AMT Flathead...in fact @Dennis Lacy and a few others on my Instagram gave me some pointers as to exactly what year it represents which will help with detailing it but mostly I liked what Indian Larry called the “gizmology” of it - Flatheads look so good and I love how this one looks in front of this Revell body: Plenty of work to do before I can even get a real mock-up together, but it’s a start - thanks for looking!
-
REMOVING FLASHING HELP?????
OldNYJim replied to doorslammer68's topic in Model Building Questions and Answers
I think if you’re not used to doing it, I’d take the slower but safer route before bringing out the motorized tools...rather slow and steady than ruin something. That said, if you feel confident in your Dremelling skills - have at it! -
Testors (Gunze Sangyo) Lamborghini Spelling Bee Special (Silhouette)
OldNYJim replied to 89AKurt's topic in WIP: Model Cars
Nah, I just misted it on until the coverage built up, over three or four coats of their own primer, no less. It still attacked the Revell body I was trying to paint at the time and ruined it - they may have changed their formula since then, but I used their products and followed the instructions to the letter and it still did the same as Kurt experienced above so that kinda soured me on ever trying that again... -
Testors (Gunze Sangyo) Lamborghini Spelling Bee Special (Silhouette)
OldNYJim replied to 89AKurt's topic in WIP: Model Cars
I’ve never understood why these companies specializing in paint for models would mix it with strong enough solvents to damage model plastic. I tried Zero paint from Hiroboy once and it was the same deal - even with multiple primer coats as soon as I got a decent coverage of color it attacked the surface of the plastic. -
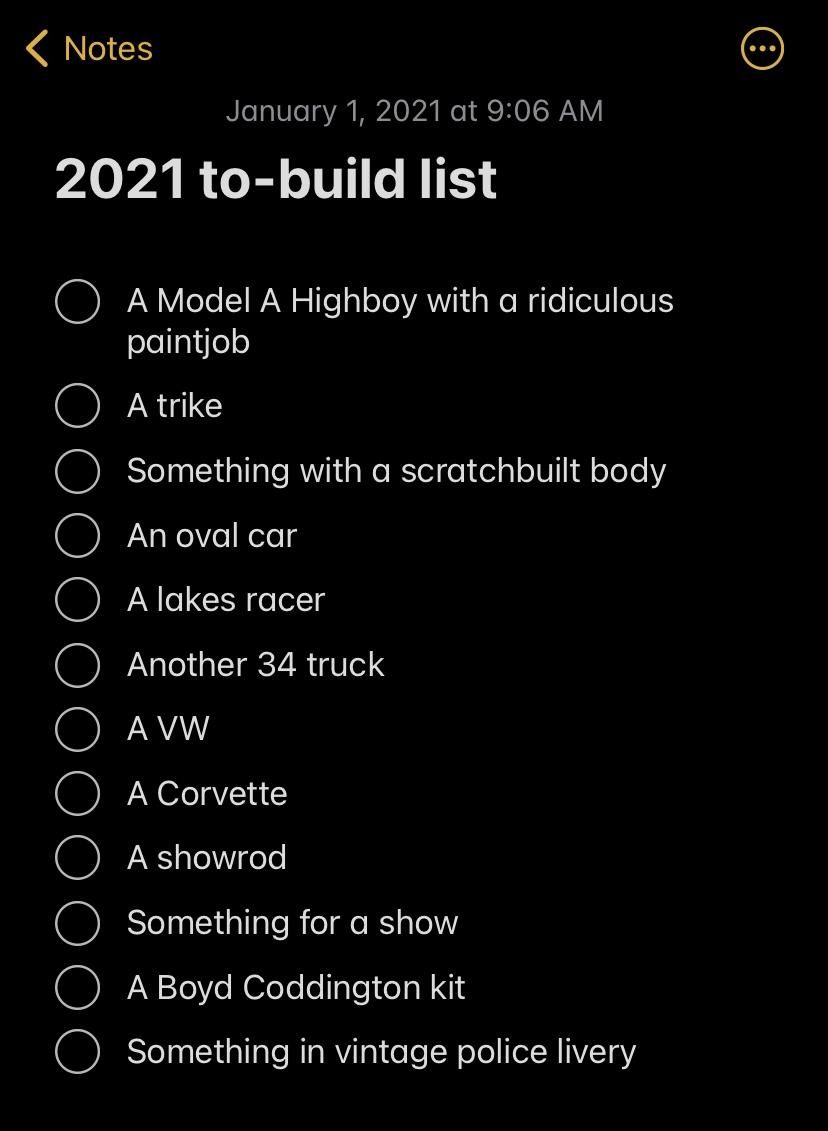
I wanted to give this thread a little bump after seeing a few comments about their new year’s modeling resolutions. Two of mine, and part of my goal to keep trying to improve my craftsmanship, are to further improve my painting technique and to learn some basic machining. To that end, I started using a dehydrator recently for drying my paint - not only for purposes of speed but also quality of finish...I watched a Donn Yost video where he mentioned that they also help level out orange-peely paint to a nice gloss by helping the paint flow out a little with heat, giving you a better starting point for the polishing process. Seems to be working for me so far! And, I’m about to pull the trigger on a little lathe setup...I’ve always admired people on here who make their own metal parts and I’d like to make a start on learning some of that process for myself. Anyone who’s looking to improve their craftsmanship and model building skills this year - I commend you! And thanks to all the builders who post inspiring work for those of us not at the same level to appreciate and learn from!
-
Meanwhile, my projects aren’t as cool as Bill’s, but I got inspired by this thread to think through what I really want to build this year - although my mental to-do list changes pretty frequently. SQUIRREL! Just started messing with number one on the list today, in fact!
-
??????? I REALLY hope there will be progress updates on both of those! ?
-
Testors (Gunze Sangyo) Lamborghini Spelling Bee Special (Silhouette)
OldNYJim replied to 89AKurt's topic in WIP: Model Cars
Is that the Splash paint etching into the plastic? -
34 Church Truck
OldNYJim replied to OldNYJim's topic in WIP: Model Trucks: Pickups, Vans, SUVs, Light Commercial
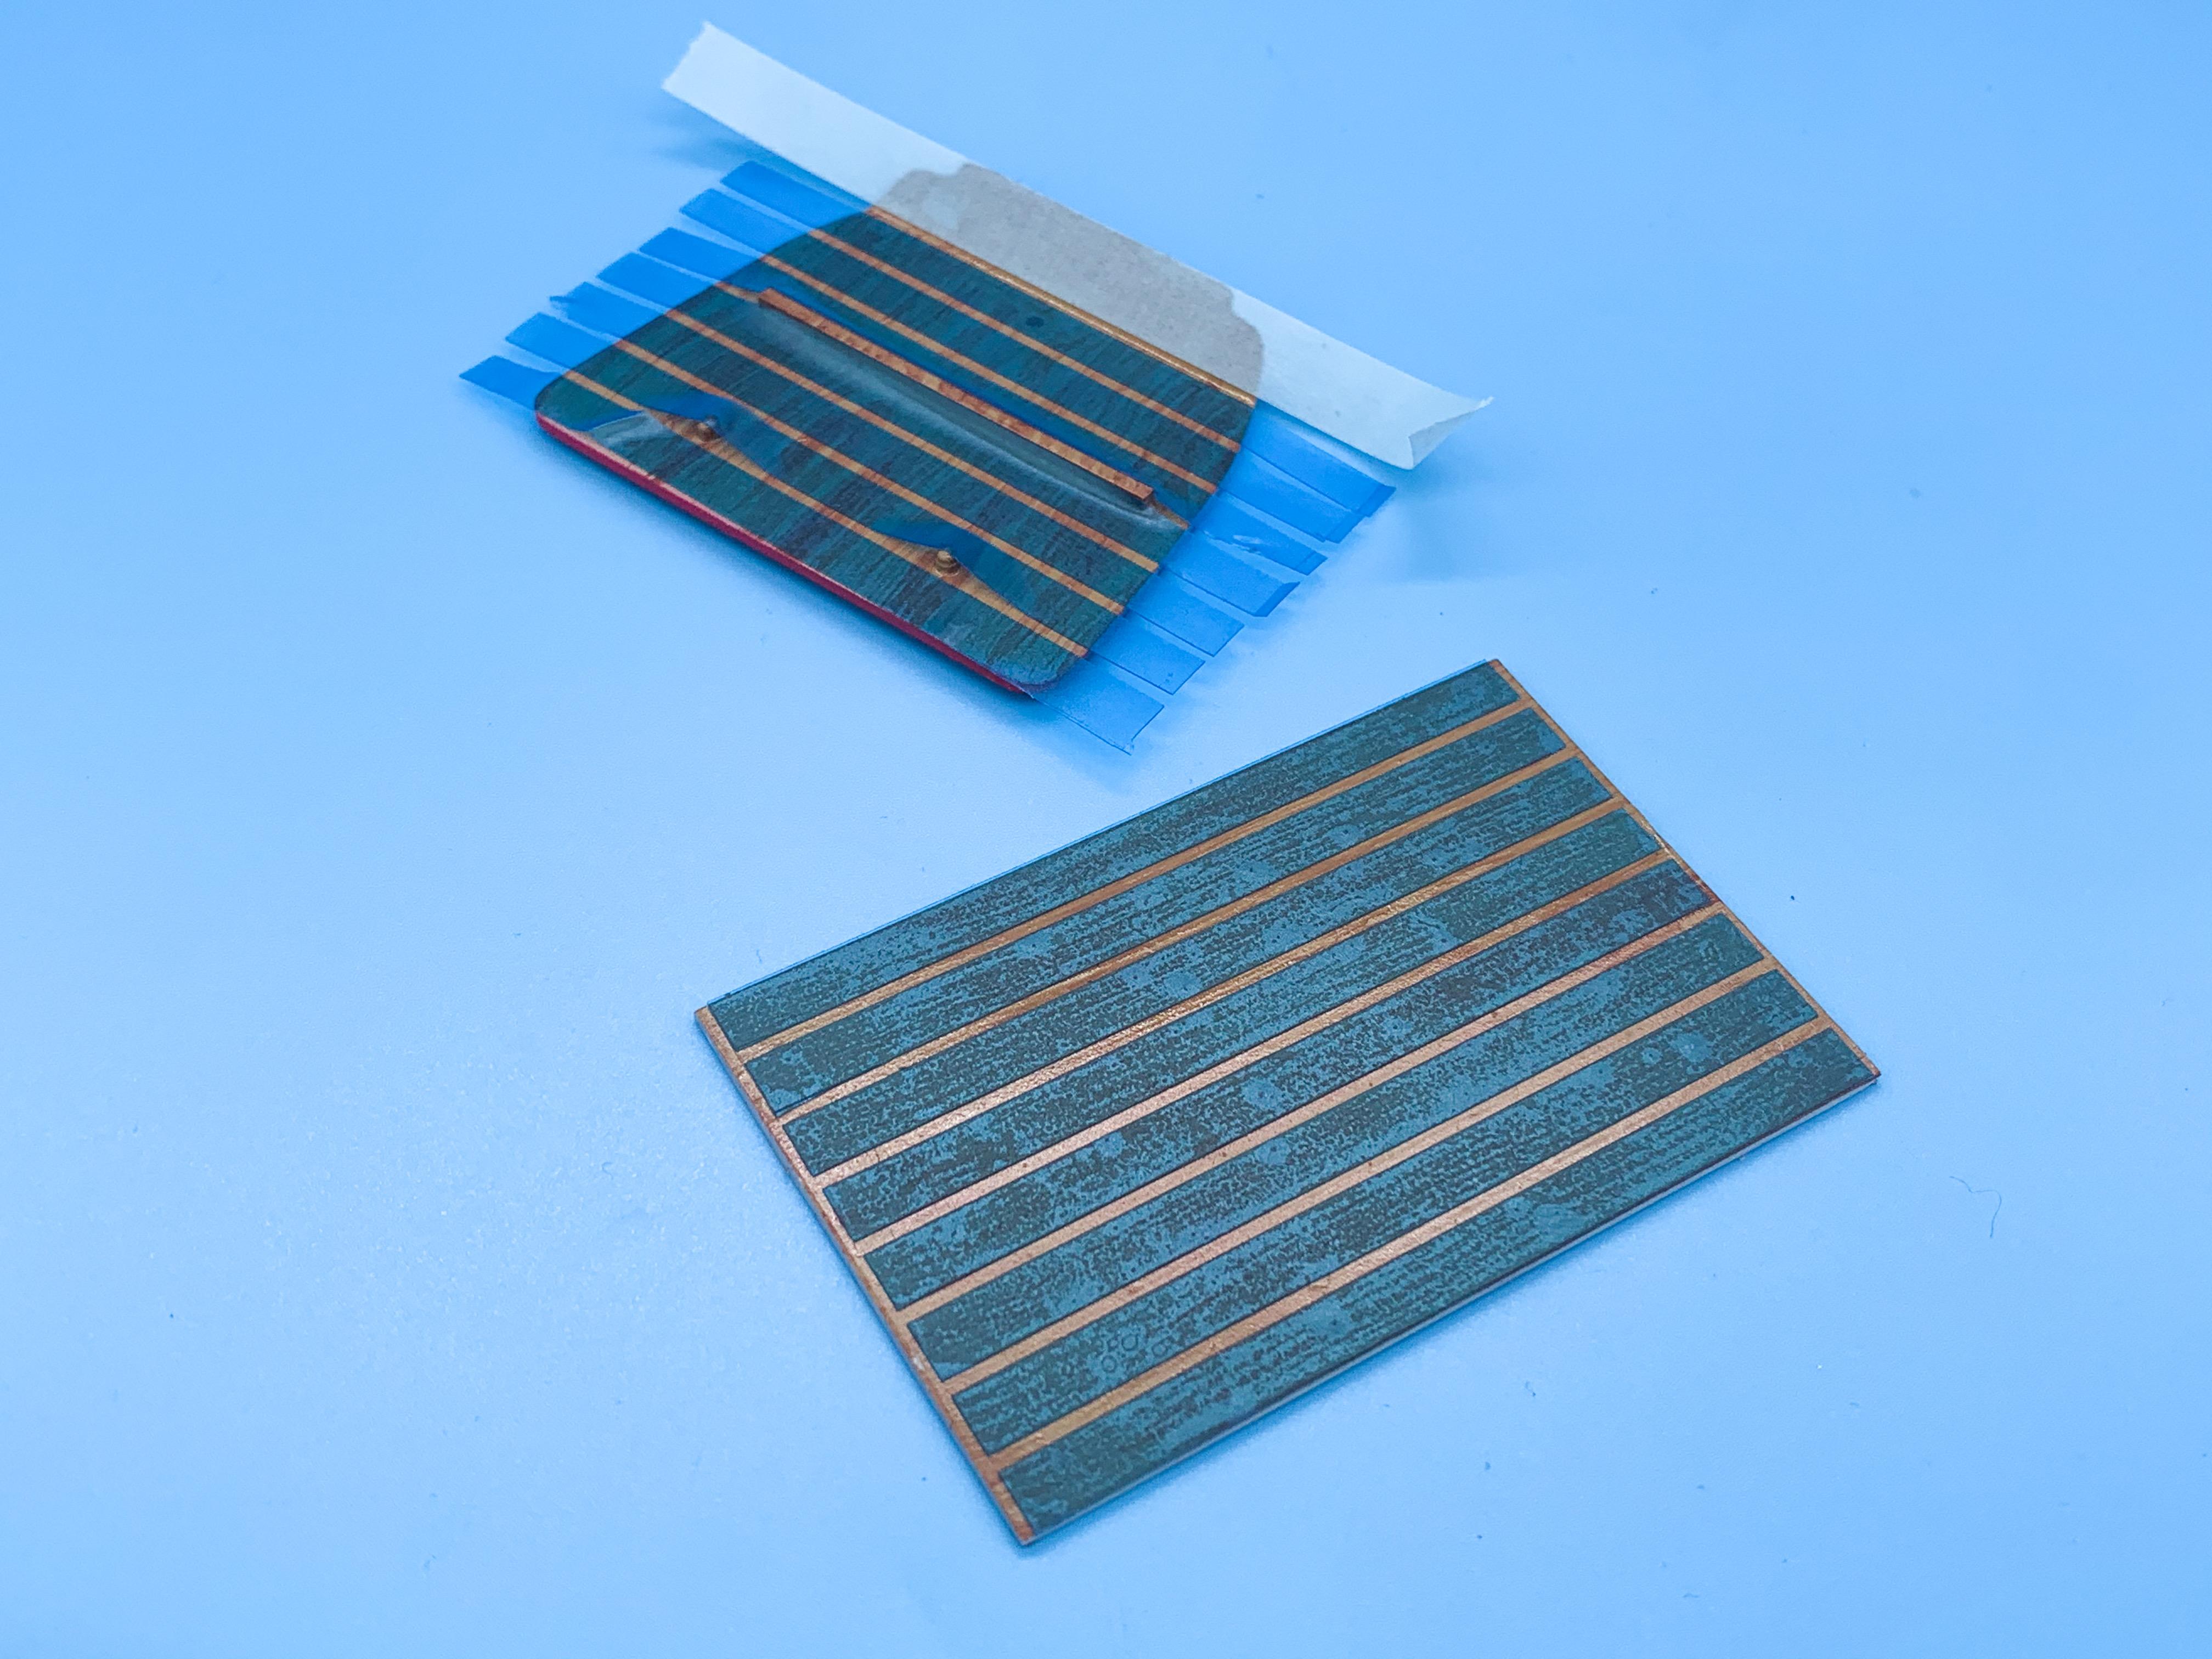
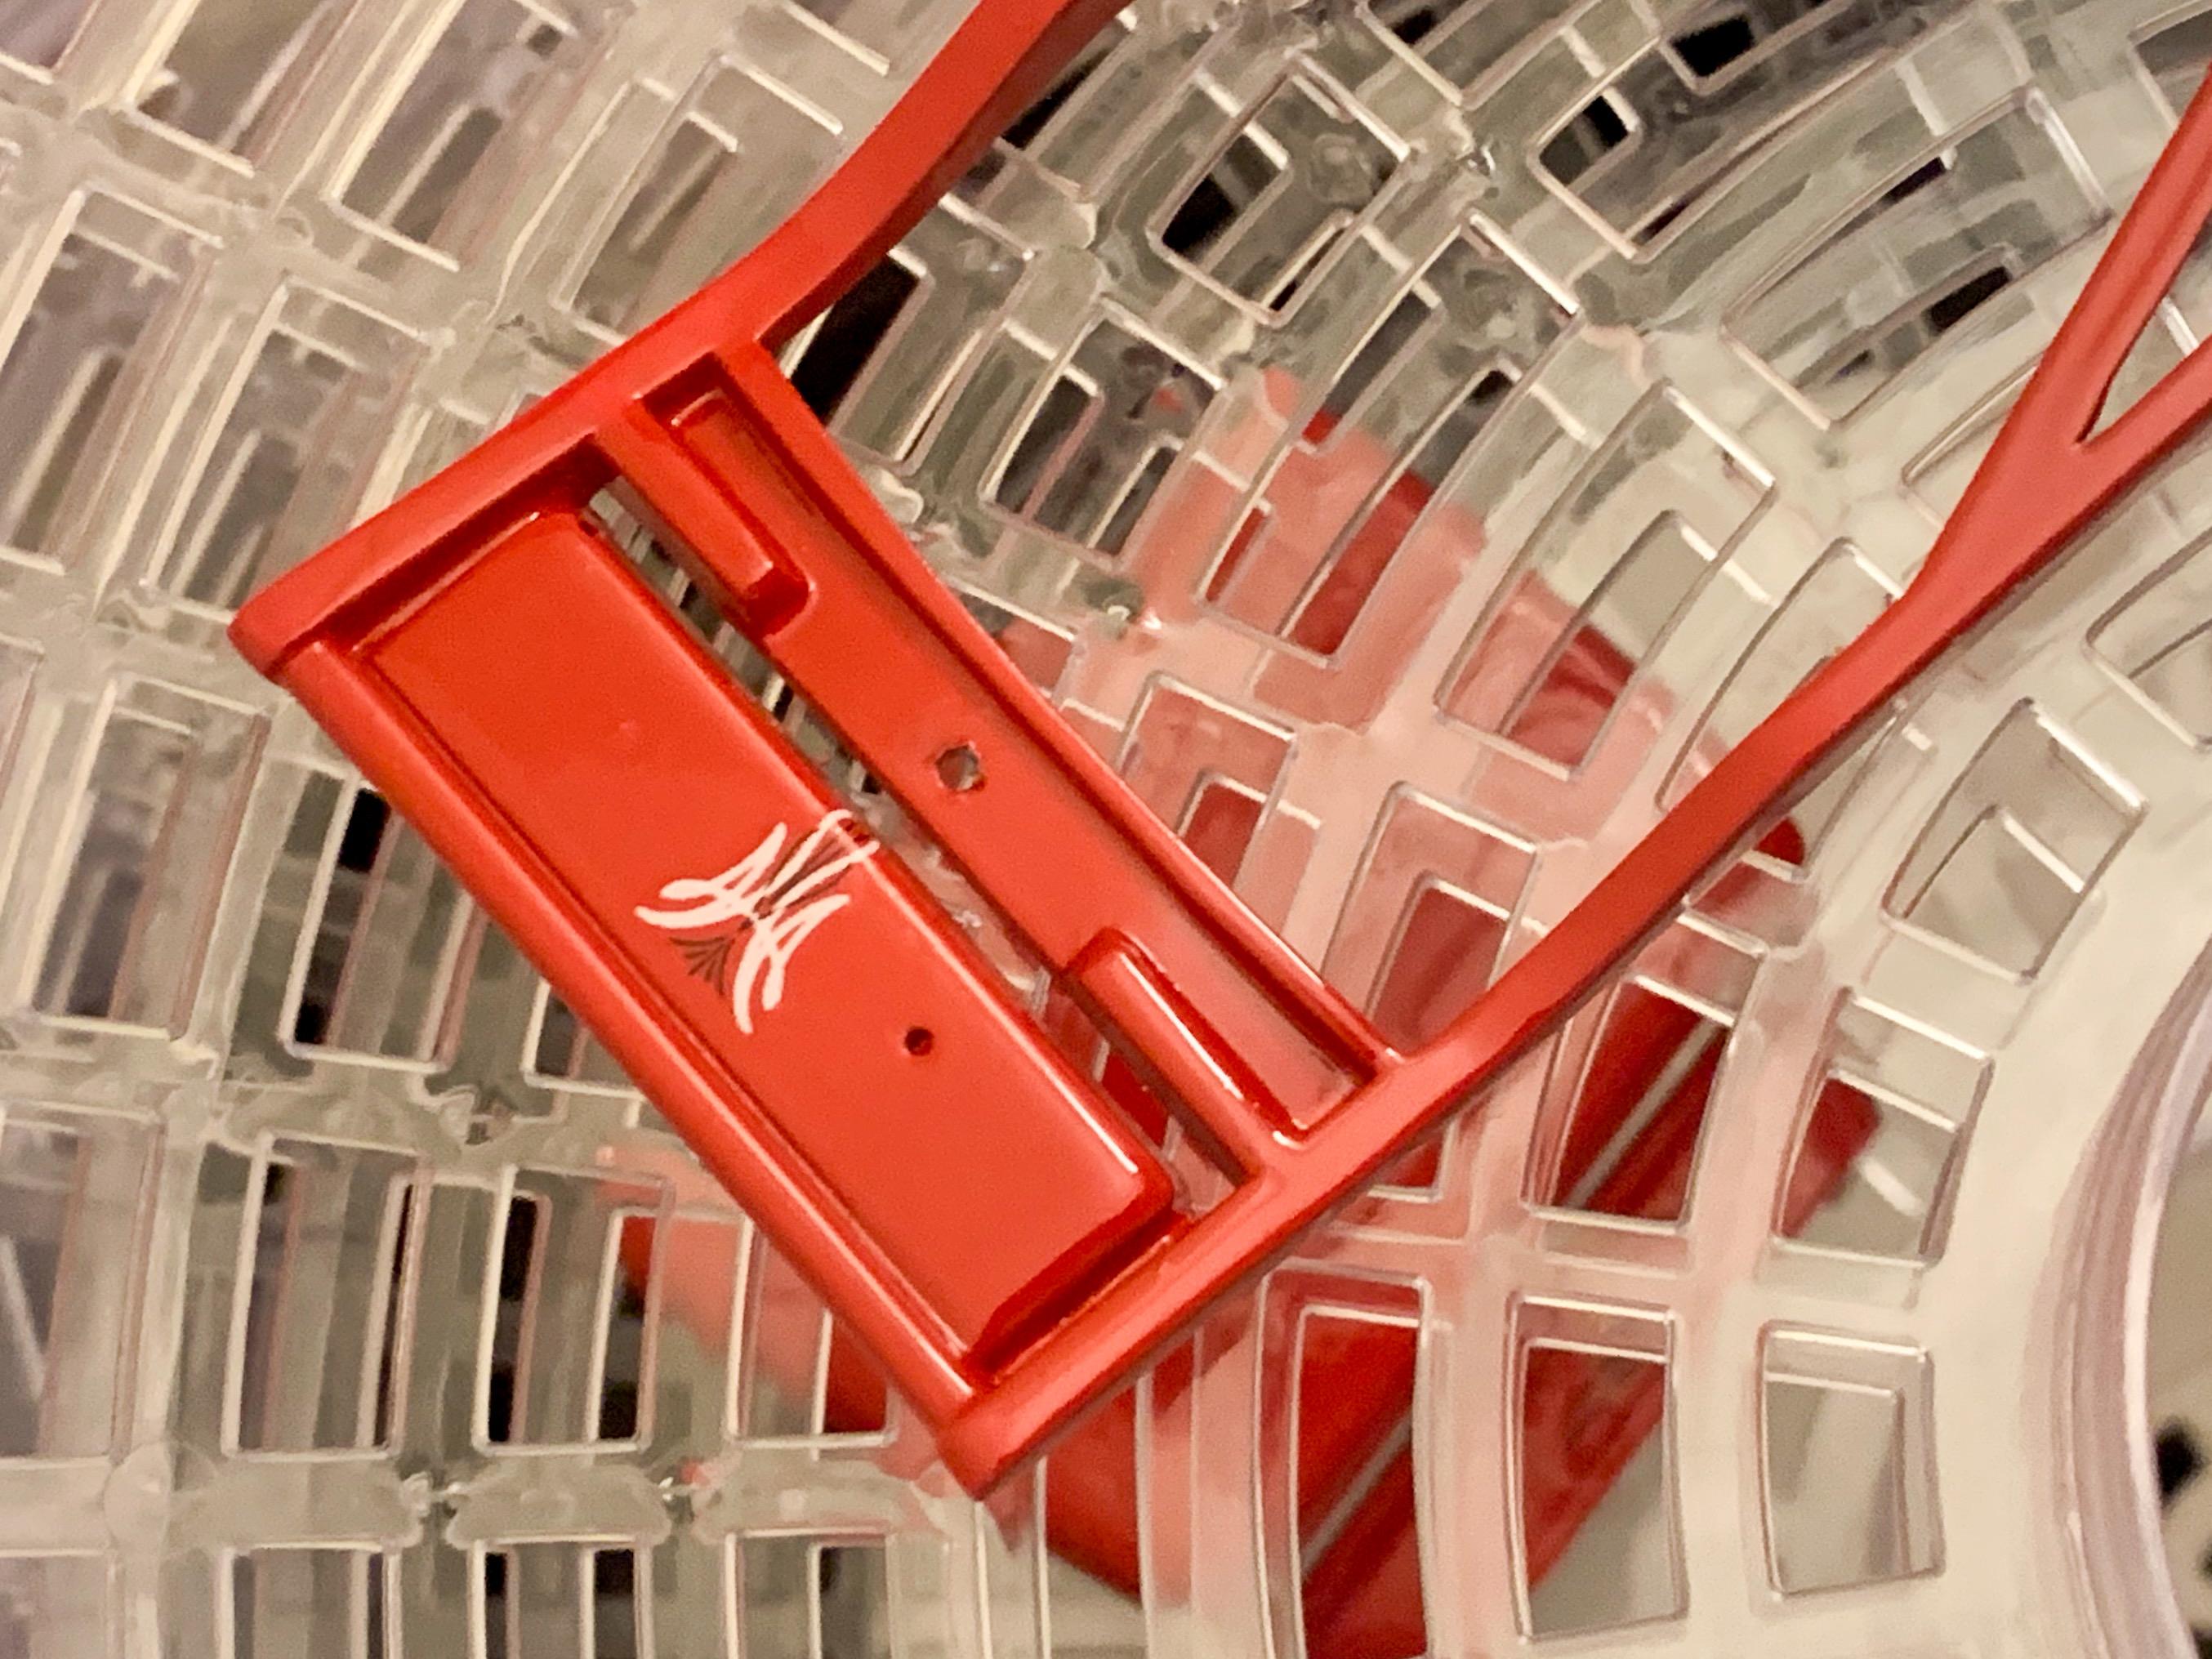
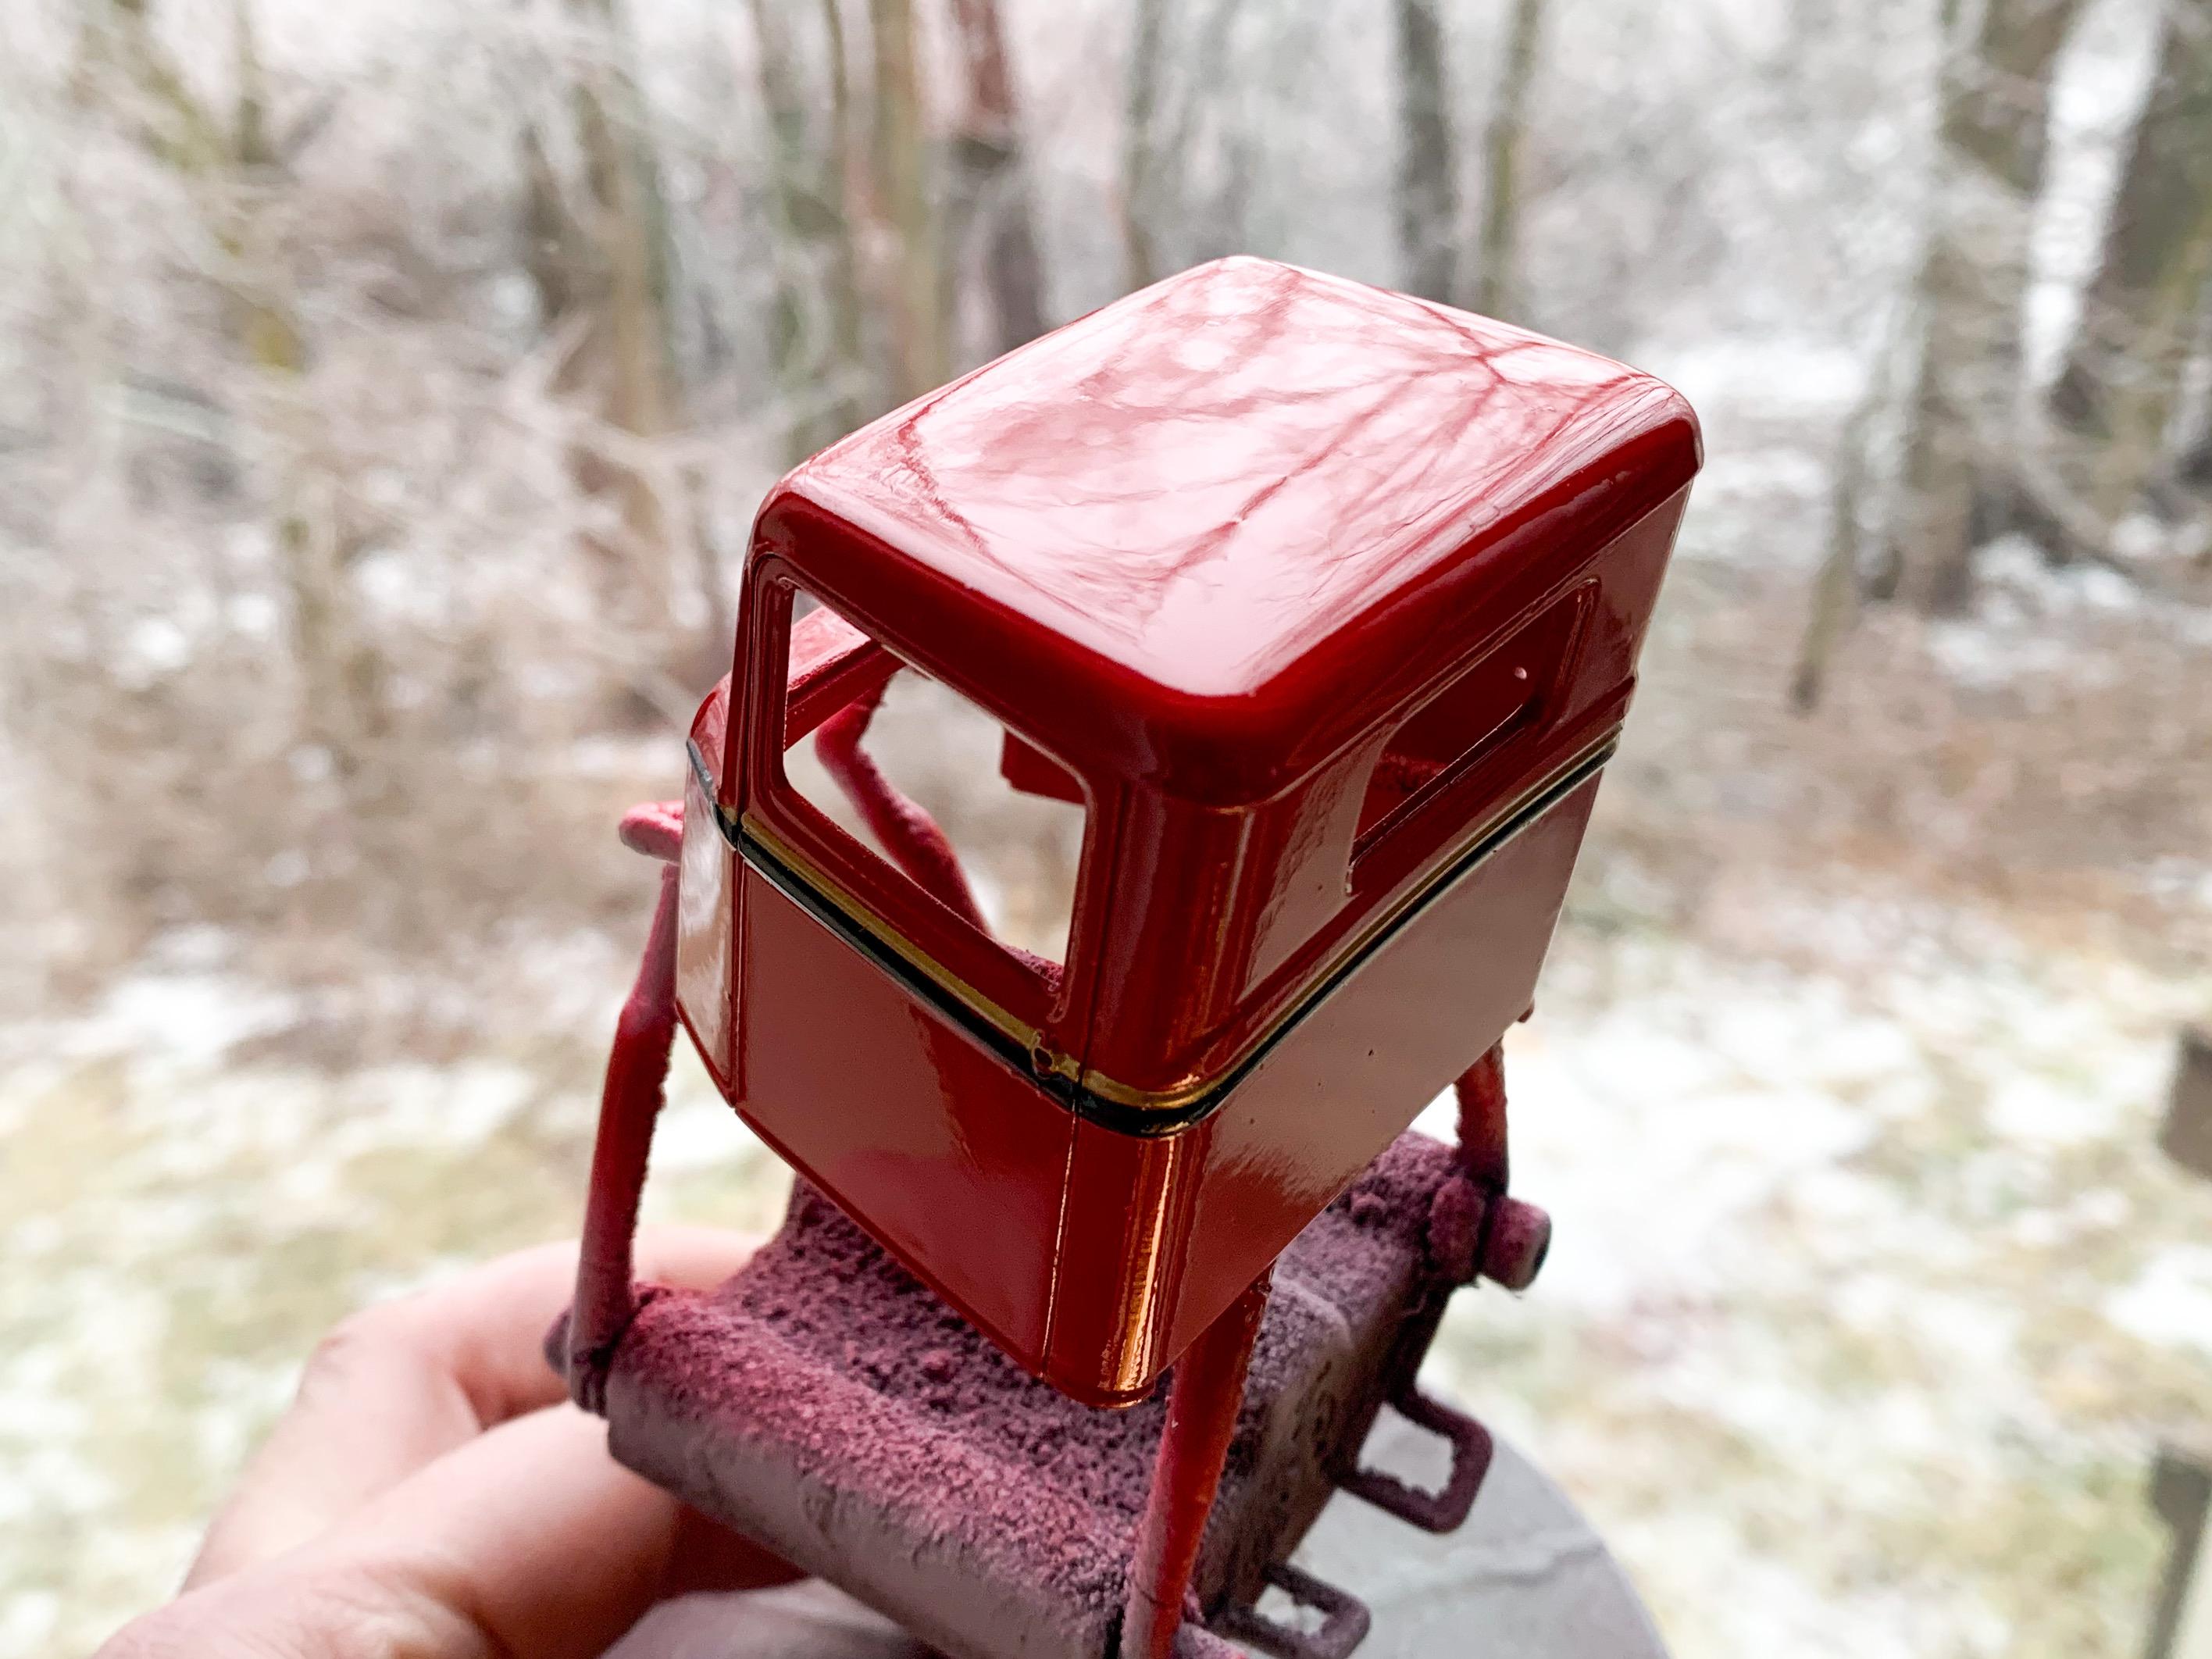
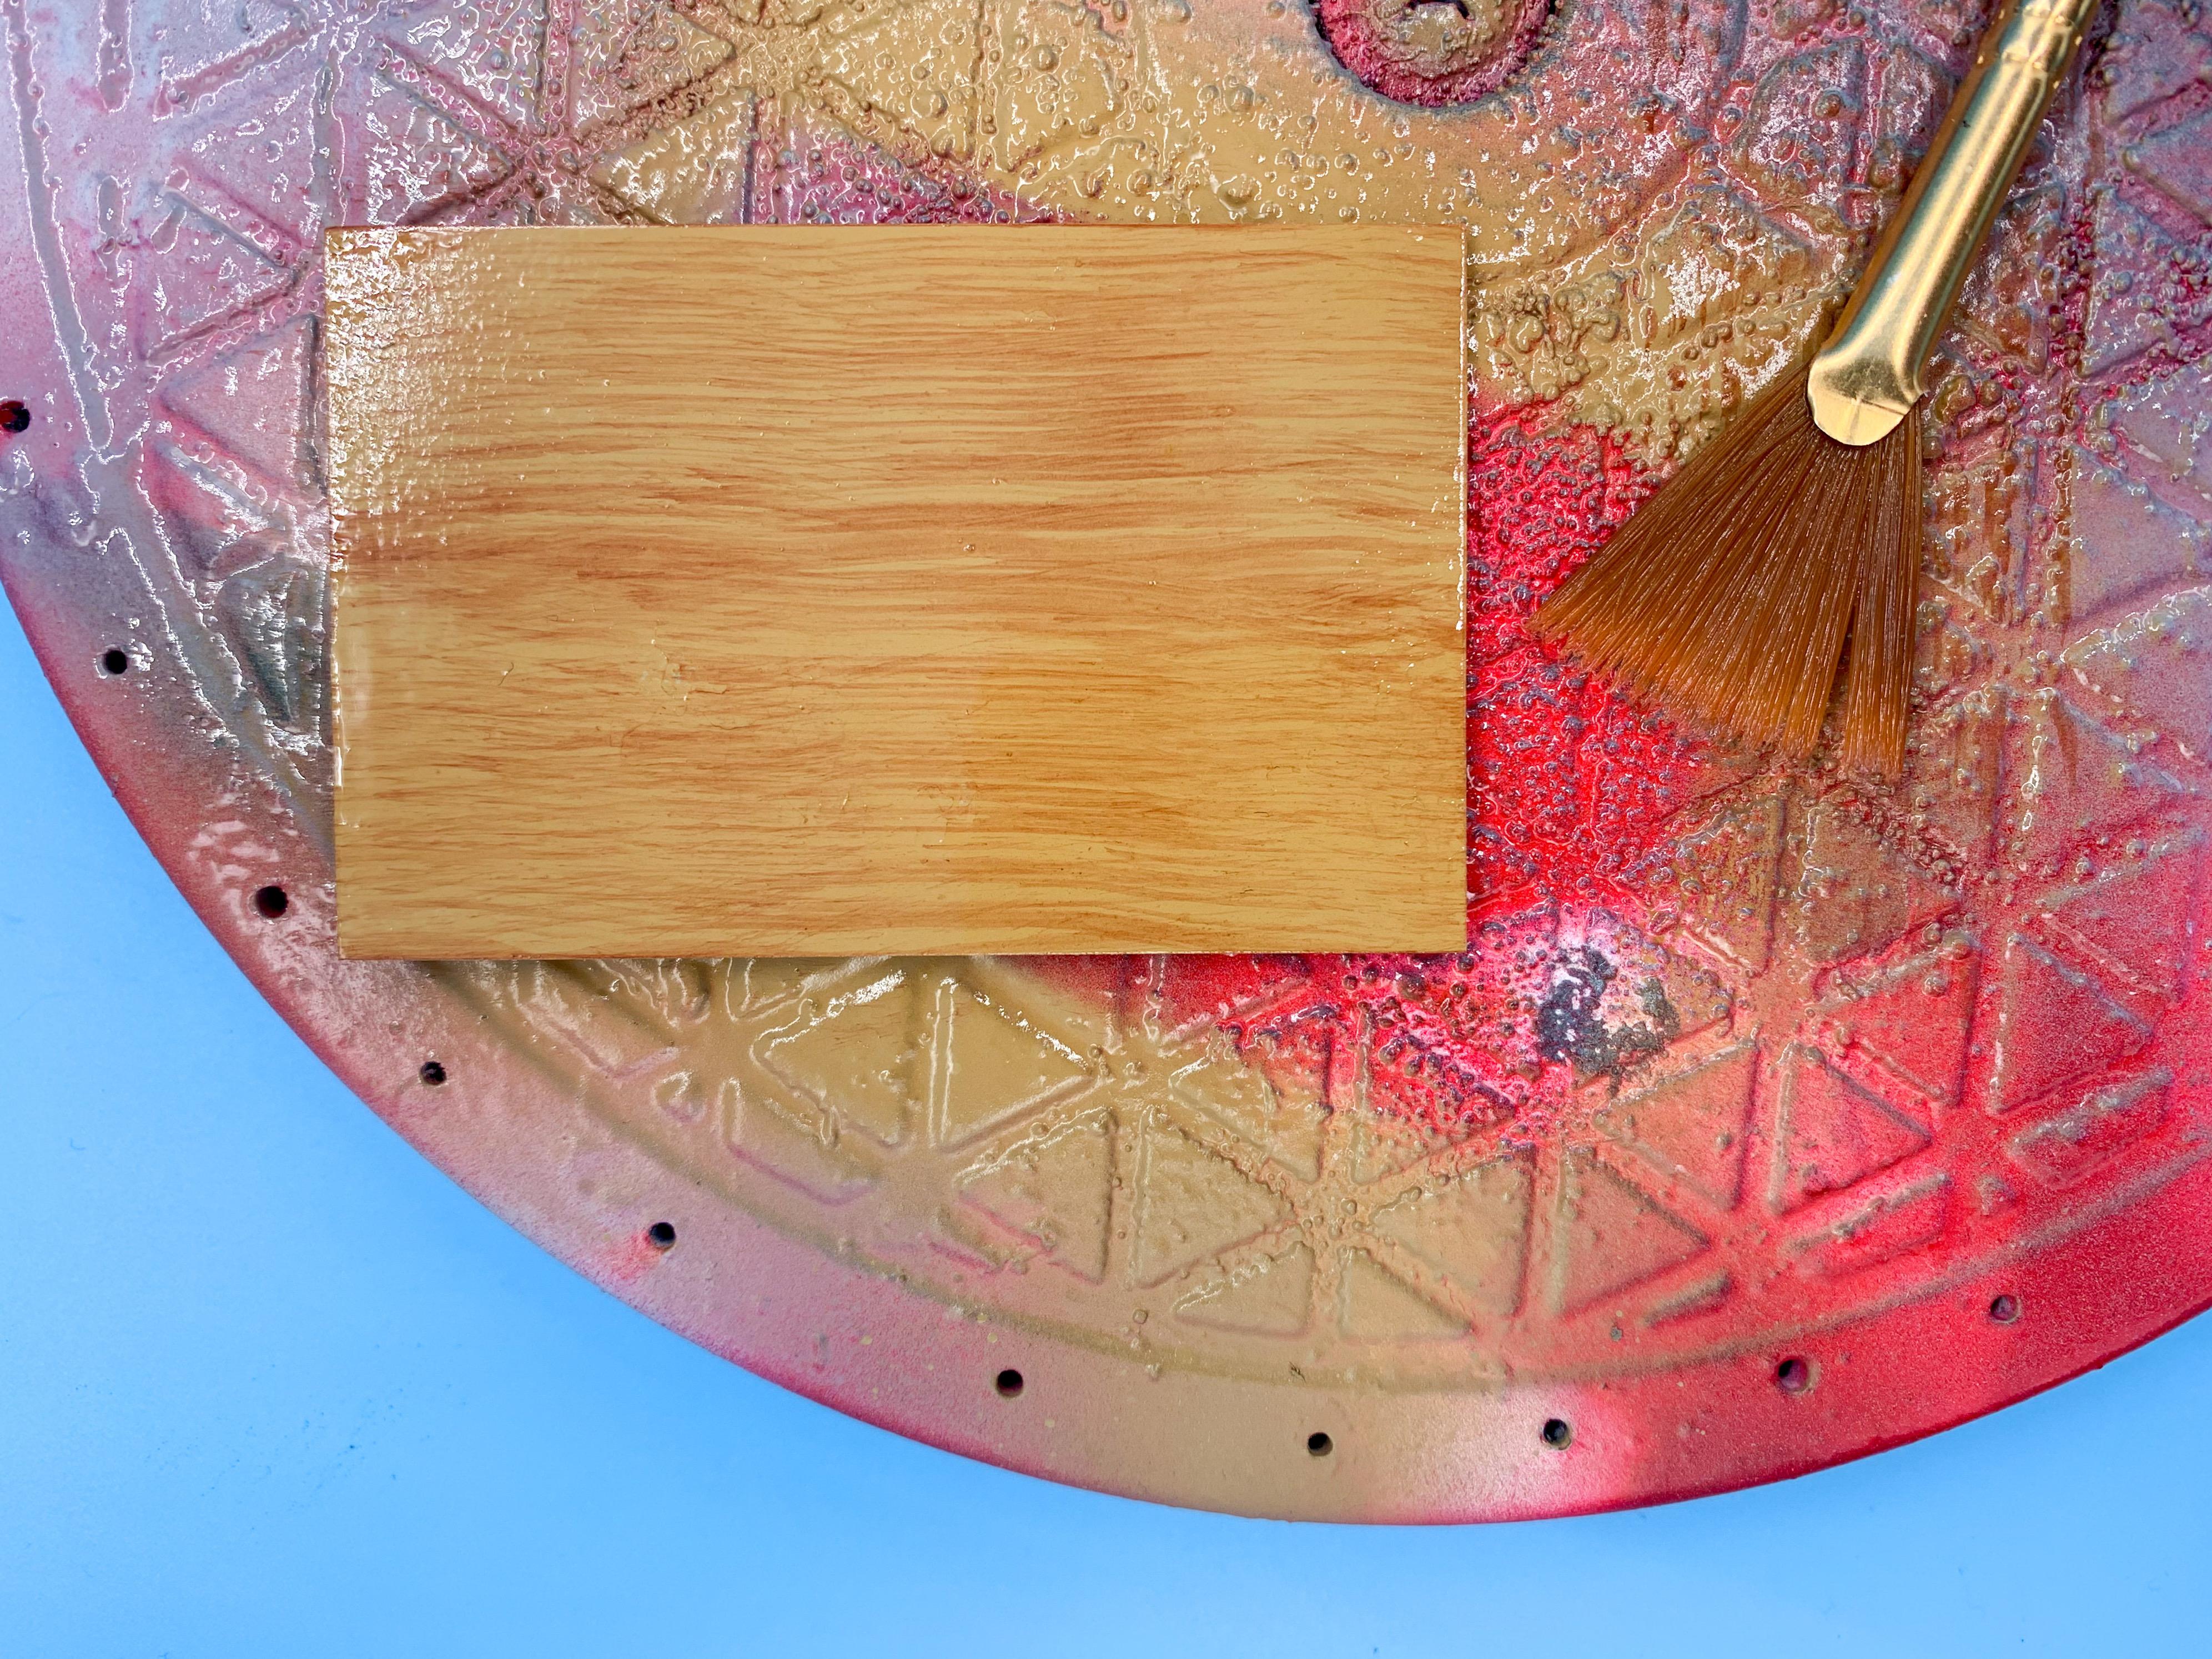
Thank you Steve! The woodgrain thing kinda IS easy, I can’t claim much credit for that...just need one of those fan brushes and give the suface a few light passes with just enough paint on there to make the grain pattern. Appreciate the kind words! Ohh - interesting! I like the idea of a matching boat! ?♀️ Thanks buddy! A little more progress today - first up masked that ‘wood’ from yesterday... ...and shot some black - came out ok I think! Not totally sold on the interior floor yet, need to mess with that some more... Meanwhile, the dehydrator finished it’s dehydrating so I could finish off the clear coating (it was easier just to do some parts in two stages). Got some pretty glossy clear laid down! The dehydrator definitely helps smooth this clear out and removes any orange peel before it gets to drying: And finally, shot some Spazstix on some of the mechanical bits...I’m still getting the hang of this stuff and I need to redo one of the headlights but I like it so far. No better or worse than Alclad I don’t think, just different! More soon!
-
34 Church Truck
OldNYJim replied to OldNYJim's topic in WIP: Model Trucks: Pickups, Vans, SUVs, Light Commercial
Happy New Year to you too Francis! I keep the dehydrator set on it’s lowest setting, which is 95 degrees - although my little hydrometer says it’s actually running at 101. Warm, but not much warmer than my workshop gets on a warm day ?. I think the air circulation in the dehydrator does as much to dry the paint as the temperature does, most likely. First full project using it though, so we’ll see in 21 hours (and counting)... Speaking of which, did some touch-ups on those decals, got them snuggled down tight as best I can and shot some clear today! The humidity here is a little higher than I’d normally like for shooting clear, but I got a bunch of parts in the dehydrator and the clear seems to be levelling out beautifully: Most of these parts (and some more not pictured) will need a second round of painting tomorrow to get the top sides - the fenders primarily, but also the frame, the bed and the tailgate, so more clear-coating adventures tomorrow! Meanwhile, shot the interior floor and the truck bed in Tamiya Tan... And then painted some woodgrain on there, ready for further paint detailing tomorrow: And finally, prepped a bunch of parts ready for Testor’s enamel black and then Alclad once they’ve set up a while...first time using this dehydrator and I already filled it up and need a second one ? More soon!
-
Got a colorscheme in mind Eric? I’m excited to see it with some paint on too!
-
New magazine from Kalmbach
OldNYJim replied to Mike 1017's topic in General Automotive Talk (Trucks and Cars)
Surprising that the digital version is exactly the same cost as the print copy. I wonder how many people choose that option? -
Those colors are gorgeous! Nice job Bella!
-
34 Church Truck
OldNYJim replied to OldNYJim's topic in WIP: Model Trucks: Pickups, Vans, SUVs, Light Commercial
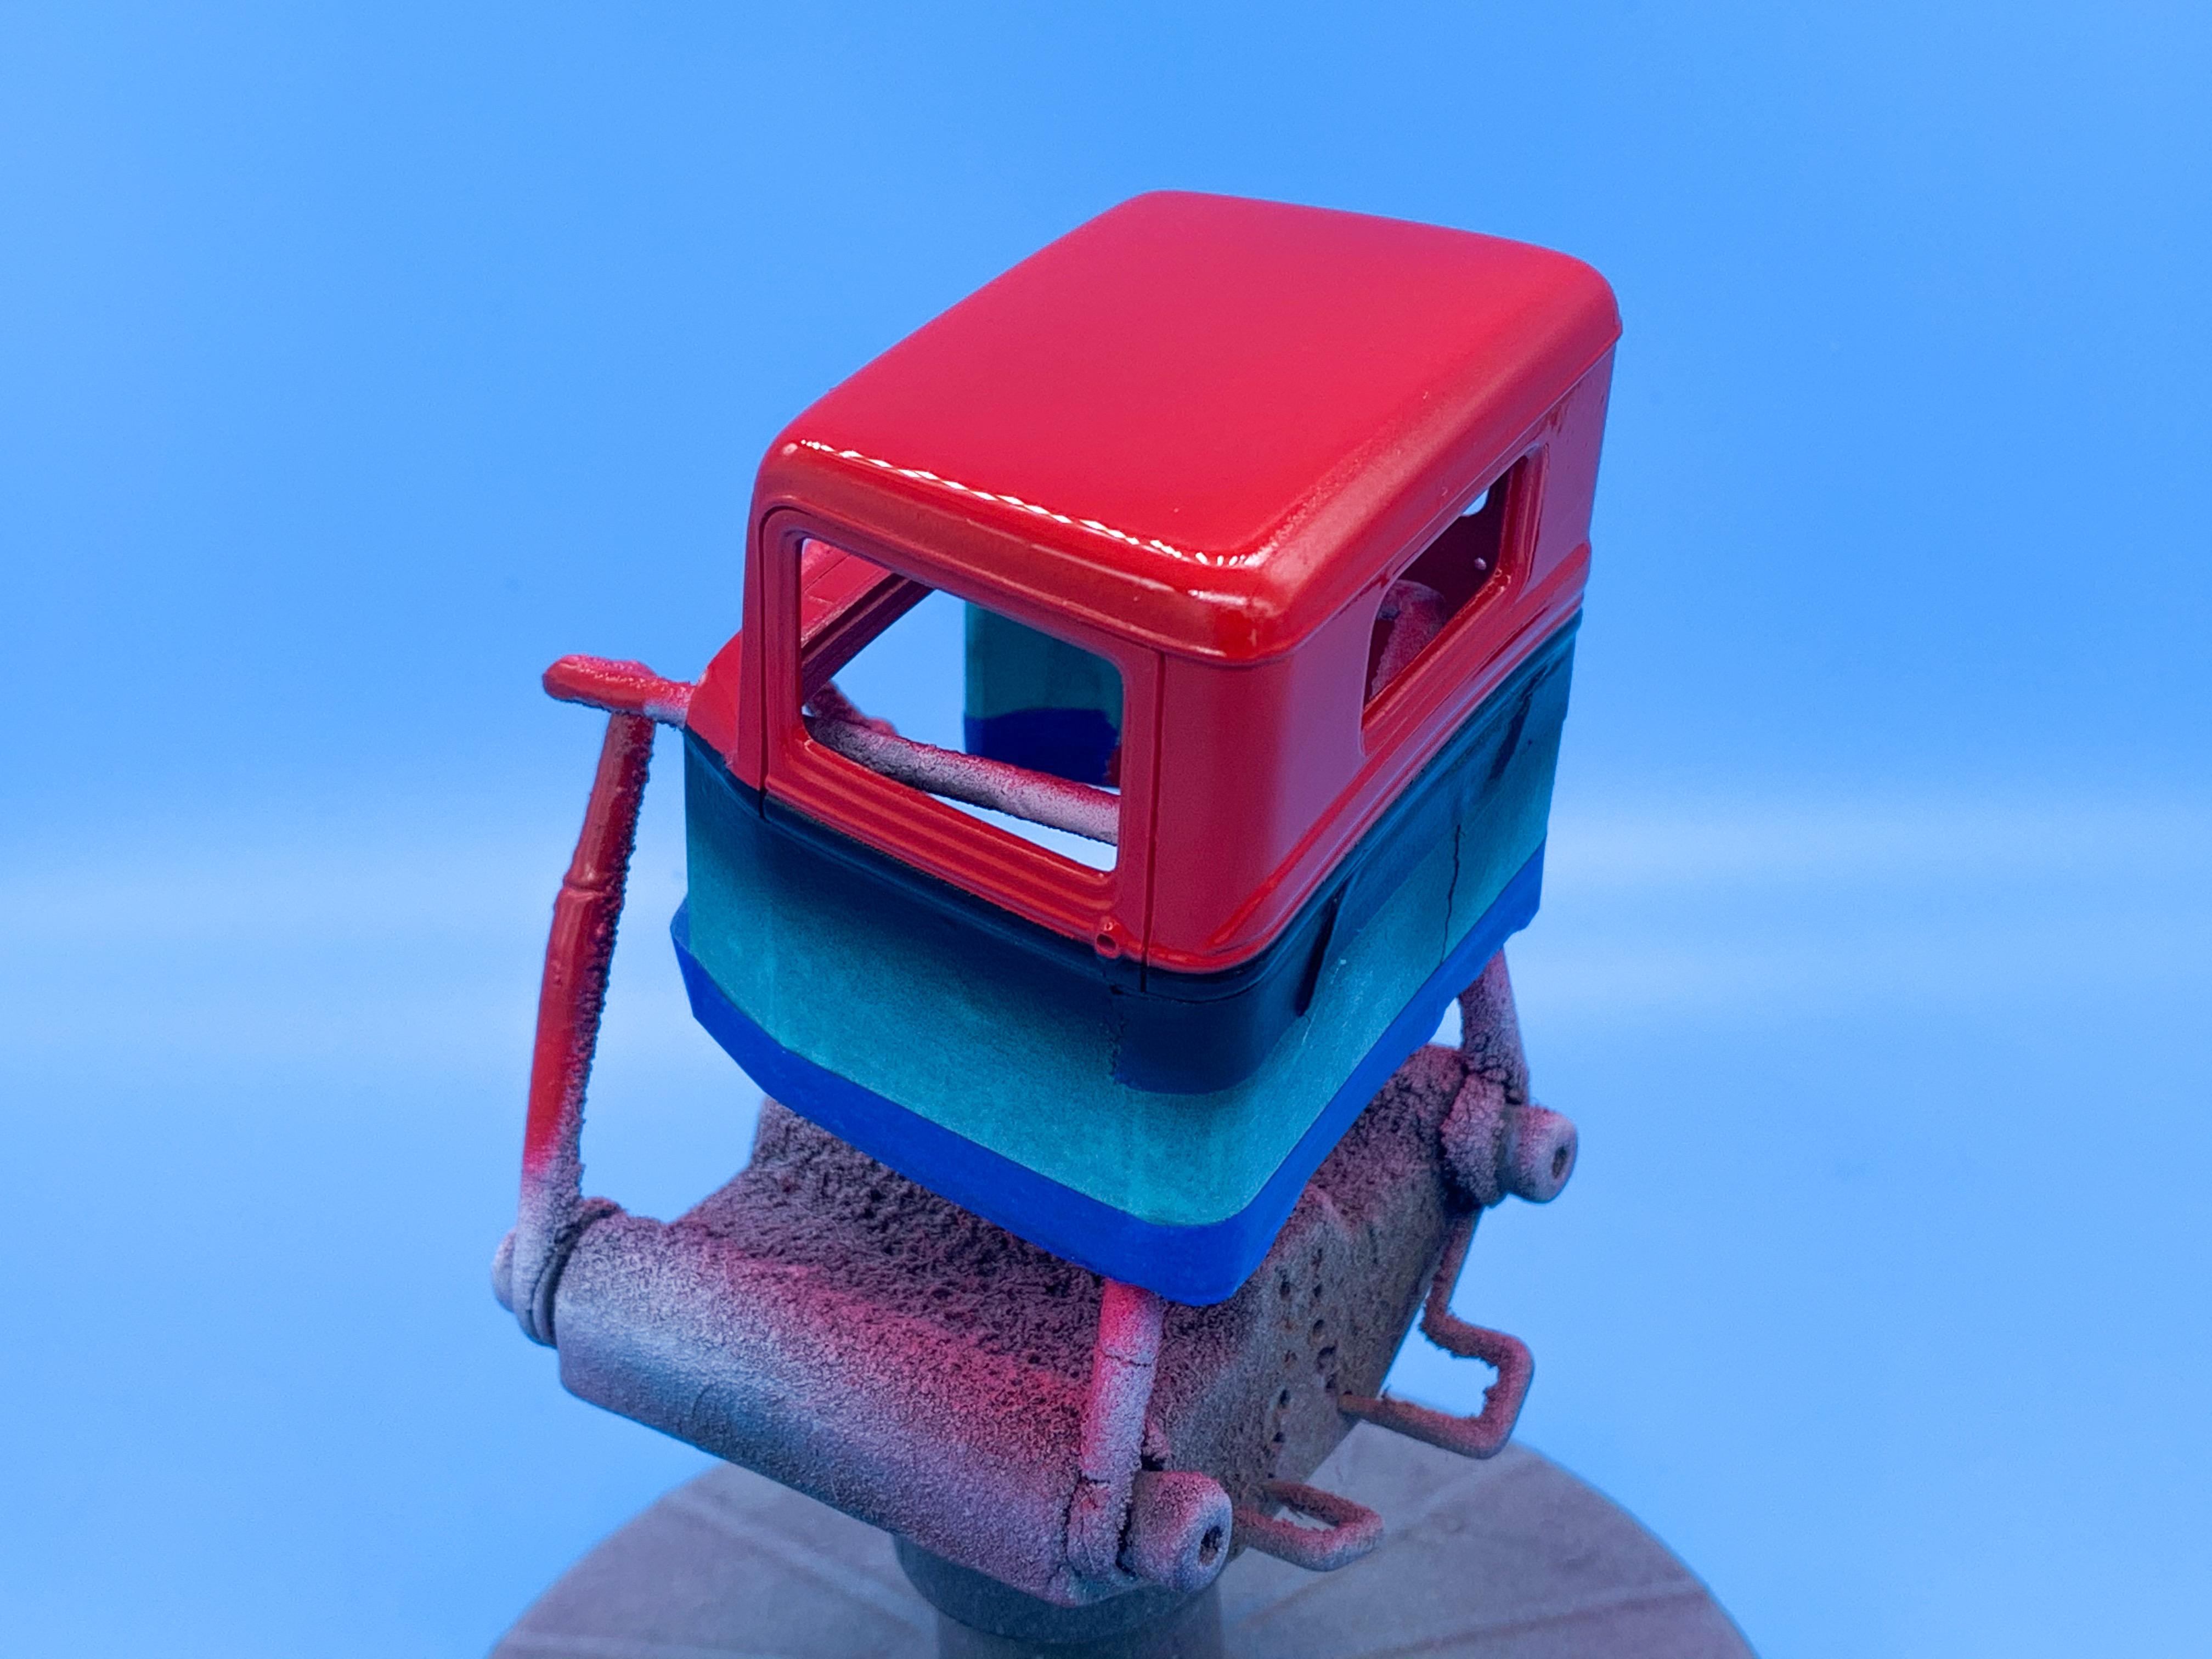
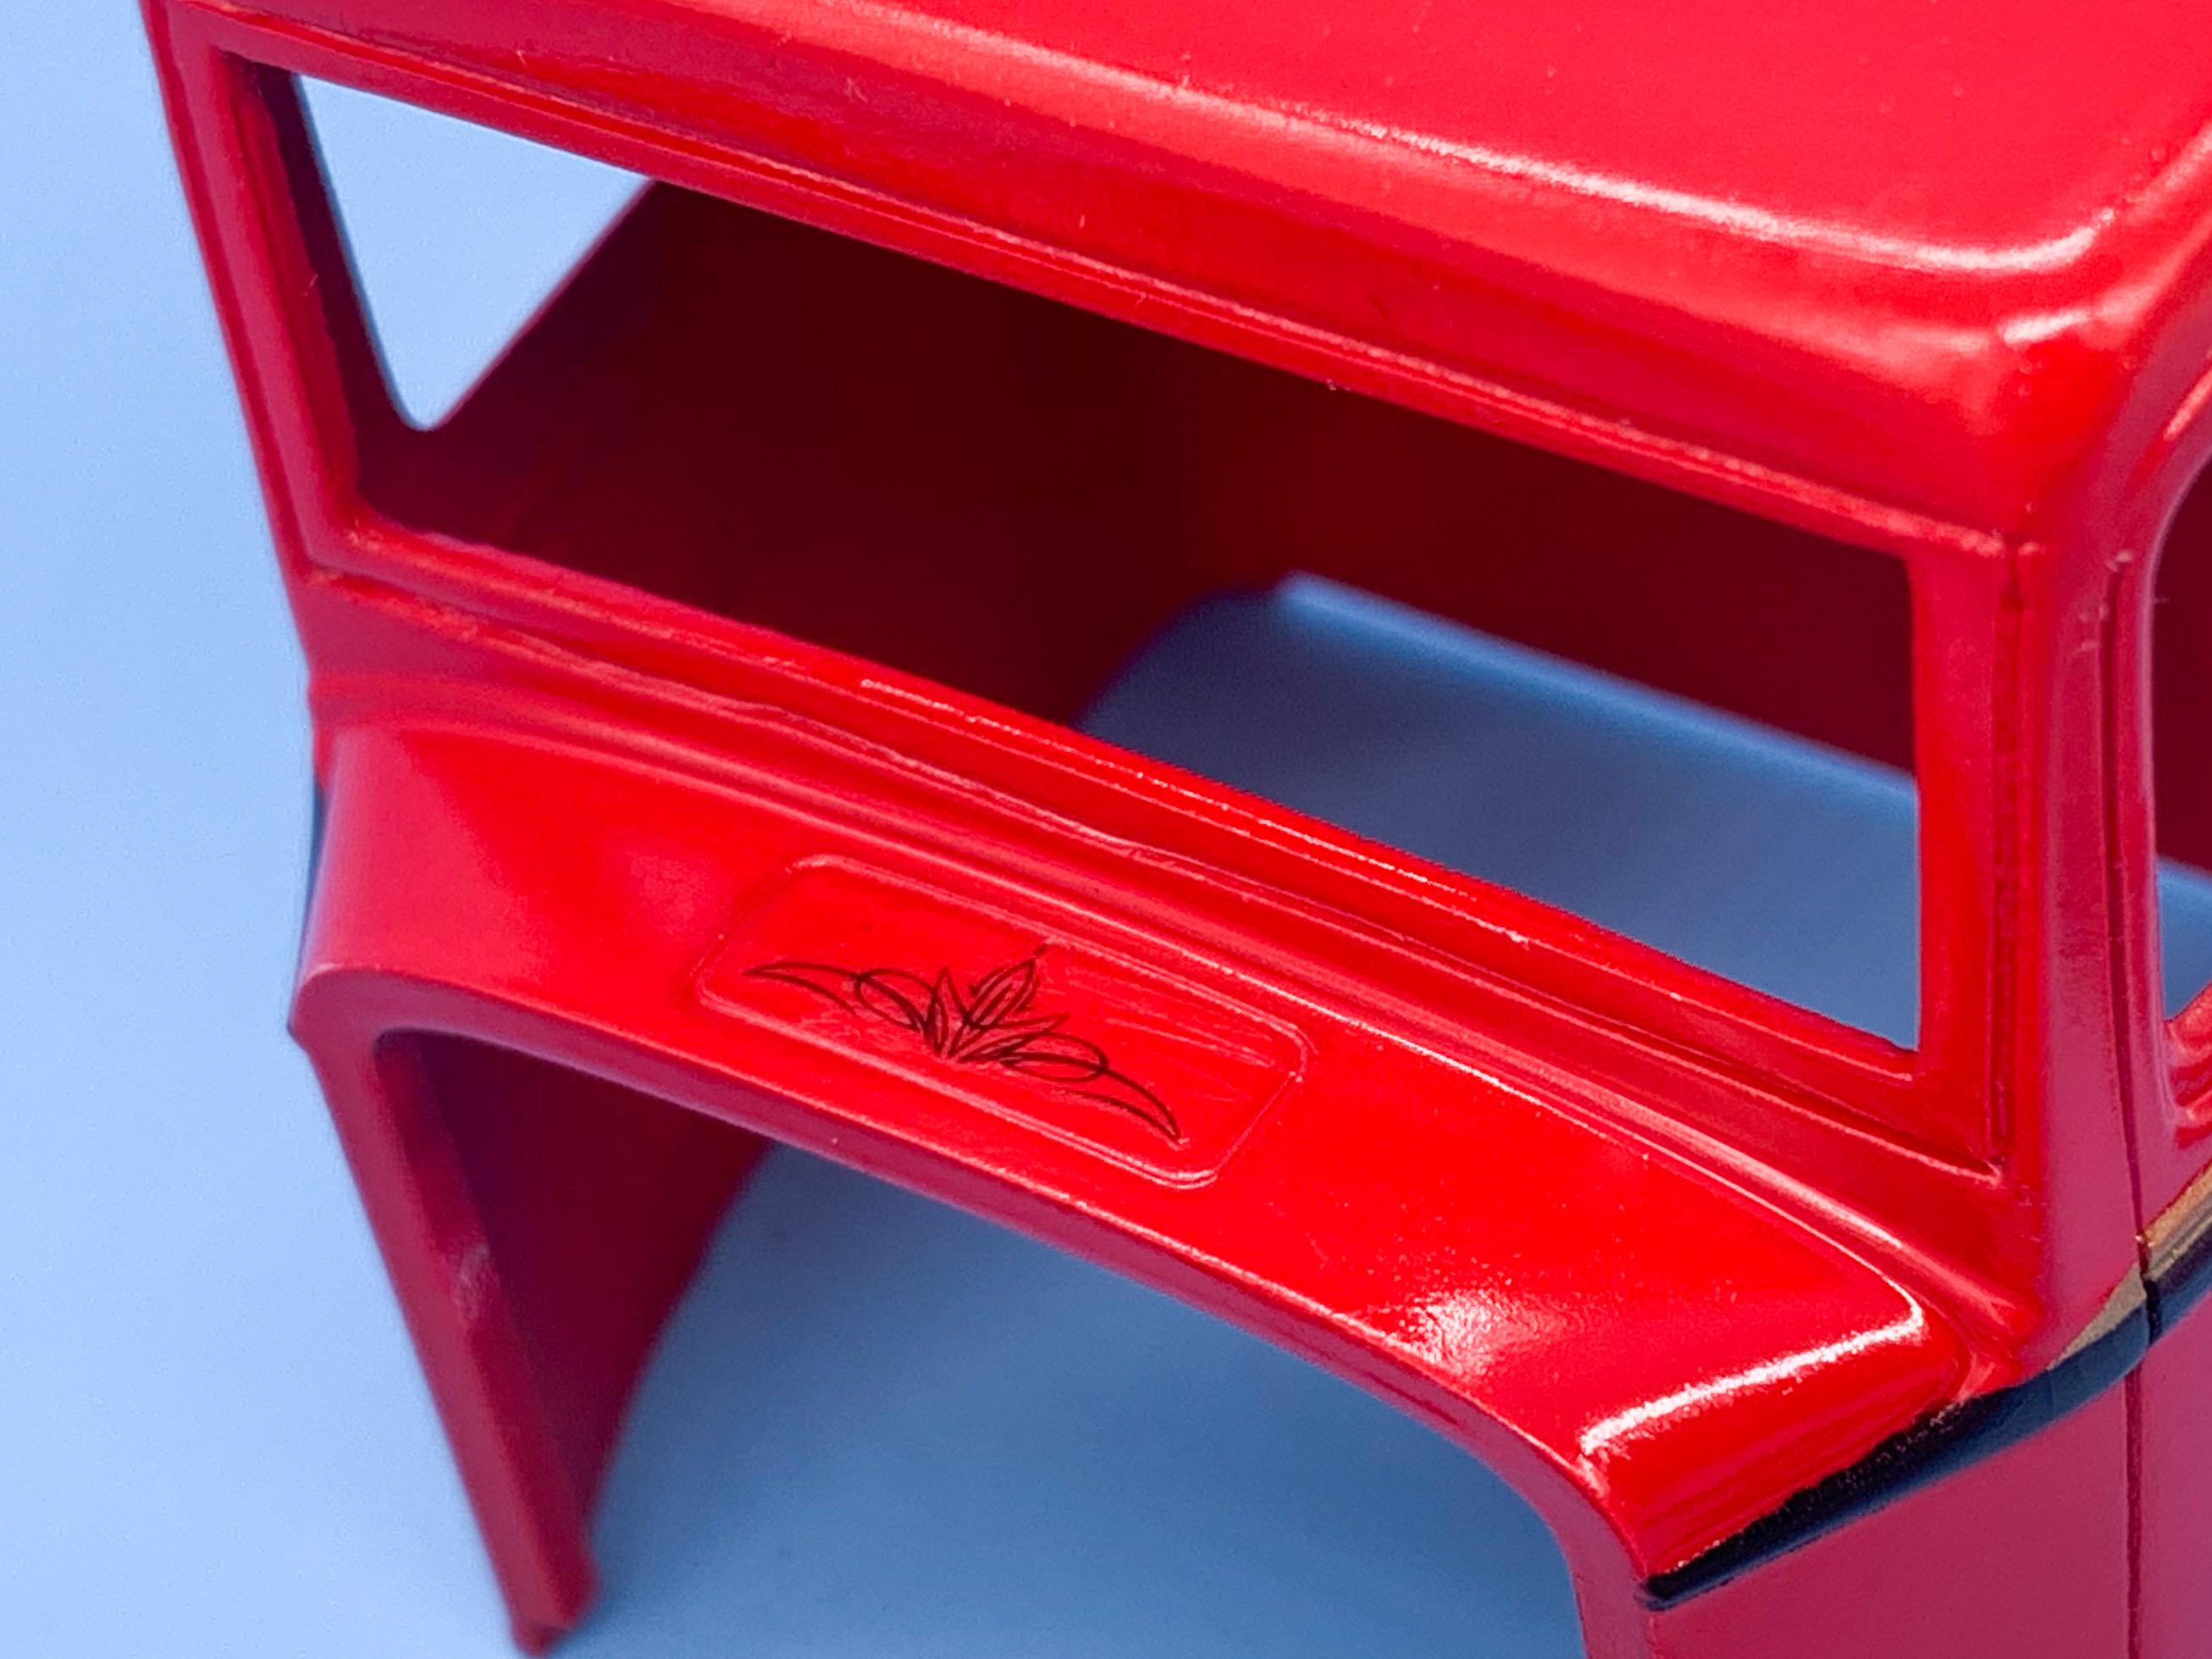
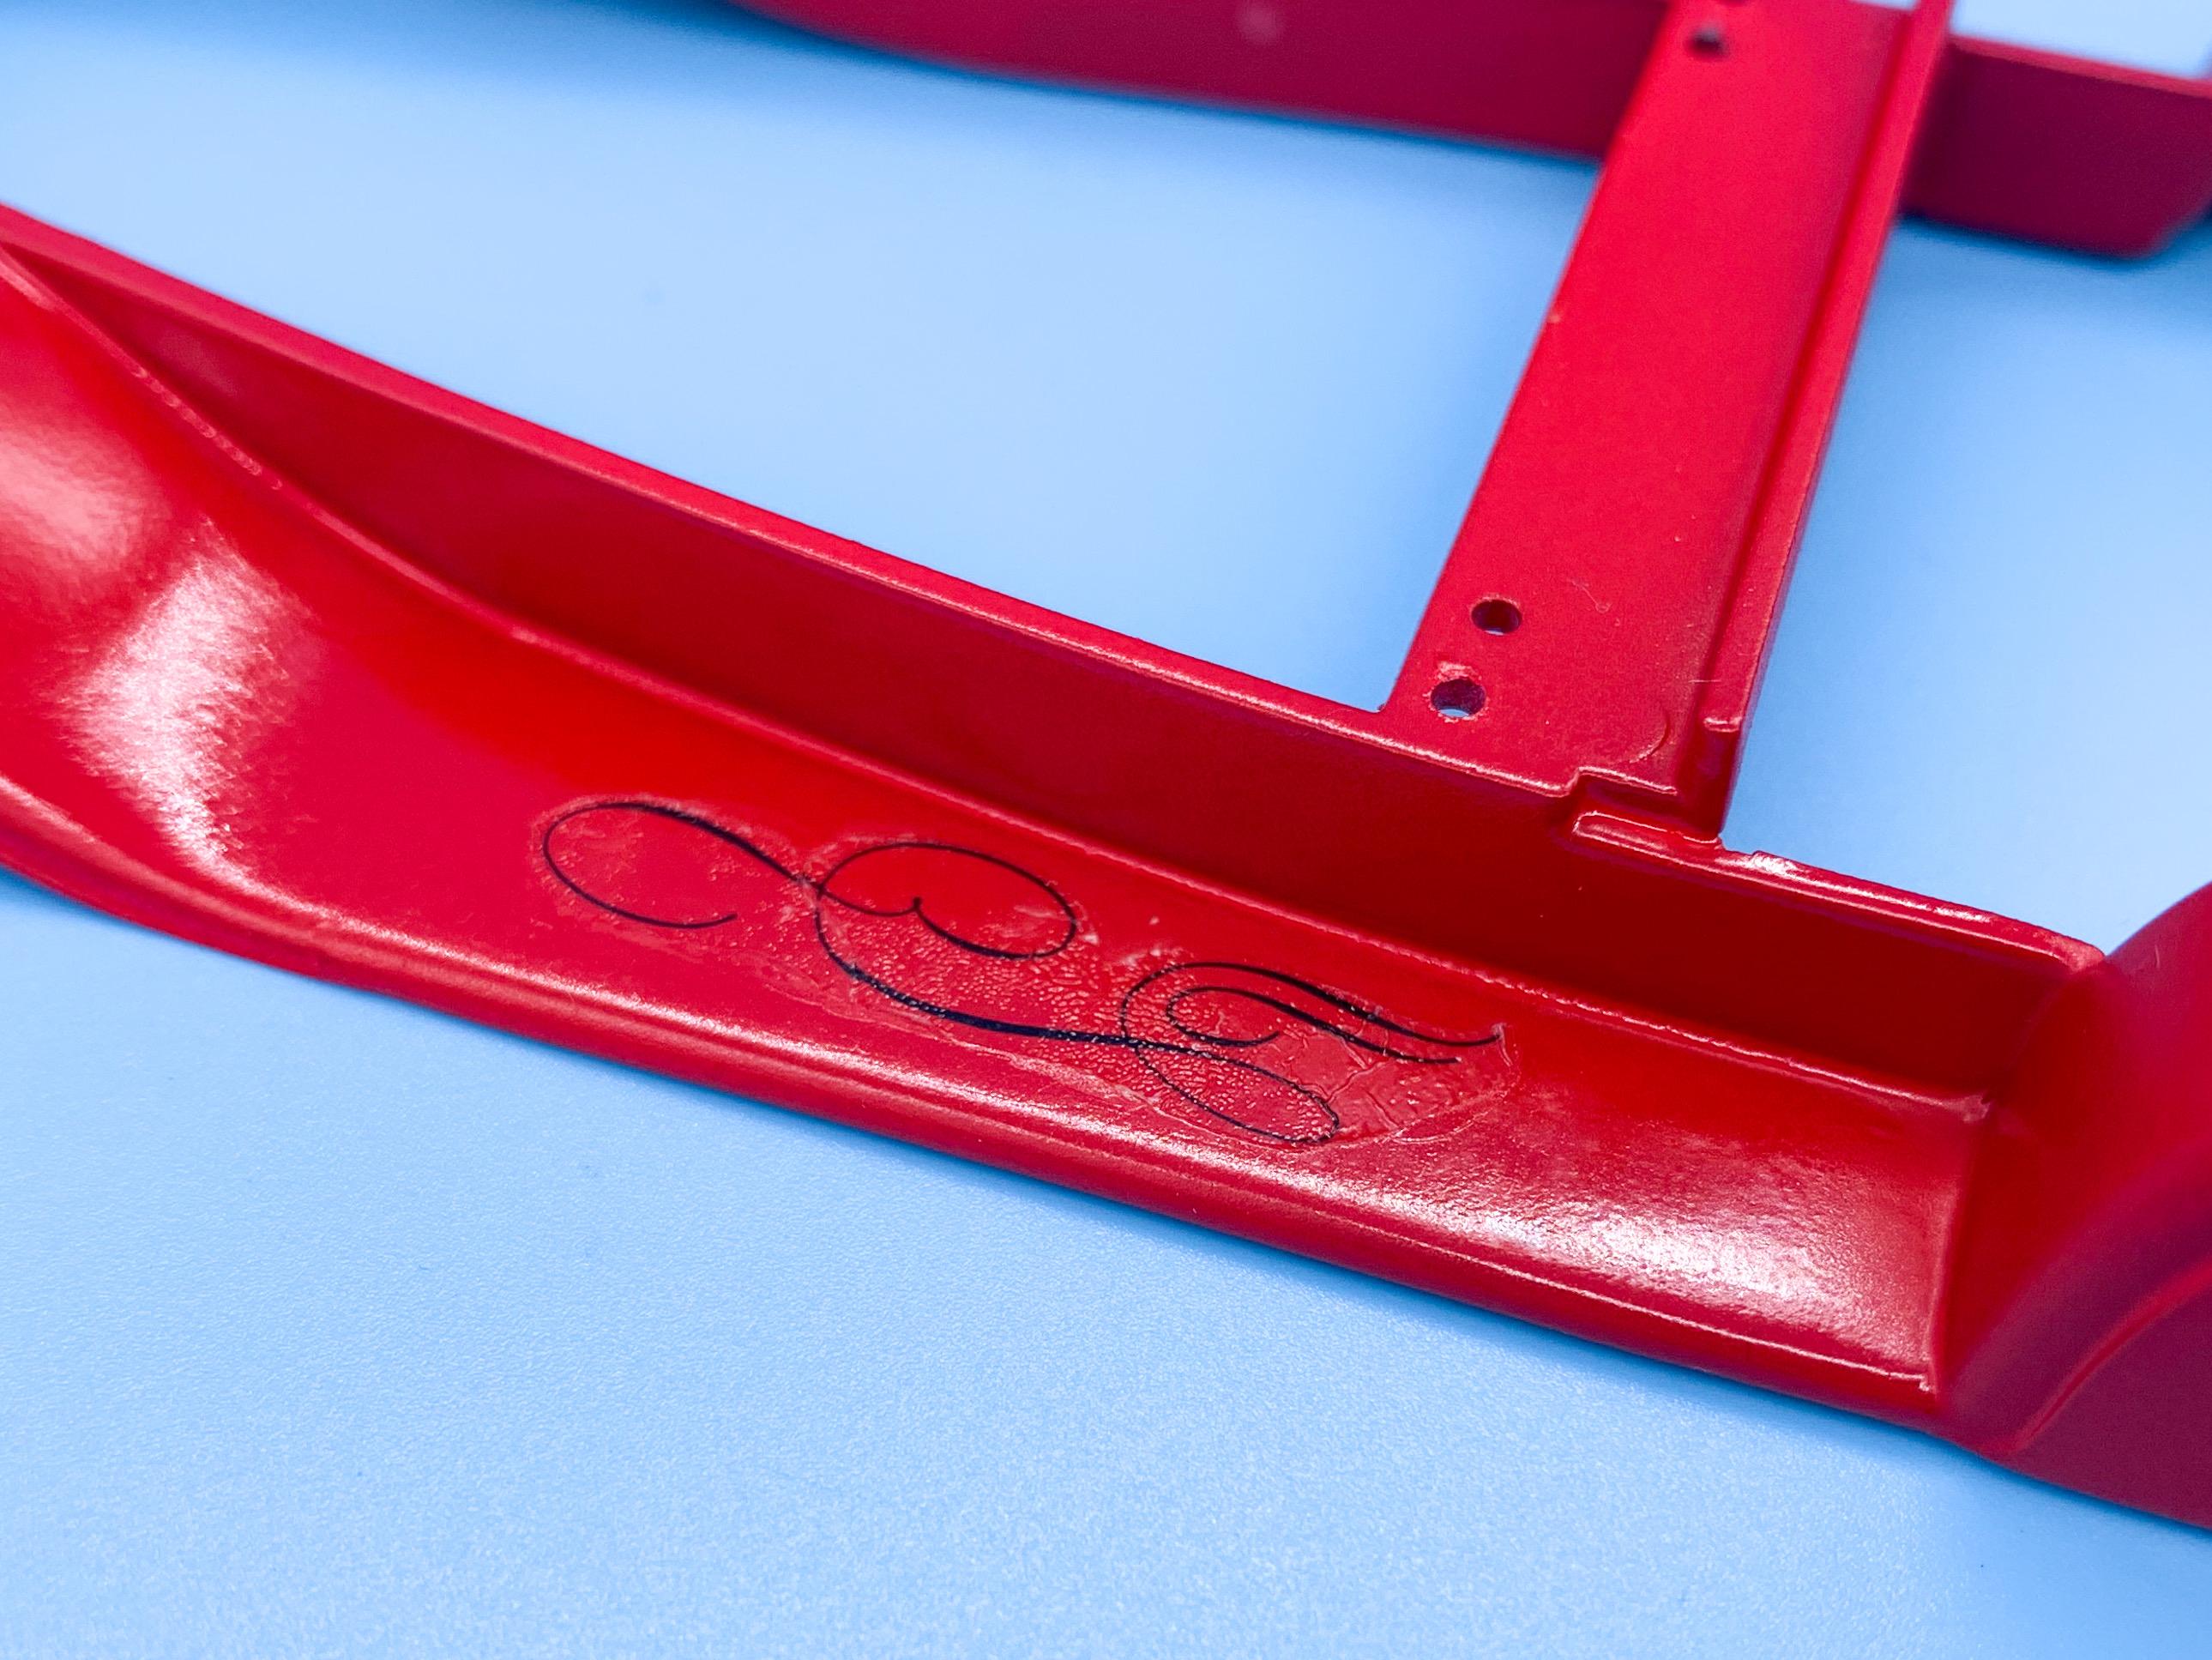
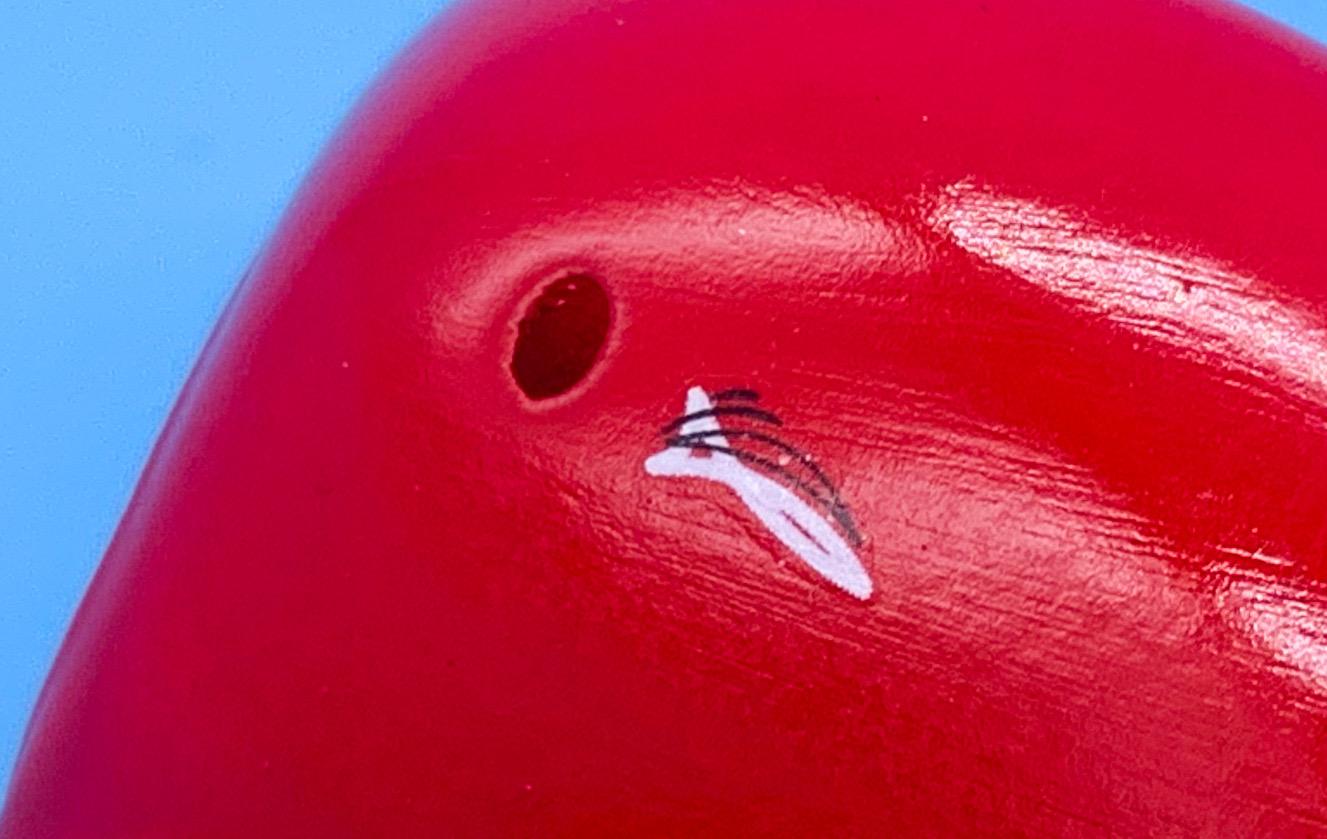
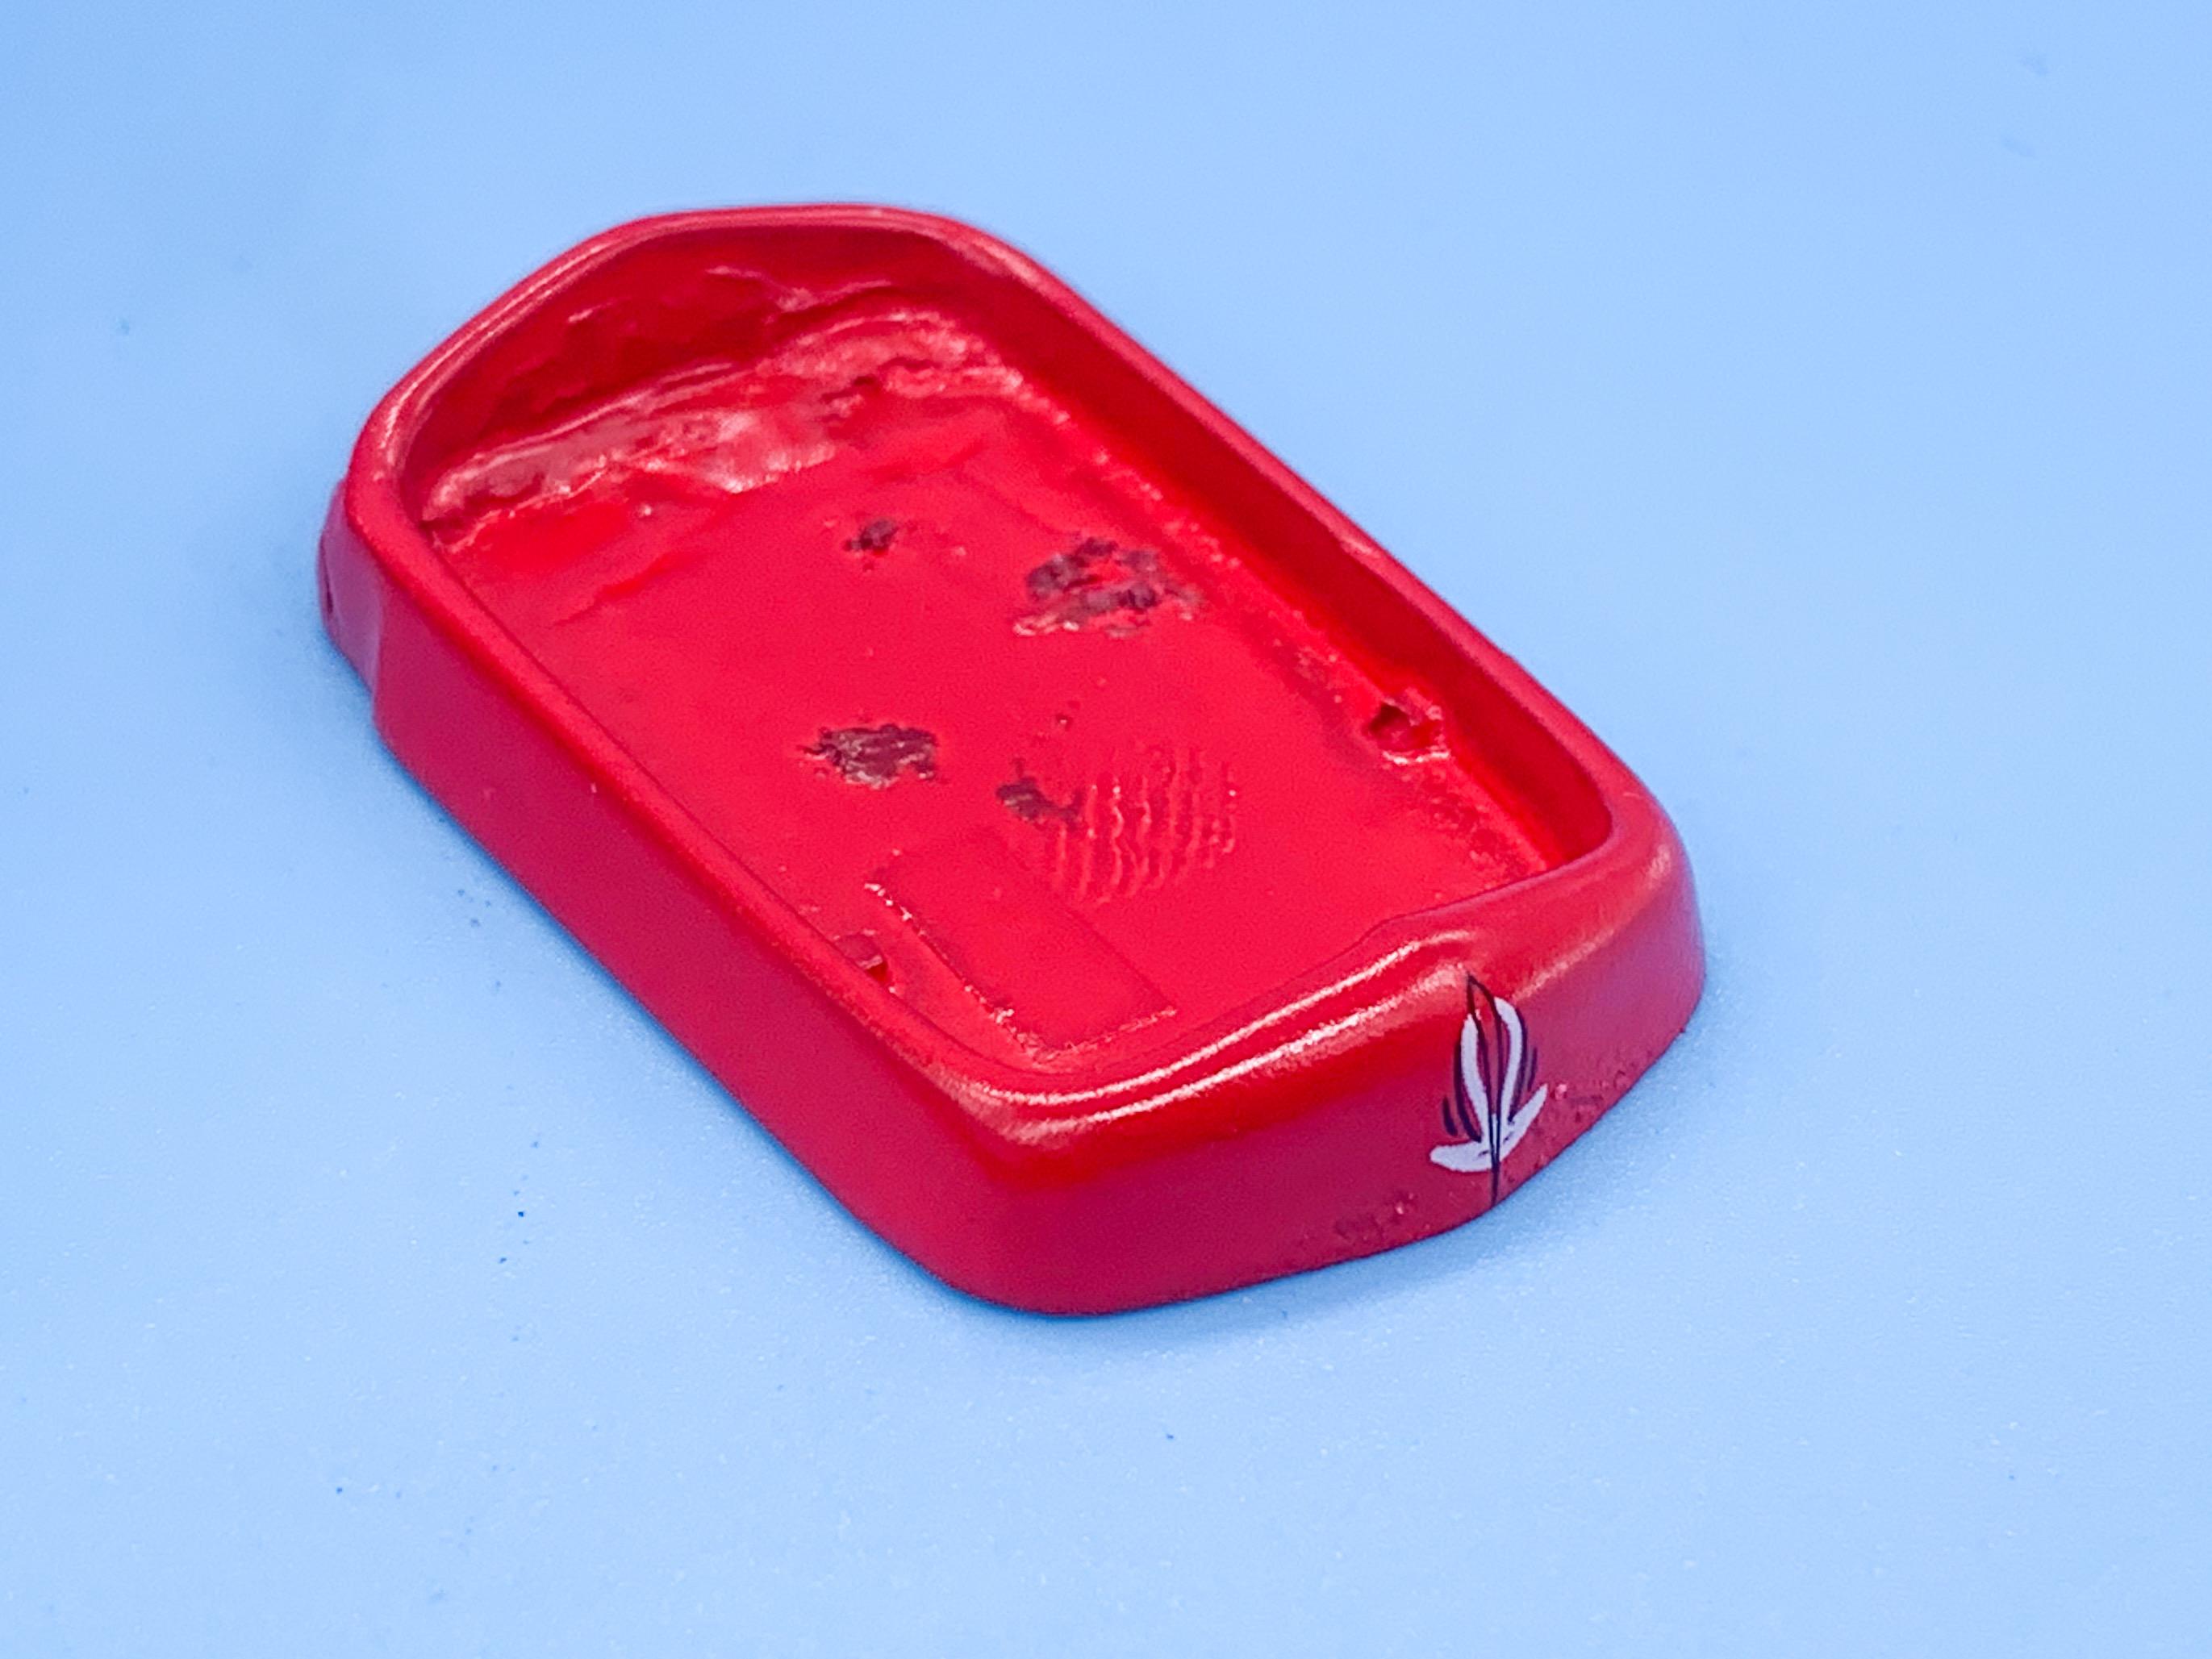
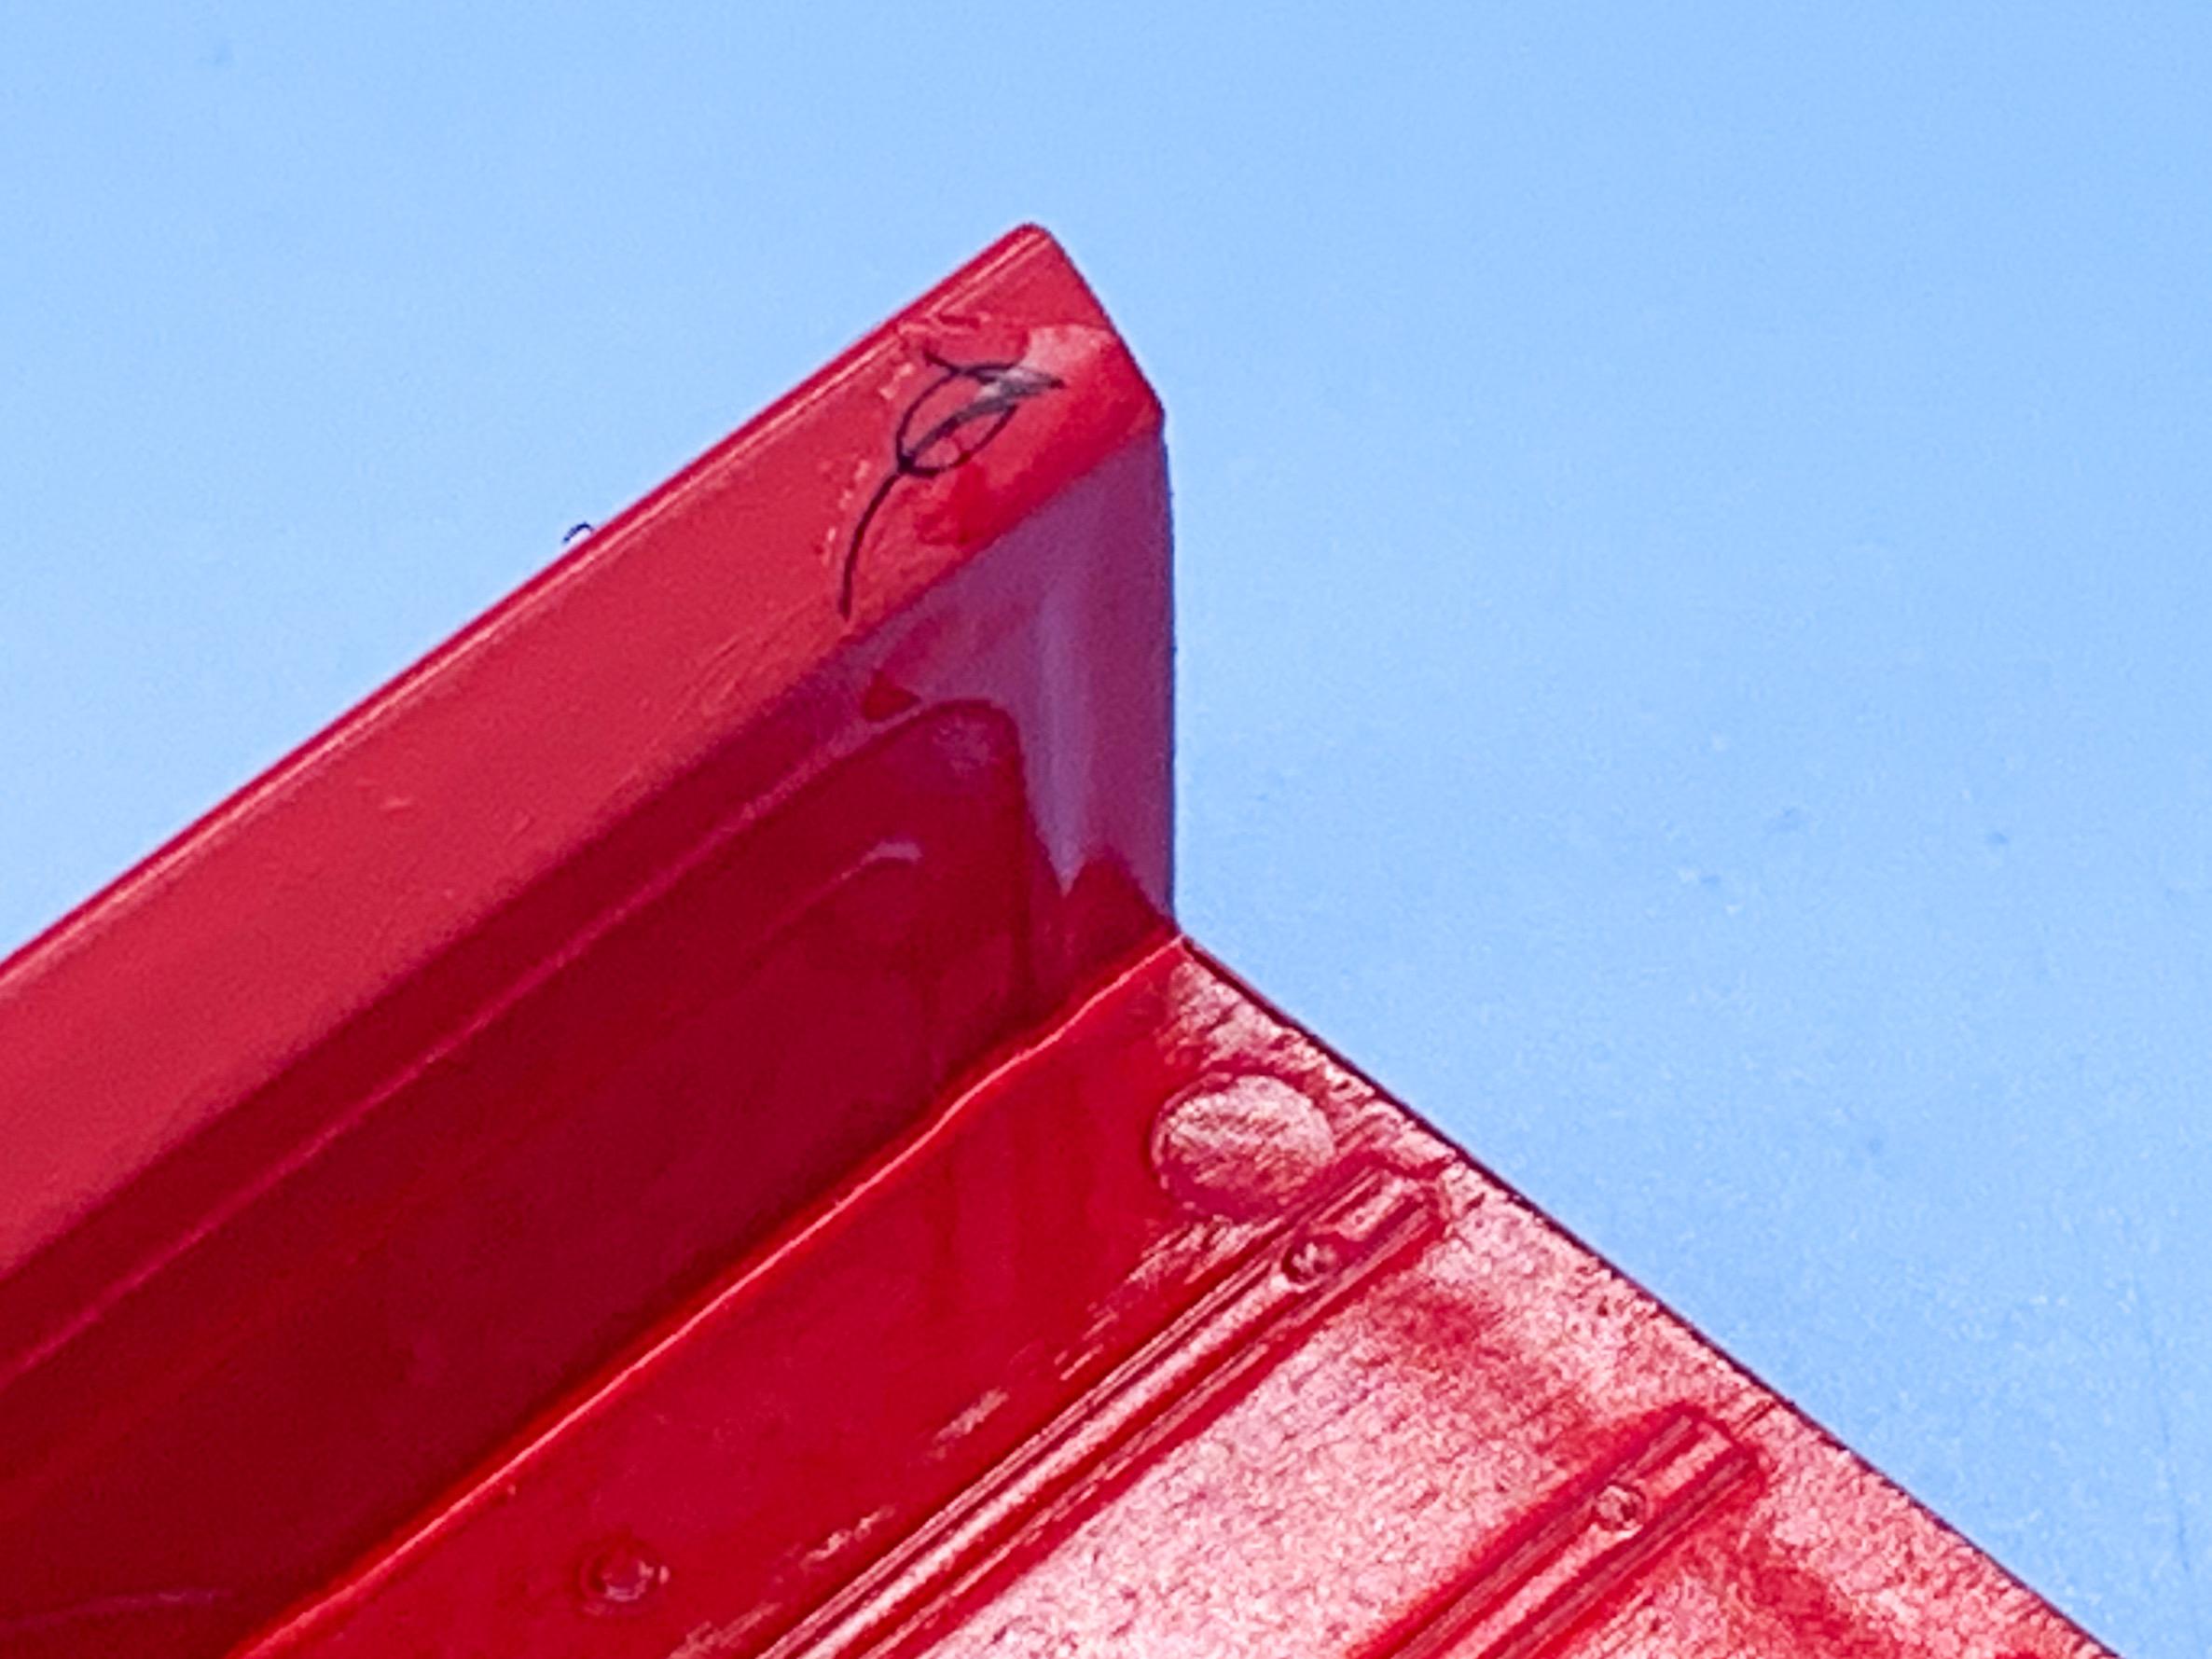
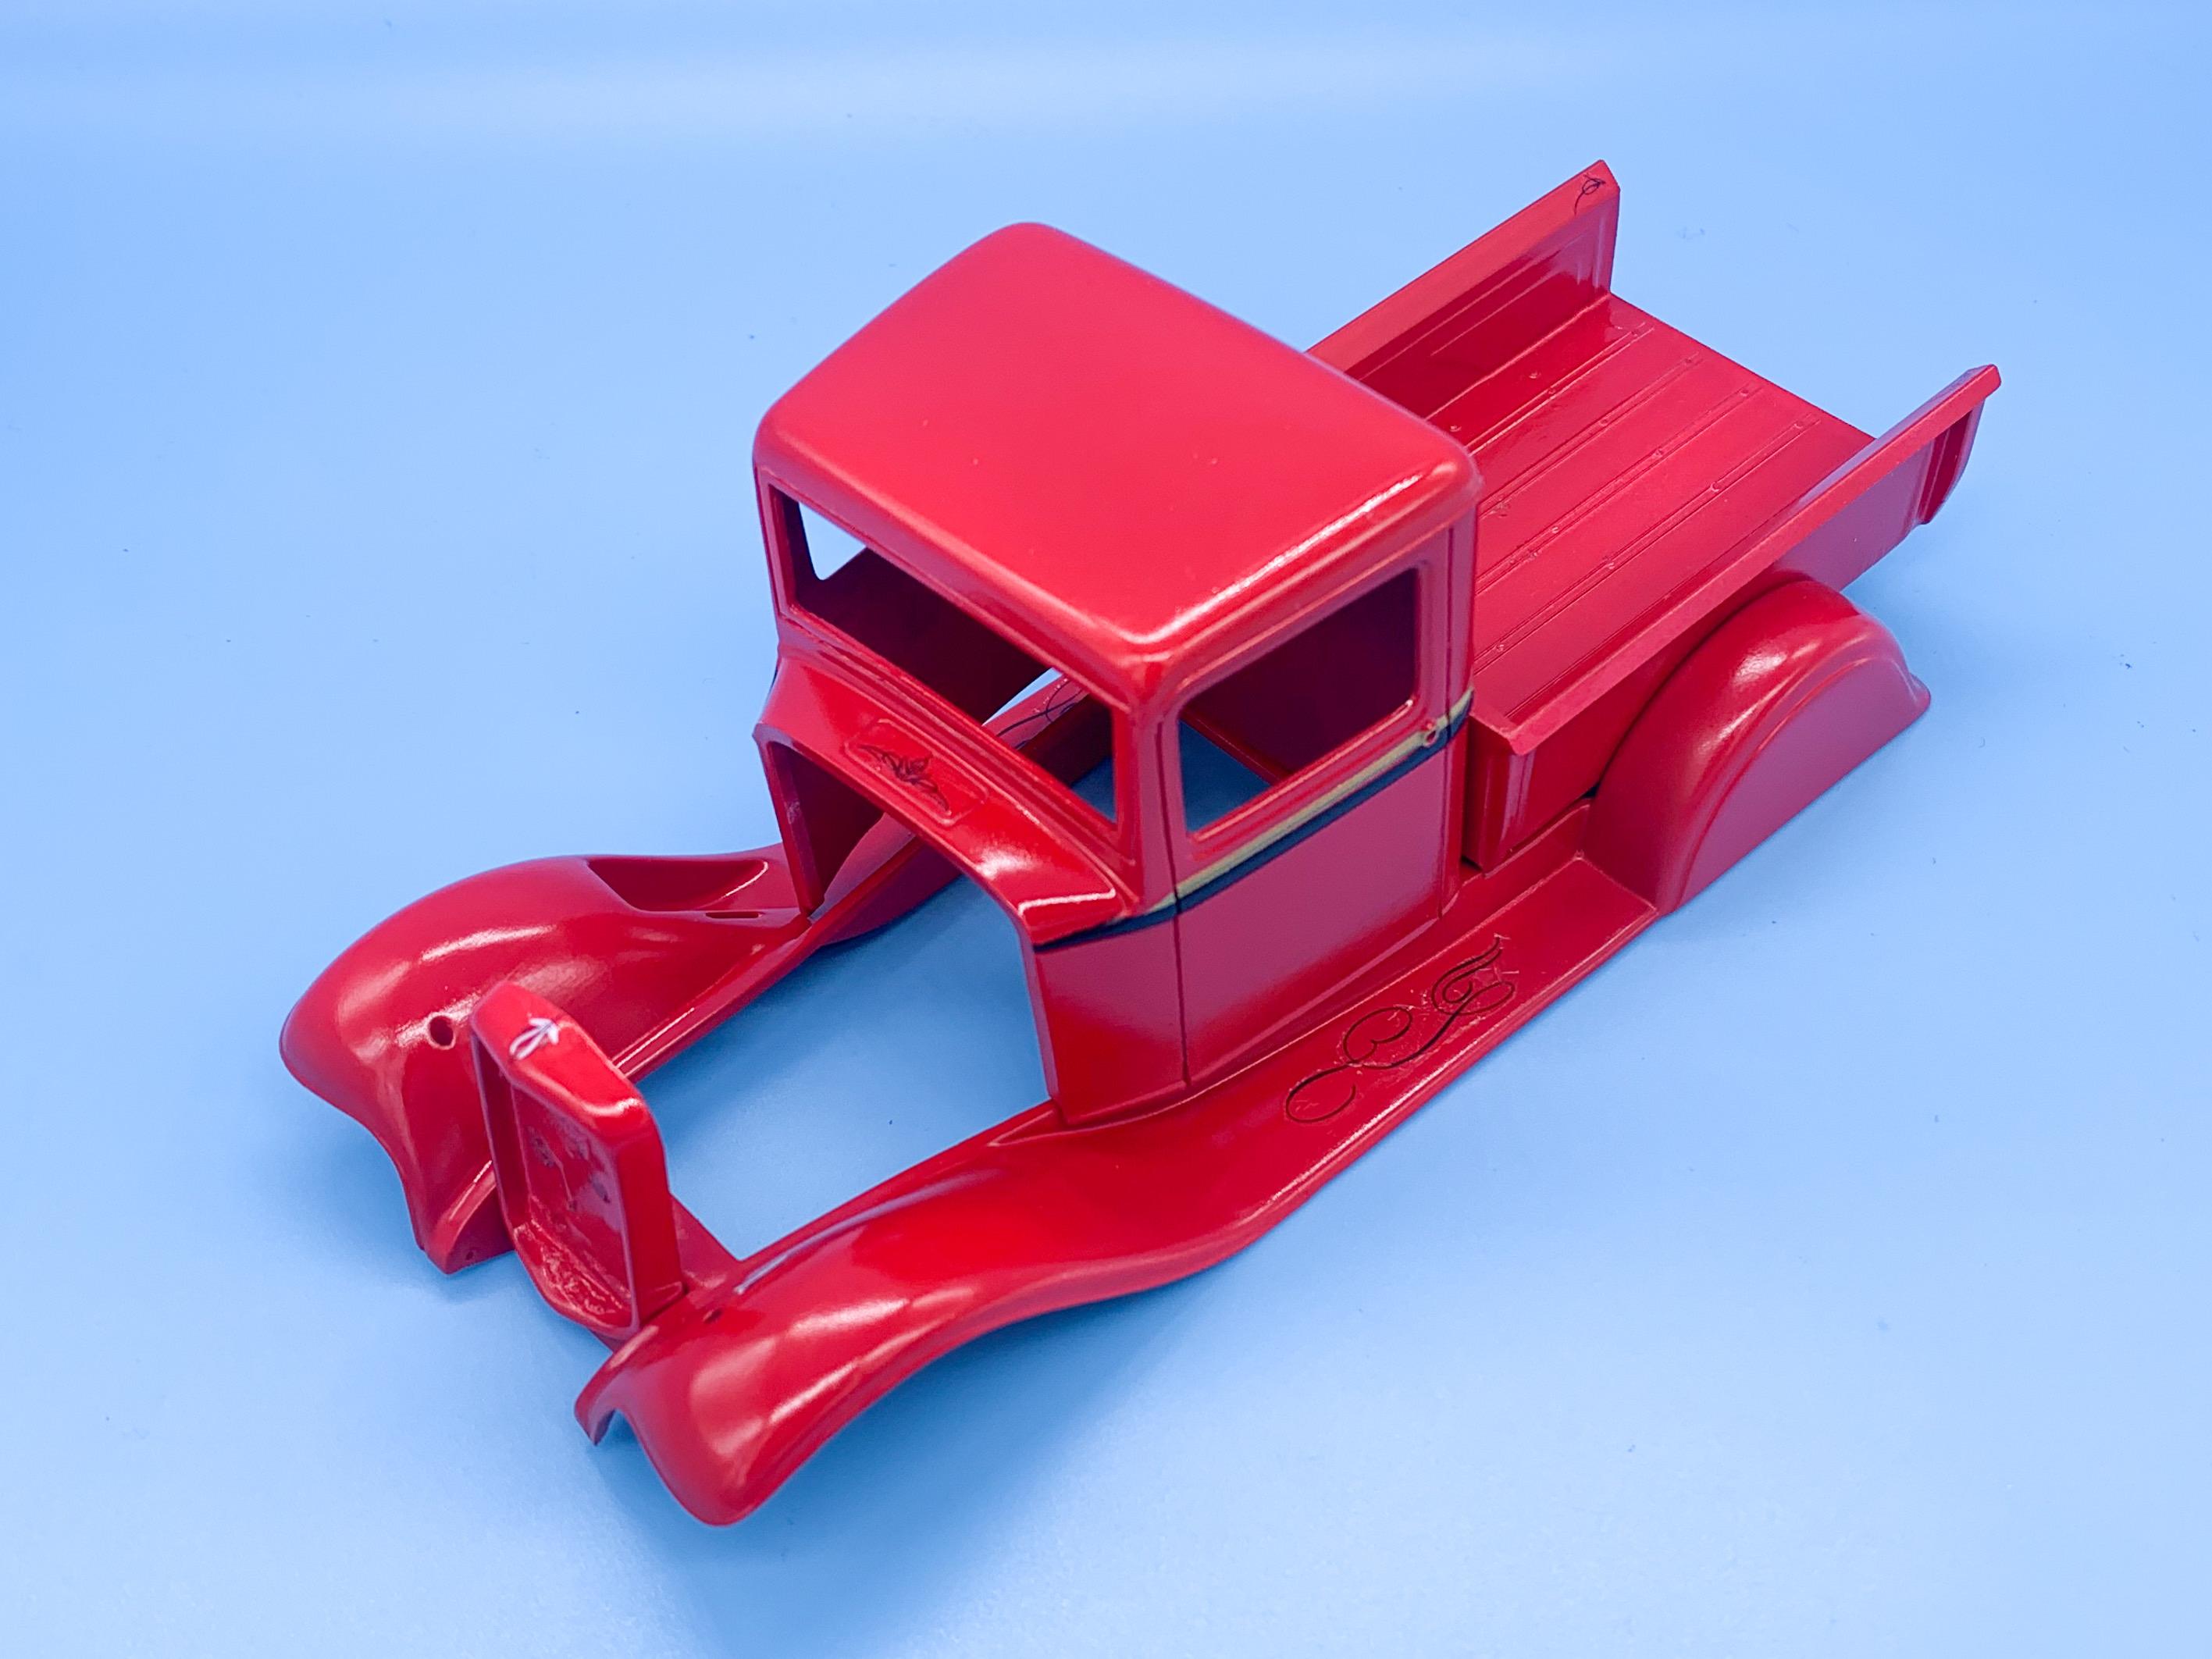
Thanks fellas! A little more progress this evening whilst we wait for the ball to drop... I wanted to add some subtle paint detail and some pinstriping to the body; first up some black and gold detail to the cab: And some little pinstripe touches - there’s not a good way that I’ve found to paint this stuff in scale, so decals it is... Man that acrylic paint surface looks rough up close ?. Some clear will fix those sins tho. Also, the ejector pin mark in the bed there, but I’m adding a new floor so that’ll be hidden further down the line... Once the setting solution has dried overnight I can clear some of this stuff and get it in the dehydrator that Santa thoughtfully brought me - exciting! Couldn’t resist a quick mock-up in the meantime whilst I wait: I really want to see how the color-scheme looks with the wooden bed in the back there - some nice light wood to compliment the gold touches on the body and the engine, so I’ll likely work on that tomorrow. More soon, happy new year everyone!