OldNYJim
-
Posts
251 -
Joined
-
Last visited
Content Type
Profiles
Forums
Events
Gallery
Everything posted by OldNYJim
-

70s Era Asphalt Modified
OldNYJim replied to OldNYJim's topic in WIP: Stock Cars (NASCAR, Super Stock, Late Model, etc.)
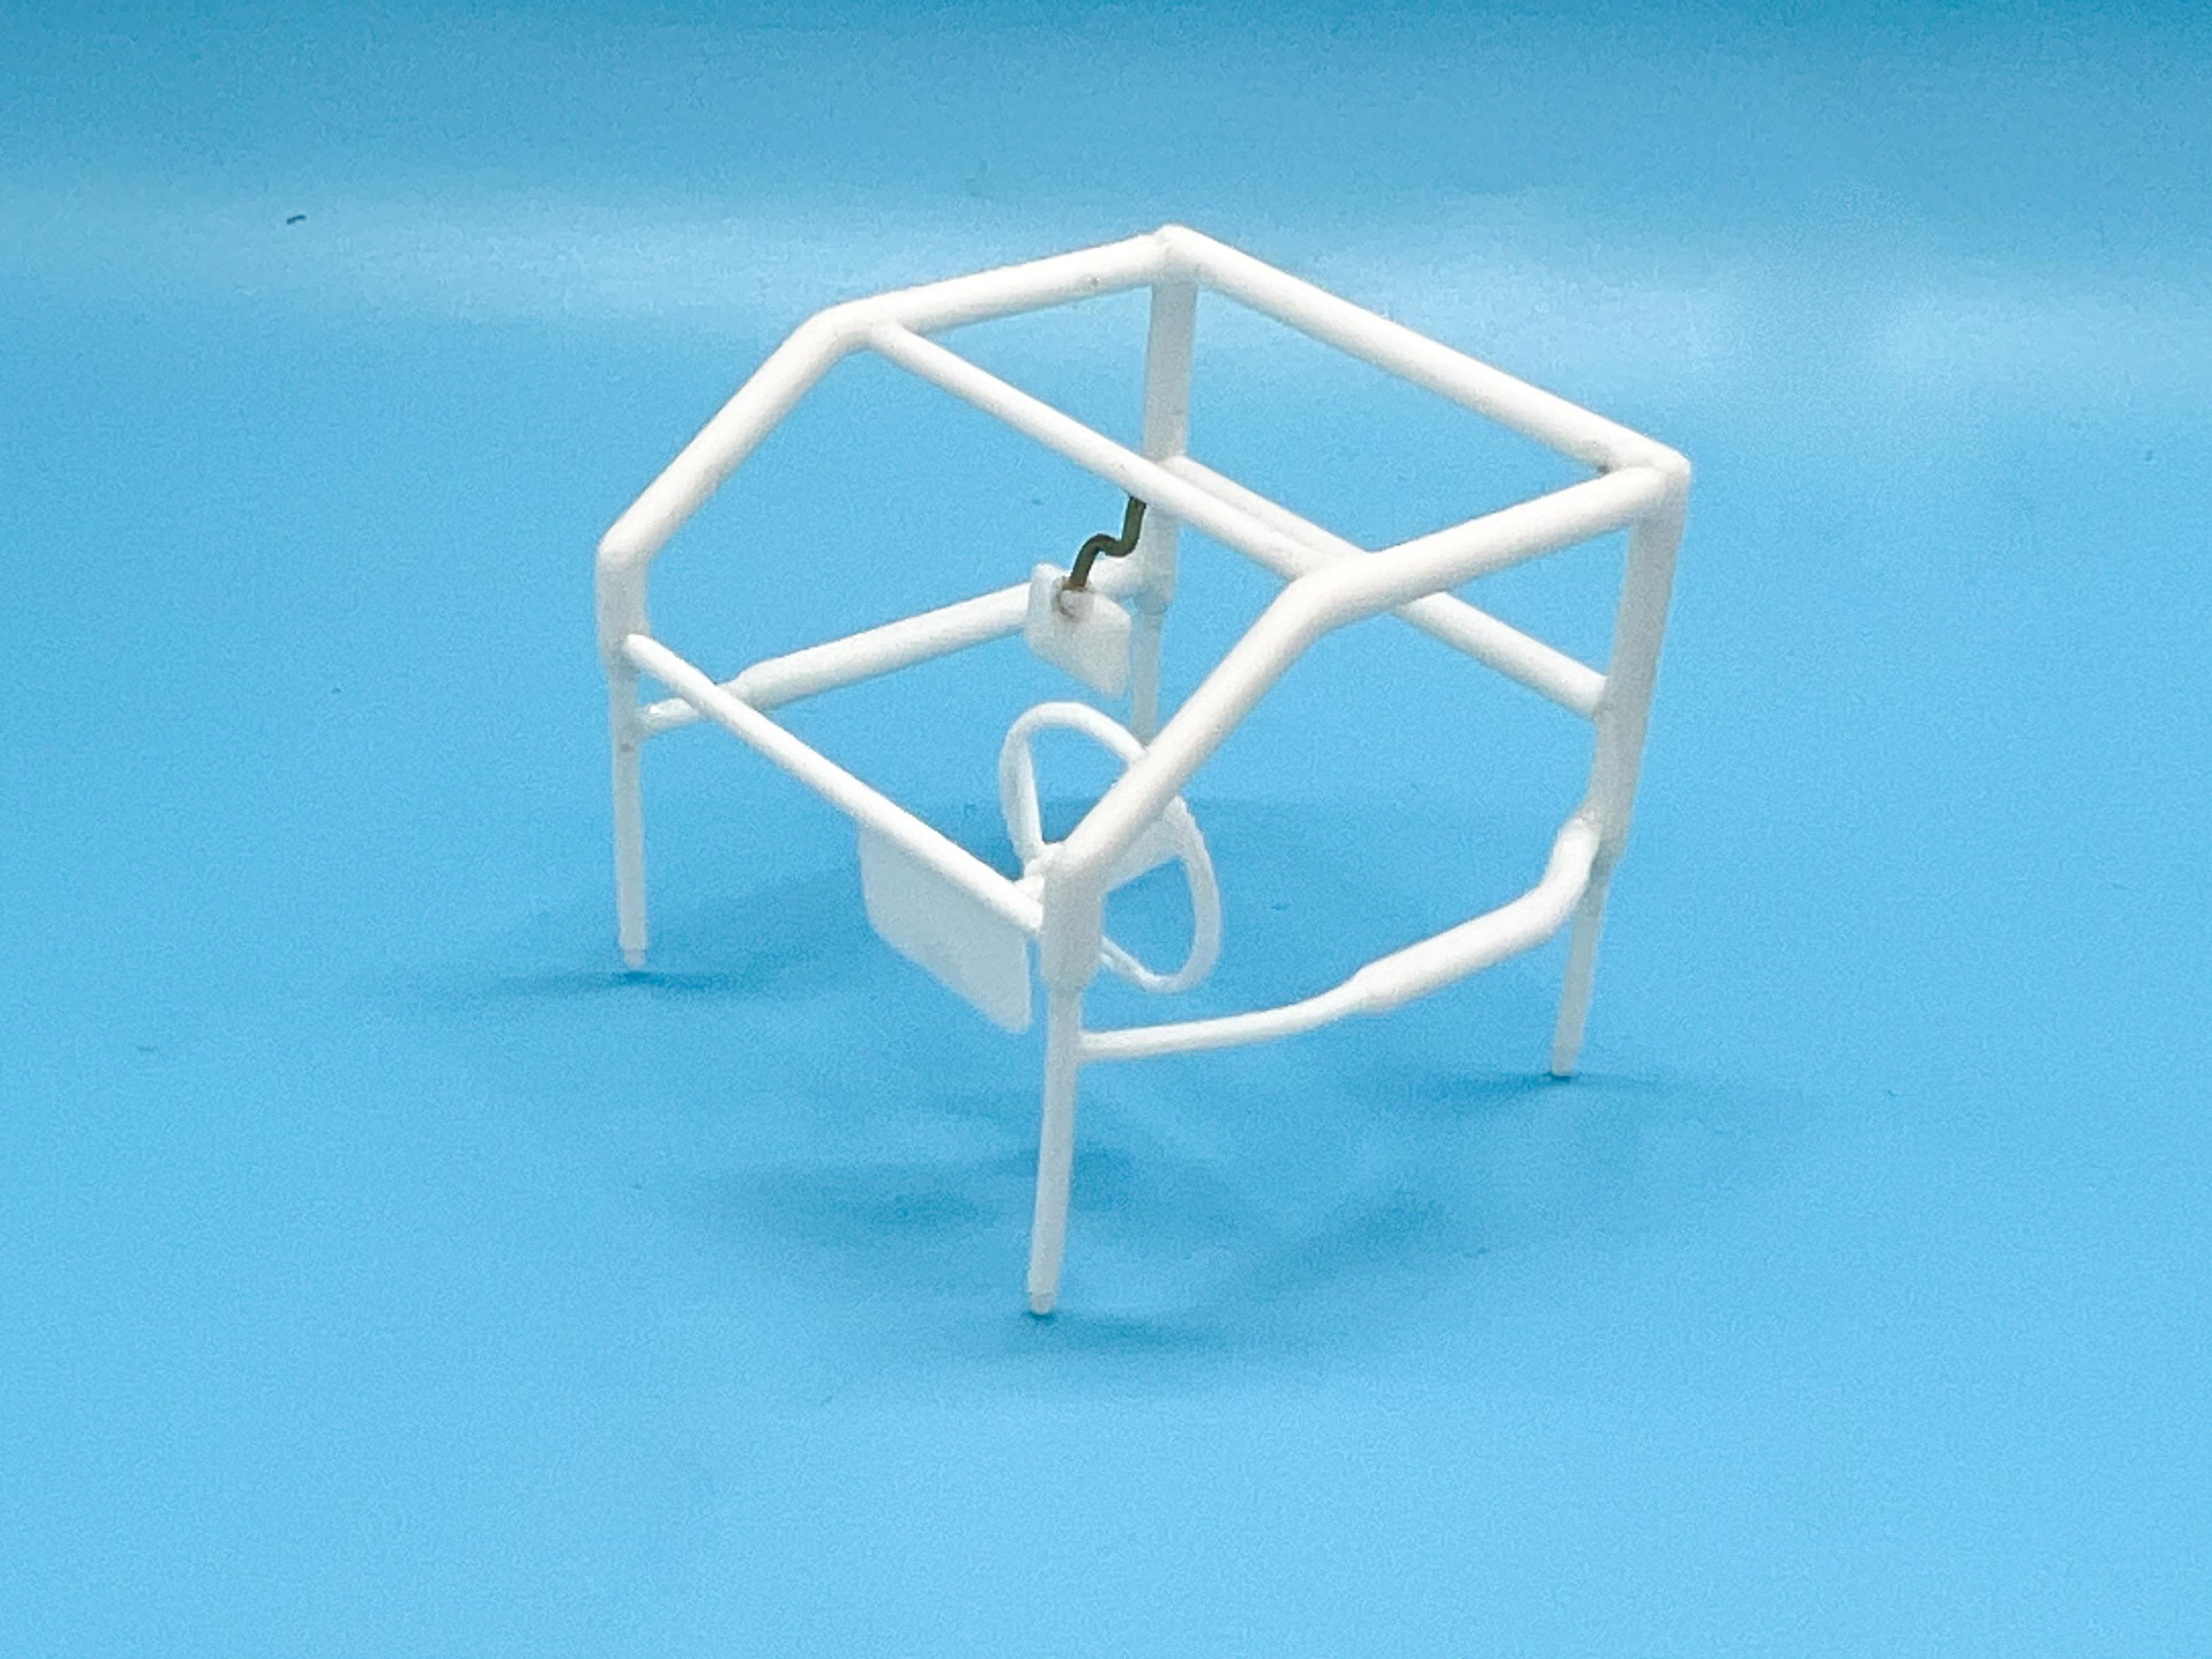
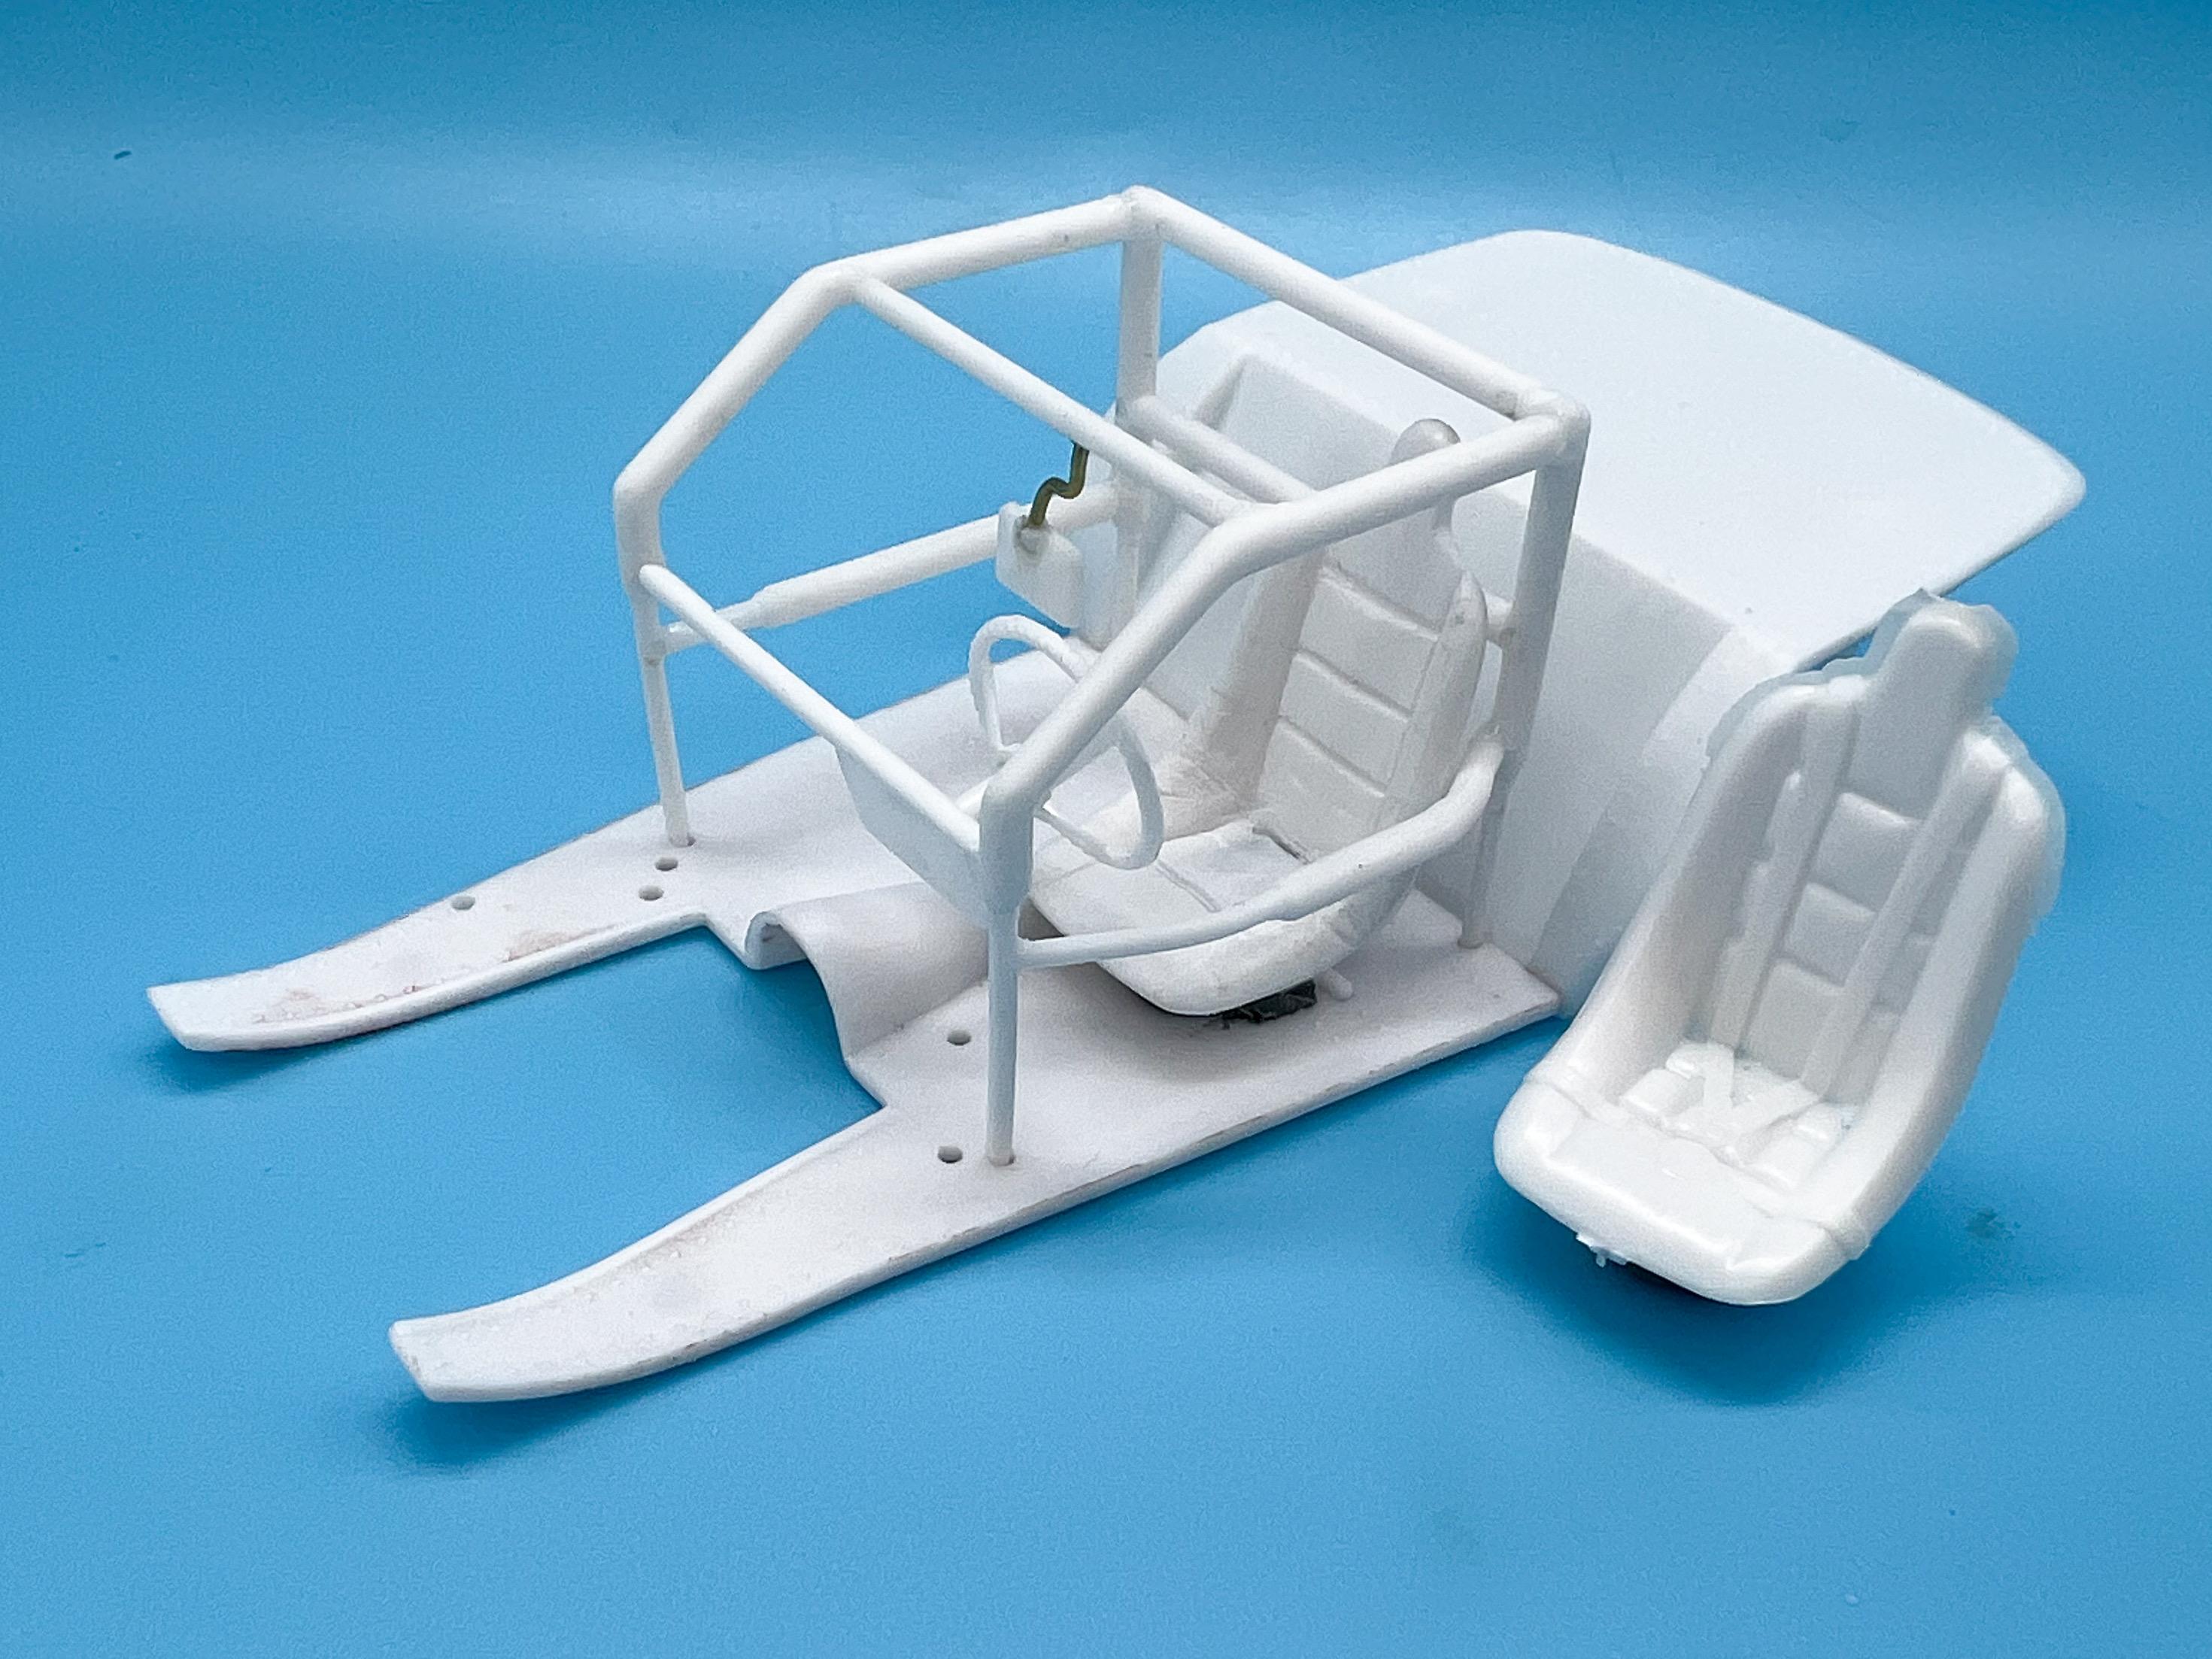
Thank you! Beautiful work! Thank you for sharing! I love all these oval racing stories! Thank you for sharing!!! A few random little updates… Cleaned up the rollcage ready for assembly. I was all set to remake it from styrene rod rather than clean up all those awkward lines, then decided it would be character building to do it the harder way… Using the floorpan as a jig is a good idea when assembling these, and drilling out the mounting holes so it fits together nice. Still in progress here, but close to being done: I’ve been wanting to practice polishing out acrylic clear, and figured this would be a good one to try it on, plus I wanted to try the new Createx Super Gloss, which they compare to an acrylic version of a 2k clear. It has pretty particular recommendations for achieving the effect, but seeing as this one doesn’t NEED to be super glossy it won’t be the worst thing if my practice doesn’t work out. It did indeed lay down pretty shiny right out of the airbrush: They recommend three coats, 15 mins apart, and it worked pretty well - it leveled out that lumpiness in the pic above nicely by the time it had sat overnight: I’m provisionally impressed - we’ll see how it buffs up though after it’s sat for a couple of days… Next job, remove the molded-in seatbelts from the kit seat so I can add my own later. An original part sitting to the right, for comparison: Shot some primer on that today and used a little filler and it looks surprisingly good considering all the grinding I did on it ? Made an aluminum trunk floor, which the fuel tank will mount underneath: And got the rear axle installed, as you can see and started adding some detail there too (but plenty left to add still…) Next jobs will be that catchcan we were discussing above, plumbing and installing brakes and I’ve got some more painting to do on the body once I’ve got it polished out. Oh, and start painting some interior stuff. Plenty to do still! Thanks for looking - more soon, soon as I’ve done more!
-
Great attitude! Sorry for your difficult time though! And congrats, Dave!
-
Apparently it was black in a couple of episodes (and GREEN in another): https://hazzardnet.com/forums/topic/216-when-was-the-general-lee-black/
-
Re-read this thread this evening and this quote really jumped out at me. I’ve never made a single model yet that I’m happy with. Some, I’m happier than others…but not one where I’m REALLY proud of it. I just haven’t hit that level yet (and maybe never will). BUT….every single one, I’ve been happy with the journey I took building it. I can live with that. ?♂️
-
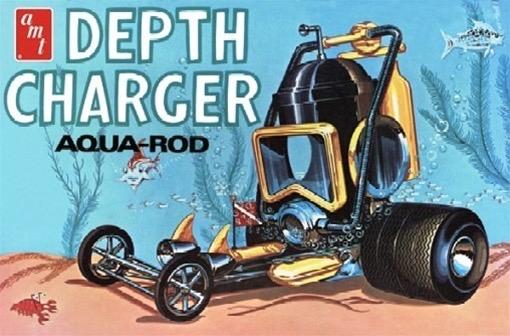
My showrod-addled mind saw this topic and though the Depth Charger was coming back again ?
-
70s Era Asphalt Modified
OldNYJim replied to OldNYJim's topic in WIP: Stock Cars (NASCAR, Super Stock, Late Model, etc.)
That’s really interesting - great info, thank you! I’ll be using that on a future build!! I love all these little tips and details that I’m learning on this one!! This is awesome info too - thank you for taking the time to share it!!! I was wondering what to do for a catch can - I was thinking of a little one in behind the radiator just between the inside of the frame and the engine maybe - but all those other solutions you mentioned got me thinking…. Sounds like I need to find those magazines too - they'd be invaluable reference material for future builds… Thanks for the nice comments and info everyone - I’ve been learning a lot on this one! Tonight's mini-update, seeing as I’m replying anyway…started detailing up the radiator with this nice photo etch mesh…I’m securing it with a little Future which seems to work fine and not ruin the look: And I made the front shocks and got those installed…printed the tops, the shaft is a silver pin, the shock body is brass tube painted and lightly weathered and I wound some springs out of jewelry wire. The outside spring (not that you can see it here) is wound tighter than the inside one, given these cars always lean the one way… SO MUCH left to do on this one still, but every part I add makes me glad I’m adding all this detail…I love how it looks so far! Thanks for looking - more soon!
-
Crazy, wild, Box art designs
OldNYJim replied to H.A.K's topic in General Automotive Talk (Trucks and Cars)
No, the generic brands were MAT and Rebell Momogran ? -
I too would like to see the streamliner kart make a reappearance! Even if it’s just the body parts that can be completed with the kart from the 60 Chev that would be just fine by me
-
70s Era Asphalt Modified
OldNYJim replied to OldNYJim's topic in WIP: Stock Cars (NASCAR, Super Stock, Late Model, etc.)
Mannnn that pulley's huge Well, that's some AWESOME info for the next one, thank you so much! And appreciate the offer of help! I like that manifold too - that would be a cool detail to include in a build. Thank you again! Oh, and cool late model! Looks FUN! Now the season's getting started I wanna get to the track more regularly... -
70s Era Asphalt Modified
OldNYJim replied to OldNYJim's topic in WIP: Stock Cars (NASCAR, Super Stock, Late Model, etc.)
Really? Huh! Did not know that...is that specifically an oval trick? I struggled finding good reference pics so I went with how a street engine would be....minus the alternator obviously. GREAT insight on something I hadn't found out through research (it's really tough finding pics of this era of pavement car showing decent pics of the body and frame...) - THANK YOU! -
BEAUTIFUL! Were the brushed aluminum parts routed, or hand-shaped? Either way, beautiful work (unsurprisingly). We make a lot of products that require a brushed aluminum finish like that where I work - we use this product a lot: https://www.wensco.com/itemdetail/MP6BA Comes pre-brushed, and it's a composite of aluminum front and back with a polyethylene core. It works well for a lot of our projects because it's significantly lighter than the equivalent 1/8" aluminum sheet, can still be welded, it has a perfect uniform brushed finish already and it's faster and easier on our CNC router than aluminum sheet. Oh, and it's outdoor rated, which is useful for some products. Just thought that might be a product of interest to you, if you hadn't heard of it. Love seeing your 'big car' work Bill - thanks for sharing! I particularly love the little 'Deloreon-with-it's-wings-up' door-open light!
-
Nice paint! Is that 2k clear?
-
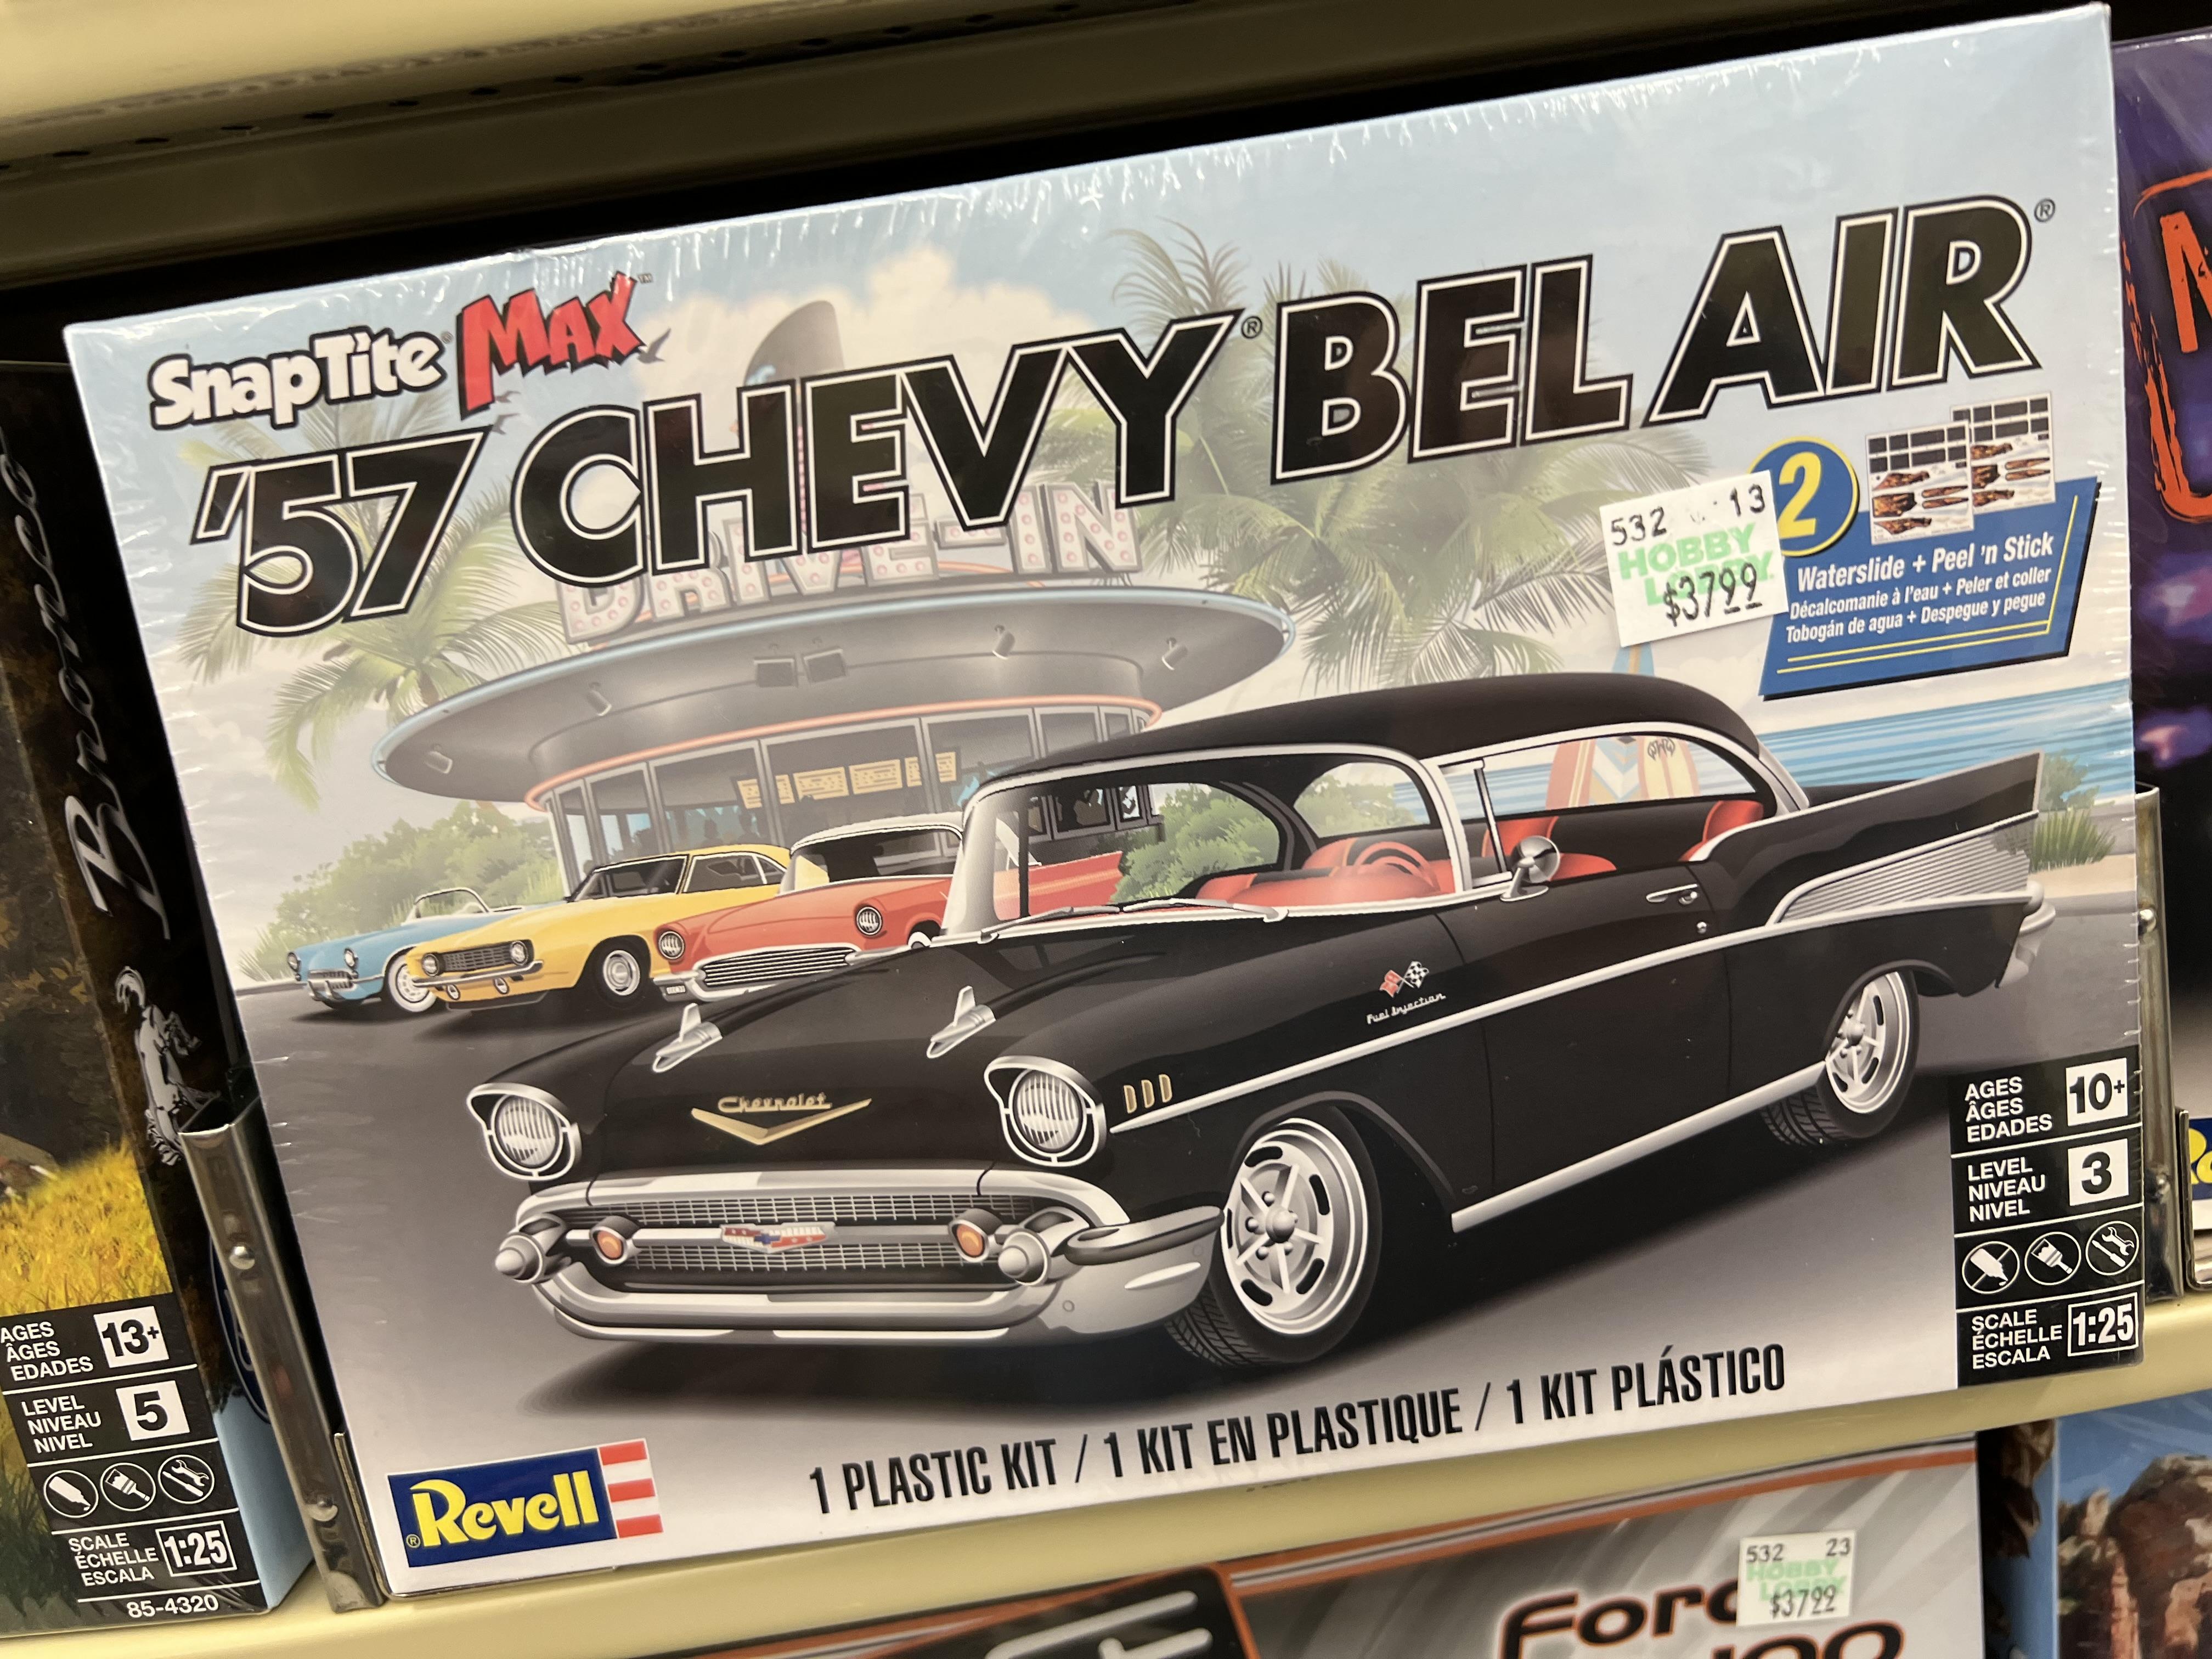
I know the price thing has been beaten to death…but $38 for a snap kit?! I did pick up one of these though, to almost-complete my collection of this series - $15 out the door seemed pretty fair:
-
Huh! Who woulda thought! Looks weird to me like that…but yep, that’s how it’s meant to be - thanks for confirming!
-
Mickey Thompsons '71 Mustang Funny car...
OldNYJim replied to Mothersworry's topic in WIP: Drag Racing Models
That looks super clean - nice work! Also, that Quickchange is YUGE! -
Traditional 1929 Ford Woody Wagon Hot Rod
OldNYJim replied to Dennis Lacy's topic in WIP: Model Cars
Just build two of these ?♂️? -
I’ve seen so many pics of these two on Instagram this weekend ? VERY well deserved dude - I’m so pleased for you!! Looks like next year’s themes are rods, customs and 49 Mercs…it’s clear-the-bench time! You’ll probably only get 12 months to finish, this time around (although you did build two killer 1:1s in the last three years too, in fairness ?)
-
Need some help with Molotov VS Revell Chrome
OldNYJim replied to Len Woodruff's topic in Model Building Questions and Answers
I’ve been following that build on your Insta (now I found your second page anyway) and it’s looking gorgeous…super clean! -
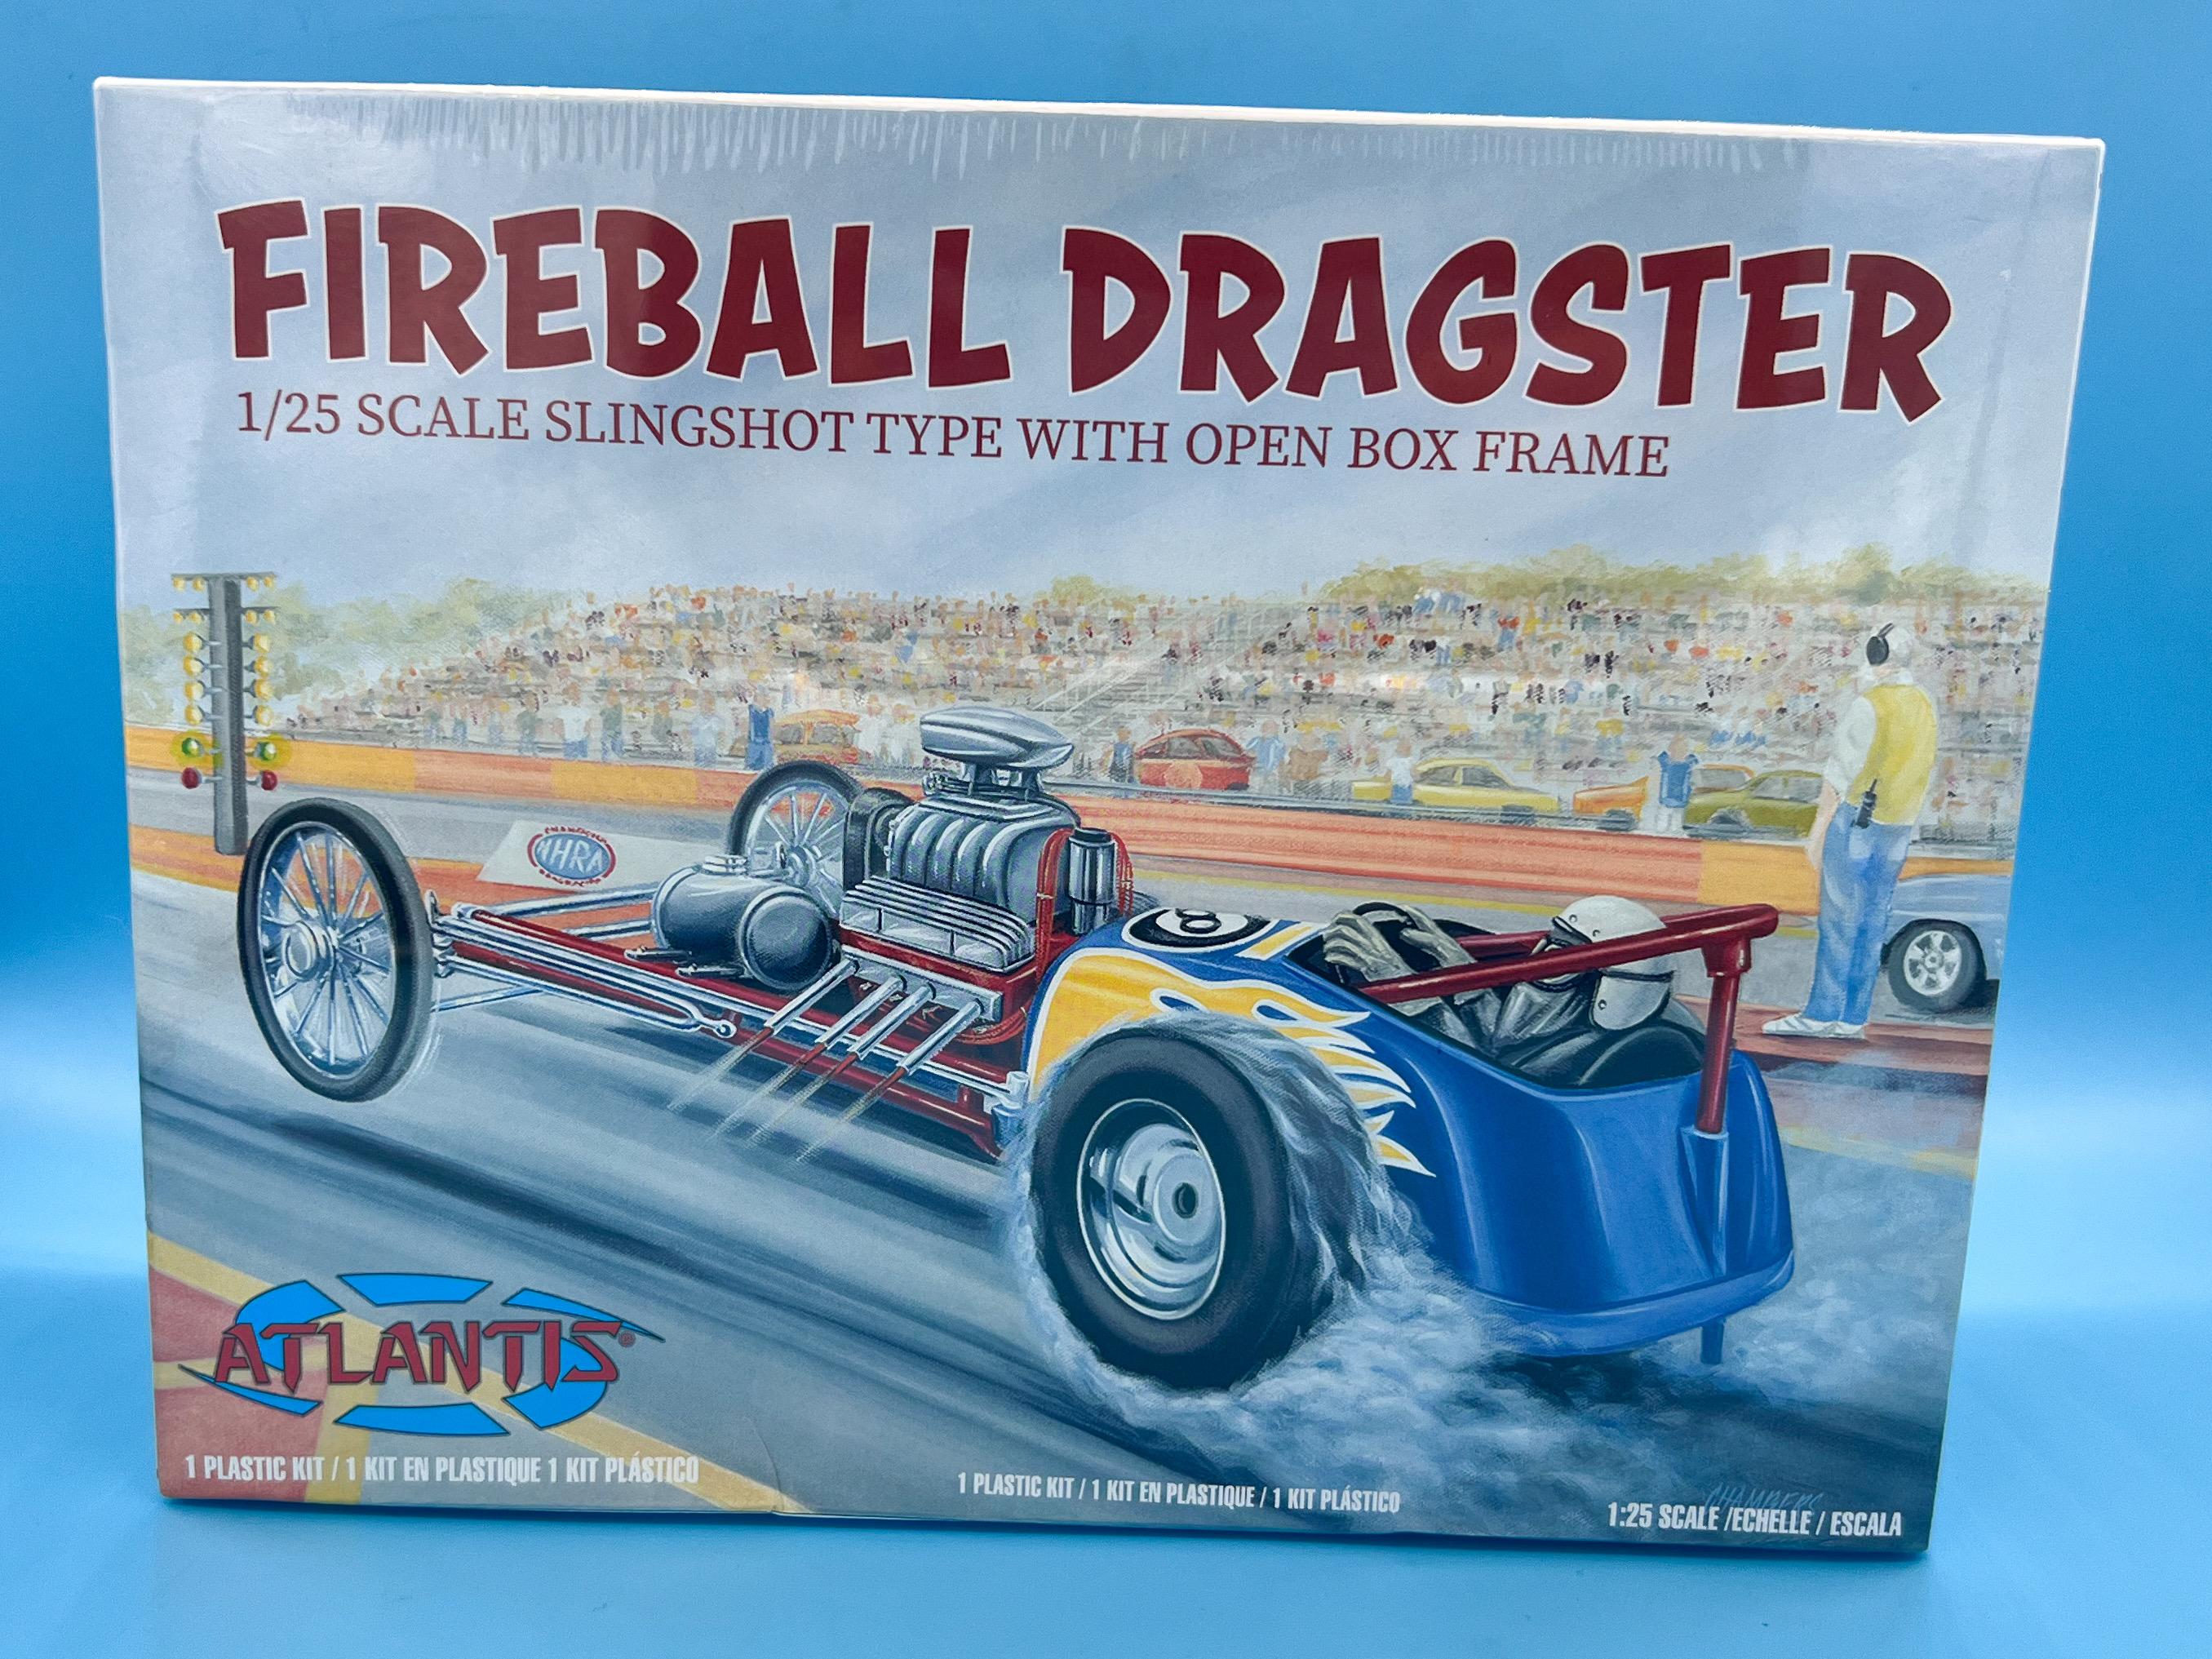
Another one for my Atlantis collection… I’m caught up with all their 1/24th and 1/25th kits now - got a few of the 1/32nd that I want to pick up and then the next thing I’m excited for is their Midget release…gonna need a bunch of those I think…plus the Tom Daniel Sidewinder and Poison Pinto re-pops.
-
Using tiny rare-earth magnets for the hood
OldNYJim replied to 89AKurt's topic in Tips, Tricks, and Tutorials
An excellent video on the subject: -
70s Era Asphalt Modified
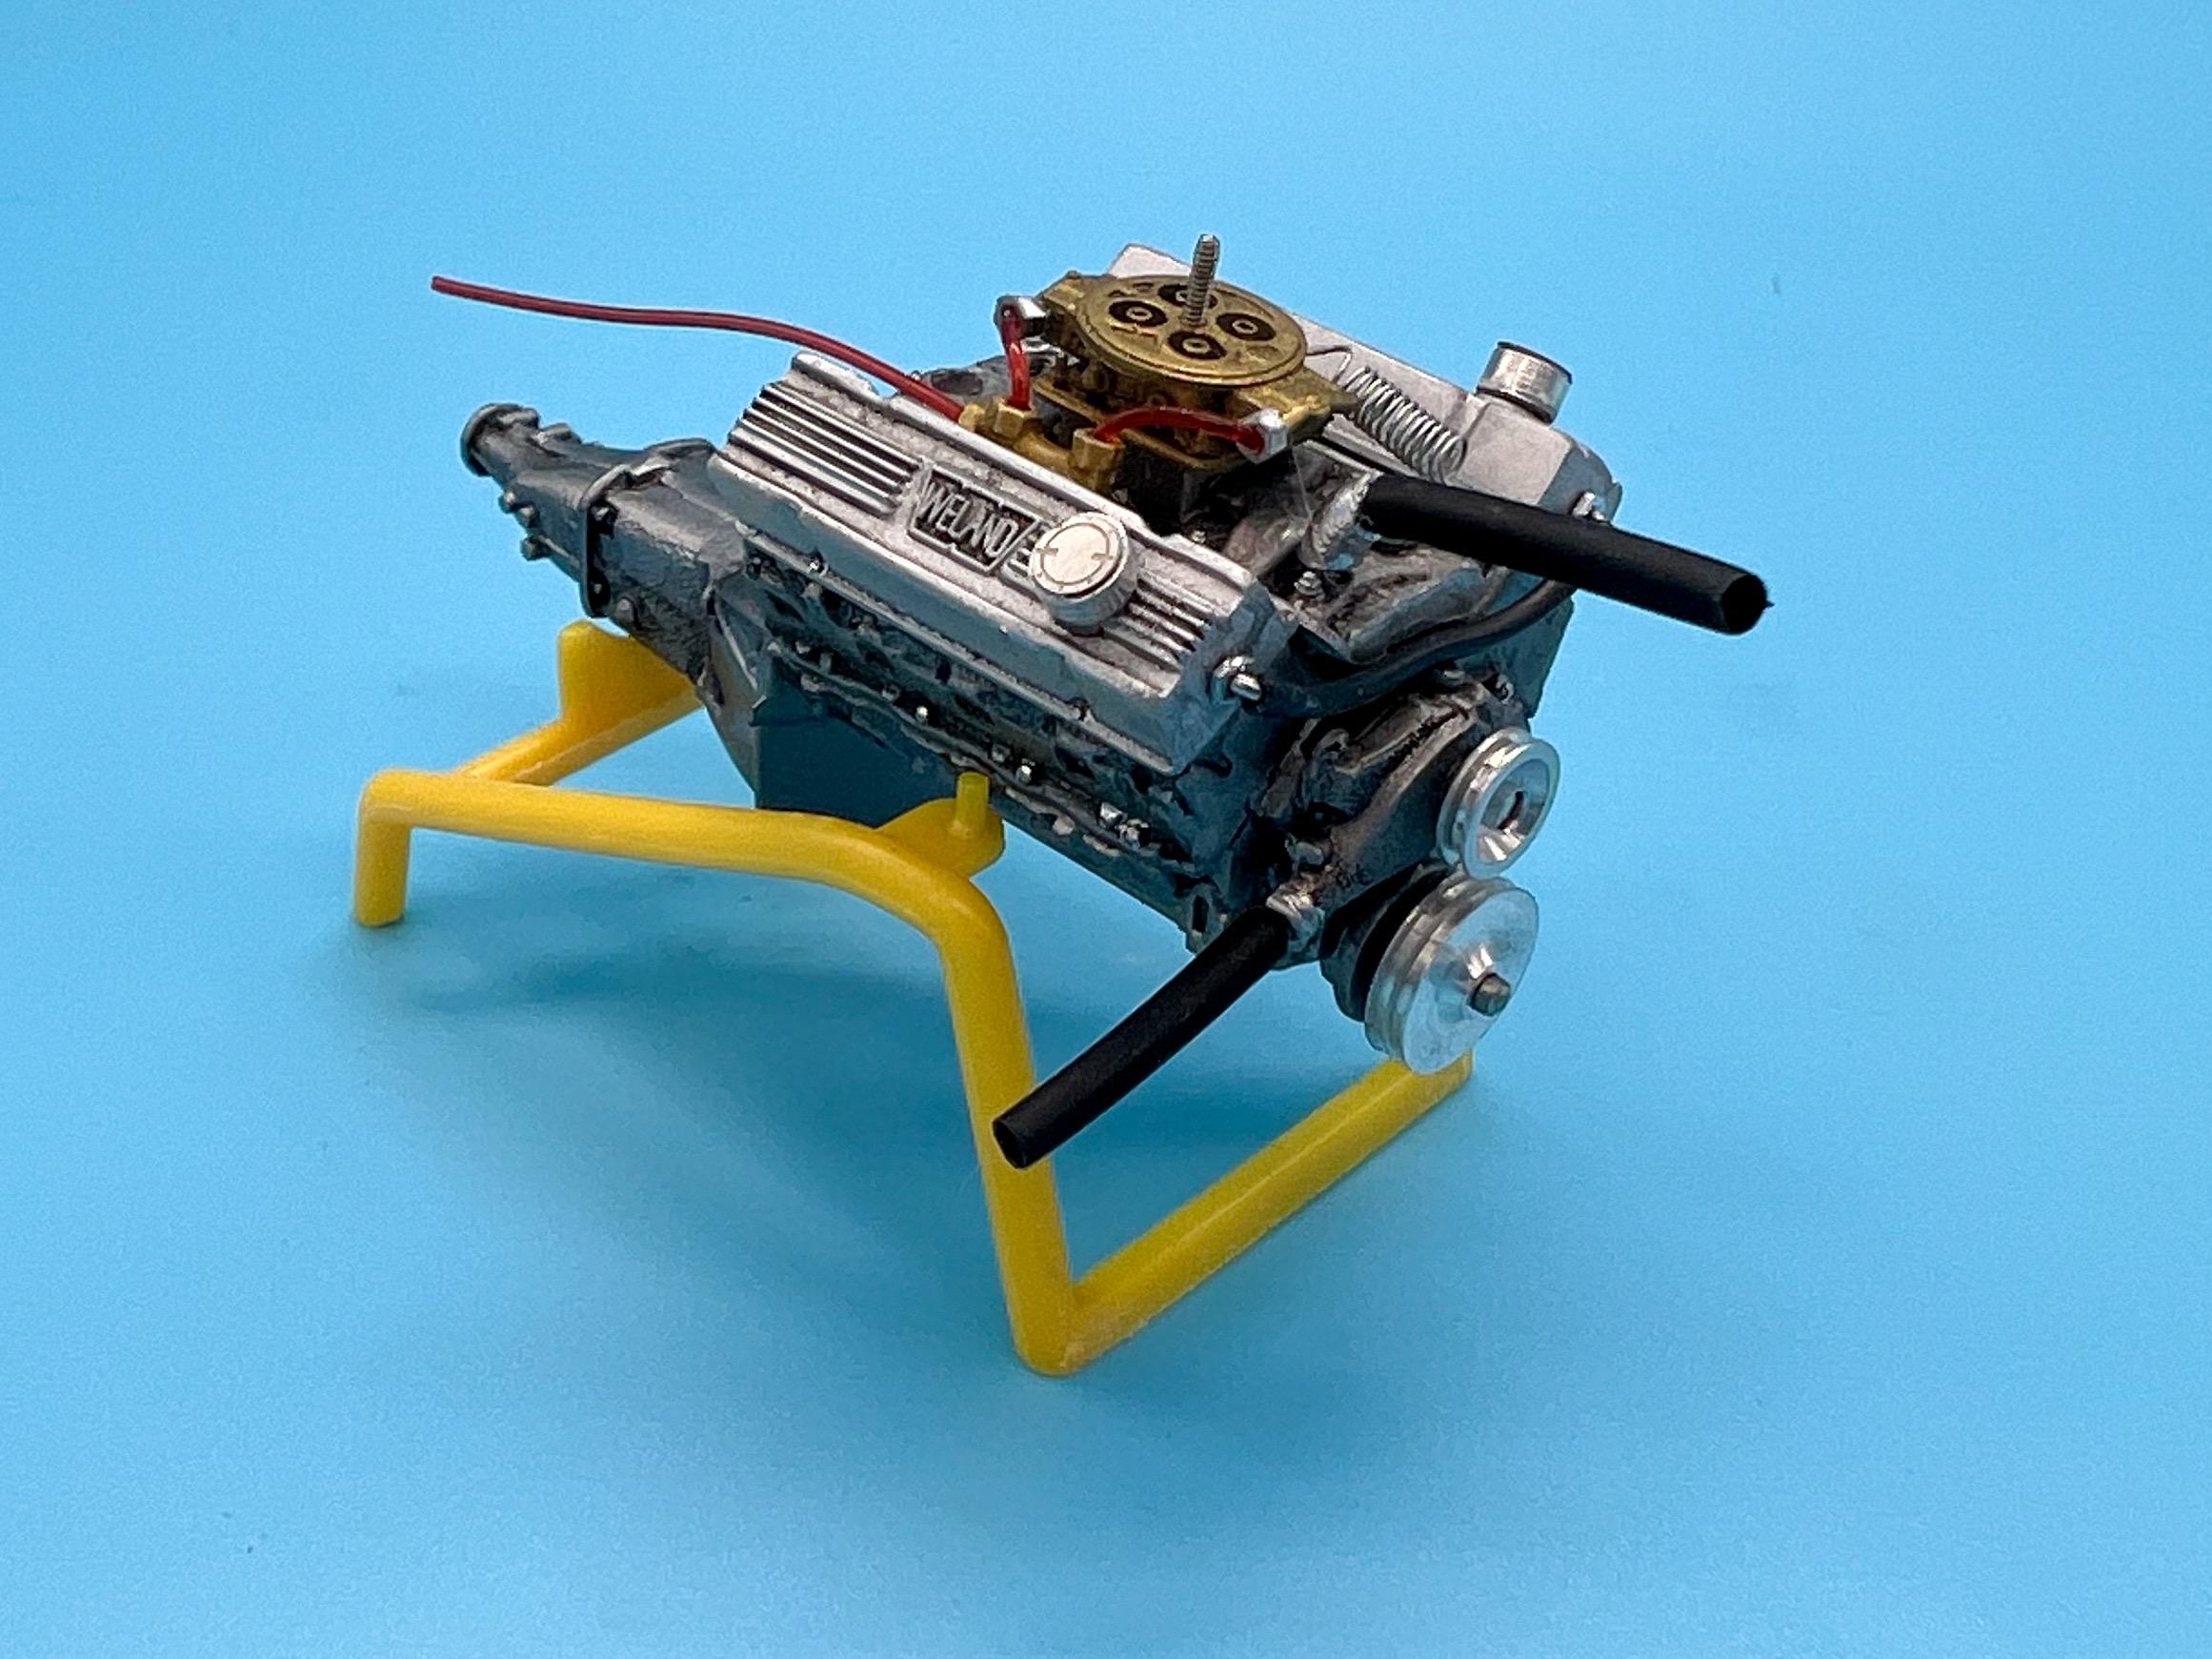
OldNYJim replied to OldNYJim's topic in WIP: Stock Cars (NASCAR, Super Stock, Late Model, etc.)
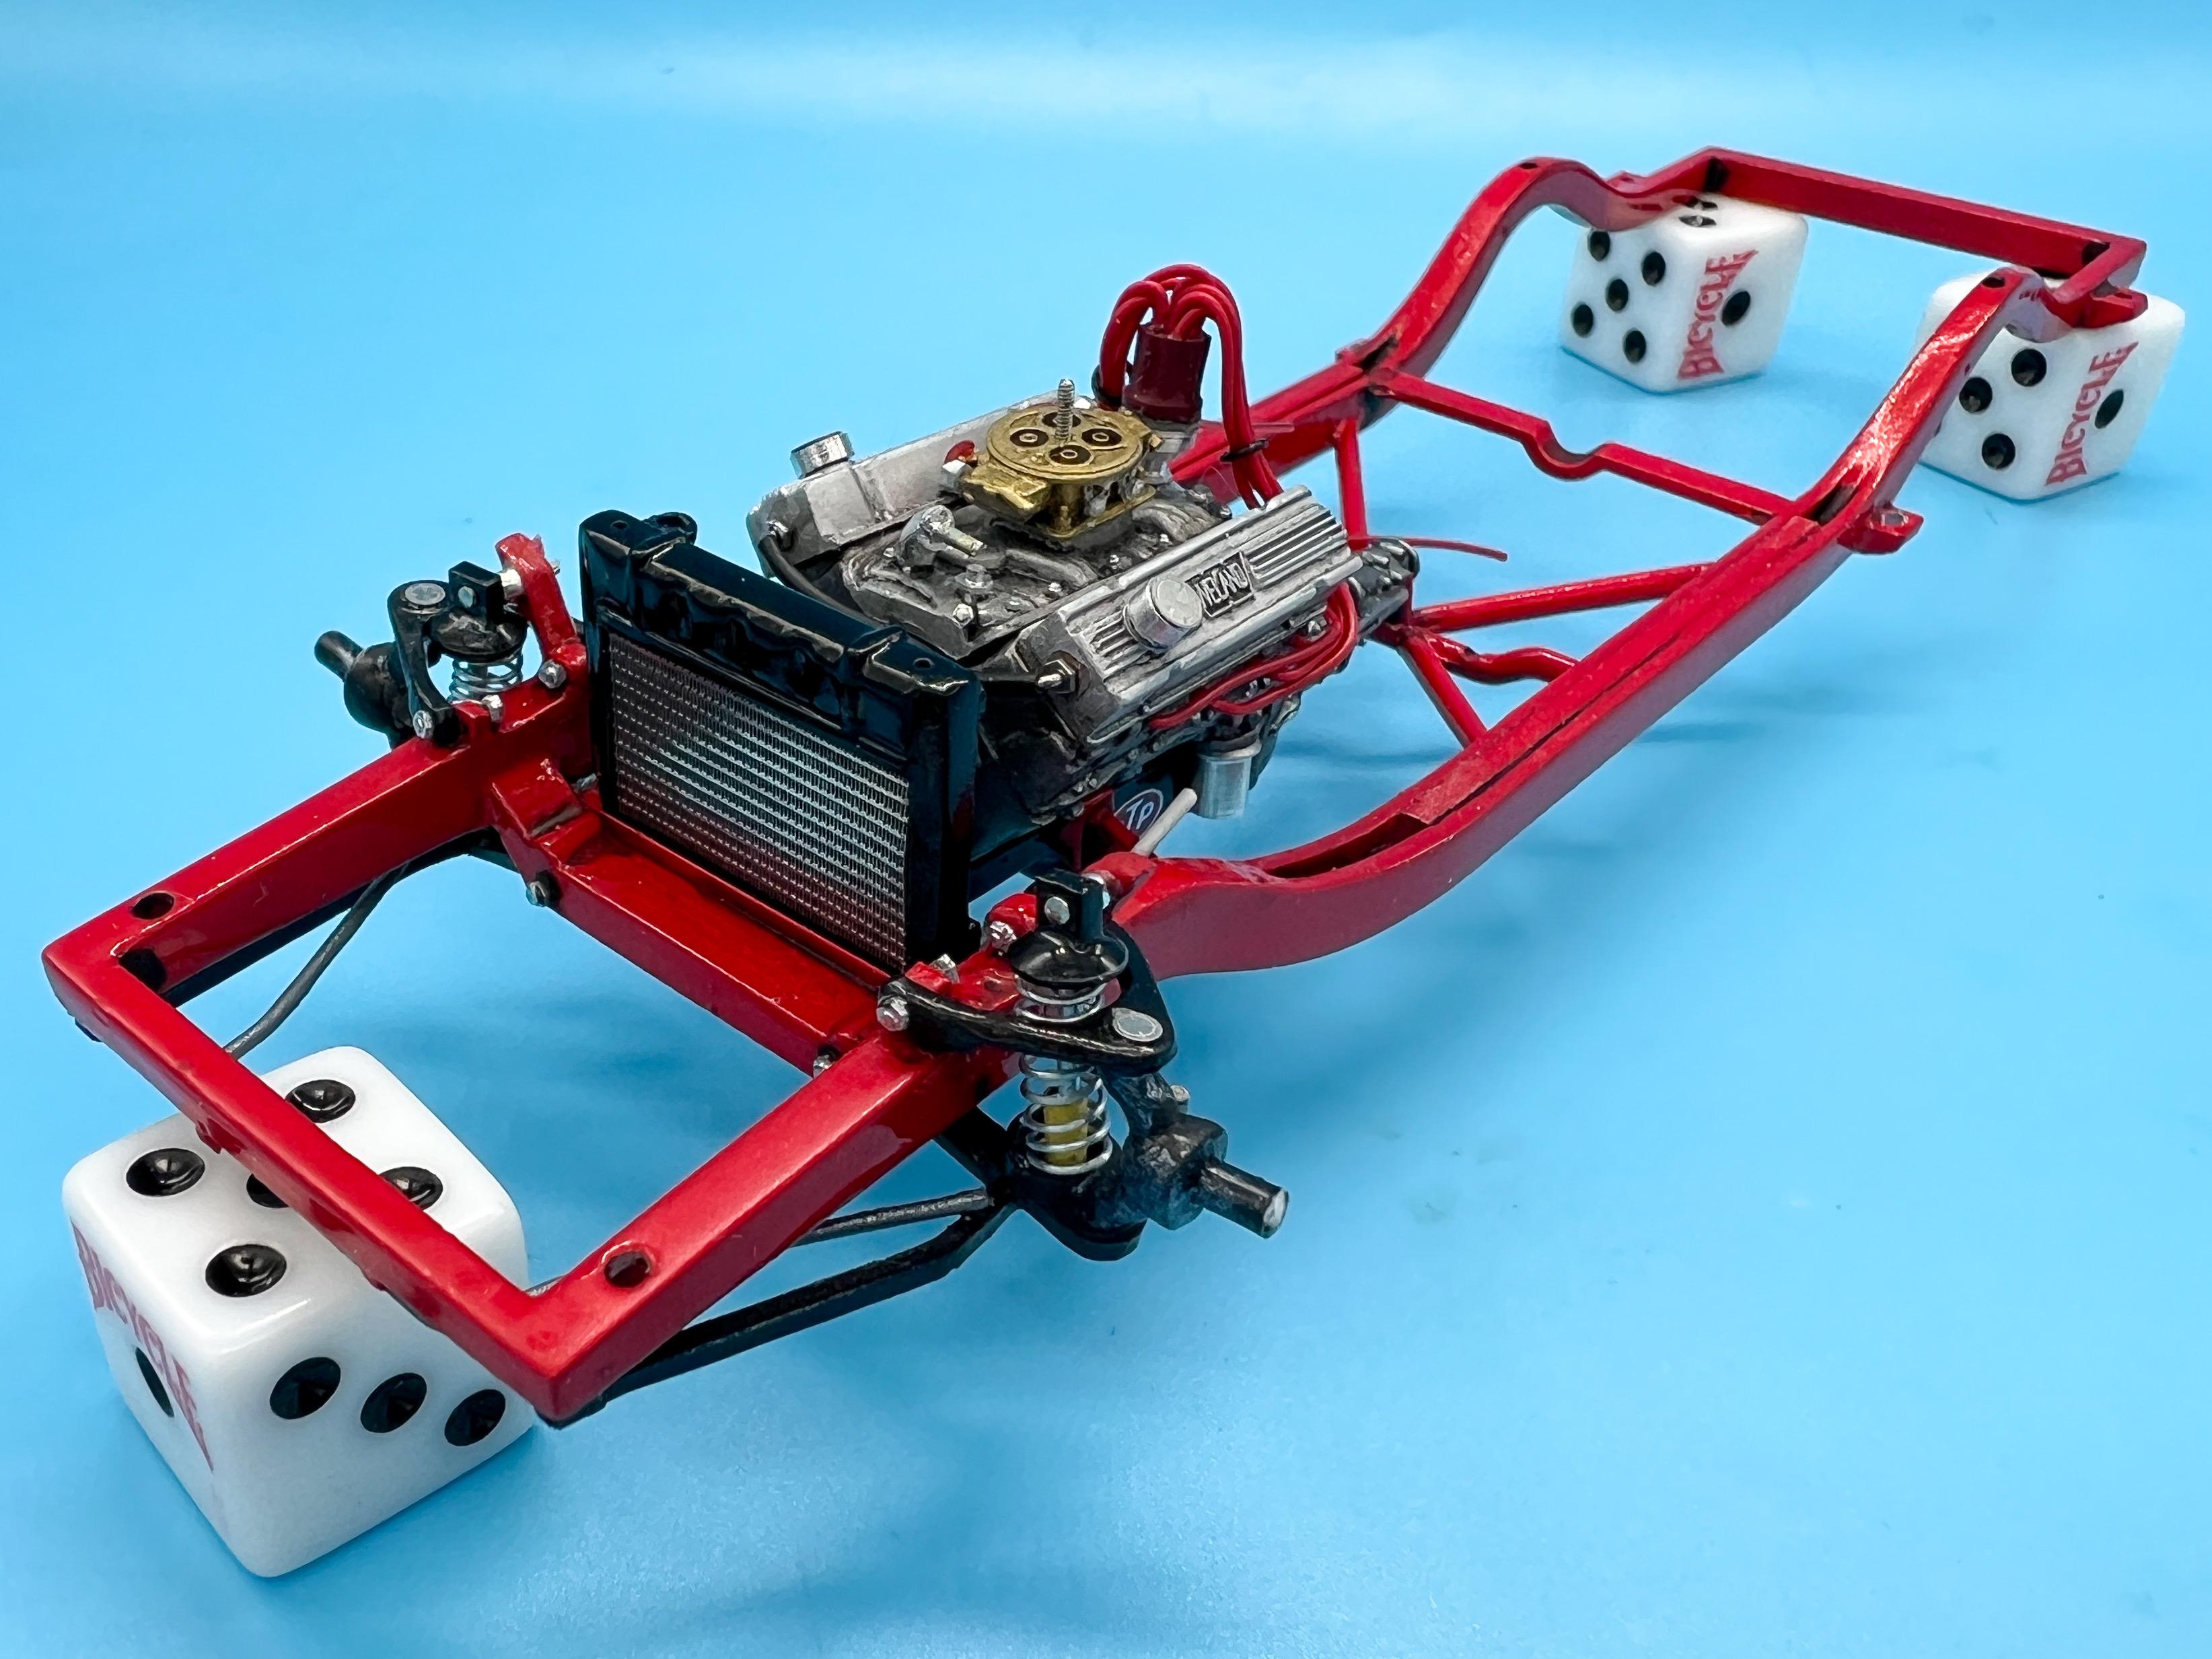
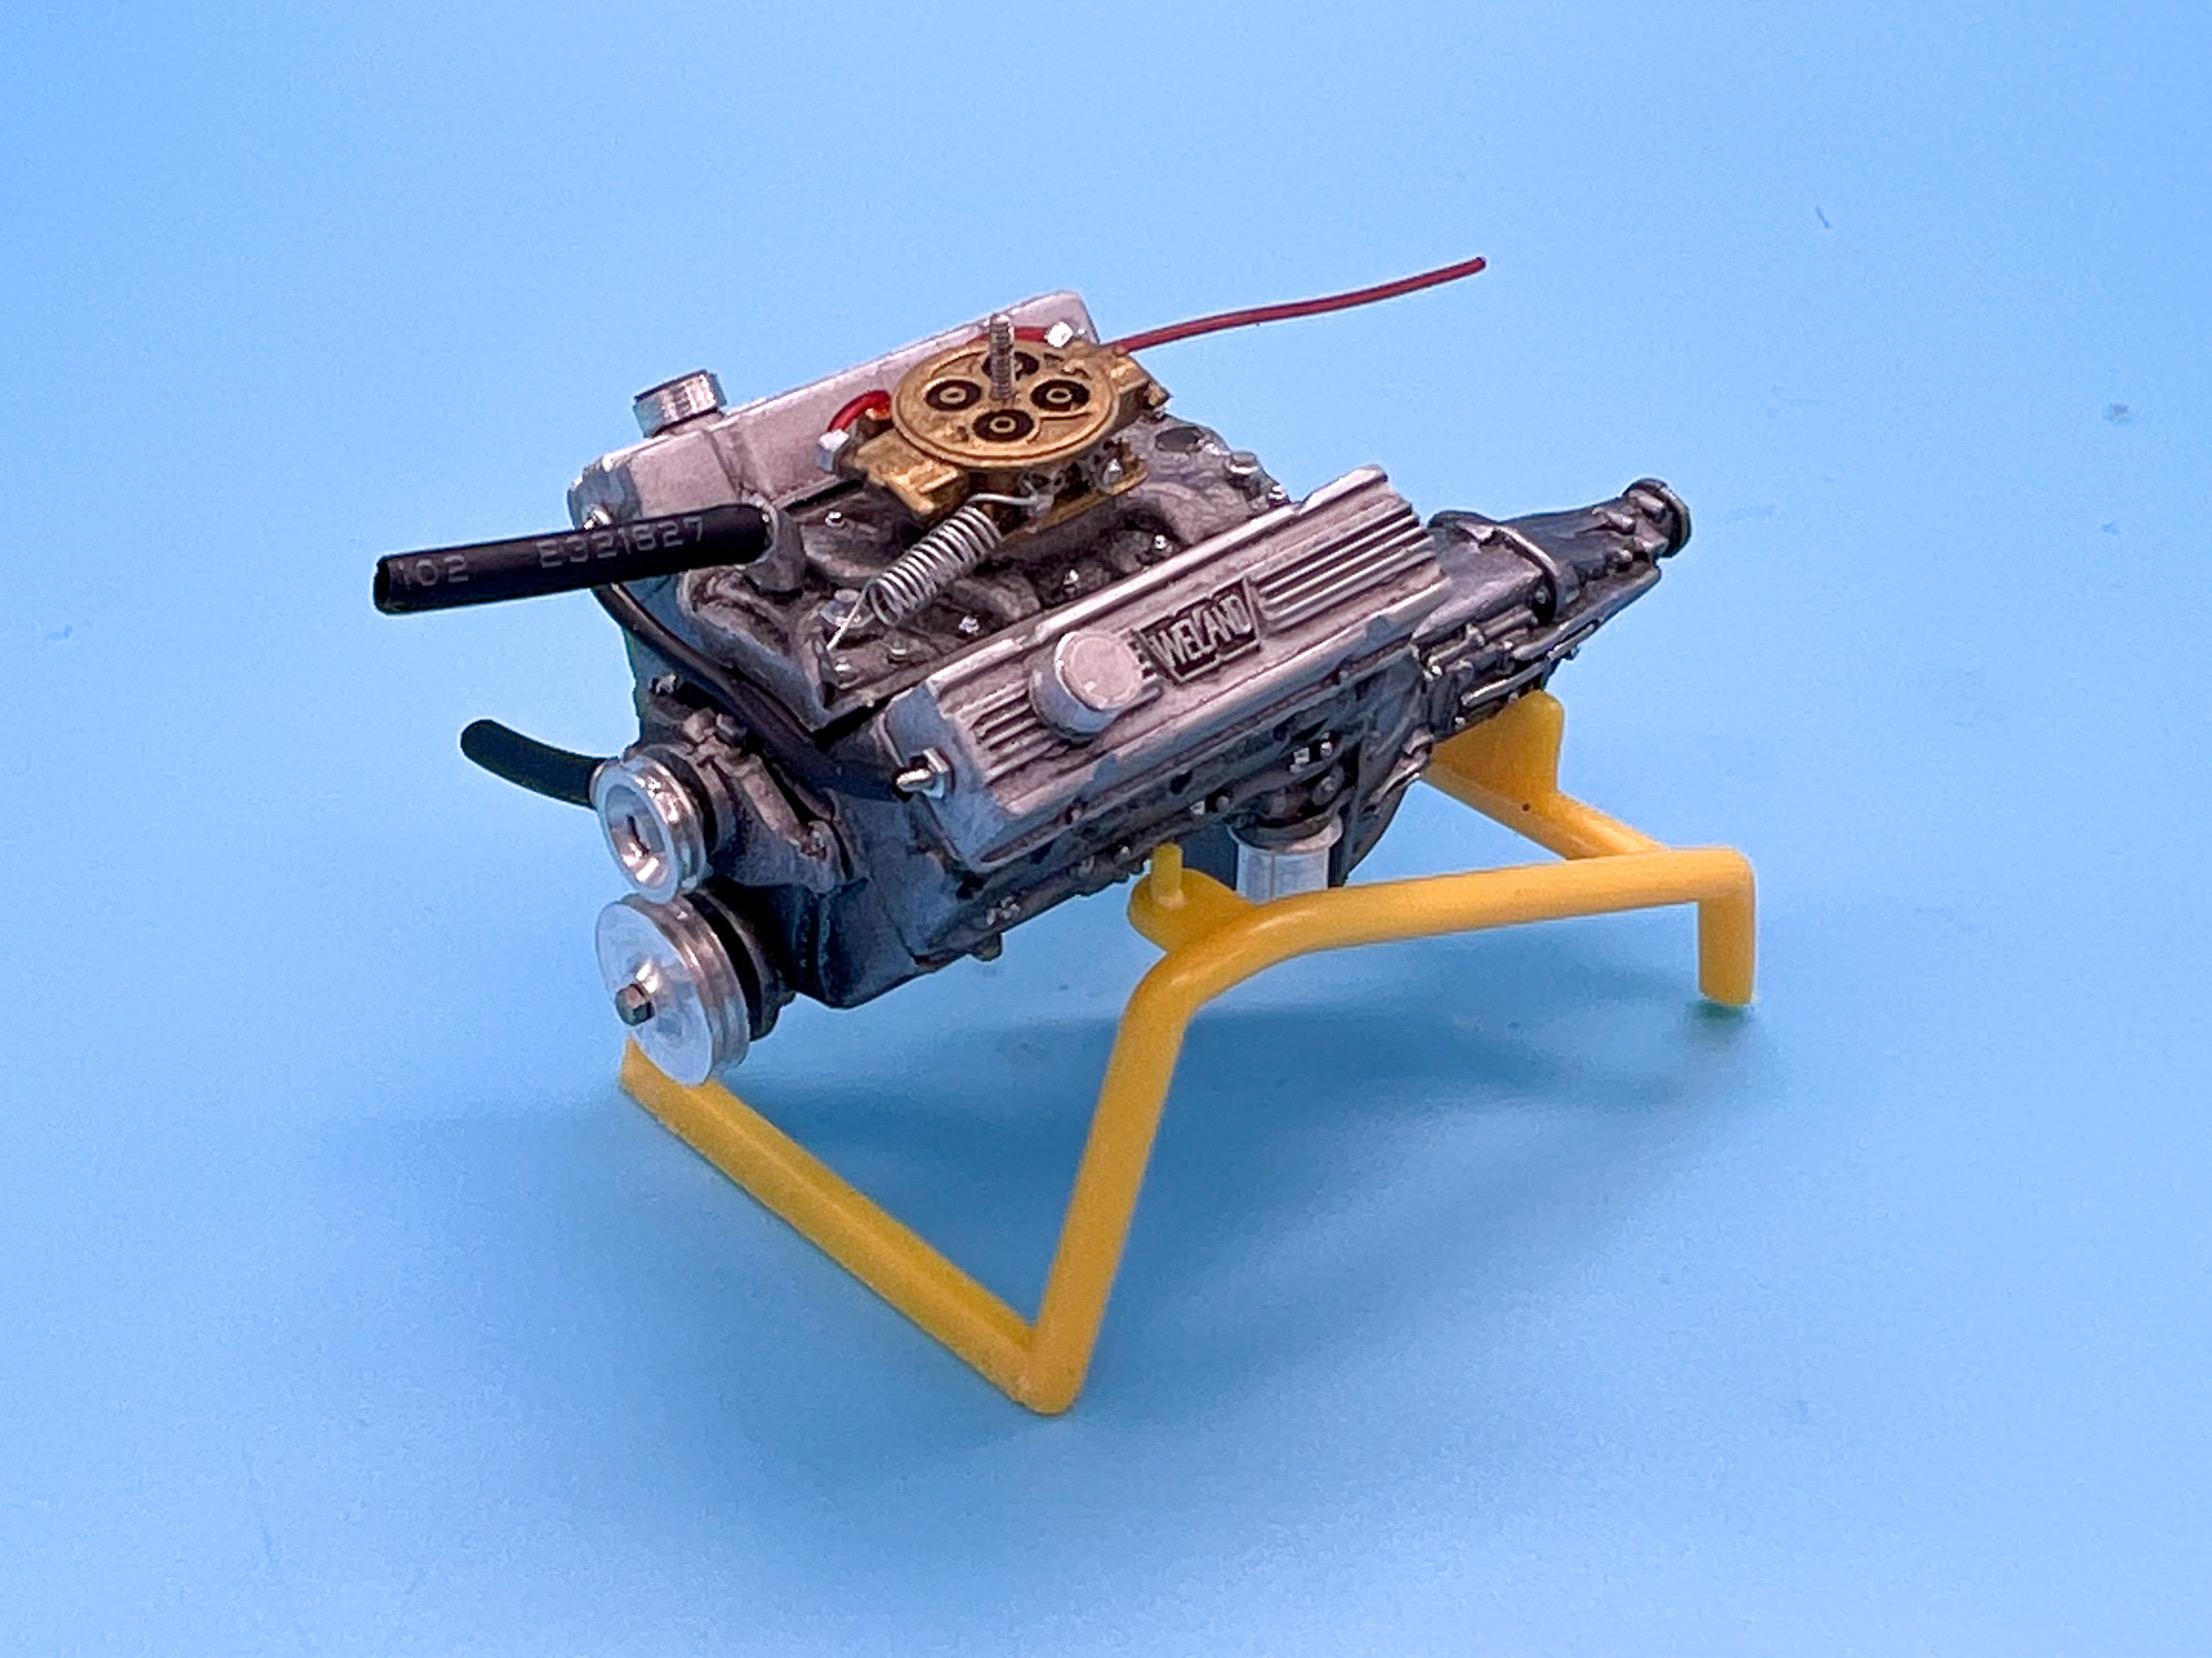
Thanks Bob! Today was pretty productive - nothing got FINISHED but I got a lot done… Did a bunch of work on the engine - 3D printed a distributor and wired it, made some A/N type fittings so I could plumb the carb and added some photoetch and some threaded bar for the air filter to spin onto: Then painted the oil pan, added a printed drain plug and a little drop of Future around the plug to make it look like it has a little oil around there: It’s actually almost done, apart from the starter and throttle cable and anything else I think of. Apparently a lot of these cars ran a large well-charged battery and no alternator, so that allowed me to keep it fairly ‘clean’ (but still dirty…) I finally got around to gluing all those individual lugnuts to the wheels, and got them assembled, complete with valve stems…they need some very light weathering but they’re close to being ready to install… Next up, a light wash on the frame to give it a little life. I’m not going for super-dirty on this build, but I wanted to add a little bit of wear and tear at least… The underside got a little more weathering than the top, but not a bunch…dry brushed some Vallejo steel on the edges of the frame, added a couple of little scuffs and some very minor rust and called it good…I figure these things run low and they probably scrape and grind the tracks a LITTLE anyway: And next up was a straight three hours of assembling - most of which was adding photoetch and printed fasteners…I didn’t finish yet so I’ll post better pics when I have, but something I’m pretty pleased with is how good the disk brakes look on my quick mock-up here…love that my printer managed to print the vent holes to where they’re actually visible: Oh, and from earlier in the day, a quick motivational mock-up of how some of these (semi) finished pieces will look all together: Still a LOT to do, but it’s coming together slowly…next jobs will be making shocks for the front, finishing up the hardware and fasteners and then detailing the radiator. Thanks for looking - more soon, soon as I’ve done more!
-
Was Donn at NNL East yesterday? Hope he’s doing ok!
-
True dat…
-
One question tho - isn’t that roll bar mounted backwards?
-
I was already excited about the Atlantis Sidewinder and the Midget kits - but they surprised me with Pinto…AWESOME!! Those guys are nailing it!! Round 2, too…I’m not even much of a pickup guy, but those F100s are a must-buy for me ?