OldNYJim
-
Posts
250 -
Joined
-
Last visited
Content Type
Profiles
Forums
Events
Gallery
Everything posted by OldNYJim
-
Beautiful work on that paint! Great looking build!
-
I really associated with this post (even if it is from 11 years ago)... I have no fear of putting a kit back on the shelf until I learn the right skill, or can find a particular material that I'm looking for, or until technology catches up with what I was hoping to do (I'm looking at you, 3d printing). For example, I've got an AMT Firetruck T kit where I had the idea that I'd REALLY like to make all the brass parts out of brass rather than use their cheesy-looking gold 'chrome' that comes in the kit. I could fake the look with paint, but it wouldn't be as good, just use the plated parts in the box...or develop my brass and soldering skills along enough to achieve what I was hoping to achieve with the build. That kit has been on the shelf for YEARS...but at some point I'll be suitably equipped as a builder to do it justice. I've got a few other builds in progress, from as recently as late last year, where I've hit a wall in skill and I need to figure a thing out. Actually, on that same firetruck kit I had the idea of learning to do actual gold-leaf lettering, in scale, and have just recently got good enough with that technique that I think I could pull it off now...which I definitely wouldn't have been able to do previously No rush - I'd rather have an amazing project on my shelf unfinished until a time where I can actually MAKE it amazing than have a kit I'm not happy with done and checked off the list so I can say it's 'done'.
-

My third project, Tamiya VW beetle pickup 1966
OldNYJim replied to Blueberry_no1's topic in WIP: Model Cars
This is a great kit, and they practically fall together on their own! I'll be following! -
So, guess I don’t have to wash my wife’s car this weekend
OldNYJim replied to OldNYJim's topic in The Off-Topic Lounge
Interesting! I haven’t owned a new enough car ever, apparently ? -
Nostalgia Fuel Dragster--Blower Manifold (01/28/23)
OldNYJim replied to Straightliner59's topic in WIP: Drag Racing Models
I like that Krylon ‘chrome’ for polished aluminum too! It’s a weird paint - it’s tough to get other paint to stick to it sometimes (I tried using it as a base for candies) and the paints I tried would often bead up on the surface, but it’s great for what it’s great for! Really enjoying this build still - it’s a real masterclass -
70s Era Asphalt Modified
OldNYJim replied to OldNYJim's topic in WIP: Stock Cars (NASCAR, Super Stock, Late Model, etc.)
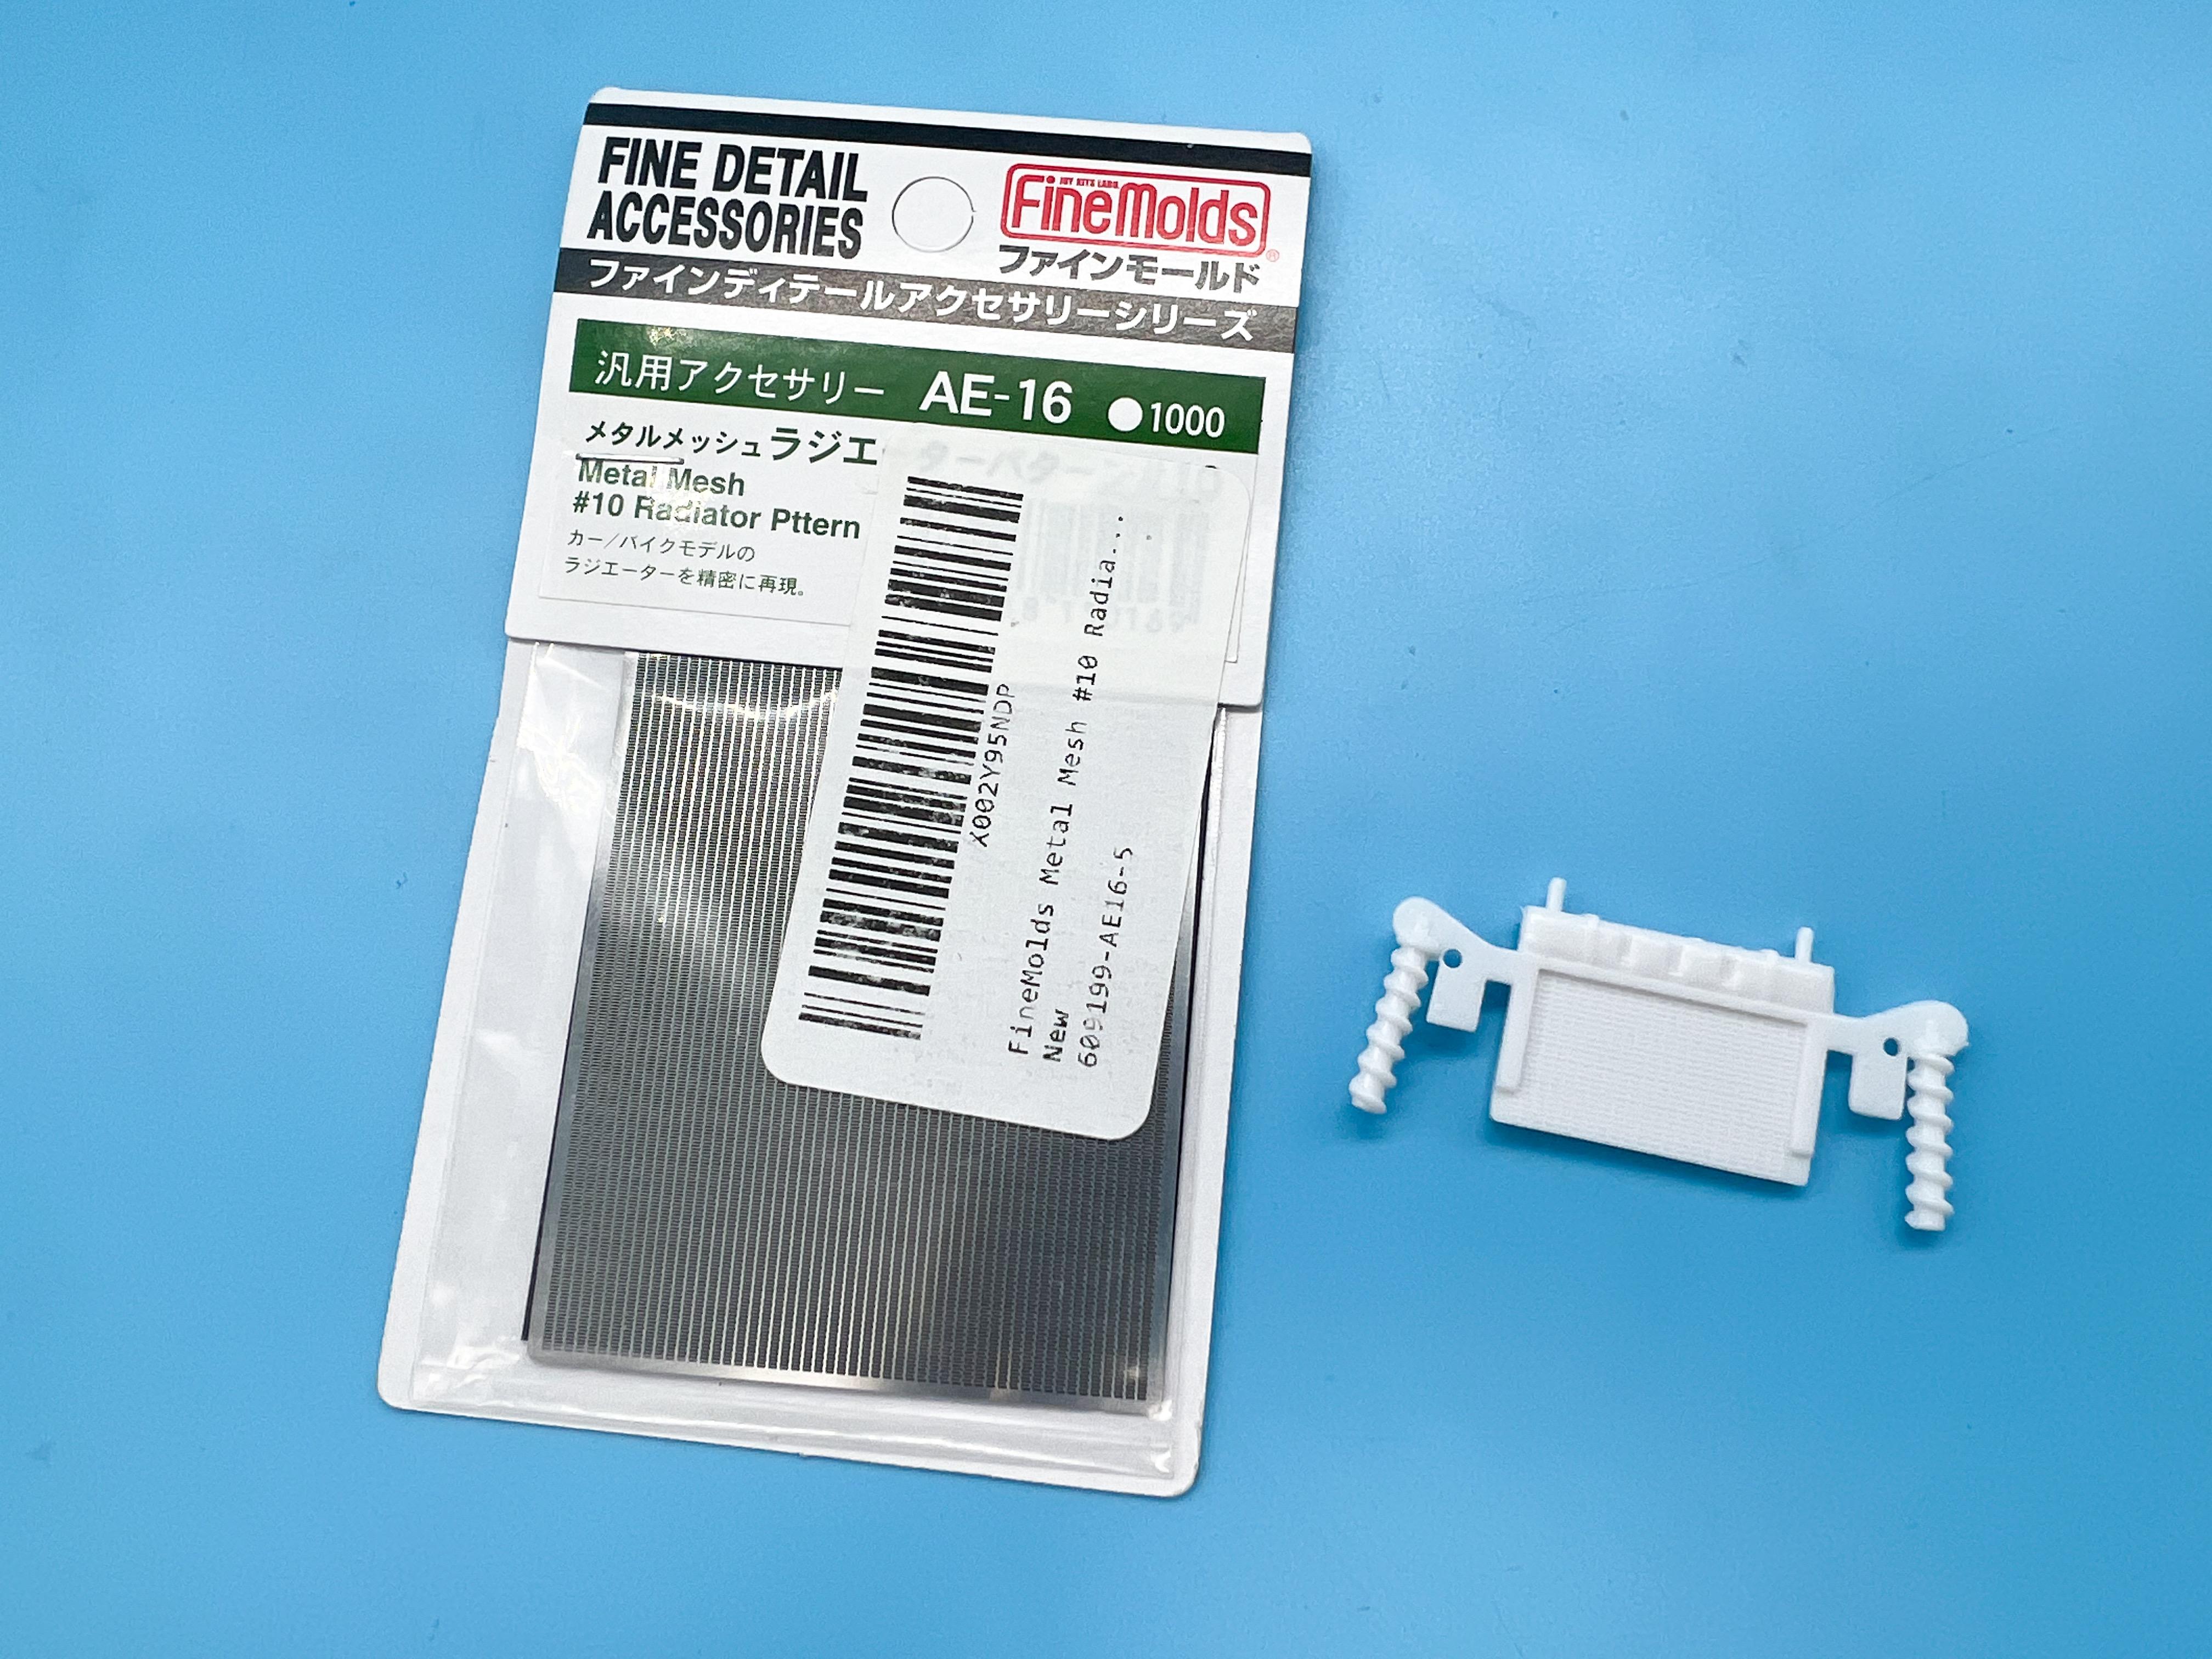
Thank you!! Love your work btw! A little progress tonight, and a little failure…my track rod ends, which I thought I had figured out, all split overnight. Back to the drawing board - still determined to figure out how to make those, but the thin walls just split and cracked on me. I can beef them up some, but I was trying to get them properly in scale AND hollow. I’ll keep playing with that. In more productive news, I started slicing up the suspension to get it where it would actually feasibly work. Separated the lower ‘wishbones’ (kinda wishbones), and sliced the linkages away from a nonsensical tubular support they were attached to and added the sway bar that I had soldered up earlier this week…it’s very rough right now, but at least mechanically feasible now… I still need to figure out how to fix the much more visible stuff on the right-side-up of the suspension - I’ll definitely be making some coil overs and probably separating that radiator and replacing the little hood pins…so, basically, scratchbuilding the whole thing probably ? I ordered some photoetch radiator mesh material on Amazon and it arrived today so that’ll be a big step in adding some realism to the rad: Started some bodywork - removing mold-seams and filling in ejector-pin holes in the underside of the body (although there’s more to do yet there)…I think I’d like to hide some body structure up inside that roof if it won’t interfere with the rollcage too much: And finally a quick mock-up to see if everything still fits together right. Had to tweak the motor mounts very very slightly to get the new improved Revell block to fit properly but otherwise it just fell right in there: Just a small update but it’s all progress! More soon, soon as I’ve done more!
-
AMT 1960 3-in-1 Ford F-100 Pickup Truck
OldNYJim replied to rekcirb13's topic in Truck Kit News & Reviews
Oh yeah, I get it - no complaints (and I’m really only a lurker over there anyway)…I was mainly commenting on being surprised how much originals are selling for. Some of those are selling for 1:1 car payment money! -
AMT 1960 3-in-1 Ford F-100 Pickup Truck
OldNYJim replied to rekcirb13's topic in Truck Kit News & Reviews
Haha, there’s a CBP over on the TRaK board for these and I thought “I wouldn’t mind entering that” but they stipulate you need to build an original issue kit. I still want to enter, but I don’t care about it THAT much to where I’d buy an original at current prices… -
70s Era Asphalt Modified
OldNYJim replied to OldNYJim's topic in WIP: Stock Cars (NASCAR, Super Stock, Late Model, etc.)
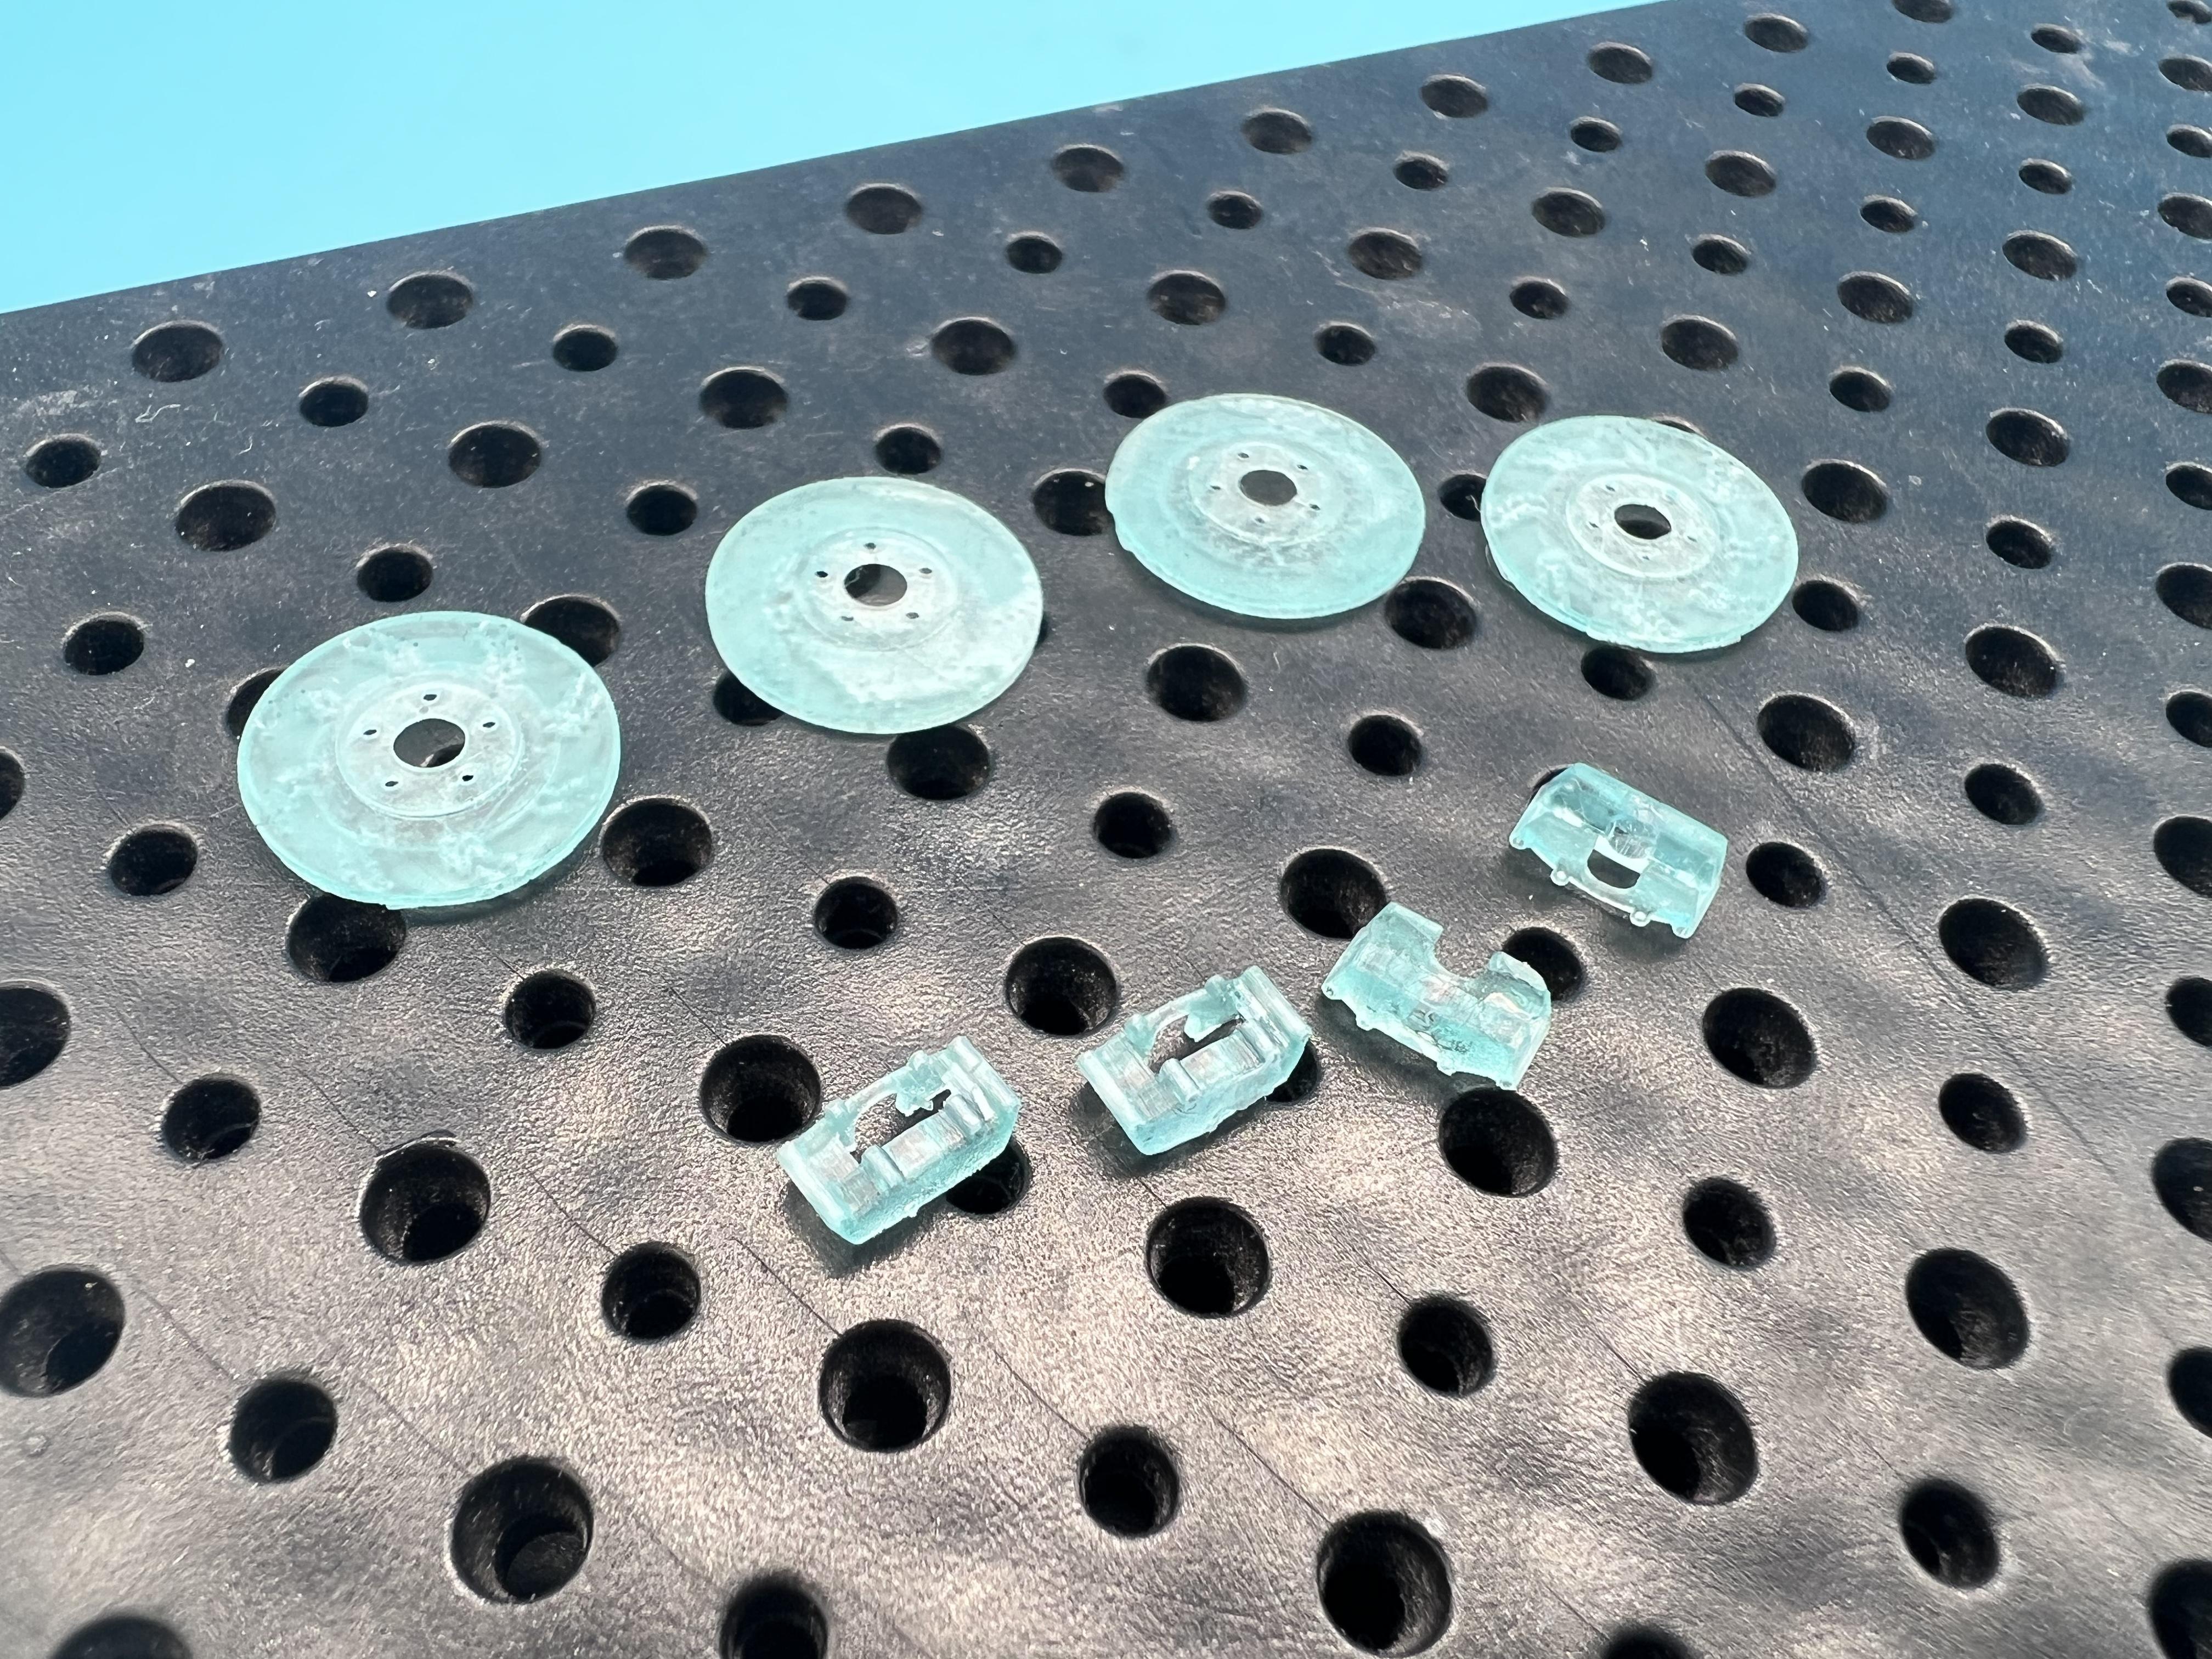
Happy Tuesday y’all! A little more progress…and if it seems like I’m kinda skipping all over the place, it’s because I kinda am - but it makes sense in my head. 3d printed the brake drums this evening - had to modify the file I was using to accommodate the square mounting pegs on the kit axle, but no biggie - and they fit like a glove. A slightly loose glove, but that’ll change once there’s a few layers of paint and primer on there… I’ll detail these parts up some more, but I’ve got a good solid starting point now… Whilst I was printing some stuff I tried my track rod ends again and tried a new trick…by mounting them on pins for the curing I can make sure the holes are nice and clean and opened up fully whilst the resin is still a little pliable and sticky, and then when they’re cured the holes don’t shrink down to being unusable. Seems to have worked great, and I’m pleased I’ll be able to use some of these on the build to add a little detail: Not that you can see them in that clear resin very well, but they should look good with some paint anyway ? Whilst the printer was running I dug through my stash for a better engine to use than the MPC big block in the kit. It’s not TERRIBLE…but this Revell version is nicer. Kit part at the back, Revell at the front: I’ll be using the MPC intake manifold and valve covers, plus a couple of upgrade parts like these machined pulleys, a better carb and one of my printed distributors. Check out the detail on that carb ? Next couple of jobs will be finishing up the wheels (which I why was focusing on getting the brakes done so I could test-fit everything) and then I can start mocking up the engine properly and figuring out the suspension so that I can THEN work on the frame. See, told you it makes sense to me ? More soon, soon as I’ve done more!
-
70s Era Asphalt Modified
OldNYJim replied to OldNYJim's topic in WIP: Stock Cars (NASCAR, Super Stock, Late Model, etc.)
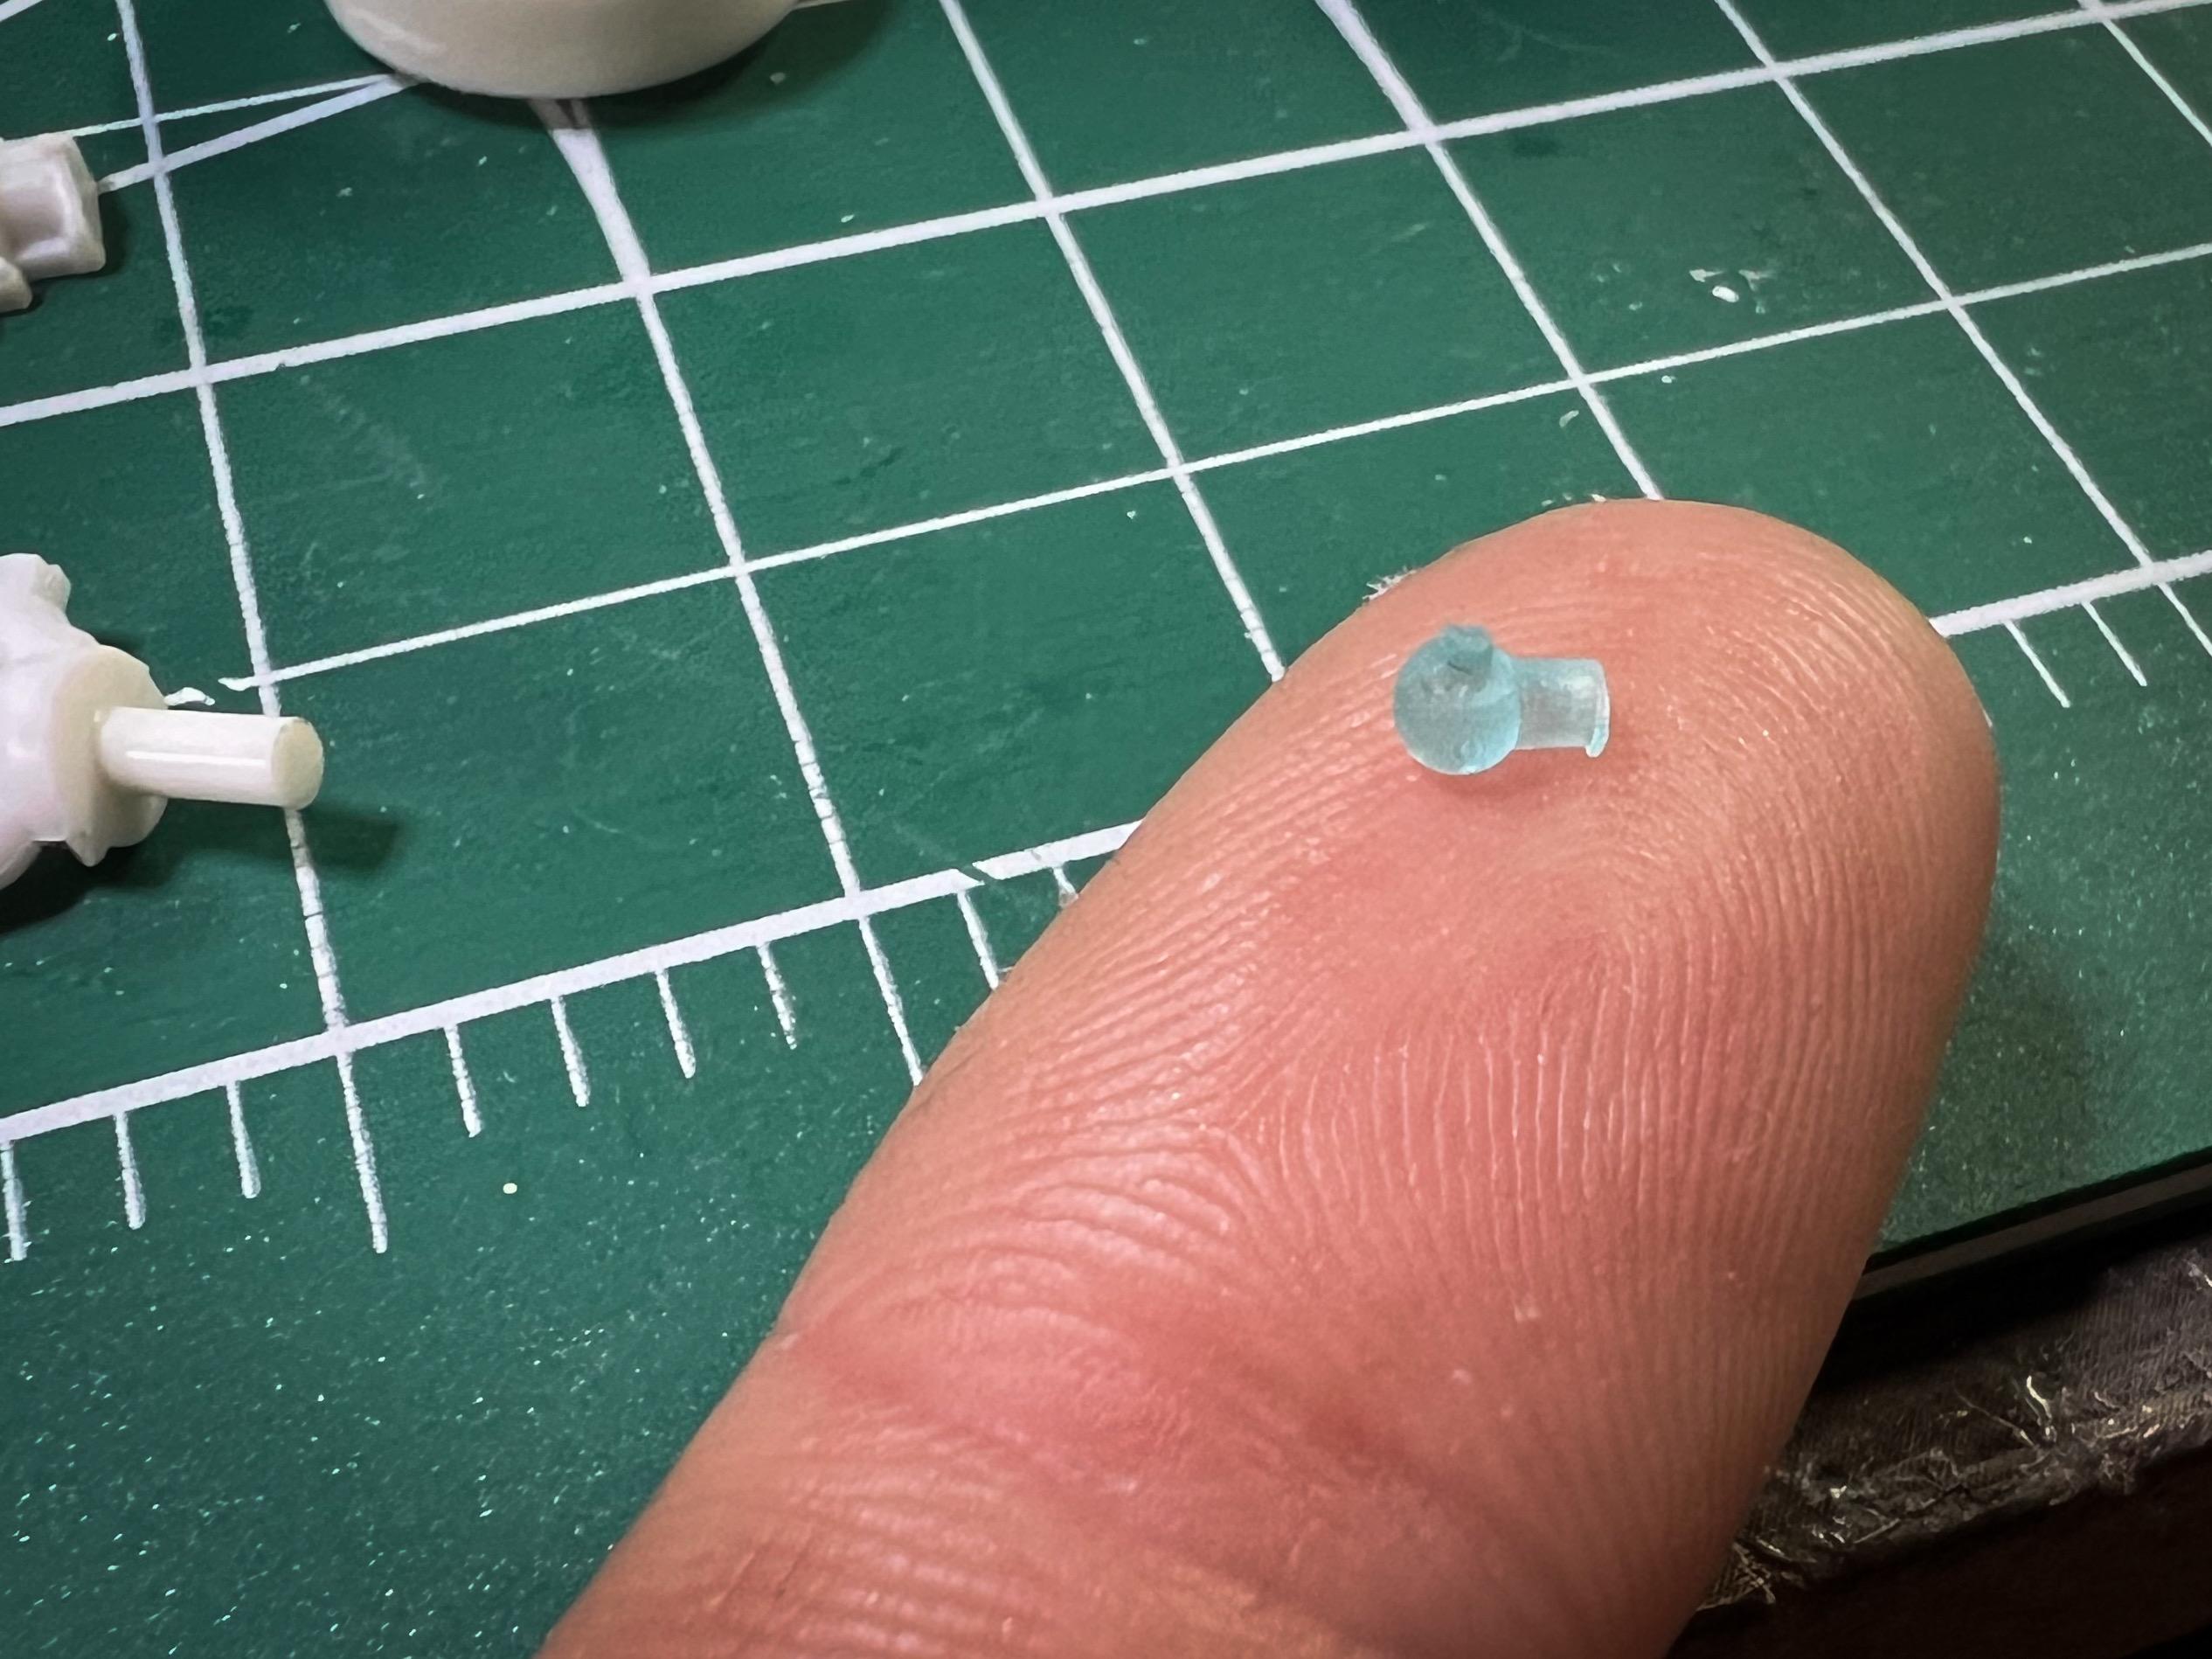
Thanks fellas! It’s Monday, so I didn’t get a straight 8 hours at the bench today…but got a little done on three different mini-projects that I’m mentally figuring out as I go. First project was easy - I went to the mailbox, opened the mail and checked out the Detail Master hood pin set that I’ll be using to, well, pin the hood. They’re some serious small clevis pins! They’ll work out perfect for the hood, and I’m considering opening up the trunk too so you can see the fuel cell and the rear axle. Looks like, from my research, a lot builders would weld the trunk closed on this era of car so I’m still debating if I’ll end up going that route… As I posted elsewhere on the site I was struggling to understand how the front suspension would actually function on this this if it were real, and it turns out, it kinda wouldn’t. Here’s the kit parts in place: I’ll be working through and replacing as much of that as I can with something a little more detailed and less ‘blobular’. Broke out the soldering iron tonight and some brass and made a start on a swaybar but didn’t get super far on that. That part was mostly a little practice to see if I could make something convincing with brass bar, tube and eventually some 3D printed hardware, but I’m also experimenting with printing rod ends that can simply slip onto the end of regular old brass roundbar. They’re cool in principle, but it’s tough to print them properly in-scale because you need a big enough hole to slide the bar into them, whilst keeping a thin wall thickness on the print. Plus, UV cure resin is like glass if you try and drill it so you really need to nail the size of them AND account for resin shrinkage. More experimenting to do on those… Speaking of printing, I did some more research and couldn’t immediately find examples of these cars running disks on the rear but DID find a few shots showing rear drums. Body-off shots of this era of oval car seem to be tough to find so I’m relying on a lot of blurry old analogue photos…but I think drums are a safe and logical bet for the rear end. A while back I printed a bunch of brake drums in varying (scale) quarter inch increments and I sorted through some this evening that will work well and not require a bunch of modifications to the axle and wheels: I’ll print some that are tweaked to easier fit the square mounts on this round axle tomorrow, but now I have (mostly) decided on a direction anyway… A long post with not much actual action, but I also had to diagnose a broken 1:1 car (my Mustang is having some new electrical problems this past couple of weeks and I’m trying to decide which thing to fix first on it) AND assemble a new cat tree for my wife (well, my wife’s cats), so more deep-dives into the kinda boring detail that Bill and I enjoy tomorrow! Thanks for looking!
-
Good tips, thank you!! I really need to find an airbrush that will shoot something with a larger flake like this, I’ve got a few projects where that would be useful
-
A Bit of Philosophy
OldNYJim replied to Bruce Poage's topic in General Automotive Talk (Trucks and Cars)
Haha; I didn’t spot how old this post was when I read it - I was searching something else on the site and I guess it came up! Those articles are great though - thanks for posting the link Tom! -
70s Era Asphalt Modified
OldNYJim replied to OldNYJim's topic in WIP: Stock Cars (NASCAR, Super Stock, Late Model, etc.)
Thanks fellas!! Day two is still step one of the instructions…tires. Talk about dragging out a simple thing… First up, airbrushed some Vallejo colors to add some shading and realism (hopefully) to the rubber. I used a little white to mix a lighter tone of their black, gray and brown for some extra variation): Then, a coat of gloss clear to help the decals stick, followed by the decals themselves: Then, a coat of satin matte clear to get rid of that gloss: They’re starting to get the subtle color variations and finish I wanted now…final step for right now was toning down the white lettering somewhat with Tamiya pastels: Before and after shot: Now I’ve almost run out of work to do on the tires, back to the wheels…except I want to add brakes to this thing, and I need to figure those out before I can finish the wheels. Printed up some disk brakes and calipers: My printer nailed the detail on these I think: And my next job was modifying the kit steering arms to accommodate the disks. Whilst I was at it, I switched out the inner part of the wheel rims for some from the parts box with a more in-scale wall thickness: I’m still contemplating what to do with the rear brakes - I suspect drums would be a more common option for this era of Modified? Haven’t totally figured that out yet…but more soon, soon as I do! Thanks for looking!
-
You guys are so awesome - I knew someone would know the answer to this one. That’s a MASSIVE help - thanks to all (and especially @NOBLNG and @Bainford for giving me some great images to work off of in improving this blobular kit part) Appreciate it fellas - this is the project that you all helped me with, in case you’re curious…
-
So, guess I don’t have to wash my wife’s car this weekend
OldNYJim replied to OldNYJim's topic in The Off-Topic Lounge
Great tip, thanks Bill! I’ll add that to my wife’s requests of “must have a heated steering wheel” and “must have a backup camera” and “must not be an old cop car” to aid in my search for something new for her. ?. -
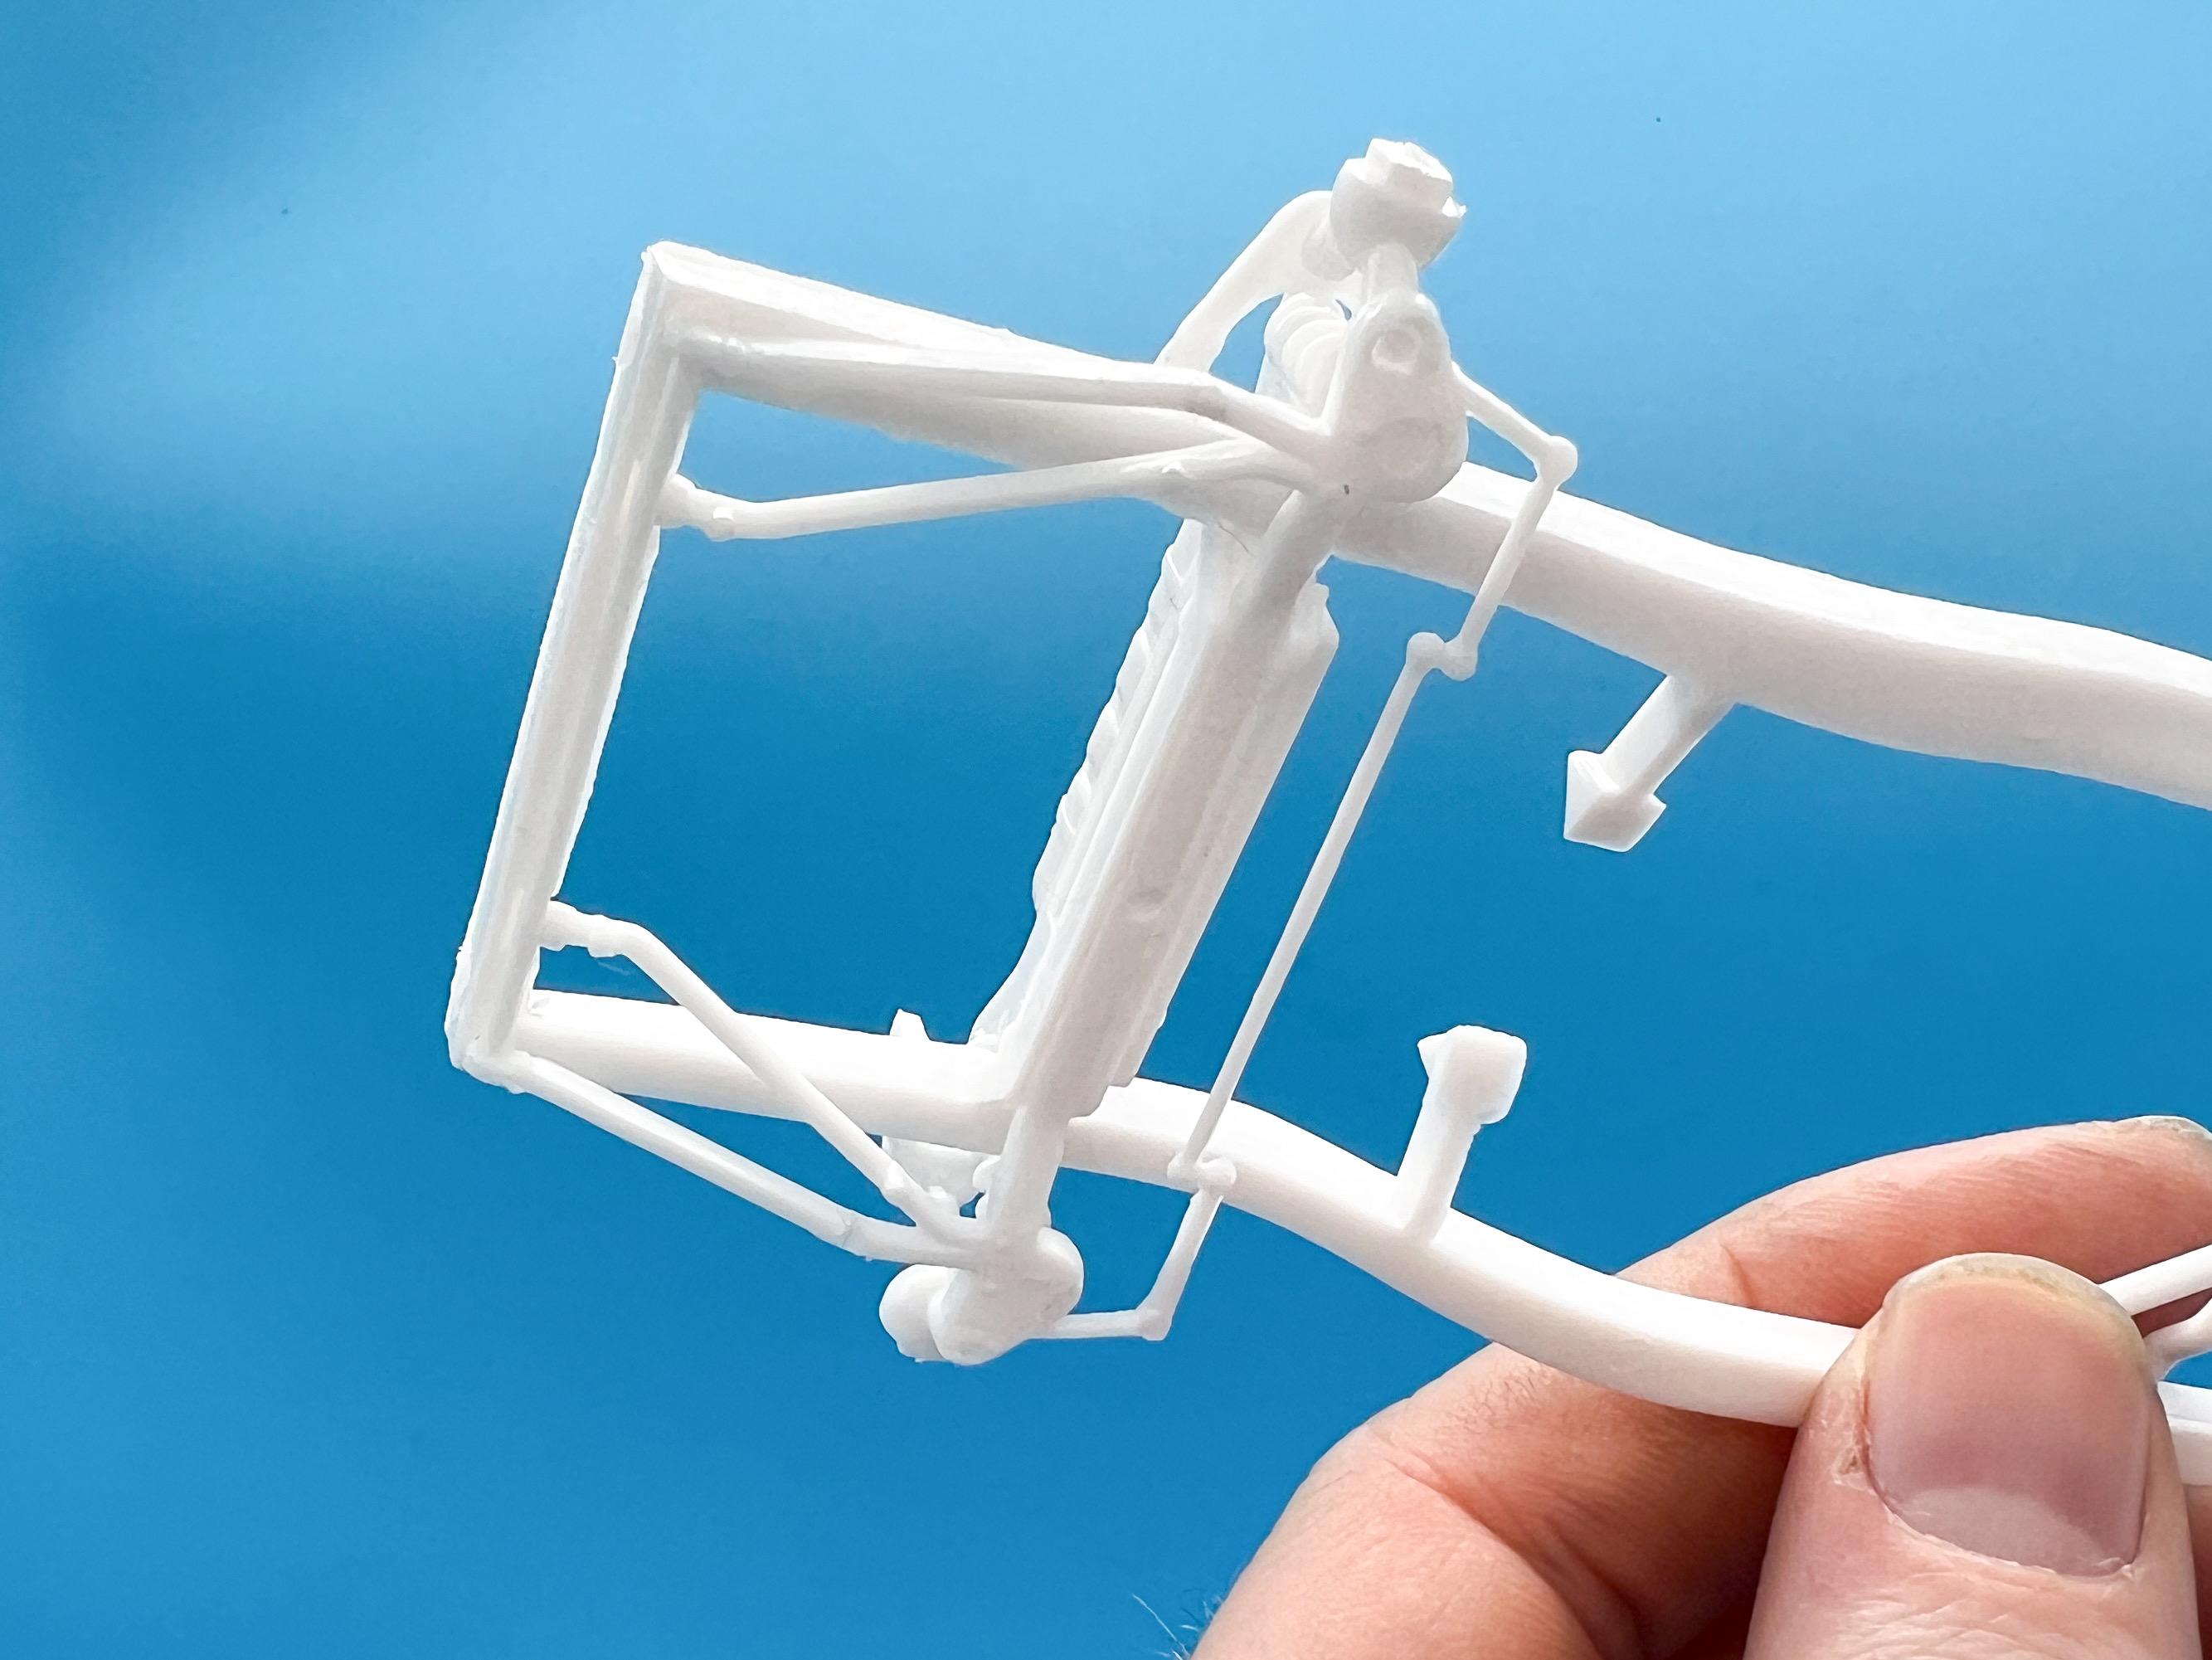
I’m no mechanical genius, but I can figure out SOME stuff, but this one has me stumped… MPC oval car front suspension. From this view, the upper portion makes sense…upper wishbone, coilover shock - simple: From this angle though, I can’t figure it out… Is this meant to be a kind of beam axle running the width of the frame, that pivots on those two kinked linkages that run from the beam to the front of the frame? (Presumably the two outer linkages would form a single sway bar on a real example?) That’s the best I can figure out - or is this just prototypically inaccurate and I’m trying to justify something that makes no sense here? I can’t see a way that the two sides would work independently of each other (and maybe they shouldn’t anyway)...I did a bunch of research on these 70s oval cars and didn’t come up with much good reference material to match up with what I’m trying to figure out here…
-
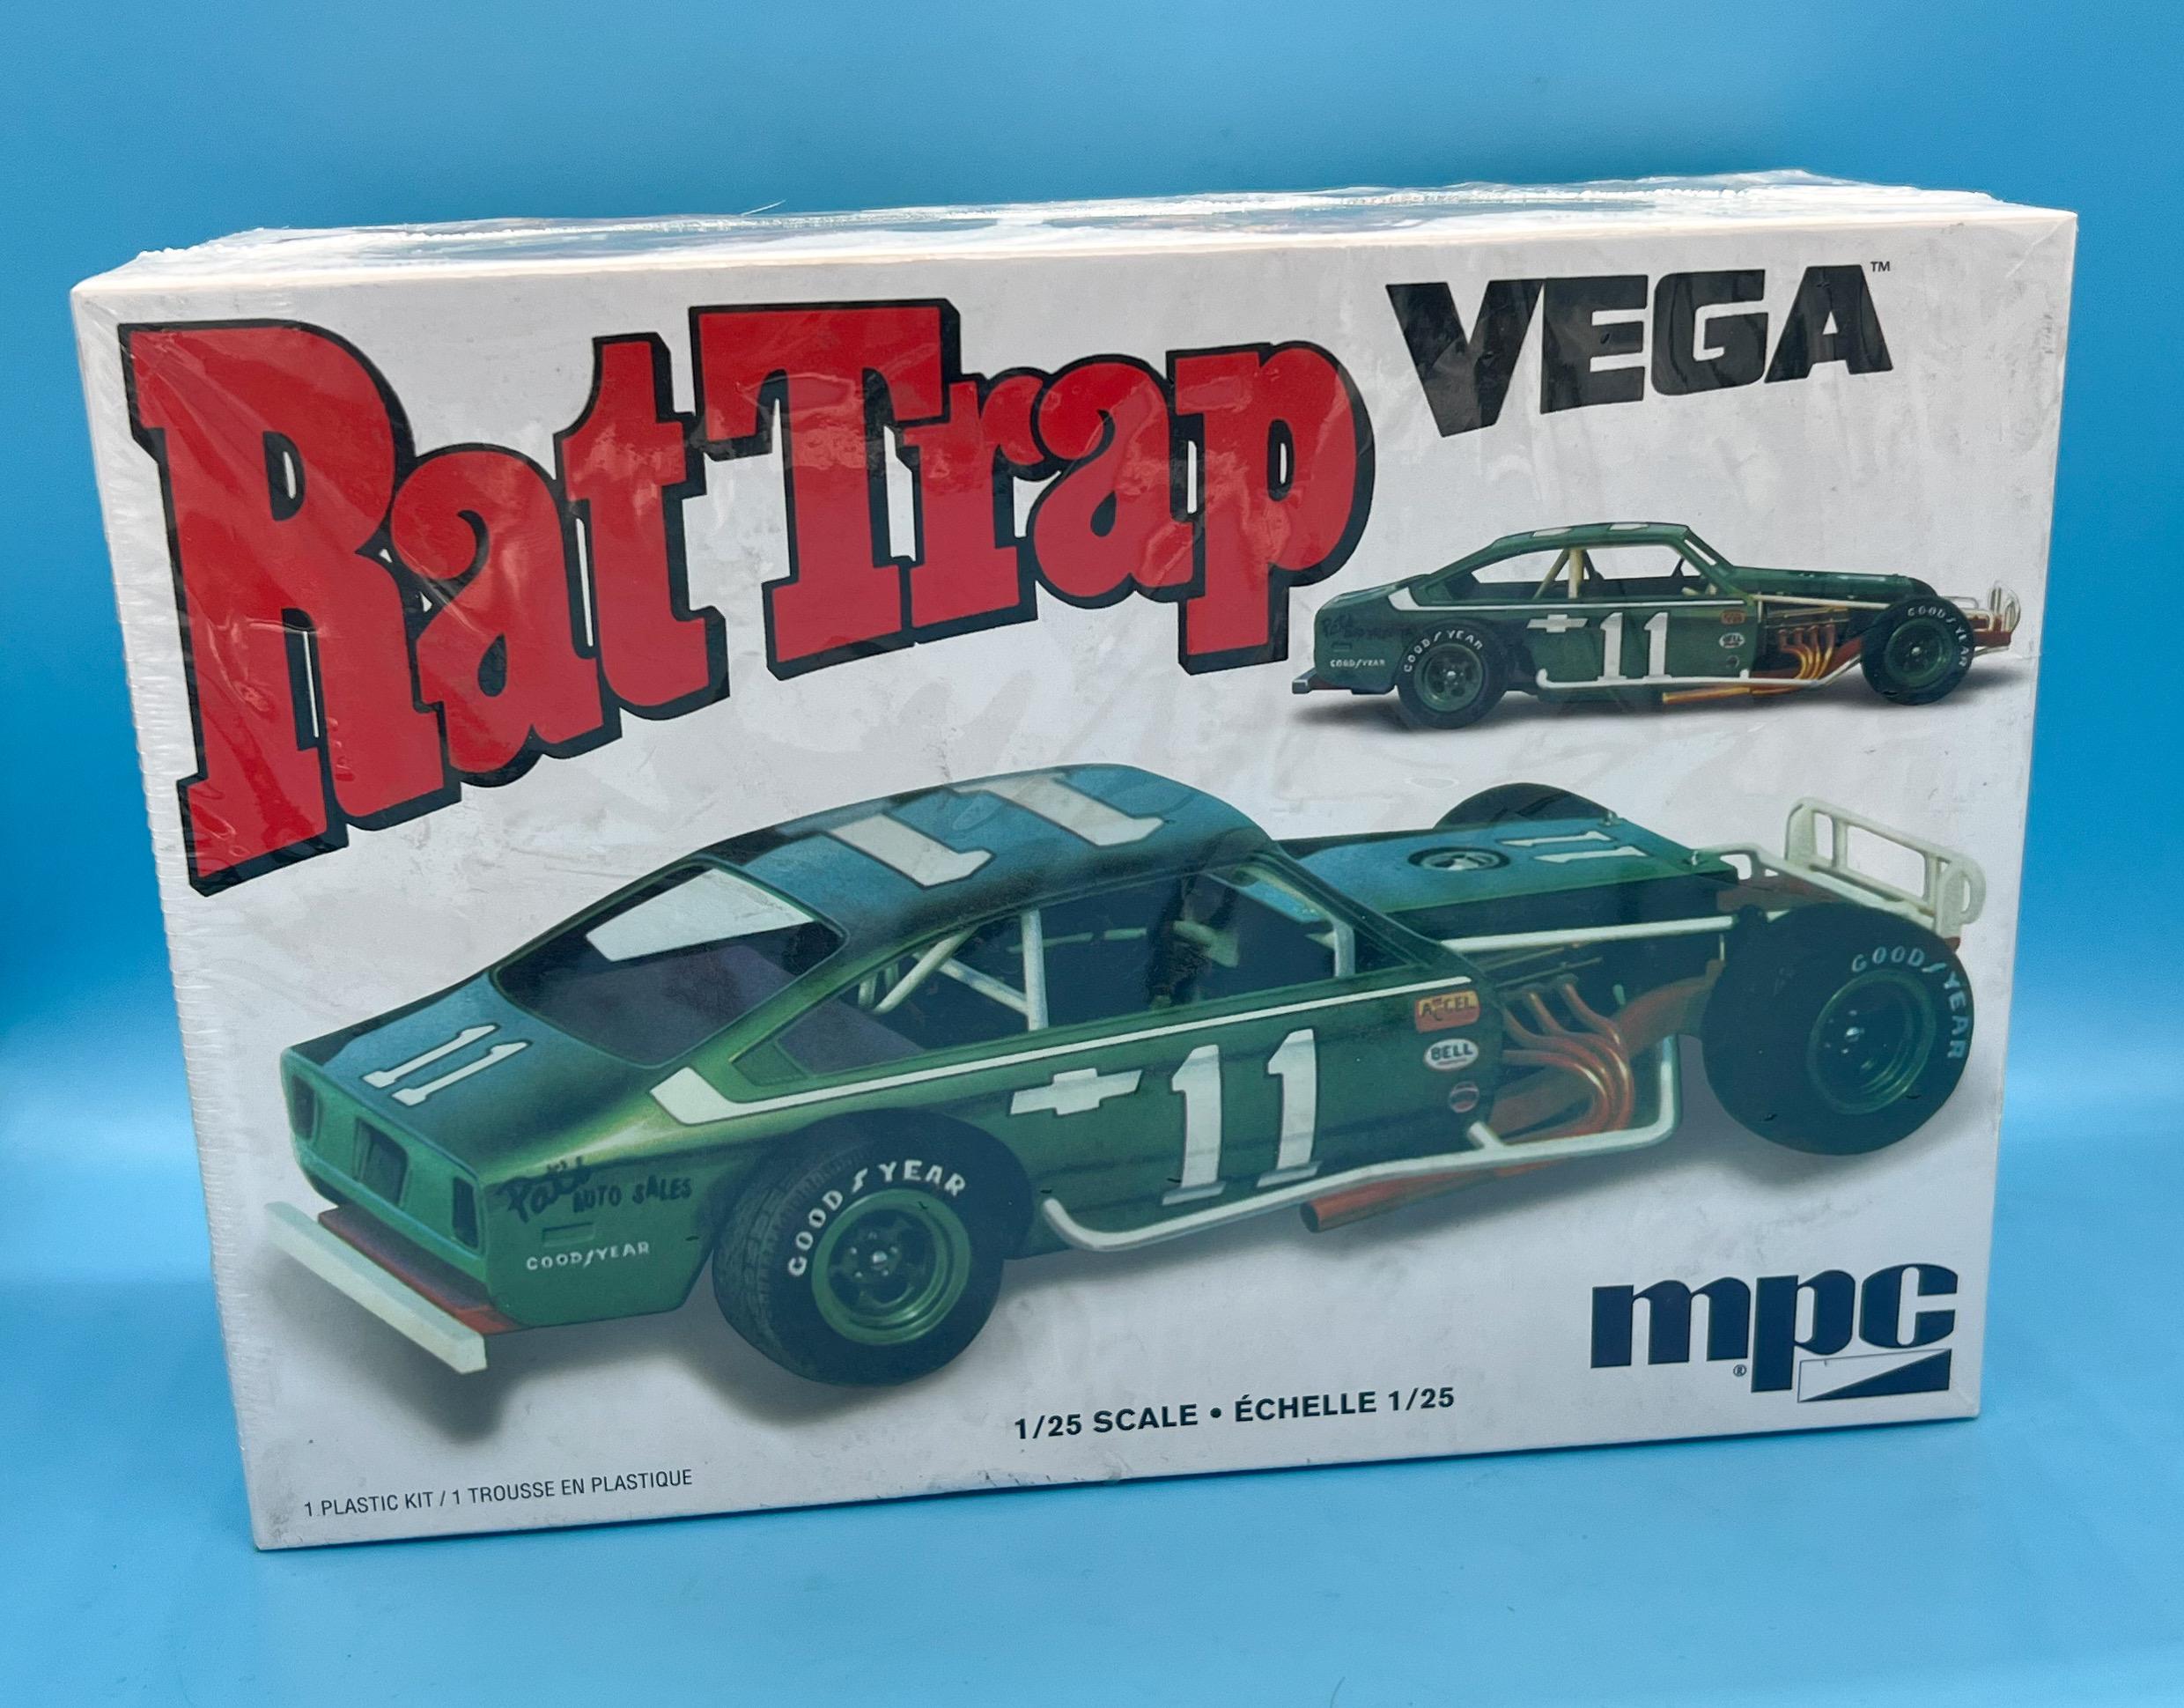
A couple of years back I built the evergreen MPC Rat Trap Vega, then last year entered it in a local show and it won best oval car: The prize was…another of the same kit ? And the condition was, build it and bring it back next year and enter again. Deal! I doubt I’ll get away with another box-stock build with some light detailing though, so for this year’s entry I decided to see how far I could detail up one of these fairly-simple kits and really bring it to life - kinda like those amazing full-detail NASCAR builds done by people I admire like Clay Kemp and the late Dave Thibodeau. First step in the manual is tires (why do NASCAR guys often start with the tires?!) and I wanted to switch out the treaded kit ones for a set of slicks. I COULD print some, but the aftermarket has plenty of options so I ordered a set that I suspect are designed specifically for this line of MPC kits. They slide right on the wheels like a glove! These are actually injection molded rather than resin, and they come with waterslide tire lettering which is a big bonus in adding some detail. So, how much detail can we add to a tire, whilst I pondered that, I spent an hour or so cleaning up the mold lines, rounding off the edges and sanding some flats on the bottom to make them appear as though some weight is squishing them a little. Kit tire on the left, new replacement tire center, sanded and prepped tire right: I then shot the tires with a coat of Createx base (which is a translucent clear, almost like a primer) that allows better paint adhesion to tough-to-paint surfaces and tomorrow I can hit them with some airbrushing to add some realism. Next step: the wheels - what can we do to THOSE to add some detail and realism? Well, first thing that struck me was the lugnut detail is kinda soft and uninspiring, so I drilled them out… …and 3D printed a whole bunch of replacements… …and now I have separate pieces that I can paint more easily and that look a little better I think: Tomorrow’s job on the wheels will be making some balancing weights and valve stems and playing with those tires some more. This is gonna be a fairly deep dive into a bunch of probably boring little details (like sanding tires and making lugnuts) so if you’re not into that - apologies for being boring ?. More soon, soon as I’ve done more!
-
I’ve got some of that extreme glitter paint but didn’t try it yet - that flake looks killer!! Nice work so far!
-
So, guess I don’t have to wash my wife’s car this weekend
OldNYJim replied to OldNYJim's topic in The Off-Topic Lounge
Of course, my wife has been driving $30k’s worth of loaner vehicle for a couple of weeks now which makes finding something acceptable as a replacement for THAT much tougher… Would’ve been easier if she had to take the bus everywhere for the last two weeks like we did in NY for years ?? -
So, guess I don’t have to wash my wife’s car this weekend
OldNYJim replied to OldNYJim's topic in The Off-Topic Lounge
And, finally, in a happy ending to this story…they actually gave us MORE than the blue book suggested, no arguments. Paid $2k, did $2k of maintenance the first year we had it (it had been semi-poorly maintained and had some of the bigger service items due, but the body was in great shape which is rare in this part of the country apparently), drove it for 3 years and 40,000 miles…and walked away with $6k, just under. Now to find something as good as that little Civic was…ideally without having to commit to a car payment every month… -
Atlantis Models has bought another lot of tooling/molds.....
OldNYJim replied to Dave Van's topic in Car Kit News & Reviews
Preview of the T-bucket kit from Cultman TV
-
Oh, nevermind, Bill covered (much better) the same stuff I said in my followup anyway
-
Of course, that post of mine wasn't very helpful because it didn't tell you what you COULD do. If you had a bunch of time and effort sunk into a project and didn't want to make a brand new master (but still wanted to vac form copies), I would resin cast it, with some extra material underneath to make a 'block' that you can pull from - regular resin, if cast thick enough, is generally plenty sturdy enough to at least a FEW pulls on a vacuum former. Alternatively, a fine grain hard wood (not balsa) can be used successfully as a material for a master. A kind of 'poor man's' vacuum forming I've seen done before is using a hobby heat gun and a clear coke bottle to 'shrinkwrap' a part...I never did it myself, but I've seen people use a similar trick to make a down and dirty copy of something in clear plastic without the trouble of making a 'real' master
-
Having some professional experience of vacuum forming, I would say no. If the heat is high enough to soften the plastic sheet that you're using to form, I would be surprised if it didn't damage whatever the master is too.
-
Good info - thanks Justin! Related question for anyone reading - if anyone has any good leads on body-off shots of an asphalt mod from this era that I could use for reference, I'd be really interested in seeing them. Did a couple of hours of research this morning but didn't find a BUNCH of useful stuff...