OldNYJim
-
Posts
250 -
Joined
-
Last visited
Content Type
Profiles
Forums
Events
Gallery
Everything posted by OldNYJim
-
I wasn’t really IRKED, but this lady DID nearly head-on collide with three different cars at this roundabout by me…and when everyone was honking and waving at her she responded by, obviously, circling round twice more, faster each time. I would’ve been irked if I wasn’t always EXPECTING some form of idiocy on my commute and she’d managed to hit me head on…

-

3d printing is entering a new phase. Fast print speeds.
OldNYJim replied to my66s55's topic in Tips, Tricks, and Tutorials
Sounds like Verizon where we live ? This is an exciting development though - and like the others above have said, it’ll only get better and better. It’s so exciting! I’ve been predicting (to myself) for a while that 3D scanners packaged to look like the current printers / wash stations would be the next logical add-on to go along with 3D printers…just as a regular scanner is often a useful accessory to have with a regular printer. Like a photocopier - but for physical objects! -
Got family in town still this week, so I’ve been learning some new techniques that may or may not ever be useful for a project. Today, I made an LED-augmented cloud: And then paired it with a 3D printed Statue of Liberty (with it’s own lighting) and put it in a clock dome case: Not strictly car related…but I’m thinking some of these tricks will be useful for a flying Delorean Back To The Future diorama build I’ve been thinking of for a while now…
-
Awww yeah, nice save! Looks awesome!
-
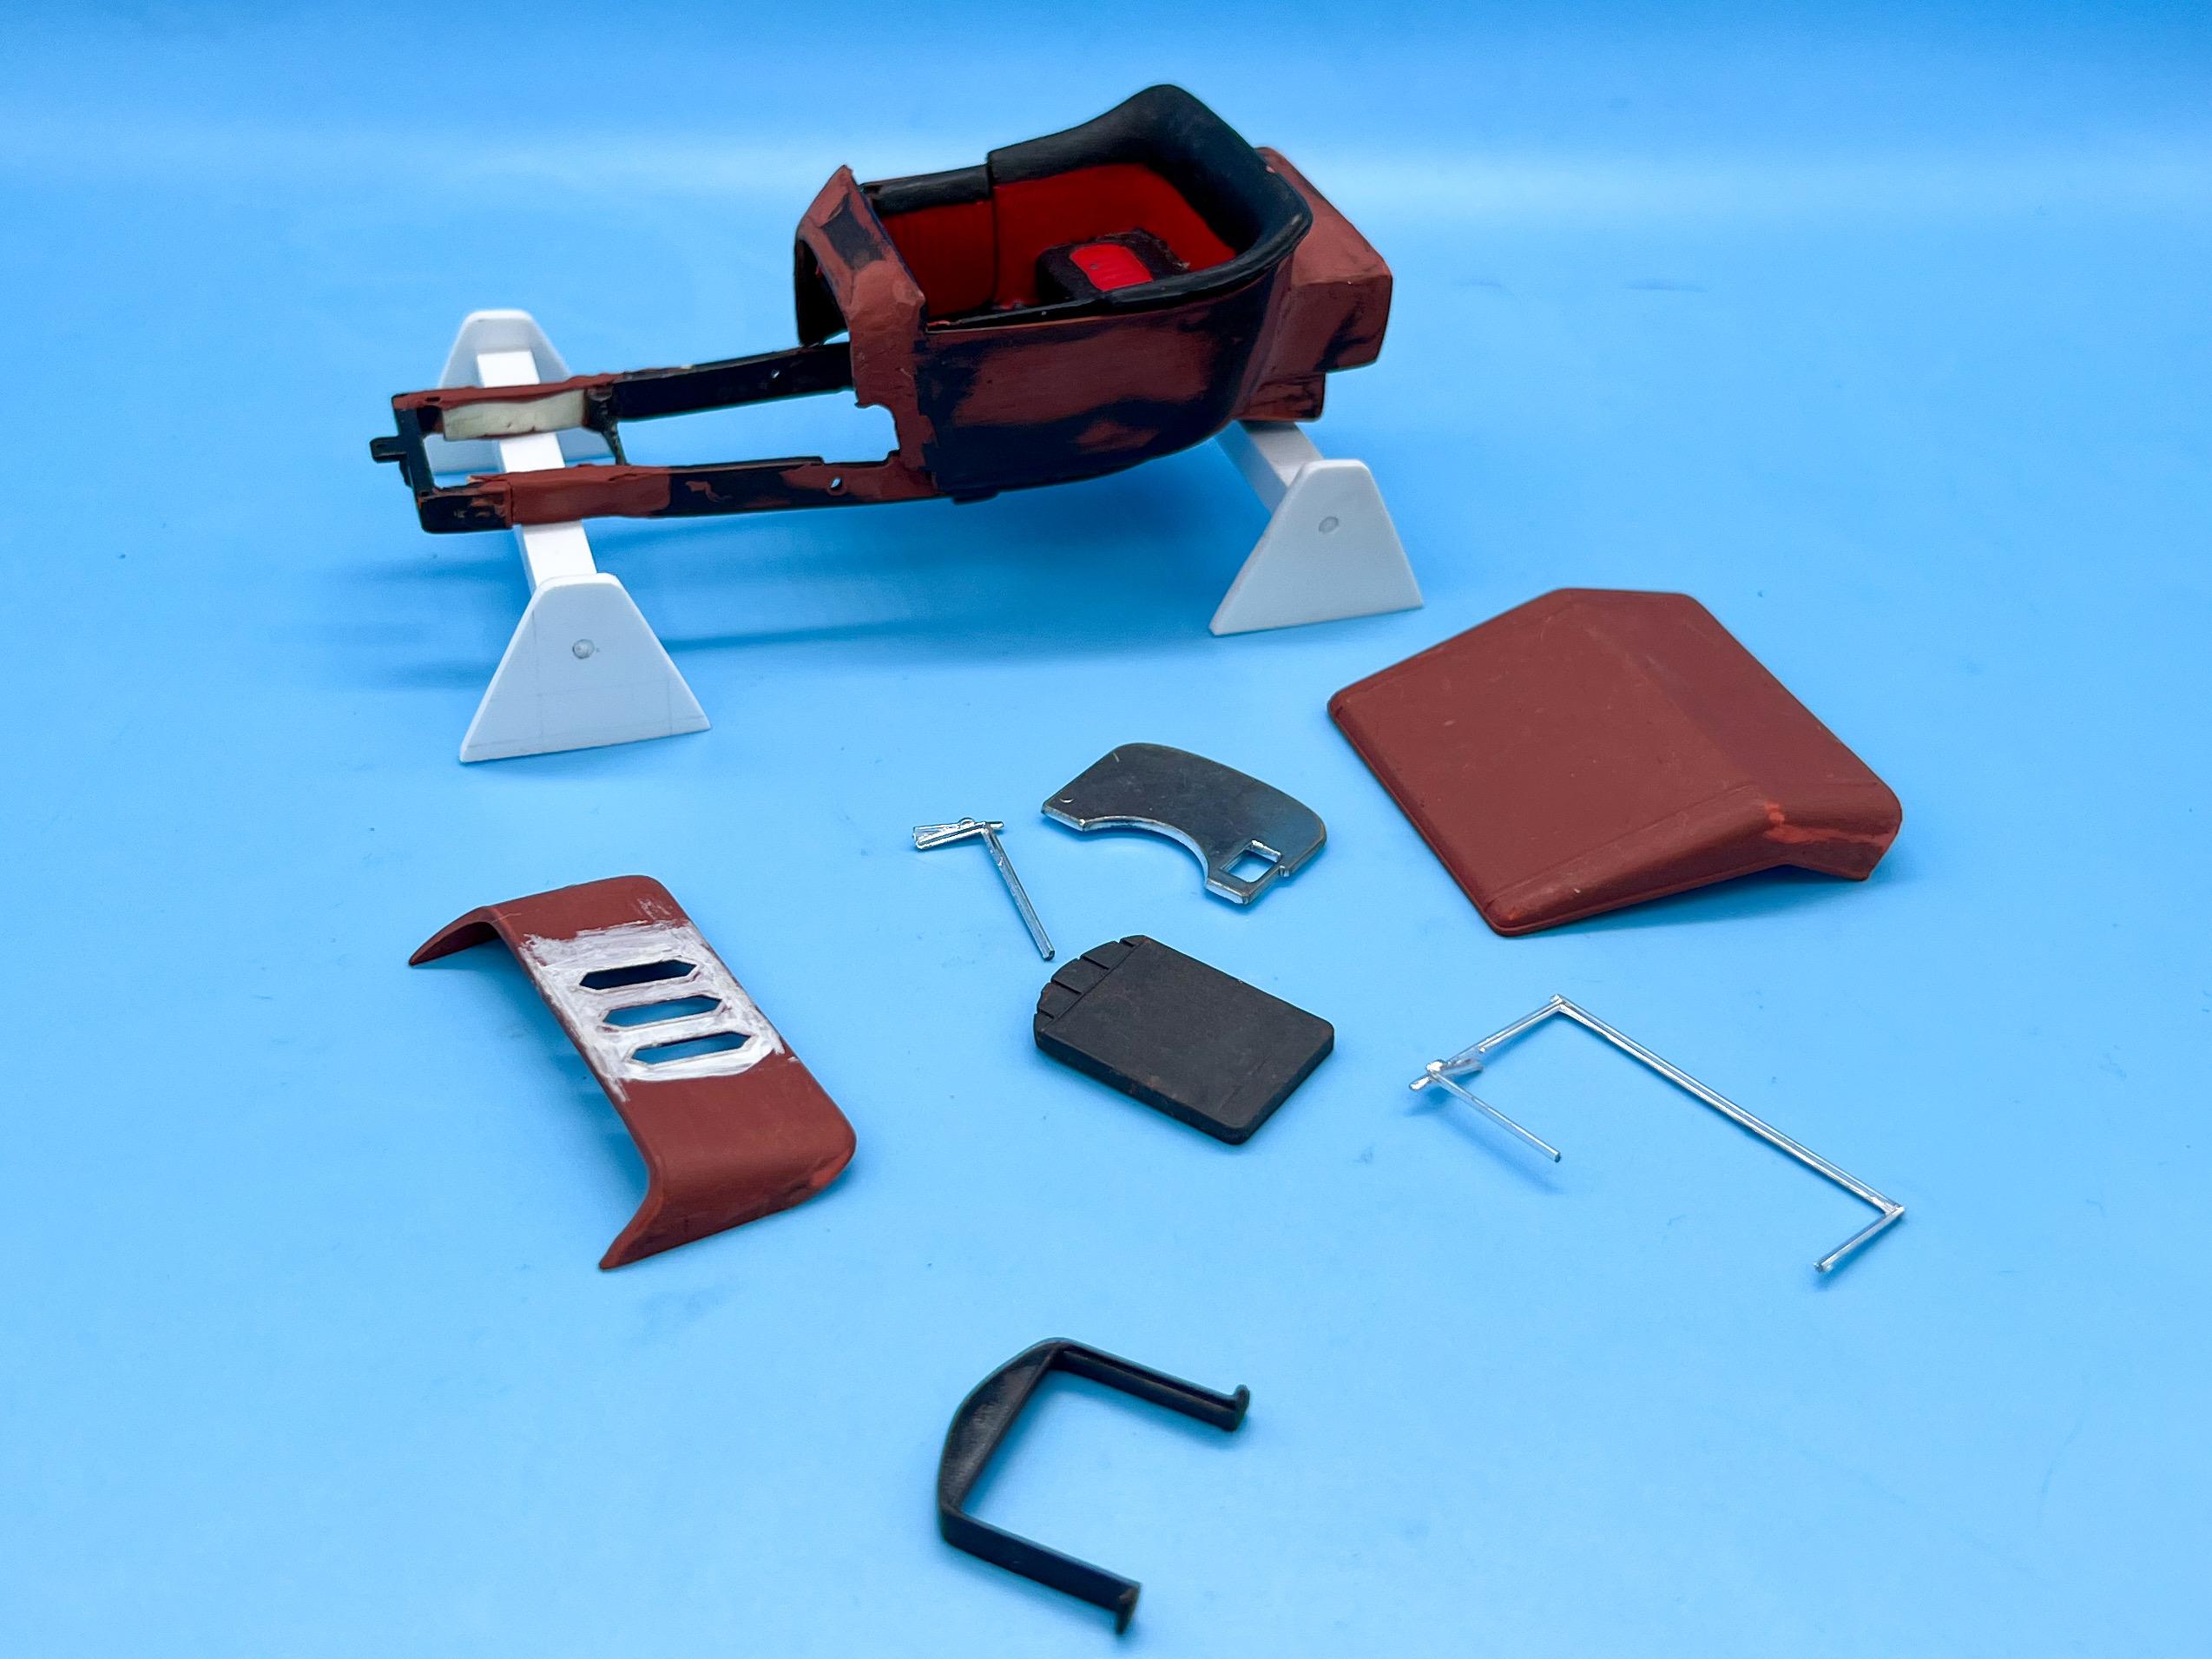
We’ve had guests in town for the last two weeks, and it’s really messing with my bench time ? Playing with a T Bucket frame though, and printing some parts when I get a few…
-
I’ve often thought it would be cool to get some of those factory two-tone combos and get them ‘wrong’ - match the wrong factory color with a different wrong factory color to make a new unique pairing. I’m not familiar with the particular options on this year of Chevy, but I always liked the idea of finding a couple of nice shades that SHOULDN'T go together, but look good combined
-
Chopped, full-fendered '34 Ford 3-window AMT/Monogram mashup
OldNYJim replied to Ace-Garageguy's topic in WIP: Model Cars
I wonder why they ended up with the hood being so short - aside from the usual difficulty with numbers that we suspect some of the kit designers have. The rest of the body looks fairly accurate from where I’m sitting (though I’m FAR from an expert) so I wonder why just the nose ended up being noticeably wrong? Regardless - good start! I’ll be making mental notes on this so I can do this myself at some point down the line… -
Nice save! What color are you going with for the flames? A little tutorial I wrote on hot rod flames that may, or may not, be useful on this project:
-
Awesome! Hope you managed to get it sorted ready for another shot
-
Those look a lot like the ones @IceMan Collections sells, in case anyone is wondering…
-
I’ve done that too…problem is, your kit isn’t made out of spoons… You MAY be able to salvage this by stripping the paint, sanding smooth and re-priming…but it won’t be a super fun process most likely…
-
What did you see on the road today?
OldNYJim replied to Harry P.'s topic in General Automotive Talk (Trucks and Cars)
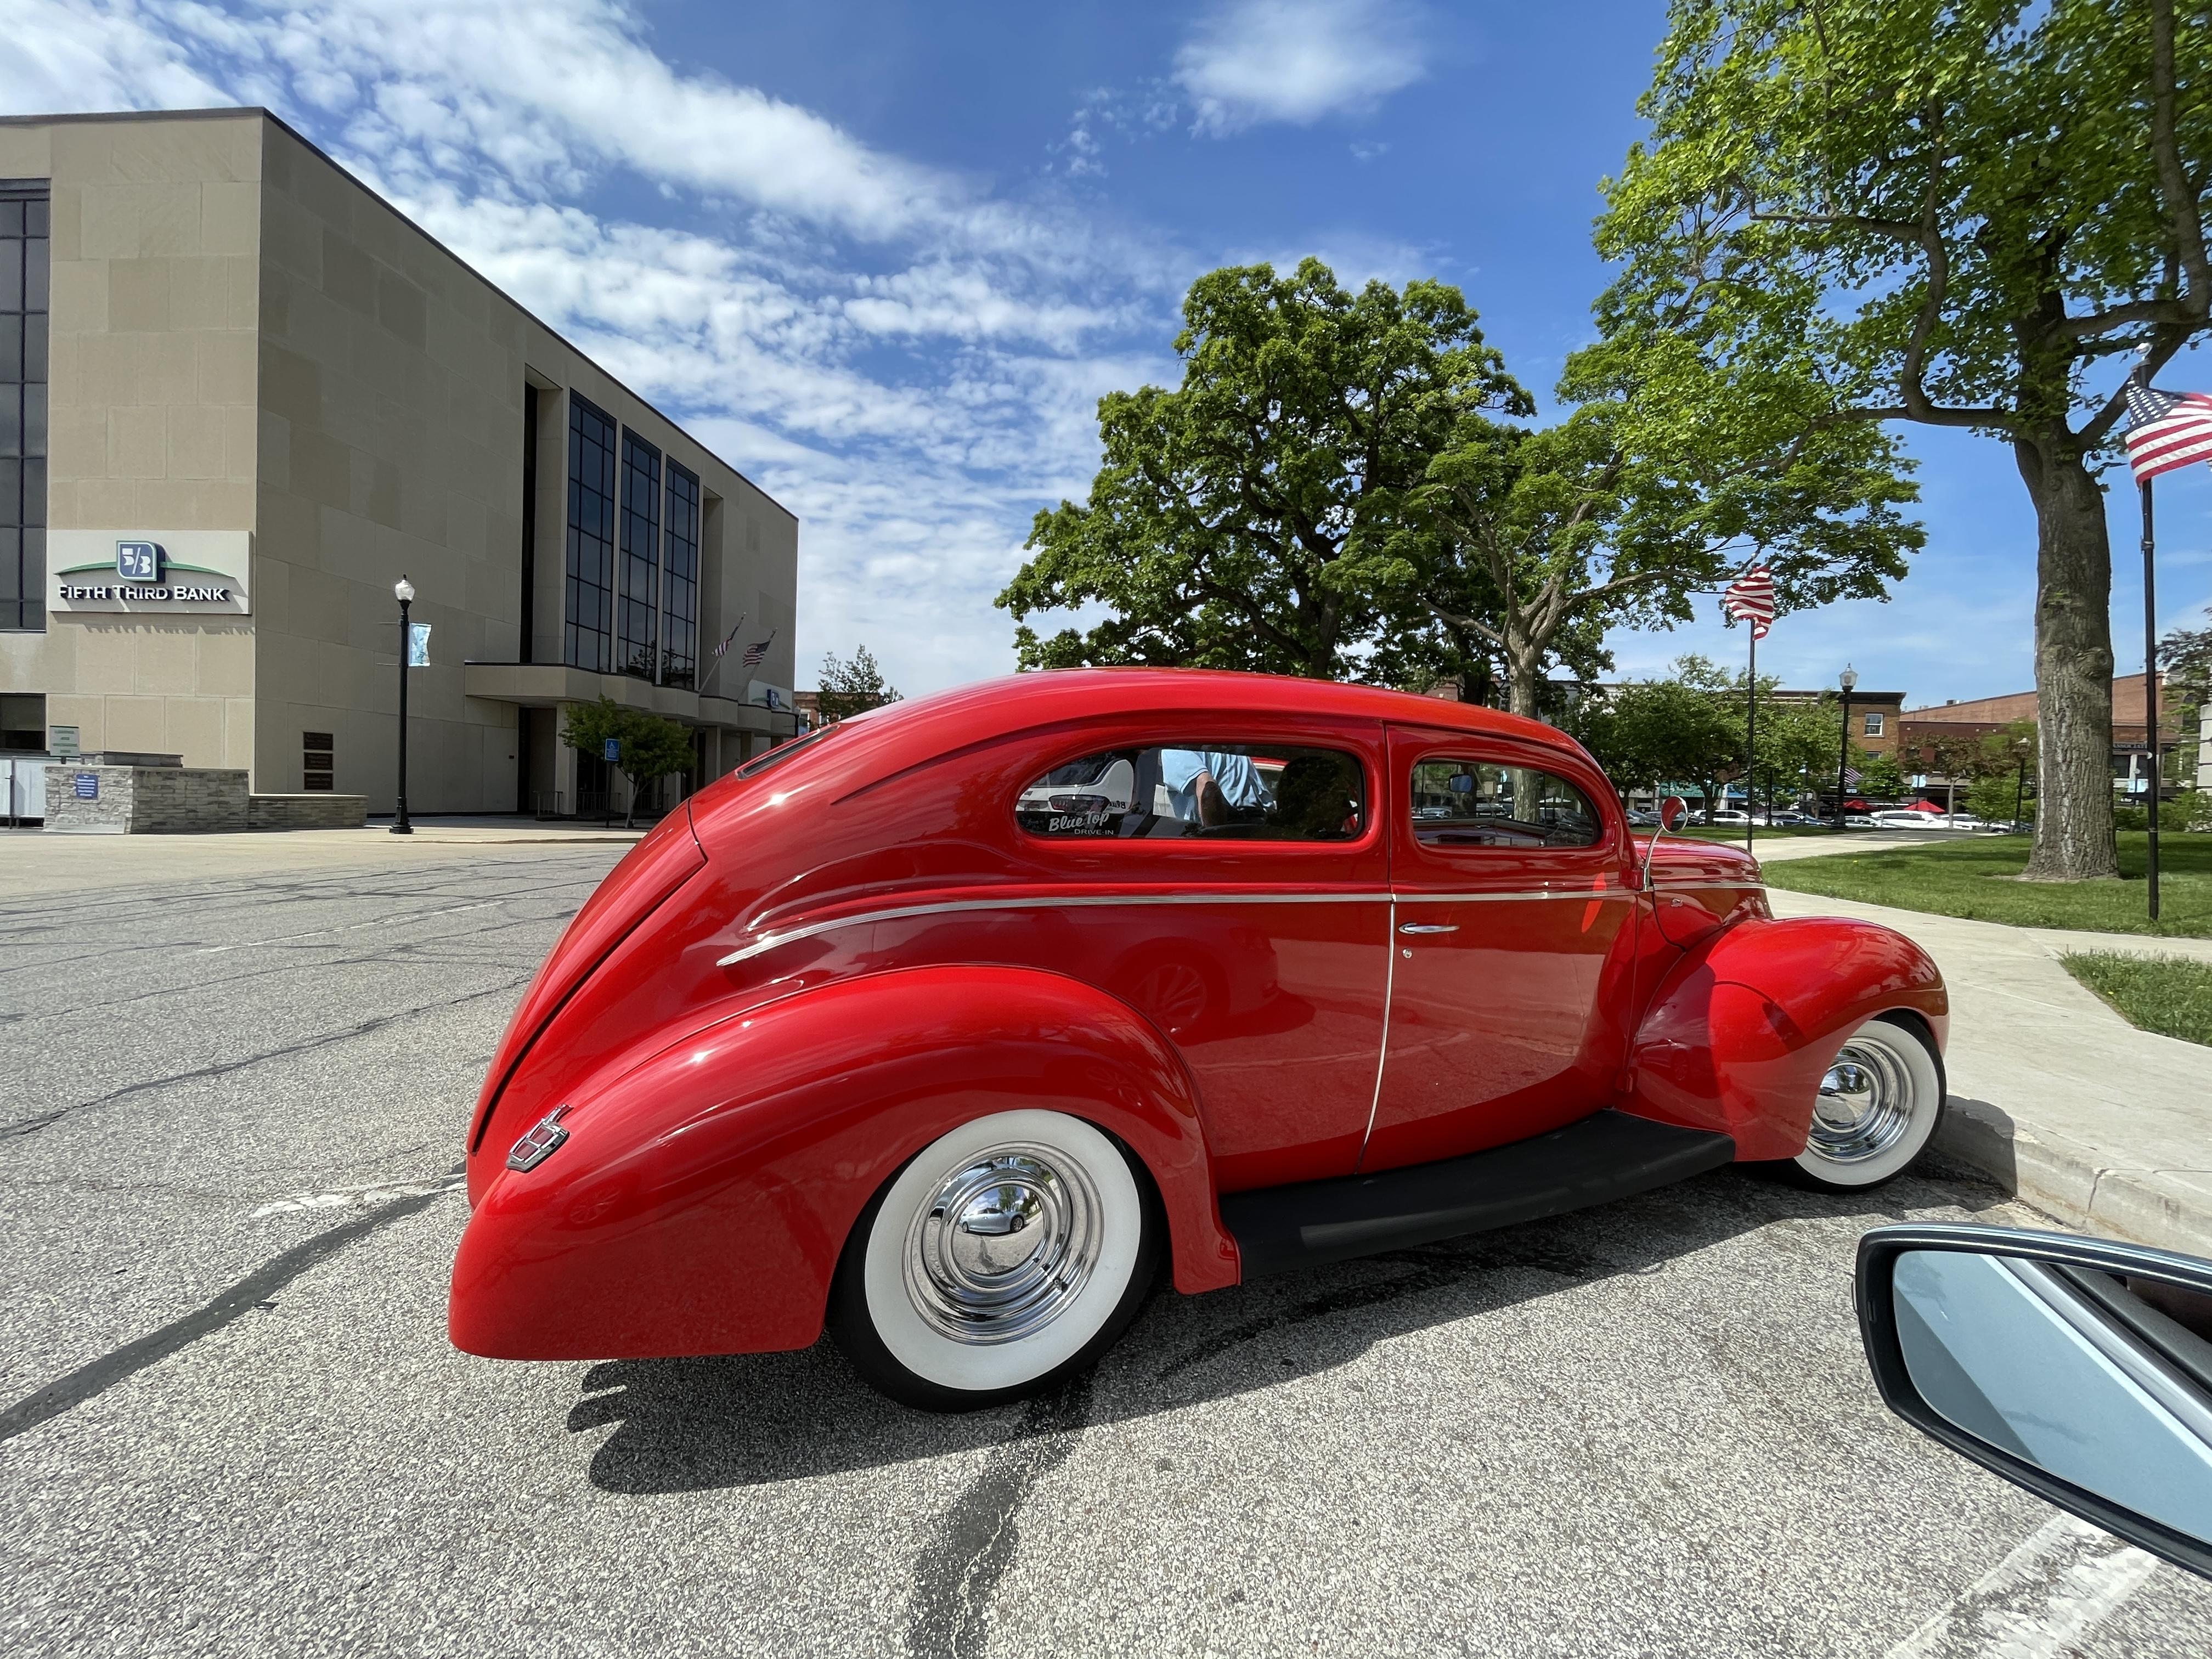
Spotted whilst running an errand today:
-
https://www.detailmaster.com/collections/fittings
-
How To Use BMF For Masking?
OldNYJim replied to oldcarfan's topic in Model Building Questions and Answers
Goo Gone is great for removing BMF residue ?? -
Foose Pickup (my take)
OldNYJim replied to ncbuckeye67's topic in WIP: Model Trucks: Pickups, Vans, SUVs, Light Commercial
Heads up - I seem to recall seeing that the windshield doesn’t fit right on these without grinding away some of the dash…although seeing as you’ve painted that already probably sanding the windshield a little on the bottom would be the best solution. I haven’t built one of these myself, but made a mental note for when I do, having seen a few people report the same problem… -
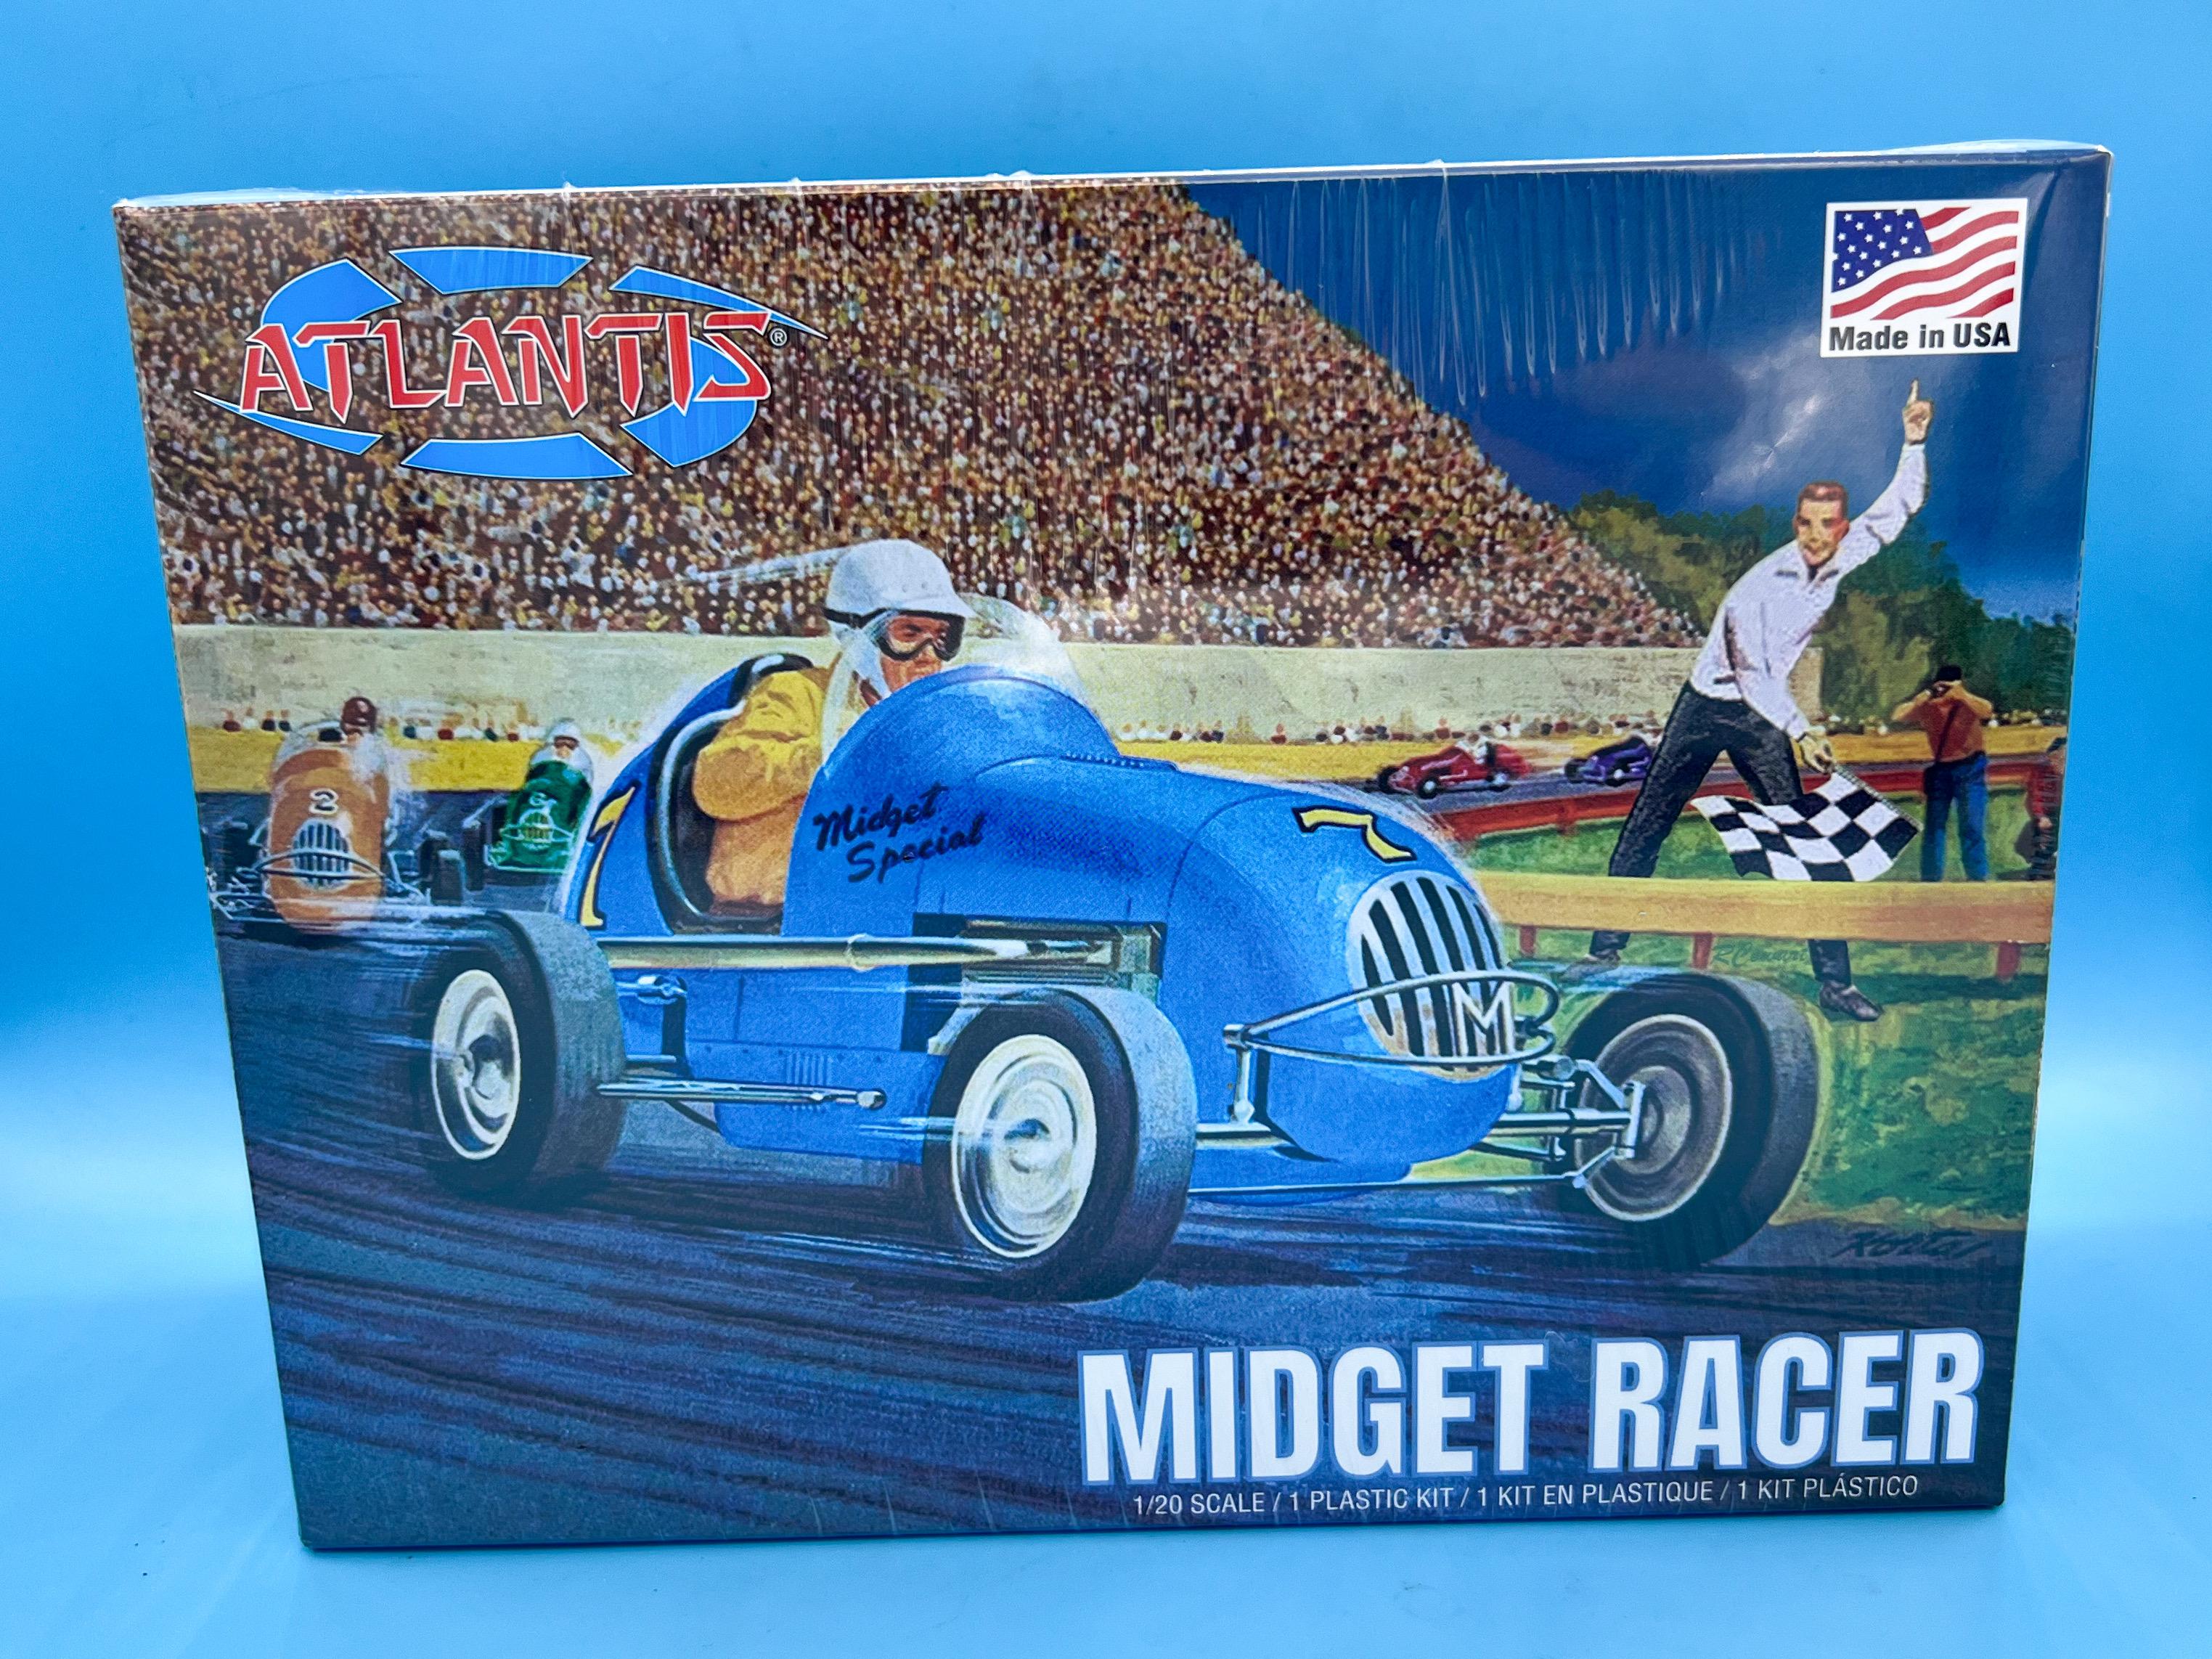
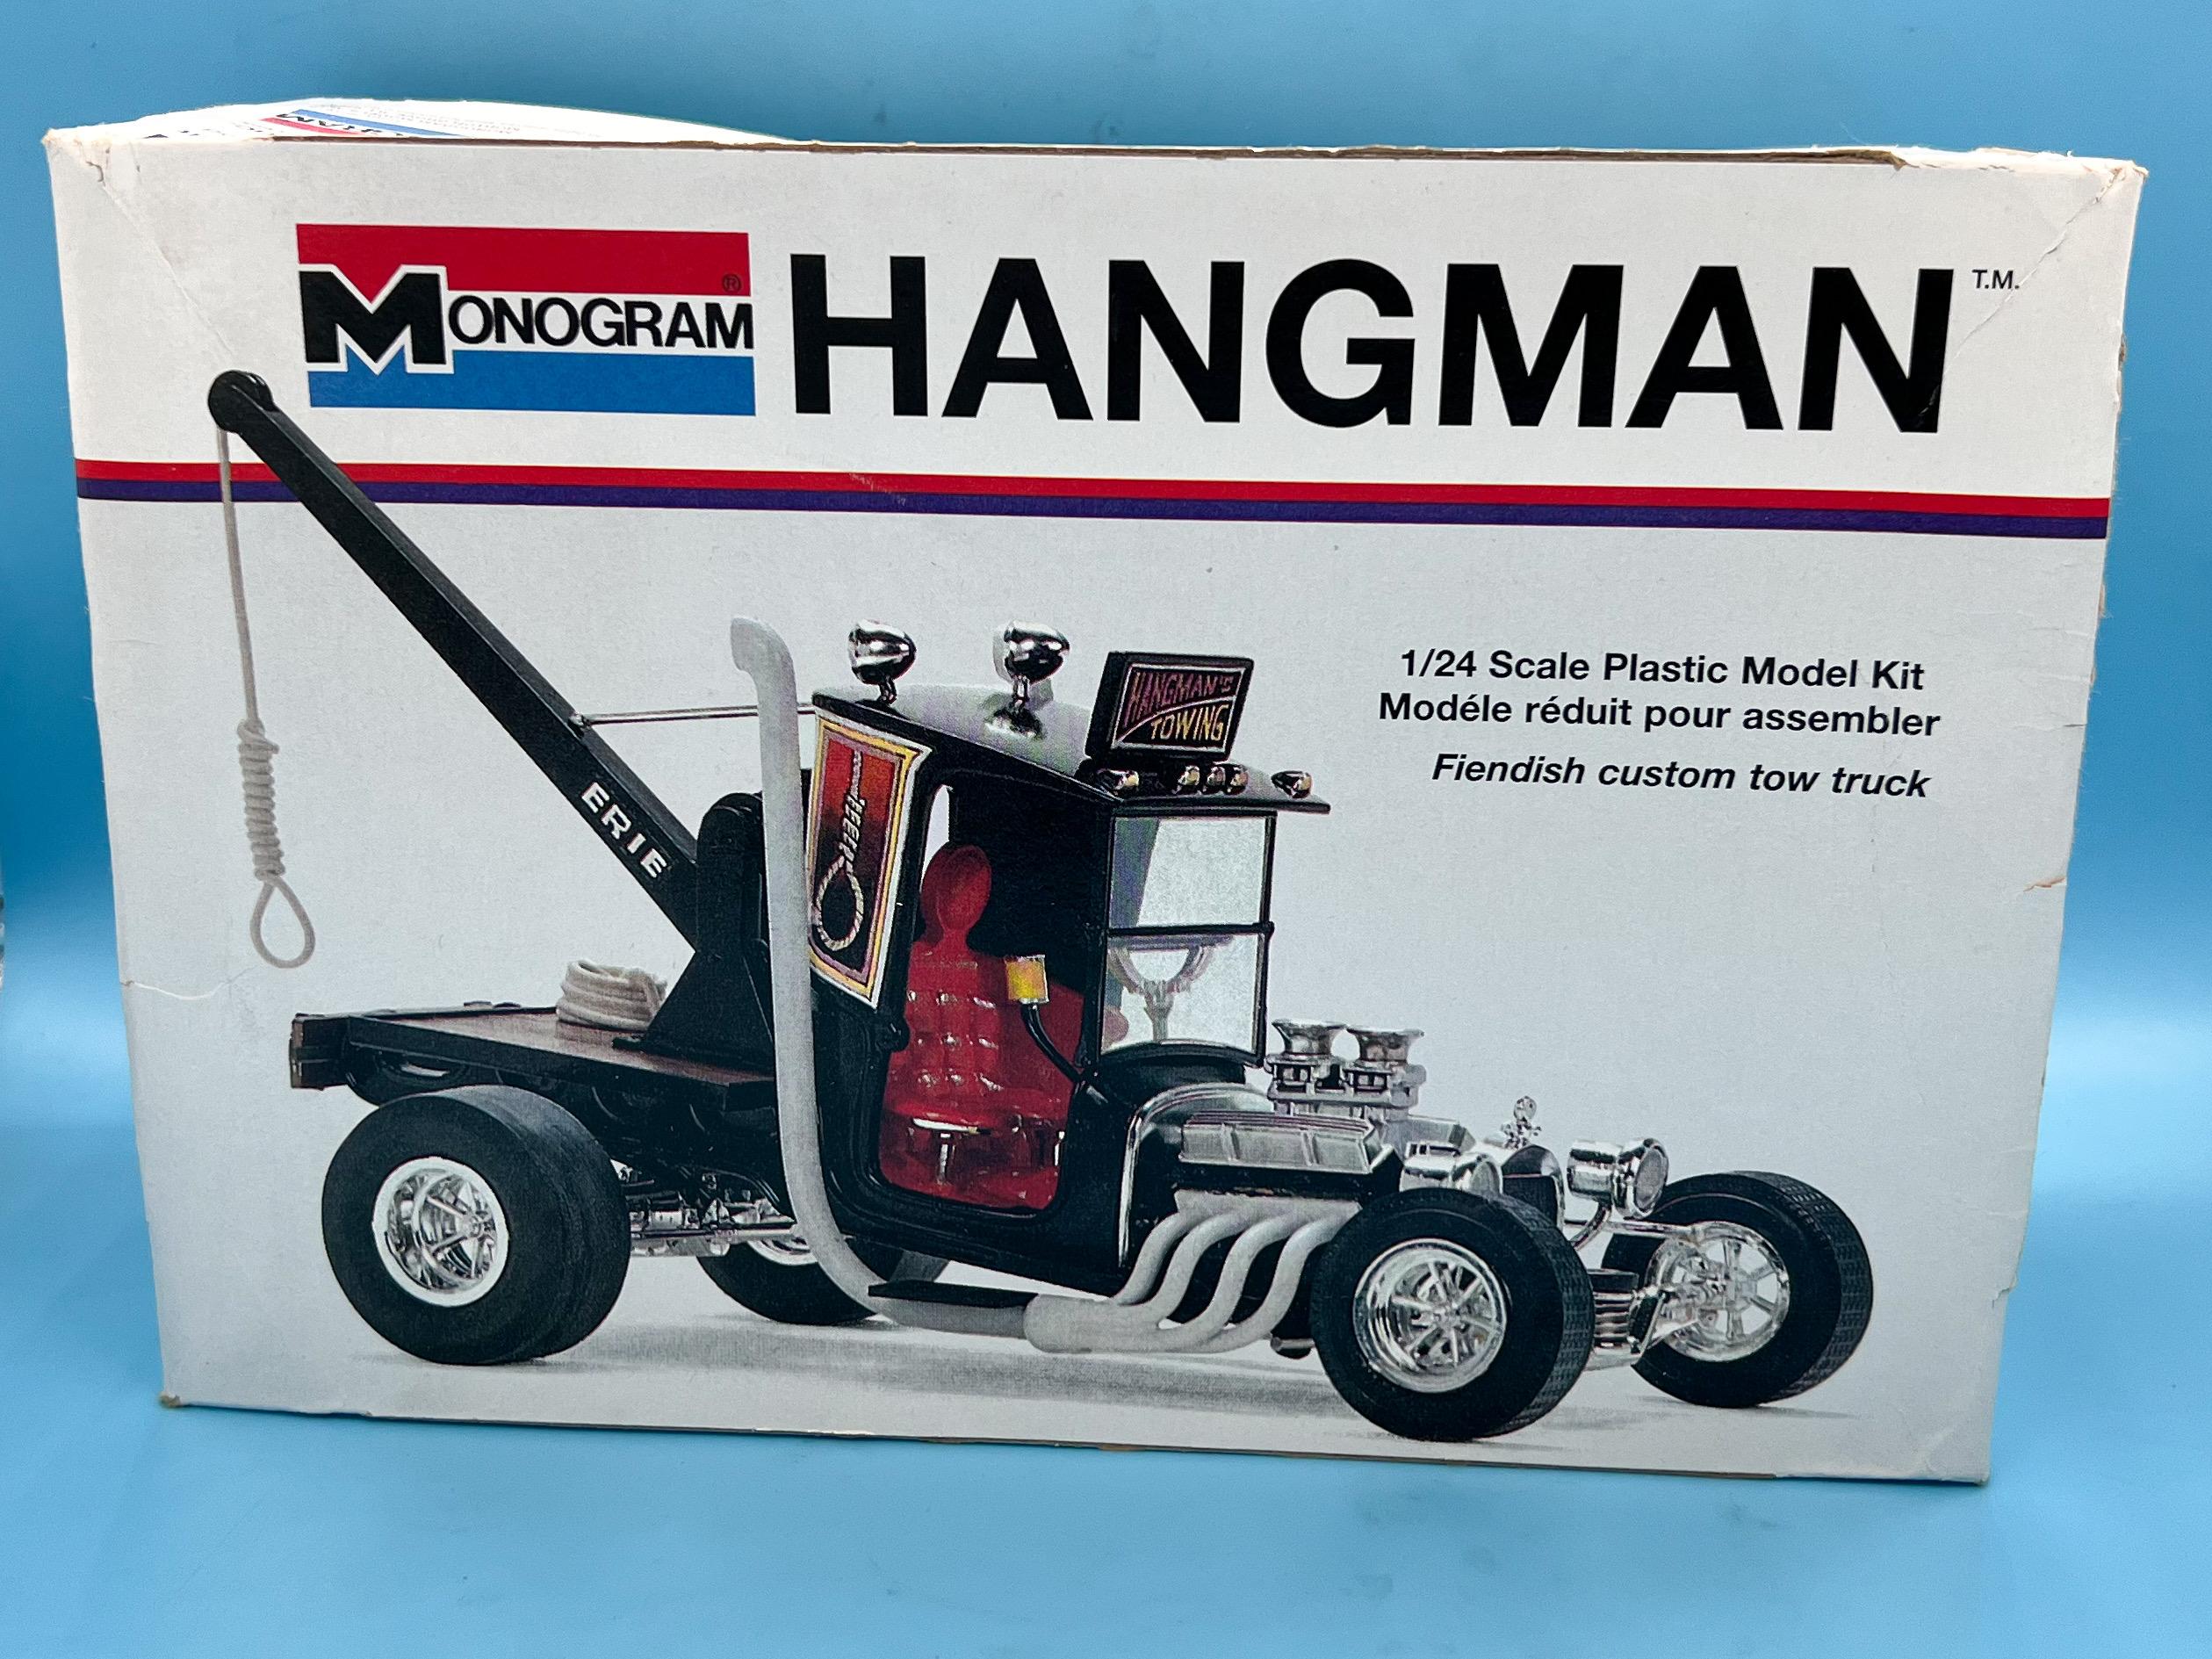
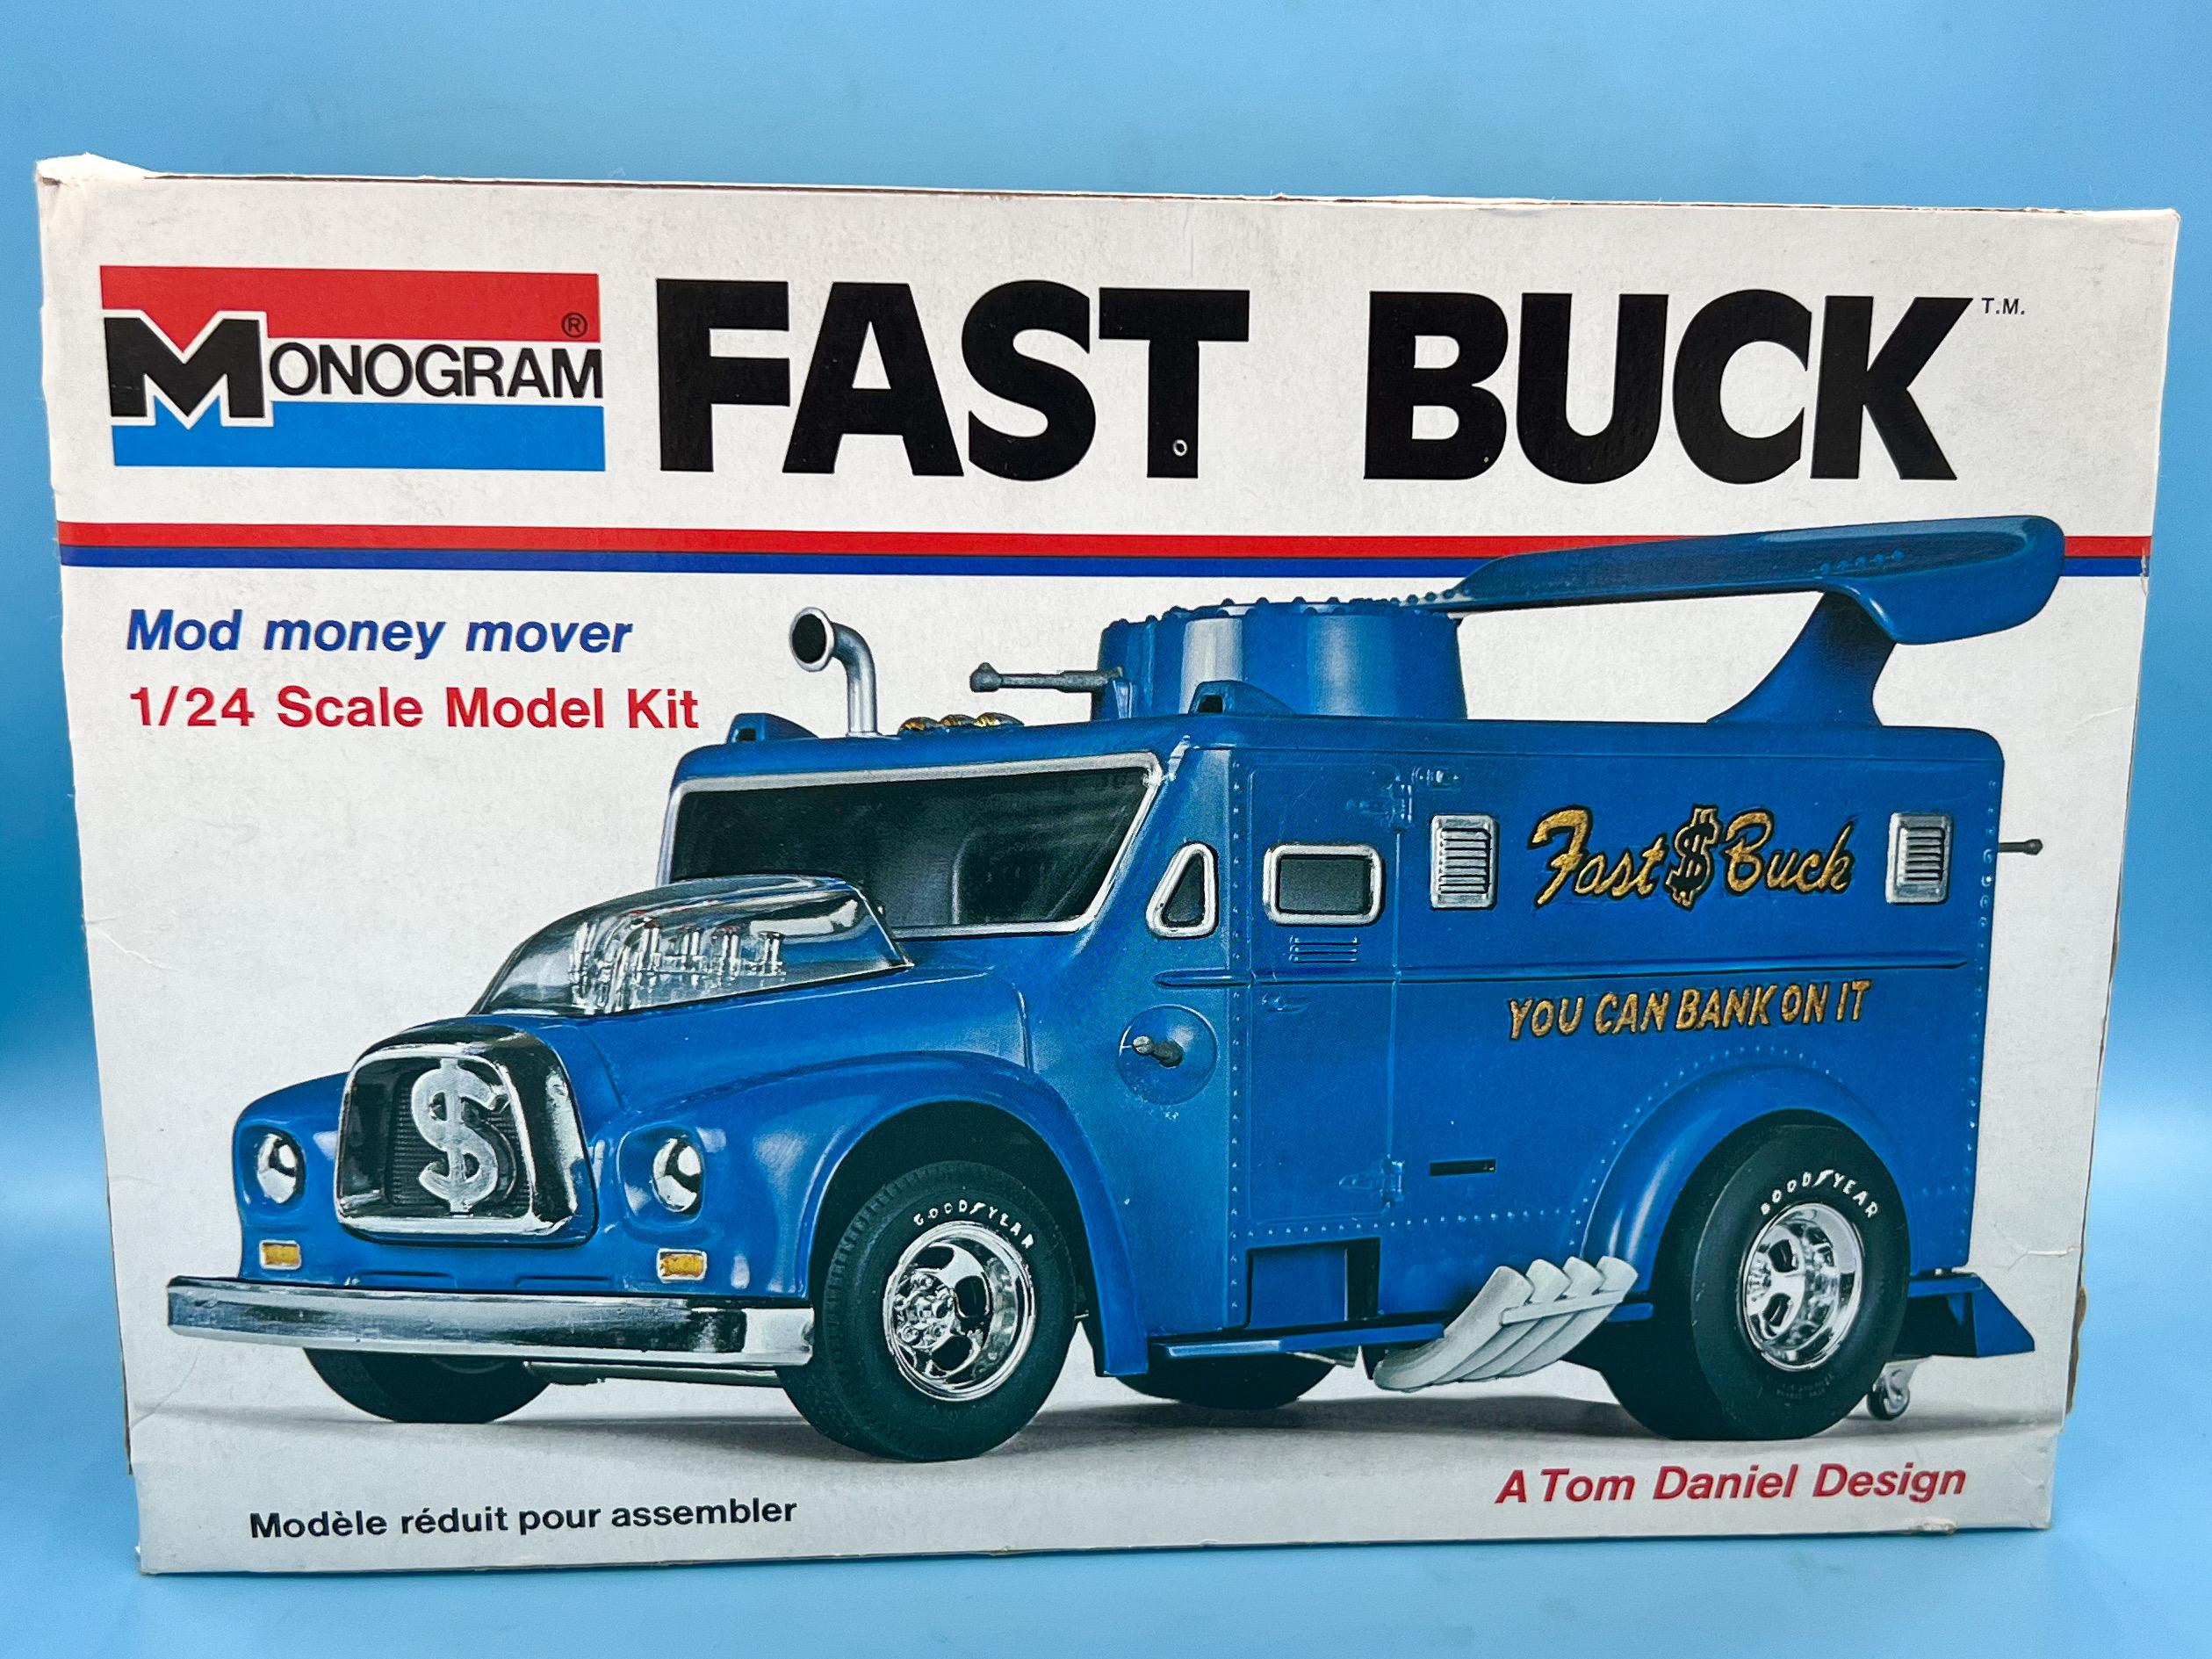
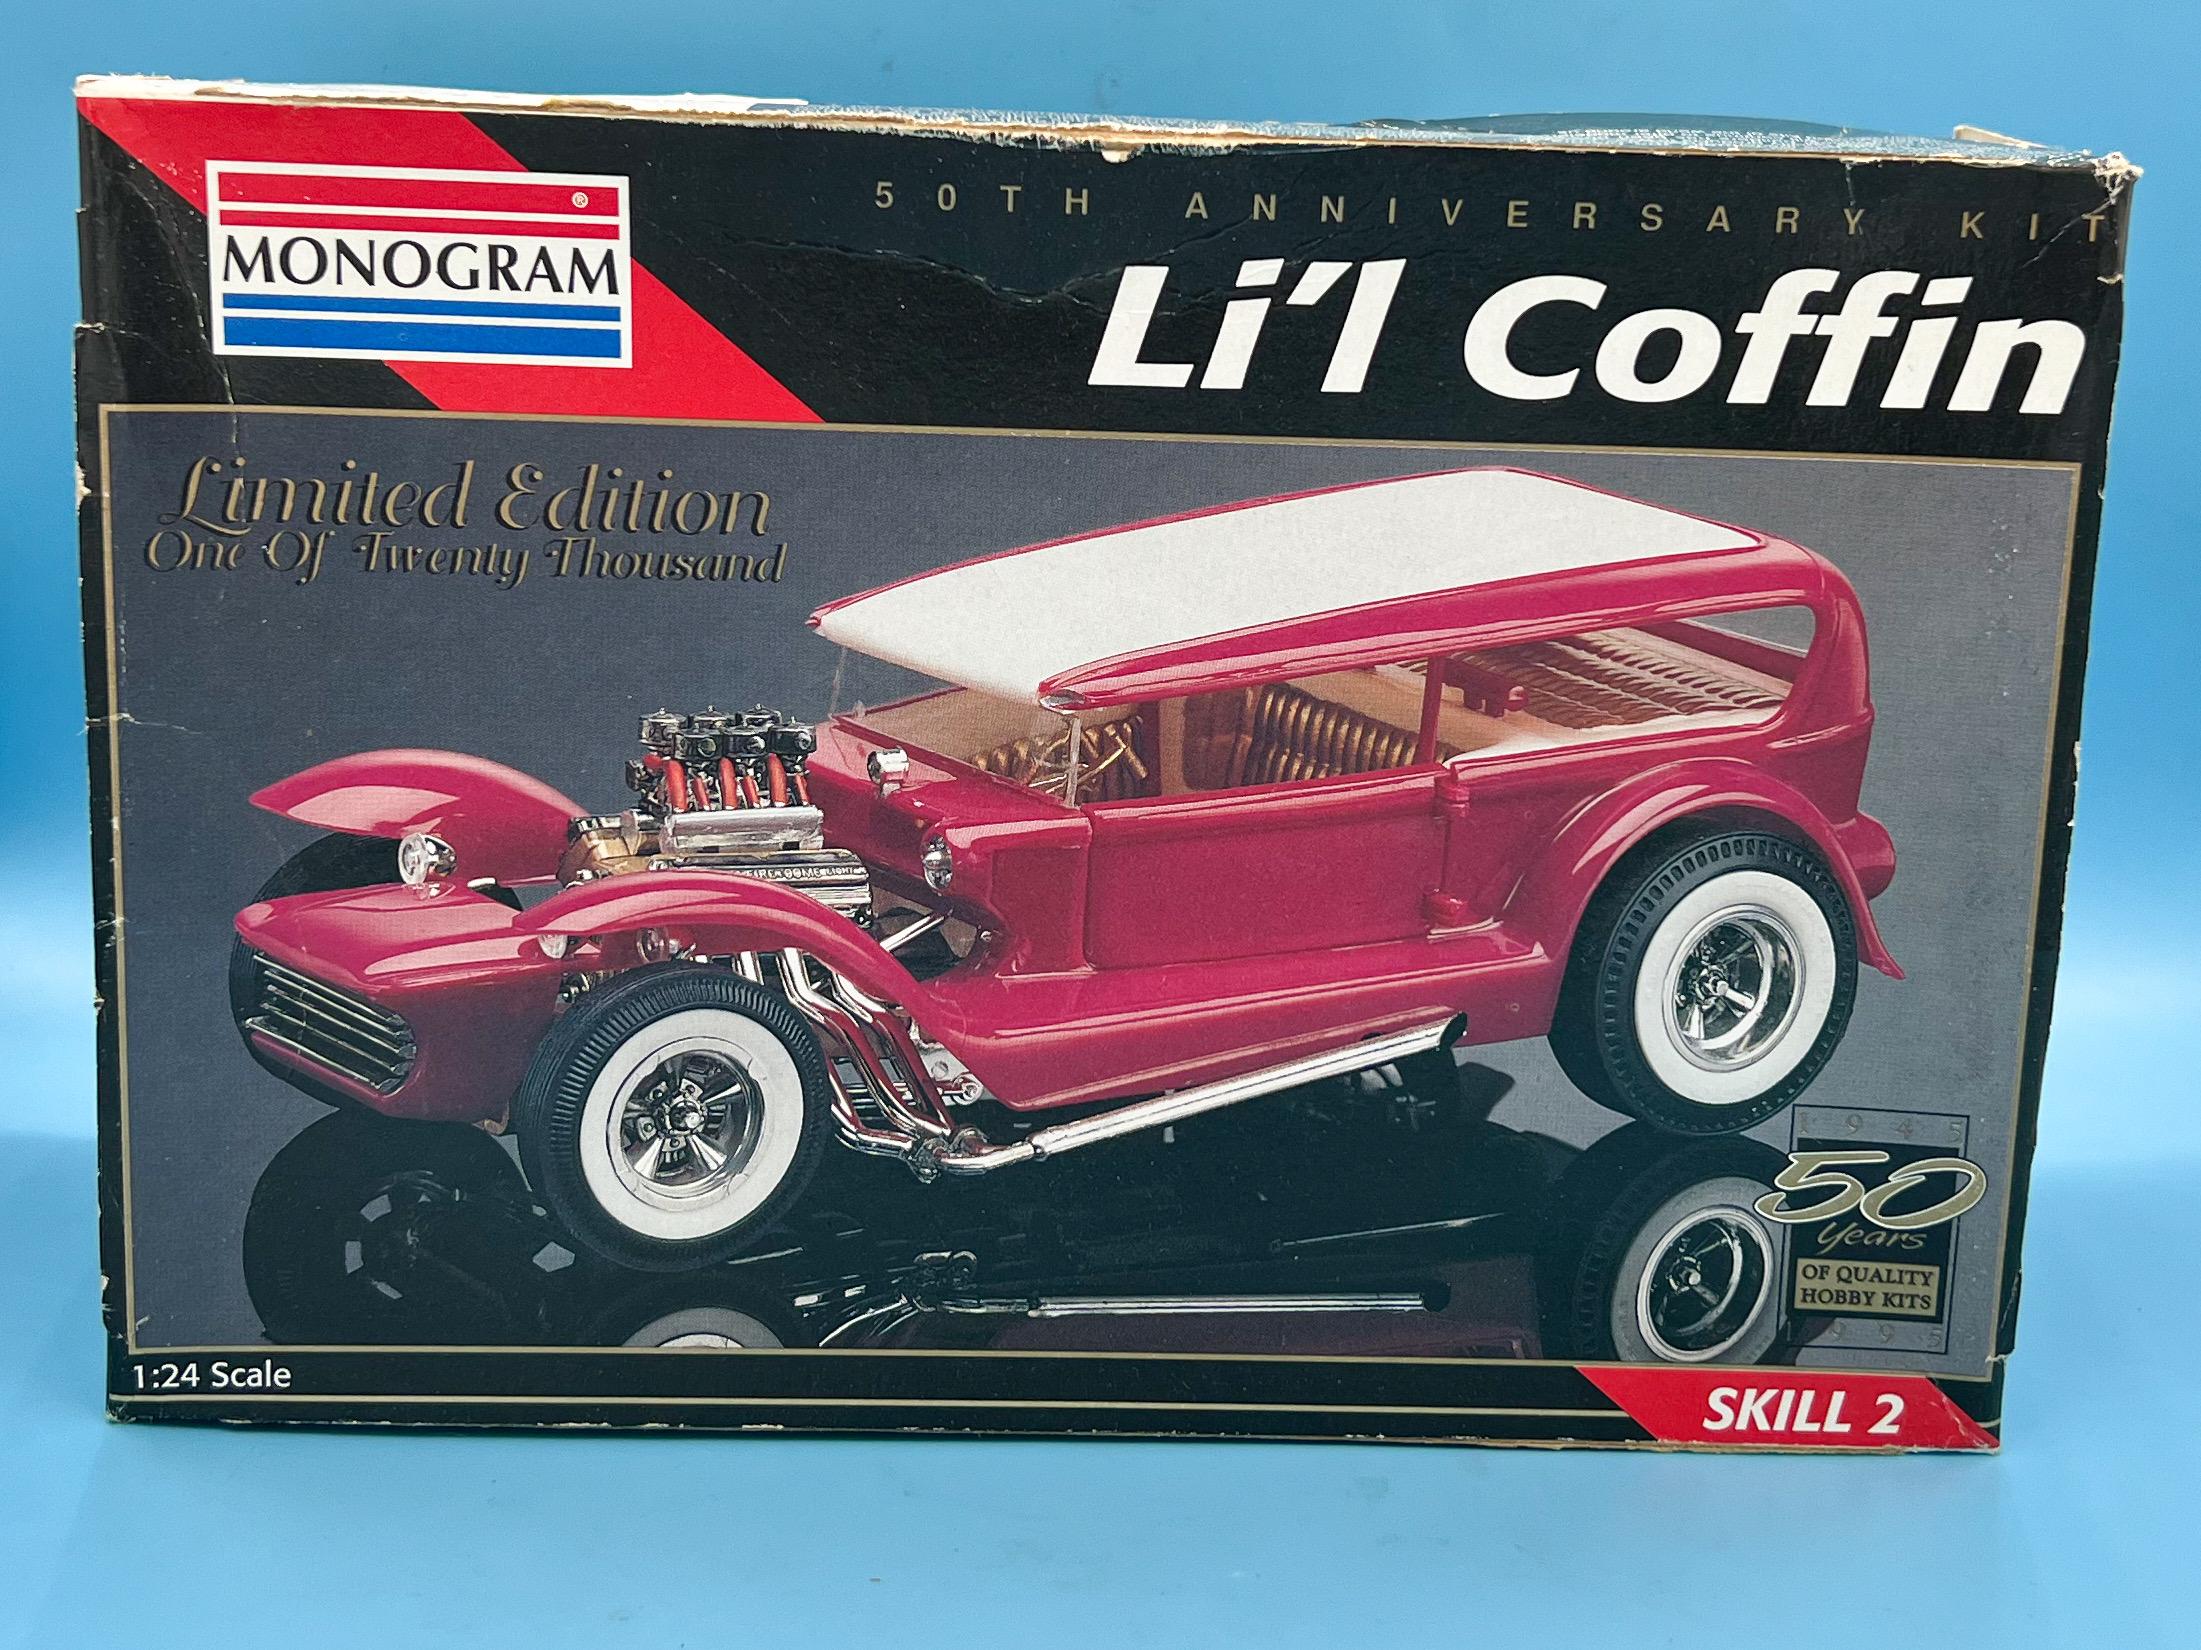
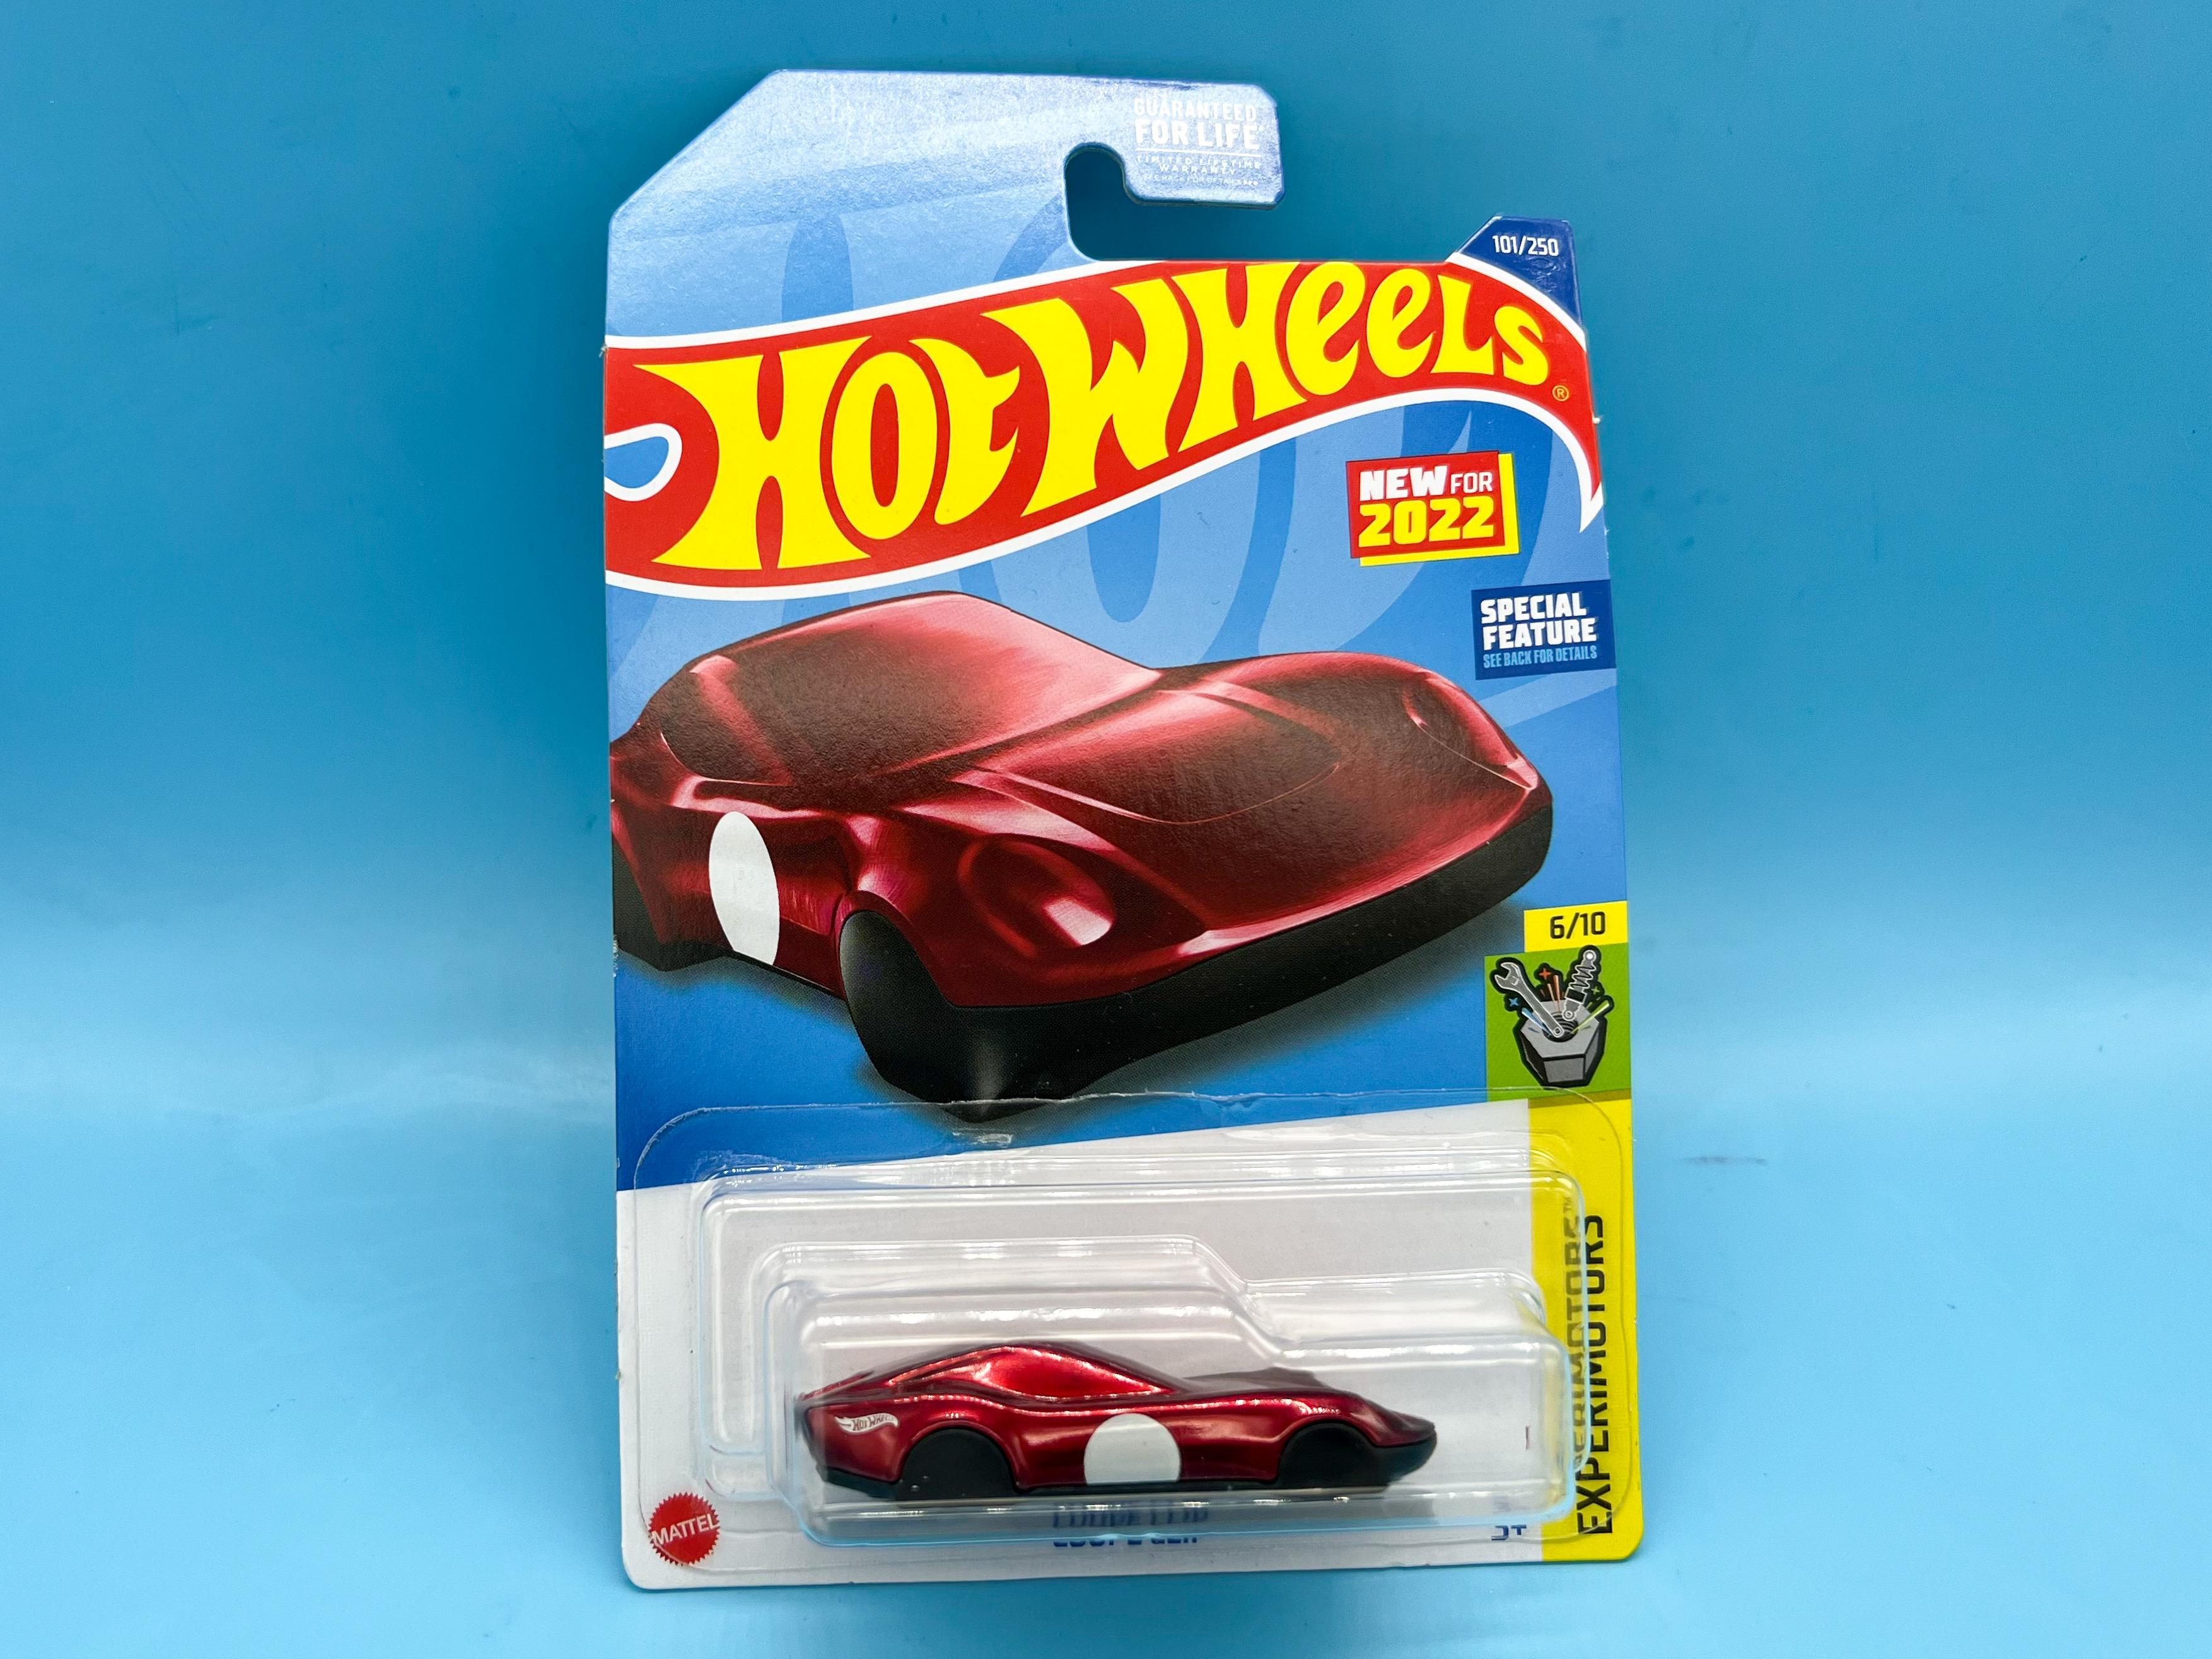
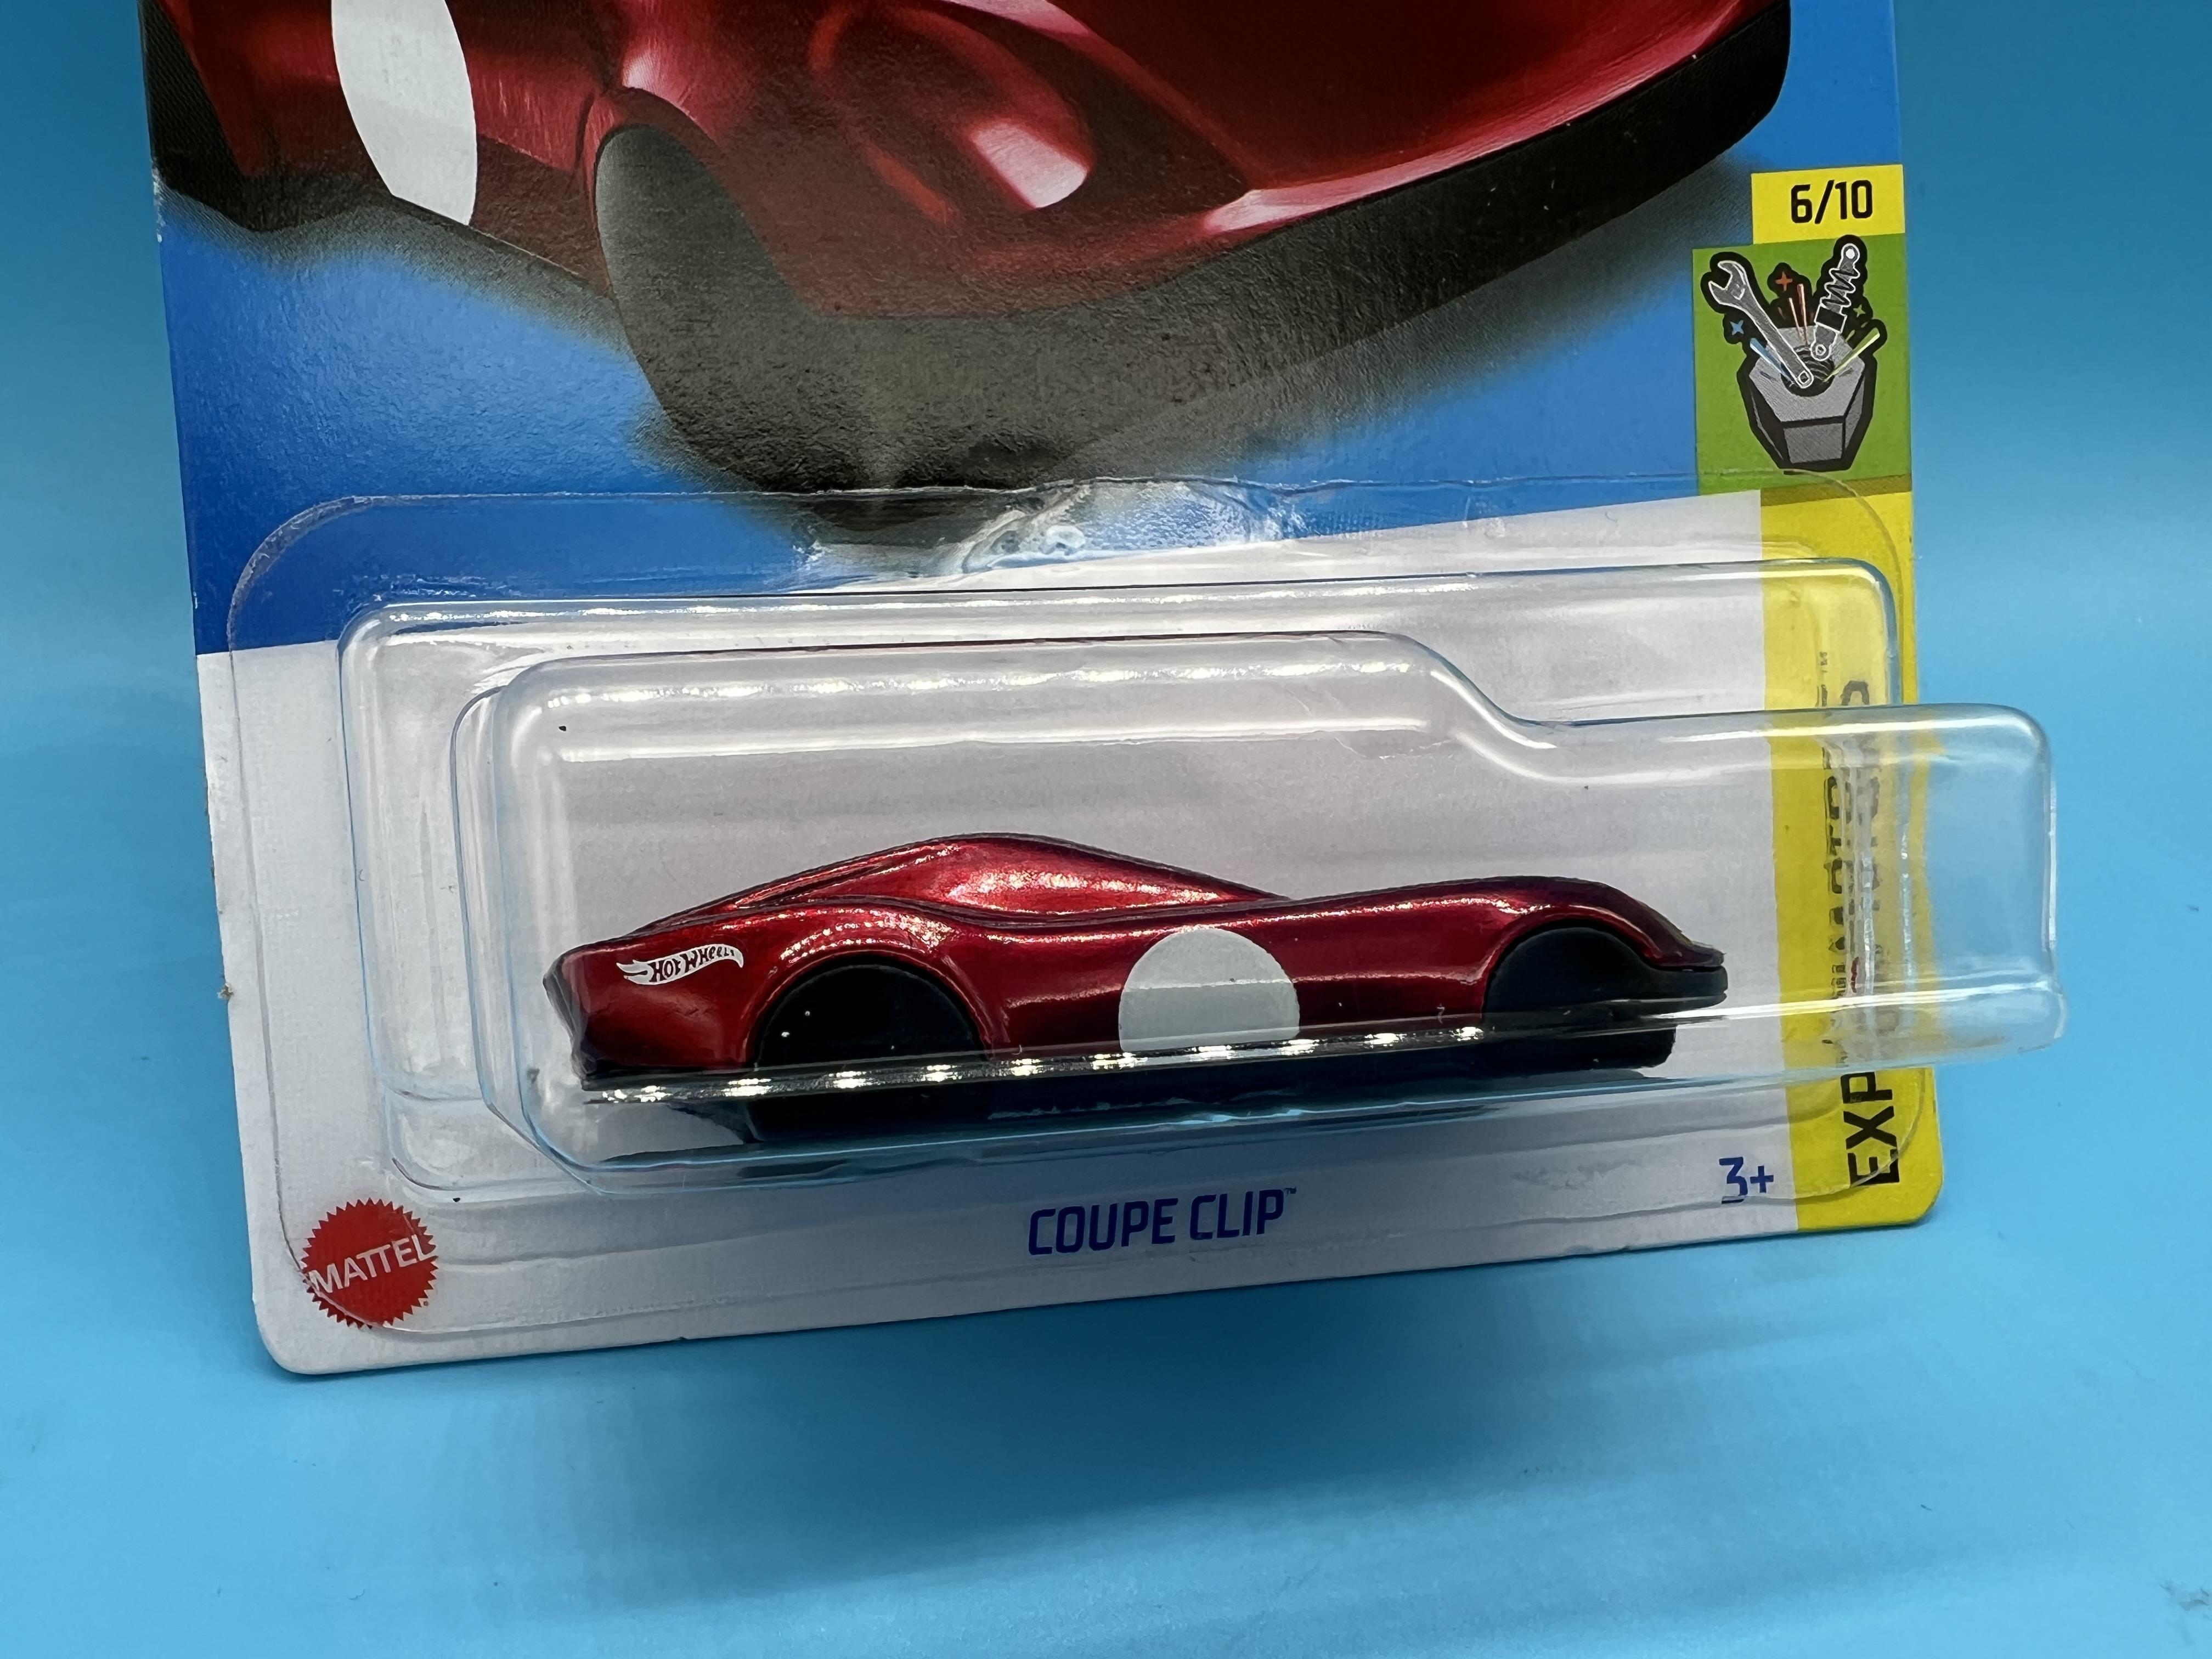
Today was a pretty good one… Coupla the new Atlantis Midget kit… A few showrods to fill out some holes in my collection: Couple of these little guys: And this thing looked so sad I just had to give it a home…a buck forty nine well spent I thought (although it IS really rough ?) Oh, and slightly off topic, something new for my keychain:
- 38,881 replies
-
- 3
-

-
- johan
- glue bombs
- (and 1 more)
-
AMEN! Finished pics are cool, and I always enjoy seeing them - but seeing the work that went into them is always a real treat for me
-
Agreed - they were apparently staying on the Upper East Side right by where my then fiancee and I had an apartment for a couple of years...there was no good reason to go on a wacky dash all over town for two hours based on where they started and where they ended up. Also, yeah, MAYBE if they were on FDR the guy driving could've built up some speed, but there's a stop light every block or two everywhere else, and you're not getting much about 40 without some serious ducking and diving and law-breaking. Not disputing maybe some paps in cars chased them, but anyone has driven around Manhattan will tell you that they weren't engaged in some wild 100mph chase through the streets for HOURS before they finally got away...
-
Oh wow… ??? Thanks for the additional pics…that’s a beautiful build
-
Congratulations on all your success John...and nice hat! ? I saw a picture of a replica of the Paradise Road Rod-Riguez that someone build - it looked suspiciously like your building style - was that yours? Would love to see some build pics of that one, if it WAS yours...
-
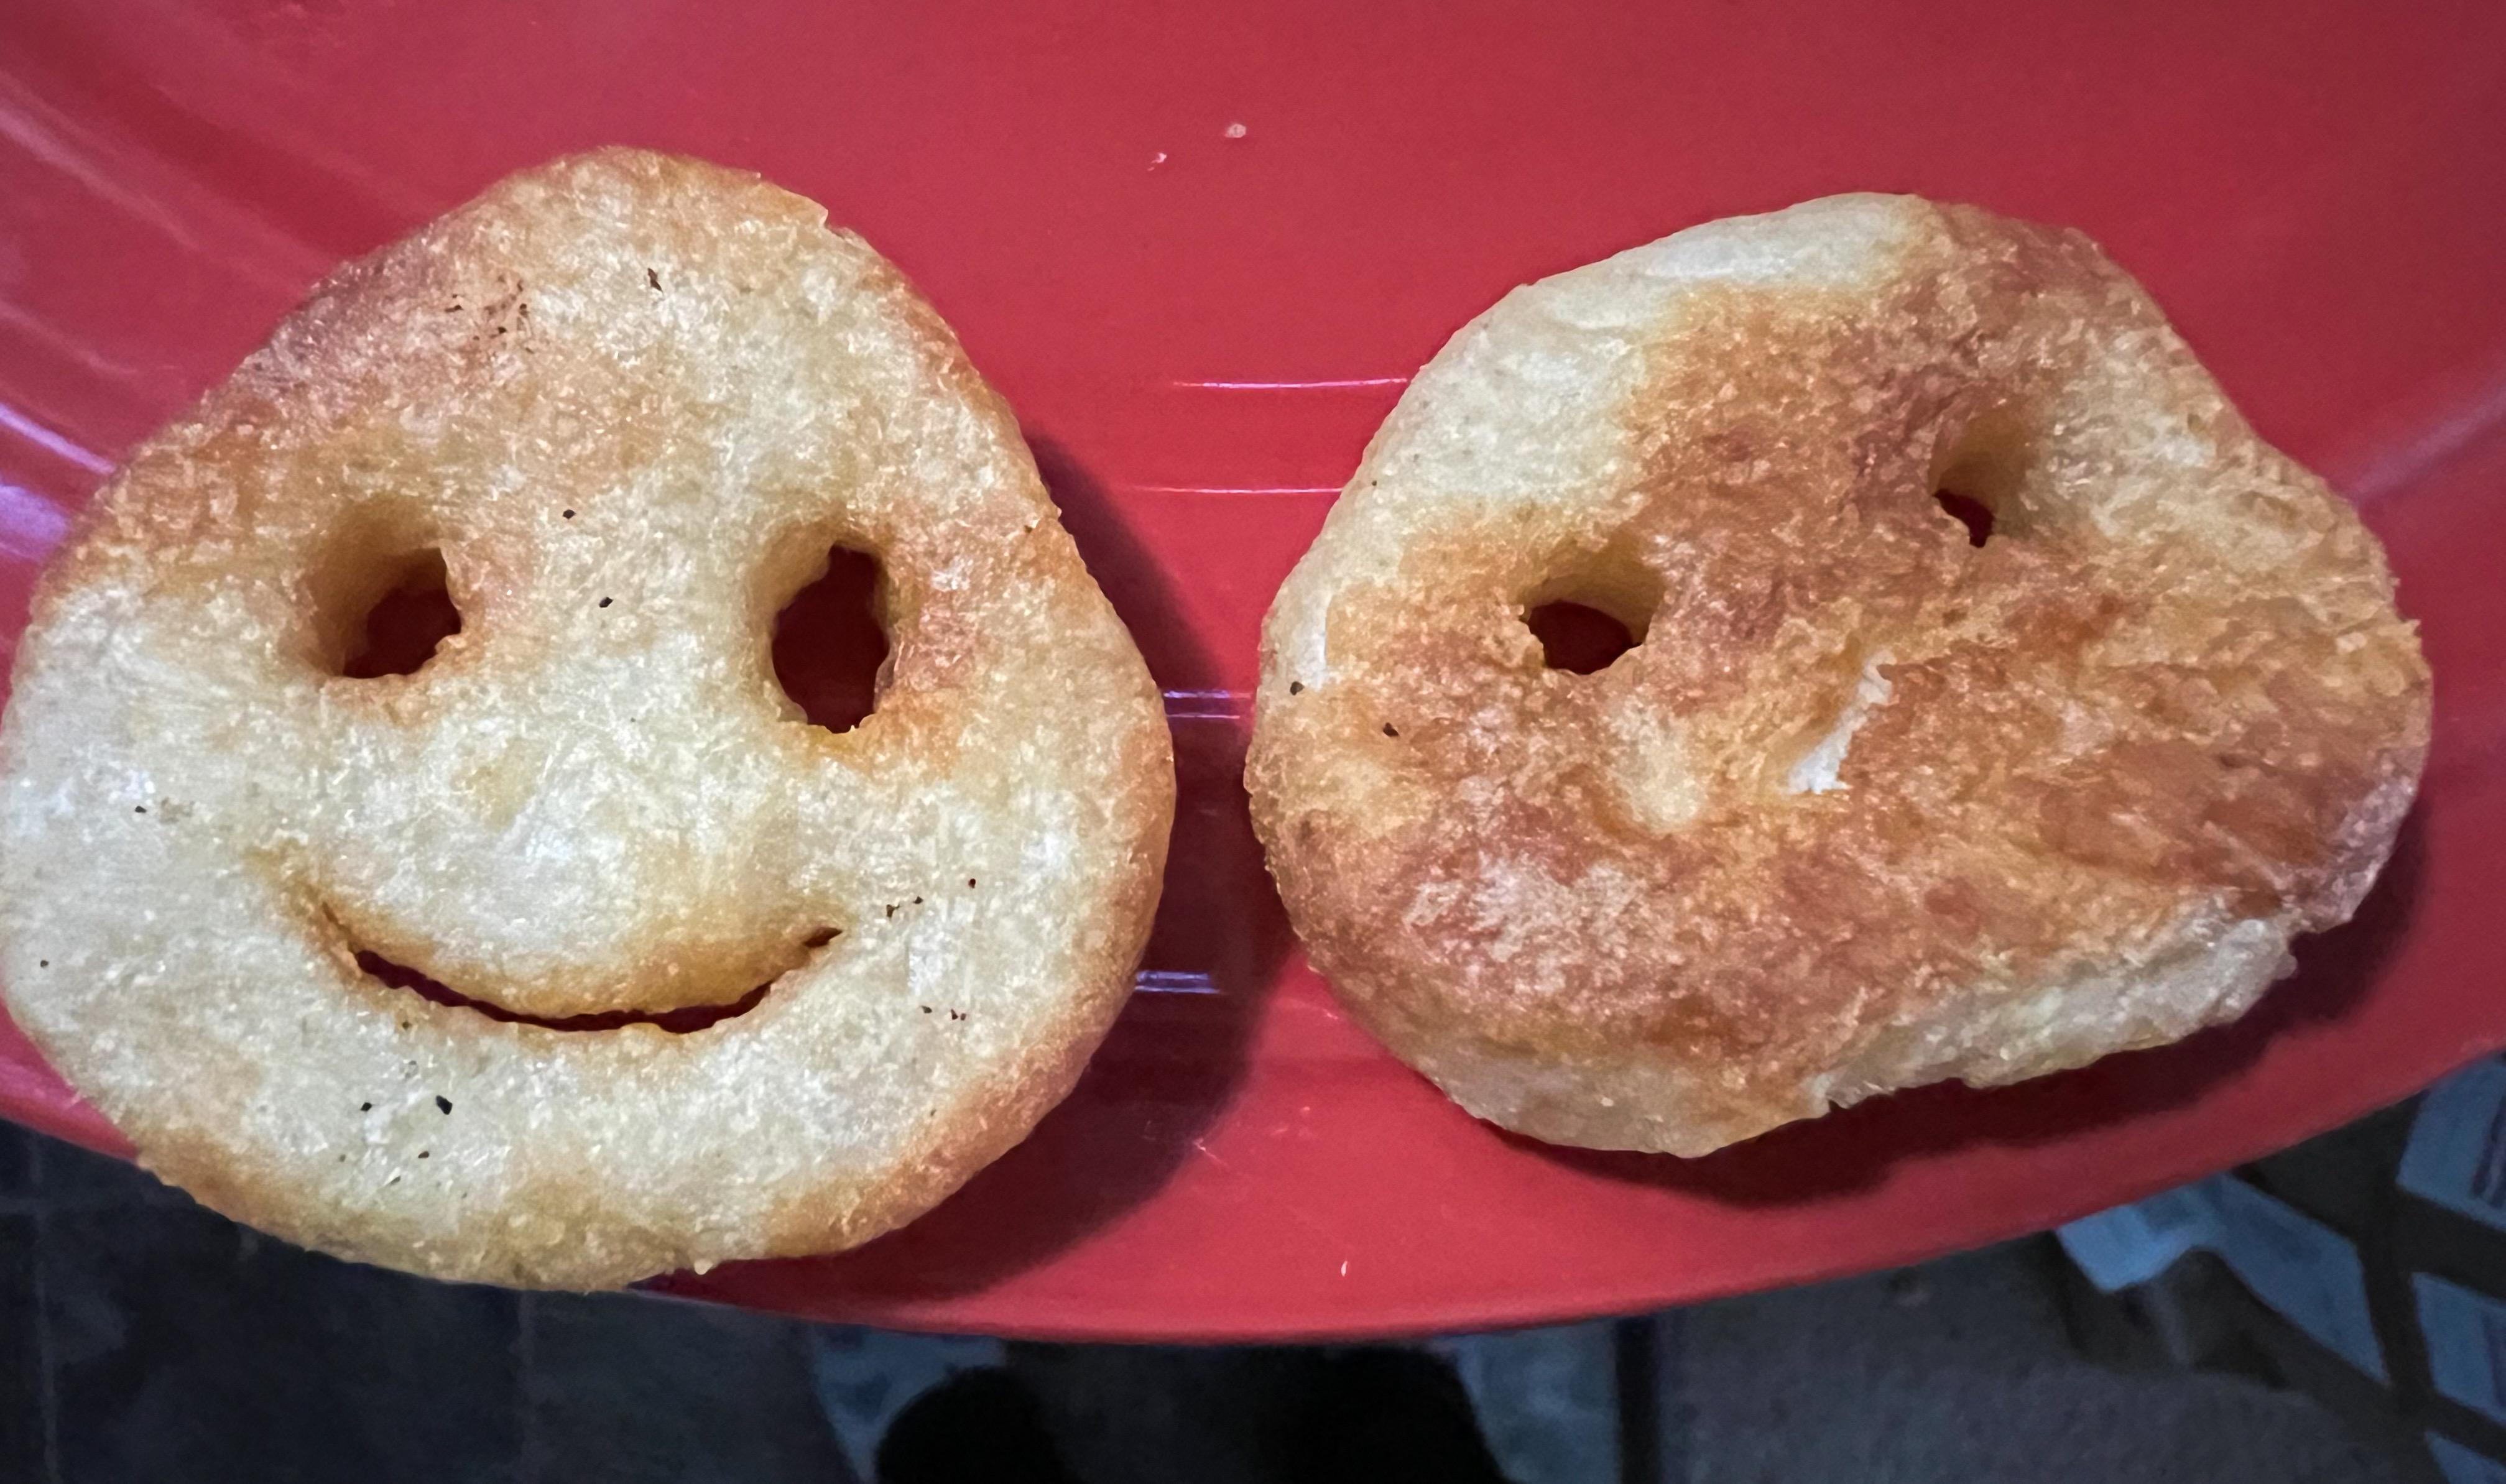
Yep! That exact scenario! I googled afterwards and discovered it’s a pretty common problem - ordered a new cabin filter which arrived today so I’ll let it all dry out properly for a coupla three days, give it another good cleaning to make sure I got all the goop out of there and then get it all reassembled. By contrast, today’s biggest grievance was that one of my Potato Smilies wasn’t smiling, but I guess all things considered that didn’t ruin my day too much ?
-
Below is a video of the object I was playing with (half of a dusty old resin copy of the AMT Bonneville kart) scanned with my phone. Looked surprisingly good on the screen, but as a printable object…no. I’m sure the technology to achieve this task will be inexpensive and easily accessible in due course, but right now it seems like you’re in the $1000 range just to get started… RPReplay_Final1684209959.mp4
-
I'm sorry, I was unclear - I used the iPhone 14 Pro's scanning capabilities, but with a different piece of software ('Kiri' in this case). I chose Kiri because it's targeted at people wishing to 3d print their scans, and maximizes the available resolution that an iPhone 14 can capture...but it was still not nearly good enough to make anything usable to print. In my case, used a phone holder to keep the phone steady and a rotating base to revolve the object I was photographing. I SUSPECT that scanning a much larger object (say, a 1:1 car part rather than a 1:25 car part) then shrinking it down would mask some of these resolution images somewhat...but the technology definitely isn't there just yet when it comes to the iPhone...
-
I messed with this a little, for experimentation’s sake. Results were about as poor as I expected…the thing I scanned (a resin body) looked good on screen but was WAY to low of a resolution to be useful for anything besides looking at it on a screen. The technology on phones isn’t there yet (but I would be amazed if any of the printer manufacturers aren’t working on a scanner as we speak…)
-
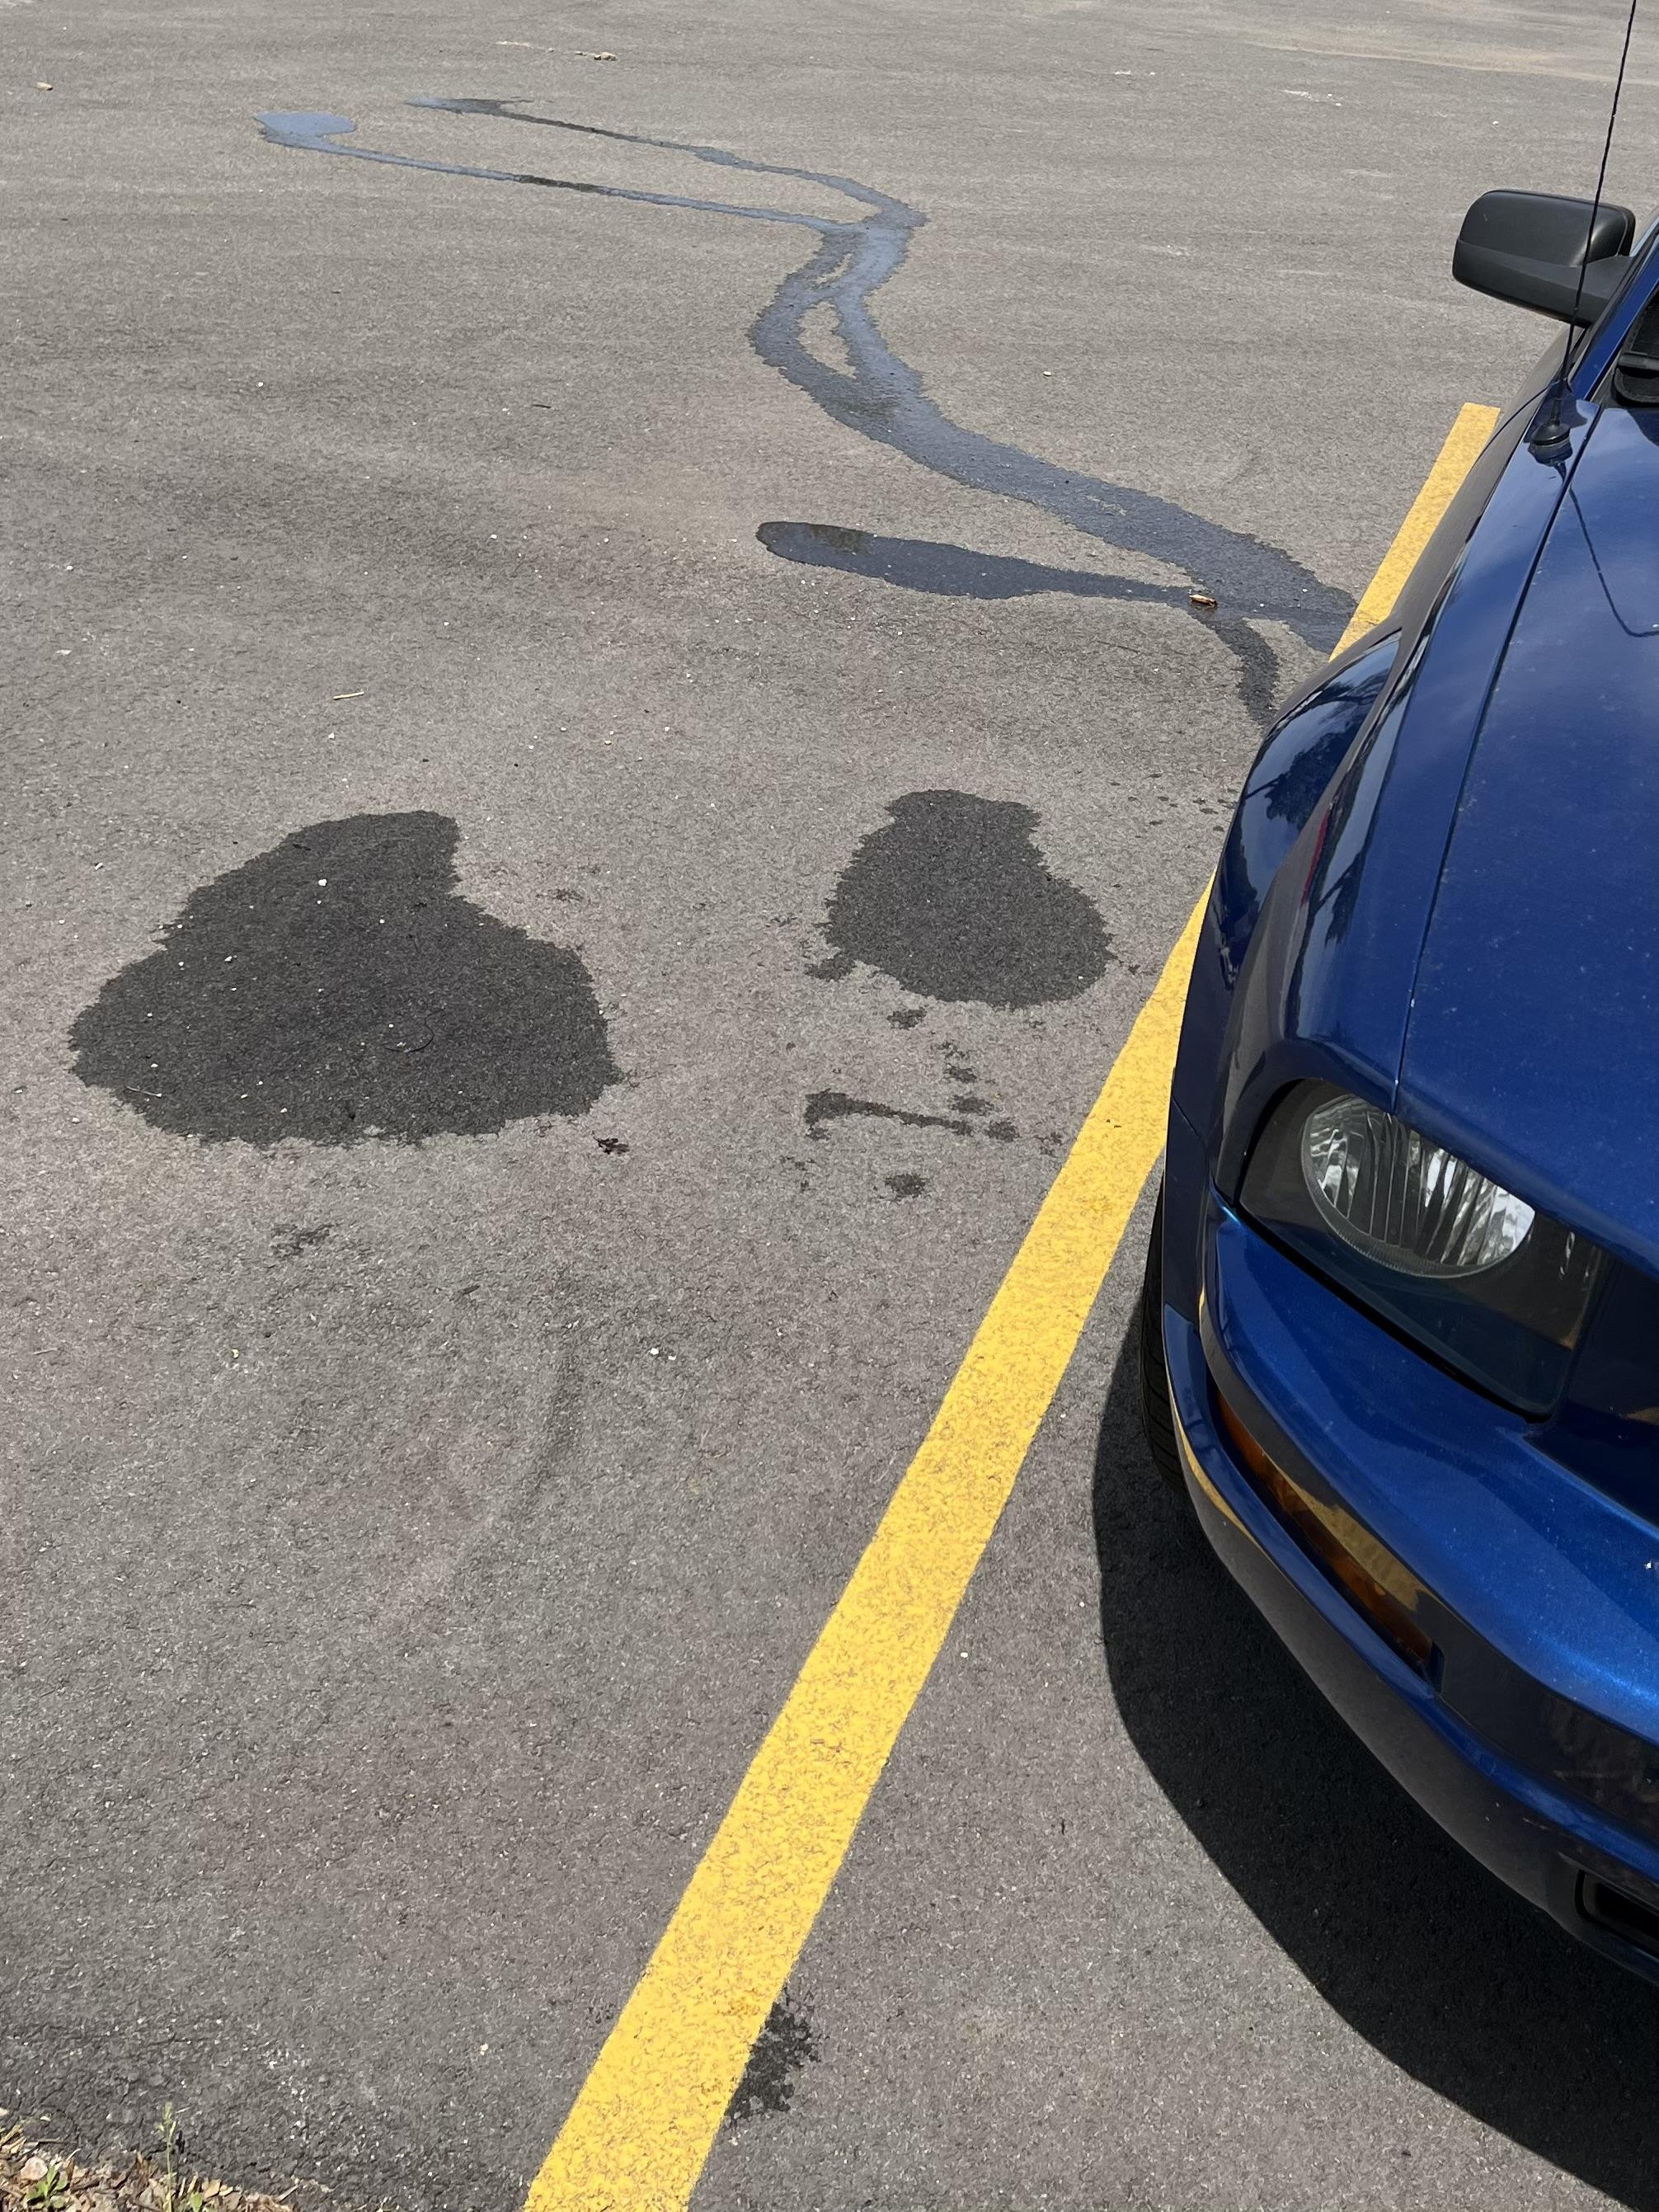
Water coming out of my dashboard irked me today…turned out I’d omitted a drain plug when going through and cleaning them when I got this car, and of course the one I omitted was the one with 3” of water and rotten leaves in it. Quick poke with a screwdriver and a blast through with some compressed air seemed to remedy the situation: My hand smelled like swamp until I could find some decent hand cleaner in the shop at work ??