Paul Payne
-
Posts
2,134 -
Joined
-
Last visited
Content Type
Profiles
Forums
Events
Gallery
Everything posted by Paul Payne
-
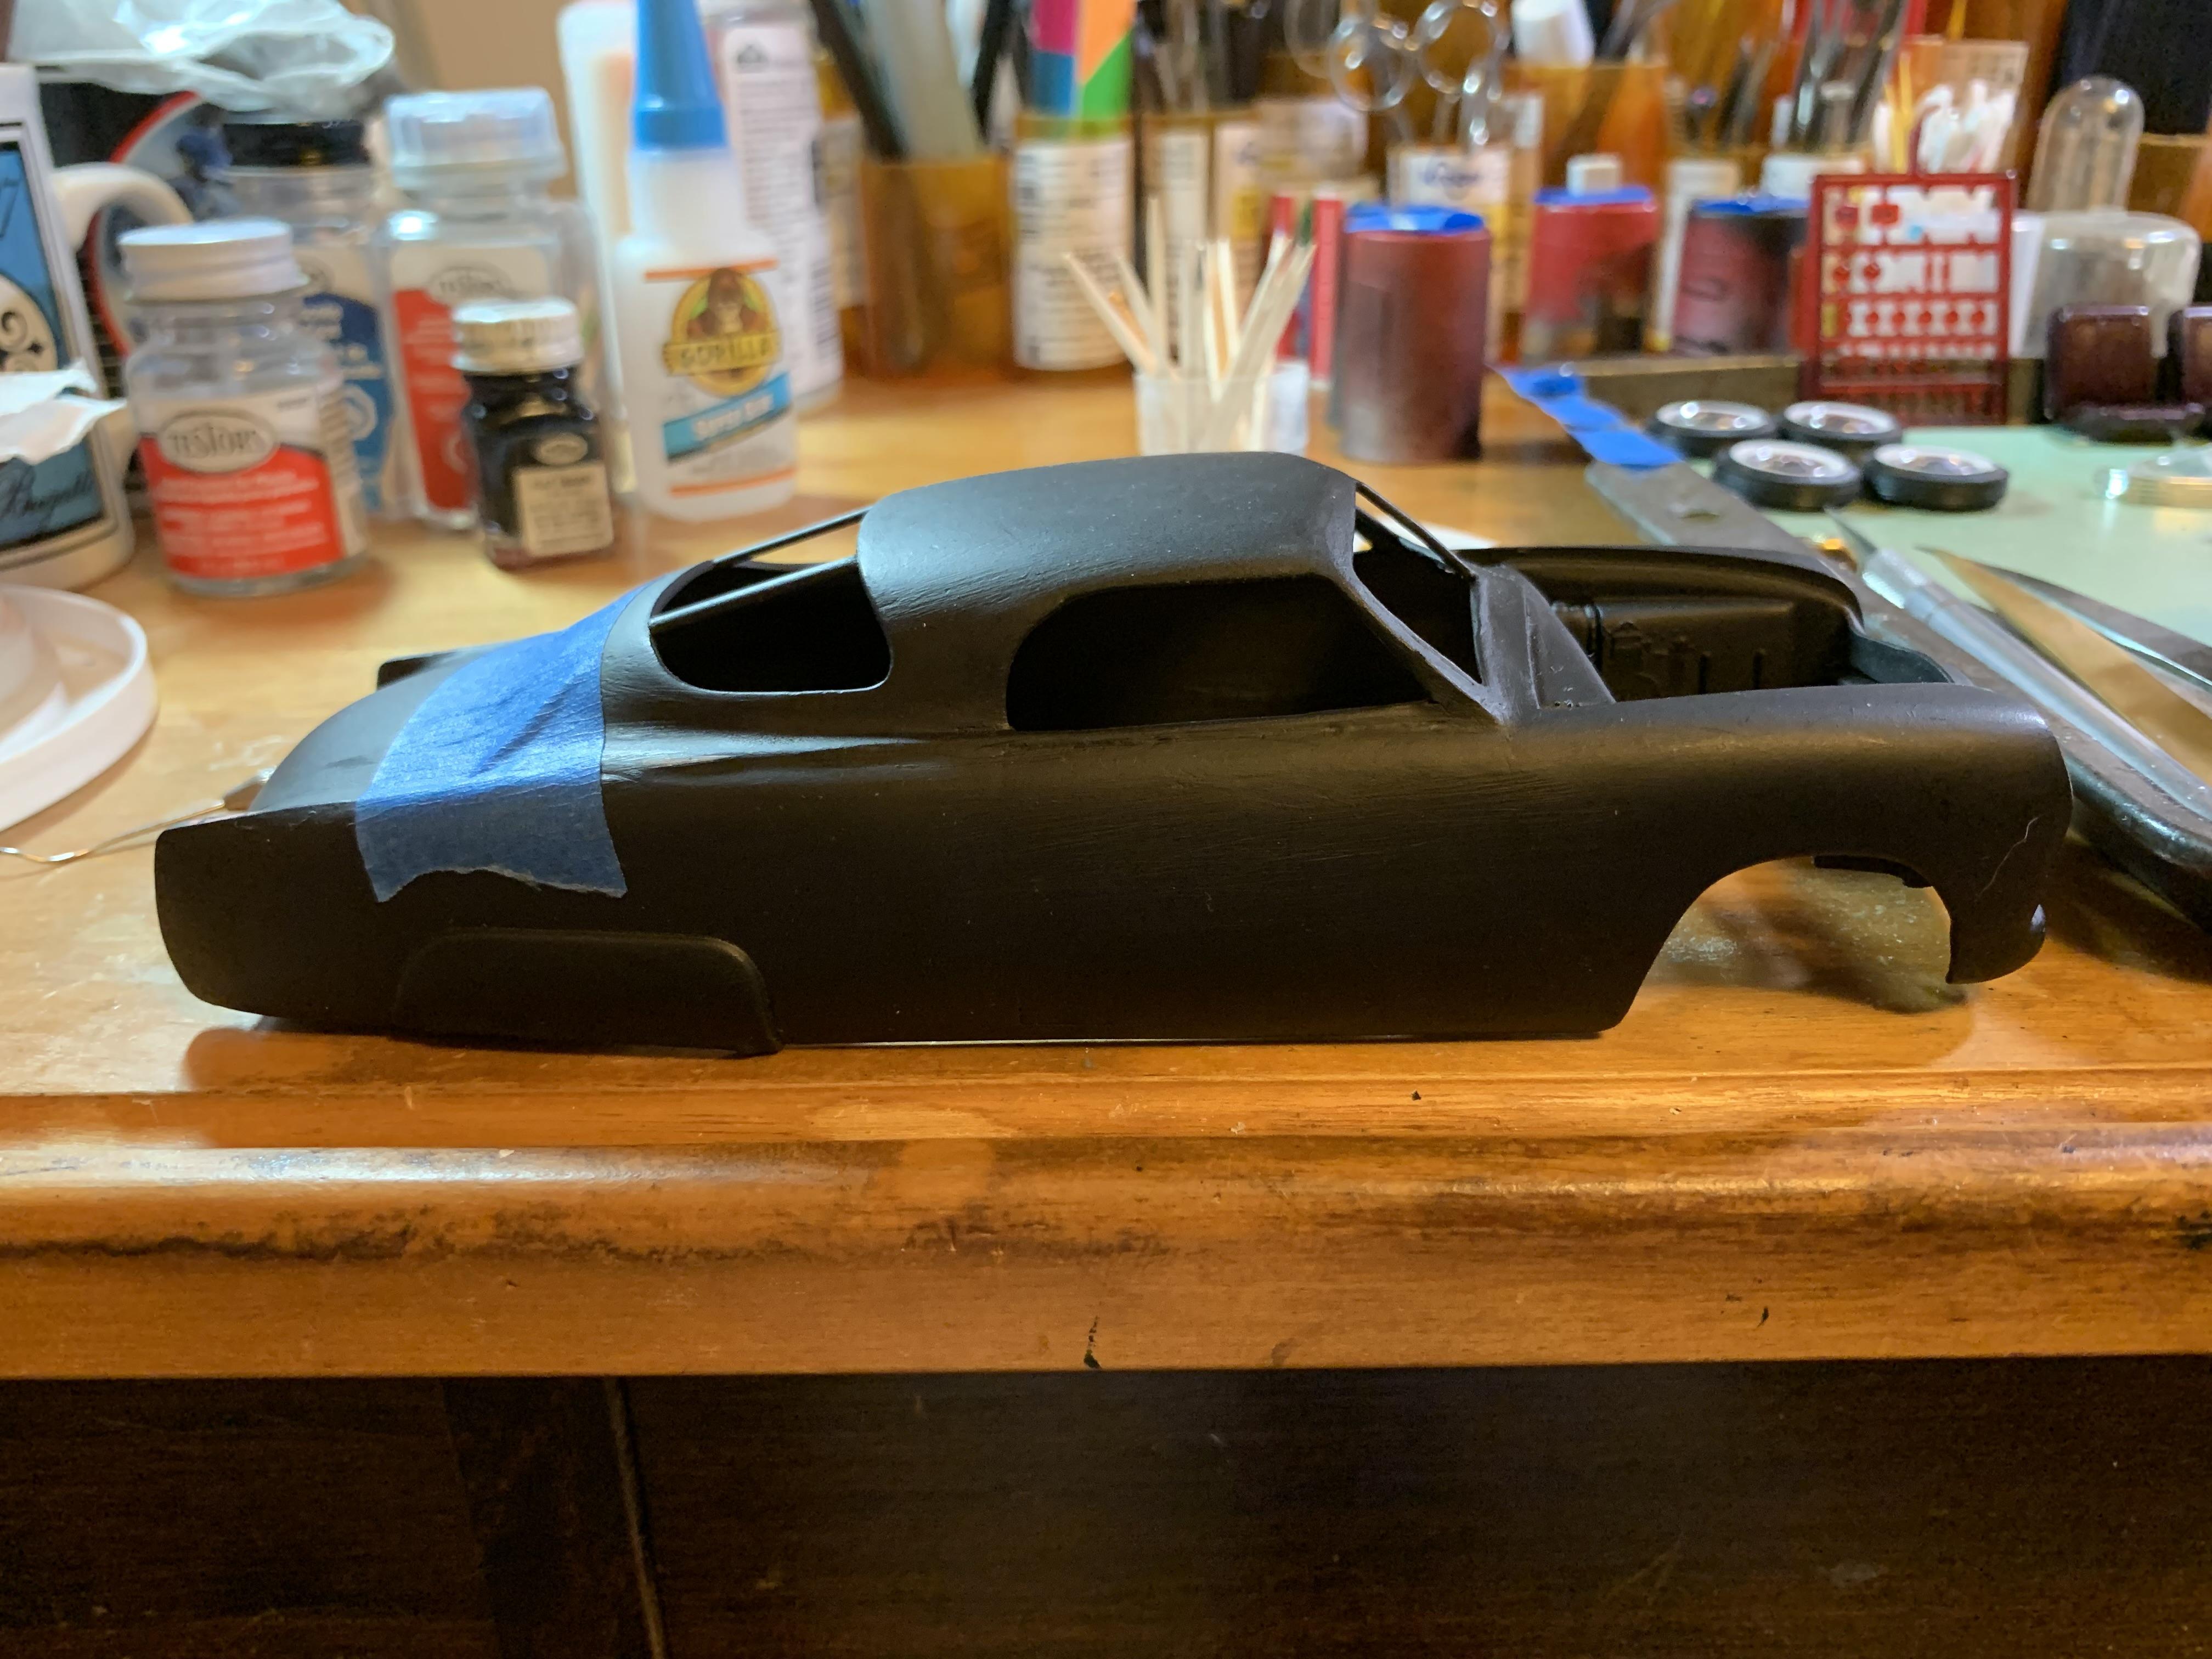
Resurrection! Stripped, re-puttied, paint, a bit more putty, and we are starting to see a custom! I decided to be brave and bold- tried some gloss black auto paint on a spoon, nothing bad happened, so began spraying using it as primer- so far, so good- good coverage, hard, tight and sandable.

-
Cleaned up the rest of the external surfaces and some of the internal ones. Did some sanding, then began puttying- again! Very pleased that my construction held up well- a fender skirt corner and one rear window divider were all that came loose.
-
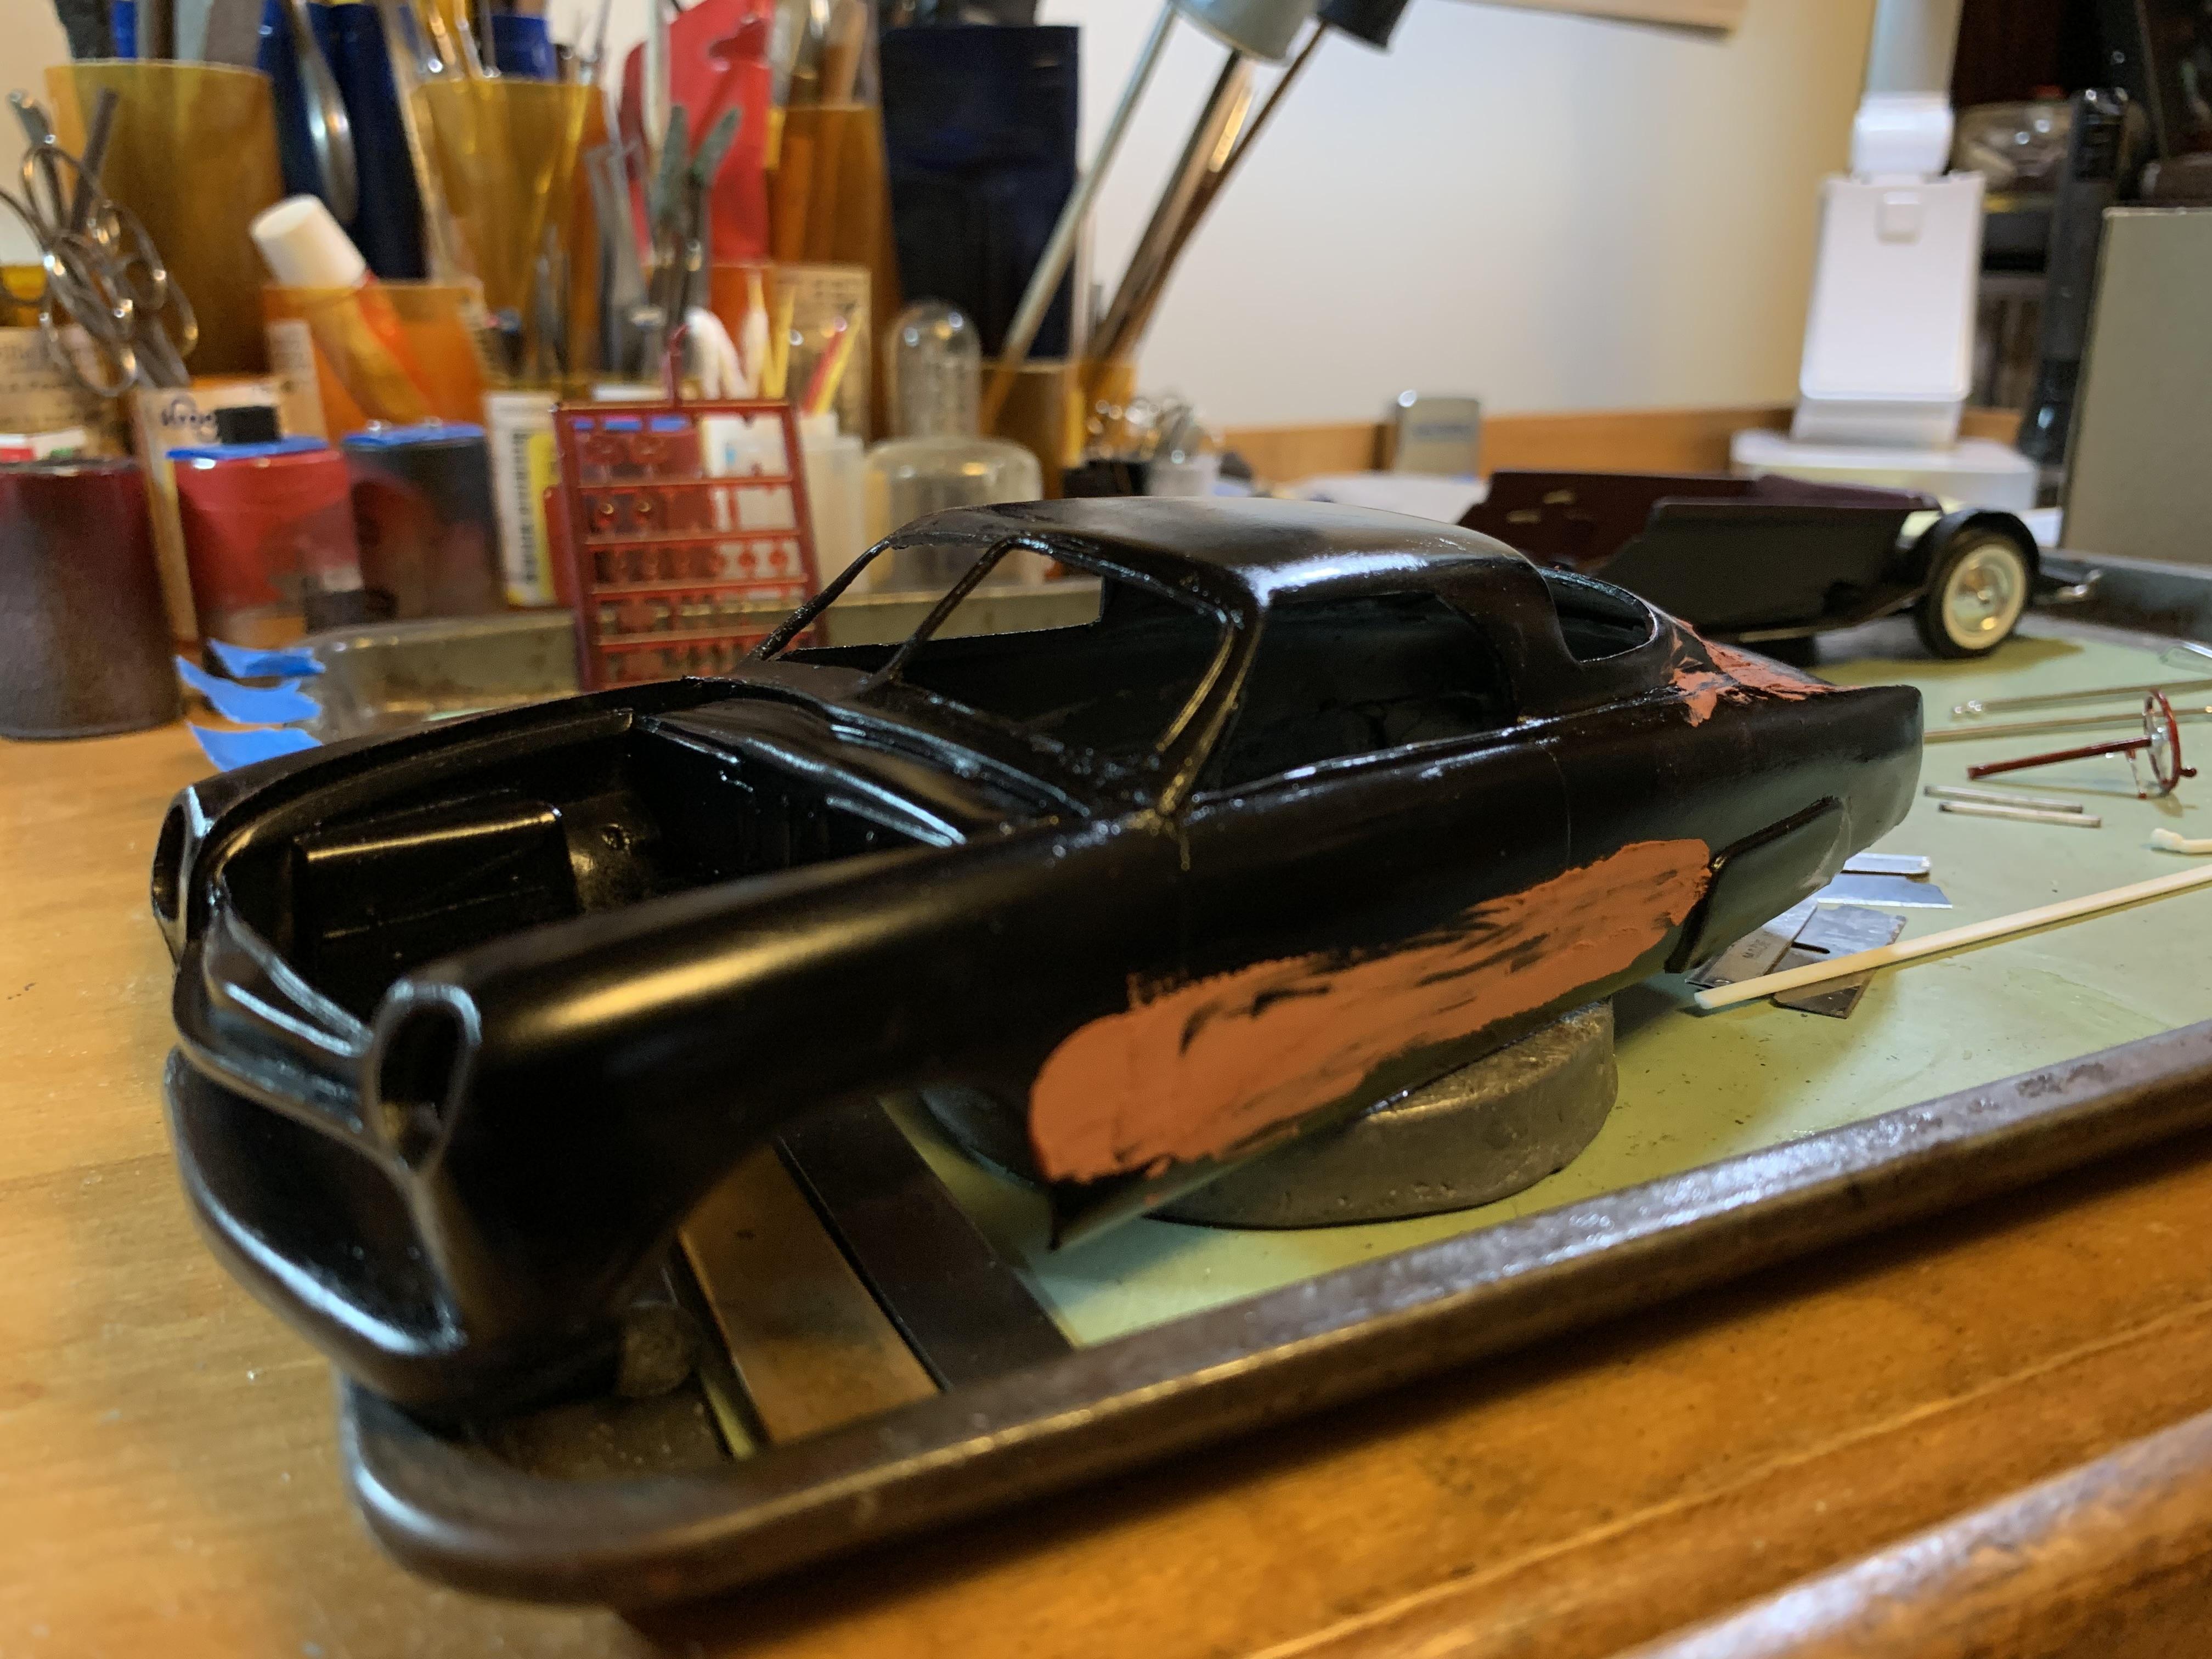
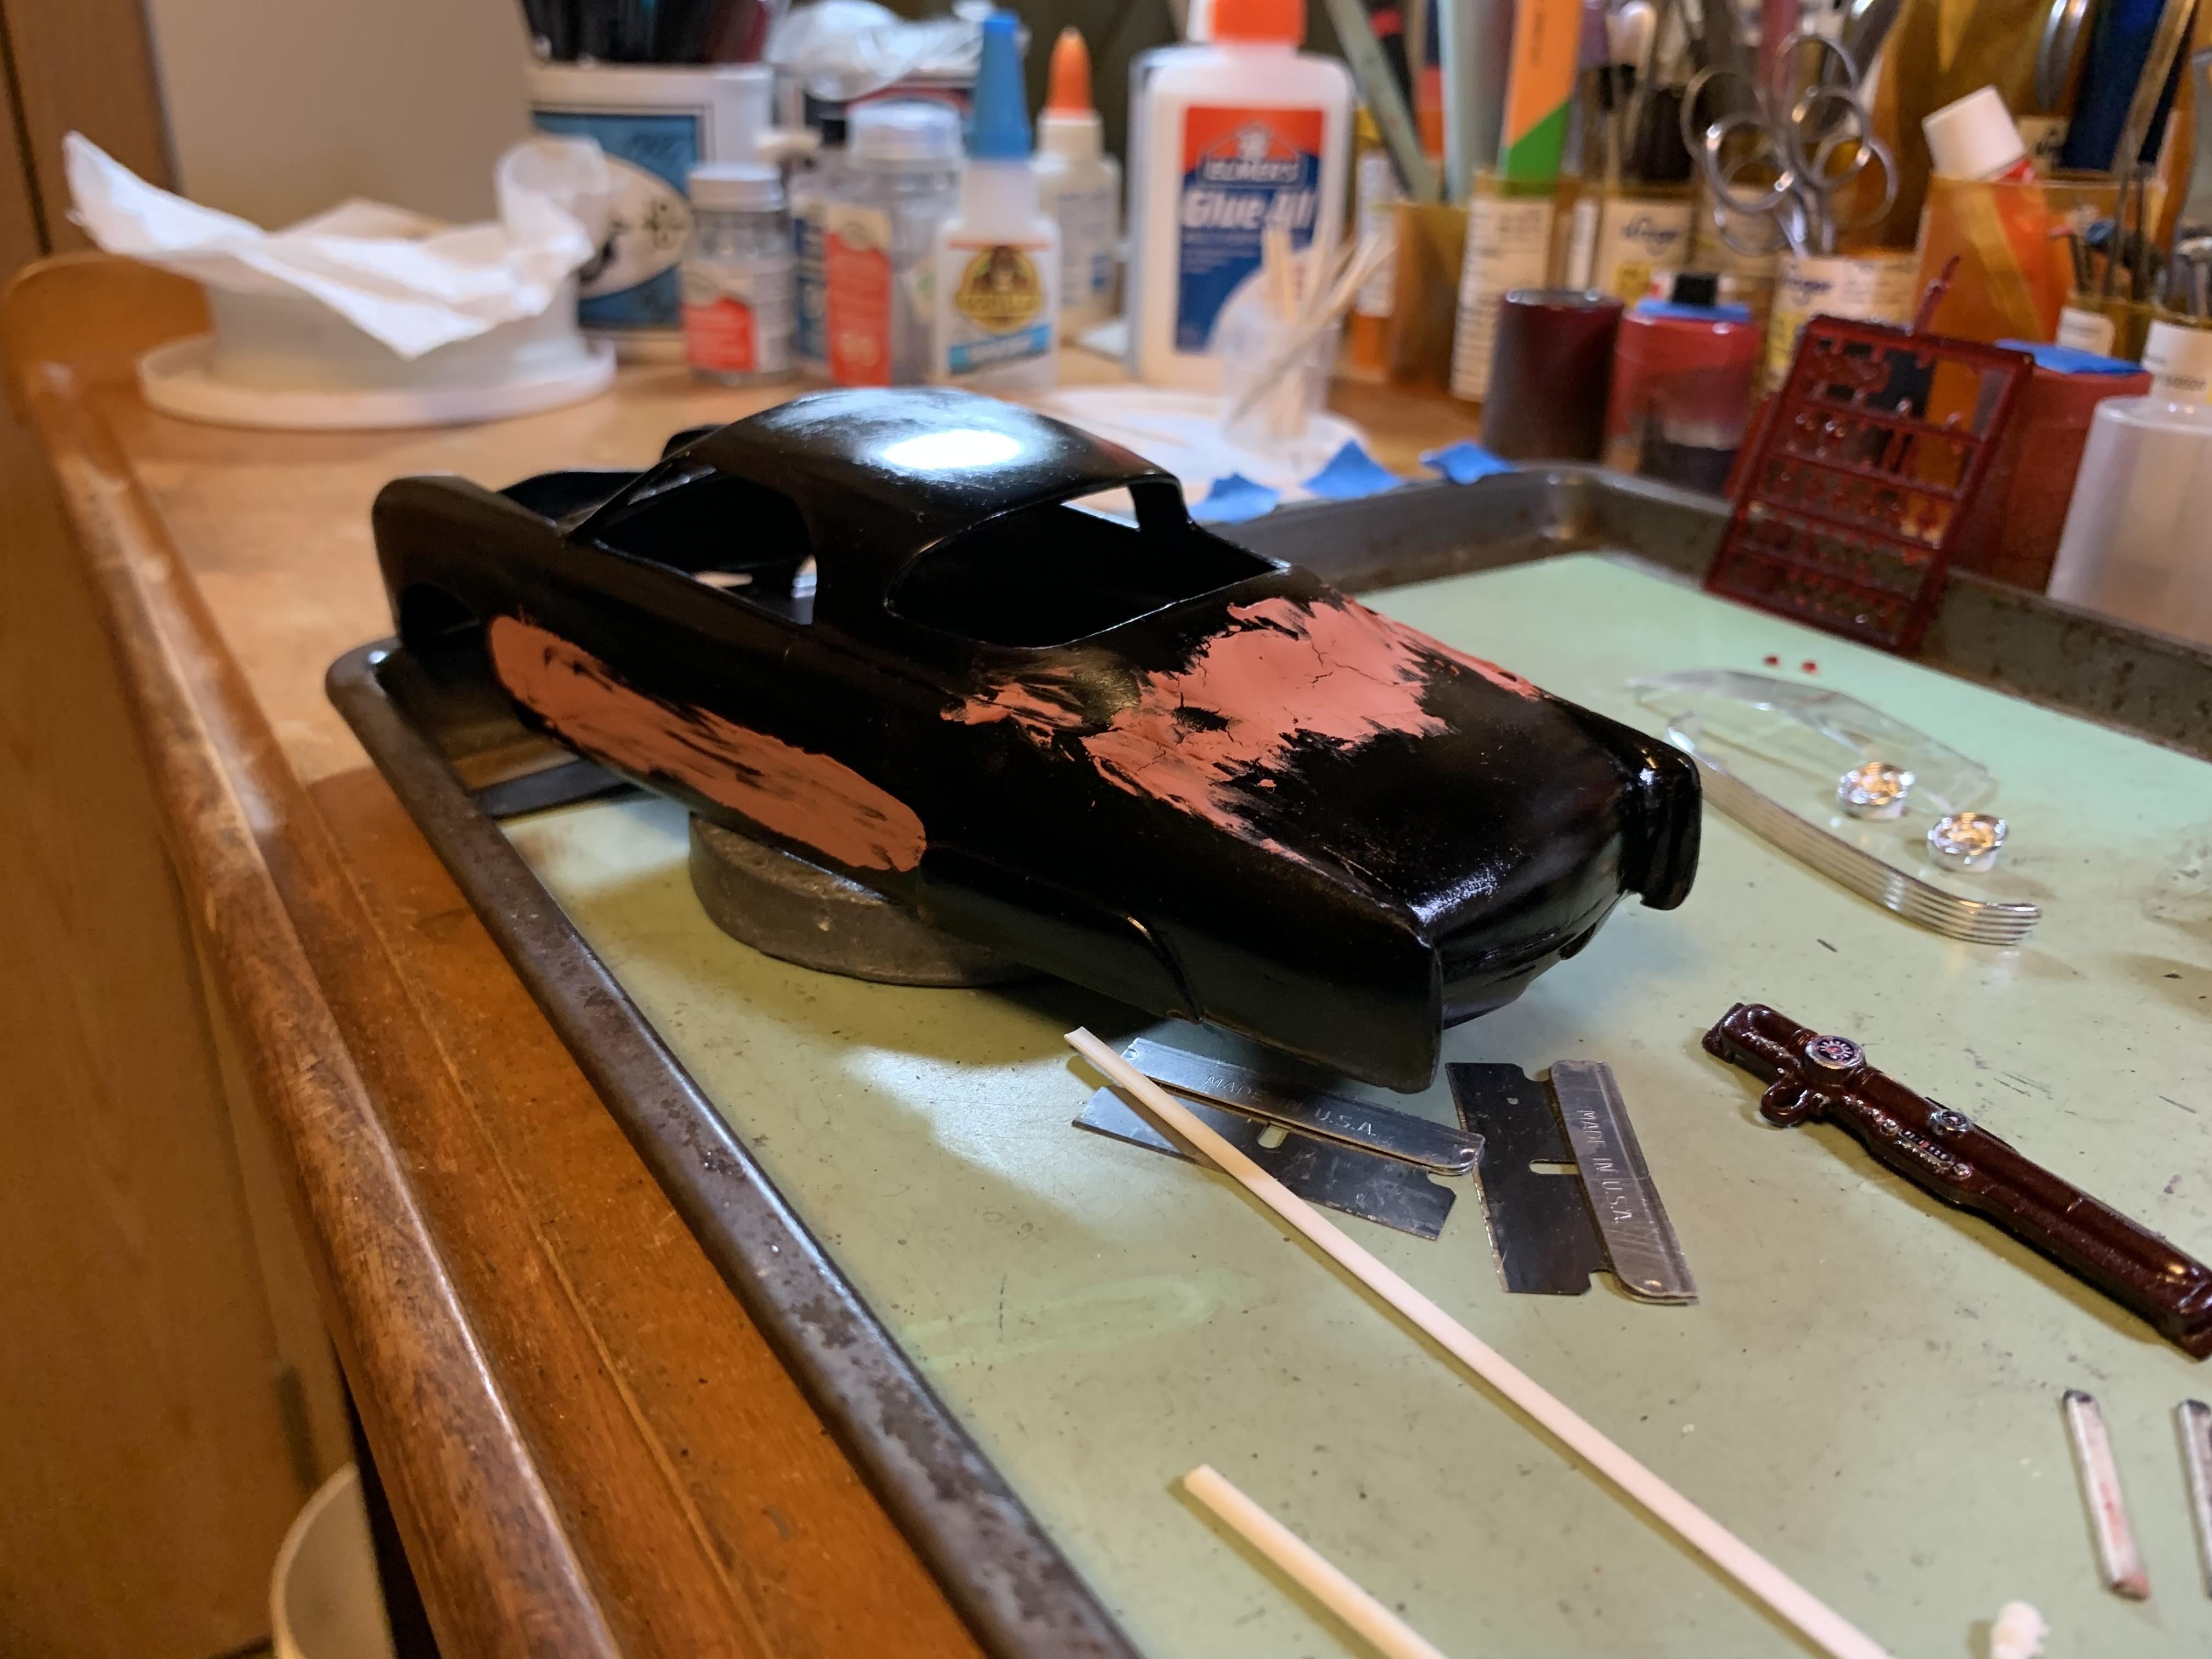
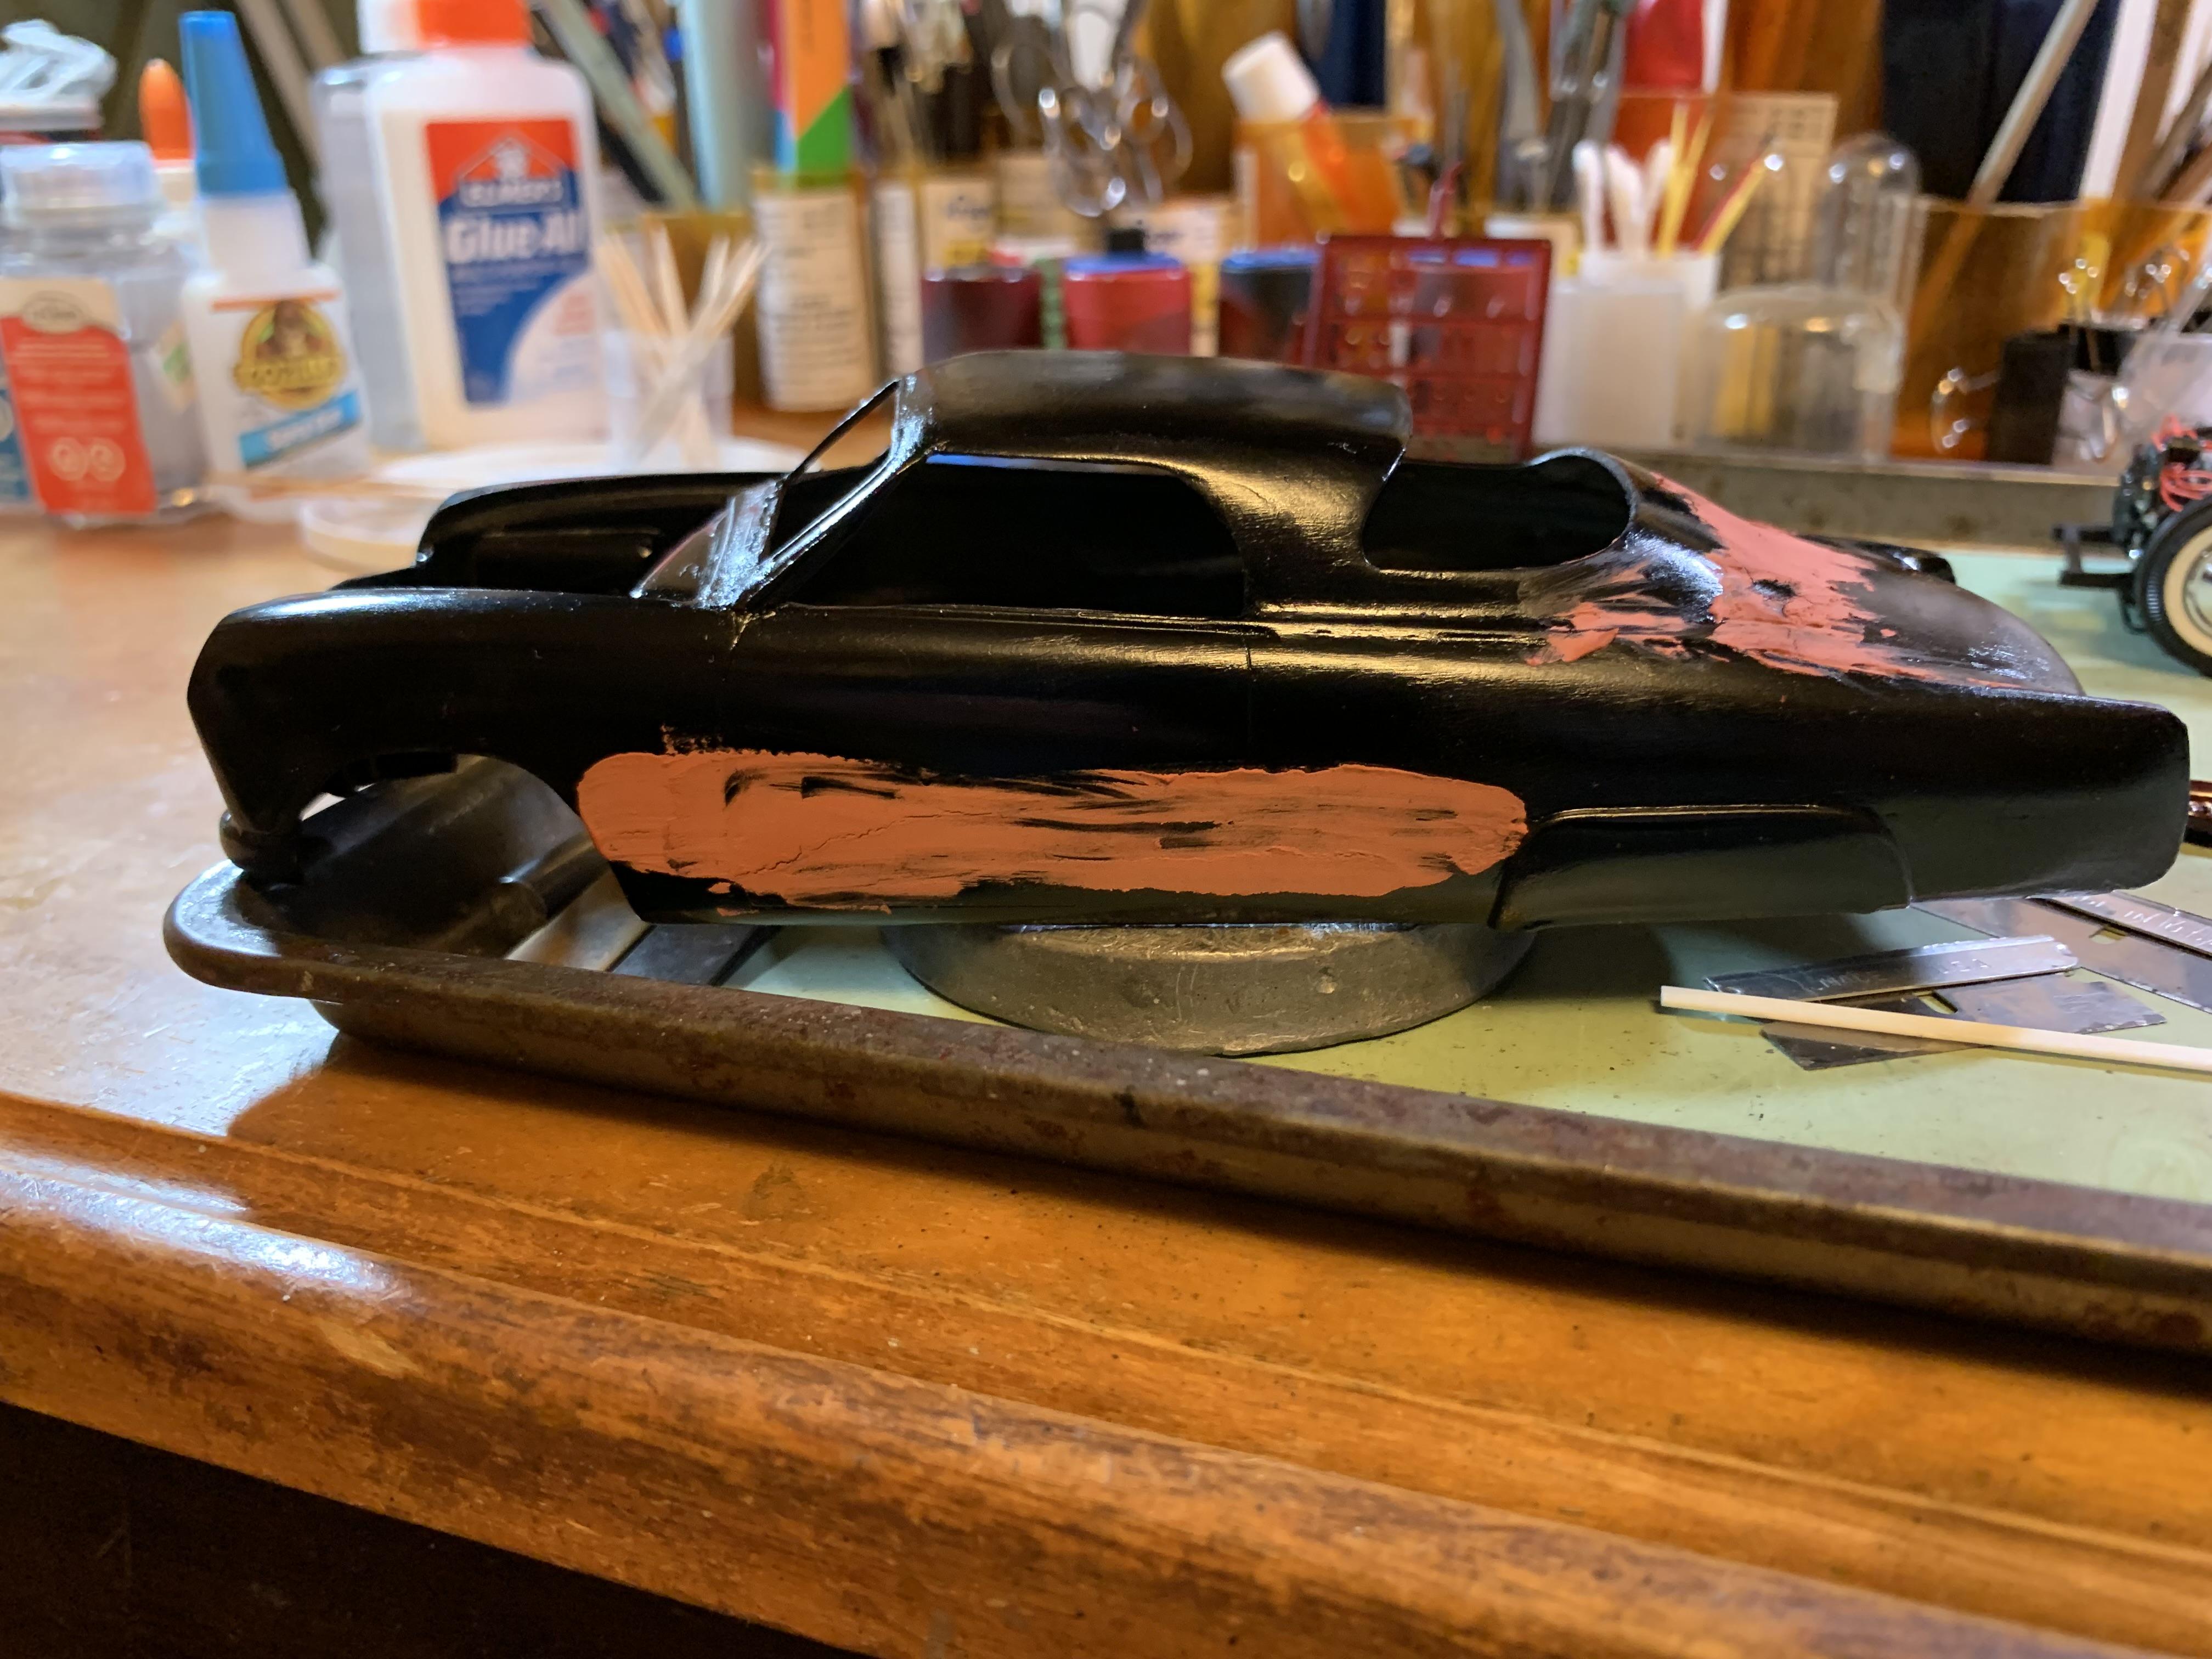
Well, did some scrubbing and thumb nail scraping, and removed much of what was on the upper surfaces. Re-applied oven cleaner to the front, rear, and sides for another soak. Funny how a model can need as much restoration as a real car! Will definitely need to redo the filler- we will see how much. Then I need to go back to cheap flat black primer- my old reliable! Made the mistake of using flat black paint and primer combined- never again!- and the flat black primer only was about the same- more like sanding rubber than paint- and it never dried to a hard, tight surface.
-
Guaranteed immortality! You cannot die until everything is used! (make more every few years) Very nice detail work- what carbs are you starting with?
-
Thanks, Scott-needs to soak a bit more before being scrubbed.
-
This is a really great build- very realistic and period correct! Well done!
-
I think different primer, color, and clear coat should eliminate the problems. I am applying your quotes.............
-
Thanks for the encouragement! A clear coat job went really wrong, so now the body and hood are soaking in oven cleaner, which is my go to paint remover. We shall see how badly the putty is eaten, but it will be restored and will continue on. David, thanks for the tip on the siding- just not sure yet which direction I will go. As always, more pix when I actually make forward progress!
-
Well, things have not gone to plan, so alternatives are being tried. The tuck "n" roll upholstery did not work at all- I did not anticipate as much curvature to the seat- and the half round did not want to bend to conform. Also the "blazing black". which I thought would be a metallic loaded black, seems to dry rather flat, with no metallic visible, but becomes a reasonable gloss black after gloss coat is applied. Definitely disappointing. The attempt to scribe panel lines was also a dismal failure- so that will wait for a project with less putty. Well, onward through the fog!
-
truck, boat, and trailer
Paul Payne replied to Paul Payne's topic in WIP: Model Trucks: Pickups, Vans, SUVs, Light Commercial
Very tasty work! The engines look particularly healthy! Wood work looks great and the finned cover came out really well. As always, looking forward to more! -
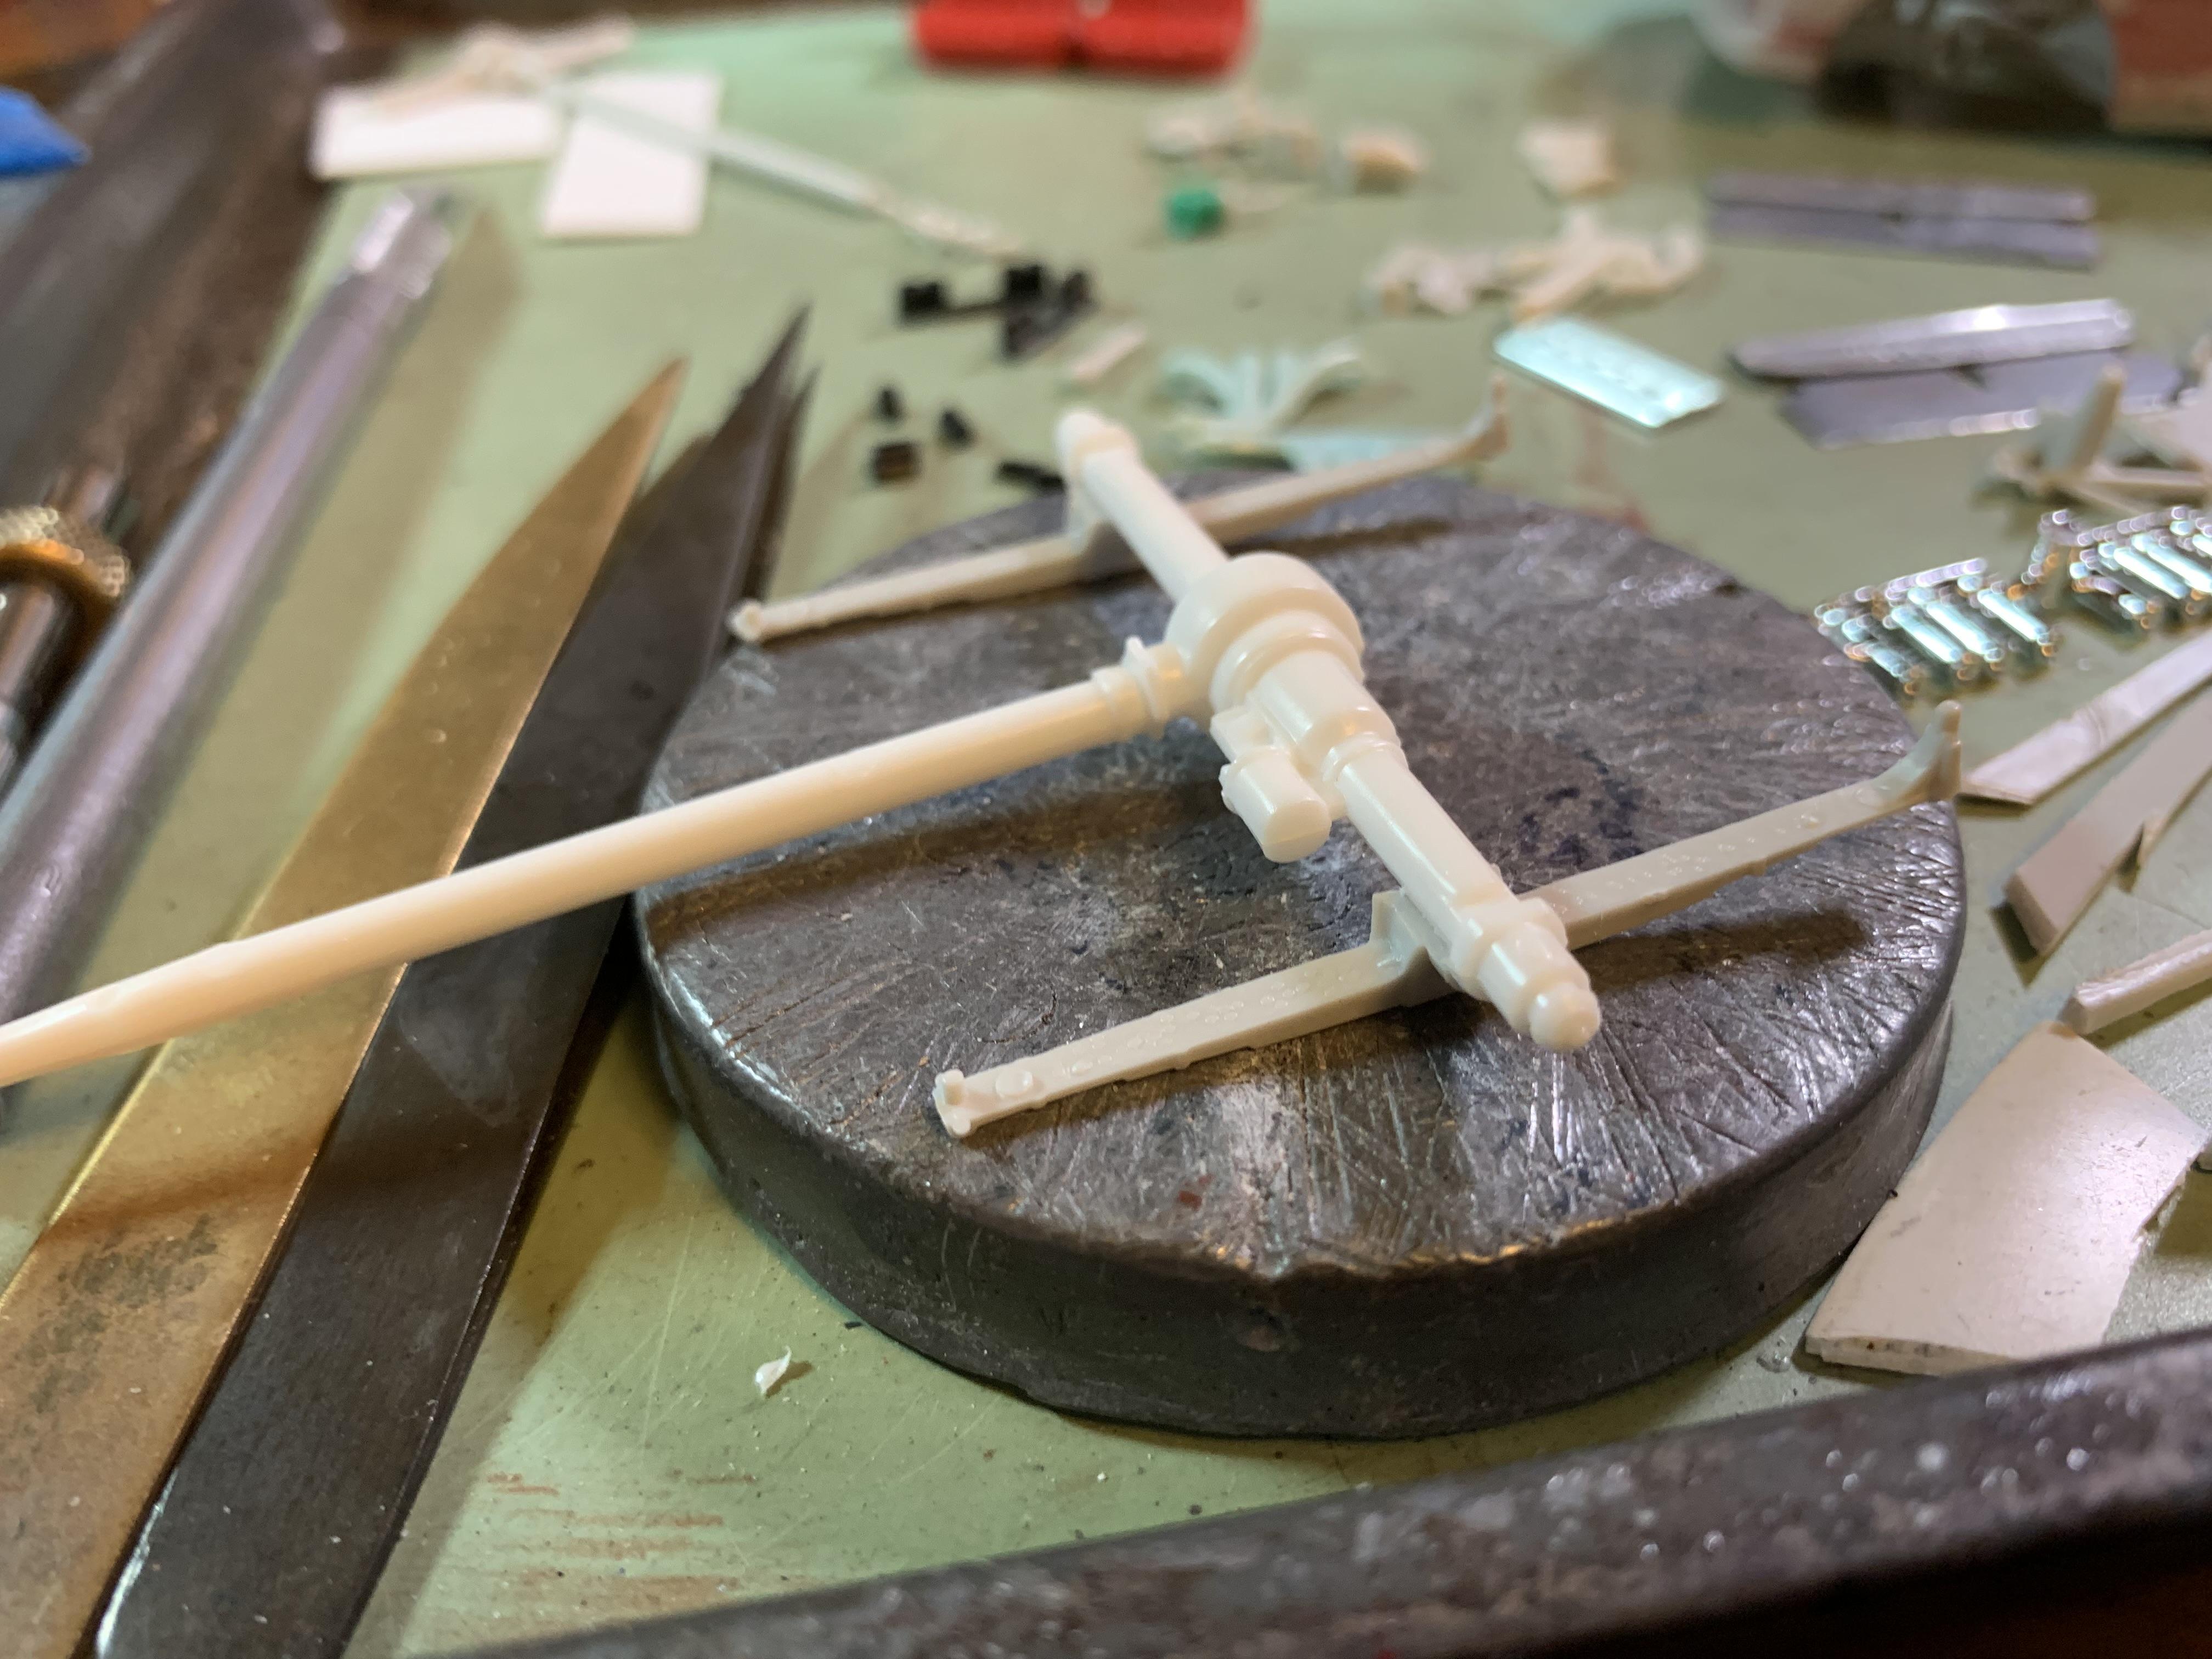
More progress, of a sort- the primer I used seems to not like drying and hardening- still sort of rubbery, and really clogs the sanding stick. First time for re-scribing panel lines. Decided to divide the rear window opening reminiscent of 49 Mercury, using 0.10" half round stock. Got a lot of chassis work done including installing the fishtail exhaust tips. Still need to fiddle with the rear suspension- not sitting low enough- already reversed the arch of the springs (shades of torching springs back in the 40's and 50's)- and need to add shocks. Started laying in the tuck "n" roll upholstery- we shall see if this stays, I'm not yet thrilled with the outcome- definitely will need more paint to pull it together. The 53 Studebaker wheel covers now have chrome trim rings and brake backs. Mocked up the Avanti headlight buckets and DeSoto bumper from Revel 49 Mercury to be used as the front grille. More pix when I get more done!
-
truck, boat, and trailer
Paul Payne replied to Paul Payne's topic in WIP: Model Trucks: Pickups, Vans, SUVs, Light Commercial
Great progress! Those fifties fins on boats were pretty wild! Looking forward to some engine mock ups too! Nevertried vacuum forming- I understand the process, but never gathered tools and materials to do it. -
Gary, I do- truck, boat and trailer in wip.
-
Saltie, go for it! Want pix!
-
Again, thanks everyone, the encouragement means a lot because sanding putty is about my least favorite modeling activity, but you do see your vision taking shape! I'm thinking metallic black for the exterior, maroon and ivory for the interior.
-
Great old school build!
-
AMT 32 Ford Hot Rod built from spare parts
Paul Payne replied to rsmodels's topic in WIP: Model Cars
pics are not showing up- would love to see your work! -
Amazing how much gets sanded off. Anyone figure out a way to recycle the dust? Meanwhile, more pix when I get more done!
-
Spectacular!
-
All my hot rods are customized and all my customs are hot rodded! No lead sleds!
-
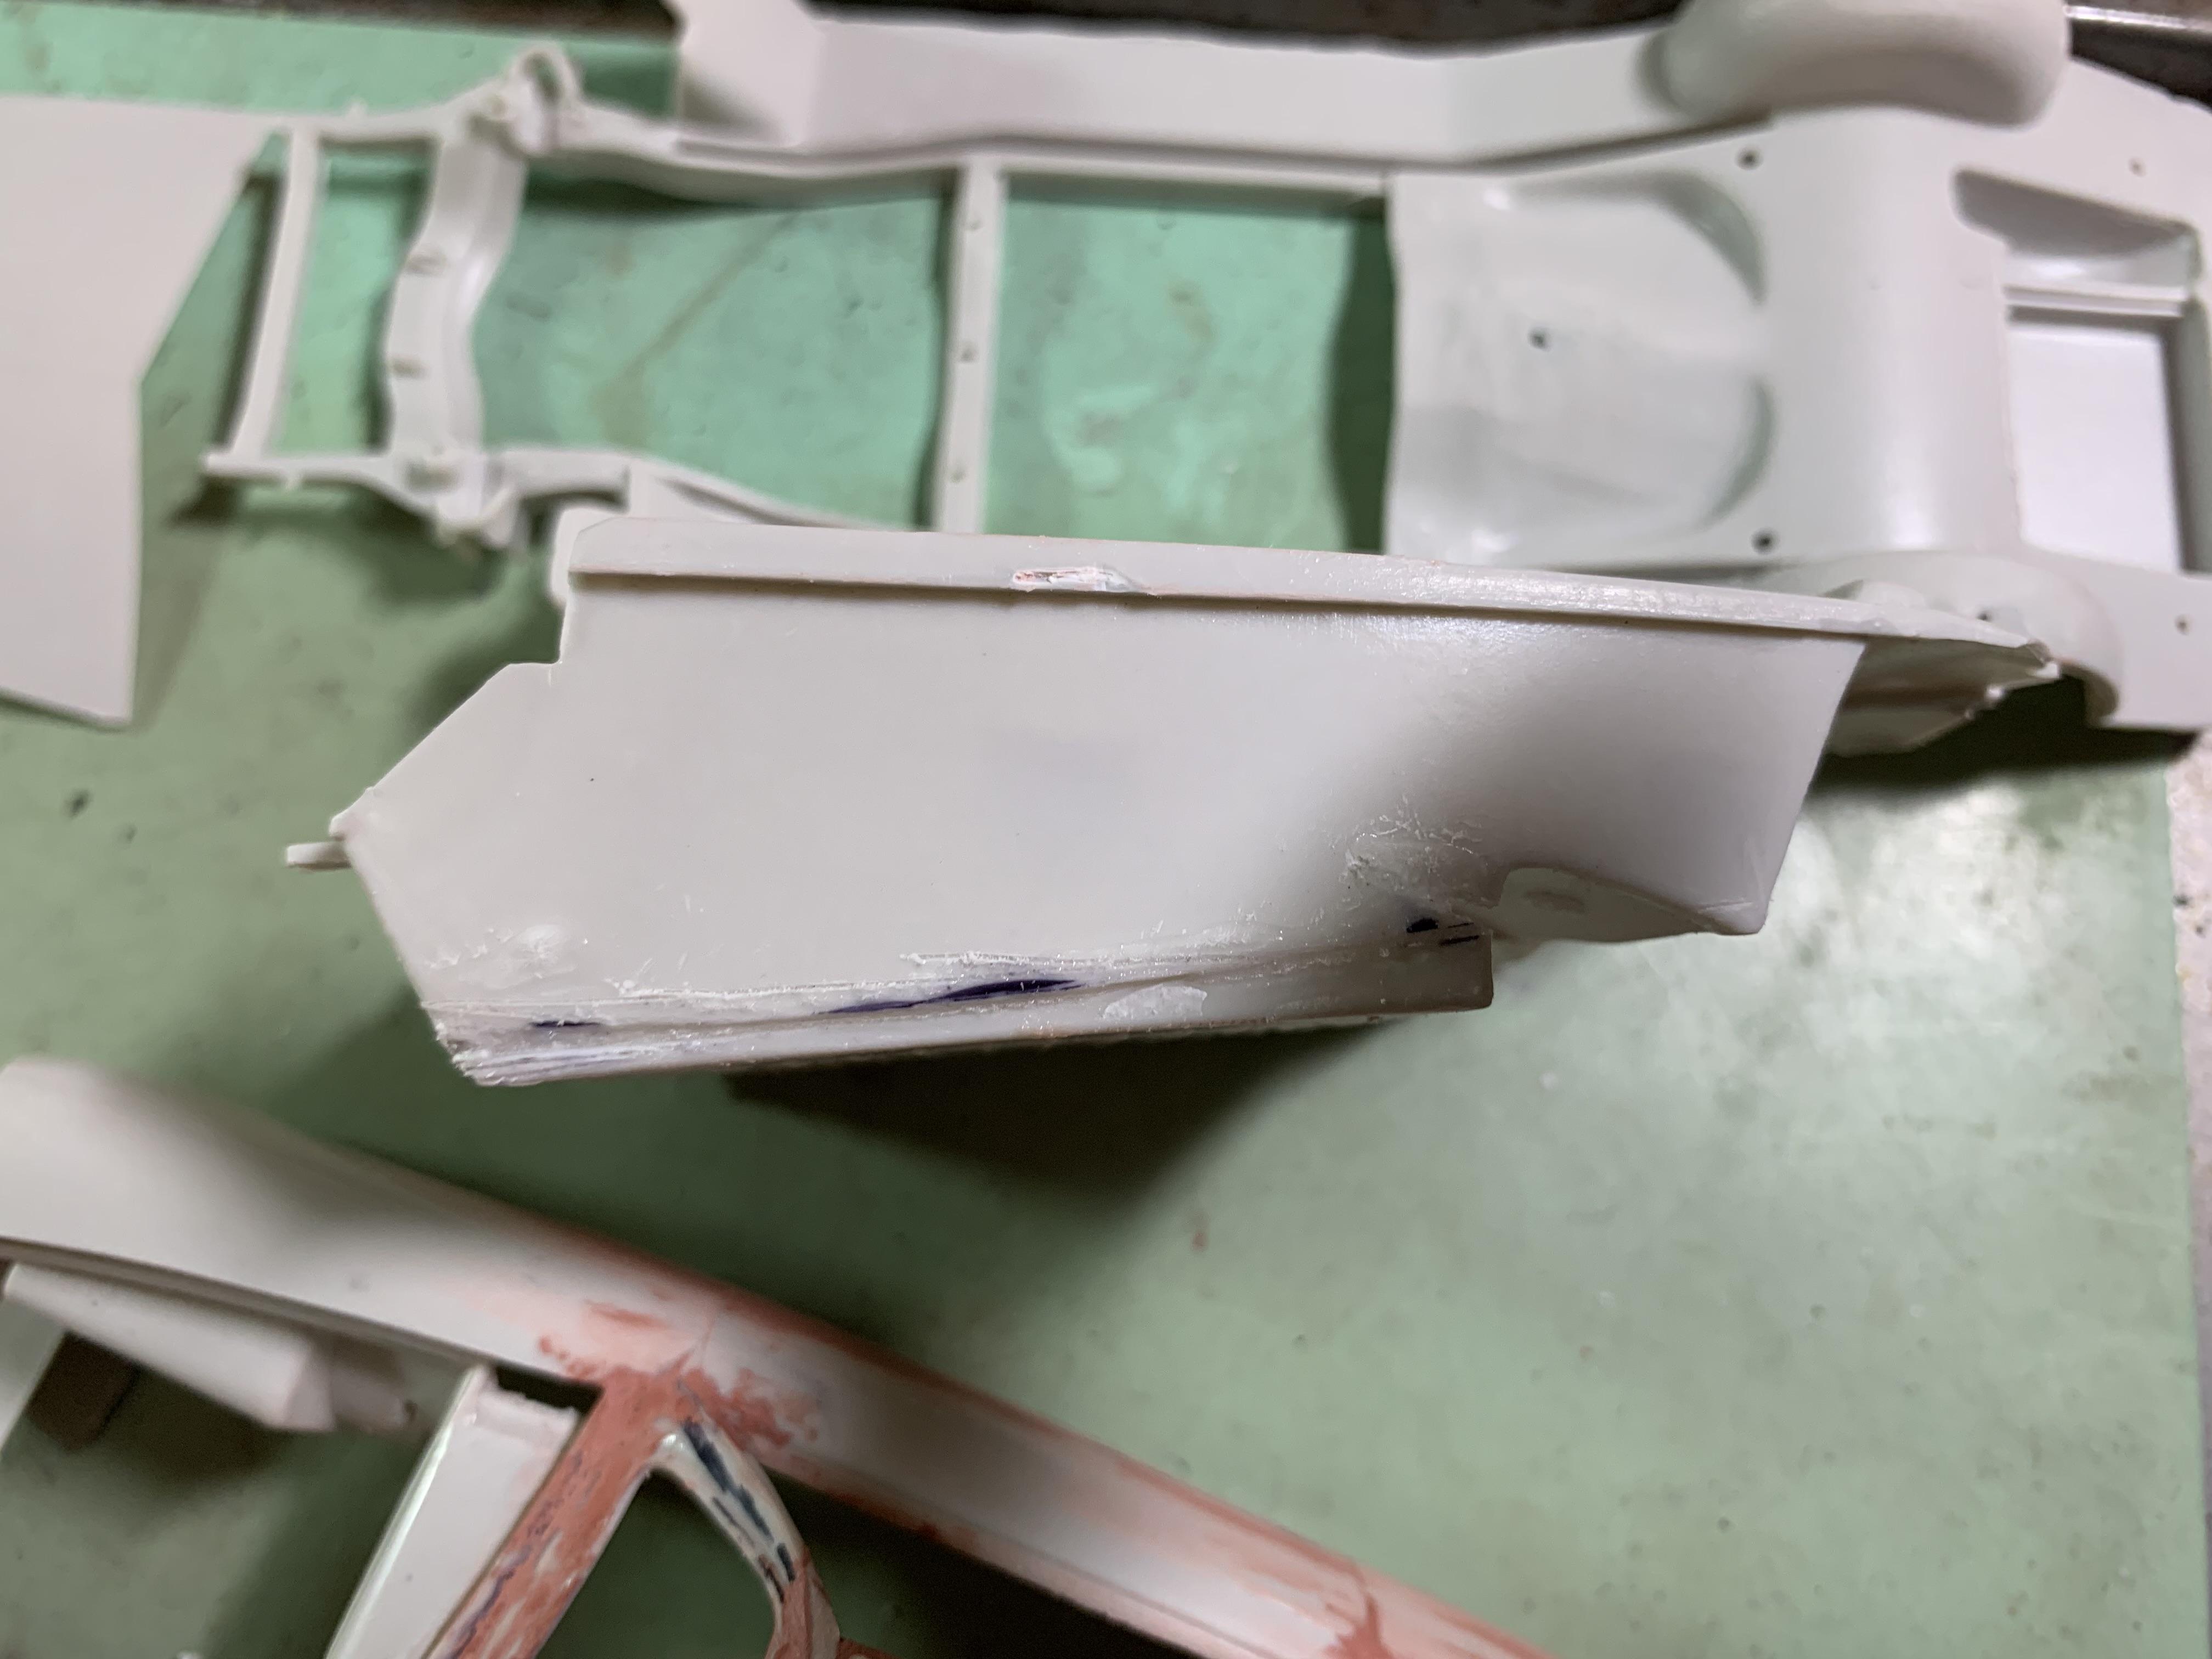
Sanding and filling and sanding. Pie cut the interior vertically at the rear, then pie cut again horizontally to fit inside the new roof. Trial fit shows things fitting pretty well. Need to dial in the ride height. Rear fenders are shaping up nicely. Will be adding 0.10" half round as upholstery on the rear seat, similar to the new front seats. Engine will be an Ardun with fuel injection, and a Columbia 2 speed rear axle with lowering blocks. More pix when I get more done!
-
Beautiful model, beautiful paint, beautiful detailing!
-
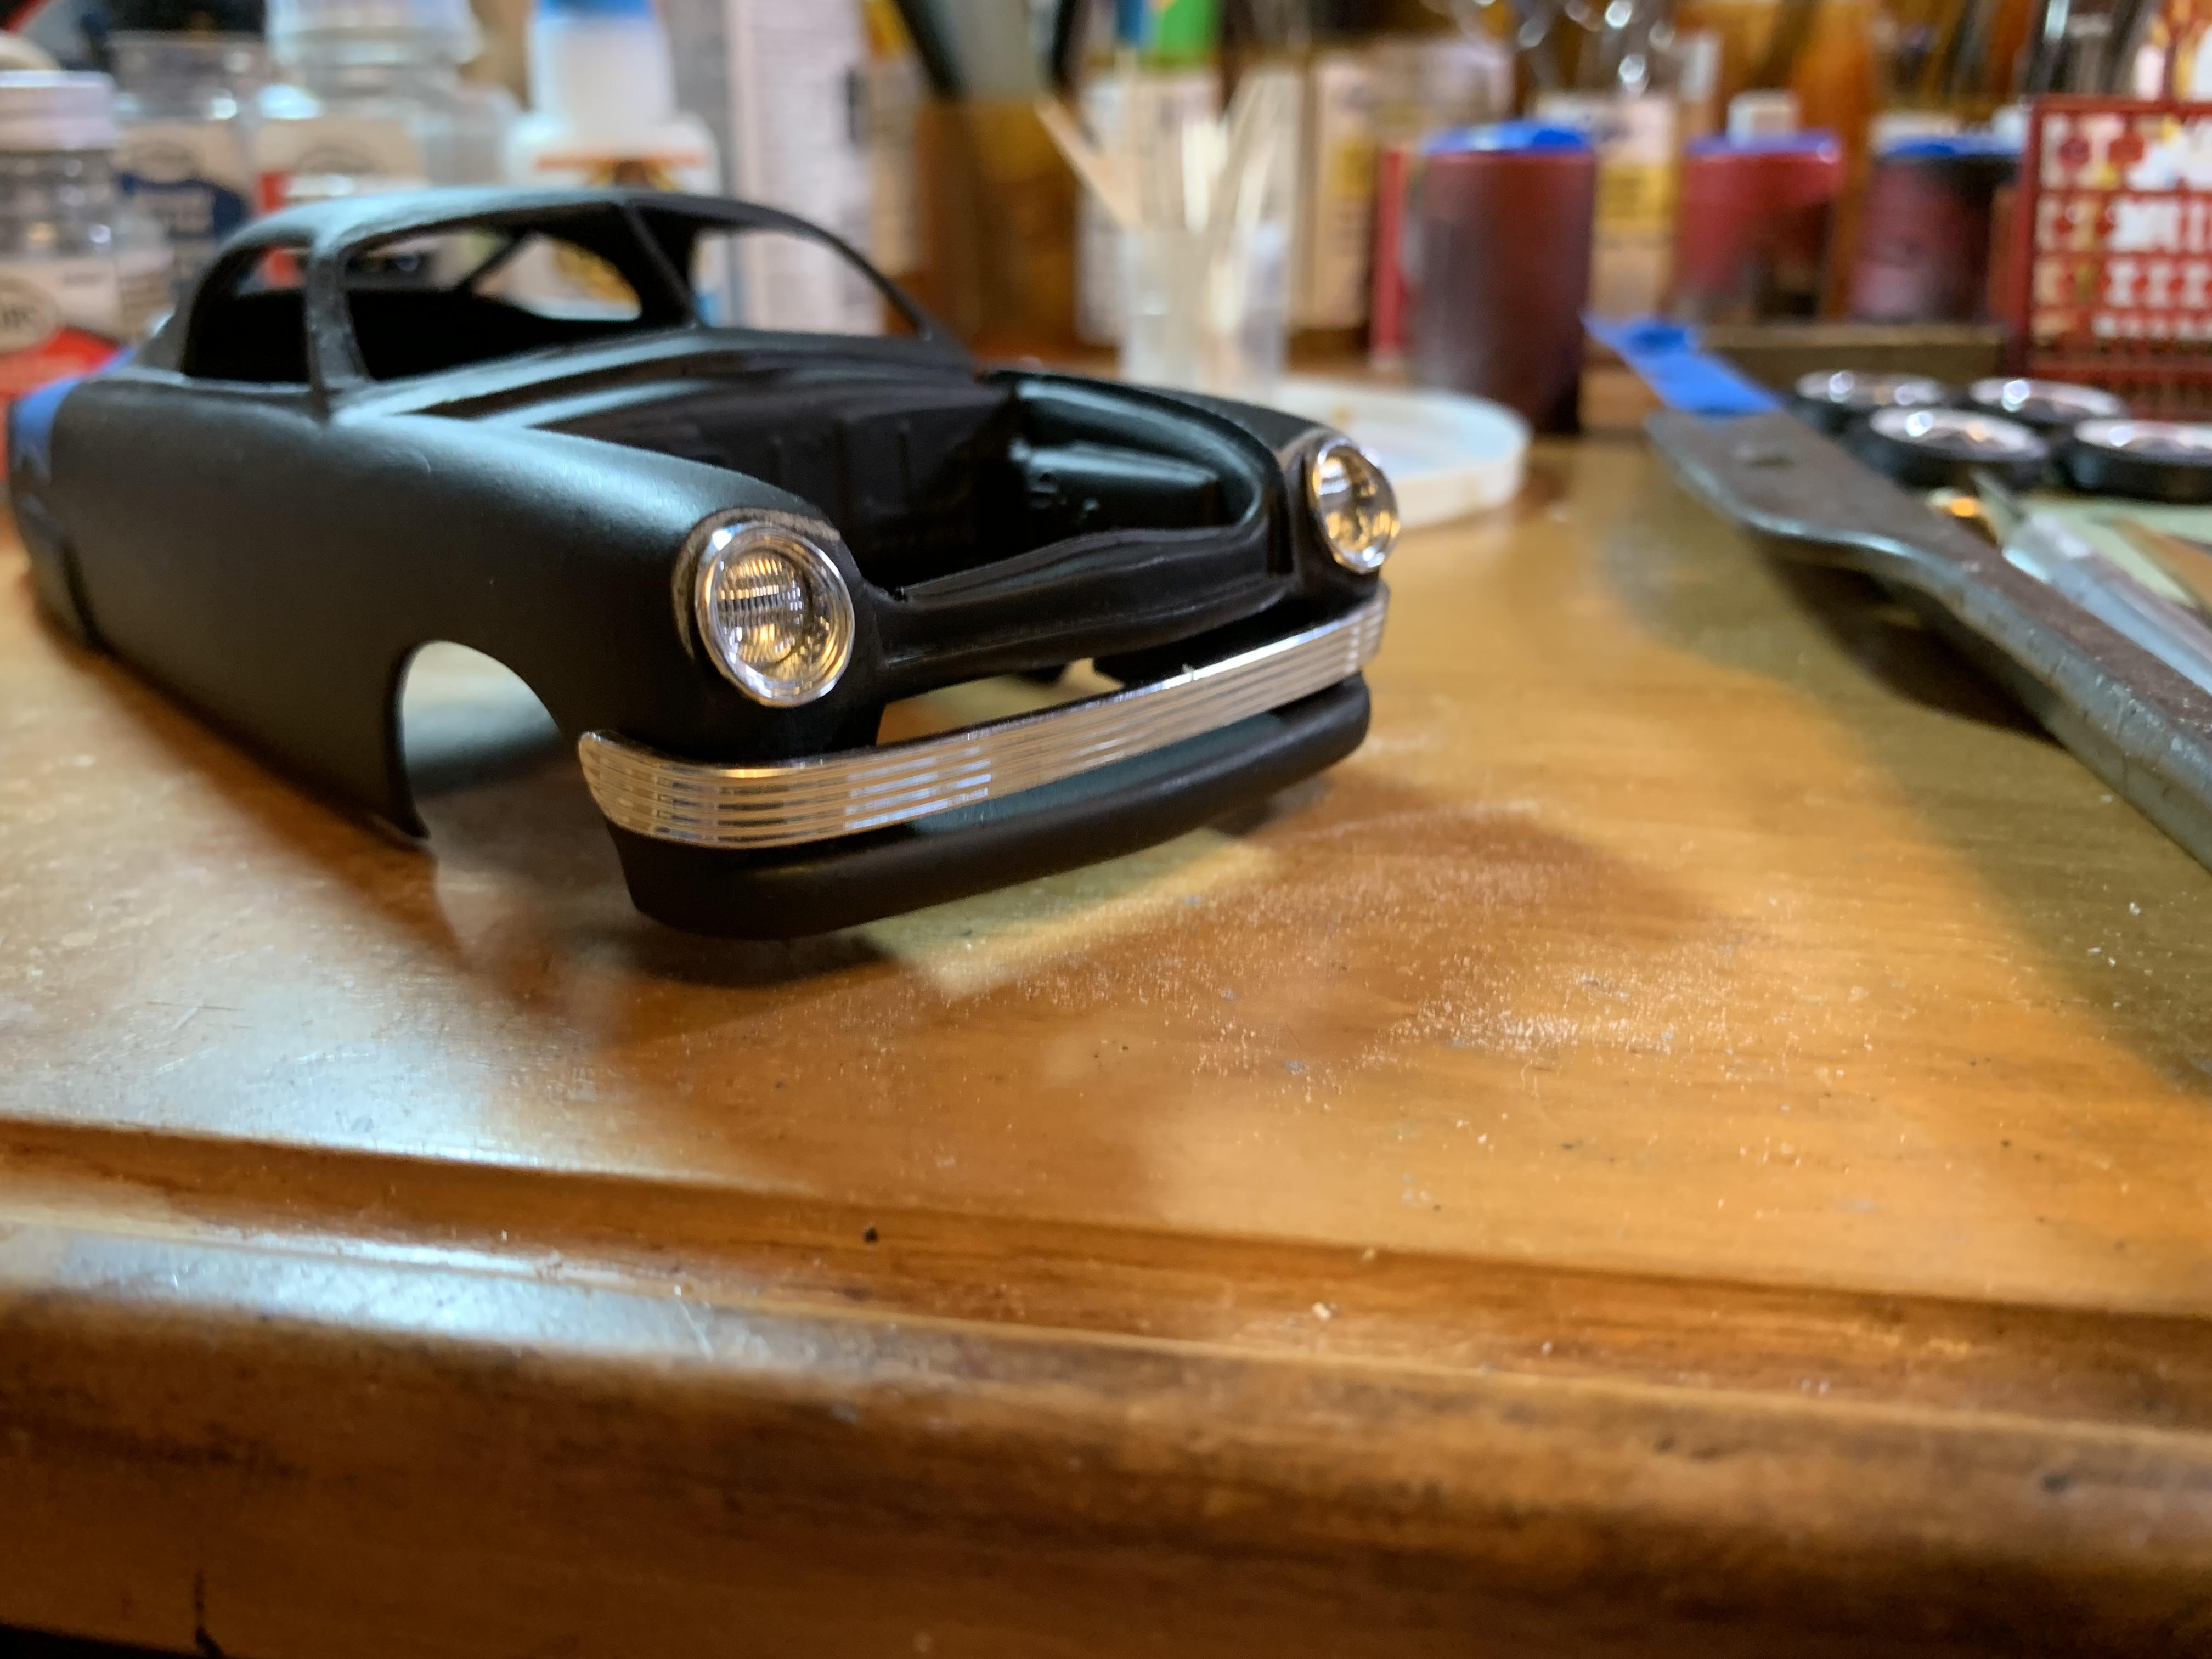
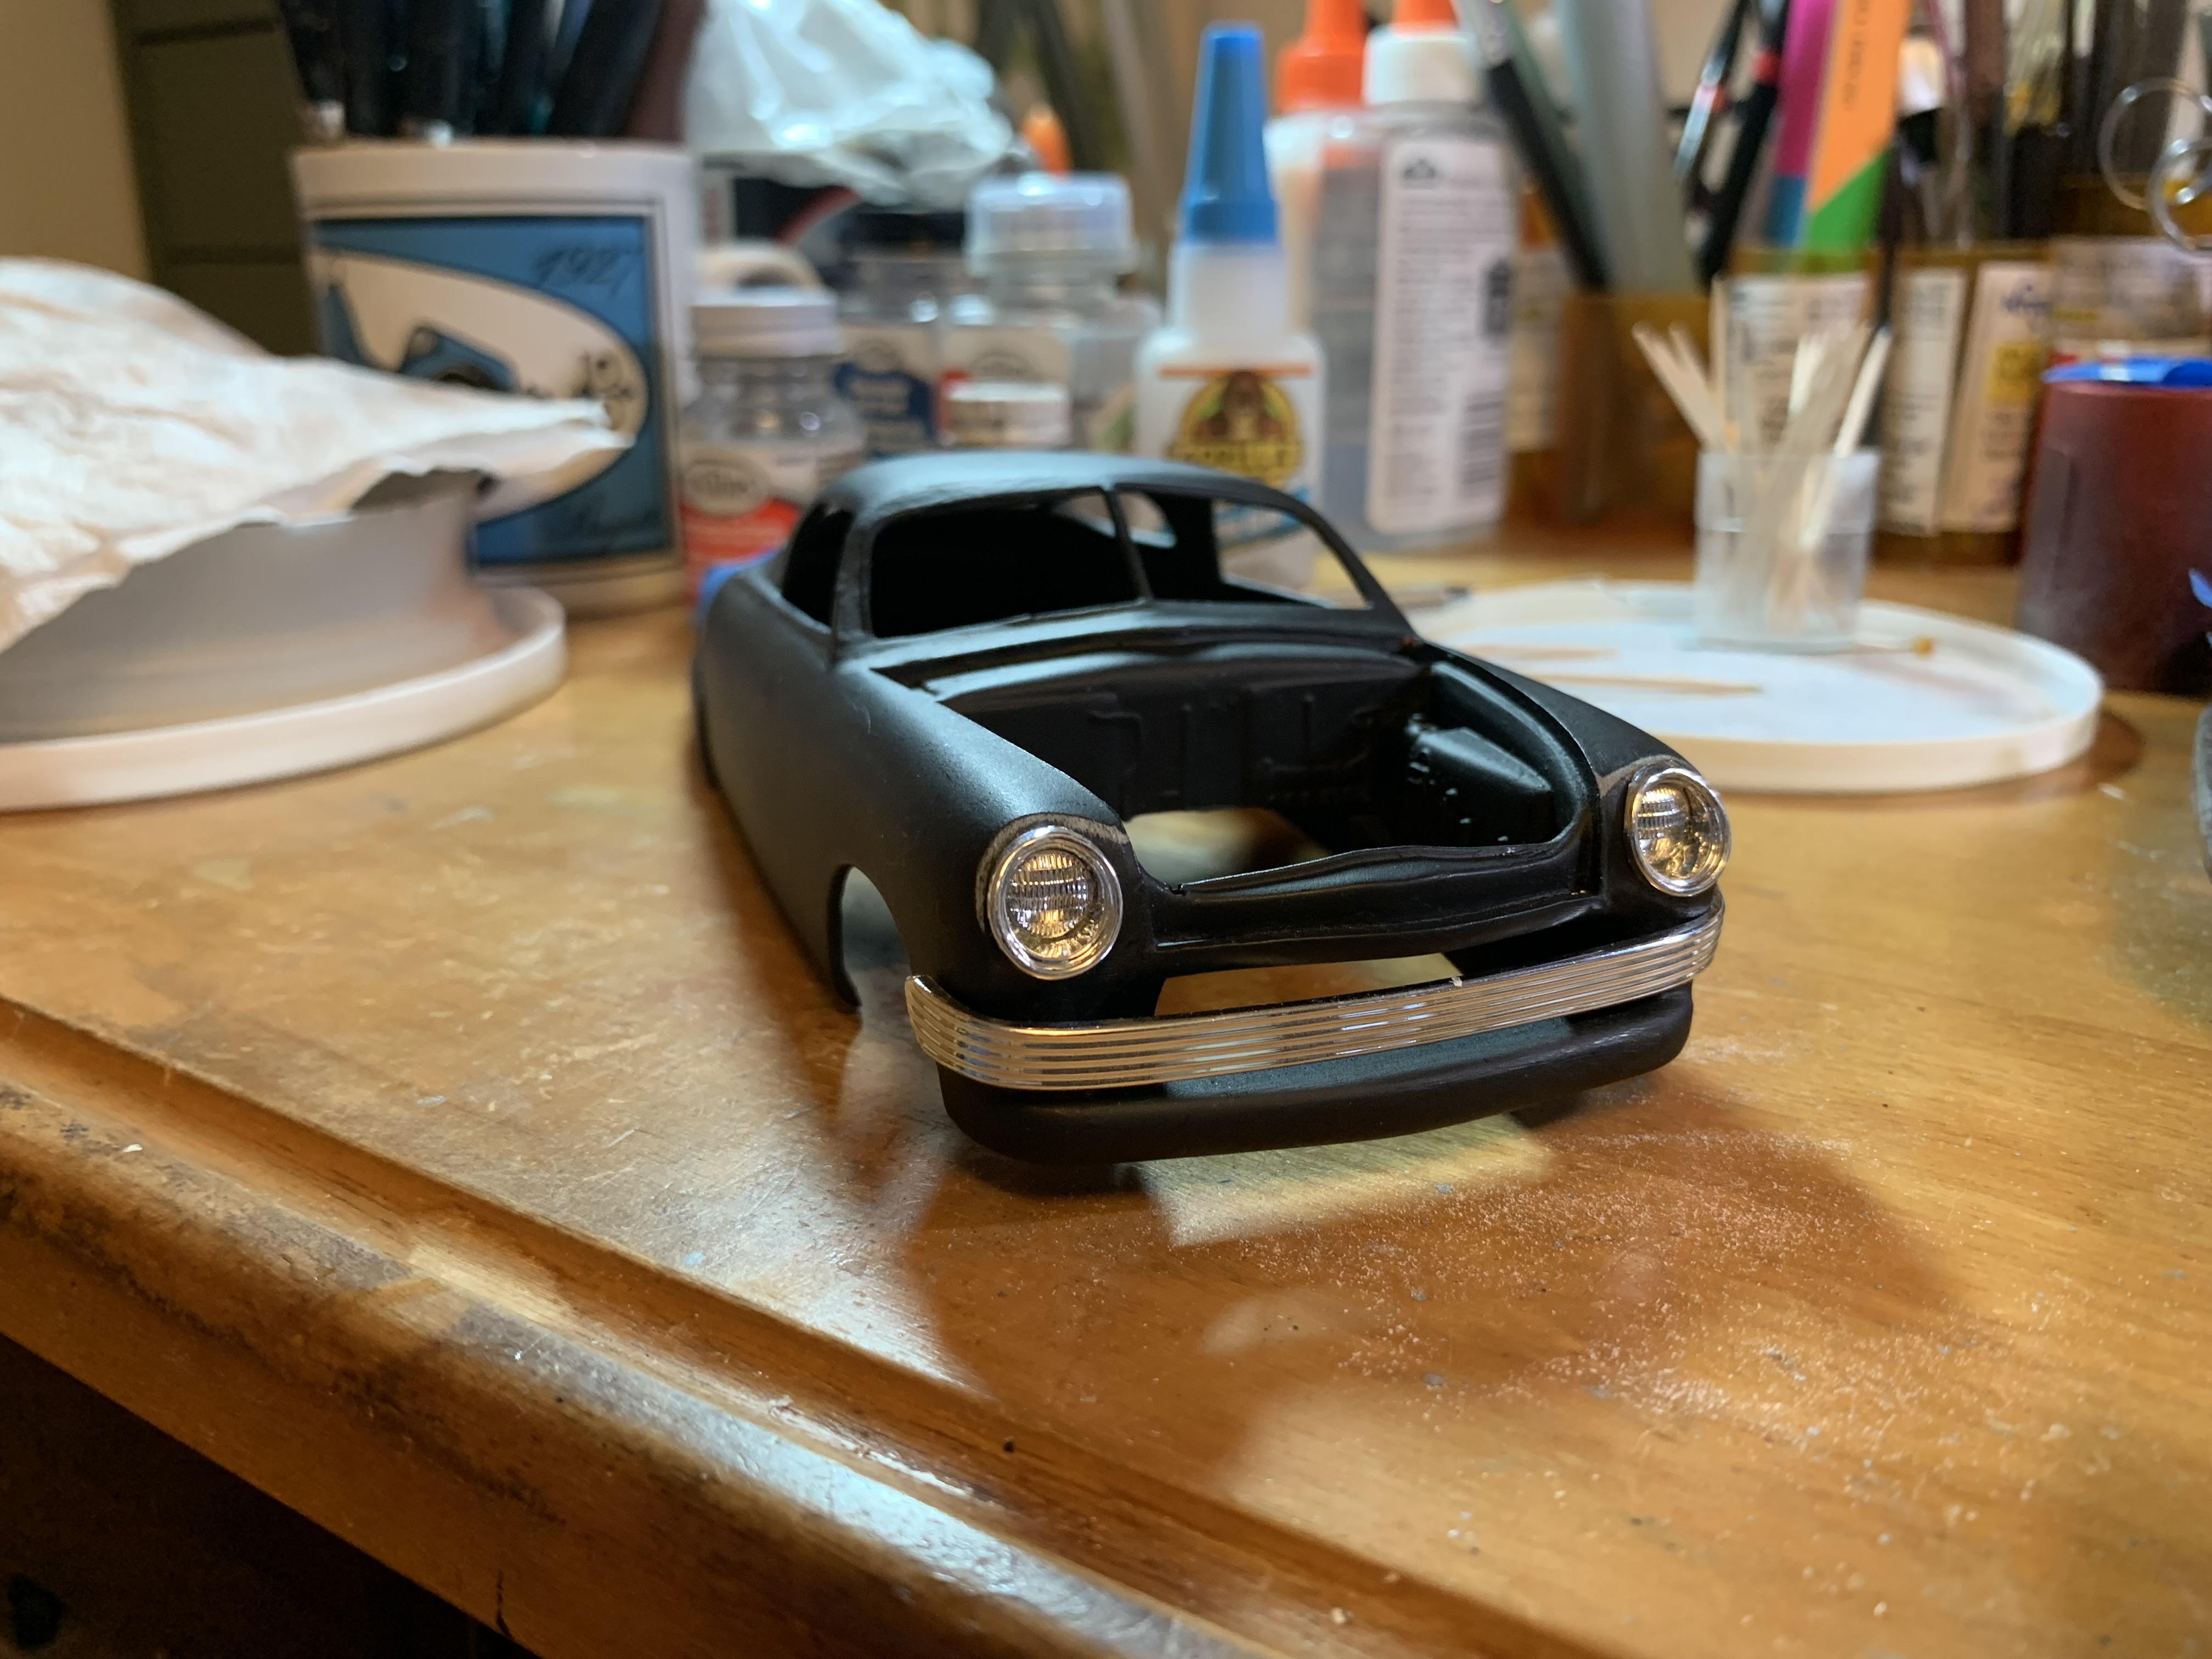
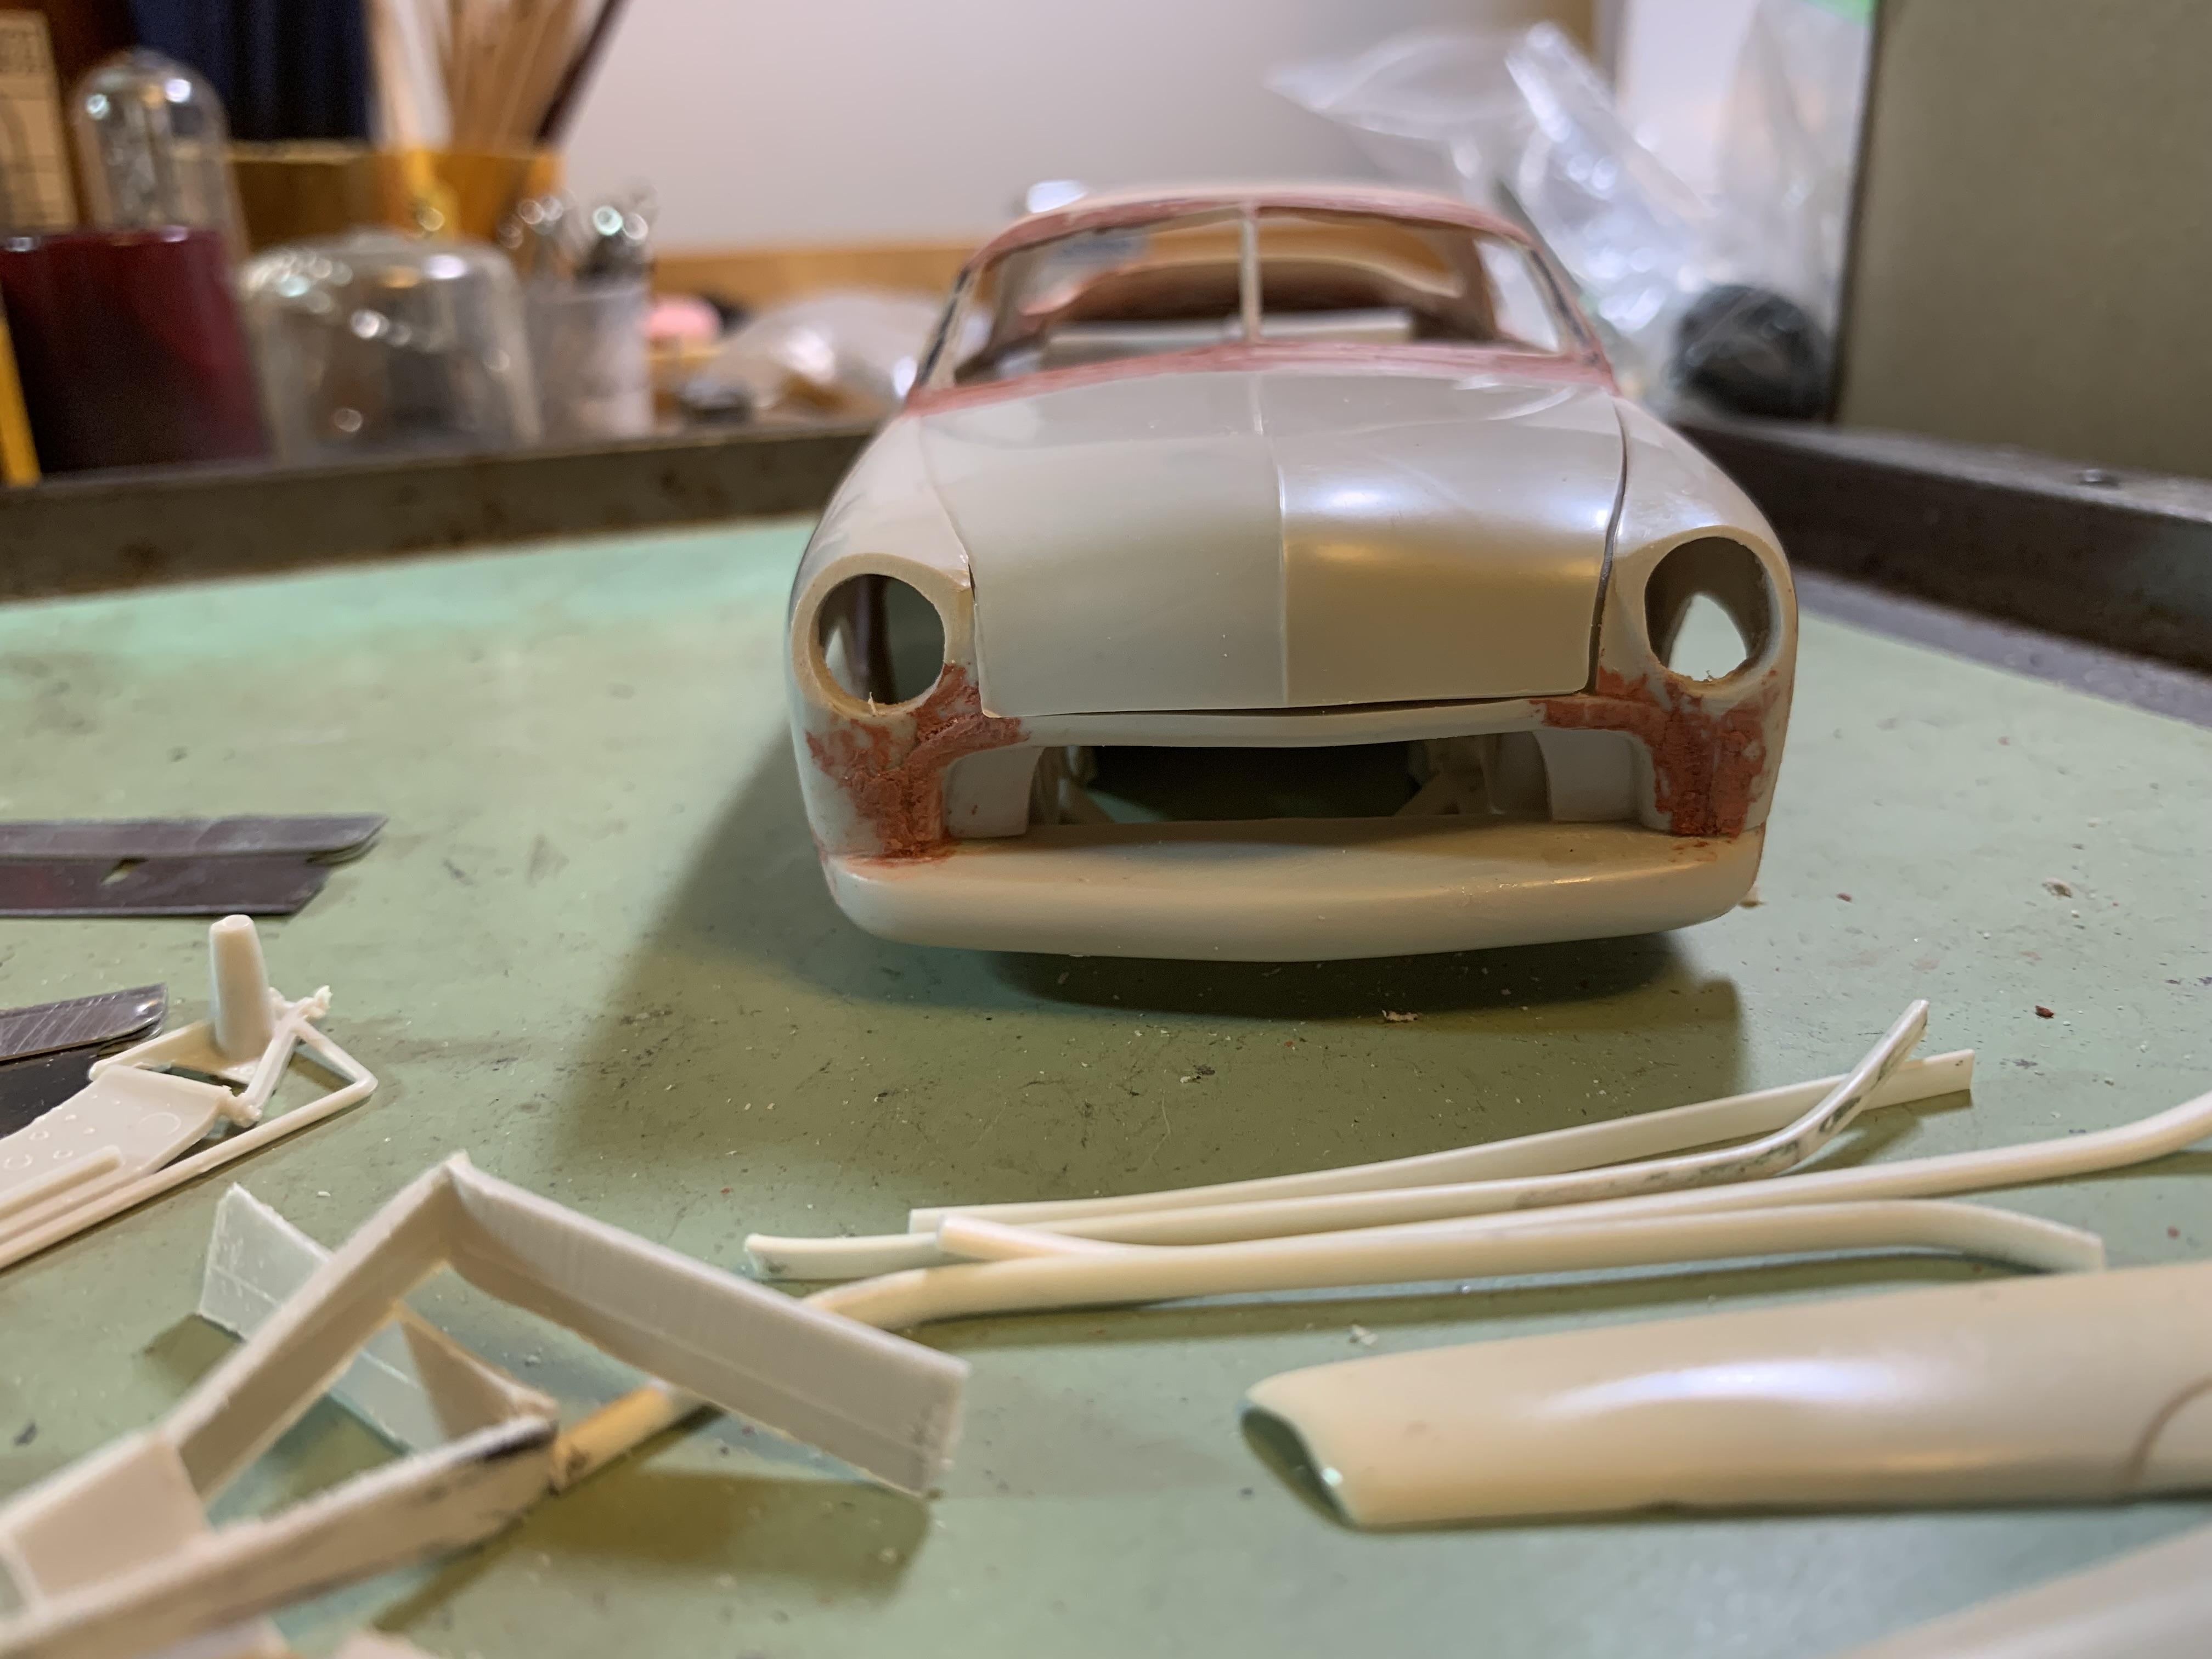
Progress and putty.
-
I agree, just tried that myself! Will probably add a filler piece to the side window areas similar to door window on the Matranga Merc. Also added filler pieces at the back of the removed roof area, just got the super glue applied. Also cut the front roll pan off the mild custom grille surround and moved the roll pan back to tuck in the front end. Do you notice, from the top, how the slight teardrop shape of the body is accented by the top contour? Cutting down the windshield frame (narrower at top) and tidying up somewhat sloppy cuts to lay in the frame, which will dictate the final length of the roof and also any alterations in the B pillar area. This is getting fun!
-
I'm leaning toward skirts as well. We shall see!