Paul Payne
-
Posts
2,134 -
Joined
-
Last visited
Content Type
Profiles
Forums
Events
Gallery
Everything posted by Paul Payne
-
1937 Ford Tow Truck
Paul Payne replied to Nosferatu's topic in Model Trucks: Pickups, Vans, SUVs, Light Commercial
Excellent scratch building! Makes me think about building one myself! -
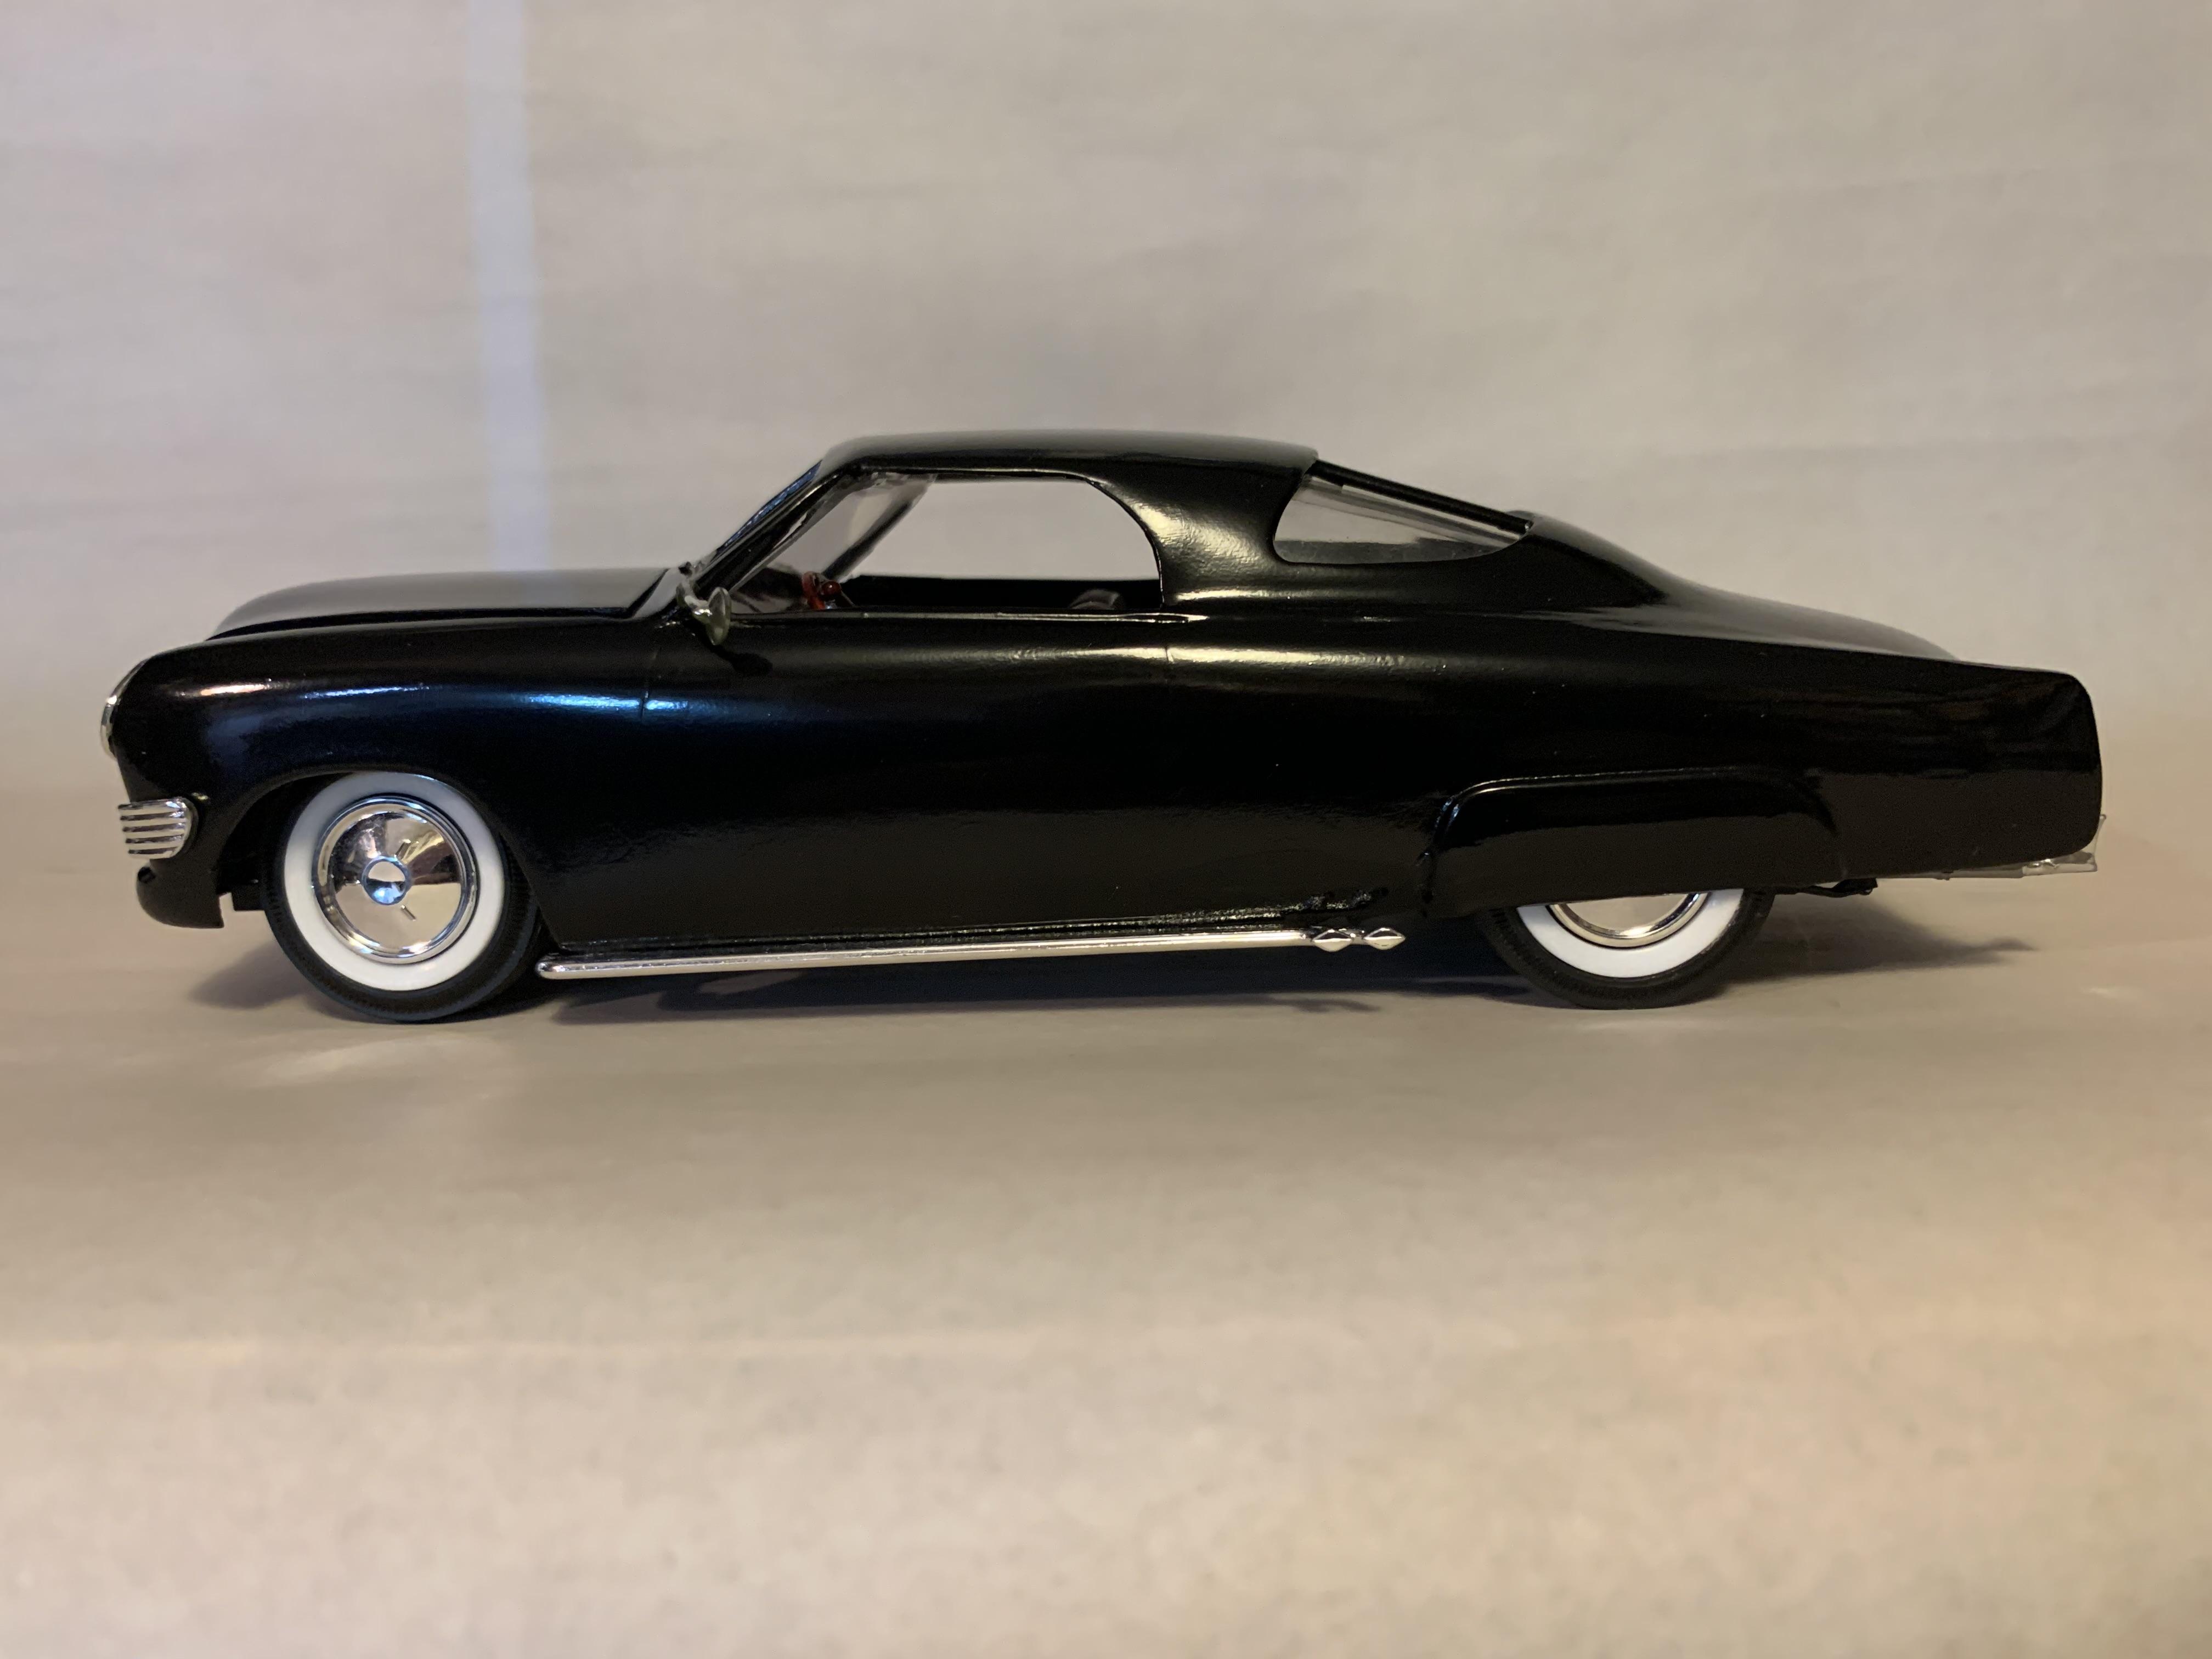
Ford didn't use the Zephyr name-I decided to have some fun since the project was originally a Ford convertible body.
-
Yes, it does look a bit long there, but look at Lincoln Zephyrs in comparison.

-
It does, doesn't it!
-
Sweet! I'd drive it!
-
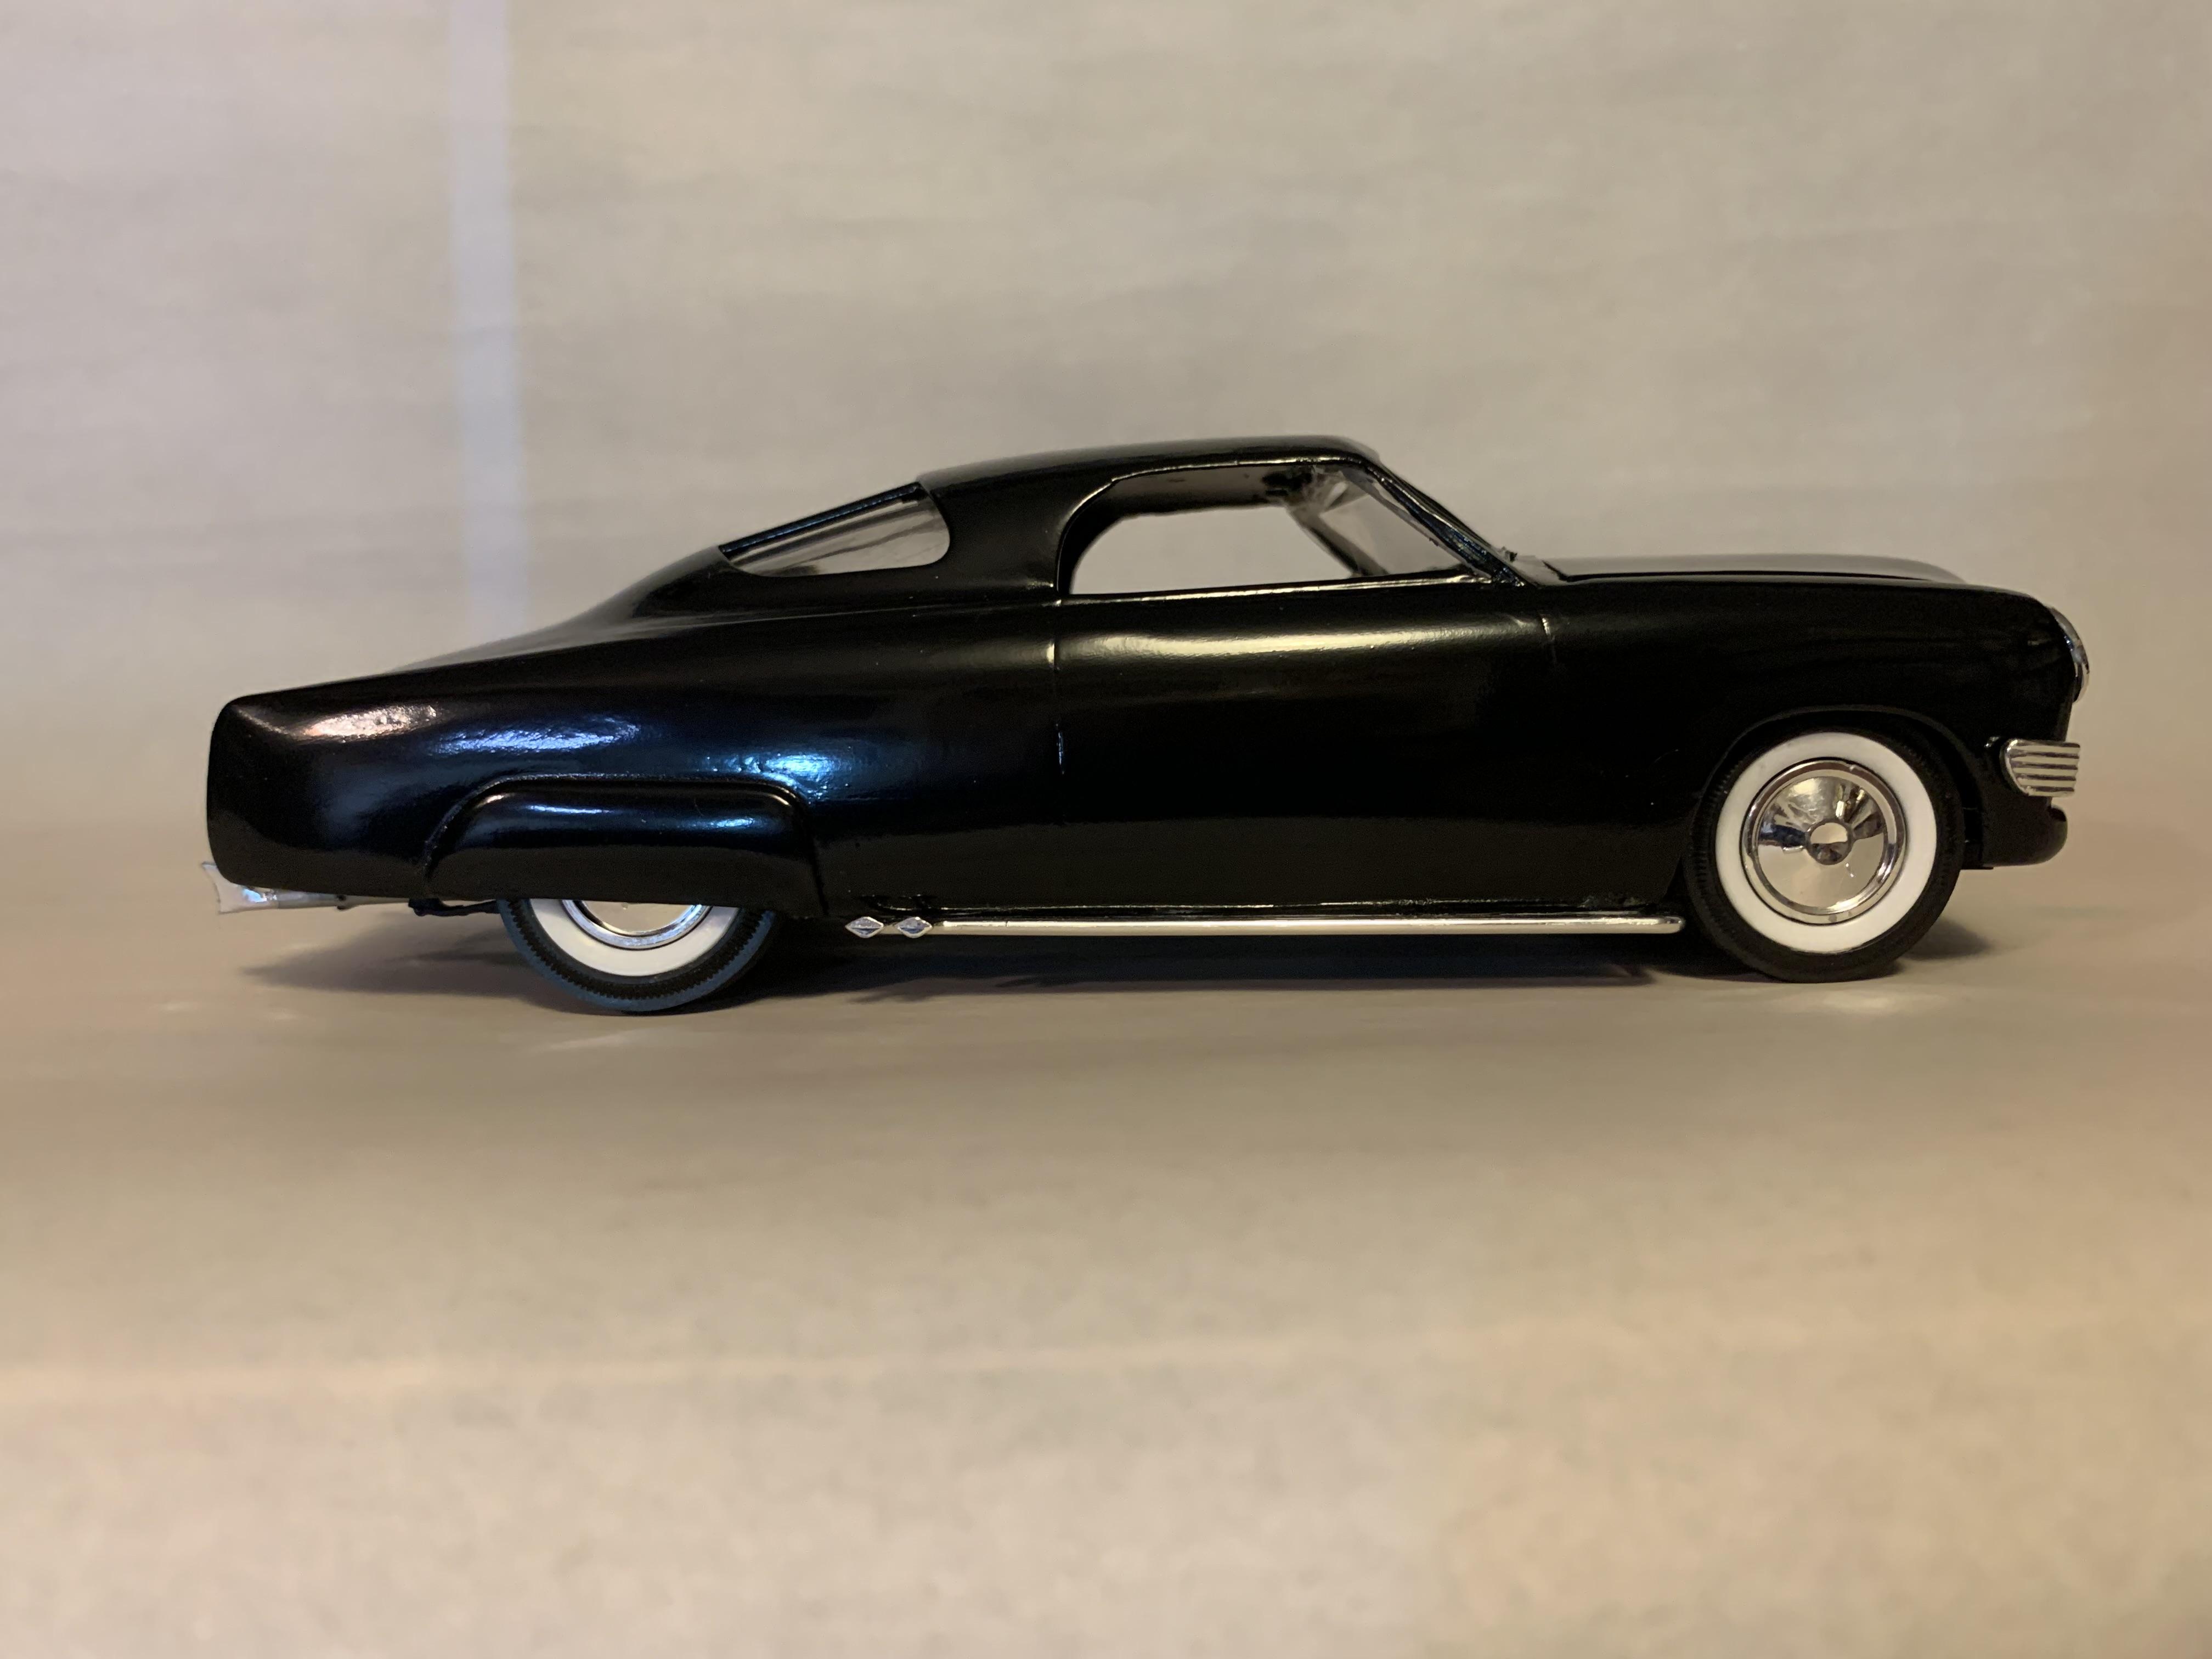
Again, thanks for the positive comments- My take on customizing is sleeker, simpler, and usually lower. Does anyone see a little Tucker in this? Just began to see it myself..............
-
´68 Buick Riviera Custom - John D'Agostino's Pantheon
Paul Payne replied to Koellefornia Kid's topic in WIP: Model Cars
Ingenious, intuitive, and brave! Try to use as much styrene to fill in as possible! -
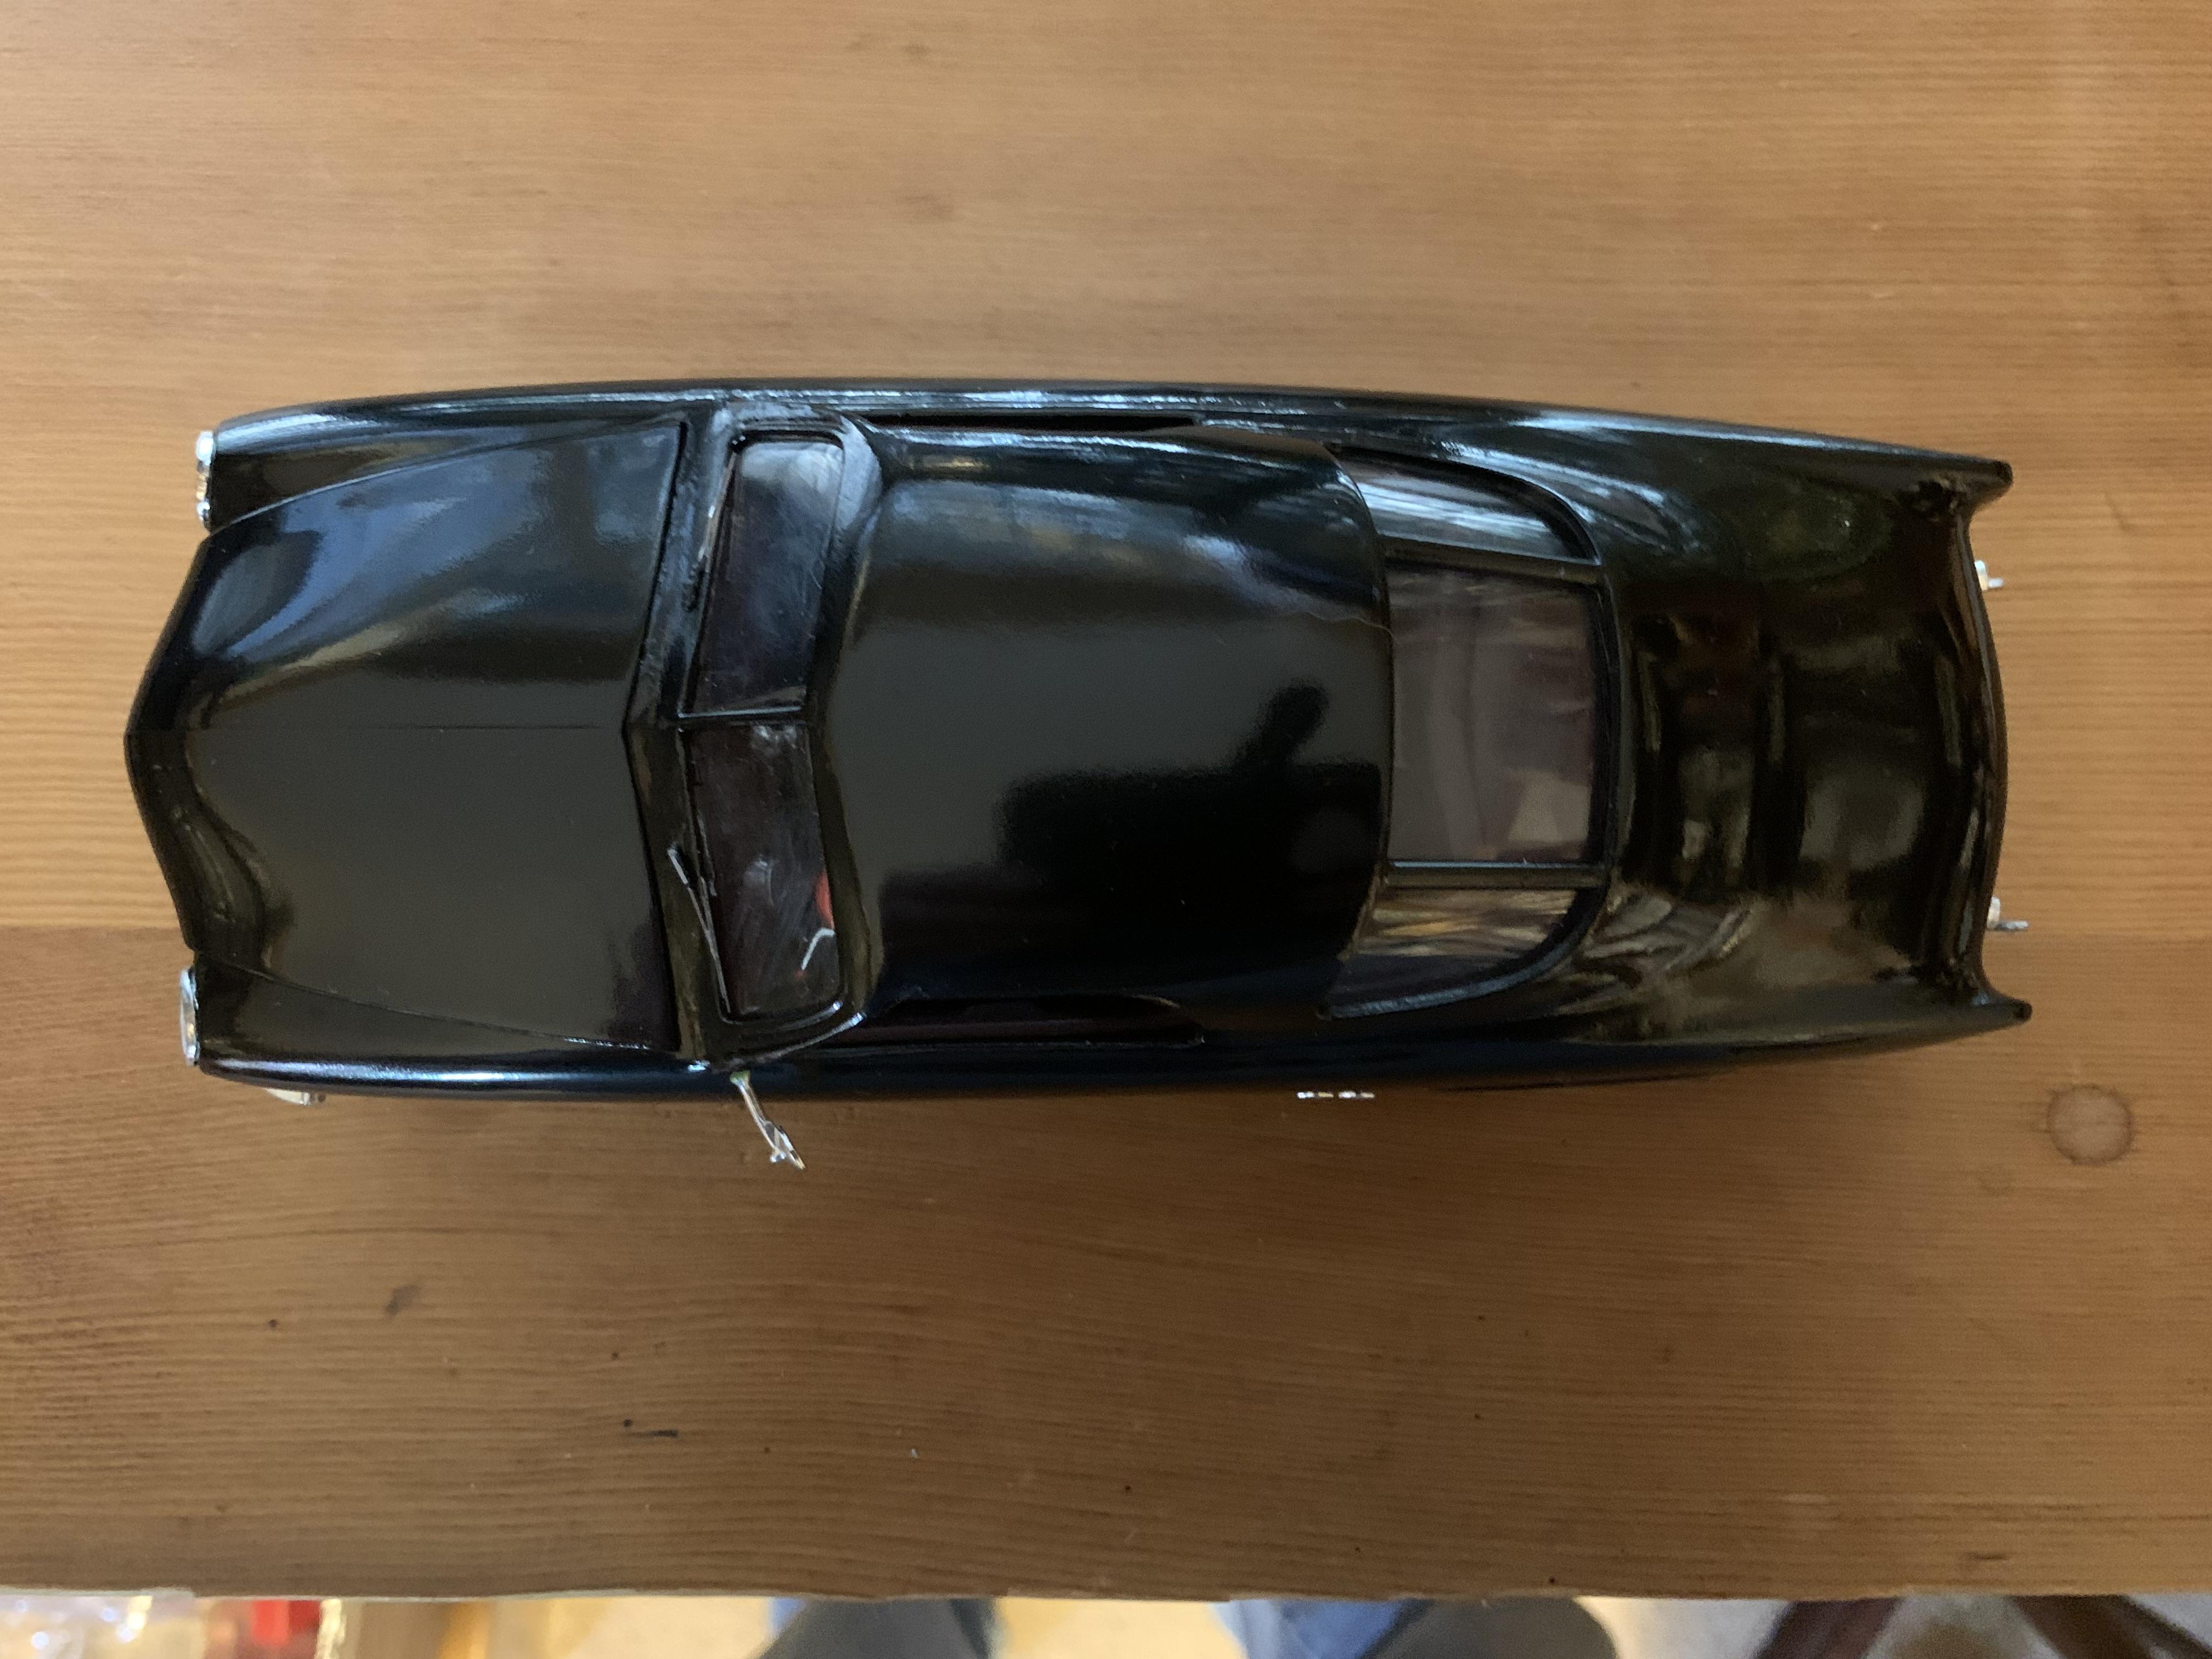
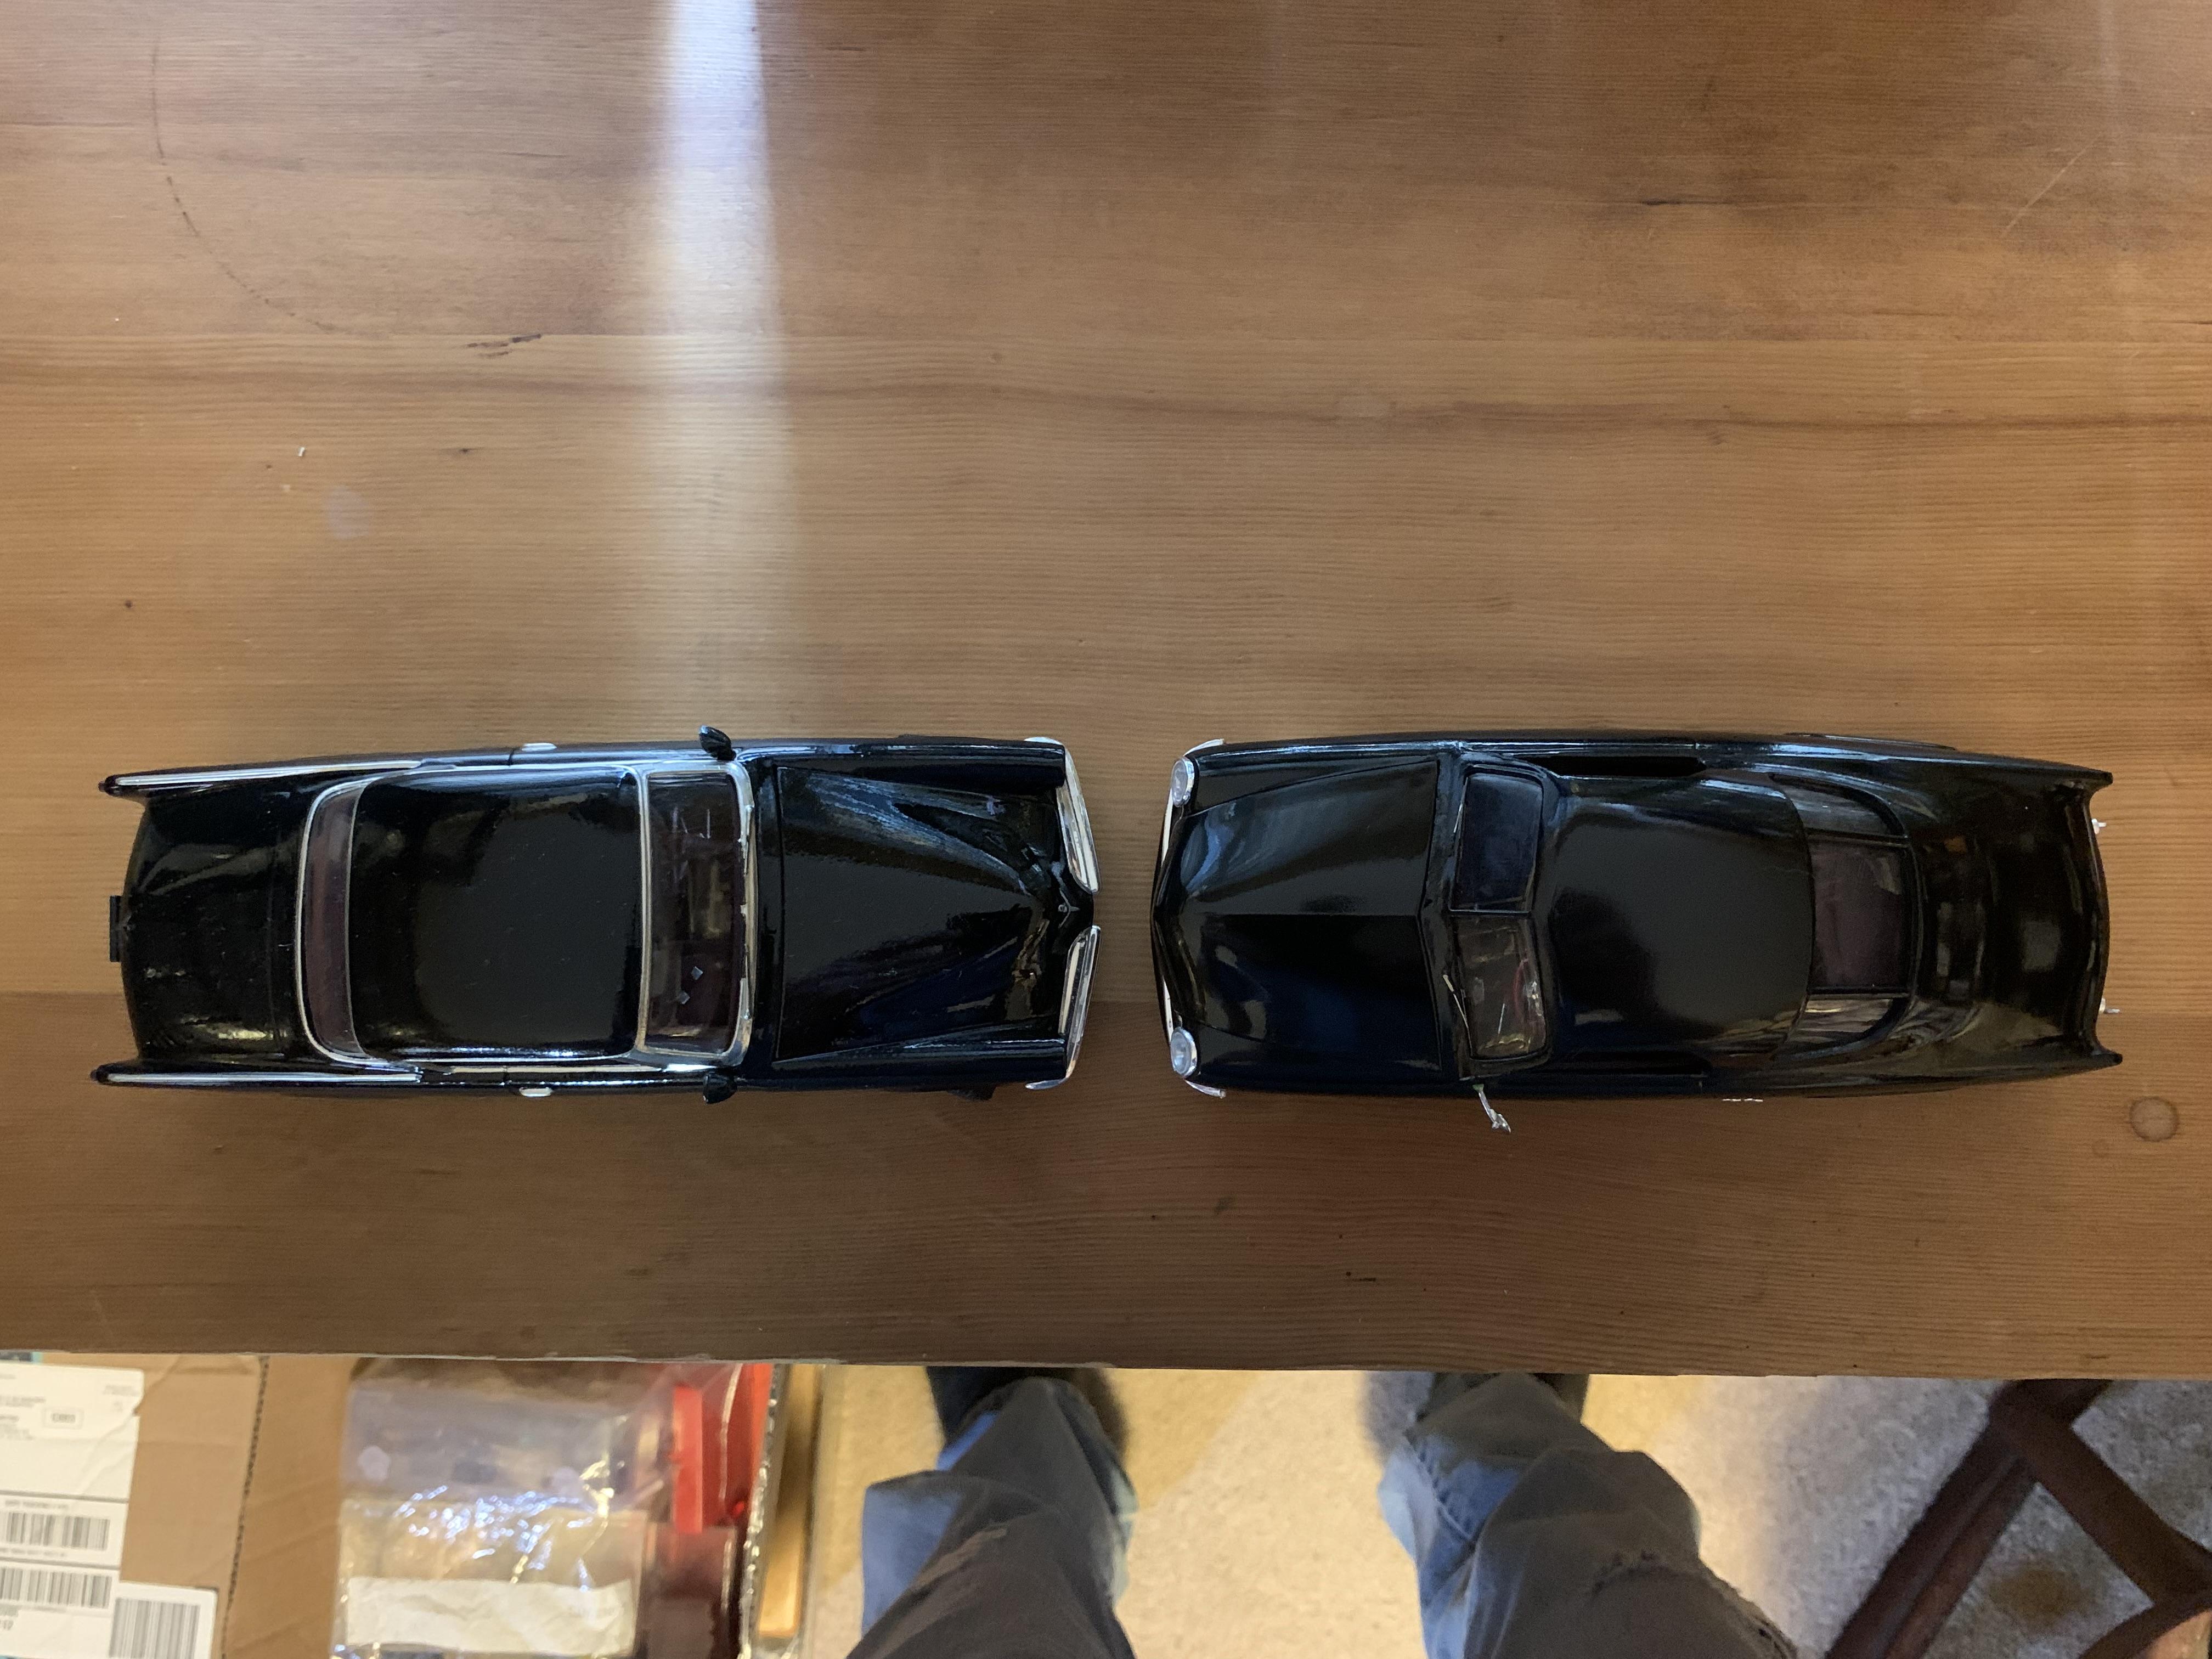
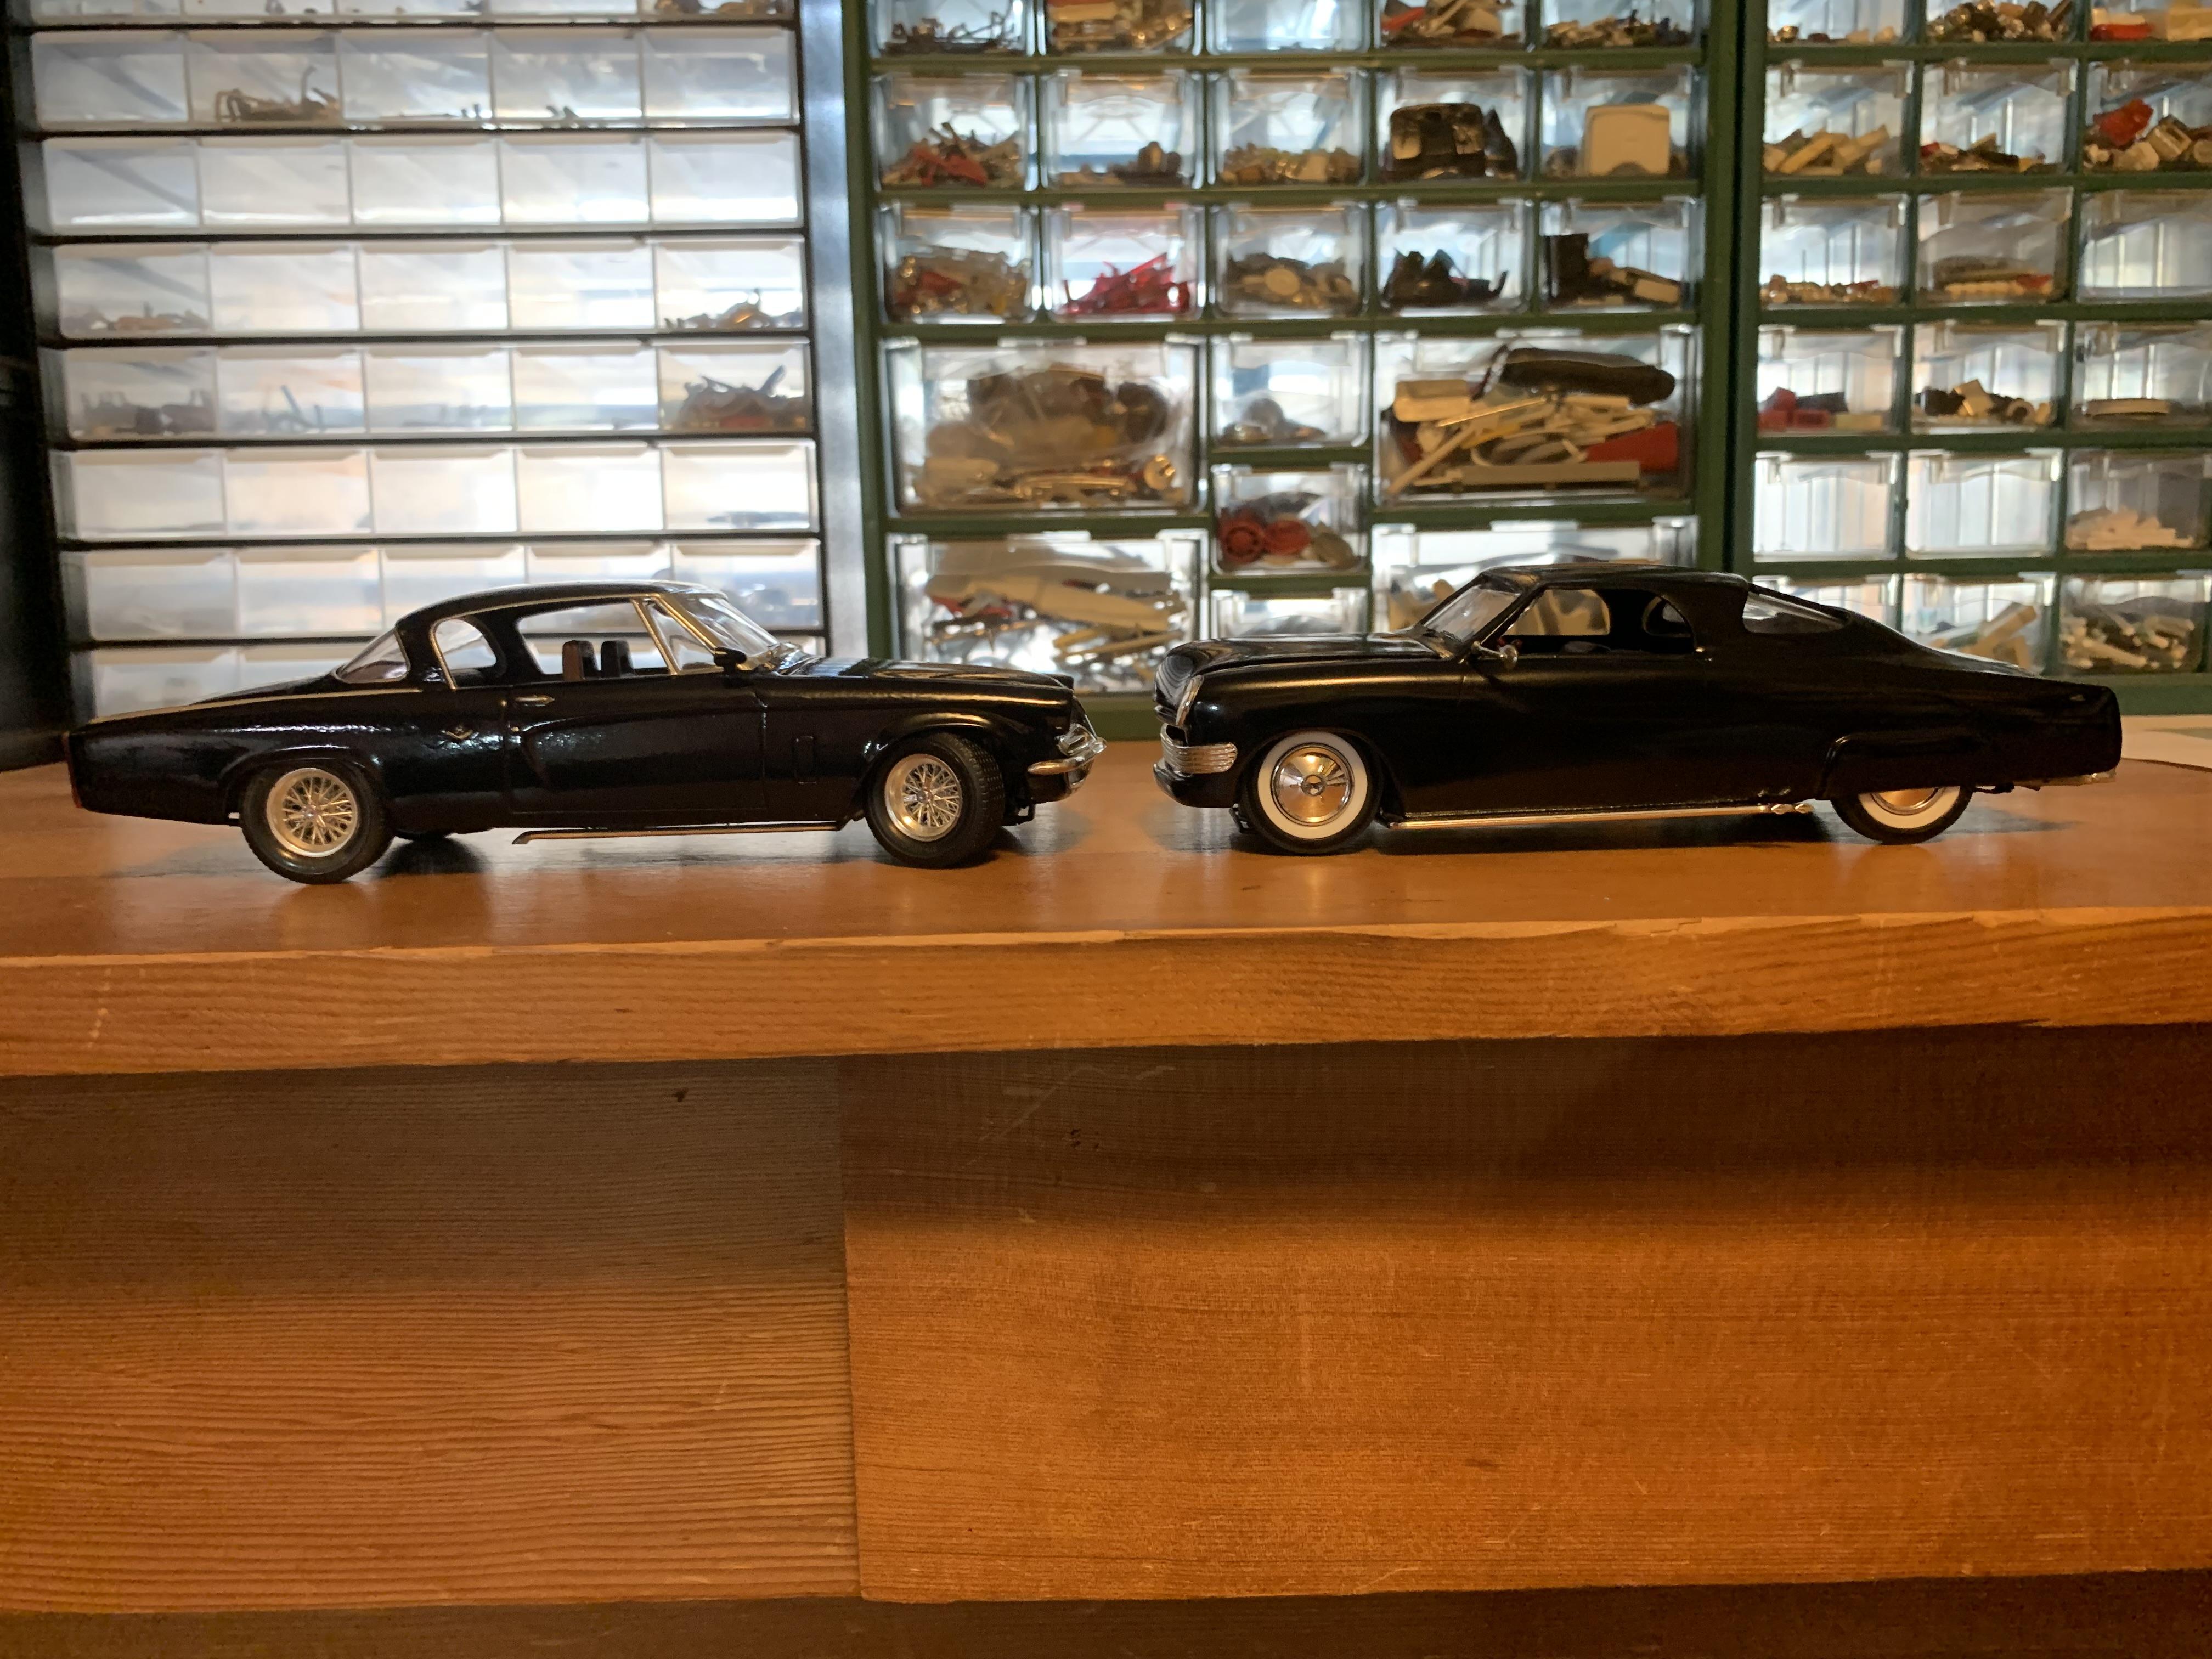
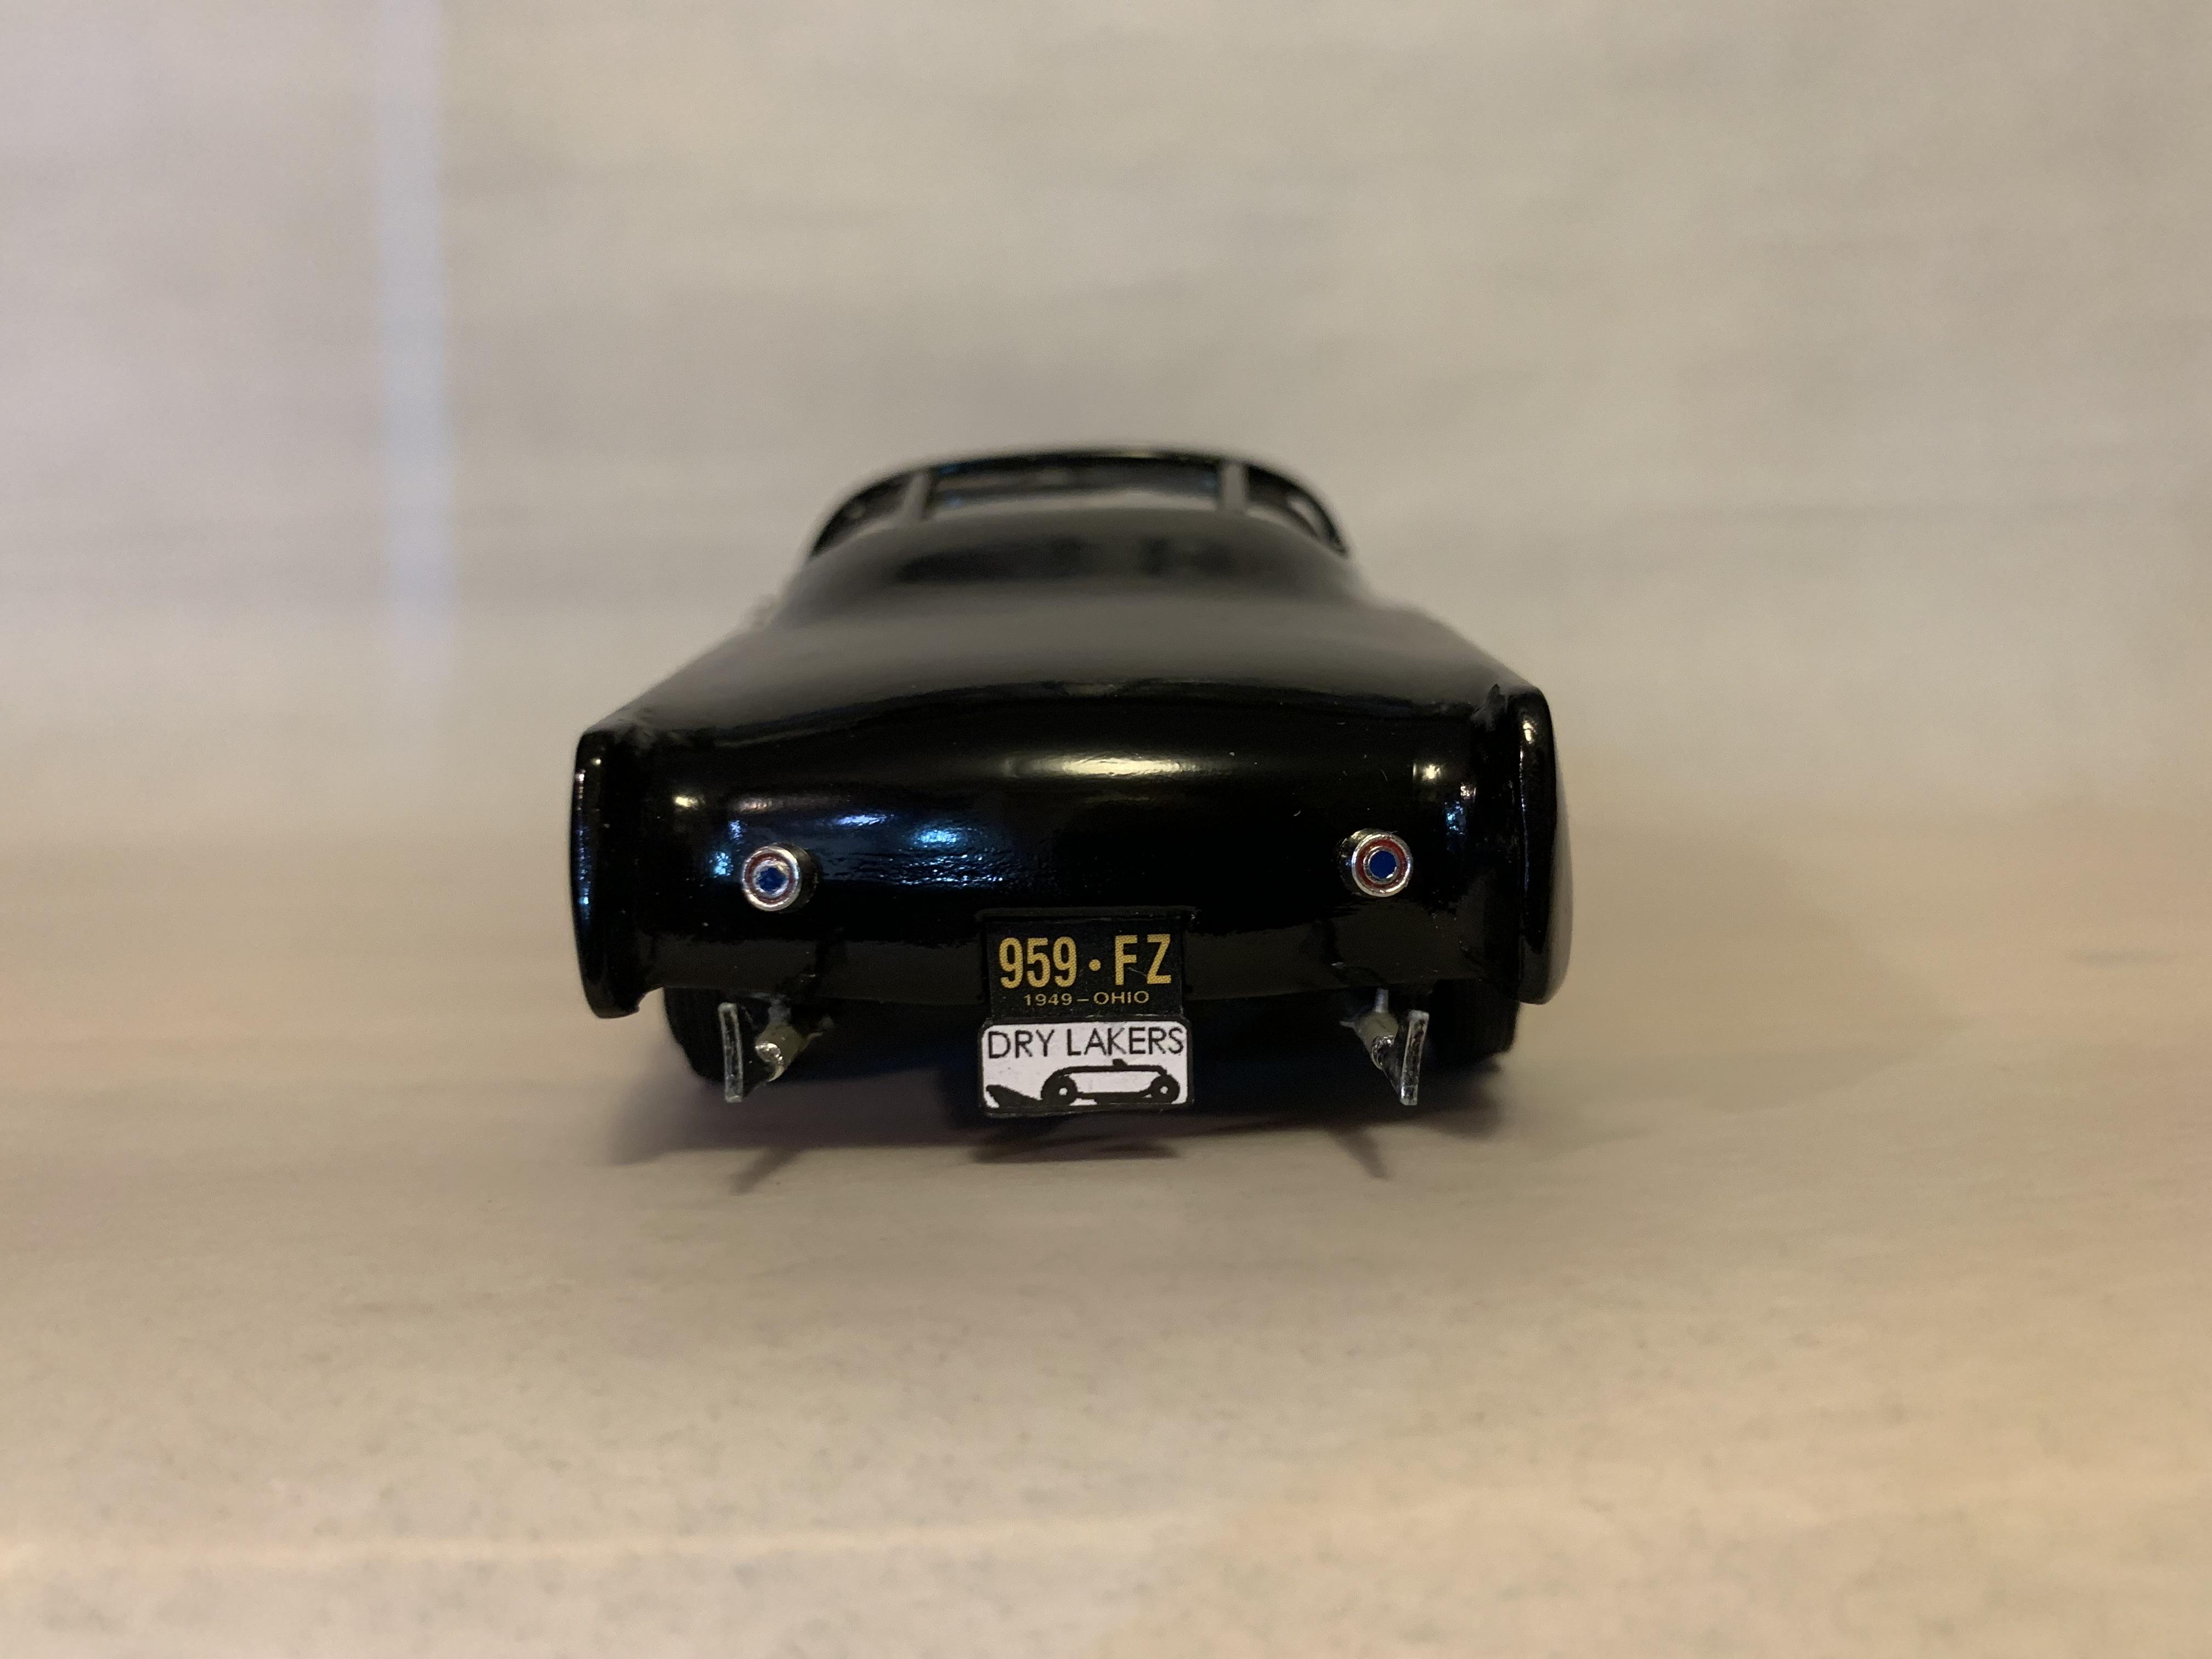
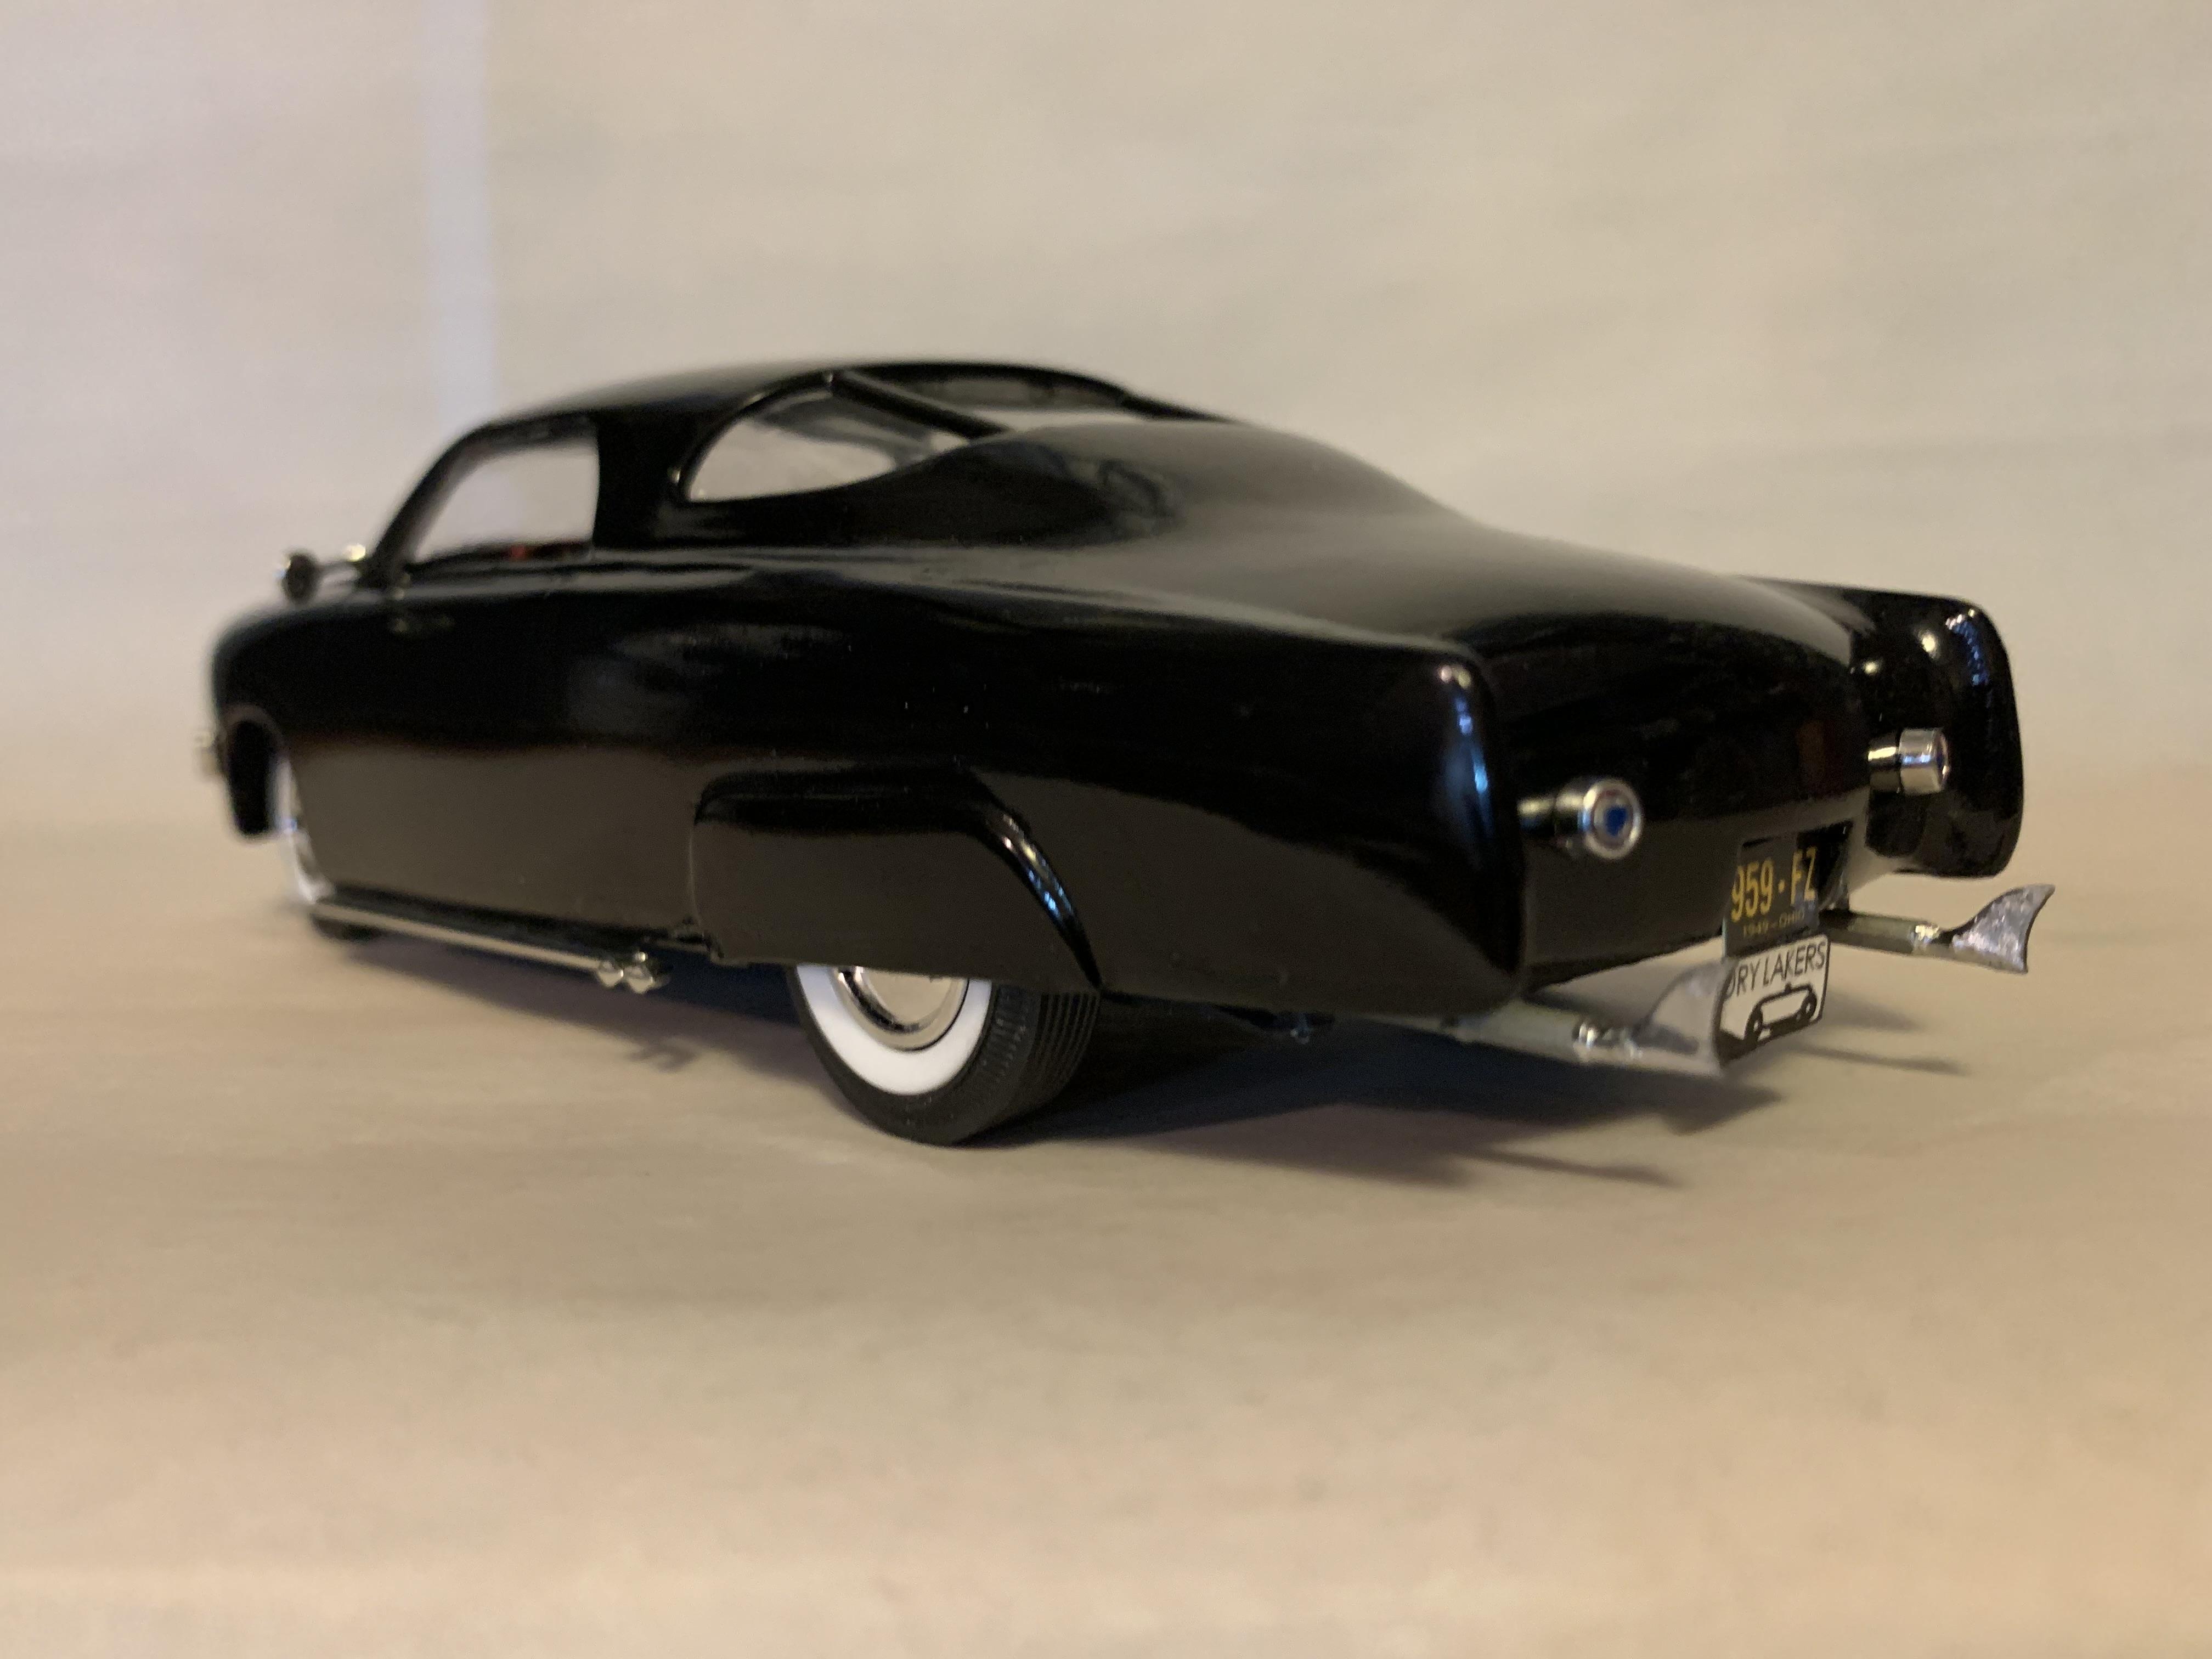
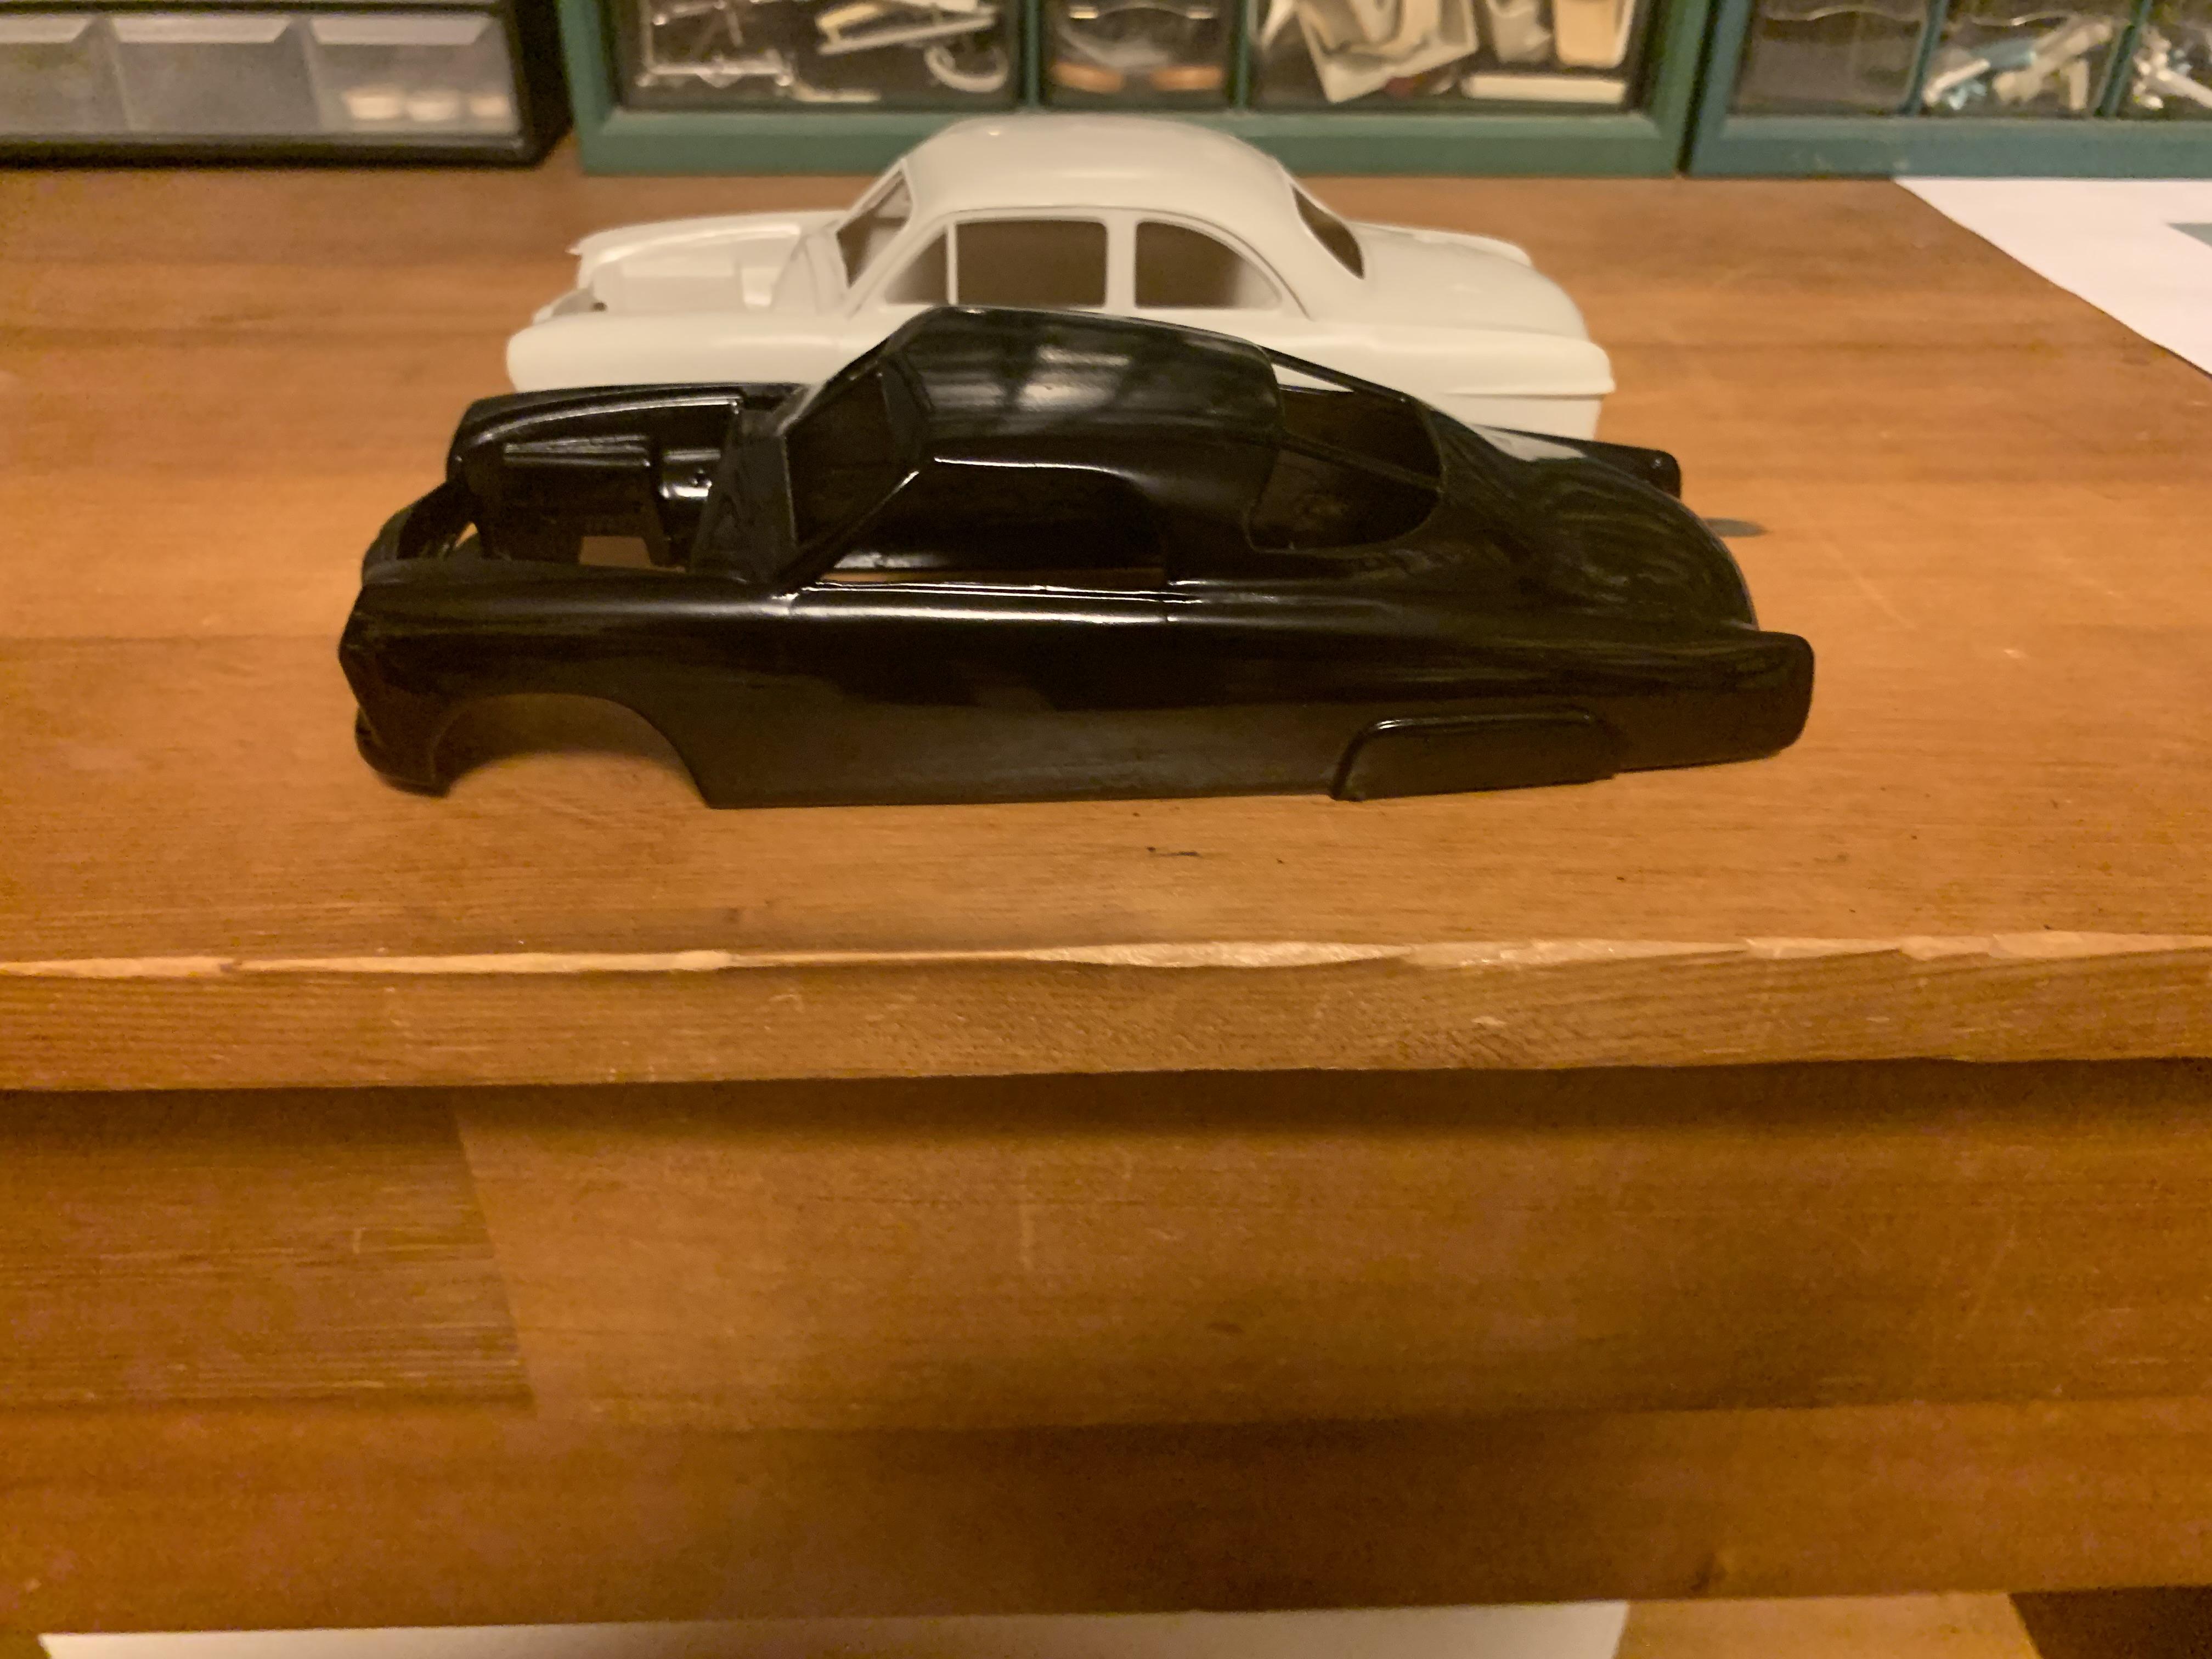
The slight tear drop shape of the 49 body, accentuated by the new top, is most evident in a bird's eye view. Also, a comparison was made to the 53 Studebaker, so here is a shot with one I built as a mild custom a few years back. Thanks for all the comments- it came out pretty much as I wanted, except the rear end could be a bit lower. However, this would make a real car a lot more drivable!
-
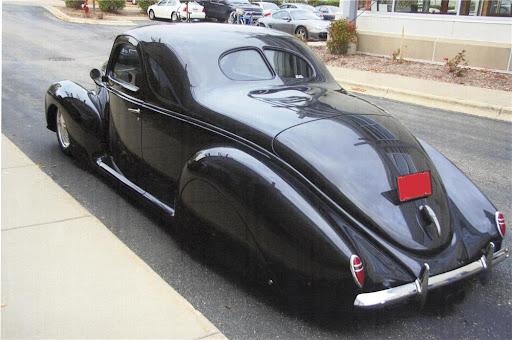
Nothing like a fuel injected Ardun flat head to keep things moving along.
-
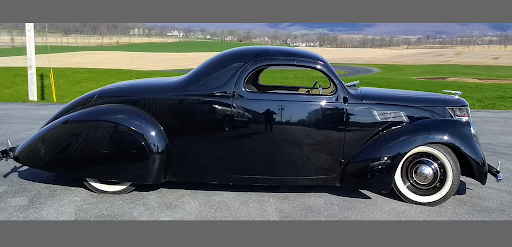
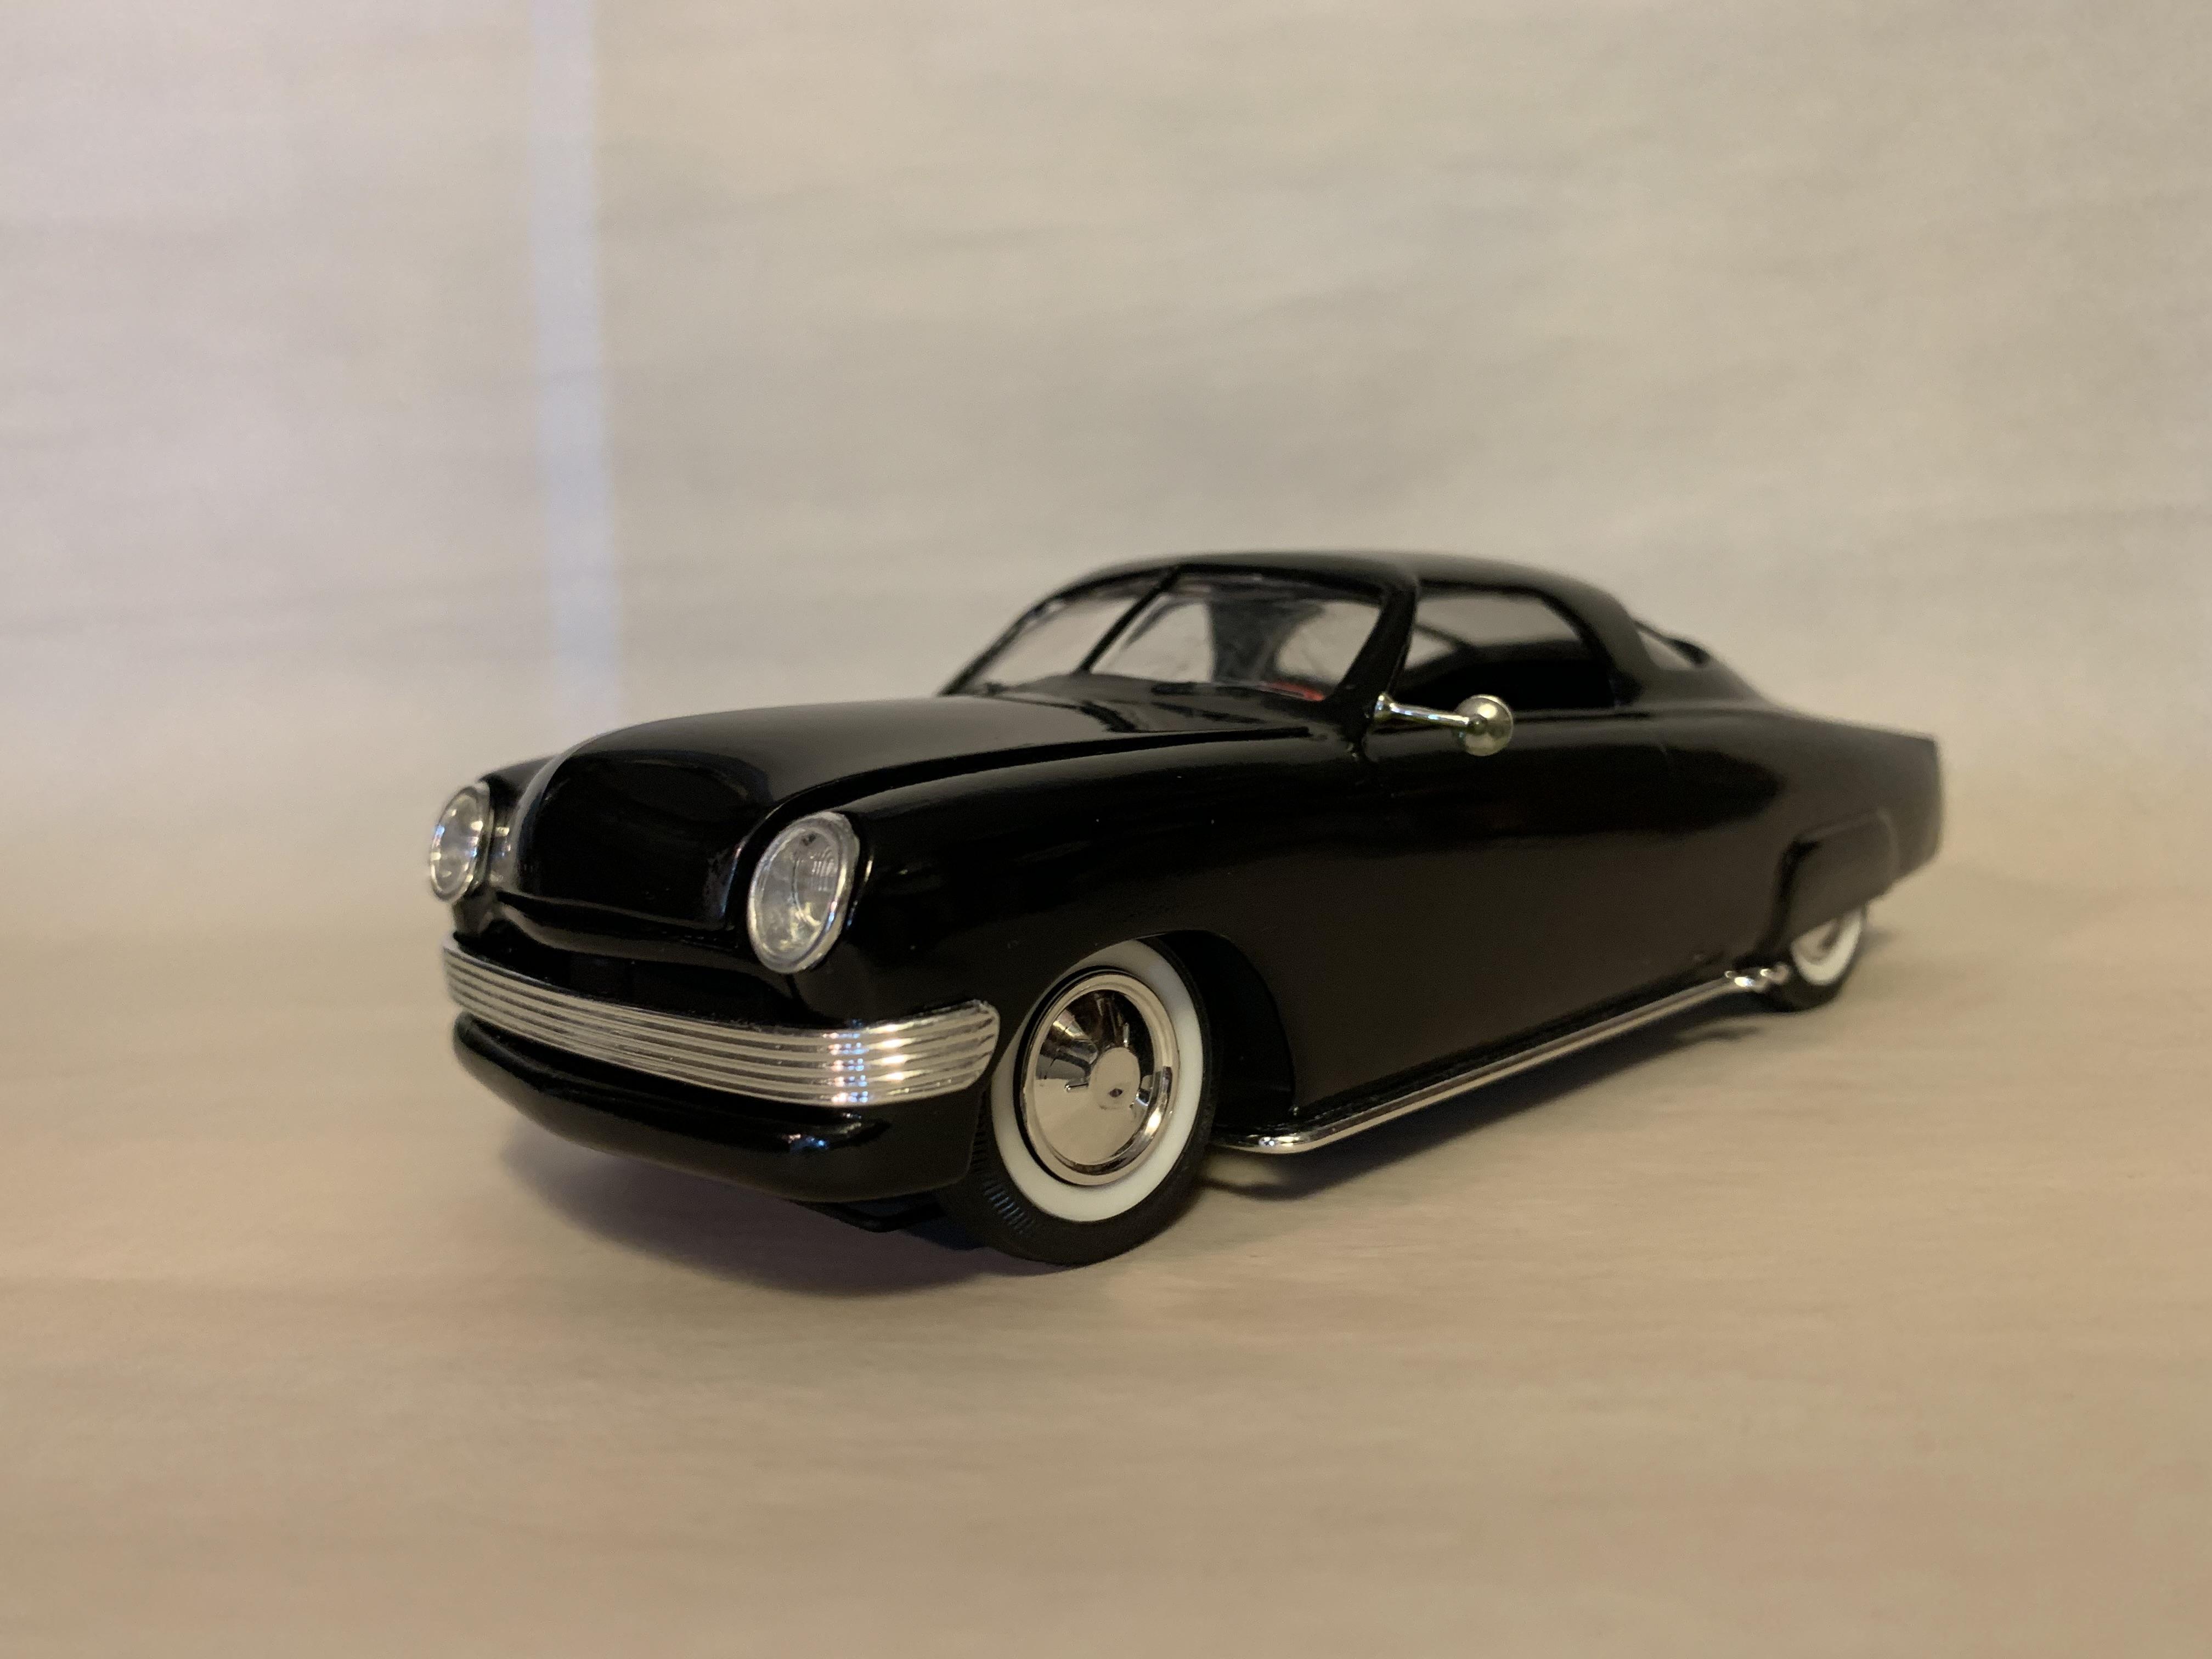
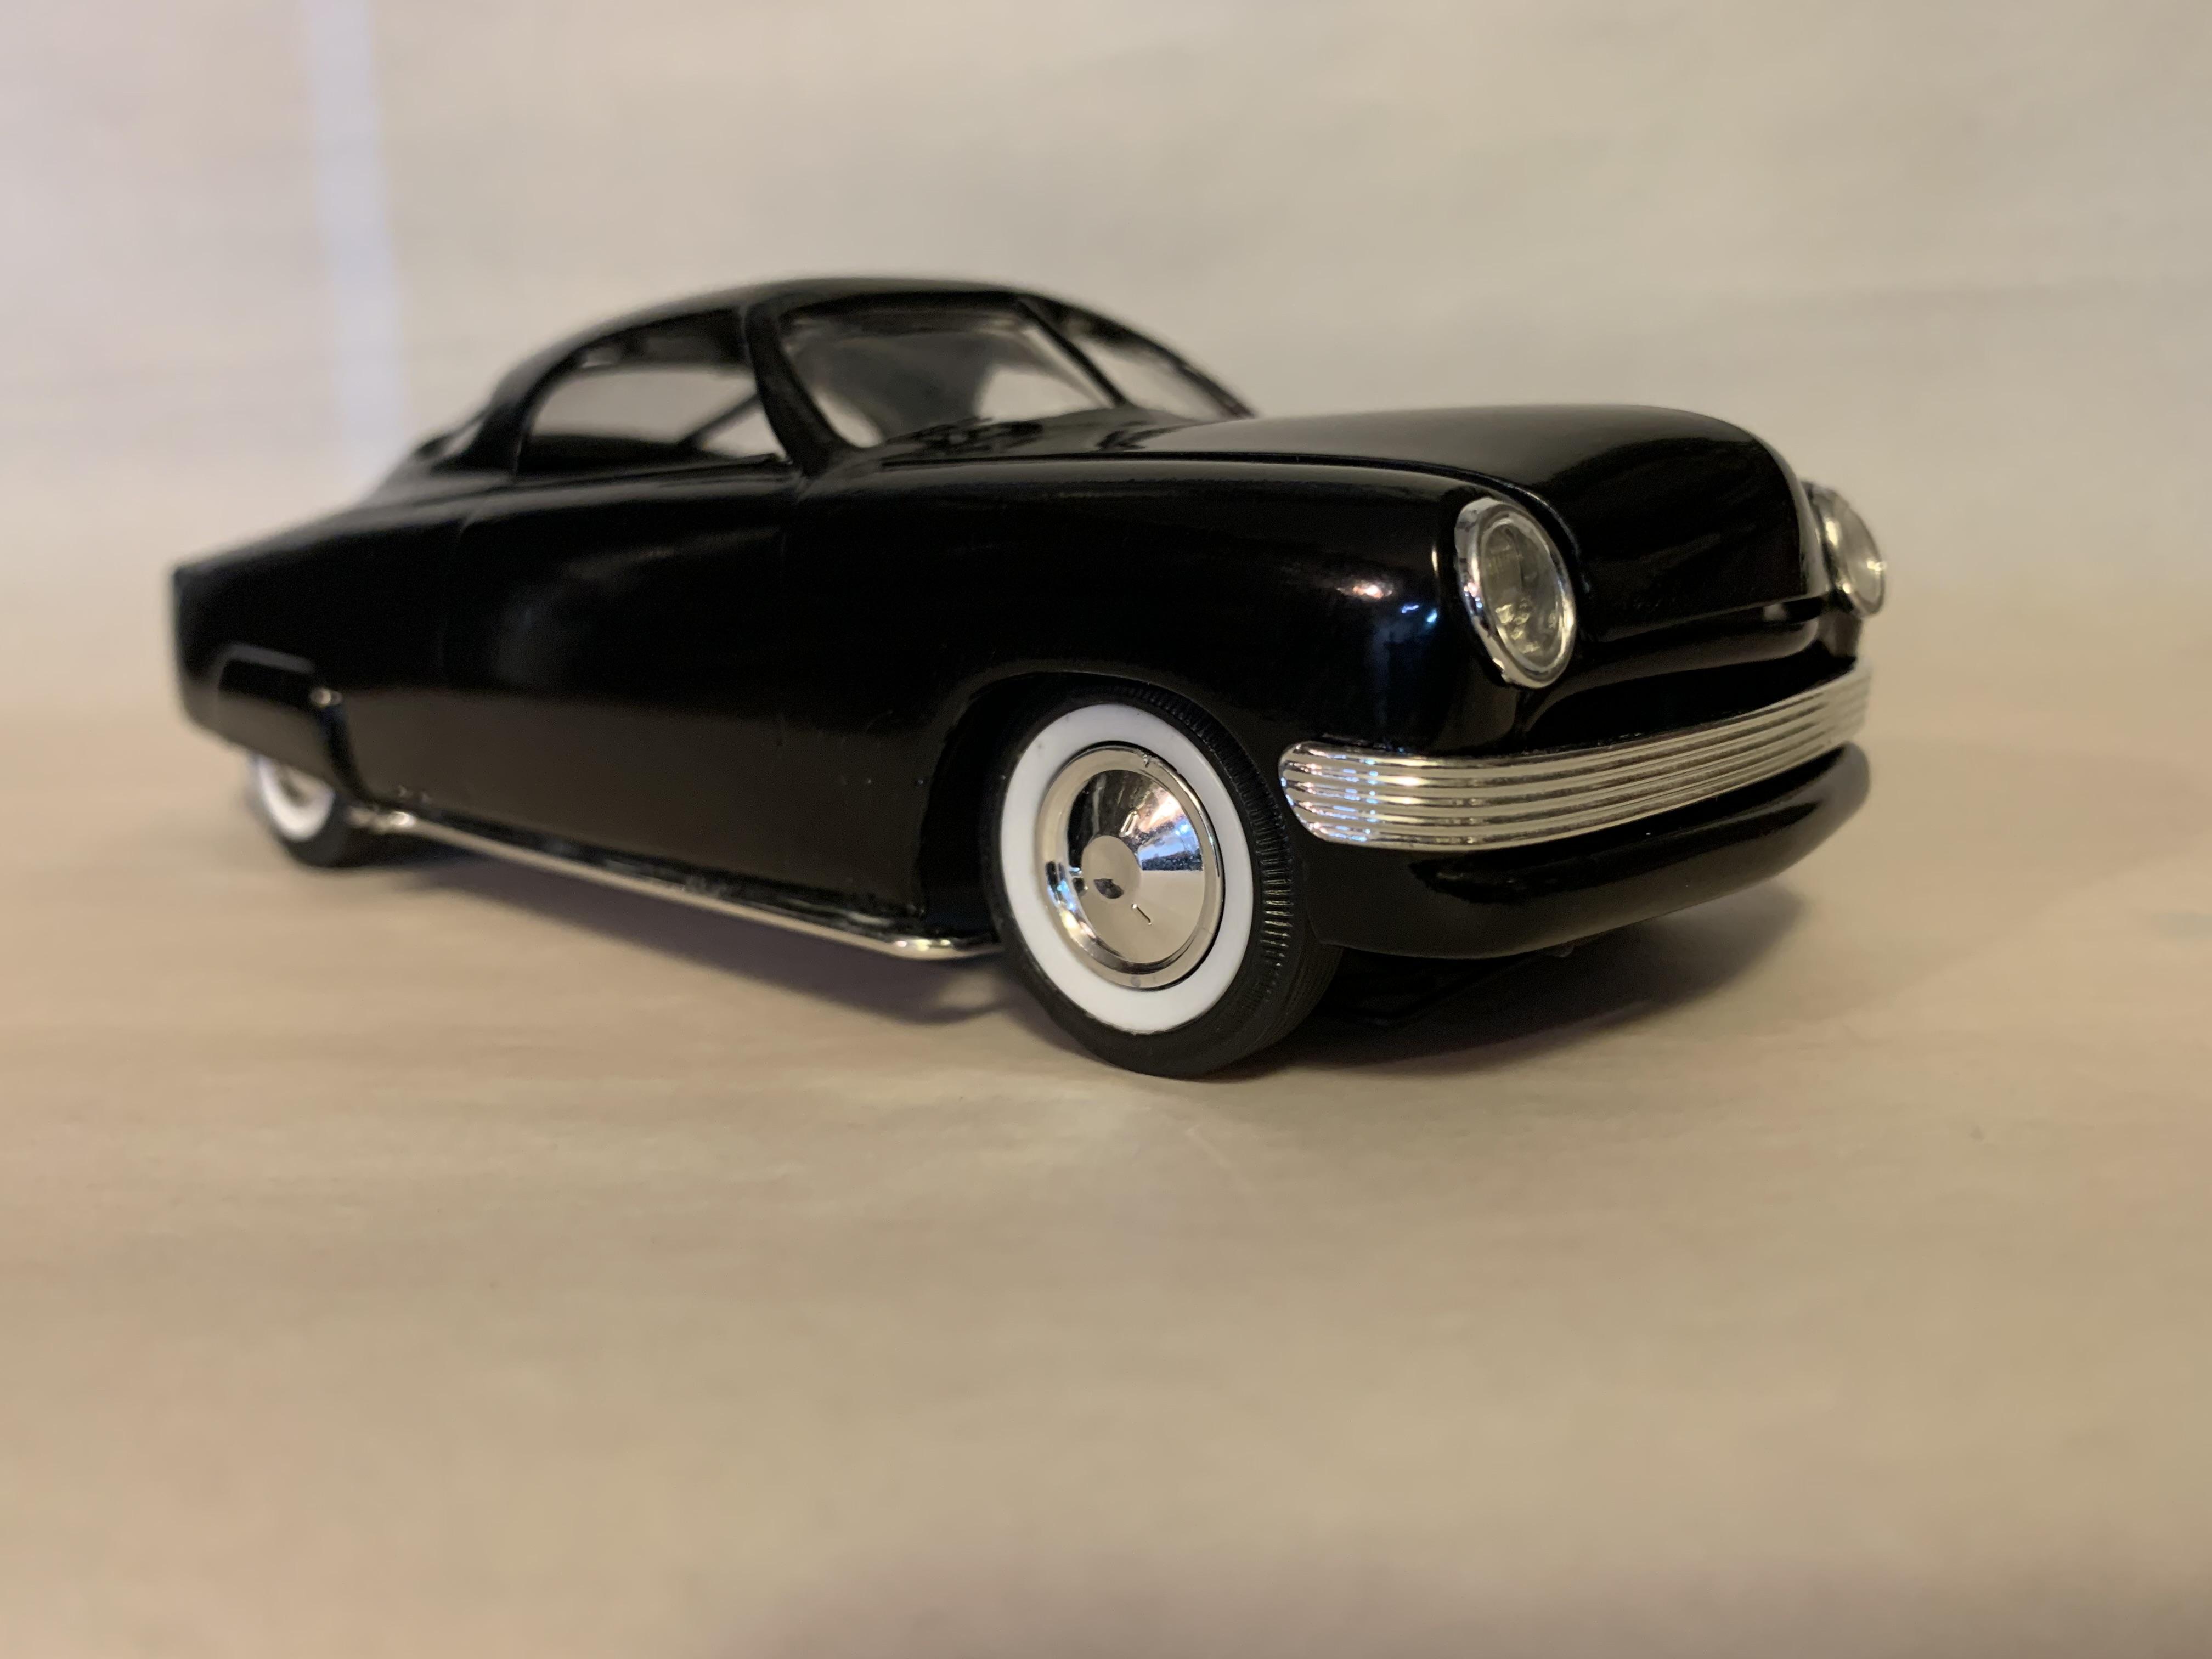
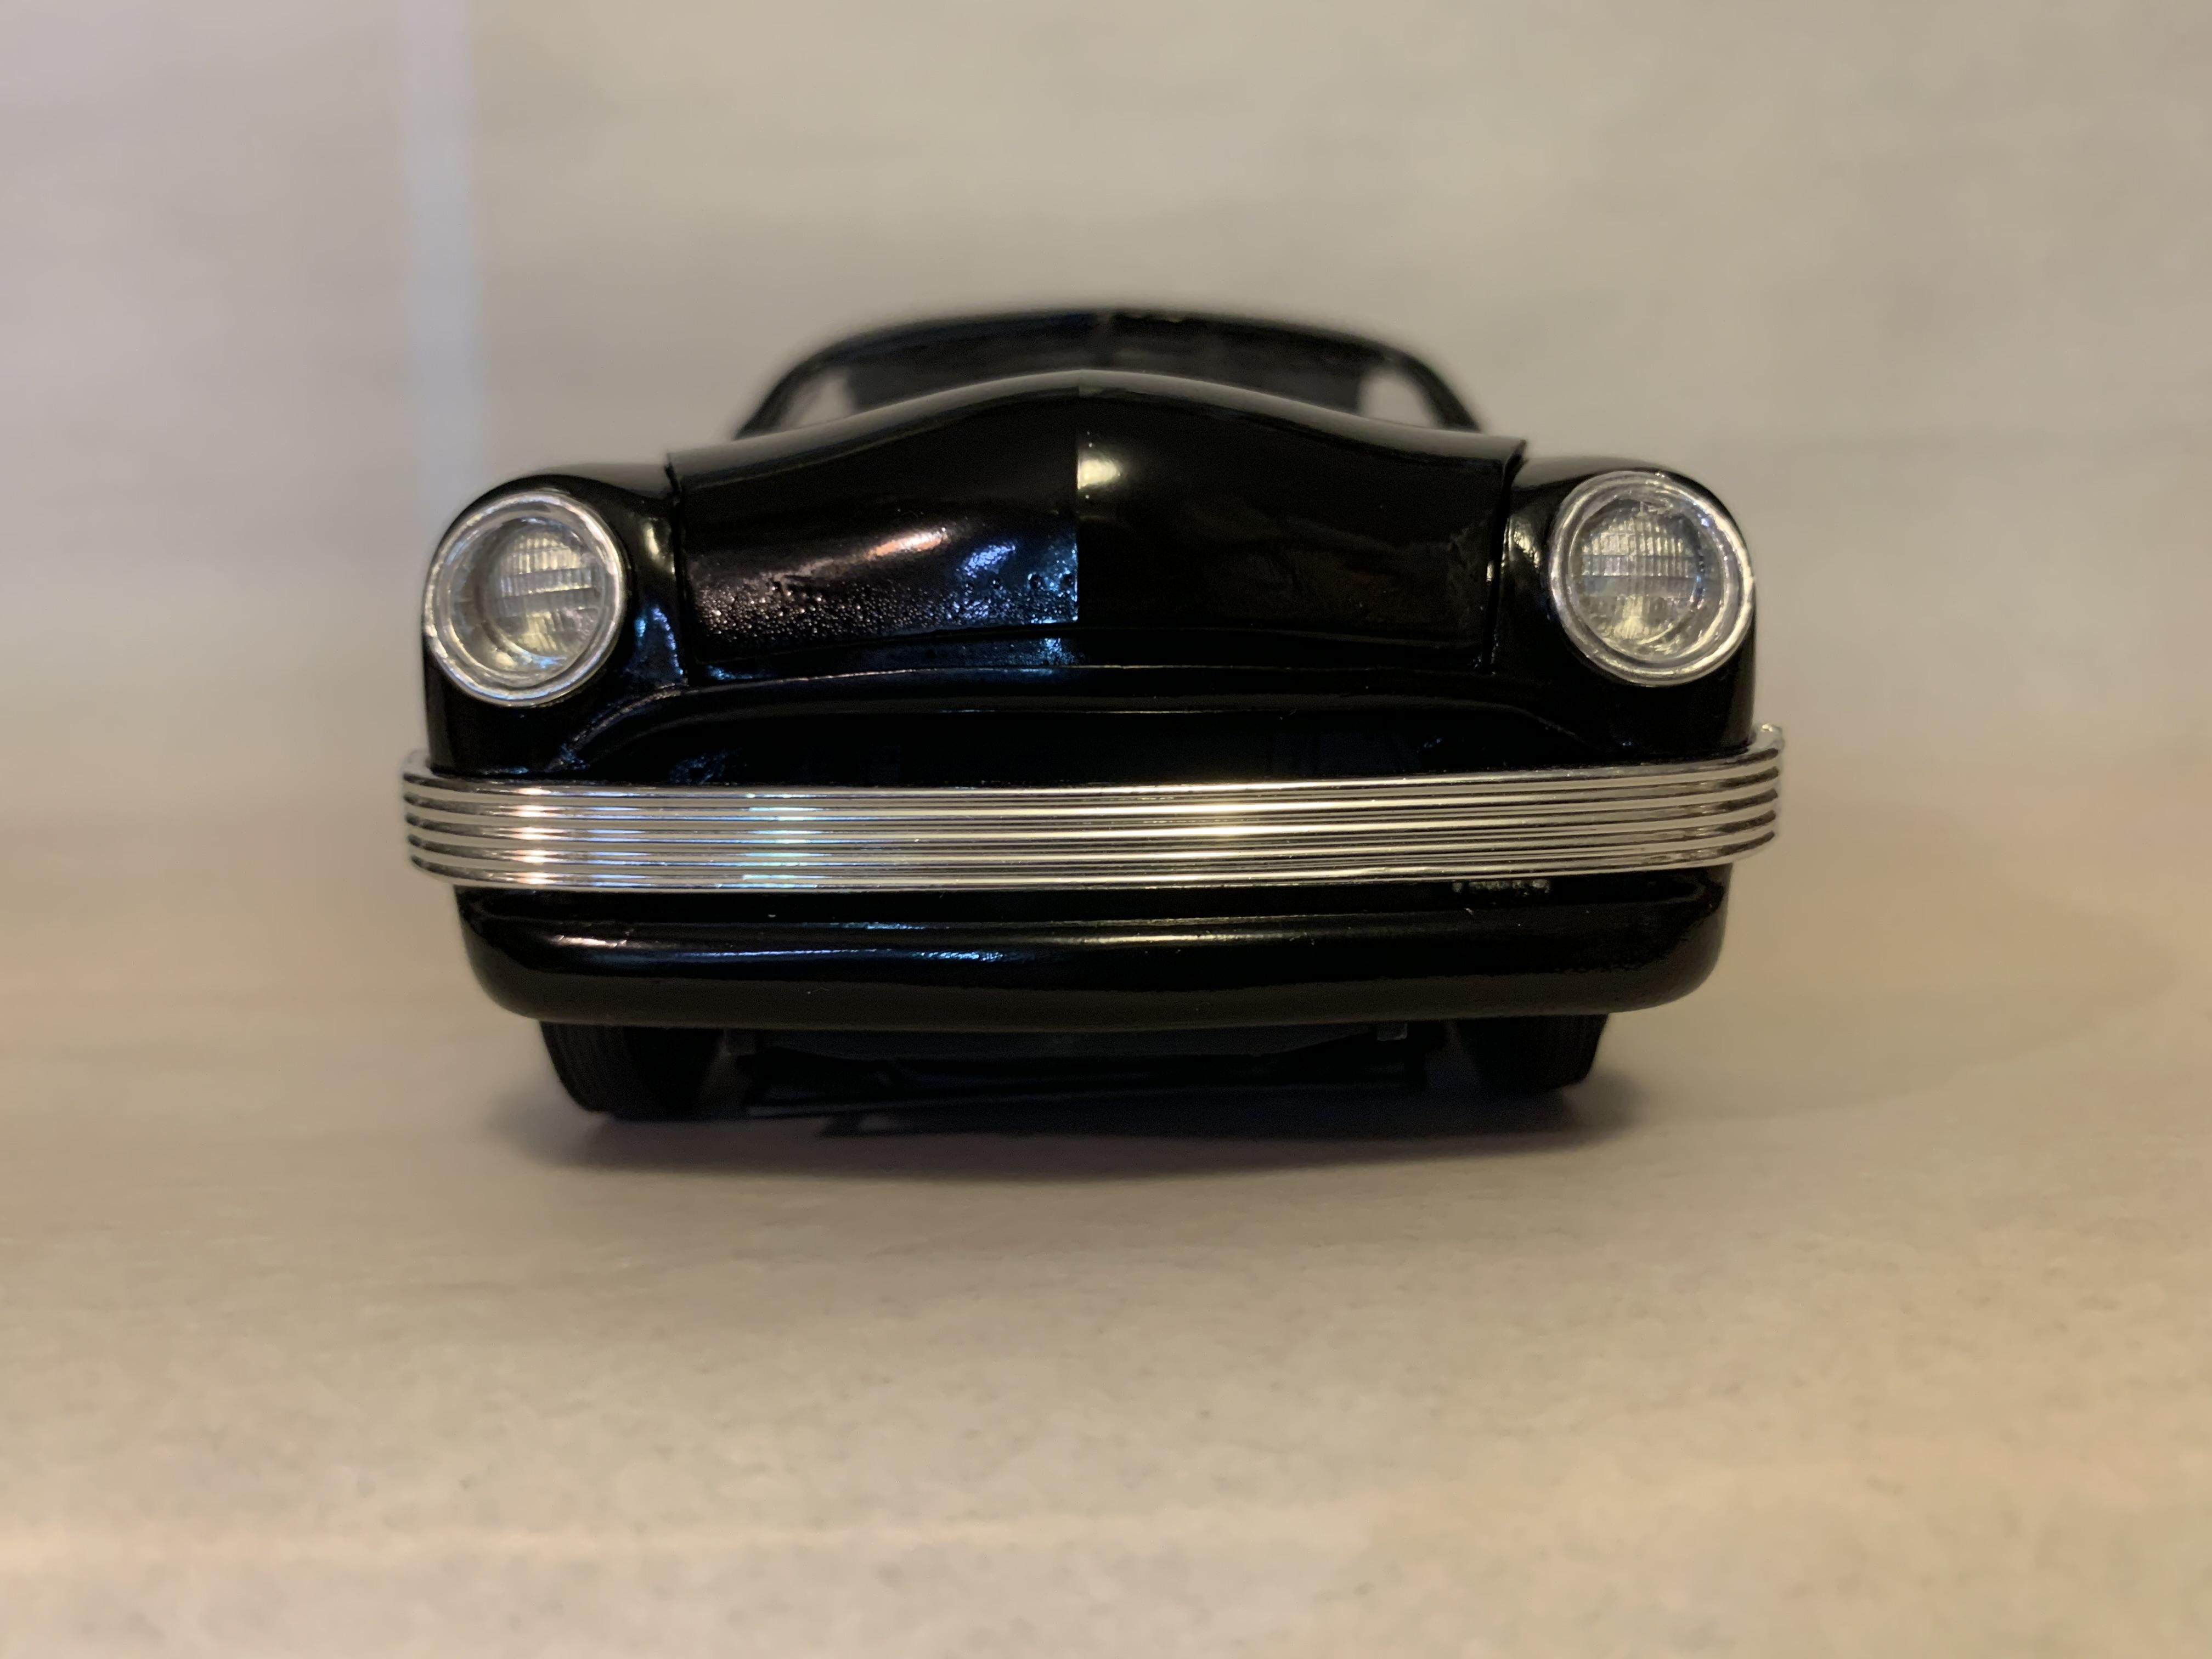
My 1949 Ford coupe custom named Obsidian Teardrop.
-
Sneak peak! More in under glass!
-
Getting into final assembly!
-
truck, boat, and trailer
Paul Payne replied to Paul Payne's topic in WIP: Model Trucks: Pickups, Vans, SUVs, Light Commercial
That is impressive! Looking forward to more, as usual! -
truck, boat, and trailer
Paul Payne replied to Paul Payne's topic in WIP: Model Trucks: Pickups, Vans, SUVs, Light Commercial
Magnificent brass work! Never did learn to solder- I assume you used a jig, then attached to the engine? -
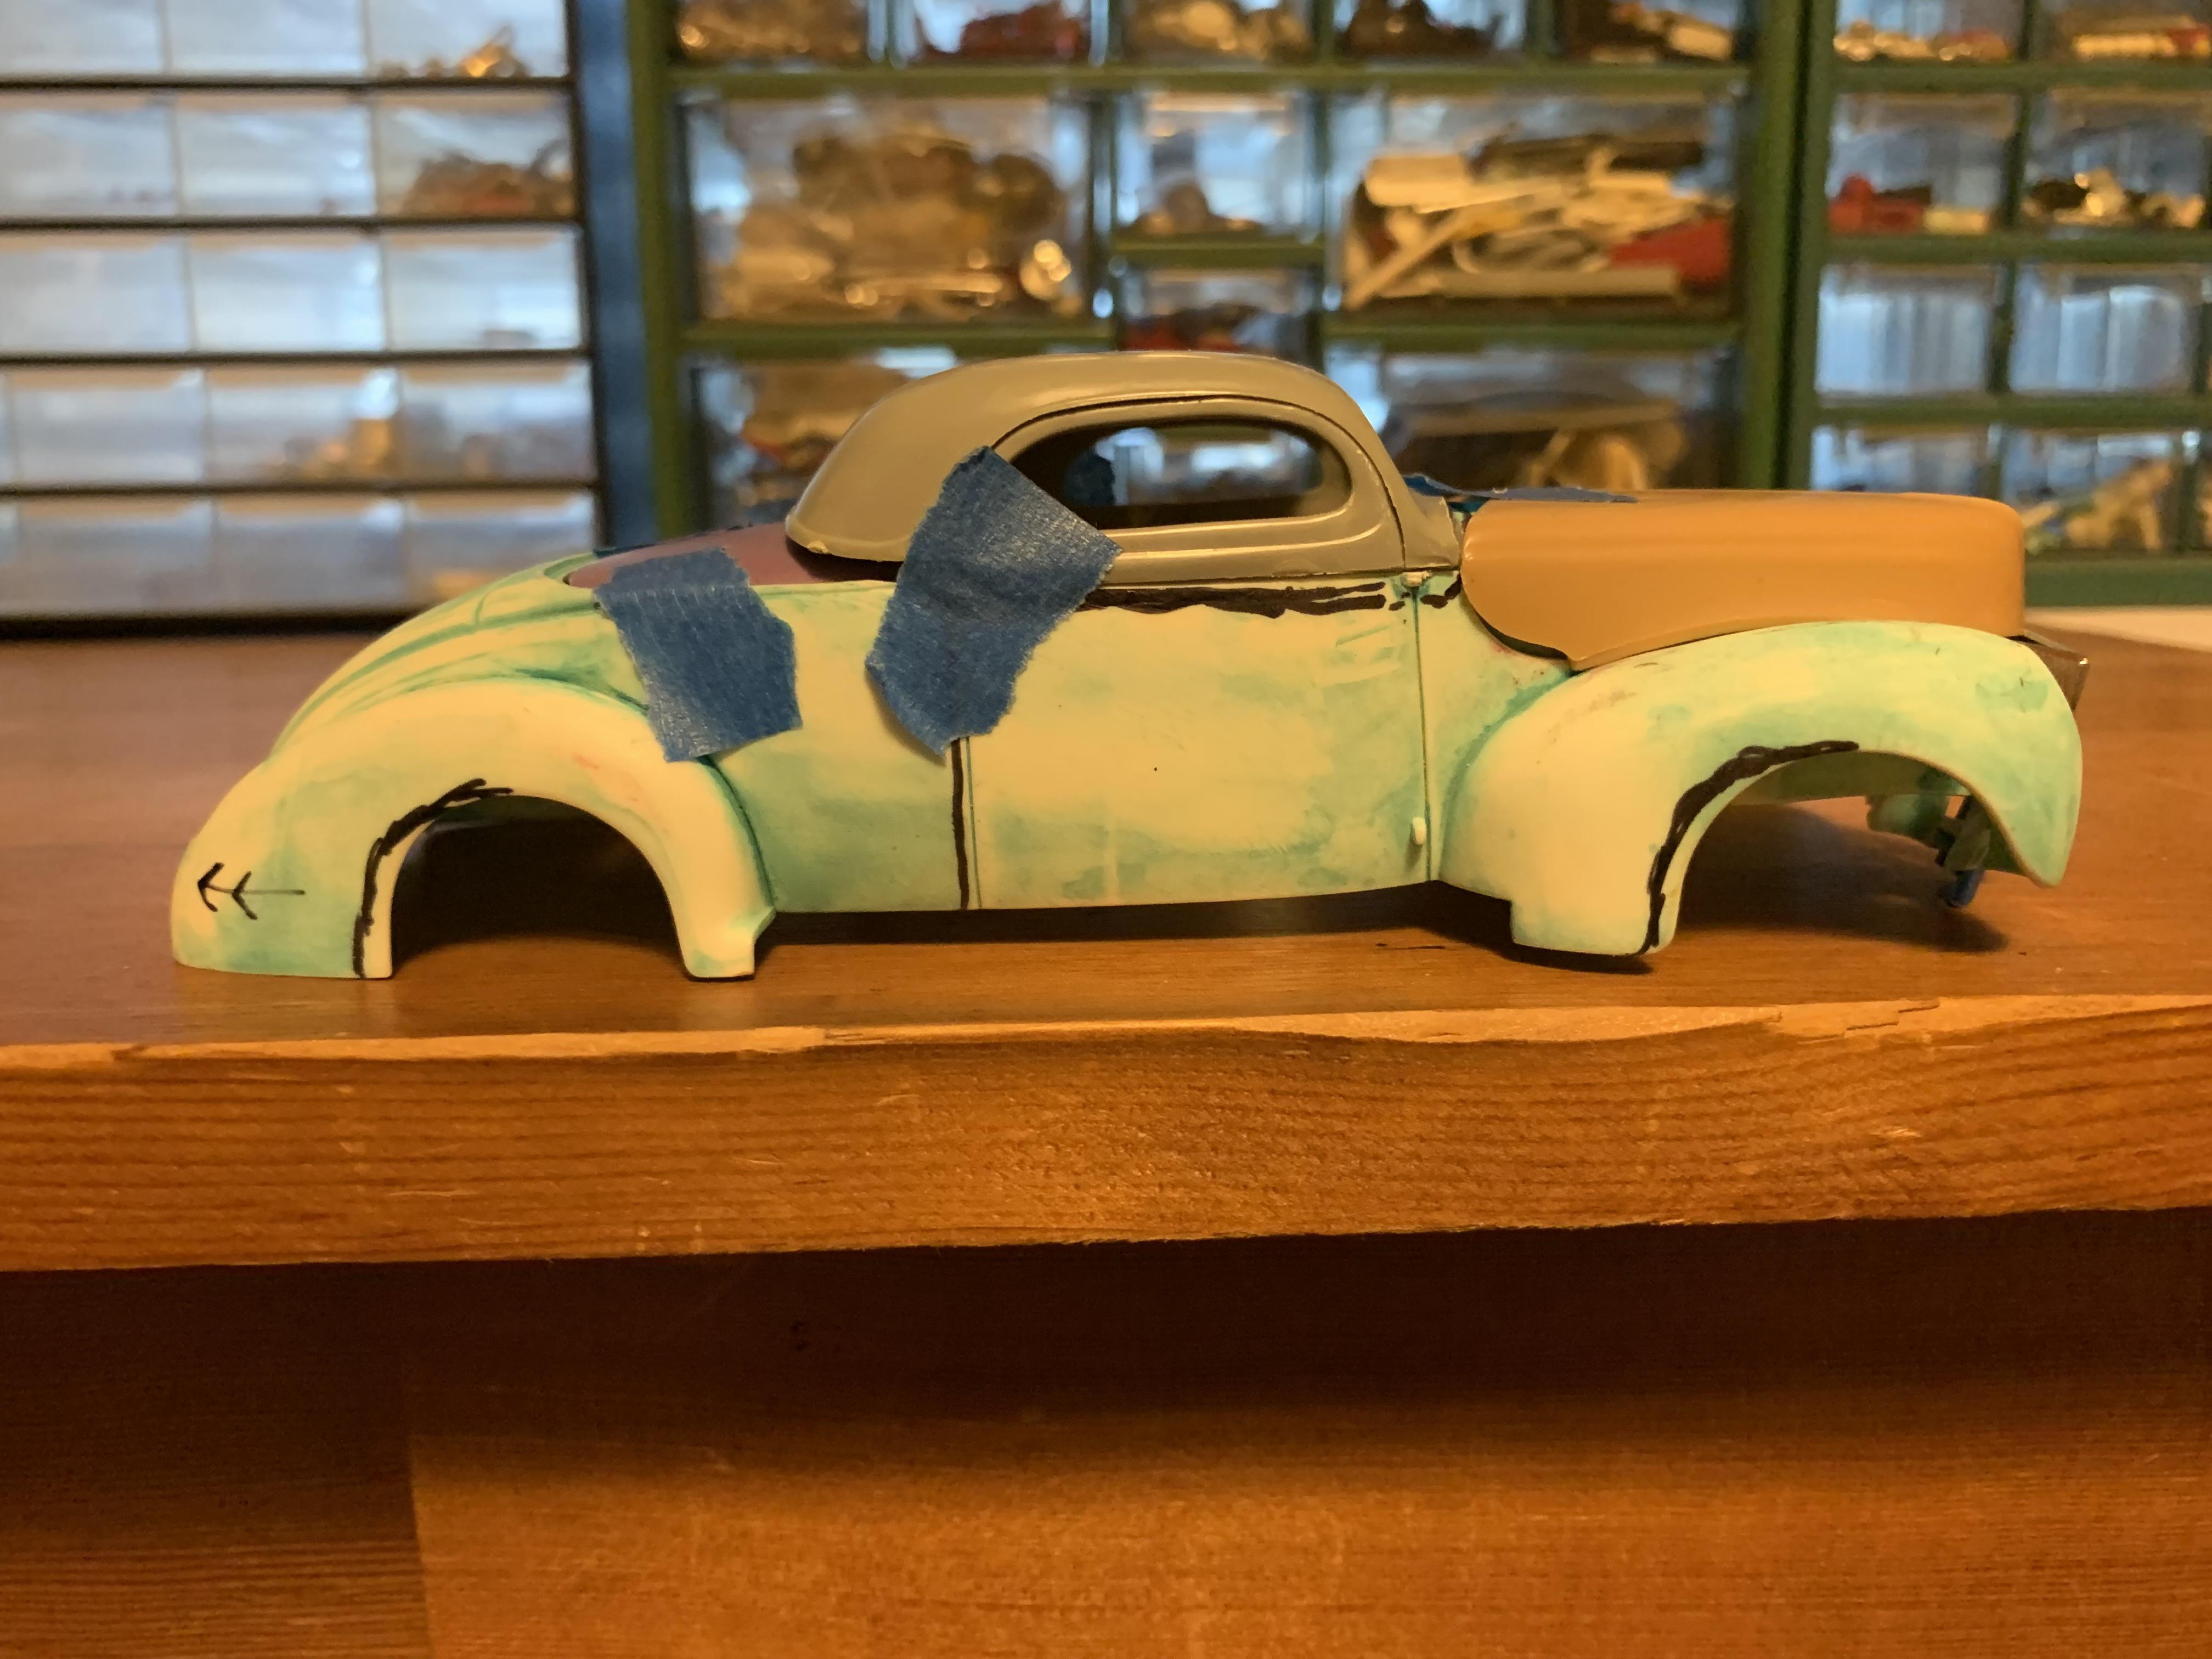
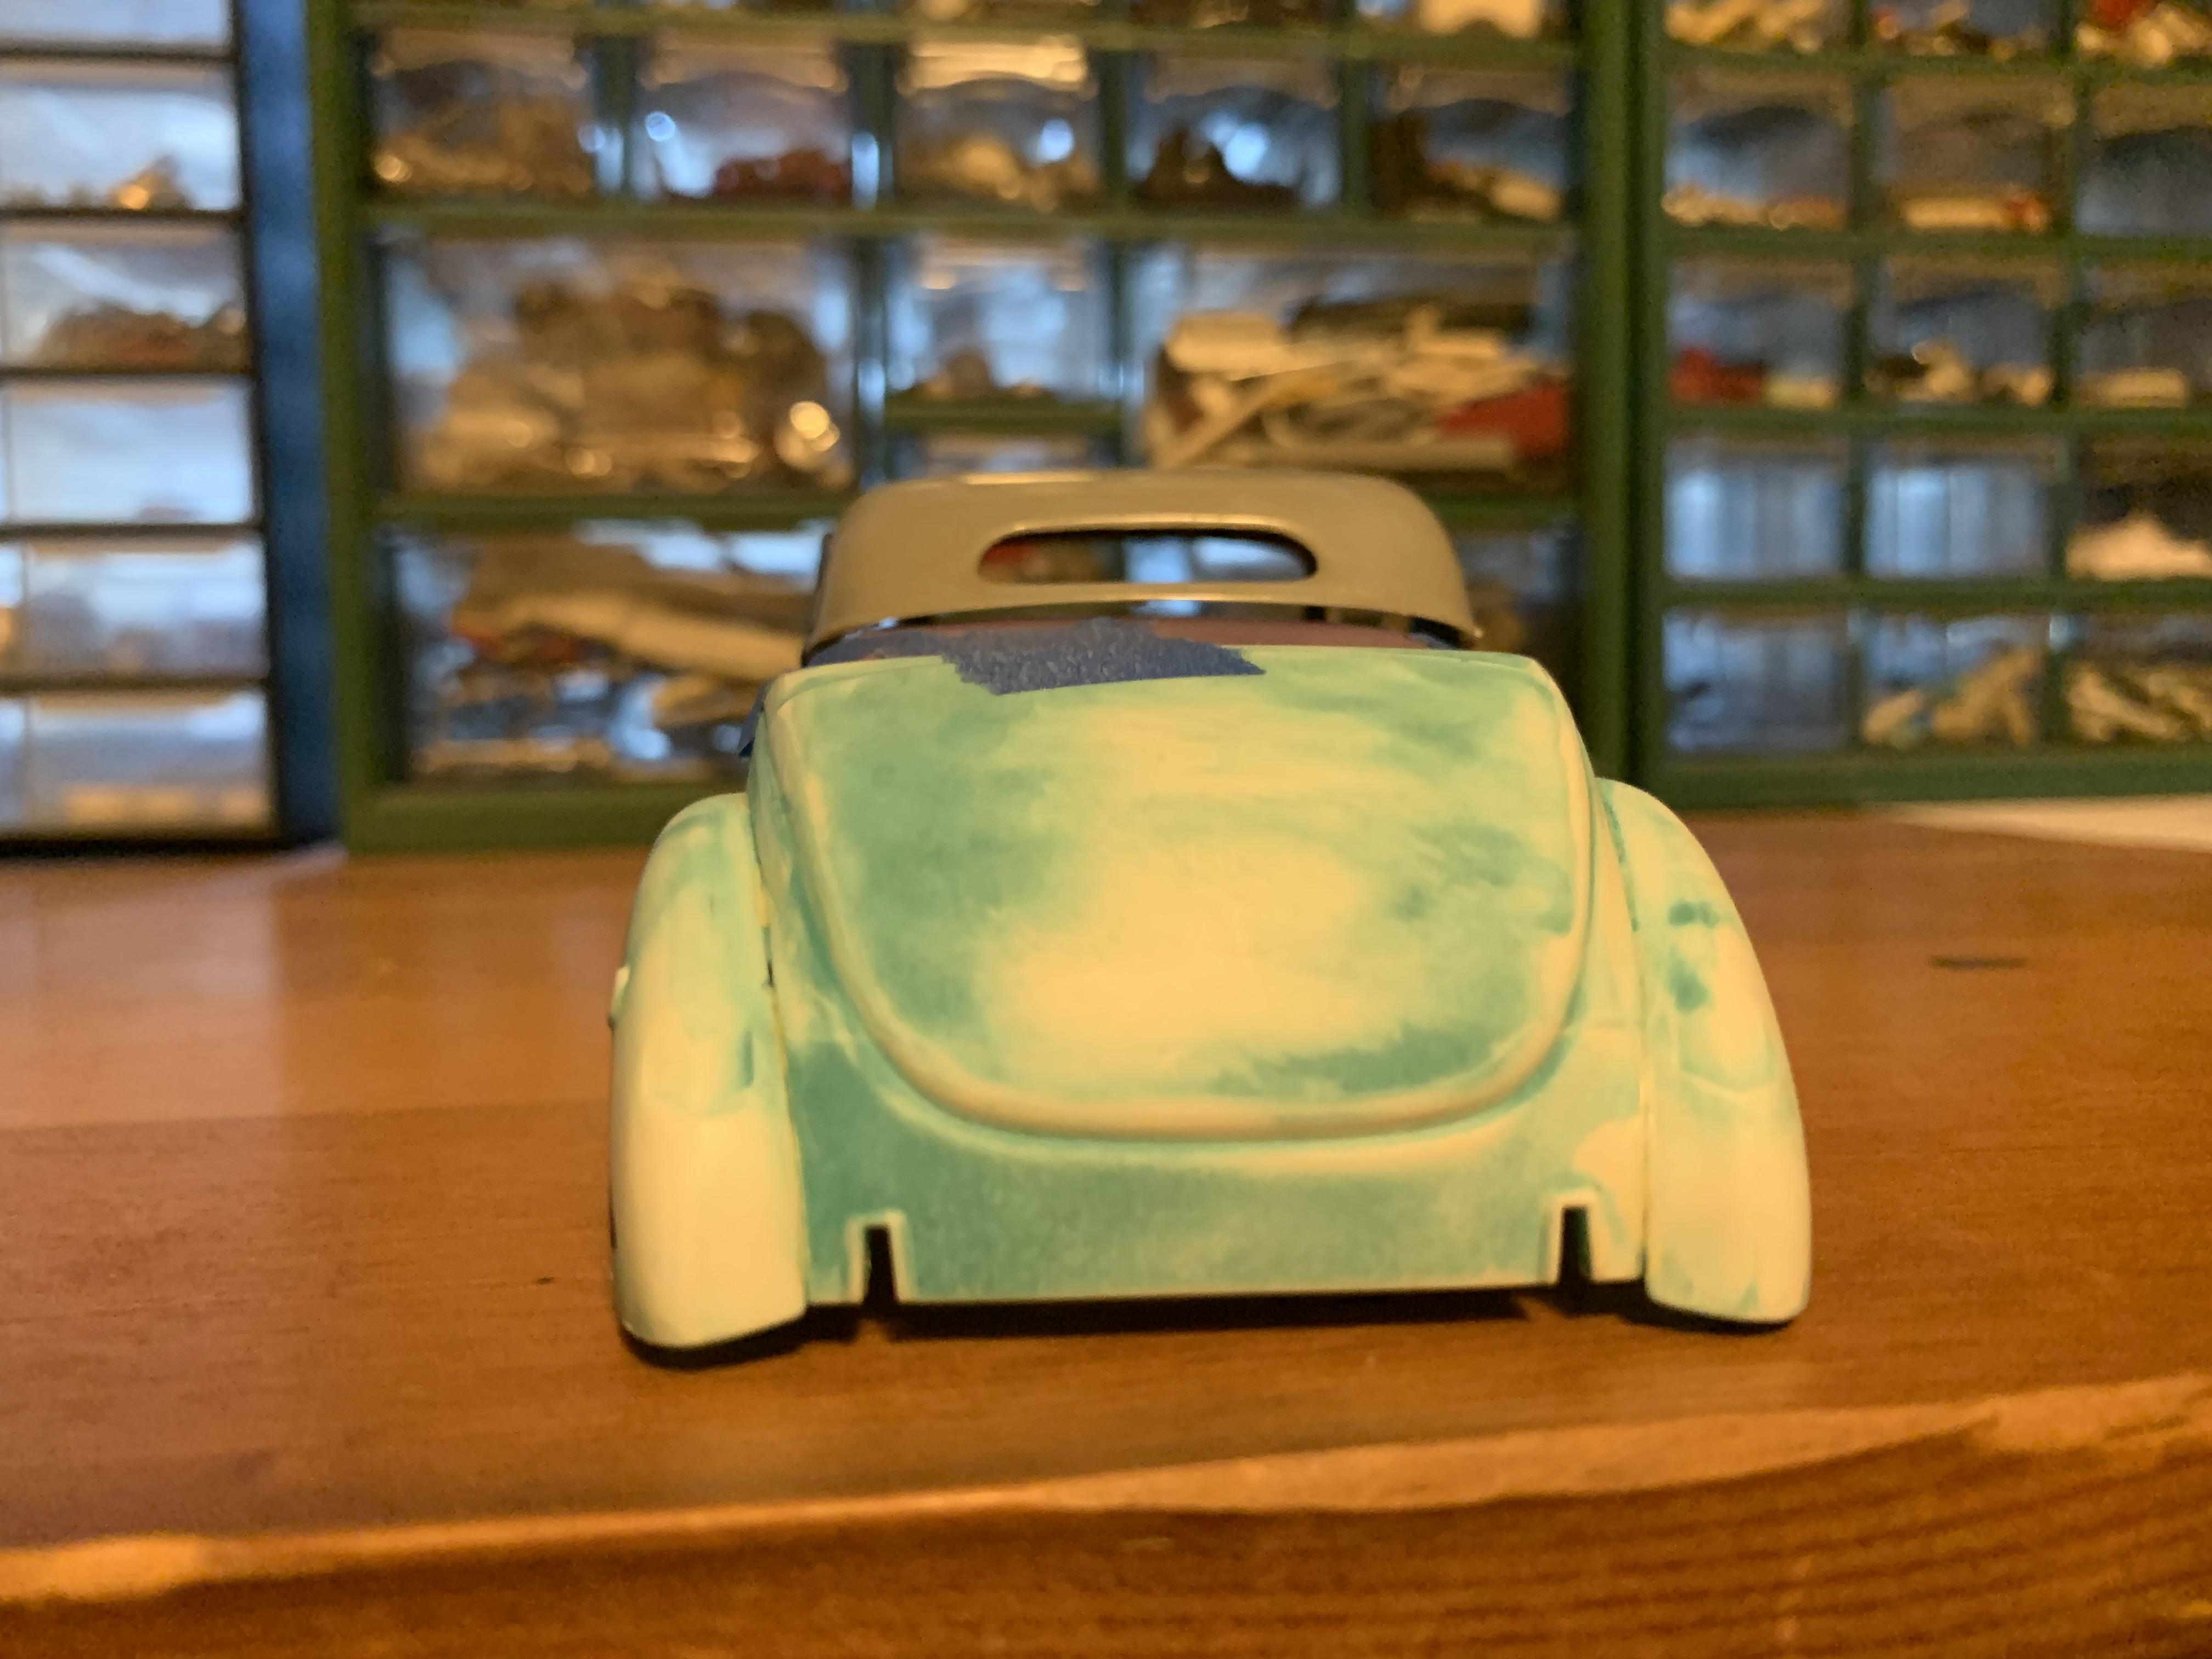
Did a little filling and sanding, then shot a light coat of primer to see where we are at. Getting close to where we need to be. Will be using an AMT 36 Ford interior bucket, two cushy bucket seats from the stash, a Revell 50 Ford pickup engine and tranny, and possibly a Duesenberg dash set into an AMT 36 Ford dash. Still adding strip styrene to the bottom rear edges of the hood to mate up better with the cowl. Also painting white walls on some solid rubber front tires from the Green Hornet. Going to use wire wheels from the Monogram 427 street Cobra. More pix when I get more done!
-
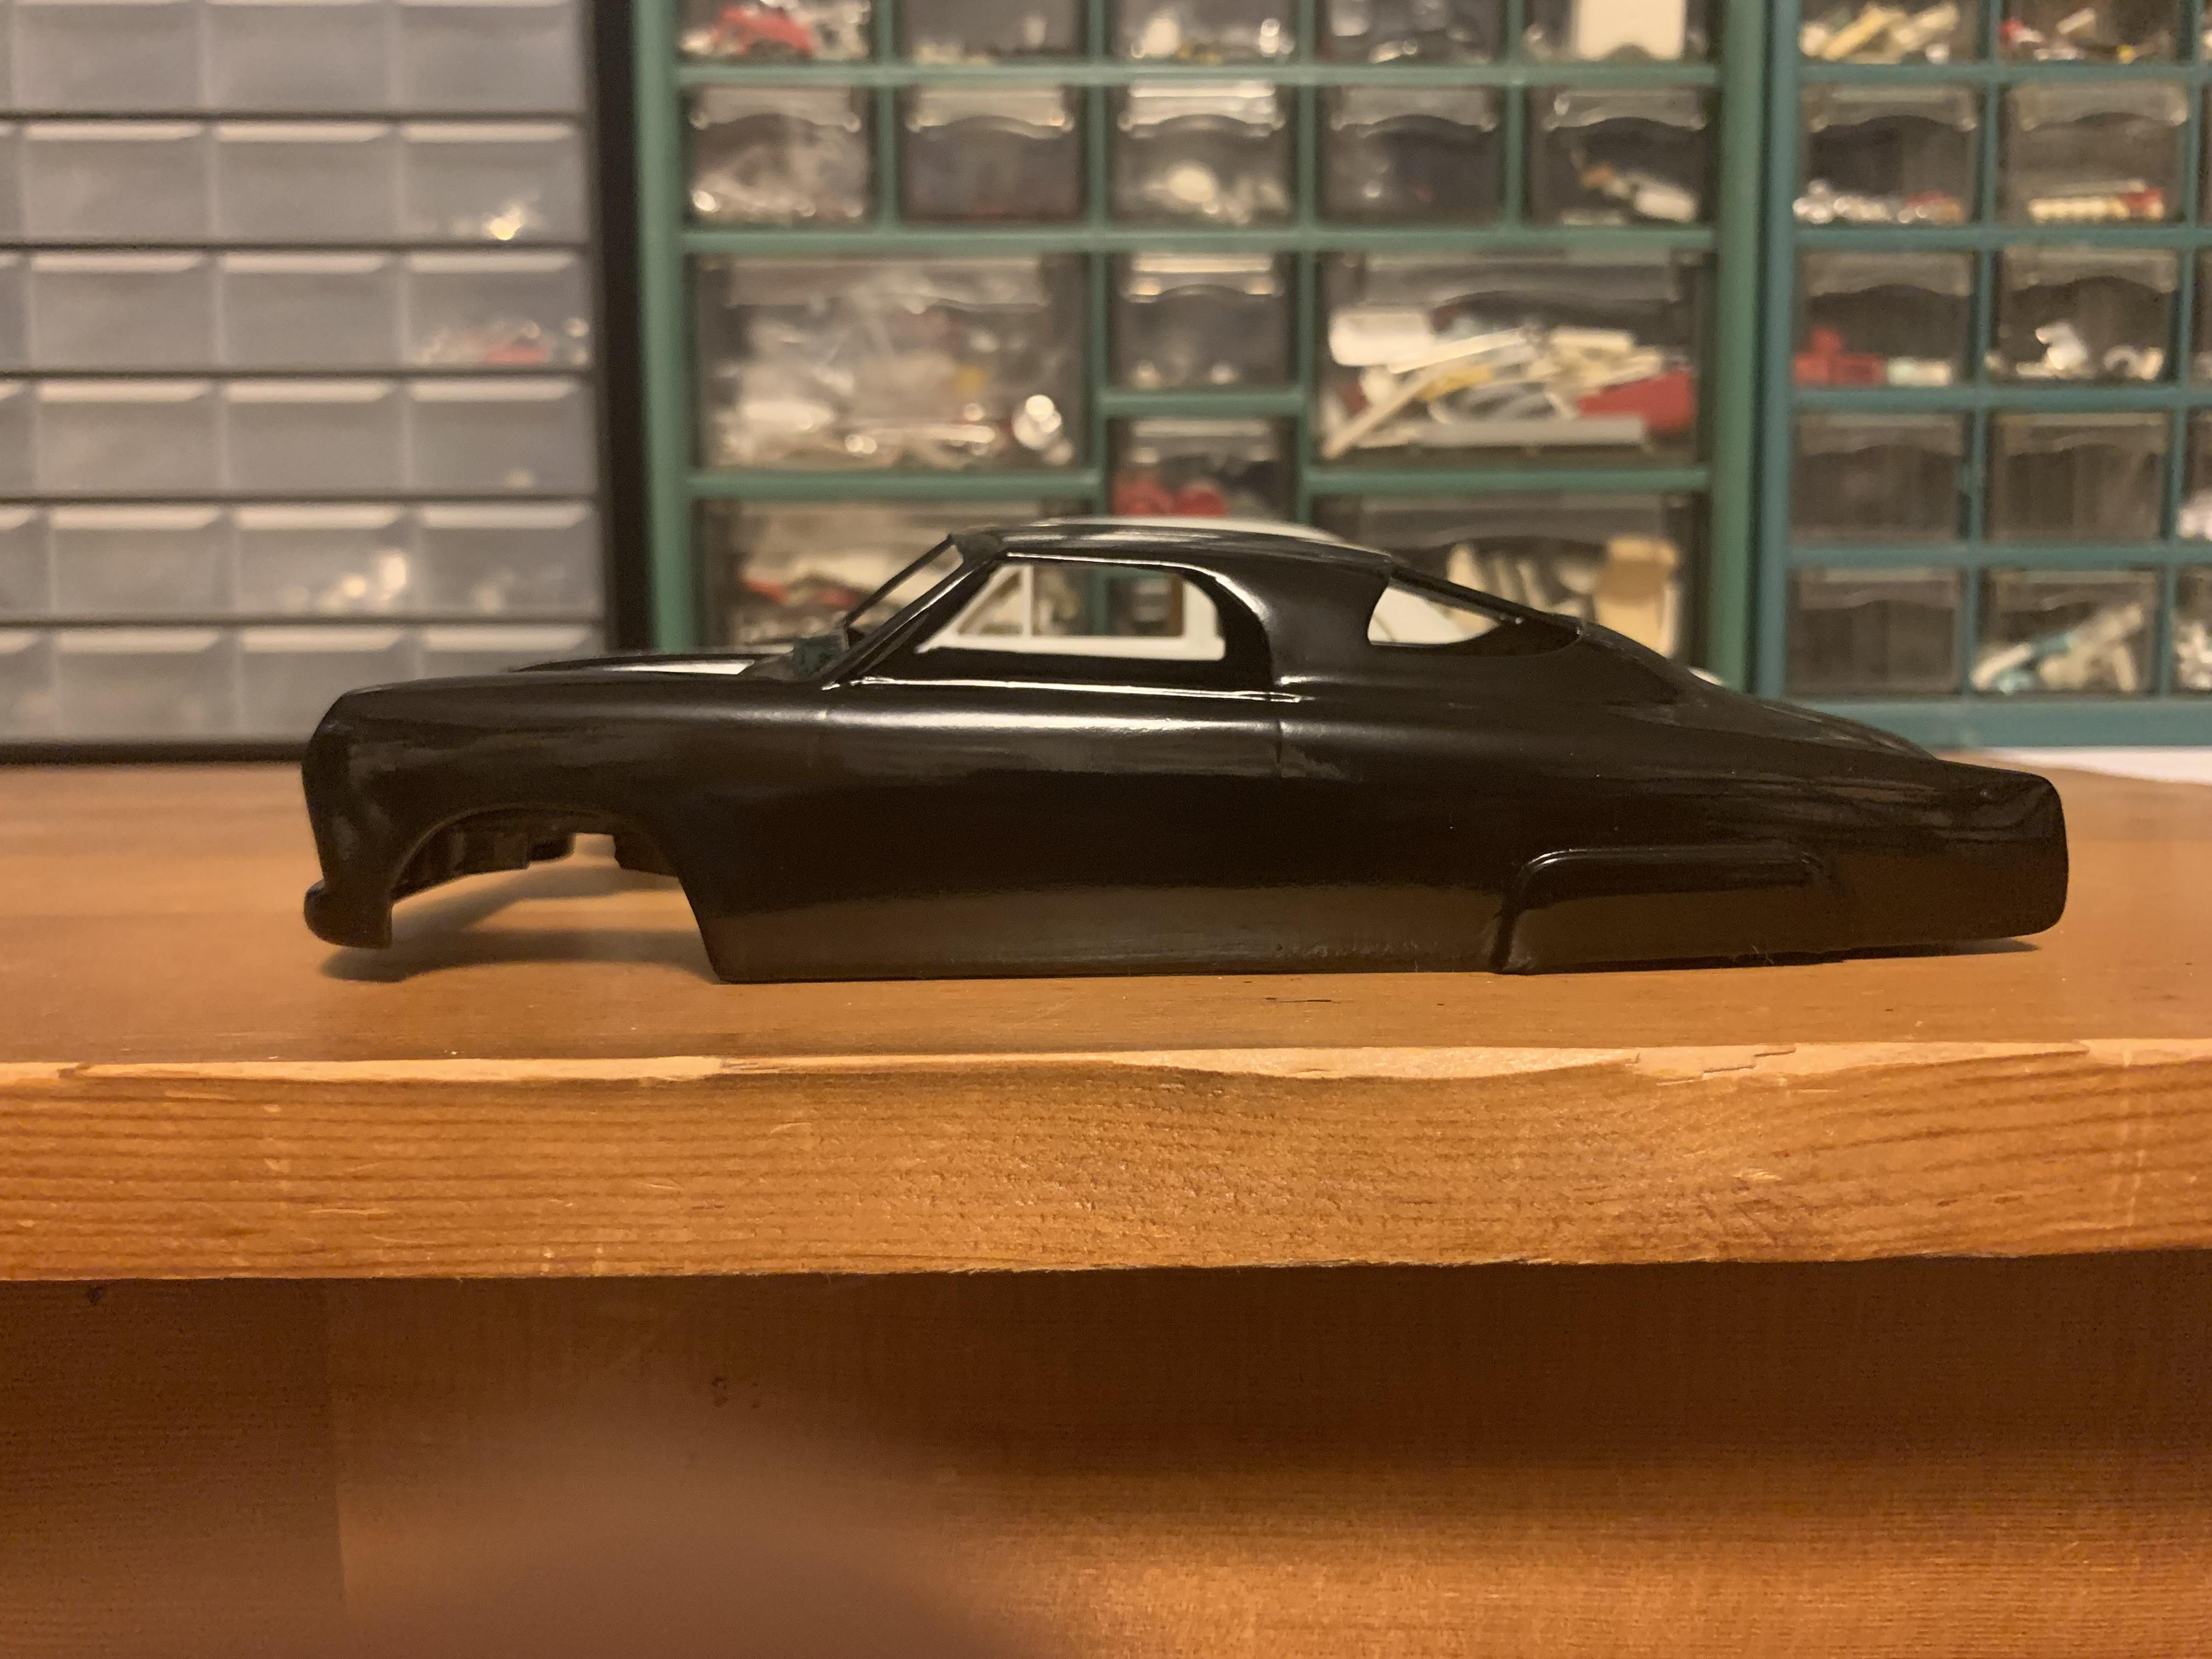
Paint! At last, a paint job I can be happy with! Will let it fry a couple days, then on to final assembly. Decided to name it the Obsidian Teardrop.
-
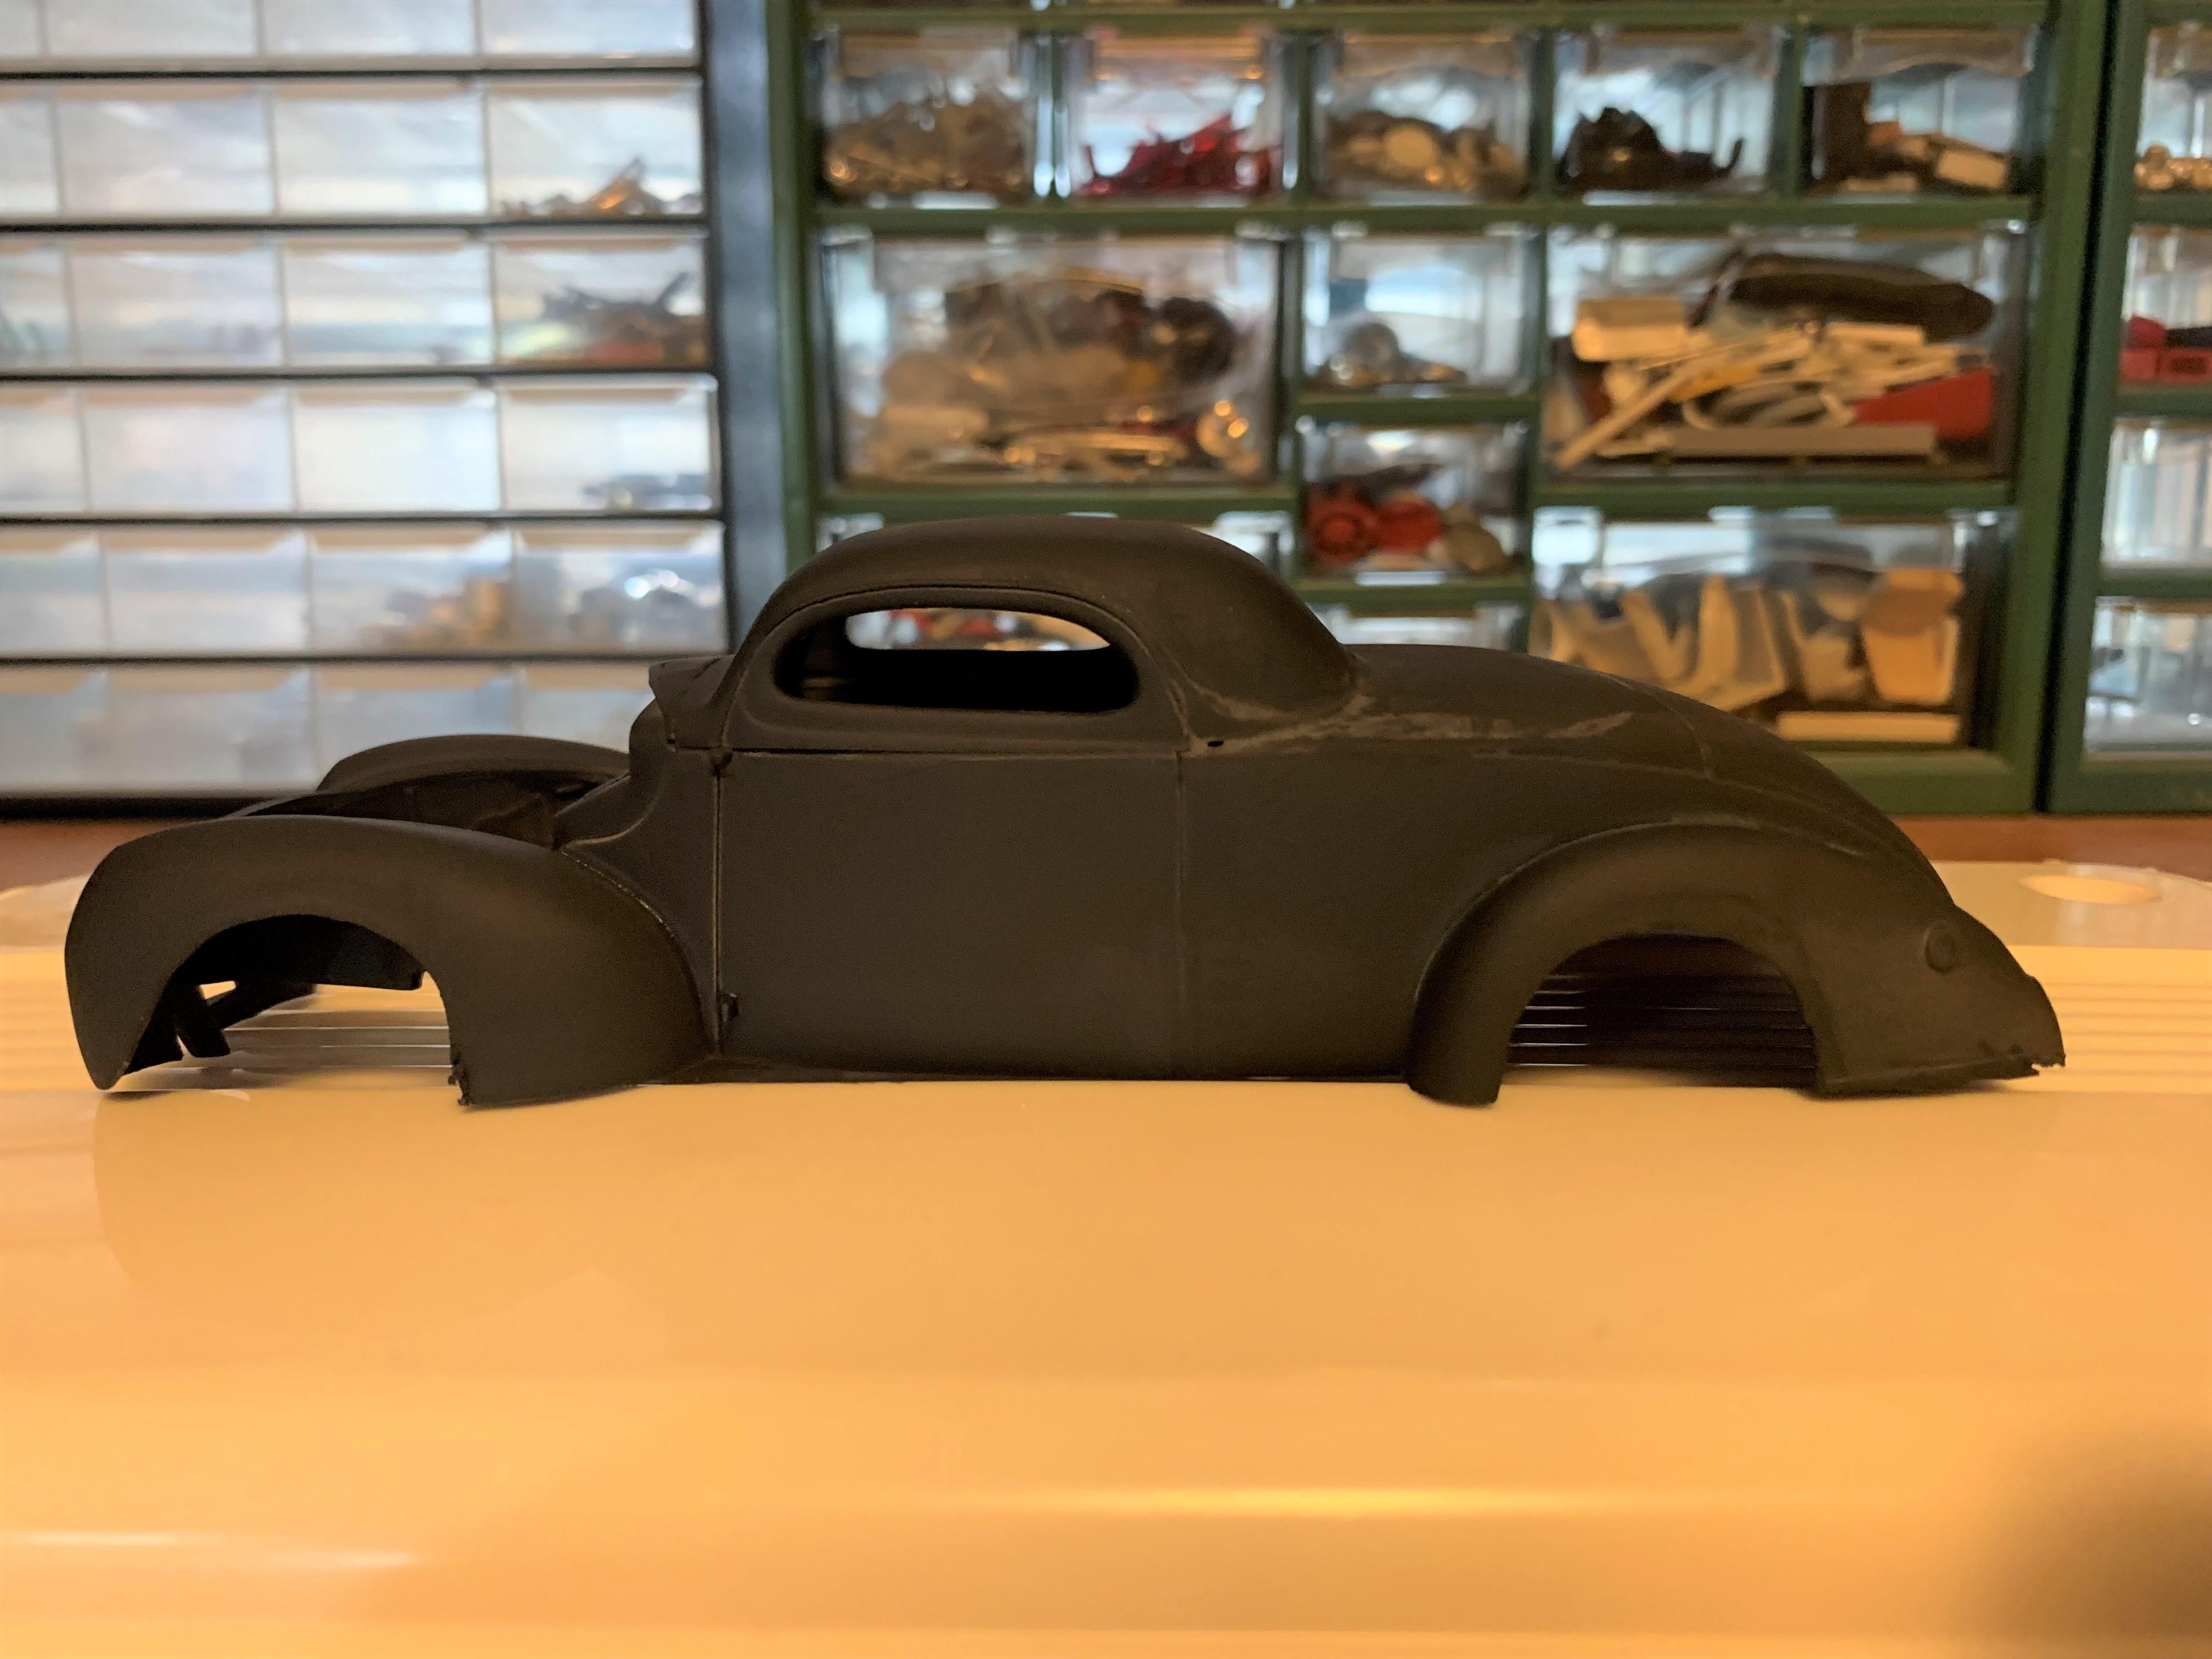
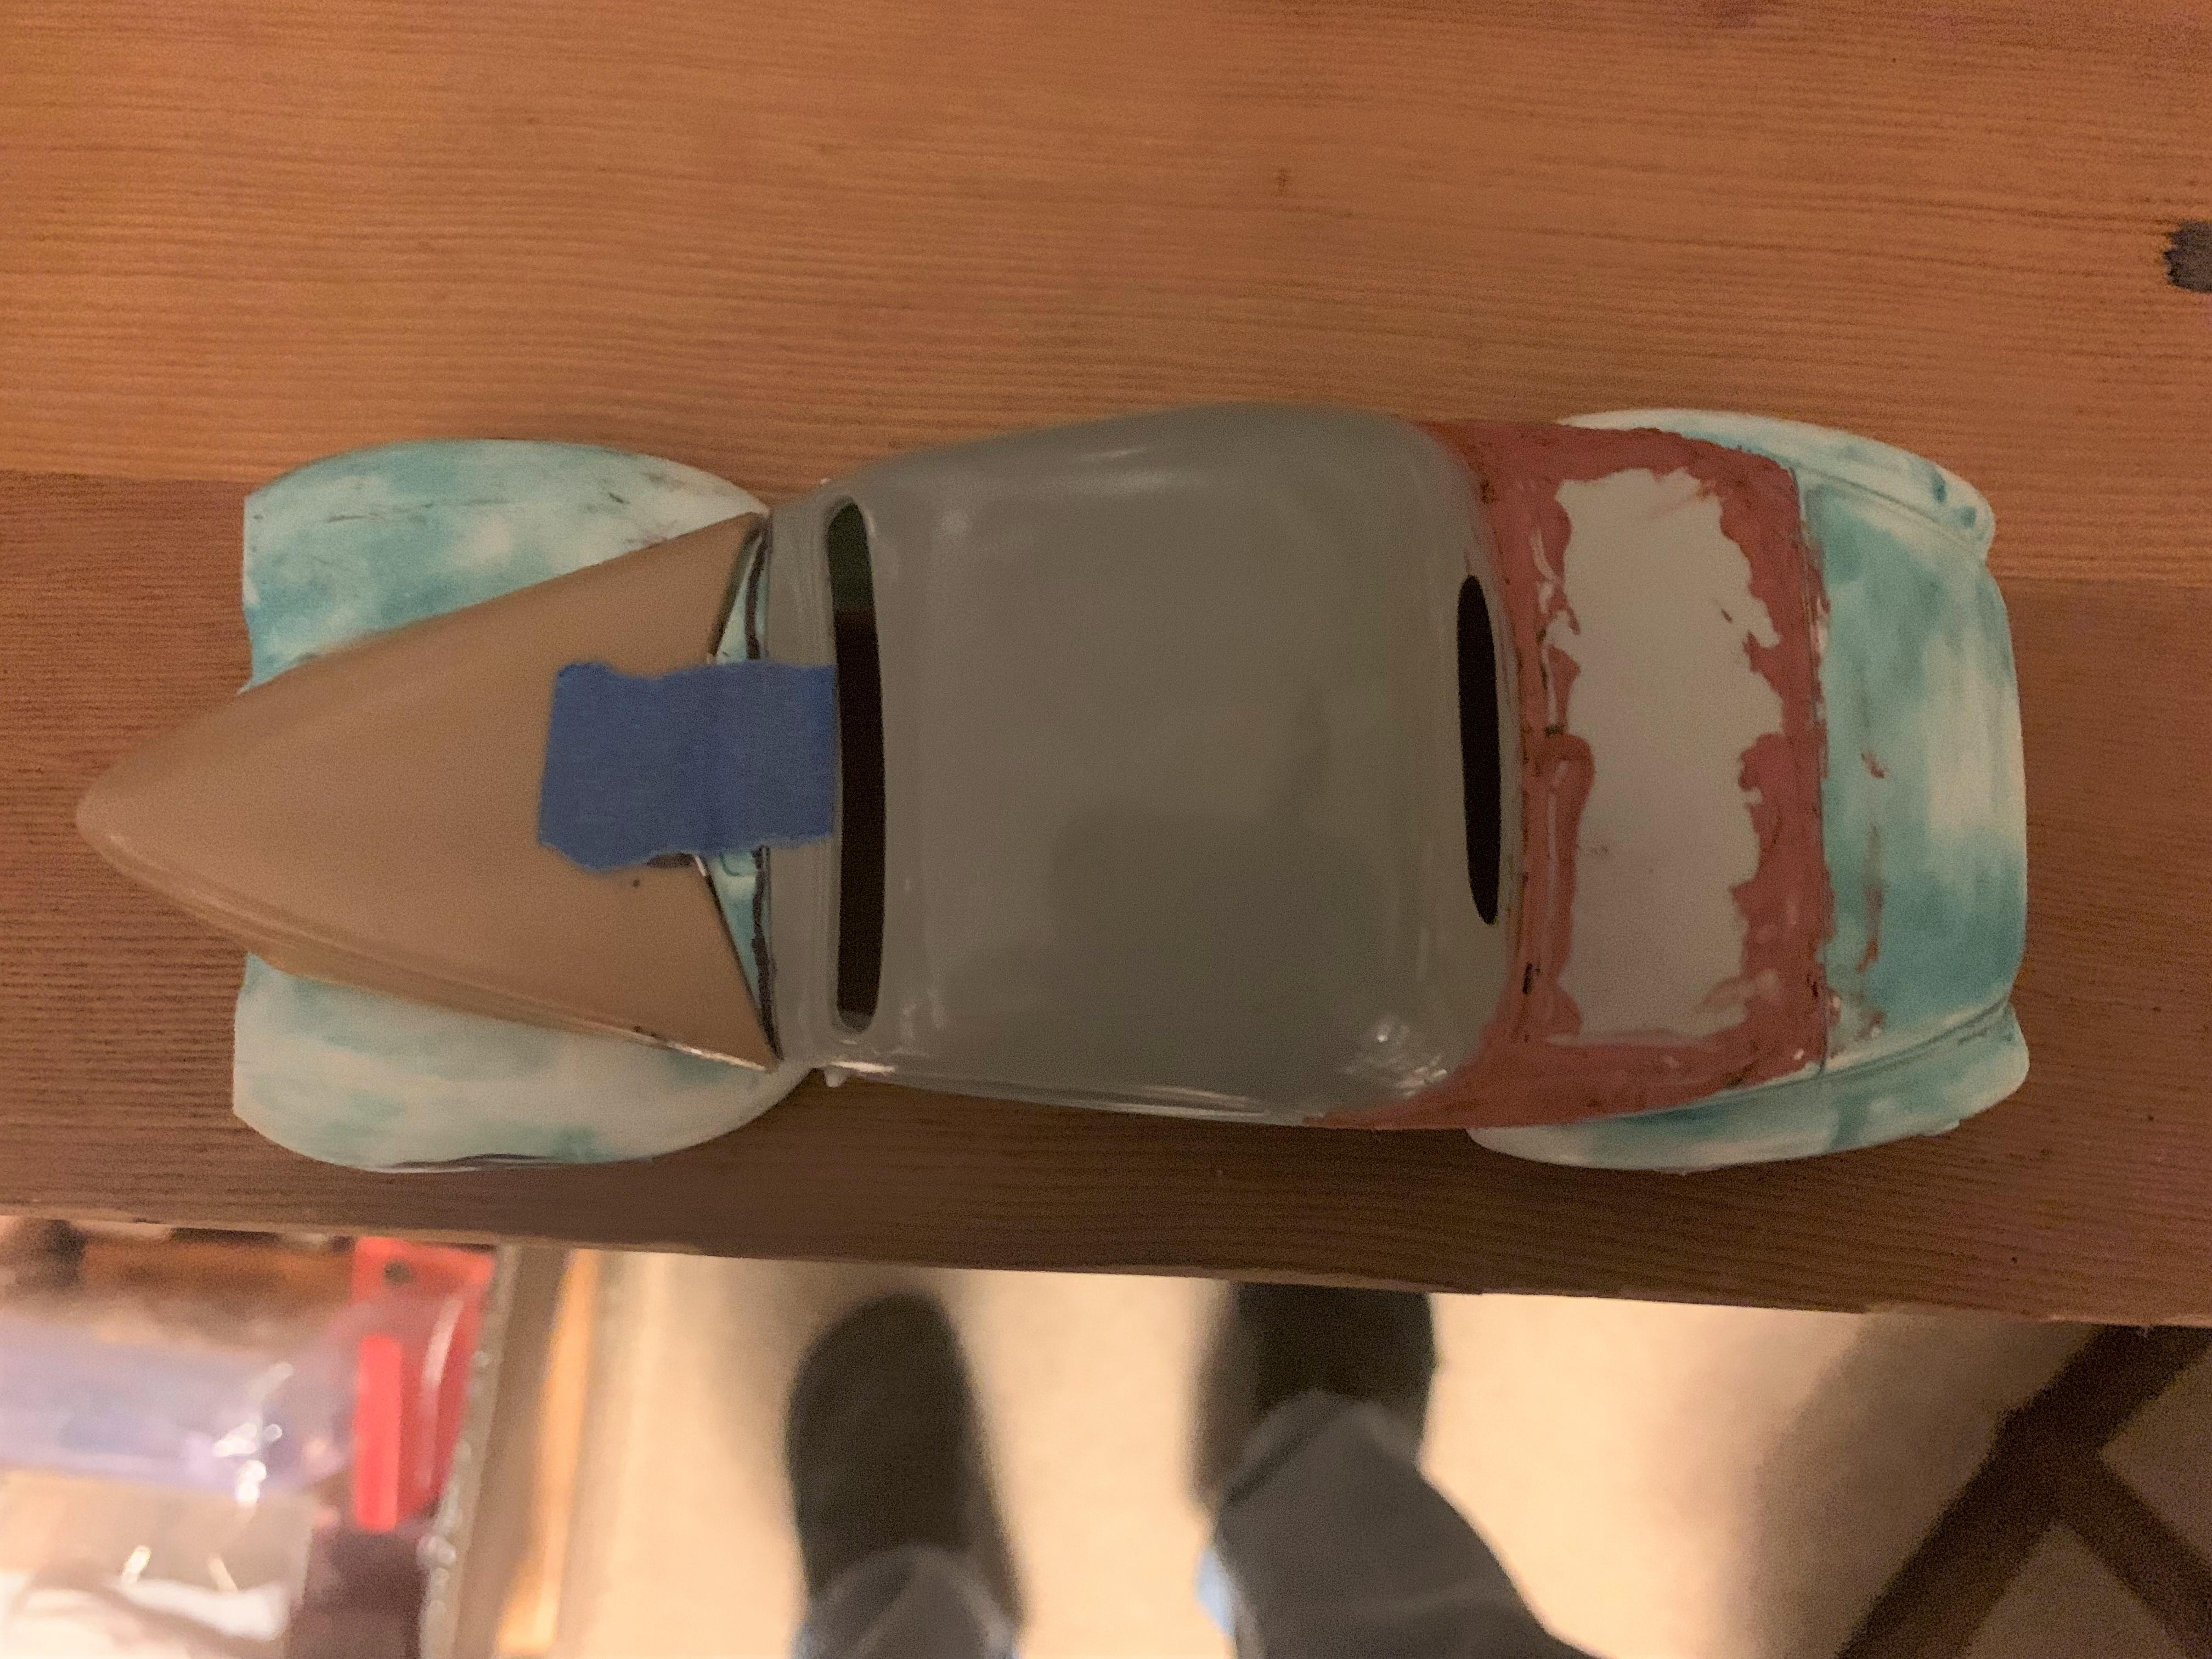
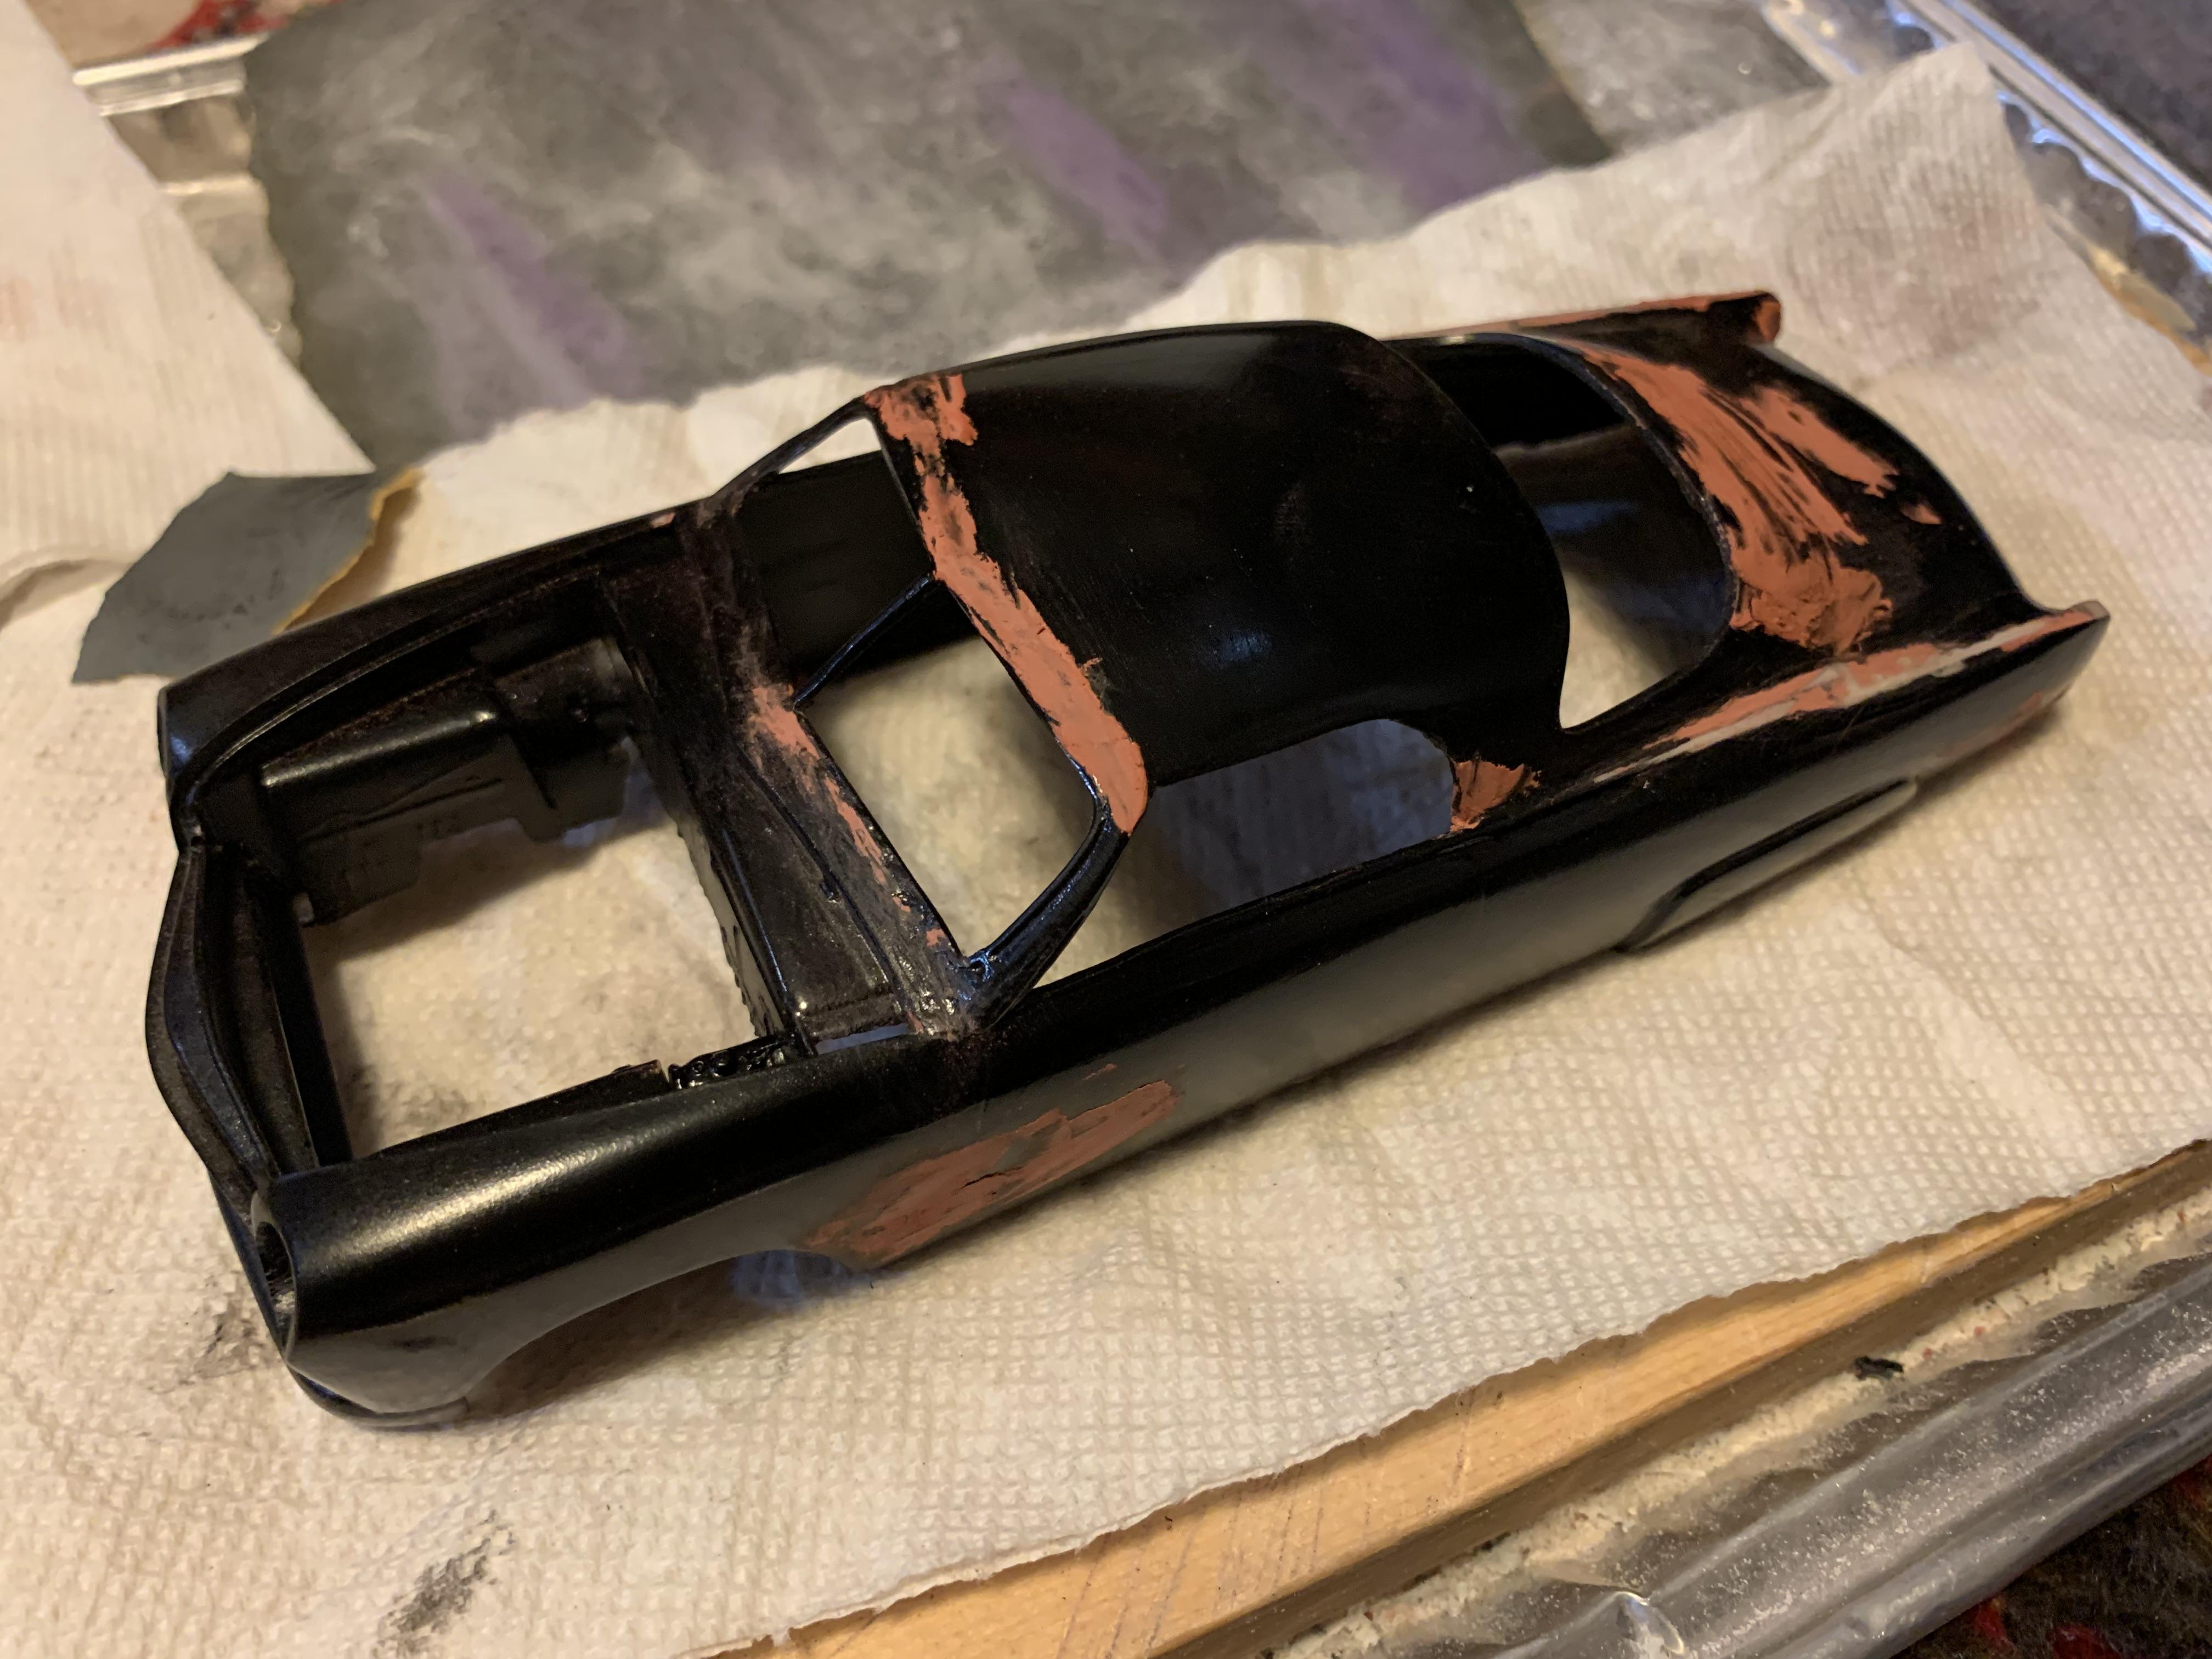
Got some work done- began adding plastic to the lower rear edges of the hood to close the gap. Filed and sanded the cowl and top, then glued in place. Stripped, reshaped, and glued the filler between roof and rear deck. Sawed off the bottom of all fenders and rear splash pan level with the bottom of the body. Began grinding out the wheel arches.
-
I am particularly impressed by your work on the interior. The rest of the model is top notch as well!
-
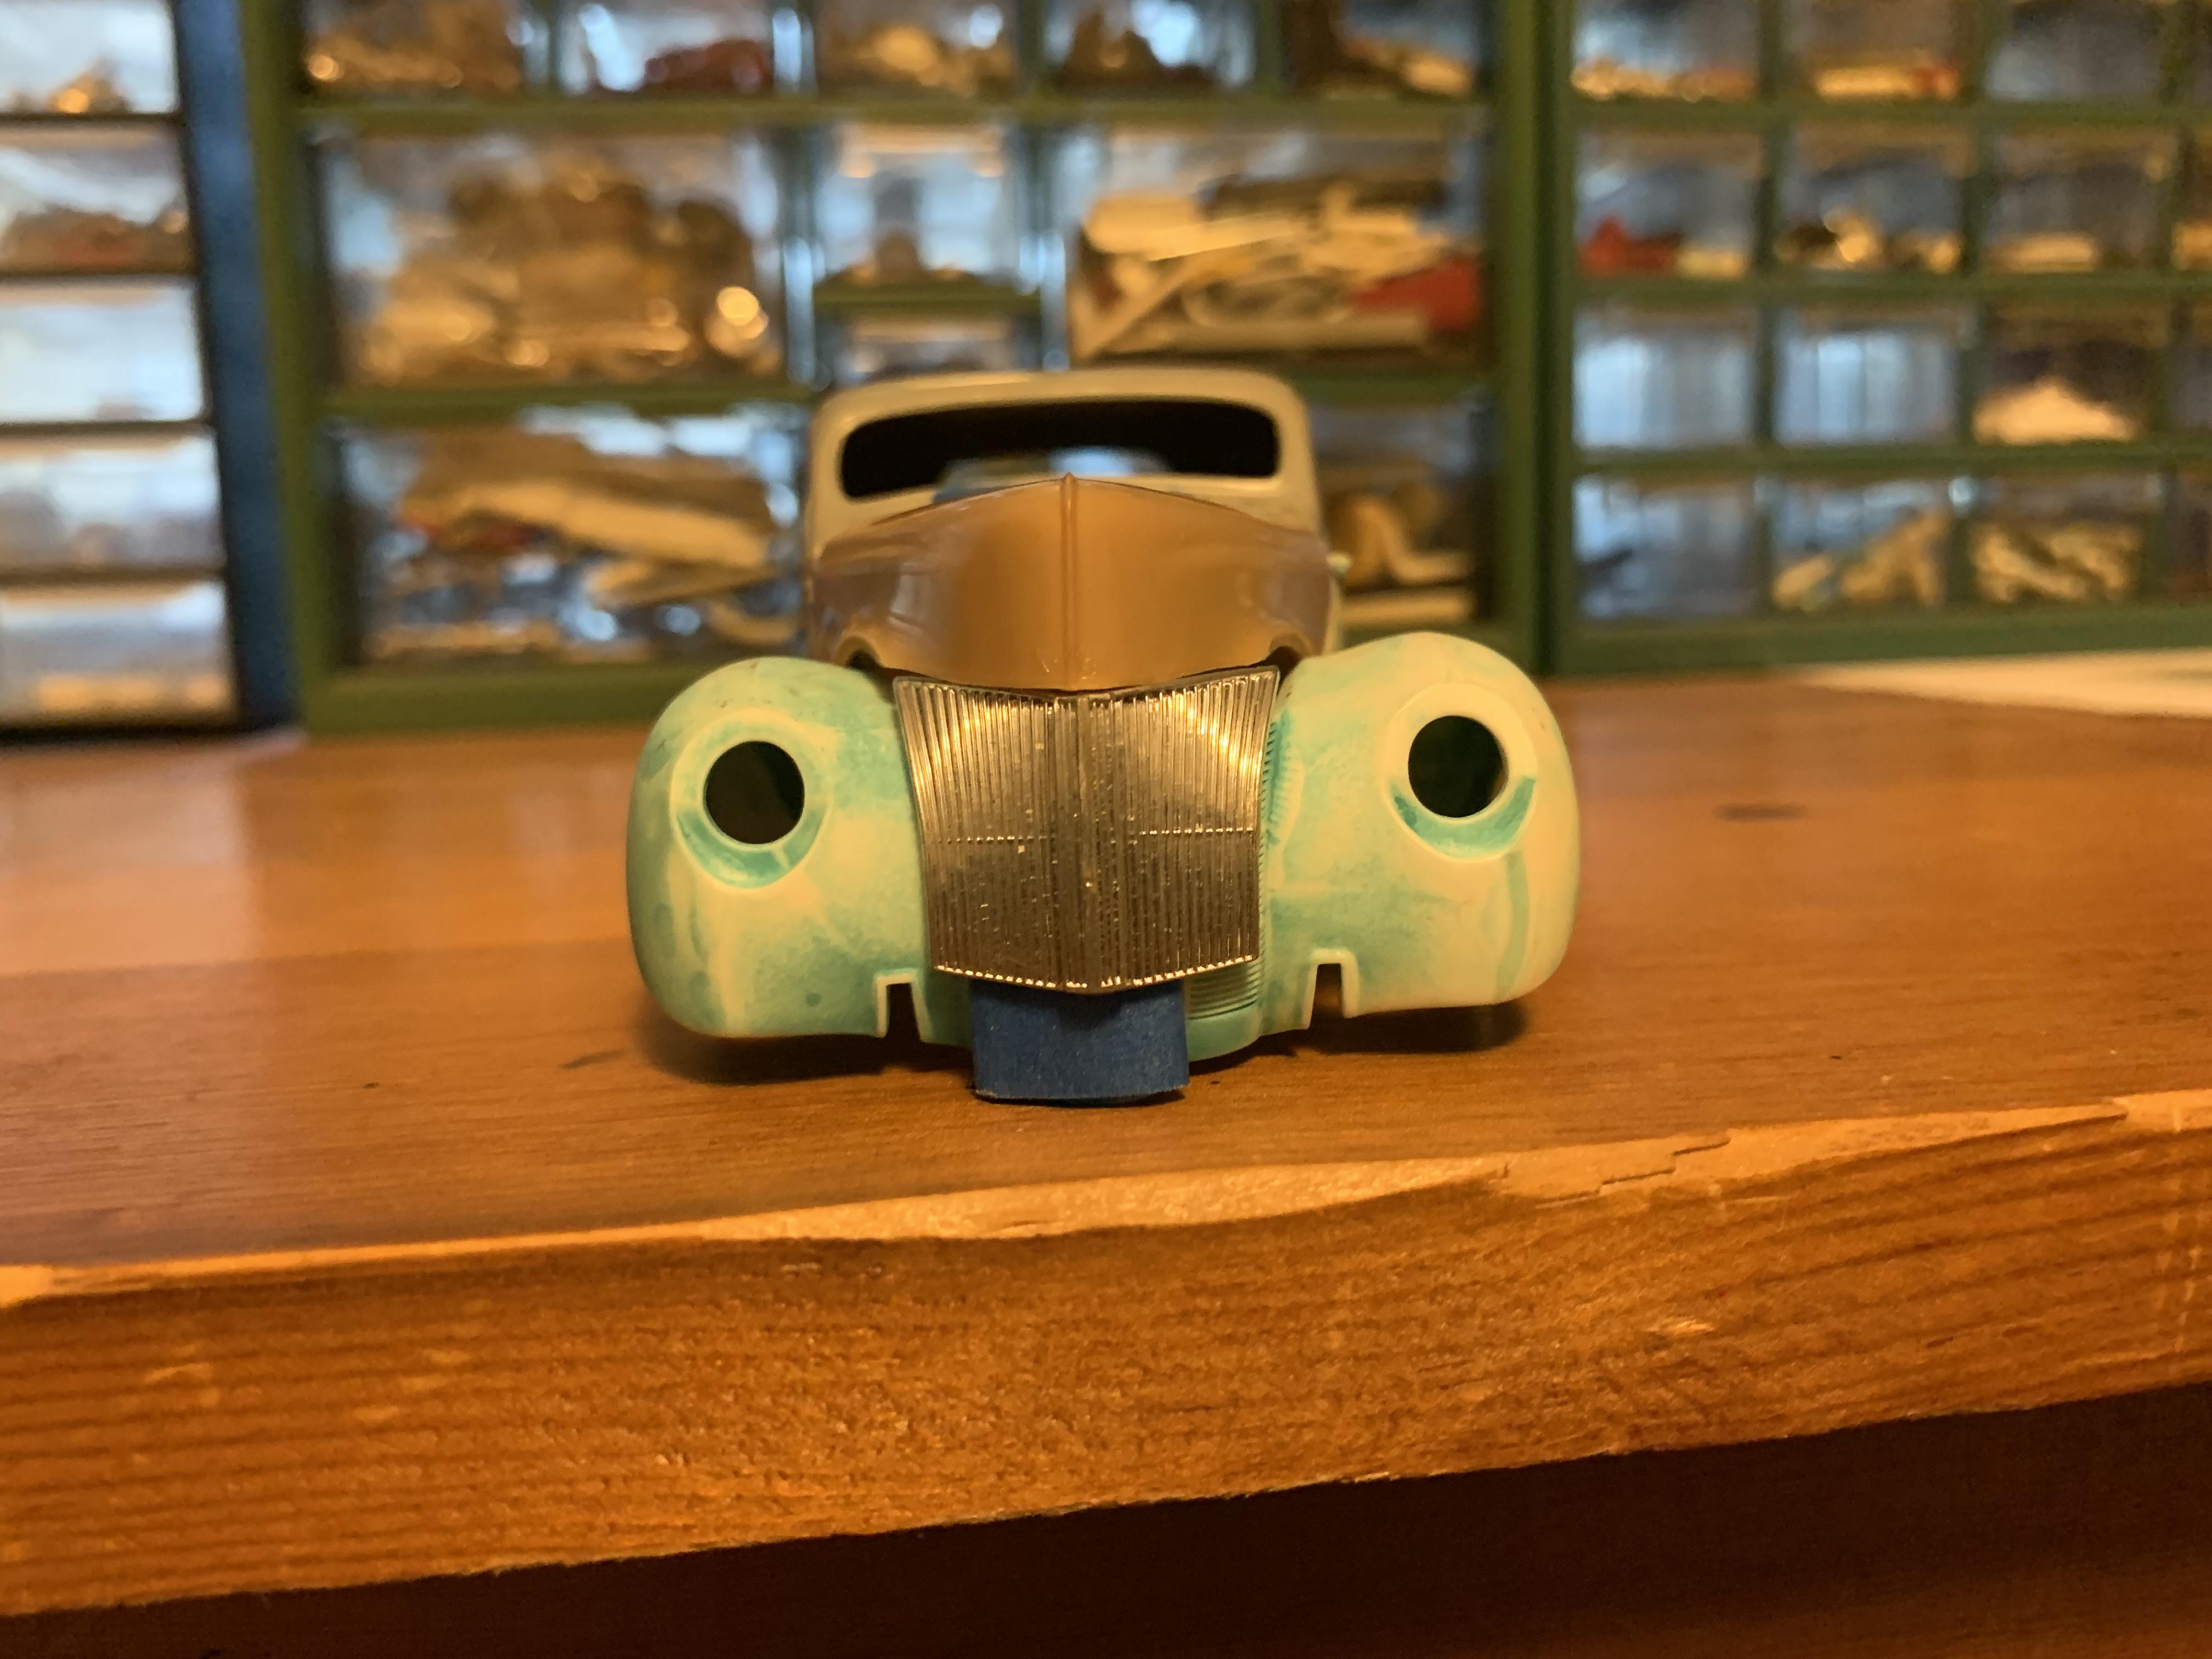
This is just a preliminary mock up, and the hood fit with the cowl will also have to be adjusted. Also, the grill is resting over the existing side grilles of the 40, thus is farther out than when inset.
-
How about wider tires to get the power to the pavement?
-
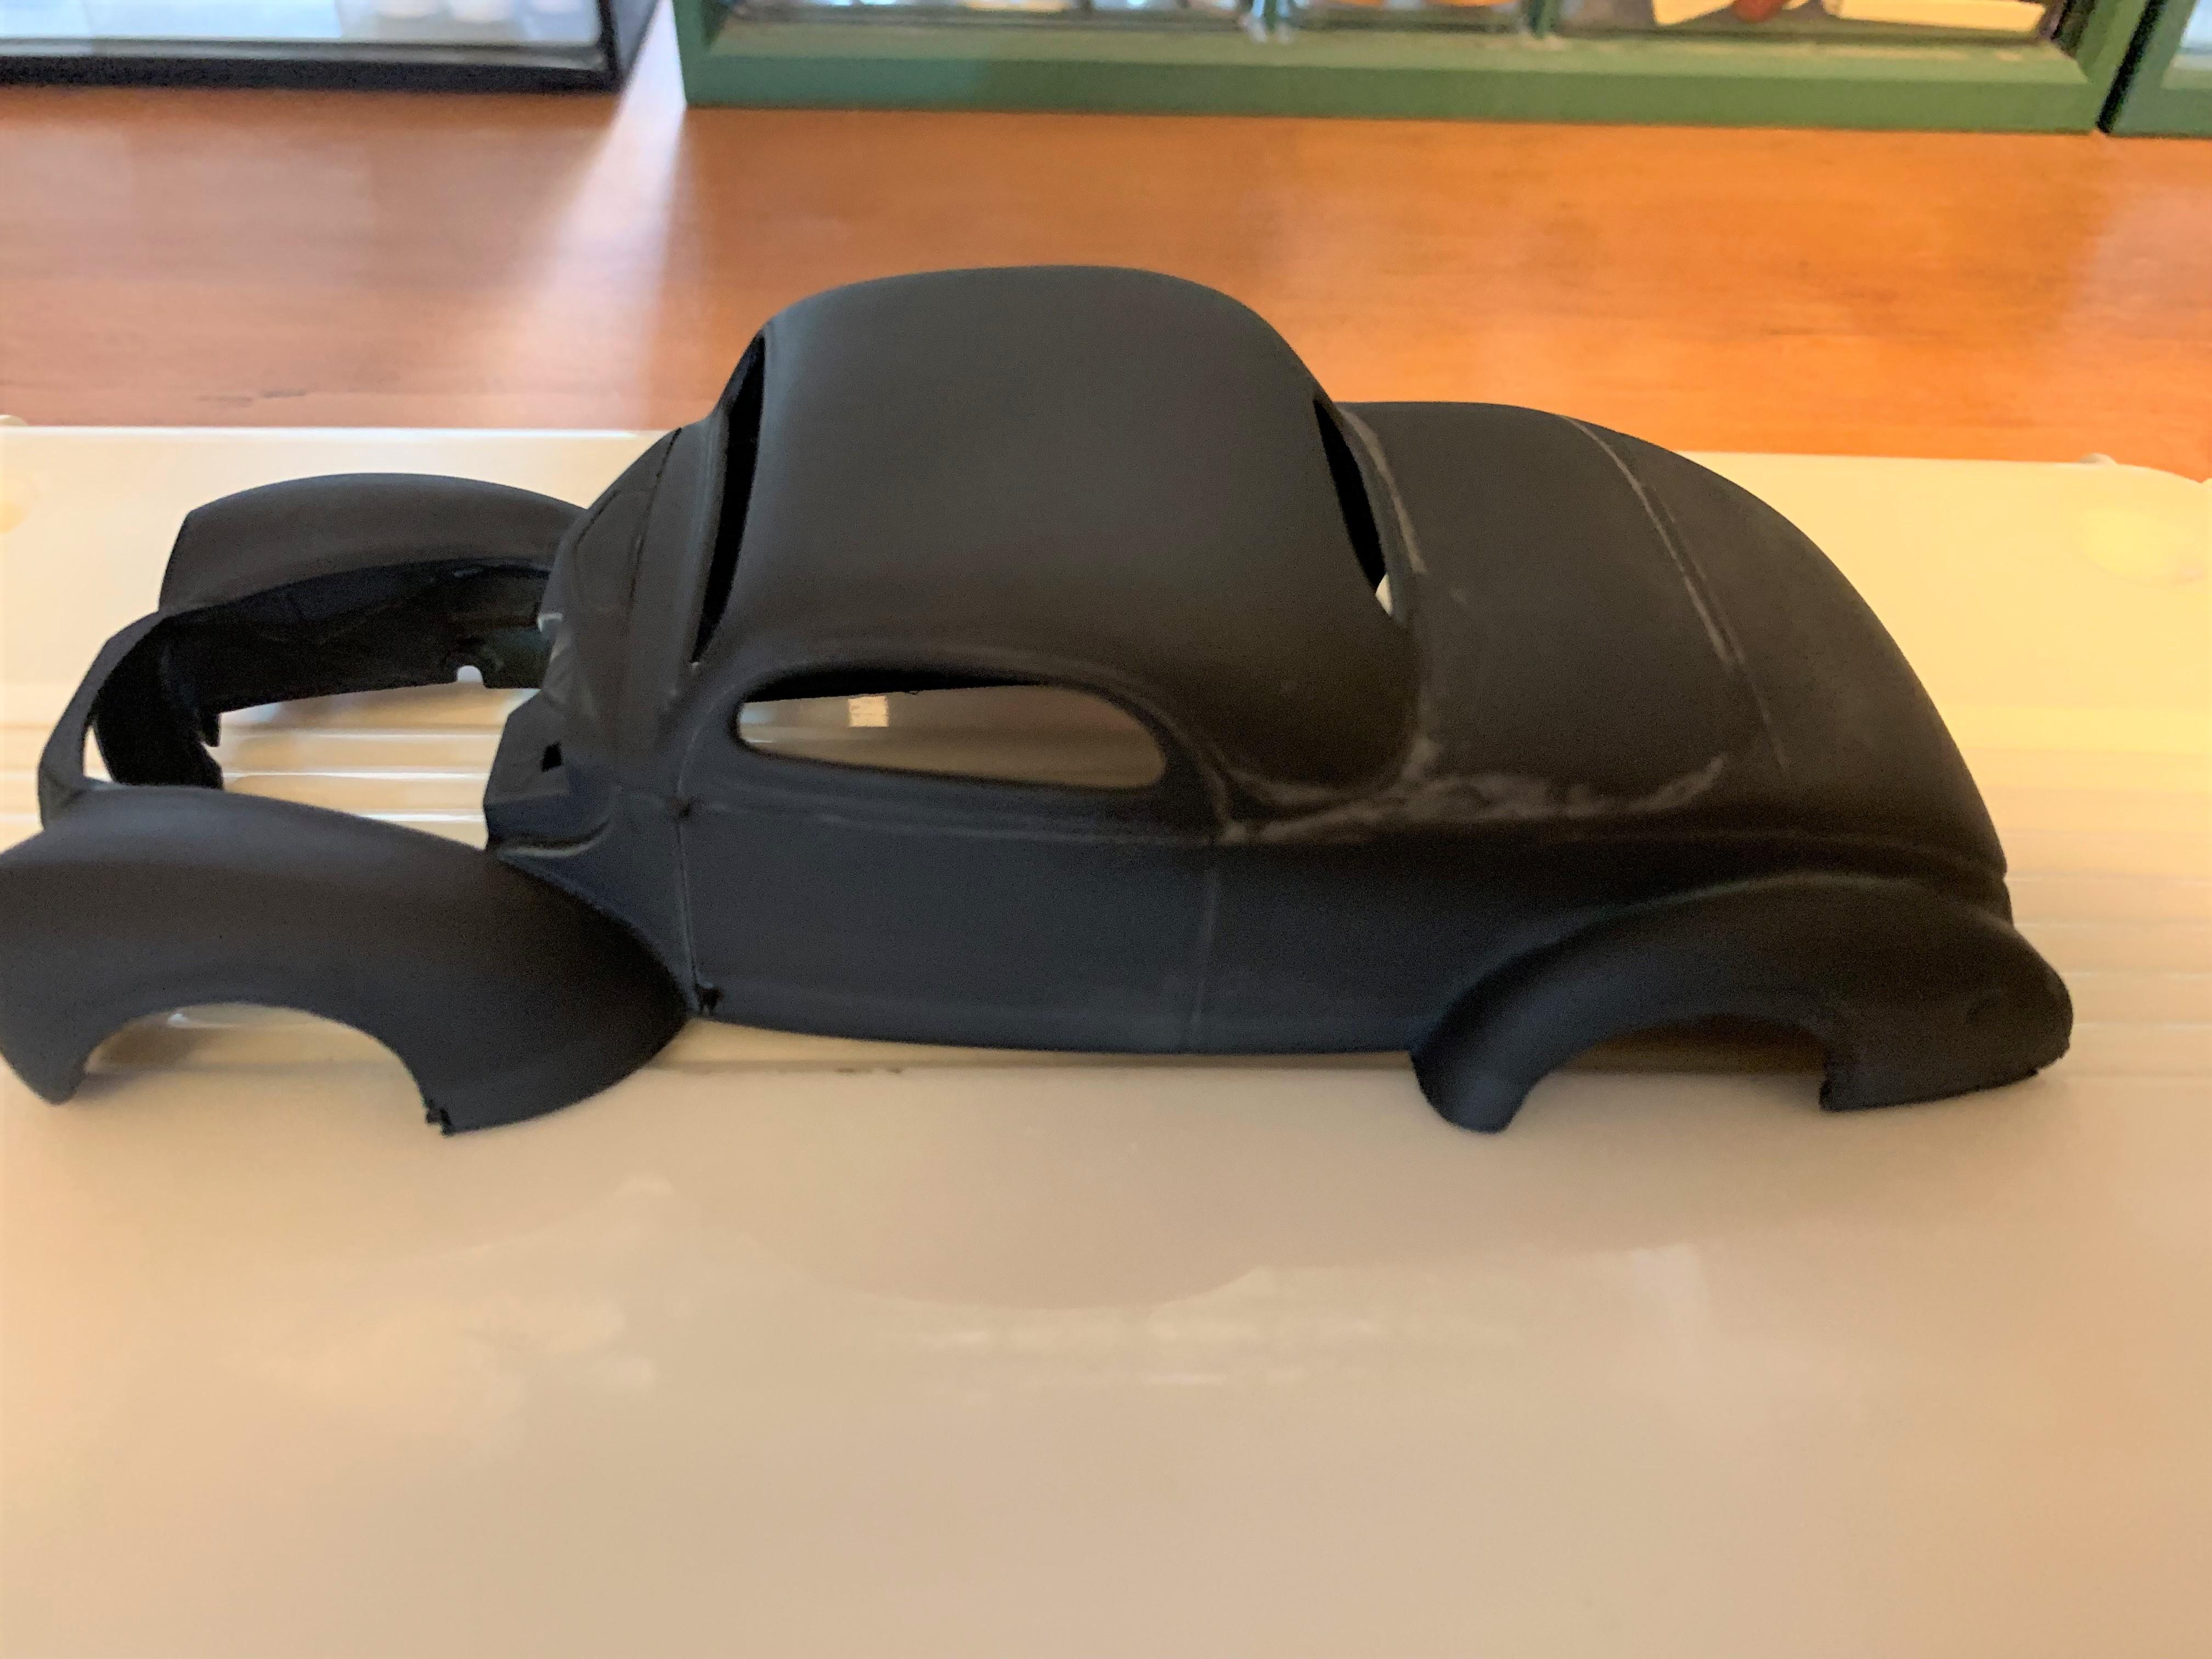
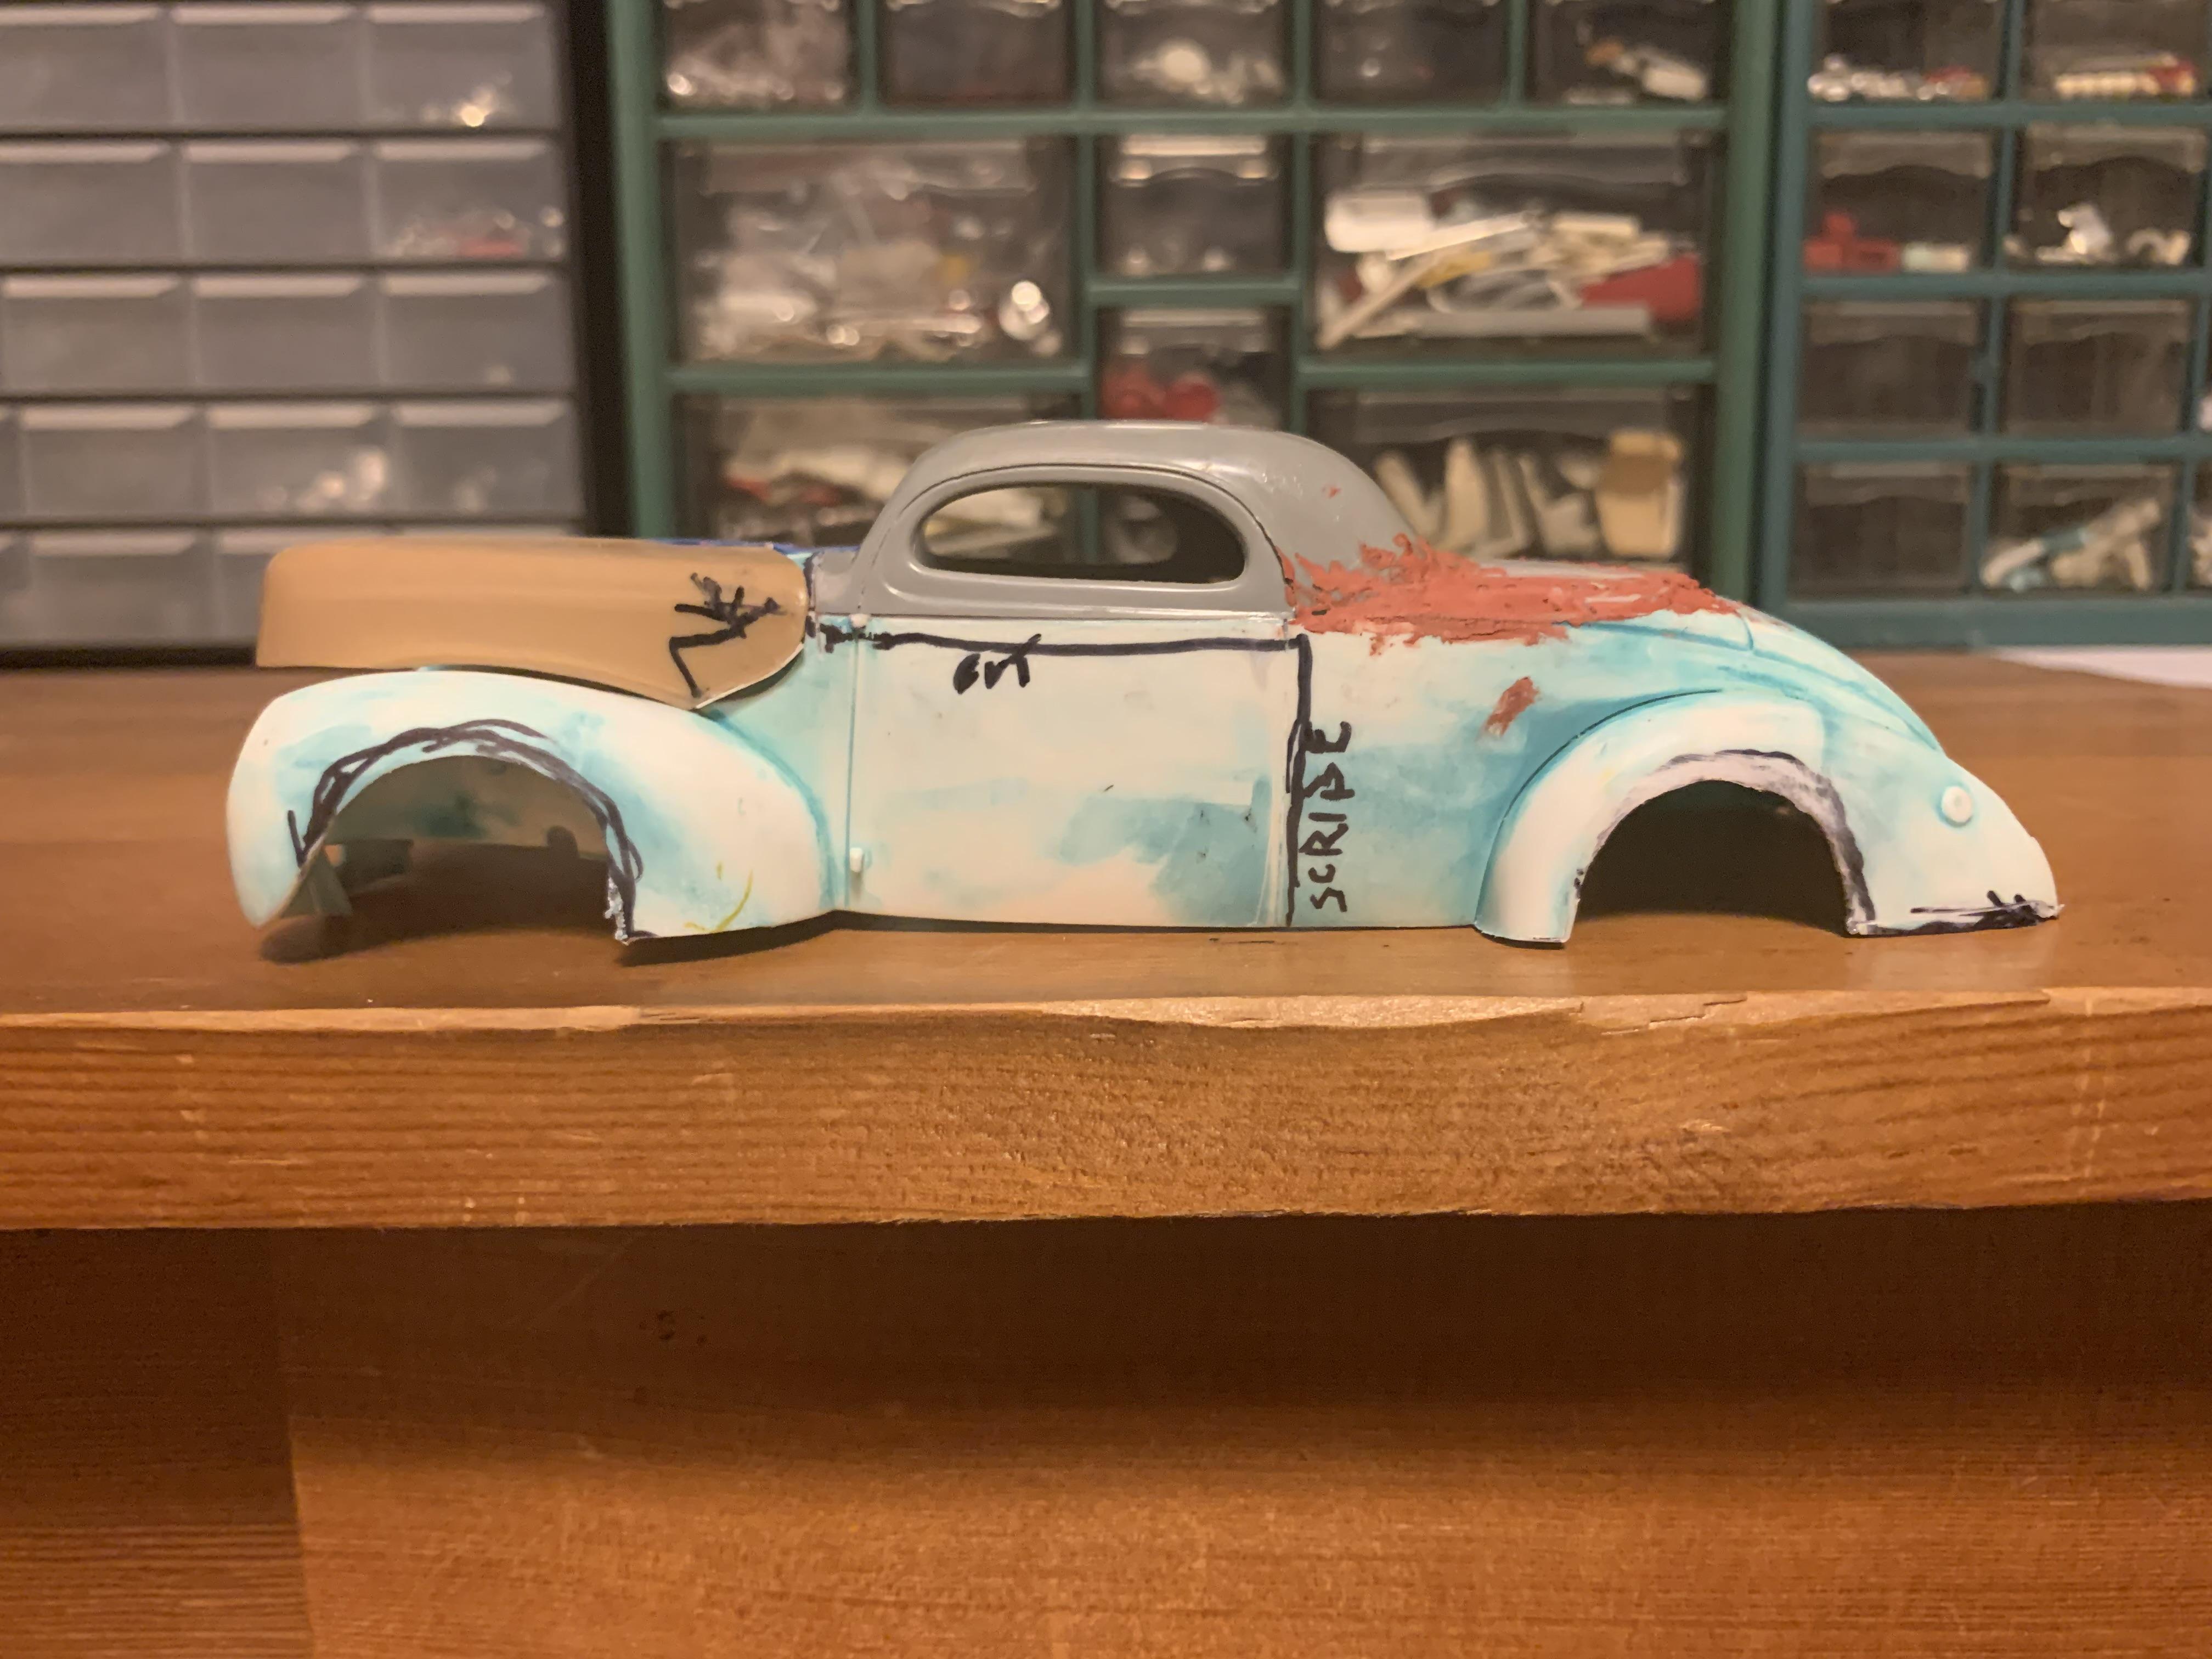
This is what you might get by combining an unknown top, a Revell 1940 Ford convertible, an AMT 1936 Ford chopped 3 window coupe top, an AMT 1940 Ford hood, and a 1939 Ford grille. Might remove the bottoms of the fenders up to the bottom of the body and raise and enlarge the wheel openings.
-
´68 Buick Riviera Custom - John D'Agostino's Pantheon
Paul Payne replied to Koellefornia Kid's topic in WIP: Model Cars
Nice project, and great inspiration car! Will follow the roof chop and re-assembly with interest............ -
Thanks, Bob!
-
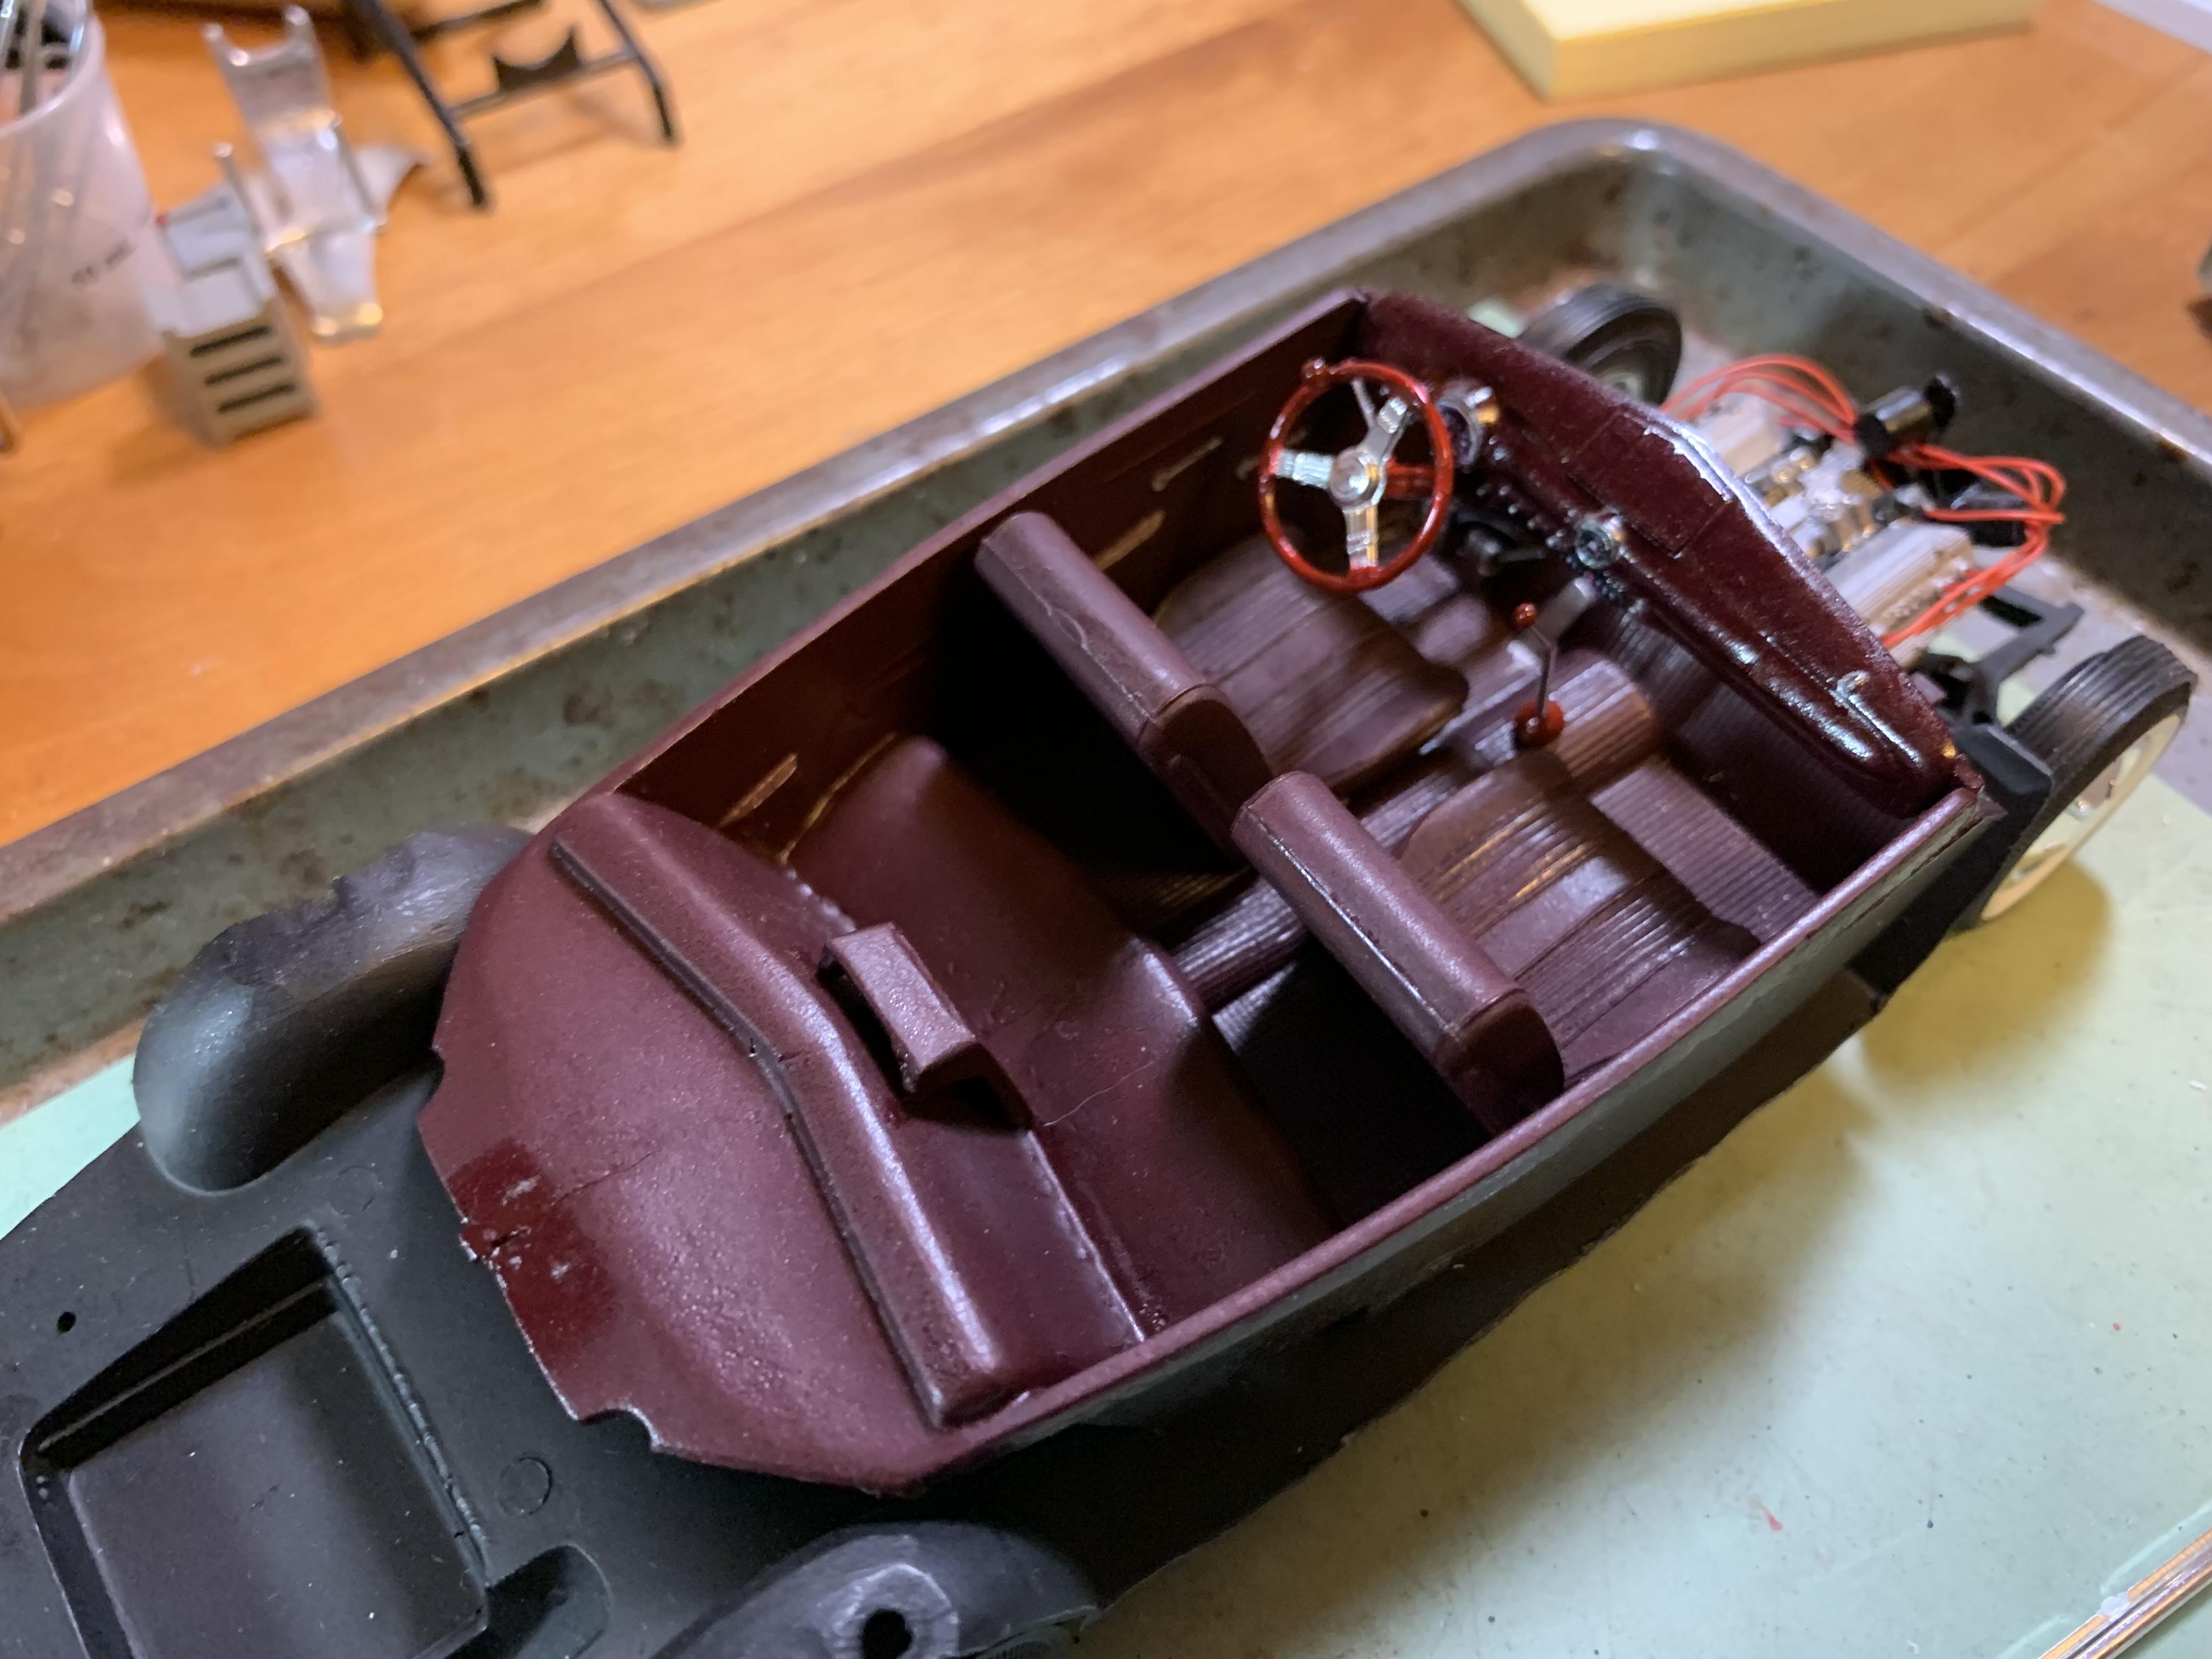
Interior is done at last, still working on the body- made some small changes, also keep finding little areas I'm just not satisfied with-so- more sanding, more putty, and eventually more paint. But- it's getting close! More pix when I get more done!
-
Thanks, David!