Paul Payne
-
Posts
2,134 -
Joined
-
Last visited
Content Type
Profiles
Forums
Events
Gallery
Everything posted by Paul Payne
-
truck, boat, and trailer
Paul Payne replied to Paul Payne's topic in WIP: Model Trucks: Pickups, Vans, SUVs, Light Commercial
Well, we have been moving right along......... here are some mock up photos showing the seats and cockpit surrounds- the front one is made from heavy insulated wire superglued to the edge of the cockpit- this will be blended, sanded, and painted to match the center one-also the engine is coming along- got the induction system together and working on the water jacketed exhaust system and soon hope to glue the deck to the hull and start the planking...................................... more to come when I get it done.
-
Model Car Clubs in Southern Indiana
Paul Payne replied to Zippi's topic in Model Club News and Announcements
Zippi, I live in Rushville- want to start a club? Maybe start on line, then meet occasionally? Let me know what you think. -
Well Done!
-
Looking good! Looking forward to more!
-
Chris, you definitely have my attention! One thing we need is a true 1940 Ford 3 window coupe!. Also love the chopped 36, one of my all time favorites, and the shoeboxes are very tasty as well! Keep going! Add more!
-
Beautiful kitty! Like the look of a studio clay project with the windows blanked out!
-
truck, boat, and trailer
Paul Payne replied to Paul Payne's topic in WIP: Model Trucks: Pickups, Vans, SUVs, Light Commercial
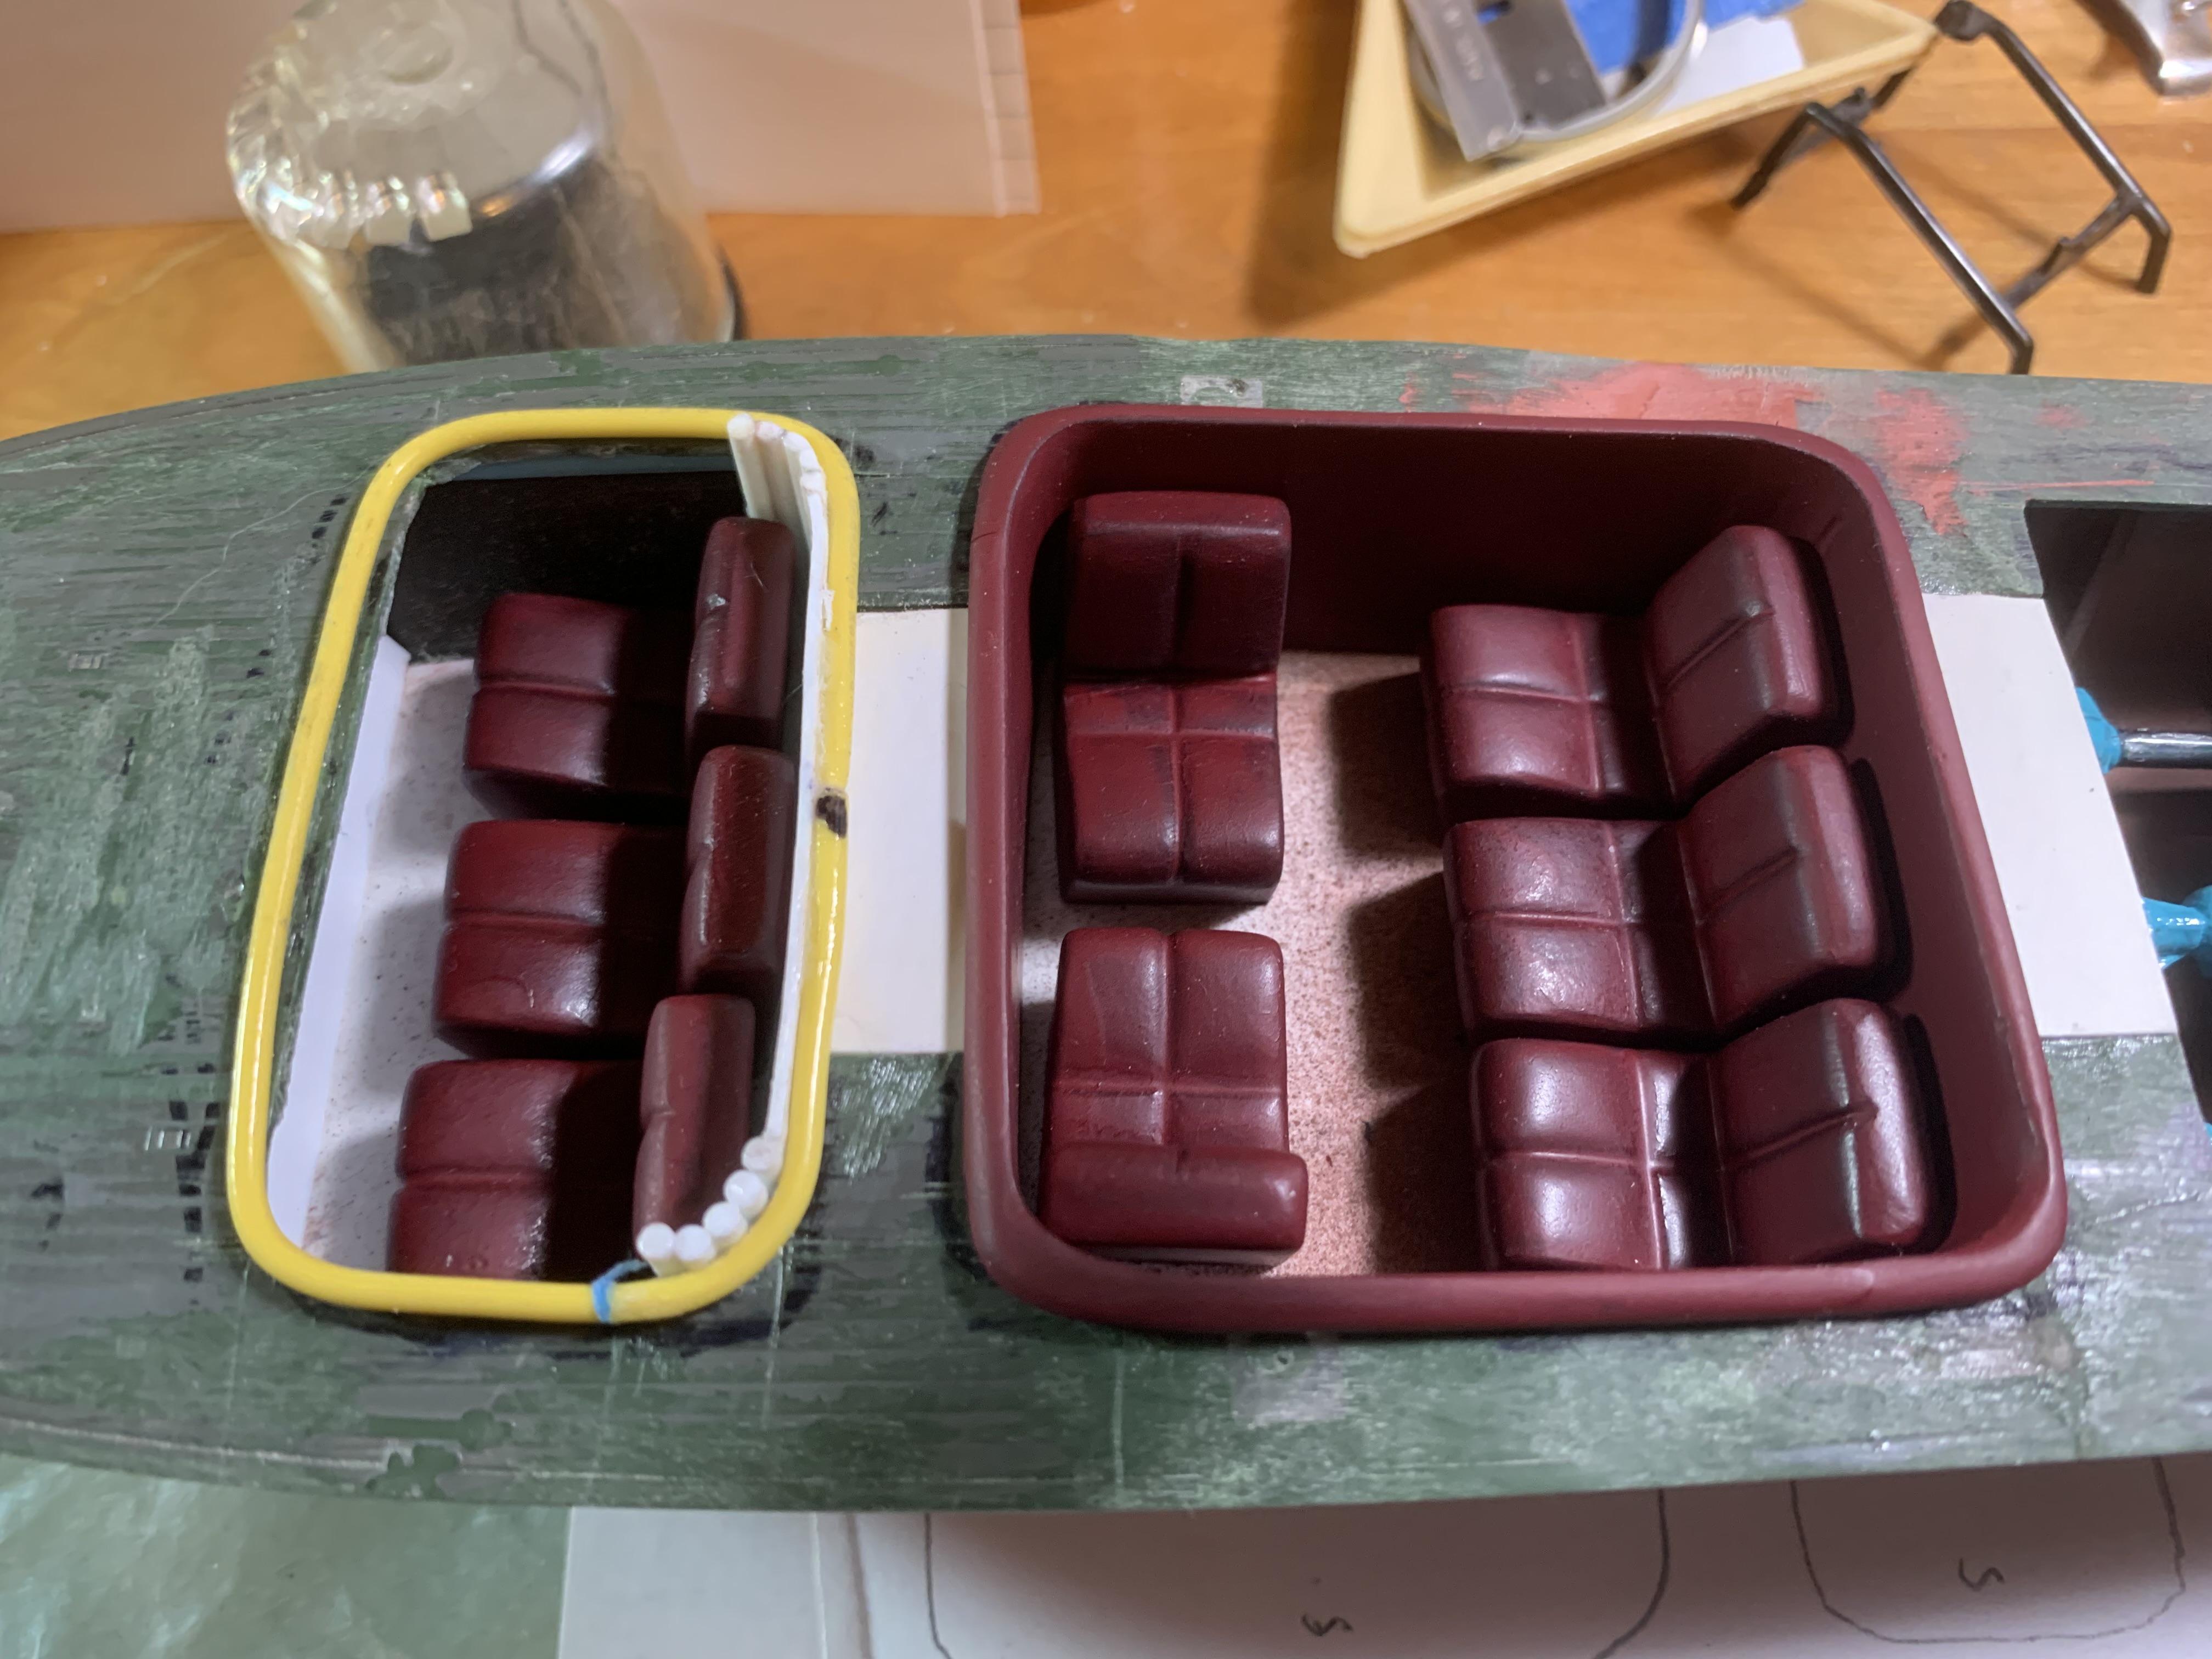
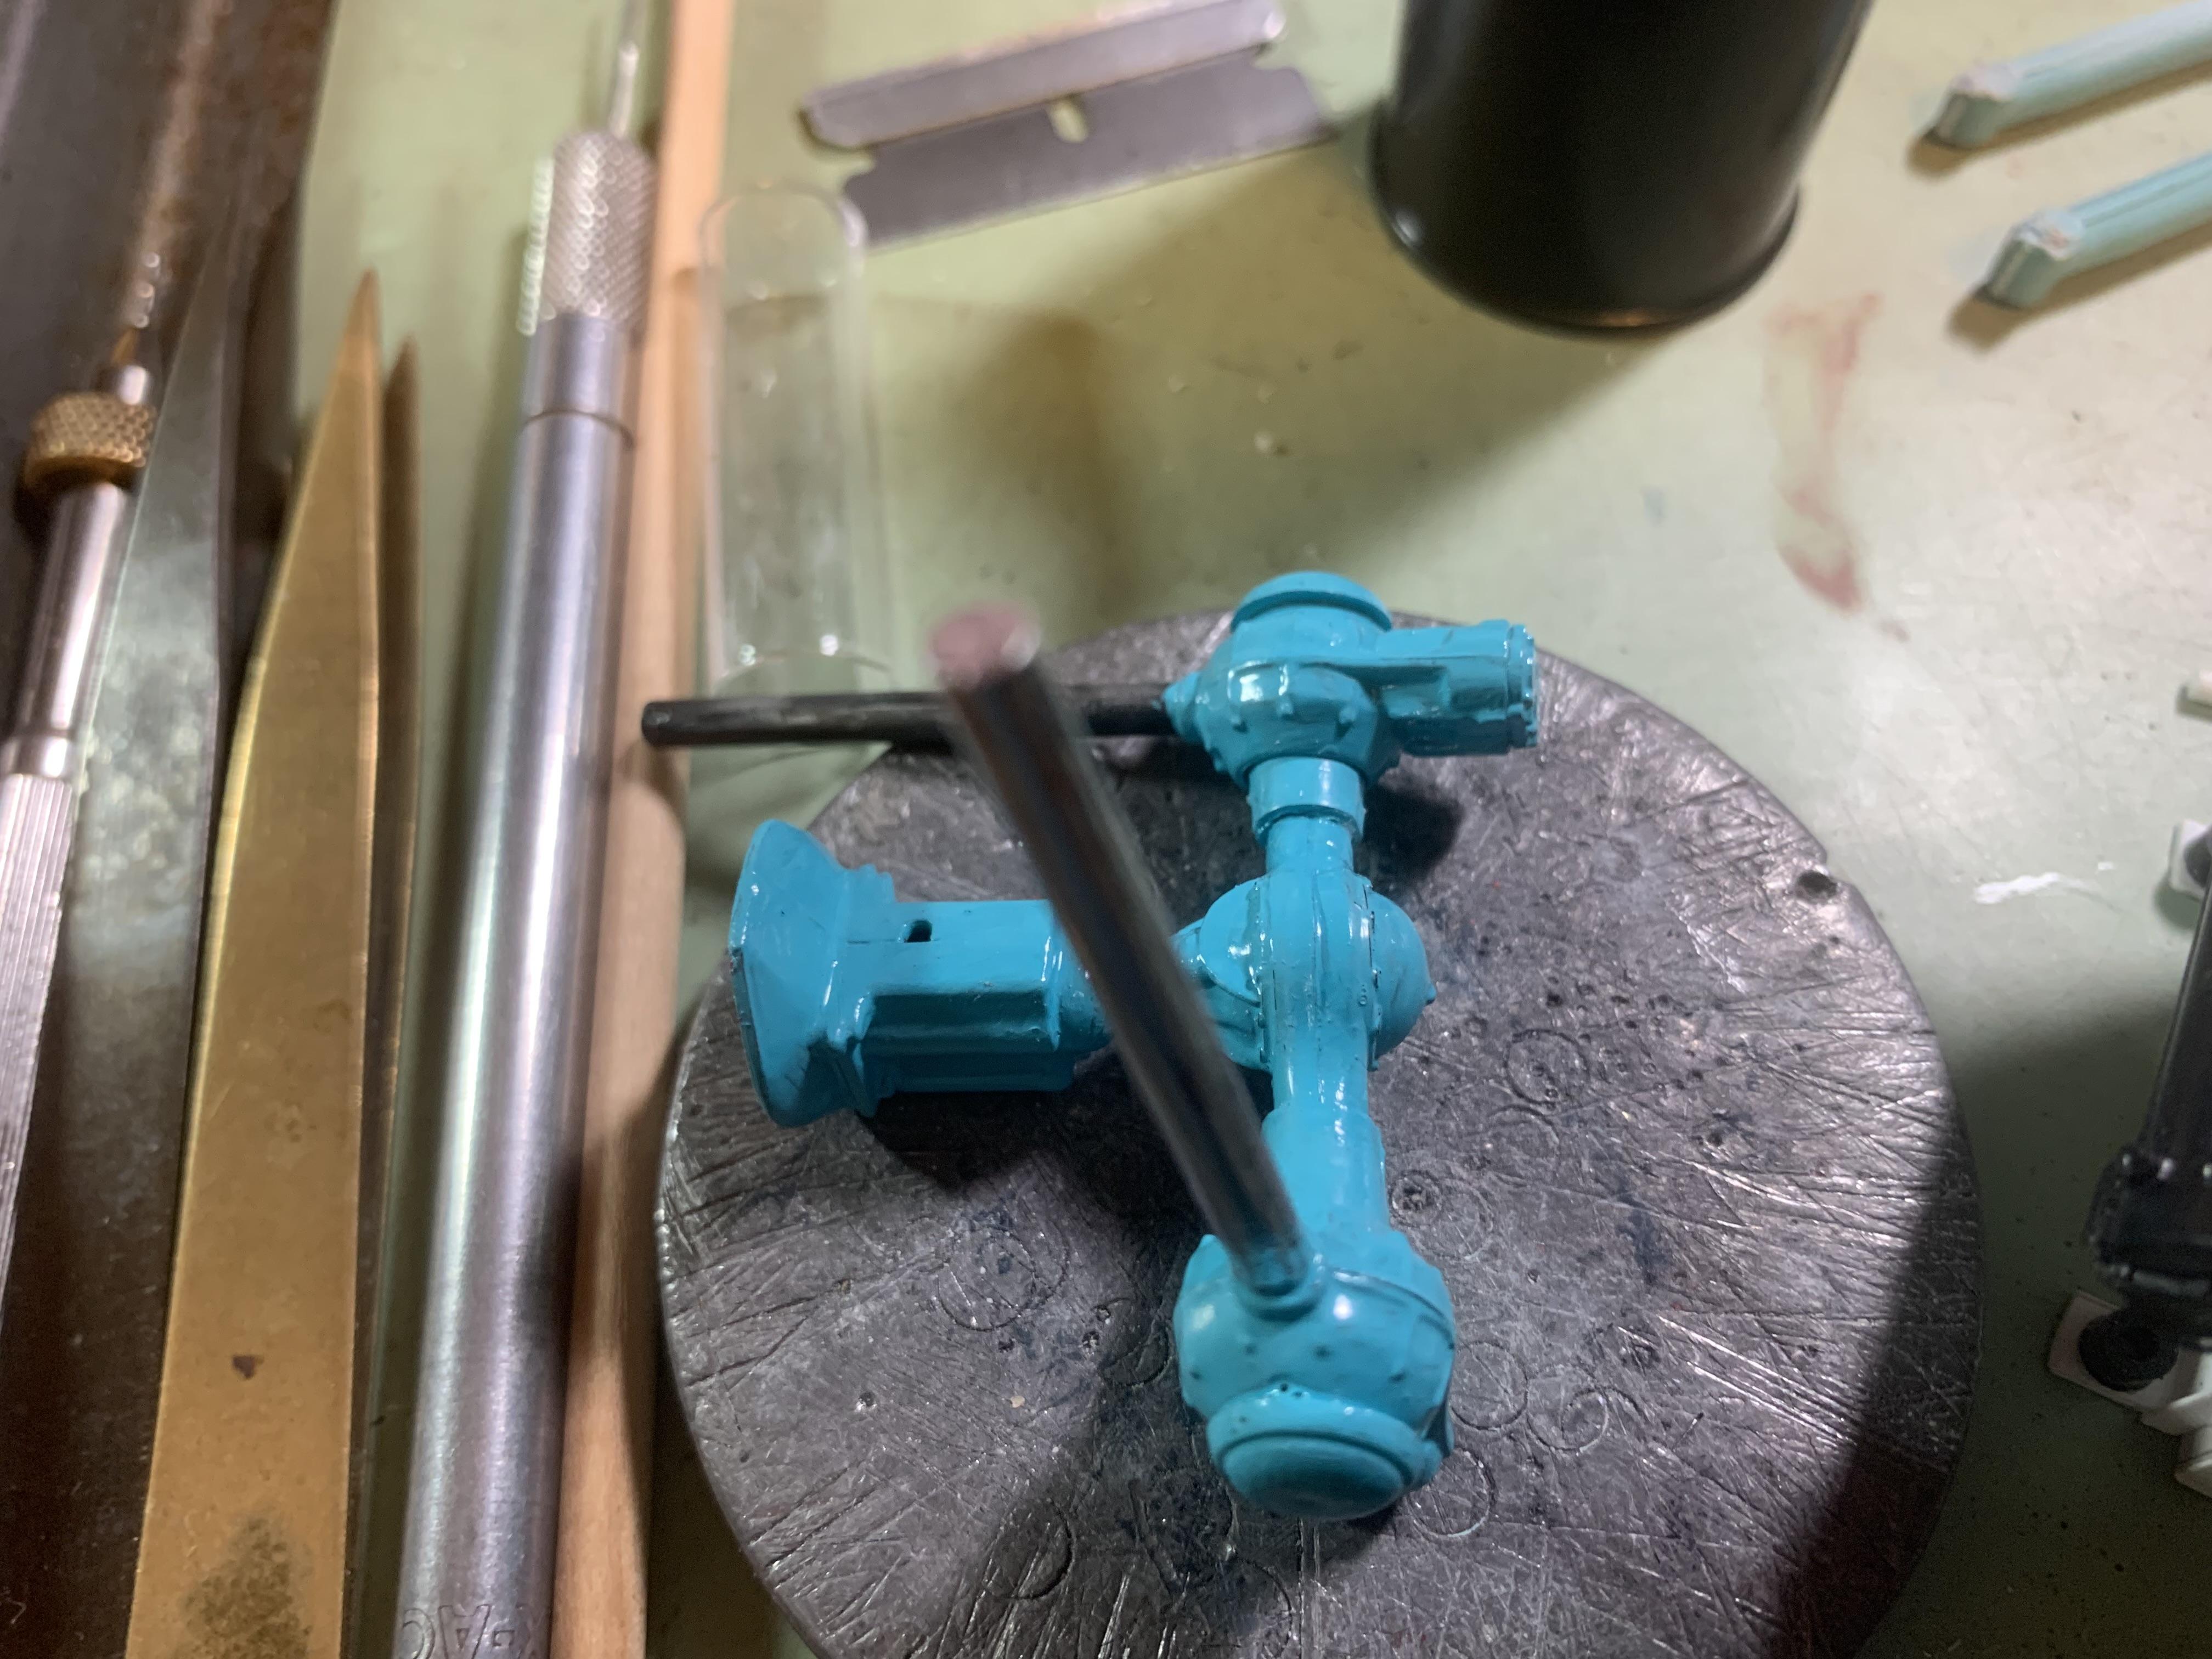
More and more progress! Piles of parts and scratch building supplies are becoming fewer and the number of sub assemblies is growing! The center cockpit is almost done -a little sanding on the combing perimeter and ready for paint. Rudders were created and painted from airplane fins (look for shapes, use them differently). The engine was torn down and will be rebuilt with a new front cover as outlined on that thick plastic sheet- also ditched the oil pan because it was just too tall (dry sump system?). The exhaust will have to be changed to angle sharply downward since it will now not clear the deck- so some engineering to do in the very near future. Decided on a Duesenberg dash with a big speedometer added, also built a throttle and reverse control box from a piece of scrap bumper. I just found the steering wheel at the Hoosier show and flea market- thought it had a great nautical look! I think it is actually the steering wheel to the very old Monogram sport coupe. All eight seats are in primer- a little more sanding and that maroon leather paint will go on and get a rub down. Also created the stuffing boxes for where the propeller shafts exit through the hull using dowel cut at and angle- matching parts will be visible on the outside of the hull where the external prop shafts exit. Check out the painted vee drive assembly- really pulls together in a single color! One shaft chromed, waiting for it to set up a bit to chrome the other. I found two identical sprues in the parts box which may be perfect for the forced induction from the superchargers. Next projects include finishing the engine, building the bow cockpit, designing and creating the windshield, and start planking the hull in that cedar wrapper instead of strip wood. All for now, more coming soon!
-
Nice assembly job- square, on center, nice and tight- great job, and great color scheme.
-
truck, boat, and trailer
Paul Payne replied to Paul Payne's topic in WIP: Model Trucks: Pickups, Vans, SUVs, Light Commercial
More progress! Taped the deck and hull together to sand the deck to match the hull contours. Made some adjustments to the basic engine. Mocked up the v-drive to the engine, which I am rather proud of- a differential and two quick change rear ends which will angle downwards at the correct angle for the propeller shafts. Also mocked up and roughed in the middle cockpit which will slip into place along with the forward cockpit after the deck planking is applied and finished. Also discovered two airplane rudders in the parts box which will be perfect cut down for boat rudders (two propellers, two rudders). In addition I sketched out a deck house for the engine room that just might make it to the final design!
-
Thanks all!
-
Let's See Some Glue Bombs!
Paul Payne replied to Snake45's topic in General Automotive Talk (Trucks and Cars)
Tom, thanks for the tip- I have also heard of bmf used for masking- any experience? -
I love the satin paint! And what you did with the front end- great looking custom, perfect stance!
-
Let's See Some Glue Bombs!
Paul Payne replied to Snake45's topic in General Automotive Talk (Trucks and Cars)
Tom, I tried polishing after its bath and it's really coming along! Question- how do you mask and what do you use? Never painted with windshield glass in place! -
Let's See Some Glue Bombs!
Paul Payne replied to Snake45's topic in General Automotive Talk (Trucks and Cars)
Tom, It has a couple small glue marks that need to be polished out. I think I will CAREFULLY work an X-acto blade and razor blade around it and see what I can accomplish. Thanks for the advise though- I will do that if this doesn't work. -
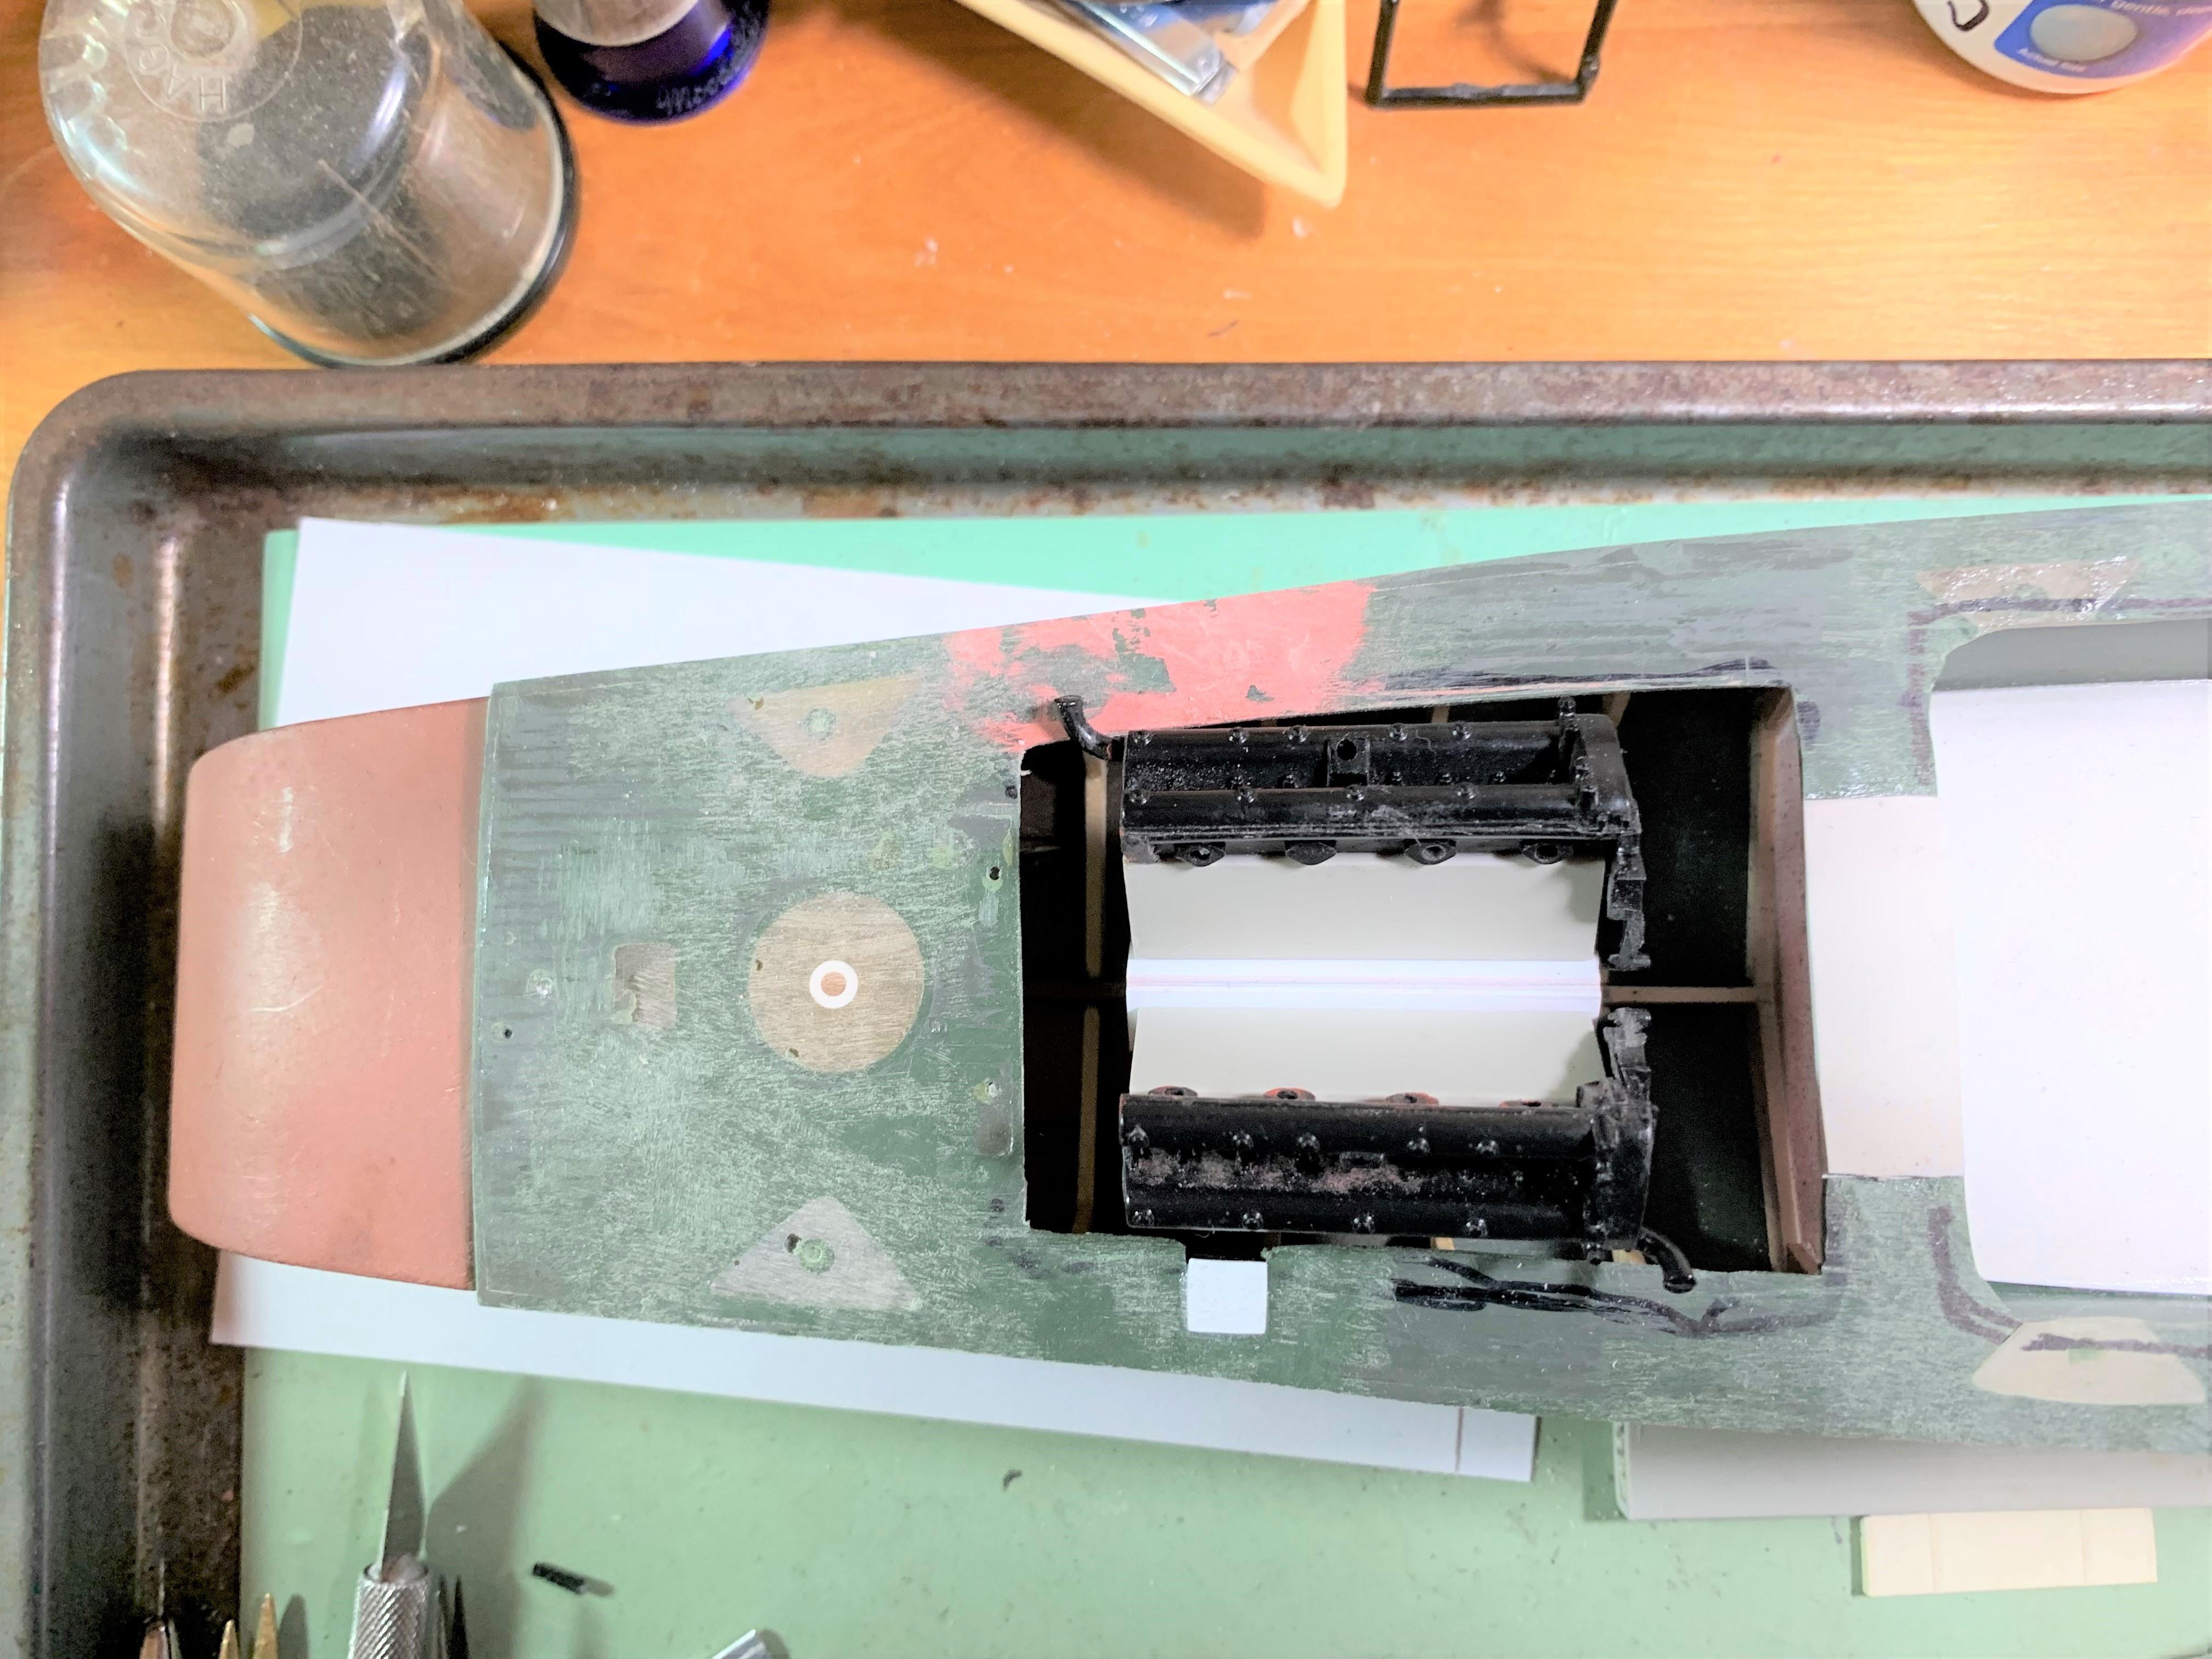
truck, boat, and trailer
Paul Payne replied to Paul Payne's topic in WIP: Model Trucks: Pickups, Vans, SUVs, Light Commercial
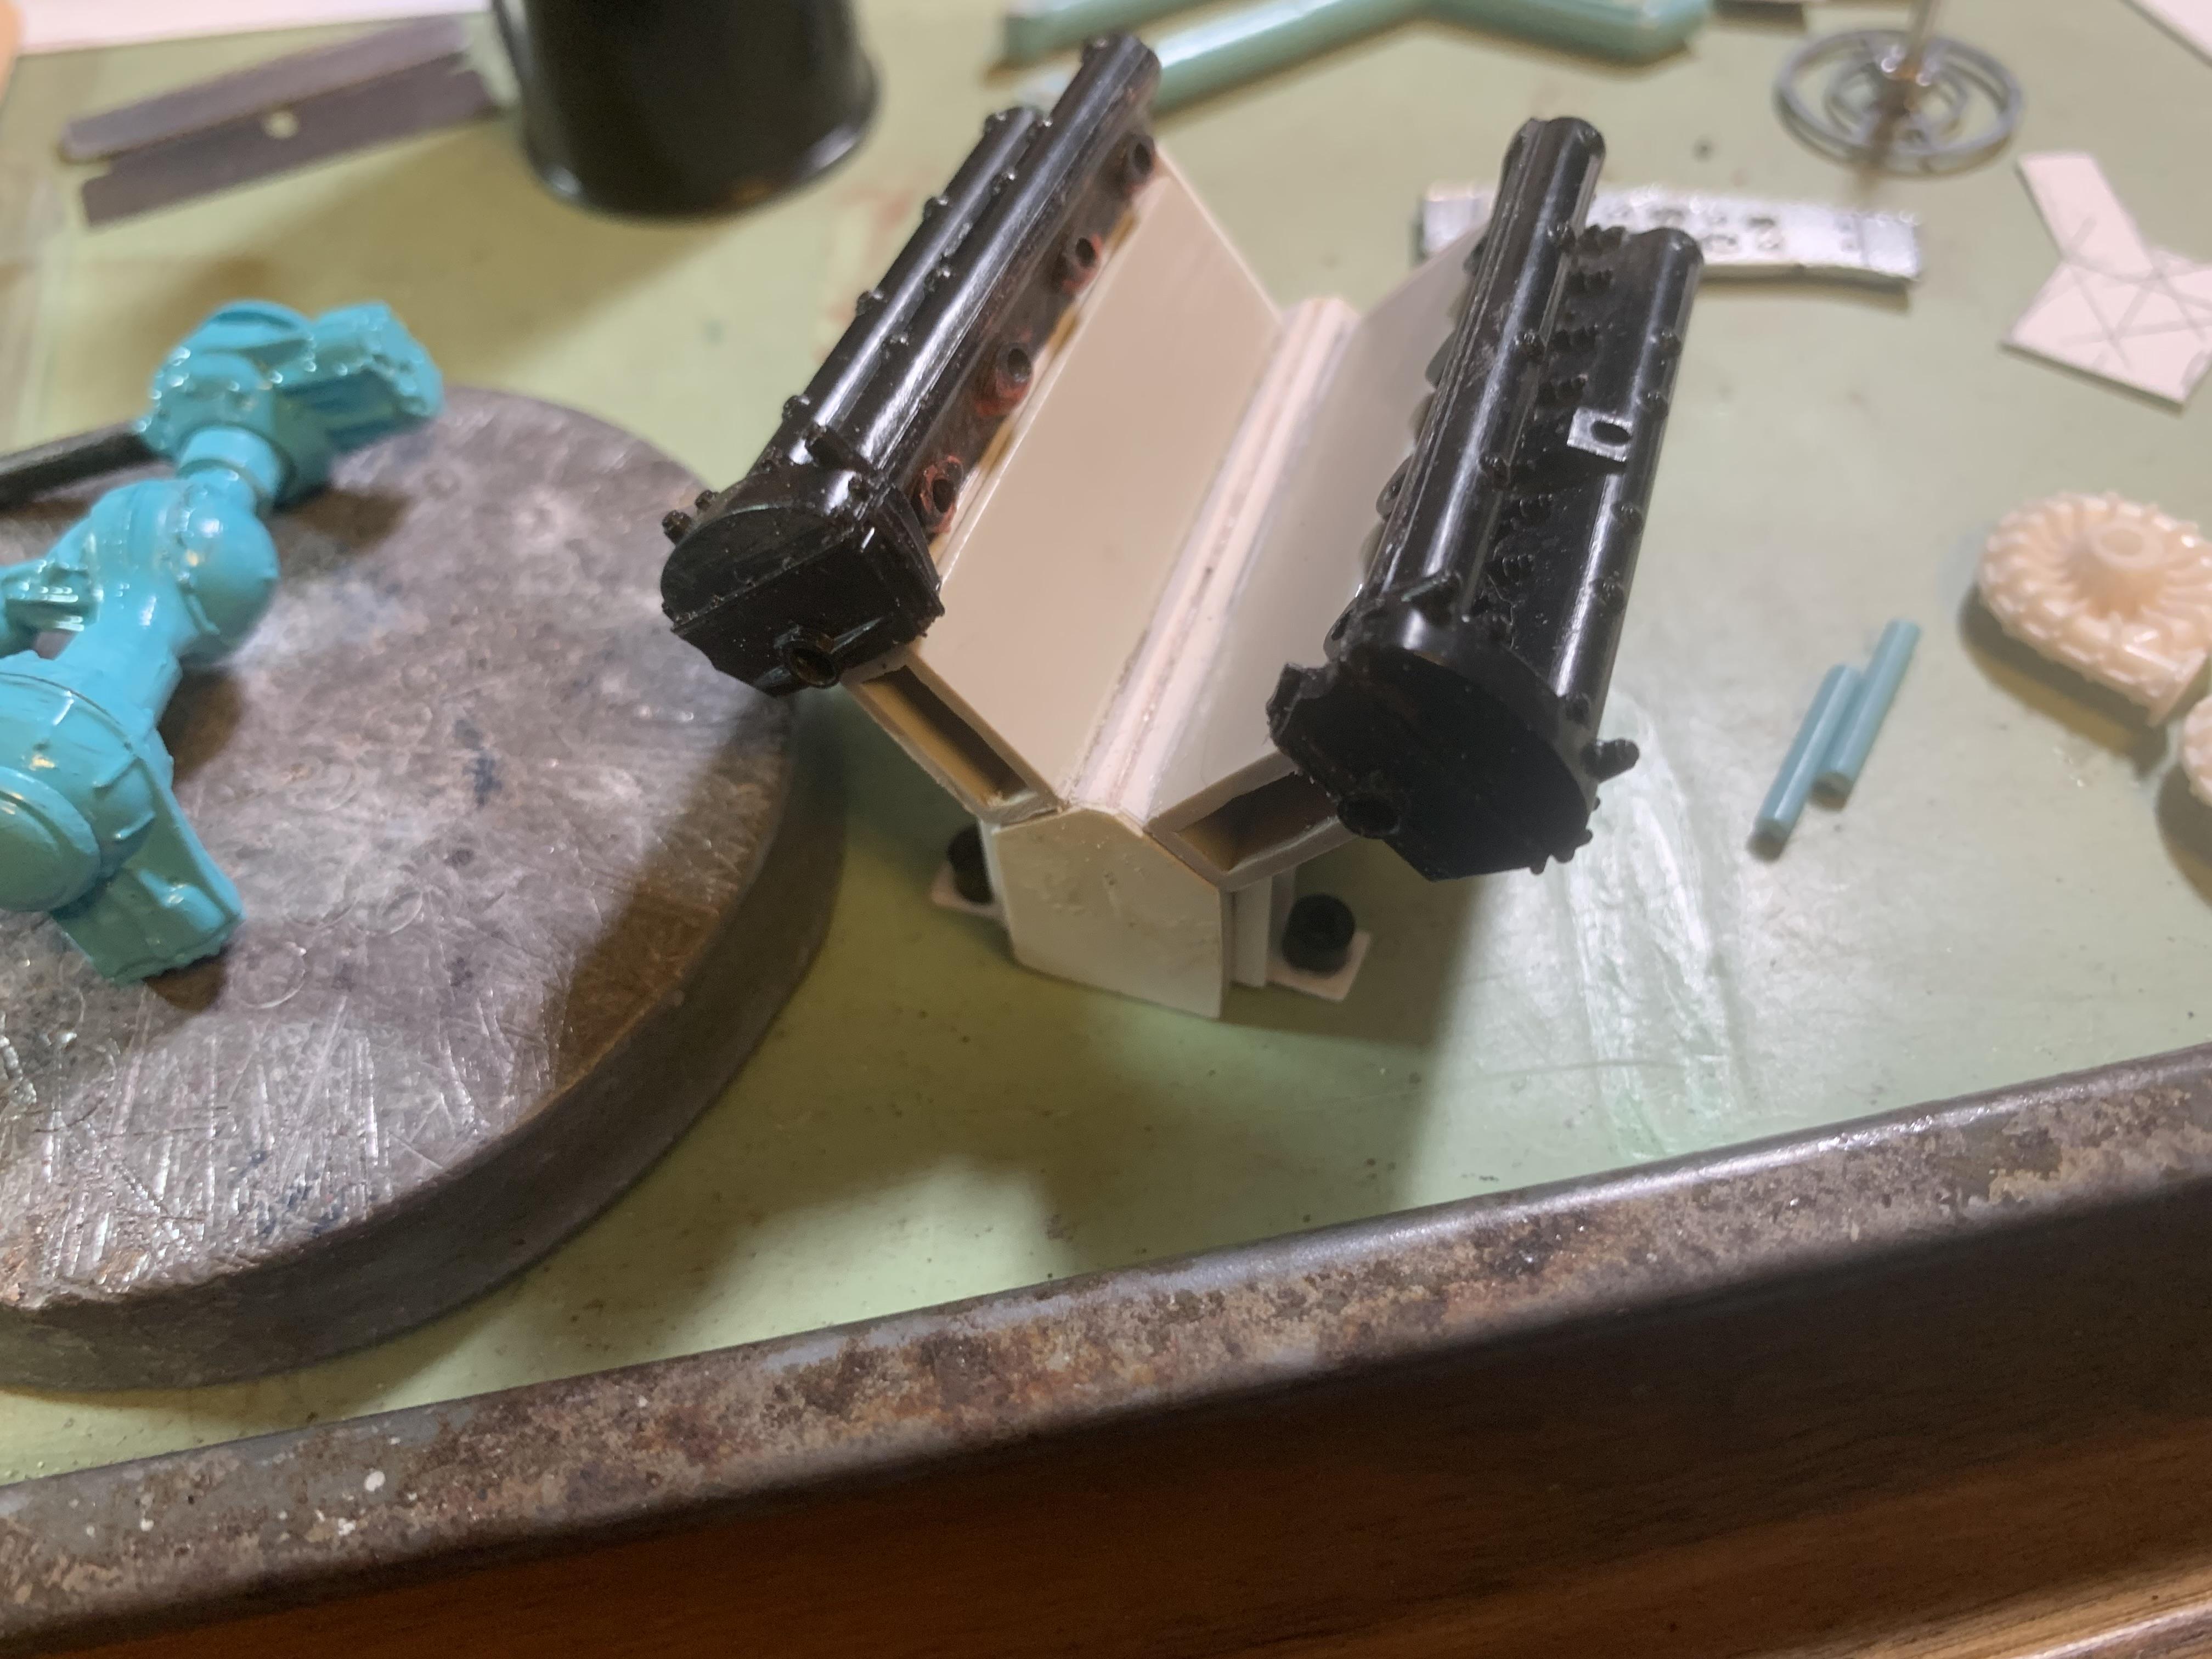
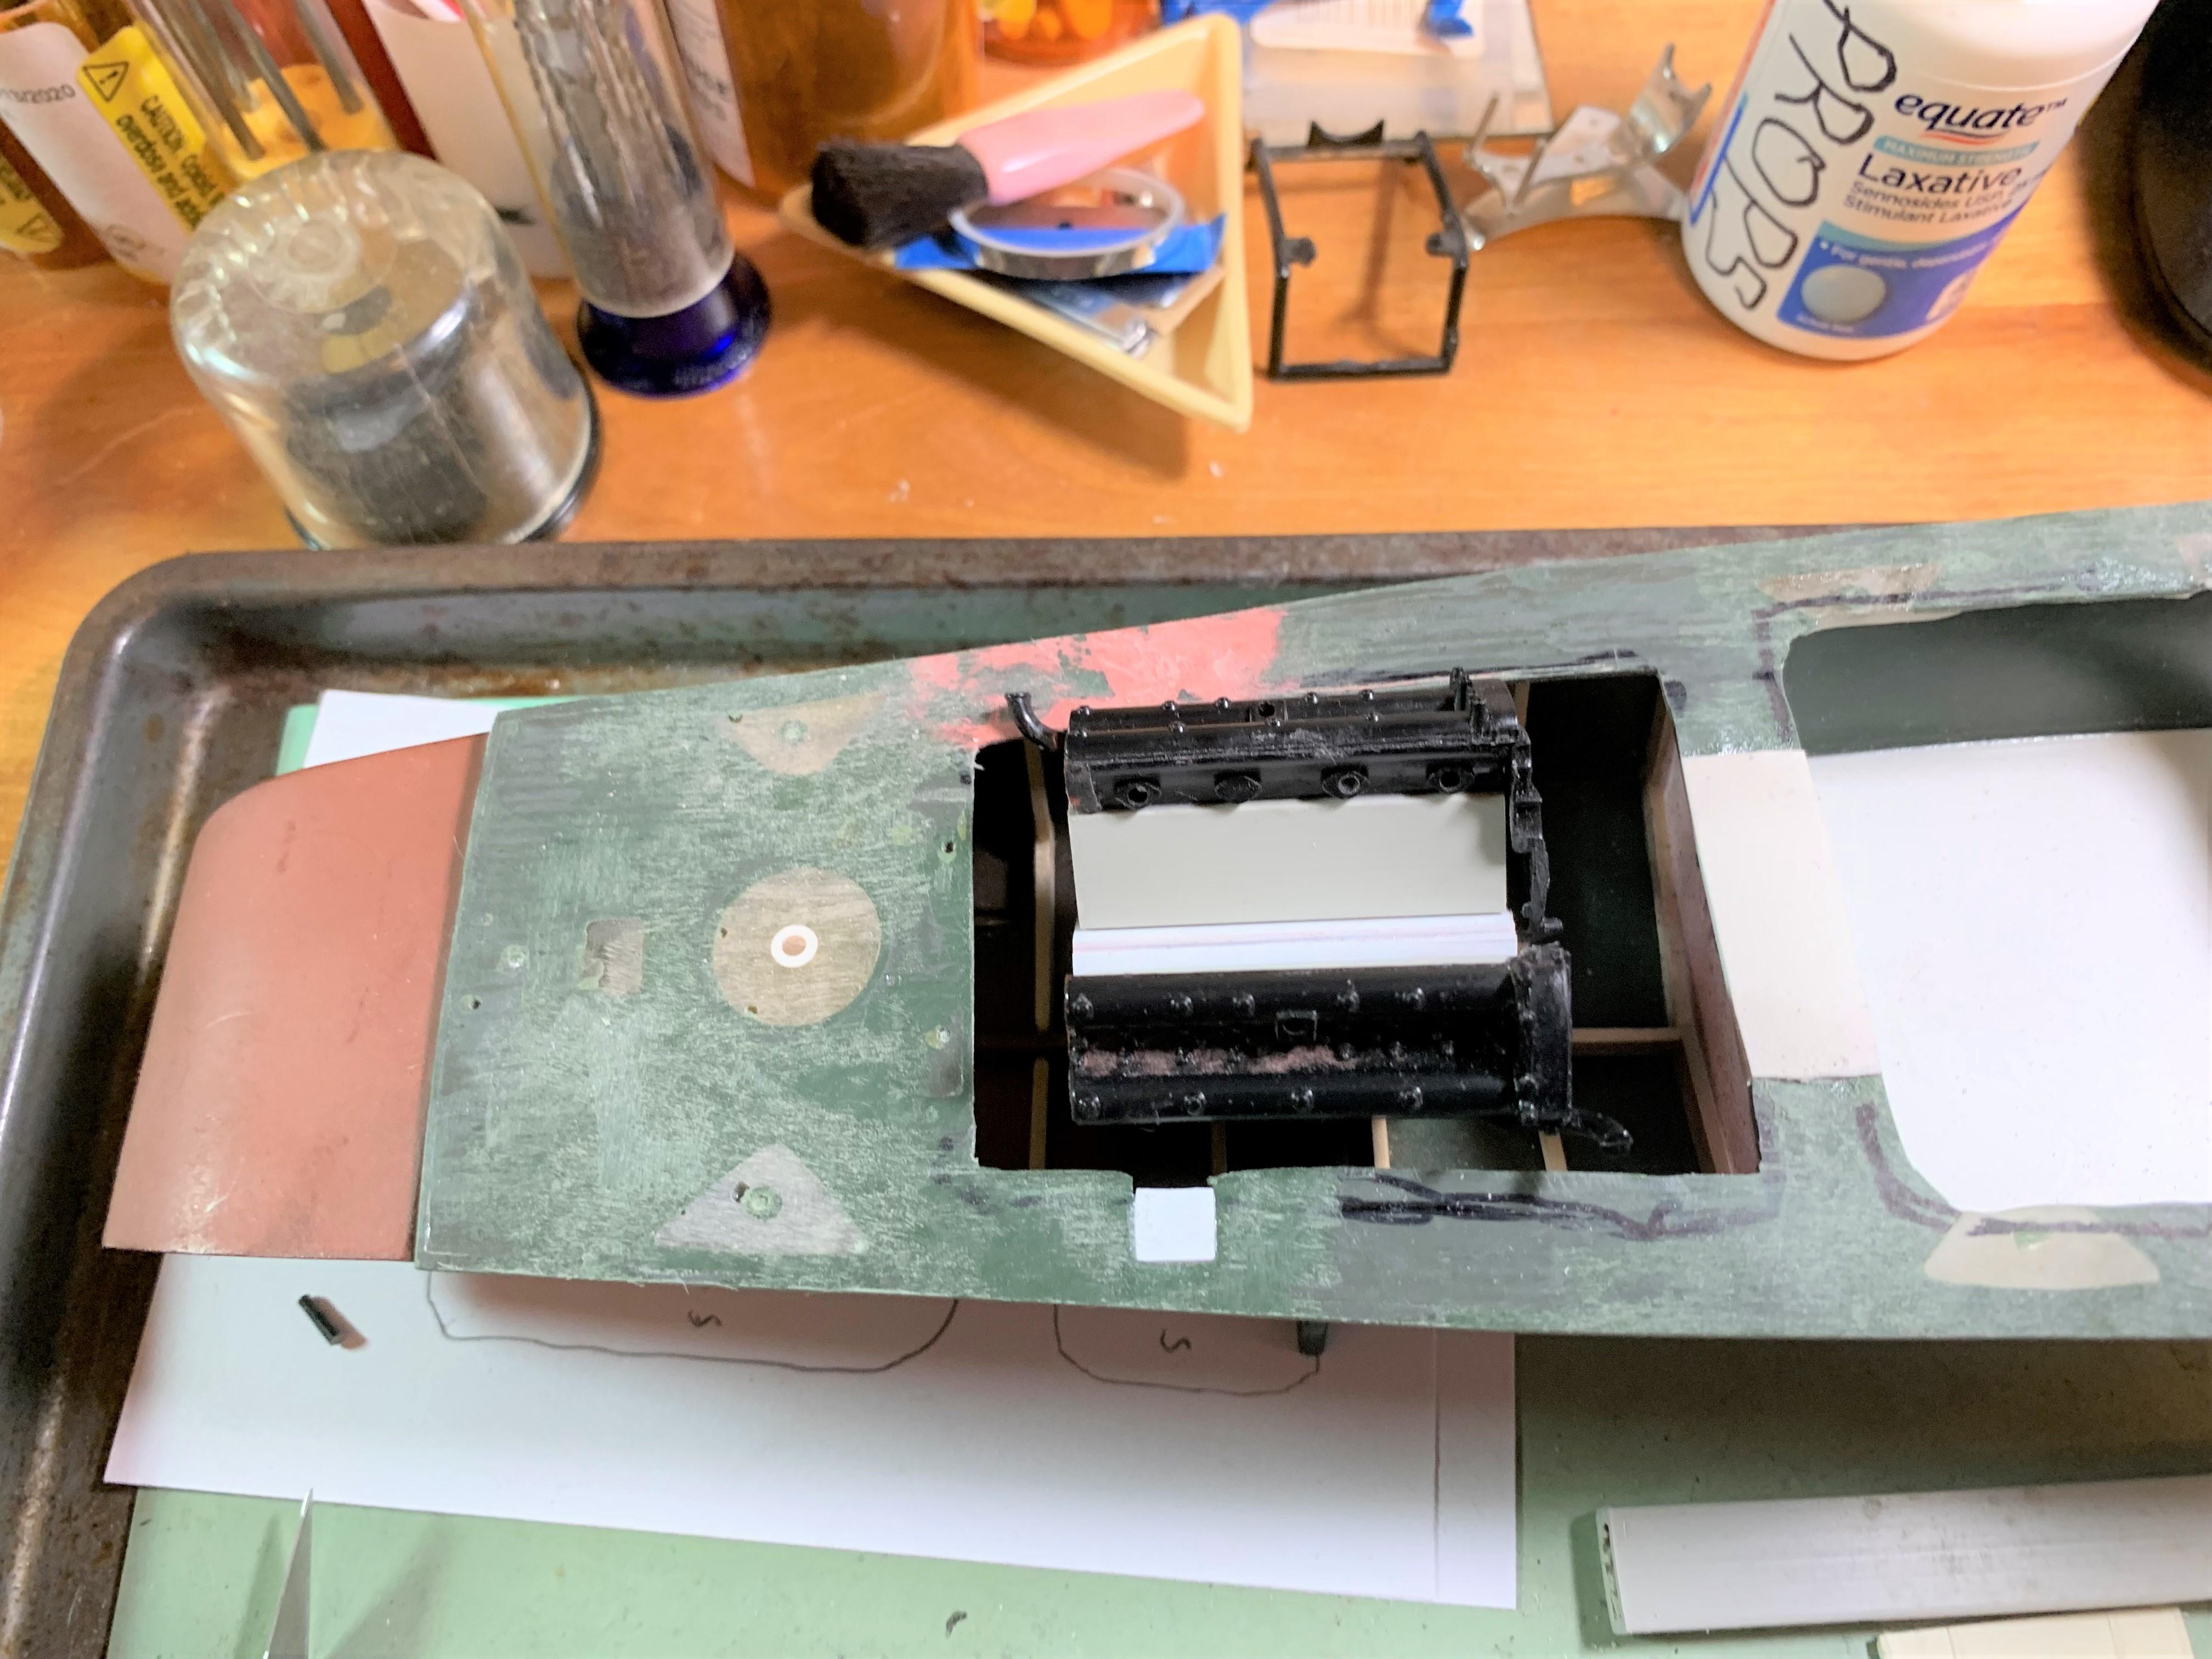
More progress- got the last of the ribs glued in, ready to paint the engine compartment. Also much more work on the engine- both cylinder bank together, a block created, and cylinder banks attached with white glue for a mockup and test fit in the hull, and with the main deck in place. That engine has turned into one long stroke, torque producing monster! It will definitely need a cabin elevated above the main deck to house it!. I also started reinforcing the deck underneath with some sprue, and started to remove material from the sides to be vertically flush with the sides.
-
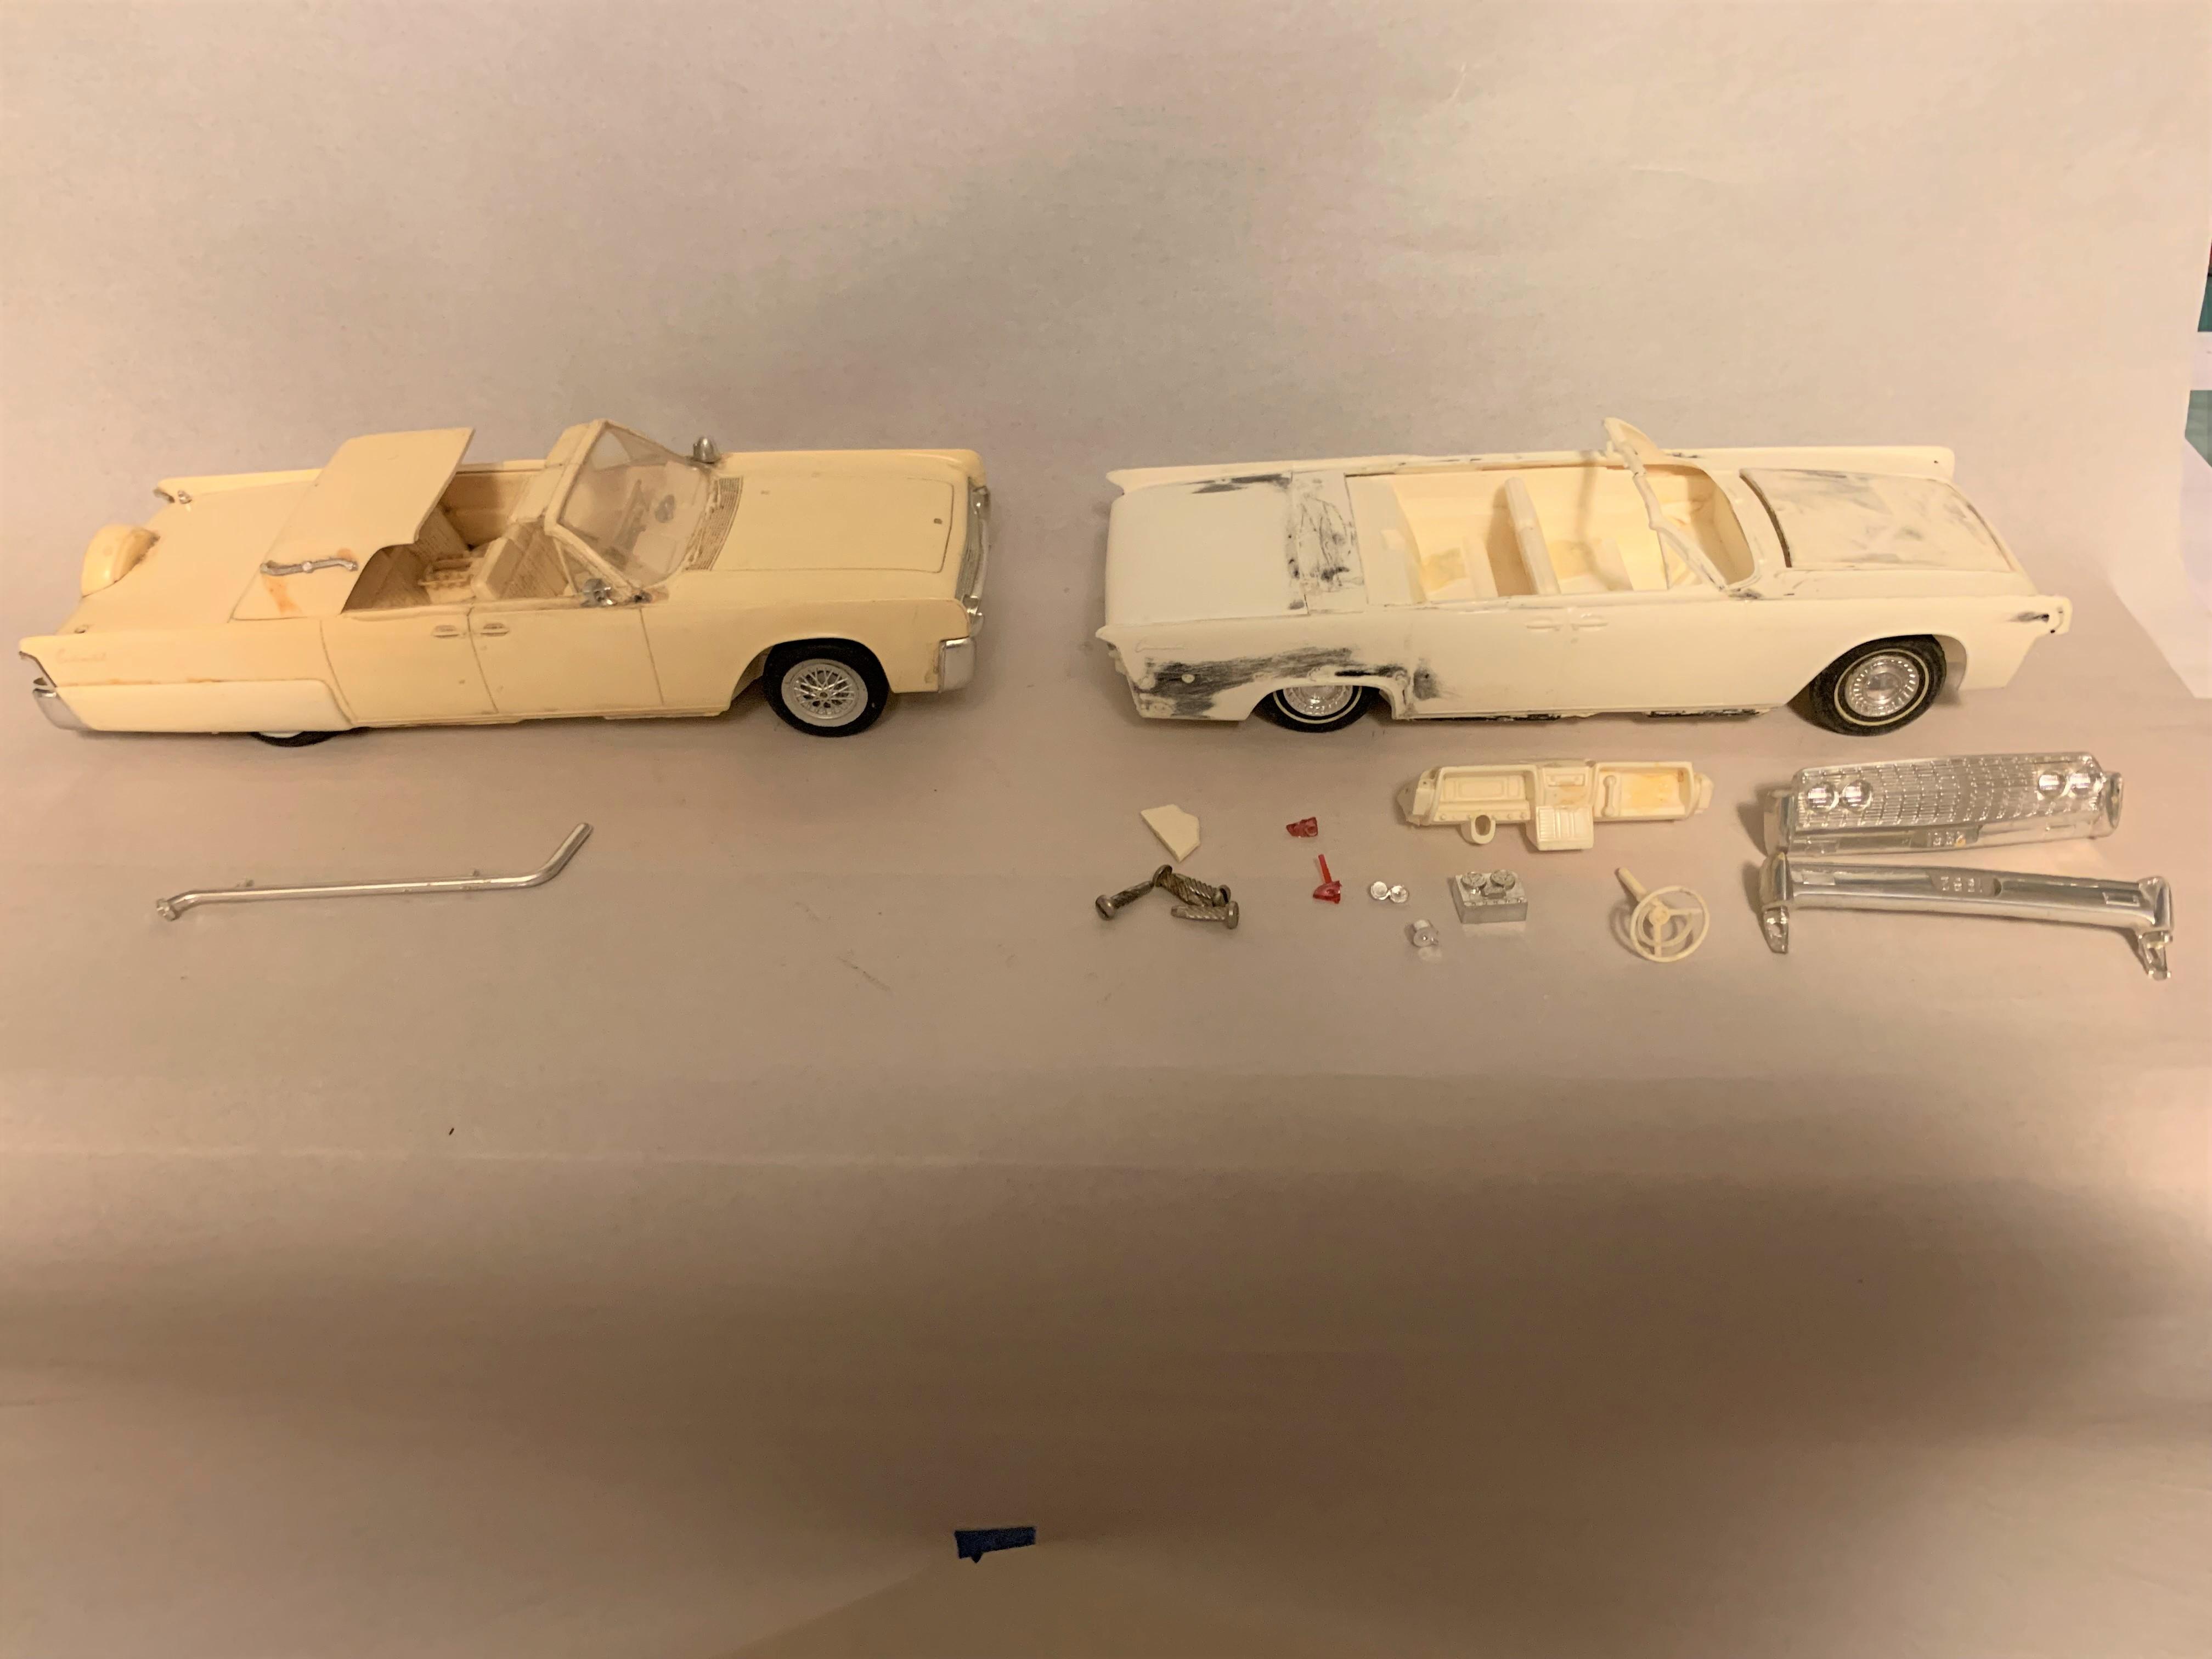
Let's See Some Glue Bombs!
Paul Payne replied to Snake45's topic in General Automotive Talk (Trucks and Cars)
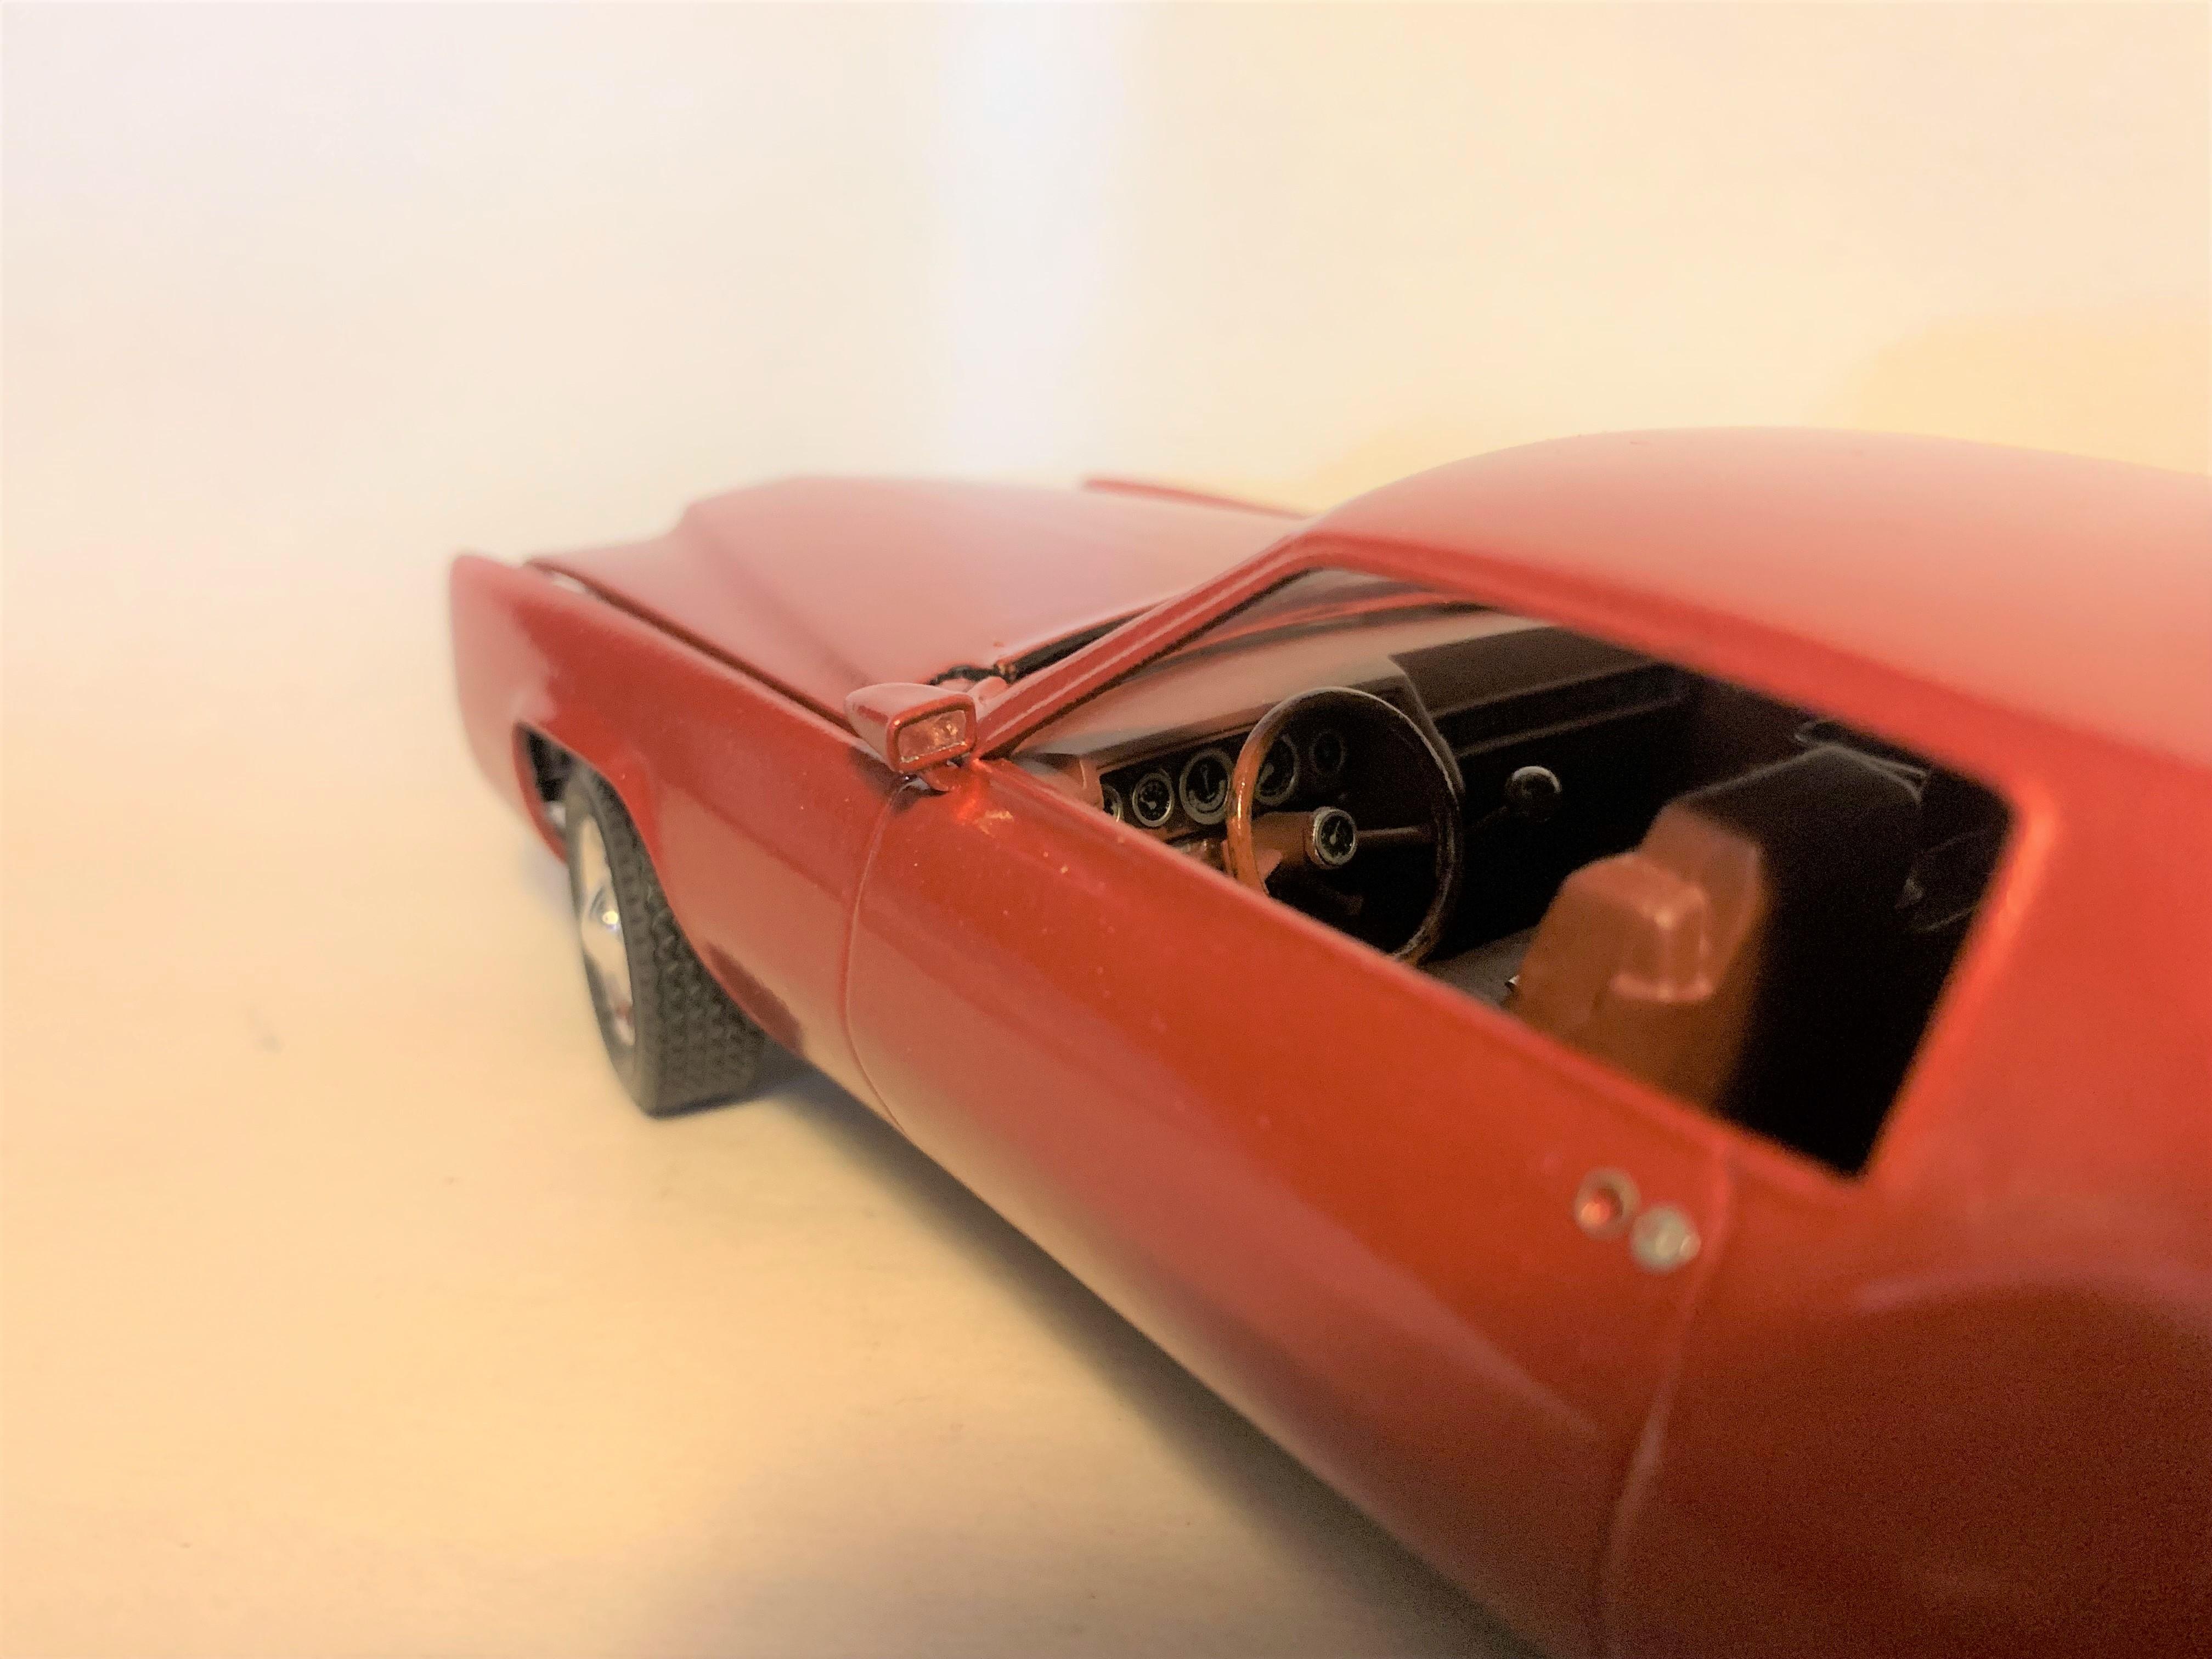
Did some more disassembly on the 1961 Lincoln Continental- windshield will be a bear since it is glued to the vent windows and top of the frame as well as the mounting posts- going to saw through the tabs to free the bottom. Also soaked the interior bucket in Dawn and water- now clean and shiny with no scrubbing needed- body now soaking as well. Dash is neatly but firmly glued in place- will probably have to carefully cut it loose as well.
-
Thanks again!
-
Great hot rod with a great stance- you did a good job getting that right!
-
That nose is perfect! Oh, heck, the whole car is perfect! Can't wait to see it up on wheels- and then there's the engine.........................
-
Let's See Some Glue Bombs!
Paul Payne replied to Snake45's topic in General Automotive Talk (Trucks and Cars)
Thanks, Keyser- worthwhile buys the both. -
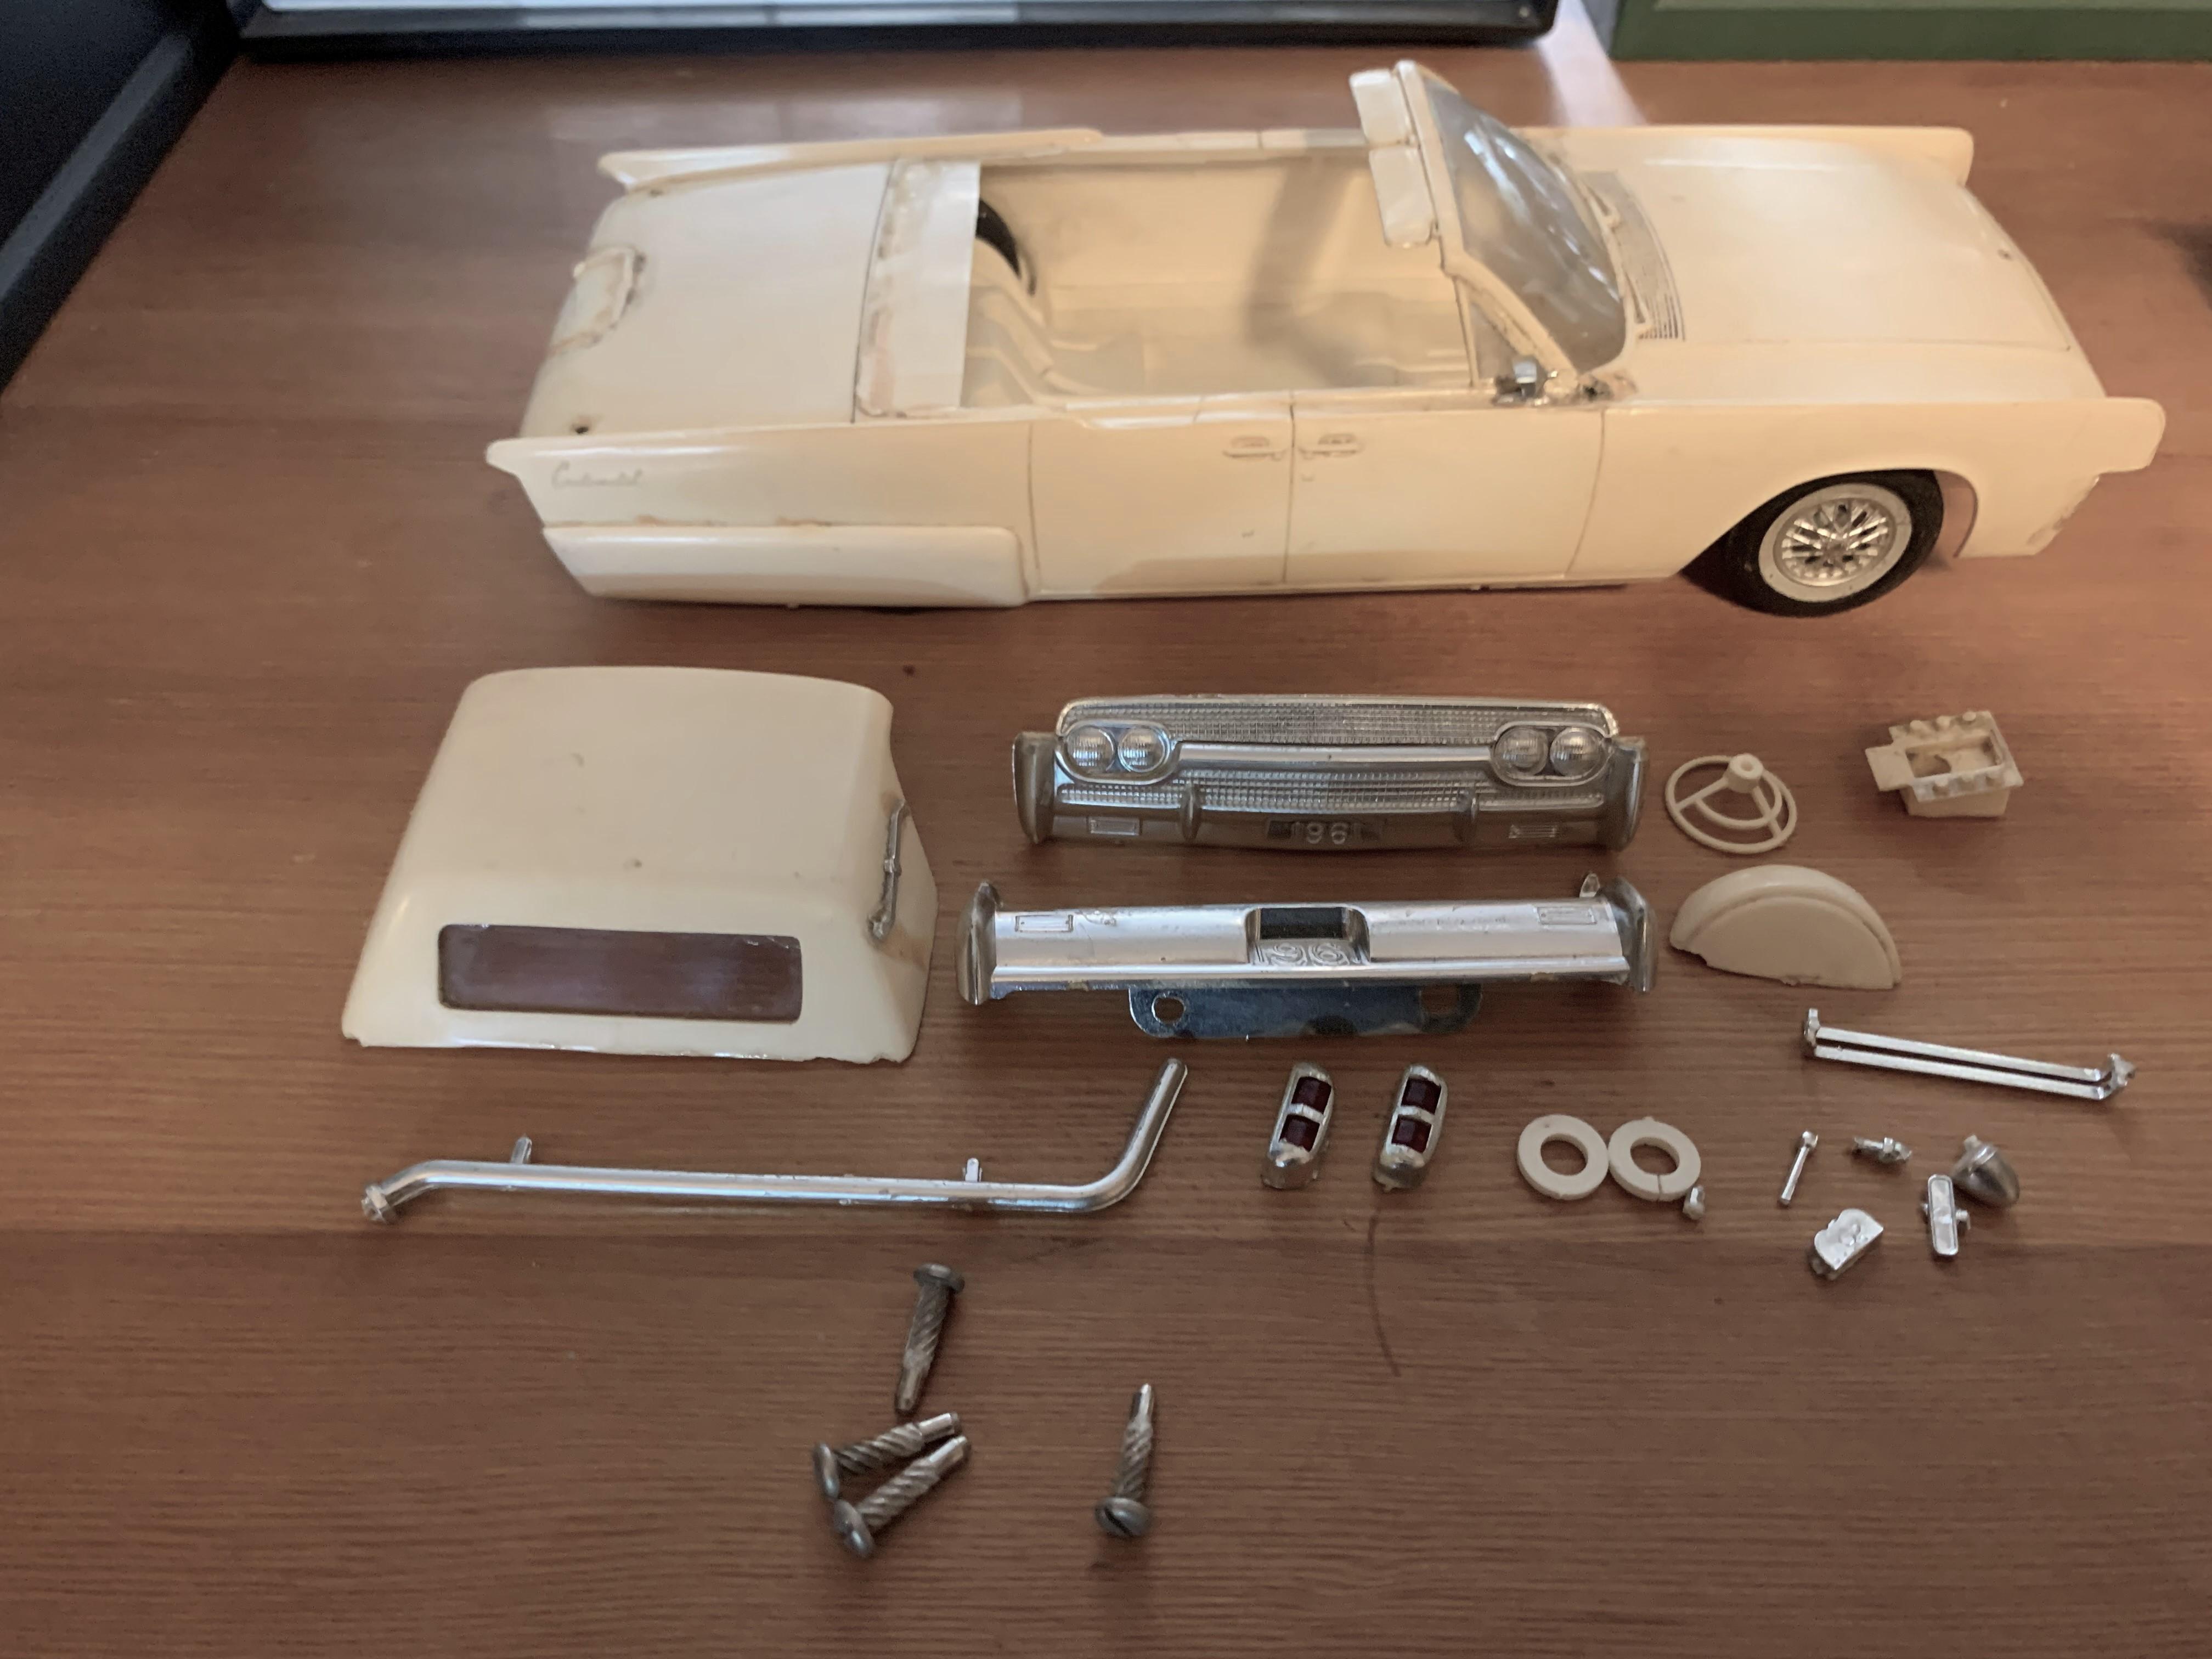
Let's See Some Glue Bombs!
Paul Payne replied to Snake45's topic in General Automotive Talk (Trucks and Cars)
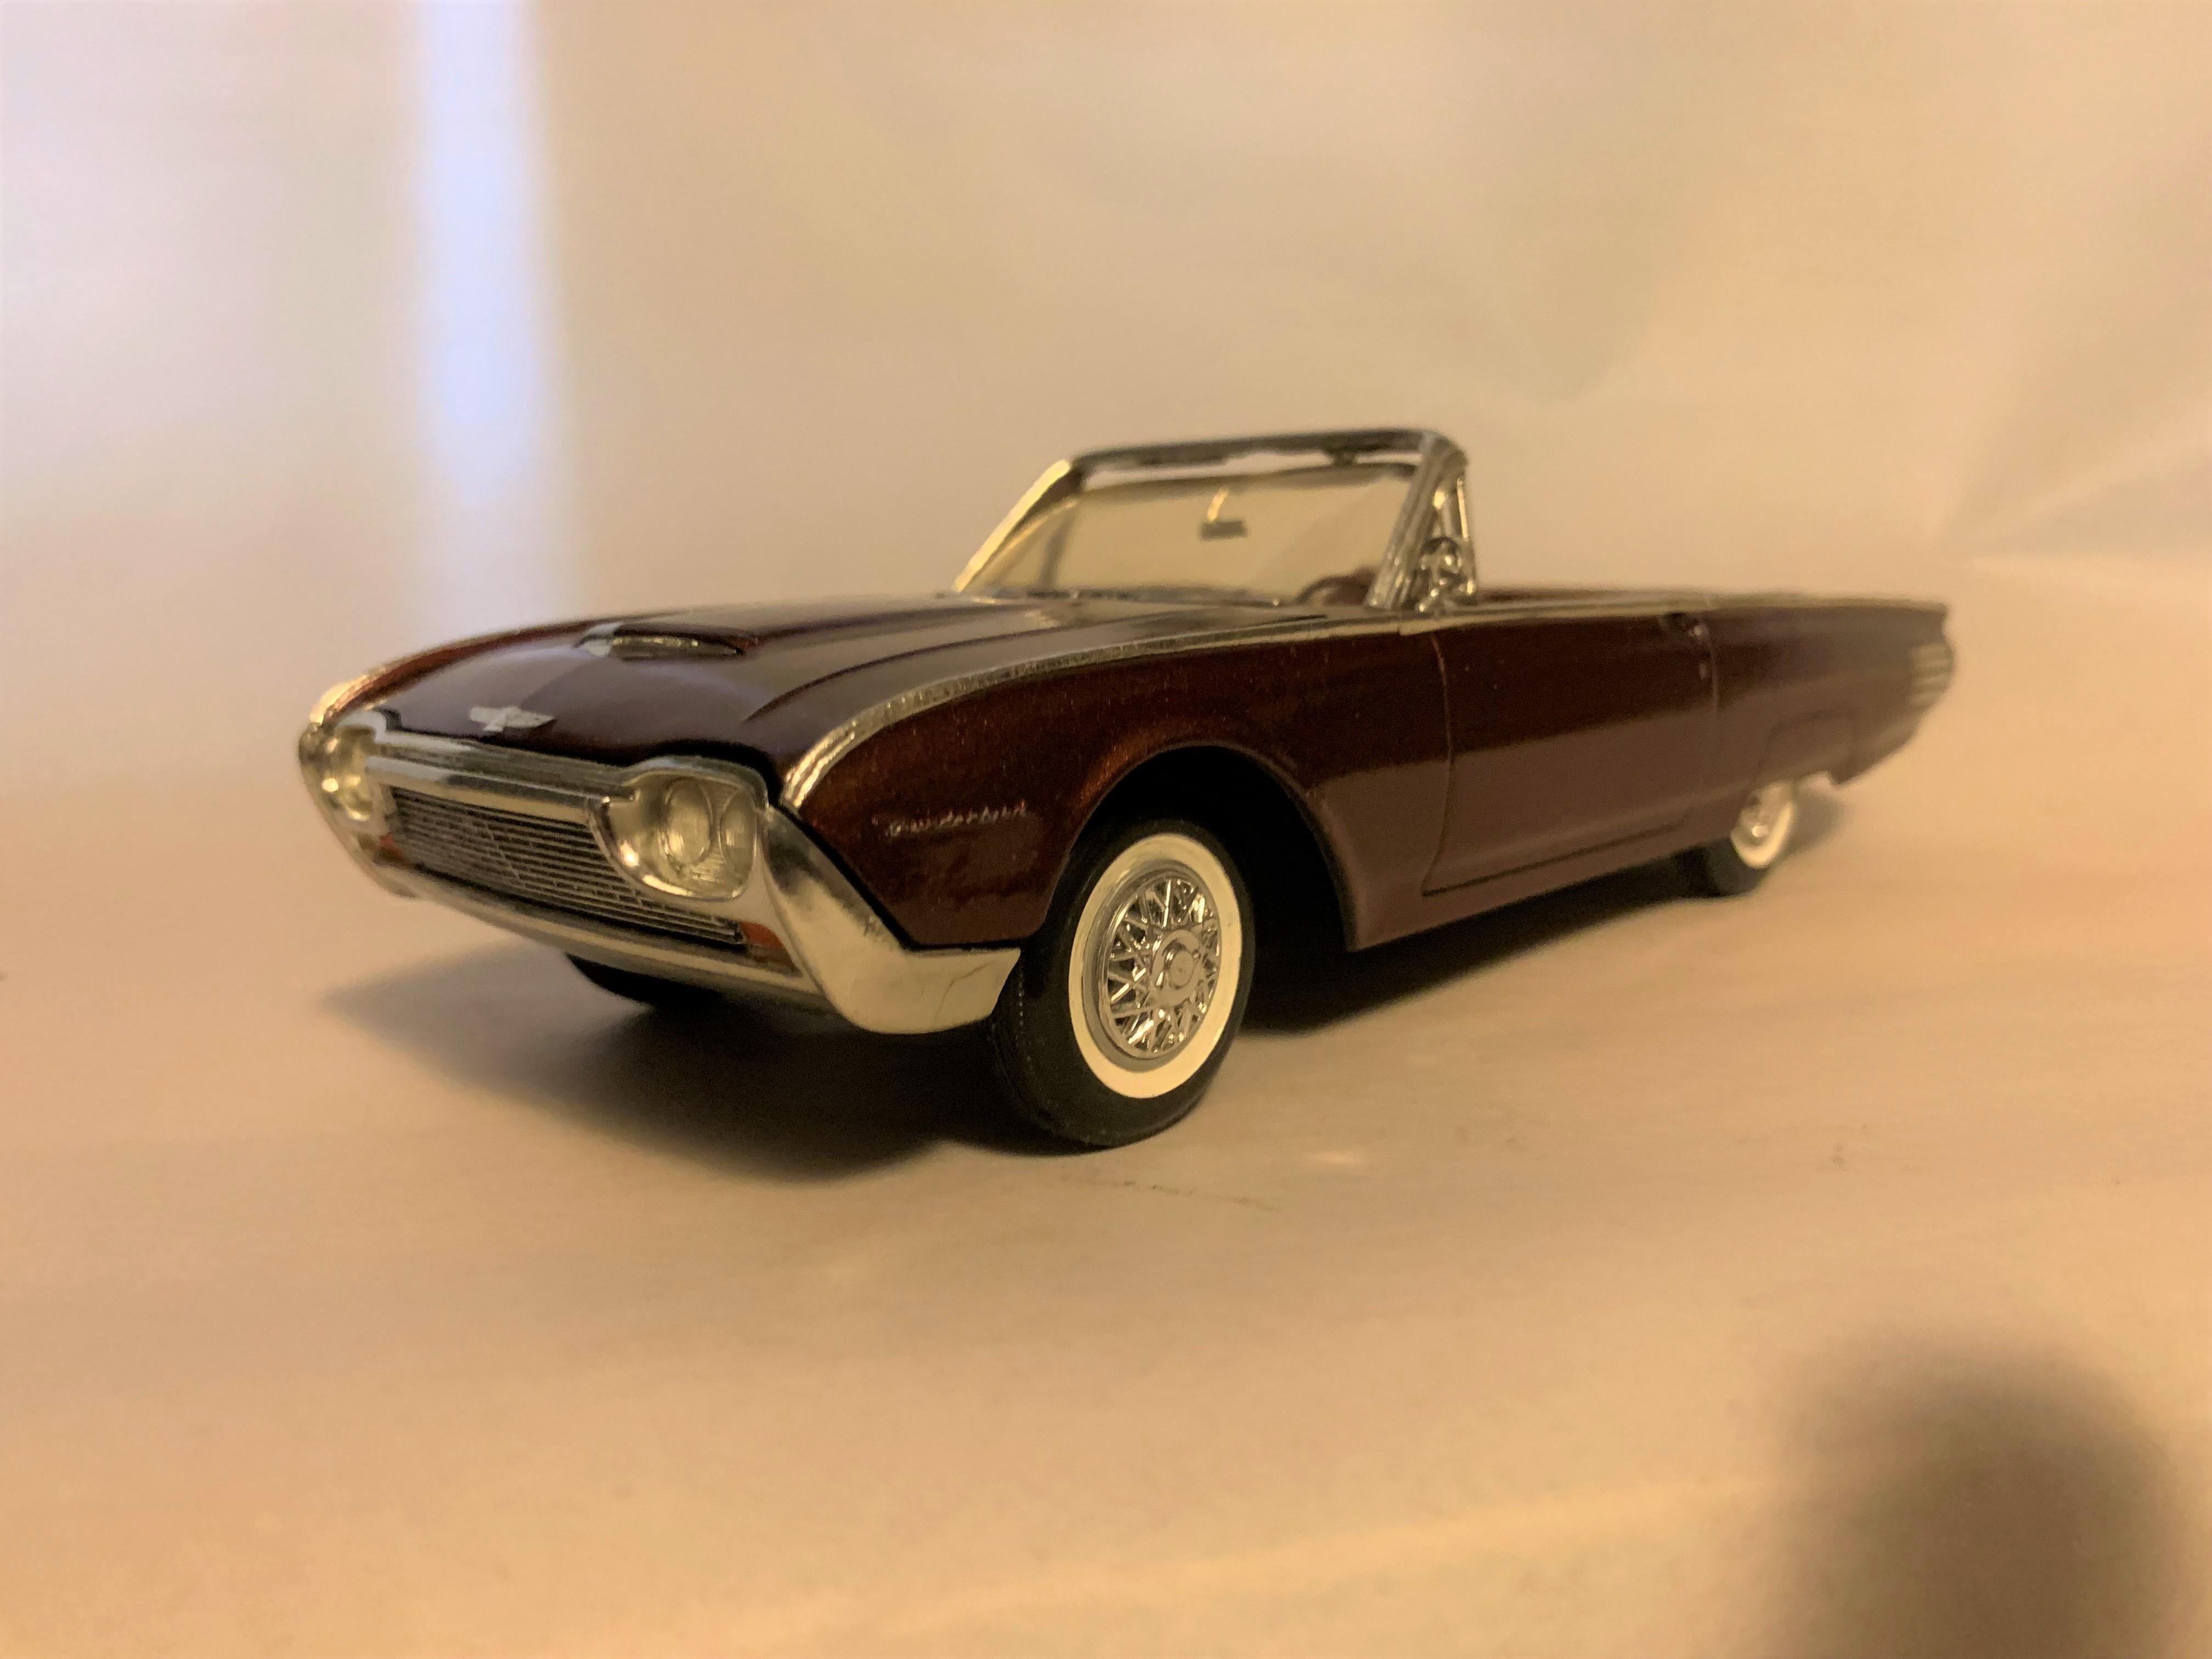
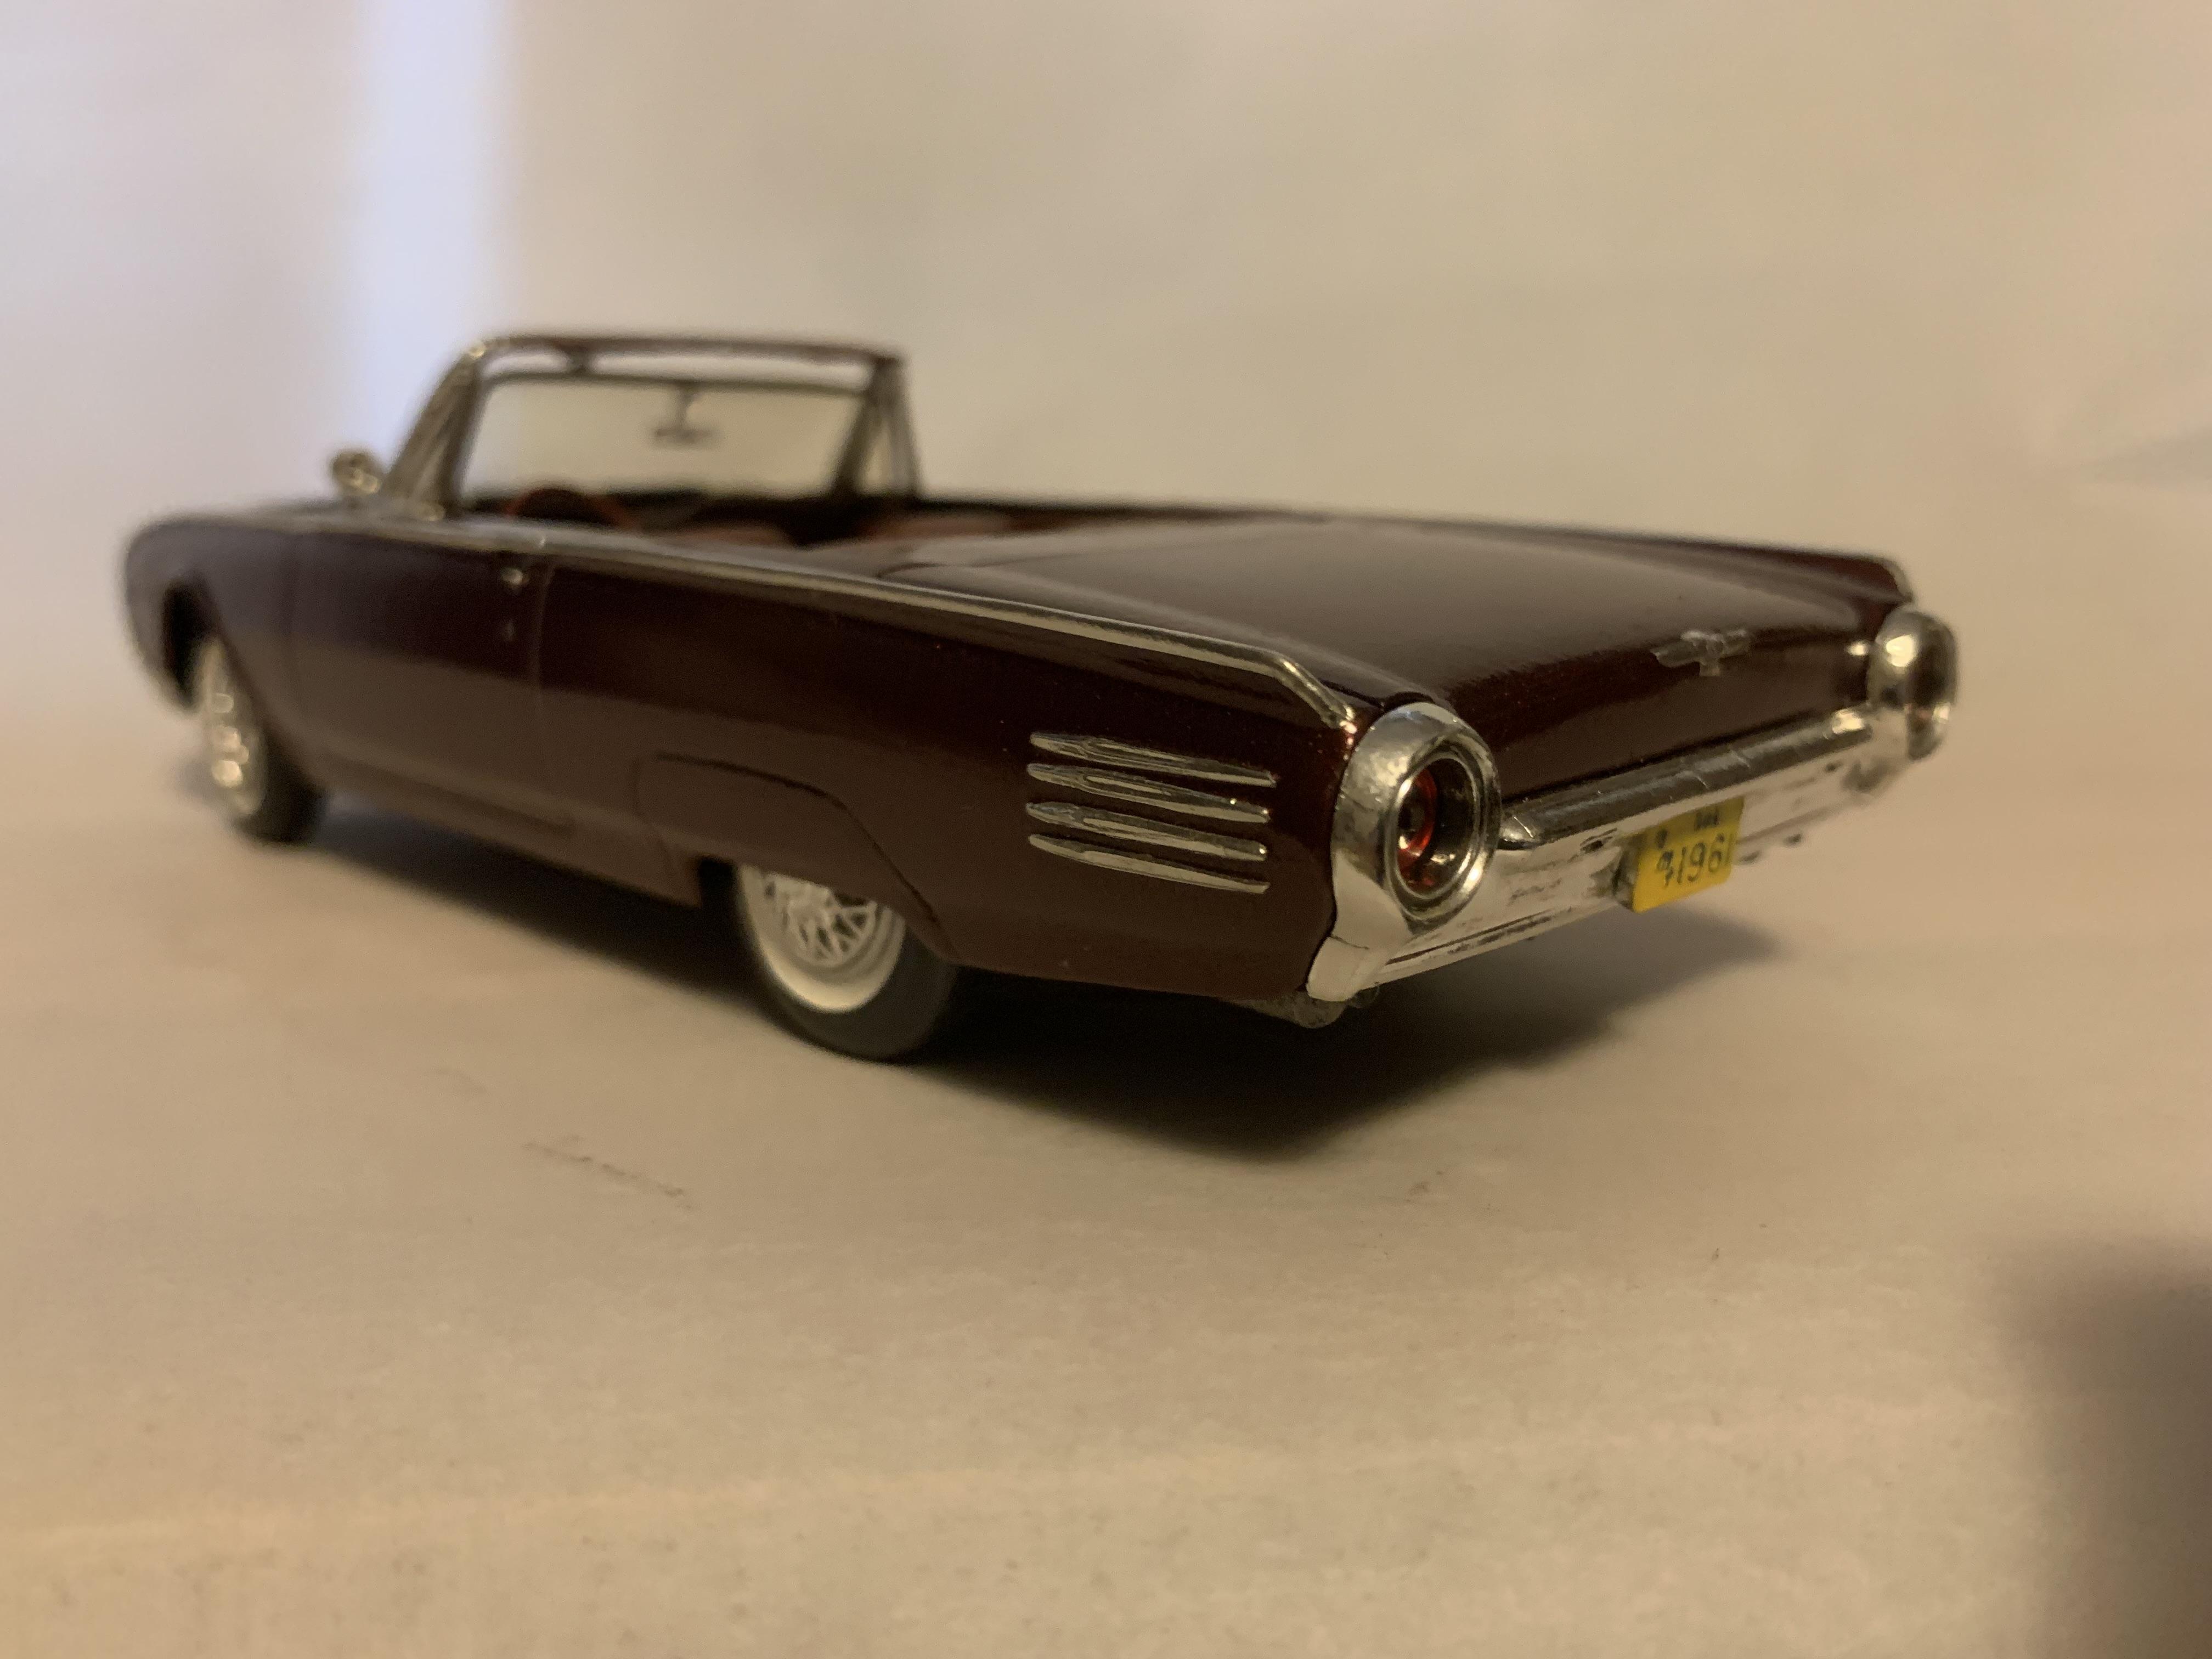
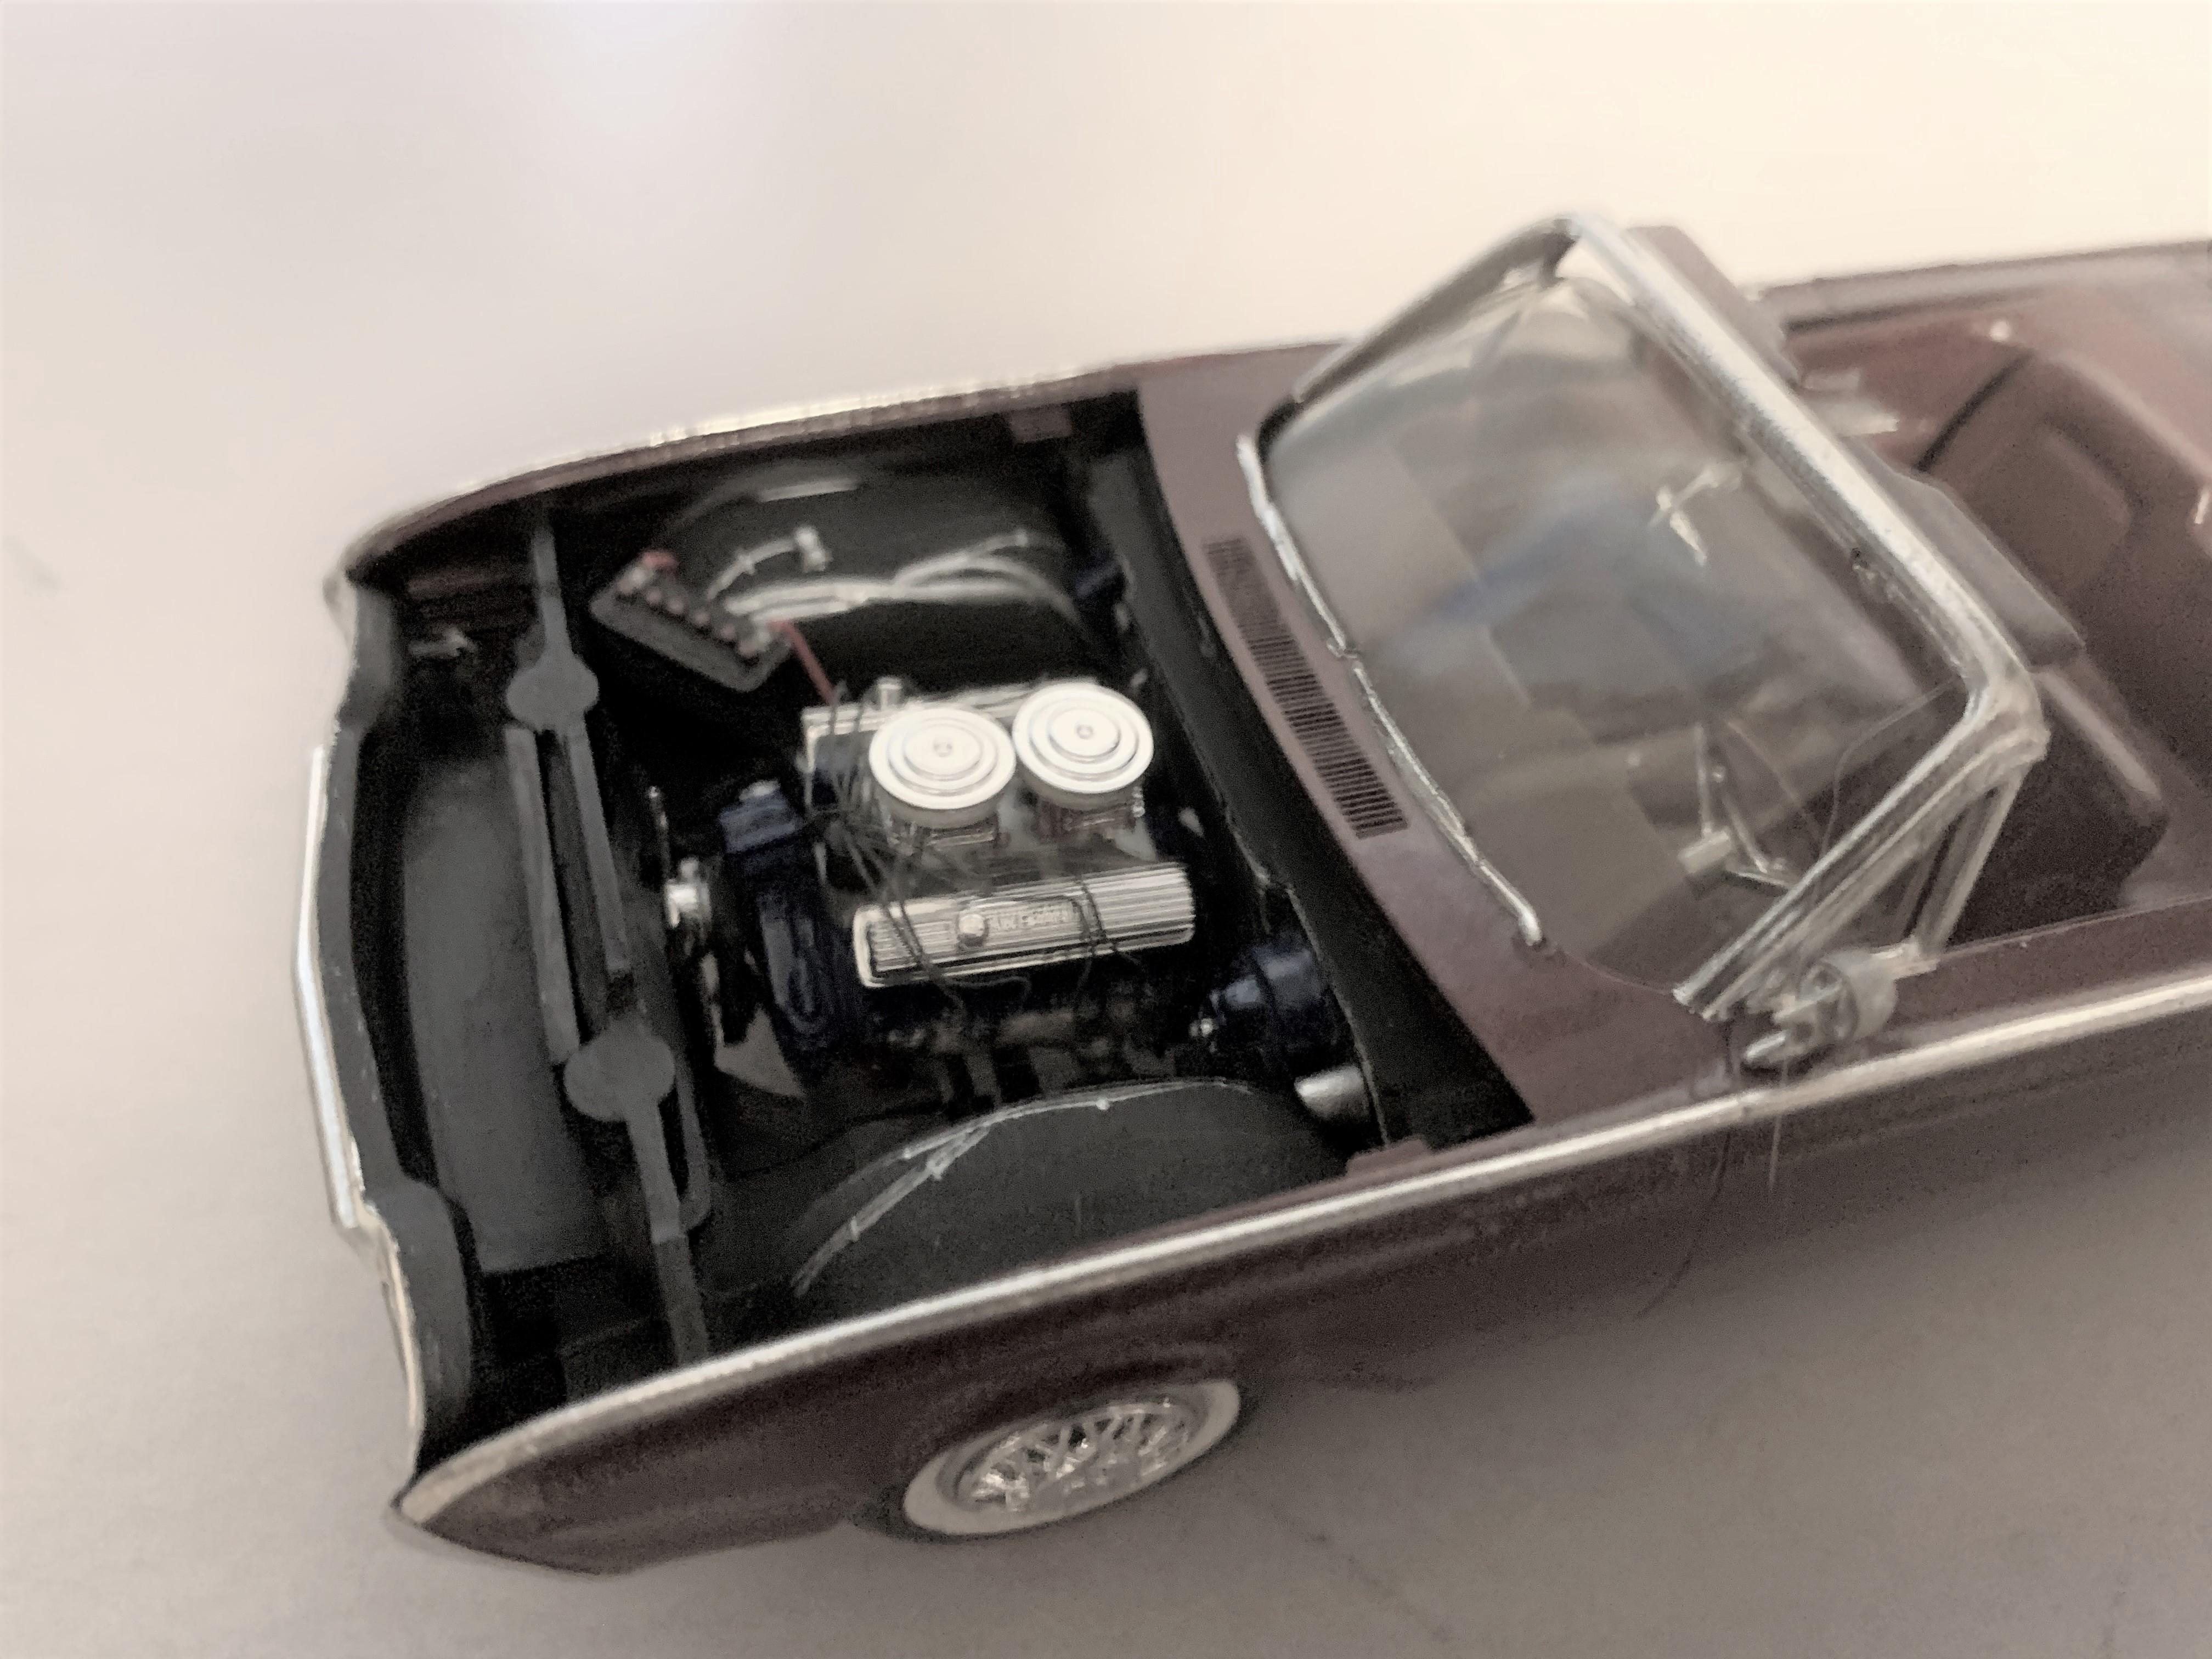
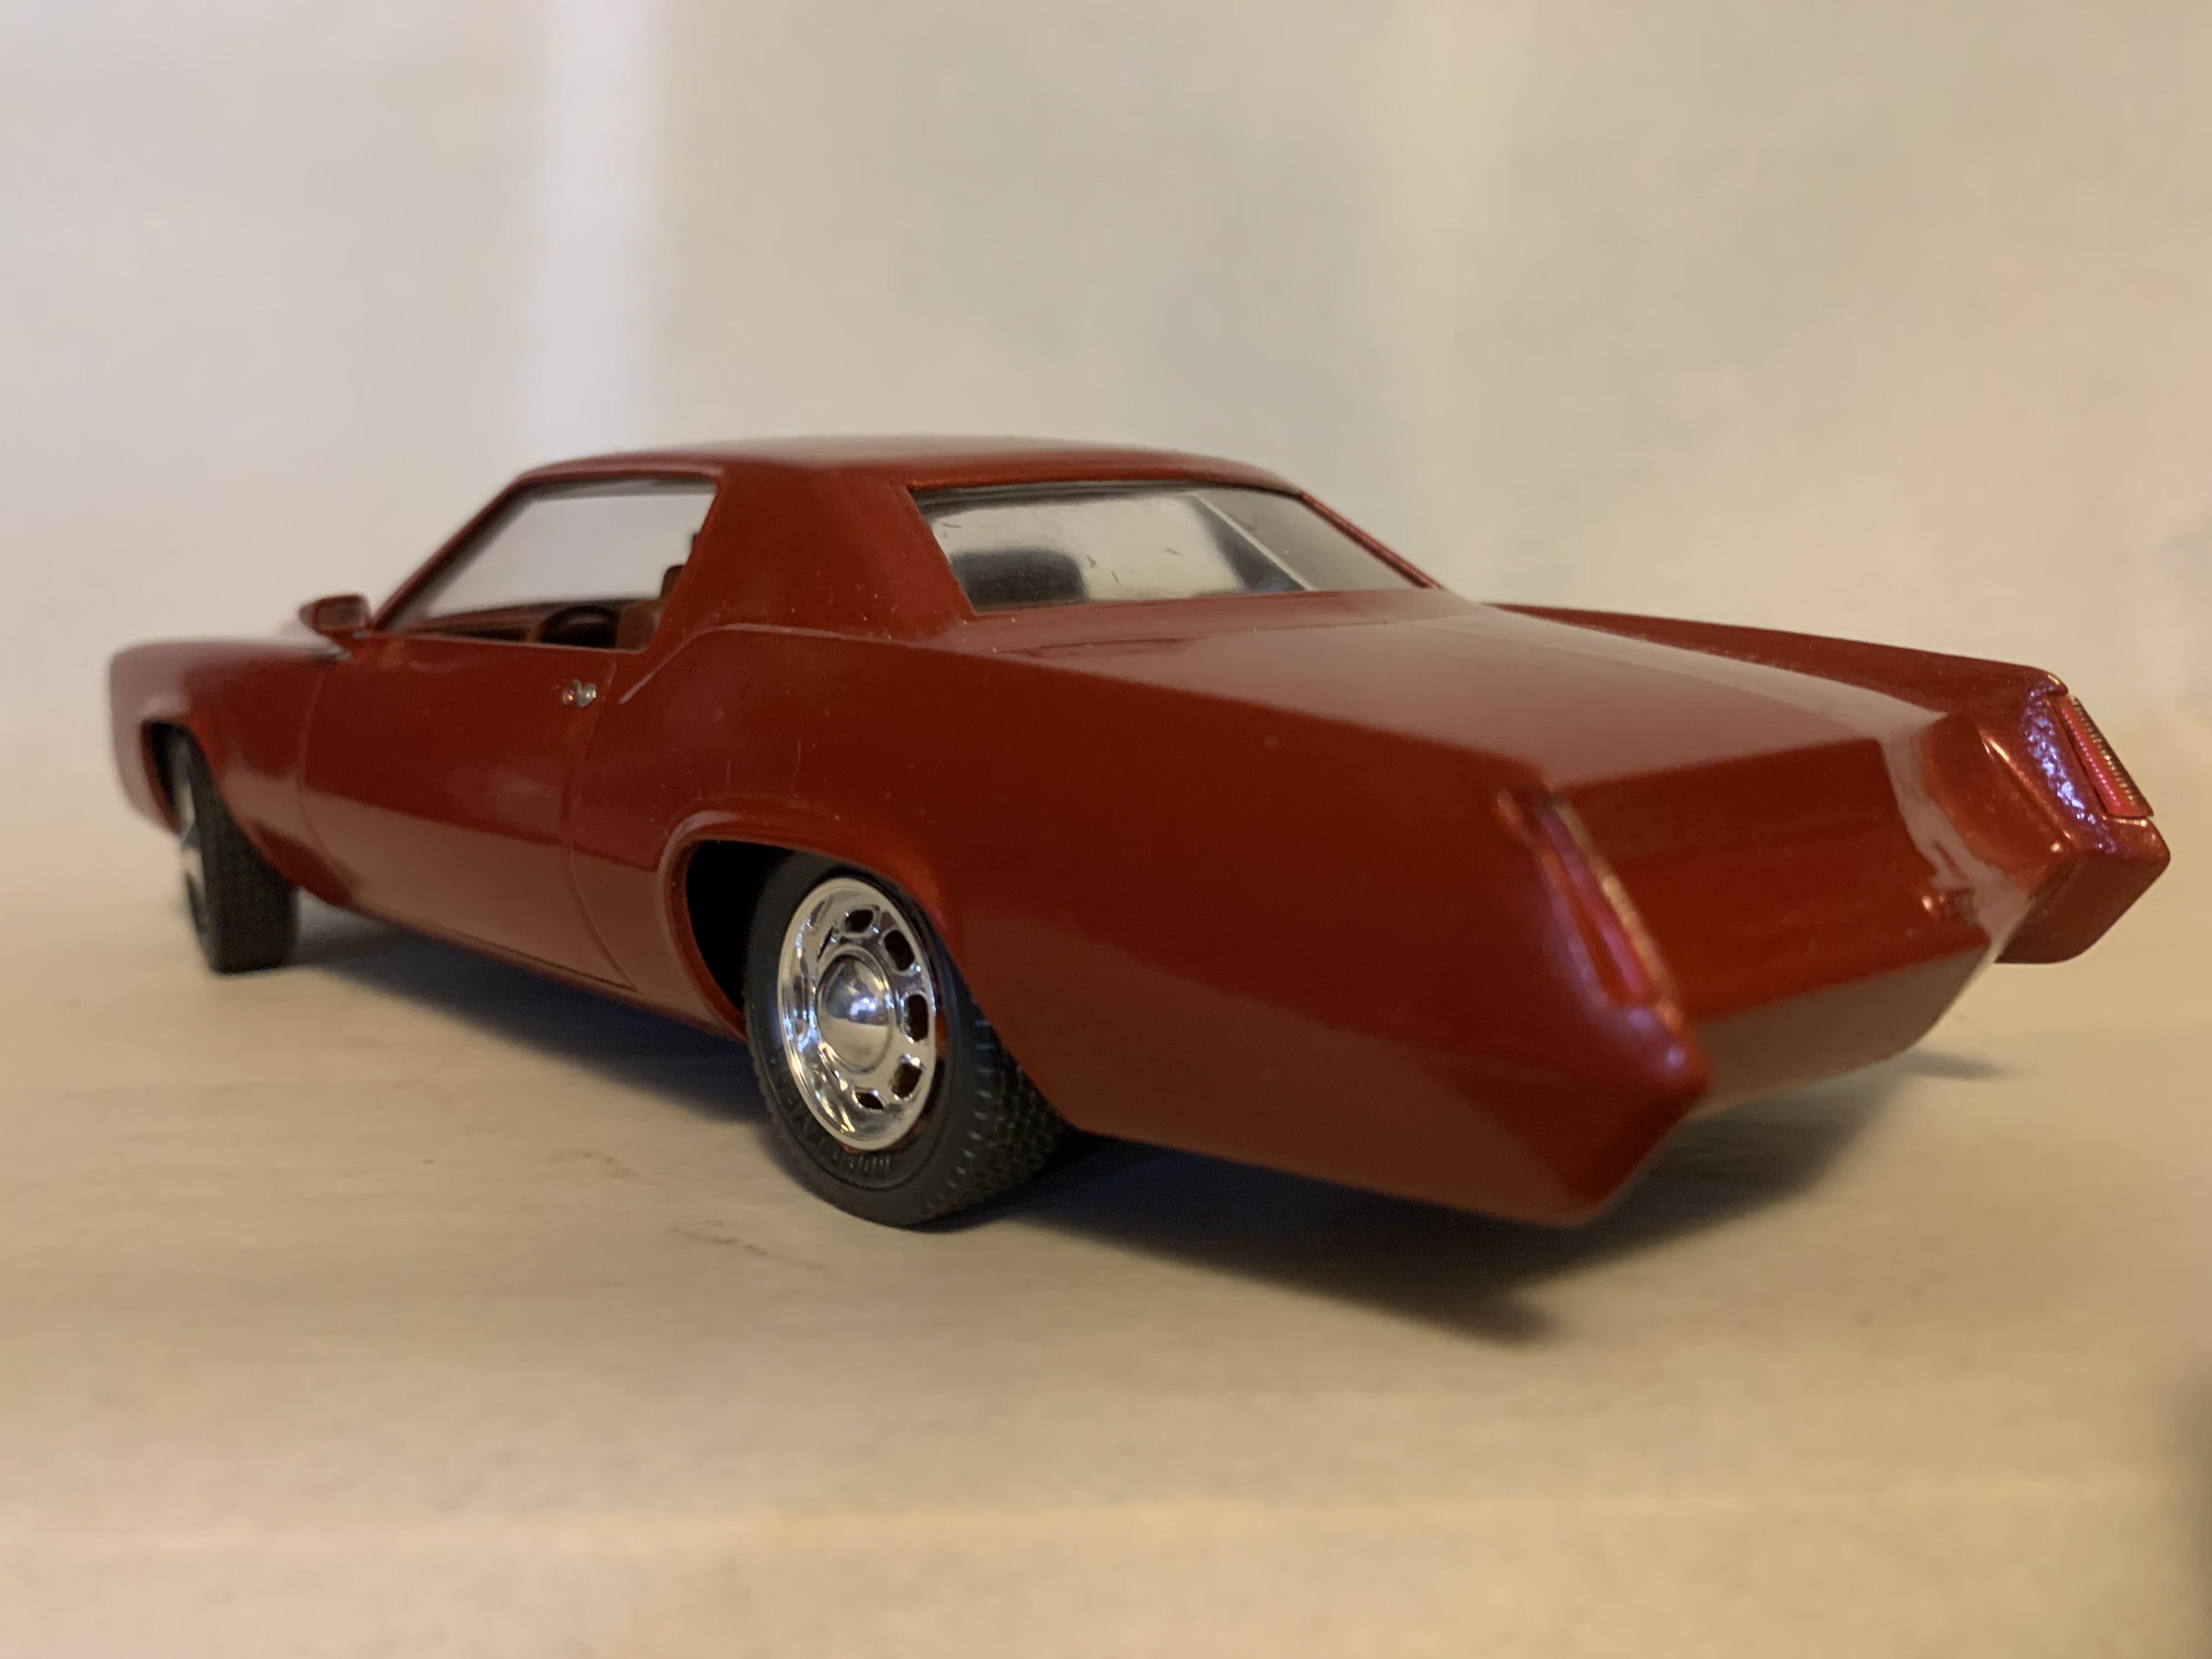
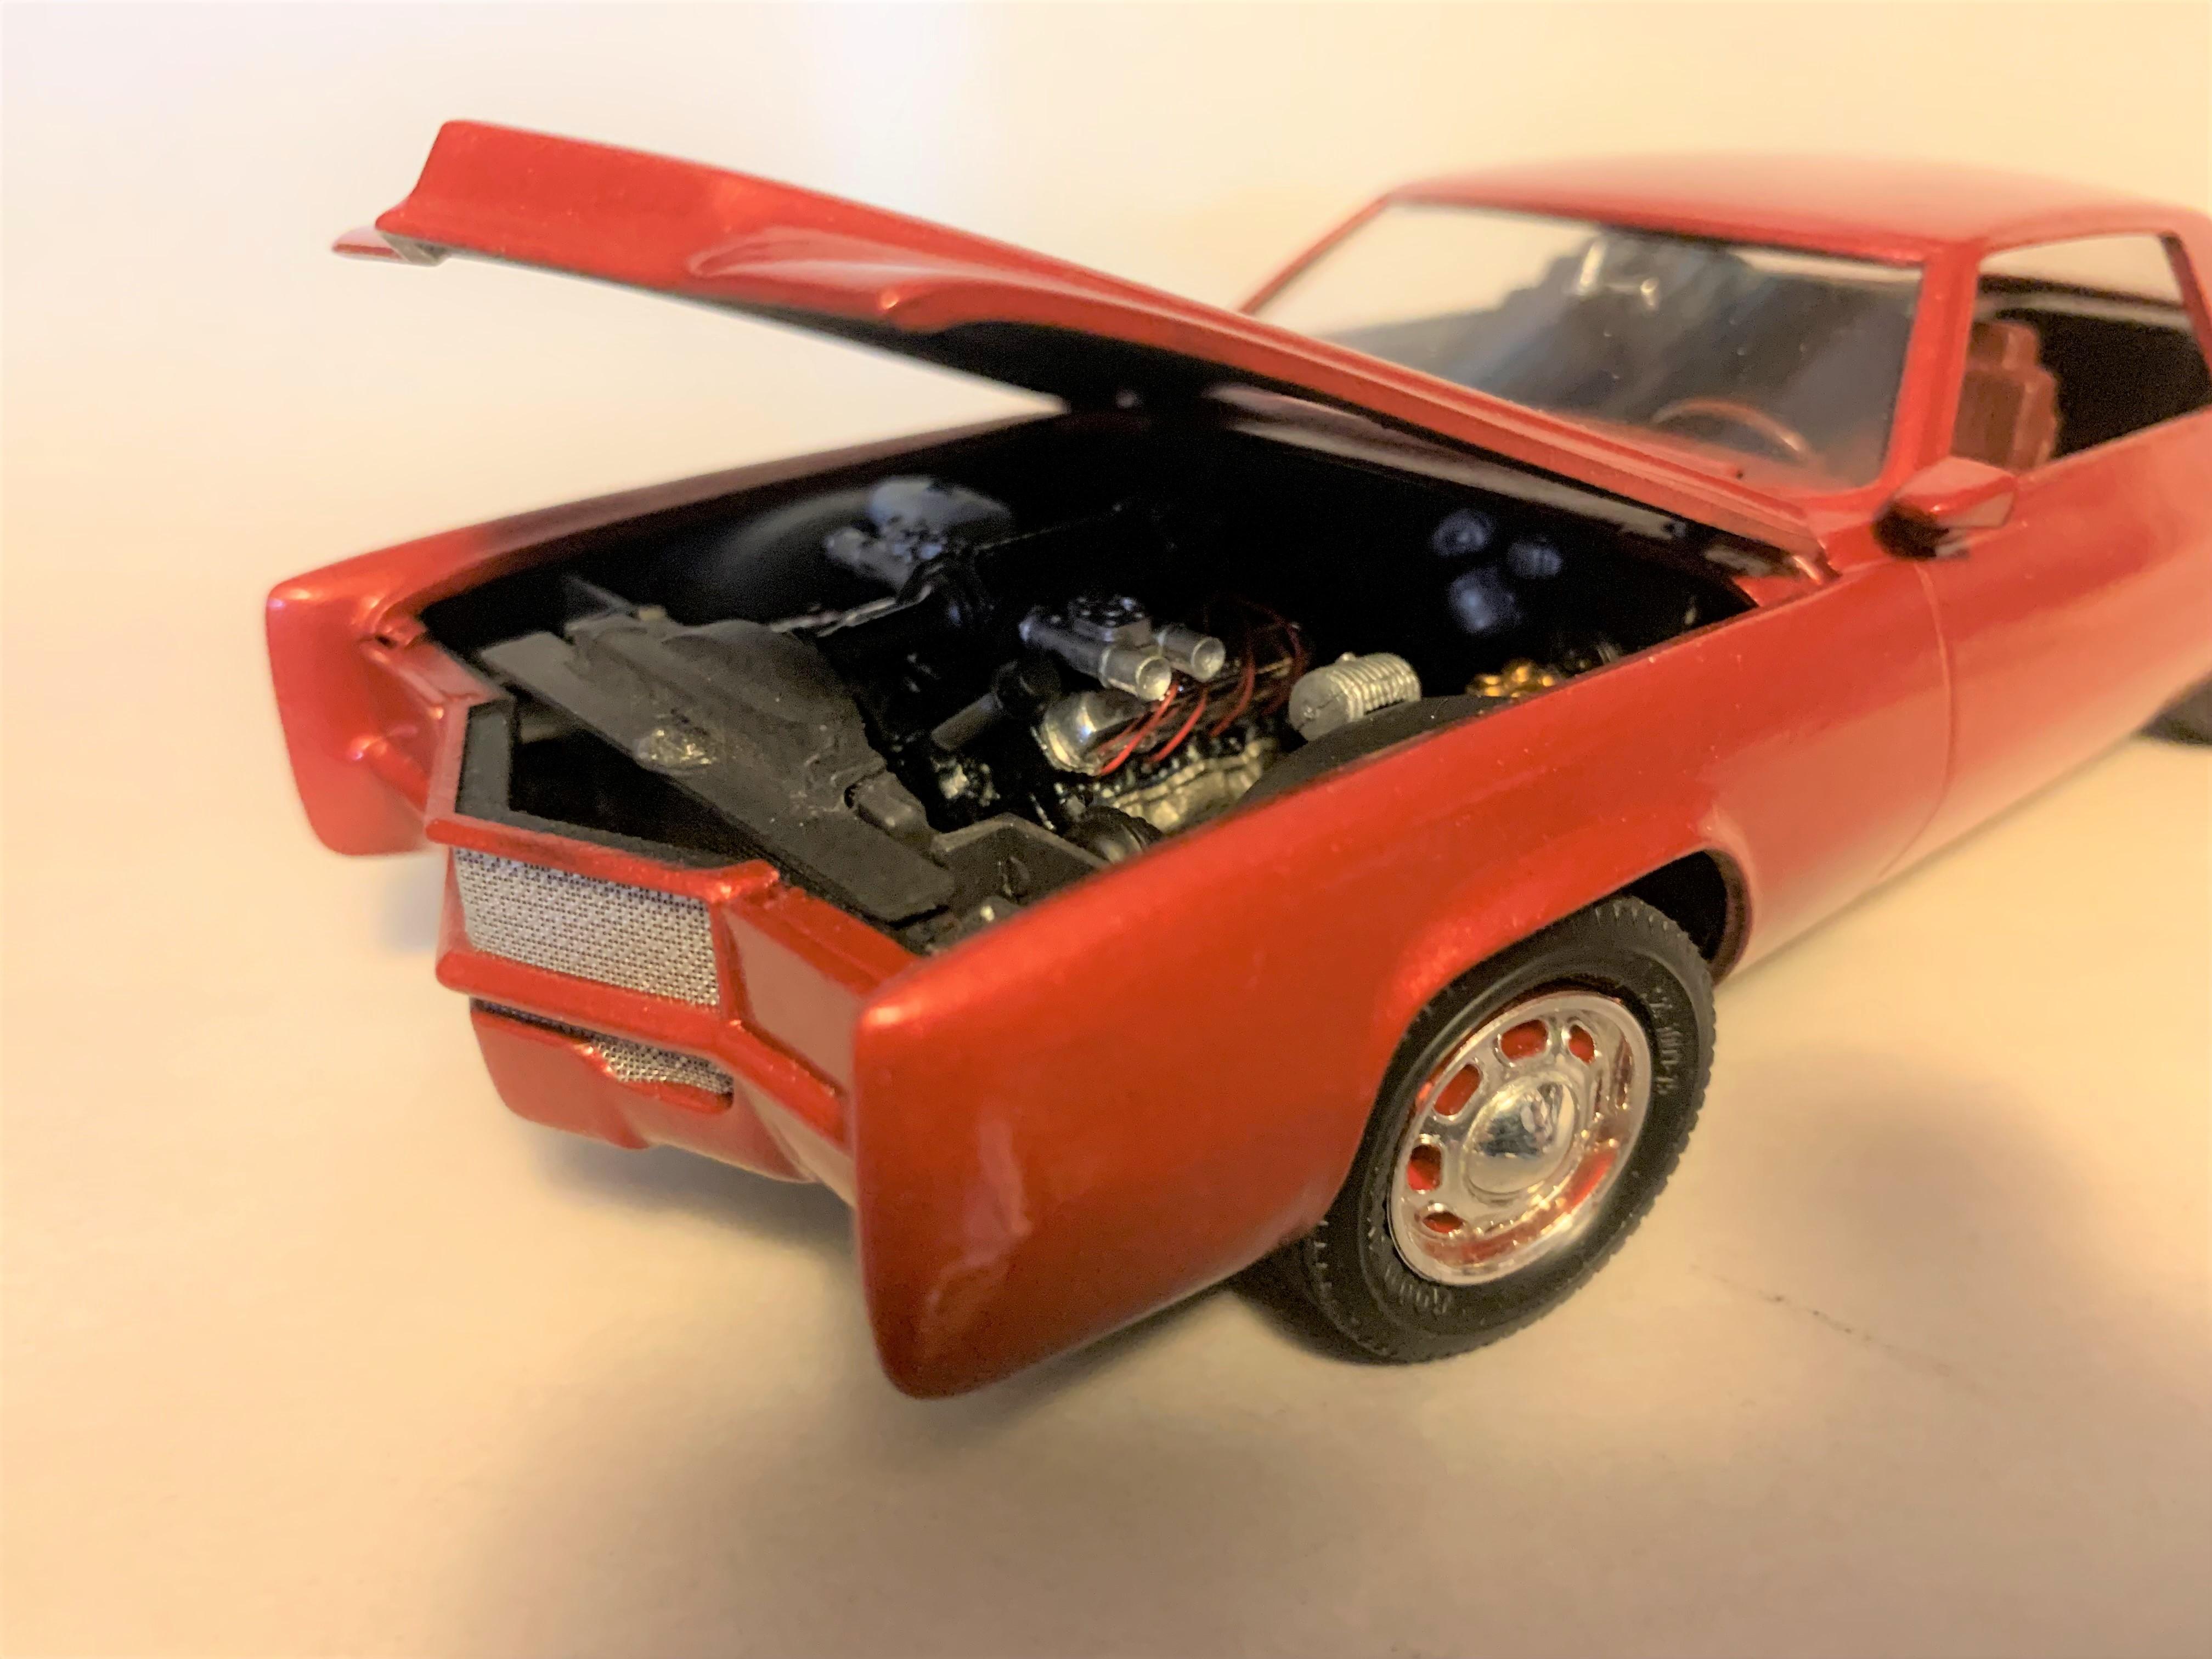
Found these two Lincoln Continentals at the Hoosier Model Club show and flea market for reasonable prices. Not glue bombs, fairly nicely built, no paint, and very restorable. One question- they should both be 1961's, but the right hand one has an engine and opening hood, the left one not- hood molded in place. Anyone shed some light on this?
-
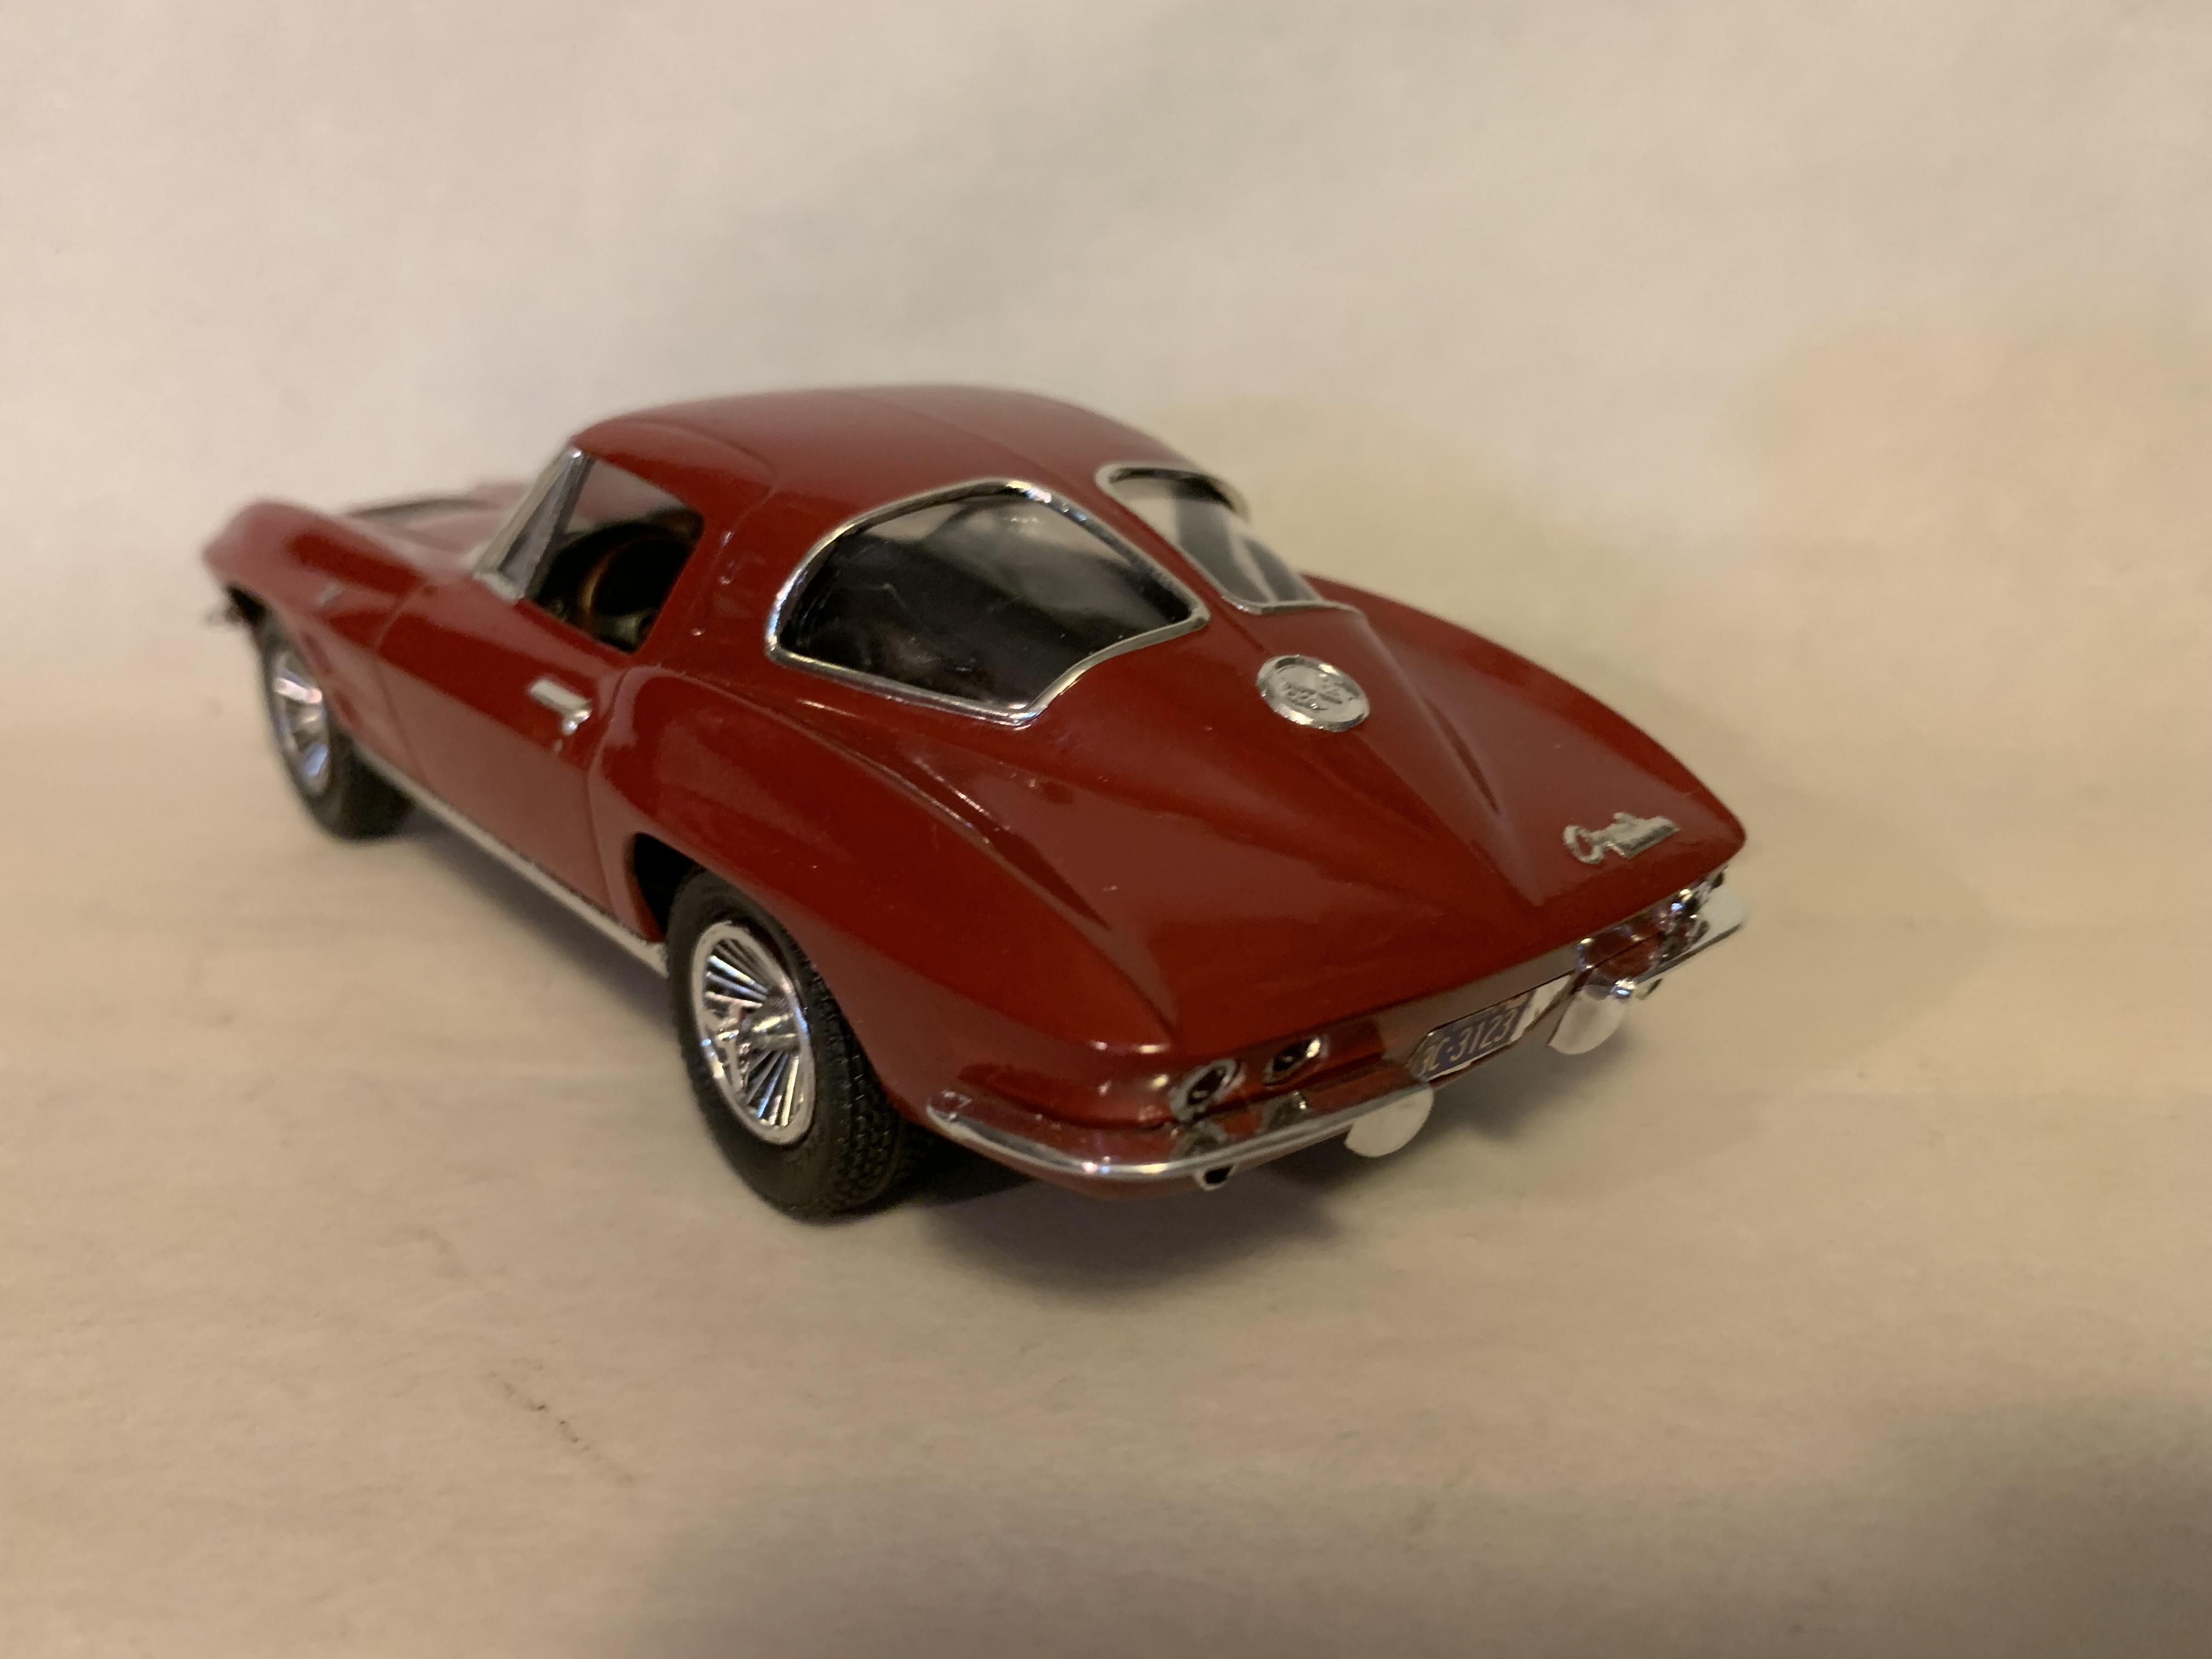
Thank you all- noticed the left front knock off had come adrift- now back in place!
-
Out of the box, AMT, paint and BMF, about 10 years ago.
-
truck, boat, and trailer
Paul Payne replied to Paul Payne's topic in WIP: Model Trucks: Pickups, Vans, SUVs, Light Commercial
Now that the Power Wagon is finished, I've started back up on the big boat. I started putting in some ribs where they would be visible in the engine compartment, and made a start on the V-16 engine- by cutting off the cams, combustion chamber, and intake and exhaust ports- from two Monogram Duesenberg engines! My friend Alex had included a length of plastic rectangular tubing which will be perfect for the new cylinder banks- just needs to have the corners sharpened a bit. It's not styrene- tried a little liquid styrene cement and it didn't soften it at all. More pix when I get more done!
-
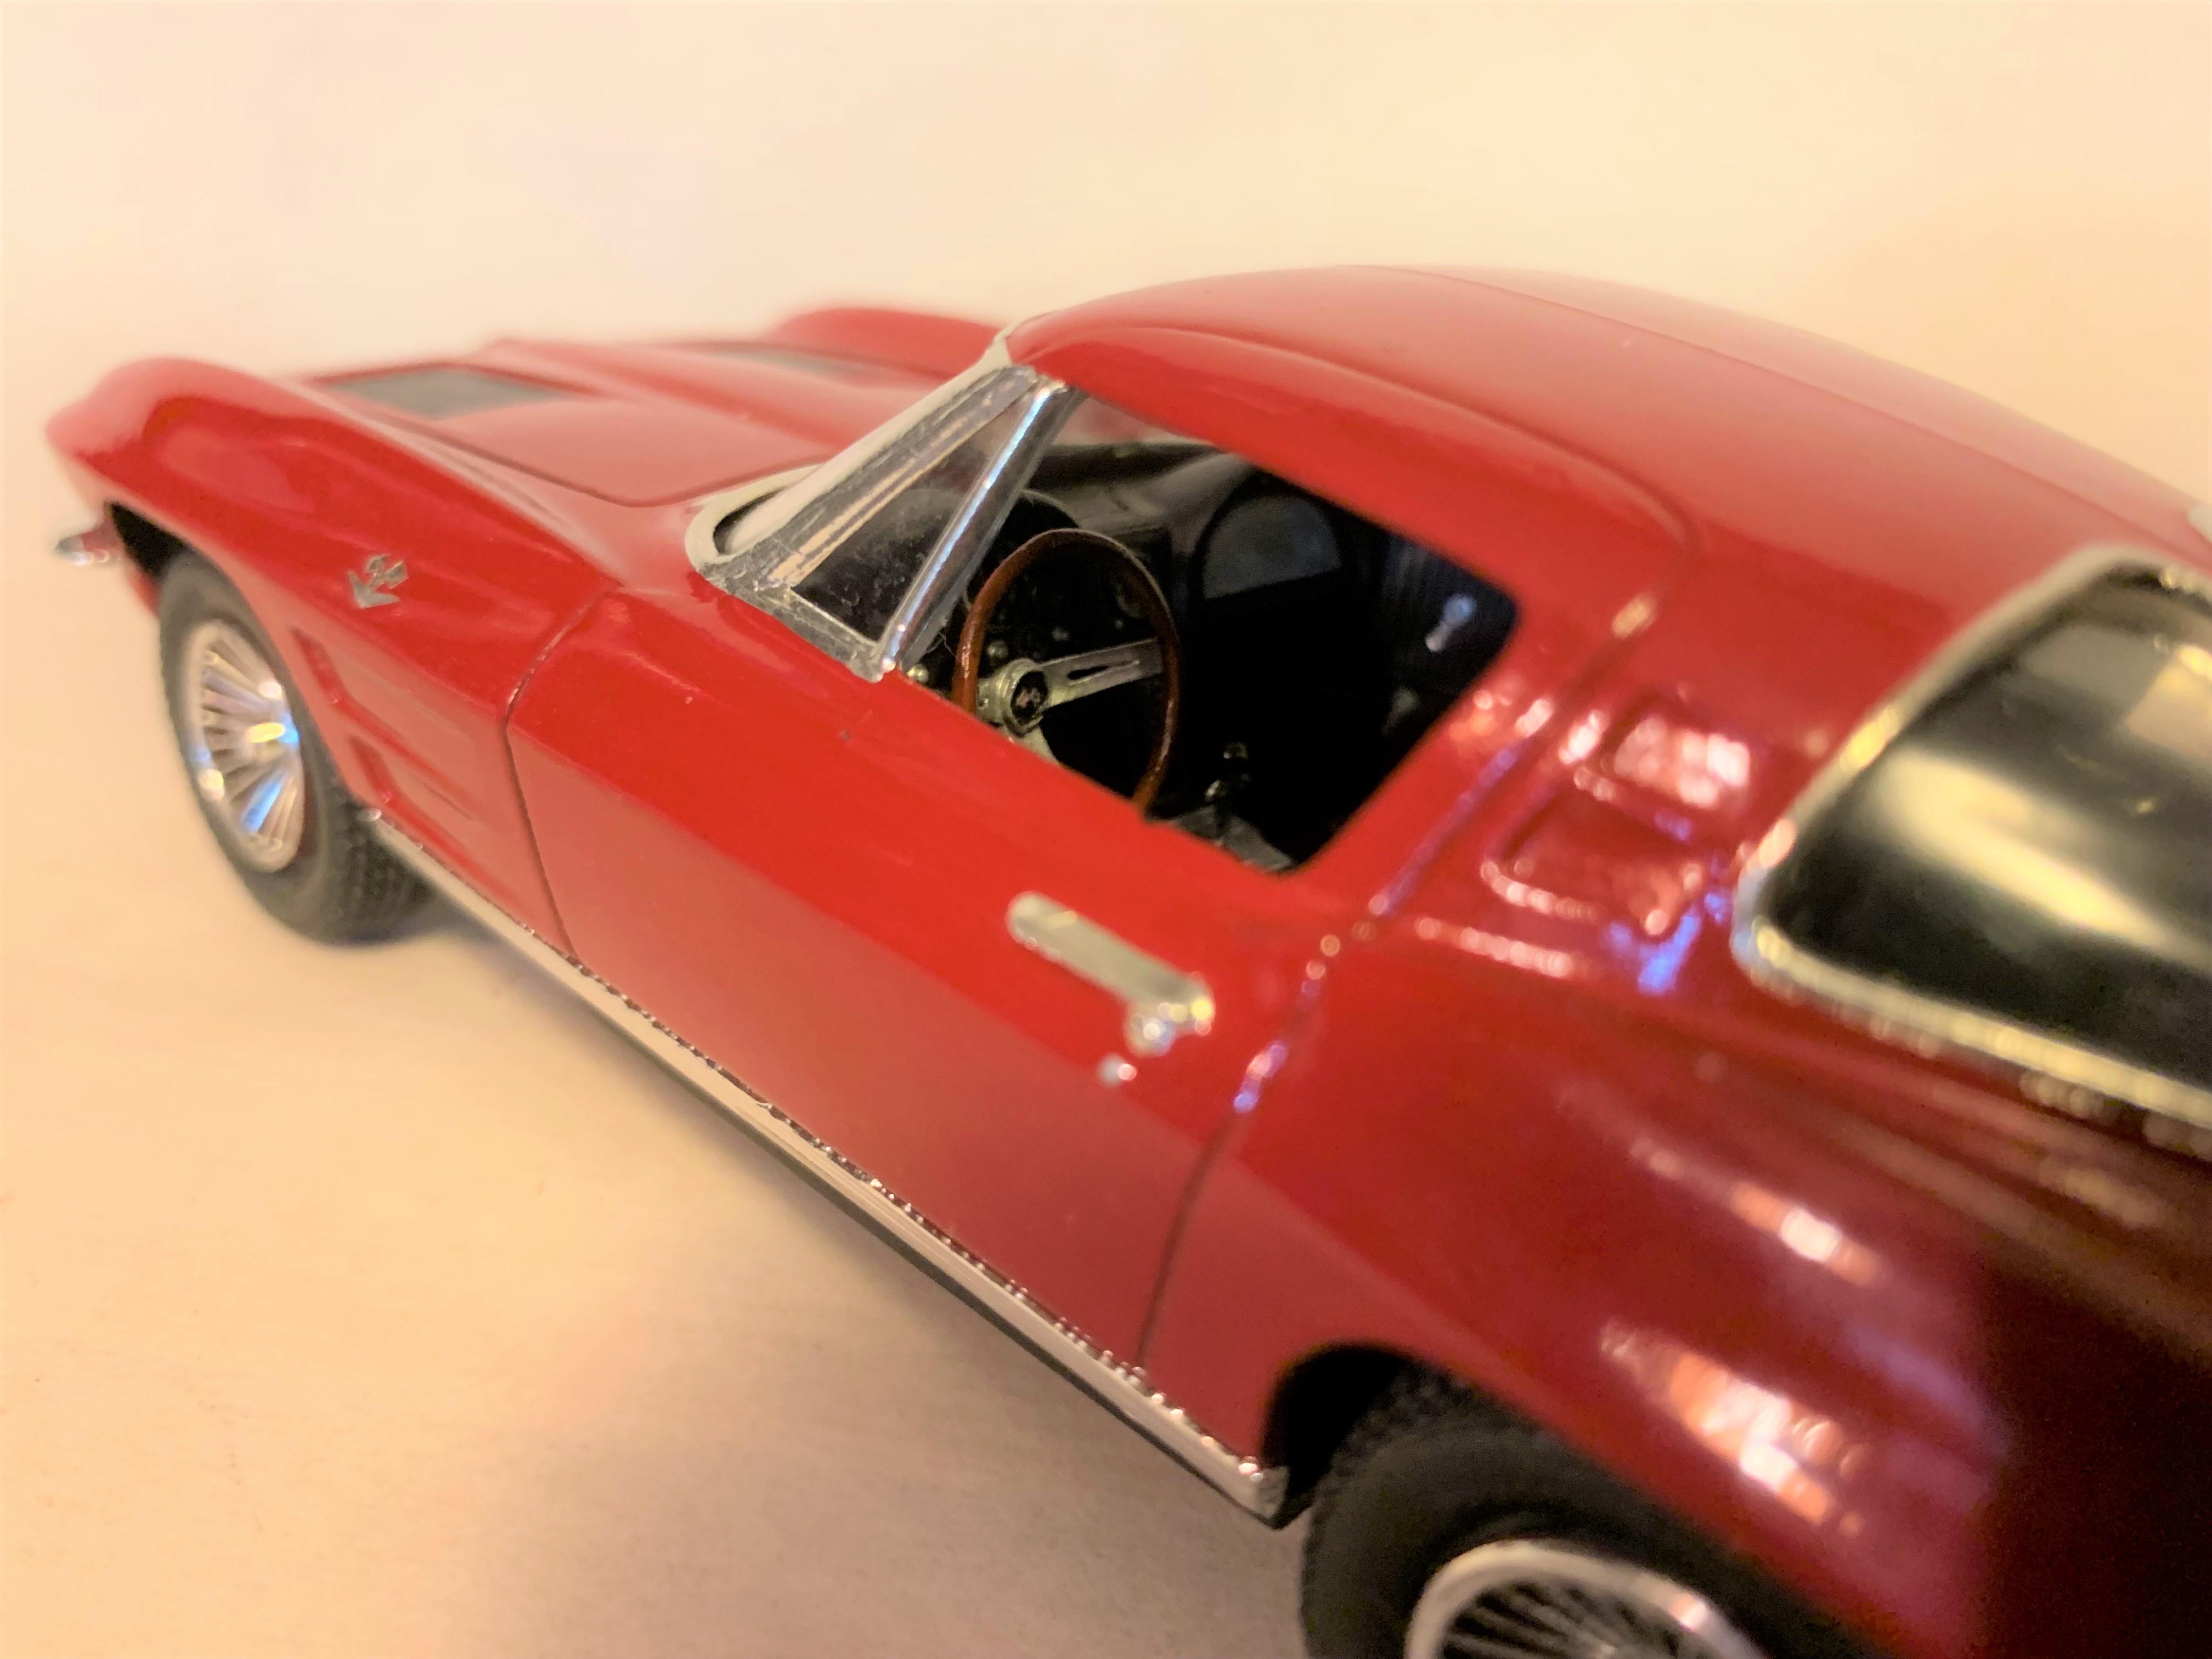
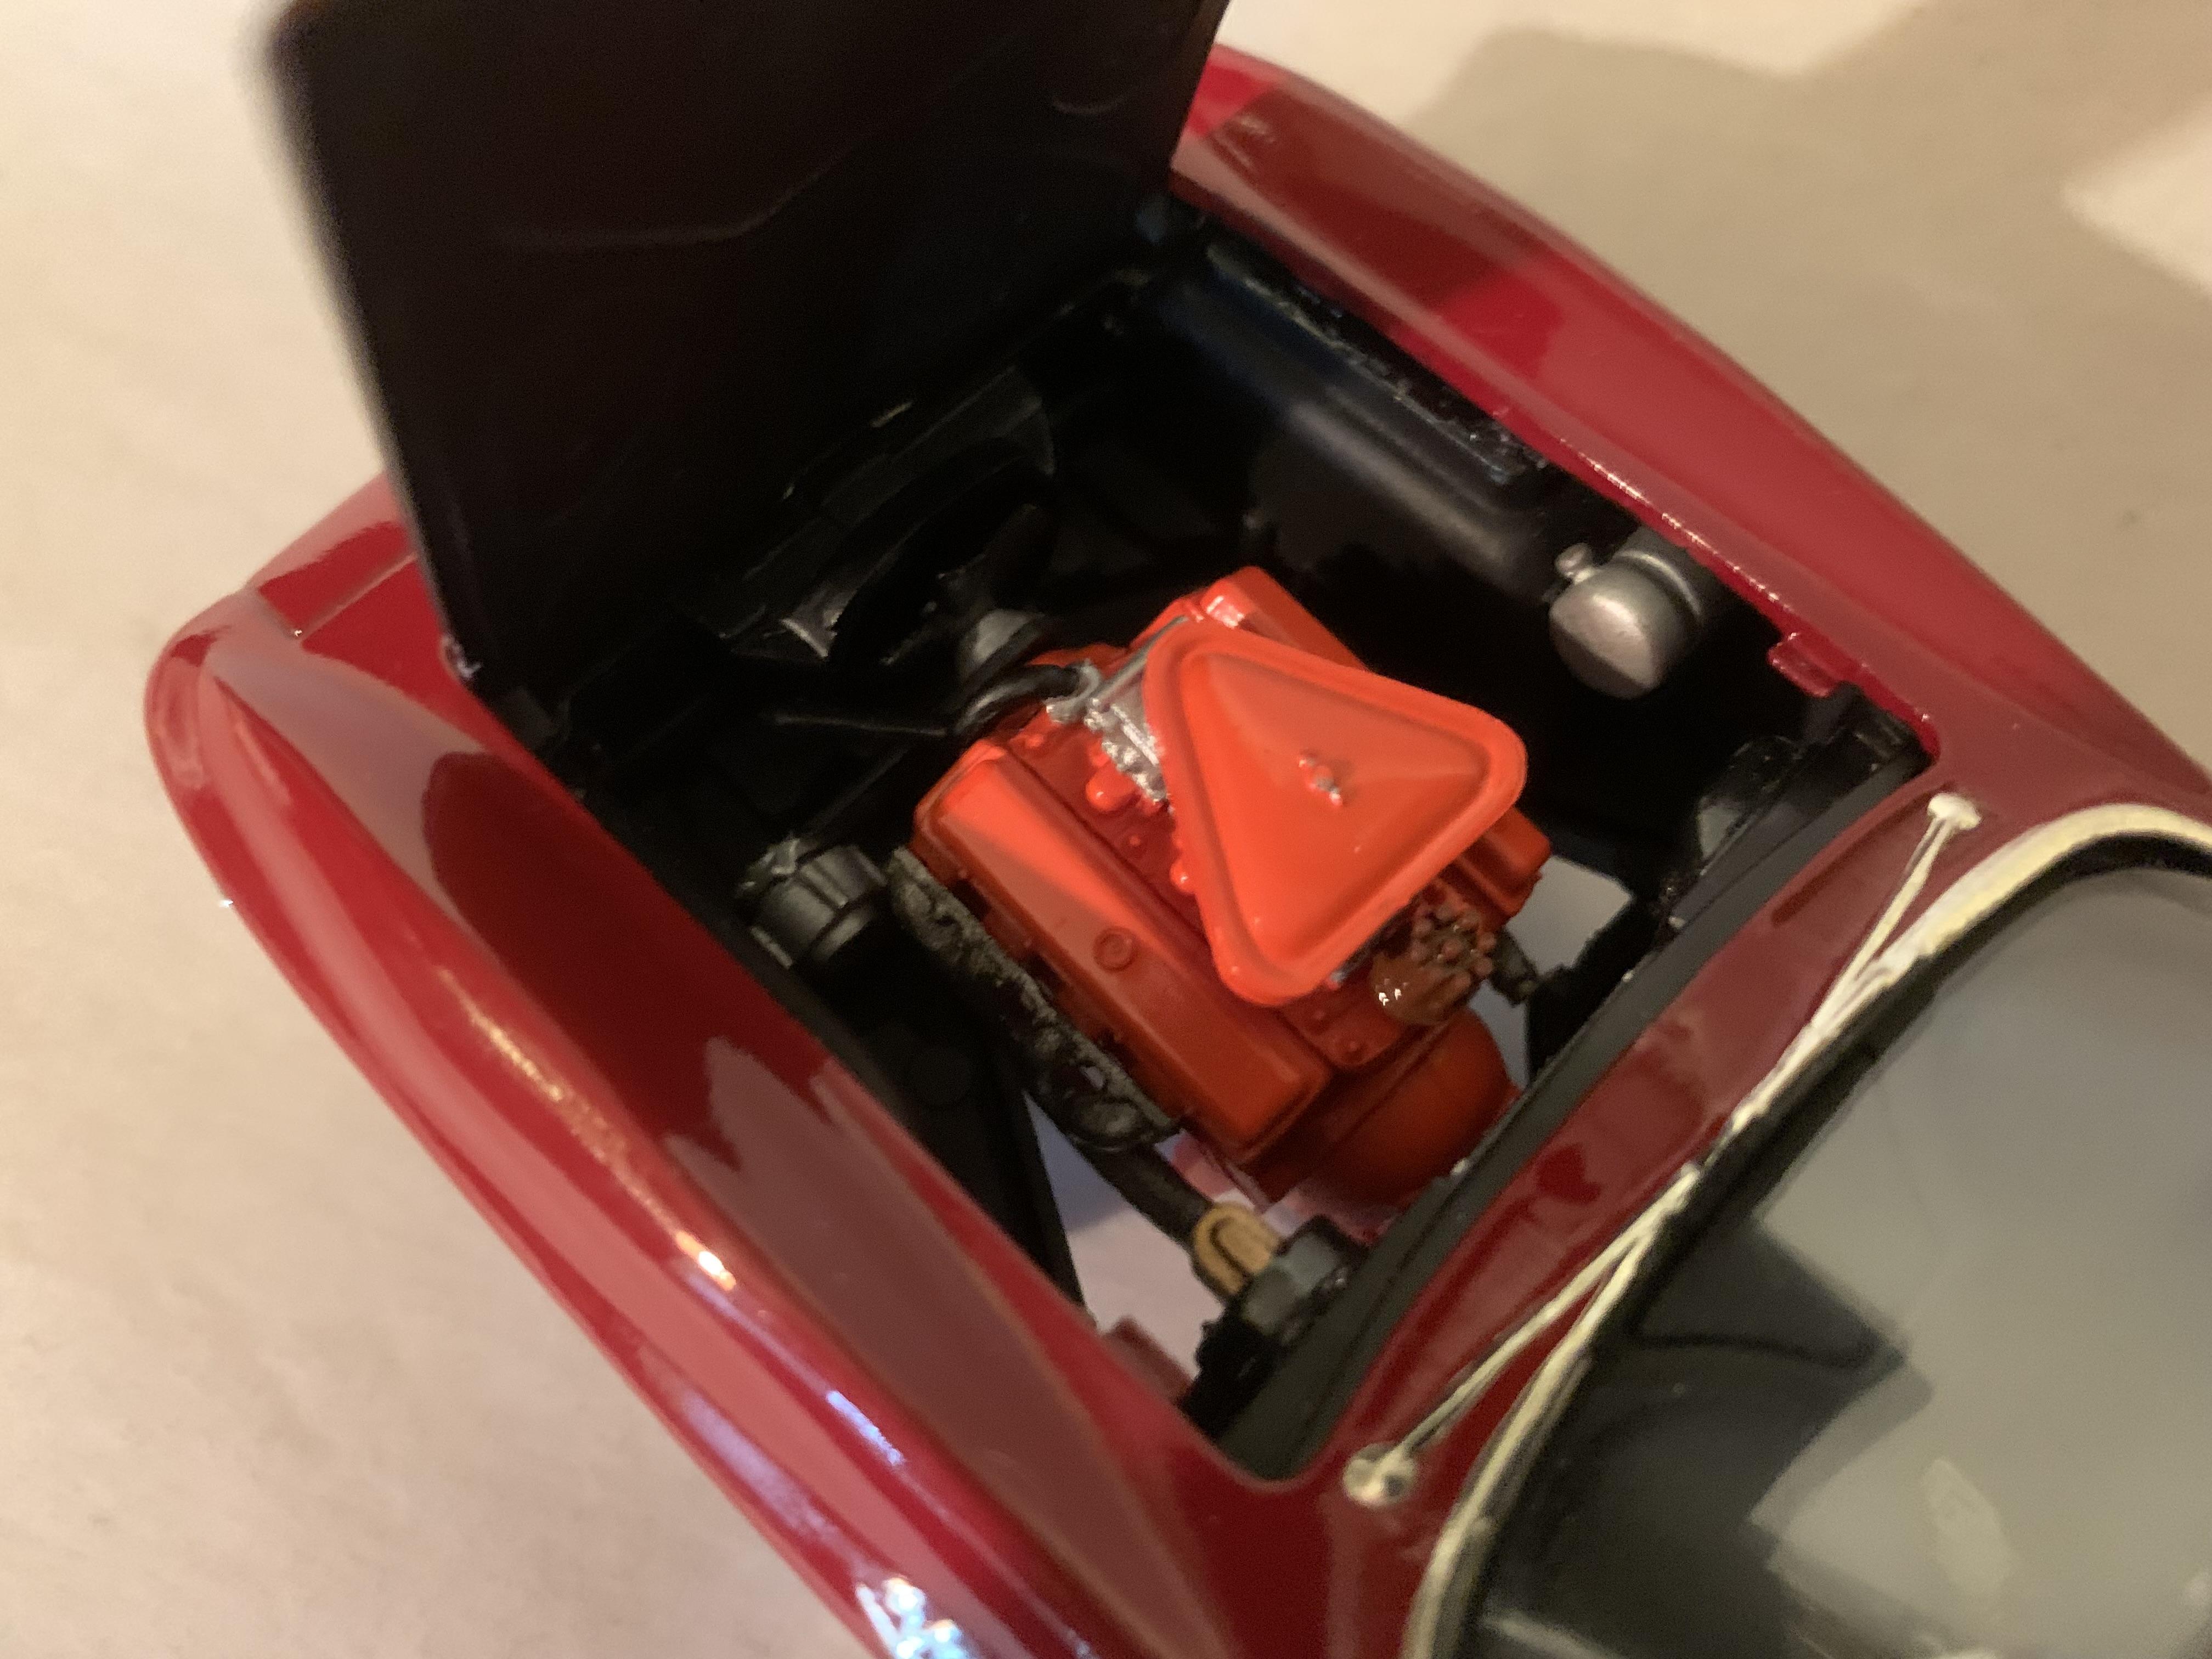
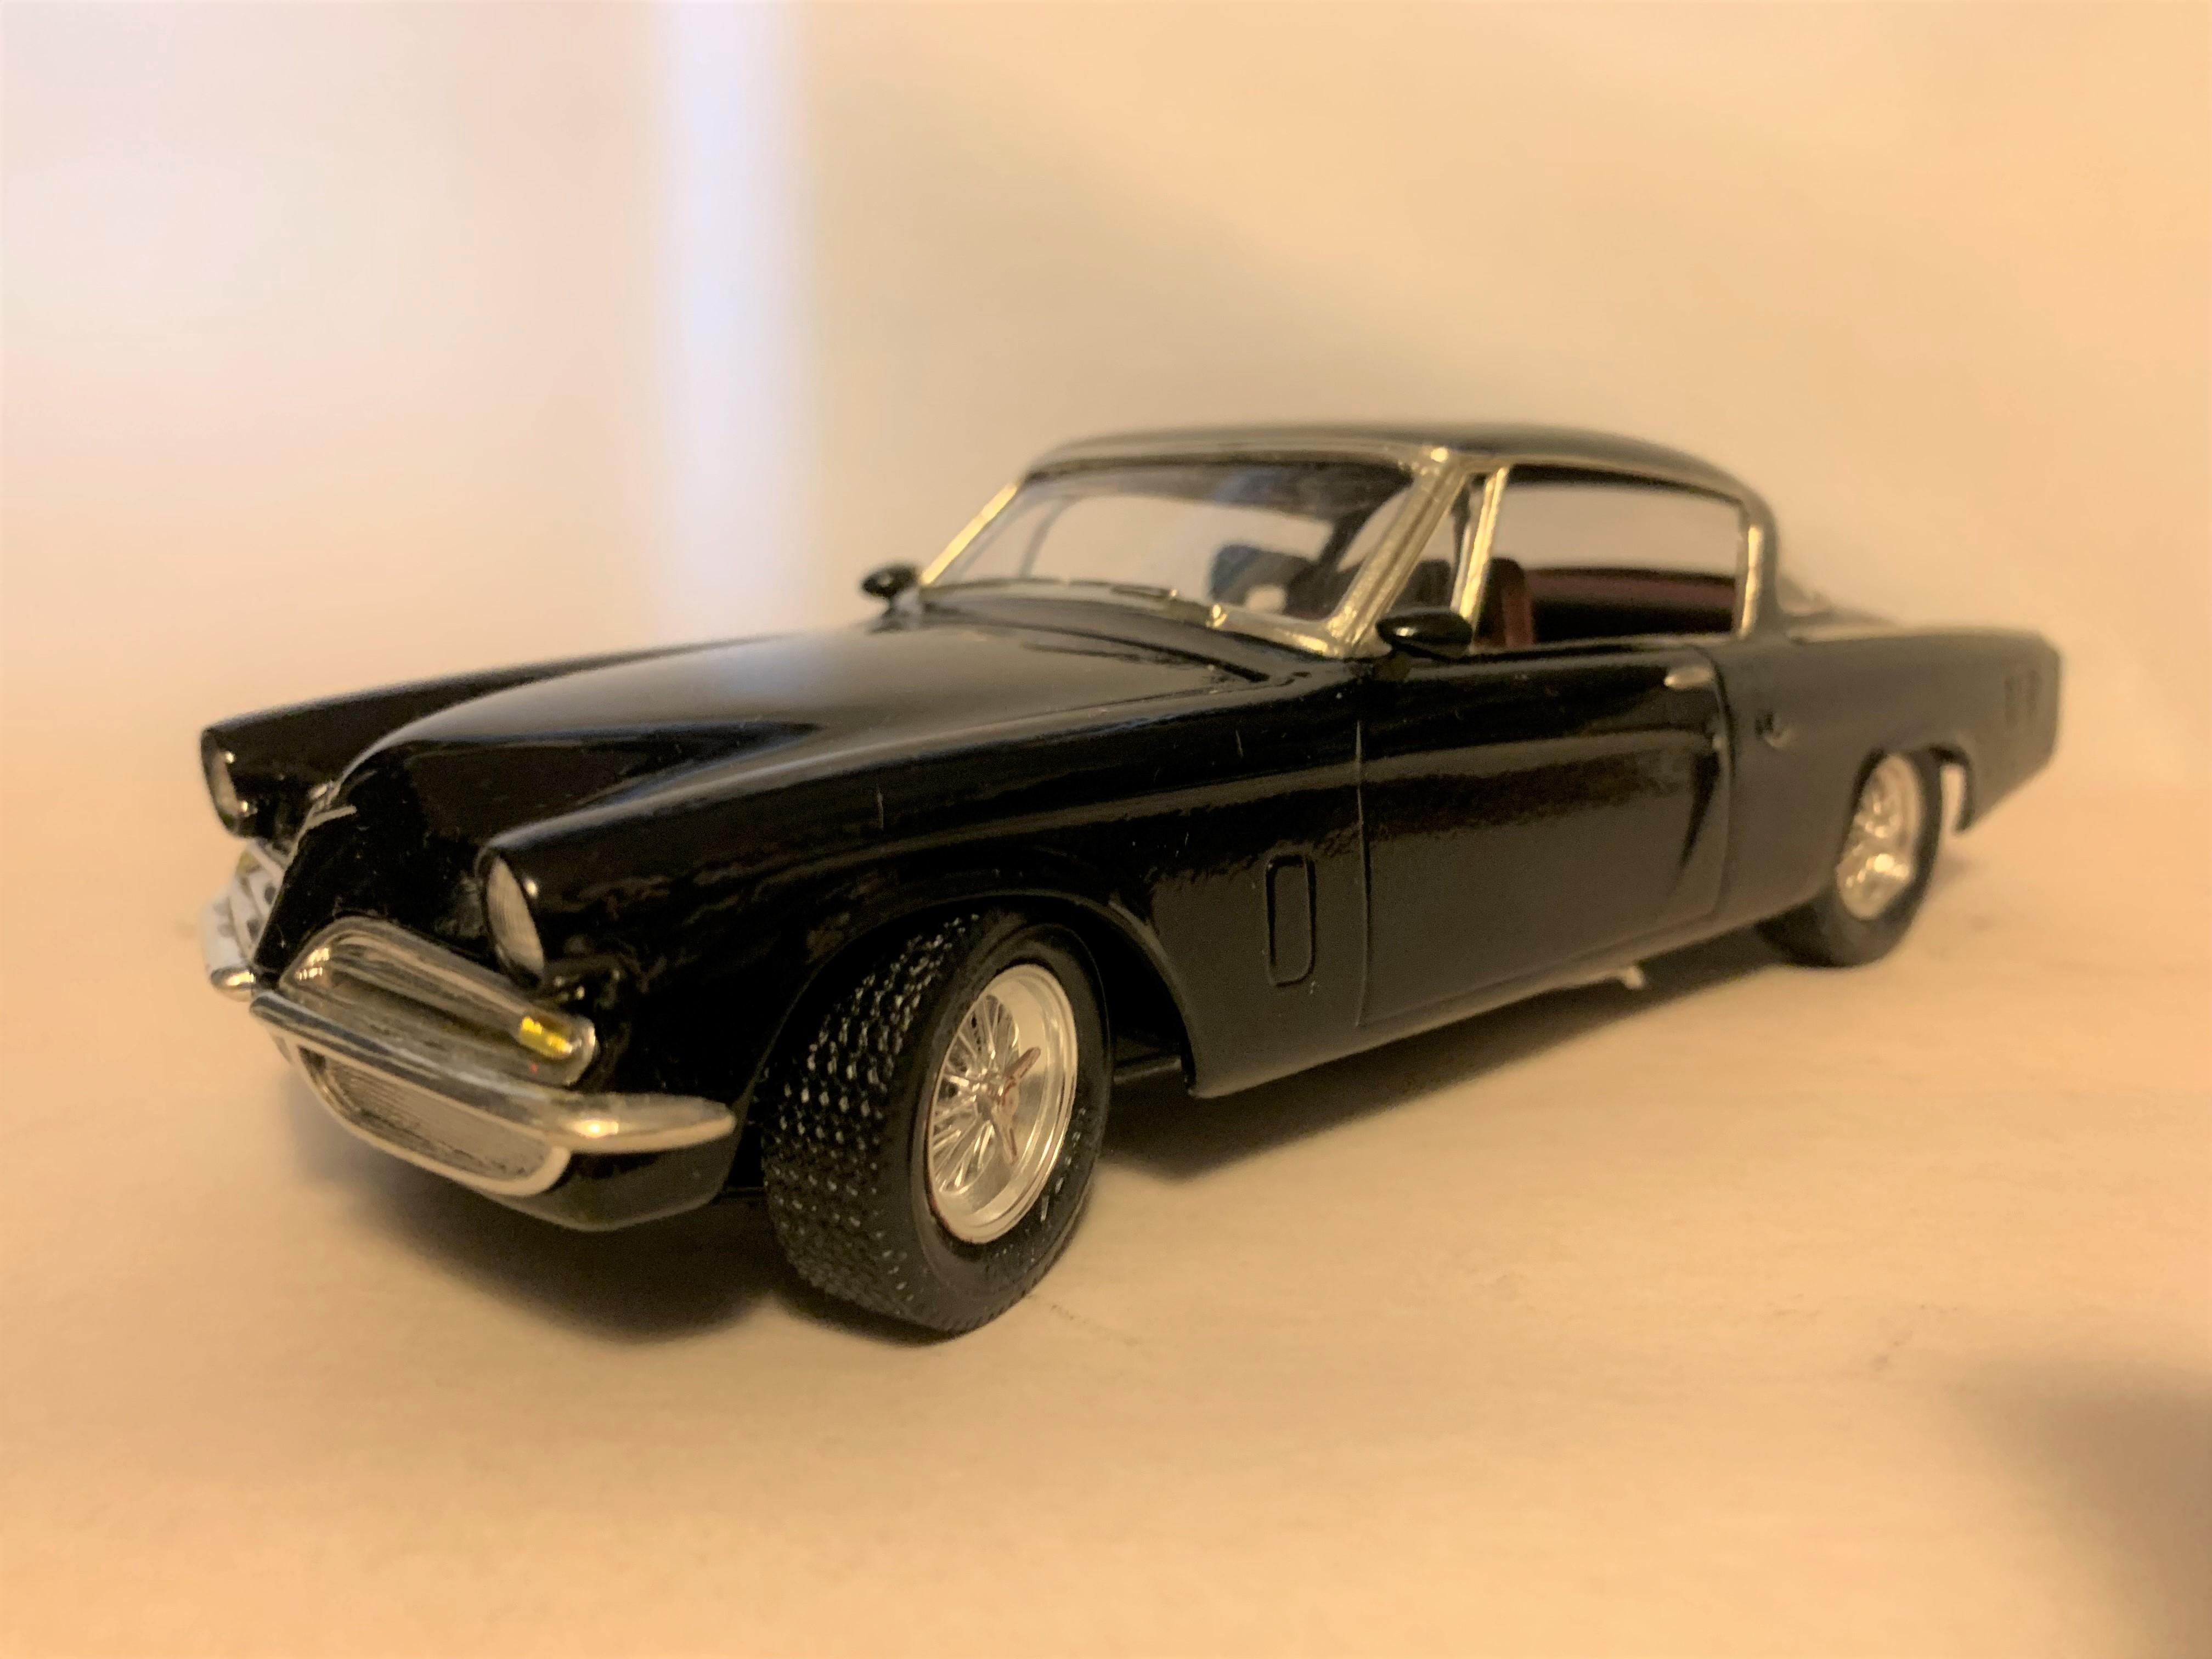
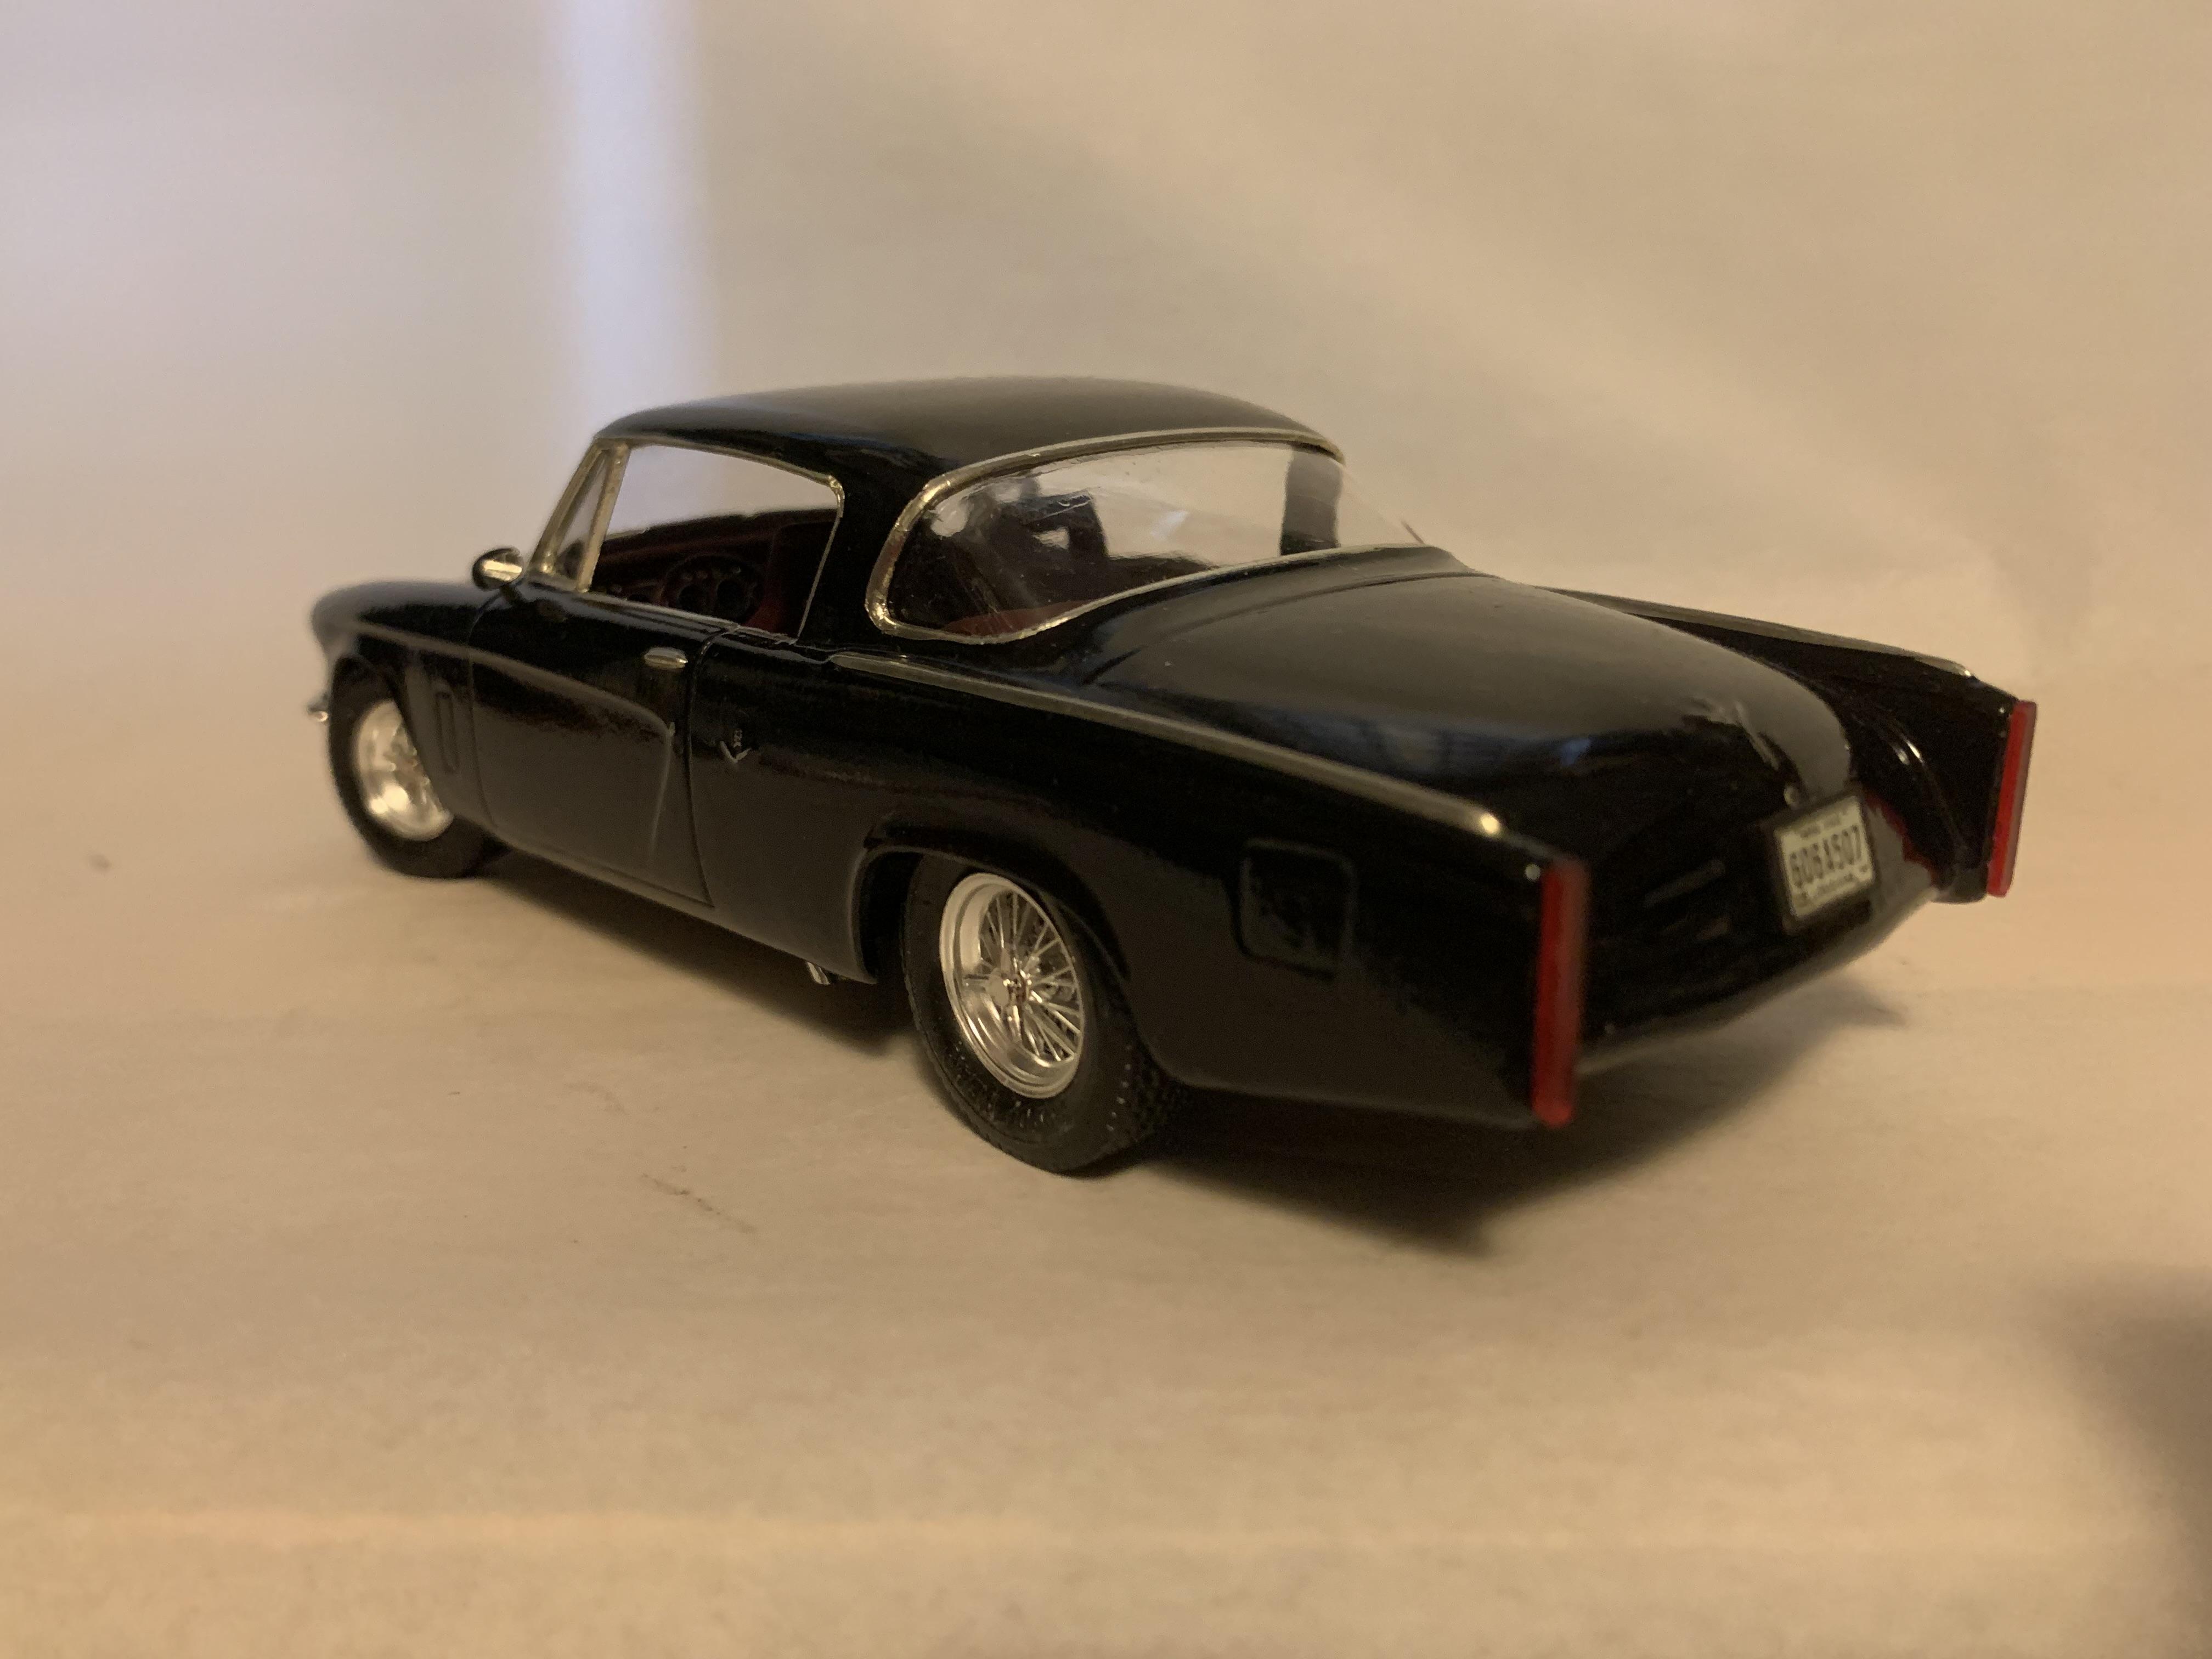
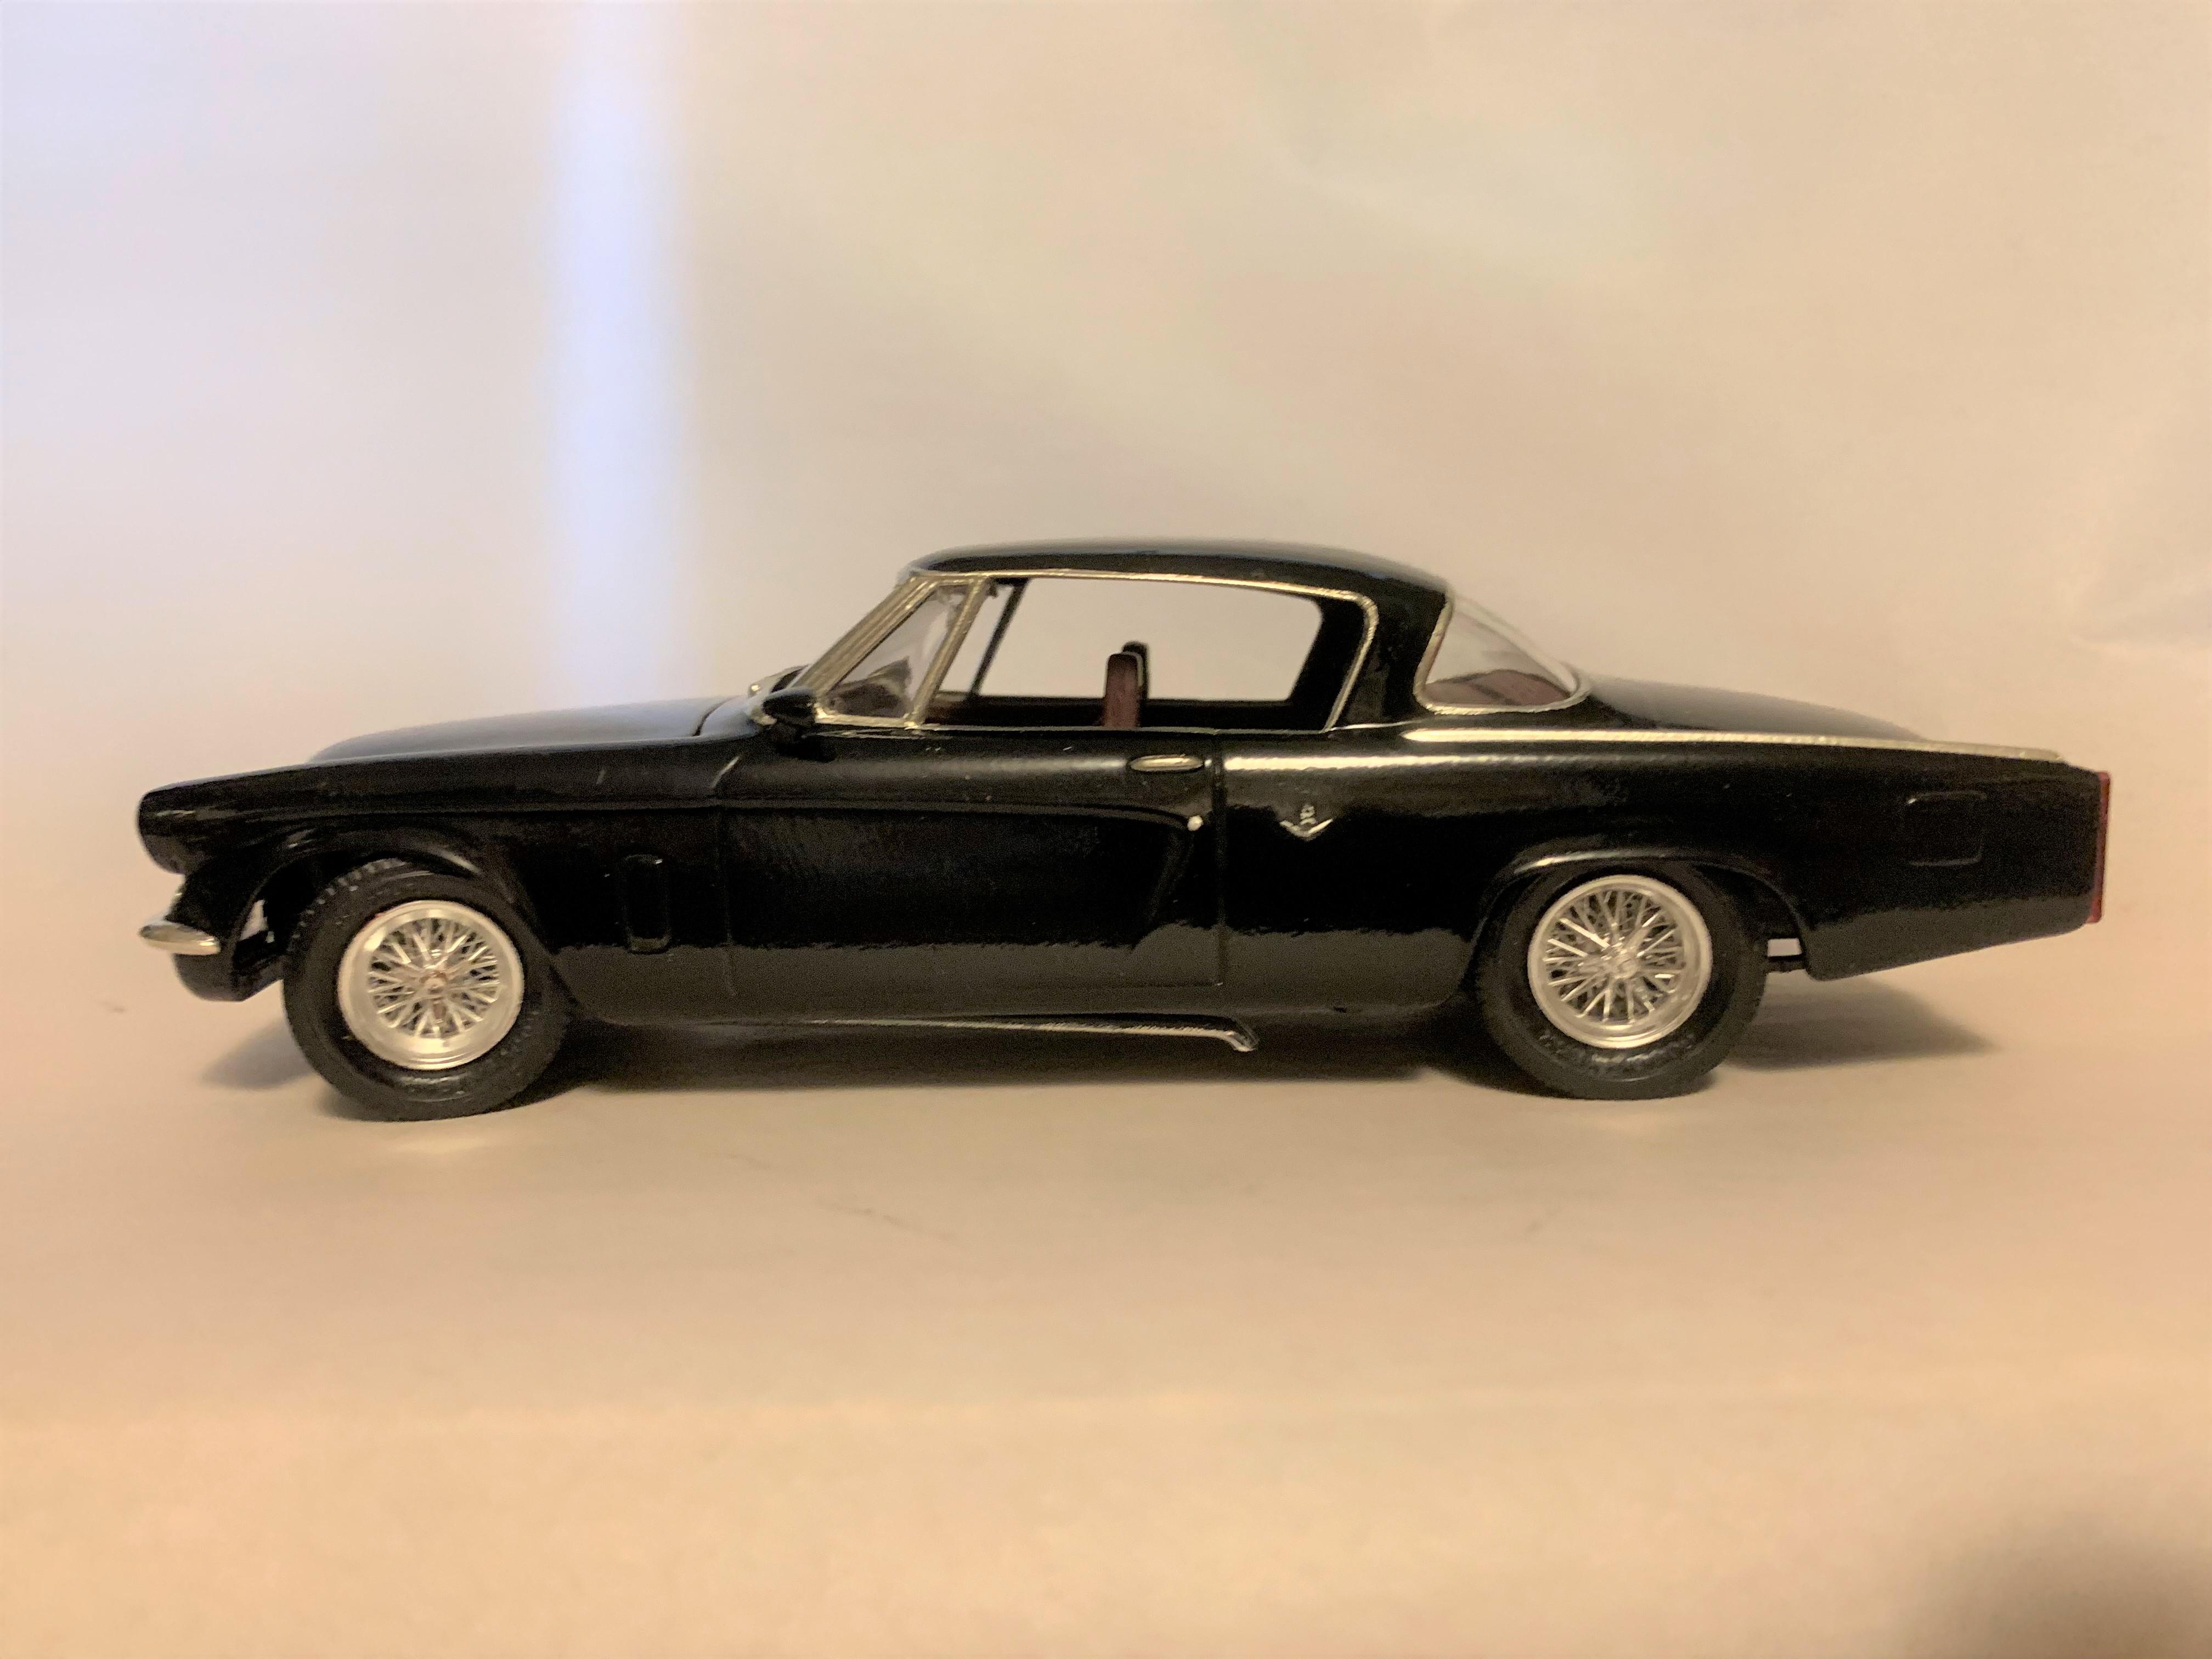
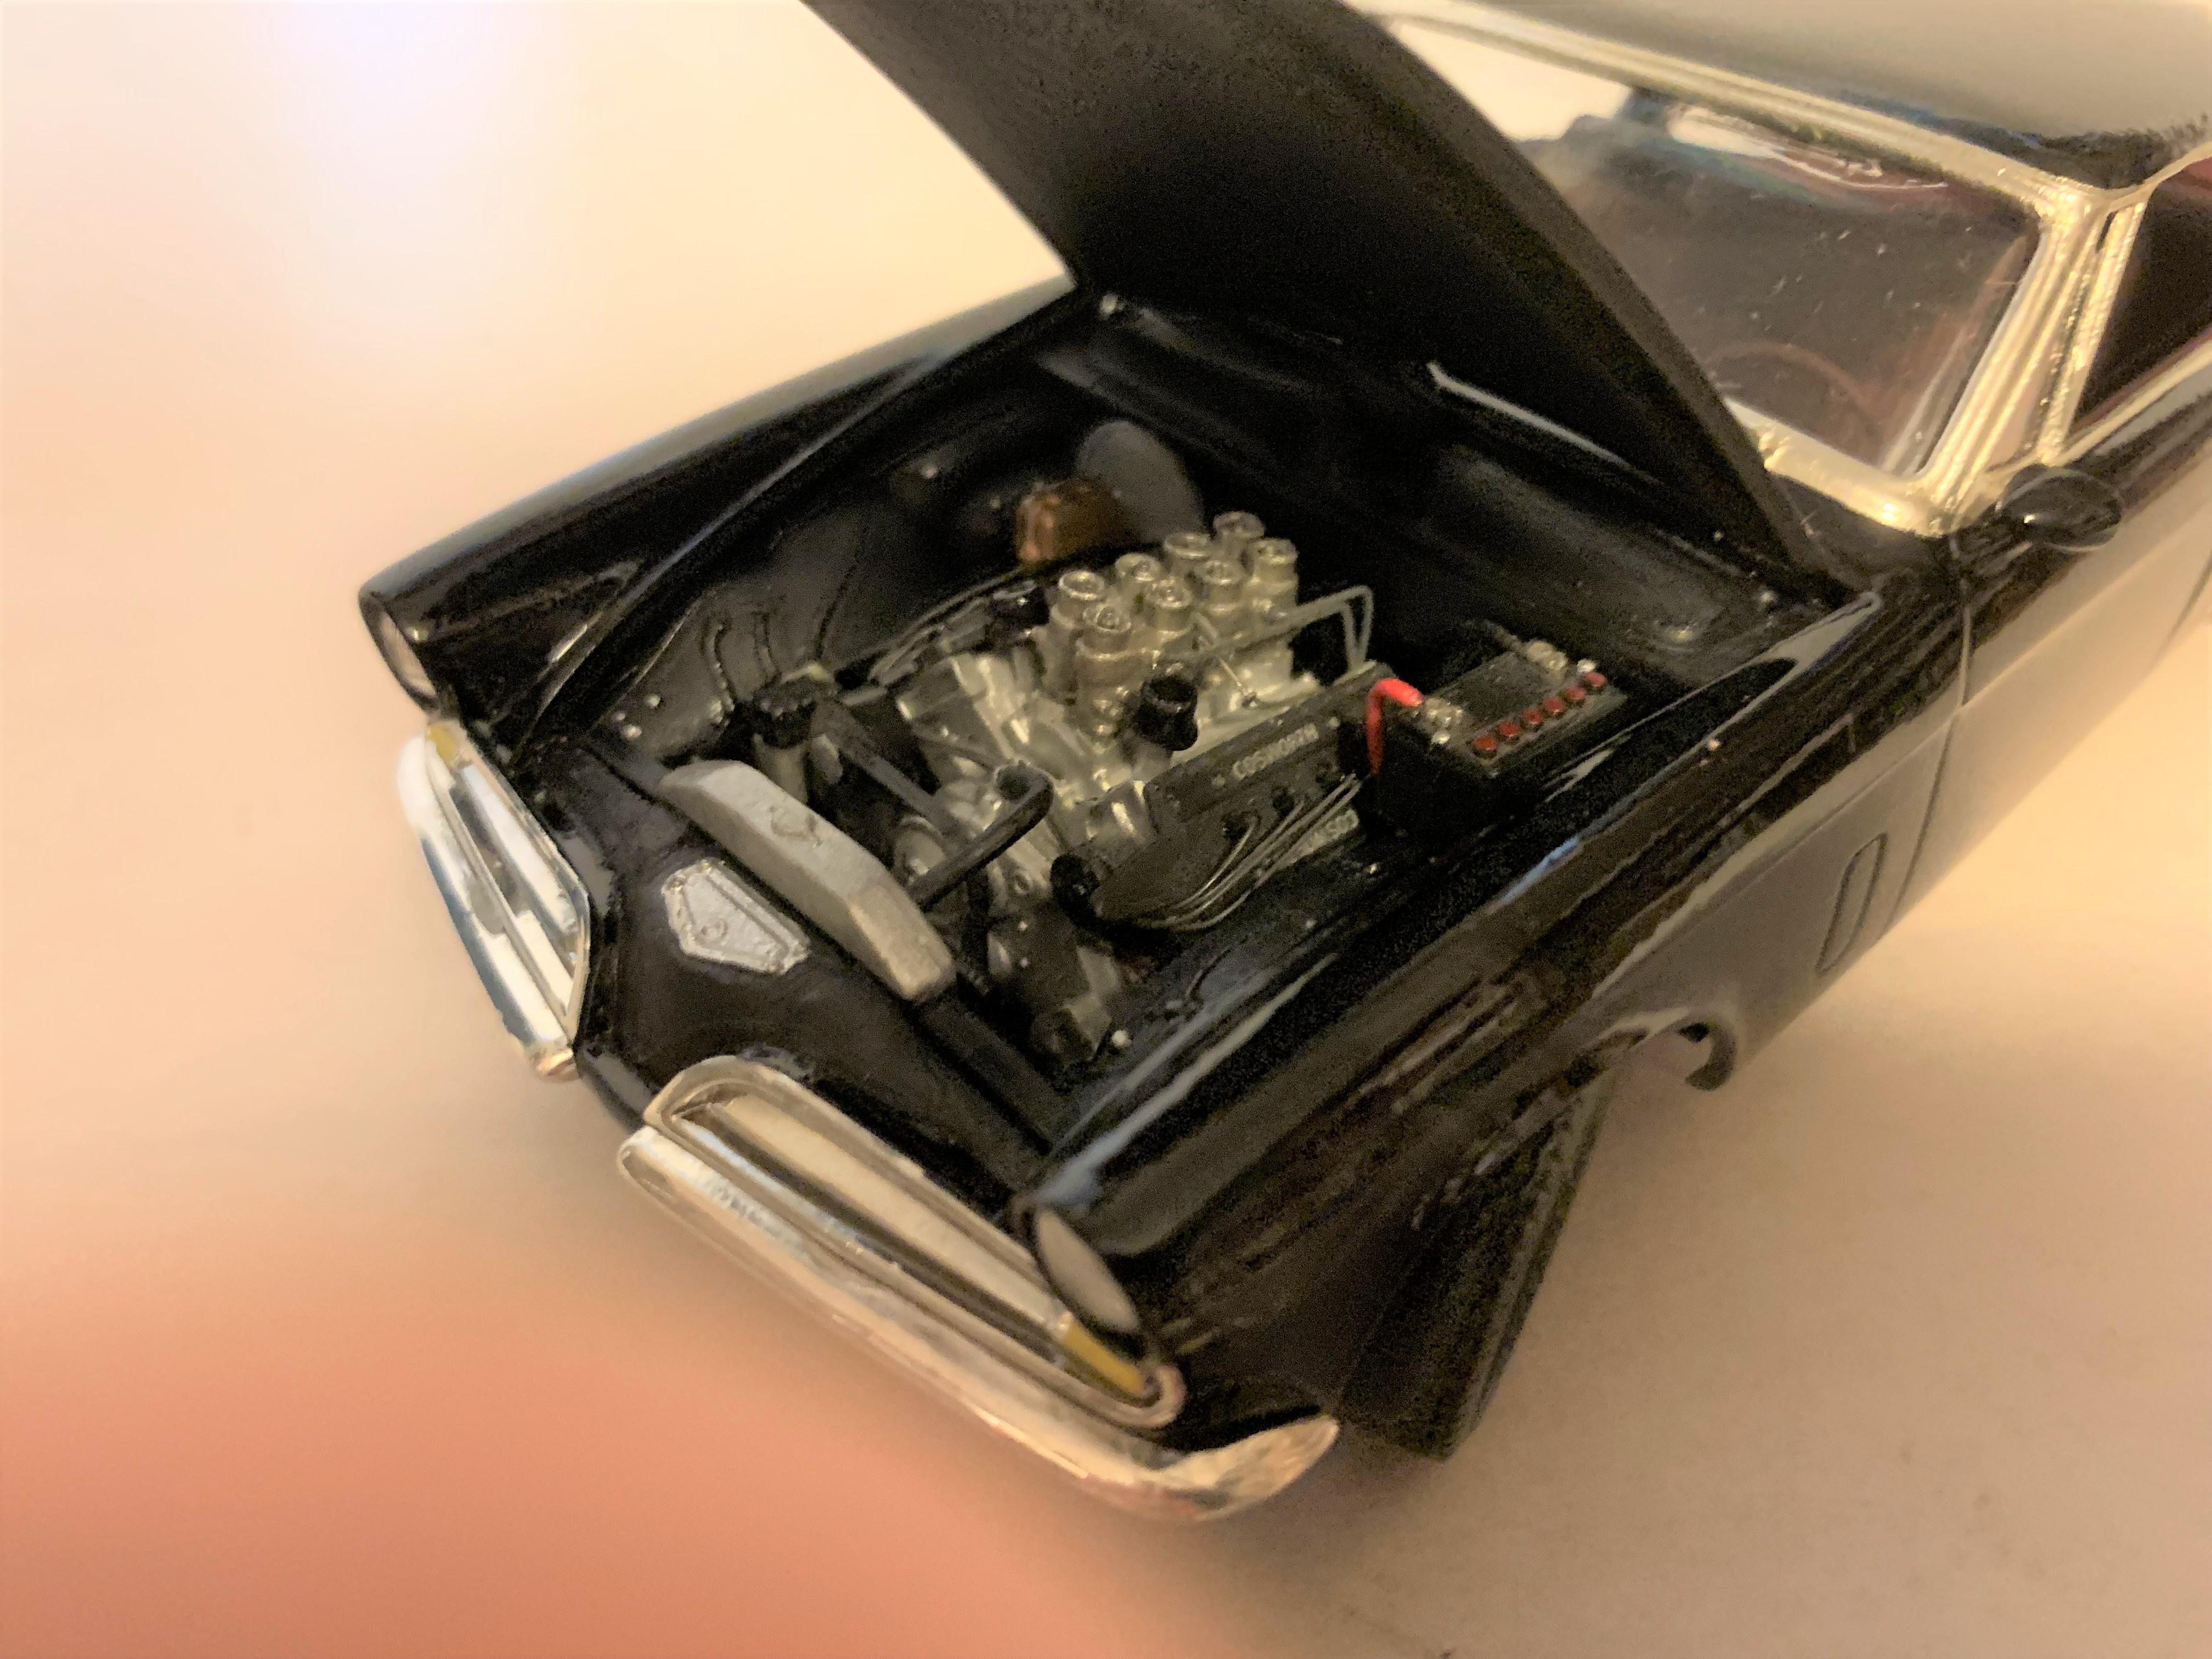
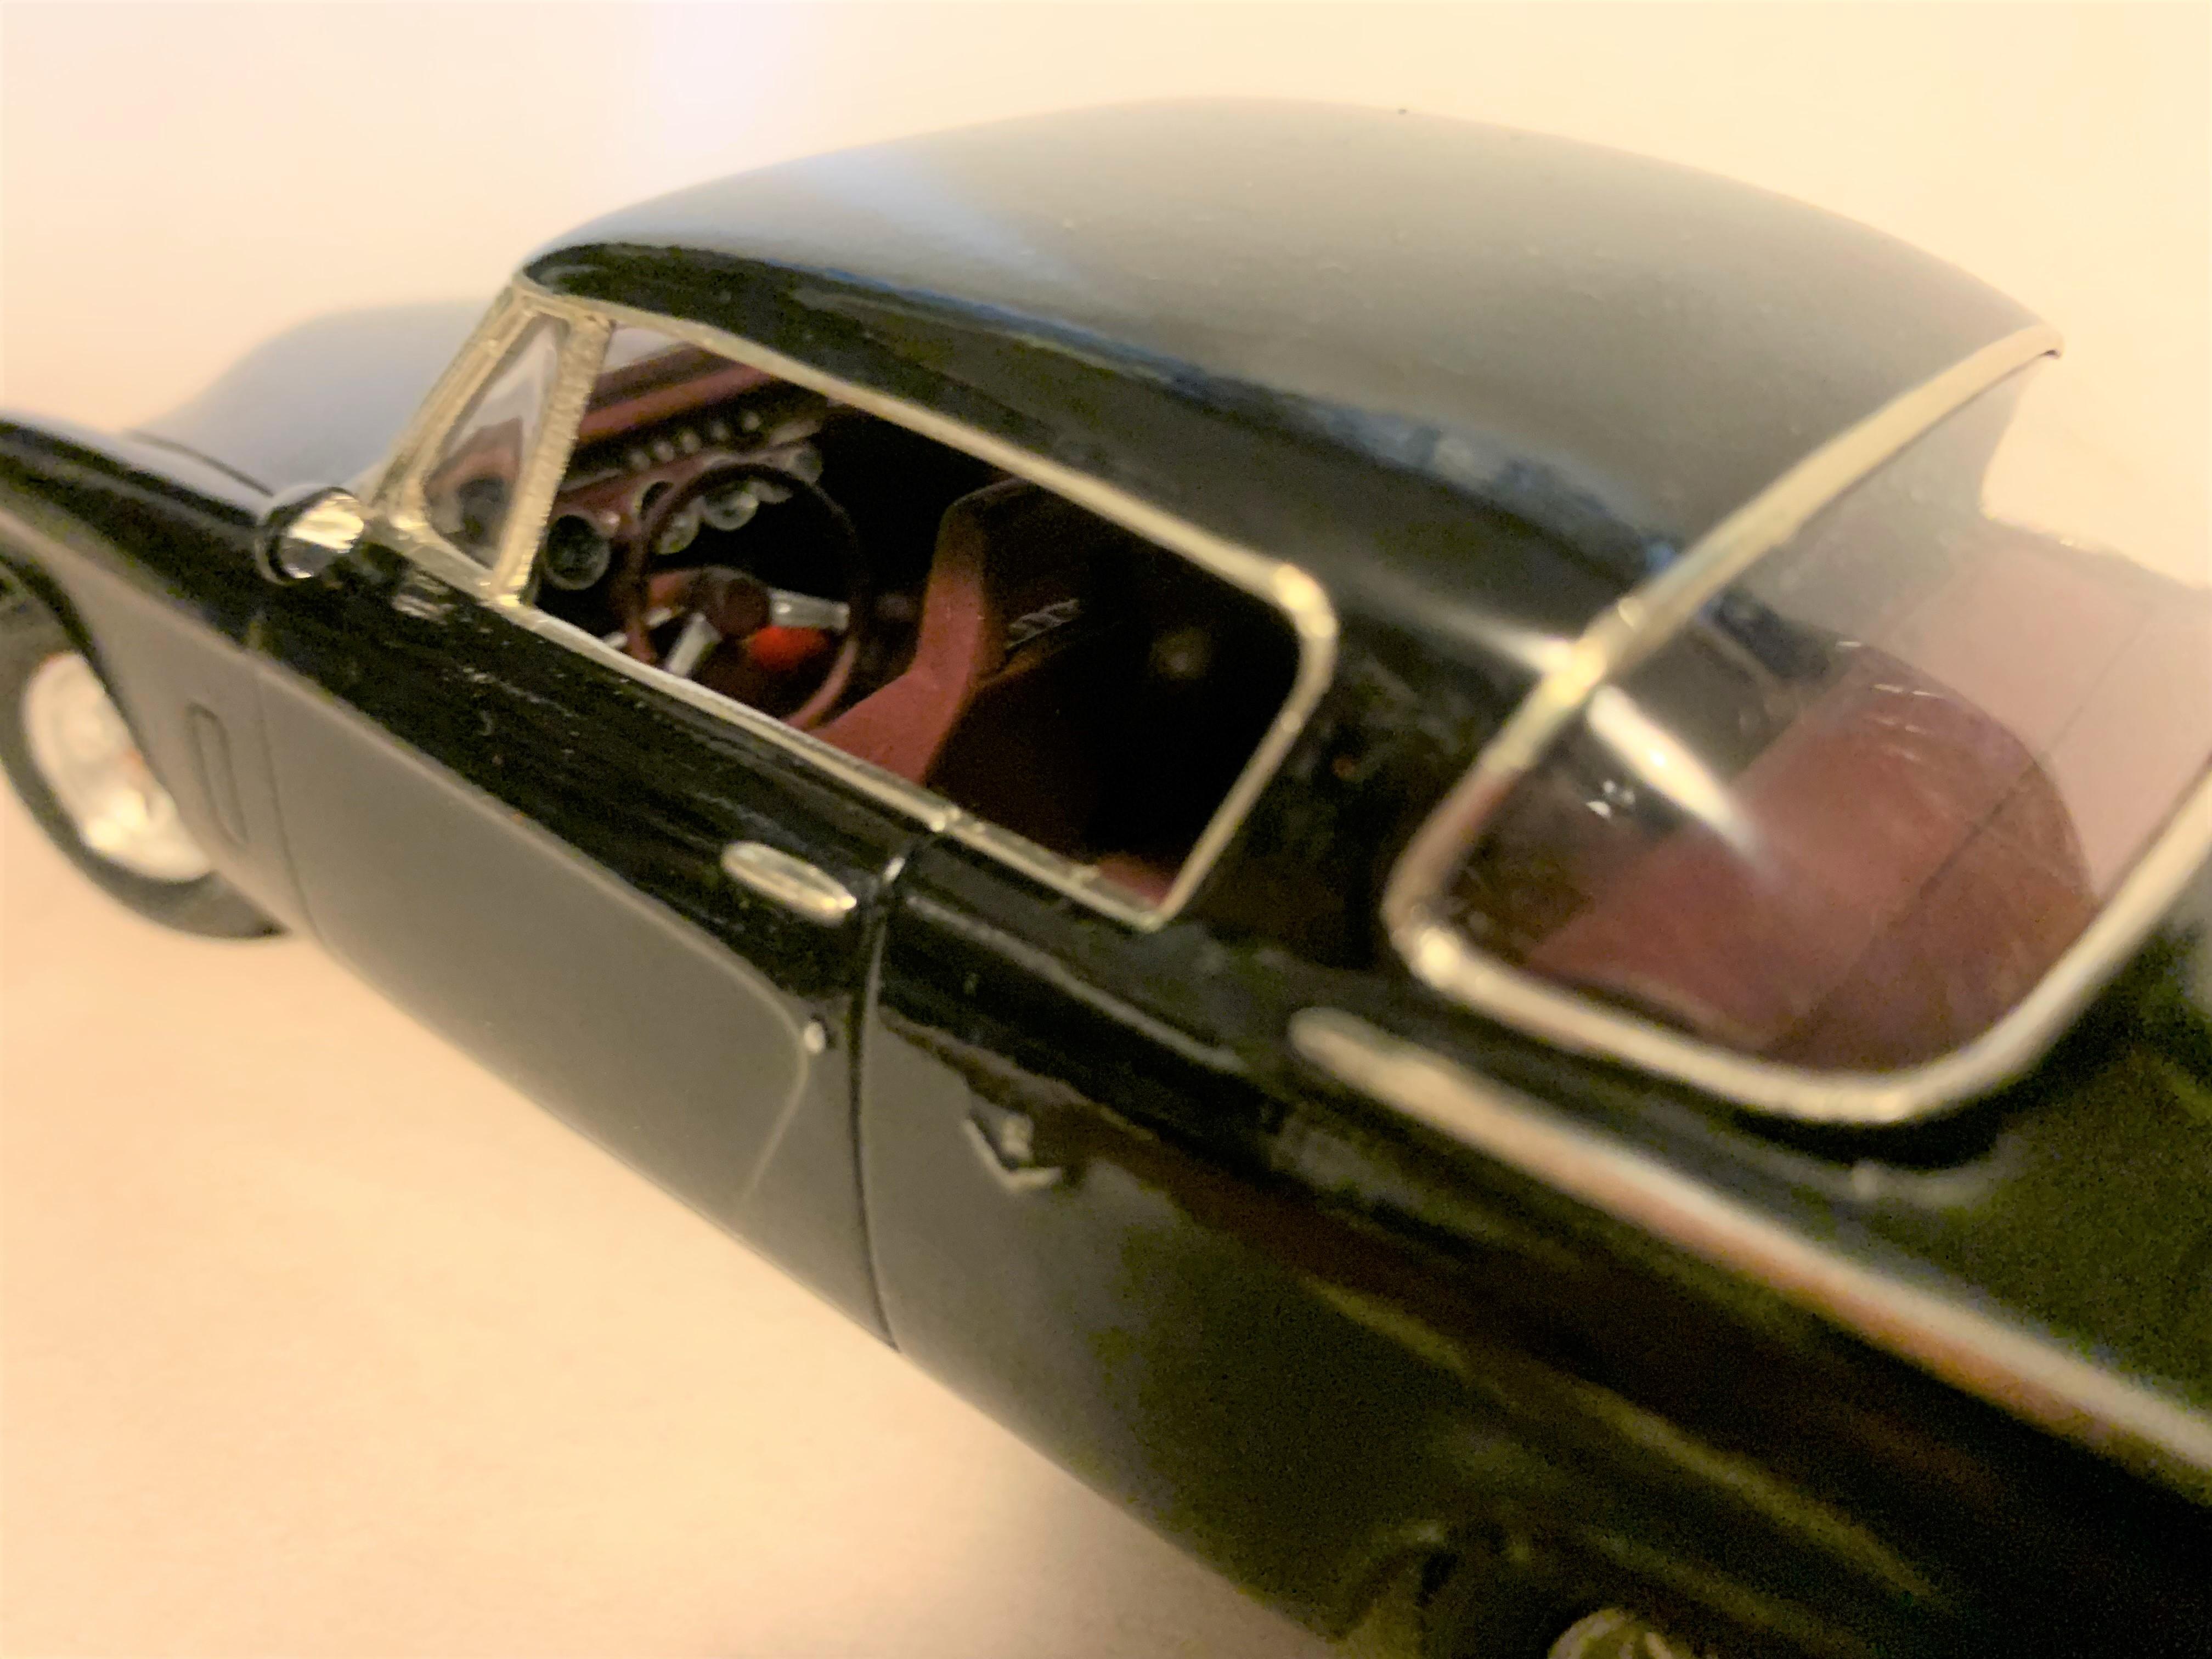
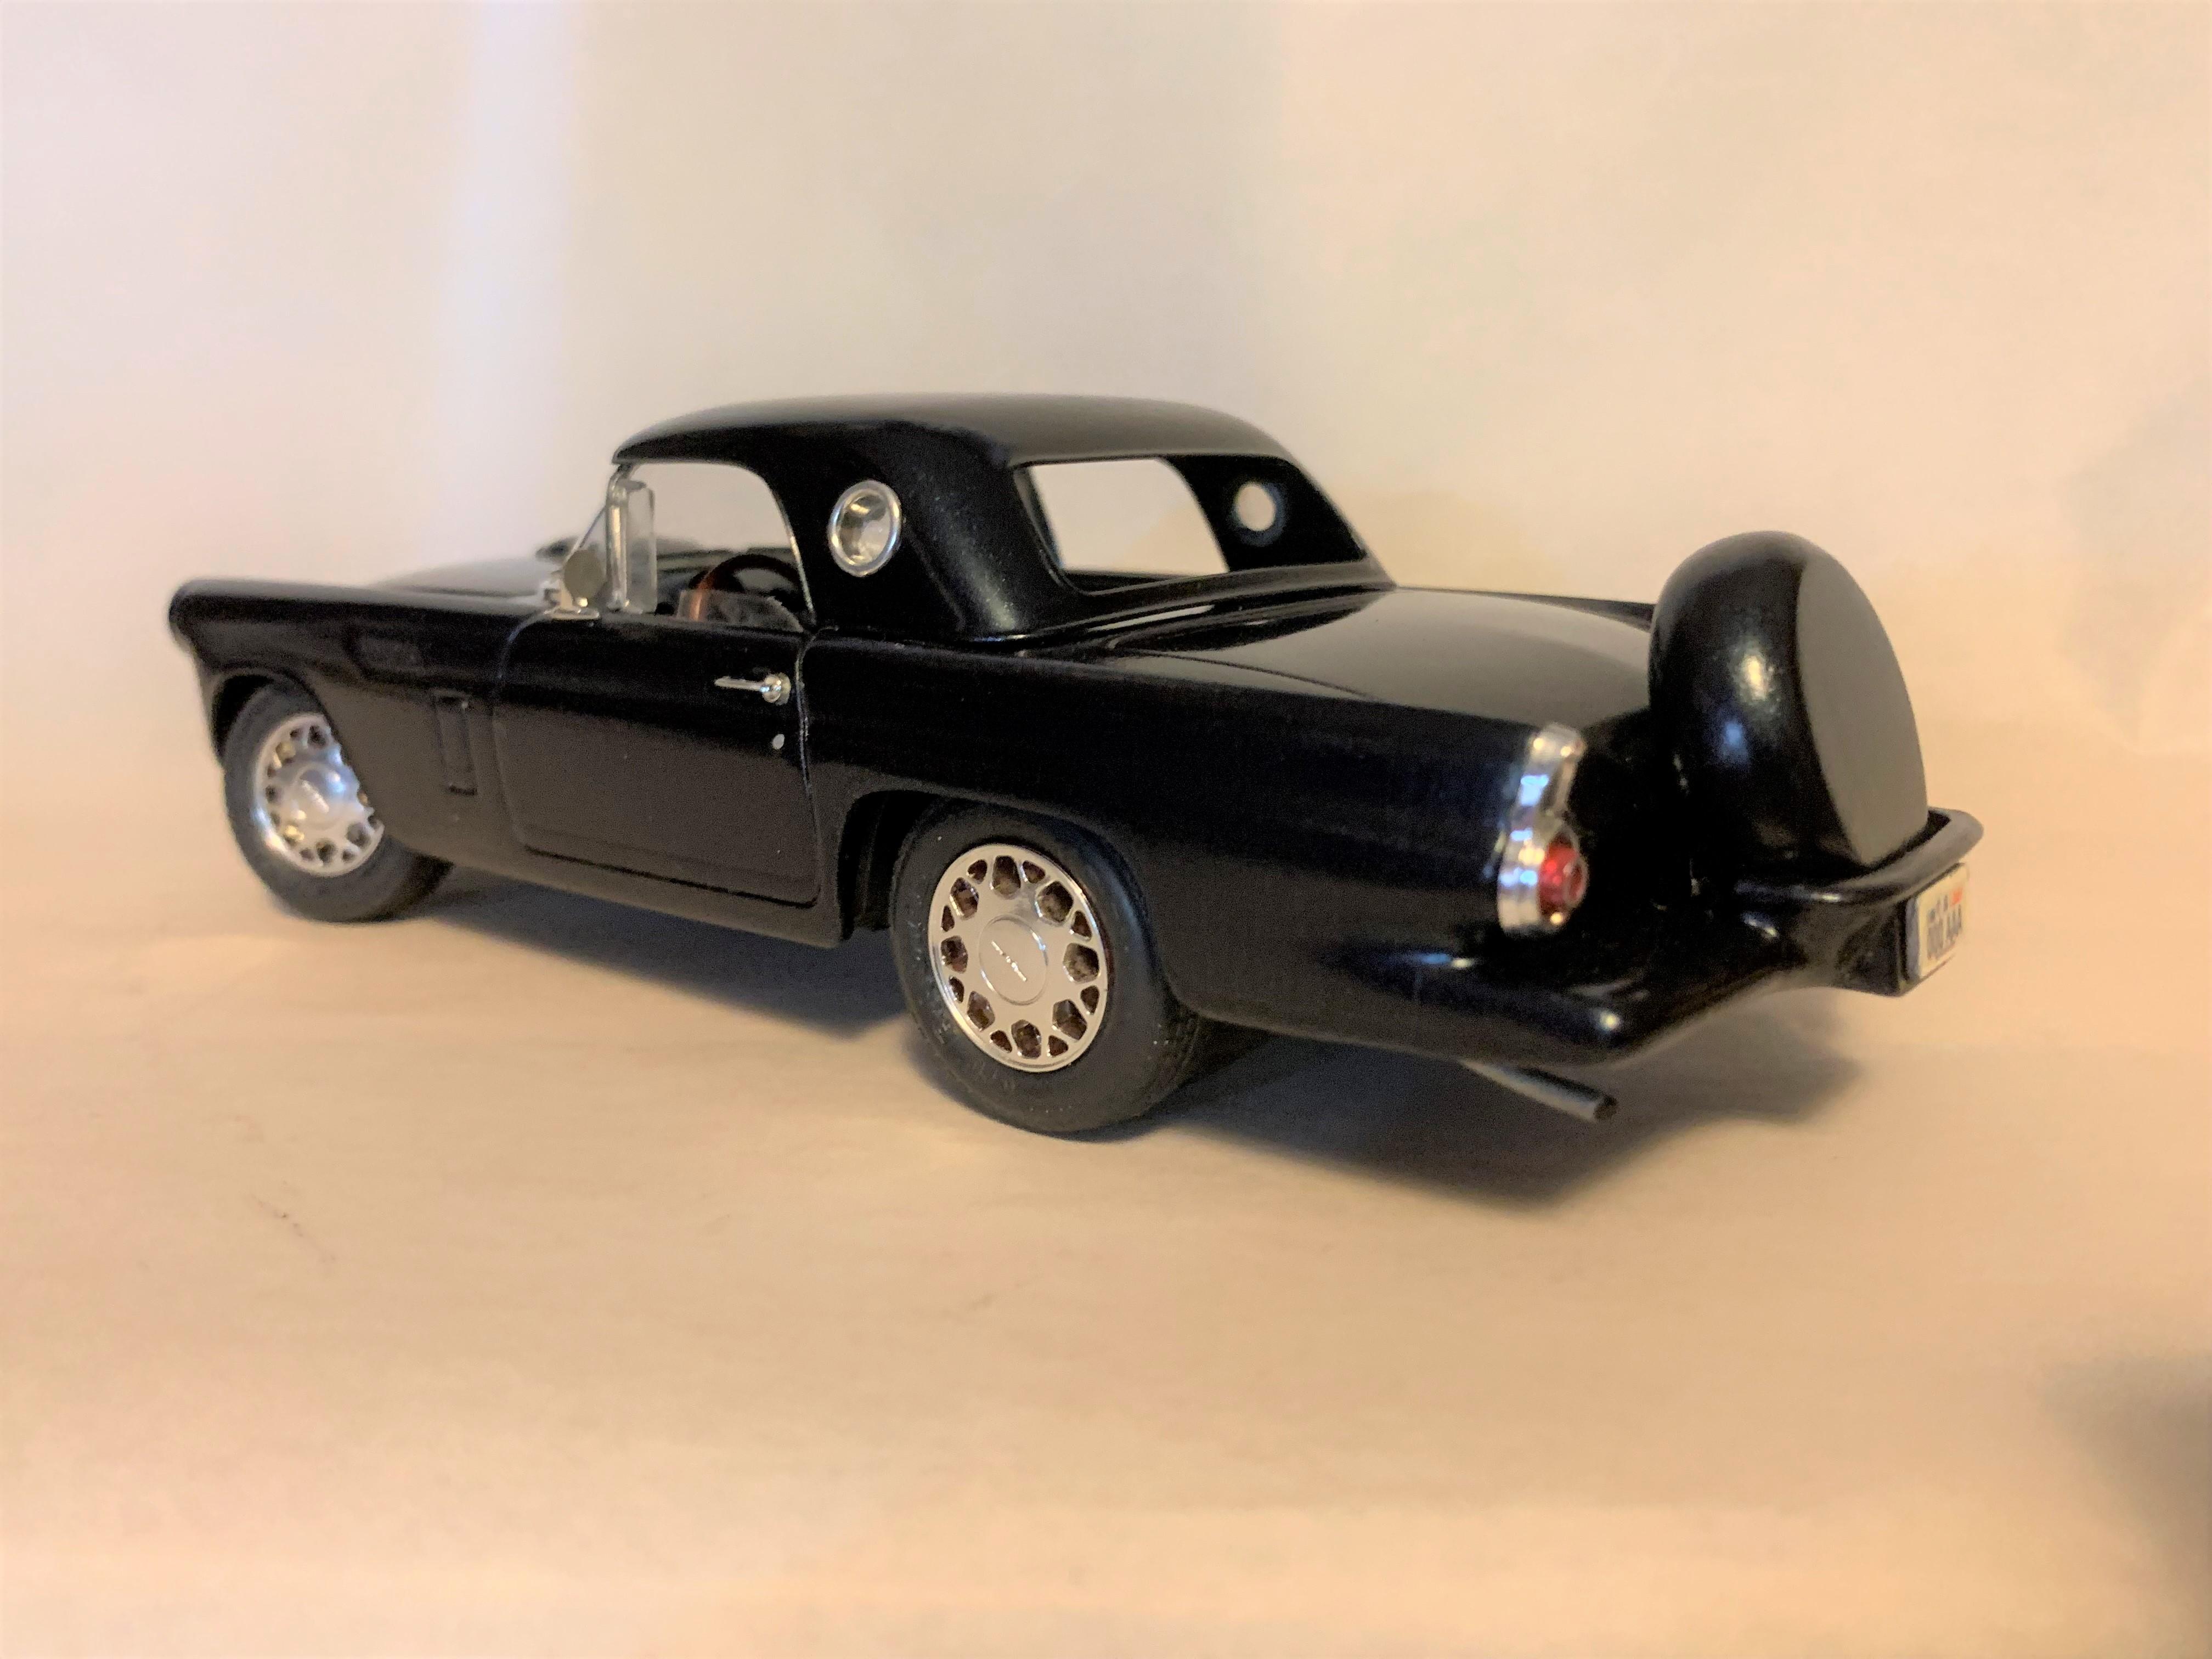
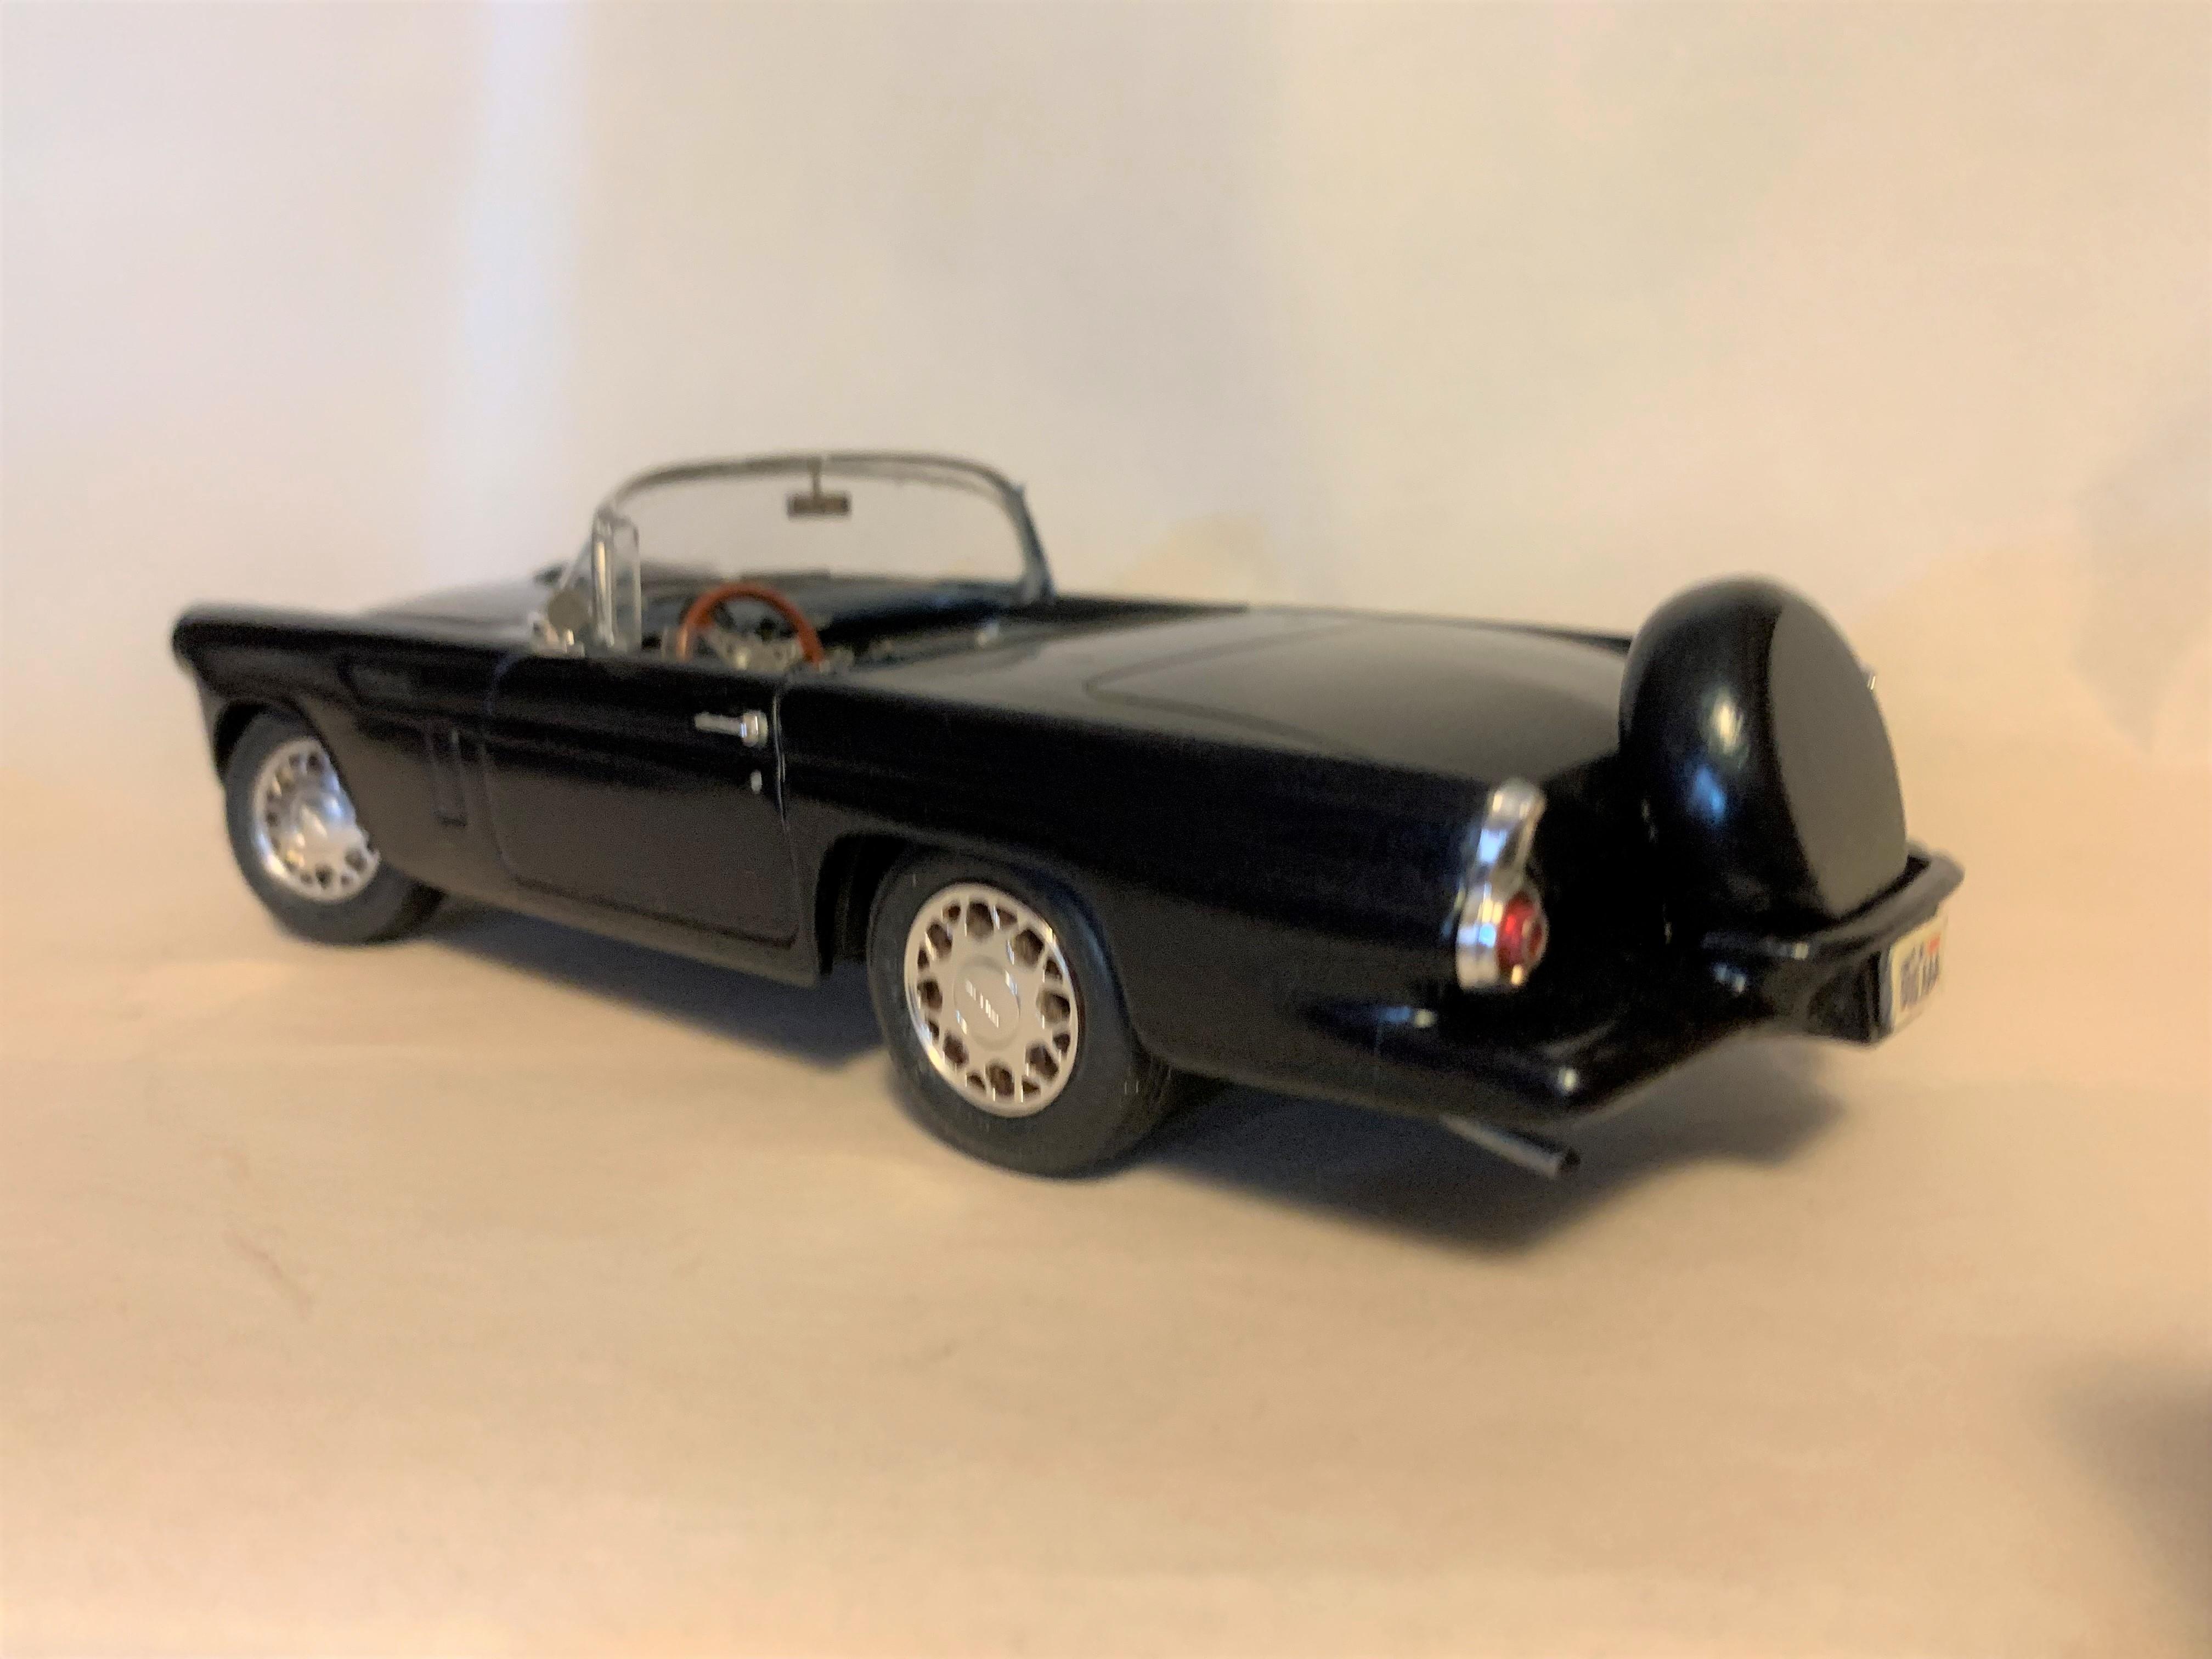
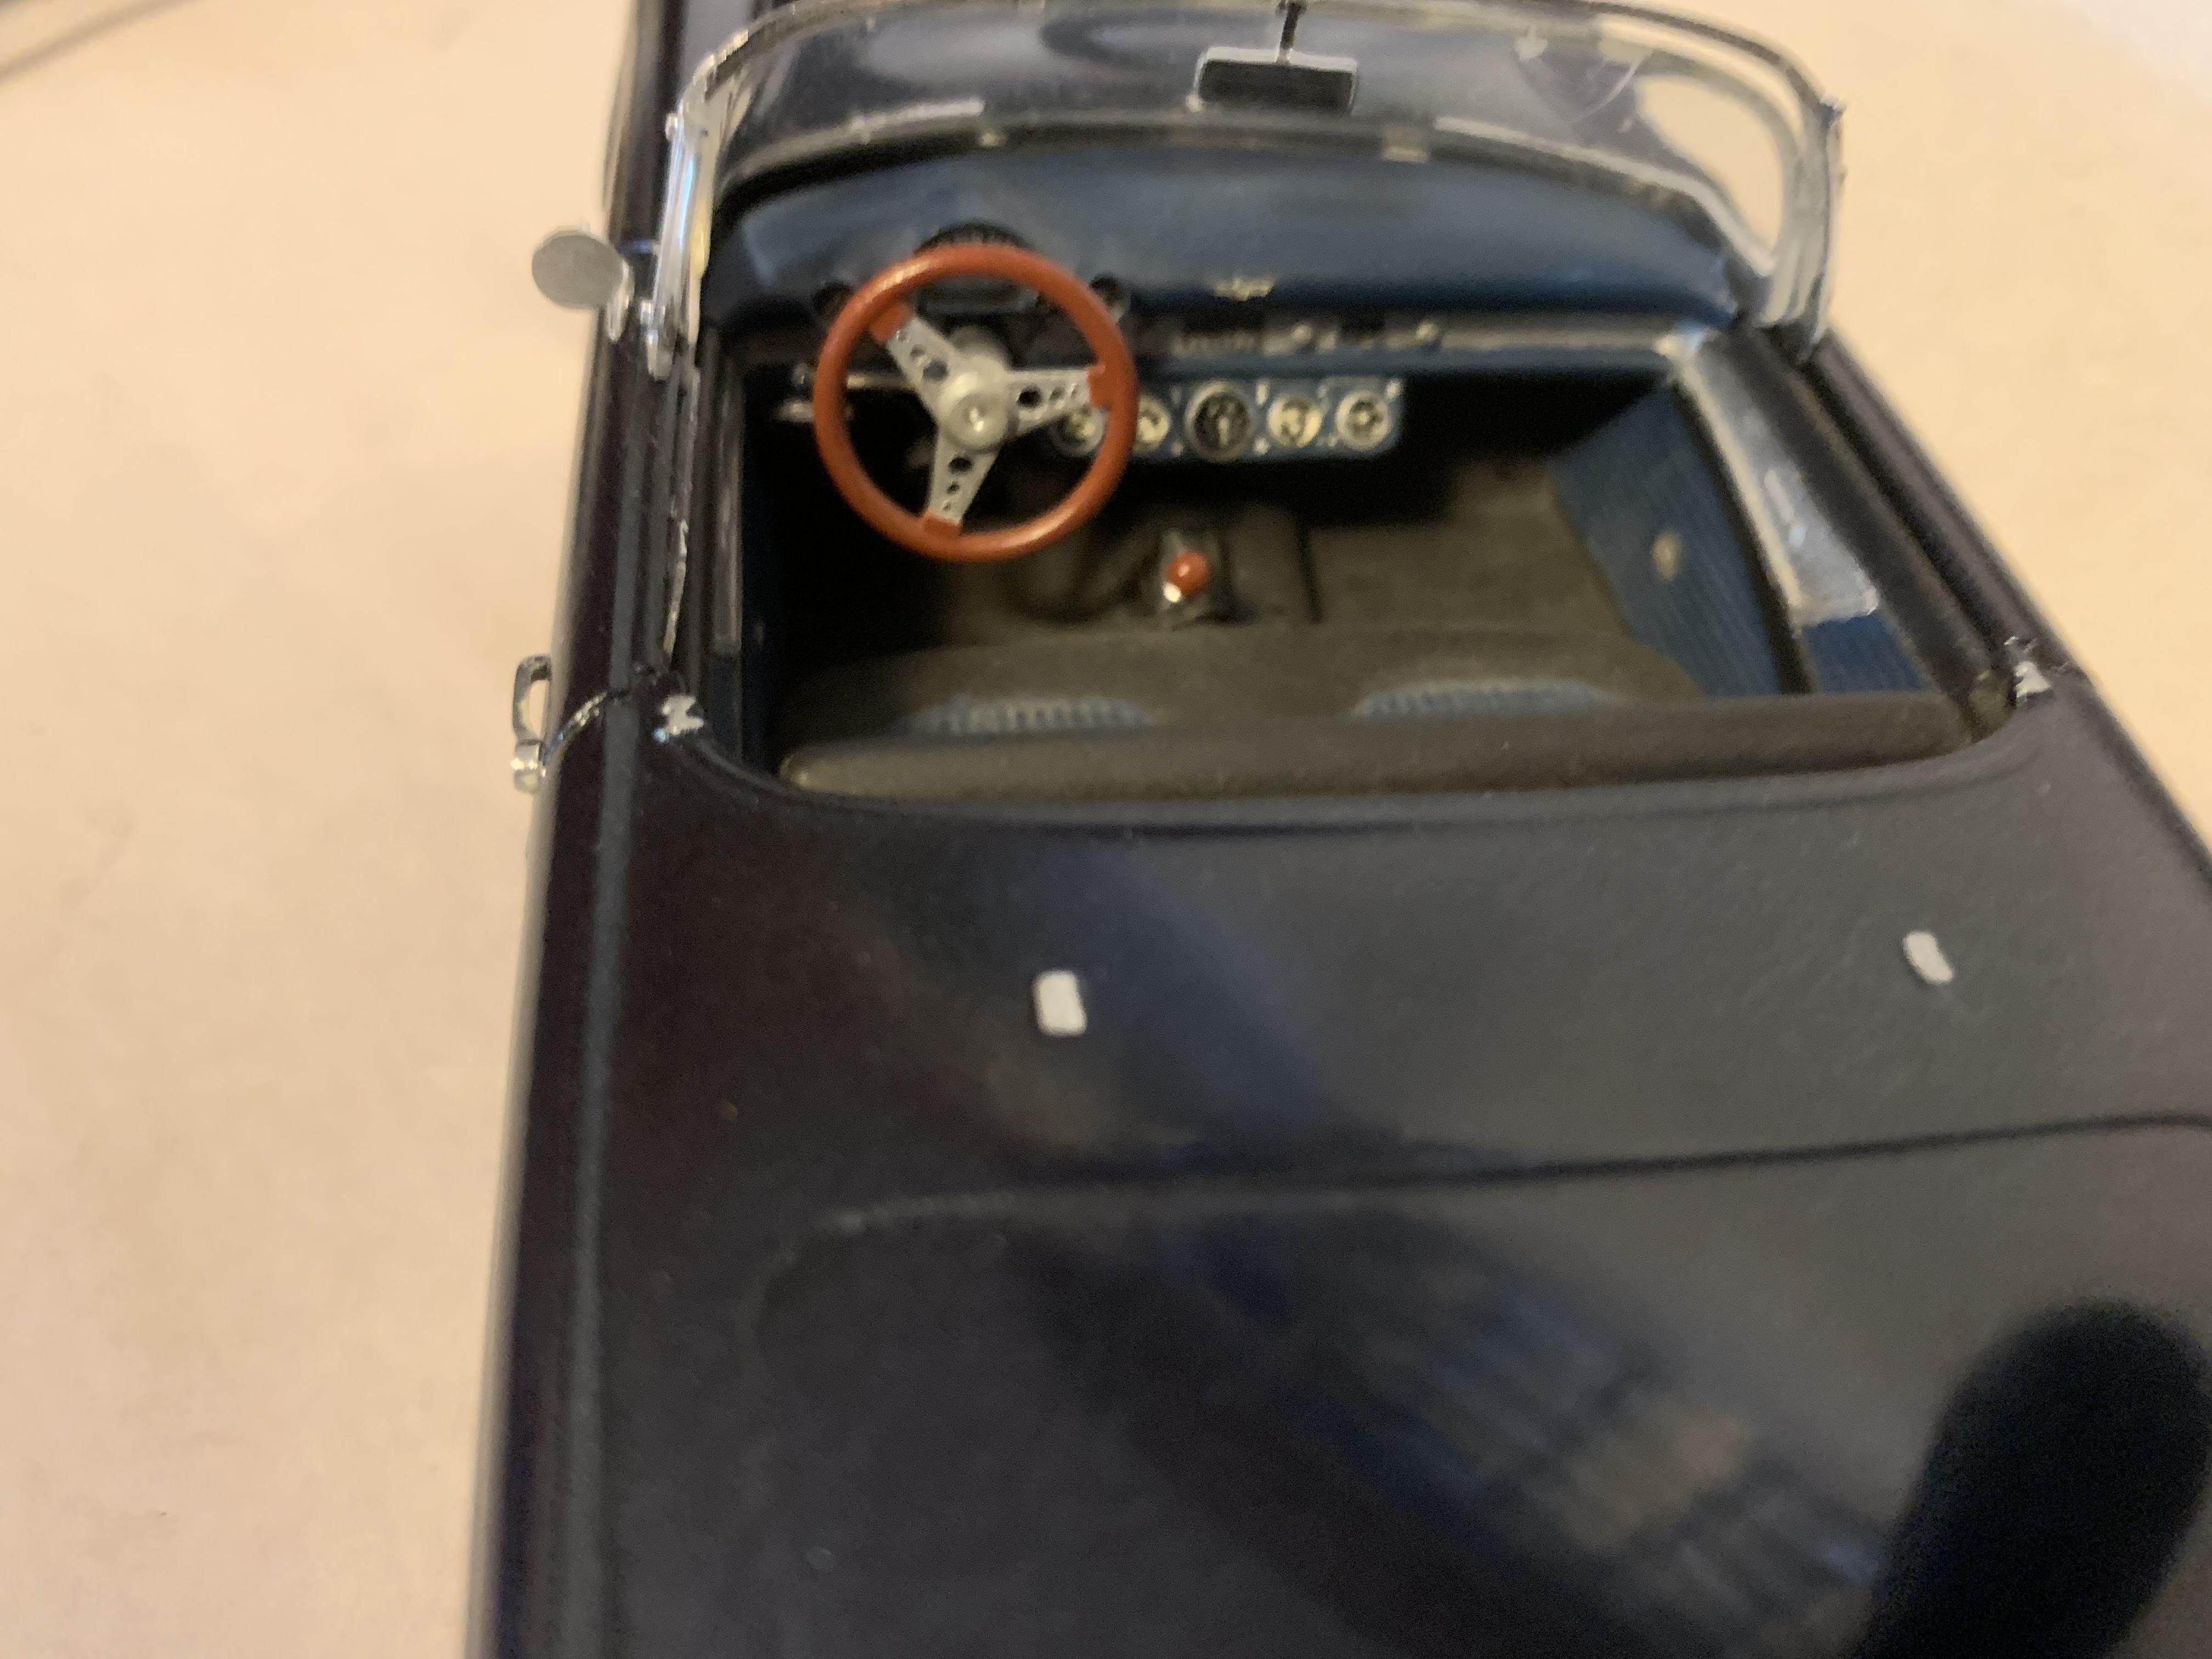
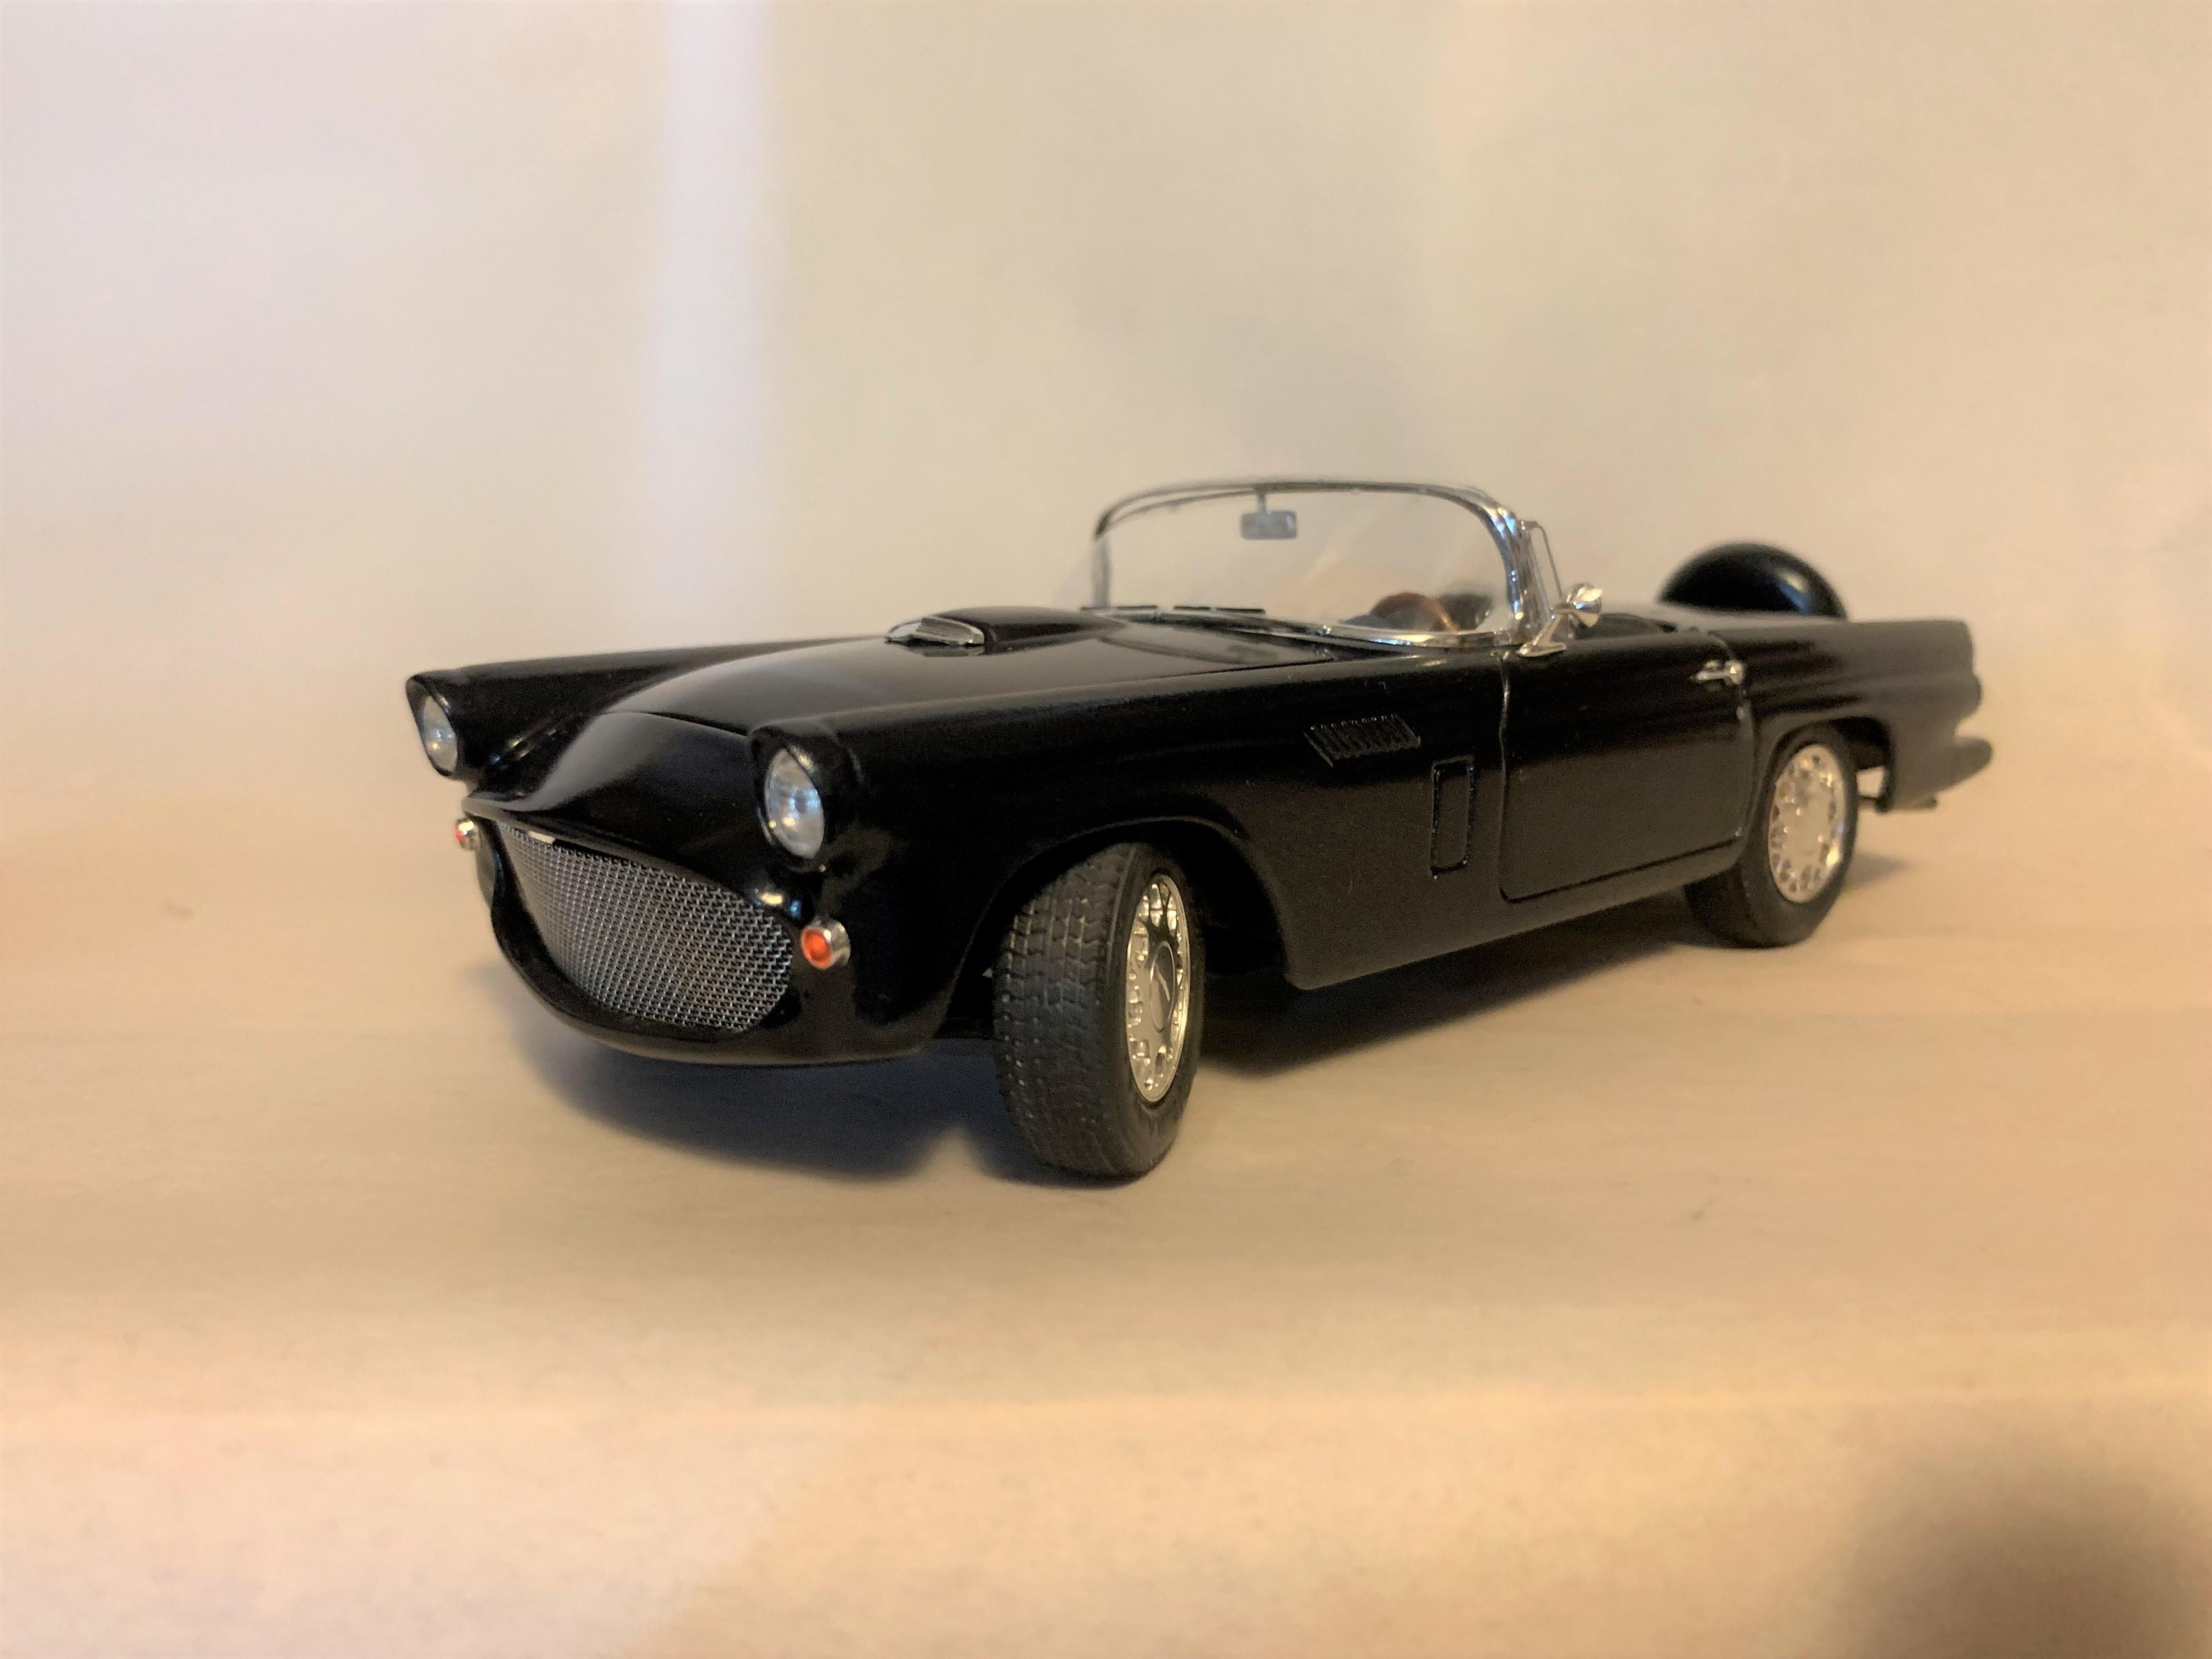
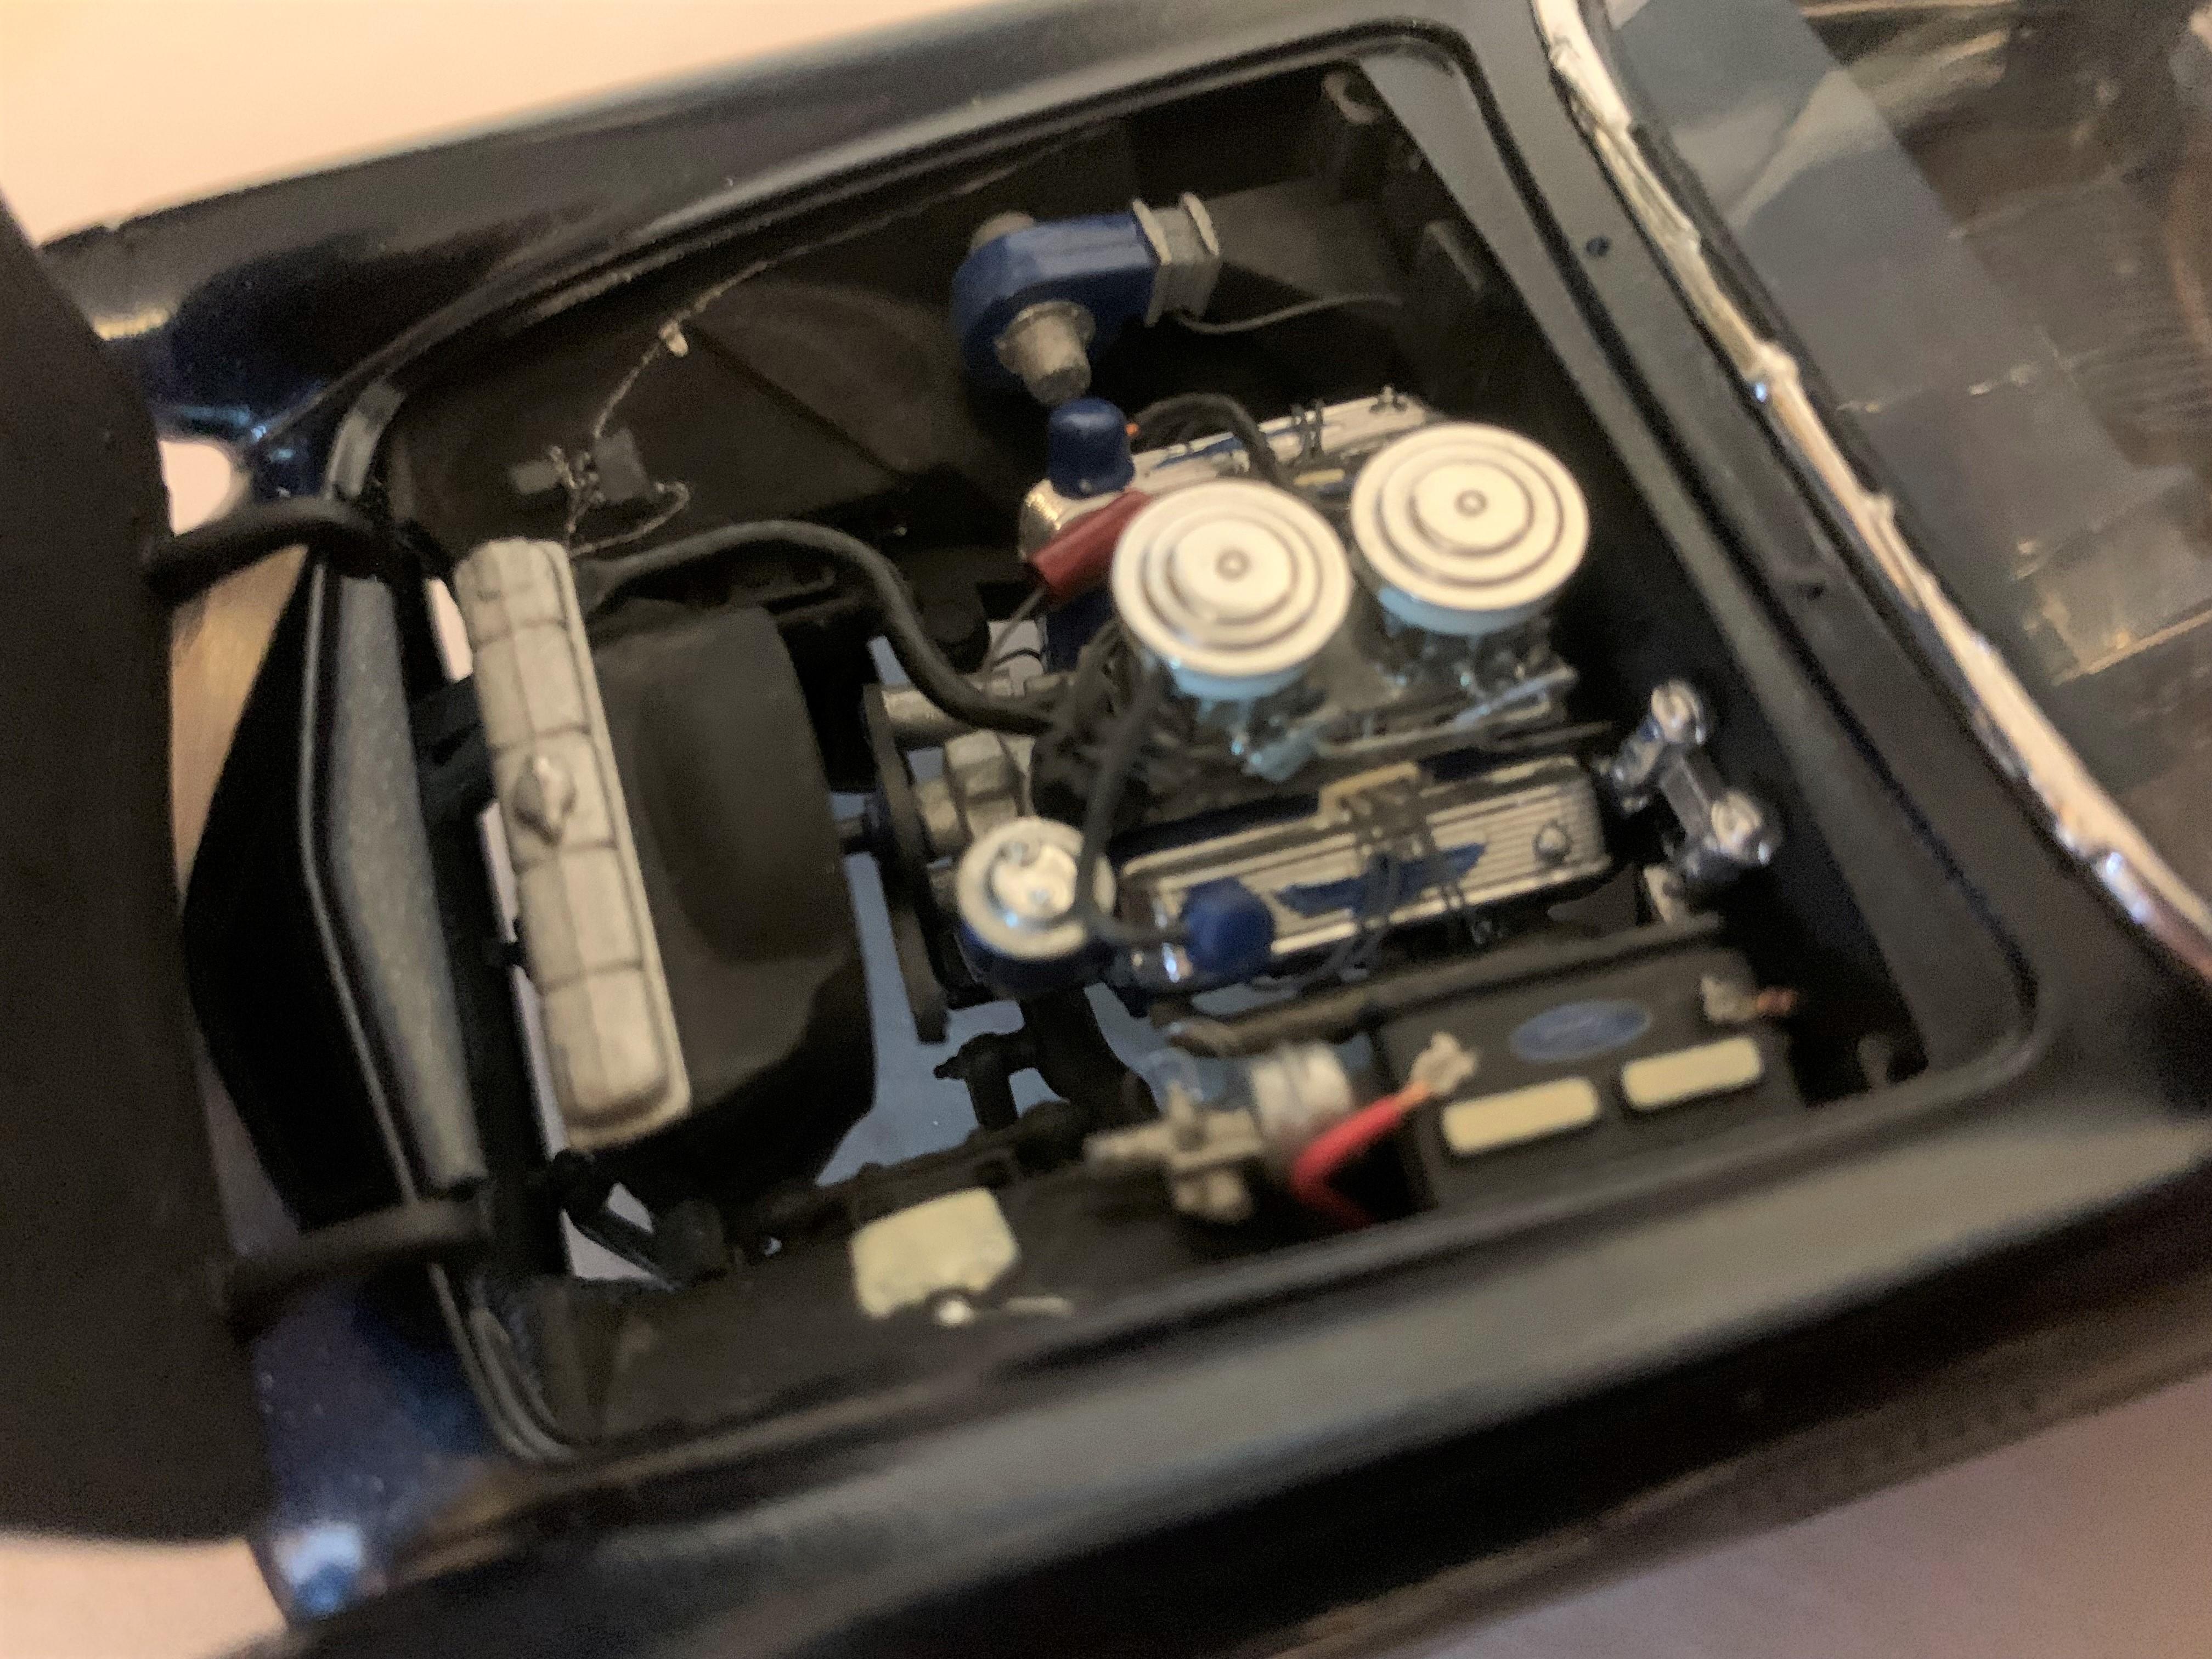
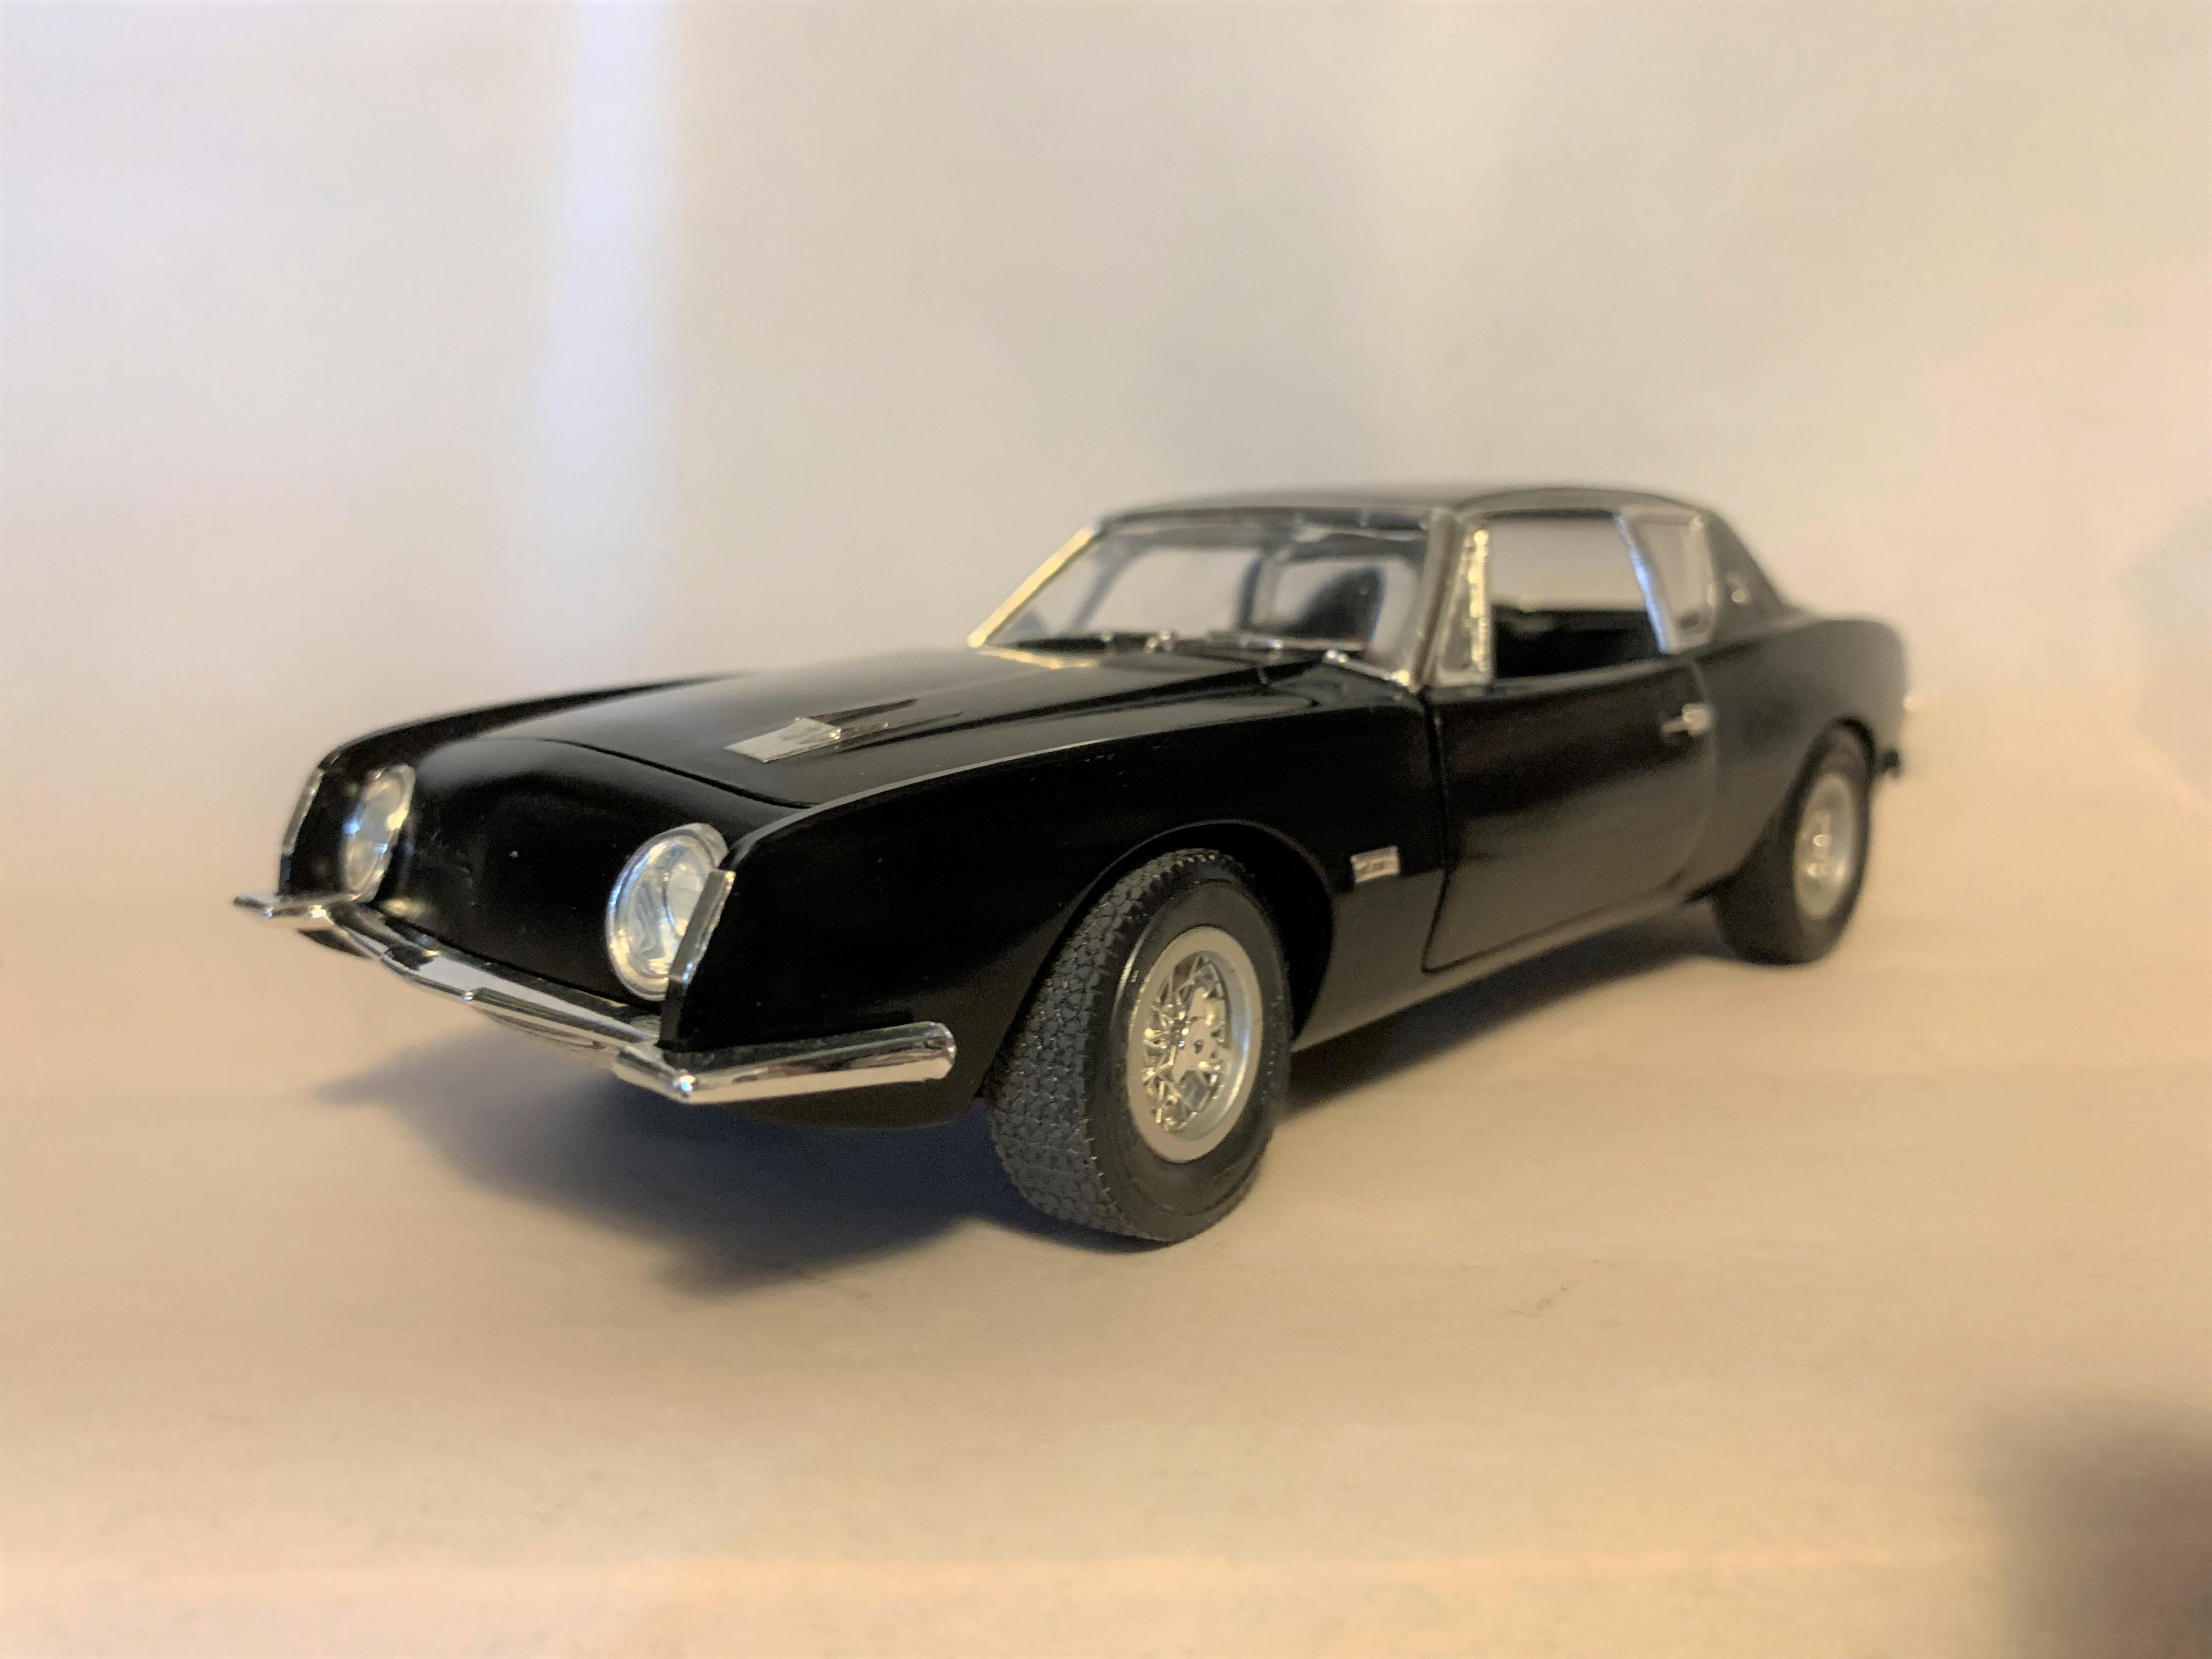
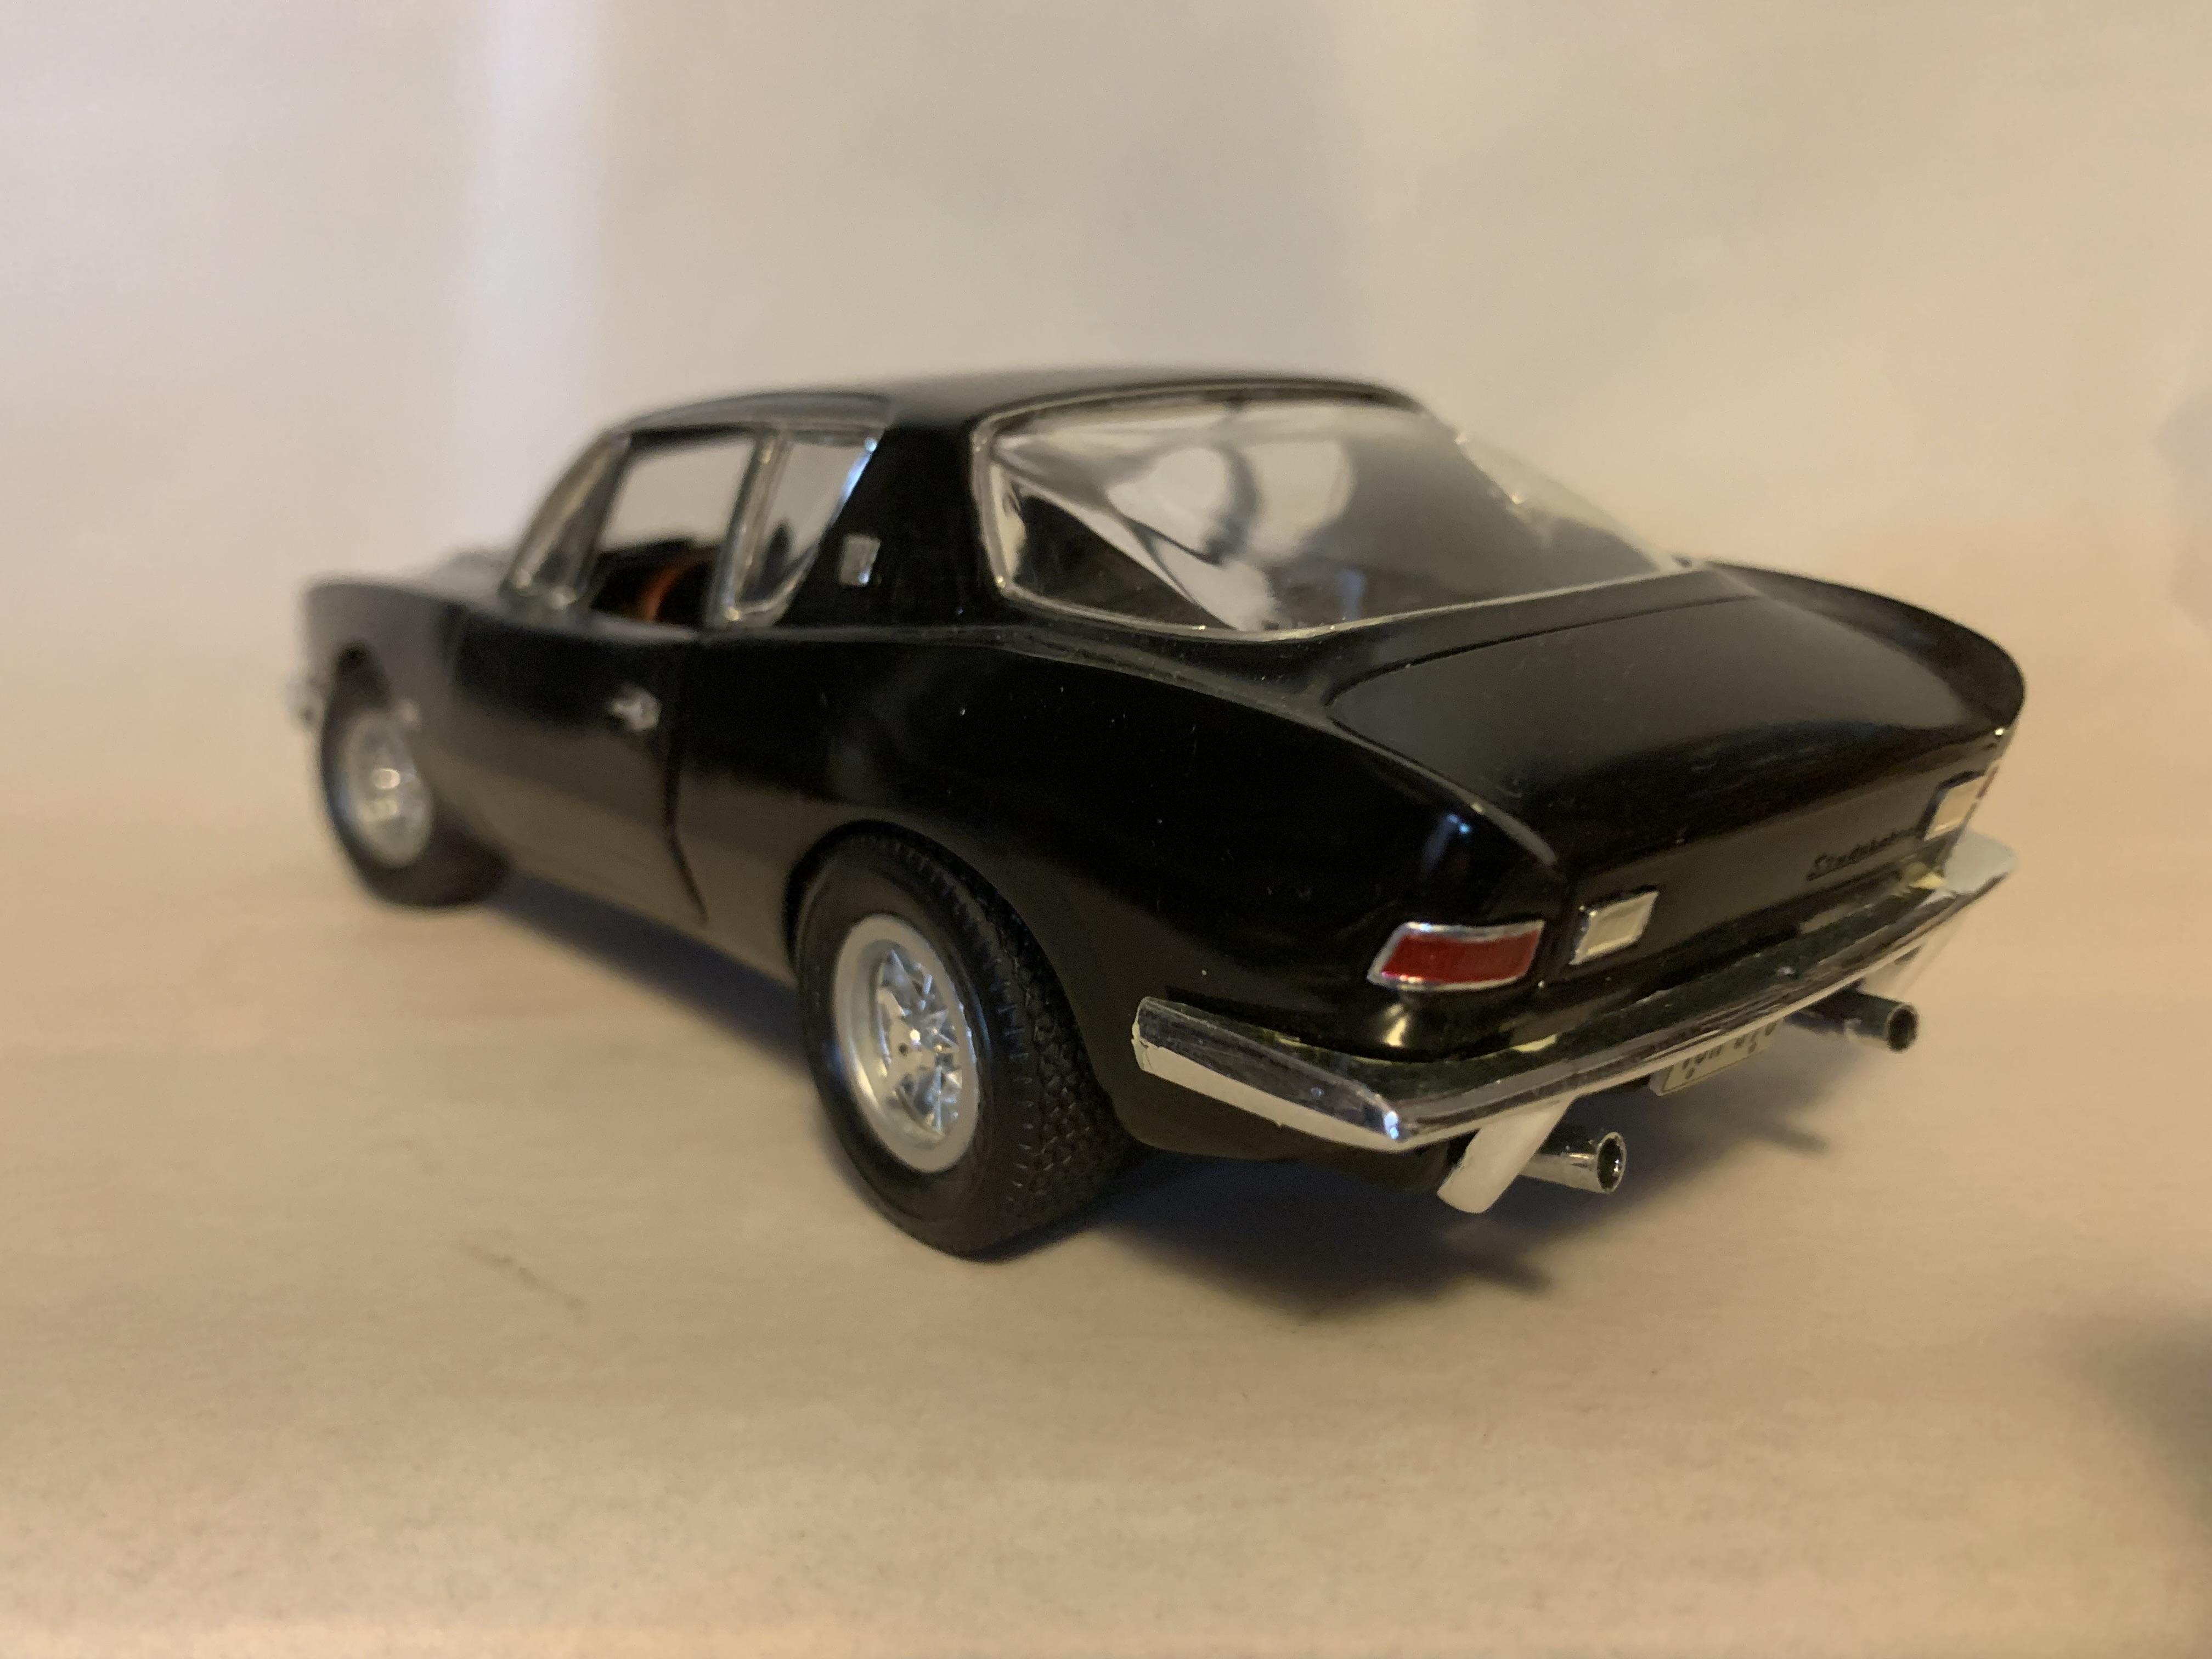
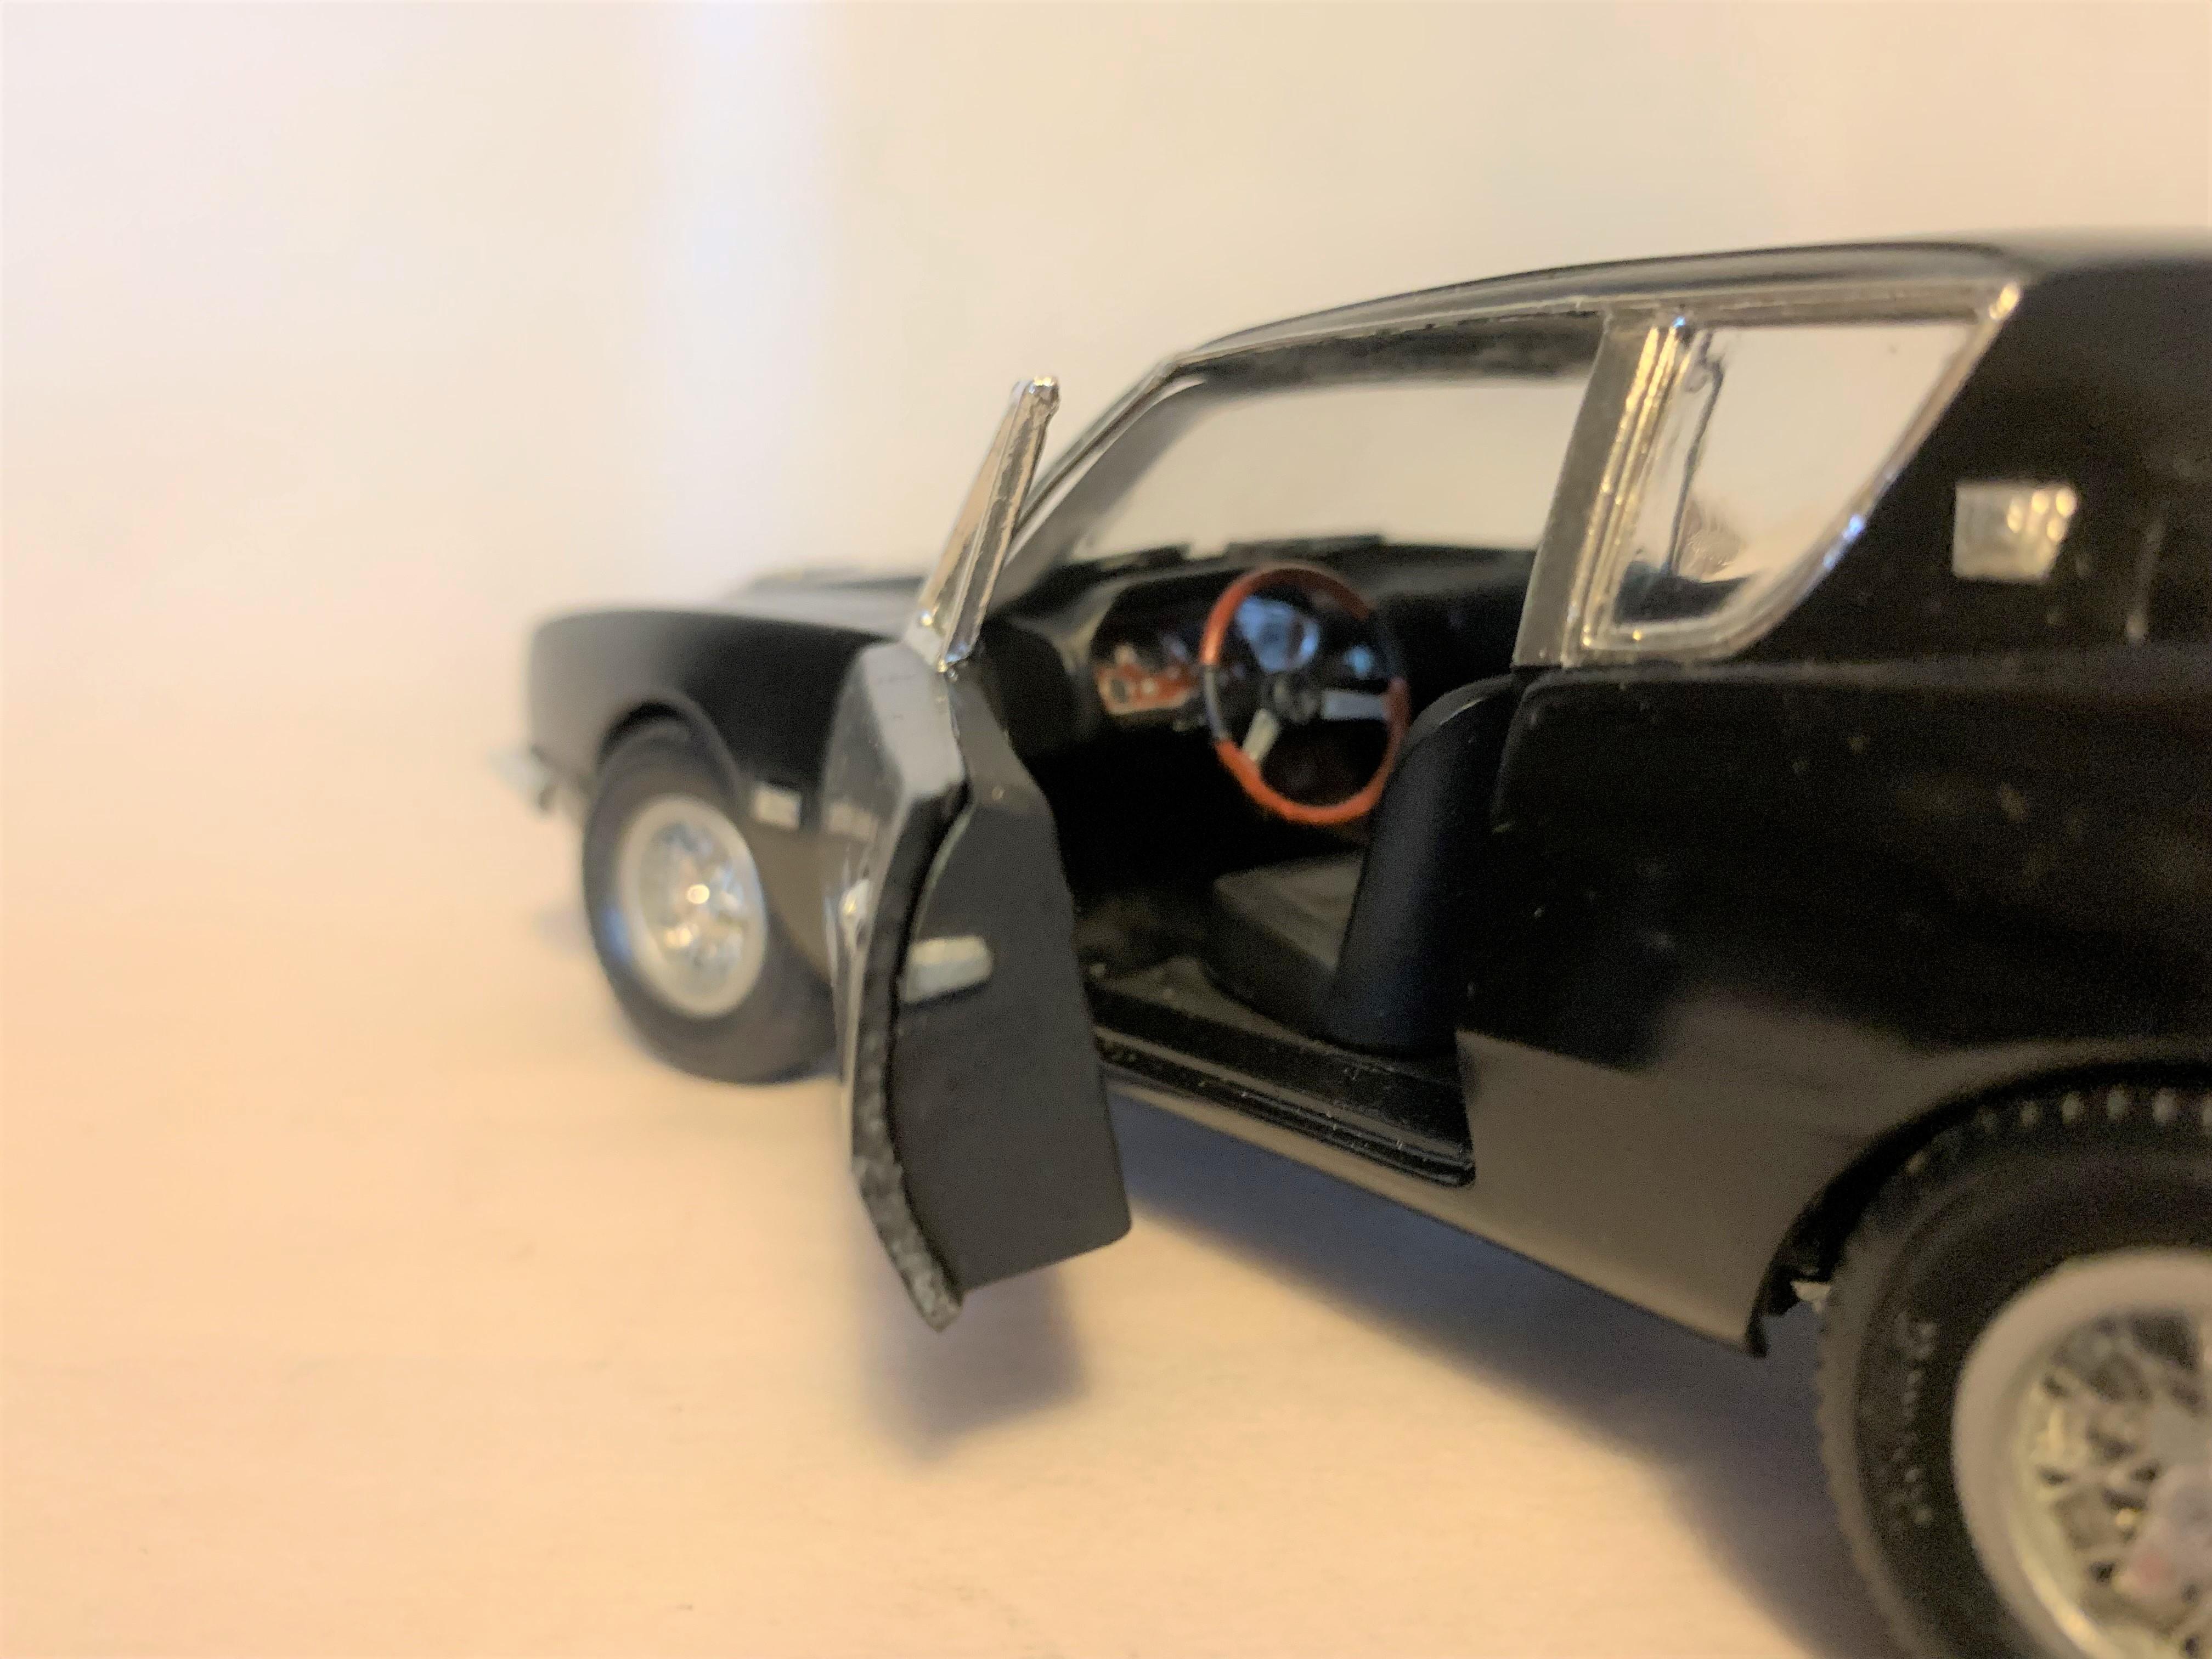
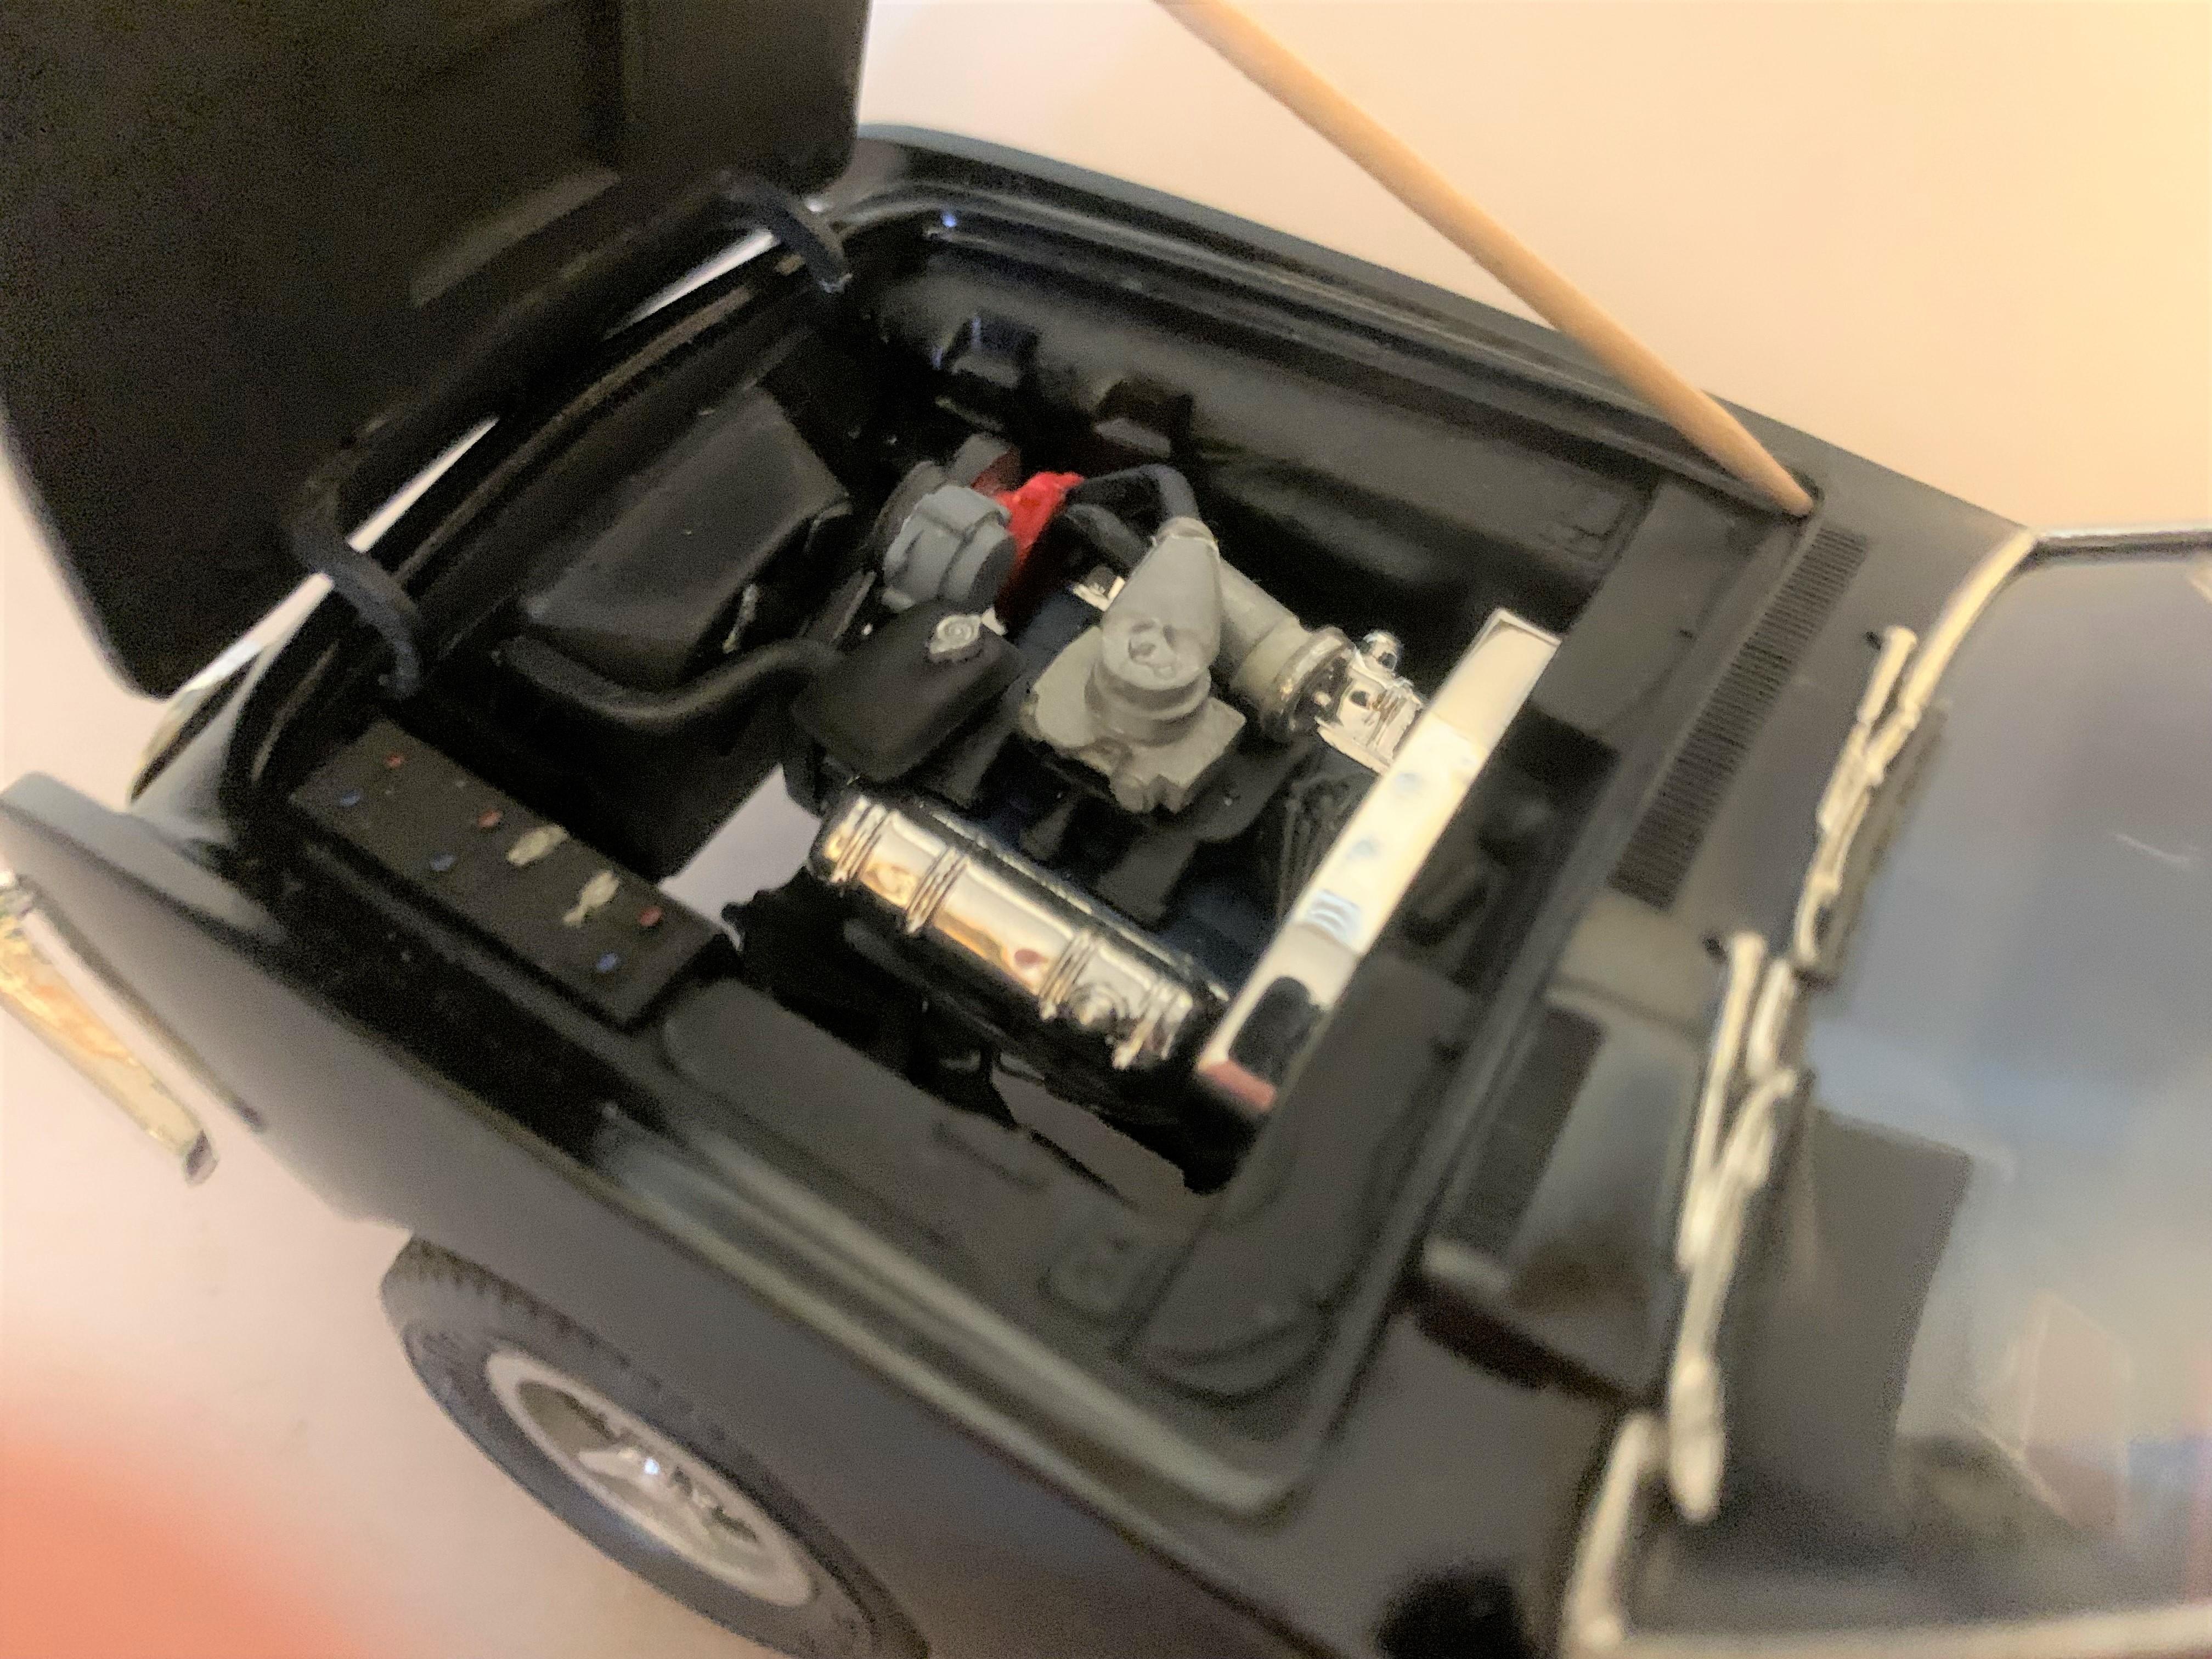
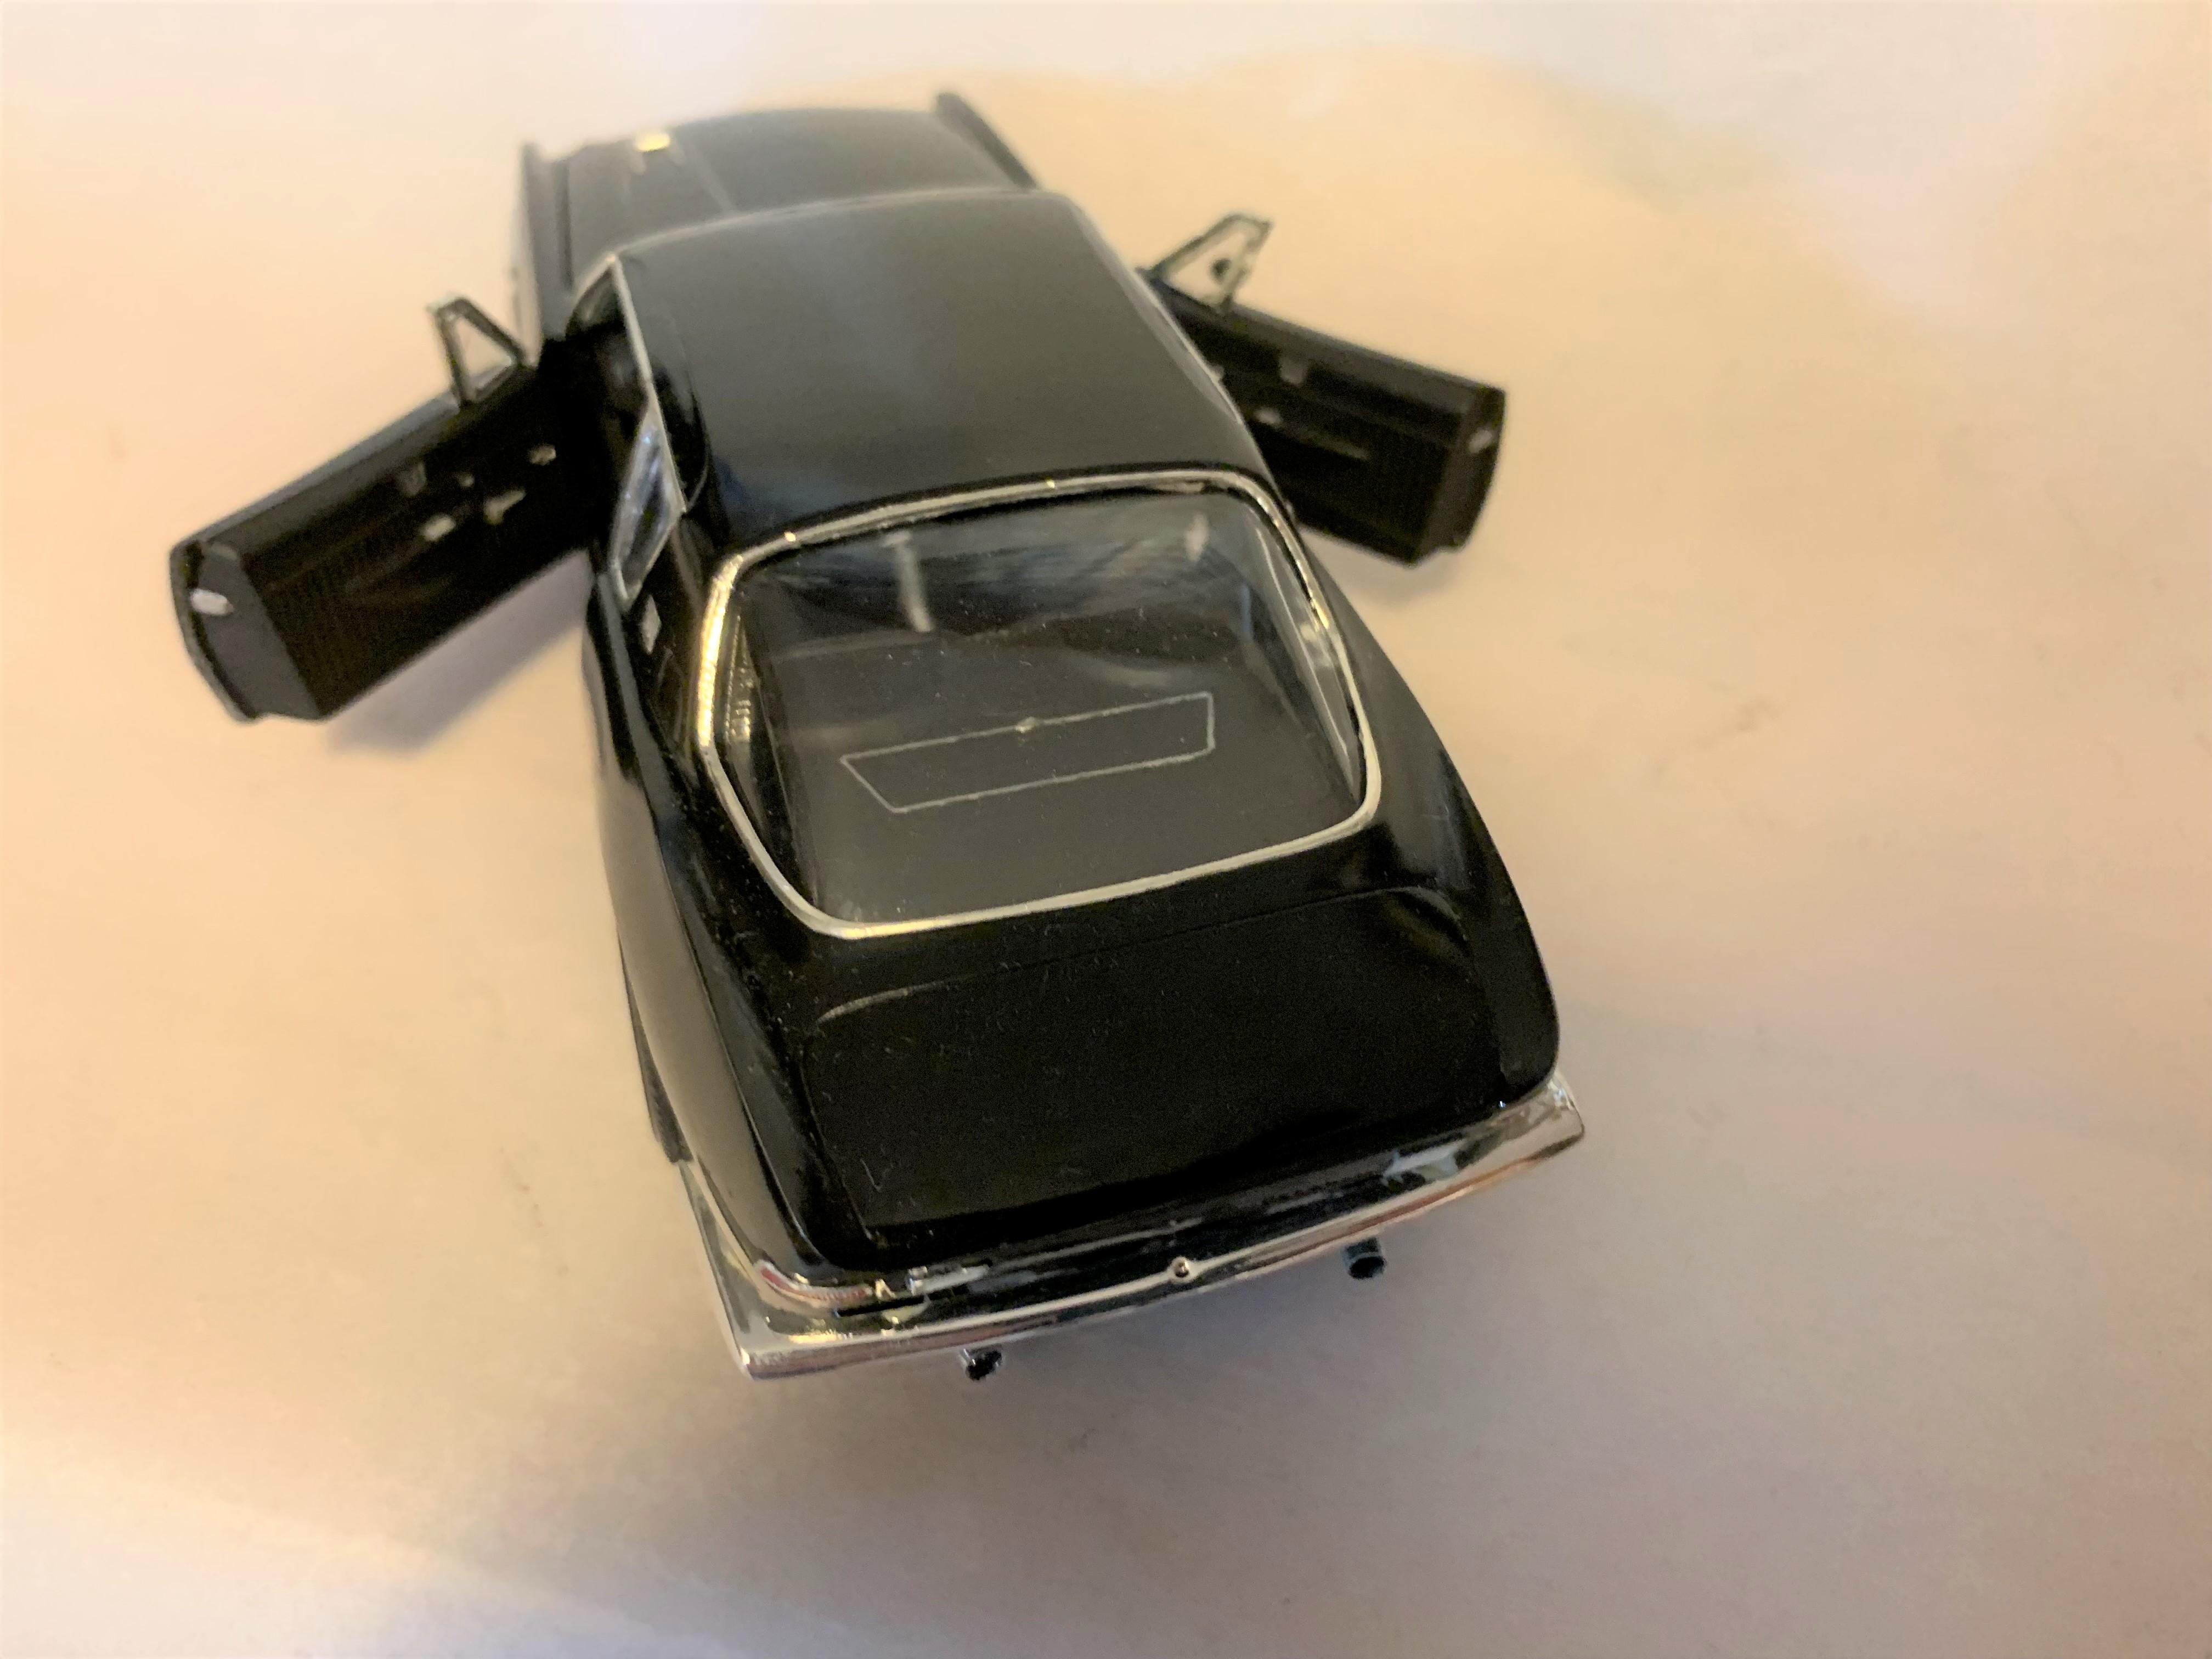
Did a bit more photographing today, thought I'd share.