Paul Payne
-
Posts
2,128 -
Joined
-
Last visited
Content Type
Profiles
Forums
Events
Gallery
Everything posted by Paul Payne
-
Hmmmmm- might be a tad bouncy! However, Bugatti used a LOT of reversed quarter elliptic springs- and his cars were fast!
-
Nice job- totally different from the banana glue bomb! Planning on some bmf? Restored one of these several years ago- very satisfying!
-
**Shout-Out to 'Best Model Decals'**
Paul Payne replied to 1972coronet's topic in Tips, Tricks, and Tutorials
Just placed an order for black face and white face gauges, as well as gauges for the 49 Ford and Mercury. Much appreciated! -
Most early hot rods were about simple, and you nailed it!
-
Just a nice clean traditional Deuce Roadster
Paul Payne replied to OldNYJim's topic in WIP: Model Cars
Love this so far! Any chance of getting some of those rear spring crossmembers? -
Thanks Andy.
-
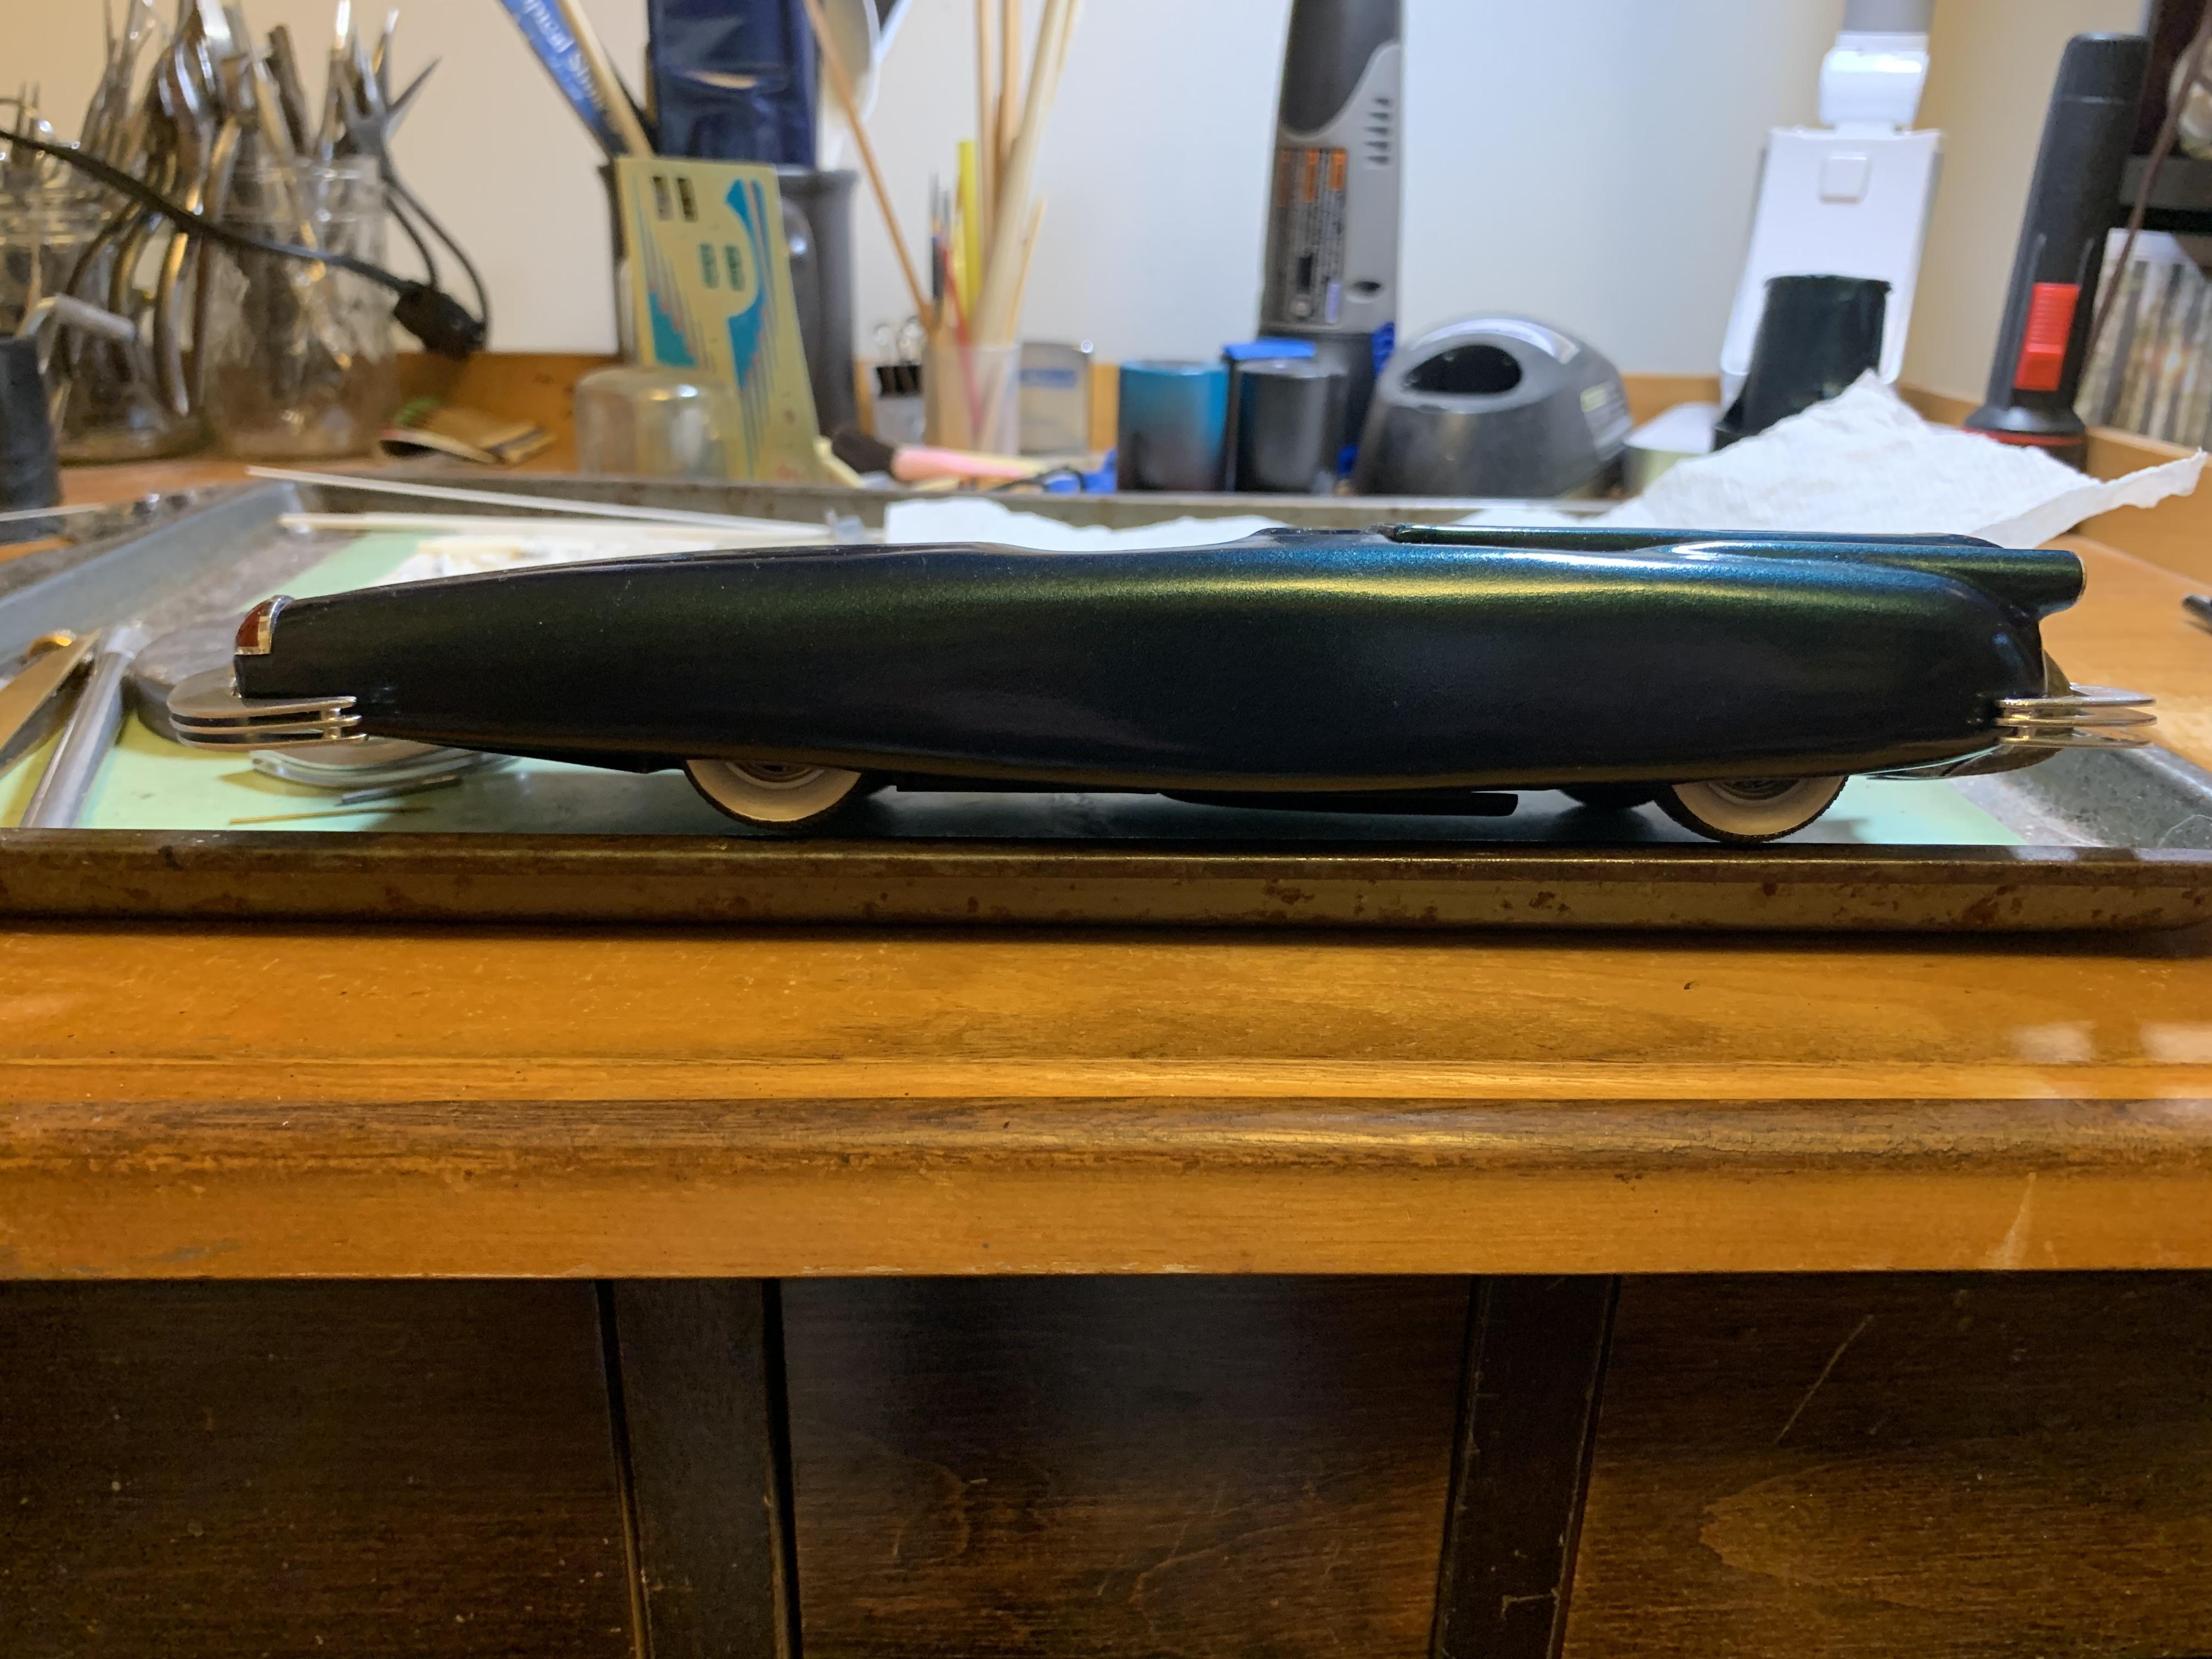
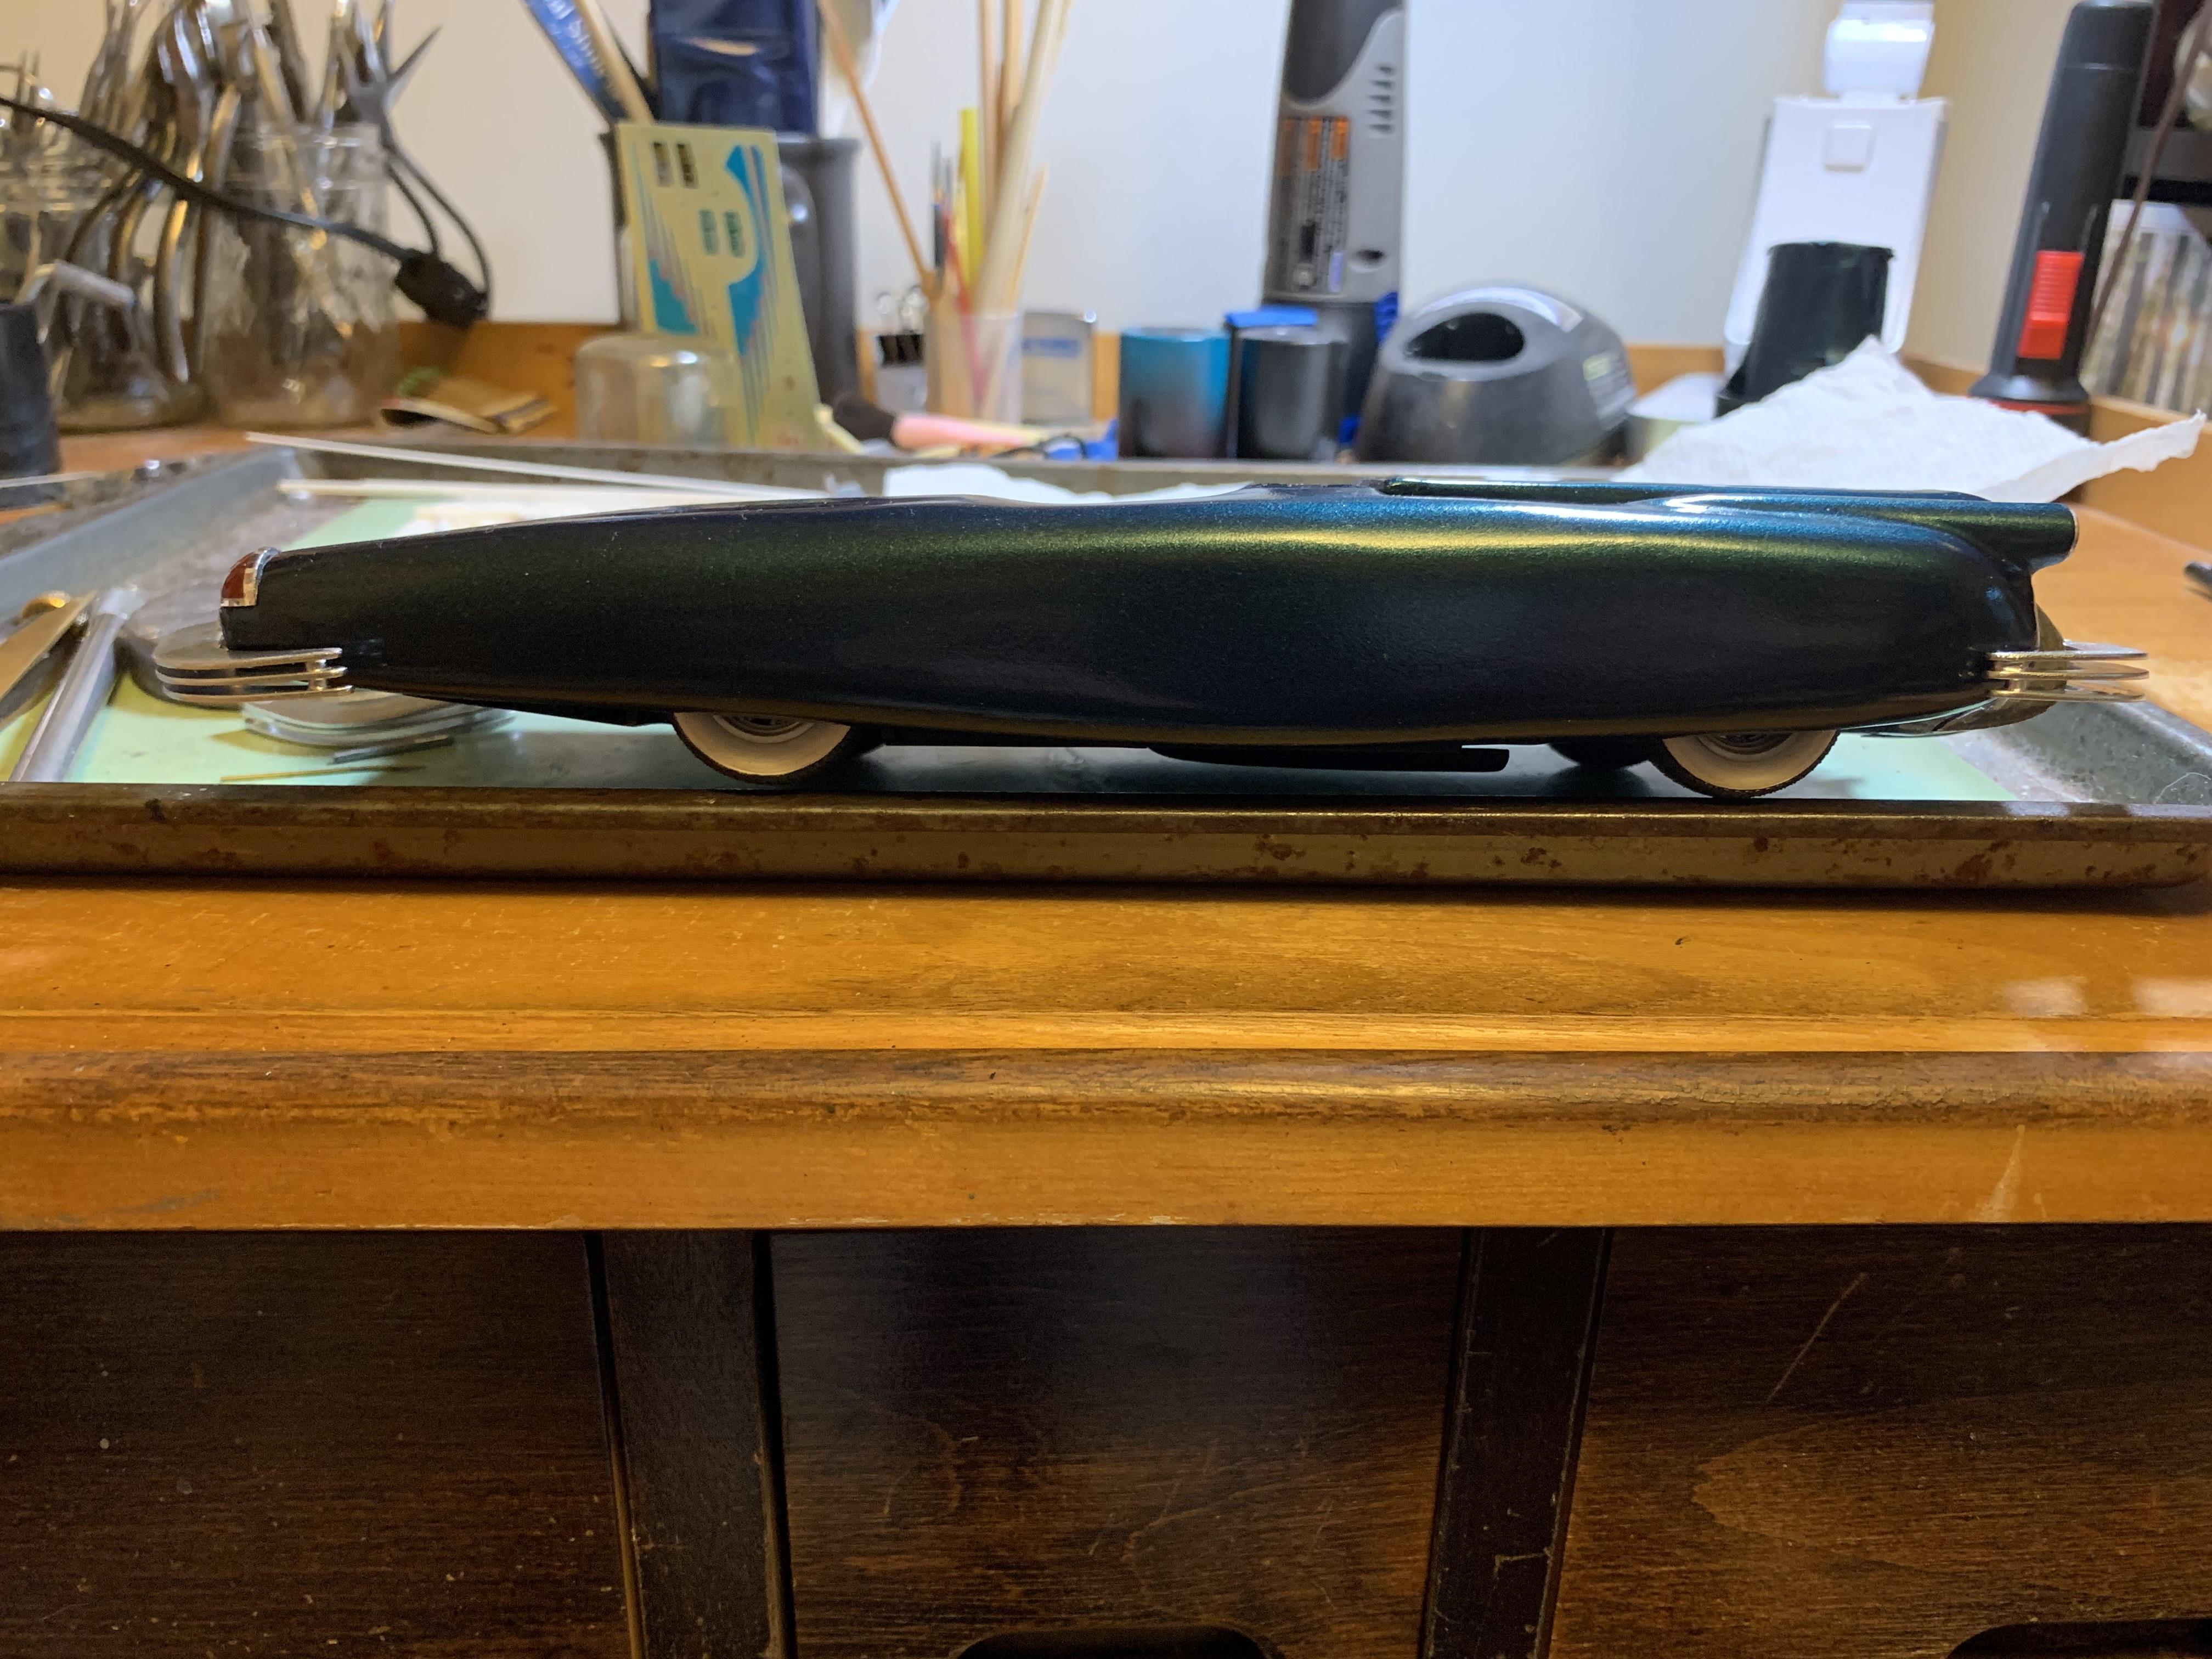
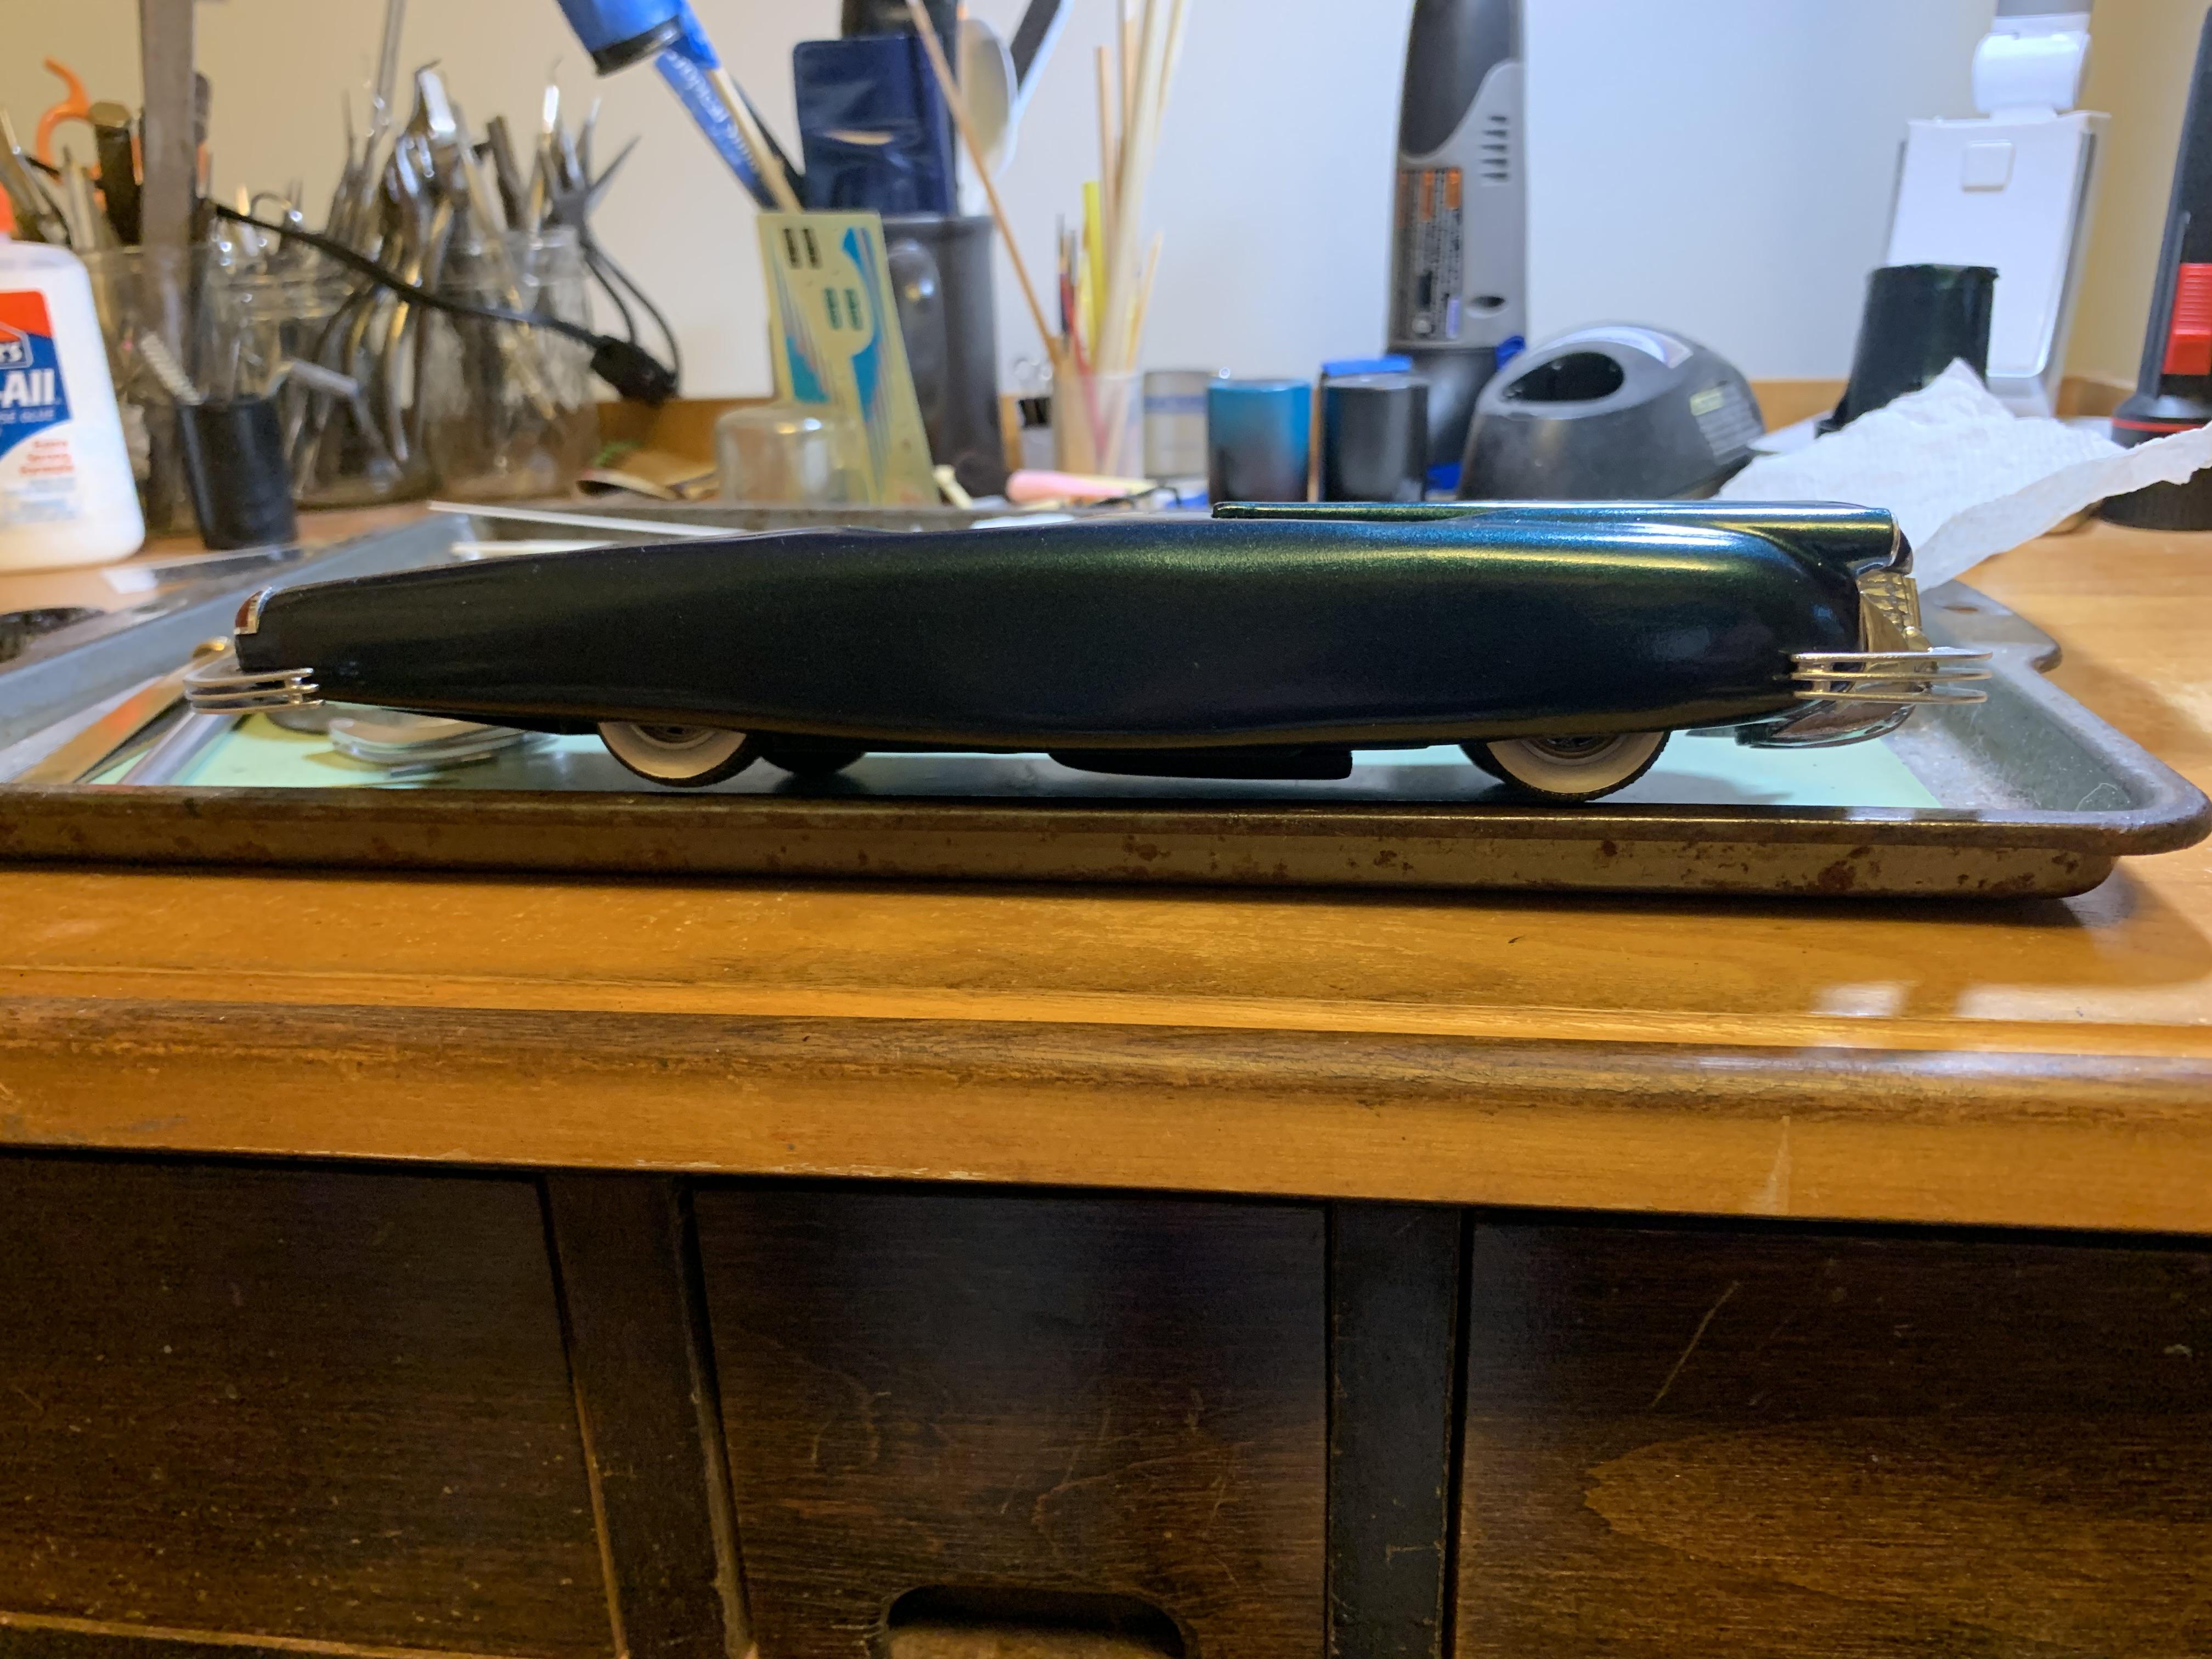
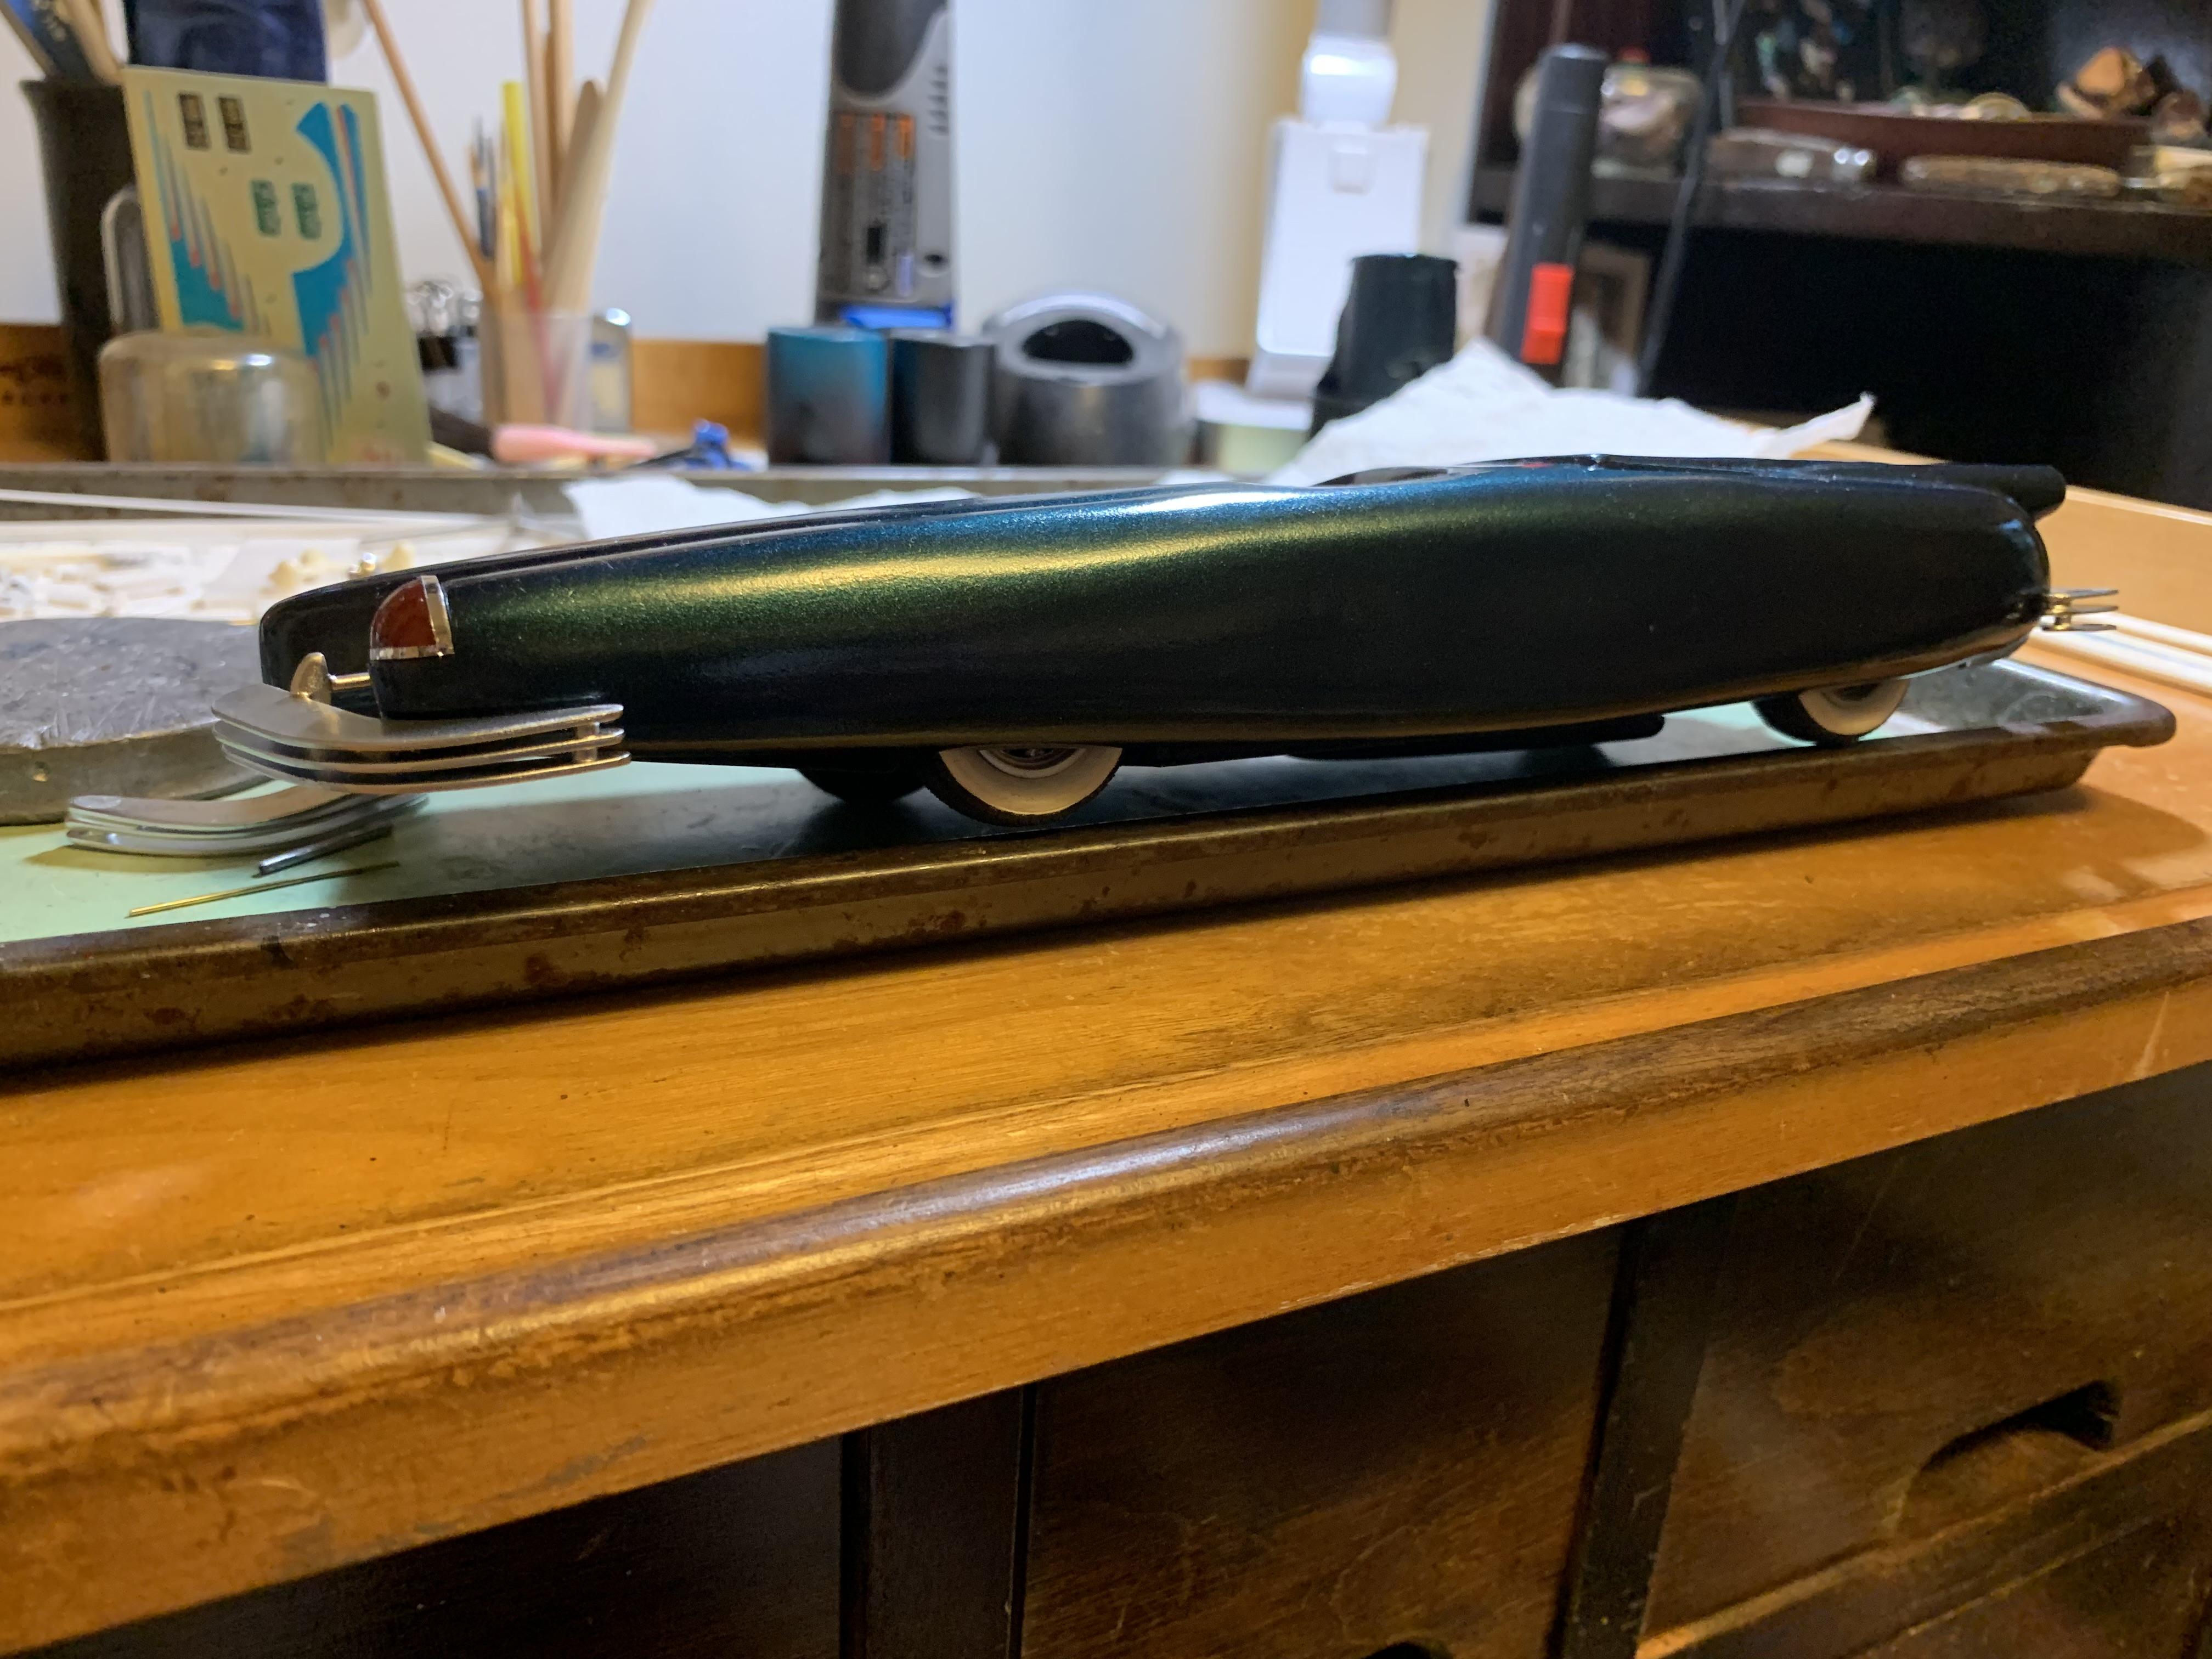
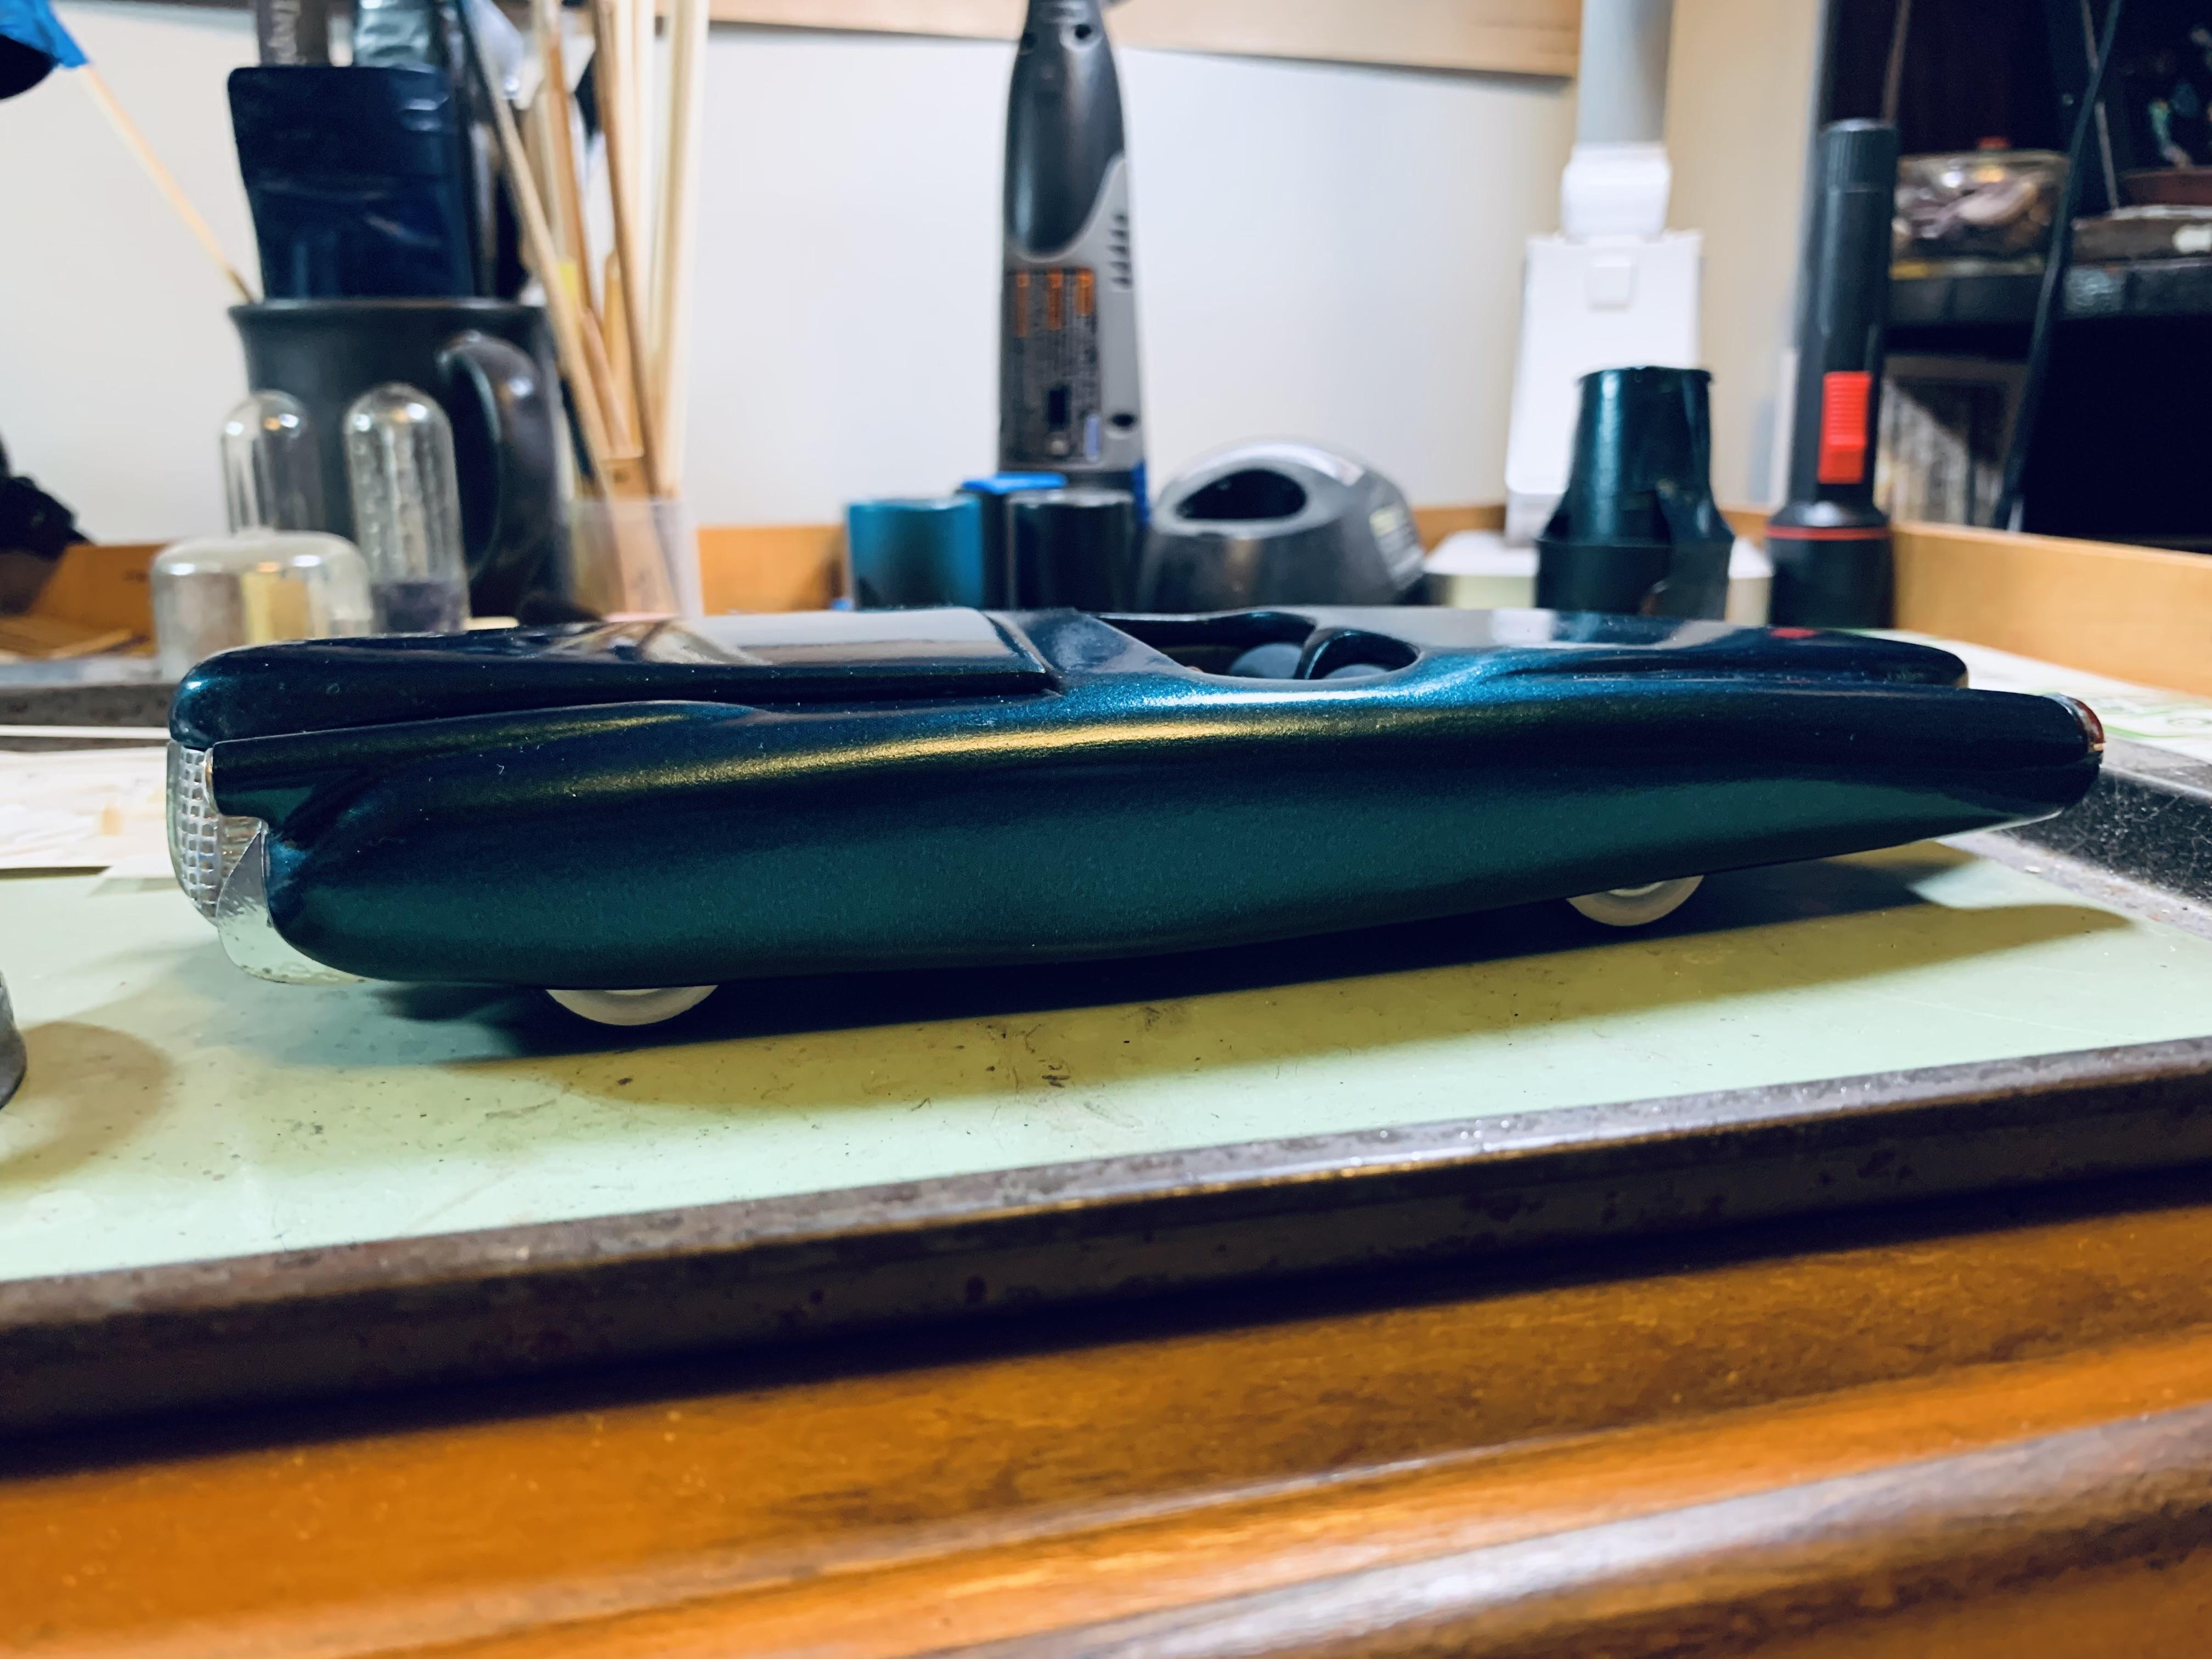
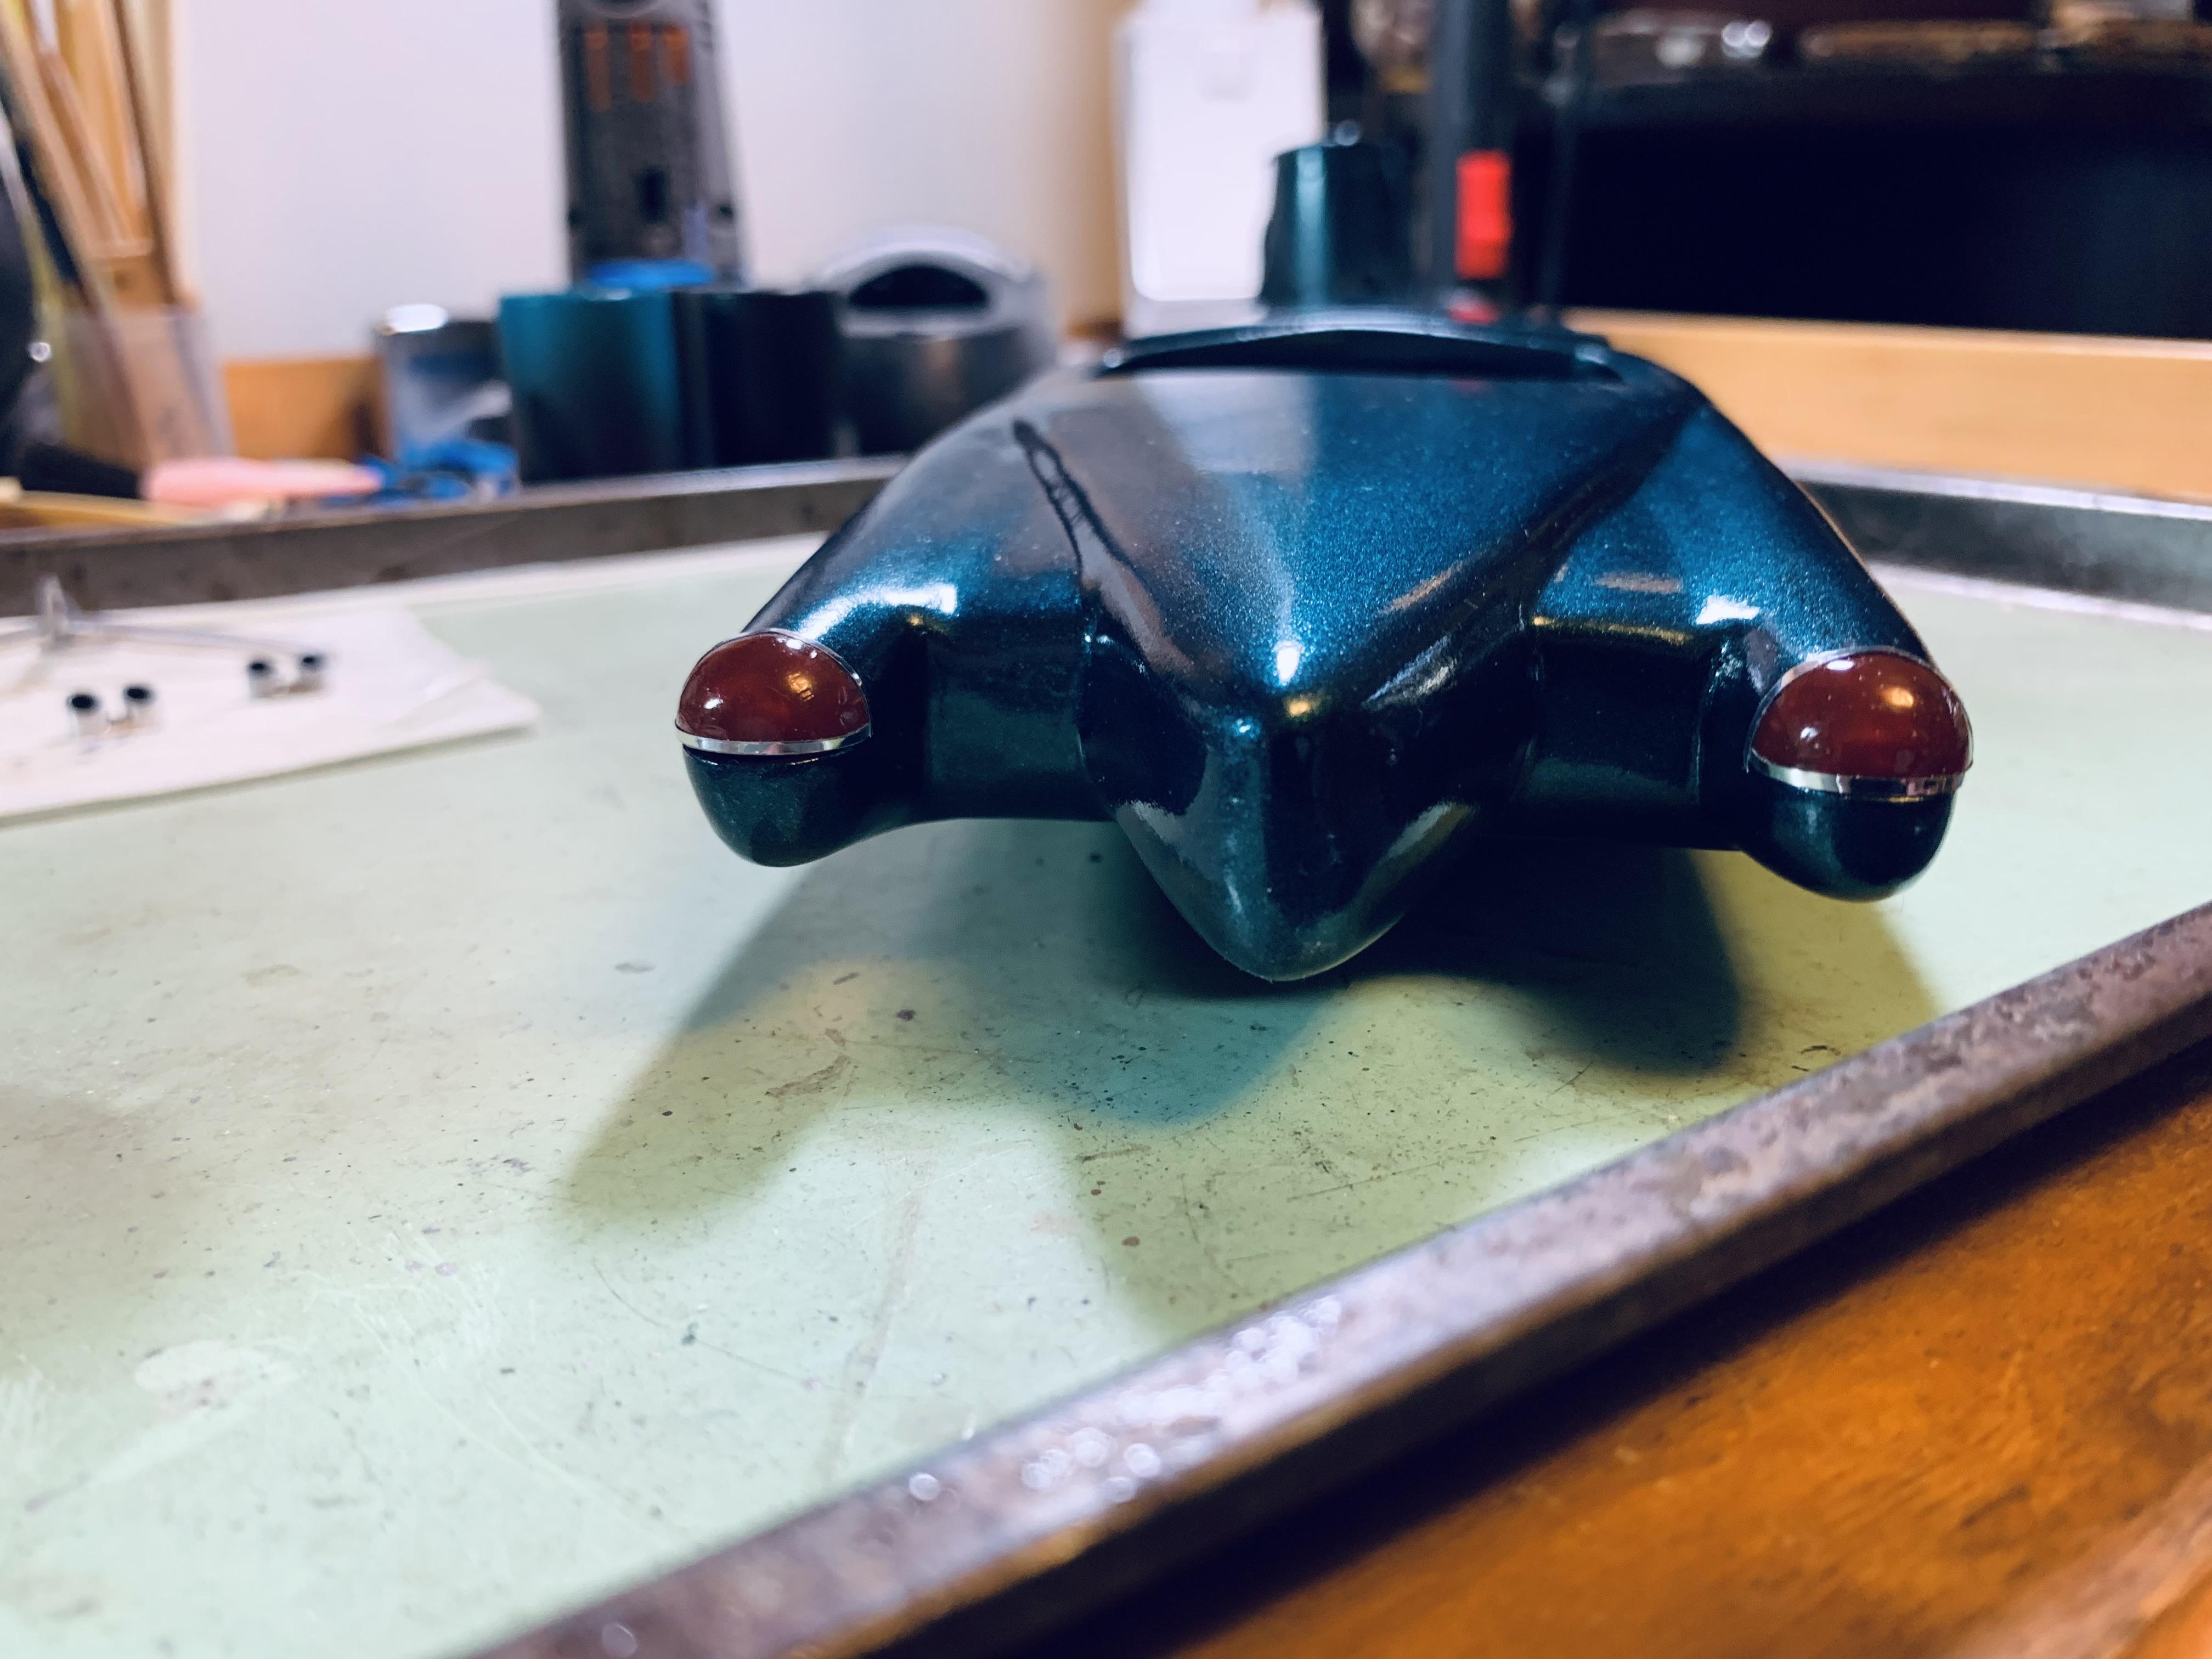
Here are some right side views as well.

-
Preliminary bumper mock up- one rear bumper fell apart, tried to get a wet coat of paint on, went on too thick and ran, need to sand and re-paint once the paint is completely dry. Will be adjusting to hopefully snug the rear bumpers closer to the body. Let me know what you think!
-
Great work on a great pair- I'm liking those wide rear tires- what are they from?
-
Been following this- me likey! Personally, I would go with the Deuce grille- after all, it is one of the most beautiful front ends ever- and I think a low rise 4 bbl manifold would look better. But- build it to please you!
-
**Shout-Out to 'Best Model Decals'**
Paul Payne replied to 1972coronet's topic in Tips, Tricks, and Tutorials
I just followed your link to his sight and am very impressed. Will be getting an order together soon! Will also be inquiring about S.C.T.A. timing tags for my hot rods. -
This is what you do when your little deuce coupe goes poop............................
-
Here are a couple more pix:
-
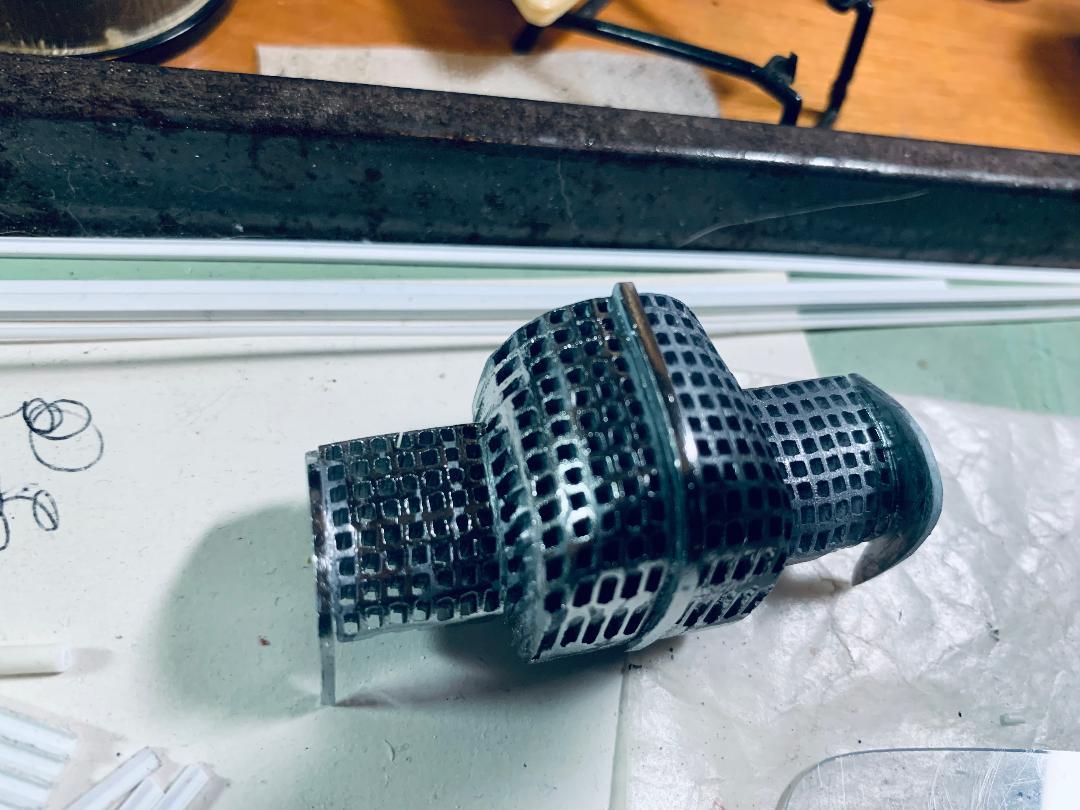
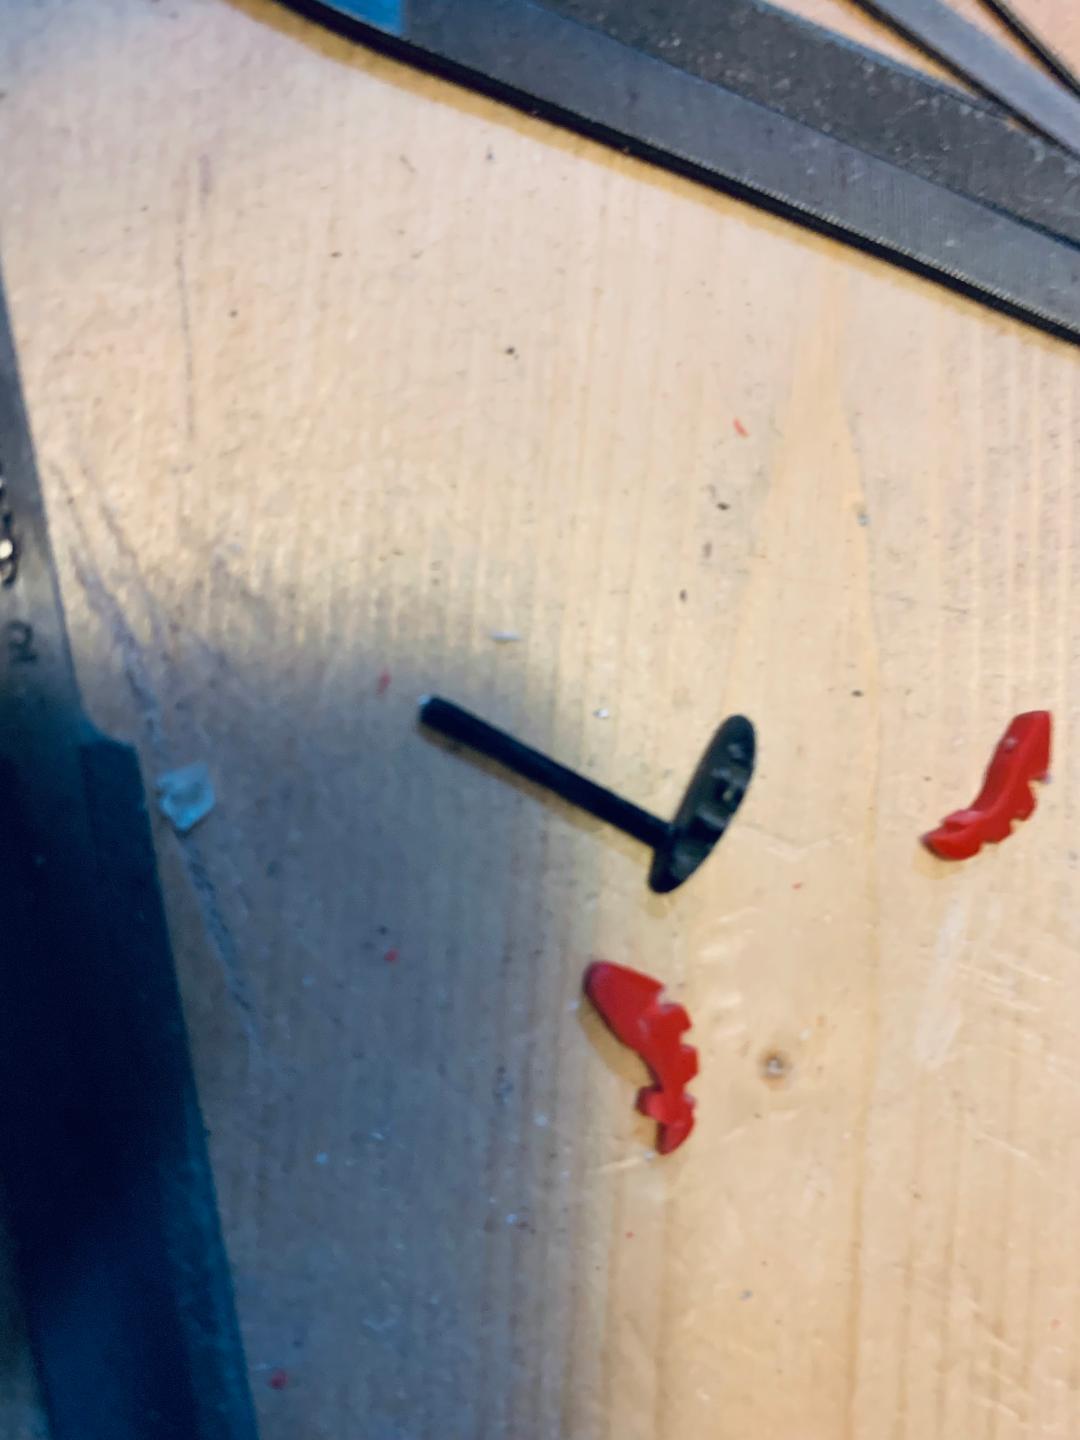
I have been interested in turning a Maisto knucklehead into a bobber for some time. Having 2, as well as 2 Danbury Mint examples, I decided to try disassembling one in order to rebuild it. Yes, like all of us, I need another project like a hole in the head...... I had thought of this in conjunction with my truck, boat, and trailer project- maybe in the back of the Power Wagon. I have included a couple photos of what I might be going for, as well as actual disassembly photos. Although called a diecast, the only diecast pieces were the tank and engine. With the exception of a few pins everything else is plastic. Most of the plastic seems to be a fairly soft and flexible plastic more like vinyl than styrene. The light and horn, shifter, and one or 2 other parts do seem to be styrene. The engine has the air cleaner molded directly into the cylinders- no carb at all, and I will probably grind it off and file in the cylinder ribs- or make a mold and use the resin casting for the rework. There is a lot of parting line, as well as gouged areas from too aggressive sprue removal at the factory, plus parts like the shifter linkage are much to heavy. This is what my father-in-law would call a 20 footer- looks pretty good from a distance, but up close you see things. The disassembly itself went pretty well- took about an hour- biggest chore was removing the axle and steering pins- enough slack and flexibility to get side cutters in and snip them. After looking things over, there will be quite a bit of scratch building involved. I had planned on a new shifter, plus brake, oil, and fuel lines, and plug wires, but I think more will be happening. Just discovered I am having a file issue -things are coming in as jfif instead of jpeg- so only one disassembly photo- will try and add more when things are working right again.
-
Since we are talking hot rod, they are always being tweaked, modified and generally worked on, hence the relocated shocks as well as any other changes you might spot. Everything you have done is great and I am looking forward to more progress!
-
Guys, any of you out there? Let's get back in touch.
-
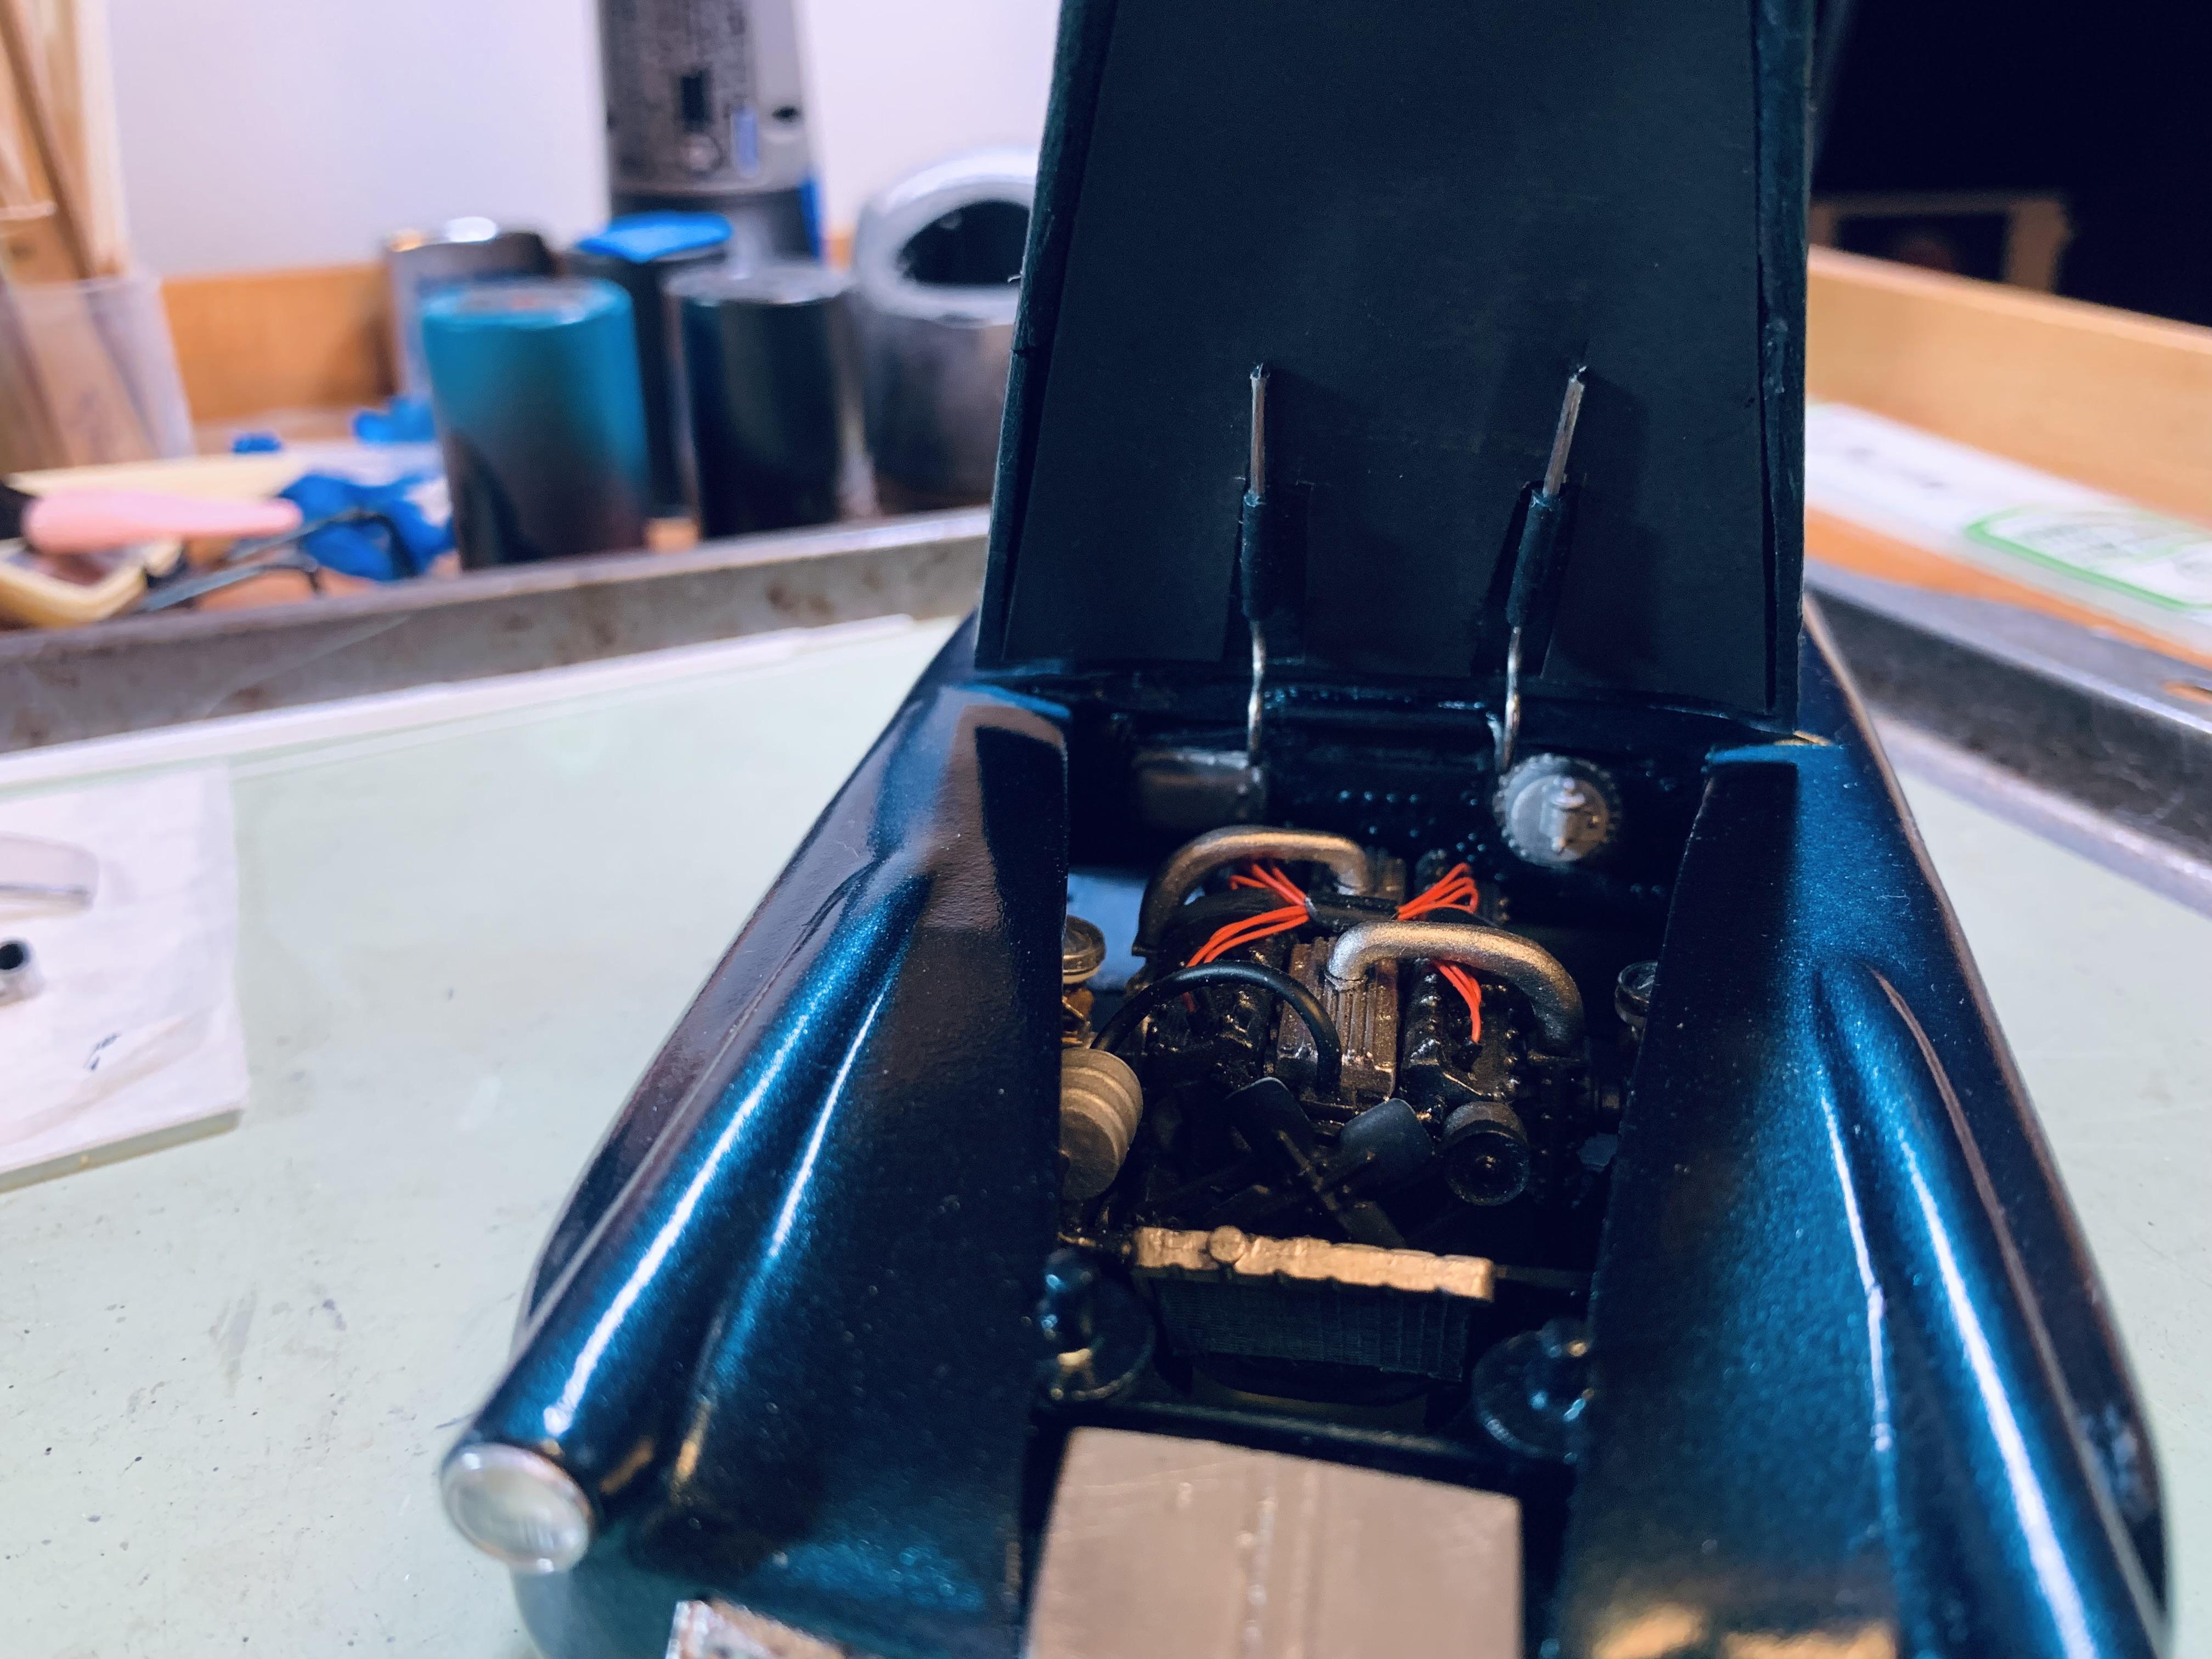
What a great street sleeper! Can't wait to see it finished as well as some under hood photos!
-
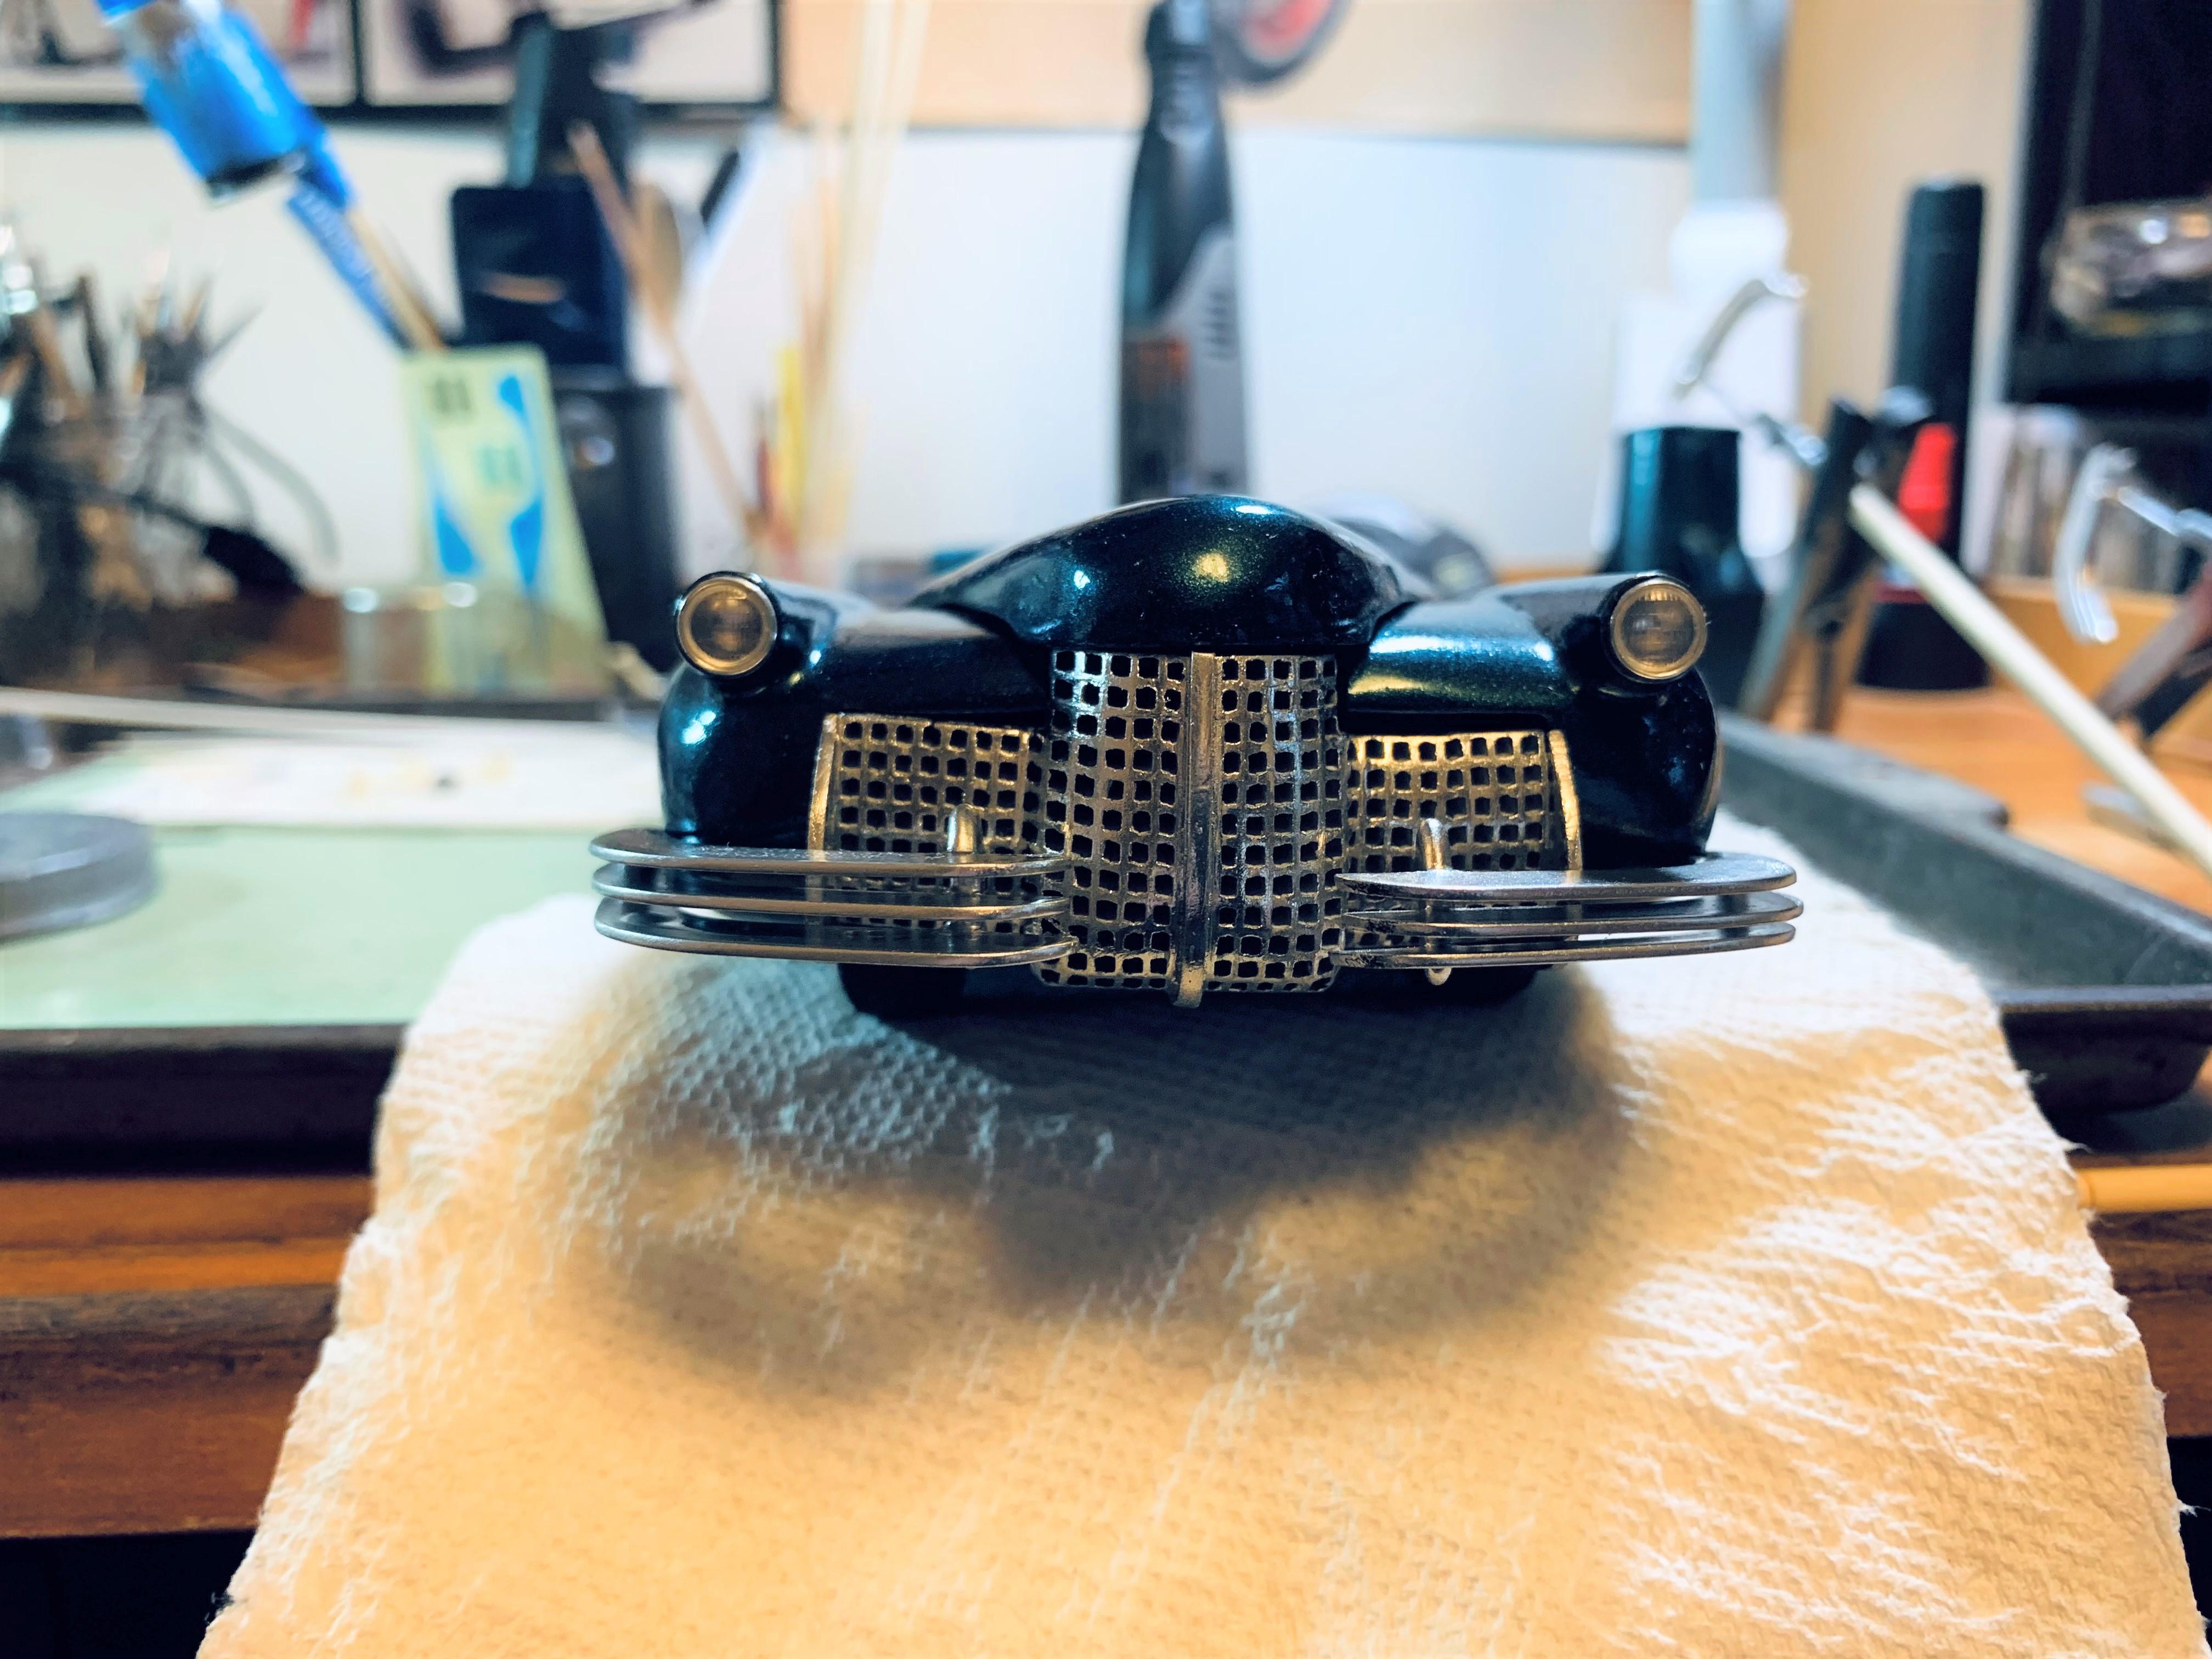
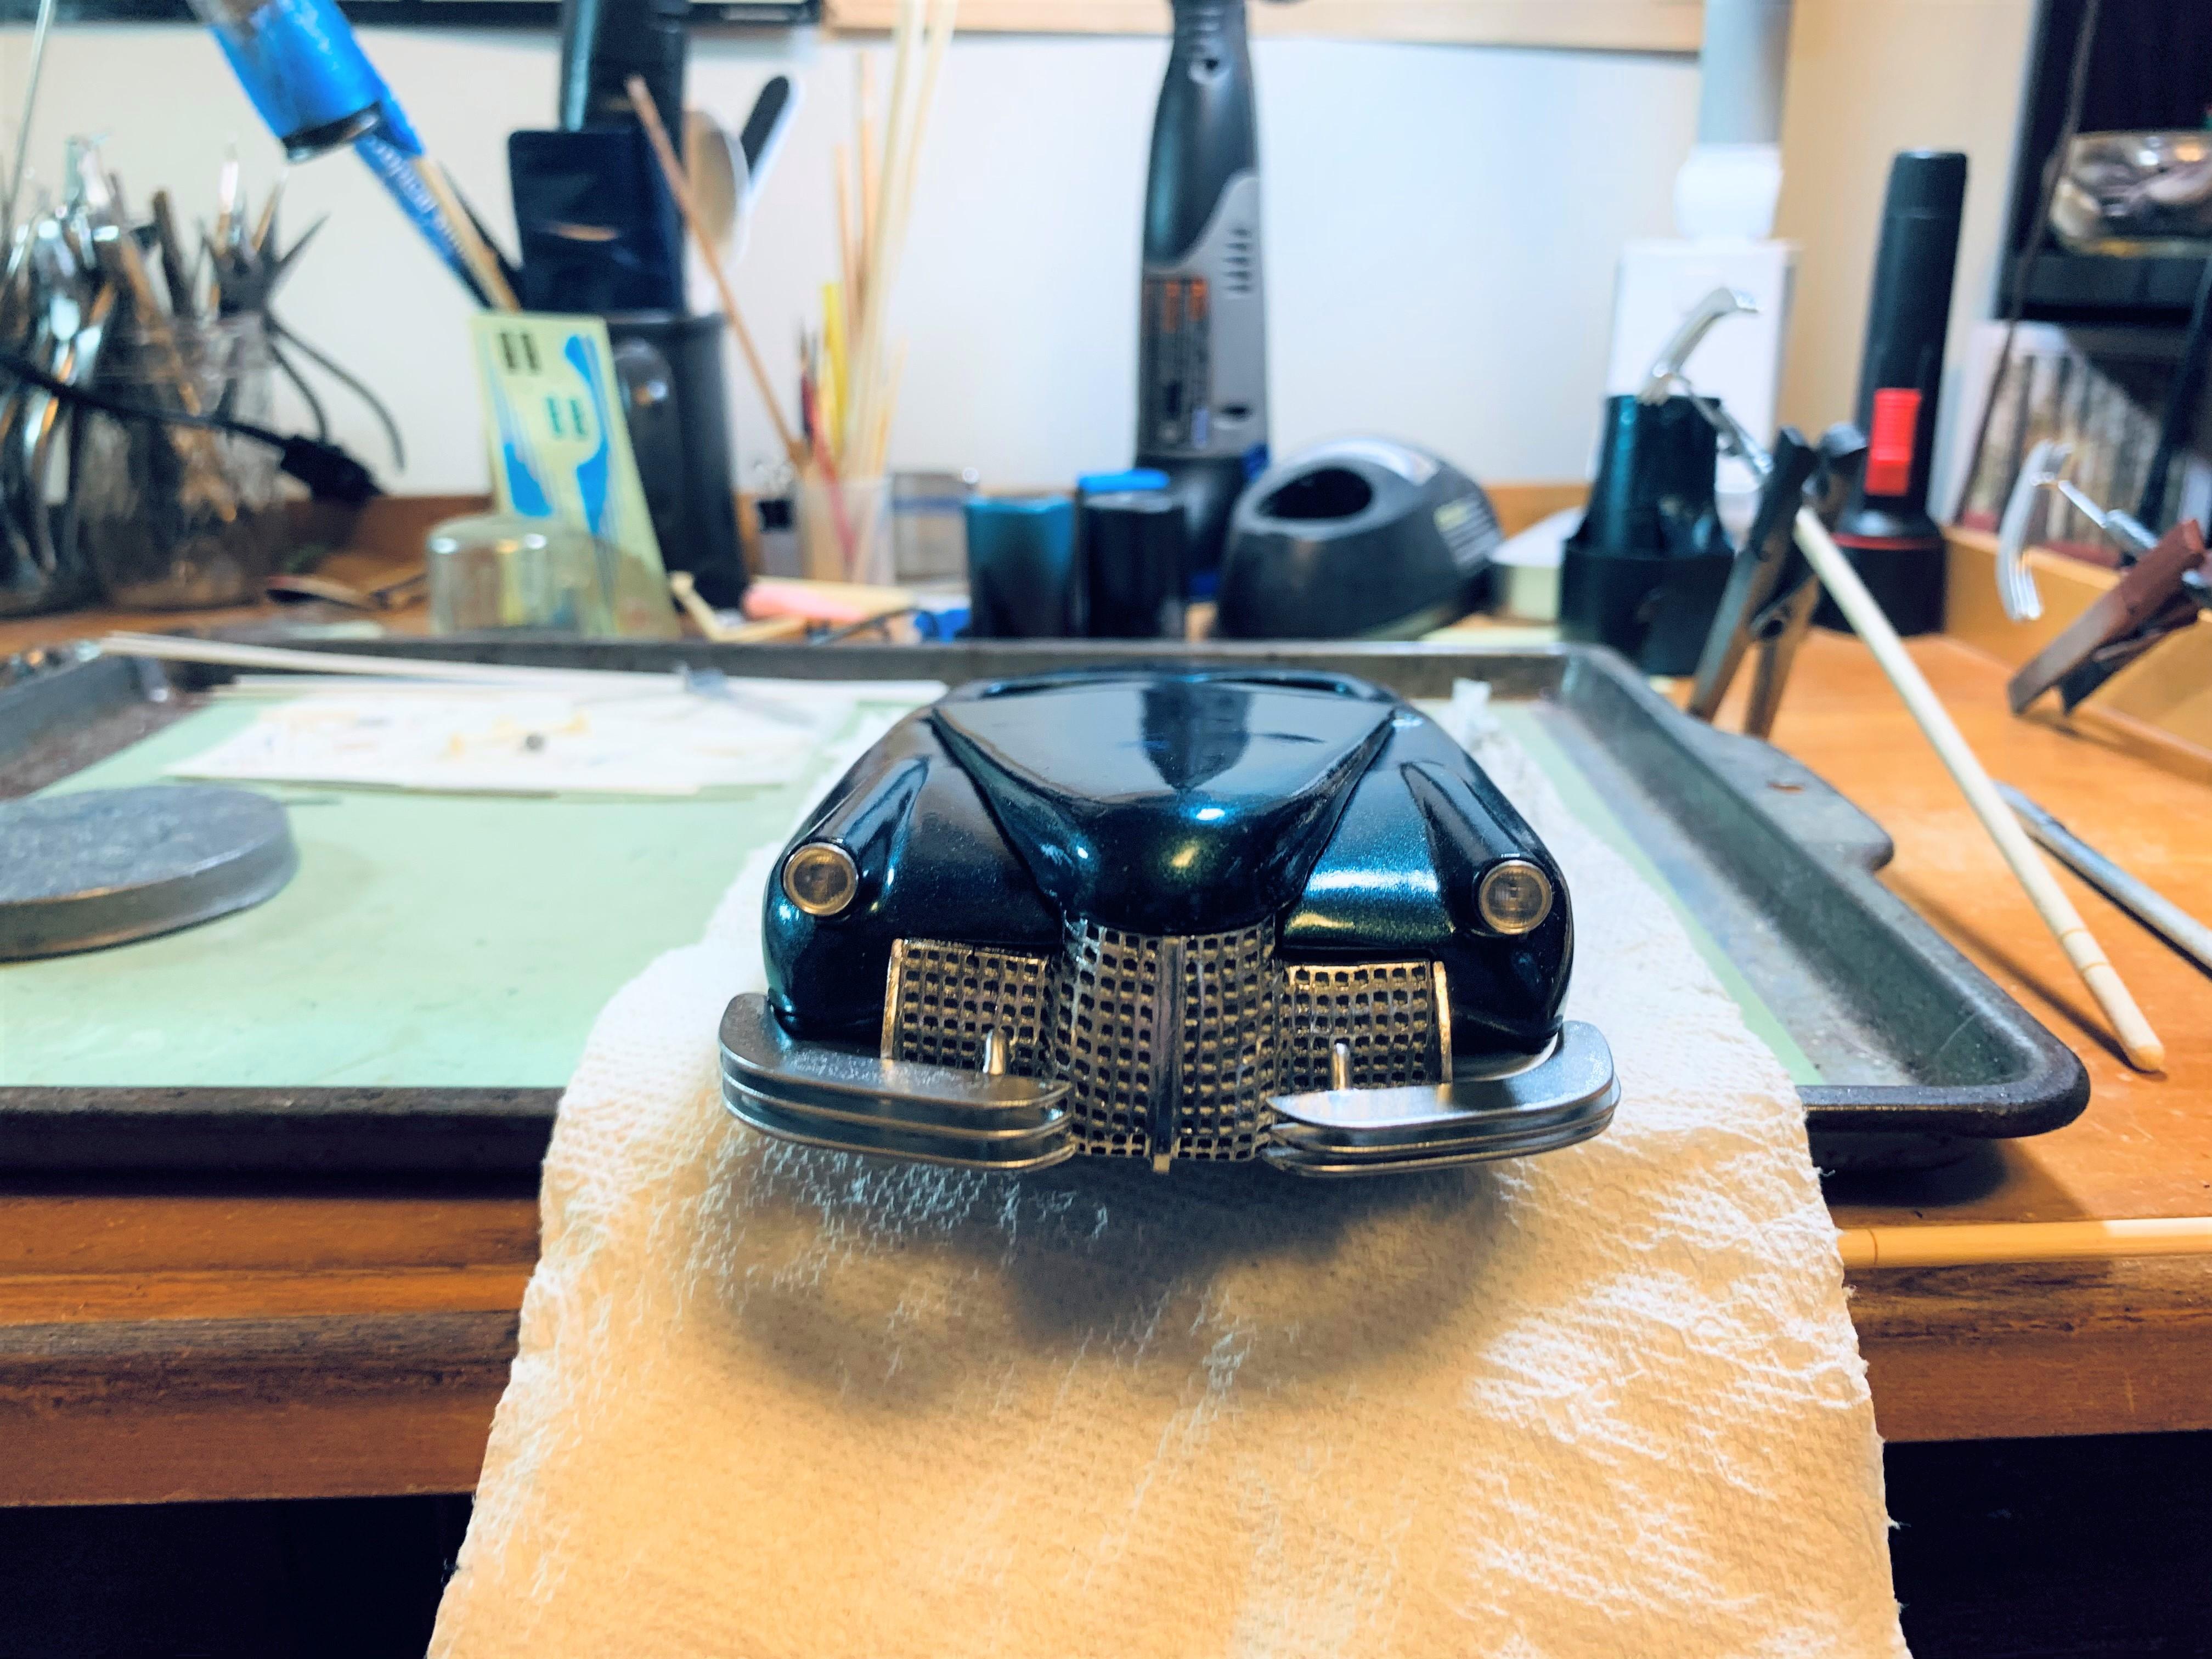
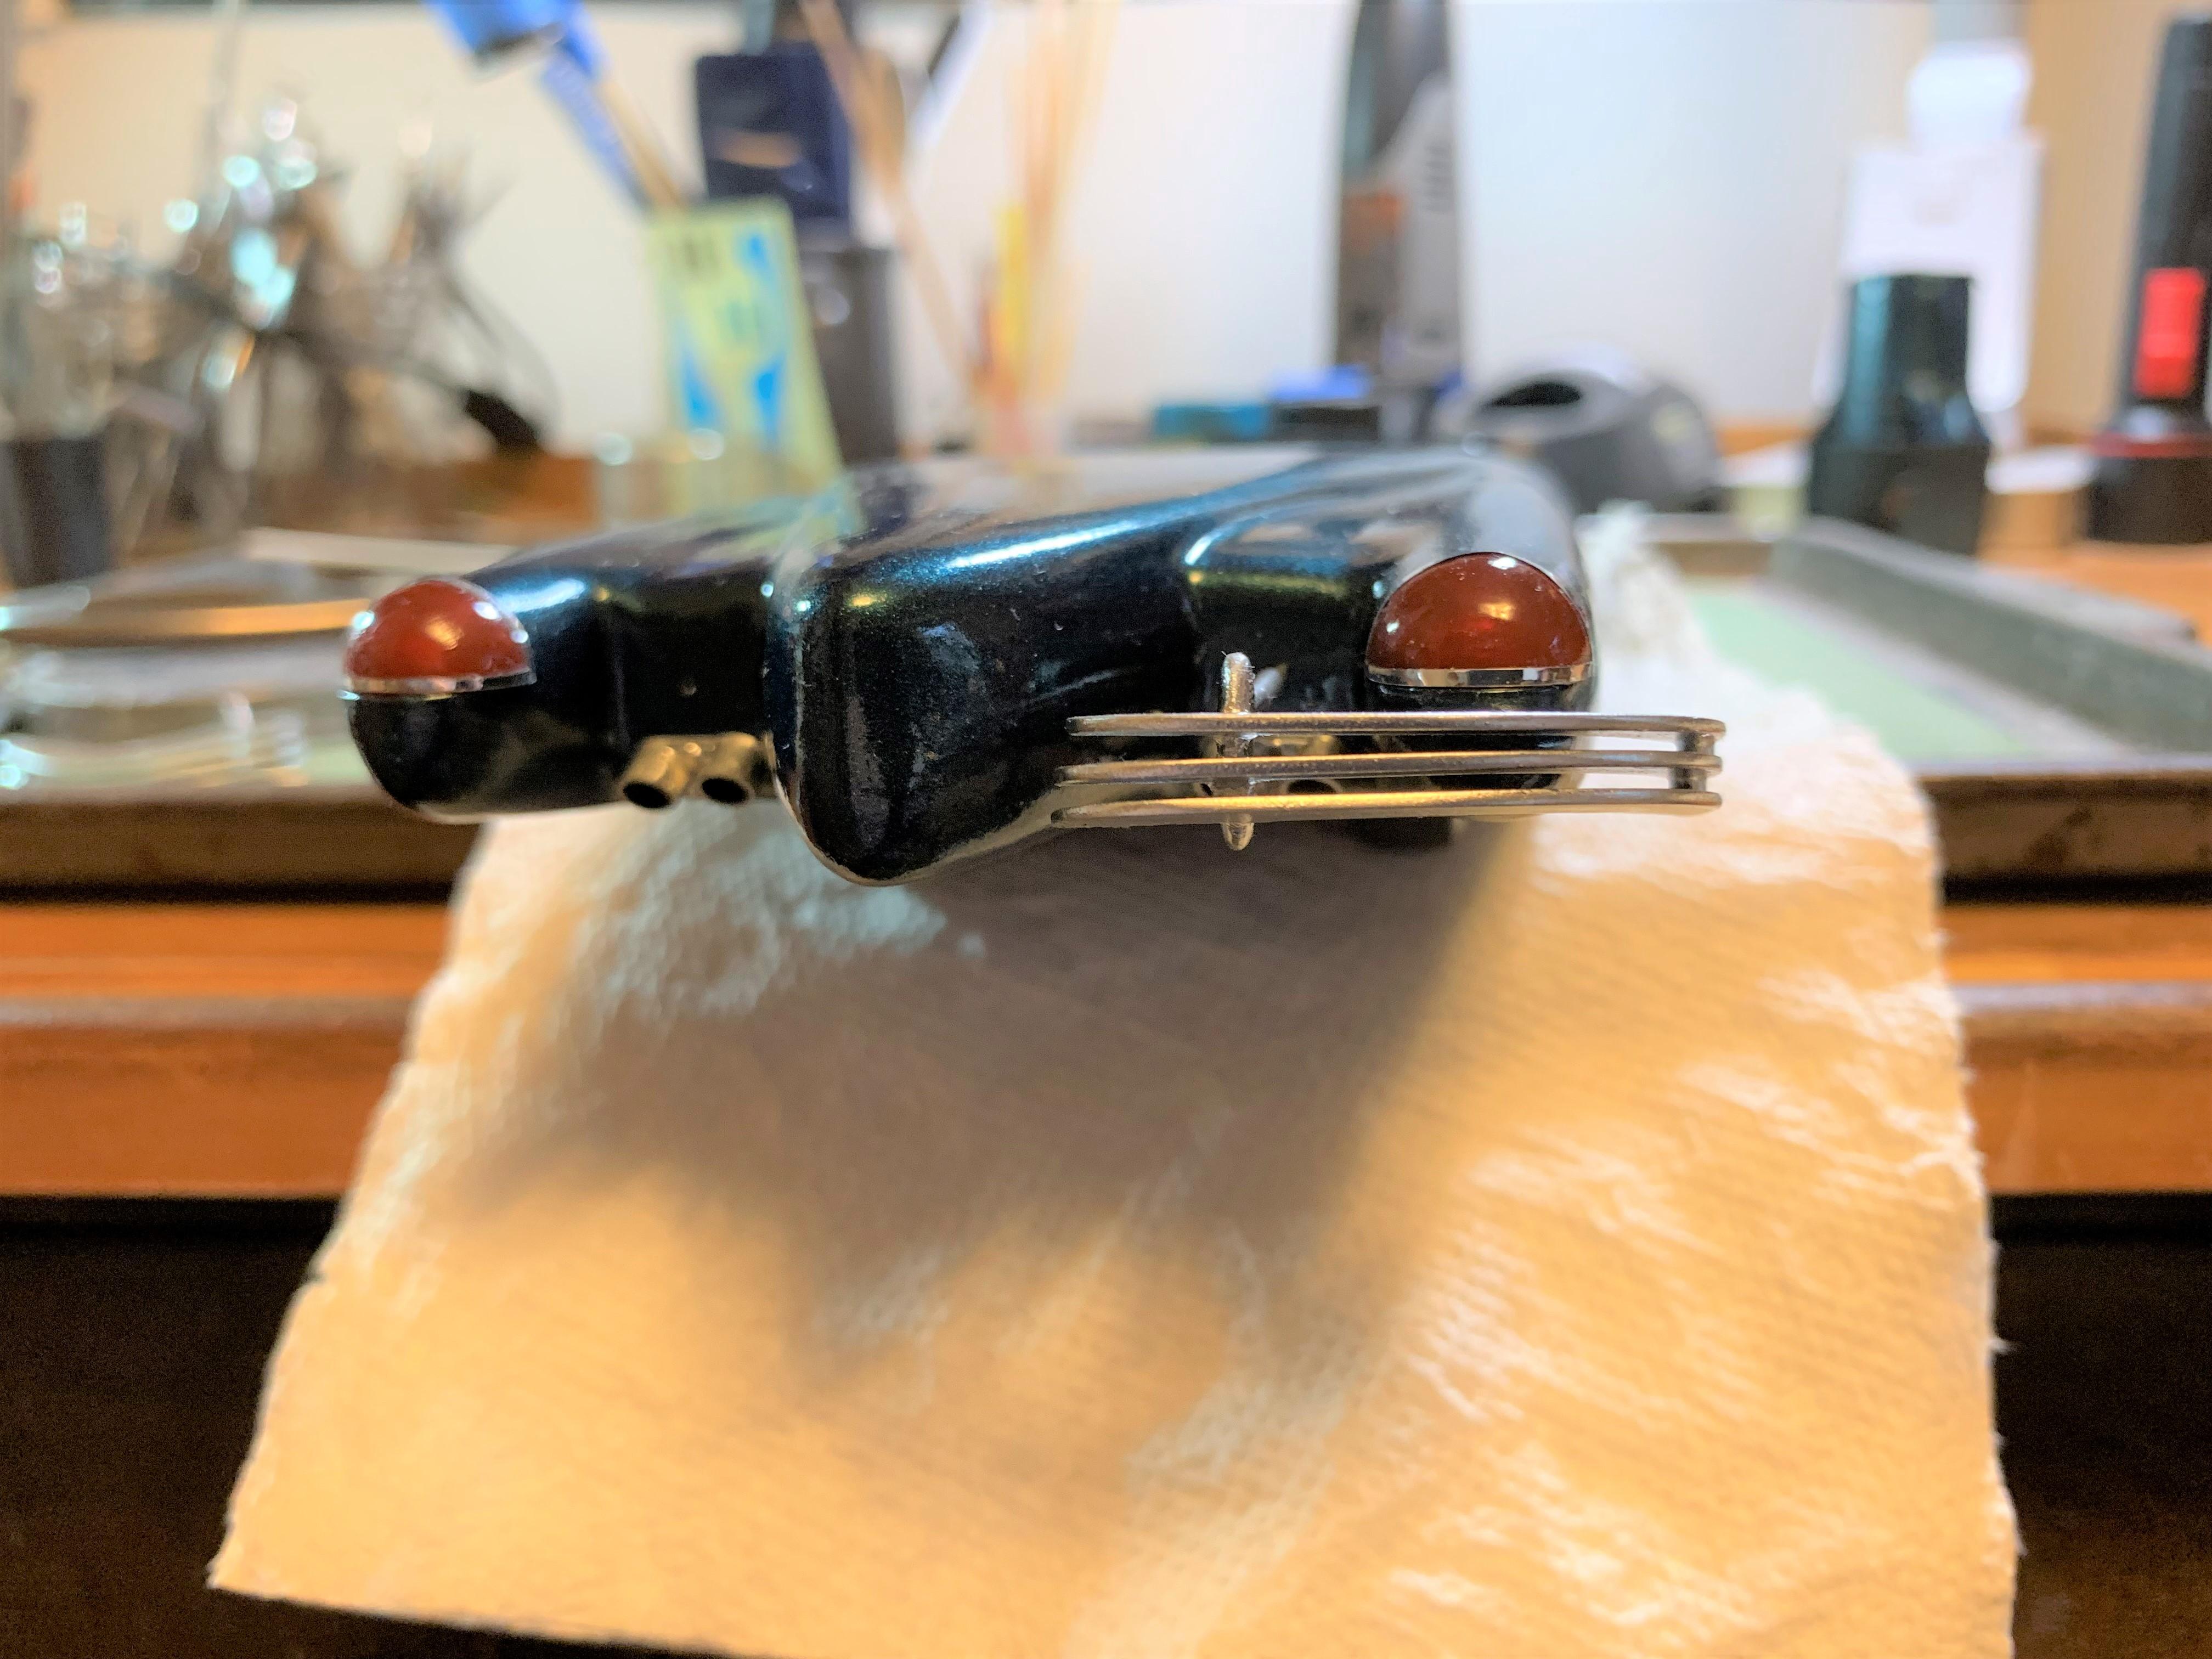
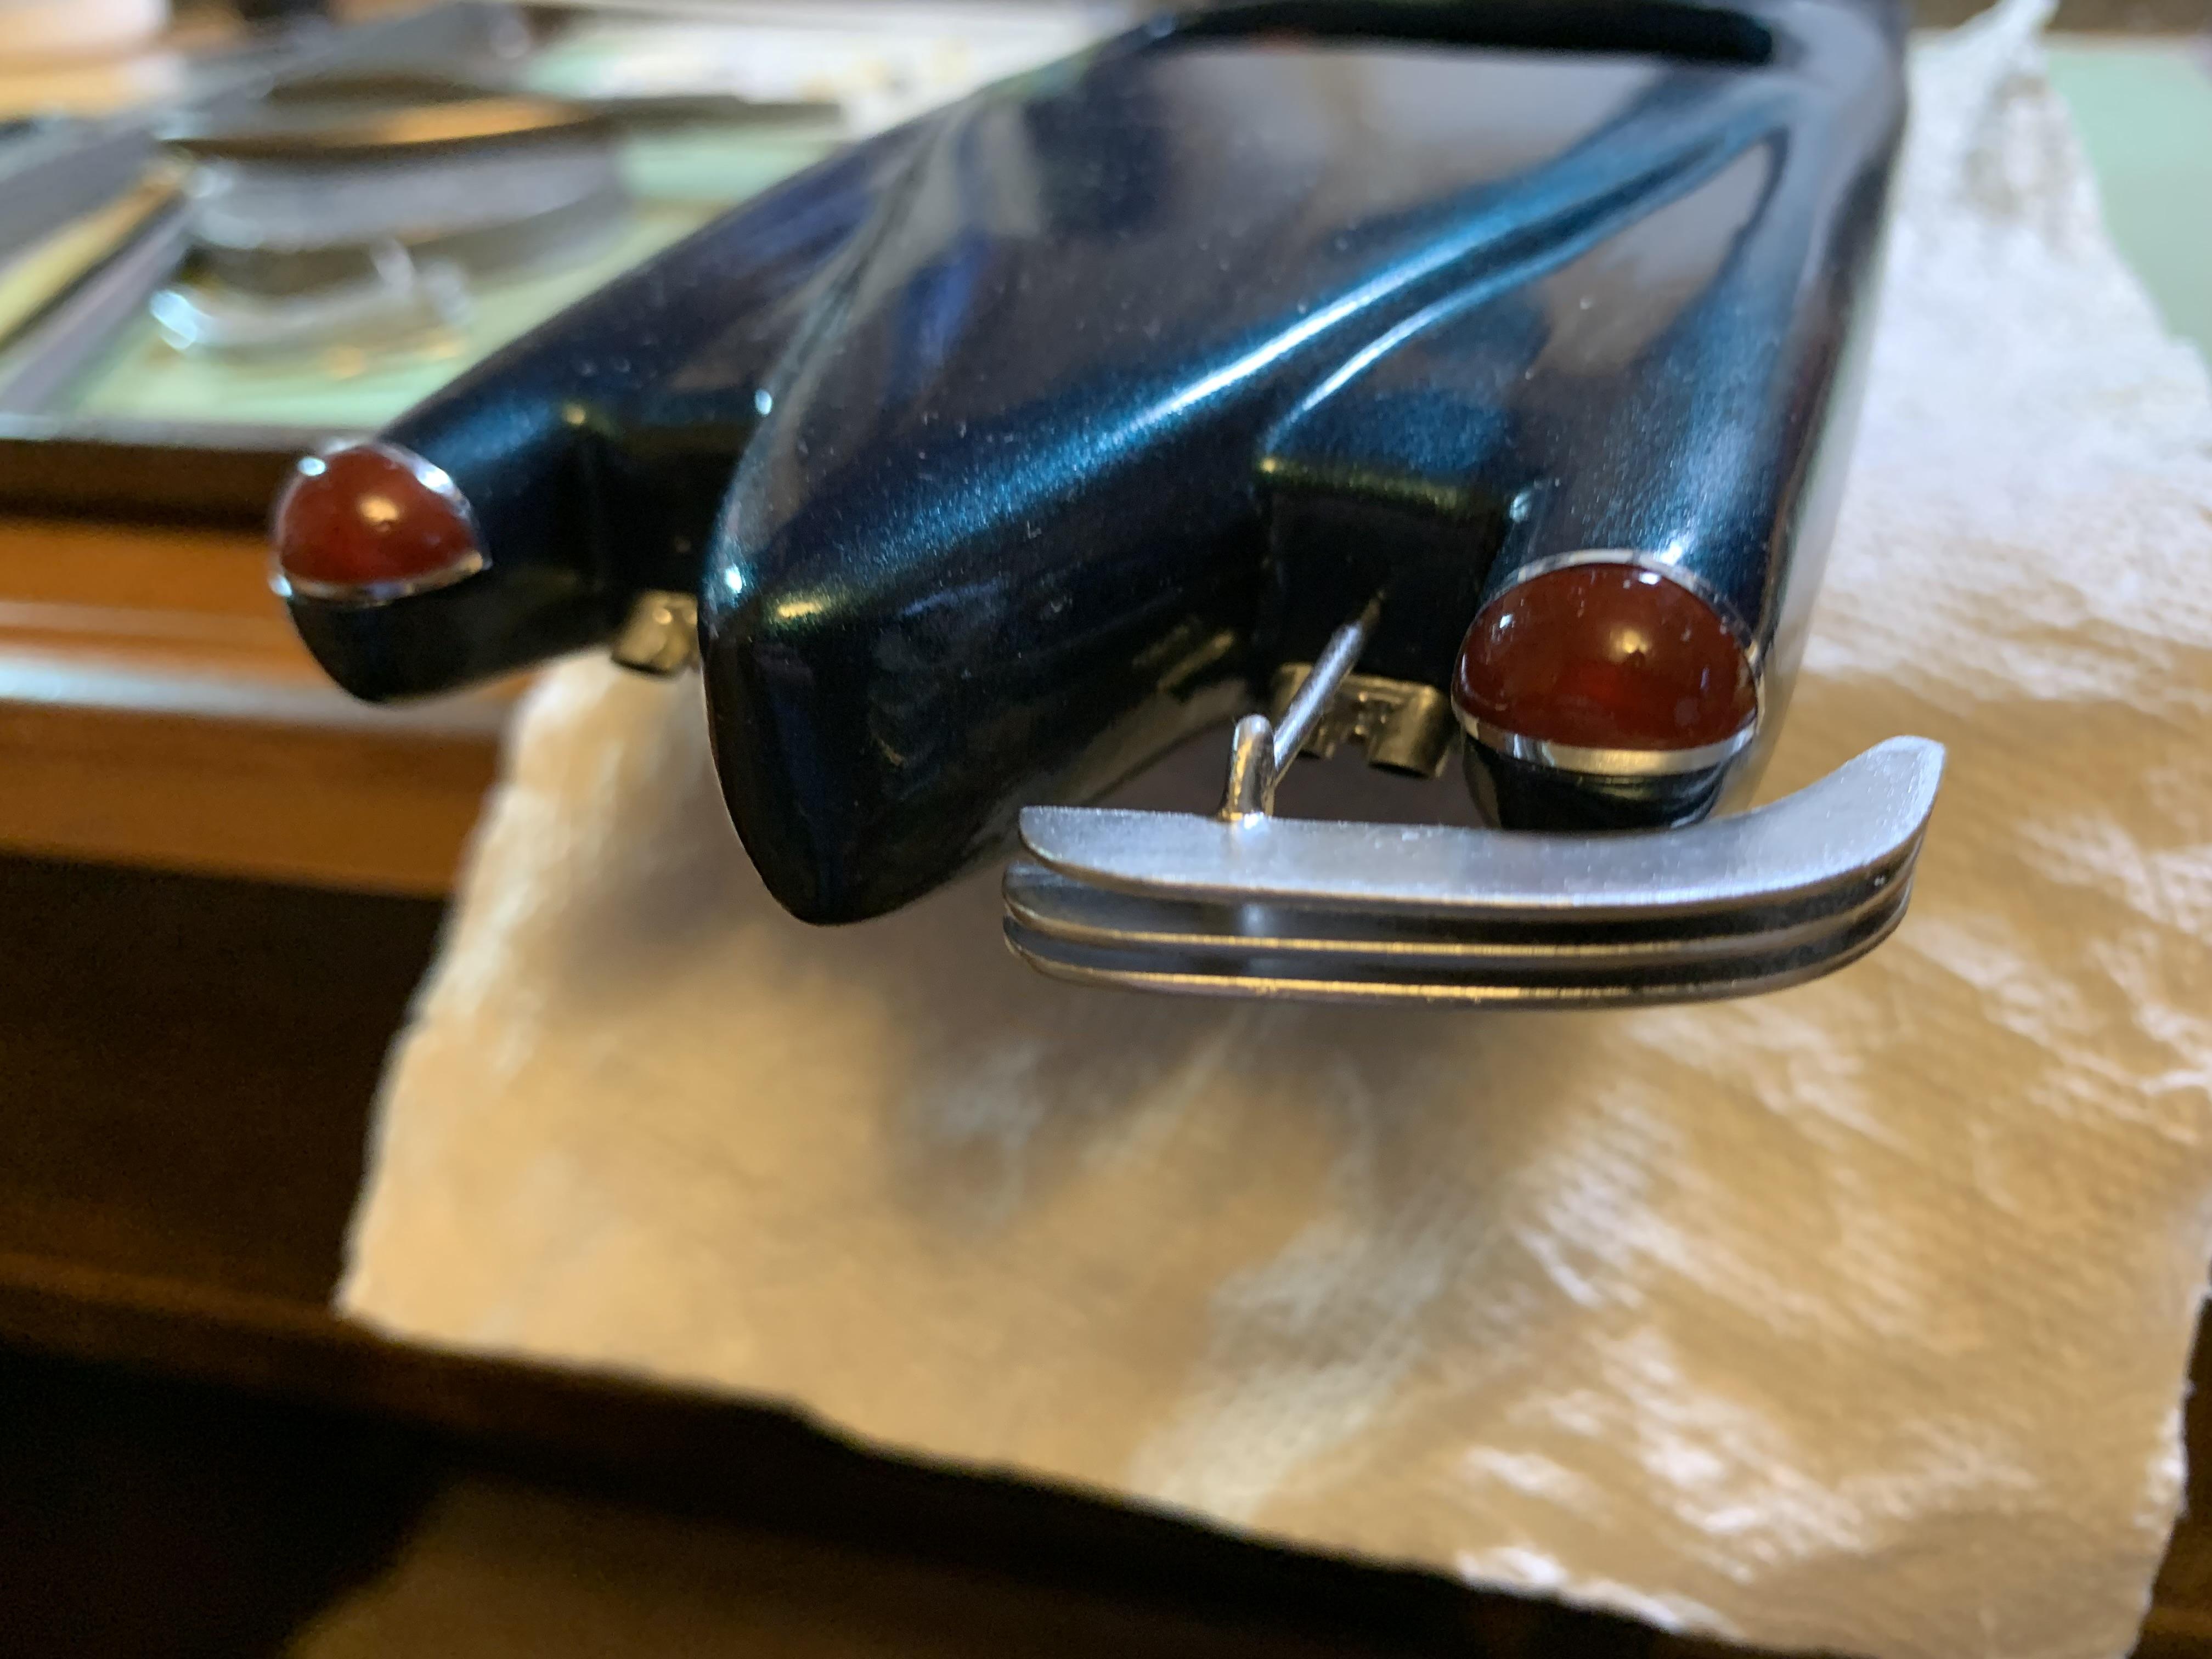
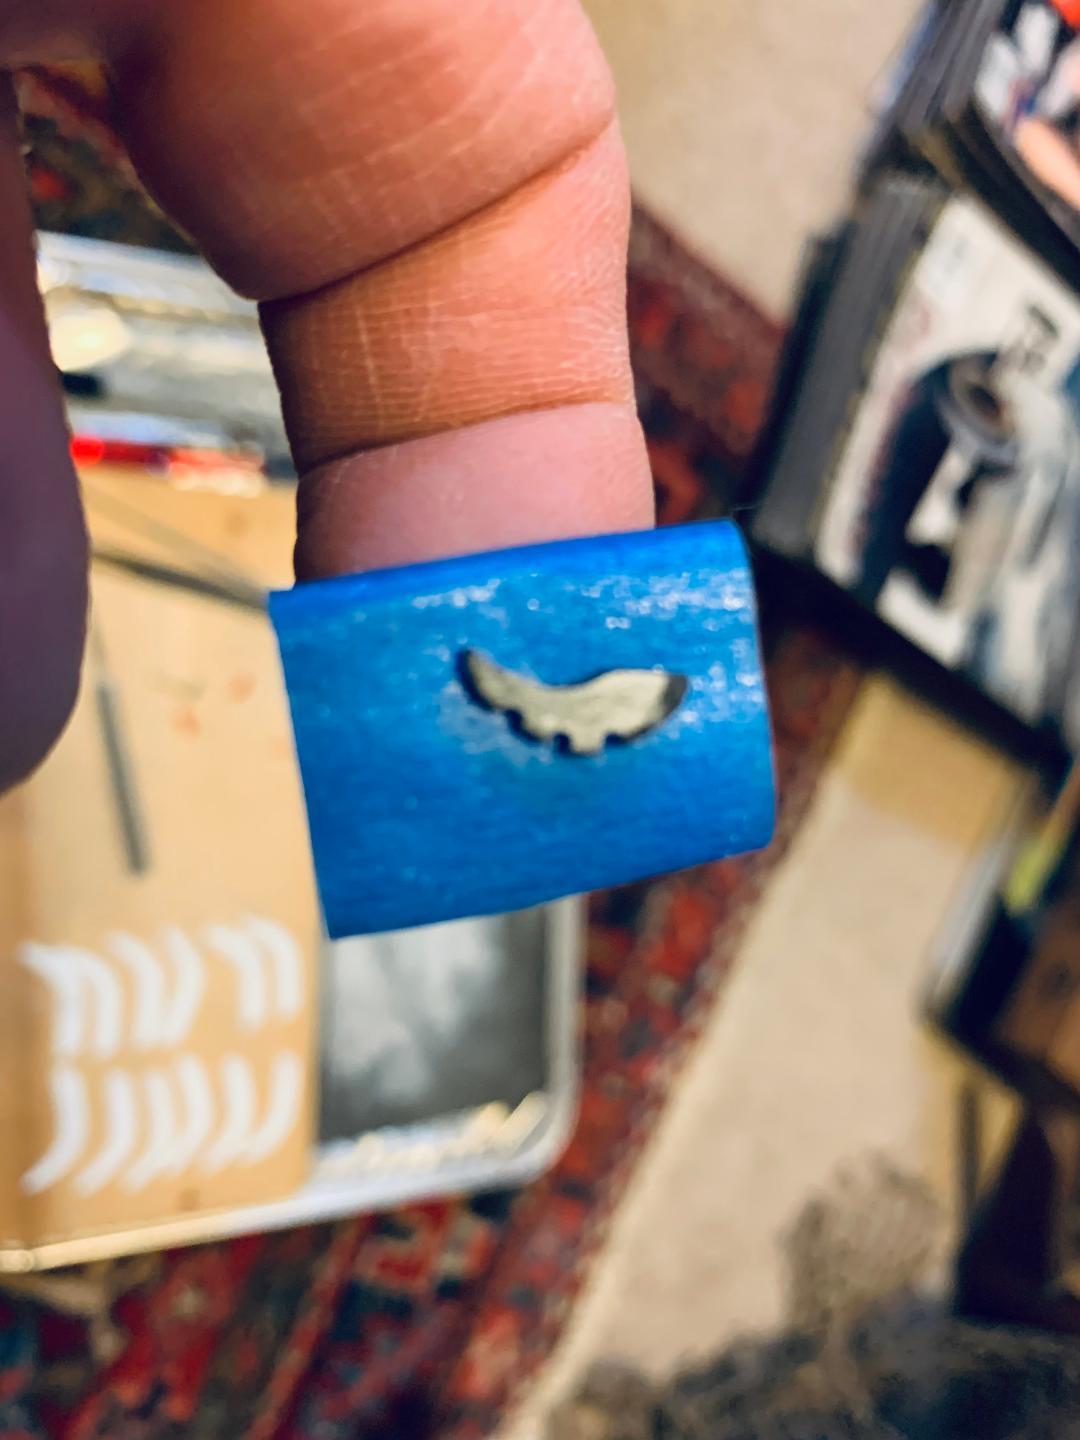
Doing some assembly work and also working on the bumpers. Found some adhesive foil in the odds and ends box, cut it into narrow strips, wrapped the edges of the tail lights, and glued them in with clear gloss. Also installed the grille and hood, and mounted the body to the chassis/interior assembly. Getting to be the home stretch- bumpers, rear view mirror, windshield, and license plate, and the Hurricane Typhoon will be complete!
-
A lot of work, a lot of imagination, and a great looking result!
-
Thanks! It's been a journey, doing some things I never did before, and starting with junk!
-
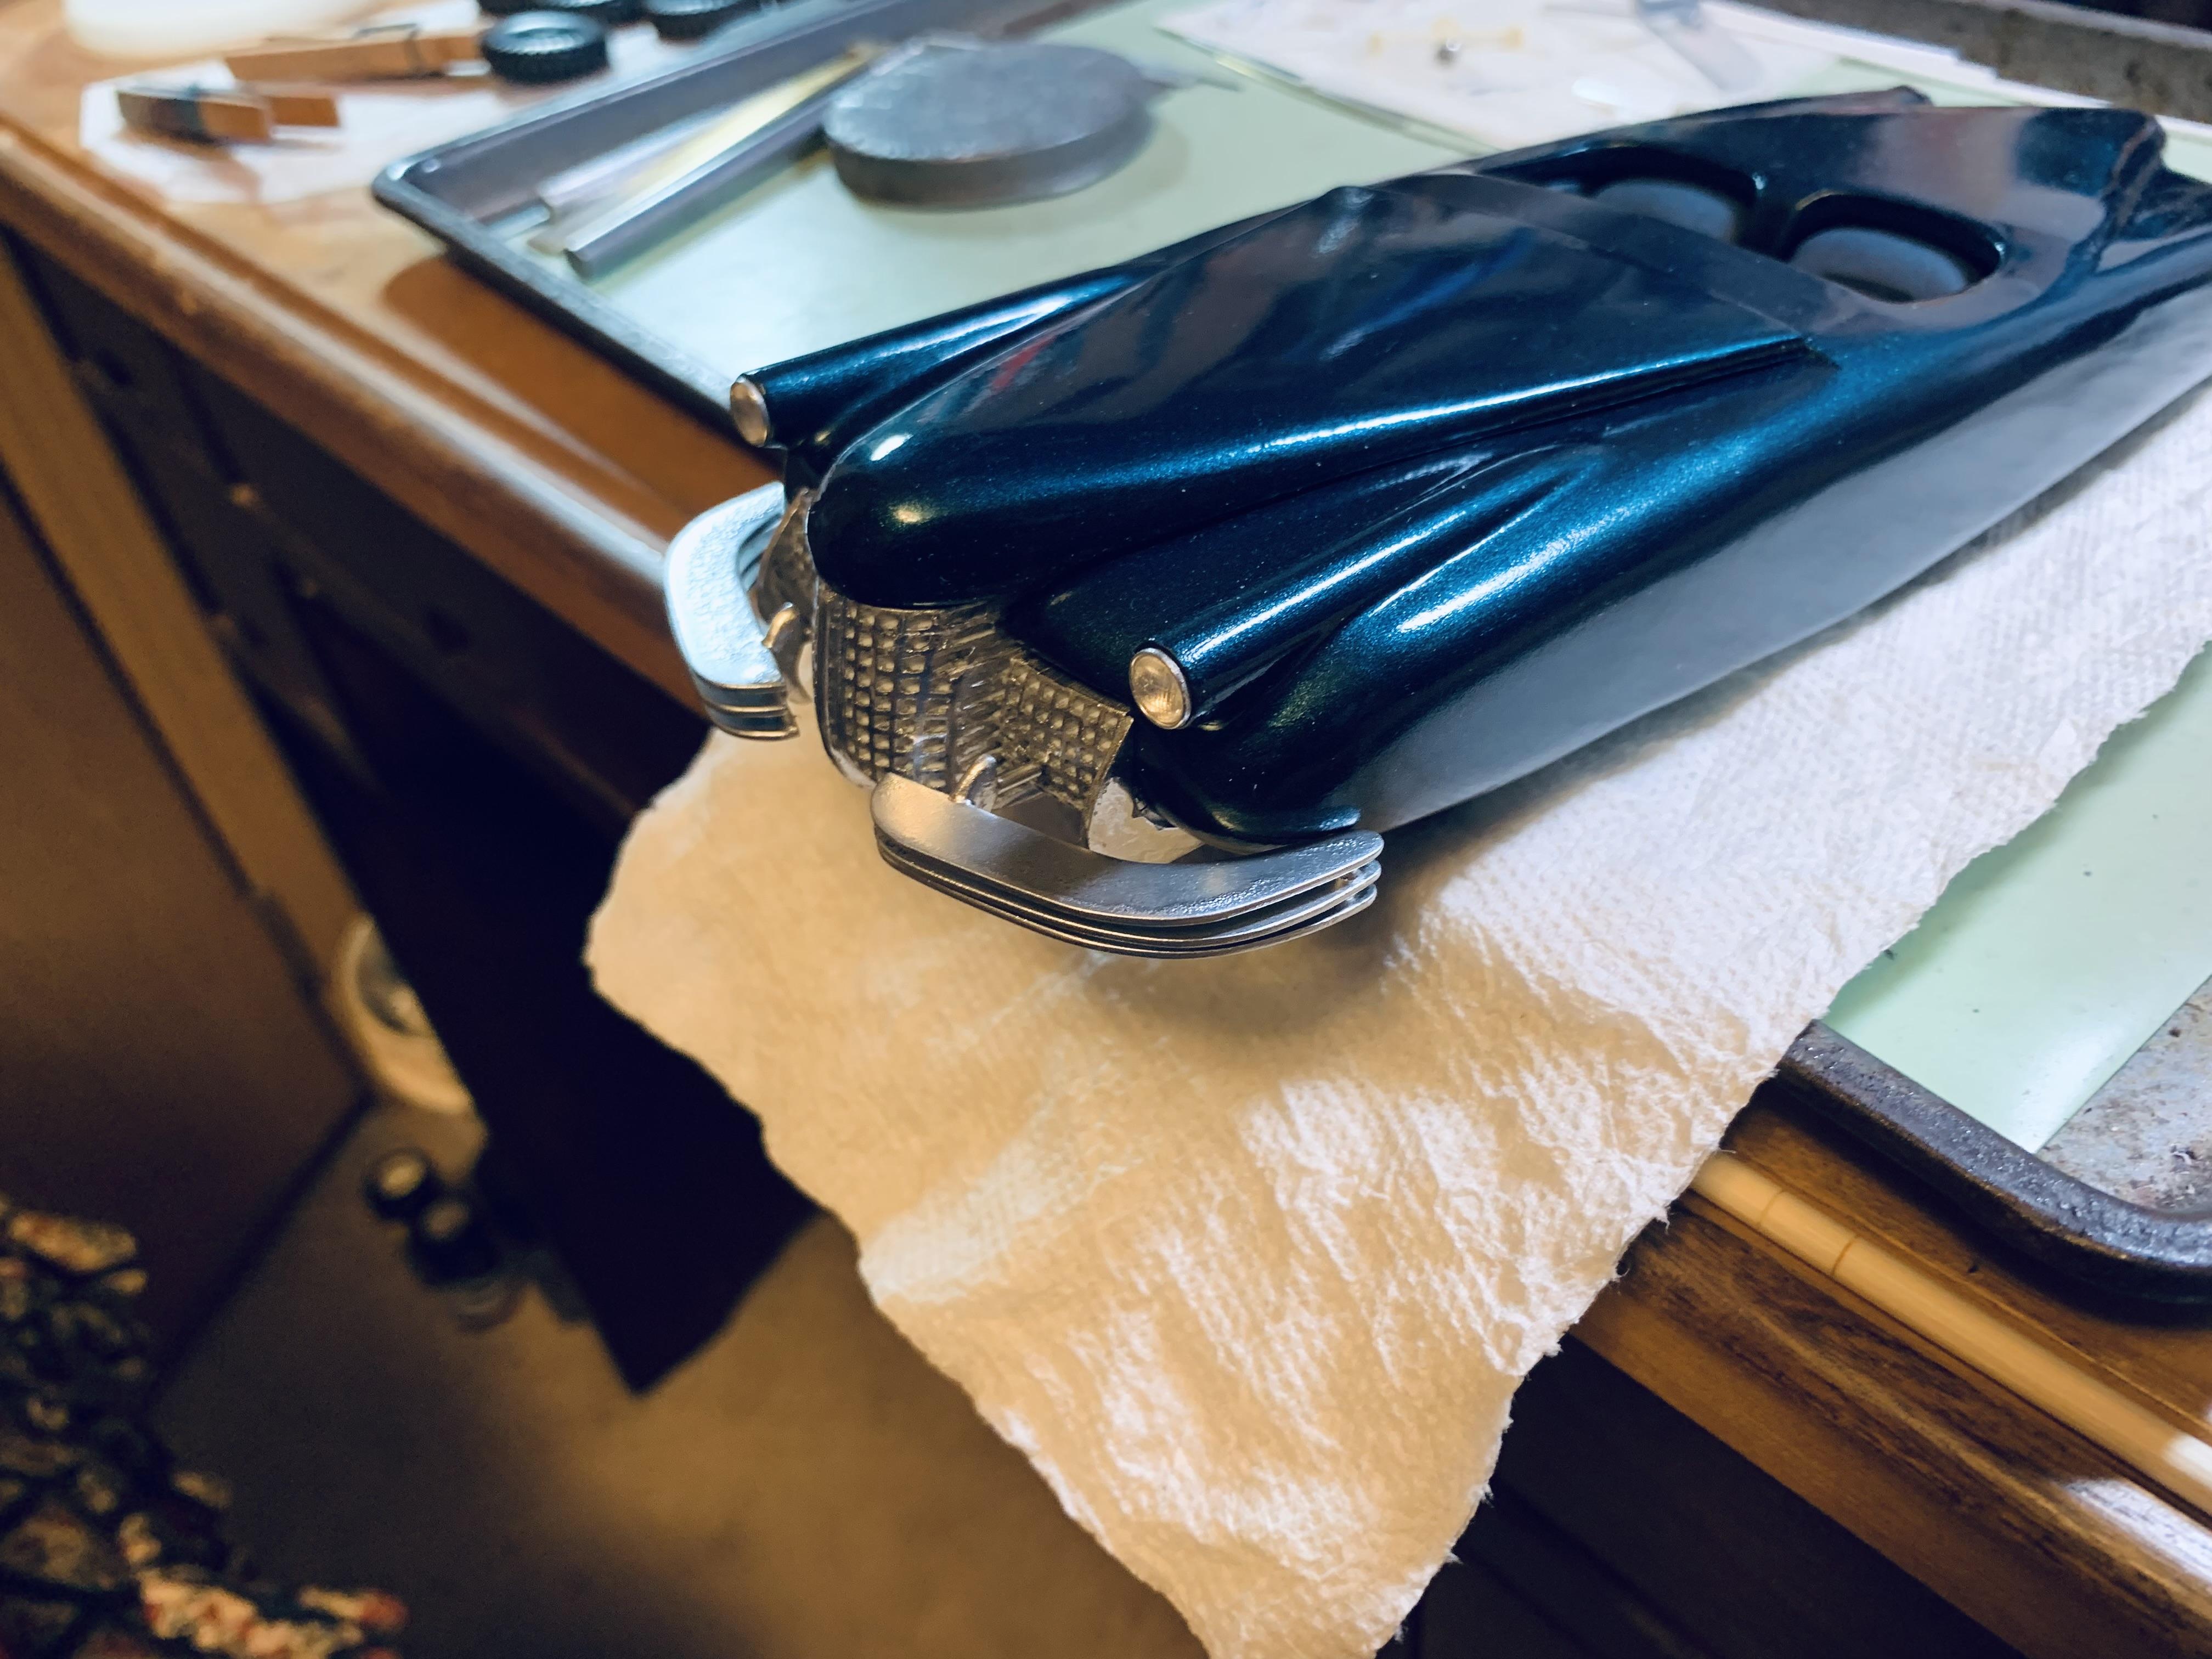
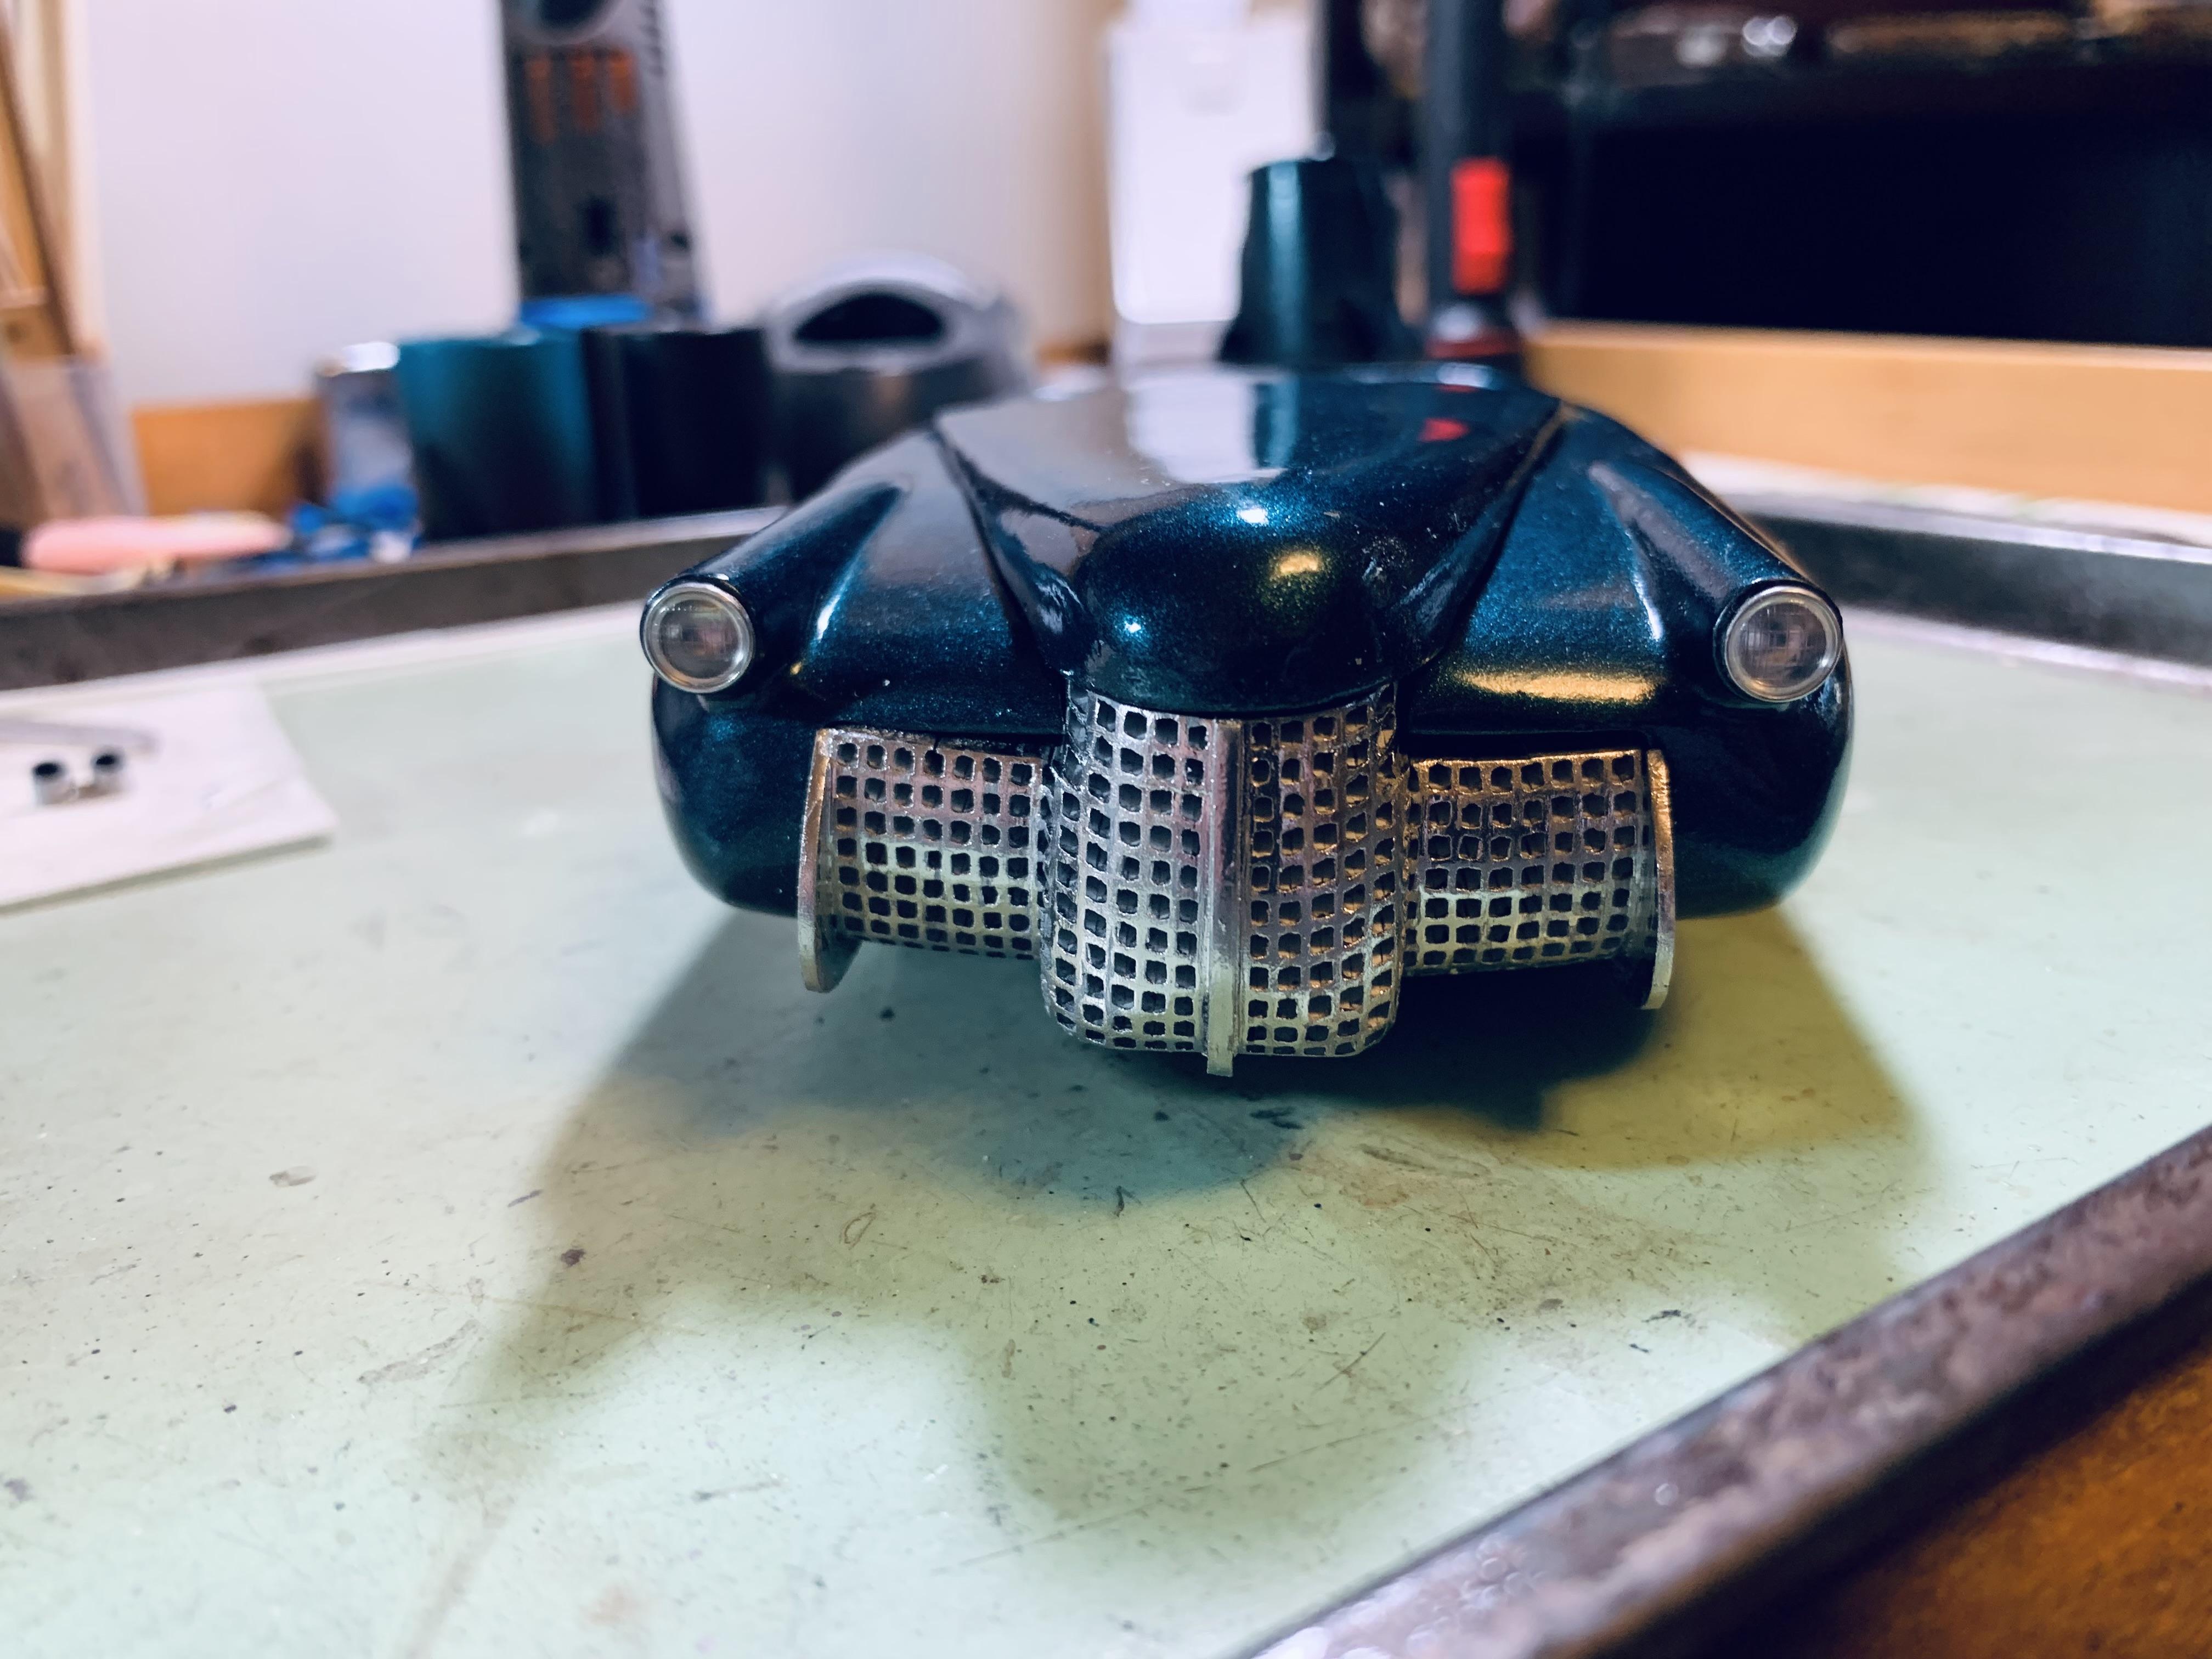
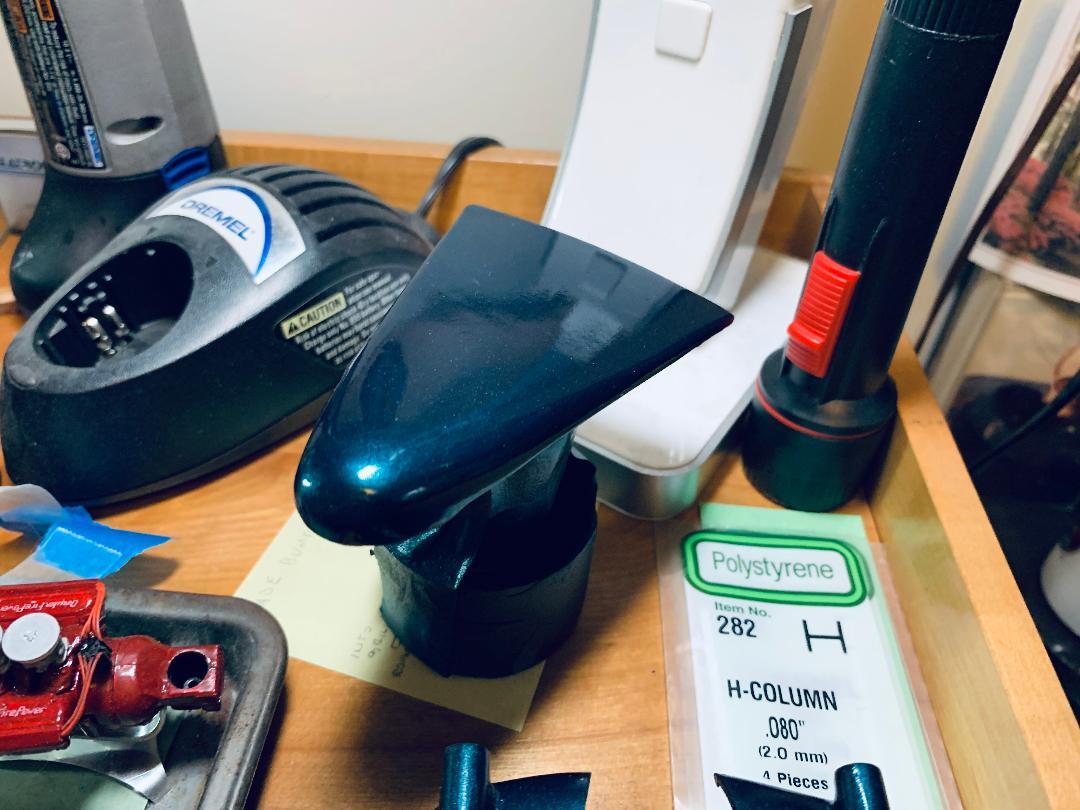
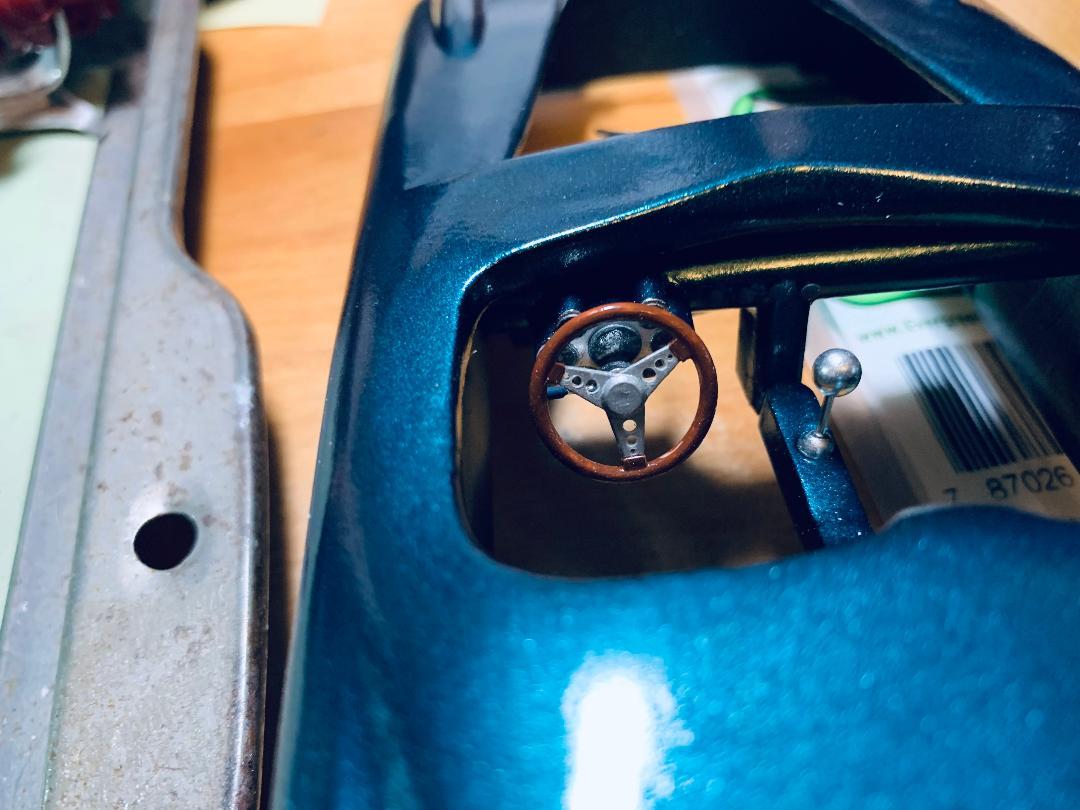
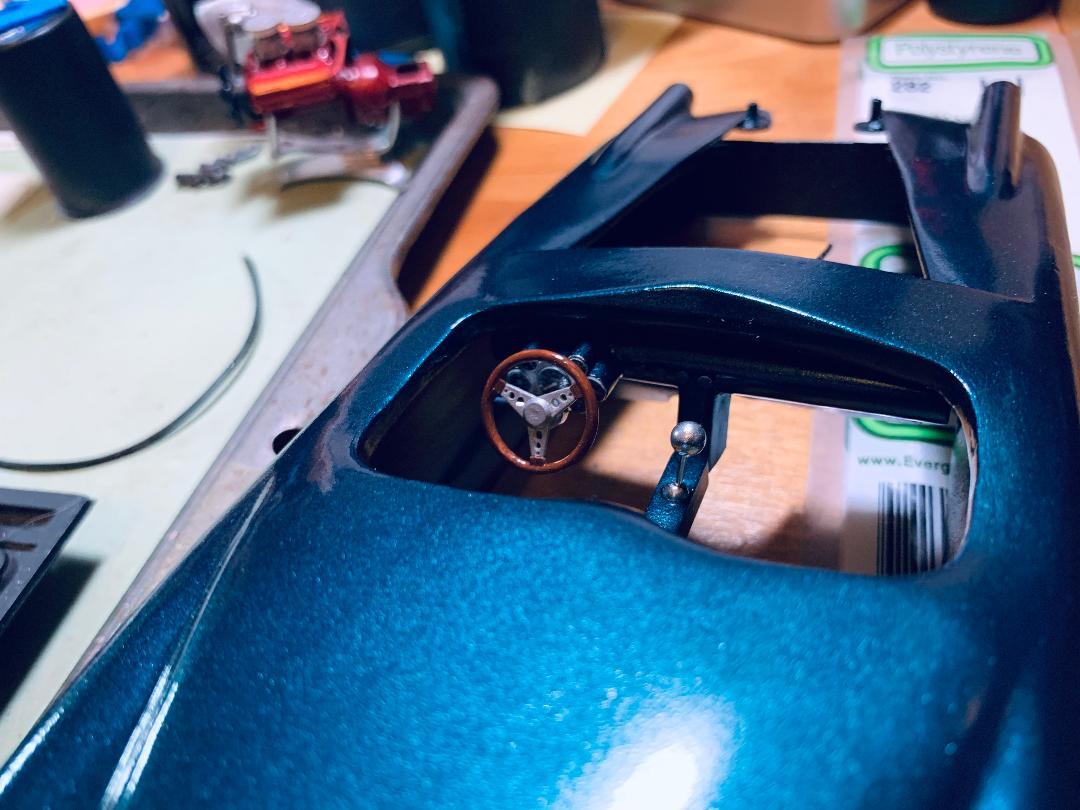
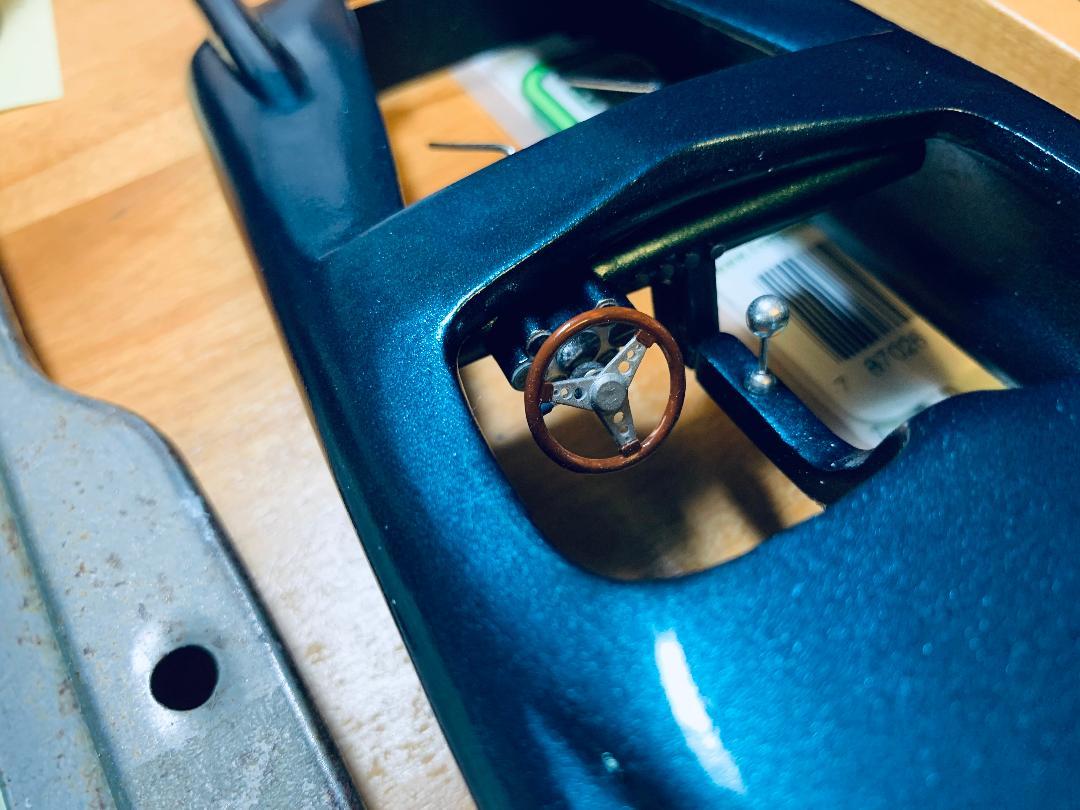
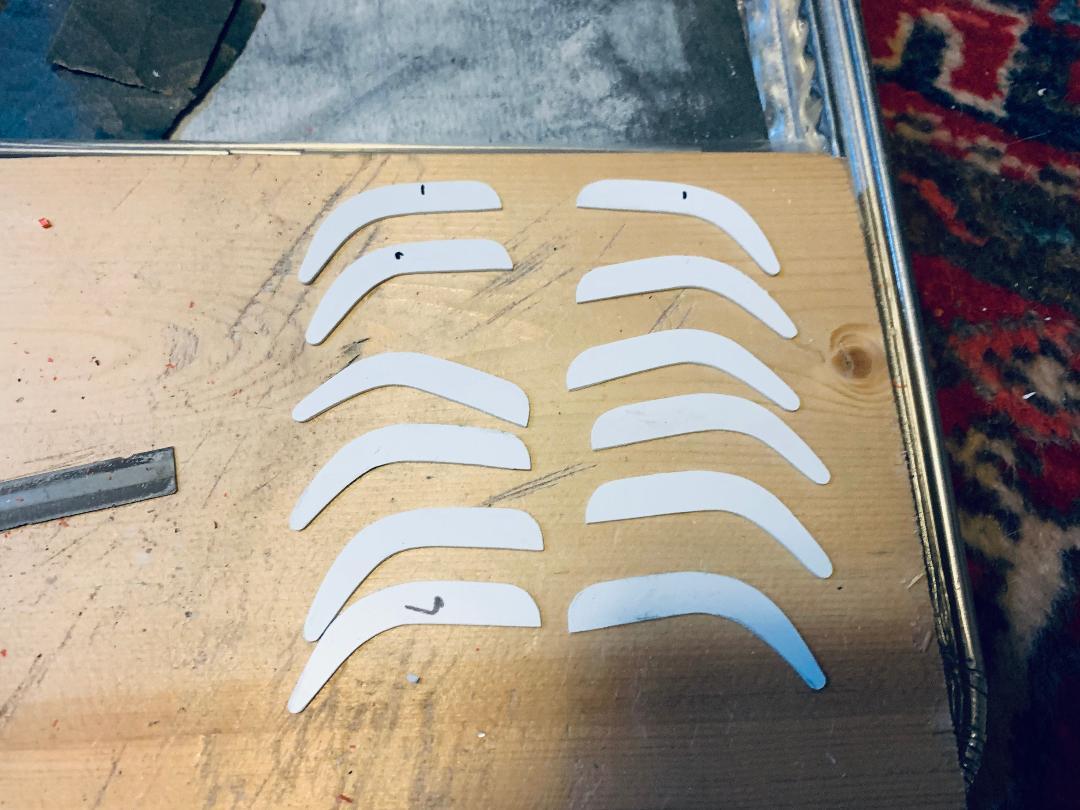
It's been awhile, but I'm still working on it. I finally got a decent coat of paint on the hood, with clear coat. The dashboard and steering wheel have been installed in the body- I test fitted the shifter just for jollies- the console is part of the dashboard and rests on the transmission hump and driveshaft tunnel. I had applied some Molotow to the grille, but a lot of sanding scratches appeared- I sanded everything again and have applied Molotow to one half. When it's dry, I will see if its smooth enough to continue. I filed down the outside of the headlight buckets creating a small lip, then filed a bit on the headlight openings so now I have a nice fit. A little chrome touch up and they will go in. The big project has been the 12 bumper blades- 3 each side, front and rear. I rough shaped 12 pieces, then tried gluing a stack using Elmer's white glue, in order to sand everything to the final contour. Unfortunately, the glue didn't hold, so parts of the stack would come apart. However, I was able to get to the point where I could soak everything apart and do the final shaping using the best piece as a guide. In my stash I located 2 bumper guards of unknown origin. These were white glued together and 3 horizontal notches were filed into them for the bumper blades, then holes were drilled for the brass rod which will be covered with aluminum tube and mounted to the body. I also want to check out finger nail decorating tape, which seems to be available in 0.5mm width, and maybe even narrower. I want to try this for some chrome accent strips as well as door and panel lines.
-
temporary glue that holds
Paul Payne replied to Paul Payne's topic in Model Building Questions and Answers
I don't think the tape would work due to all edges being sanded/filed and adhesion surfaces would be very small. Thanks anyways. -
temporary glue that holds
Paul Payne replied to Paul Payne's topic in Model Building Questions and Answers
Thanks, Dan, I will check that out. -
I have a project requiring 12 identical shapes which I would like to shape as a single block, then soak in water to separate them. They will be formed from flat styrene sheet. I have tried roughing out the shape, then gluing and clamping these together with Elmer's glue. The problem is that the sheets separate when I begin working them. Any suggestions for a glue which is water soluble but will hold things together?
-
Snoopy would like it..............