Reeves Racing
-
Posts
833 -
Joined
-
Last visited
Content Type
Profiles
Forums
Events
Gallery
Everything posted by Reeves Racing
-
1/16 Scale Army Vega Funny Car - Finished 10/14/2018
Reeves Racing replied to Mooneyzs's topic in WIP: Drag Racing Models
That make sense to me Chris. It wasn't noticeable until the stripes were applied and don't know how hard it would be to change (notice I didn't say fix) It in no way detracts from the model your abilities, craftsmanship and your pure talent to create a model that is a work of art for us who can only stand and watch a master like yourself. And even when the model is done by someone as talented as you or a hobbyist like myself in the long run the builder's happiness is all that really matters. -
1959 Chevy Impala-----FINALLY DONE! 4/9/16
Reeves Racing replied to MrObsessive's topic in Model Cars
You're probably right. I only had experience with the tri- 5 Chevys. I don't remember working on a 58 or 59. I just saw how he did the trim and assumed it was the same deal on the 59 since the vent windows are the similar . -
1/16 Scale Army Vega Funny Car - Finished 10/14/2018
Reeves Racing replied to Mooneyzs's topic in WIP: Drag Racing Models
That is just fantastic Chris. I don't know if it is the angle of the picture or not but it looks like the leading edge of the quarter window plate is a little to shallow of an angle.compared to your reference picture. The angle on the stripes looks perfect but in the picture the leading edge of the window plate is perpendicular to the upward slope of the stripes and the model it looks a little off. I know this sounds nit picky but you have done so much to make this thing perfect and I noticed it right off... -
1959 Chevy Impala-----FINALLY DONE! 4/9/16
Reeves Racing replied to MrObsessive's topic in Model Cars
I think it looks terrific. I noticed you have the upper door window trim "flipped up" I am assuming you are going pose it most of the time with the doors open. Great detail, most wouldn't even care to put that detail in. -
Jim Reed '59 Chev
Reeves Racing replied to Lizard Racing's topic in WIP: Stock Cars (NASCAR, Super Stock, Late Model, etc.)
Looks great. The decals look good from here. Were the black and white wheels to keep track of rights and lefts? -
Ford Fusion
Reeves Racing replied to CRANMAN1's topic in WIP: Stock Cars (NASCAR, Super Stock, Late Model, etc.)
looks like you swapped the rf and lf arrow decals. the rest of the build looks pretty good but the shiny decals on the flat paint look terrible. -
Super job. Makes me want to go get one of these kits. I know the chassis is the MPC one size fits all NASCAR series but it's a great looking car. Paint and decals look terrific.
-
Very cool. you even found the exact wheels.
-
John Milner's FED from More American Graffiti
Reeves Racing replied to Reeves Racing's topic in WIP: Drag Racing Models
Please do, I would like to see it. I wish I had watched the movie again instead of using stills from the internet, I could have gotten some screen shots from scenes before the actually race and gotten some better reference, I took a lot of artistic license. They are close enough to look good on the shelf. -
Moebius '65 Mercury Comet Cyclone news
Reeves Racing replied to Dave Metzner's topic in Car Kit News & Reviews
Oh, okay, that makes sense... I have only ever had 65s. I didn't realize the sedan top was different from 64 to 65 until you mentioned it. With Comet and Falcon sharing the same doors in 64 and 65 you would think Ford would have used the 64 top on the 65s. Especially since they made a wholesale change in the platform in 66. -
Moebius '65 Mercury Comet Cyclone news
Reeves Racing replied to Dave Metzner's topic in Car Kit News & Reviews
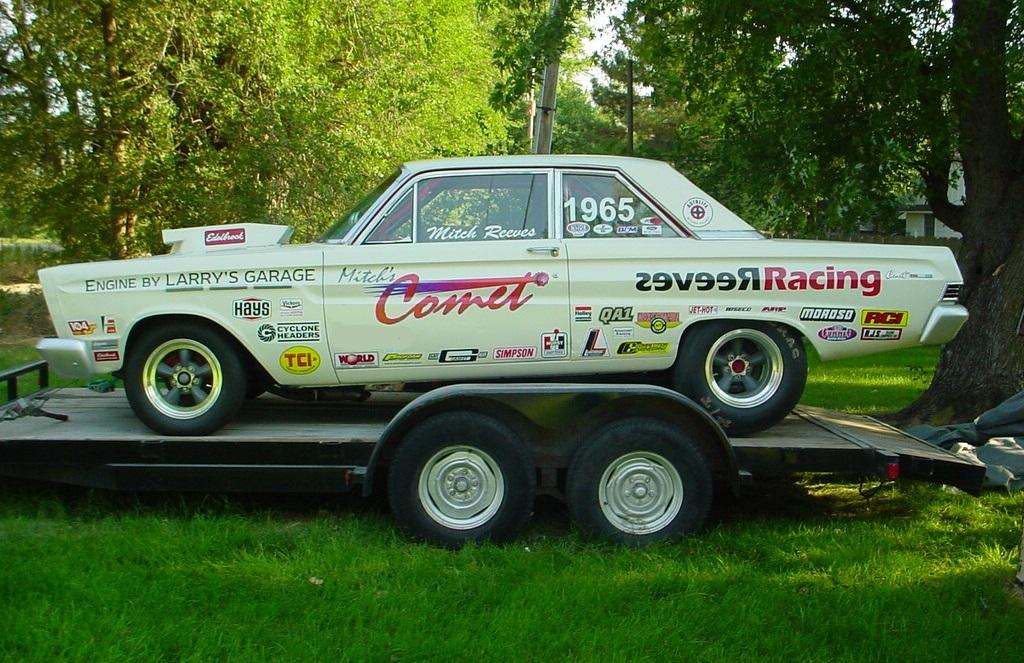
They were prone to rusting in some critical places just like the other unitbodies of that era. Mine was rust in the torque box area and had to be repaired. FoMoCo wasn't dipping the unitbodies in the primer and other rust protection like in later model unitbody production. The Falcon and Comet shared the same platform but they were an inch and half narrower in the engine bay and the wheel base was different than the more popular Mustang so you only choice for repair and replacement body/chassis parts was another Comet or Falcon. . -
Moebius '65 Mercury Comet Cyclone news
Reeves Racing replied to Dave Metzner's topic in Car Kit News & Reviews
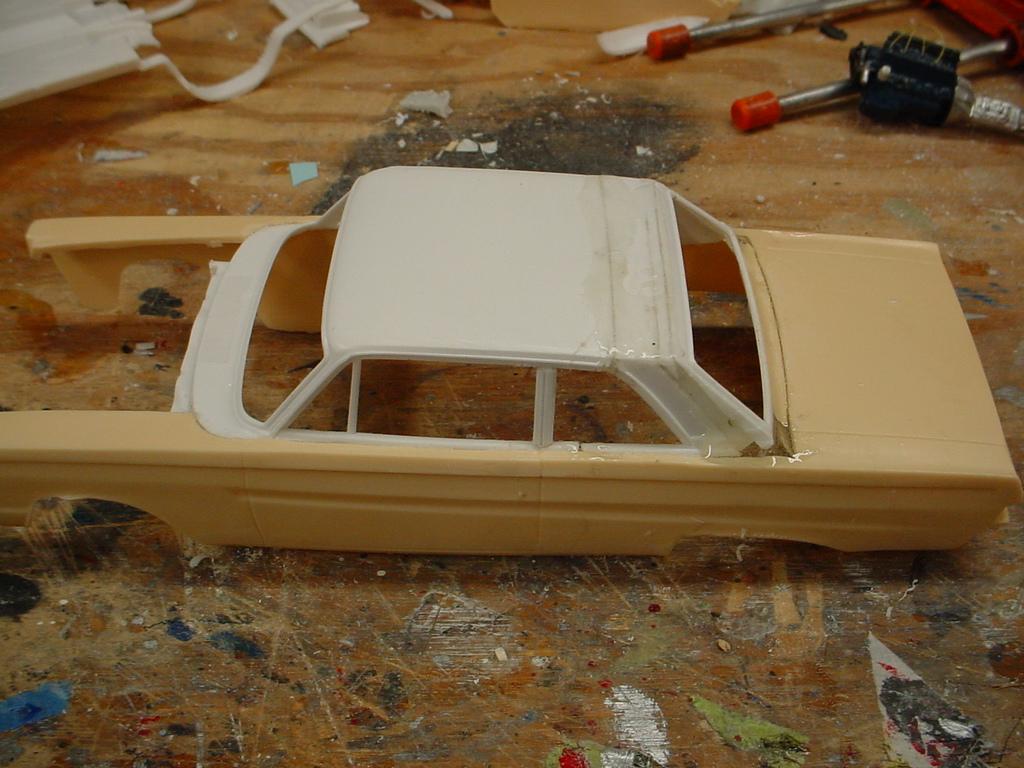
The top on that body is similar to the 65 Comet sedan as far as the sail panel from a side view but it is far from the "correct" one. The back glass opening is very different from the 65 Comet. It would take just as much work if not more to correct it. Plus its resin and not easily modified. I stand by my original suggestion to use the top off of the Revell Thunderbolt. The back glass opening is more correct and although you will have to narrow the sail panel or c pillar its plastic which isn't that tough to do since its plastic it's much easier to work with. The Thunderbolt (Fairlane) and Comet didn't share any parts in real life but as far as a plastic model goes its the best option out there. I just want to get my hands on the new Moebius kit and start having fun. -
Moebius '65 Mercury Comet Cyclone news
Reeves Racing replied to Dave Metzner's topic in Car Kit News & Reviews
That's what I did on a practice run with a resin body. It works. I have a couple more Thunderbolt donors and am dying for the Moebius kit... I have three on pre order and once its out I will probably get more...
-
Milner's car is complete. HEMI Sphere kit modified a little Parts box engine and accessories Homemade decals from a scan of the dcals from MPC kit of the this car MM paint Modified width on slicks Bead cord fuel lines Plug wires Slixx blower belt decal
-
The Hunt Bro's Rail from More American Graffiti
Reeves Racing replied to Reeves Racing's topic in WIP: Drag Racing Models
Thanks guys. Here is the best part of the movie -
Modified TV Tommy Ivo kit Parts box engine parts Alclad on the blower, scoop and valve covers Elastic craft thread with braided mylar for fuel lines Wired engine Parts box decals Some hand painted letters. Duplicolor and Model Master paints. John Milner's car to come...
-
Nice work. I have this kit too and I will be using this for some reference.
-
Thanks guys.
-
Now that's a compliment. I have wondered if there would be an interest in a resin copy. I would want to do another one if I was going to make a copy. The rear window isn't quite right and I would work on couple of the style lines a little more. thanks for all the nice comments.
-
Thanks, I don't usually build from this era. It was kind of fun.
-
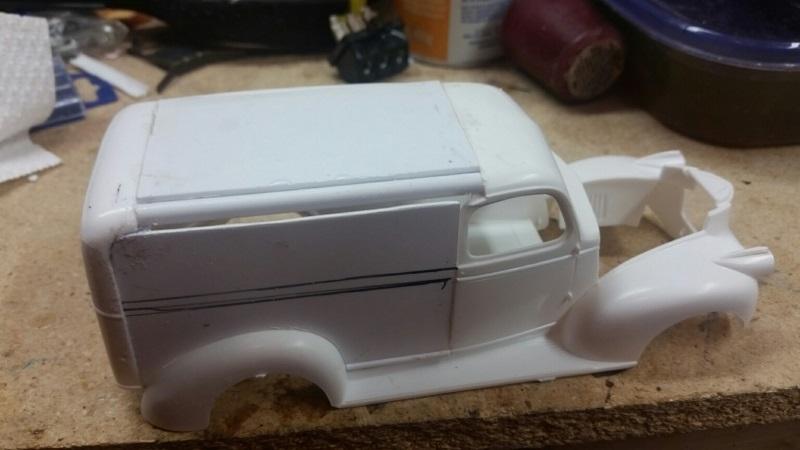
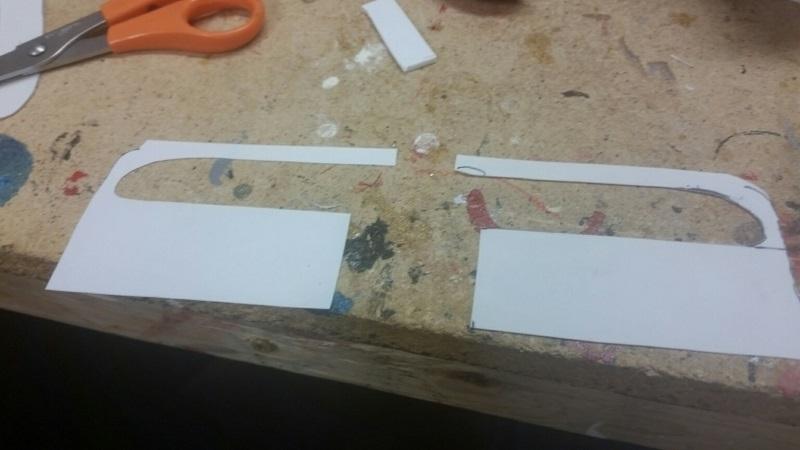
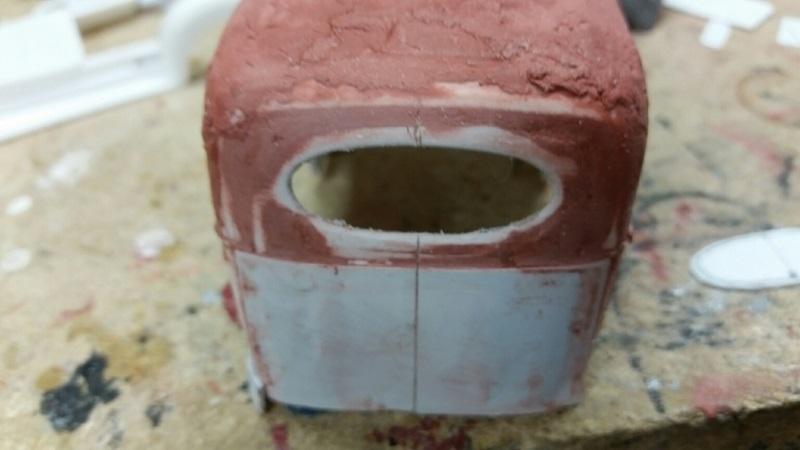
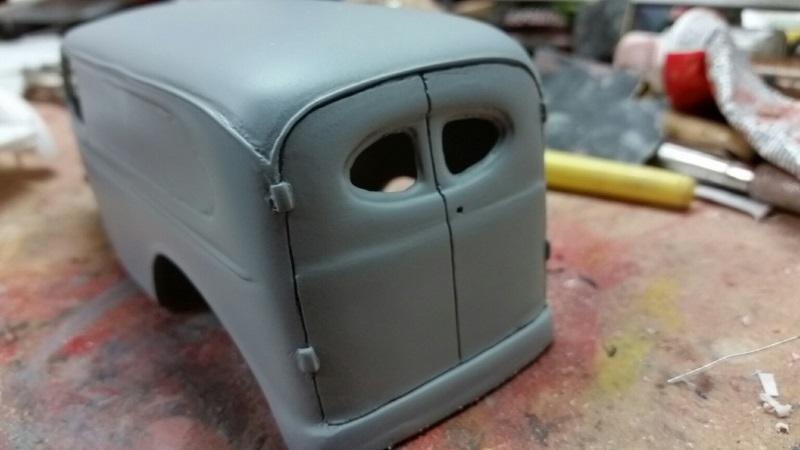
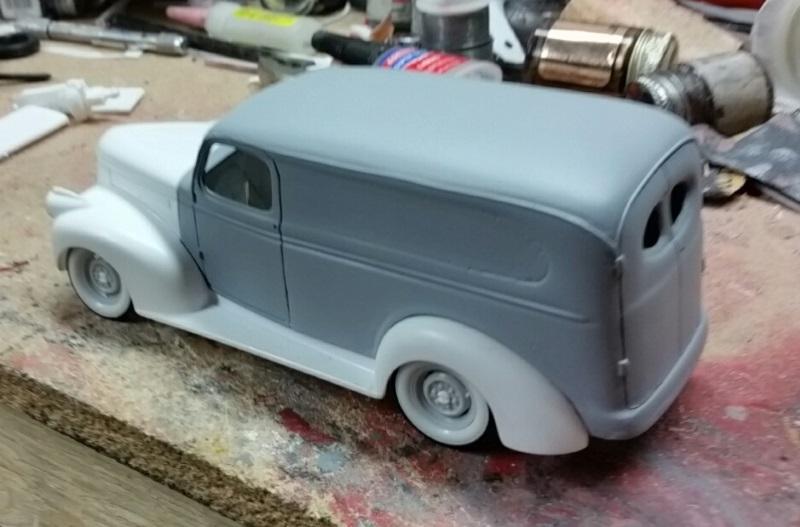
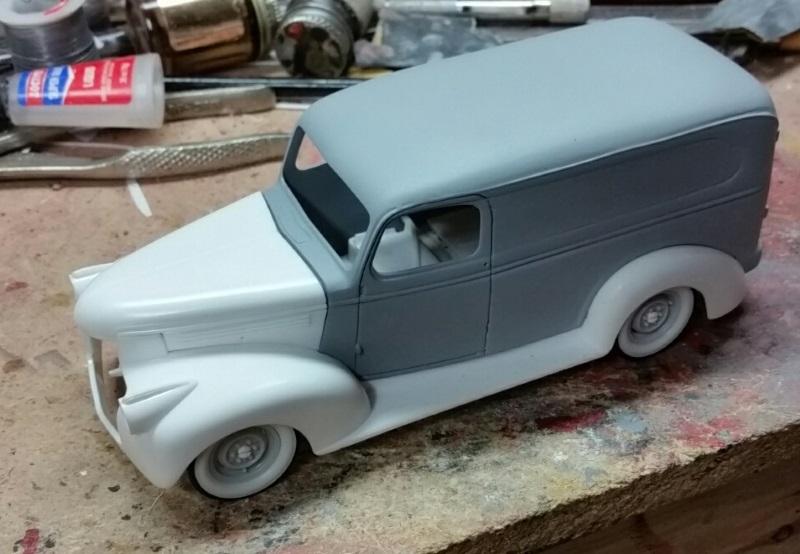
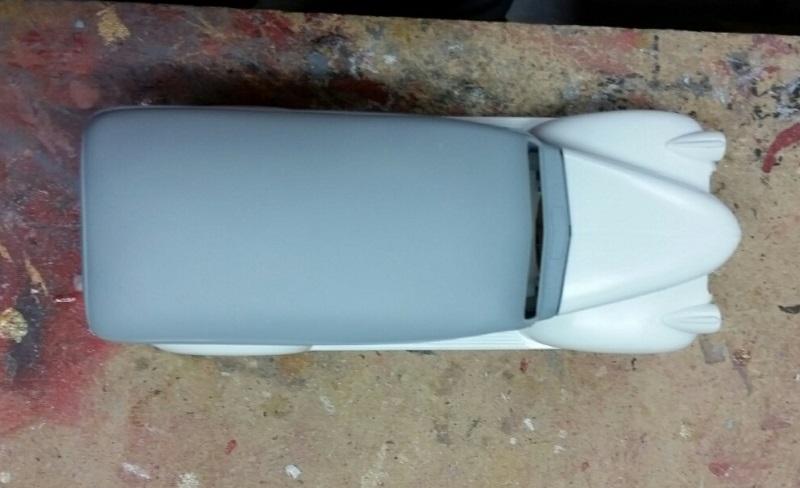
This is the Revell 41 Chevy pickup modified into a panel truck. This was a build for my boss at work. The wheels and tires are from the Galaxie 48 sedan delivery kit. Duplicolor black with MM Ultra Gloss Clear and homemade decals with a little BMF on the hood trim. It was hard to get all the dust off...
-
Deuce Sedan "Old school but not same old same old"
Reeves Racing replied to traditional's topic in Model Cars
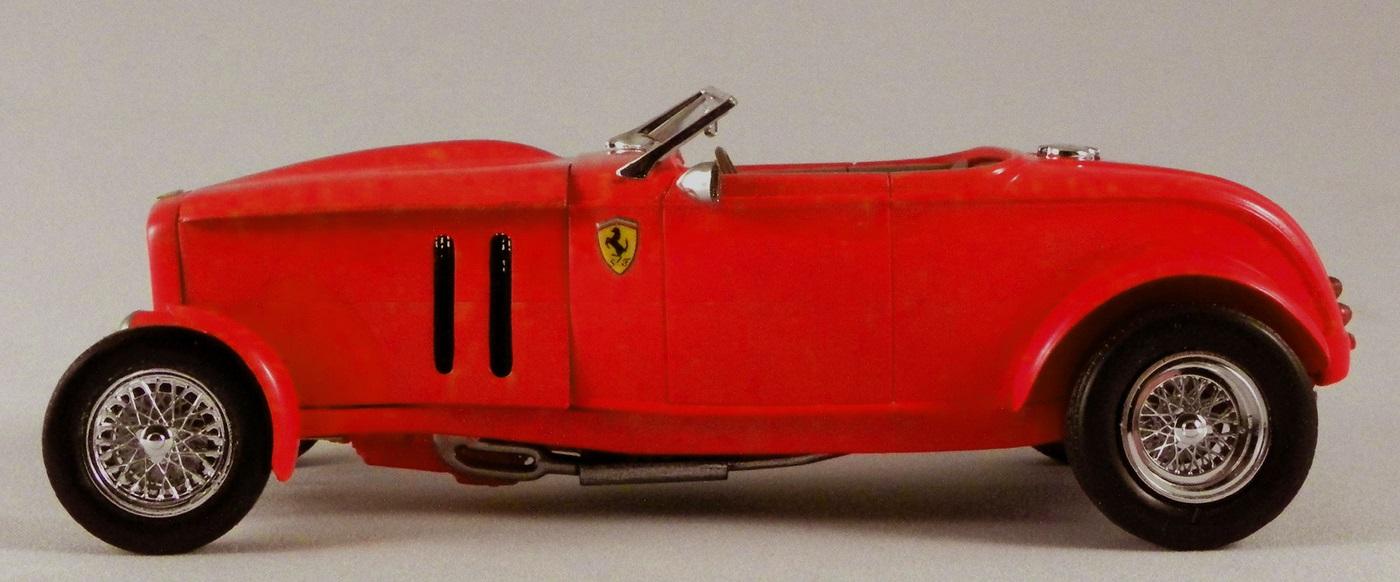
Very nice. Can you post some pictures showing how you put the louvers in the hood sides? -
I took the liberty of adjusting the hue on one of your pictures. Is this more like the real color.
-
I am glad you mentioned the color of the photos. That is well done and a great bash. I would rather see the Ferrari engine in there than a Chevy... Thanks for posting.
-
Fantastic build of a beautiful car. I have a question about the cowl grill in front of the windshield. Are we 100% sure that was installed correctly? For such a beautifully detailed model that part looks bulky and toy like.