David G.
-
Posts
11,313 -
Joined
-
Last visited
Content Type
Profiles
Forums
Events
Gallery
Everything posted by David G.
-
Thanks guys, I'm glad to know it was worth the extra work- I'm glad you like it. David G.
-
Thanks Dave. Feel free to post a photo if you wish. David G.
-
Cool color! David G.
-
Thank you Tony. Sometimes it's difficult to see what you're looking at while you're working on it- if you know what I mean. David G.
-
Well worth the effort, Excellent work! David G.
-
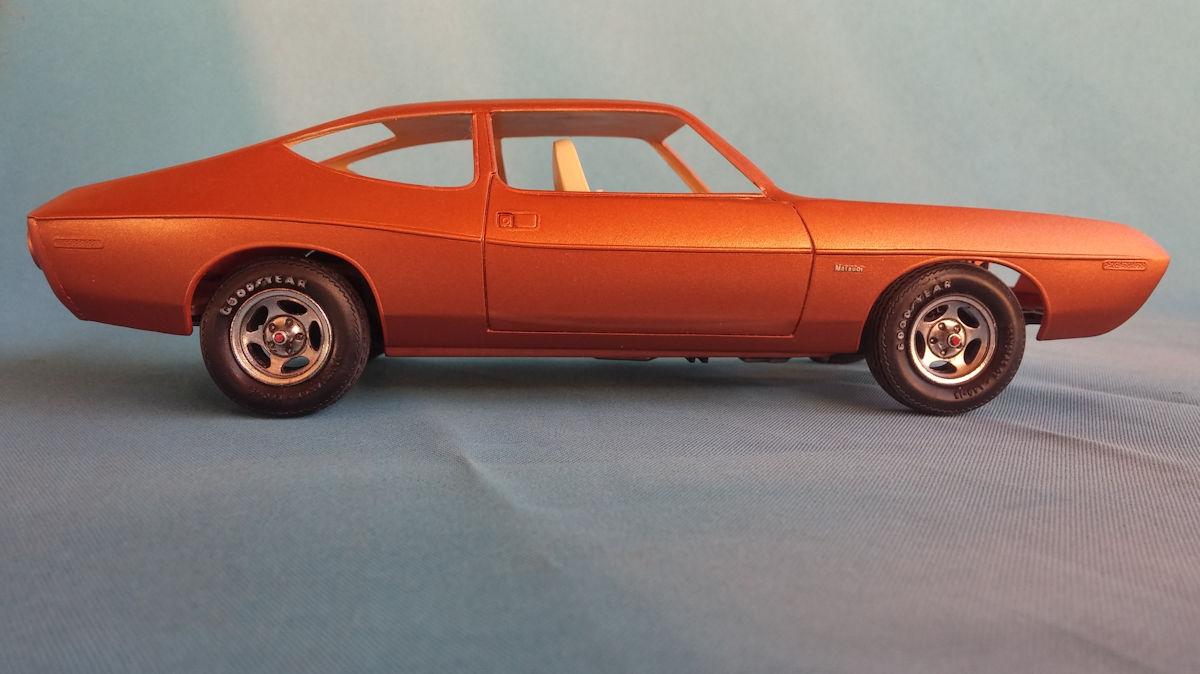
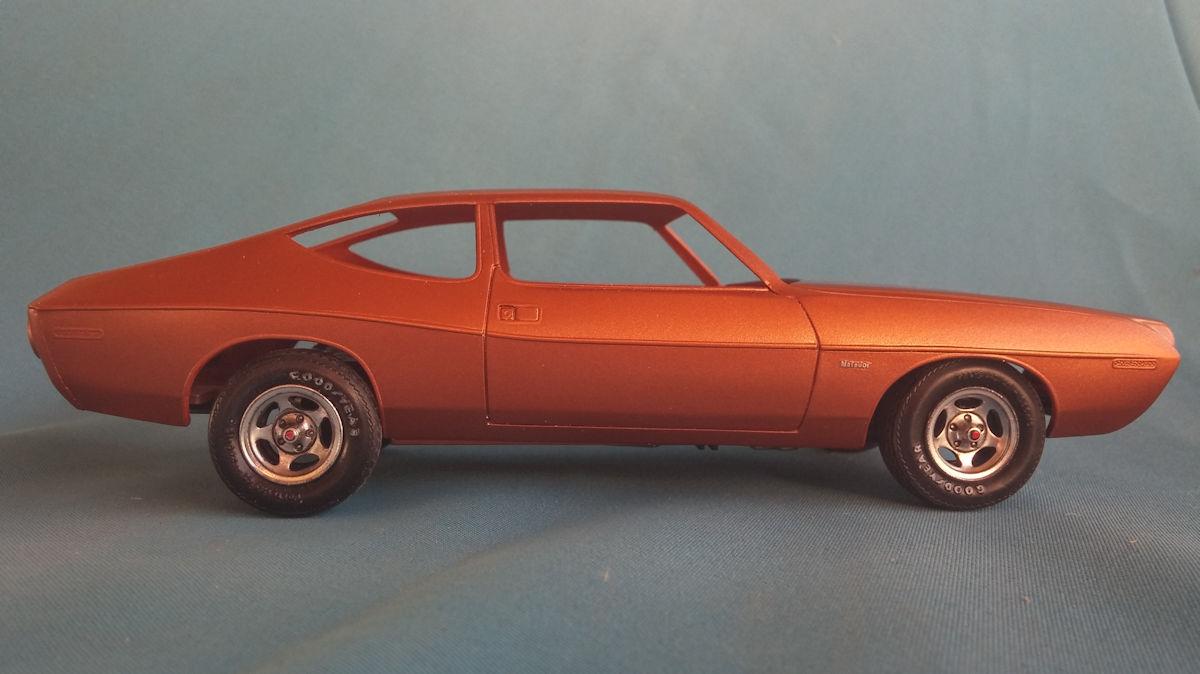
Time for another update... As is typical of model kits of this time period, the ride height is a bit too high and the wheel alignment is off. Since the spindle shafts were already epoxied in place, I lowered the front by re-drilling the wheel stubs. The rear was lowered by filing the springs shorter. This wasn't enough however. The shorter springs allowed differential housing to come into contact with a frame cross member. I ground that down to get the necessary clearance to tuck the axle in a little tighter. I'm not sure if the results are worth all the effort, But I think it looks a little better. Thanks for taking the time to look and as always, feel free to comment. David G.

-
 Wow, that's one fine machine. Very well done. I've never built a model motorcycle... and I don't know why. David G.
 -
Thanks Mark. David G.
-
Nicely done! David G.
-
Nice Rambler, very well done! David G.
-
Spectacular detail! I thought at first it was a 1:18 kit. David G.
-
Looks great- excellent photos too! I may just have to get one of these. David G.
-
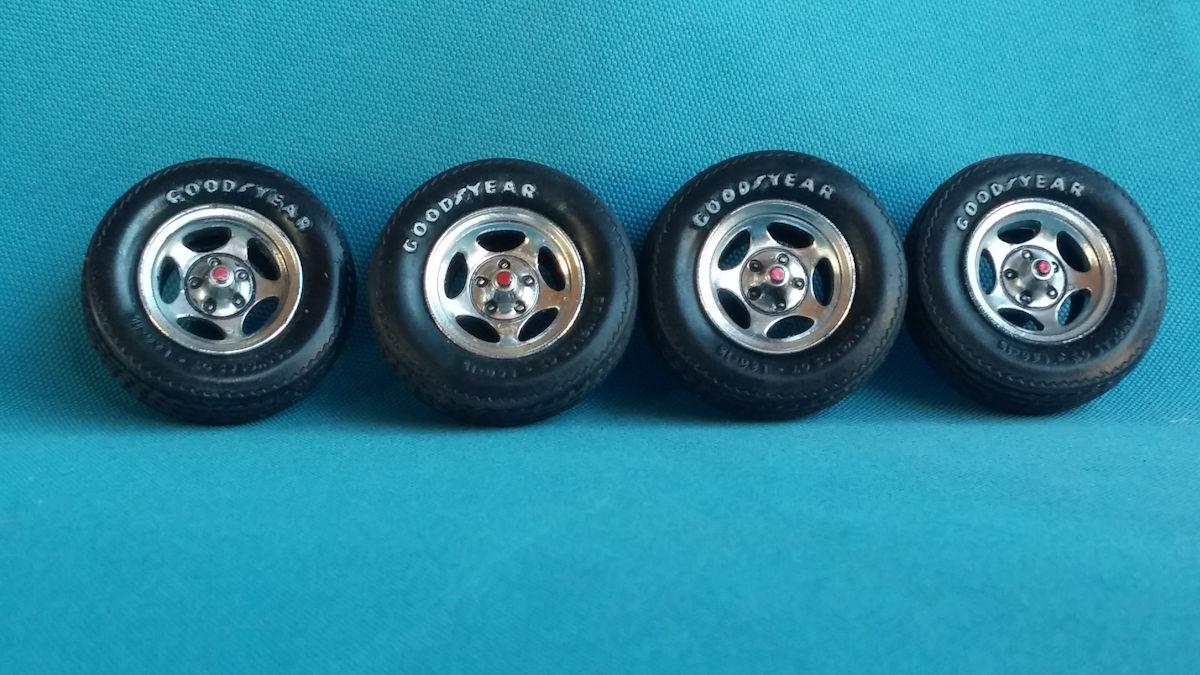
No, they're not pre-lettered, I painted them with white acrylic paint using a toothpick as a brush. Thanks for the compliment Pat. David G. Da
-
Thanks Dan, I'm pretty happy with the way they turned out. David G.
-
Thank you Gaute. I buy them to build them and enjoy them. David G.
-
Thanks, I'm glad you like it. Oven cleaner might work but I use Castrol Super Clean. Affectionately known also as "the purple pond". It's available at most auto parts stores. Thanks again, David G.
-
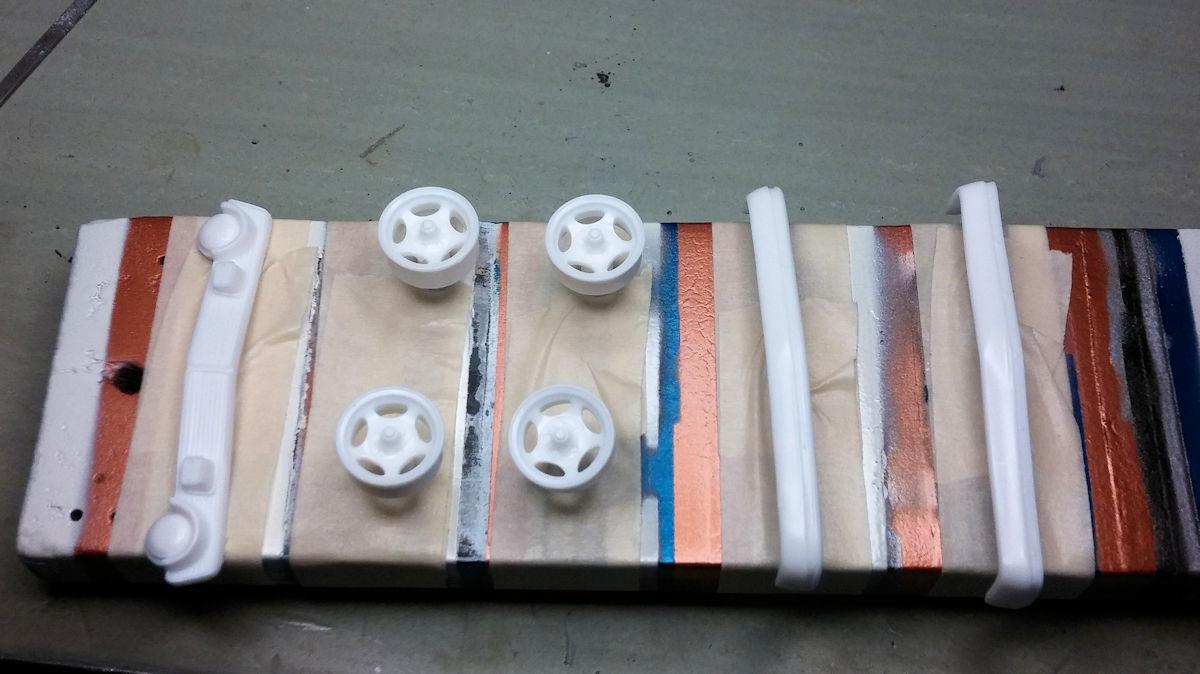
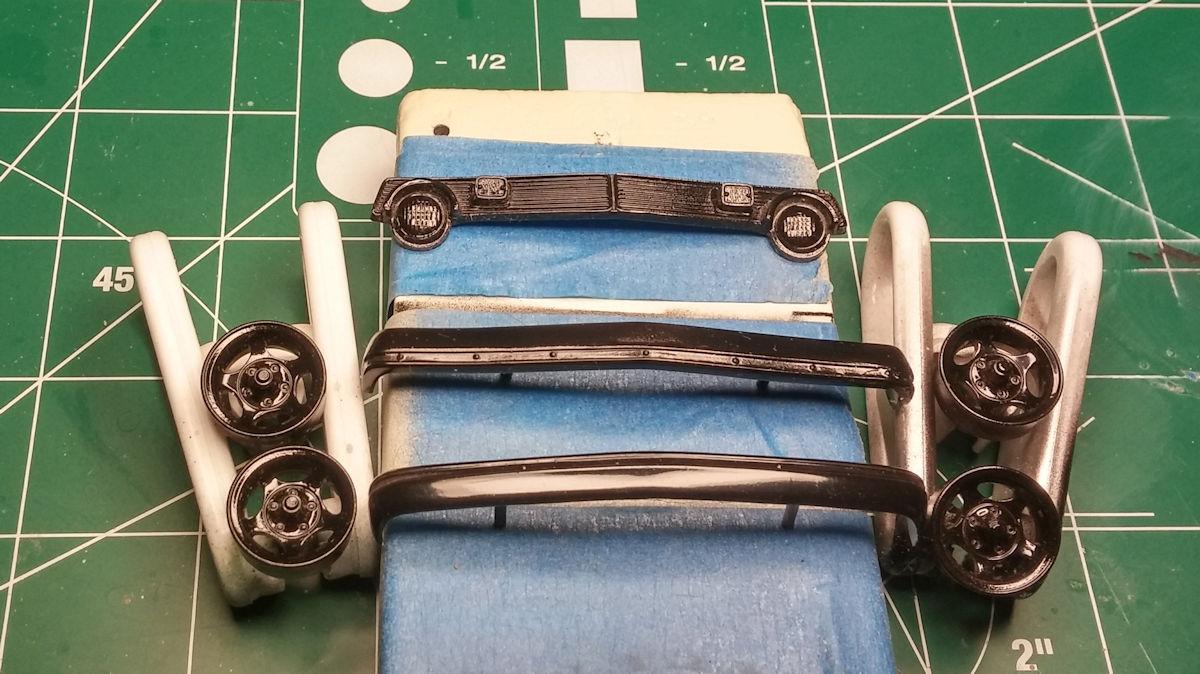
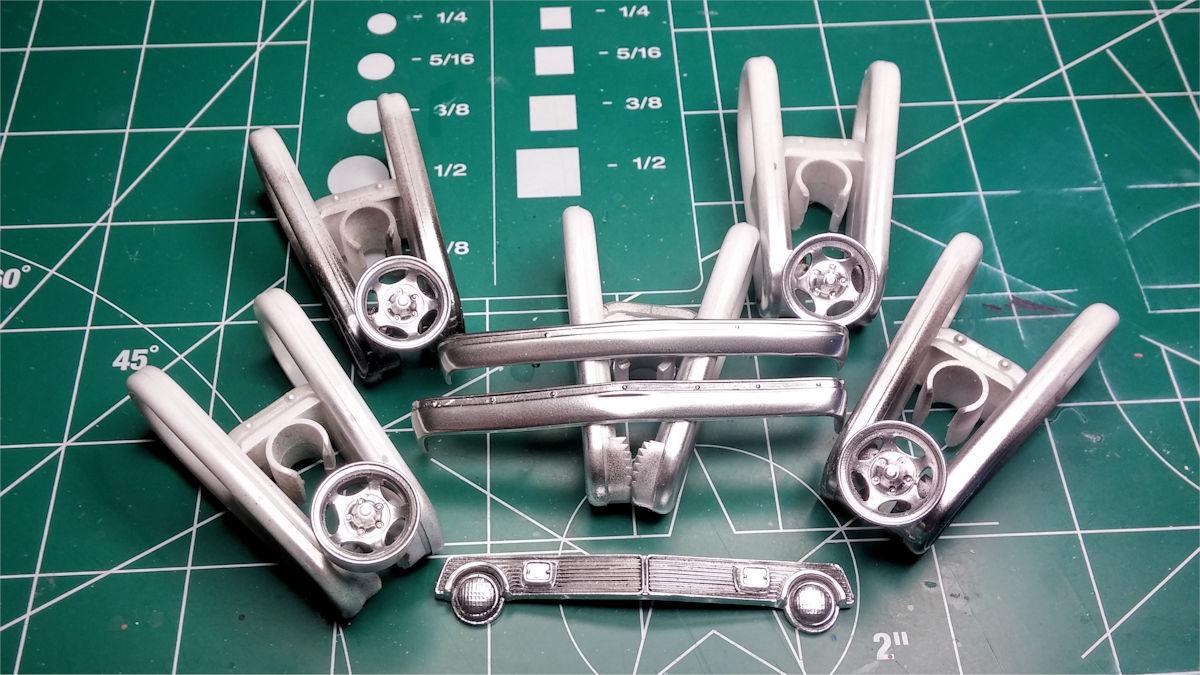
Finally, I have some time to post a few more photos. Stripping the kit chrome and preparing to replace with Alclad. The trickiest part of the process is achieving the flawless gloss black undercoat. The chrome is re-chromed and ready for additional detailing. Wheels! As always, thanks for looking and feel free to comment. David G.
-
Excellent work! David G.
-
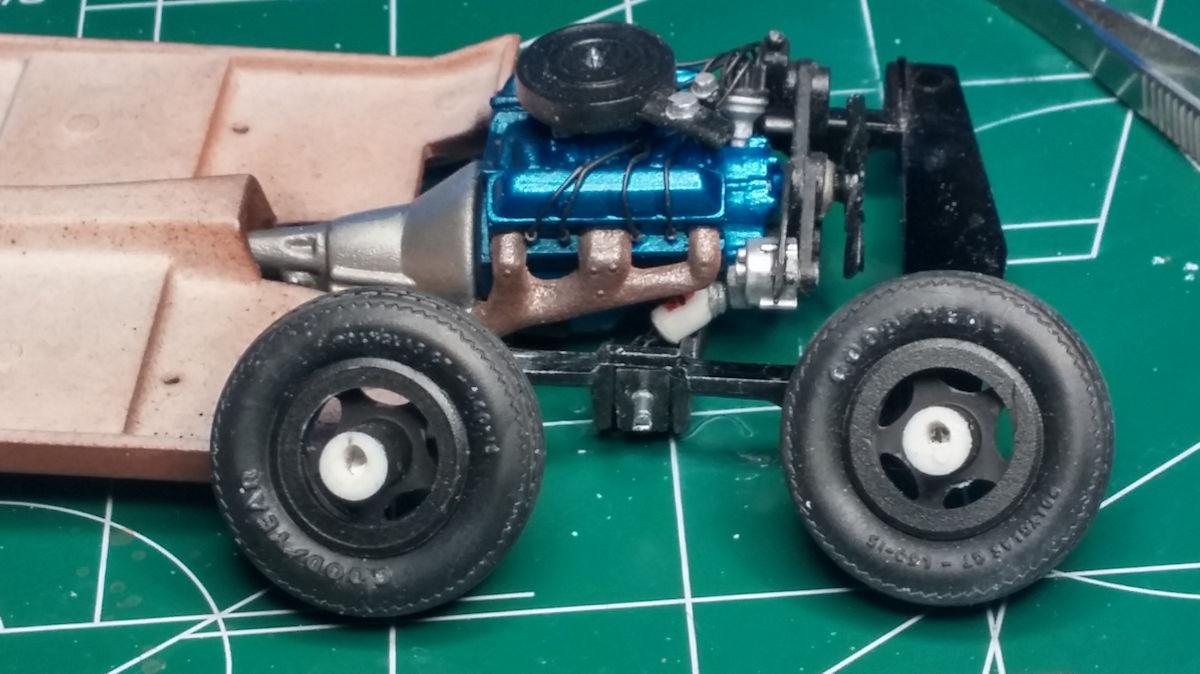
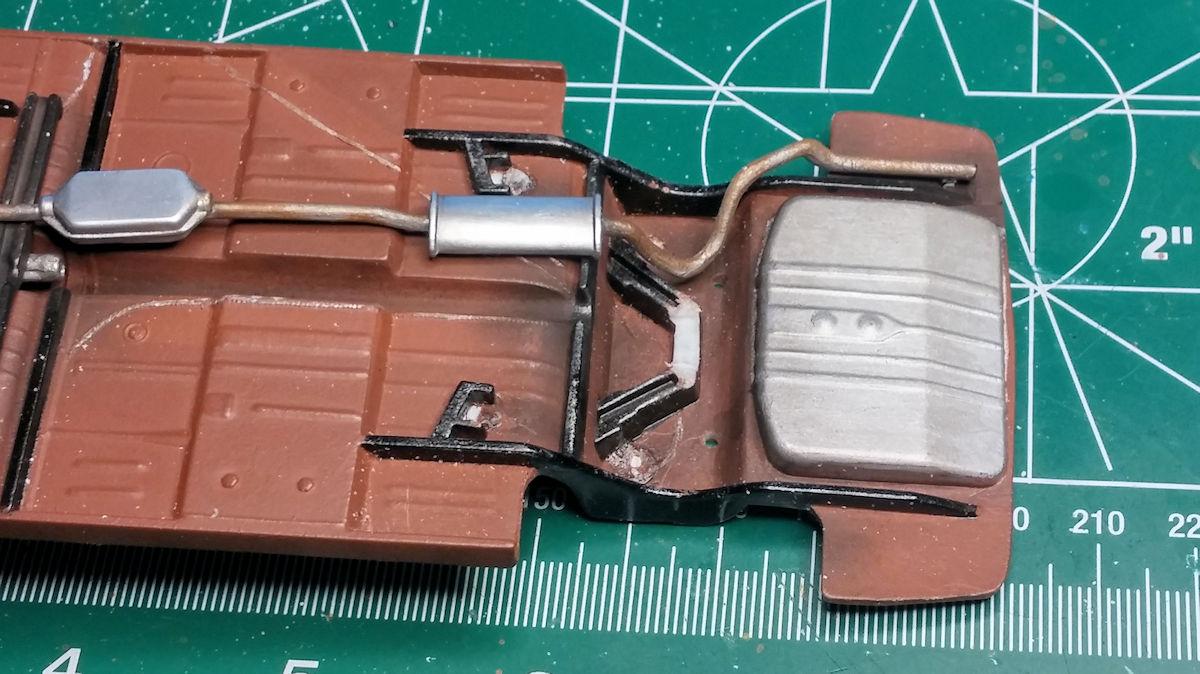
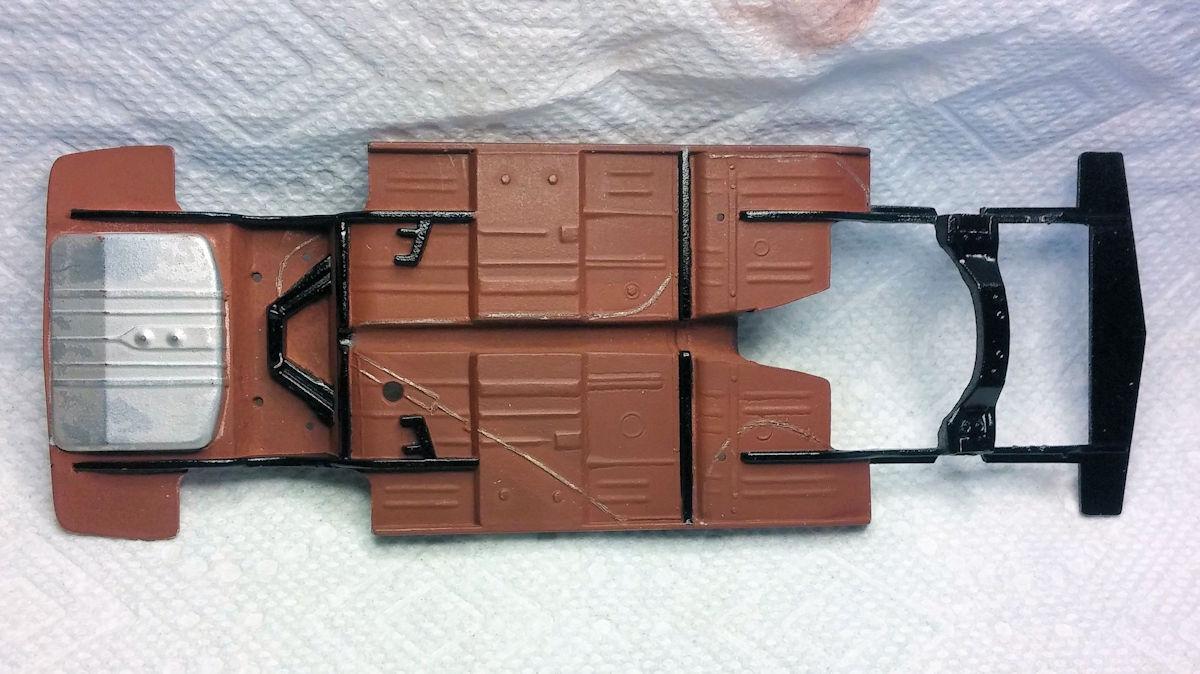
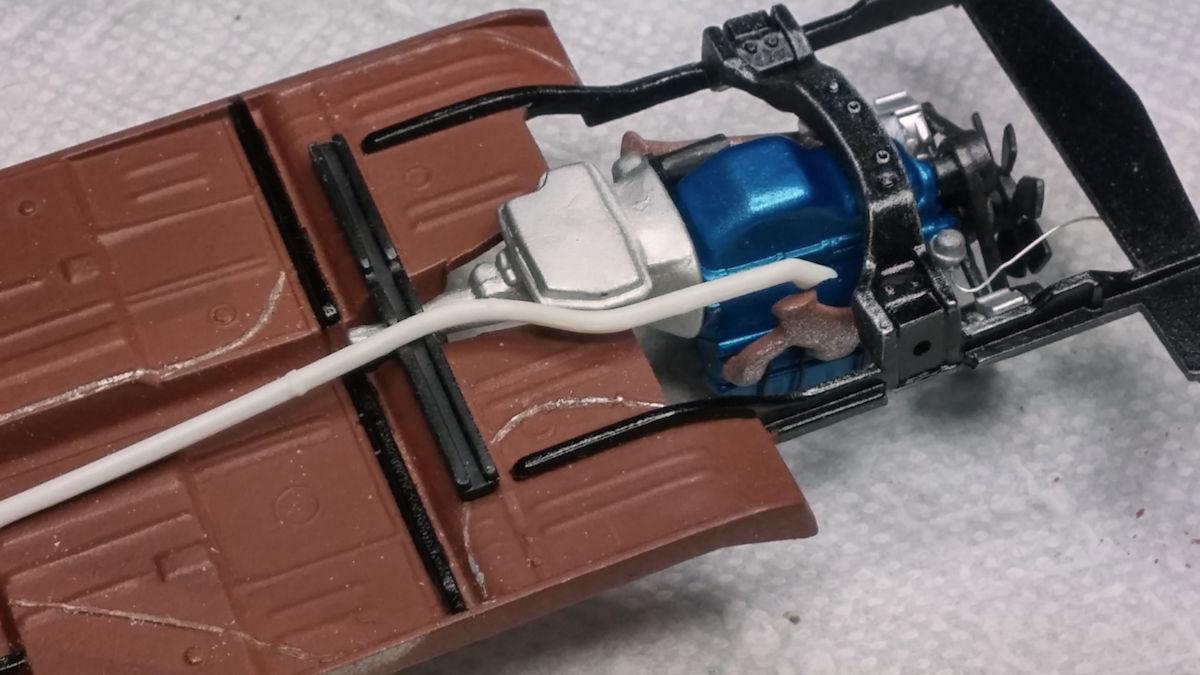
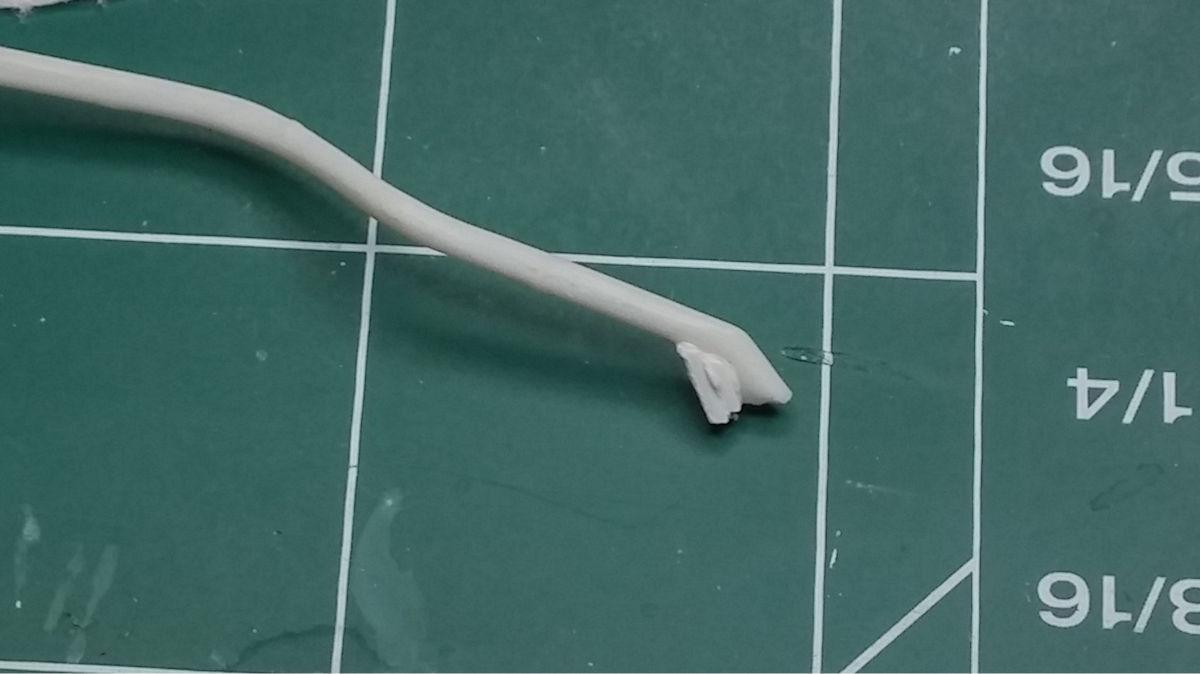
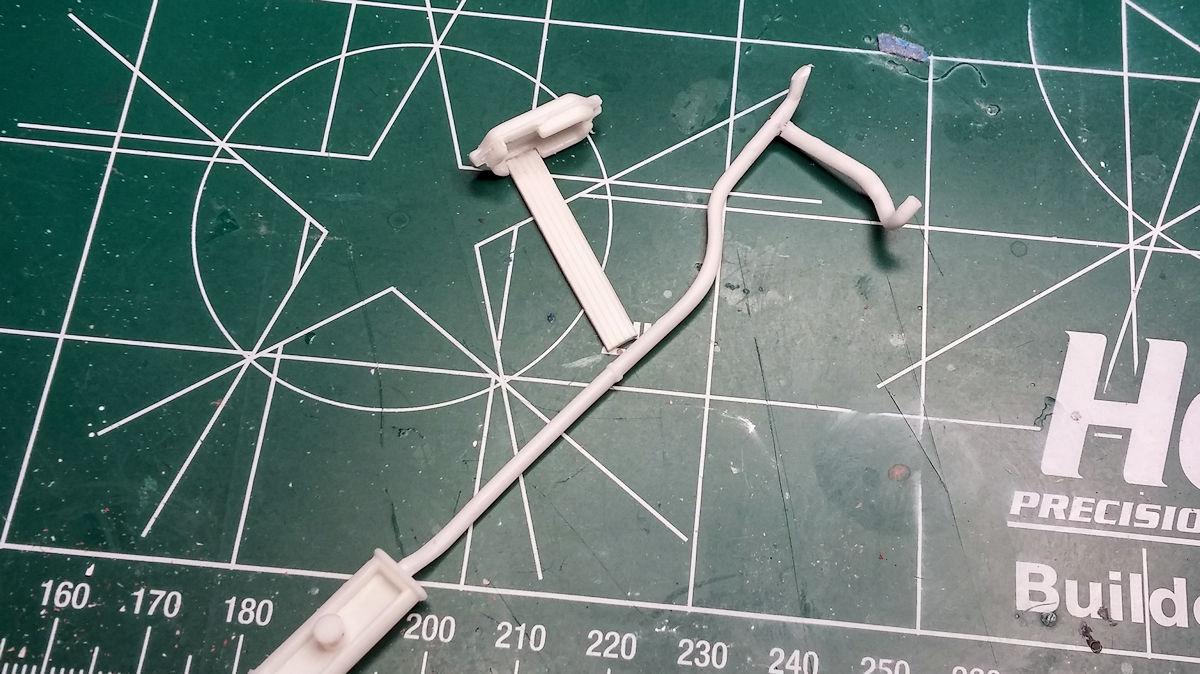
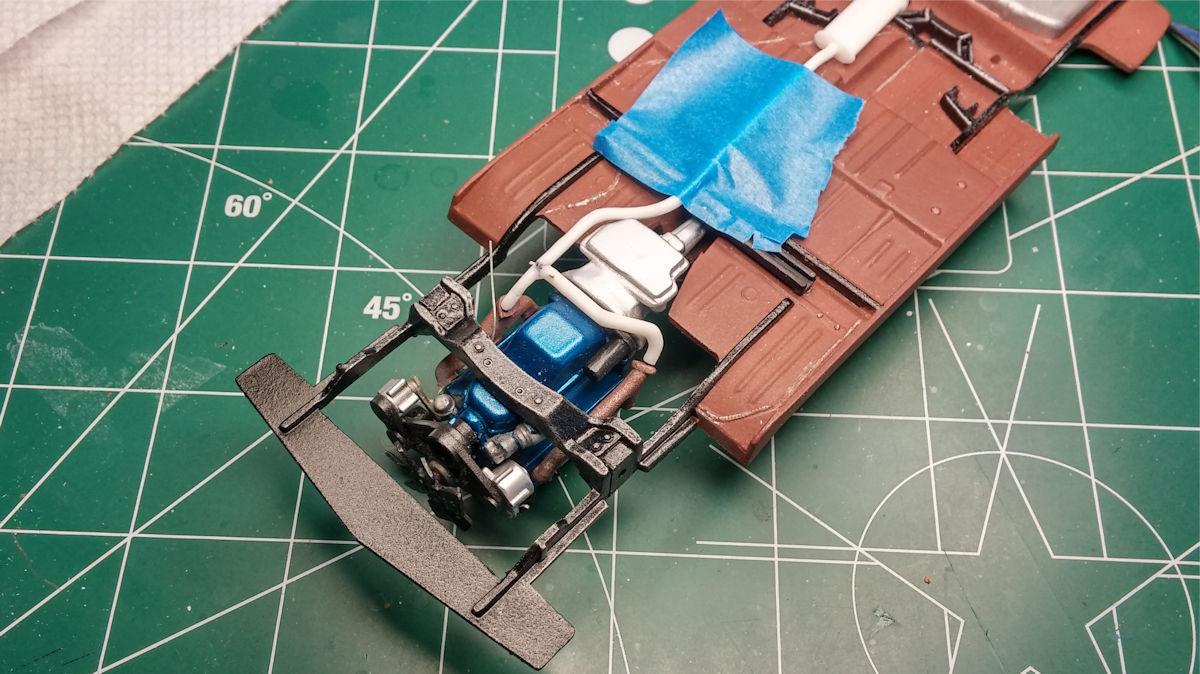
Time for a little update. The chassis masked and painted with oxide primer, semi-gloss black and aluminum plate paint. This is why we test fit. When mounted in the proper position on the chassis, the front end of the exhaust pipe fails to meet the manifold. One way to fix this is to add material behind the original bend then fill and file to fit. After getting the manifold end of the pipe in the correct location, I needed to attach the cross-over pipe. I pinned it by drilling a hole through the pipe into the cross-over with an index drill bit (#75 I think) and inserting a wire to hold them together. The wire helps them stay together after the glue dries. I also decided to change the location of the cat along the exhaust system. The slot I'm filling in was there to clear the transmission support cross member which placed the cat right next to the transmission oil pan- bad location. The left side pipe now meets the manifold properly and I've attached and pinned the right side cross-over. Weathering the completed exhaust and chassis with pastels. As always, thanks for looking and feel free to share your opinions. David G.
-
Looks great Brian but pro street is not really my thing. David G.
-
Nice and gritty! David G.
-
Well done sir! Looks great. David G.
-
Nicely done, good color choice. BTW, how do you swap the rear wheels? David G.
-
Thank you Greg. It's an AMT original 1977 release. David G.
-
Great work! That came out really nice. David G.