mrmike
-
Posts
5,325 -
Joined
-
Last visited
Content Type
Profiles
Forums
Events
Gallery
Everything posted by mrmike
-
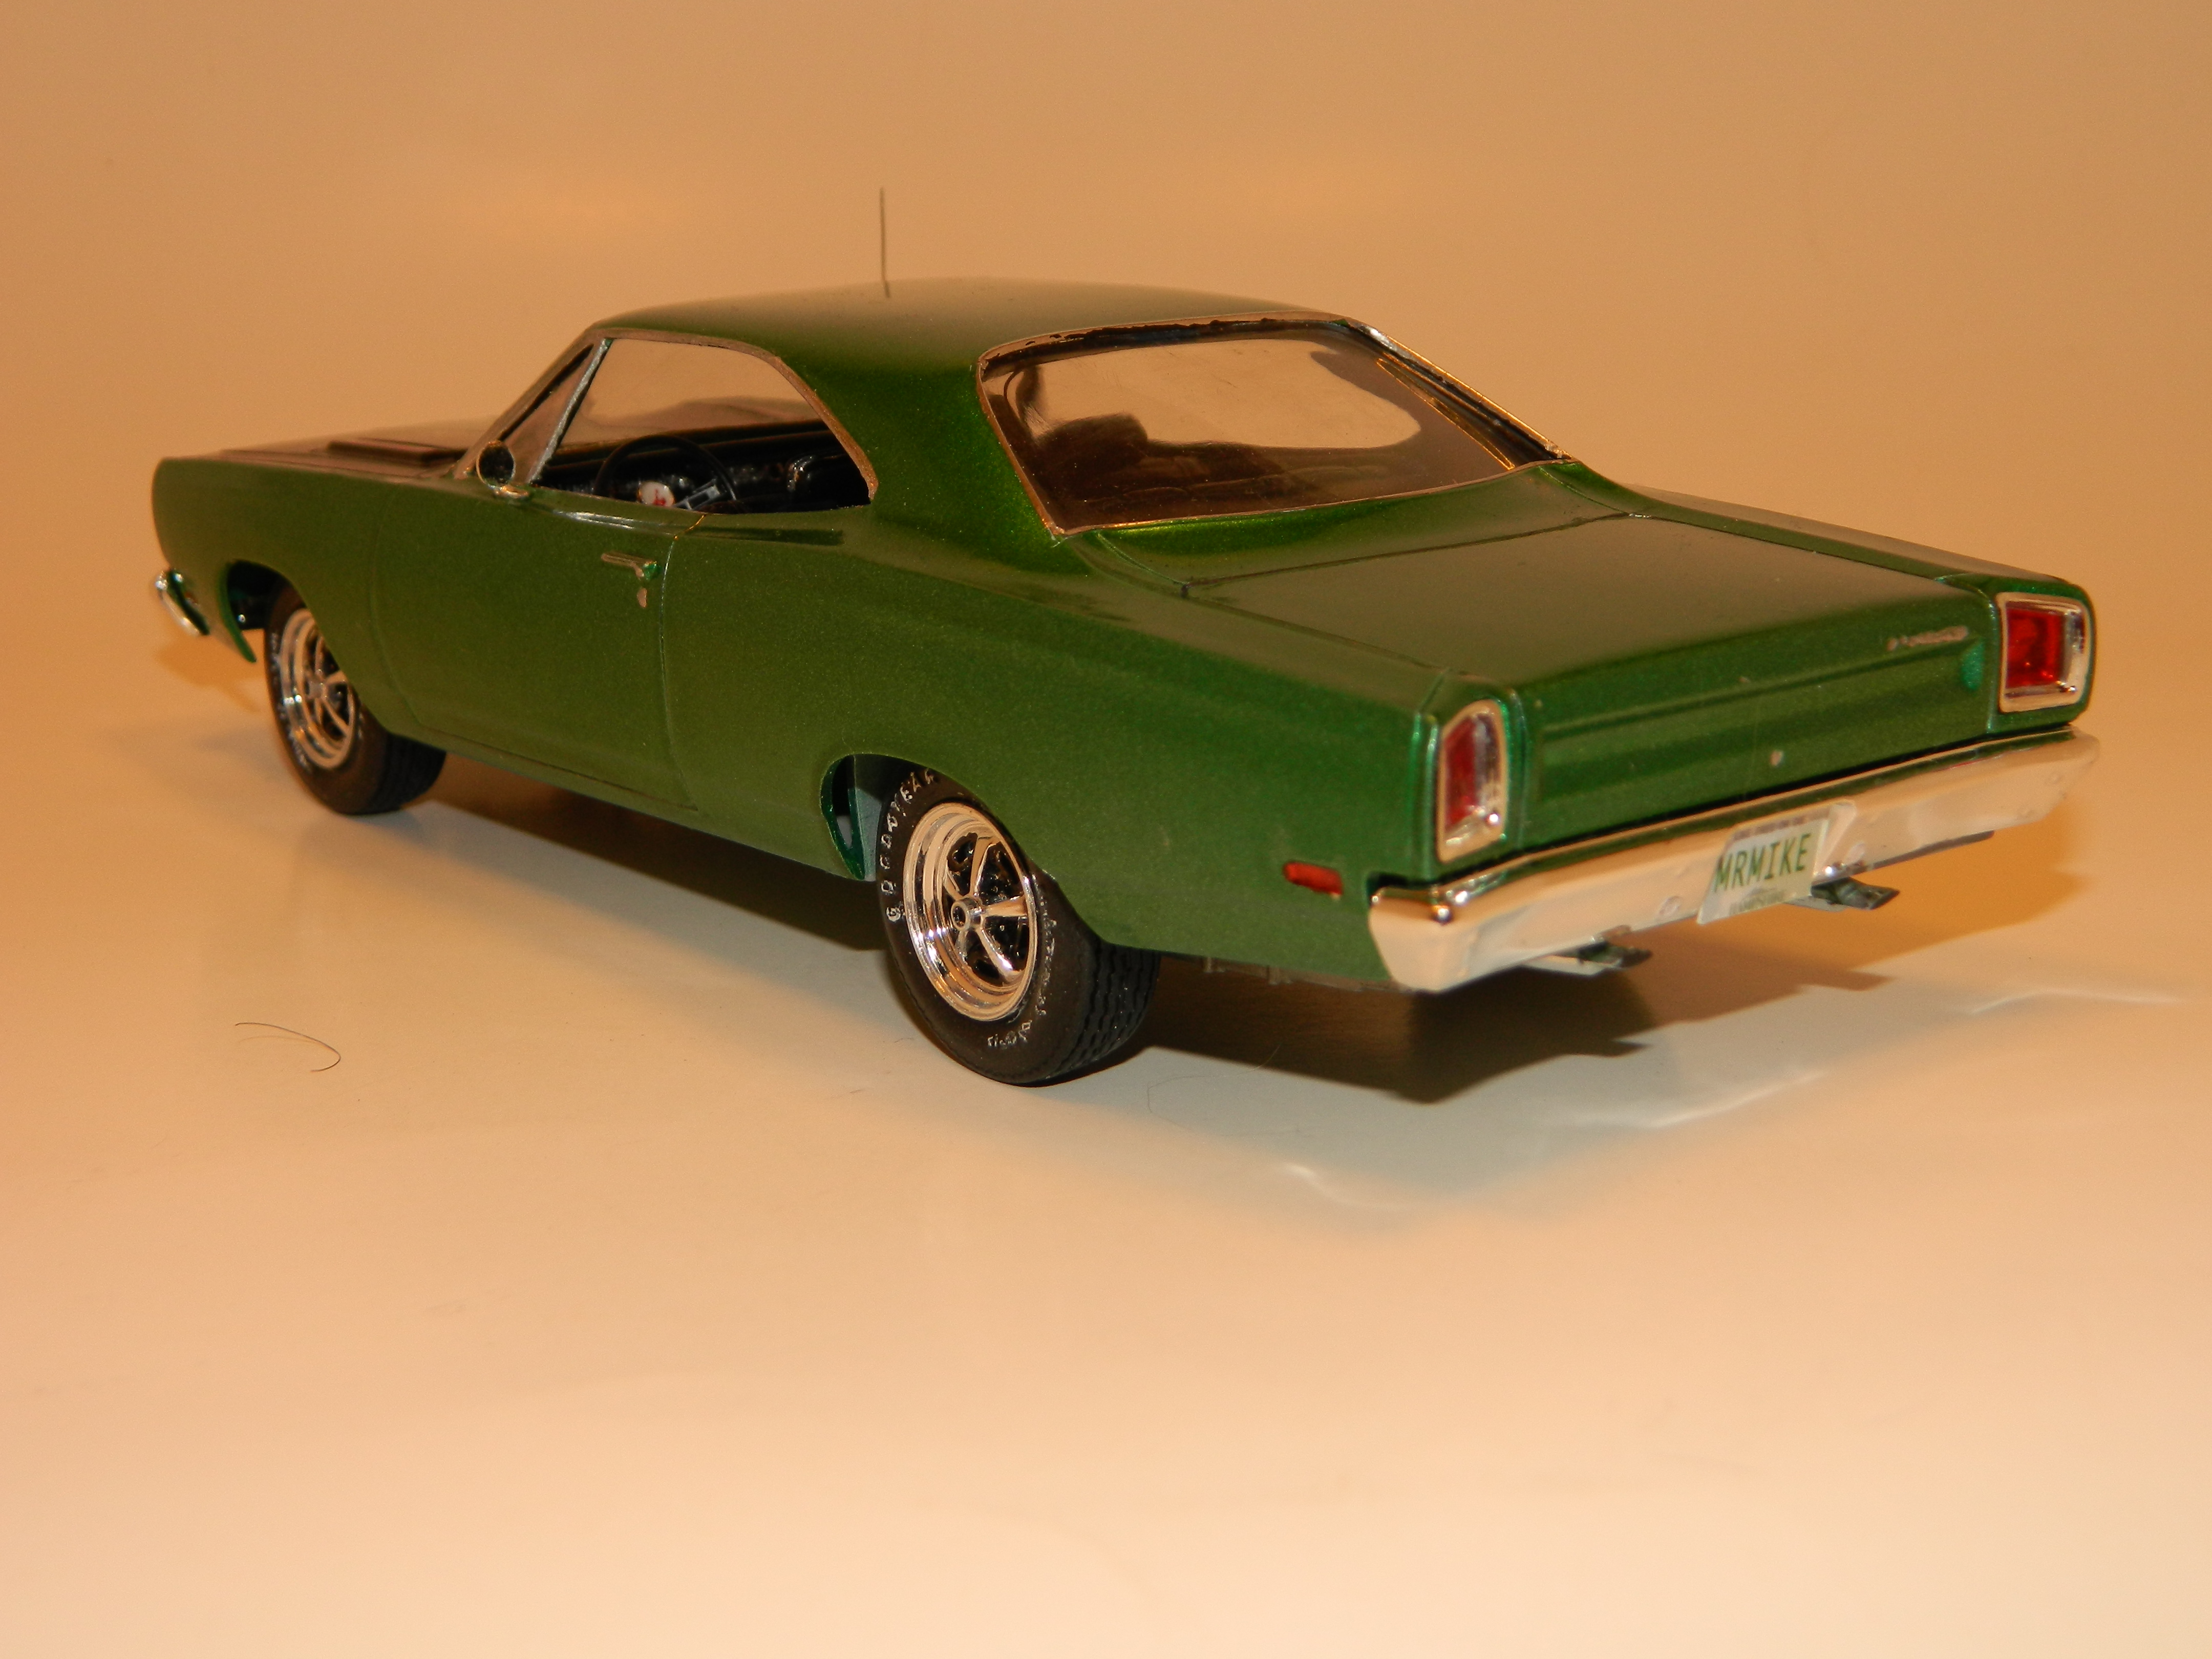
Ok. I'll bite. BMF what? I have used Bare Metal Foil and Molotow Liquid Chrome on this '69 Road Runner. Thanks guys! I knew I could turn a '69 GTX body into a '69 Road Runner and it came out just as I had envisioned! drodg, Keith Marks doesn't offer a set of decals for the '69 Road Runner. But, I might be able to use some from the '68-'70 Road Runner decal sheet for the doors and the trunk lid. It's funny, I was looking through my decals for another project and found a set of decals for the doors of a '68 Road Runner. I cut them apart and installed the on the doors.

-
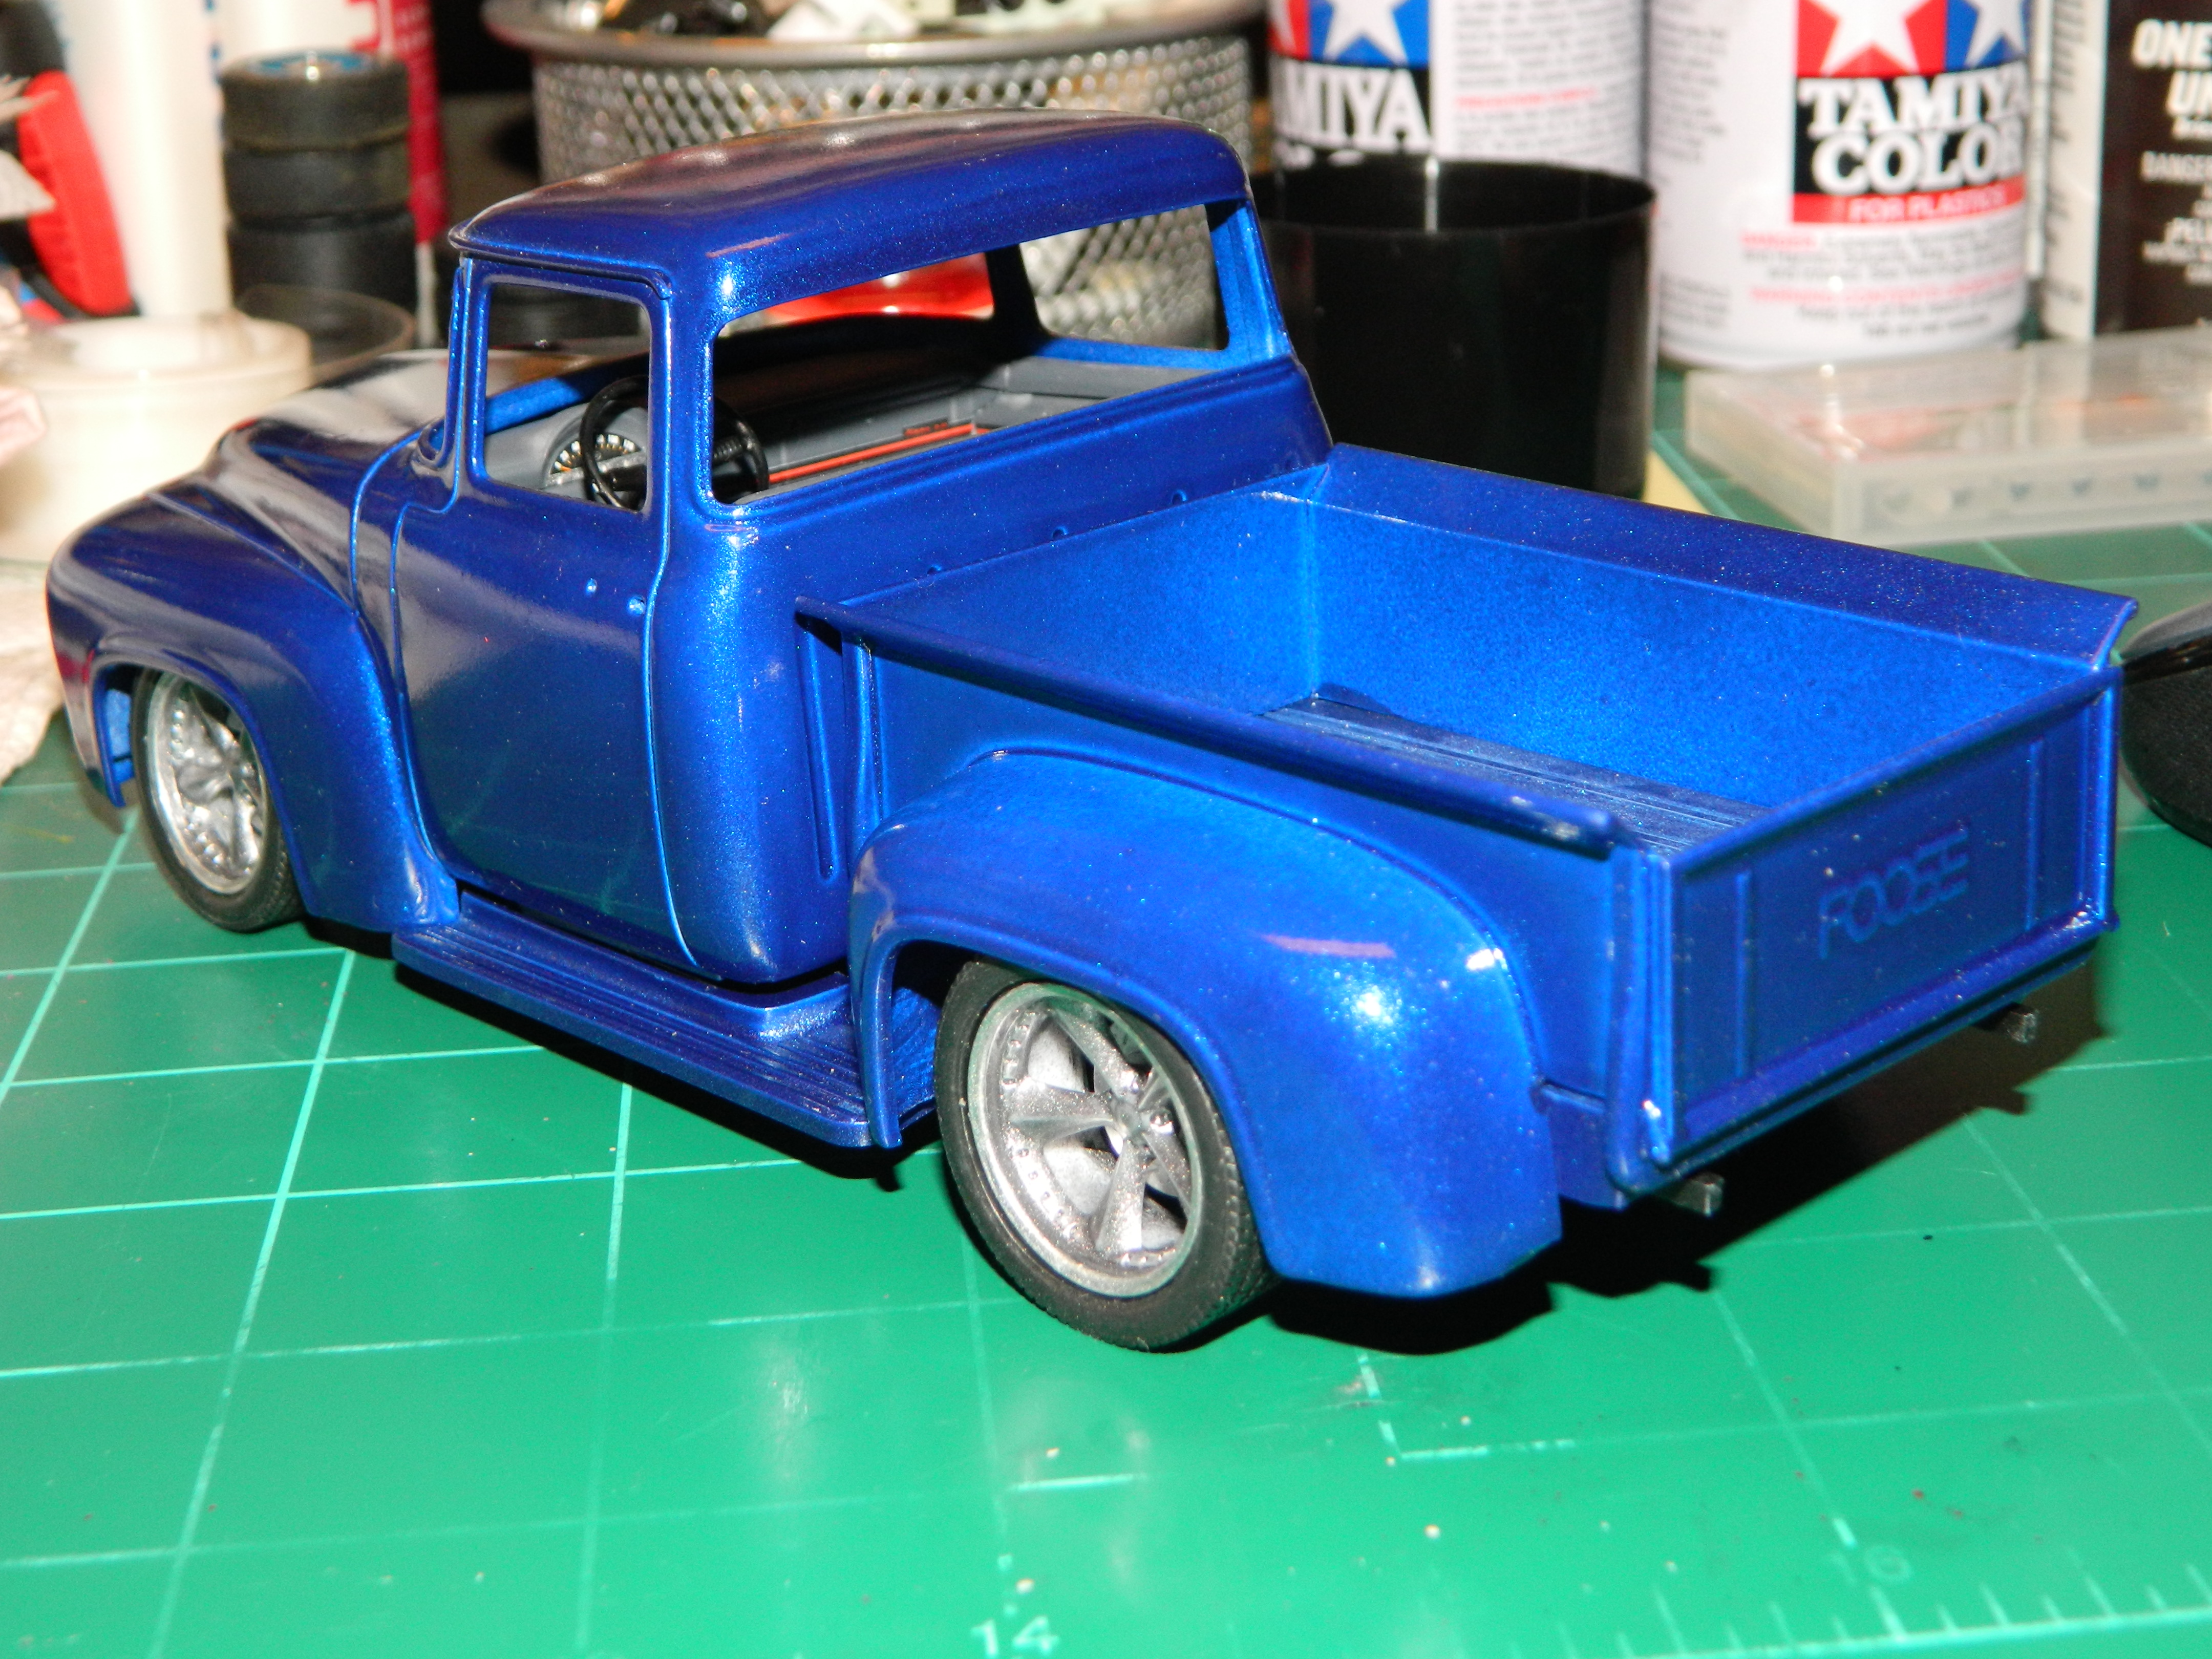
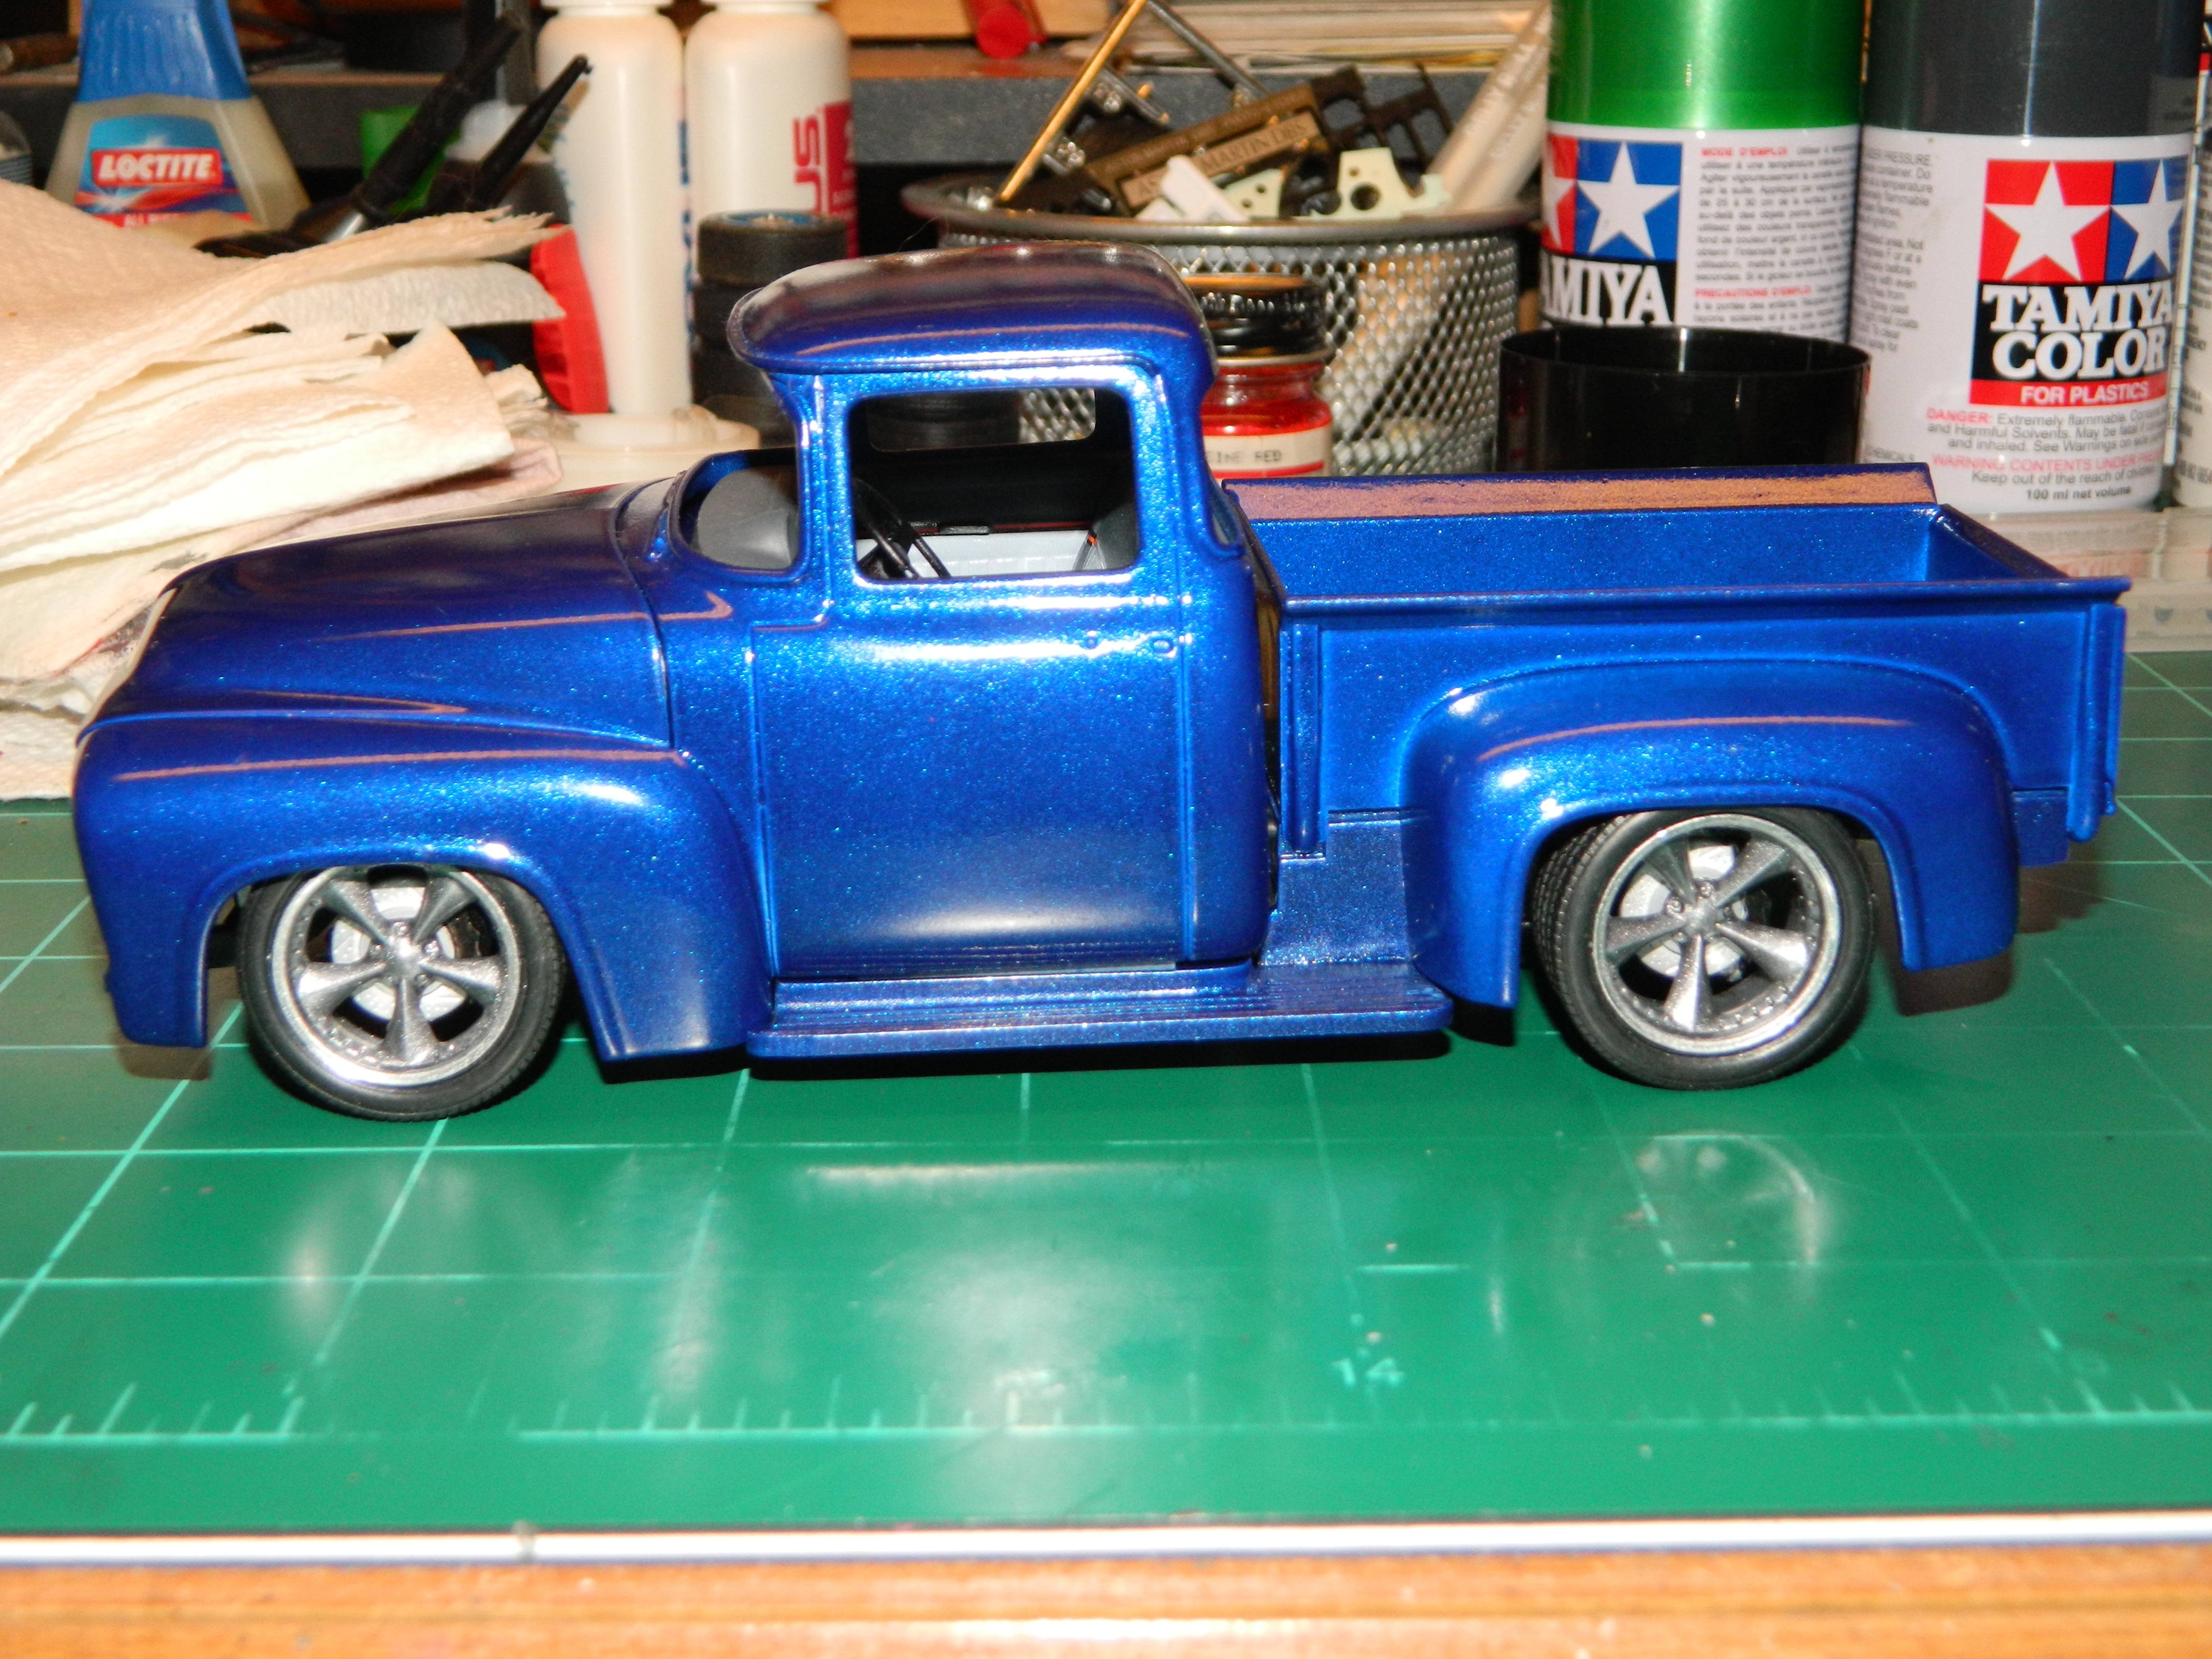
 I spent part of my day wet sanding and polishing the Foose Ford. I decided to add some Testors Wet Look Clear to the interior bottom, the bed, and the running boards. Now it's on to final assembly! More to come...
-
Thanks Jeremy! My '69 Road Runner is finished and Under Glass. I would like to thank all those who took the time to view and to comment on my WIP.
-
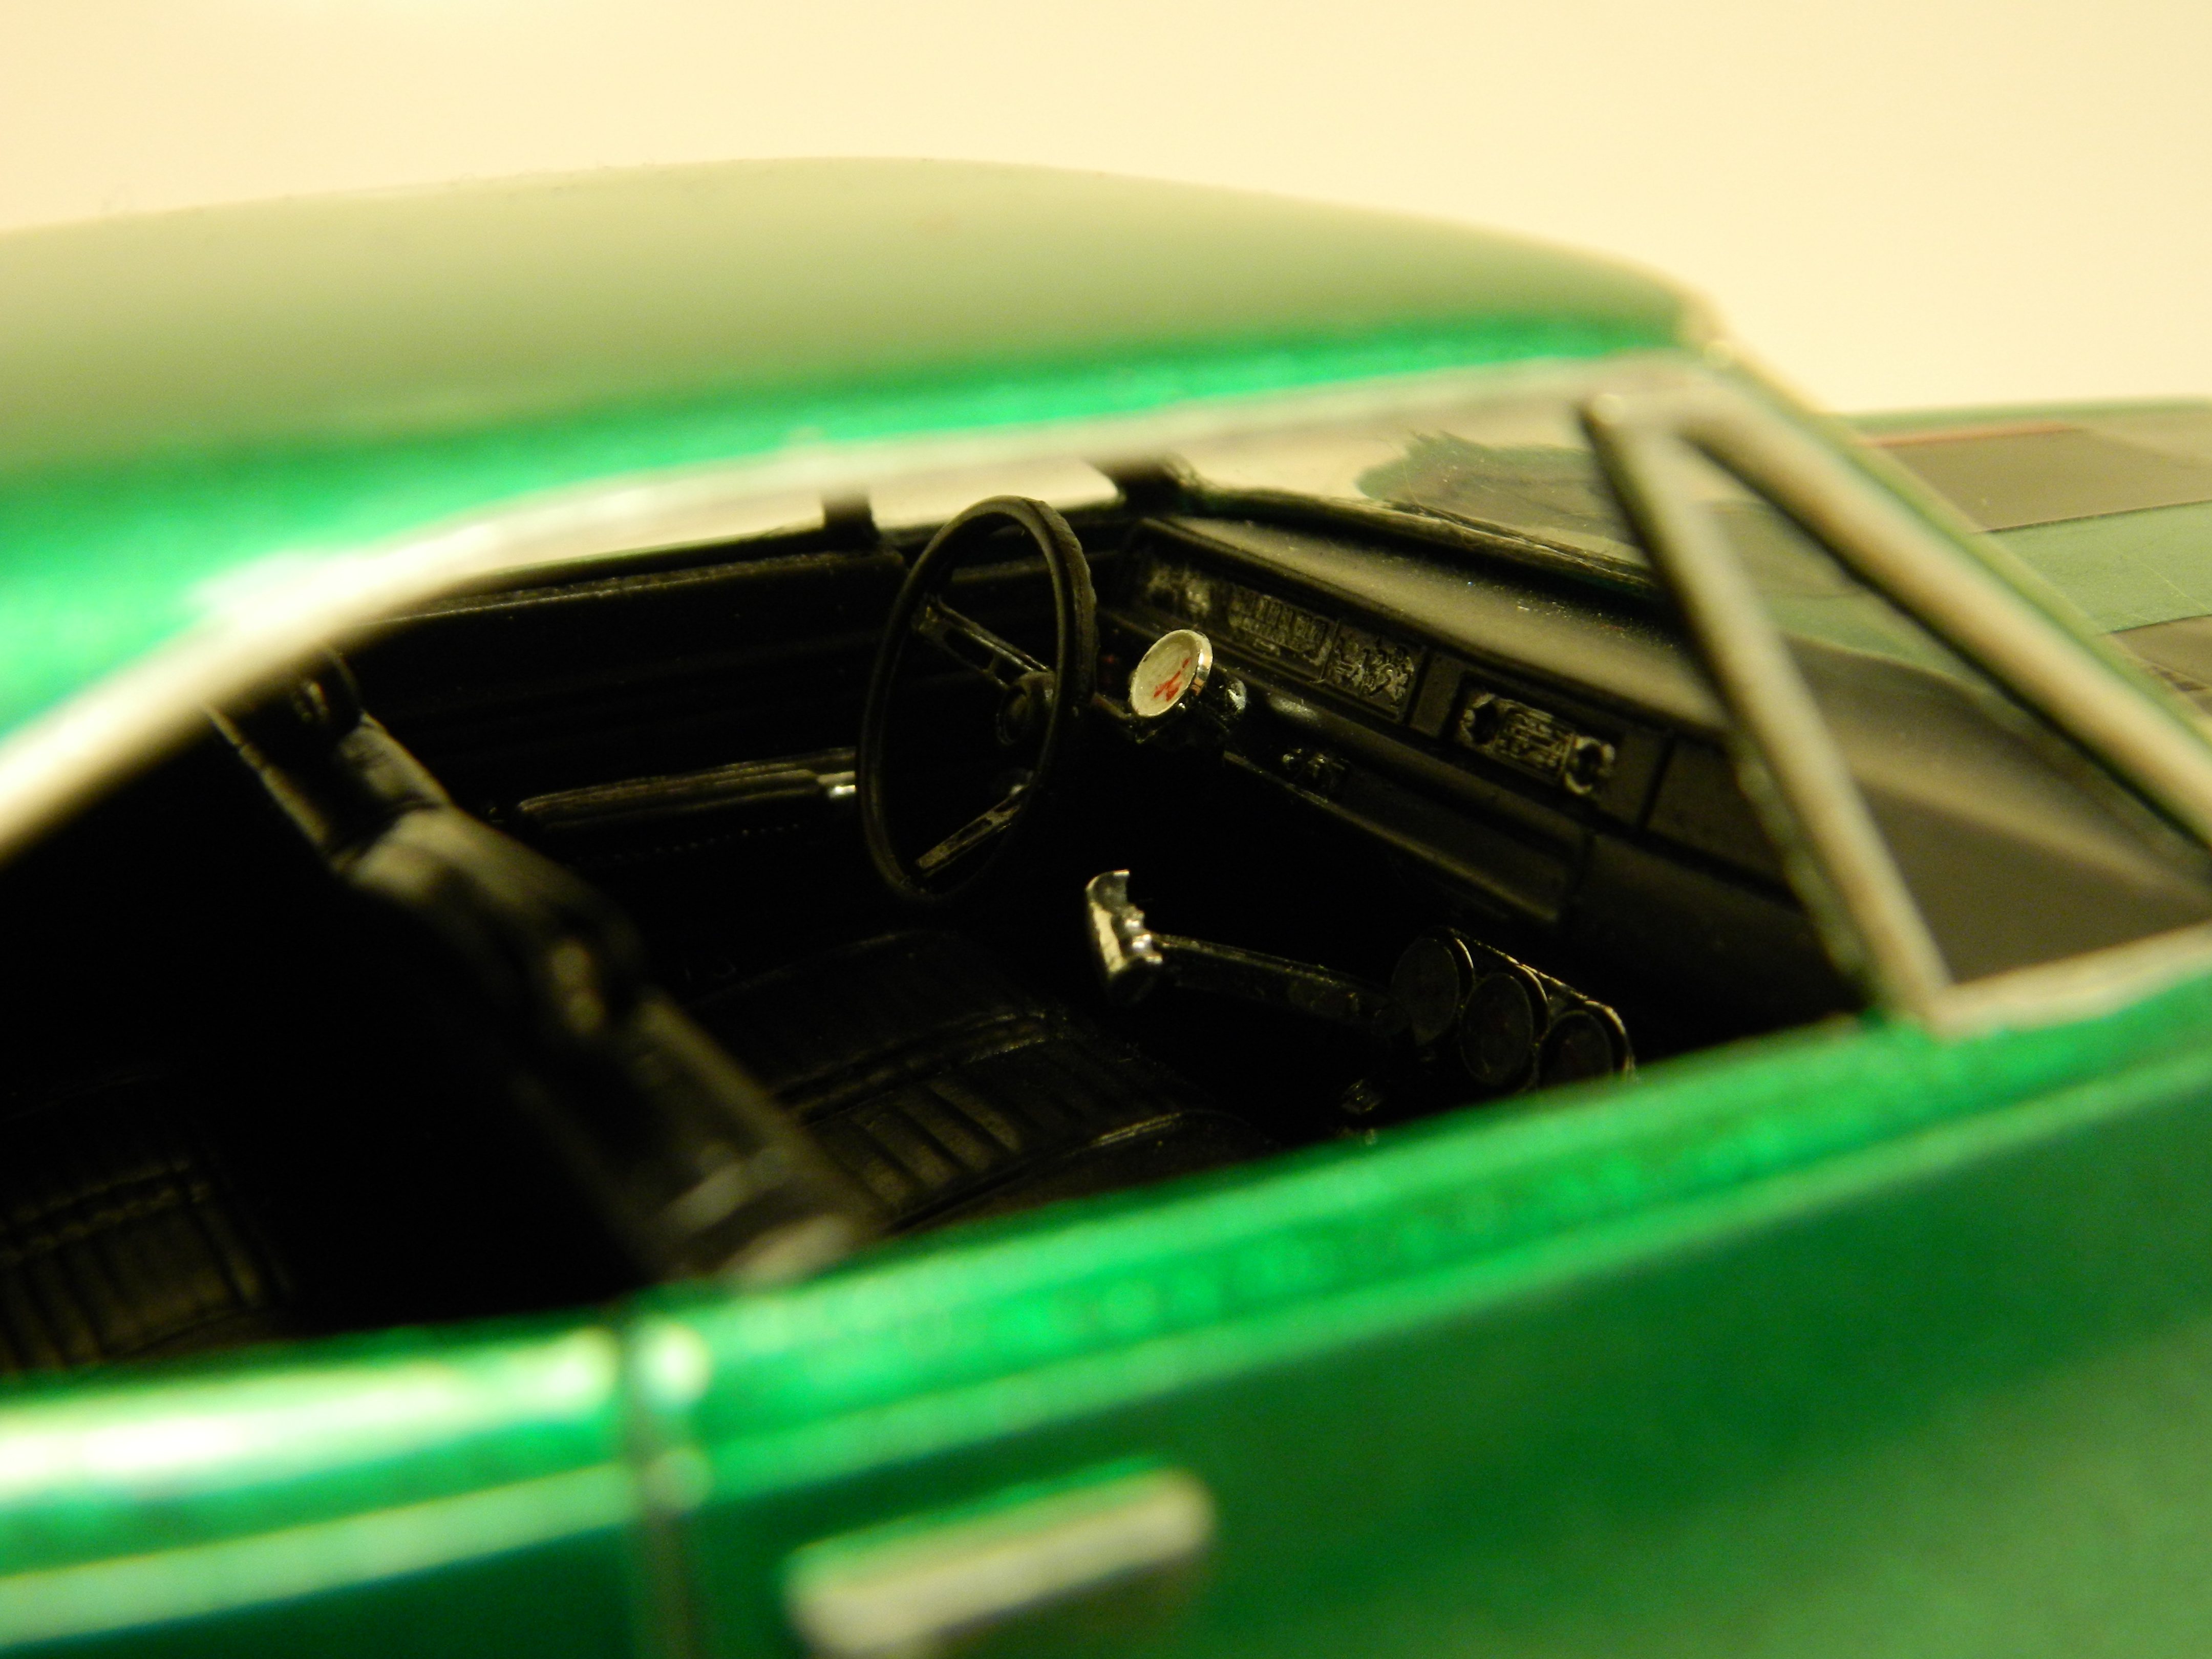
This is my AMT '69 Road Runner that was converted from an AMT '69 GTX kit. It is painted with Tamiya TS-20 Metallic Green with a Tamiya TS-29 Semi Gloss Black interior featuring embossing powder for carpet, under dash gauges and the steering column mounted tachometer. Magnum 500 wheels and a Hurst shifter with T-handle from my parts box. I scratch-built the radio antenna on the right front fender.
-
Any body watching Barrett-Jackson ?
mrmike replied to D. Battista's topic in General Automotive Talk (Trucks and Cars)
I am aware that Barrett-Jackson is providing their services of auctioning off the vehicle, and that they have standards for certain vehicles to be auctioned off, but I do wonder when I see a vehicle going across the block with straight panels and no wavering paint, if that car or truck is solid metal or half filled with filler? Prospective buyers do have the opportunity to view the vehicle that they are interested in. I would hope that vehicle is solid metal. -
Any body watching Barrett-Jackson ?
mrmike replied to D. Battista's topic in General Automotive Talk (Trucks and Cars)
I've been watching off and on during the past week. It got me to wondering about those shows where the guy wants the super nice looking car he bought online without looking at it, the shop worked on it and when they tear down the car, it is loaded with Bondo! -
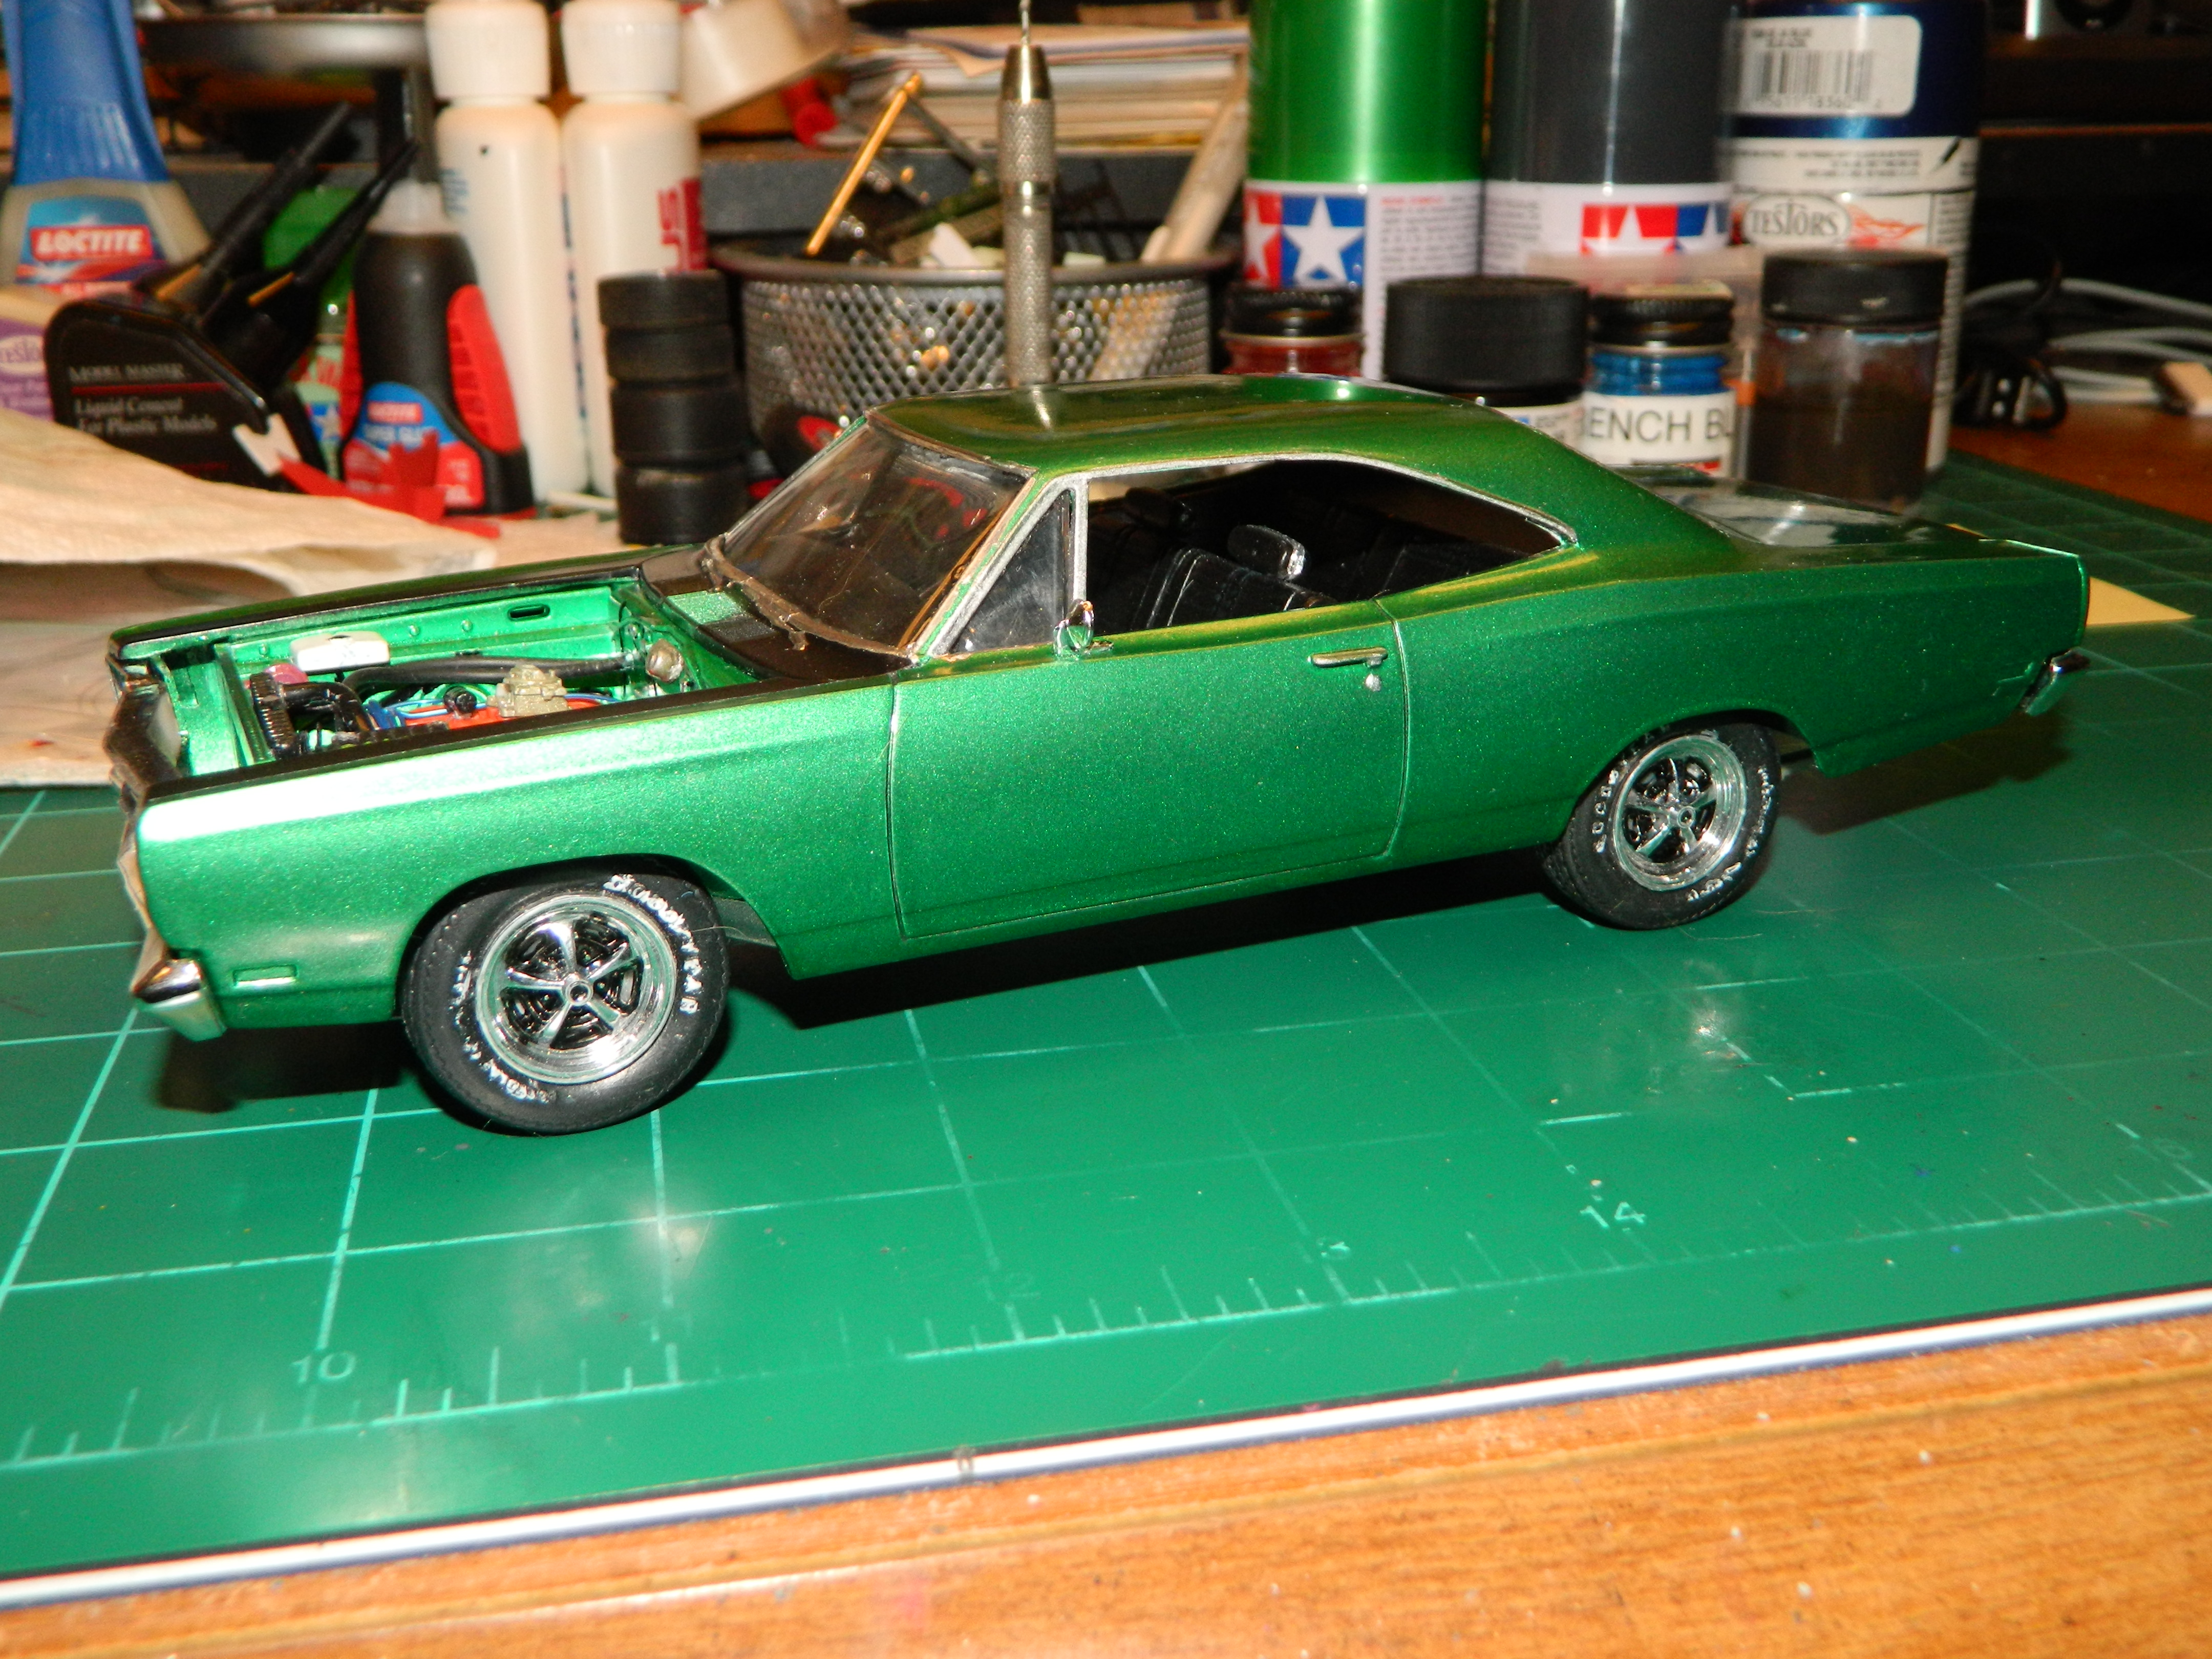
My '69 Road Runner is nearing completion! More Mopar to come...
-
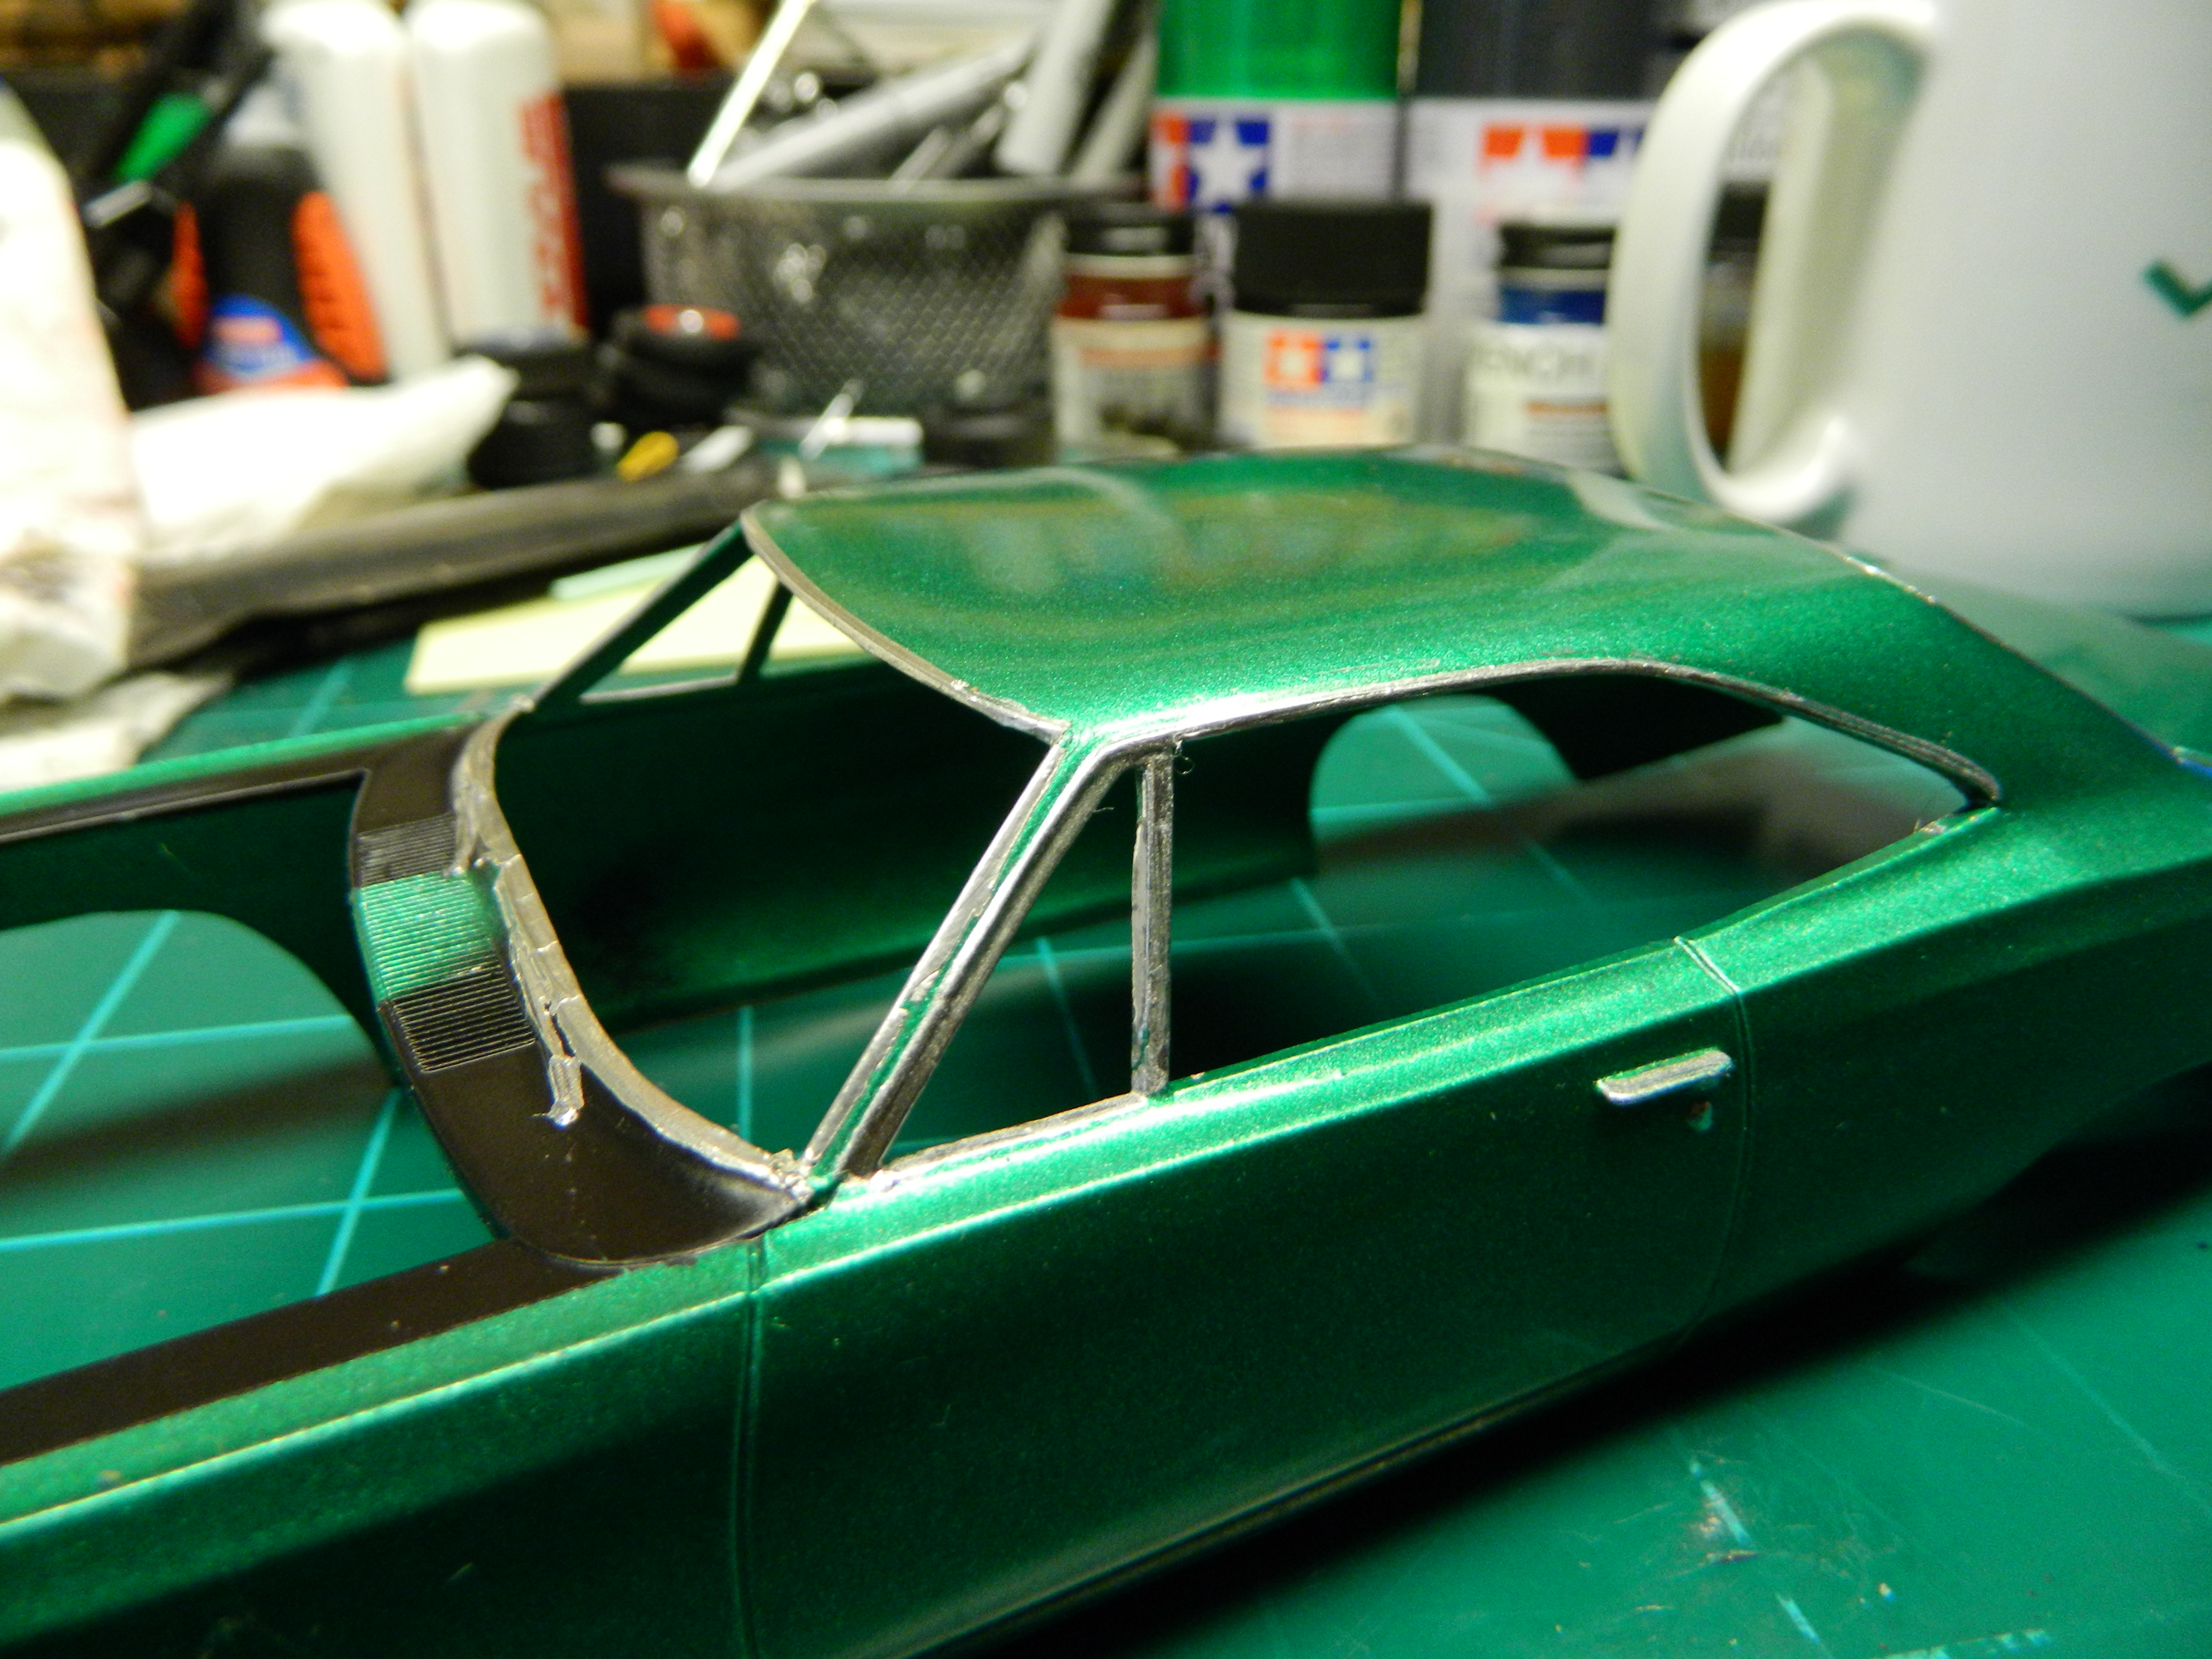
I got the Road Runner foiled this morning. I used a combination of Bare Metal Foil and my Molotow Liquid Chrome pen. More Mopar to come...
-
Detail Master only has one photo of their DM-3220 Tachometer Kit 5". The other tach they have listed, DM-3225 '60's Style Tachometer, has no picture. Maybe contact them for a description unless someone else has a picture?
-
I live with two dogs in my house and my Golden Retriever is always in a constant state of shedding. I am constantly vacuuming my house and still, the dog hair is everywhere. That dog hair was an errant hair that found its way onto the hood and fortunately, the paint was dry at that time. I think I'll finish building the '69 Road Runner and deal with the hood last.
-
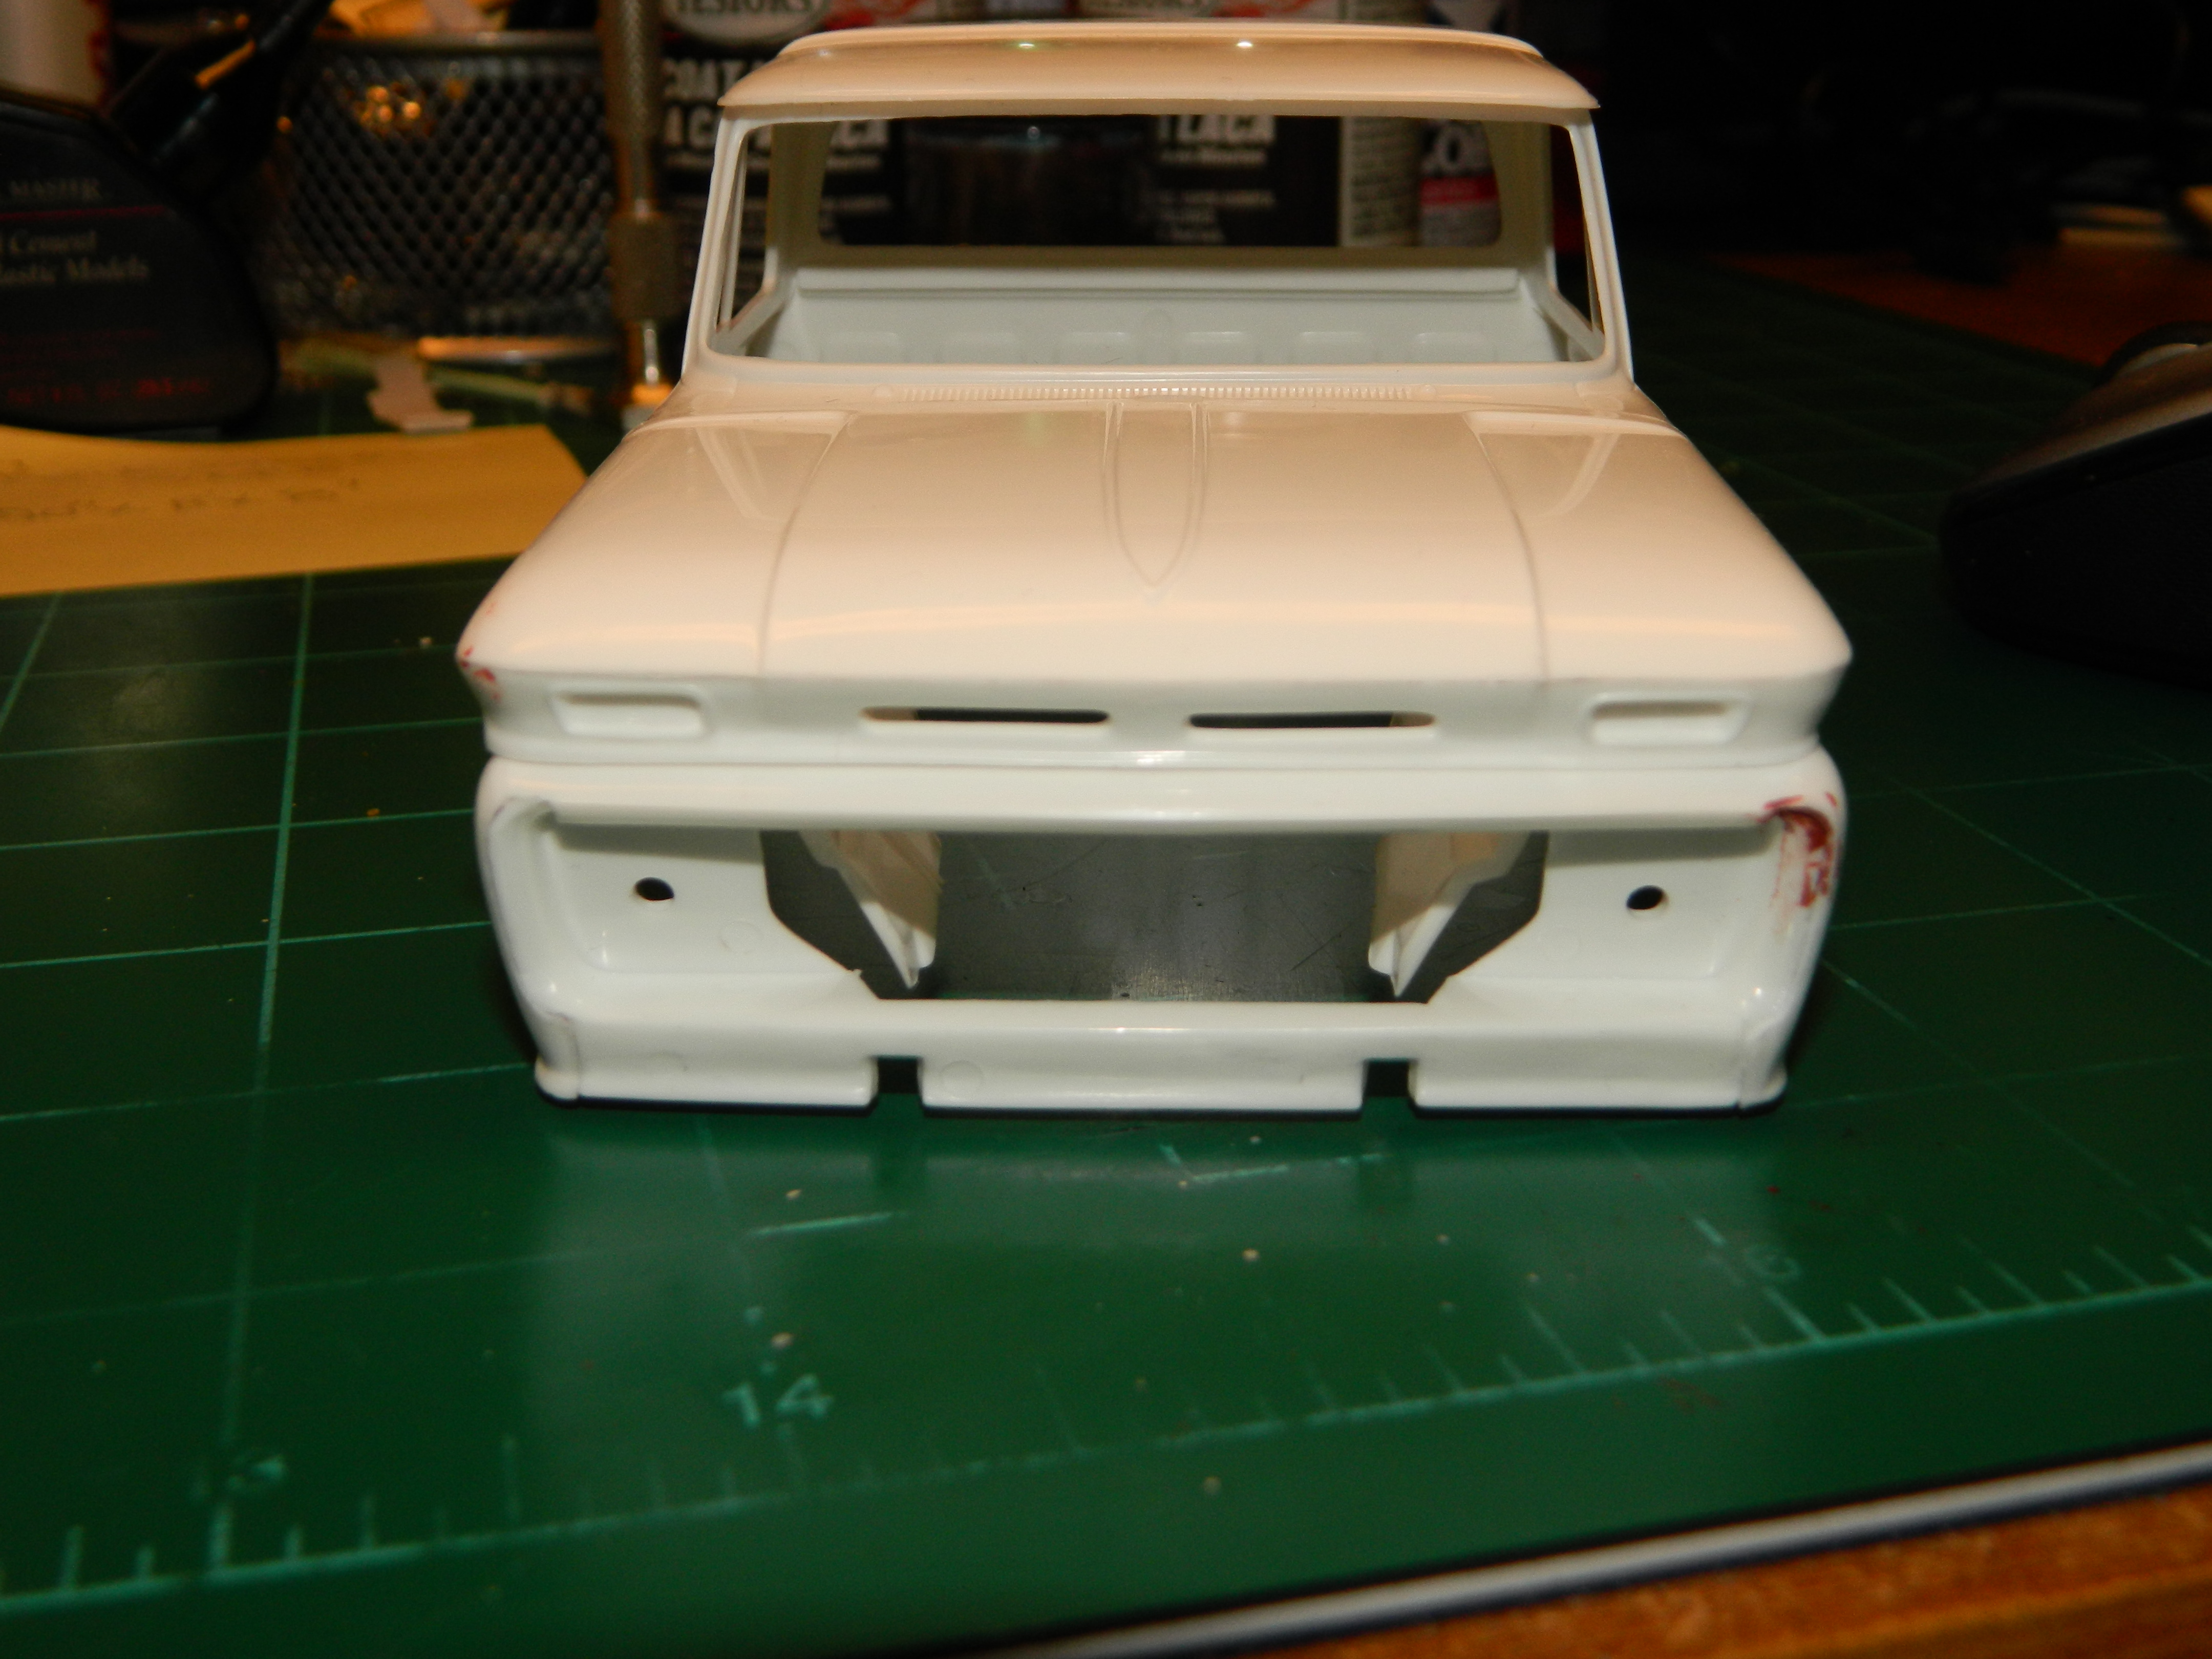
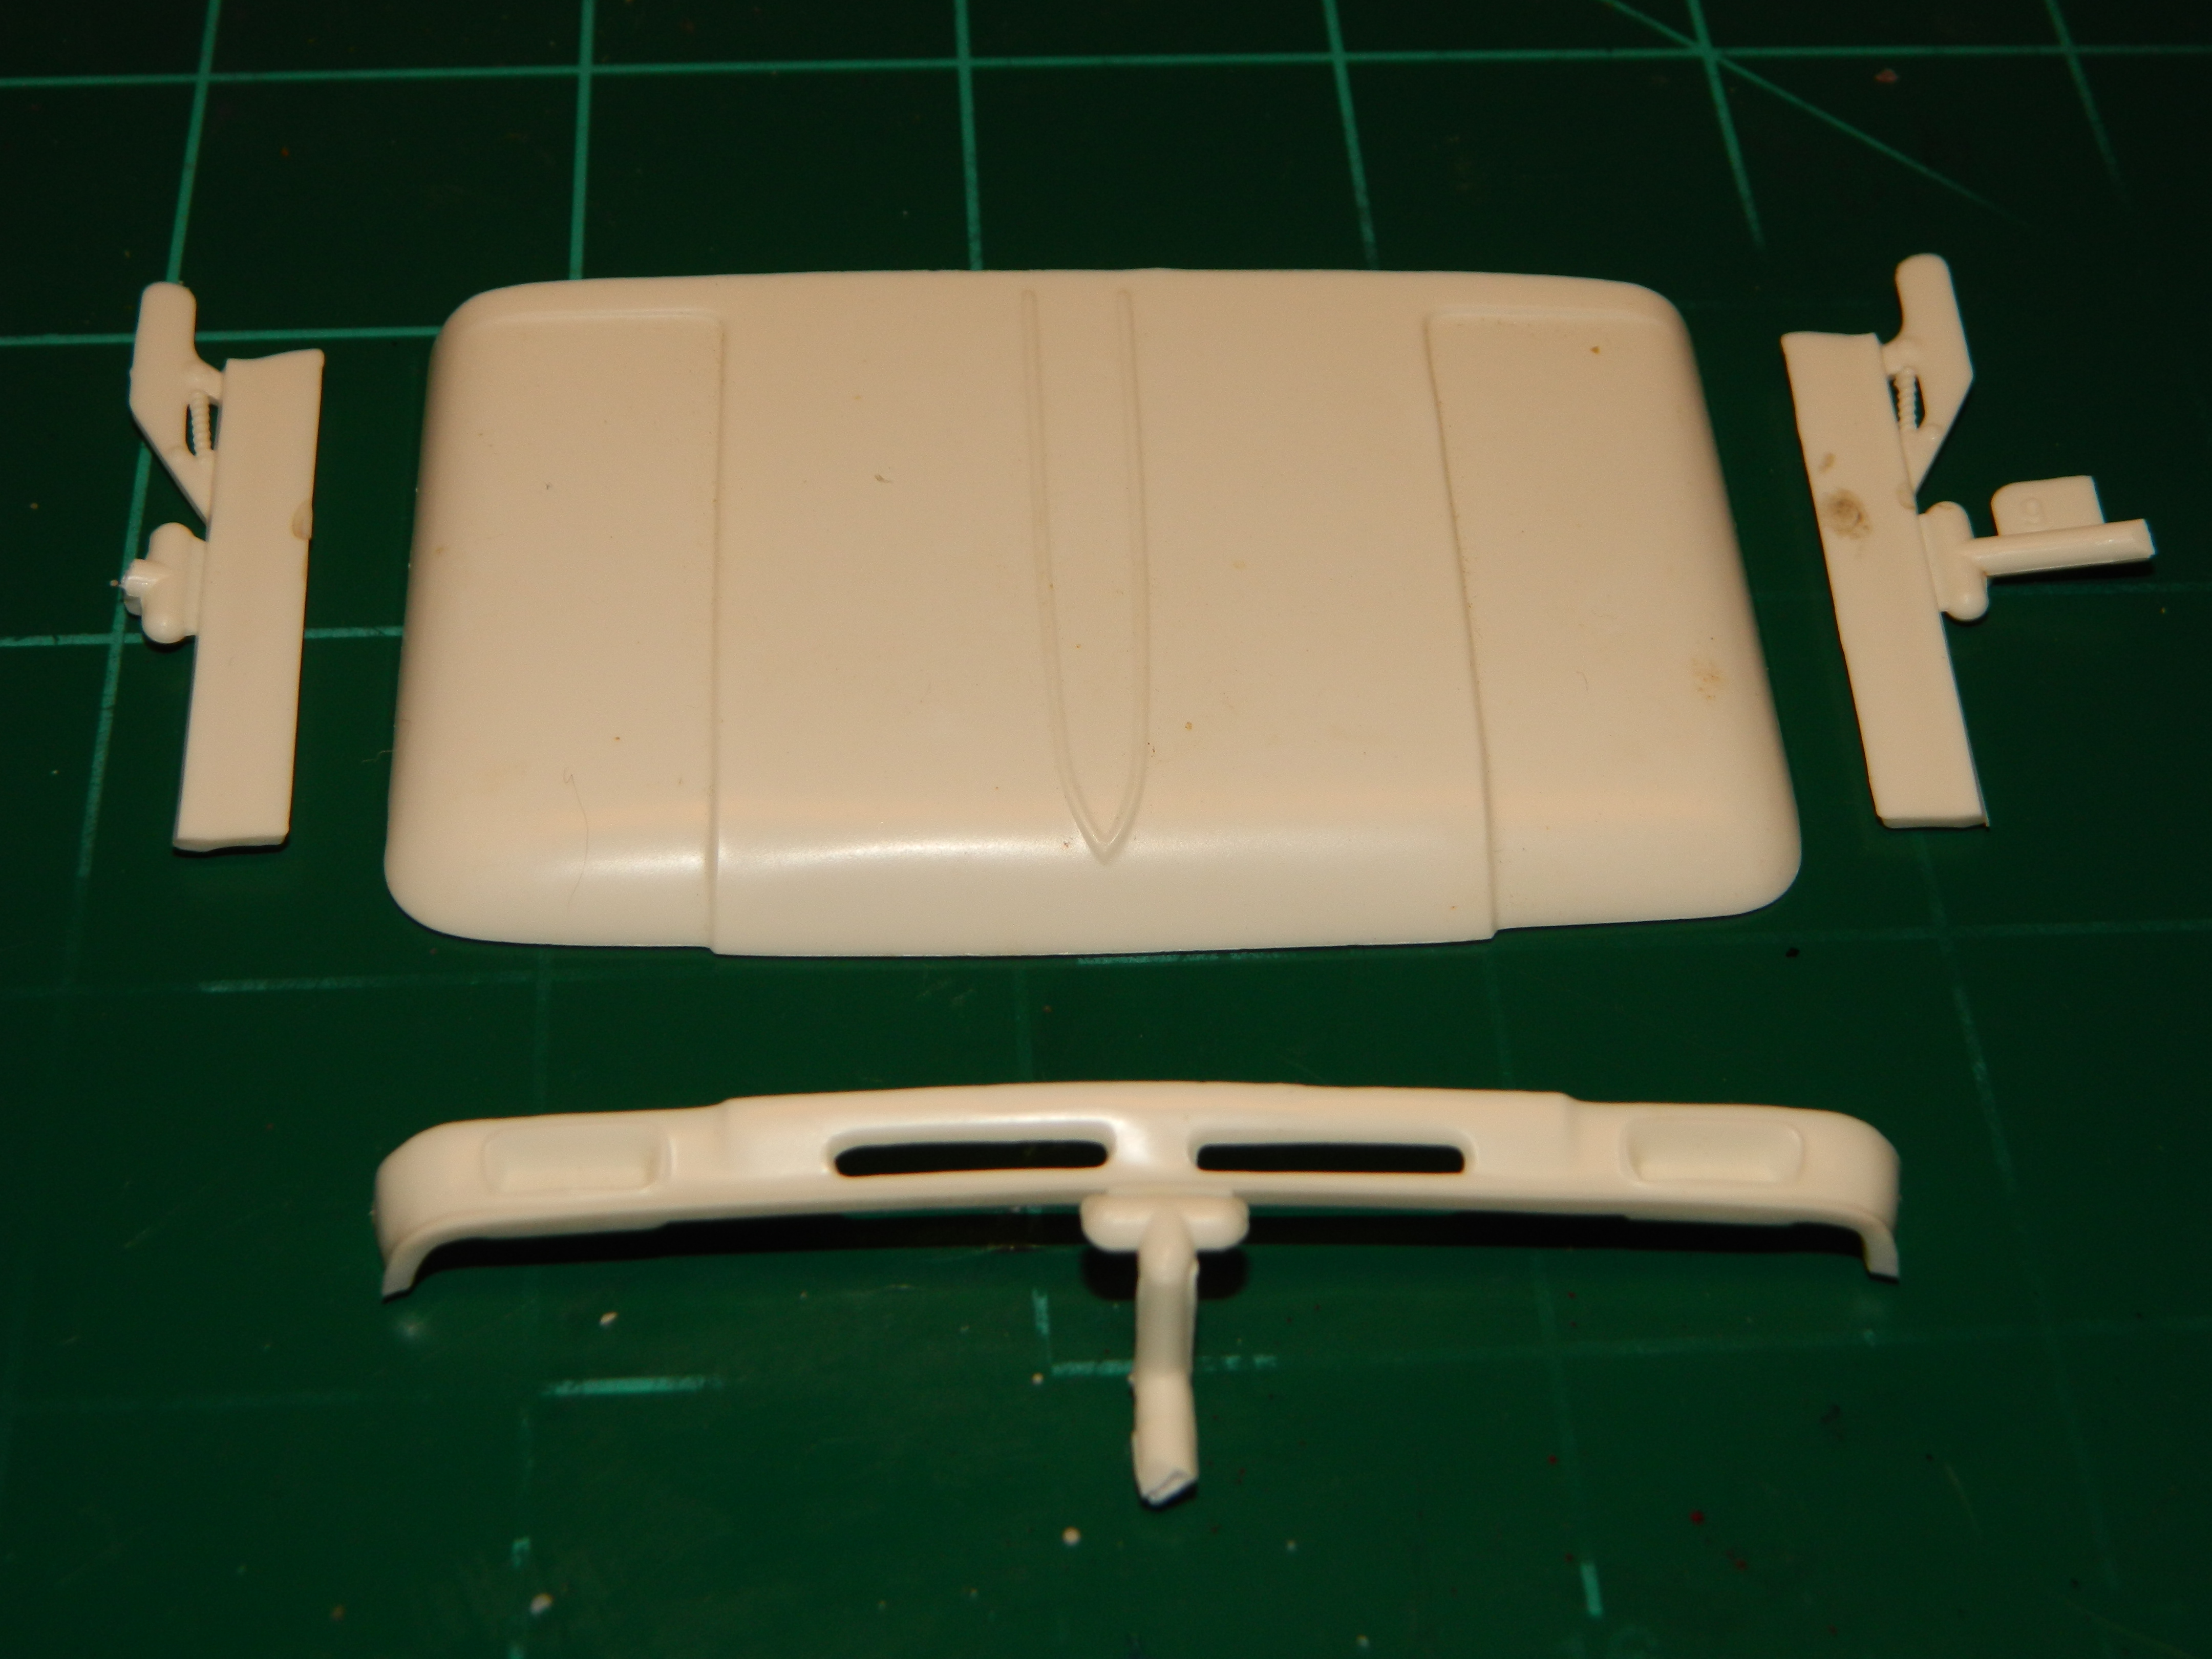
I got the body ready for primer. I just need to wash it of all contaminants. I painted the engine block with Model Master Acryl French Blue. My friend Paul offered to drill out the distributor cap for plug wires. I removed the supports for the suspension and will replace them with coil springs offered by my friend Barry. Since the wheels from my parts box have more offset, I am modifying the wheels backs for a better fit. More to come...
-
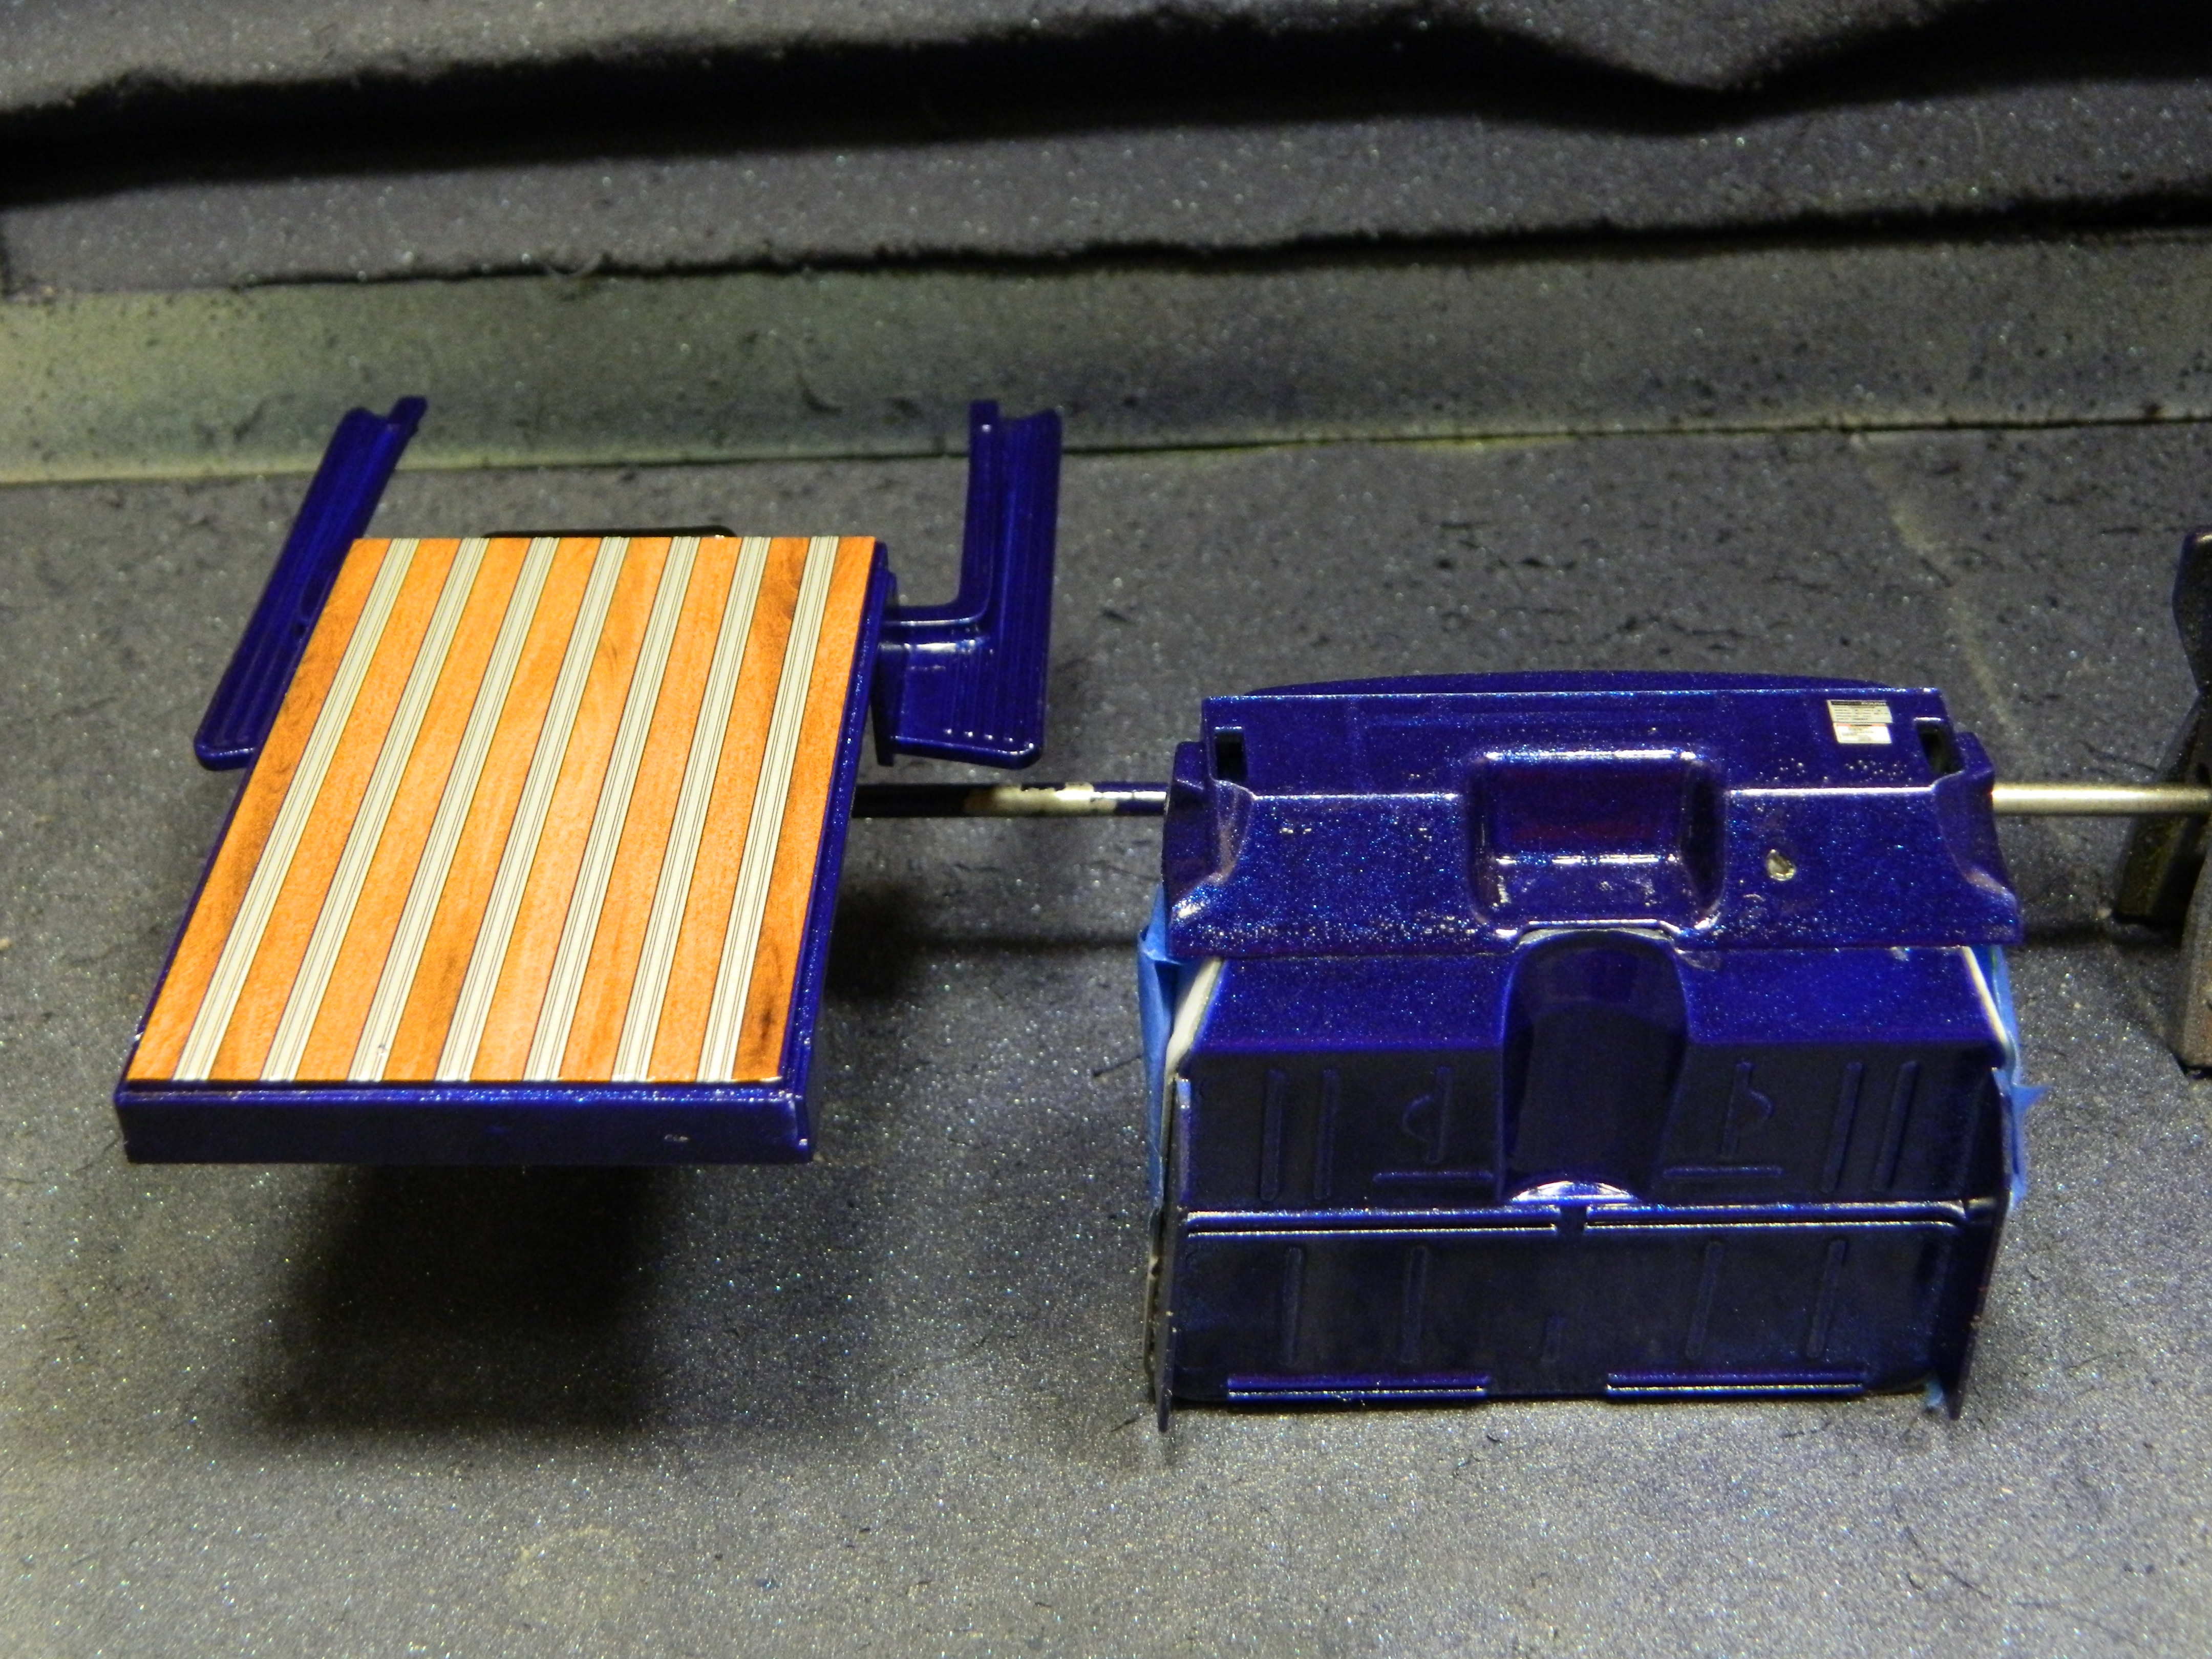
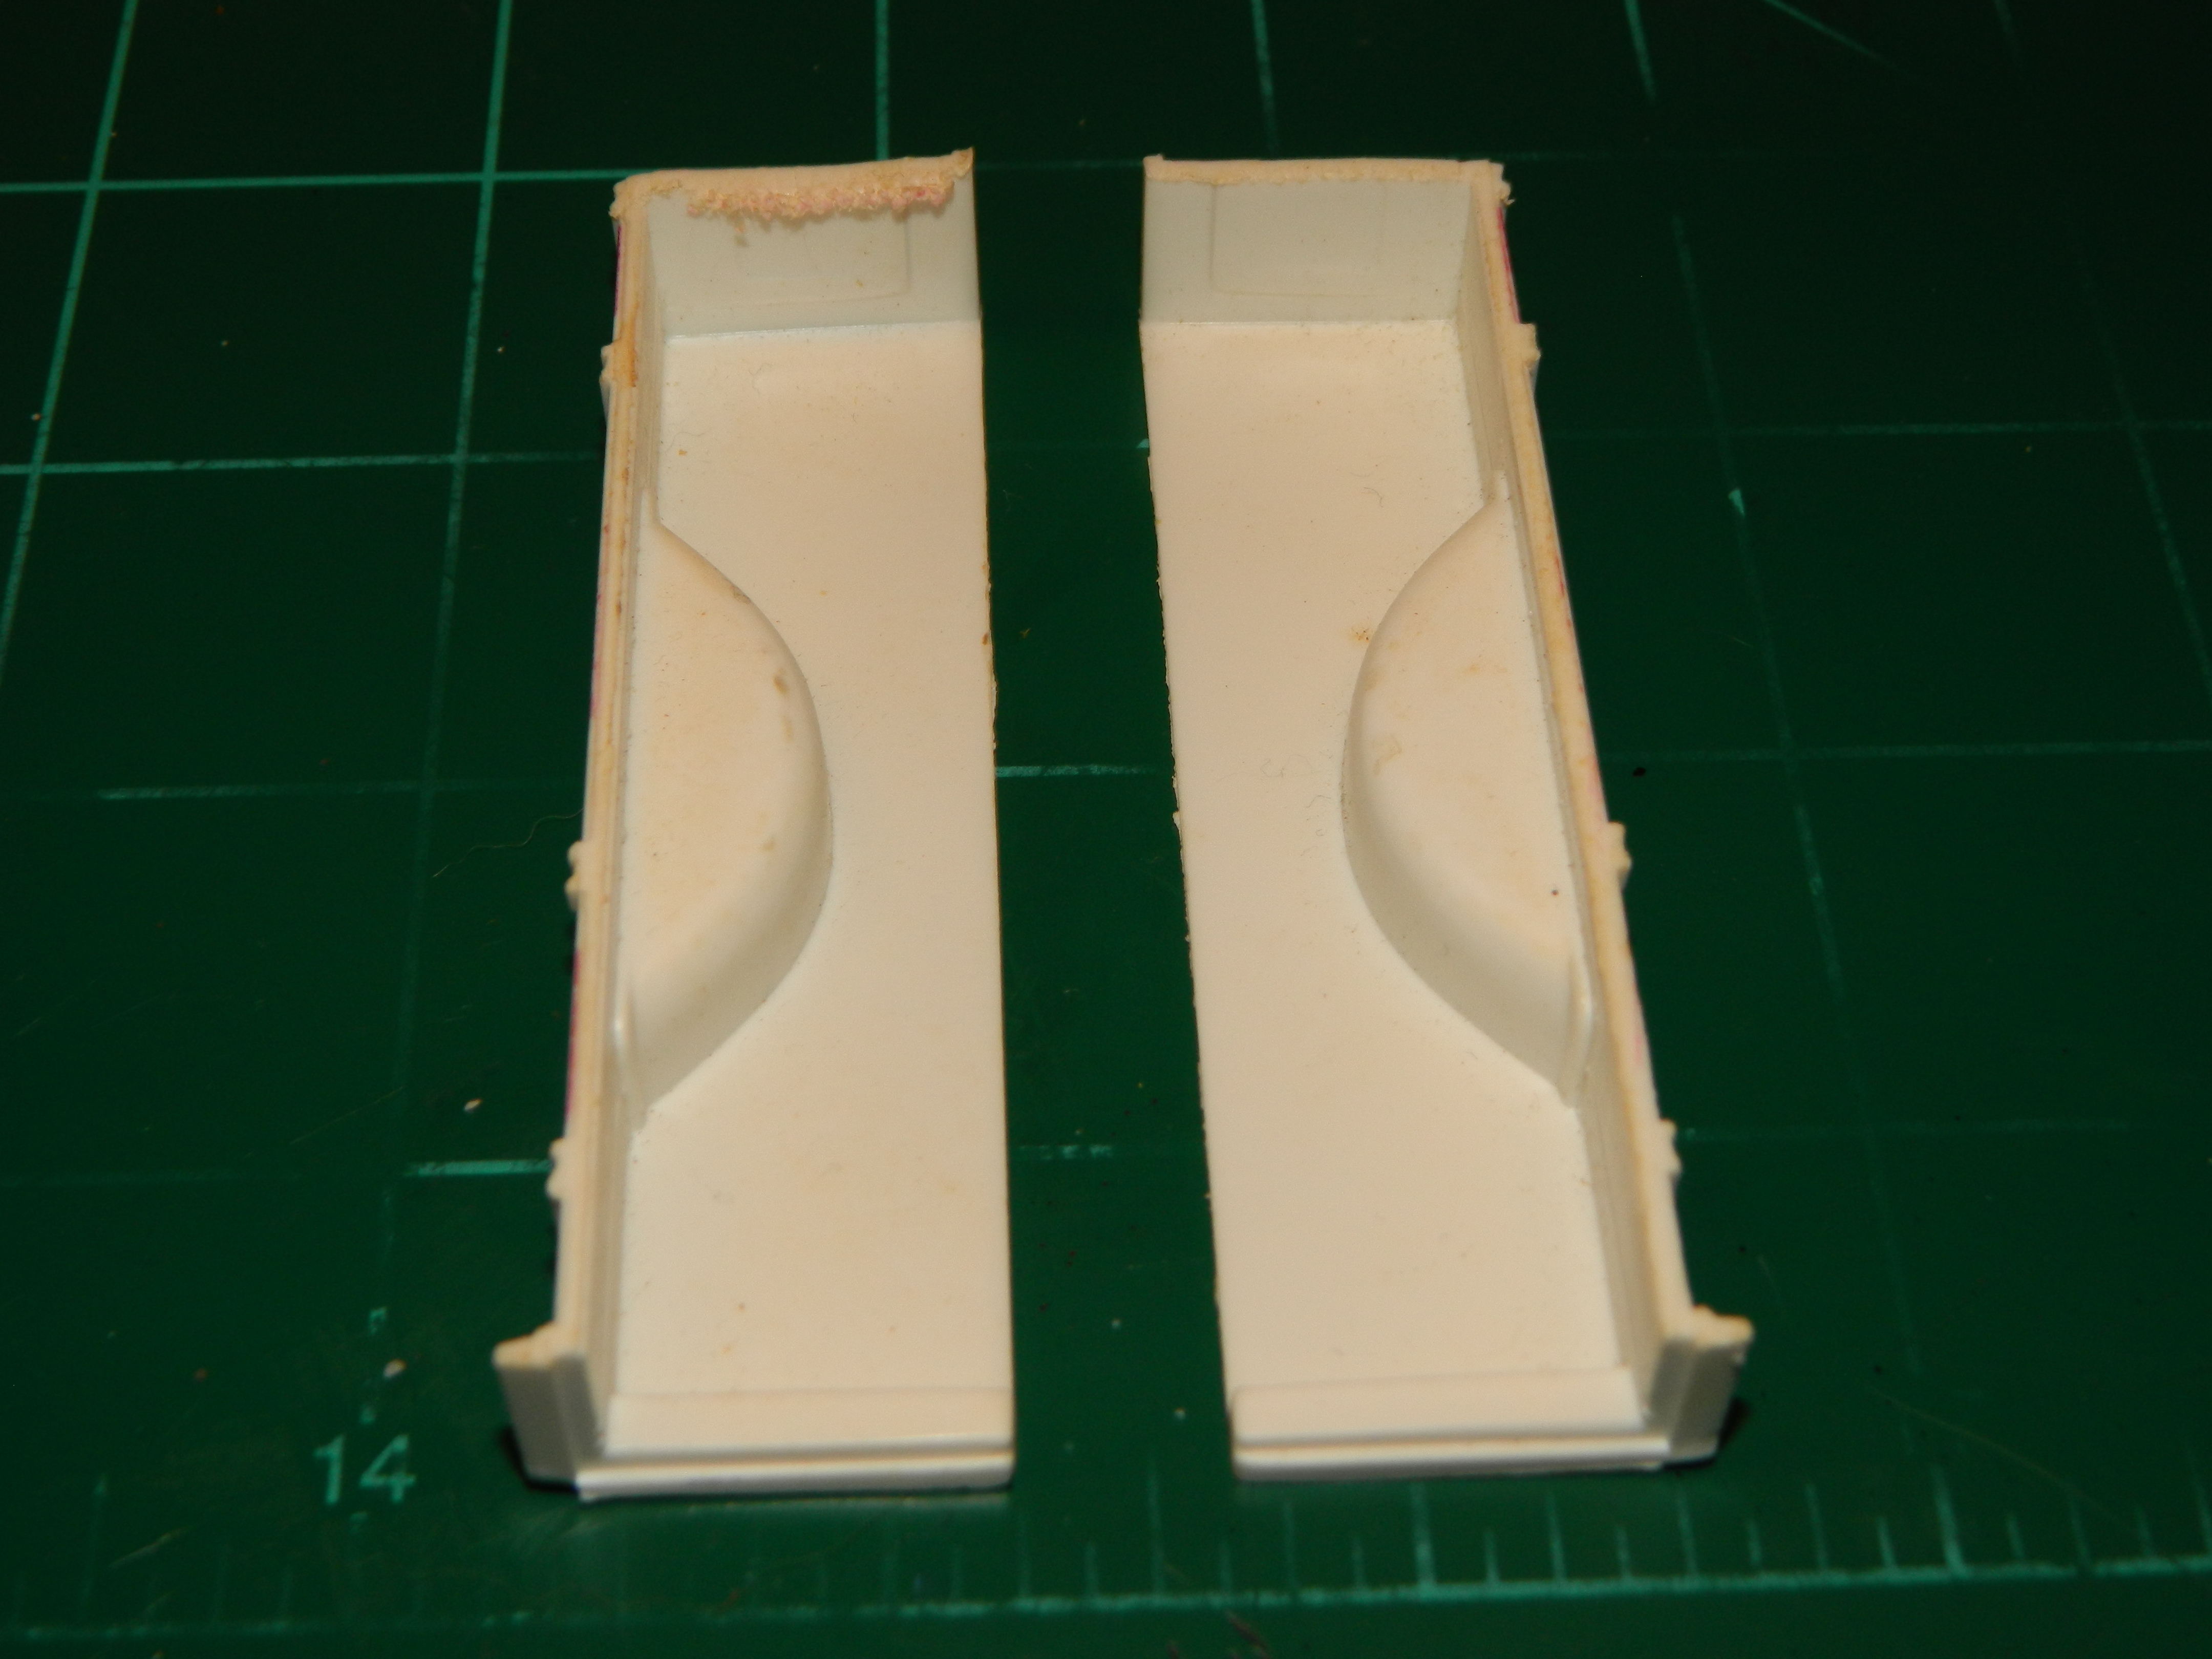
The Story McNally drives over to the "chop shop" in Brighton, Ma. He parks his '09 Challenger SRT8 just down the block to observe what seems to be an active auto body shop with a couple of cars parked in the front of the shop with patches of primer and replacement body parts on them. He sits in his car for several hours watching and taking note of the vehicles that come and go from the shop and the people that work there. Now that he is completely bored, he drives from Brighton to South Boston to search out for the car theft gang that Lt. Macklin had told him about. The Build Another visit with my friend Barry got me another hood. The original hood wasn't put together to my liking and Barry offered me the hood for a second chance to get it put together correctly. I did a mockup of the truck and found that the wheels and tires fit the wheel wells too tightly. These are the inner fenders for the bed and I will cut out the fenders and add them to widen the rear inner fenders. McNally will return...
-
I never finished it. There was some trash on the hood that I had sanded out. I thought I had all the marks removed only to find them under the newly repainted stripes. Not sure what to do other than stripping and repainting the hood.
-
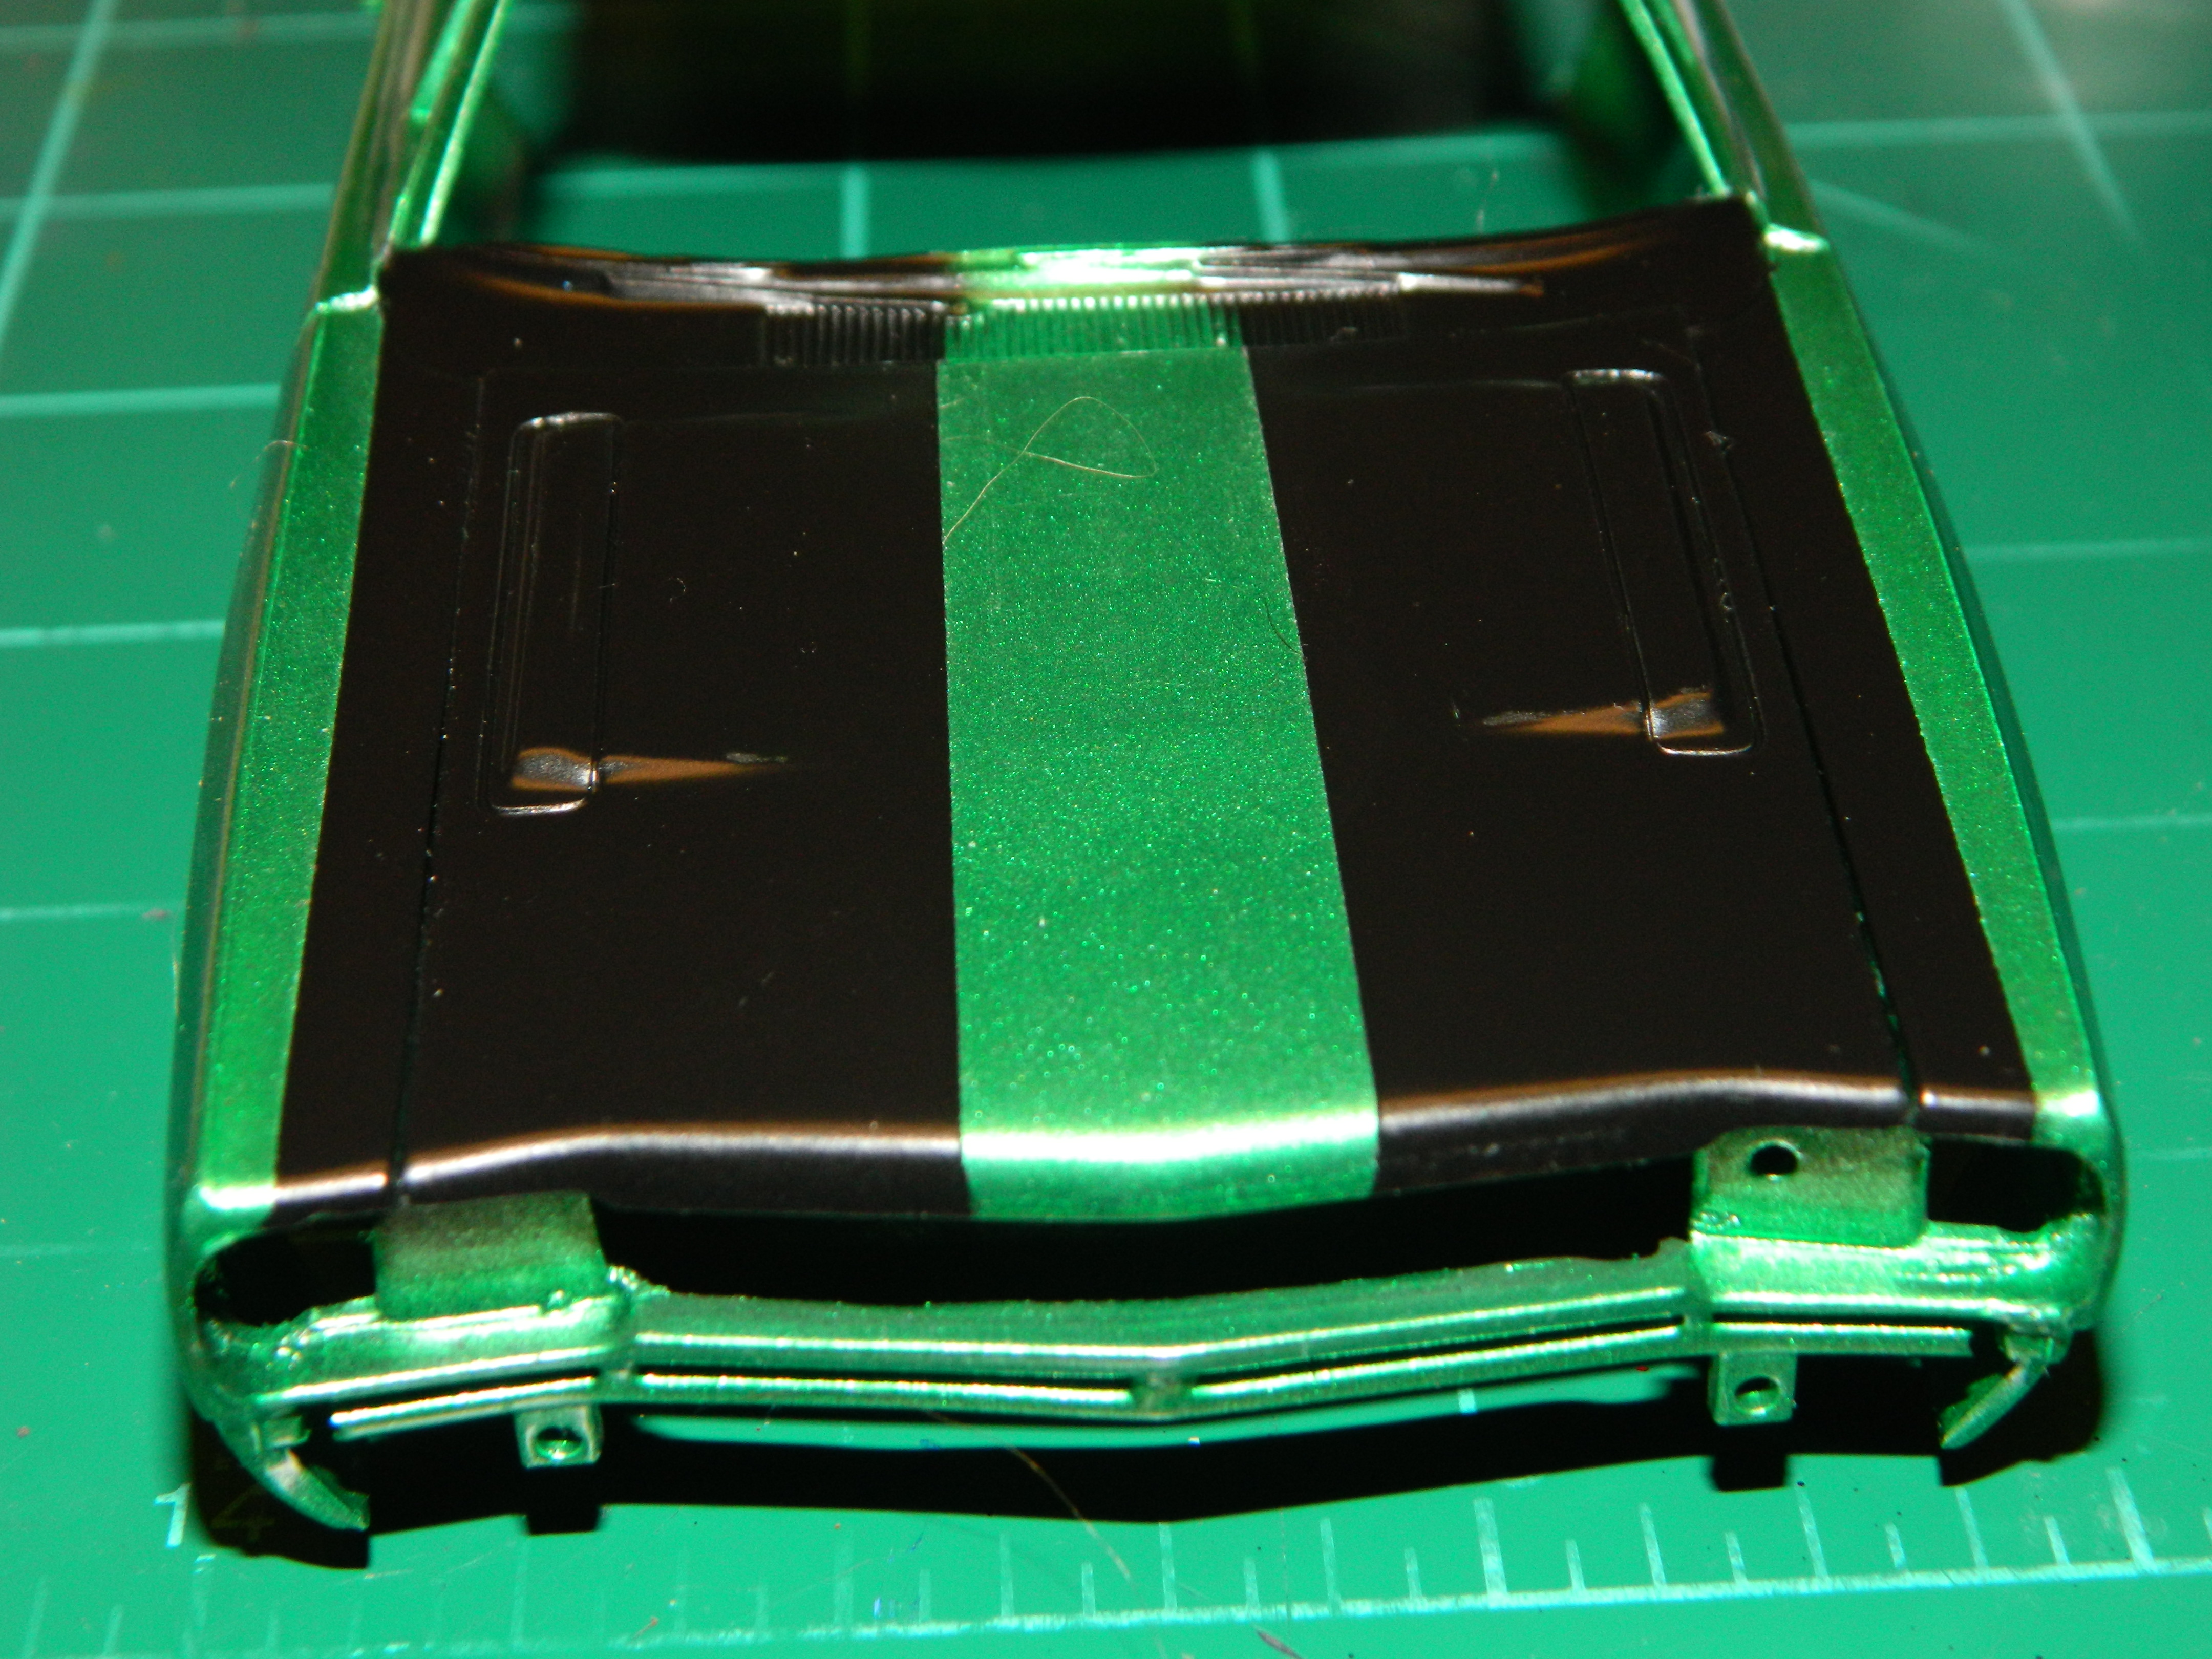
I know it's been a while since I worked on the Road Runner. I finally got around to painting the stripes on the fenders and the hood. There is some cleanup necessary and I'm not 100% happy with the hood, but time will tell. More Mopar to come...
-
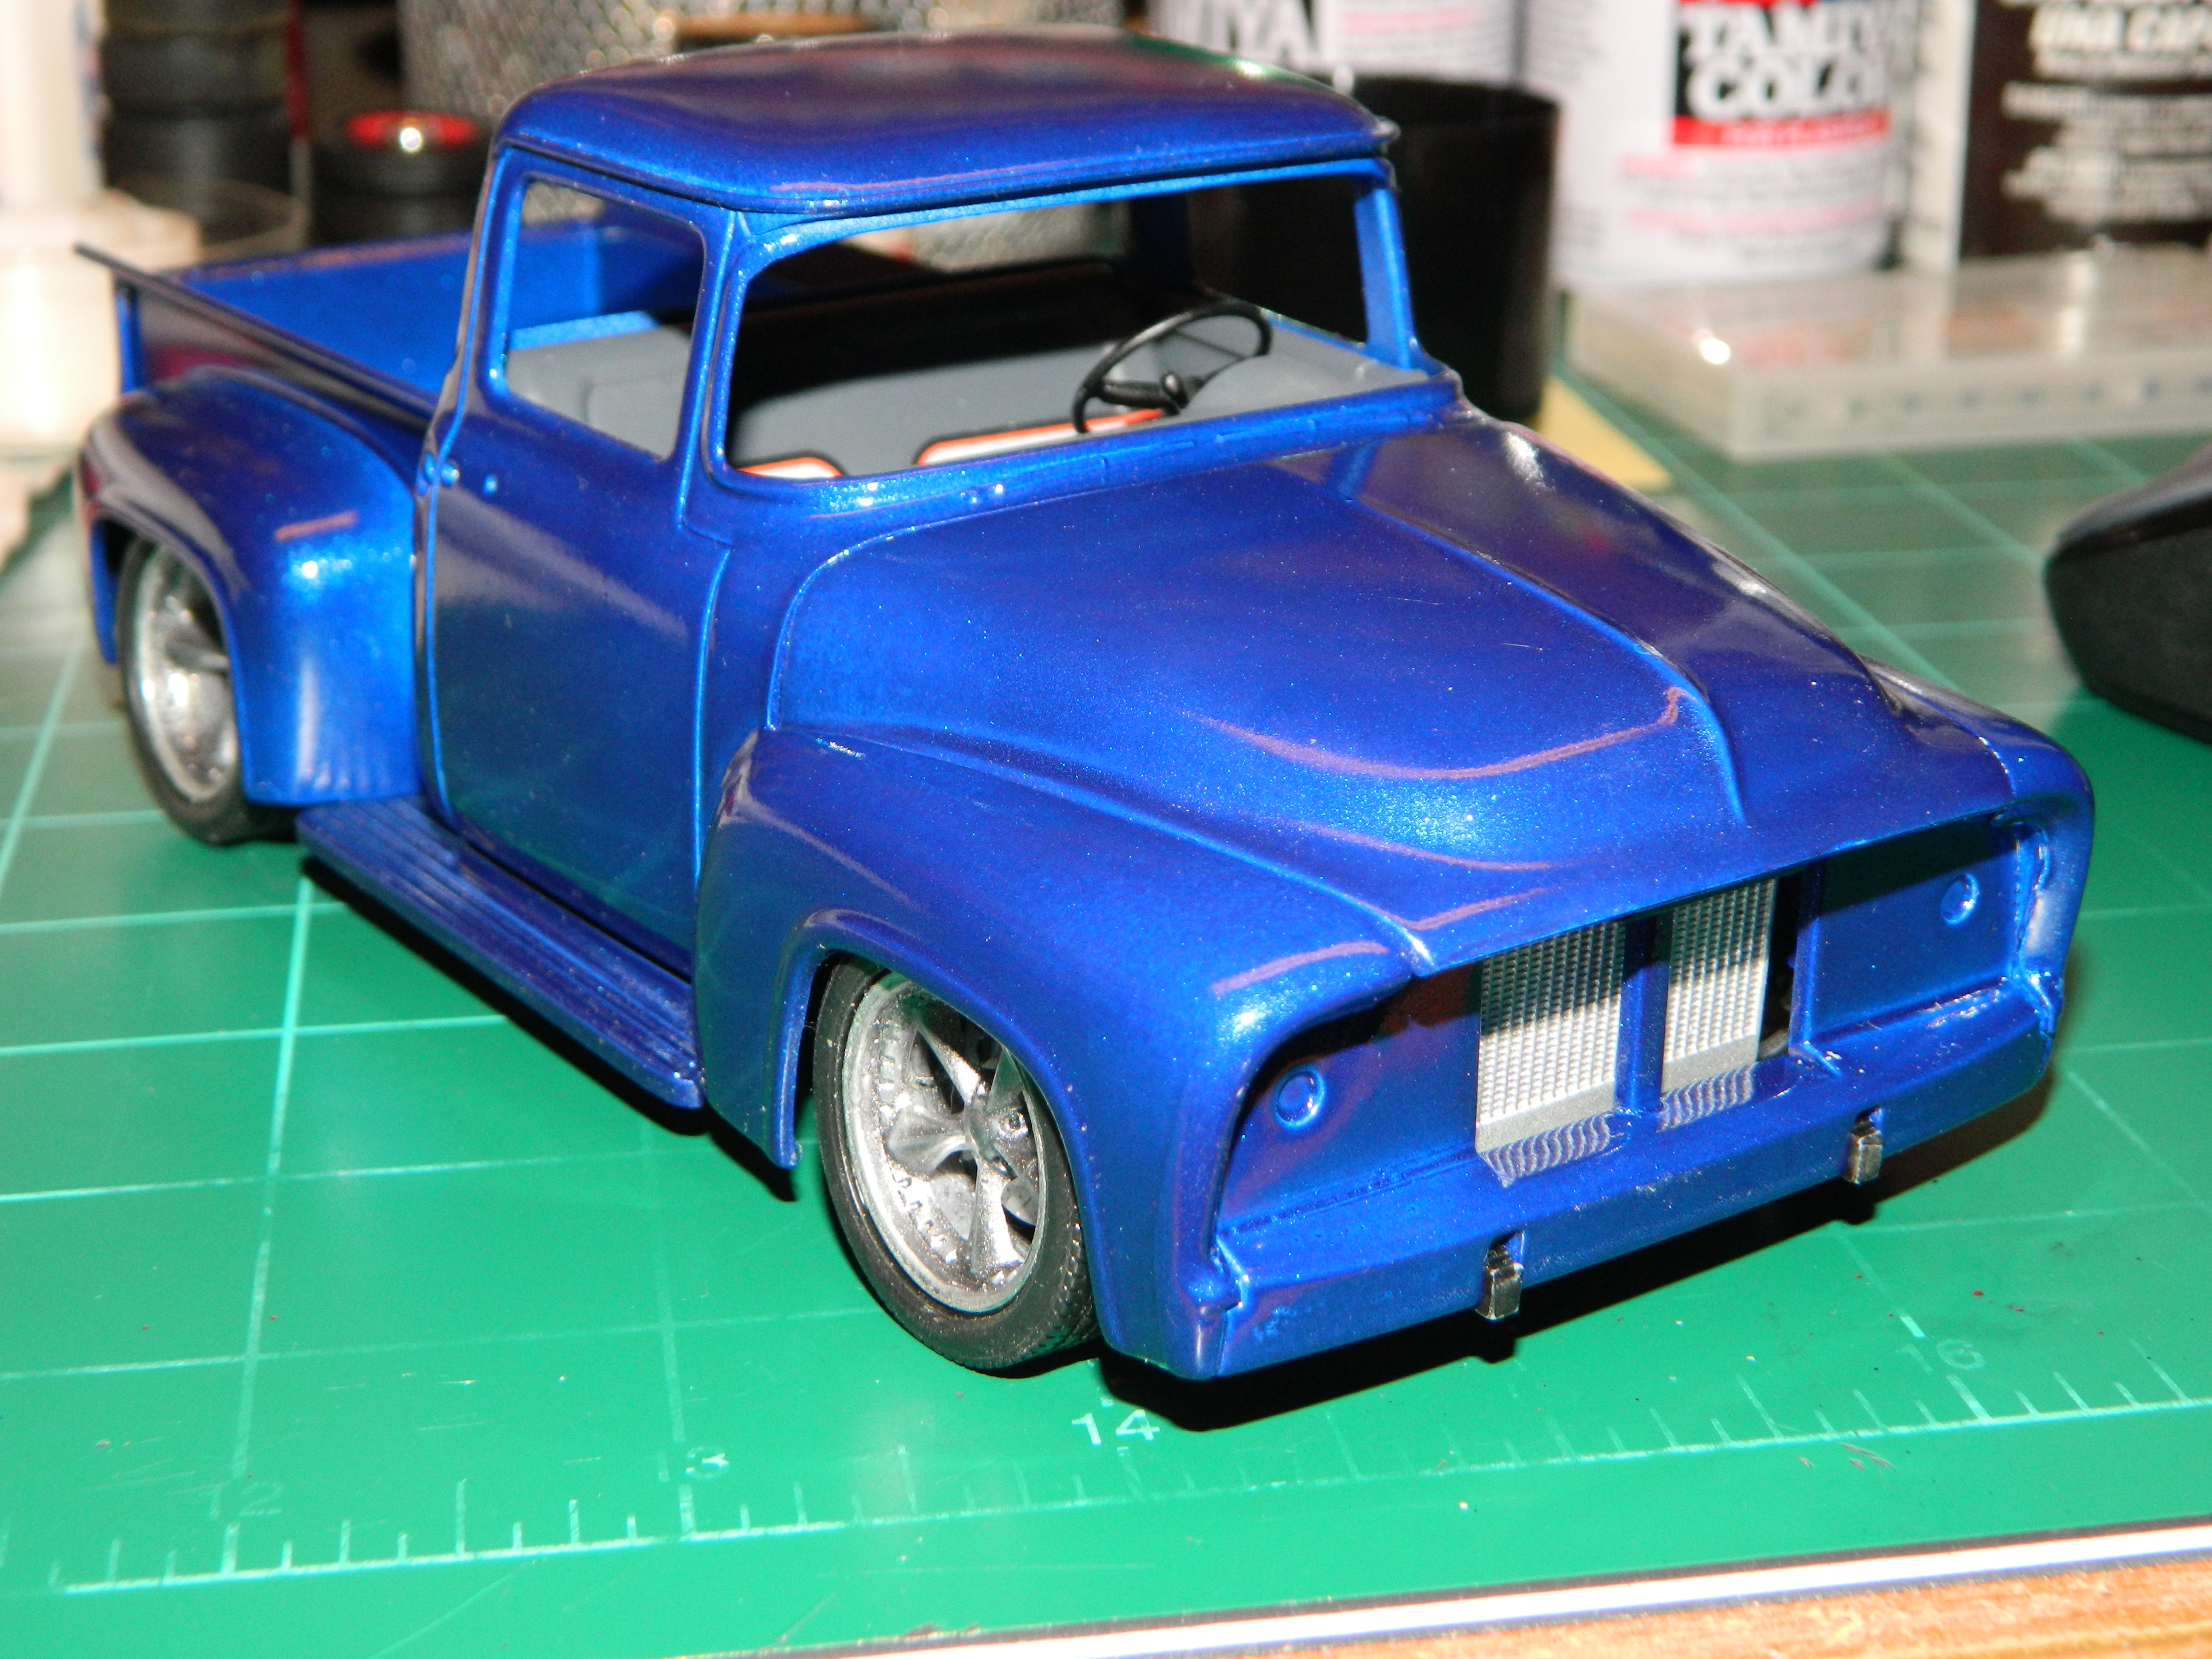
I cleared the FD100 with Testors Wet Look Clear last week and I am truly liking this color! I now need to wet sand the clear and get it really smooth. More to come...
-
Seriously? That's not going to happen, Jeremy! McNally is in his early 40's and Starsky & Hutch are what-OLD!!!
-
Well guys, I do appreciate the suggestions on the wheels, but my mind is made up on the MPC wheels that I had found in my parts box and were displayed in the second picture I had posted in my original posting. To my eye, they have the right amount of offset and shine that I require for this build. They are not perfect nor are they correct, but they are close enough for what I want.
-
So true! TV shows usually have a smaller budget for cars with one or two set aside for "beauty" shots, where the series star would drive from where ever to where ever. One or two cars would be the stunt cars, doing all the hard action work like chase scenes. Movies operate with a much bigger budget and have more set aside for the "hero" cars and the stunt cars. Usually the stunt cars would be set up for any particular stunt with roll cages and specific suspension setups and other various components. This is where the bulk of the vehicle budget would go-the stunt cars. The wheels I found have been around for some time now. Having spent many, many years on a MPC Trans Am Firebird. That model is now in many pieces and the wheels and the tires I had for them were sitting in my parts box. I think those wheels will work well with the Striped Tomato. I am certain that this model will look great when I am done with it!
-
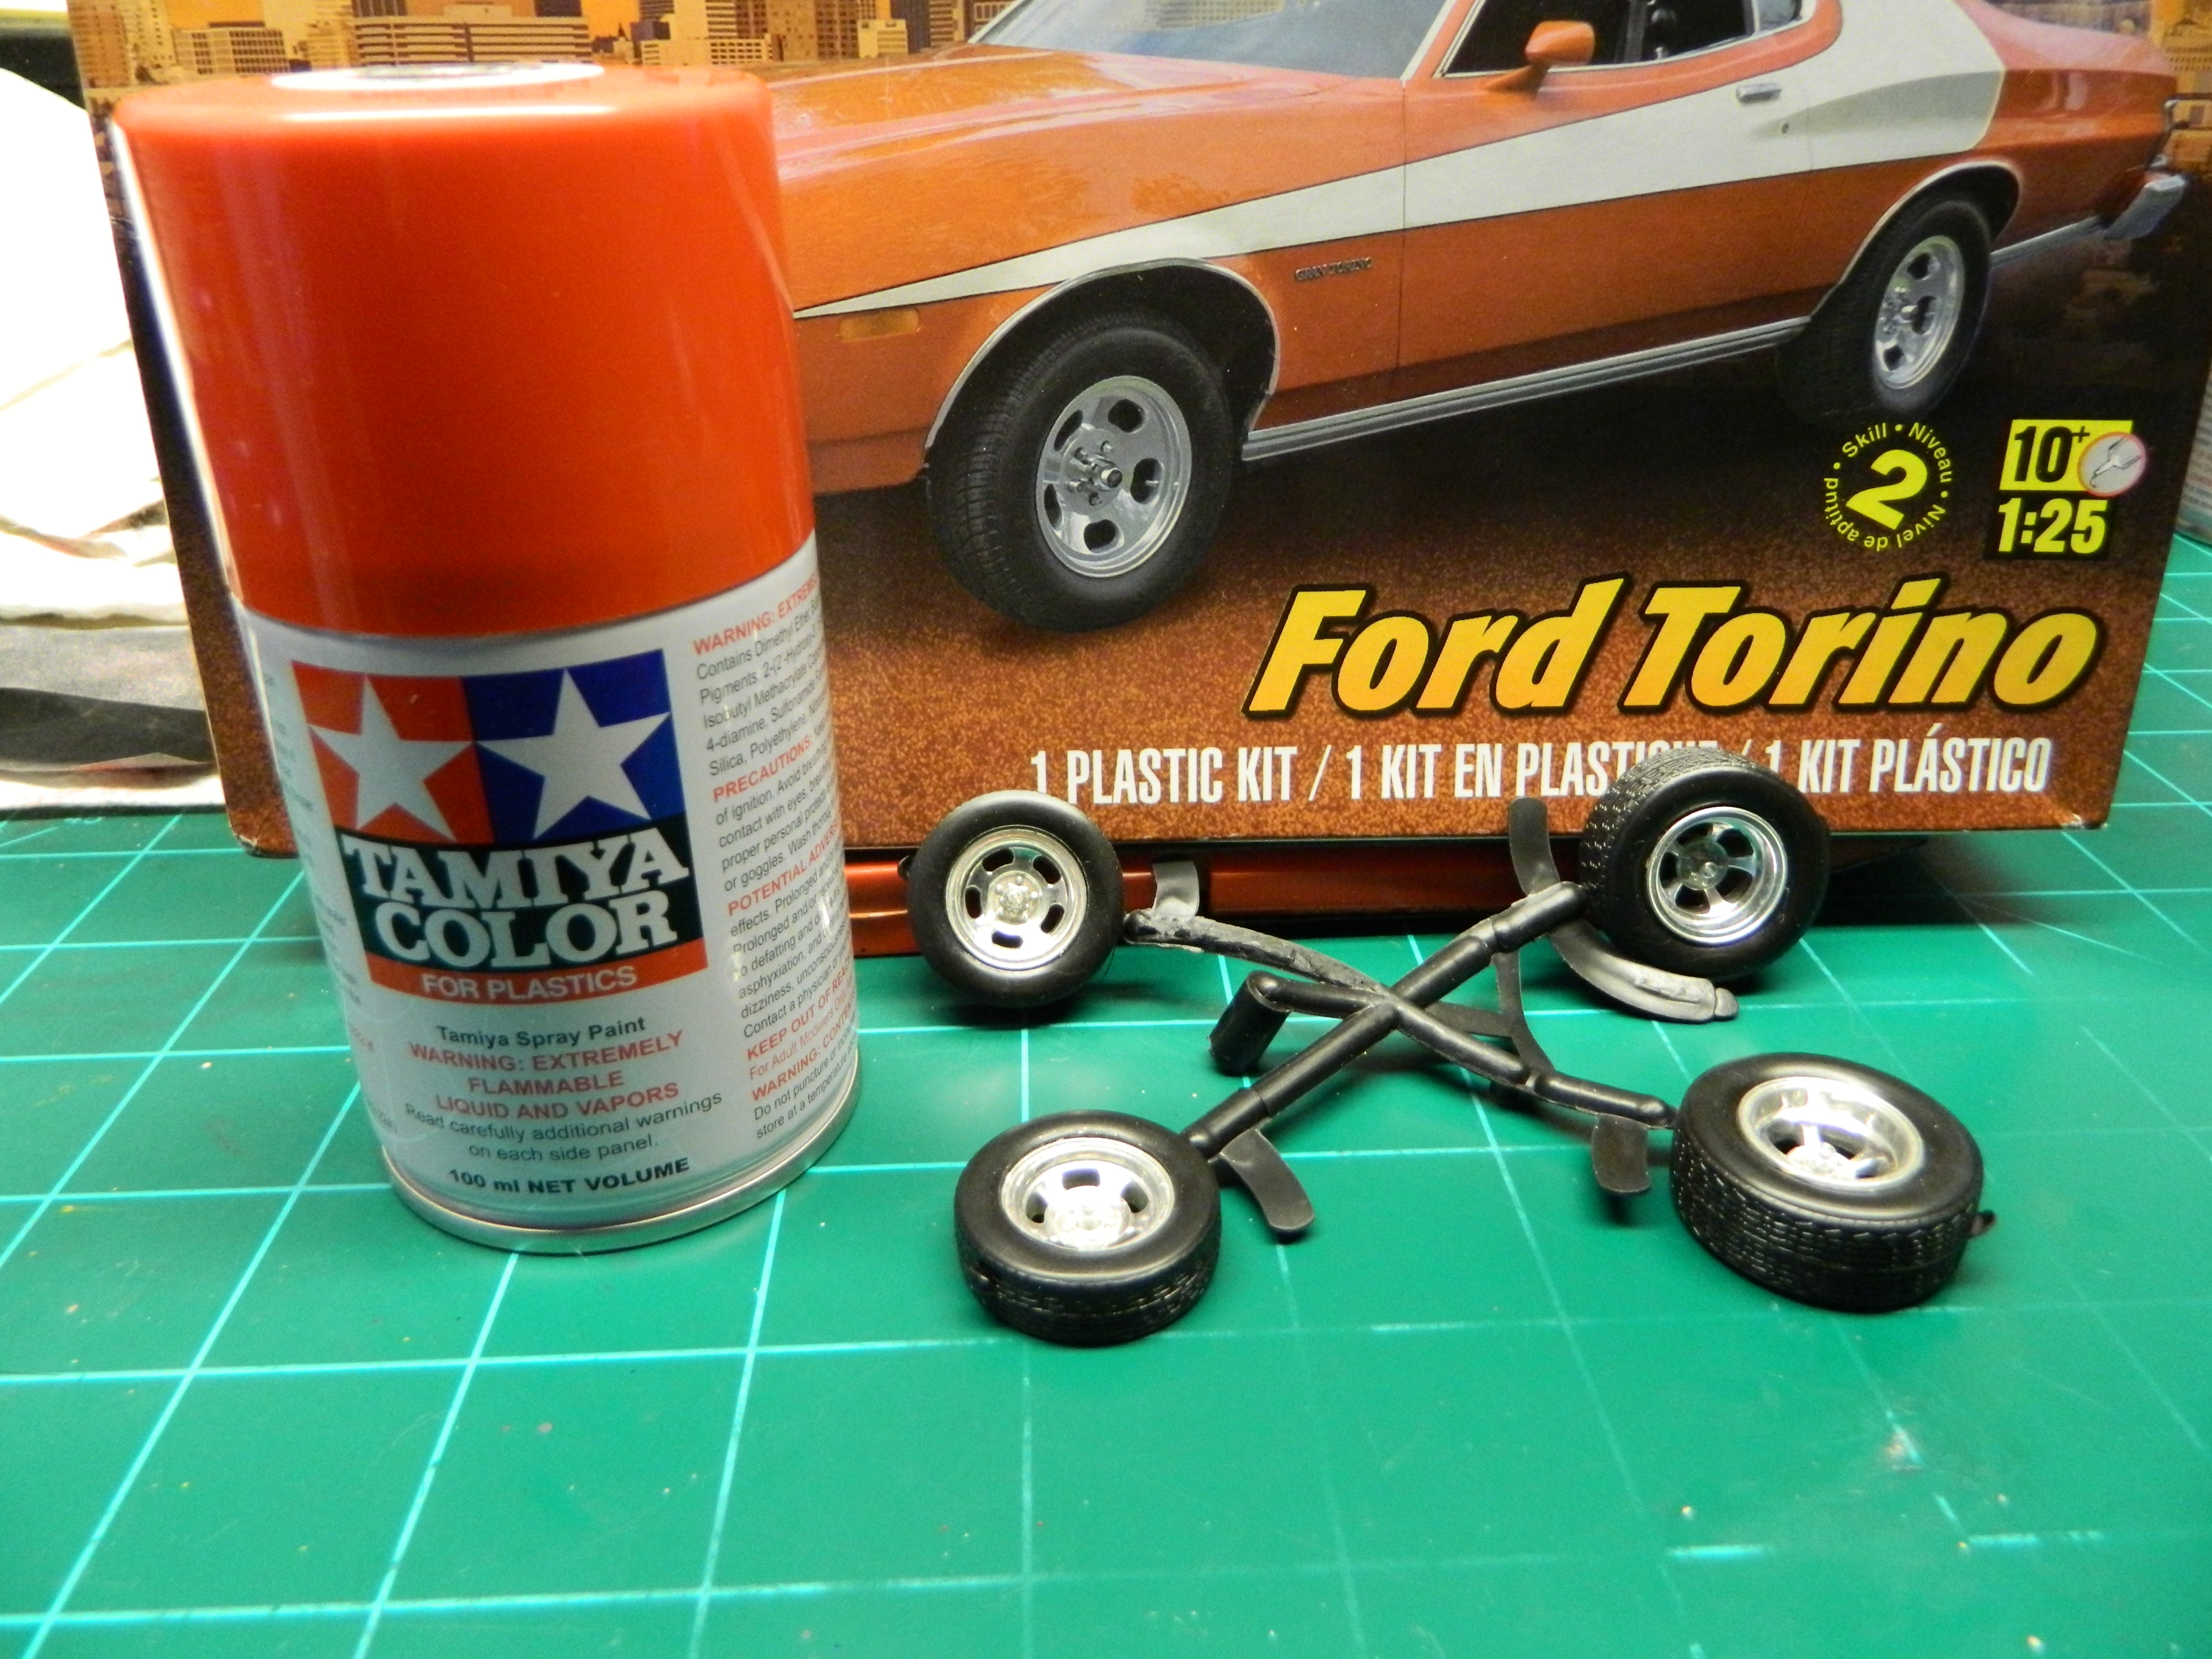
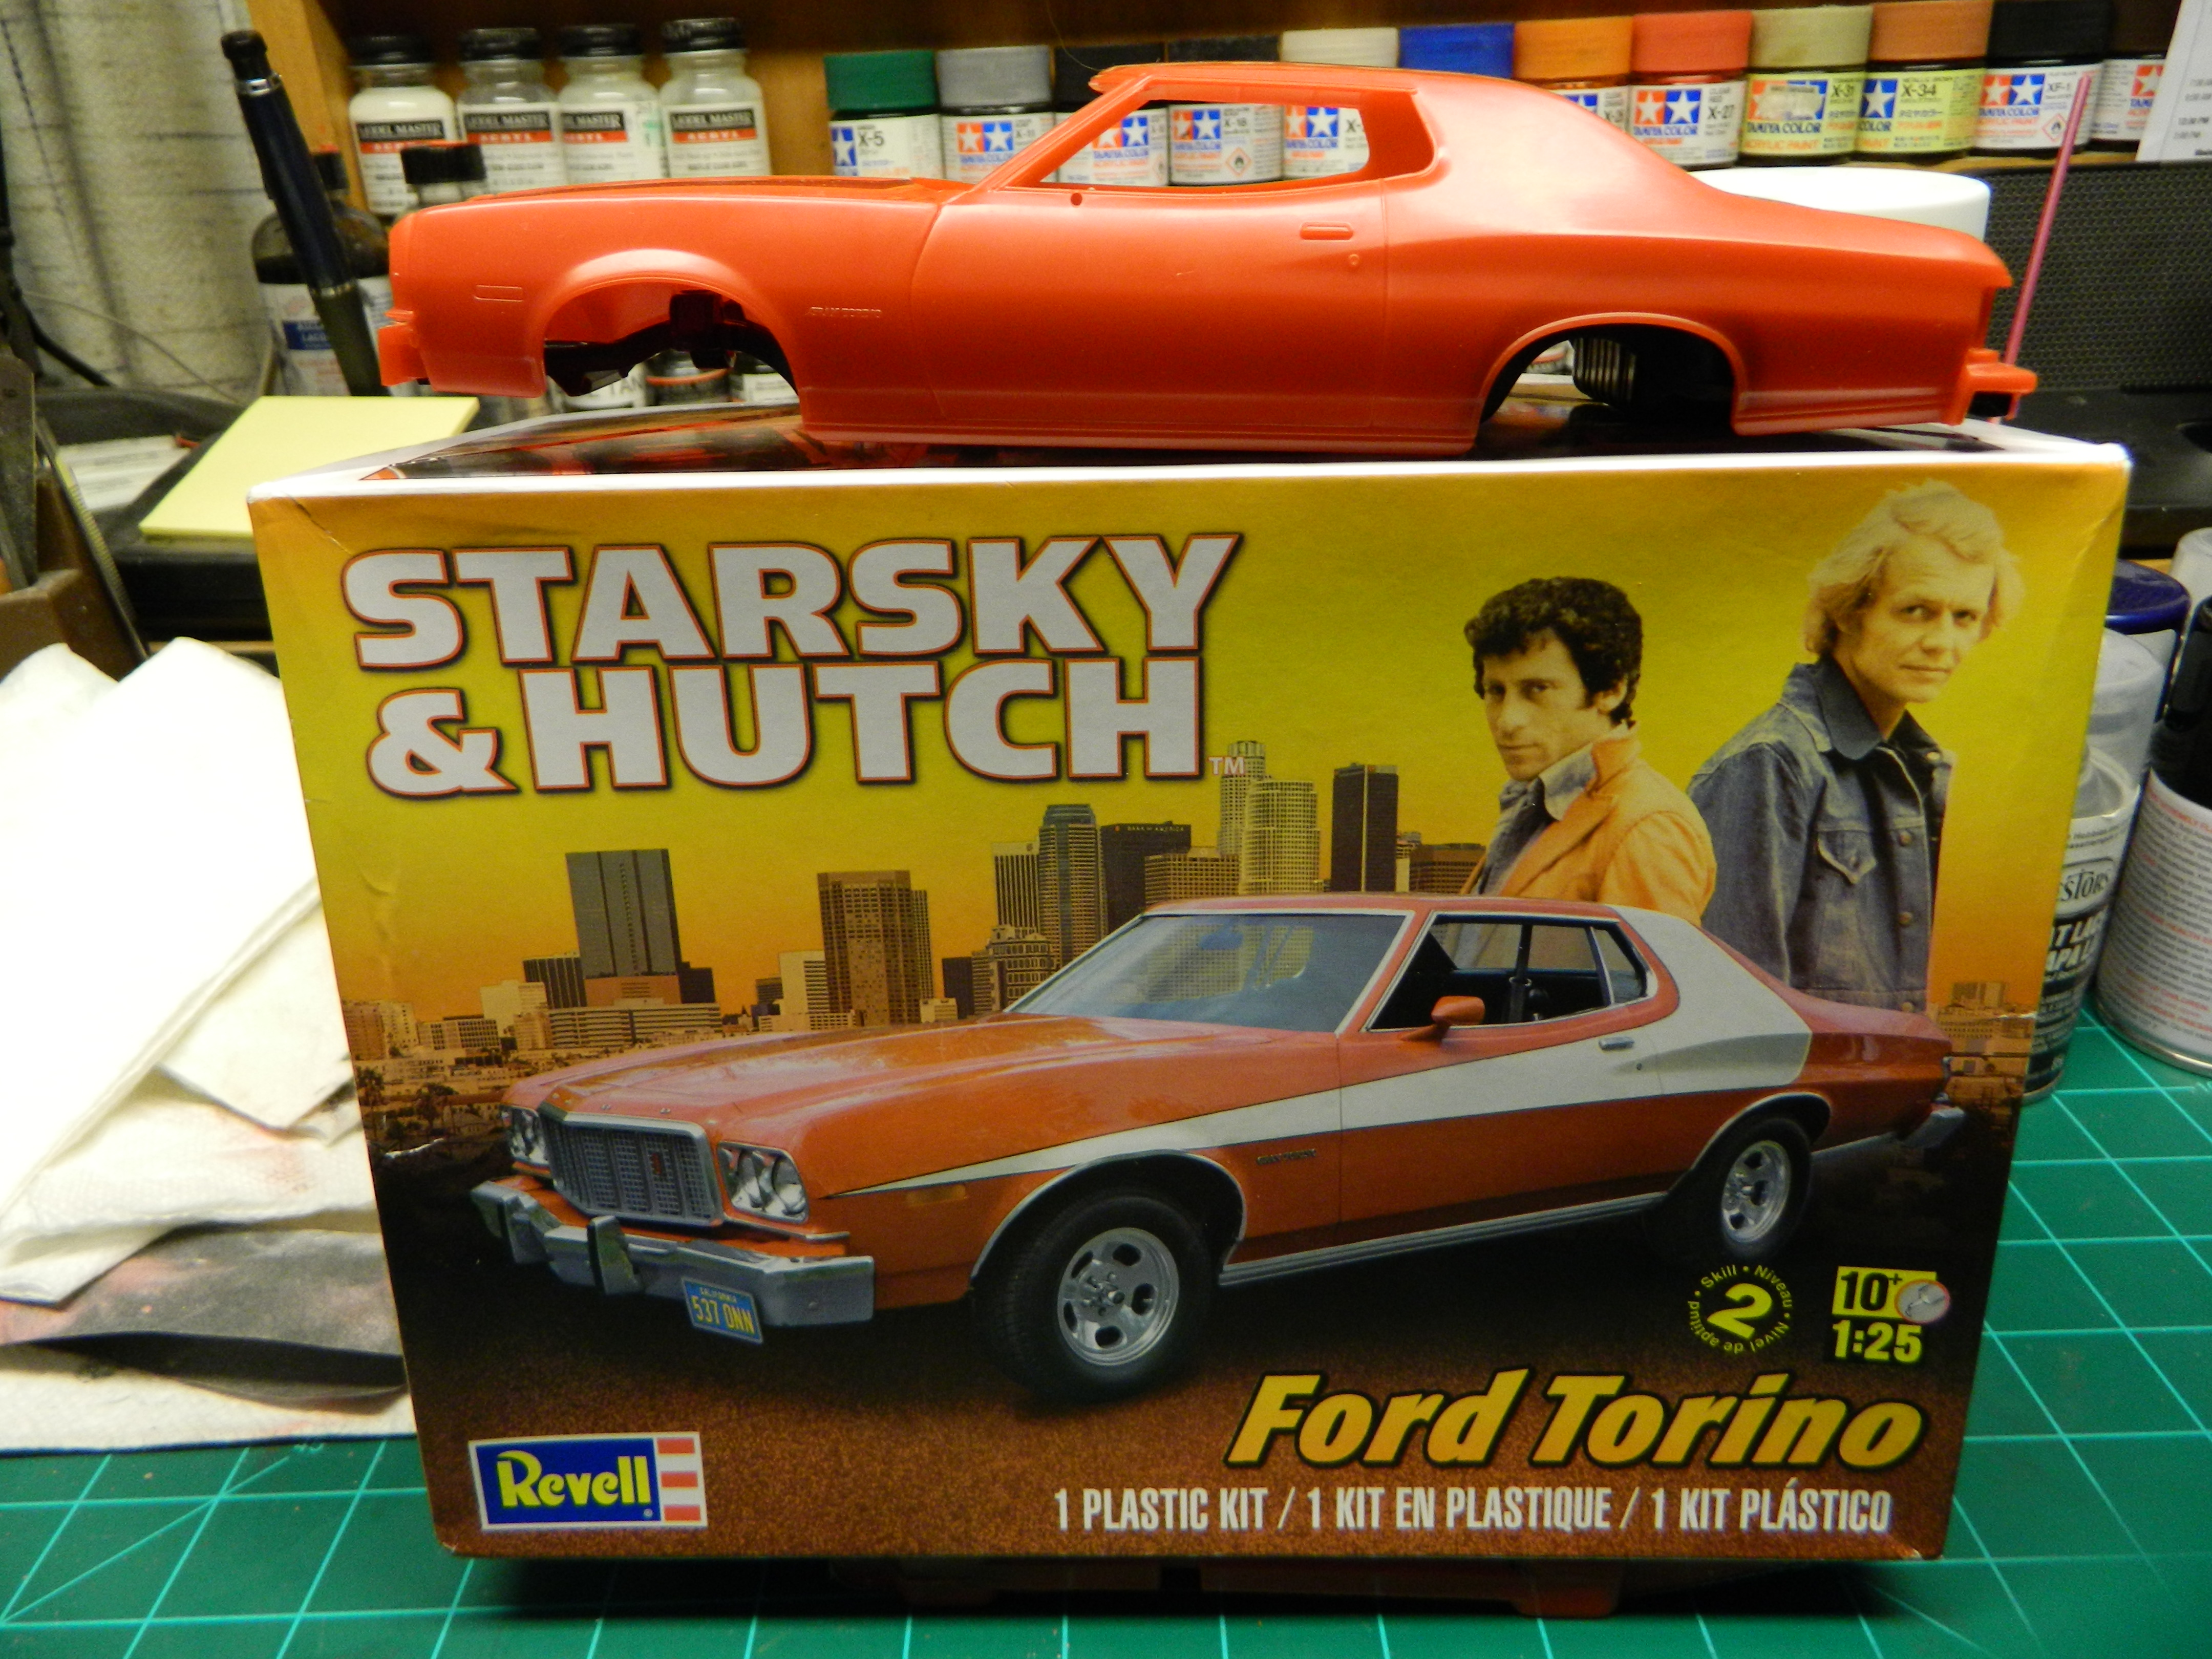
This kit has been in my stash for a couple of years now and I think its time to build it! The kit is Revell's Starsky & Hutch Ford Torino, kit #85-4023. Click the link for the video theme song. https://www.youtube.com/watch?v=gsJ4pALlbEMThis As I unbox this kit and prep it for primer and paint, I am kind of curious about the car and the kit. I wonder if this is the TV car or the Movie car? A dual quad 351 CI Windsor with dual exhaust seems to be closer to what Movie car was, but some of the information I have come across points in both directions. I don't really know if this is the TV or the Movie car Torino and I vaguely recall watching a special on TV about the Starsky & Hutch Movie Cars and the subtle differences made. I seem to recall something about the stripe. Was it longer or shaped differently? Arrgh, I can't remember! Unless I can find something specific about about the S&H Ford Torino TV car, I am going to err on the Movie Car side for now. The body will be painted with Tamiya TS-49 Bright Red with a Tamiya Semi Gloss Black interior. The wheels have been in my parts box for some time now and they bare a resemblance to the wheels in the kit, but these have more offset to them, the holes have a slightly different shape, and the chrome has a more faded look now that mimics an aluminium wheel. More to come...
-
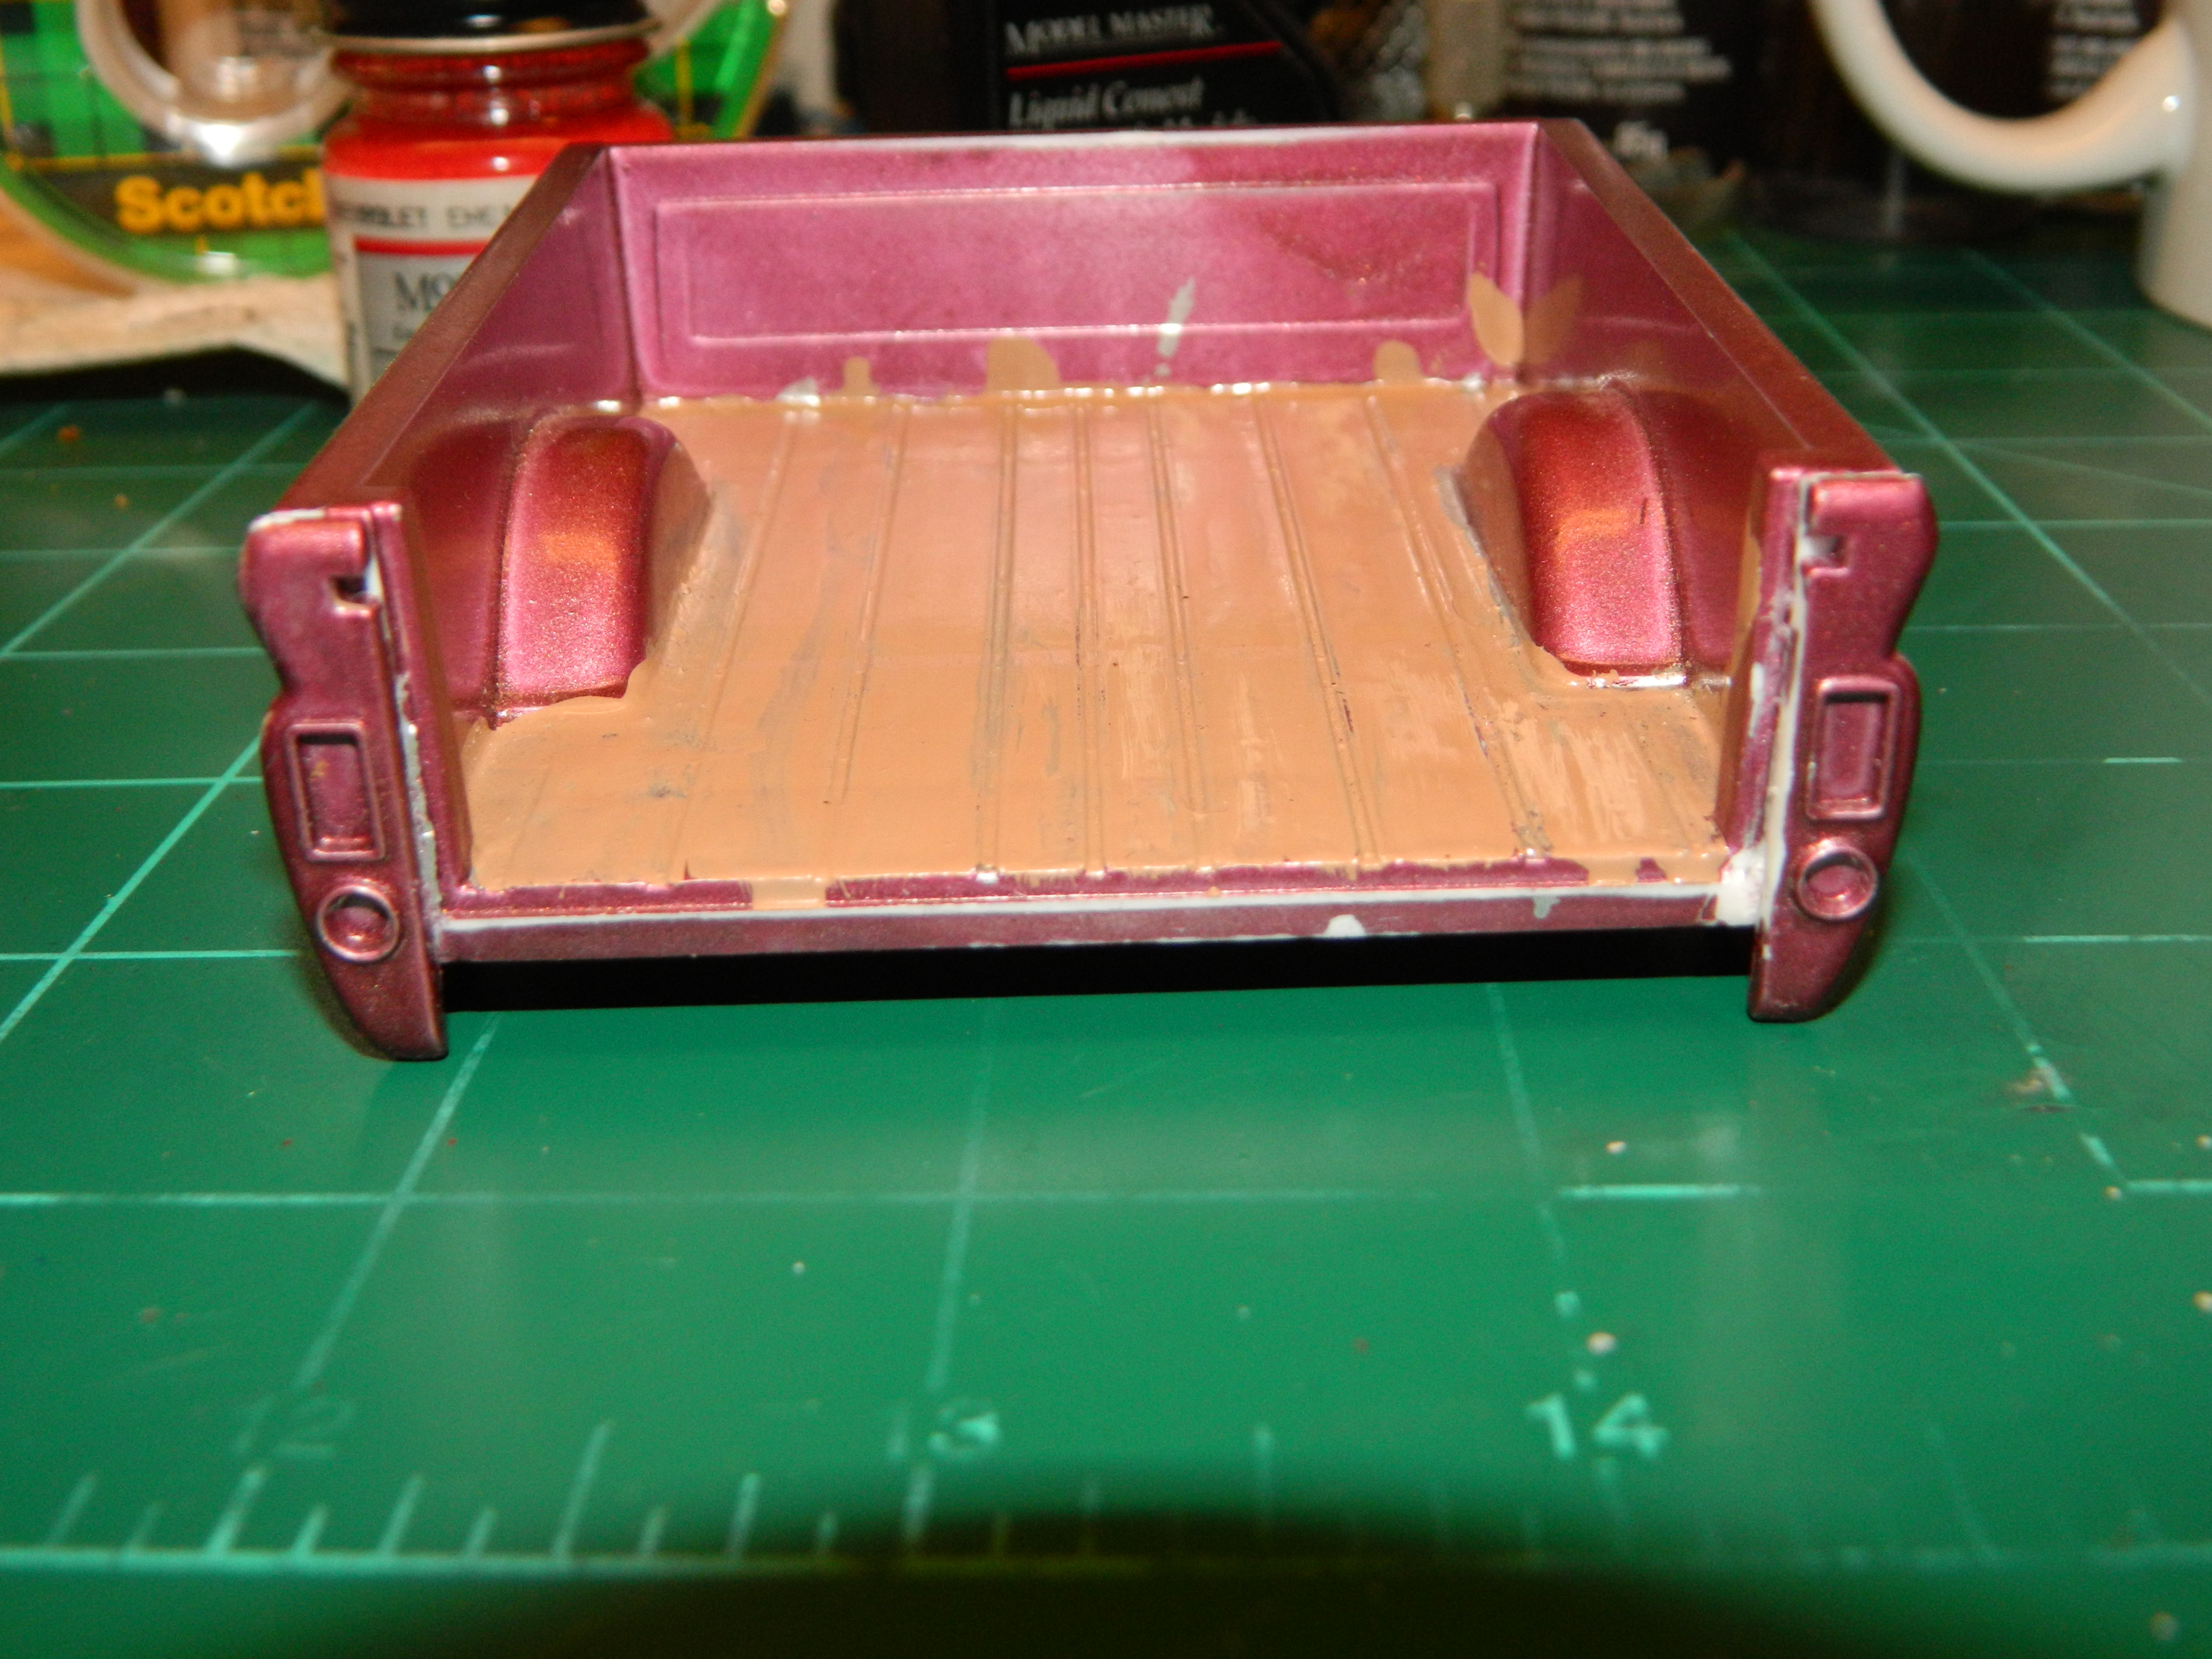
Thanks Jeremy! I like it when things just fall into place. I was visiting a friend who is a fellow model builder and CPMC member and he had come across a lot of used, partial and parts kits. I saw the box for a Revell '64 Chevy Fleetside sitting on the shelf and asked about it. He gives me the box and says to take what I need from the used kit. I got the bed, tailgate, lights, and rear bumper. I also got a new tailgate later when I had forgotten about the tailgate latches. I had finished the story about the same time, even though I continue to pick at it by making small corrections.
-
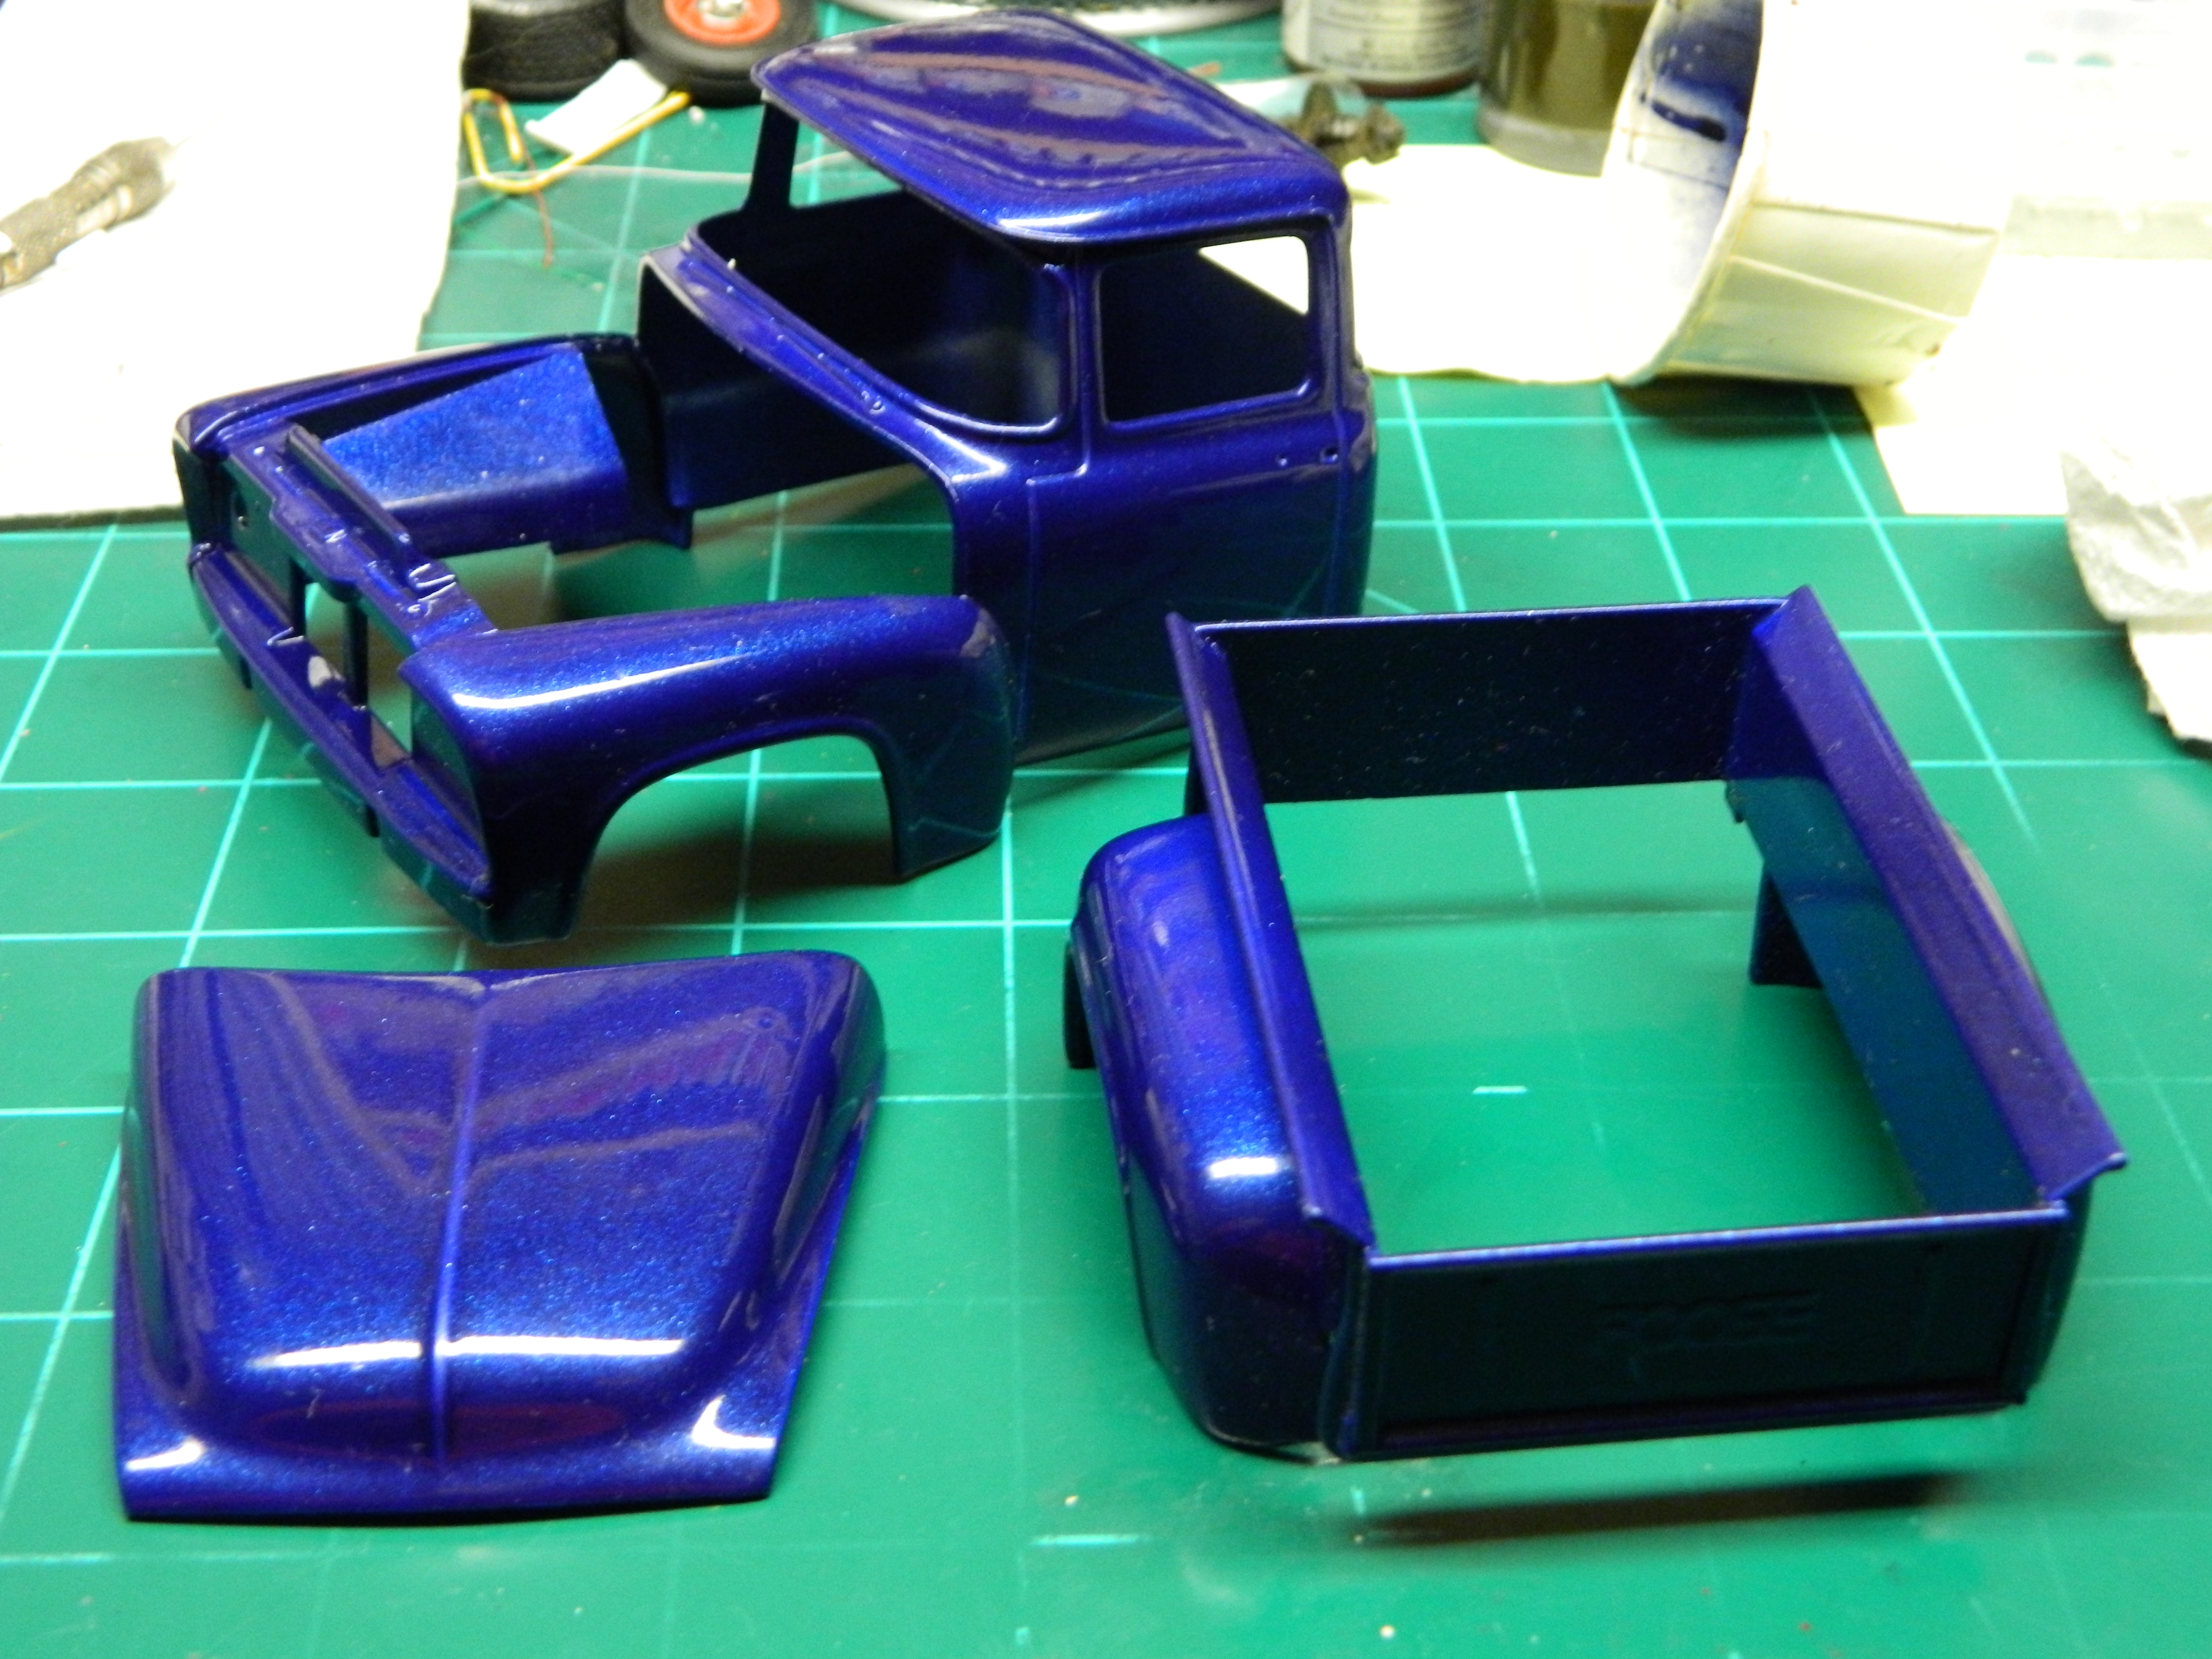
The Story McNally will start at David Matheus' house on Estes Street in Brighton. He parks at the curb and gets out of his Dodge Challenger SRT8 and walks up the sidewalk to the front door. He knocks on the front door after ringing the doorbell and waits. No one opens the door and it appears that no one is at home. He looks in the living room windows and sees no one, just a homemade TV stand with a stereo and gaming console, an American flag tacked up on the wall and flanked with posters of a bikini clad girls. He looks in the back door and sees a short hallway to the kitchen. In the back yard is a single car garage and McNally opens the unlocked garage door and he looks around. Some old funiture, Christmas ornaments, boxes filled with junk, yard tools, and an old lawn mower. He'll come back later when David is home and talk to him. The Build I re-installed the bed caps so that they are now straight using the tailgate. When I sanded the bed end, I chipped the end with my sanding stick. I'll fill this with some Bondo and then sand it down. McNally will return...
-
67 Fairlane hood query for the Ford guys
mrmike replied to br67's topic in General Automotive Talk (Trucks and Cars)
This is the hood and scoop for a 427 Ford Fairlane. There was a kit of this particular car from AMT and you might be able to find one on eBay, but it could be pricey.
-
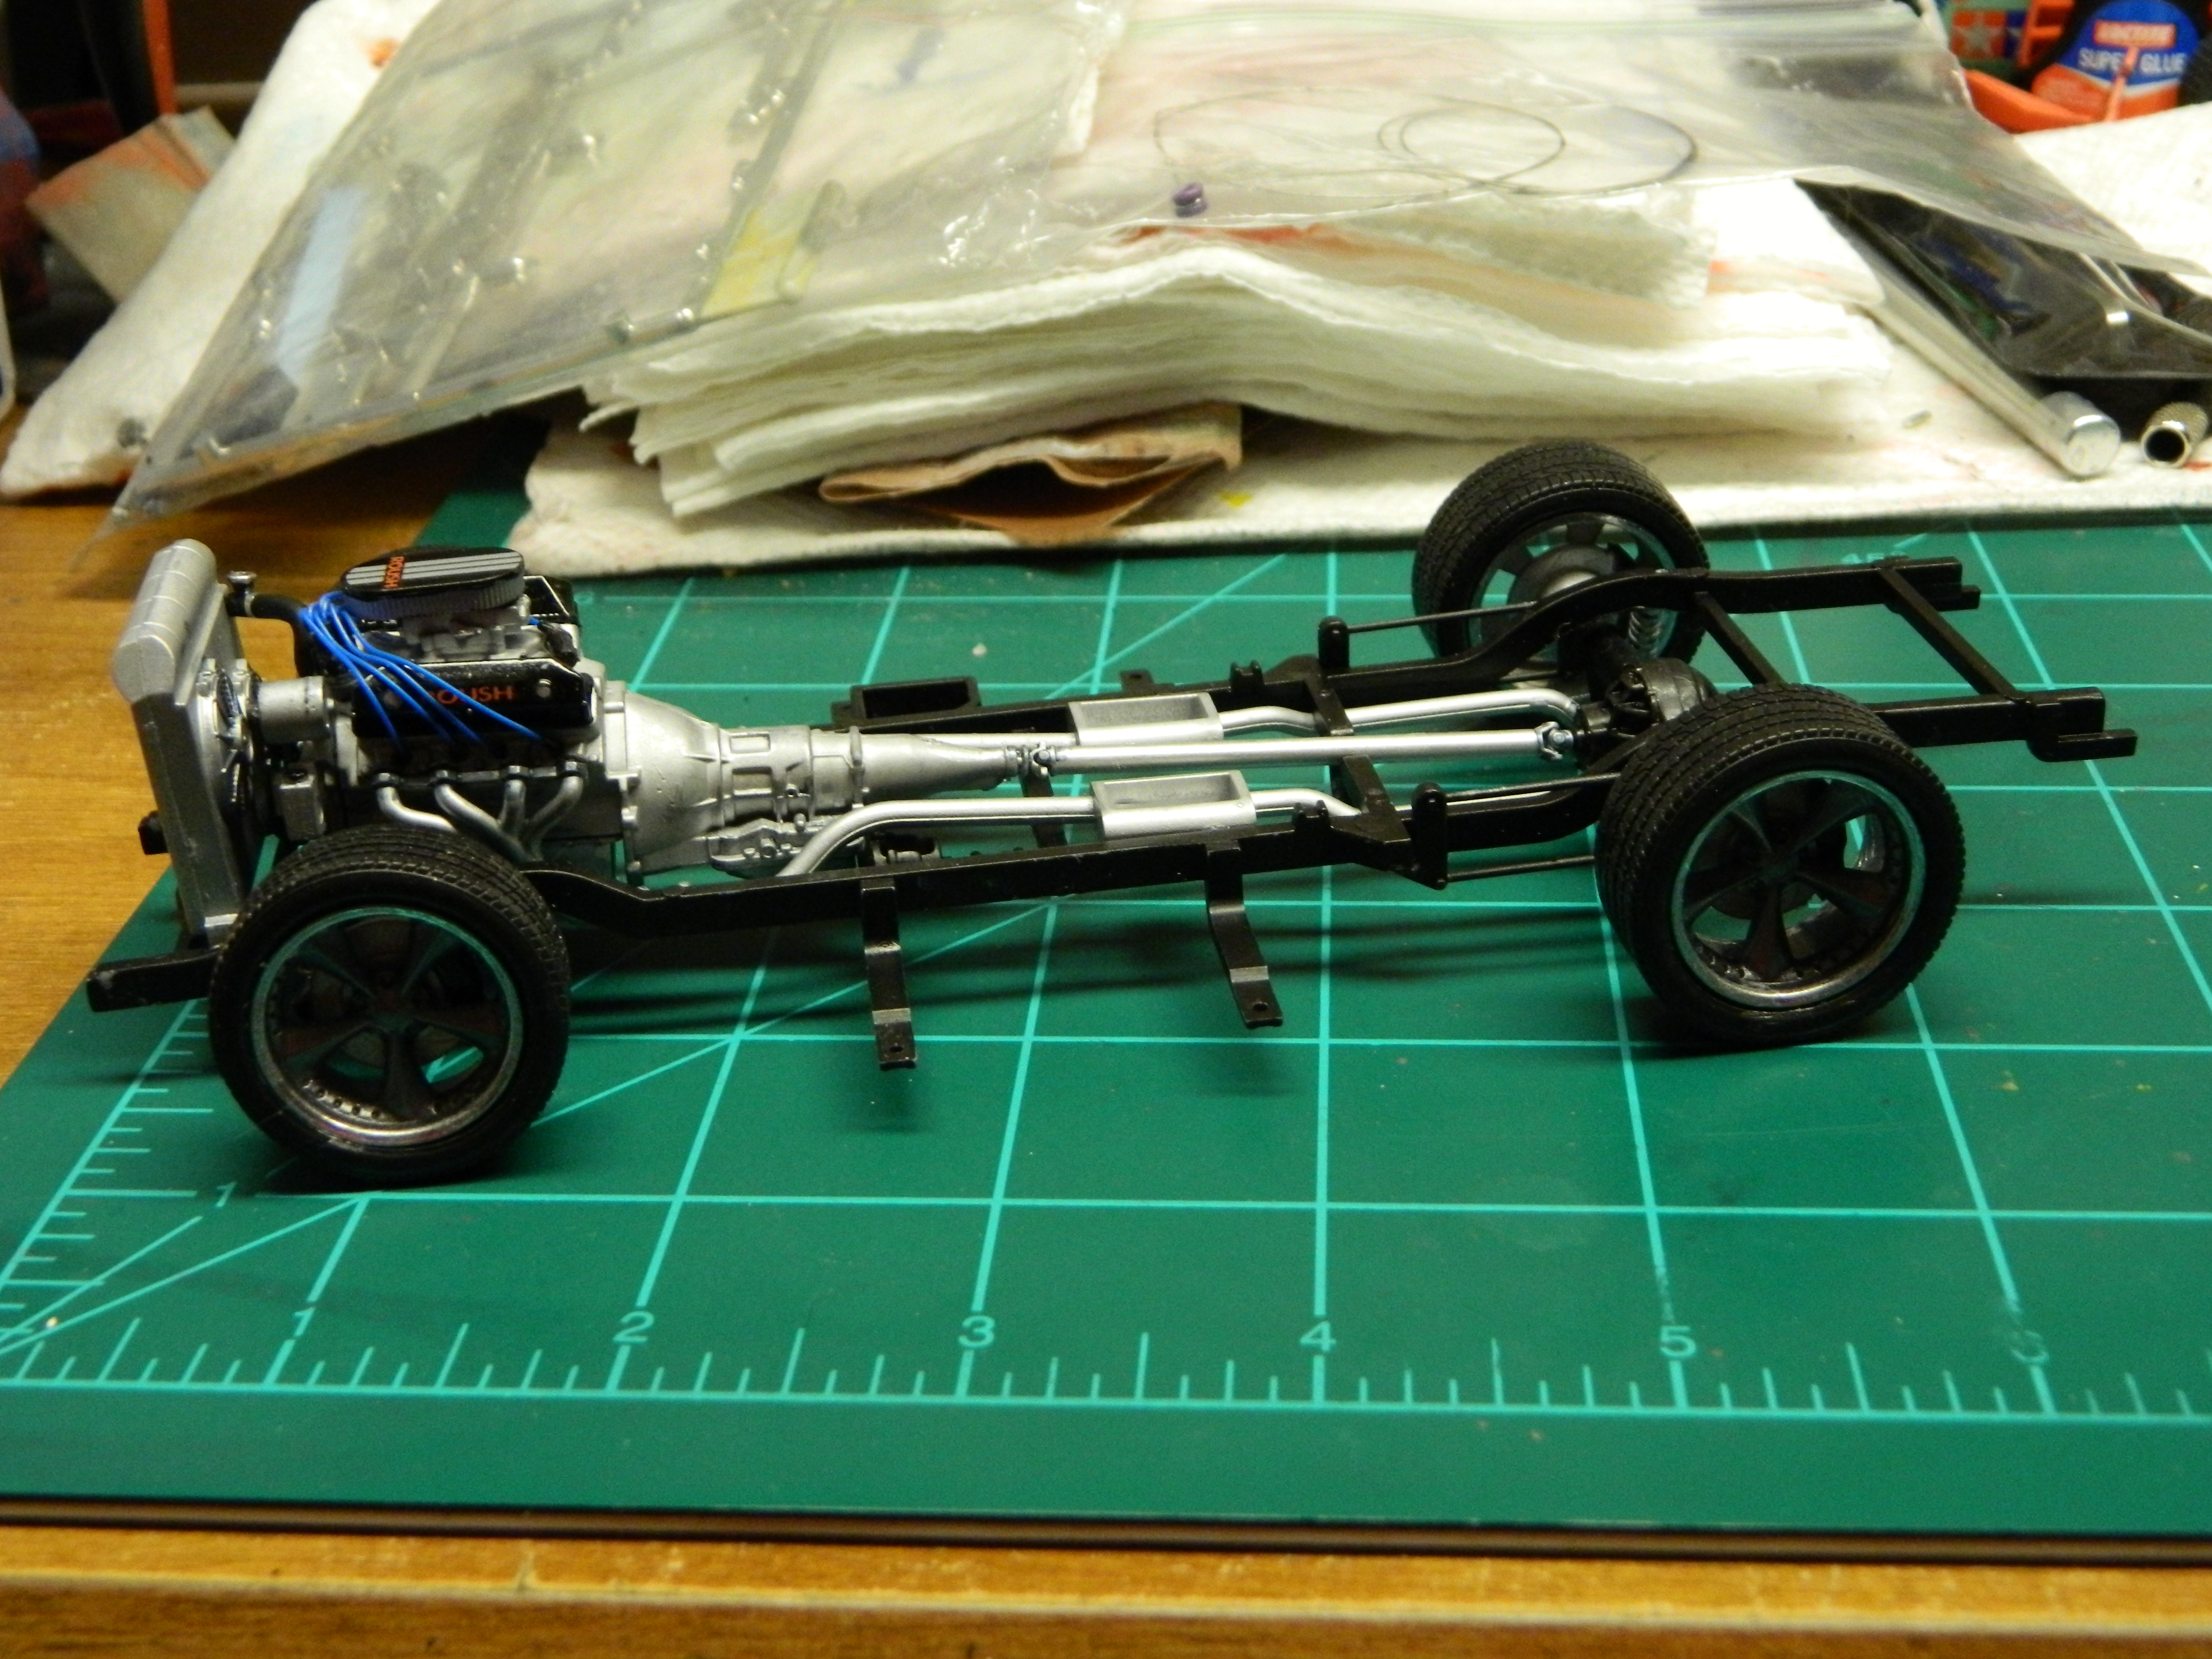
The Story McNally stops at BPD Homicide and parks his car in the spot marked "For Detectives' Cars Only" and goes inside and talks to his friend, Lt. Det. Adam Troy. Adam has very little to go on-no witnesses, no video surveillance, no murder weapon. McNally decides to run upstairs to Auto Theft and talk to Lt. Det. Macklin. Lt. Macklin calls McNally a "Breath of fresh air" as other PIs want Auto Theft to find their missing vehicles for them. McNally is looking for a place to start asking questions and says that he is not like other PIs. "I guess you are not," says Lt. Macklin. Lt. Macklin tells McNally about an active car theft gang in Southie, but they only steal high-end autos like Mercedes, Caddys, and Audis. He has a chop shop under surveillance in Brighton with a U/C cop inside. McNally thanks Lt. Macklin for the advice and he leaves Auto Theft to start searching for Peter's missing truck. The Build I've been picking away at this truck. I drilled holes in the cylinder heads for plug wires. I've been filling in the gaps in the front of the grille and the edges of the hood. I wanted to clean up the used bed so I removed the taillight panels since they were installed crooked. McNally will return...
-
Jim, believe it or not, but those are the kit decals! I took my time with them and they can out pretty good!
-
My second attempt at painting the Foose Ford resulted in a much better paint job, Carl. I just need to clear the paint and finish the build.


(1).jpg.daec45988152c6e519857984f6ff83b0.jpg)