mrmike
-
Posts
5,324 -
Joined
-
Last visited
Content Type
Profiles
Forums
Events
Gallery
Everything posted by mrmike
-
Dave, I have decided to let the valve covers stay where they are. I can't bring myself to try and remove them cause I'll destroy the engine. I'm not mad, but it erks me that i wasn't more careful. I have now seen pictures of a '69 383 (440) with the valve covers on either side, so I guess I'm safe in that regard. I just need to get moving and git-r-dun!
-
Well, at this point I think I'll just leave it alone. I can't justify stripping the engine and attempting to take it apart, because I'll end up destroying the engine.
-
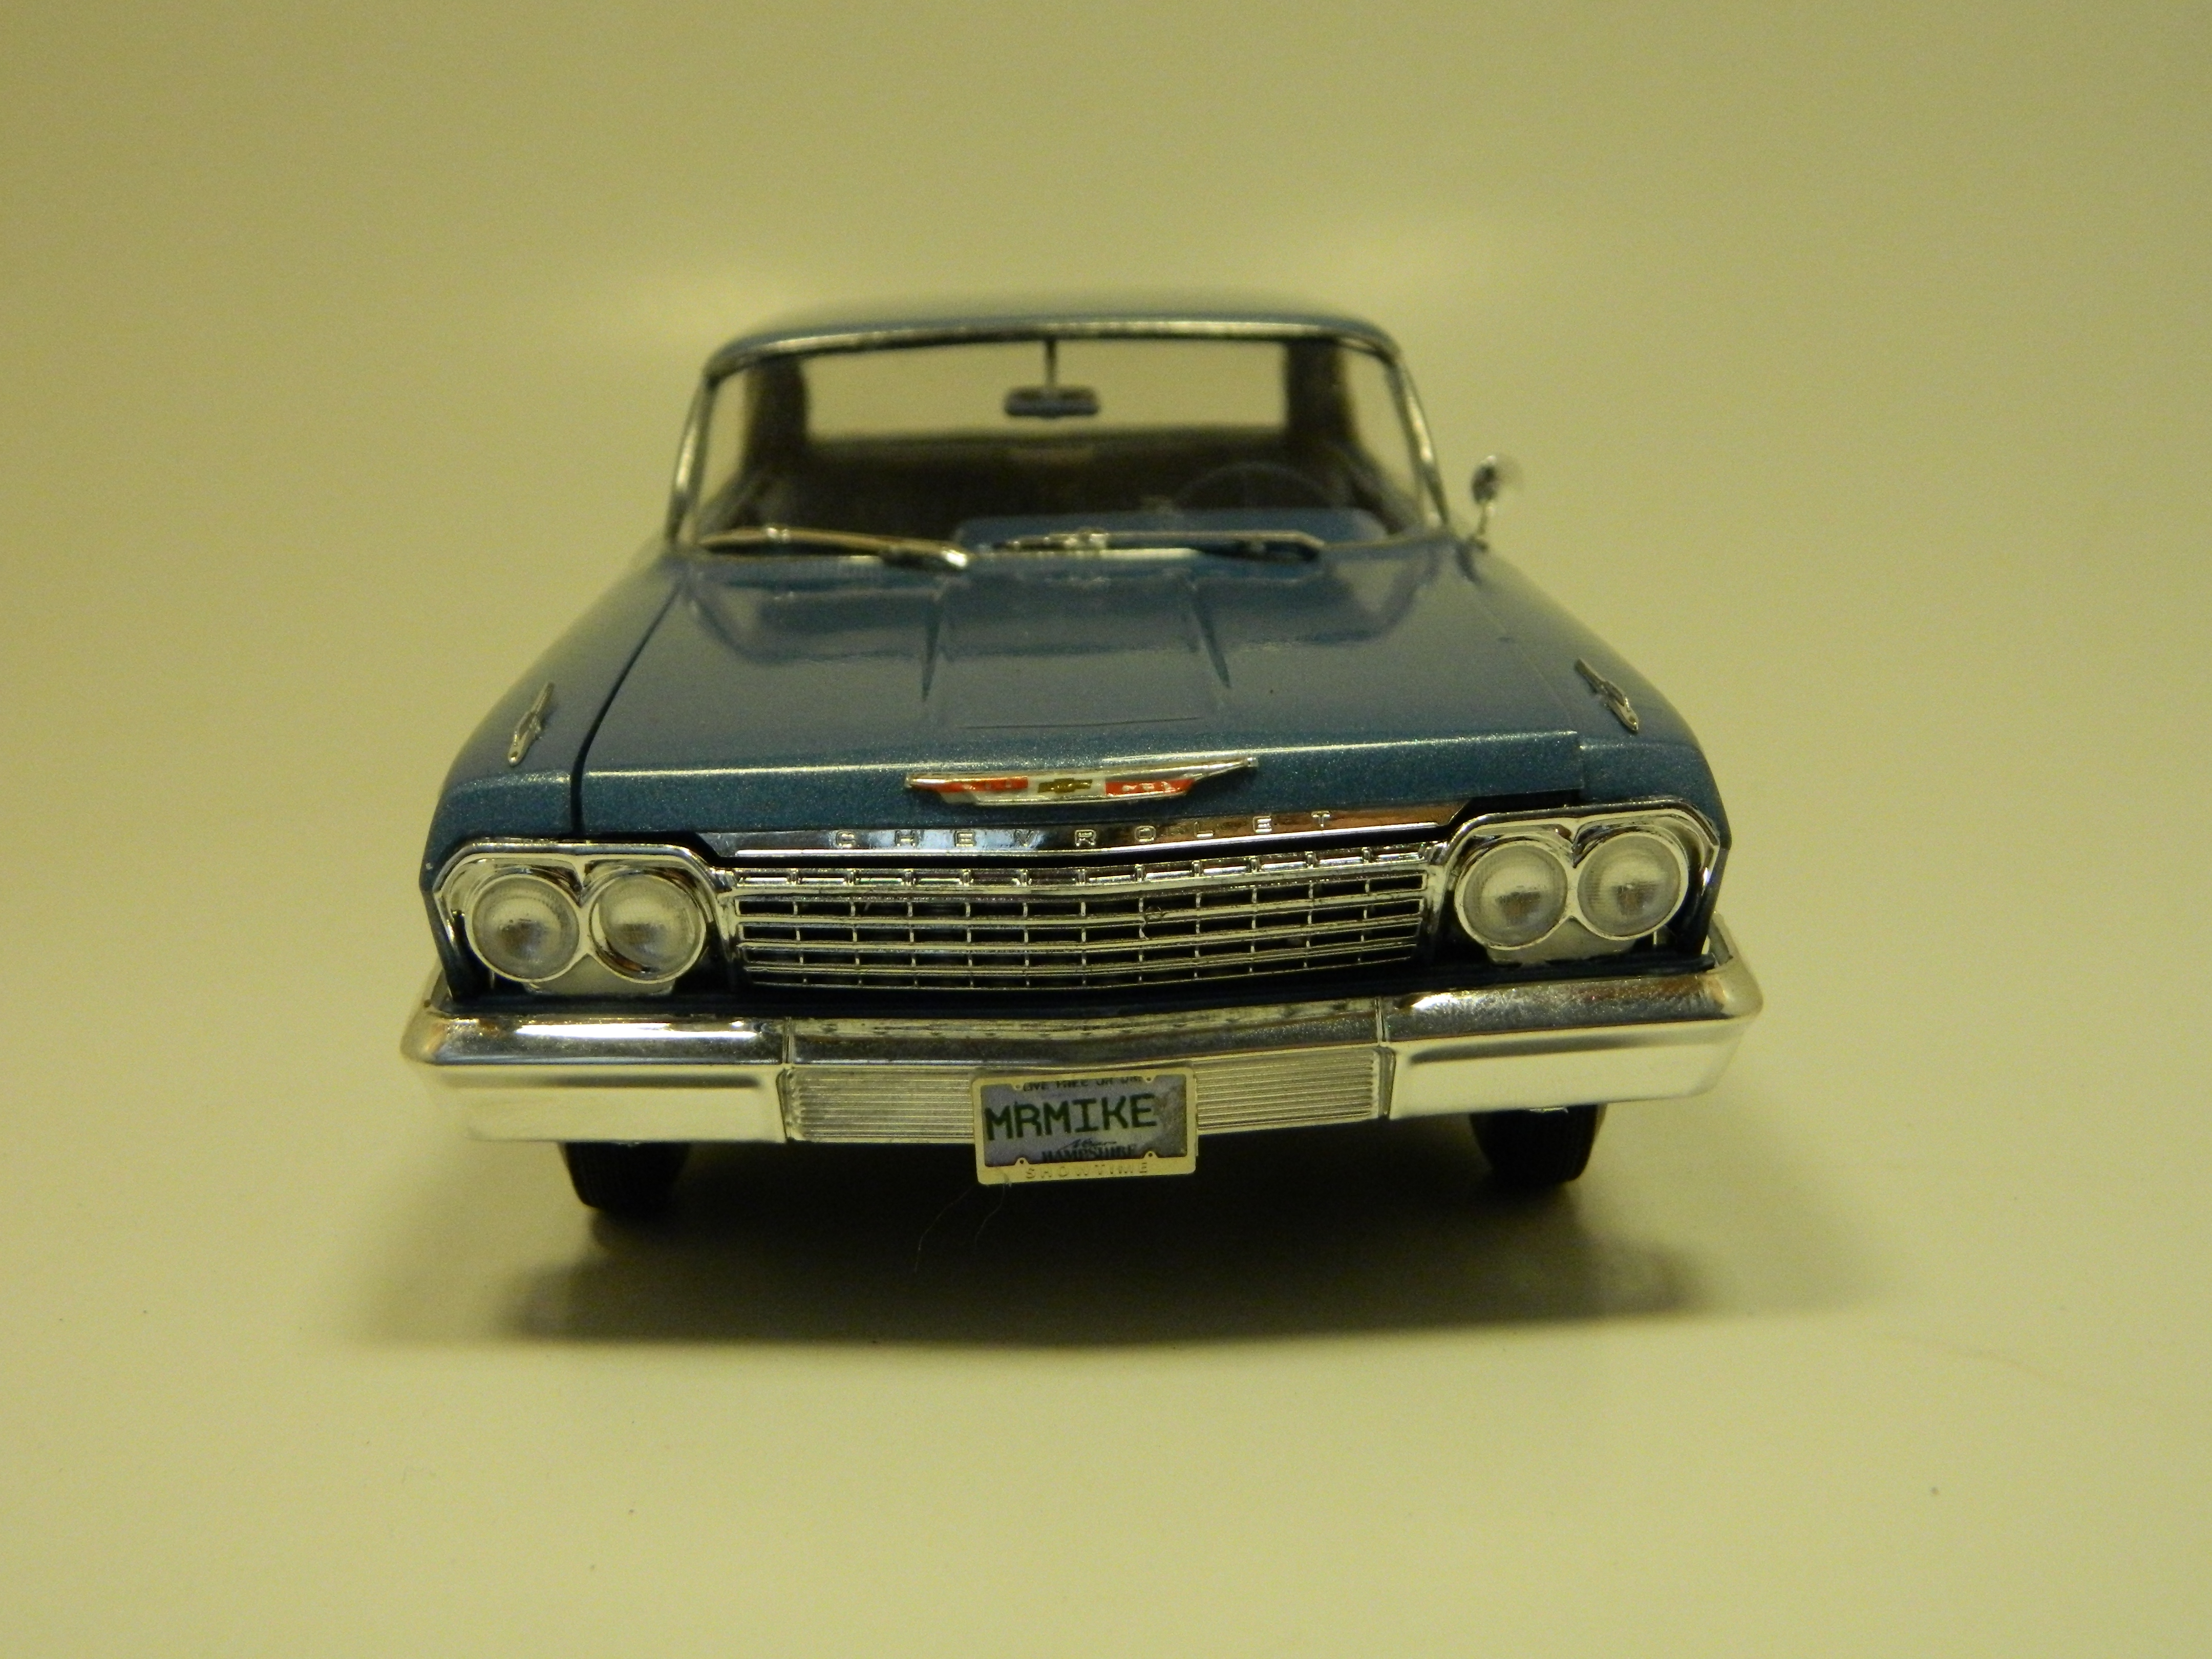
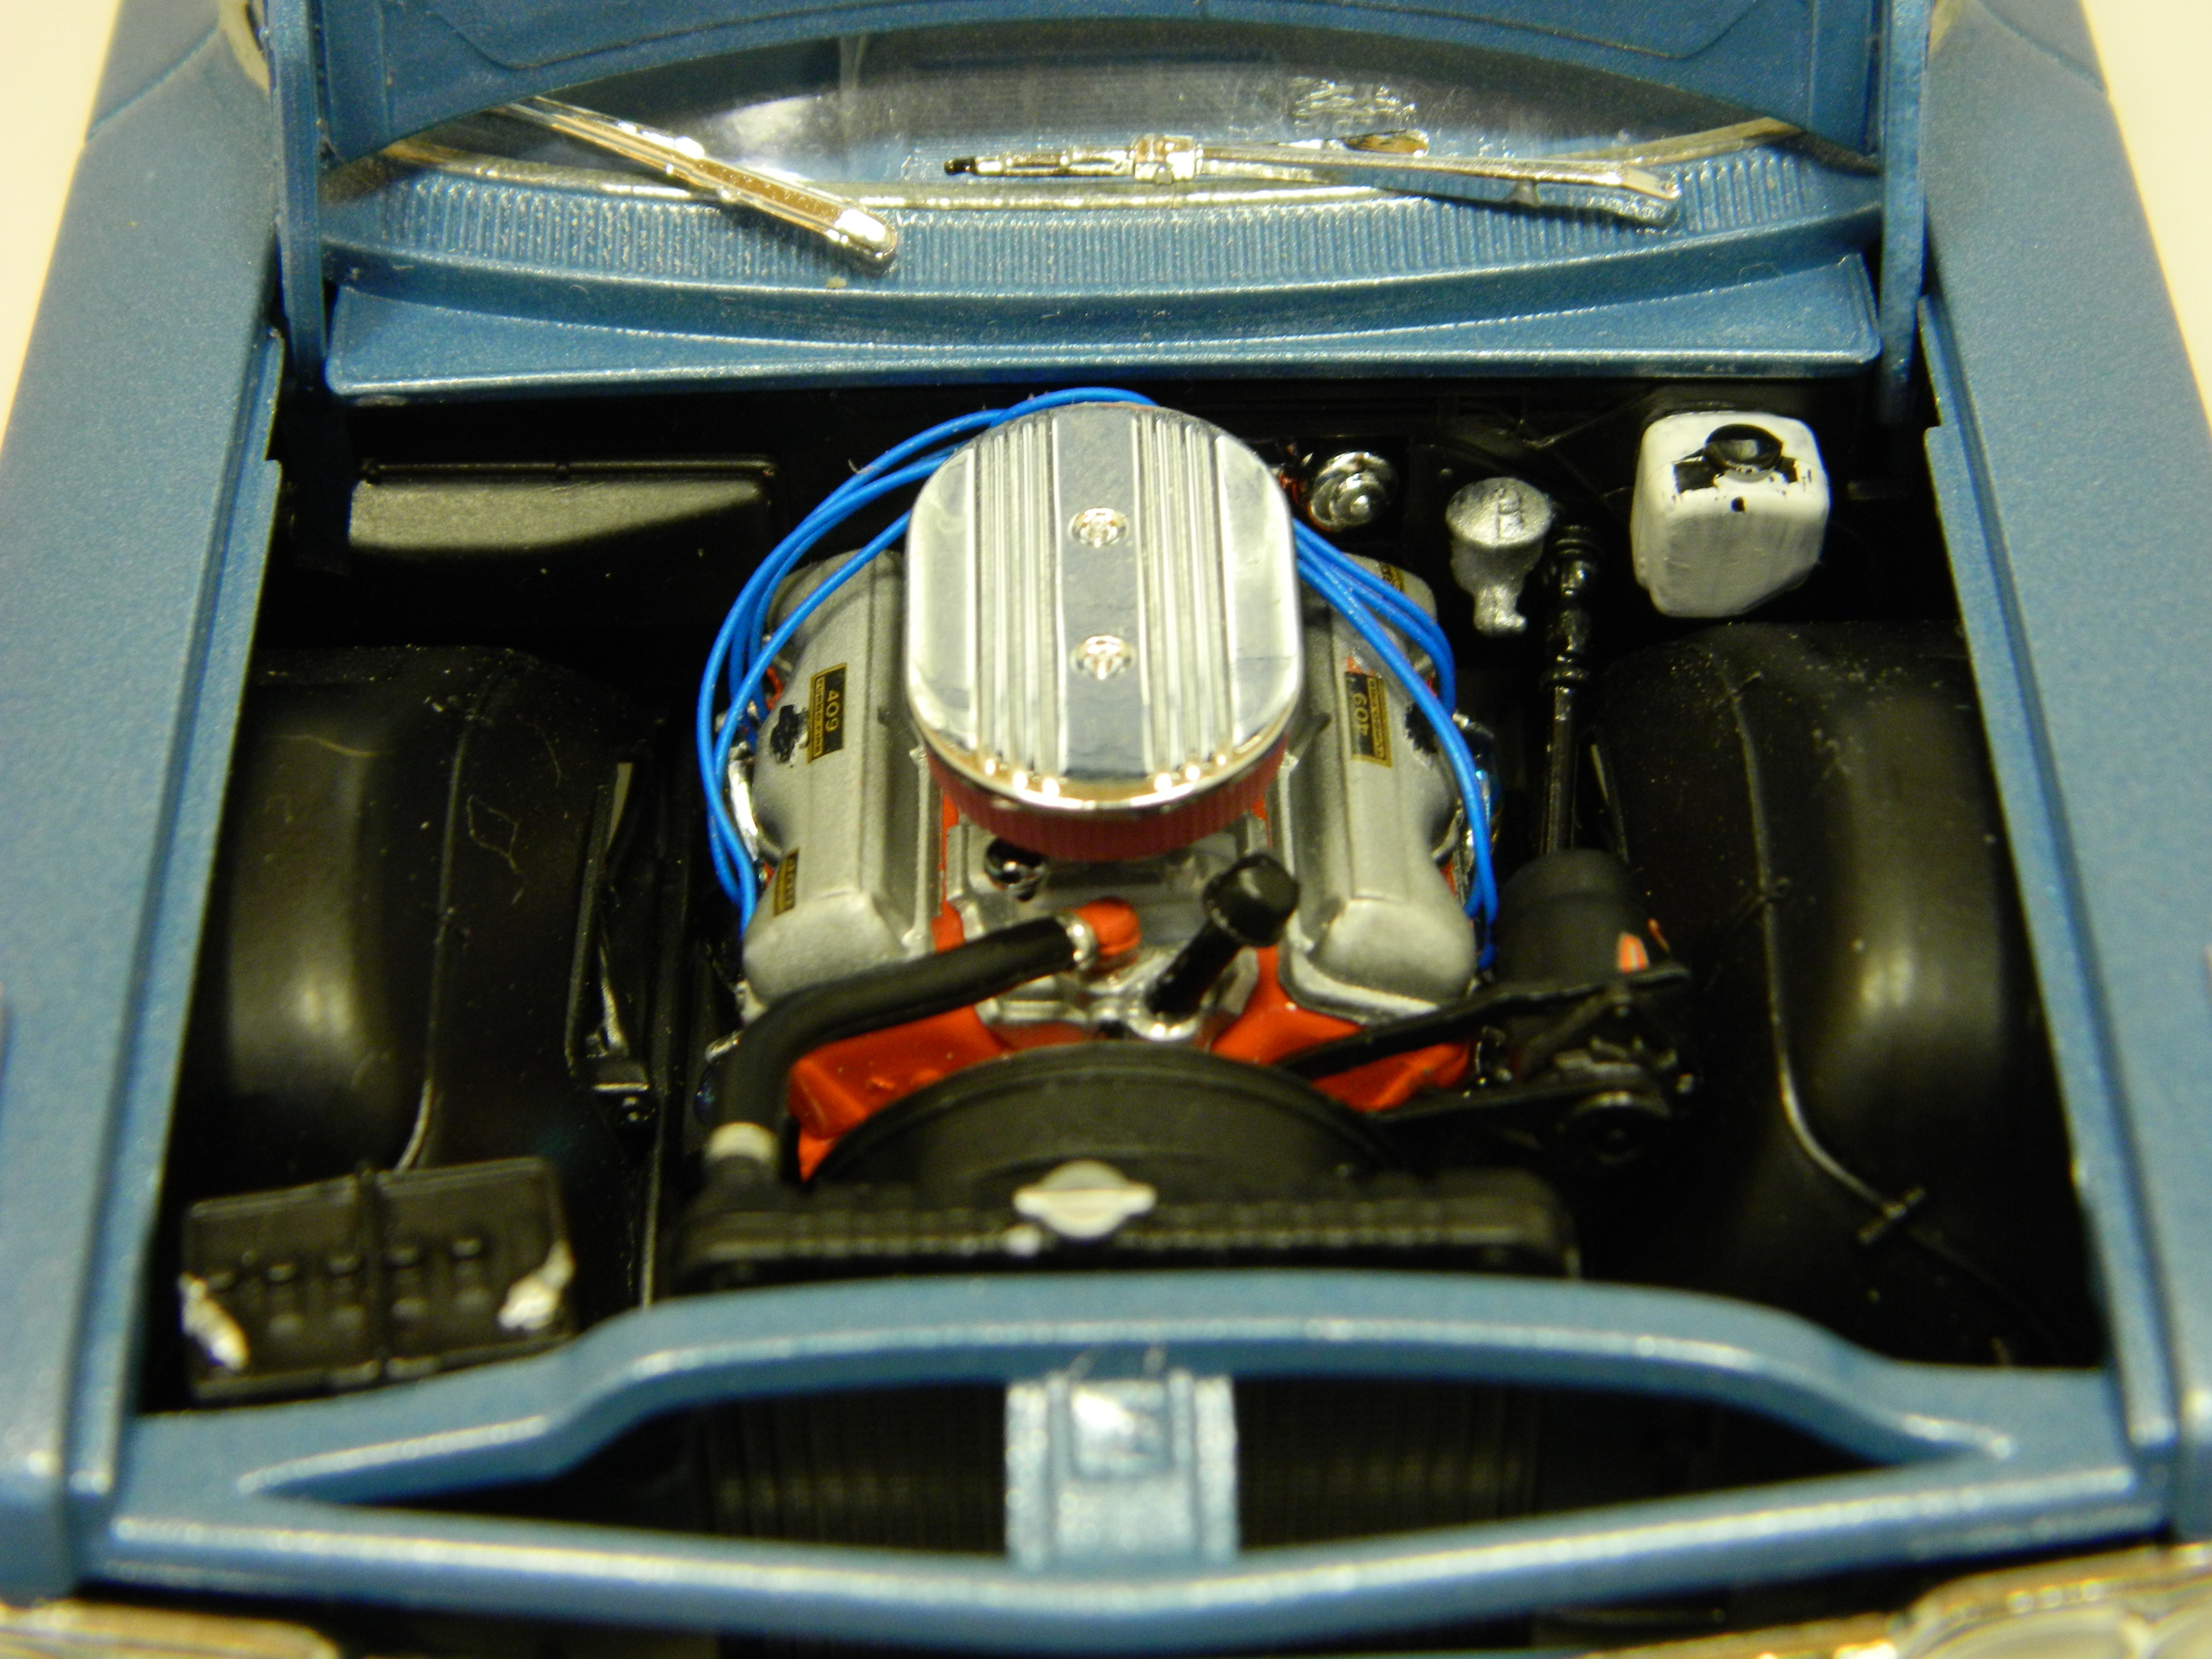
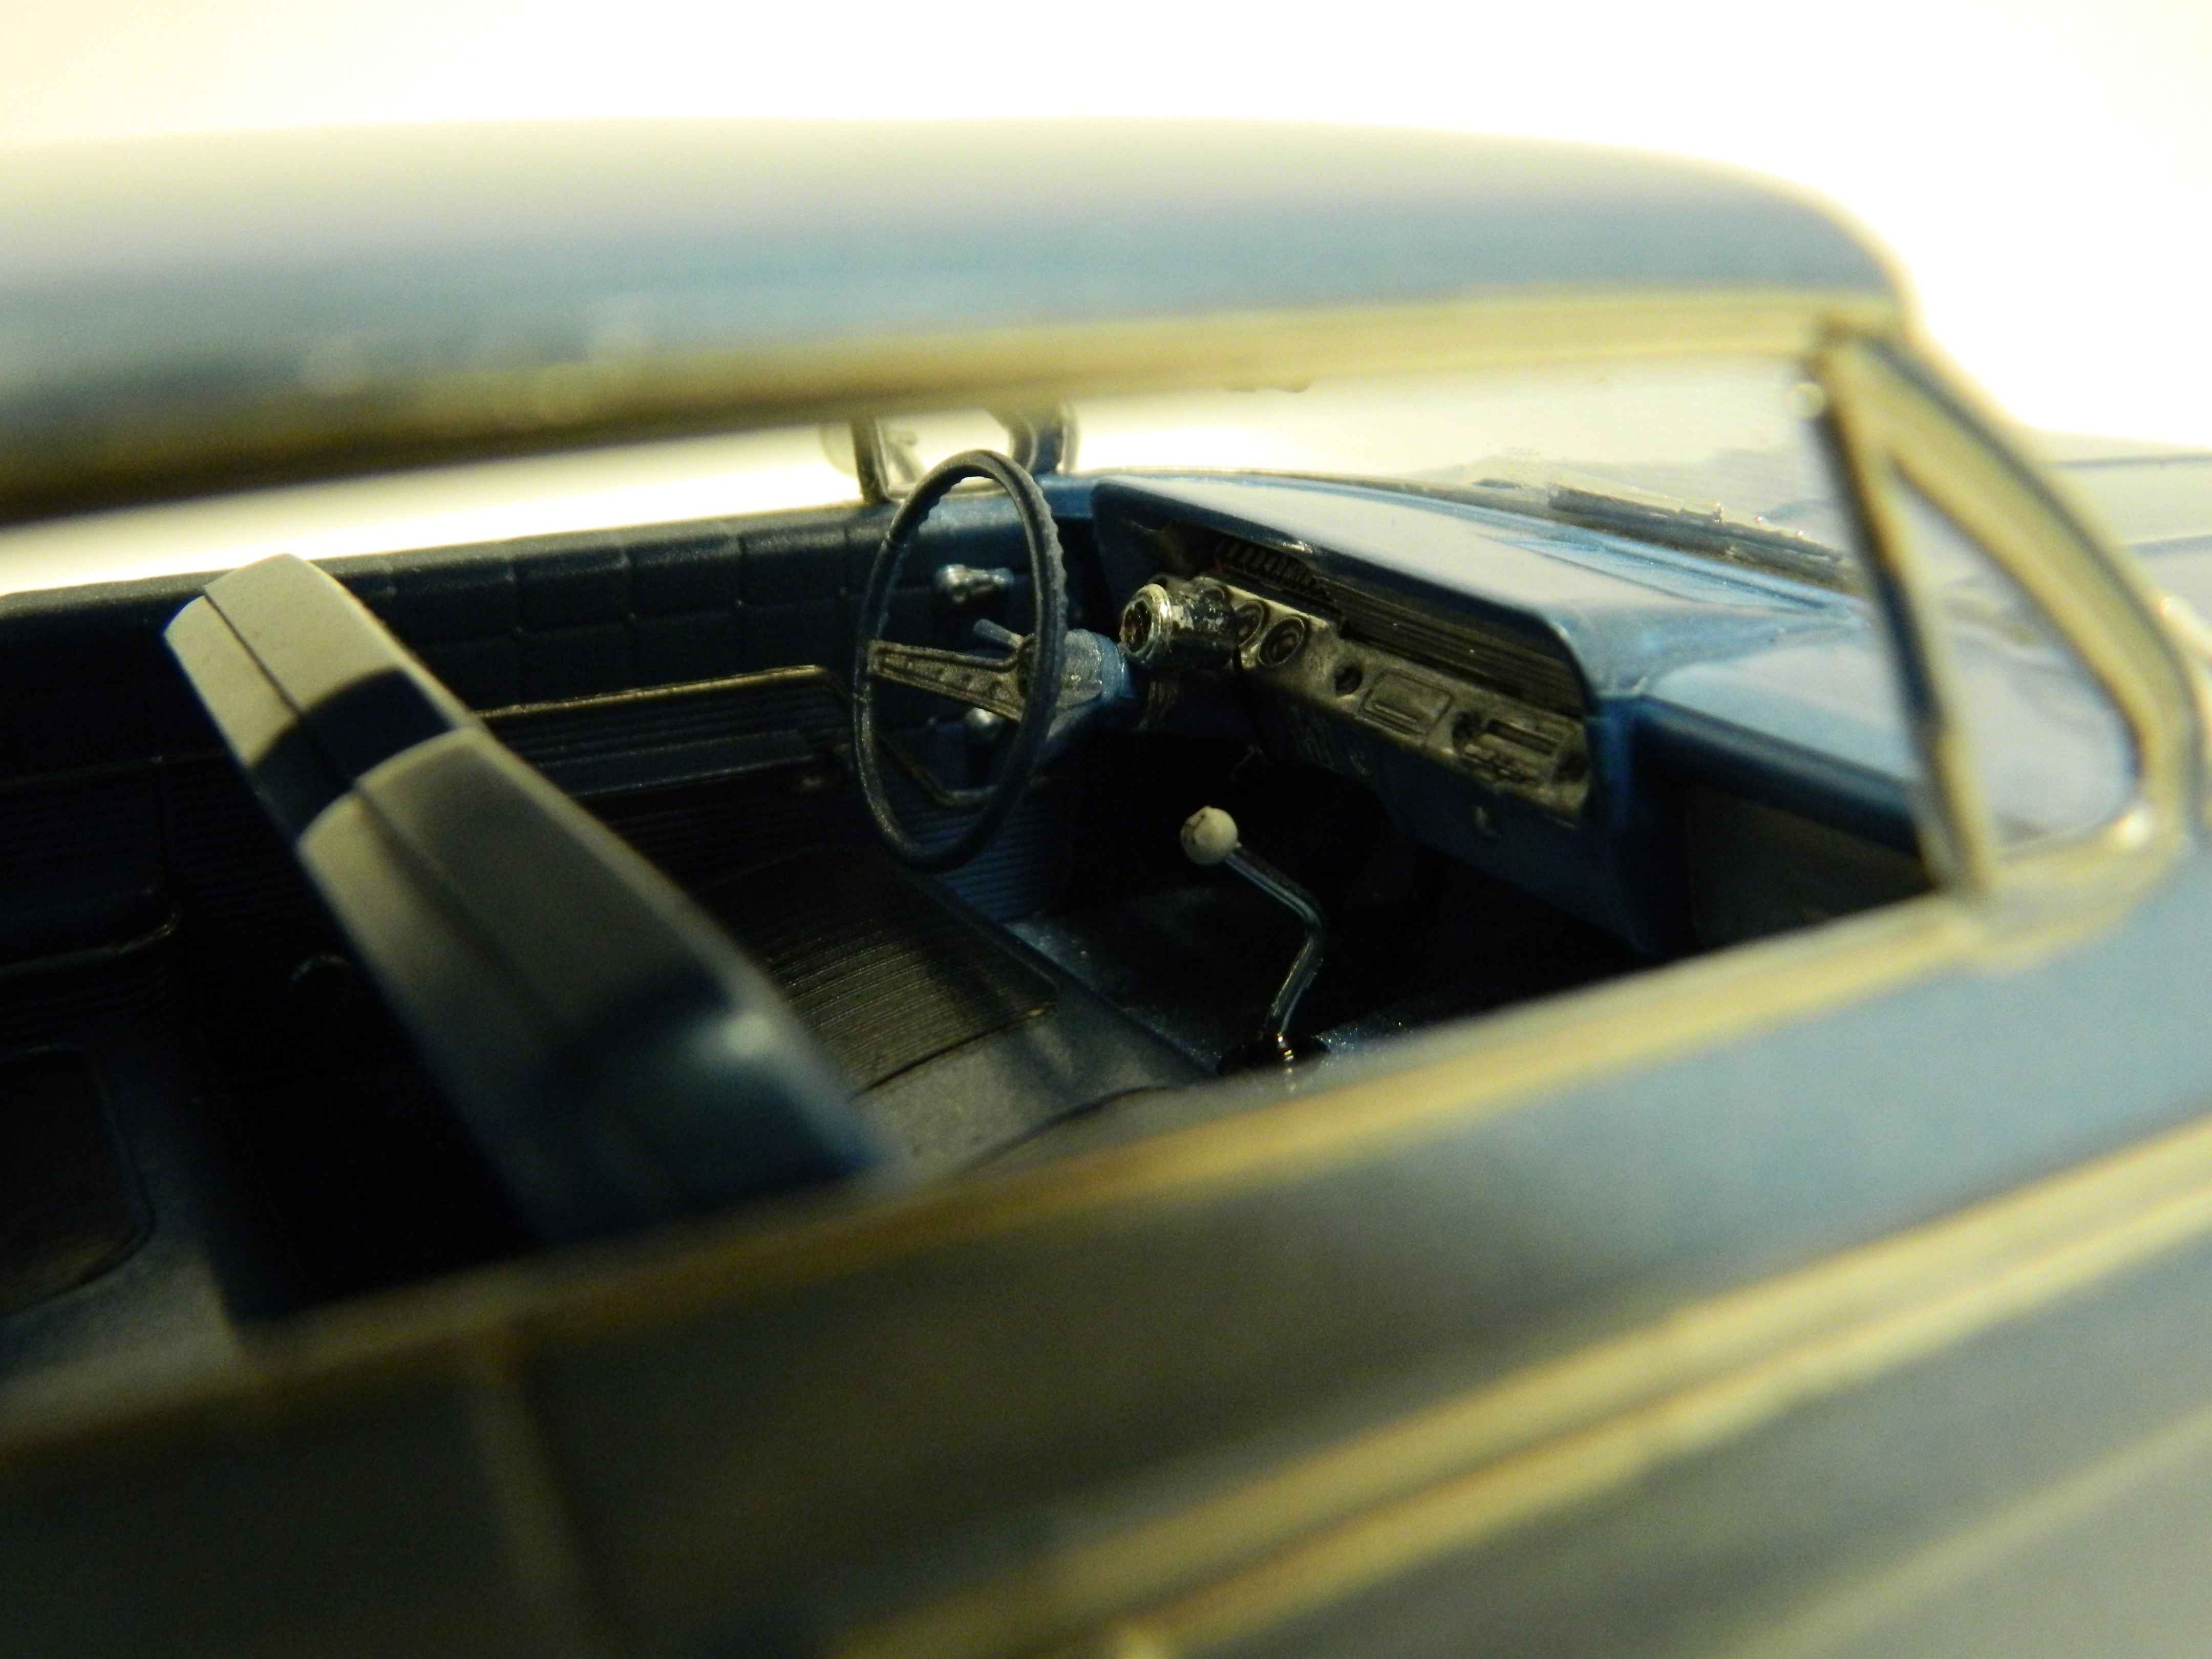
Here are four pictures of my Revell '62 Impala 409.

-
John, that picture is different from all the others I have seen and it shows the breather on the left (driver's) side of the engine. Maybe they are different with the air grabber. John, we here are doing ok. I hope you are doing well.
-
Arrgh!!! I hate it when I mess up like this and I can't correct it! After staring at the engine, something didn't seem right and now I know what it is. I put the valve covers on the wrong sides of the engine and they are GLUED ON!!! I should have known better, but no!!! Well, I guess I'll have to live with it! Arrgh!!!
-

Mazda Vision Concept
mrmike replied to Richard Bartrop's topic in General Automotive Talk (Trucks and Cars)
I saw this one Autoweek's newsfeed and I said WOW! But, then I am a bit biased since I do own a Mazda CX-5! -
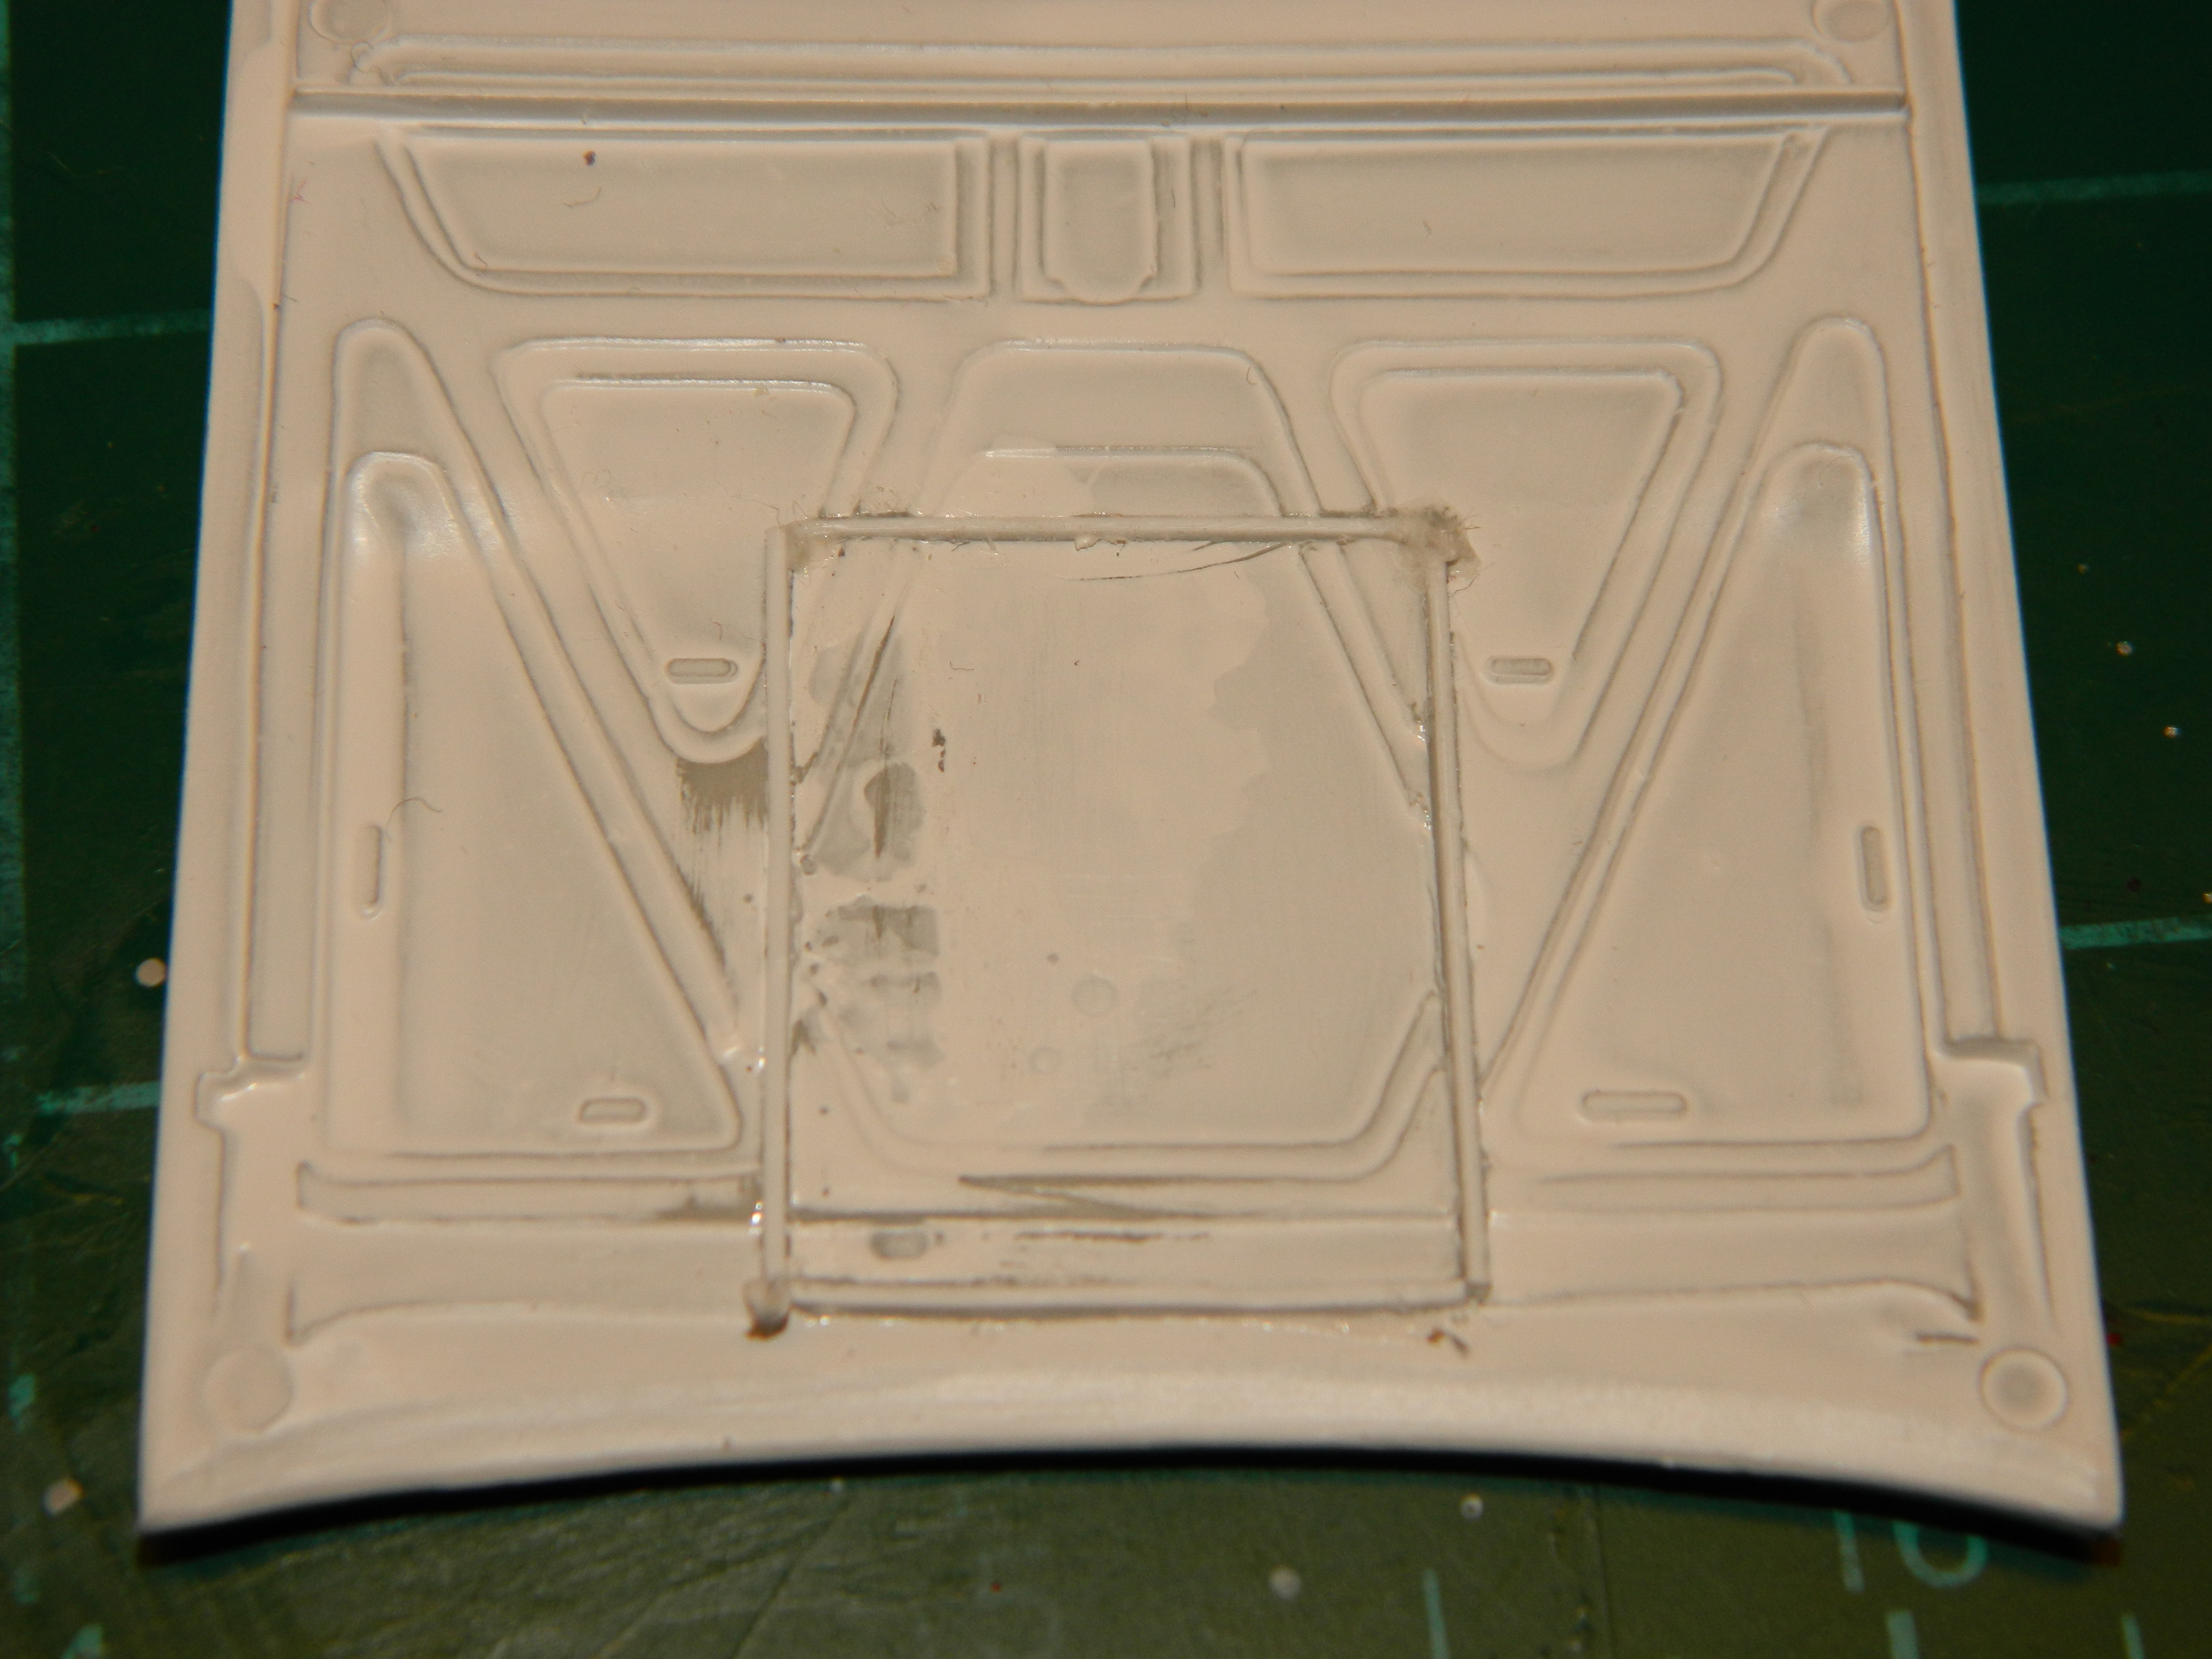
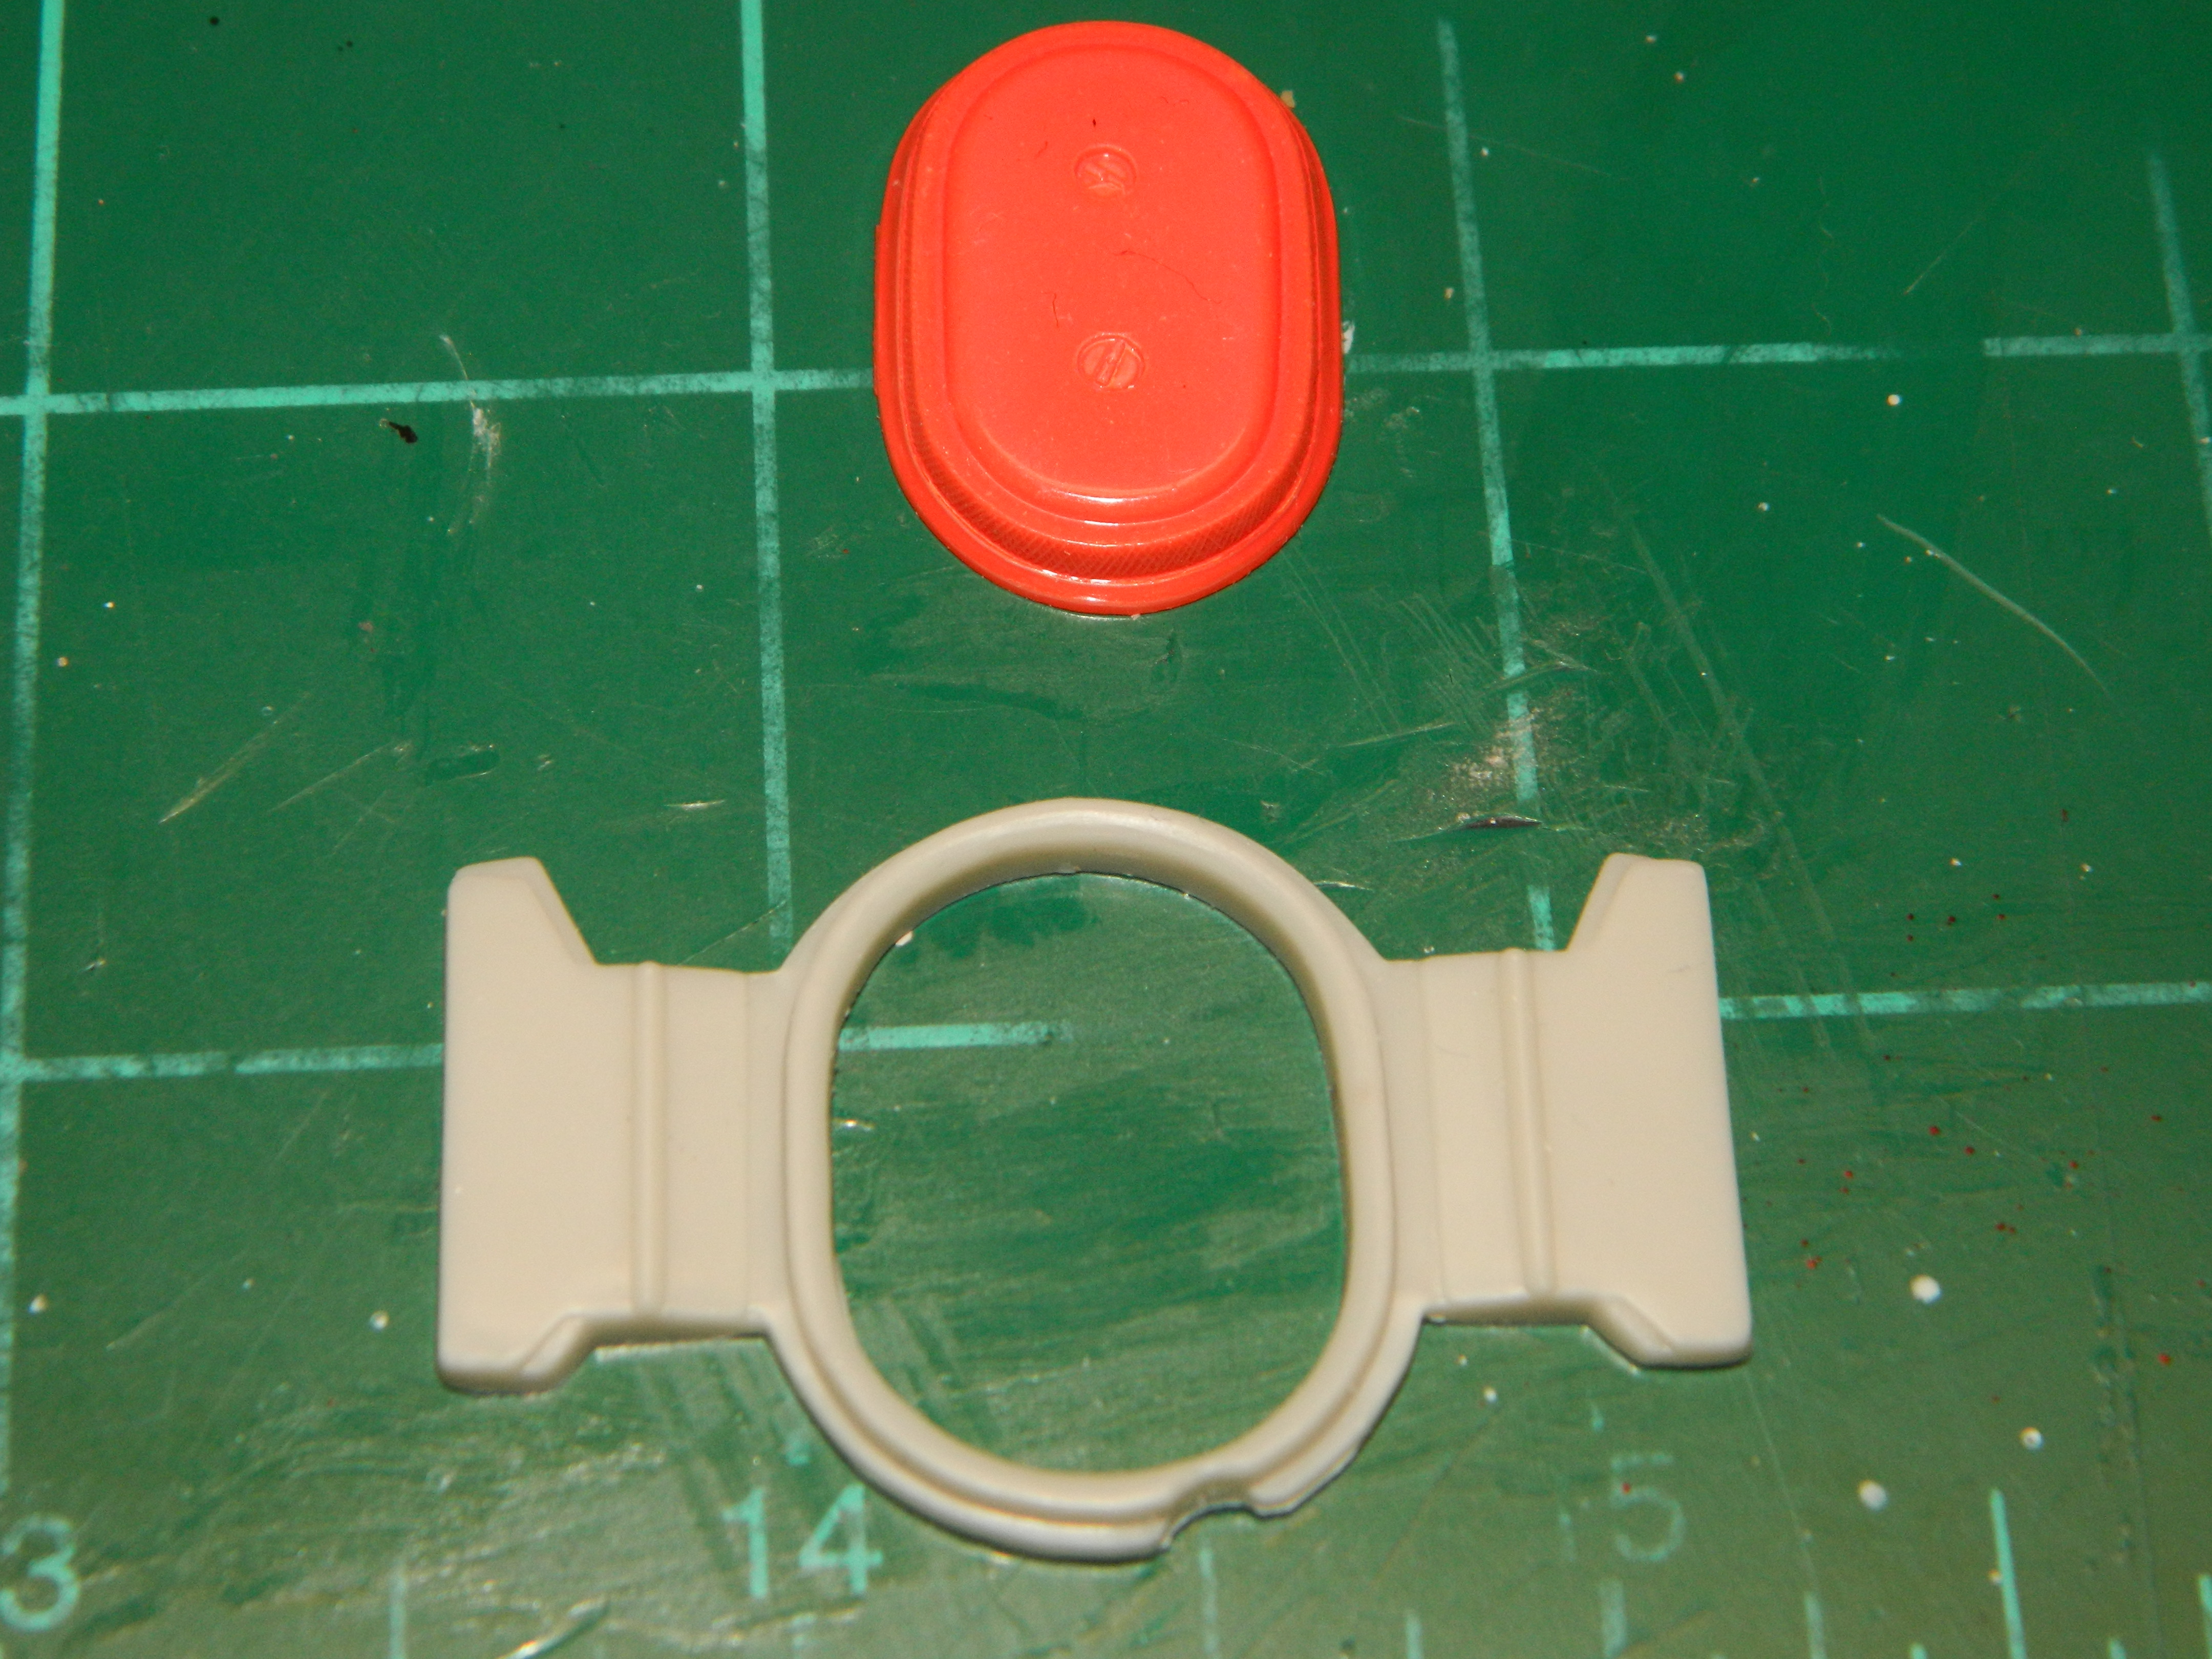
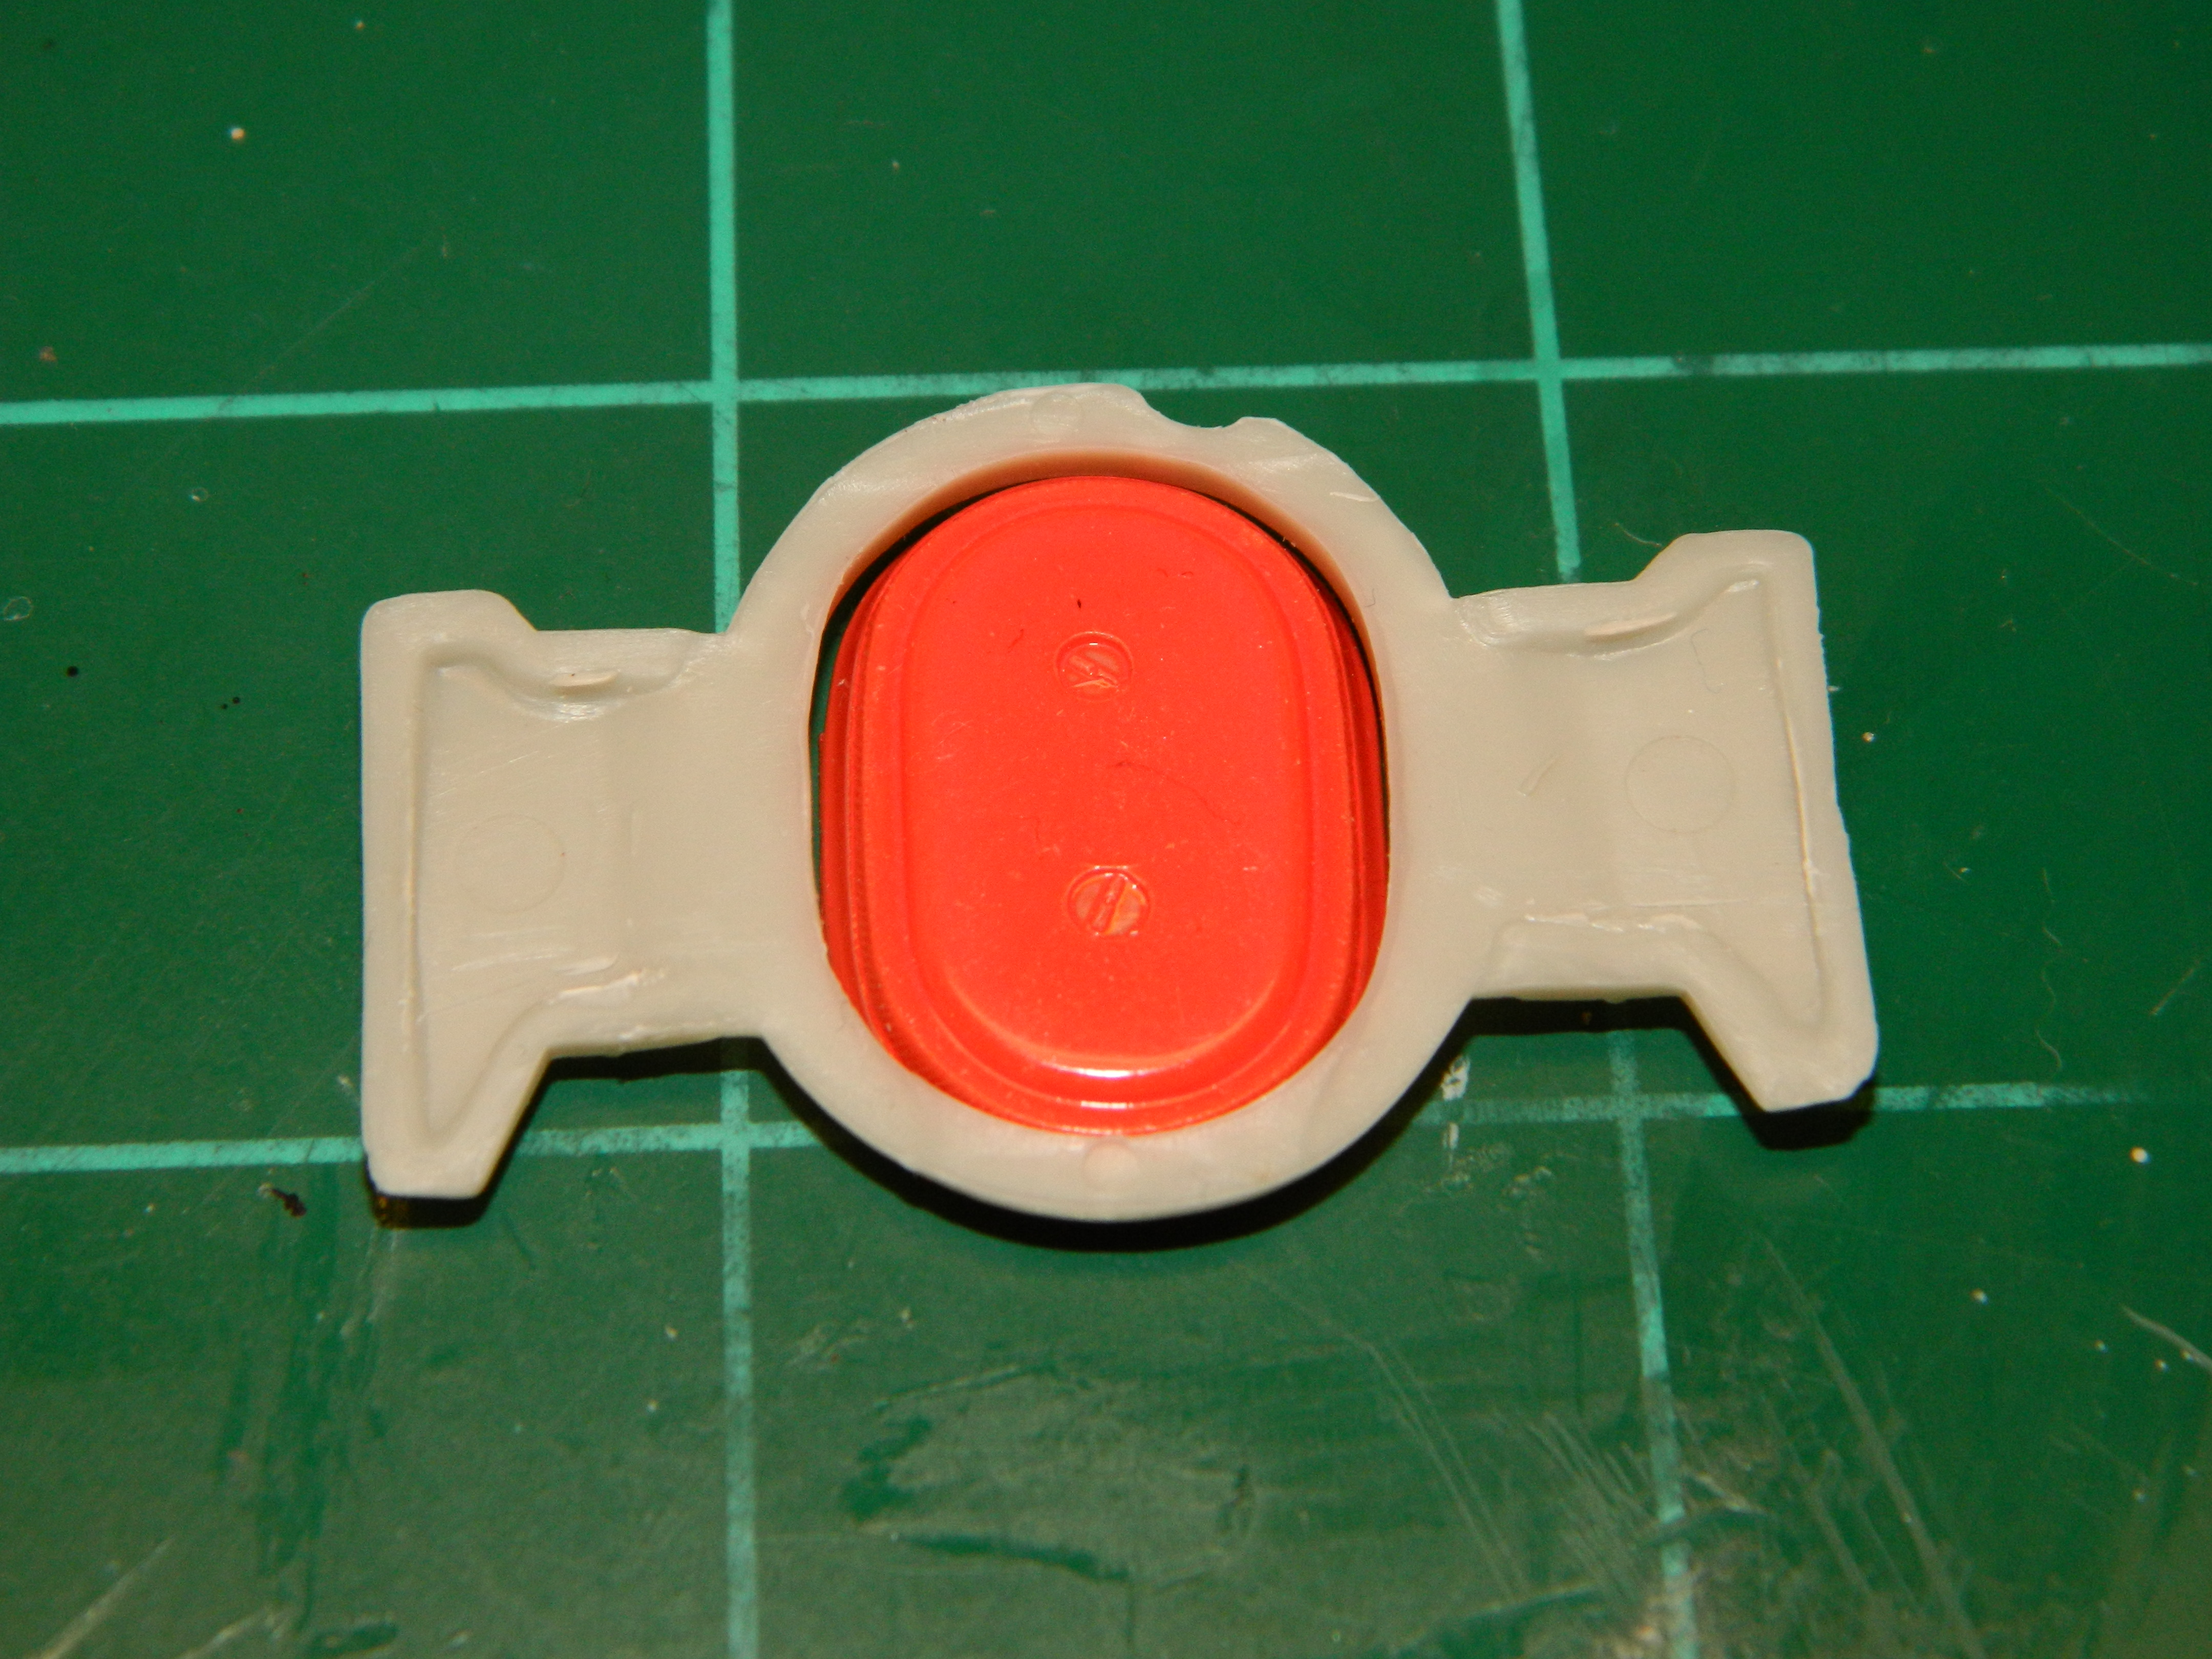
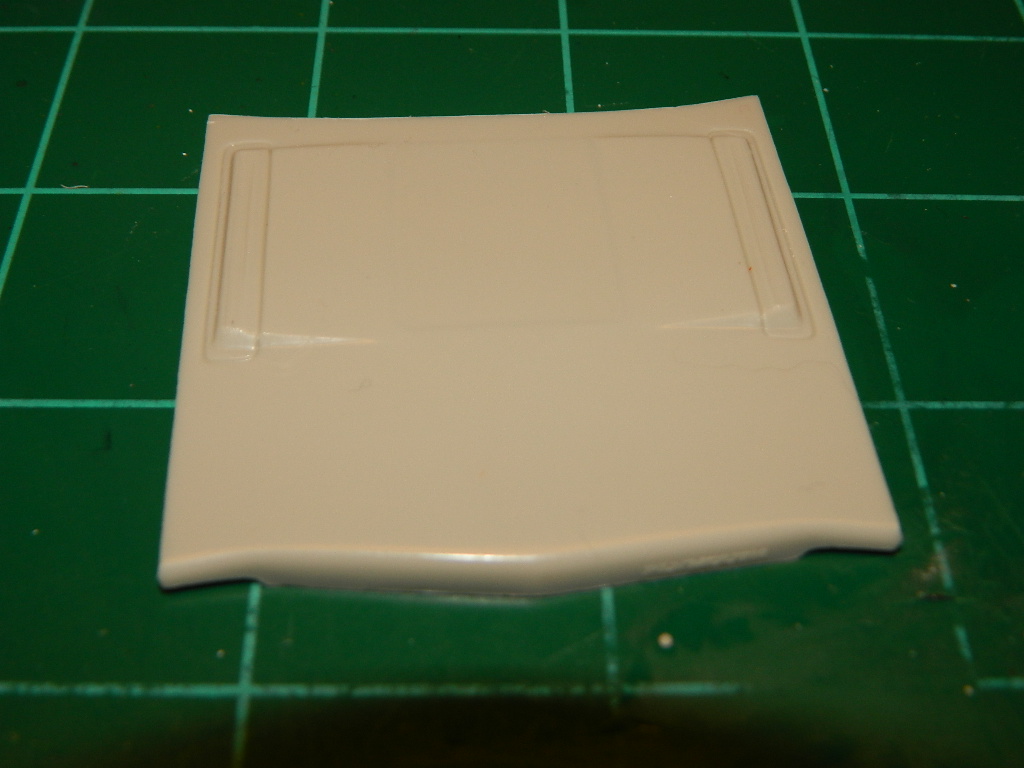
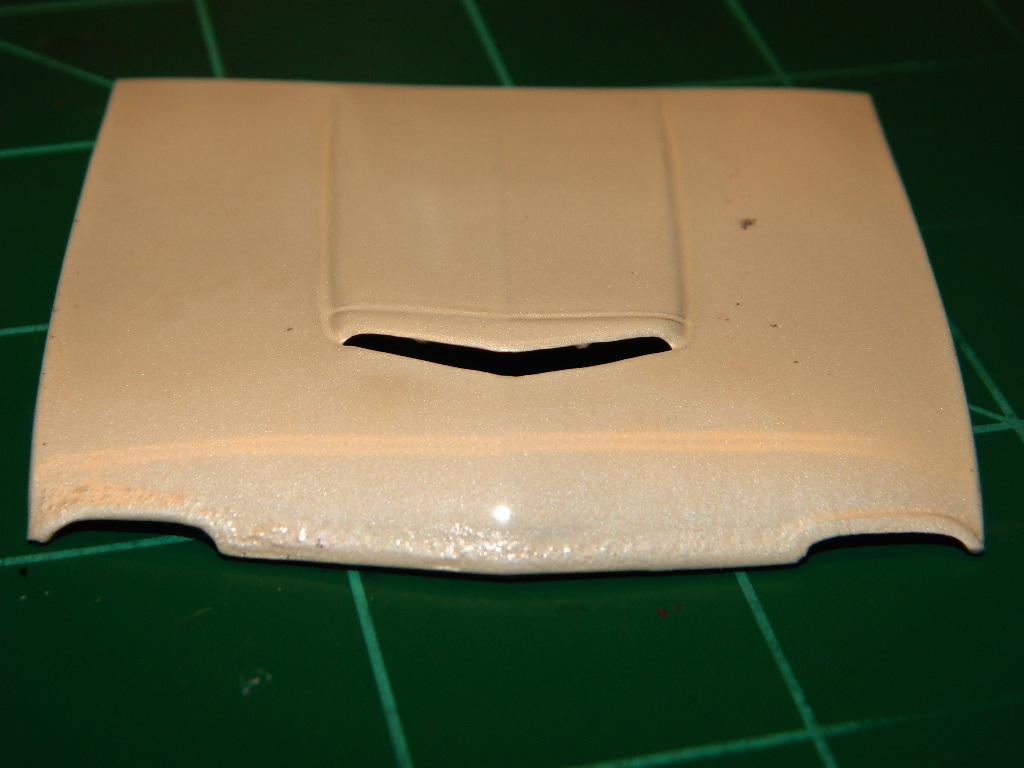
I sat down at the bench this morning with an idea that I had used on my '68 Hemi Road Runner from several years ago. I had an issue with the thin scribe line on the hood and the hot MCW lacquer paint I had used burnt through the hood and showed a nasty burn mark on the top of the hood. I am not using MCW paint on this hood, but I am using Tamiya TS-20 Metallic Green paint which is not as hot a paint. But, the scribe mark is still there and I would like to eliminate that line as much as possible. Using some sheet styrene, I cut a small and thin piece and filled the line with glue and layed the styrene into the groove. When the glue has dried, I will trim the styrene level with the hood and the groove will be filled. Since I am using the air grabber duct, I needed to find a air cleaner to match. I can't remember where this air cleaner came from and it really doesn't fit the duct, but it is better than nothing. More to come...
-
Thank you Ken!
-
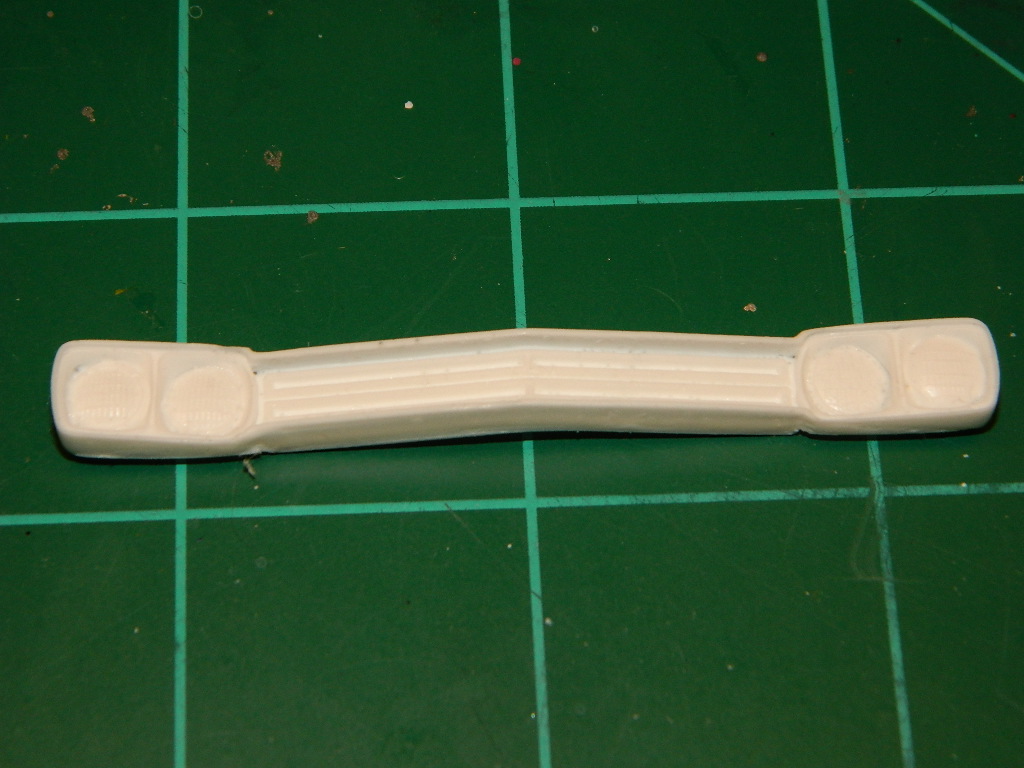
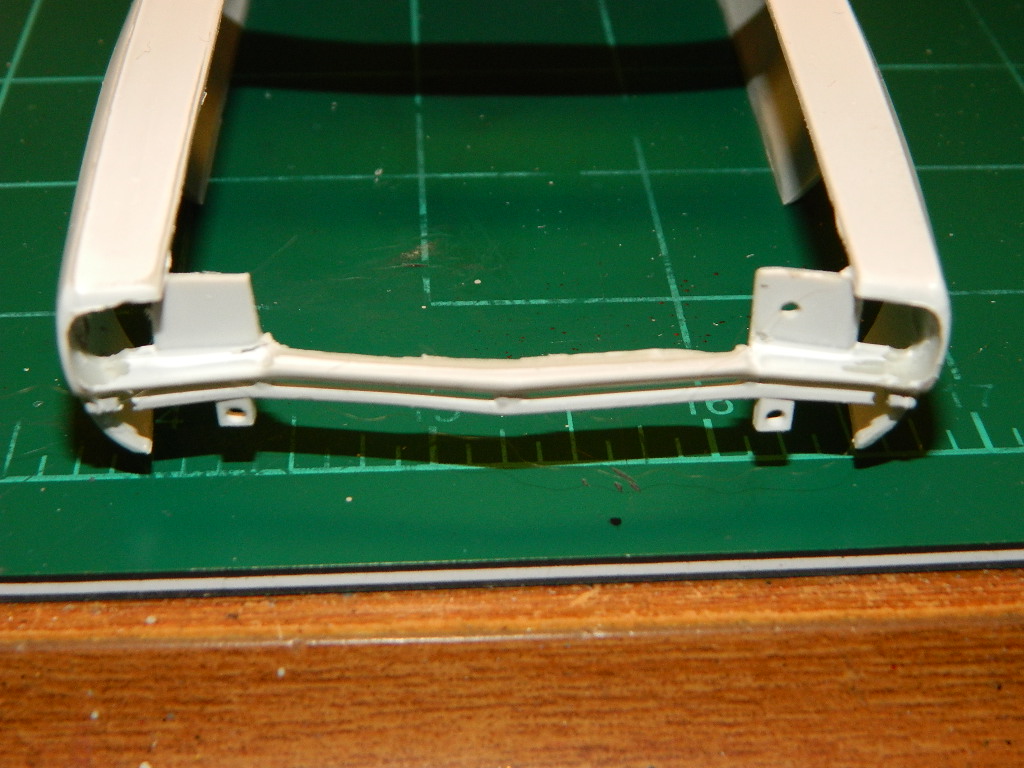
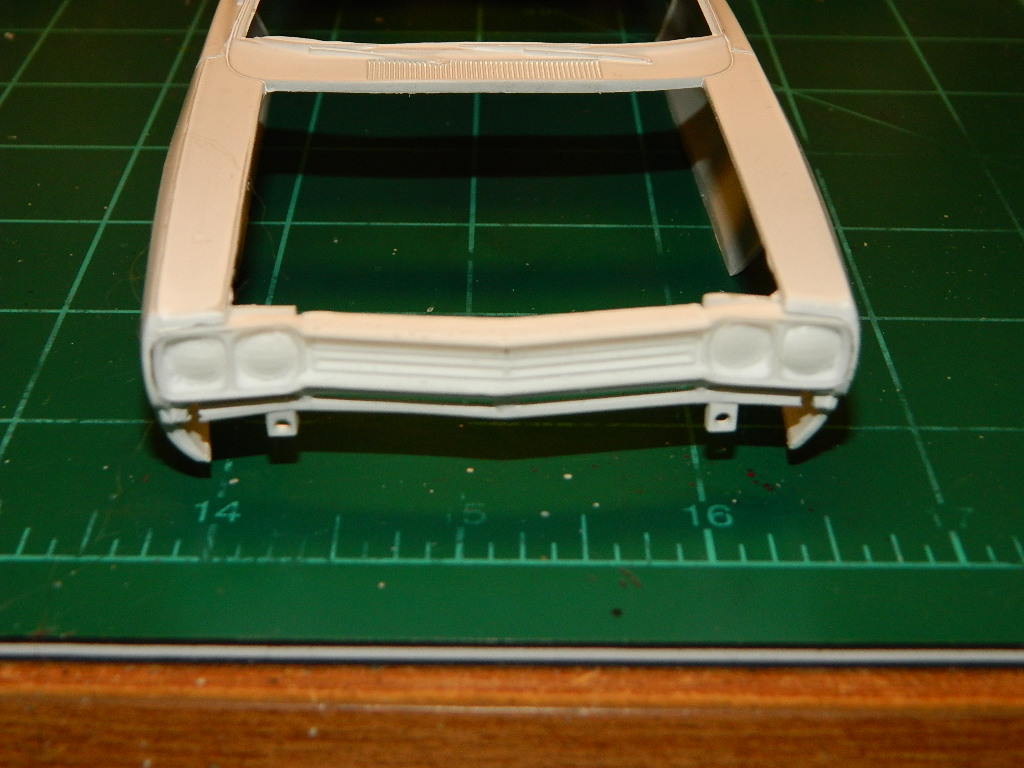
I got my '69 Road Runner grille in the mail today and it's a really nice and clean casting, too! I had to modify the grille area on the body for the grille to fit. More to come...
-
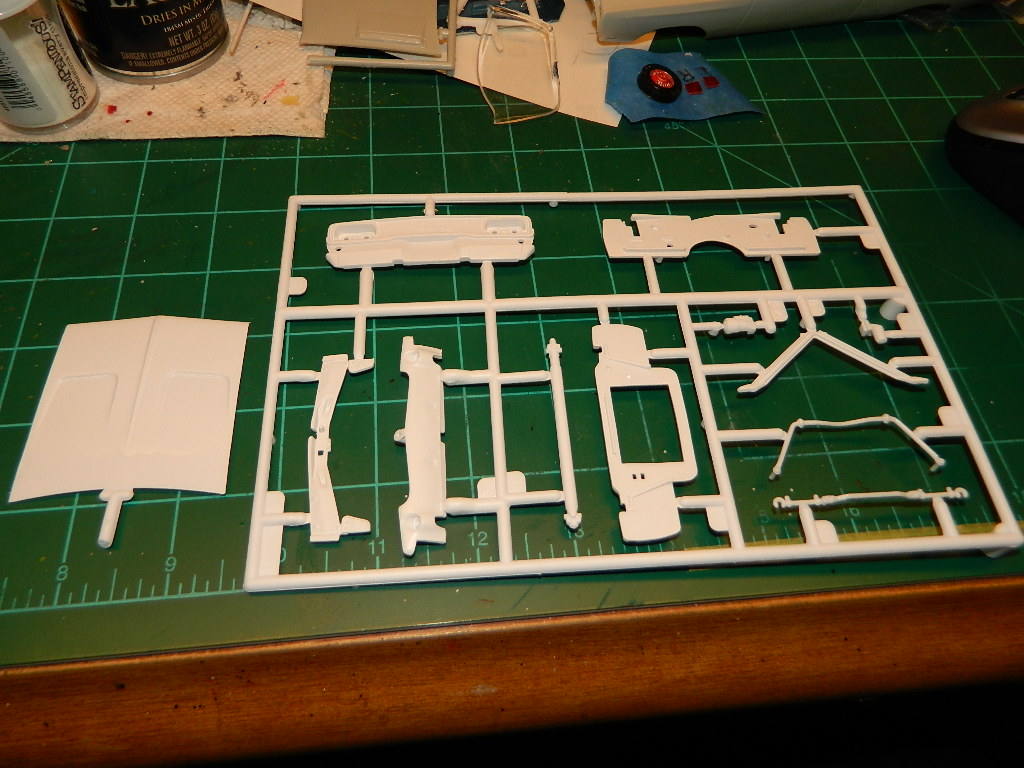
There have been some changes in the past month. A Classic Plastic Model Club member gave me a sprue of parts from the Revell '41 Willy's after we had been discussing the Studebaker. I got a sprue with the chassis, front and rear suspensions, and steering components. Then as I was sizing the chassis, I noticed the two floor humps that would interfere with the chassis. My Dremel was more than happy to remove them.I'm going to have to extend the chassis to fit the the wheelbase and the body. I decided where to cut the chassis so it can be extended and I will have to build a floor and trunk. More to come...
-
Thanks guys! I've done some rudimentary sanding on the body and I still need to do some more. I should be painting with Tamiya Metallic Green soon!
-
Thank you everyone! I have heard and read of others having a bear of a time getting the chassis/interior into the body. I looked it over real good before inserting the chassis/interior into the body and found that if the interior is not properly installed, the body will not fit over the interior side panels. Careful assembly and a couple of business cards and everything went into each other like it should. Foiling wasn't that bad either. I spent just over an hour foiling the body and I was done! The lowered suspension is a must for this kit and it was easy to accomplish by inverting the front spindles and re-arching the rear springs.
-
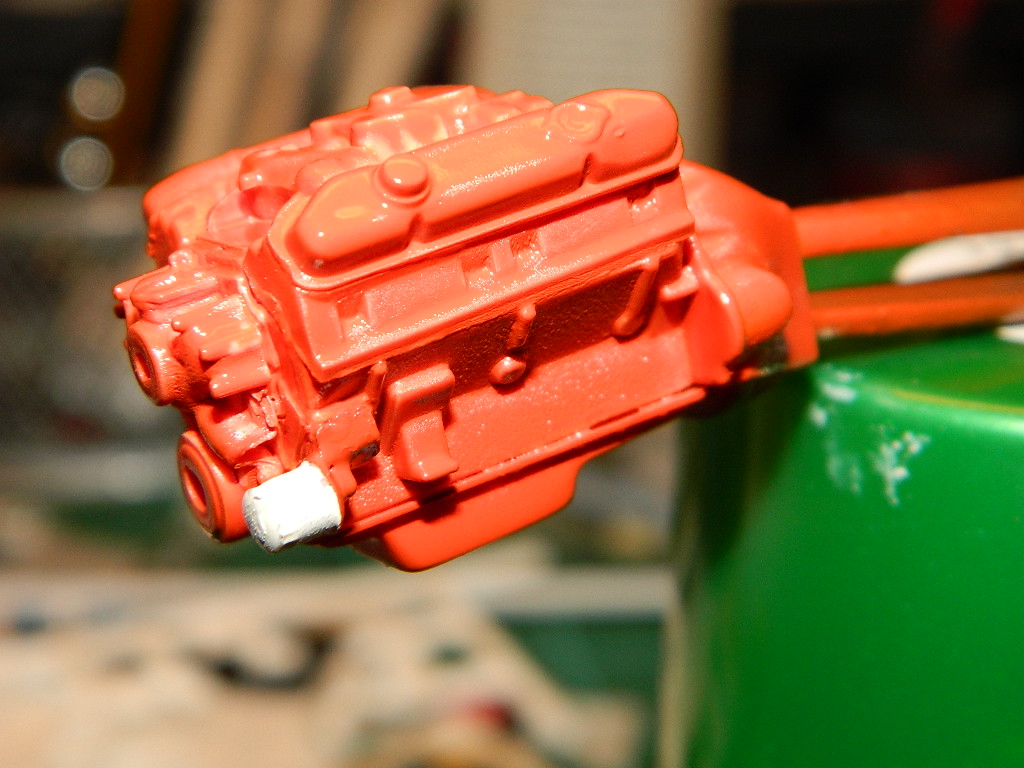
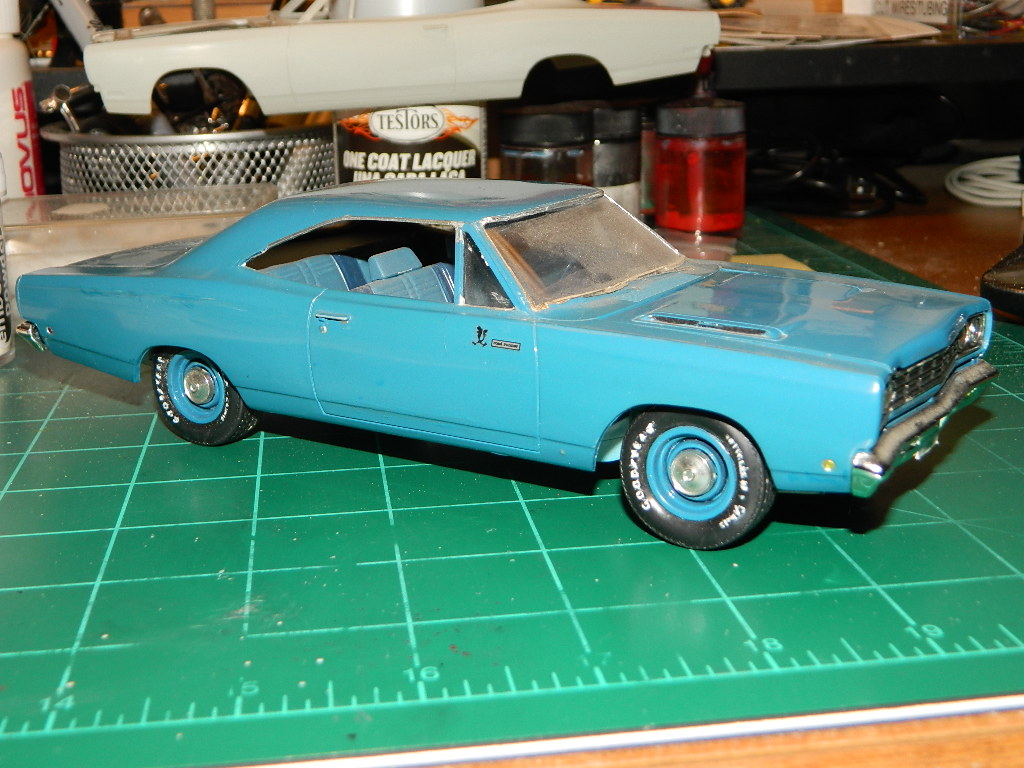
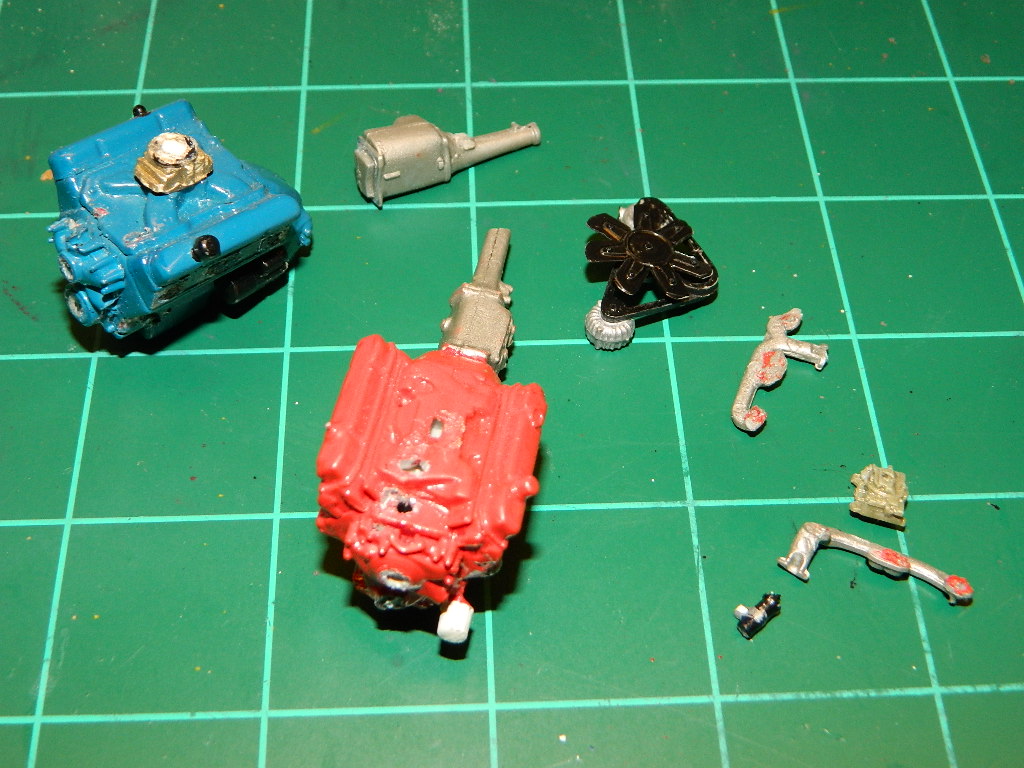
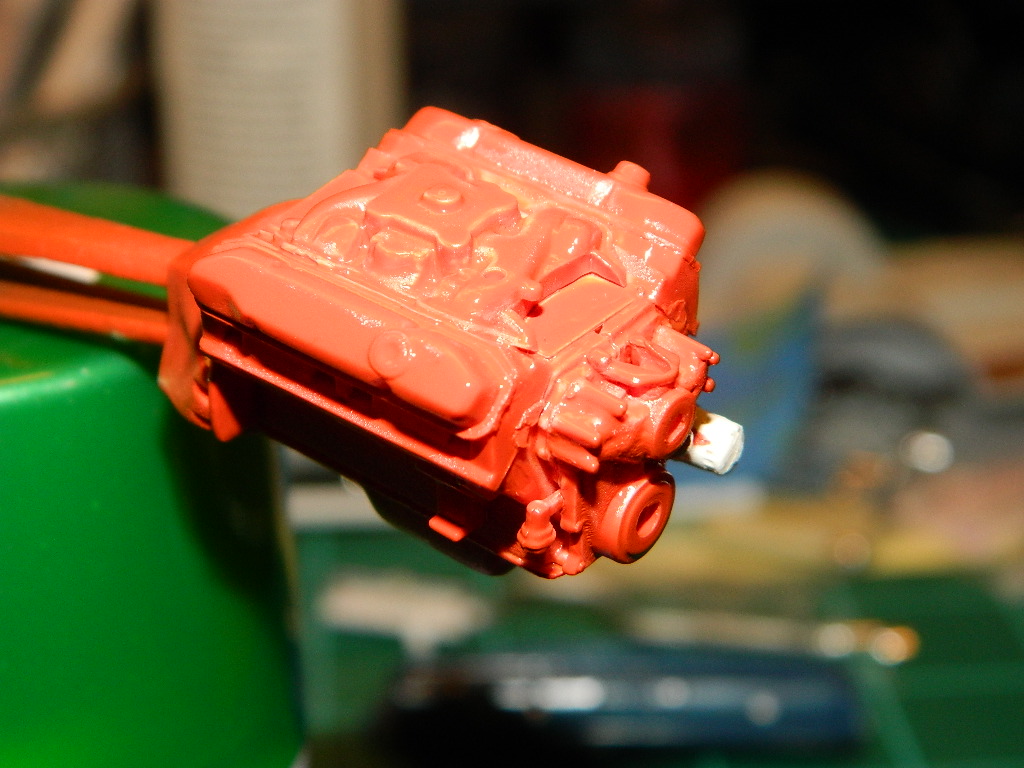
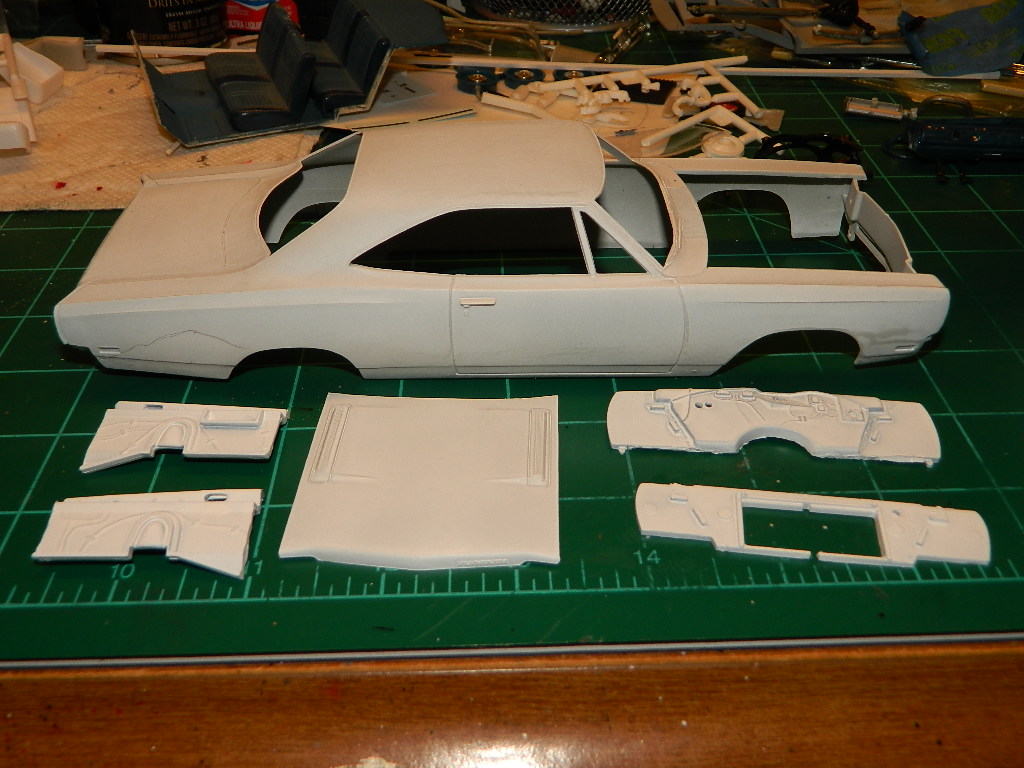
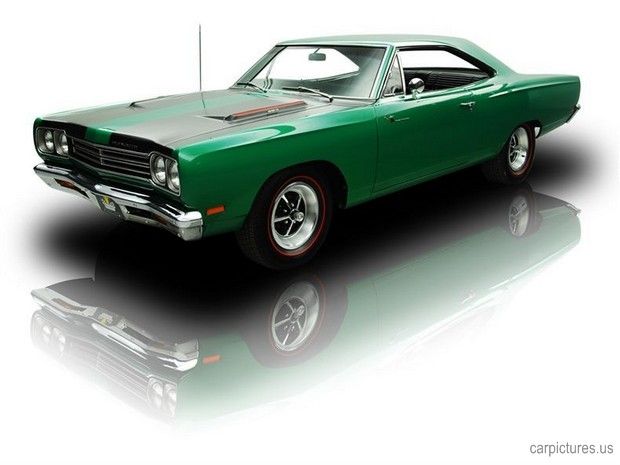
About twenty years ago, I built a '68 383 Road Runner and the other day I was looking at it sitting on the shelf and I said to myself, "That looks like it should be re-built." The following day, I was rummaging through a carton of stuff and found a '69 GTX body and I wondered, "I wonder if I can make this into a Road Runner?" Out came my sanding stick and files and I removed the side moldings and the GTX scripts. My original intent was to re-build the 383 I had cobbled together from my parts box, but decided to find a better engine. This one came from a long parted out AMT '71 Charger R/T. A couple of days staring at the "new" engine and I started to hate them both. So, back into the parts box again and I found an un-built 440 CI engine from a '70 Hemi Super Bee. I built it last night and painted it this morning with Mopar Street Hemi Orange engine paint. In my mind, I could envision a Rallye Green Road Runner and an online search found me an image of a Rallye Green '69 Road Runner with a Coyote Duster air induction hood and the Performance Hood Treatment. I ordered a '69 Road Runner grille from Hart's Resin Parts and i hope to have that in a few weeks.
-
Thank you Randy! This is definitely a good kit to build! I had this kit sitting in the stash for almost ten years before I decided to build it.
-
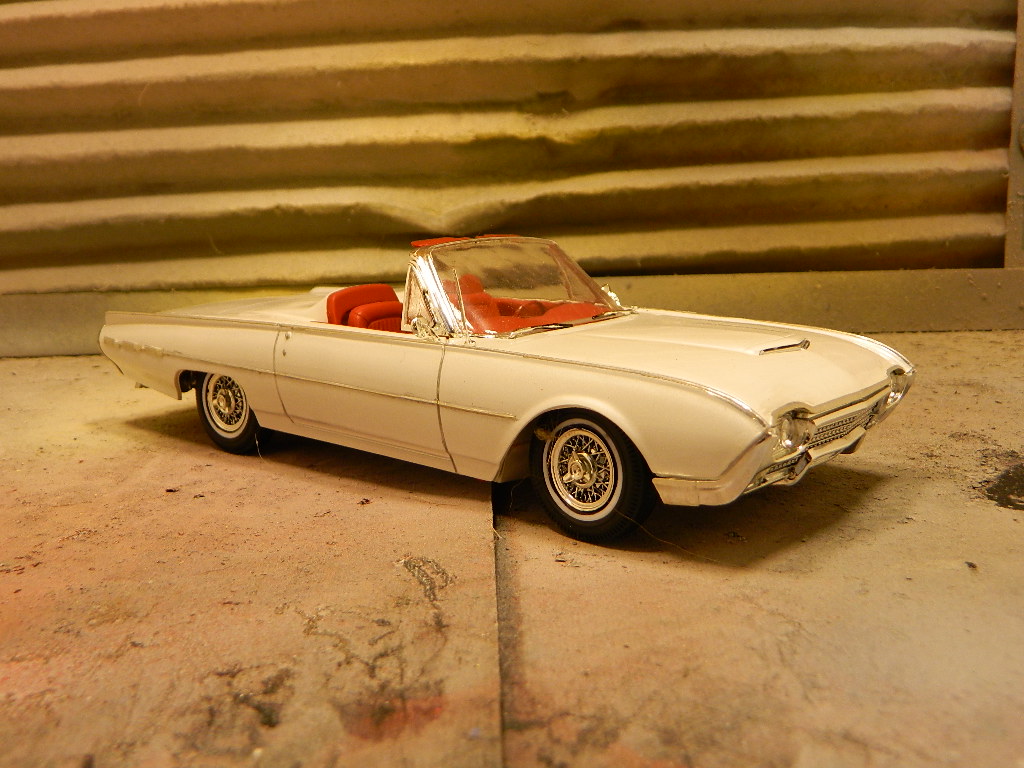
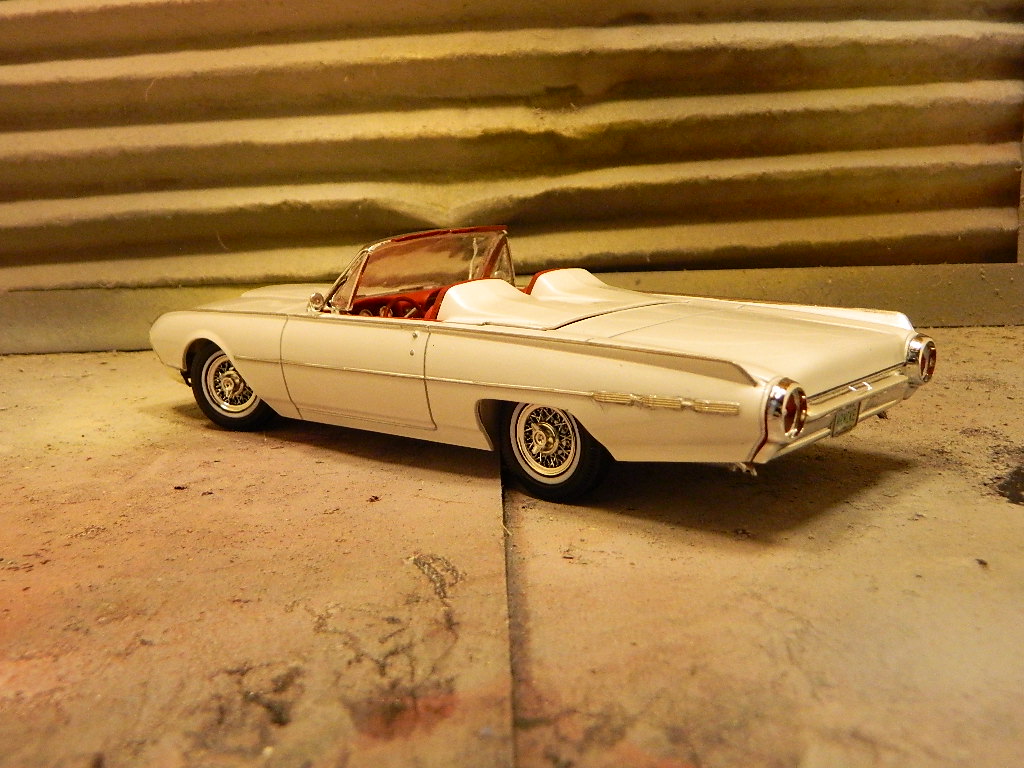
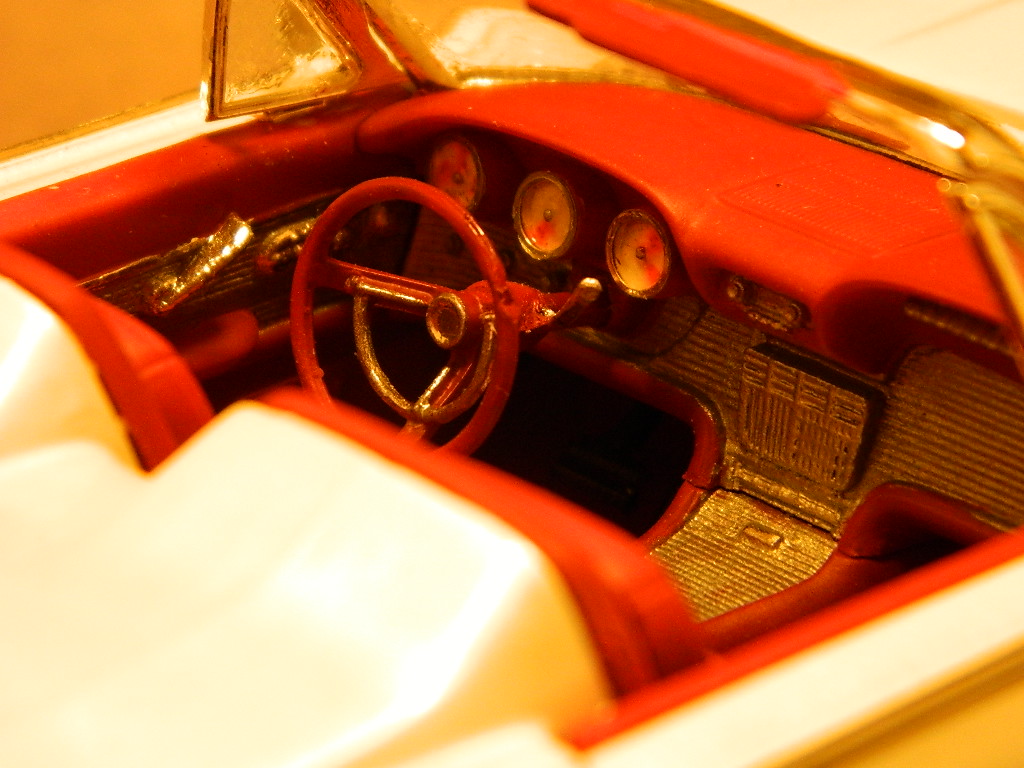
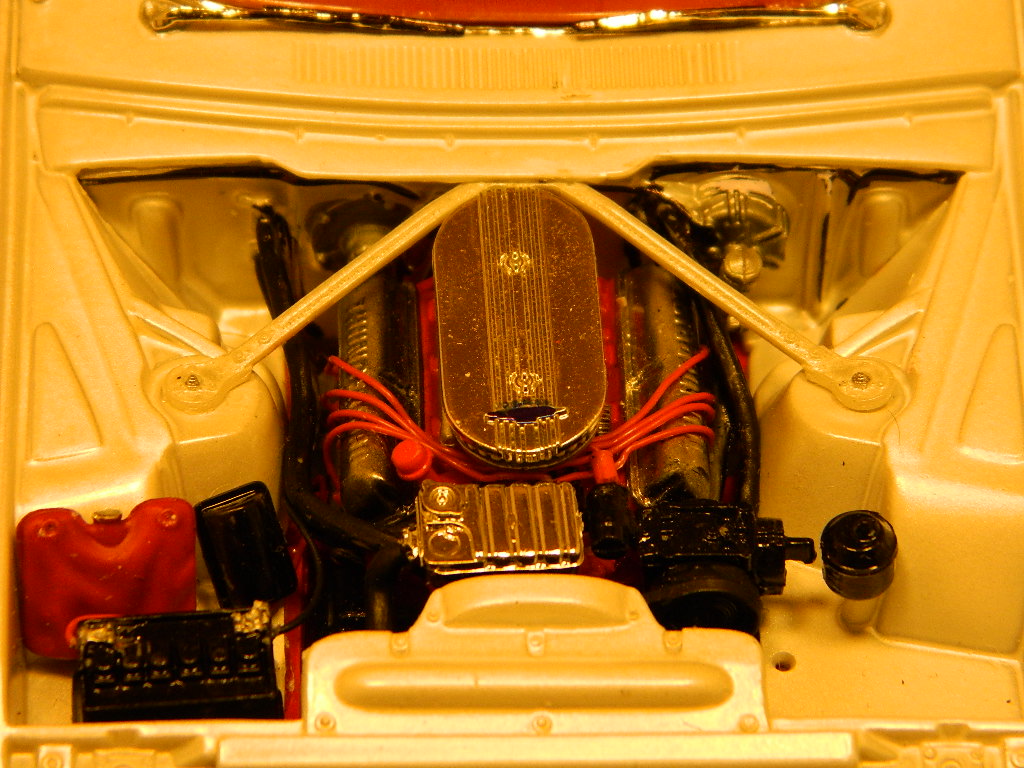
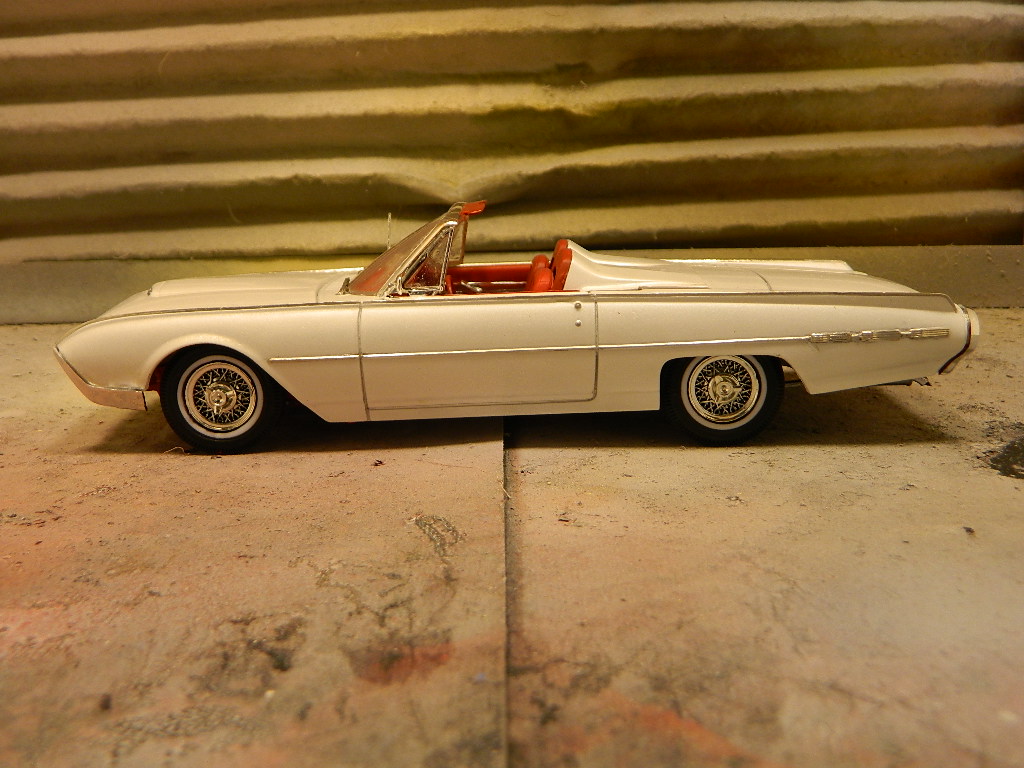
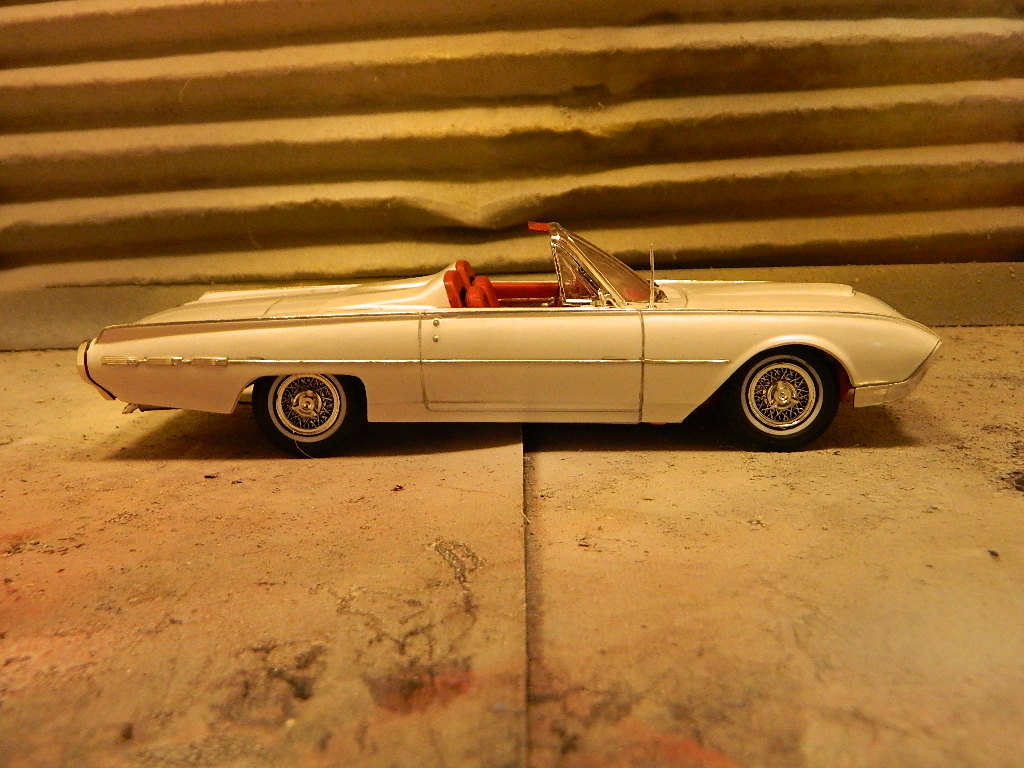
I have finished my '62 T-Bird Roadster and it is posted in Under Glass. I would like to thank all those who took the time to view and to comment on my WIP.
-
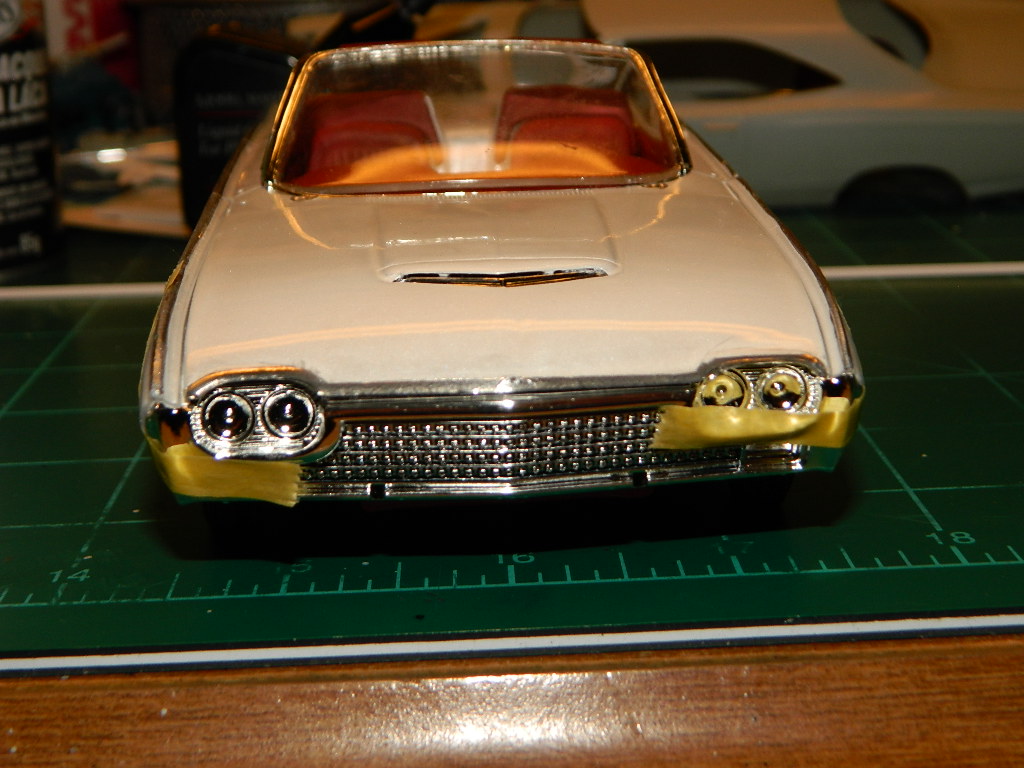
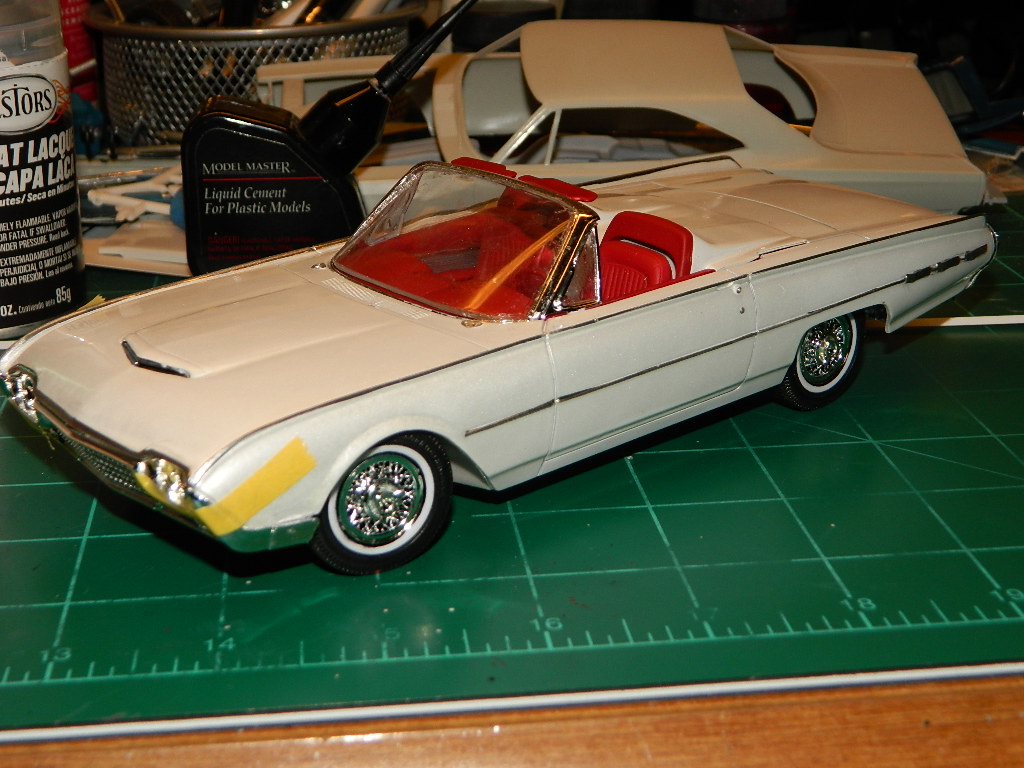
This is my '62 T-Bird Roadster painted with Testors White Lightning One Coat Lacquer with a Model Master Insignia Red interior. I lowered the suspension and trimmed the whitewalls on the tires. The engine is wired.
-
I must say that I have never had the opportunity to order from him. Many years ago, I had looked at his site and saw several items that had interested me at the time. Then, I start to see all the stories about Reliable Resin not following through like they should on the many forums I had belonged to. One member of my Club had ordered a set of wheels from him and got them in a fairly reasonable amount of time, but the entire Club concluded that his getting his parts was a fluke. Do not do business with this person!!!
-
Since the paintbootth was up and running yesterday, I primered the body and various bits and pieces of the Charger and hit the interior bottom and chassis with grey primer.
-
Well David, just git-r-dun! lol Foiling was one of my most hated jobs until I had done it enough that I was comfortable with it. Almost done! More to come...
-
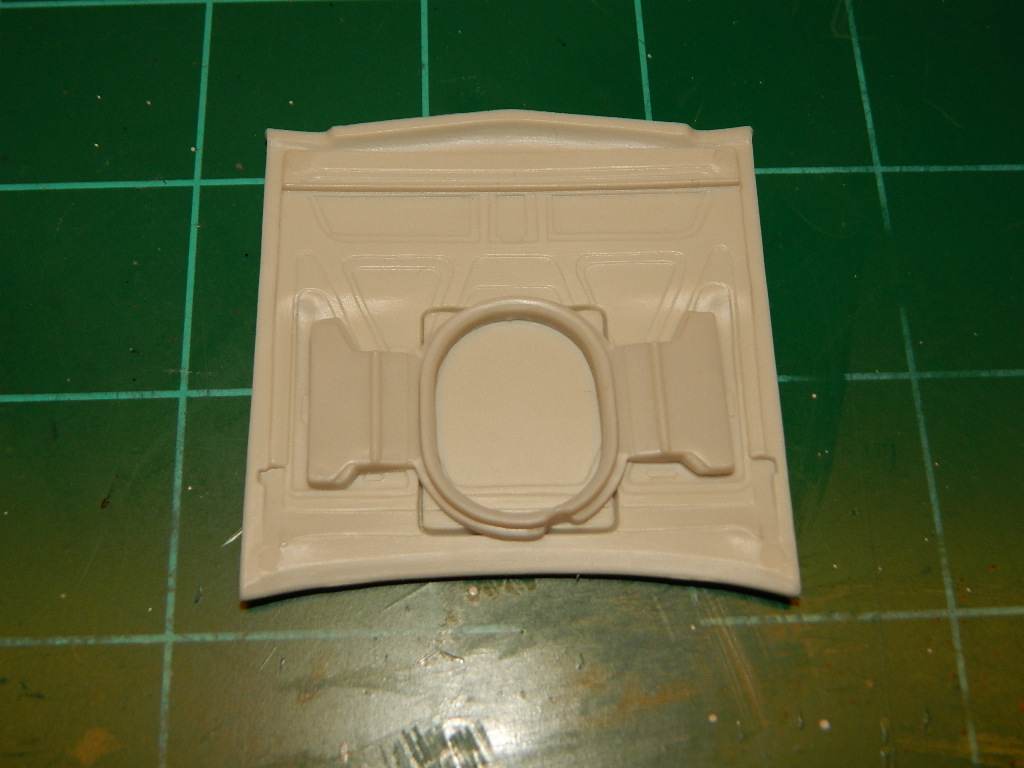
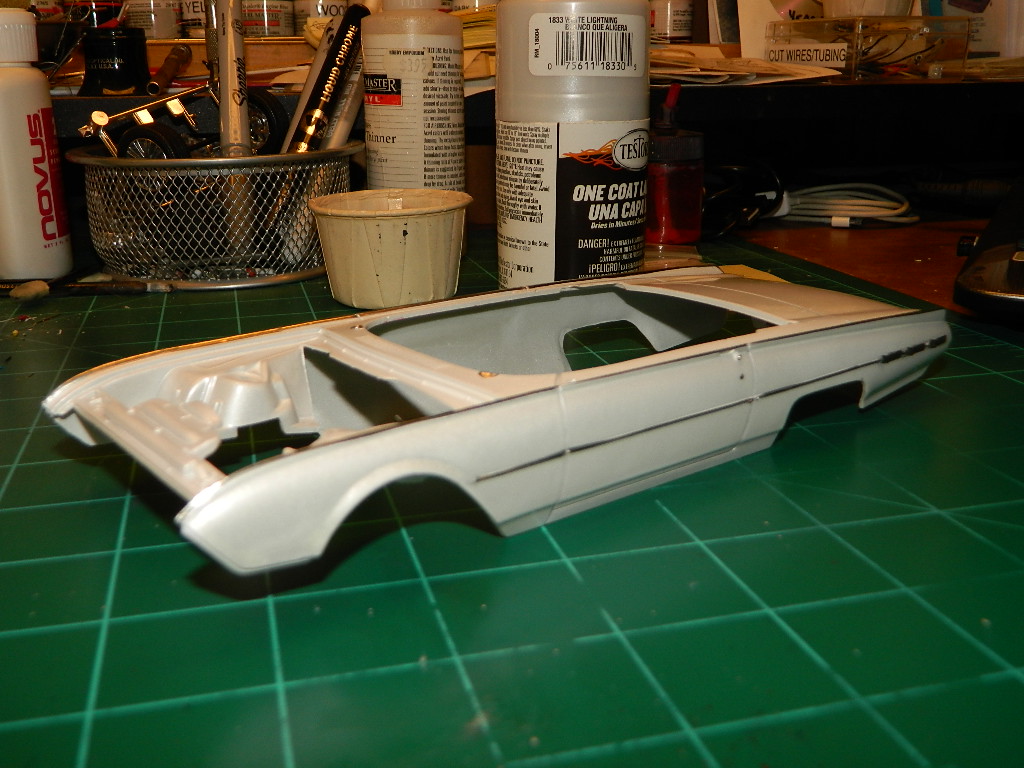
Thanks Tony! I'll watch for that if I do clearcoat the T-Bird. I got the rear seat cover and the hood out of the stripper yesterday and I started sanding this morning. This afternoon, I gave them both a good coating of primer and tonight or tomorrow morning, I'll sand any imperfections and paint them with Testors One Coat Lacquer White Lightning. Meanwhile, I've been doing some assembly of the T-Bird. It should be ready for the Classic Plastic Model Club Exhibition on Sunday! More to come...
-
Great job, Jim! I even like how the windshield washer fluid is sloshing around in the tank!
-
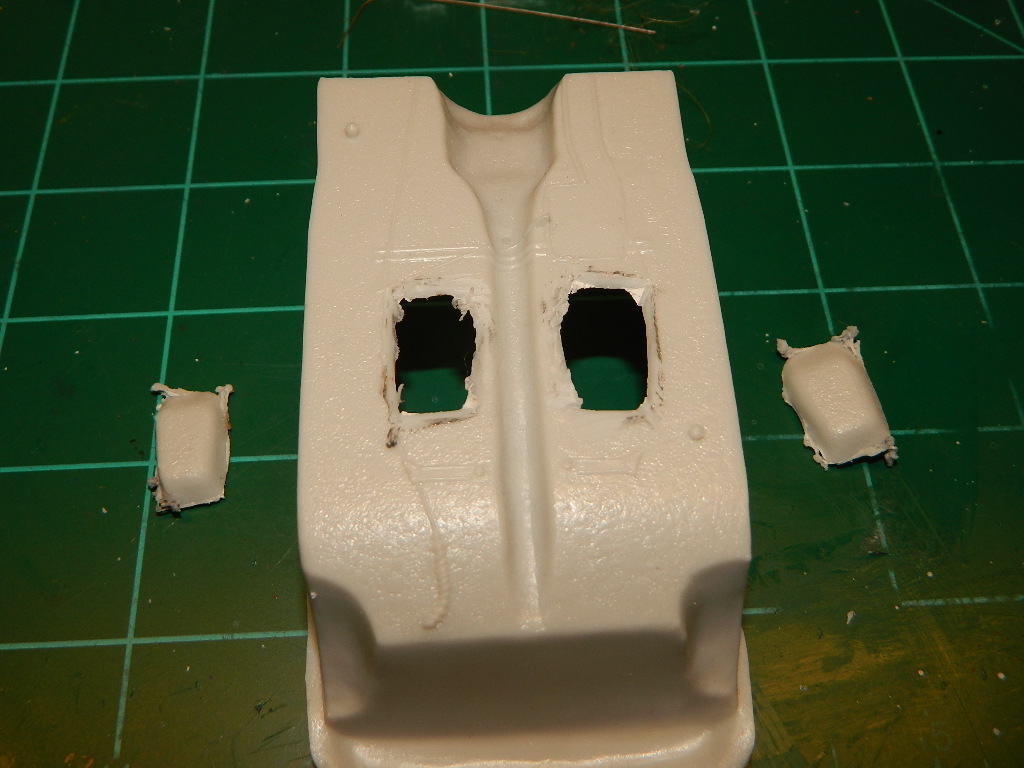
I dove into my parts box this morning in search for parts to make a buddy seat for my '68 Charger R/T. I found a bench seat from the AMT '71 Charger R/T and started to wonder if I could use the center section for this. I pulled out my razor saw and cut away the seats and removed the fold-down armrest and center cushion. A little sanding and trimming and I have a buddy seat. The buddy seat looks pretty good in a mockup. I need some more sanding and filling in the gaps in the seat cushion and the armrest and it should be good to go! More Mopar to come...
-
I got the body polished and foiled and now to clearcoat it. The hood and the rear seat cover are back in the stripper since my new can of paint ran like crazy with just using mist coats. I'm going to re-prime and repaint these pieces.
-
I love it Randy! As usual, your attention to detail and the clean building is very apparent! Excellent job!
-
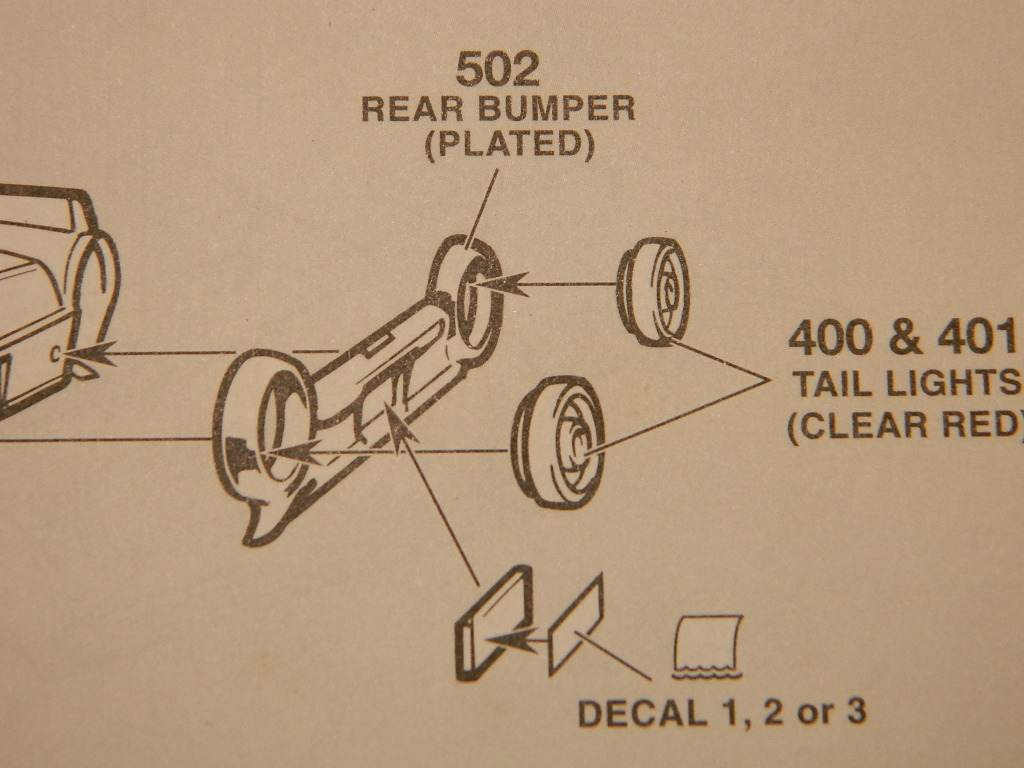
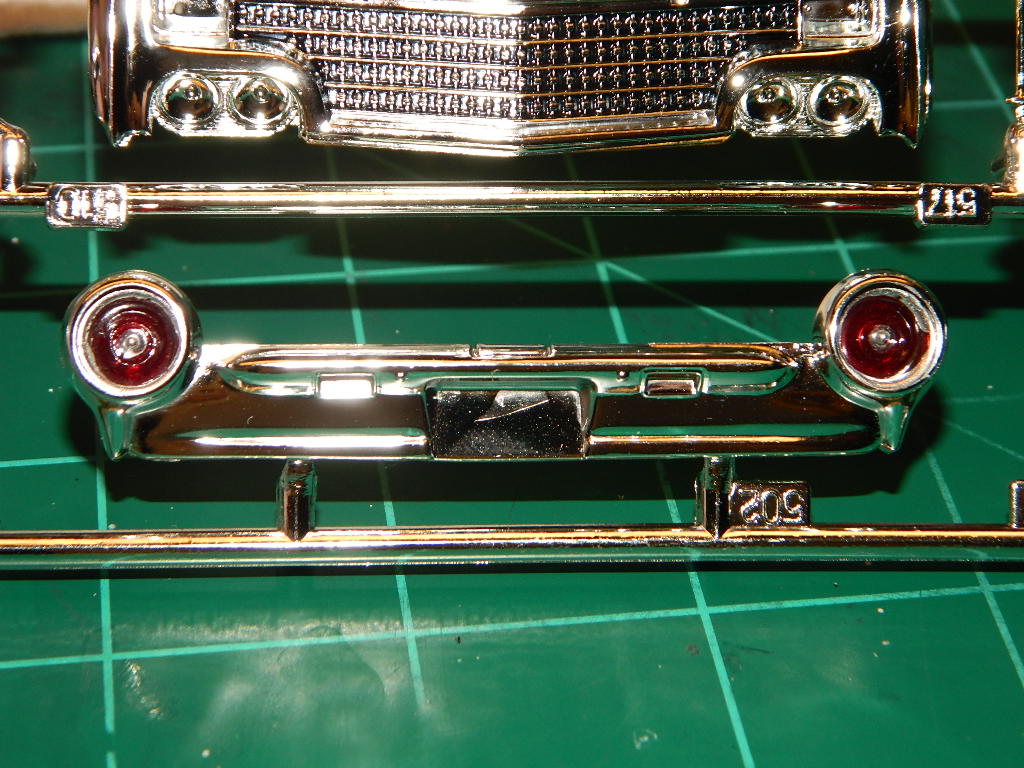
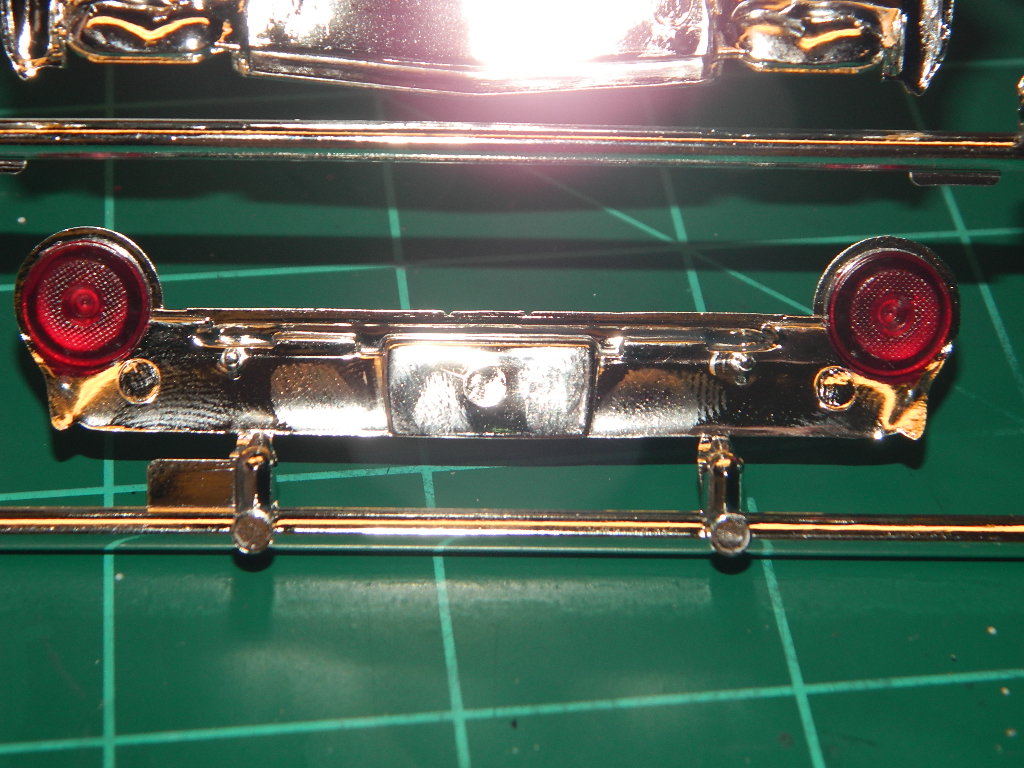
Thanks Ron! The White Lighning paint is a really nice shimmery color, but I have to be careful when using it. I need to make sure of the coverage is even on all surfaces. It's great to have a tribute of a relative's car for the collection! I have one of my father's '71 Merc Cougar that I made from the AMT '73 Cougar. It's close to what he had-351 2-bbl., single exhaust, auto trans., whitewalls, and black vinyl top with a maroon body. I should do one of his last car, a '79 Caddy Coupe deVille. Black over black with red leather. I wanted to insert the taillights and looked at the instructions which says to add the rear bumper first then insert the taillights, but something didn't seem right. The taillights stood out a country mile and needed a lot of chrome trim around the lenses! I mounted the taillights inside the bumper and they fit nice and flush. This seems the better way to go! More to come...