mrmike
-
Posts
5,324 -
Joined
-
Last visited
Content Type
Profiles
Forums
Events
Gallery
Everything posted by mrmike
-
This my newest project, the '53 Studebaker. For what I have in mind, this may take me a while. This kit was given to me be Classic Plastic Model Club member Barry Fadden and it is minus the decals and the kit tires, which are of no concern to me as I am using two 19" Pegasus Hellas and two 23" Pegasus Hollis for wheels and tires. The chassis needs to be tubbed and the kit engine will be replaced with a Ford Cobra 289 and 4-speed trans from the AMT '67 Shelby. The front suspension will be modified as well. I am undecided at this point for interior and body colors. The body might be a metallic blue or metallic green. The body will be shaved of all scripts and the interior might have bucket seats from the Revell '69 Nova COPO.

-
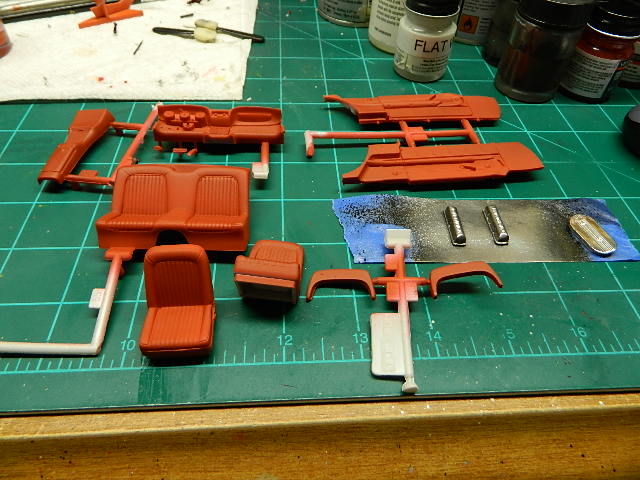
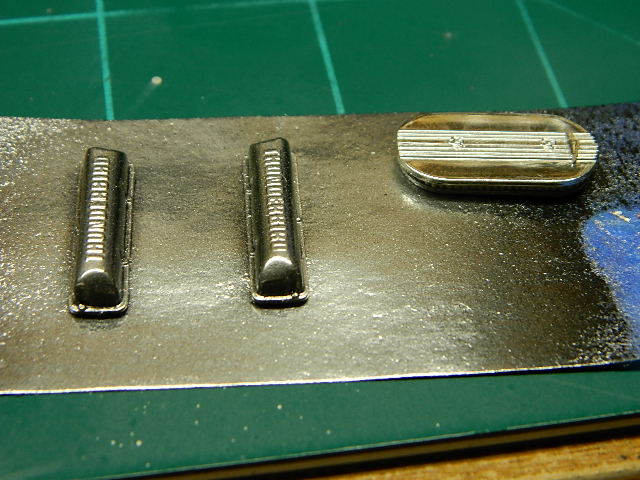
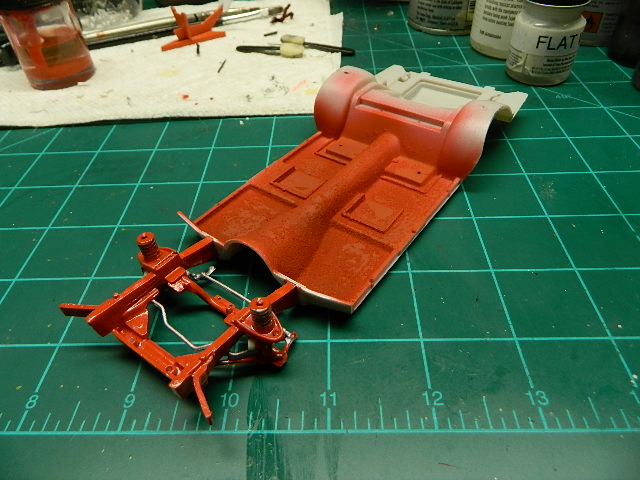
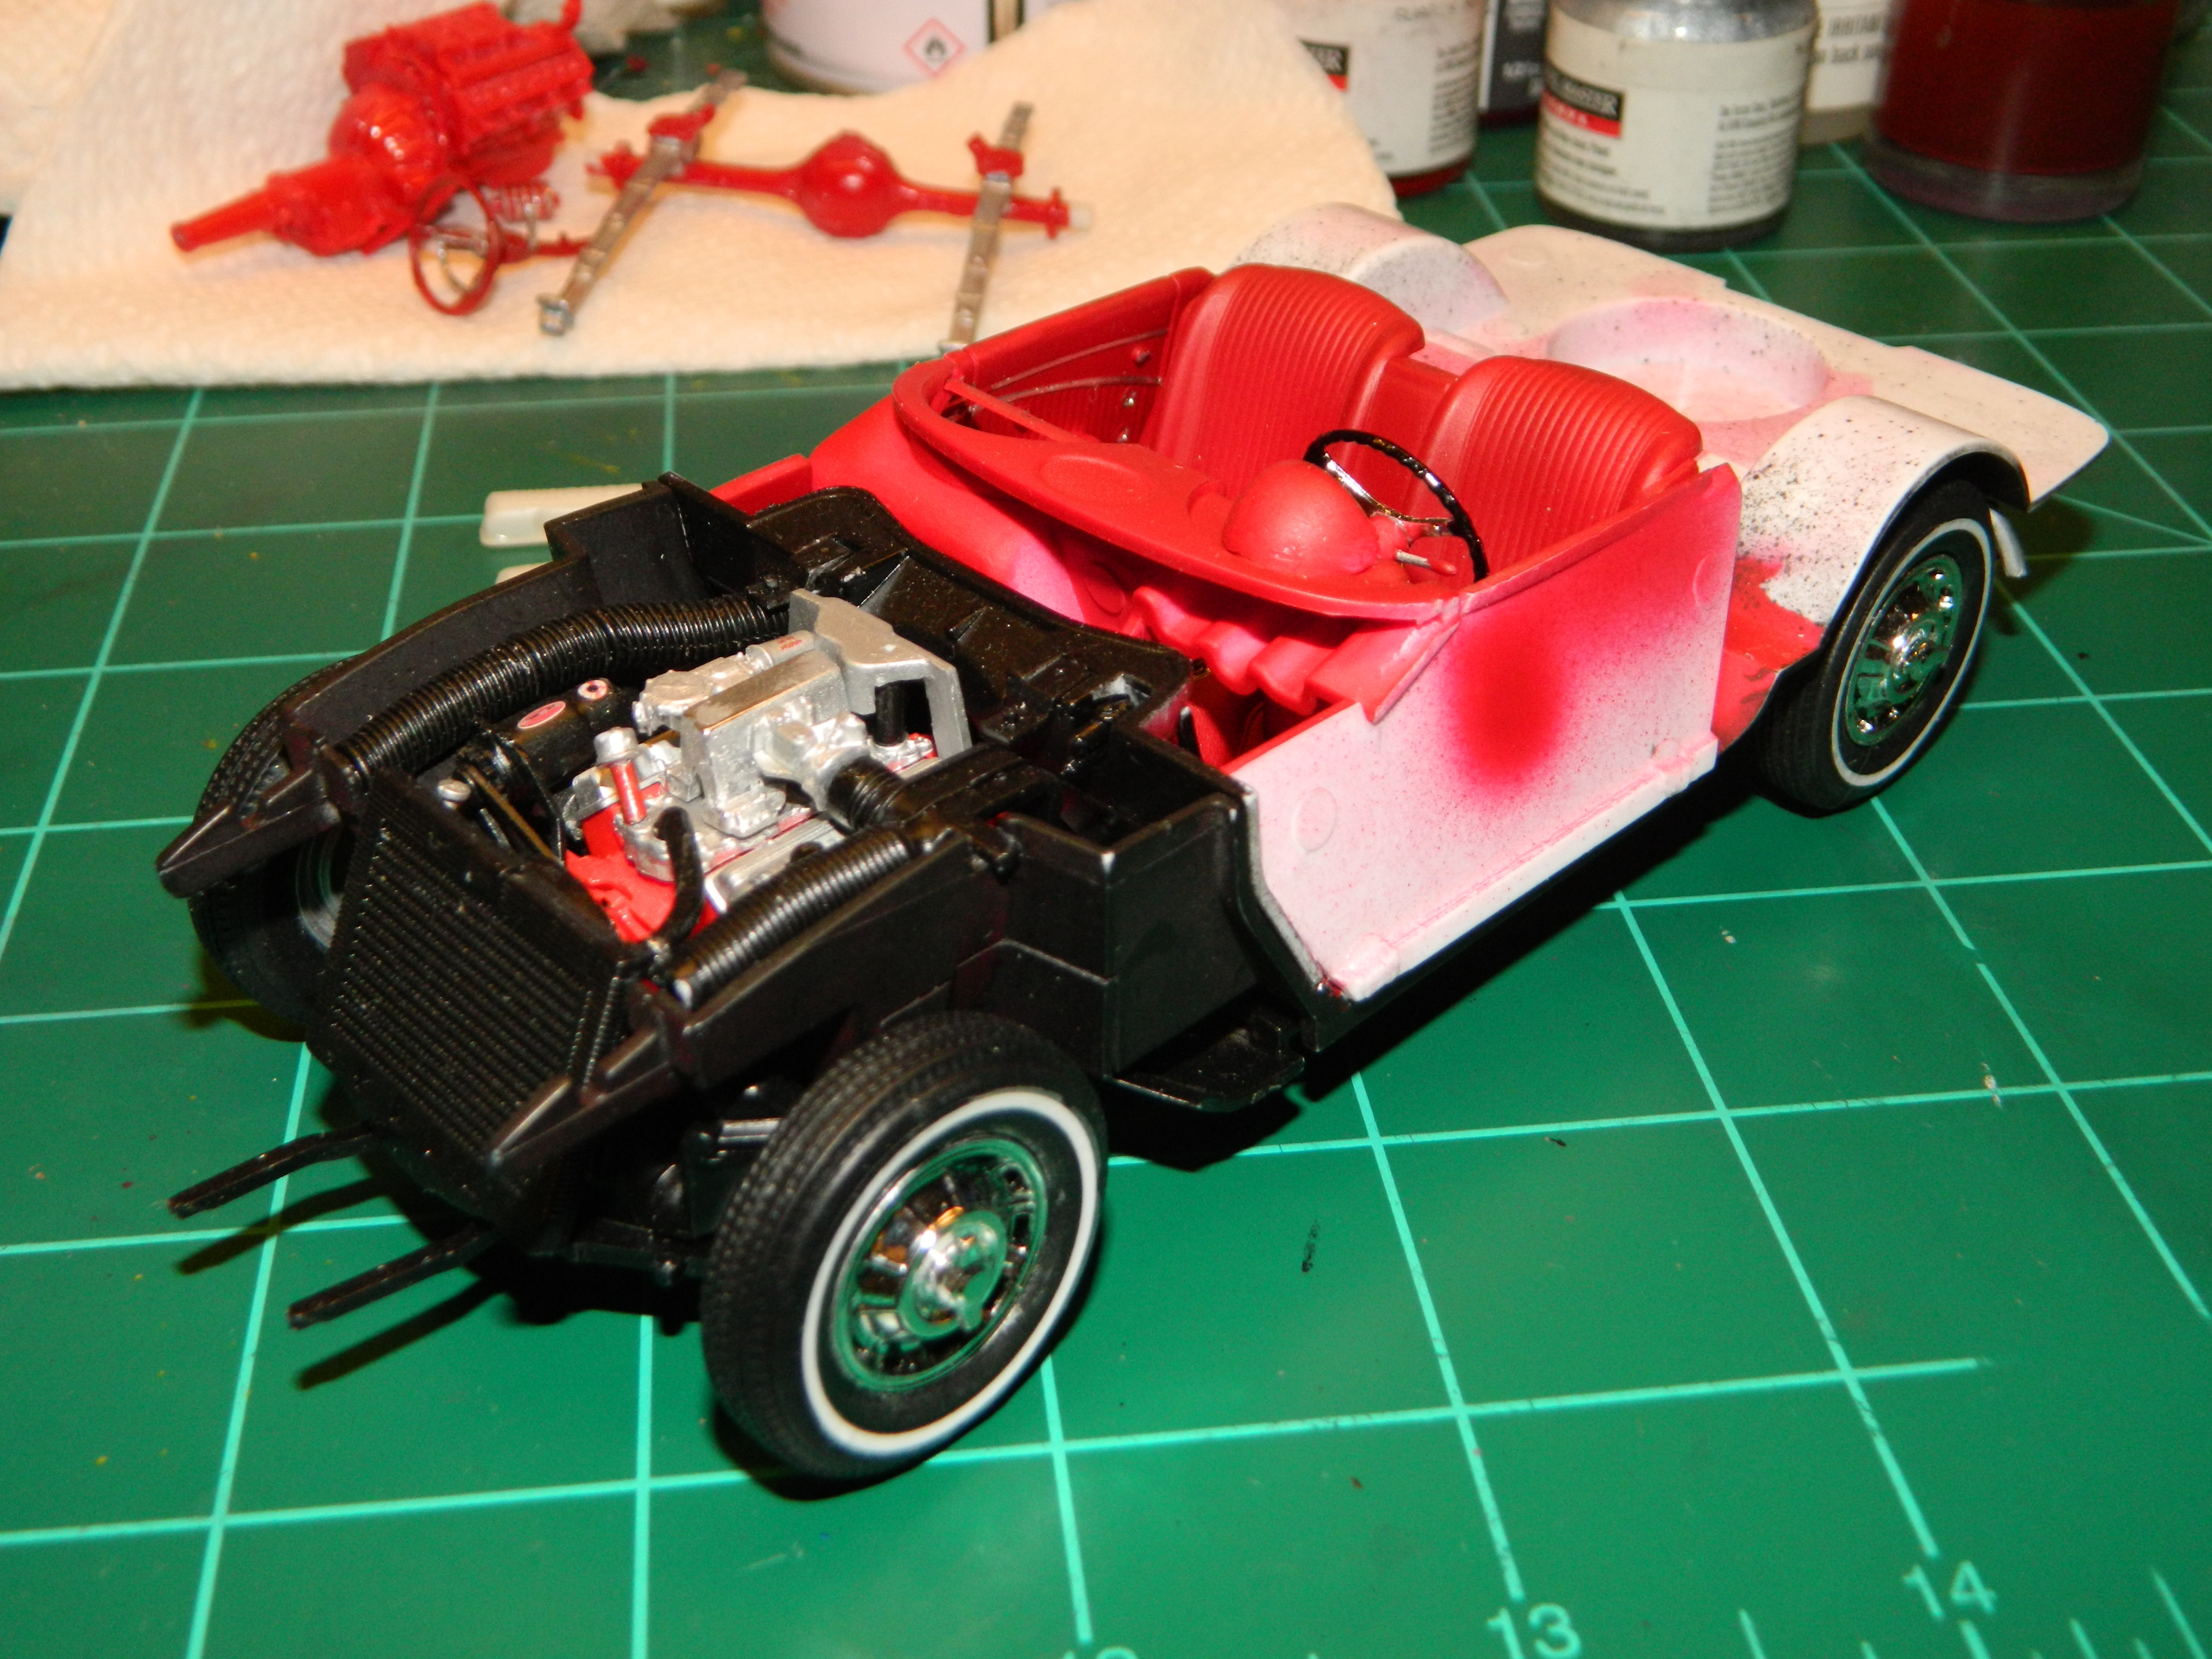
I painted the interior pieces last night with Model Master Insignia Red. I will have to re-apply the embossing powder to the interior floor as some of it came off. The valve covers and the air cleaner base got a coat of Alclad II Chrome.
-
Thank you Jim and Steve!
-
Thank you Eric and "KNOCK IT OFF!"
-
you're welcome, Curtis!
-
Thanks Donald and Lee.
-
Thank you Jeremy! Well, I decided to play around with the camera settings and take some new pictures. I'm not 100% happy with them, but the pictures don't have that burnt look to them.
-
Thank you guys! Lee, the background is white, but my camera settings were off and tinted the background. I doubt I'll take new pictures.
-
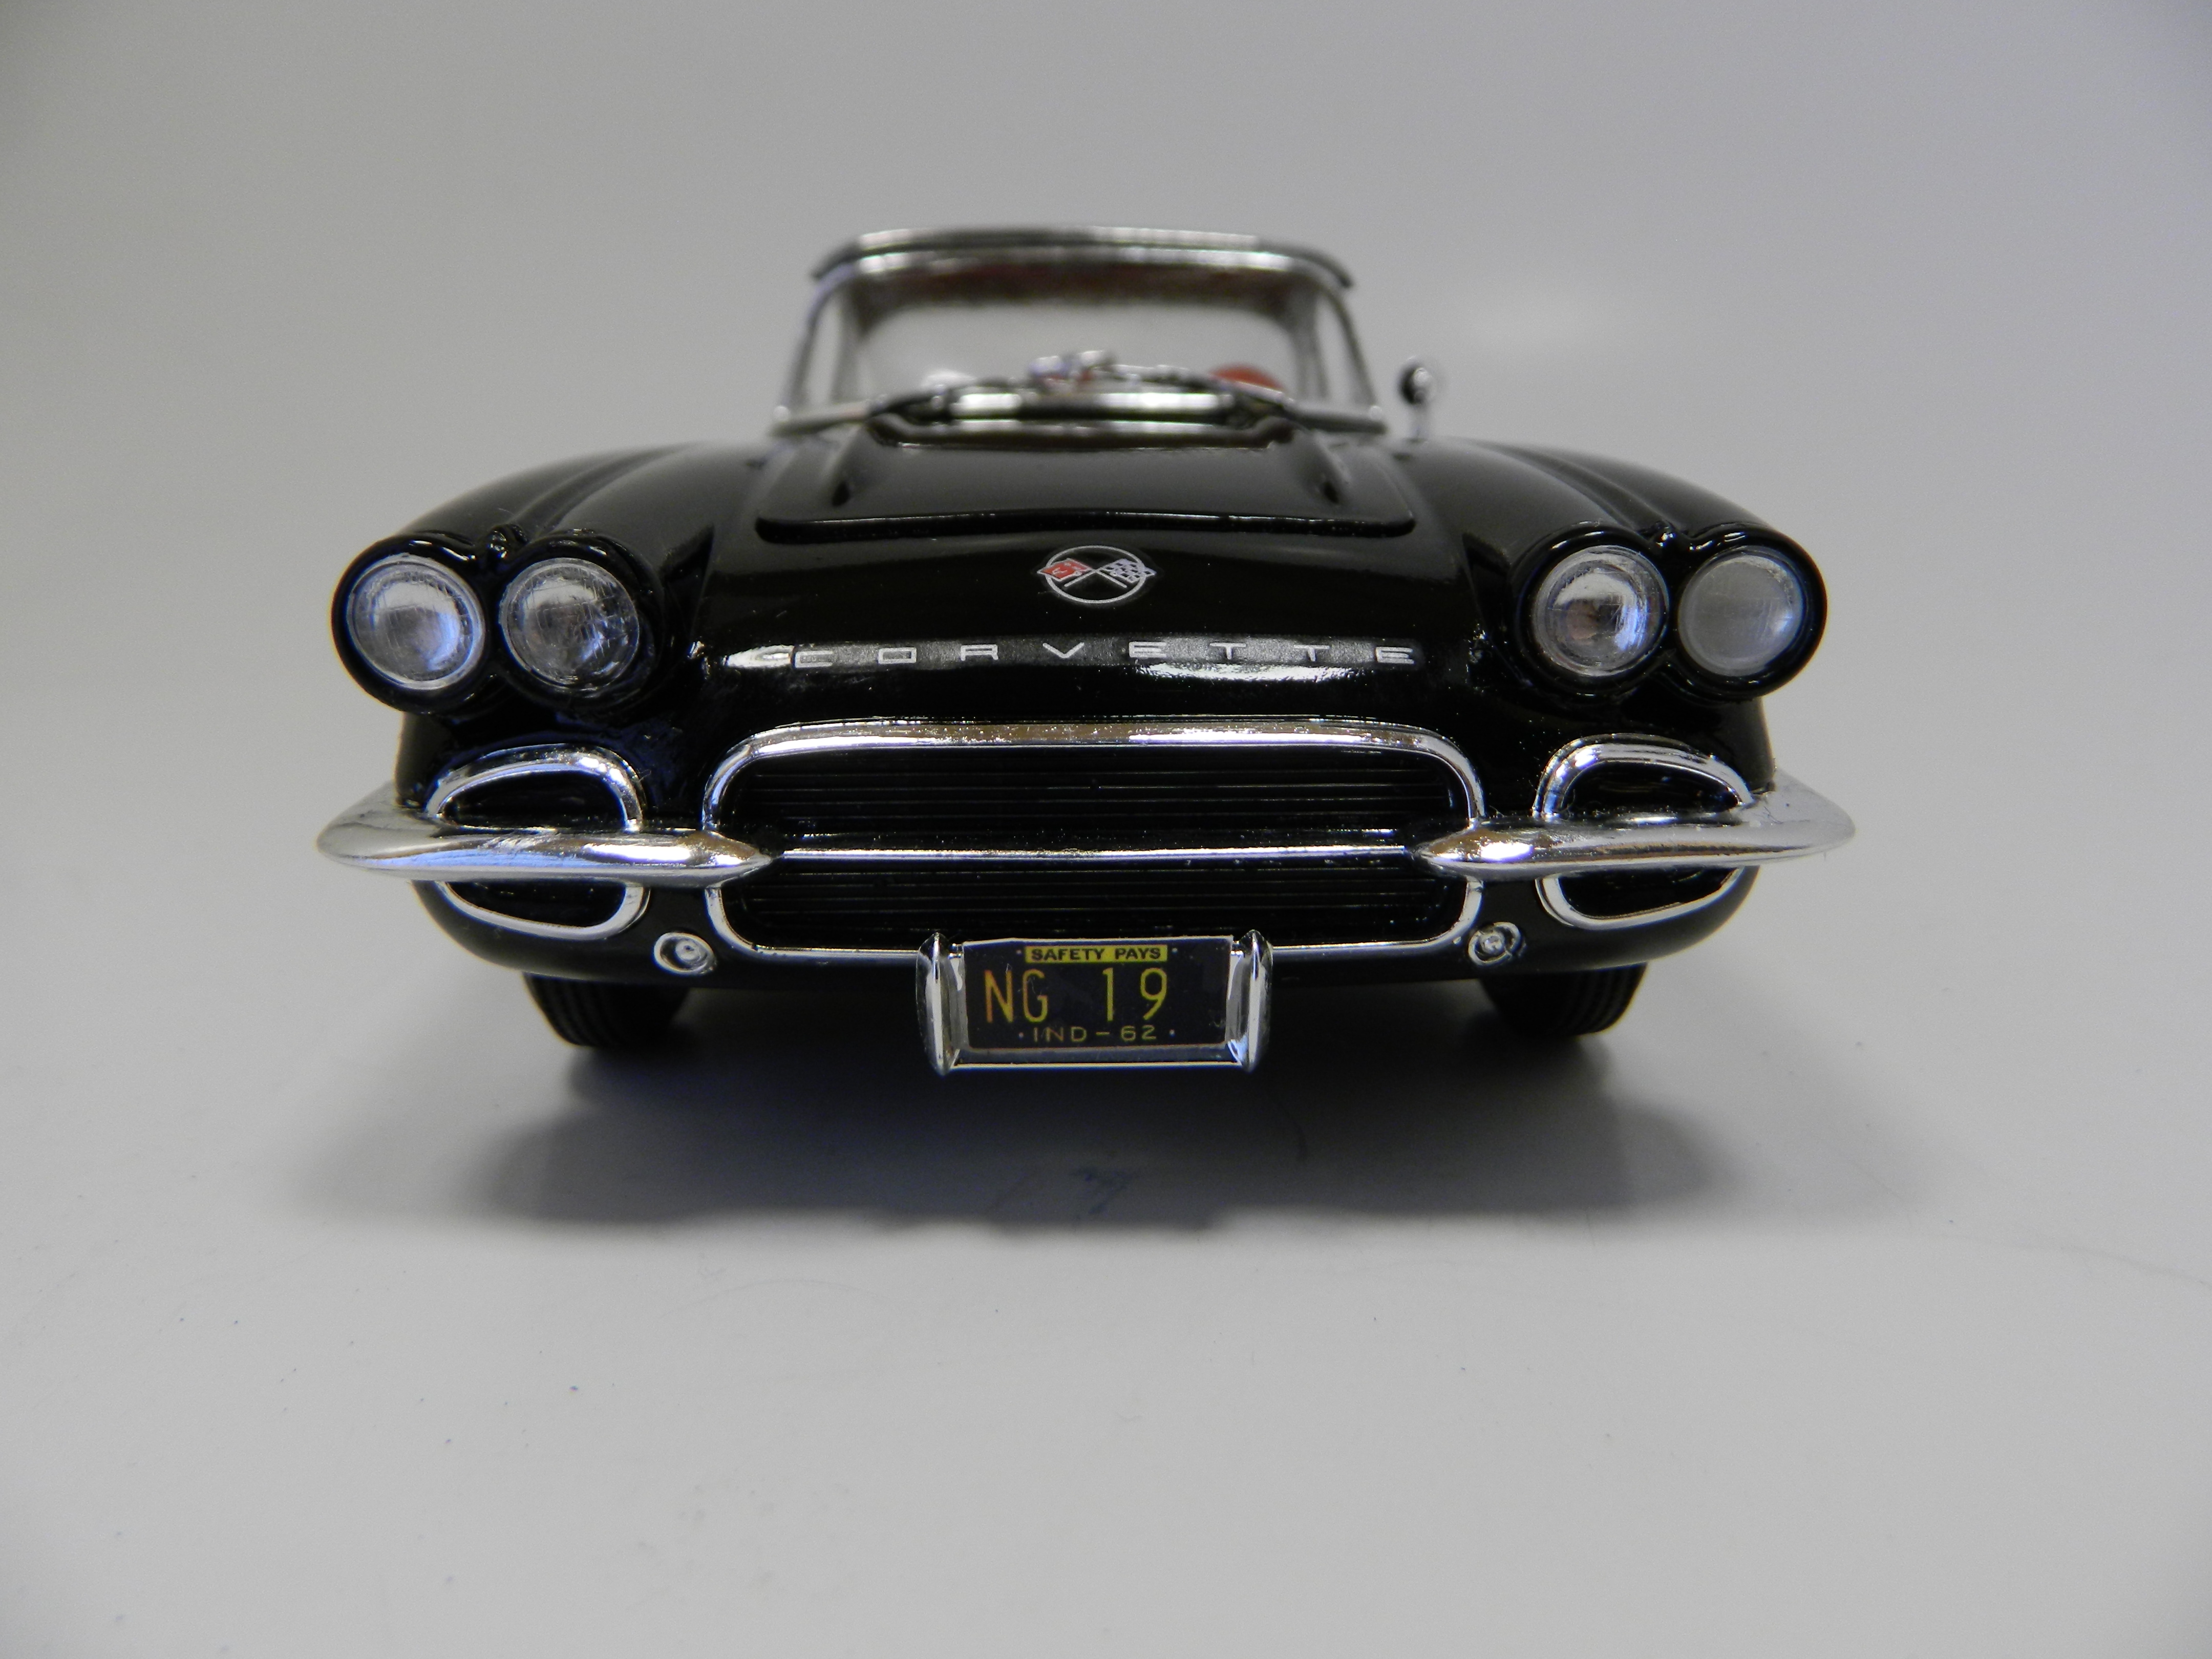
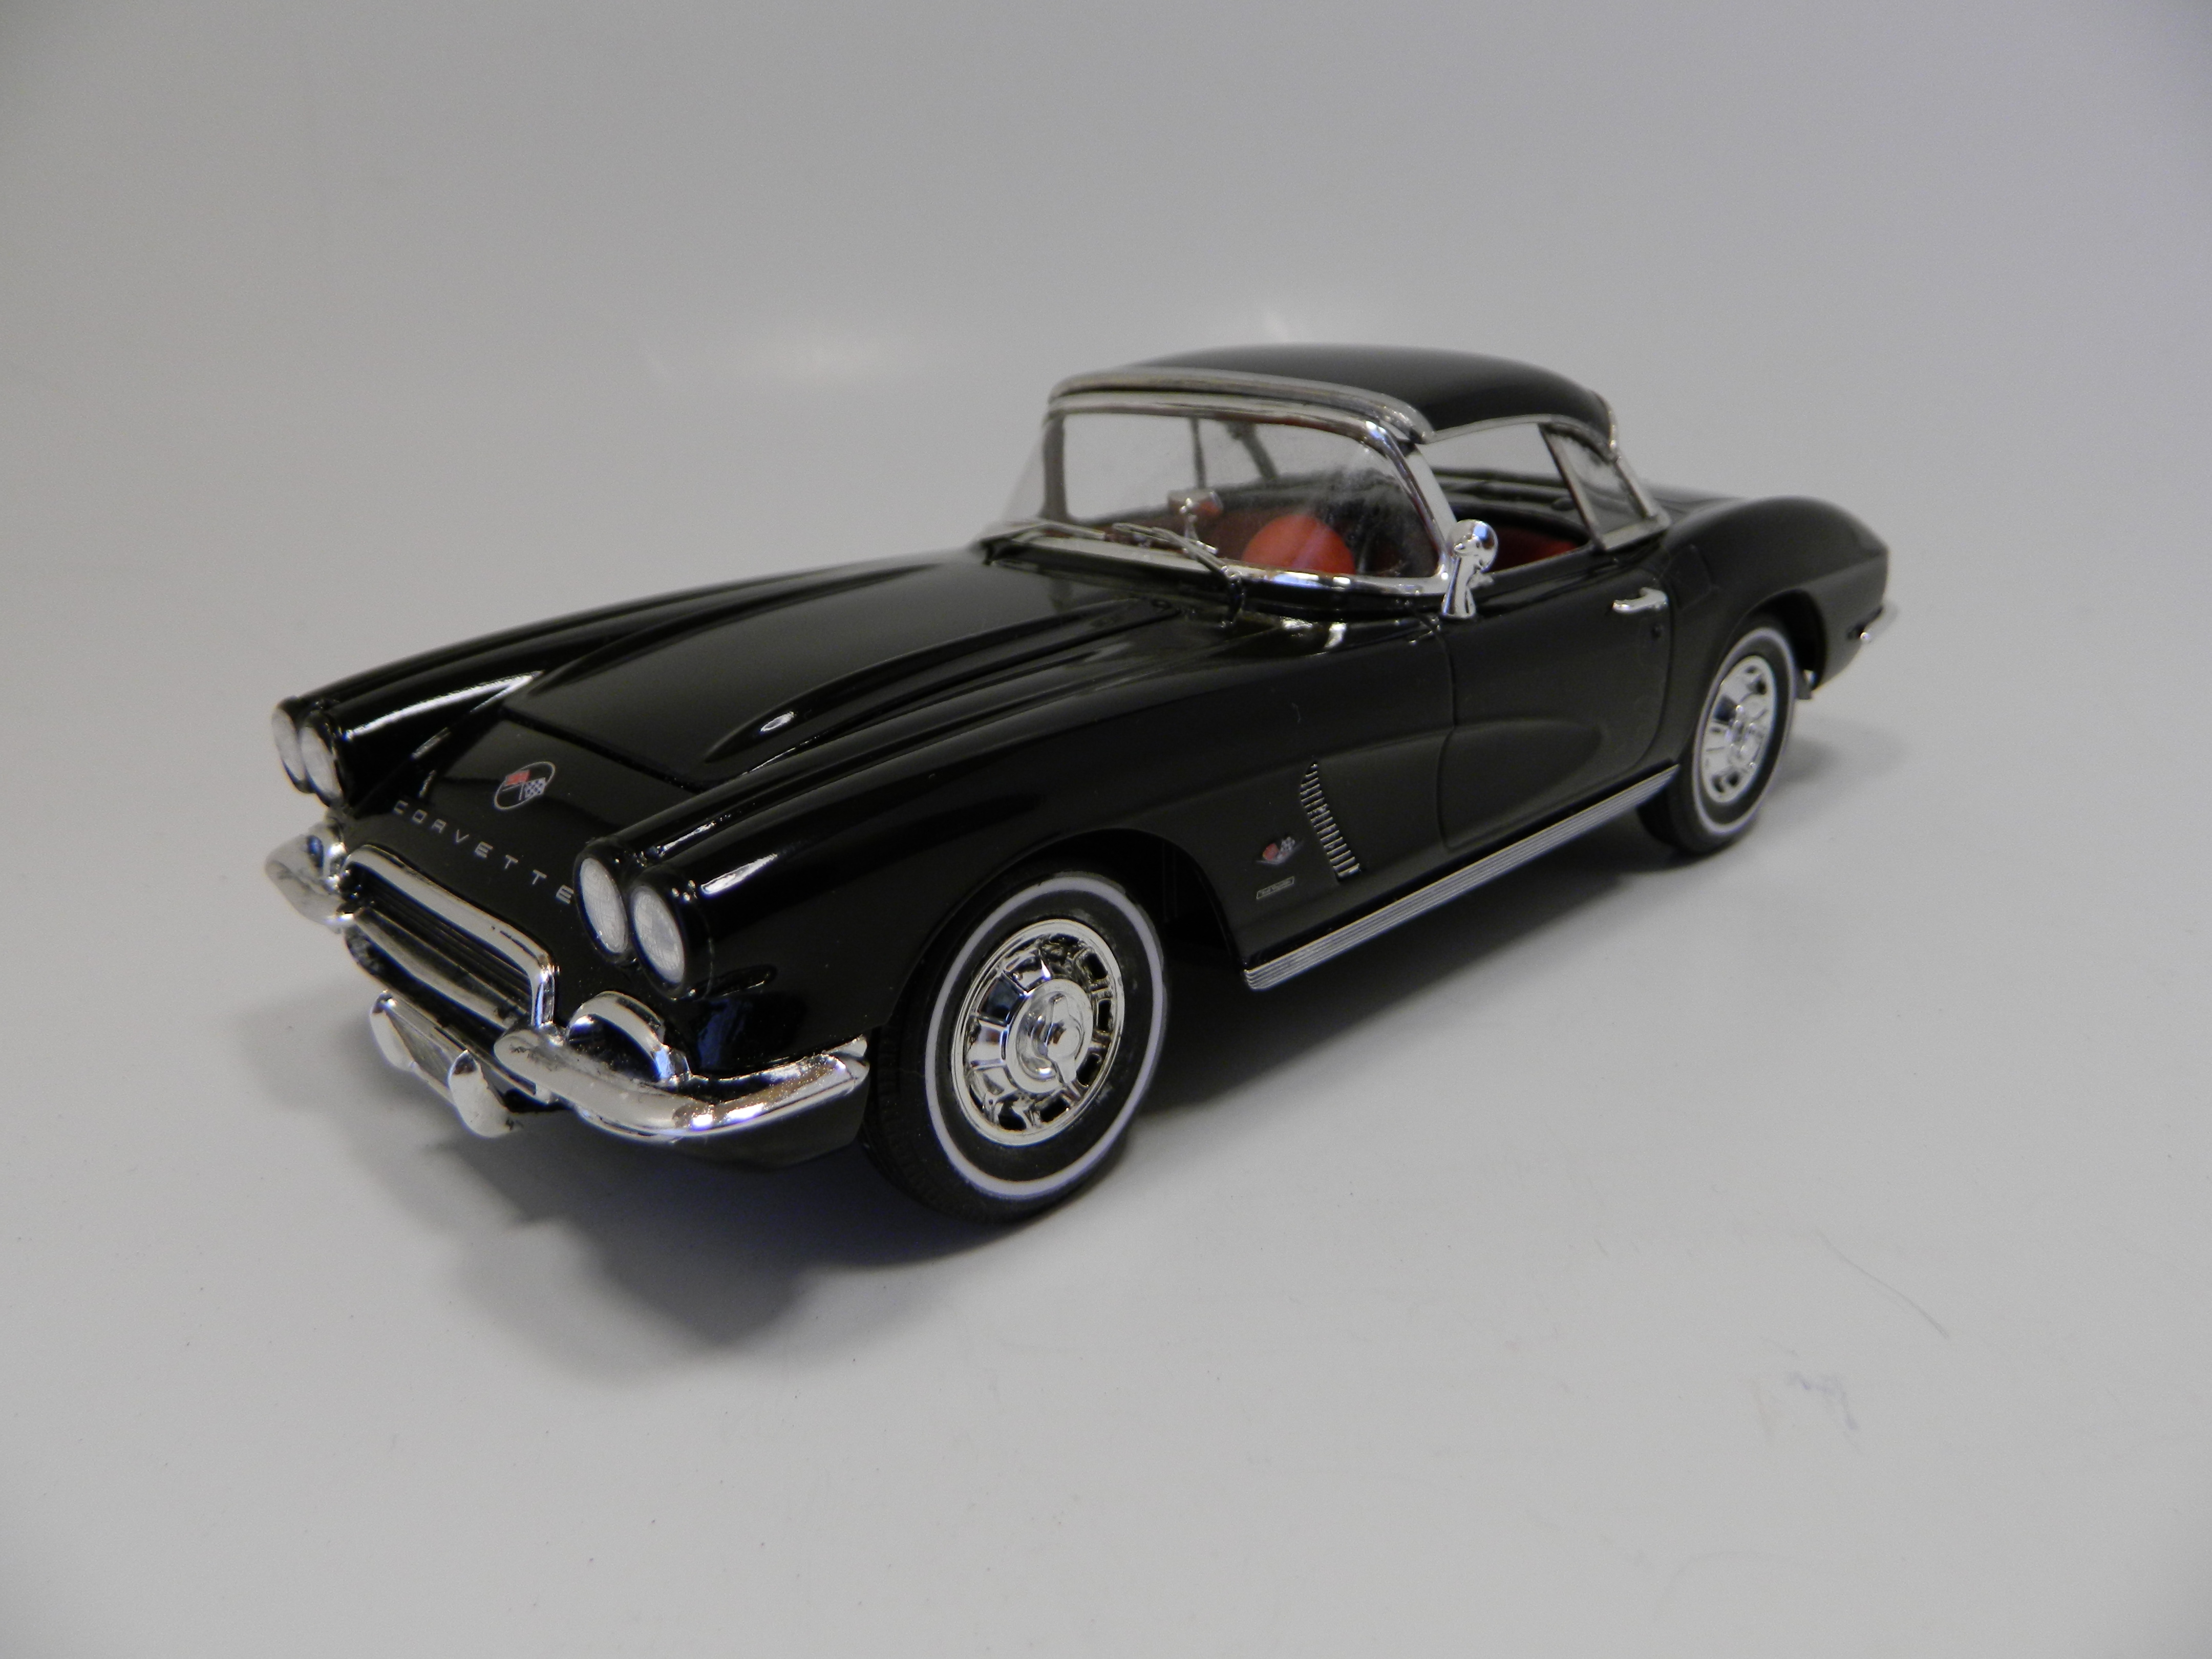
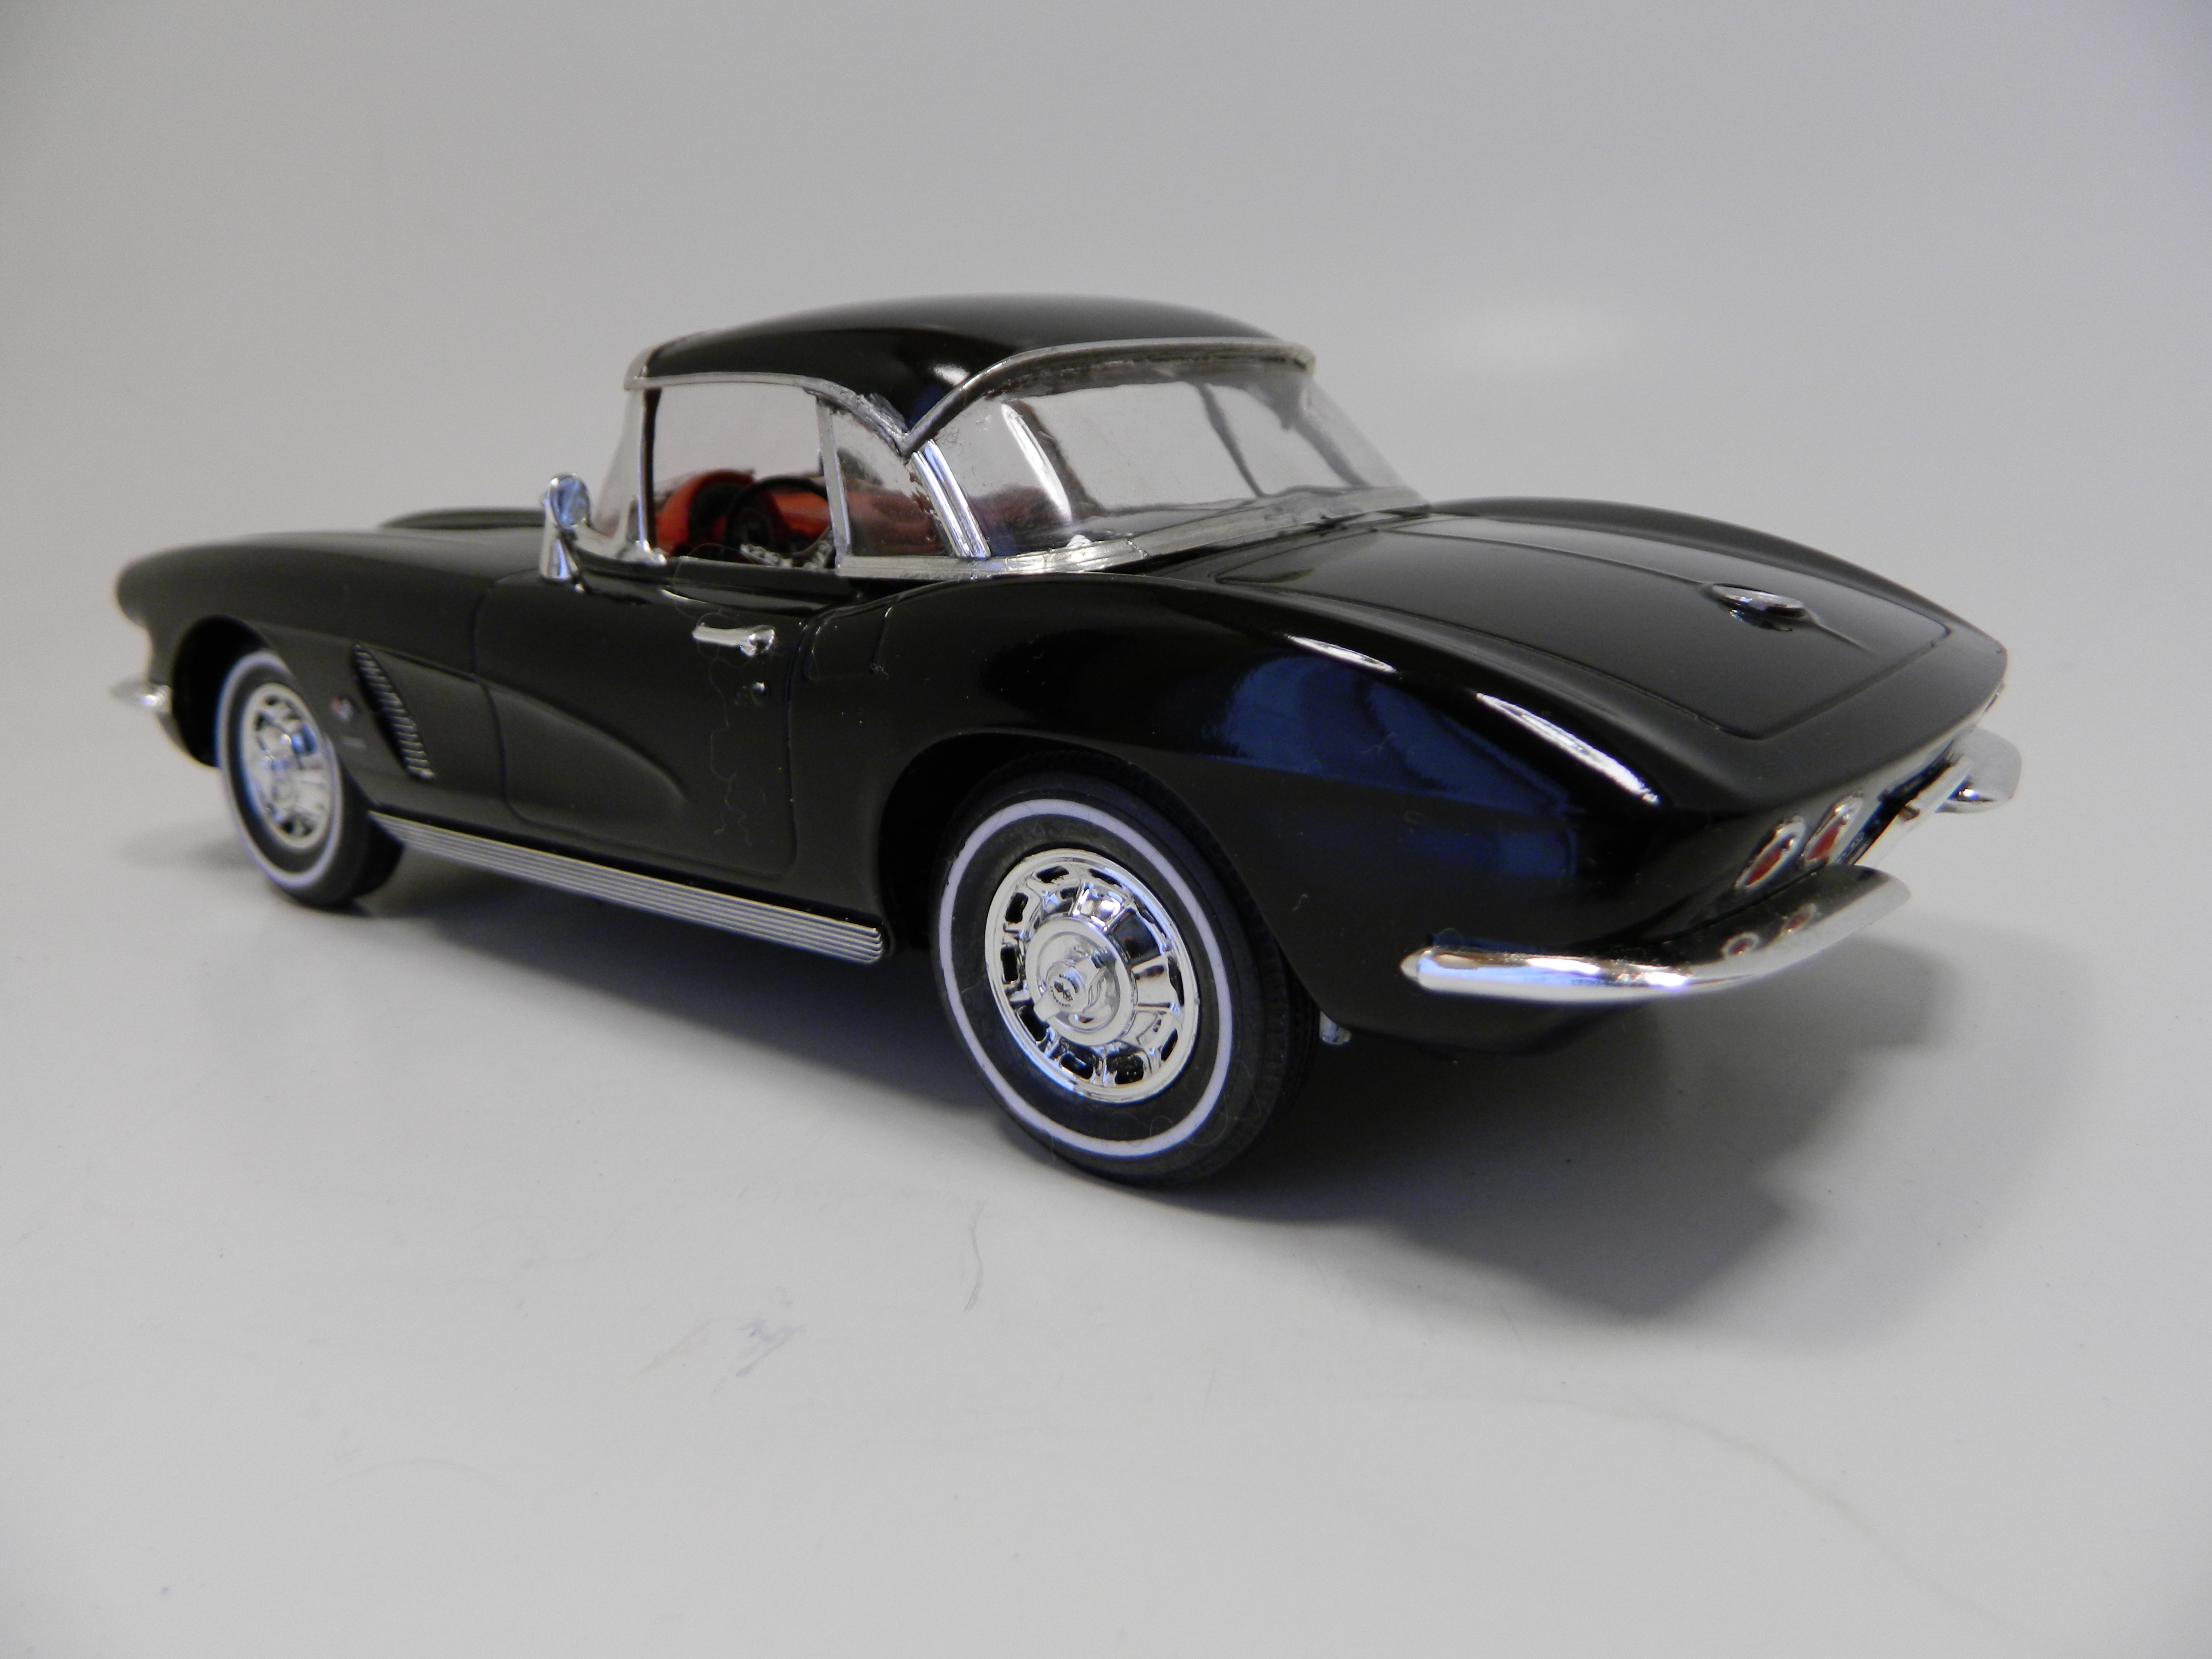
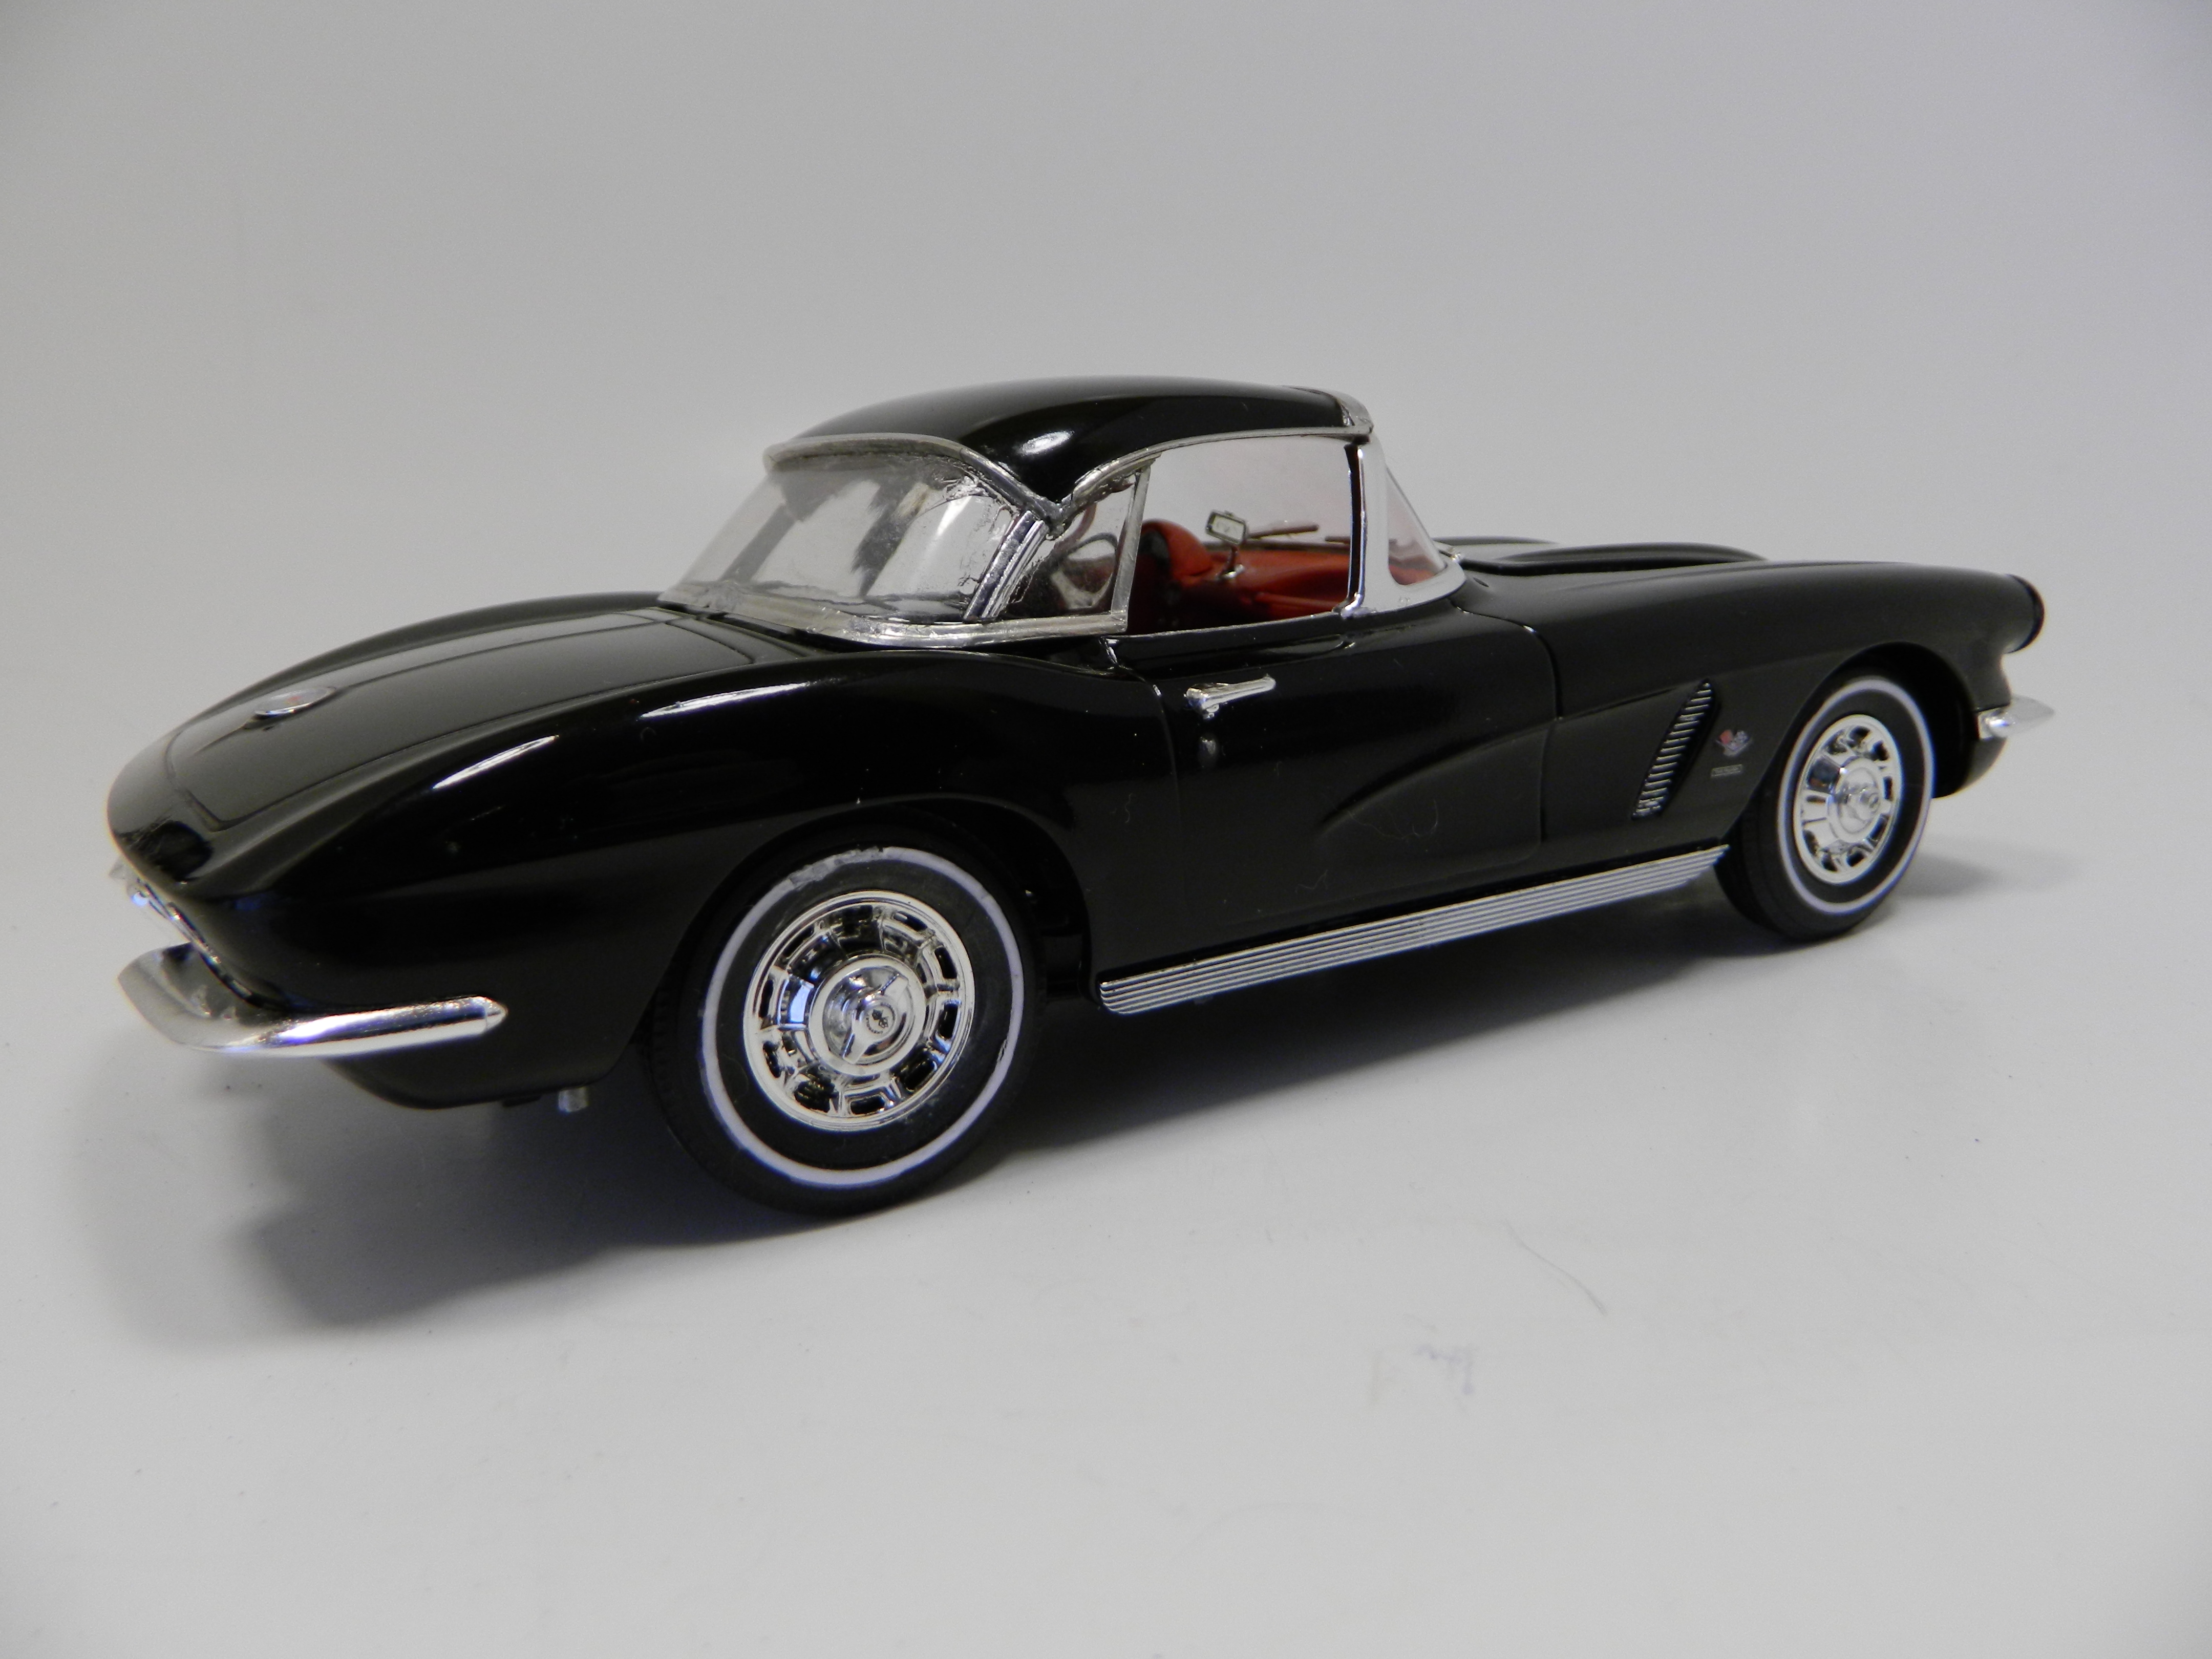
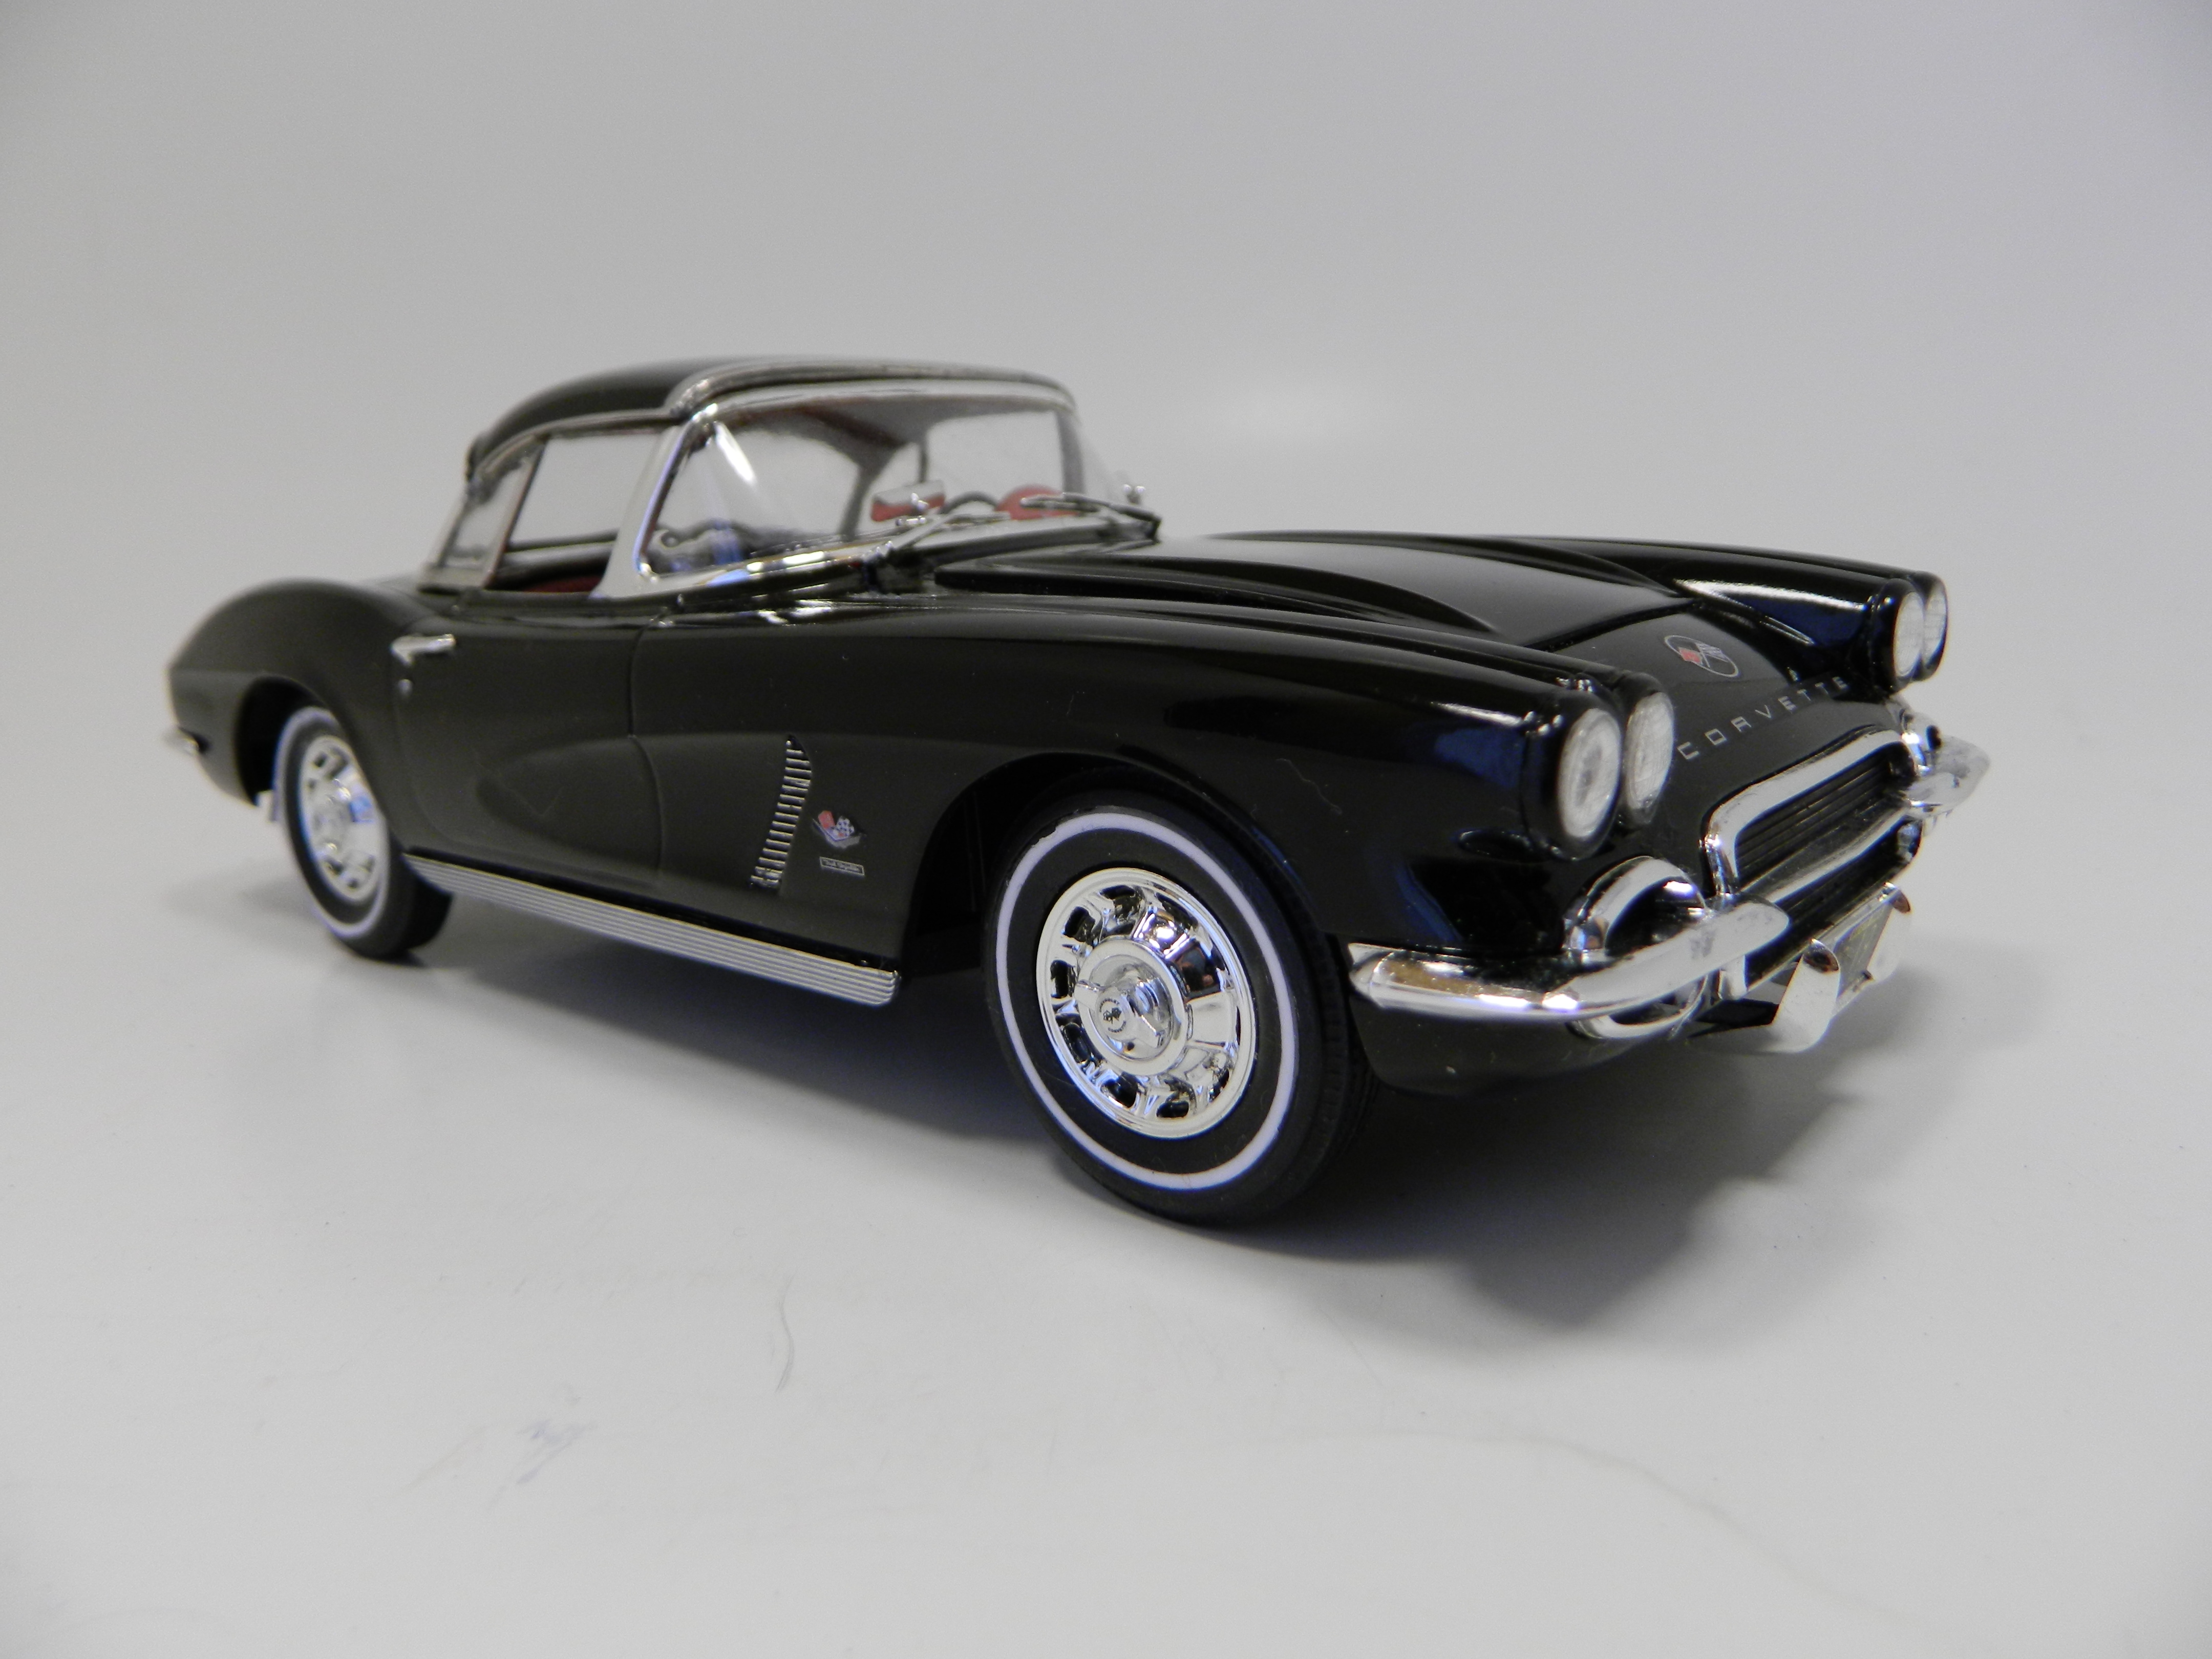
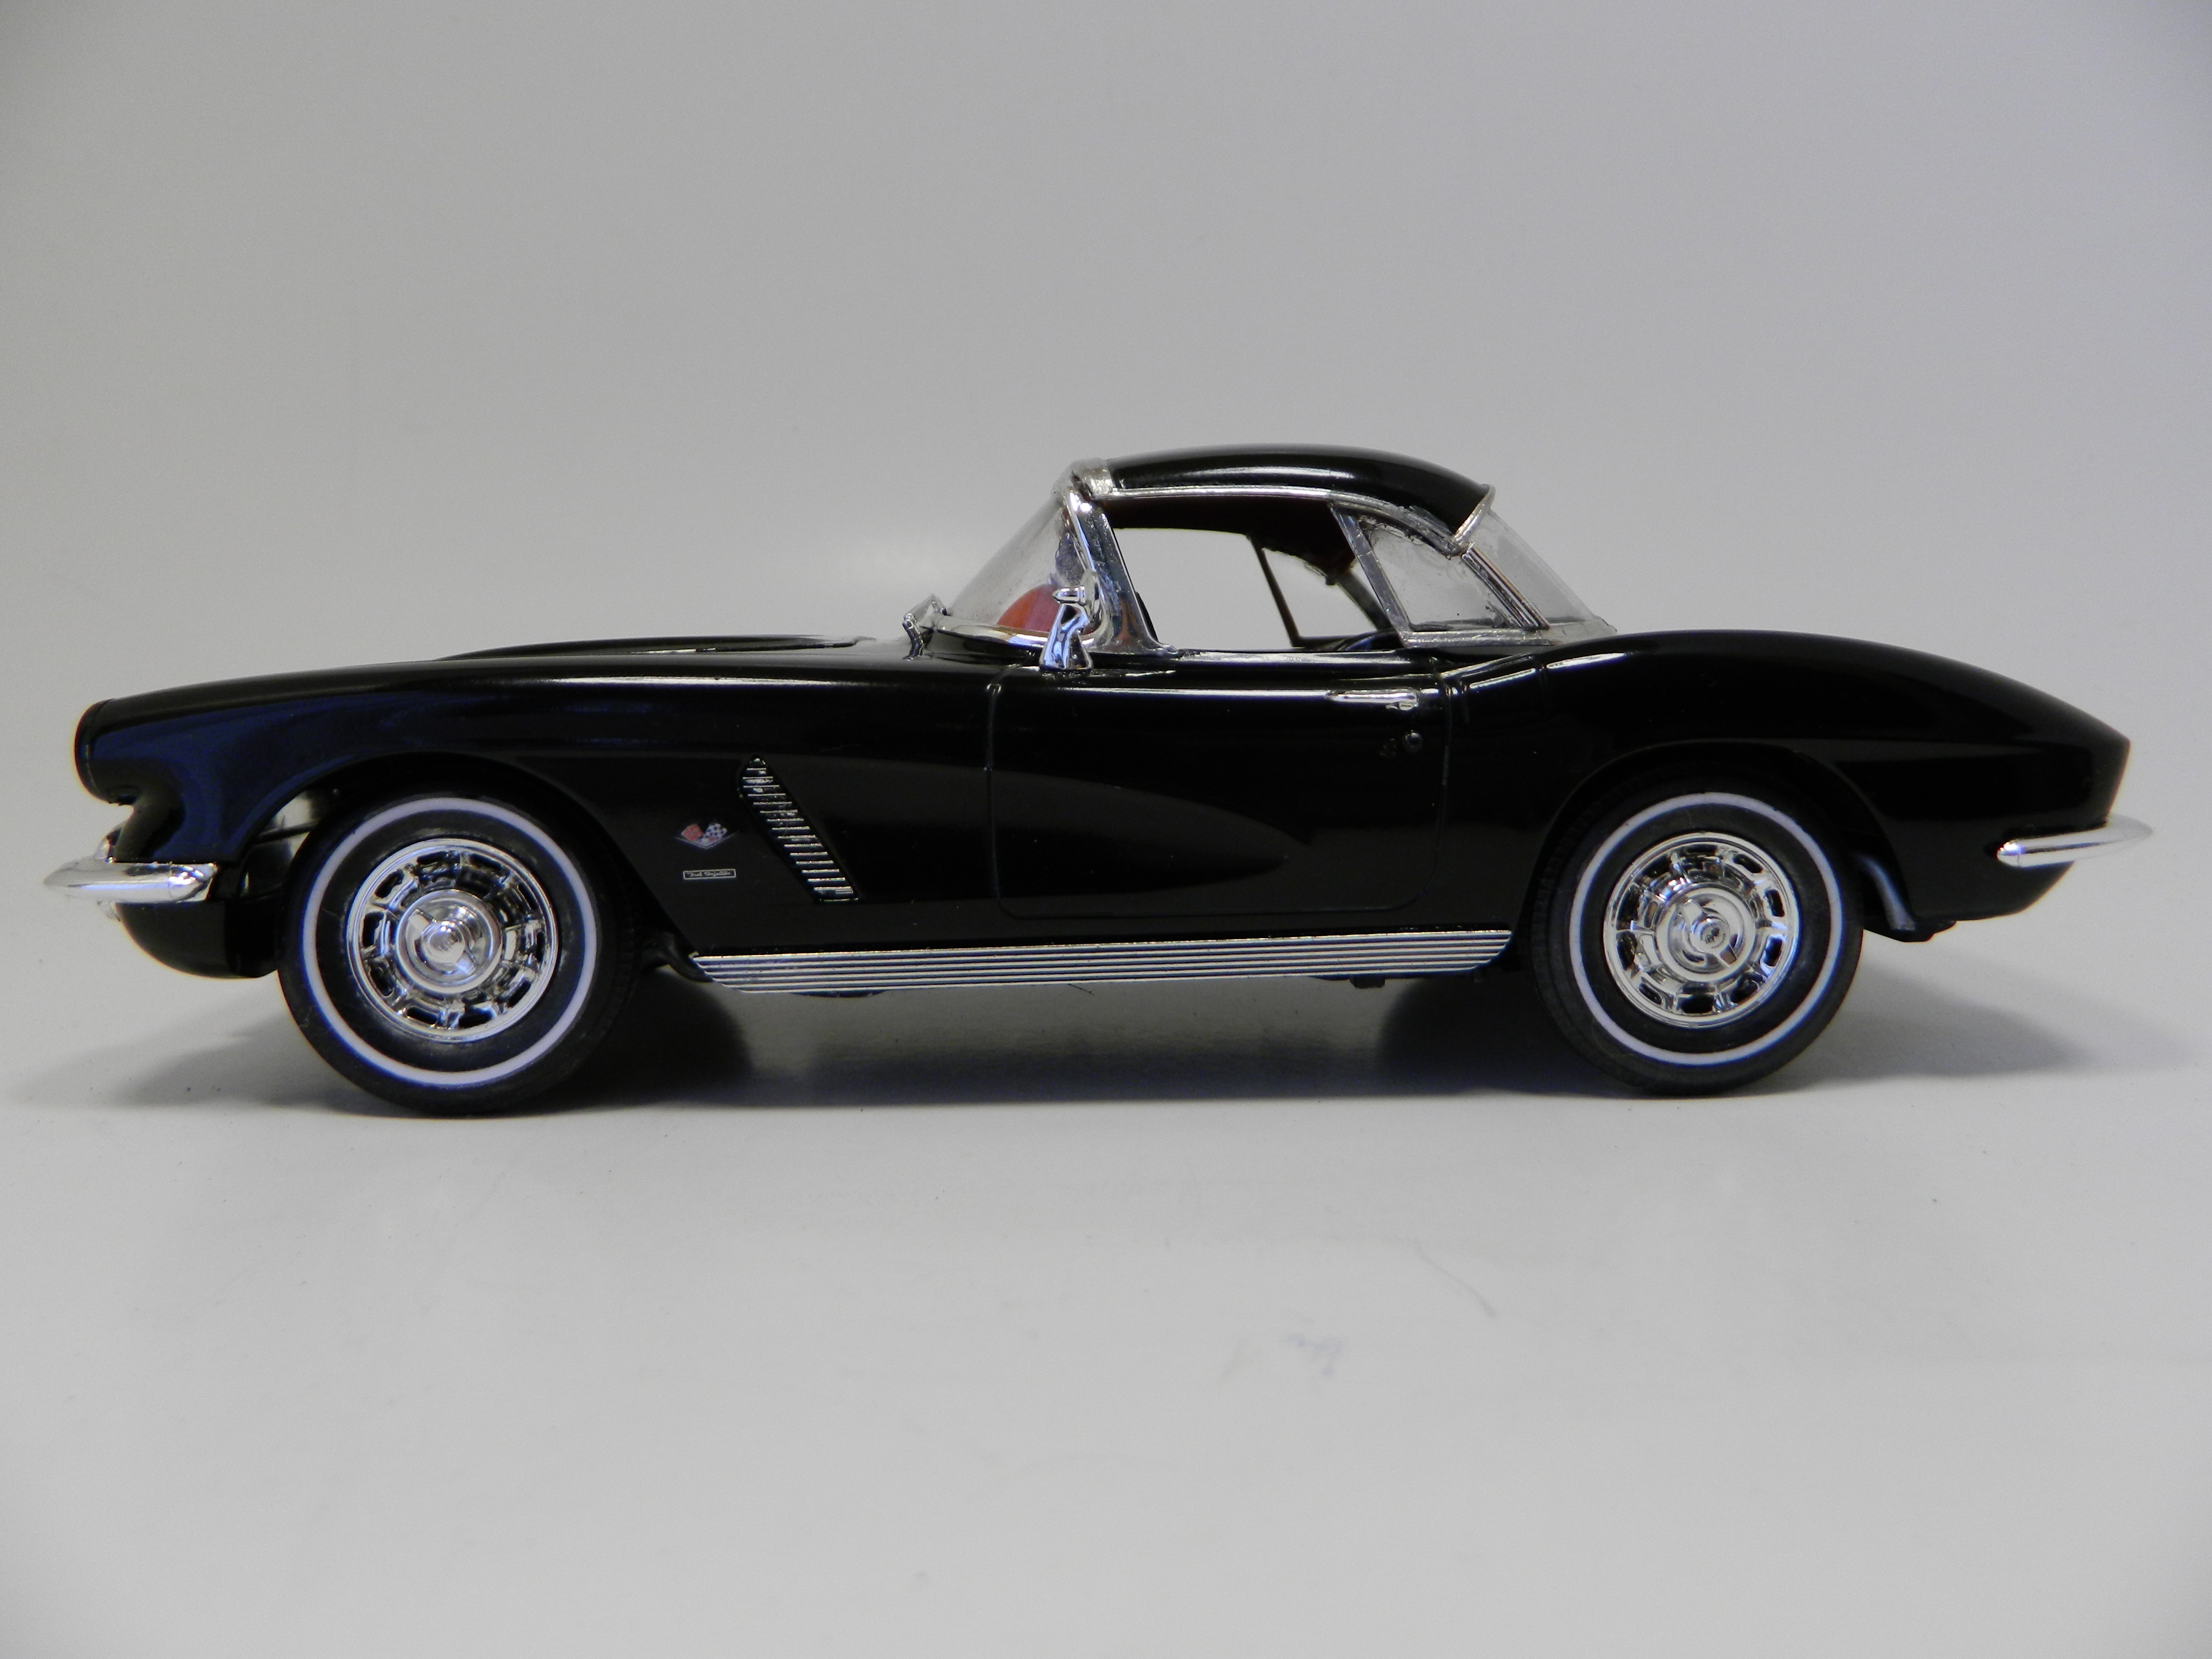
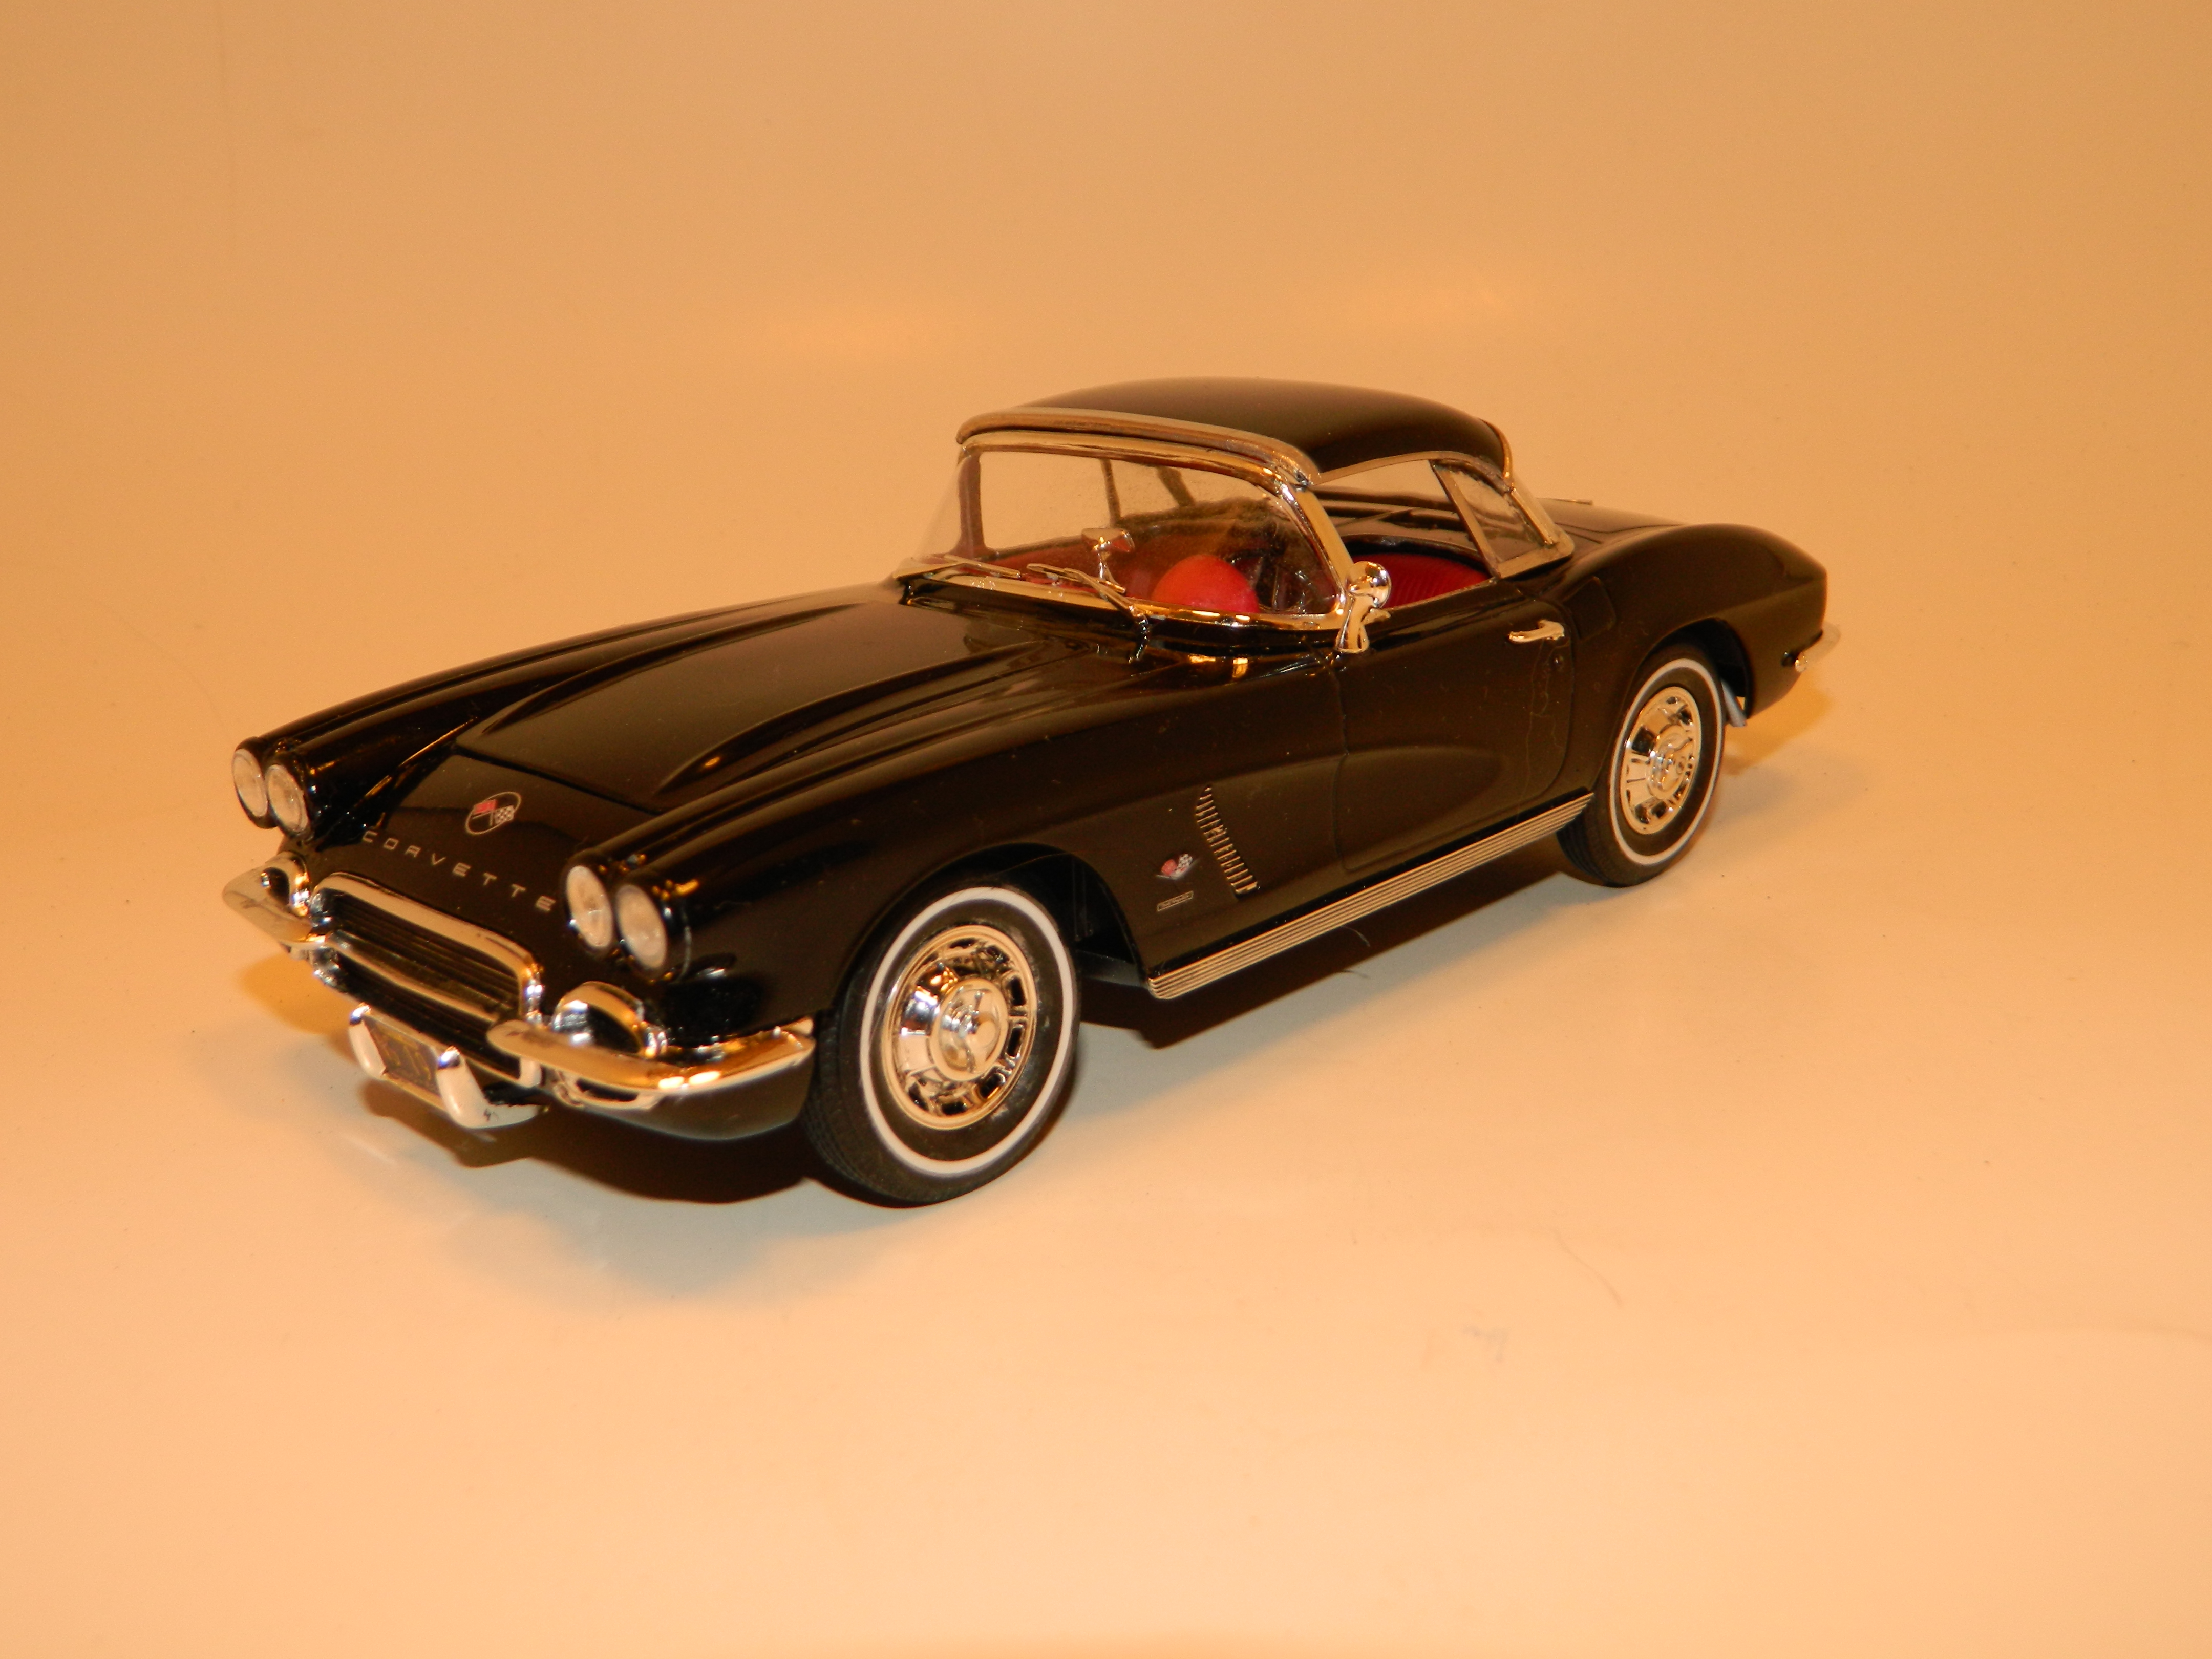
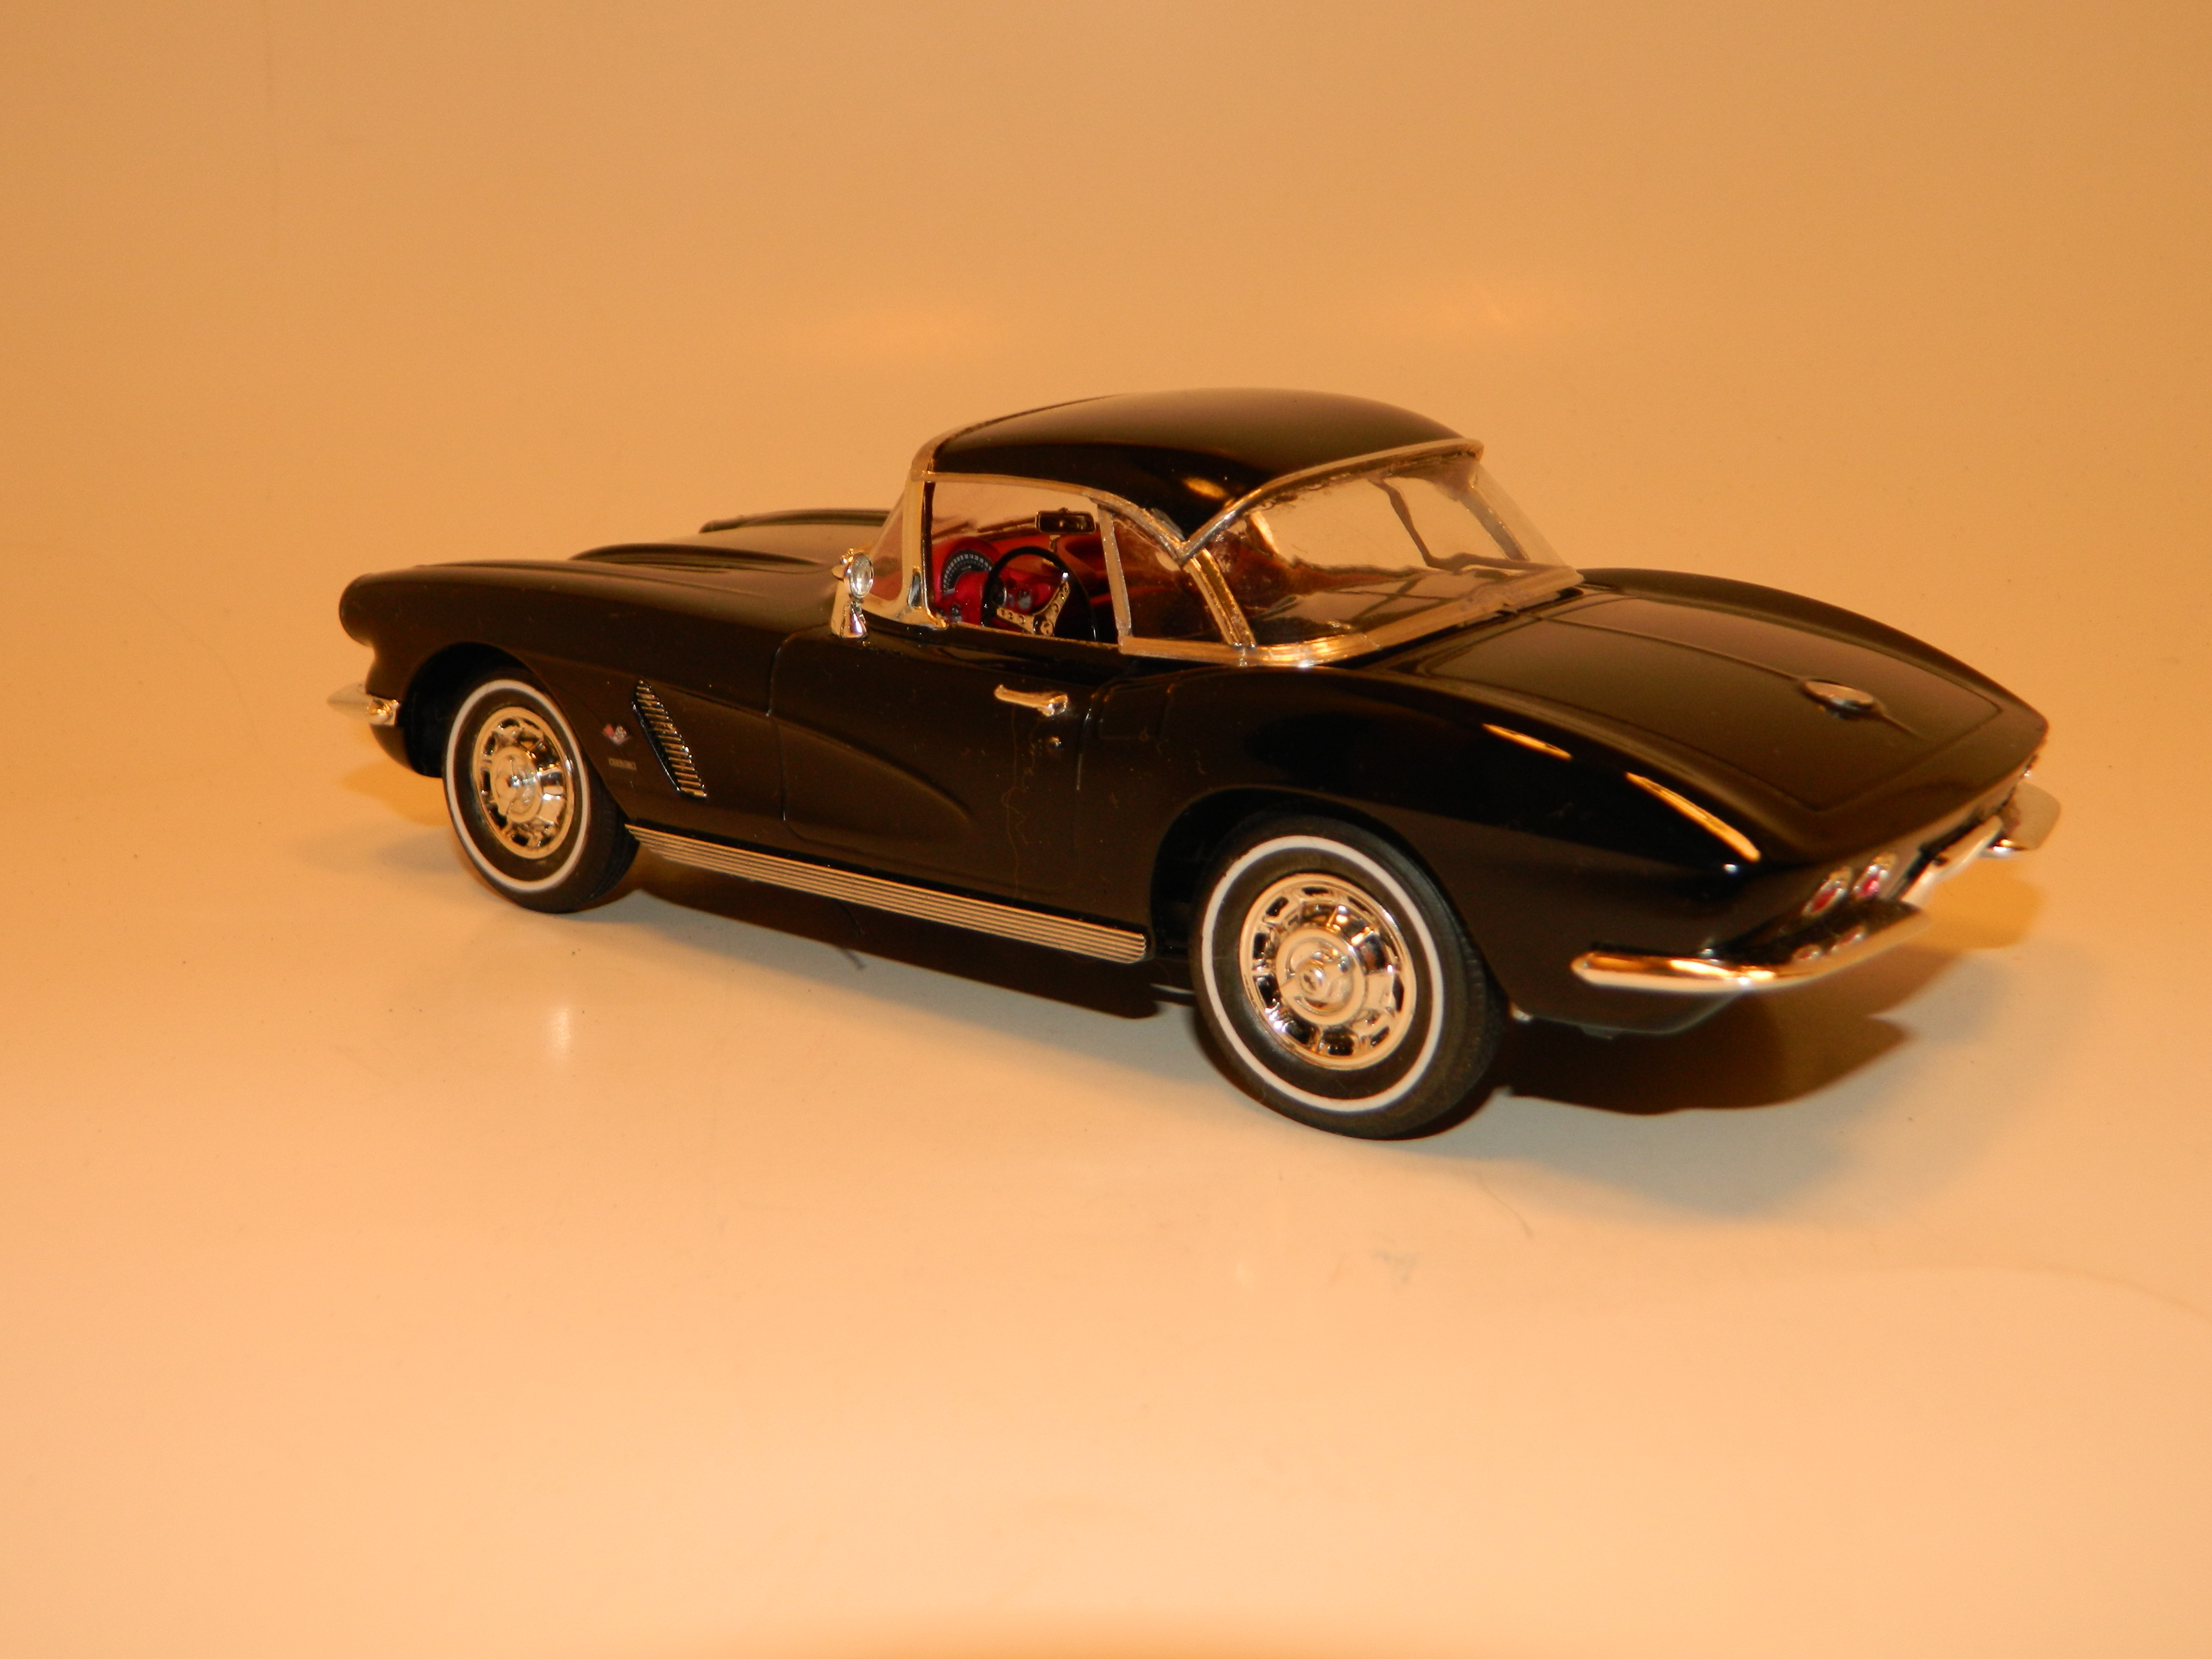
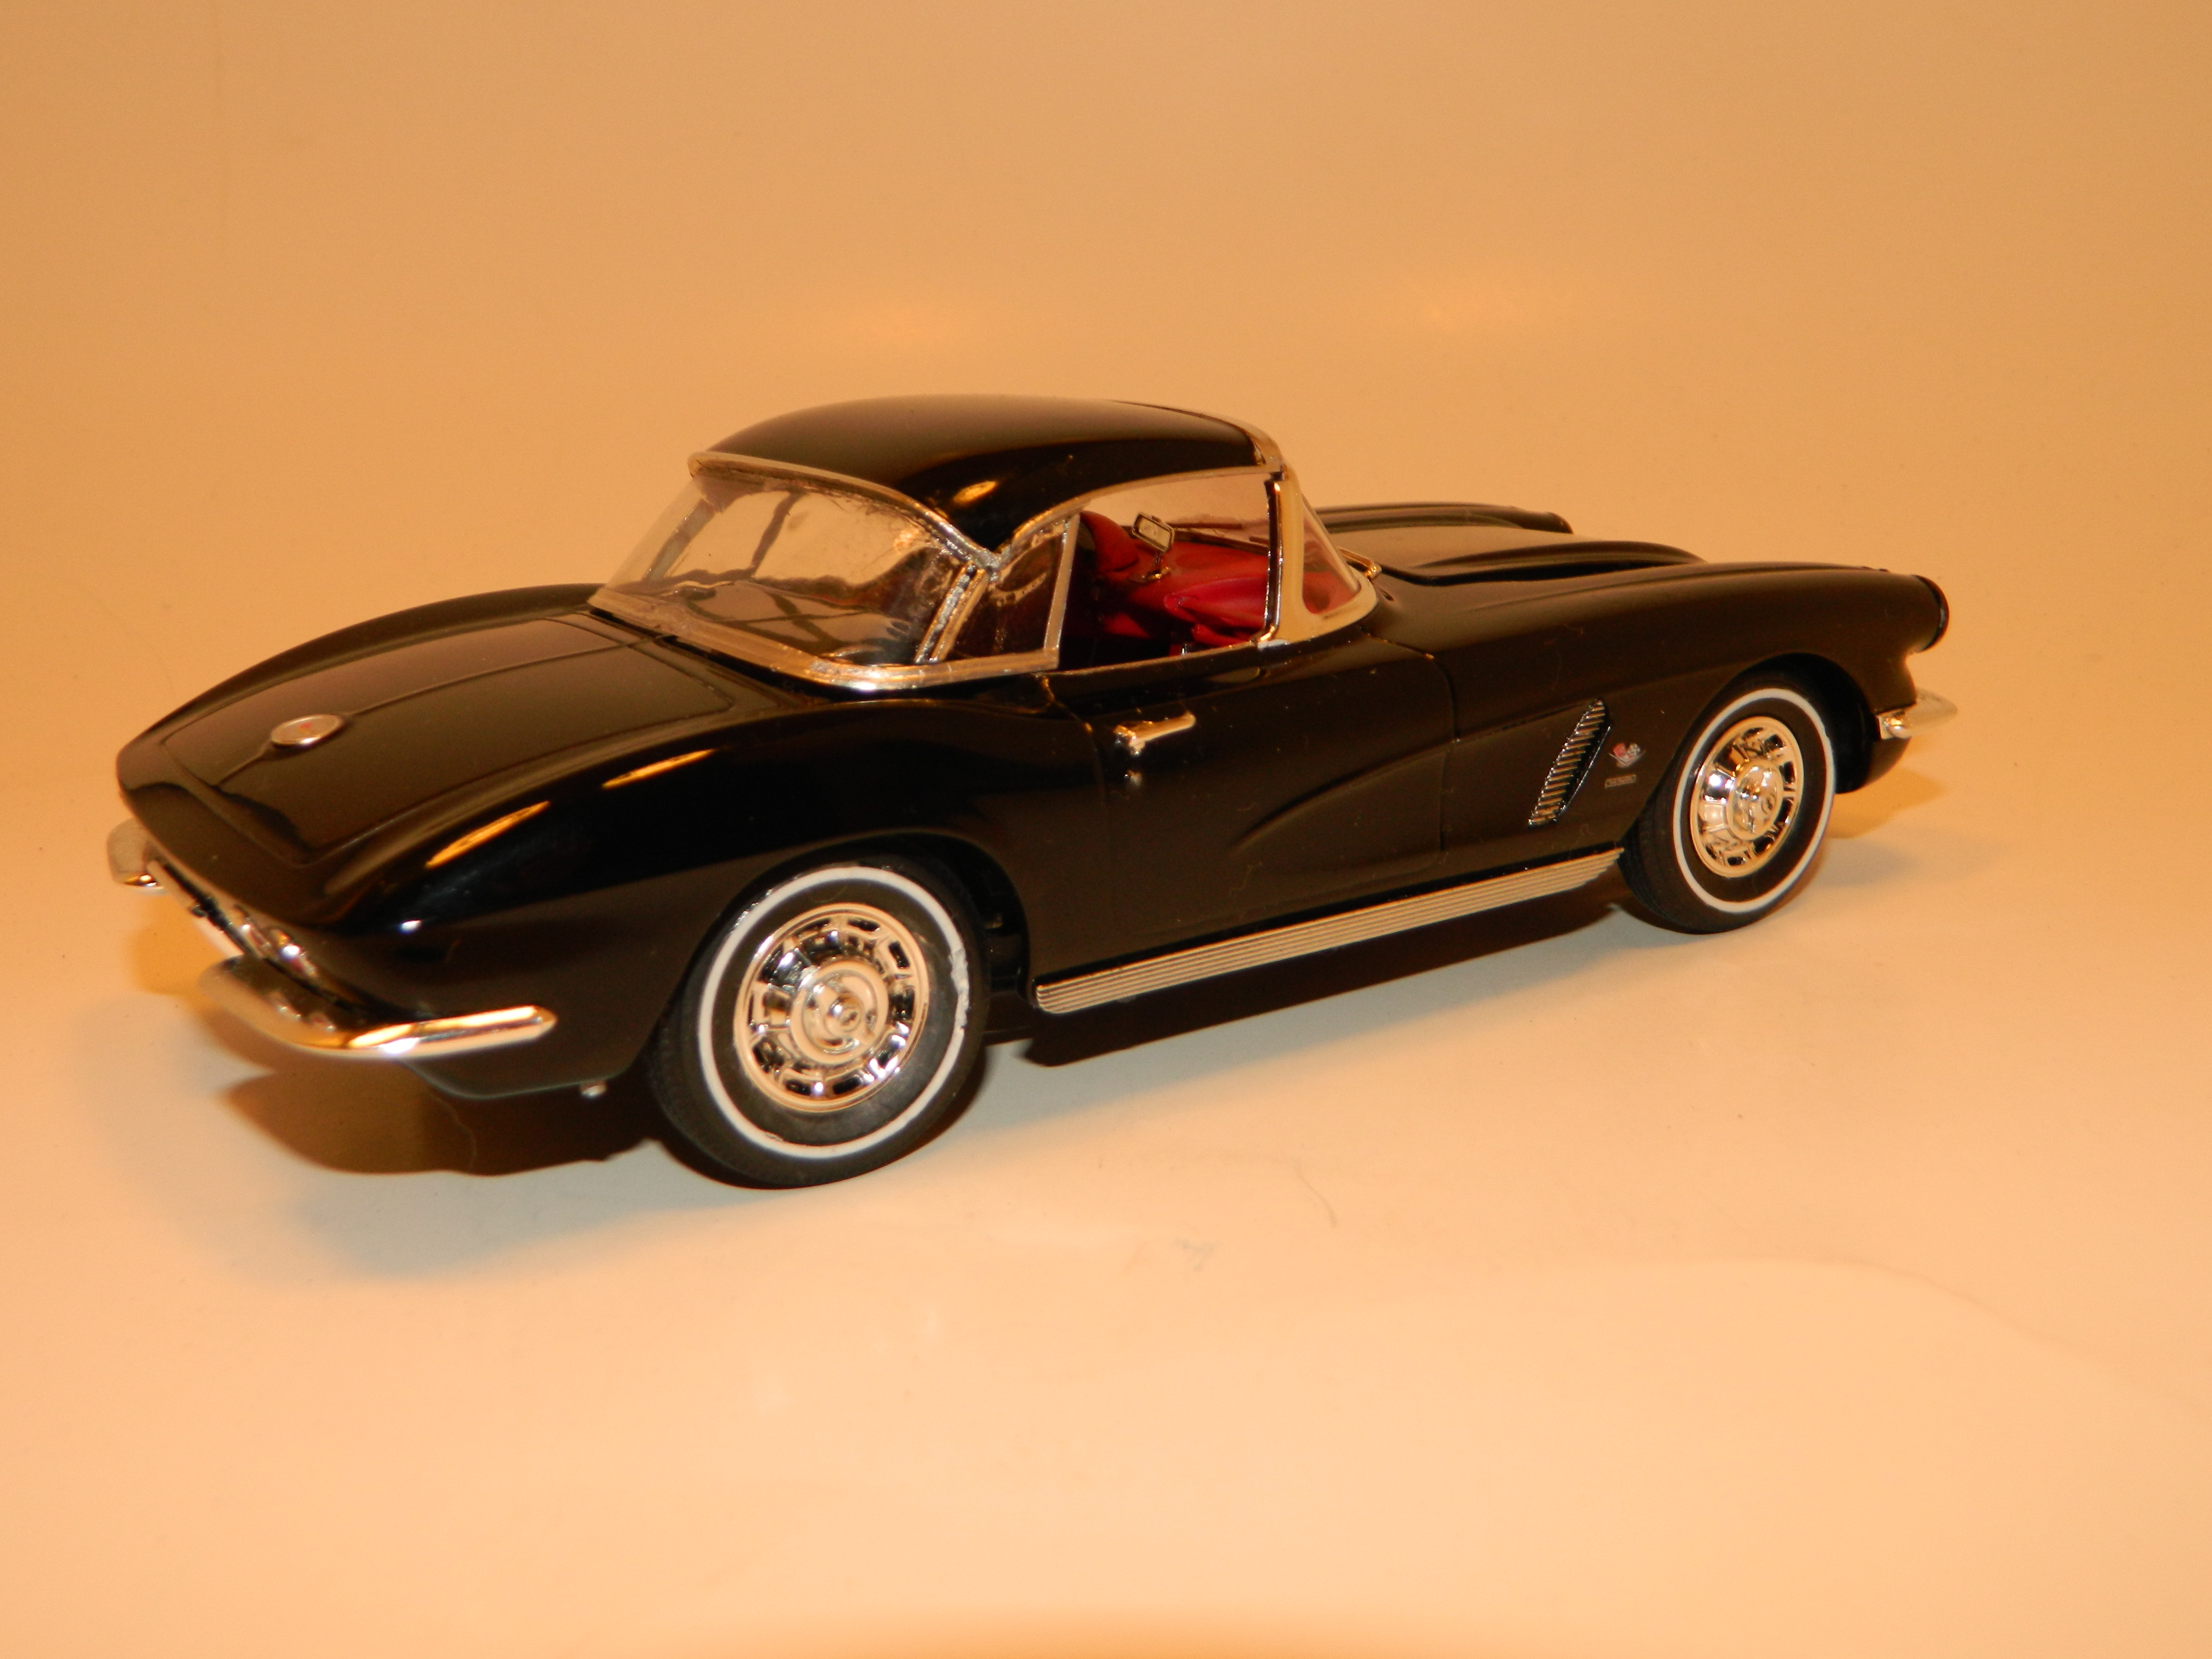
I have finished my '62 Sinkhole Corvette and it is posted in Under Glass. I would like to thank all those who have taken the time to view and to comment on my WIP.
-
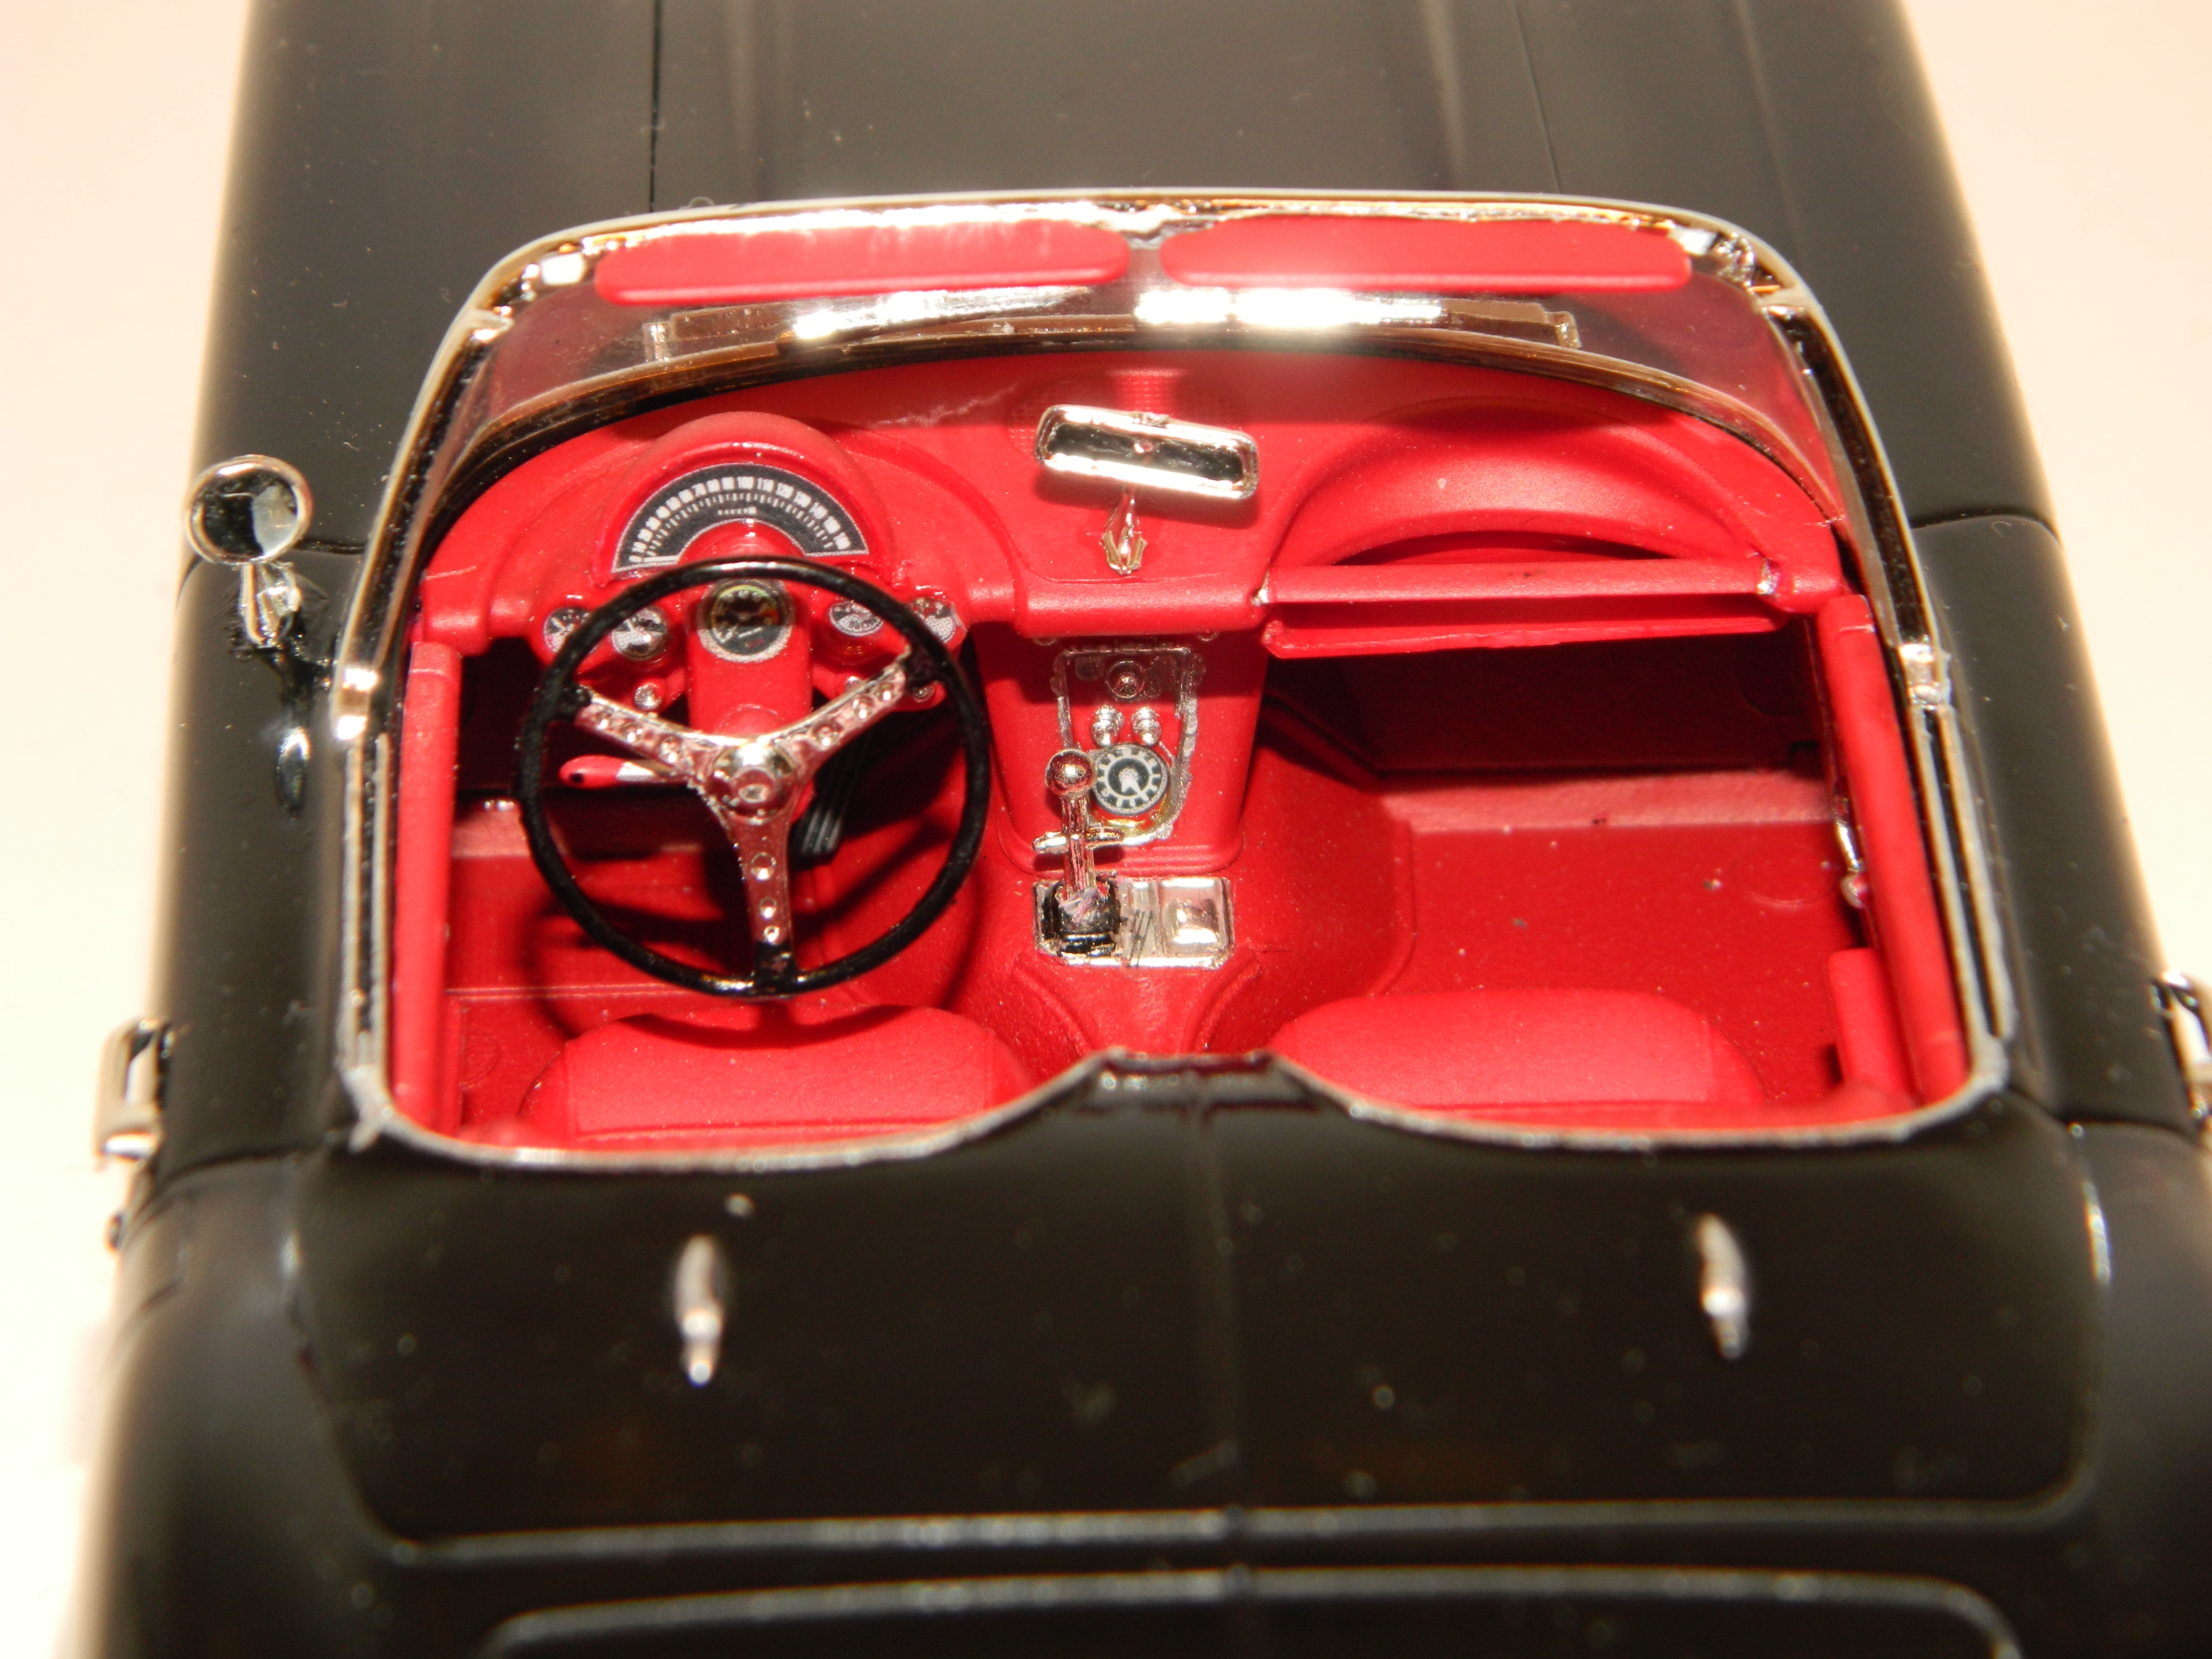
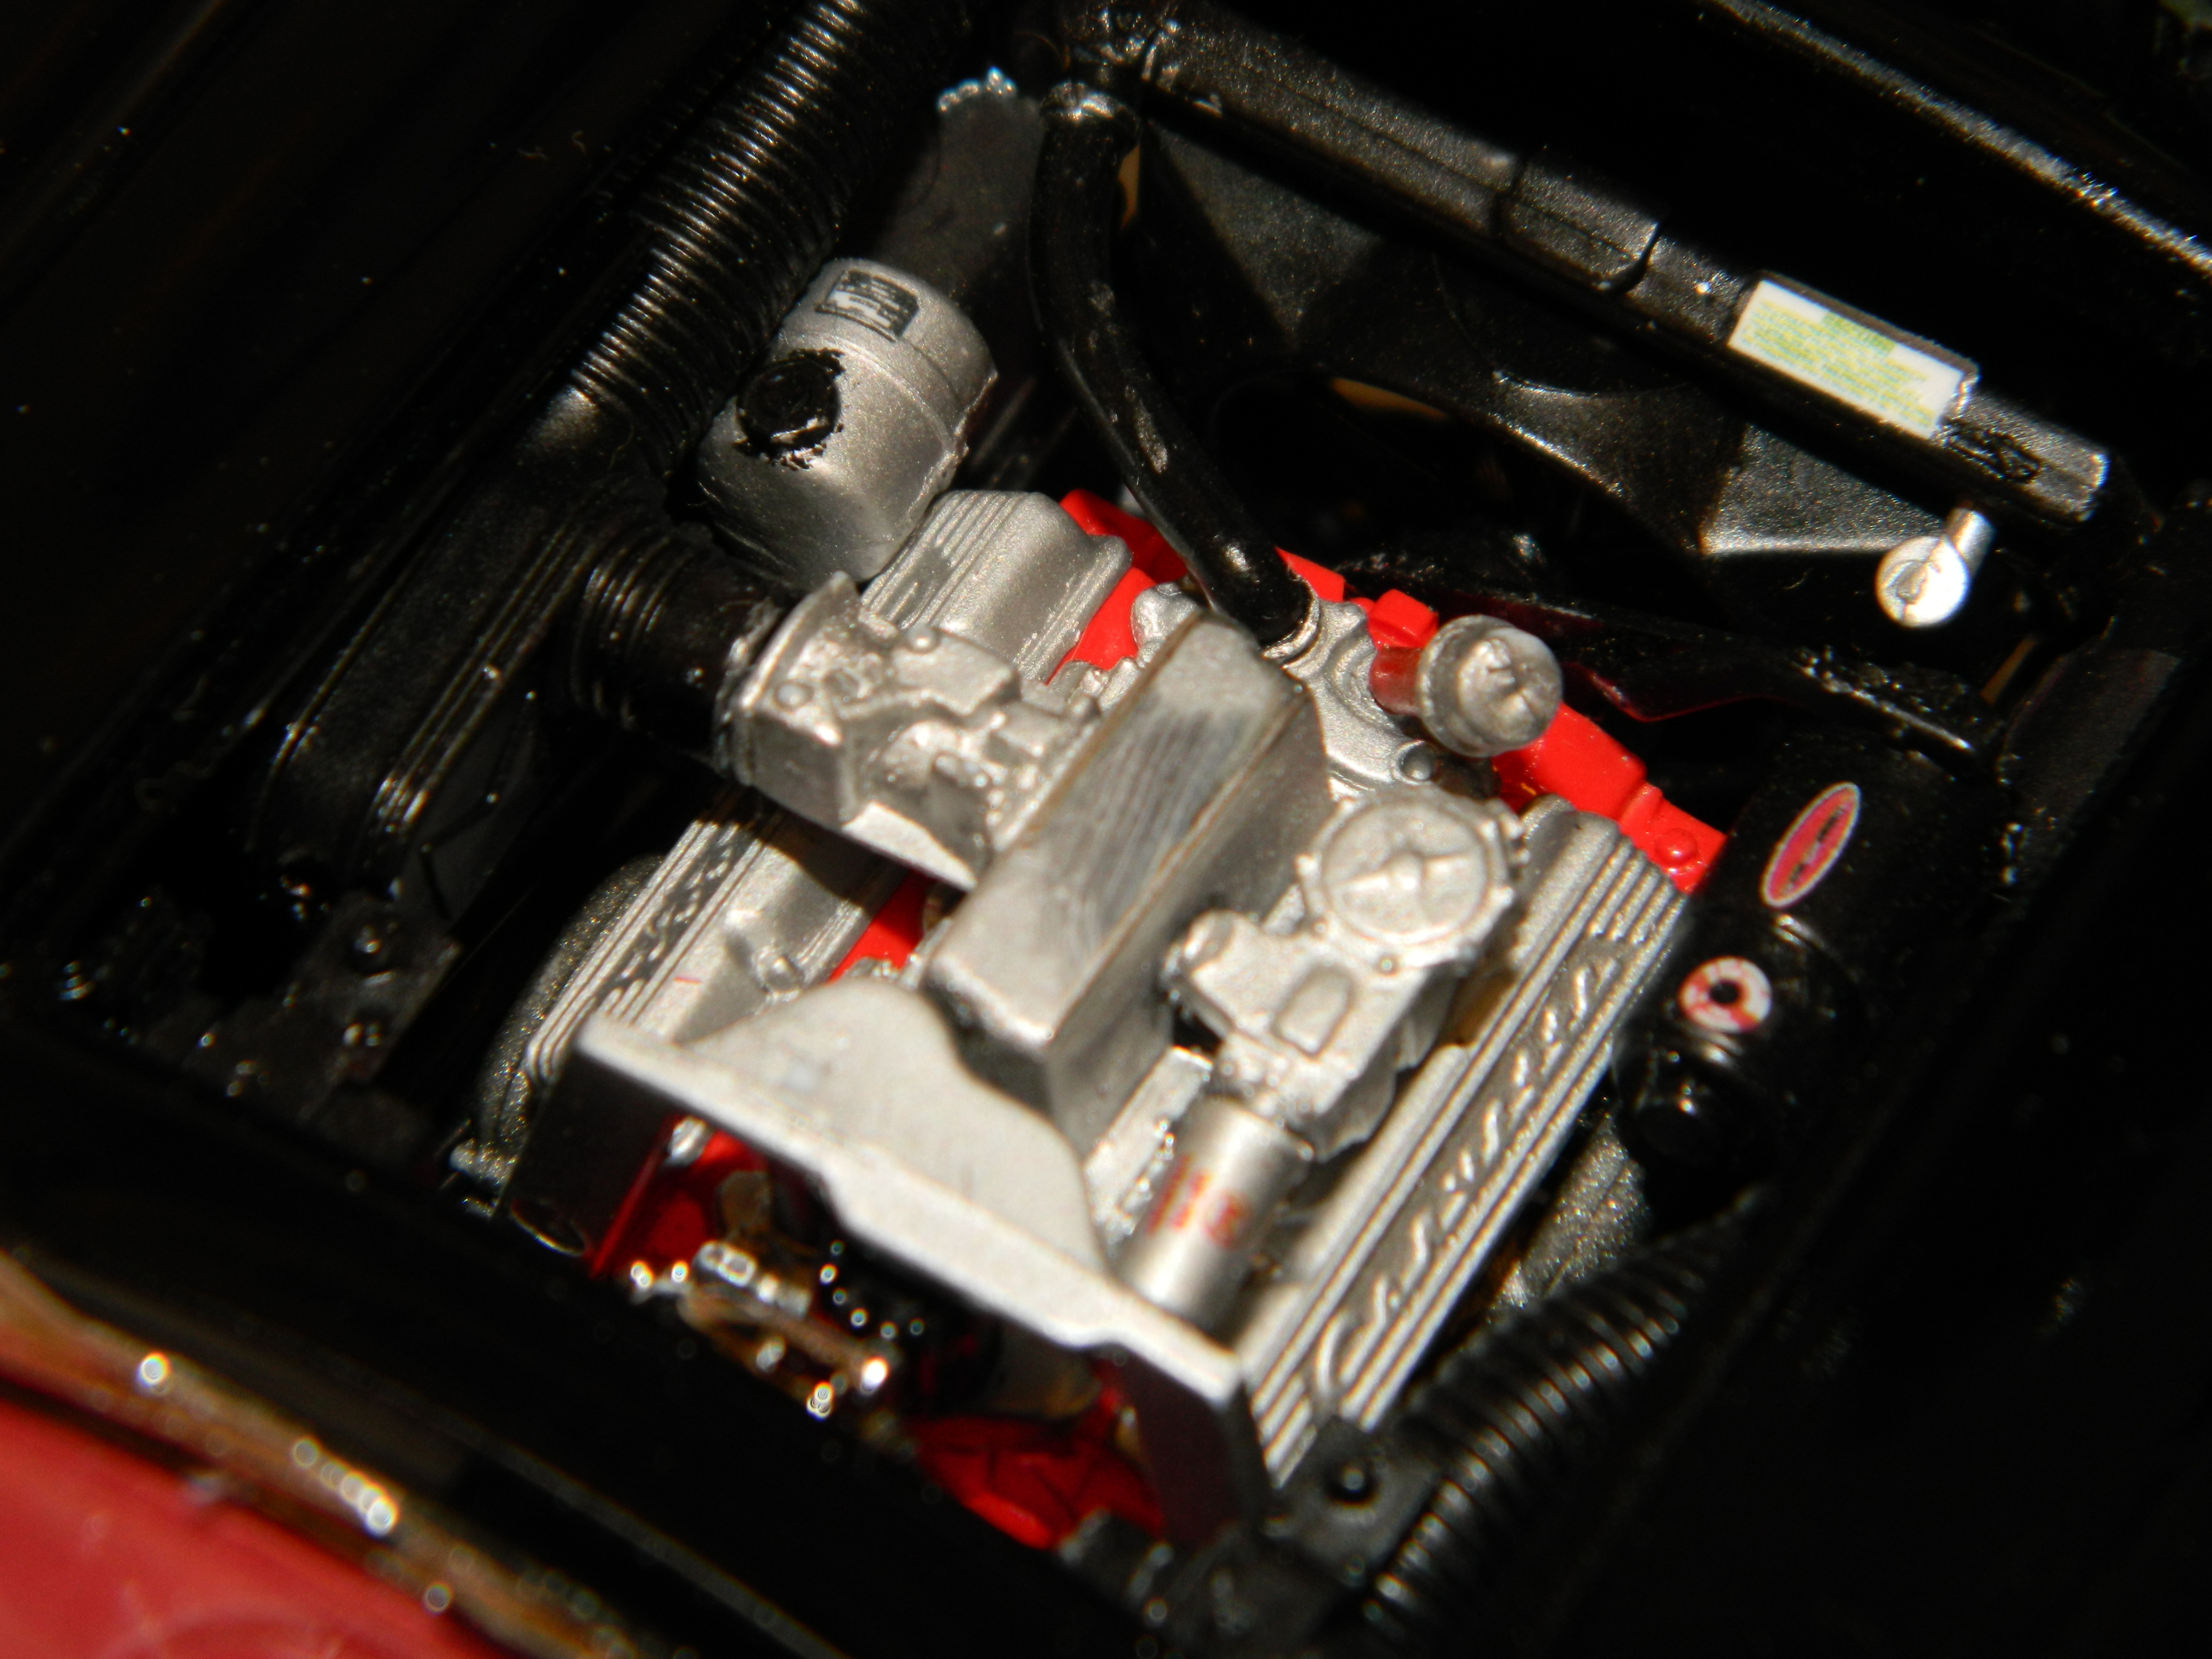
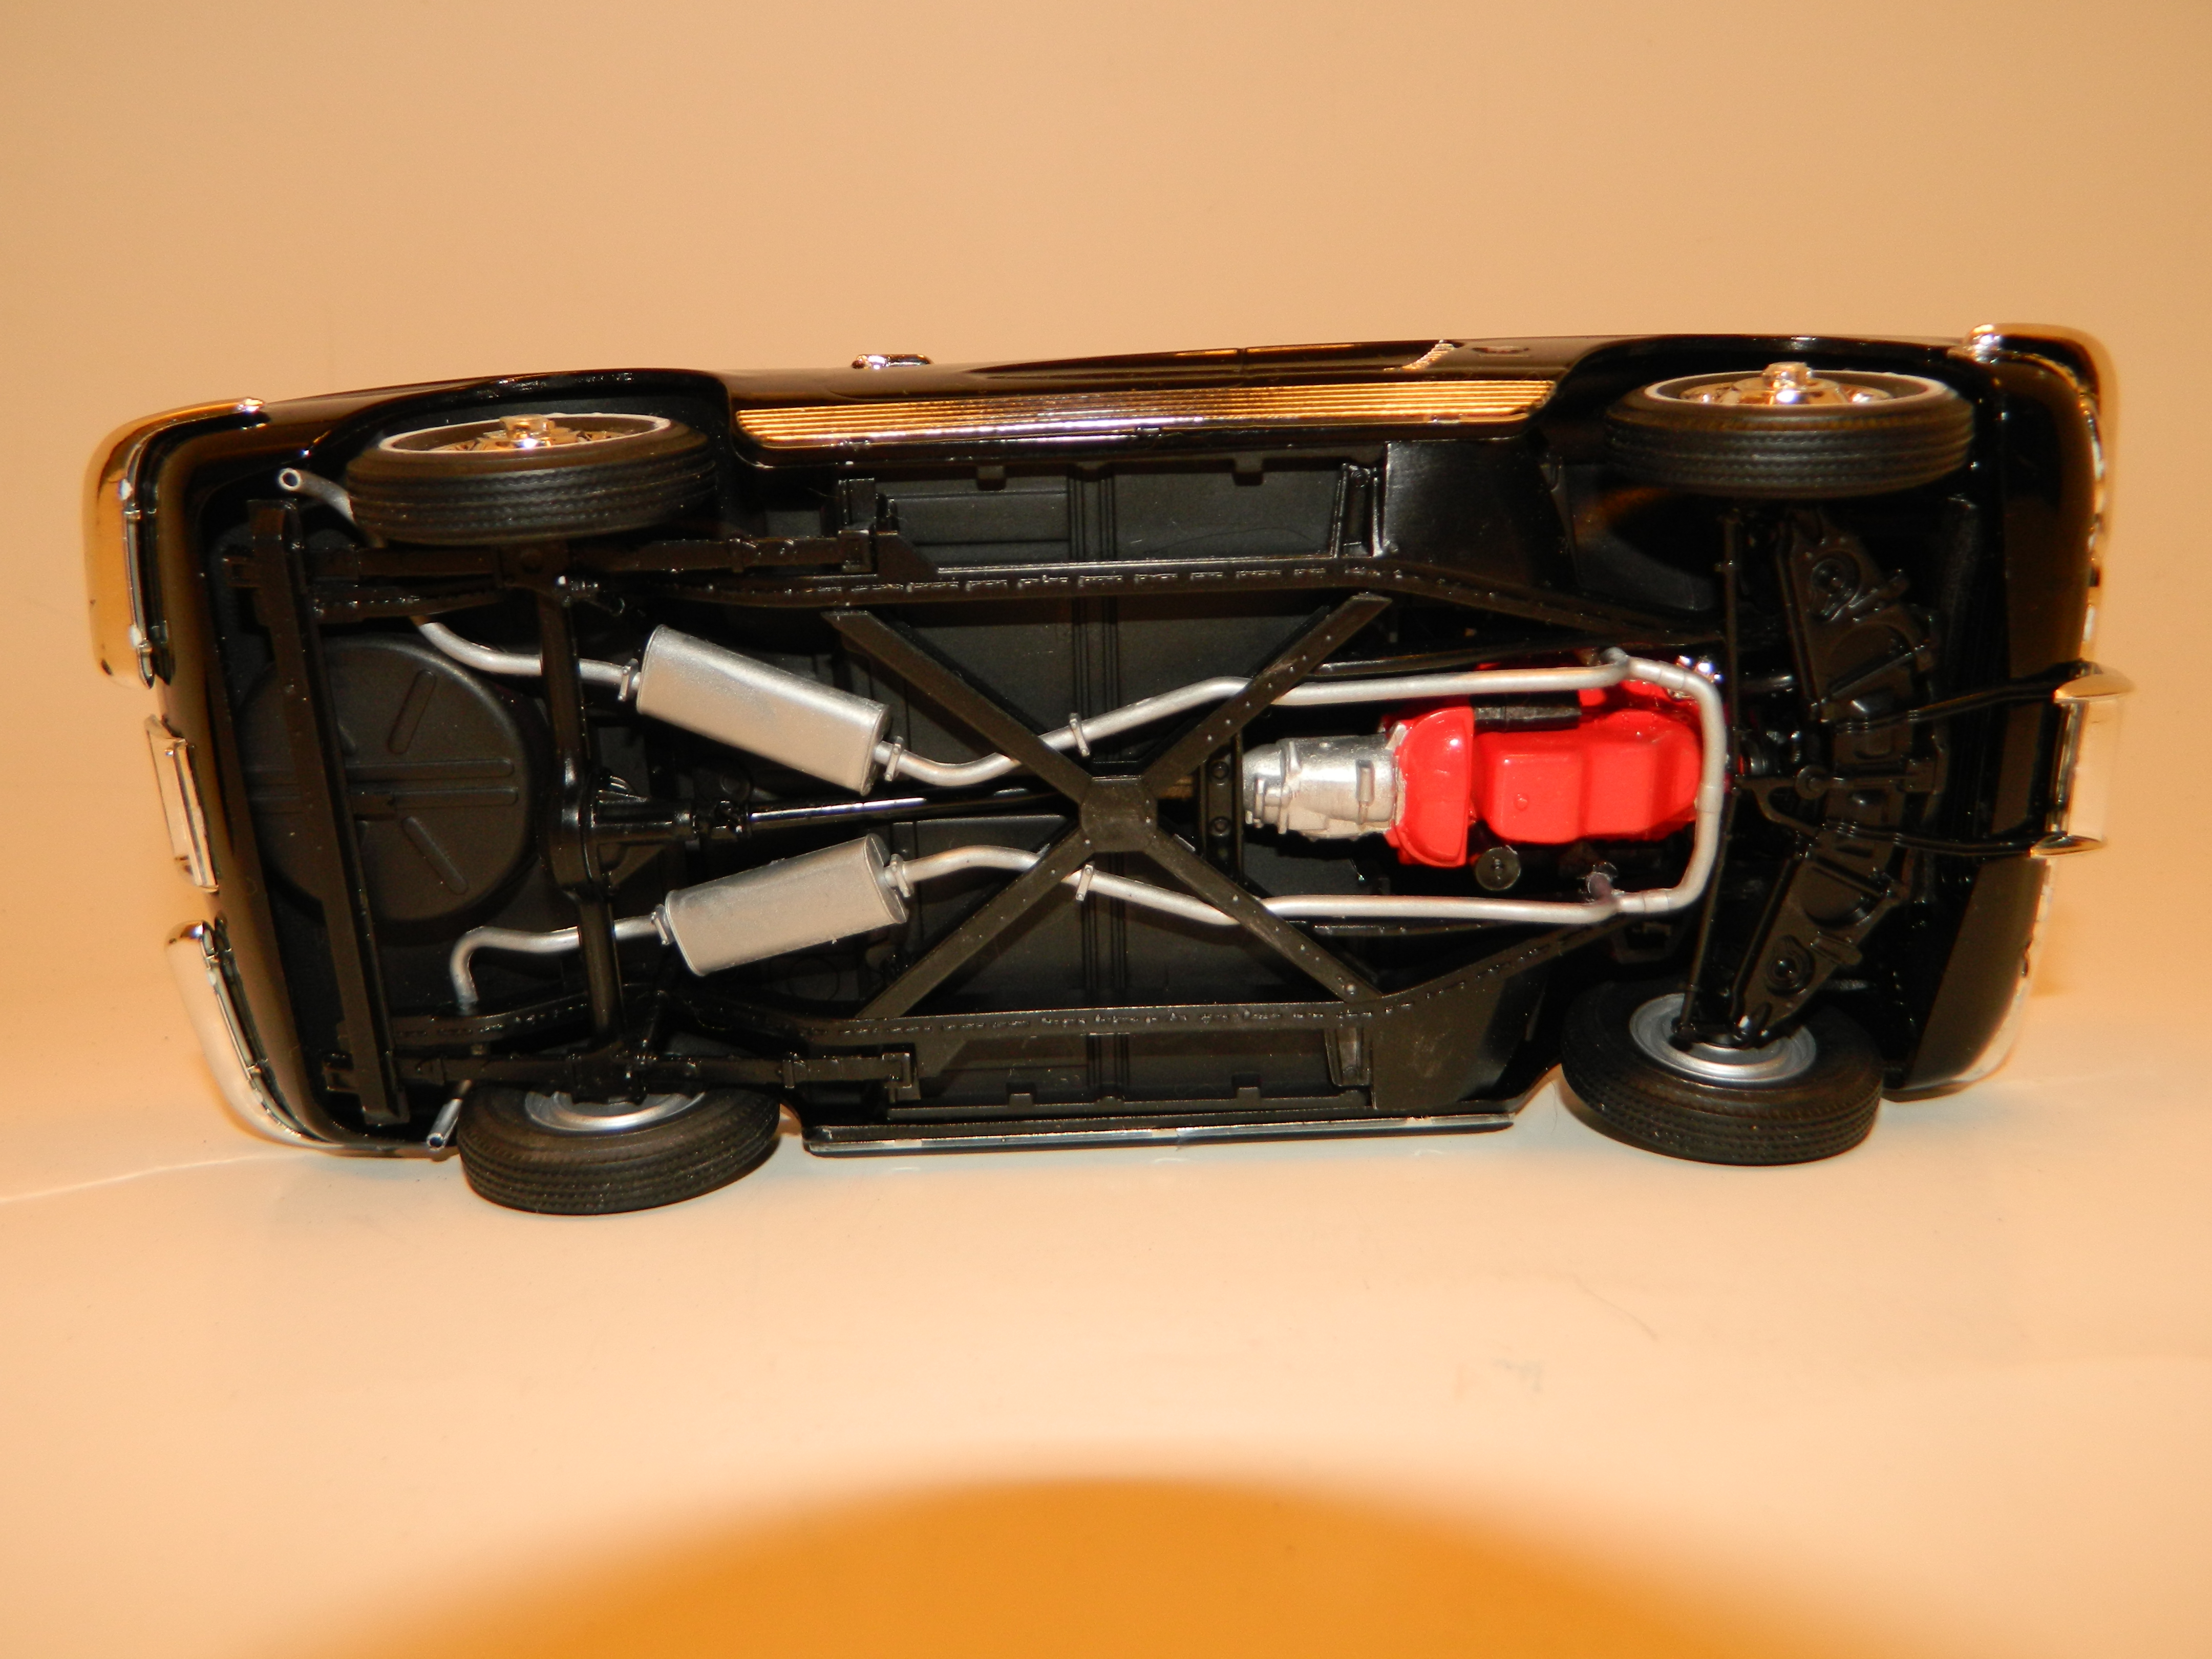
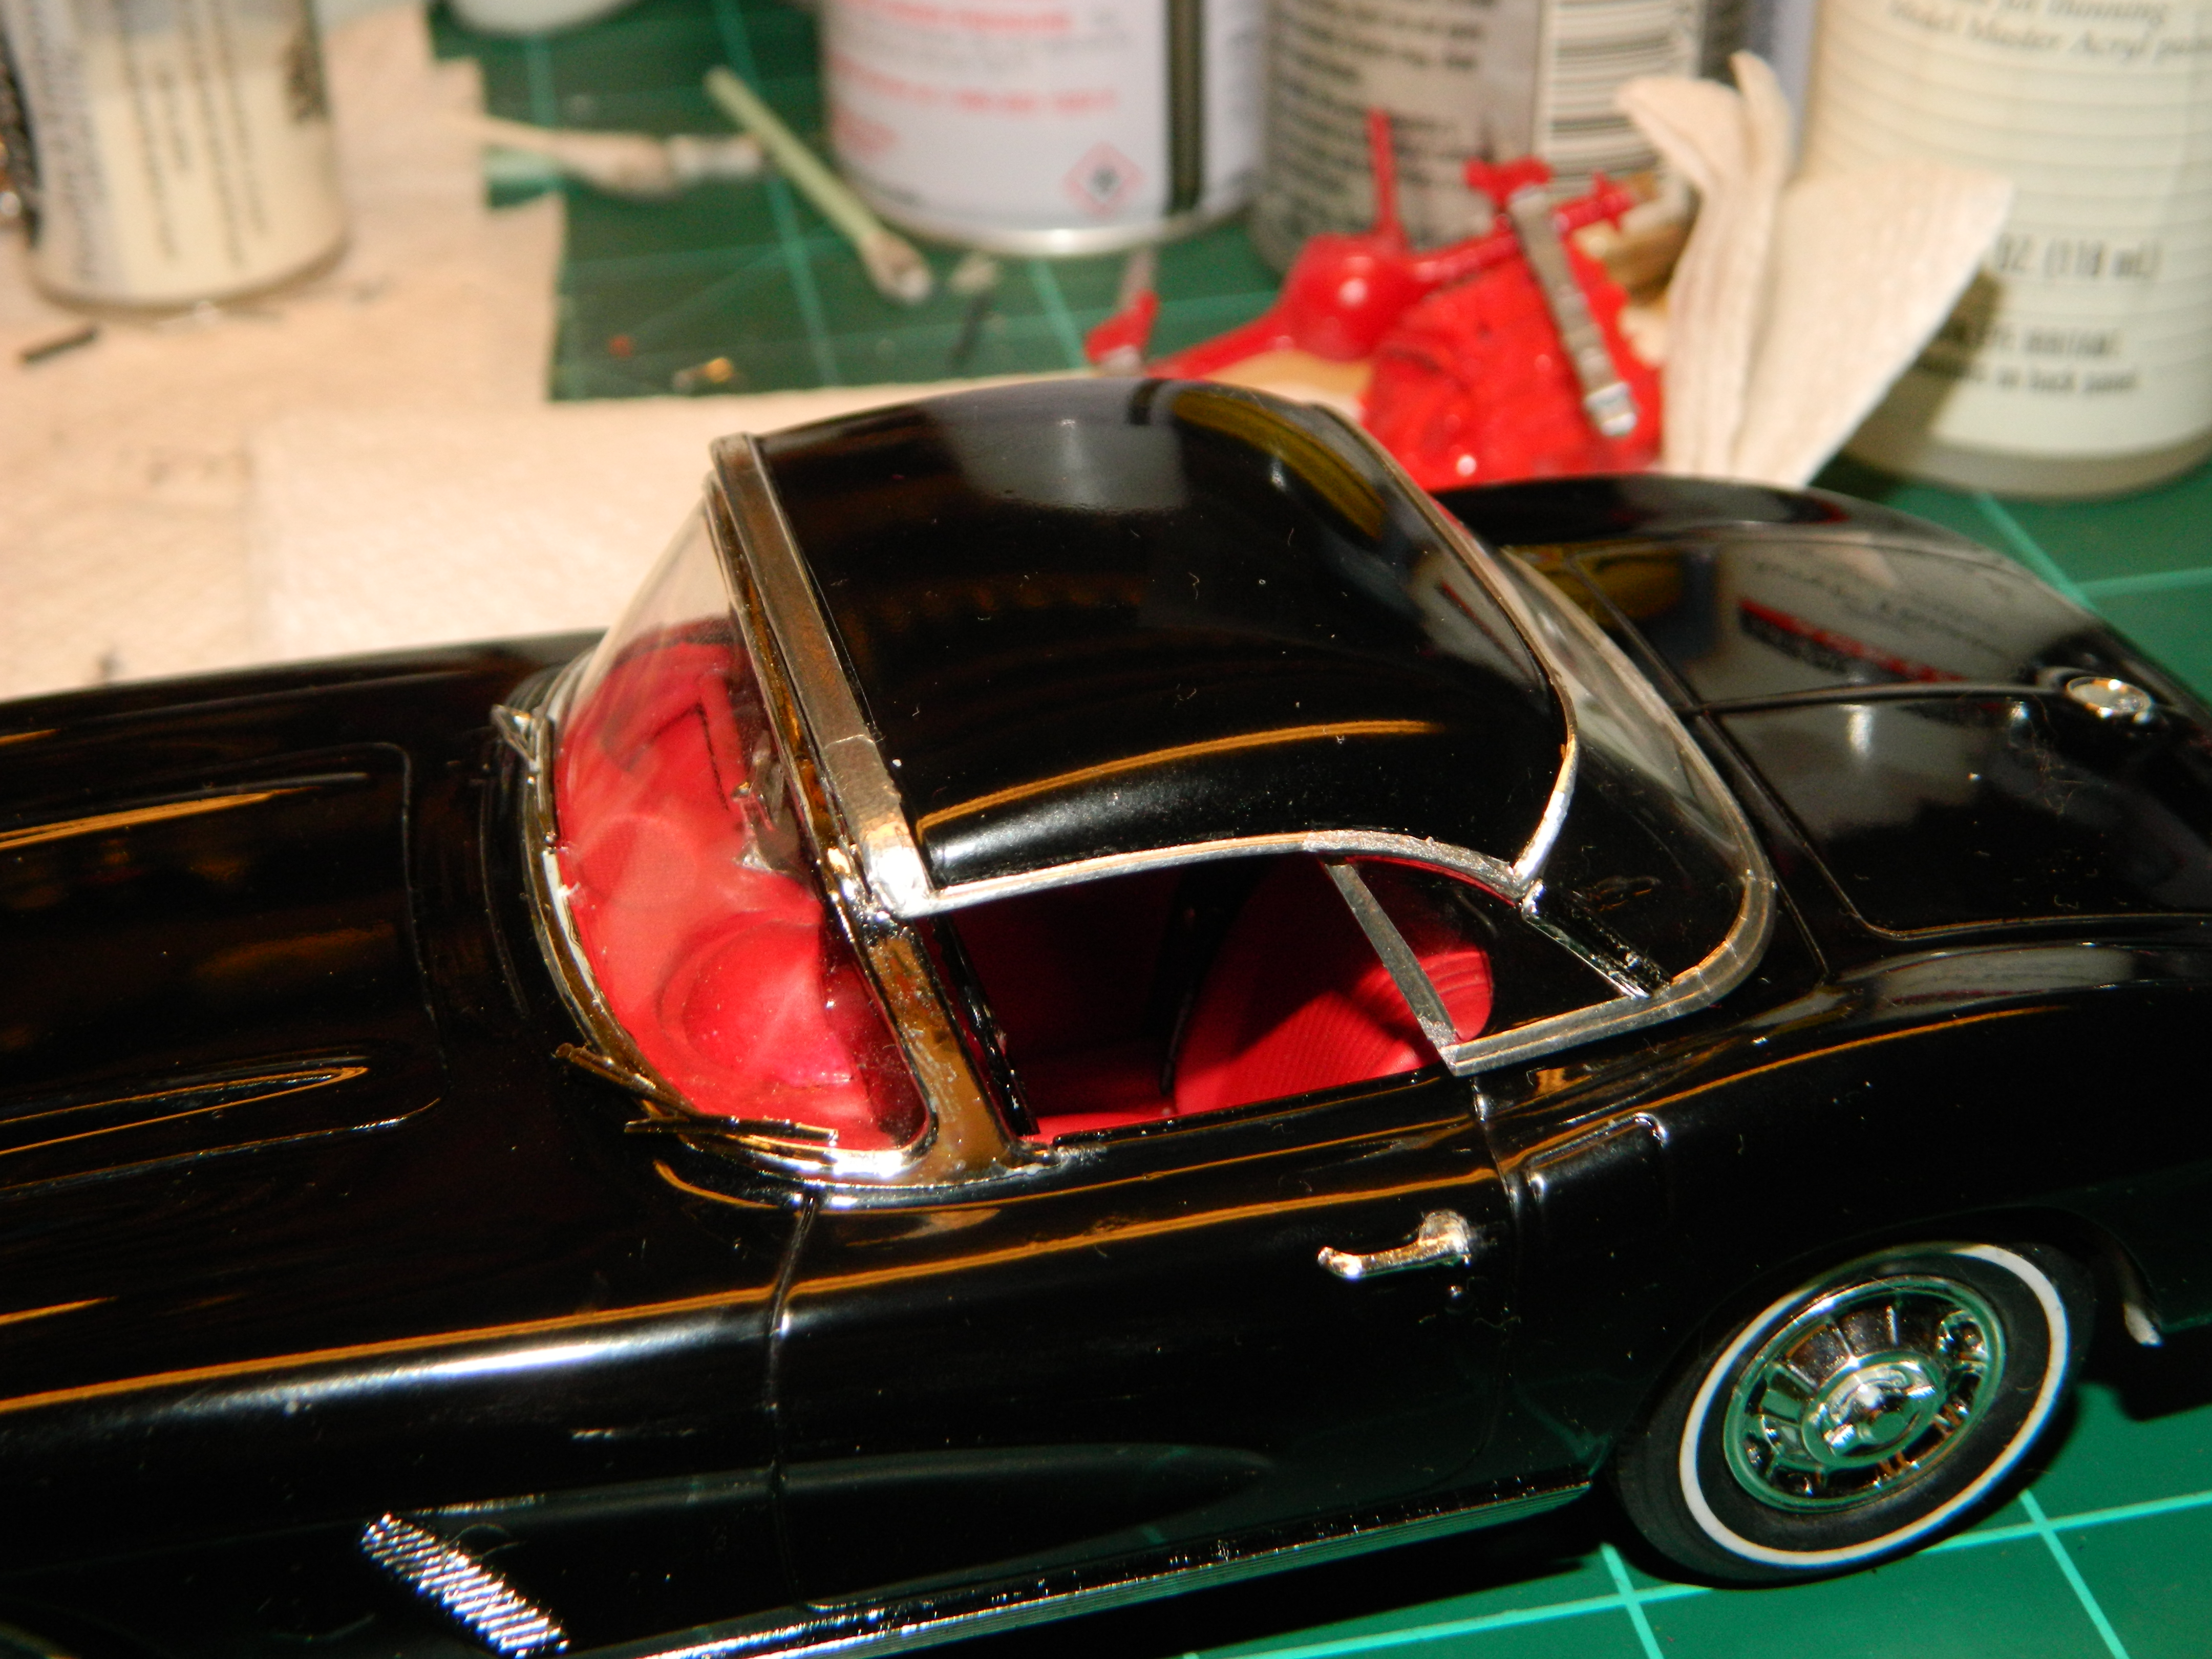
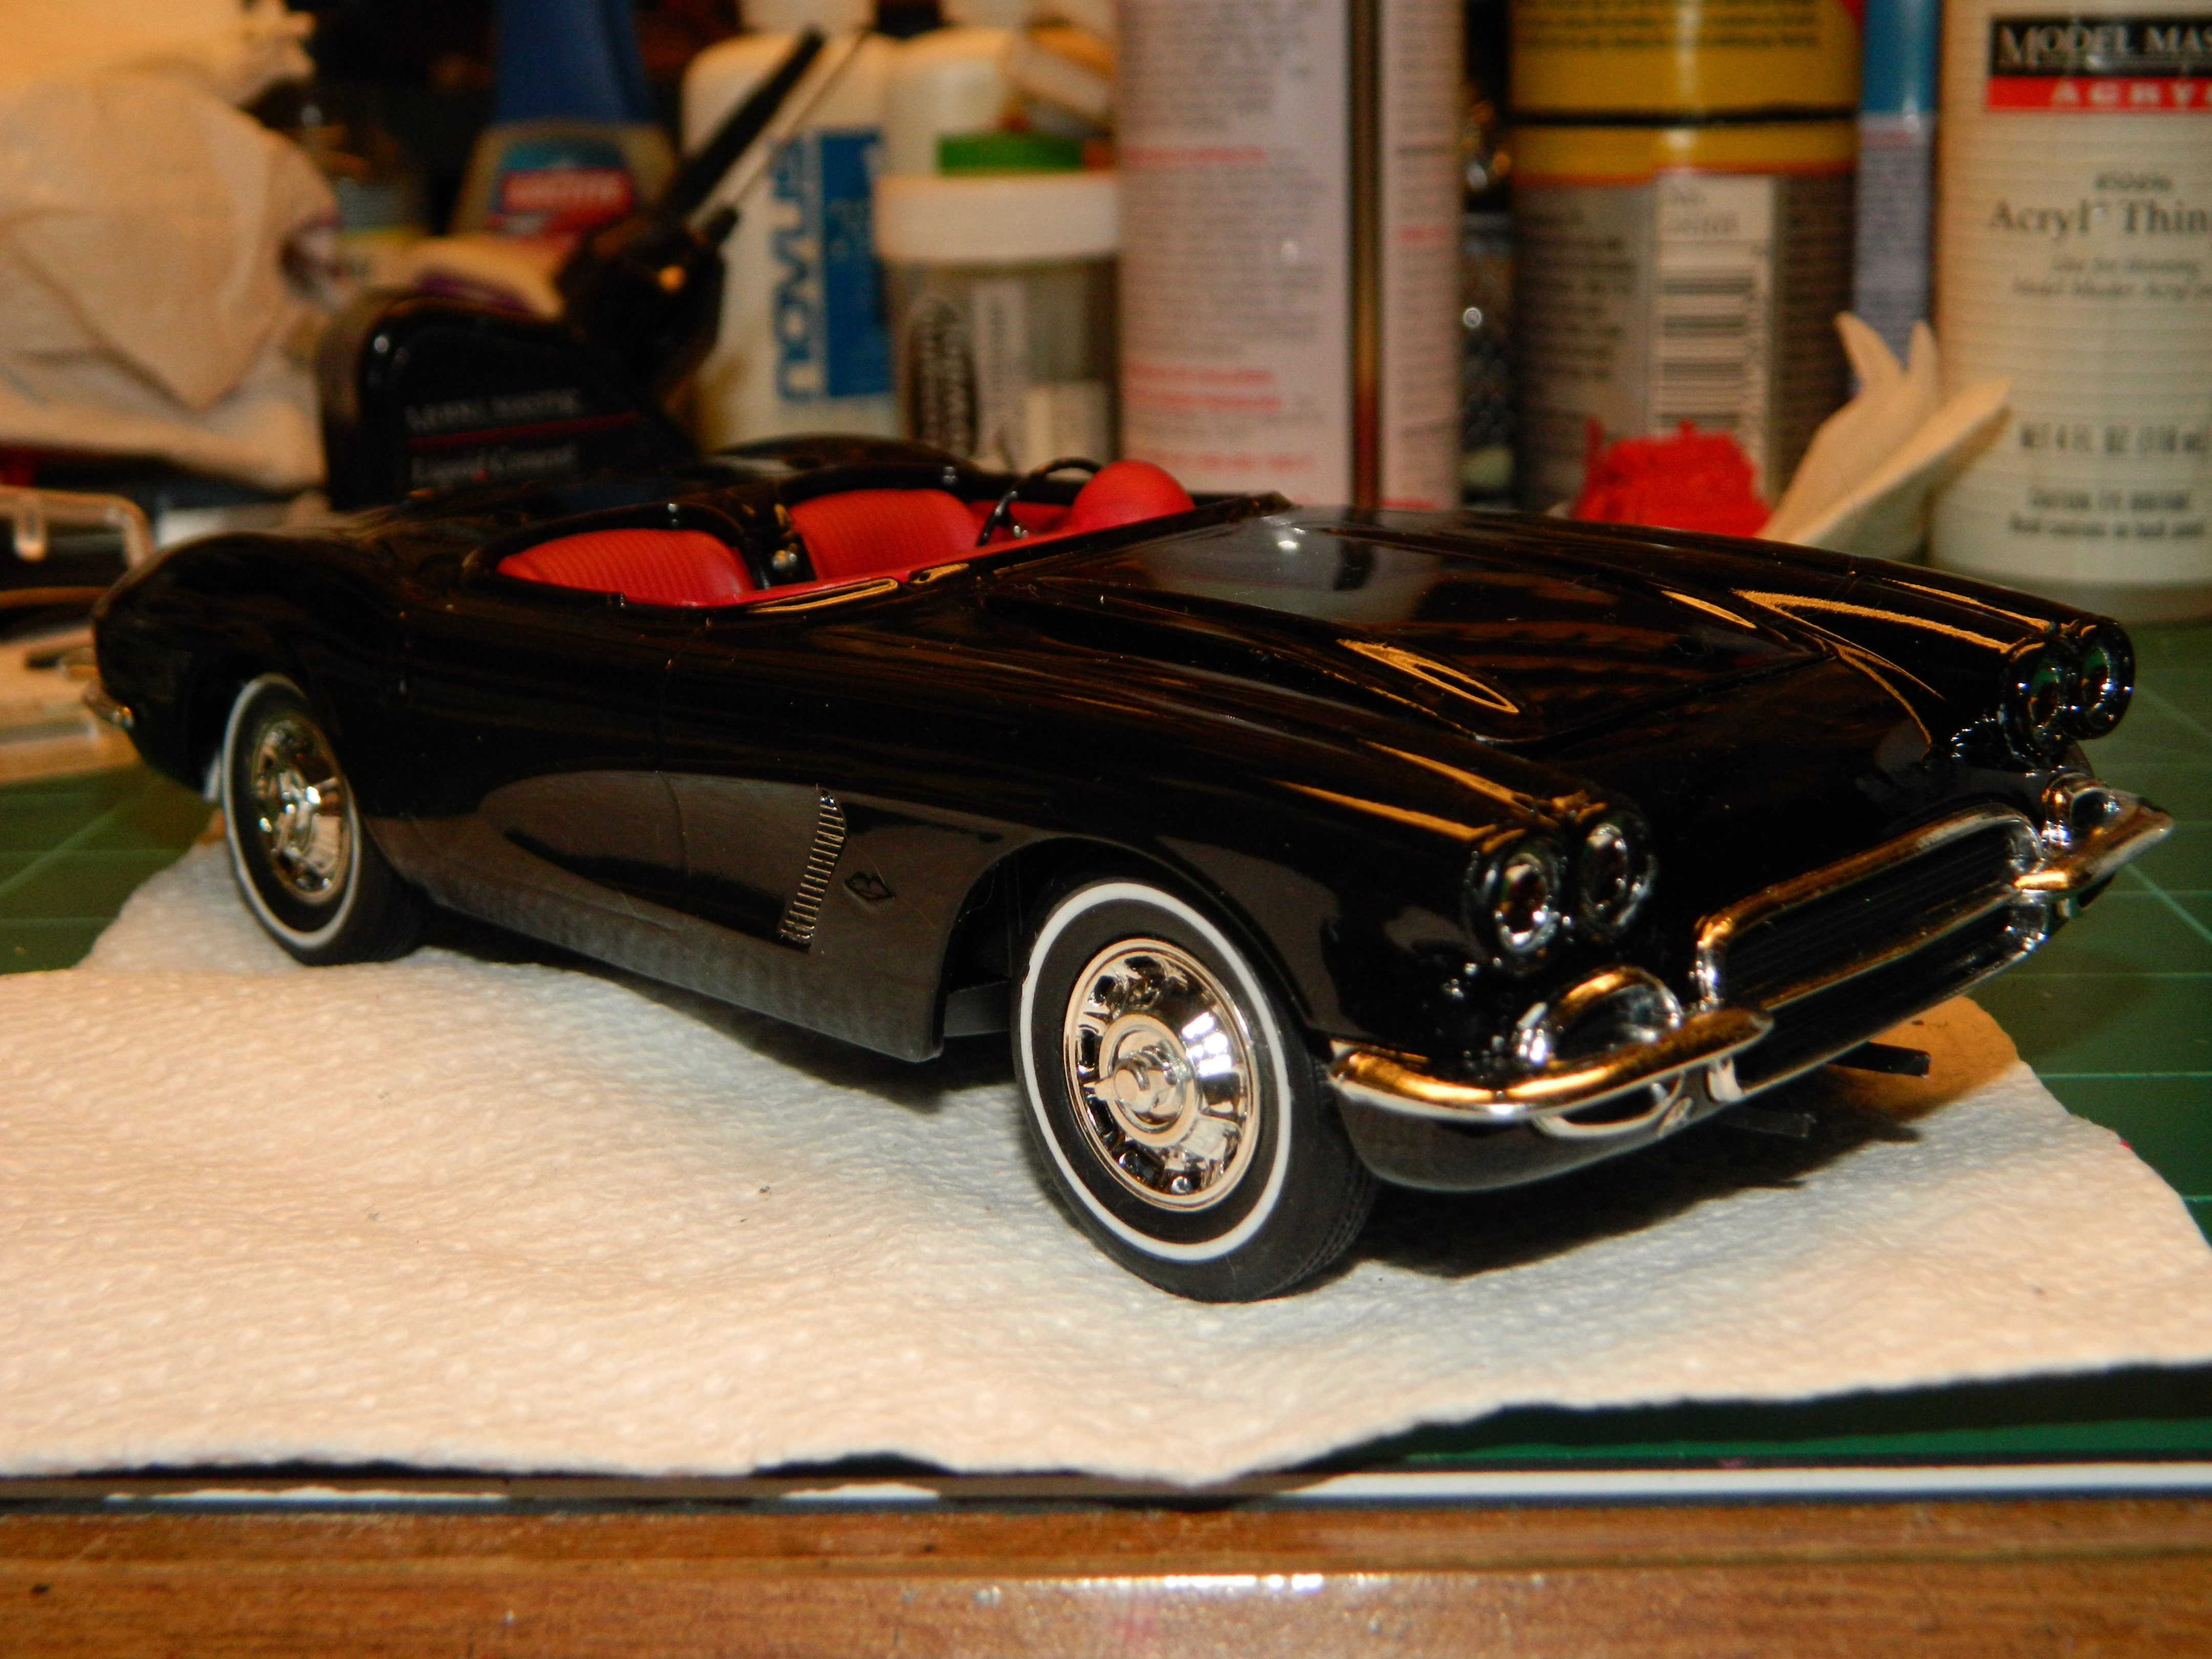
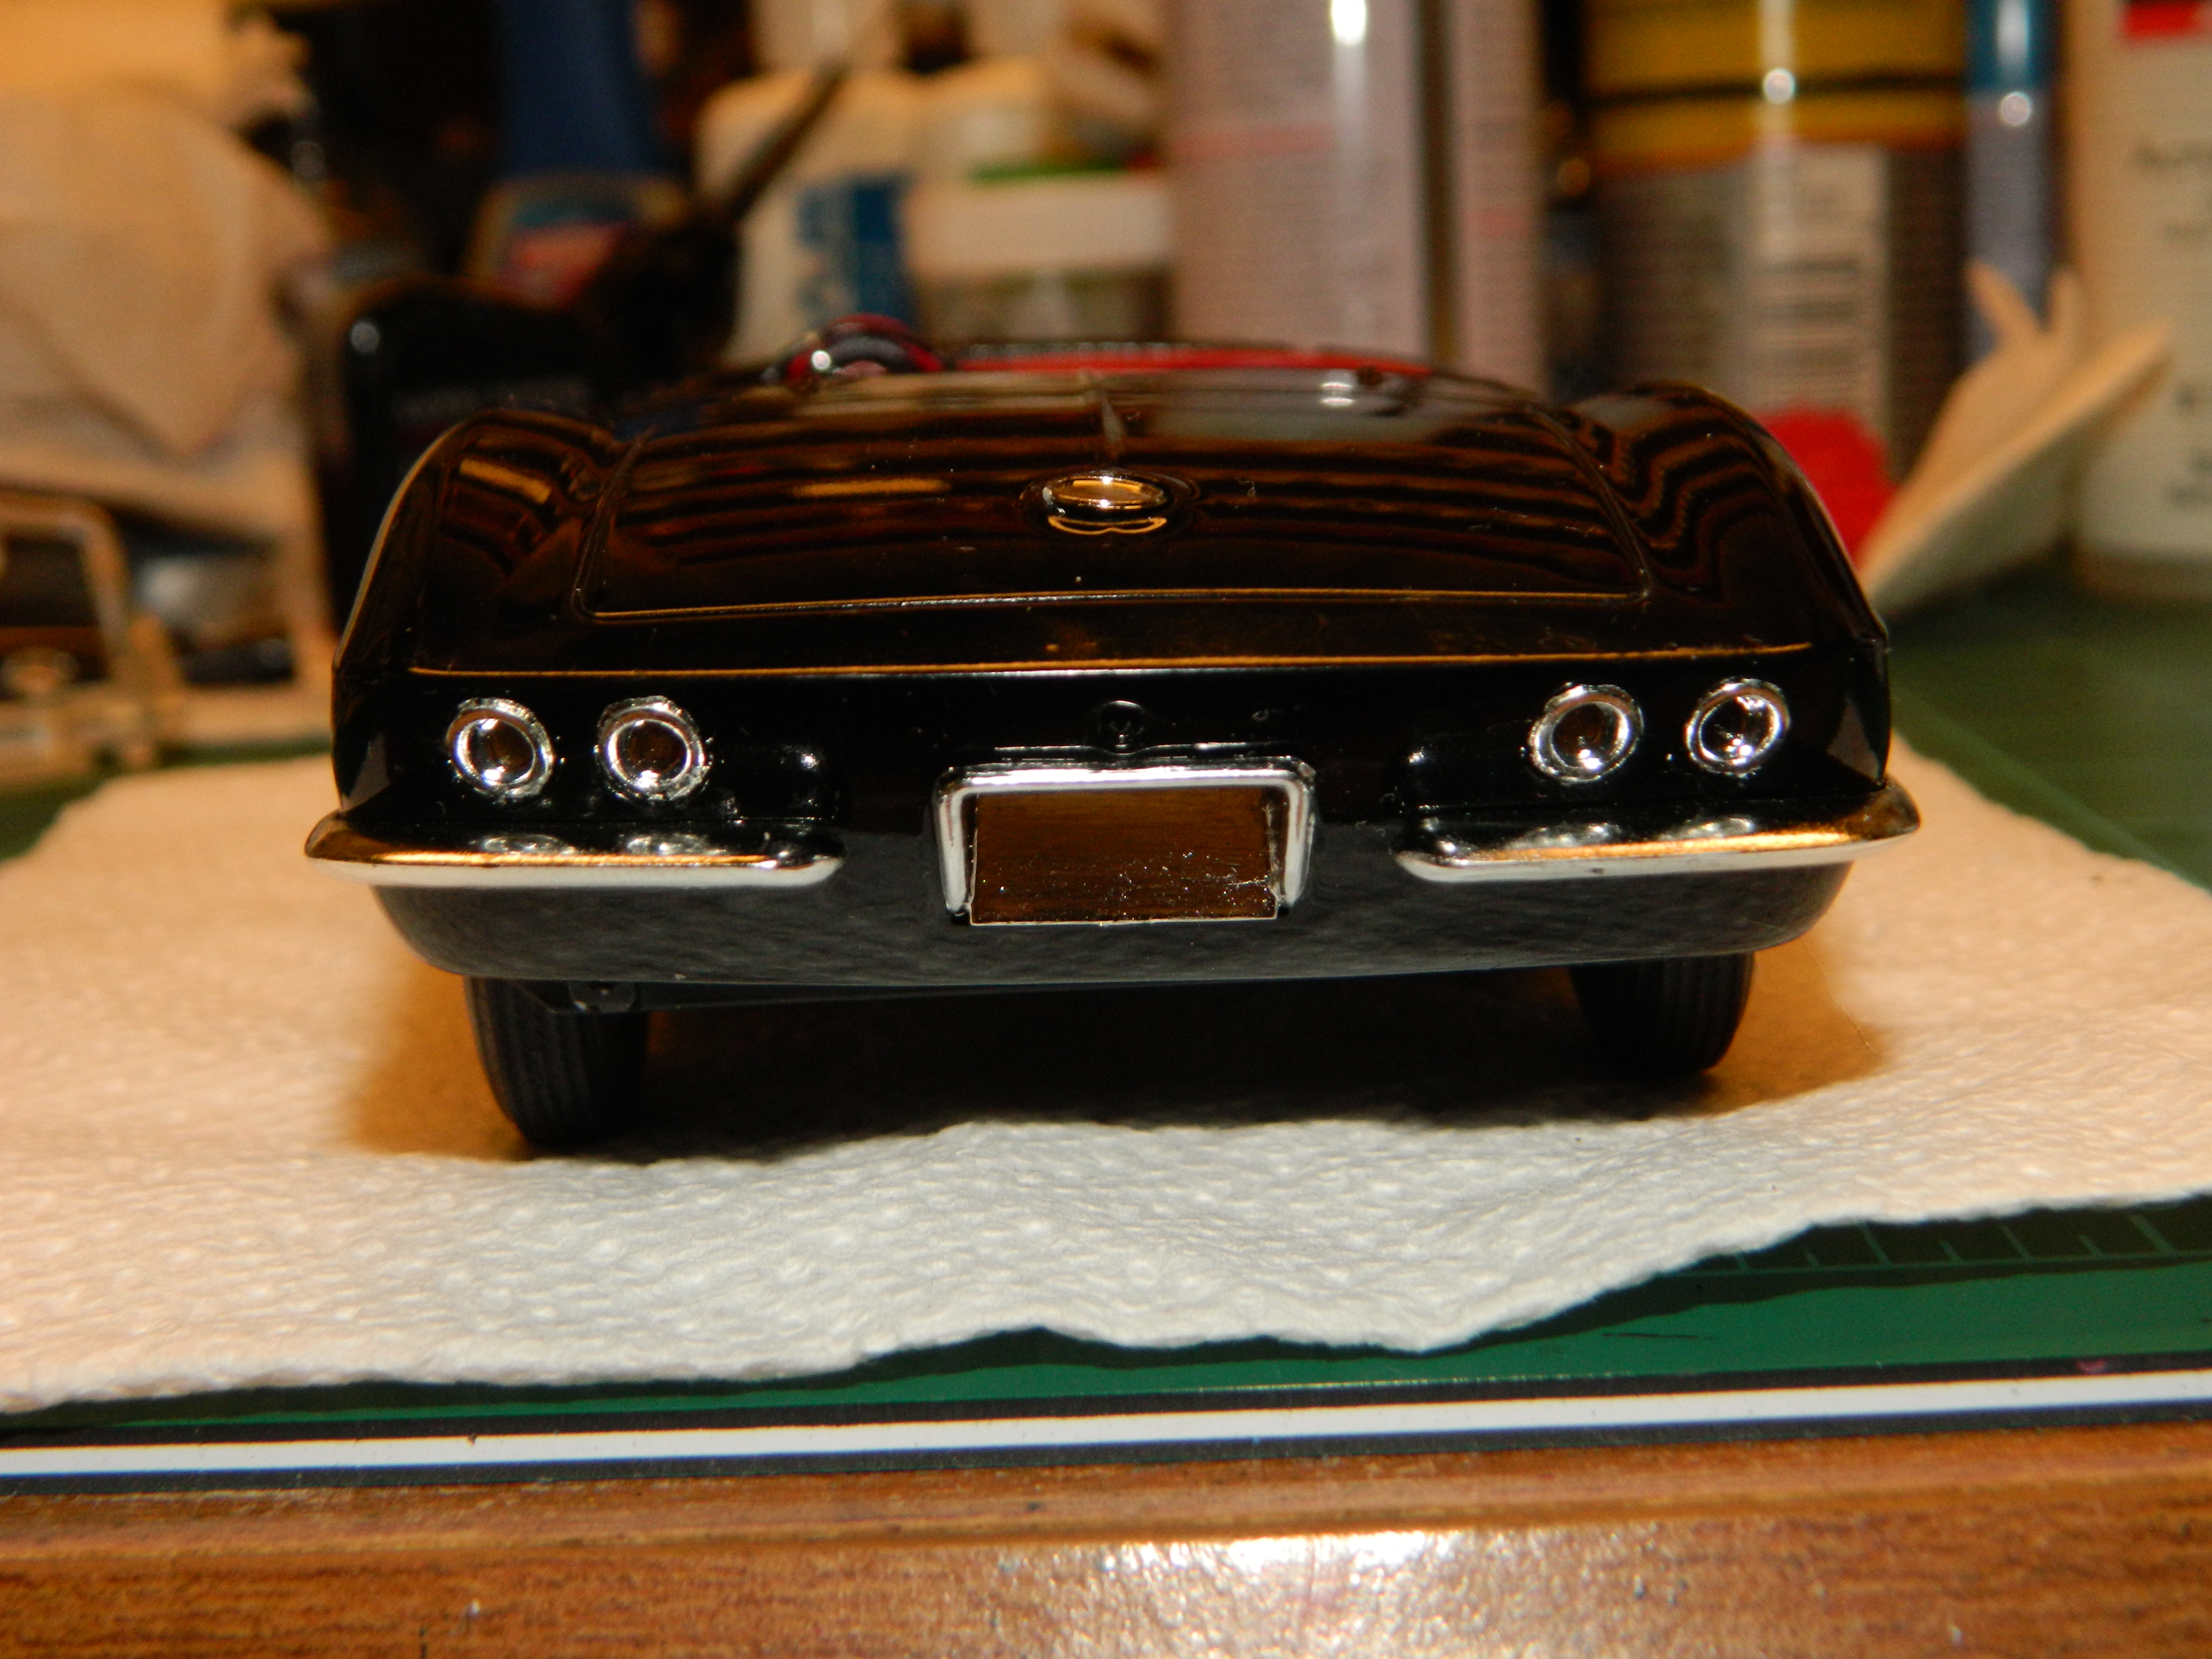
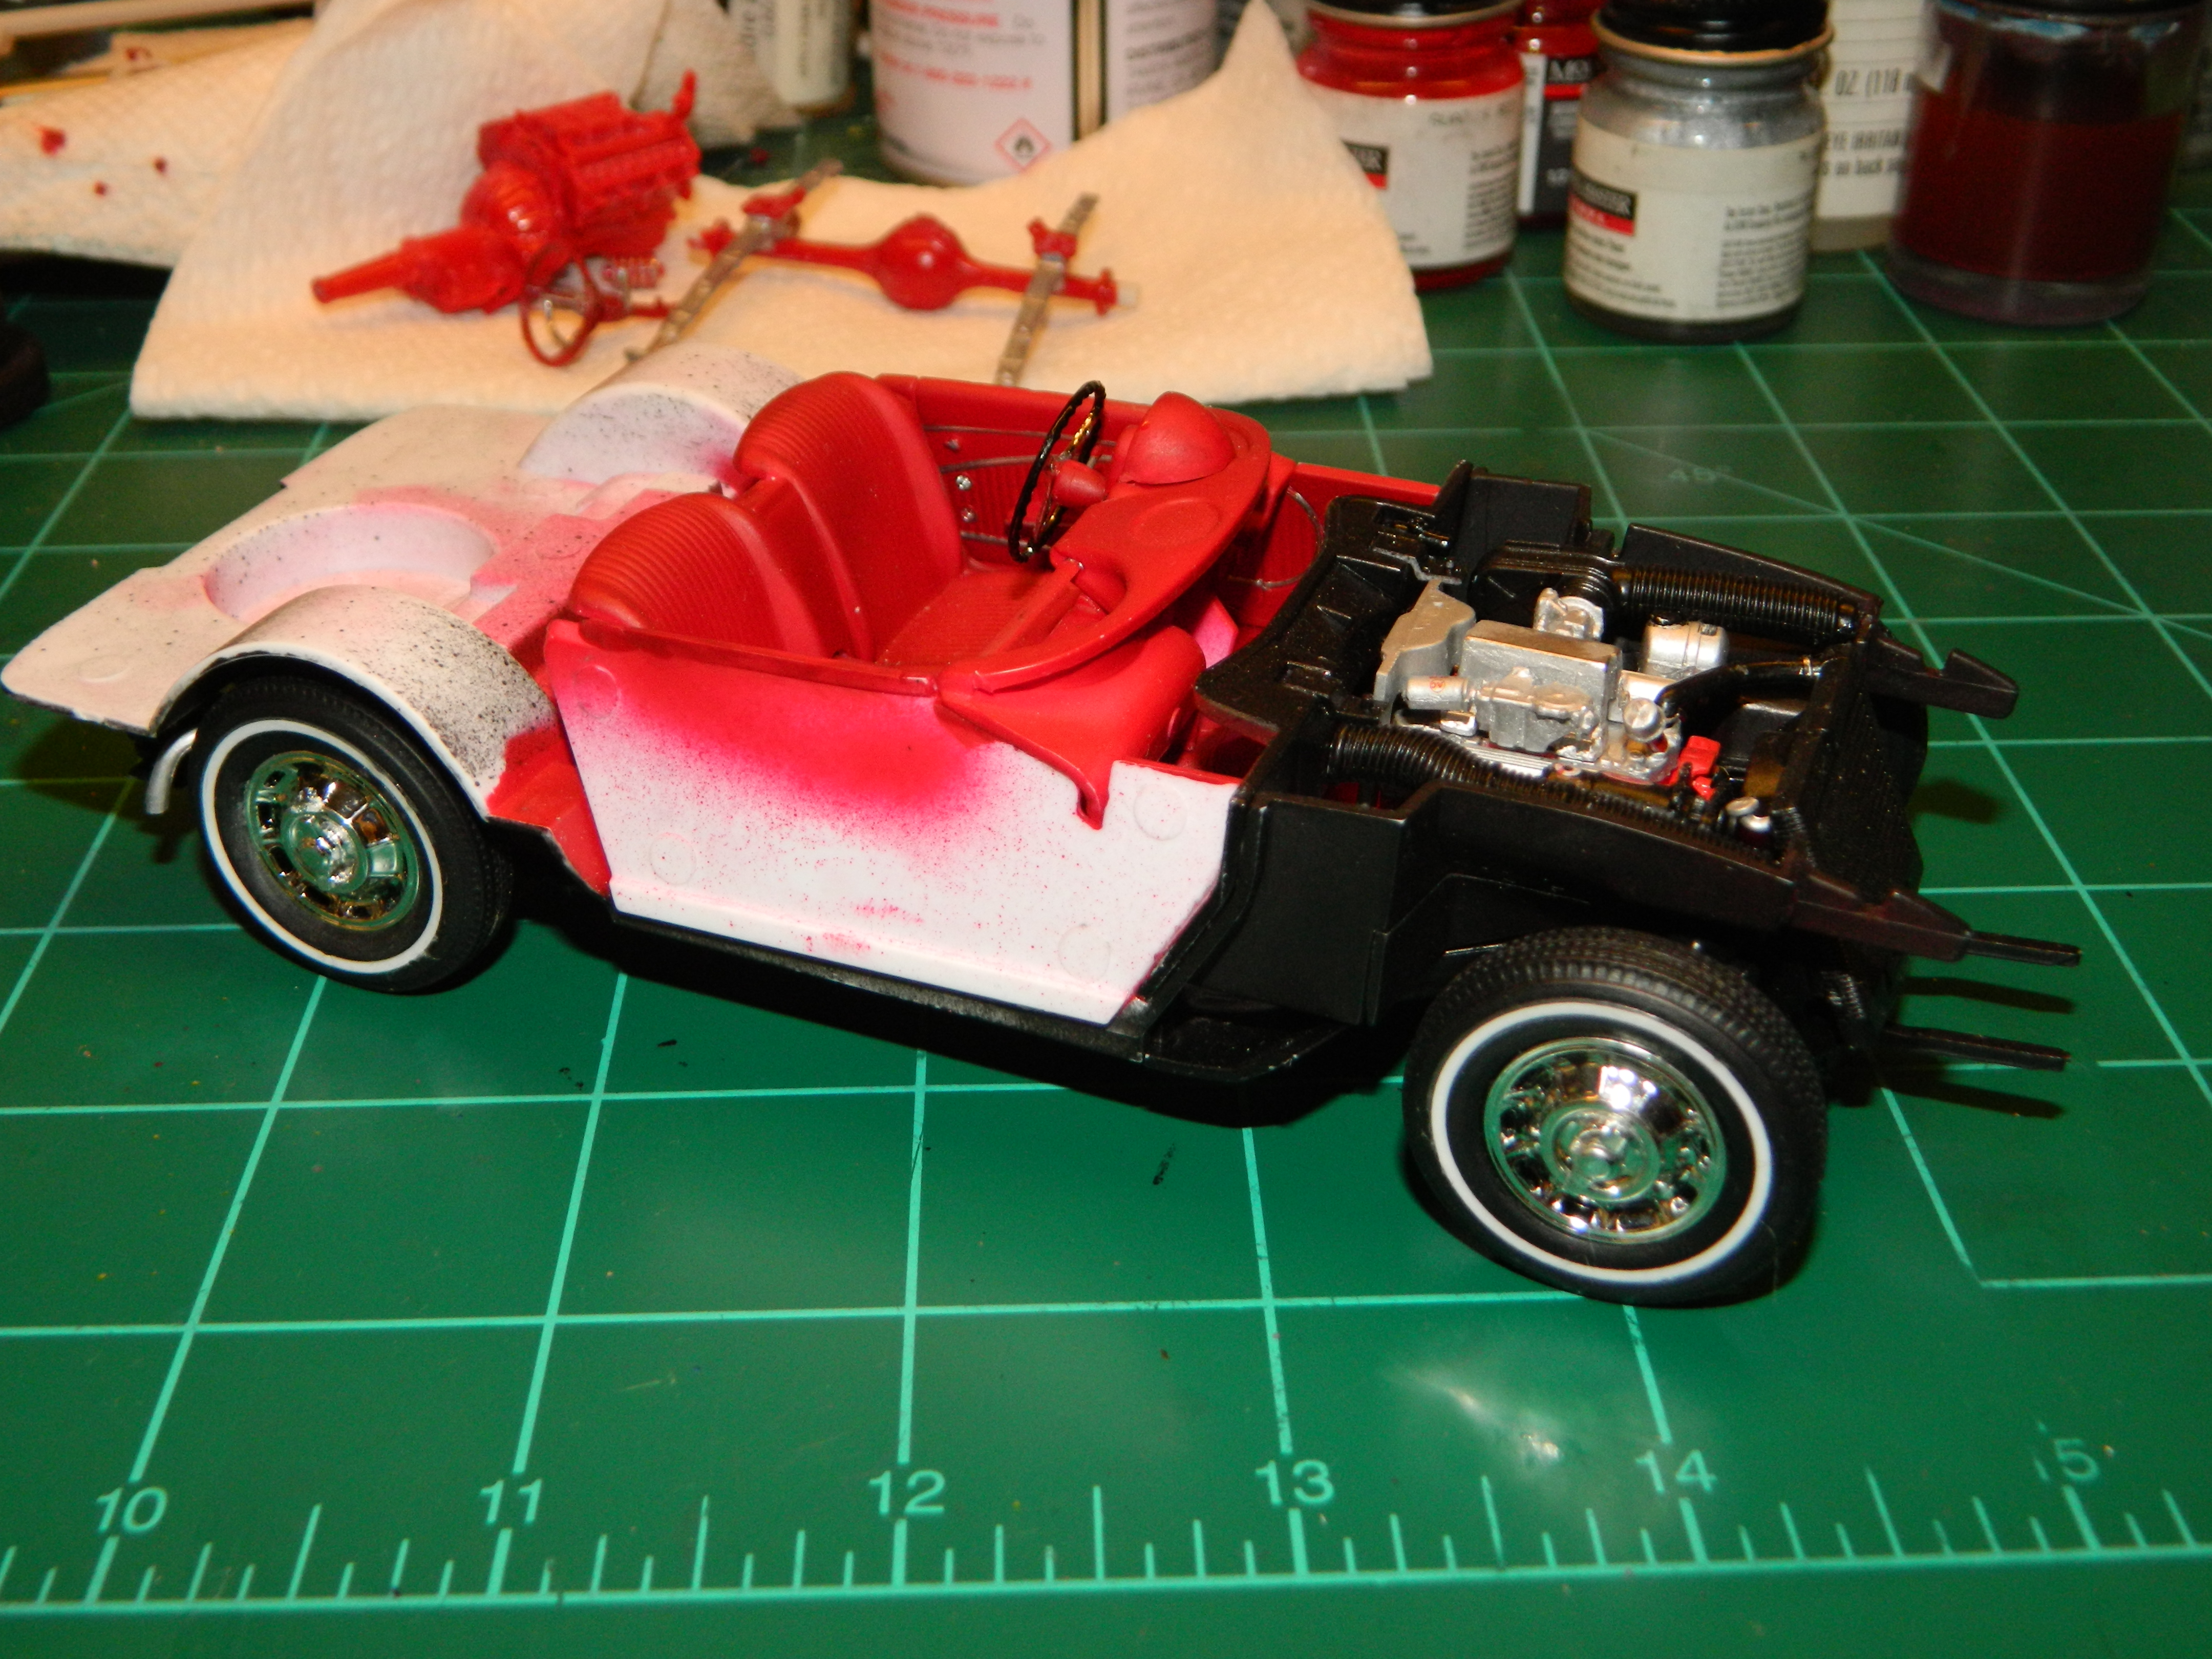
On February 12, 2014 at 5:44 AM, a massive sinkhole opened up under the floor of the Skydome at the National Corvette Museum in Bowling Green, Ky. Eight Corvettes were swallowed up by the sinkhole and it took several weeks for all eight cars to be recovered. The last Corvette to be recovered was completely destroyed. It was a privately owned 2001 Z06 Corvette modified by a company called Mallett Cars, Inc. and was known as the Mallett Hammer. It was not an historic car, but still, it was a special one. My build was of the third Corvette to be recovered from the sinkhole...a Tuxedo Black 1962 Corvette with a red interior. I painted my Revell '62 Vette with Tamiya TS-14 Gloss Black with a Model Master Insignia Red interior. I built this Vette OOB since I was unable to find a dual carb setup which the actual Corvette has.
-
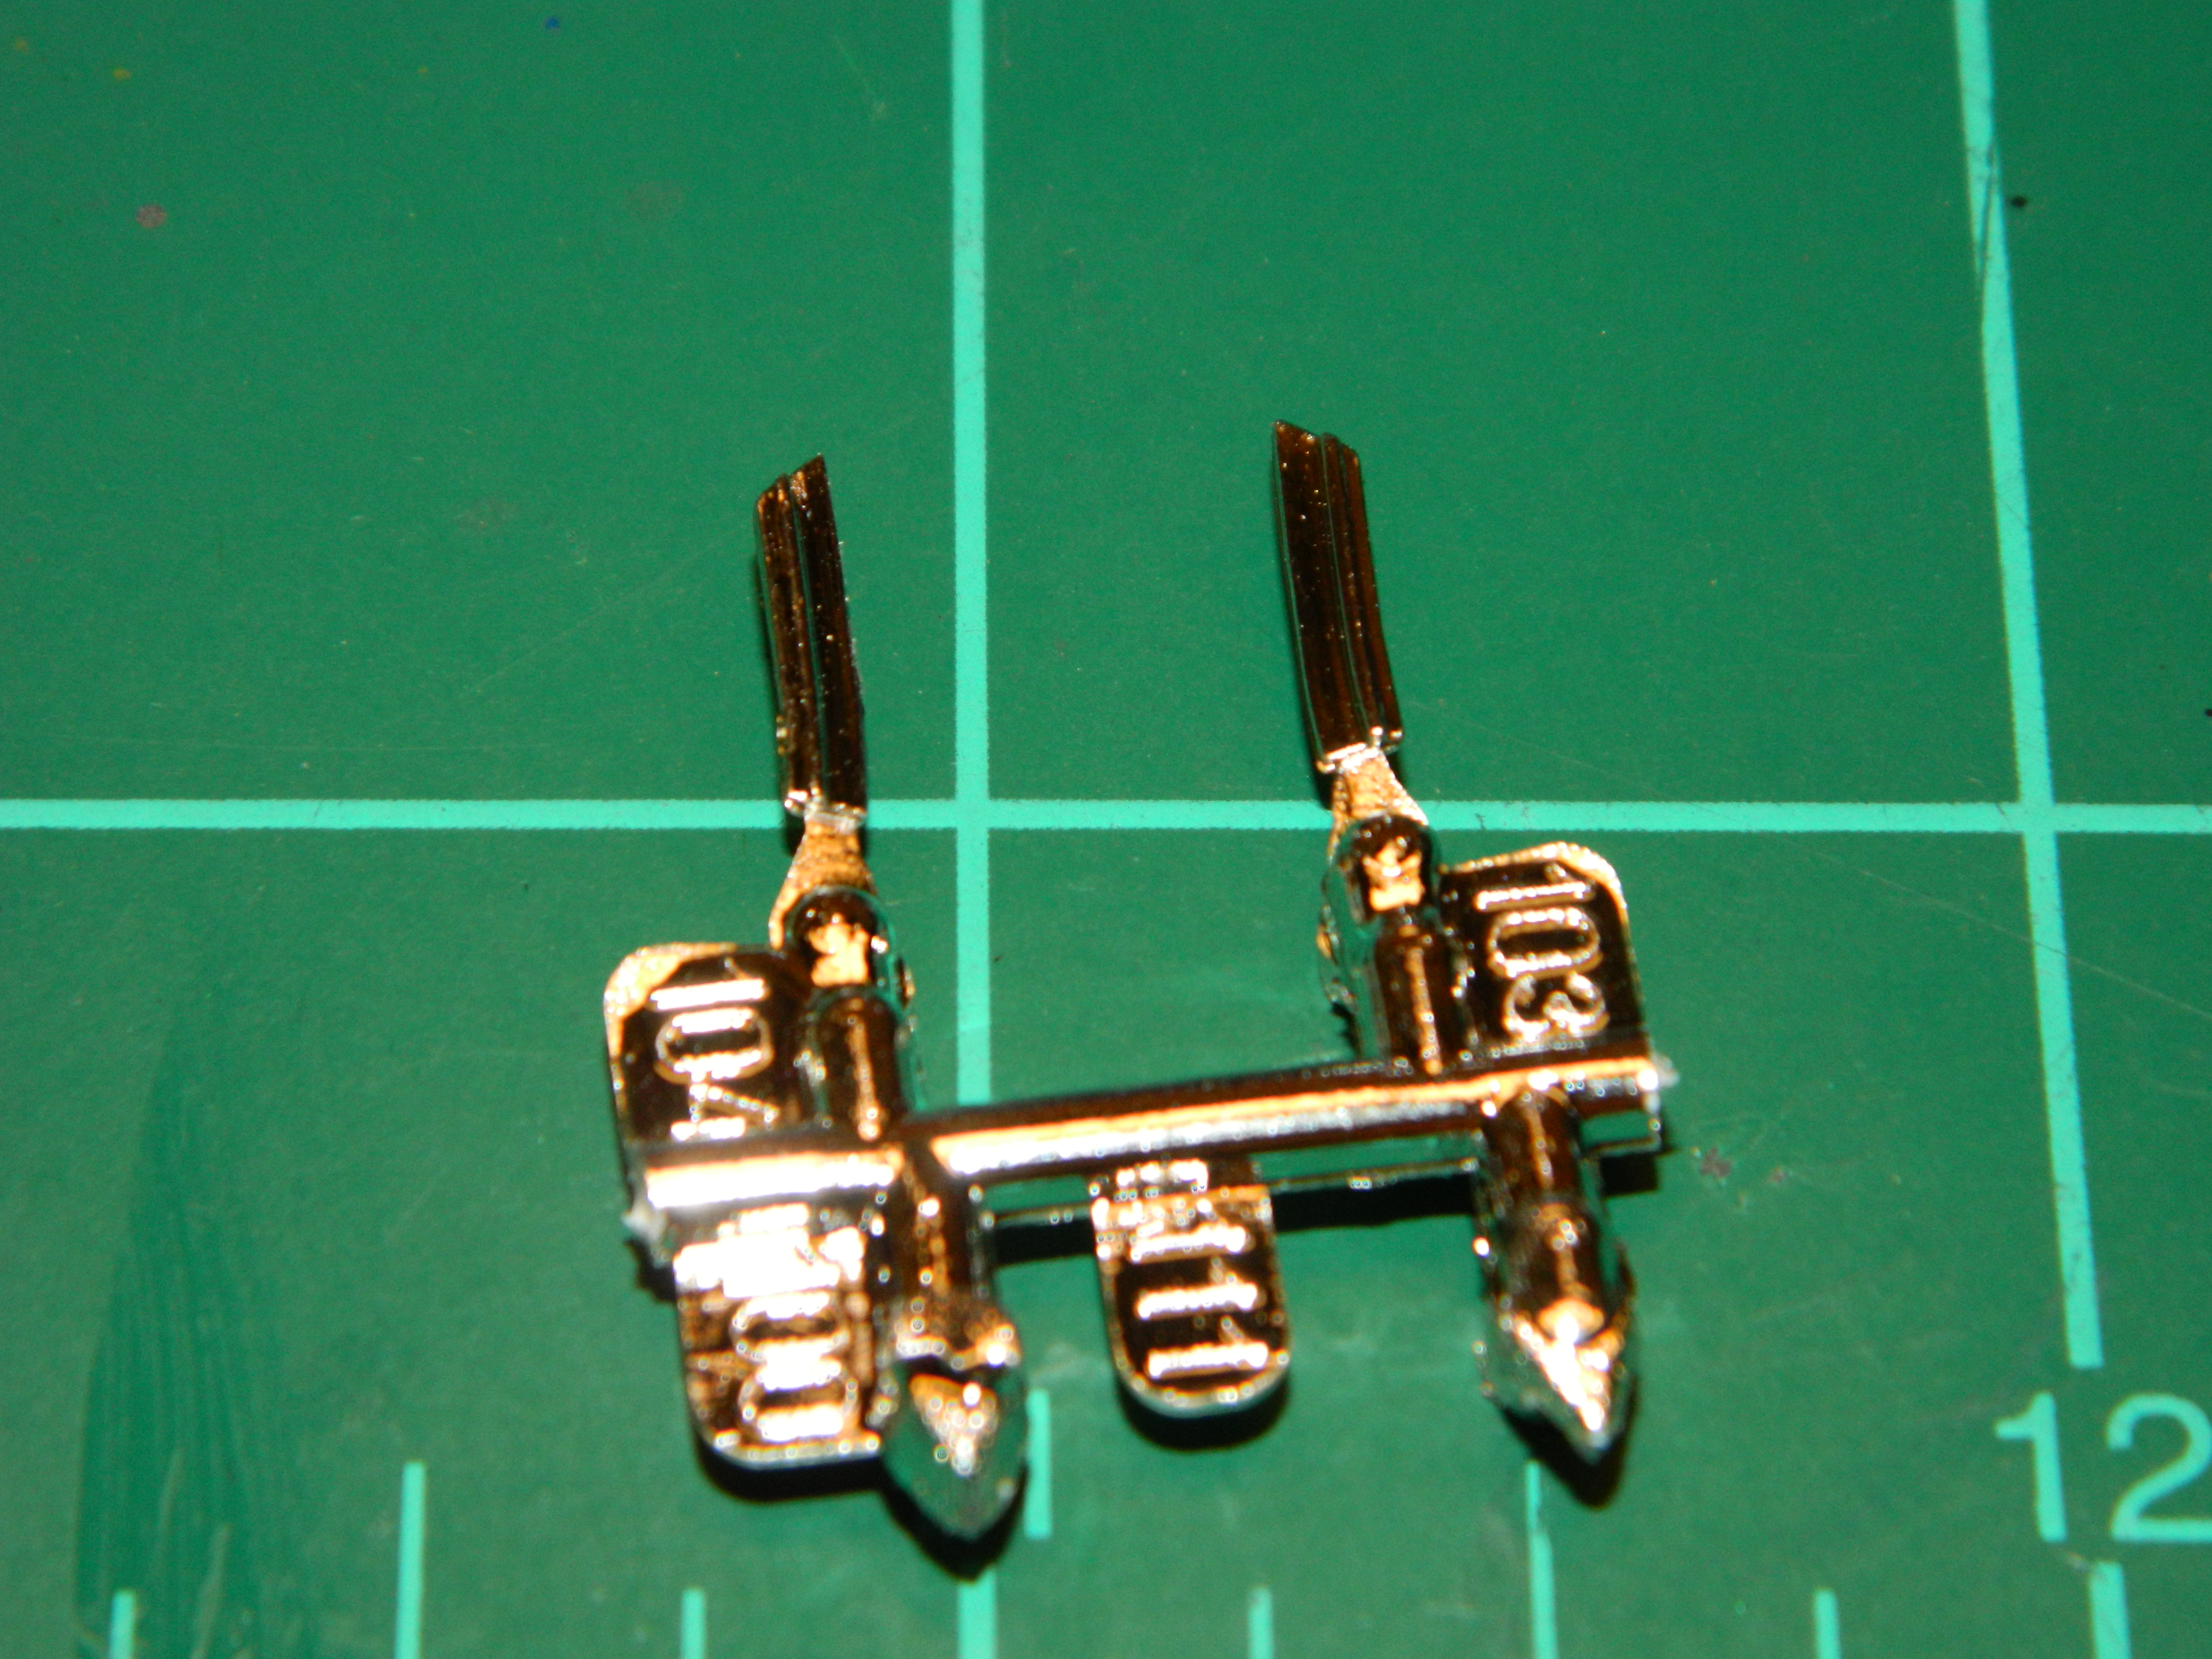
Almost there! Just a couple more pieces and decals and it's done! I got the hardtop all assembled. Earlier, I had questioned why Revell didn't include the hardtop with this kit. I knew they might have another variant coming and this confirms that. These are the pieces to the hardtop rear window trim that was included in my kit and not listed in the instructions. I had gotten those pieces from fellow Classic Plastic Model Club member John Davison from the '62 Corvette Gasser kit along with the hardtop.
-

McNally's 1973 Ford Bronco
mrmike replied to mrmike's topic in Model Trucks: Pickups, Vans, SUVs, Light Commercial
Thanks Tony! I was well aware of the decal issue when I had received the kit for Christmas and I did a little research on the actual shape. It was only a simple snip and repostion in my eyes, but I'm sure someone else would want and do more than that. Sometimes, it just that little things that mean a lot! -
More chrome! More to come...
-
Wayne, that's interesting that you would find that color hard to find as it was right there in the Summit Racing catalog online. I just ordered a can and had it in a few days. Along with a free hat (it was their 40th Anniversary).
-
I had this in mind for the stock shifter. I took the racing shifter and cut off the T-Handle. Then I took the stock shifter and cut-off the shift ball. Using a pinvise and a drill bit the size of the shifter shaft, I drilled a hole in the T-Handle and then I glued the handle to the shifter shaft. I now have a T-Handle for the stock shifter! Paint the boot black and the handle aluminium and I'm done! More Mopar to come...
-
You're welcome John!
-
Thanks Jeremy! I'm hoping to finish it up over the next few days this week. So much to do, so little time!
-
I can see the light at the end of the tunnel! The body and chassis are one and I have started adding the chrome bits and pieces. More to come...
-
Sometimes a snap kit can offer more detail or crisper lines that a full detail kit can offer. Looking good so far on a subject not seen too often.
-
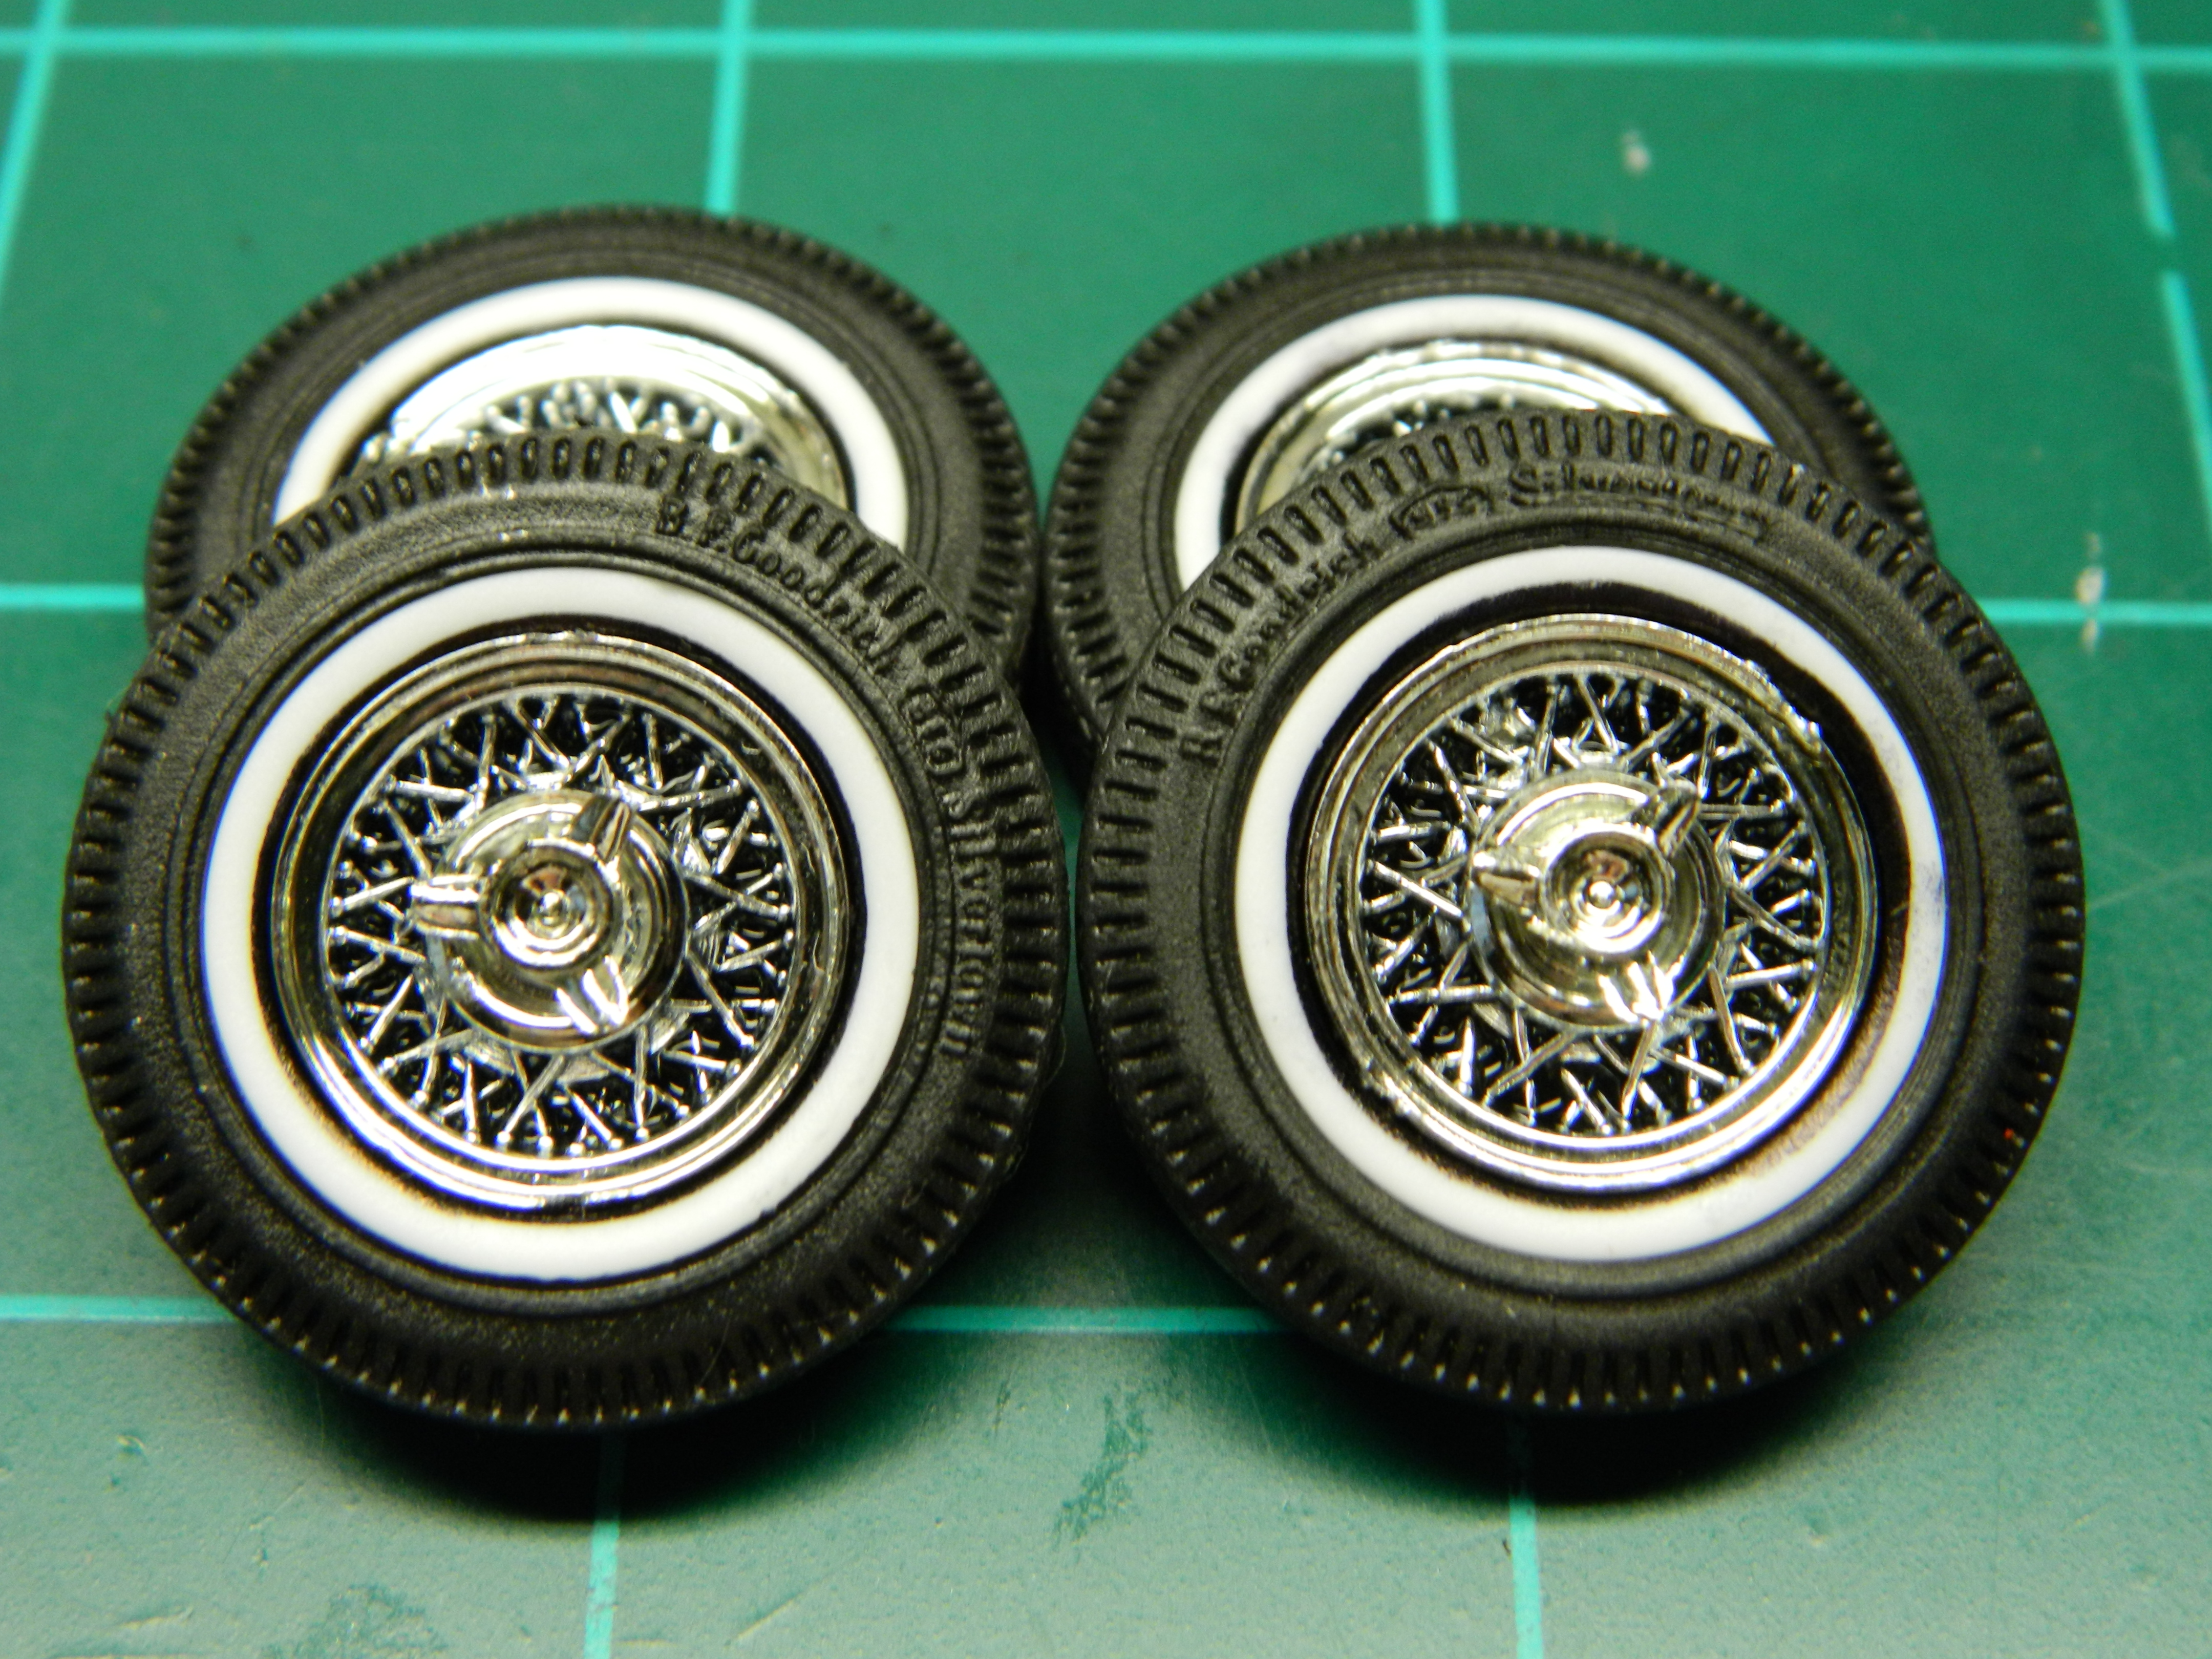
I have finished the chassis by adding the wheels and tires. I added several drops of Tamiya X-22 Clear to mimic gauge lenses.
-
Thanks Ron! This gives me more insight to any possible trouble spots on the '62 TBird.I have also discovered that the side panels fit may cause some interference when installing the body over them.
-
Wow Chris! I wish you had told me that you were going to do this in advance. I had sent the historic plate image to a friend of mine (he's a computer nerd) to resize it for me and I was able to print the '62 Indiana plate from the Acme License Plate site. I will take them since you went to the effort to resize and print them out for me. Check your PM for my address. Thanks!
-
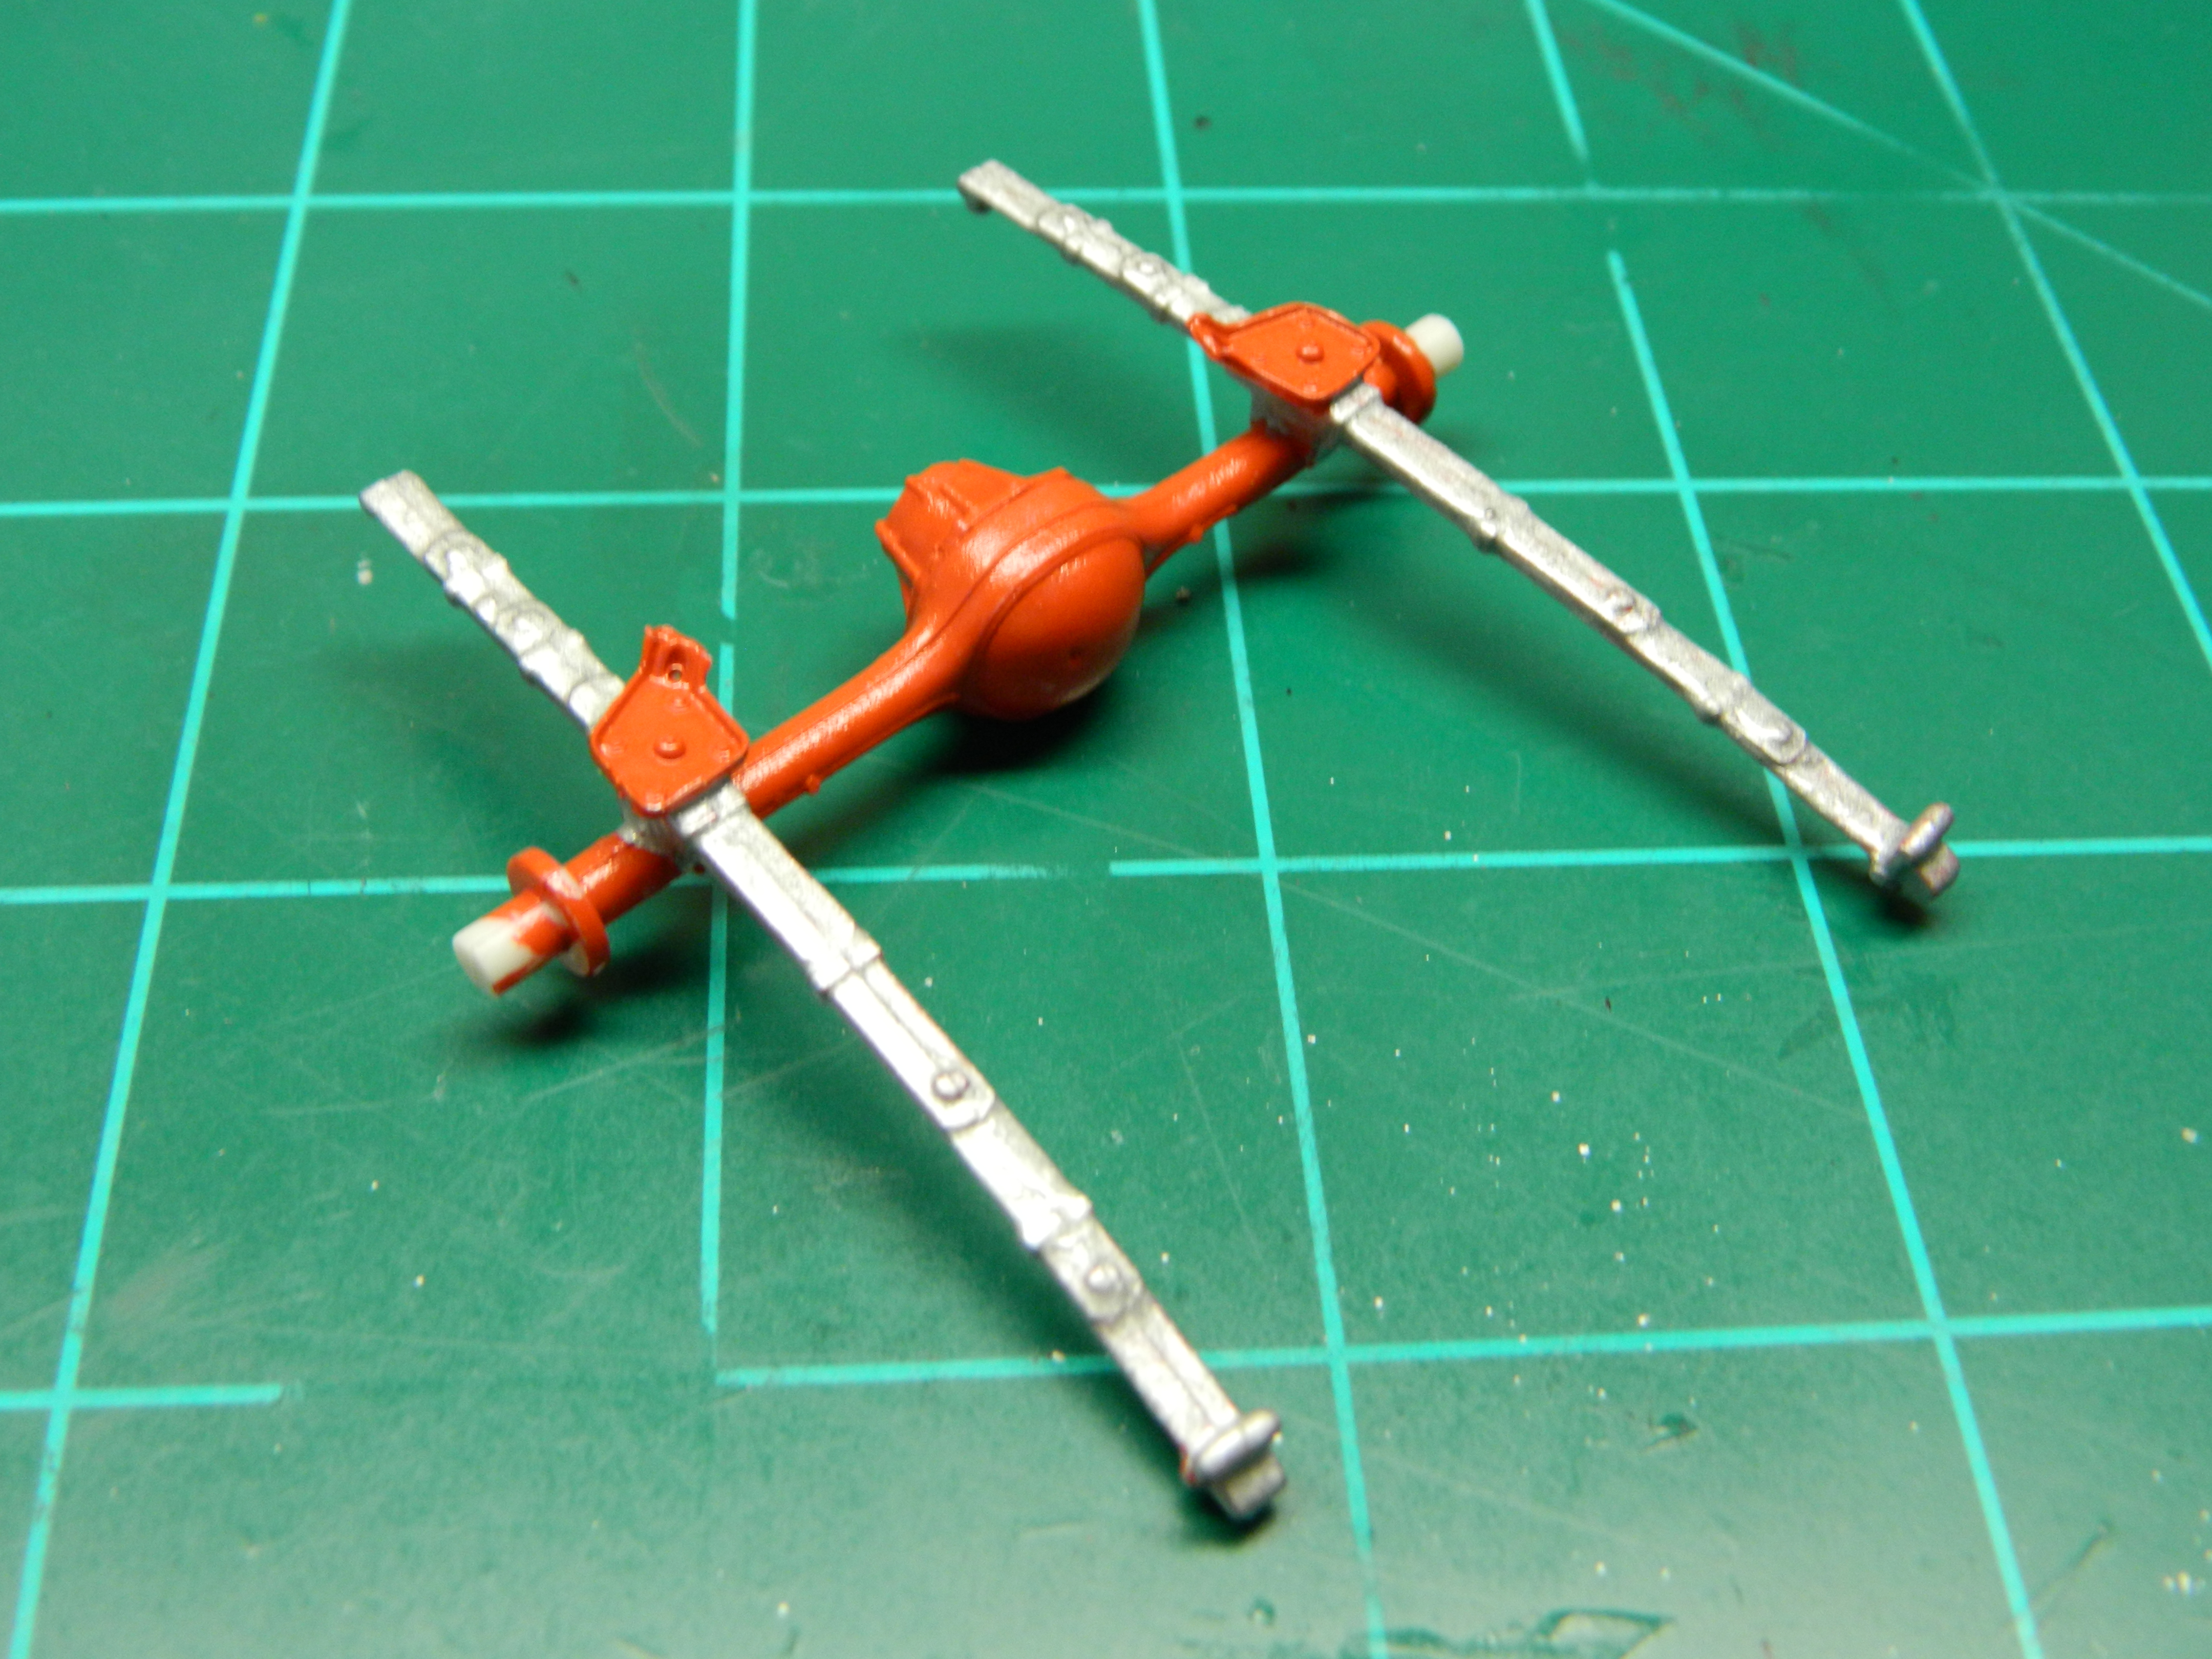
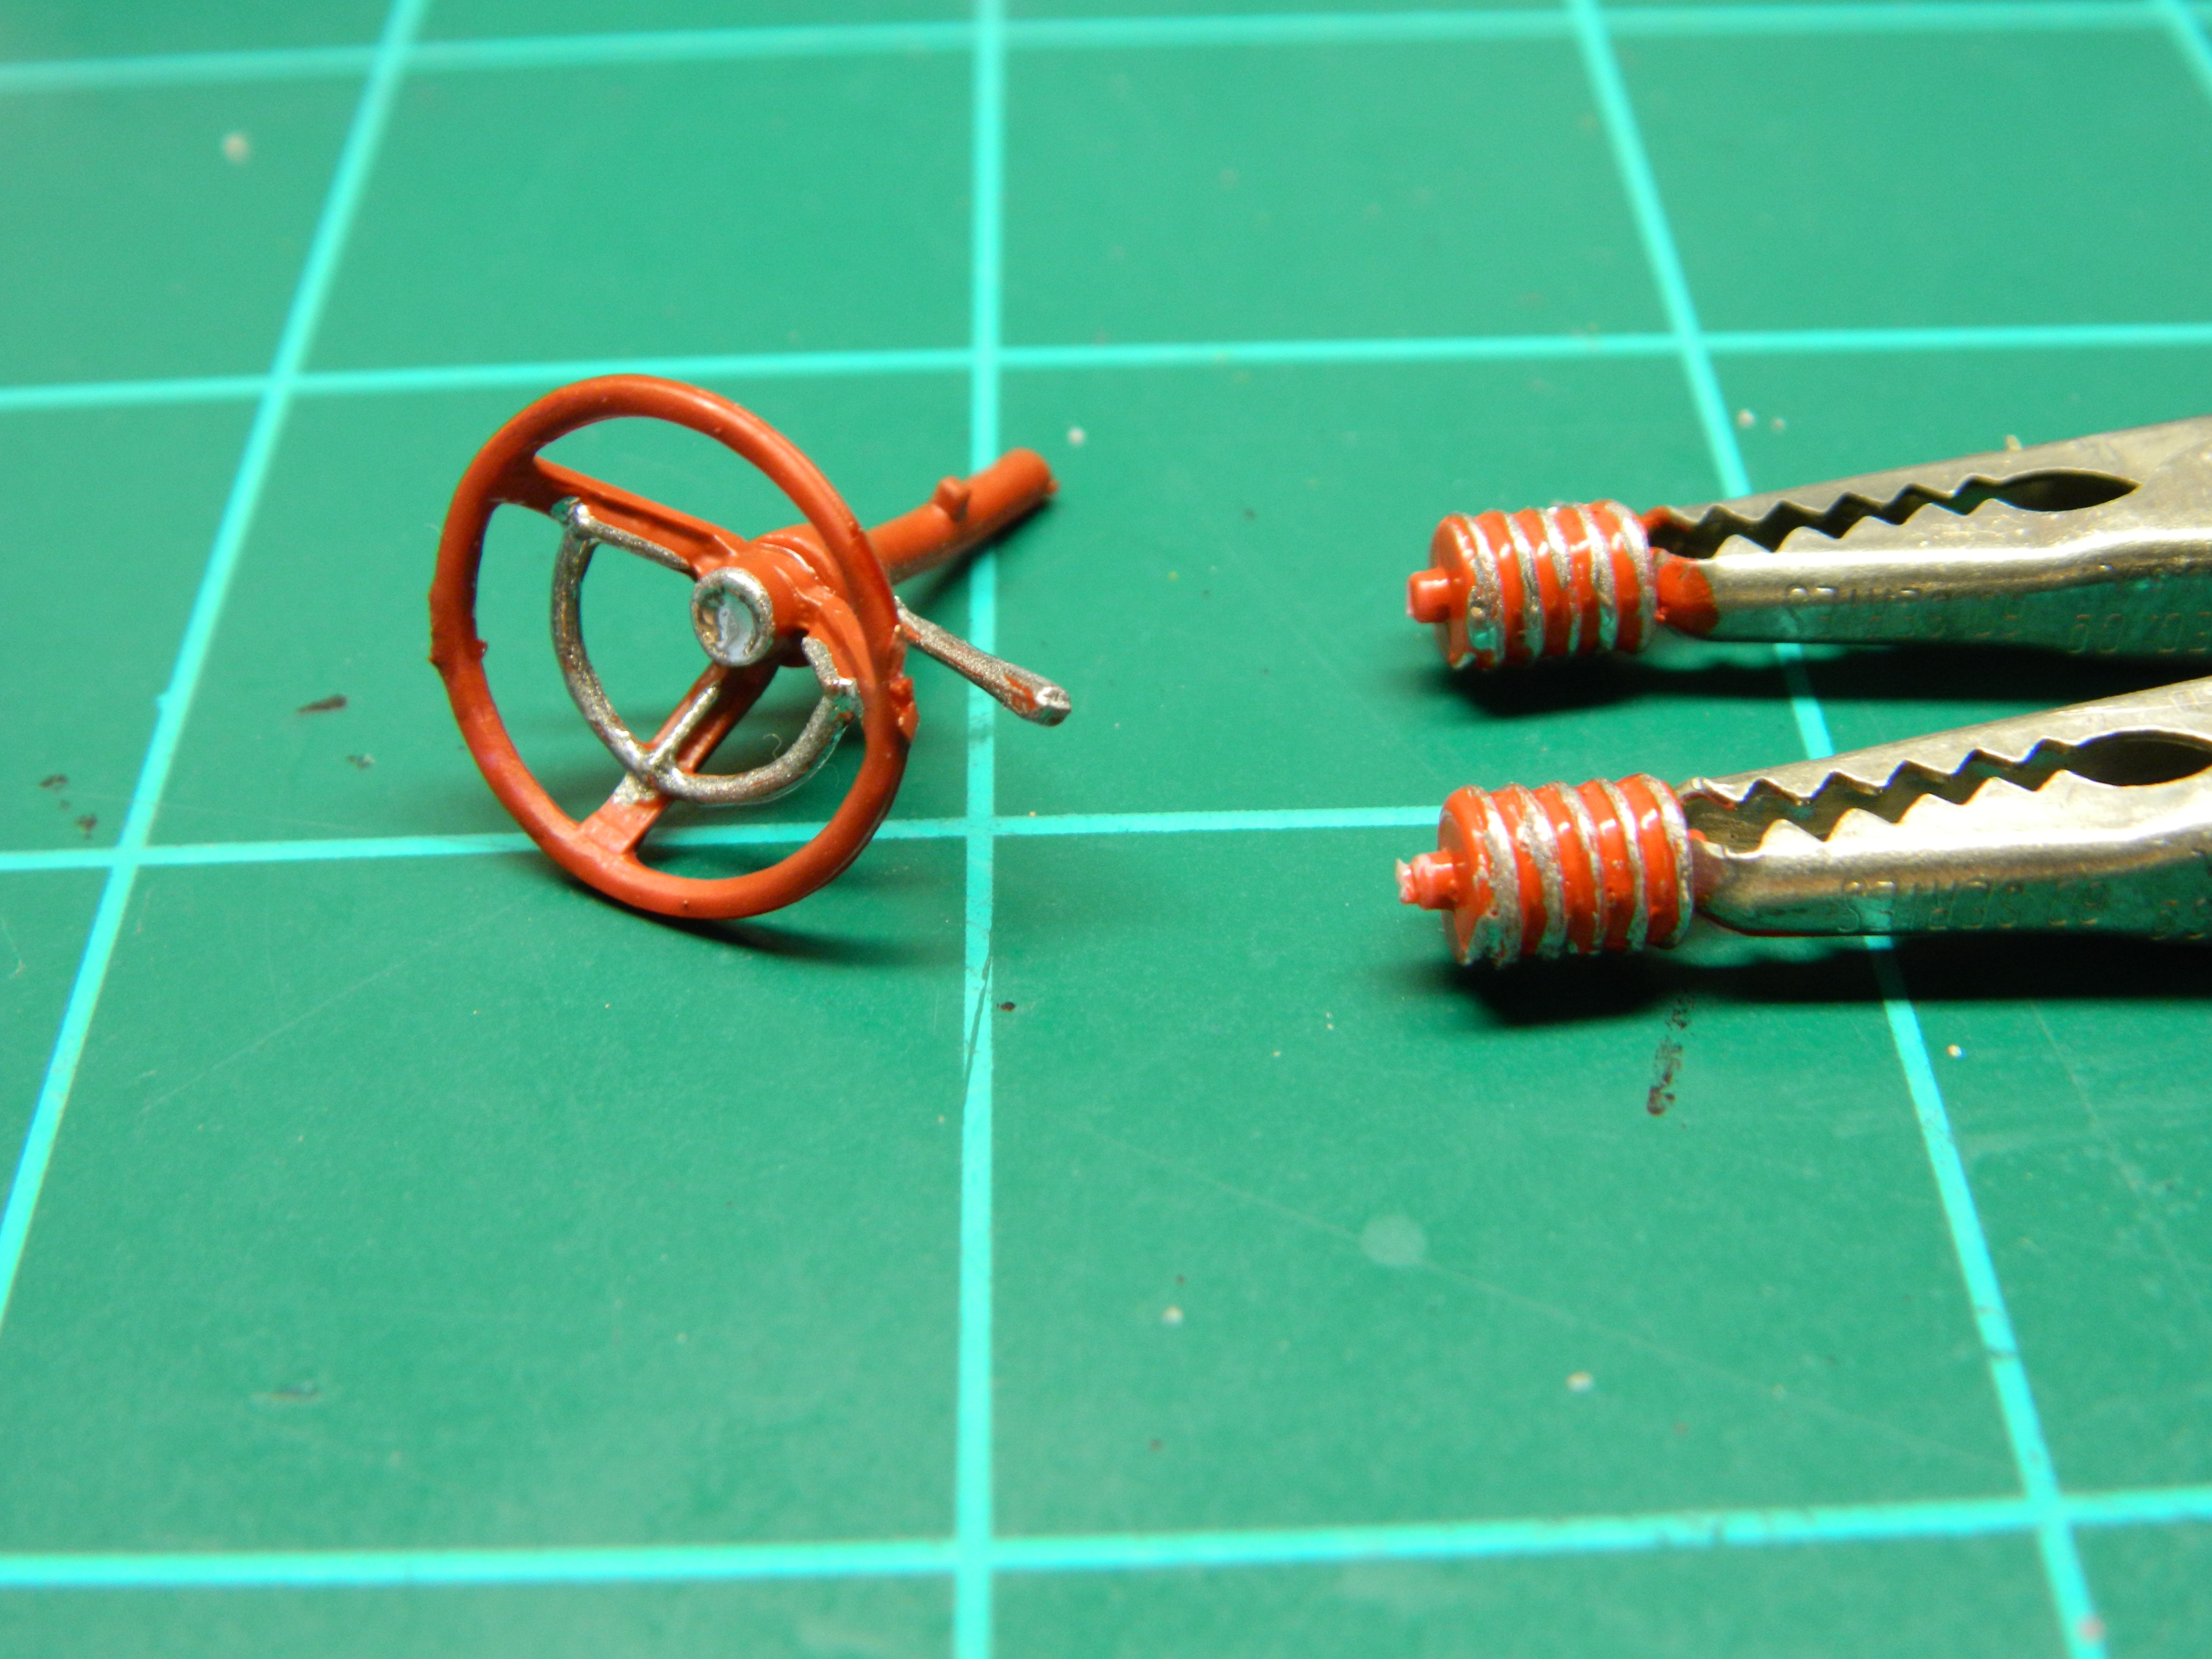
I was able to spend some time on the TBird and got some things painted and detailed. I added a wash to the wire wheels. I painted the rear axle with Model Master Acryl Guards Red and the springs with Model Master Aluminium with a few drops of black. I painted the steering wheel and column with Model Master Insignia Red and detailed the horn ring and the control stalks with my Molotow Liquid Chrome Pen. The front springs were painted with the Acryl Guards Red and my Molotow Liquid Chrome Pen. I have decided against chopping the windshield. I don't think I could chop it correctly in the time I have left and have it look presentable. More to come...
-
McNally's 1973 Ford Bronco
mrmike replied to mrmike's topic in Model Trucks: Pickups, Vans, SUVs, Light Commercial
Thanks Brian and Carl! This is one of my favorite builds, too! -
I tried to shrink this picture in MS Word like I do for all my other plates and it pixelated on me when I tried to change the image dimensions to 0.25 X 0.50 and it came out looking like a blob..