mrmike
-
Posts
5,324 -
Joined
-
Last visited
Content Type
Profiles
Forums
Events
Gallery
Everything posted by mrmike
-
I decided to assemble the chassis. The engine, most of the exhaust system, rear axle, dog house, and wheels and tires were added. I need to find a tach in my parts box and to repaint the rear package shelf on the interior. More to come...

-
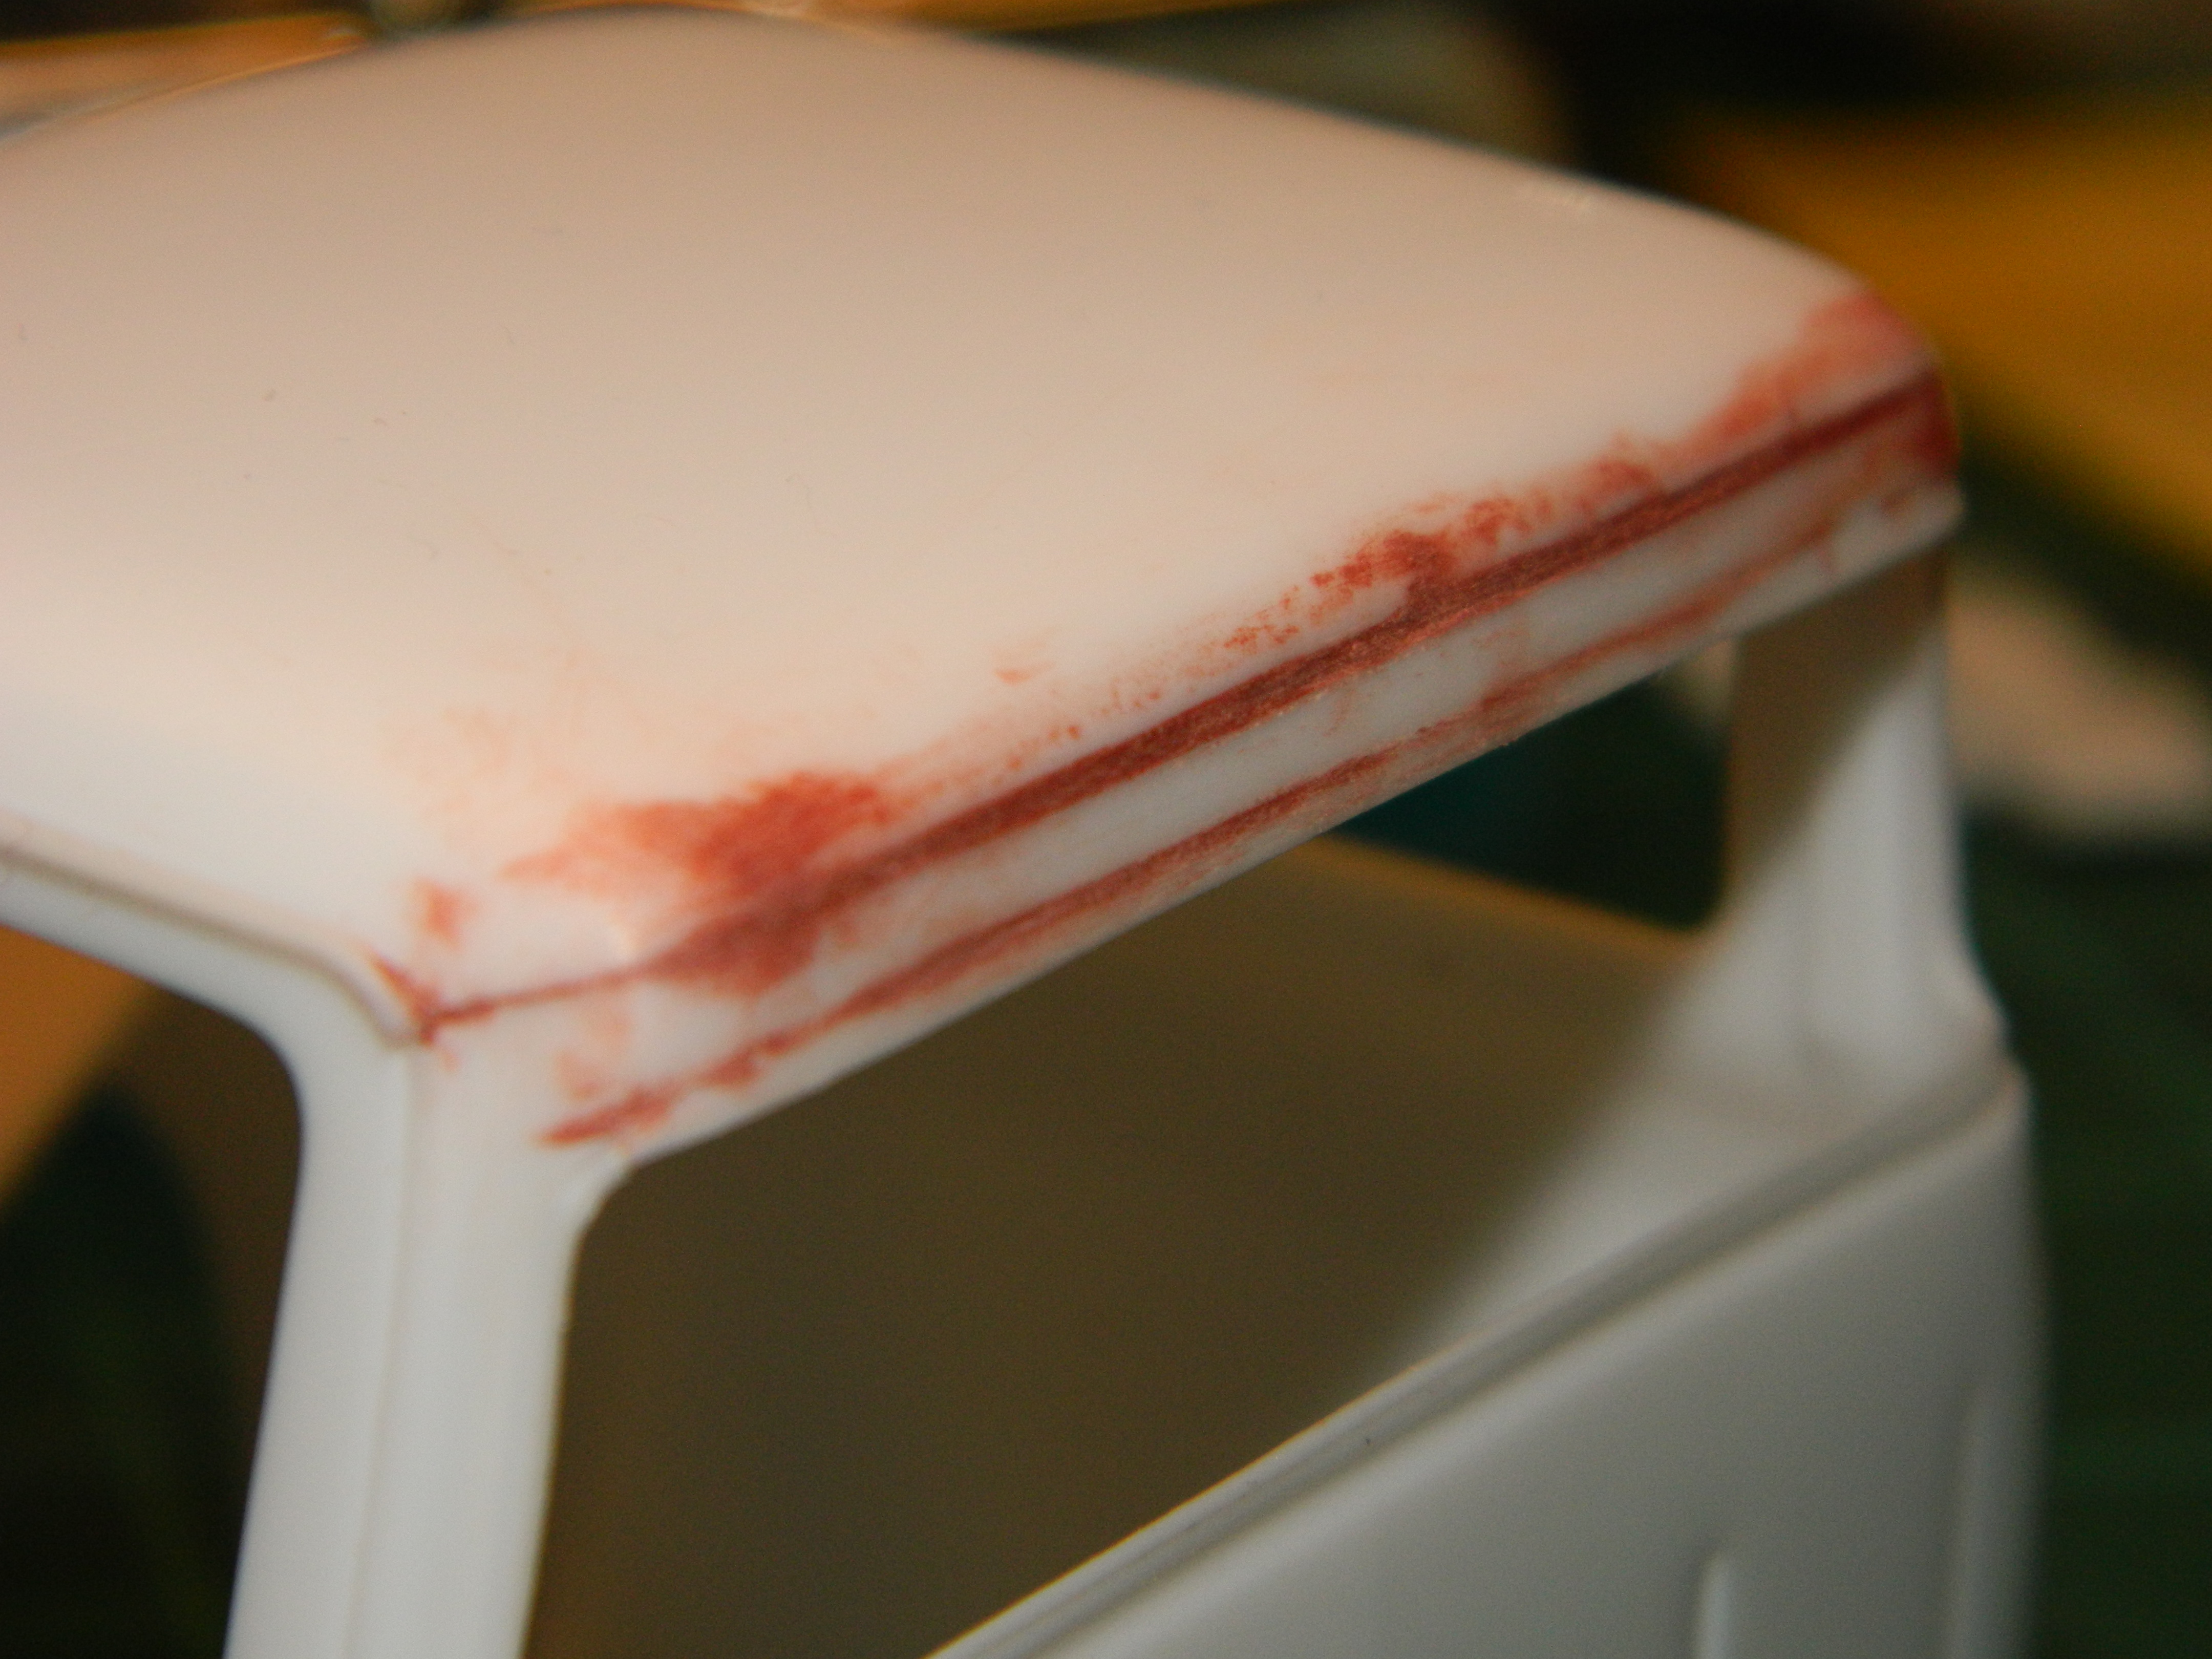
 Well, it had to happen. My painting luck has turned against me. At first, I thought the paint was so hot that is crazed the plastic, but I'm starting to think that the hot Testors paint reacted with the Tamiya primer. This morning, I tried to polish the paint with some Meguirs Scratch X 2.0 and the rough surface turned smooth. There is still no luster as I think the Tamiya primer may have been a little damp when I started to spray the Testors De Ja Blue One Coat Lacquer and the primer may have mixed with the paint. I am planning on a wet-sanding session to see if the primer had mixed with the paint and if I can save the body as I do love this color. Time will tell... More to come...
-
Thanks Jeremy! Based on what I have done already, this kit goes together really nice. No surprises, things fit like they should, and the few mods I made to correct what I think are issues with this kit, are easy to do.
-
Thanks Dirk and Jeremy! Well, one thing is for sure, that is my model. How can I tell? There's a dog hair hanging from the fender. If it doesn't have dog hair on it, it's not mine!
-
I painted the Foose FD100 this morning with Testors De Ja Blue One Coat Lacquer. More to come...
-
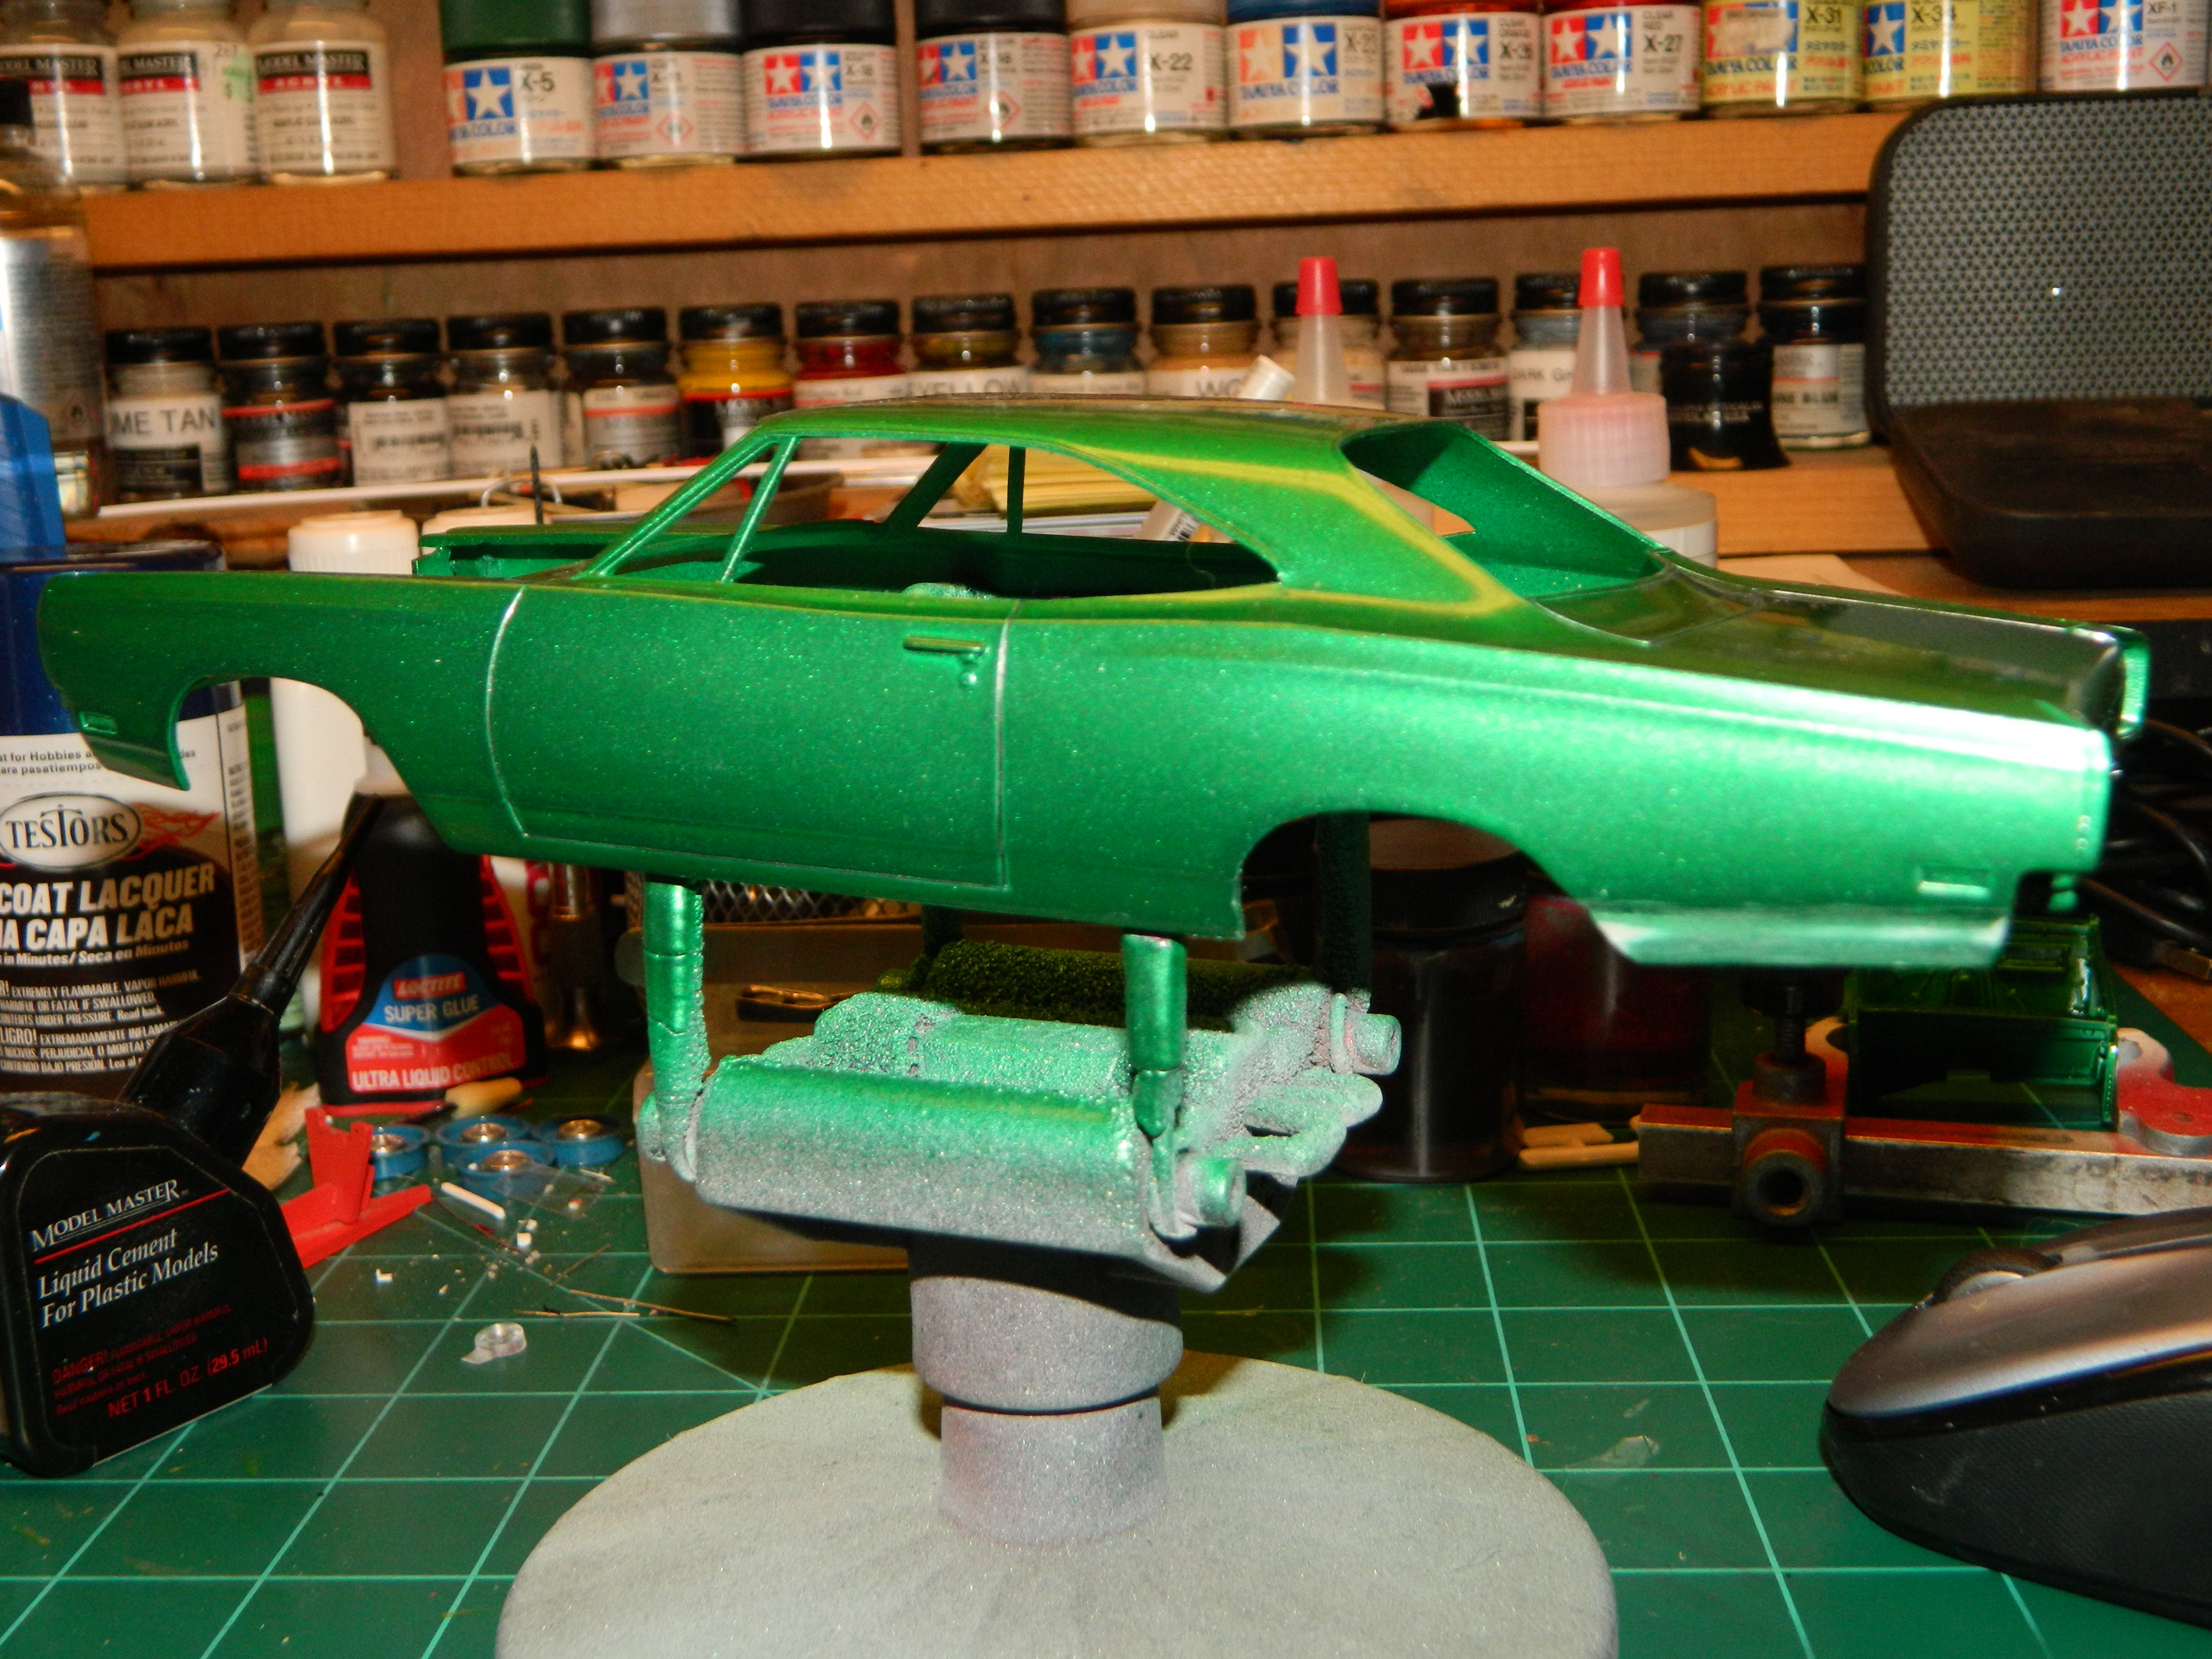
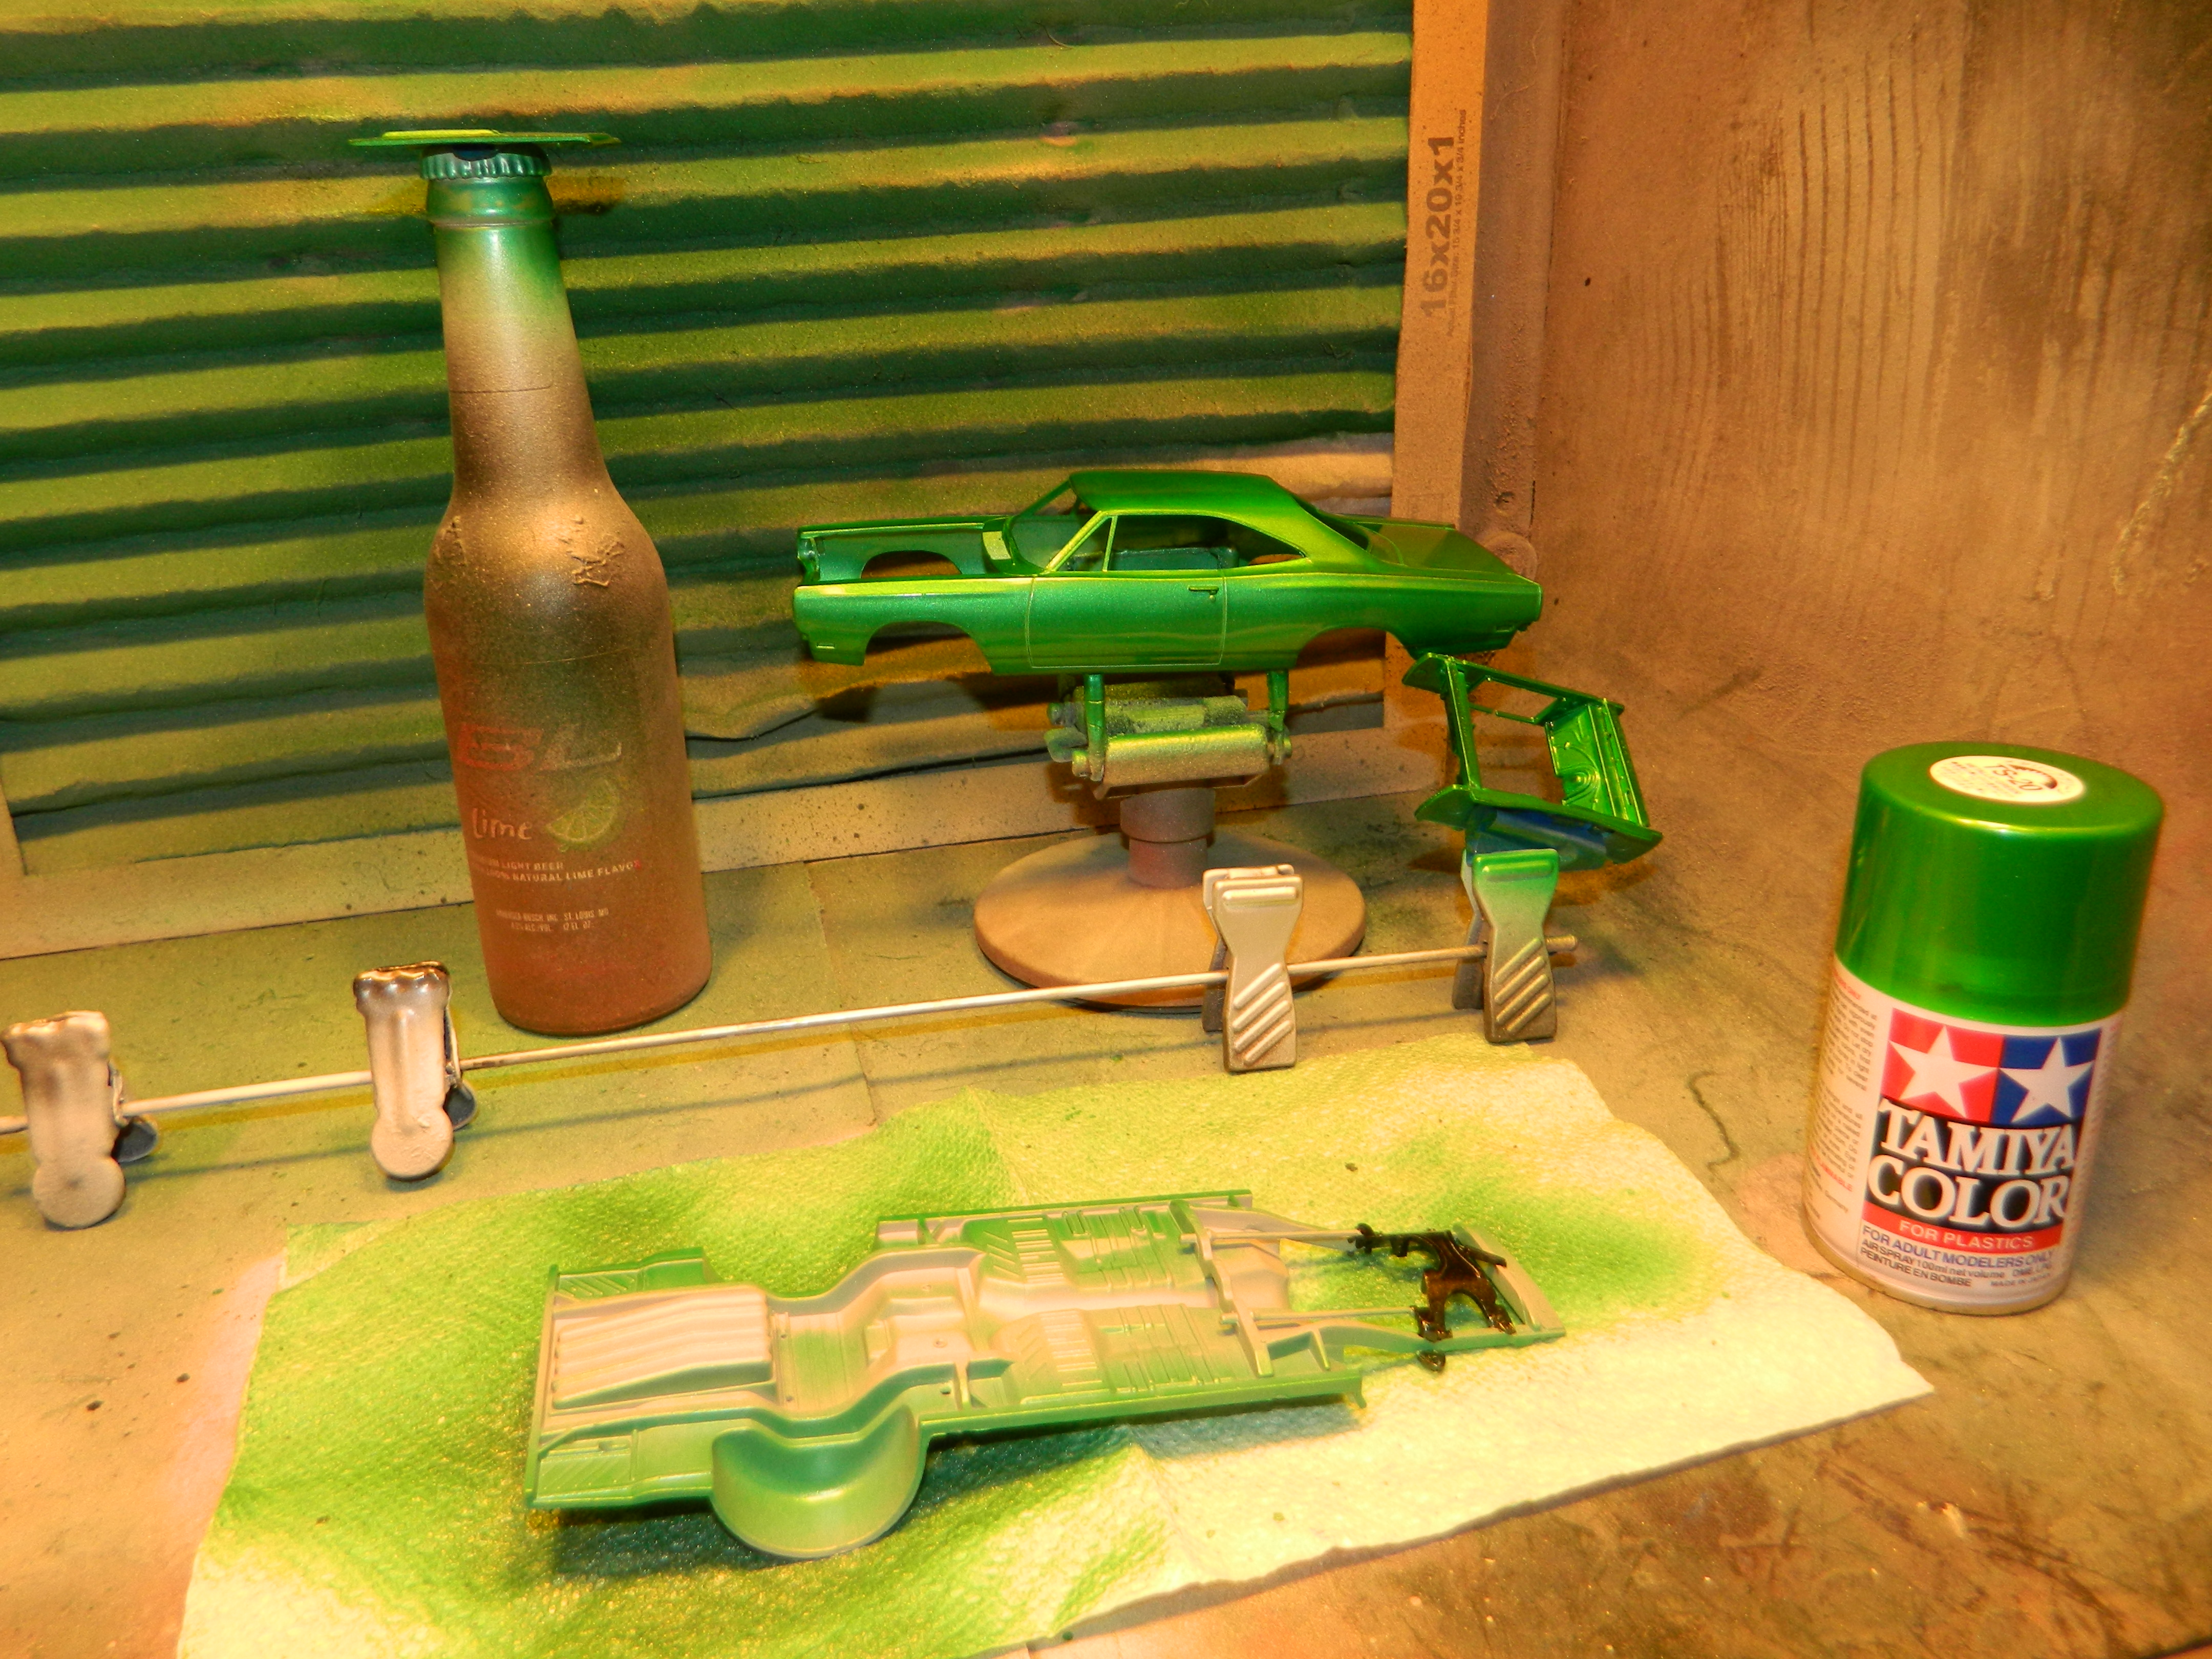
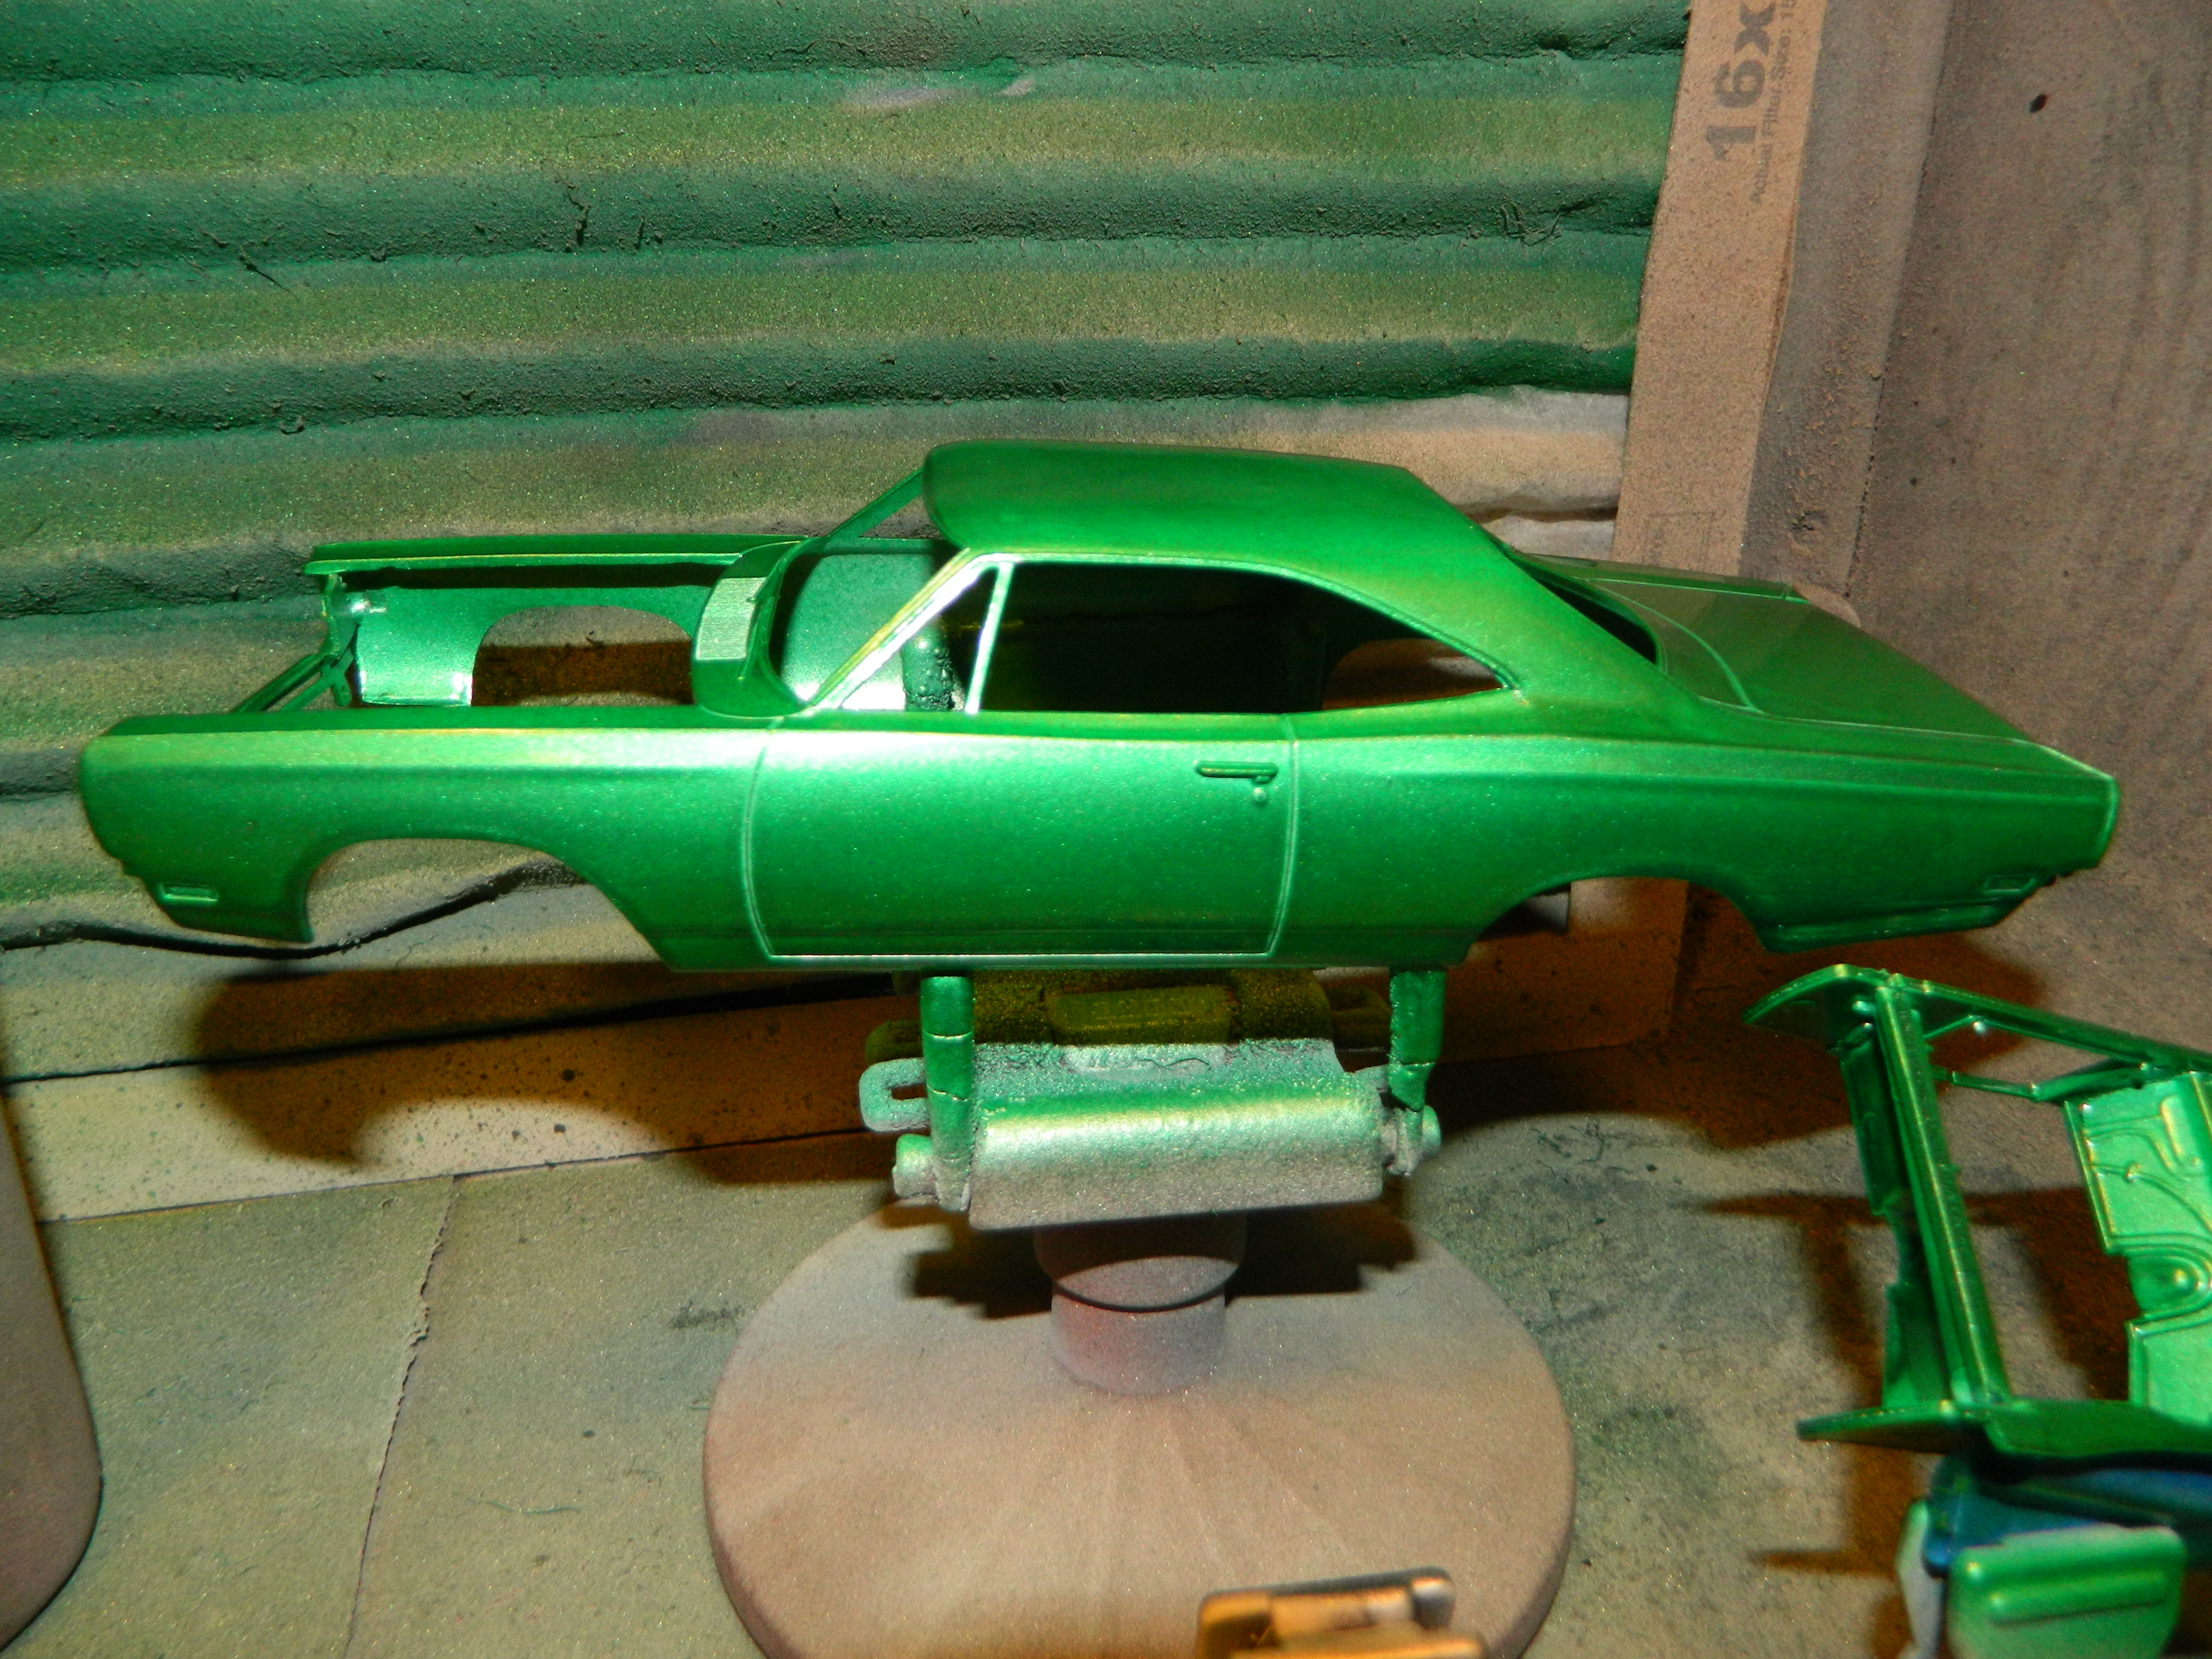
I painted the body last week and noticed a paint run on the left rear fender. I started by sanding off the paint run and will give the body another coat of Tamiya TS-20 Metallic Green. A mockup with the grille. Looks great! More to come...
-
Thank you Ted!
-
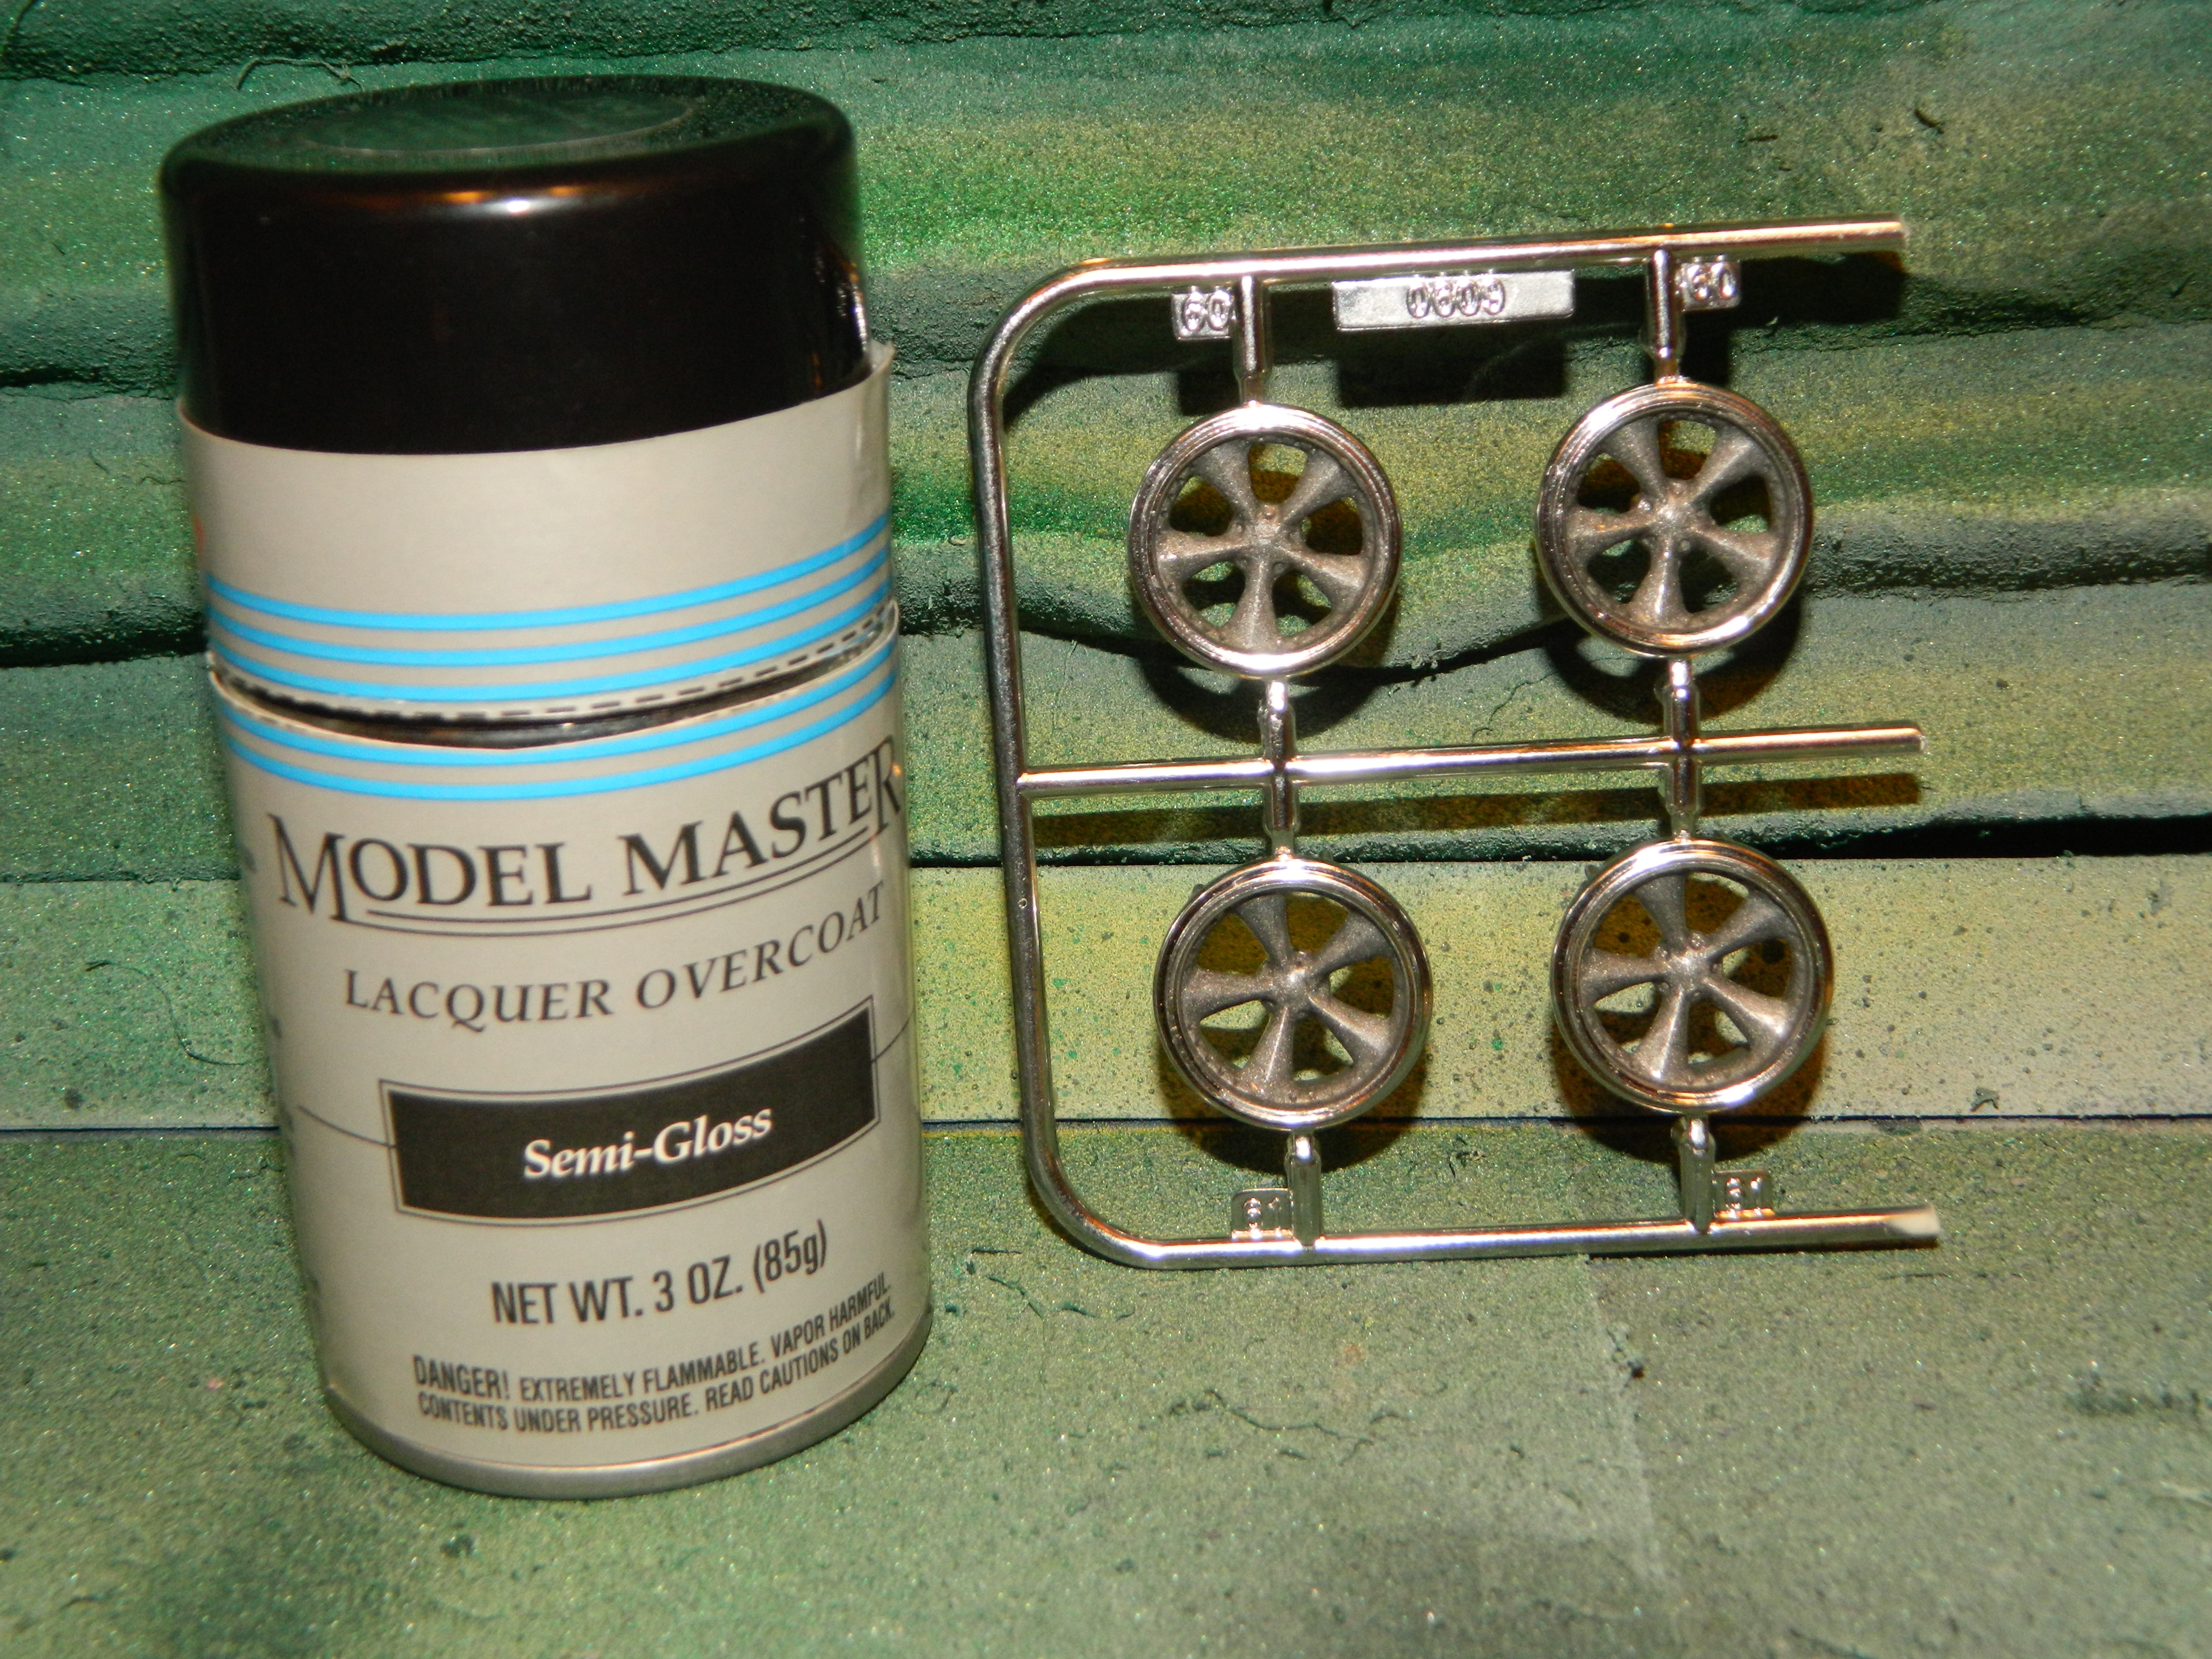
Thanks Len and Mike! I painted the wheel centers by hand. Now, I just need to pick out the lug nuts with some chrome paint. It took a couple coats of paint to get them covered like I wanted them. I almost threw the wheels into a container with some Easy-Off so I could paint them with my airbrush and then paint the rim with my Molotow Liquid Chrome pen.
-
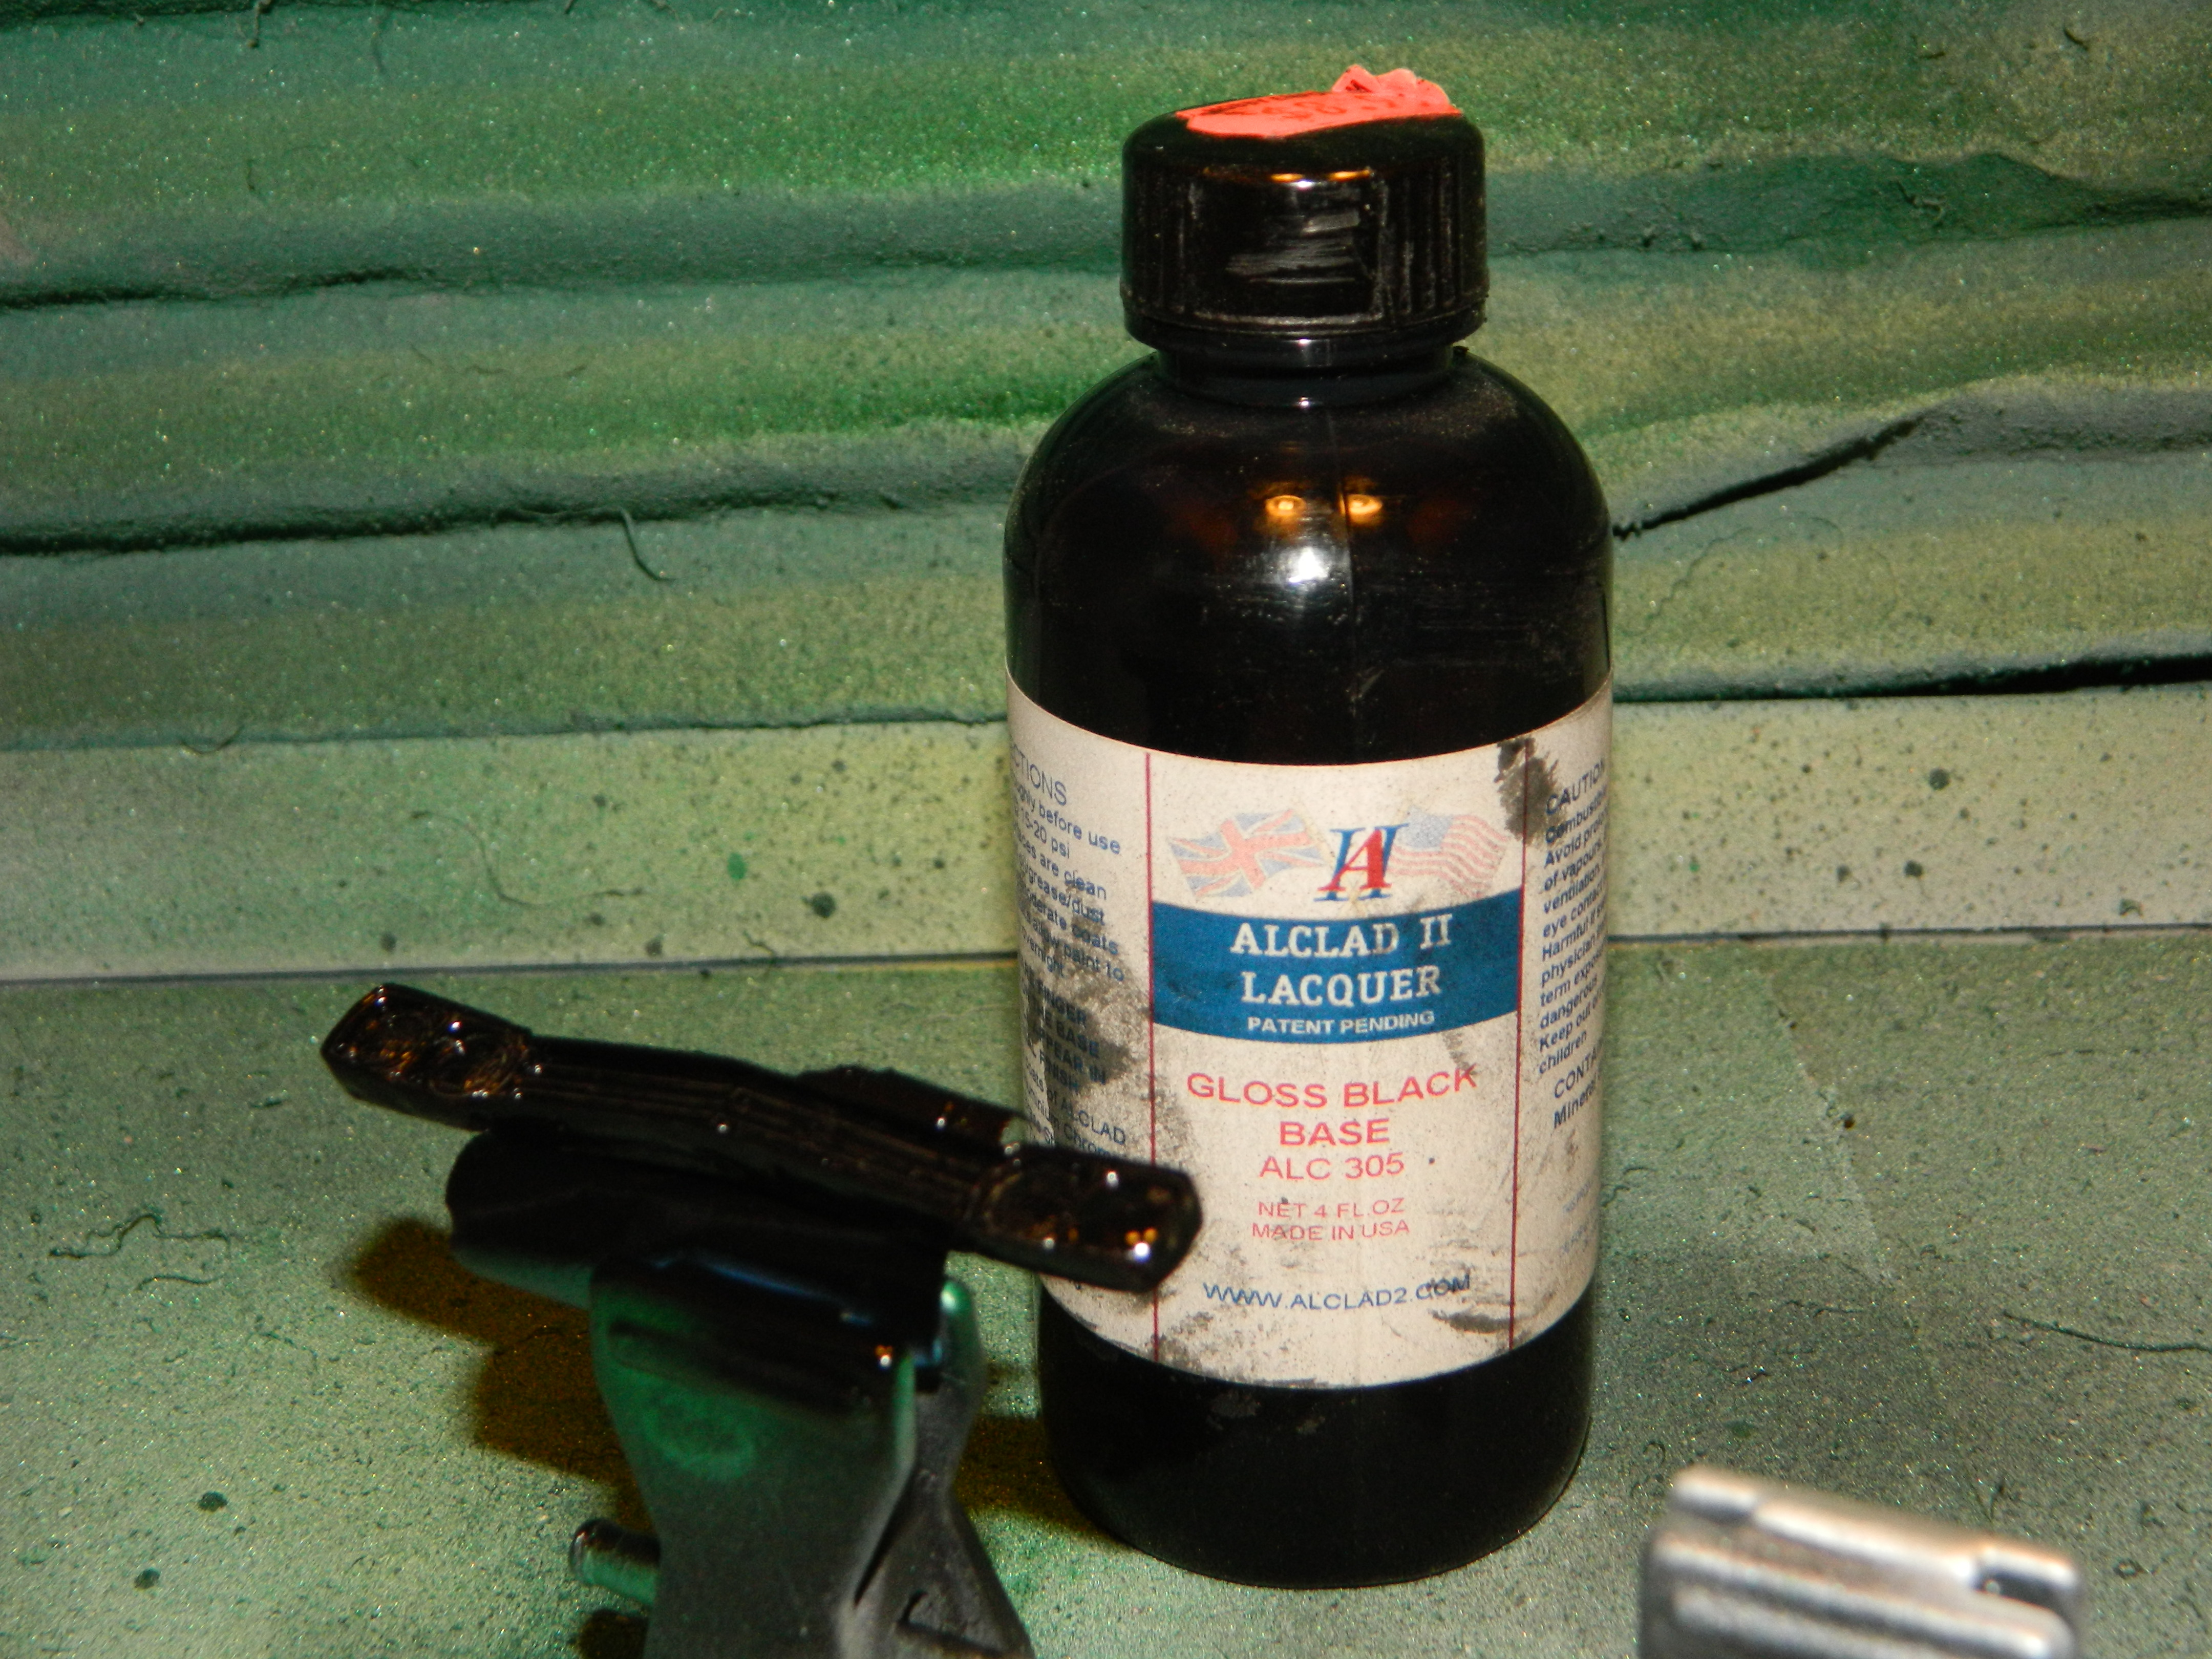
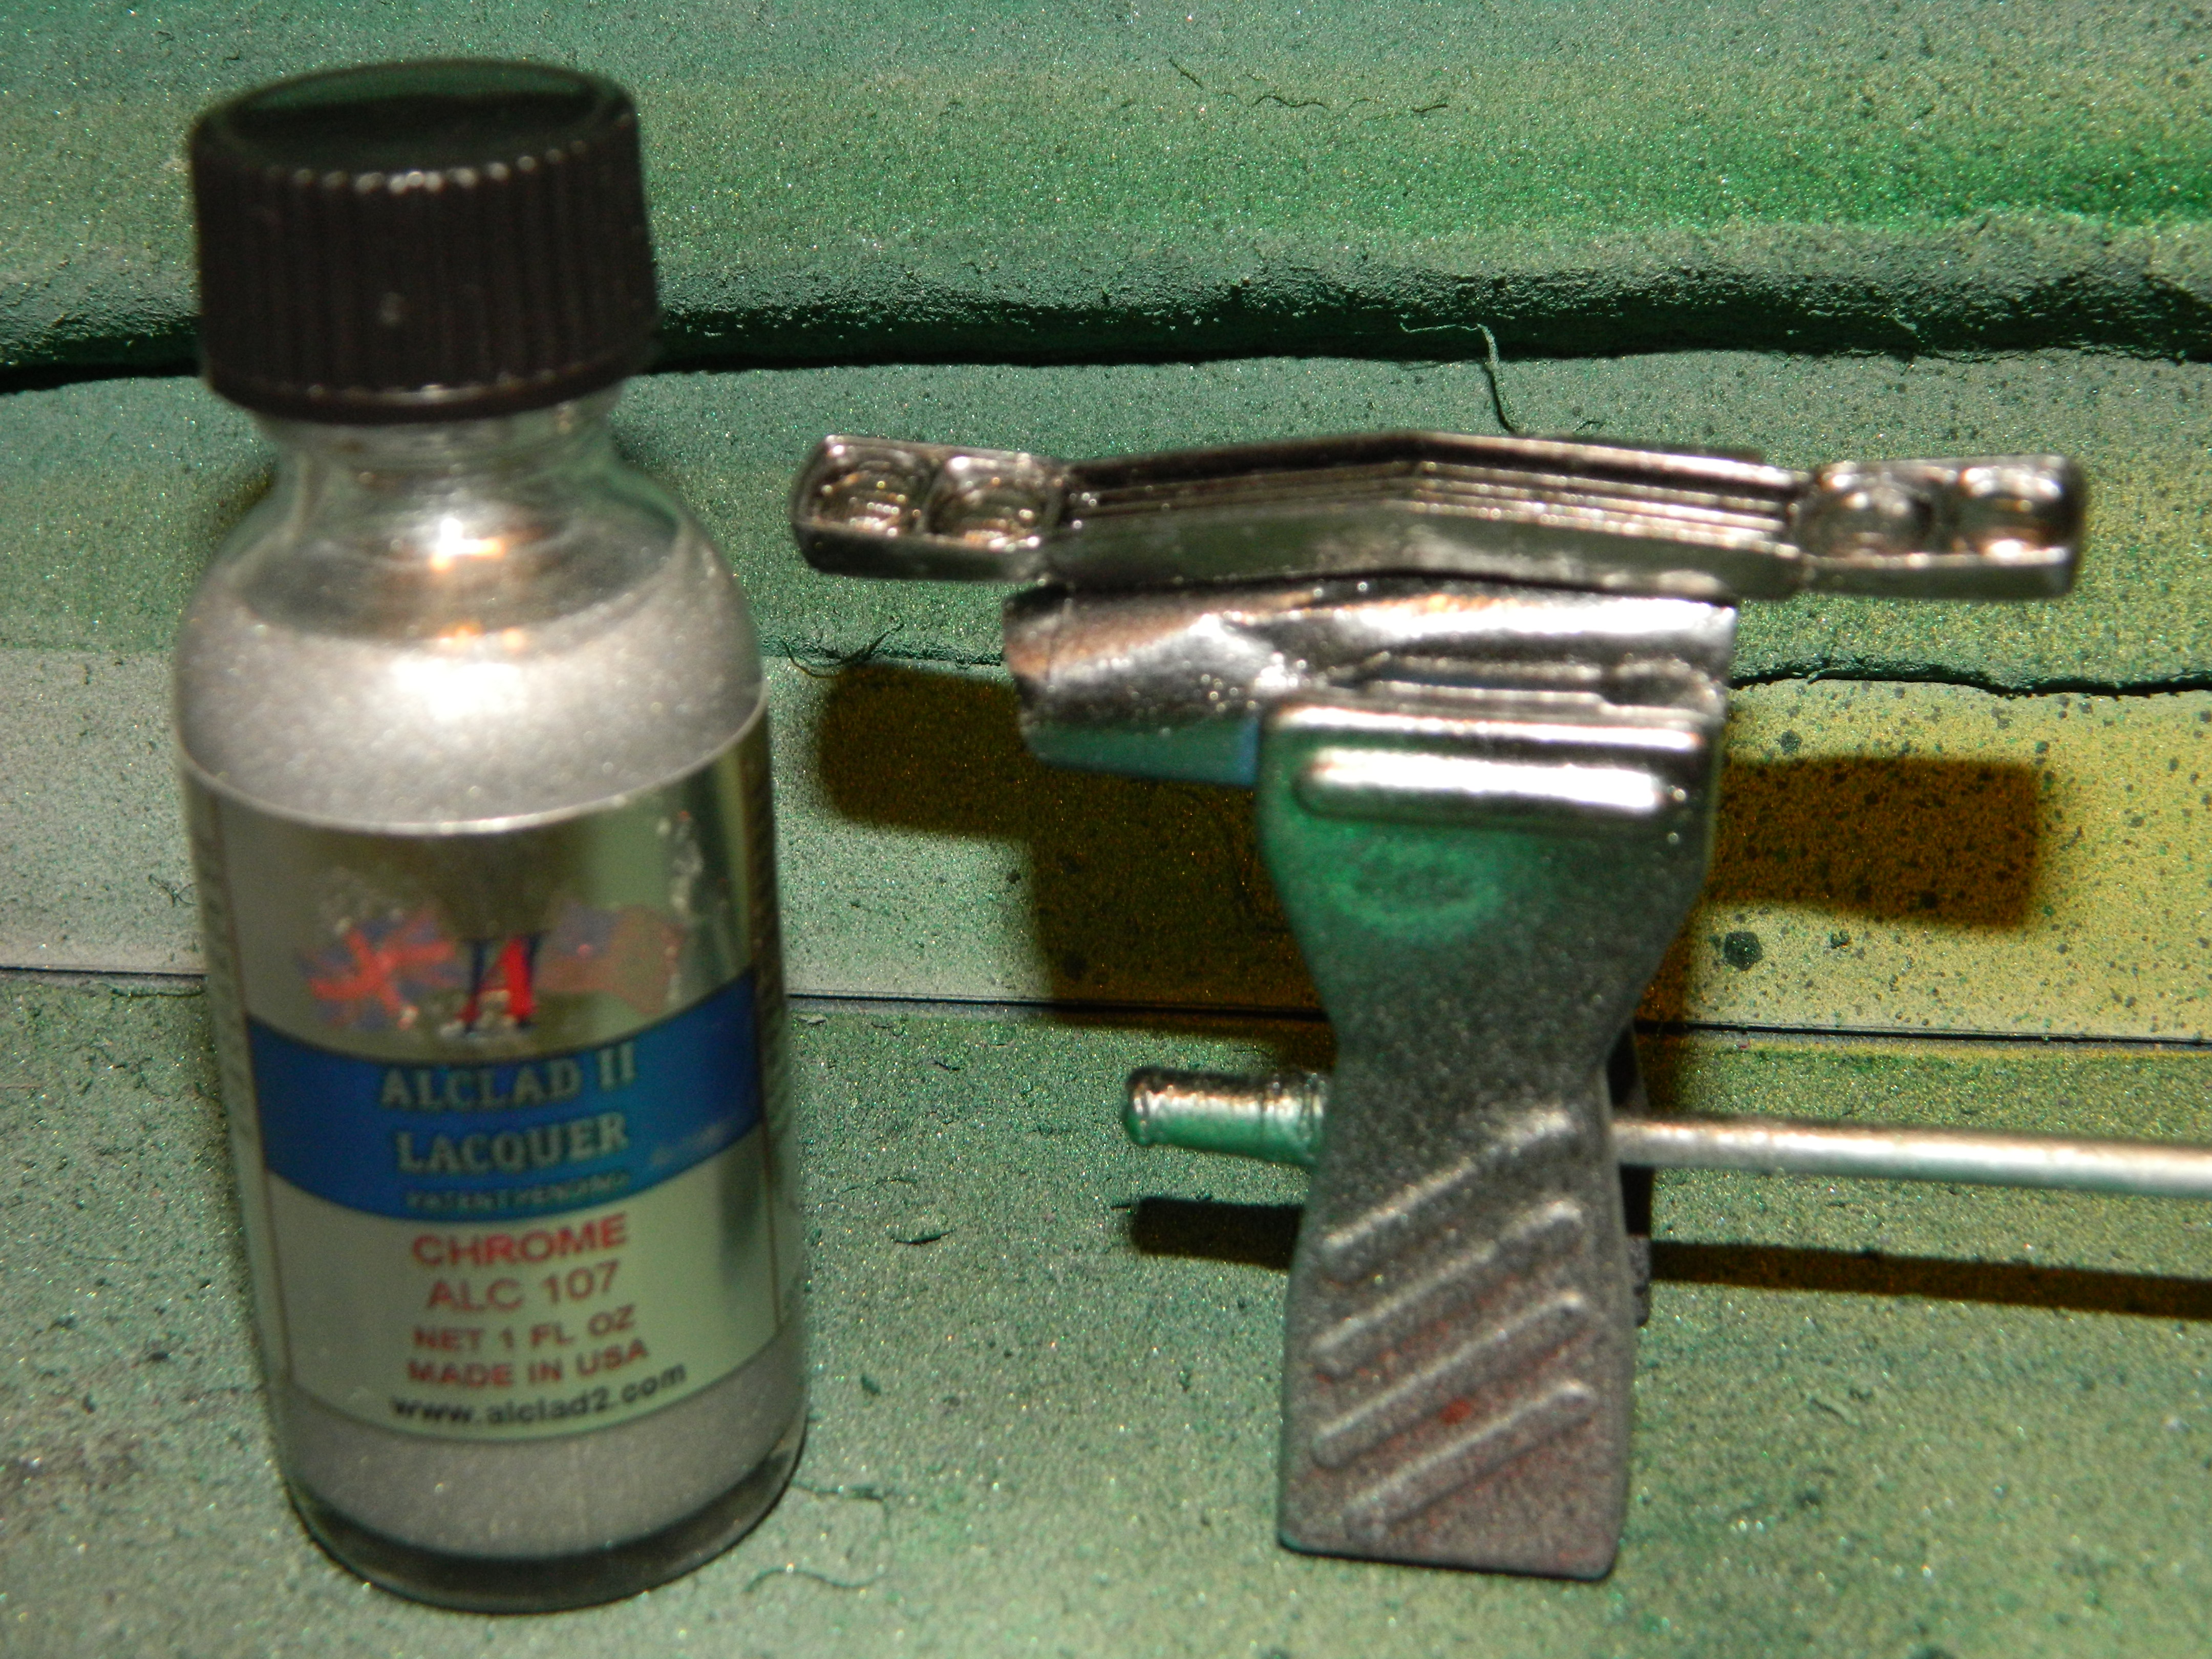
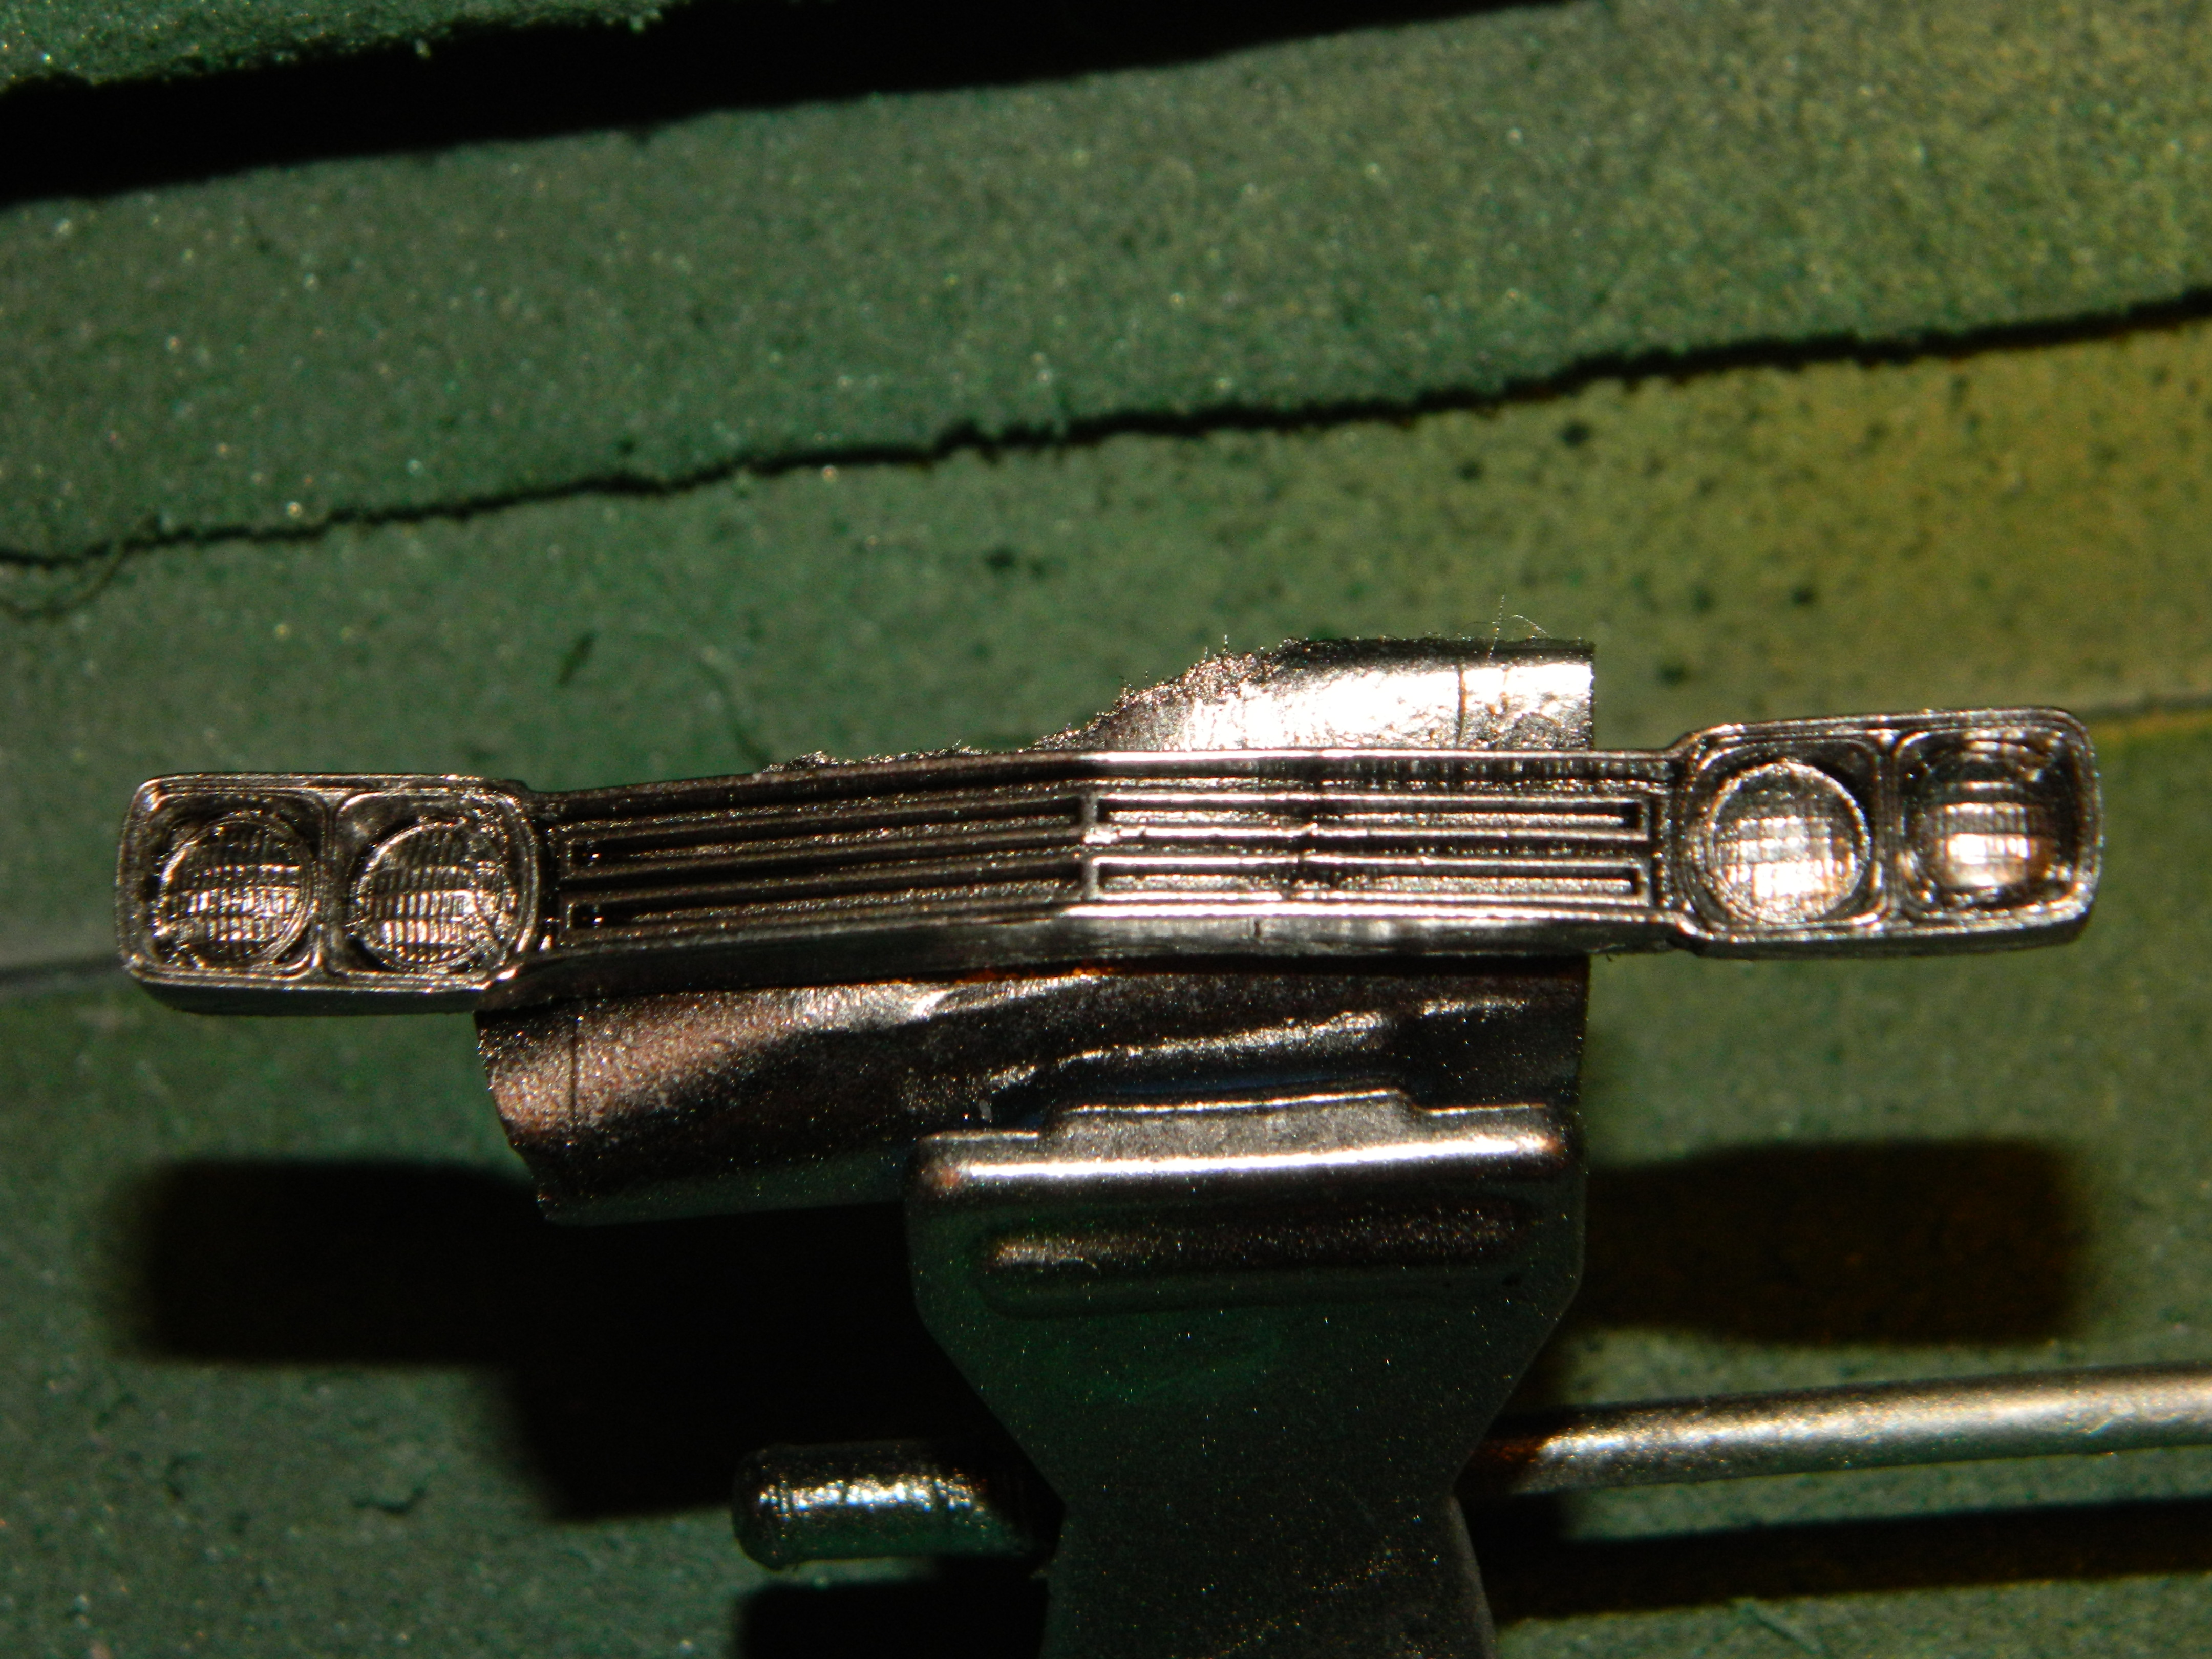
After a good cleaning, I painted the resin grille with Alclad II Gloss Black Base. Then I painted the grille with Alclad II Chrome. More to come...
-
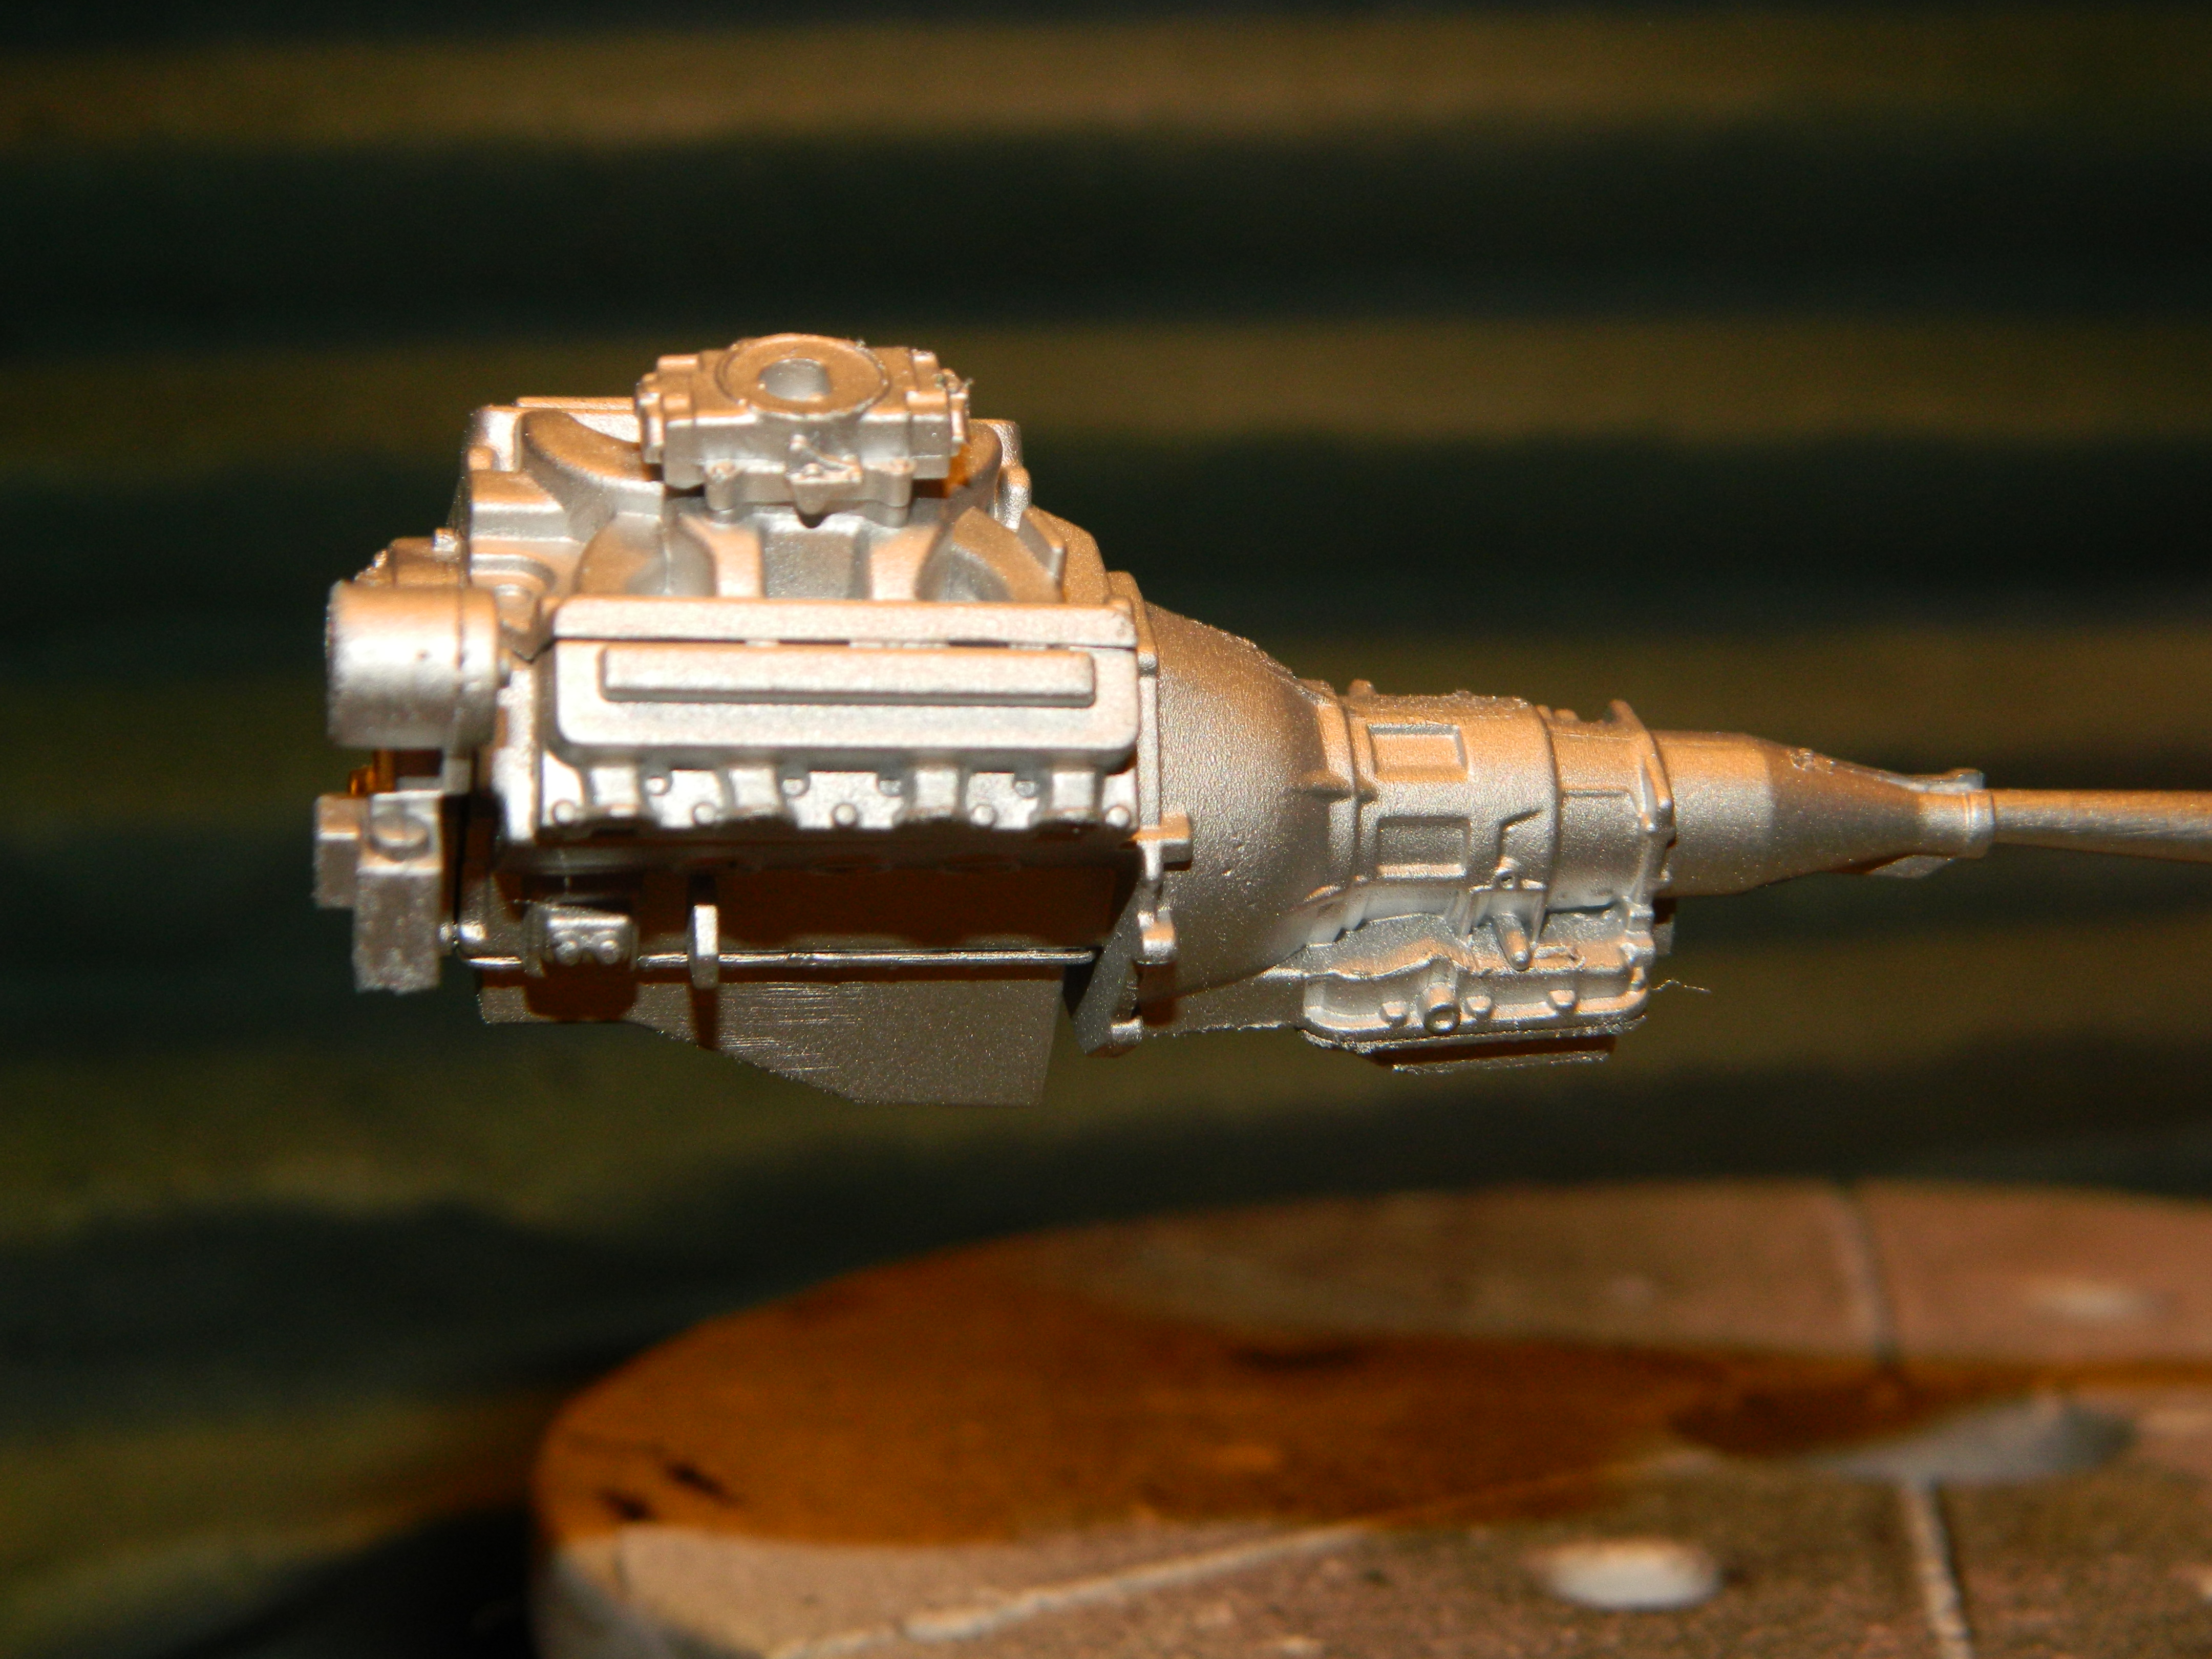
I painted the wheel centers with Humbrol Metallic Grey and when that dried, I coated the wheels with two coats of Model Master Semi Gloss Clear. The Roush 427 R motor got two coats of Model Master Aluminium Plate and two coats of Model Master Semi Gloss Clear. More to come...
-
Revell 1970 Dodge Charger R/T 426 Hemi - Sublime Green - Build #2
mrmike replied to RandyB.'s topic in Model Cars
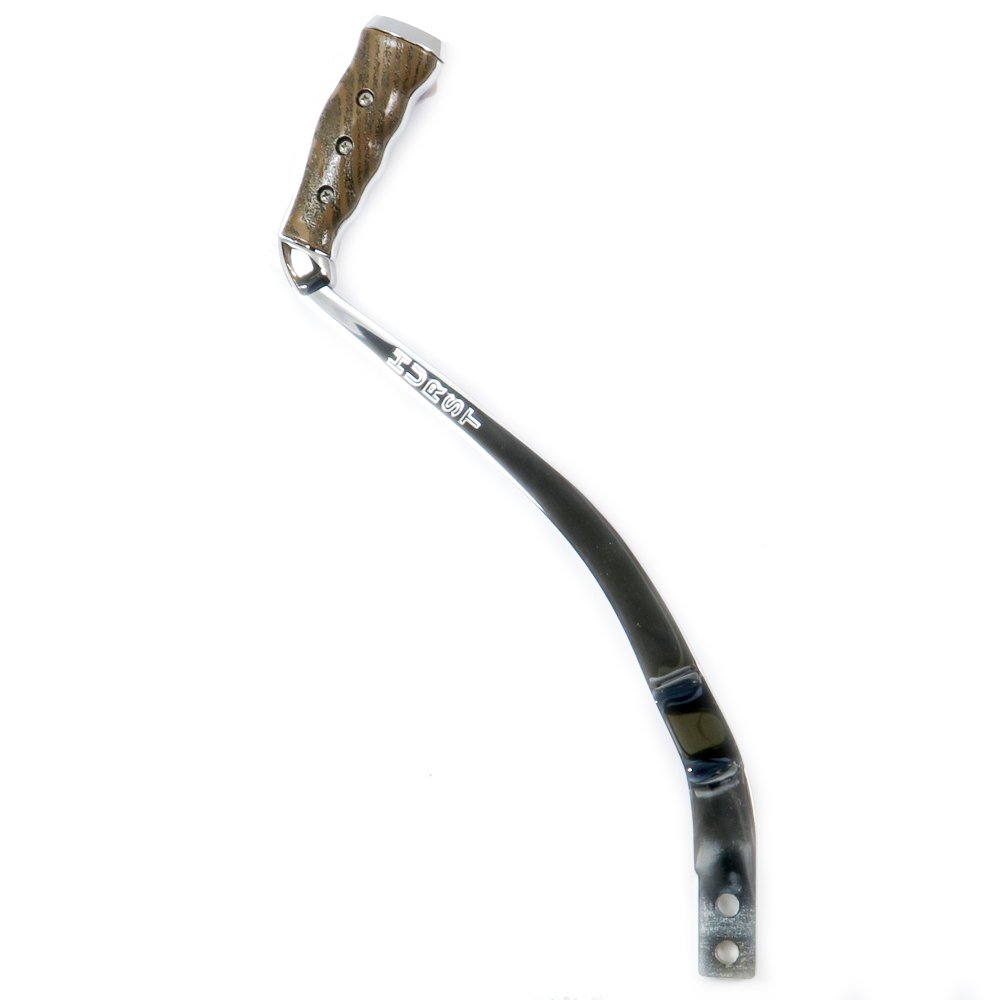
You are now 2-for-2, Randy! Love the paint! Just one thing though, the shift handle has too much paint on it. I know that the instructions shows you how much to paint the grip, but the instructions are wrong. Anyways, good job!
-
Revell 1970 Dodge Charger R/T 426 Hemi - Top Banana - Build #1
mrmike replied to RandyB.'s topic in Model Cars
Great job done on your Top Banana, Randy! Love it. -
A little bit of progress to report. The cab top leaves a bit of a gap above the rear window, so out came the Bondo to fill in the gap. I inserted two lengths of 1/16 styrene rod into the back of the front wheels with some glue. More to come...
-
I guess as modelers, we can correct the inaccuracies we find in new tooled kits. It has been mentioned to me several times that this Foose kit is an updated original '56 Ford F100 kit-and it is NOT! The Foose Ford FD100 Pickup kit is a new tool kit. I think the metal axles are for playing with the newly assembled kit.
-
Thanks Joe! I'm glad that I am not alone with my feelings towards this kit. Now, just to be clear, I am liking this kit and so far everything is fitting where it should. There are some things that bother me enough that I need to correct them. With that said, I am moving forward with this build and I do have high hopes for a great looking model!
-
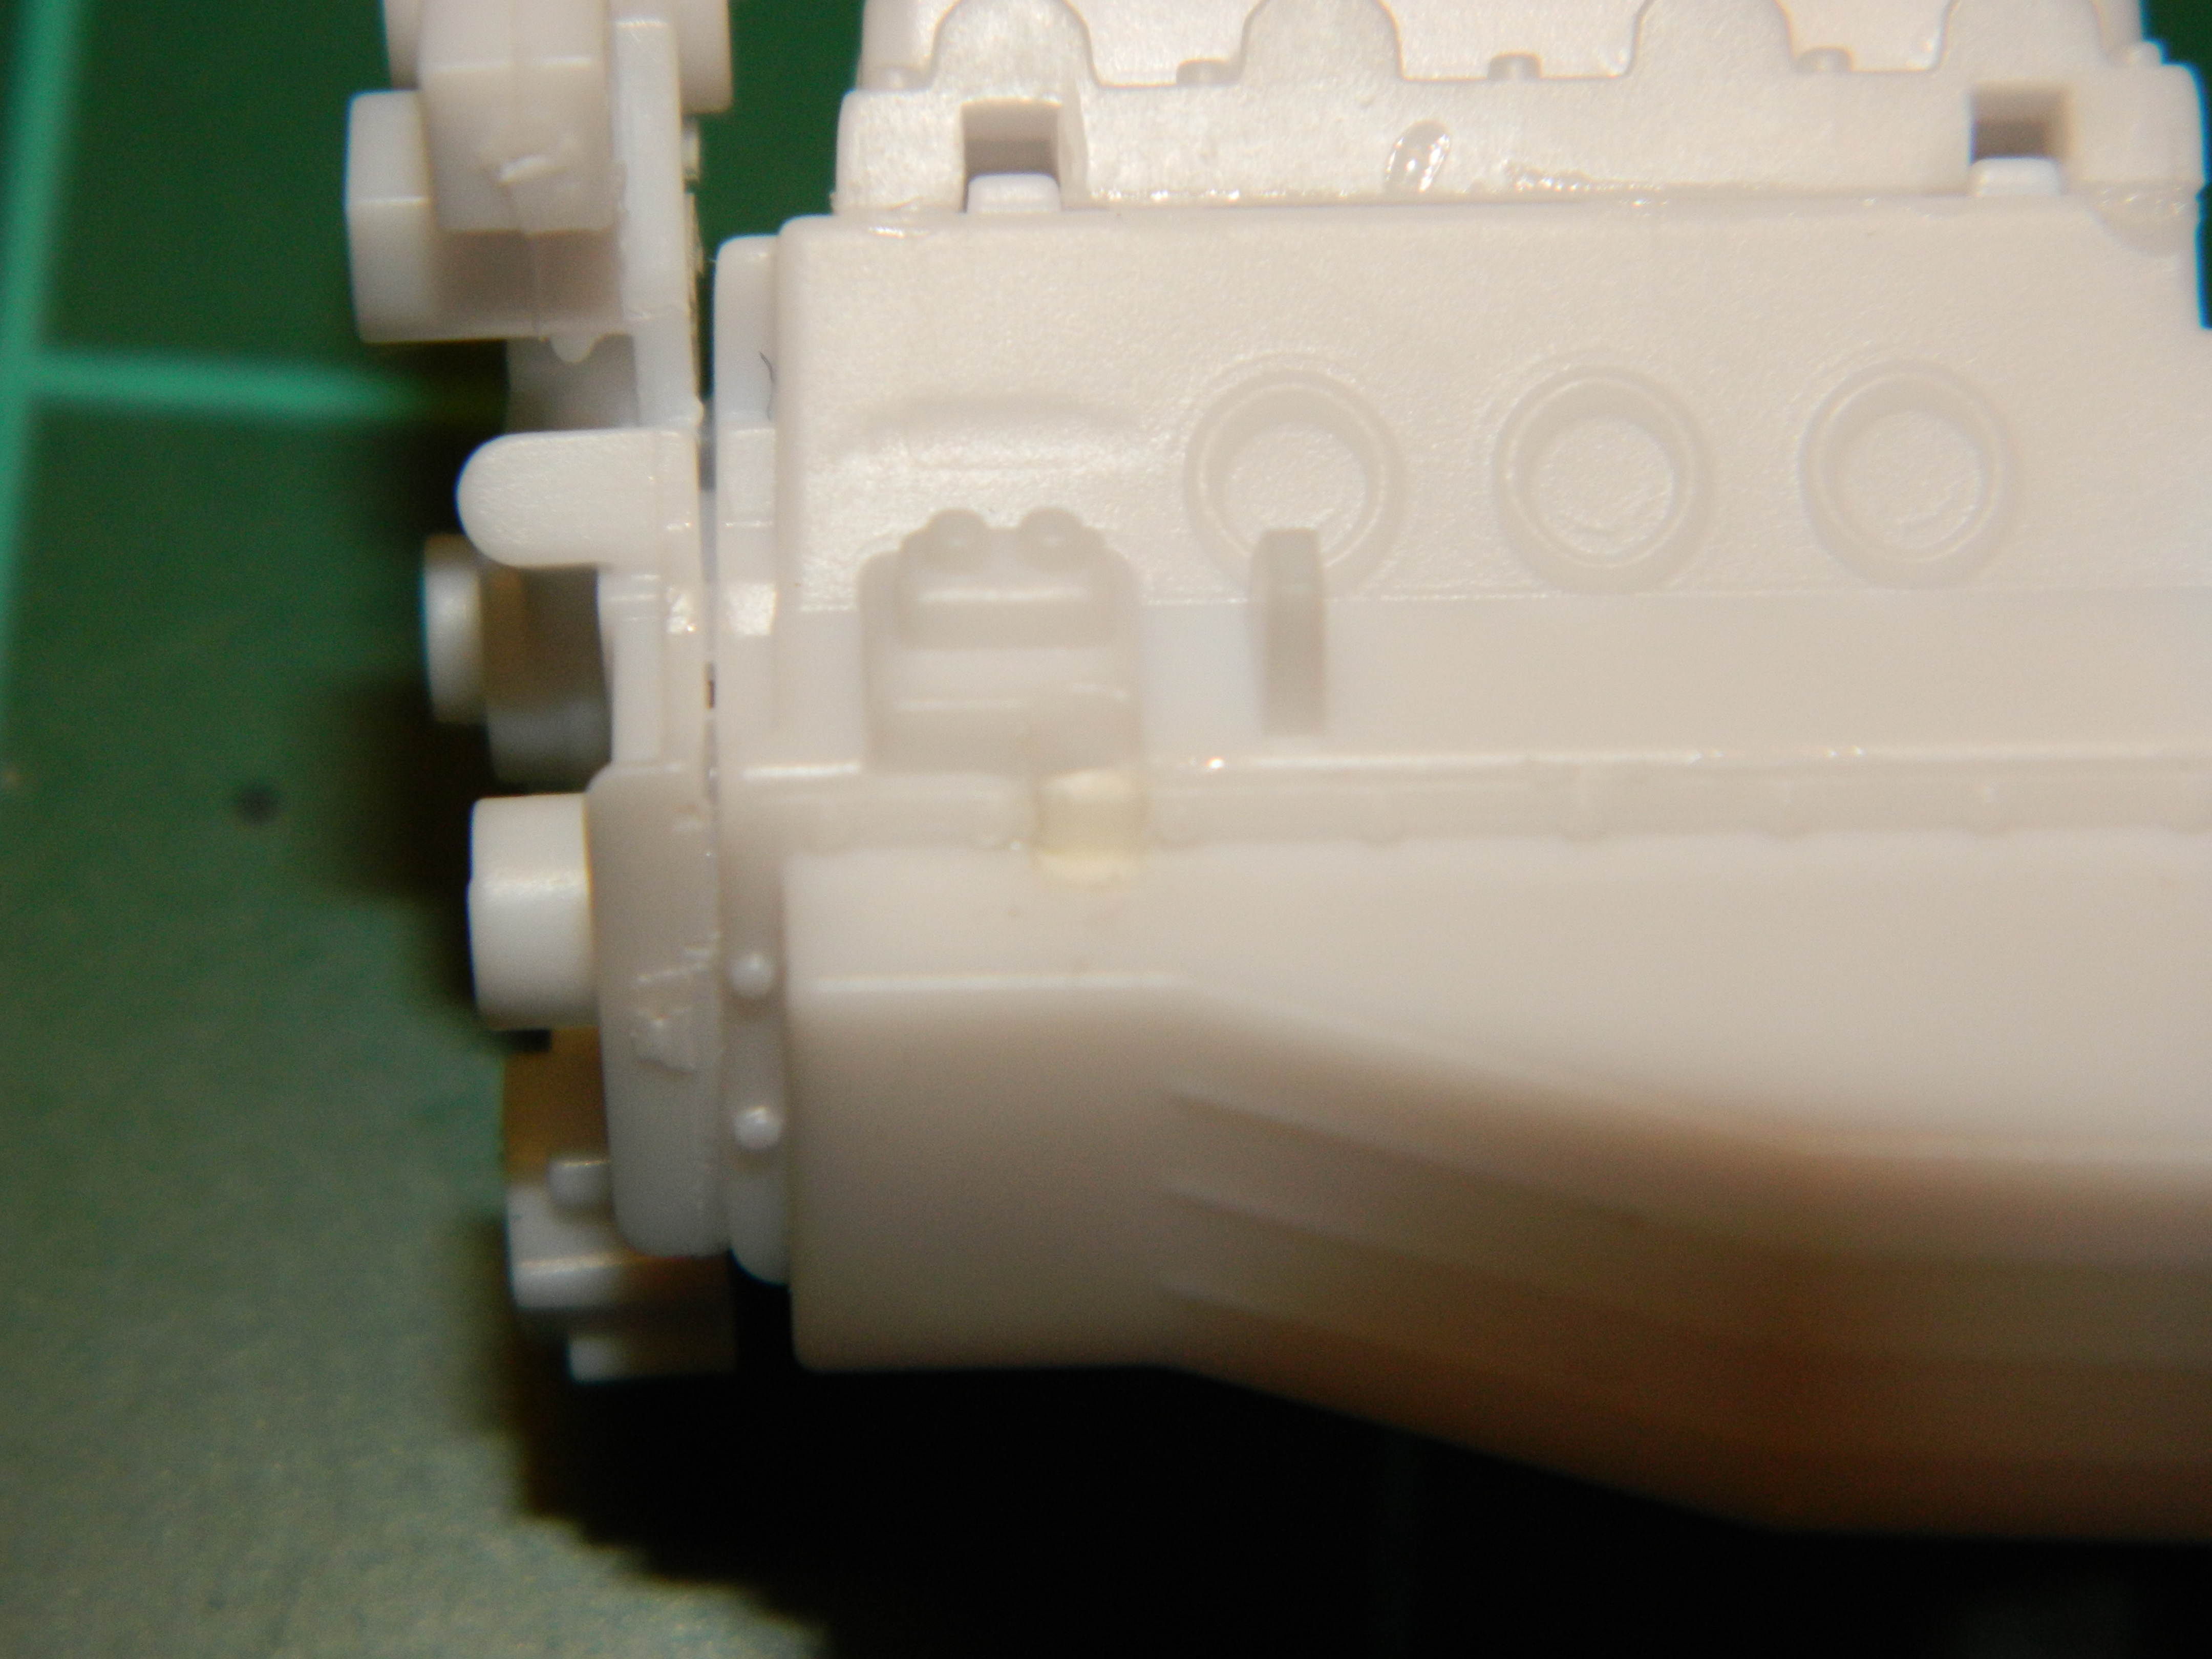
Finally! Someone who agrees with me on the metal axles! Thank you Espo!!! I can understand the concern for strength of the front control arms. The upper and lower control arms, when joined and glued properly, should be rather strong. Unless you intend to play with the truck afterward, then the control arms will snap! I got the Roush 427 engine assembled and ready for primer and paint. This engine will be painted black. I plugged the hole in the oil pan with a piece of styrene I had lying on the bench. It was also pointed out that there is quite the gap between the cab and the bed wall. I used my Dremel and a grinding bit removed some plastic fromthe leading edge of the running boards by the lower front fenders. This helped close the gap. More to come...
-
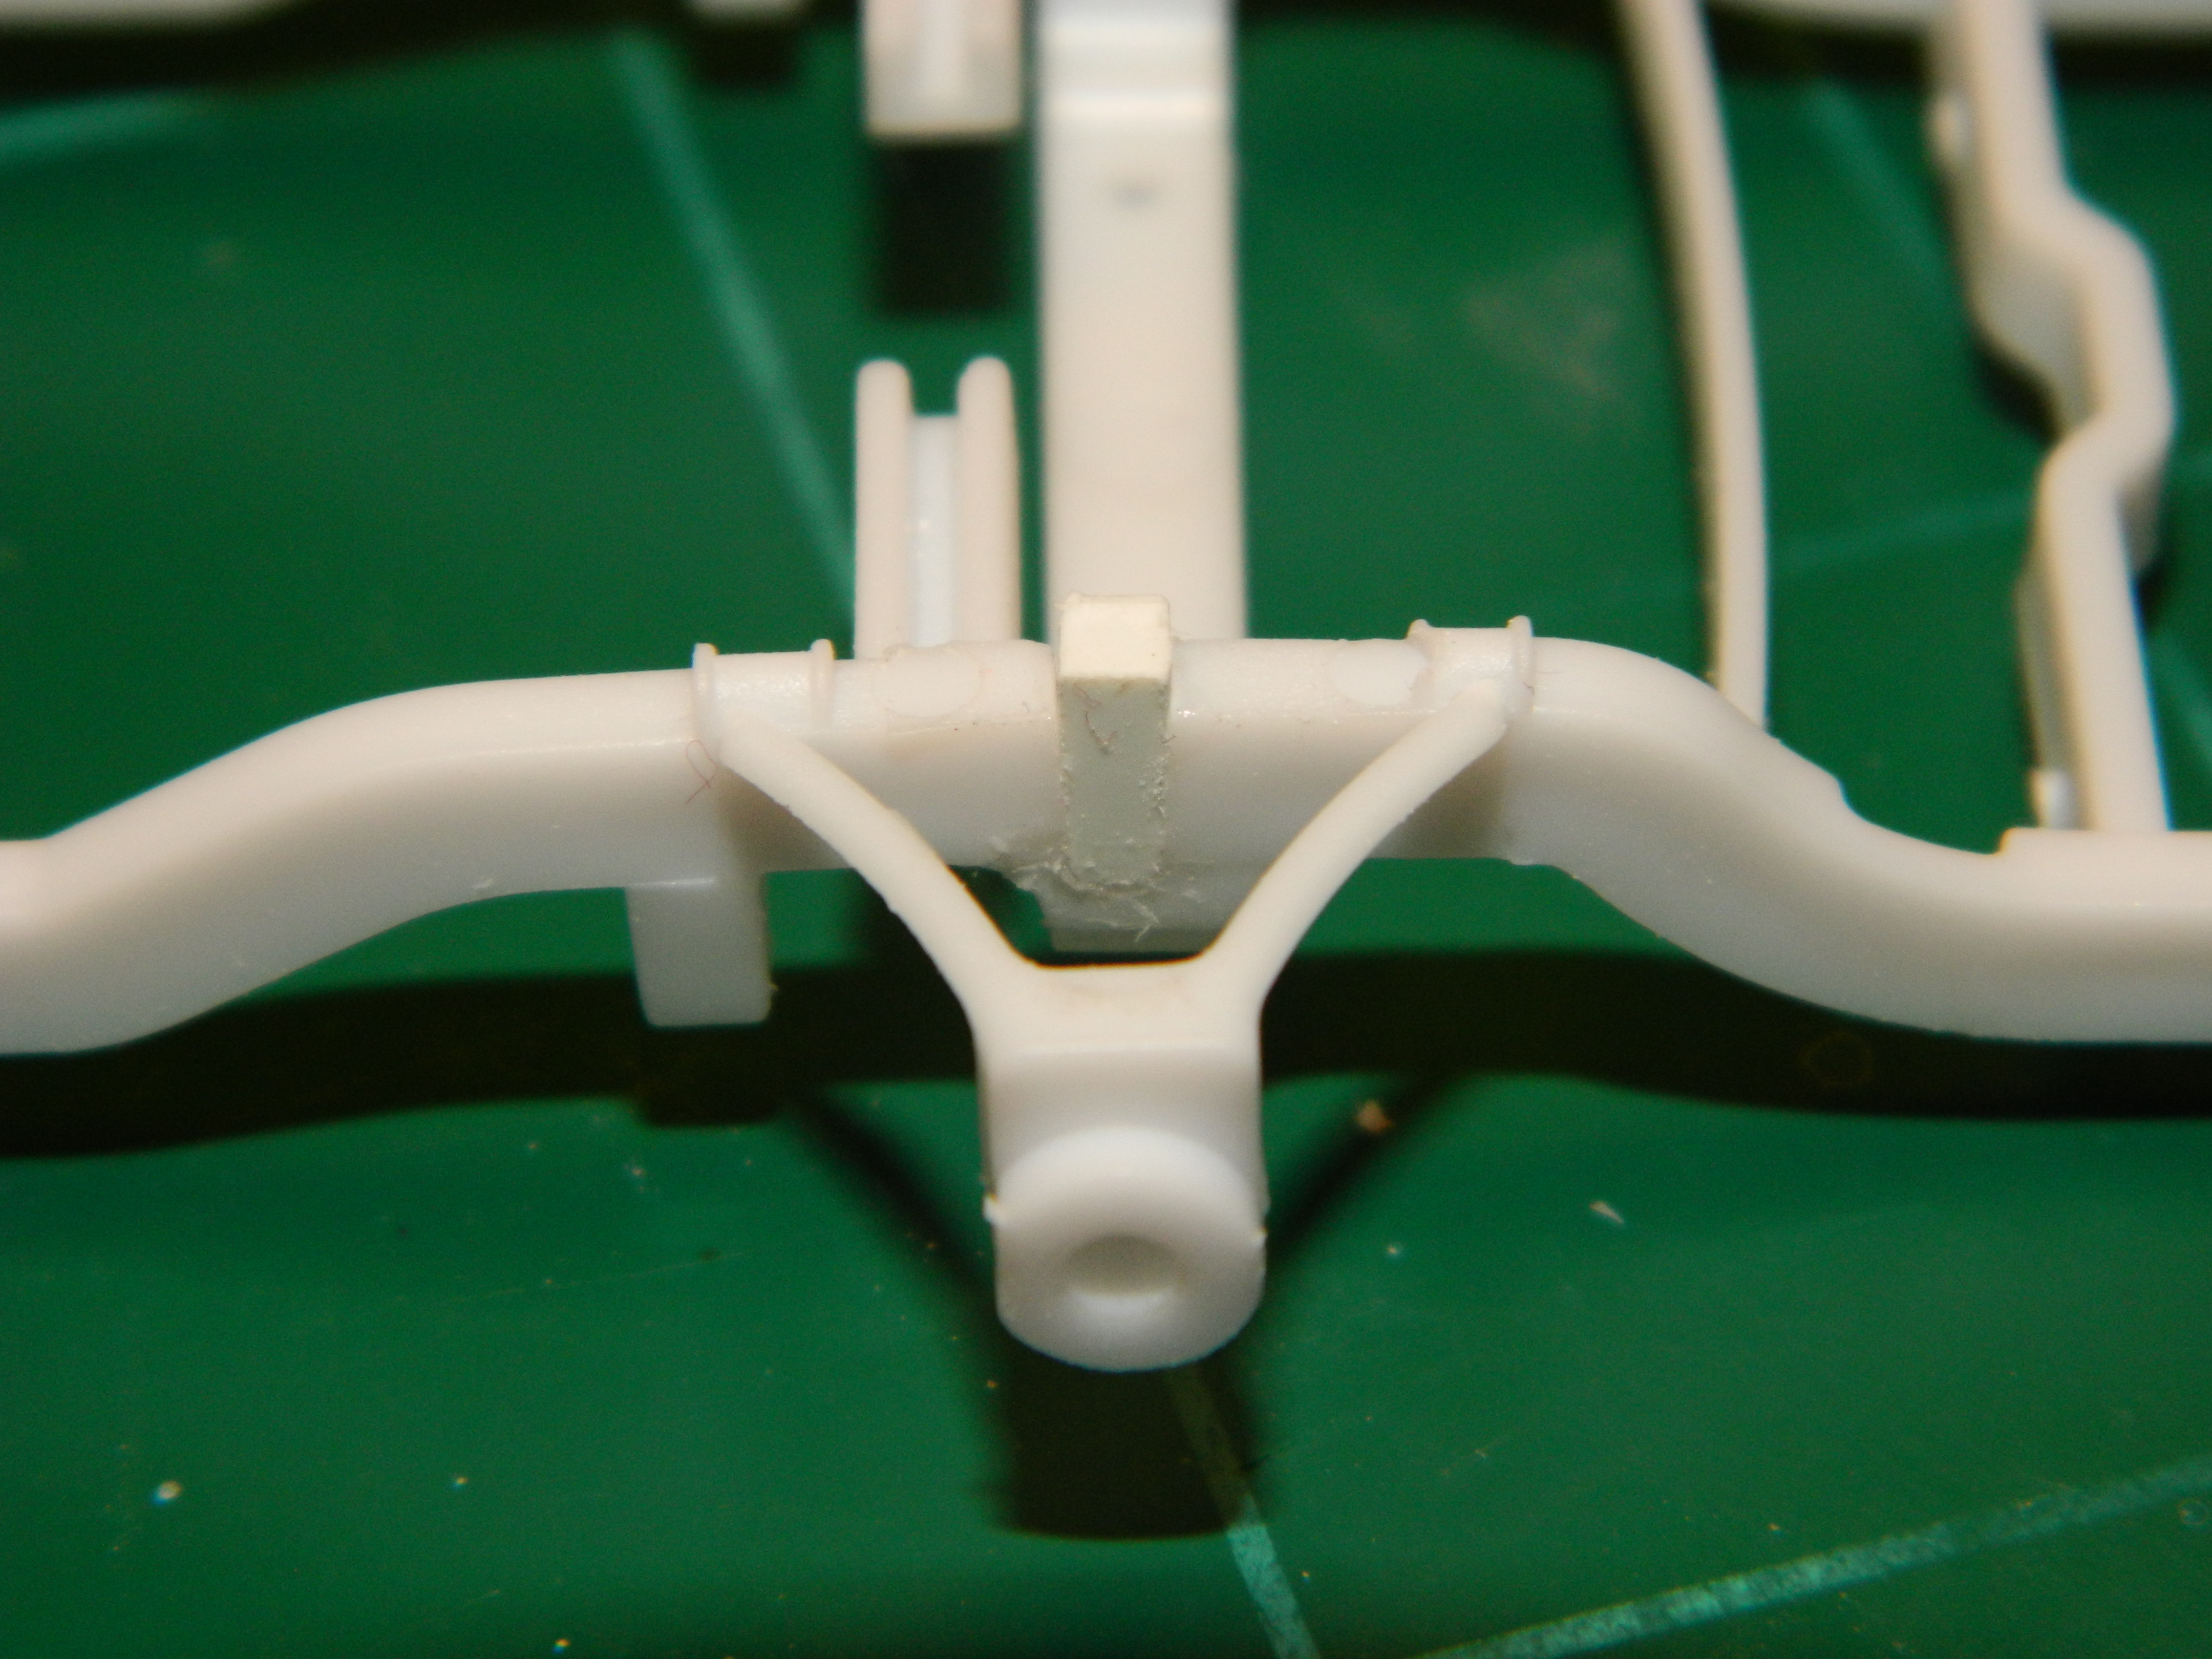
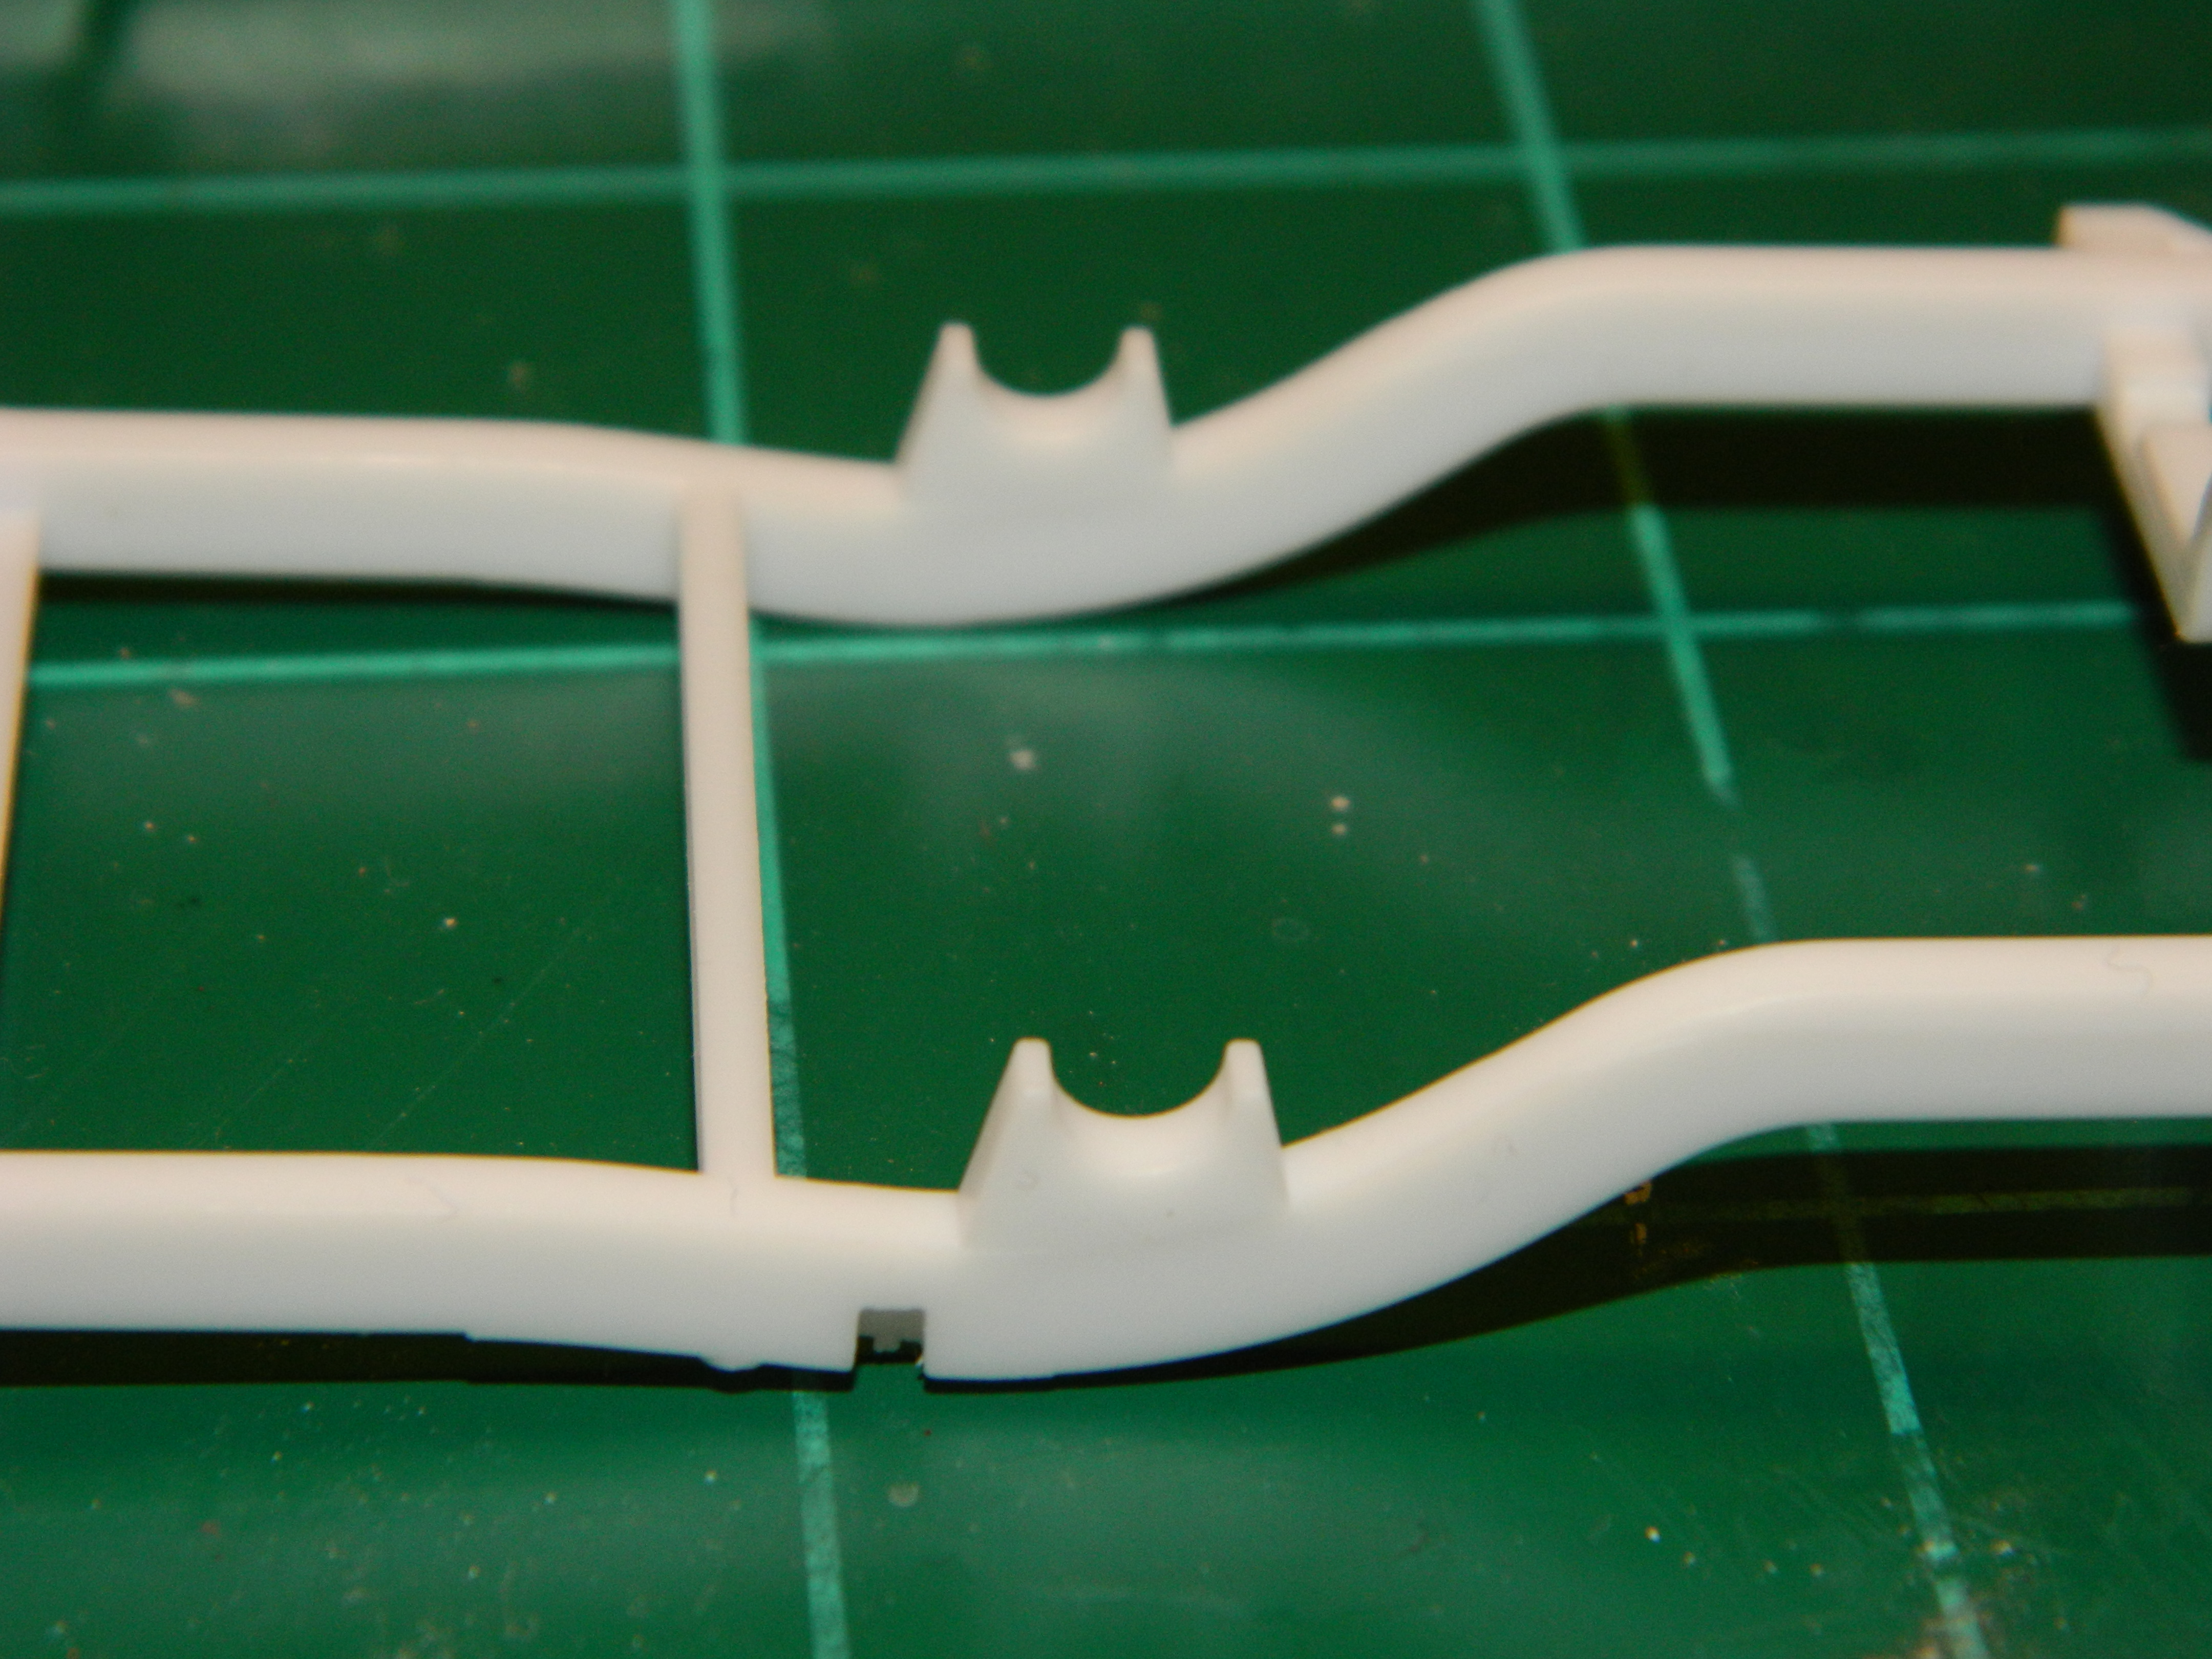
My newest project-the Foose FD100 Pickup aka The Overlord! I was very happy when this kit was announced and when I acquired it from my local Hobby Lobby with my 40% off coupon, I was ecstatic! That all turned to disappointment when I opened the kit and saw a baggie inside with two metal axles. The instructions verified what I had feared-a metal axle going through the oil pan! To me, this was inaccurate. I am going to correct these inaccuracies with this build. The metal axle in front will be replaced with a set of coil springs on the A frames and the notches in the frame have been filled. The supports on the rear of the frame have been removed. The body will be painted with Testors One Coat Lacquer Deja Blue with a grey interior. I chose the blue since I am not fond of painting black and the '56 Ford F5.0 built by Kindig-it Design was a dark blue metallic that really appeals to me.
-
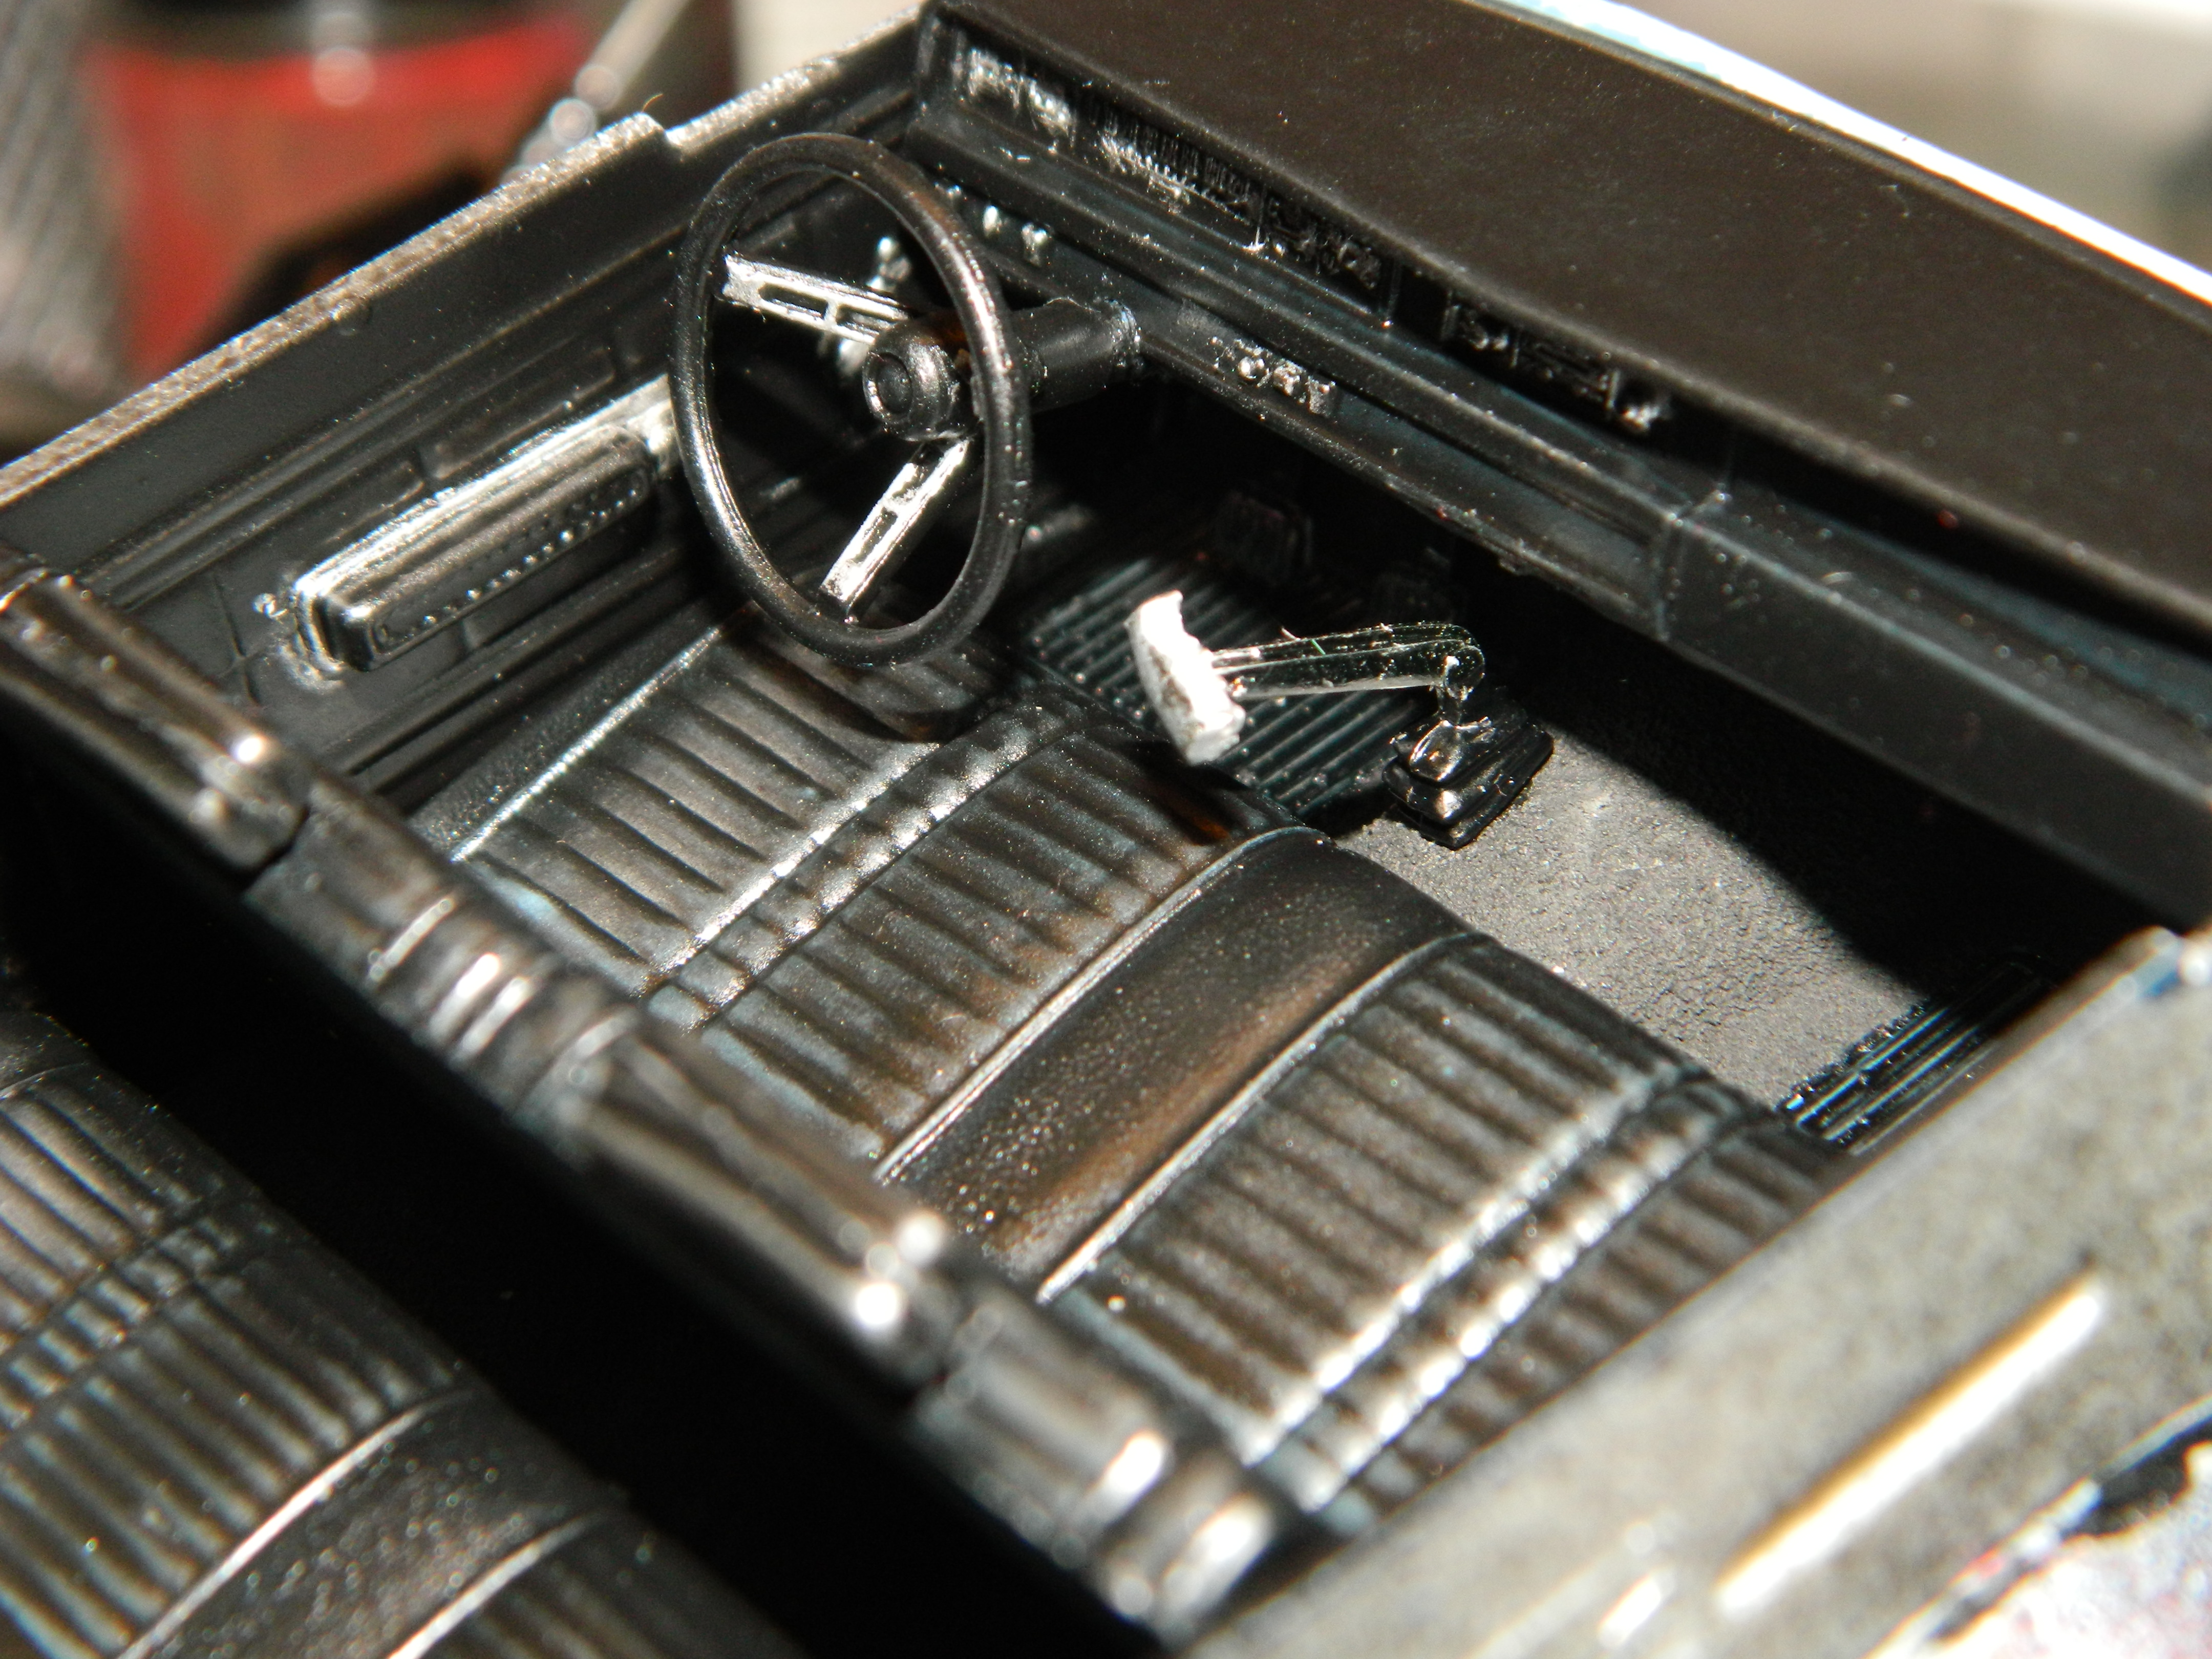
Thanks Dirk and Steve! No, it didn't. The T handle definitely came from my parts box, but may have originally come from the AMT '69 Cougar Eliminator.
-
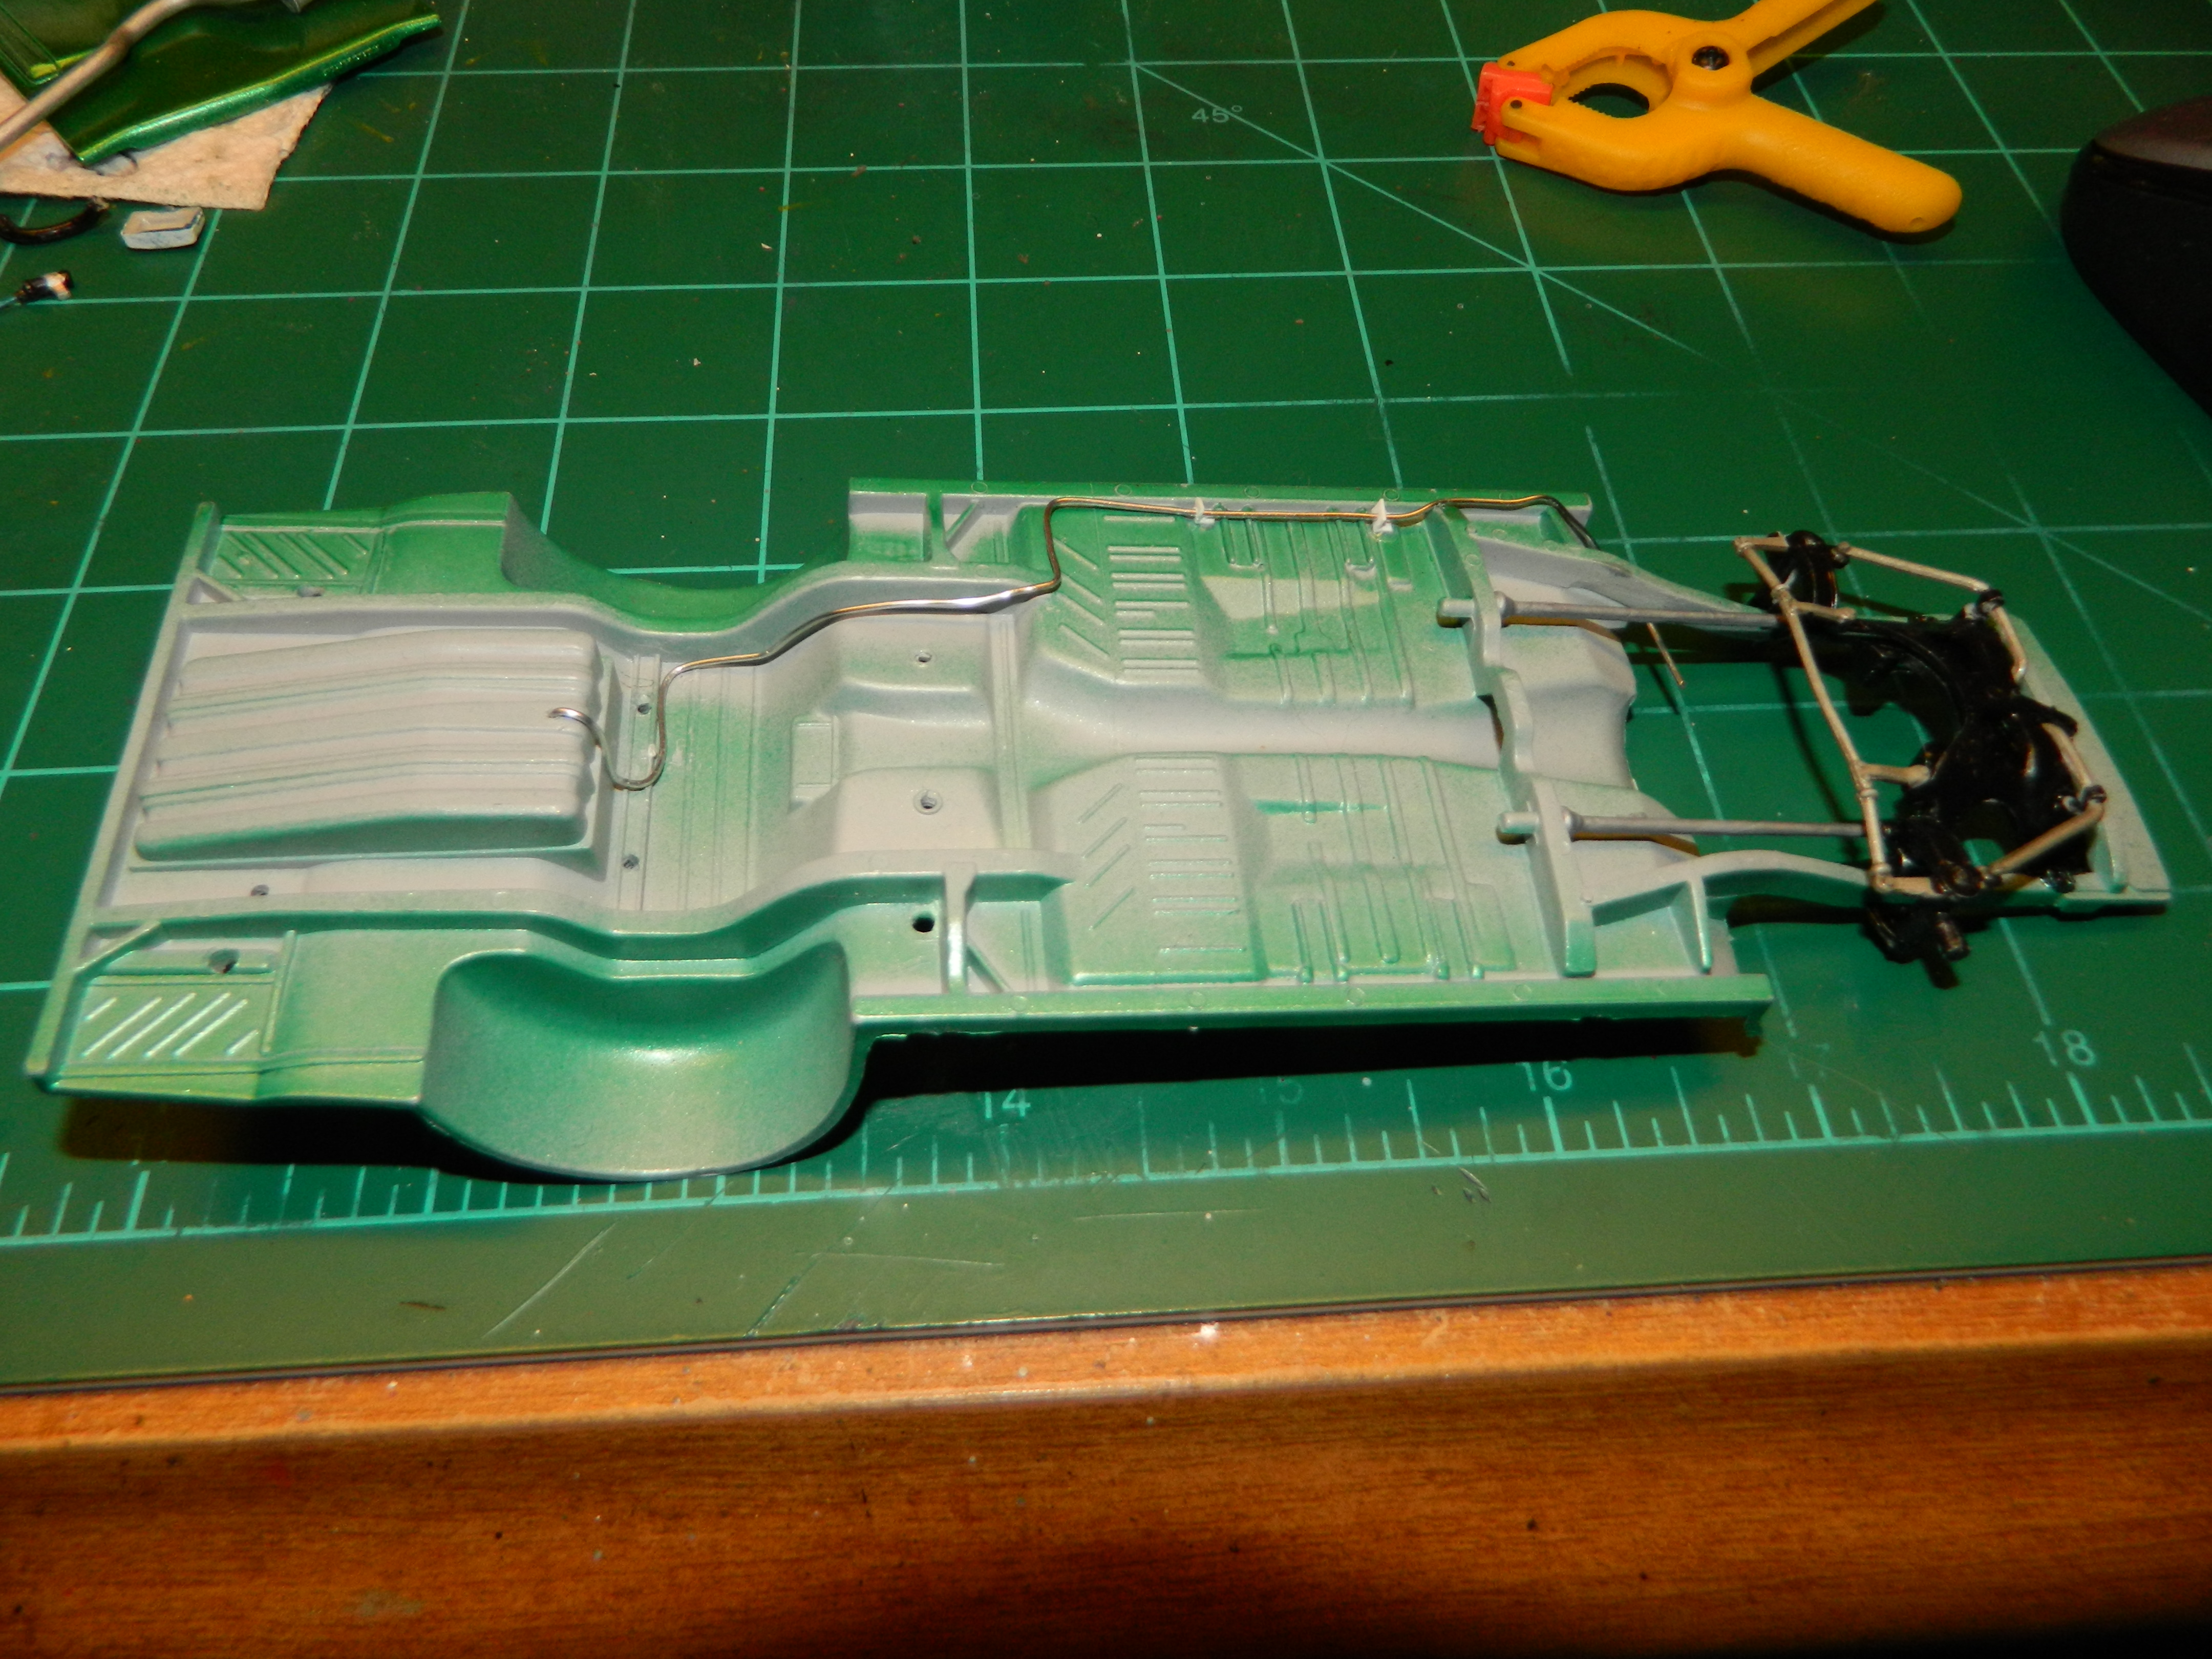
Thanks David! I try not to get too much overspray on the chassis. This isn't too bad, but I have done worse!
-
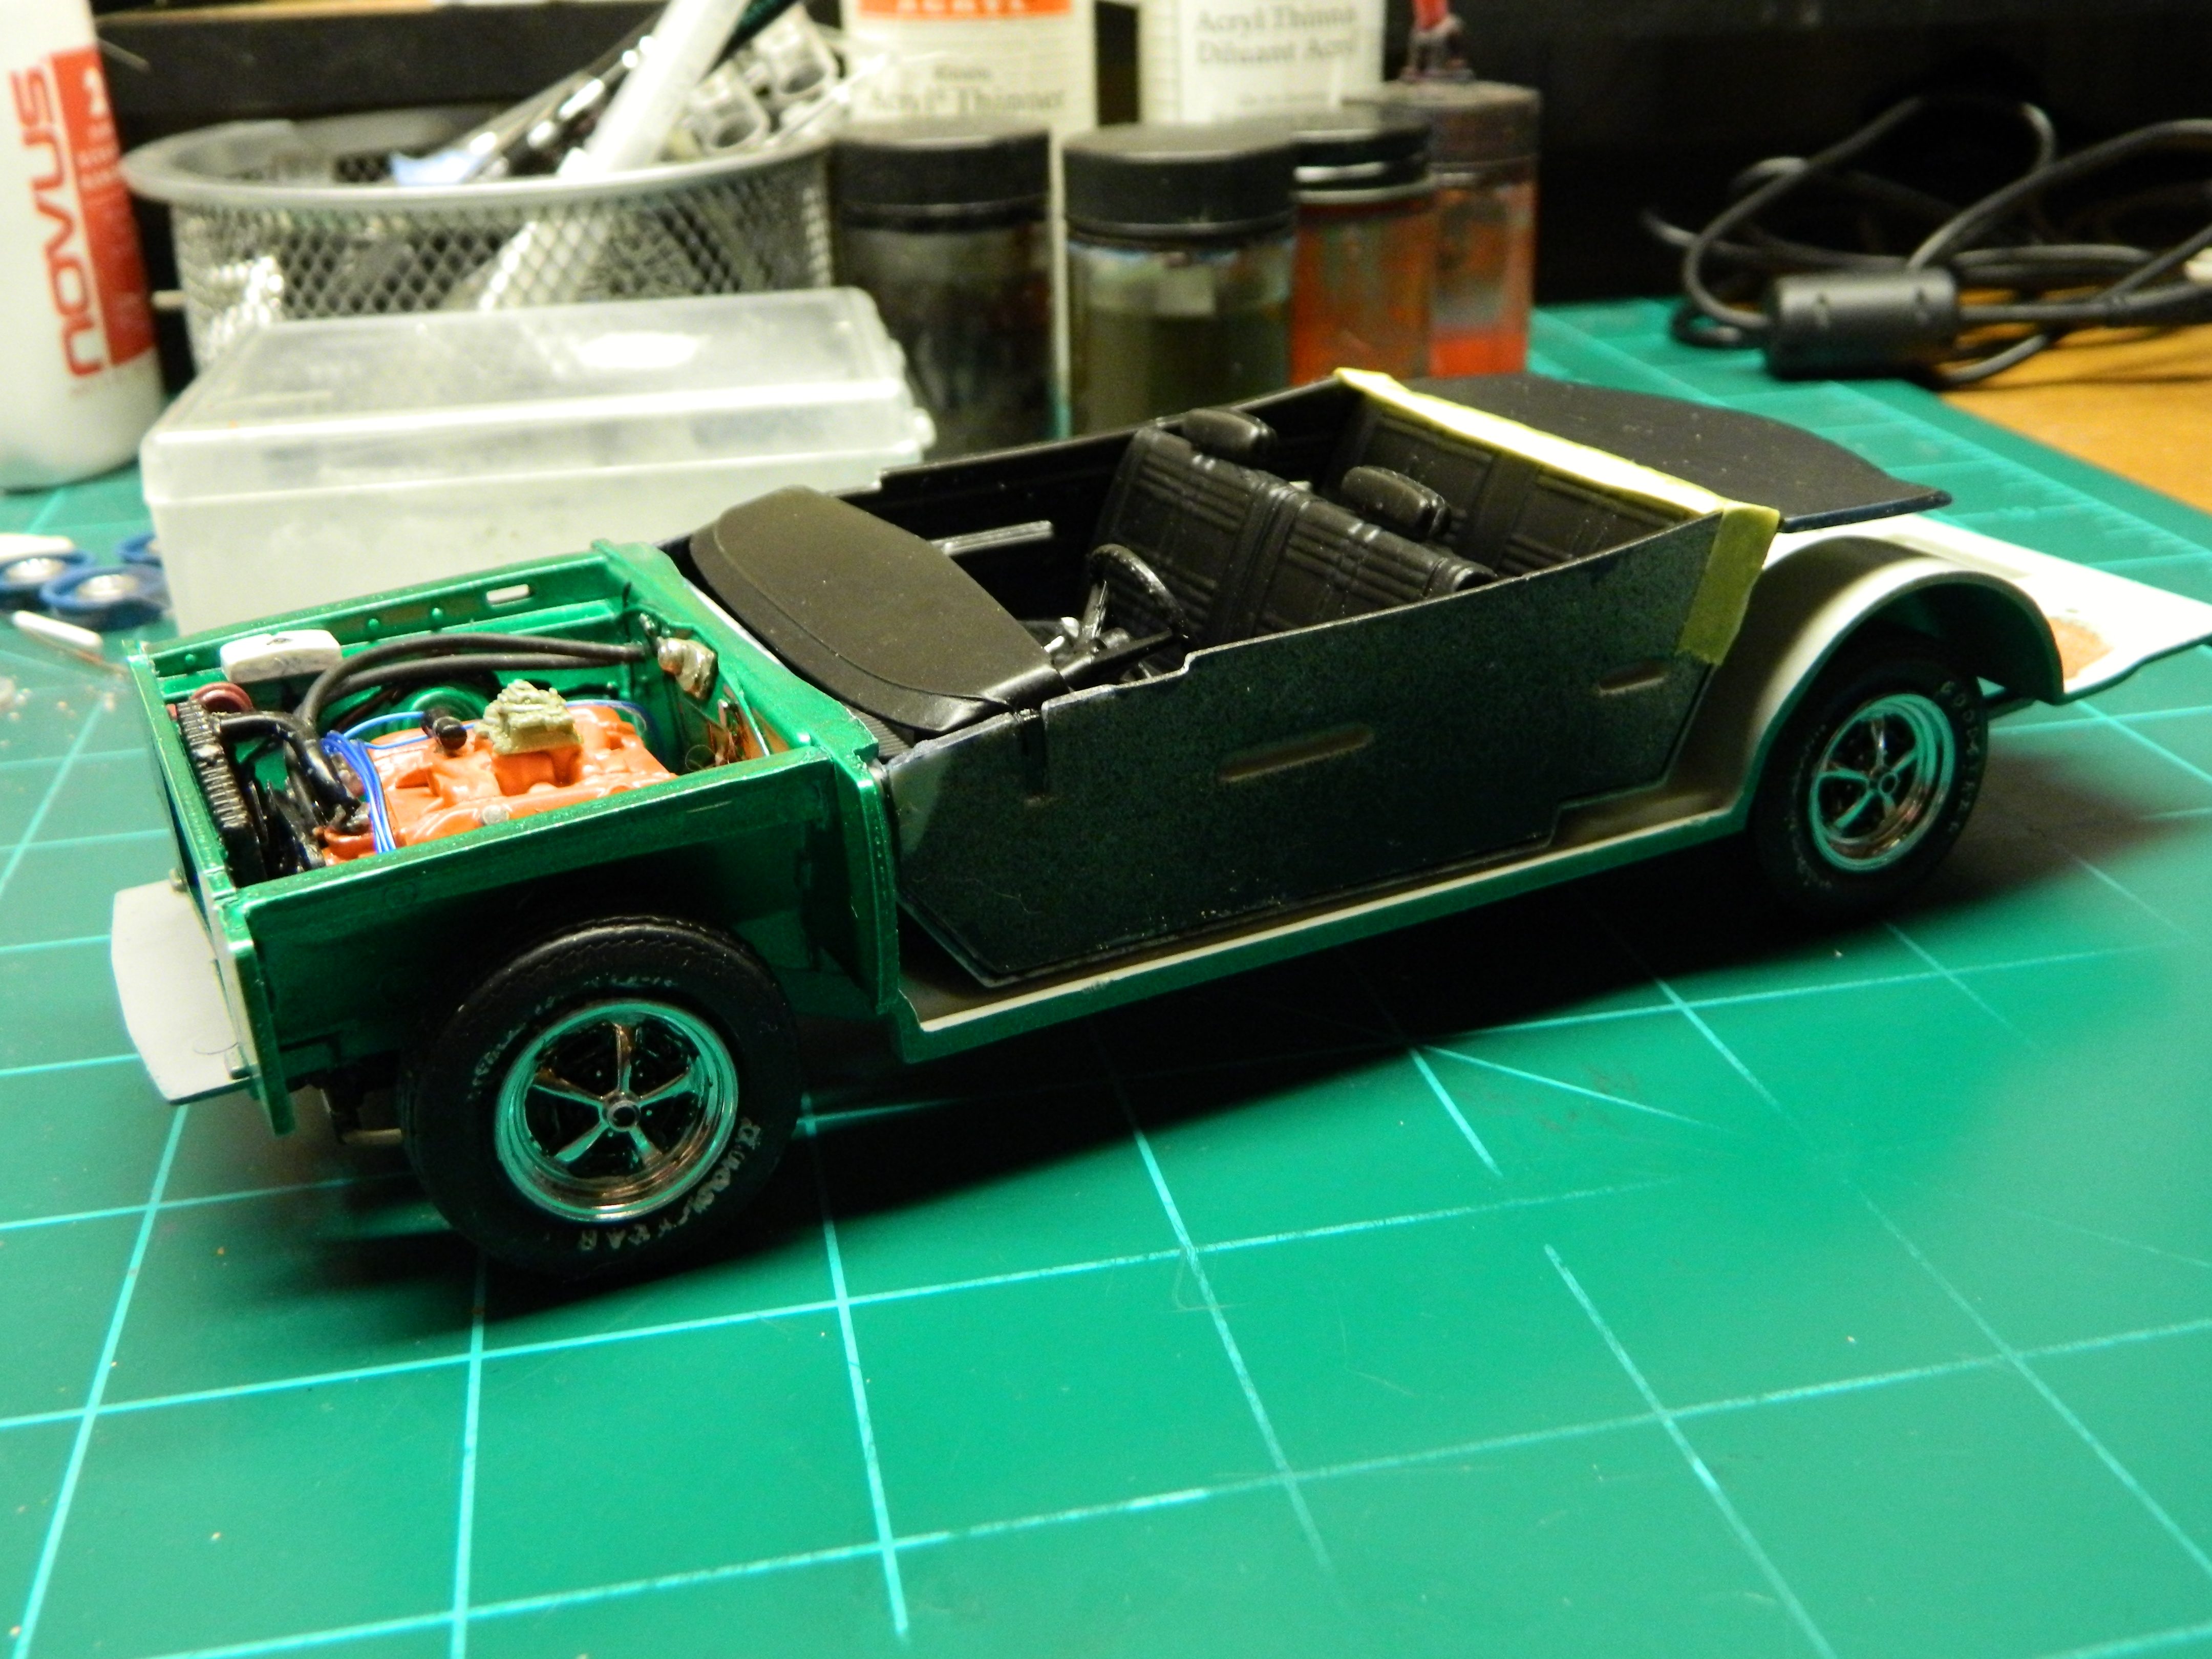
I got the chassis together, but I may put in a tach for a little more visual interest. Wiring the engine is in progress and I need to find some more wire insulation to make plug boots with. I'm also in the process of plumbing the chassis. More to come...
-
"Holy Grail" Models?
mrmike replied to Billy Kingsley's topic in General Automotive Talk (Trucks and Cars)
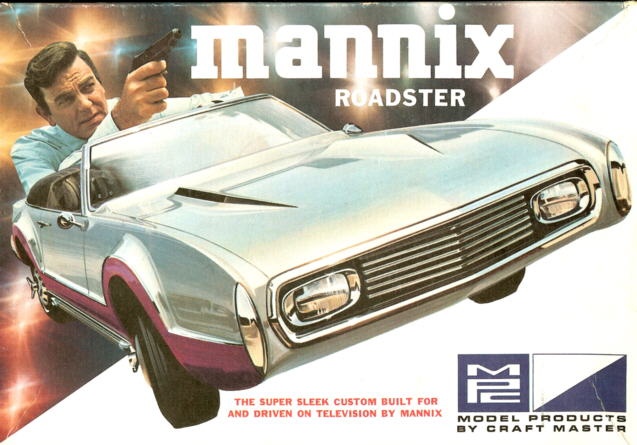
My holy grail kit is the MPC Mannix Roadster kit.
-
Thanks David! I have moved on from the valve cover issue. They are not coming off.
-
Congratulations on achieving your lofty goal! I may reach that someday (yeah, right!).
-
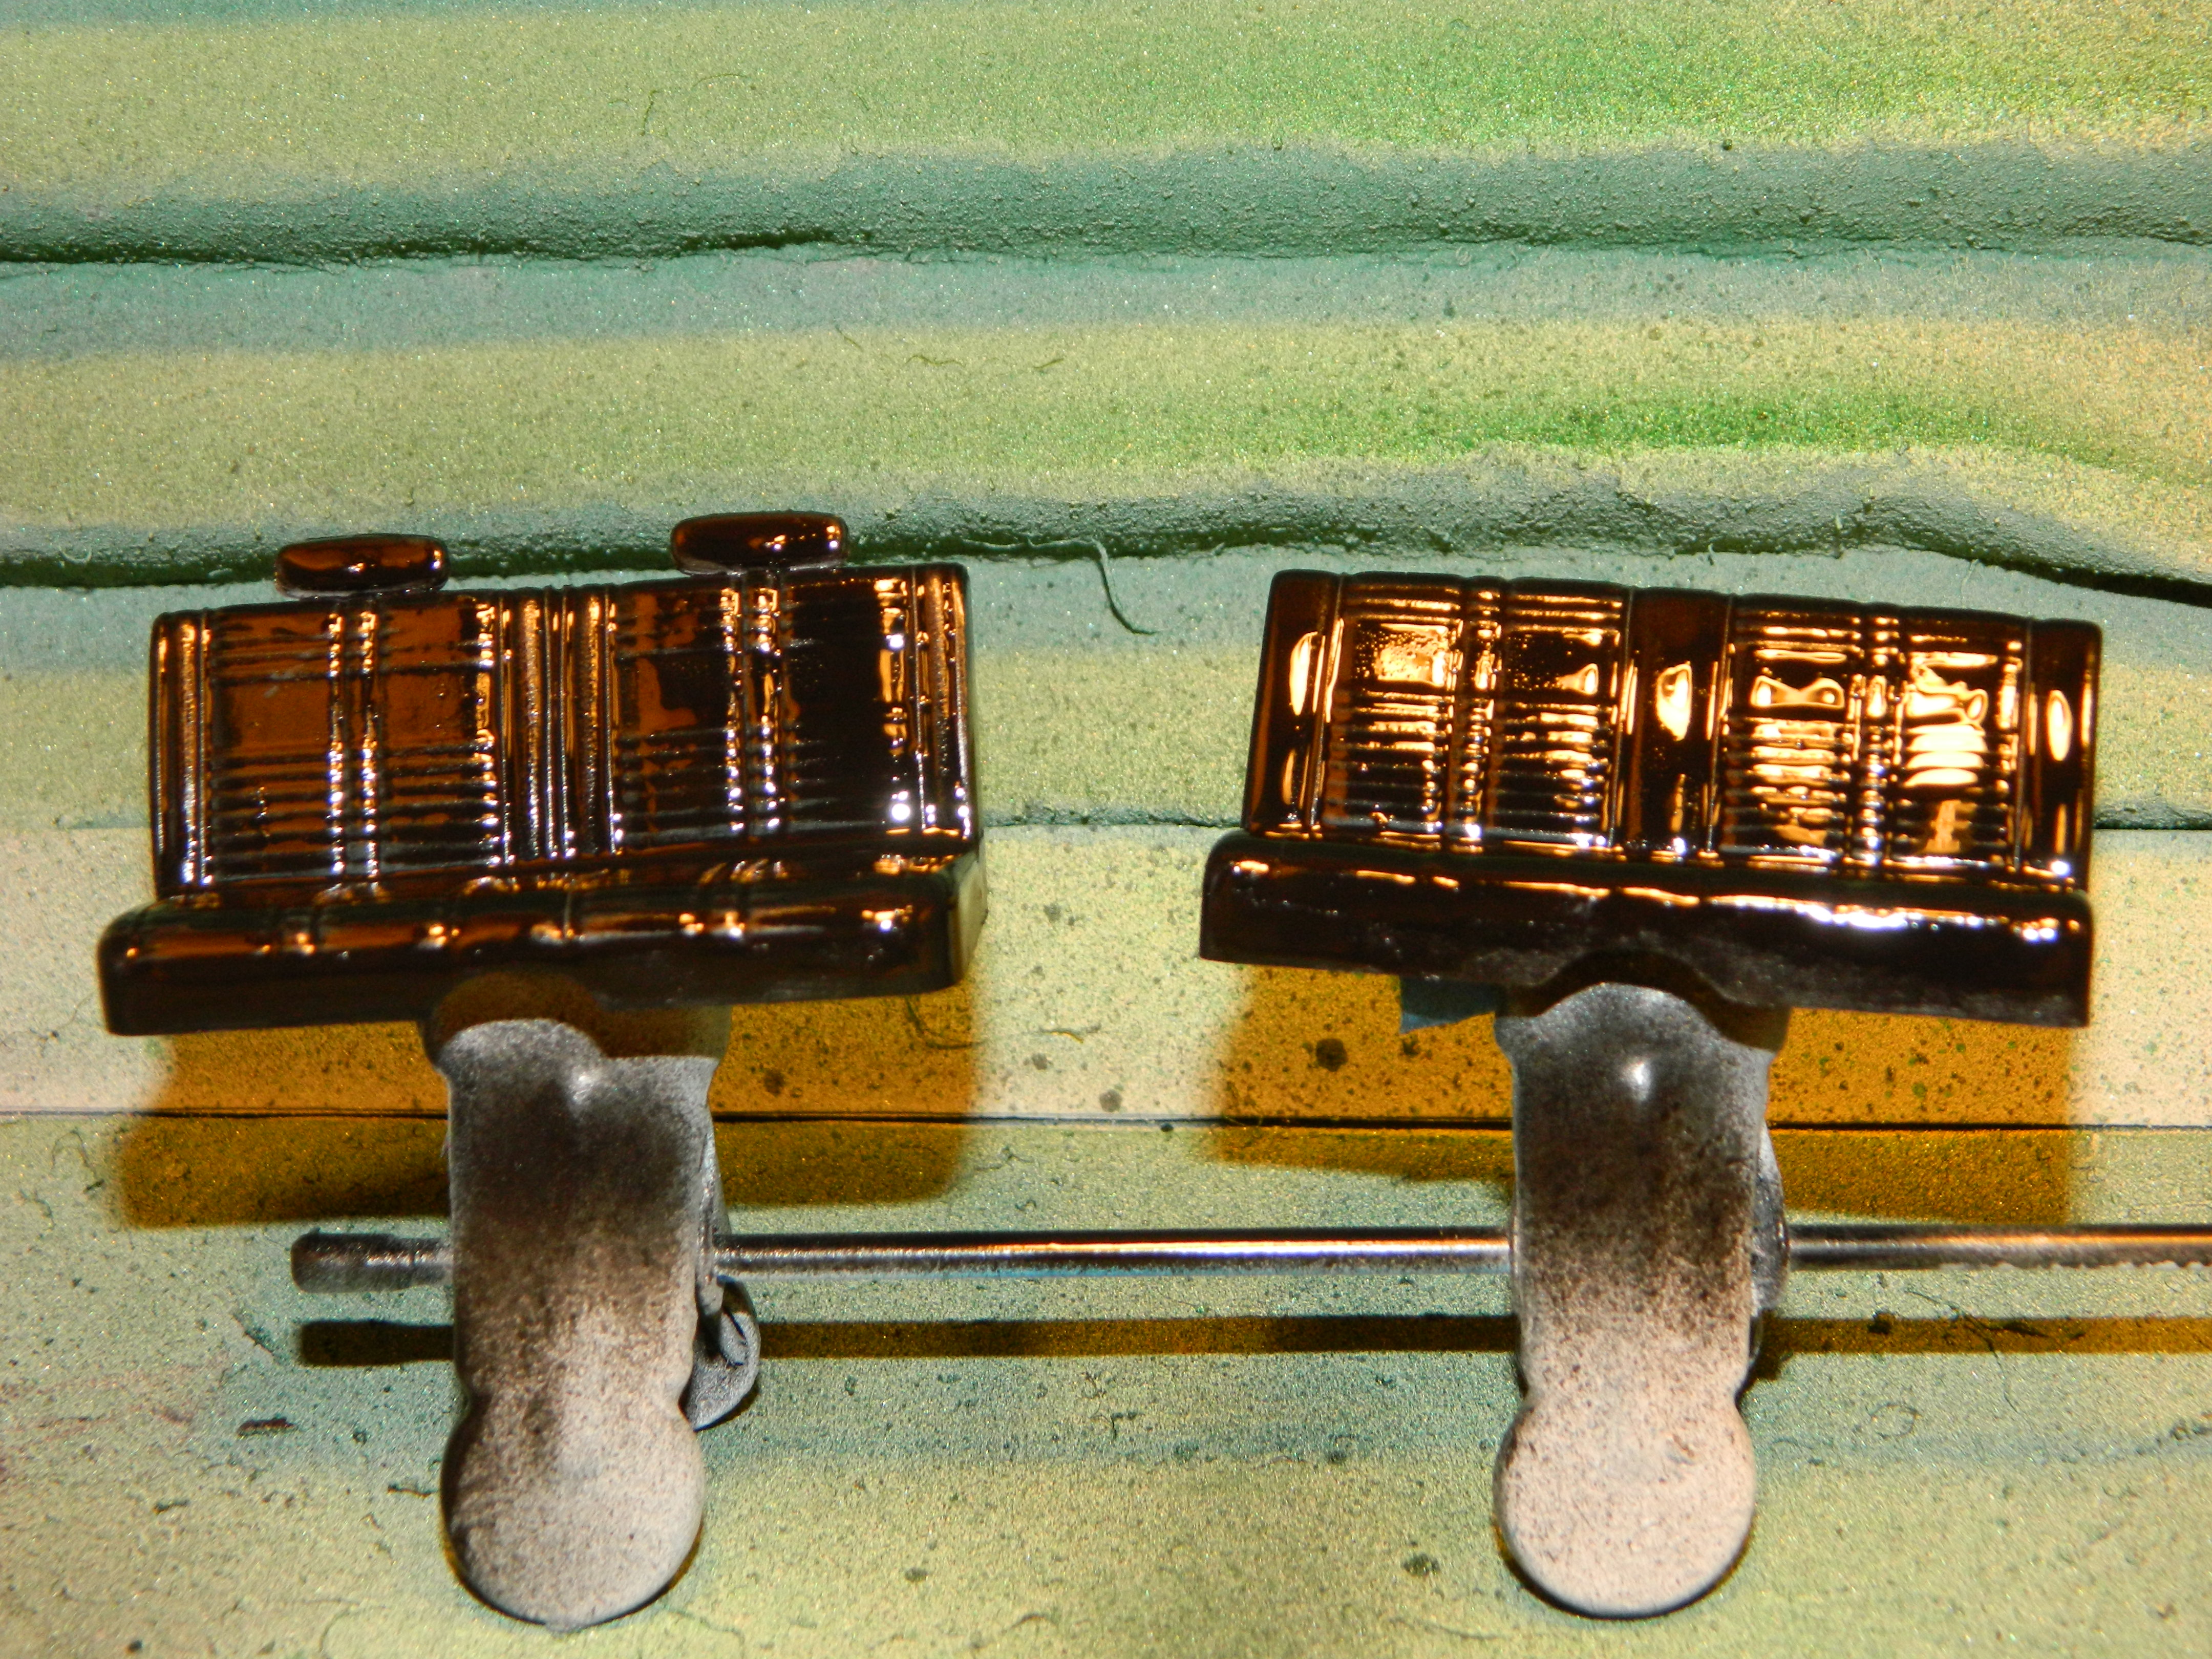
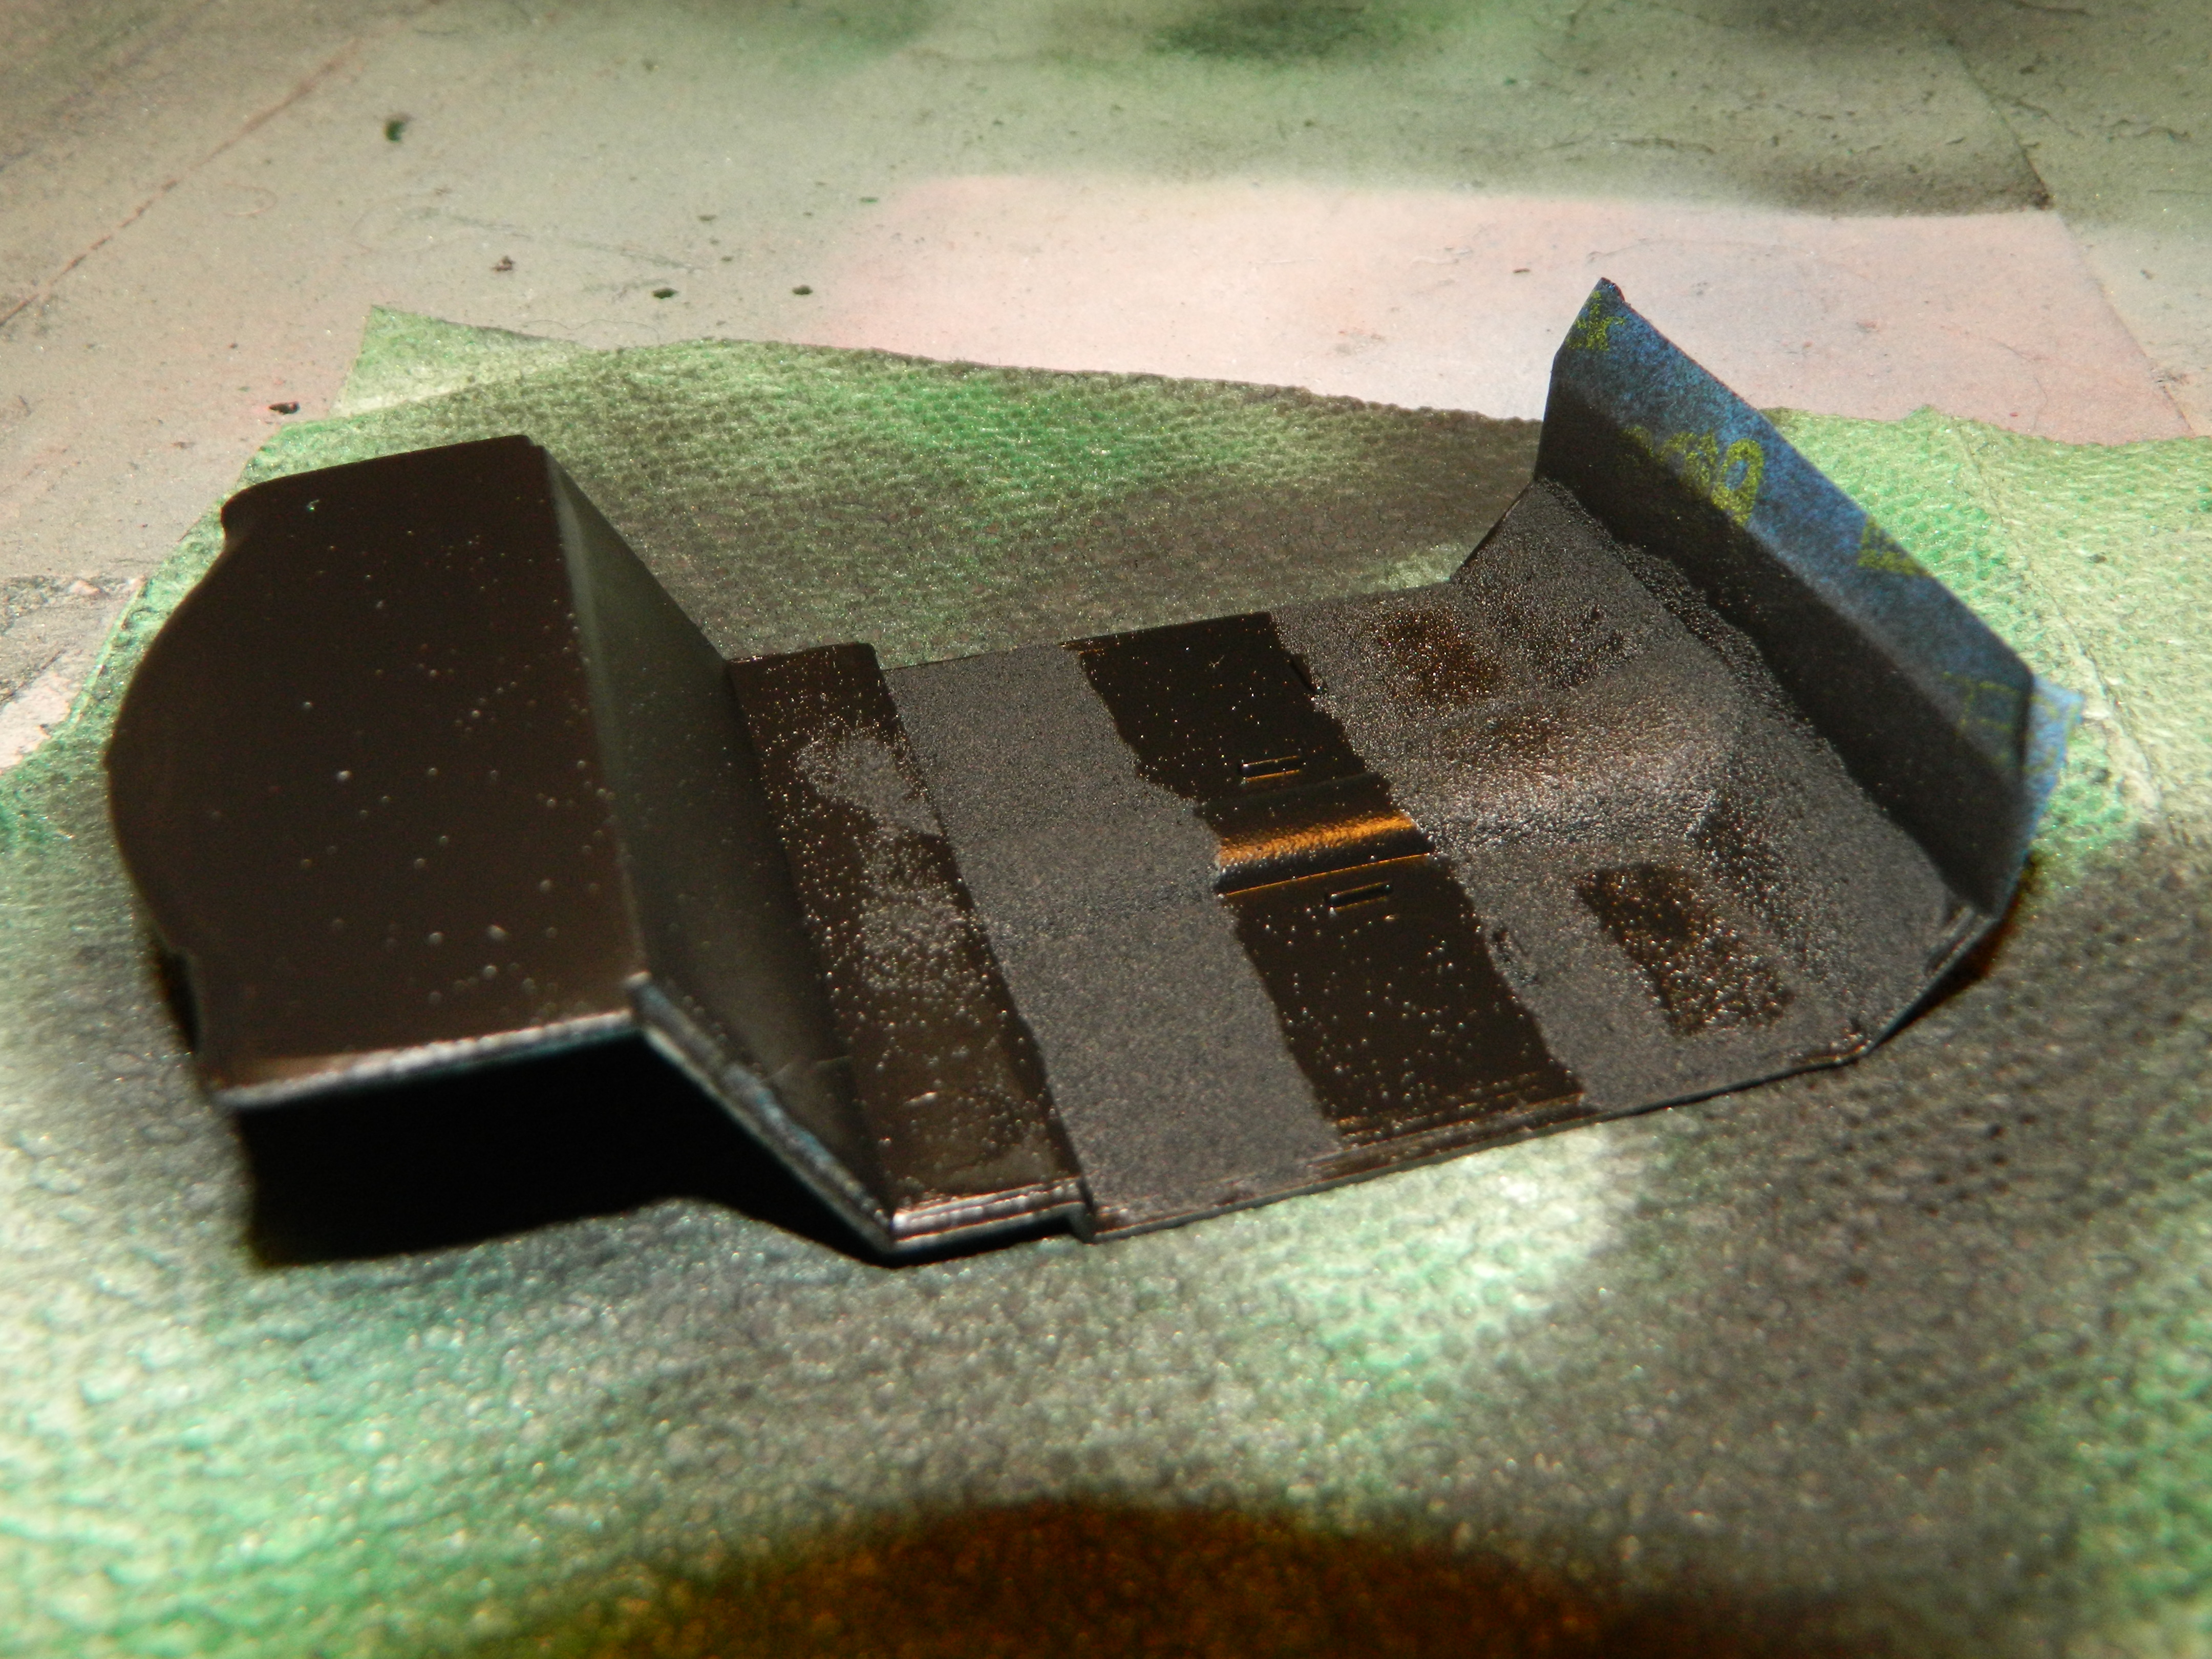
The seats are painted with Tamiya TS-29 Semi Gloss Black. The interior floor has been flocked with embossing powder and the Air Grabber has been painted with ColorPlace Flat Black Paint. More to come...
-
I got the Road Runner body painted this morning. While the paintbooth was up and running, I got the interior side panels, dash, and steering wheel painted as well. I'll paint the seats shortly when the headrests are securely glued on. More to come...