mrmike
-
Posts
5,324 -
Joined
-
Last visited
Content Type
Profiles
Forums
Events
Gallery
Everything posted by mrmike
-
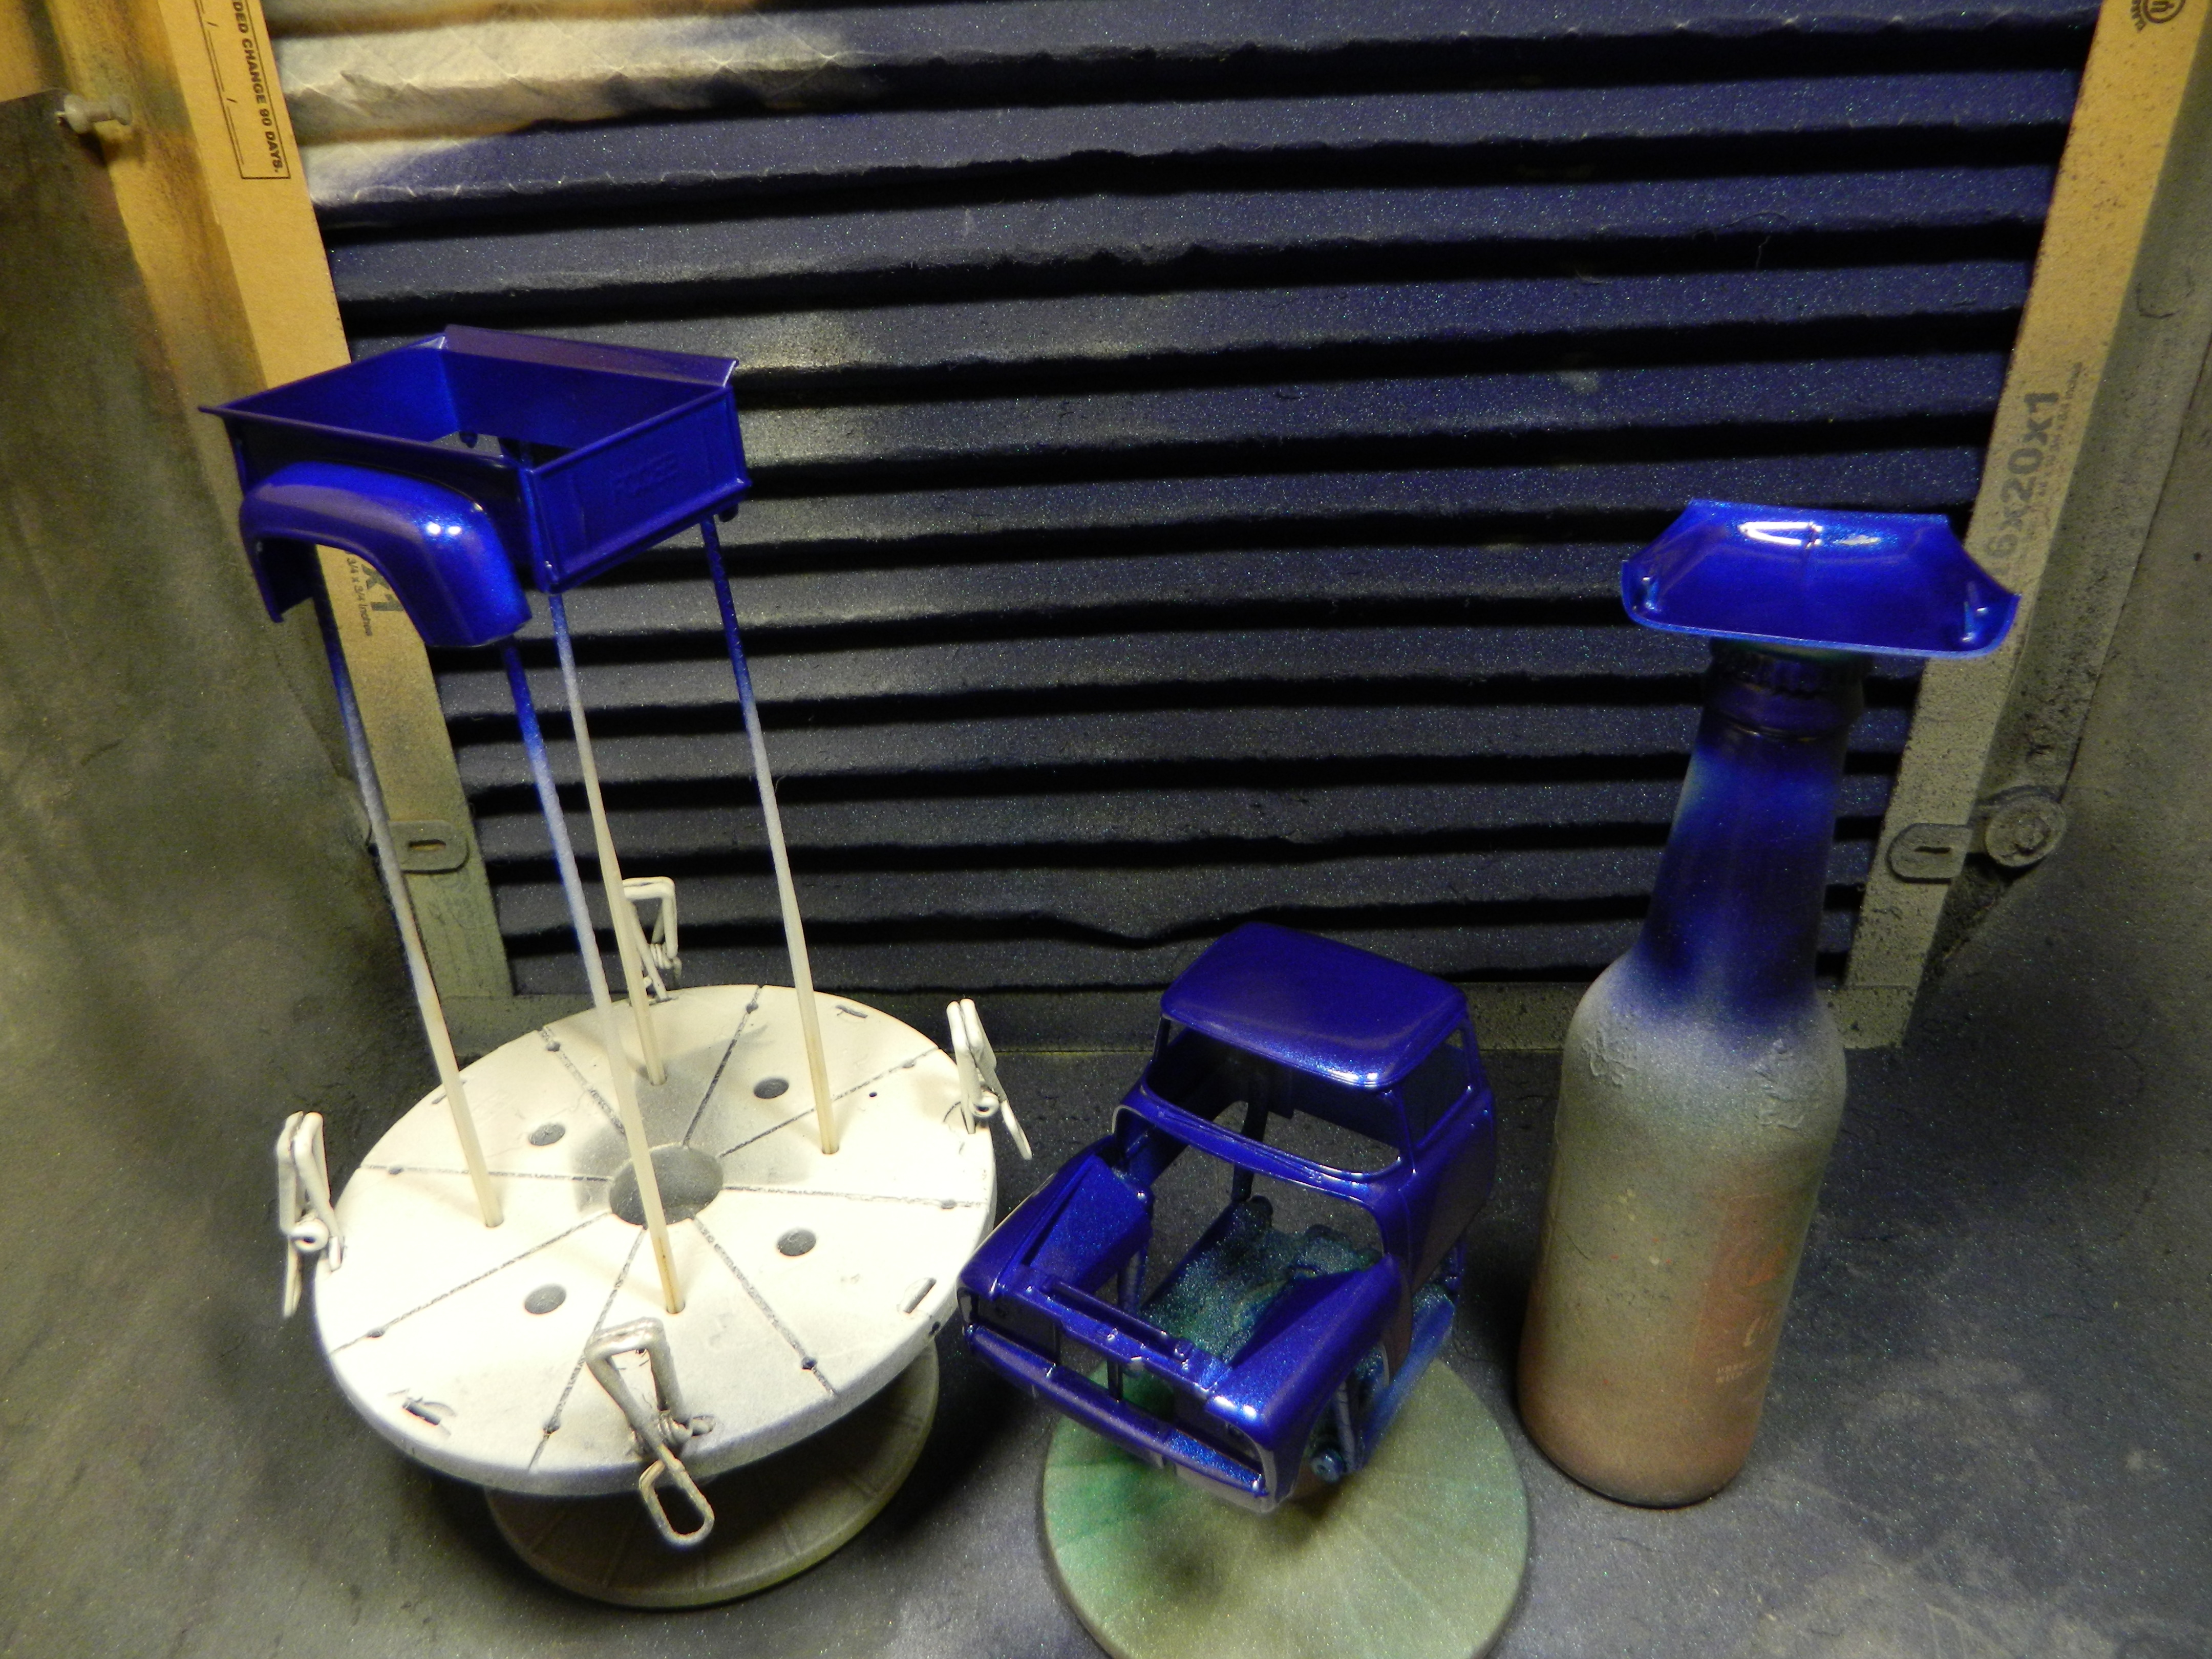
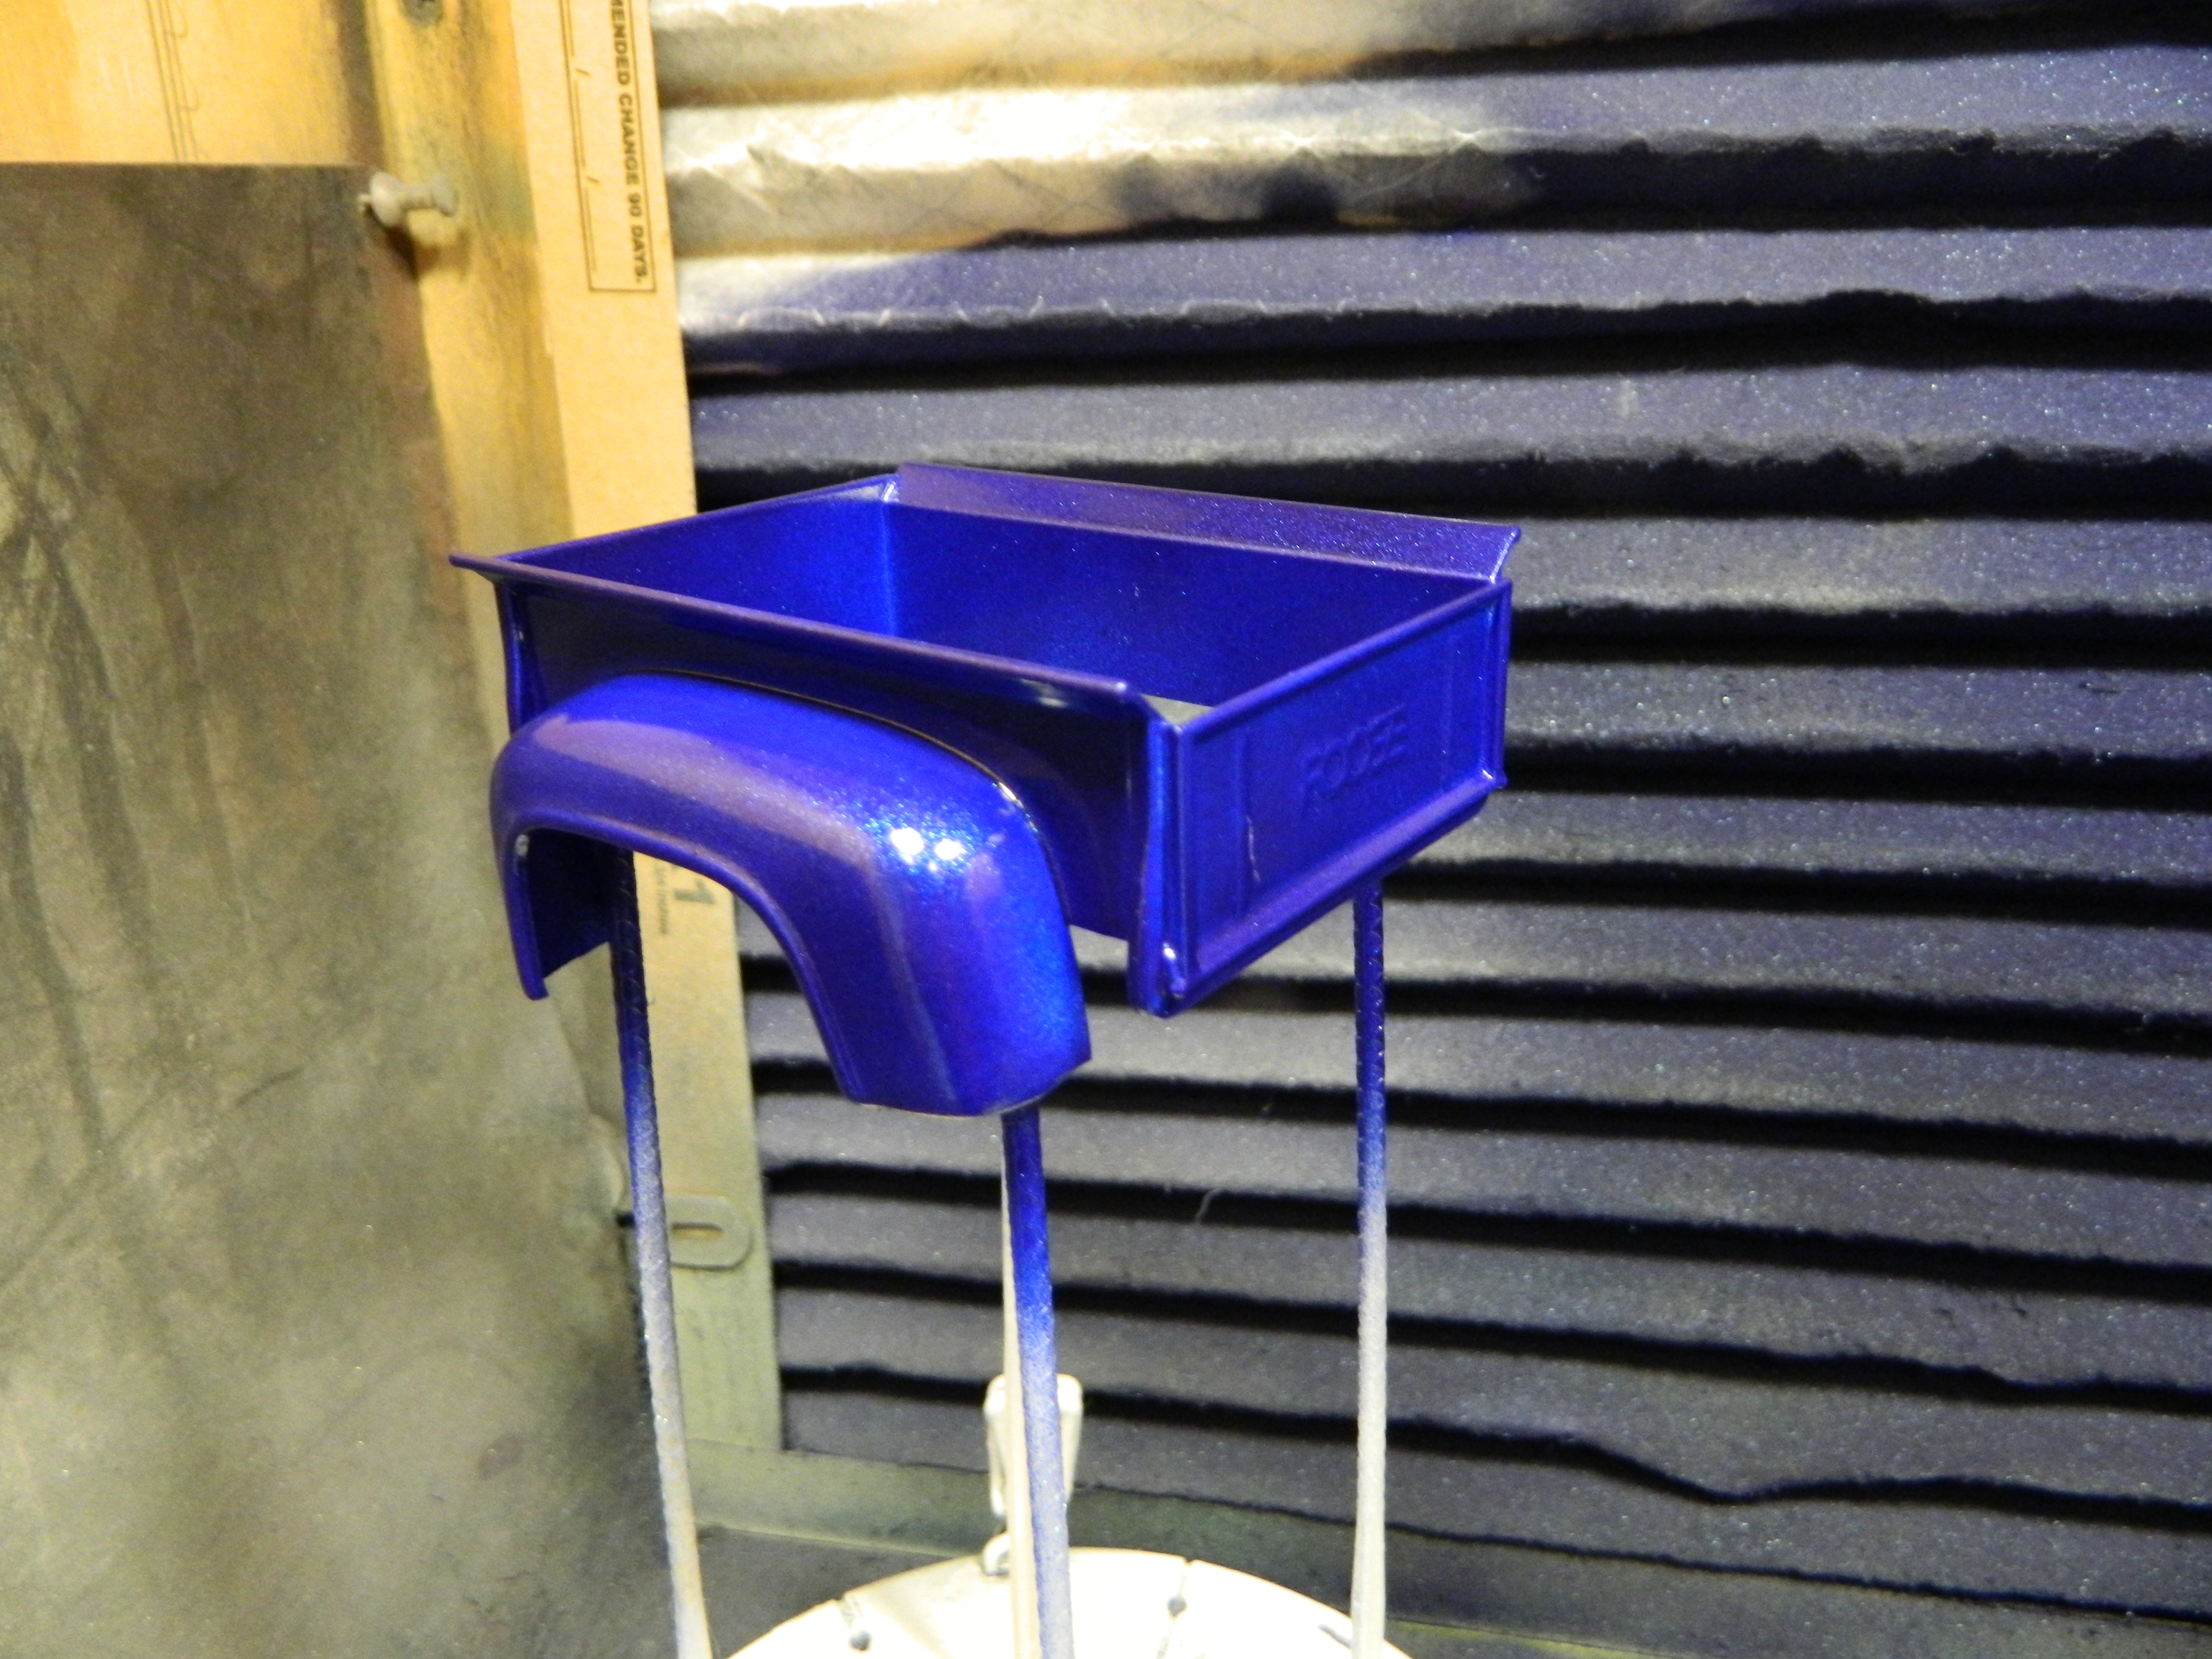
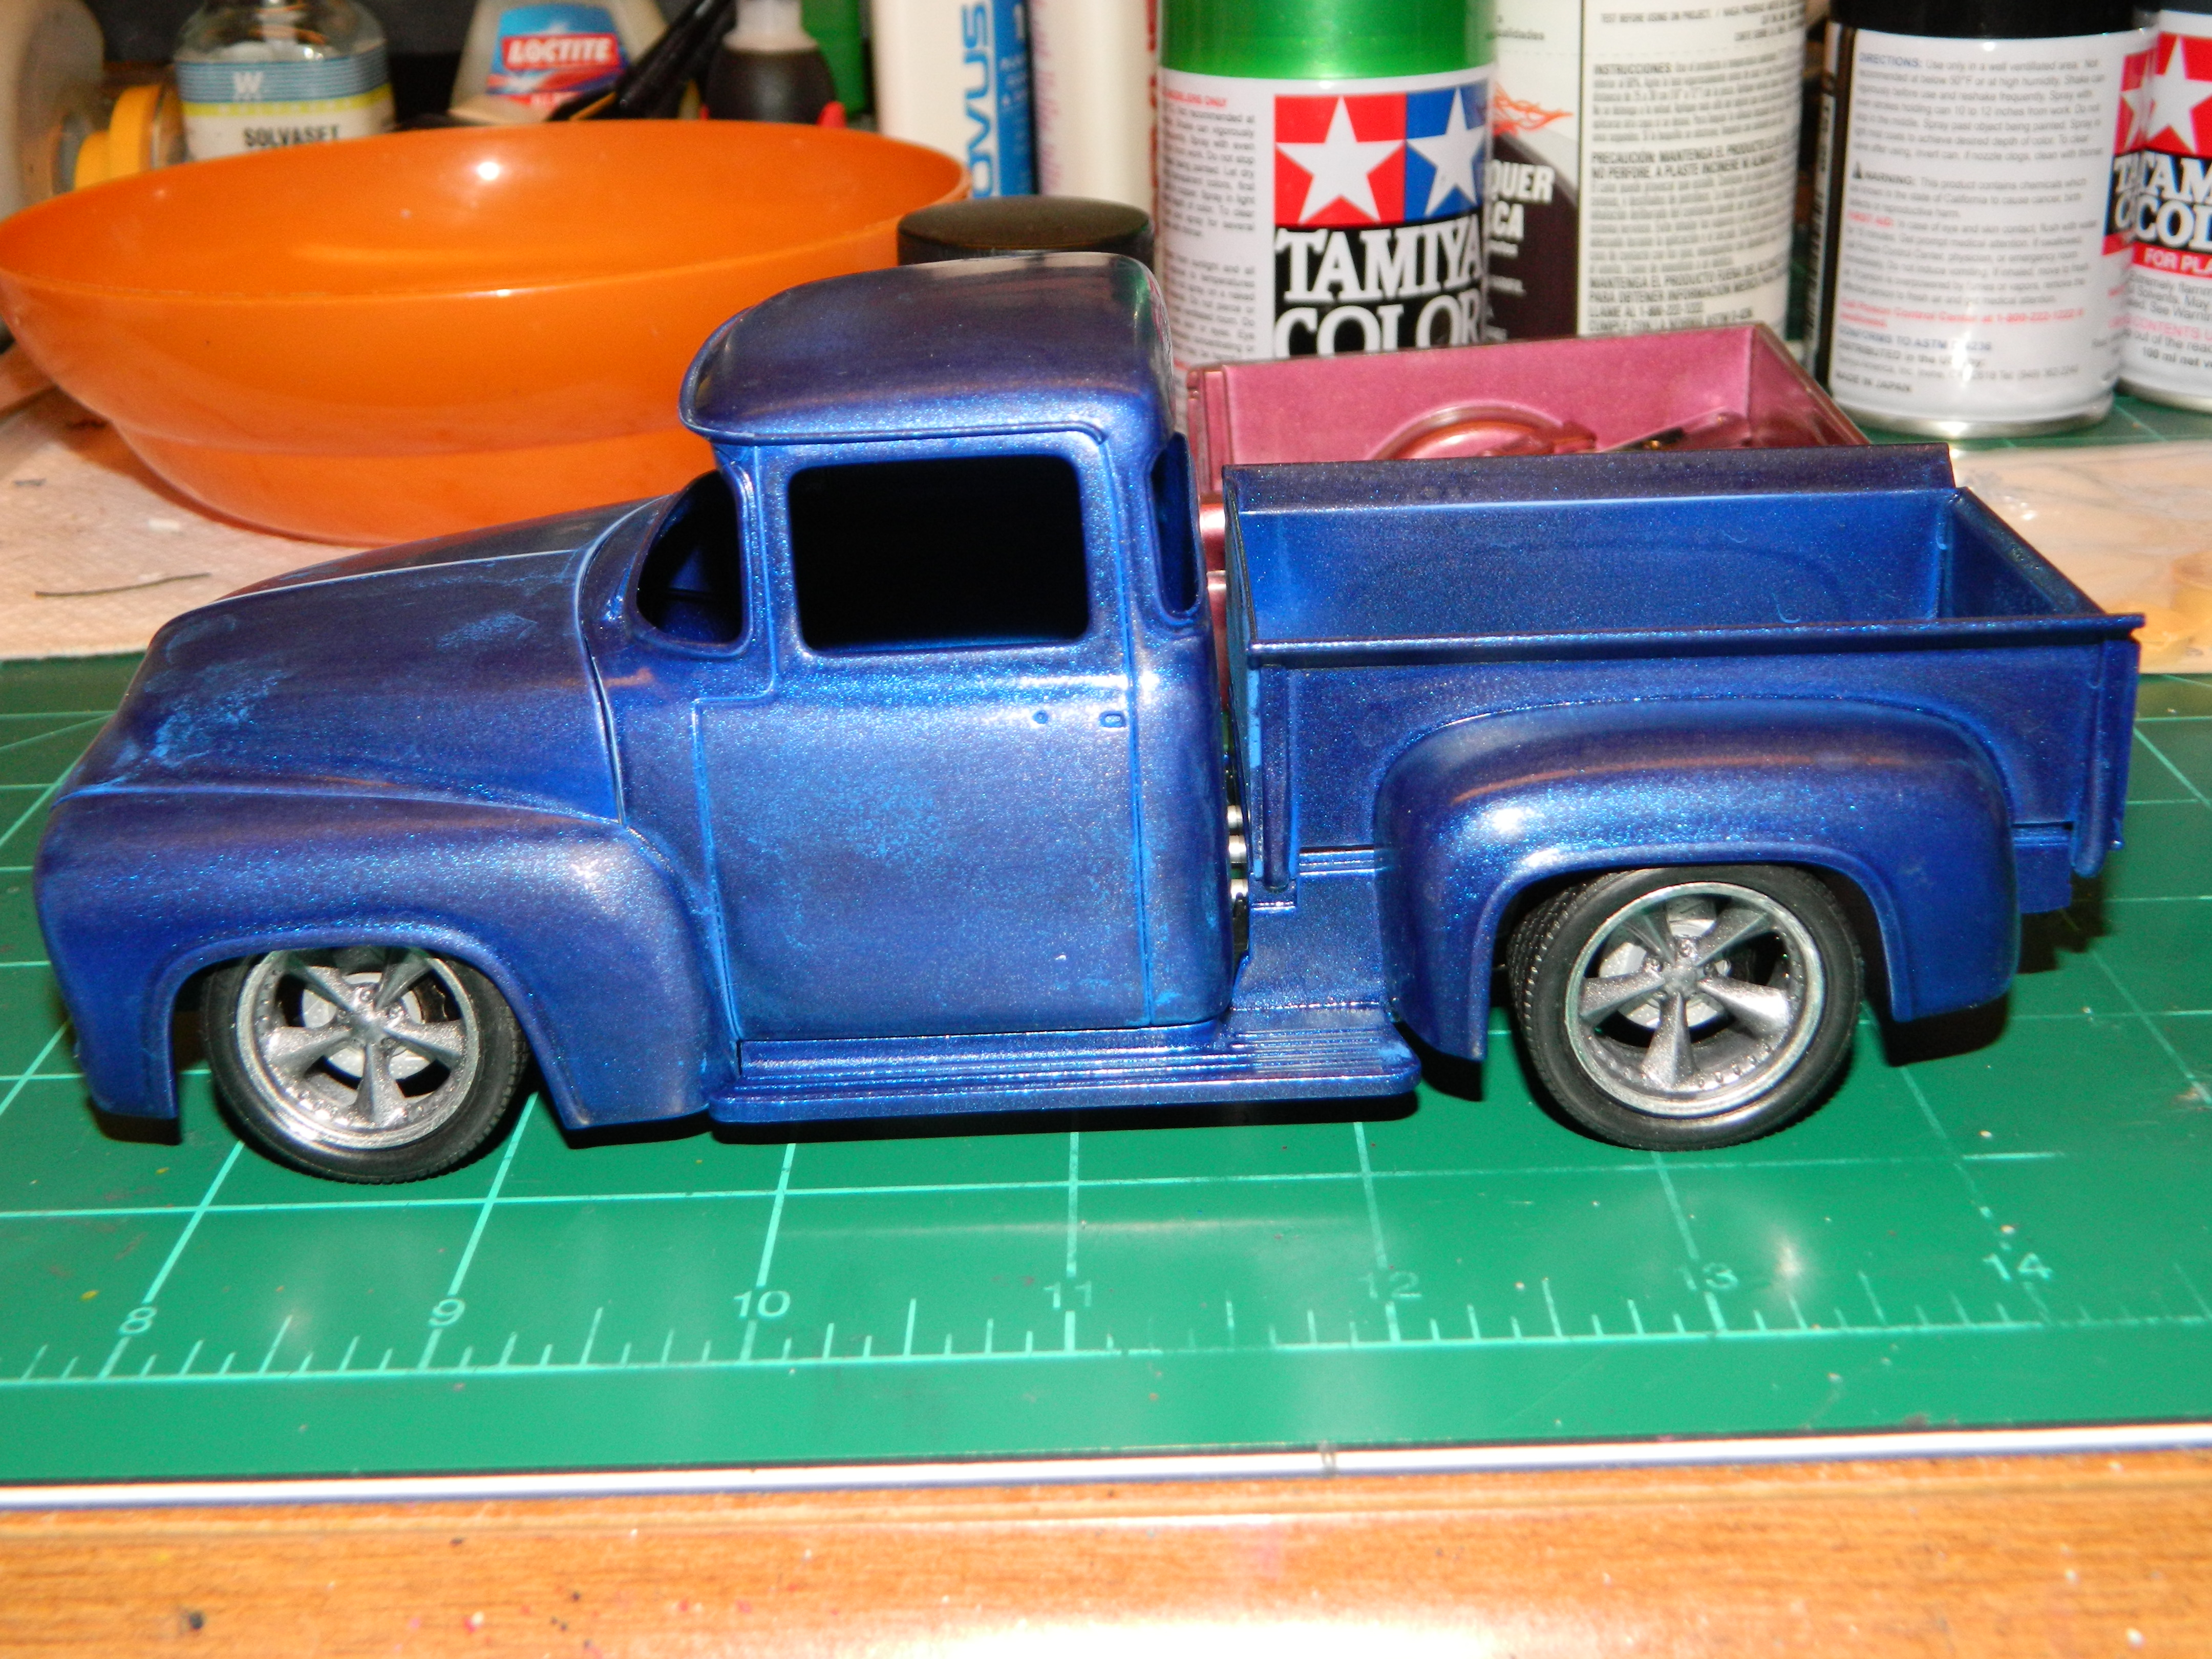
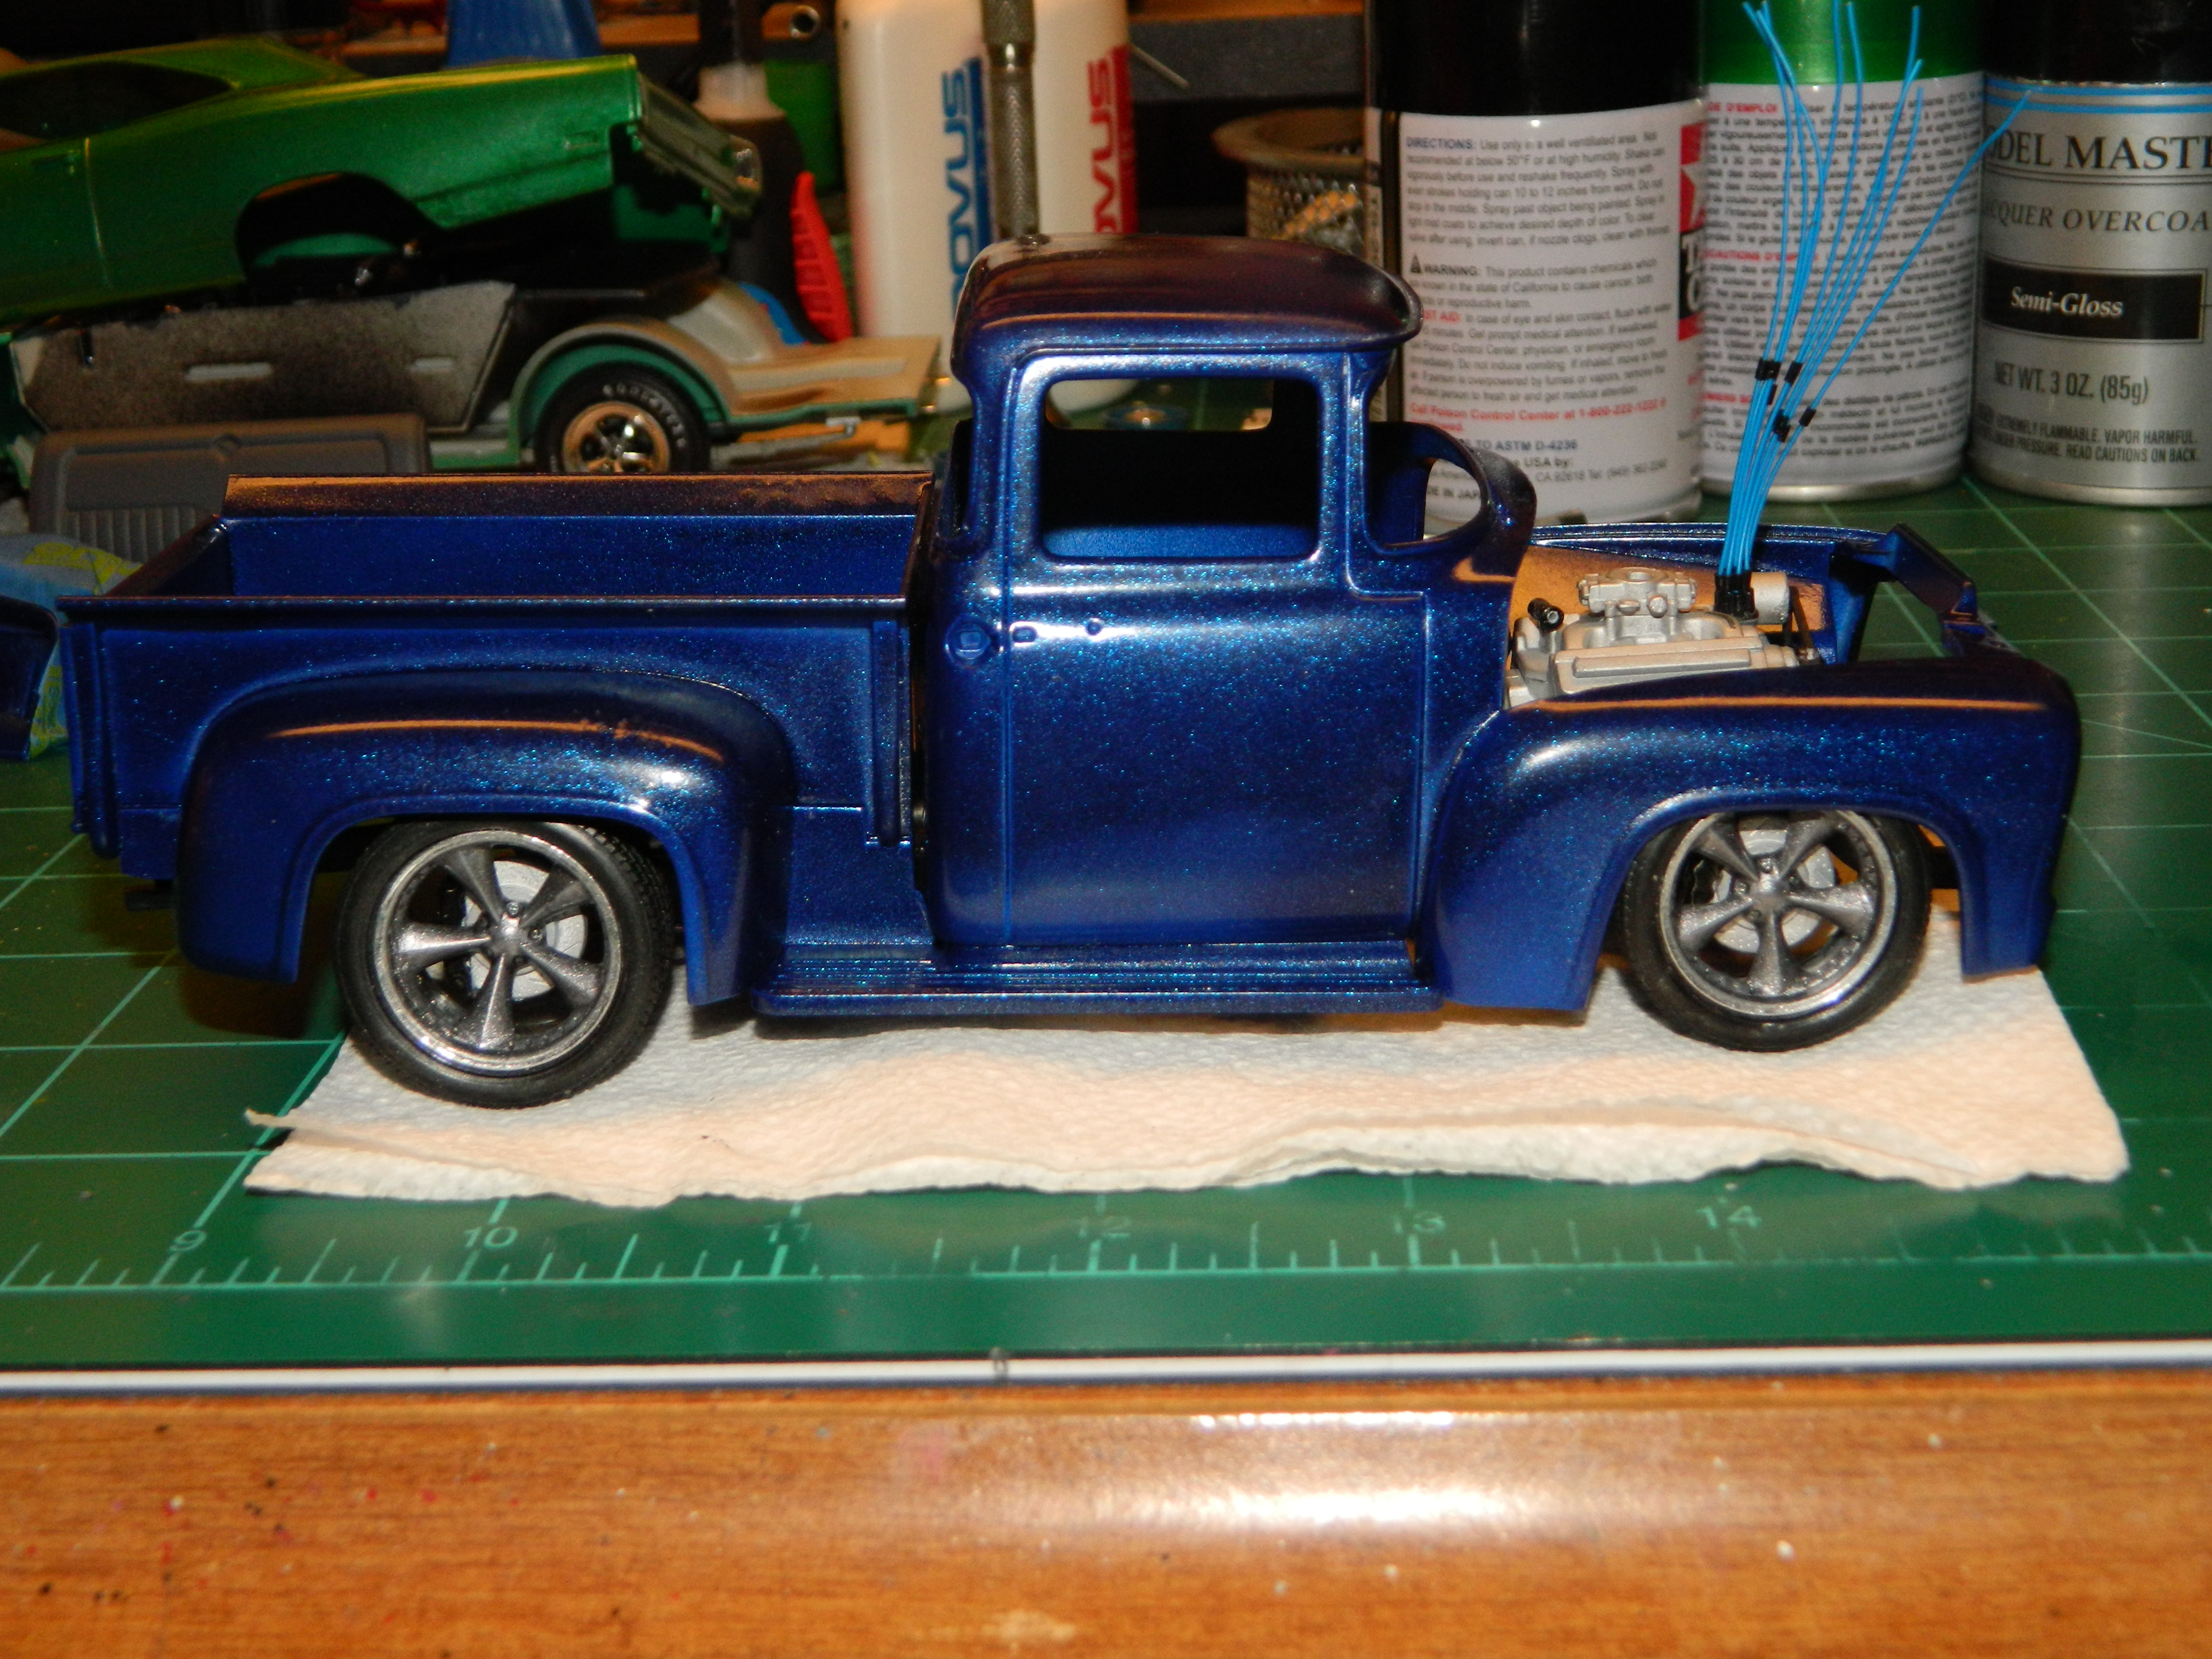
 Well, I have waited long enough and now I just had to get to finishing this Foose Ford. Another three coats of Testors De Ja Blue and no primer bleed-through! The color laid down nice! I think I have found a new primer. More to come...
-
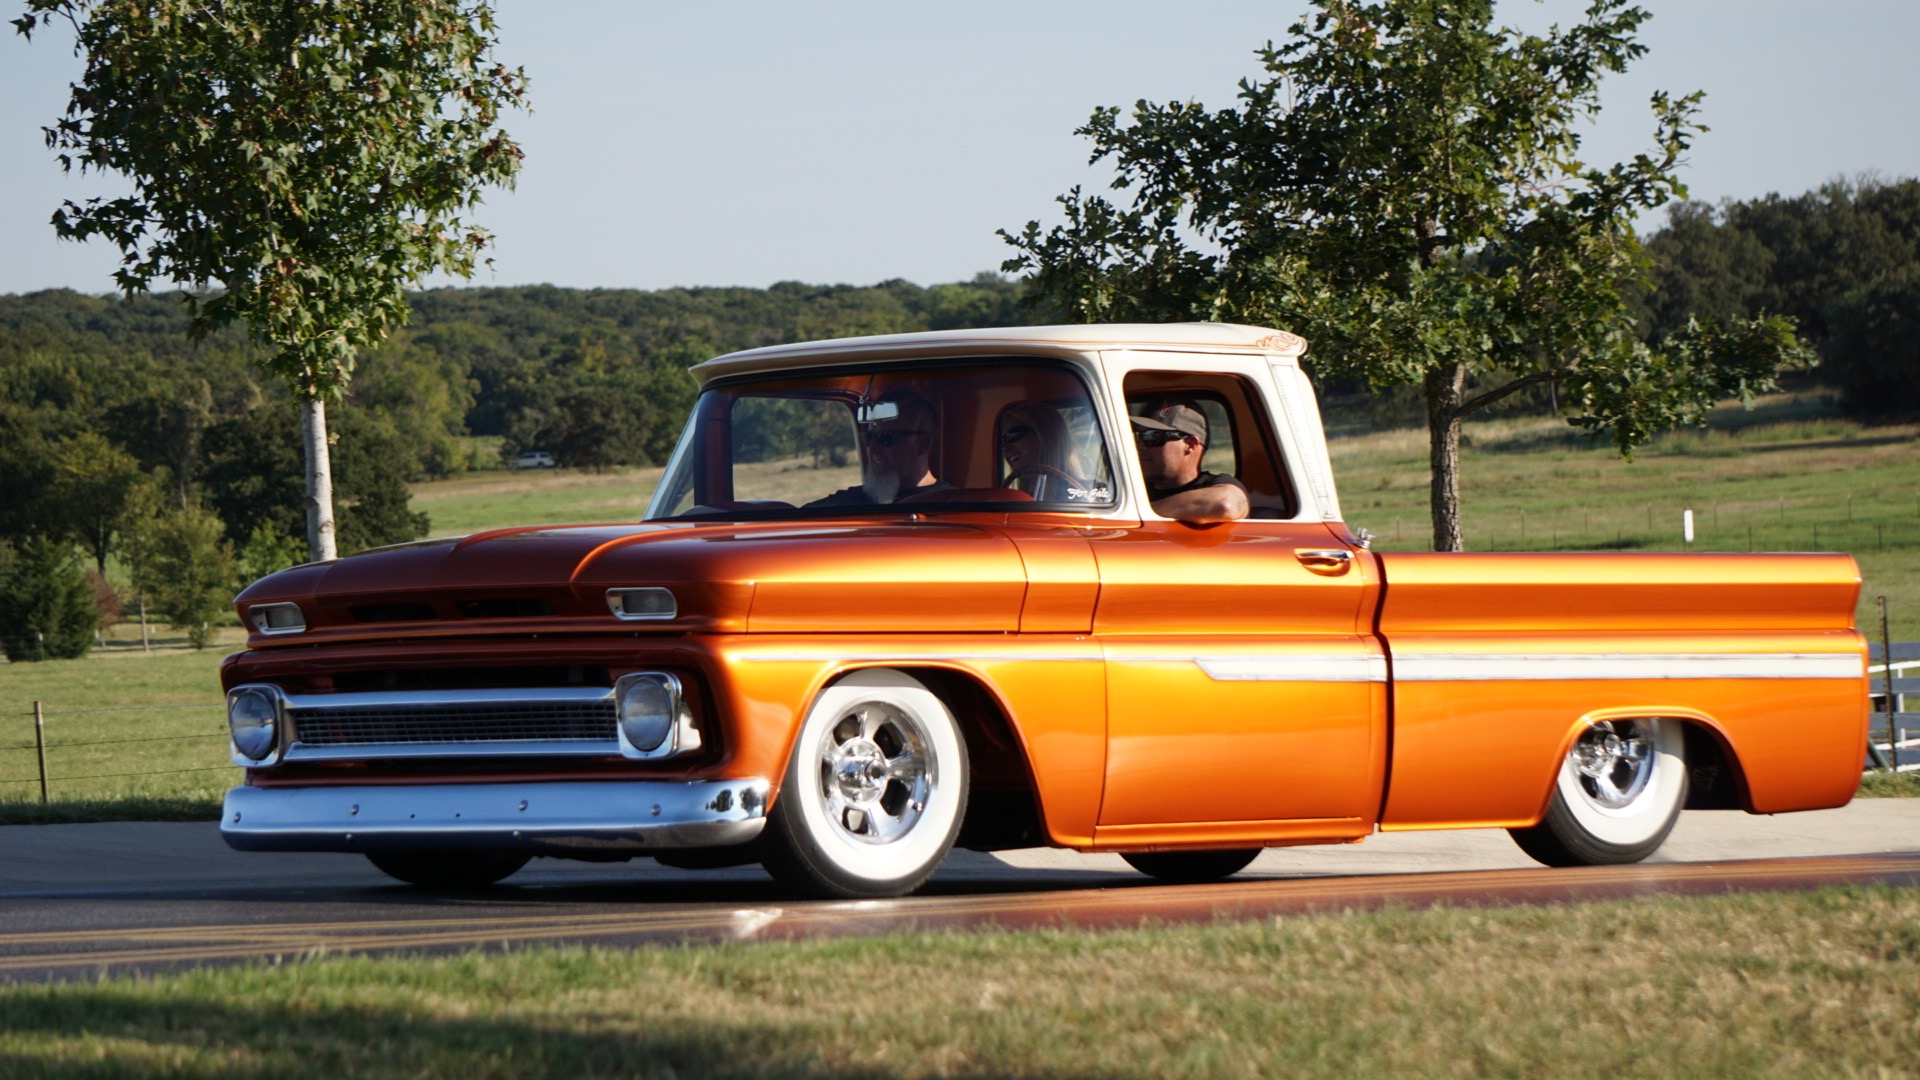
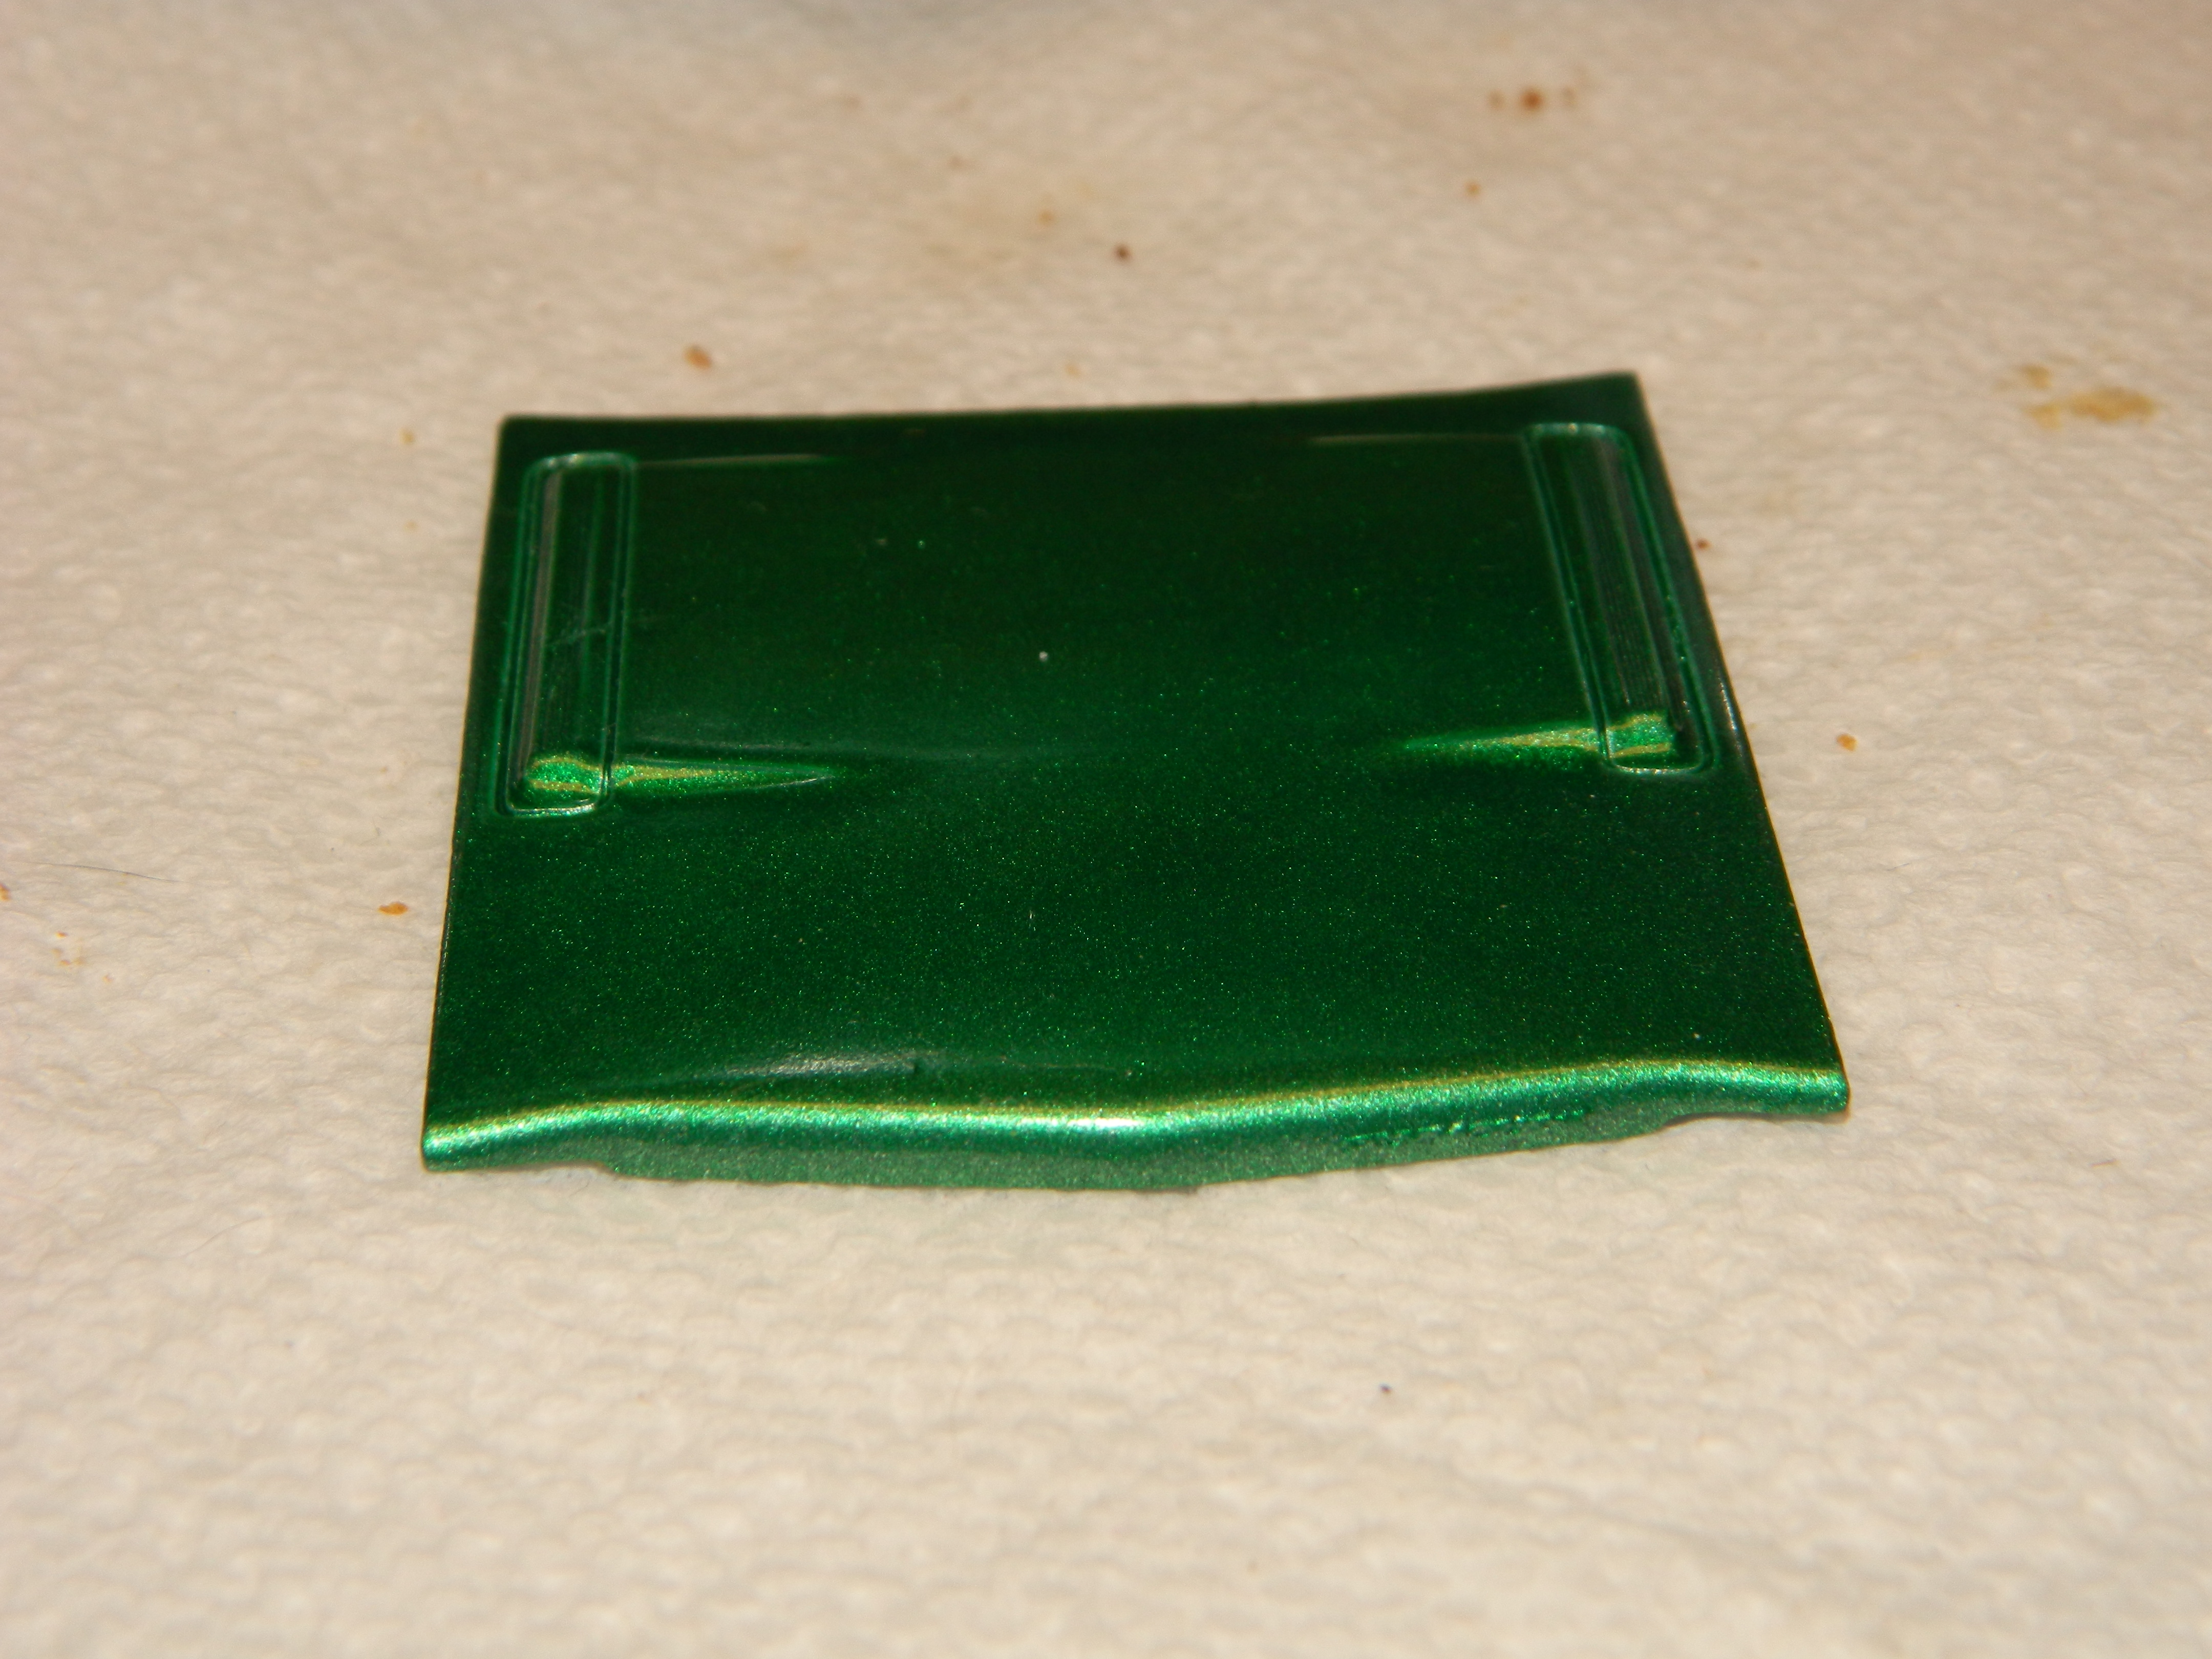
This is the color combo I'm going for and it is based on the '62 Chevy Pickup from Velocity's Iron Resurrection.
-
Ahhh, thanks Jeremy! I hope I don't disappoint you with my latest build and story.
-
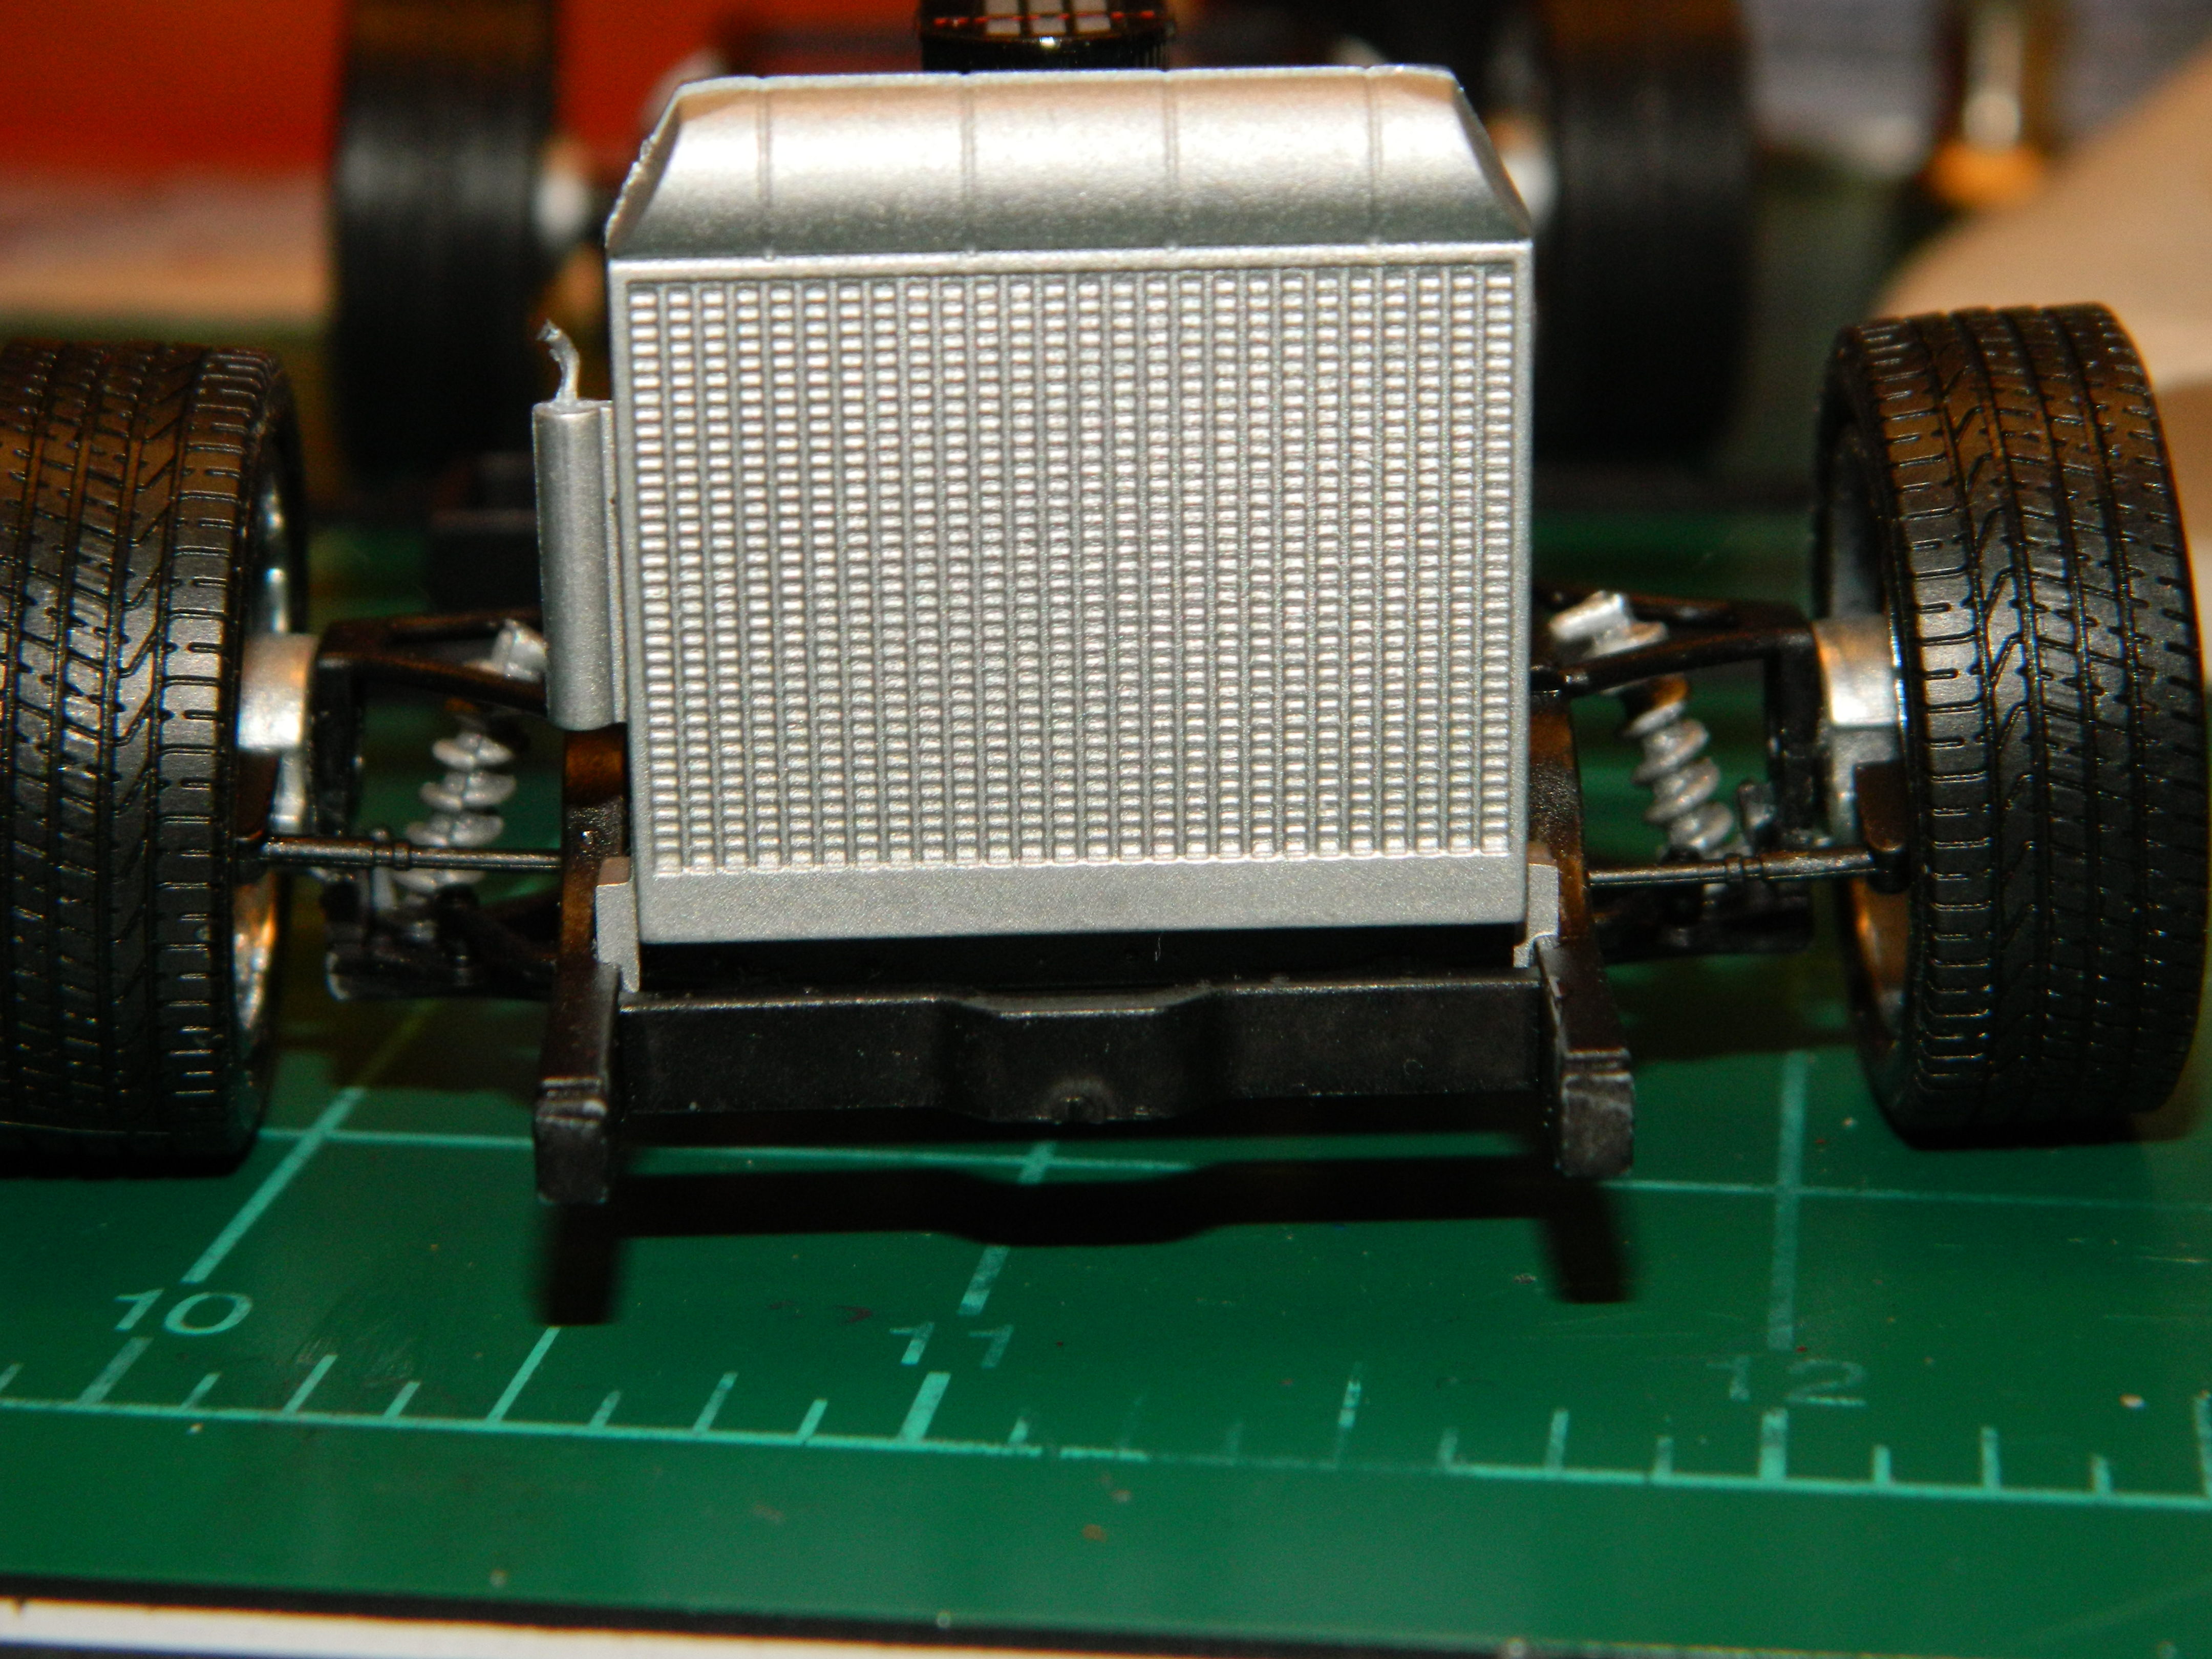
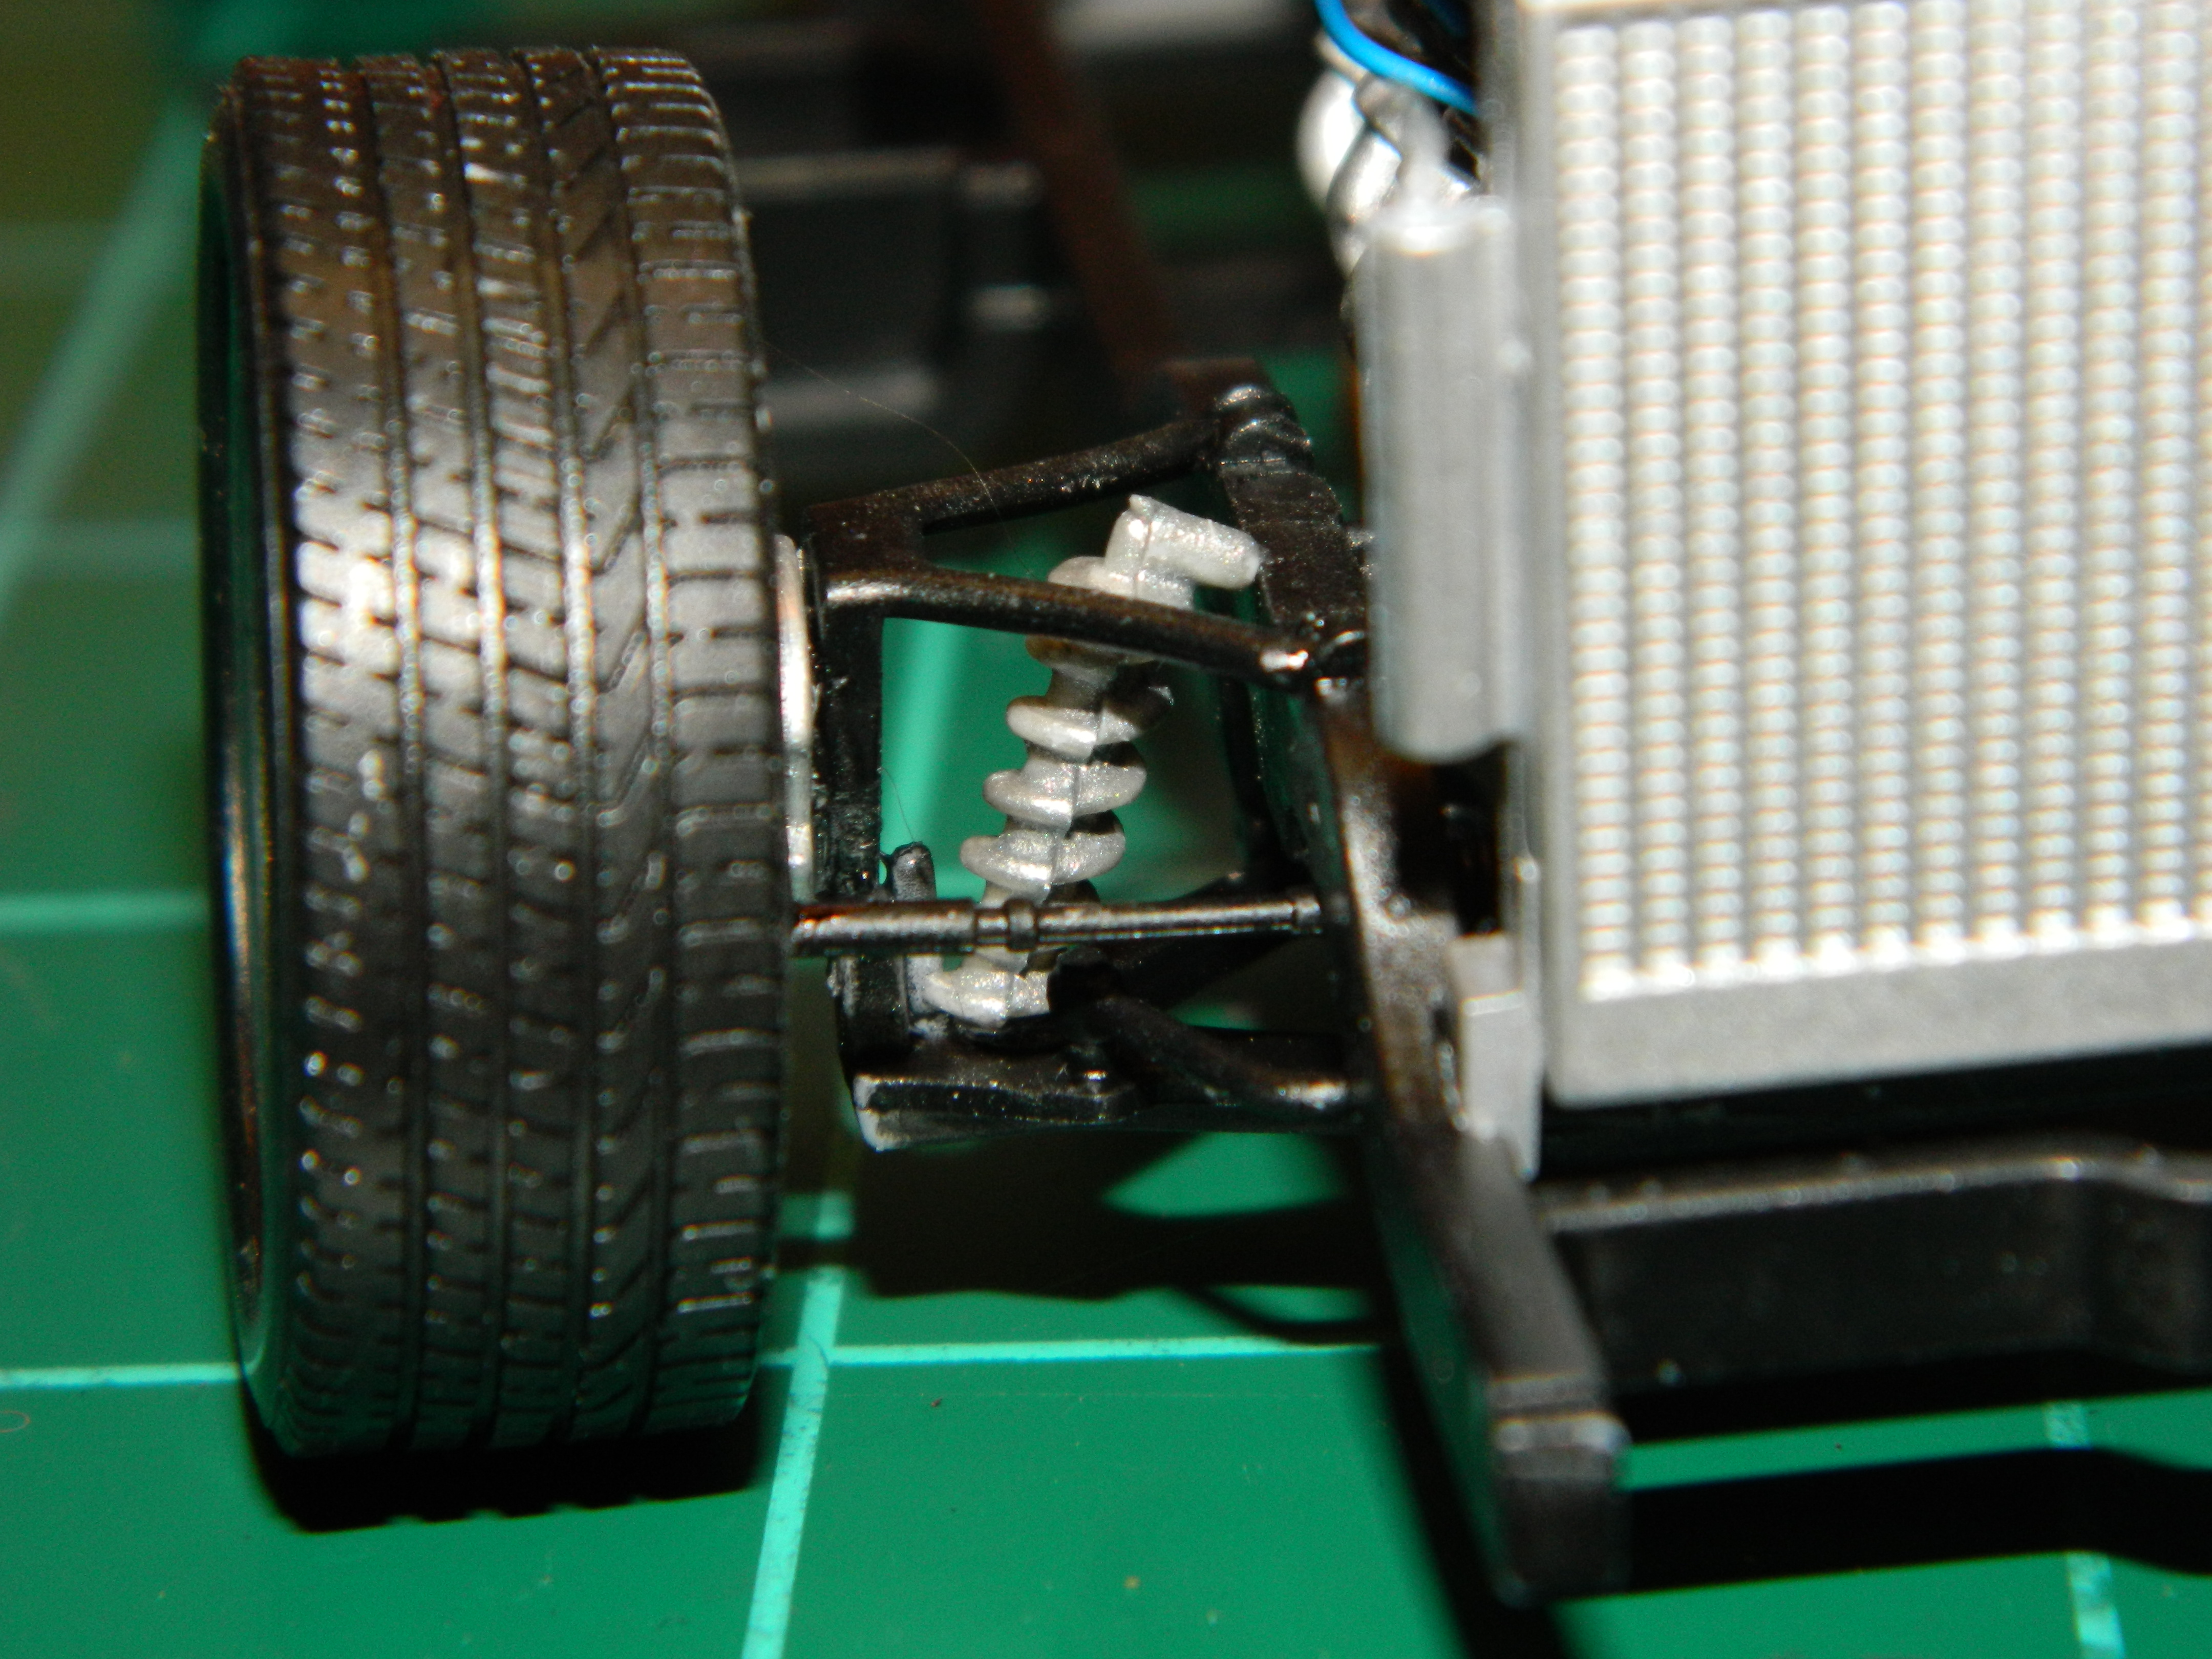
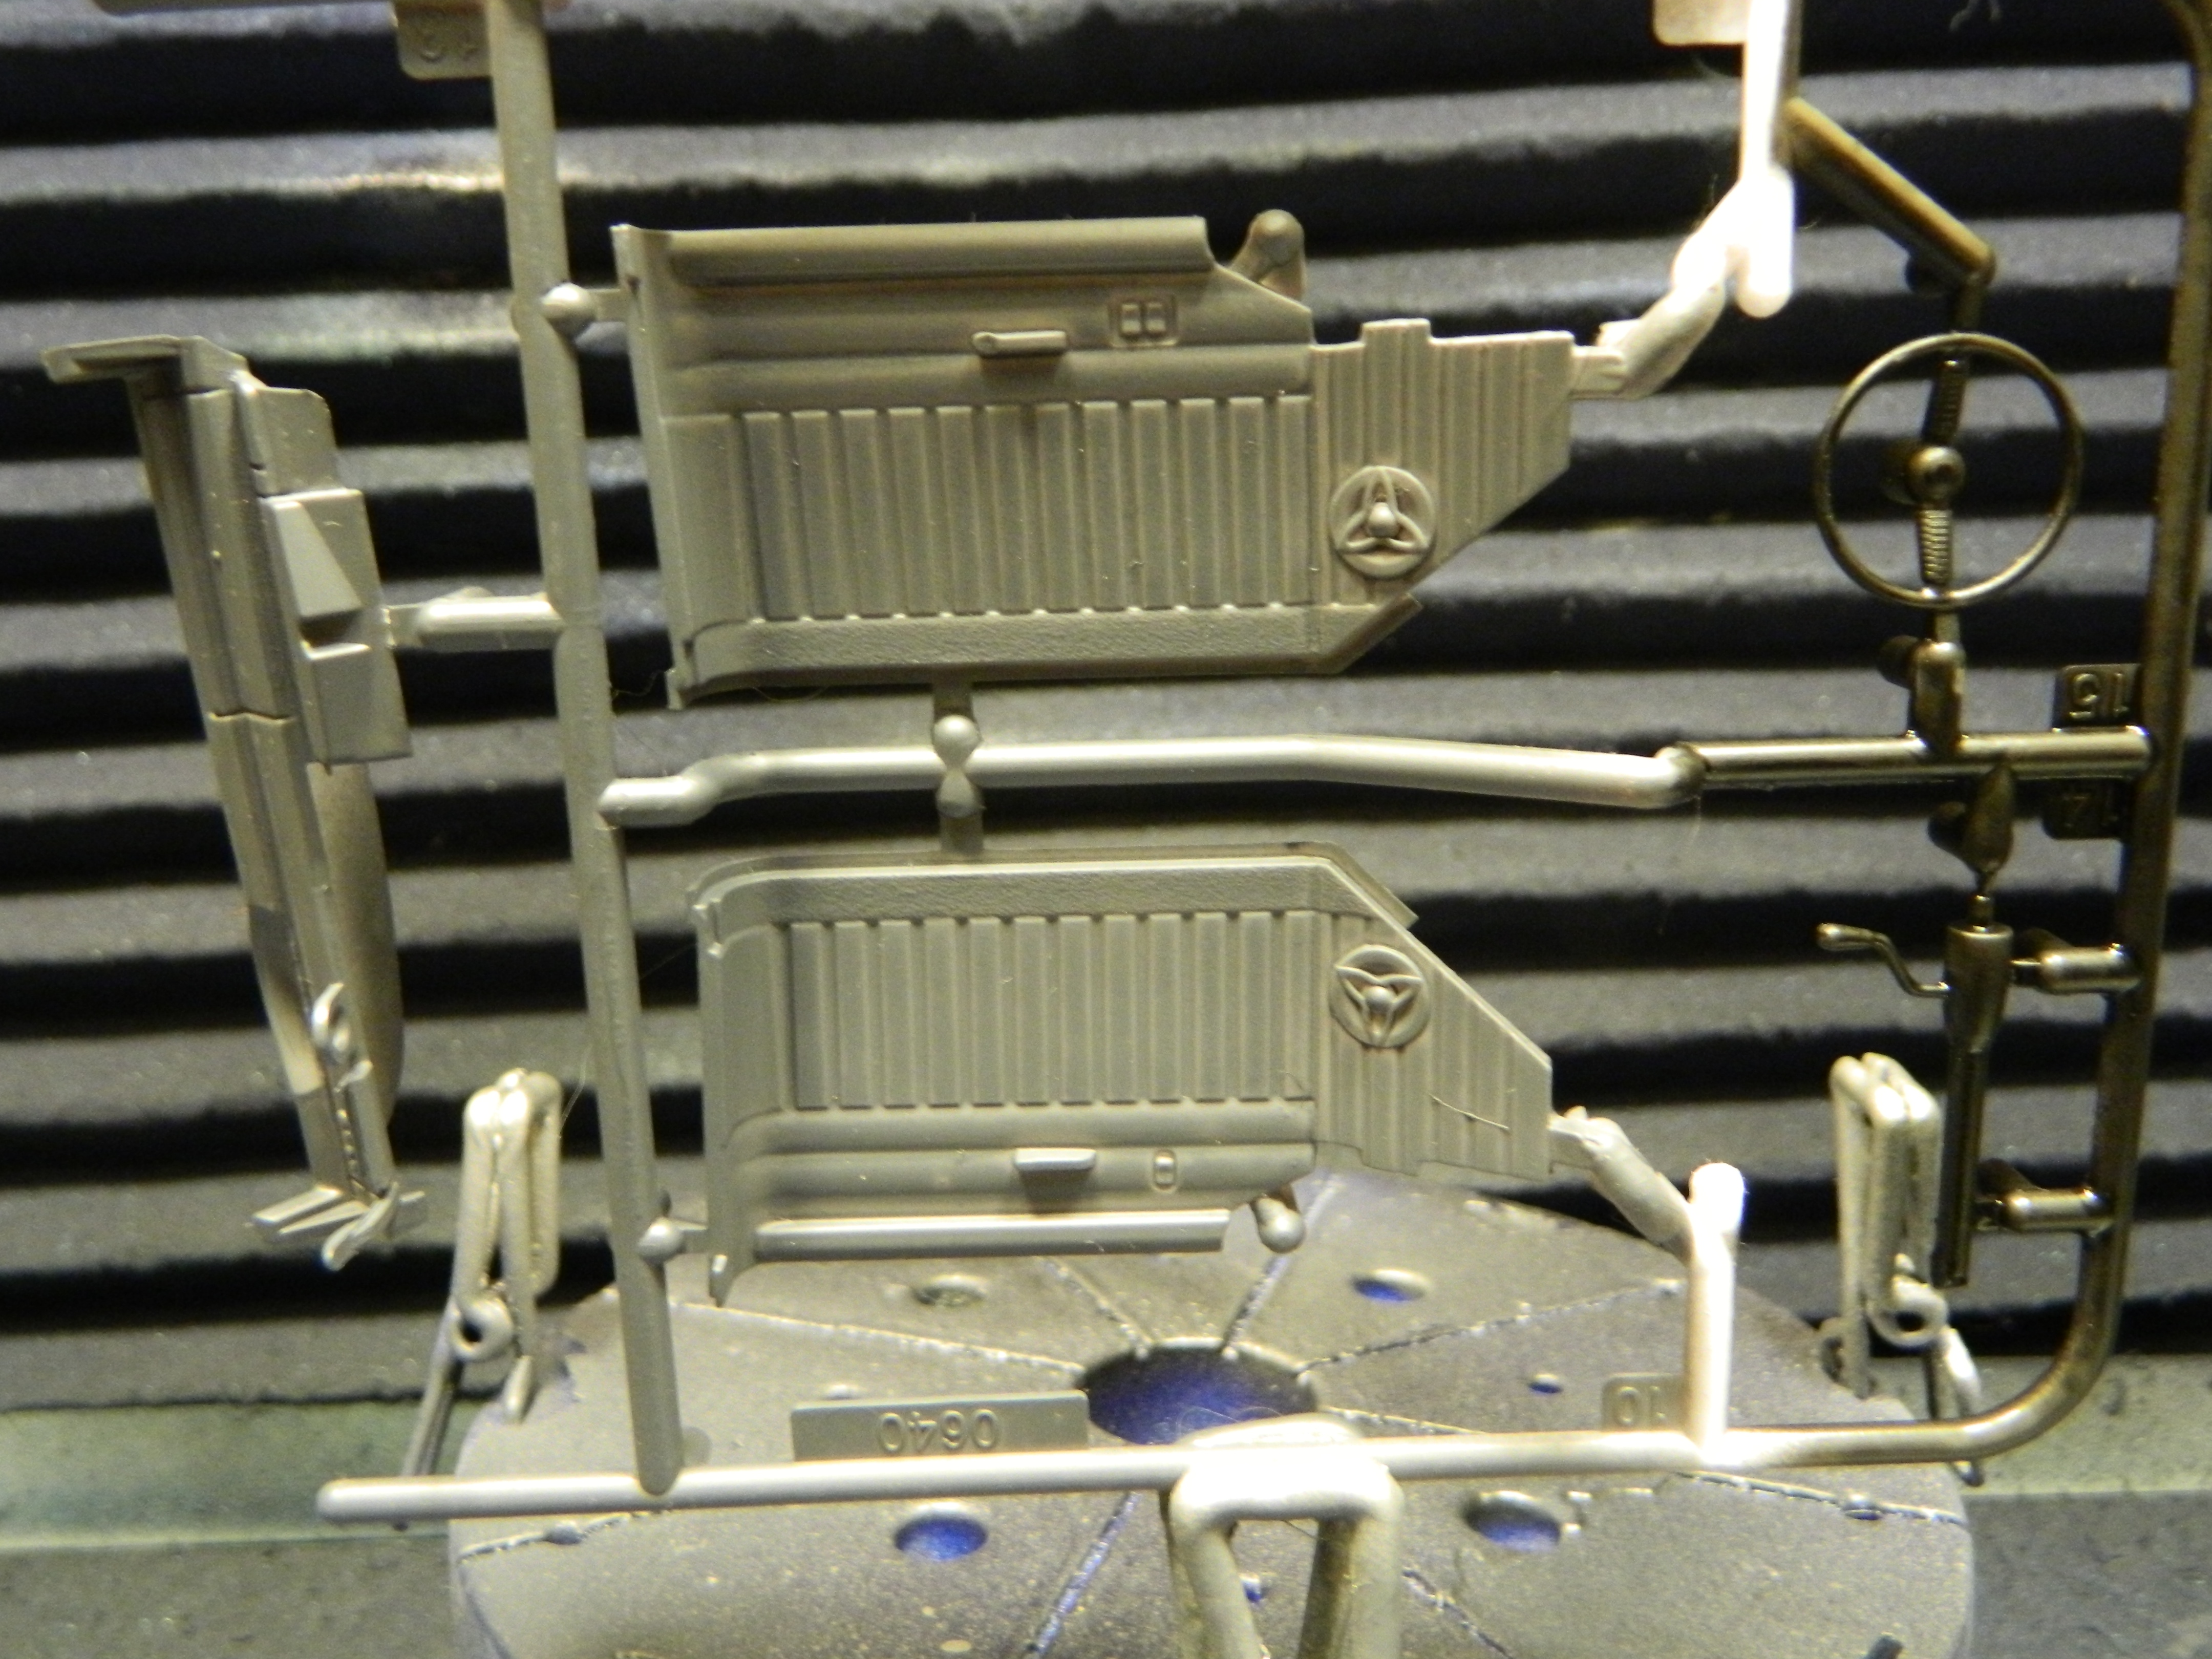
My new project is a kitbash of one kit and parts from another kit. And, it is also the return of McNally, Boston PI in a story called Truckin' To Death. Persons in this story are not related to anyone living or deceased. The Build I had this kit in the stash for a while. I bought the kit at a deceased Club member's auction to raise money for his widow. My paint will be Tamiya TS-92 Metallic Orange and Tamiya TS-45 Pearl White. These colors were influenced by the '62 Chevy Fleetside built by Martin Bros. Customs on Velocity's Iron Resurrection. The rest of the build will be the Revell '65 Stepside kit with a '64 Fleetside bed and pieces from the '64 Revell Fleetside kit offered to me by Classic Plastic Model Club member Barry Fadden. The wheels and tires are from the Revell '62 Corvette kit. Dual exhaust from the '62 Chevy Impala. ] The Story Every Friday night in summer, the Back Bay Burgers restaurant near McNally's house has a Cruise-In welcoming any and all kinds of cars and trucks. Music from the 50s, 60s, and 70s is played and raffles prizes are given away. McNally likes this event as he brings his late father's car, a '57 Ford Custom 300 known as Spearment to the show. He parks next to '65 Chevy Fleetside pickup that he has never seen before. He meets the owner, Peter Mathuis who tells him about the truck, saying he did all the electrical and mechanical work himself and had a local body shop paint the truck in orange with a white top. The next morning, Peter is leaving for some overtime work at 5:30 AM when he is brutally stabbed to death in his driveway. The killer takes the keys for the truck from Peter's hand and steals the truck. The following day, with the Police searching for the killer, Peter's widow Caroline hires McNally, Boston PI to find Peter's beloved '65 Chevy pickup. McNally will return...
-
I just saw the "Berlin Buick" on Velocity's Bitchin' Rides. Dave Kindig had talked with the owner at Hot August Nights in Reno, Nevada who described the car in some detail to Dave and Kevin. Keep up the good work, John!
-
I would like to make a suggestion, when you post a WIP, it would help greatly if you would describe what you are doing. Describe the look you are going for, the colors you want to use, the parts you plan on using, etc. Just posting a bunch of pictures and saying that you suck at taking pictures doesn't help your cause. Also, post one WIP at a time. Two WIPs in one thread crowds thread. I hope my suggestions help! BTW, your projects look good!
-
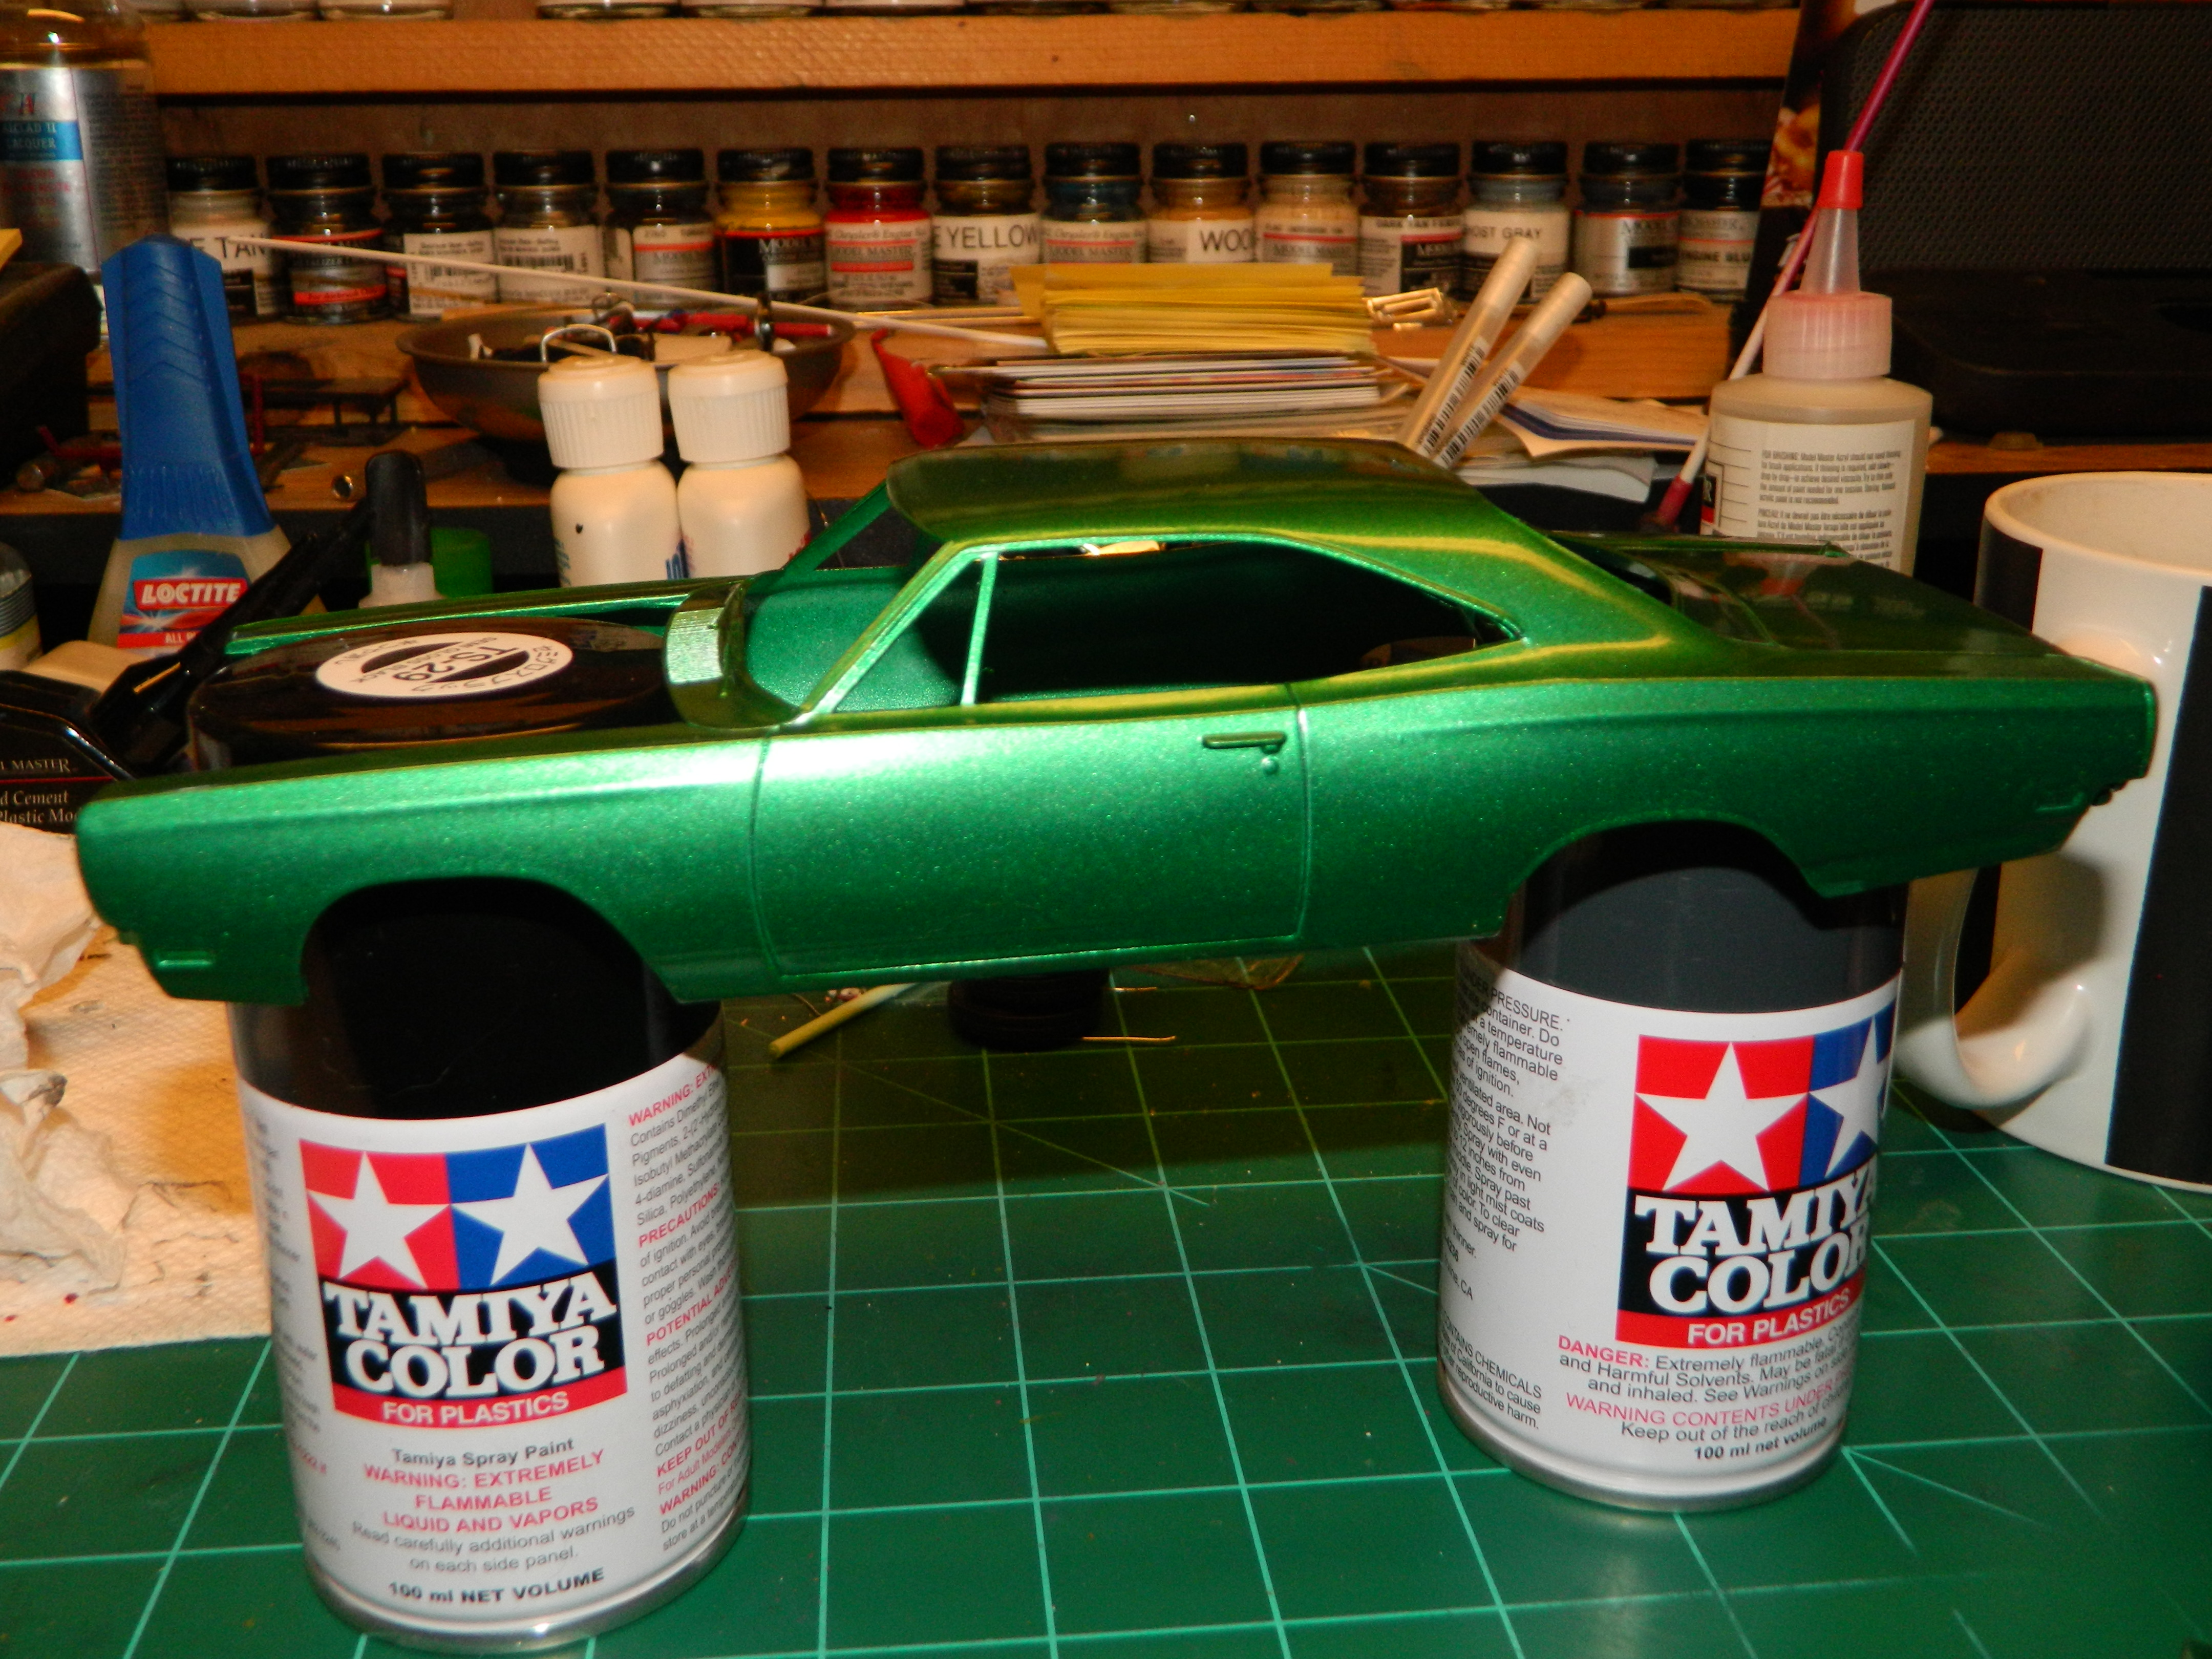
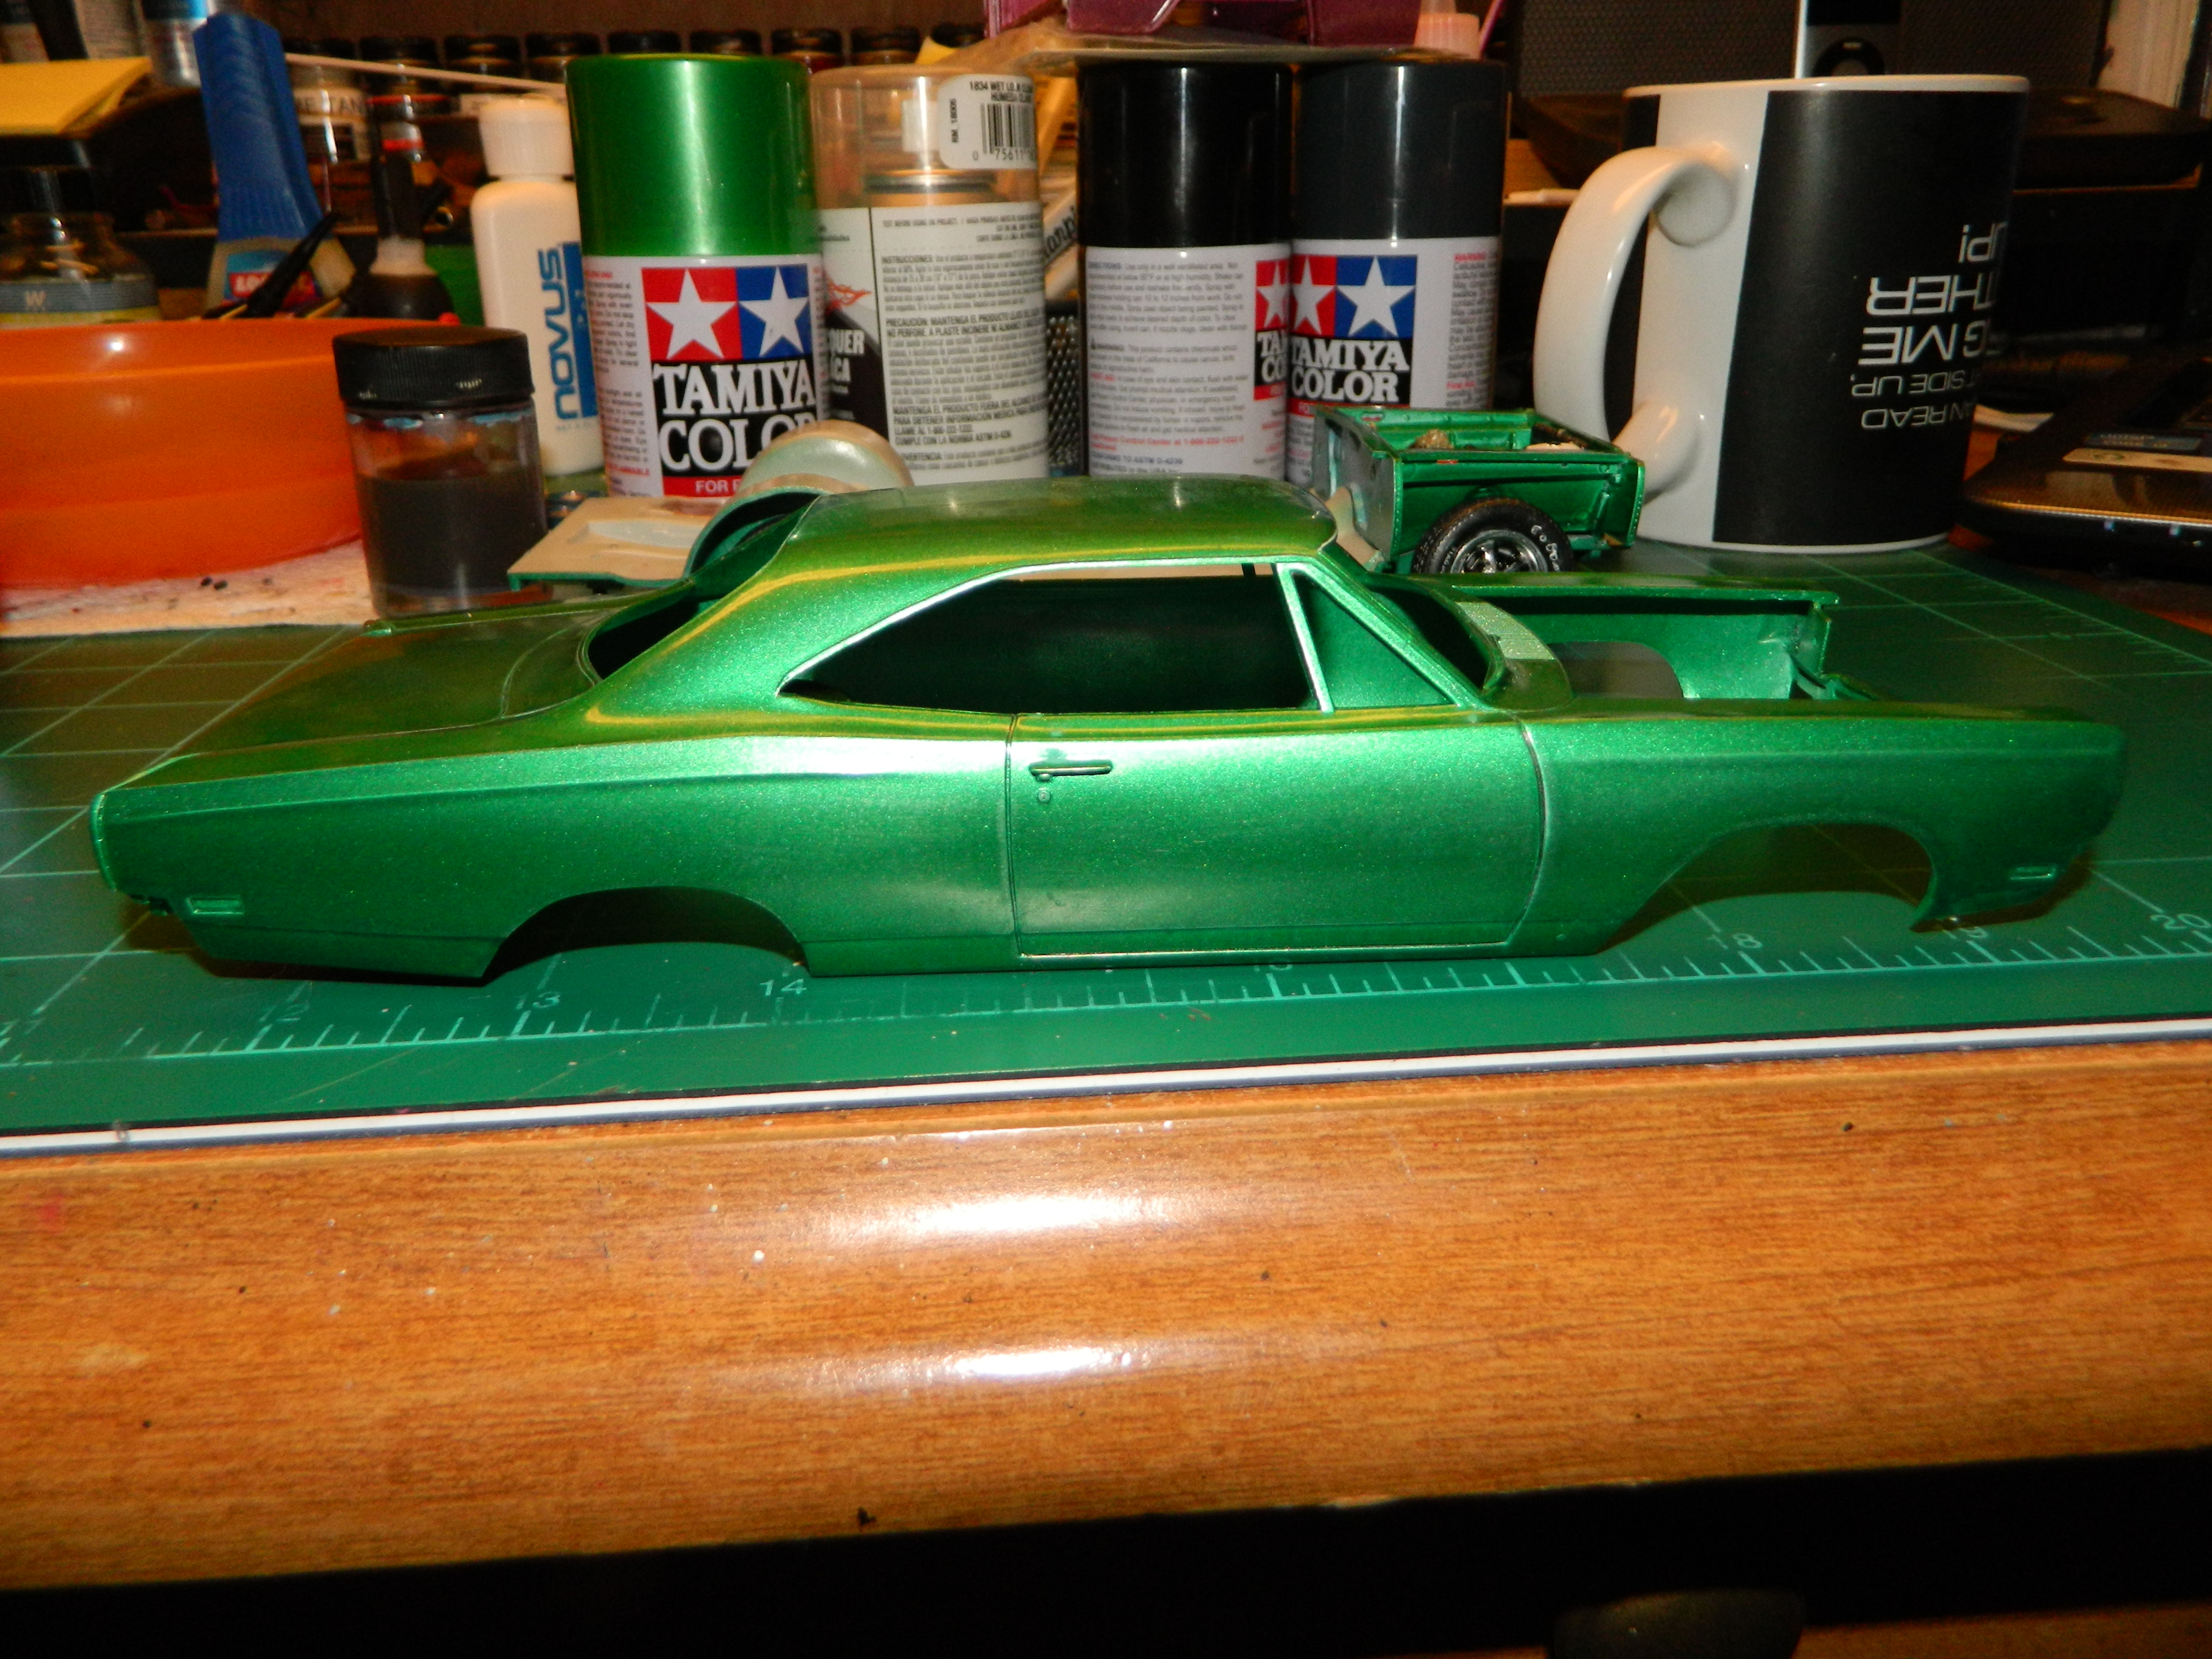
I added a final coat of paint to the '69 Road Runner. Next, I'll mask of the fenders and hood for the Performance Hood Treatment. The taillights have been assembled. More to come...
-
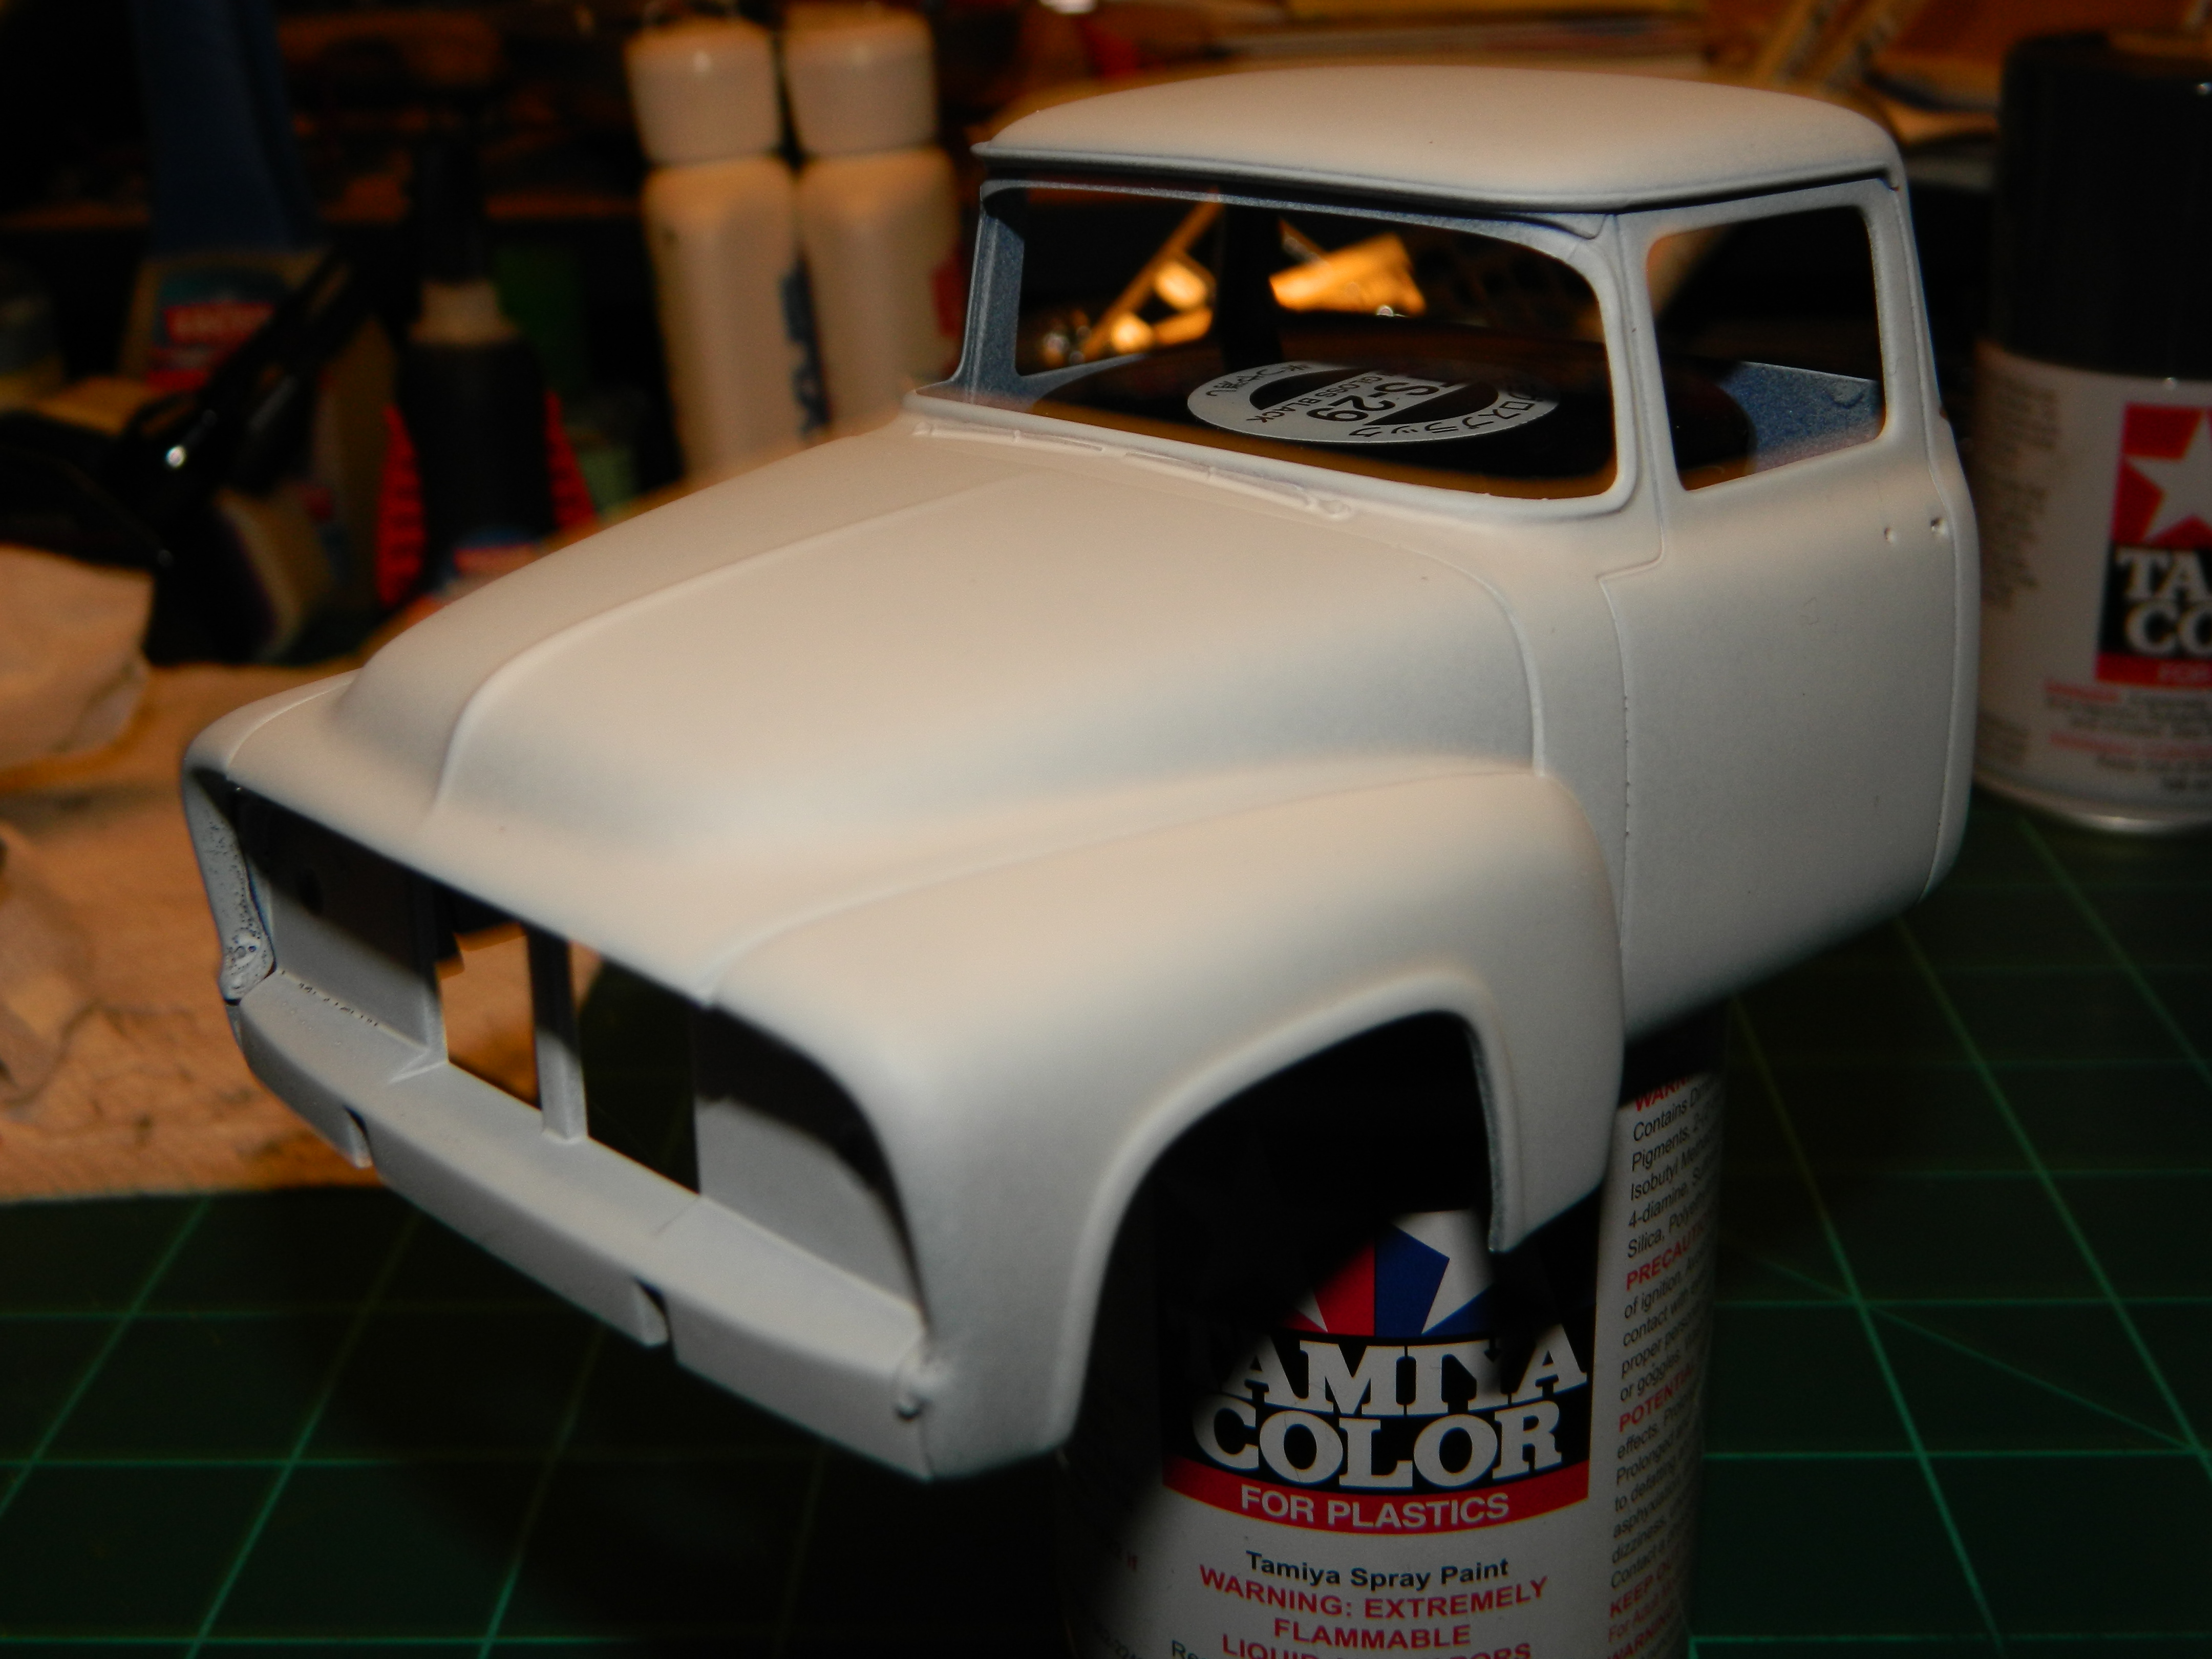
I primered the Foose Ford with the DupliColor Primer and does this primer spray on nice! Thin coats and very controllable. Far cheaper than a can of Tamiya primer when you compare size and total cost. Let's see what happens when I paint over it. I found a few spots that need extra attention on the passenger side rear fender. More to come...
-
I spent a lot of time discussing my paint issues with some members of my model club Saturday at our meeting. I have come to the conclusion that the Tamiya Fine Surface Primer has had a formula change and it is not a good as it use to be. The hot hobby Testors One Coat Lacquer had mixed with the Tamiya primer instead of lying on top of it like it should. I was advised to get some DupliColor primer and use that instead. Since I have go out and run some errands today, I'll stop by the auto parts store and pick up some DupliColor primer.
-
What would YOU like to see as a model
mrmike replied to JeroenM3's topic in General Automotive Talk (Trucks and Cars)
Here's my wish list. 1. Jensen Interceptor - I have always lusted after this car since I first saw it on TV in the early ‘70s. British styling with classic American V-8 power! 2. Any British car with an V-8 - What can I say…I love them and they are unique! 3. Monteverdi Hai 450 SS - Swiss-made mid-engine sports car with a Chrysler 426 Hemi. Only 2 ever made in 1970 with 2 more produced in the 1990’s from spare parts and are considered replicas. Both are in the official Monteverdi Museum in Basel-Binningen, Switzerland. 4. Morgan Aero8 - Sexy British bodywork with a BMW V-8. I love the styling! Another British car with a V-8! 5. 1972 Ford Torino Sport GT- I know there are NASCAR versions out there, but I would like a stock version with the 351 4-bbl. Cobra Jet. How about it Revell! 6. Mid ‘60s Dodge Pickup Truck - They are different from the Ford or Chevy pickups. A big block V-8 or modern Hemi, lowered suspension, dual exhaust, or with a Power Wagon option! Tough looking! 7. Aston Martin DB5 – A new tool, full detail version of this car would be great! Maybe with the option of the most famous car in the world, 007’s DB5, but that could be a licensing nightmare! 8. Wayne Carini’s Moal Roadster – The Speedway Special of Chasing Classic Cars TV host built by Steve Moal. 9. 2017 Ford Explorer Police Interceptor – Can be built stock or with the Police Interceptor option. They are everywhere! -
Thank you David and Jeremy! Jeremy, I appreciate the kind words, but I consider myself a hack like anybody else! I'm just trying to build a better model car! But, if what I do and how I do it inspires you to purchase and build a specific model car or truck, then I do thank you and I hope that your build is just as good as mine or even better!
-
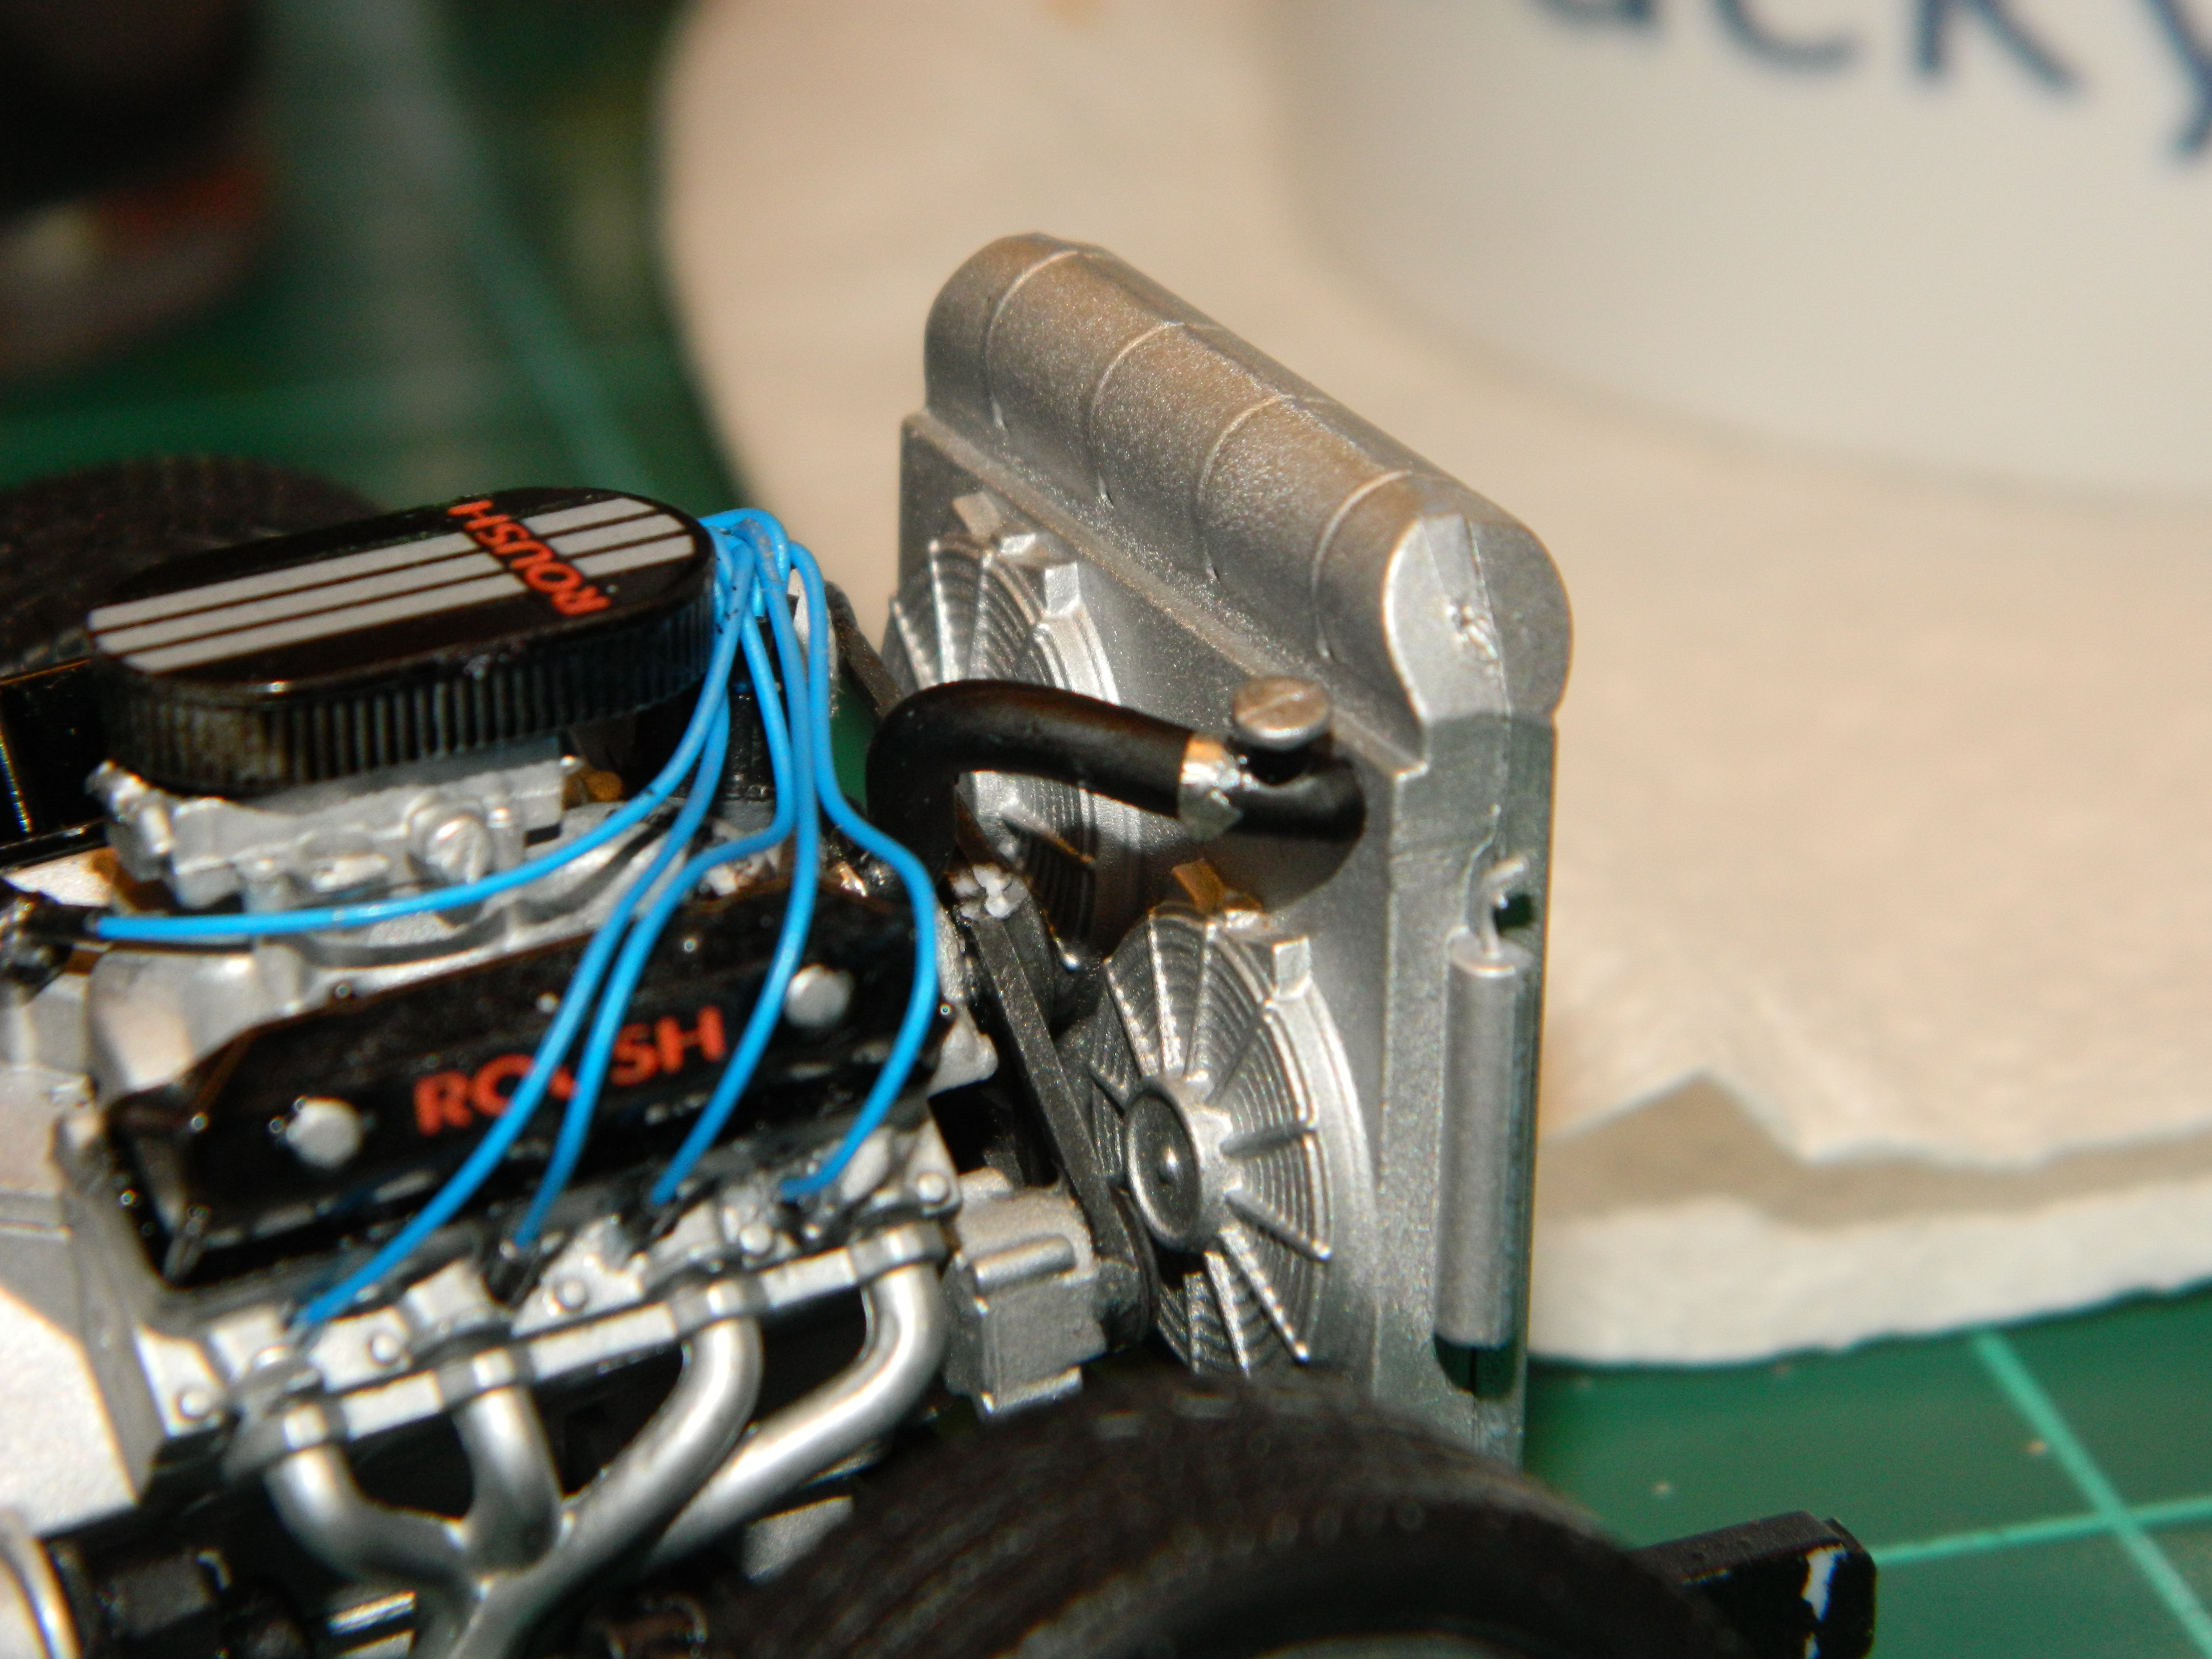
Thanks Jeremy! The engine installation is complete with the upper radiator hose detailed and installed. I had almost forgotten the coil-over shocks for the front suspension. More to come...
-
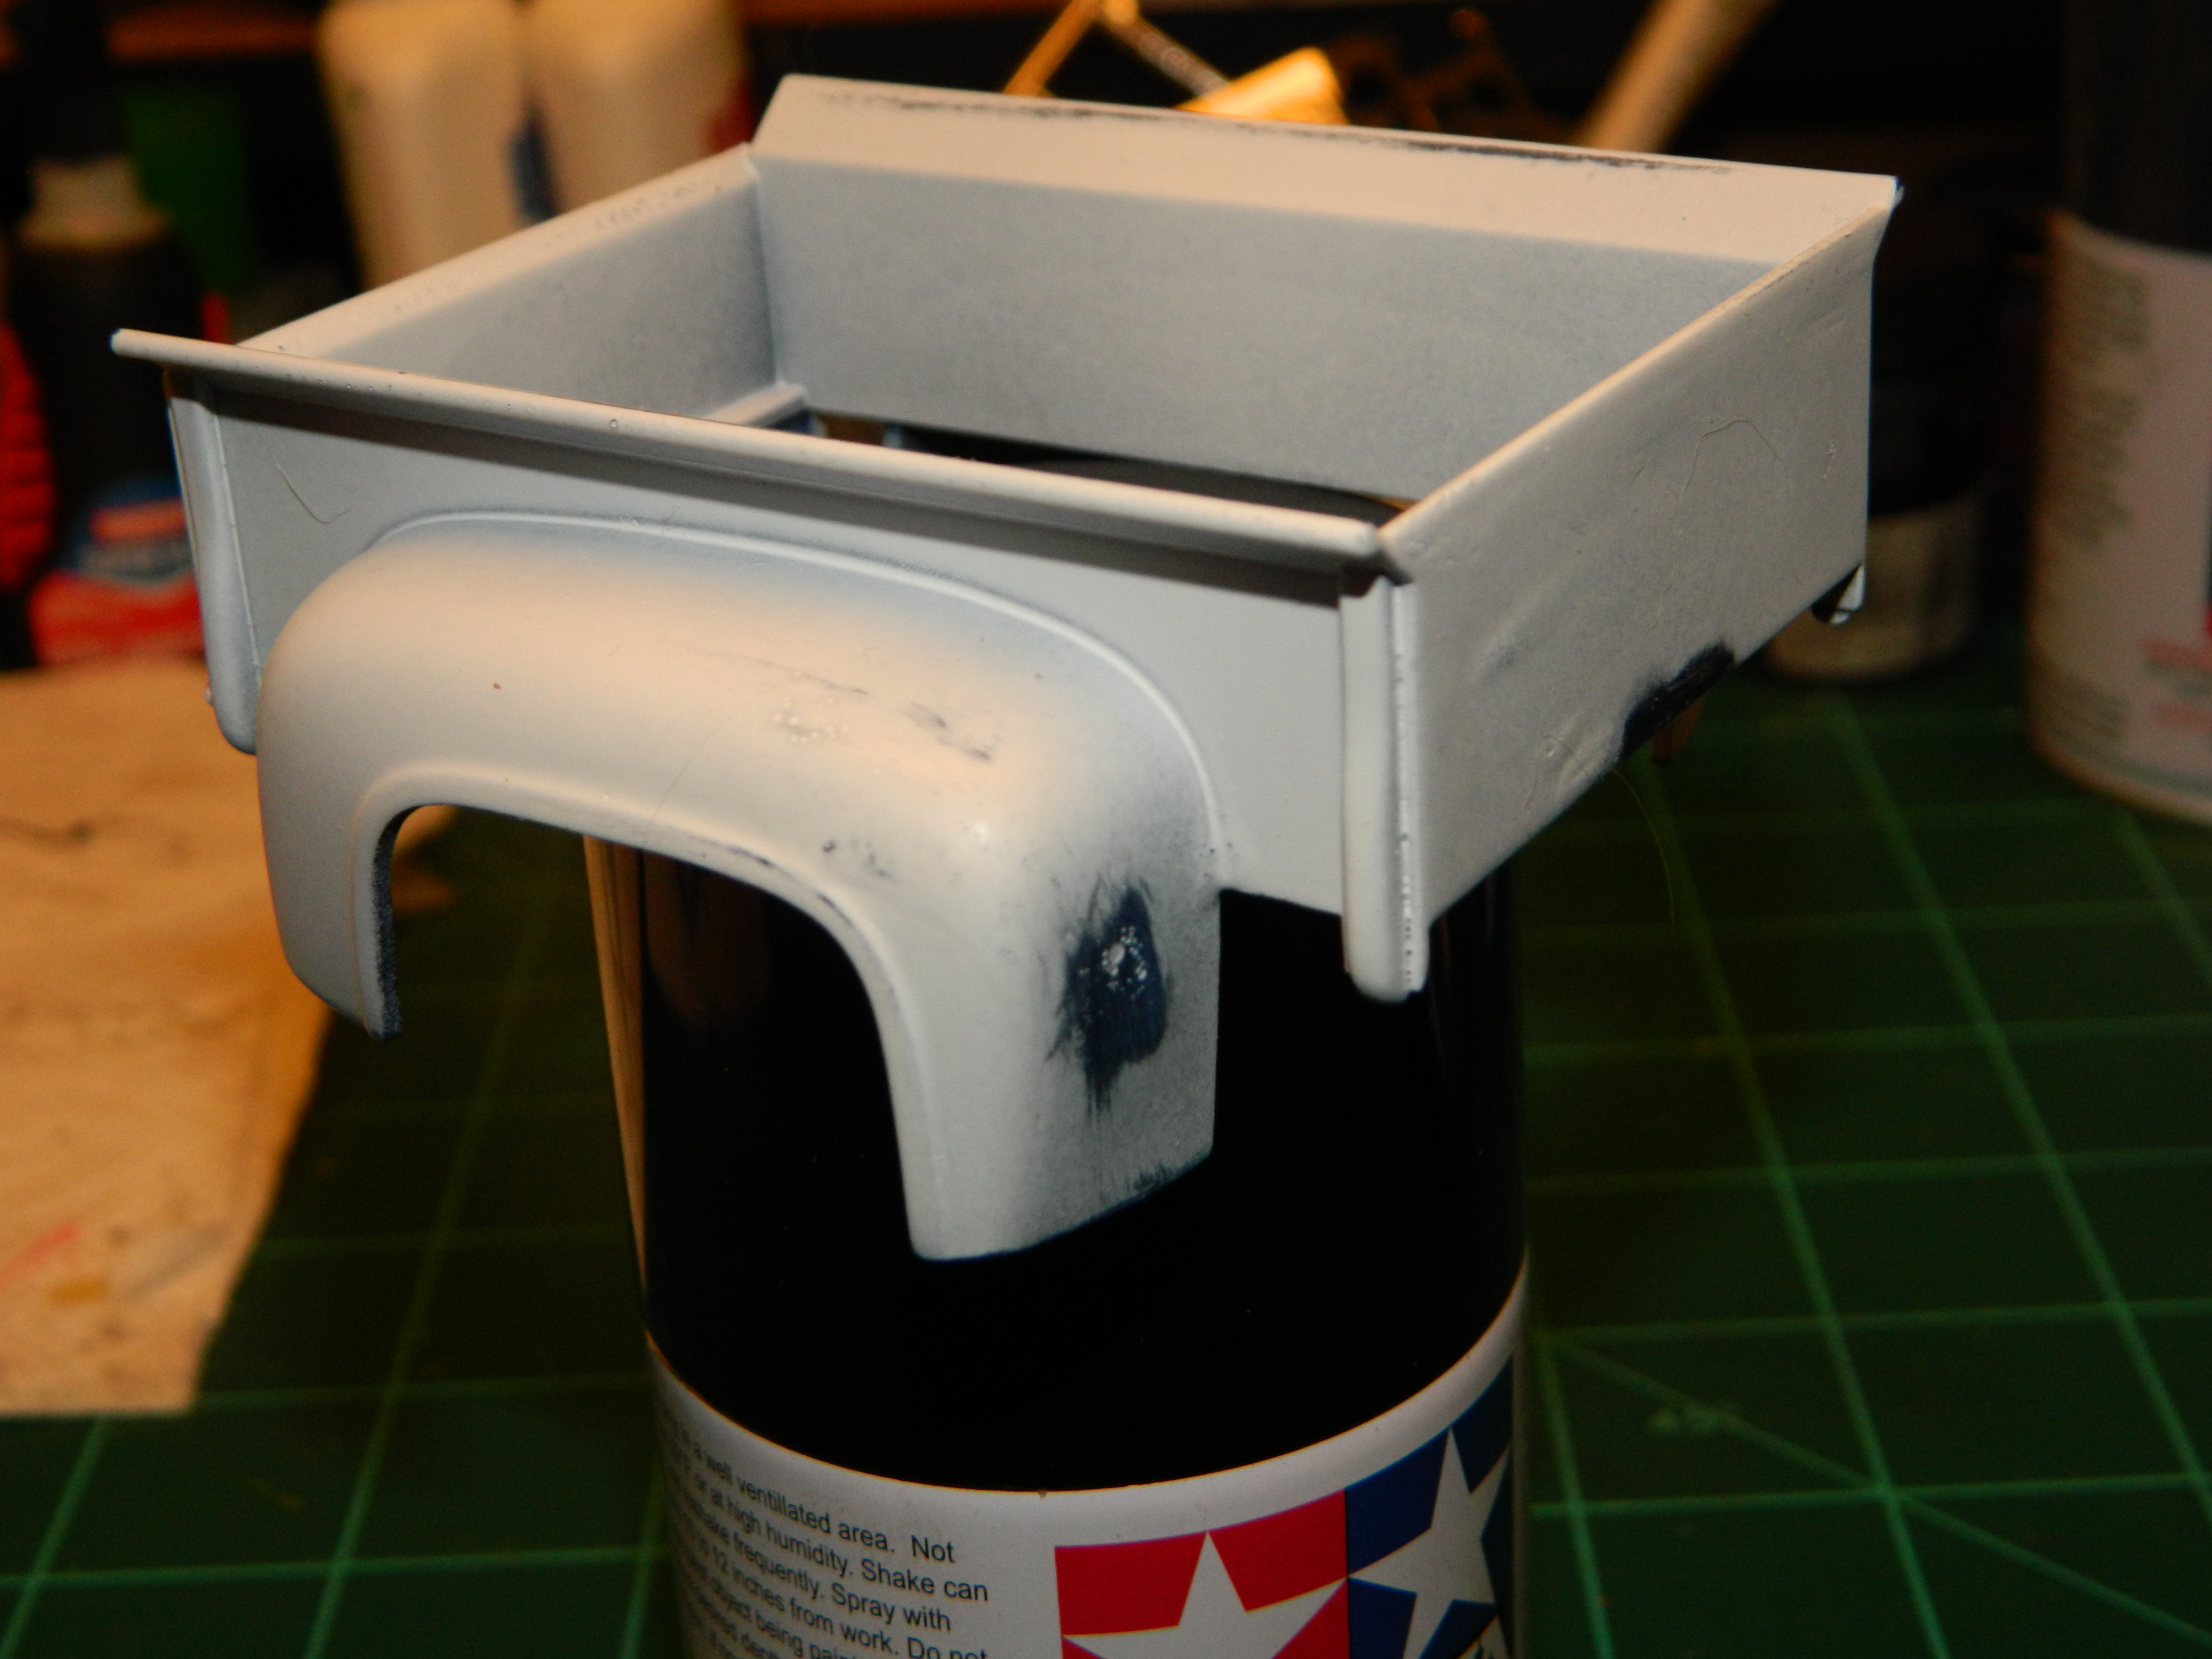
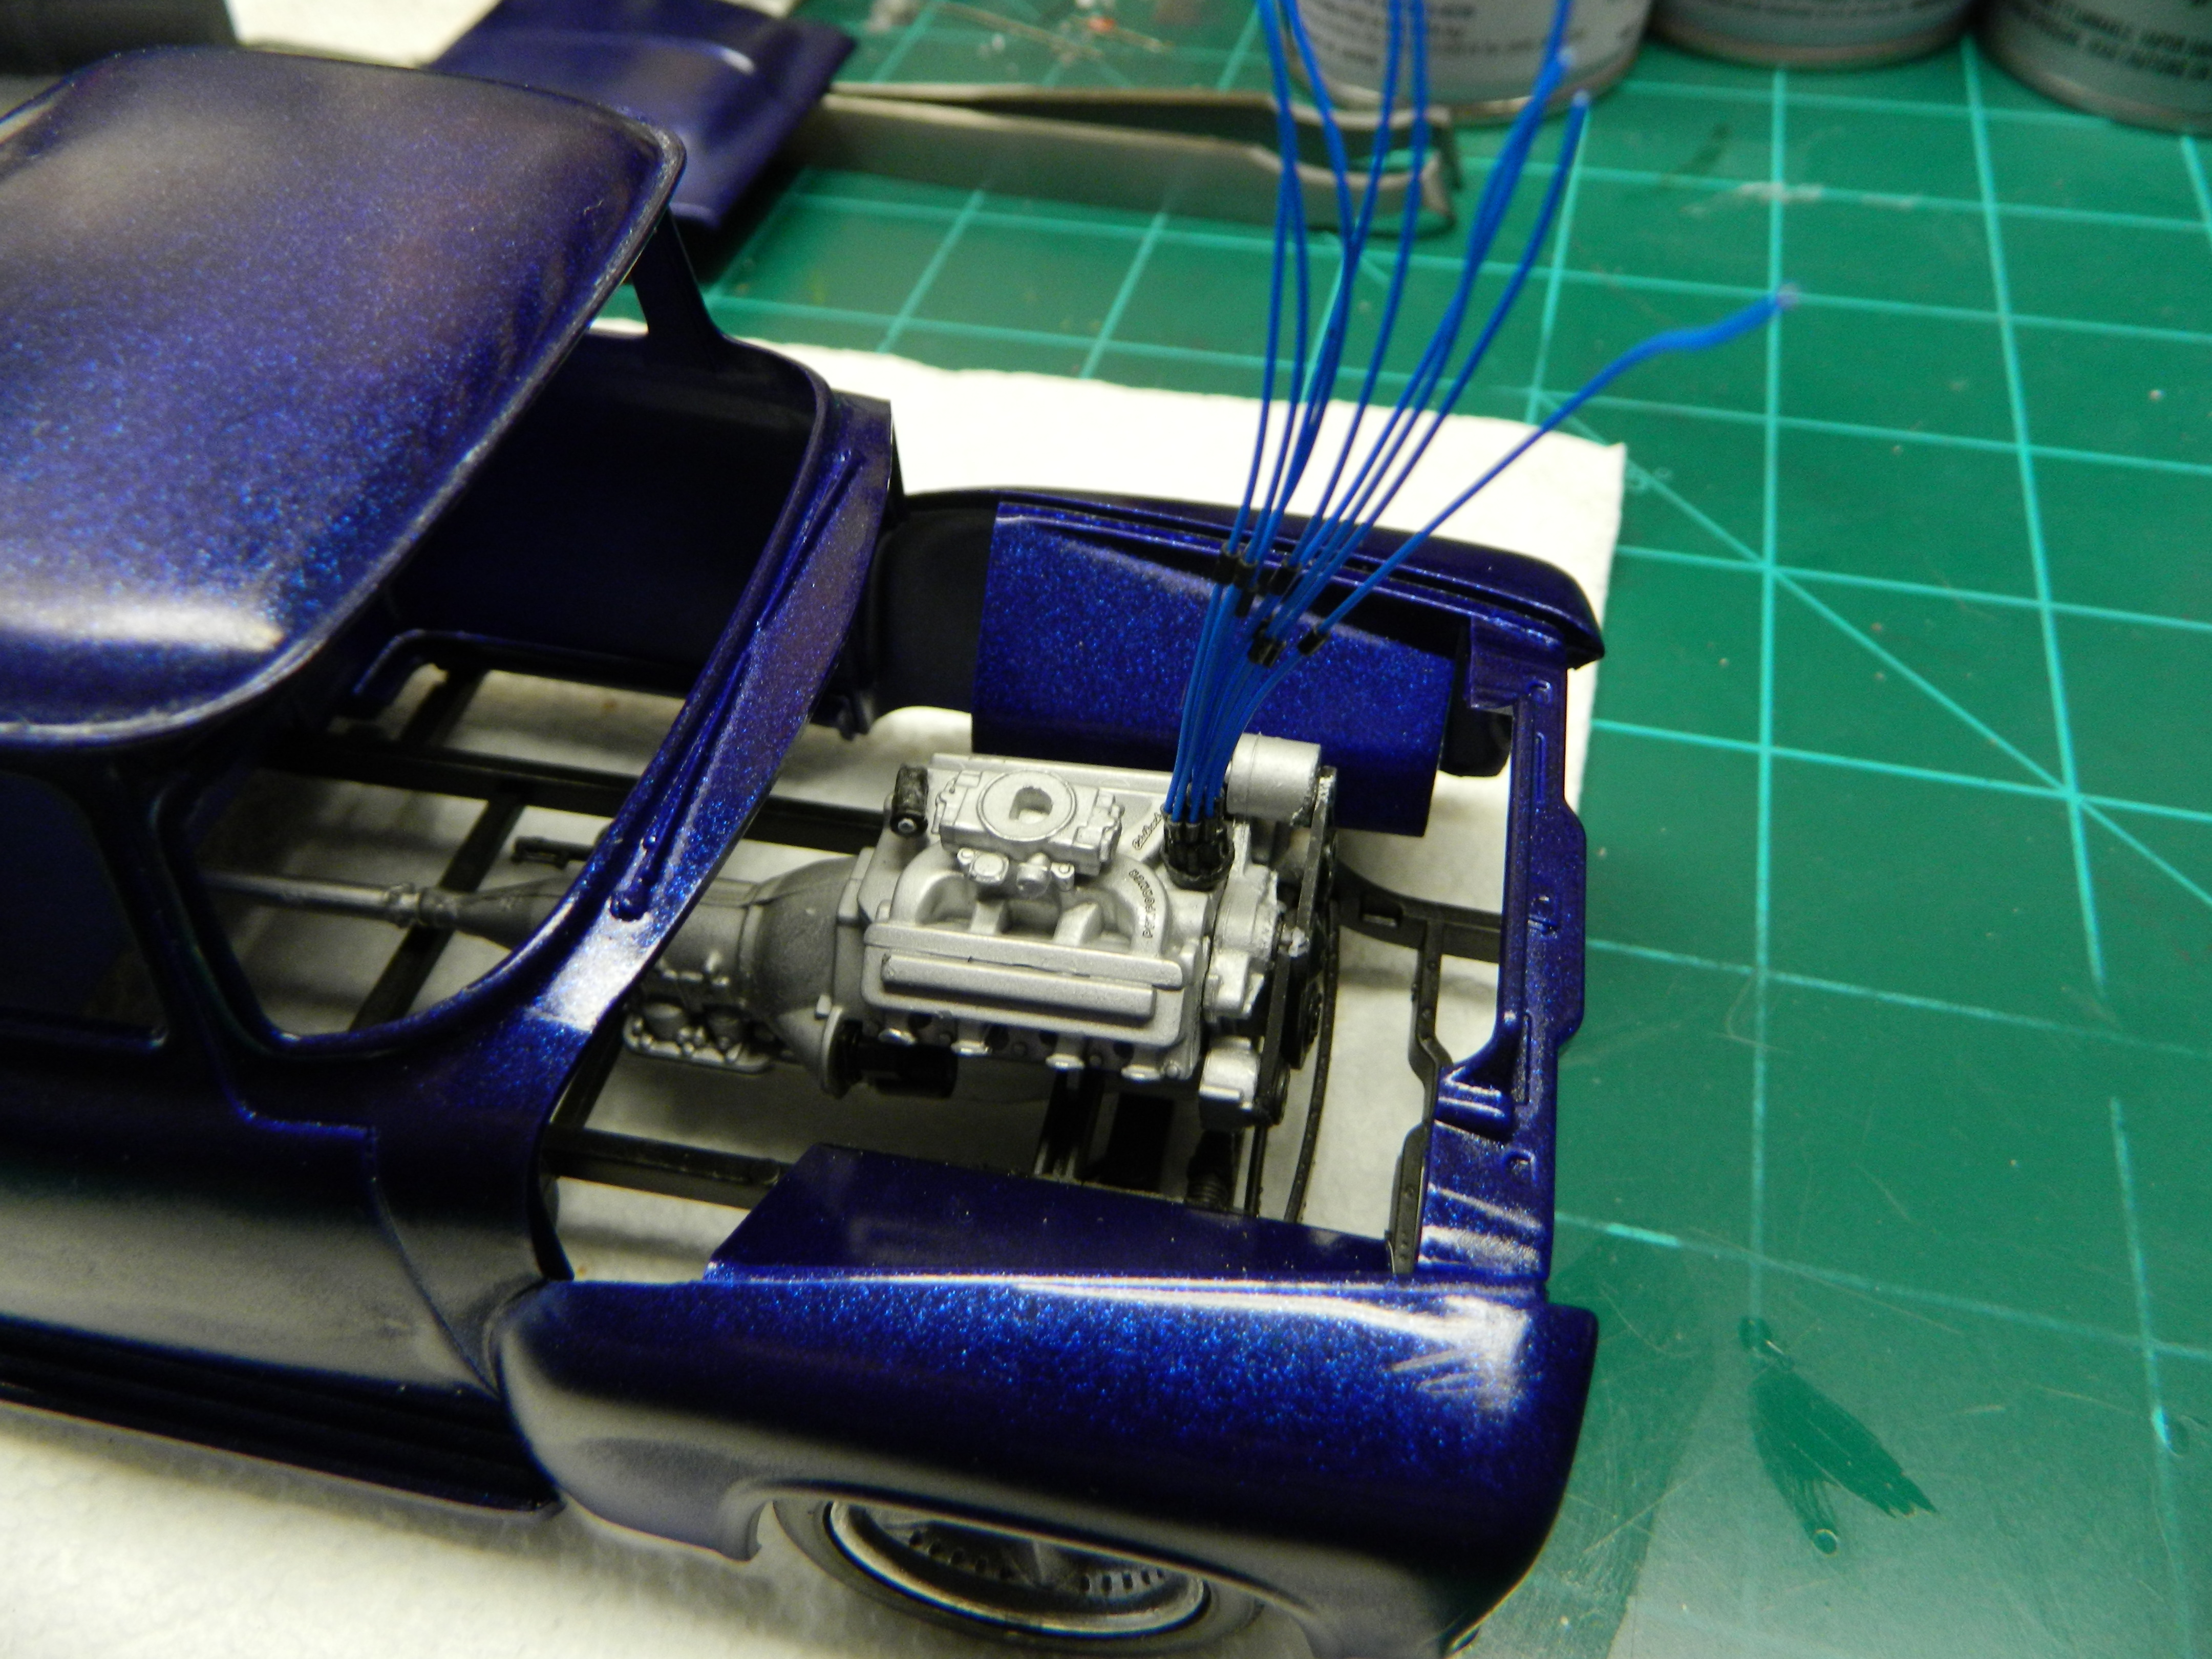
Yesterday, I wet-sanded the body in prep for another coat of paint. The chassis is nearly finished. I installed the wheels and tires and the rest of the exhaust system. More to come...
-
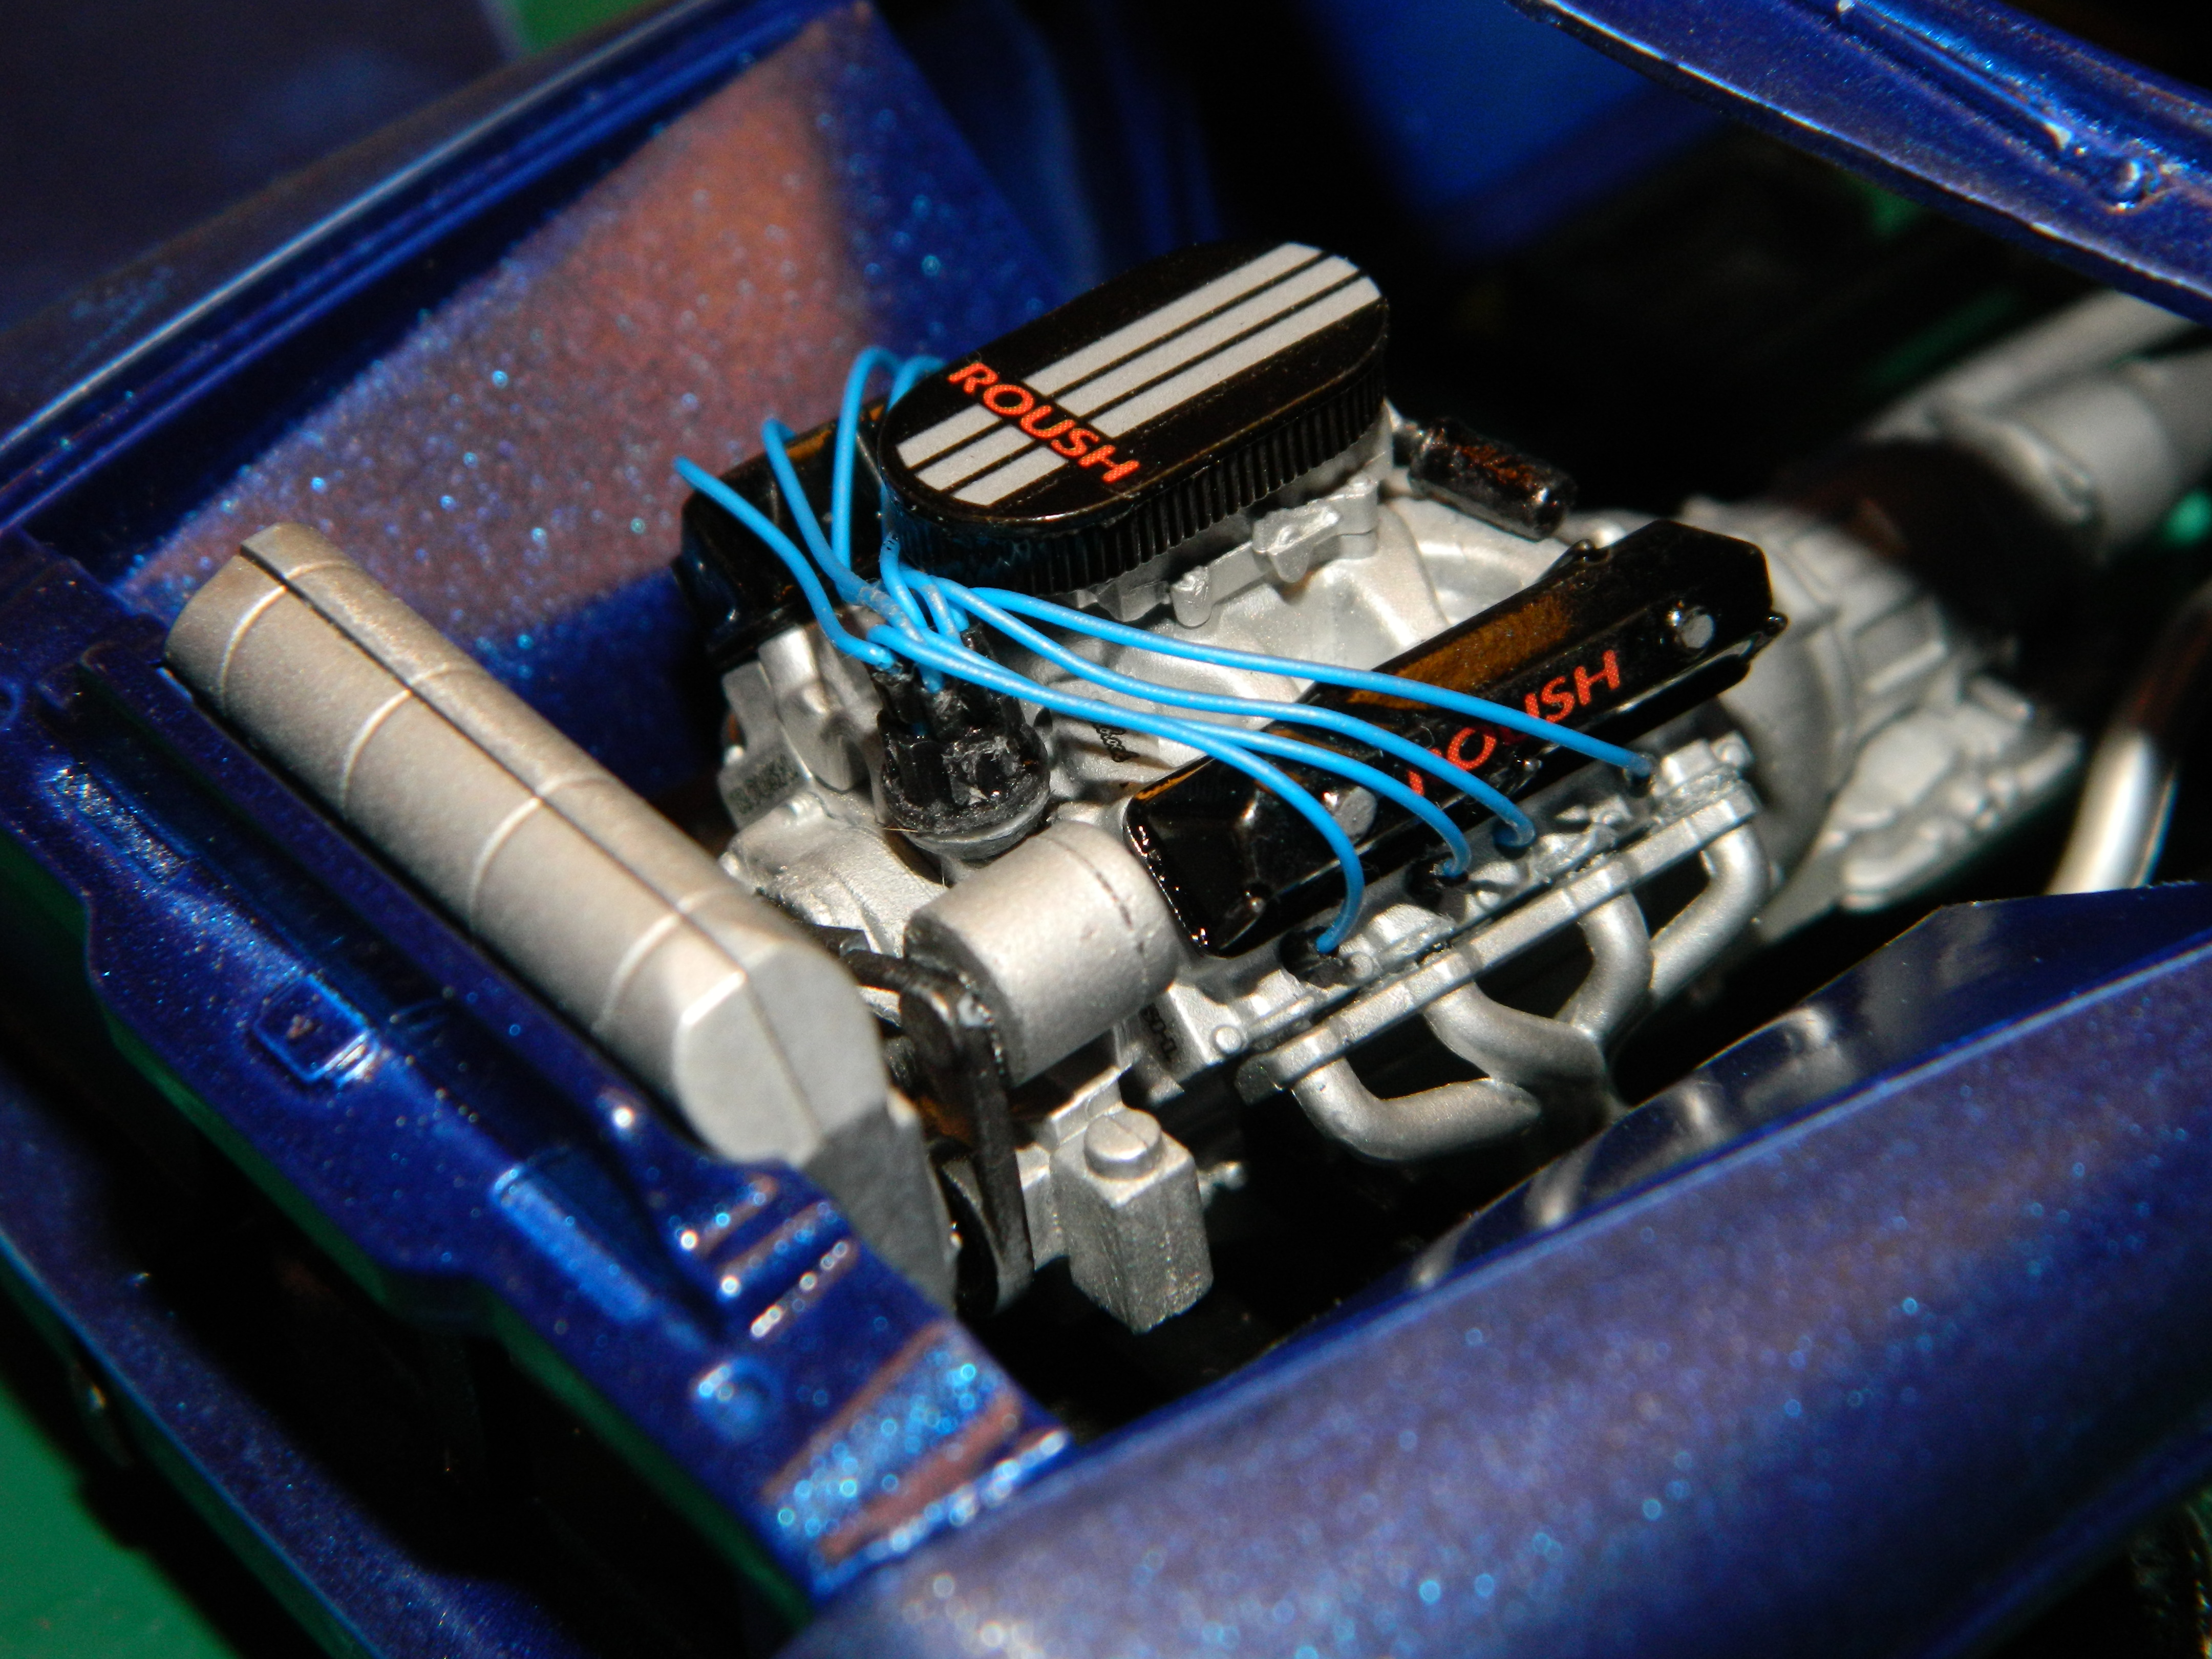
I wet-sanded the body to get rid of the trash and unevenness in the paint. My goal was to prep the body for another coat of paint. The 427 R Roush engine is now wired and installed in the chassis. And, the interior is complete. More to come...
-
Thank you Mike! I need to get to wet-sanding the body, finishing the engine, and the rest of the kit. Any issues I have had with this kit has been mostly of my doing like body work. I'm hoping to be able to get this build to 90-95% done this week.
-
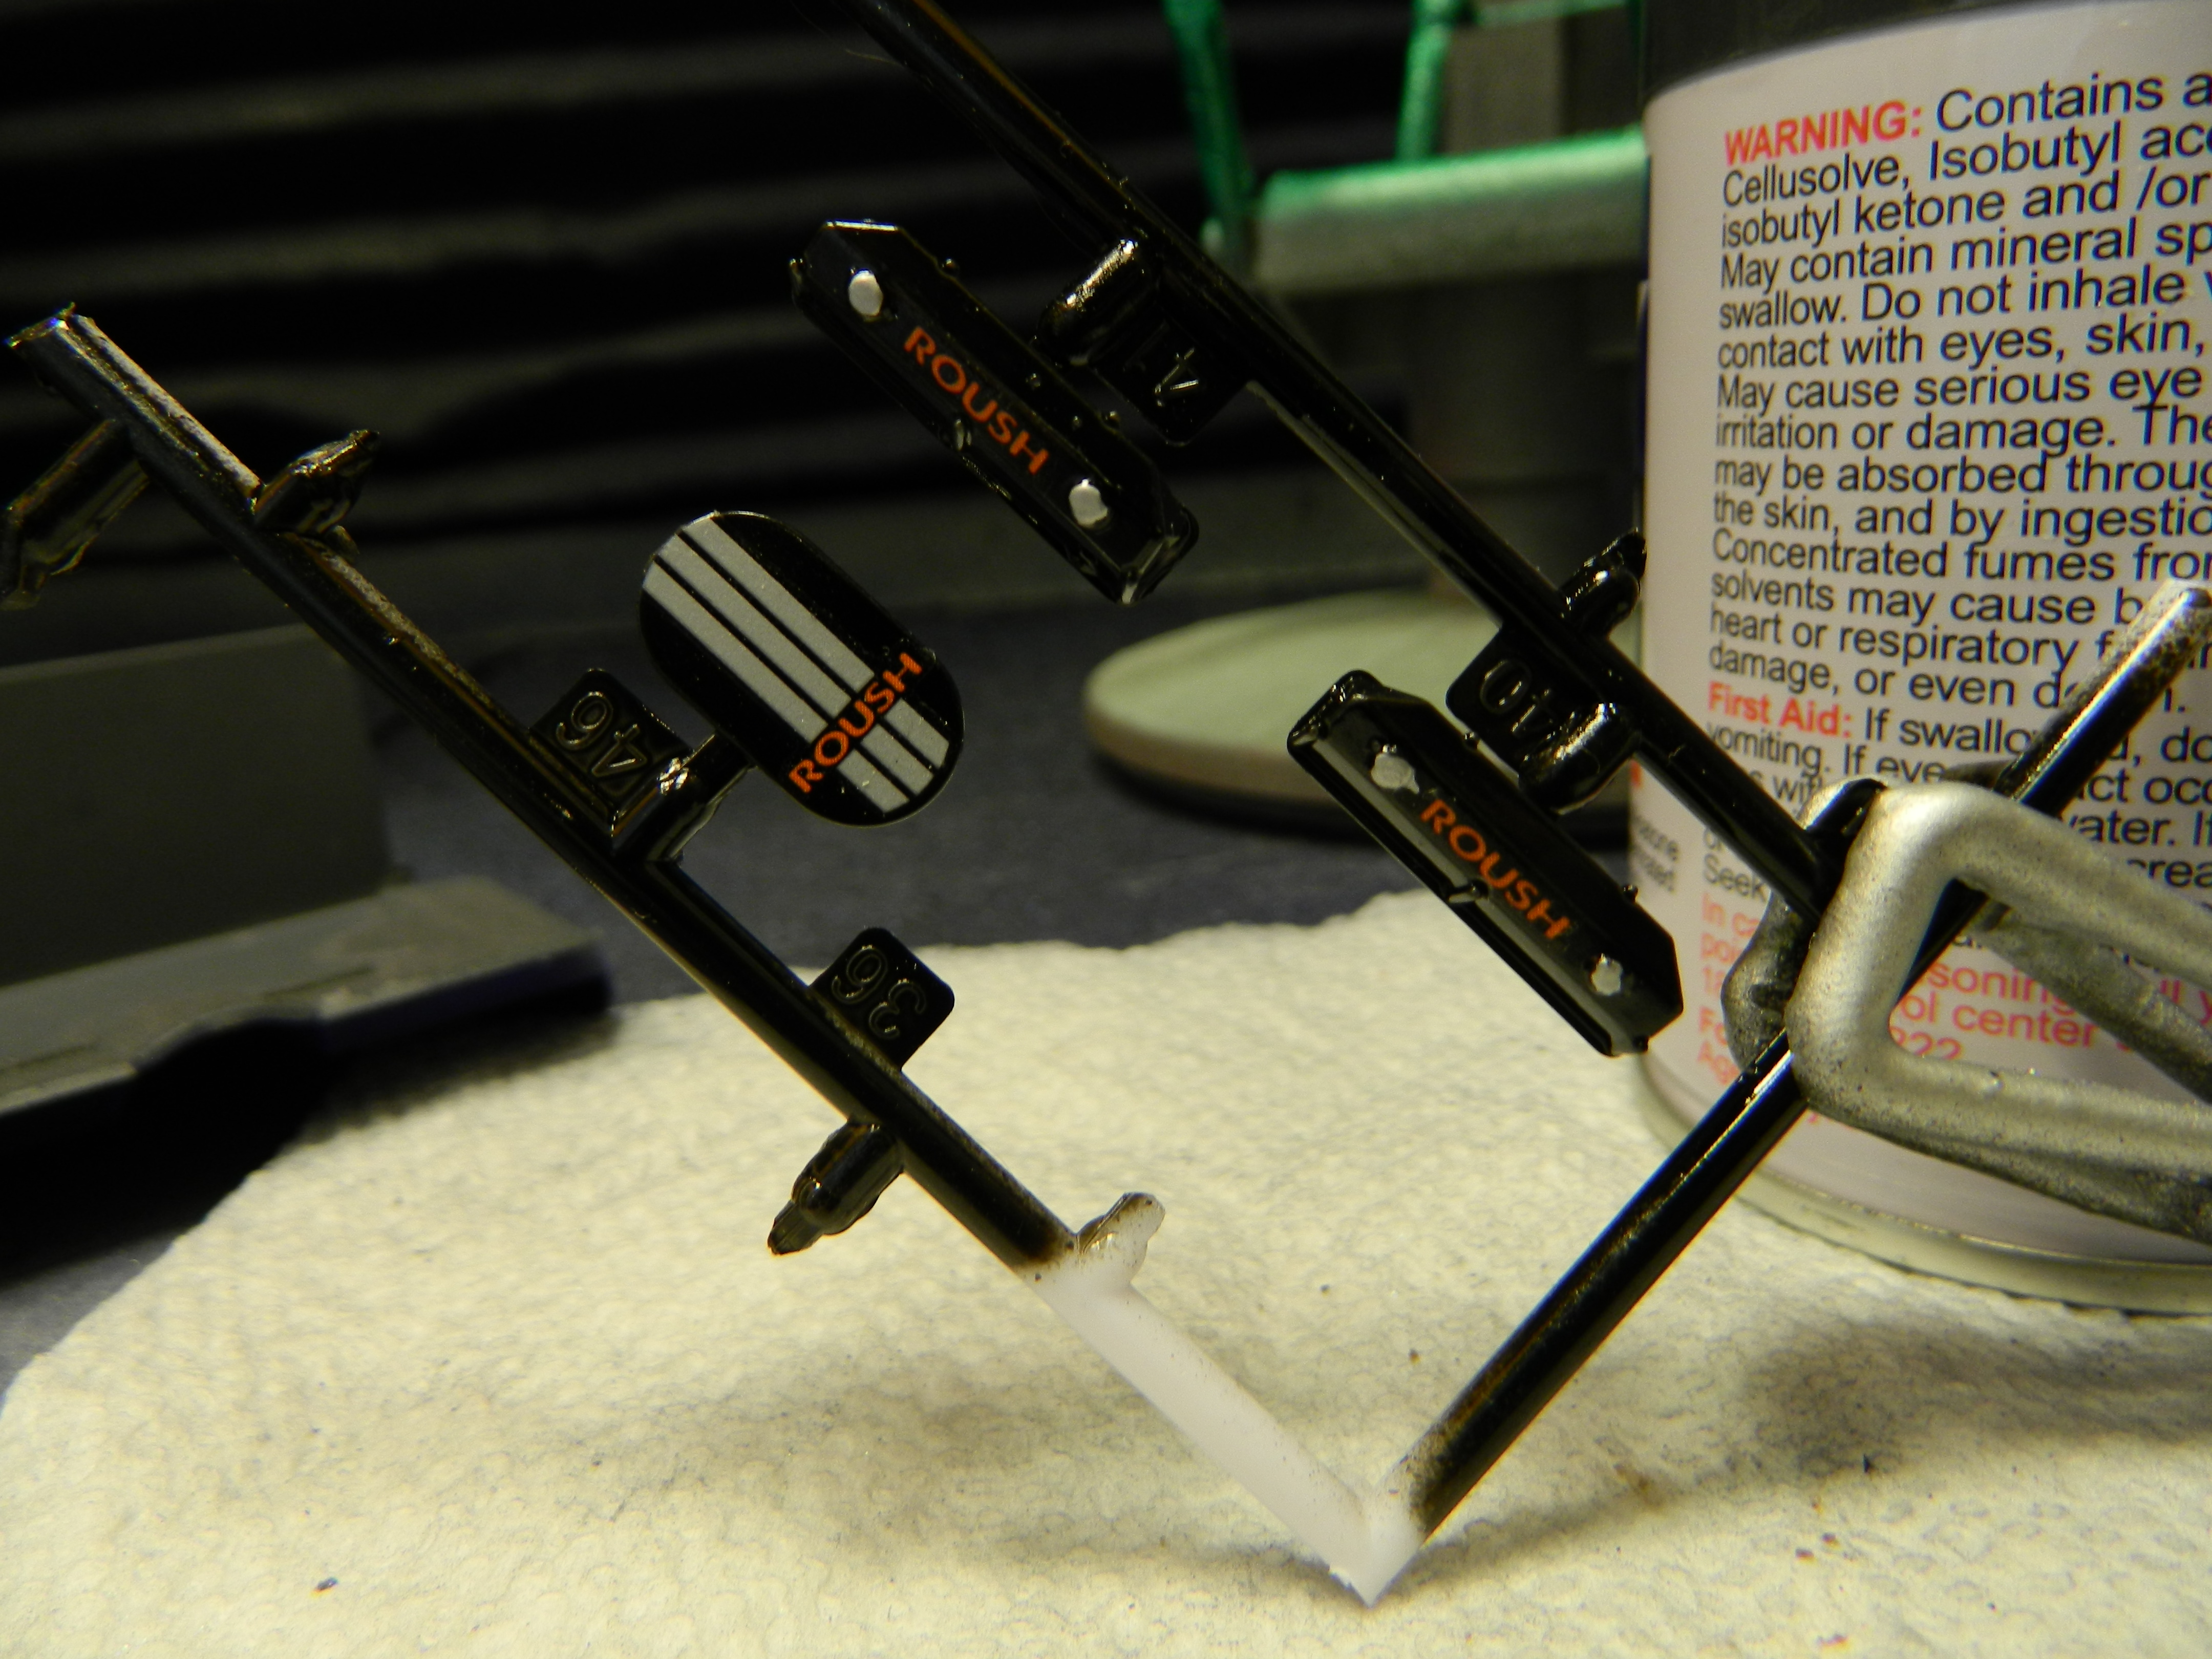
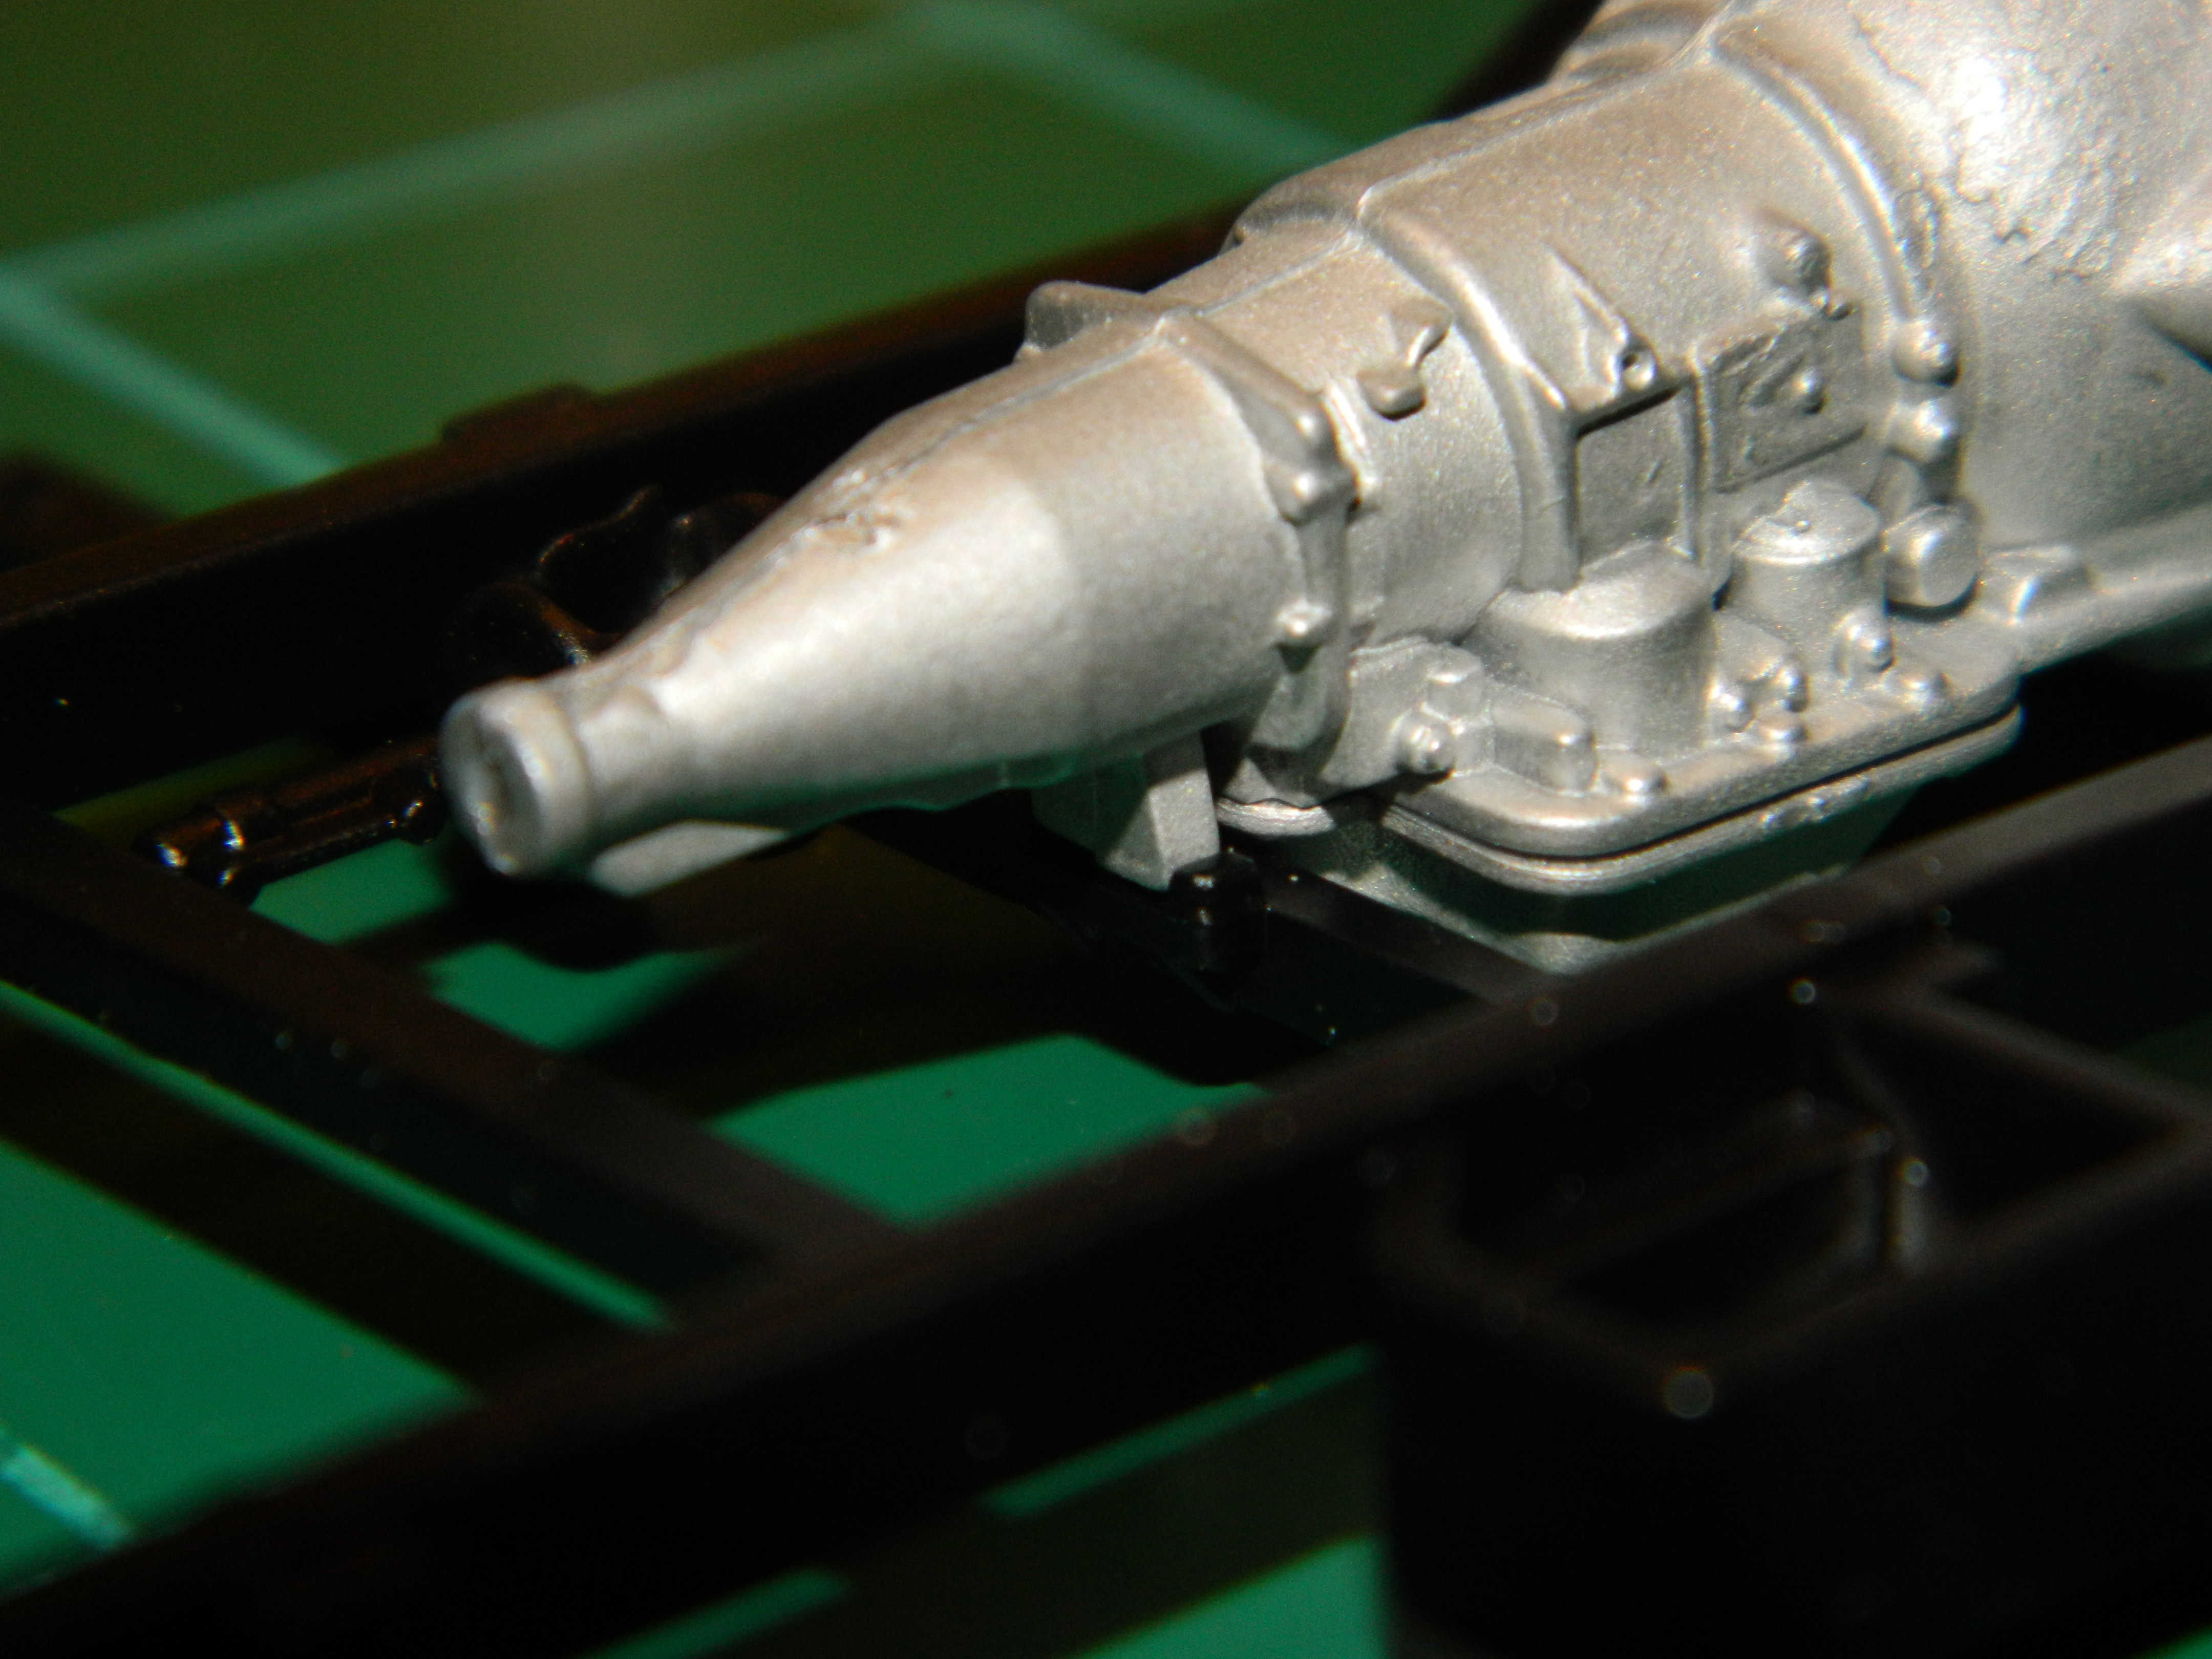
I applied the decals to the air cleaner and valve covers this morning. I'll let these dry awhile, then spray some gloss clear over them. I applied some decals to the engine and installed the MAD distributor. Once the valve covers are on, I'll run the wires to the heads. The wheels and disc brakes are all glued on so this FD100 is not going to roll off the table and hit the floor. I did a mockup to check the stance and I like it! More to come...
-
I went fishing in the parts box this morning looking for a tachometer and I found that plus a set of under dash gauges. I detailed them and added some Tamiya X-22 Clear over the gauges for lenses. More to come...
-
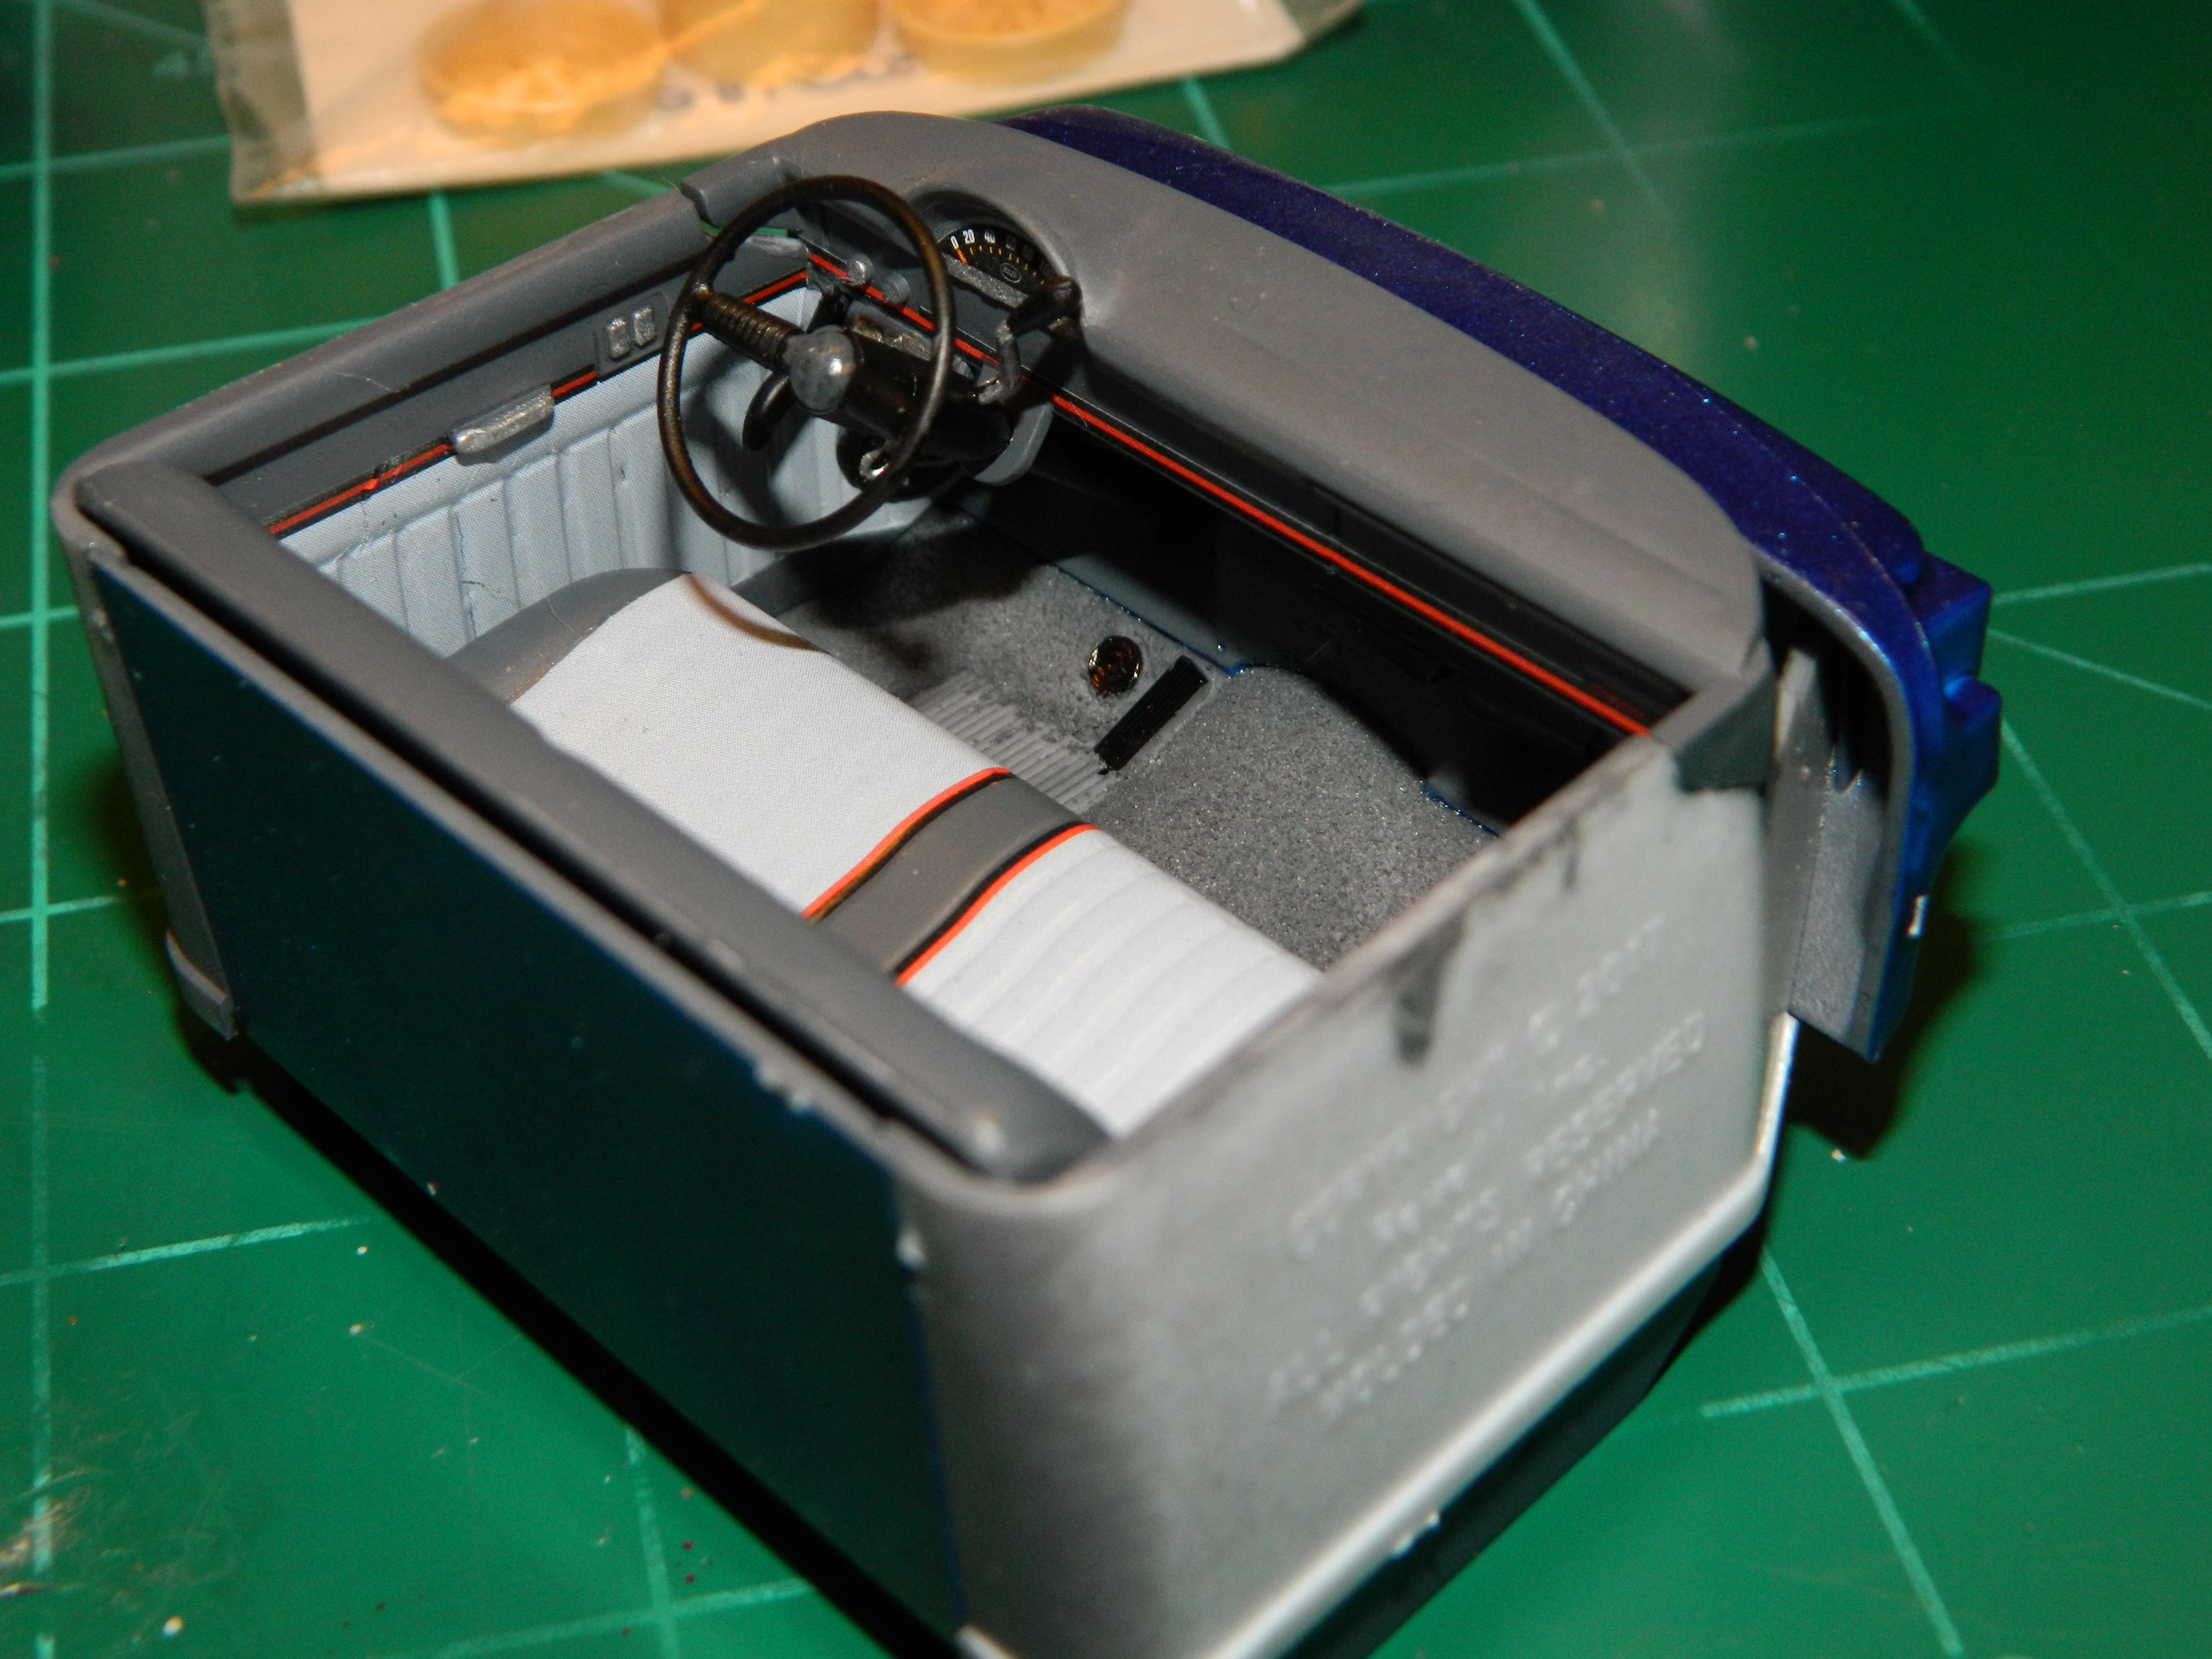
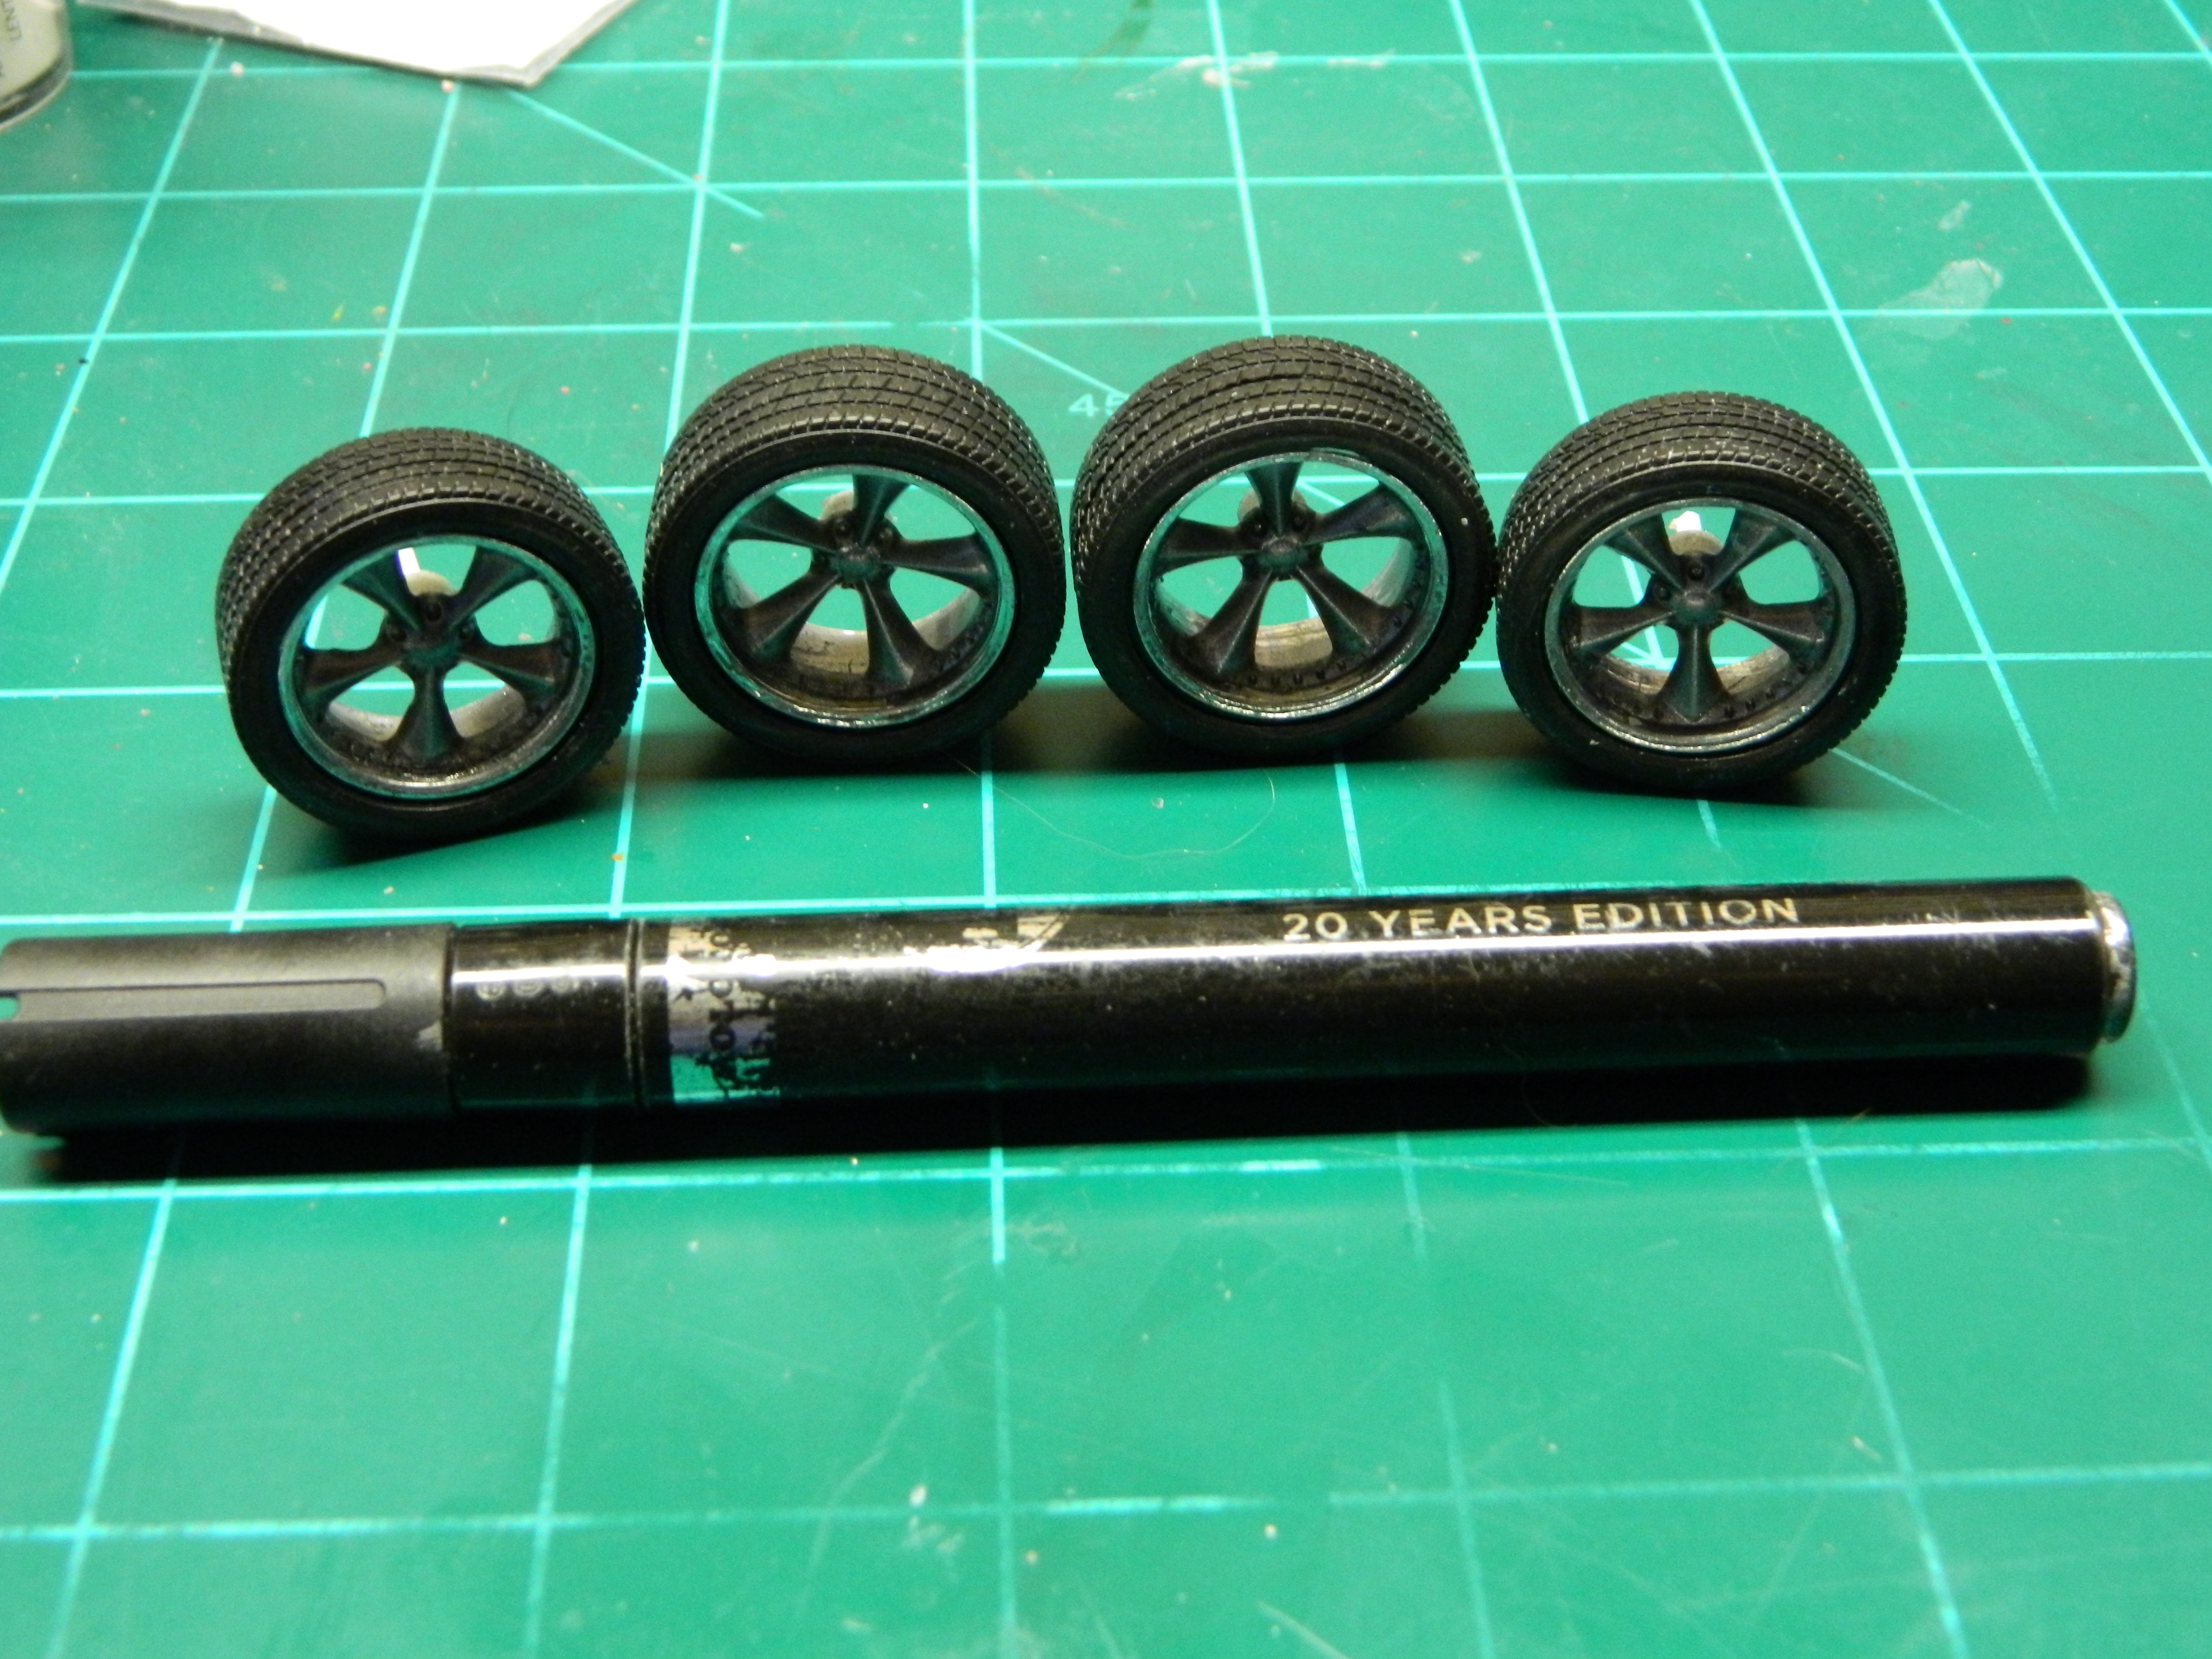
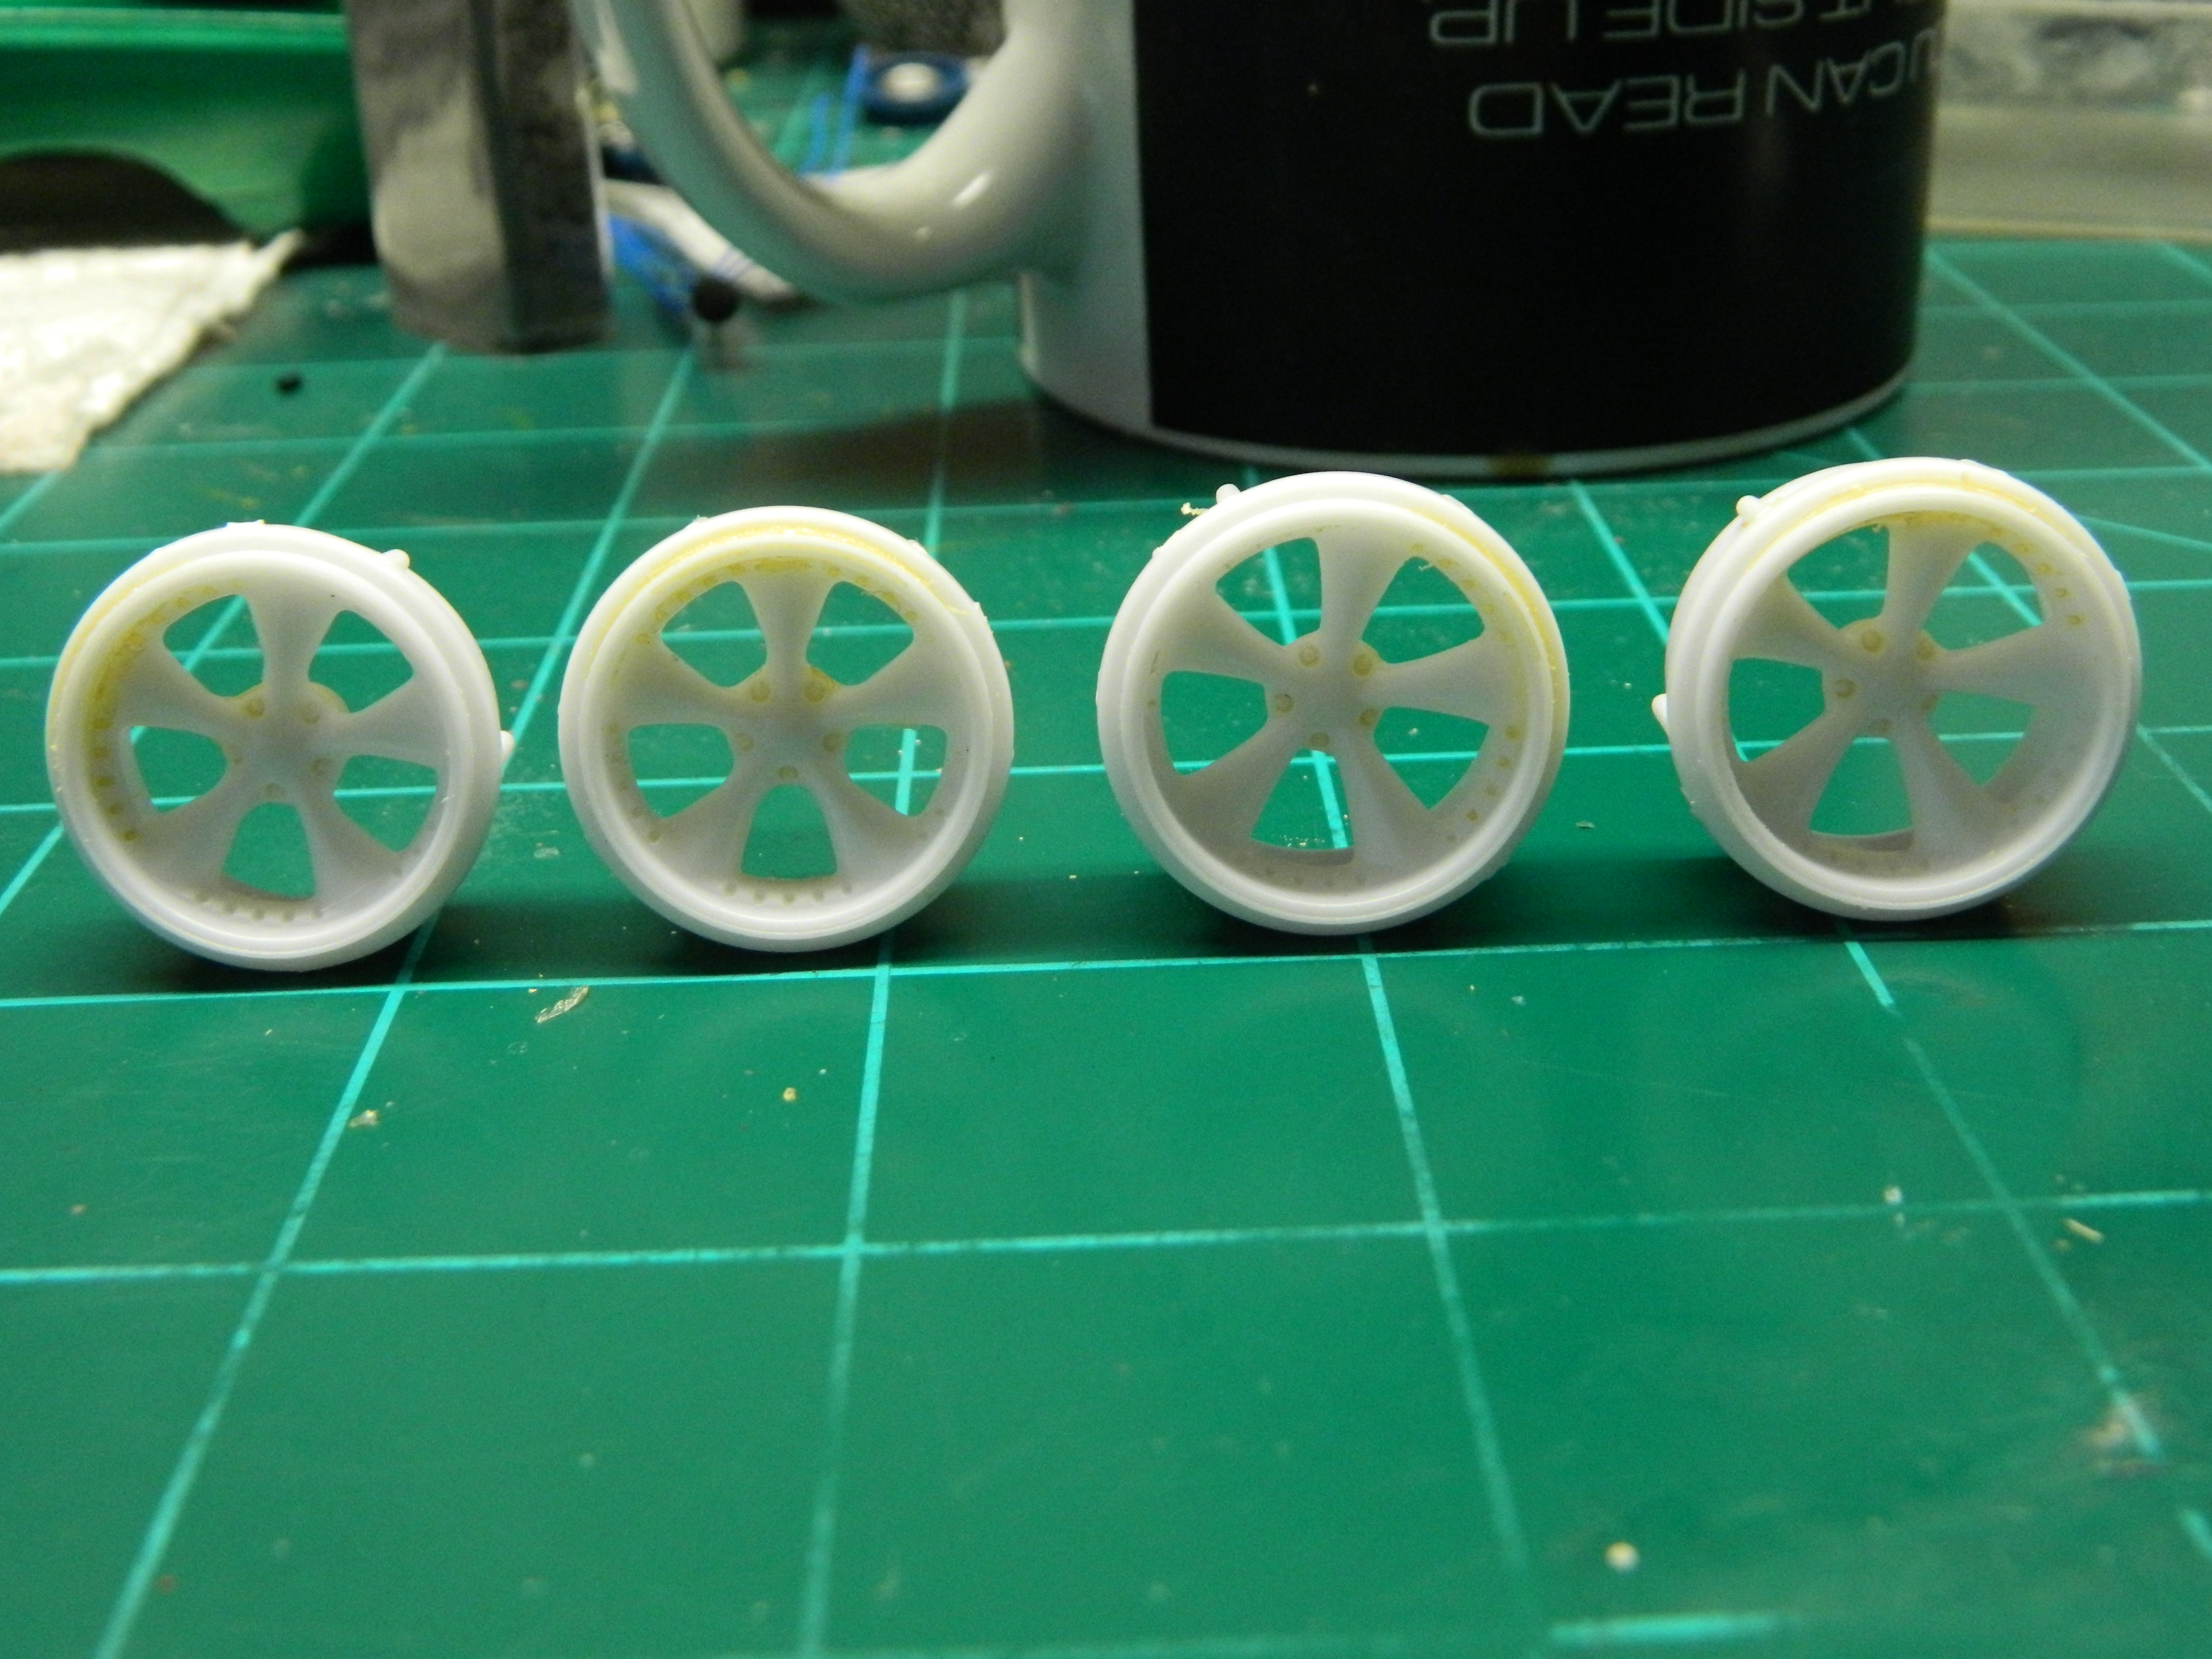
I got the wheels painted with Tamiya TS-42 Light Gun Metal and trimmed with rim edge with my Molotow Liquid Chrome Pen. I painted the side panels and dash with Tamiya TS-48 German Grey. Not shown is the seat which was painted with the same paint. The exhaust and the radiator where painted with Model Master Aluminium Plate Metalizer and then coated with Testors Semi Gloss Clear. More to come...
-
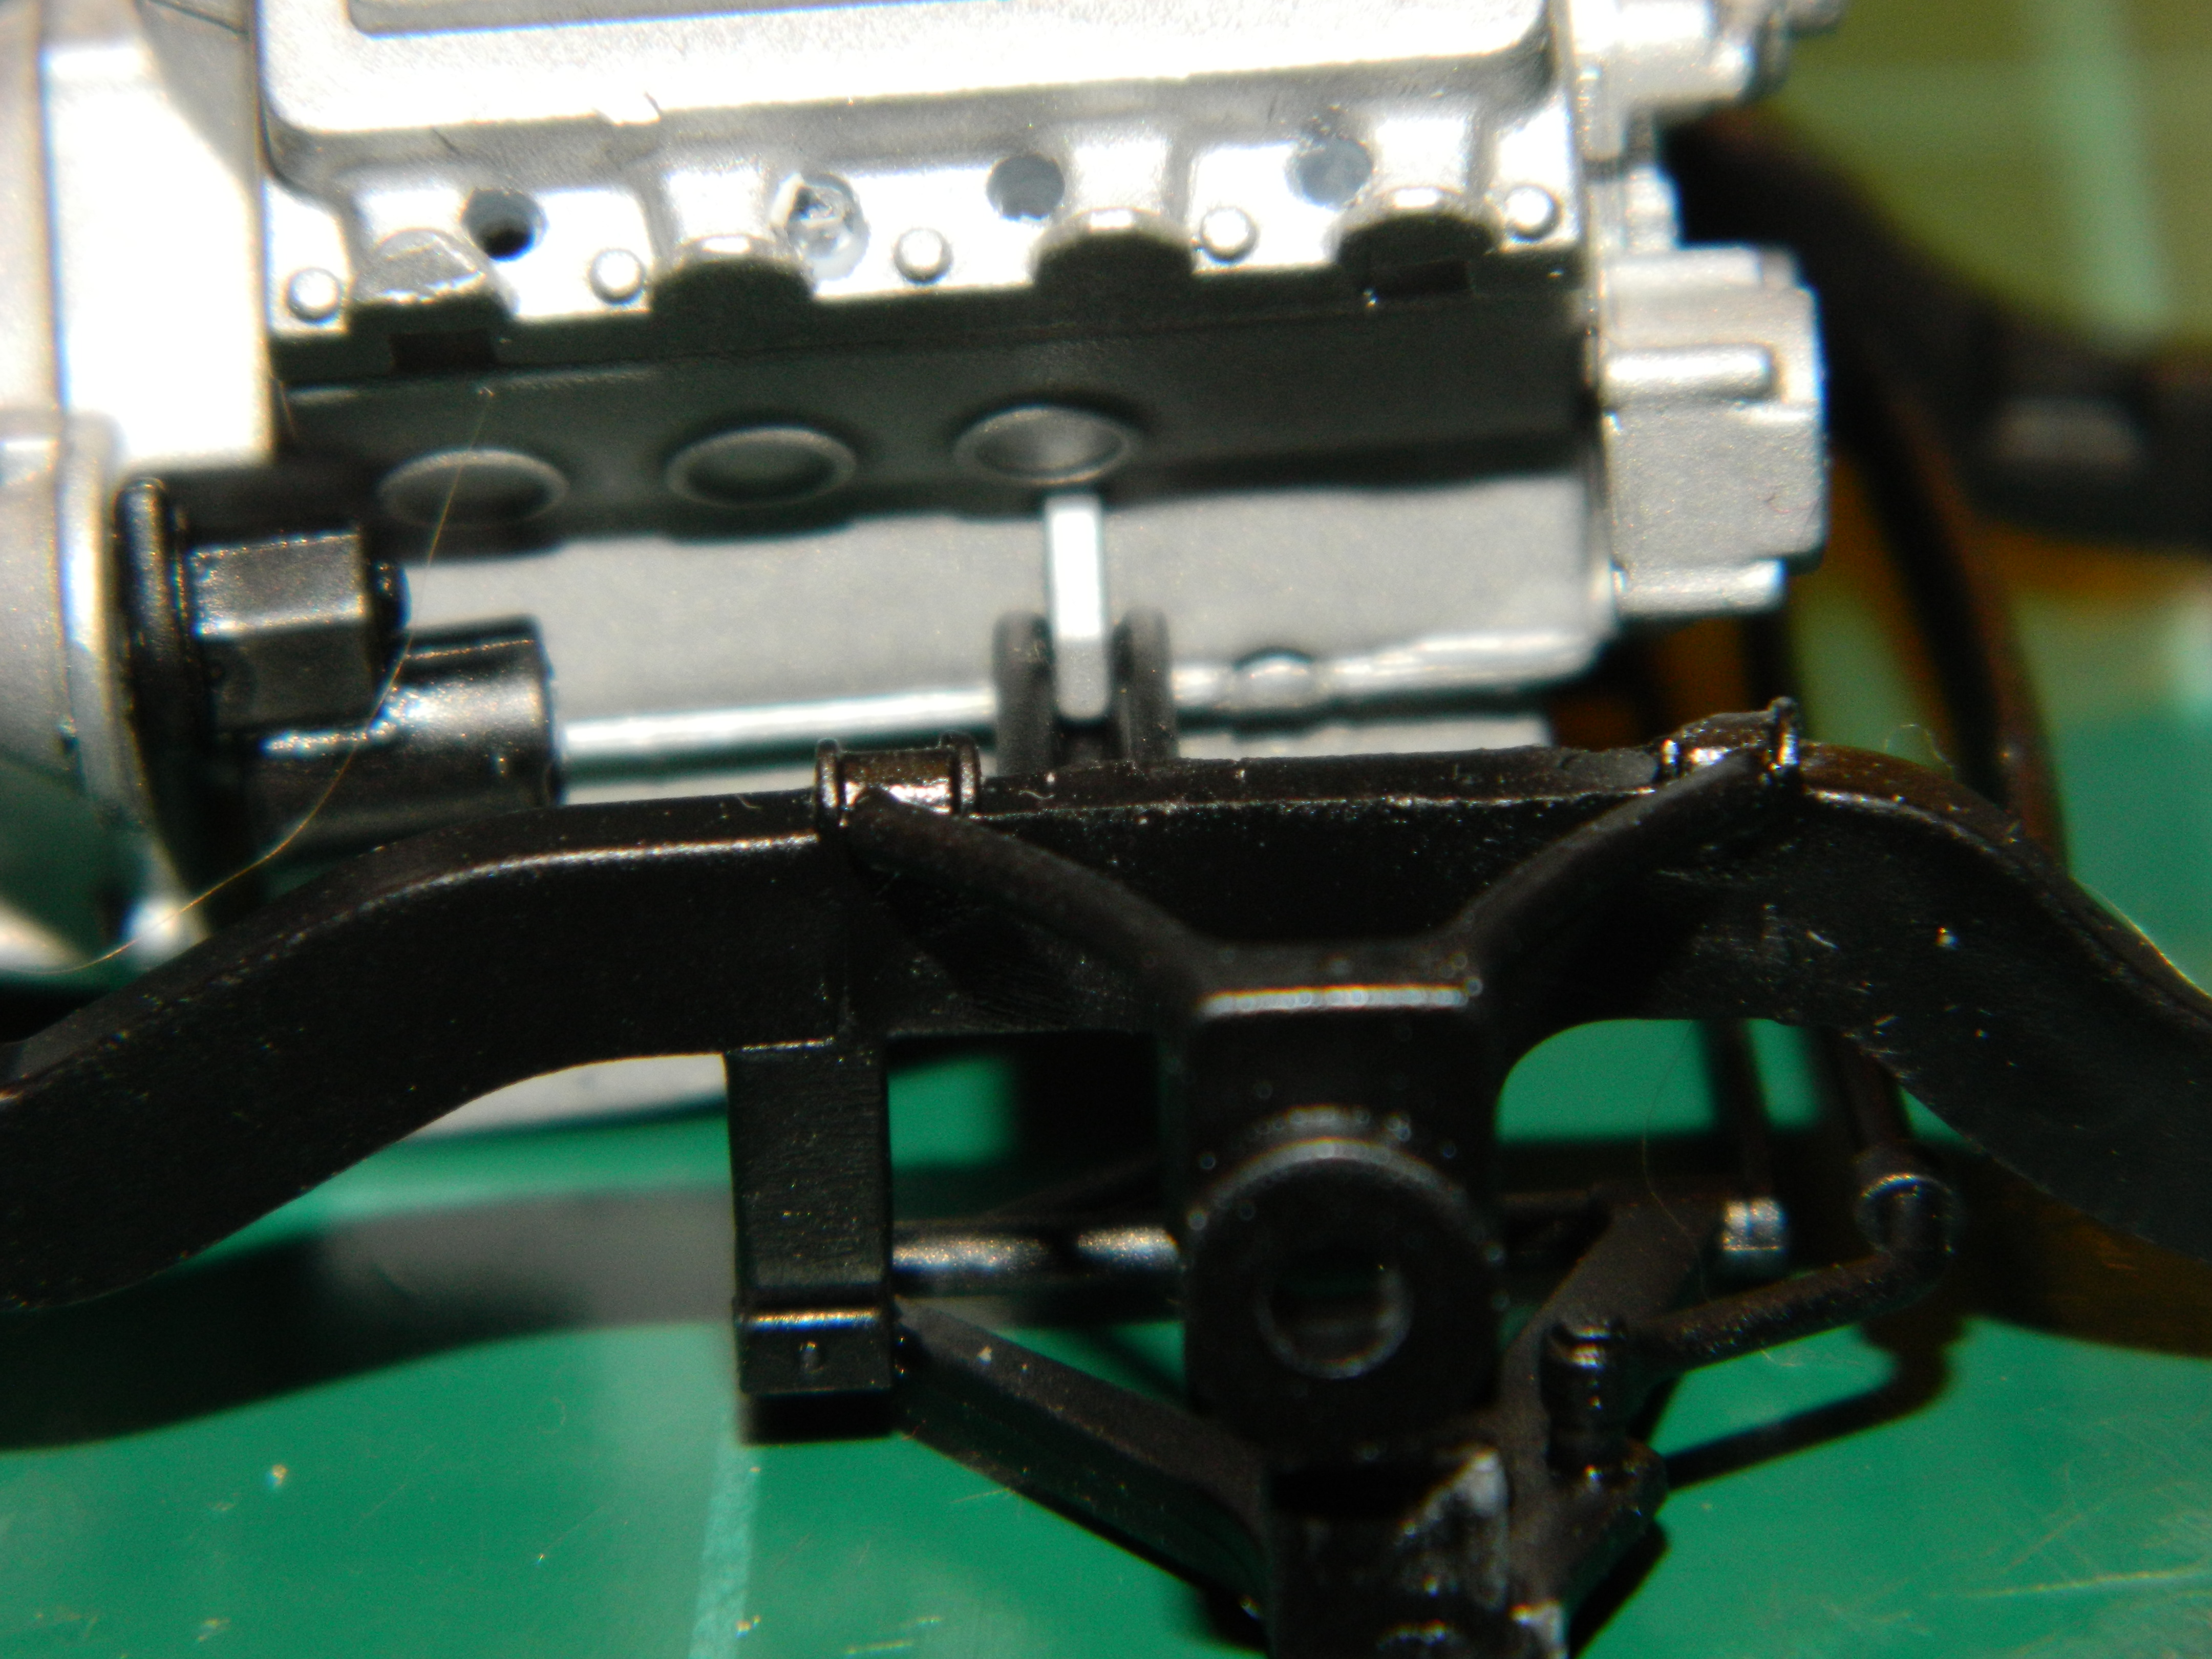
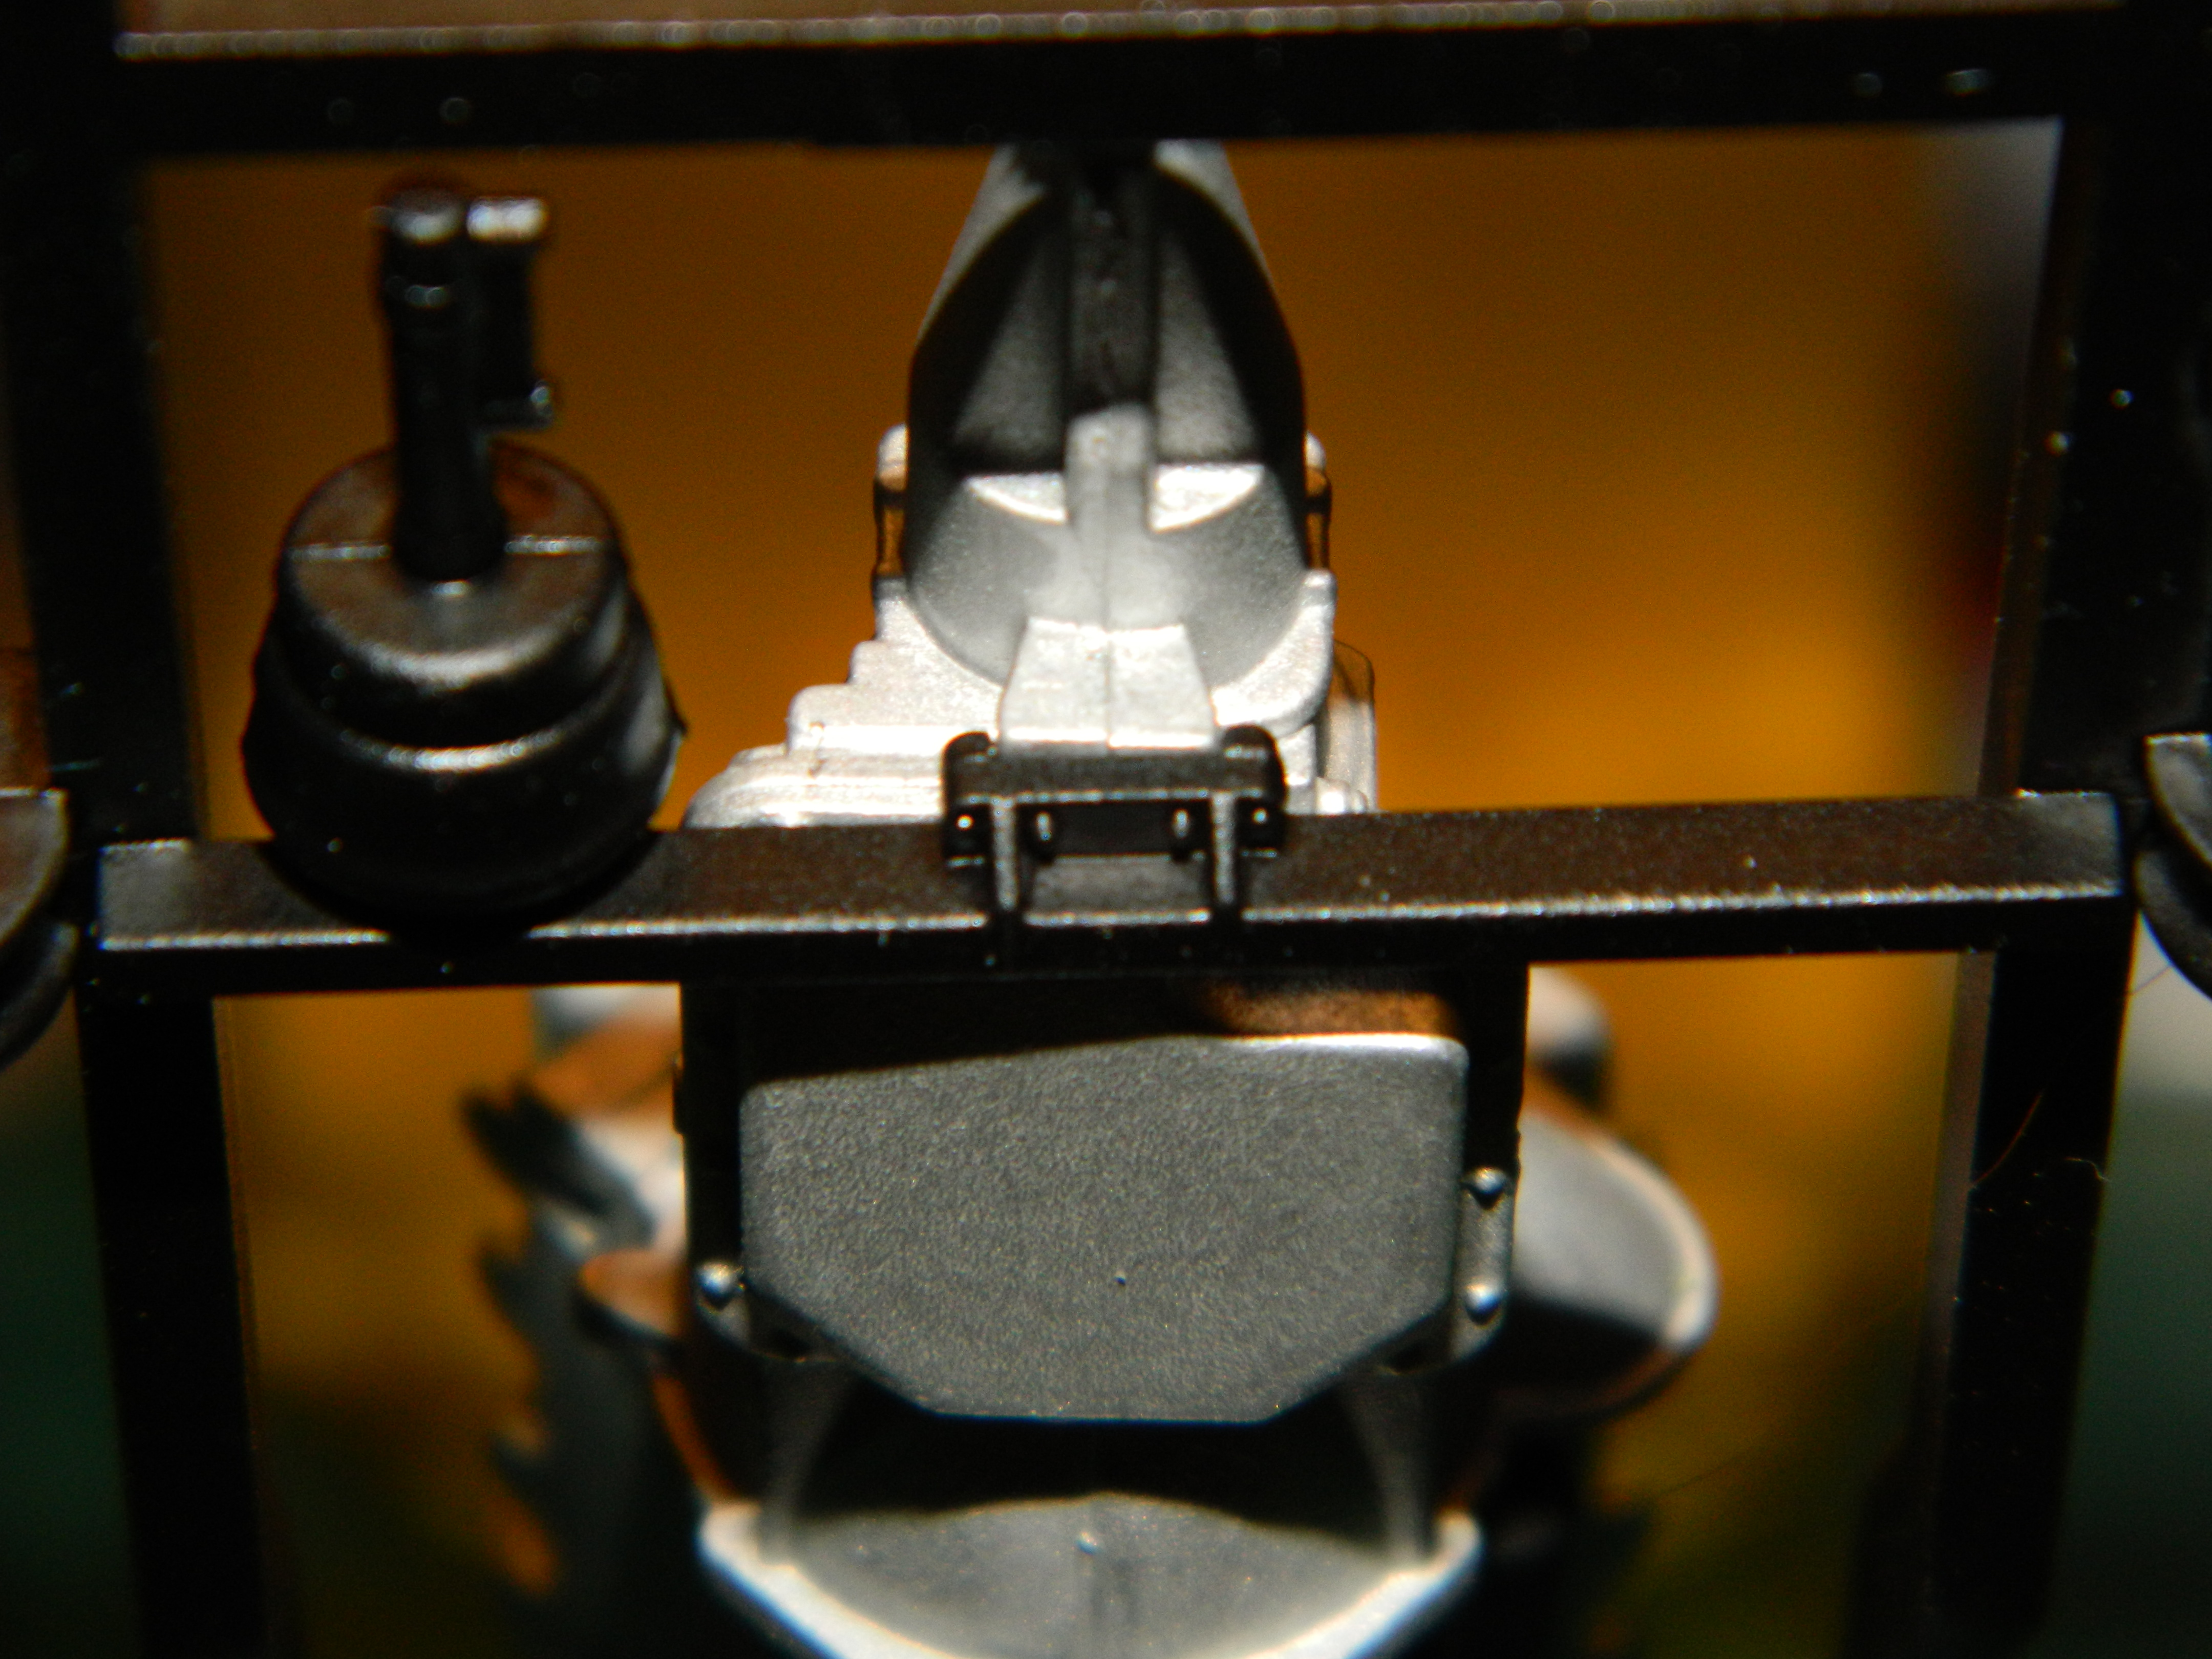
On the engine sides are two small "blades" about 3/8ths inch back from the front of the engine block and those sit in a groove on the chassis. Those are your front engine mounts. The transmission mount should sit on the transmission mount slot.
-
Yes, I have. The engine sits correctly in its mounts and there is no fan on the pulleys. There is an electric fan mounted on the radiator and the engine sits fairy close to the radiator. If I remember correctly for the actually build on Overhaulin', space in the engine bay was at a premium due to the engine size and placement.
-
Thanks Steve and Jonathan!
-
I was looking at the interior parts and I noticed that the seat has no back to it. I'm sure it doesn't show, but I had to put a back on the seat just to satisfy myself. The wheels are out of the Easy-Off bath and were washed. A little cleanup and they'll be mounted and ready for paint. I haven't decided on using flocking or embossing powder for the carpet. Decisions, decisions. More to come...
-
David, you are correct that this paint does come out a little rough due to the metallic, but a decent polishing does level out the surface a bit. Well, it seems that I take two steps forward and one step back. I didn't like the job I did on the wheels when I painted the spokes. I tossed them into a container with Easy-Off to strip the chrome and paint and I'll start over. The frame has it's suspension and the distributor has plug boots. I just need to attach the base and paint it. More to come...
-
Revell 1970 Dodge Charger R/T 440 Magnum - Hemi Orange - Build #3
mrmike replied to RandyB.'s topic in Model Cars
Great job, Randy! They all look great alongside of each other. What's next? -
Definitely will try! A wet sanding session and maybe another coat of paint.