mrmike
-
Posts
5,324 -
Joined
-
Last visited
Content Type
Profiles
Forums
Events
Gallery
Everything posted by mrmike
-
That is a great looking tribute to your Dad! Love the color, too! Several years ago, I took the Revell Uptown Caddy STS-V and de-blinged it and built it as a stock STS-V, so it is possible to build these low rider types of models as stock.
-
Thanks Kevin and JC! JC, I was fortunate to be able to get the can of Chrysler Engine Turquiose paint from Summit Racing! And, I still have plenty left for future projects. I also have a can of Mopar Street Hemi Orange that I got from Summit and that can has been used quite a bit over the years. I am noticing a lot more parts stores (Pep Boys, Auto Zone, etc) are selling engine paint and this color is showing up more often. I'm not sure if it is an exact match for the Mopar color though.
-
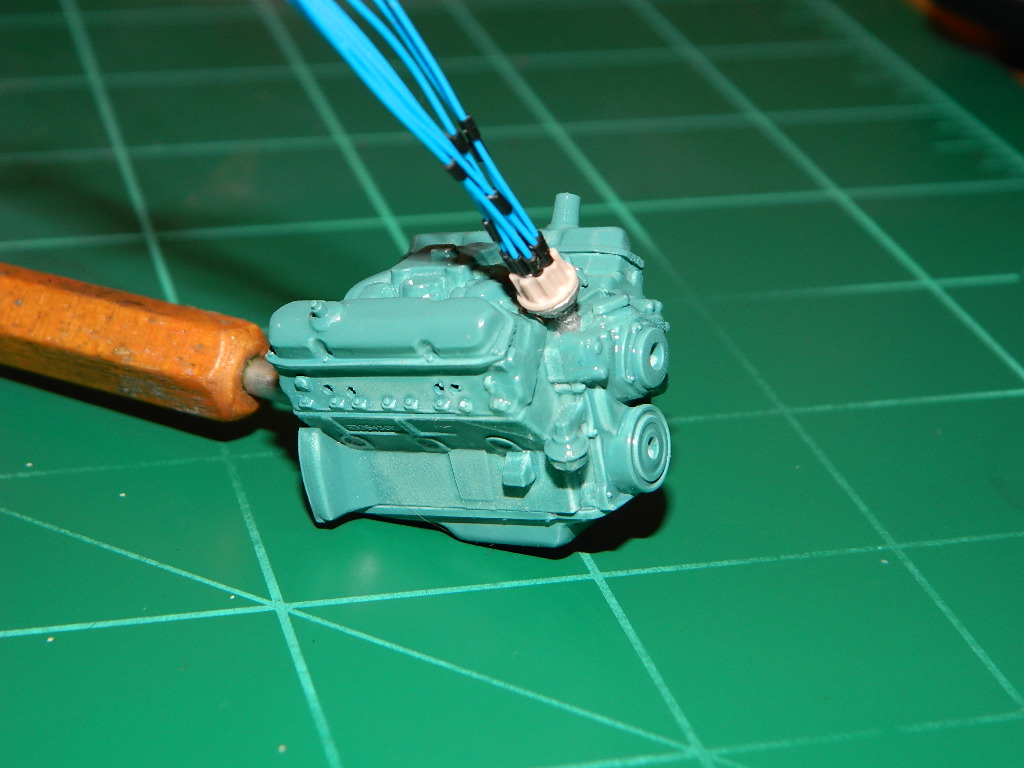
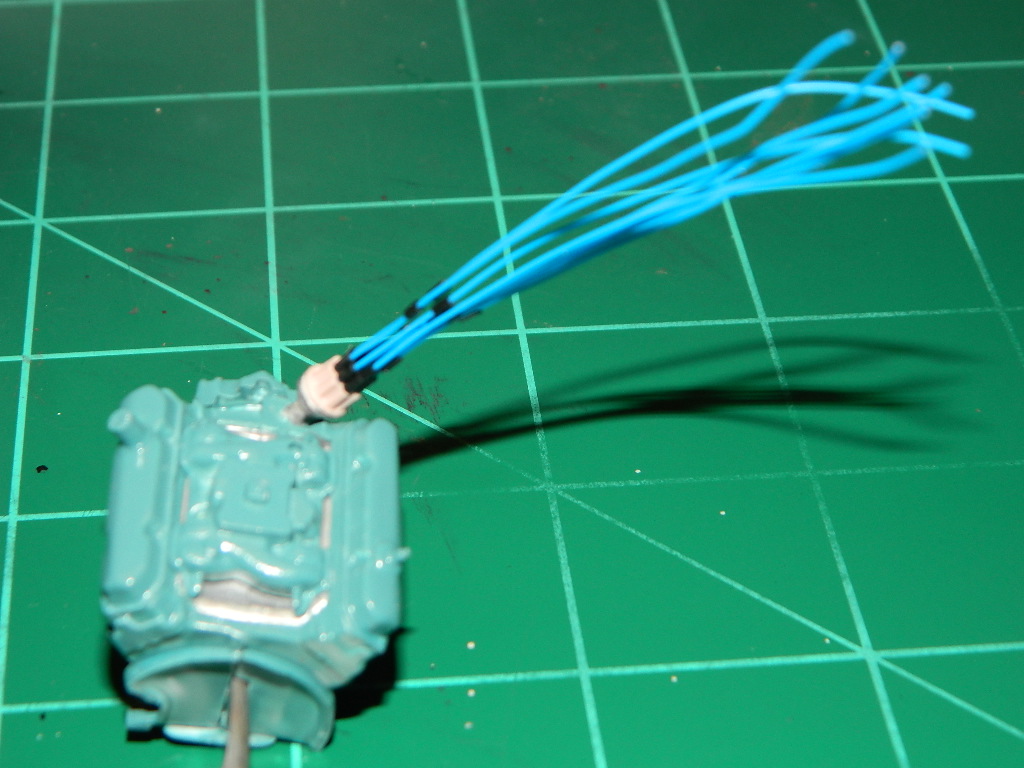
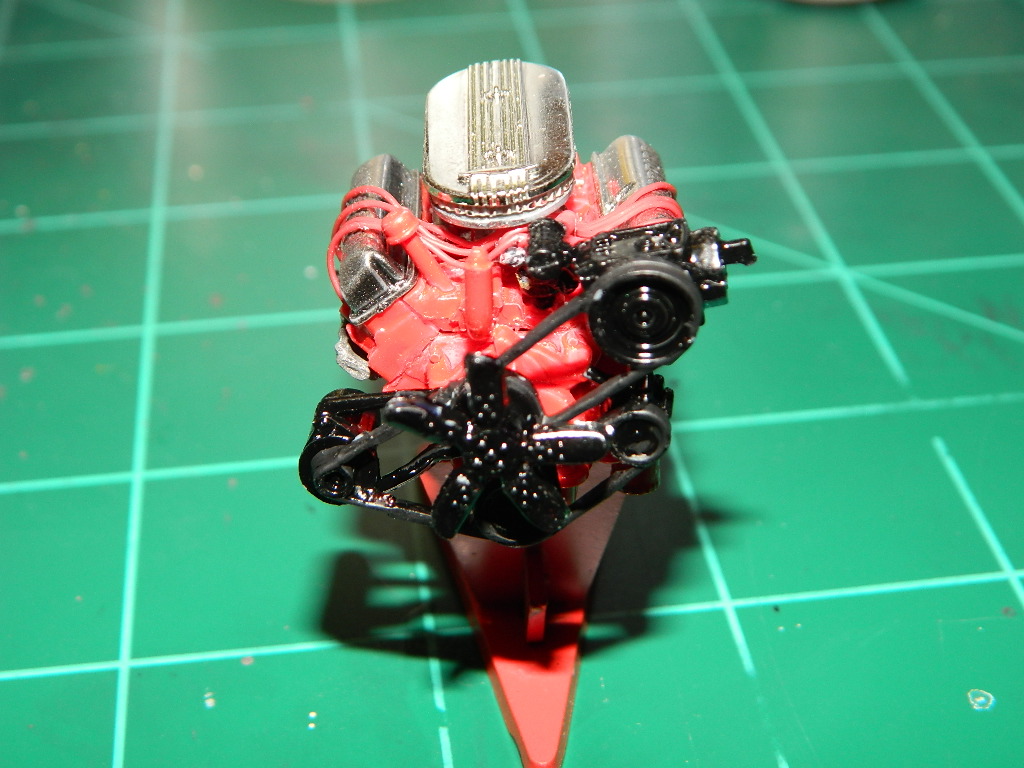
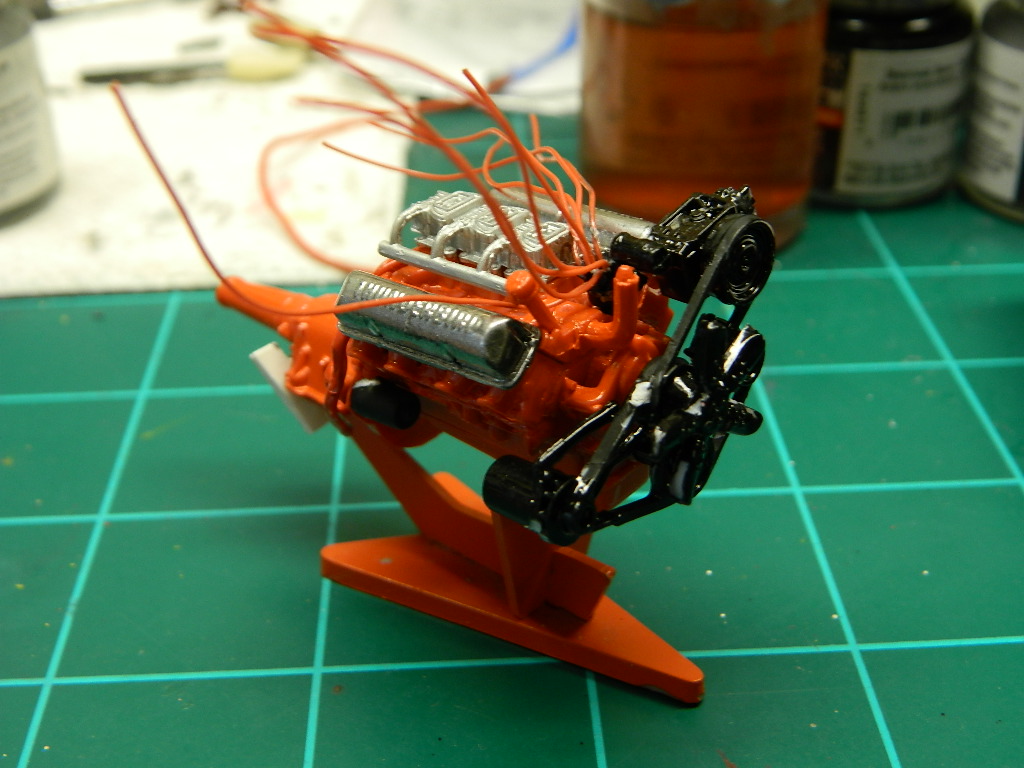
Progress on the Charger has been very slow. I got the MAD distributor assembled, painted, and installed in the 440 CID V-8. Now to run the wires and finish the engine. More Mopar to come...

-
OK Martin, let's see somemore!
-
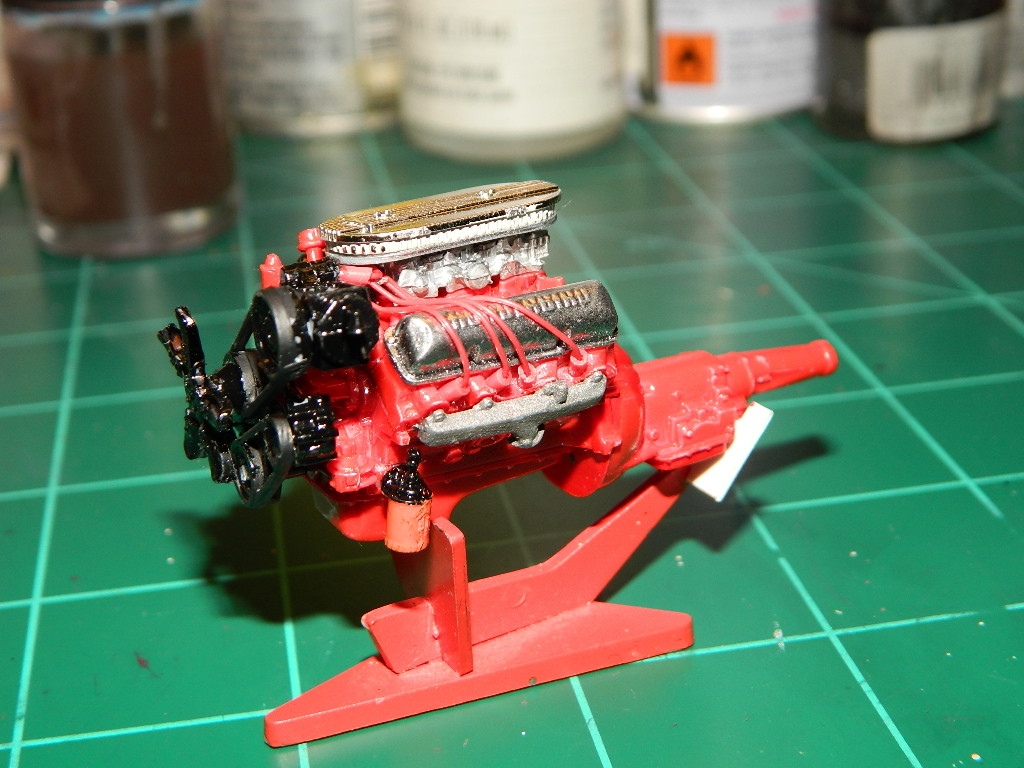
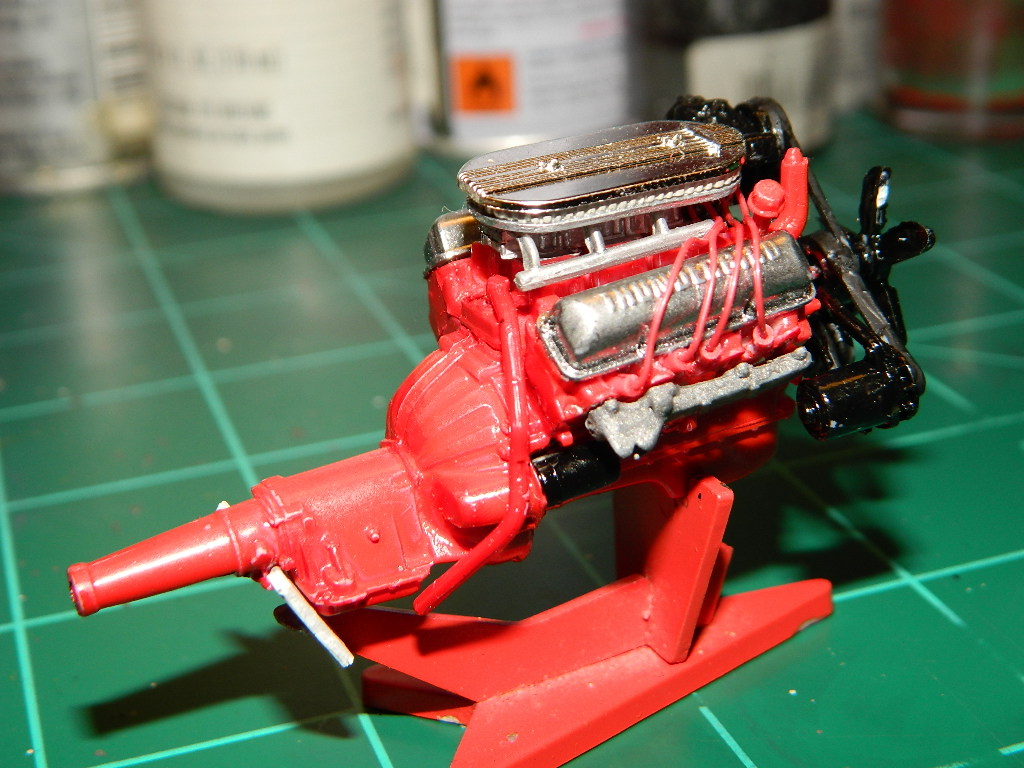
I was rummaging around the parts box and came across this photoetch set that was left over from another project. I am using a distributor from MAD and maybe the chrome air cleaner on the 440 CI engine. The 426 Hemi is complete except the distributor fell off somewhere and disappeared on me. Good thing there is a second distributor in the kit!
-
My kit didn't come with the five spoke wheels you had mentioned, but my friend who gave me the kit said that they are in that particular kit. Bill, thank you for the explanation and the pictures on the leaf sprung rear end and traction bars. This gives me a little more food for thought as I plan out this build.
-
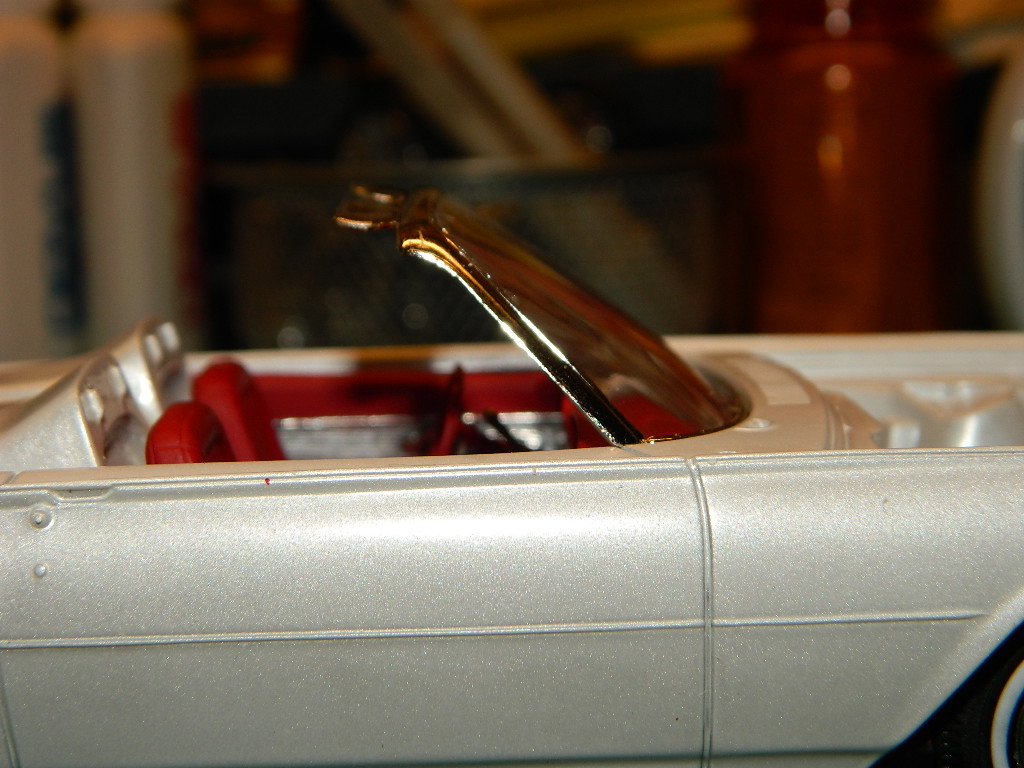
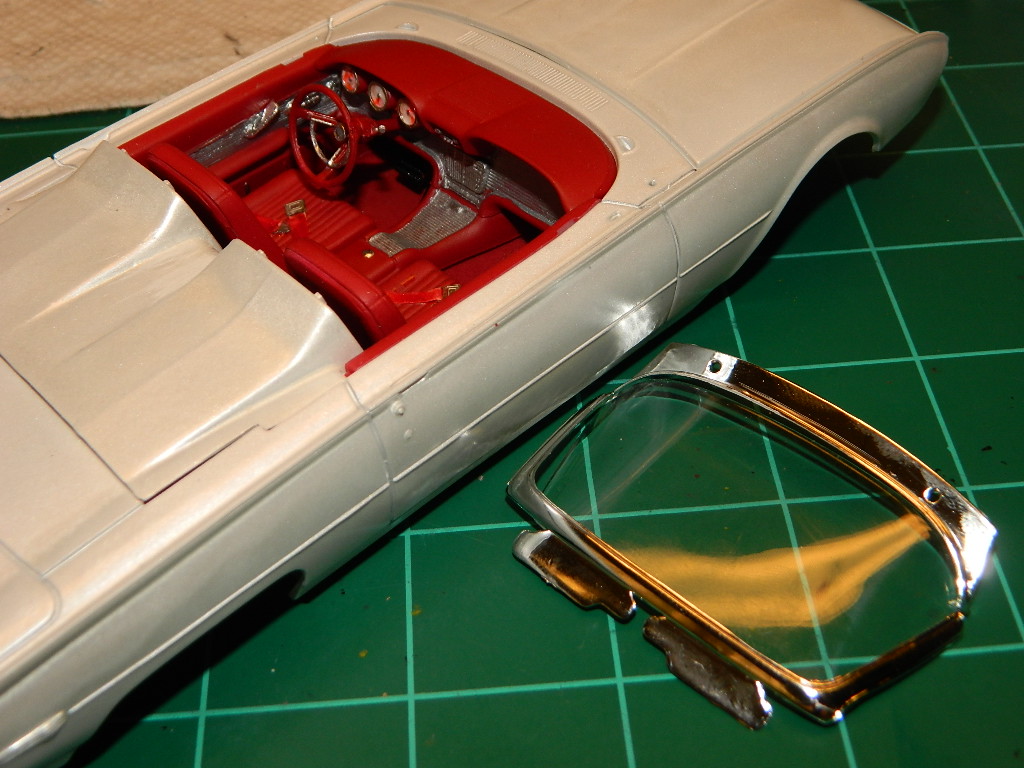
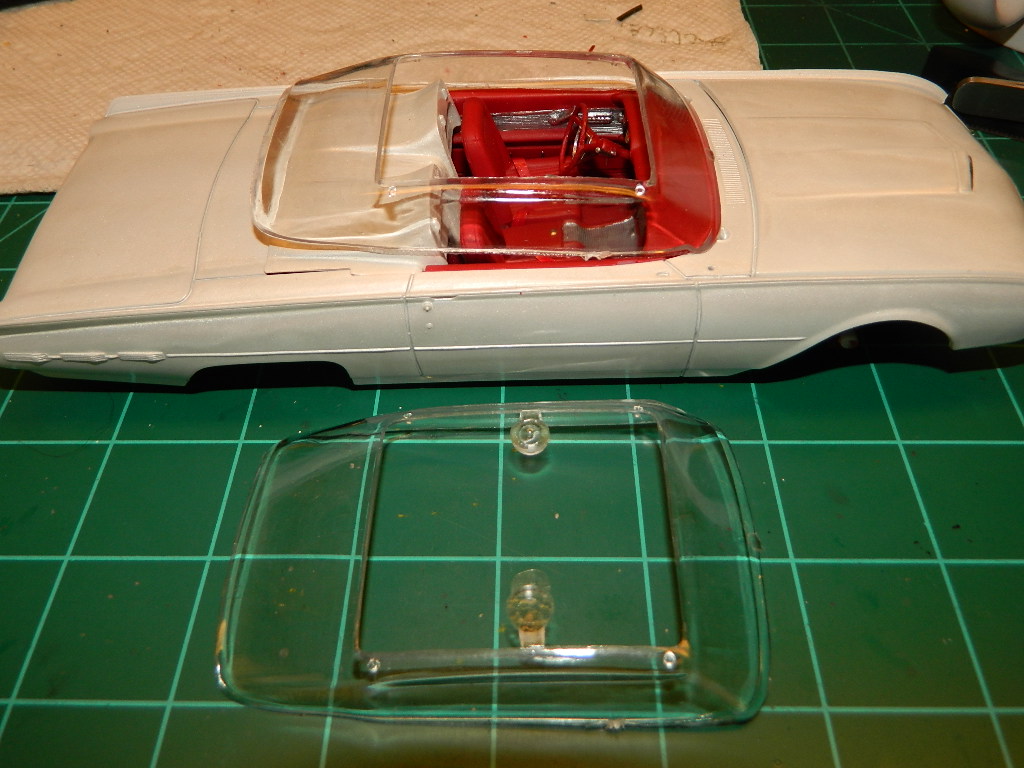
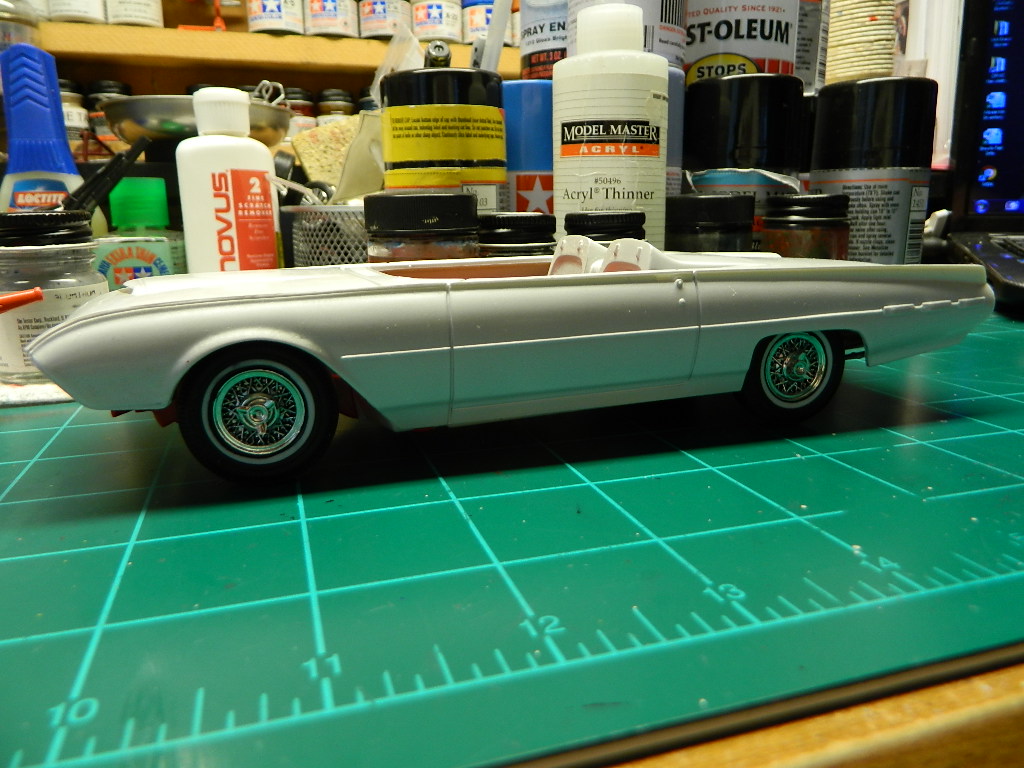
With the speedster style windsreen now out of the question, I went and opened a gap between the dash panel and the cowl. The kit windshield and frame now fits in there perfectly and the body and interior now fits together tightly. I am tempted to pry the dash out and shorten it a little on each side, but I think I'll let that slide for now as I do like the tight fit. More to come...
-
I pulled out the windshield and the frame just to see how much grinding with a Dremel tool is going to be needed on the dash. As it turns out, a lot!!! I had a brain fart last night. I have three of the chopped windows from the '53 Studebaker and I wondered if I could make one fit the T-Bird. Like i said, it was a brain fart! More to come...
-
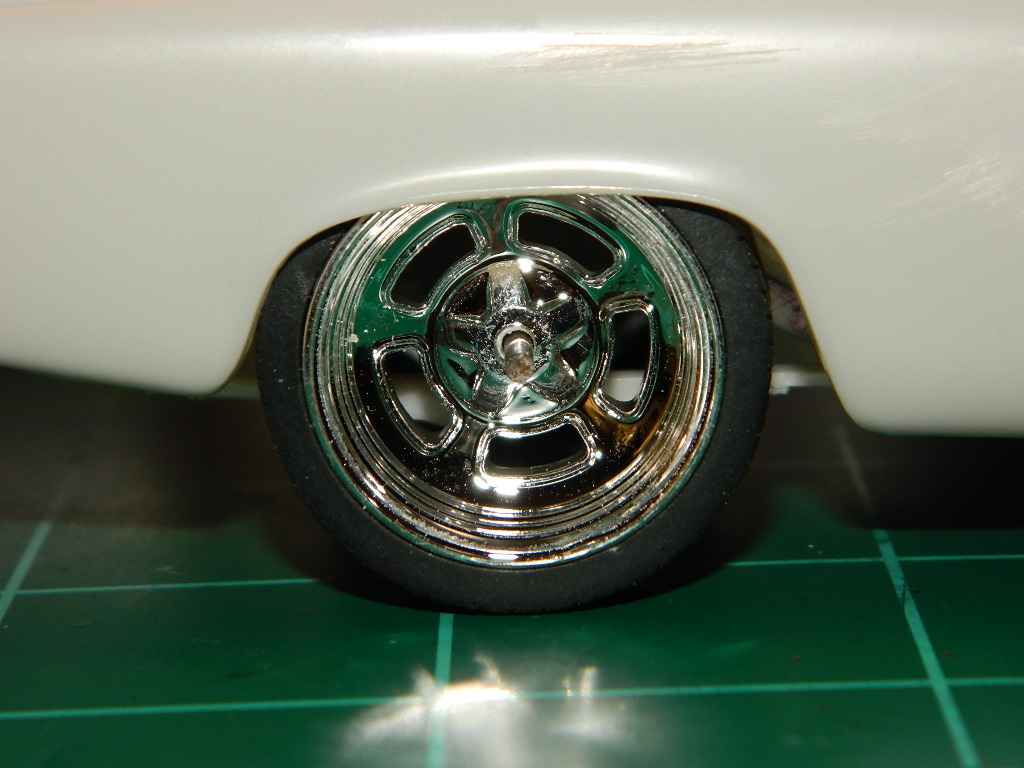
I had noticed that the rear tires were not centered in the wheel openings. But, I can fix that depending if I want to change the rear axle. I might change the leaf springs to a four link set up or a two link with a Panhard bar. I'll have to rummage through the parts box!
-
I shortened the ends of the rear axle and the wheels and tires fit nicely, but I'm wondering if I should keep this rear axle or look for something a little more modern and perhaps lower the rear a little more.
-
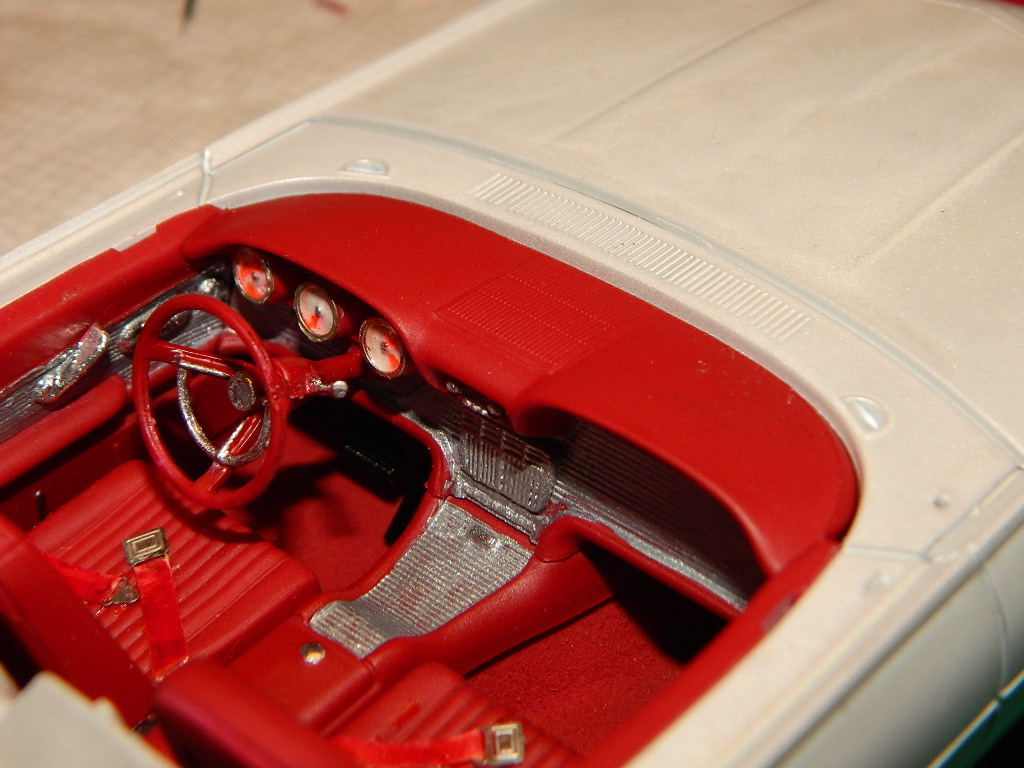
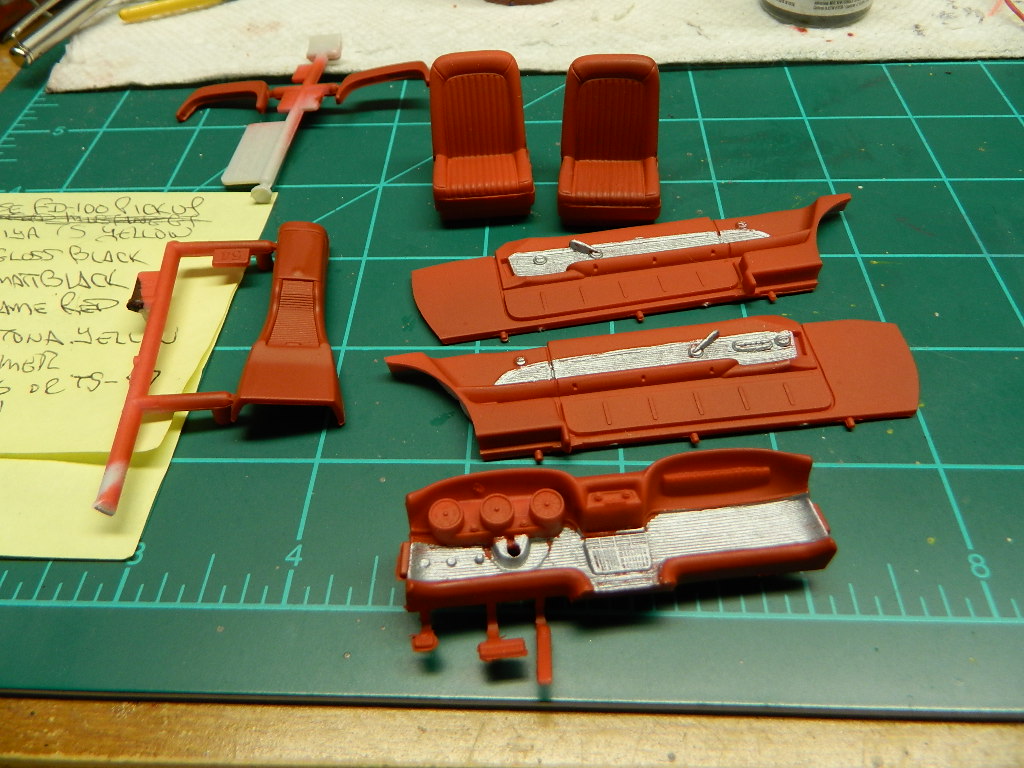
Thanks Mike, Steve, and Kevin! Thank you guys! I found the engine stand in the AMT ProShop '57 Thunderbird kit. I've also have the engine stand from the AMT '39/'40 Ford Tudoe Sedan kit. I finished the dash and installed it into the interior. The interior is a very tight fit into the body and the dash is touching the cowl and there is no room for the windshield or the frame. I'll have to do some serious grinding here. The engine is detailed and touched up and ready for the chassis. More to come...
-
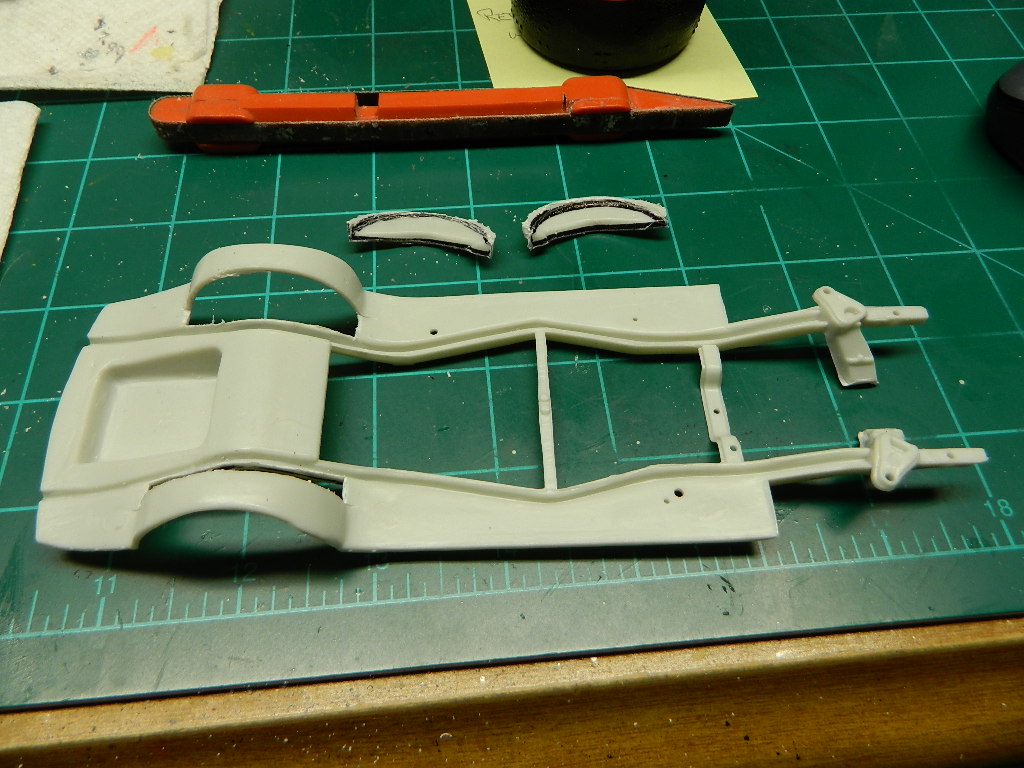
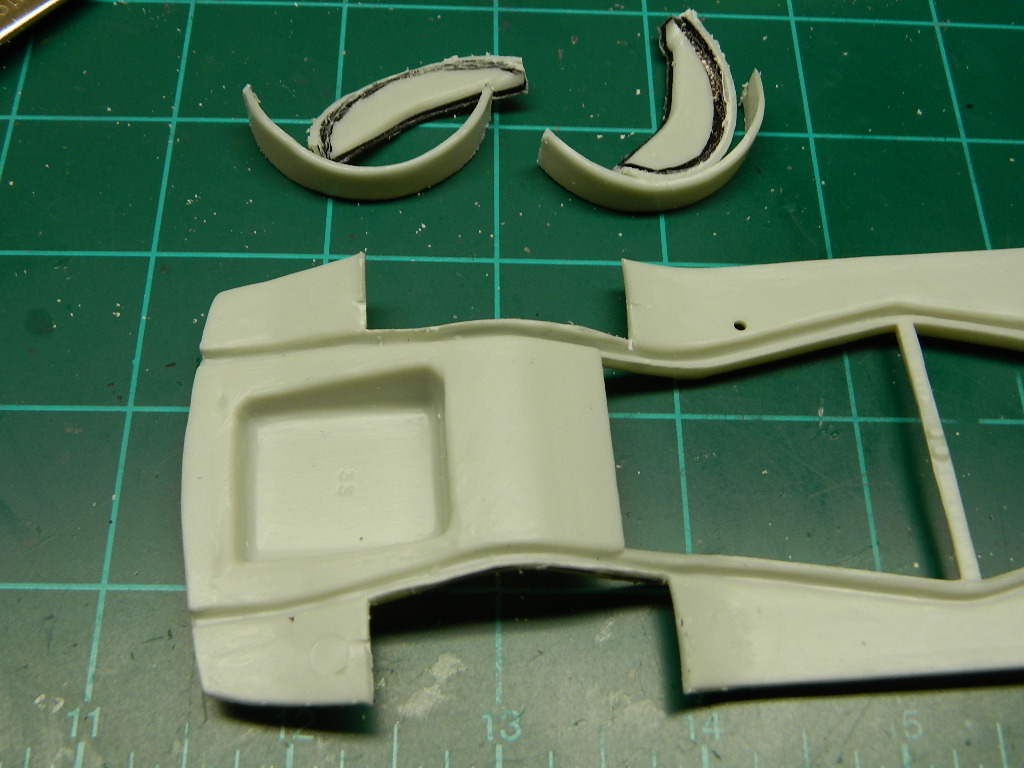
A small update. I cut out the inside of the wheel wells and the more I thought about it, the more work necessary to get the new wheel wells in and flush fitting. I went and cut off the rest of the wheel wells and sanded the edges smooth. I'll make new wheel wells to cover the open gap.
-

My inventory is finally done,,,,,
mrmike replied to smhardesty's topic in General Automotive Talk (Trucks and Cars)
I go by what the box art says it is. It is more difficult if there is no box art to go by and then you have to go by your best guess. But, then by all means, ask away! -
That is an excellent model Tony! Great job!
-
My inventory is finally done,,,,,
mrmike replied to smhardesty's topic in General Automotive Talk (Trucks and Cars)
I created a spread sheet for my stash. I include maker, year, model, missing parts, added parts, plans, and comments. I note when they are on the bench or issues for leaving the bench. Works very well for me. I found a spread sheet online that just had too many columns and it really didn't fit my needs. -
Thanks Terry!
-
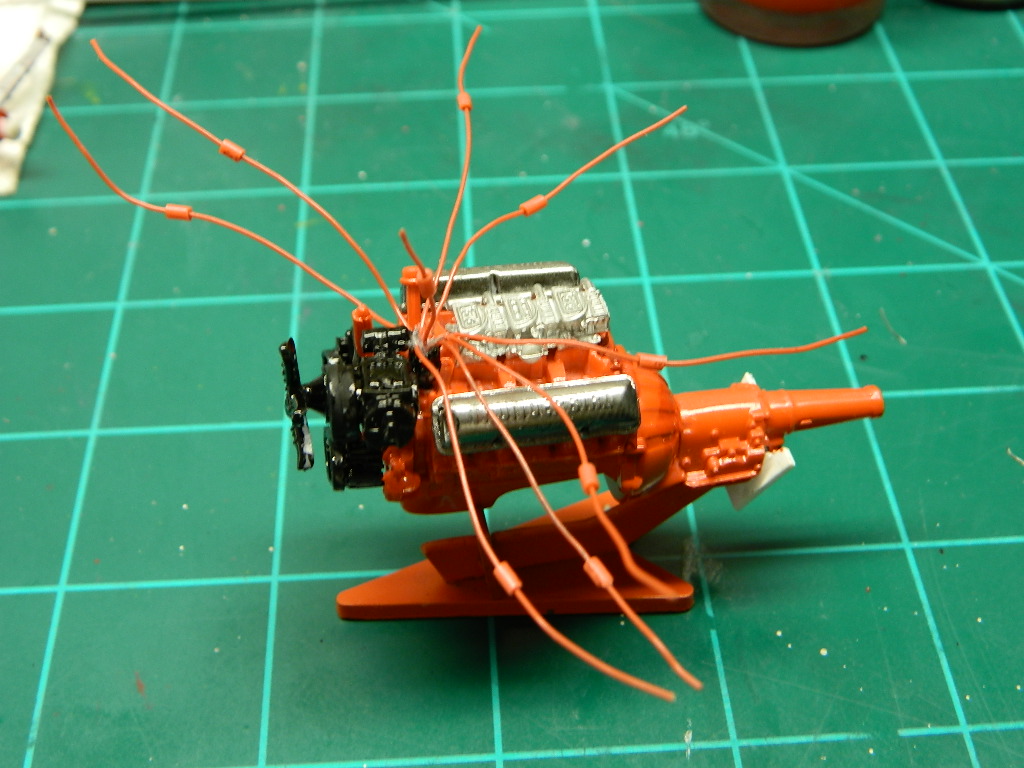
The 390 CID engine has been assembled and wired.
-
Sorry, I don't build dioramas. I'll pass.
-
Nice Challenger!
-
I agree! The Hellas and Holli's look sooo nice! But, those alone won't get me anywhere. I've gotta finish the kit! Thanks Steve!
-
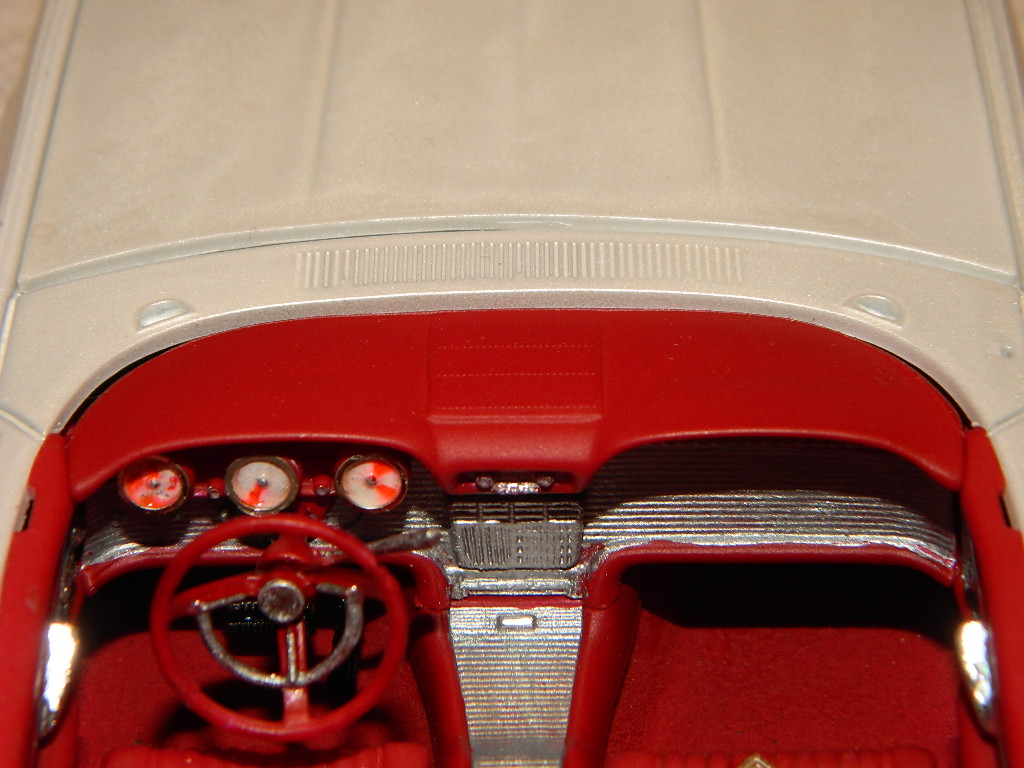
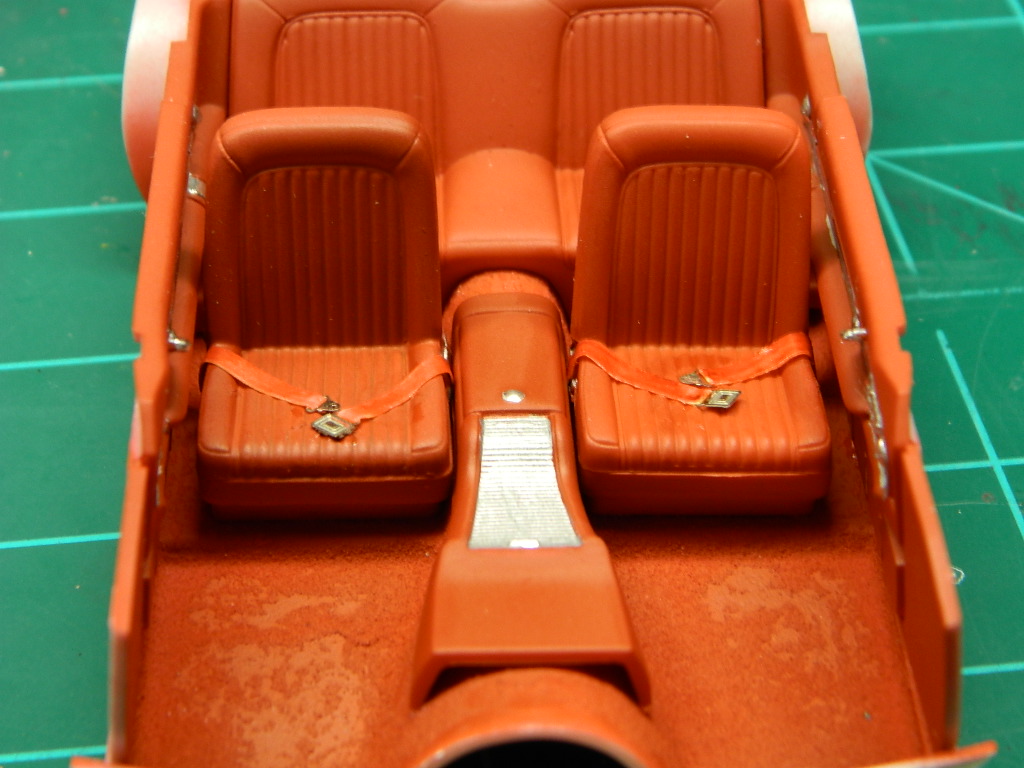
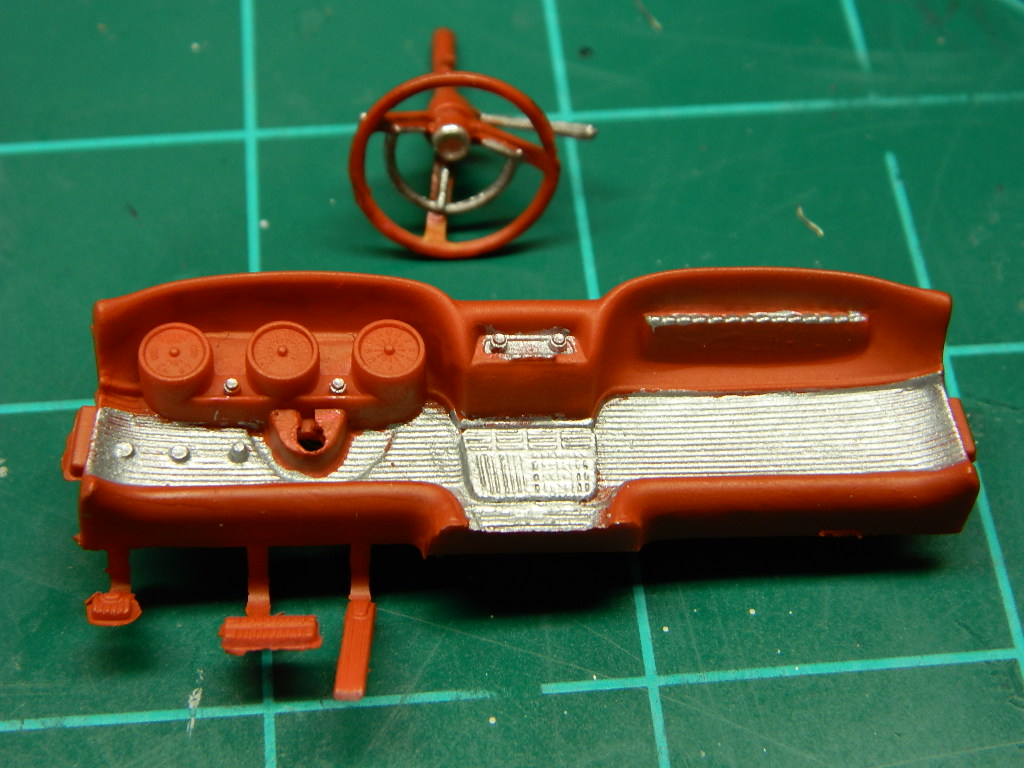
Thank you Tom! I made a set of seat belts using Tamiya Tape, a red Sharpie, and a set of set belt buckles. I am in the process of detailing the steering wheel and the dash. I made some spark plug boots for the plug wires. Now I can run the plug wires to the cylinder heads and install the exhaust manifolds.
-
Thanks Bruce, RRR and Terry! I don't think so. Why don't you try it?!!!
-
Thanks Marty! I did a mockup of the body, chassis, wheels and tires to check the stance and it's looking good so far. The engine is in progress of being wired and the interior pieces are in progress of being detailed.
-
Thanks Brad and Allen! Like I said previously, I couldn't locate one so I went with the FI setup. Thanks for the infomation though.
-
Thank you Randy, Bernard, and John! Sometimes, I want to just insert the wheels and tires and call the whole thing done just because of the wheels and tires! I really like the look with the wheels! This is my first pro-touring build, so I will be taking my time with it. It is for the 2018 CPMC Exhibition.