mrmike
-
Posts
5,325 -
Joined
-
Last visited
Content Type
Profiles
Forums
Events
Gallery
Everything posted by mrmike
-
Thanks Sam and Dann!
-
Thanks John and Carl! I went to drill the distributor for plug wires and the distributor broken off the water pump. I used my cordless drill on a slow speed and routed a groove for the replace shaft made from 1/16th inch styrene. I enjoy adding plug wires to my engines! I was thinking of replacing the water pump with another unit from my parts box, but I decided to stay with the kit unit. I found a better detailed set of exhaust manifolds and I will use those instead of the kit manifolds. More Barracuda to come...

-
Looking good Jr! I thought about getting that kit, but everytime I pick it up and look at it, I put it back on the shelf and walk away. Looking forward to your version.
-
John, I built the blue Barracuda back around 2005-2006. I had many people point out what was wrong or different with the model and nothing about how well it was built or if it looked good. Thanks for the pictures Patrick! I am not worried about the grille shapes. As far as I am concerned, it is a '68 that I am building and the grilles shape is close. If the entire grille was different, I would find a conversion kit and make the change.
-

1971 Ford F100 Ranger XLT Pickup
mrmike replied to mrmike's topic in Model Trucks: Pickups, Vans, SUVs, Light Commercial
Thank you Al, Christopher, David, Tom, Jerry, Larry and Guido! -
1971 Ford F100 Ranger Pickup
mrmike replied to mrmike's topic in WIP: Model Trucks: Pickups, Vans, SUVs, Light Commercial
Thank you Guido! -
Thanks John and Mike! I had built a '69 Barracuda years ago and I had replaced the hood with one from AFX/N resin when they were still around. It was a kind of '68 Barracuda, but with '69 side markers. This one will be a little different.
-
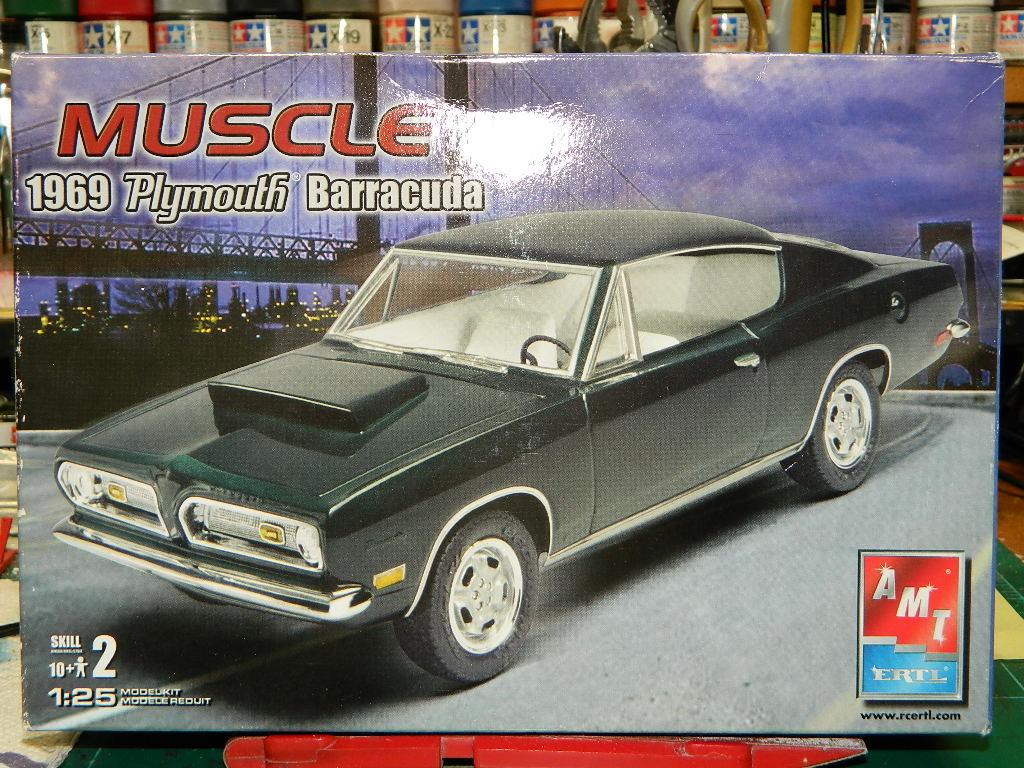
This kit has been in my stash for a while and I plan on making some mods to it. The kit is an AMT '69 Barracuda and it will be backdated one year to 1968. I removed the peak on the front panel and I will replace the hood with a hood from Modelhaas, I replaced the trans with a Torqueflite short tail trans from Competition Resins and I partially assembled the engine, the wheels and tires are Pegasus Shuey's, the interior console is from the Revell '68 Dart Hemi kit. I haven't decided on a body color yet, but the interior will have white seats and side panels. The body has engine compartment side panels from an old AMT Charger chassis and it will have side markers made from shirt pins. More Barracuda to come...
-
1971 Ford F100 Ranger Pickup
mrmike replied to mrmike's topic in WIP: Model Trucks: Pickups, Vans, SUVs, Light Commercial
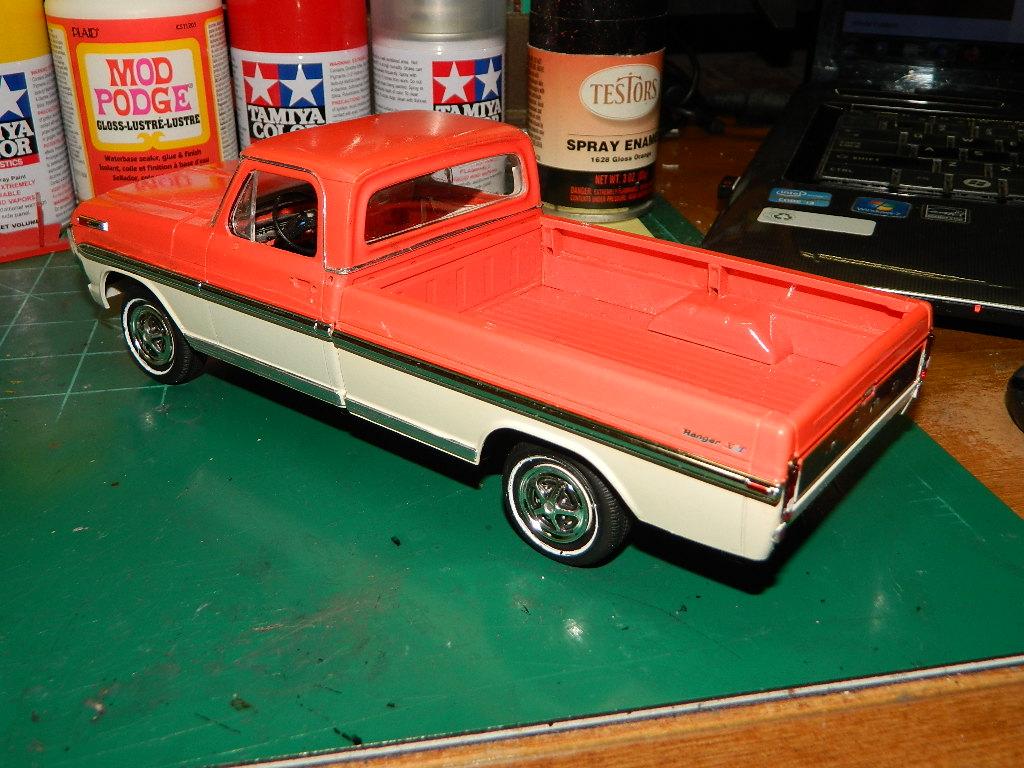
I have finished my '71 Ranger XLT pickup and it is posted in Under Glass. I would like to thank all those who have viewed and have commented on my WIP. -
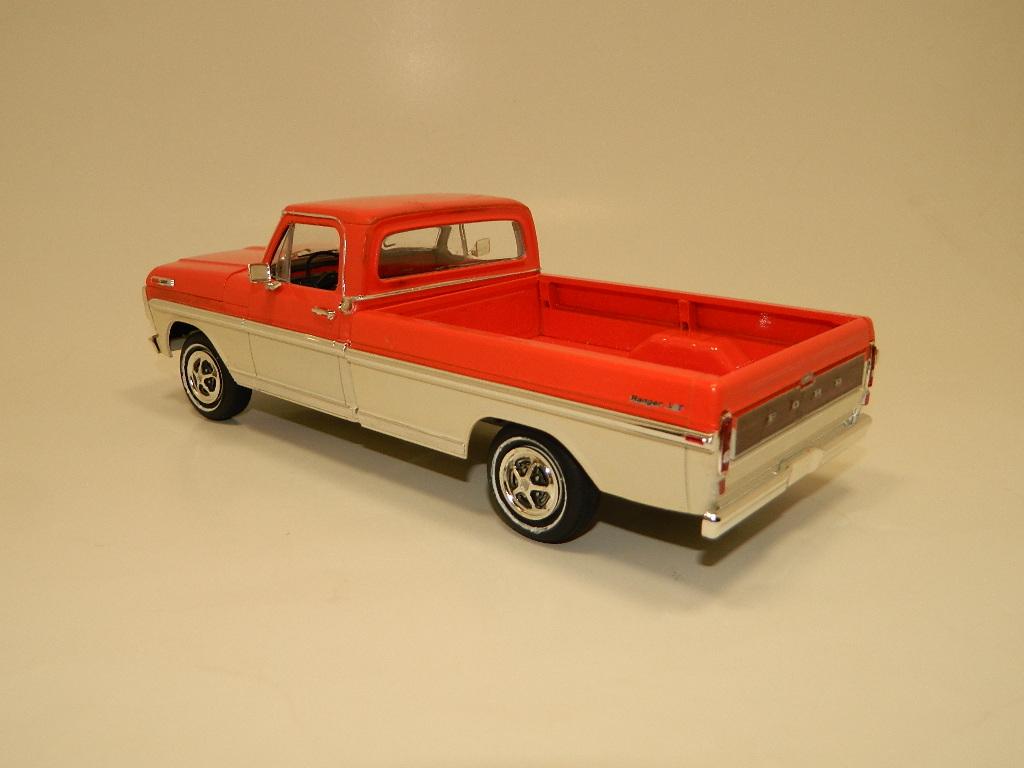
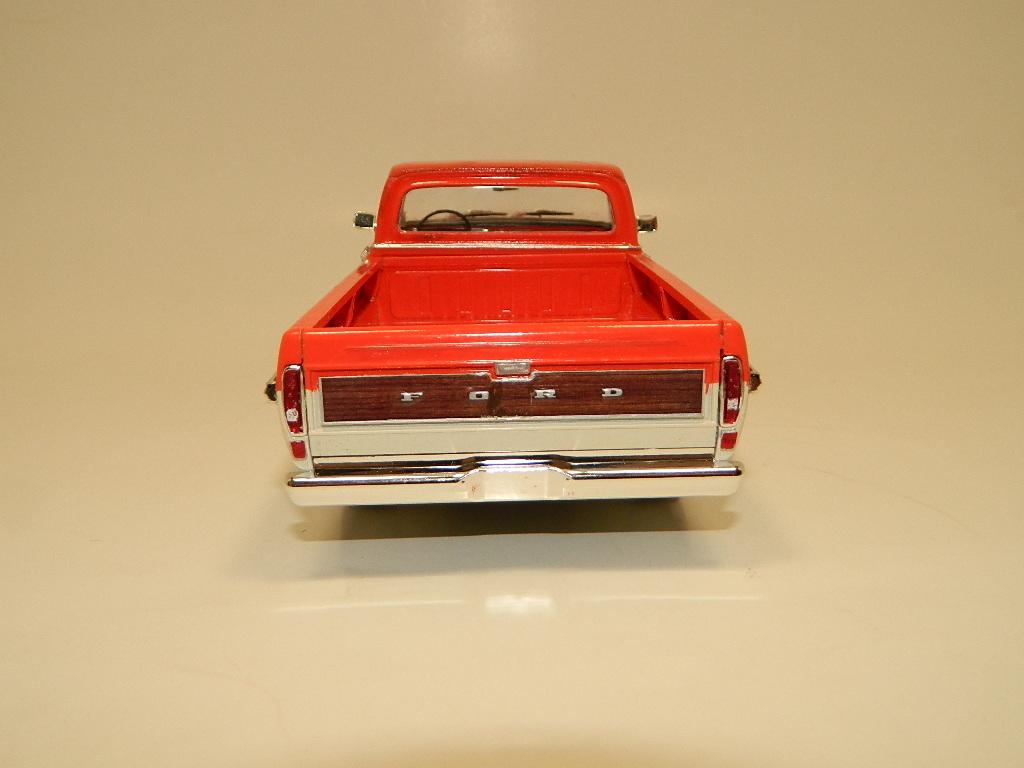
This is my '71 Ford F100 Ranger XLT pickup painted with Testors Competition Orange enamel over Model Master Wimbledon White lacquer, a wired engine, whitewall tires and built mostly out-of-box.
-
1971 Ford F100 Ranger Pickup
mrmike replied to mrmike's topic in WIP: Model Trucks: Pickups, Vans, SUVs, Light Commercial
The Story With the suspect handcuffed and placed in the back seat of a Police cruiser, McNally is driven by one of the detectives back to the old house where this adventure began. He changes his clothes back to his usual pants and t-shirt. He gets into his car after he puts on his shoulder holster and his gun and a shirt to cover the holster and gun and he drives down to Boston Police Headquarters to give his statement to detectives. Inside Headquarters he gets his Visitors Badge and he goes up to the Detective Squad and he gives his statement to Sgt. Det. Alonzo. The statement includes everything from when he left the old house in Brighton to the arrest of the suspect. The Build I finished the foiling of the body and did a mockup to check my progress. The cab still has a warp to it and I hope that when the cab is glued to the frame, the warp will go away. McNally will return...
-
Thank you Dann! The wood details were easy to do.
-
Thank you Larry, Matija, Carl, David, curtis and Trevor!
-
Thanks Anton!
-
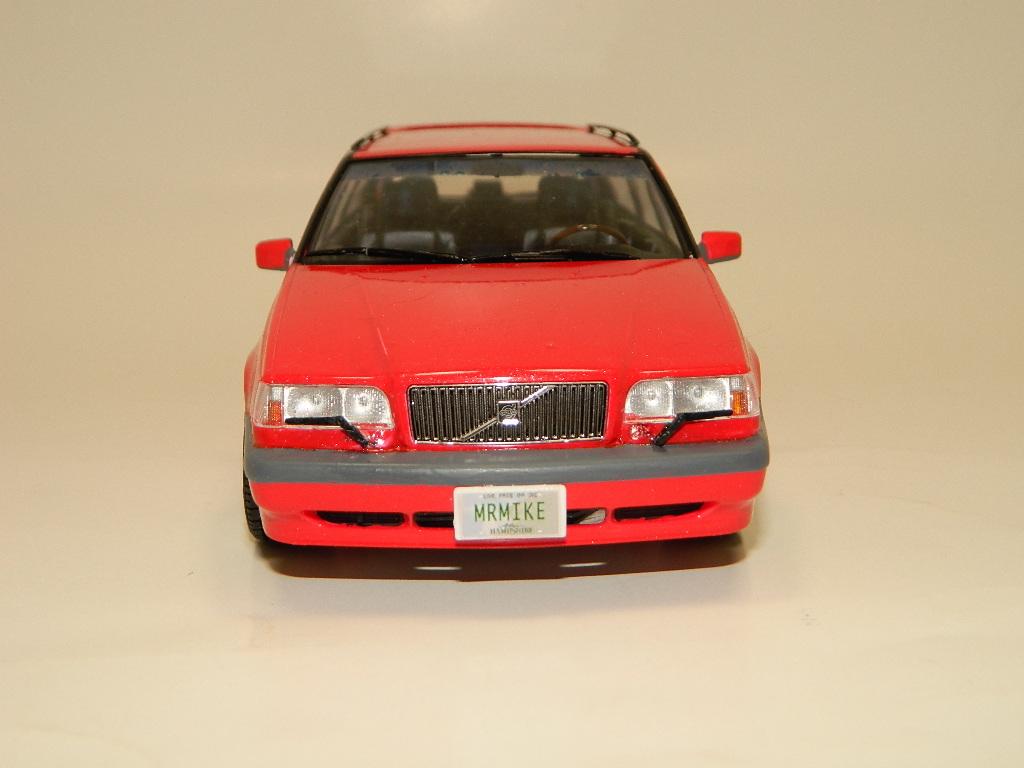
I have finished my Volvo 850 Turbo Estate and it is posted in Under Glass. I would like to thank all those who have viewed and commented on my WIP.
-
This is my Volvo 850 Turbo Estate or Station Wagon for those who are not famliar with European nomenclature. It is painted with Tamiya TS-86 Pure Red with Tamiya TS-65 Pearl Clear. The interior is painted with Tamiya TS-29 Semi Gloss Black and is built box stock with the addition of headlight wipers from my parts box and my usual license plates. The decals were an issue since they were getting old.
-
Thanks Carl!
-
1971 Ford F100 Ranger Pickup
mrmike replied to mrmike's topic in WIP: Model Trucks: Pickups, Vans, SUVs, Light Commercial
Thanks Carl! -
While I no longer have any pictures of my 1:1 '70 Plymouth Duster 340, I did build a model of it about ten years ago with the AMT '71 Duster 340 kit. I scratch-built a front bench seat, added a resin grille from Sport Suburban, deleted the A/C and got some side stripes from the late Fury3 aka Dave Greibling.
-
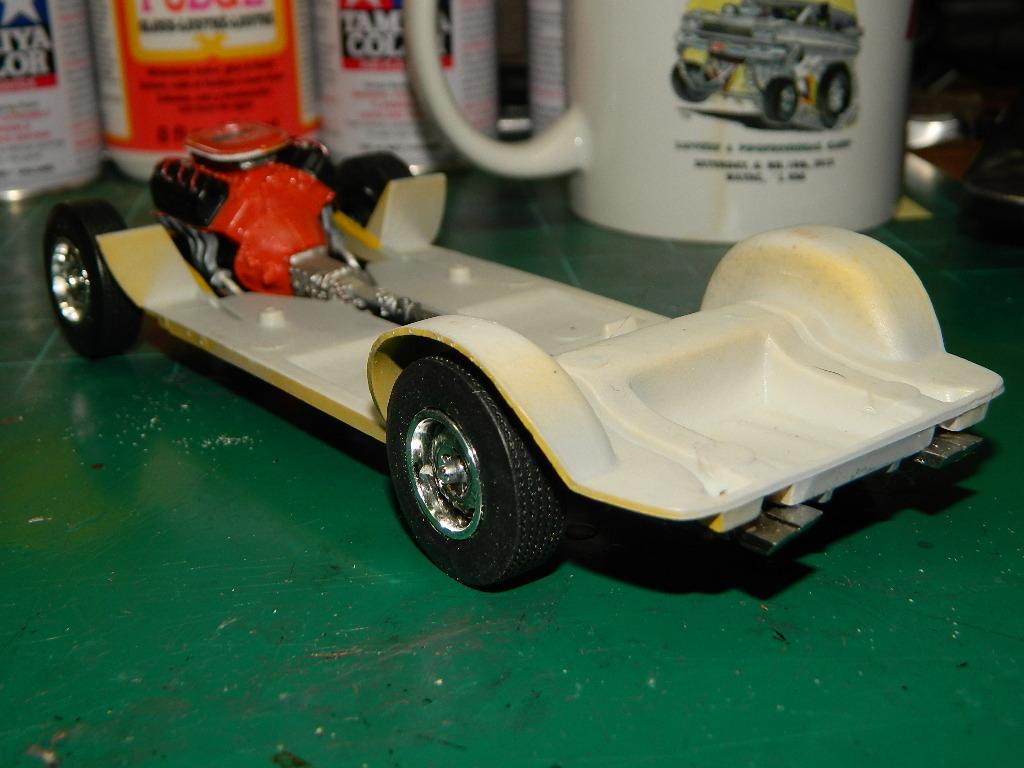
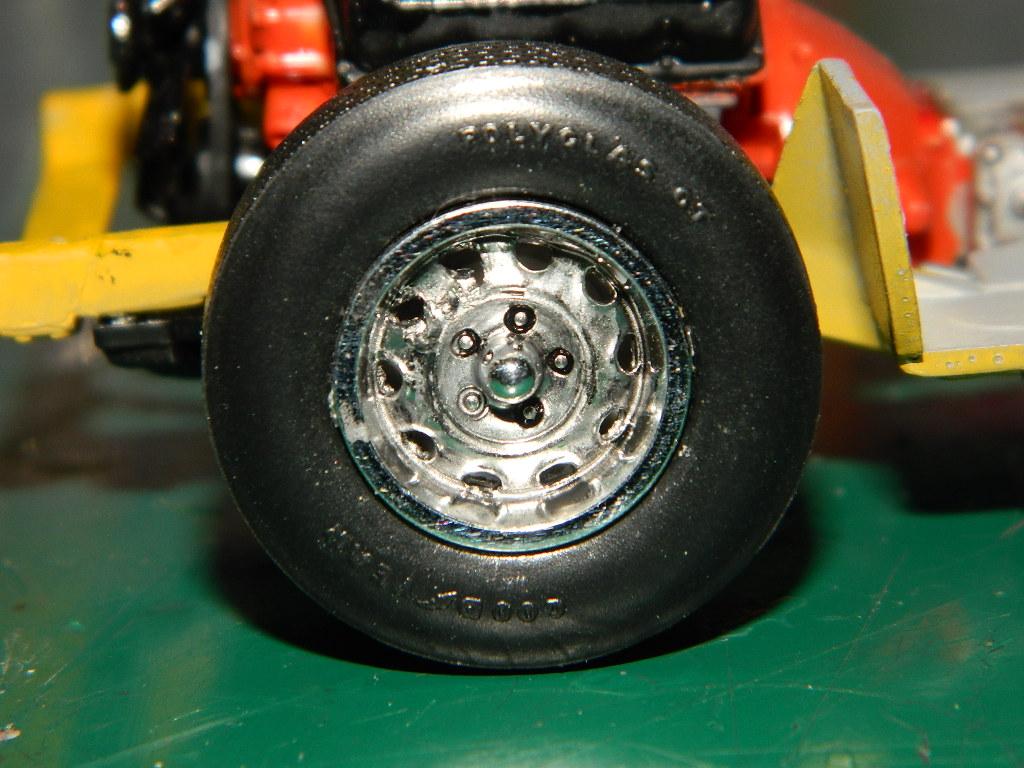
Since the wheels and tires have been sitting on the bench for a while now, I went and detailed them with Model Master Metalizer and then some Tamiya Panel Line Accent Color. This morning I put the wheels and tires together and mounted them to the chassis. Then I found out that the chassis has a slight twist to it. More NCIS to come...
-
1971 Ford F100 Ranger Pickup
mrmike replied to mrmike's topic in WIP: Model Trucks: Pickups, Vans, SUVs, Light Commercial
Thanks Guido! -
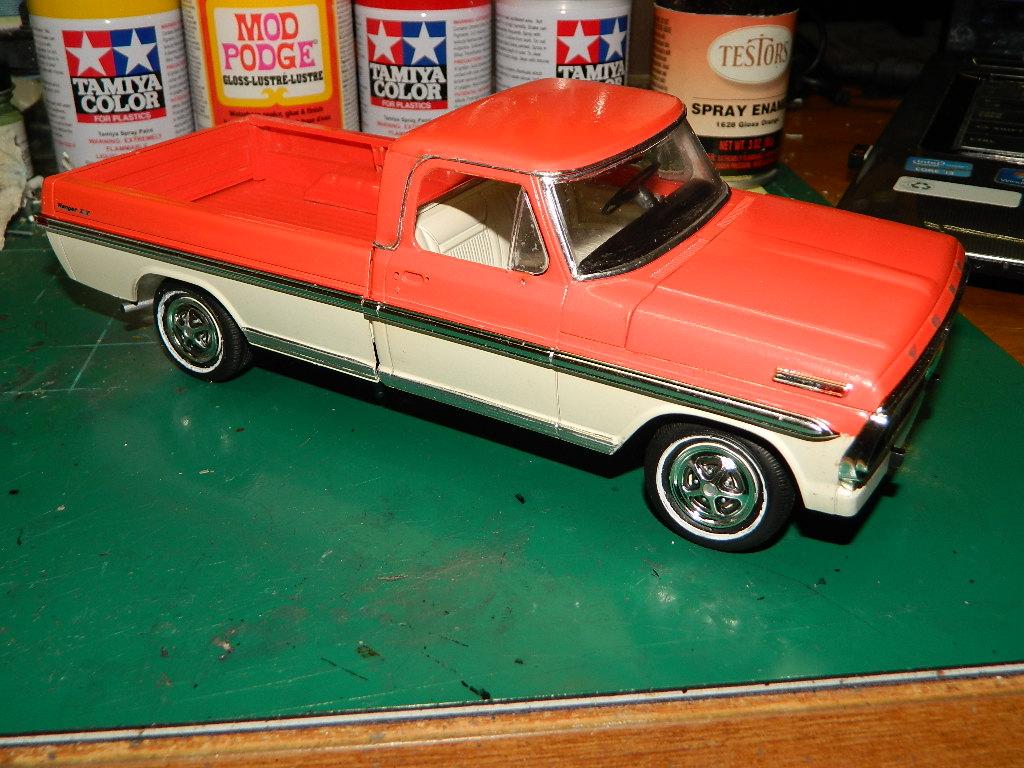
Thanks Dann! I used some Model Master Acryl Gloss Green with a small brush on Tamiya TS-29 semi gloss black painted plastic.
-
1971 Ford F100 Ranger Pickup
mrmike replied to mrmike's topic in WIP: Model Trucks: Pickups, Vans, SUVs, Light Commercial
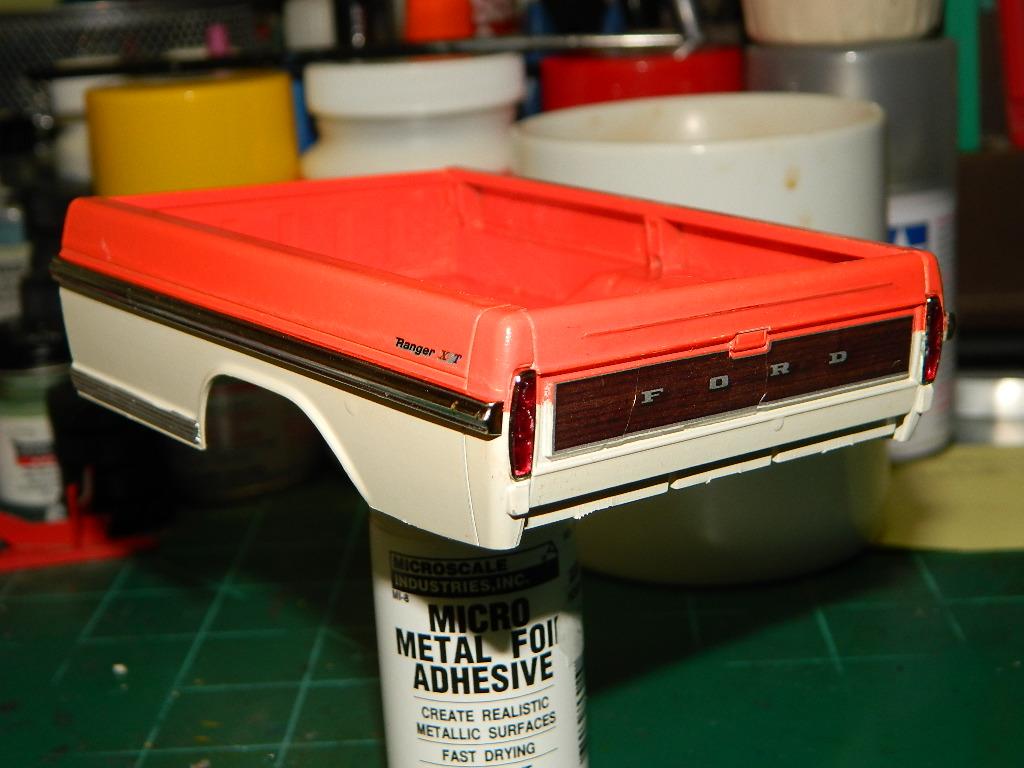
Thanks Roy! Enthusiasm is great to have, but when someone else builds a model that you also have in the stash or you see something online that inspires to get that kit out and work on it, you got to started on yours as well. That seems to happen to me lately and It is difficult to control! The Story The old man walks out of his house and he opens the gate, walks through it and closes the gate behind him. He has on an old t-shirt, pants with a grease spot around his pockets, dirty white sneakers with velcro straps, an old cardigan sweater, a plaid flat cap on his head and a pair of glasses with thick frames. He walks down to the local convenience store to buy his evening paper and he is walking at a slow pace. At the store he buys his paper, folds it and sticks in his back pocket and walks back home past old houses, some abandoned and some old garages and warehouse-like buildings. He approaches an old house with overgrown bushes in front and a young man jumps out and he tries to strangle and club the old man who flips the young attacker over his shoulder and he starts beating on the young man with blows to the face. Cops come running out of the shadows and up the street as the old man turns the young man over and he handcuffs his attacker. The cops take custody of the attacker as the old man takes off his cap and glasses and it is McNally. He was working uncover with the Police and they all suspected that the attacker would come out again in this area and McNally wanted to draw him out. The Build Some foiling done on the Ranger XLTafter I added a few more pieces to the engine compartment. My foil is old so I used some Micro Metal Foil Adhesive. I added the decals, some of which broke as I removed them from the backing paper. McNally will return...
-
1971 Ford F100 Ranger Pickup
mrmike replied to mrmike's topic in WIP: Model Trucks: Pickups, Vans, SUVs, Light Commercial
Thanks David! I think I may be getting that old modelers affliction, Modelers Attention Deficit Disorder! I start on a project and I see something else down the pike and I want to build it right away. It is very hard to control, but I am trying. -
Why Tamiya doesn't re-issue these kits is beyond me. Yes, the demand may be there, but who knows why they don't.