Exotics_Builder
-
Posts
3,635 -
Joined
-
Last visited
Content Type
Profiles
Forums
Events
Gallery
Everything posted by Exotics_Builder
-

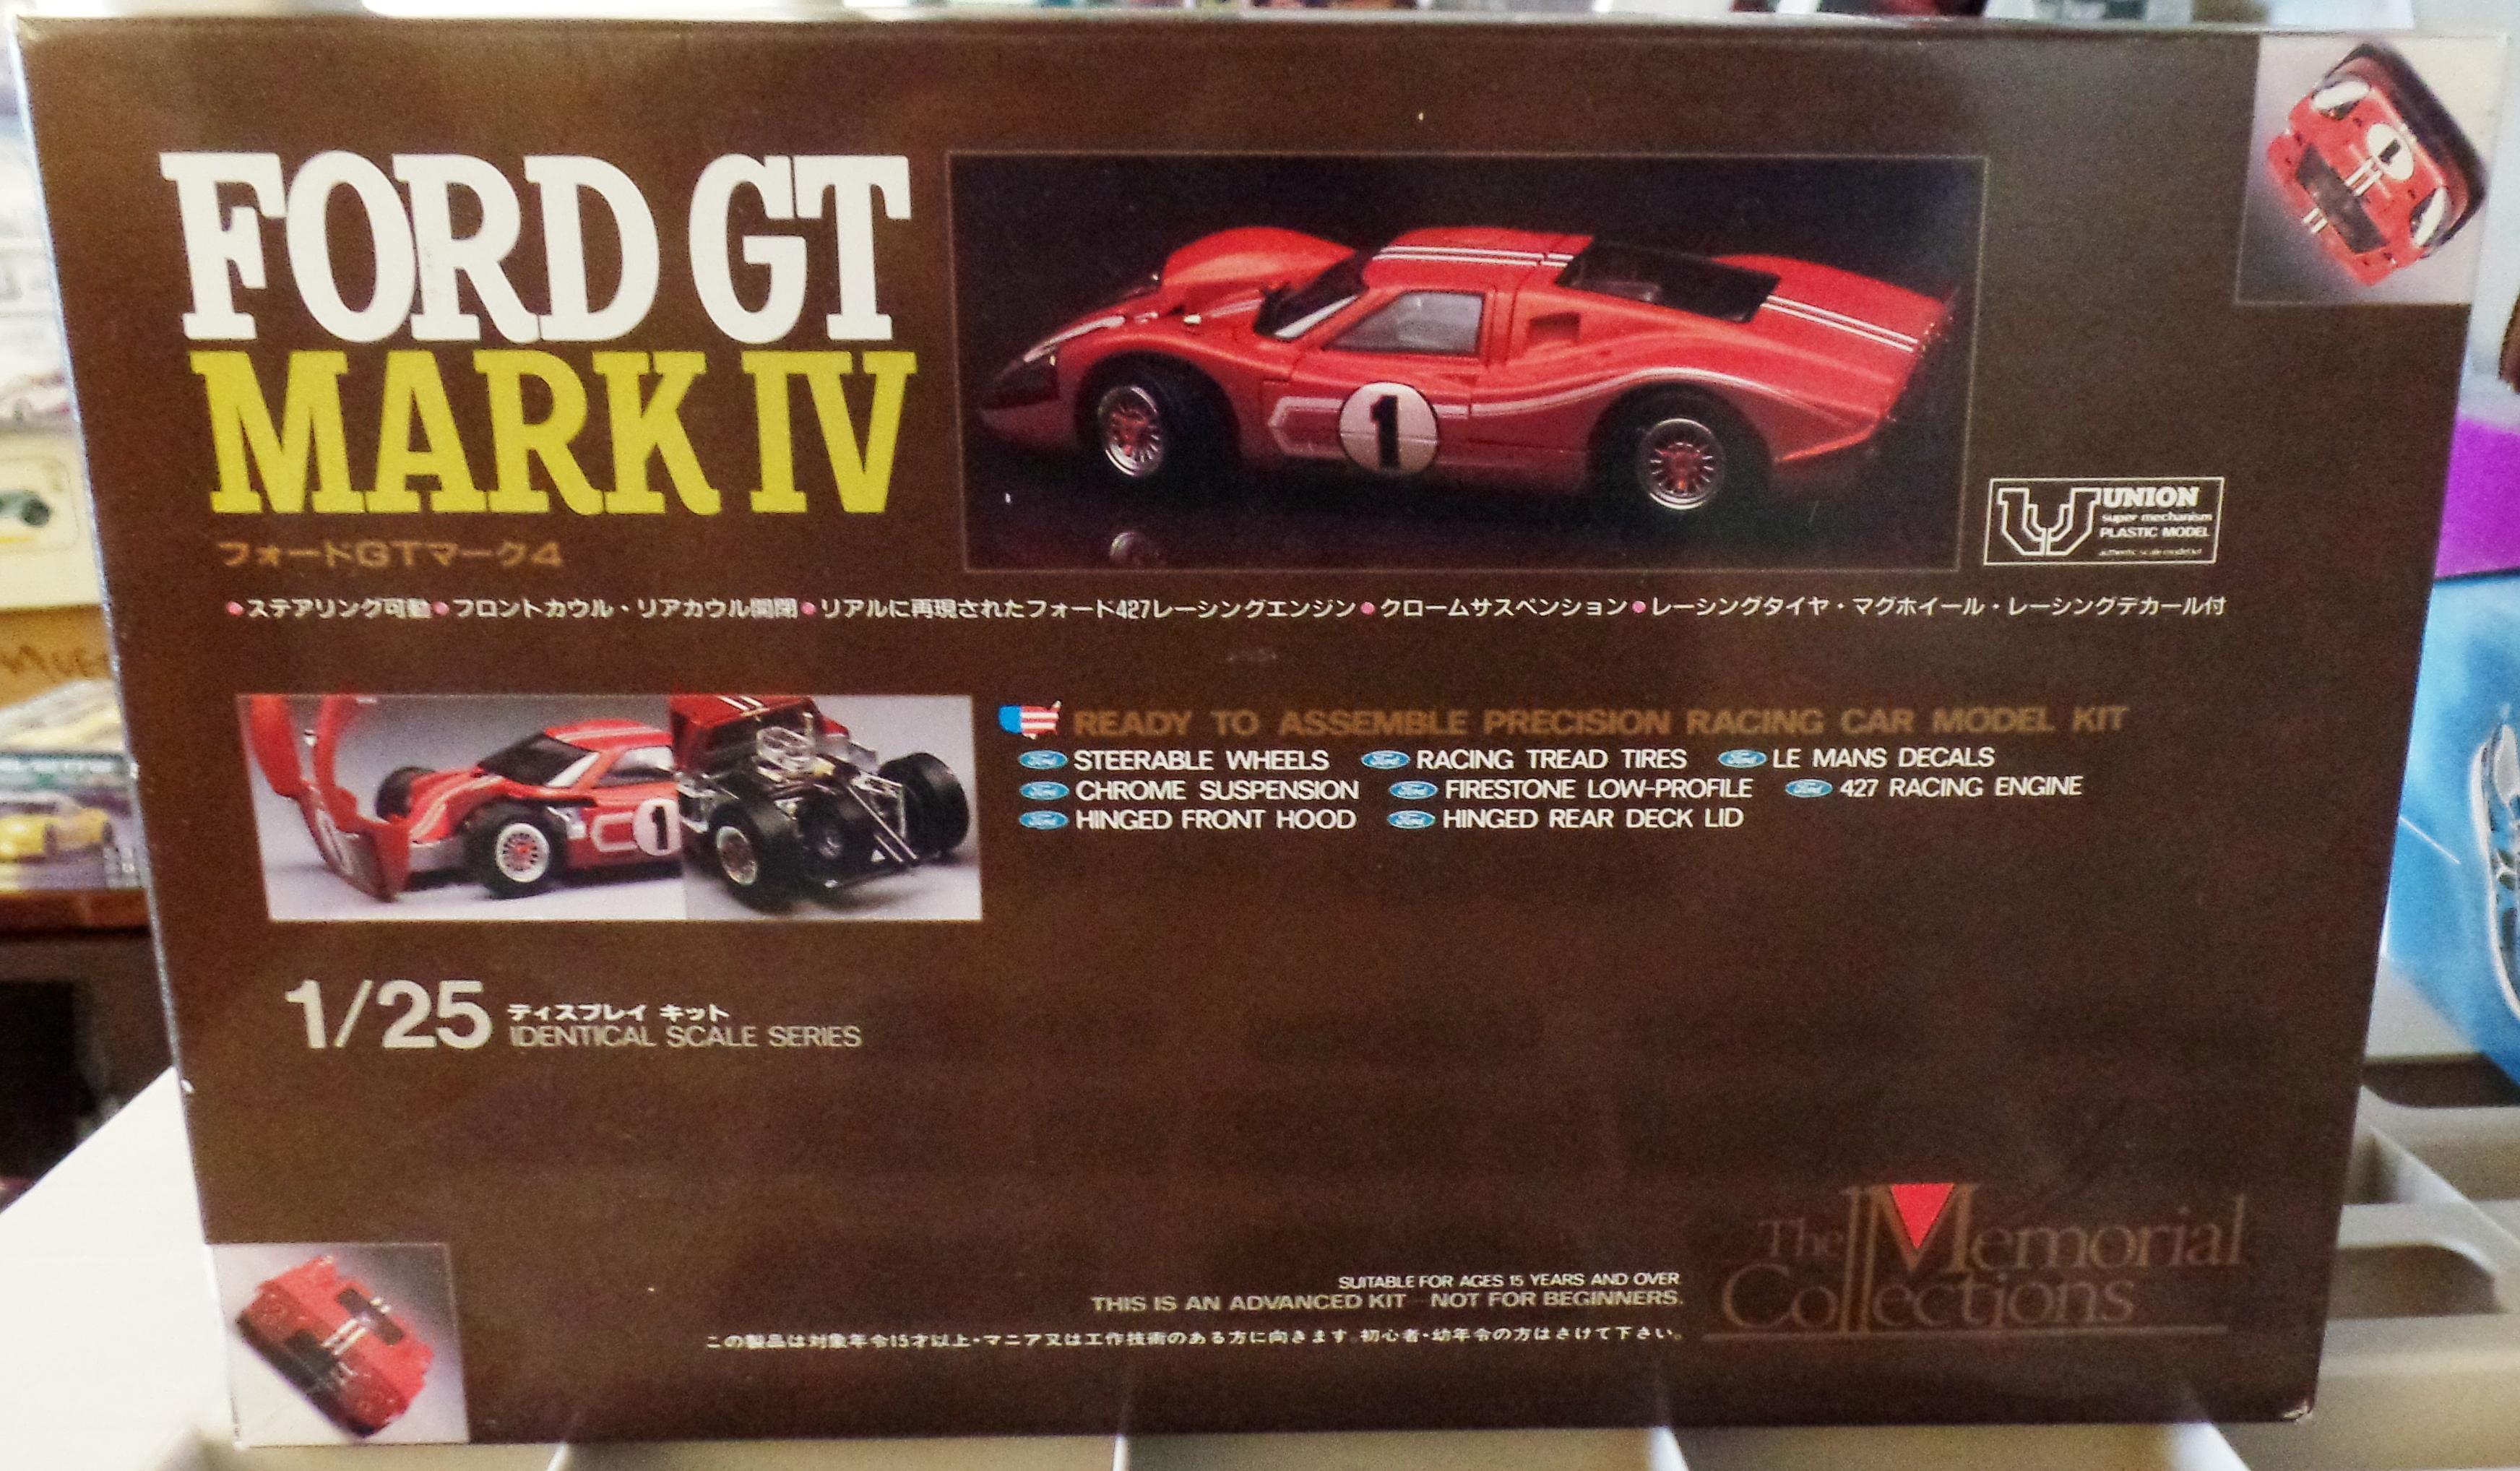
Any up dates on the Moebius chevy II gasser ?
Exotics_Builder replied to Mr mopar's topic in Car Kit News & Reviews
From their 3D prototype some years back, the tock HT was to be a 64 and the racing version a 65. -
Could be silly putty or a variety of paint masking putties.
-
Correct. Sometimes some adjustments are made, mainly new decals and perhaps tires. Box art can also change, but that is a packaging factor, not molds.
-
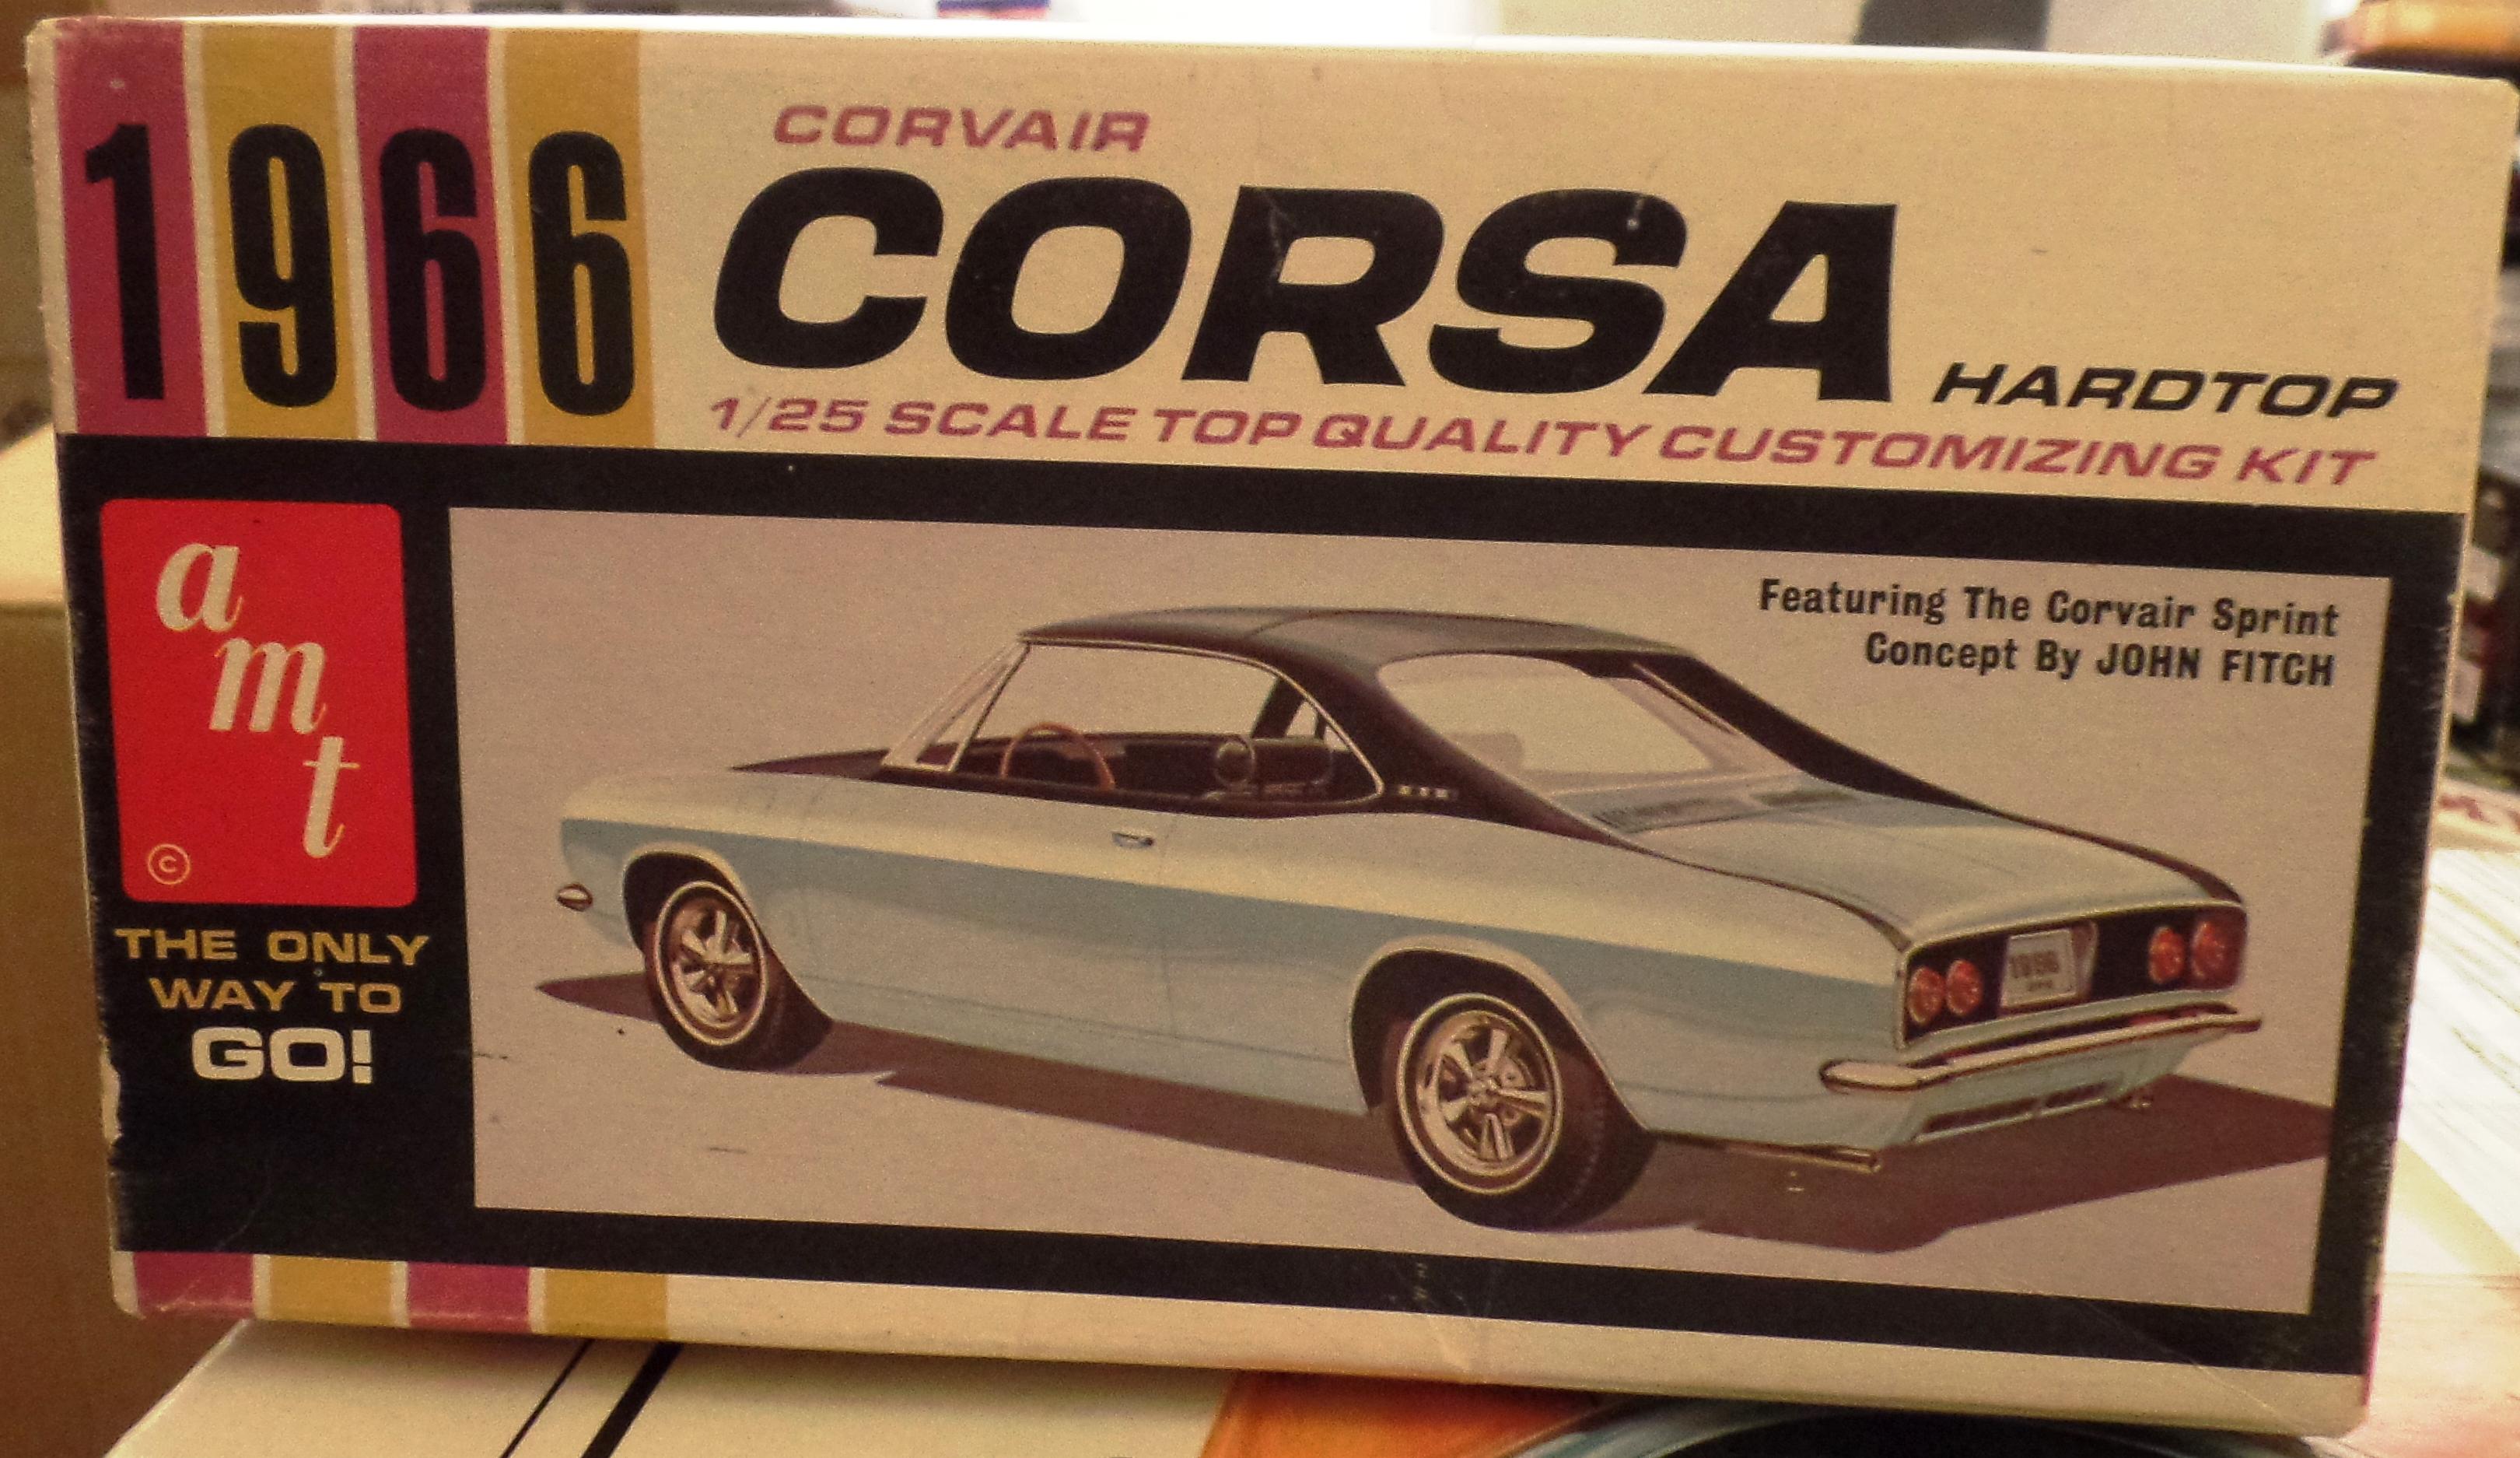
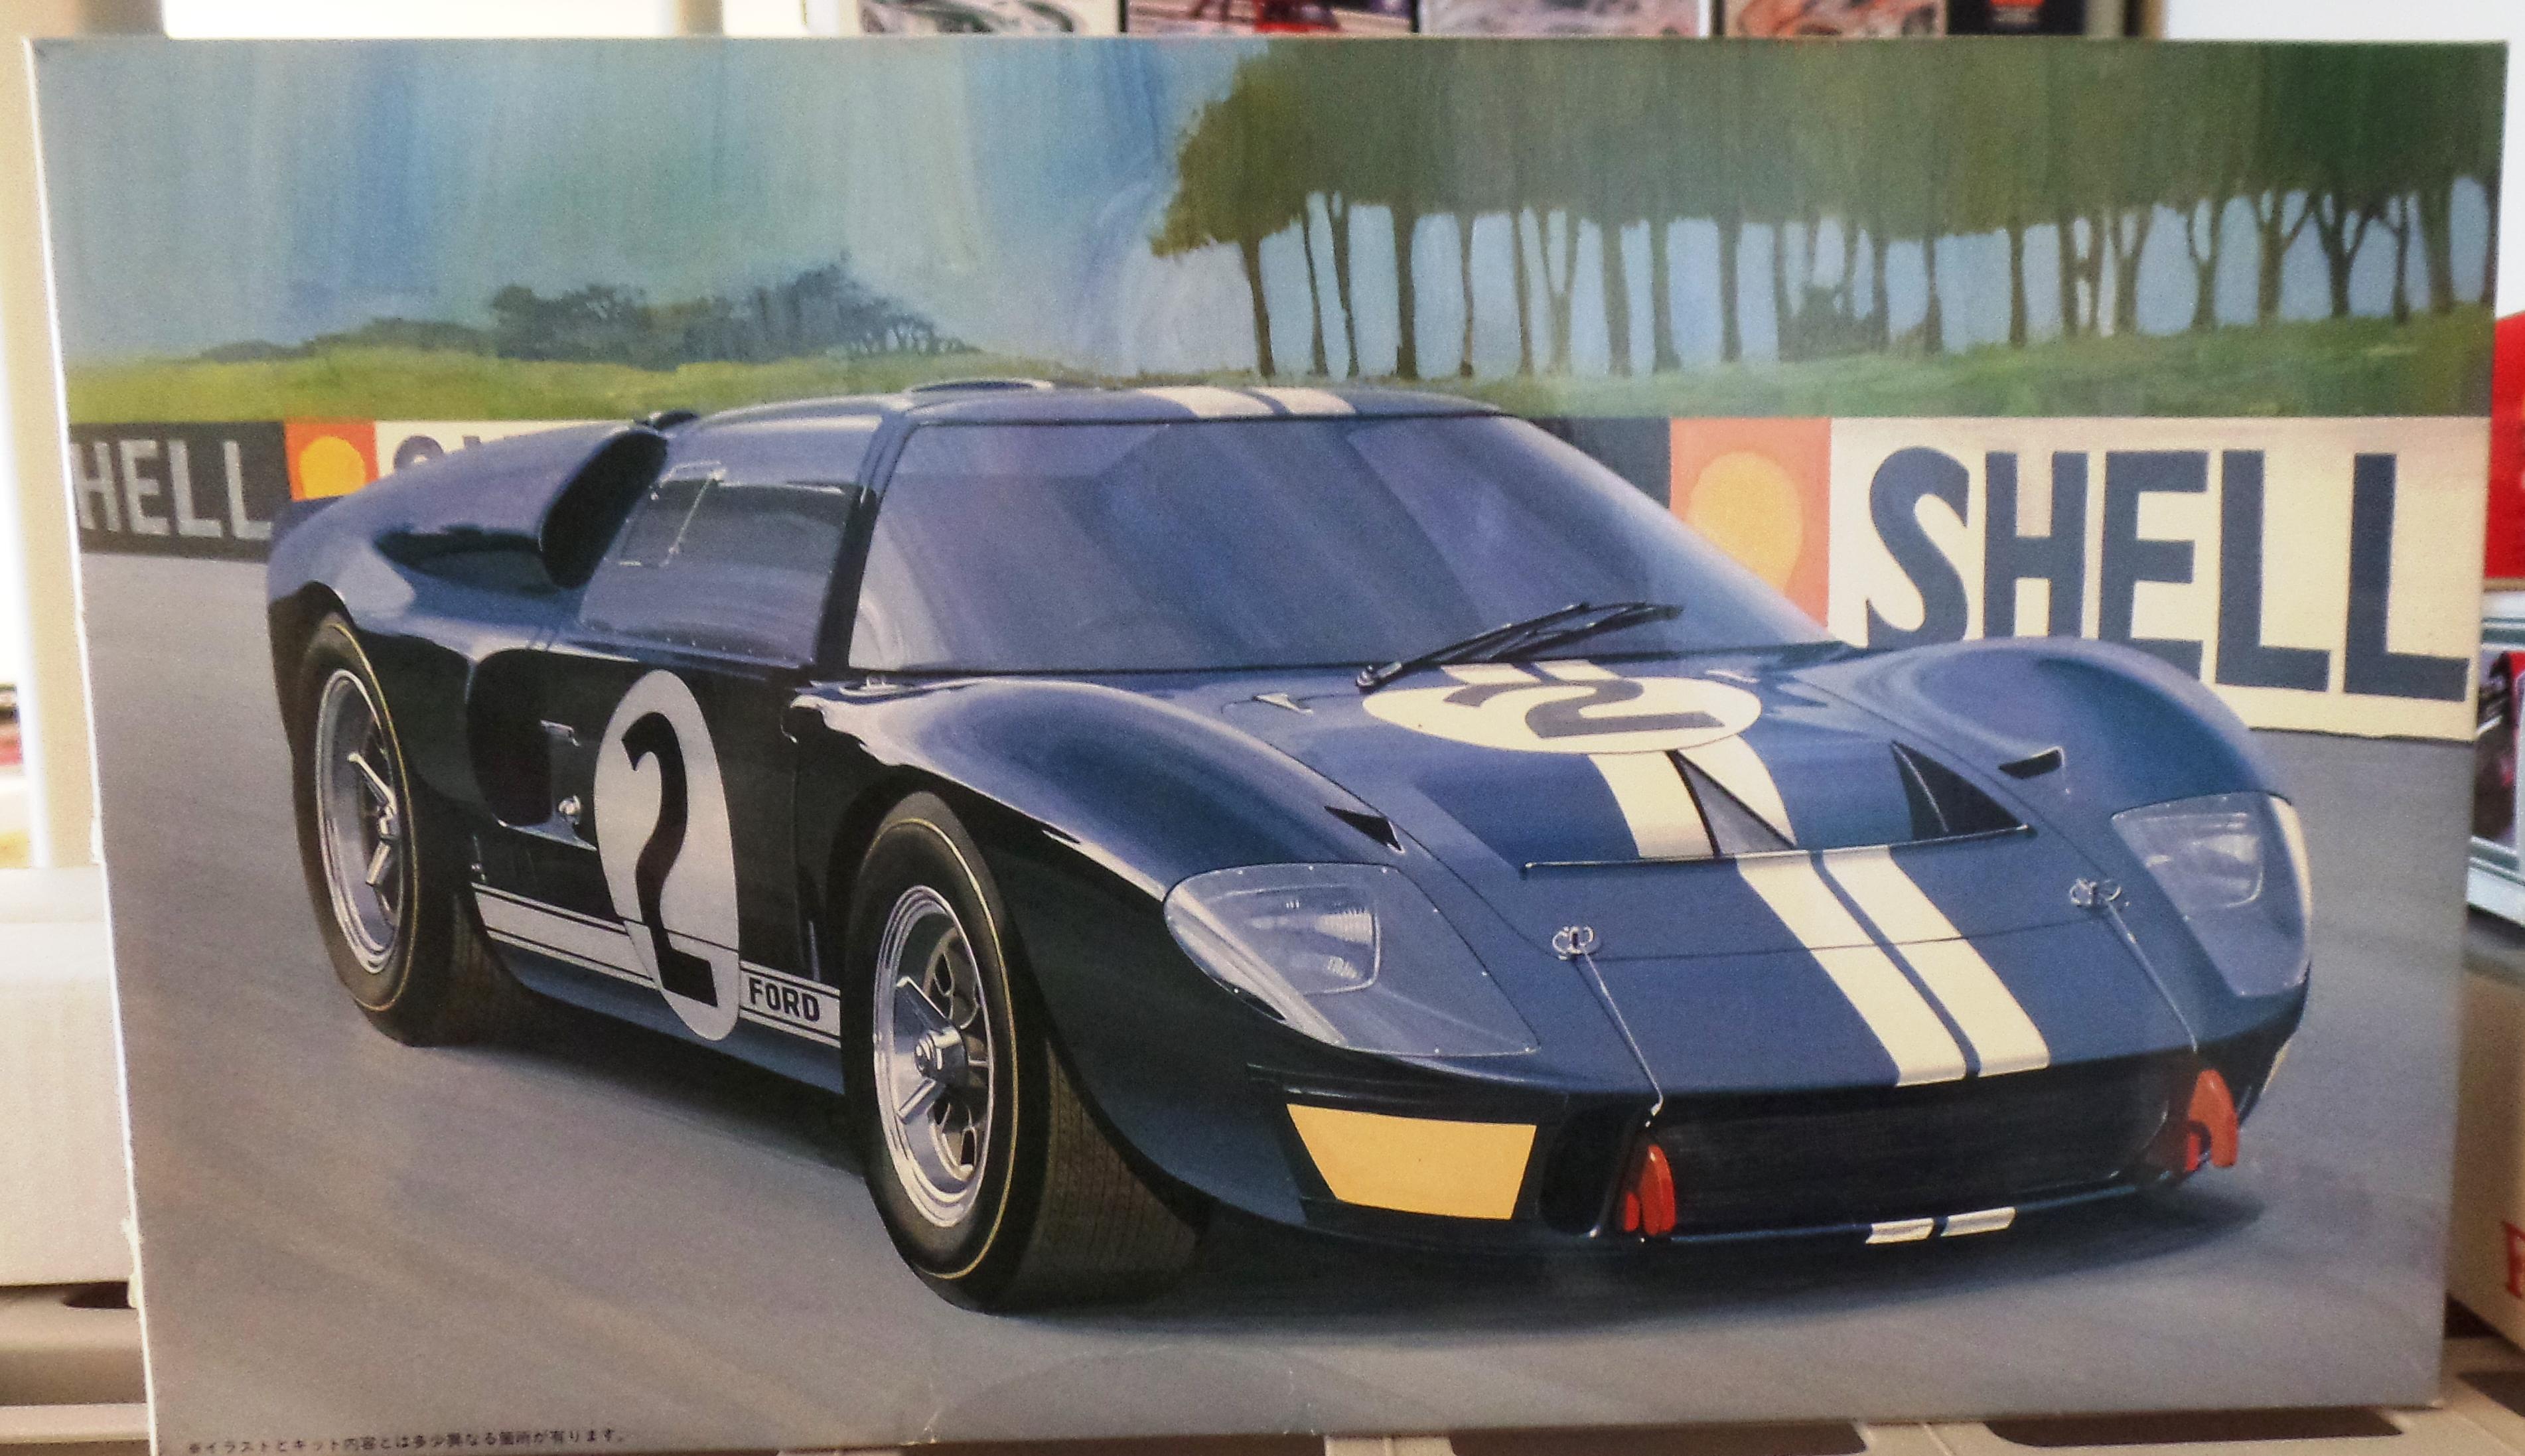
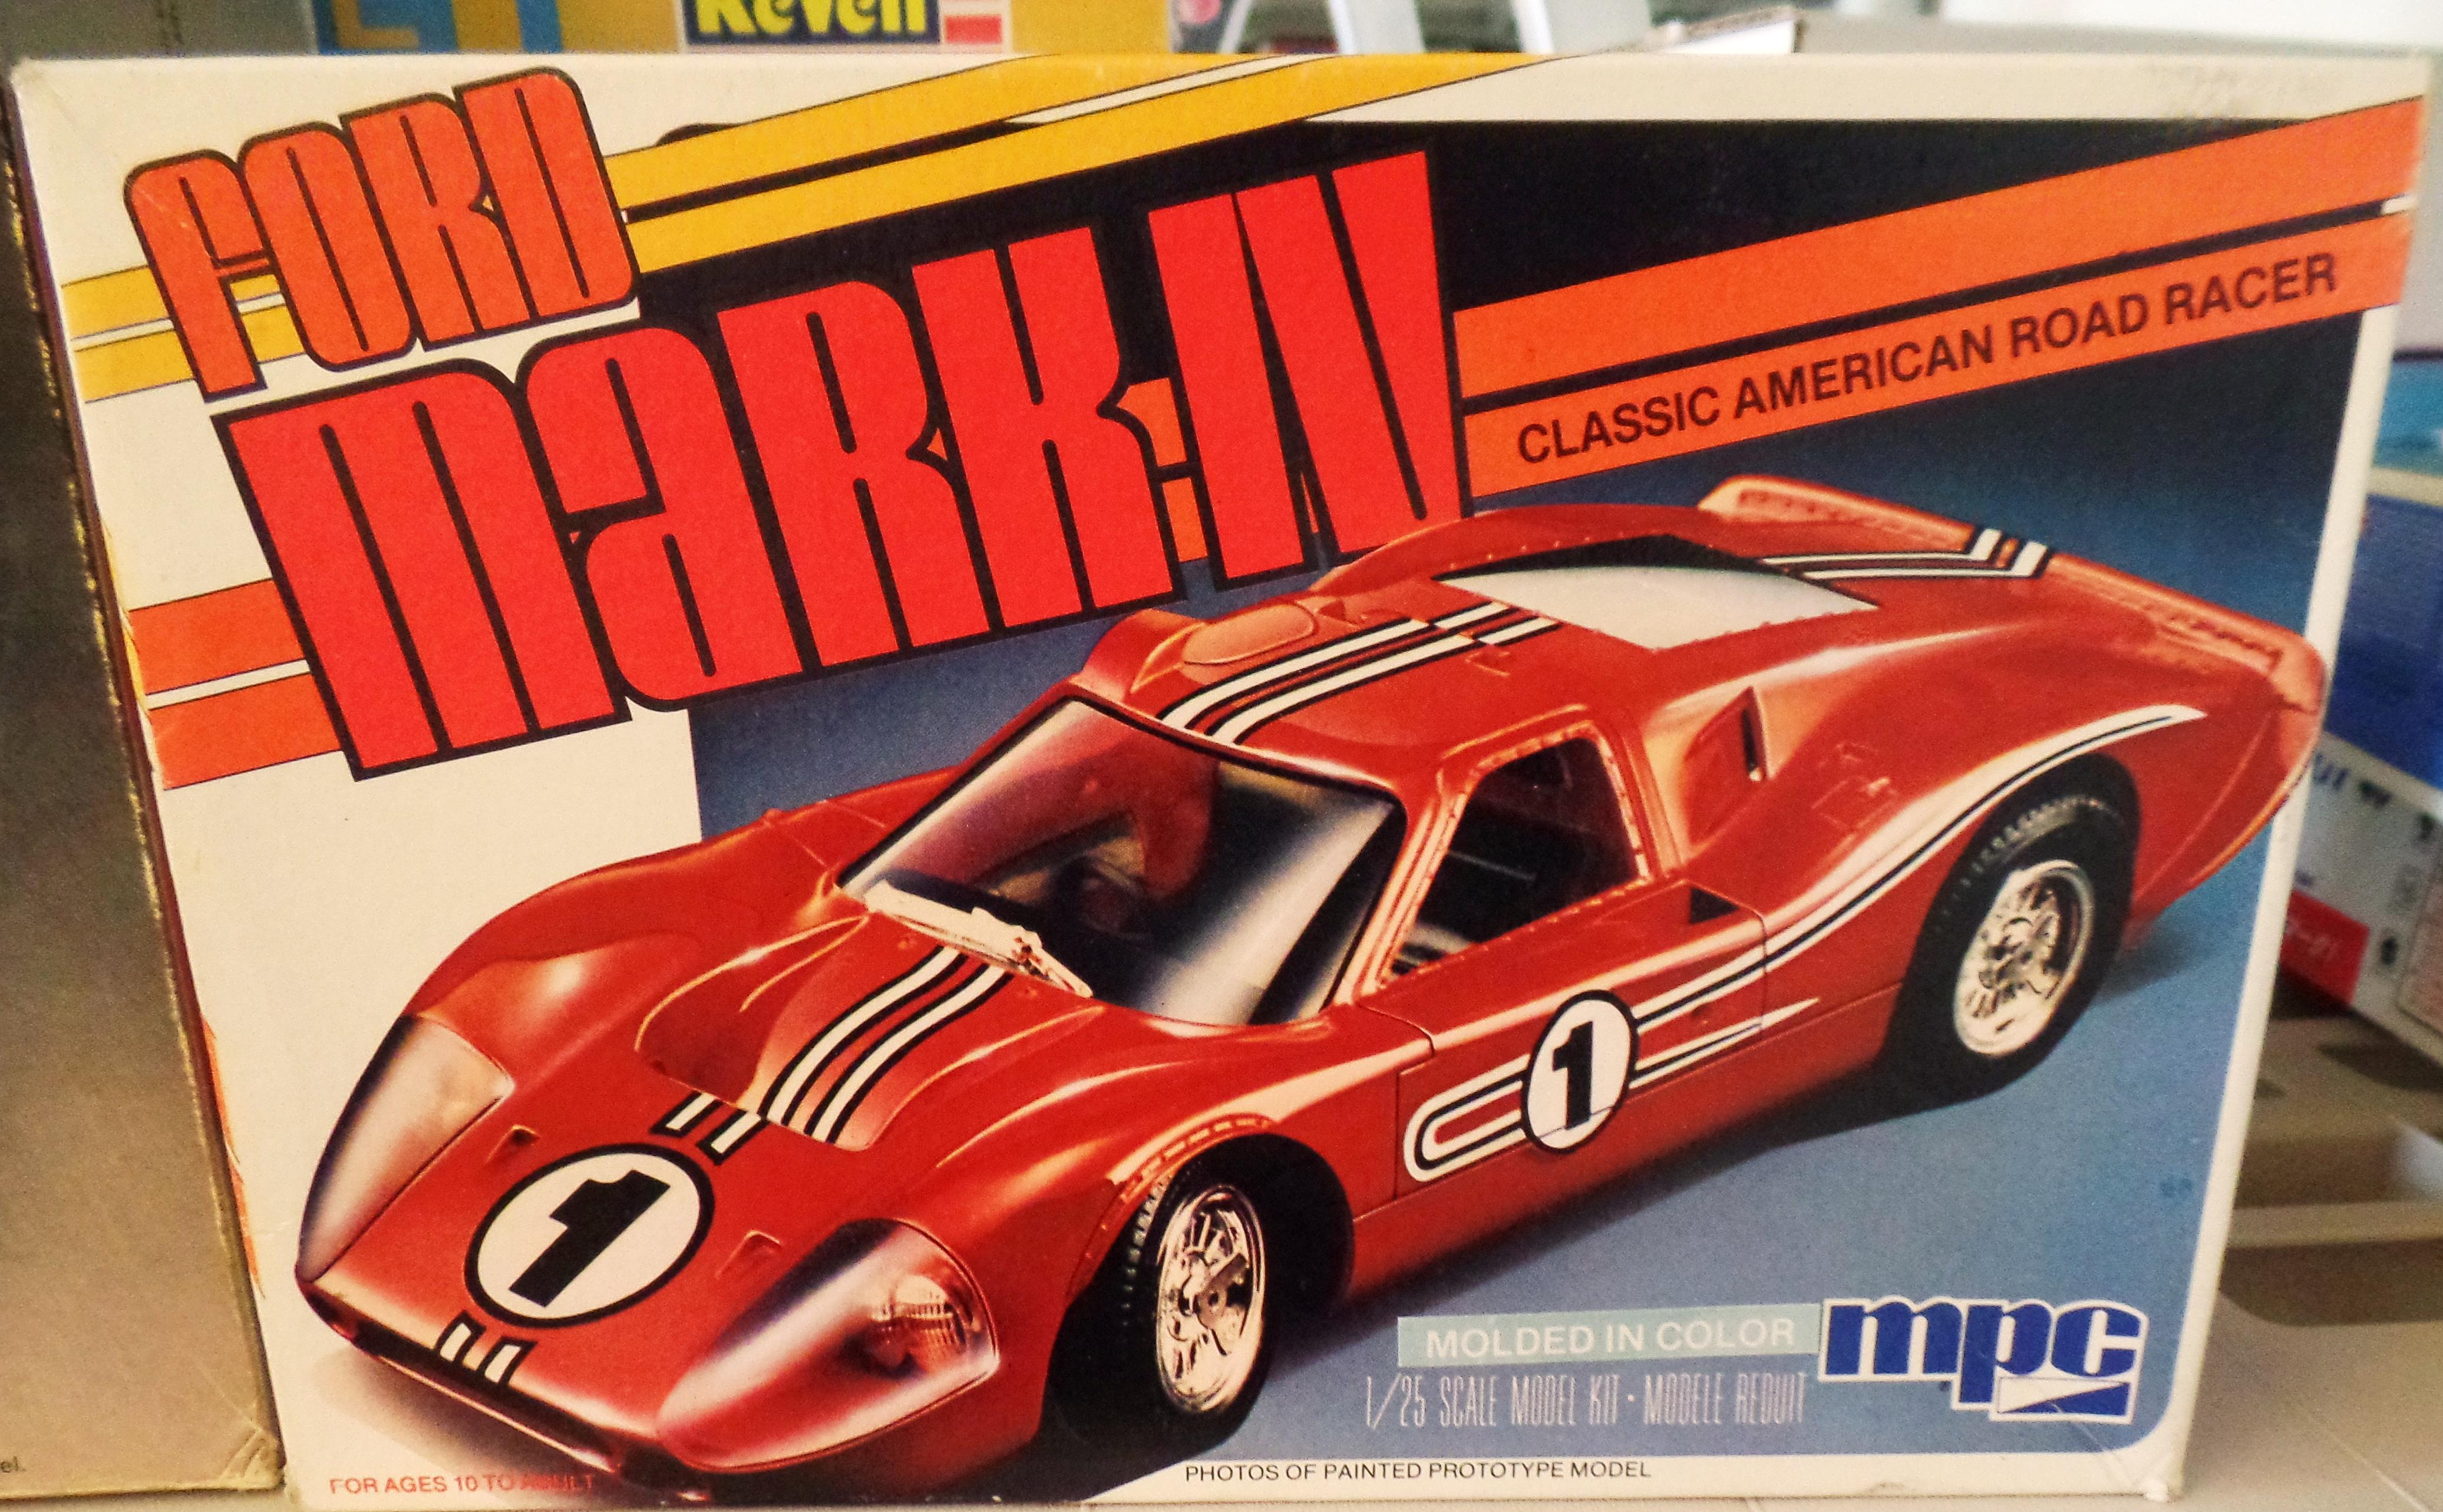
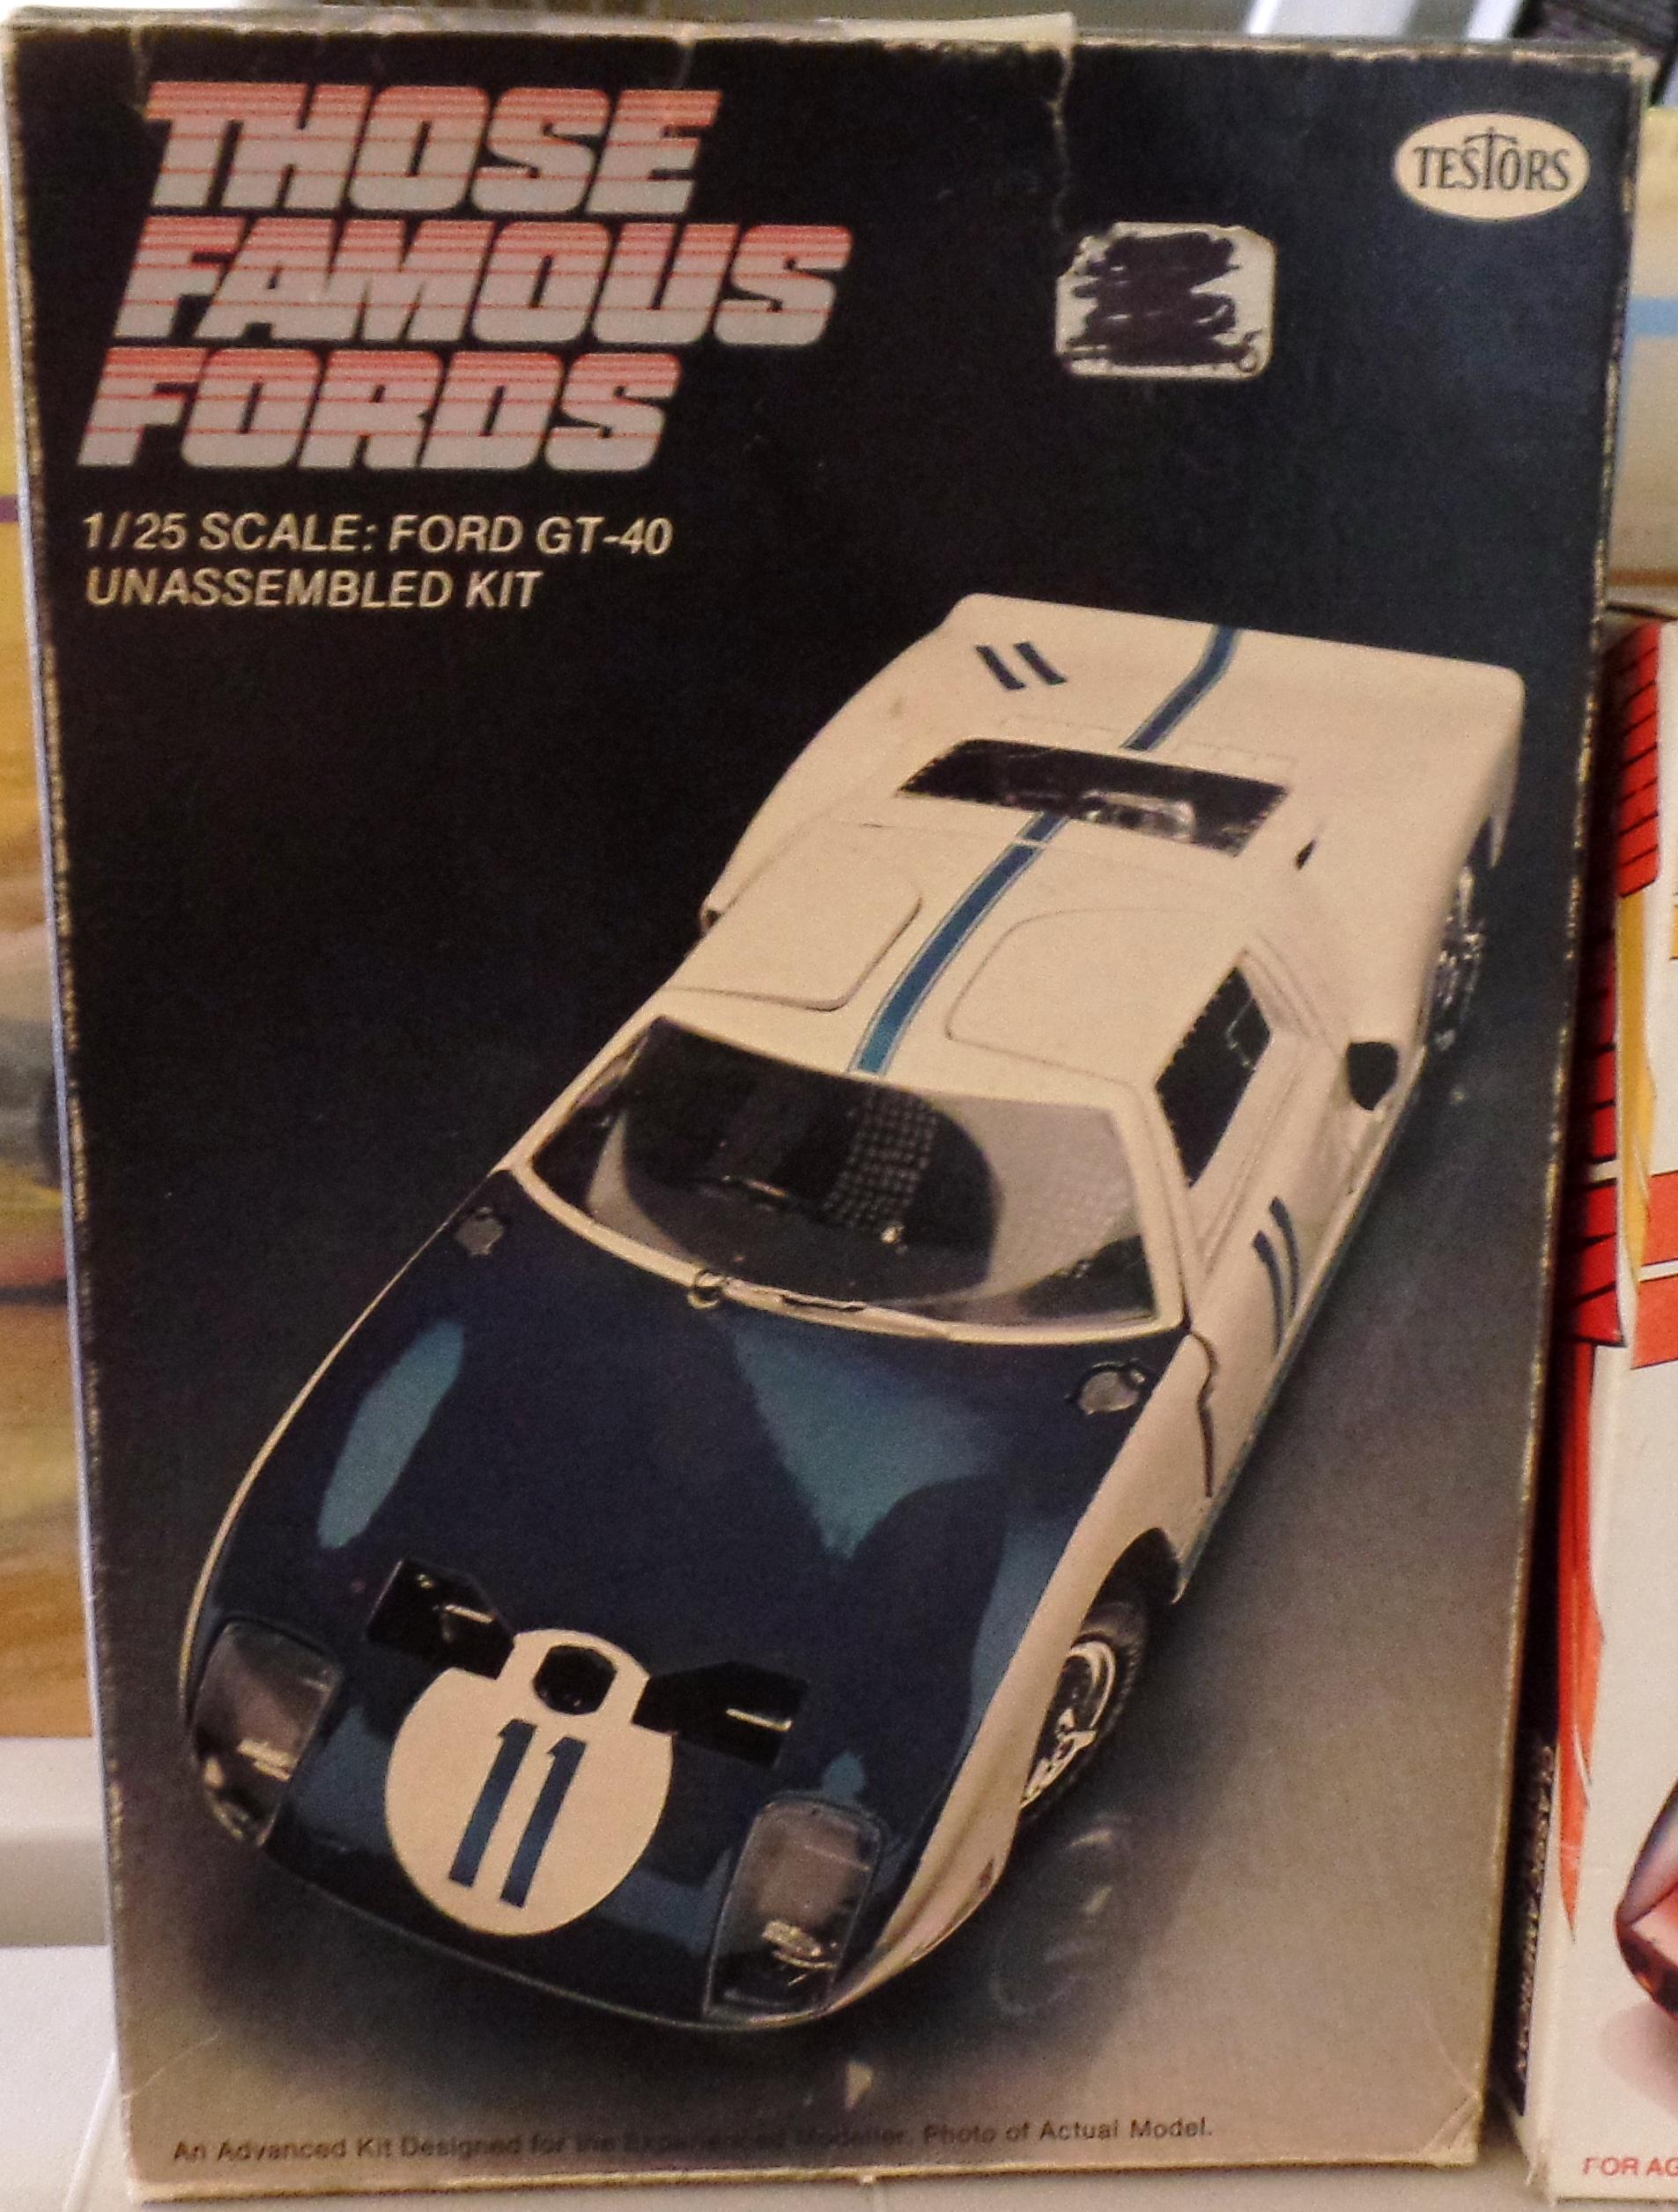
I am going to have a tough time wanting to buy another GT40 kit given my build rate and what is already in the stash. In fact, probably going to trade off a few

-
1999 Ford Focus WRC
Exotics_Builder replied to Exotics_Builder's topic in WIP: Other Racing: Road Racing, Land Speed Racers
Interior getting close to being done. I’ve worked on getting the spare tire and seats finished so I can assemble the roll cage. I used some ribbon and PE parts to tie down the spare to its it mounting in the rear. I then went after the seats. Tamiya supplies decals for the seat belts, carbon fiber, and seat markings. Instead of using the Tamiya Carbon Fiber (CF) seat back decals, I used Scale Motorsport which came in their detail set for the Focus. There are 3 CF decals per seat. I also applied the 3 Sparco seat markings from the Tamiya decal sheet and a seat manufacturer tab from a Spot Model Rally Decal Sheet to complete each seat. So, each sheet has a total of 7 decals. Next, for the seatbelts. I decided to use a 6 point aftermarket set from Eduard as the Tamiya decals are not very convincing and I used ribbon for the spare tire. If you are building out of the box, the Tamiya decals will work fine. To apply the belts, I had to prep each seat for them. This required cutting out the side slots and a cutting in a center slot in the seat bottom to accommodate the center belt. I then assembled the belt components and applied them to each seat. The upper belts are long right now as they attach to the roll cage, yet to be installed. I now need to get the roll cage assembled (which includes the dashboard and side panels). After that, it is on to the body. 70% through the build right now.
-
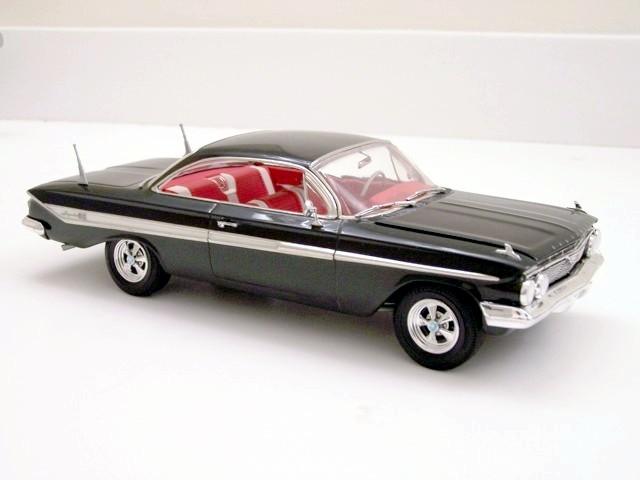
1961 Chevy Impala SS
Exotics_Builder replied to coach4570's topic in Model Building Questions and Answers
I had white decals that I used to do this one some years back. Did the BMF, then the white decals followed by the emblem decals.
-
1999 Ford Focus WRC
Exotics_Builder replied to Exotics_Builder's topic in WIP: Other Racing: Road Racing, Land Speed Racers
More work on the interior. Carbon fiber templates from Scale Motorsport (SMS) and the kit decals have been used. I also have used PE parts from SMS. The real car has two lines running from the unit between the seats. I added these by bending fine wire, sizing them, and gluing in place. For the dashboard, I applied the templates and the kit decals. Then I added labels from the Spot Model sheet. I was debating how to replicate the dash dymo labels on the real car and found this decal sheet as I was ordering replacement tire markings (the Tamiya ones did not stick). So, the dashboard represents 16 decals plus fine brush painting. Need to do a little touchup on that and then onward.
-
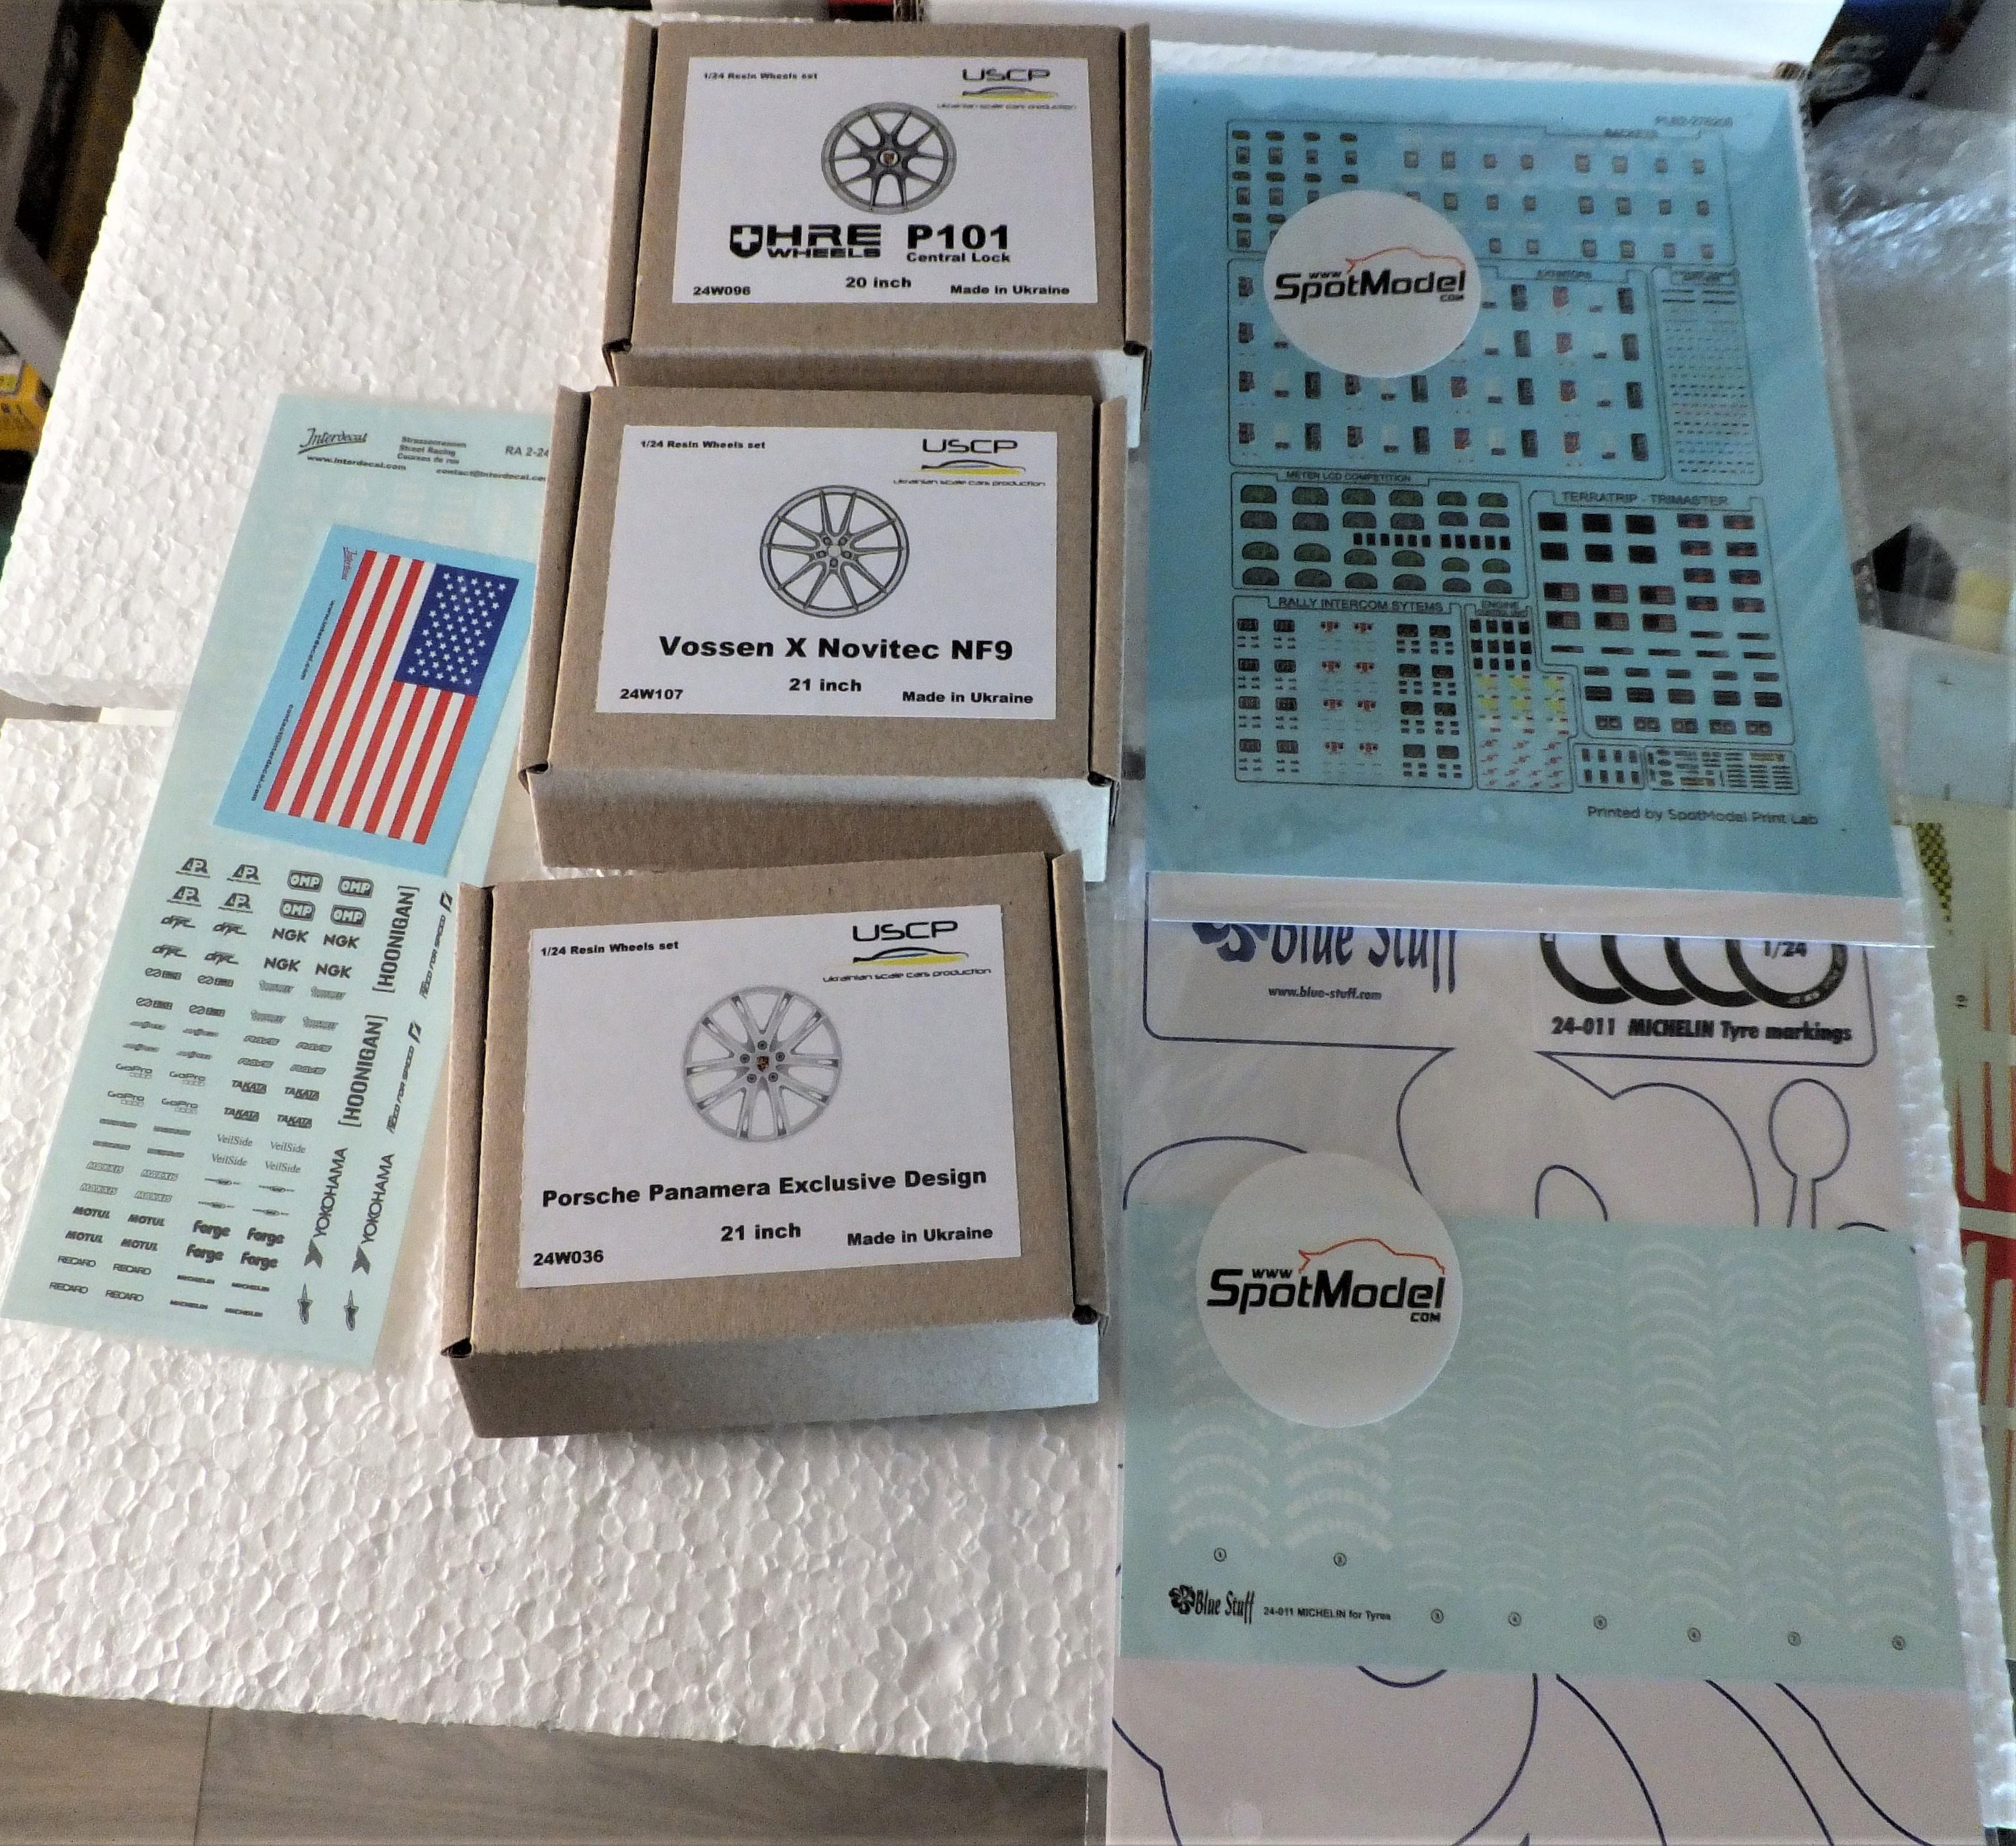
Came in last Thursday and Saturday. An international mix. From left to right, decals from Germany; wheel sets from the Ukraine; and decals from Spot Model in Spain.
-
3D parts and figures
Exotics_Builder replied to slusher's topic in Model Building Questions and Answers
I've also given them an alcohol "bath" before washing in soapy water. -
Generally, when someone mentions LS engines they mean the modern era LS/LT engines. The AMT 70 1/2 B-M Camaro has a very nice Big Block engine that would certainly fit the 66 Suburban, but is a totally different vibe than the modern LS. For that, one needs to look at Revell Gen5 Camaros for attached transmission versions, the above mentioned Chevy pickup or SSR (their Vortec engines are iron block LS), or C5 and C6 Revell Corvettes if you want to cut off the torque tube and add a transmission (or go all out with a transaxle and IRS). That is why I asked above what engine family the OP was referencing
-
Are you asking about modern LS engines (or LT engines in the Gen6 Camaro)? Or older LS engines which are big block. Chevrolet has reused the engine designations more than once on different families of engines.
-
Cosworth Vega Wheel
Exotics_Builder replied to George Bojaciuk's topic in Car Aftermarket / Resin / 3D Printed
Love it. If I could figure out the engine and get a Vega kit, I would be all into doing a Cosworth Vega -
1999 Ford Focus WRC
Exotics_Builder replied to Exotics_Builder's topic in WIP: Other Racing: Road Racing, Land Speed Racers
Agree on the Tamiya acrylics. I have used a mixture of paint types on this. Initially, Tamiya lacquers. Then some Testor enamels. Final, the Tamiya acrylics -
1999 Ford Focus WRC
Exotics_Builder replied to Exotics_Builder's topic in WIP: Other Racing: Road Racing, Land Speed Racers
I pretty much have the chassis assembled and started on the interior. For the wheels, Tamiya provides 3 decals for each one to reflect the actual car. On top of that, I decided to add valve stems (from Decalcas). The stems come in a set of 20, and, unlike the first time), I did not lose any in cutting from the base). I also took some Evergreen strip plastic and scribed with a vee-shaped file to simulate stick on wheel weights. The strip is thicker than I wanted, but I could not find a thinner one in my stash that would work. Given where they are on the wheel, the effect looks good. For the tires, other than spare, I sanded the treads to give a more realistic look. Unfortunately, the Michelin decals supplied for the tires by Tamiya did not stick at all (dry transfer). I don’t know if it is age of the decals or something else. The waterslide decals seem to be fine (I store all decals in zip seal plastic bags to protect them. I’ll need to figure out a solution for that, or just let them go.
-
Any up dates on the Moebius chevy II gasser ?
Exotics_Builder replied to Mr mopar's topic in Car Kit News & Reviews
If I recollect right, the stock is to be a 64 and the gasser a 65. -
Any up dates on the Moebius chevy II gasser ?
Exotics_Builder replied to Mr mopar's topic in Car Kit News & Reviews
Those look like the ones taken at the IHOBBY show of several years ago or the 2017 NNL . -
misinformation on the web.
Exotics_Builder replied to thomascoffey1959@gmail.com's topic in The Off-Topic Lounge
No, it was George Washington -
Well, I had a mishap on the Royal Pontiac 66 GeeTO and the body is being stripped. Ned to figure out the decals though, as they were applied. I did make a Hi-Res scan of them, so I at least have a starting point. As that project is off the table for a bit, I decided that I have not done a race car for a few years, so went to the shelves to decide what genre to tackle. I decided on Rally cars. I only have four kits in that category. I did not want to complicate a project as I have other things going. I also decided since Testor Model Master paints are getting harder to come by, that I would try some of the Tamiya Acrylics. I have used them in limited form in the past, namely the tinted clears. Thus, I elected the 1999 Ford Focus WRC by Tamiya. I got the kit in a raffle years ago and got the Scale Motorsport detail sets for it. The kit is curbside but does have considerable chassis and interior detail. So, on the bench it went. Clean was generally easy, given it is a Tamiya kit. There are some ejector pin marks that needed some attention, and some that would not be visible once finished. After cleaning, I applied Tamiya Fine White Primer and then started the color painting using their acrylics. In most cases the colors brushed on decently, including good blending. In some cases, mainly semi-gloss black, there was some roughness needing attention. In just about every case, a second light coat was needed and some additional touchup after parts assembly. So far, the chassis bottom and suspension components are done and need assembly. On the body, I scribed out door, trunk and hood lines to make them deeper and cut out the top grill section to make way for a PE piece. Next steps are chassis assembly, interior and body work.
-
Needing some brainstorming help
Exotics_Builder replied to Venom's topic in Model Building Questions and Answers
-
Just used recently and was fine
-
66-69 Corvair differences
Exotics_Builder replied to Oldcarfan27's topic in General Automotive Talk (Trucks and Cars)
I'd have to check the kits I have to be sure. But somewhere along the line, the automatic shifter is on the dash board as well as a stick shift.
-
1966 Royal Pontiac GeeTO Tiger
Exotics_Builder replied to Exotics_Builder's topic in WIP: Model Cars
Got the decals on, and they were a pain. Even with a strong coat of Microscale Decal Film, the long red accent lines came apart. Fortunately I have some Red Chatpak tape that is very close to the size of the stripes and quite thin. So, the tape "volunteered" to take the place of the decal stripes. There also was a "hickey" on the red part of one of the Hurst Logos. I did do a Hi-res scan of the decal sheet and could try to print off just the logo, but not yet sure if worth it. I have washed the model and getting ready to clear coat it. The decals really need a clear coat to better blend in. -
Here: TES_Revell_Paint_Match_Guide1 And here for the color chart Revell GmbH
-
Zero paints - gritty finish question
Exotics_Builder replied to Mcpesq817's topic in Model Building Questions and Answers
Thanks. I usually go light until the last, if a wet coat is really needed. -
Zero paints - gritty finish question
Exotics_Builder replied to Mcpesq817's topic in Model Building Questions and Answers
I've been thinking of trying, but wasn't sure if it would work with the lacquer paints (Zero, Tamiya, Testor, Cobra Color, Splash, Gravity) that I use for automotive.


.JPG.e23a8aef7fad98f8d19e2147e8867524.JPG)
.JPG.23f5f9454fea364dd6c97aefd64c6833.JPG)
.JPG.af92247a47f5b63063a51d027de4400d.JPG)
.jpg.4fee469c00185a25243ae63bc6f5f6af.jpg)
.JPG.dd2654f79d324ecb982225a39e1d8ca1.JPG)
.JPG.fc2d745b3607291770aabb5e2c8e860c.JPG)
.JPG.549250bca795a9d3a70fa71510ab4965.JPG)
.JPG.17cc5749793717810928008be2df7862.JPG)
.JPG.3f97e8c790742cd1cde876b60295ff46.JPG)
.JPG.db6a1a0d78a7e95f9eacfe82ba4c367a.JPG)
.JPG.ca0be1eaa2794c1917c2d1106aee120e.JPG)
.JPG.09fee844917a698f0e22212719683053.JPG)
.JPG.460566c7b90bc56a9e71d78c6c5fc4fc.JPG)
.JPG.6ab5246f8043983f865d1542eaa8a9e3.JPG)
.JPG.c473032ea58394c20586b3a361db0972.JPG)
.JPG.a78174b222c383d37770326ffa1b7bbe.JPG)
.JPG.ed49d6a60637eb10fc05ca616edd26c9.JPG)