oldcarfan
-
Posts
2,868 -
Joined
-
Last visited
Content Type
Profiles
Forums
Events
Gallery
Everything posted by oldcarfan
-
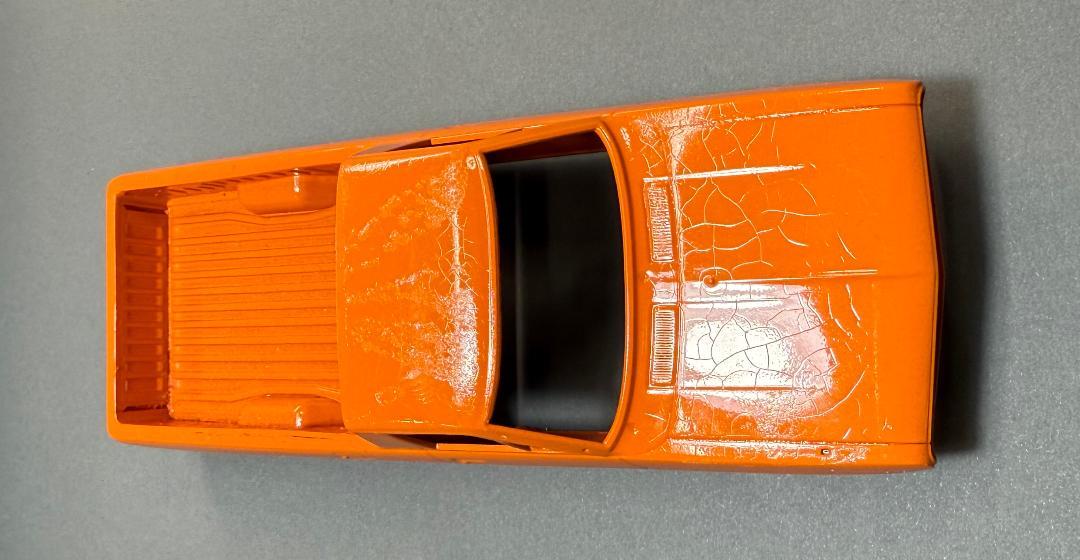
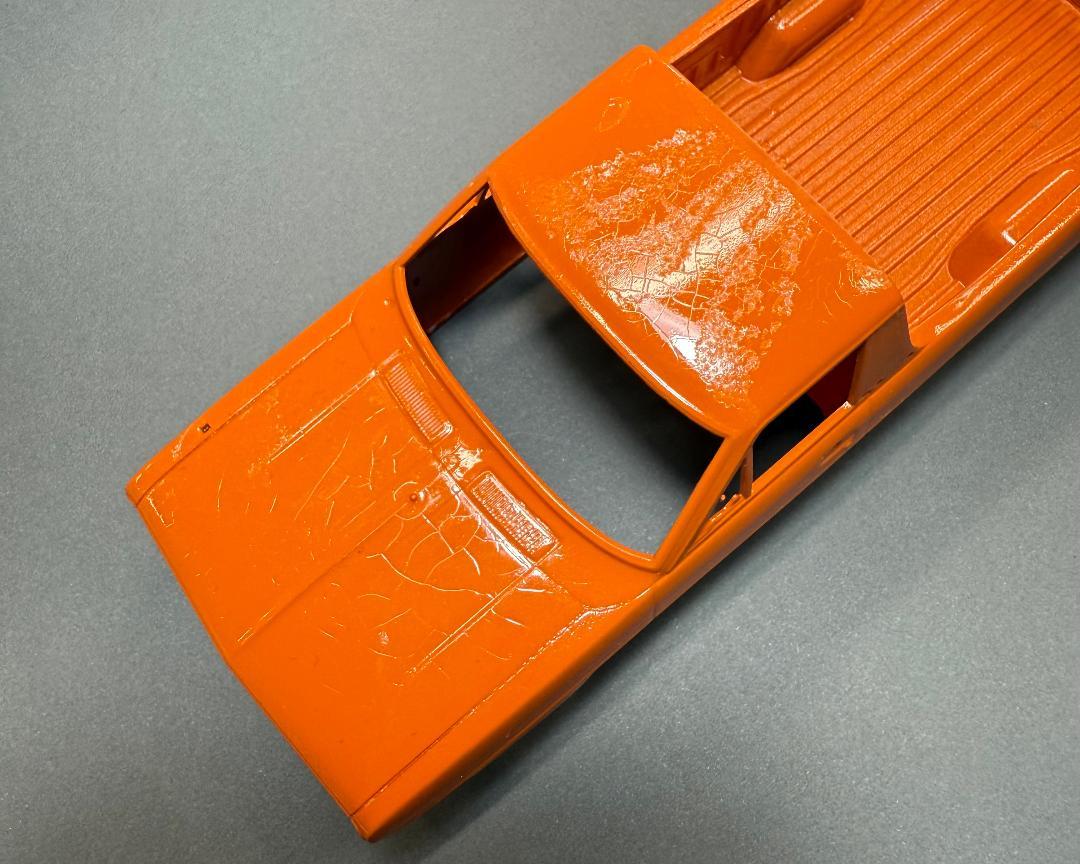
 This is my Hasegawa Nissan Sunny truck. I started it three years ago and only painting the body before I got distracted and it went back in the box. I decided to make a new start on it this morning and pulled the box down. Not sure what happened, but I promise it didn't look like this when it went in the box. Sad because it was one of my better paint jobs. The paint is Testor's Model Master under their One Coat Clear and it wasn't too thick. The body was stored in a gallon sandwich bag and in a climate controlled area and the bag wasn't touching it when I opened the box. Those are the details. My best guesses are that maybe the paint and clear coat slowly reacted with each other or that the bag trapped gases from the paint, or maybe the lack of air circulation in the bag did something weird. It's all good, the body is now in the purple pond. It'll work out and I even have an idea for a different paint color. Anyway, if you store painted parts, be cautious.
-
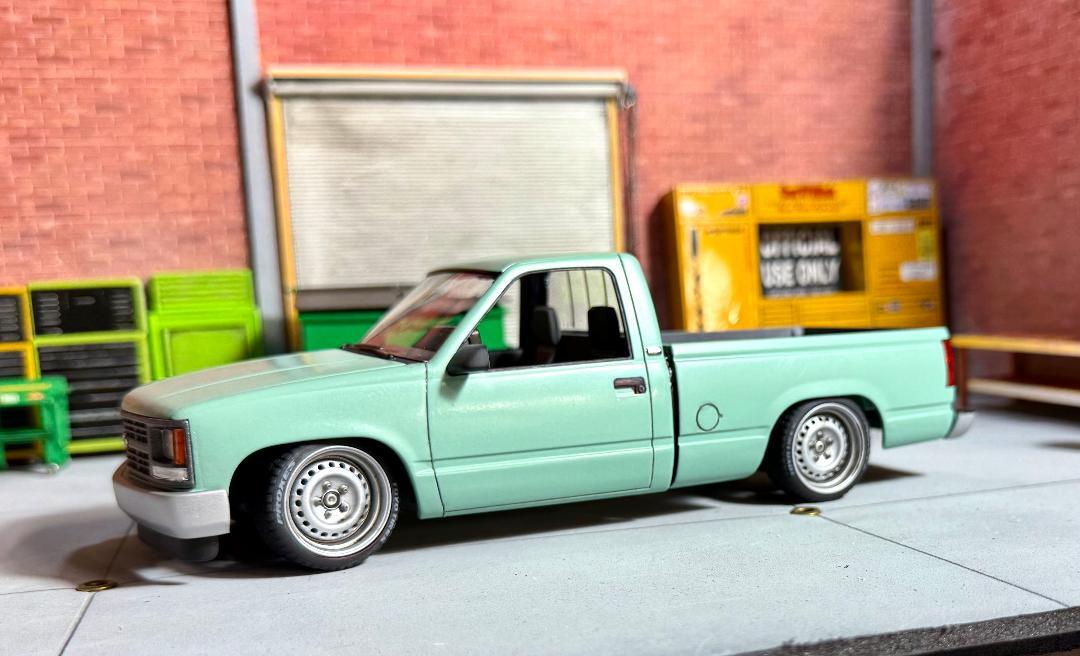
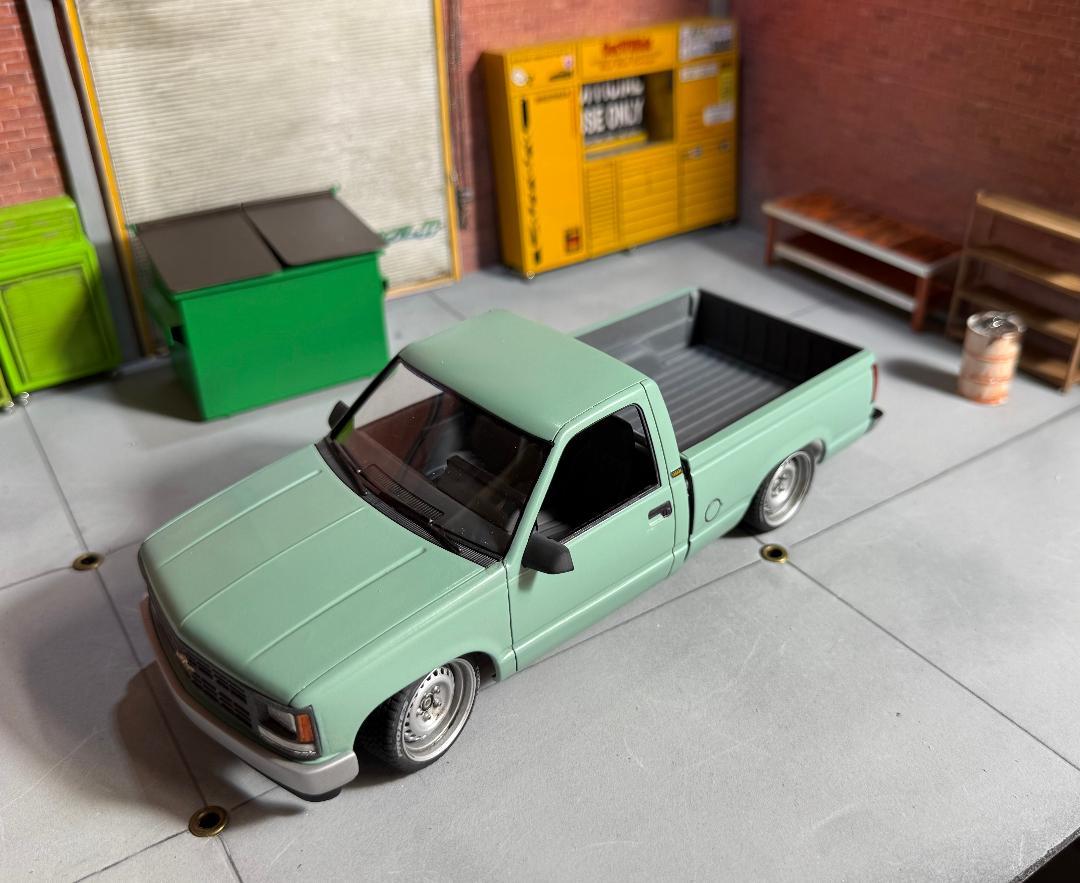
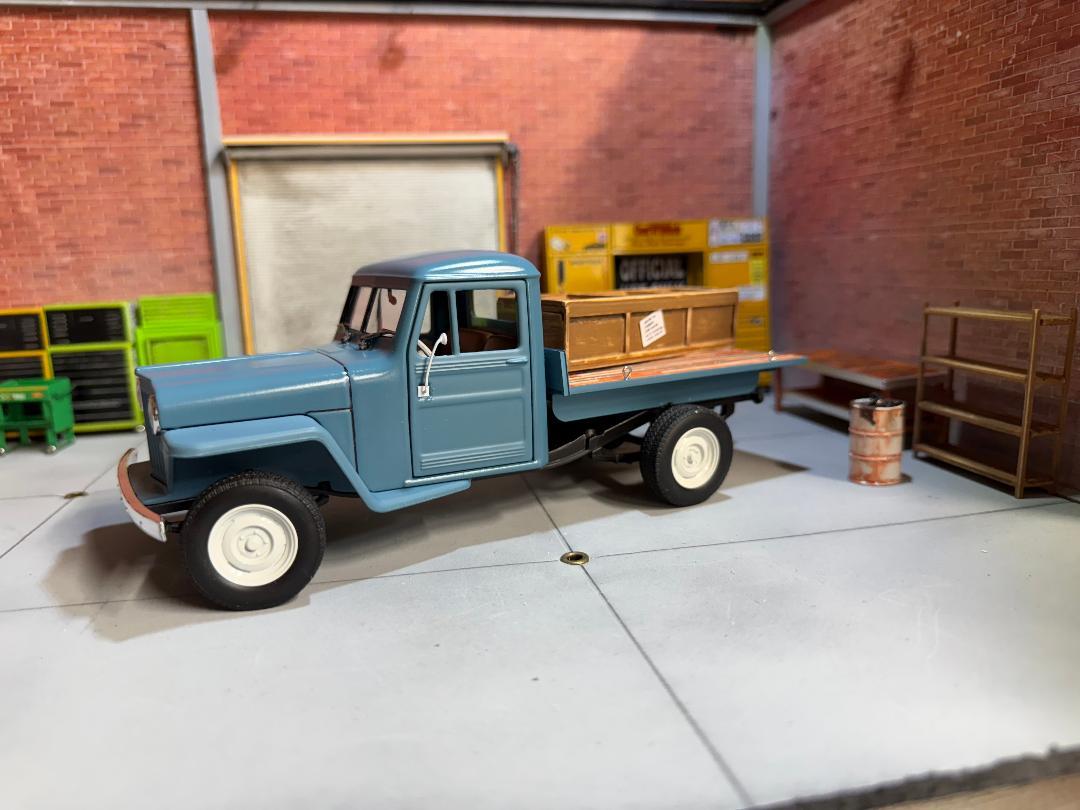
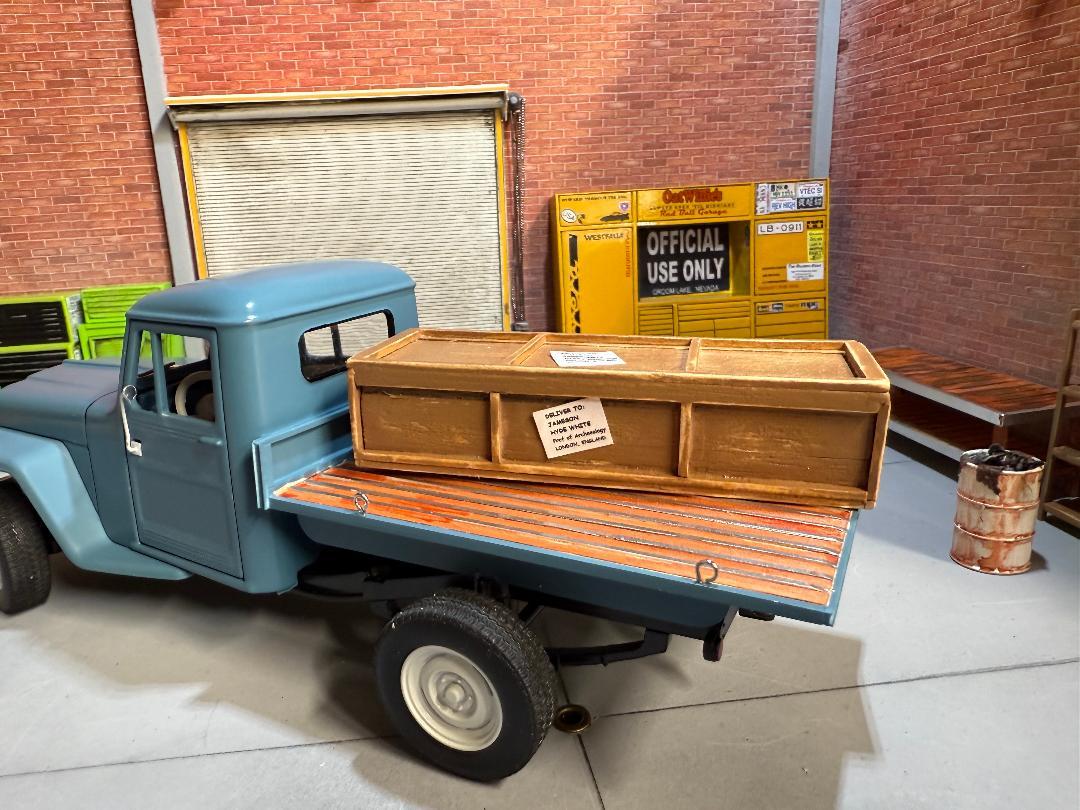
This is one I built a few months ago from the new release Chevy truck kit. The idea was to build a surplus Forest Service truck that got a second life as a daily driver/parts hauler. The paint looks lighter in the photos. The Jeep is a Welly diecast converted into the truck in the classic Scooby Doo episode, "What A Night For A Knight."
-
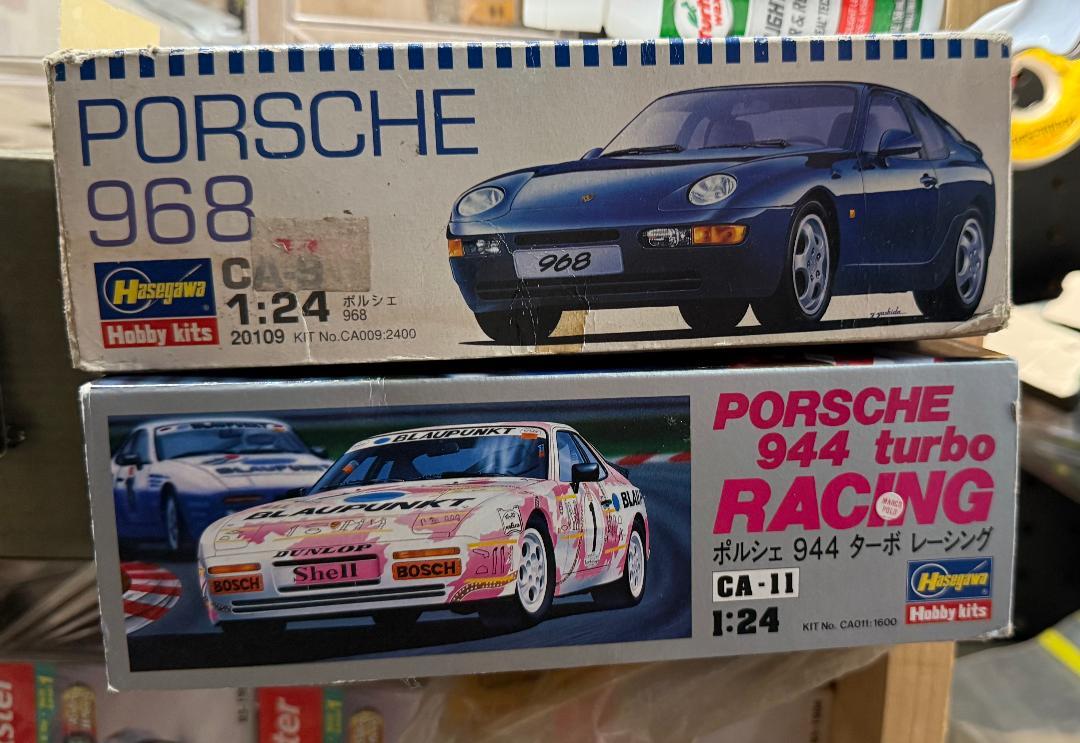
Here's a couple of kits I got a while back that I'm pretty sure are rare. I never knew anyone made a 968 kit, but it looked too cool to pass up. I've always wanted a 944 and this one came cheap. I haven't opened them yet, does anyone know if they are decent kits?
-
Any idea on theme for the 2026 Cannonball
oldcarfan replied to Wagonmaster110's topic in Community Builds
Not that I've heard, but I have been thinking about it a little. Maybe someone can refresh our memories on what the past themes were? Last year was Resto-Mods, 2023 was Run What You Brung, 2022 was birth year, and that's about where my memory drops off! -
Thanks for the info, I'll check them out!
-
Tamiya 1989 Nissan Sylvia - An Old Built Up With A New Life
oldcarfan replied to oldcarfan's topic in Model Cars
I took a picture when the kit first came in the mail, but I can't find it because I have too many pictures in my phone. The car was originally built box stock and painted light green. I got it in the same lot as the Celica GT4 I rebuilt last month as a rally style car. -
A Place For Build Ideas
oldcarfan replied to oldcarfan's topic in General Automotive Talk (Trucks and Cars)
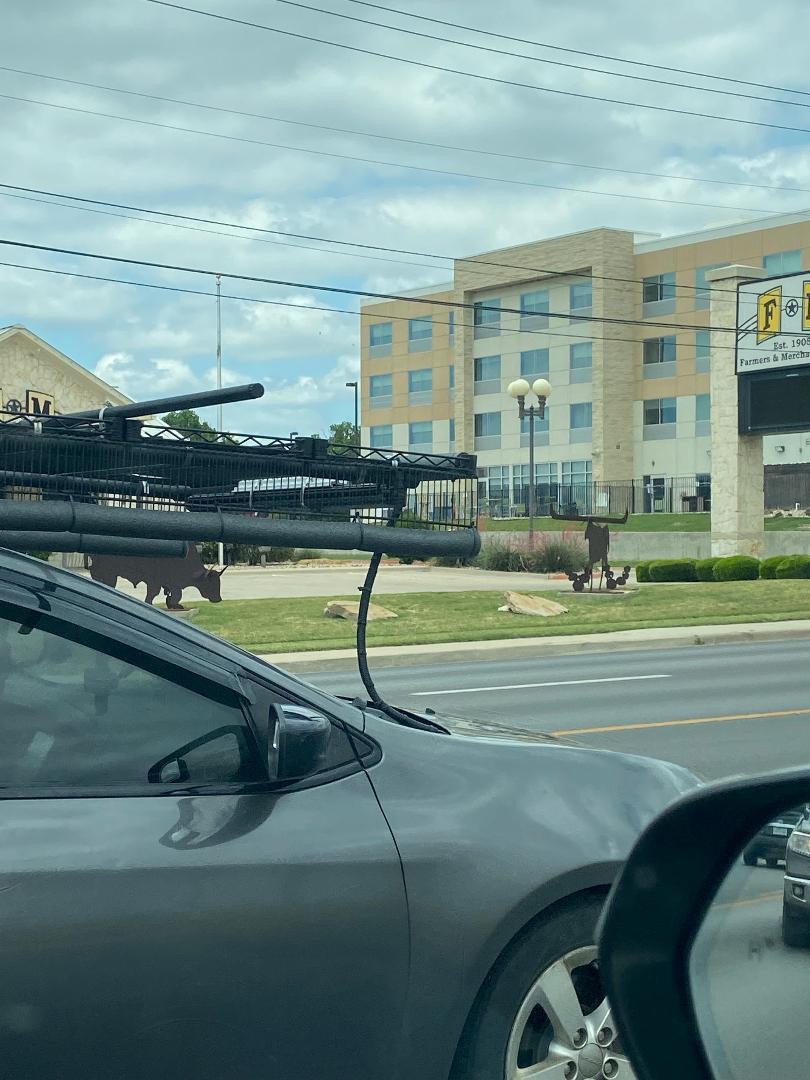
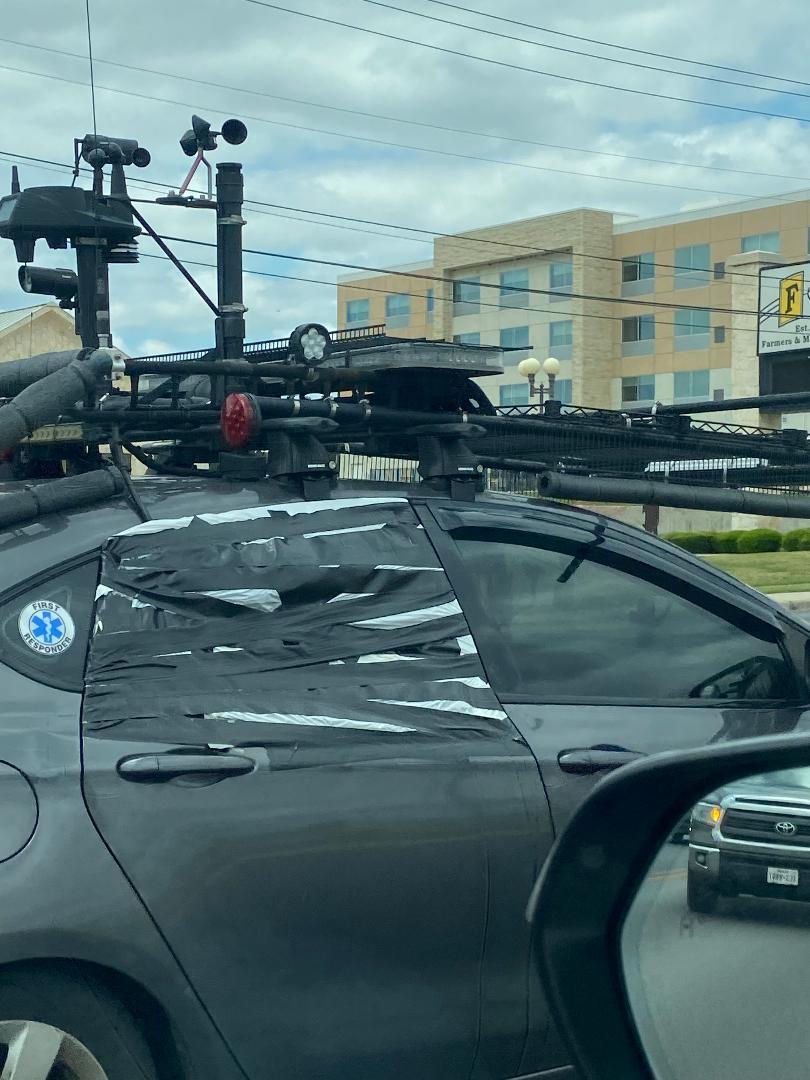
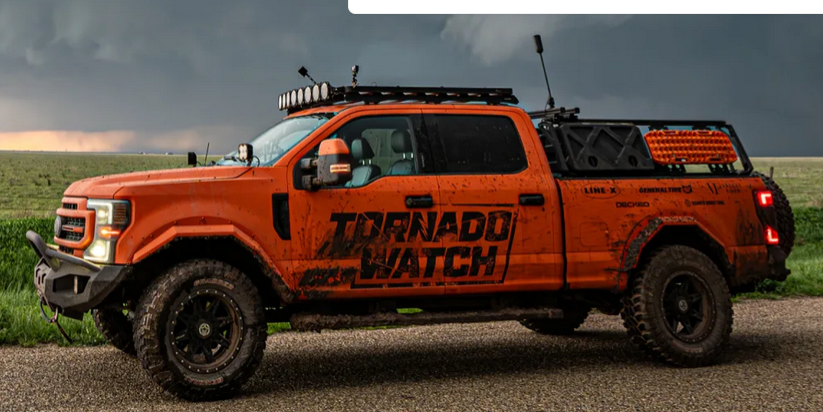
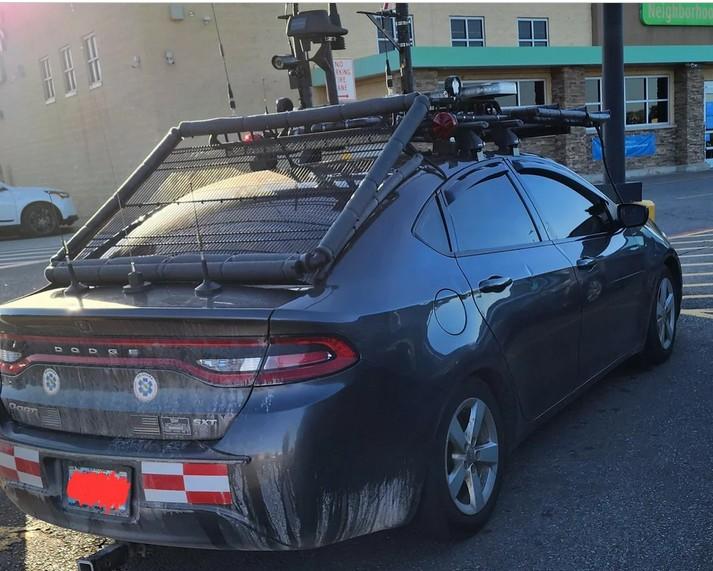
I saw a car back in August that might make a good project for someone looking to do some fun imagineering or a slump buster. I couldn't get a good shot but today I came across the car on Reddit. The first two pictures are from me and the other two are from the Reddit link. If you haven't seen the Tornados movie, there's some really cool tornado chasing trucks. I'm thinking the Revell Raptor might look pretty nice done up like this.
-
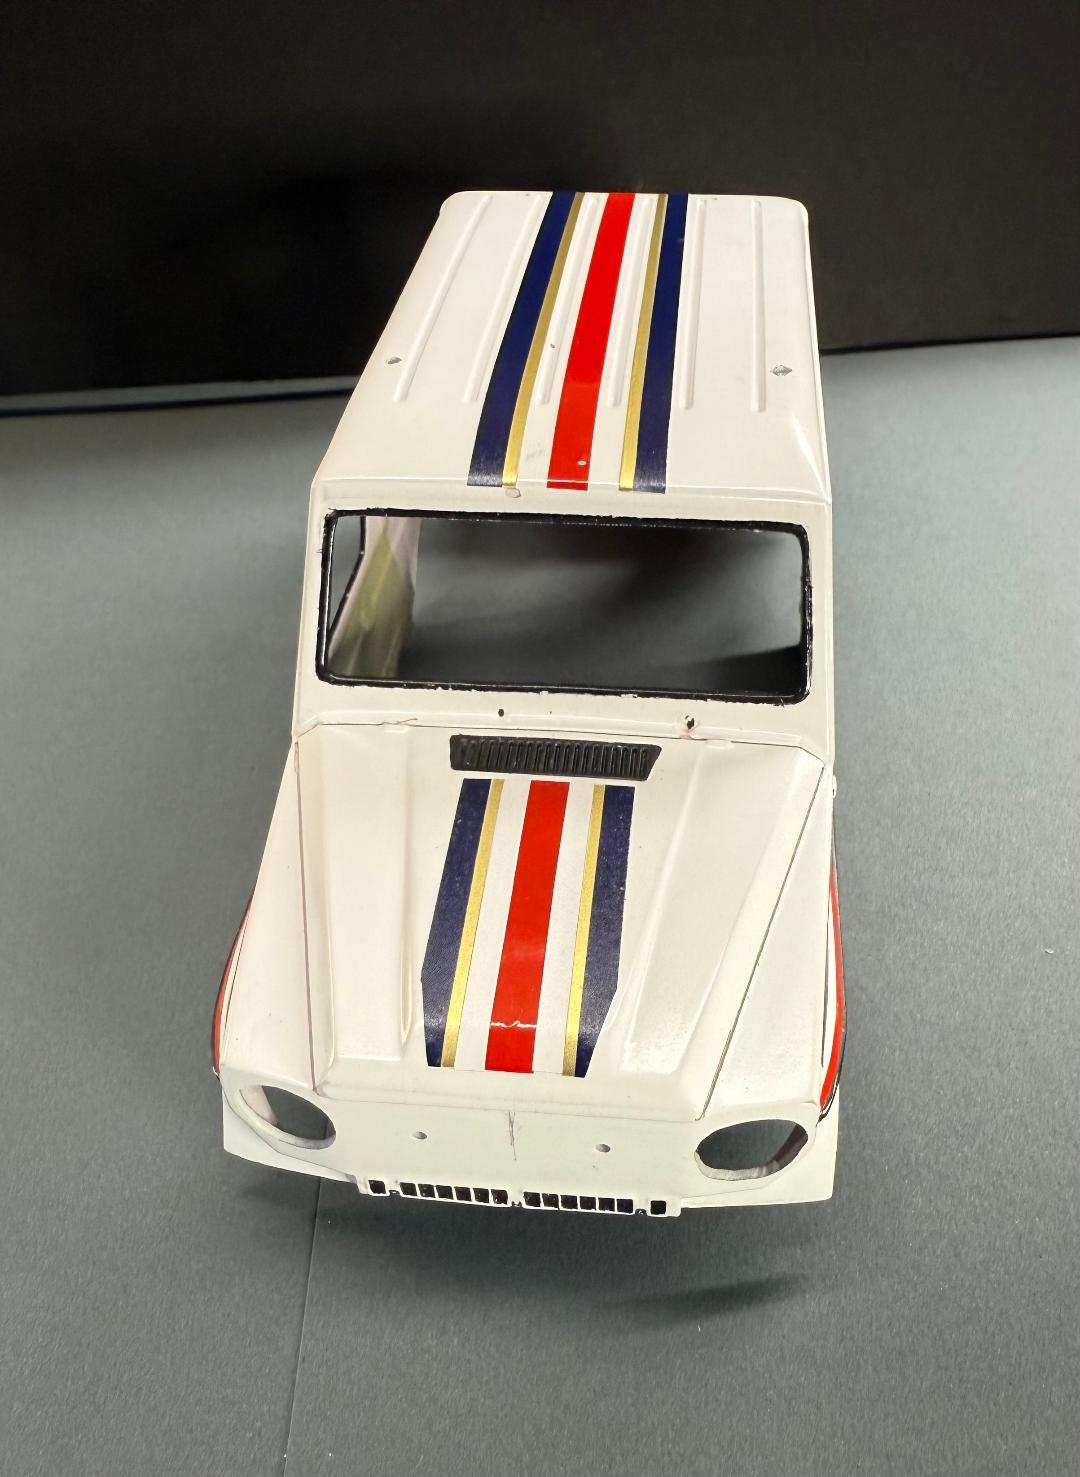
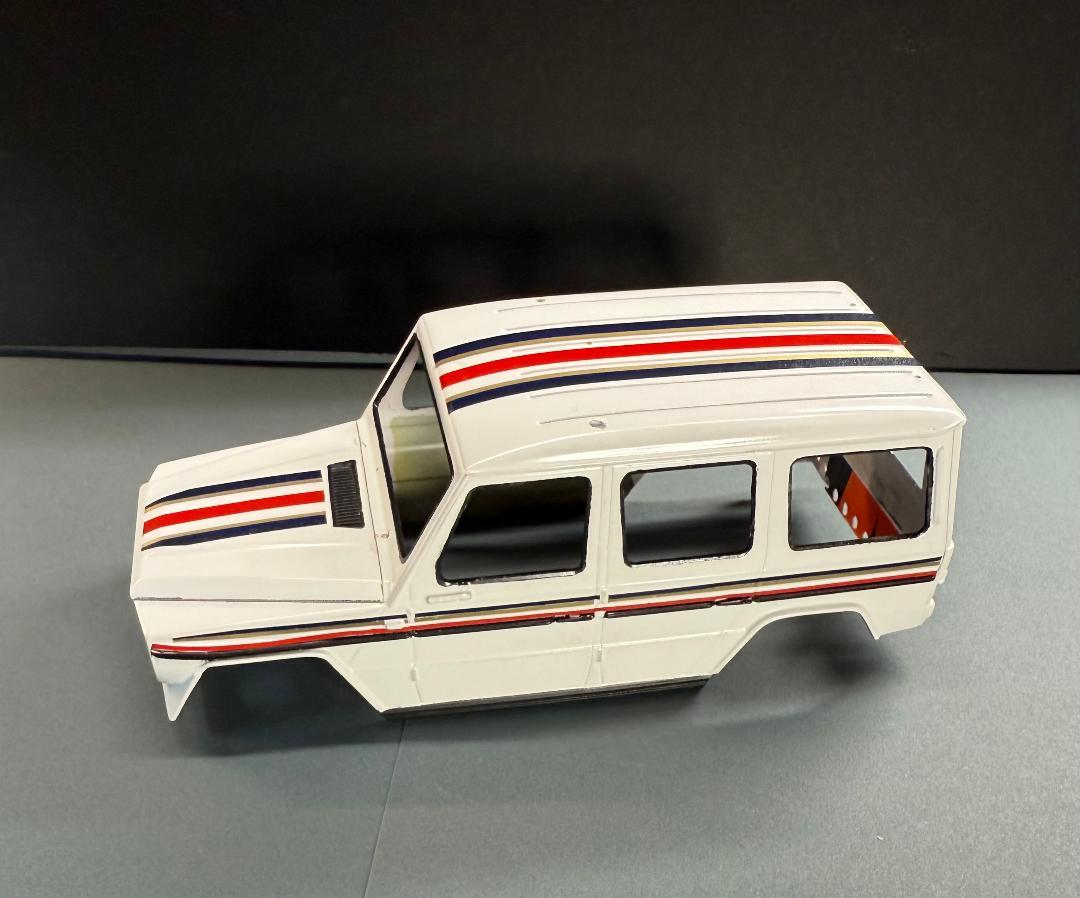
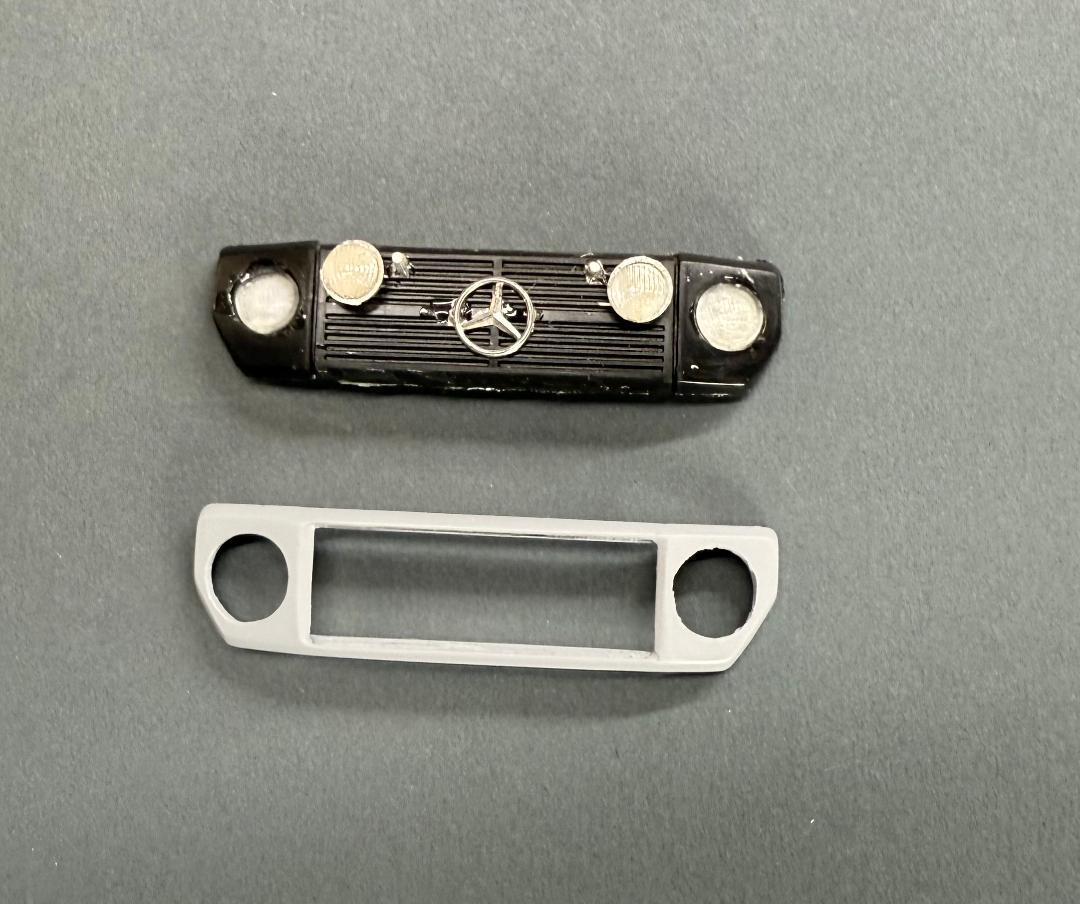
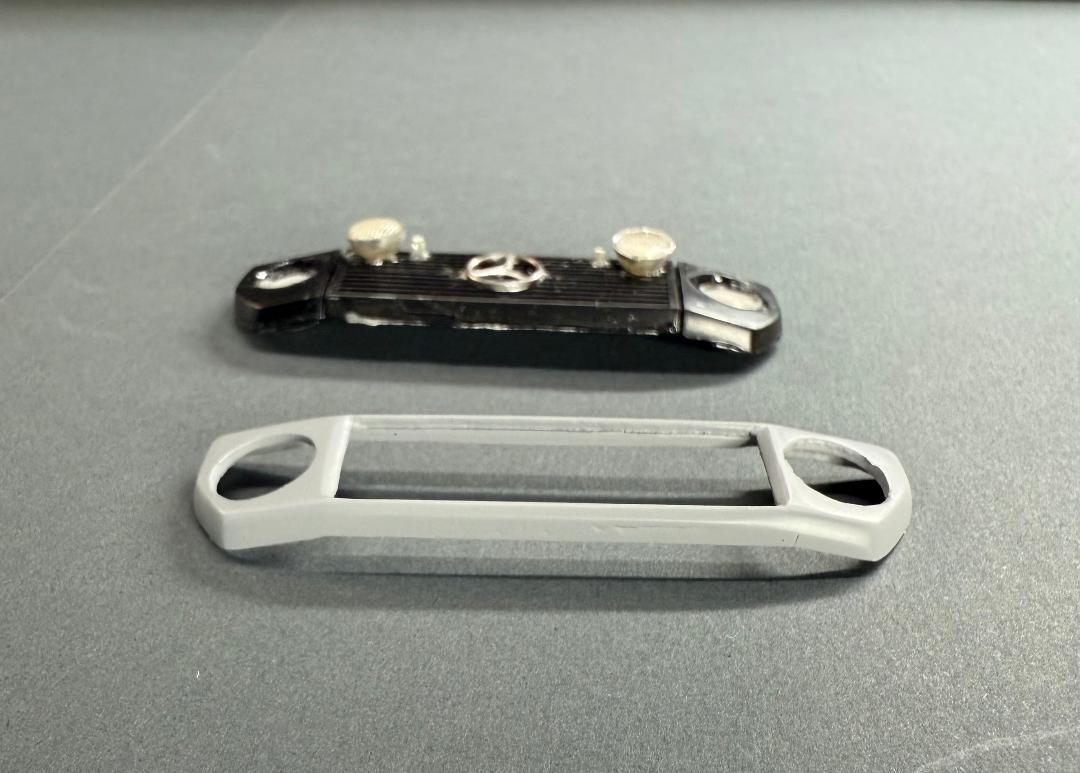
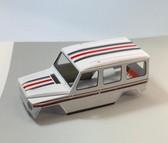
Because I get bored, I've found a new project. I bought a G-Wagen parts lot on eBay a long time ago and decided that they were all too far gone to do anything with. The lot included two new in the box kits and I've been meaning to build one, but I hated to open up a new in the box vintage kit. I felt I pulled another built up from the stash and disassembled it. Unlike the Nissan Sylvia I just finished, this one was originally built with only a little glue. It practically fell apart with a little prying. The body was painted in what looked like a whole can of runny department store spray paint which is why I got it so cheap. Luckily the paint fell off in sheets after two days in the tank. The body is repainted in Tamiya Pure White. I always like to have a theme for my builds because it helps me keep my interest from wandering. This build's theme is going to be a restomodded vintage G-Wagen set up for desert camping and exploring. I've been following some companies that restore and mod G-Wagens and Range Rovers in the same way Singer Porsche mods 911s. You can have your truck any way you want as long as you have the money. Since I'm not likely to win the lottery, I'll make do with a scale version. I plan to add a roof rack and the usual off road cargo and I'm trying to come up with a way to make a rooftop tent and some other things. The stripes are an experiment and I'm not sure if they will work yet. My wife has a Cricut so she always has scraps of vinyl laying around. I've tried to cut it before with an X-Acto and ruler with mixed results. Seeing how the Cricut works, I bought a sticky cutting pad and put the vinyl on it. I grabbed a few scraps and cut these Rothman's style stripes to go on the truck. Rothman's racing livery is one of my favorites of all time. I'm not sure yet if the vinyl is going to work for modeling use as it's fairly stiff but it seems okay so far. A hair dryer would probably help in the application, but I thought about that too late. I'll give the stripes a few days and we'll see if they conform to the body without pulling away. If it works as I hope, this might be a lot easier than trying to mask and paint a bunch of small stripes in different colors. Of course the grill went missing while I was tearing the kit down. I searched everywhere and couldn't find it so I just spent a few hours scratching up a new one. That's when the first rule of modeling kicked in. I got the replacement grill finished and moved a little box on my desk. I'd checked under that box twice while searching with no luck but when I moved it this time original grill was right there. I'll still probably go with the new grill since I put so much effort into it and the original would need a lot of clean up.
-
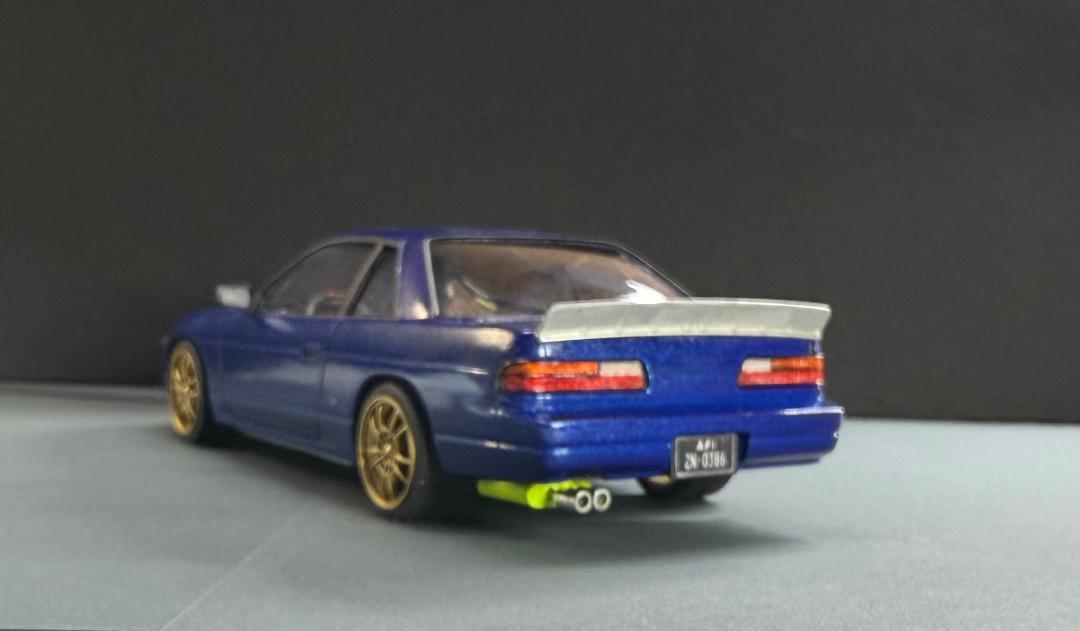
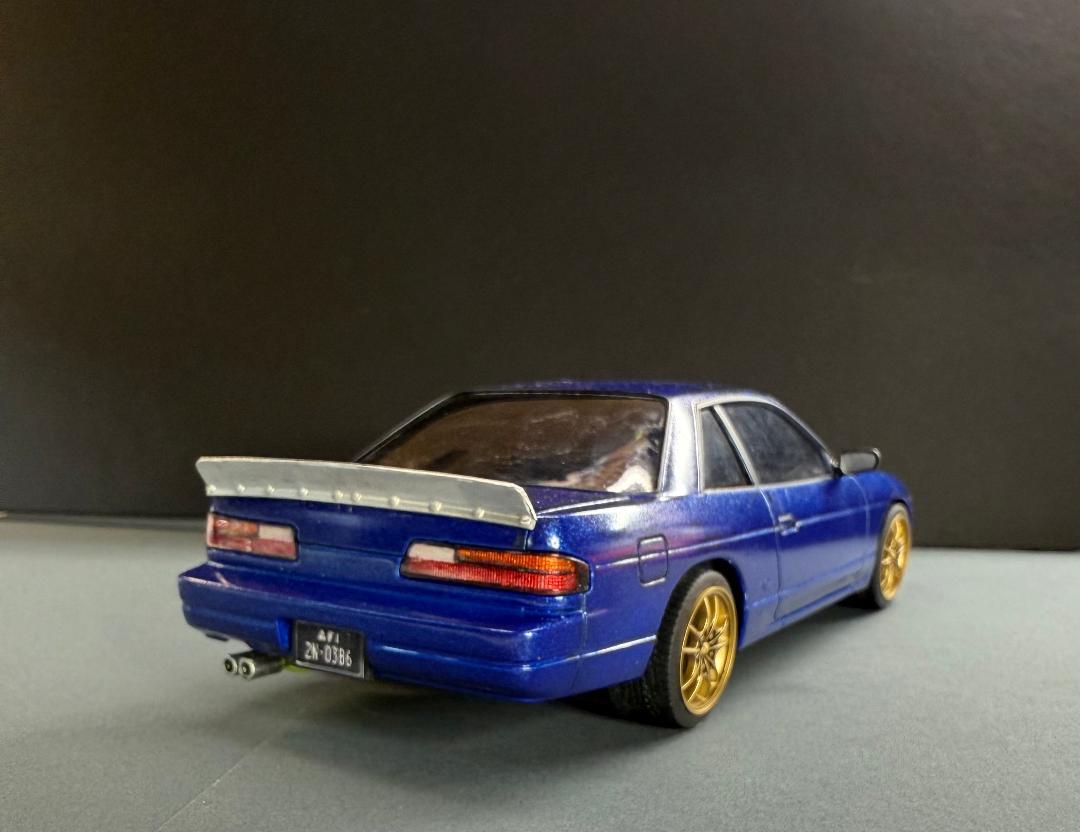
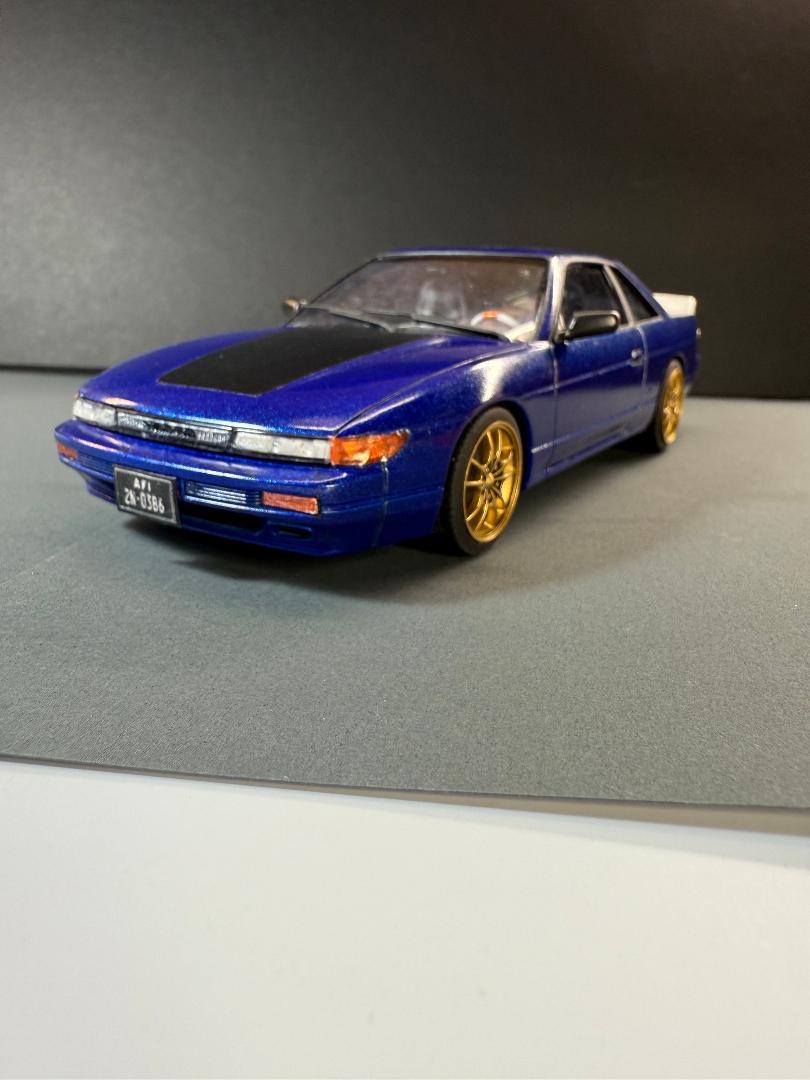
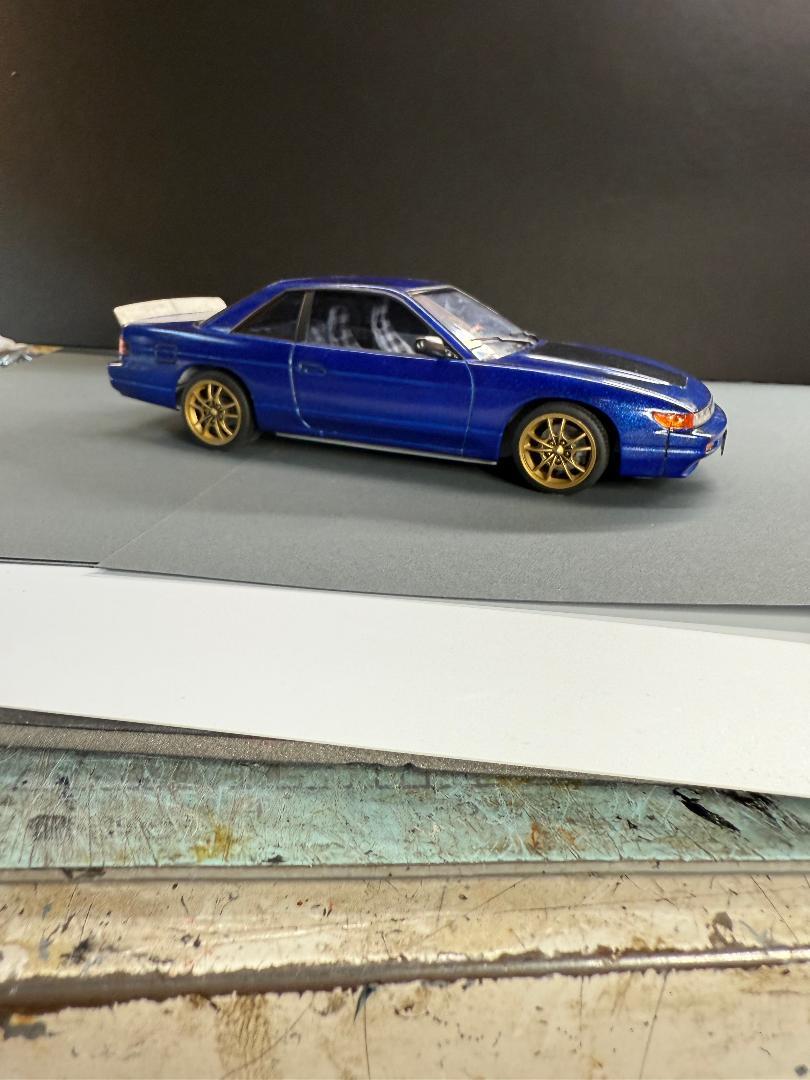
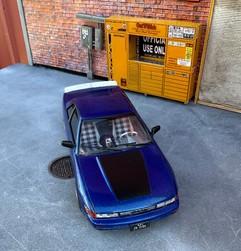
This is an old original issue 1989 Nissan Sylvia built up that I got back when I was on an eBay buying kick. It was nicely built so it went on the shelf, but not long ago I noticed the paint had some boogers in it. Definitely a glue bomb, but I got it apart with some serious persuasion. After that it had a nice spa day in the Awesome Cleaner tank to get rid of the old paint. The window glass was spotted with glue and scratches but it polished out fairly well. I'm trying to practice low stress modeling, so I went for decent not perfect! lol The color is old Testor's lacquer Royal Blue Pearl from my stash sprayed over Tamiya fine white primer. It's really hard to get a bad paint job with Testor's Model Master and their Lacquer paint systems. I wish someone else would launch something similar. I don't know who originally built the model but they primed the interior in grey and used a whole tube of glue to attach the seats and dash. I got it apart with a lot of patience and redid it with the Tamiya white primer and used some Washi tape to give it black and white plaid seats. So here's how it looks now. It's not perfect but I'm happy with it as I was going for a low budget garage mechanic tuner look. The only variations from stock are that I lowered it a couple scale inches and dug up a set of gold Pegasus M5 wheels and tires to go with the blue paint. The spoiler on the back is from some old NASCAR kit and I think it fits the car pretty well.
-
I finished one project and made good progress on two others. The Nissan is a Tamiya Sylvia that I stripped and rebuilt this week. In other news, I found a box of Gelandewagens I thought I'd lost so I stripped one and have been rebuilding it.
-
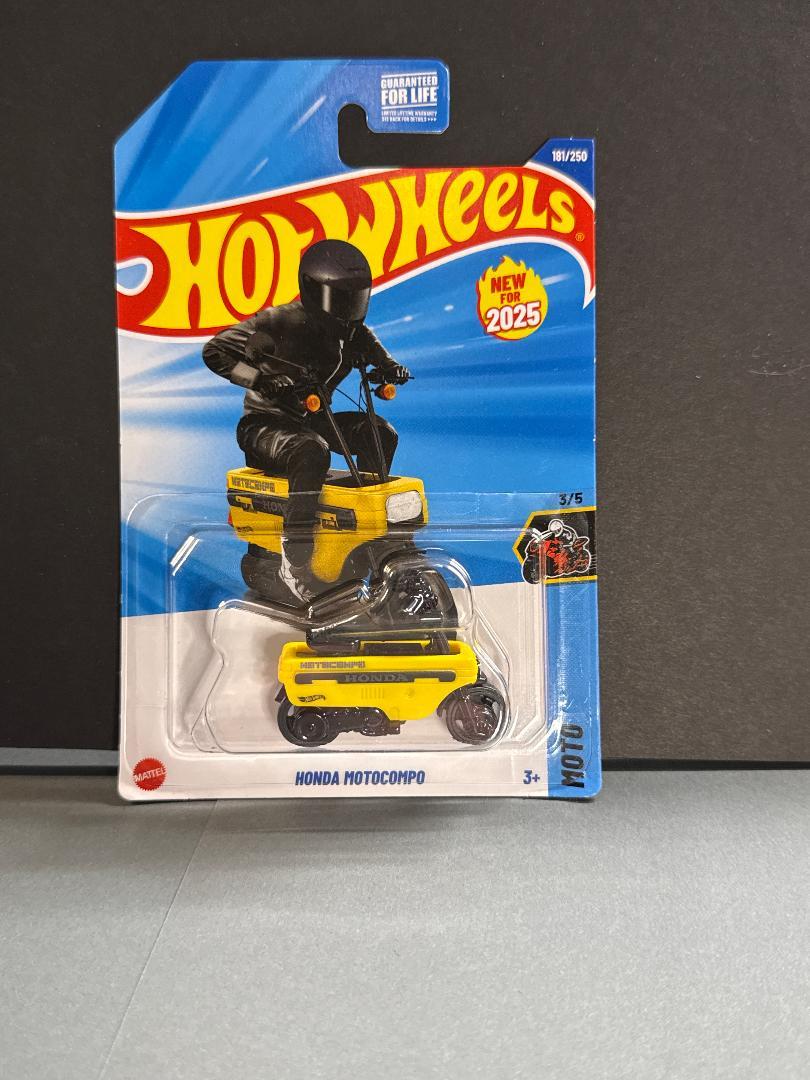
Nothing big, but I found a cool Hot Wheels MotoCompo that looks like 1/24th scale to me.
- 39,204 replies
-
- 3
-

-
- johan
- glue bombs
- (and 1 more)
-
No matter how good your eyes are, I recommend a pair of cheap drug store reading glasses. I'm always amazed how a part I'm working on looks good until I put the glasses on and see something I missed. I would also add a jumbo pack of #11 blades. Sometimes I go through one a week or more.
-
For me it's been stalled project week. I brought down three different builds I started quite a while ago and have been chipping away at them. I have one almost done and the other two are coming along nicely. Now if I can only keep the progress going.
-
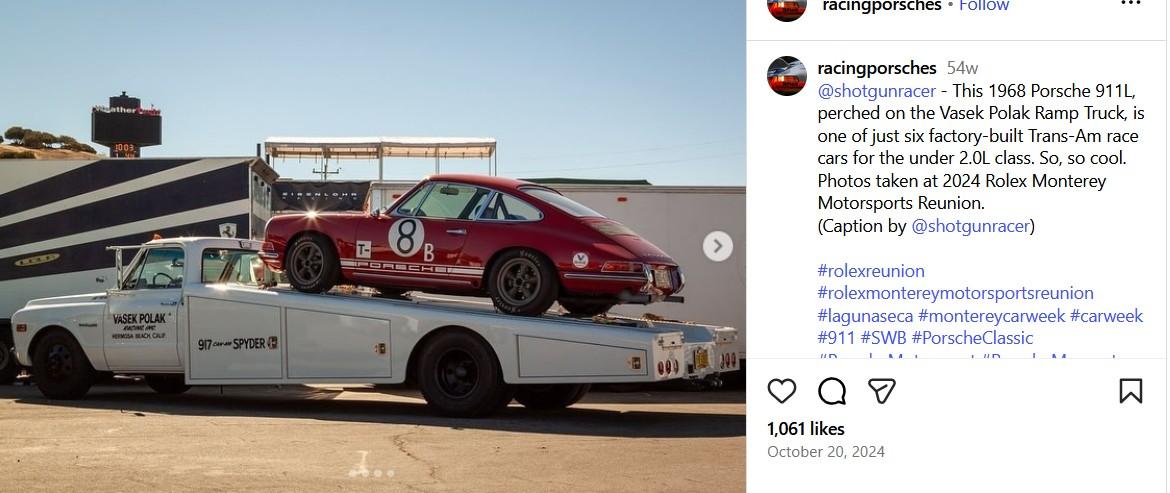
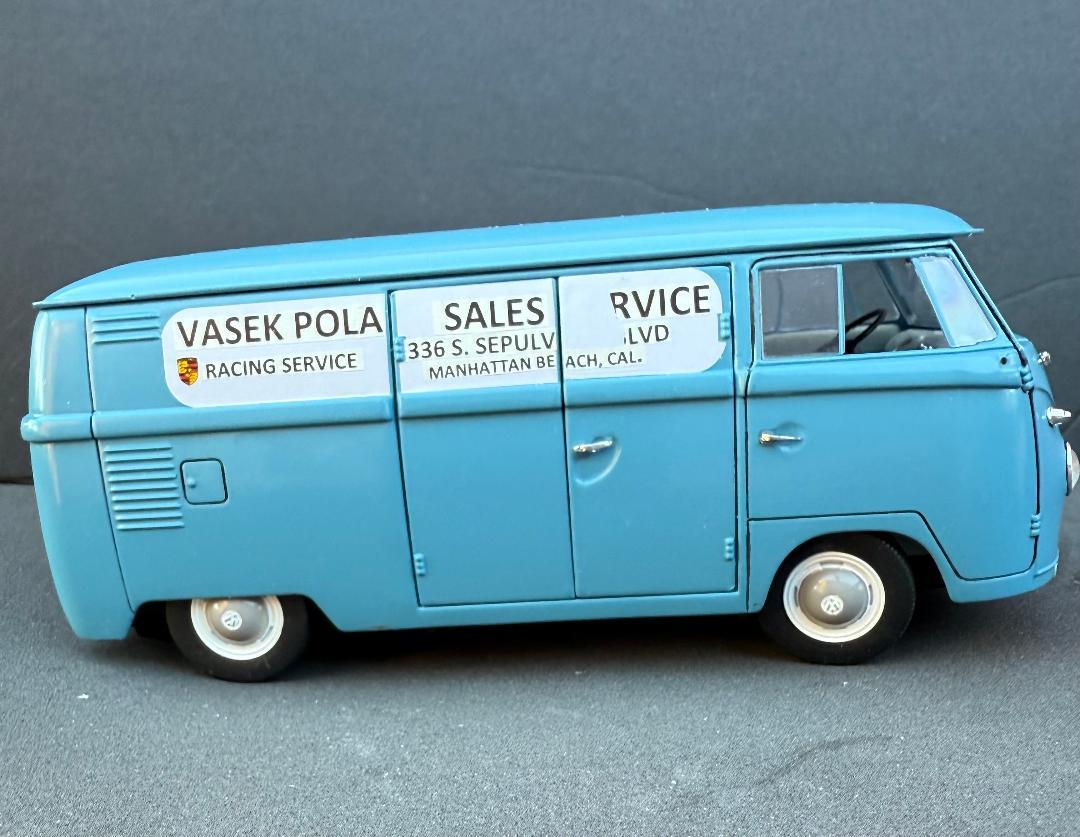
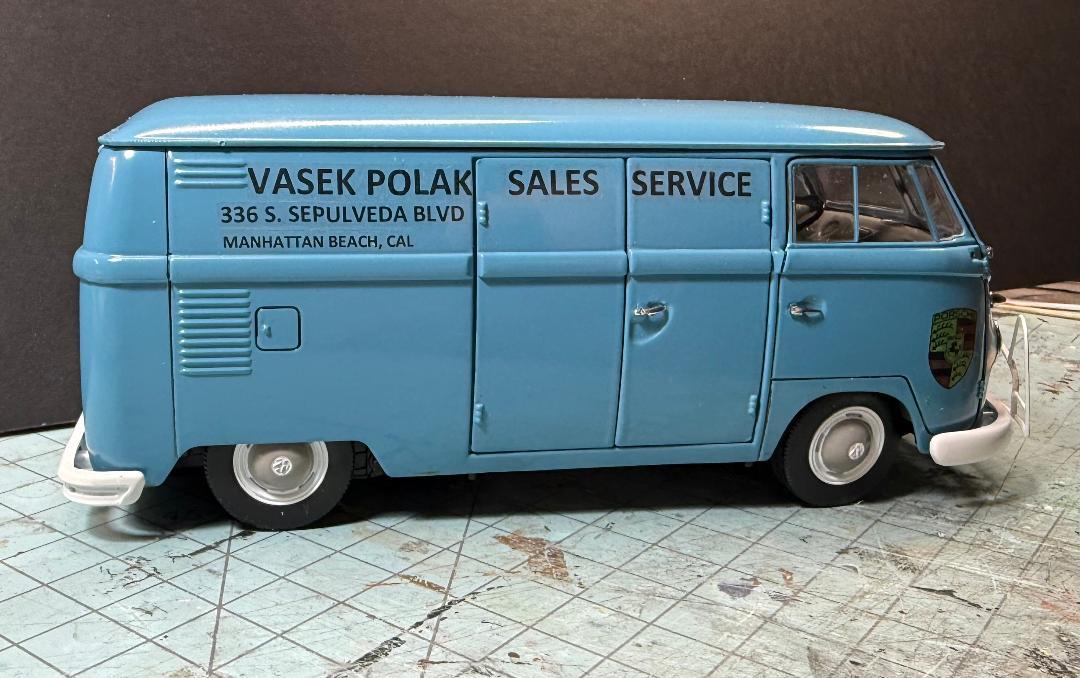
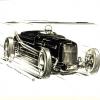
I often do screen shots of things that might make a good build. They go into my phone or computer for possible later use. I was wondering if there is a a place for ideas we might want to share with others looking for a new or different project. This is one that caught my eye while looking up something the other day. With the release of the Mobius ramp truck and AMT's always available ramp truck kit, I'm thinking Vasek Polak's old hauler might make a cool build with a tasty vintage racer on the back.
-
Can I ask a question? In general, what is the pink primer used for? I bought a can a while back but haven't used it. Is it only for red paints?
-
A lot of the Italeri, and the earlier ESCI kits were designed in the 80s and 90s and they require some improvisation as some of the parts locations are not clearly marked. Over all, they make me think of an Italian version of 70s-80s AMT kits as far as quality. I currently have their Range Rover 2 door and two of their Gelandewagens sitting on my bench. I work on them for a while and set them aside when I get tired of them. I like to watch for good deals and this last year I got their AUDI Quattro, MB 190E, the rally MB 450 SLC, the MB 600C, and two more Gelandewagen built ups on eBay super cheap because the seller misspelled the name and so I guess no one else noticed they were listed.
-
Looking For Reccomendations For Decal Paper
oldcarfan replied to oldcarfan's topic in Model Building Questions and Answers
Thanks, I'll look at them. -
I could be wrong, but I think I read somewhere that he got burned on some US bound orders due to confusion with the new fees and got charged to get his own products back or something like that.
-
I'm looking for a better decal option than Micro Scale paper. I've used both the laser and the ink jet kind and had problems with the paper breaking up on application. Backstory: A couple years ago I printed decals using Micro Scale laser paper. I found the decals to be brittle, even with the recommended clear coat. I made them work, but it was frustrating. For my Datsun pickup box truck I tried decal paper made for coffee cups. This paper works well but is a little thick and kind of rubbery. Yesterday I made some more using using new Micro Scale paper and the decals broke into several pieces while being applied and peeled off when dry. I tried several techniques including hot, warm and cold water and none made a difference with or without Micro Set/Sol. This a picture of the decals printed on white Micro Scale laser paper. They were put on and allowed to dry for a day. I went to check this morning and parts of them had peeled away and landed on the work bench. These were put on over white vinyl, but the ones on fresh smooth paint reacted the same. Below are decals made using the coffee cup decal paper. They went on well and seem to have stuck with no problem.
-
An Old Tamiya Toyota Celica GT4 Given A Rebuild
oldcarfan replied to oldcarfan's topic in Model Cars
More power! -
2025 Cannonball Run - 50 years since the 1975 run.
oldcarfan replied to Mattilacken's topic in Community Builds
Great color! For the taillights, rather than paint them red over red, I usually put some Bare Metal foil on the backside to give them more reflective look, then maybe do a black wash to make the raised parts more noticeable. -
An Old Tamiya Toyota Celica GT4 Given A Rebuild
oldcarfan replied to oldcarfan's topic in Model Cars
The map is actually a computer from (I believe) a Lindberg Police Crown Victoria. I bought a bag of assorted parts at a hobby show a while back and that was in it. The screen is a reduced screenshot that I copied and pasted to print. The LED light bar came off a Kinsmart 1/43rd-ish scale diecast 4x4 toy truck. I bought a bunch of them from Walmart over the last year. Even though they are smaller, some of them have a few useful parts I can adapt. -
About 20 years ago when I was too young to know better, a couple friends and I started a model company and made a pretty decent living for a while. We mostly built ships and sci-fi stuff for museums and private collectors, but did pretty much anything someone was willing to pay for. One time I built a Johan hearse to match the livery for a small town funeral home in Kansas. My favorite one though, was ordered by the spouse of a female proctologist for a Christmas gift. I built a 1/12th scale Dr. Barbie, Proctologist. Used a standard Barbie, but added scrubs and a complete endoscope setup with the scope, tubing, video screen and everything. I even created a box with full Proctologist Barbie markings. I loved that job, but it fell apart due to the usual, workload and finances.
-
Bleached/Sunburned paint
oldcarfan replied to stitchdup's topic in Model Building Questions and Answers
I don't know if it could be reproduced reliably, but I spray painted a couple of model car bodies and accidentally left them under a porch during a rainstorm. They didn't get directly wet, but when I remembered them a hours later the paint had dried with a cloudy sun damaged look to it. I assume the humidity caused the clouding. Maybe you could spray them in a bathroom with the shower running? lol -
I ordered two sets of his stock steel type wheels and tires on Etsy. I ordered before the uncertainties started, of course. They arrived quickly and well packed with no damage. The only problem is that I screwed up on the millimeter to inch conversion on one set. Math is not my friend!