oldcarfan
-
Posts
2,765 -
Joined
-
Last visited
Content Type
Profiles
Forums
Events
Gallery
Everything posted by oldcarfan
-
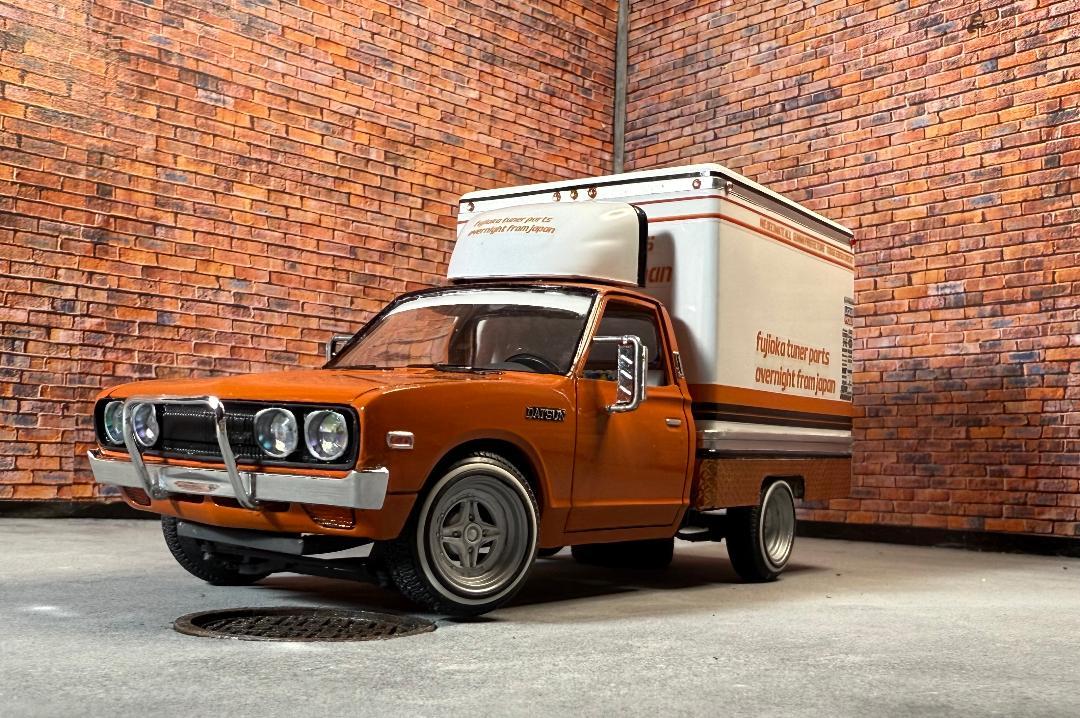
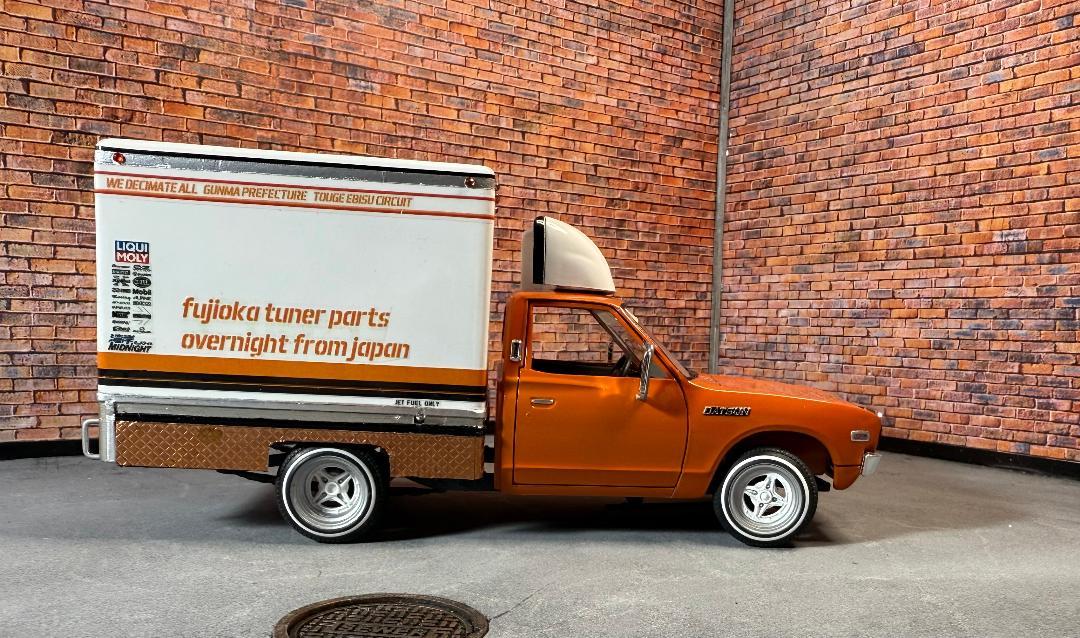
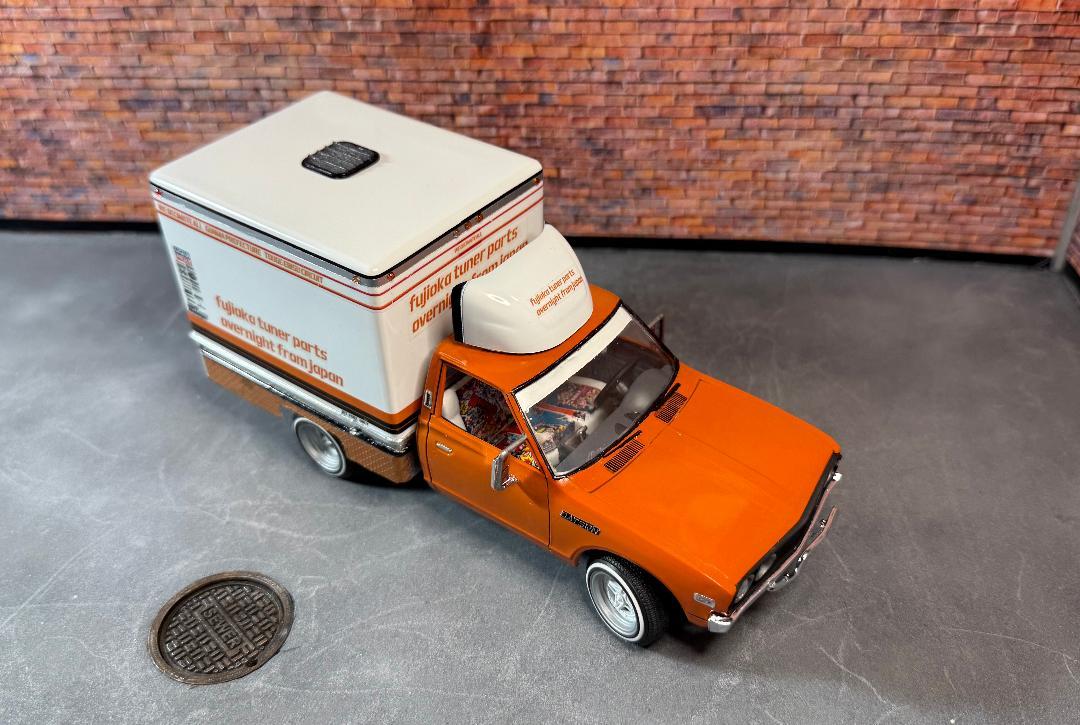
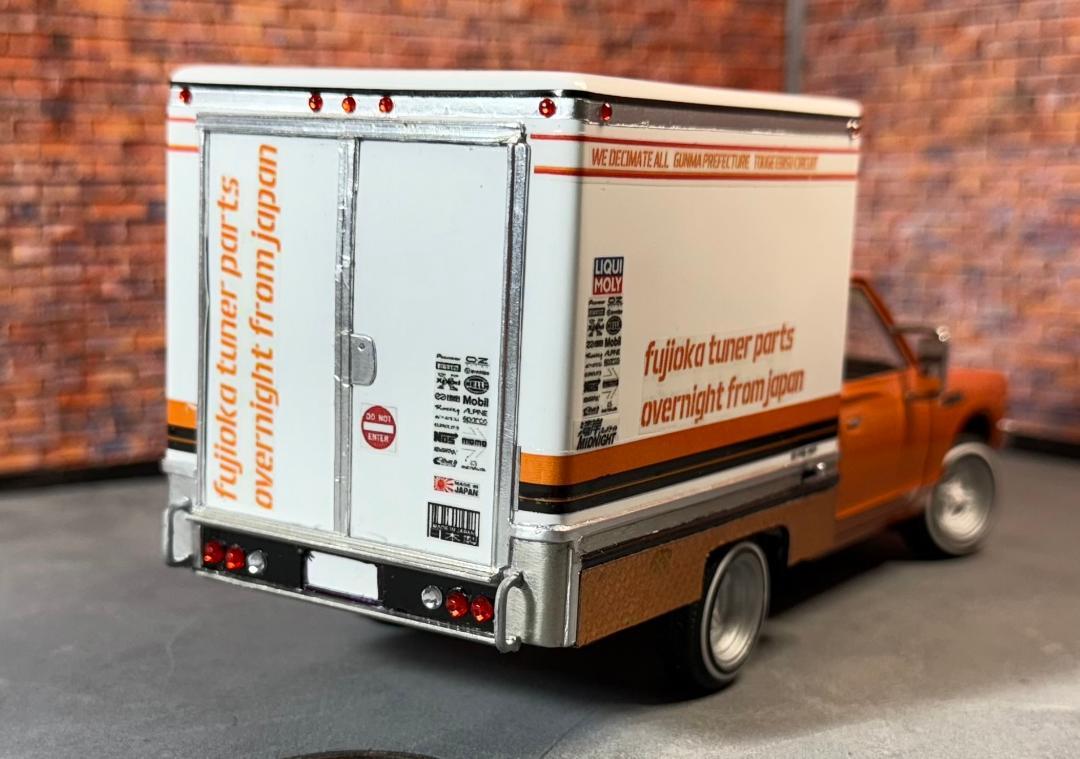
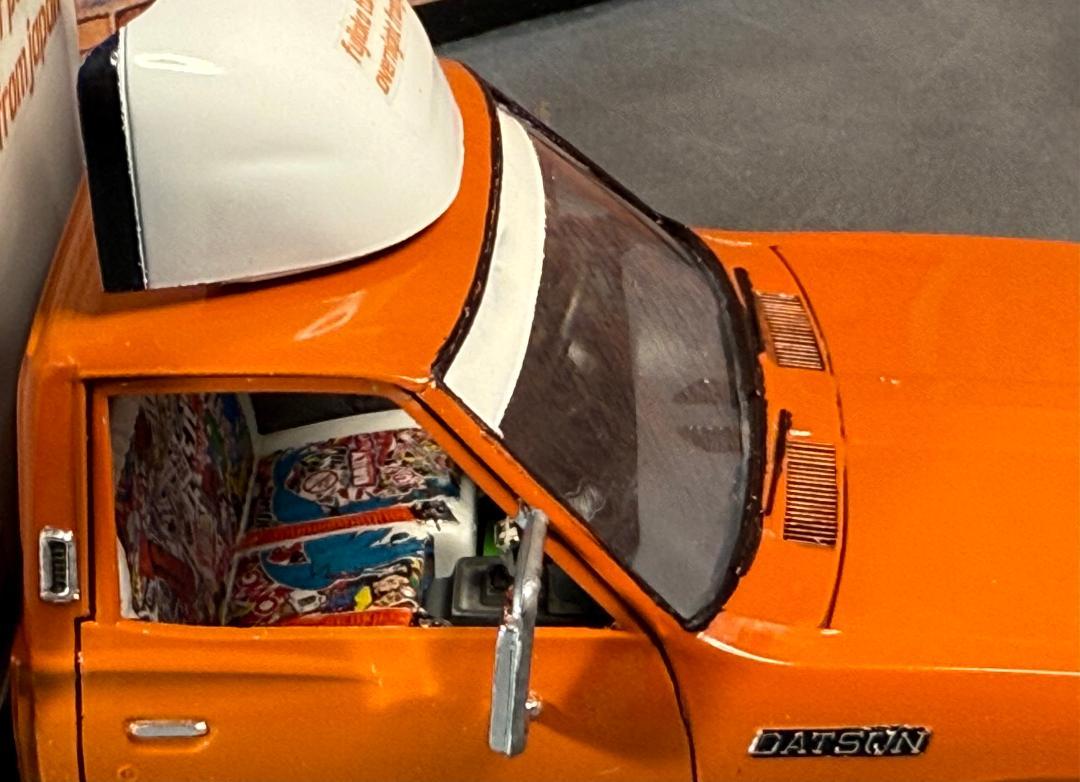
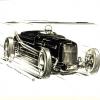 When you order your Supra parts overnighted from Japan, they don't deliver themselves so here's my idea of what they get delivered in. Not long ago I saw a picture of an old Ford Courier based U Haul truck and it gave me an idea. I started working on one and since I had three Datsun kits and only one Courier so I switched and here it is. The cab and chassis are standard kit issue with a lowered suspension. I wanted to go lower, but that would have interfered with the steering front wheels. The box is mostly plastic sheet and Evergreen 1/4 round. All the lights are Hobby Lobby gems of various sizes some colored with a Sharpie. The wheels are Aoshima, narrowed to fit Pegasus low rider tires.The decals are homemade and printed on a laser copier. Extra details are mostly parts box bits. You can't see it very well but the dash is from a Porsche 911 GT2 and the seat is upholstered sticker bomb style. Anyway, hope you like it.
-
What did you see on the road today?
oldcarfan replied to Harry P.'s topic in General Automotive Talk (Trucks and Cars)
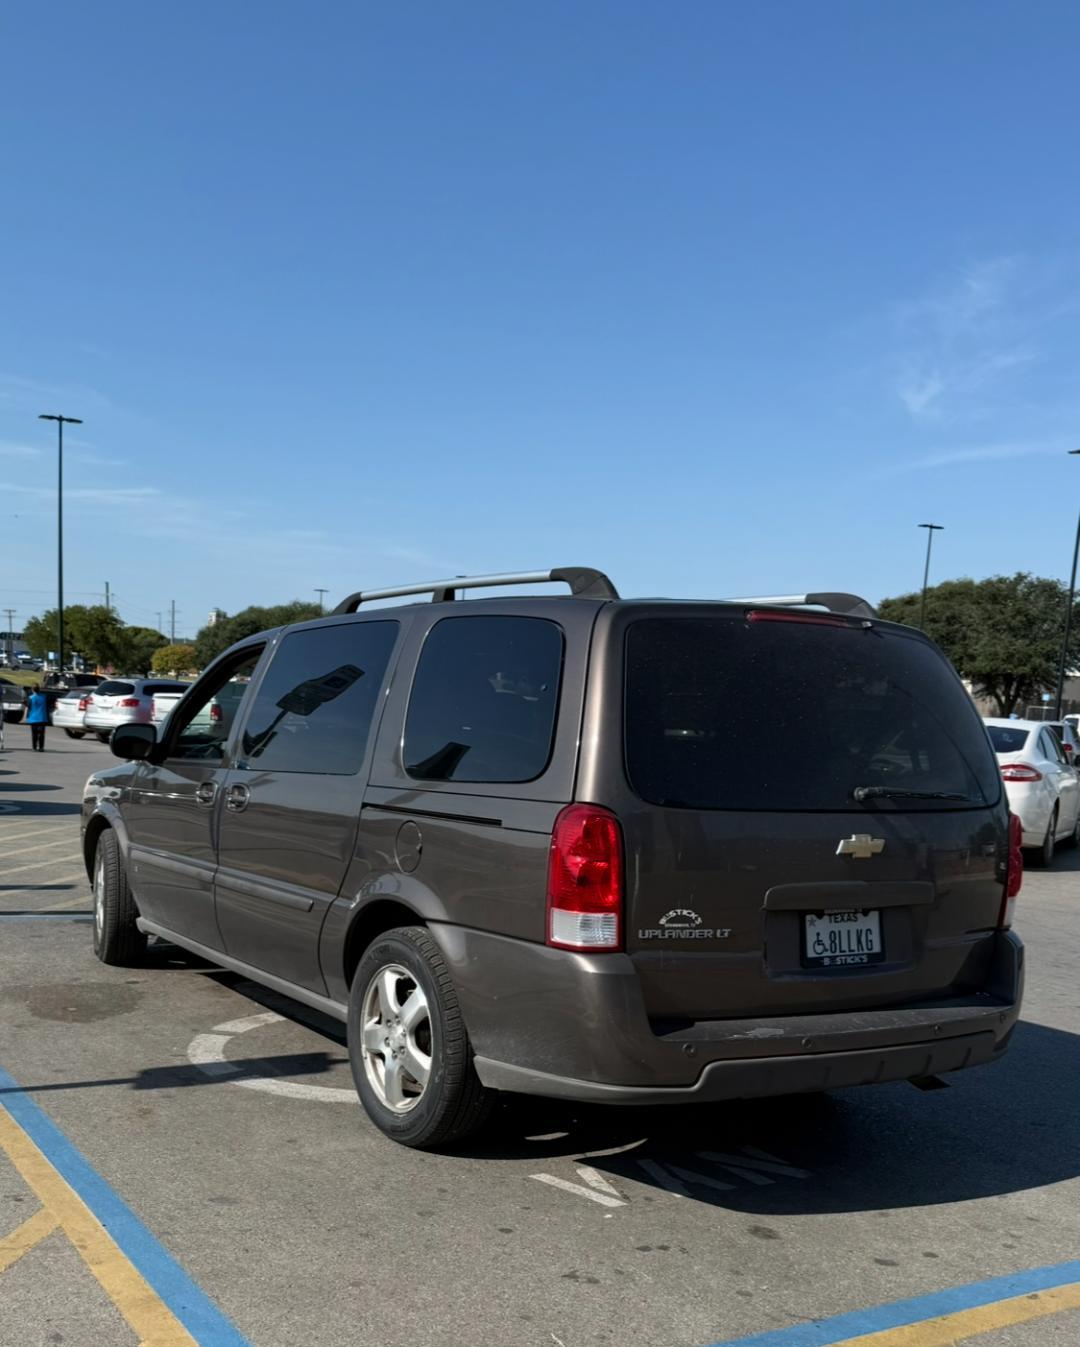
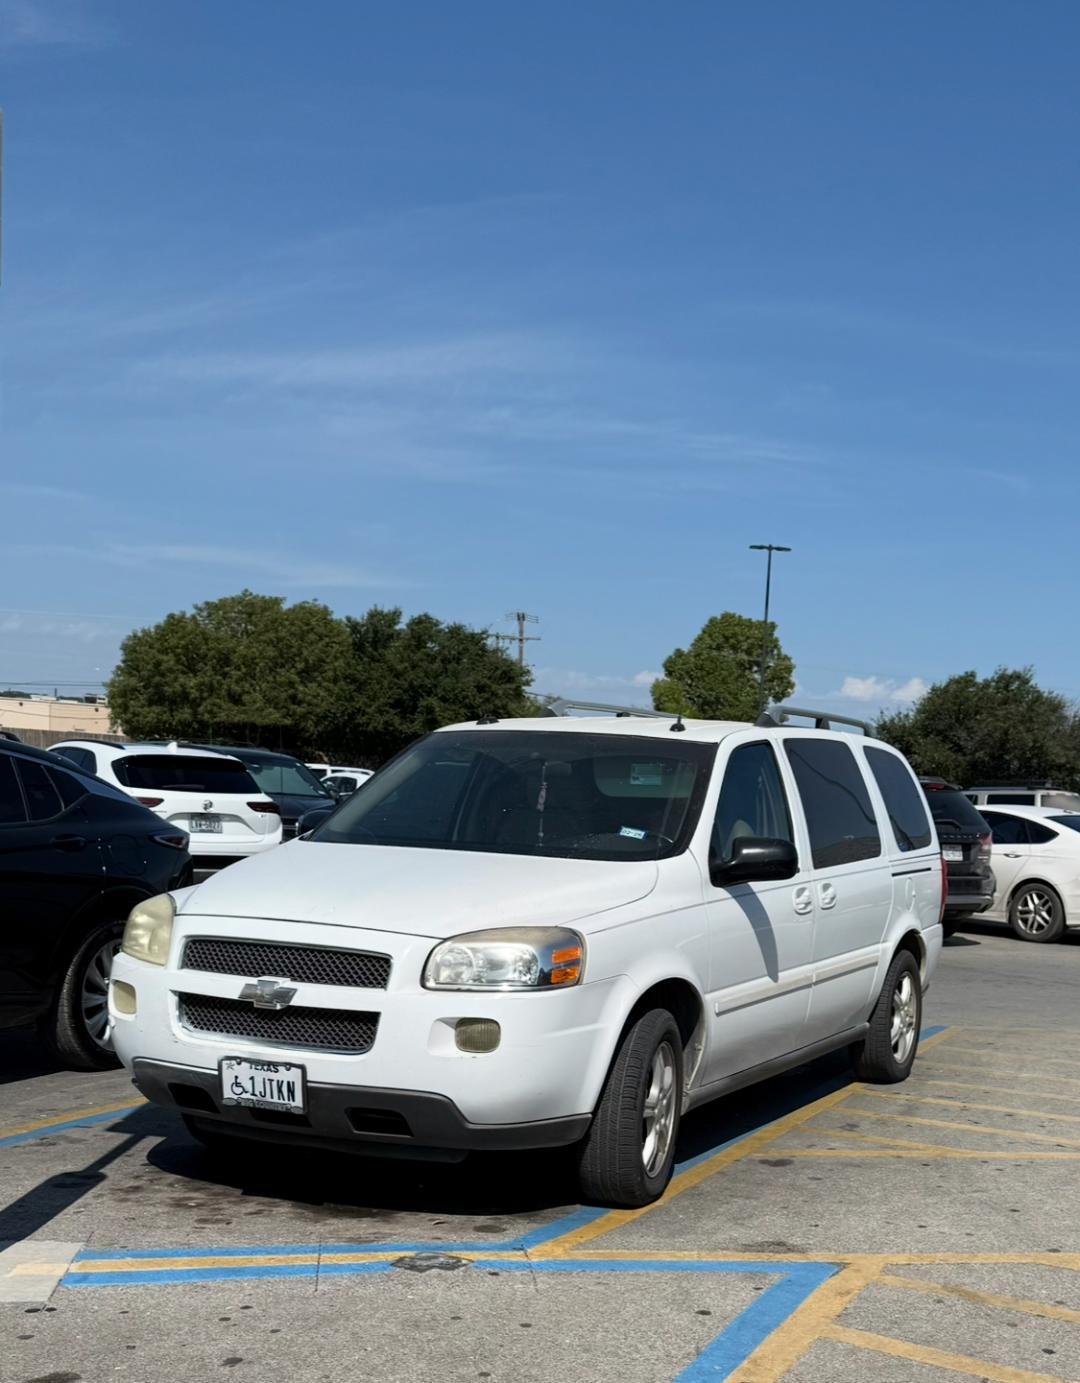
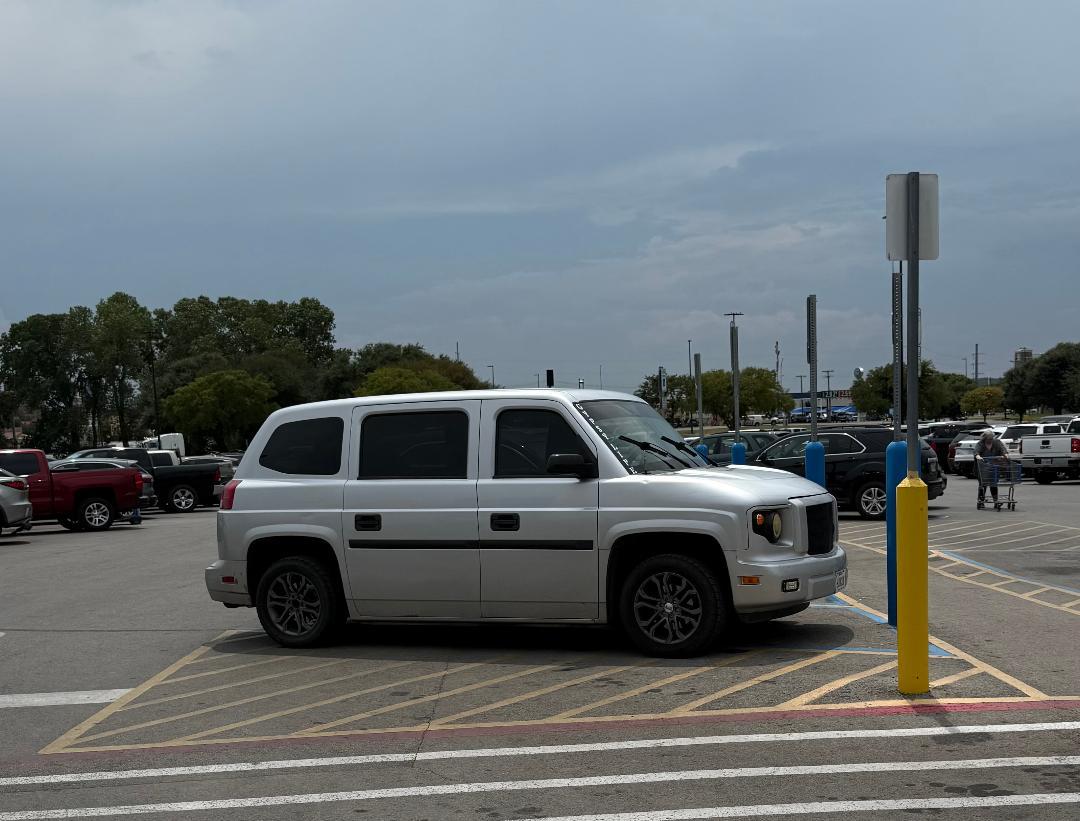
Seen at Walmart, today, two Chevy Outlanders and an MV-1 in civilian colors. I haven't seen a dust buster GM van in quite a while and suddenly there were two of them looking brand new. The MV-1 was unusual. I haven't seen one in regular passenger van use before.
-
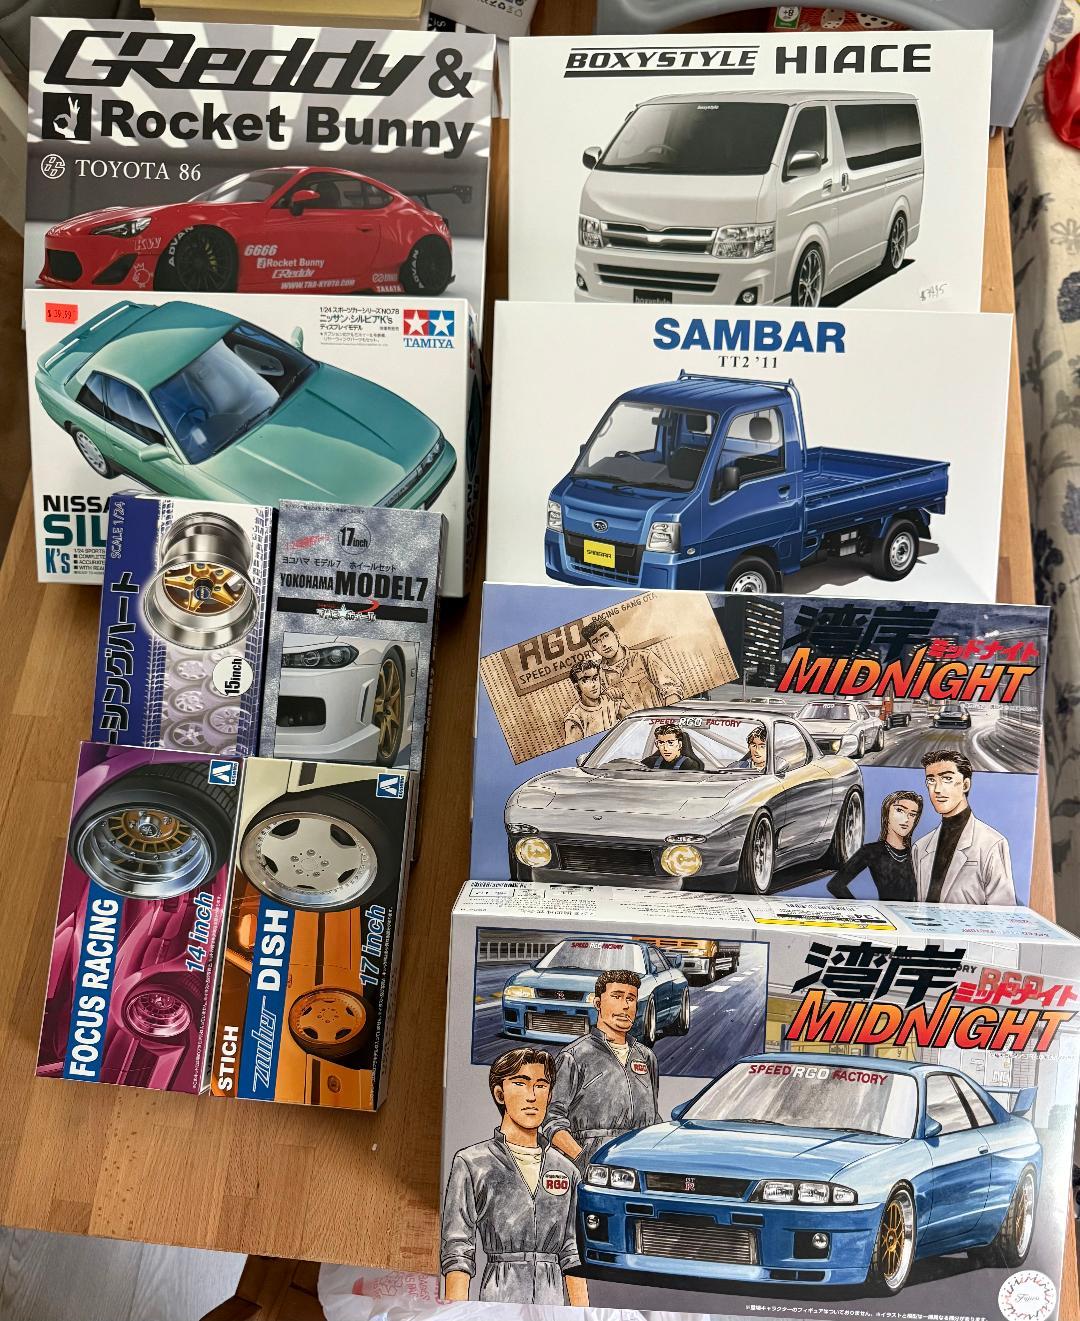
I've been stocking up on the Initial D kits as well just in case of tariffs.
- 38,742 replies
-
- 2
-

-
- johan
- glue bombs
- (and 1 more)
-
I had a Volvo for a while that had the 85 mph speedo. The car was good for about 144, which is what the guy that passed me got pulled over for. It really ticked off my friend whose Mustang GT topped out at 124.
-
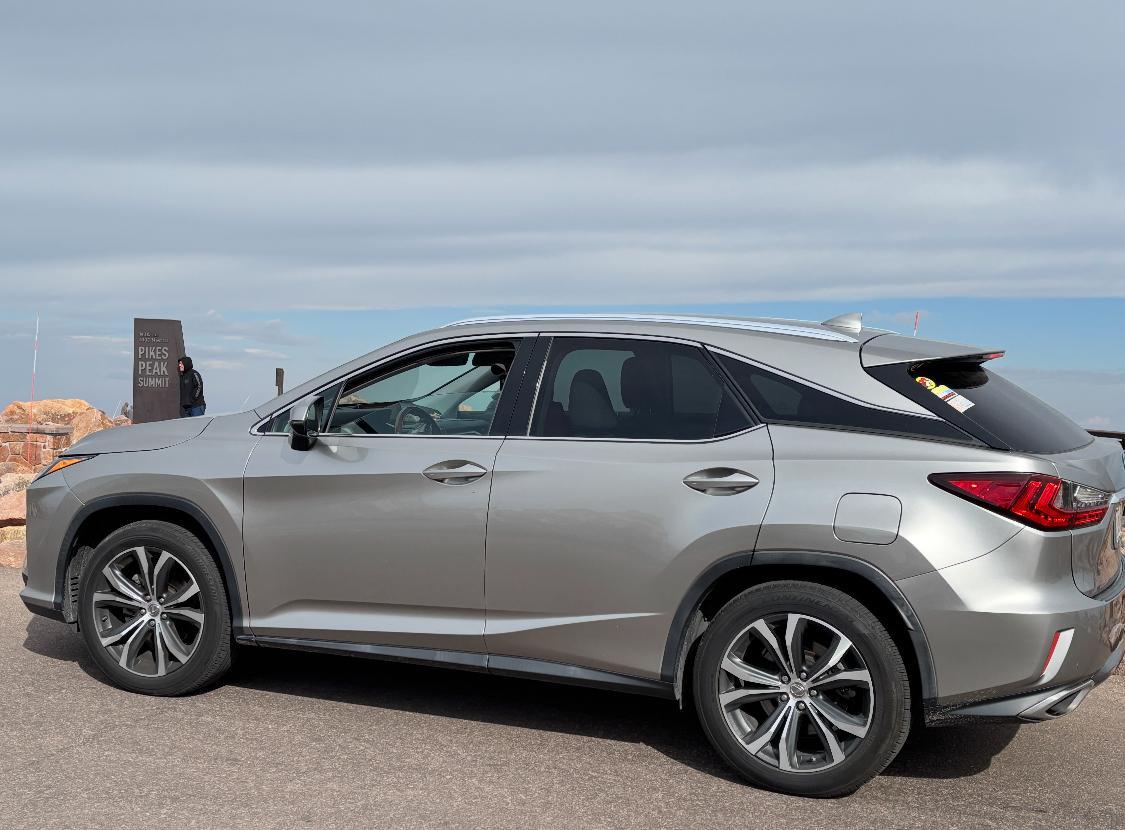
Yes, it's an RX350. We considered several different brands, but we'd such luck with our previous RX that we went to the Lexus dealer to look around. They had two lease return cars on the website with very low mileage and a good price. We went to look at the red one, but it was already on a test drive and this one actually had fewer miles and everything just sort of fell into place with the deal. I wasn't sure at the time, but now I kind of like the anonymous quality of the silver. It blends in well. Edit: We had a Mazda 5 van for several years and it was a surprisingly sporty car. For us the Hyundai and Mazda dealers are too far away
-
Simple Fix For Cheap Hobby Knives
oldcarfan replied to oldcarfan's topic in Tips, Tricks, and Tutorials
Sometimes it's not about the money but about availability. In my case I knew I had some good knives and couldn't find them. I knew they would show up sooner or later. Had they not been out of stock at the time I might have bought a couple more XActos or Excels, however they were out and the HL cheapies were available. Living in small towns can limit your shopping choices unless you're willing to wait for an online order. -
I have that same Mazda kit and have been thinking of trying to use some Gundam fine line markers to do it like the illustration.
- 38,742 replies
-
- 1
-
-
- johan
- glue bombs
- (and 1 more)
-
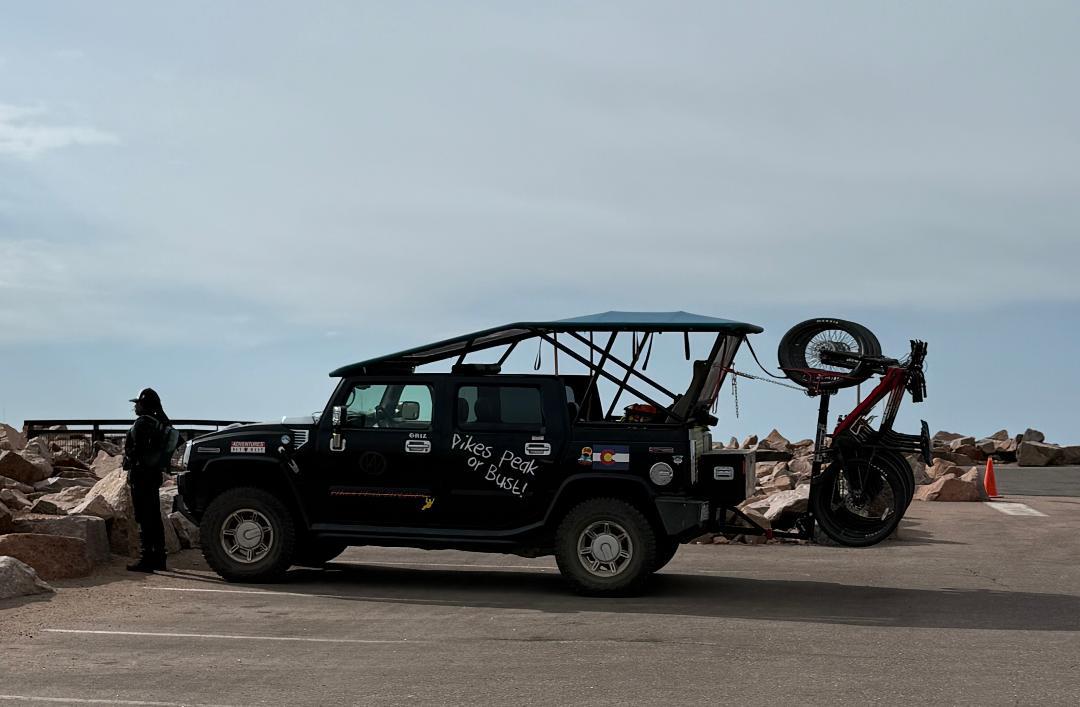
Not sure if I shared our daily driver before. We have an older version of this same vehicle but it has 250,000 miles on it and we wanted something with fewer miles. We bought this one last year about this time and immediately left on a 4500 mile trip to Florida. Last week we returned from a trip the other direction. We drove to Salt Lake City via Colorado and the car ate up the road. Here it is at Pike's Peak. We also have a pickup truck but it doesn't get much use anymore since we finished our house.
-
This is actually brick printed on regular paper. It has a really 3D look to it thought. I got it off eBay for something else and it never got used. When I put the steel up, this seemed like the perfect place for it. If I had it to do over, I'd probably get a couple of the printed steel novelty signs so I wouldn't need to piece the steel. You could probably even use one for the floor so that props could be stood up as well. If anyone wants to try this, be sure and do a test first to make sure whatever you plan to use for covering isn't so thick the magnets can't stick to the walls.
-
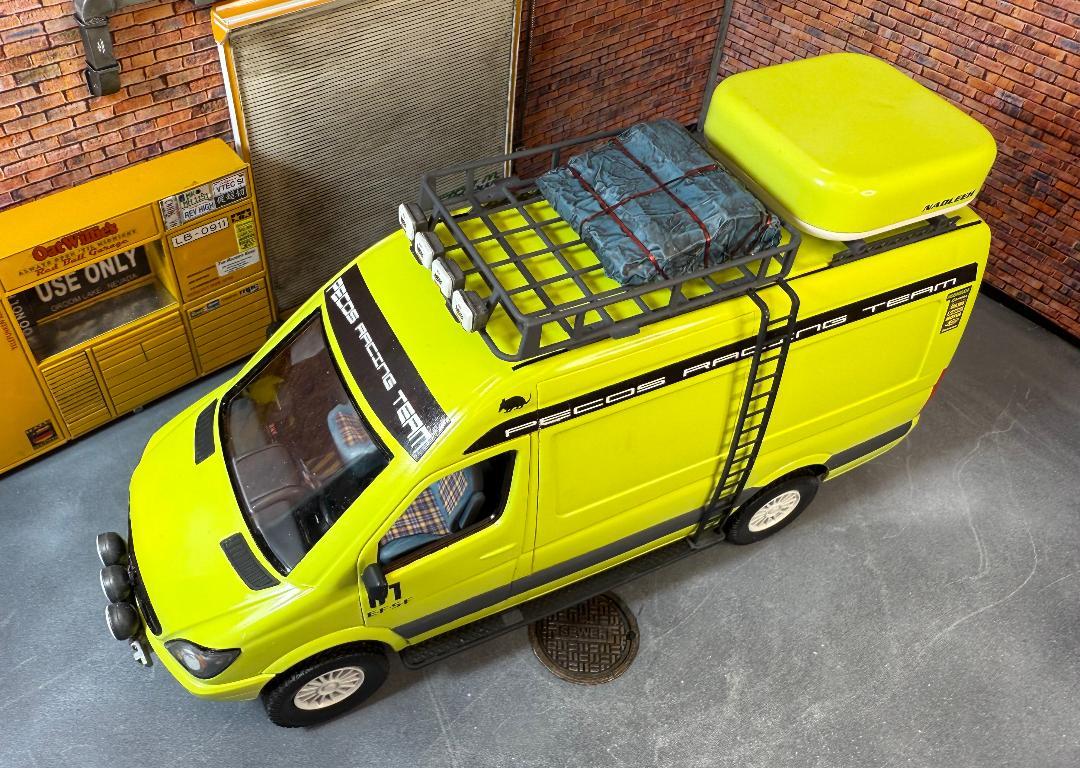
I managed to finish the Mercedes Benz Sprinter van yesterday. Posted it here.
-
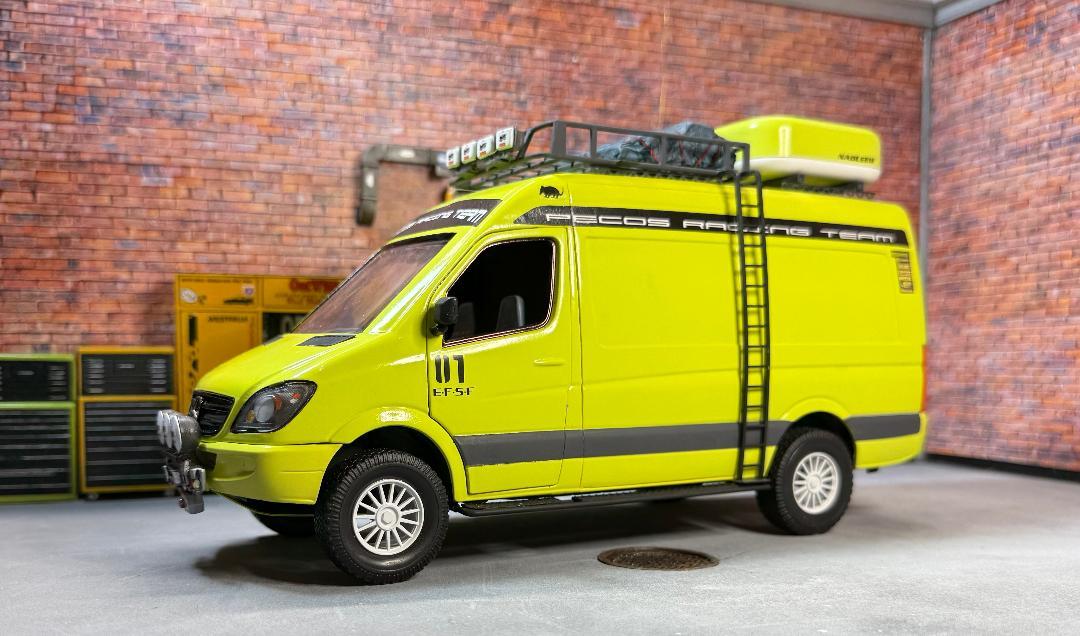
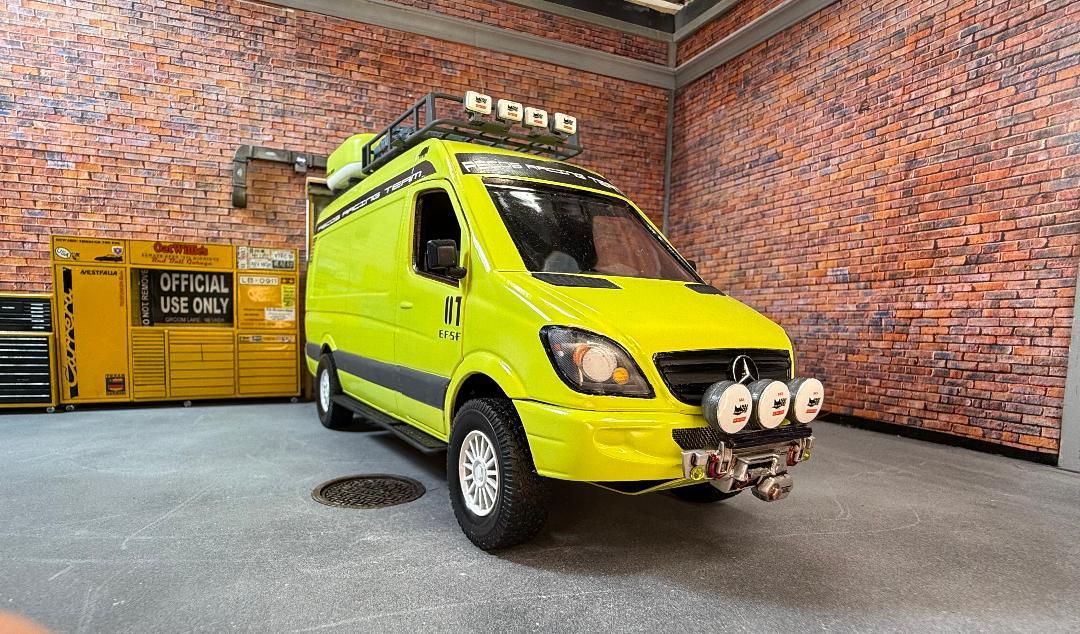
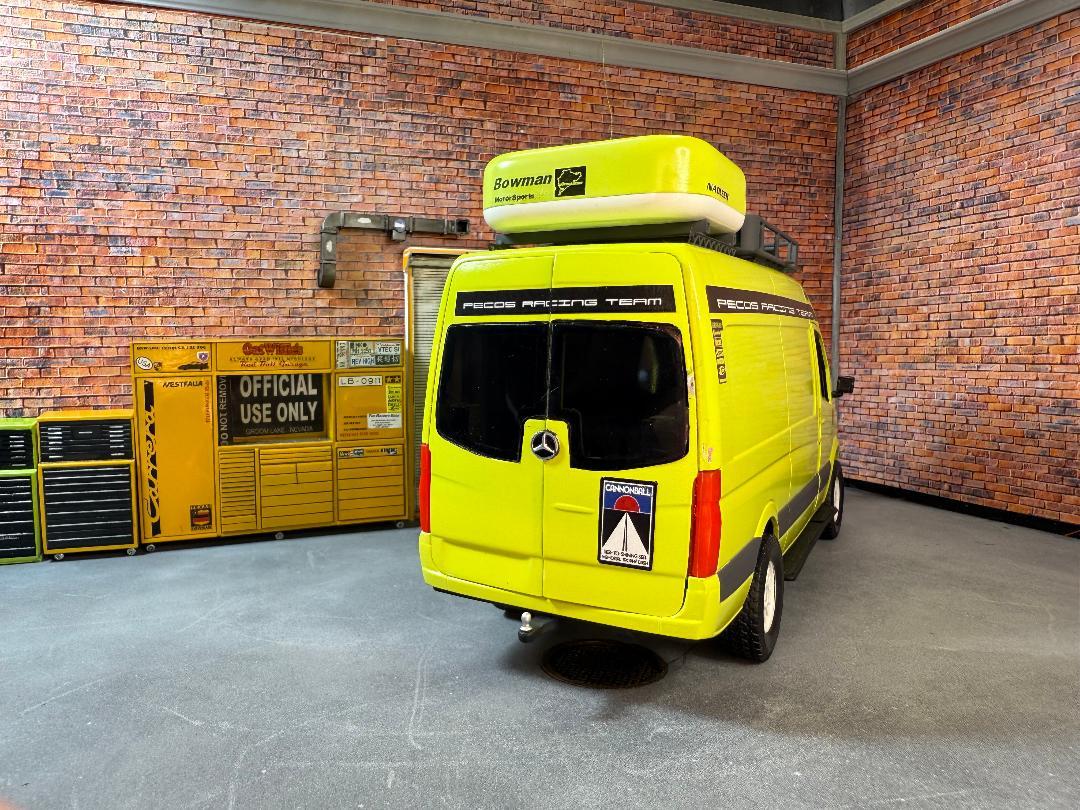
So this is something I bought a while ago. It came from a Ukrainian toy company https://www.amazon.com/Tigres-Mercedes-Benz-Sprinter-Ambulance-Stand/dp/B0CCW1YD48 and it's a pretty darn accurate 1/24th scale. It's molded in ABS and is basically a plastic diecast toy if that makes sense. They are cheap at around $20 and available on Amazon and many sites. If you are wanting to build a delivery or camper van that's not a 70s Ford, Chevy, or Dodge, this might be your start. I started this project in late June. Last week I went with my wife to Salt Lake City for a work trip and we passed through Colorado and over the Rocky Mountains. We saw a ton of these type vans converted to high dollar campers which inspired me to finish up this project. Speaking of vans, we passed one of those giant auction lots up in North Texas and there were a ton of retired Sprinters and Transits in Amazon and other liveries. I glanced at their web page and they sell for anywhere from a few thousand dollars to the mid-twenties with around 100,000 miles on them and regular maintenance so a lot of people buy them as a base for a home built camper. Anyway, I wanted the van to look like something a local shop or racing team might build for their shop truck. I wanted the van to stand out on the shelf so it's painted in Krylon Citrus Green which is really a bright yellow. The yellow is a bit transparent so it needs a white primer. A note here if you build one of these, the front and rear doors are a close fit and will scratch your paint. The suspension is raised an 1/8 of an inch to clear the Pegasus Spyder 22 inch wheels fitted with offroad tires off a Maisto diecast truck. The interior is an blank space so you could go wild with the detailing if you wanted. Mine is pretty much standard except for some details in the cab. The interior has weirdly proportioned molded in seats so I cut them out and replaced them with parts box van seats. Eventually I'll finish the rear with toolboxes and racks. The front of the van features a push bar with a winch because you know how hard it is to get those old parts cars out of a muddy field. The driving lights are from an unknown source with thumbtack covers. On the roof is a rack from Hooligan Scale Models on Etsy, with lights from an old Monogram F-350 and a tarped cargo. The box behind it is courtesy of a pair of Apple Airpods and the ladder is a Plastruct piece carefully bent. The rear windows were cut from a packaged salad container and sprayed with my last can of Testor's transparent black. I think they came out pretty nice. The decals are a combination of Gundam numbers and some stuff I made on Word and had printed at a copy store. The font is Porsche style lettering from FontMeme. https://fontmeme.com/porsche-font/ They have fonts for most brands and are easy to work with. I'm not much at doing tutorials, but here is the build post I started. I probably forgot some stuff, but hope this was interesting.
-
I have the Revell 635 kit cheap at a flea market a few years ago. Don't know how it compares to the Fujimi kit.
-
That's looking nice! I found this same Rocket Bunny 86 kit last week and bought it.
-
I didn't do anything in particular to the metal since it was galvanized. It would probably work better if I'd scuffed it up a little. I tried 3M spray cement for part of it until I ran out and just super glued the rest. Both seem to work about equally. I did superglue some 1/8 x 3/8 basswood on the back side to help resist warping just in case. I also experimented with different kinds of magnets. The flexy magnet roll works okay but neodymium magnets seem to work the best.
-
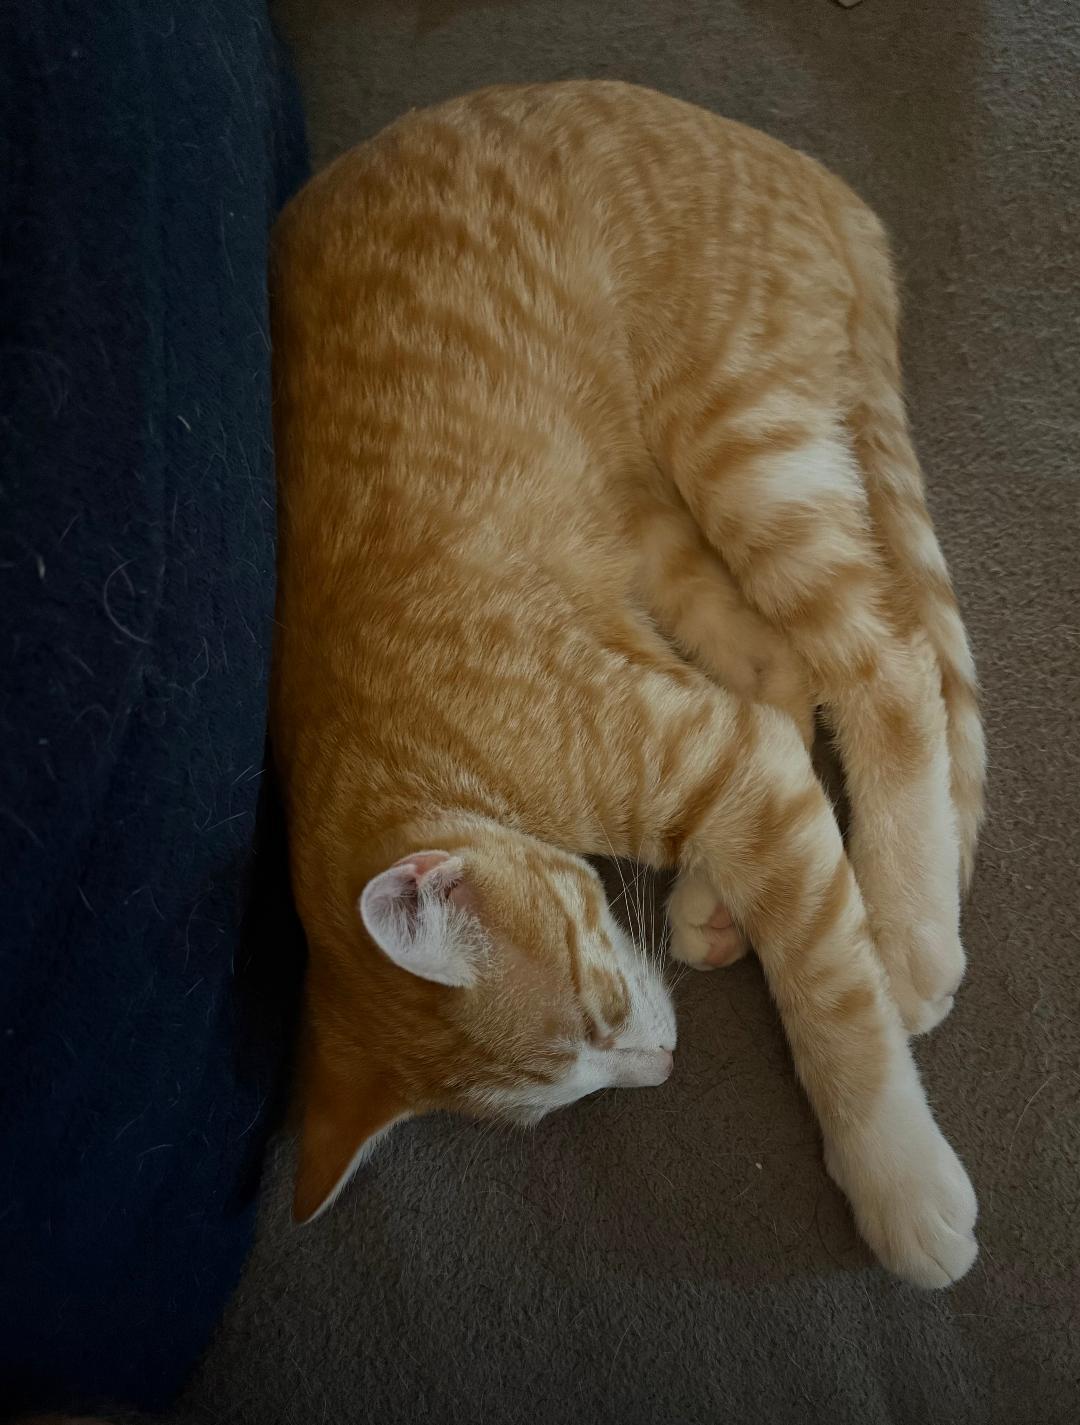
Here is our young seat thief. Can't get up without him waking up and moving over to take my spot.
-
Just trying to get back into the groove after an eight day road trip. It took two days of resting, but today I went out to the shop ready to finish up some projects. I made some progress on the Mercedes Sprinter van and hope to finish it tomorrow.
-
Simple Fix For Cheap Hobby Knives
oldcarfan replied to oldcarfan's topic in Tips, Tricks, and Tutorials
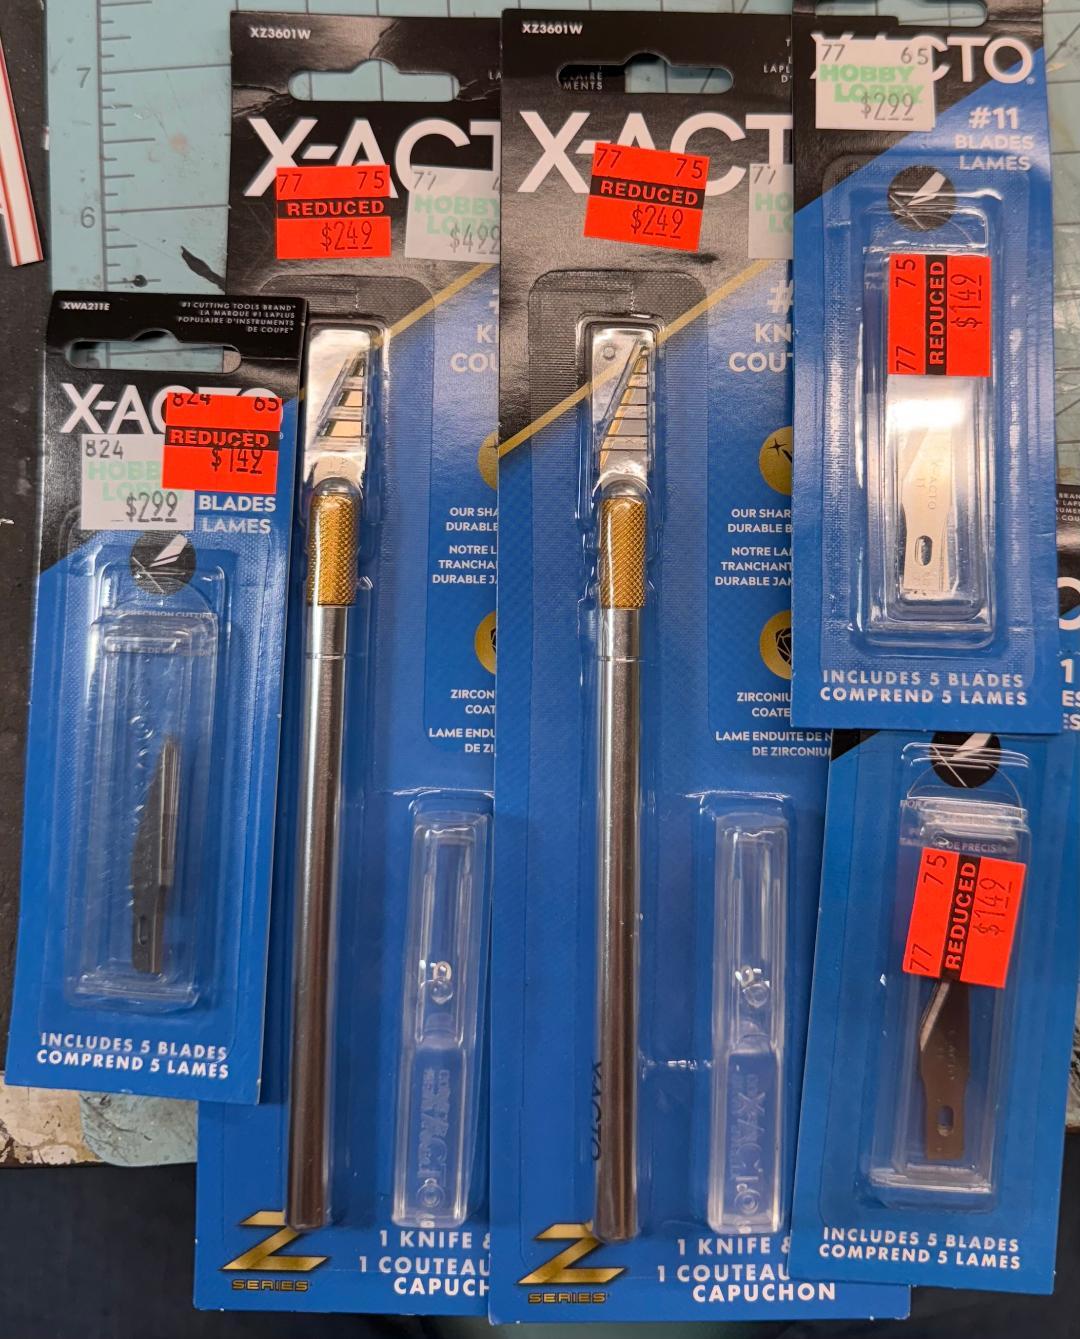
Here's something for those of us who shop at Hobby Lobby. Sometimes they have the same products in different places at different prices. The XActo knives I bought on clearance are gone from the model car aisle, but the exact same knives are still in papercrafts at $4.99. -
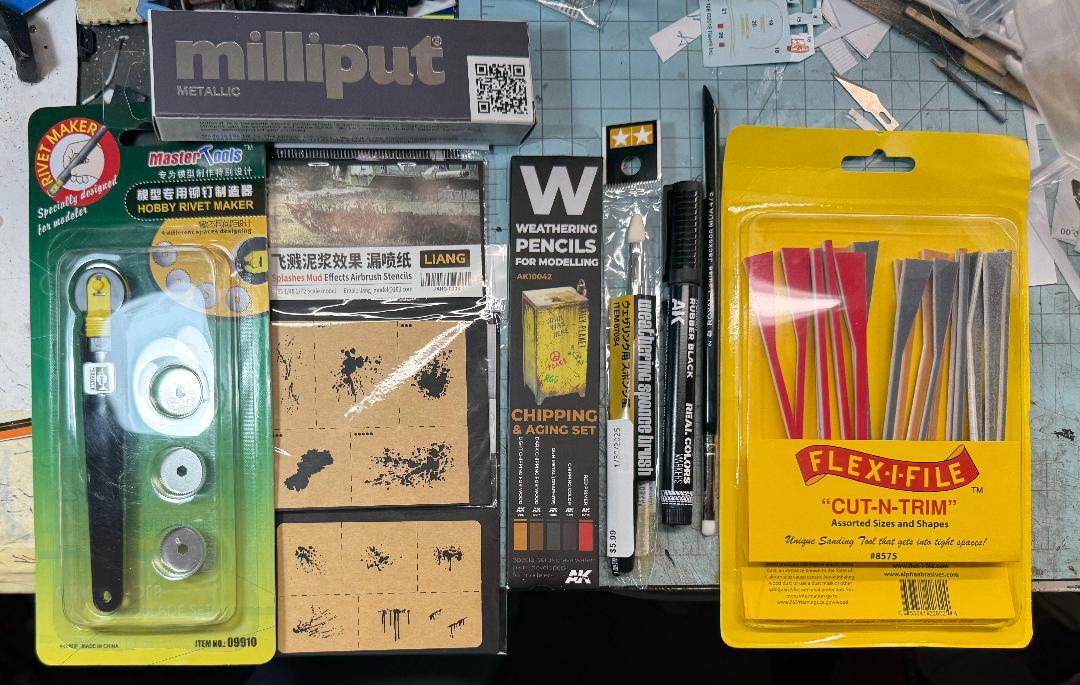
We returned from our trip to Salt Lake City the other day. My wife had meetings to attend so I made my own fun while there. This is a store review plus a what did I get post. MRS Hobbies, West Valley Hobby and Super Anime Store are in the area and I recommend them. MRS Hobbies is an old school shop crammed to the gills with kits and supplies of all types. I went a little crazy with the Aoshima kits and stocked up on Tamiya paints and even found a can of Model Master Dark Yellow. West Valley also has an amazing stock of supplies and kits. I found a lot of things I didn't know existed. Super Anime Store is more anime figure oriented but they did have a few kits like the Nissan Silvia. Anyway, if you're in the area give them a try. Oh and the views were cool too, I guess. lol. We drove up Pike's Peak and went to South Park Colorado and rode an old time steam train. Can't complain!
- 38,742 replies
-
- 7
-
-
- johan
- glue bombs
- (and 1 more)
-
Simple Fix For Cheap Hobby Knives
oldcarfan replied to oldcarfan's topic in Tips, Tricks, and Tutorials
I stopped at Hobby Lobby for some kicker and these were on clearance. I'm happy with the cheap knives since I 'fixed' them, so I'll keep these in reserve.
-
What did you see on the road today?
oldcarfan replied to Harry P.'s topic in General Automotive Talk (Trucks and Cars)
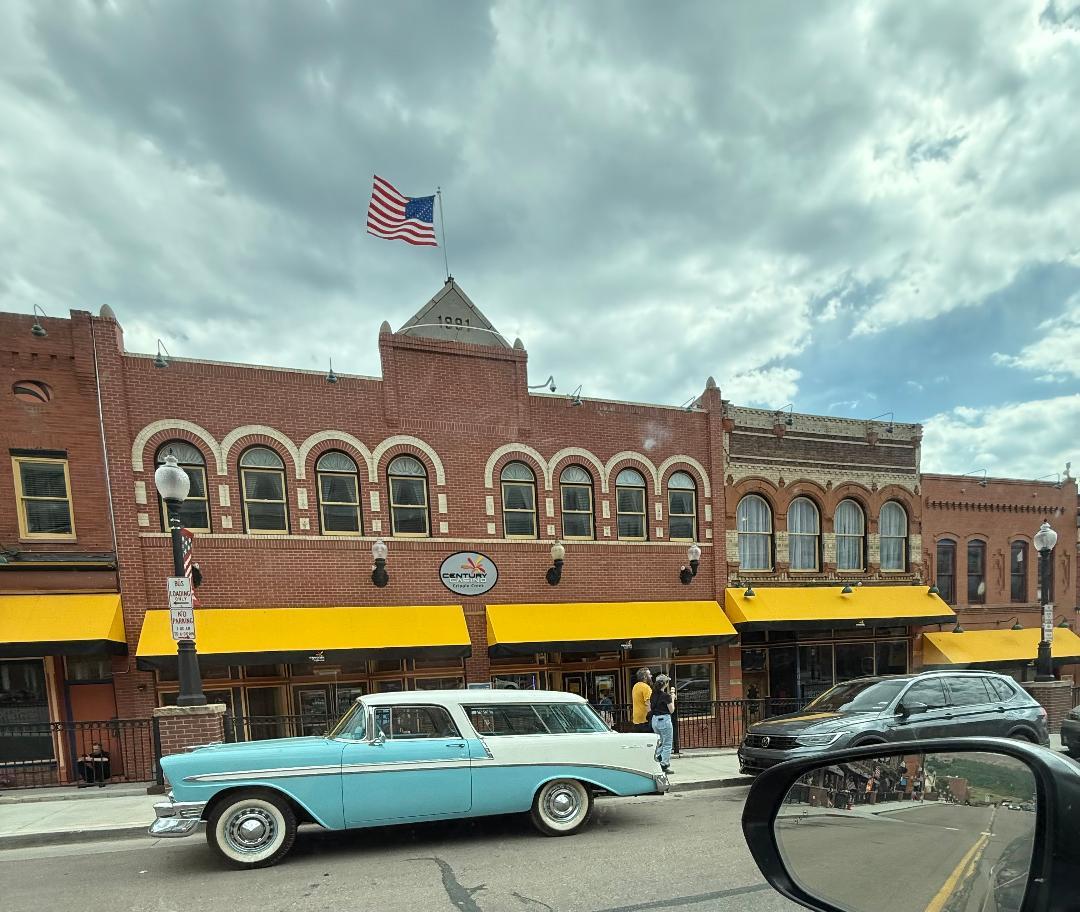
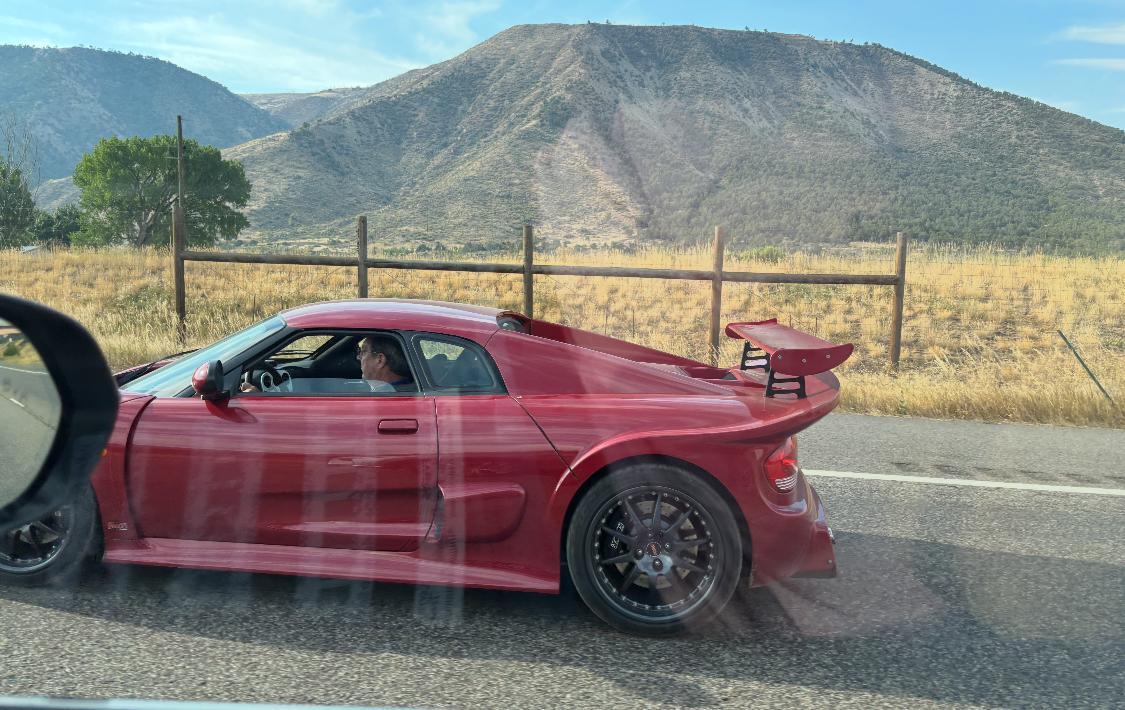
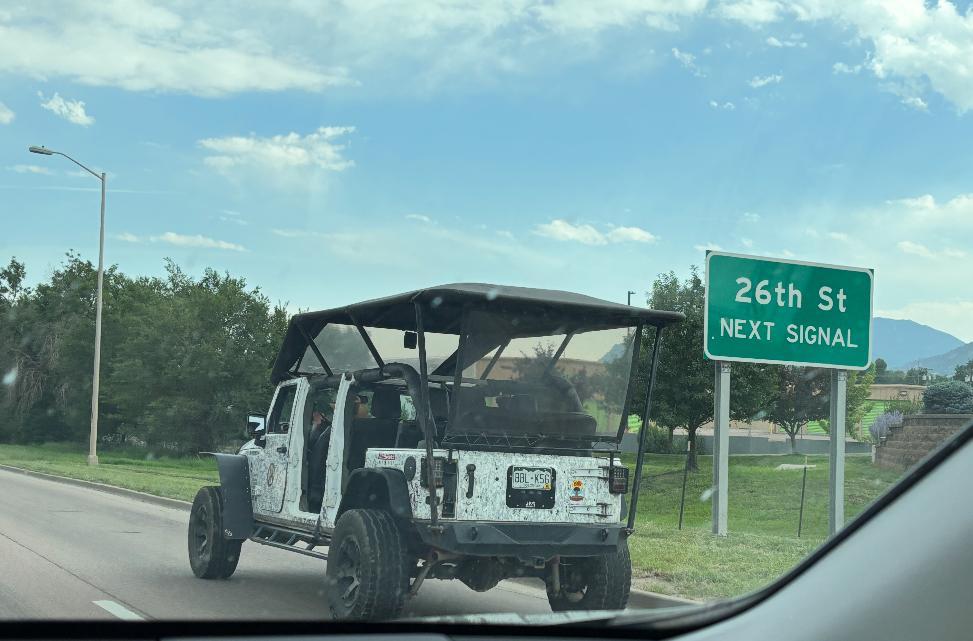
We just returned from a road trip. The first car is in Cripple Creek, Colorado. It's a 56 Chevy Nomad. I saw it tooling around town earlier. T This was on the Interstate and I'm not sure what it was, couldn't get a better shot. Finally these were at the summit of Pike's Peak. Saw several of them, modified Jeeps and Hummers used to haul people up and down. They had a third seat hanging on the back and a tonneau top. Pretty exciting to ride in I imagine considering the tight turns and lack of guardrails.
-
What did you see on the road today?
oldcarfan replied to Harry P.'s topic in General Automotive Talk (Trucks and Cars)
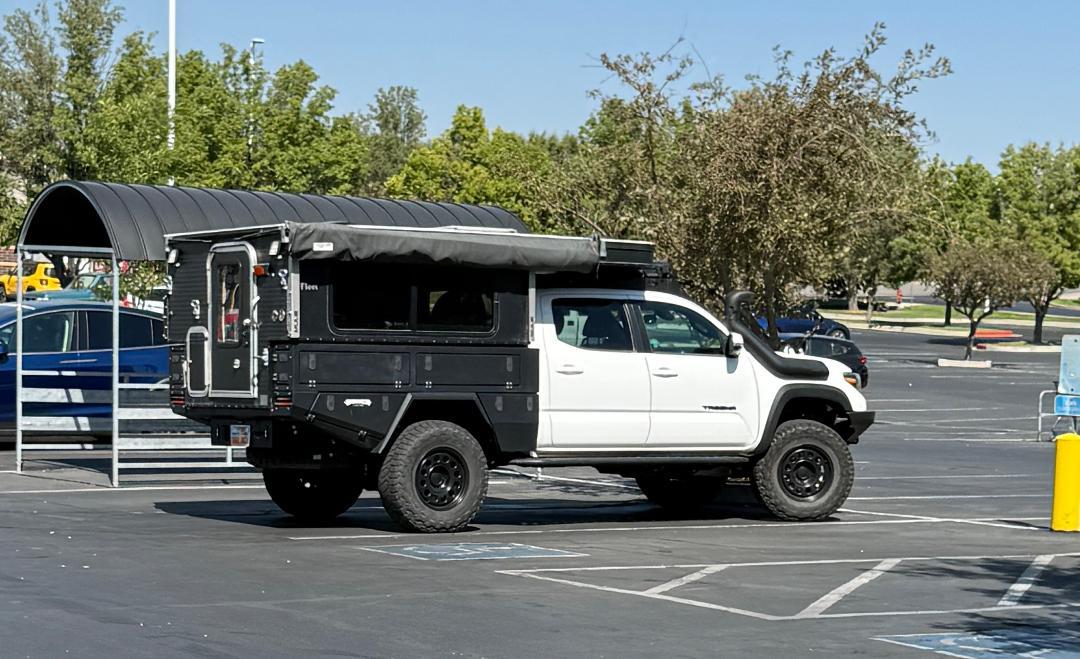
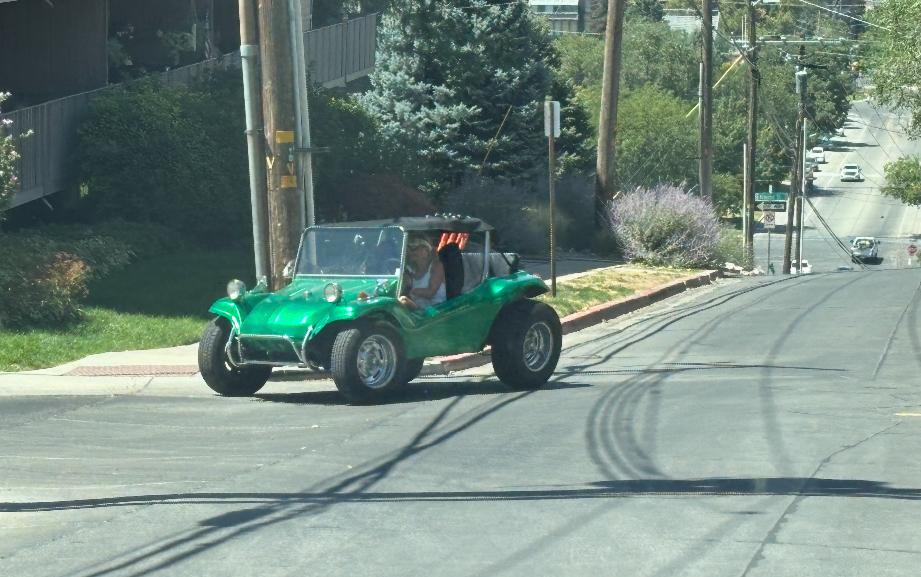
Spent a week in Salt Lake City and saw quite a wide variety of stuff. Lots of fancy cars and trucks. Plenty of Toyotas and Jeeps rigged out for off roading and one dune buggy. That white truck had a complete camper body on the back. I didn't expect it but there are a lot of tuner cars too. Edit: I also saw a Chrysler Pacifica minivan lifted about 2 inches with high-end rally wheels and tires, all rigged up for offroading. Never seen one of those before.
-
I went back to the hobby shop today to get a can of the pearl blue and got distracted by the stack of Aoshima kits and got some of those and forgot the paint.
-
Nice color, is it on grey primer?
-
In the US around 2007 or so we got a faux transporter. It was a rebadged Chrysler minivan sold as the Volkswagen Routan. I worked for a non-profit organization at the time and the boss was an old hippie so he wanted one for us to use. The local VW dealer gave us a good deal on a new one. It rode nice and seemed quieter than my neighbor's Dodge version. I'd almost like to find one, but I imagine finding body parts for it would be a bear as not a lot were sold. VW hoped to sell 45,000 a year and only sold 57,000 during the whole run.
-
Curbside models?
oldcarfan replied to DoktorDuke's topic in General Automotive Talk (Trucks and Cars)
I pretty much build only curbside anymore. To me life is too short and I have to many kits to get to. If a kit includes an engine I'll probably paint it so it doesn't look out of place, but I usually don't open the hood anymore once the build is finished.