-
Posts
2,828 -
Joined
-
Last visited
Content Type
Profiles
Forums
Events
Gallery
Everything posted by oldcarfan
-
A lot of the Italeri, and the earlier ESCI kits were designed in the 80s and 90s and they require some improvisation as some of the parts locations are not clearly marked. Over all, they make me think of an Italian version of 70s-80s AMT kits as far as quality. I currently have their Range Rover 2 door and two of their Gelandewagens sitting on my bench. I work on them for a while and set them aside when I get tired of them. I like to watch for good deals and this last year I got their AUDI Quattro, MB 190E, the rally MB 450 SLC, the MB 600C, and two more Gelandewagen built ups on eBay super cheap because the seller misspelled the name and so I guess no one else noticed they were listed.
-
Looking For Reccomendations For Decal Paper
oldcarfan replied to oldcarfan's topic in Model Building Questions and Answers
Thanks, I'll look at them. -
I'm looking for a better decal option than Micro Scale paper. I've used both the laser and the ink jet kind and had problems with the paper breaking up on application. Backstory: A couple years ago I printed decals using Micro Scale laser paper. I found the decals to be brittle, even with the recommended clear coat. I made them work, but it was frustrating. For my Datsun pickup box truck I tried decal paper made for coffee cups. This paper works well but is a little thick and kind of rubbery. Yesterday I made some more using using new Micro Scale paper and the decals broke into several pieces while being applied and peeled off when dry. I tried several techniques including hot, warm and cold water and none made a difference with or without Micro Set/Sol. This a picture of the decals printed on white Micro Scale laser paper. They were put on and allowed to dry for a day. I went to check this morning and parts of them had peeled away and landed on the work bench. These were put on over white vinyl, but the ones on fresh smooth paint reacted the same. Below are decals made using the coffee cup decal paper. They went on well and seem to have stuck with no problem.
-

An Old Tamiya Toyota Celica GT4 Given A Rebuild
oldcarfan replied to oldcarfan's topic in Model Cars
More power! -

2025 Cannonball Run - 50 years since the 1975 run.
oldcarfan replied to Mattilacken's topic in Community Builds
Great color! For the taillights, rather than paint them red over red, I usually put some Bare Metal foil on the backside to give them more reflective look, then maybe do a black wash to make the raised parts more noticeable. -

An Old Tamiya Toyota Celica GT4 Given A Rebuild
oldcarfan replied to oldcarfan's topic in Model Cars
The map is actually a computer from (I believe) a Lindberg Police Crown Victoria. I bought a bag of assorted parts at a hobby show a while back and that was in it. The screen is a reduced screenshot that I copied and pasted to print. The LED light bar came off a Kinsmart 1/43rd-ish scale diecast 4x4 toy truck. I bought a bunch of them from Walmart over the last year. Even though they are smaller, some of them have a few useful parts I can adapt. -
About 20 years ago when I was too young to know better, a couple friends and I started a model company and made a pretty decent living for a while. We mostly built ships and sci-fi stuff for museums and private collectors, but did pretty much anything someone was willing to pay for. One time I built a Johan hearse to match the livery for a small town funeral home in Kansas. My favorite one though, was ordered by the spouse of a female proctologist for a Christmas gift. I built a 1/12th scale Dr. Barbie, Proctologist. Used a standard Barbie, but added scrubs and a complete endoscope setup with the scope, tubing, video screen and everything. I even created a box with full Proctologist Barbie markings. I loved that job, but it fell apart due to the usual, workload and finances.
-

Bleached/Sunburned paint
oldcarfan replied to stitchdup's topic in Model Building Questions and Answers
I don't know if it could be reproduced reliably, but I spray painted a couple of model car bodies and accidentally left them under a porch during a rainstorm. They didn't get directly wet, but when I remembered them a hours later the paint had dried with a cloudy sun damaged look to it. I assume the humidity caused the clouding. Maybe you could spray them in a bathroom with the shower running? lol -
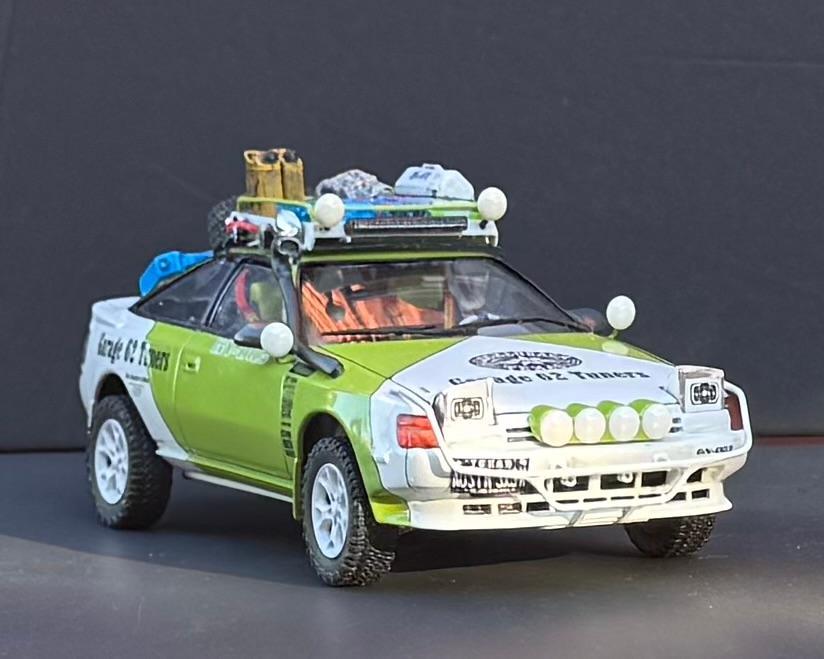
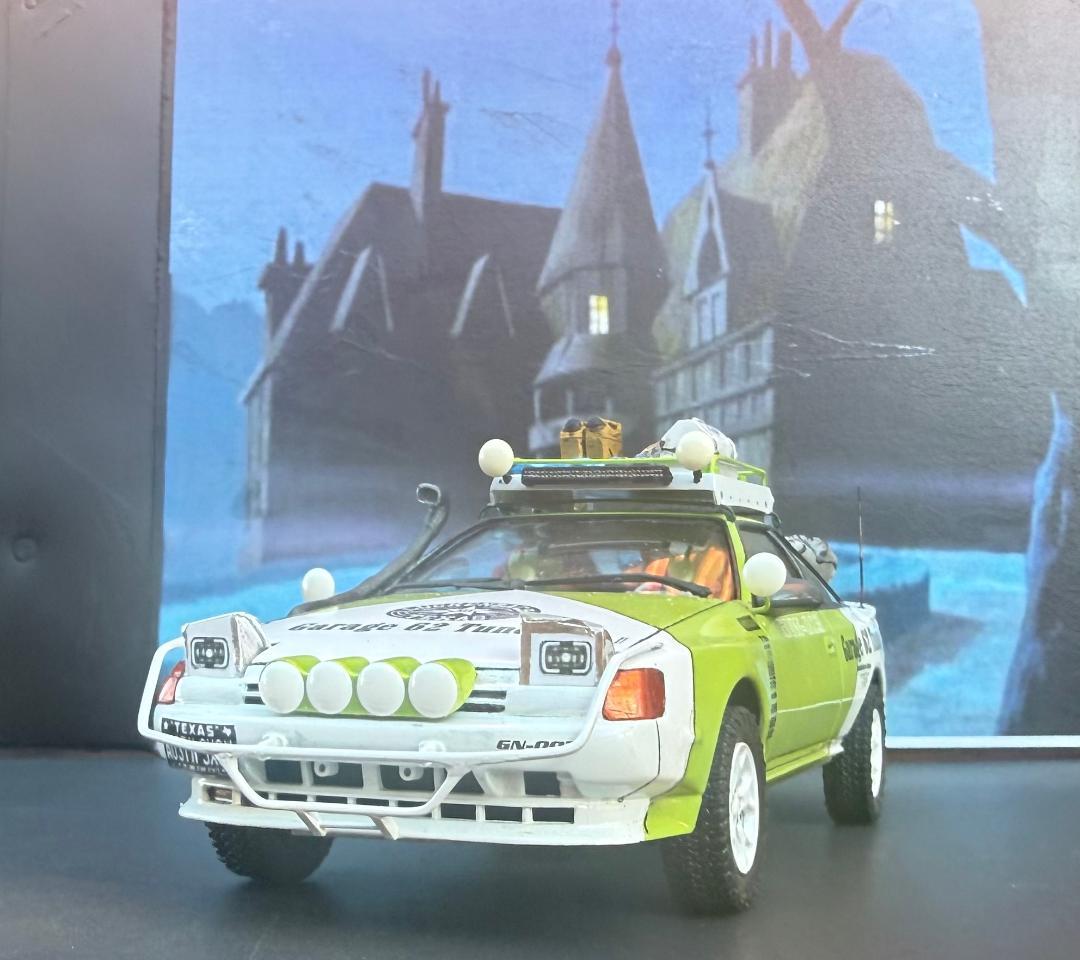
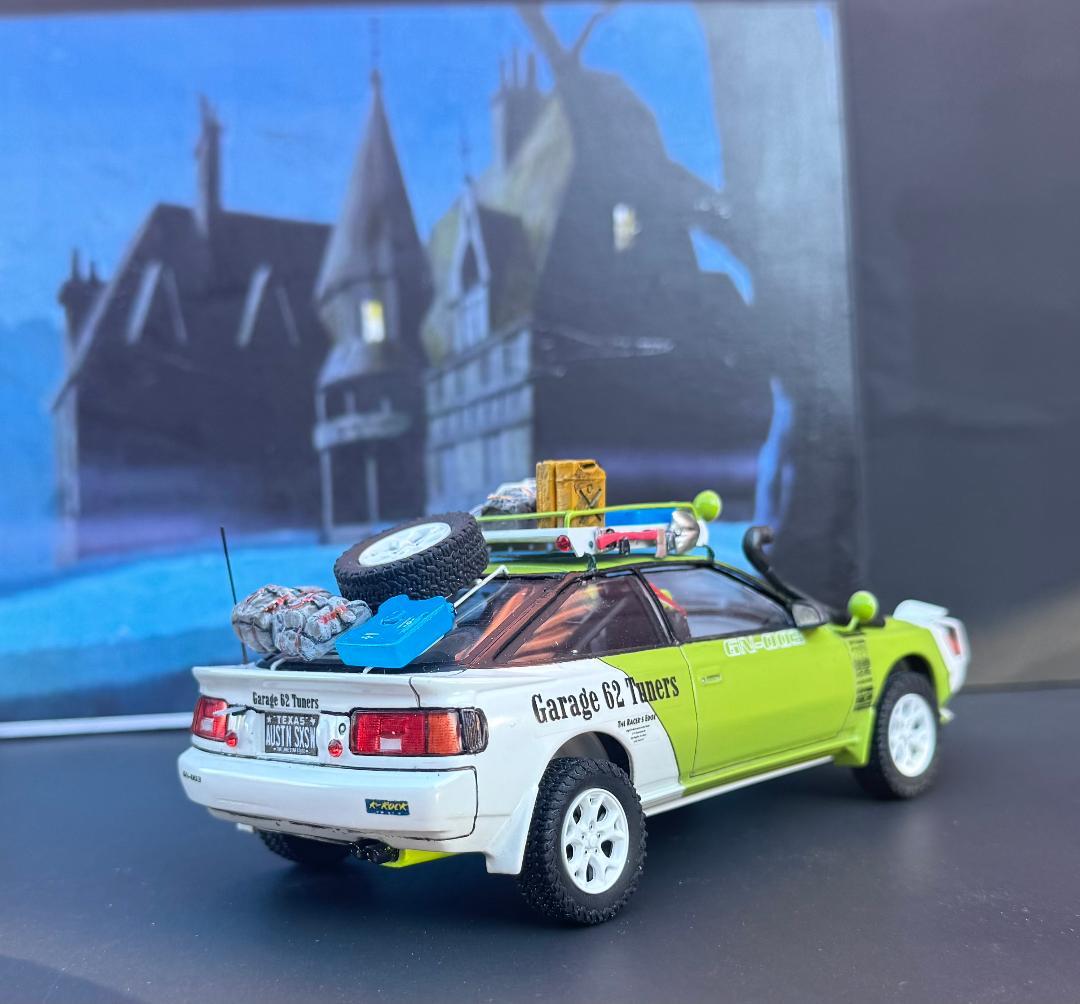
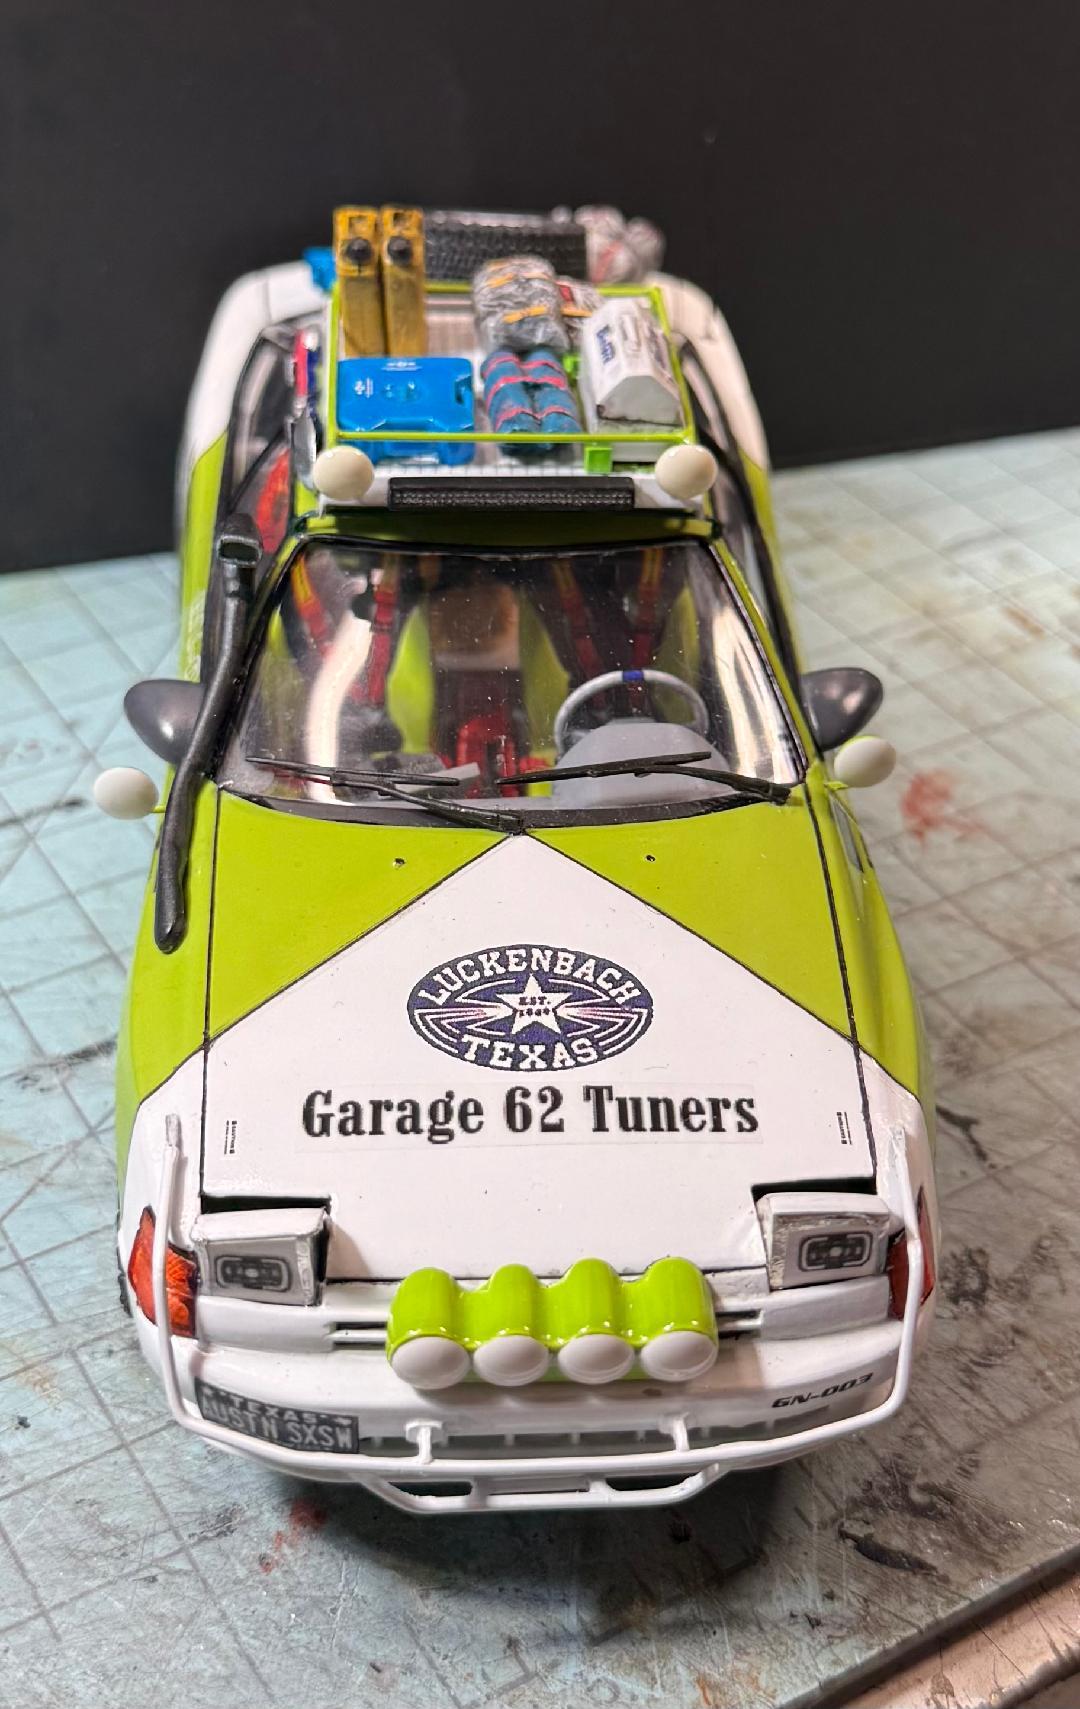
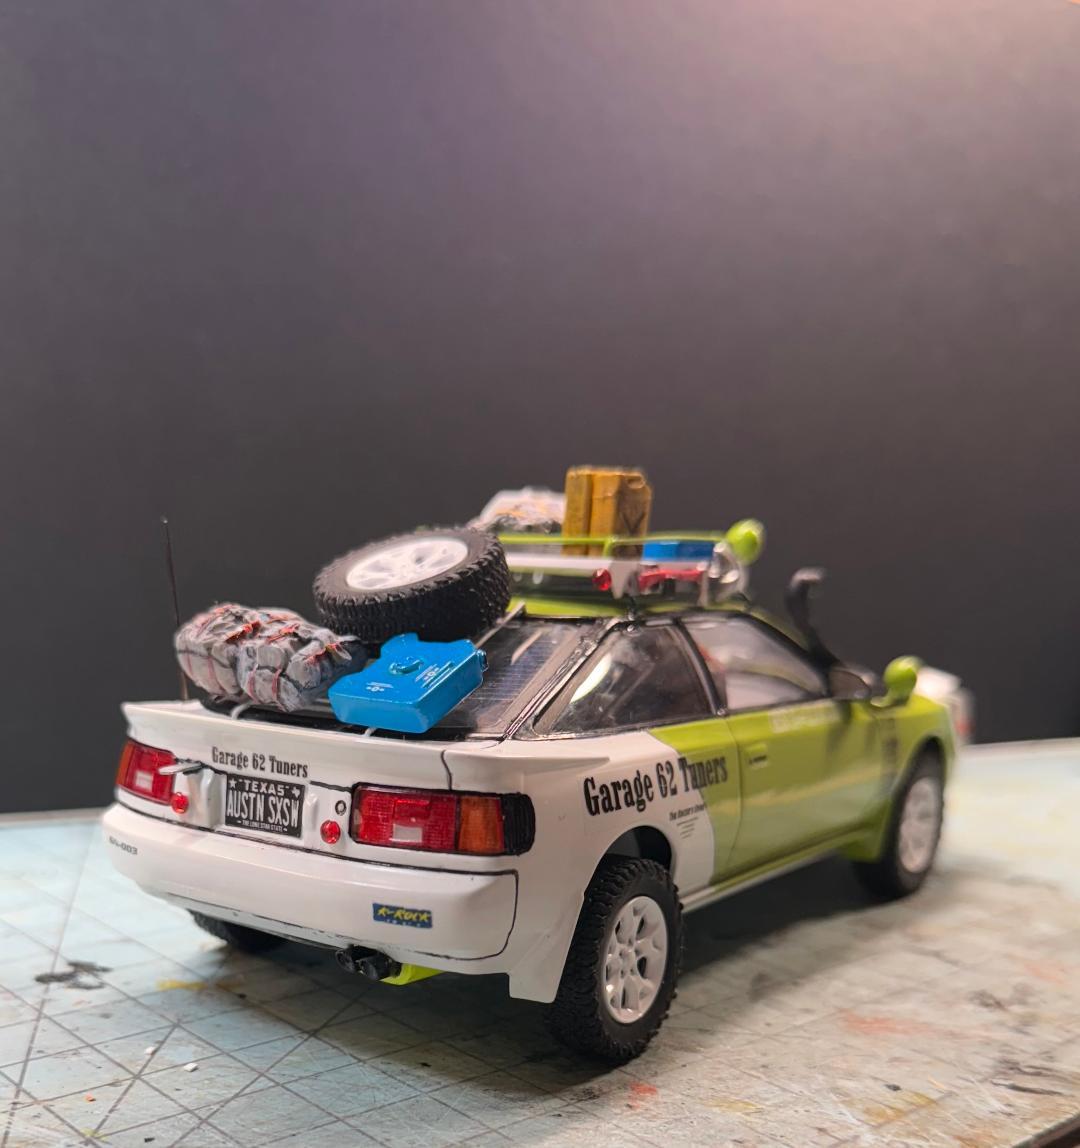
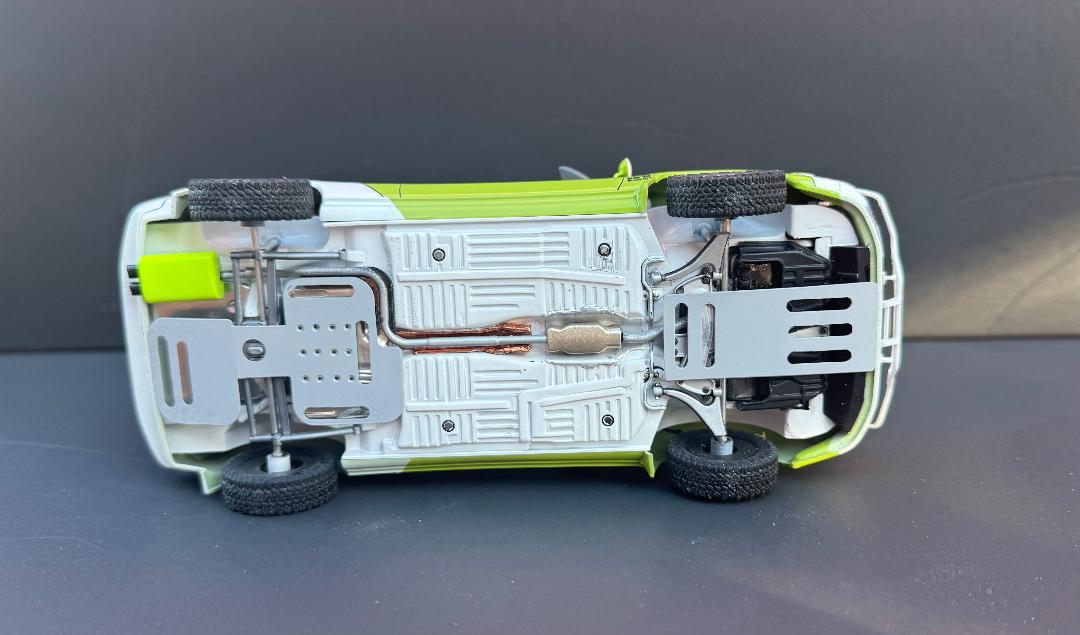
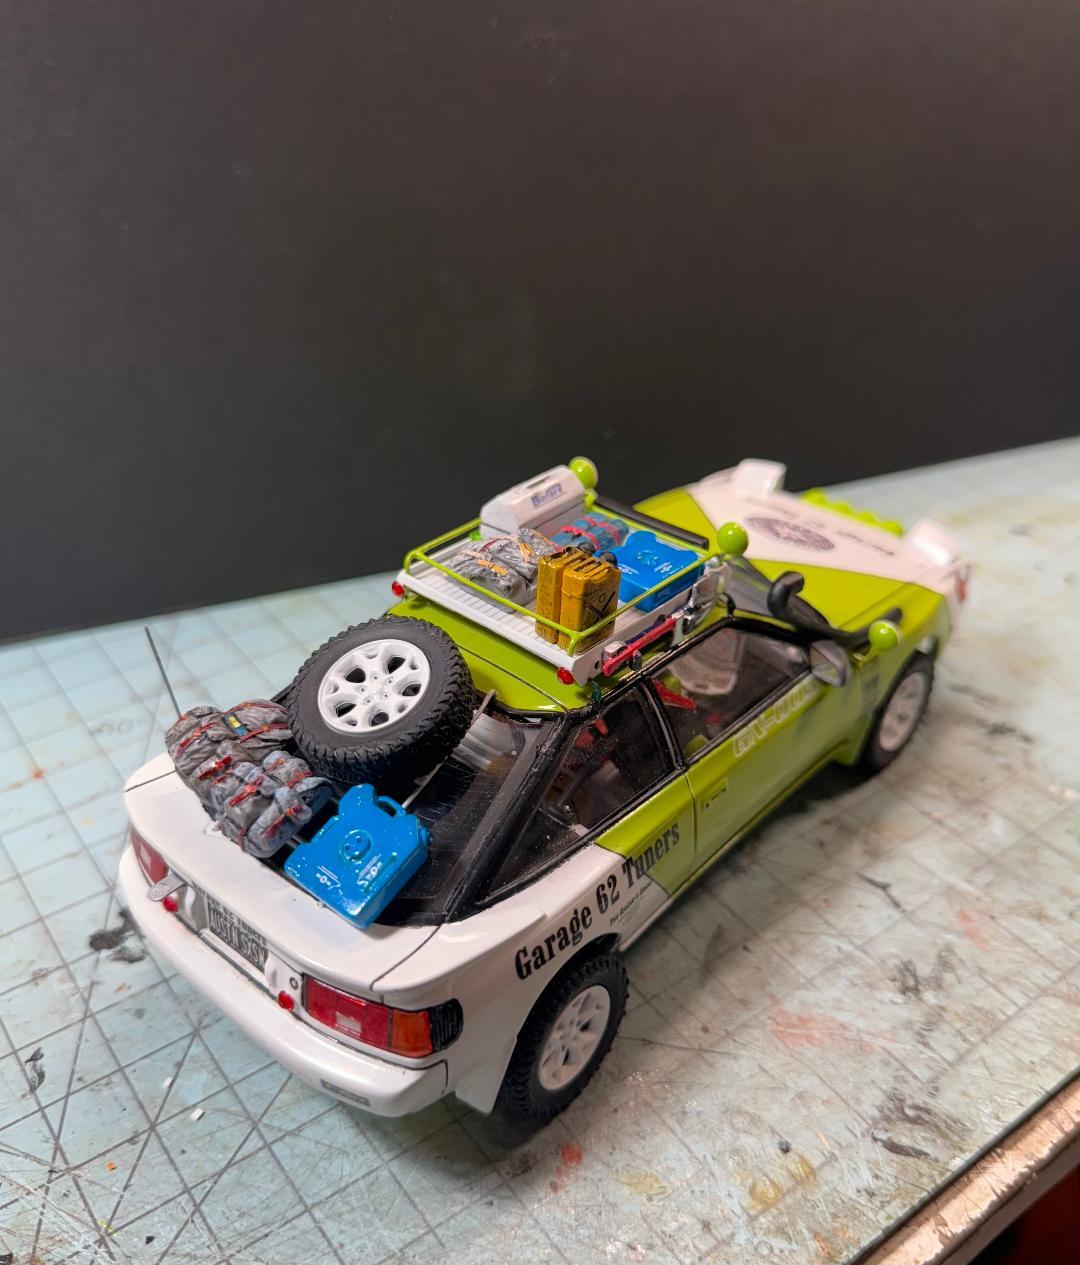
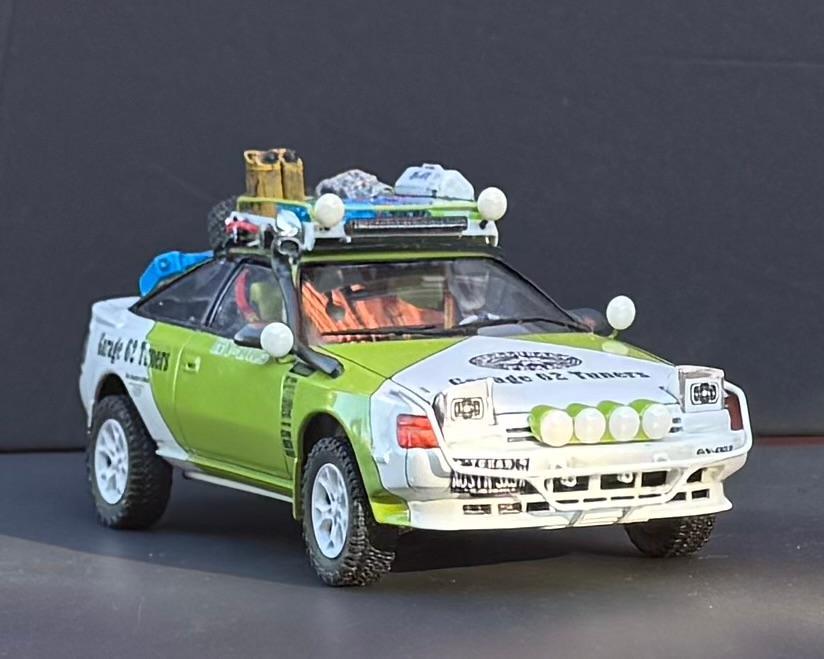
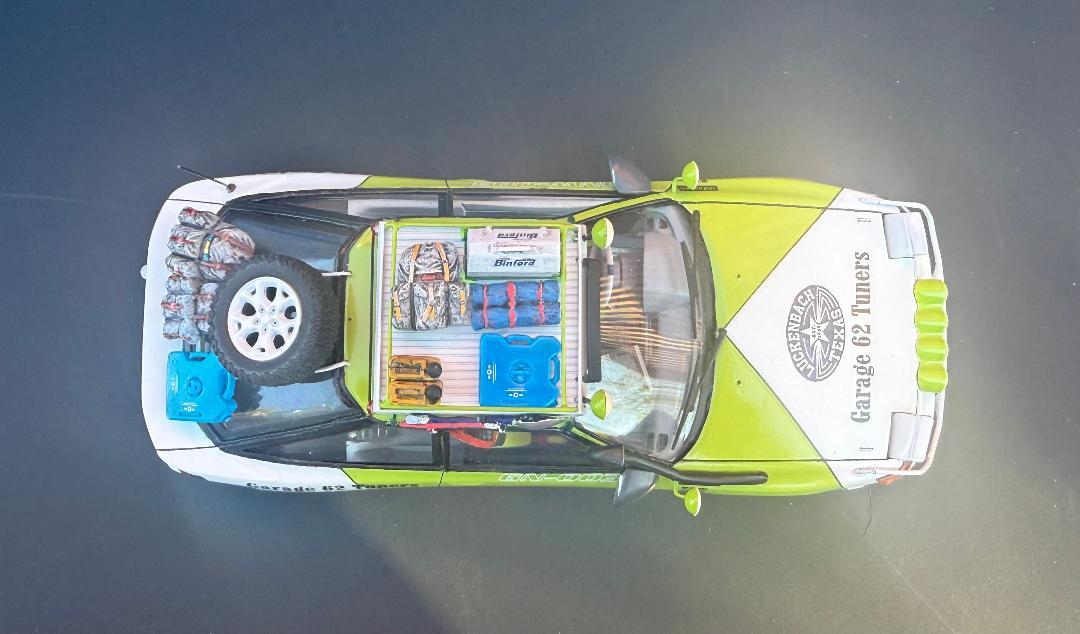
This is a kit that I bought years ago on eBay. Actually I bought two about six months apart. Sadly the first kit left the seller in mint condition and got to me with the A,B, & C pillars crushed. If you've every built one, you know the pillars are super thin. UPS blew off the damages so back on the shelf it went and I ordered another one. It also arrived with the same damage. Being bored I dug one out a couple weeks ago and tried to fix it. No pics, but I used a fine Dremel saw blade to carve a groove in the backsides of the pillars and glued in thin brass rod. After that the assembly was typical Tamiya easy. I did manage to lose one of the front turn signals so I made one out of a piece of clear blister back. I like to have a theme for my builds and this one was easy. When these cars were new, Toyota was really into WRC rallying. For this one, I decided to do something a couple of budget racers might build as a fun adventure car. So here it is my 1986 Celica GTR Safari . In honor of Halloween, I did a couple of pictures in front of a spooky, foggy, old mansion. Would've got more pictures if not for those meddling kids! The basic car is box stock, but I used it as a practice for some new scratch building ideas. All the lights are scratch built, mostly from some Hobby Lobby adhesive gems. The light bar on the front is Plastruct tubing, four pieces glued together and then filled and formed to fit the grill. The pushbar on the front is plastic coated floral wire bent to shape. The Marlboro racing livery is one of my favorites so I borrowed it for this car with different colors. The decals are homemade using the Marlboro font as well. The only variations to the basic kit were to raise the ride height a scale 3 inches and give it some skid plates. The wheels and tires are from a Kinsmart 1/32 scale Jeep Wrangler. Strangely enough, they measured out to 15 inch in 1/24th scale. It's amazing what you can find if you keep an eye on cheap toy diecasts. The skid plates are standard thin Plastruct sheet that I tried my new hole punches out on. The exhaust is box stock with some paint and foil details. The rack on top is also Plastruct with floral wire rails and some cargo. The toolbox is scratchbuilt, the blue water containers are off an offroad truck, and the gas cans, backpacks, and tarp are from a 1/35th Tamiya military parts pack. The air snorkel on the fender and A pillar is stretched sprue. The rear also features a floral wire rack supporting the spare tire, an Alice pack and another water can.
- 12 replies
-
- 13
-

-

Show Us Your Work Bench
oldcarfan replied to Bruce Poage's topic in General Automotive Talk (Trucks and Cars)
I started cleaning a little after finishing a project today then got distracted by some parts I forgot I'd ordered so the cleaning kind of got sidelined again, -
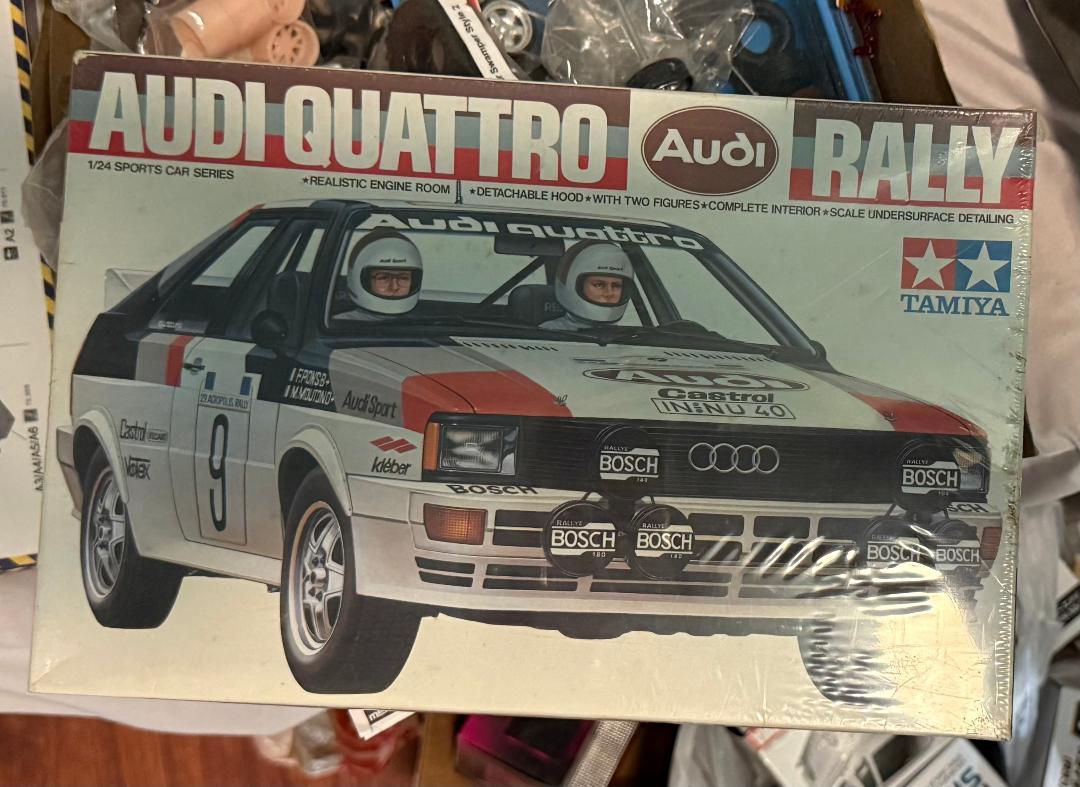
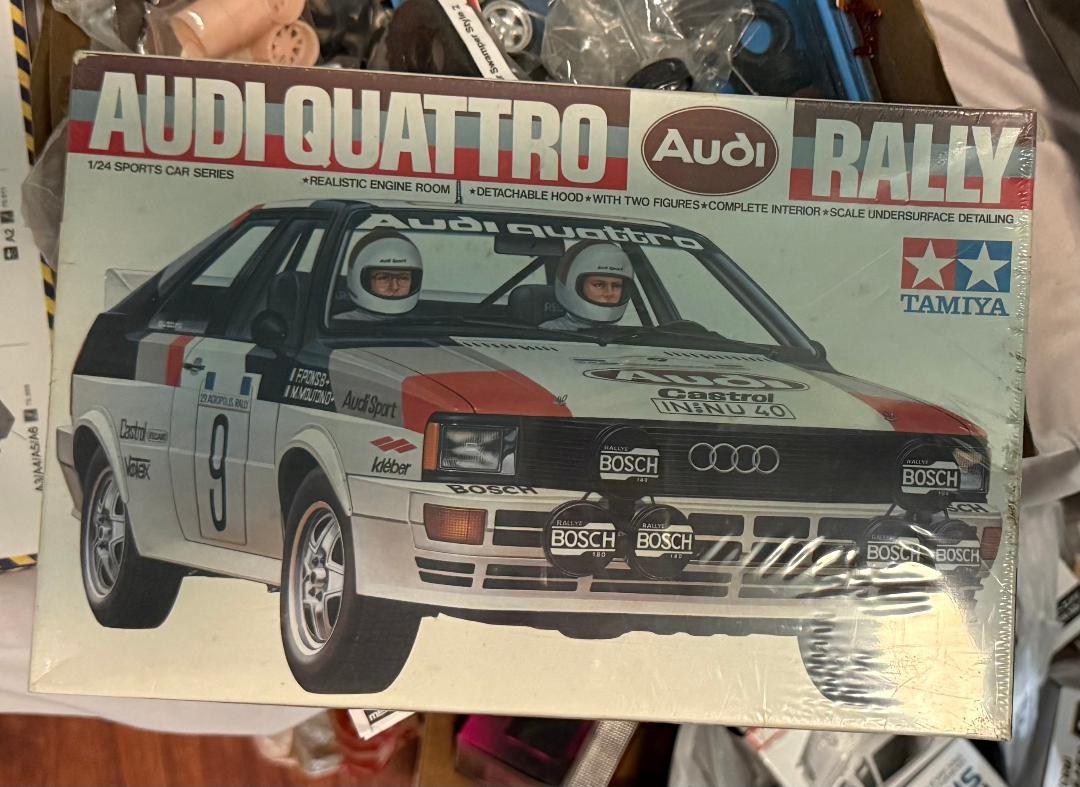
This one I just got a few days ago. I built one back when they were new and lost it somewhere along the line. I'd given up trying to find one at a decent price and bought the Italeri version then Hobbytown Arlington had one in their vintage kits and I snapped it up. Now that I have it, no doubt Tamiya will reissue it! lol
-
-

Show Us Your Work Bench
oldcarfan replied to Bruce Poage's topic in General Automotive Talk (Trucks and Cars)
My workbench is currently overflowing with stuff so no picture. I am working on a plan to remedy the problem. I found some storage bins the other day at junk shop and I'm planning to find a better place to store unbuilt and built kits to hopefully make more room -
I stopped at the Arlington Tx Hobbytown to check out their vintage kits and found one I've wanted for years. I built this Audi a long time ago and lost it somewhere along the line. Now I have a chance to do it again!
- 39,051 replies
-
- 4
-

-
- johan
- glue bombs
-
(and 1 more)
Tagged with:
-

Testor's Purple Question
oldcarfan replied to oldcarfan's topic in Model Building Questions and Answers
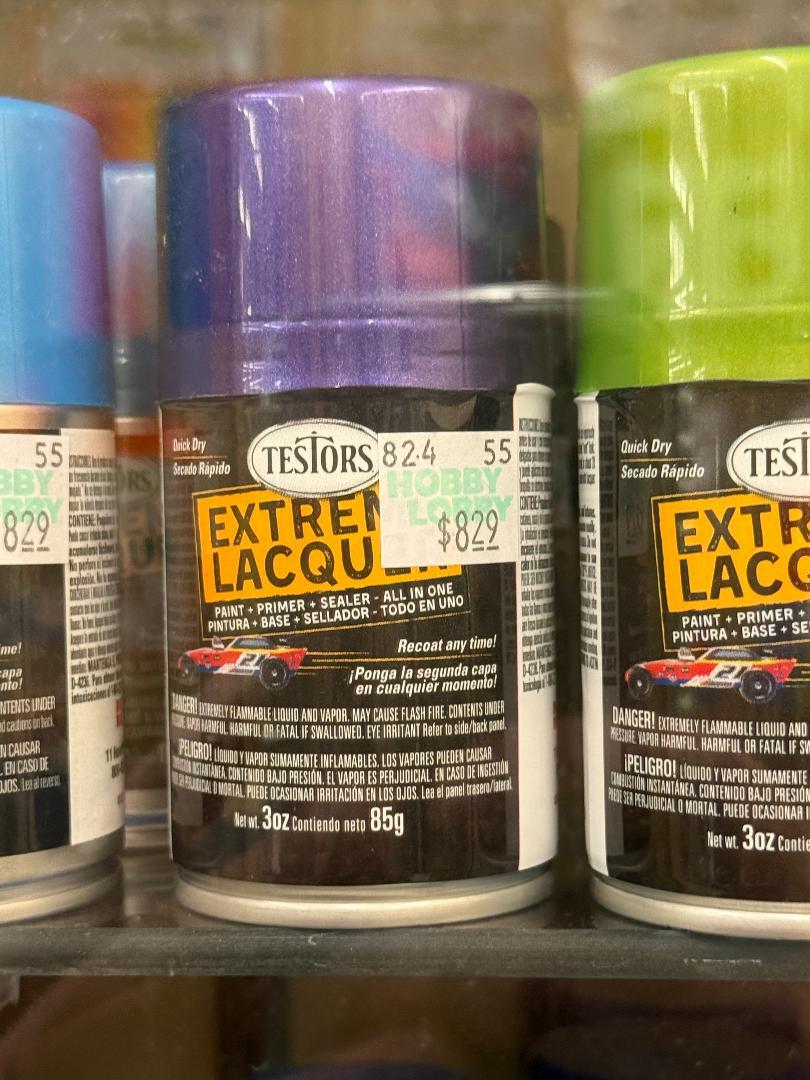
Sometimes the same color is reissued with a different name and I was kind of hoping this would be the case here. Thanks for the info. -
I have part of a can of Model Masters Plum Crazy but I'm not sure if it's enough for a project. I noticed this at HL yesterday and it looks like the same color. Could it be the same paint in a new can? I'll probably buy one to try it out, but I'm curious. On that subject are there any other of the Model Masters paints available under a different name?

