Rockford
-
Posts
1,944 -
Joined
-
Last visited
Content Type
Profiles
Forums
Events
Gallery
Everything posted by Rockford
-
 That is something else!
 -
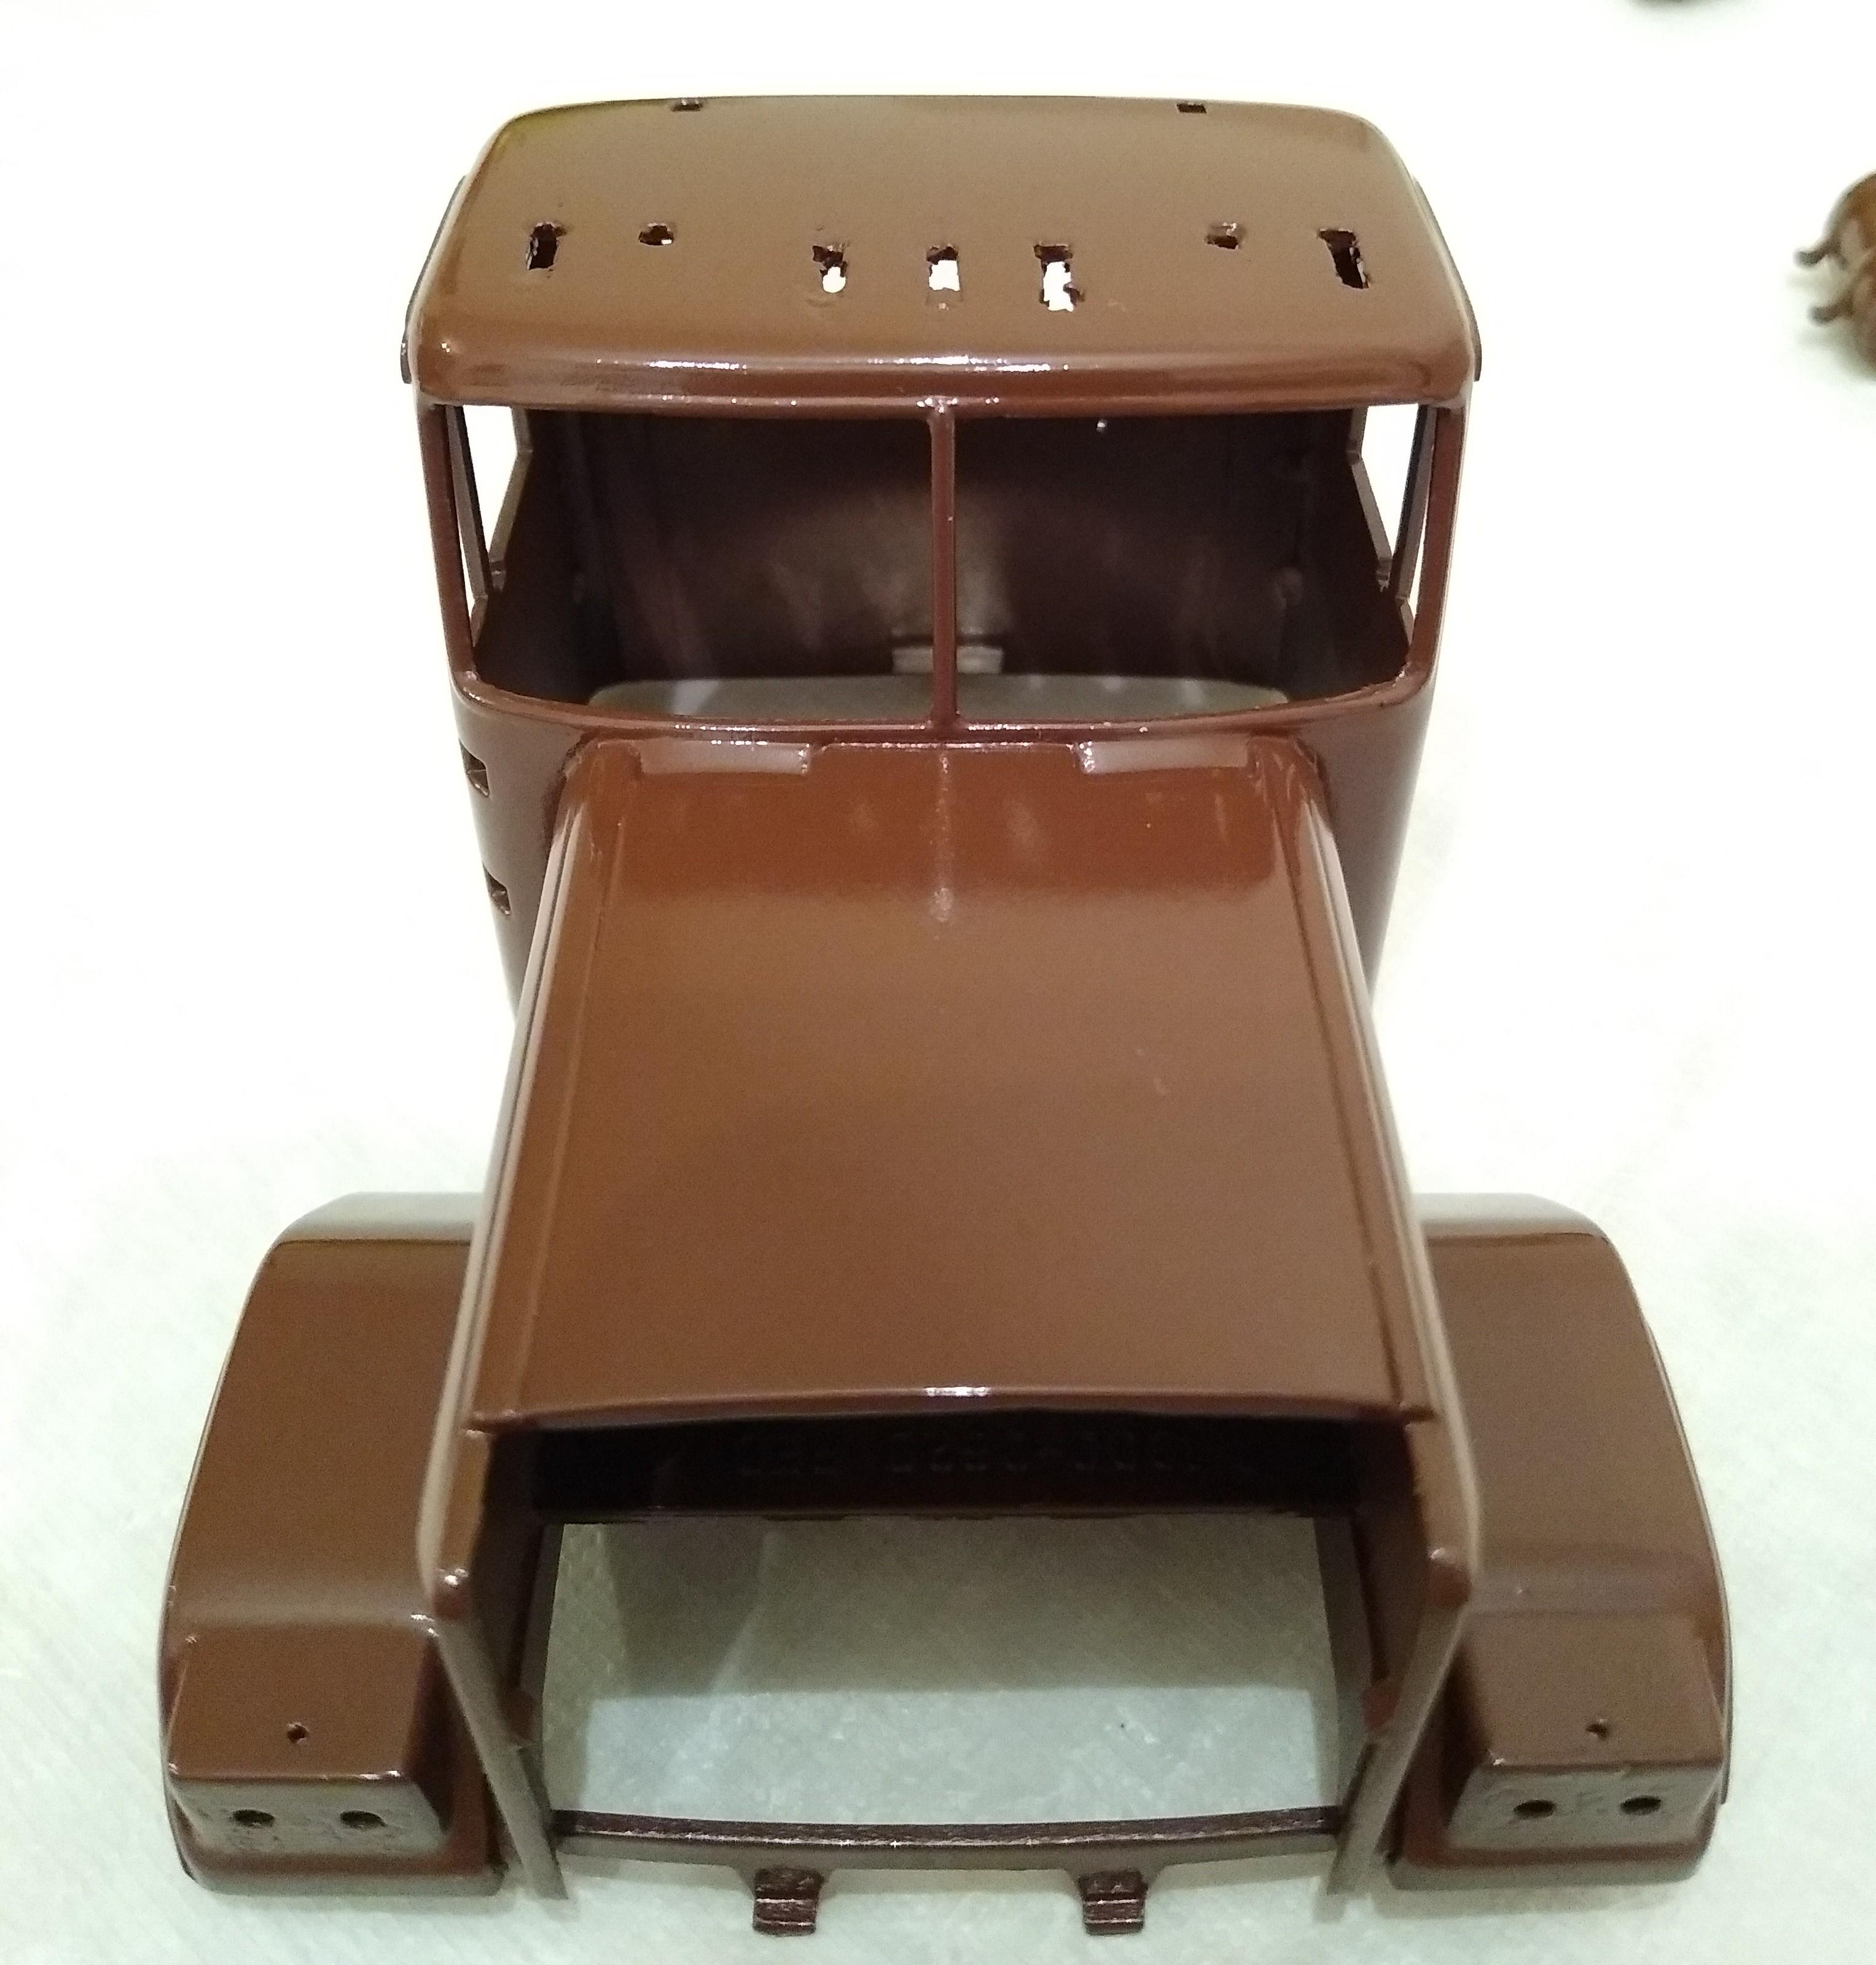
2× Chevy Bison
Rockford replied to Rockford's topic in WIP: Model Trucks: Big Rigs and Heavy Equipment
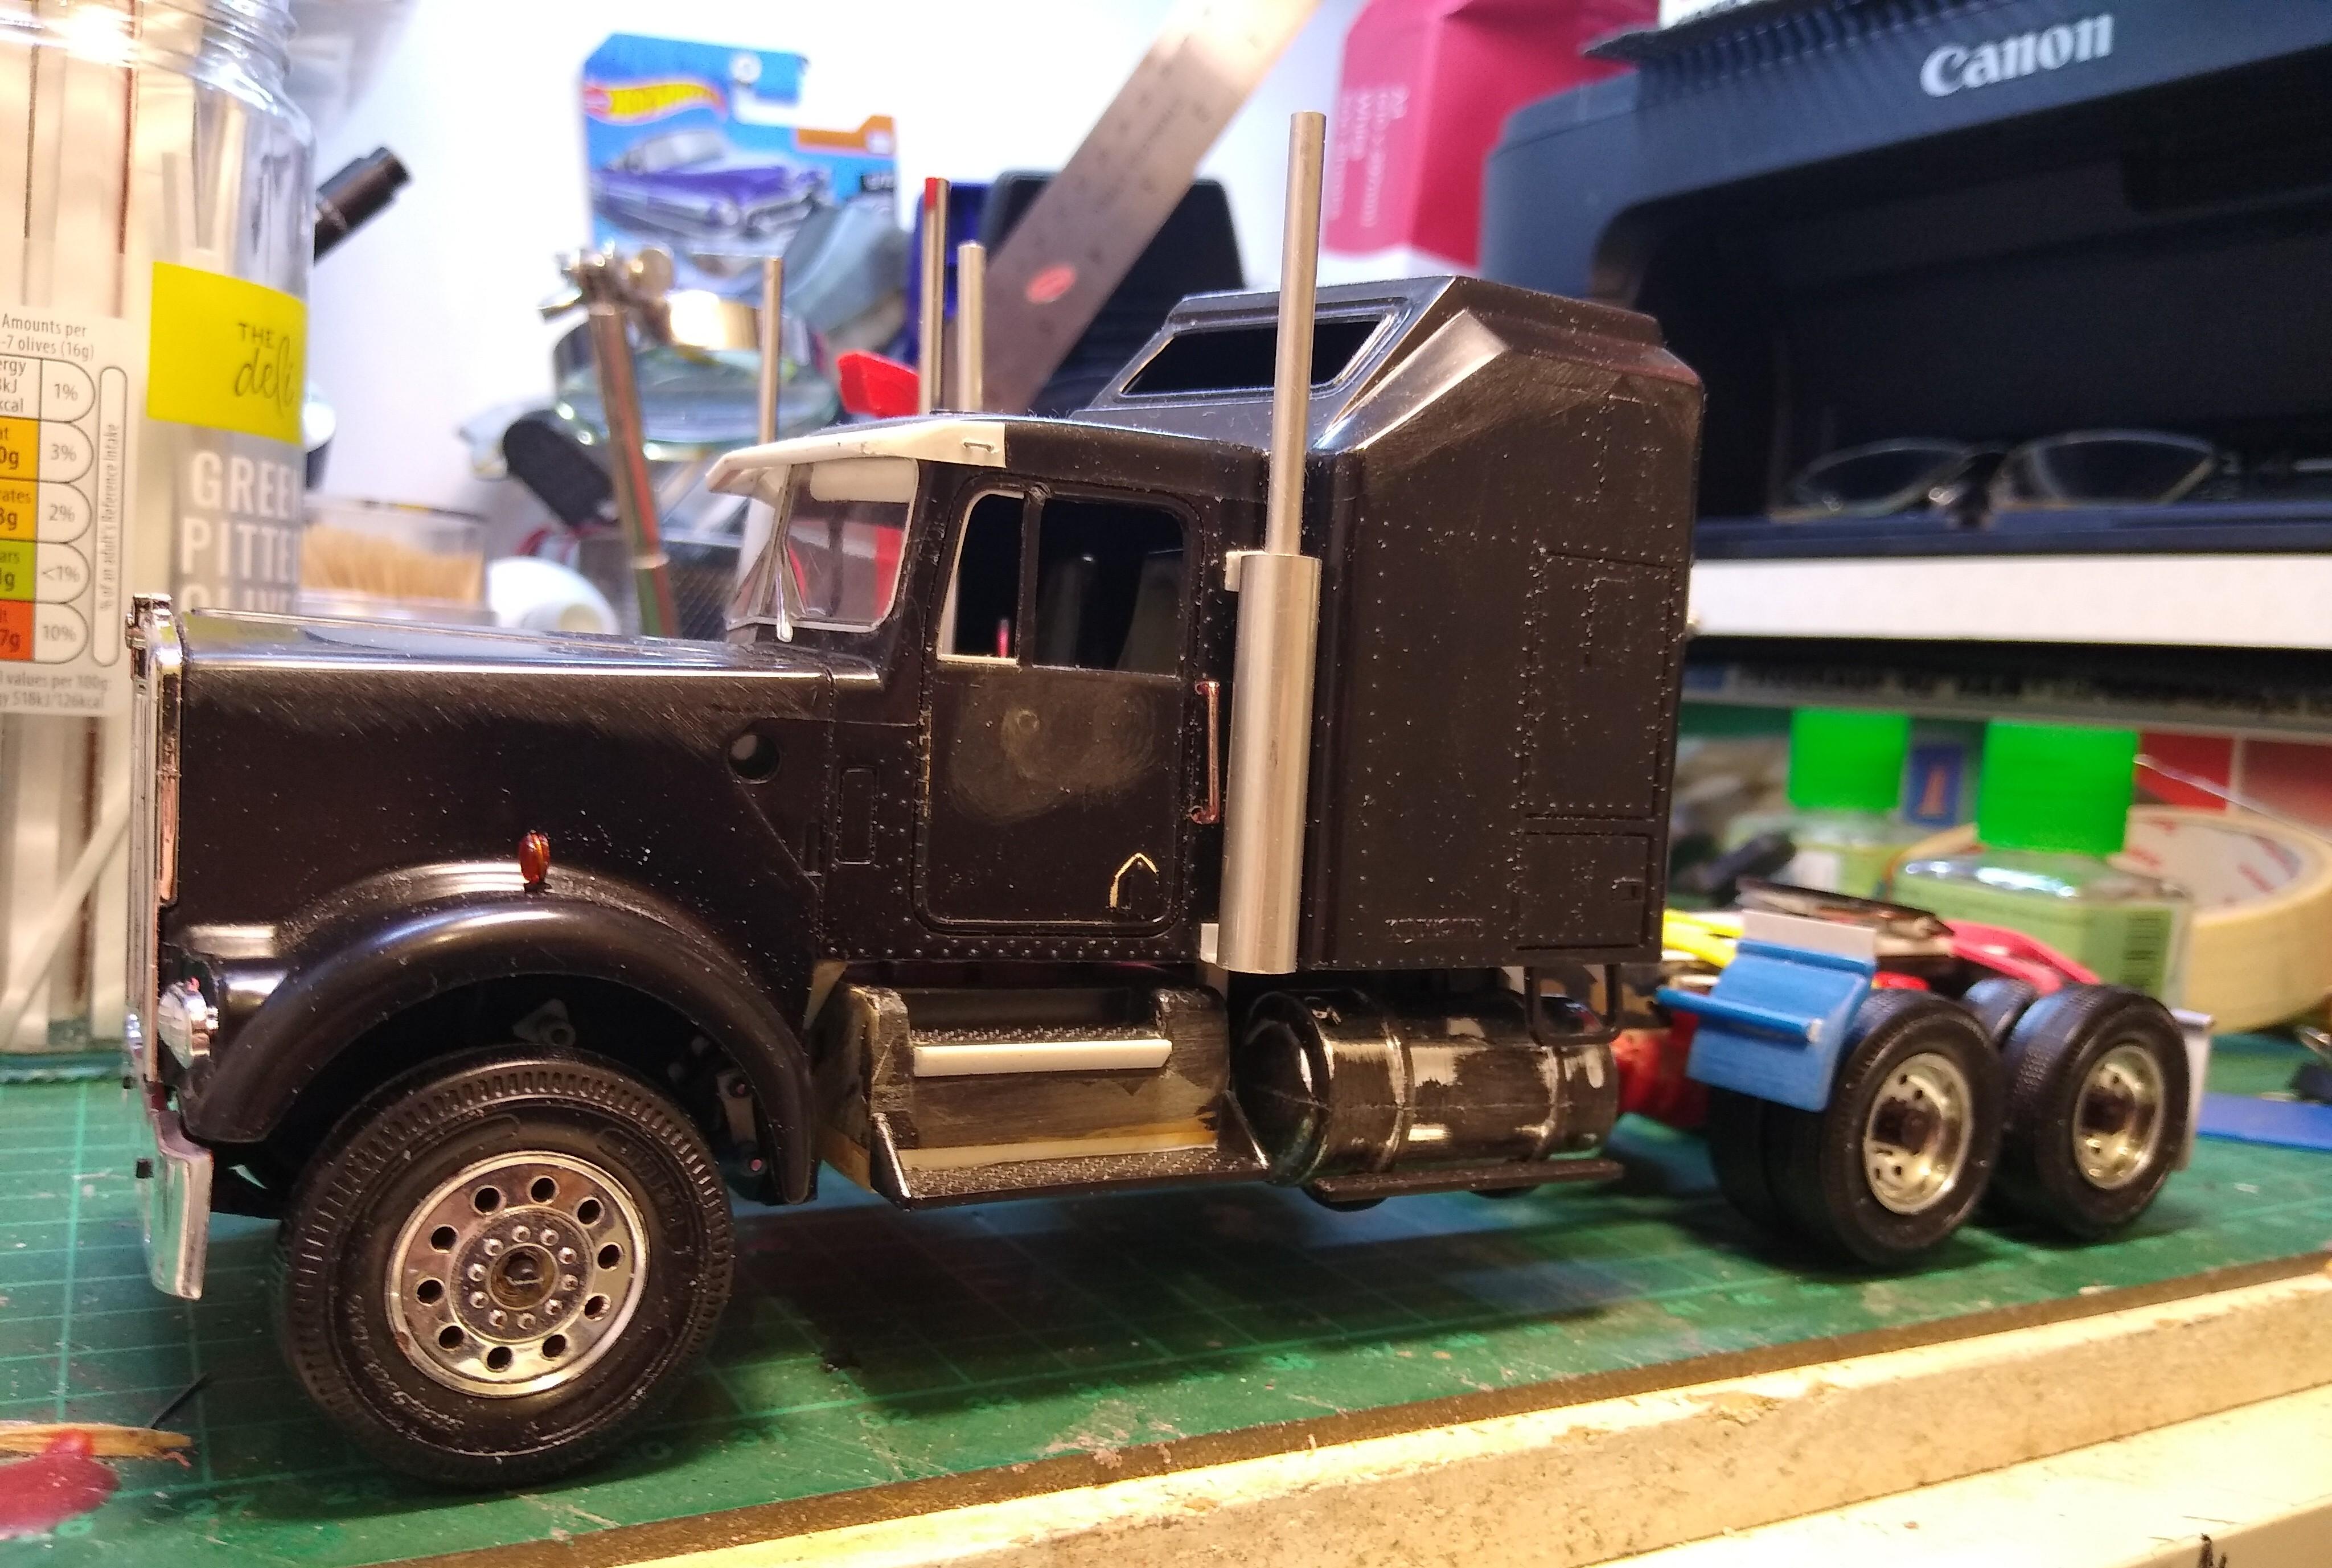
I have had this poor truck sat on a shelf since November last year, waiting for a decent painting day and today, nearly the end APRIL!!!! it finally arrived. 13°C, sunny with 44% humidity, I couldn't waste the chance. If you recall, it bloomed badly last time. I had rubbed it down in November and I am so pleased that I've managed to rectify the situation. I ran out of the Ford™ Aztec Gold though, so I decided to paint the air filter and luberfiner the brown of the cab. I'll consider whether to get more gold and do the two tone on the cab. I'm pleased with the rear bulkhead that I built. This Bison lumbers onward!
-
2023 BRGB Movin' On Kenworth
Rockford replied to leafsprings's topic in WIP: Model Trucks: Big Rigs and Heavy Equipment
Good idea on the tanks. The convex end plates are definite KW trait. -
Thanks mate. I've pondered why I'm doing this pointless pursuit already. Thinking further about it, I think I'm a little envious of the 1/25 guys who have engines to detail in their kits where I only ever get an oil pan! I wanted an engine. So I'm building one. I could have bought a 3D printing but that costs too much with shipping etc... and I'm enjoying this. Surprised myself really.
-
The battery box is often under the cab door because it makes a better step than a fuel tank. Even in the old days there was a little consideration given to the poor driver. ?
-
To WIP or not to WIP
Rockford replied to atomicholiday's topic in General Automotive Talk (Trucks and Cars)
I try to do a WIP on all my builds for a few reasons. Firstly, who else can I talk to about them? While my wife likes to see me enjoying my hobby, my enthusing about a nicely done interior or chassis is usually met with a blank stare and a "that's nice". As for my mates, they'd look at me like I had two heads (I haven't, honestly). It also gives me an incentive to get things finished. I'm a miserable beggar and would soon drop the ball on projects because I deem them rubbish, but the positive comments from forum members inspires me to soldier on. I can tap into the experience of the other forum members. I've seen some great ideas on here and received some valuable guidance on my builds. There's my two pennies. -
Changing Gears
Rockford replied to J.B. Customs's topic in WIP: Model Trucks: Big Rigs and Heavy Equipment
This is a whole new world with its own vocabulary isn't it? Absorbing. -
I notice you asked why the layout of the fuel tanks etc... aren't symmetrical on the chassis. There's more experienced people than me on this forum but I'll try to explain. There's a few factors involved. Trucks aren't like cars, they're working vehicles so appearance isn't everything, it's function that counts; symmetry isn't really a consideration. Weight is a factor, any extra unladen weight eats into payload so you only build what you need. Cost too, to an extent. The balance isn't really a consideration. I've seen some trucks with a load bias to one side that carried an extra spring leaf on that side but they're a rarity. You then have to think about the 2nd and 3rd owners etc... who make their own changes to the truck (sometimes on a shoestring) and you can see some fascinating combinations. I suppose that's why we like building them. The possibilities are endless.
-
You've had a steep learning curve on this job but it looks brilliant from what I can see. I suppose it's the age of the kits and the scale of them that generates so many issues. You've got the skills to sort them though. Well done so far.
-
2023 BRGB Movin' On Kenworth
Rockford replied to leafsprings's topic in WIP: Model Trucks: Big Rigs and Heavy Equipment
Love the old big white steering wheels. Should still be around today. Good job mate. -
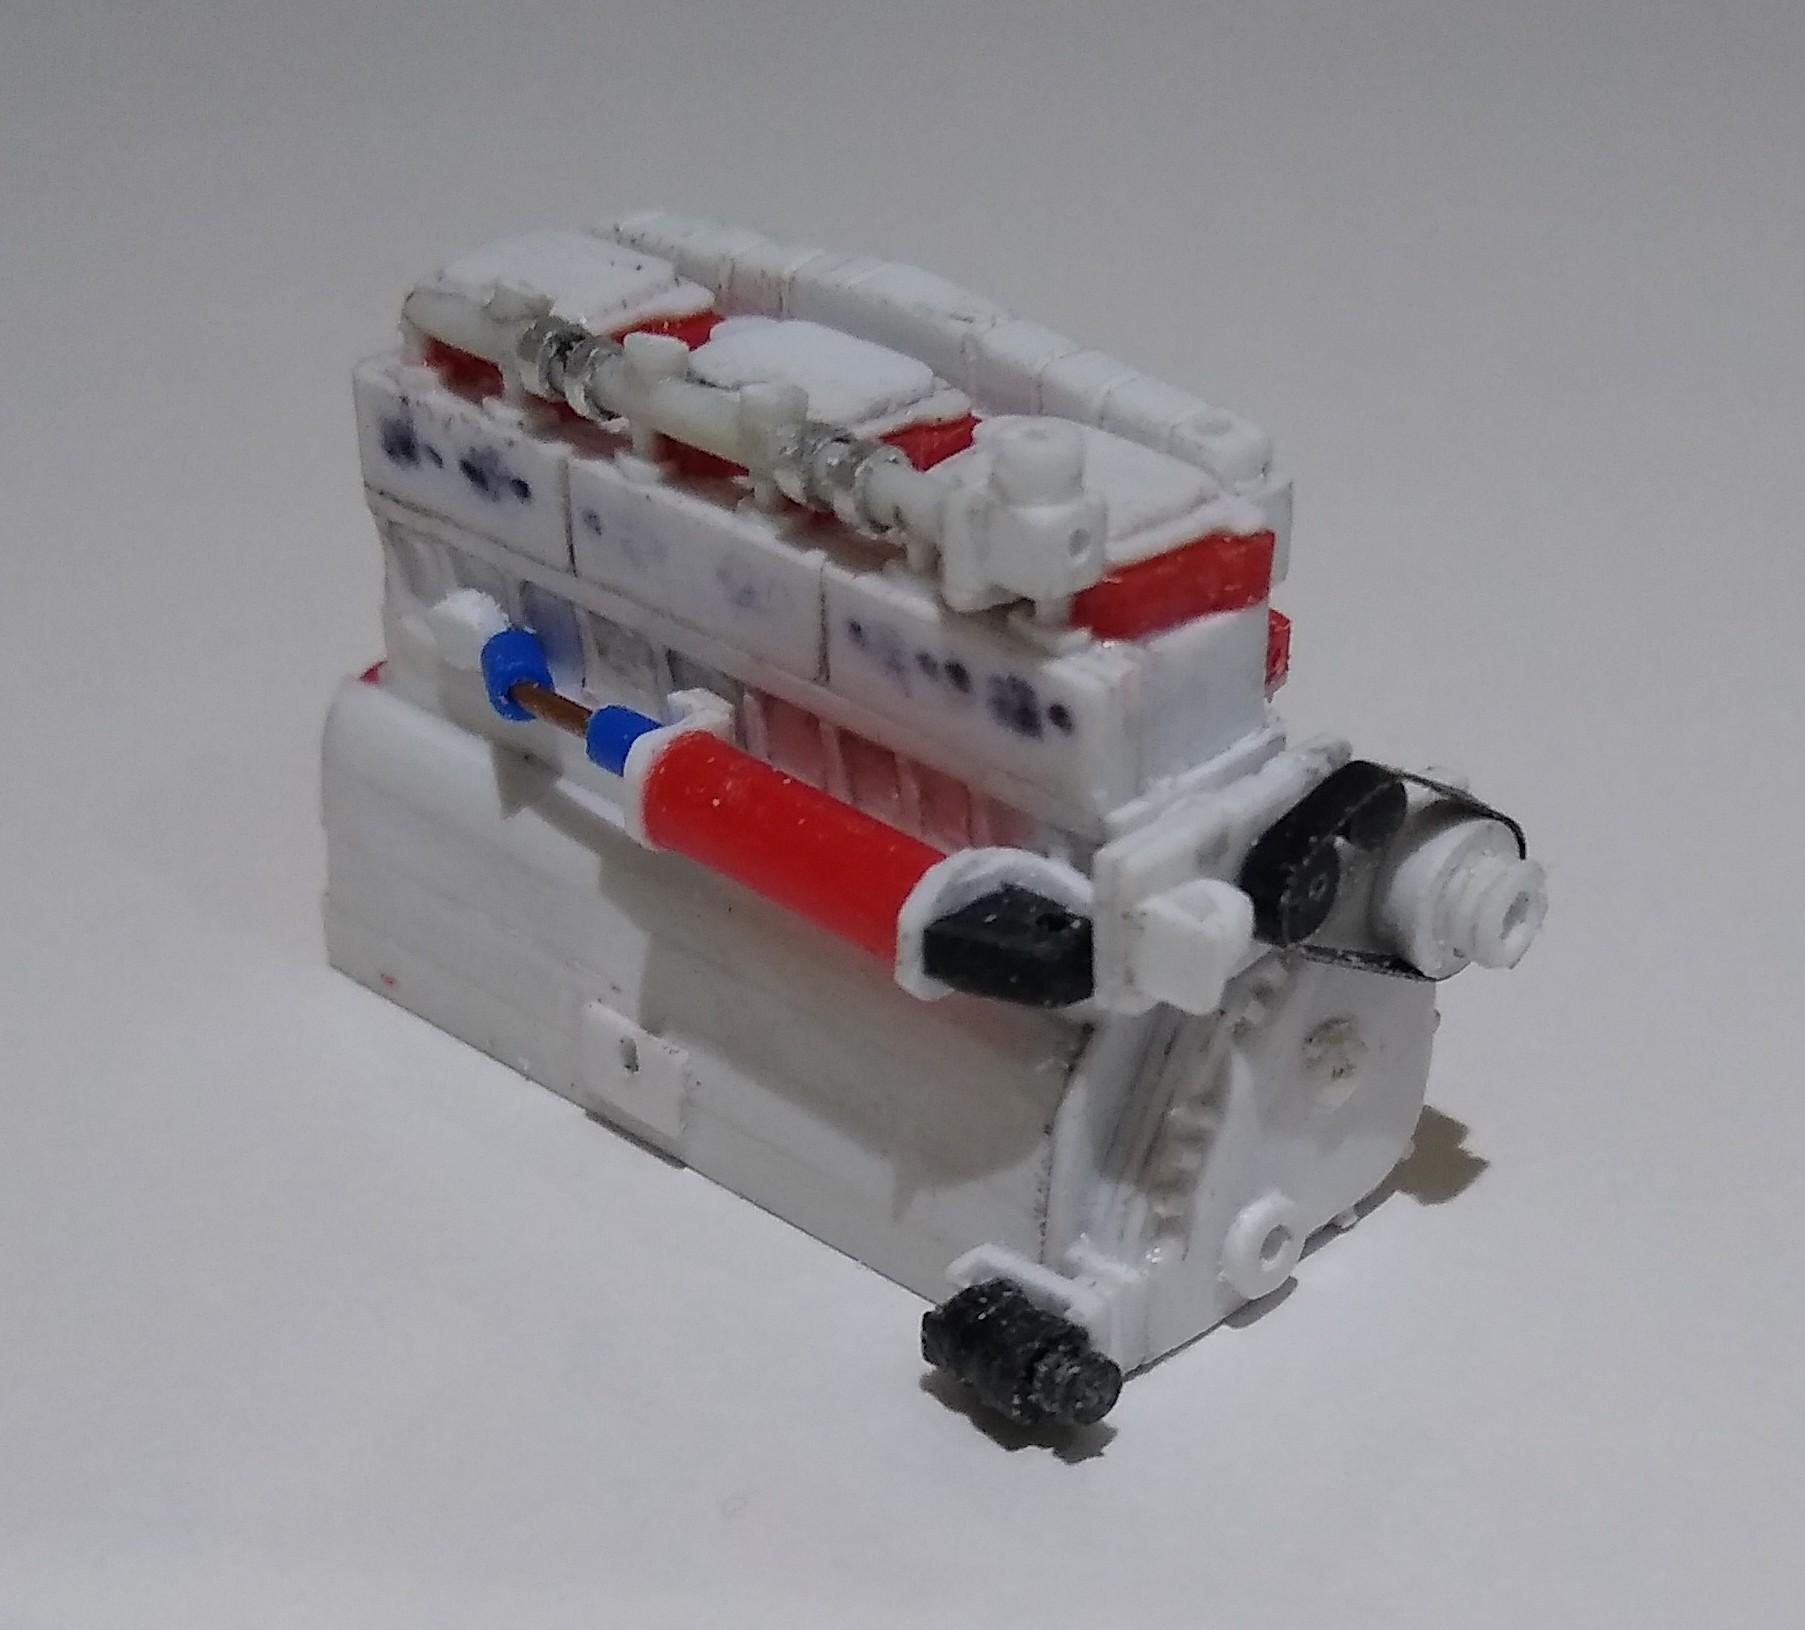
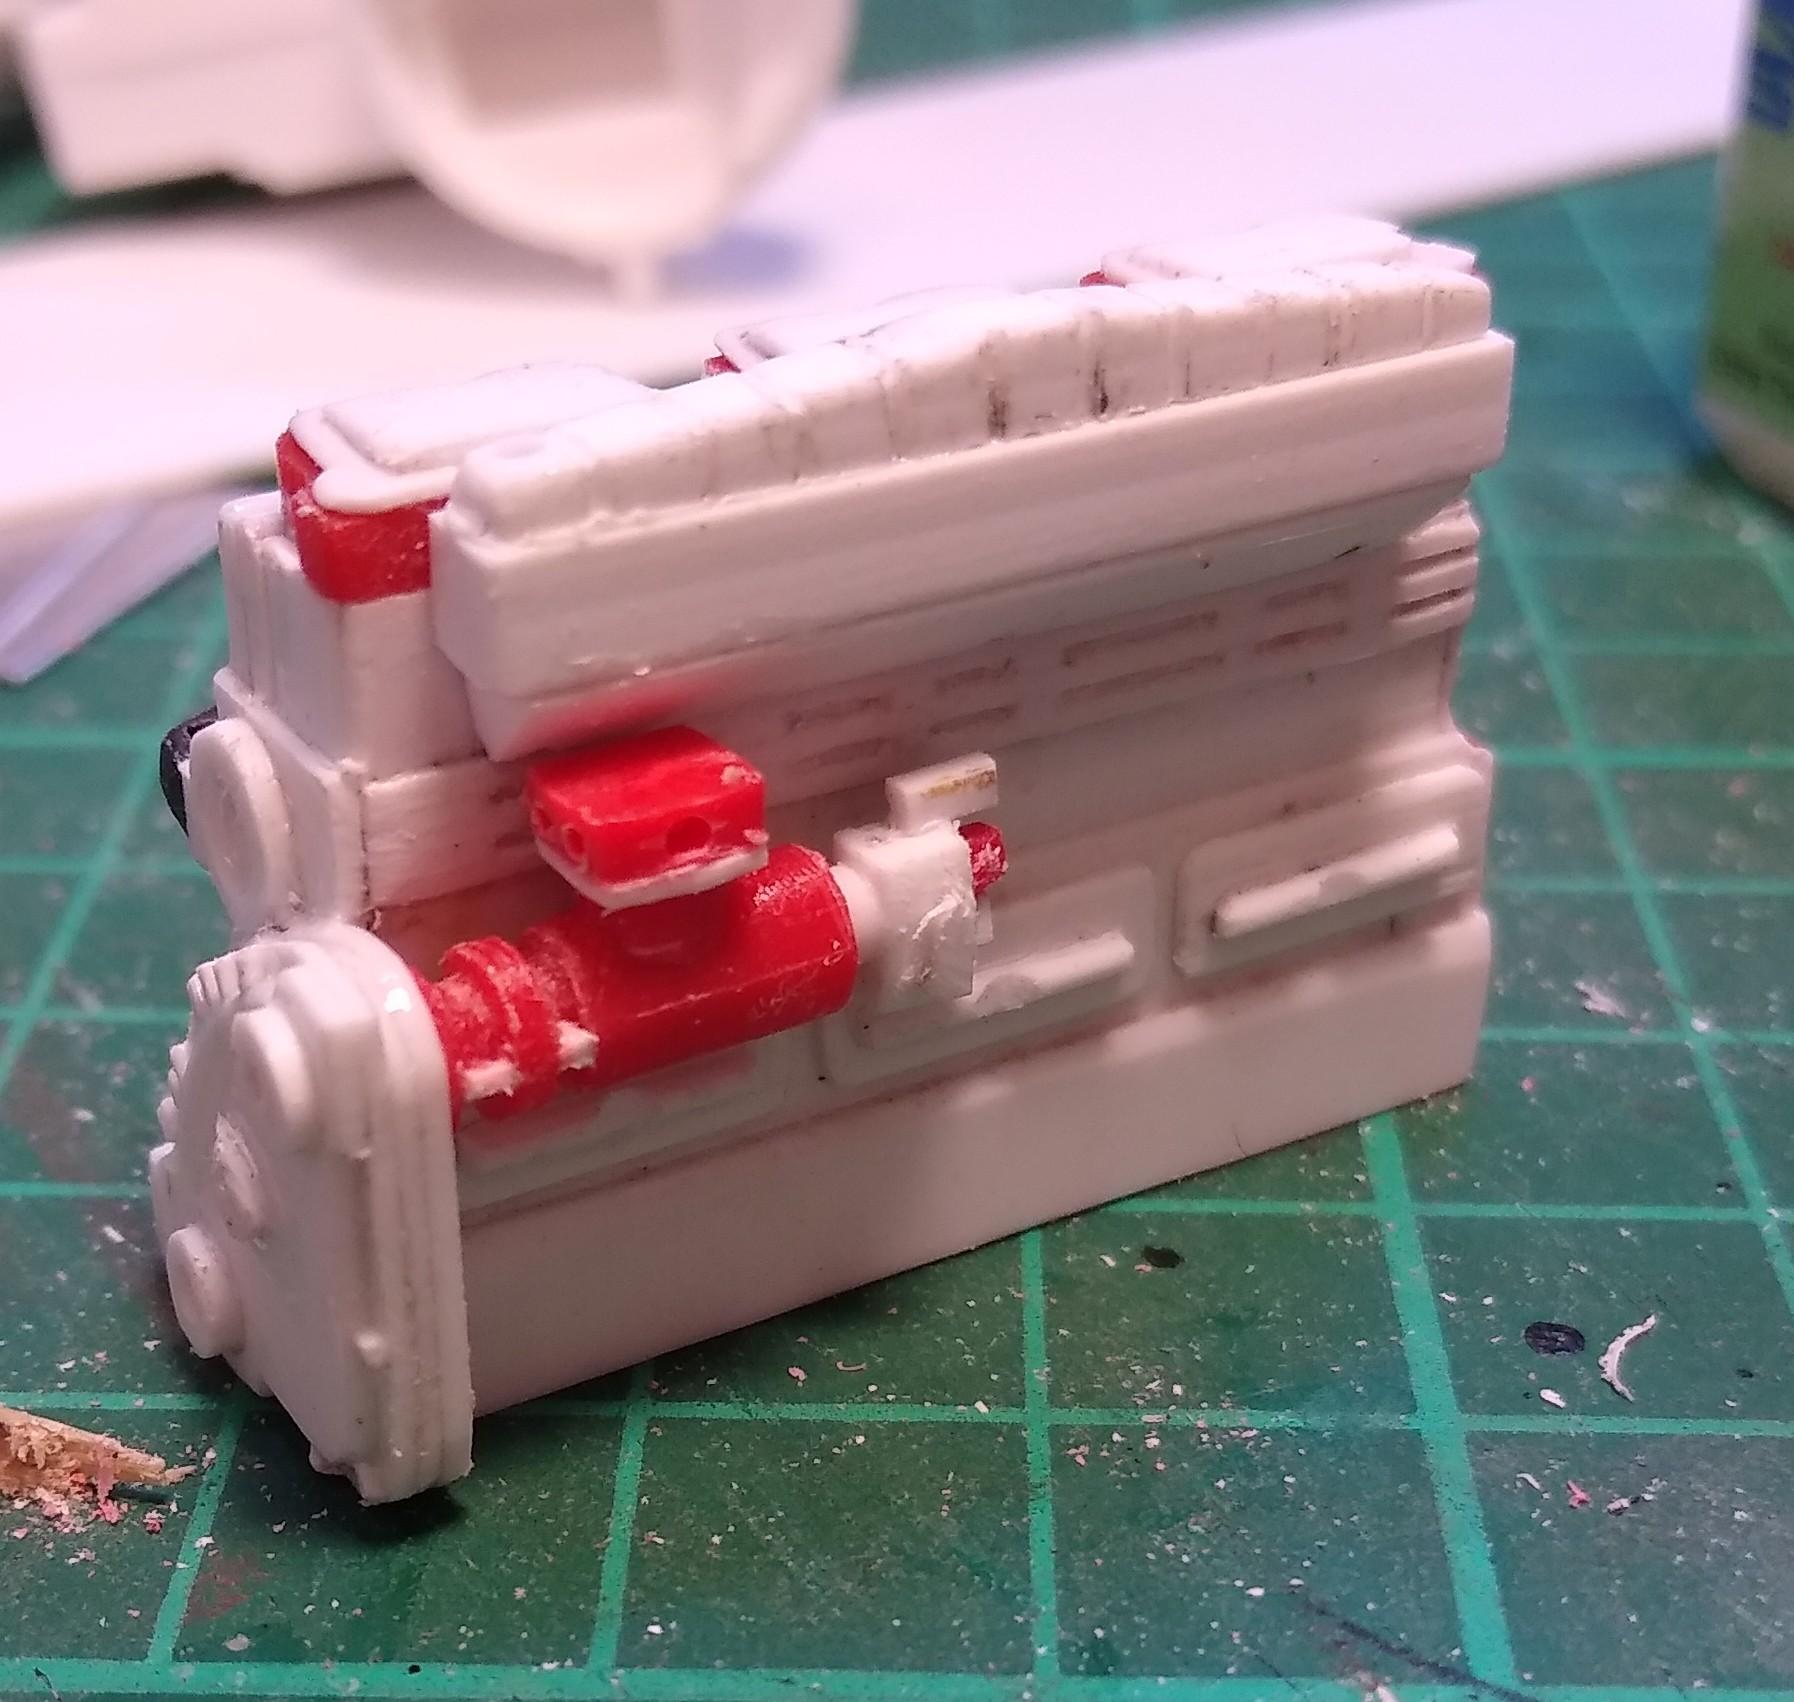
Built an exhaust manifold from sprue. I notched the length with a round file and added six pieces at right angles, the shaped it all down. Added a simple flange for the turbo. Then built a turbo from my old mate Chubby Sprue and some plastic tube. Just had to add the inlet and outlet for the respective turbines. I've drilled the centre sprue to accept oil lines. Also started piping up the coolant system with the lines to the oil cooler and the waterpump. Made a flywheel housing by cutting a length of plastic sheet and fitting it into a hole template. I just trimmed the end until they butted tightly. A piece of flat card was then glued on the top and all left to set. Pulled it out of the hole and trimmed it up, I'll fab some mounts next. You can see the trimmed piece in the background of the first shot.
-
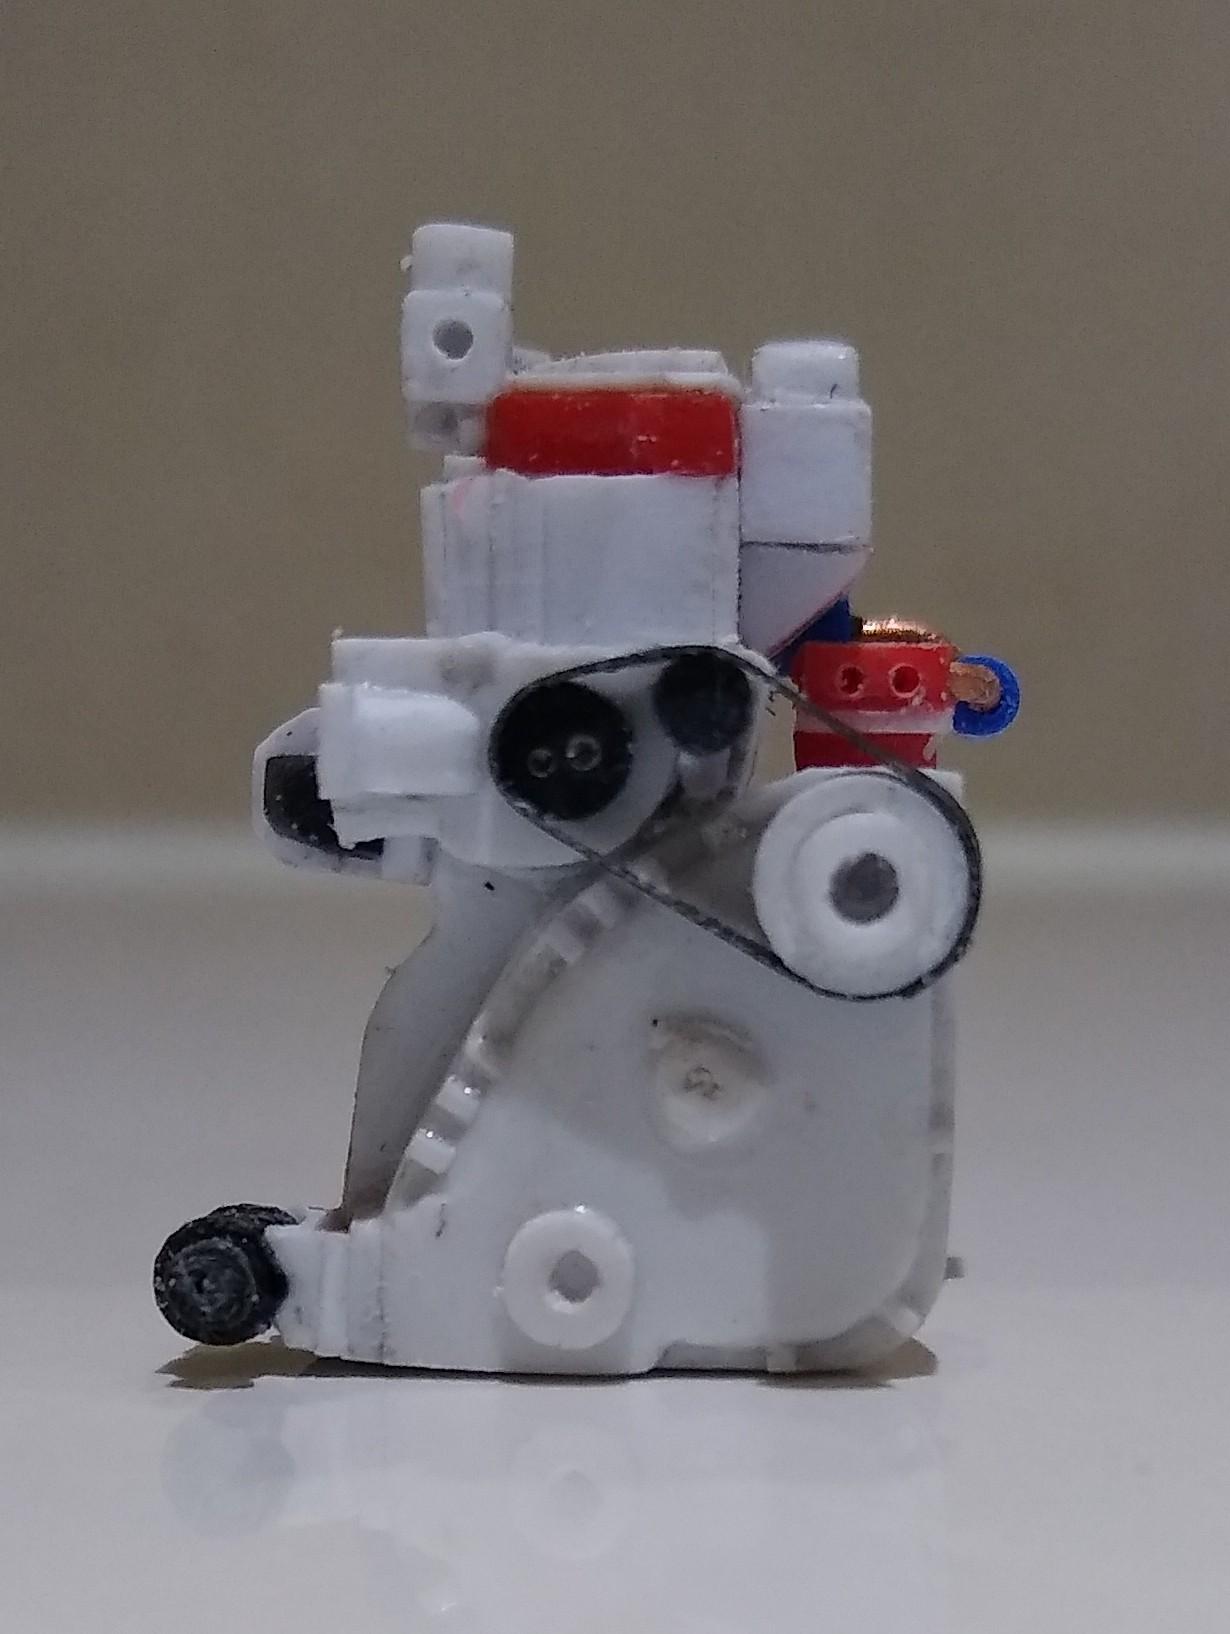
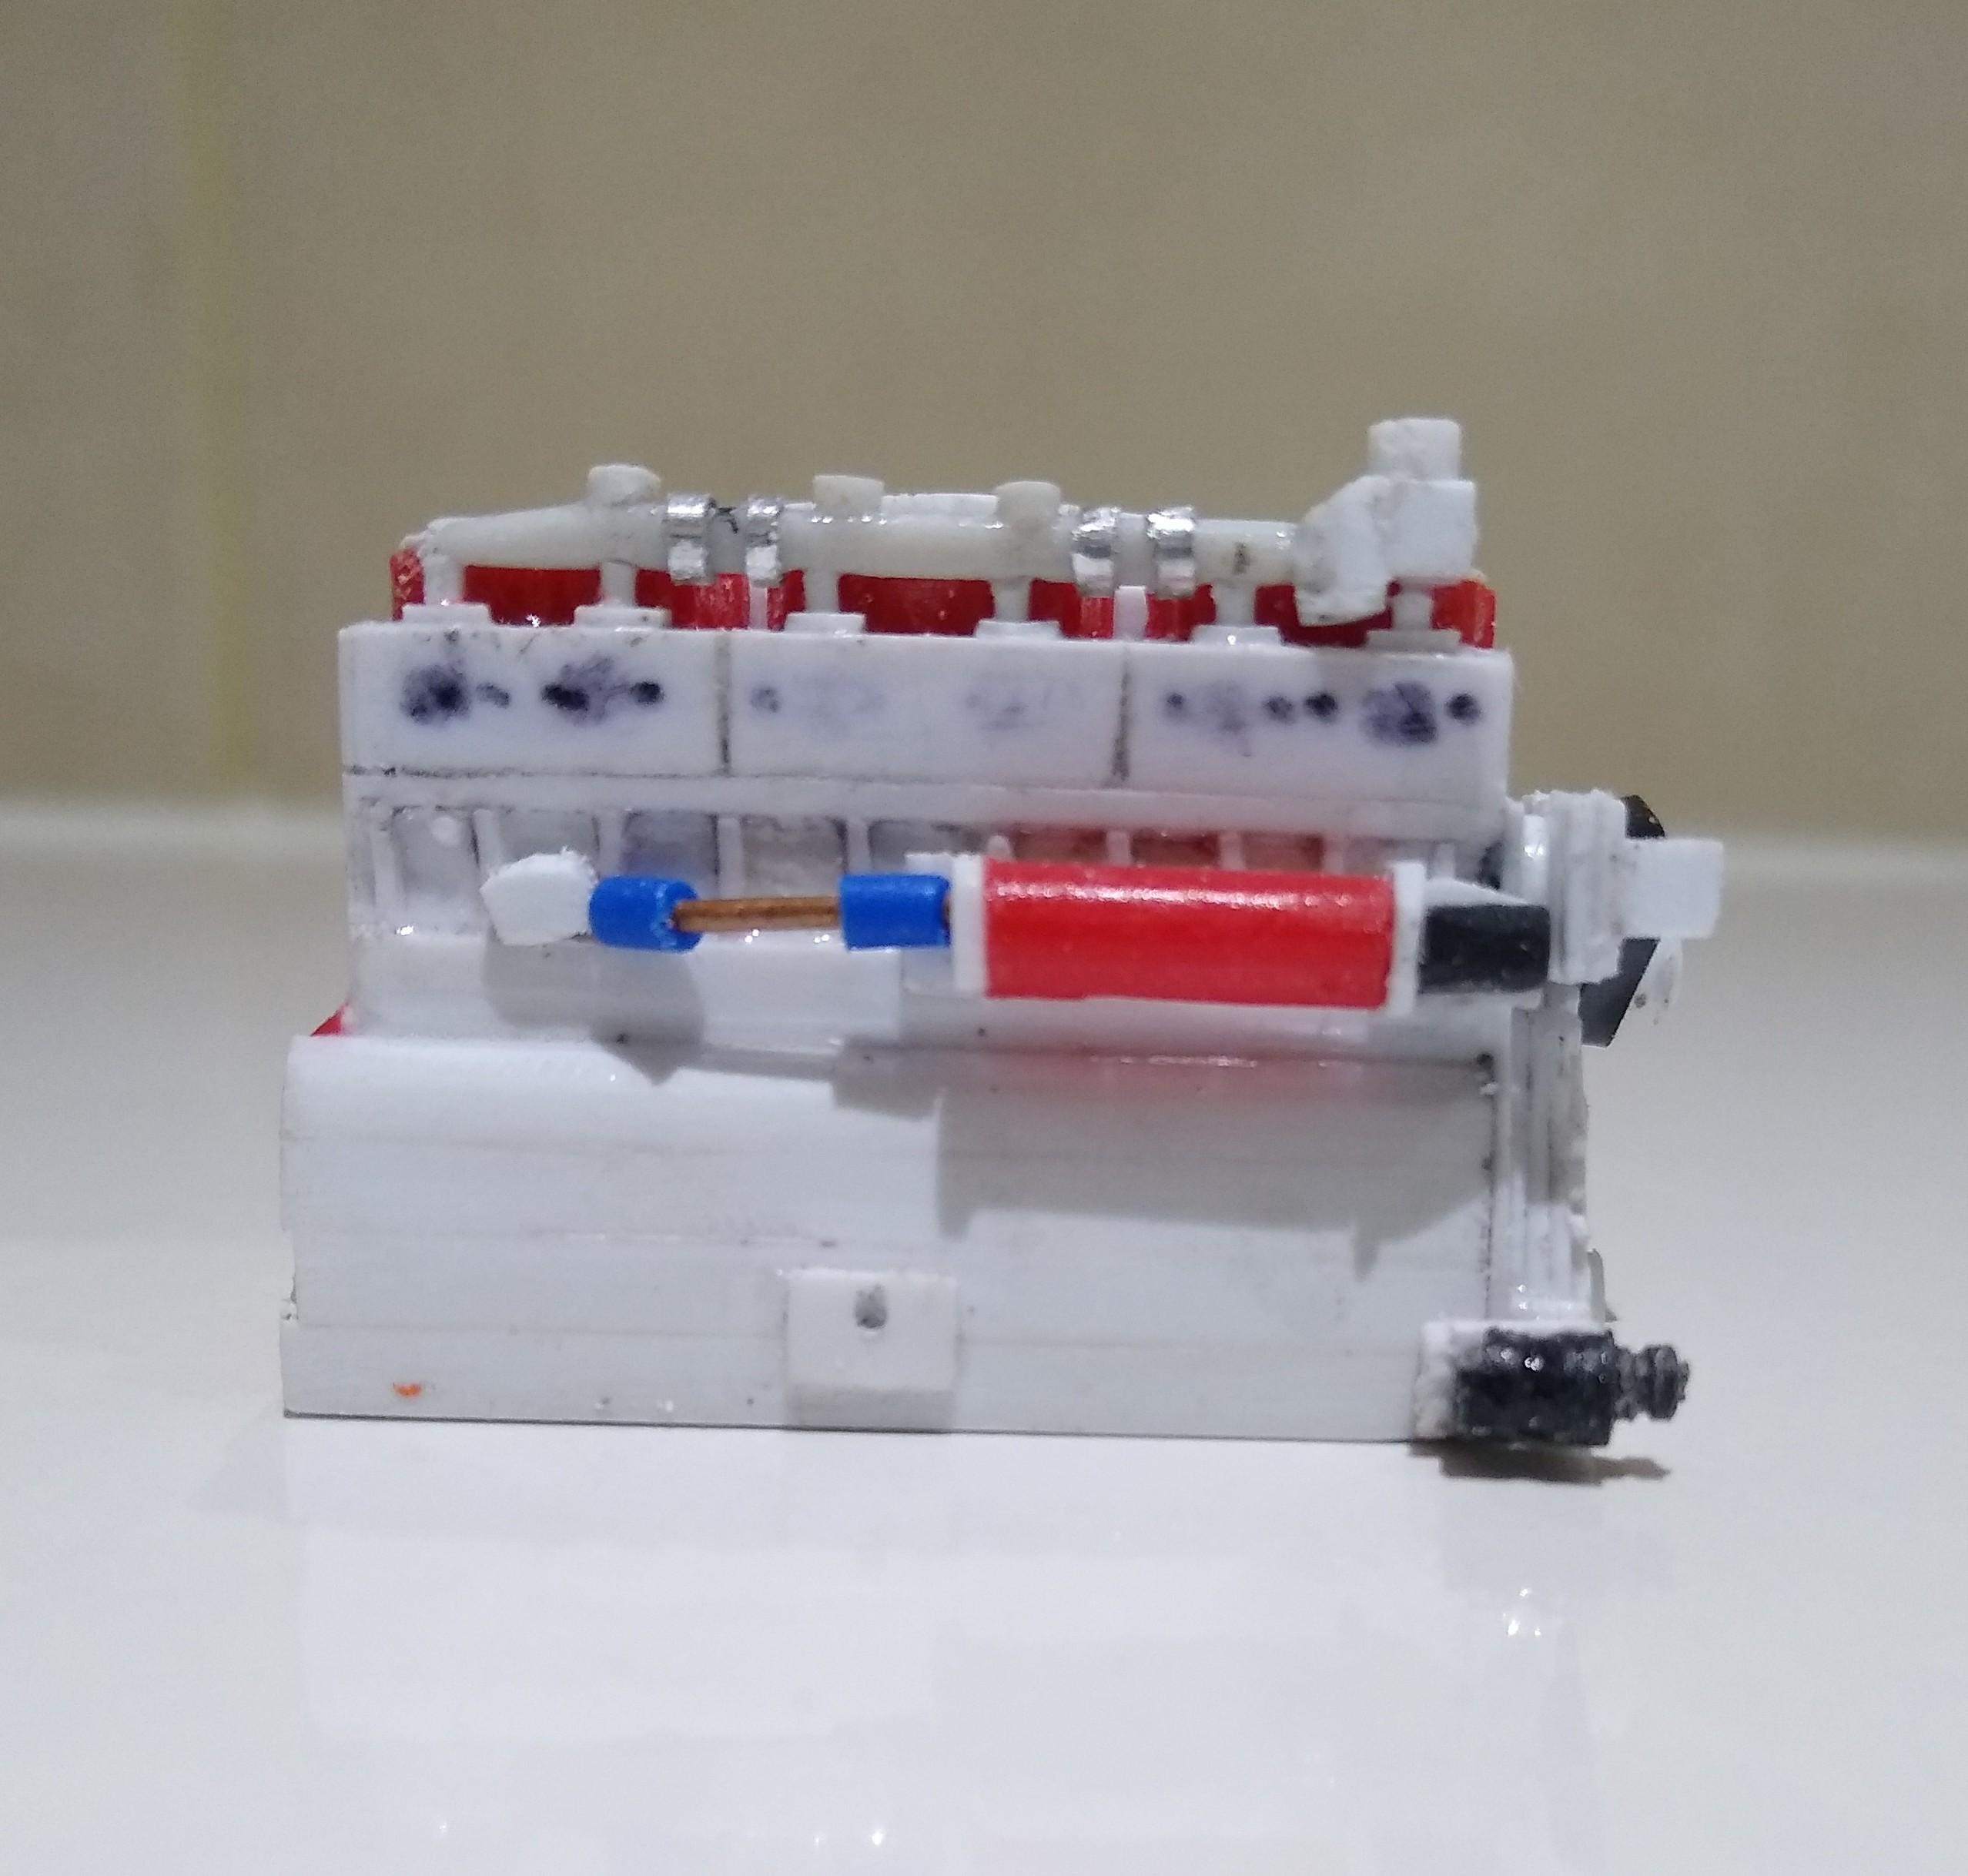
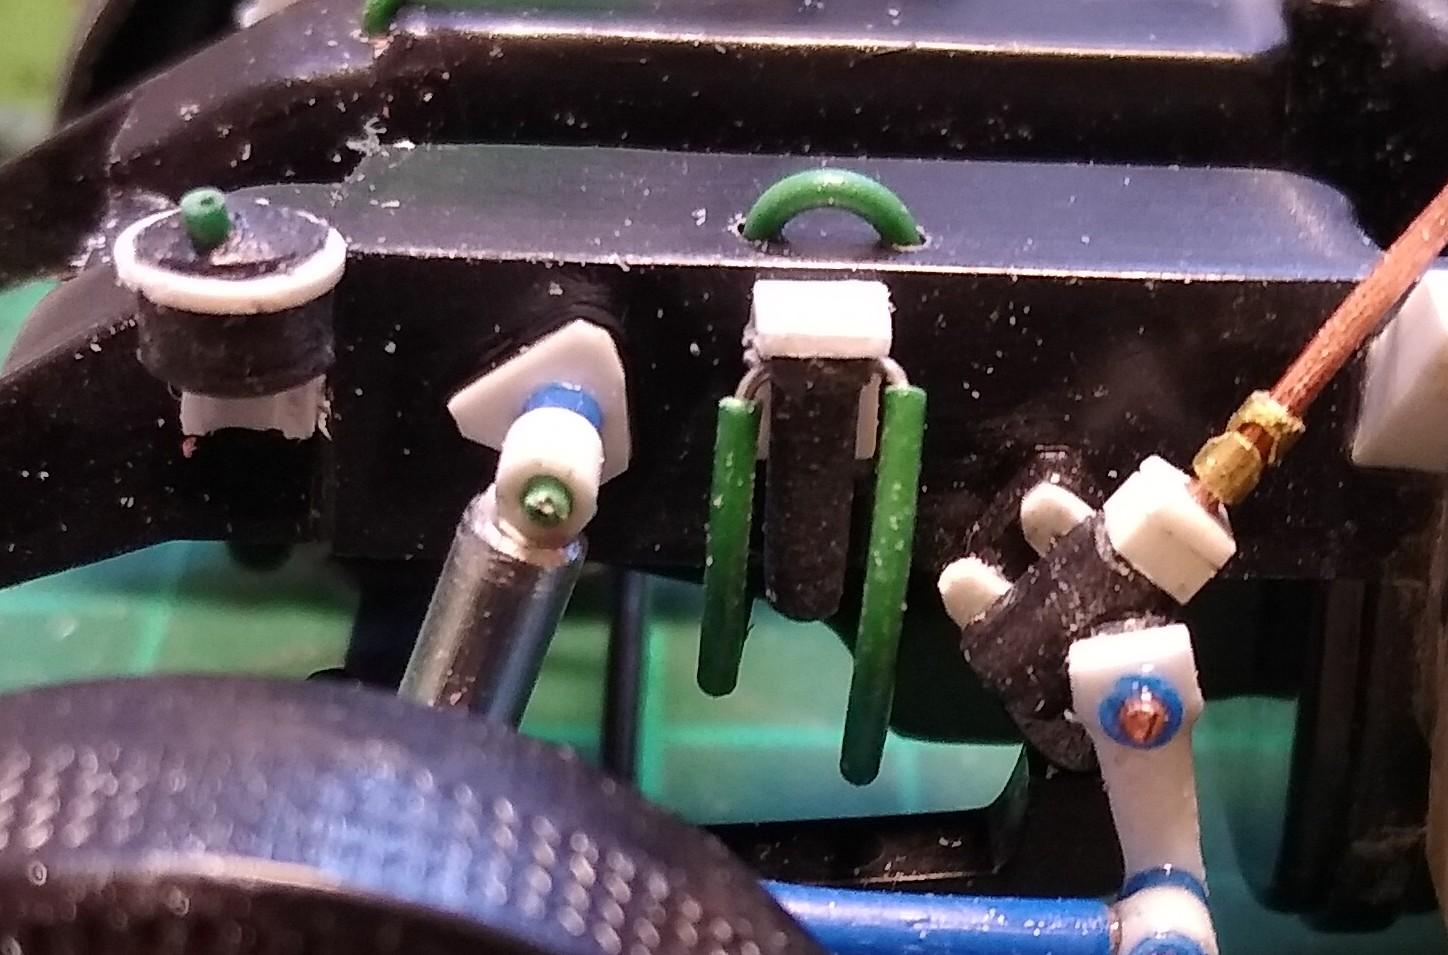
Made a waterpump out of plastic card using a piece of sprue for the pulleys. I cut a strip of insulation tape and made a drive belt. Also made the auxiliary drive pulley for the front cover. The water rail presented a problem. I eventually turned a piece of 1mm square rod into round for the connections to the heads and found an exhaust pipe off a car kit that I could fashion into the water manifold. The thermostat housing is just two pieces of 2.5mm square rod. Just added rings of ali tube to simulate the connections between sections of the manifold. Turned an alternator out of sprue and made a quick bracket. I'm amazed at what I've done so far, and have had a great time doing it.
-
2023 BRGB Movin' On Kenworth
Rockford replied to leafsprings's topic in WIP: Model Trucks: Big Rigs and Heavy Equipment
Looks like you're doing my favourite pin-up truck justice. My goal is to do one myself one day. Have you sorted colours yet? -
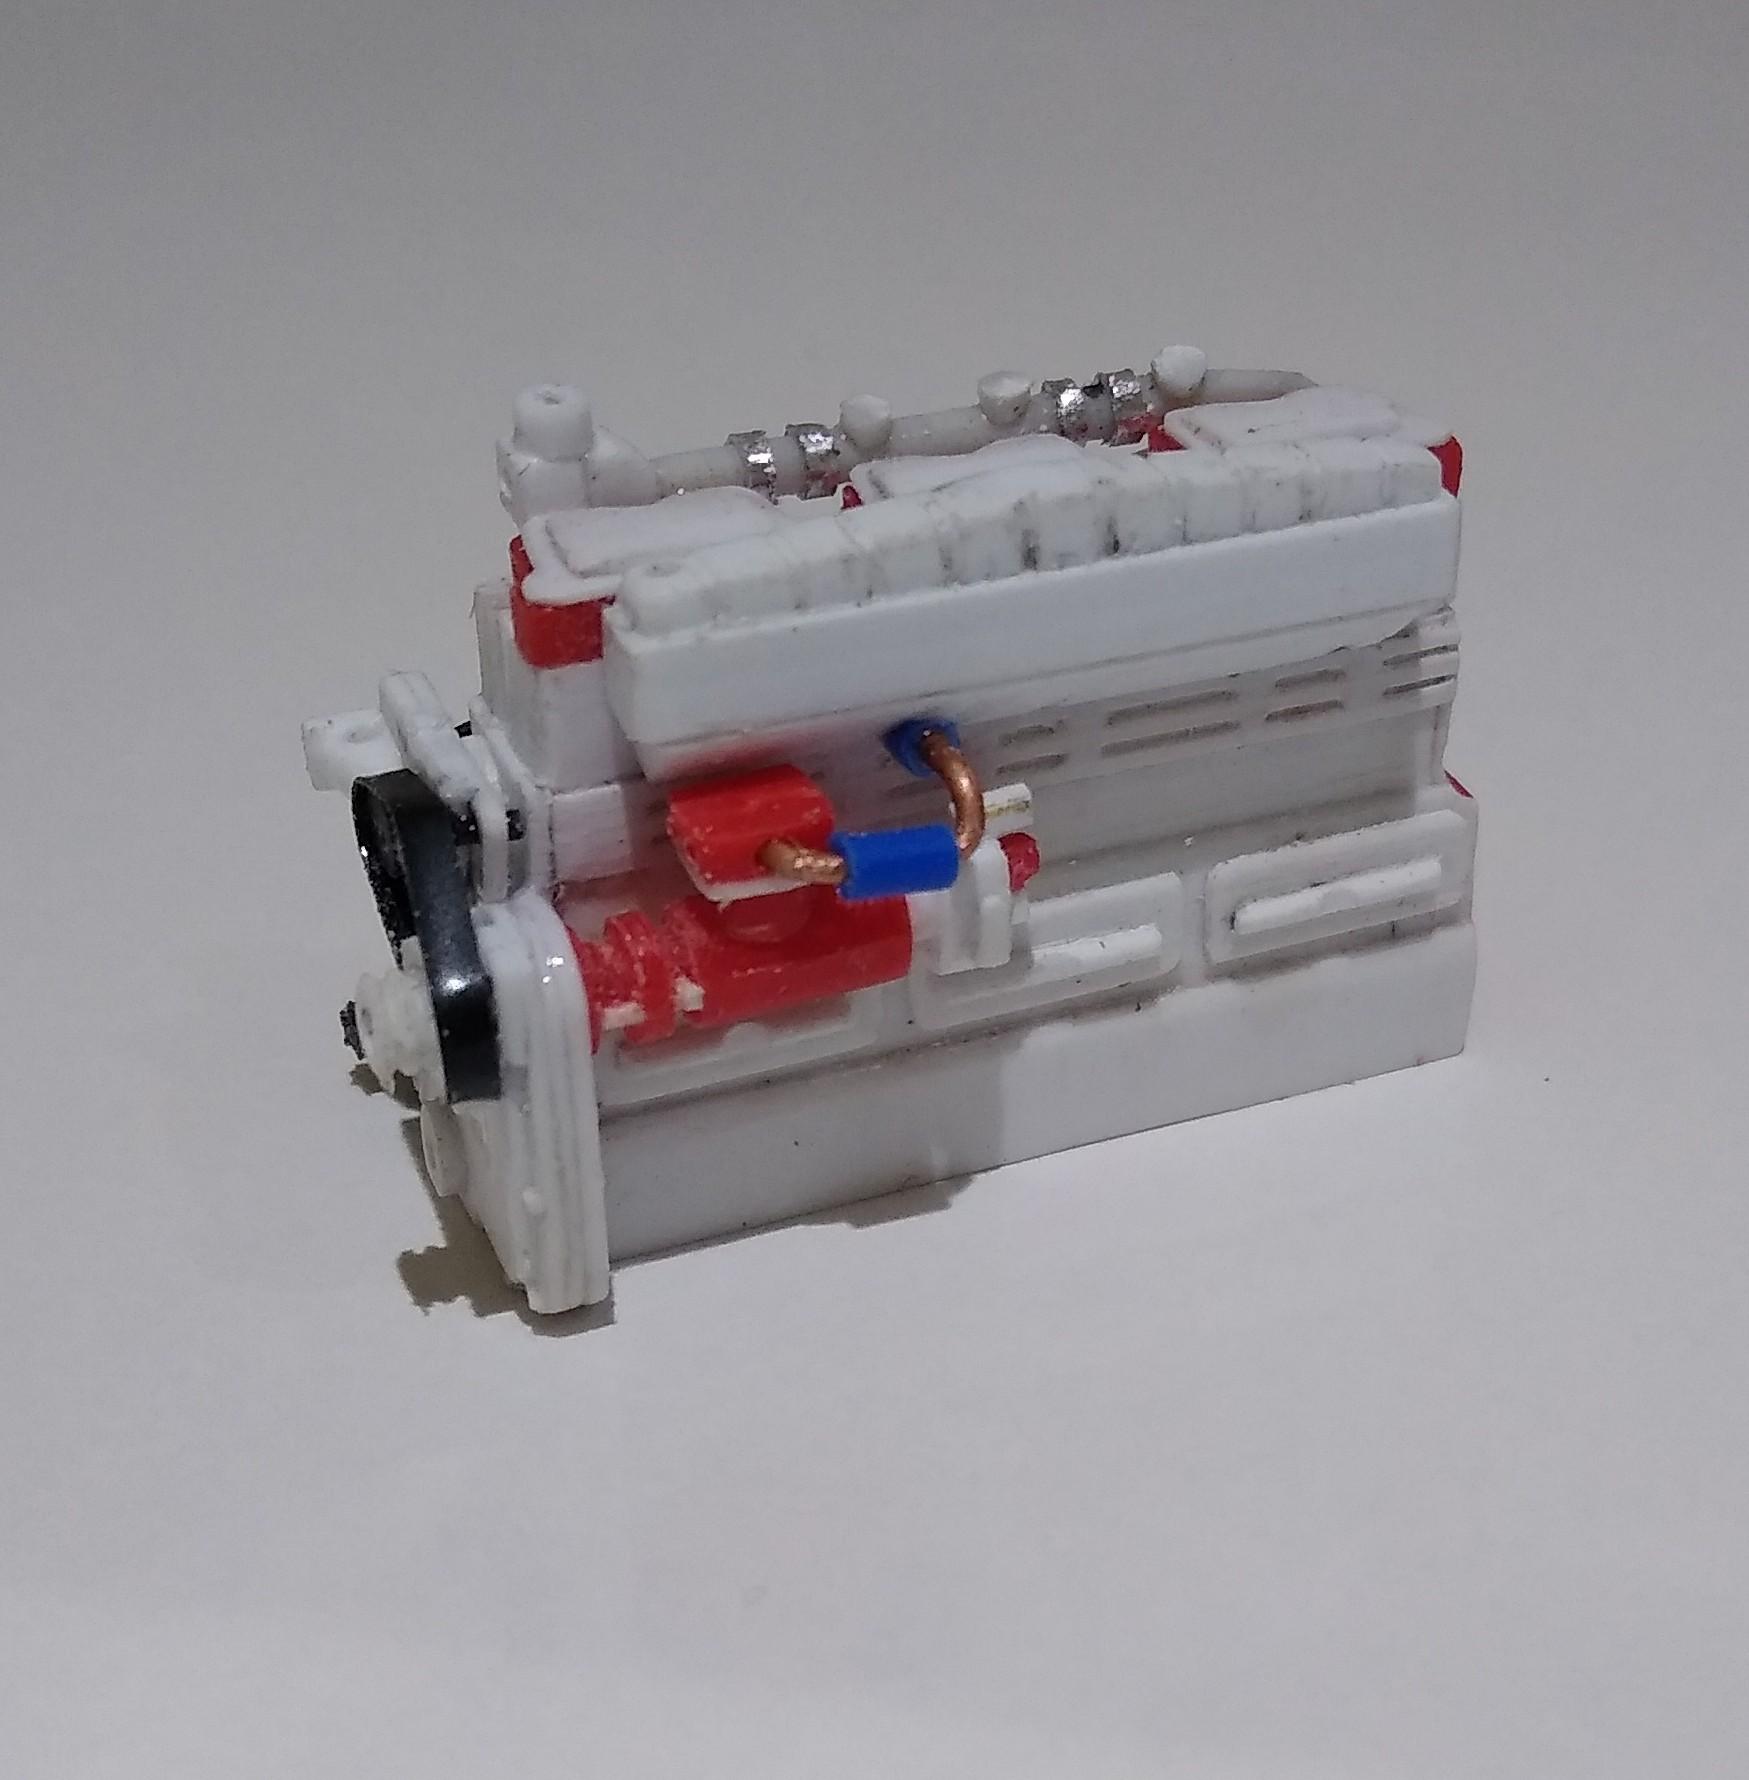
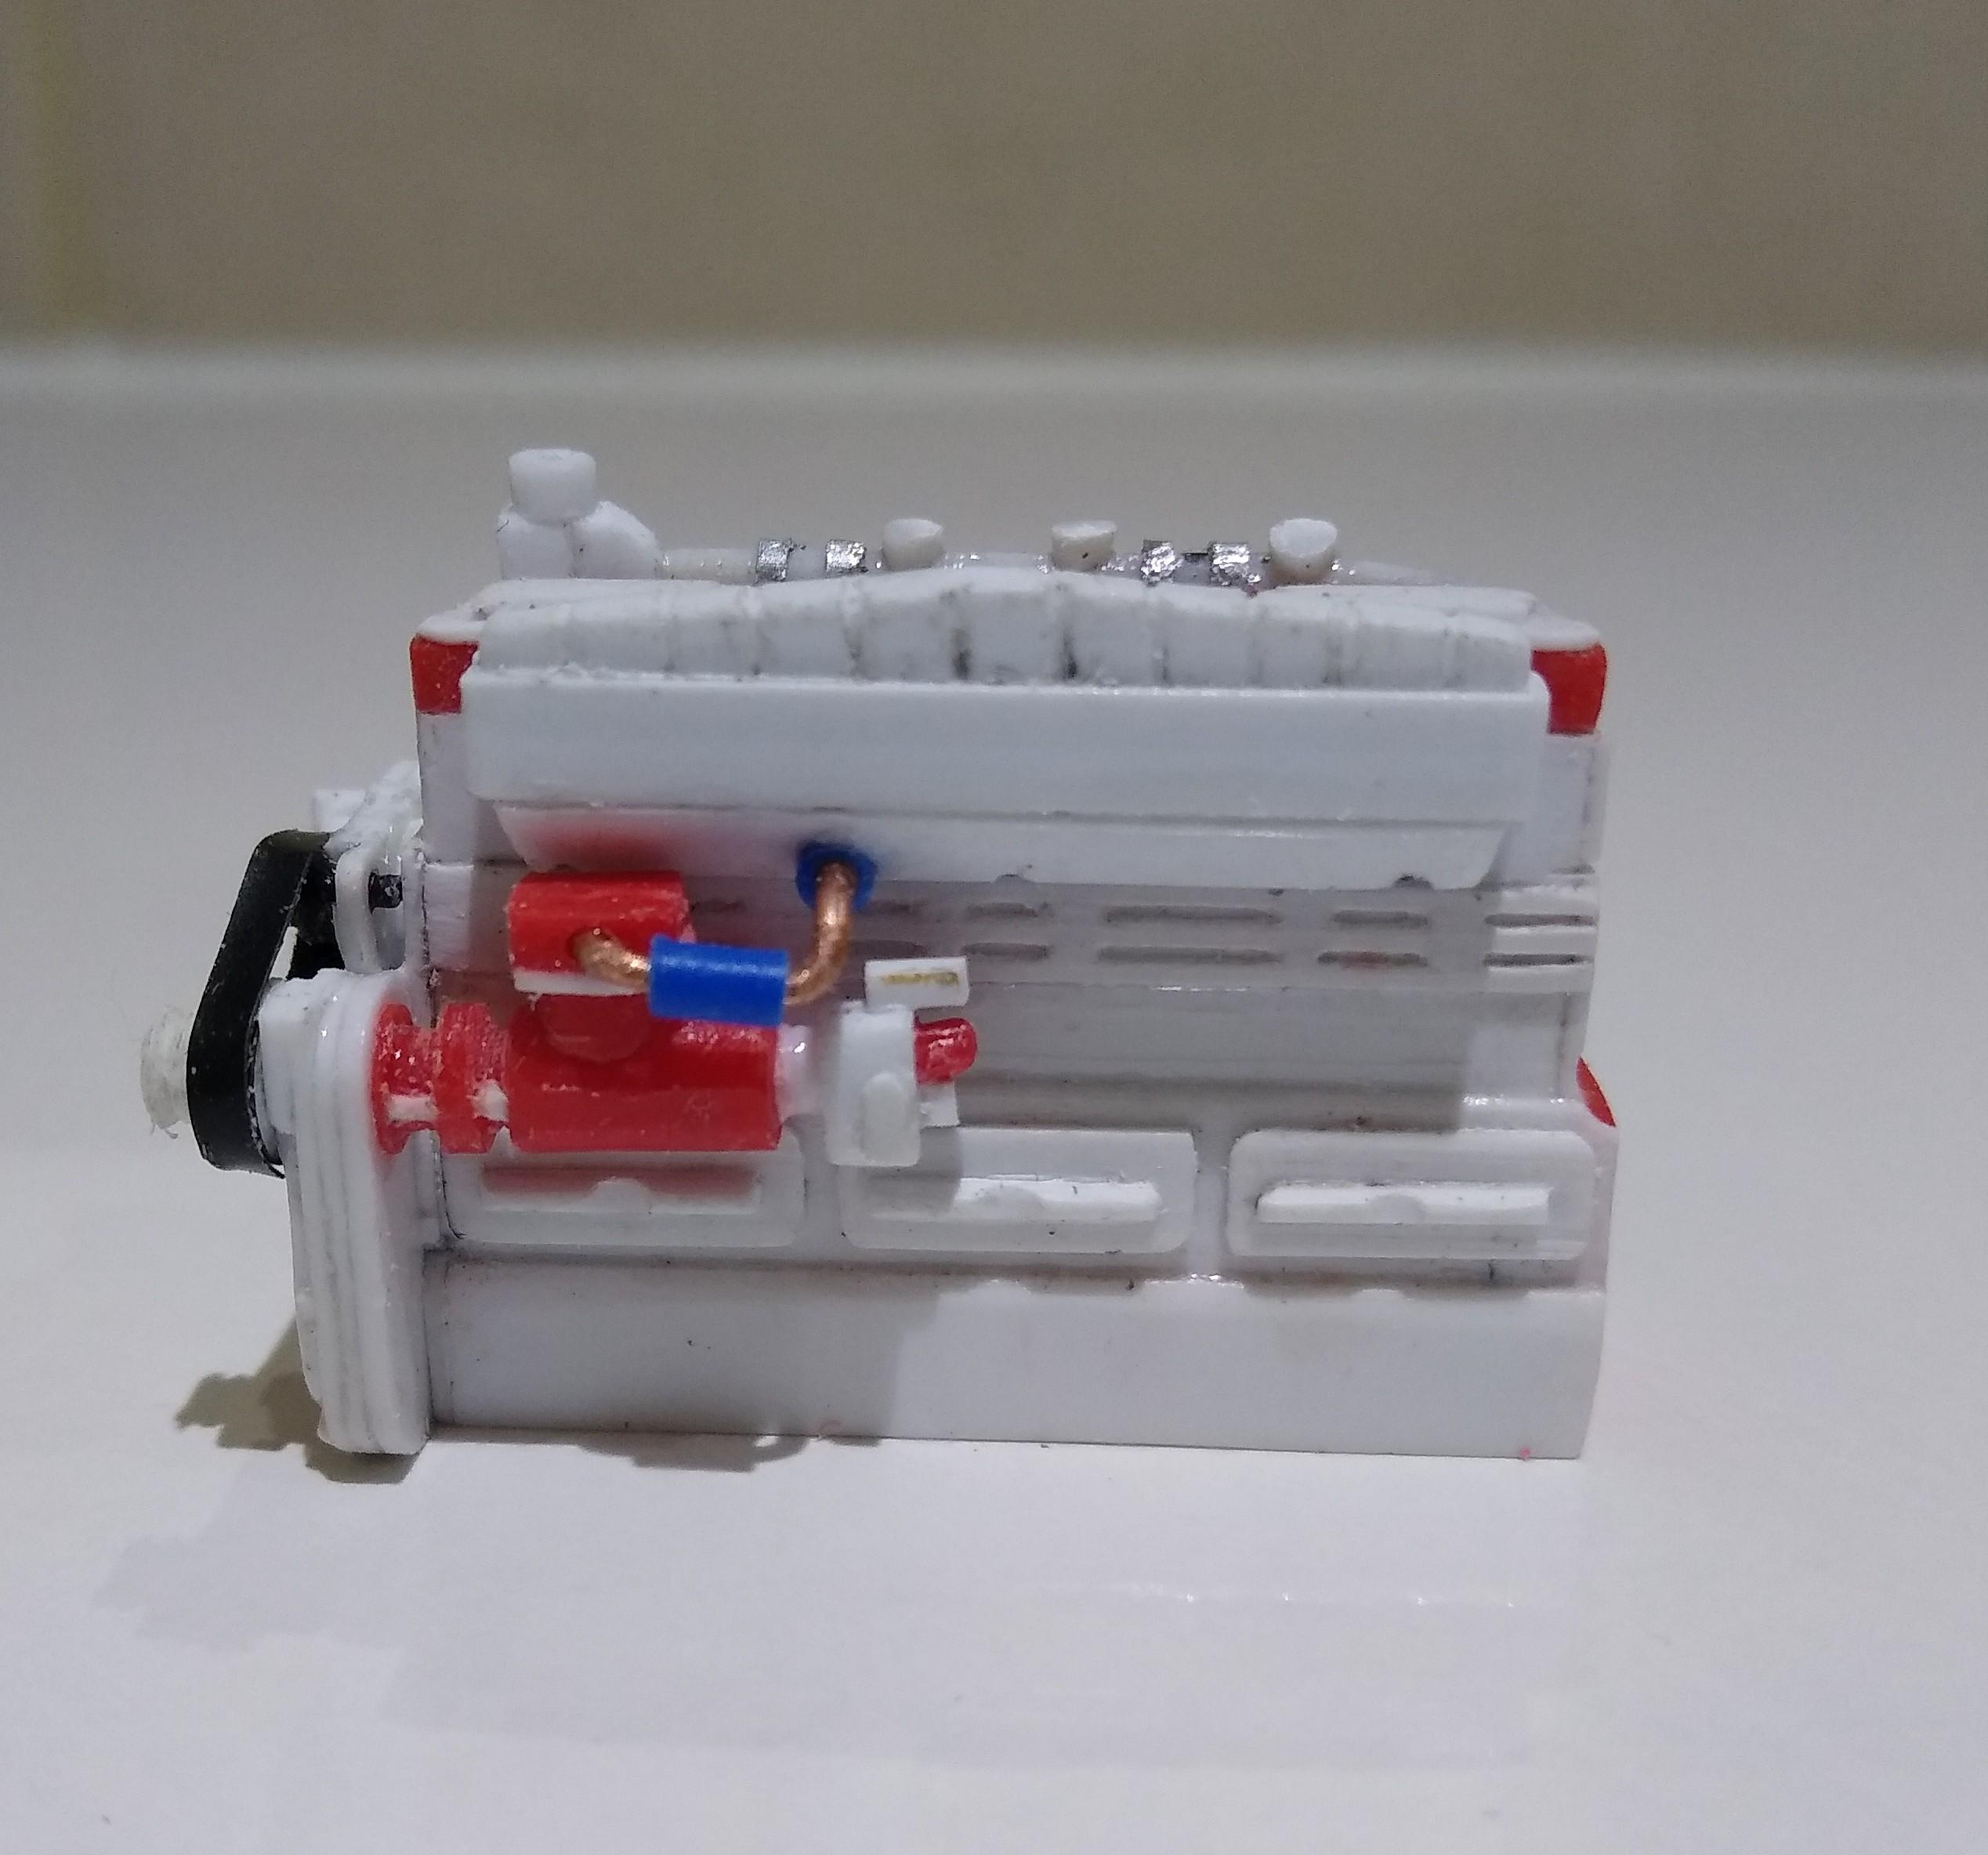
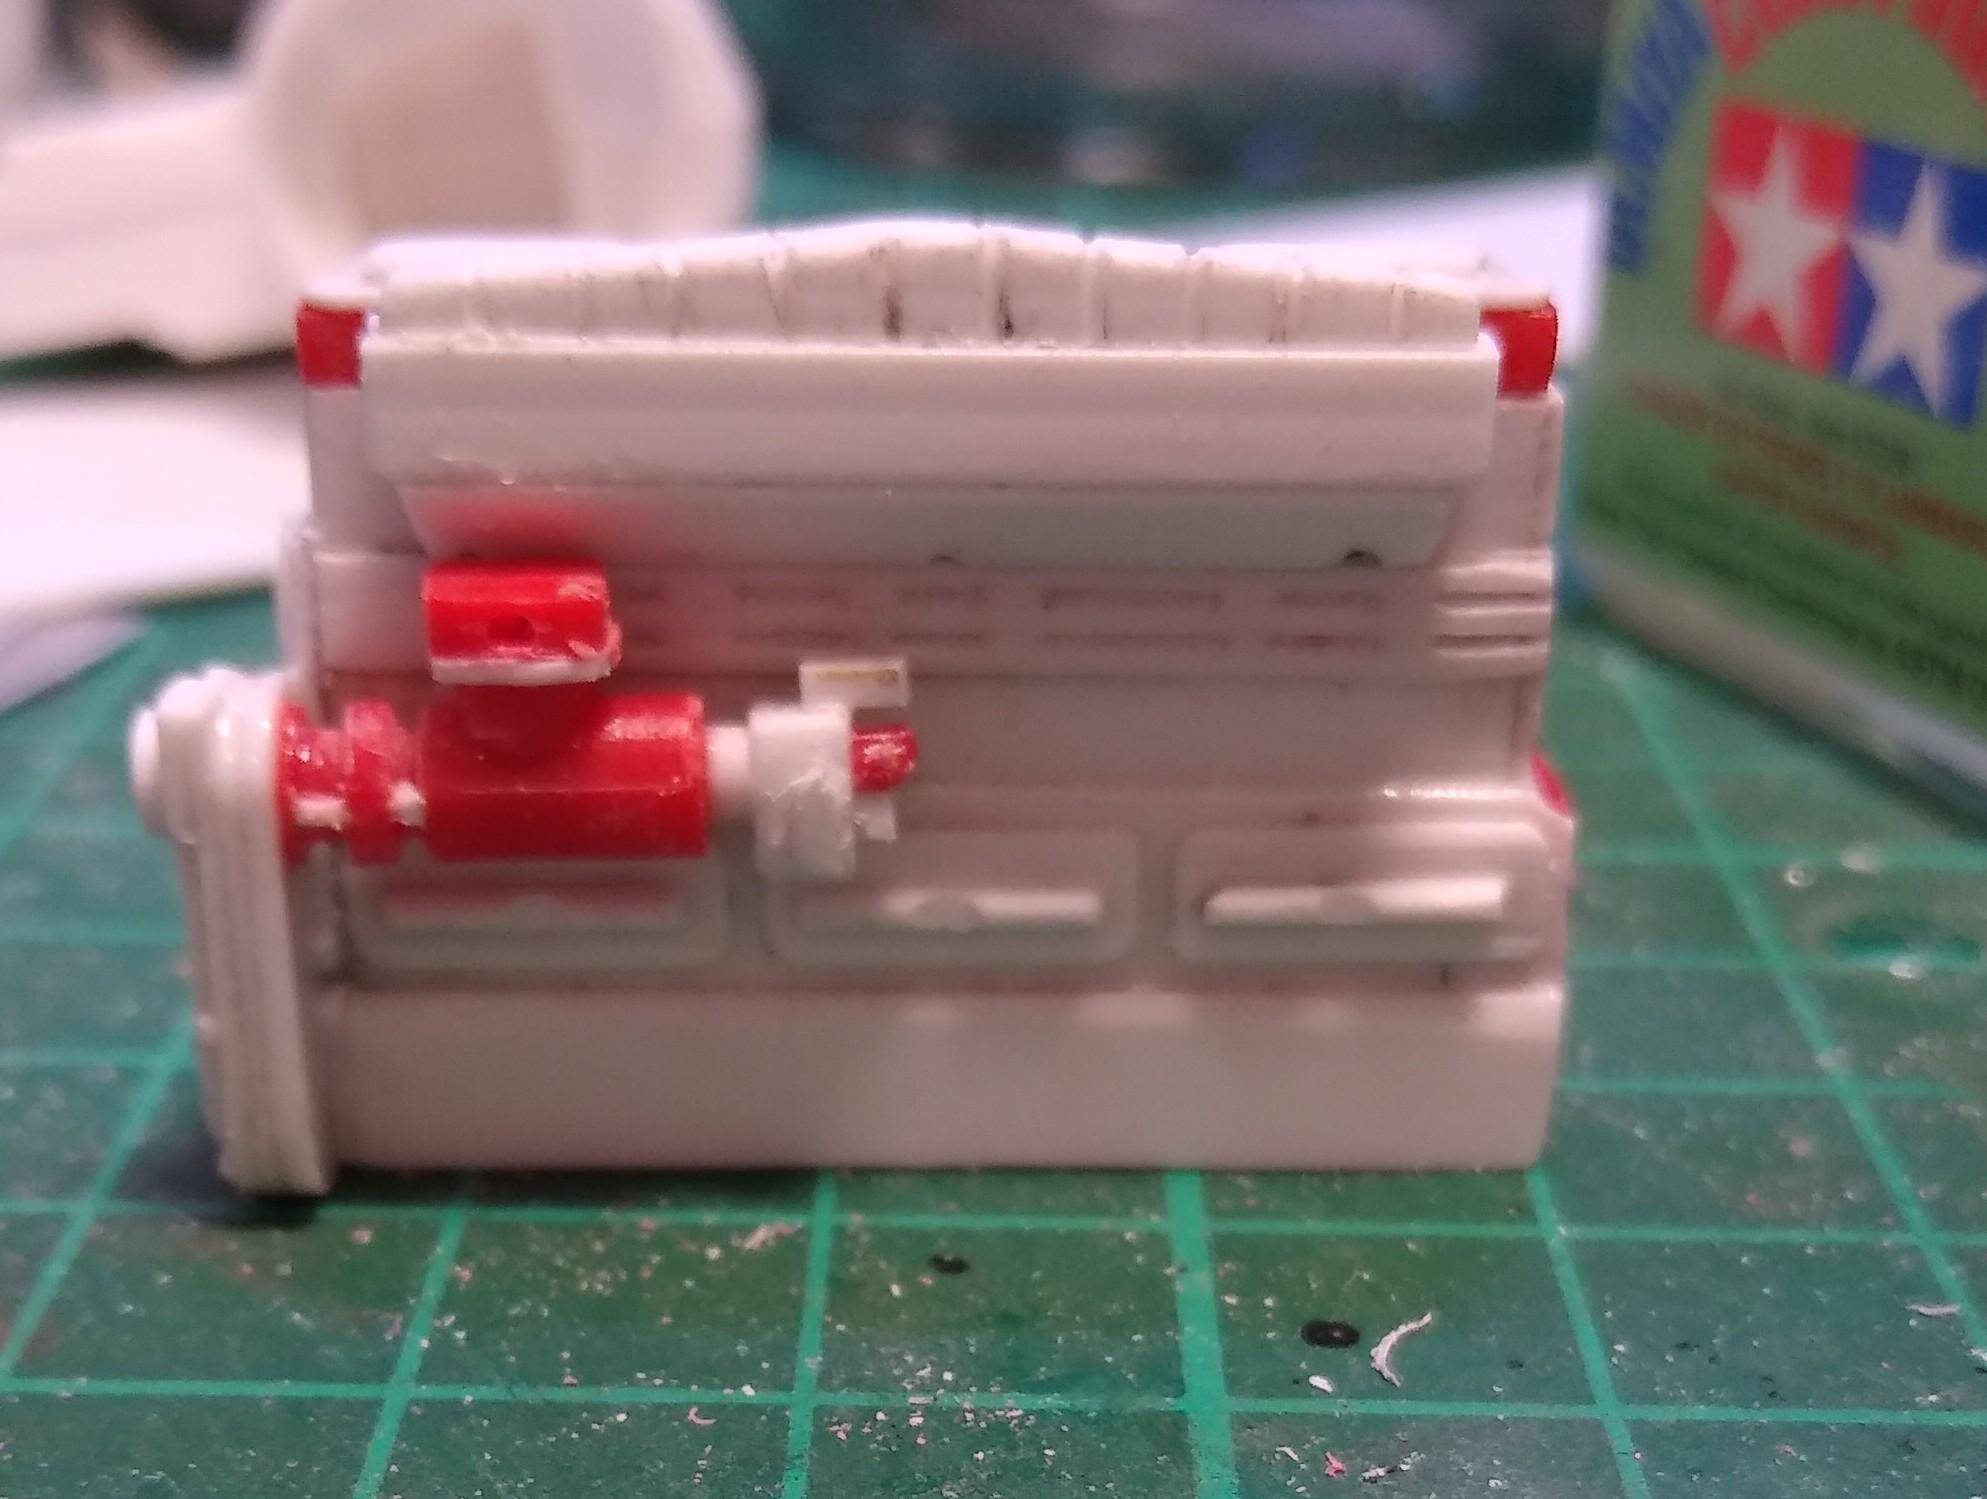
Thanks for the nice comments gents. Very gracious of you. Had some time spare today so on with the Cummins!!!! Here it is next to the AMT W900 1/25 block to give you some idea of size. I finished the timing case and cover. Added bolt bosses around the edges and the bosses around the crank and auxiliary shafts. There's a little swarf in the cam thrust button in the middle. I'll sort that. I built a compressor from sprue and a fuel pump from 2.5mm square rod. I added the stop solenoid, the fuel quantity button and the throttle shaft from shrapnel. Shaping 2.5&3mm square rod I formed the charge air manifold. On the other side, the oil cooler with the return hose to the block. I know it's a bit rough and ready but it looks ok in the flesh. Waterpump, exhaust manifold and turbo next. Then bell housing and pulleys.
-
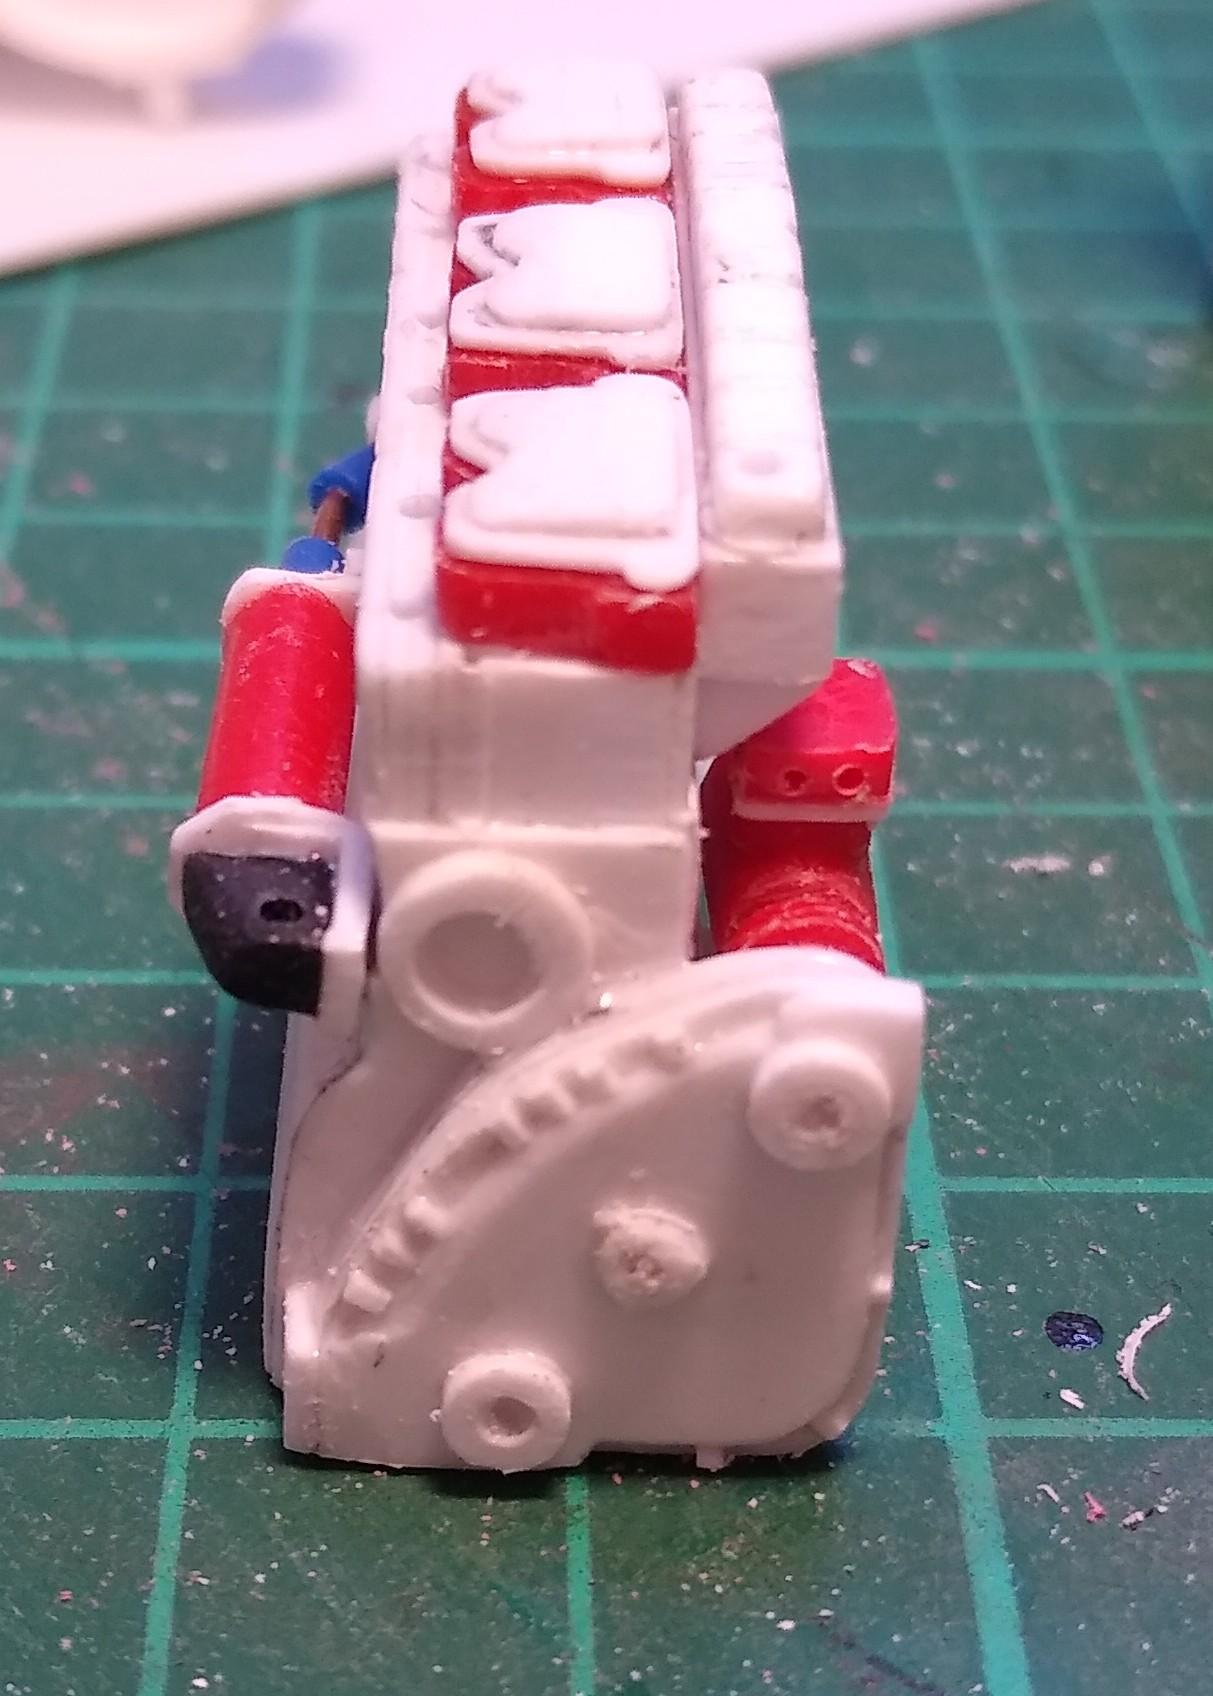
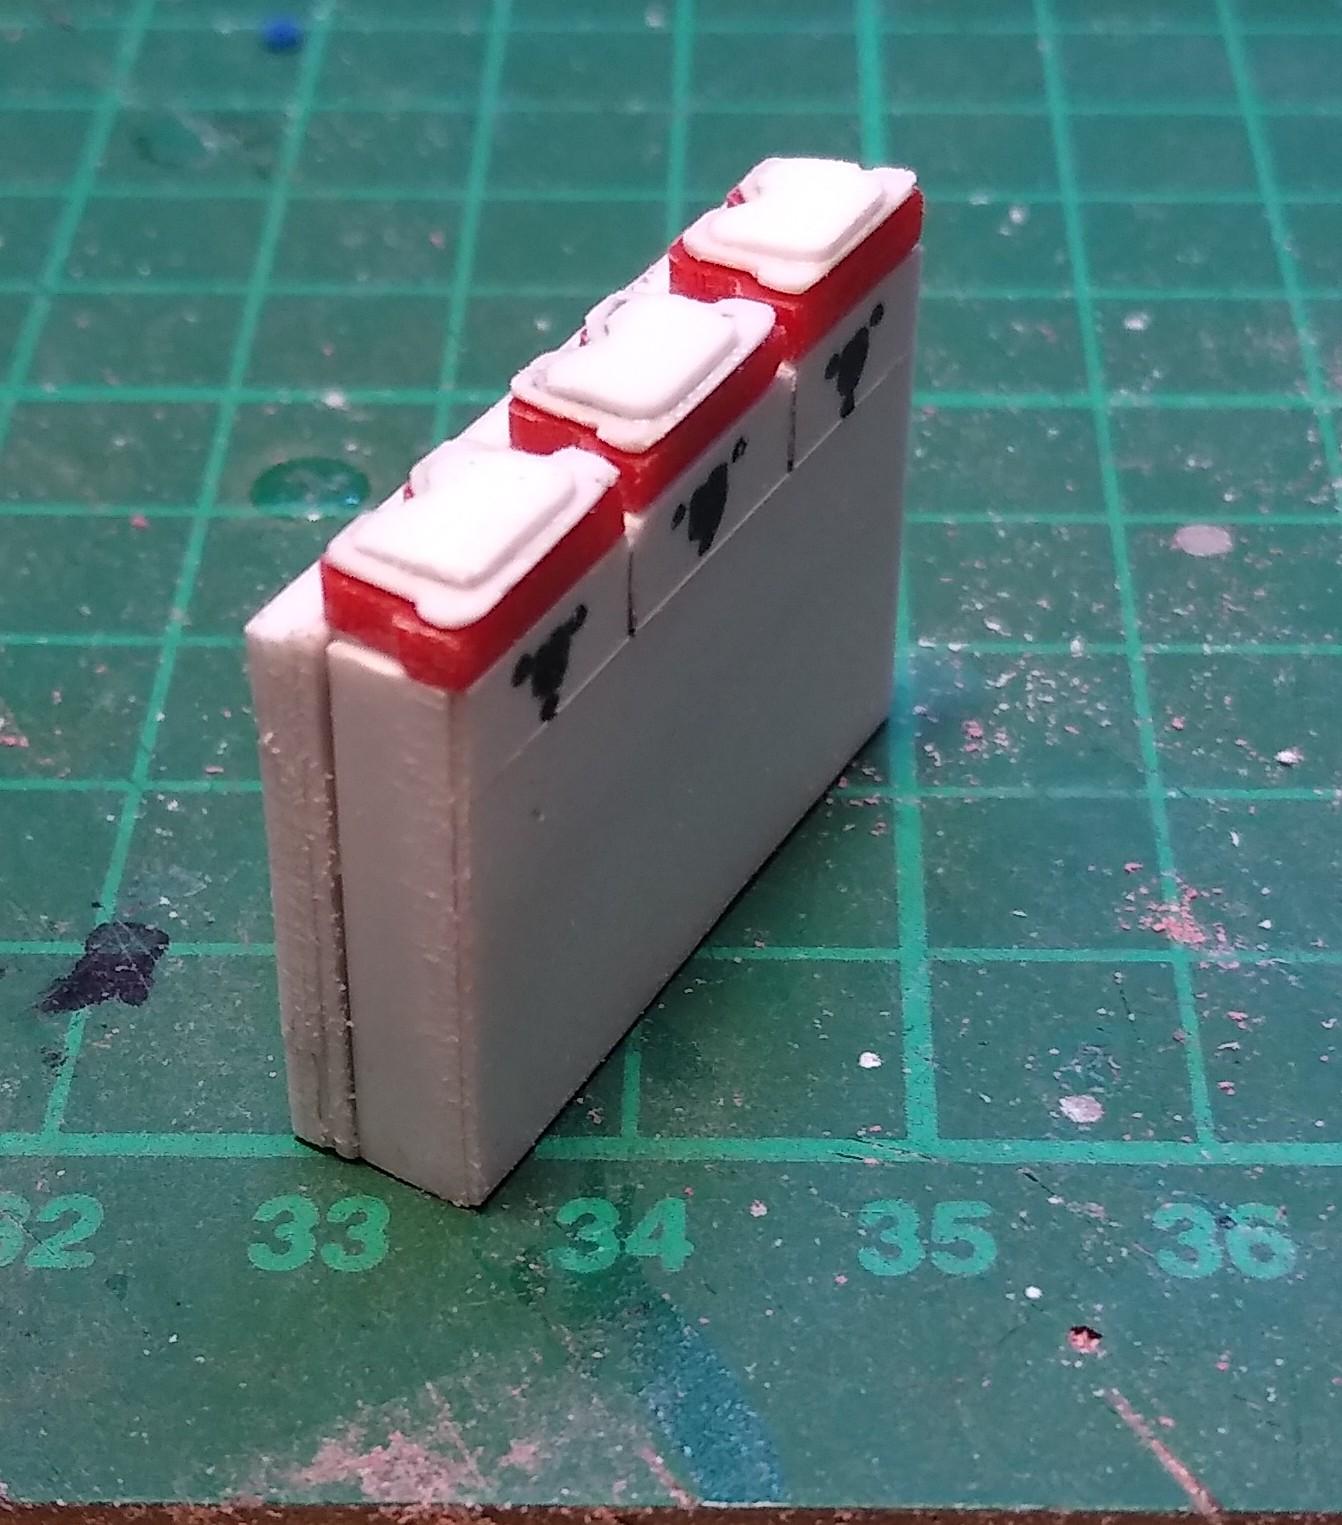
Made progress on my Cummins today. Laid 0.8mm square strip along the top of the block with little pieces in between to simulate the ribs on the block. Then rubbed them down to reduce how much they stuck out. Added the cam boxes to the side. Rounded off some 1mm square rod for them. Formed a timing case and cover, added the water pump mount in the front of the block. Built the crankcase out and tapered it in as it goes up to the cylinders. Bit rough on places and a bit one step forward two steps back, but overall, I'm pleased.
-
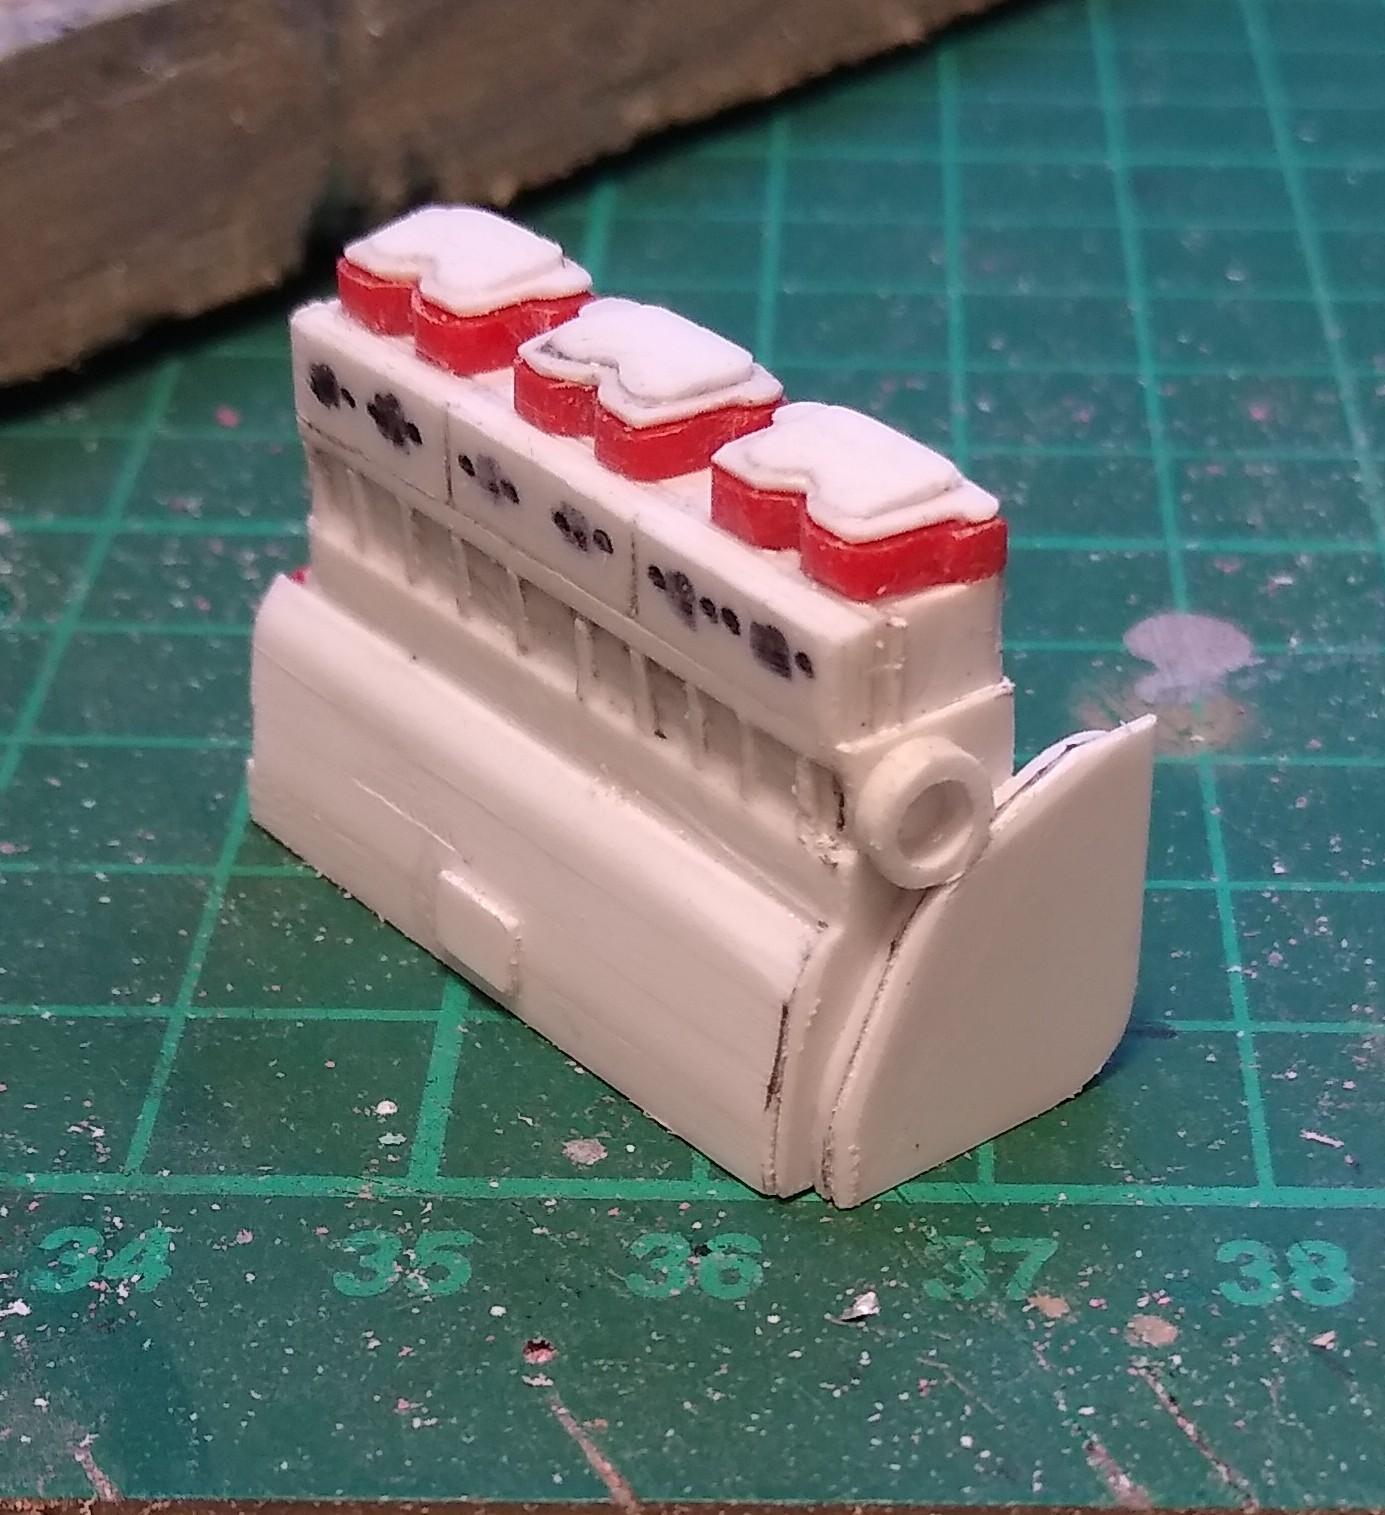
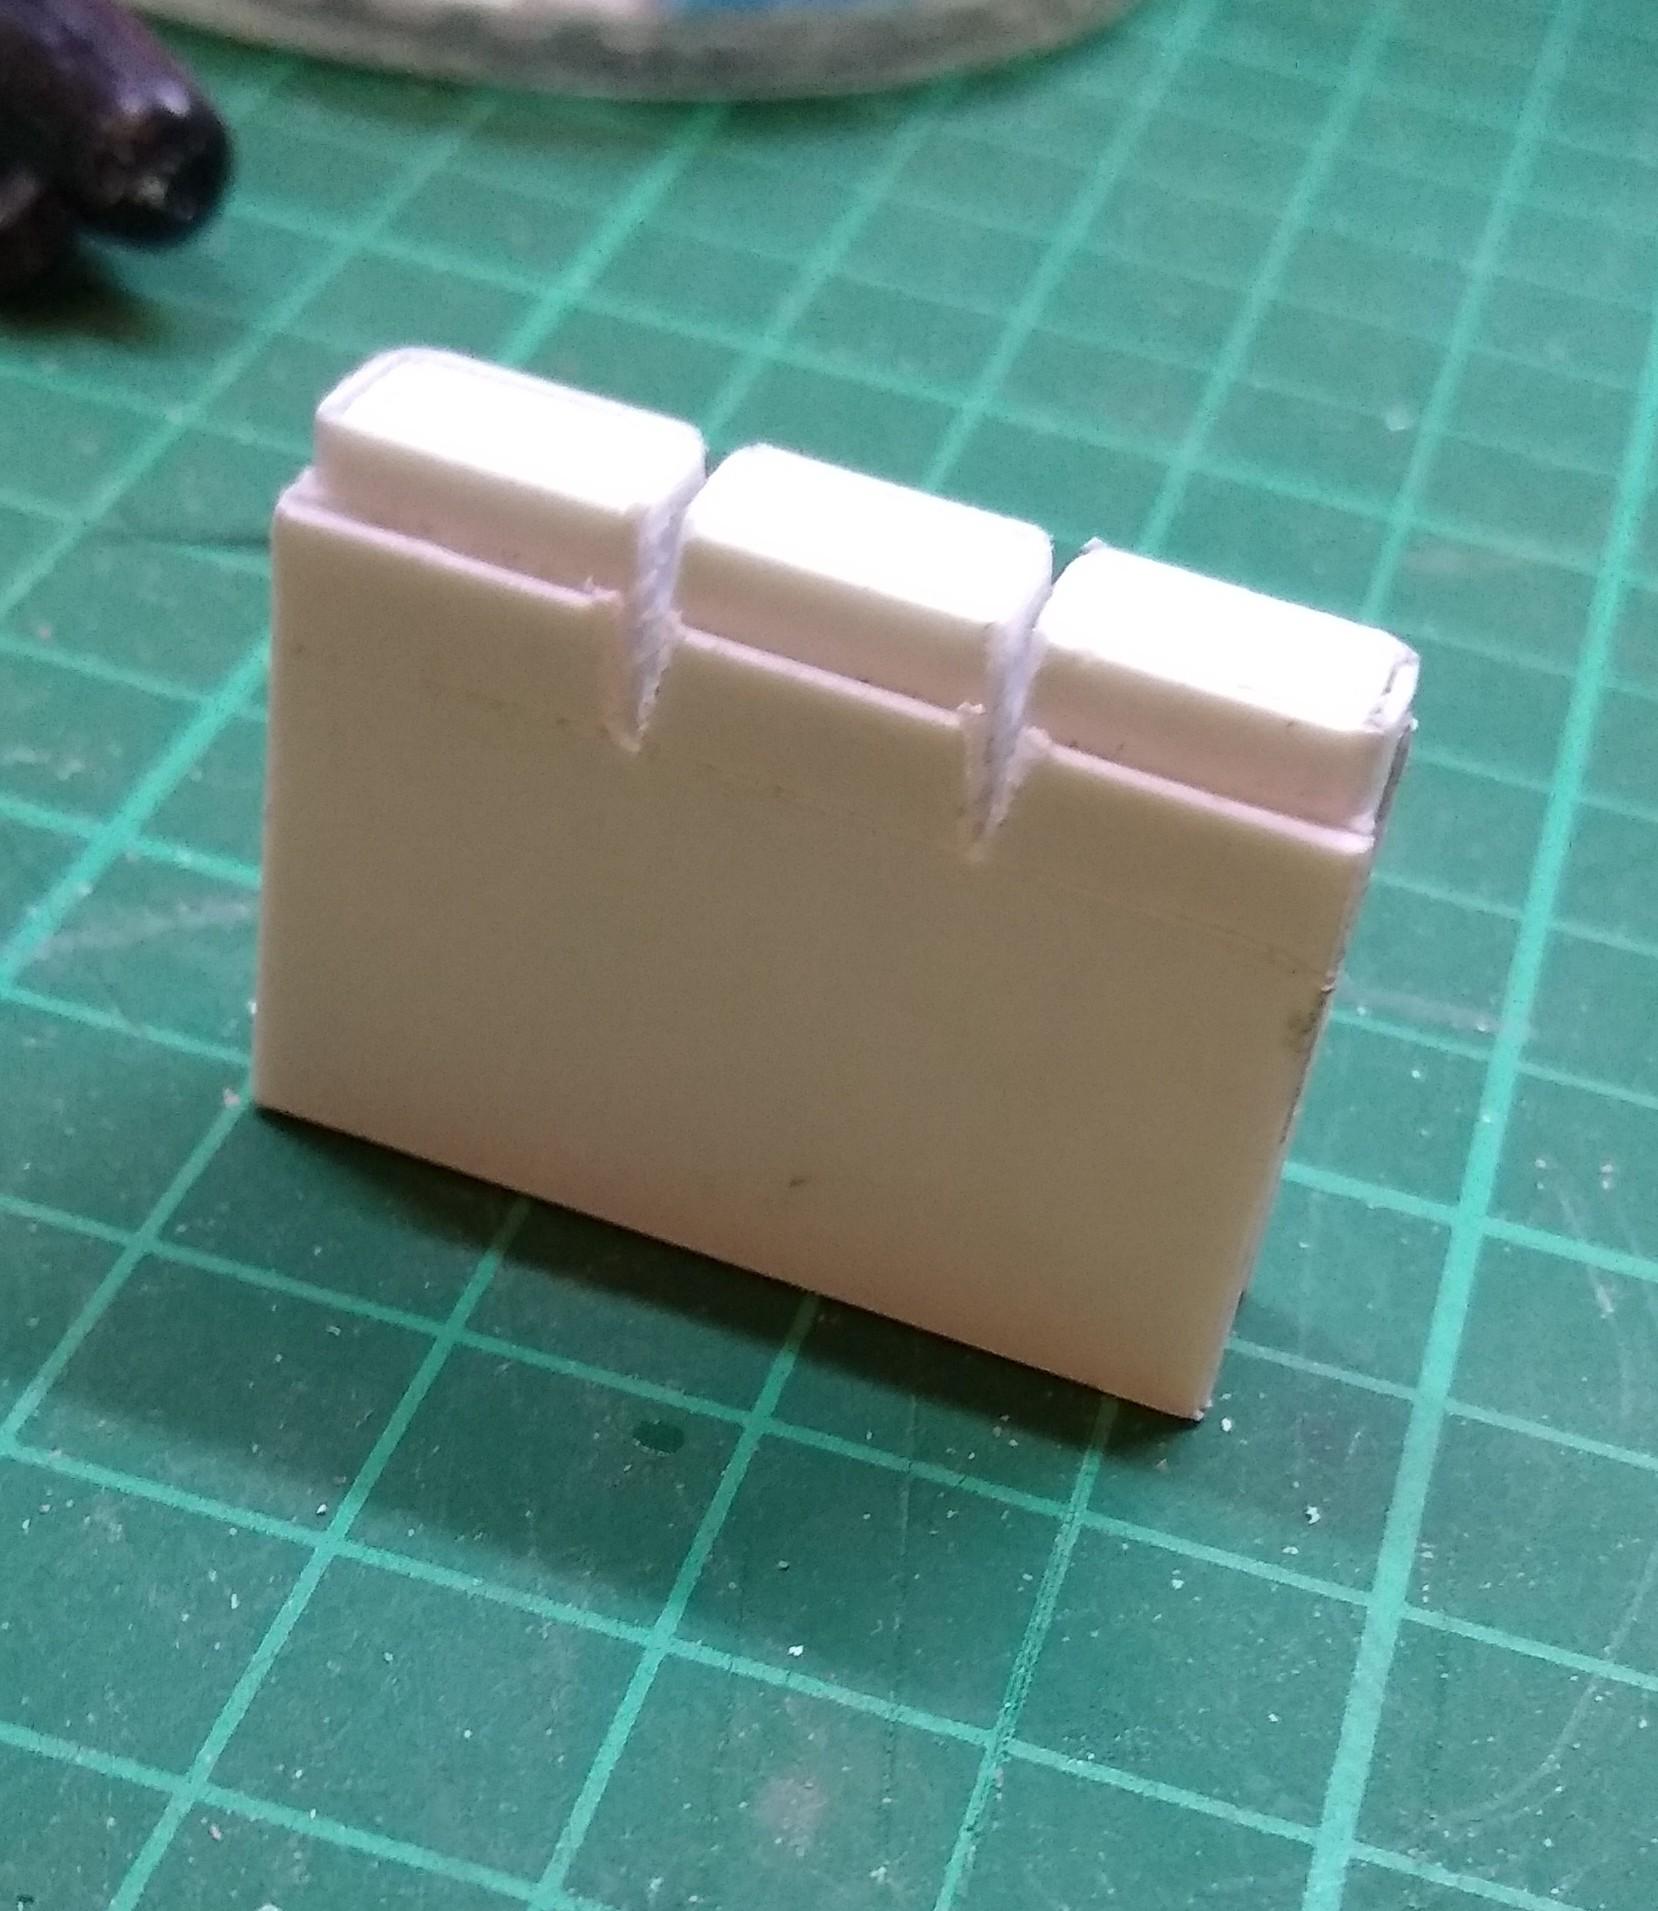
Right, first effort has already been scrapped. Realised I was working in the wrong axis for the rocker boxes, which are so distinctive on a 14litre. I needed to be able to get the shape right, not an anonymous box. Found a piece of scrap the right depth, cut three, 10mmx6mm pieces. Then glued them together with a minimum of cement and filed the shape I needed. Having the 3 together provided a uniform profile. They separated easily once finished. Then did the same with two layers of plastic sheet to form the rocker covers and then filed a taper on the top as per the original. After these were mounted I added more width to the block so I now have a ledge to fit the water rail to. Scored the cylinder head separation lines. Looks much better, let's see how things go from here.
-
I can tell you now... "poorly" ? I can only try, I don't know why I'm so desperate to do it, maybe because I used to work on them here in GB and they were just in a different league to the domestic product. The first truck to break 70mph capability in the UK was powered by a Cummins. We had them in ERFs,Atkinsons and later, Seddon Atkinsons and they were flying machines [before speed limiters came in].
-
Thanks a lot. Might have bitten off more than I can chew... We'll see.
-
You've also got plenty of room, that combo must be huge! Well done mate. A novel build.
-
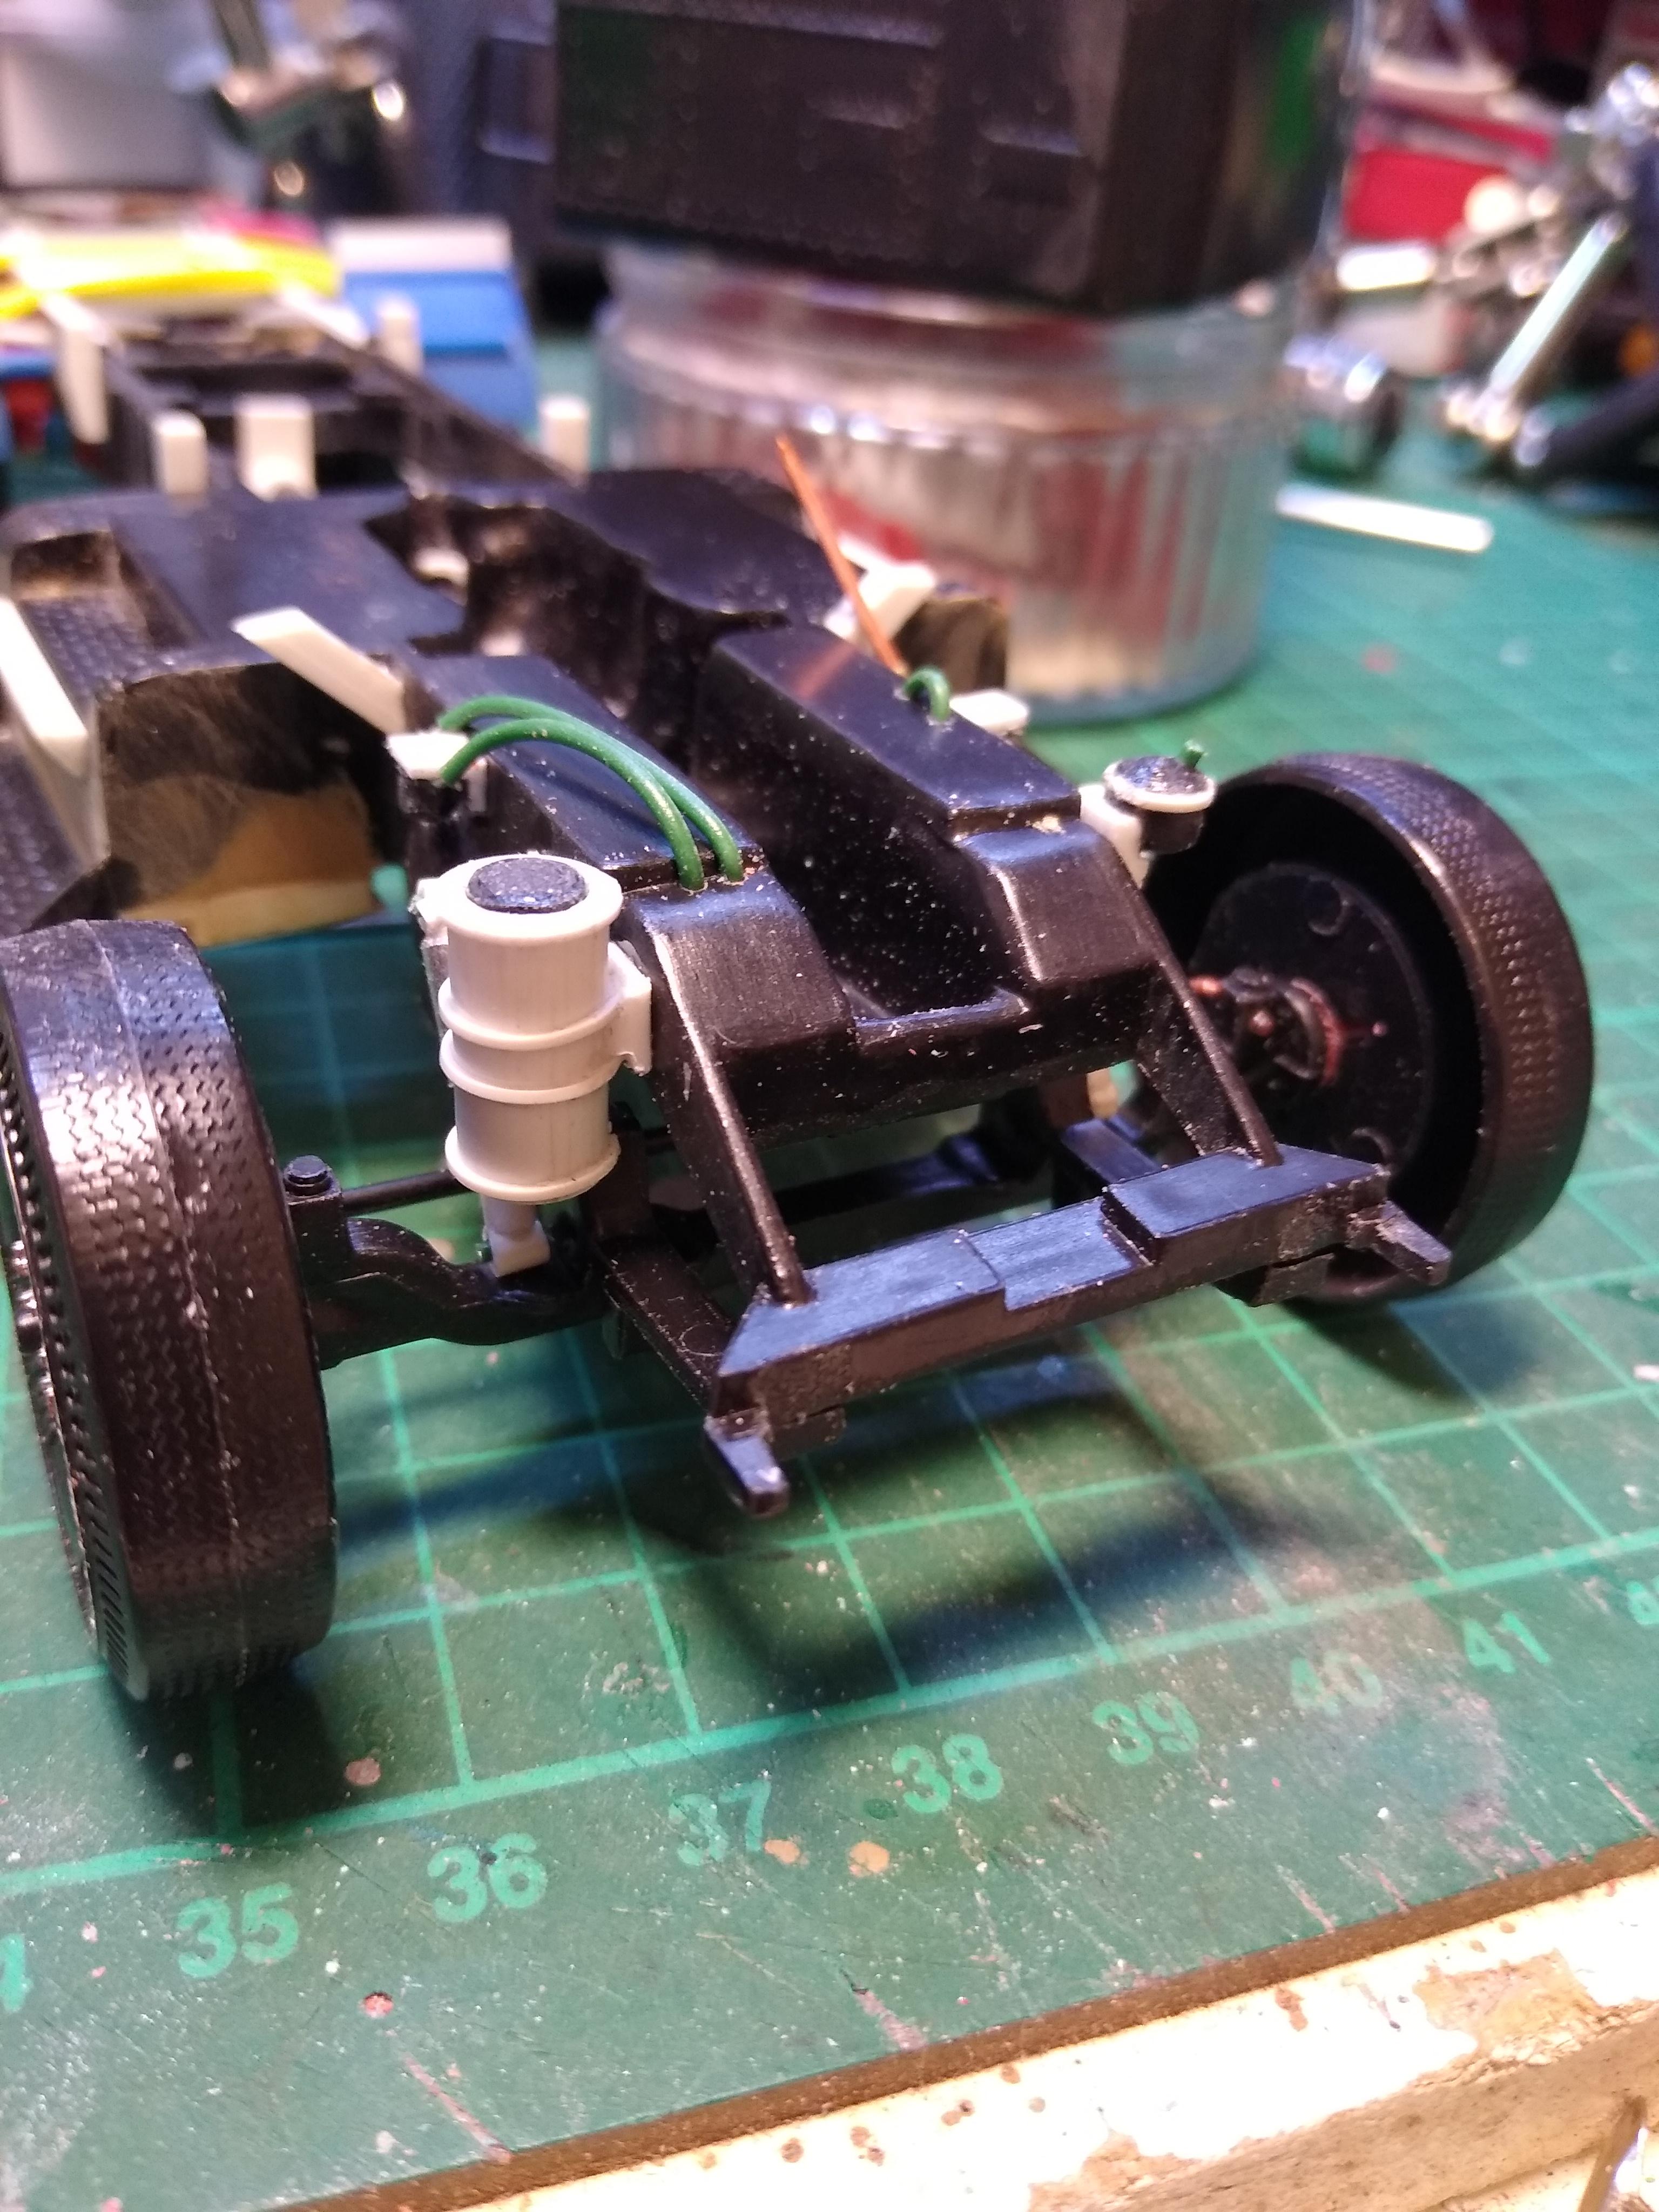
Fiddled around a bit this afternoon. Made a power steering reservoir and a fuel filter for the driver's side and a canister type oil filter and water filter for the passenger side. I'm using Twinsticks Garage's W900 for reference where possible. Started building my Cummins, I'm not sure where it's going to go but it's just something I want to try. Put the start of the block together and separated the heads. My plan is to start at the narrowest point, which is the rocker boxes and build up layers as I work down the block to the crankcase. Might be a wasted effort but let's see.
-
Peterbilt 351
Rockford replied to The Brush's topic in WIP: Model Trucks: Big Rigs and Heavy Equipment
Clever, clever stuff there mate. Where are you getting your dimensions from? -
De-Aerodyned K100
Rockford replied to Rockford's topic in WIP: Model Trucks: Big Rigs and Heavy Equipment
Thanks Graham, that's praise indeed coming from yourself with the work you do. I have the ideas but not the ability I'm afraid, my work is quite agricultural. Eyes, hands and finances all limit my projects. I dont think I'm going to be able to paint until June the way the weather is looking so far this year! -
Chassis looks great, the piping makes all the difference.
-
Thanks guys, as for the painting? This is a snap fit kit, I only have to bang on the table and everything pops off like the old Buckaroo toy, in fact I'm sick of picking pieces up every time I move it. I am a slave to the mock-up.
-
Did a little today. I got some ali tube to sleeve the mufflers on a couple of trucks. I'll use a decal later to simulate the perforations. Smoothed the quarter fenders, cut off the plastic top flap and replaced it with electrical tape. Also trimmed the rear axles I made from brass tube so that the drive axle hubs I made will sit properly in the wheel dishes. Made shocks for the front axle as I did with the K100 but here I added a triangular bracket on the rail. In the eyes of shockers I used 0.5mm wire with the insulation left on to simulate the bushings. Adds visual interest. I could sit doing this all day. Weather is horrendous here at the moment so none of the six projects awaiting paint are going anywhere.