Rockford
-
Posts
1,944 -
Joined
-
Last visited
Content Type
Profiles
Forums
Events
Gallery
Everything posted by Rockford
-

De-Aerodyned K100
Rockford replied to Rockford's topic in WIP: Model Trucks: Big Rigs and Heavy Equipment
I used some 5mm strip with a lip along each edge and some square tube about 5mm too. I cut a slot in one face of the tube so that it resembled a C viewed end on. This then slid over the strip, the lip acting as the rack and running inside the tube. I linked the tube sections together to form the saddle, then linked the side rails at each end to capture the saddle. Now I had a sliding assembly that couldn't drop out. I detailed a fifth wheel, added gudgeons and put a closing piece under the whole assembly and it looks great. Still sits lower than the original kit mess. To try and explain myself a bit better, here's a picture:-
-
I scored these two K100s last year. They were assembled already. The one in the foreground is an AMT and the one behind is a Monogram. I must be mad to start another project but I've decided to build a single sleeper, none-Aerodyne tractor using the Monogram cab but the AMT chassis because they're the best bits of both. First though, I wanted to try something that has been churning in my mind for months. I wanted to build a sliding 5th wheel where the 5th wheel itself doesn't keep falling off. I've built a few sliders along the lines of the old AMT 1/25 trucks and they're great, but at my age I don't like bending down all the time to pick things up, so I want a slide plate where all stays put. How to go about it? I've added a picture of the one I built for my Chevy Bison. It works great but the saddle just sits on the rails. I must do better!
-
Two Reefer Trailers
Rockford replied to Rockford's topic in WIP: Model Trucks: Big Rigs and Heavy Equipment
Gone as far as I can with this now. Paint next. Finished the doors on the reefer unit, trimmed and fitted the control panel. Added an exhaust too. It's not the most accurate reefer but it's got the 70s Thermoking vibe and looks right behind something like my 352 Pete. Fitted the lights and Mansfield bar. Couldn't help colouring the lights with a Sharpie. Now it can sit and wait for the weather to improve.
-
BRGB 2023 Official Thread
Rockford replied to Pete68's topic in WIP: Model Trucks: Big Rigs and Heavy Equipment
I'm looking forward to seeing this take shape. Astros were a fantastic truck, the graphics packages were amazing. This one actually looks like a landau!!! Windows in place of the vents too! -
Double bunk GMC Astro
Rockford replied to Mike77's topic in WIP: Model Trucks: Big Rigs and Heavy Equipment
I don't think I've ever seen anyone do this to an Astro. Interesting indeed. -
AMT GMC ASTRO 95 Rebuild from 1986
Rockford replied to Pete68's topic in WIP: Model Trucks: Big Rigs and Heavy Equipment
Looking good, you're a busy man! -
BRGB 2023 Official Thread
Rockford replied to Pete68's topic in WIP: Model Trucks: Big Rigs and Heavy Equipment
Here's my entry. AMT 1/32 W900 Aerodyne. I did think about the Movin' On truck but it would be too risky, cutting the cap off the sleeper and cab roof ?, can't take that chance. I also thought of using the Monogram T600 cab but even though they're both 1/32 the cabs have considerably different firewall dimensions which would have required major alterations to the hood, again, too risky. I also compared the two to the real thing and the AMT is closer to the correct width. Might replace the rear suspension with a Reyco steel spring from Monogram (in photo). Using Monogram wheels and tyres (even though they're rubbish) for better scale appearance. AMT are too small (see my rants in other threads). Replace the 5th wheel plate. Add rear hubs, brake chambers, pogo stick and rubber mudflaps. Deepen the front bumper. Move the fuel tanks forward to the correct position. Improve the exhaust system. Improve the mirrors, add wipers and a sun visor. Other than that, it really doesn't need much.
-
Looks great. Correct white on the engine too. What a great little kit this is. I notice you're not using the kit wheels...?
-
All looks good and square to me. Cowl assembly is excellent too.
-
They look good to me, ready patina'd! Worn away over years of work. Great job.
-
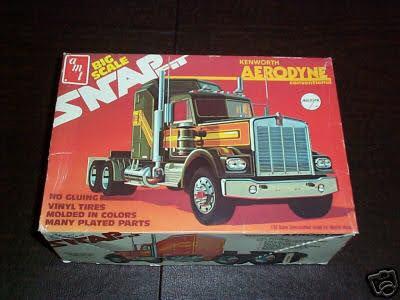
It will be great to see this come together. It's been waiting a long time. It's looking really good. Great job you've done. I love the box art on this kit. I painted mine in that scheme when I built it all those years ago and still would love to do a 359 in those colours. When I get around to my Snaptite 359 I'll do it like that I think.
-
Great to see it back on the bench, looking forward to seeing your progress.
-
Two Reefer Trailers
Rockford replied to Rockford's topic in WIP: Model Trucks: Big Rigs and Heavy Equipment
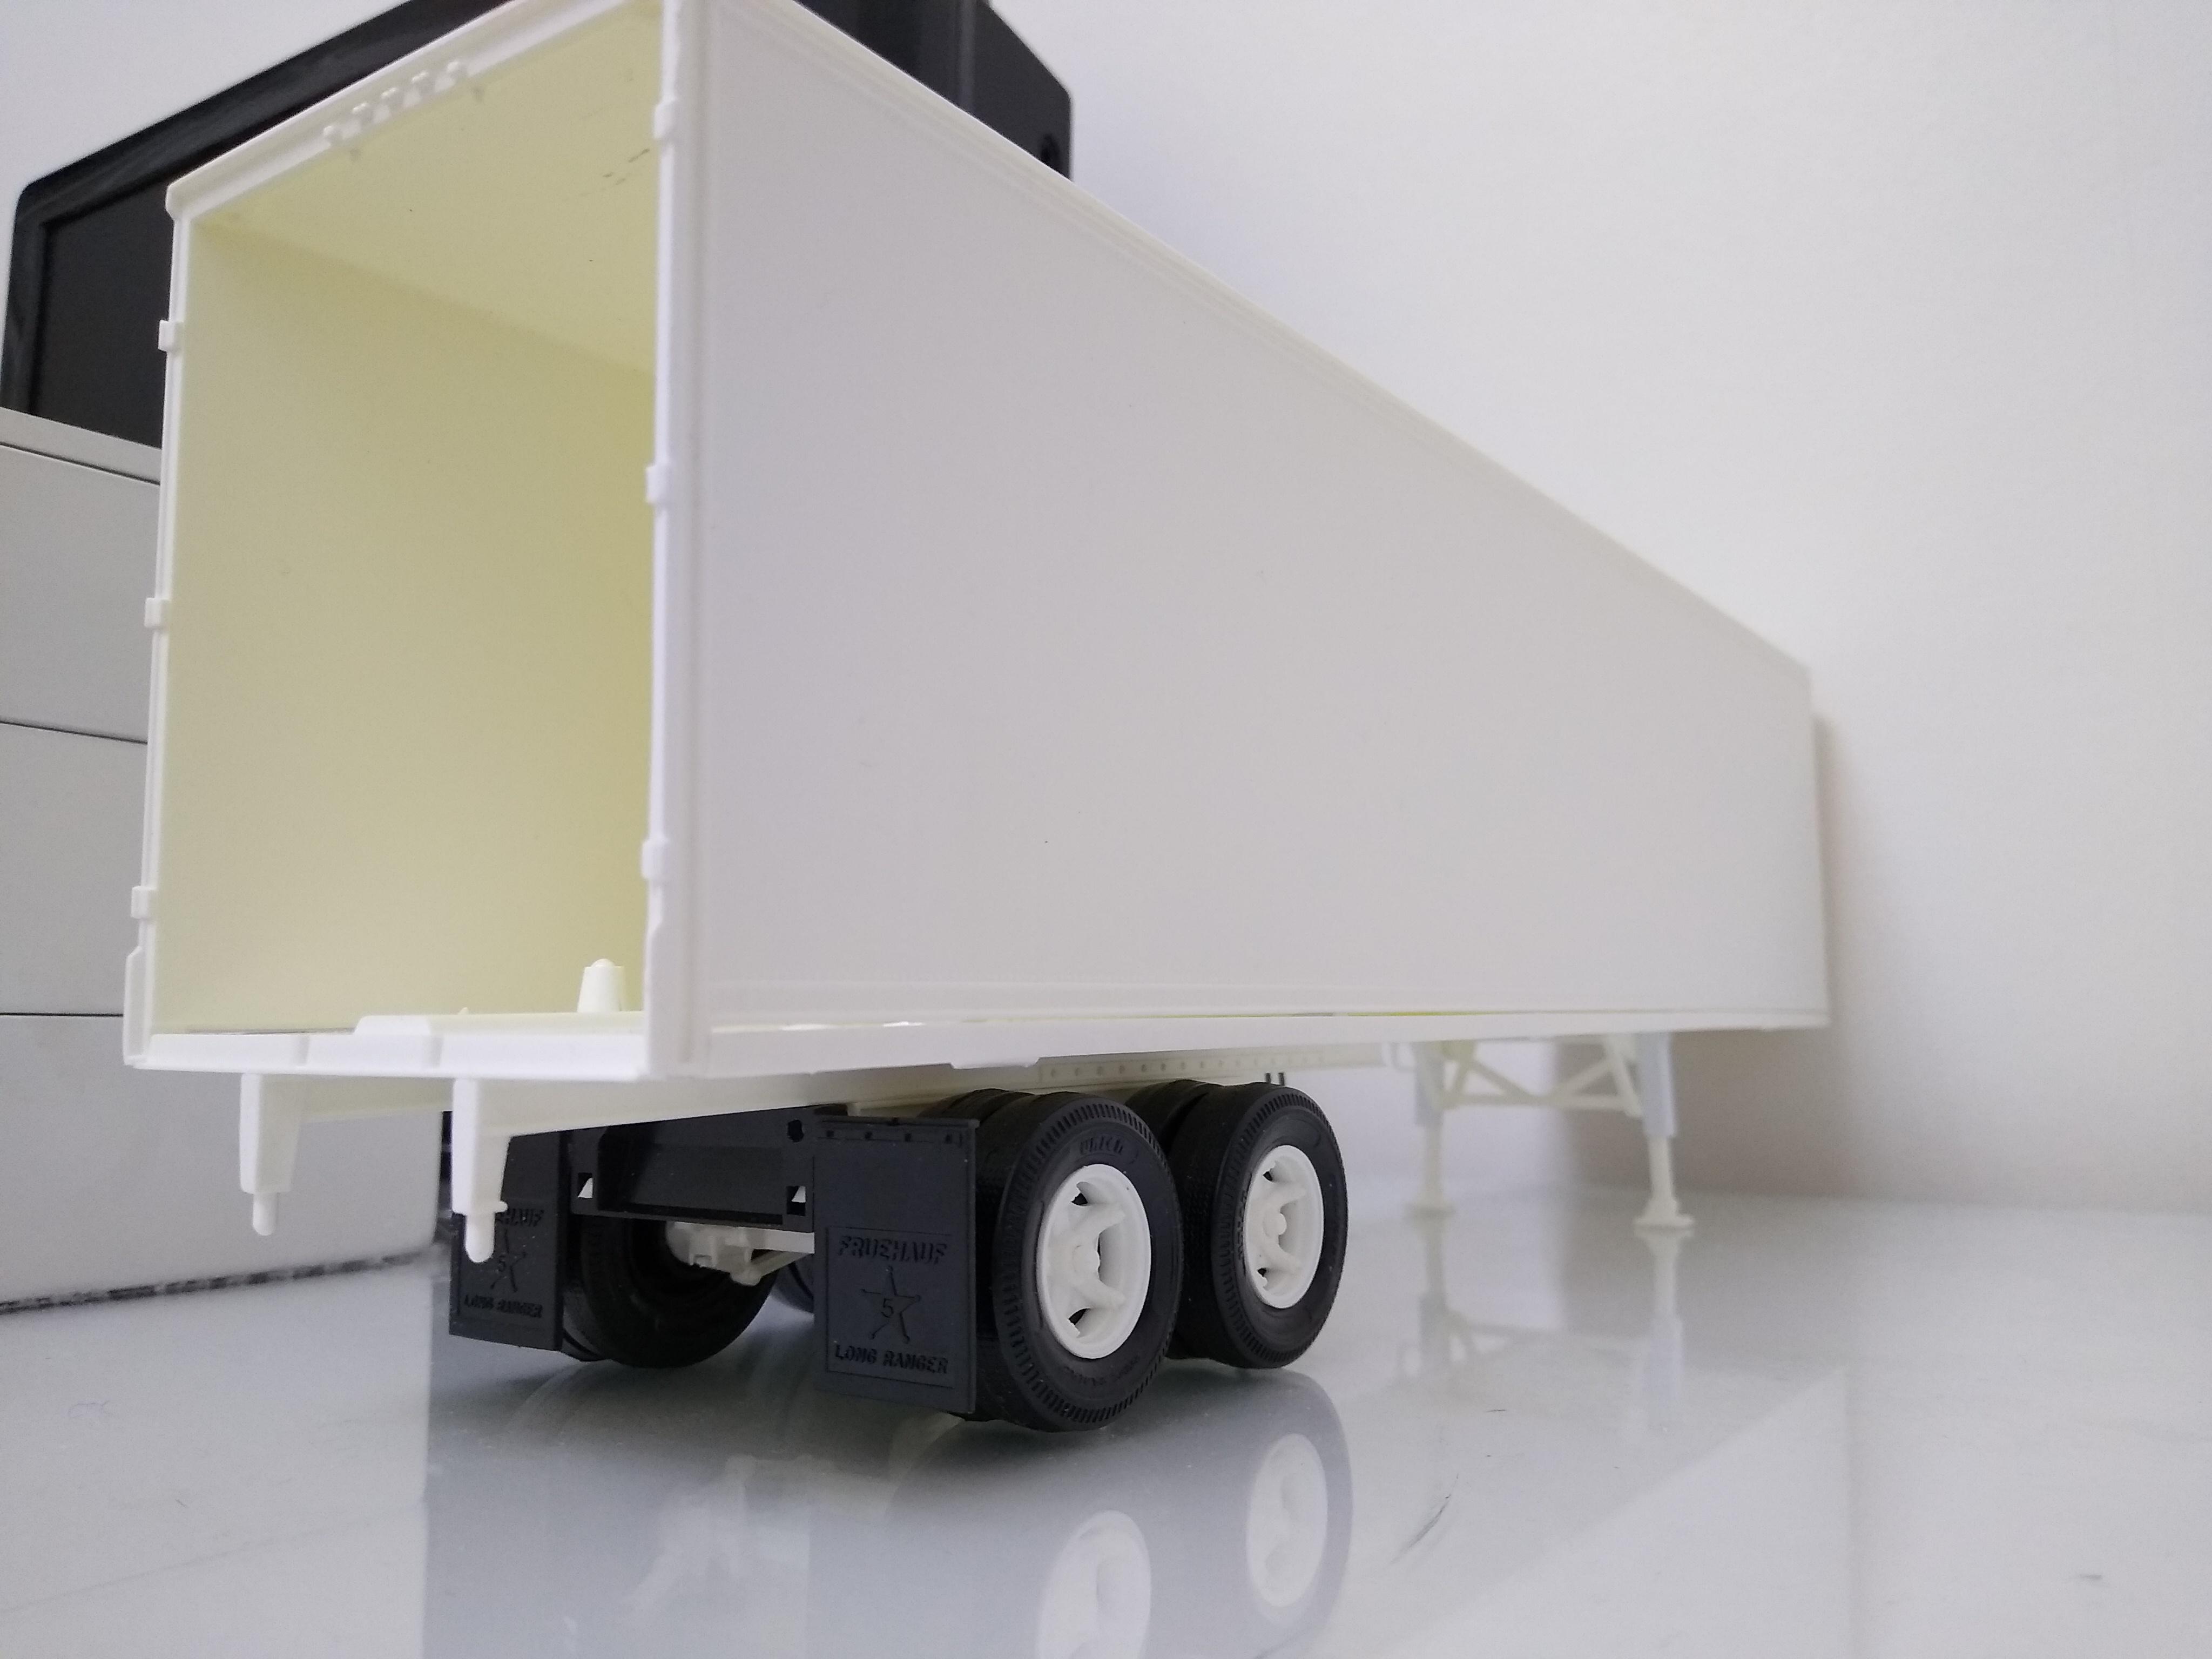
Sorry but I was so engrossed in how to make the reefer unit I forgot to photograph it. I ended up using more of the original than I expected. I cut the height down to 54mm. Then cut the side panels off and narrowed the front. The slots on the front panel were filled with 1mm square strip and filled. A little trimming and the side panels fitted easily back in. I can use the original control panel in the same place. I used the original top piece fitted to the new unit and I can still use the moulded in tab. I cut the Thermo King off the top edge and reduced it to a simple L shaped bar. I sat this over the top of the grille and formed a surround out of strip. I formed two doors from plastic card, they still need tidying up. The battery box was cut loose, trimmed and turned upside down with a few brackets added. A quick mock-up and it looks good. This is the first time I've used the super glue and baking soda method of filling and it seems ok. It's hard stuff though.
-
BRGB 2023 Official Thread
Rockford replied to Pete68's topic in WIP: Model Trucks: Big Rigs and Heavy Equipment
I'm looking forward to seeing these come together. You just don't see them around. It's a shame AMT didn't continue this range, they were great kits. -
Two Reefer Trailers
Rockford replied to Rockford's topic in WIP: Model Trucks: Big Rigs and Heavy Equipment
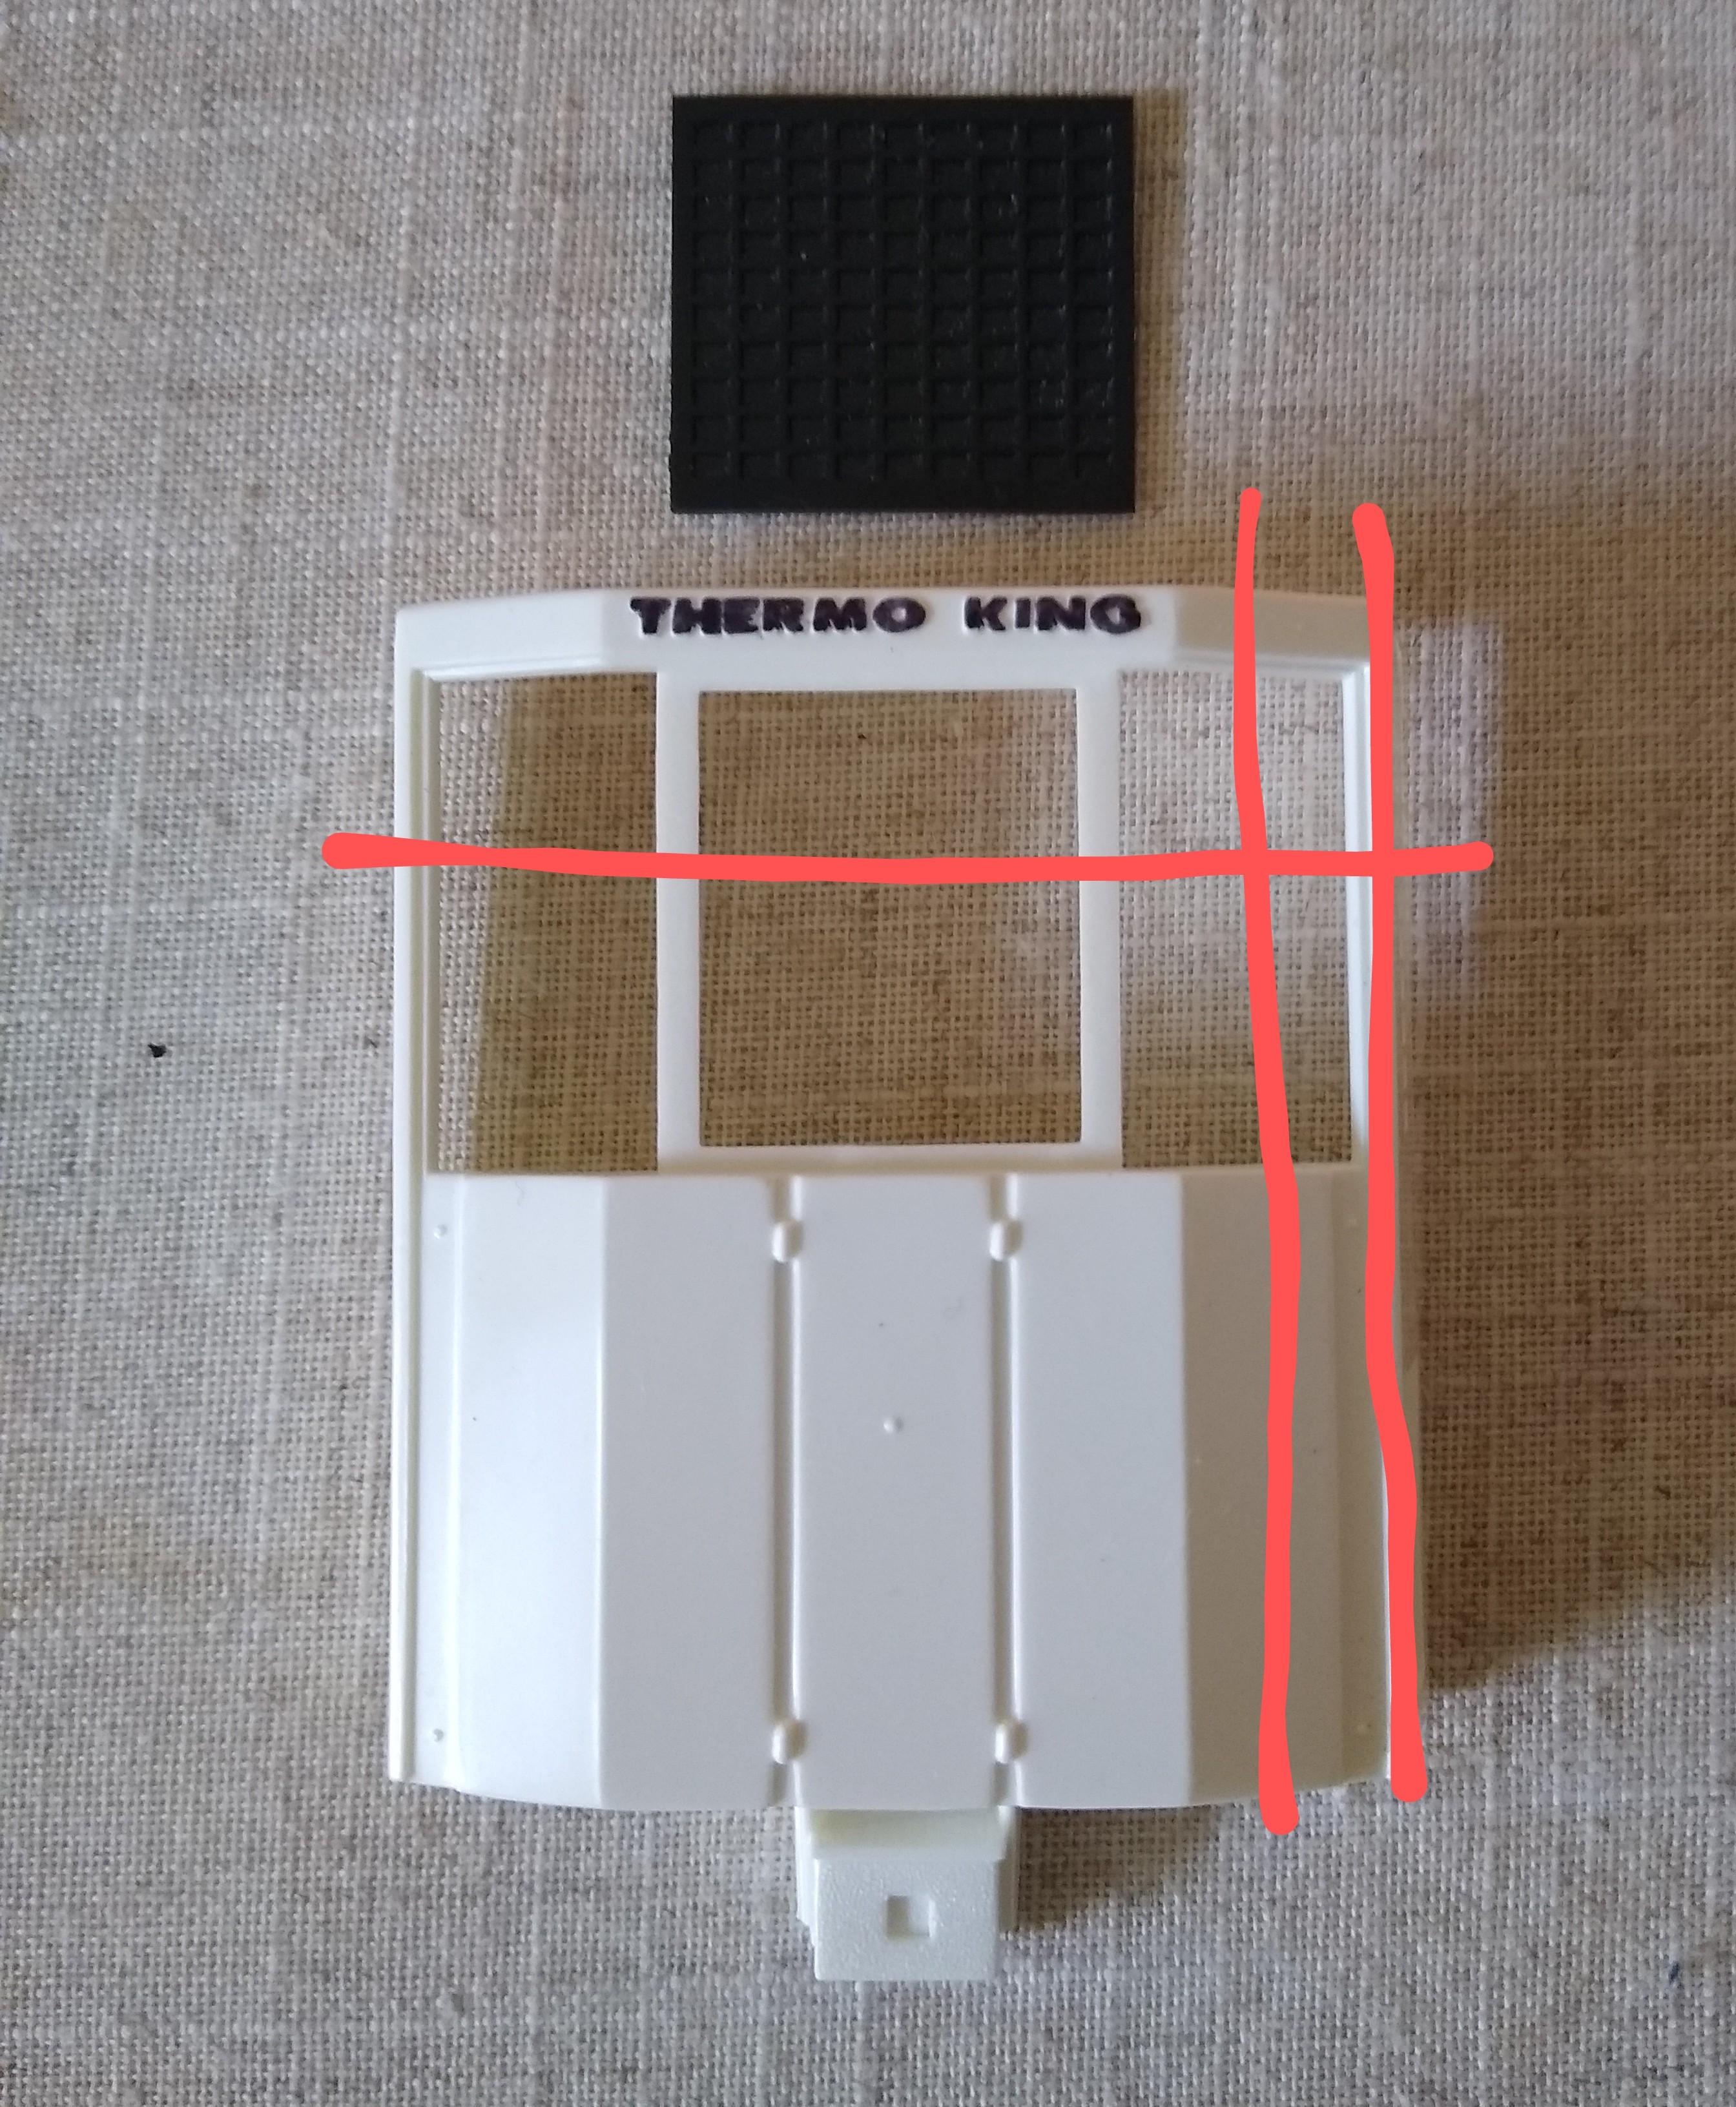
Now onto the next stage, the reefer motor. I don't like the aero-reefer that comes in this kit. I understand the reason for it and it probably saved a few cents per mile when it was brought out, but I prefer the older steel cabinetted versions and also they'd be more in keeping with the era I base my modelling in. So I want to fashion a new reefer unit modelled on a Thermo King NWD30 or suchlike. It's hard to get a grip on all the models and formats of Thermo King reefers because the information that's out there is a bit erratic, but I'll fashion something akin to the unit on the AMT Tropicana Trailmobile I've built as part of this thread. Decided to use the grille off the kit piece, cut the side pieces off. I'll use the kit gauges, the battery box and possibly the Thermo King logo too.
-
BRGB 2023 Suggestion
Rockford replied to Pete68's topic in WIP: Model Trucks: Big Rigs and Heavy Equipment
I've never been in a group build before but could make a start on this. There's plenty of work in it, sorting out the glaring issues.
-
ongoing oilfield project
Rockford replied to cdntrucking's topic in WIP: Model Trucks: Big Rigs and Heavy Equipment
Just, wow. -
Two Reefer Trailers
Rockford replied to Rockford's topic in WIP: Model Trucks: Big Rigs and Heavy Equipment
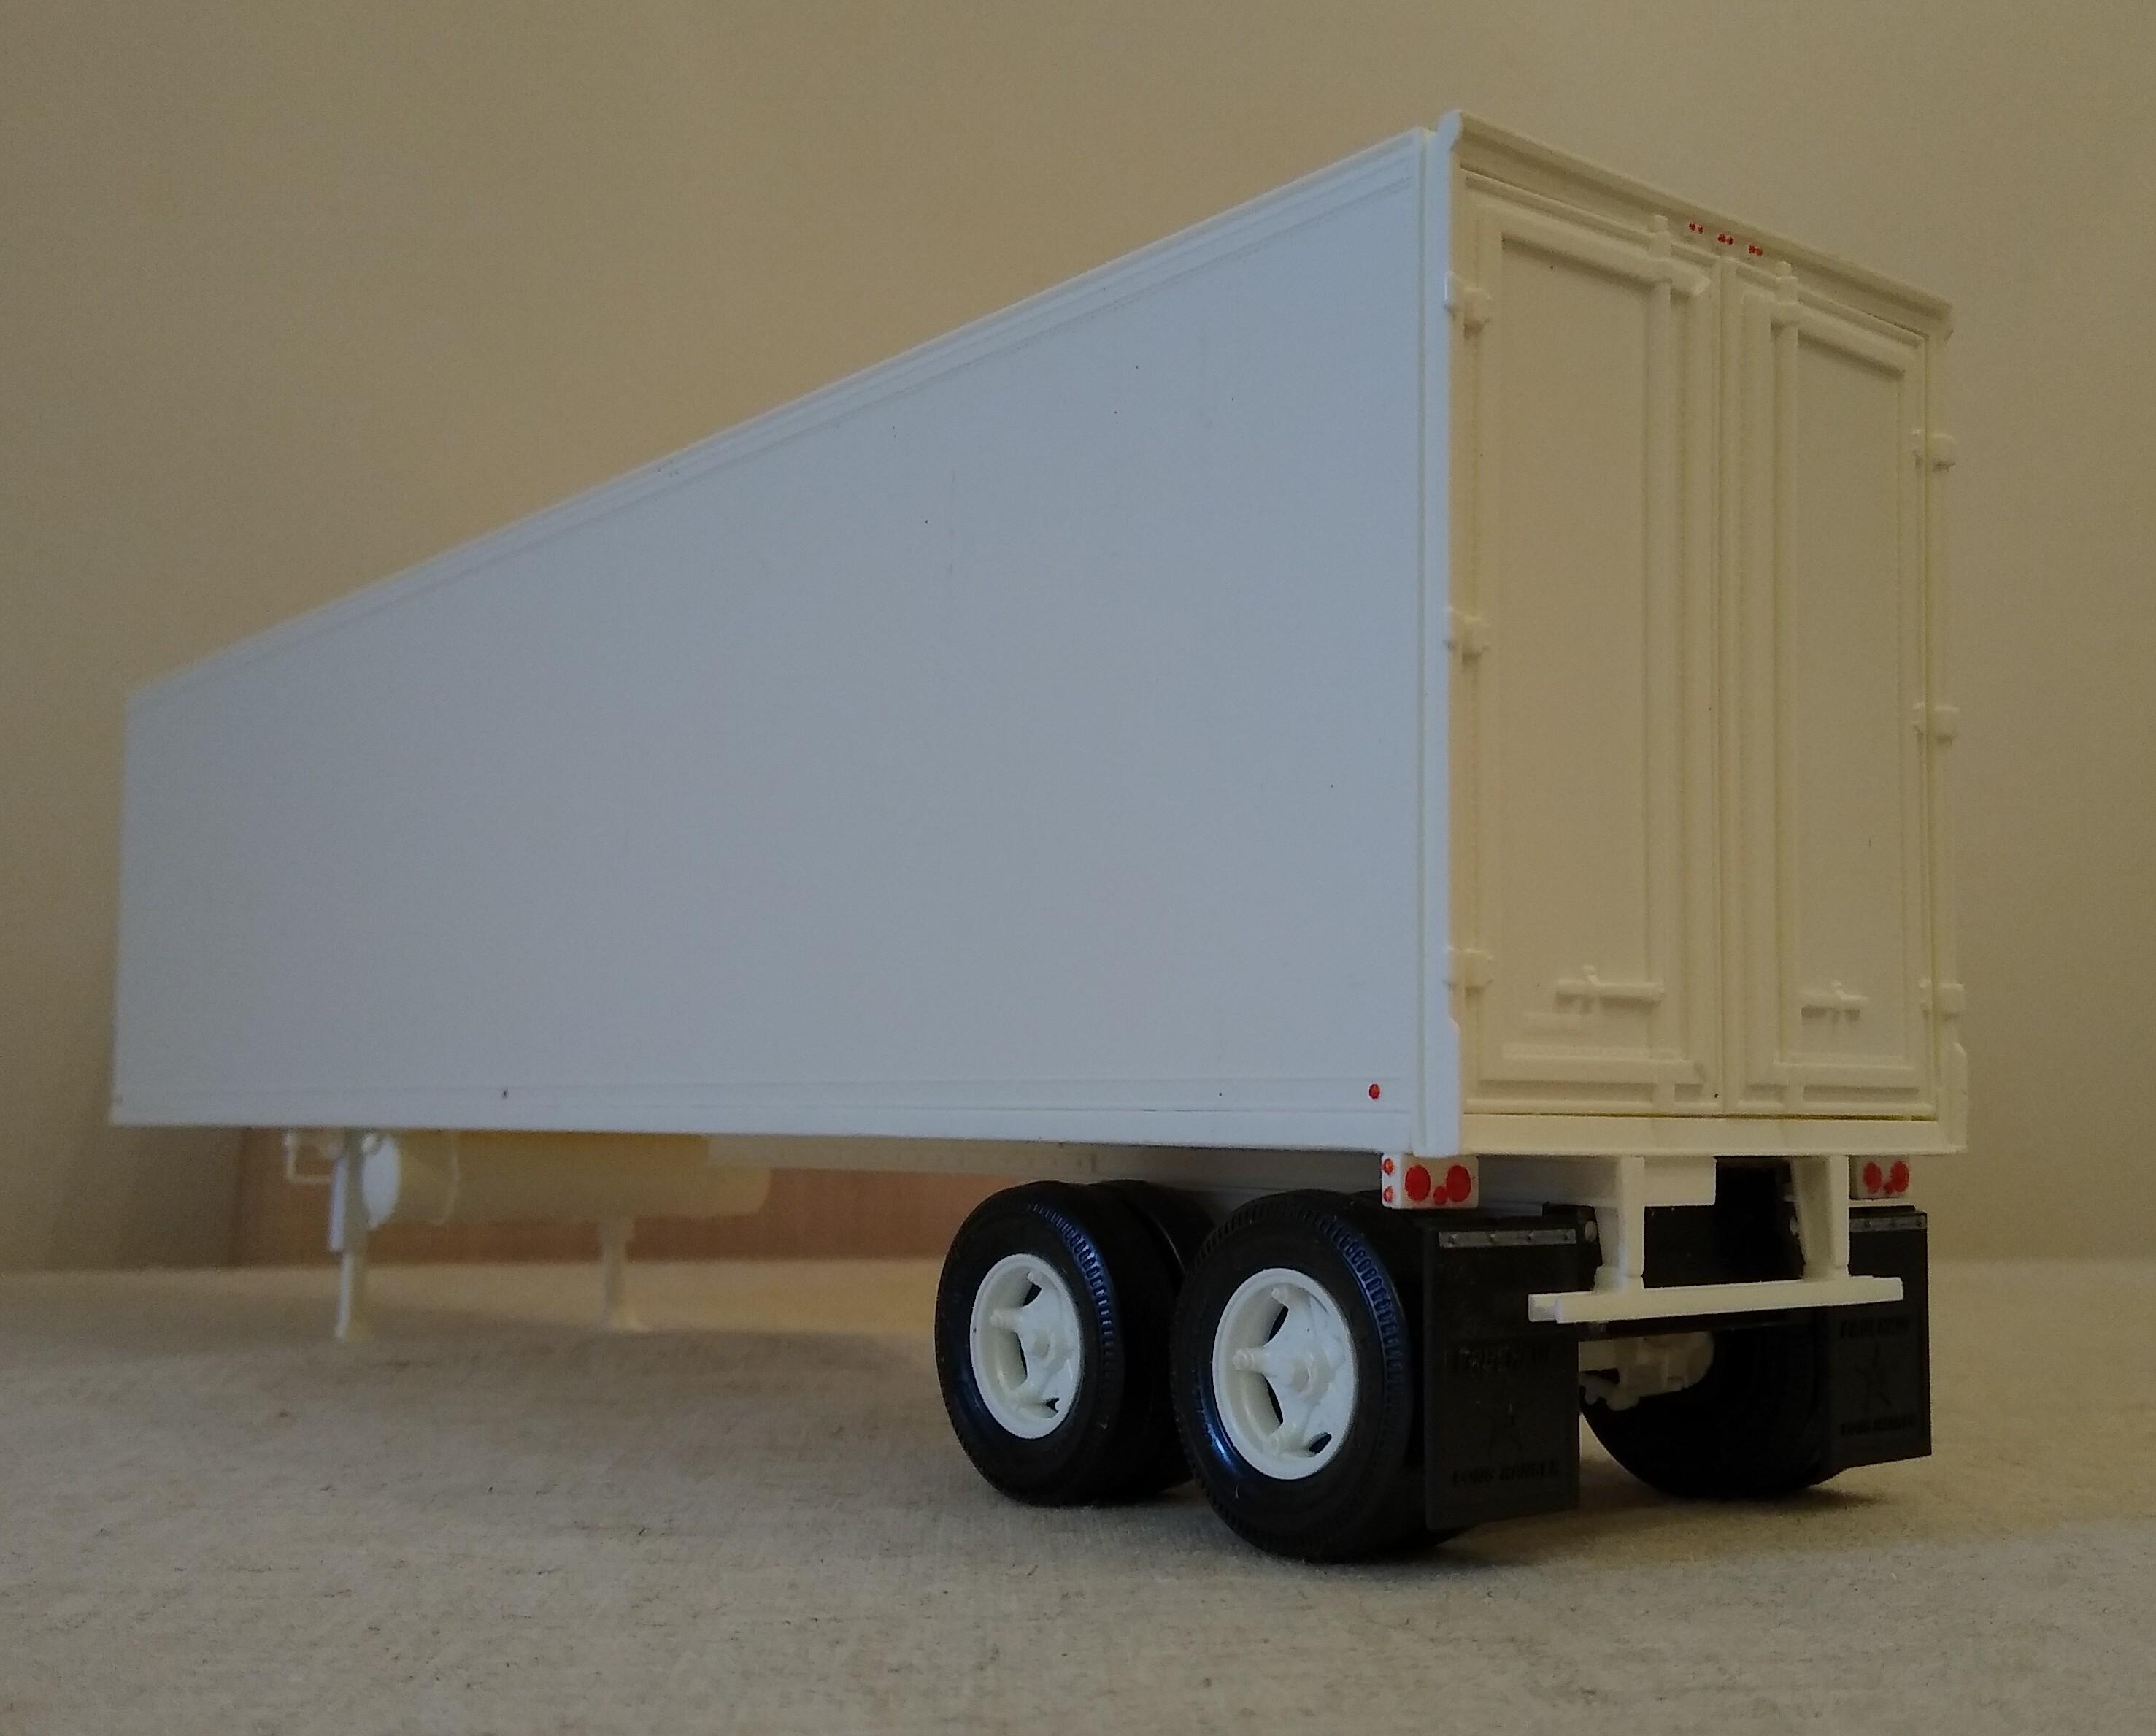
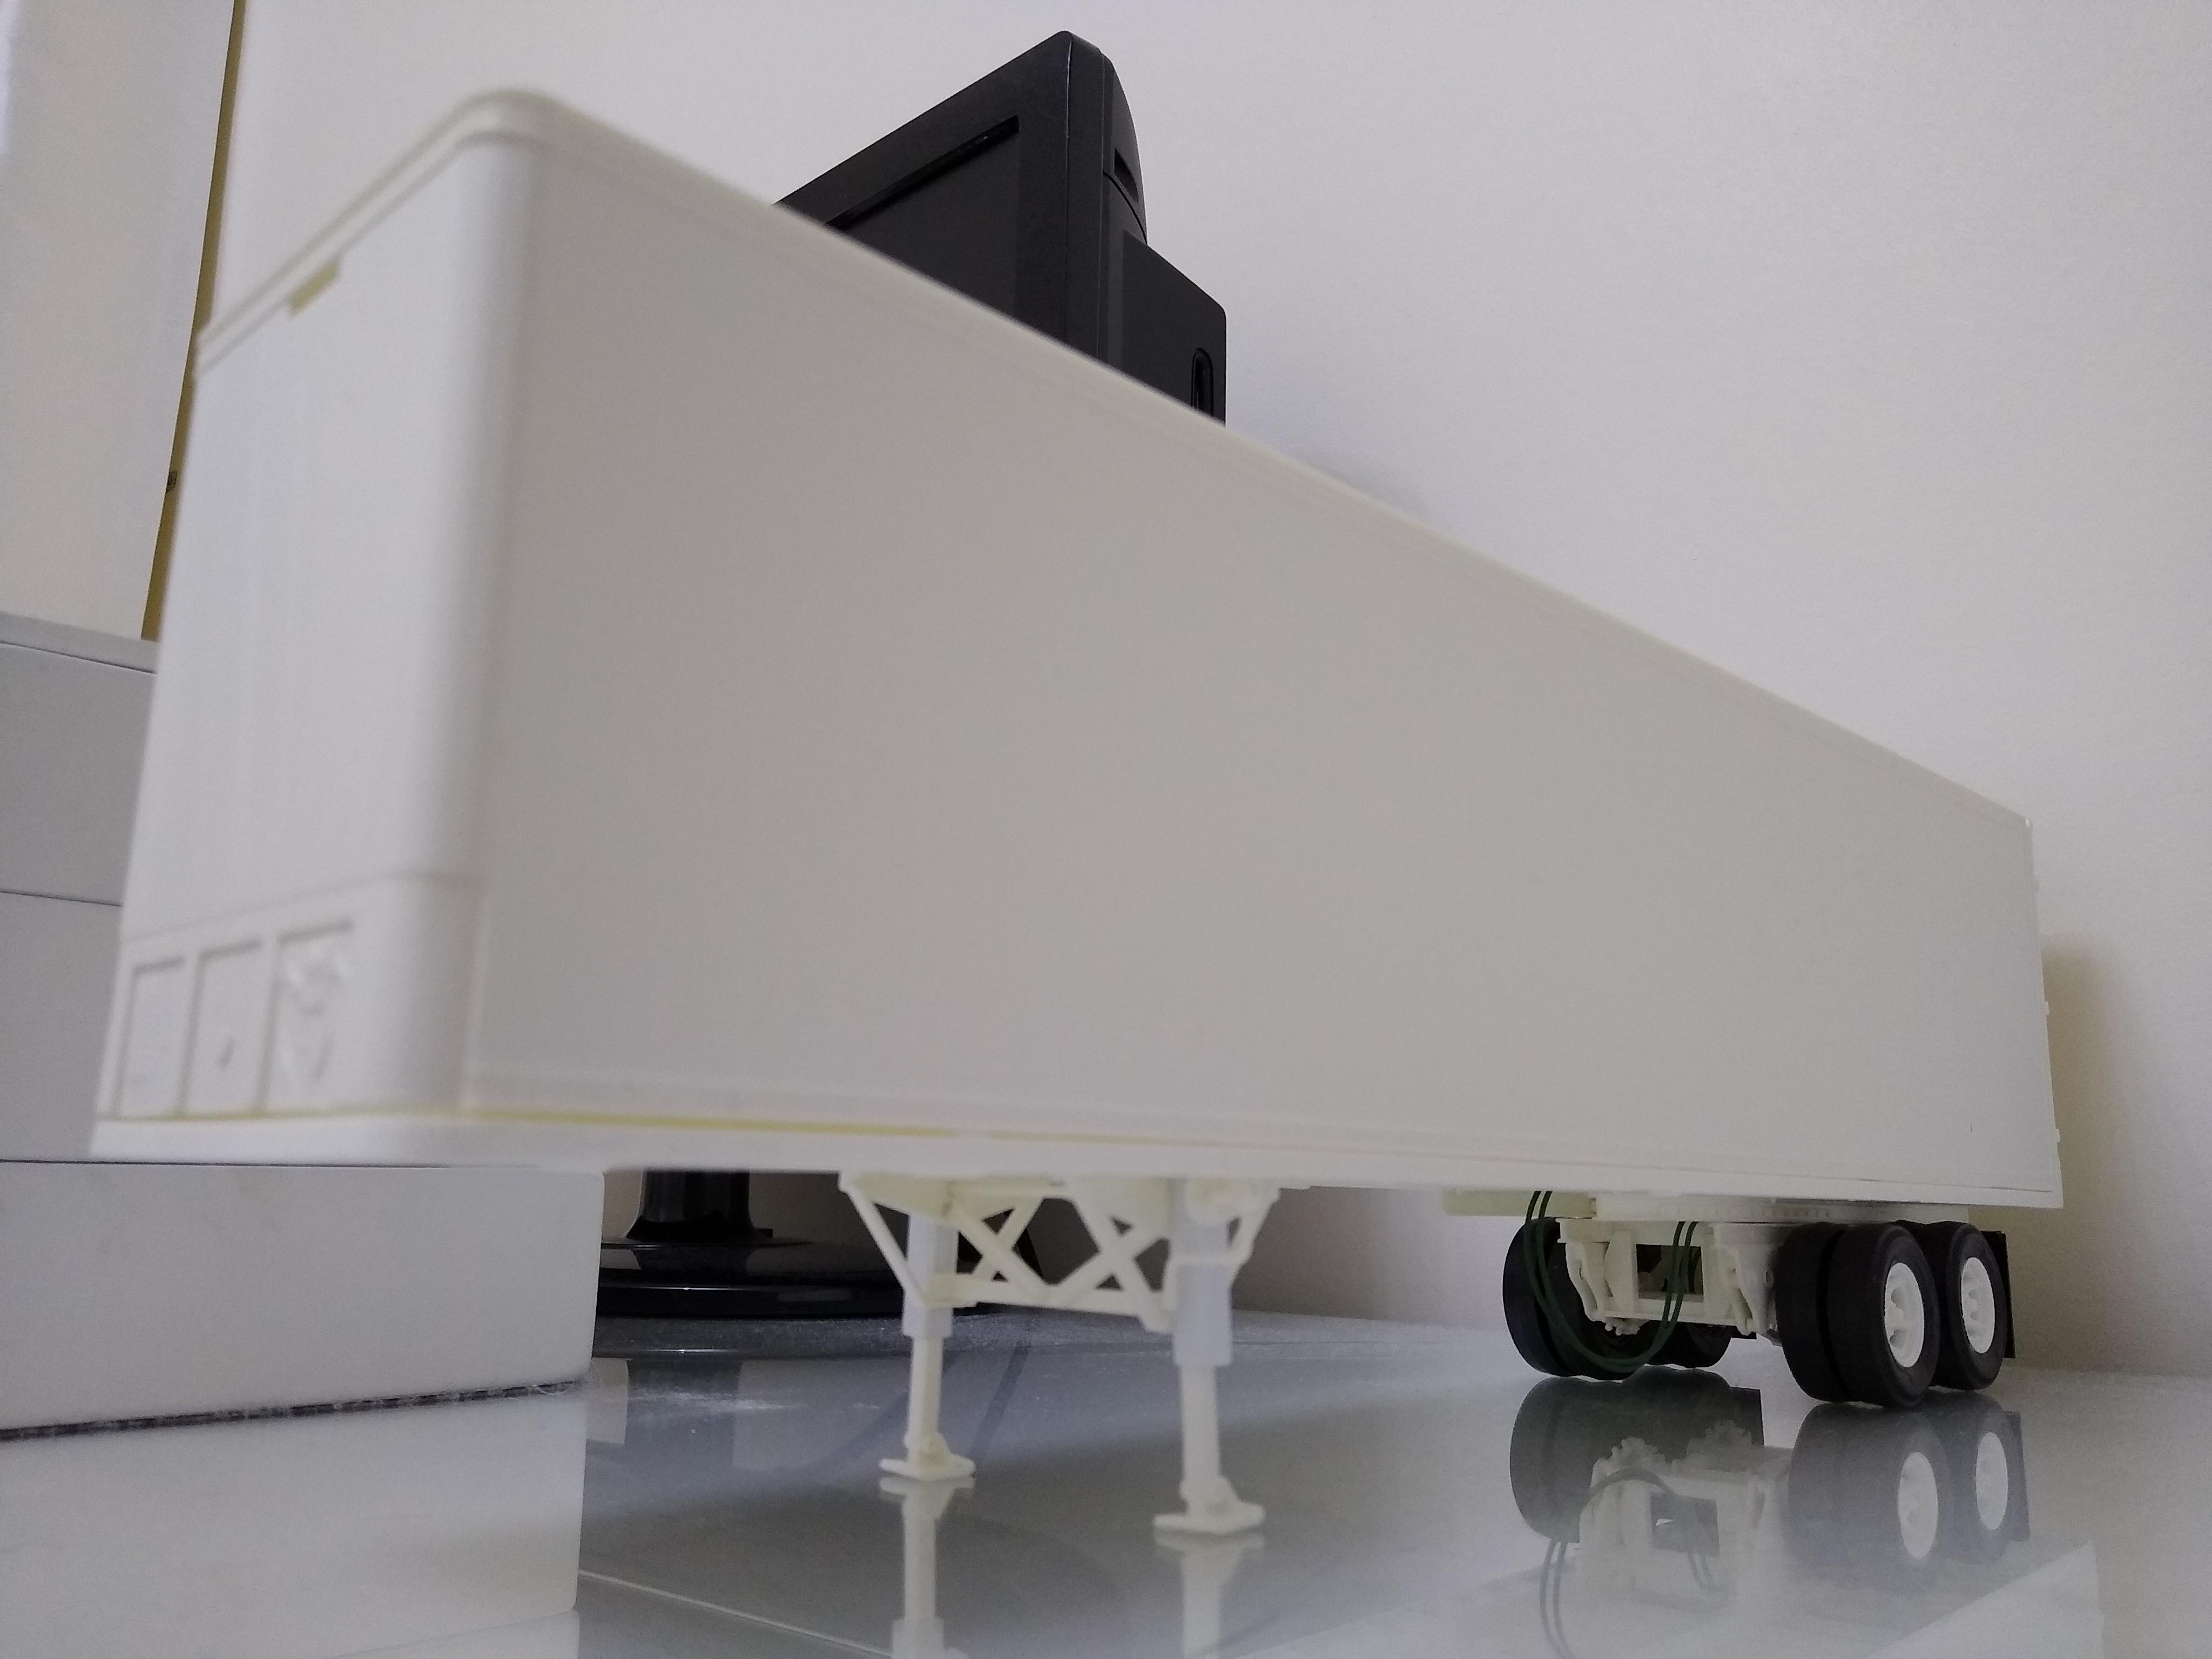
Took time easing the body on, cleaning up the tabs etc... The front bulkhead area required some work to improve the shape. Removed the bandages this morning and assessed the results... Sides are nice and square, no trace of the warping. Mocked up and it looks like I've given it's dignity back. Ride height is just right, suspension proportions look right too. I did shorten the mudflaps so the they're not dragging. I cut the bottom end off the oversized kingpin and used it as a filler cap for the reefer fuel tank.
-
Two Reefer Trailers
Rockford replied to Rockford's topic in WIP: Model Trucks: Big Rigs and Heavy Equipment
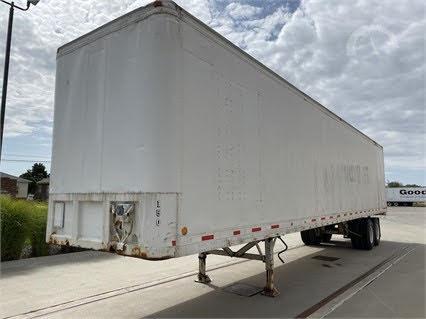
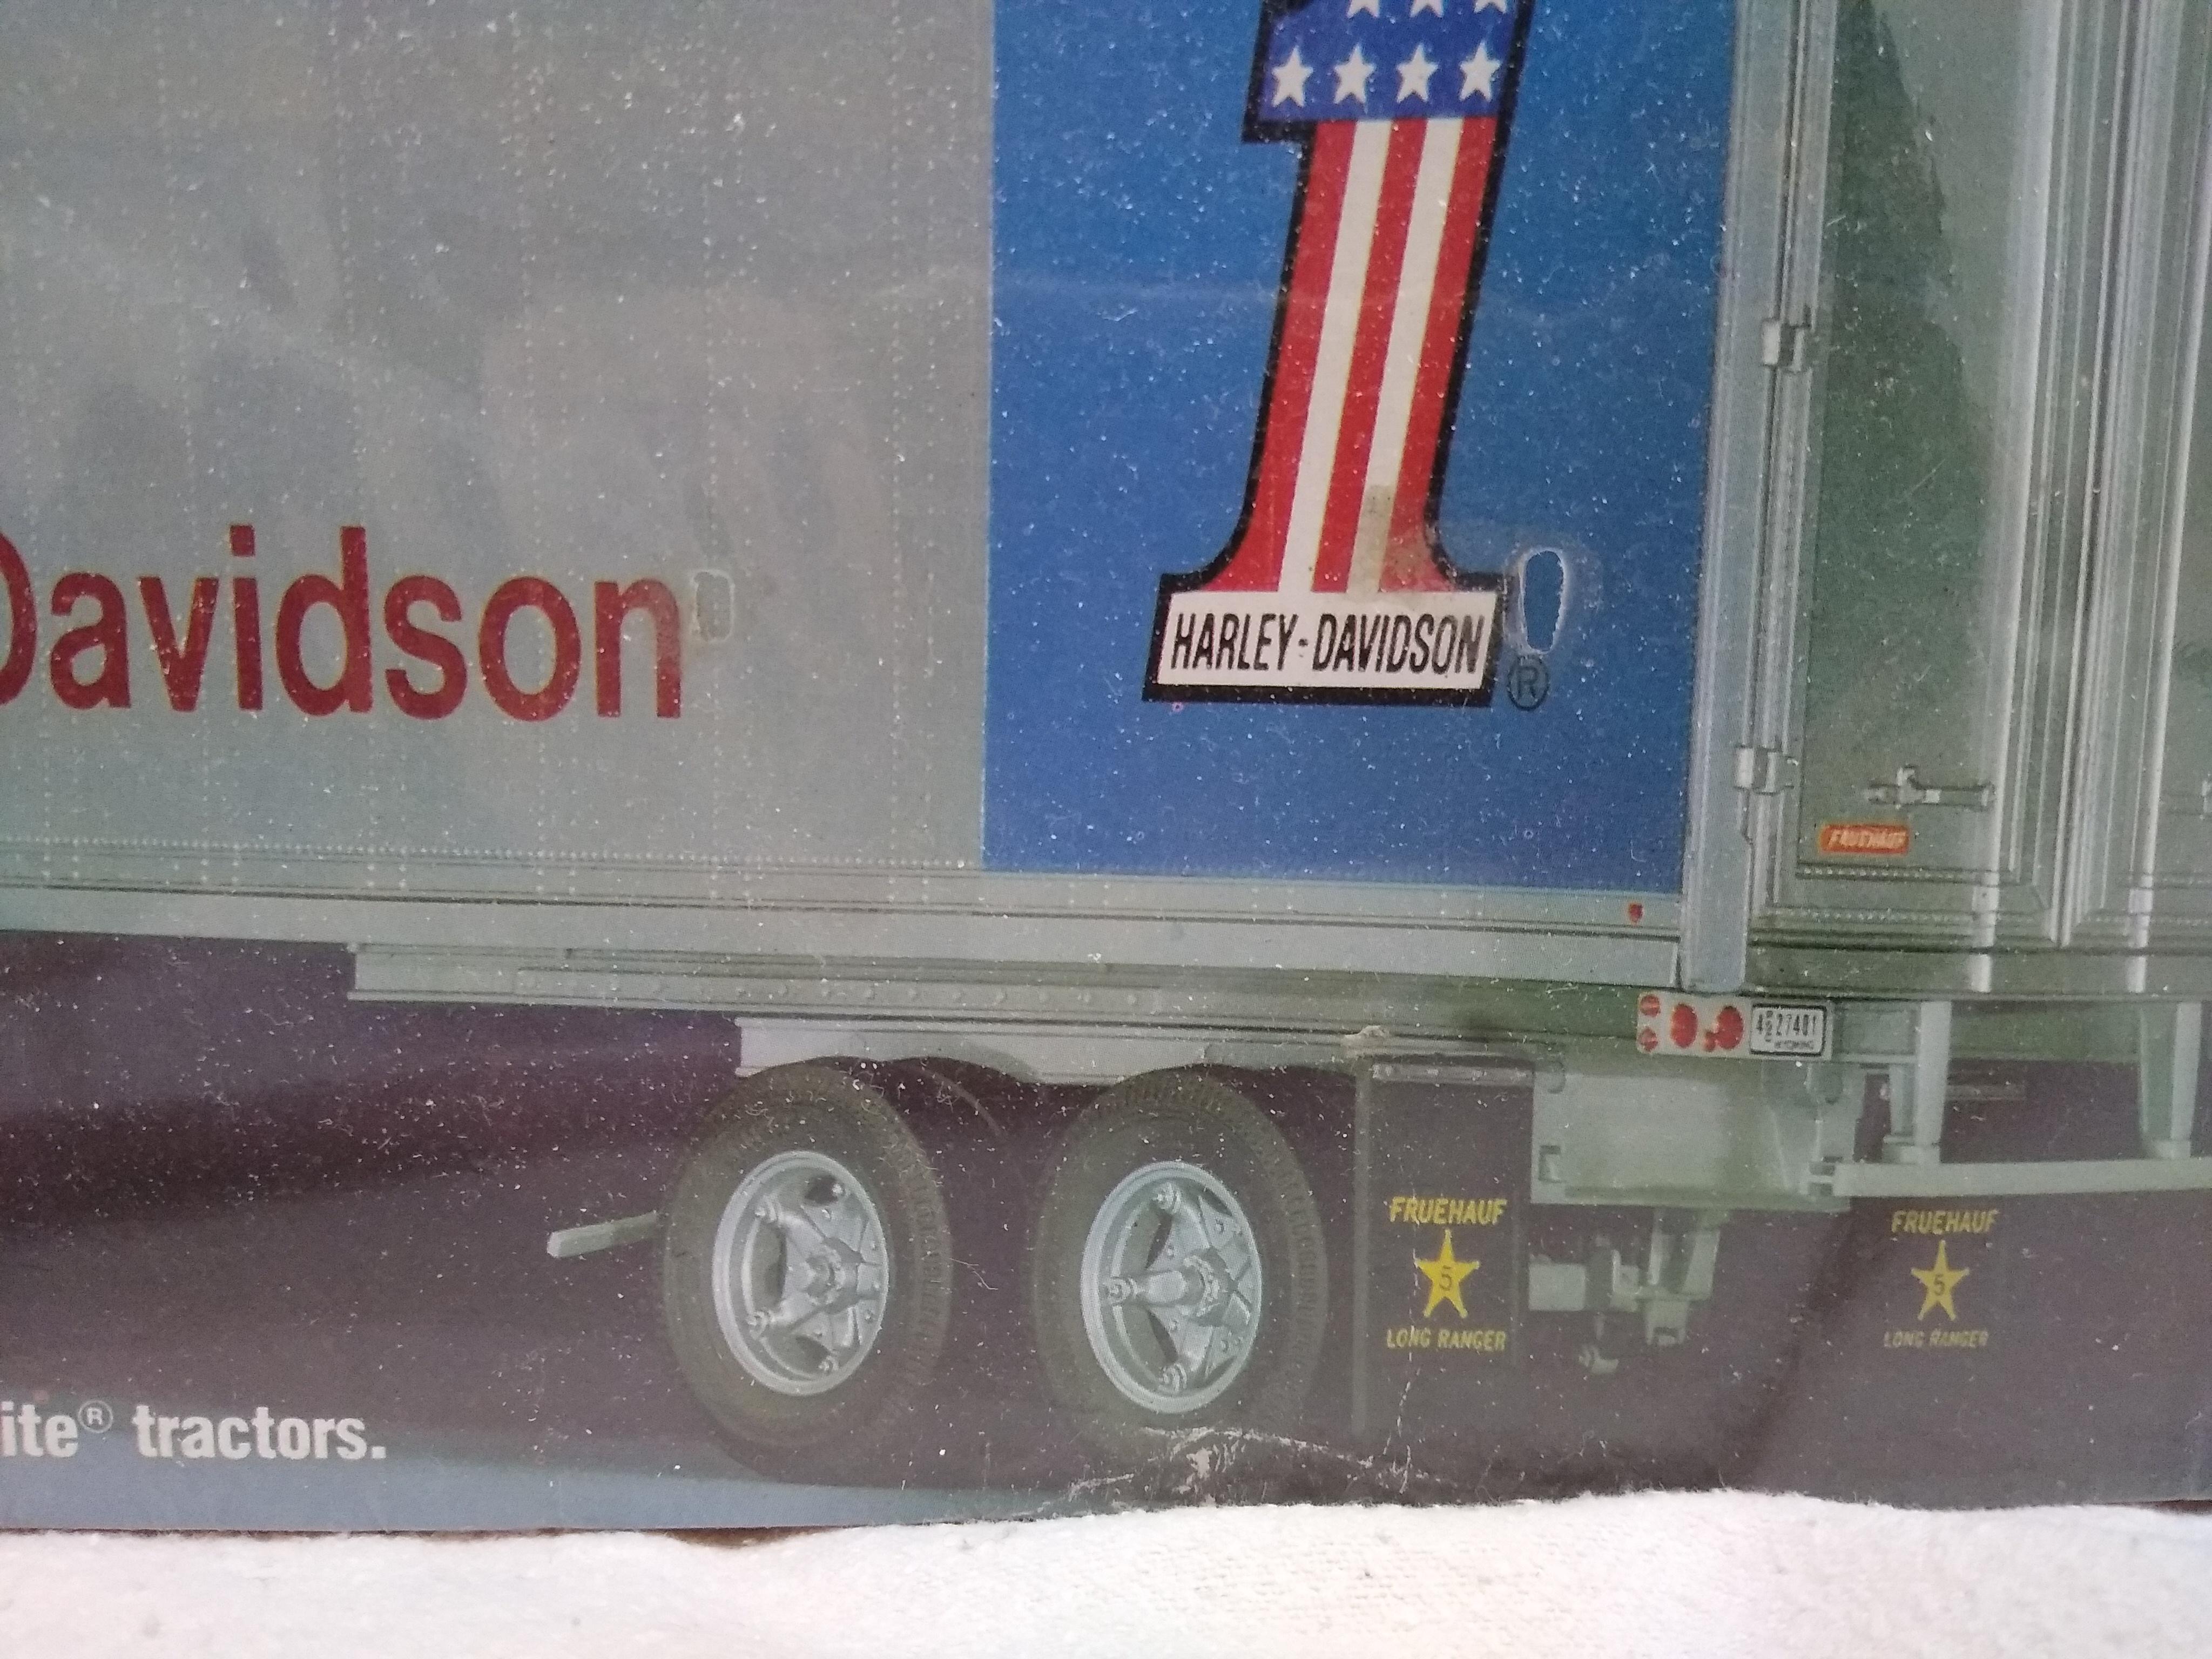
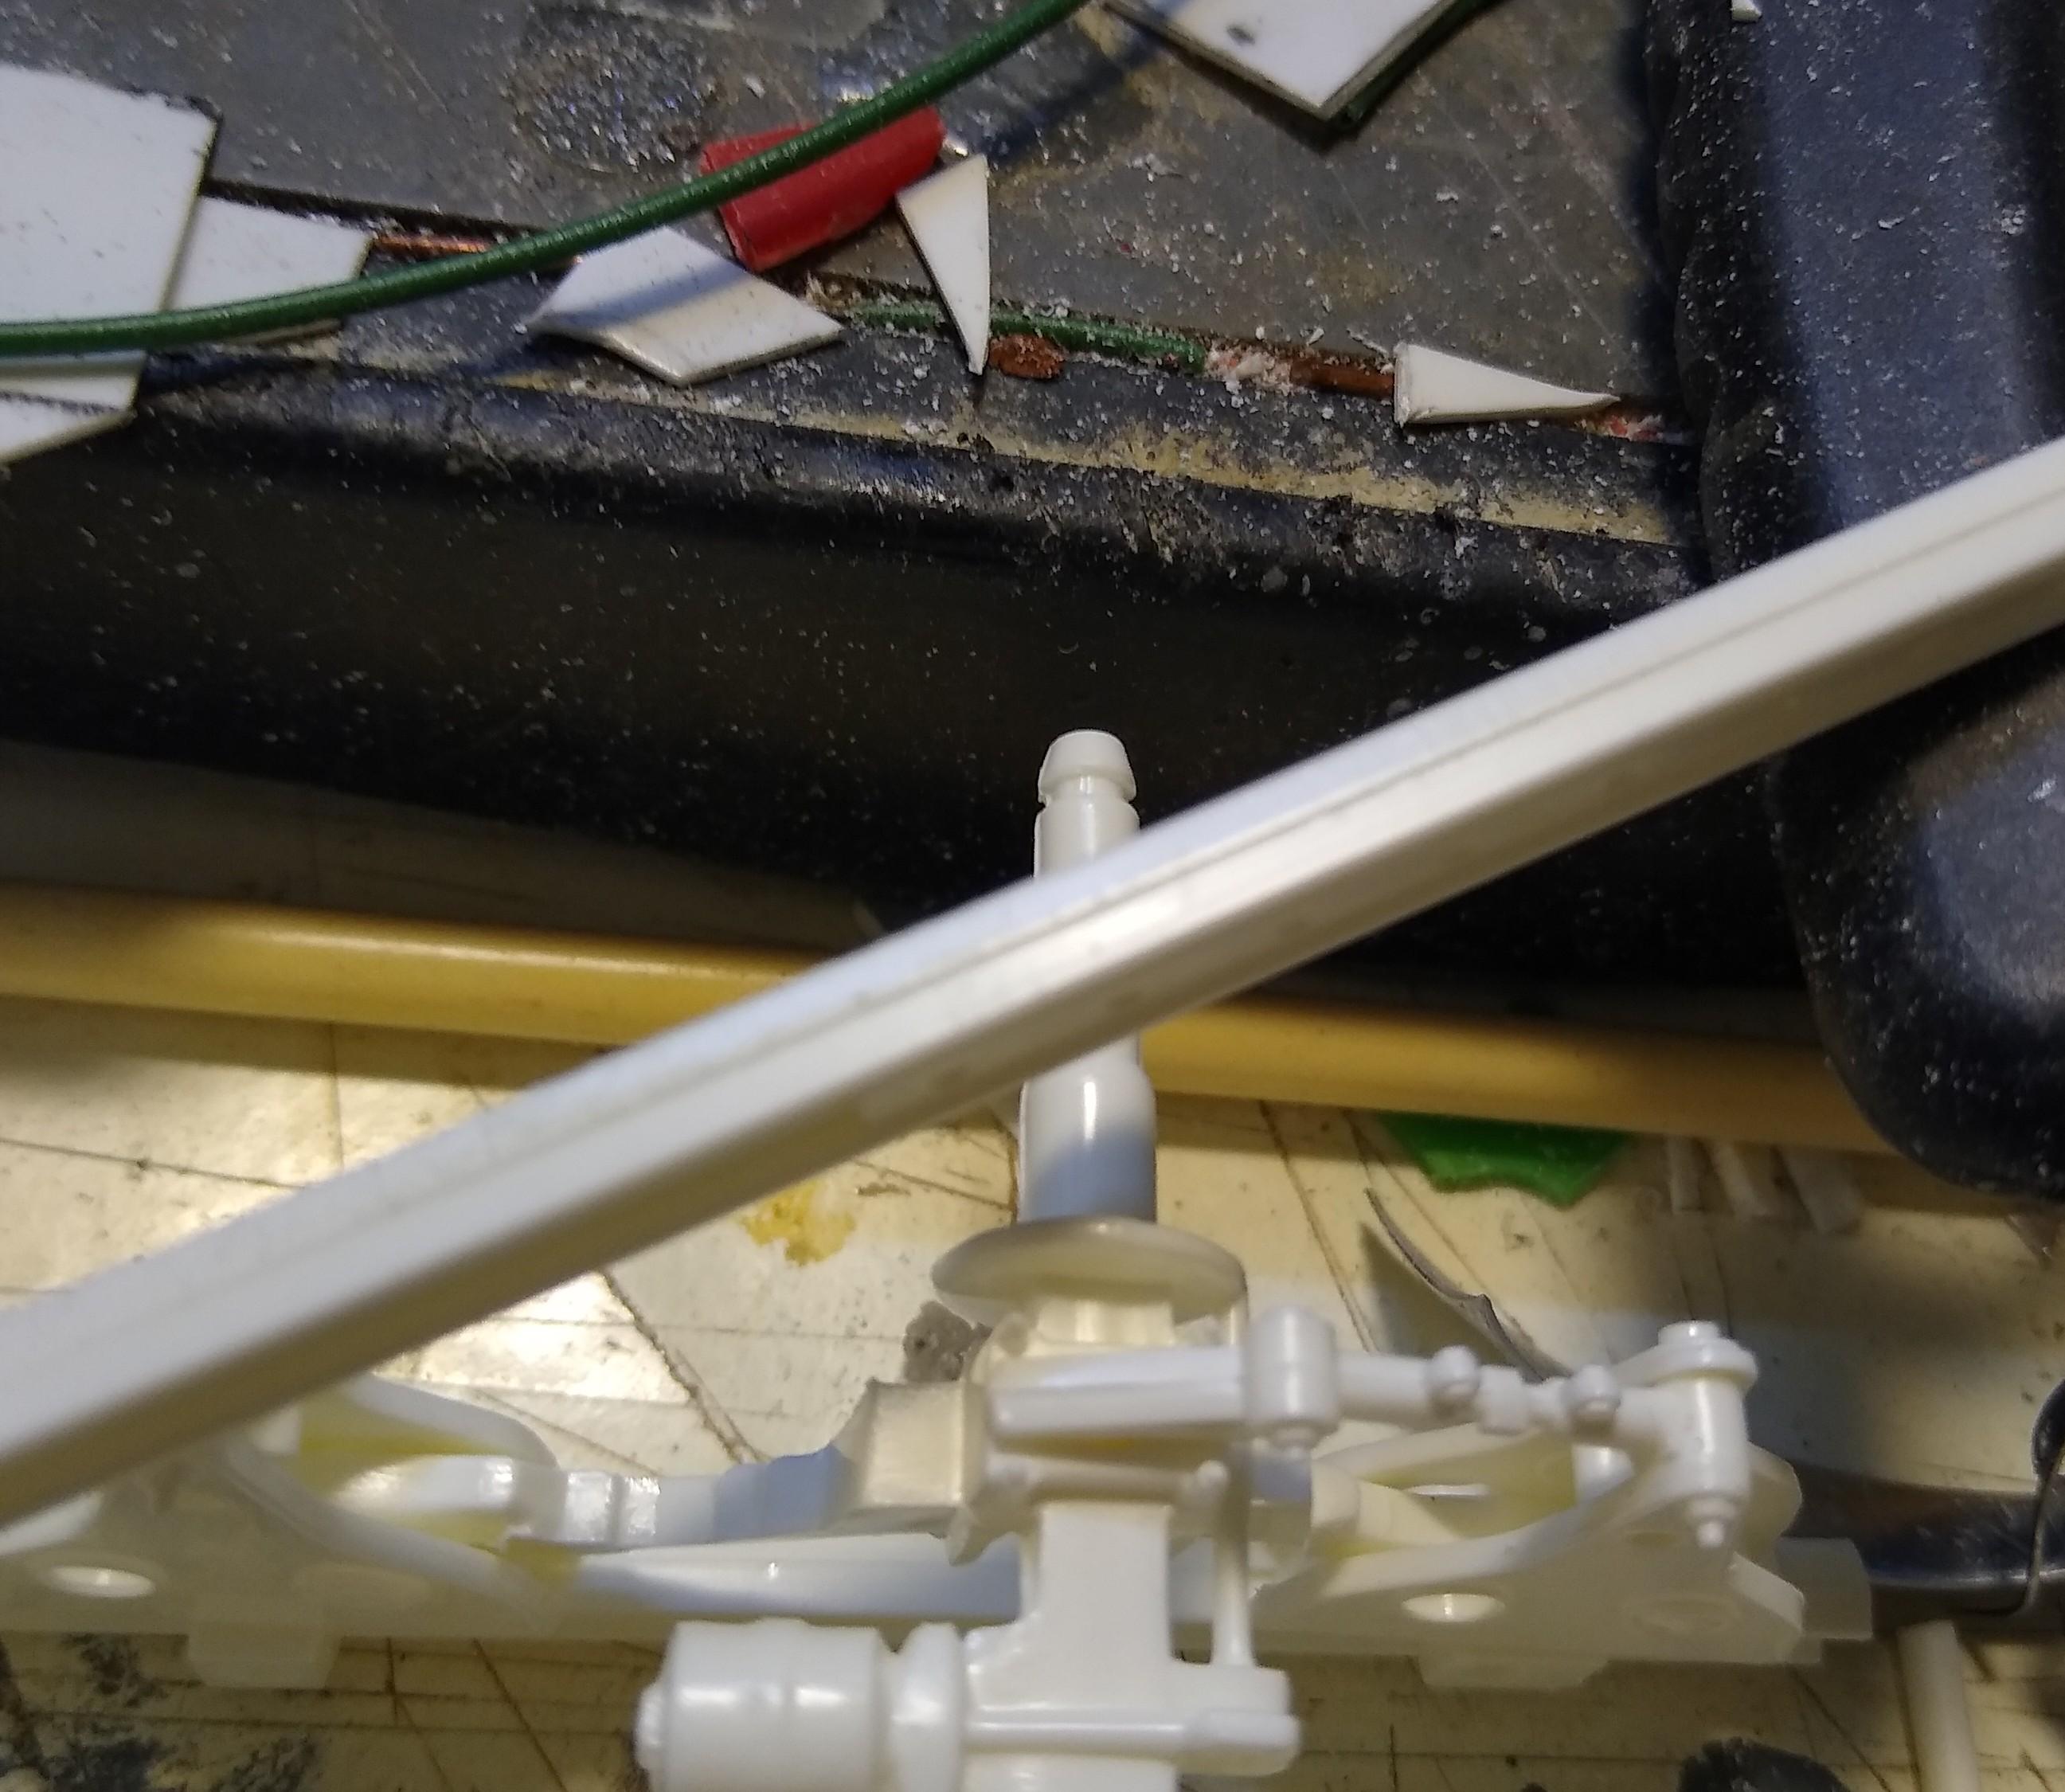
Lee, I've tried two ways of lowering this trailer, I've omitted the slide rails altogether and I've rebated them into the bed. Either way improved the stance of the trailer but not the look of the suspension, and it created other problems because with clearance etc... I realised by looking at this picture of the real thing how the hangars on the kit had been stretched downwards. I wonder if they raised the ride height to make it sit level because the fifth wheels on these snappers sit so high. Reducing those side hangars seems to bring everything back into alignment.
-
Two Reefer Trailers
Rockford replied to Rockford's topic in WIP: Model Trucks: Big Rigs and Heavy Equipment
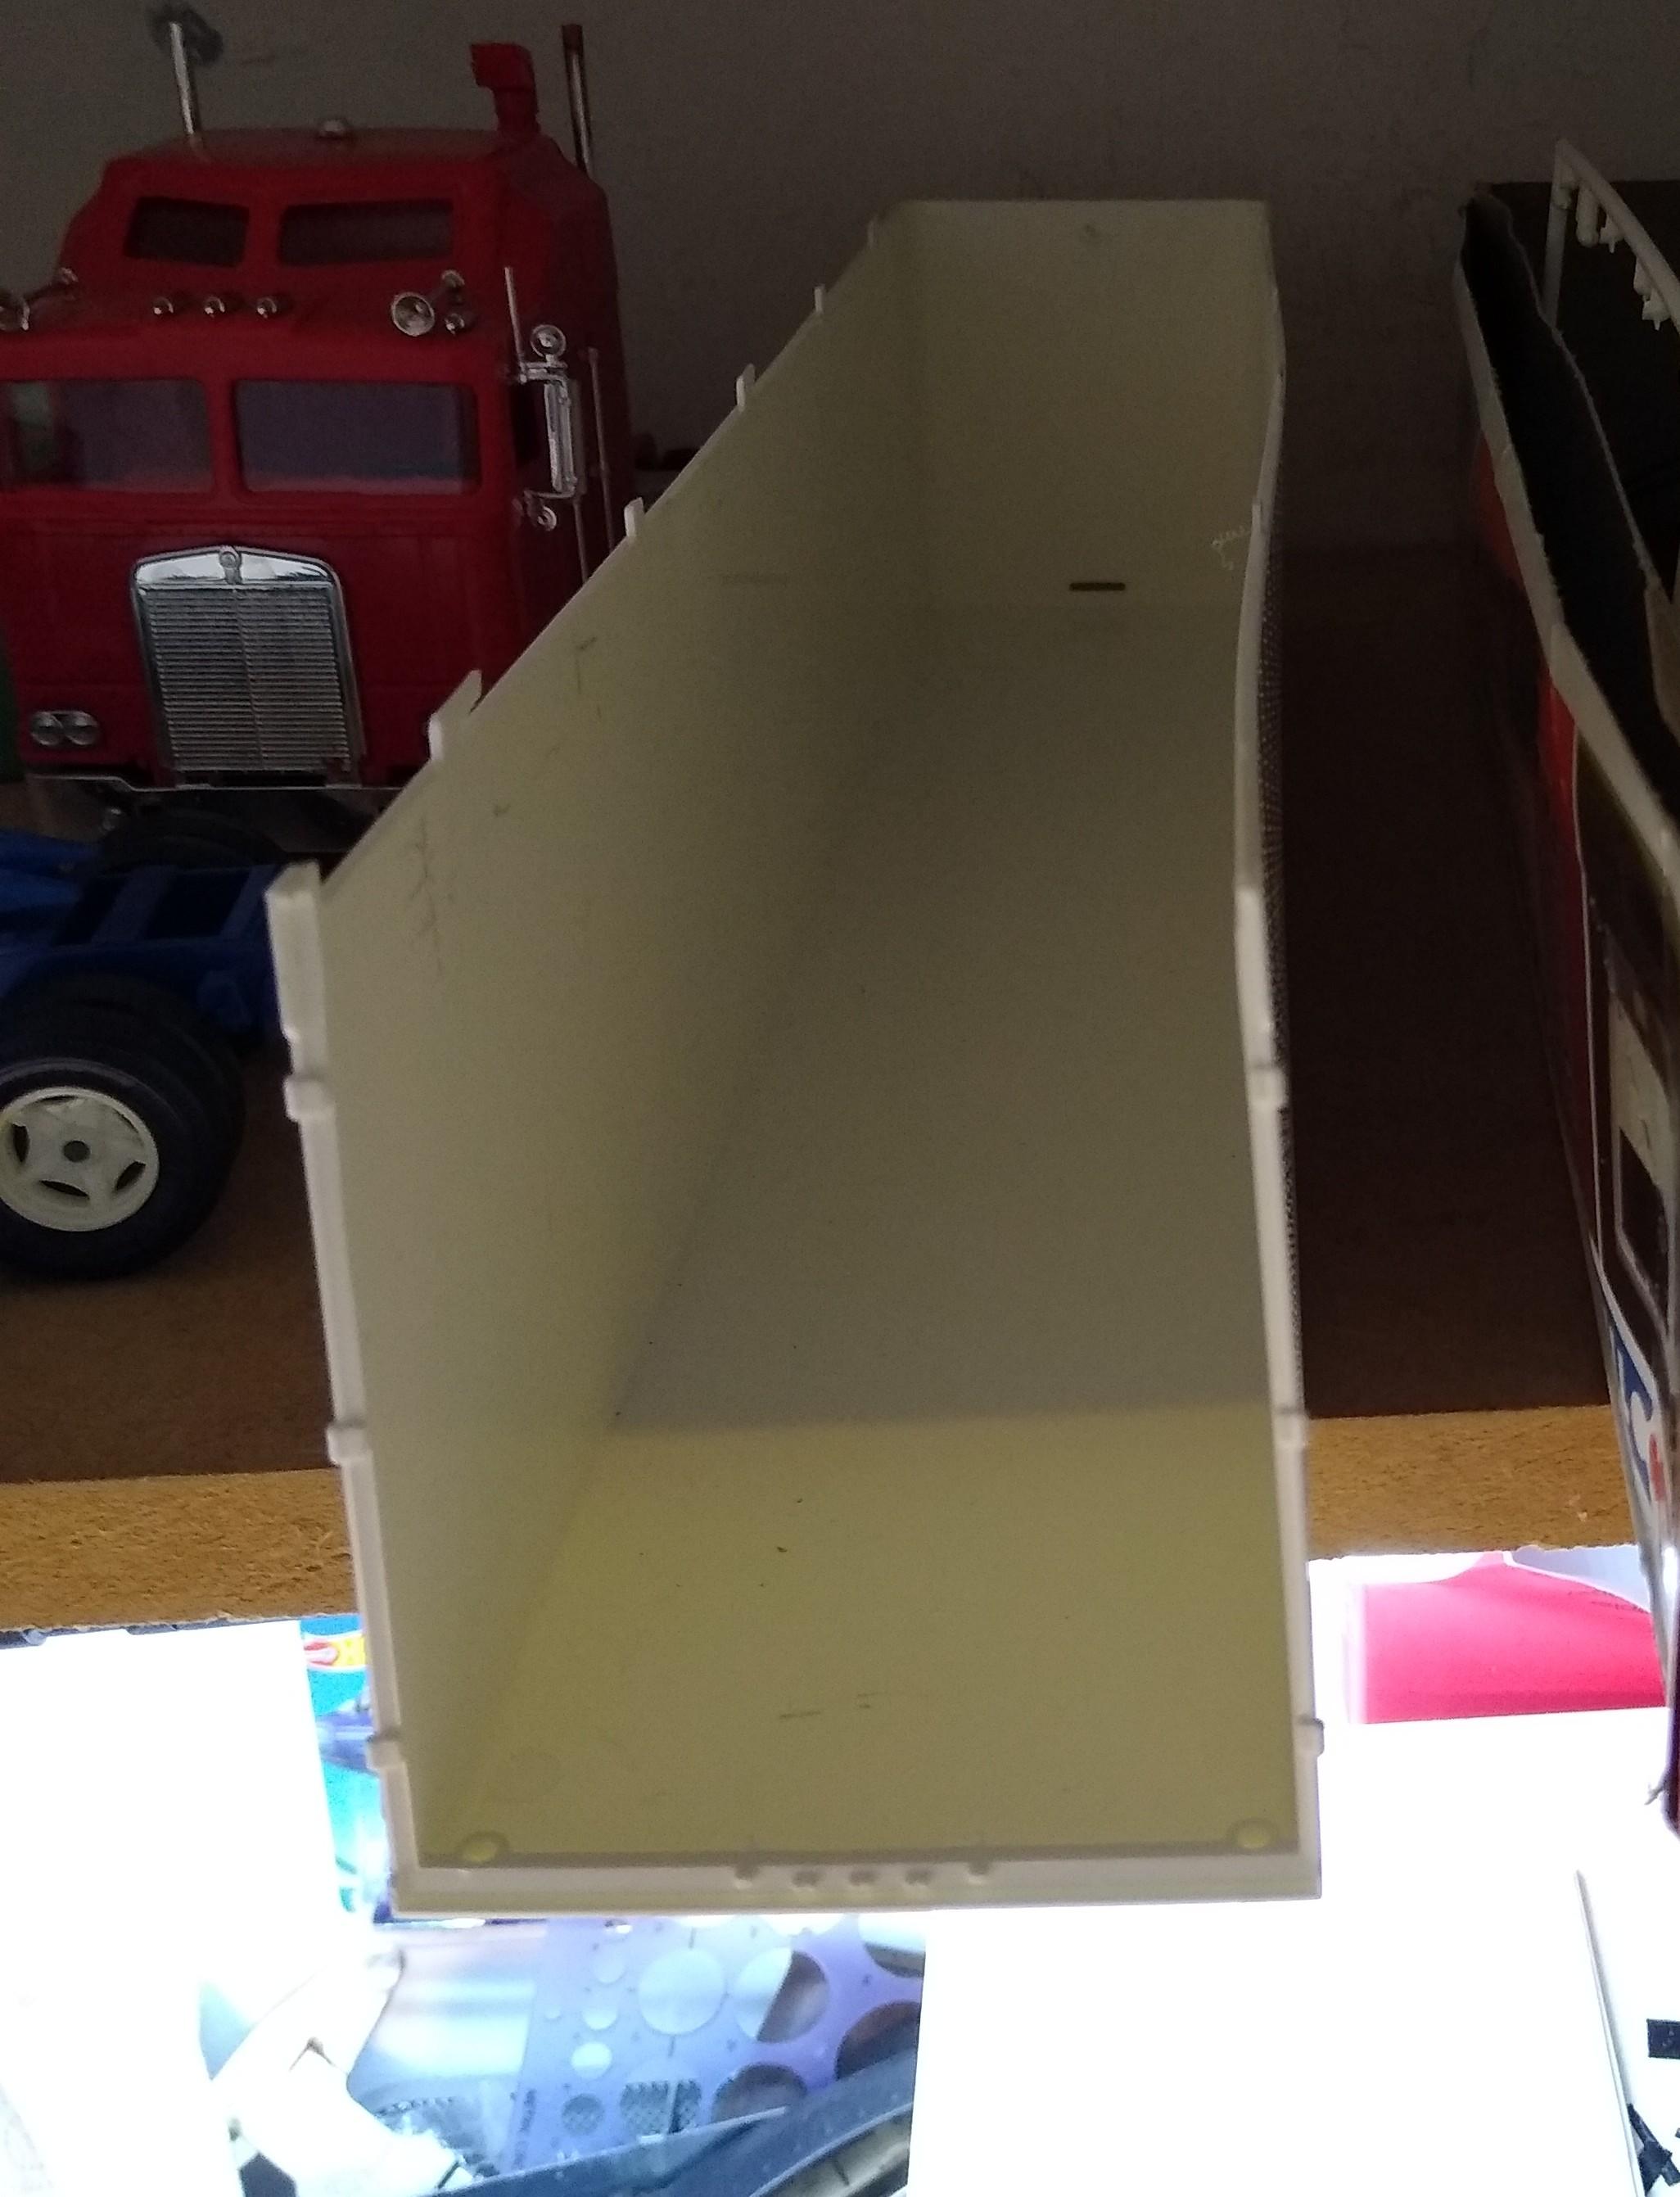
This is what I'm dealing with. I've laid some right angle strip along the rail. I'll leave that to set good before I fit the box.
-
Two Reefer Trailers
Rockford replied to Rockford's topic in WIP: Model Trucks: Big Rigs and Heavy Equipment
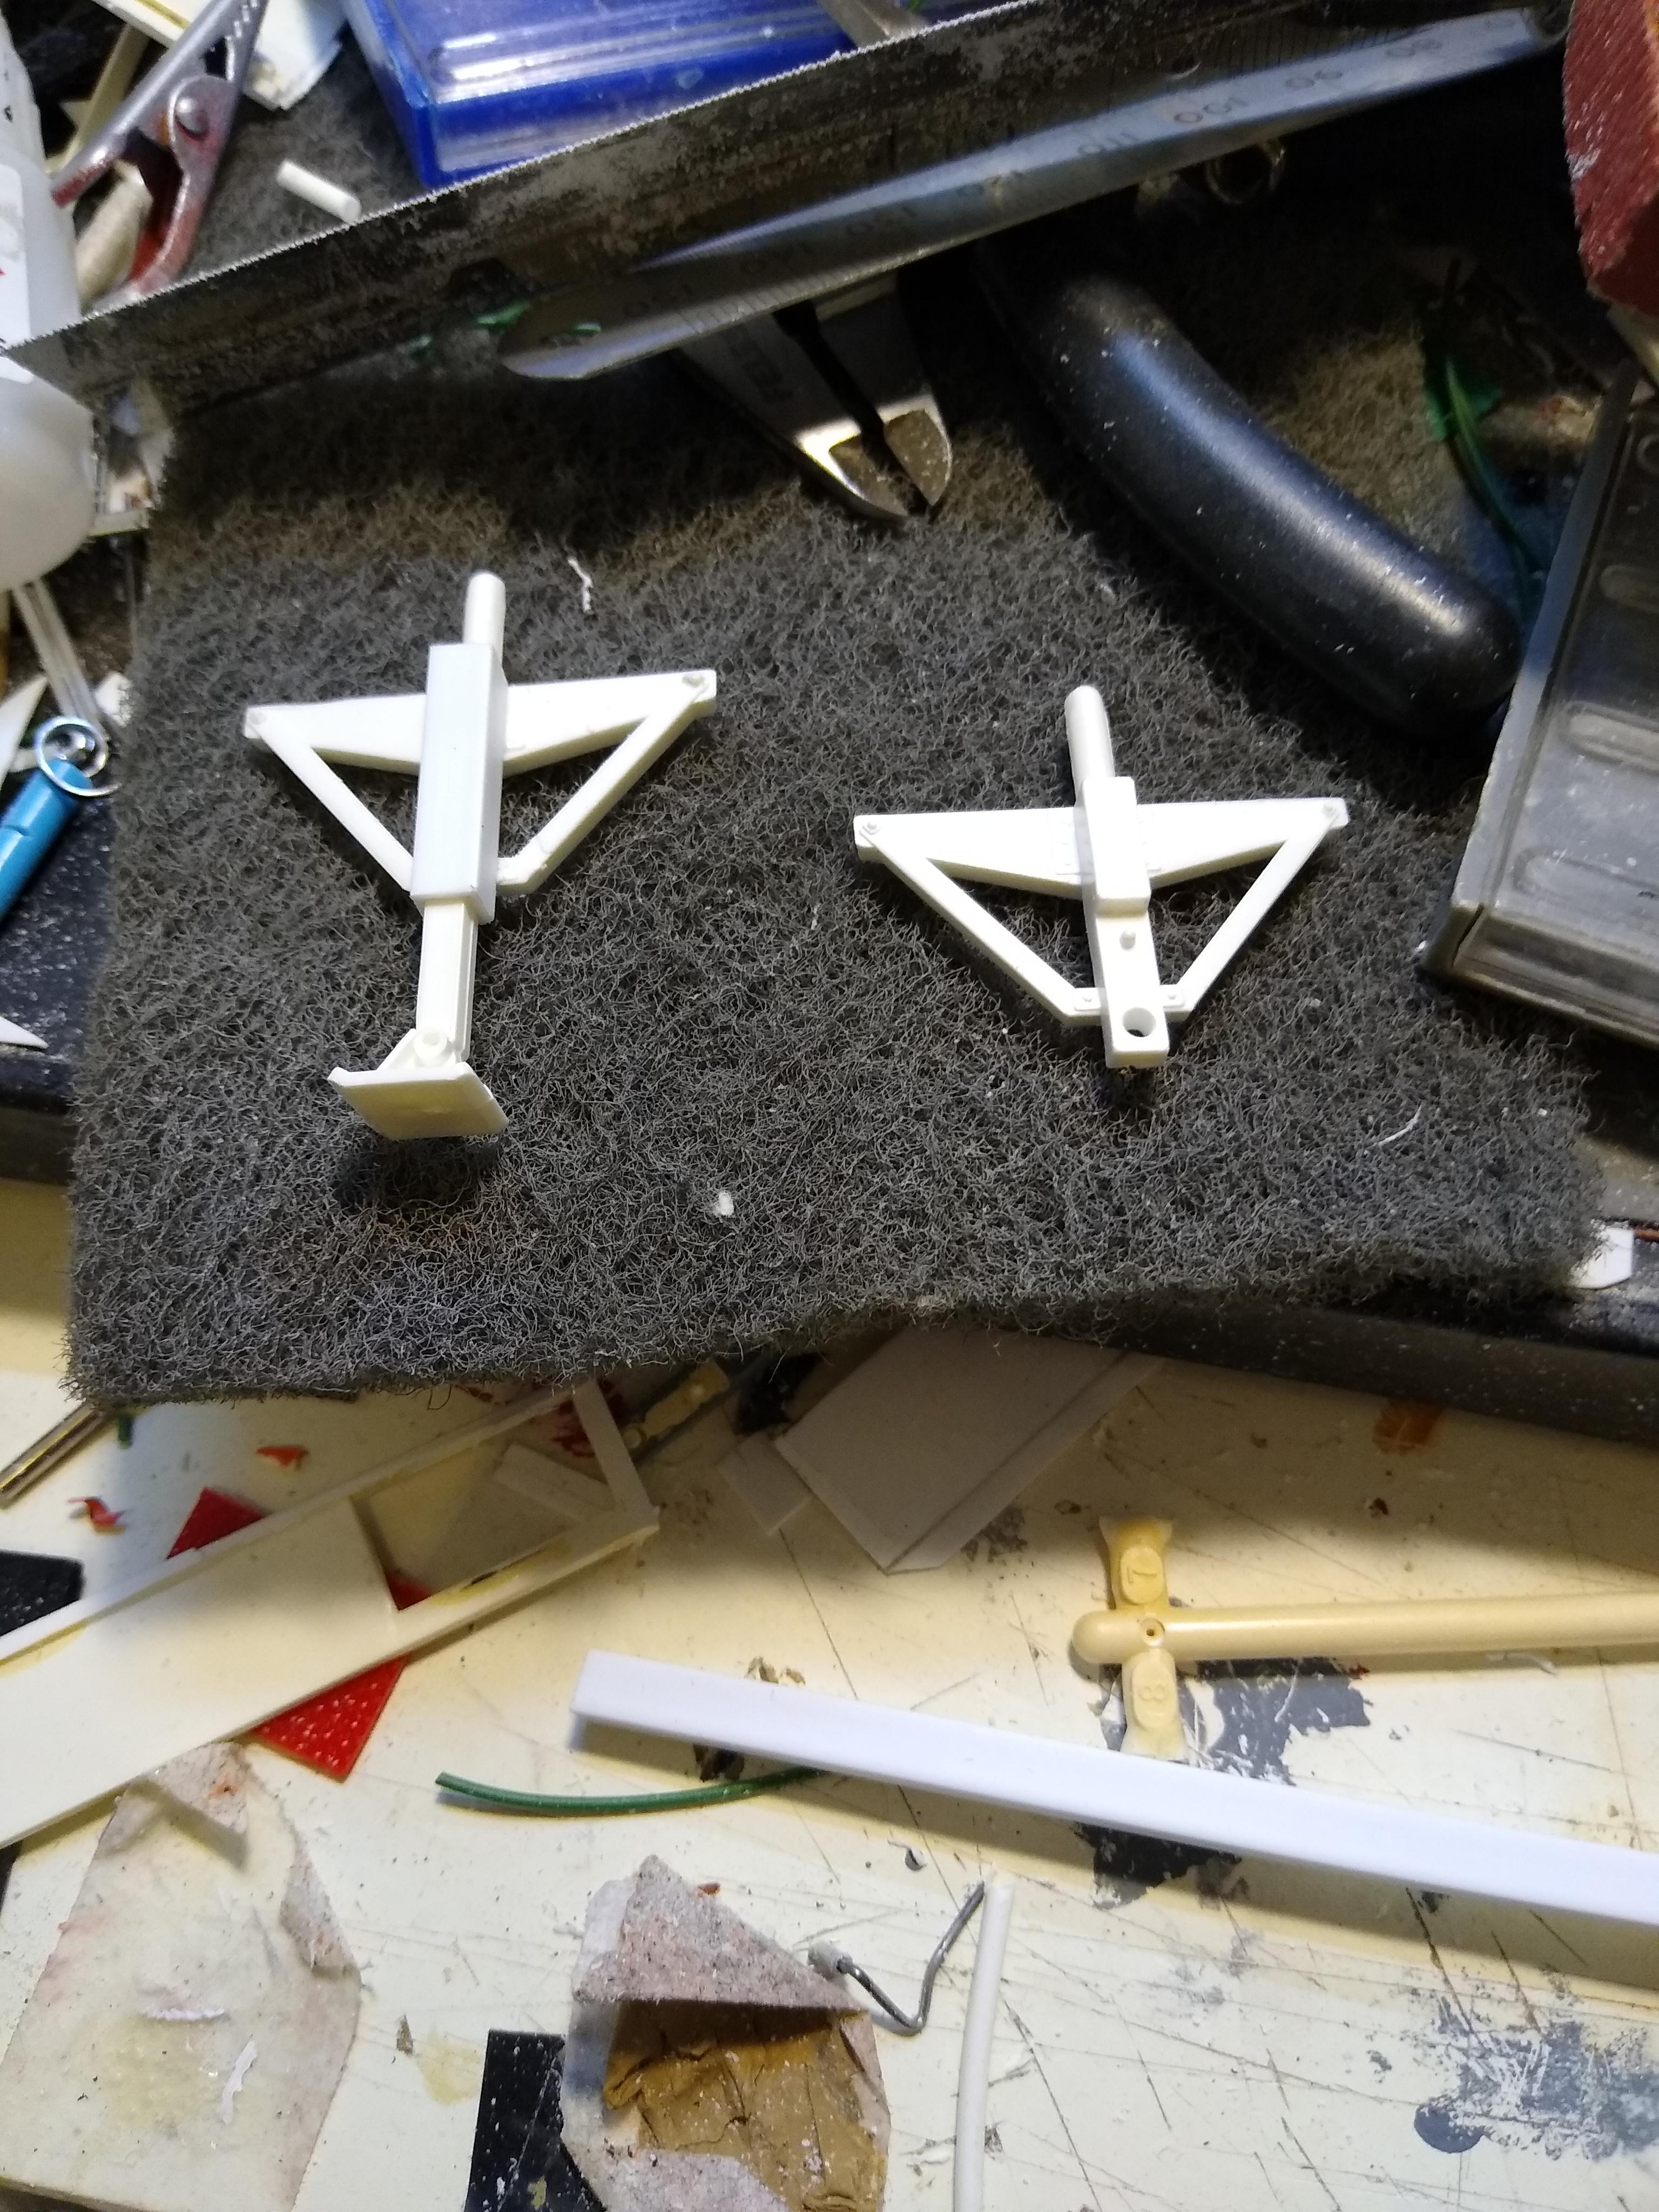
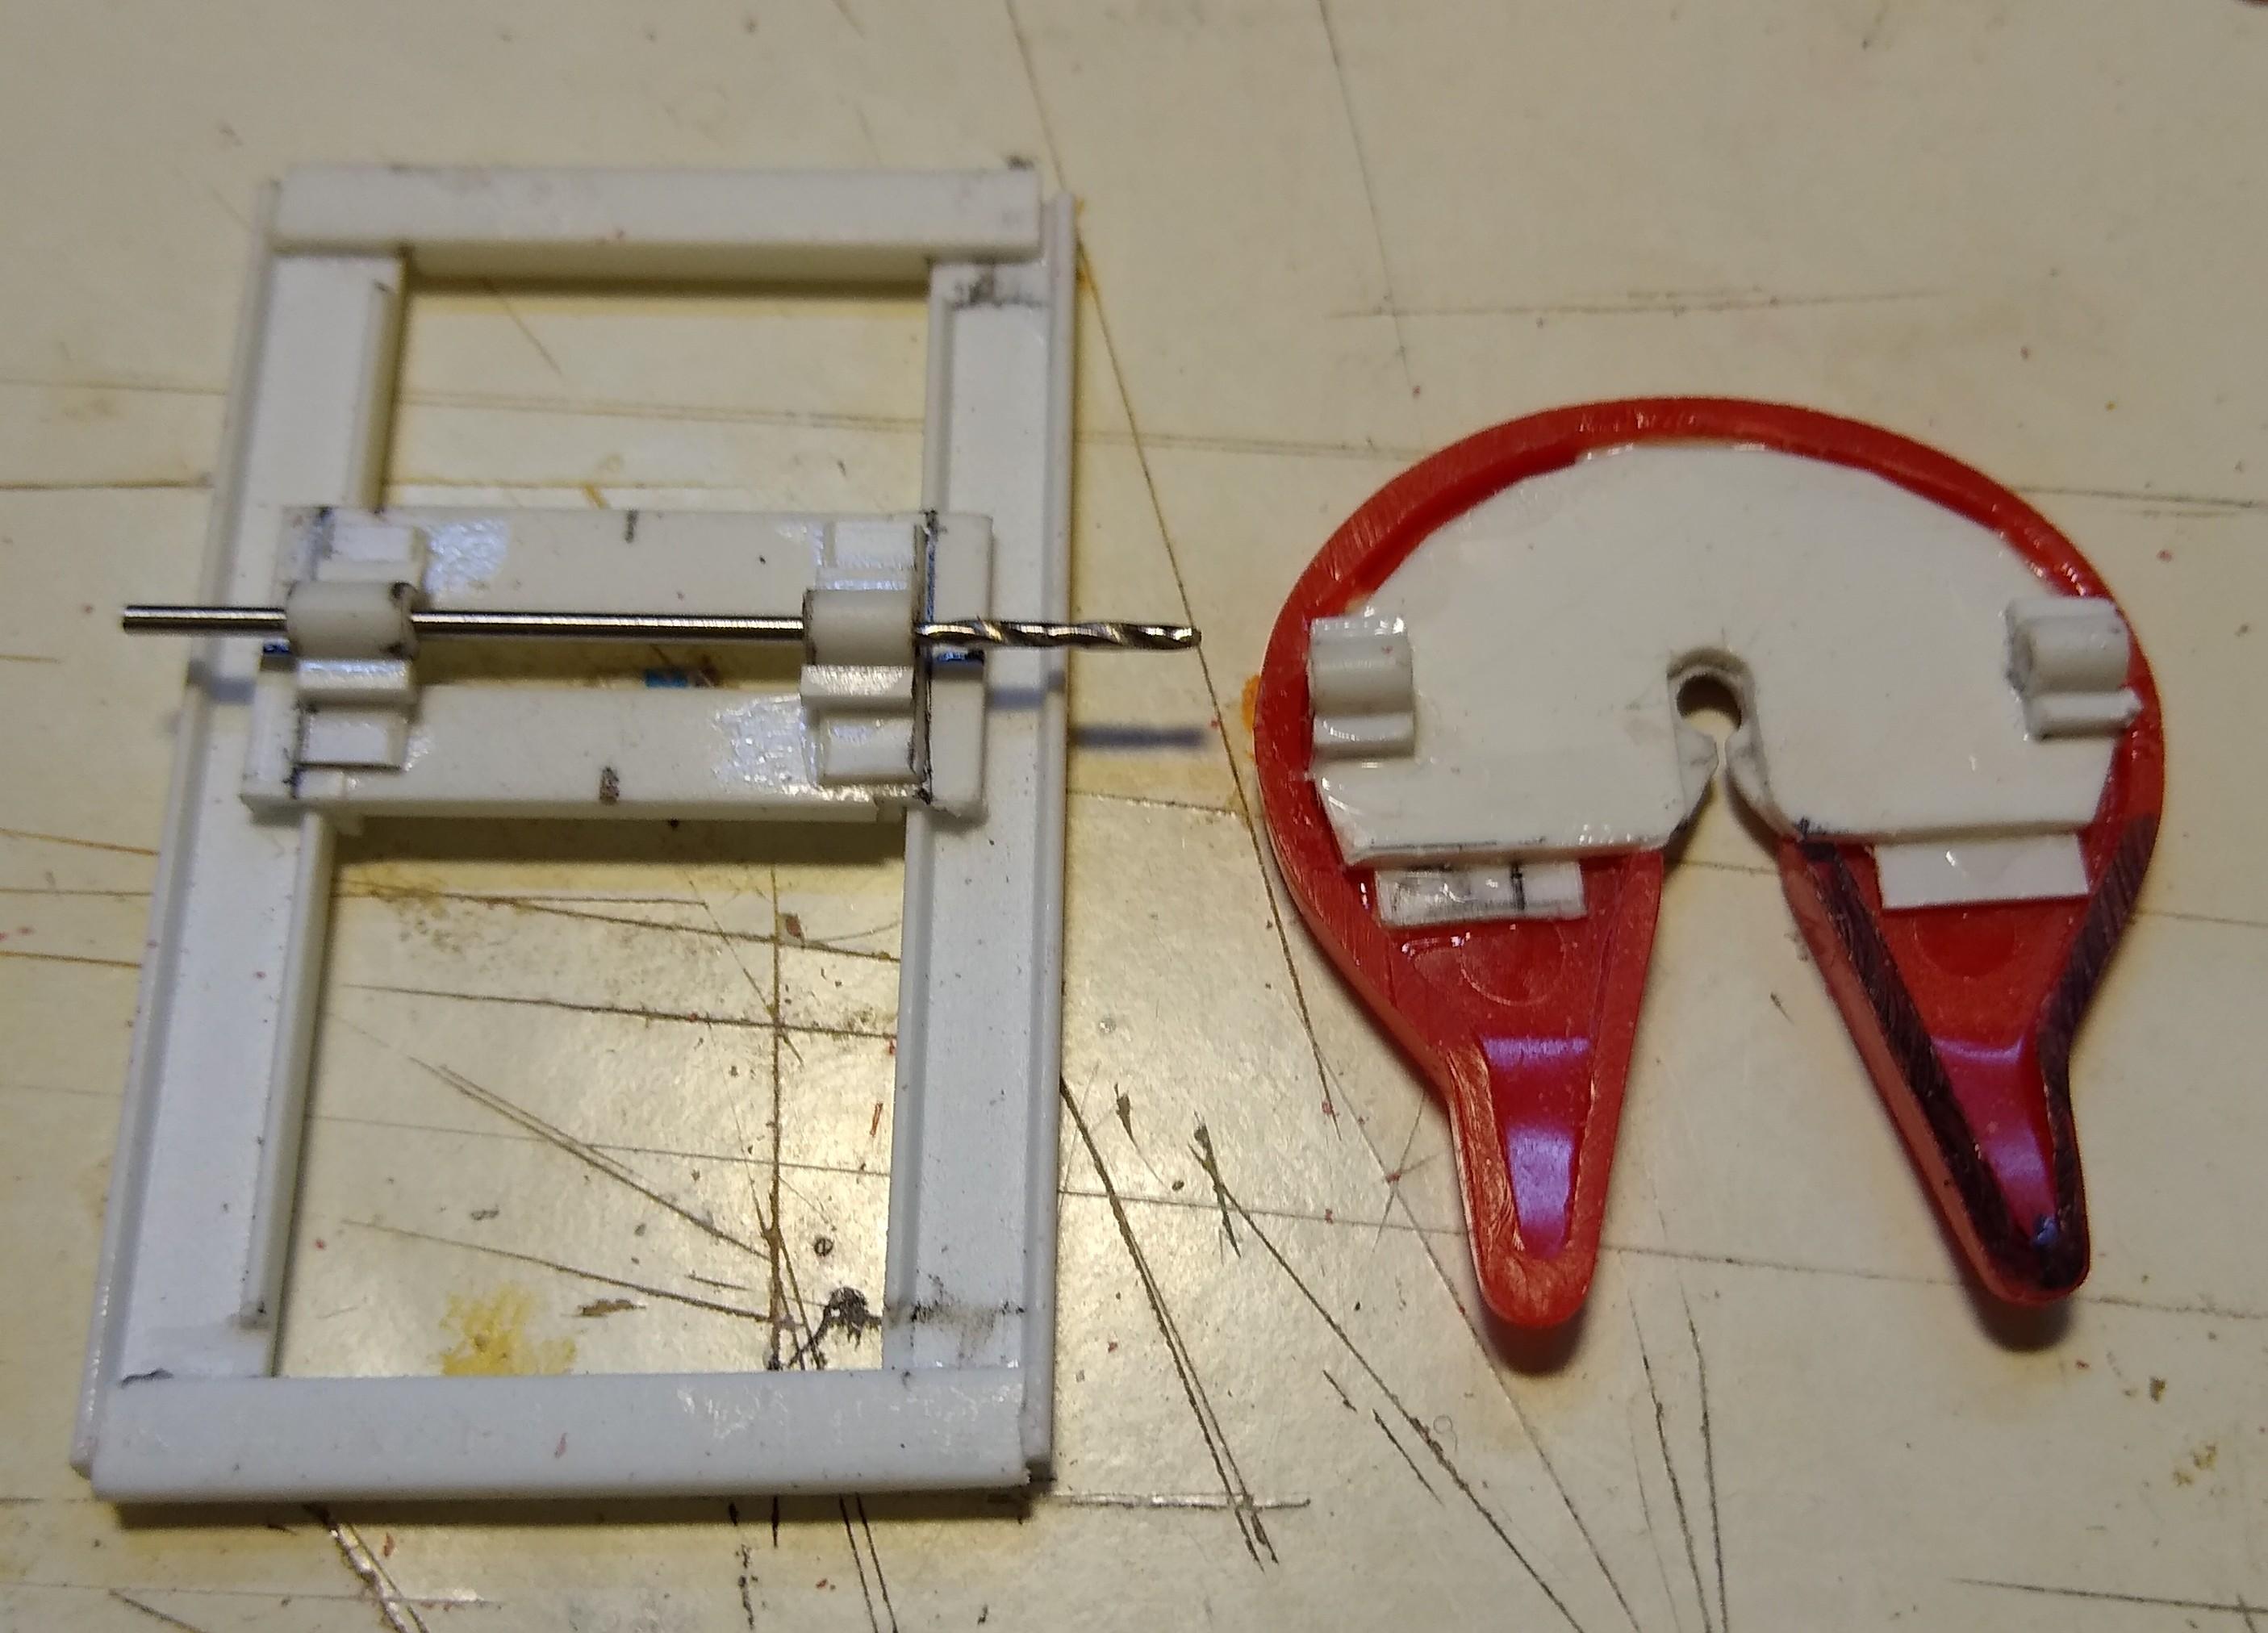
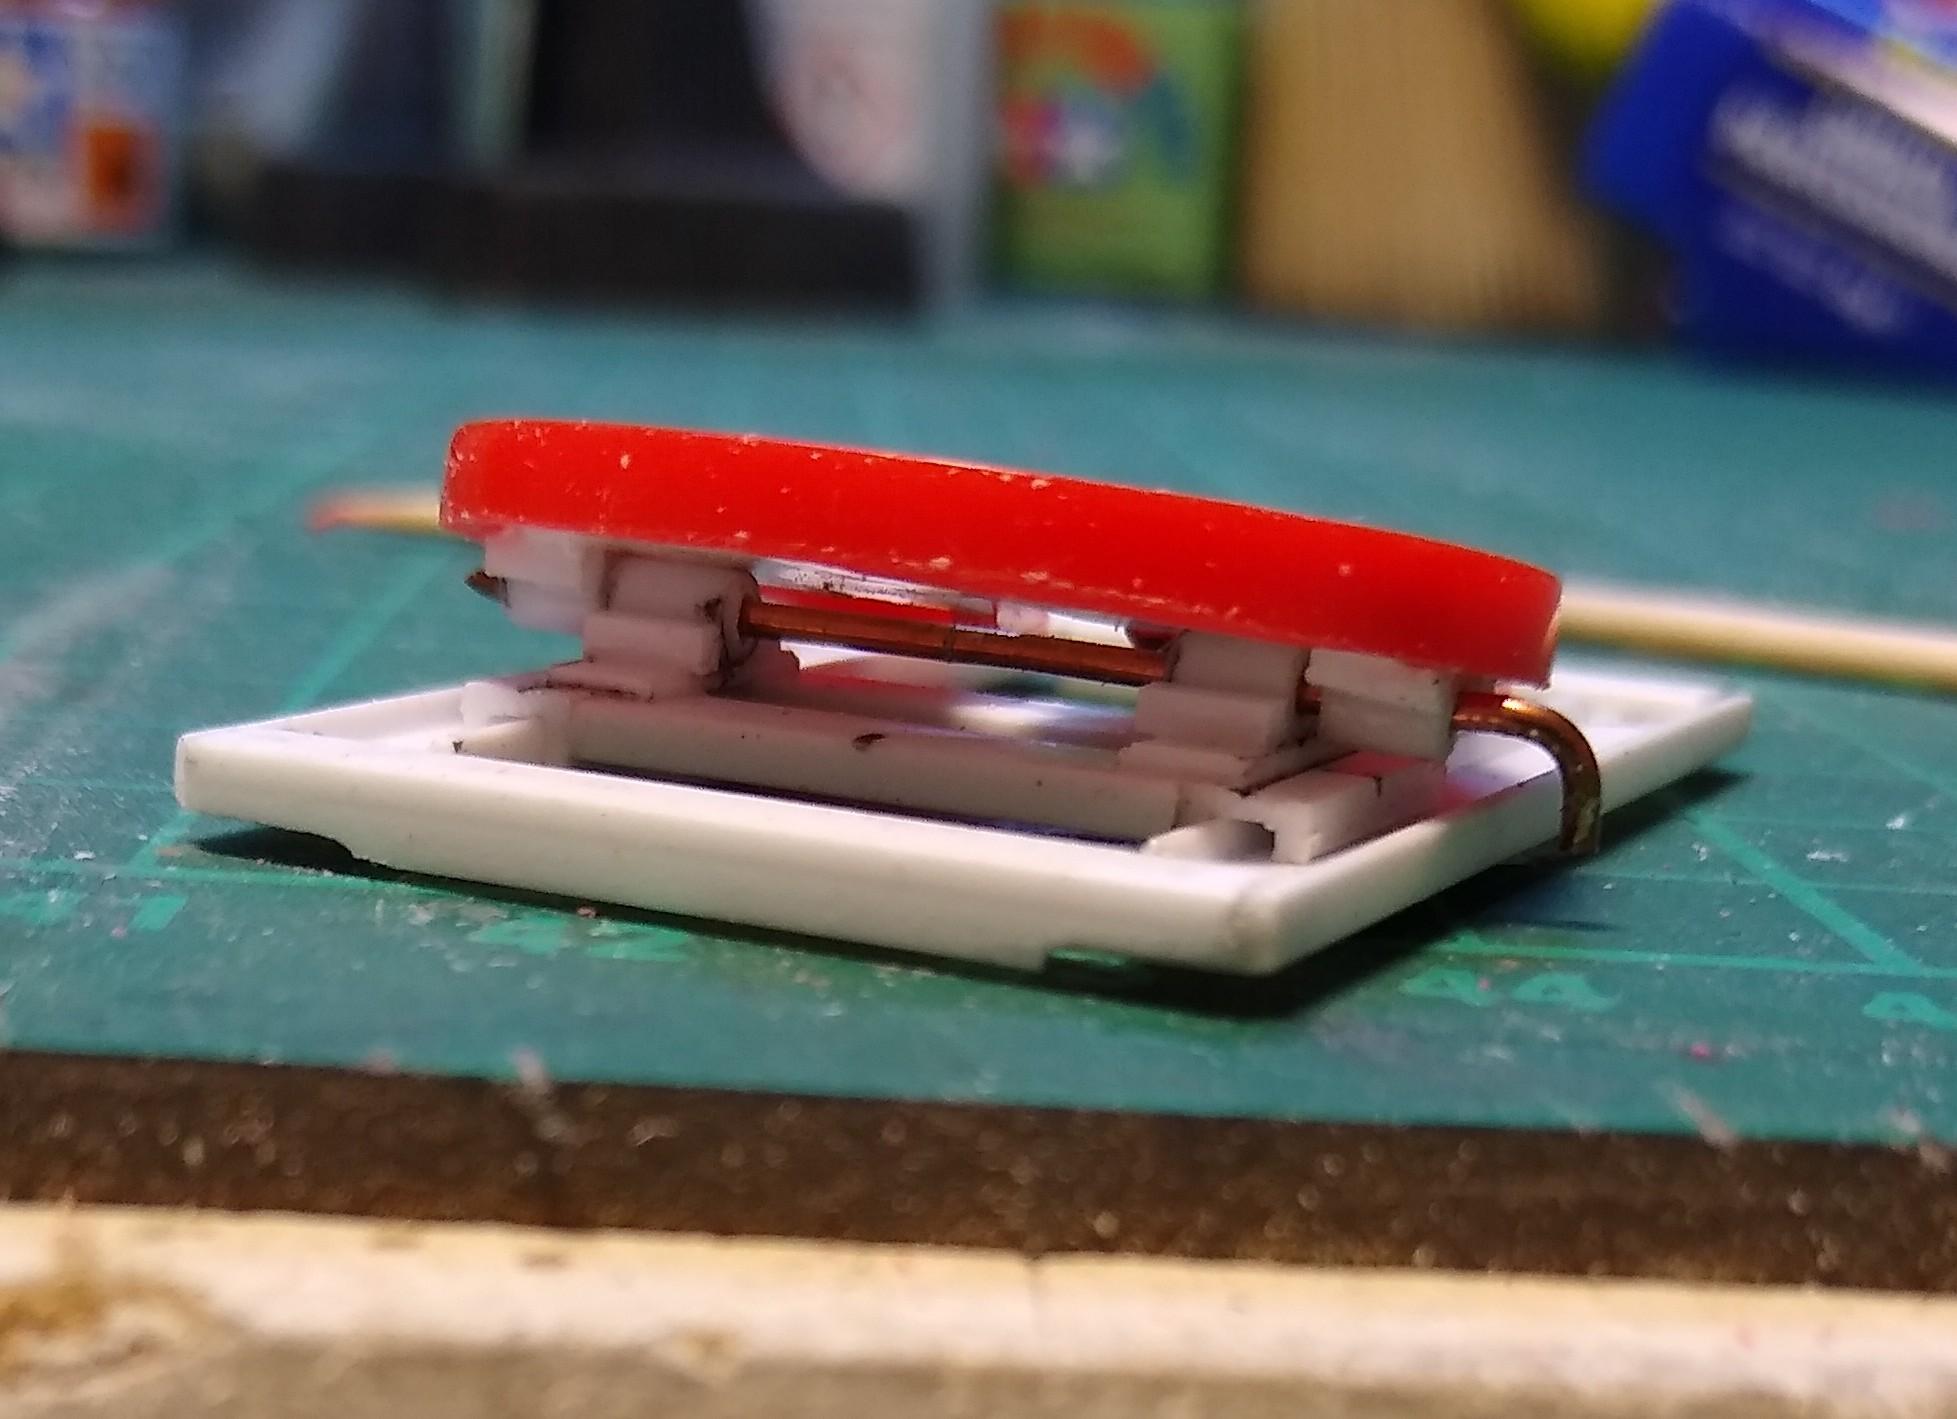
I piped the braking system and left the tandems to set. Looked at the poor execution of the landing legs. Decided to carefully cut the leg off the bracketry and replace it with square tube. I can then use the longer of the two legs in the kit and make the landing gear operational. You 1/24 guys could do the same just use larger tube. Makes your trailer look better when it's not coupled up. Mock-up time. Looks right to me. Now I've got to deal with the box that's been taken out of the mould too soon aand is out of square and one sidewall is all wavy.
-
Two Reefer Trailers
Rockford replied to Rockford's topic in WIP: Model Trucks: Big Rigs and Heavy Equipment
After much research I worked out that for some unknown reason there's a space added between the axles and the springs. The hangars have then been stretched to accommodate the extra height. I sliced a section out of the spring assembly, cut the trailing arms off the hangars and reshaped them. I did one axle at a time to keep it square. You can really see the difference in height. It's a real fiddle to assemble but once it's done all looks good and everything seems to line up like it was meant to be.
-
Two Reefer Trailers
Rockford replied to Rockford's topic in WIP: Model Trucks: Big Rigs and Heavy Equipment
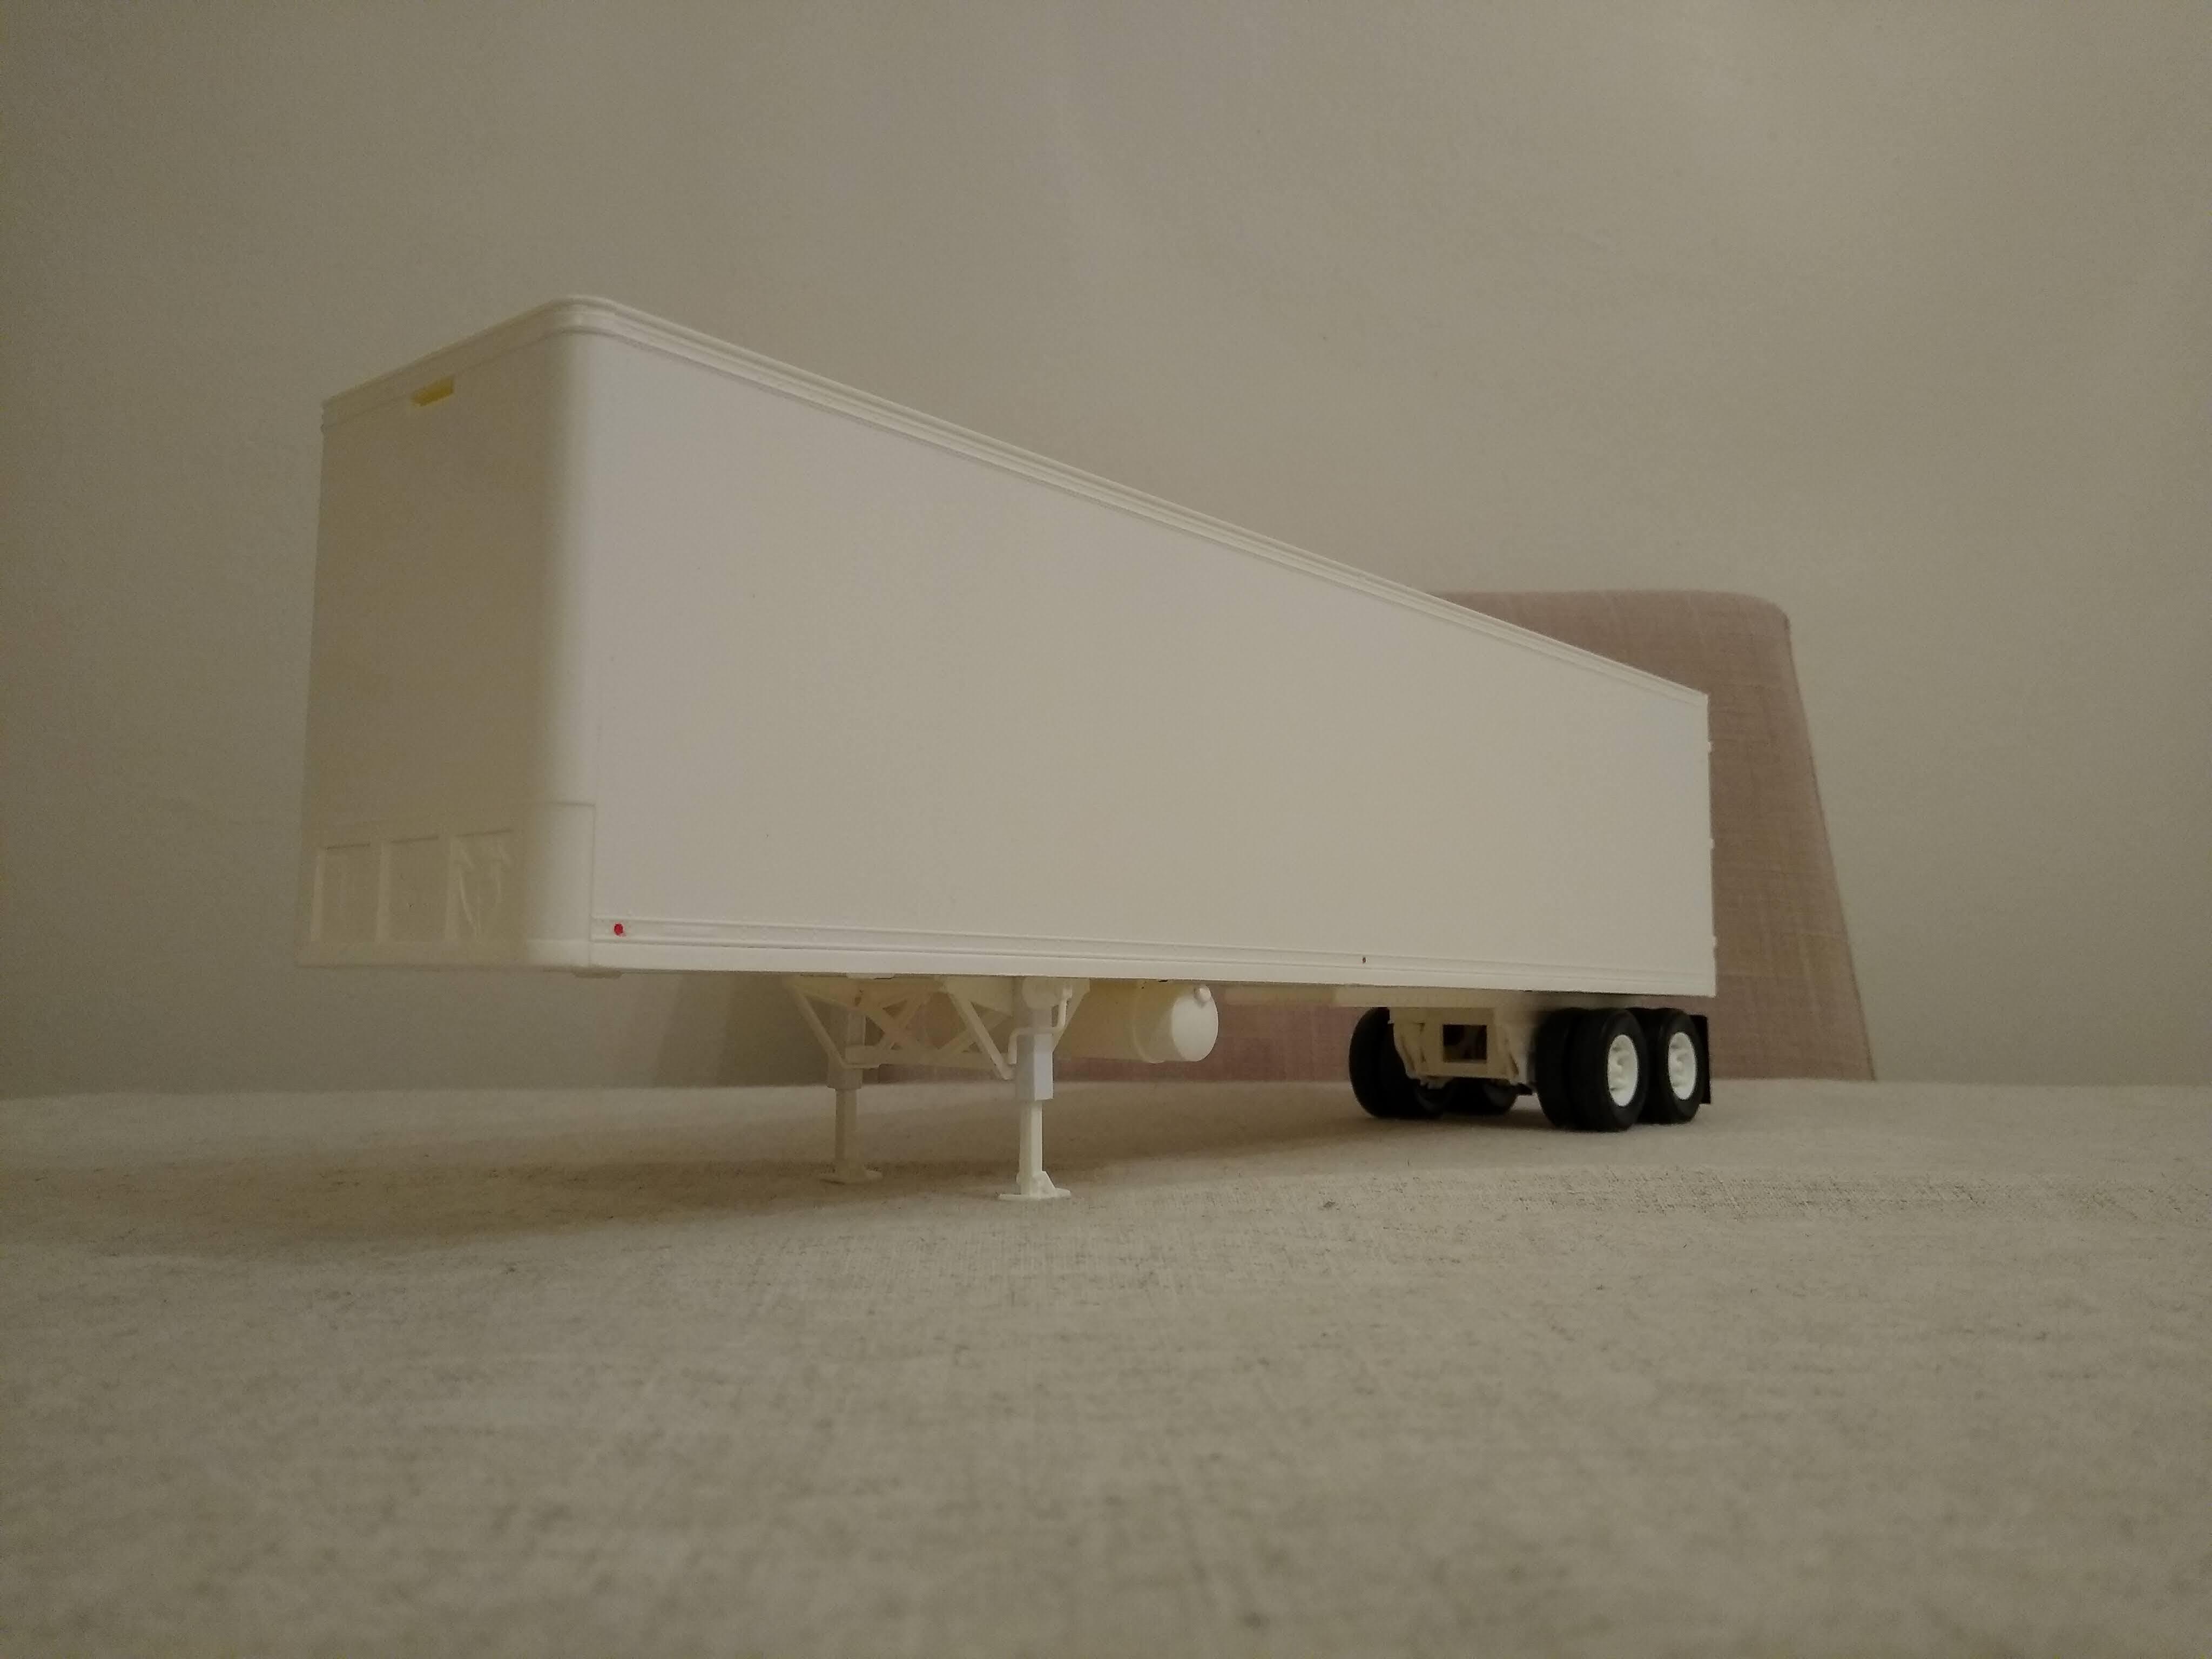
Seeing as I've sorted out the AMT Trailmobile to my satisfaction I thought I'd better have a go at the Monogram Fruehauf van. My previous effort was a compromise and I'm not happy with it. The ride height is the main thing, it's far too high. Where is the issue? The slide rails etc... all look the right proportions, unlike the AMT so I had to do my homework. First thing, the separation lines on the slide rails are massive. Flattening all these lost 1mm straight away.
-
Two Reefer Trailers
Rockford replied to Rockford's topic in WIP: Model Trucks: Big Rigs and Heavy Equipment
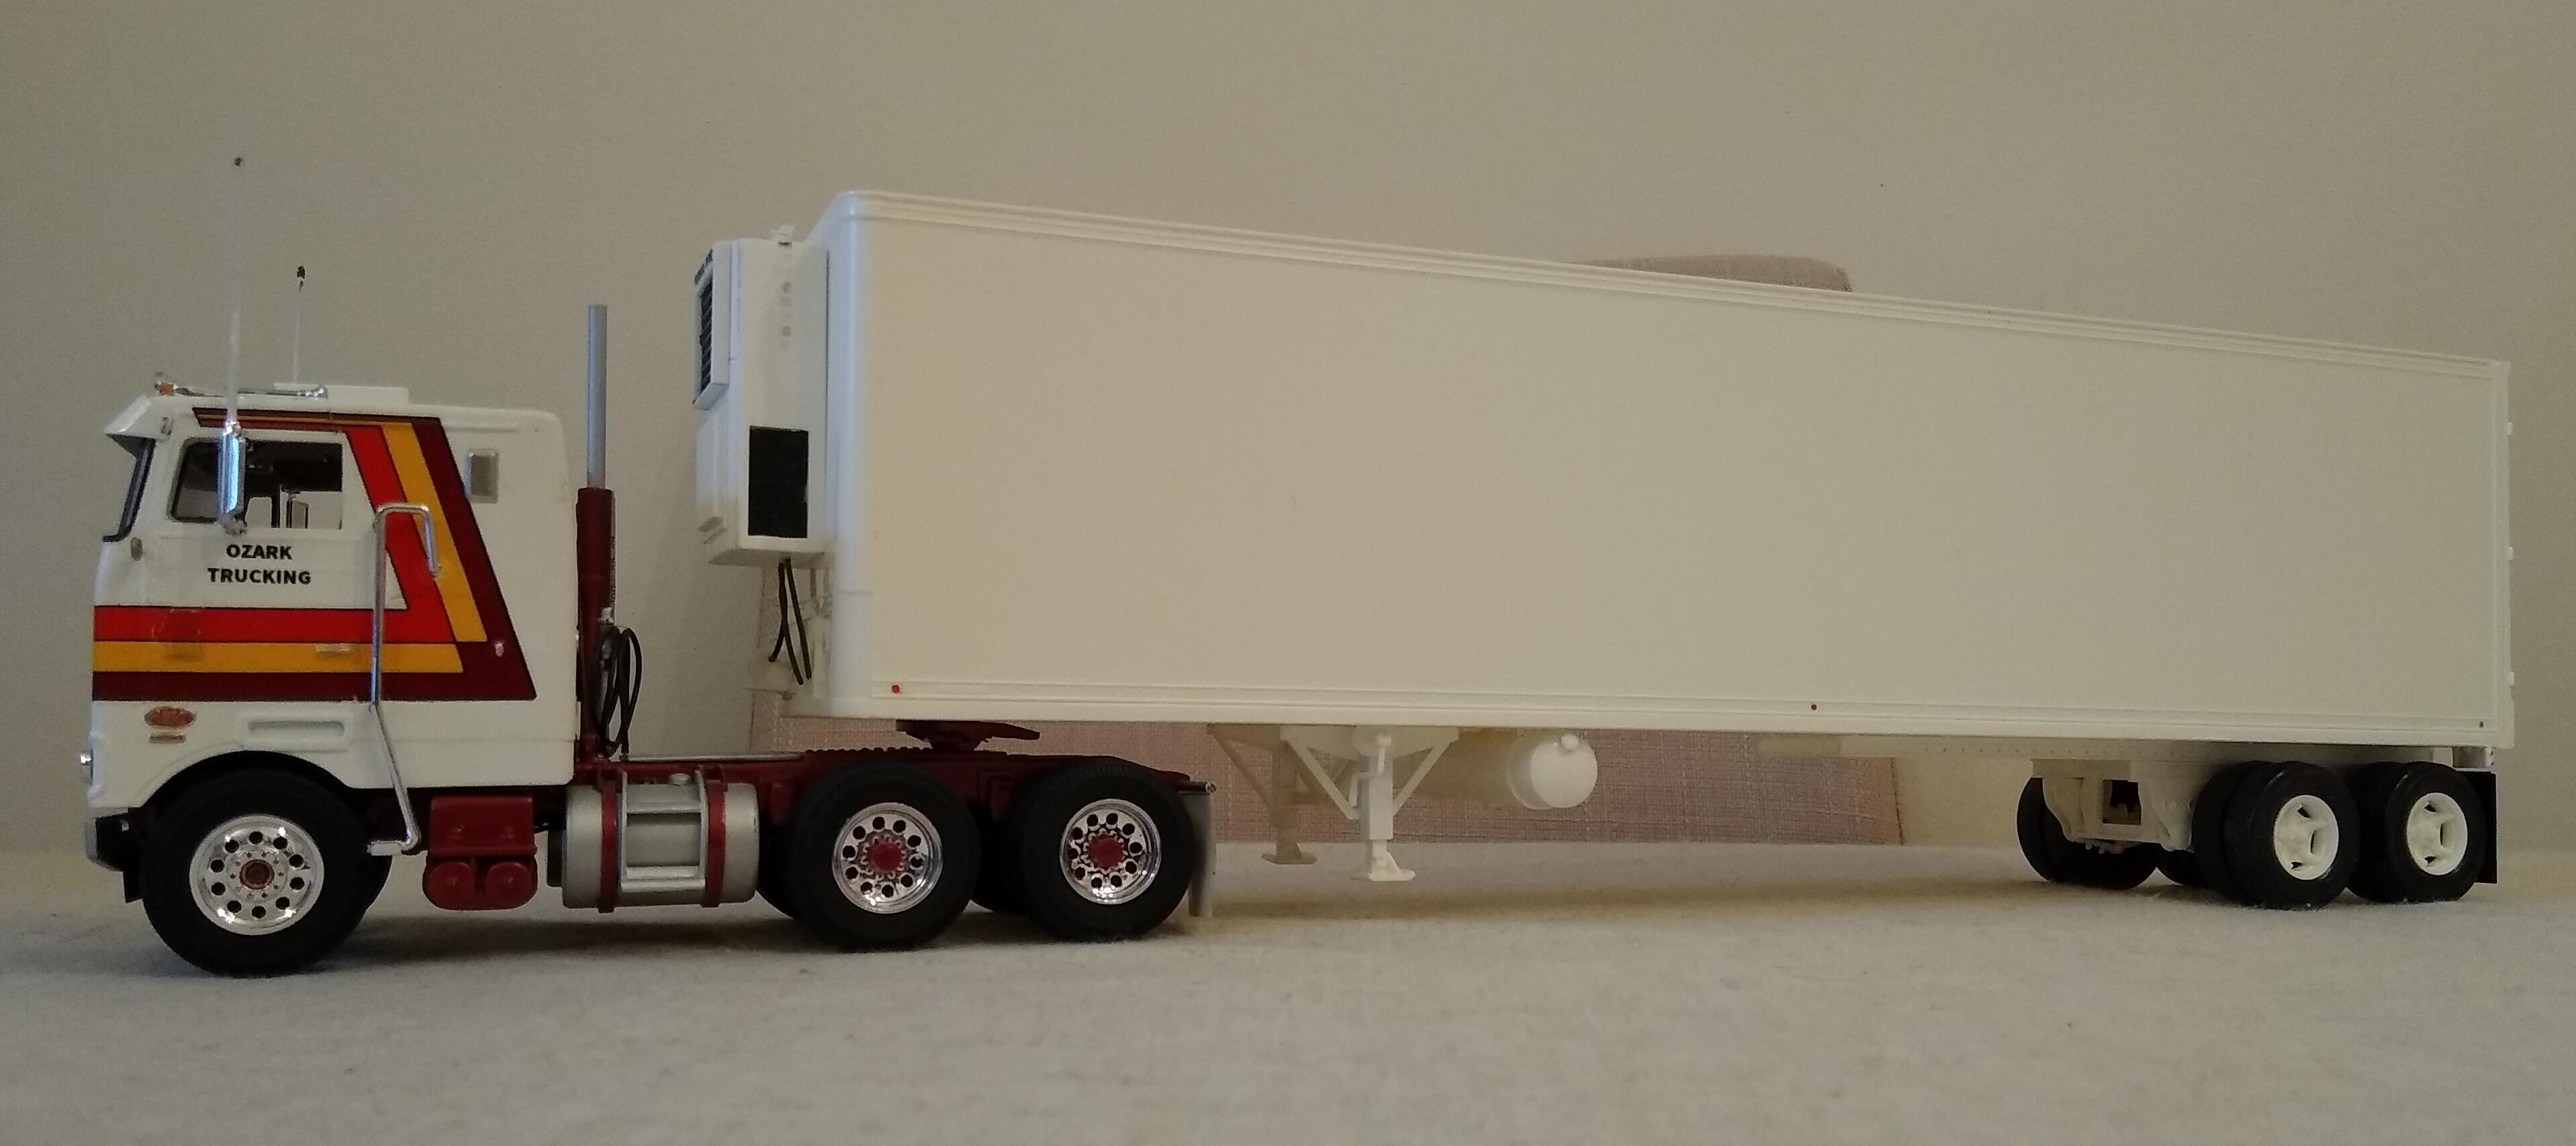
Couldn't leave it with no tractor, so I put it behind my Aerodyne I'm in the process of swapping the frame on, forgive me if it looks a little rough around the edges. Looks good to me. I like the tell-tale lights when it's hitched up.
-
Two Reefer Trailers
Rockford replied to Rockford's topic in WIP: Model Trucks: Big Rigs and Heavy Equipment
Added a few details tonight. Two condensate drains dangling from the bottom of the unit. You can see the little silver fuel line too. I added a set of tell-tale lights that many units had but not all. The driver could check the status of the reefer just by glancing in the mirror but obviously some outfits relied on regular checks. I'm not sure if I'm going to keep them so I've just used blue tack for now and I'll see how I feel about them after a while. Fitted the fuel tank because I decided it would be the colour of the chassis anyway. With a bit of work this has been transformed into an excellent model. It's just a perfect representation of a late 70s trailer. Captures the look exactly. I think I prefer it to the Monogram Fruehauf van kit.


.jpg.f214337de2490b128ba76e54e6b9d1d6.jpg)