-
Posts
2,835 -
Joined
-
Last visited
Content Type
Profiles
Forums
Events
Gallery
Everything posted by Brutalform
-
Pretty sweet looking Ponco. I love just about any 1960 era cars.
-
Check out Futurattraction. Scott sells the lever style latch harness that NASCAR cars use.
-
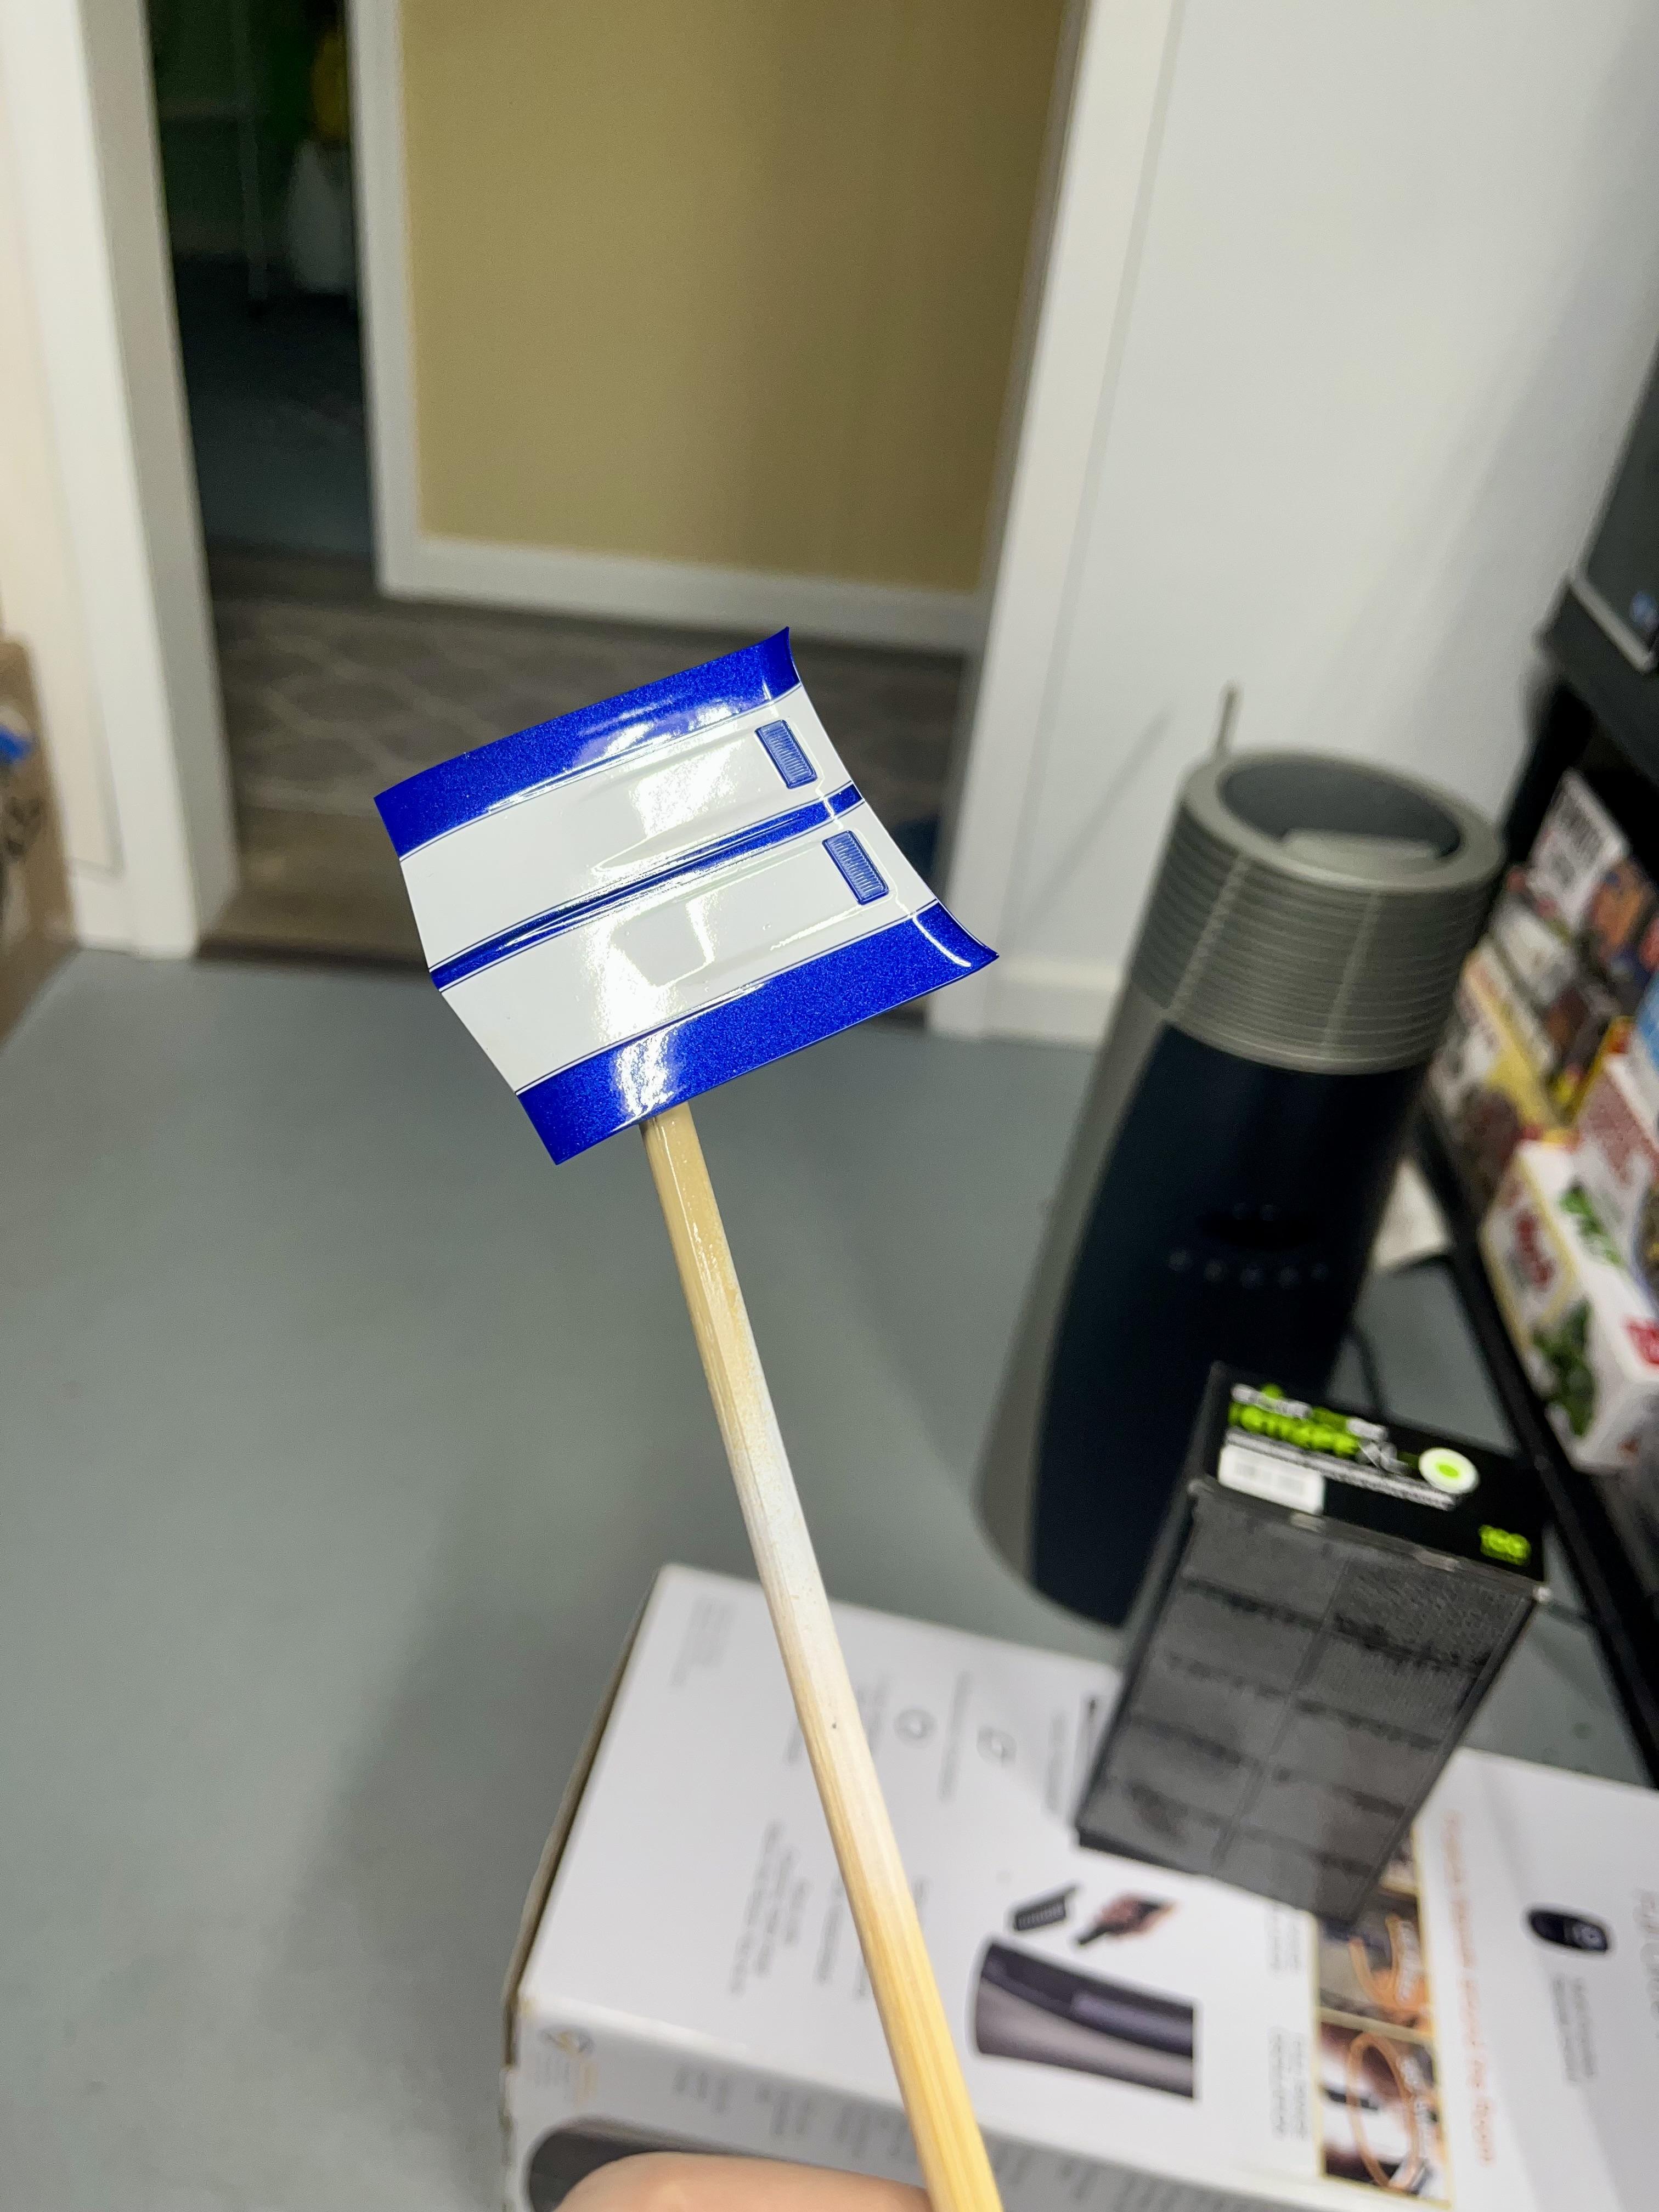
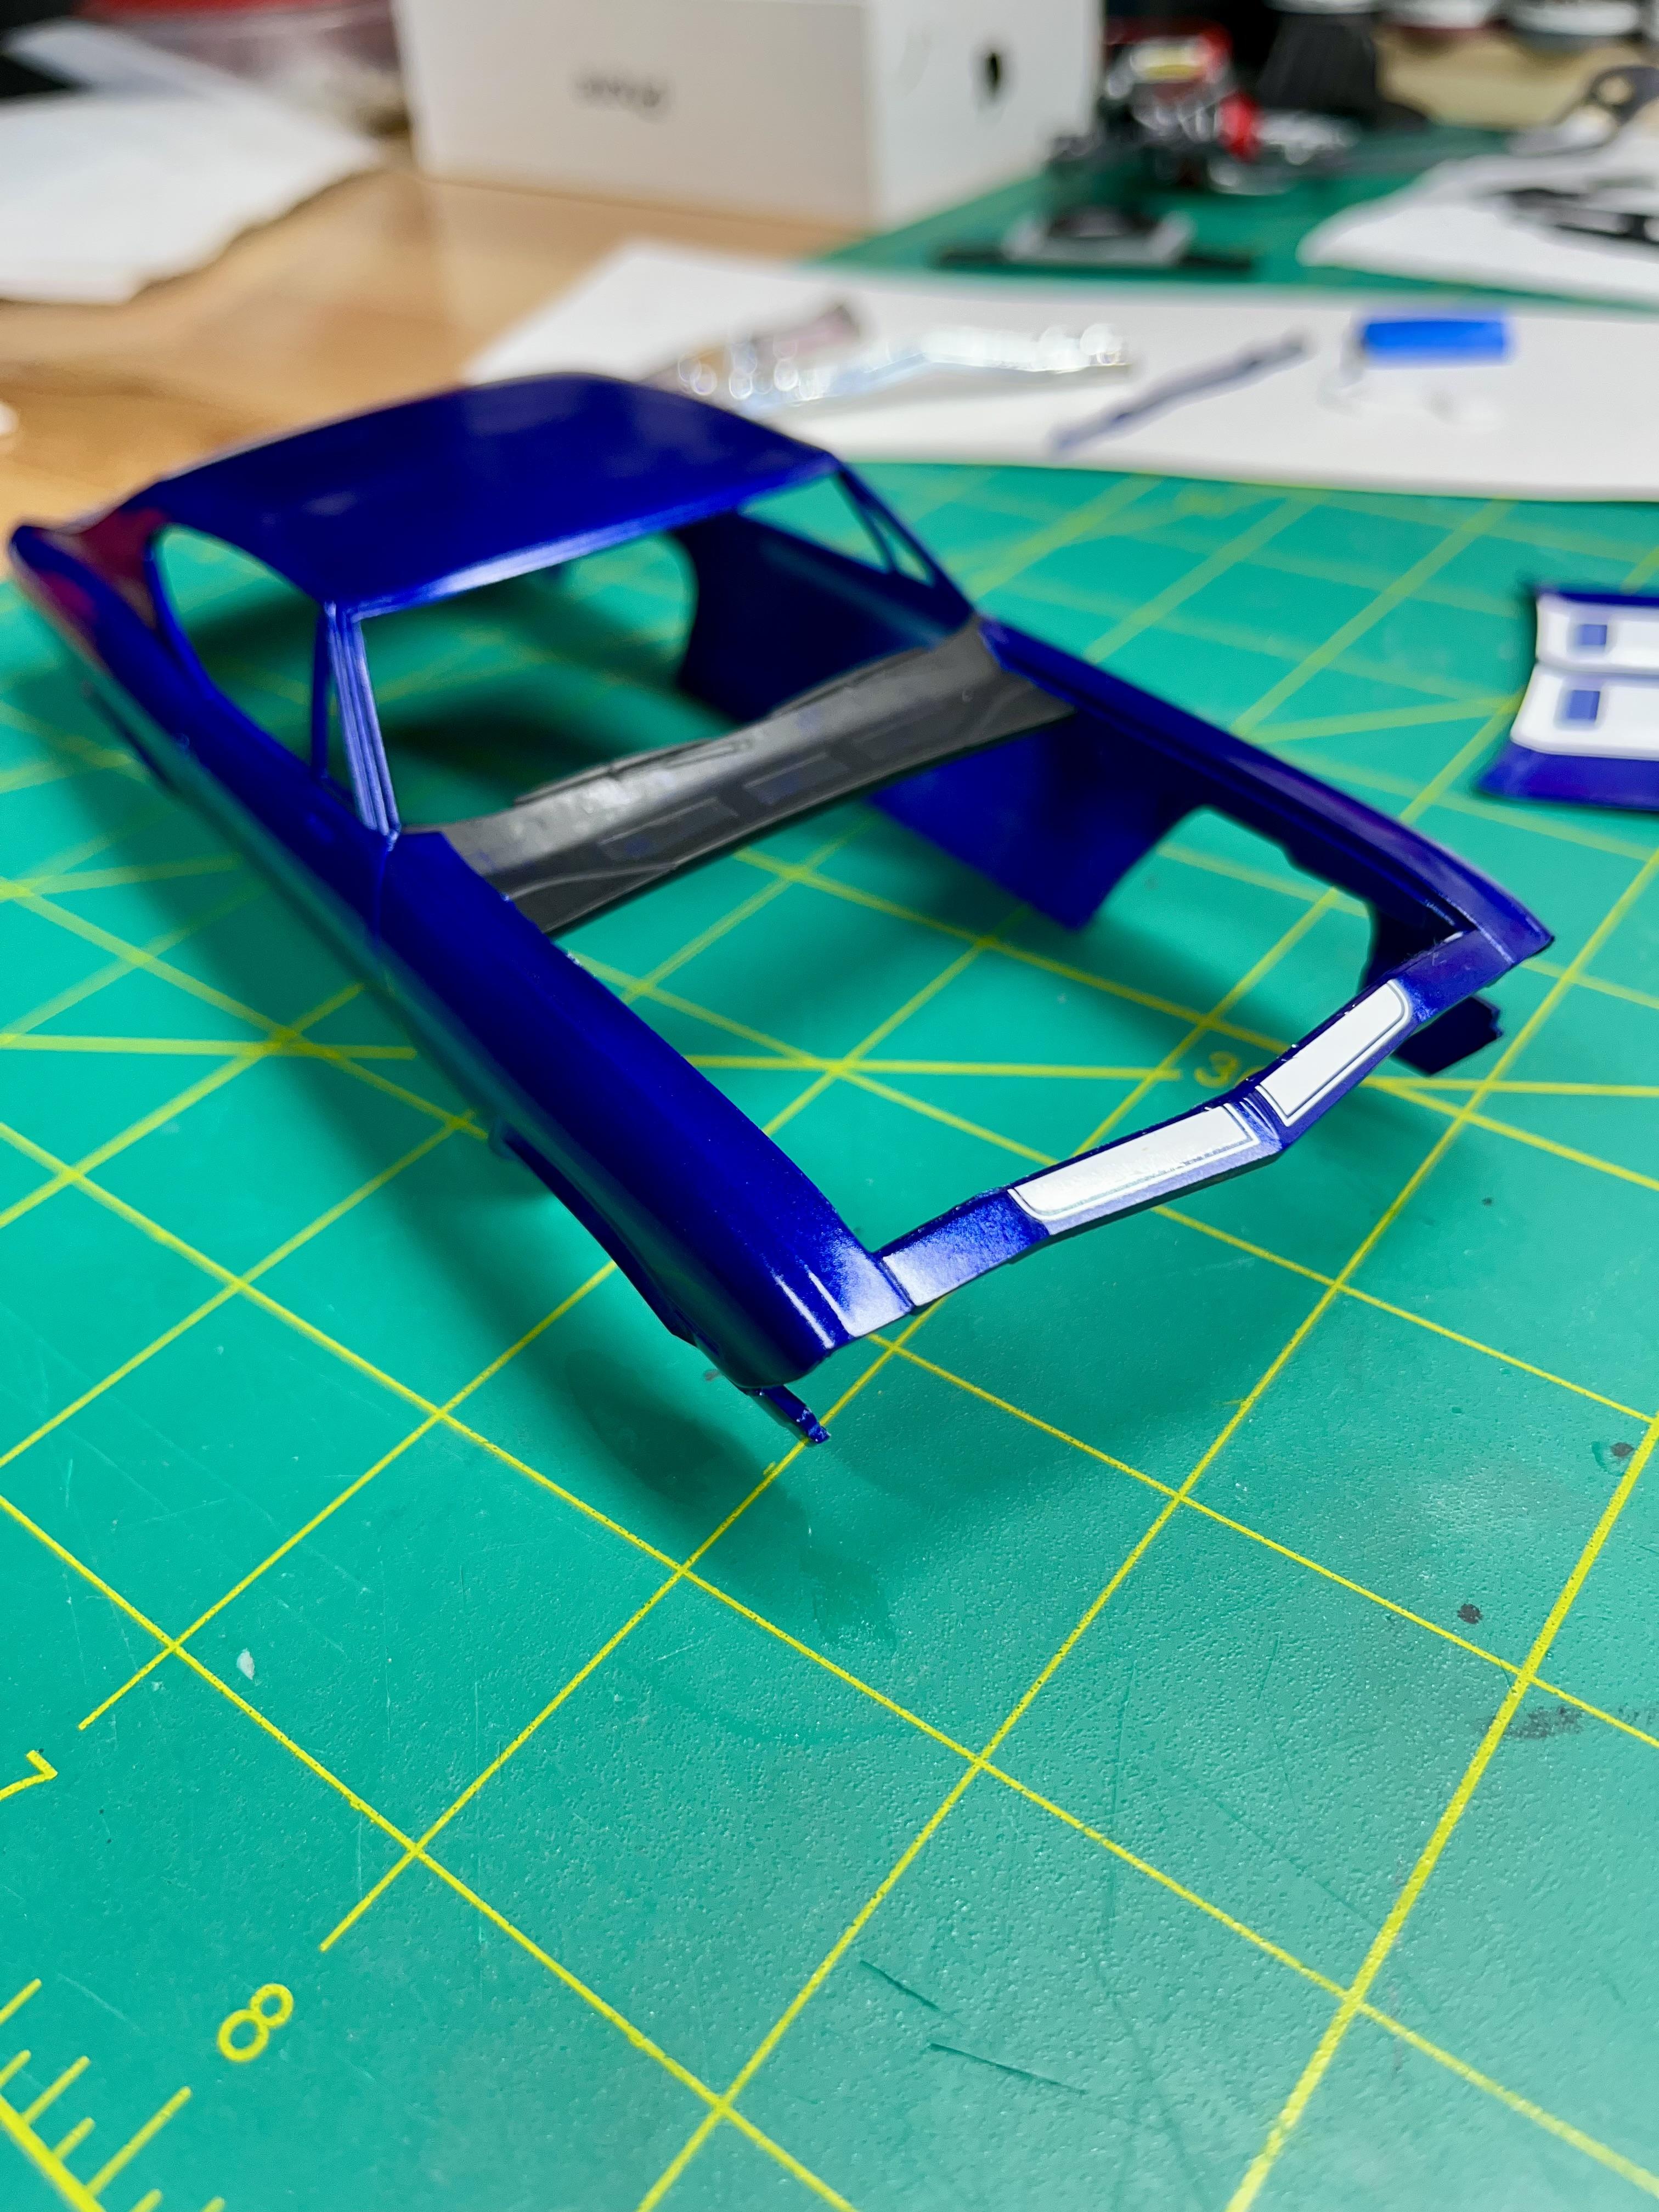
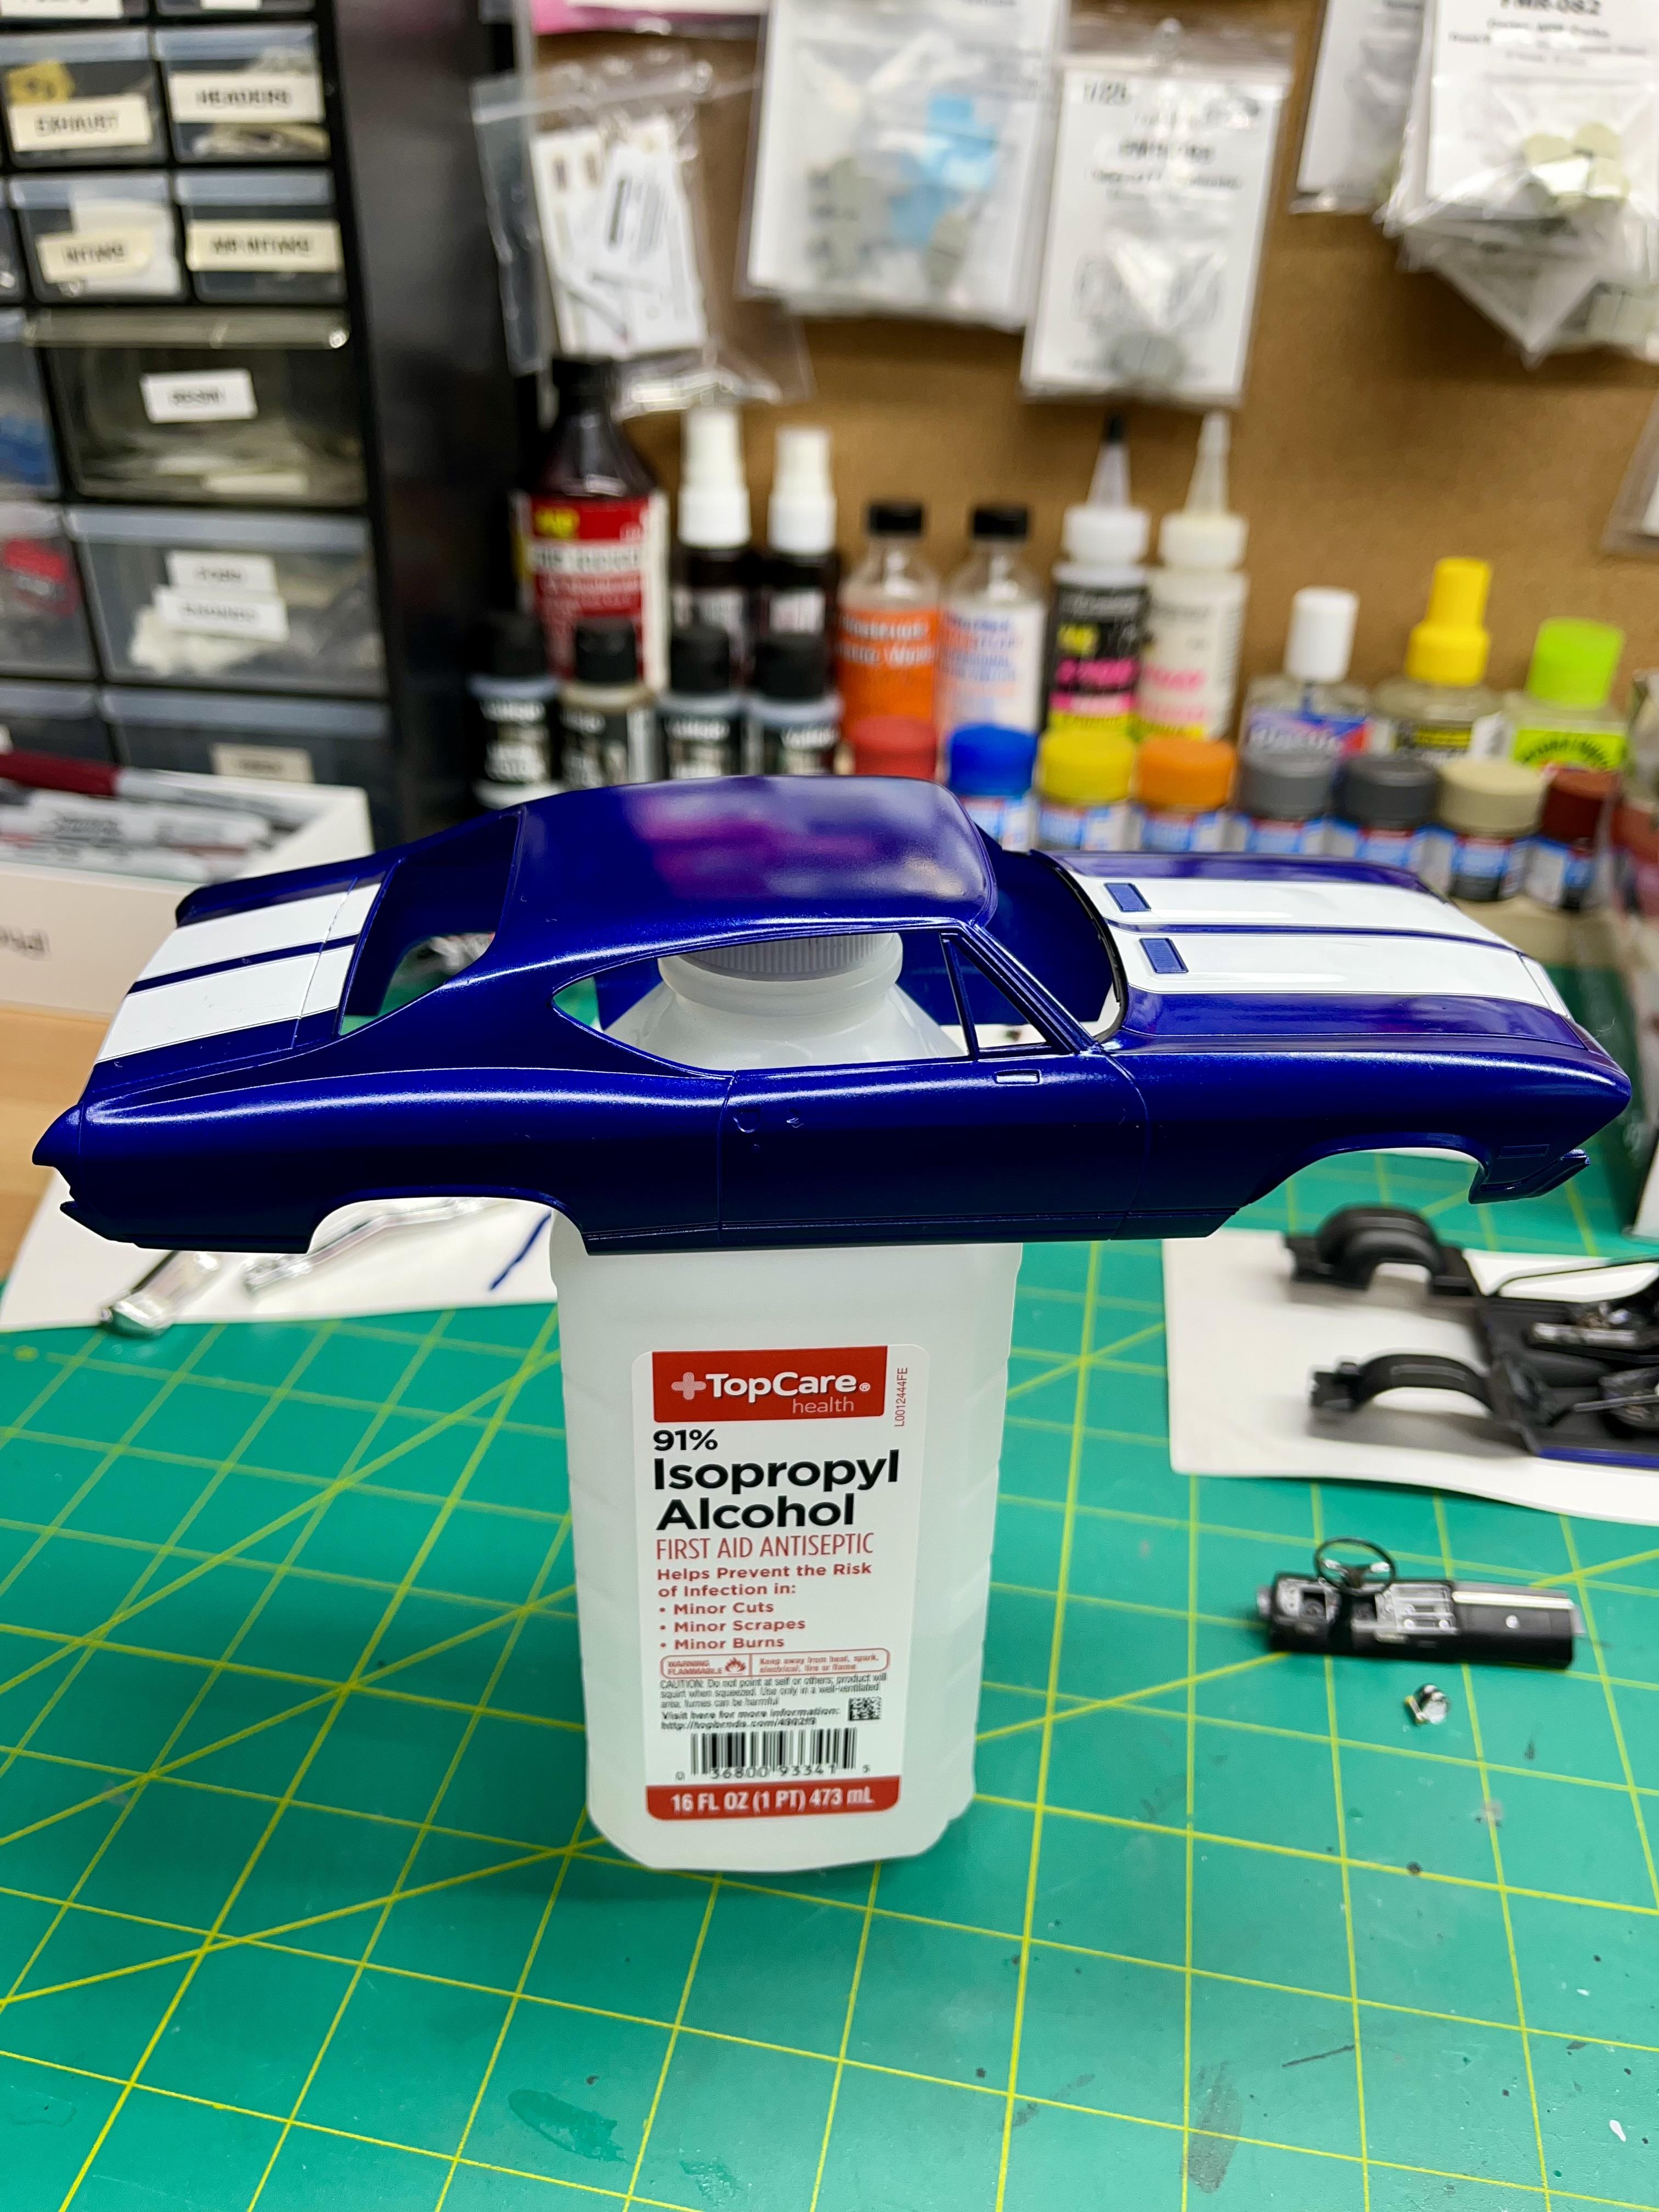
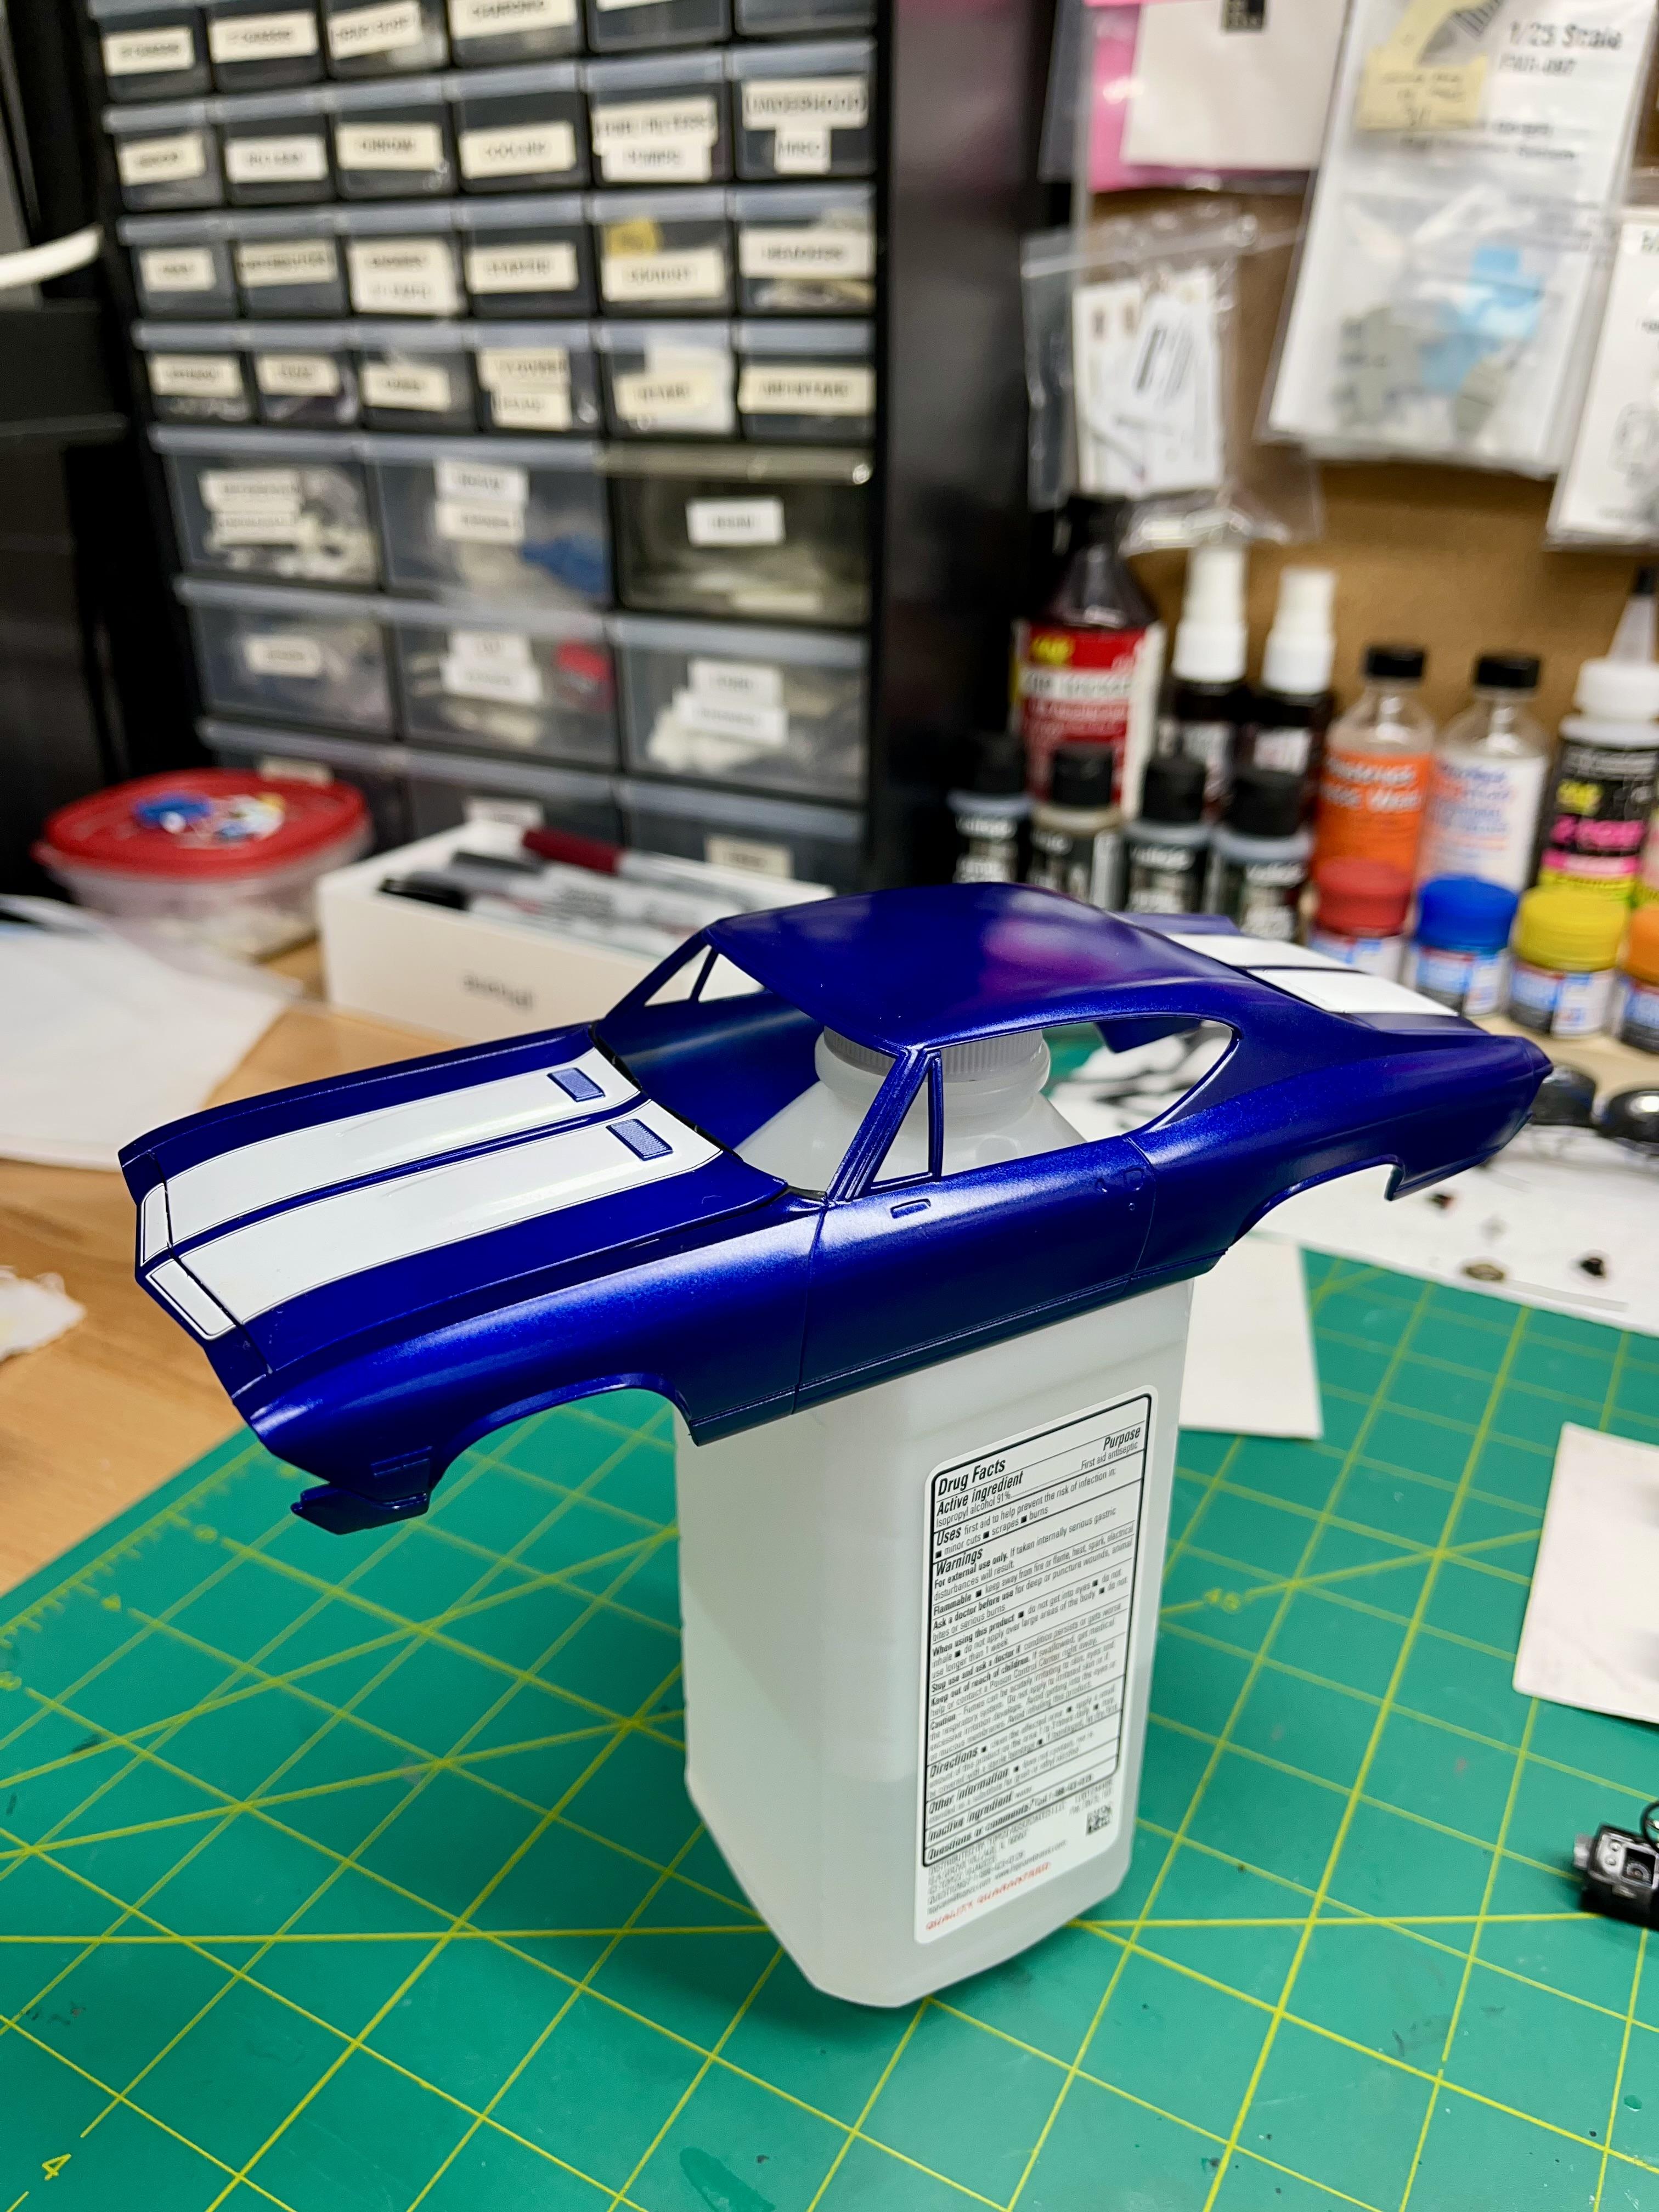
Laid down several mist coats, and one heavy coat of Mr Hobby UV cut clear. I really think I just might get away without wet sanding and polising. This clear lays down really nice. I wanted to use a clear that was less harsh on decals. I’ve read the Tamiya clear is hit or miss, but only heard good things about the Mr Hobby clear. I’ve never cleared over any decals before this.
-
WILKES-BARRE — OK, we haven’t traveled in the Way Back Machine for a few weeks, so let’s go! Destination again is the 1960s and, of course, Plymouth, Pa. — or it could be just about any small town in America. Today, as we hover, we are looking for a hobby shop — I seem to remember a Jack’s Hobby Center in the Narrows Shopping Center and Dick’s Hobby Shop on South Main Street in Wilkes-Barre. We are going to stop and pick up a few model car kits — I think Revell made some cool ones. Once we purchase our model kits, we head back to my house and down to the basement. I miss the basement in our house on Reynolds Street — and the front porch, and the creek behind the house. Our basement was functional — it housed our big coal furnace. On one side of our basement was an apartment. It was vacant most of my younger years, so my pals and I would use it to build models — my favorite was a 1940 Ford which I would always paint candy-apple red. I would also add white trim and a rumble seat. Painting those models was tedious — you really had to have a steady hand and you had to be careful to use just the right amount of glue. I wish I could bring all those awesome cars of the 1960s back. Remember when you could immediately tell a car’s make and model on sight? Today, it seems most everybody drives a white SUV and they all look the same. Where’s the creativity? Back in the ‘60s, man those cars were spectacular. Cars like GTOs, Camaros, Mustangs, Corvettes, Road Runners, Dodge Darts, Chevelles, Barricudas, Thunderbirds, Beetles, Ramblers, Studebakers, Corvairs, Pintos, Furys, Marlins, Gremlins, Mavericks, Cougars, Impalas, Fairlanes, Cutlasses, Continentals, Galaxys, El Dorados, Cordobas, LeSabres, Biscaynes, BelAirs and many more. They were so distinctive. And the color combinations were amazing — not to mention the power under the hood. Those cars were fascinating and fun — and it was cool to buy the model car kit and assemble and paint your favorite. We enjoyed our times in the basement — especially during those hot days of summer, because it was always cool down in the basement. And everybody had a basement. Some were turned into rathskellers where adults would gather for parties — you know, away from the kids, who were upstairs watching cartoons on the black-and-white Admiral TV with rabbit ears. And the adults would drink beers and high balls and play cards. There would be chips and dip and pretzels — lots of pretzels. Some people had real fancy basements — early versions of man caves that had a small bar with goofy decorations, like a clock that told time backwards, or a dart board or a jukebox. And when house parties moved back to living rooms with the arrival of fondue parties and Trivial Pursuit, basements managed to evolve. They became exercise rooms with treadmills and free weights. This happened just in time as fast food restaurants changed the eating habits of families and added calories in never-seen-before numbers. But nowadays, most residential units are built on slabs — no basements — garages, yes, which oddly become storage units and the cars are left in the driveway or on the street. And as basements disappear, front porches are nearing extinction as well. People don’t seem to value sitting on their front porches as the world goes by. And chatting with the neighbors is also on the endangered list. Neighborhoods just ain’t what they used to be. People leave their homes in the morning, head to work, find a happy hour for a bit, grab a to-go dinner and head home for an evening of watching TV. Parents rush to get their kids to sporting events or dances or other activities, drop them off, then do some shopping before picking the kids up and back home. Probably in their white SUV. I wish we had cell phones back in the ‘60s. We coulda taken so many great pics and stored them and shared them. But maybe it’s better that we gather and tell stories. I just wish we could meet in the basement.
-
- 2
-

-
I get the vapors of certain chemicals and paints can be hazardous, but when I read that a flying part can “ pierce a persons vein or chest cavity” I call BS. No way a small model part can achieve the velocity to cause that kind of injury. Besides i would build a model any day before I sky dive, or go deep water diving any day.
-
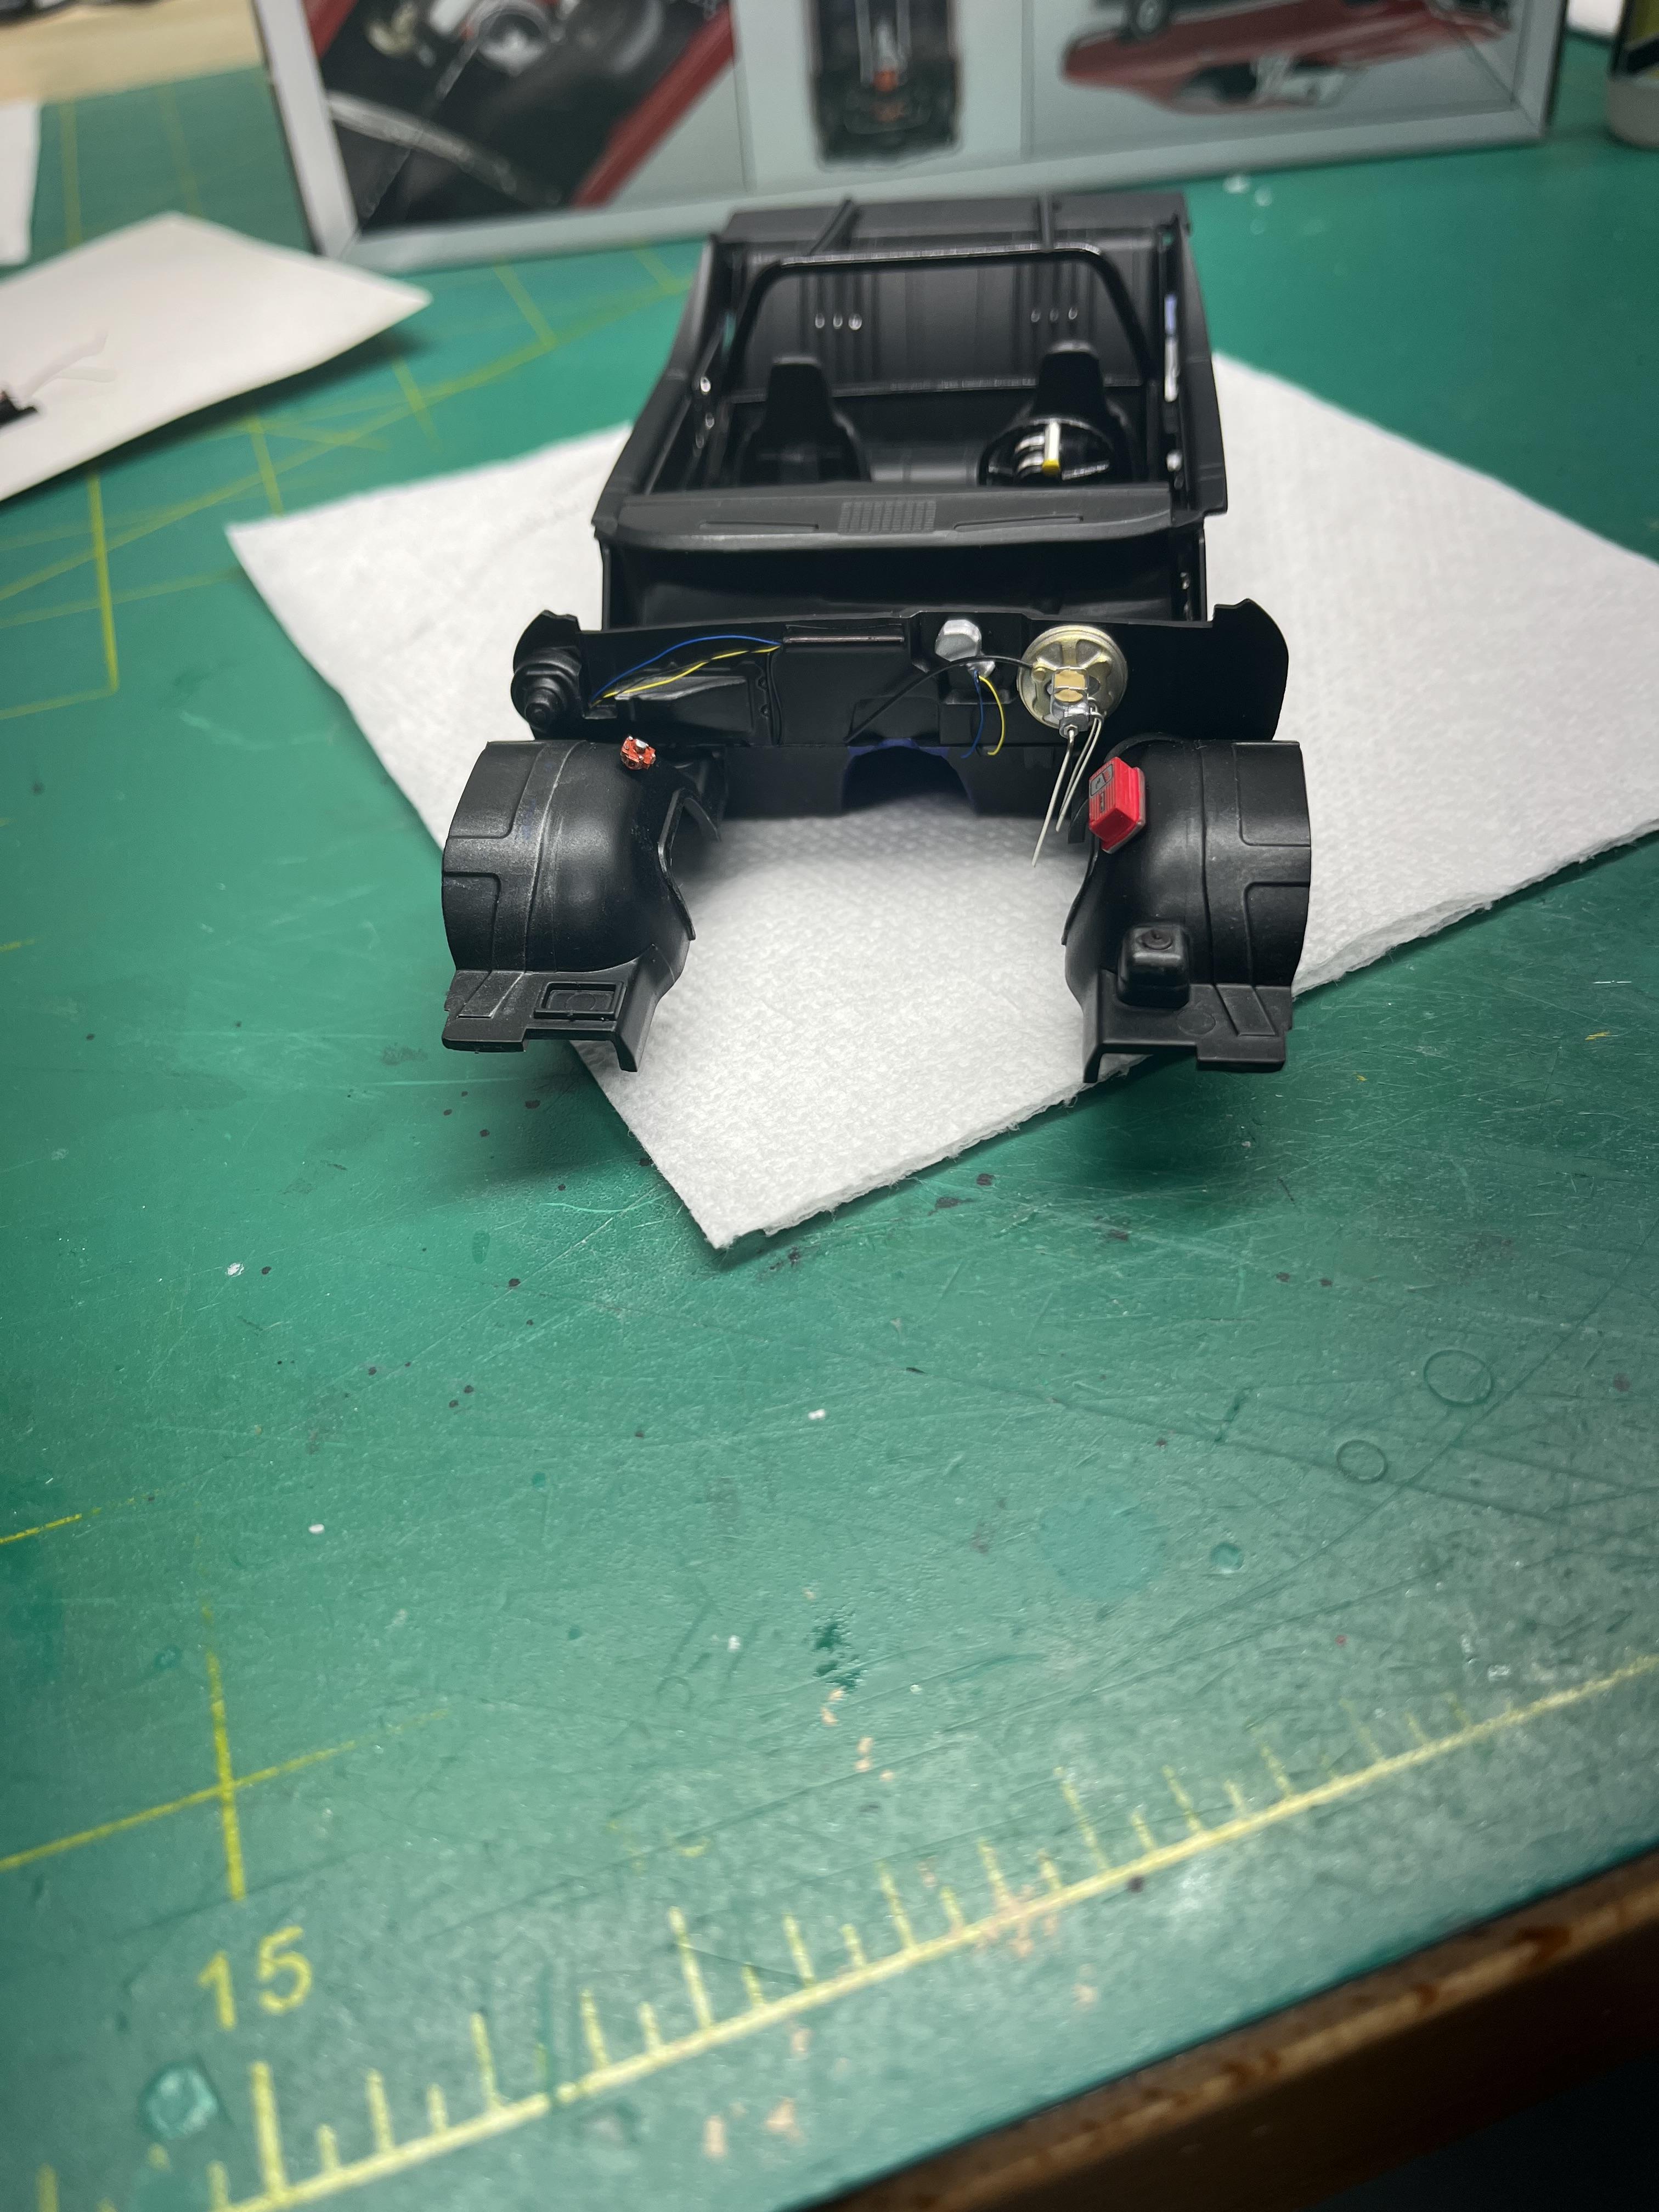
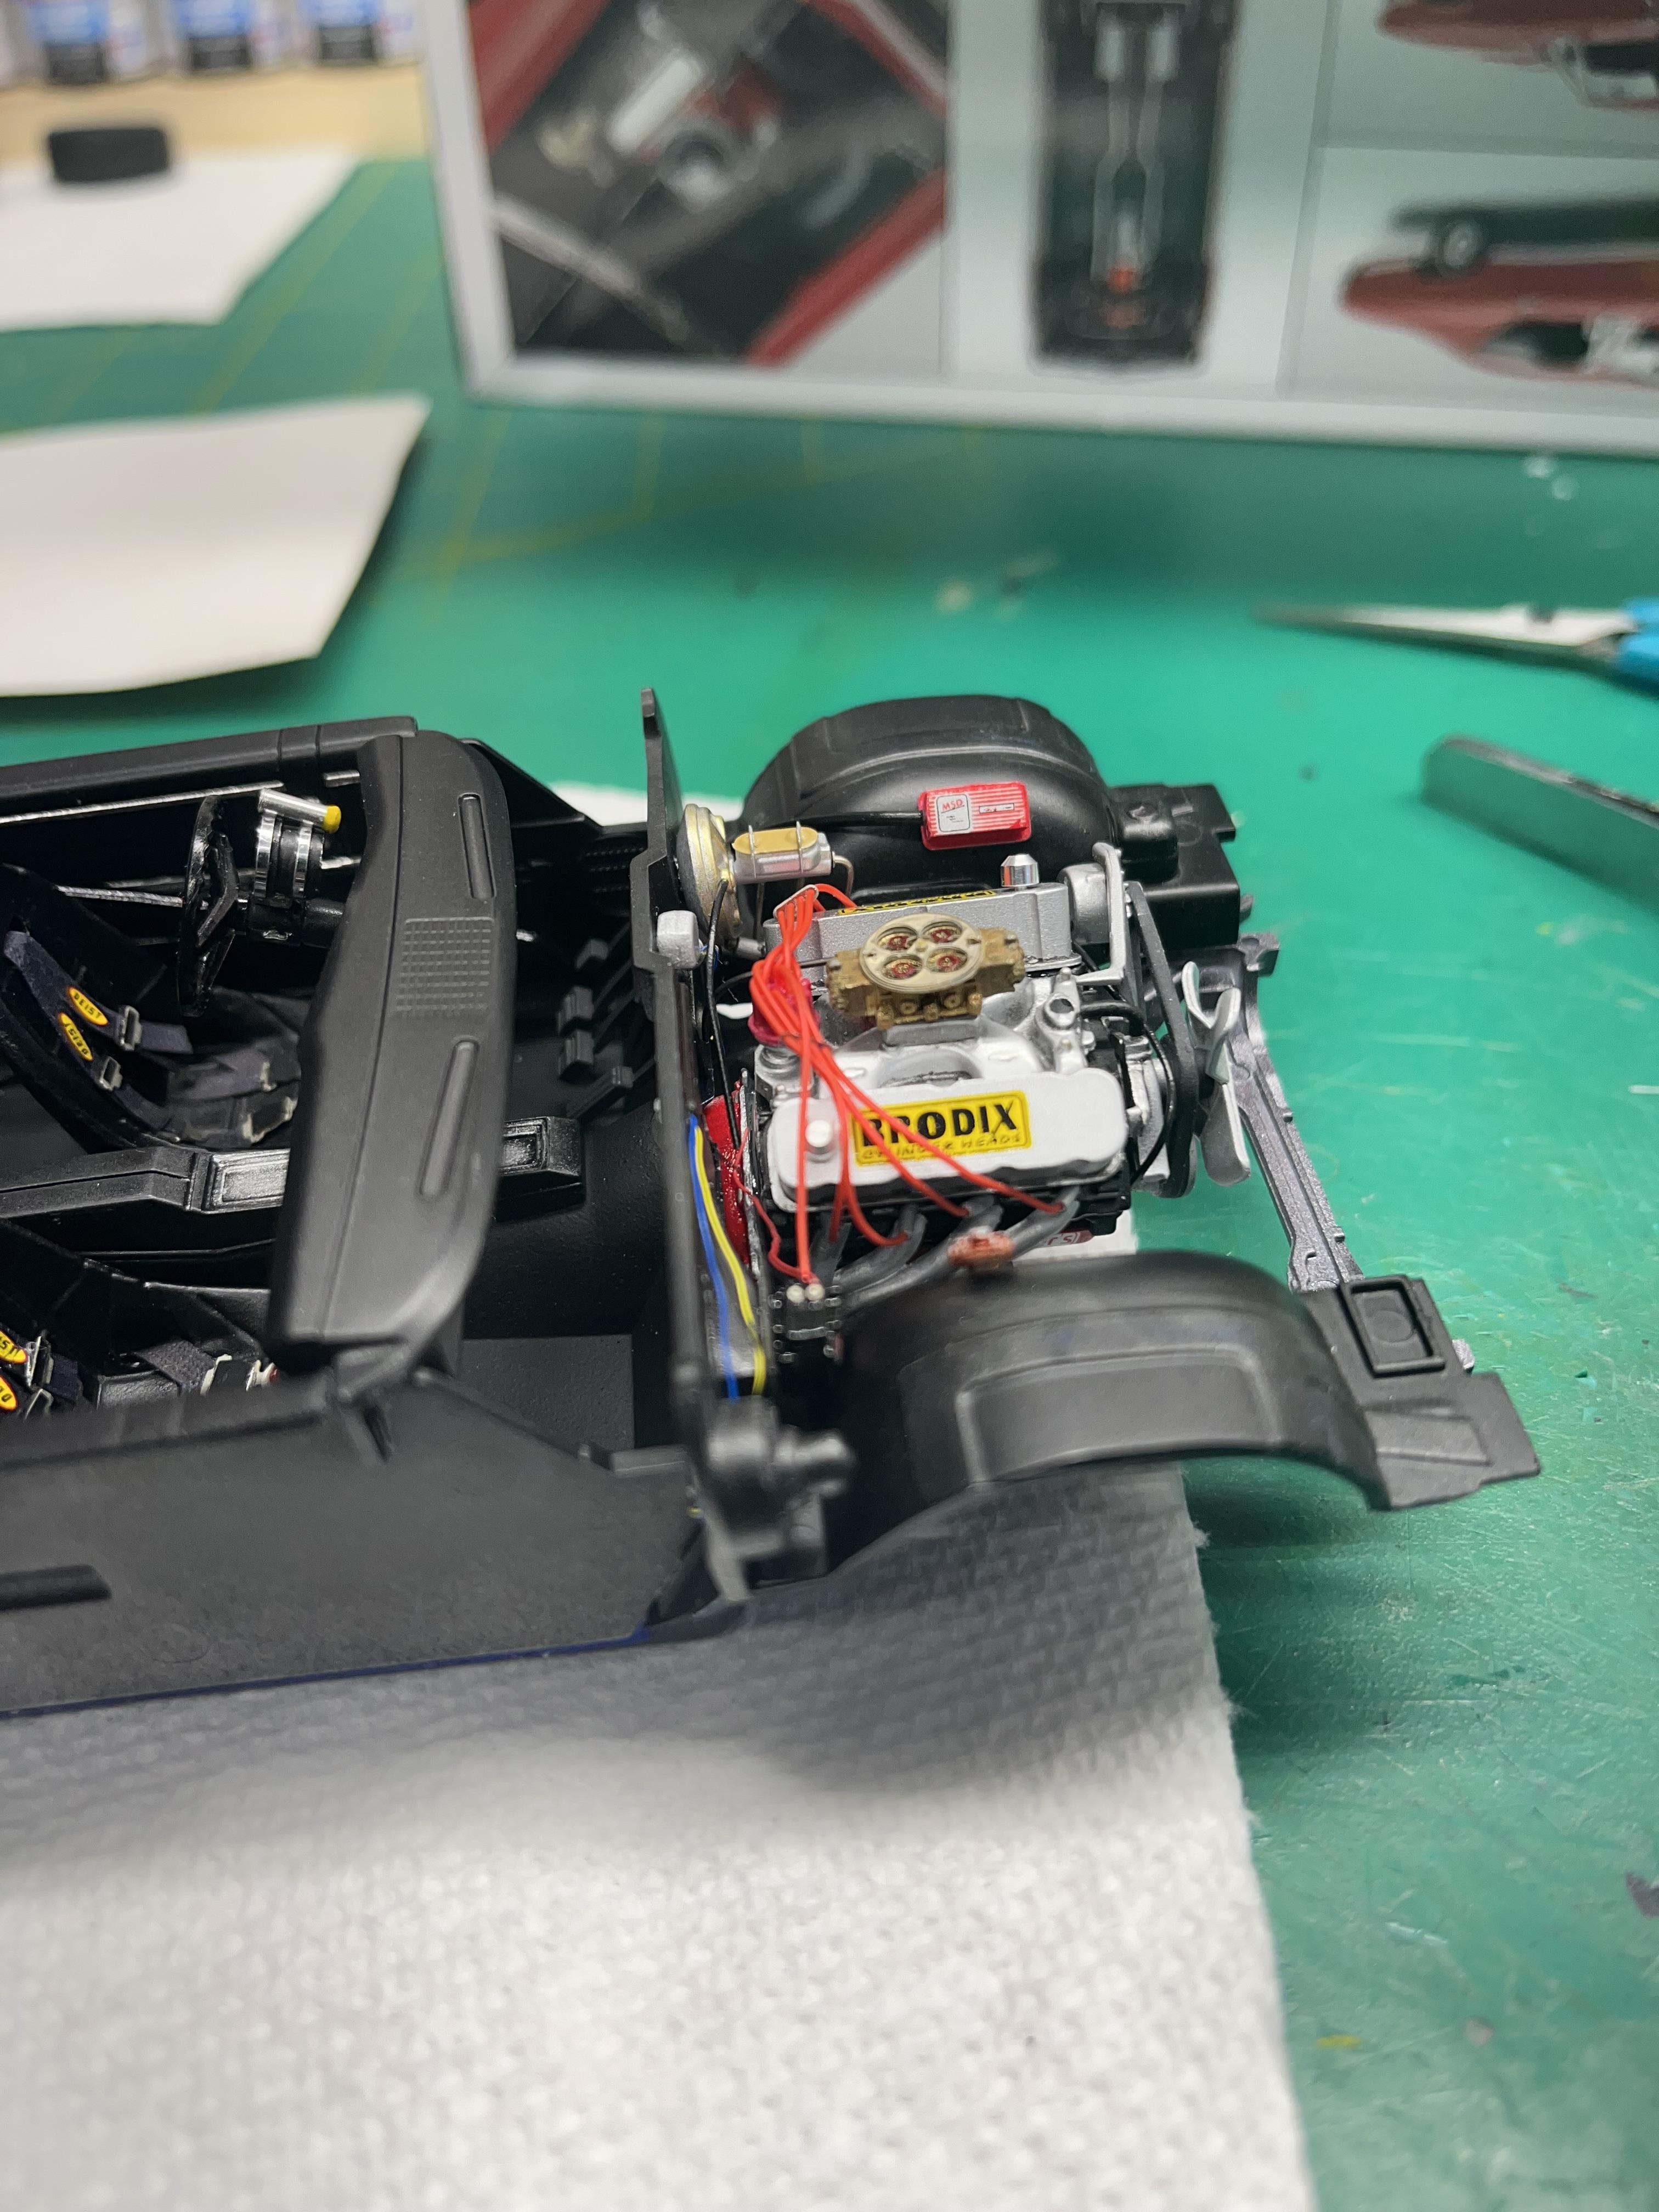
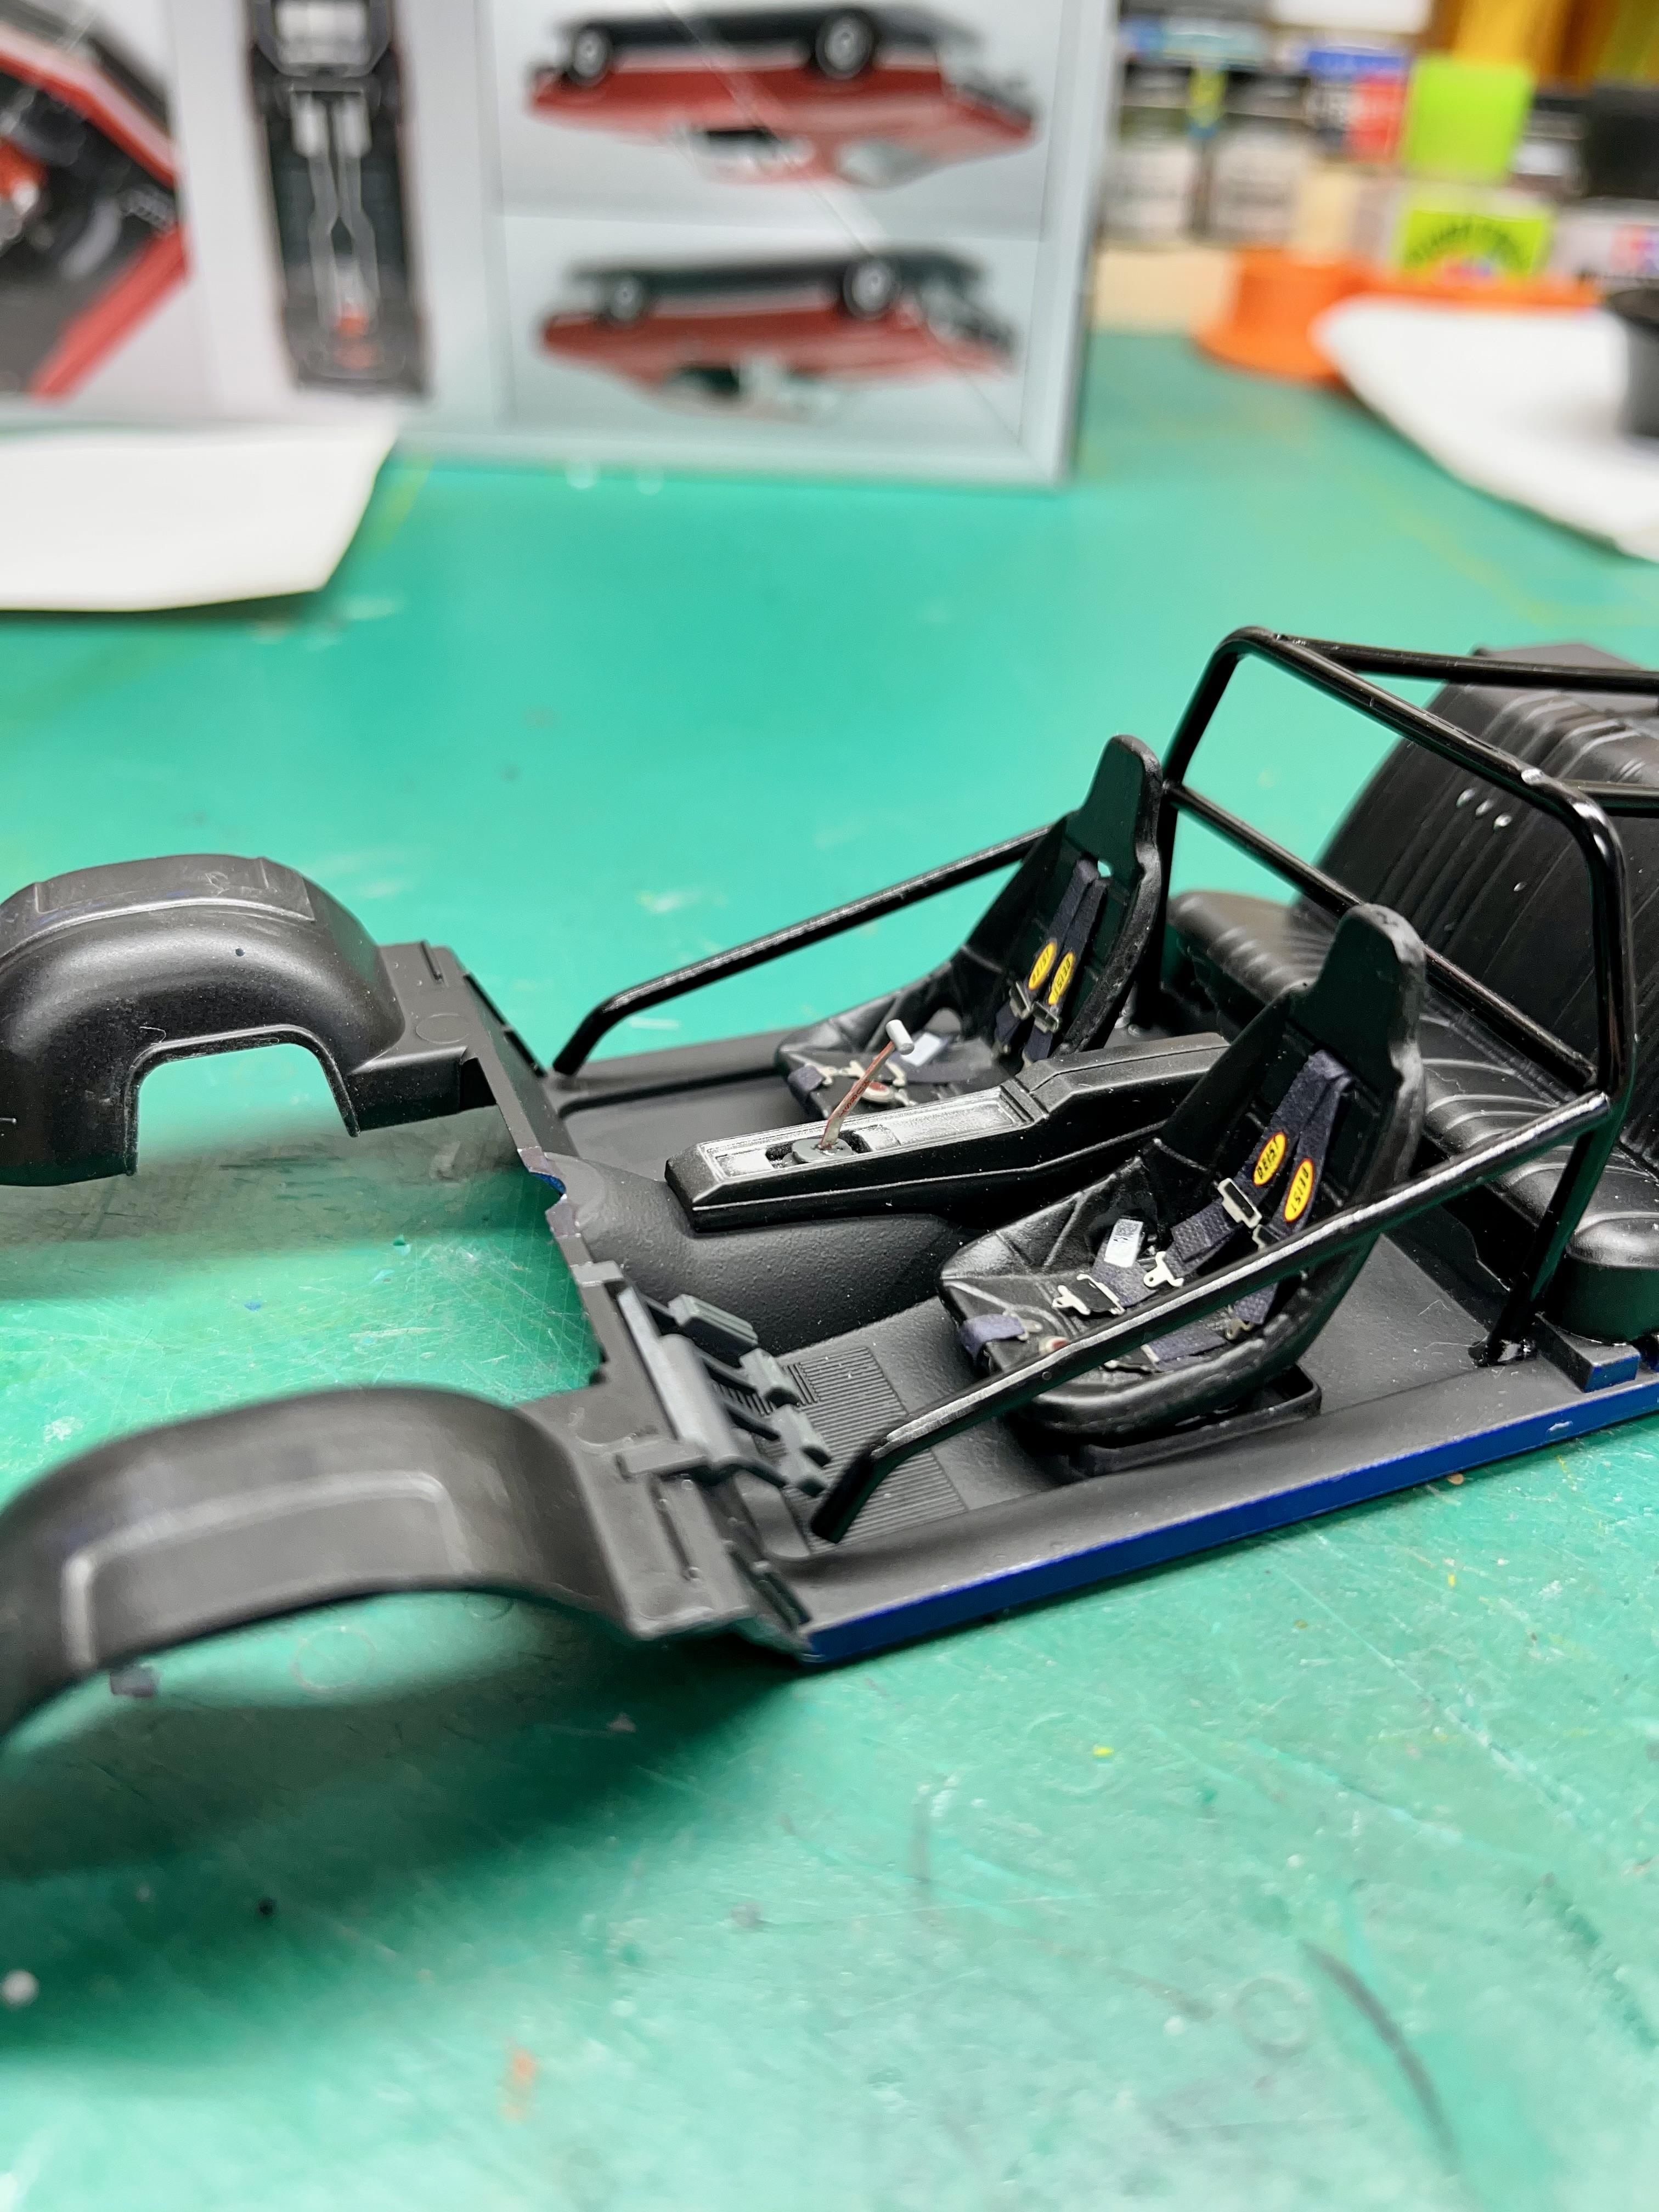
Thanks. Did a little on it today. Just have to decide if I want to clear the body and decals, or just foil it as it is. After that, all that’s left is hooking up the fuel system.
-
Thanks for the suggestion. I didn’t try heat as of yet. I do have an electric space heater, that actually does an excellent job of warming the lacquer paint cans. And it’s adjustable. If I must use heat, I’m gonna give it a go. Salvinos is sending me a new sheet, because this one had a crease on the # 5 door decal. So now I can redo the rear roof decal, because that was put on first, when I should have temporarily installed the side windows, with decals, and then the sail panel decals, to properly match the rear roof decal. This is definitely a learning experience.
-
Yes, Niko those 61 Impala kits are a pretty nice kit. I never had any problems with excessive body work with them. I still have one in the stash that I’m looking forward to starting now.
-
Thanks, Tony, Tim, and Anton. Did a little more work on the Chevelle last night and today. Now, I’m starting to doubt clearing over the decals. I’ve never cleared over them before, and I’m afraid I’ll mess them up. It took few coats of Micro Sol to get the hood stripes to lay down. I’ve heard some people wash the body, with the decals on, in warm, soapy, water, and let dry. Then mist the decals in very light coats of clear. I’m feeling kind of reluctant to doing this. Anyone have any pointers on performing this? I plan on using Mr Hobby gloss clear, as it’s not as harsh on them as Tamiya.
-

AMT Kenworth Challenge mixer 1/25
Brutalform replied to truckabilly's topic in Model Trucks: Big Rigs and Heavy Equipment
Fantastic job. I can’t believe how real this truck looks. I especially like how the tires are weathered. -

FDNY Wrecker
Brutalform replied to Scott Eriksen's topic in Model Trucks: Big Rigs and Heavy Equipment
Absolutely stunning to say the least. One of the nicest, and well detailed wrecker builds I’ve seen. Great job! -
Details are looking good, real good.
-
Thanks guys! Bruce, it’s either Tamiya Deep Blue Metallic, or Tamiya Racing Blue. I painted it a while ago, and I’m not totally sure, as they are pretty close in color.
-
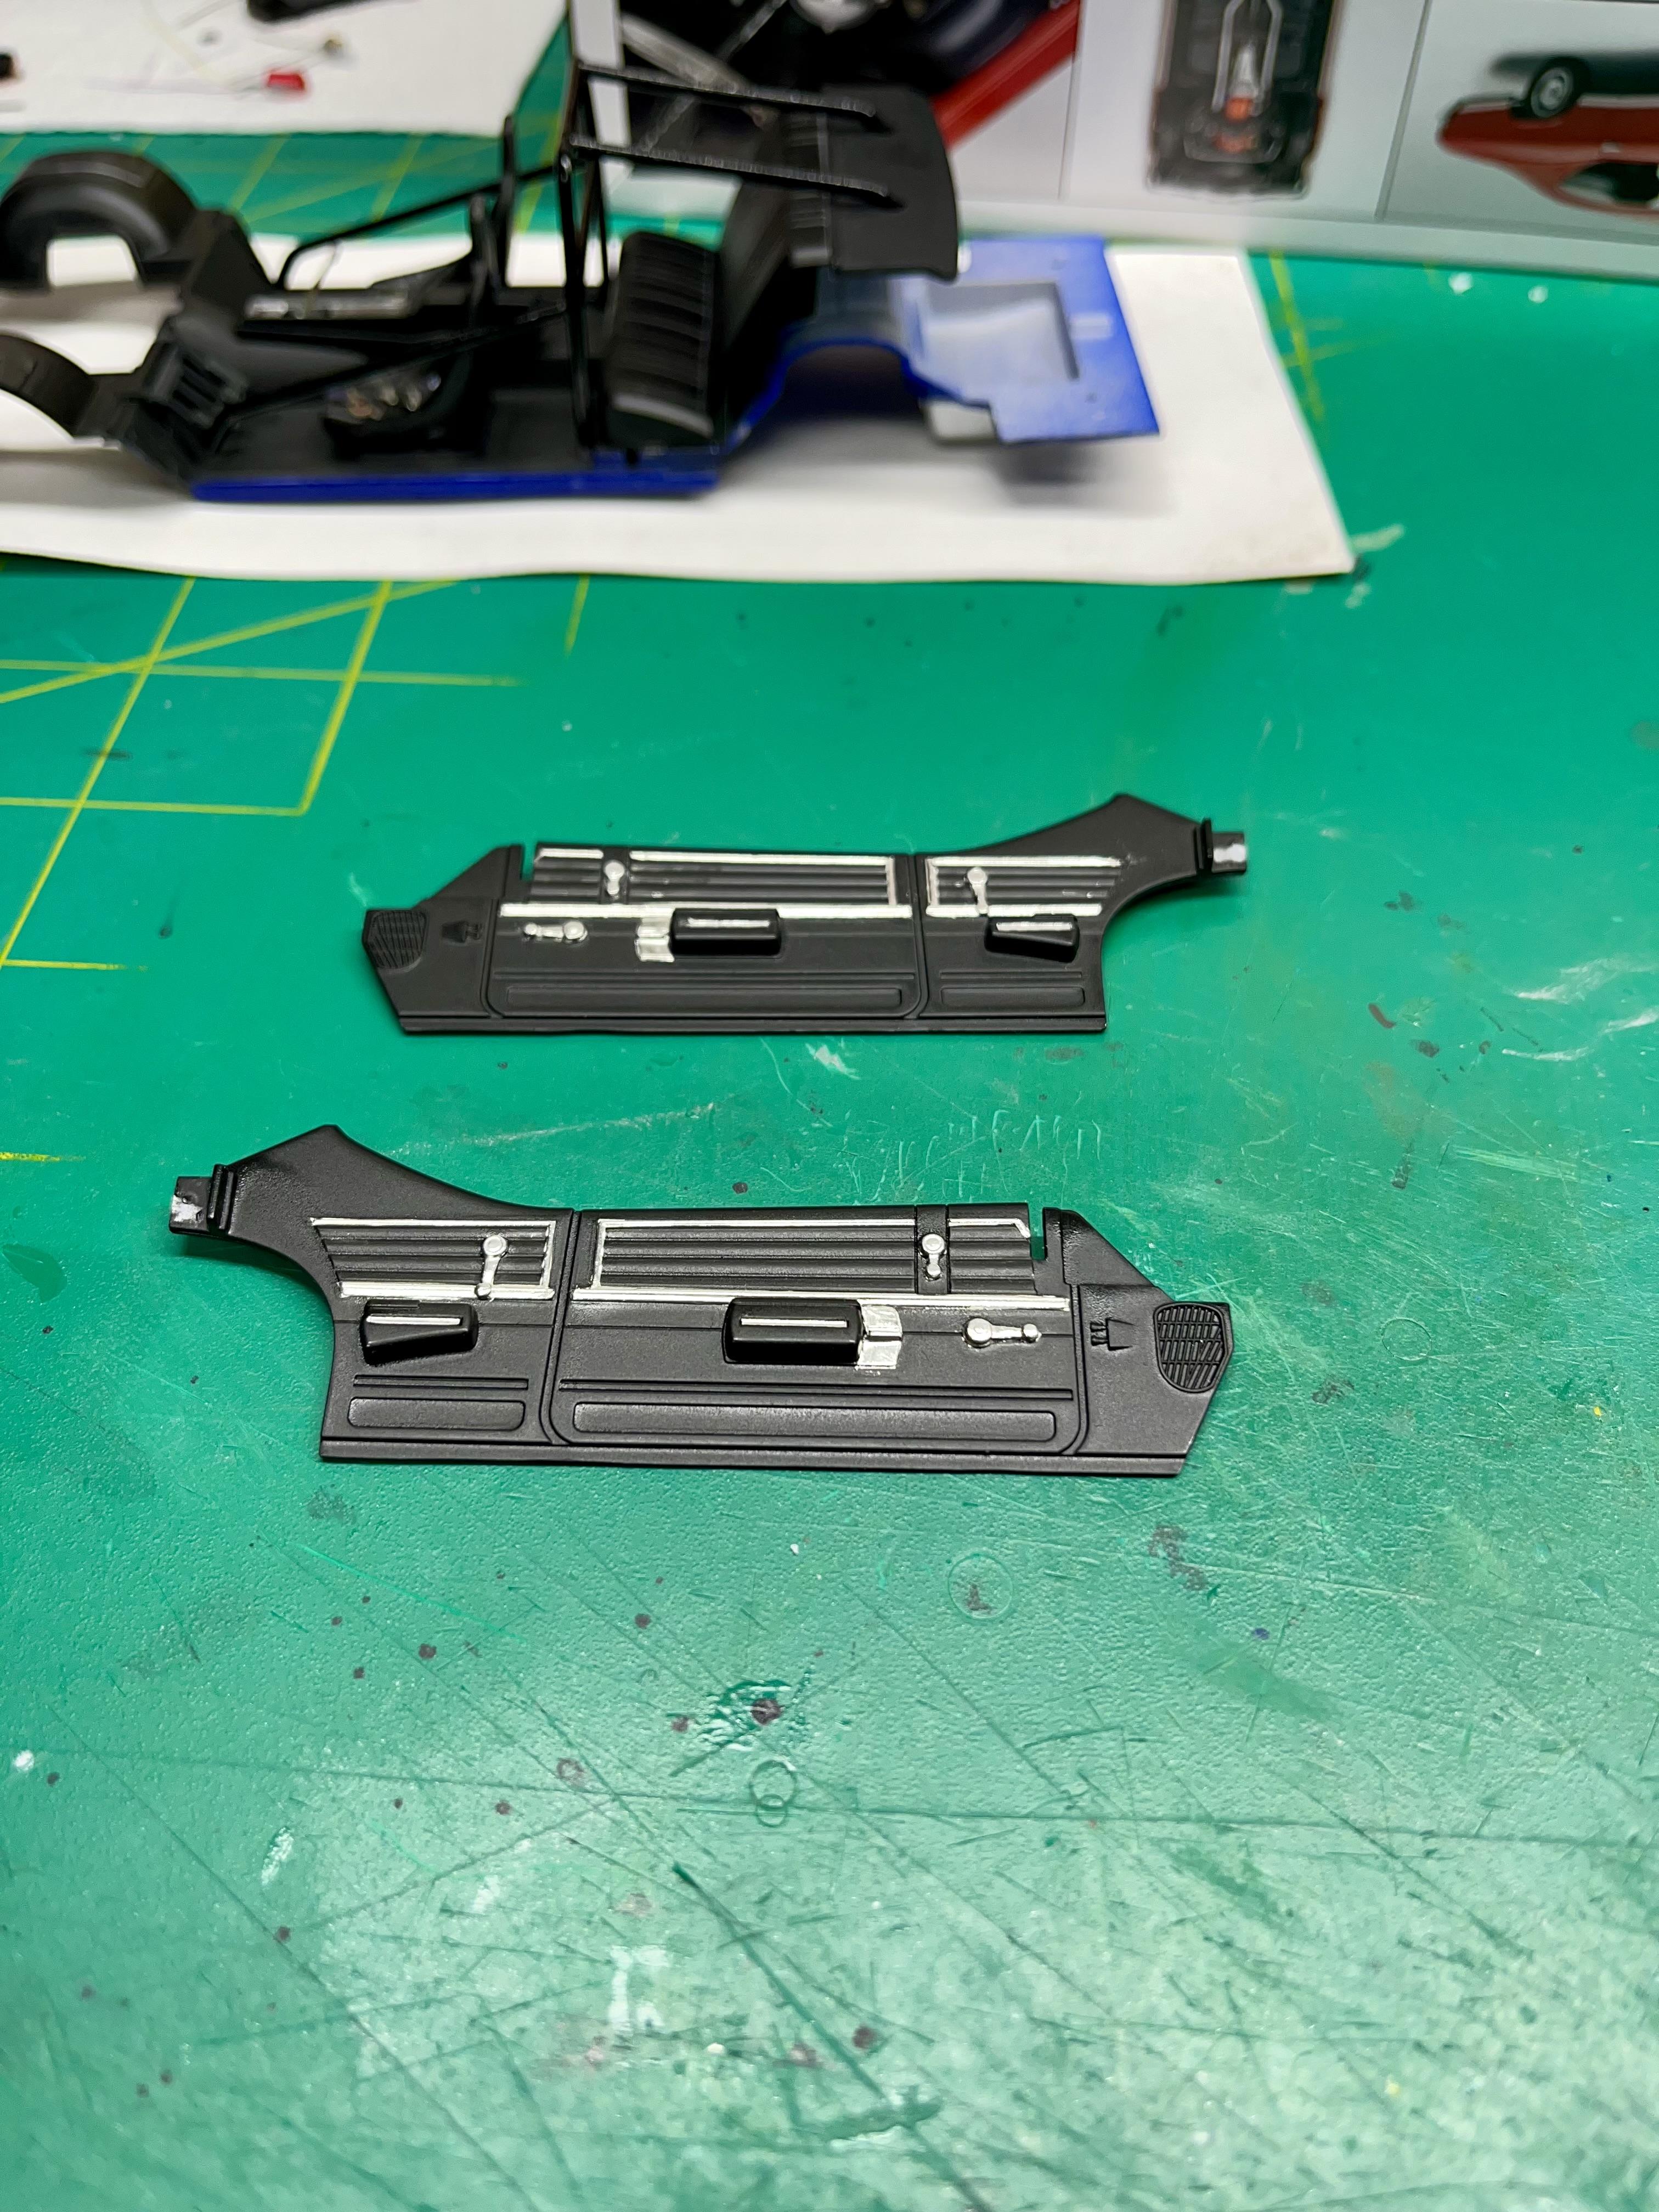
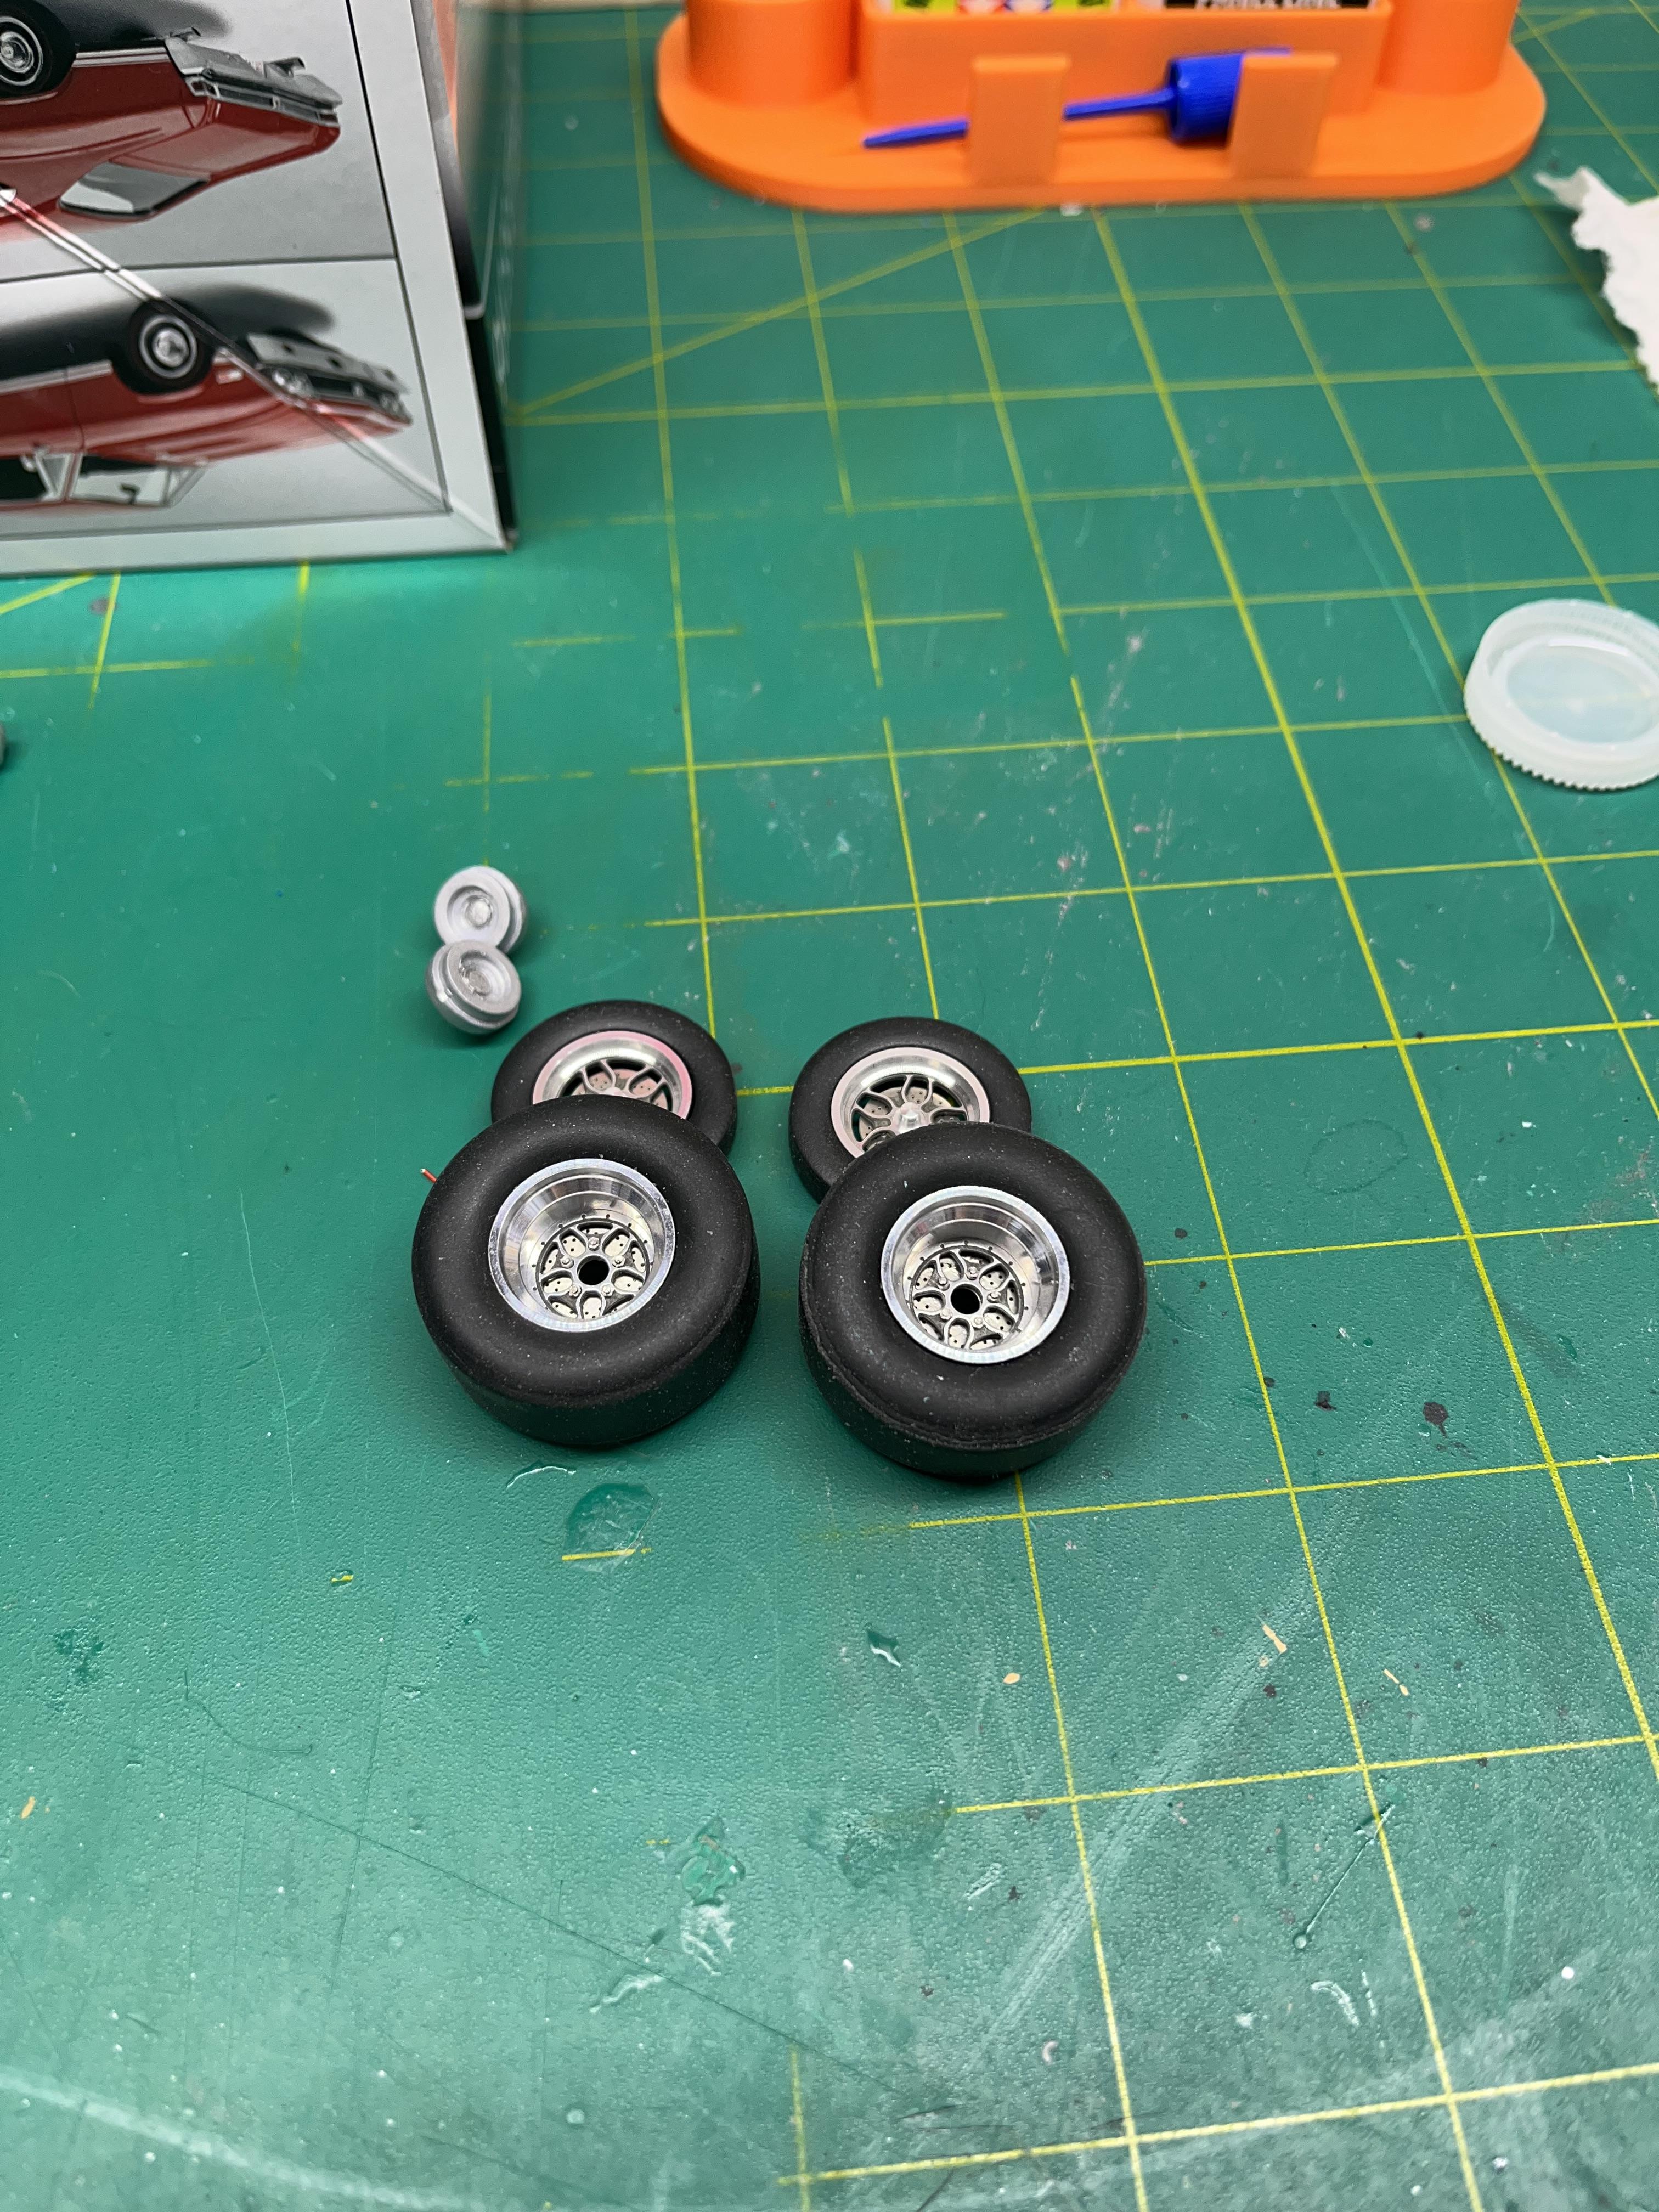
Got the wheels all figured out. Just gotta find some lugs for the front rims, as they are not a spindle mount. Maybe I’ll just leave them this way? Pretty much how it should sit. Plan on decals tomorrow, and clearing a few days later. Only doing the hood and trunk in white stripes, and BMF on the sides, with no decals. Never was a big fan of the stripes running the full length of the car. While I’m foiling this car, I’ll foil the Dick Landy car too while I’m at it.
-
My bad. I see you already posted the trailer was “unknown”.
-
BTW, Bill, where did you get that trailer? I have Archway Ford Thunderbolt and the decals to do the tow car. Just waiting to get a resin 64 wagon, and a trailer to complement the T Bolt.
-
Maybe look at a Moebius truck kit, that you can lengthen the chassis on, and add some dual rims and tires?
-
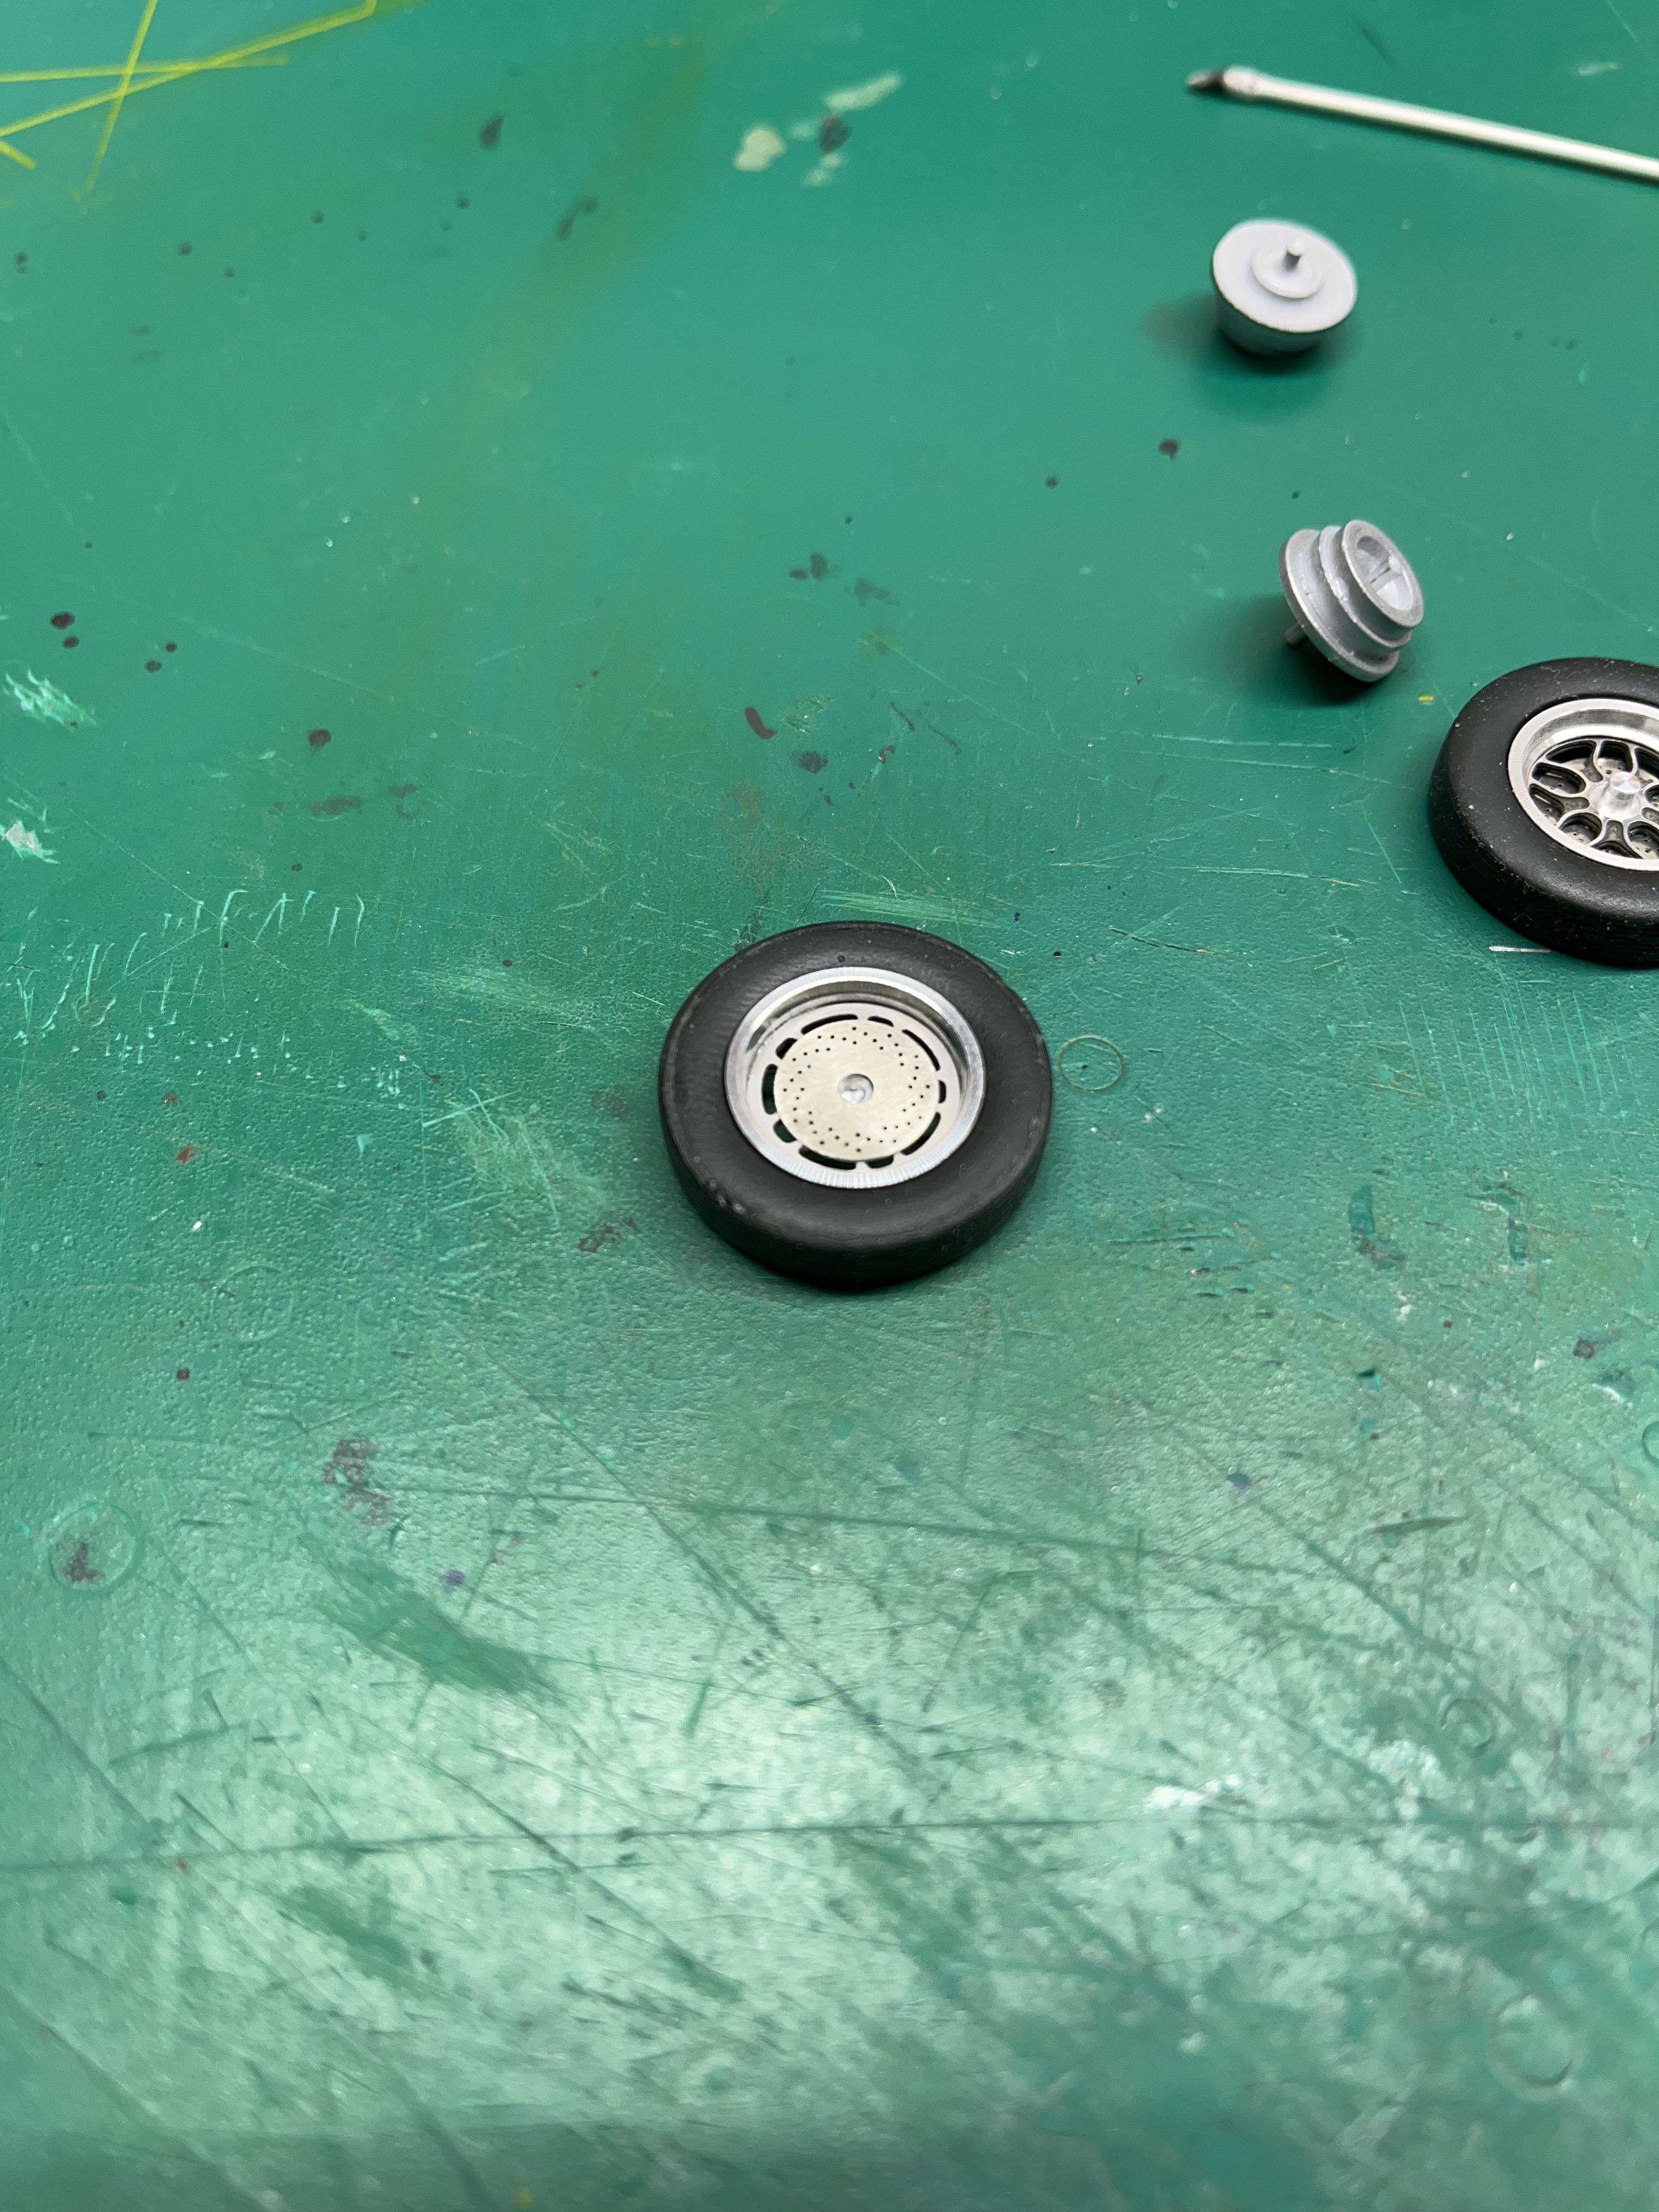
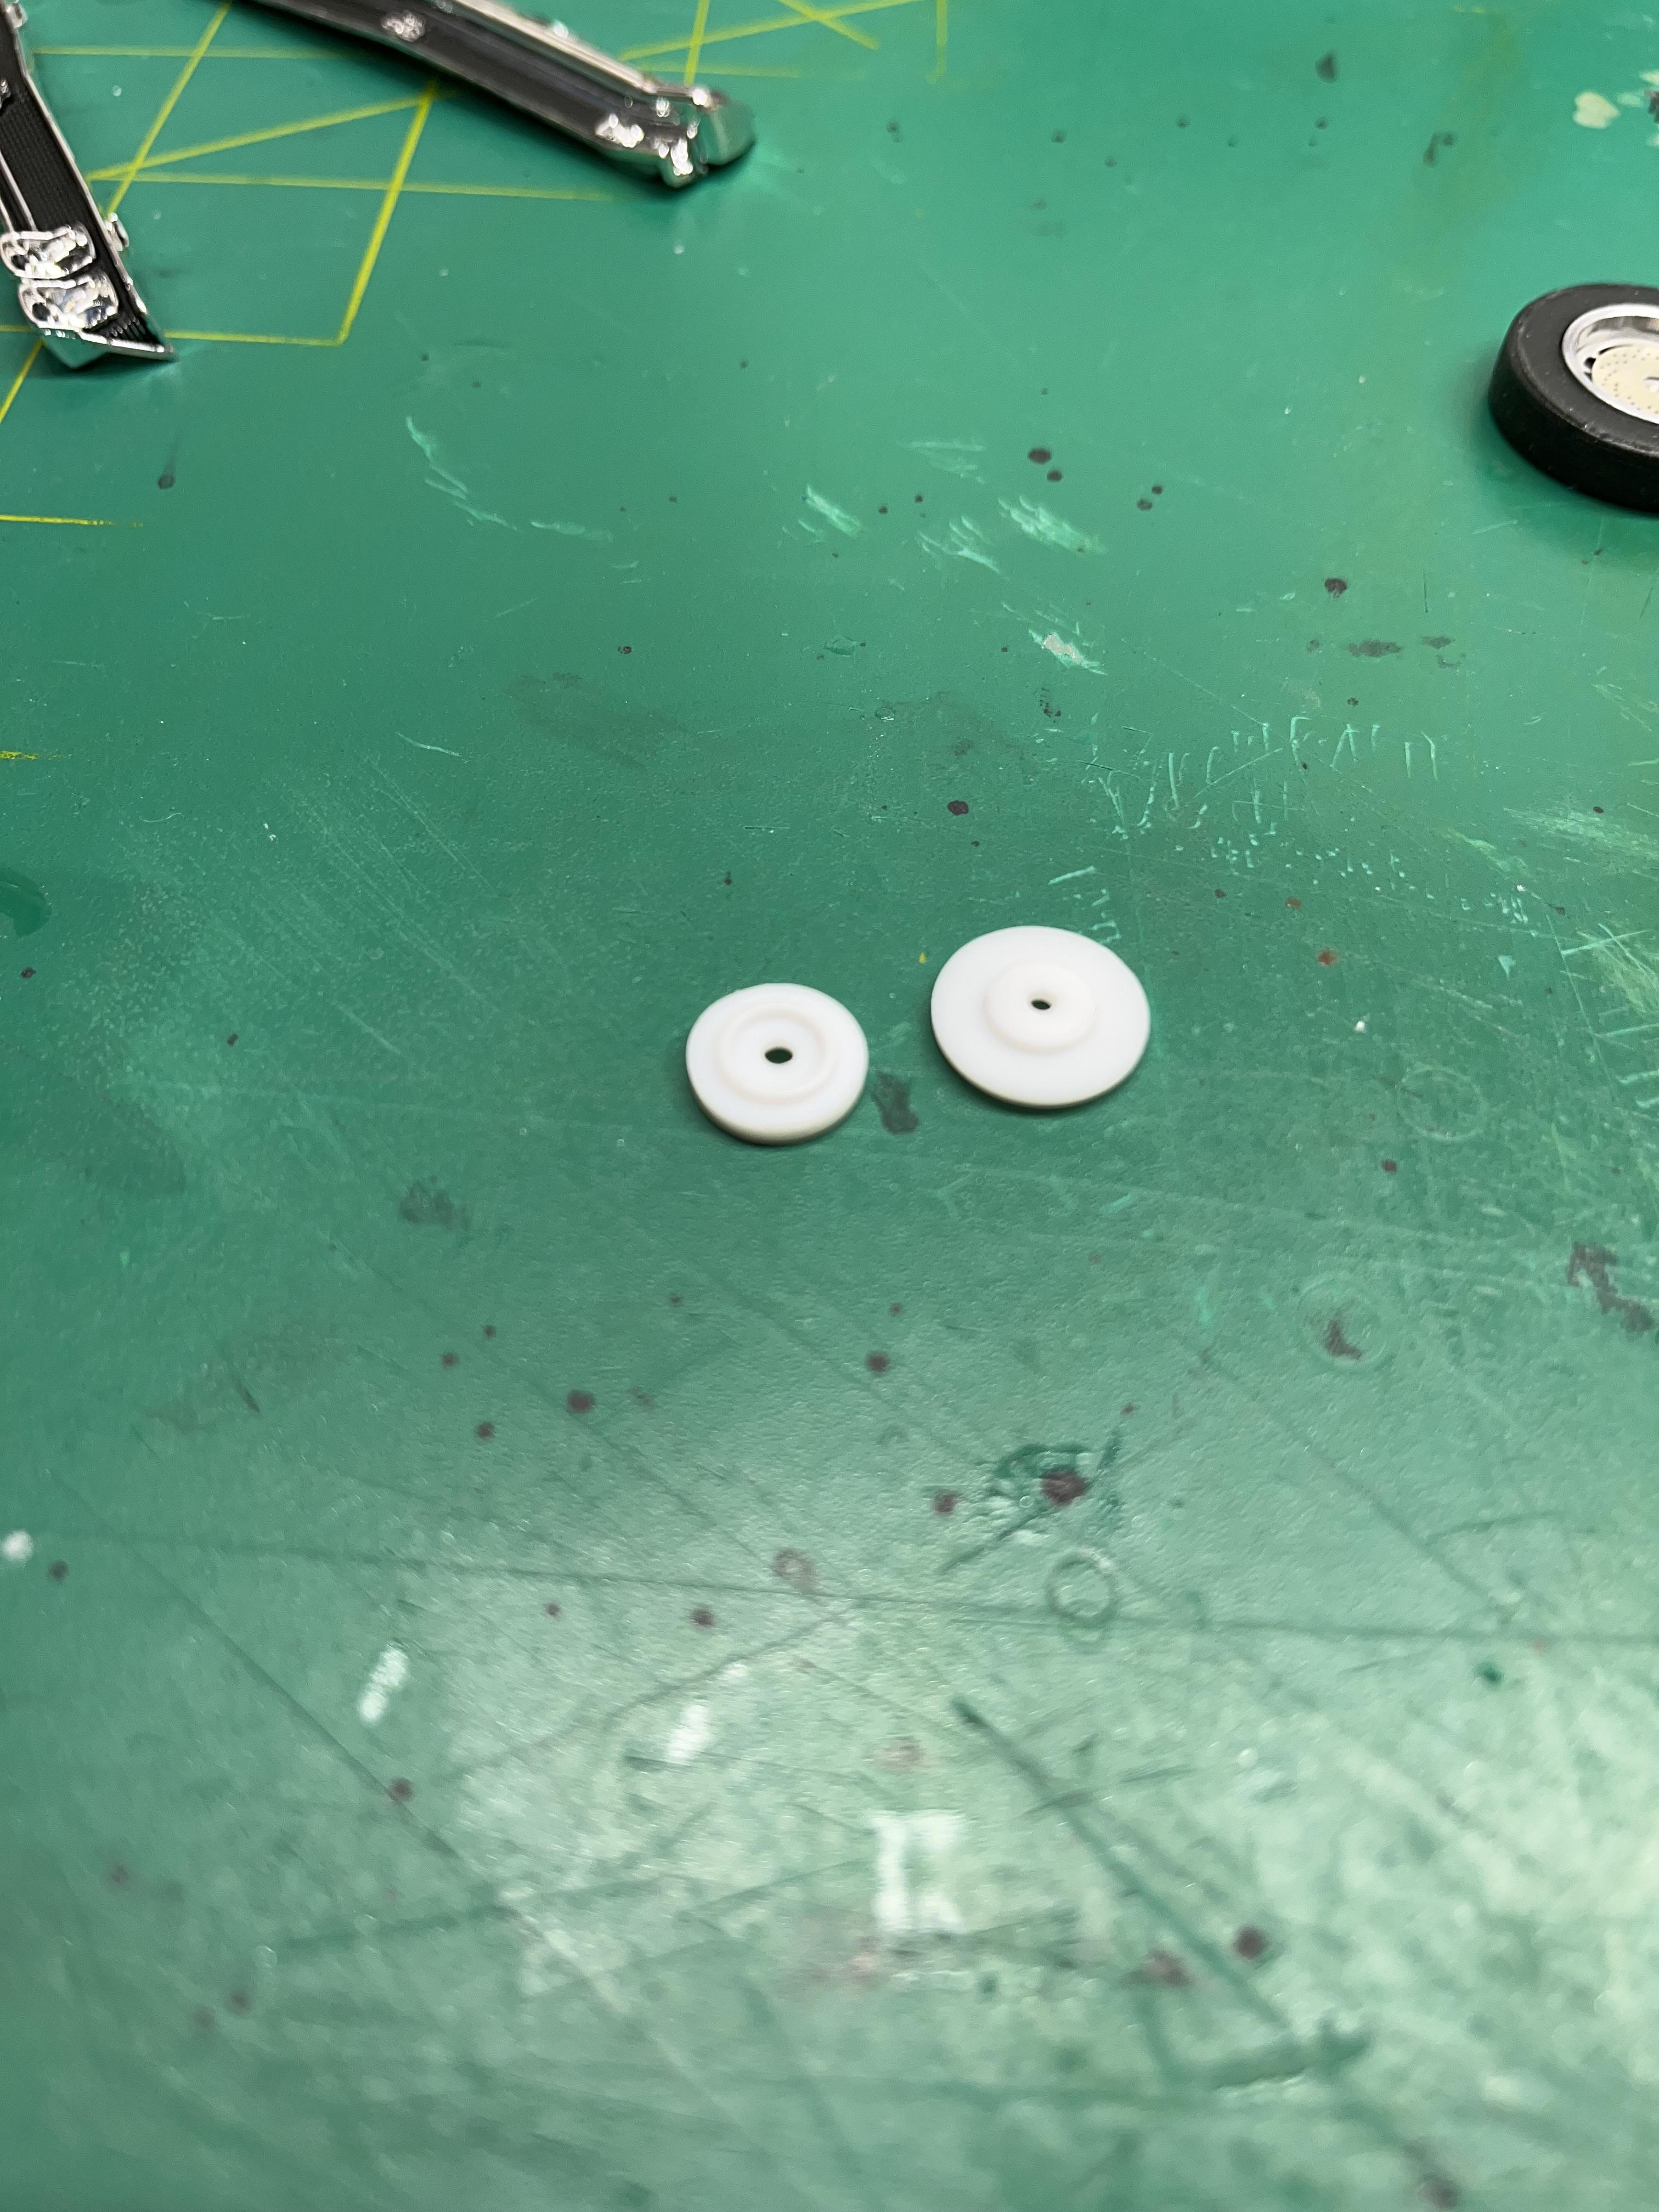
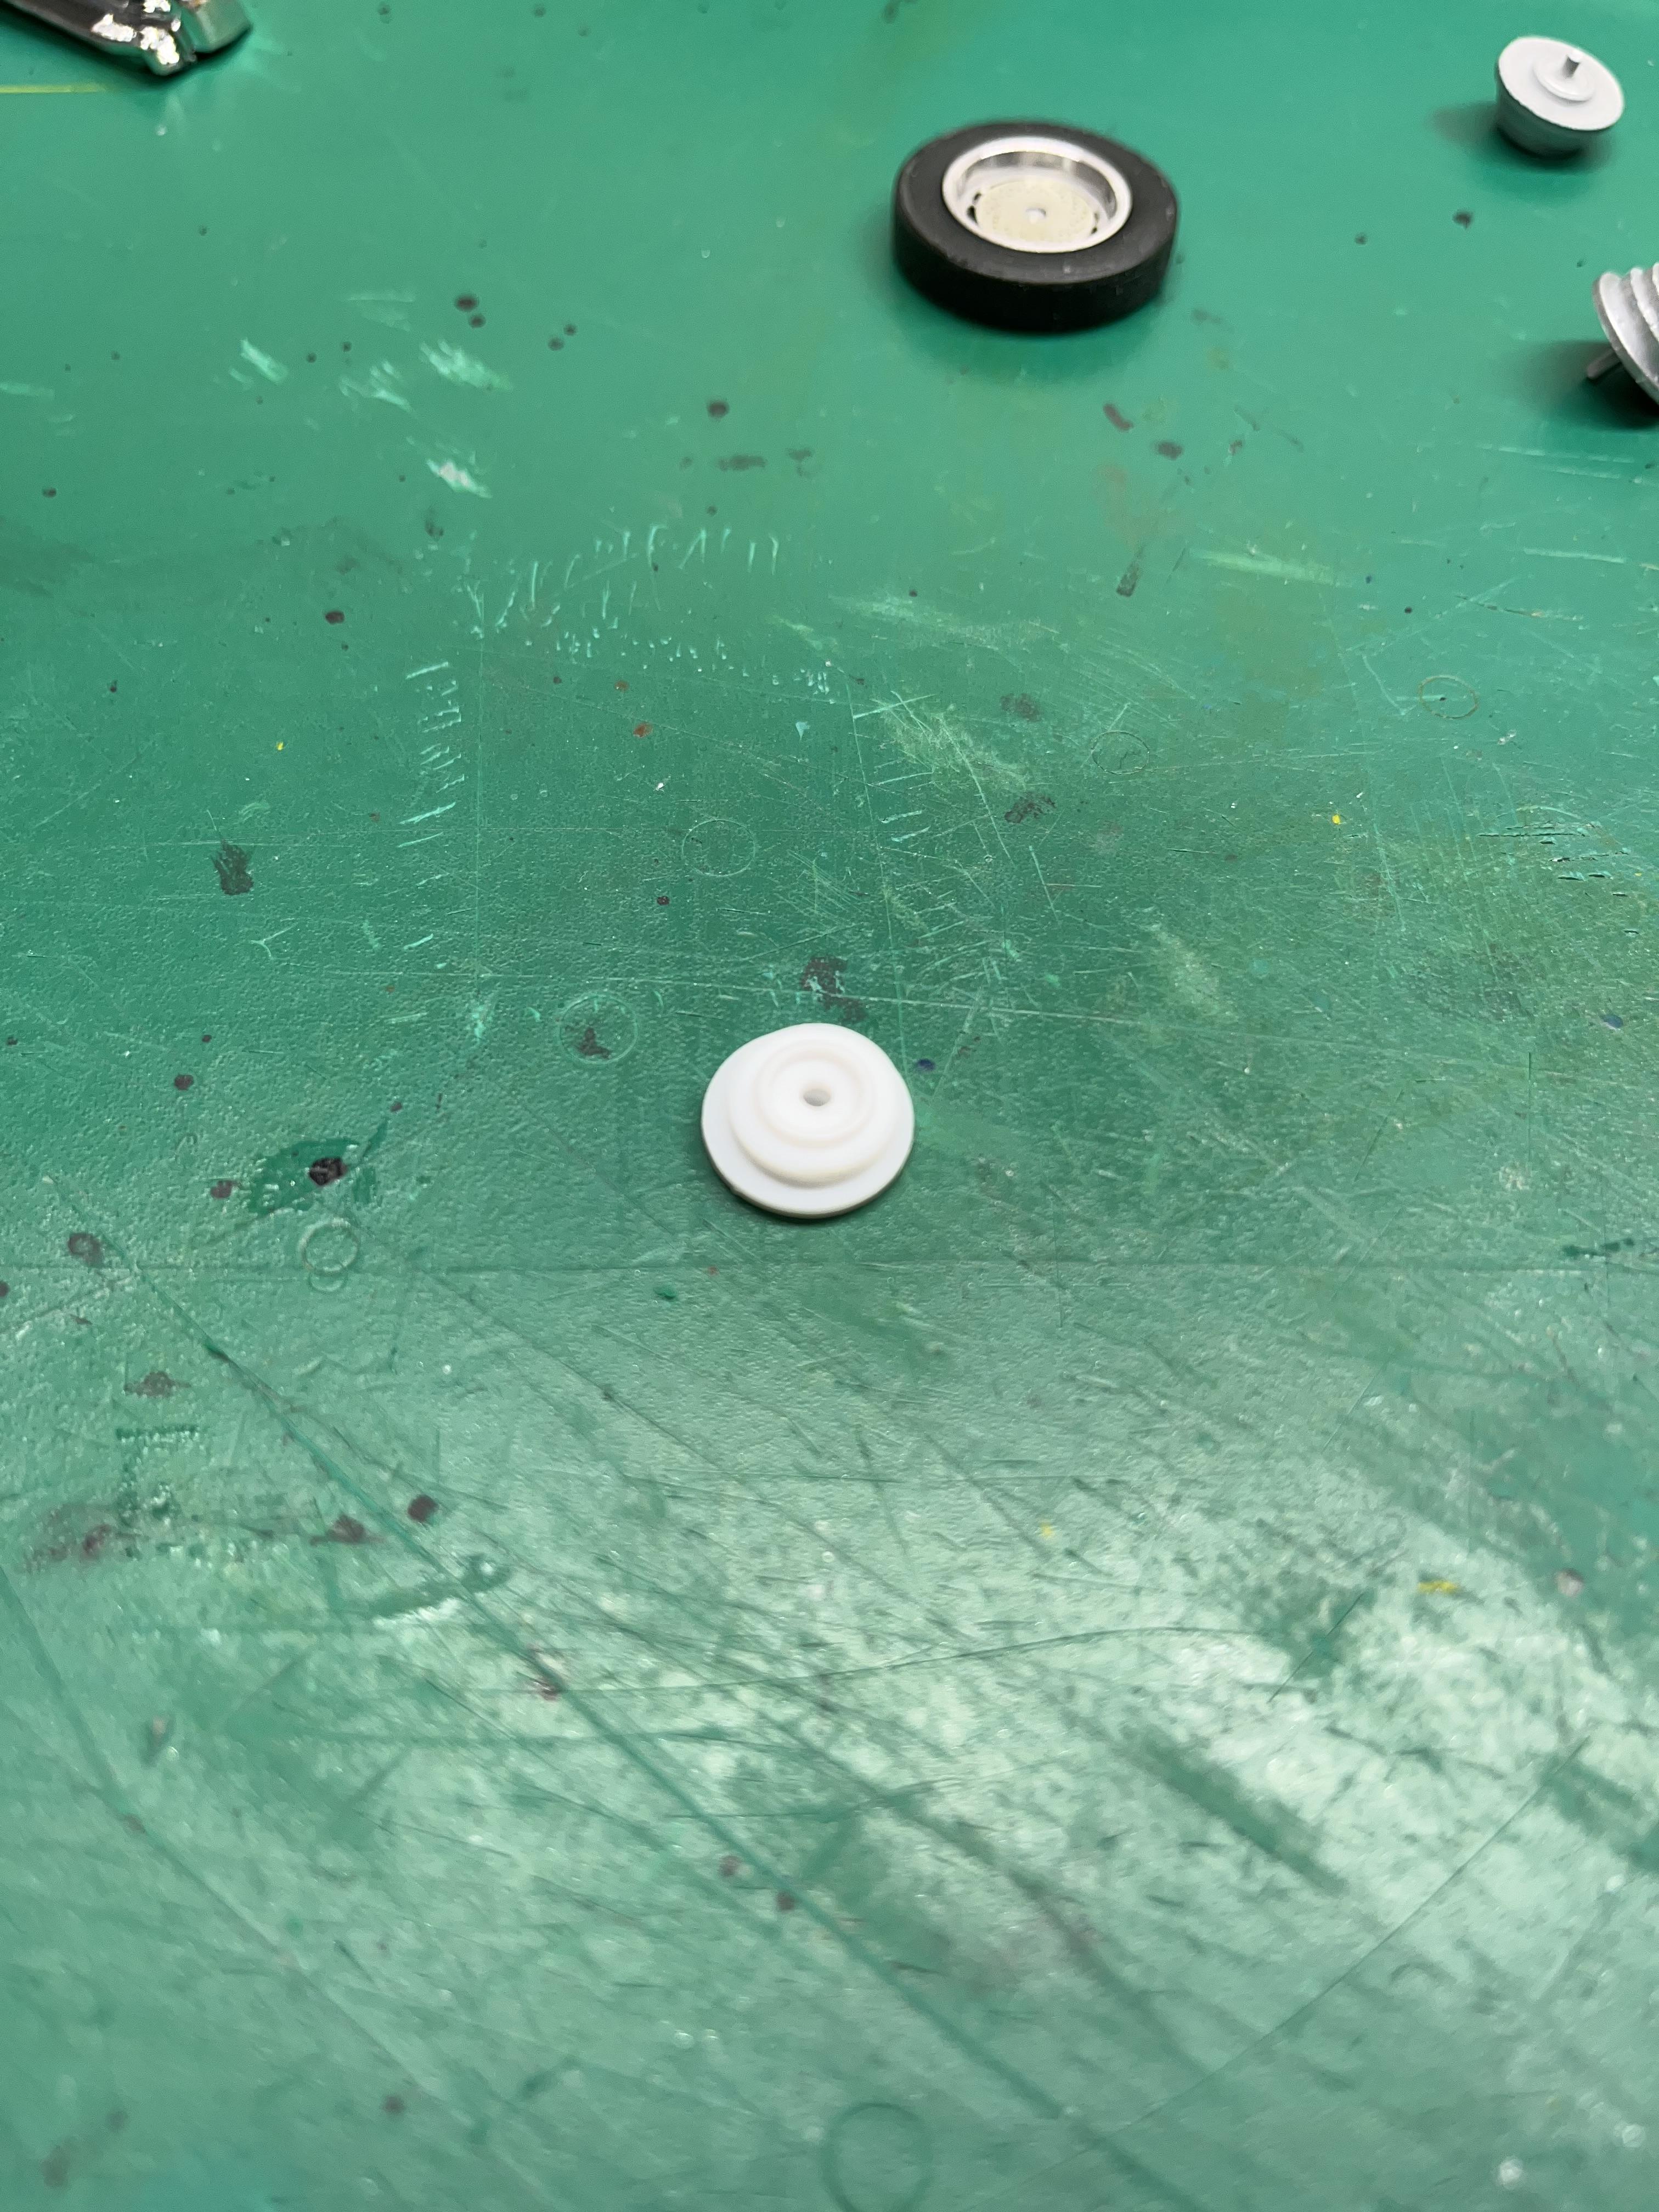
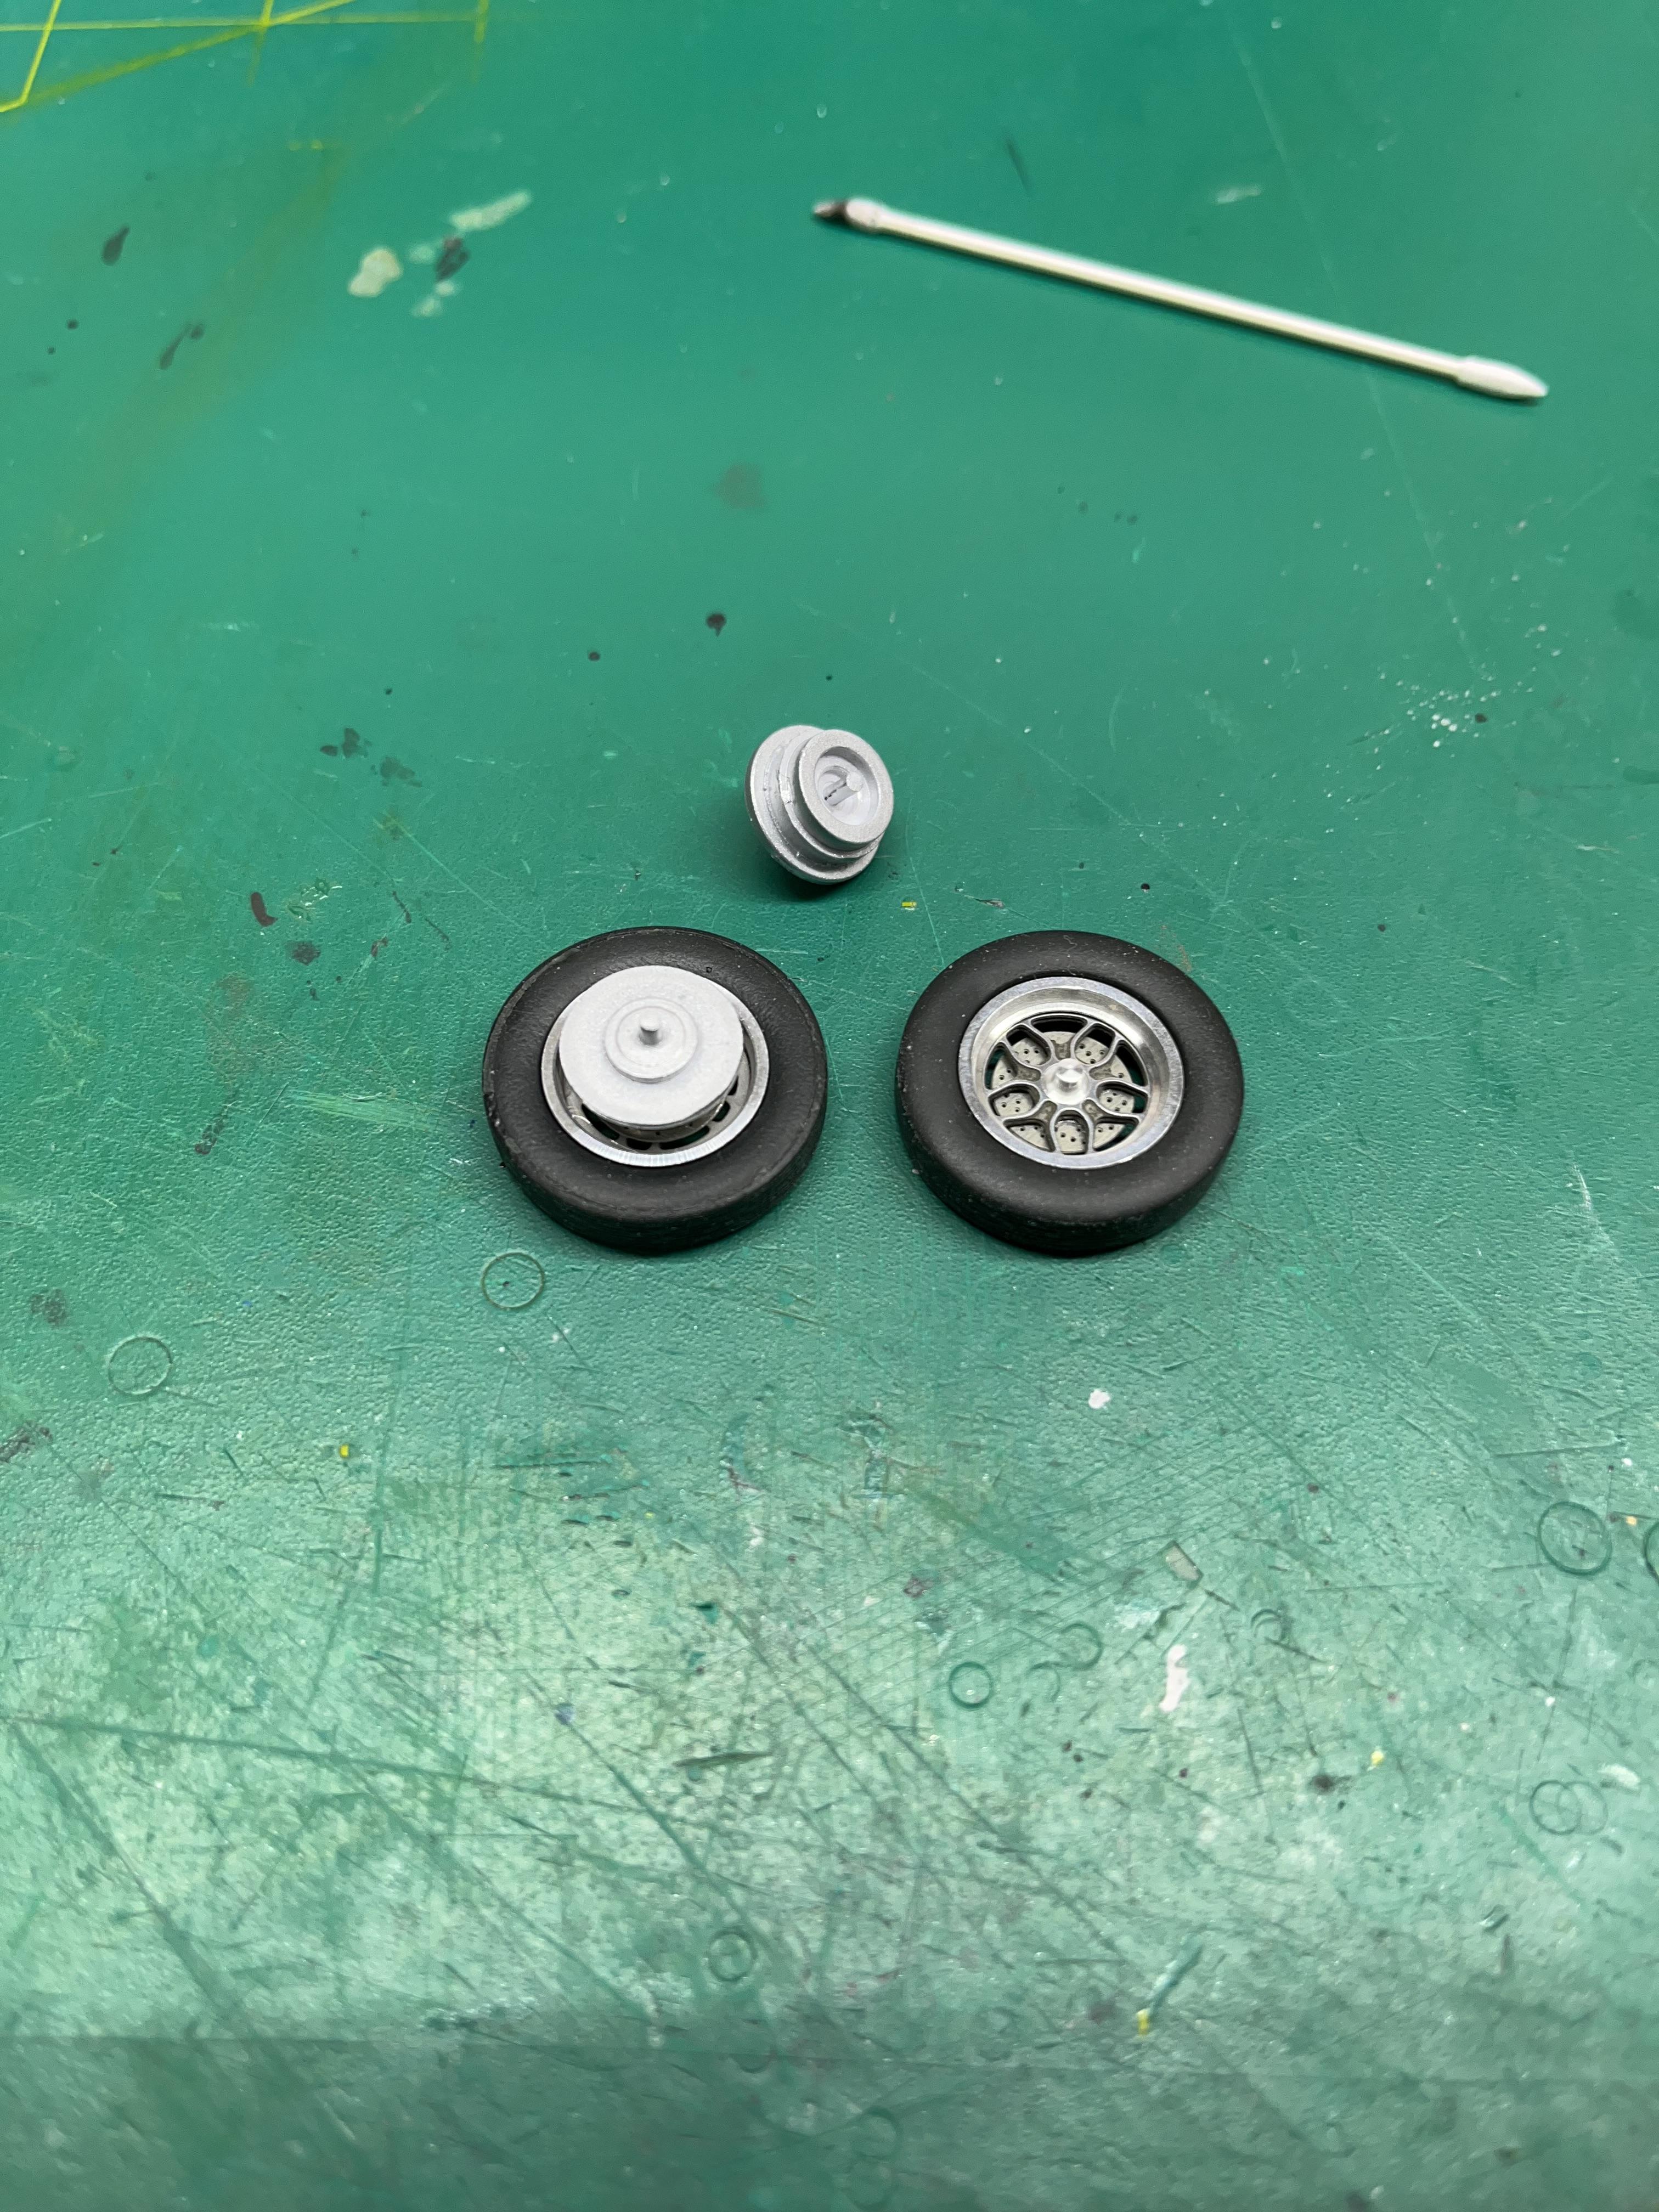
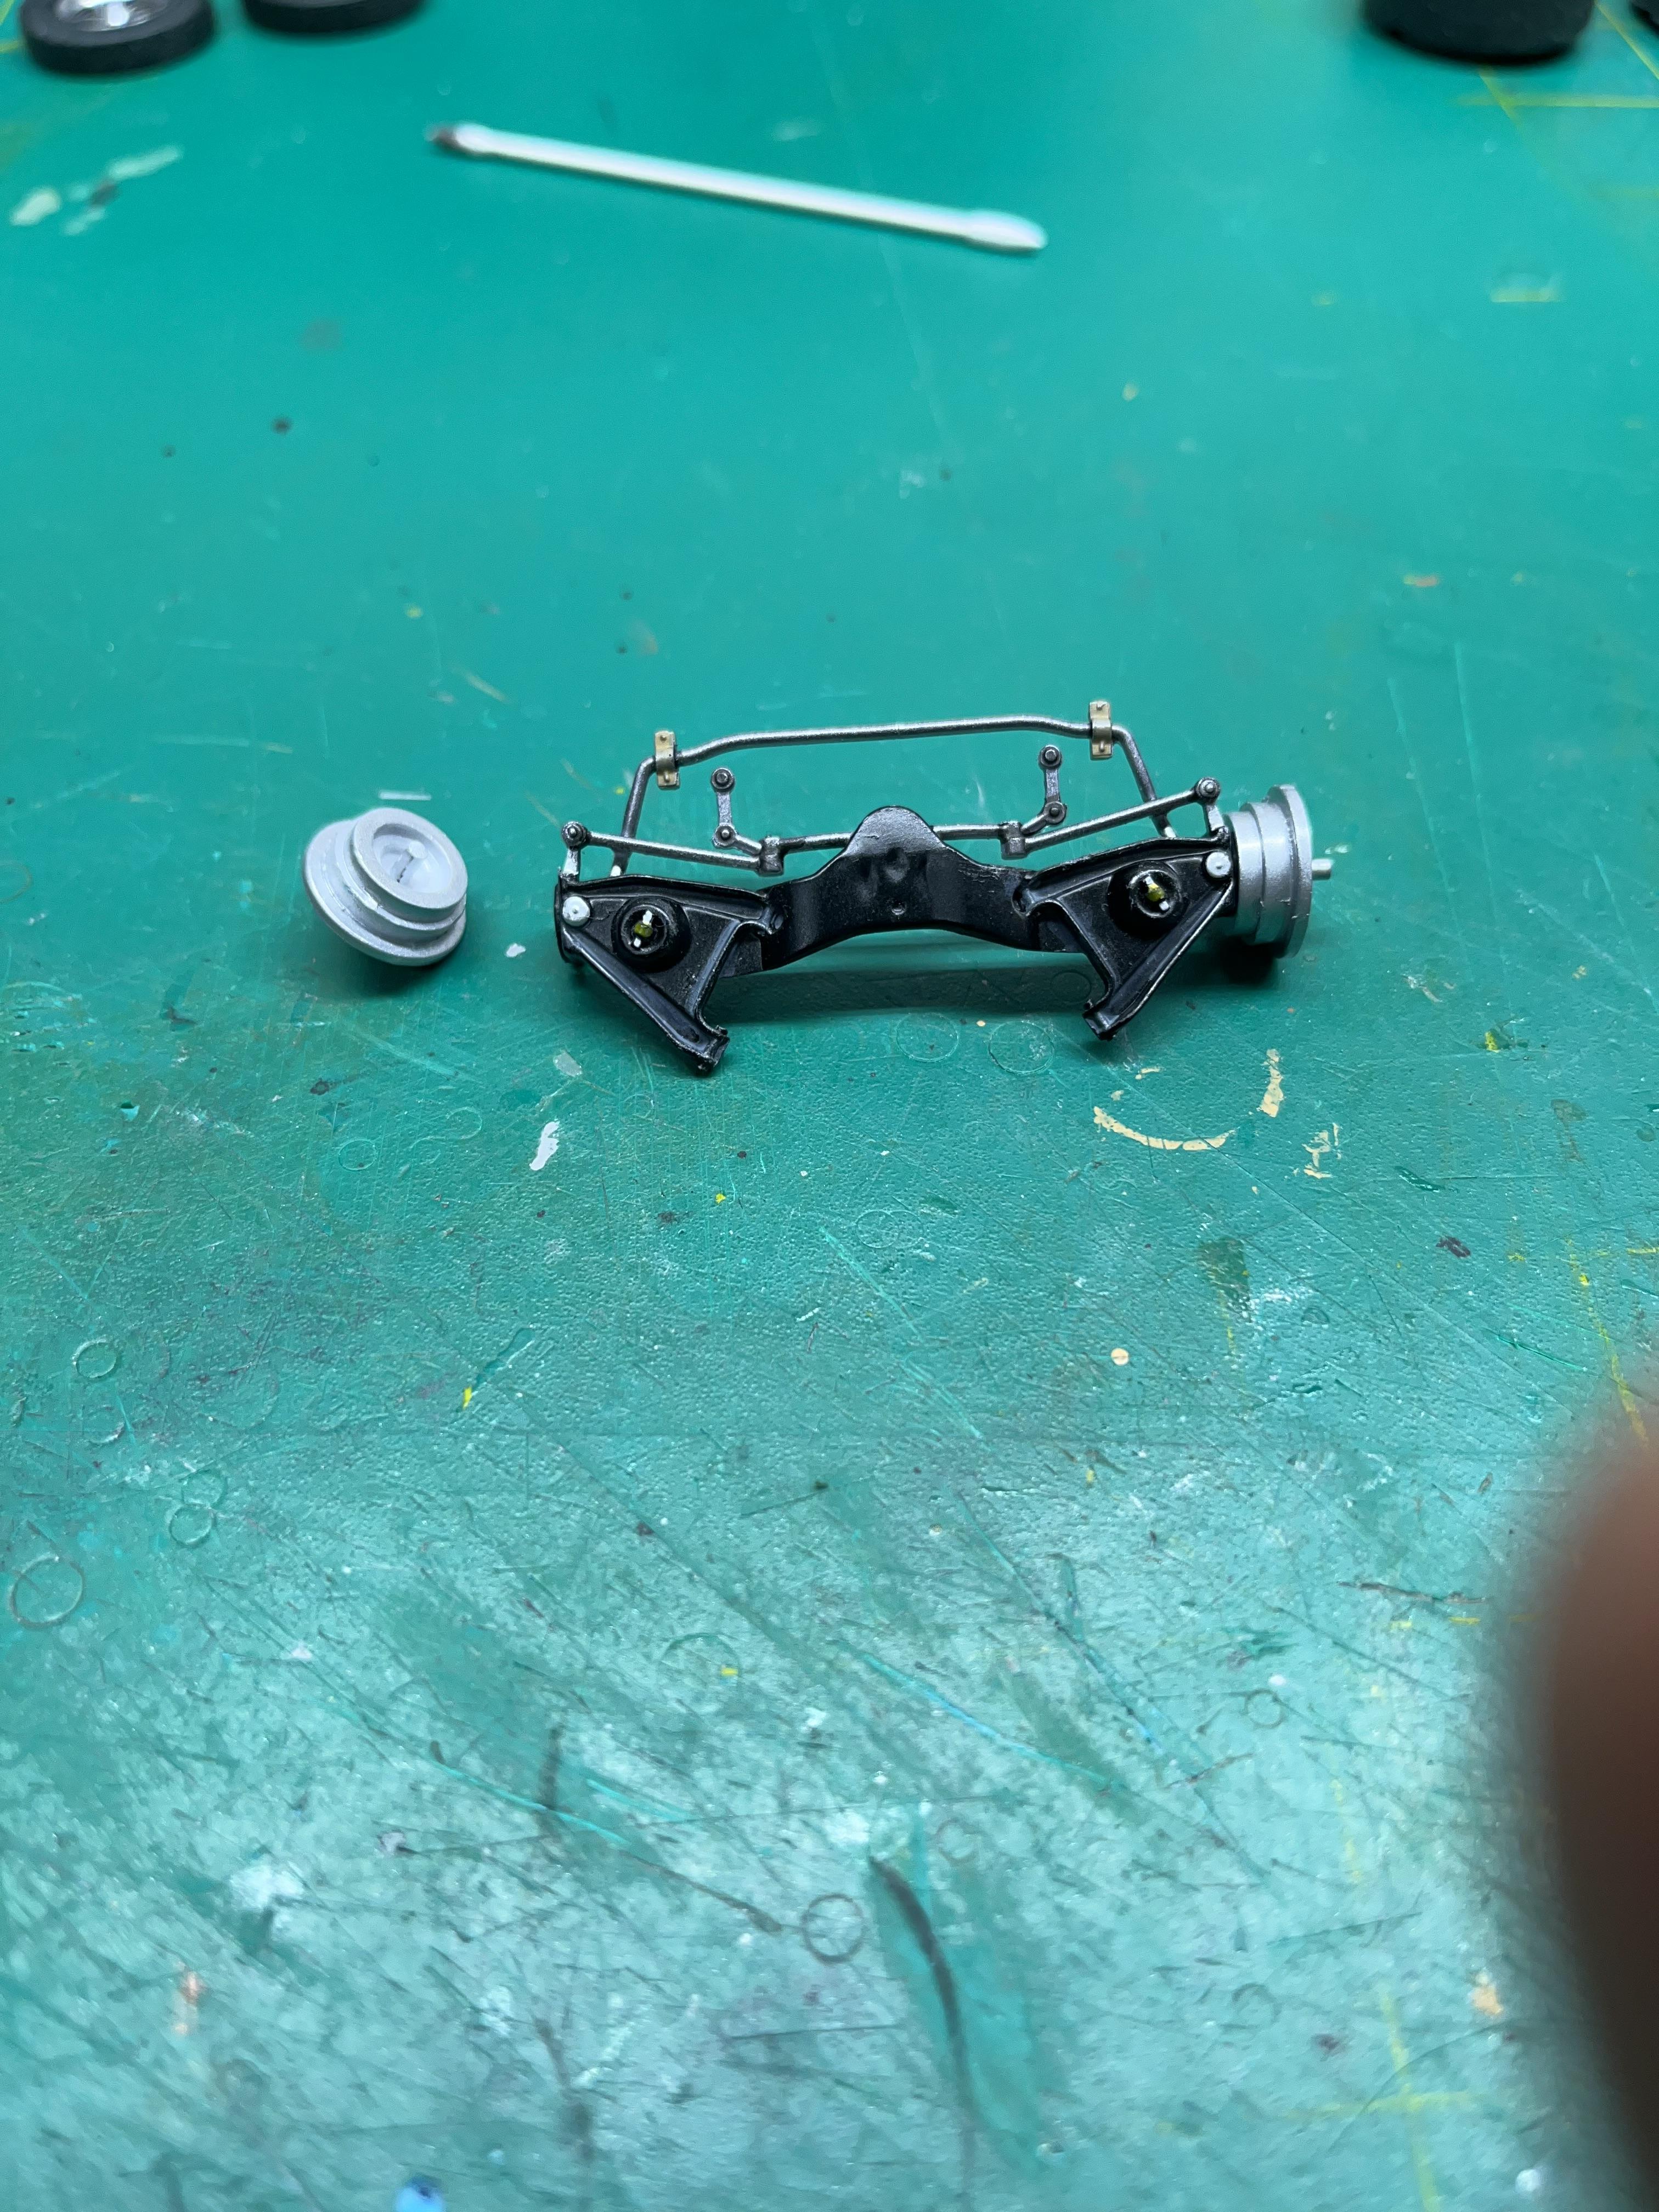
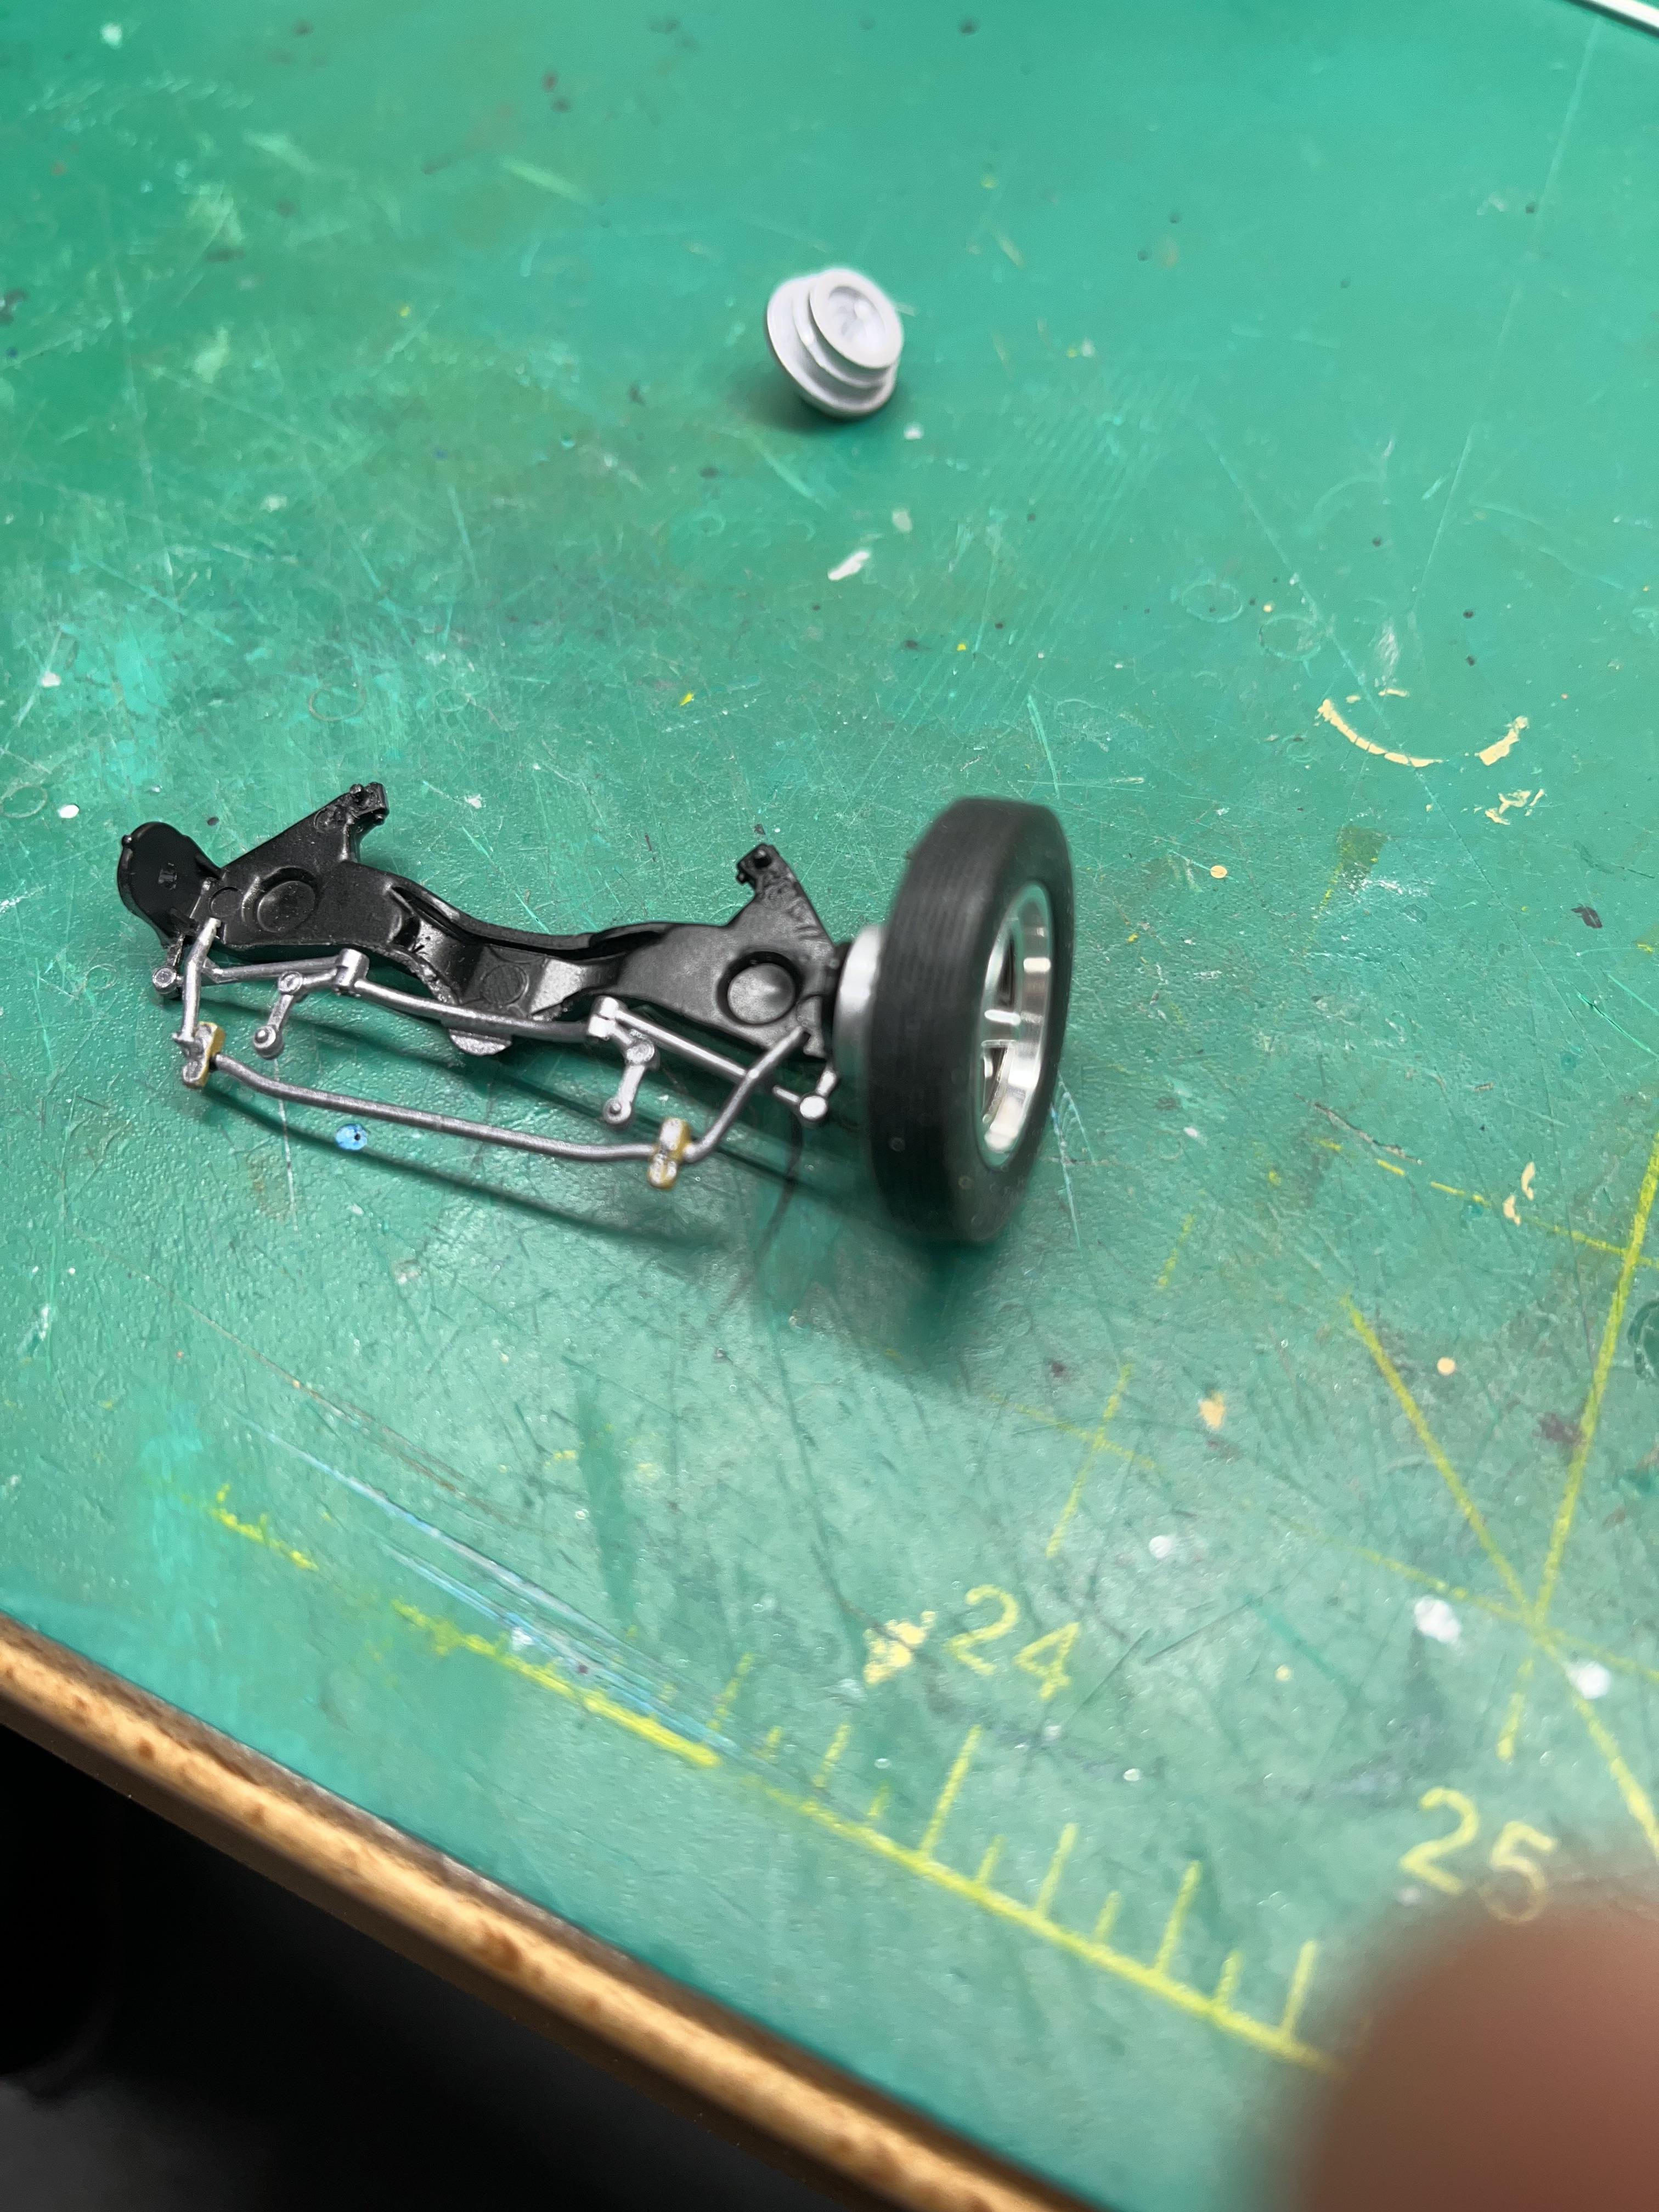
Thanks guys. I wanted to show one method that I’m using to incorporate aftermarket aluminum wheels to my model. I dig through my wheel backs bin, and find a useful that I can use. Then in order to keep them centered, I use a piece of styrene rod that I can push through the wheel backs. In my case I’m using two different sets. Only because I want the skinny’s up front to fill the wheel well, and not be too far in. After the rod is through, I can glue them together,( not the rod) just the backs. Then I can tailor the rods after the glue dries, to center one end into the aftermarket wheel, and the other end into the front suspension part. I noticed this topic came up on here a few times, so I wanted to do my best to try to show how I did it.
-
-
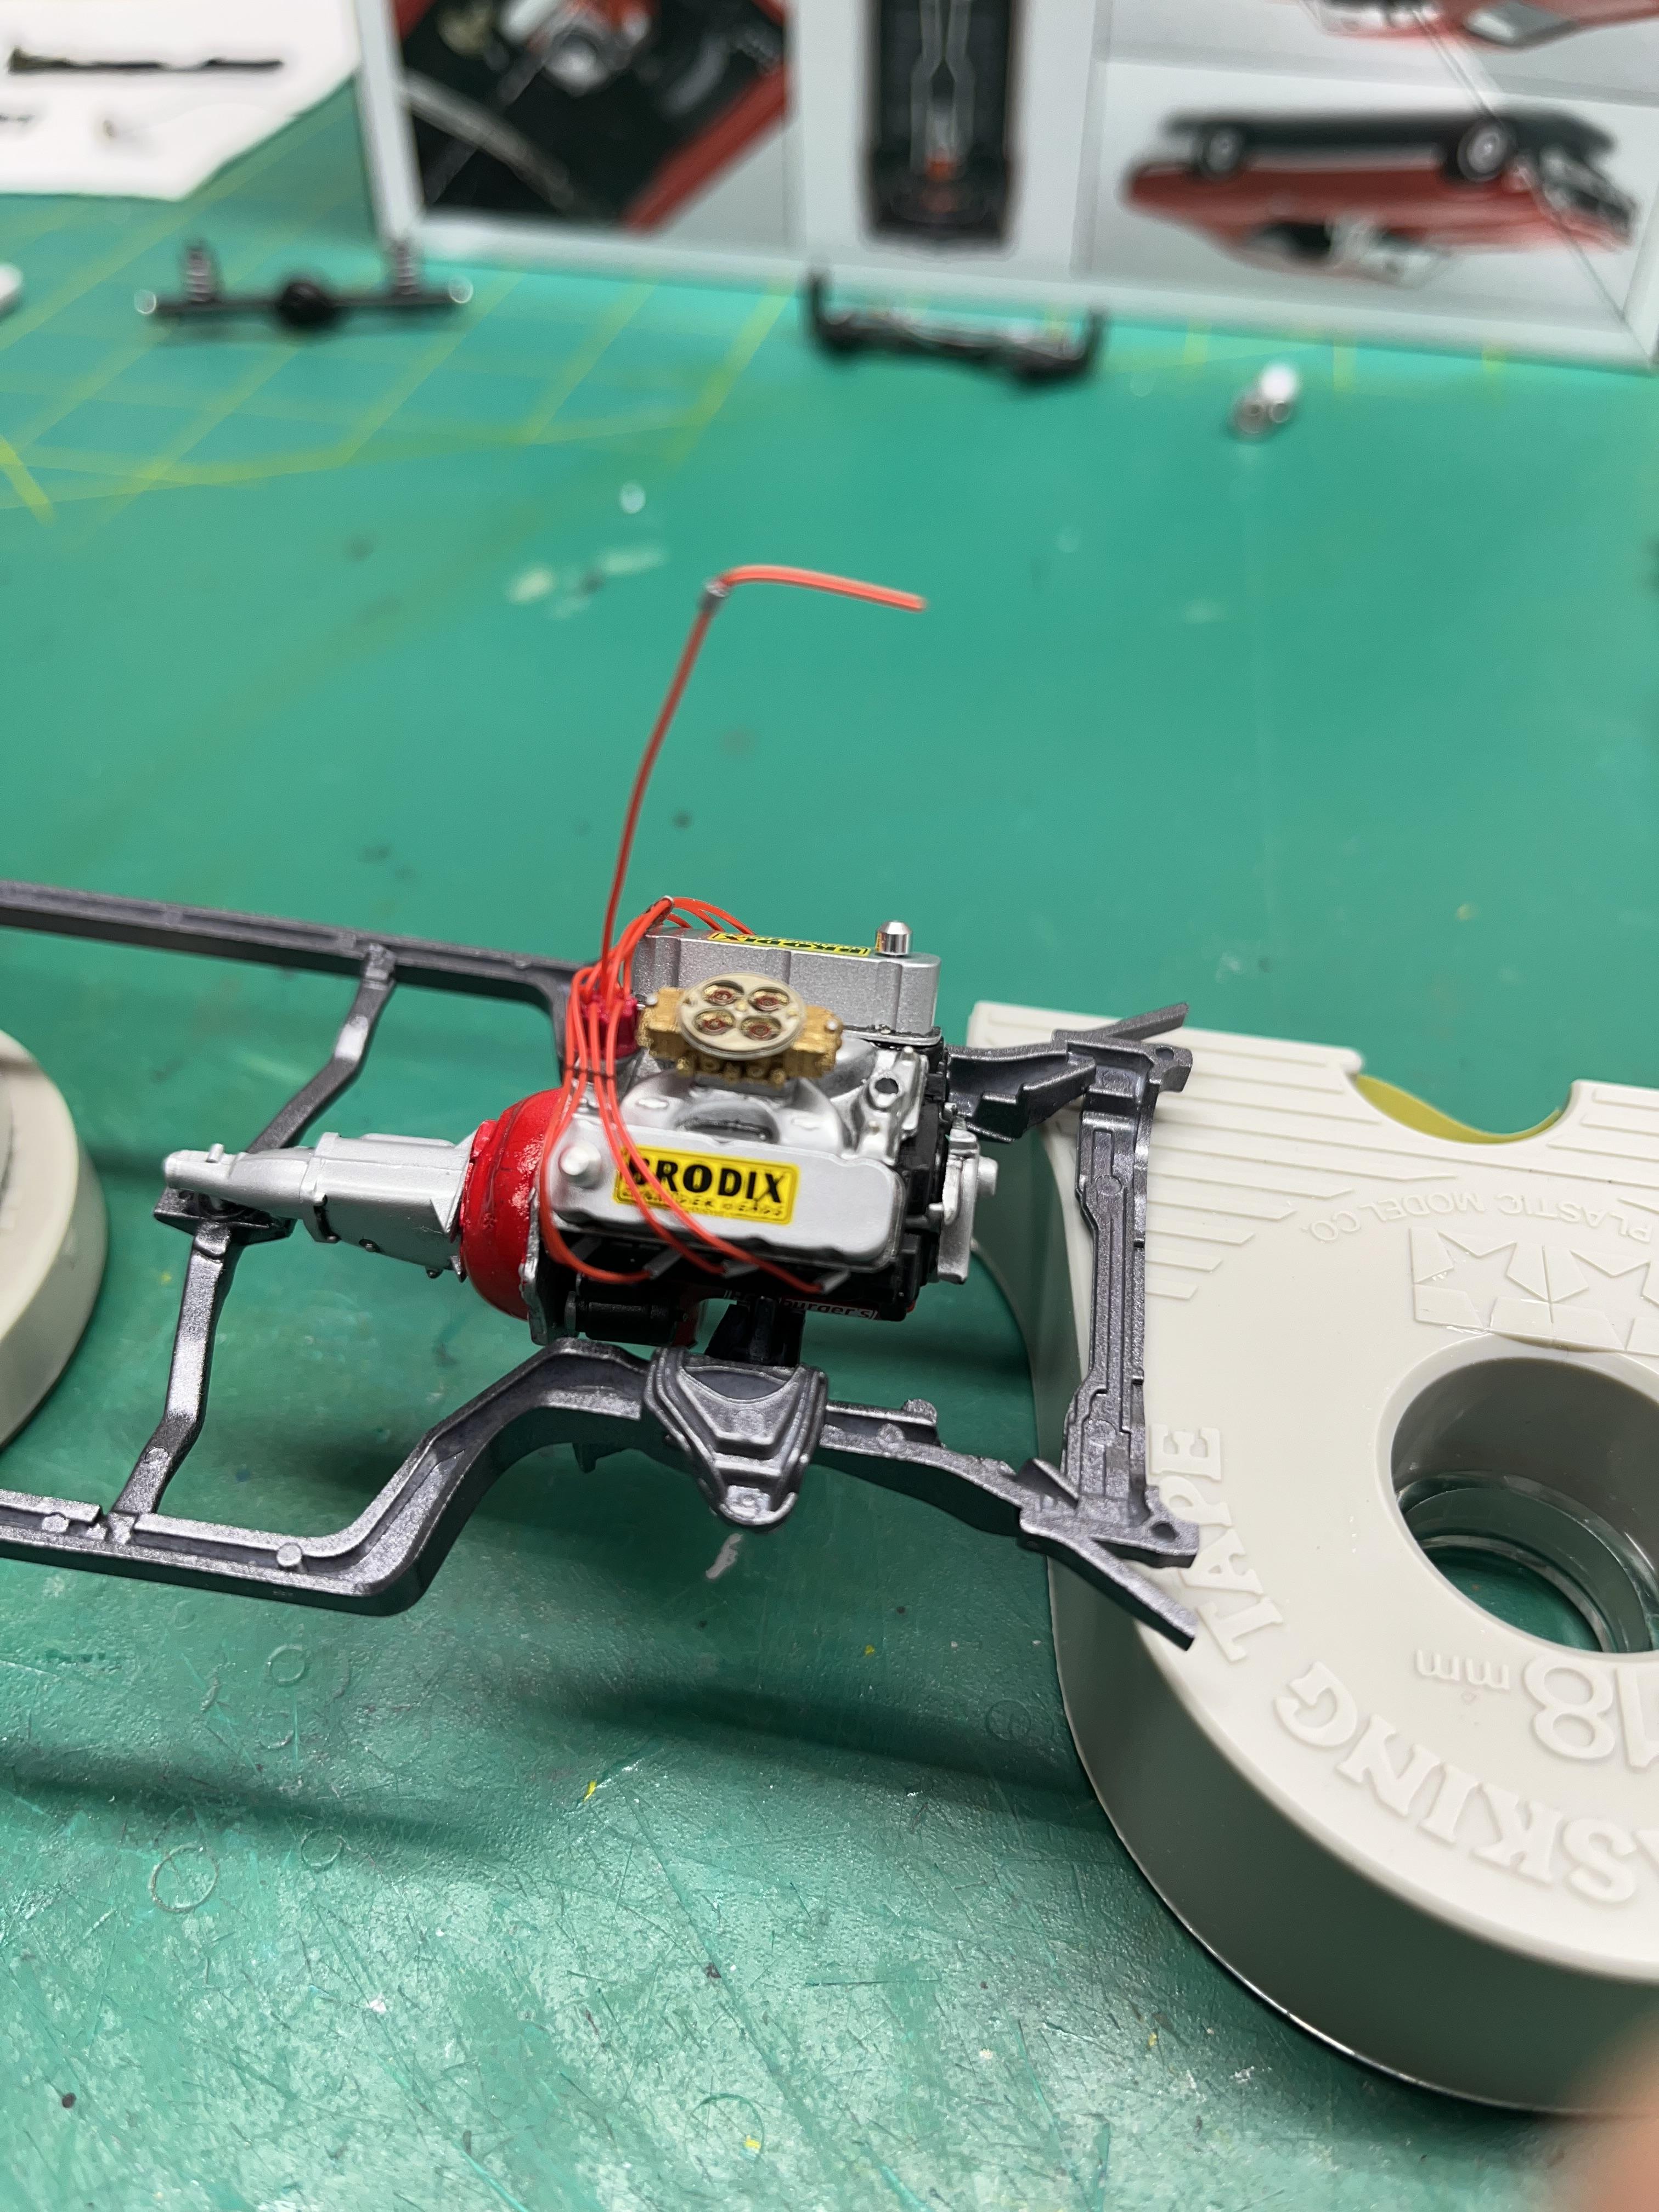
Getting the engine square in the frame rails. Took some filing to get this old resin bell housing to fit right. Also added a deep sump to the supplied oil pan.
-


