Brutalform
-
Posts
2,835 -
Joined
-
Last visited
Content Type
Profiles
Forums
Events
Gallery
Everything posted by Brutalform
-
I added a weld in fuel sump to the stock tank. Also adding a resin pump and filter. Hopefully I have a small fuel pump decal in my bins somewhere? Maybe a BG, or Weldon.

-
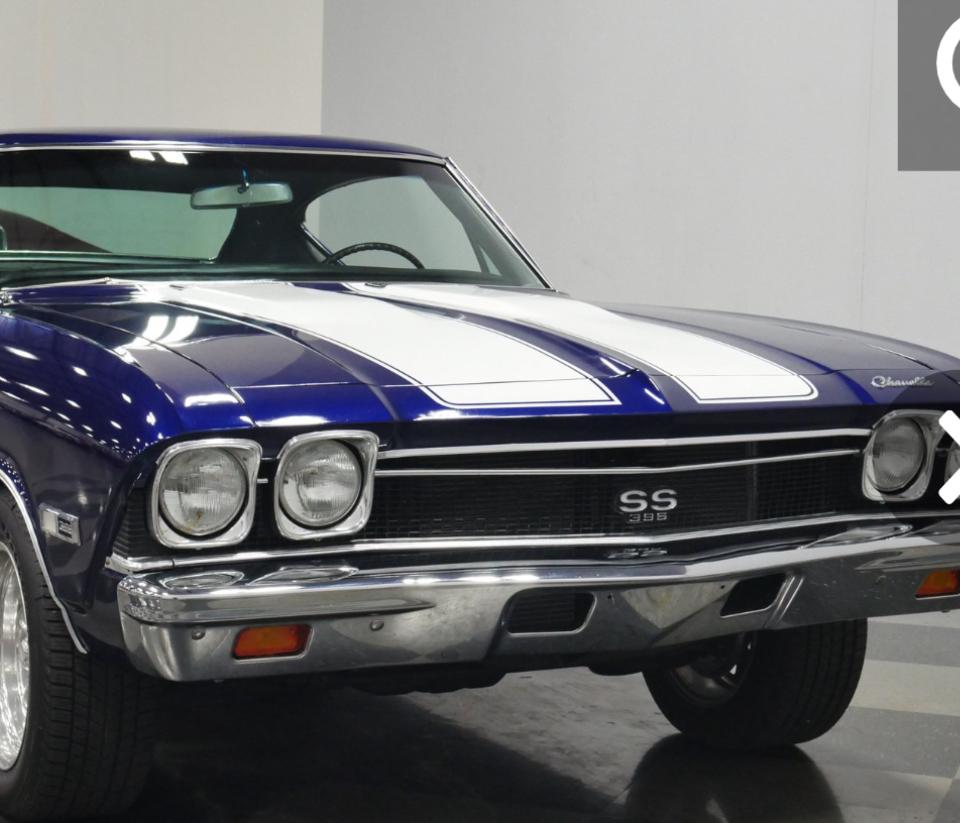
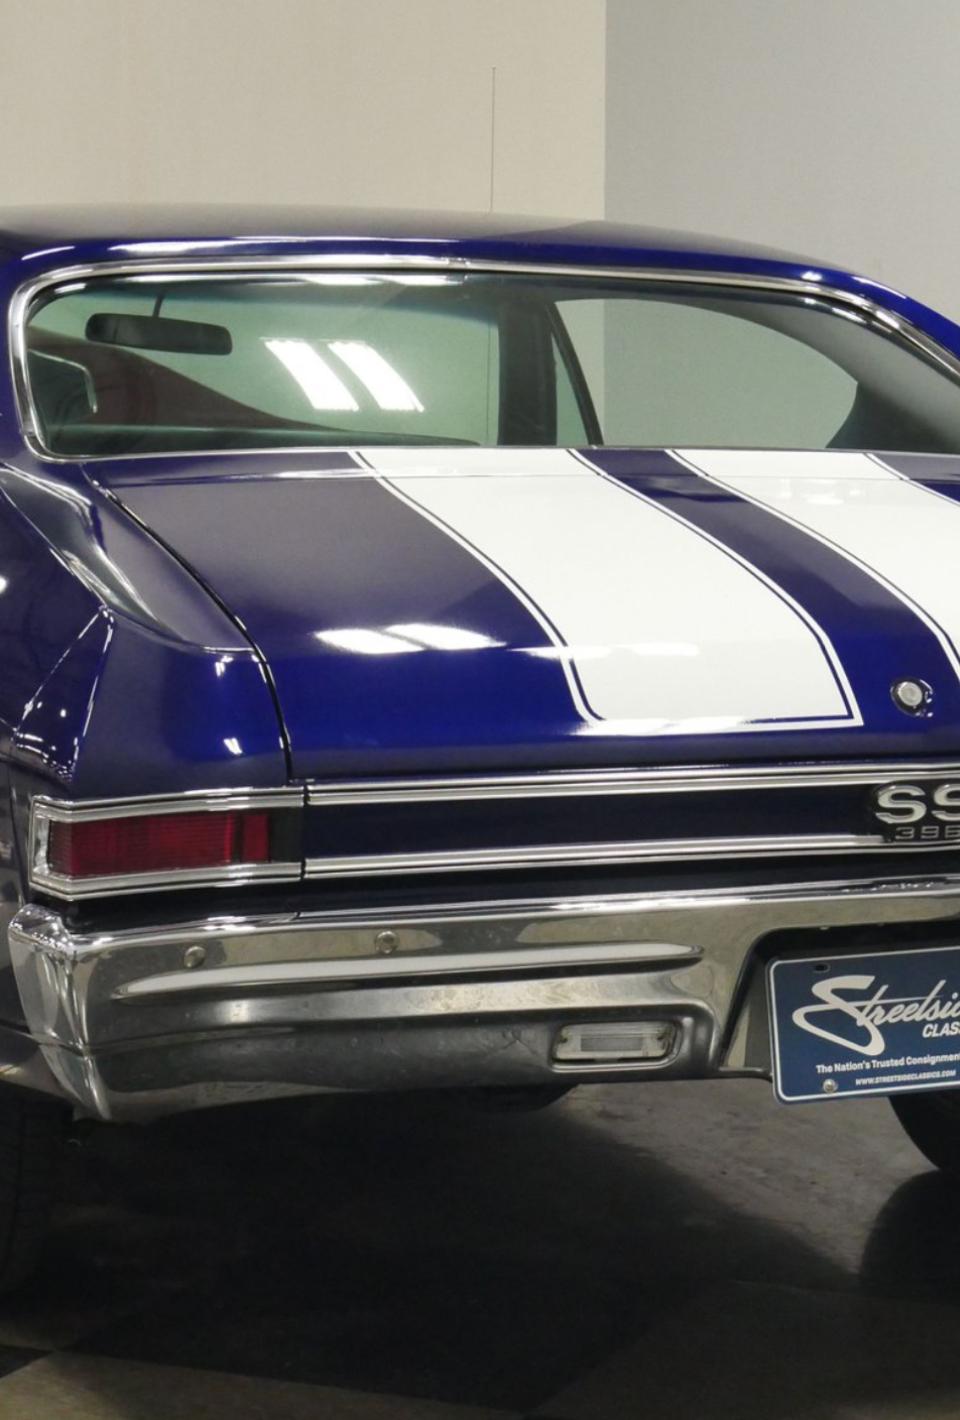
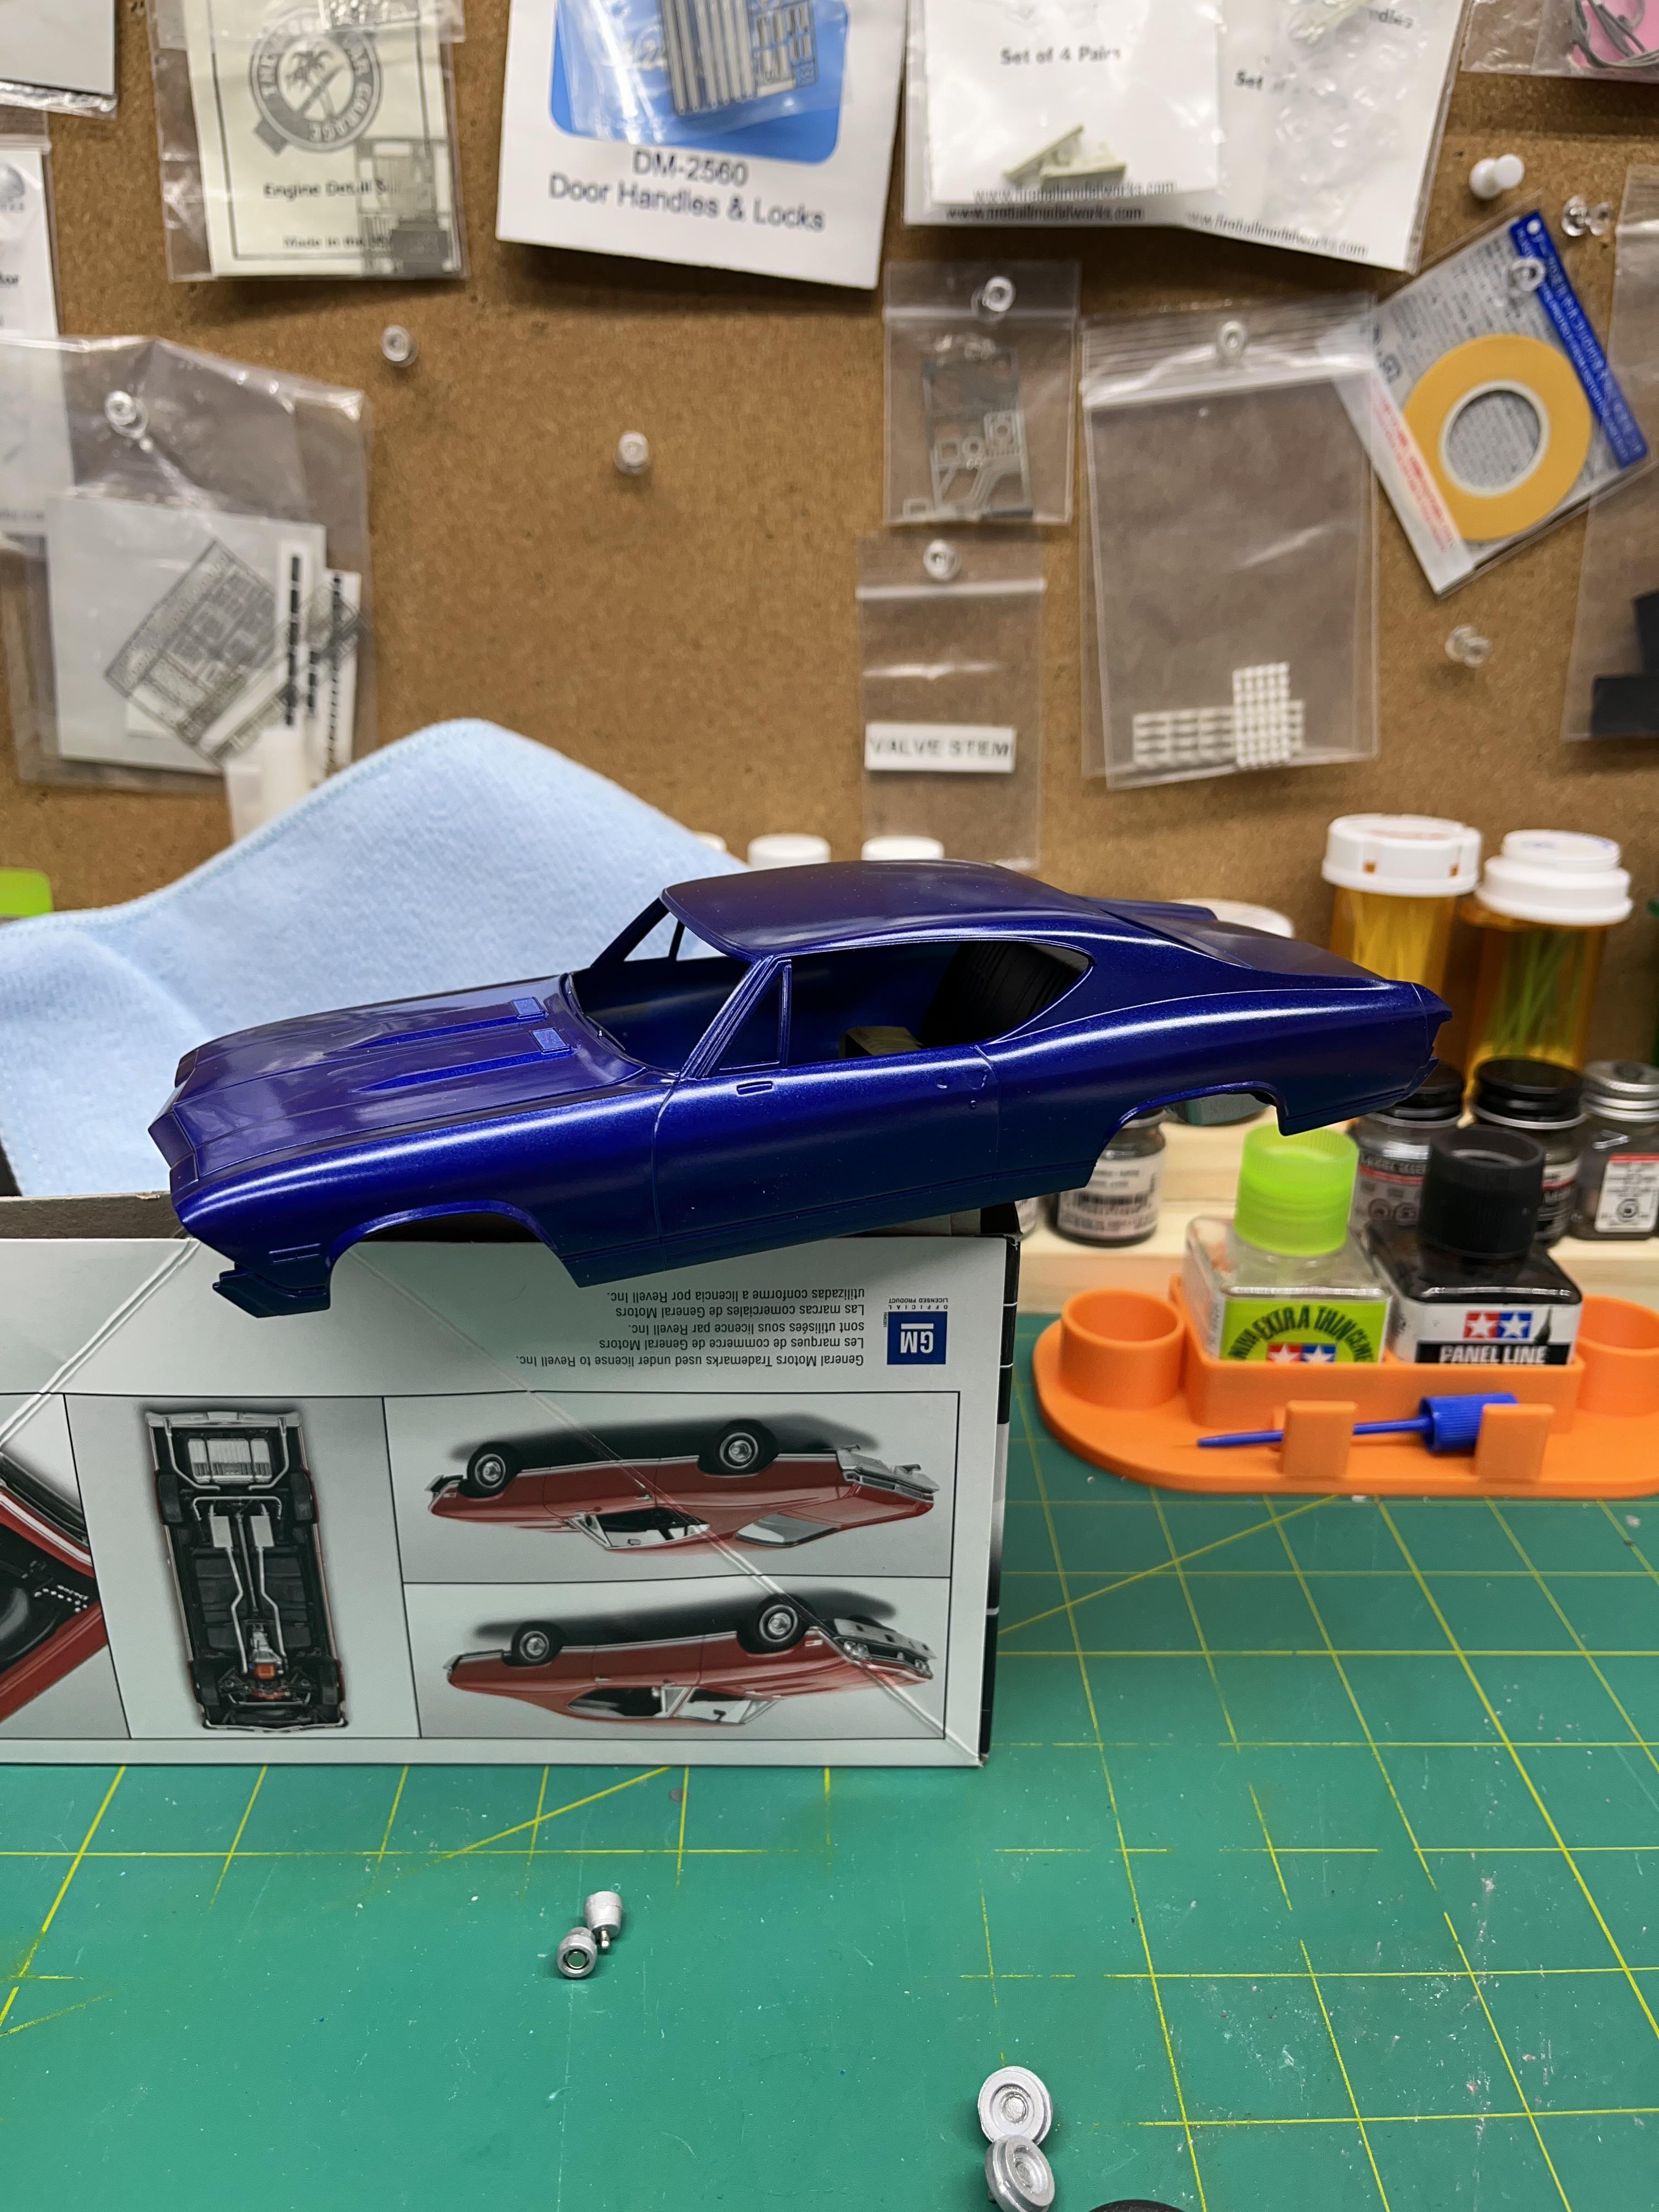
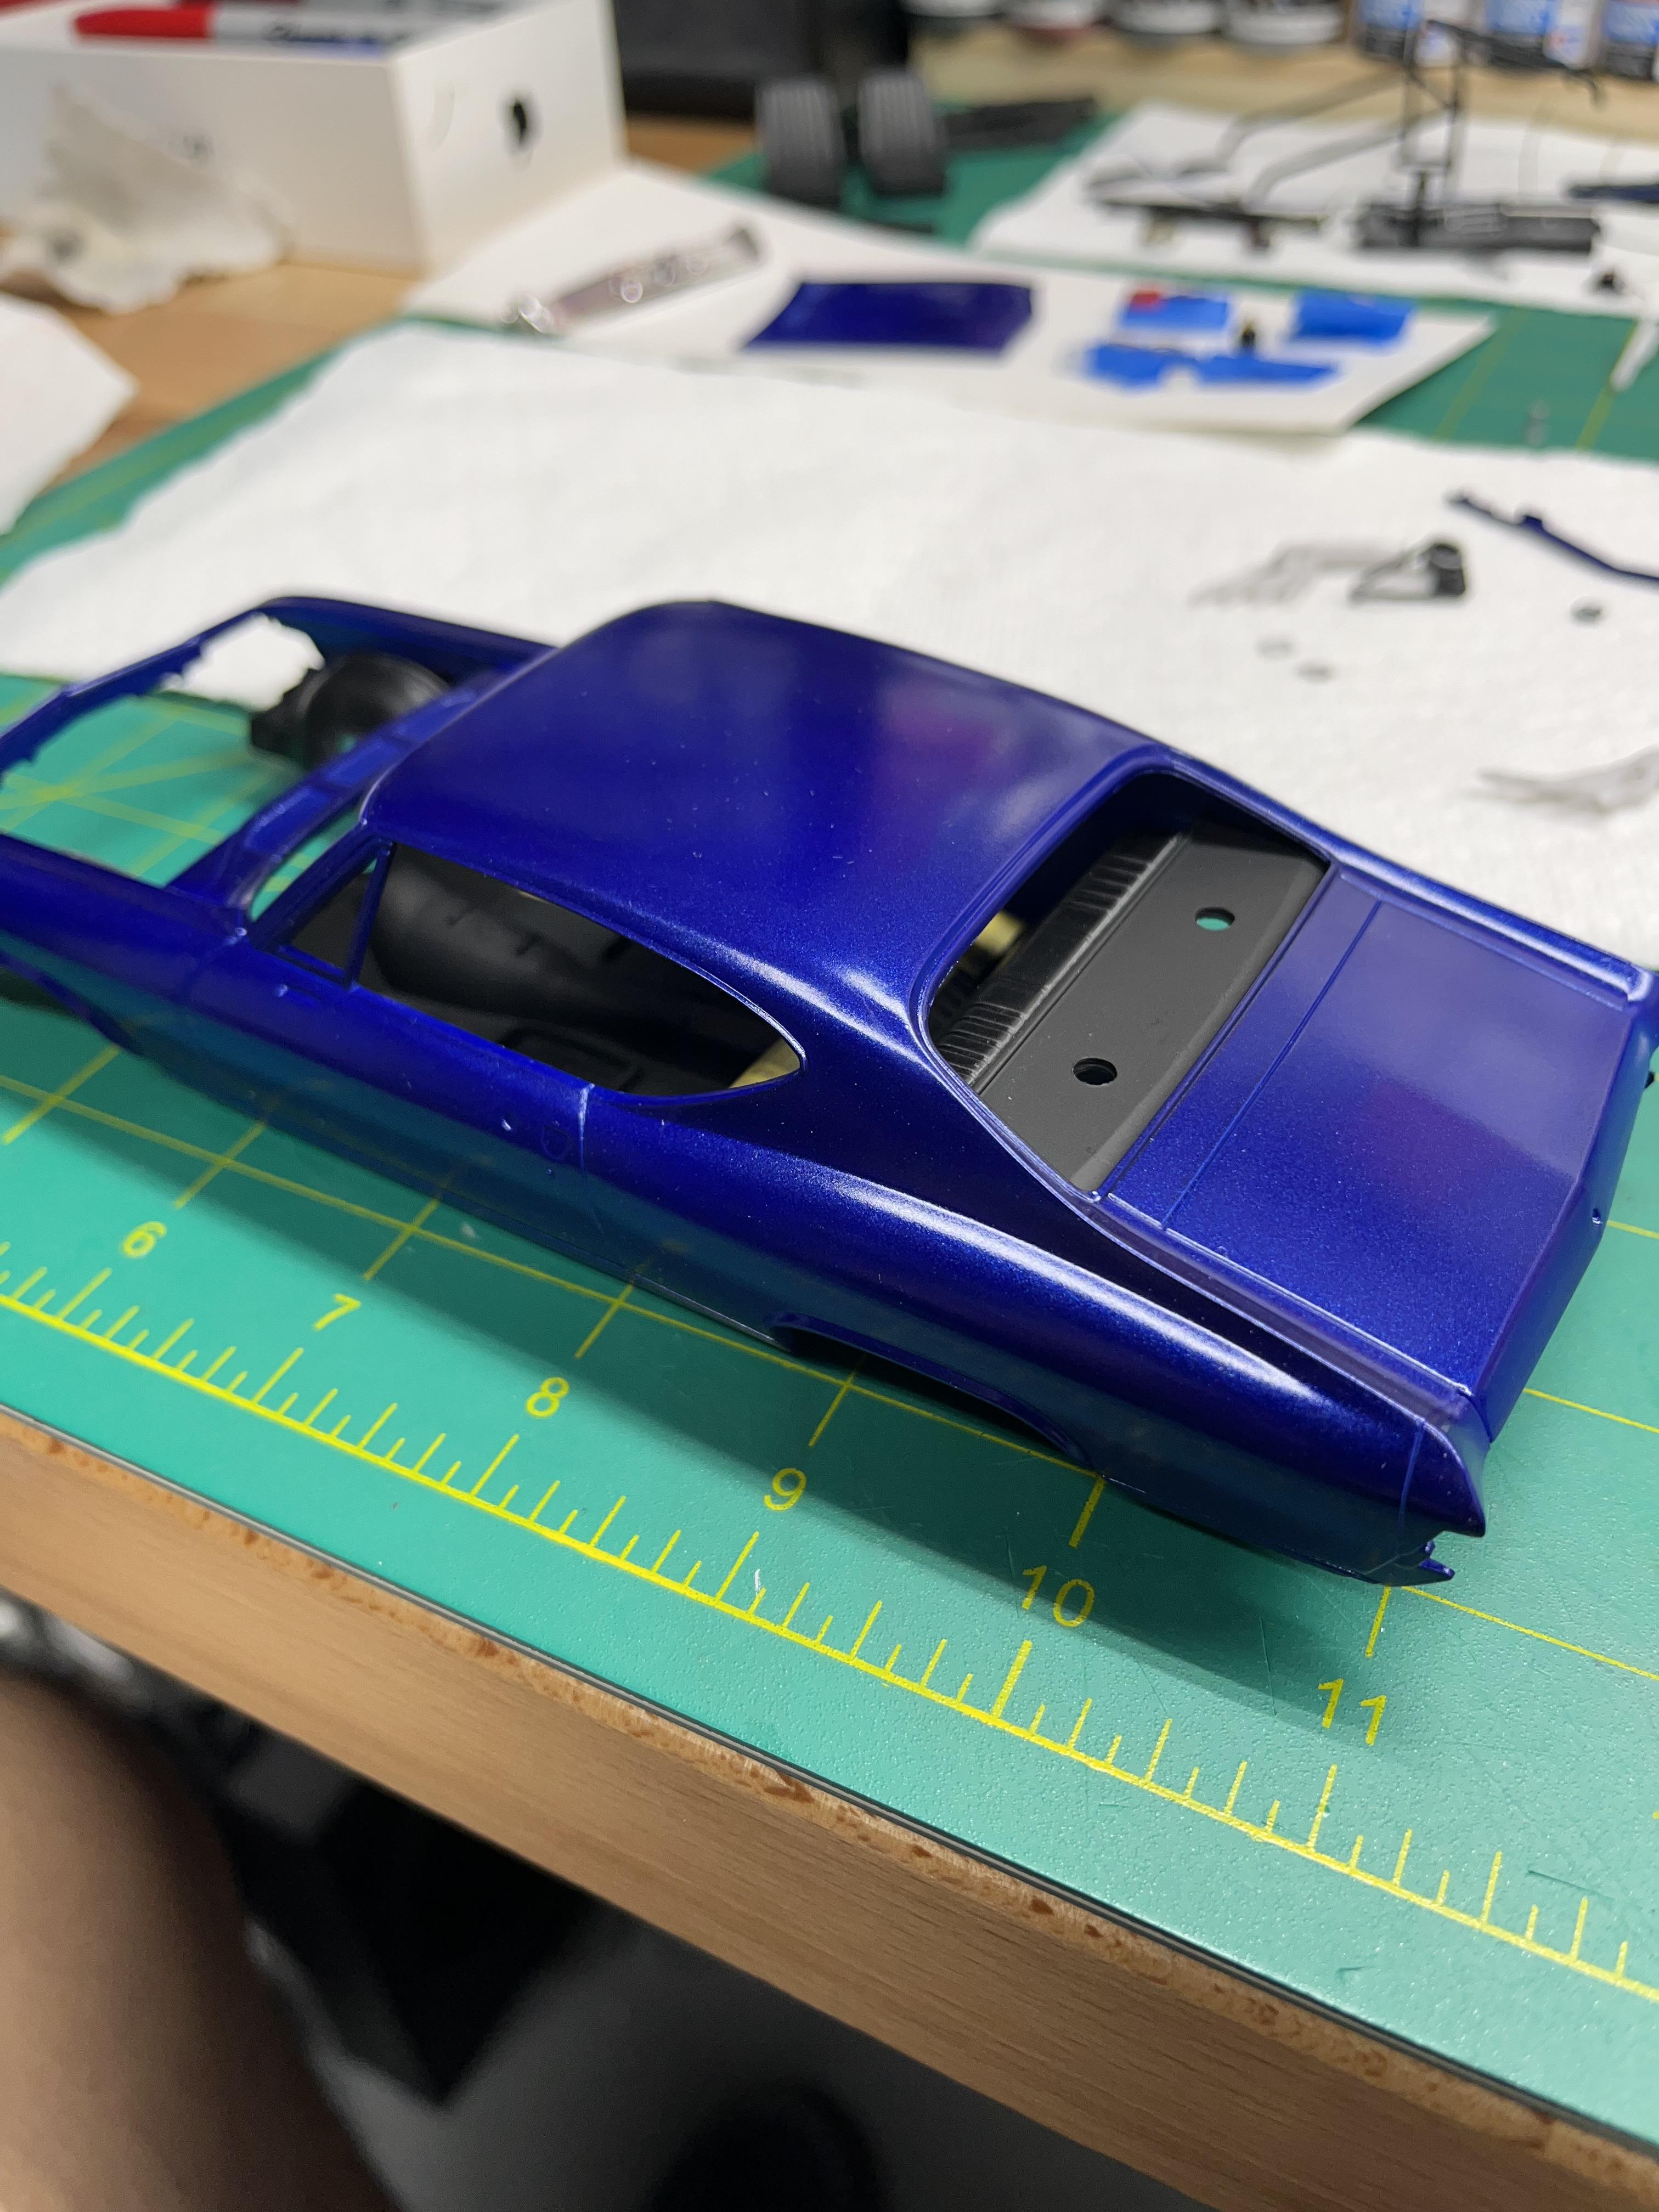
I started this build about a year ago, and put it away when we moved into the new house. I always like the 68 Chevelle, and was constantly looking for a kit online. This was before Revell tooled this kit, and they were really expensive, that is, if you could even find one. Since I had this car in the plans for a long time, I decided to do some extra details on the build. The plan is a blue car, with black interior, and white stripes. The stripes will be from the Revell Germany kit. Just a quick car, that sees track duty on the weekends.
-
I figured it all out. I had to change it in my password app. Thanks Dave for making the site safer.
-
I’m sorry but I’m not really that tech savvy.
-
Hi Dave After updating my phone, I have my password come up as “fill password”. With the update, a new password was generated that’s ridiculously long. I followed the instructions you posted, and my email address is correct. I tried logging in with it, but it just fills my saved password.
-
Looks fantastic, Bill. The engine, paint, decals are spot on. Also the rear tires fit perfectly under the wheel wells. You did a nice job on this.
-
Another beautiful build, Anthony. You must get a LOT of bench time in, the way you turn out these machines.
-
This is a really cool build. I like what you did to modernize the car. Grump would be proud.
-
The paint and decals look amazing Bill. I can’t wait to see the finished car.
-
Thanks for the replies, everyone. It was a fun build, even though it gave me a few problems. Sometimes, a kit you have built before will still give you a challenge.
-
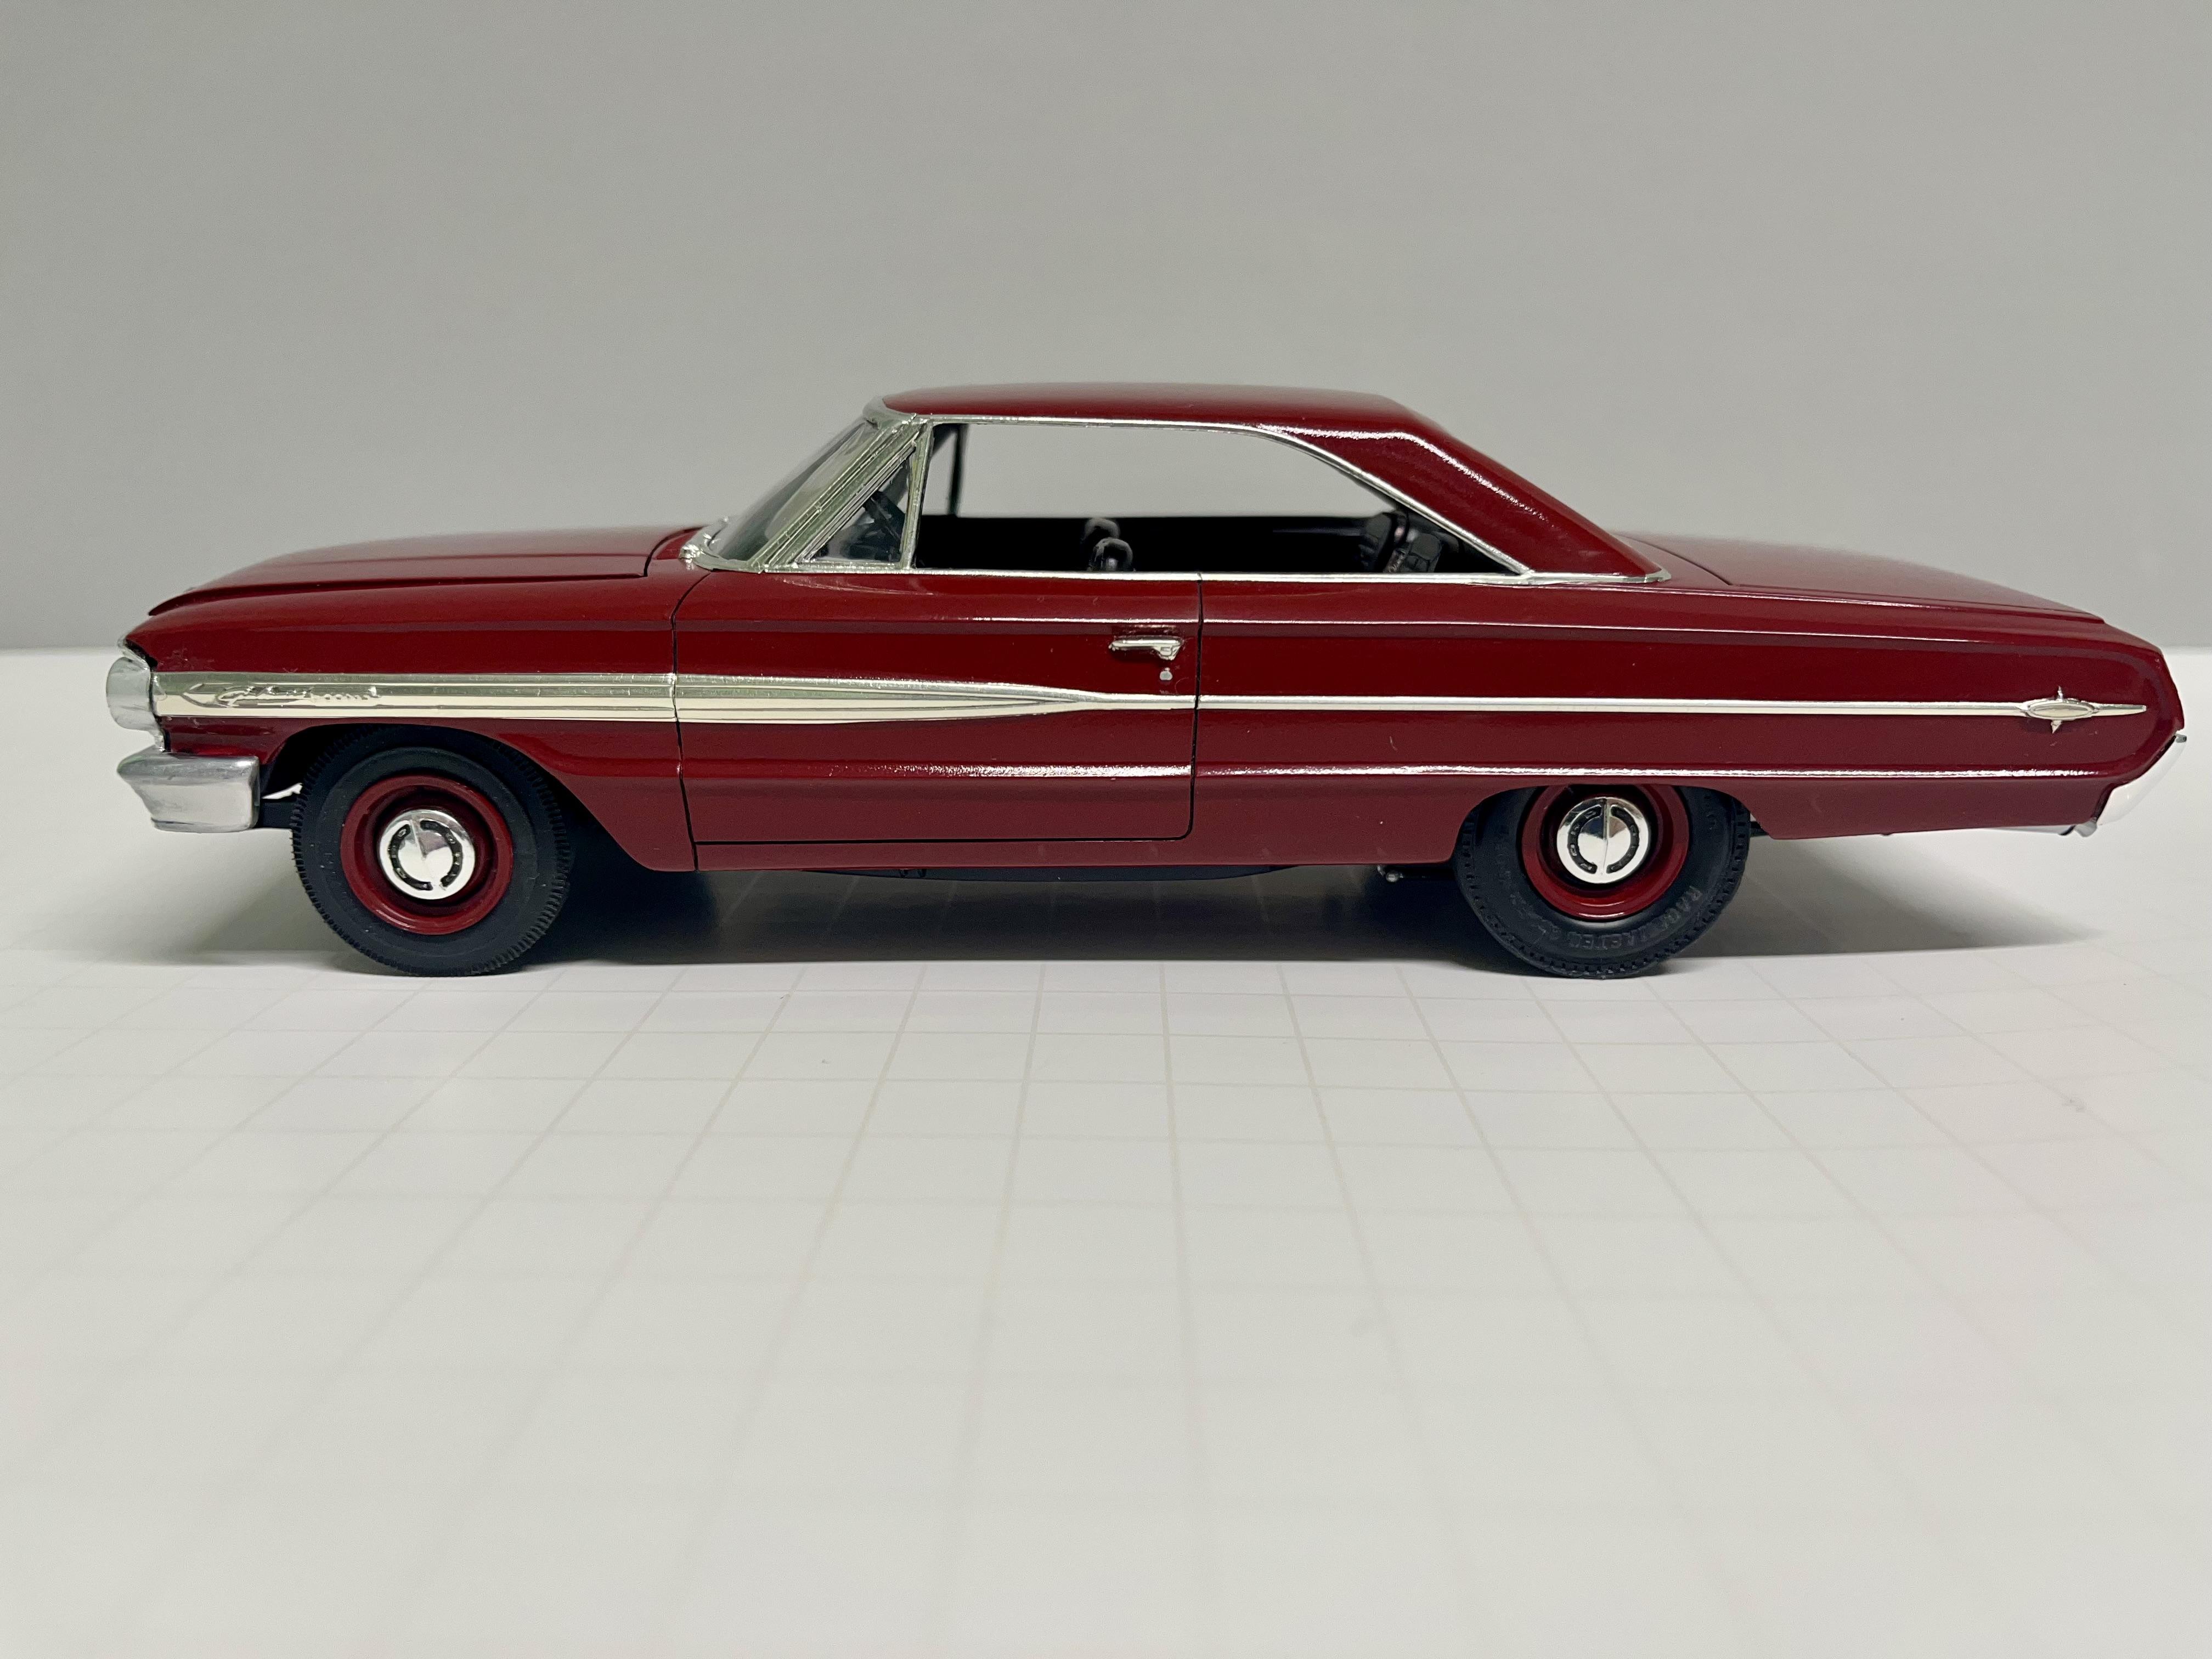
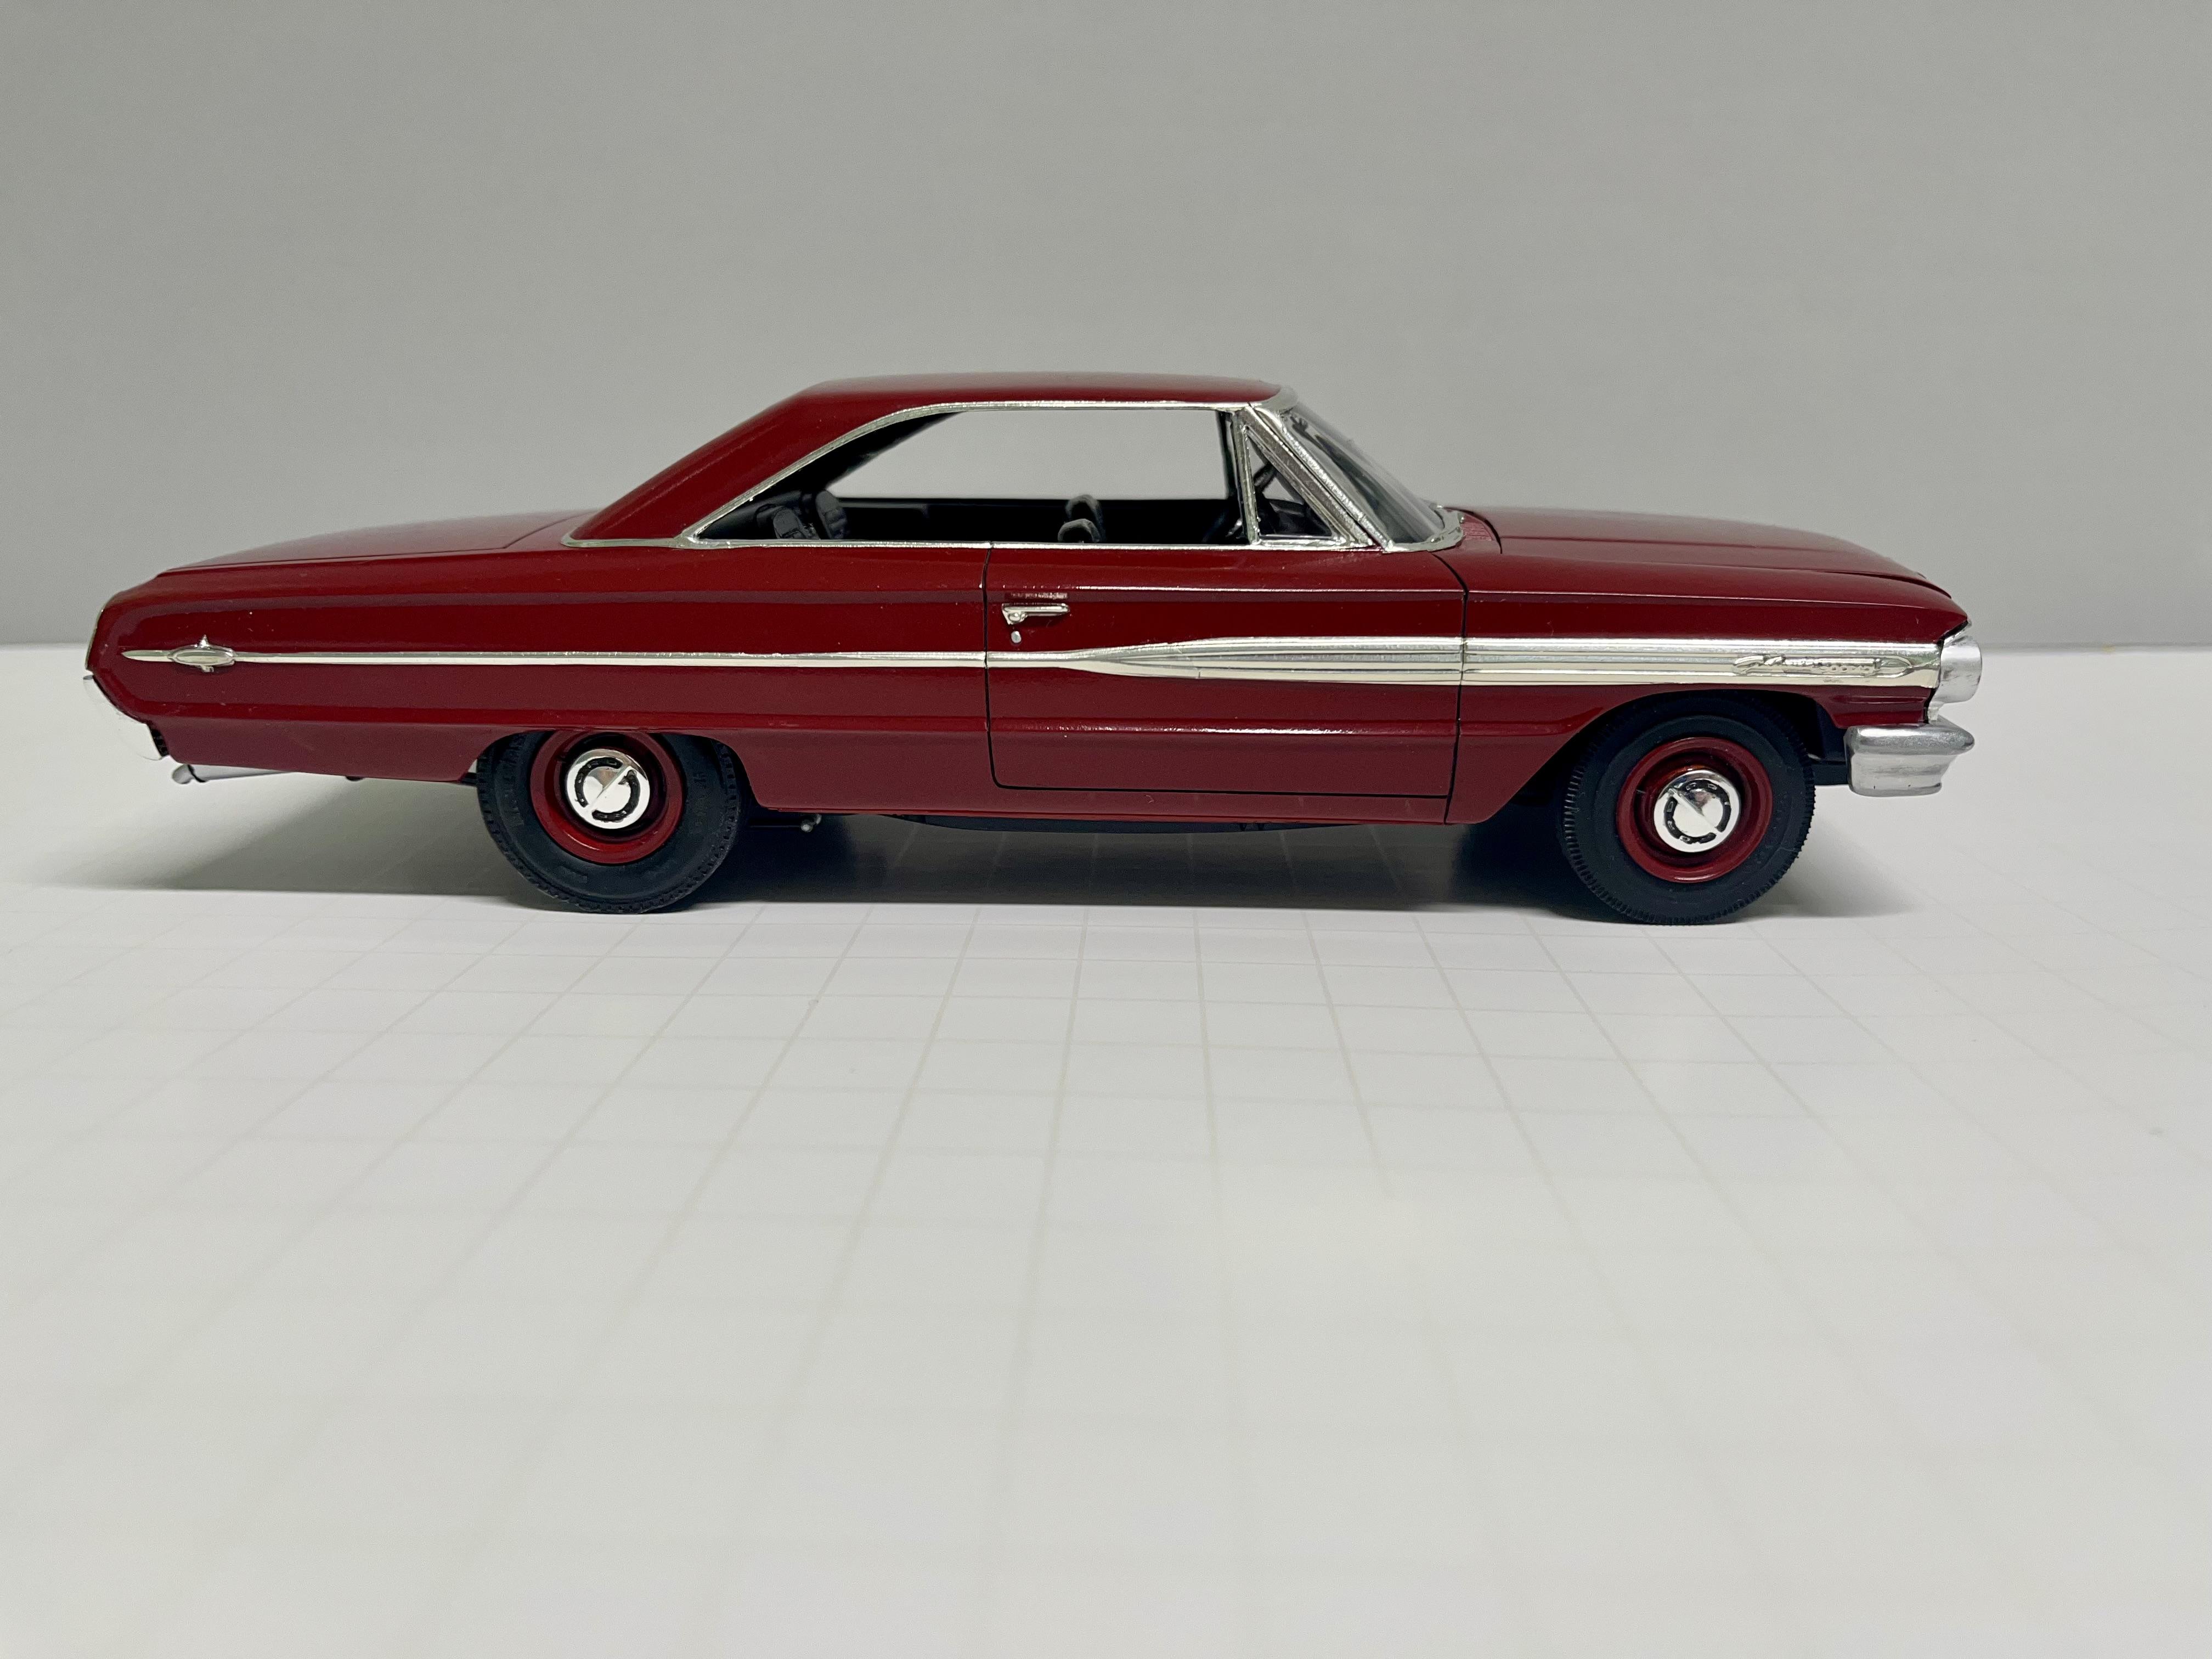
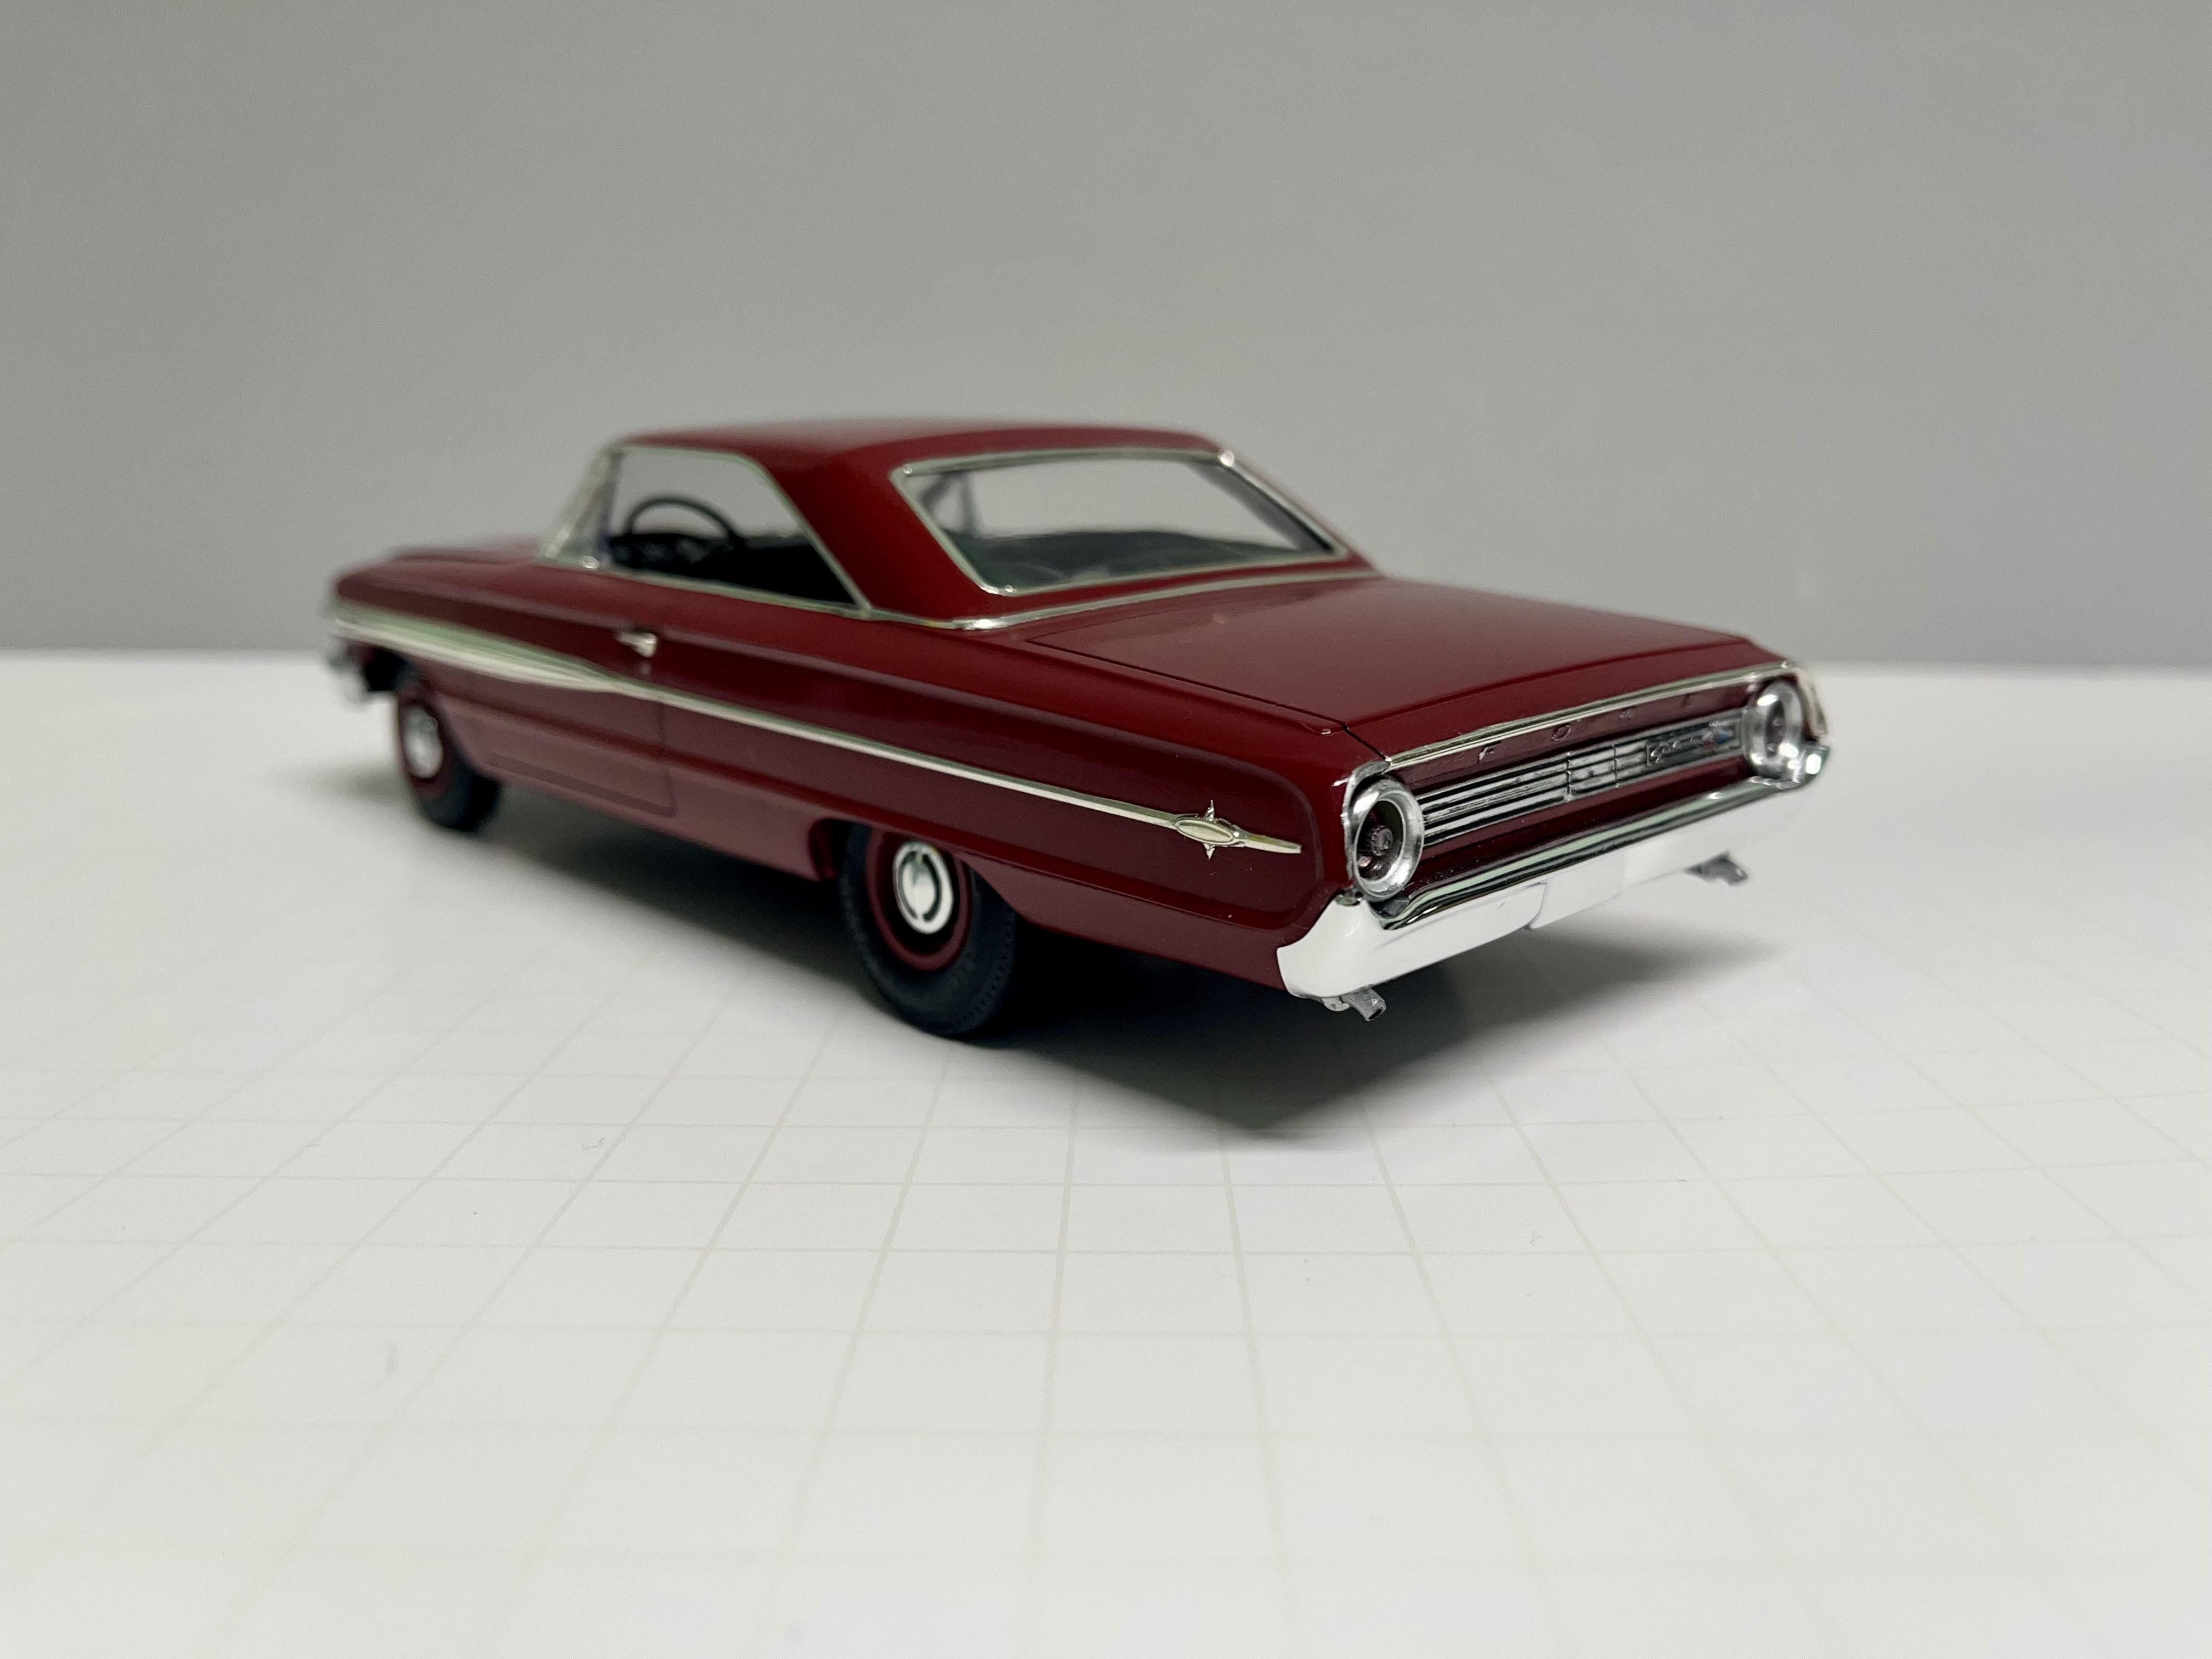
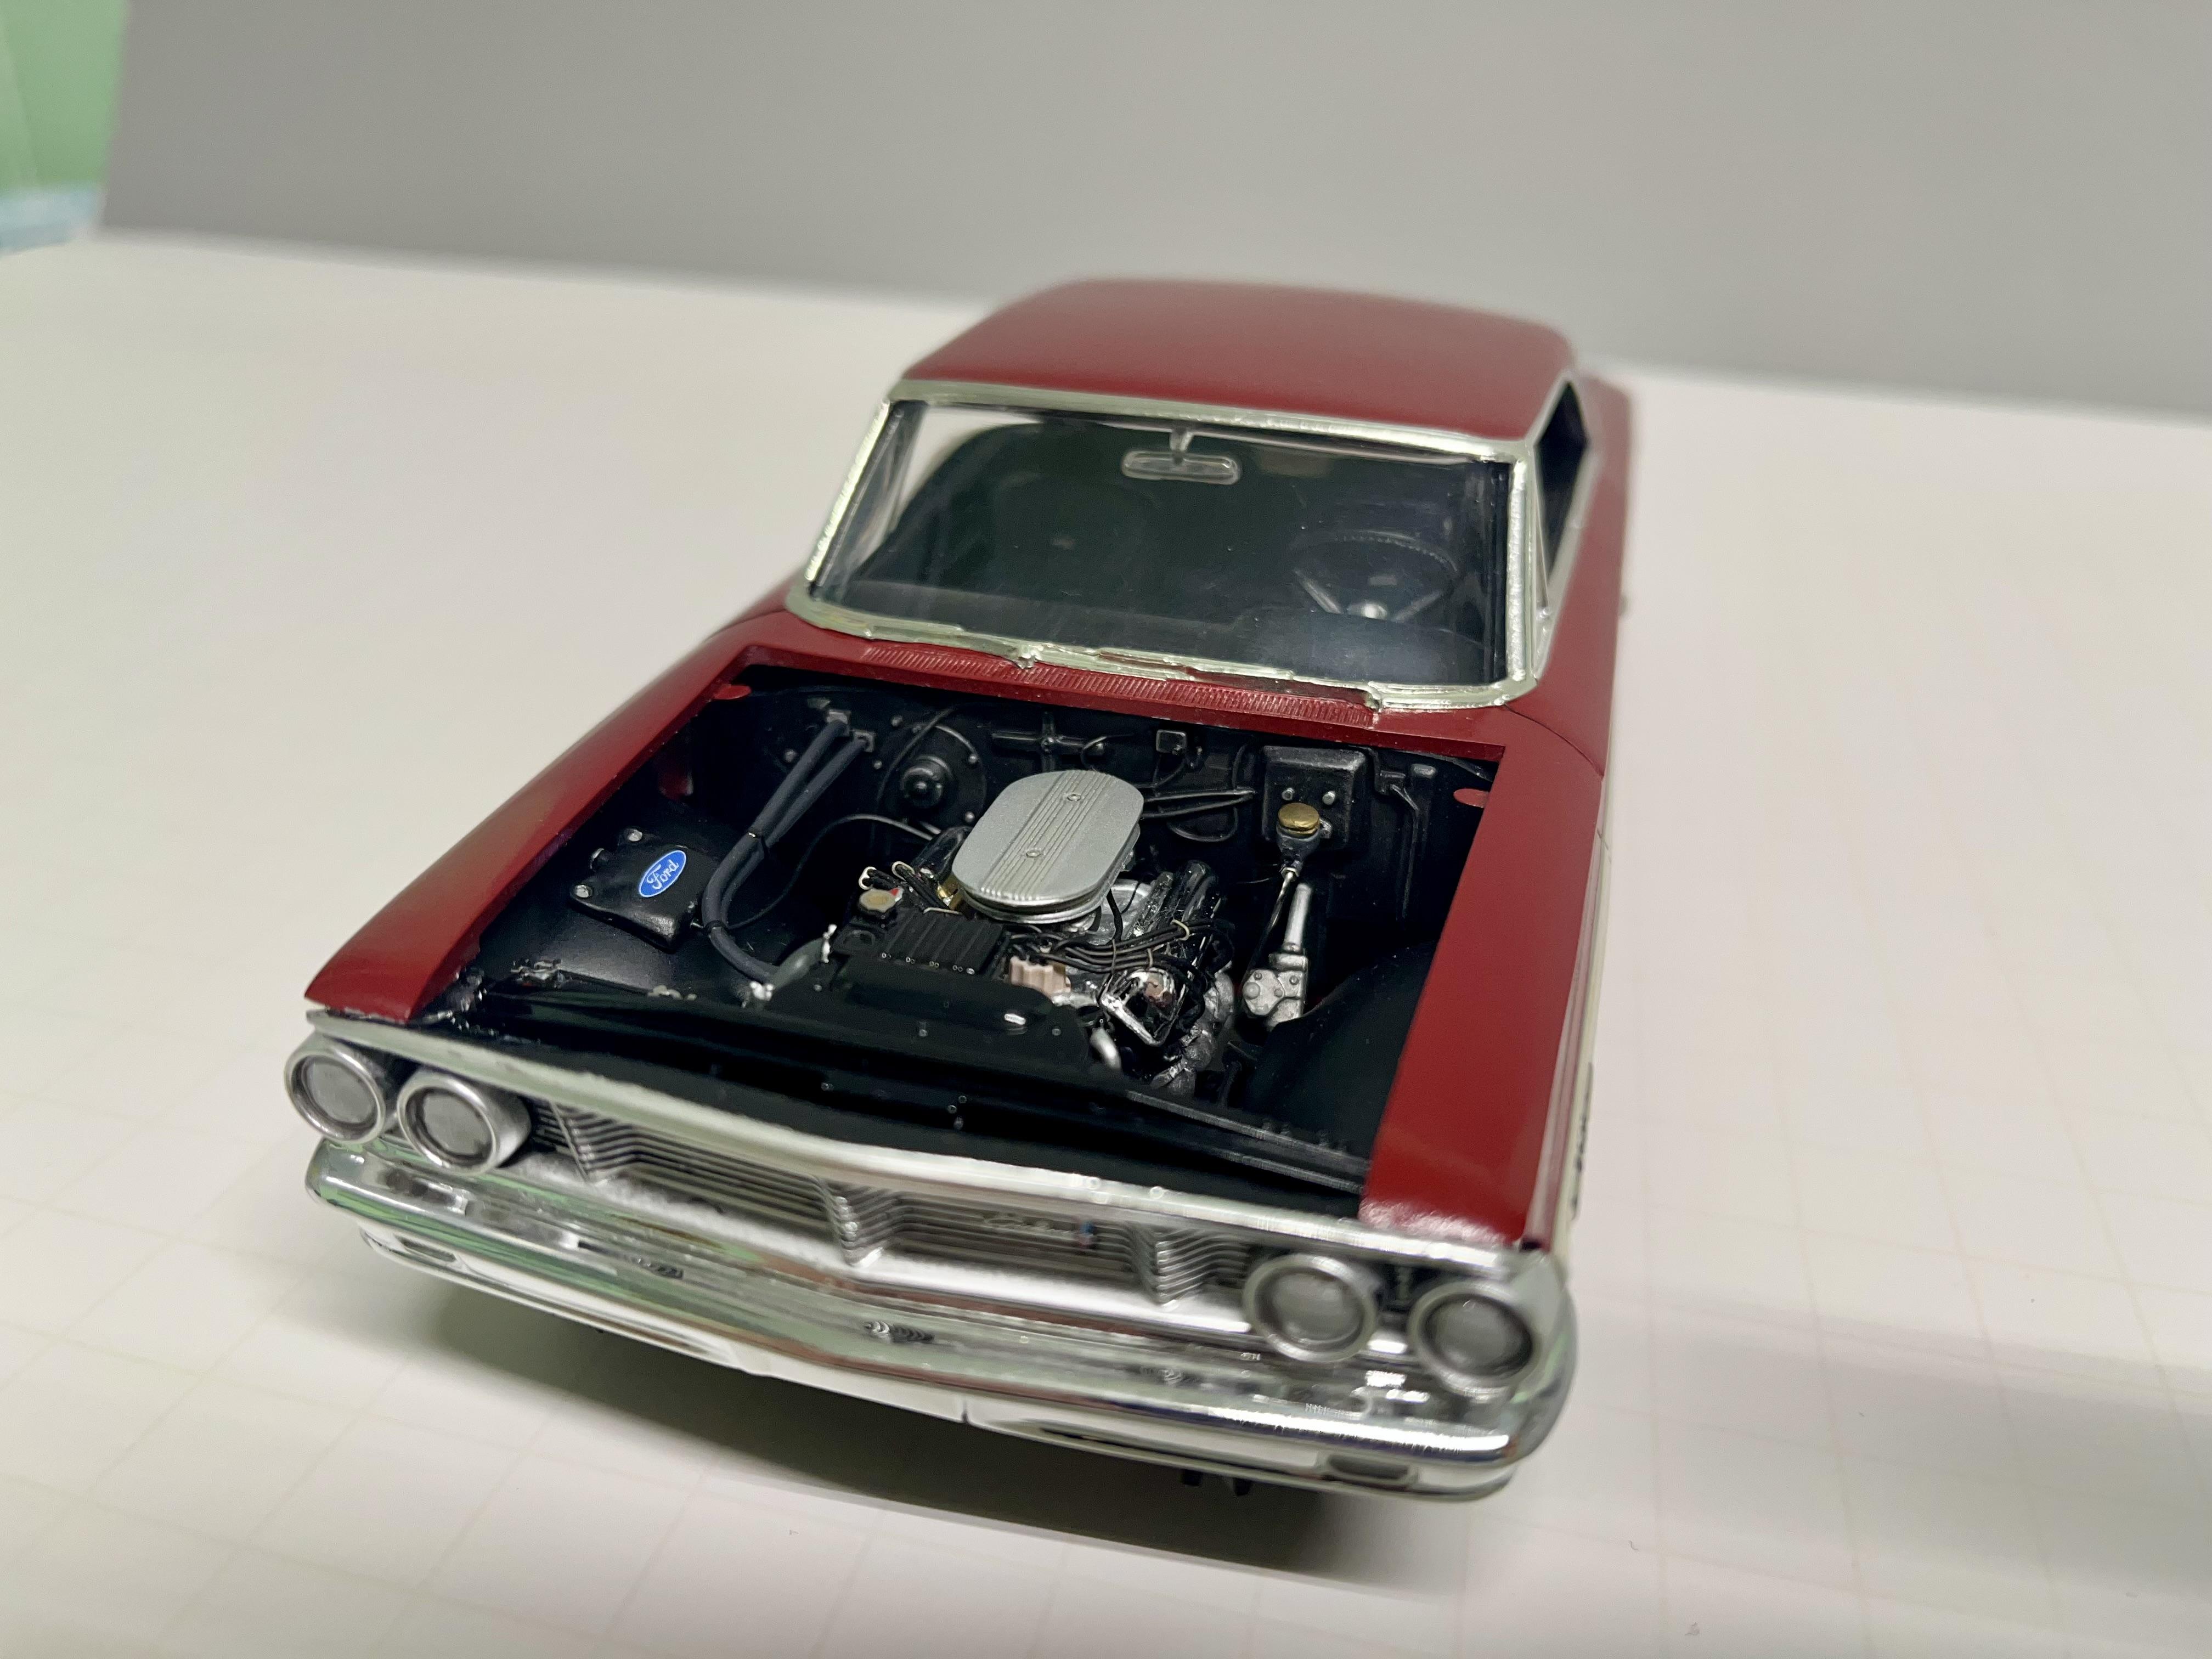
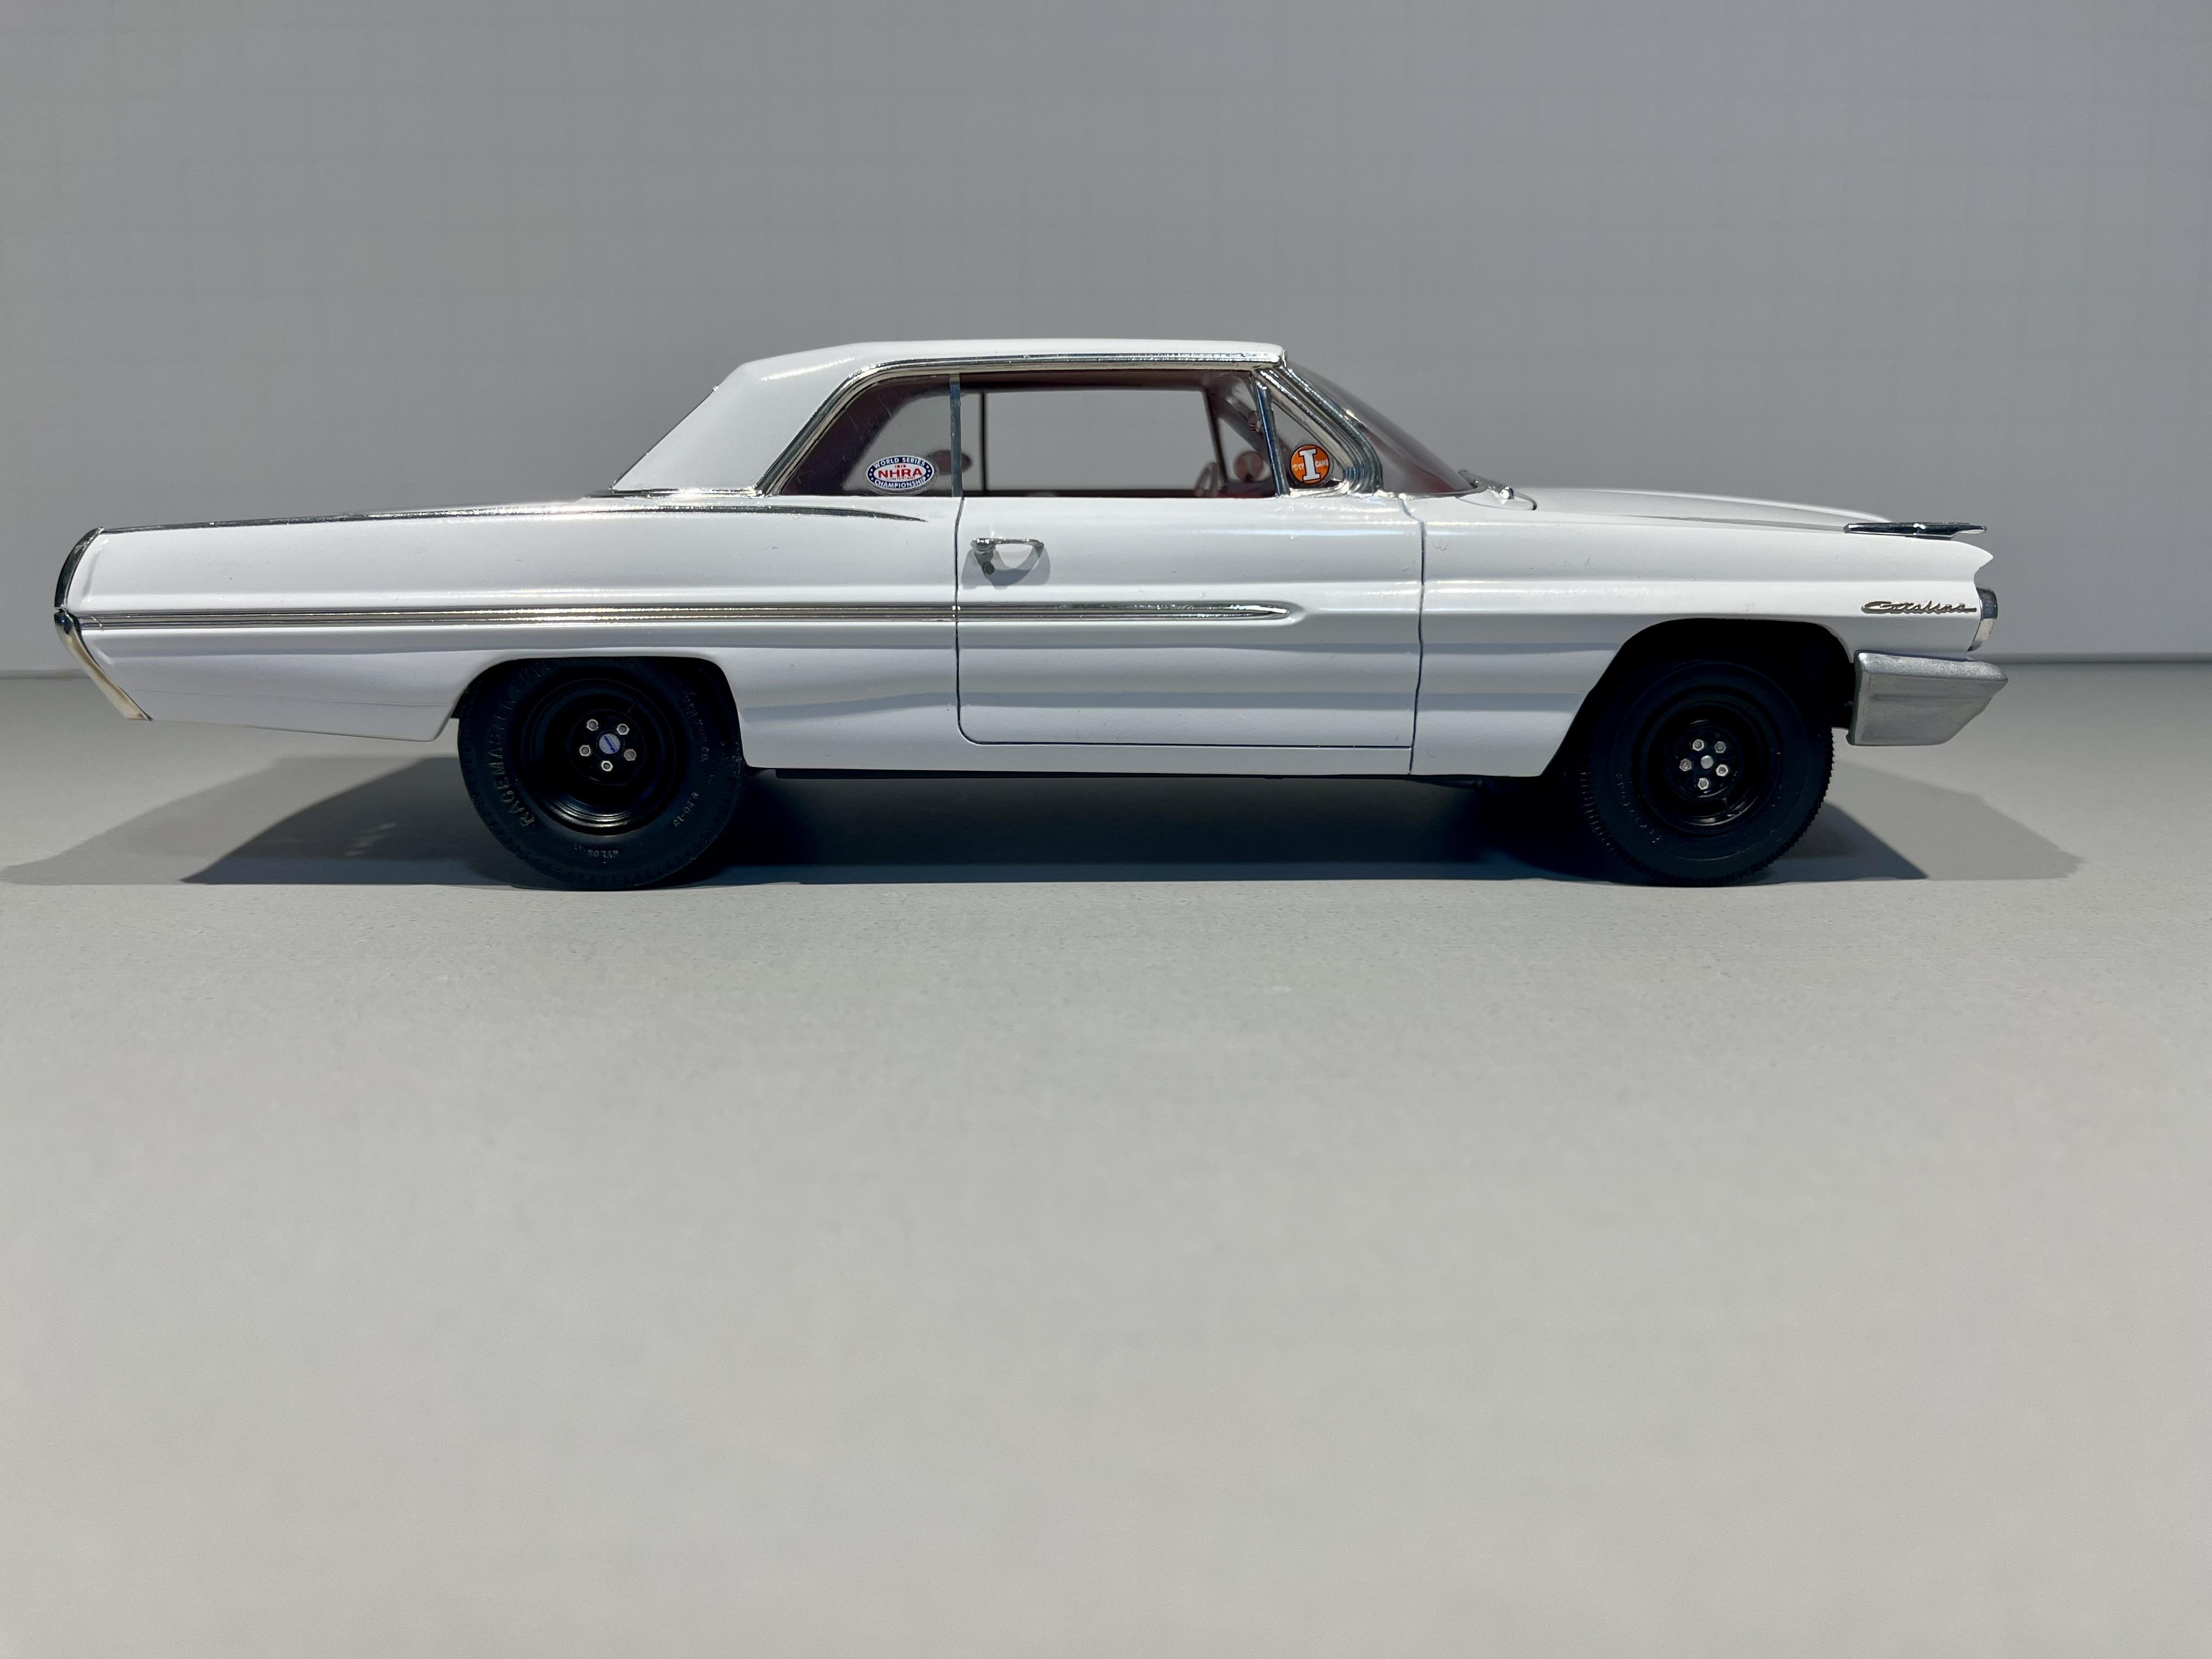
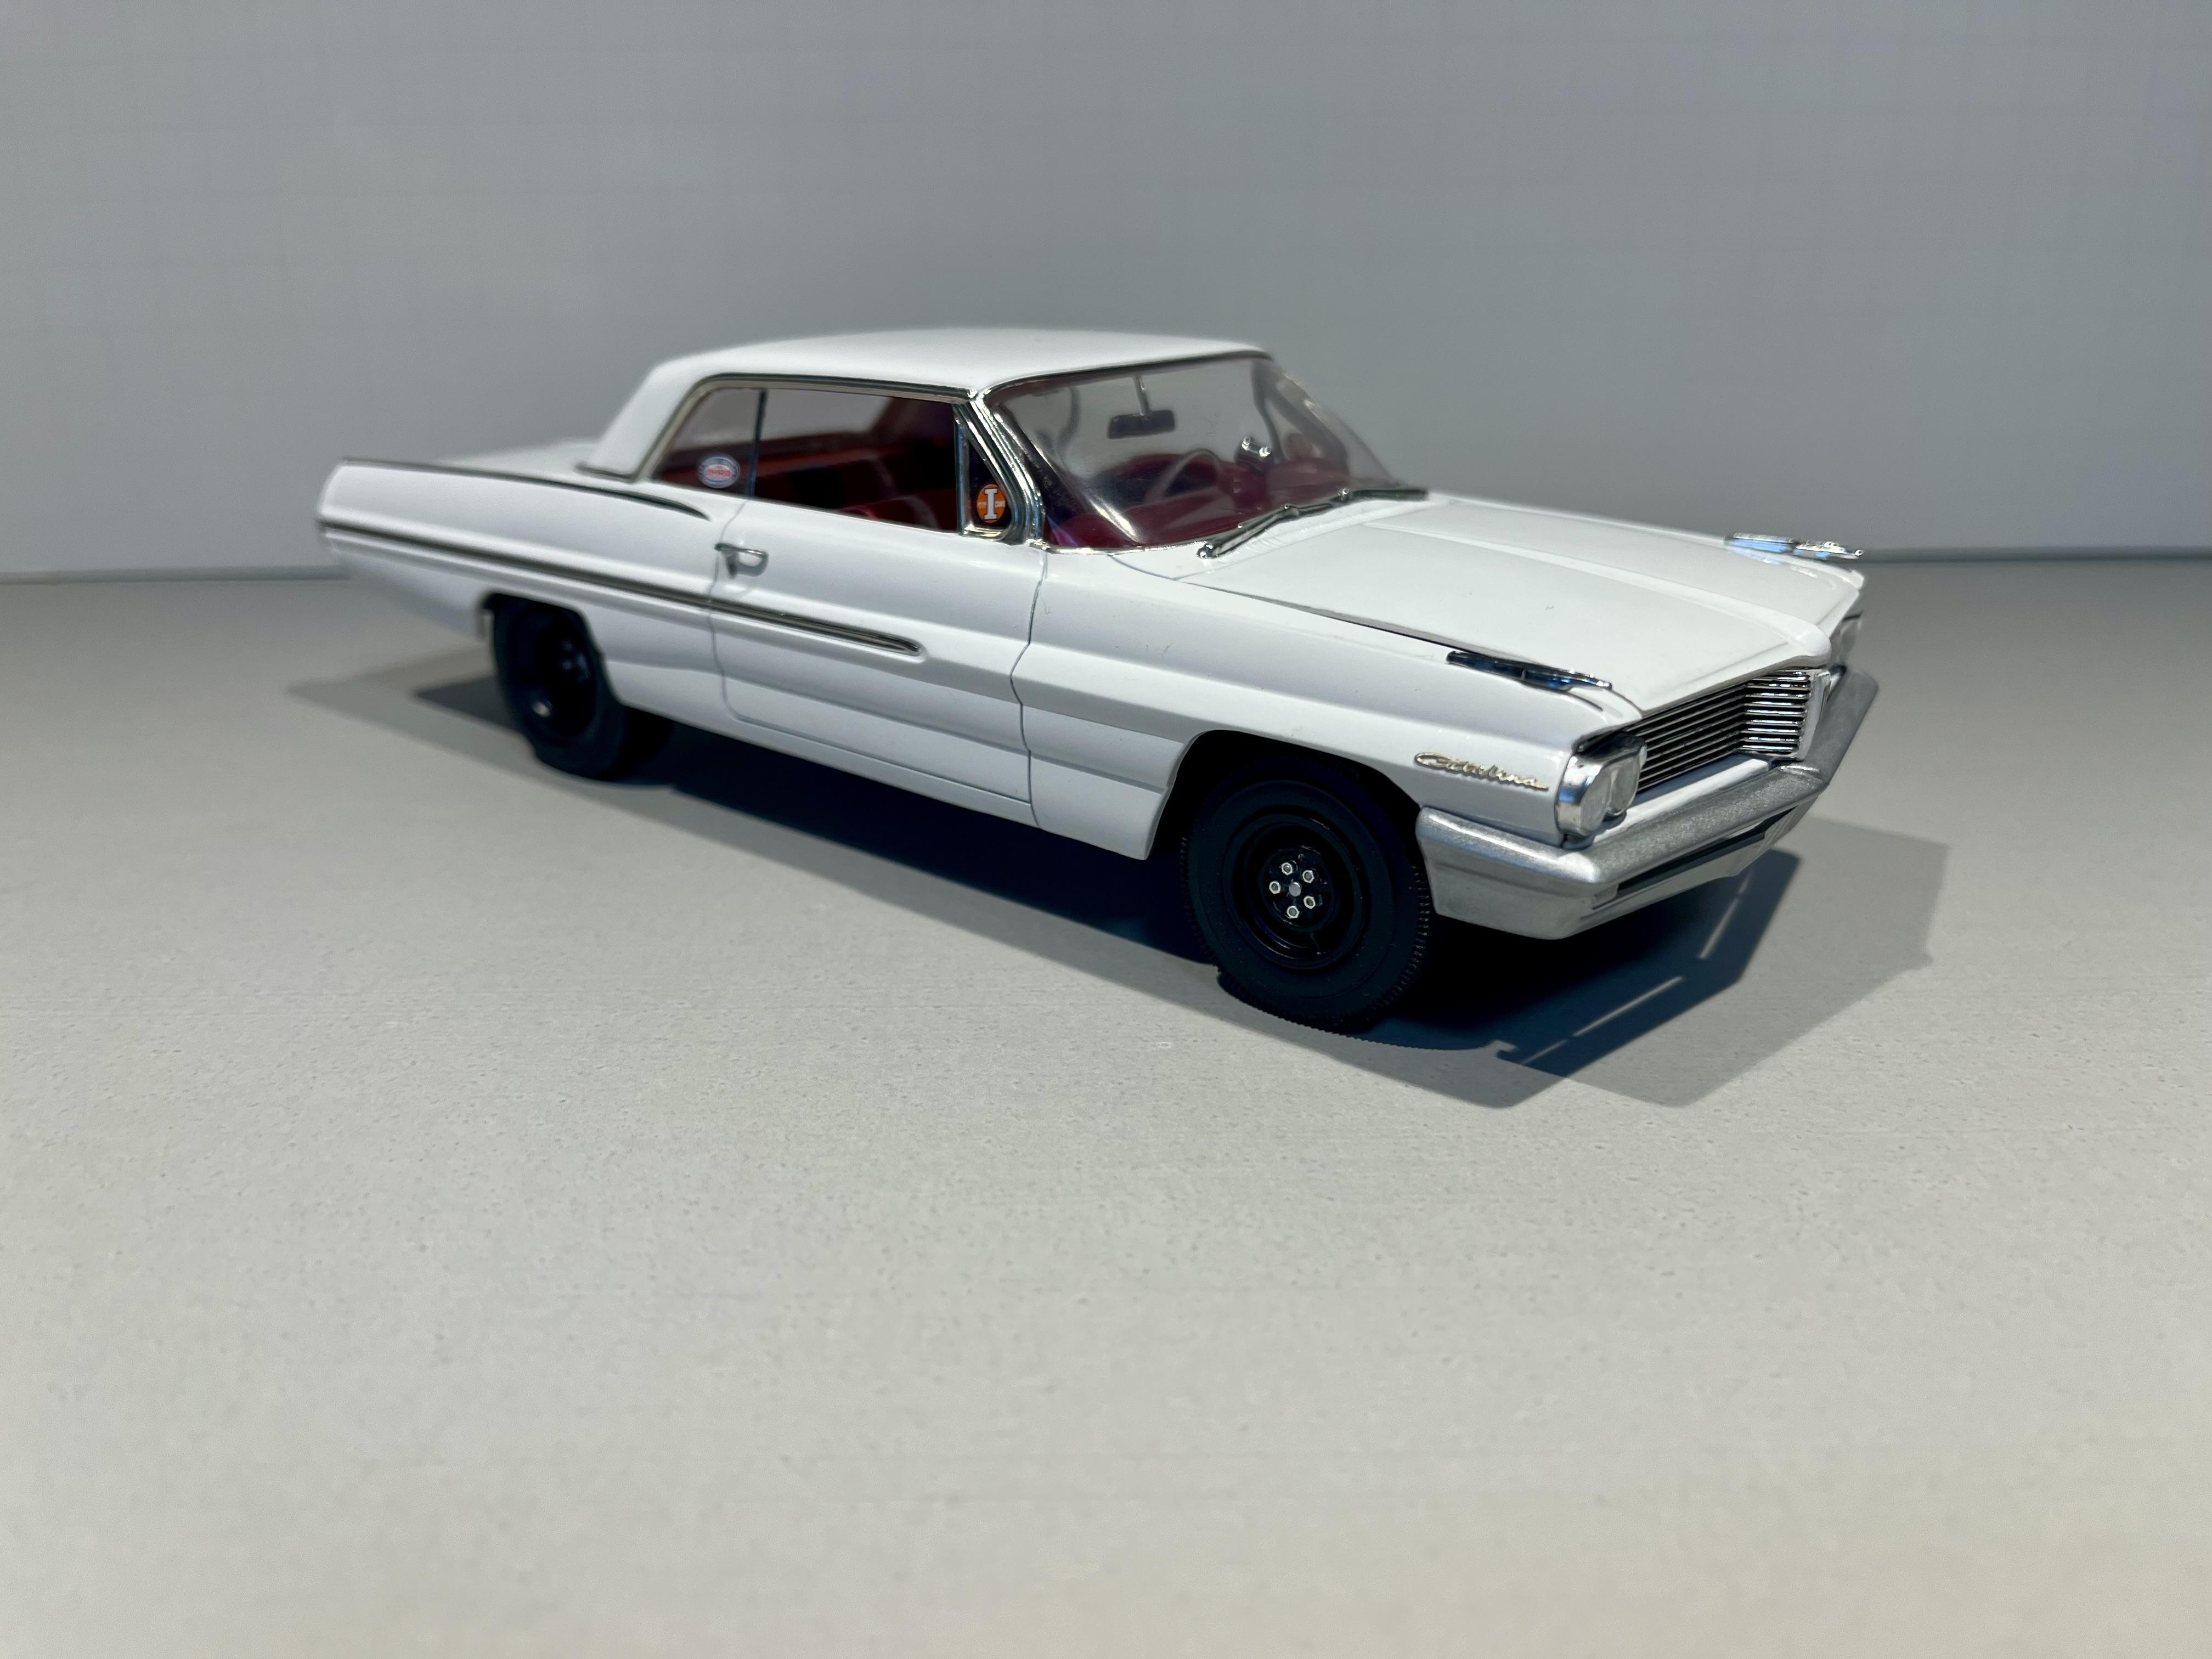
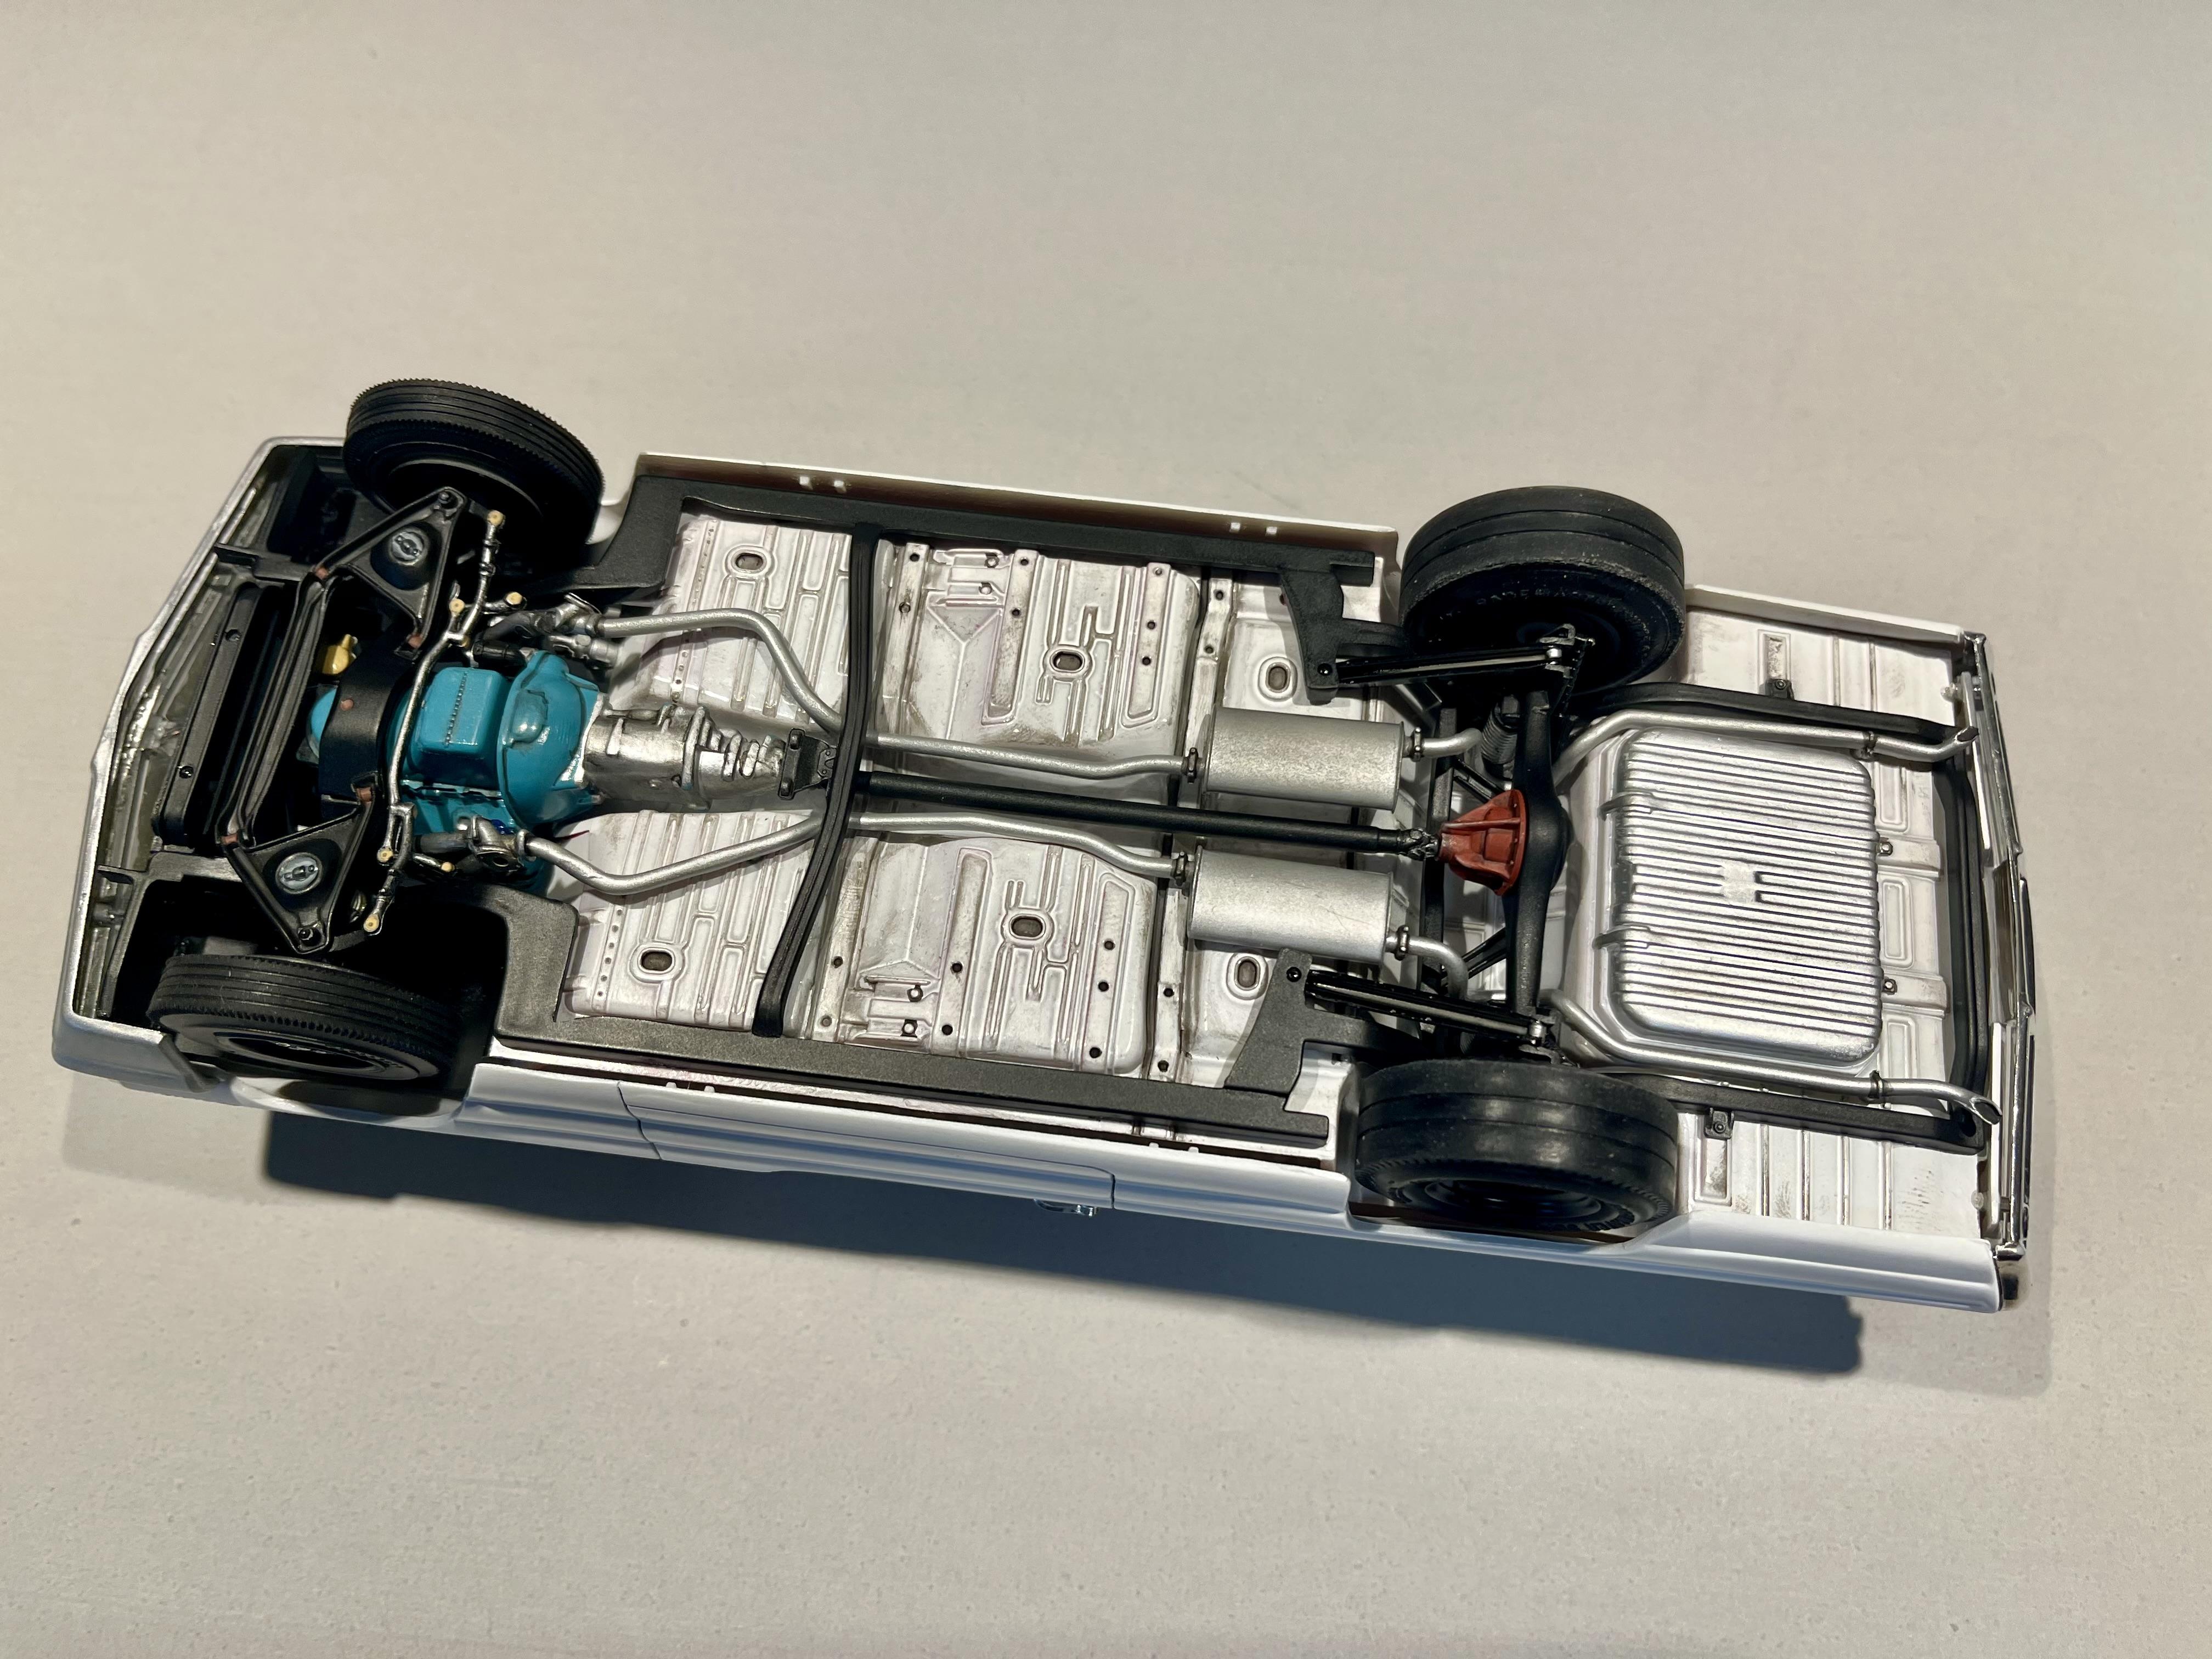
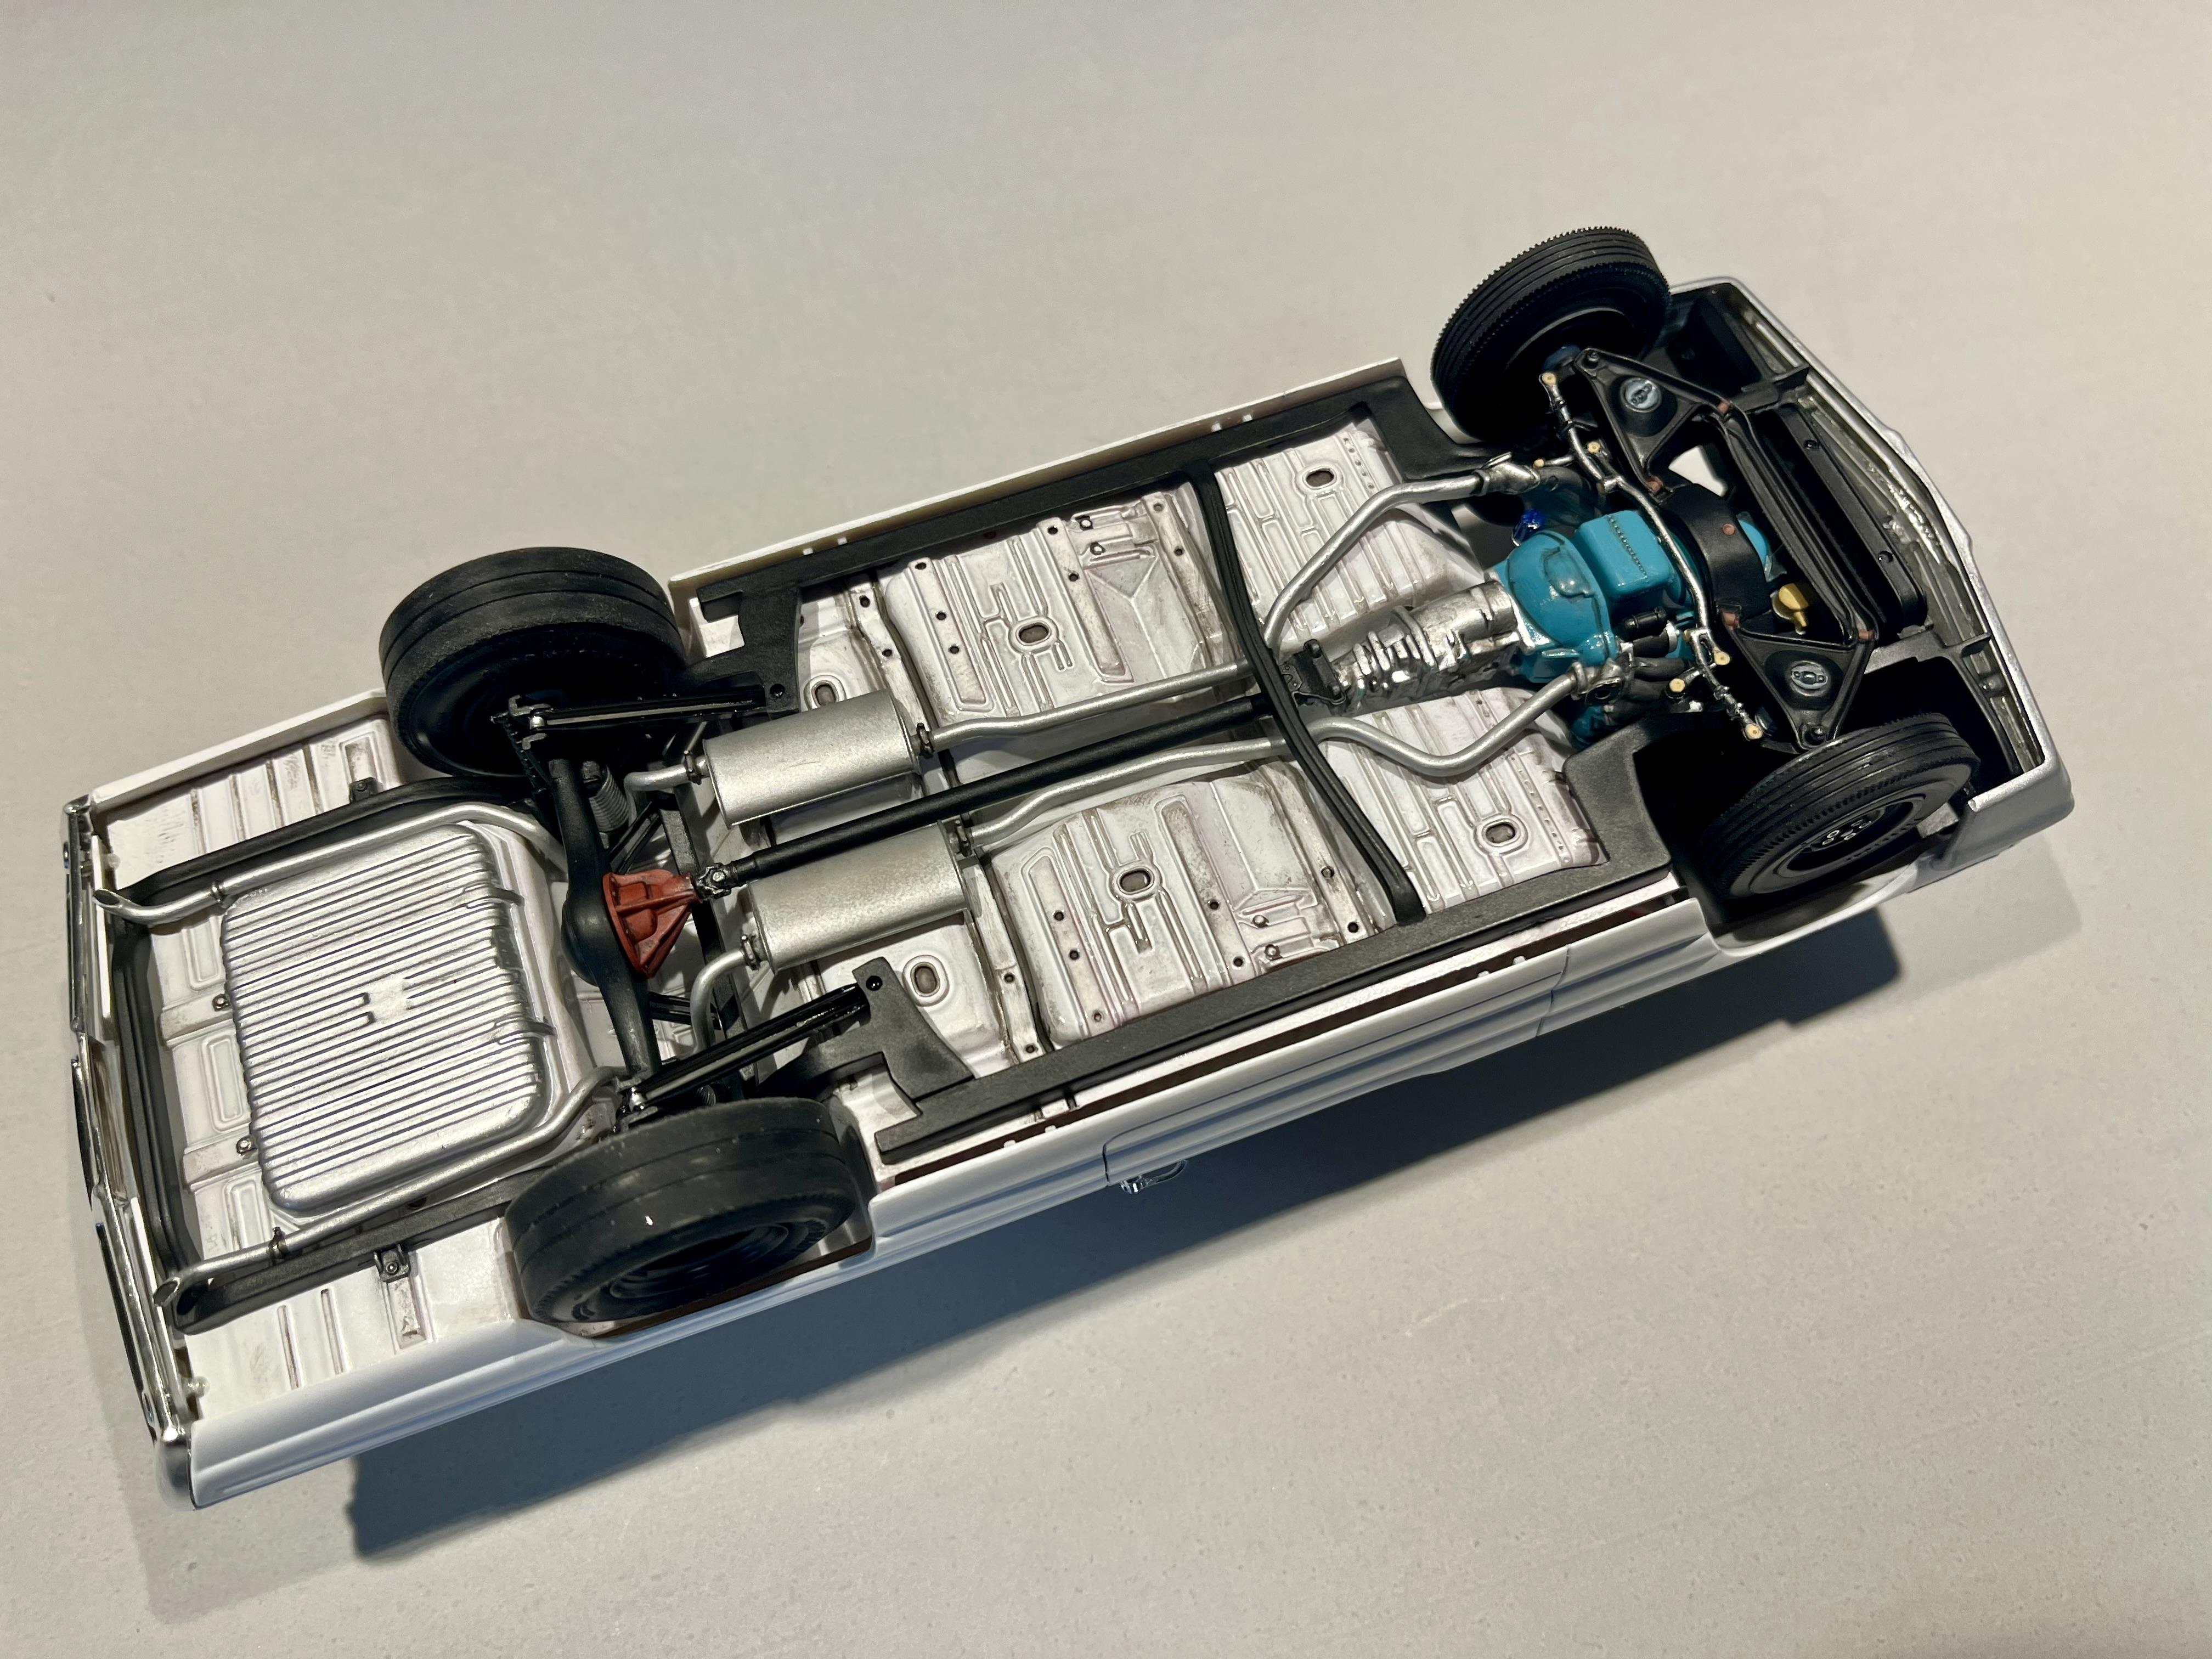
Another car that was just sitting in the box waiting to be assembled. I always wanted to build one of these with the small, Fairlane hub caps. This has the 60 Starliner chassis, and the body was from the old working taillights kit. Interior is from the curbside kit.
- 27 replies
-
- 24
-

-
I figured so. You know your Mopars pretty well. When I did mine, I tried my hand at removing the interior arm rests, and adding seat belts to operate the windows.
-
Also, are you planning on removing the side marker lights on the front fenders?
-
I need to get another one of these kits too. I built a red Hemi Dart with black interior, a while back, and was meaning to get another. I’d like to build one as it came from the factory, in primer with the black front end.
-
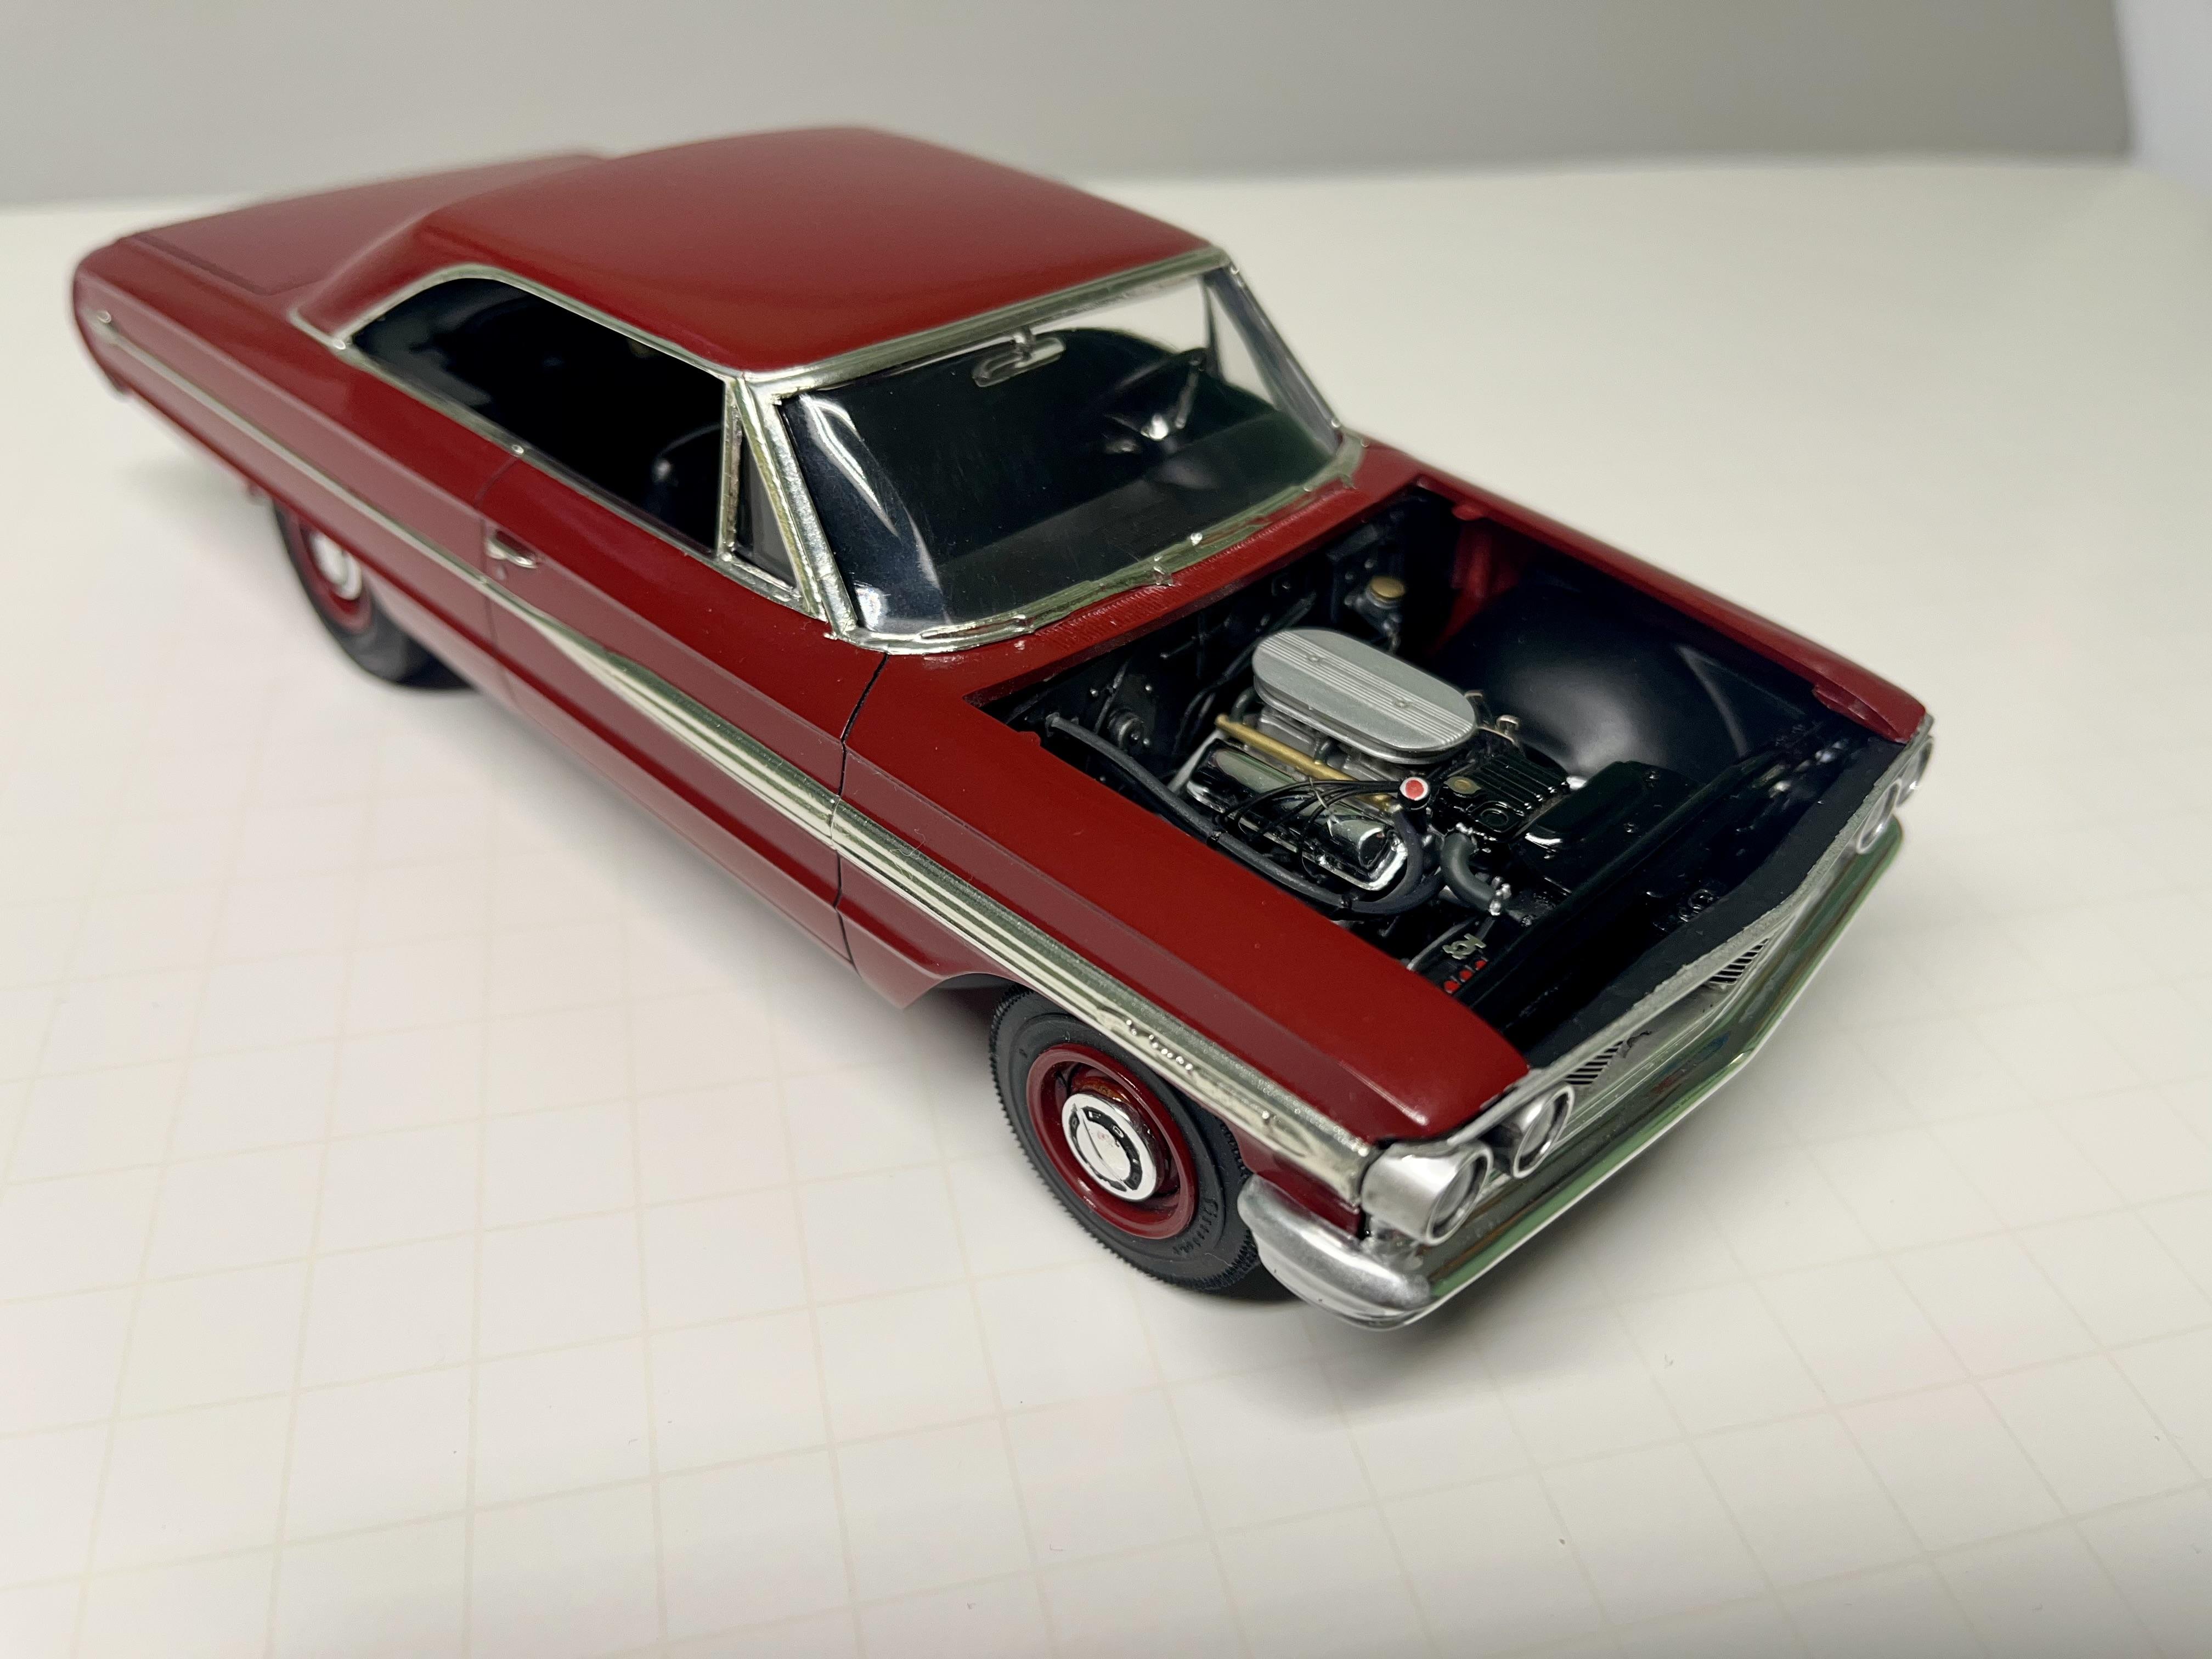
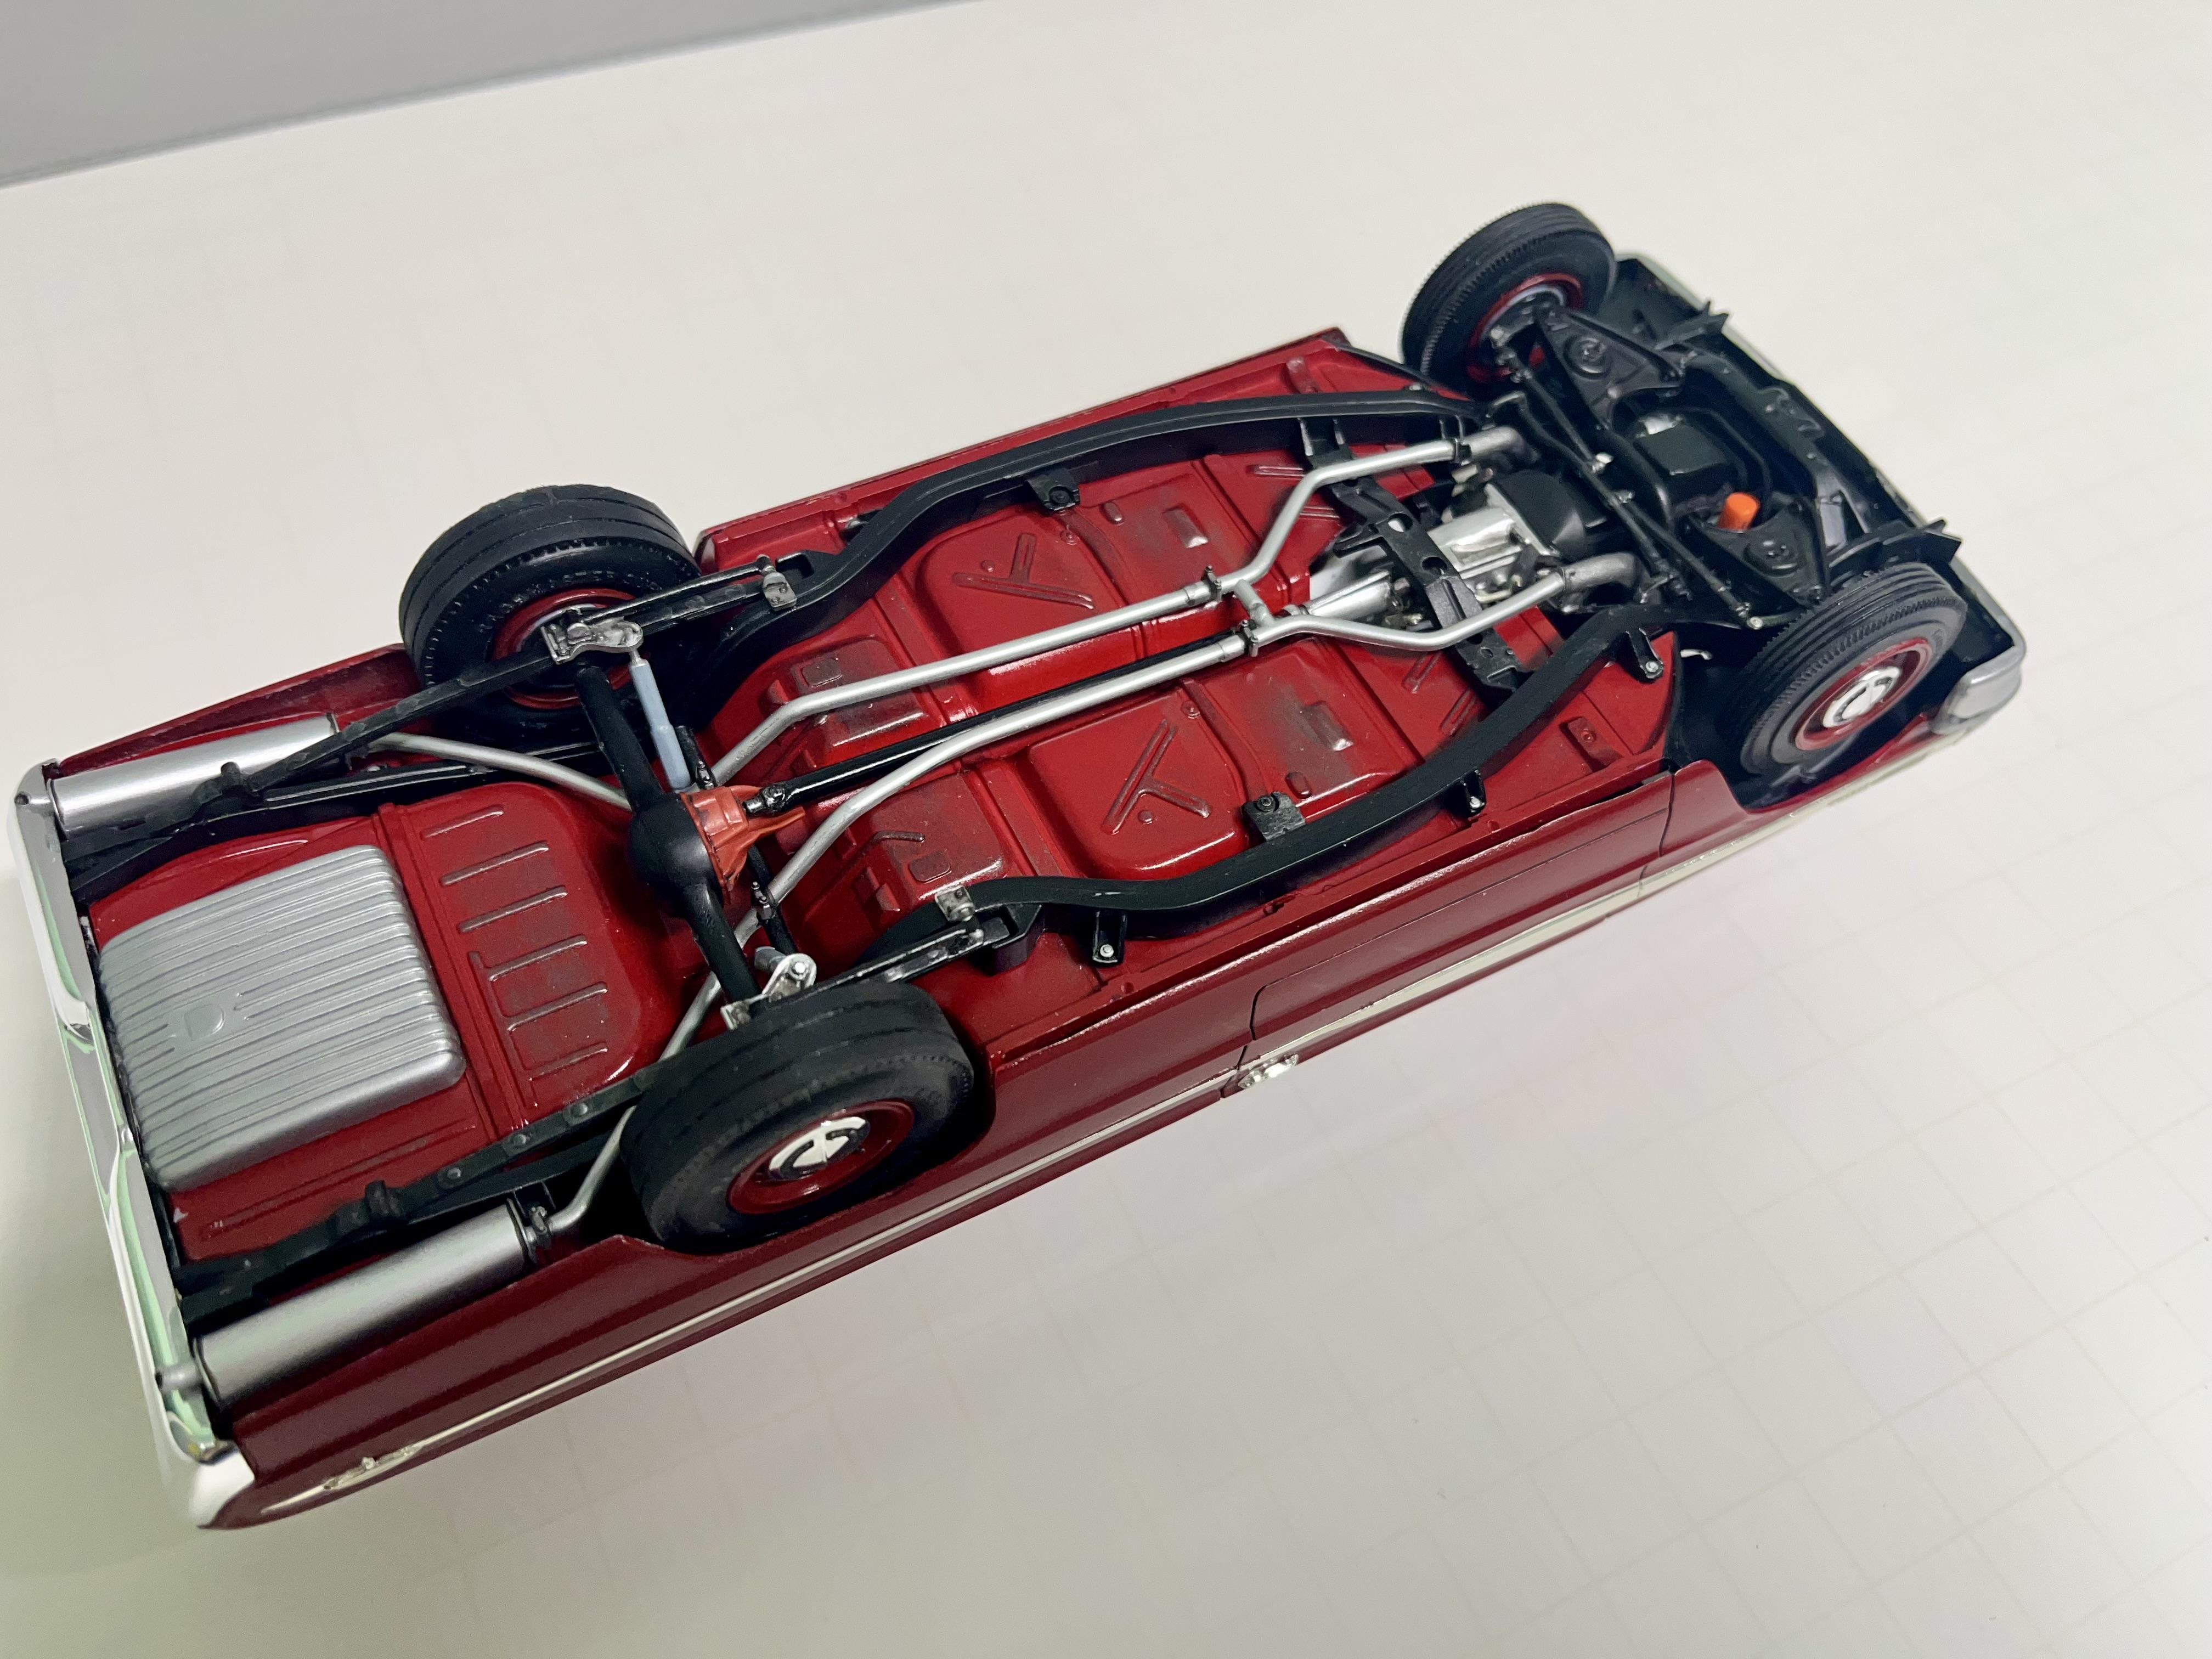
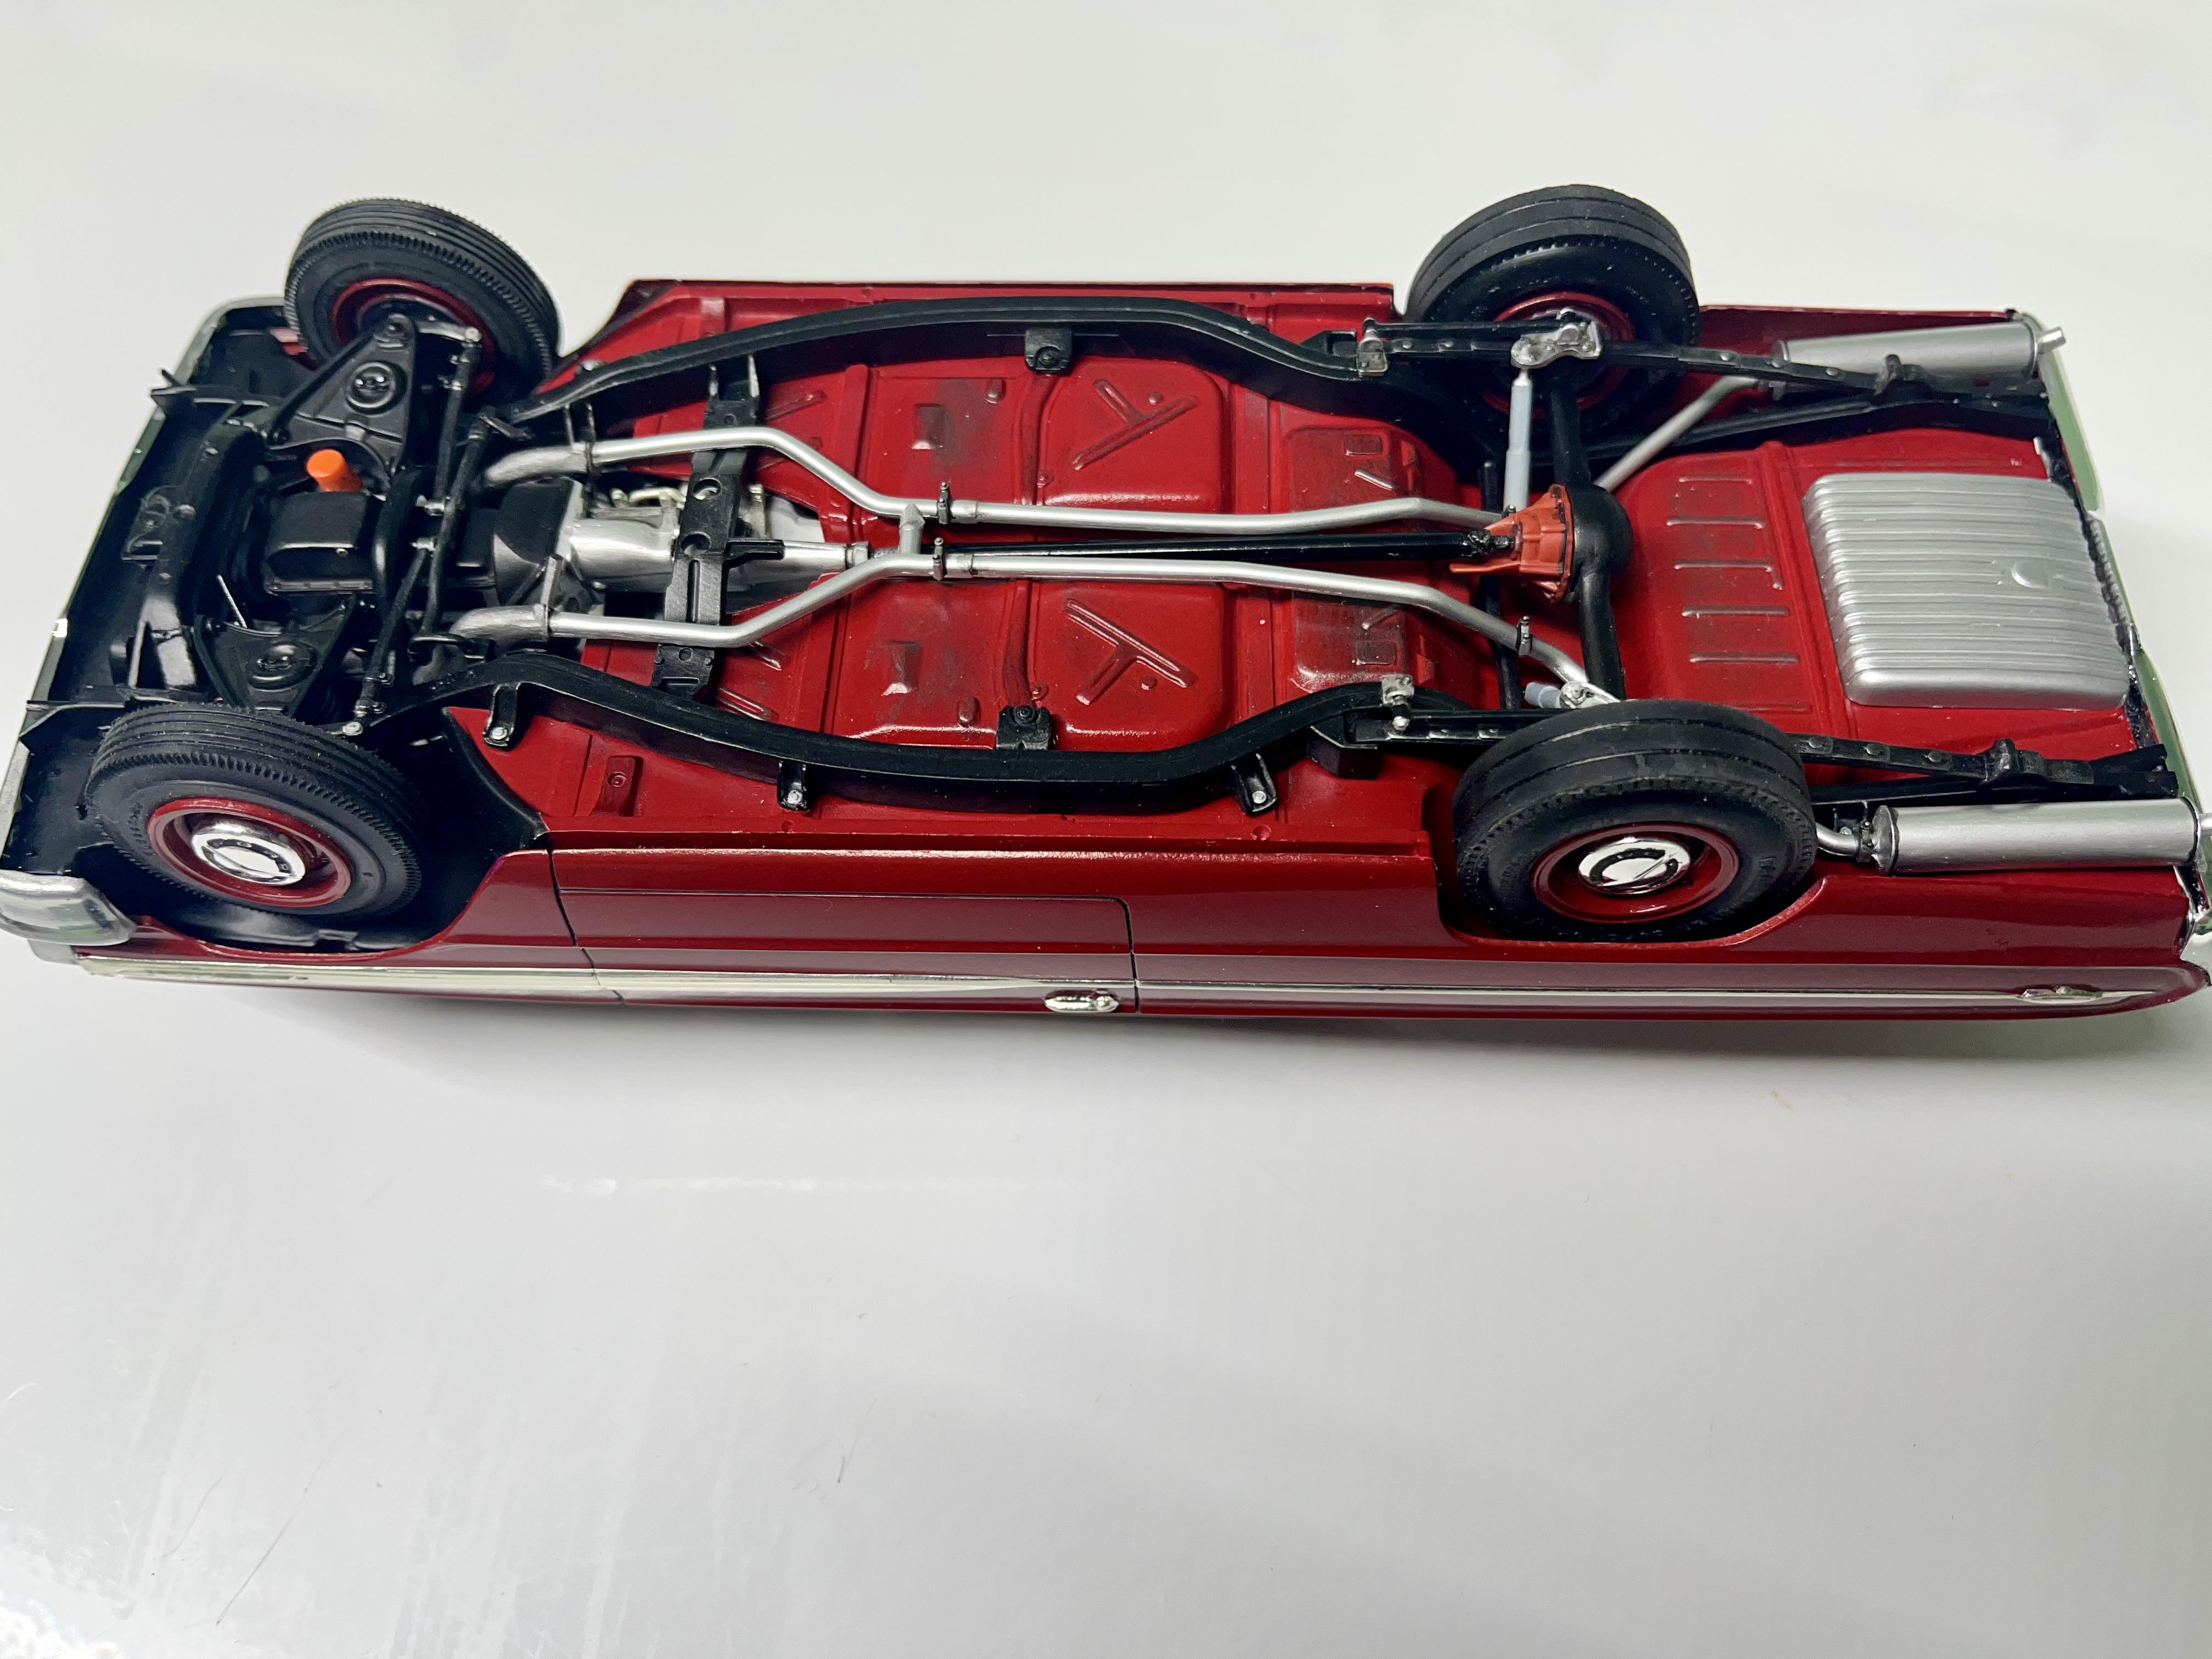
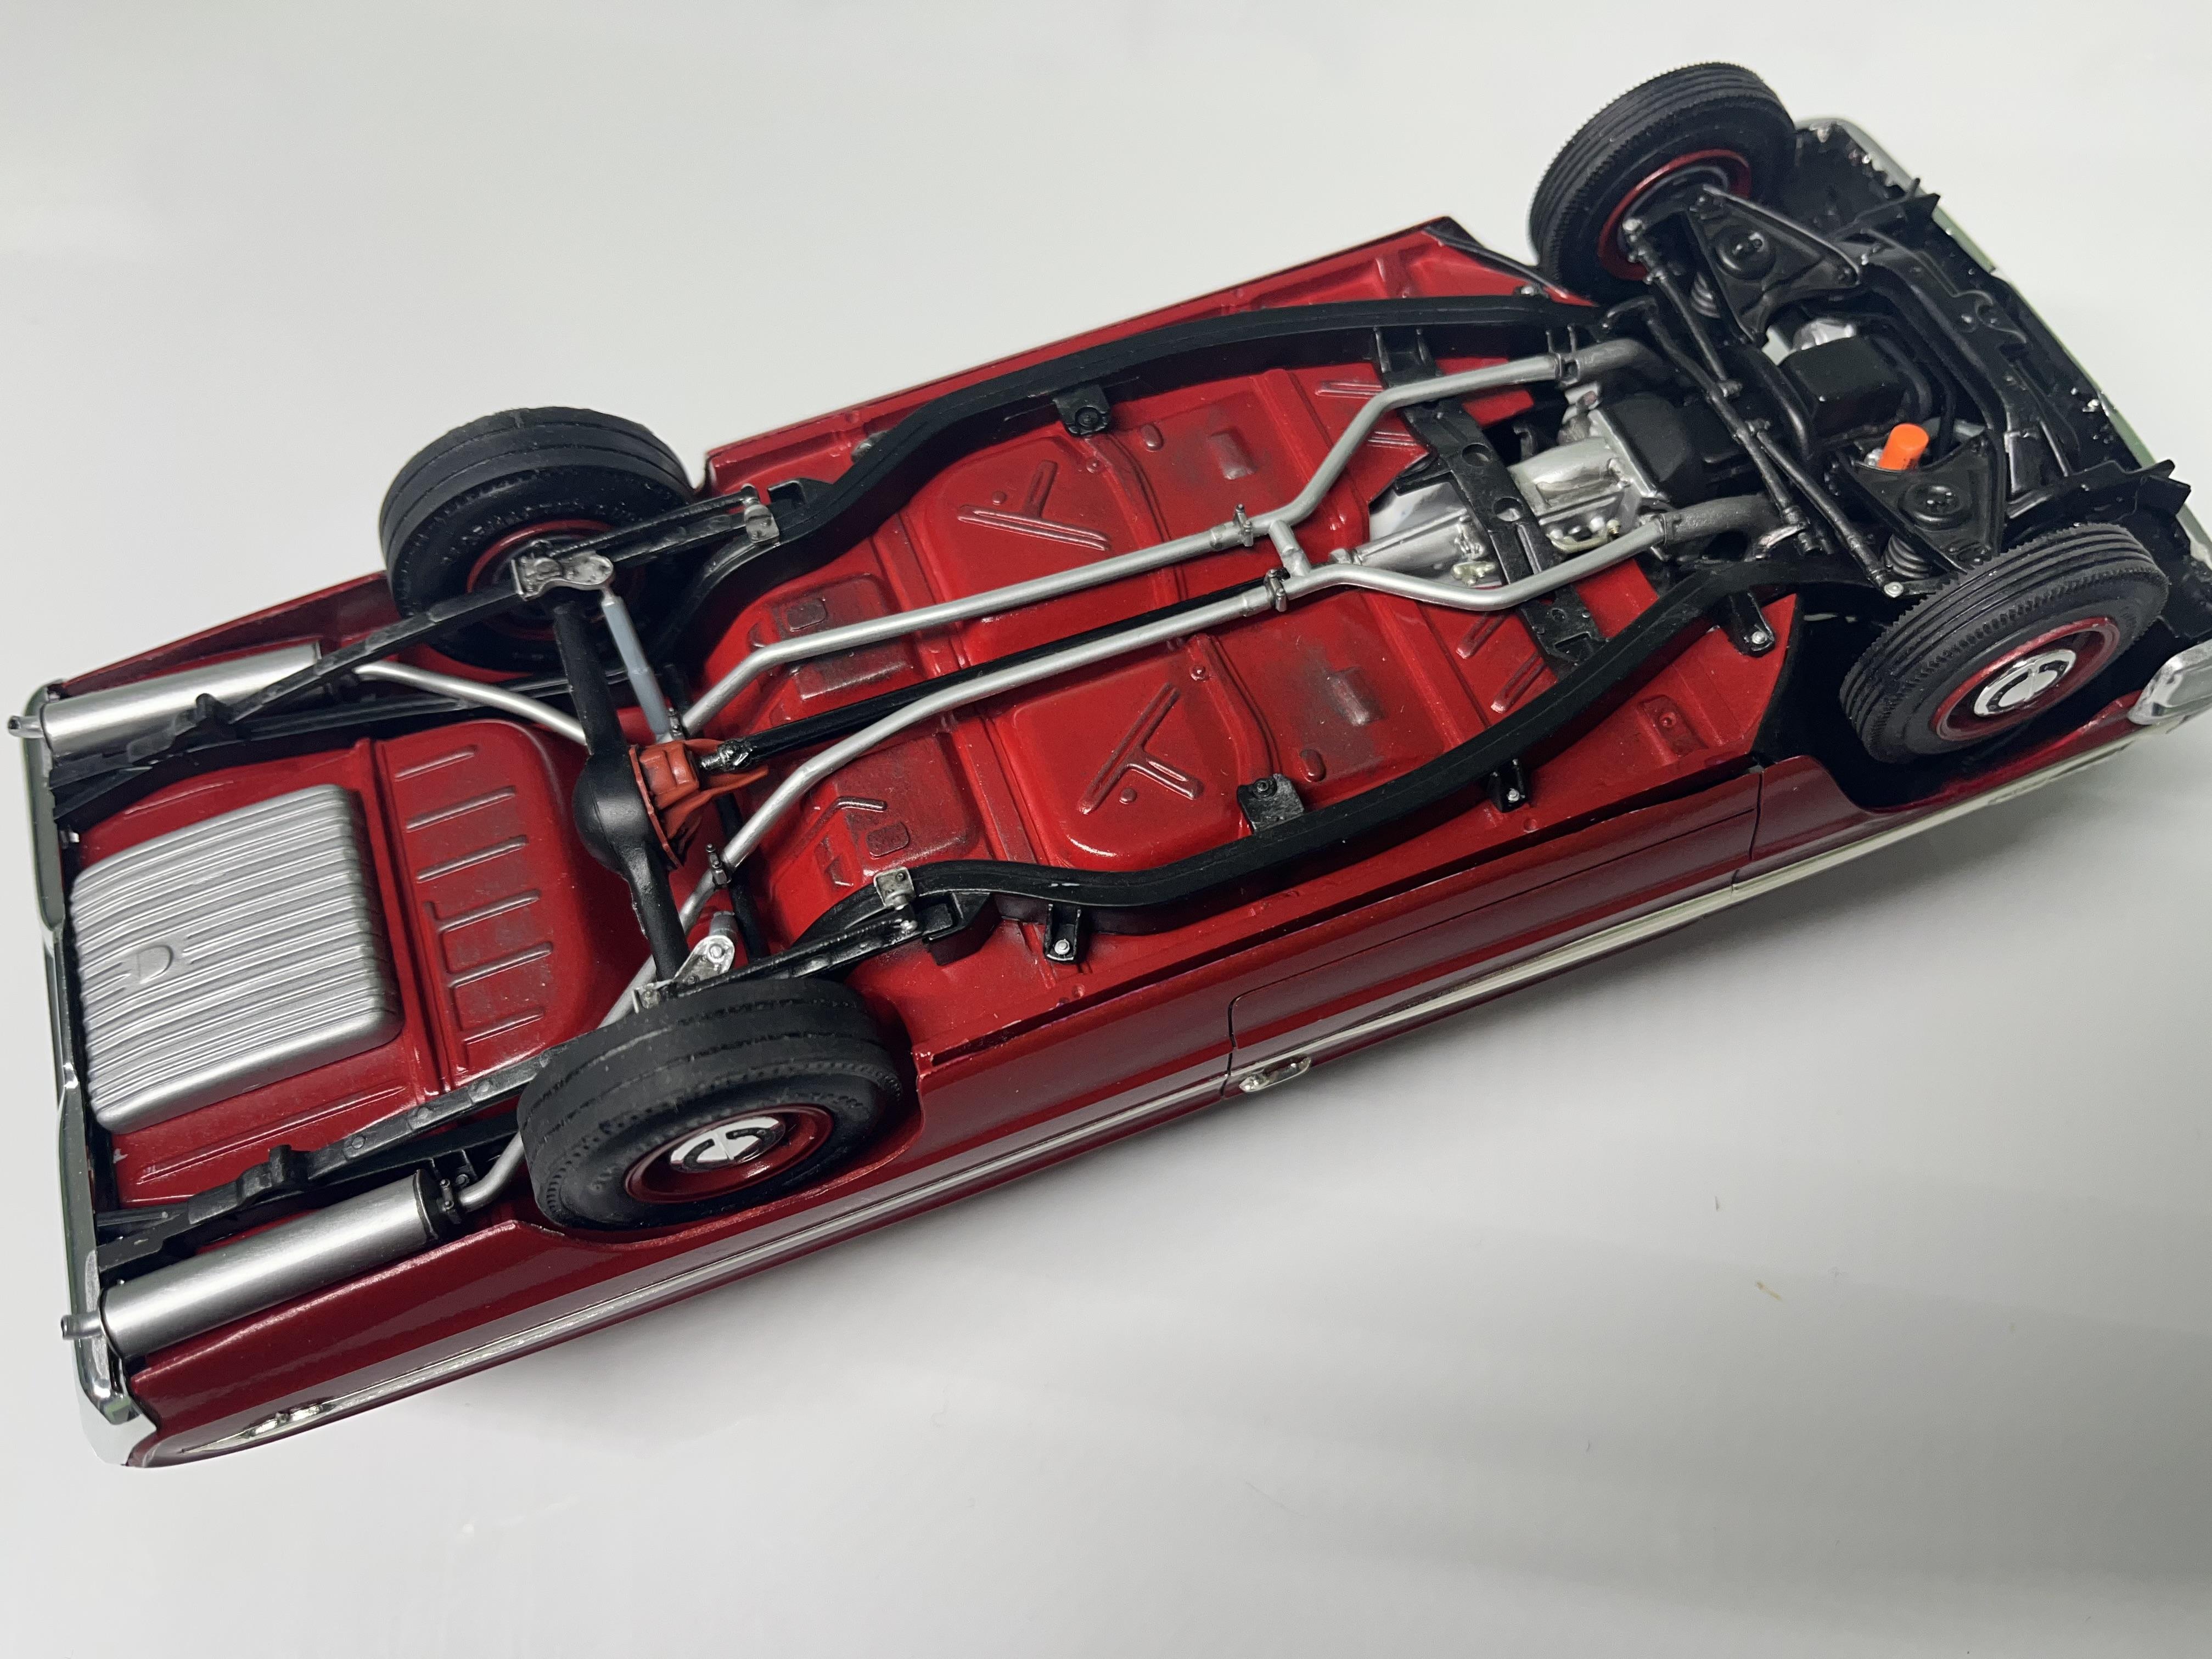
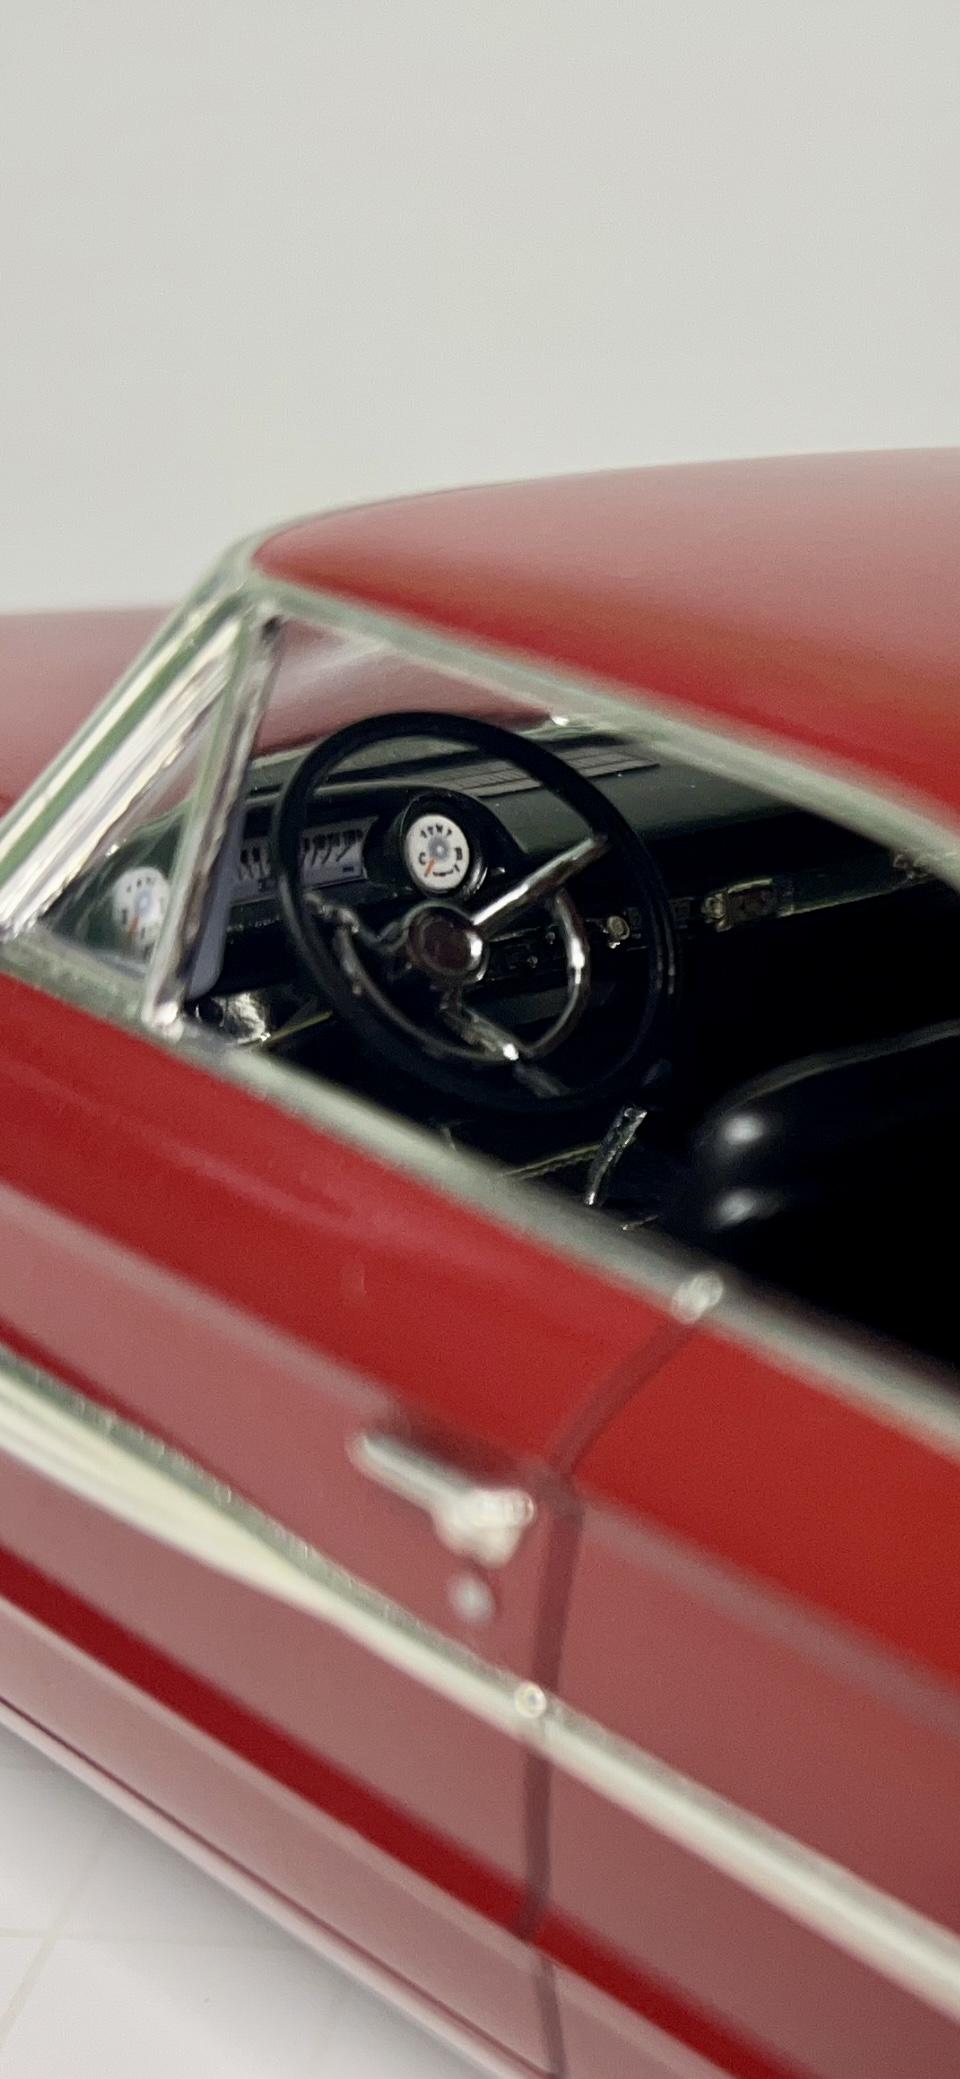
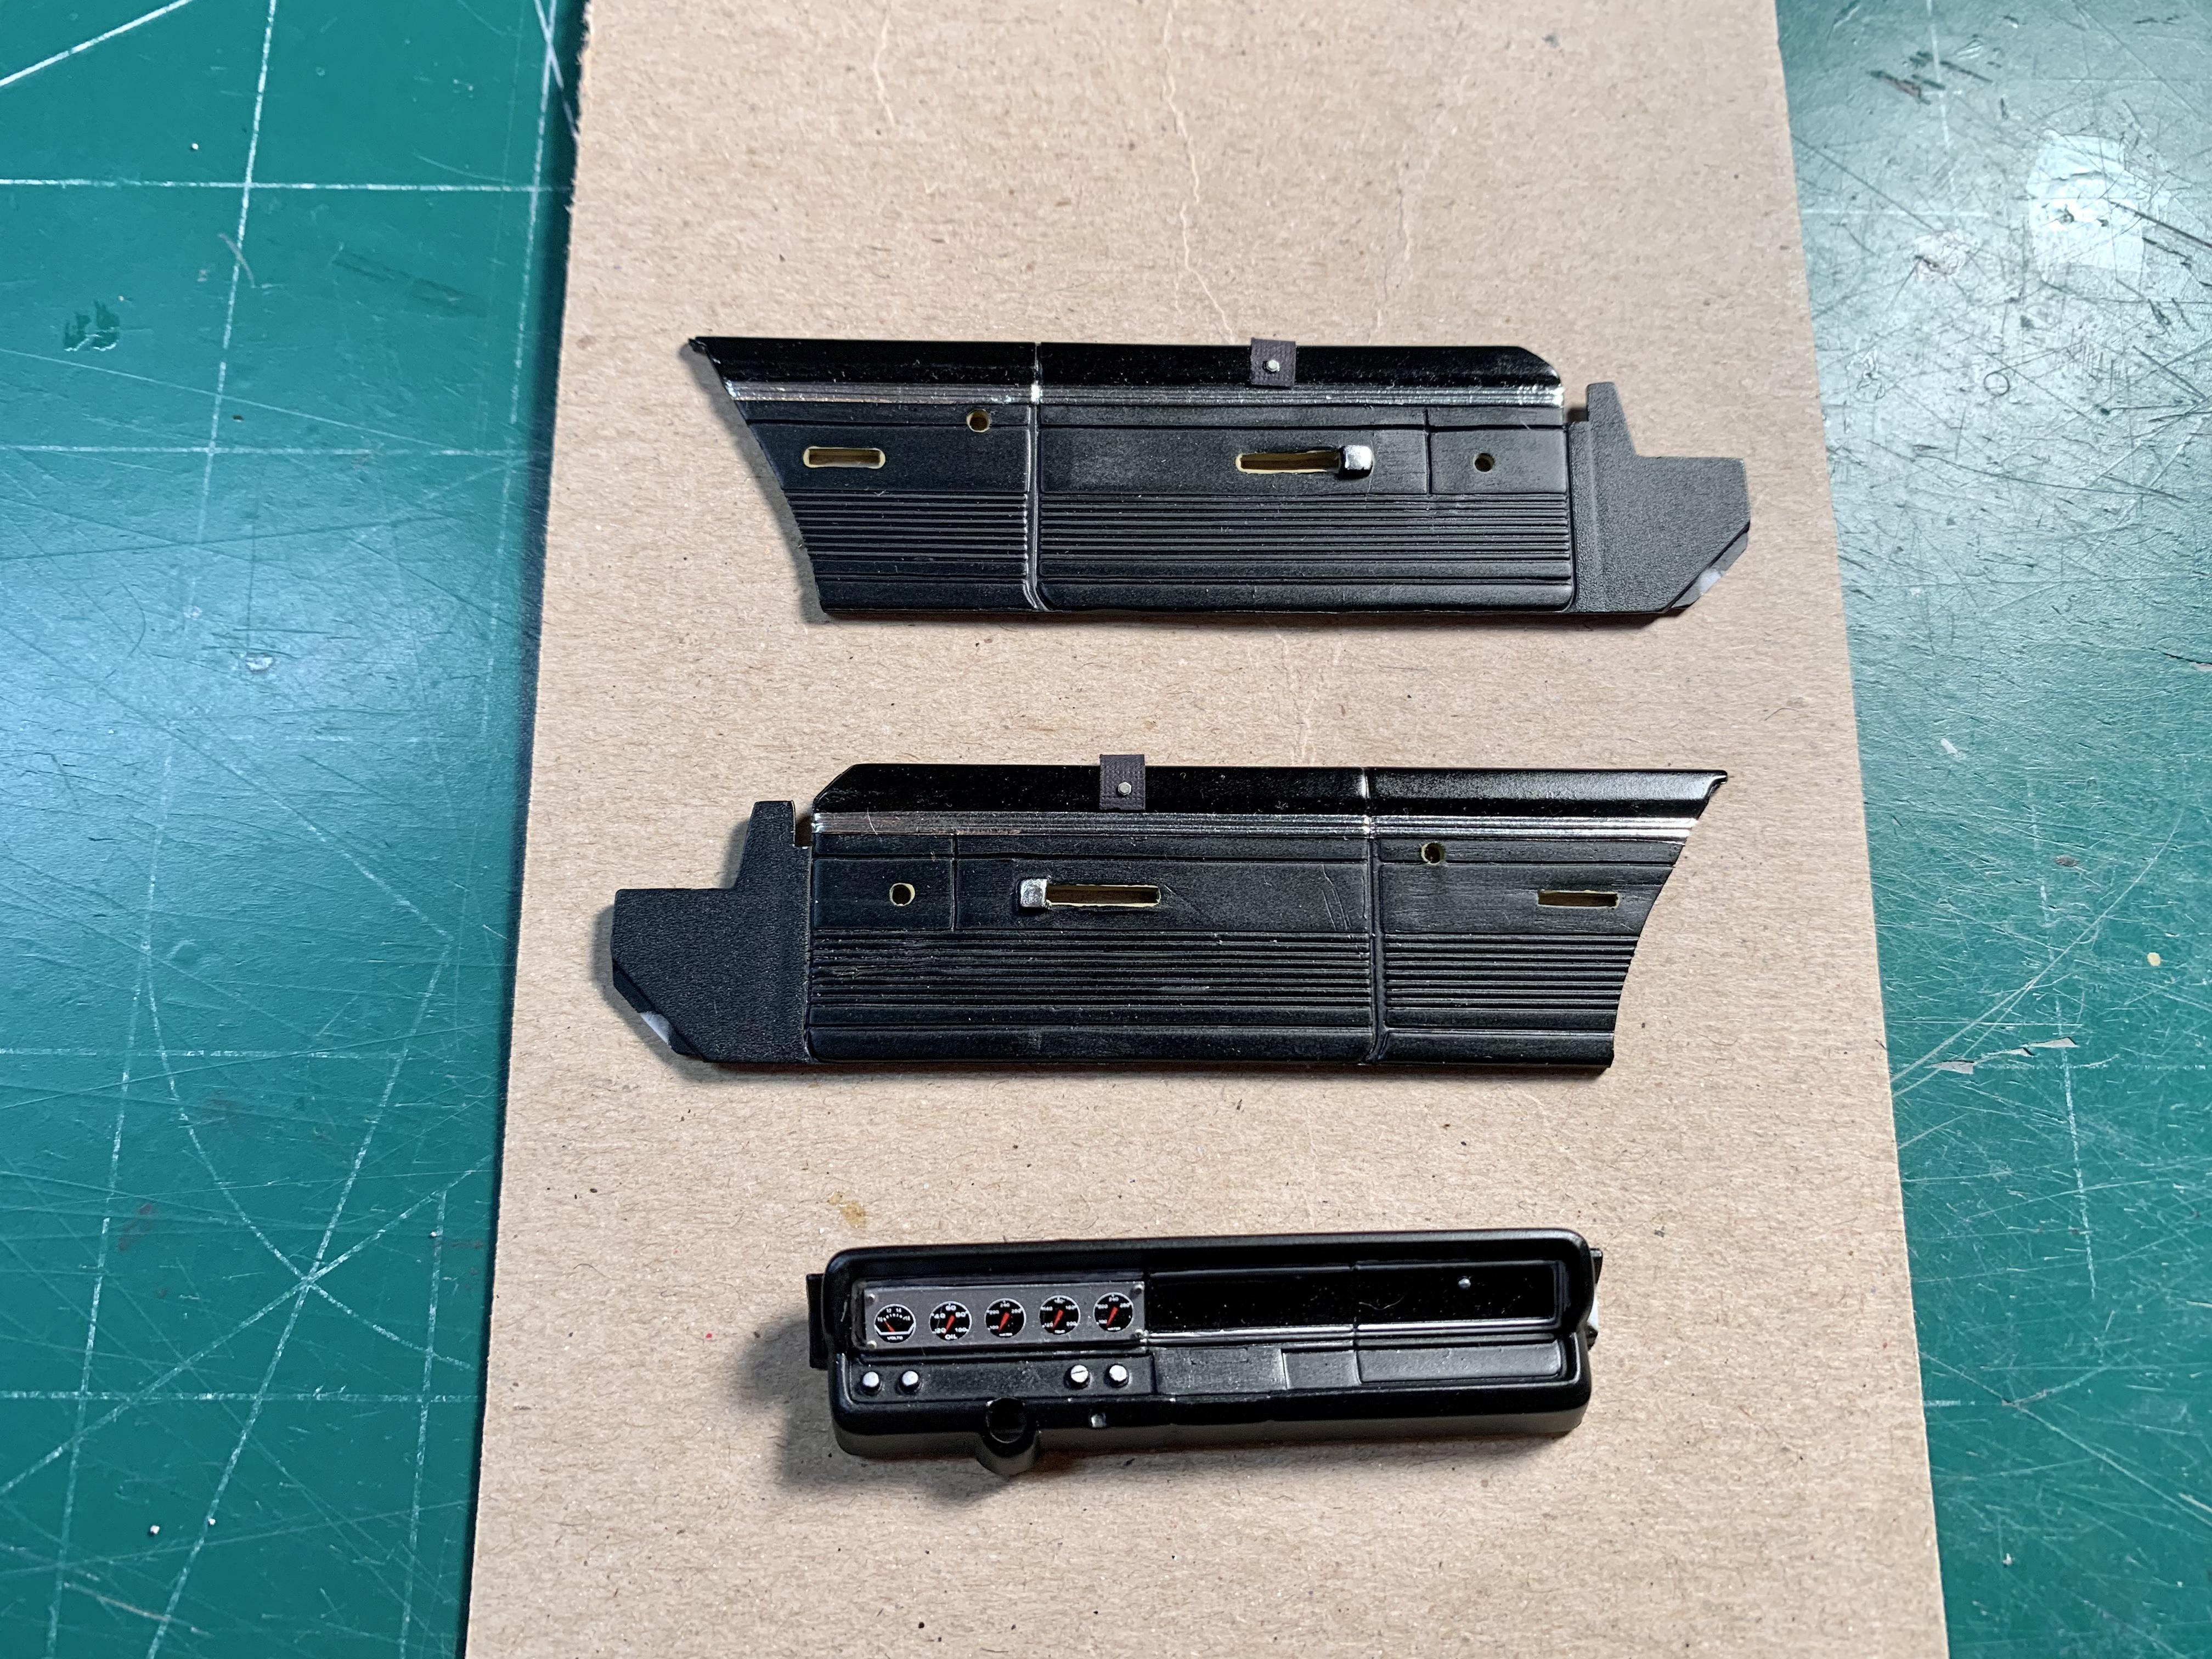
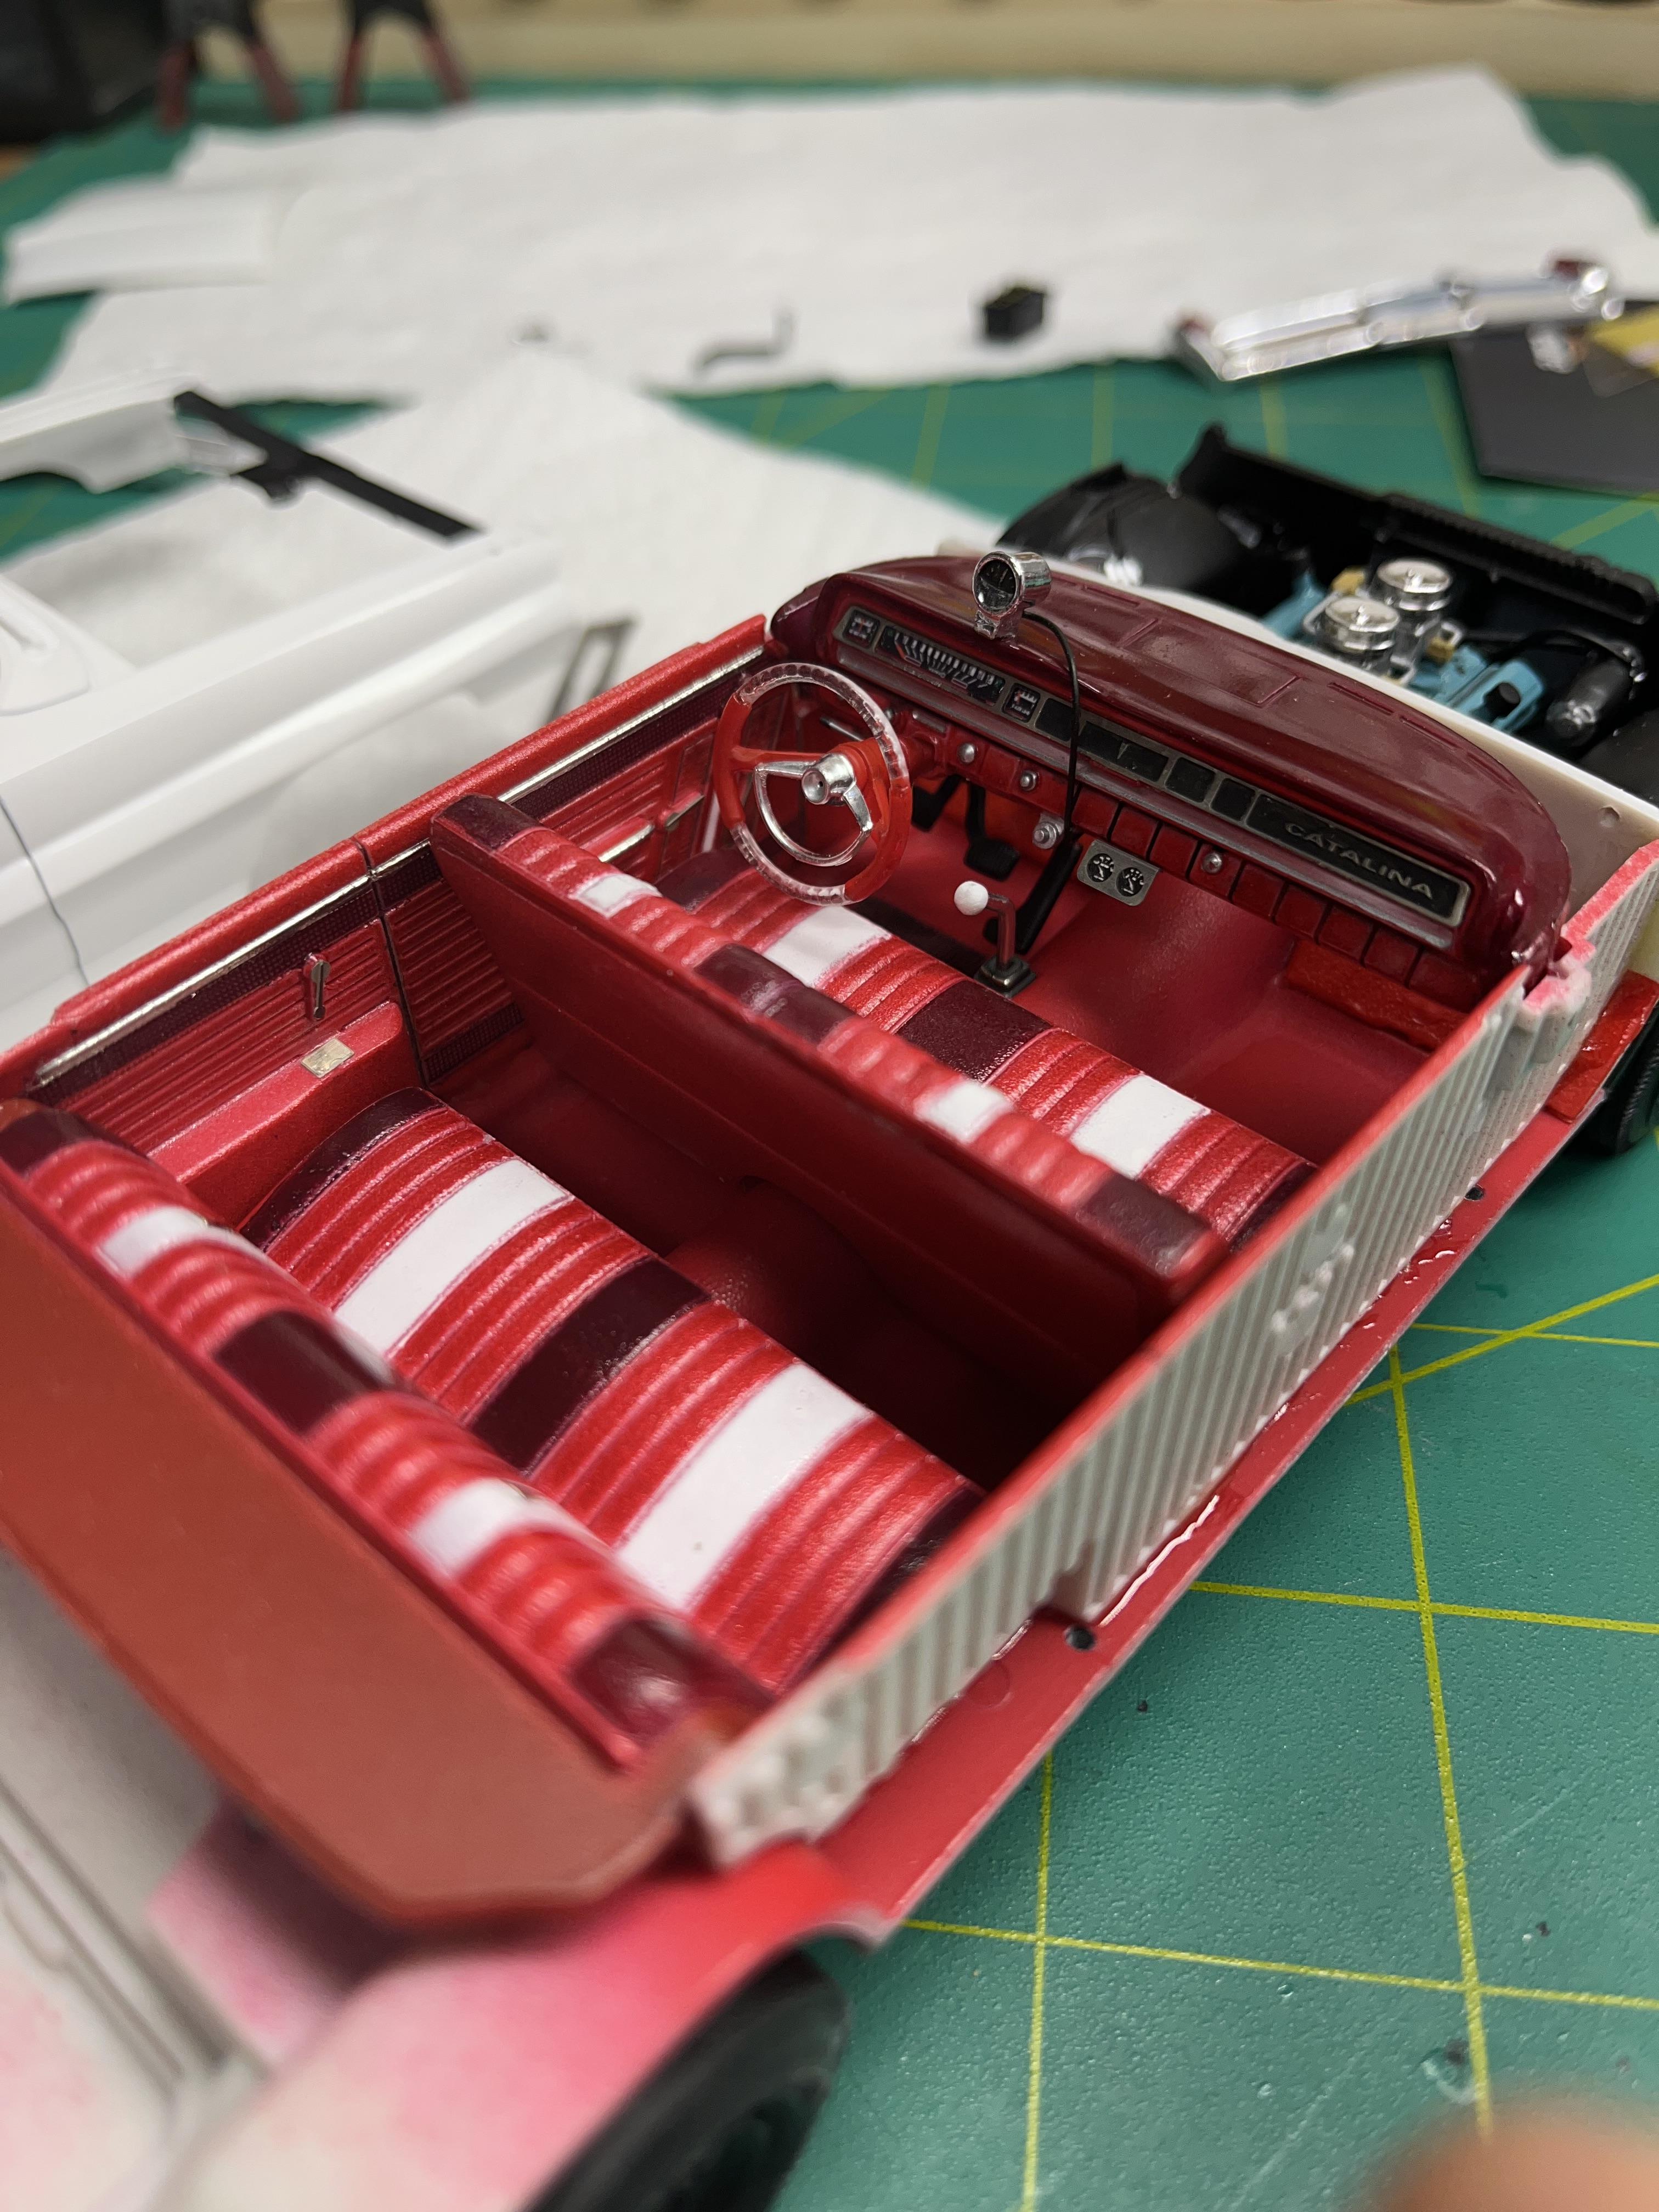
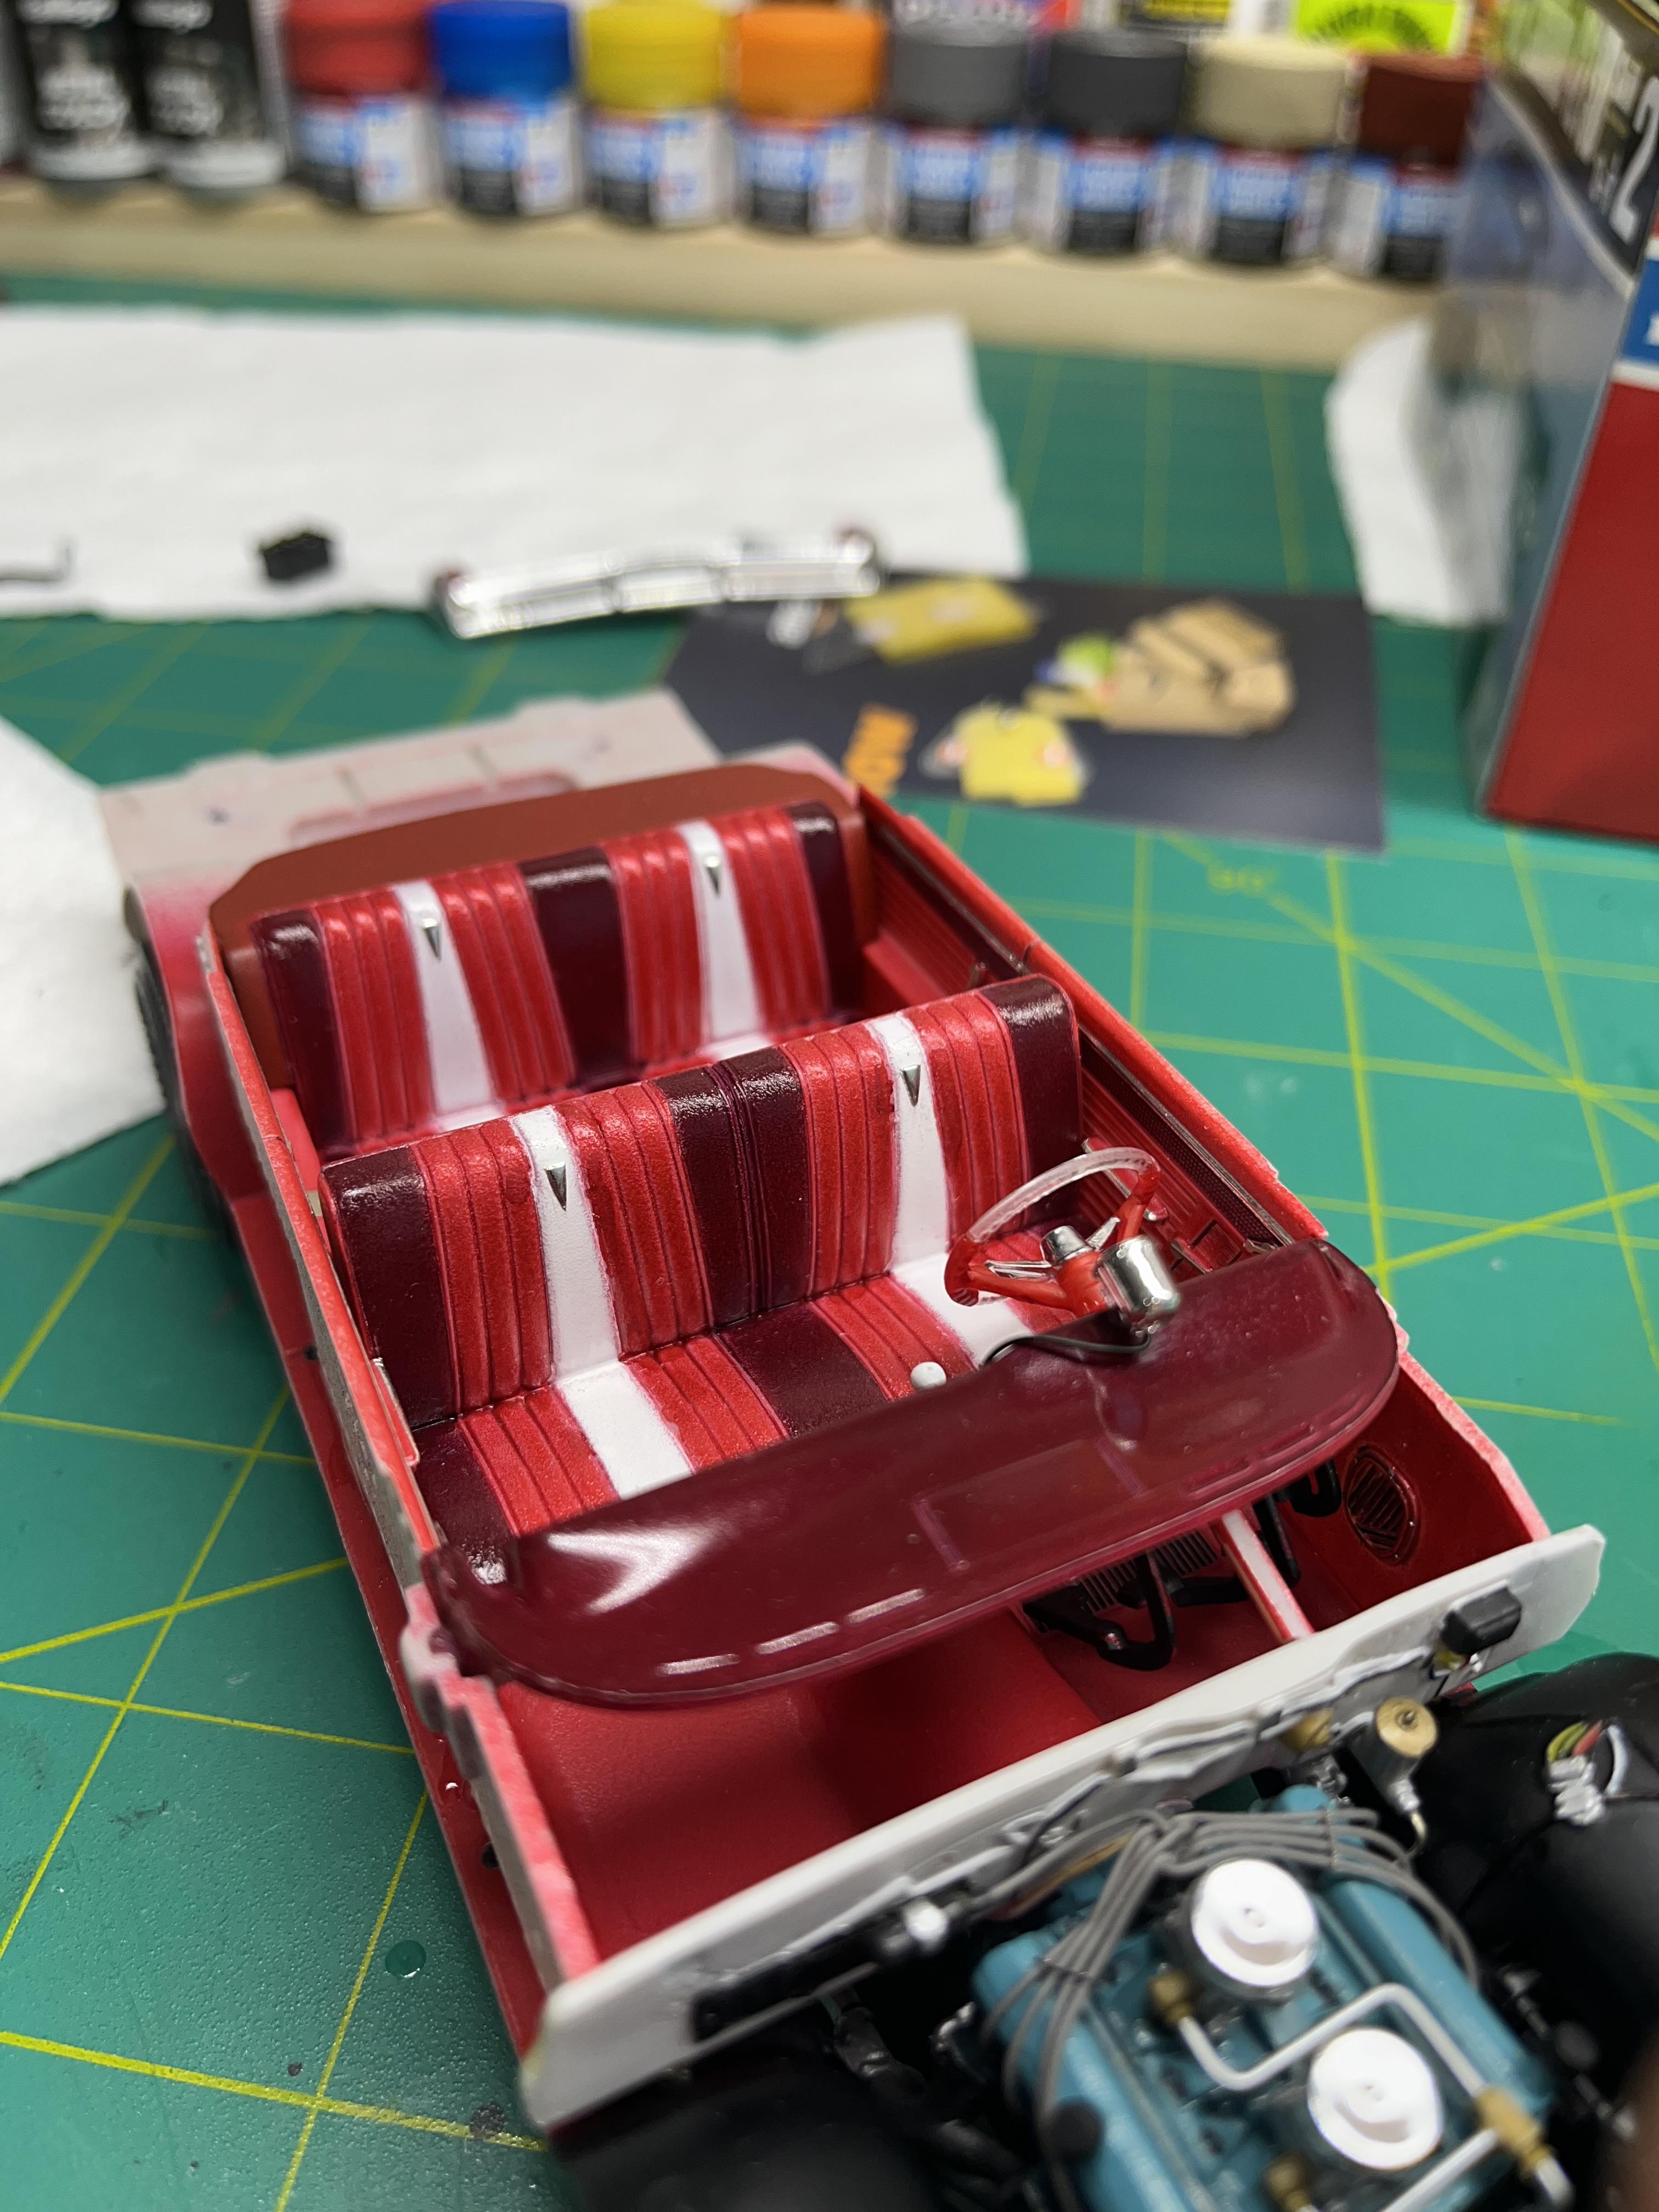
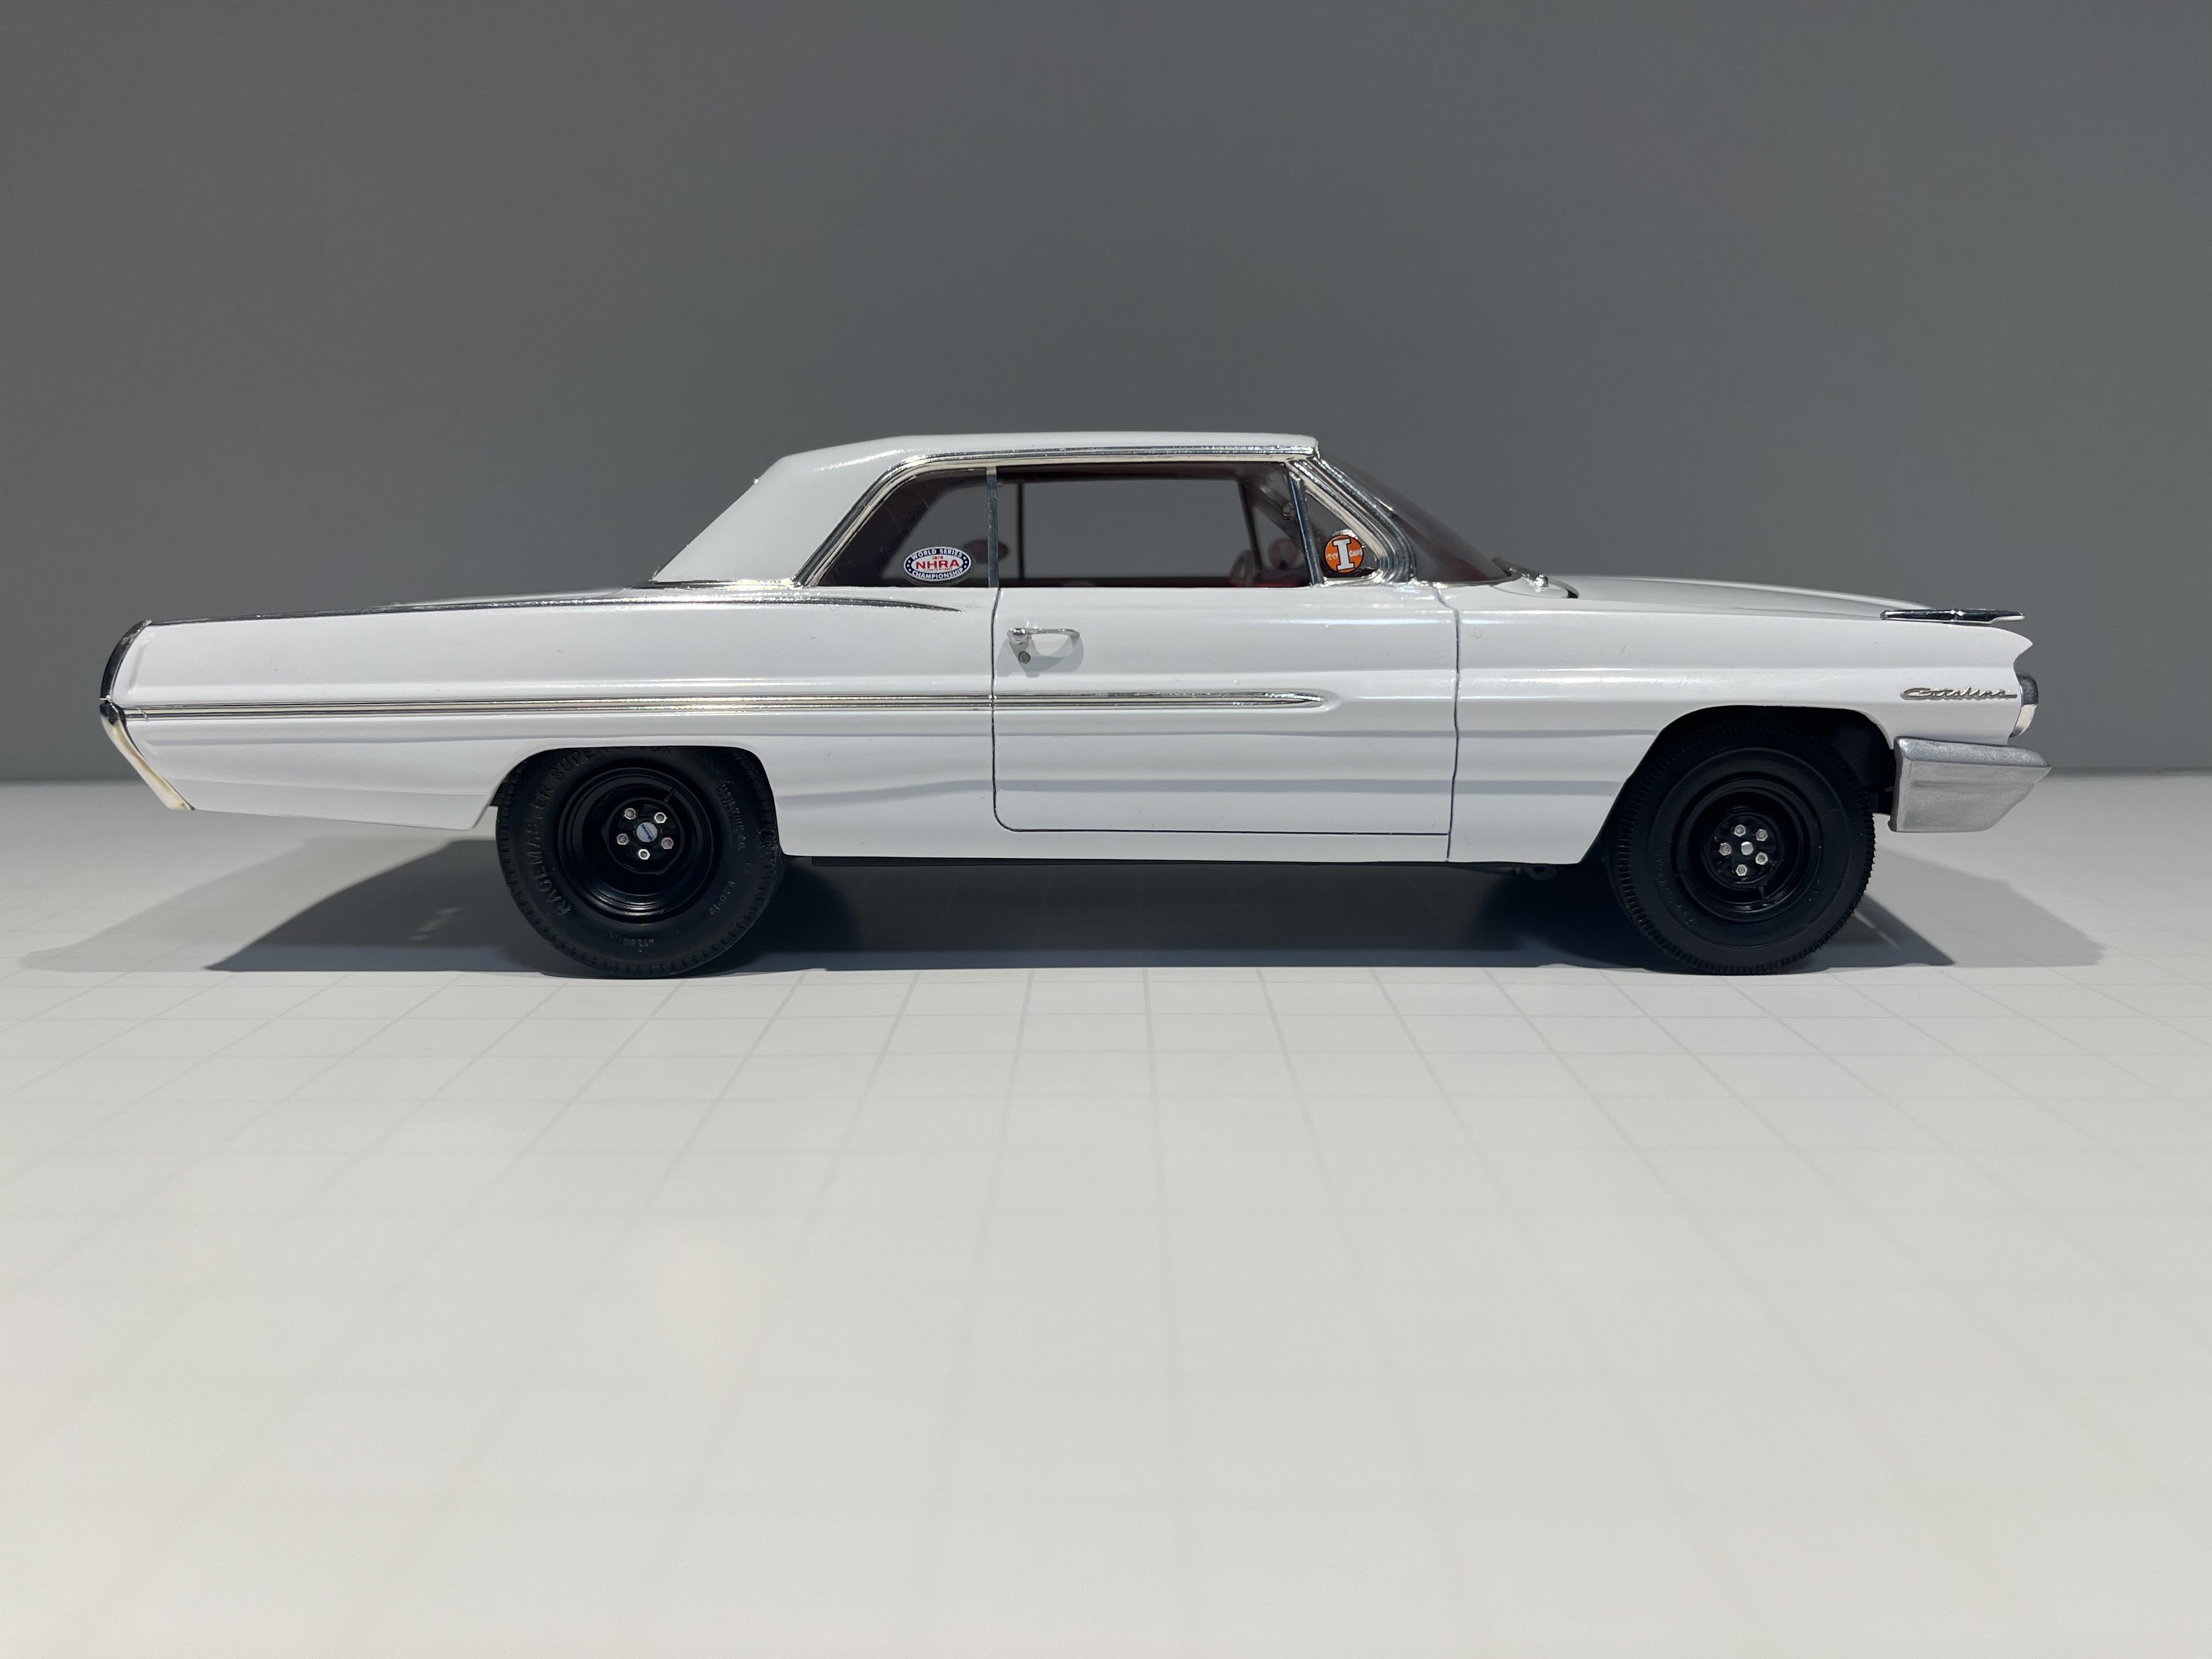
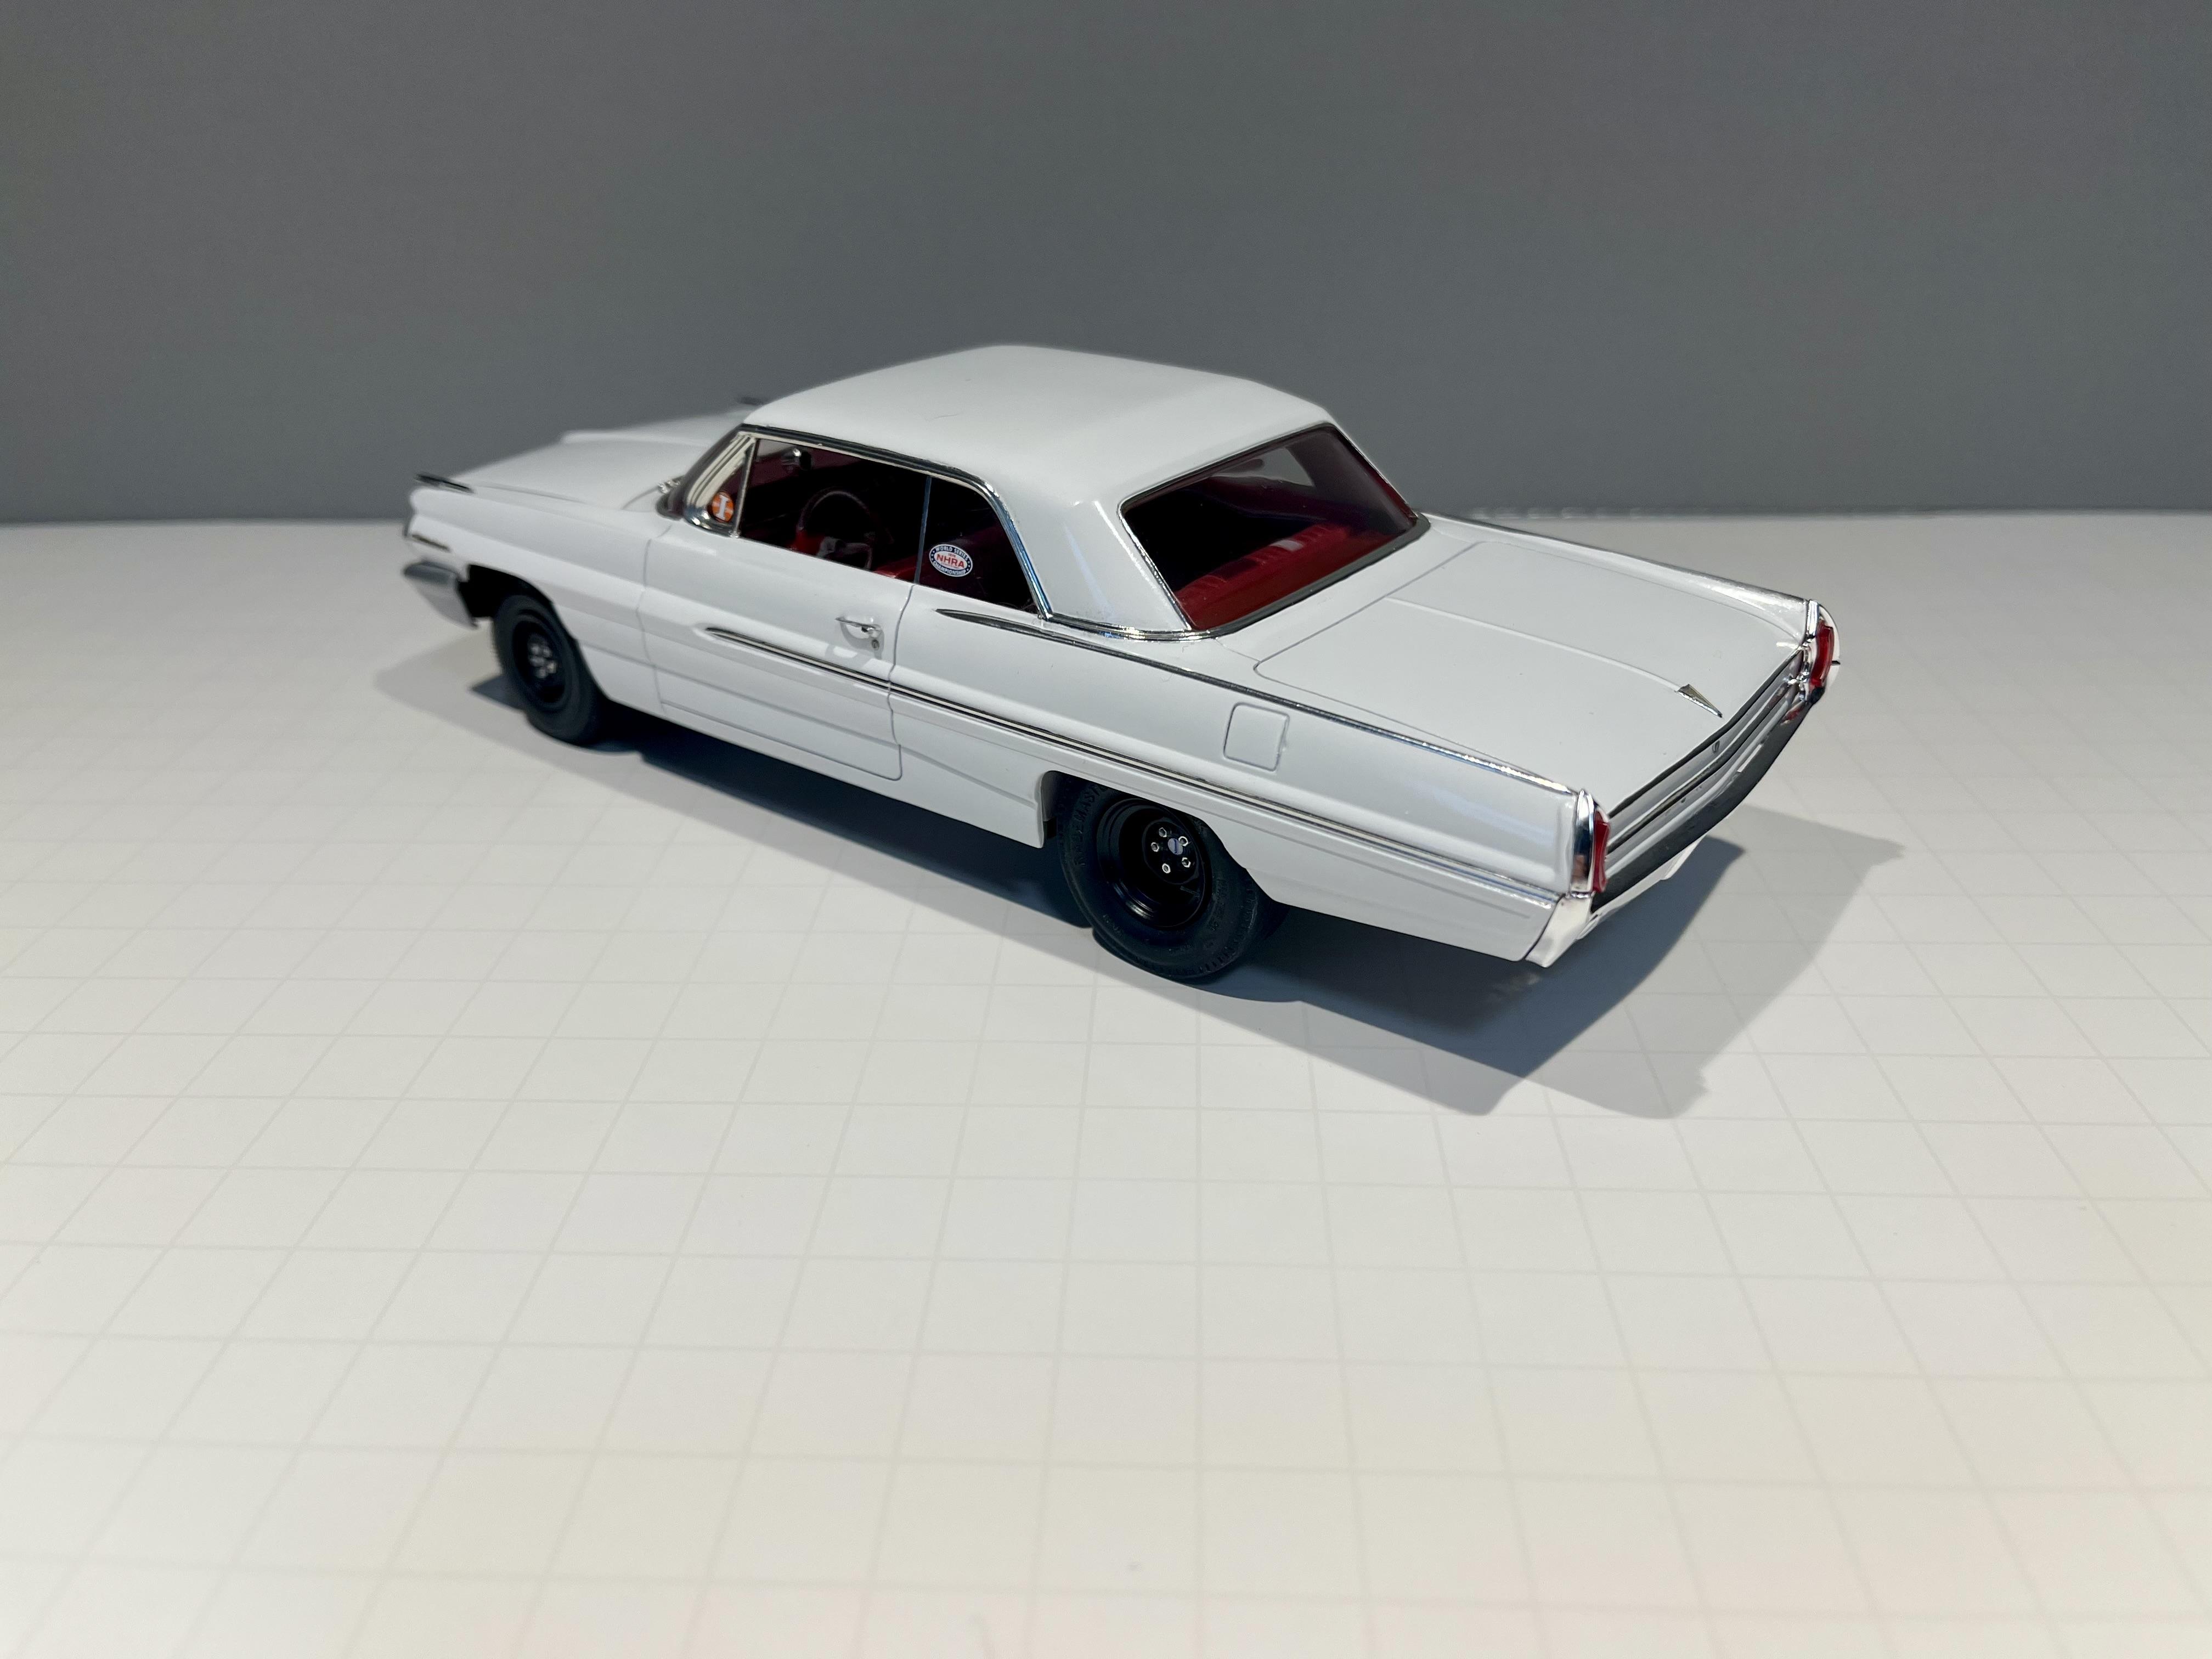
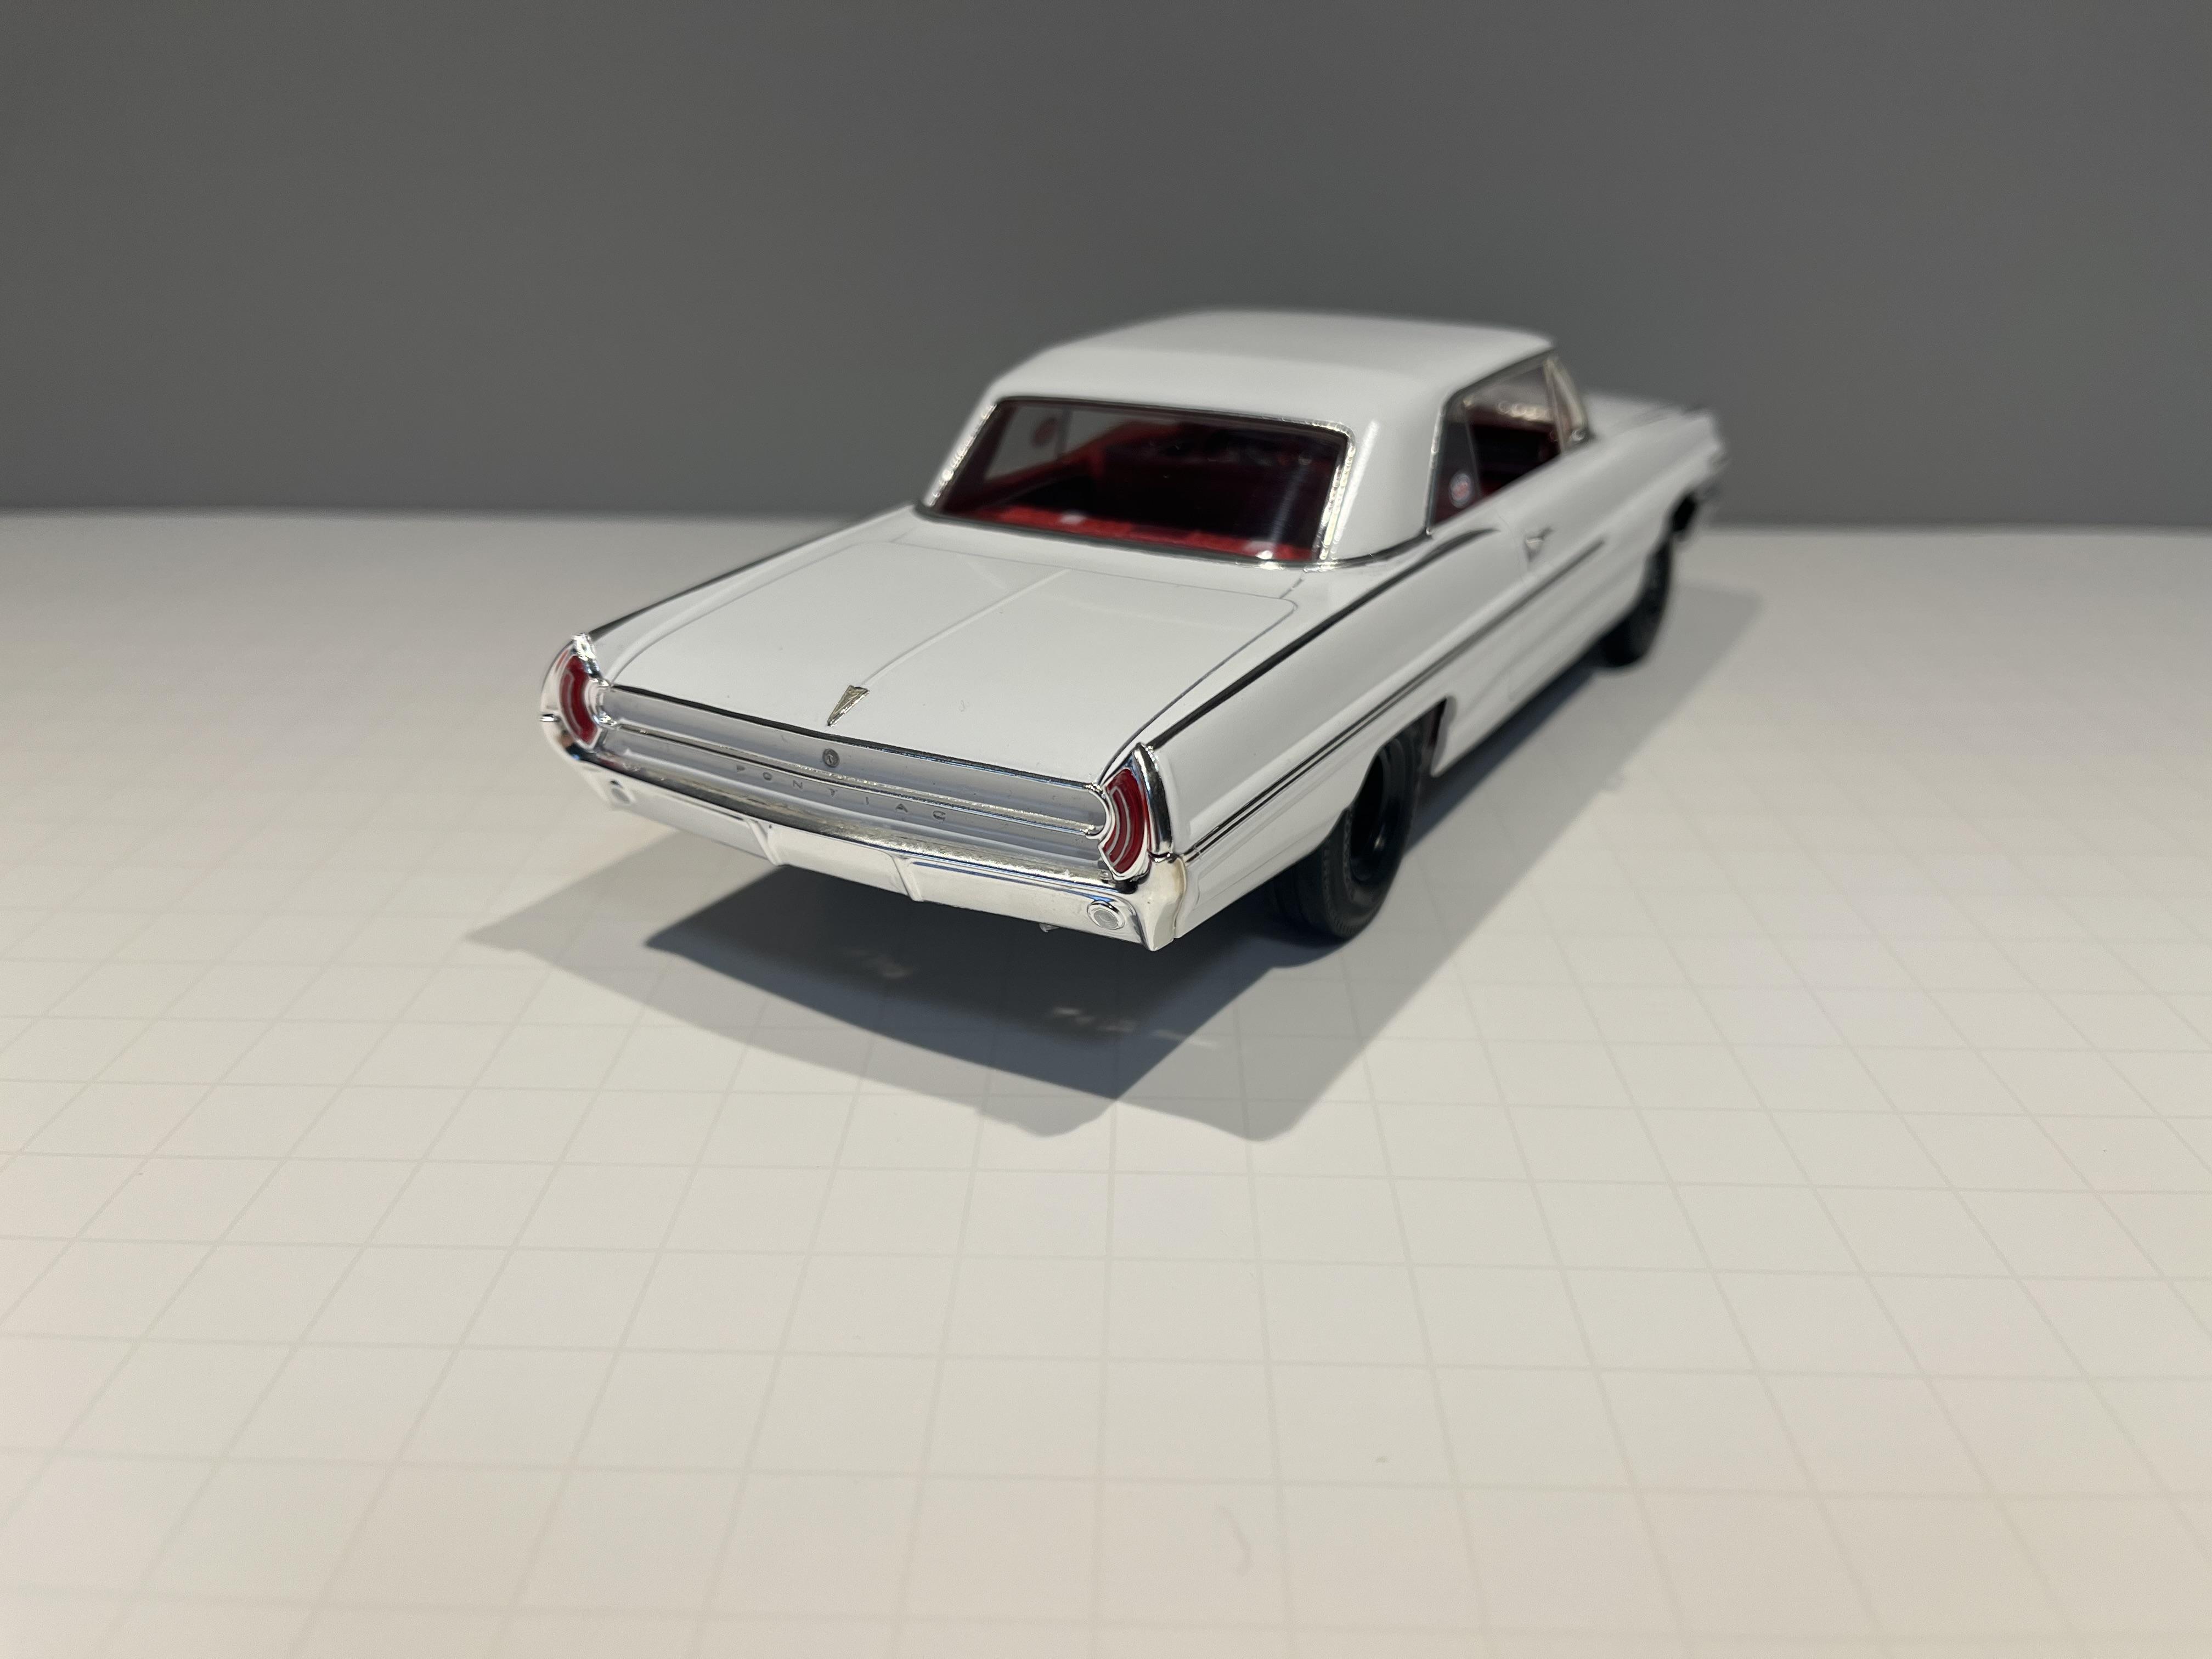
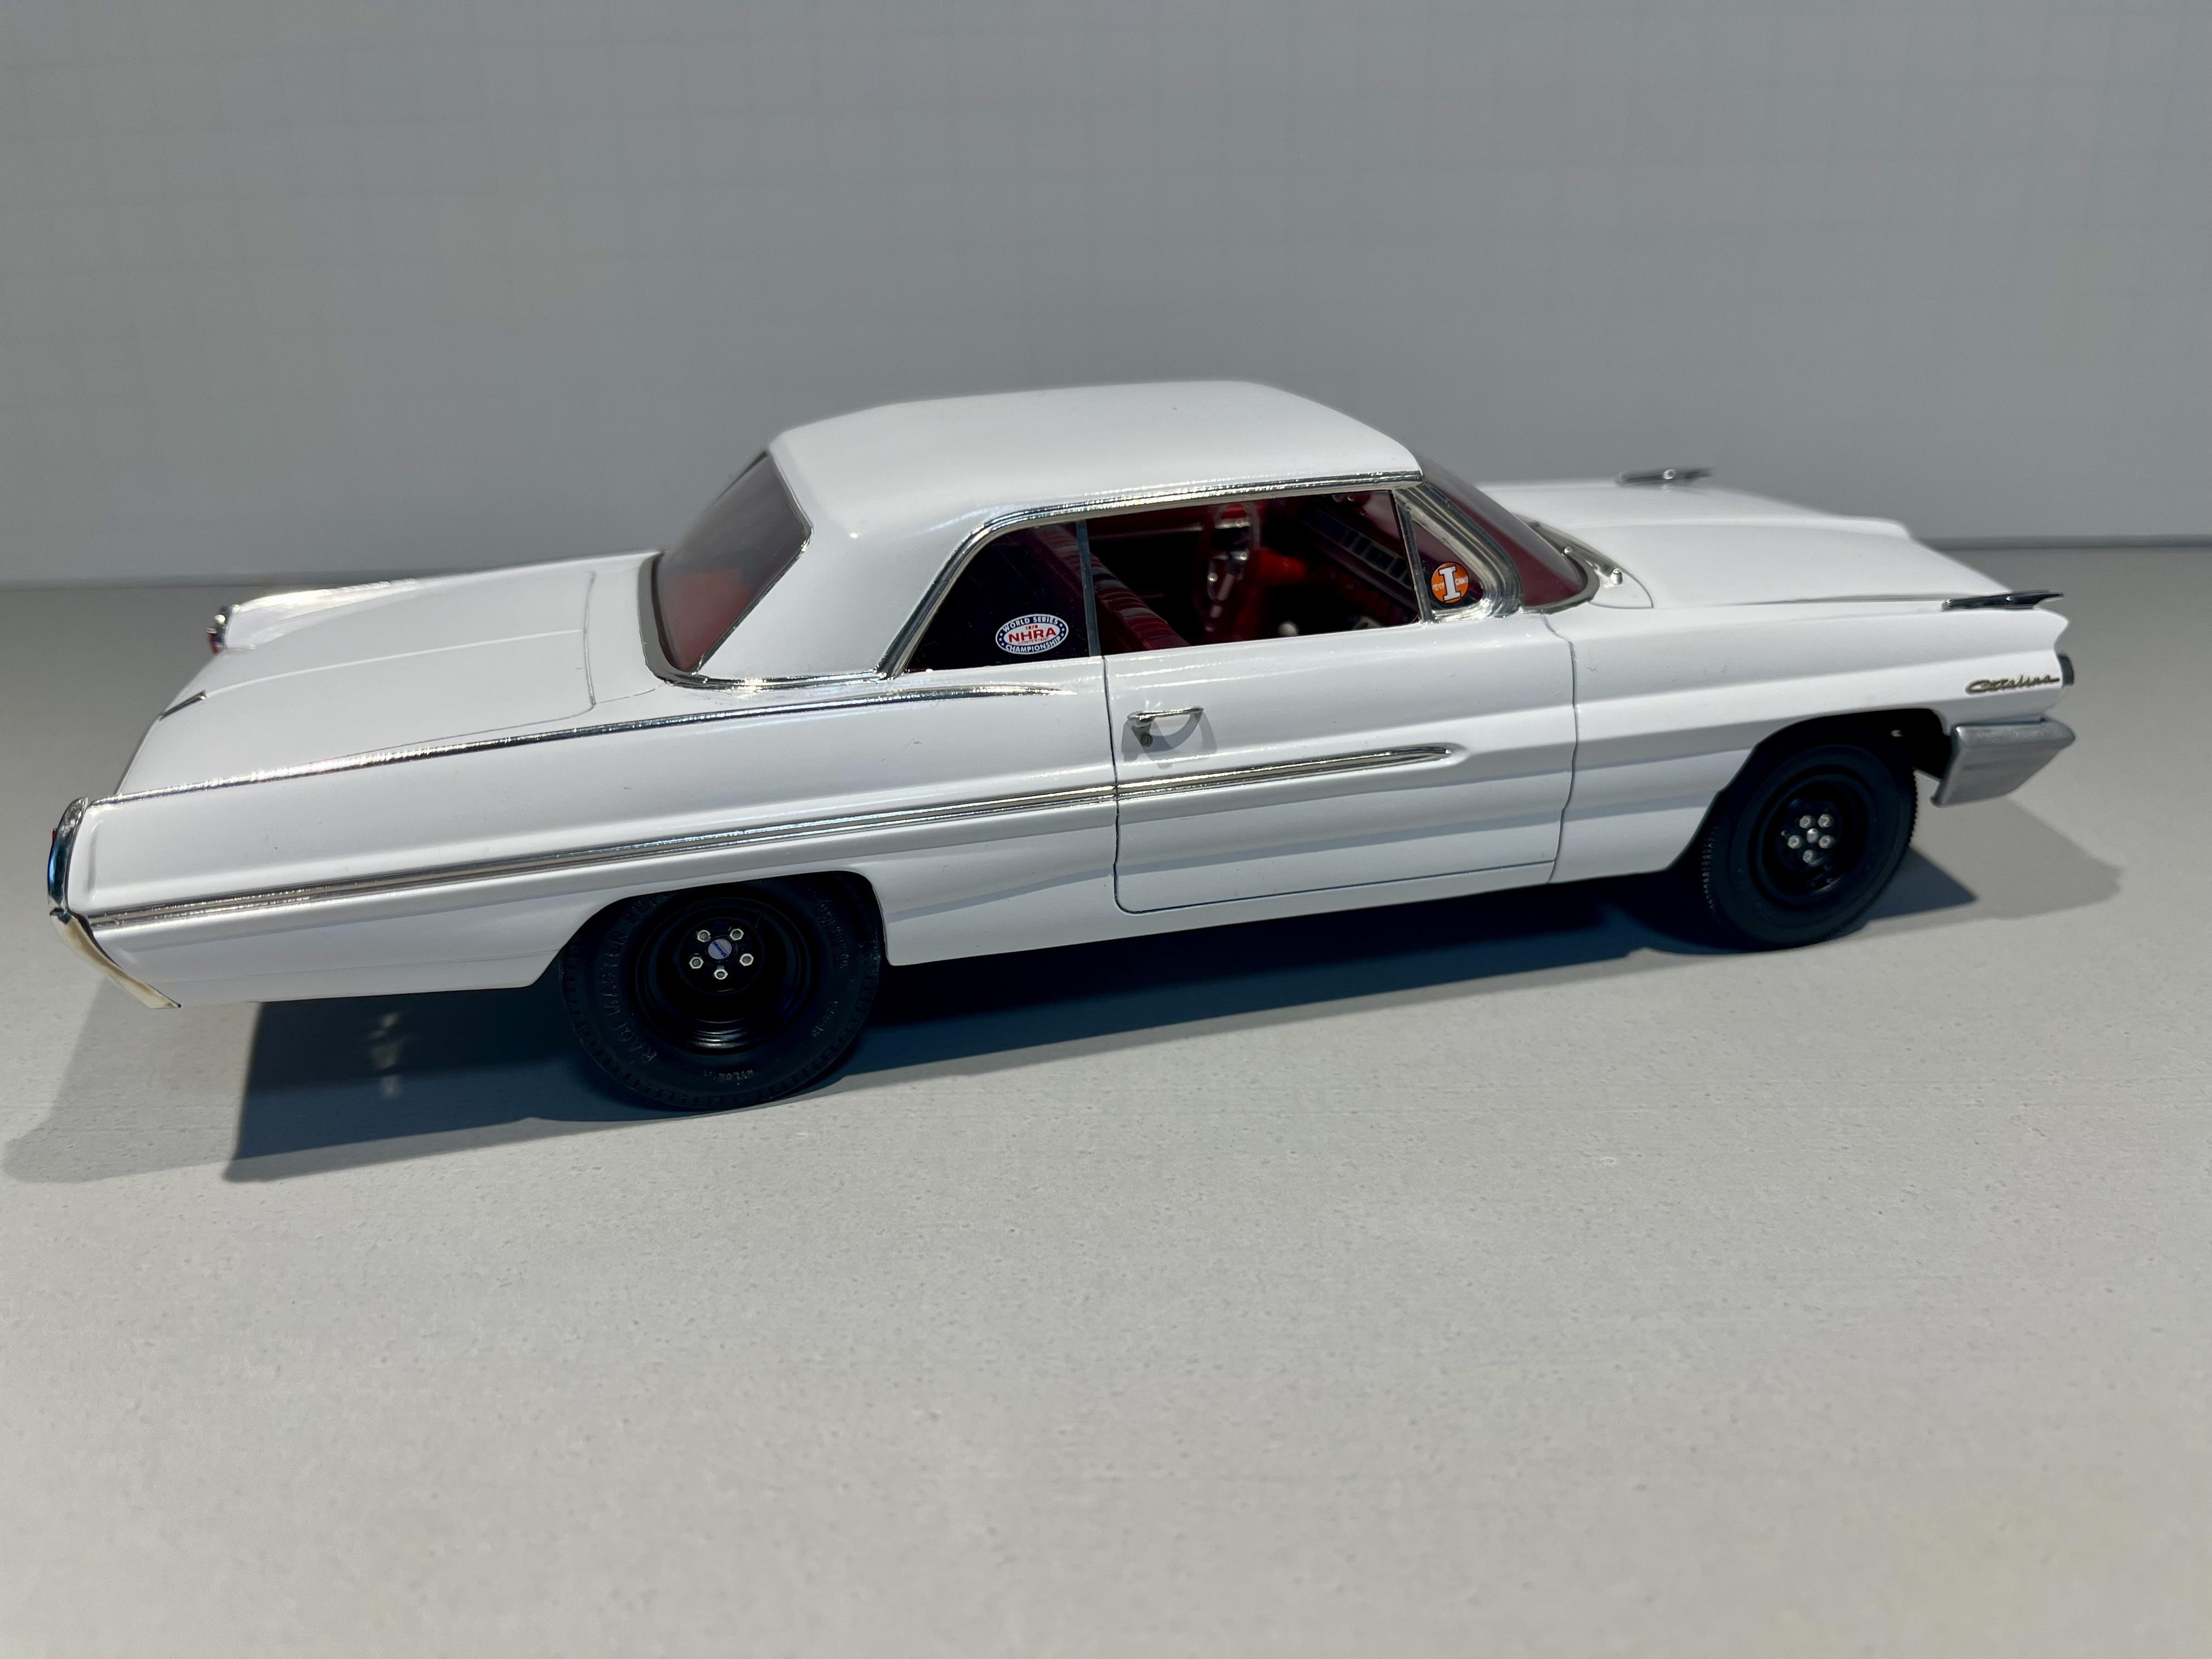
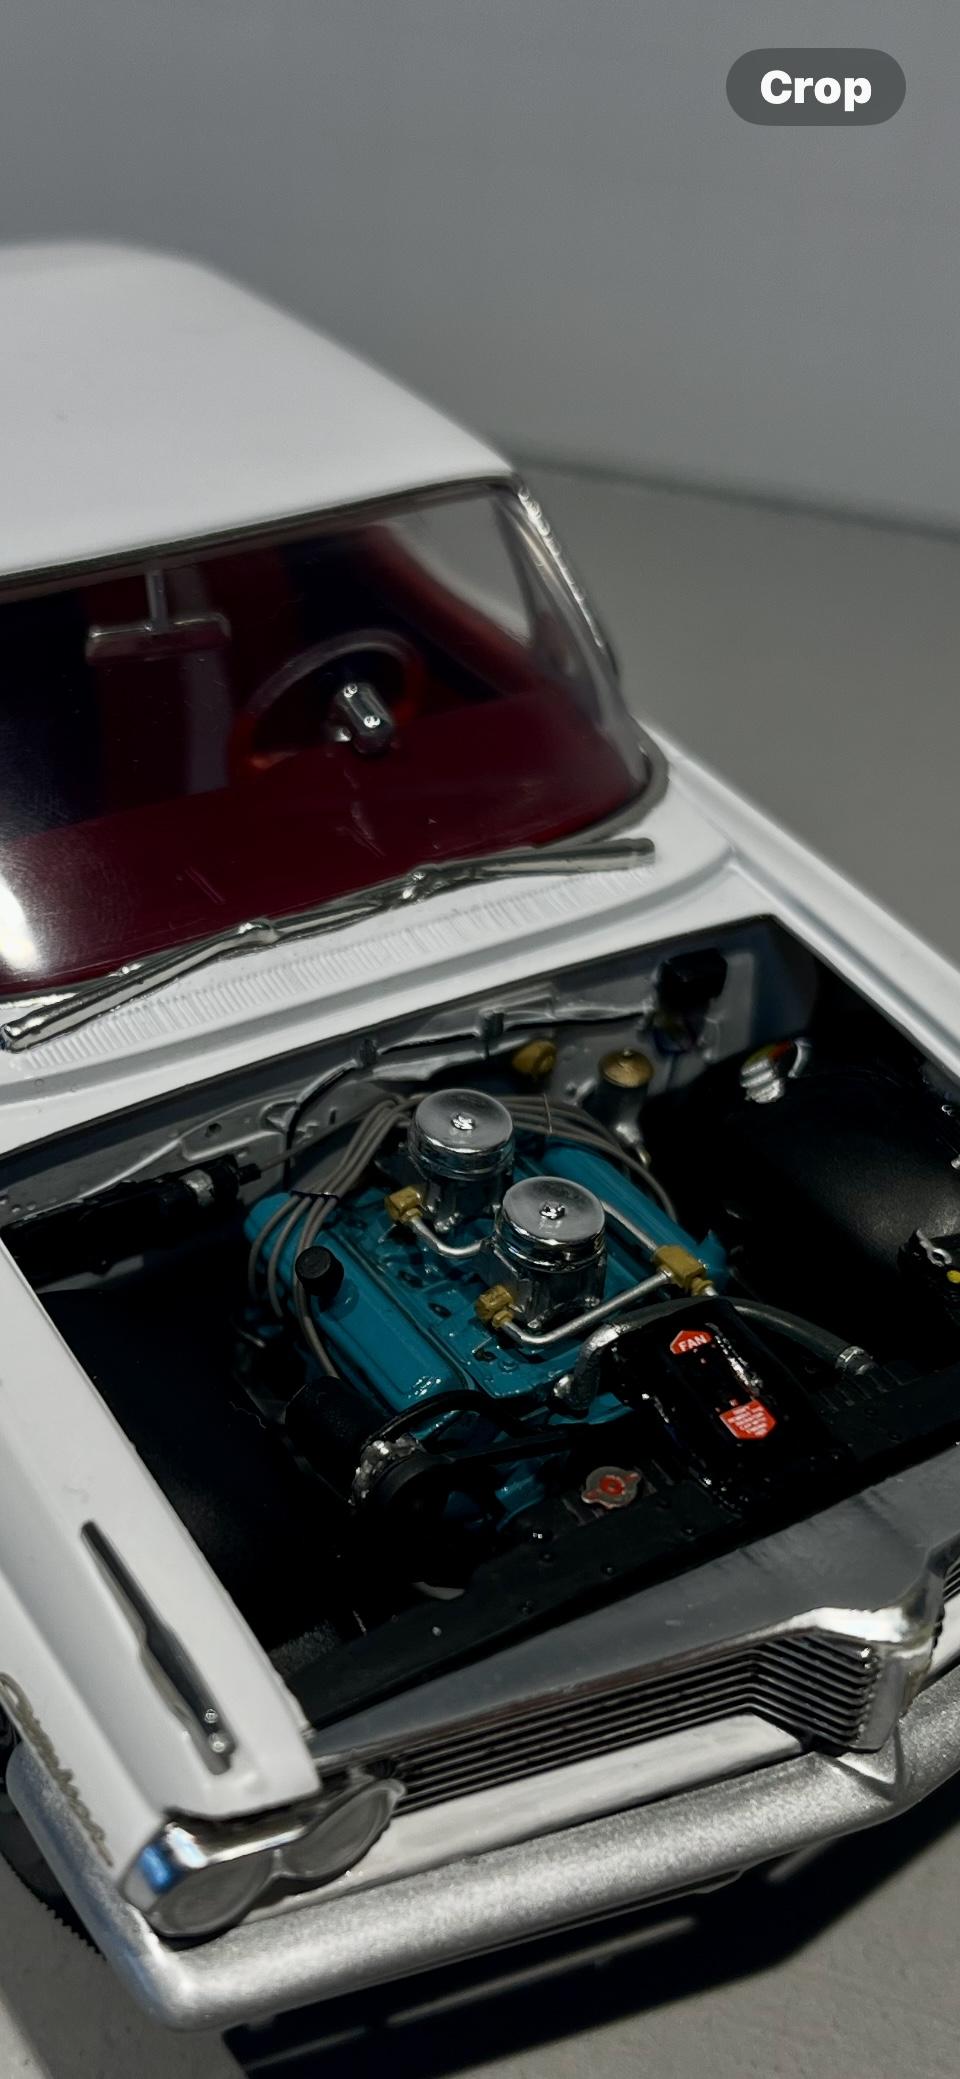
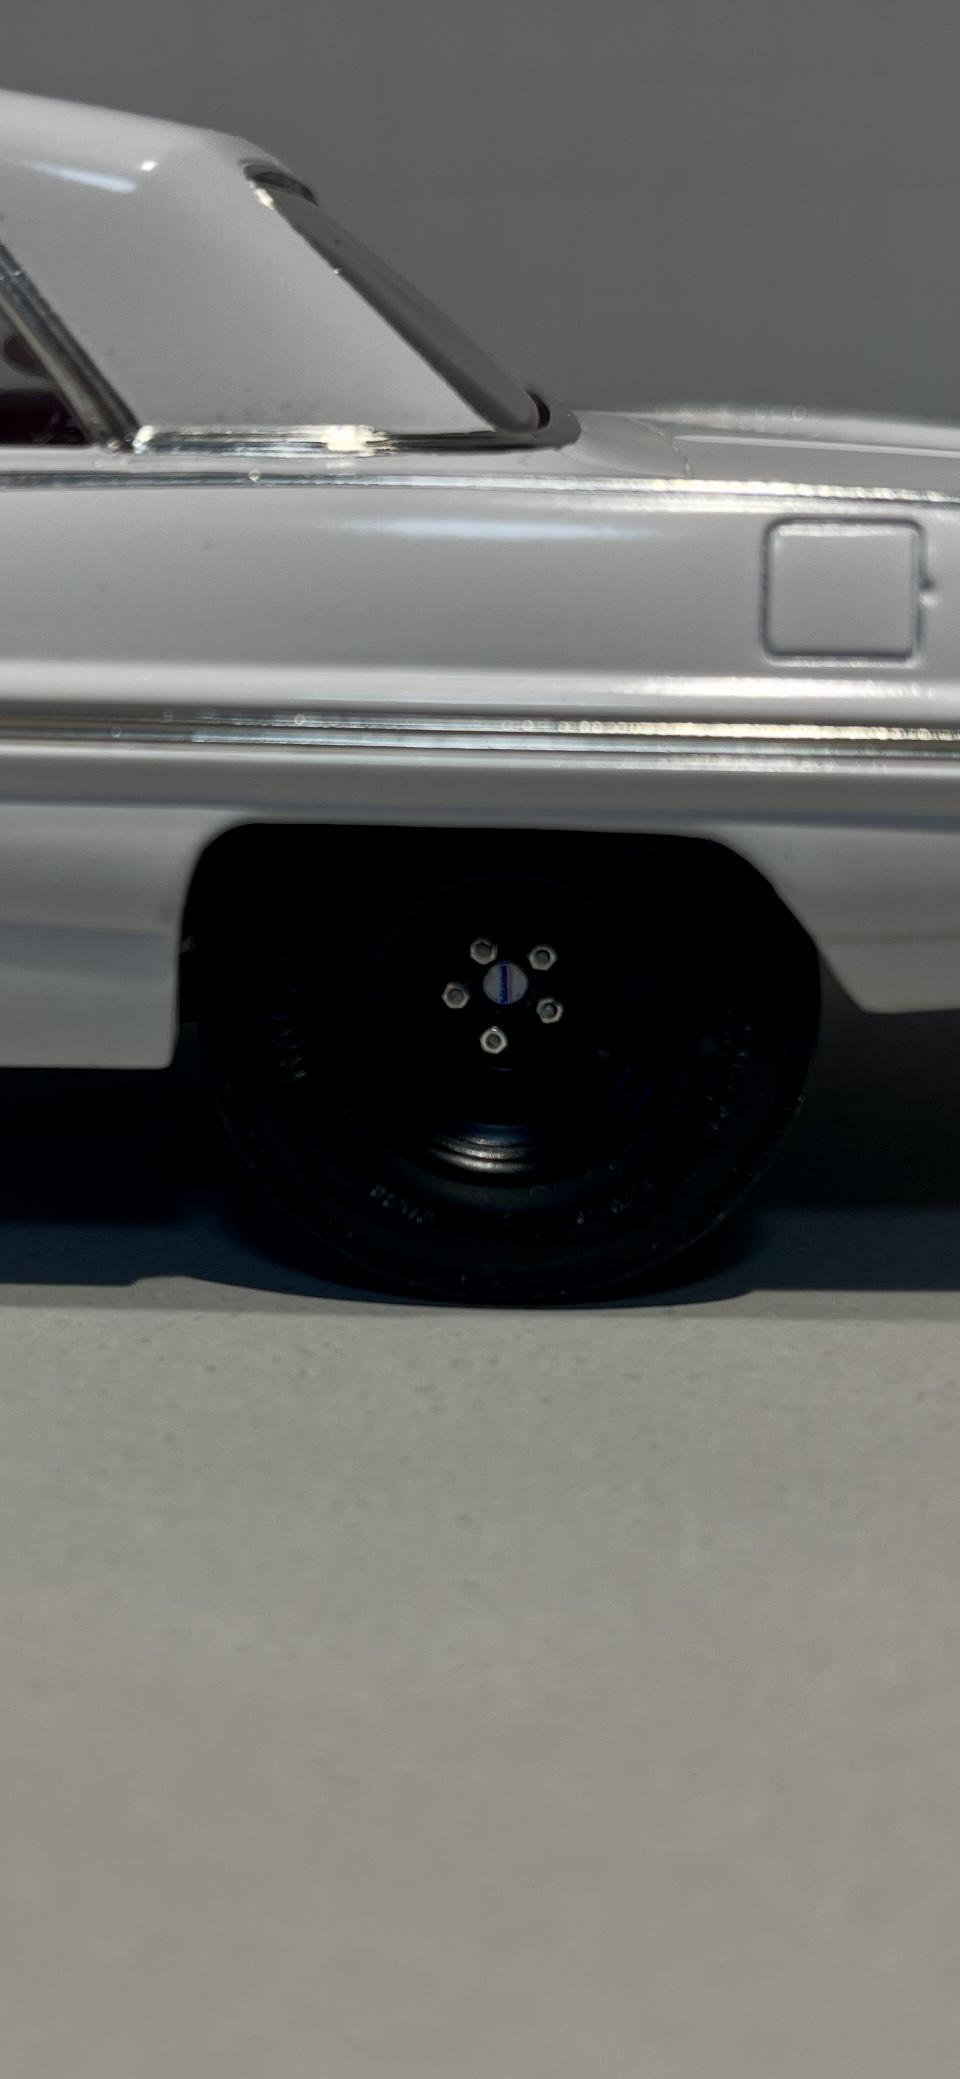
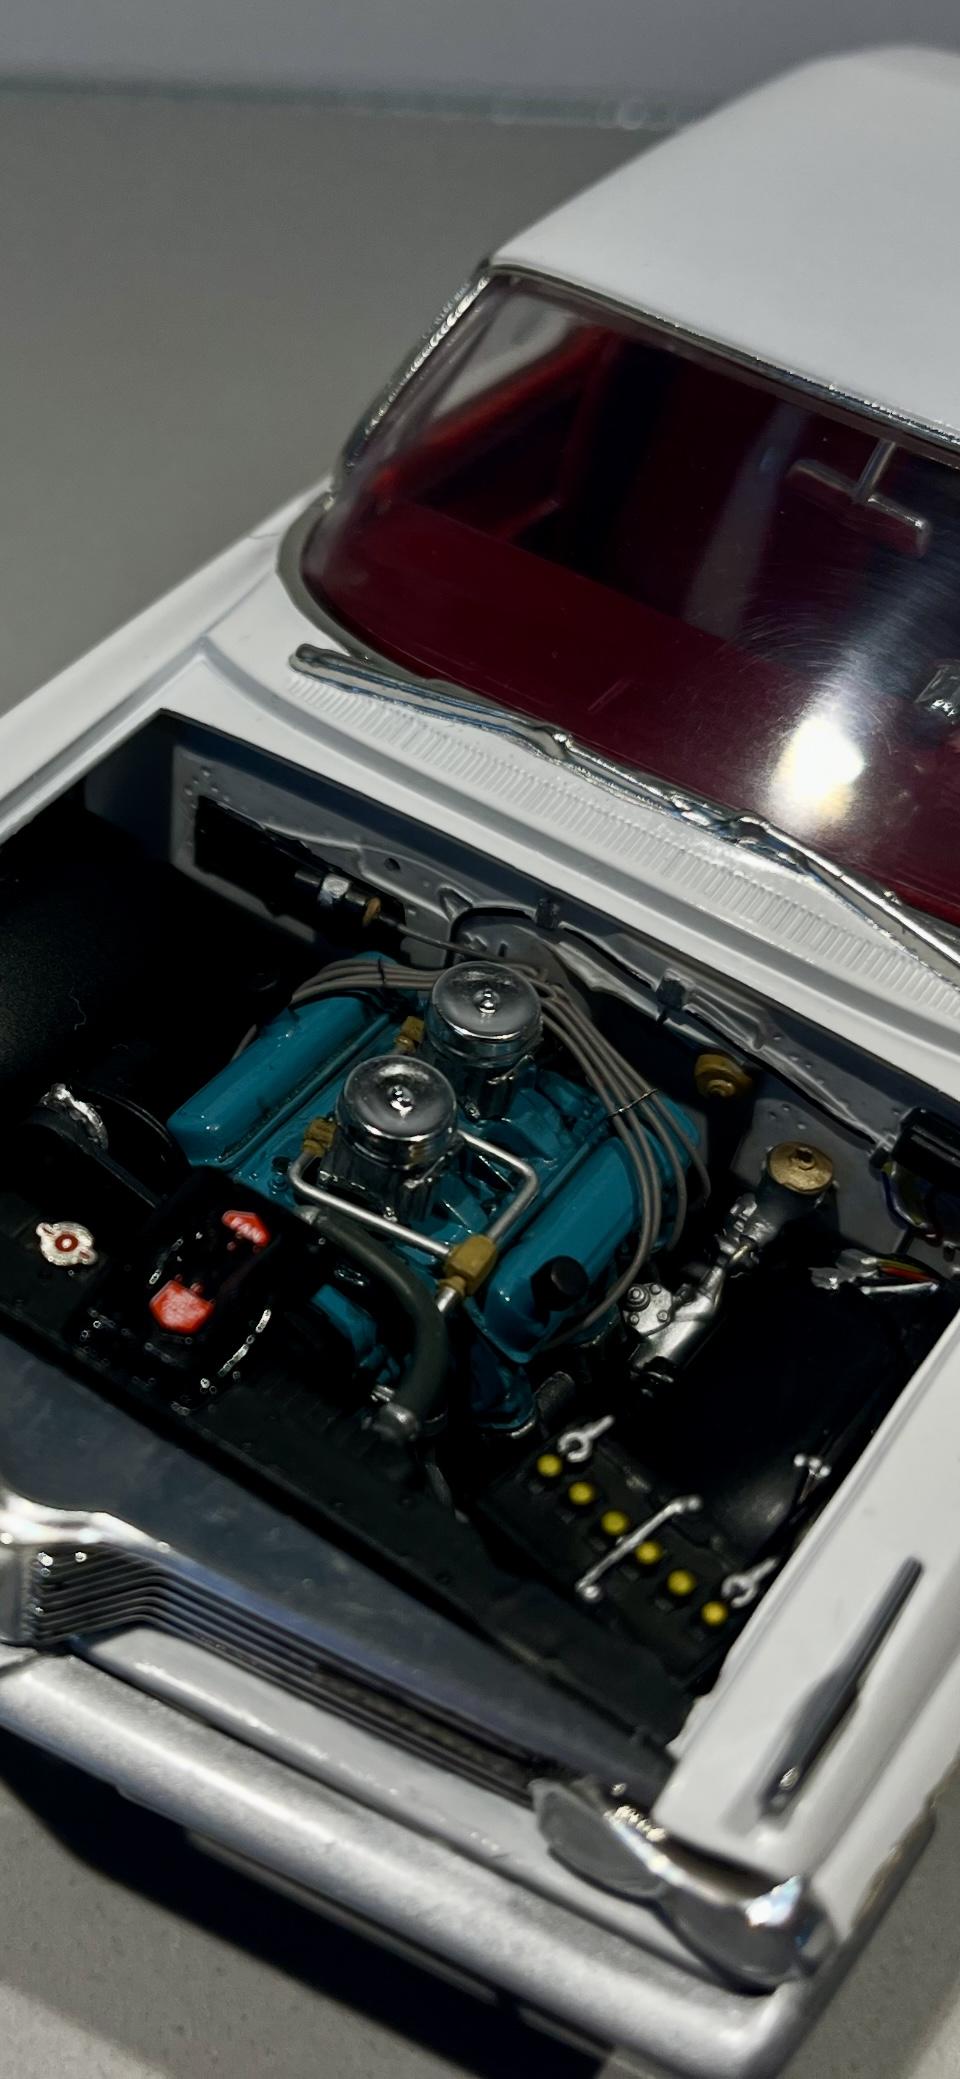
I was going through some started kits, and I found a few that are close to completion. Mostly foiling, and final assembly. Just finished this one up today. I had built this kit before, but man did this one give me some problems. All when I installed the body on the completed frame. I had the radiator support constantly falling off. Had to add a smaller tach, as the one I had wouldn’t clear the windshield. I added some Pro Tech fittings for lug nuts. They didn’t turn out that great, maybe the next time they’ll look better. I think that was the reason I put it on the shelf, now that I think about it.
- 24 replies
-
- 19
-
-

Ron Coon Resins order.. good stuff!
Brutalform replied to bobss396's topic in Car Aftermarket / Resin / 3D Printed
Does he have a website? I’d definitely like to get some of those headers. They look fantastic. -
Shirley Shahan? Looks pretty darn good. Is this the car you were after on eBay? The rear wheel wells look great. I think Revell had the guide lines a bit off on the inner fenders.
-
I saw your Badman 55. Amazing build you have there, with lots of detail. You put a lot of work into it, and it shows. I was noticing the grill doesn’t fit into the opening on this AMT kit. Plus, the hood has too large of a gap all the way around. But after I glue the radiator support in, it seems that it pulls the fenders together the mm or so it needs to align right. I do have a sealed Revell kit, but I have two of these open AMT kits, so I’ll just make it all work. Not really diving into this one yet, as I have a few cars almost ready for final assembly.
-
That color looks like it has a pearl to it. I remember years ago seeing a Stang or two with that color of paint. Looking good so far.
-
Sure does make sense. Looking at the tire, to me, just don’t look right the way it sits. I’m envisioning what you described and revealing more tire, but not the top part, would look right.
-
Also, I now see the 210 has the rear side trim, which I wanted to keep, so I can do the two tone paint job.
-
This is EXACTLY what I was looking for. Thanks Greg. I think I saw this somewhere else on the forum??? Possibly you posted it before?
-
I think keeping the body lines would be right thing to do. Thanks.
-
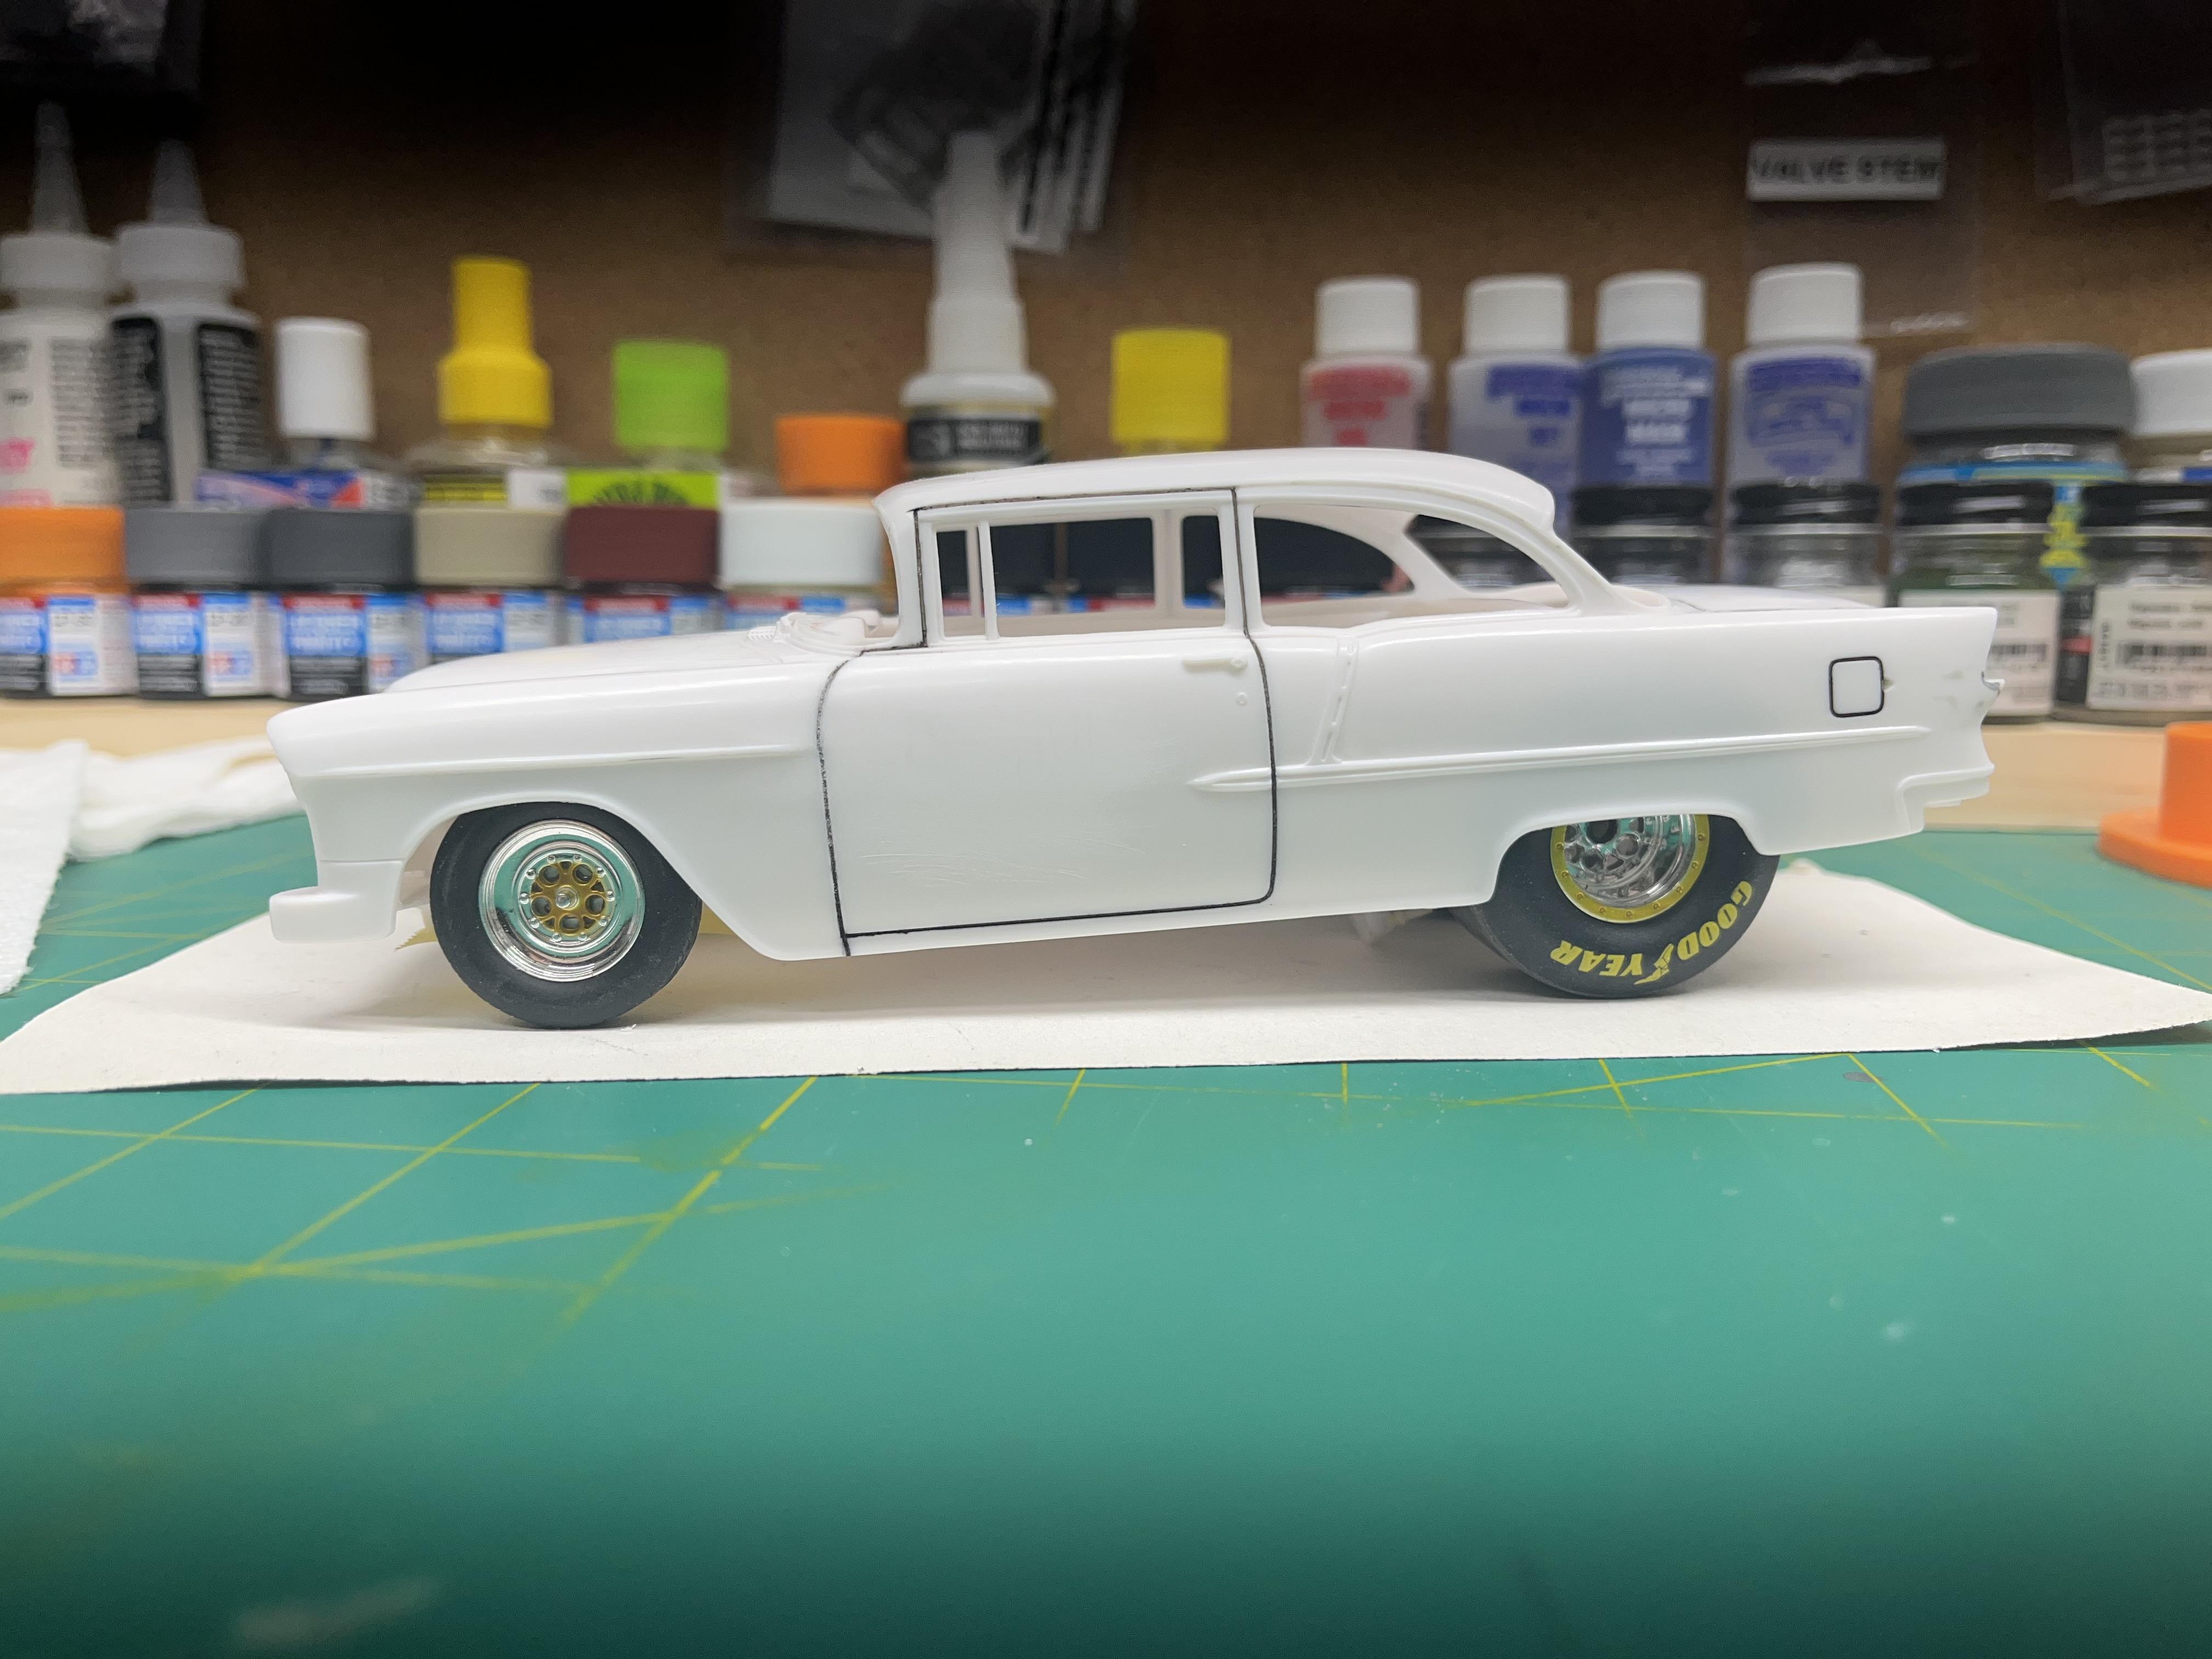
Been playing around with a pro street AMT 55 Chevy, and I noticed that on the real 1:1 cars, the front fender trim extends along the door, almost halfway. Then on others, it stops and comes to a point before the door panel line. Can anyone shed some light on this? I searched on the internet, and really didn’t find anything but I figured someone on here could quickly explain the difference? I removed the chrome on my door, because it looks better. Now do I have to remove the rest of the trim? Also I need opinions on whether to leave the rear fender wells as is, or widen and open them up a bit?
-
Holding a part to paint
Brutalform replied to Super28's topic in Model Building Questions and Answers
I use alligator clips, fastened to bamboo skewers, to using two sided tape on wooden coffee stirrers. Sometimes a hot pin tip can poke into a tiny part in an inconspicuous area.